March 31, 2023
Further 80
Friday
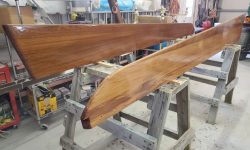
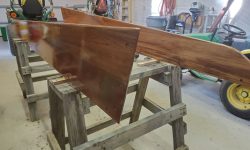
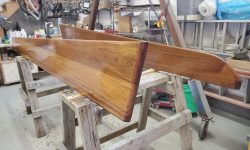
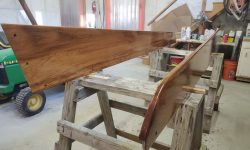
Once more, I started the day with the coamings, a light sanding followed by the fourth coat of varnish. This would be the last coat of finish before I installed the coamings on the boat, as this was sufficient buildup on the back sides of the coamings where they’d be installed against the fiberglass moldings and bedded. Once the coamings were in place and bunged, I’d apply more coats on the exposed surfaces.
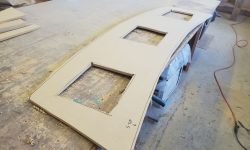
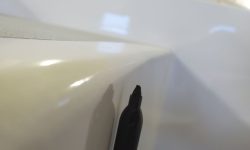
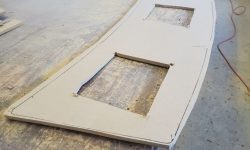
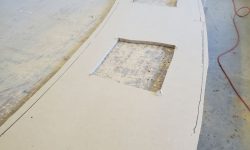
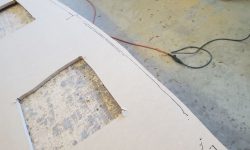
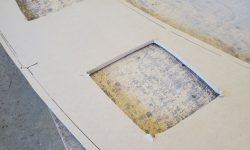
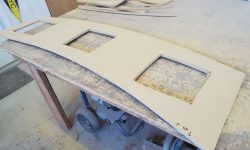
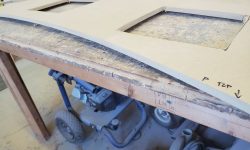
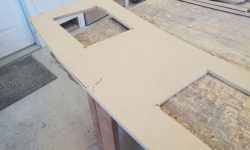
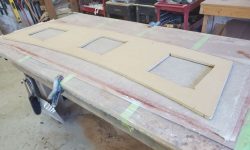
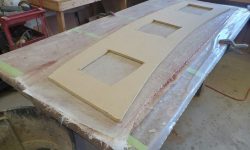
I transferred the cardboard cockpit hatch pattern to a scrap piece of 1/2″ MDF that would suit as a final template for the hatch. I cut the MDF slightly larger than the tracing of the pattern, cut three large access holes, then held it tightly in place over the cockpit opening and, with a new Sharpie held tightly against the vertical sides of the opening, traced the shape onto the underside of the pattern. The shape of the pen held the tip an appropriate distance away from the molding to make marks on the template that, once cut, would give the piece the required clearance on all sides to fit appropriately in the opening.
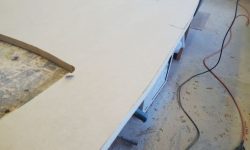
Back on the bench, I carefully cut the template to shape, keeping just outside the black lines, then fine-tuned the edges with a sanding pad to bring it to the line itself all around.
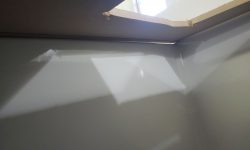
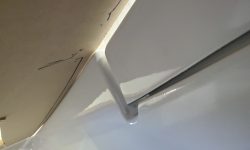
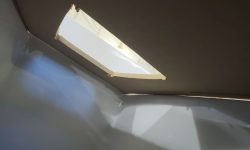
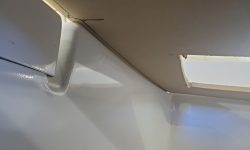
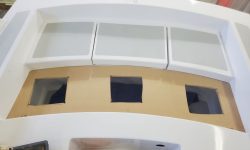
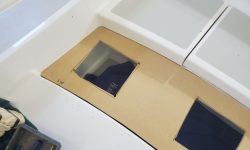
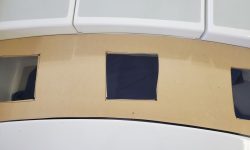
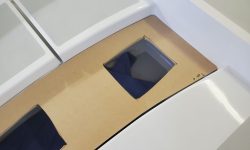
Thusly cut, the template would fit several inches down in the cockpit well (the sides of the opening were slightly angled, with the base narrower than the top), not that this was where it belonged, but it provided a photo opportunity. With the template held in place flush with the surrounding decks, there was a 3/16″ or so gap all the way around, sufficient to allow the hatch to be installed and removed. I couldn’t take photos while also holding the template at the right height, so these will have to do.
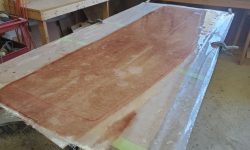
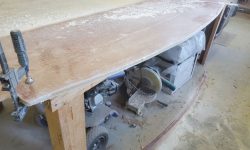
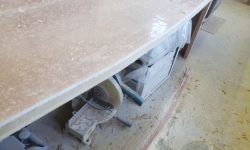
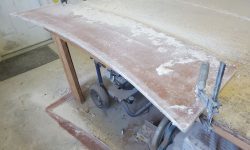
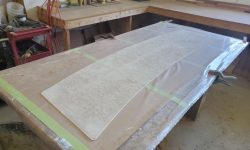
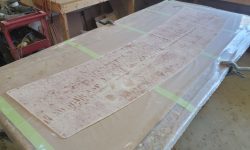
Satisfied with the template, I unmolded the three-layer top skin and secured the template with a few dabs of hot glue. Then, with a router and a pattern-cutting bit, I cut the fiberglass to match the new template.
My construction plan from here was to secure a solid fiberglass edge to the underside of the top skin (1/2″ tall from 1/4″ laminate), then install core within this “frame” and bottom skin over the whole thing to complete the sandwich construction. As this plan was developing moment by moment, I didn’t yet have the material on hand for the next step, so for the moment this was as far as I could take the construction.
Total time billed on this job today: 3 hours
0600 Weather Observation: Clear, 26°, dew point 10°. Forecast for the day: Increasing clouds, rain late in the day, 45°


