January 30, 2023
Further 34
Monday
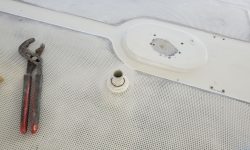
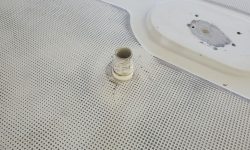
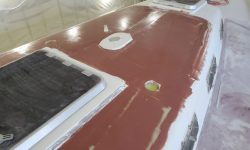
I would have liked to have been able to apply fairing compound to the coachroof last time, but just didn’t have time on that day, so my first order of business was to get this underway. Before I could begin, I had a couple small preparatory tasks, starting with the mast wiring through-deck fitting, which I hoped to remove to clear the decks for the work ahead. The nut unwound easily enough, but I couldn’t get the well-bedded fitting to budge; it was plastic and I didn’t want to destroy it, so ultimately I left it in place. With the nut removed, I could lightly sand, fair, and later paint the decks right up to the fitting, then the nut would cover the seam later.
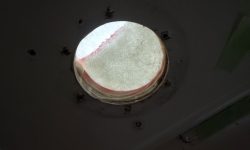
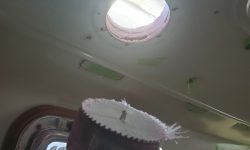
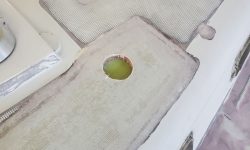
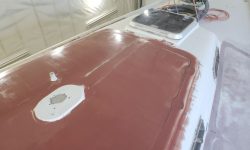
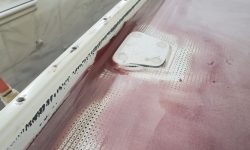
I took a moment with a 3-3/4″ hole saw to redrill the starboard cowl vent hole, then remasked it from below to prevent any epoxy from going inside the boat.
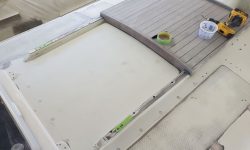
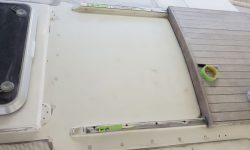
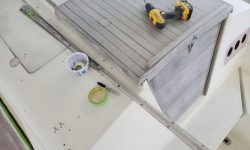
Finally, I removed the metal tracks on which the companionway hatch slid, which would later allow me to remove the hatch to allow proper preparation and painting in the area. For now, I left the hatch in place.
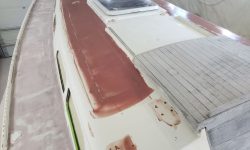
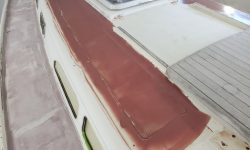
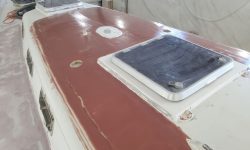
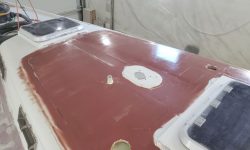
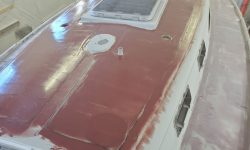
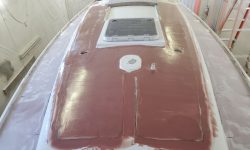
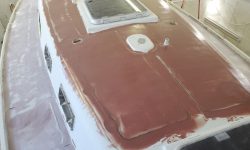
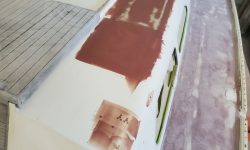
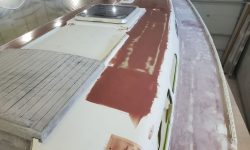
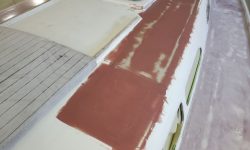
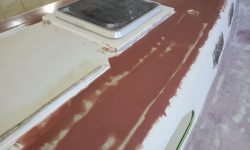
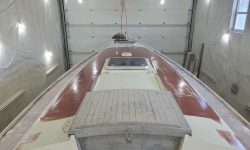
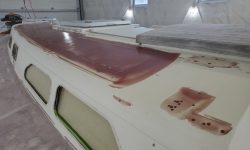
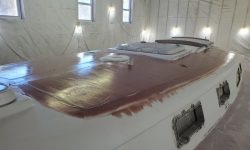
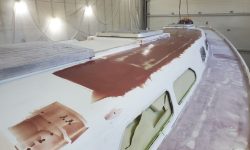
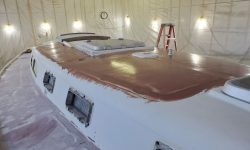
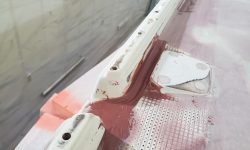
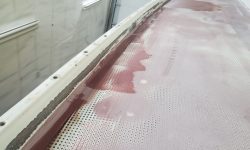
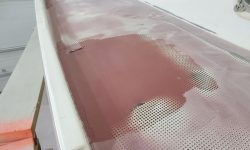
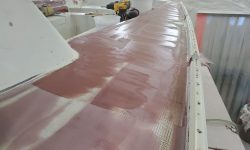
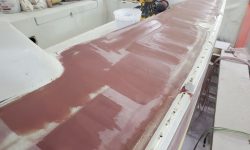
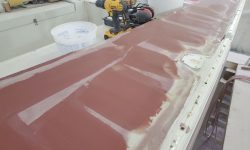
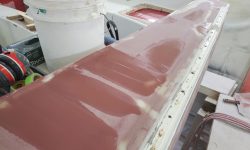
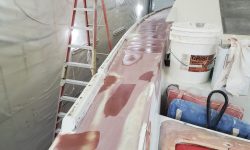
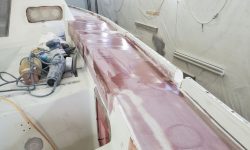
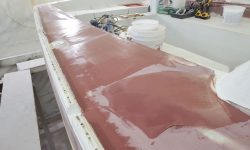
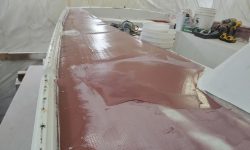
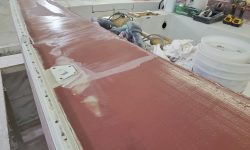
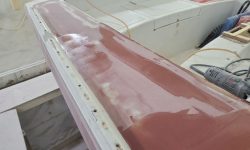
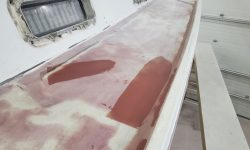
After vacuuming and solvent-wash, I applied a coat of epoxy fairing filler over the coachroof, skim-coating the nonskid and beginning to fair in the various repairs.
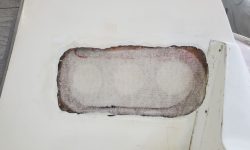
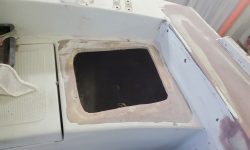
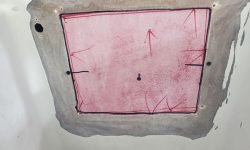
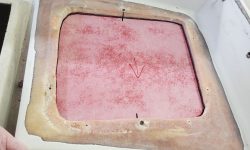
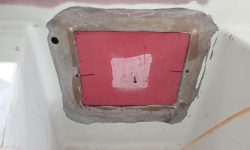
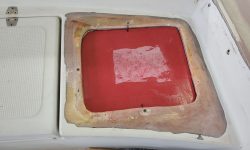
There were several large openings in the cockpit requiring patching, including the instrument holes on the bulkhead, the old engine panel location, an unused propane locker opening in the lazarette, and the steering pedestal opening between the two cockpit sections. During earlier sanding phases, I’d already prepared these openings for new work. To begin, I started with the instrument holes, and, after masking from behind, filled the round openings with a thickened epoxy mixture before installing two layers of fiberglass over the top.
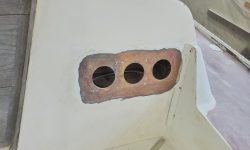
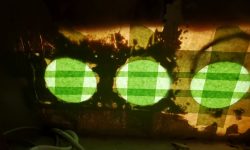
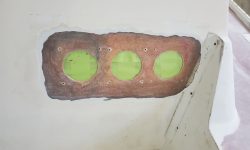
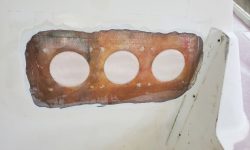
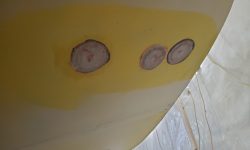
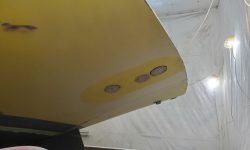
At the transom counter, I installed two layers of fiberglass over each of the three circular repairs to fill the through hull openings from the exterior.
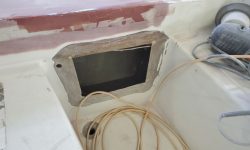
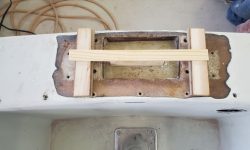
For the large cockpit repairs, I cut prefab fiberglass (1/8″ thick) to fit the openings from the engine panel and propane locker, then epoxied them in place from behind/beneath, using temporary screws as needed to hold the panels while the epoxy cured. I actually forgot all about the pedestal opening till I was in the process of installing the nearby repair panels, so I hurried to find another suitable piece of prefab that I epoxied in from the underside, using hot-glued braces from above in this case to hold it securely while the adhesive kicked.
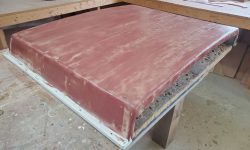
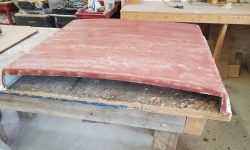
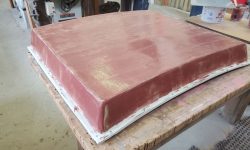
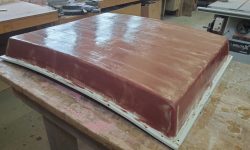
Next, I applied a coat of fairing compound to the sea hood, beginning to fill the cloth texture and smooth in the transition between the overlay and the original hood on the sides.
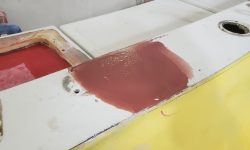
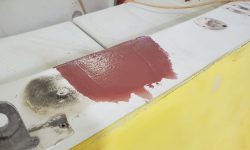
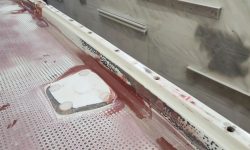
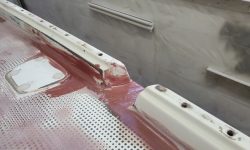
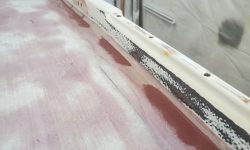
To round out the day, I spot-applied fairing compound to the sidedecks as needed, mainly in those areas outboard of the cockpit, where there were transverse trowel marks from the last application that required easy filling. The starboard side did have a pesky transitional spot where there had been a (more substantial than I first thought) change of elevation in the inner skin, leading to a bit of additional and ongoing work now to fair it properly from above. Otherwise, this round of fairing was focused on some fine-tuning around the deck edges and fillets, outboard of the molded stanchion bases, and another pesky–but I thought now resolved–low area in way of a previous repair near the port chainplate.
Total time billed on this job today: 7 hours
0600 Weather Observation: 33°, clear, dew point 29°. Forecast for the day: Increasing clouds, high 33° but dropping through the day


