

March 19, 2016
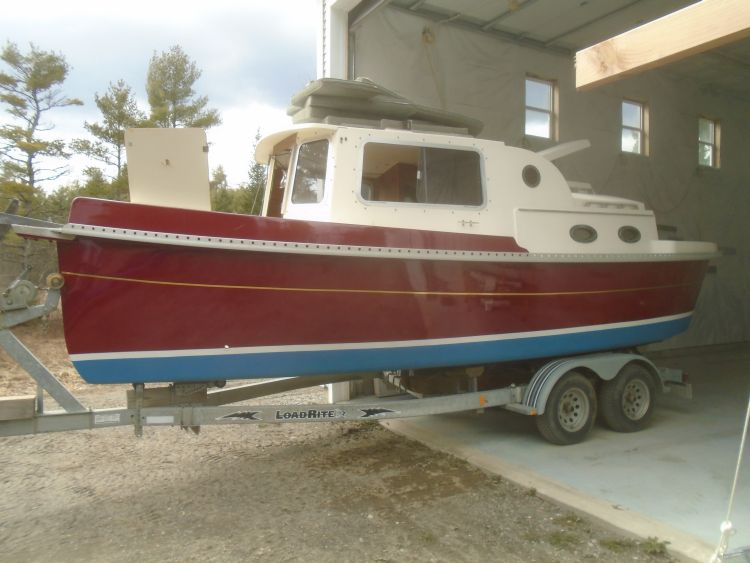
Nomad 22
Saturday
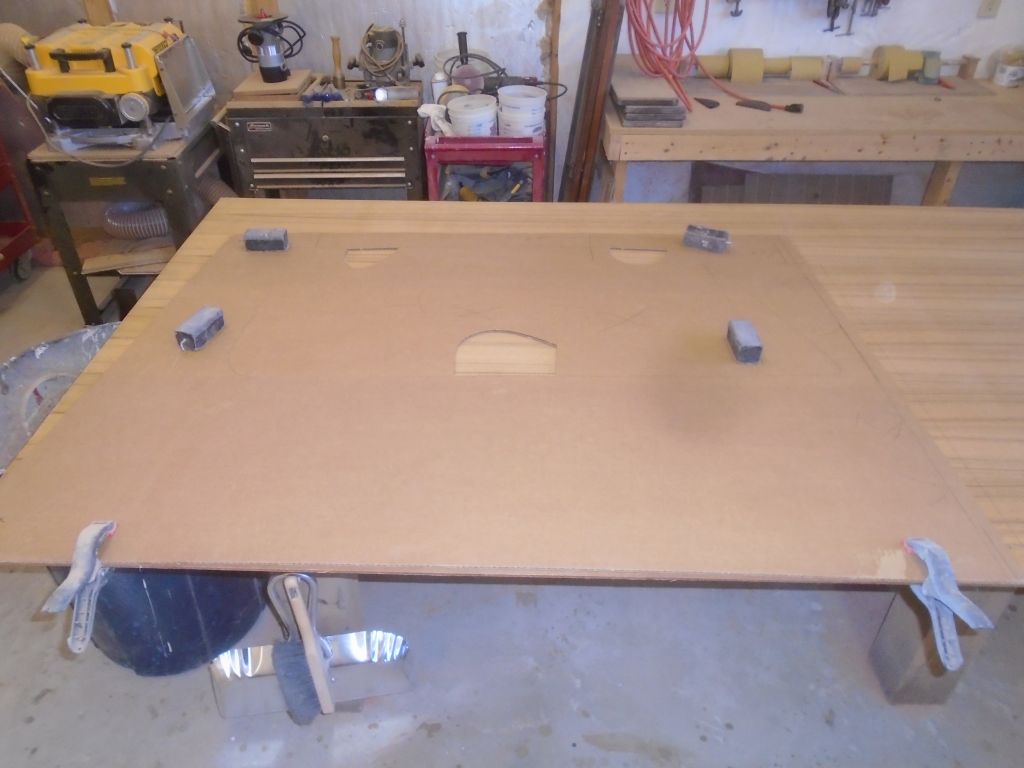
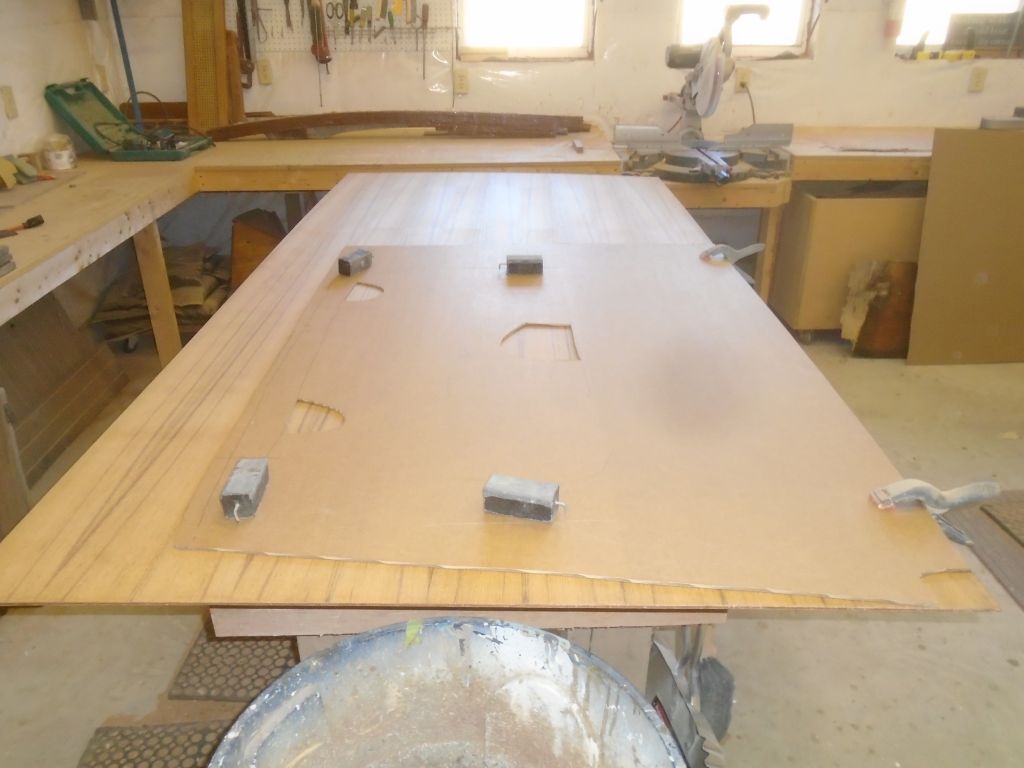
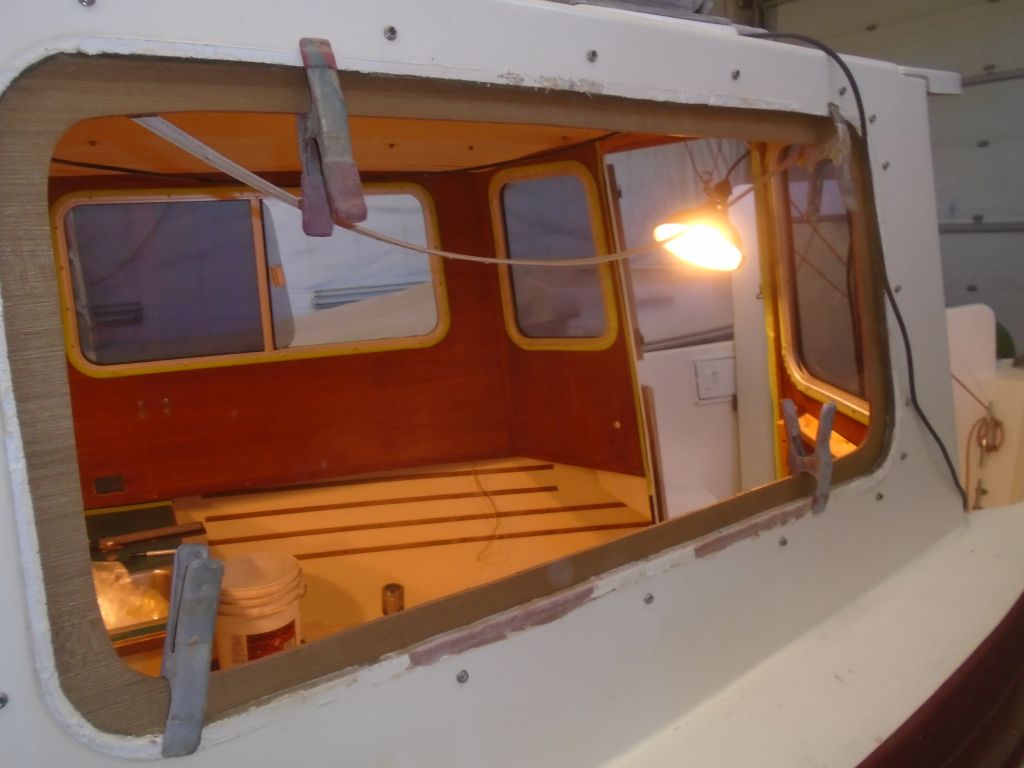
With a new sheet of 1/4″ teak plywood now on hand, I could turn to replacing the damaged pilothouse panel that I’d removed earlier. The original panel had been badly damaged by water over the years, and was unsalvageable. However, I saved what I could it it to use as the beginnings of a pattern for the new panel, and now, starting with a sheet of cardboard, I laid out the remnants to form the first rough (yet as accurate as possible) pattern for the panel. There was enough of the old panel for a good start, as it provided the overall dimensions required. Most of the top edge was missing, and the narrow strip above the window was separate. Though the photo shows the narrow strip aligned near the forward (left) edge of the panel, later I determined that it actually belonged at the aft end, but this was of no matter, as it turned out, at this stage. I didn’t cut out the window opening, but did create a few slots within the tracing of the window so I could clamp the pattern in place once in the boat.


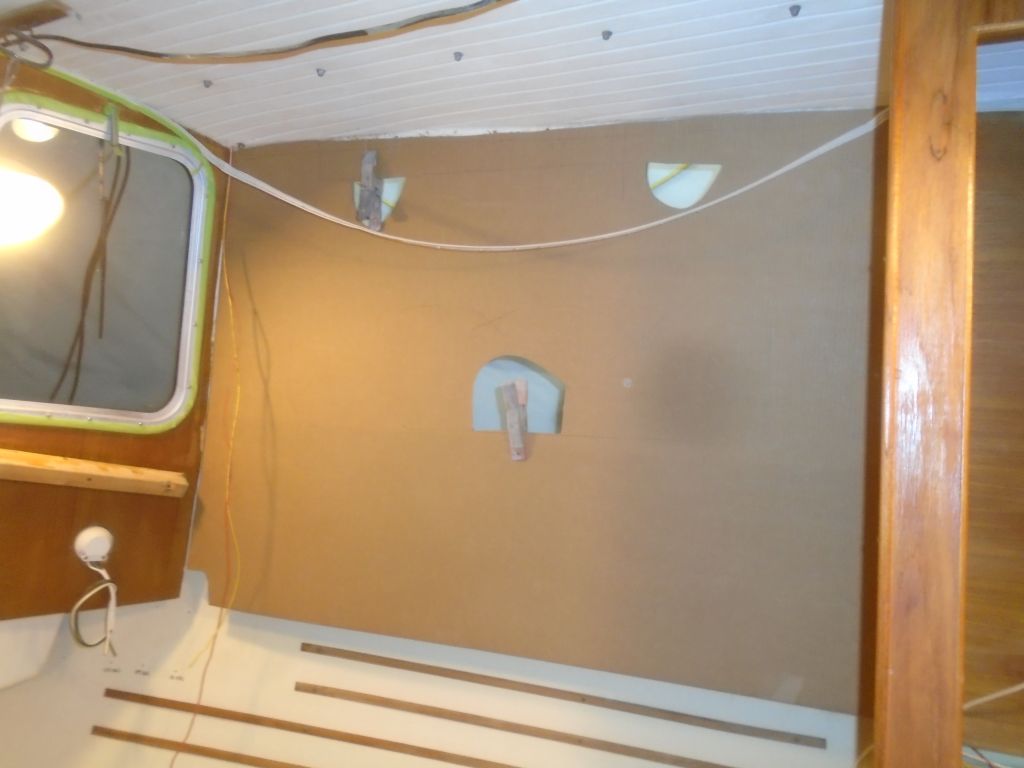
In the boat, I clamped the cardboard in place, and noted and marked any modifications required. It was only the top edge that required changing, and I scribed a new line there to demark the area I needed to enlarge just slightly for the best fit. I also marked the after edge accurately so I could increase the length of the final panel slightly over the length of the pattern. With the pattern clamped in place, I could trace the actual window opening from outside, which would provide me with a more accurate position for the opening that I’d use later.

Back on the bench, Iald out the pattern on my sheet of plywood, and traced the outline, making the changes required by the pattern. Once I’d traced the panel outline, I removed the cardboard and cut out the window opening that I’d marked in the boat, then transferred this to the plywood as well. I left the window uncut during the initial tracing so that the pattern couldn’t warp or bend and possibly throw off the more critical outward dimensions.
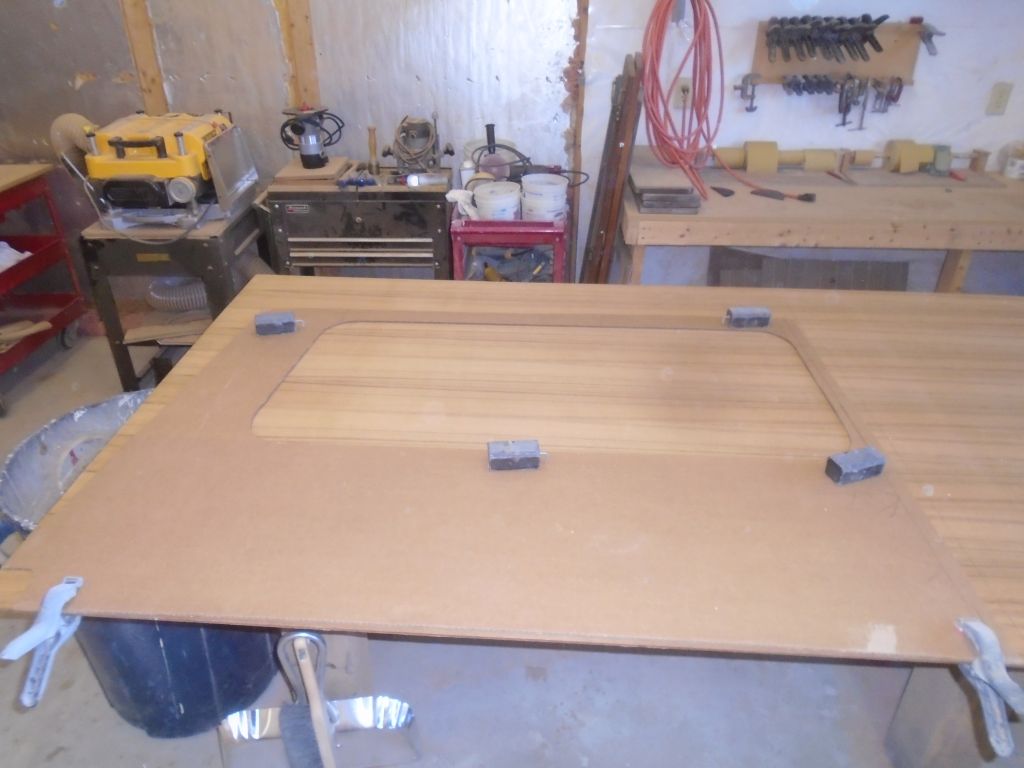


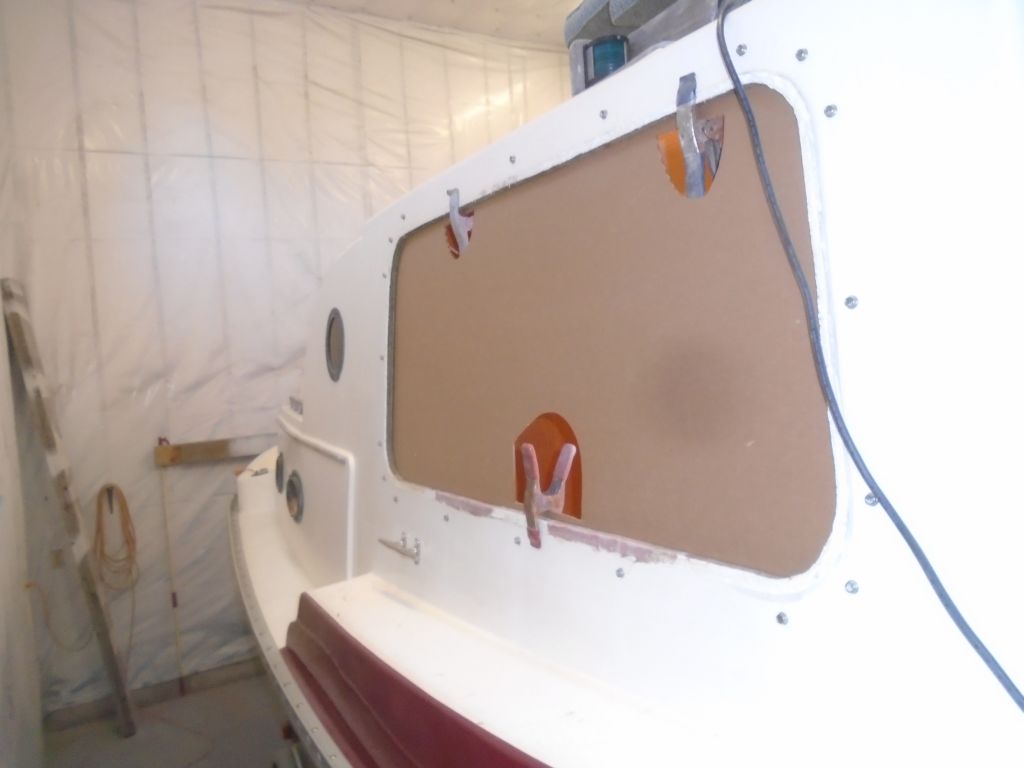
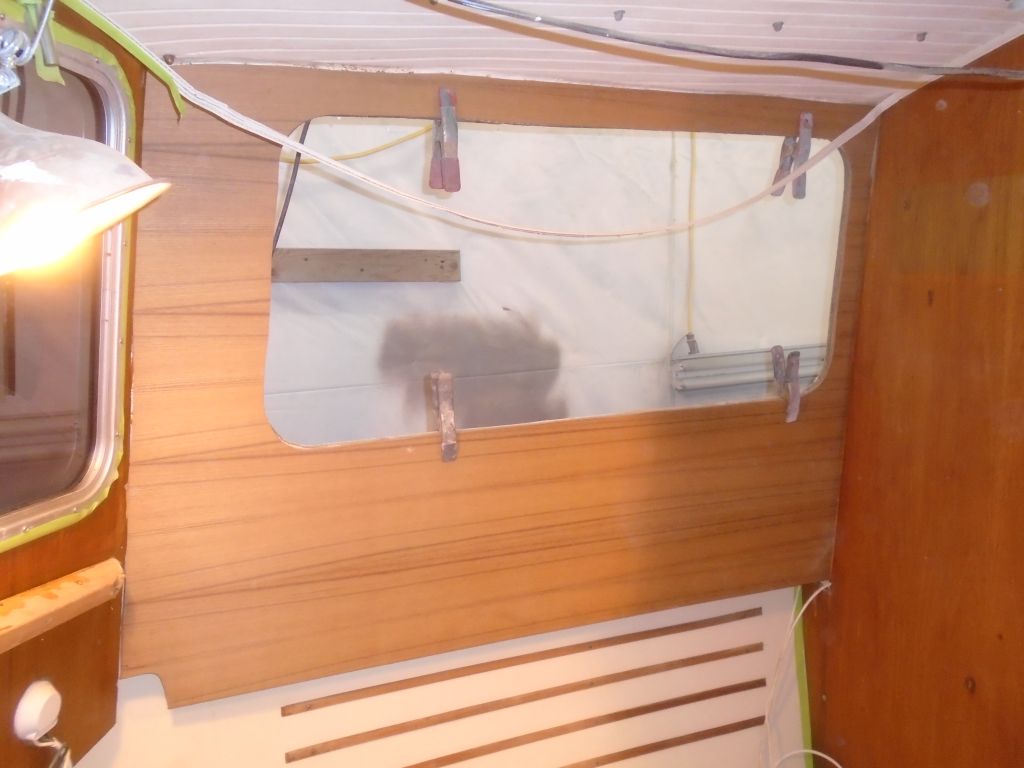
I thought it’d be best to play it safe and await final cutting of the window opening till the real panel had been test-fit, so I cut about an inch or so inside the tracing, so that I could finalize the window opening once the panel was in the boat. The plywood was very expensive. Up in the boat, I clamped the panel in place through the window opening, pleased with the overall fit of the panel. Once more, I traced the window opening from outside, so that I could remove the panel to the bench and make the final cut.

With the window opening now cut to the exact size, I test-fit the panel once more.

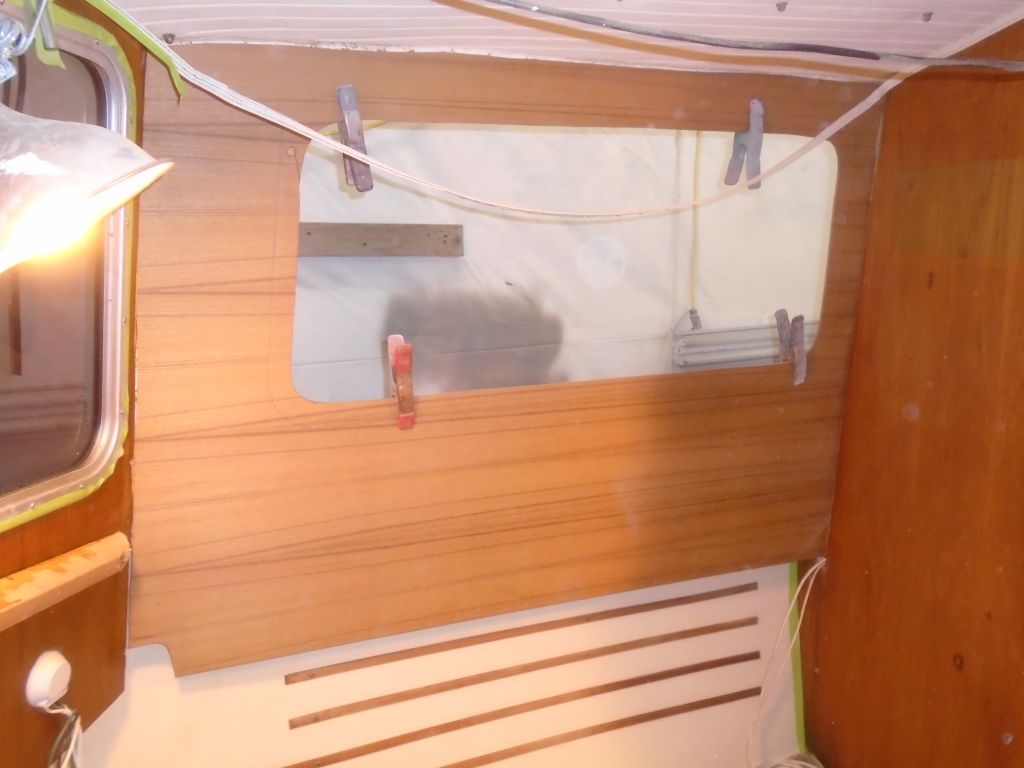
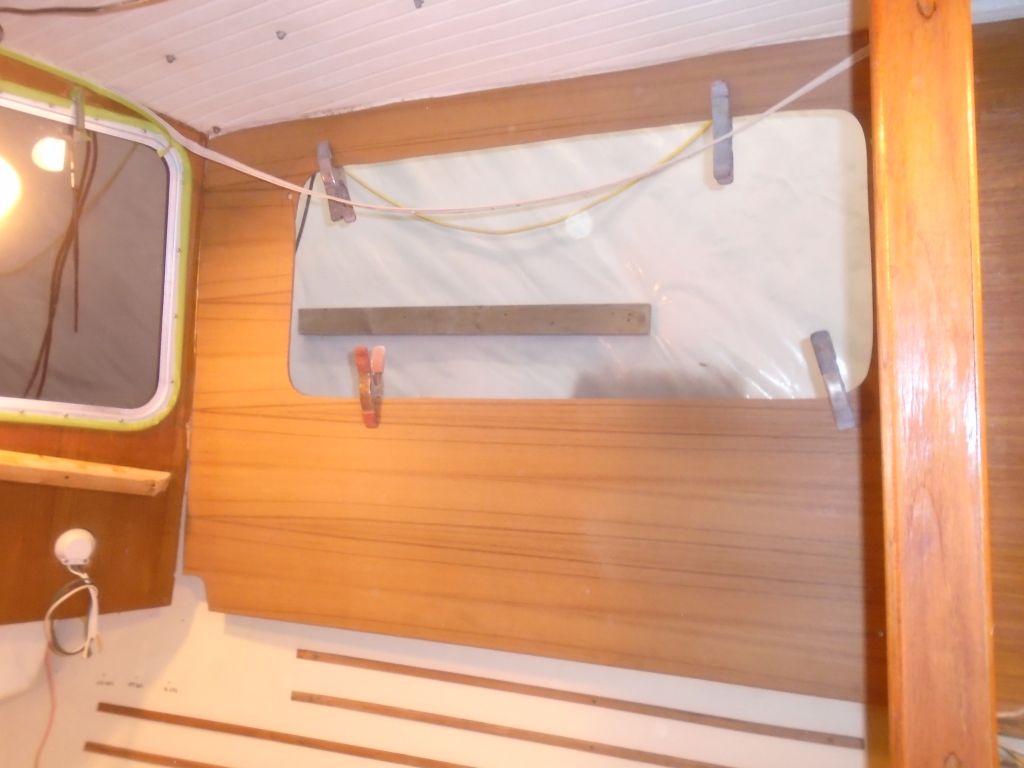
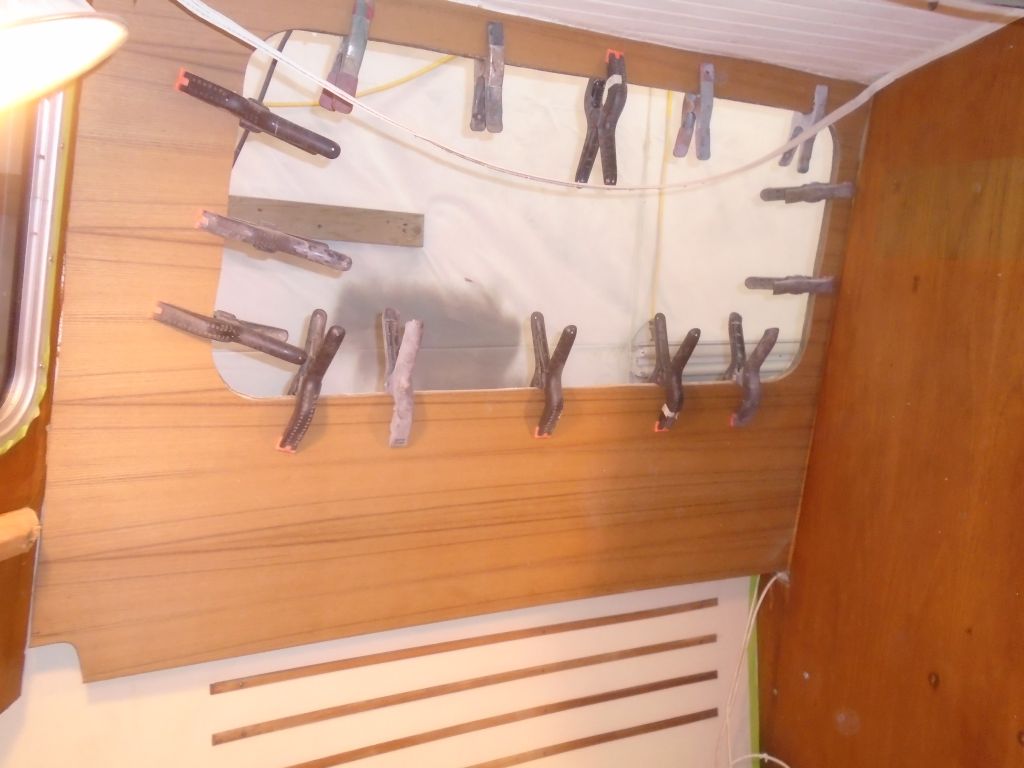
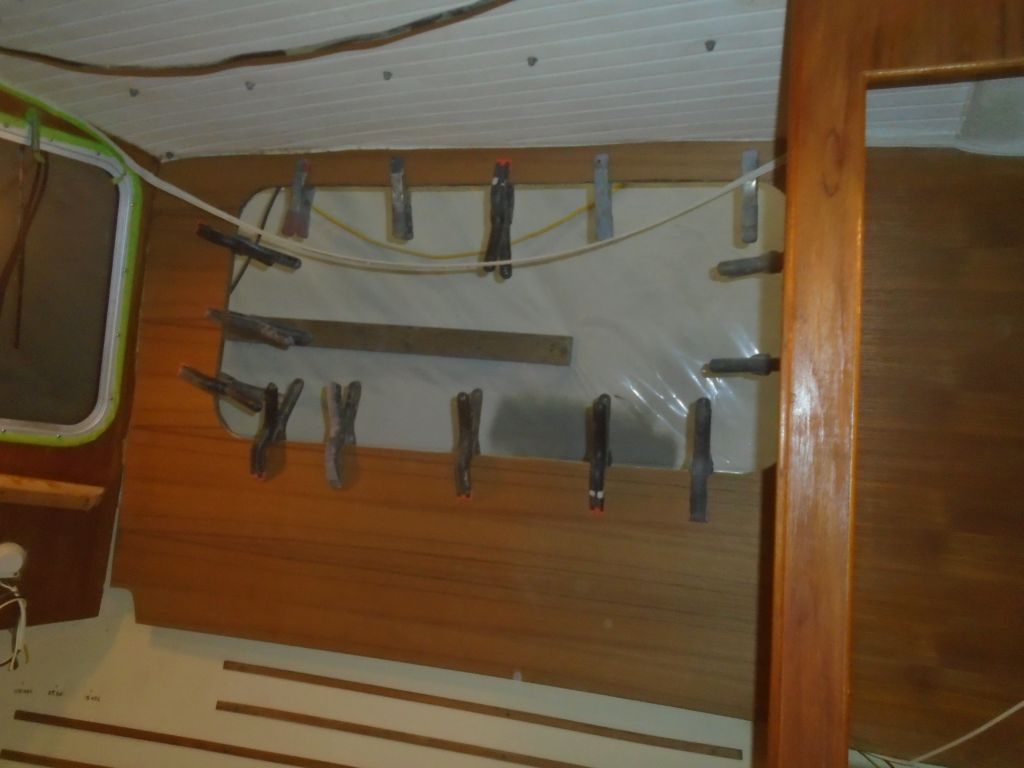
After final preparations, I glued in the new panel with polyurethane adhesive, clamping it securely all around the window opening, which was more than enough to press the panel into the adhesive, and left it to cure.

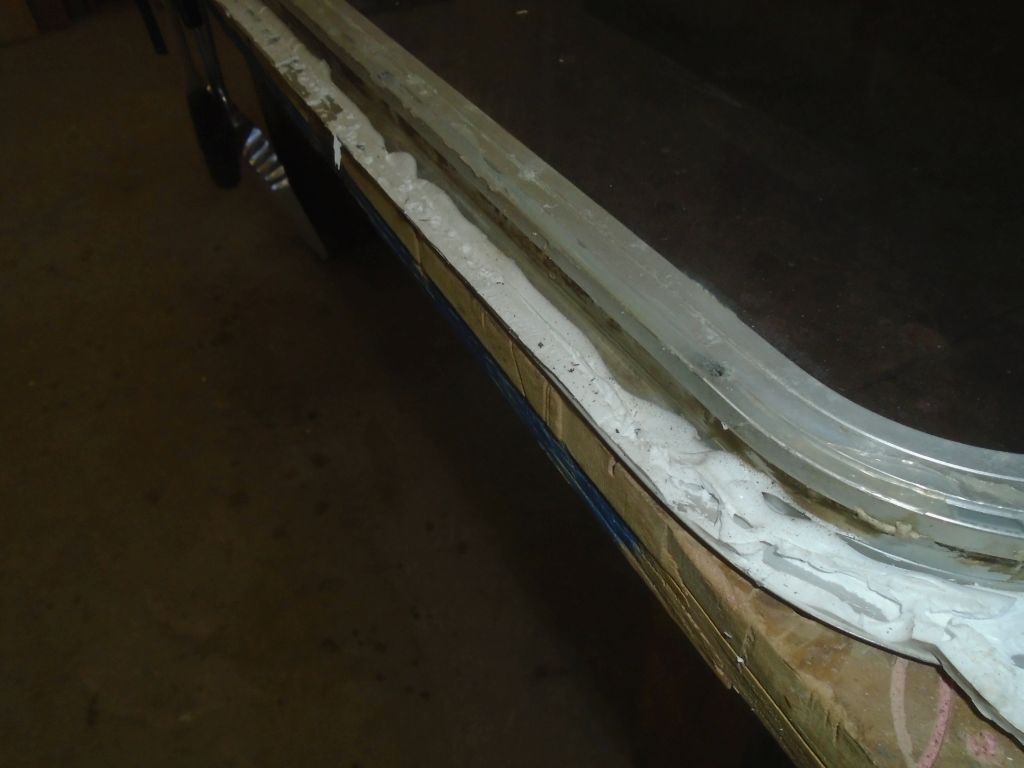
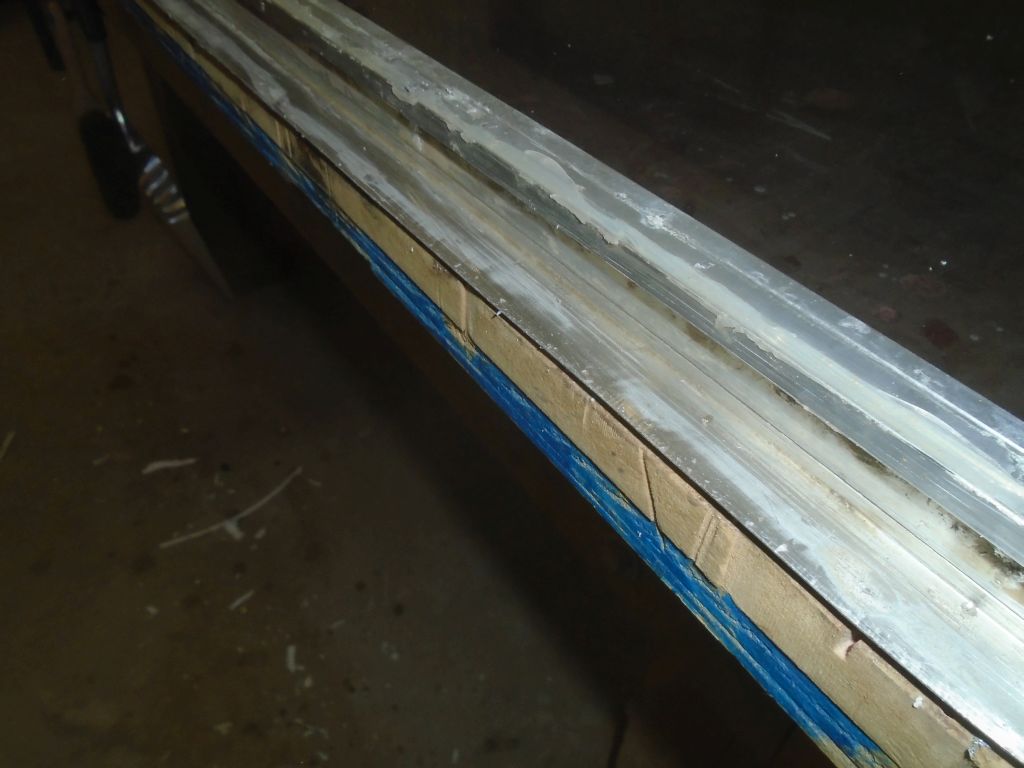
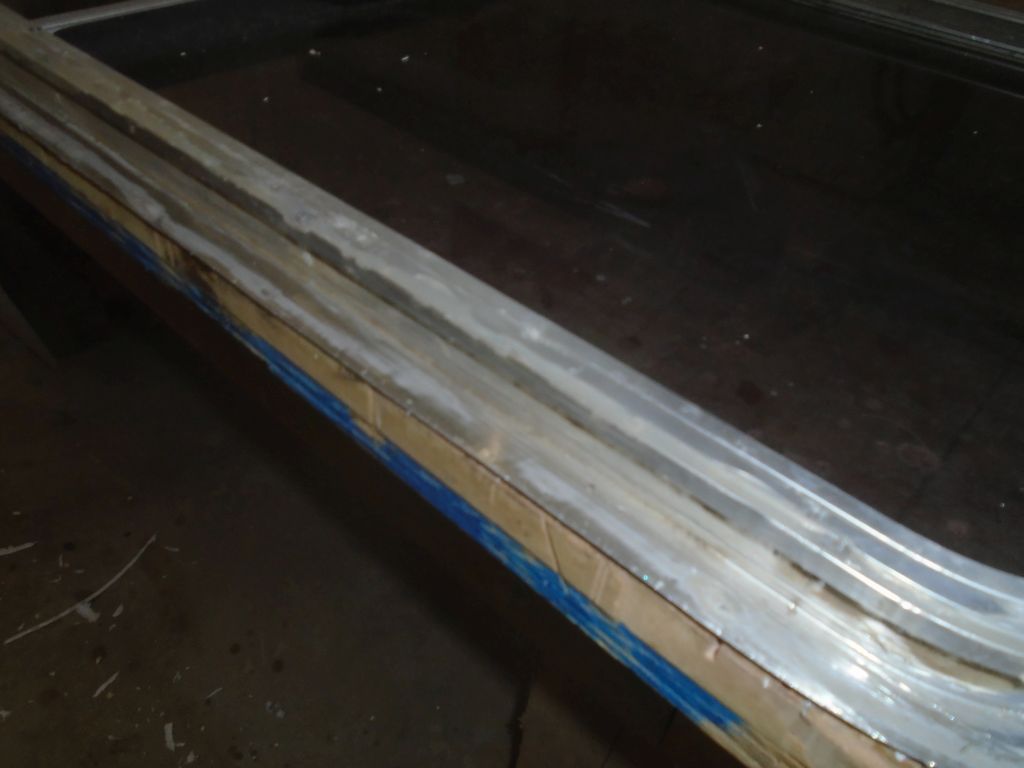
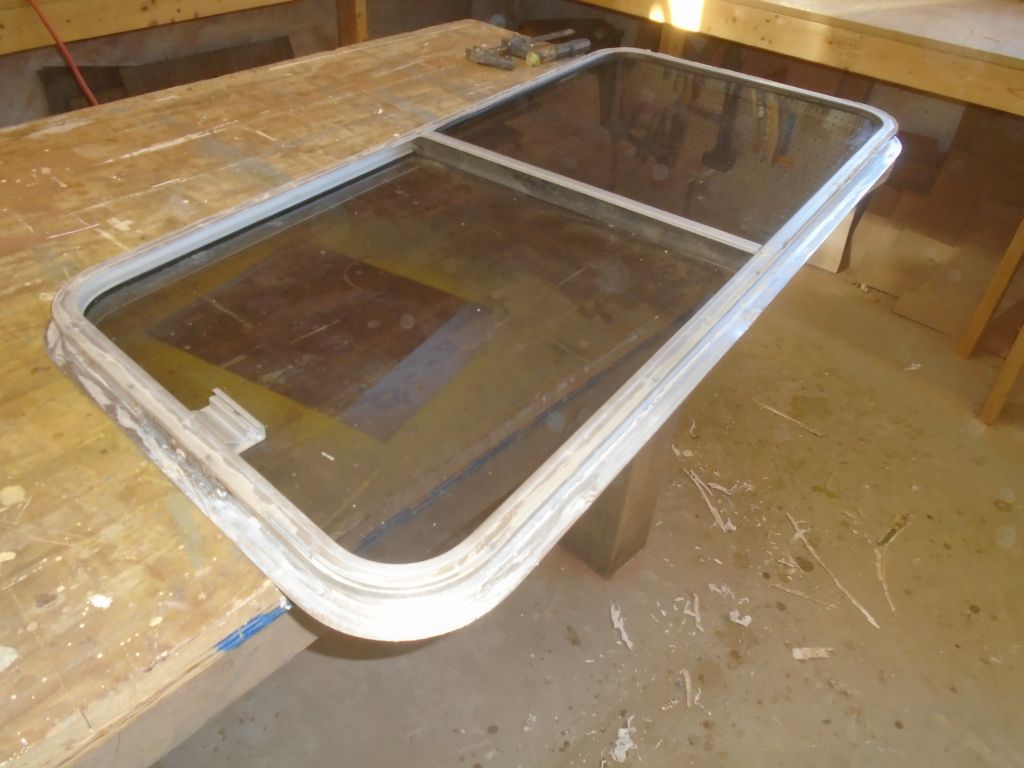
Now seemed like a good time to prepare the window for reinstallation soon as well. I had to remove the old sealant from around the mounting flange, so I clamped the window to the bench and scraped off the old sealant with a putty knife and scraper till the flange was clean and ready for new sealant during installation.

Total time billed on this job today: 3 hours
0600 Weather Observation:
15°, clear. Forecast for the day: Sunny, high 34°