(page 2 of 7)

Halcyon 53

< Back to Halcyon

Tuesday

To deal with the problem I’d had with the scupper hoses sliding off, I stared by scuffing up the paint on the fiberglass nipples, which roughed up the surface and also allowed me to push the hoses up a bit further, at which time I successfully clamped them in place securely.

I finished up the galley sink and icebox drains with new hose and clamps.

The deadlights had had ample cure time, so I removed the clamps and cleaned up any excess cured sealant.  I prepared the back, or inside, of the new windows by trimming the protective masking where the inner frame overlapped the new lenses.  Final installation was scheduled for later in the week.

Preparing ahead for the arrival of the new electrical service panel, I built a small box from leftover teak and teak plywood  to hold the panel and secure it to the boat.  I designed the box to hold the panel and its wiring, while fitting nearly over the smaller plywood box that was fiberglassed to the boat in the old location, which was too small to hold the new panel.  Once I’d completed the construction and test-fit the new enclosure, I applied a number of coats of spray varnish during the remainder of the day.

Later, I installed the forward-facing opening port in the cabin trunk.

Total time billed on this job today:  4.25 hours

0600 Weather Observation:
18°, mostly cloudy.  Forecast for the day:  snow, heavy during the afternoon and evening, 12-18″ forecast.

Halcyon 52

< Back to Halcyon

Monday

The last bit of hardware on deck was the anchor chocks, which I’d held off on till I could find a suitable anchor–which I had.  Now I used my foredeck pattern to mark the original locations of the chocks on the foredeck, corresponding with the old fastener holes that I’d overbored and filled with epoxy earlier.  I double-checked that the replacement anchor fit the same footprint as the one it replaced.

With the holes marked, I drilled and tapped for machine screw fasteners, and masked off around the various pieces of the chock hardware before installing it with new bronze fasteners and sealant.

Note:  the anchor is primed but not painted with its finish coats.

Next, I worked on the electrical system, running wires to the various lights–two cabin lights and running lights–and home-running them to the aft end of the cabin, where they’d eventually connect to the new service panel.  I installed the running lights on the sides of the cabin, as well as the interior lamps, and tightened and secured the wiring back to the panel location afterwards.  I left the covers off the running lights for now so I could test operation and replace one of the bulbs.  I led a wire aft to the transom where it awaited one of the stern lighout housings when I could rebuild it.

The fiberglass water tank featured an access port in the top, and the owners requested that I see about cleaning out the tank.  Removing the port was straightforward, just lots of painted-on wing nuts, and eventually I removed the hatch  to gain access within.  While the tank wasn’t exactly pleasant, it wasn’t as bad as I’d feared, and after I sponged out the stagnant water and the worst of the debris, I cleaned the inside with soap and water and a scotch brite pad, with reasonable success.

Afterwards, I reinstalled the access port, this time with new nuts and washers.

Next, I ran a new supply hose from the tank to the sink pump.  I had to order some hose for the fill pipe, and would install that as soon as it arrived.

I turned to the cockpit scuppers, and prepared new lengths of hose to fit the bronze tee fitting that had been originally installed–two cockpit scuppers leading to a single through hull.  After I took these photos, I found that the hoses were slipping off the scupper fittings beneath the cockpit:  the fiberglass fittings were sort of tapered, and clamping pressure tended to force the hoses off.  I actually shortened the scupper hose lengths, hoping that a different angle would work better, but the problem persisted.  So as of this writing I had some more work to address this problem, but expected to solve it shortly.  This seemed like one of those problems to simply leave till a new day.

Total time billed on this job today:  7.75 hours

0600 Weather Observation:
10°, clear.  Forecast for the day:  sunny, 25°

Halcyon 51

< Back to Halcyon

Friday

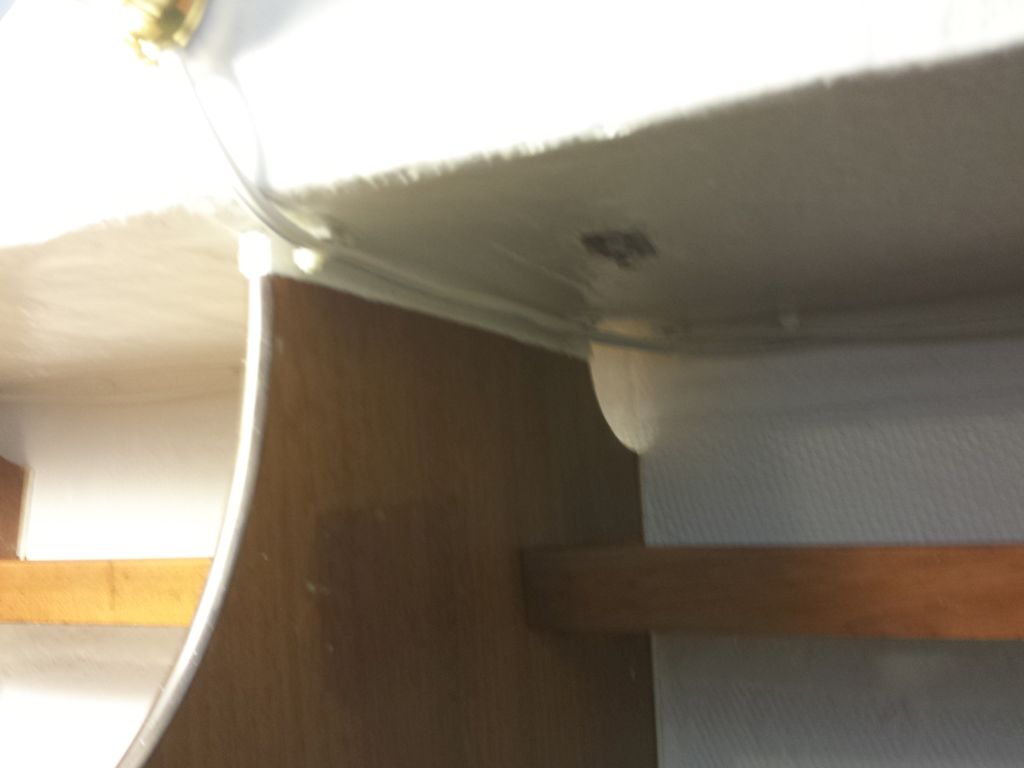
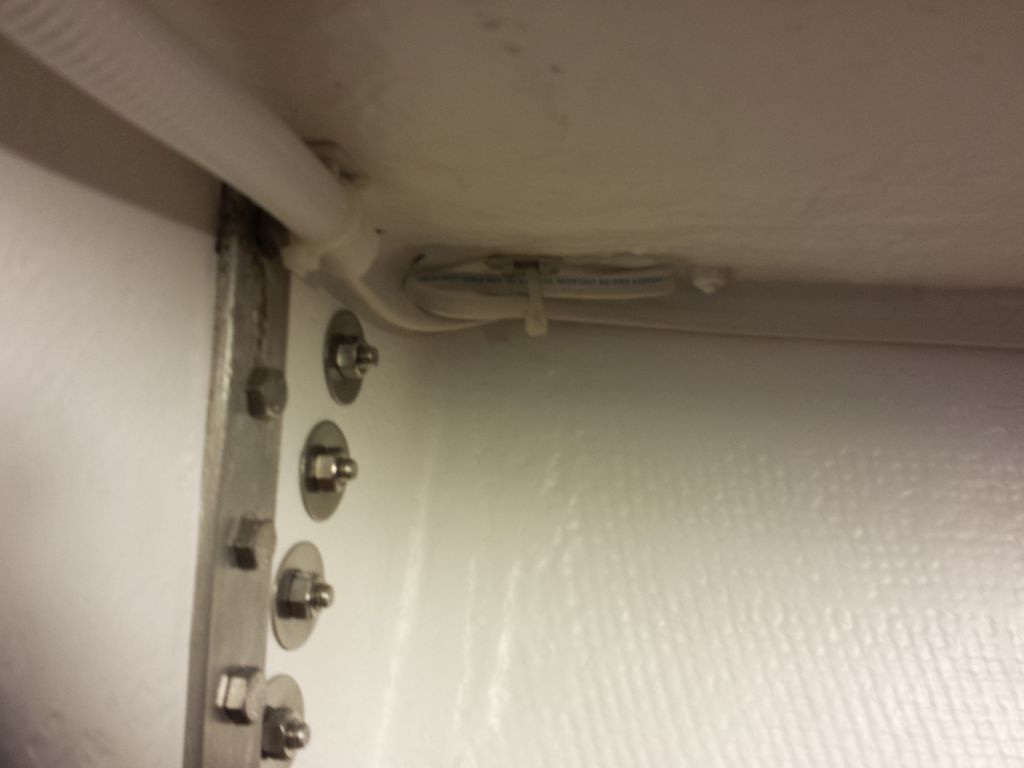
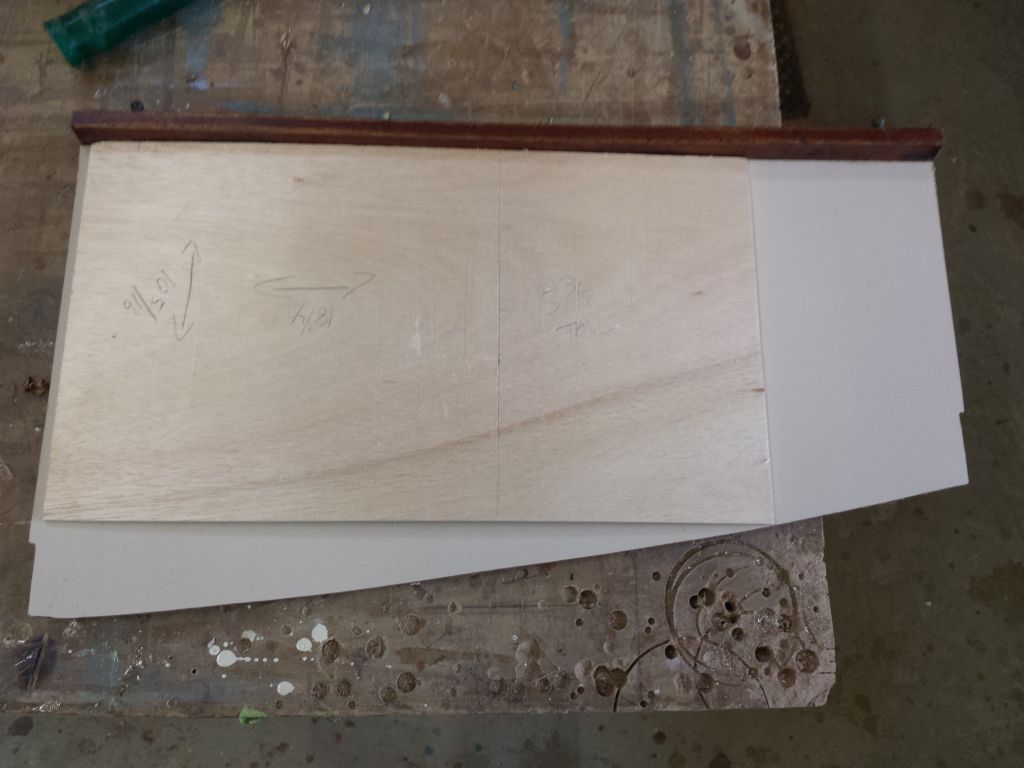
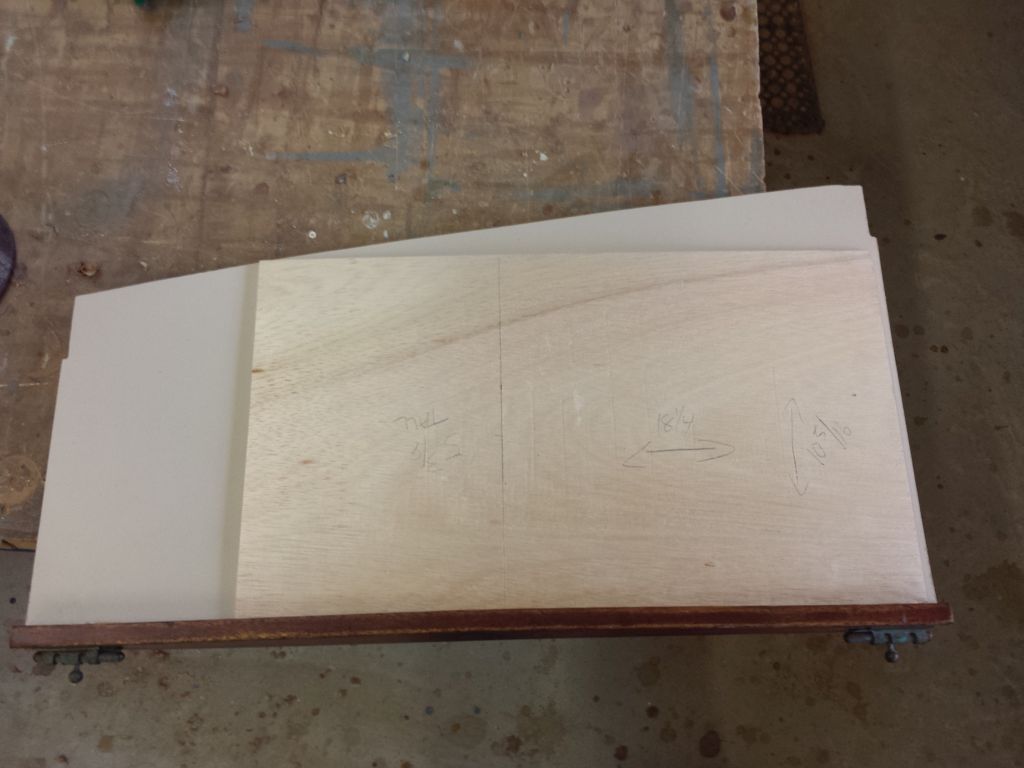
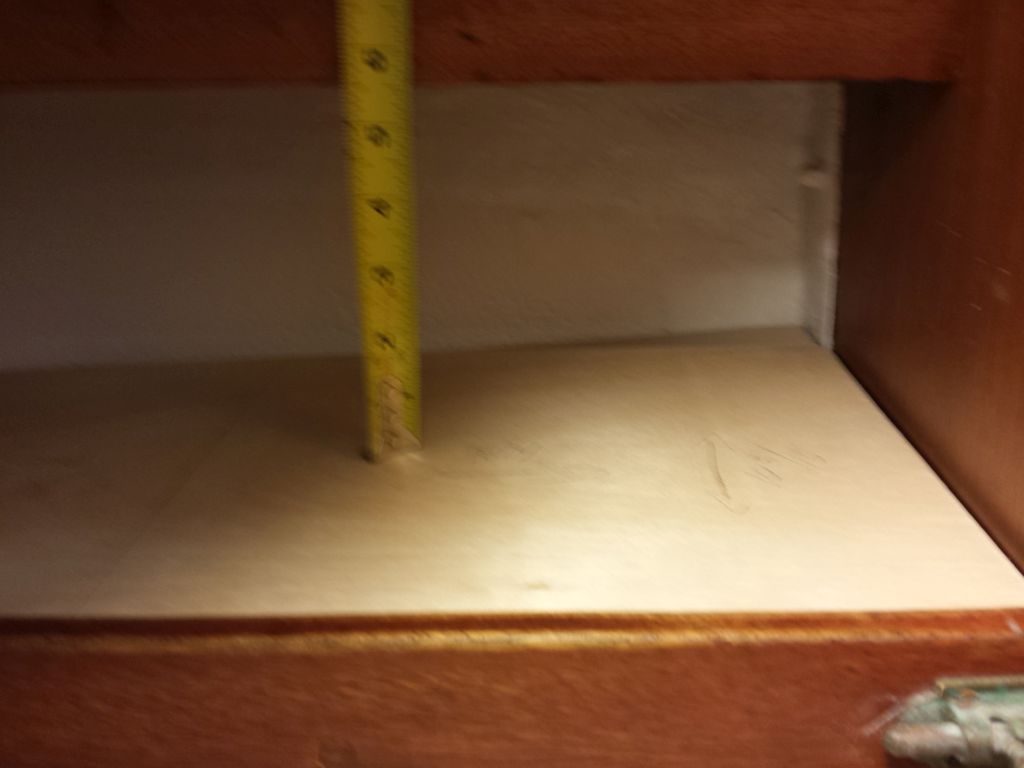
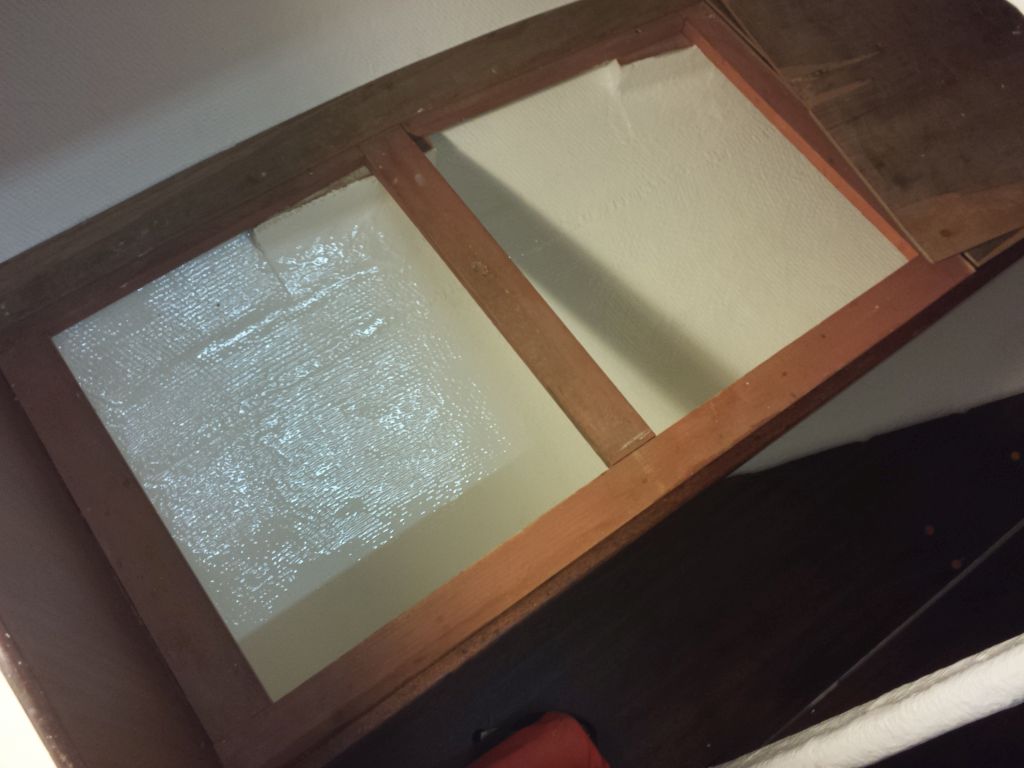
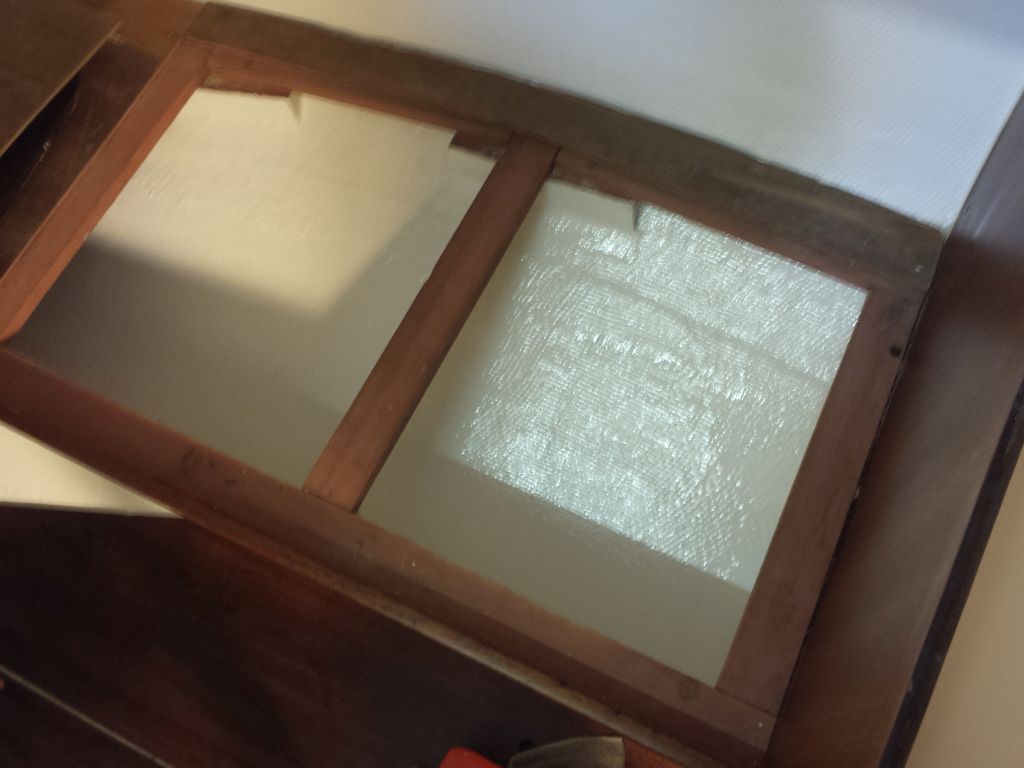
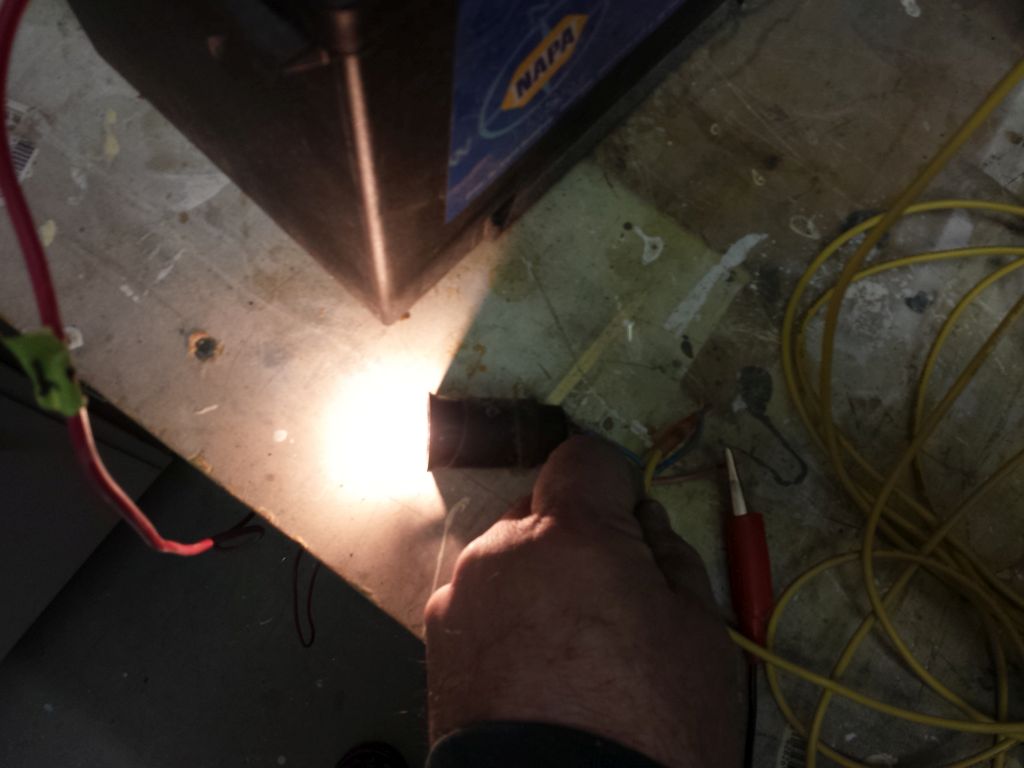
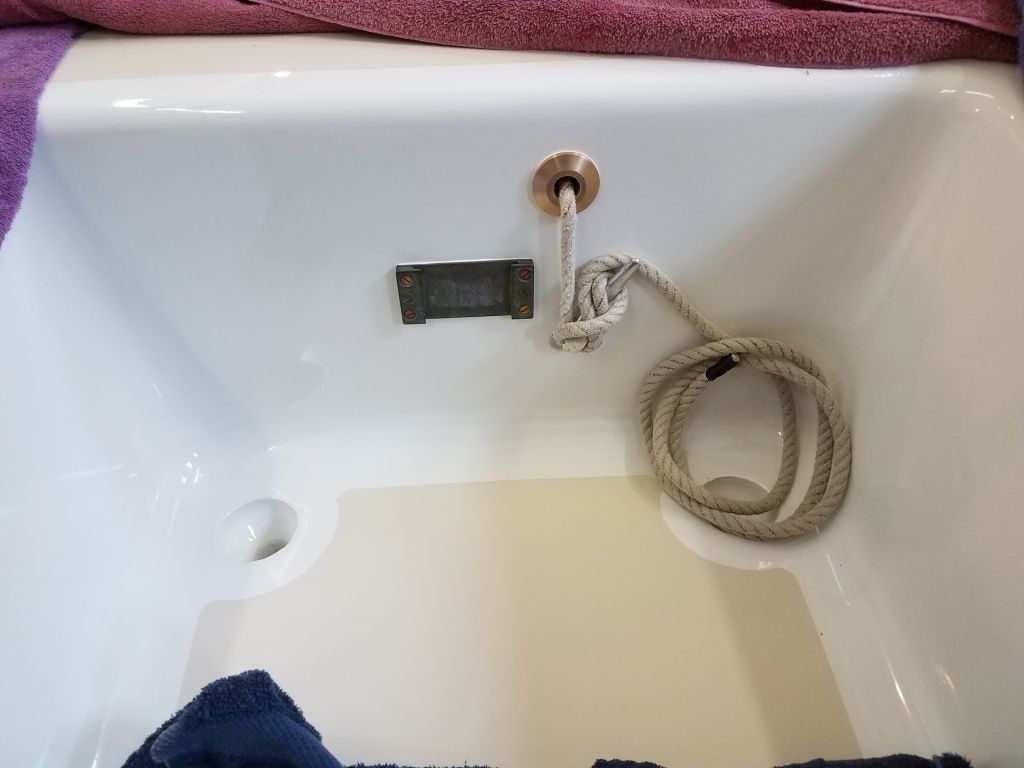
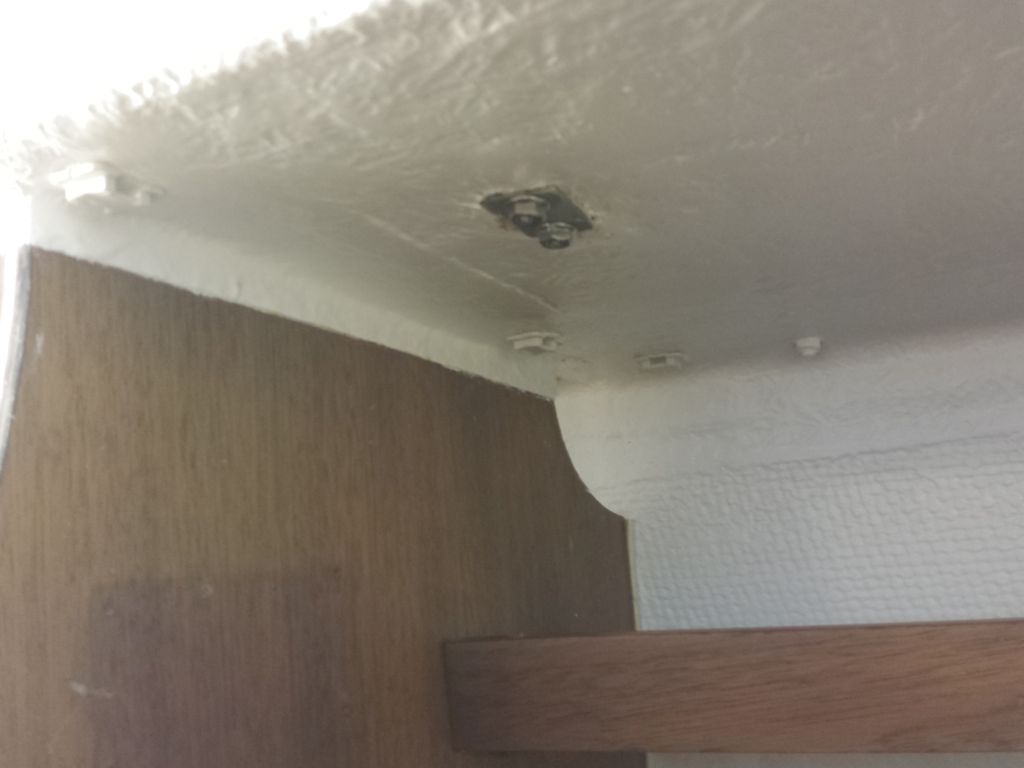
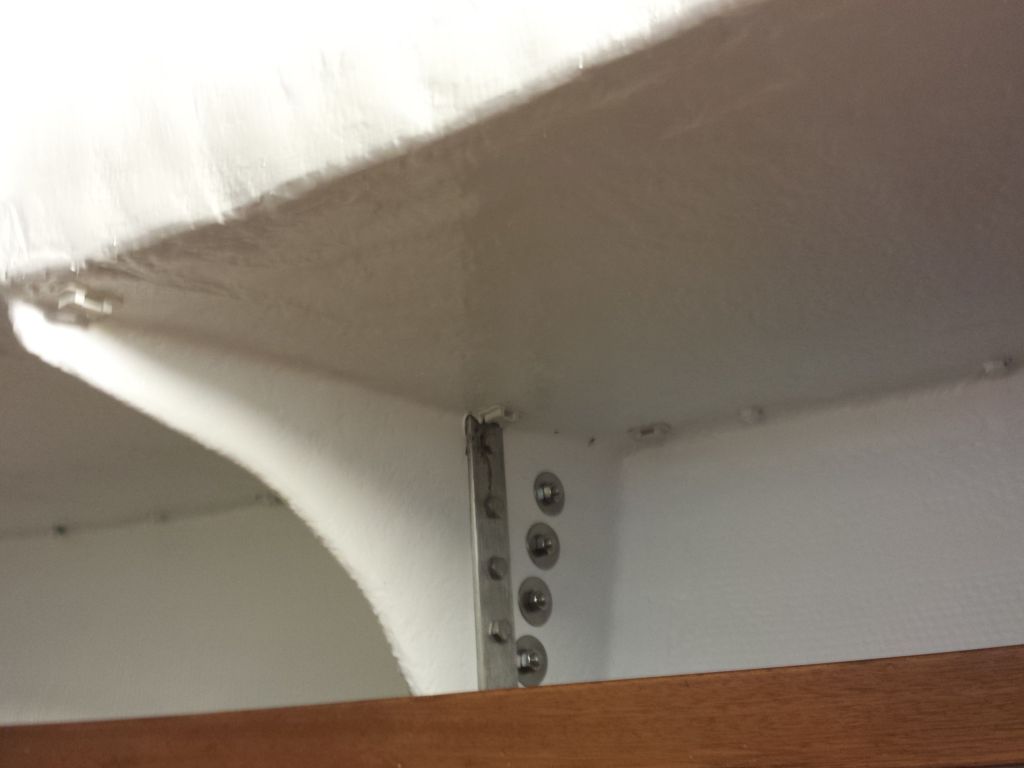
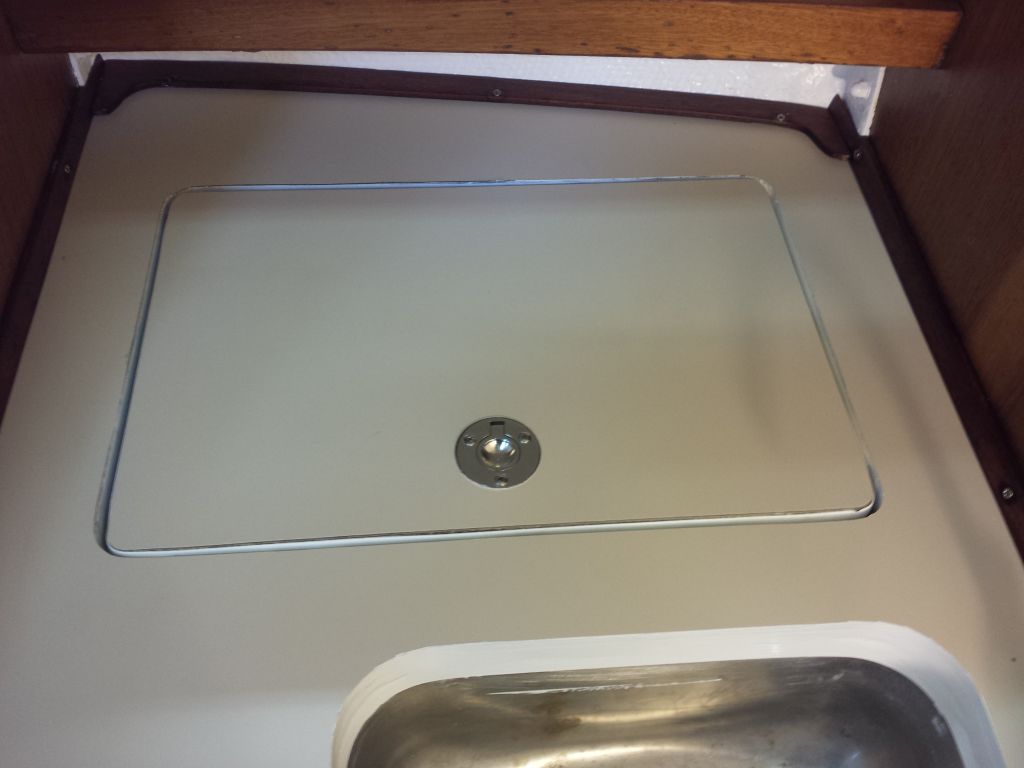
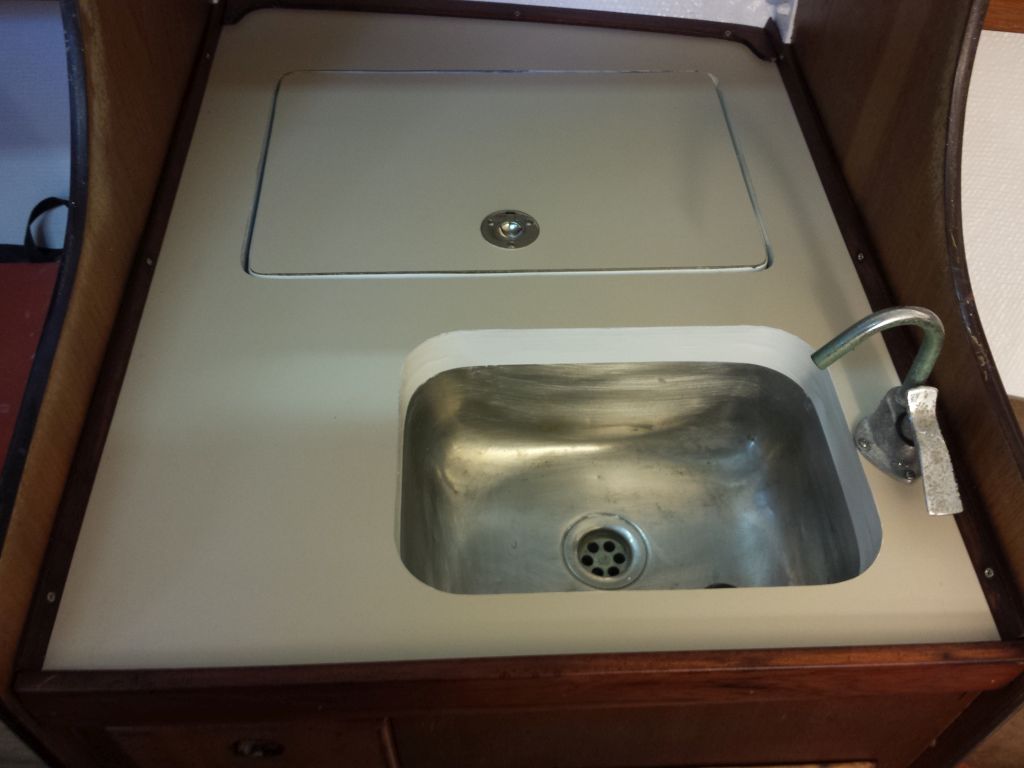
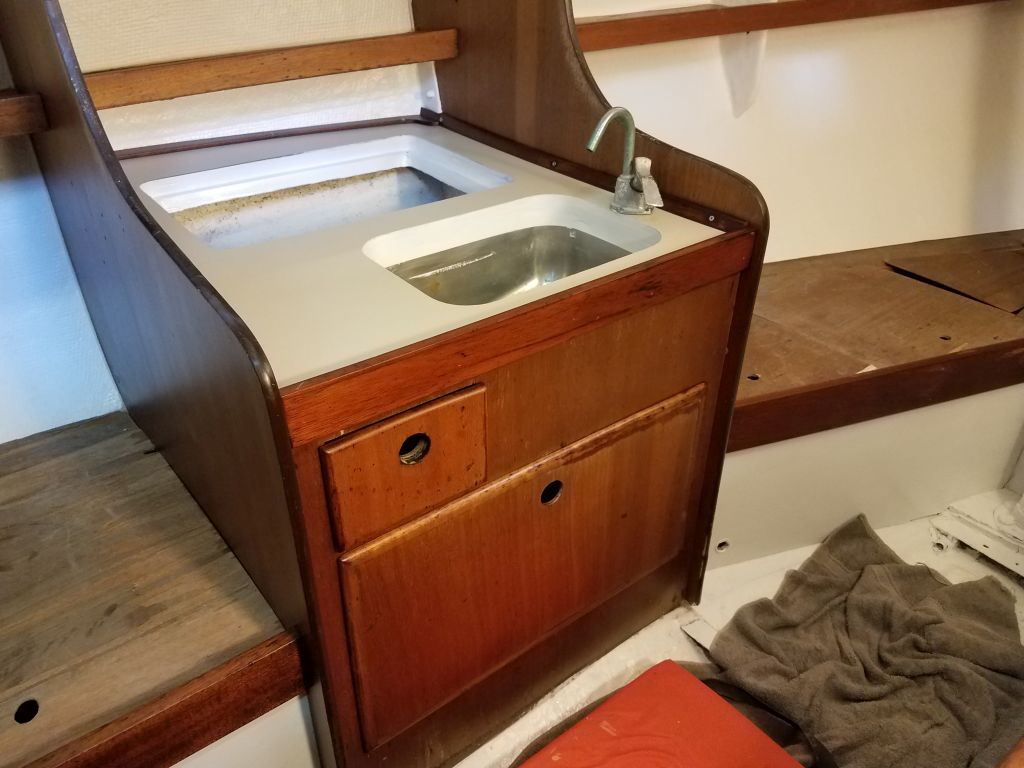
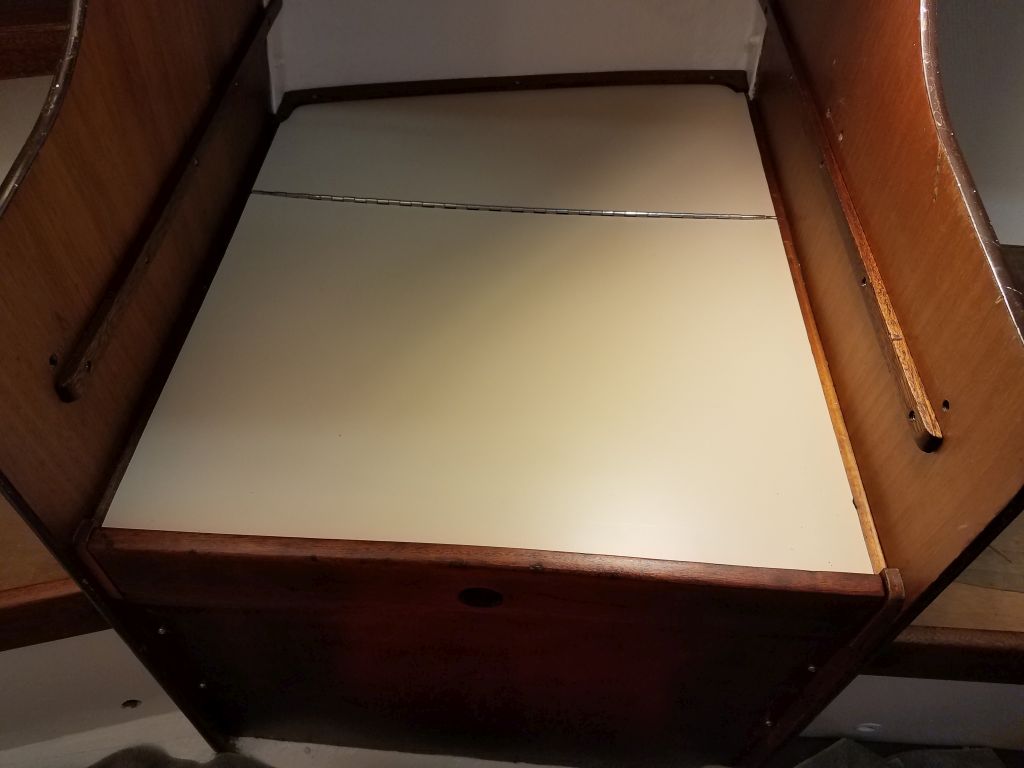
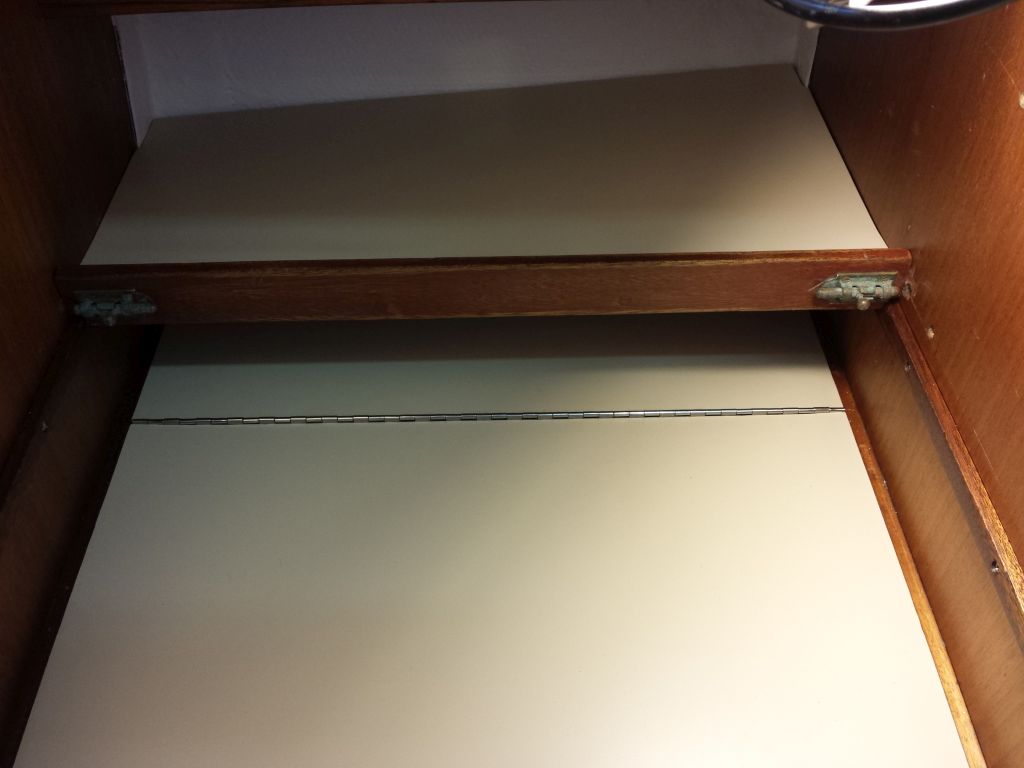
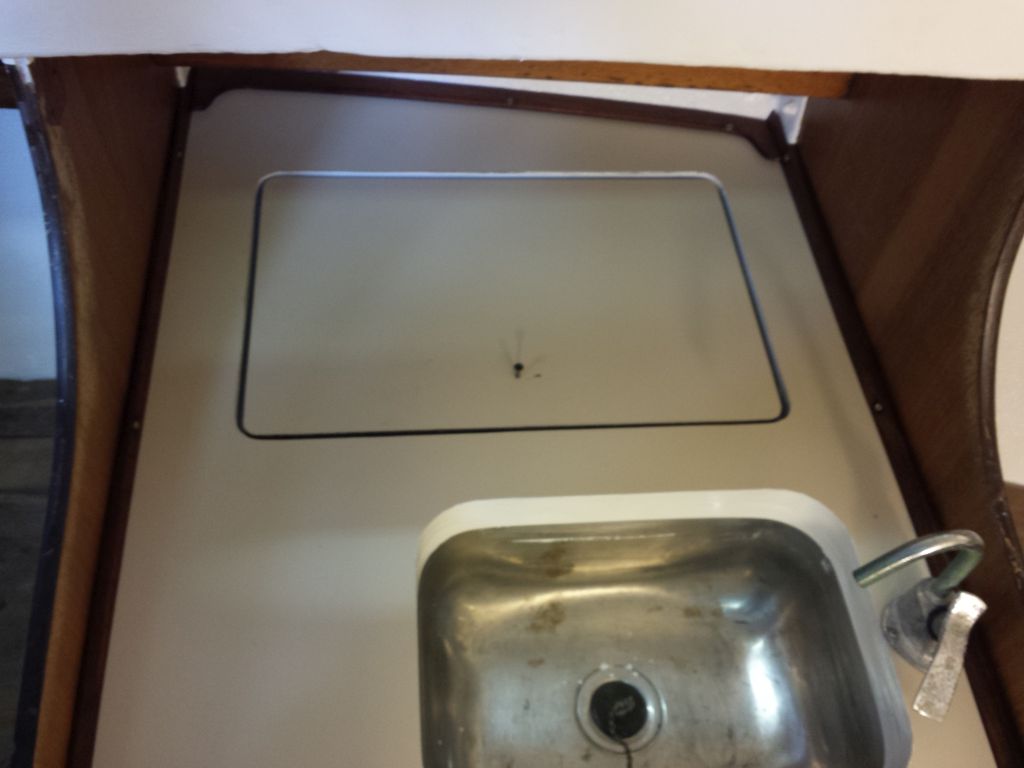
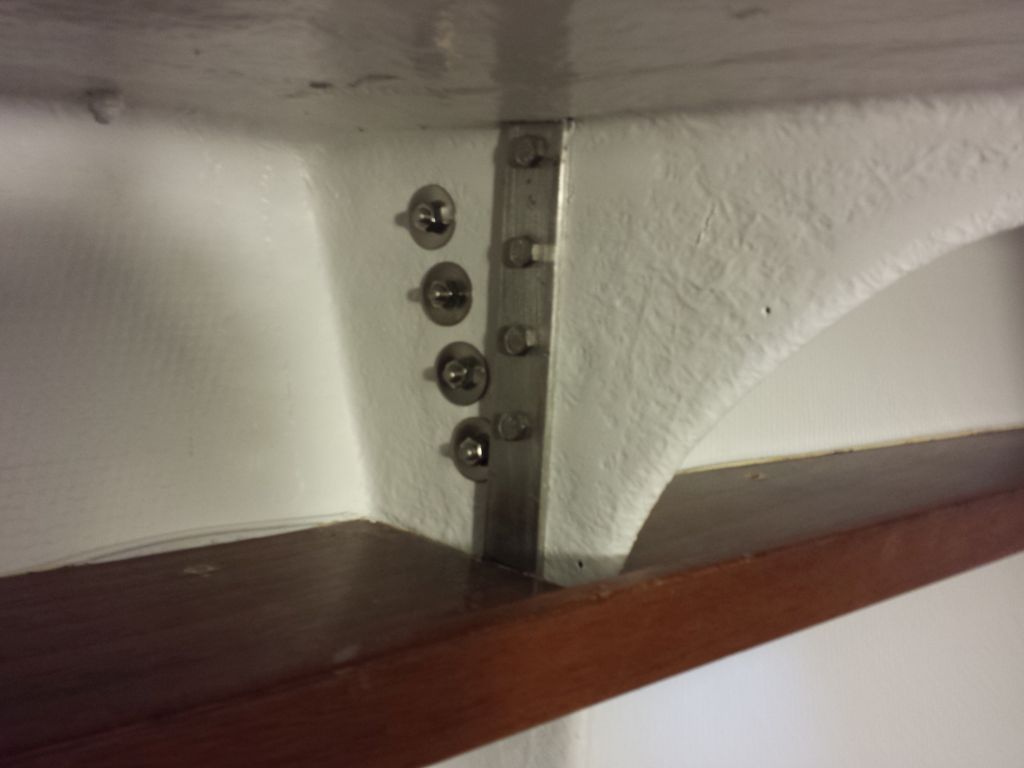
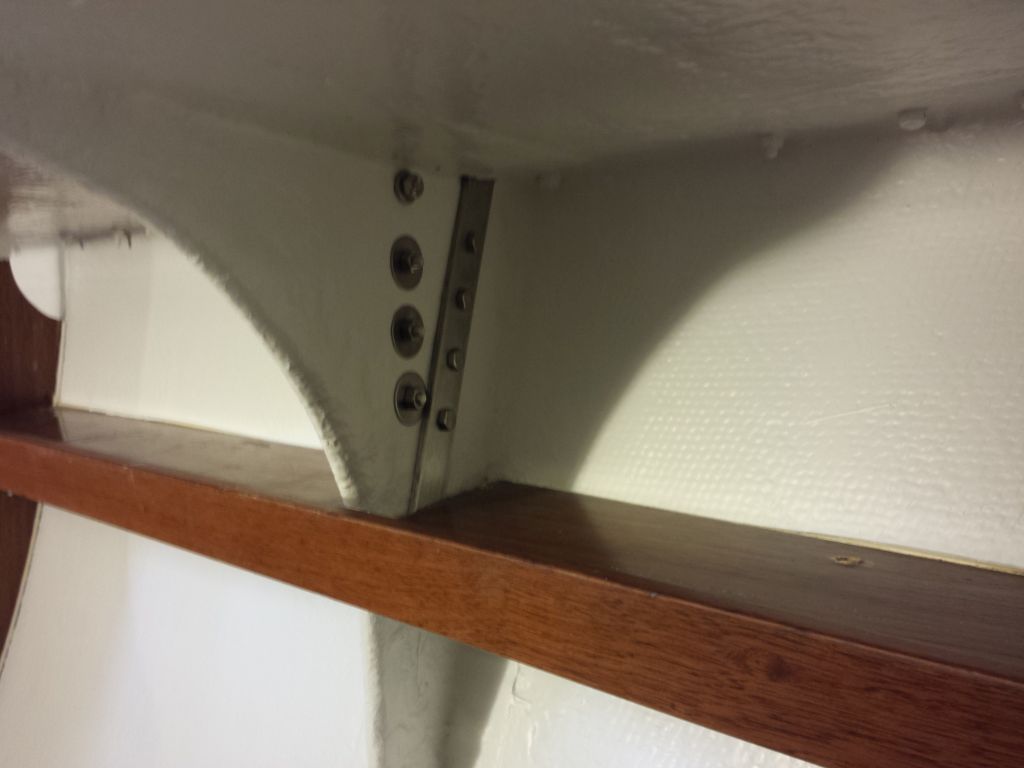
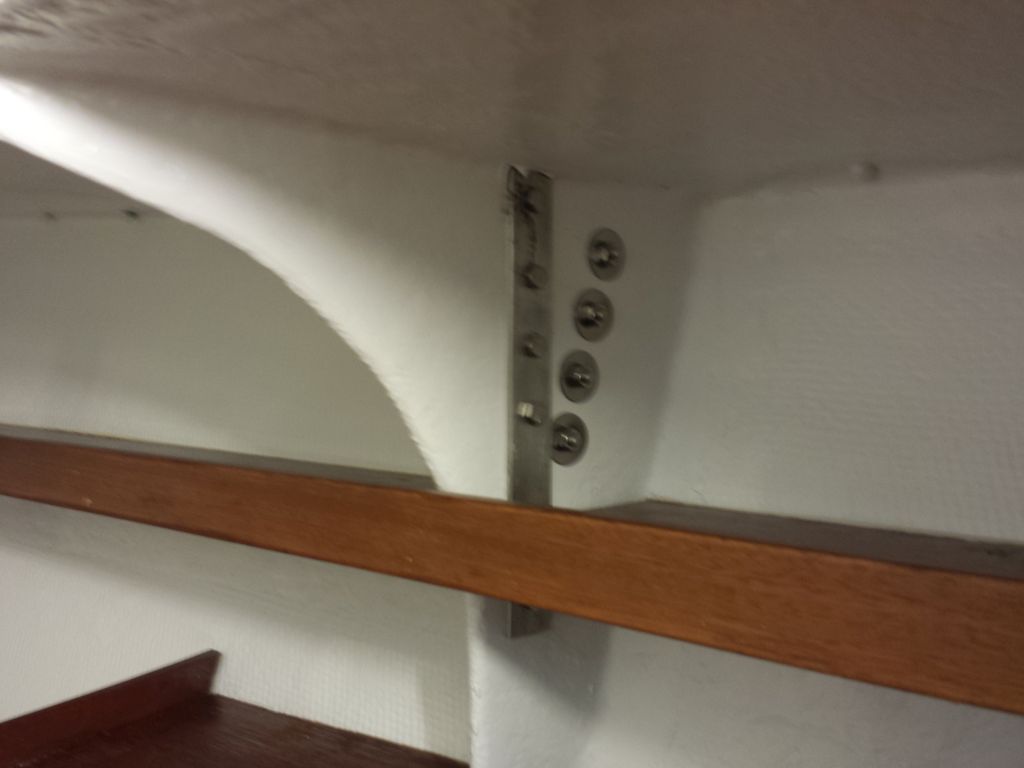
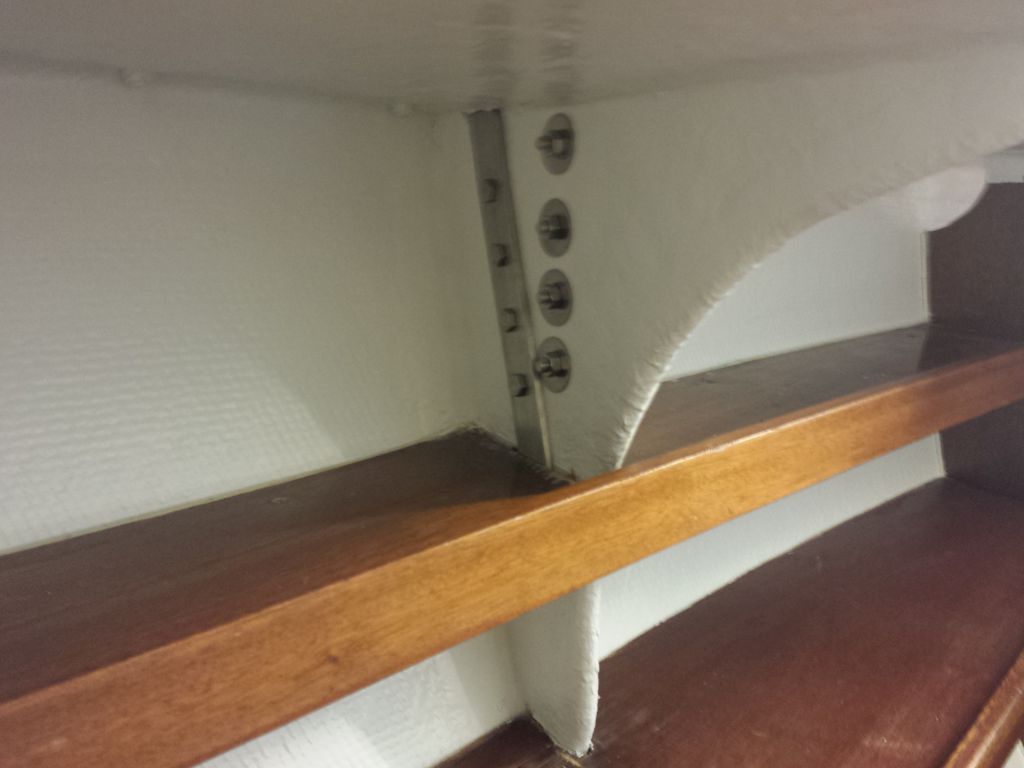
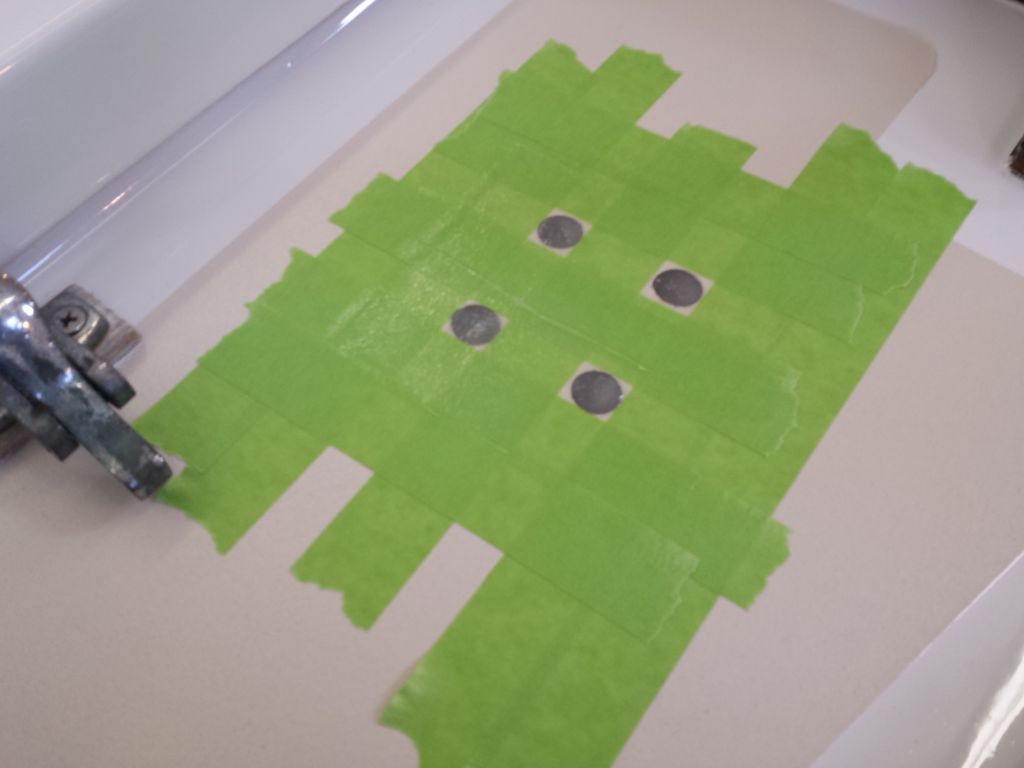
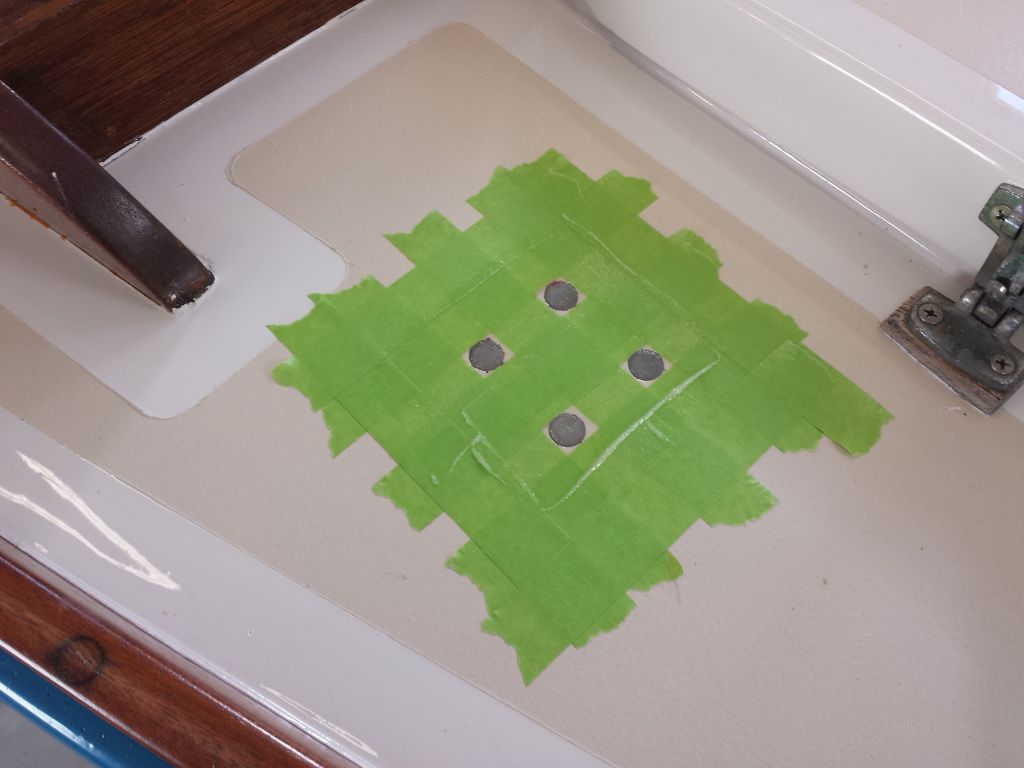
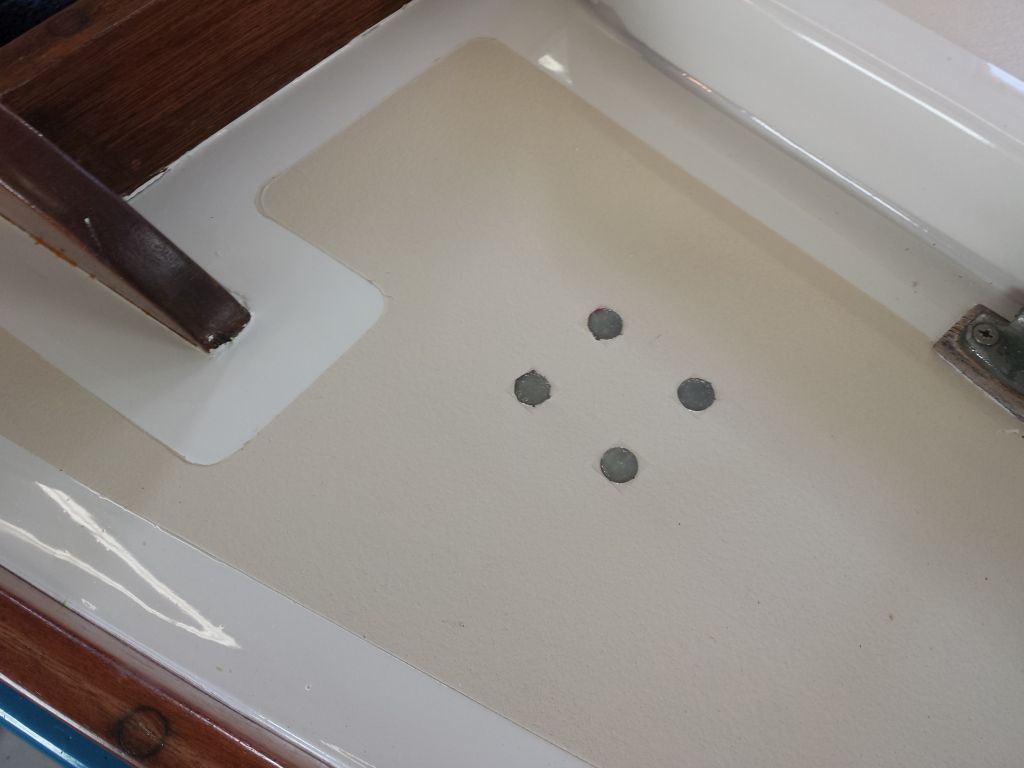
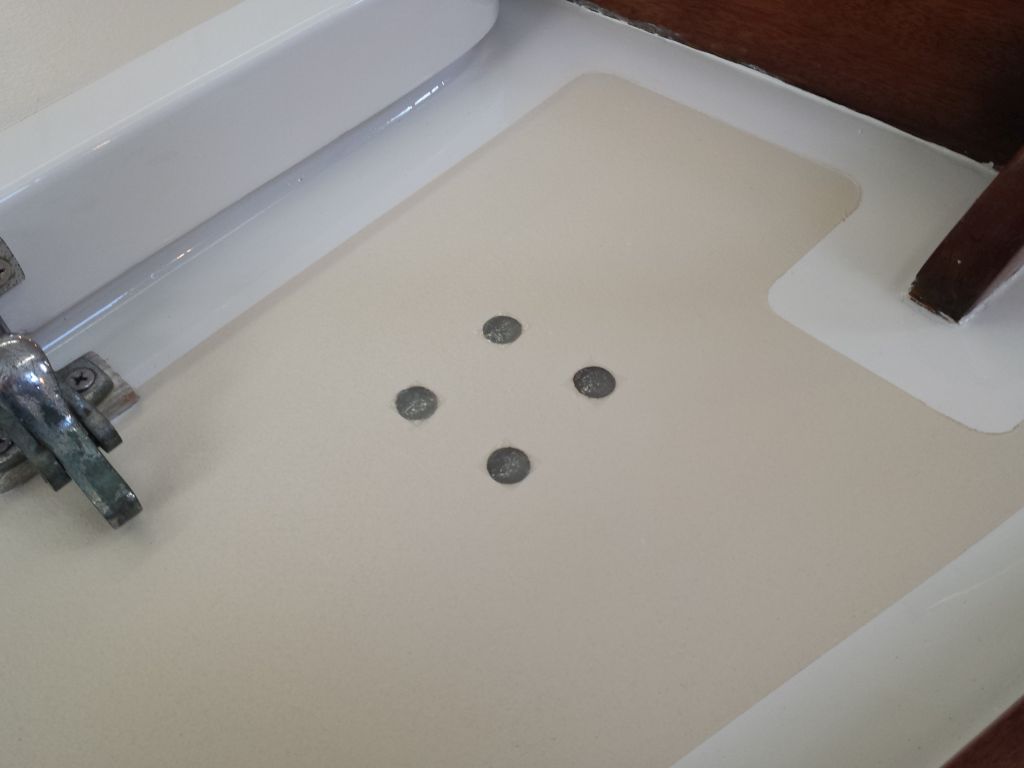
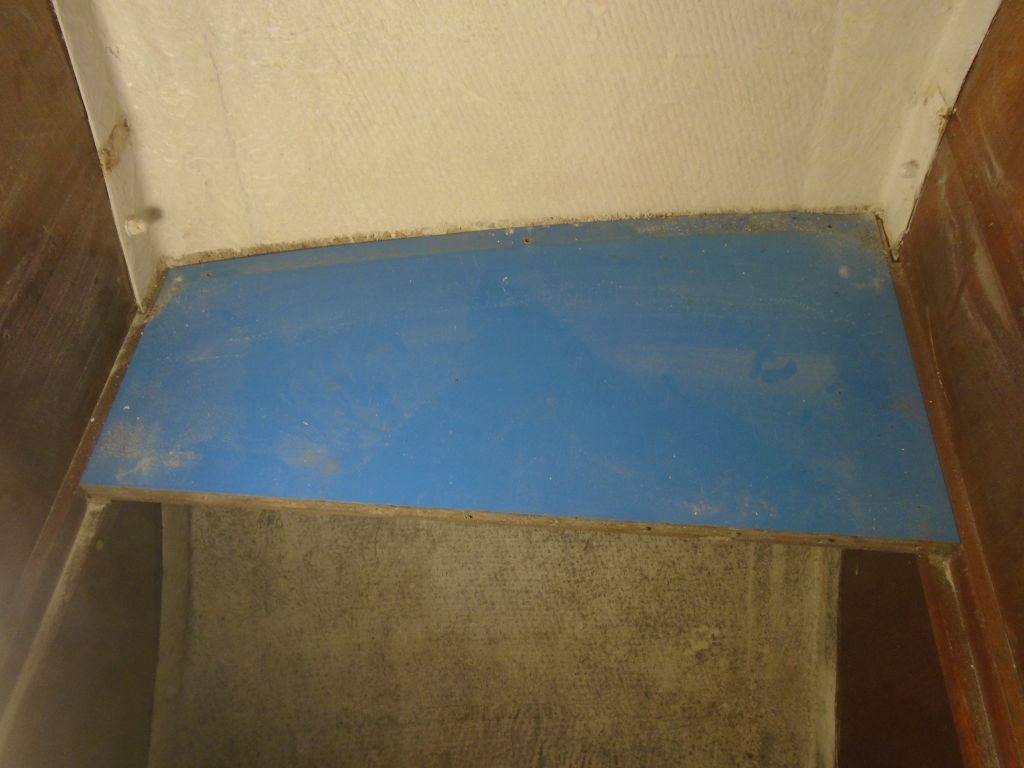
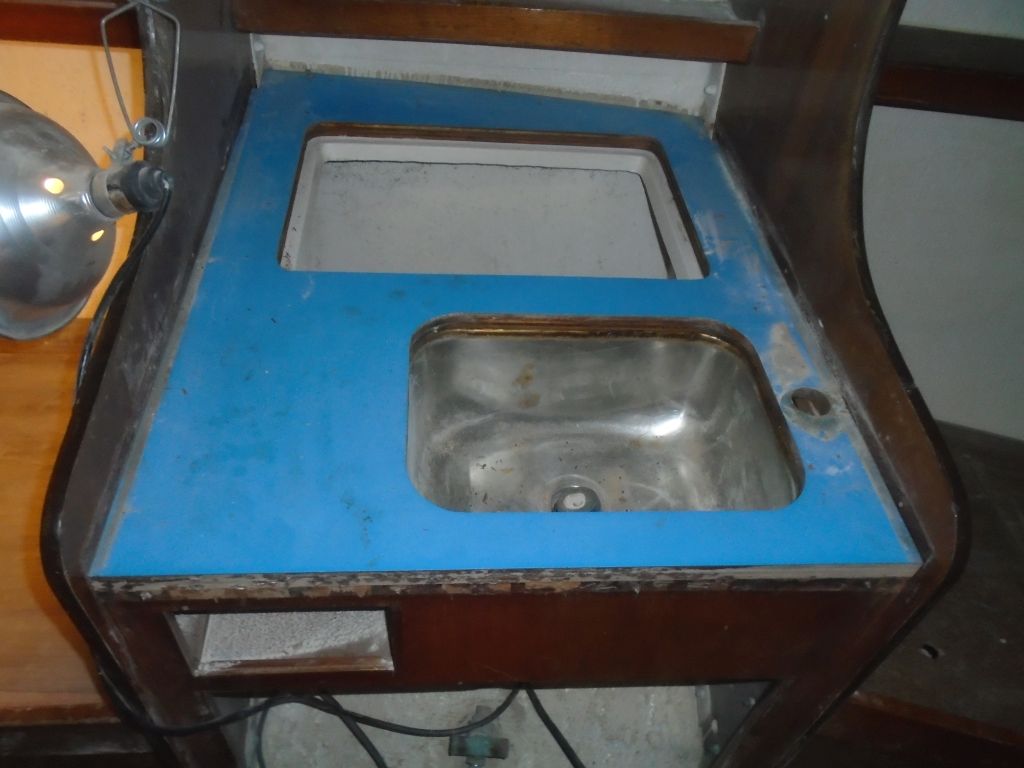
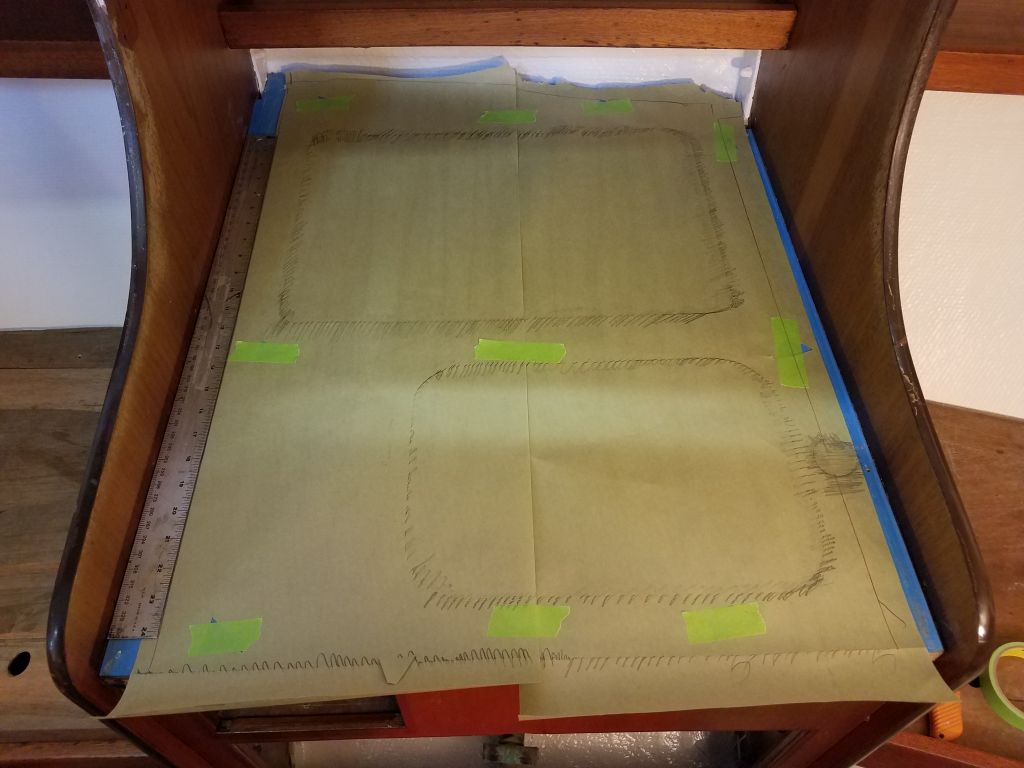
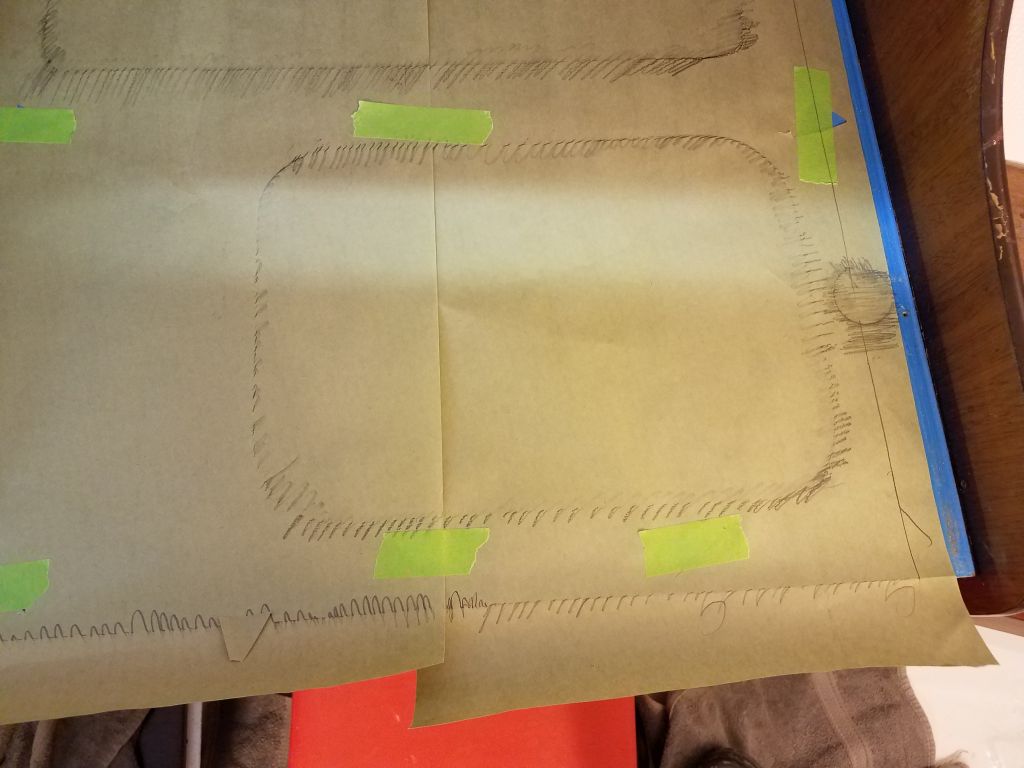
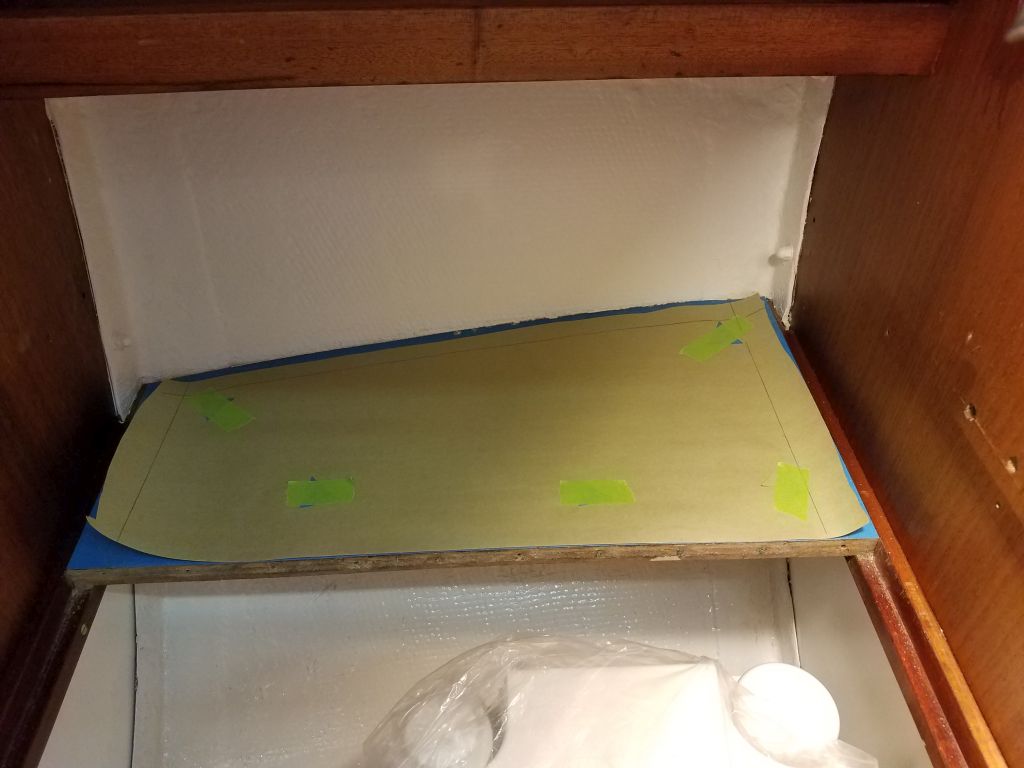
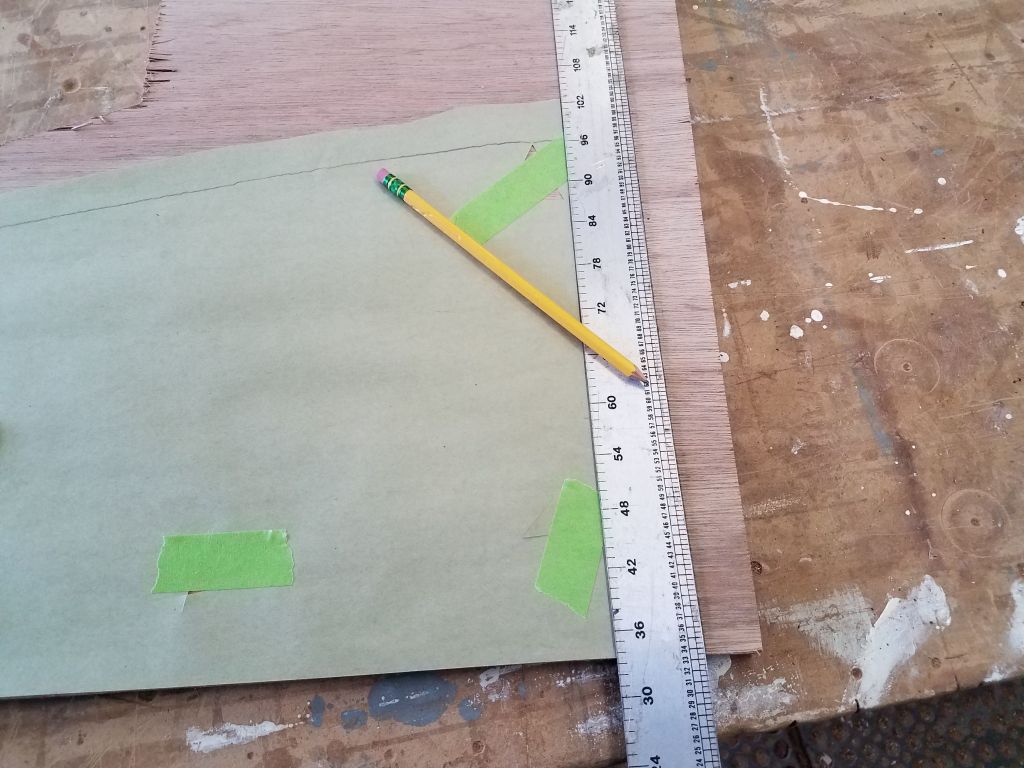
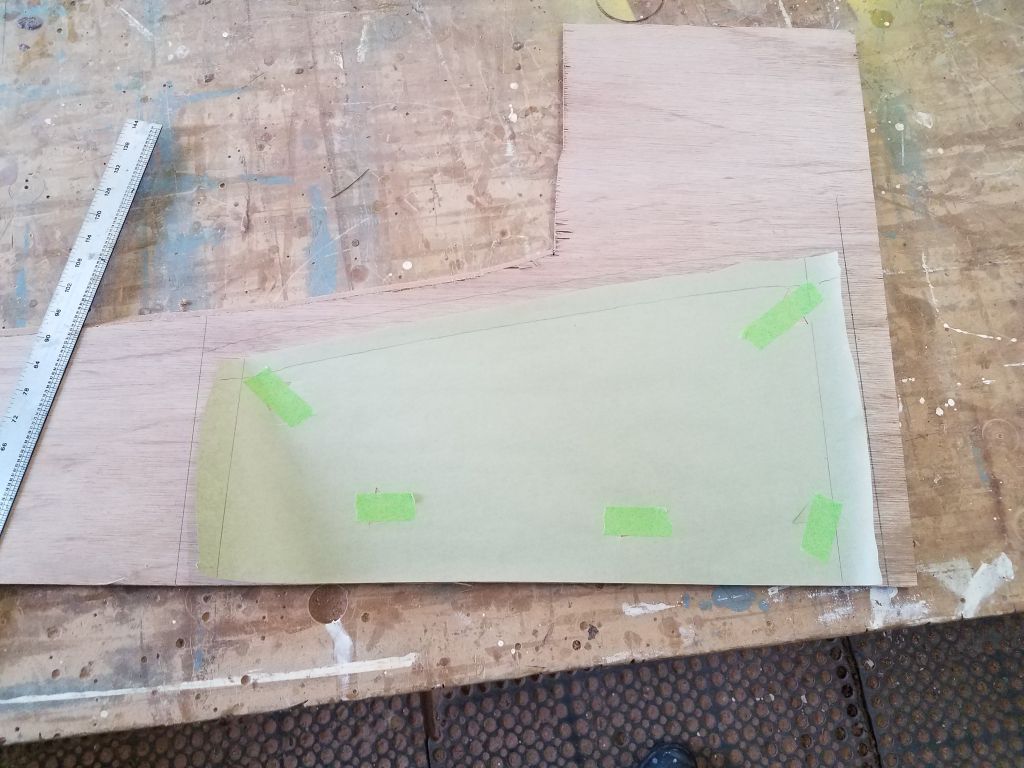
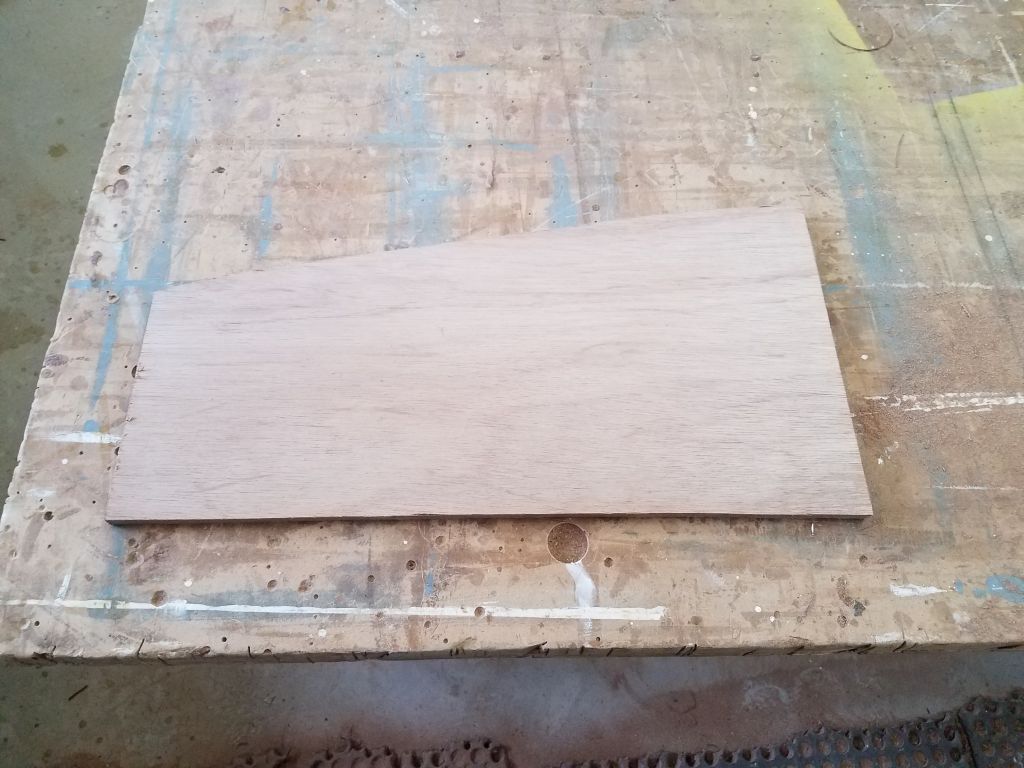
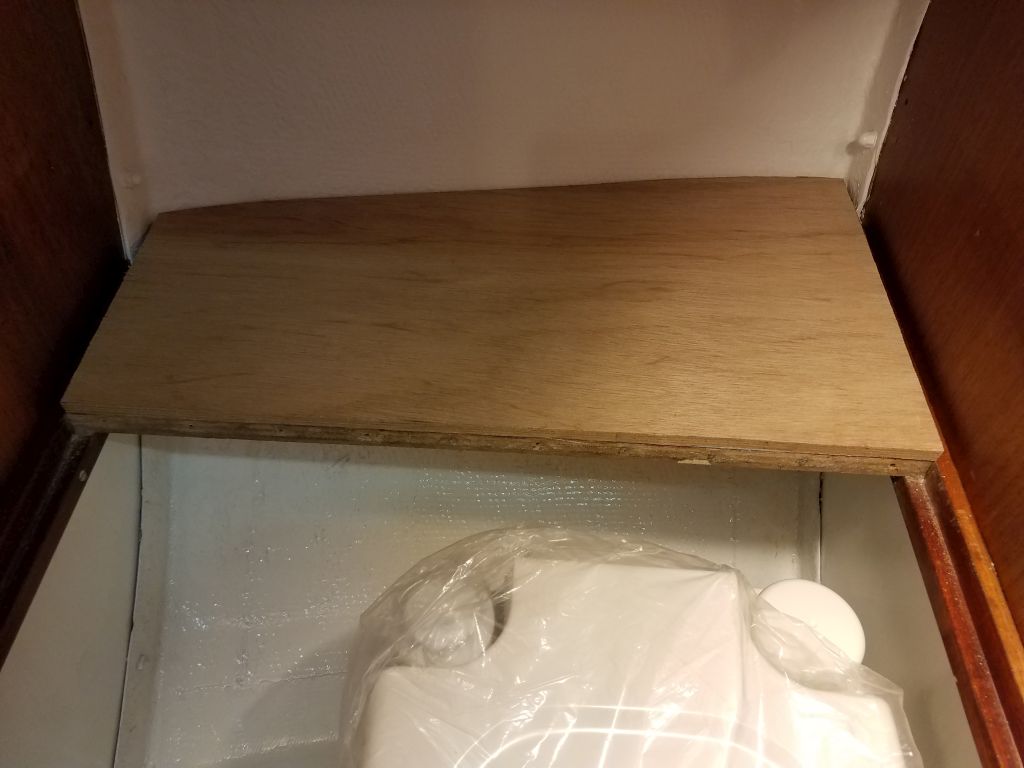
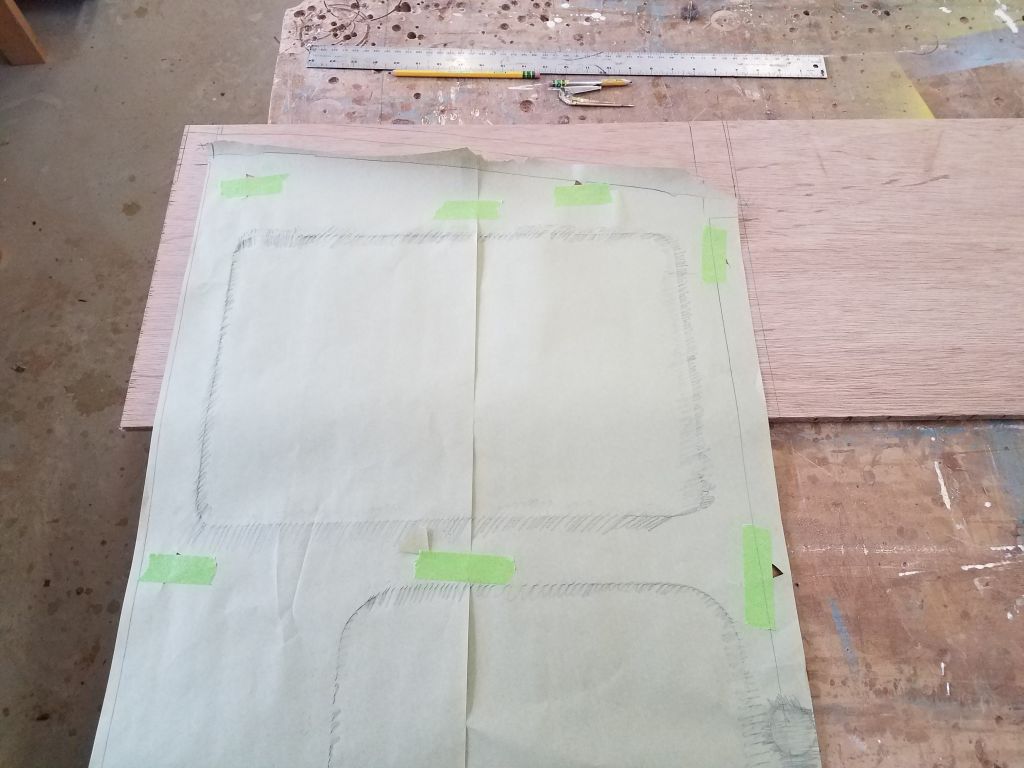
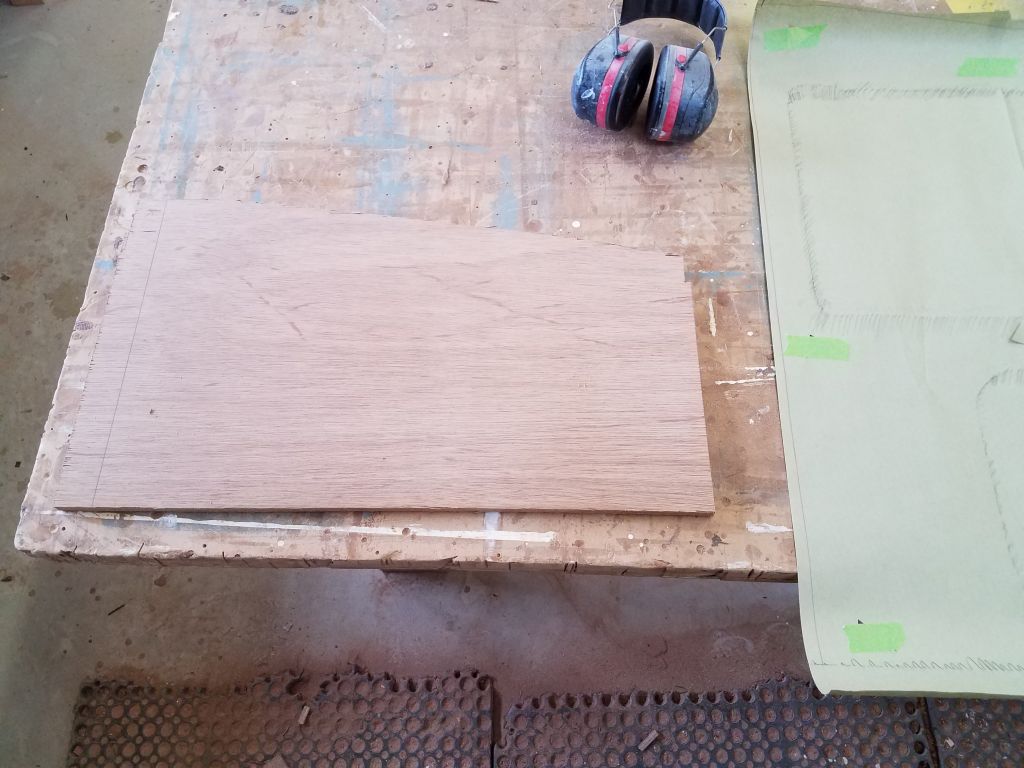
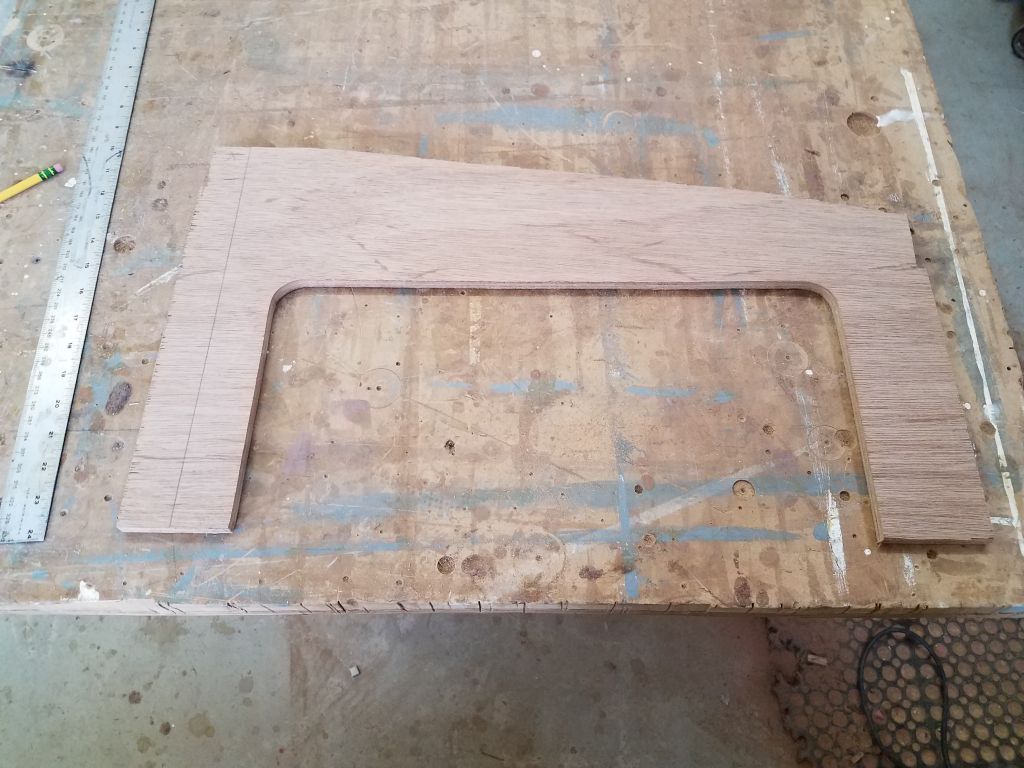
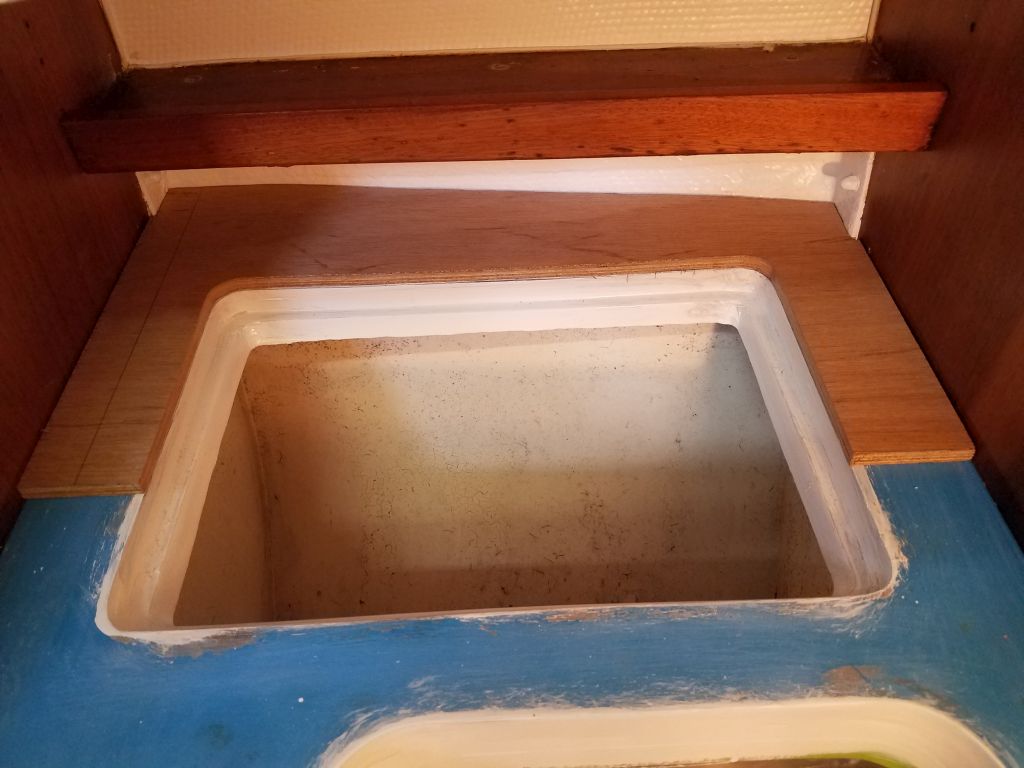
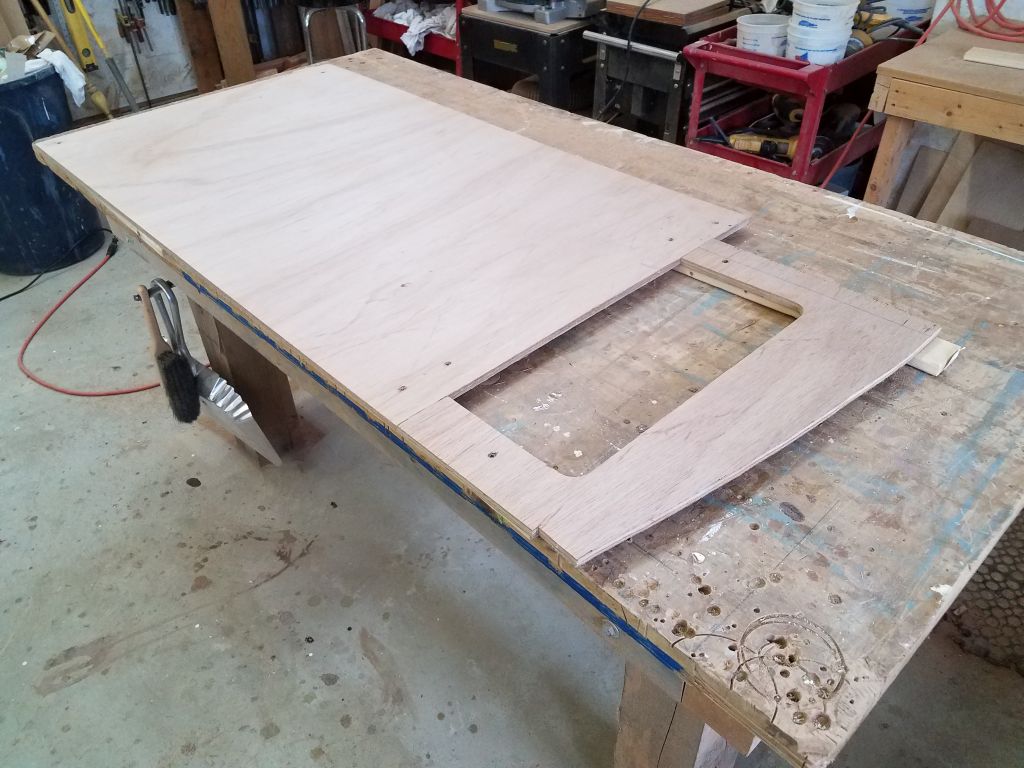
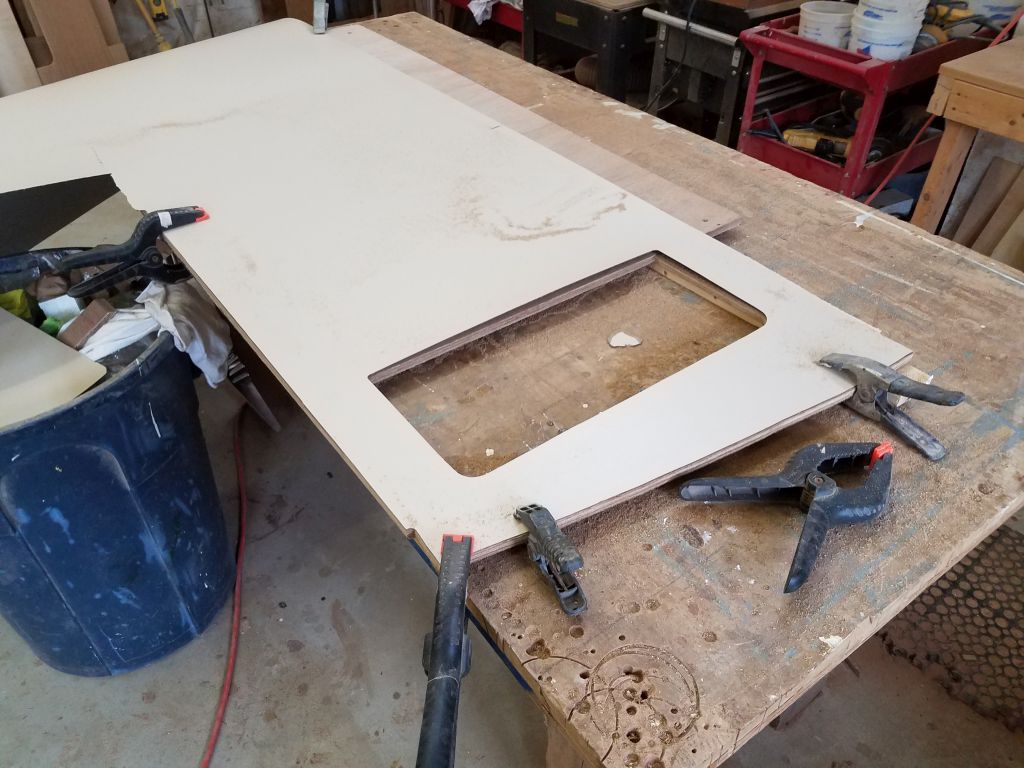
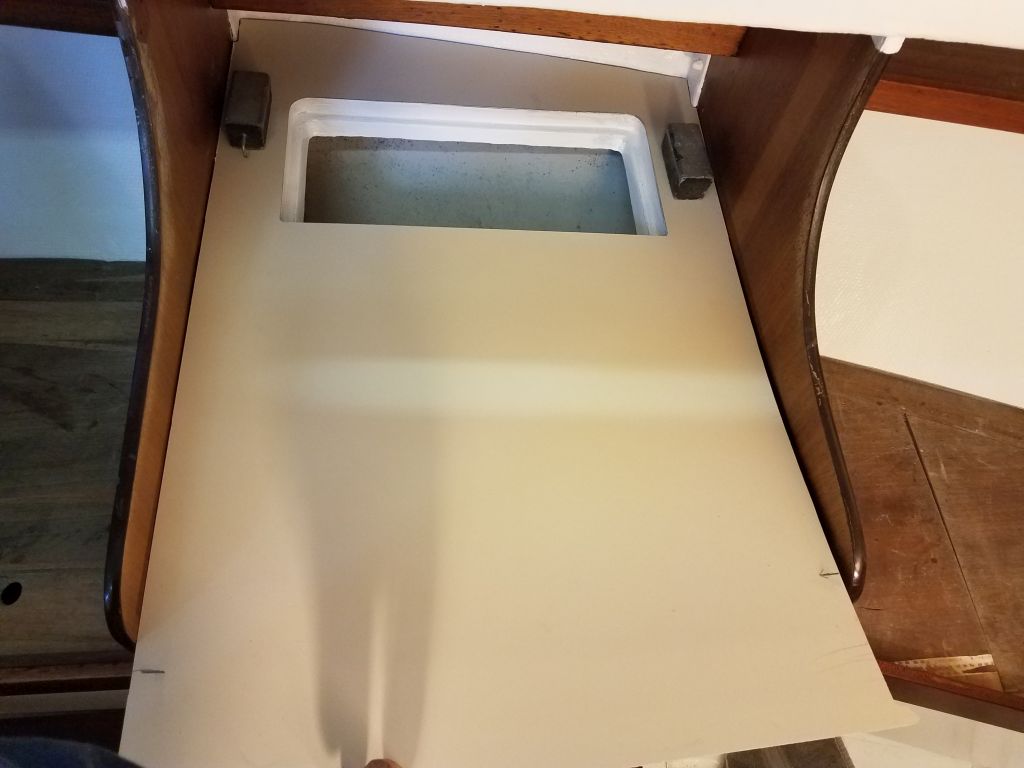
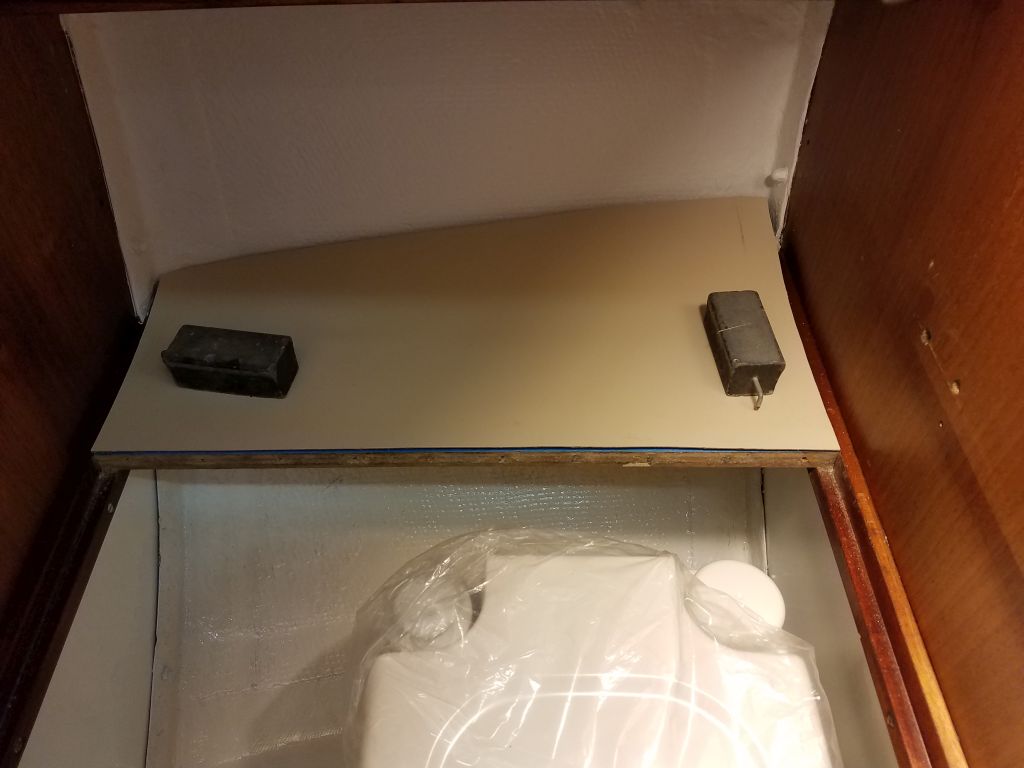
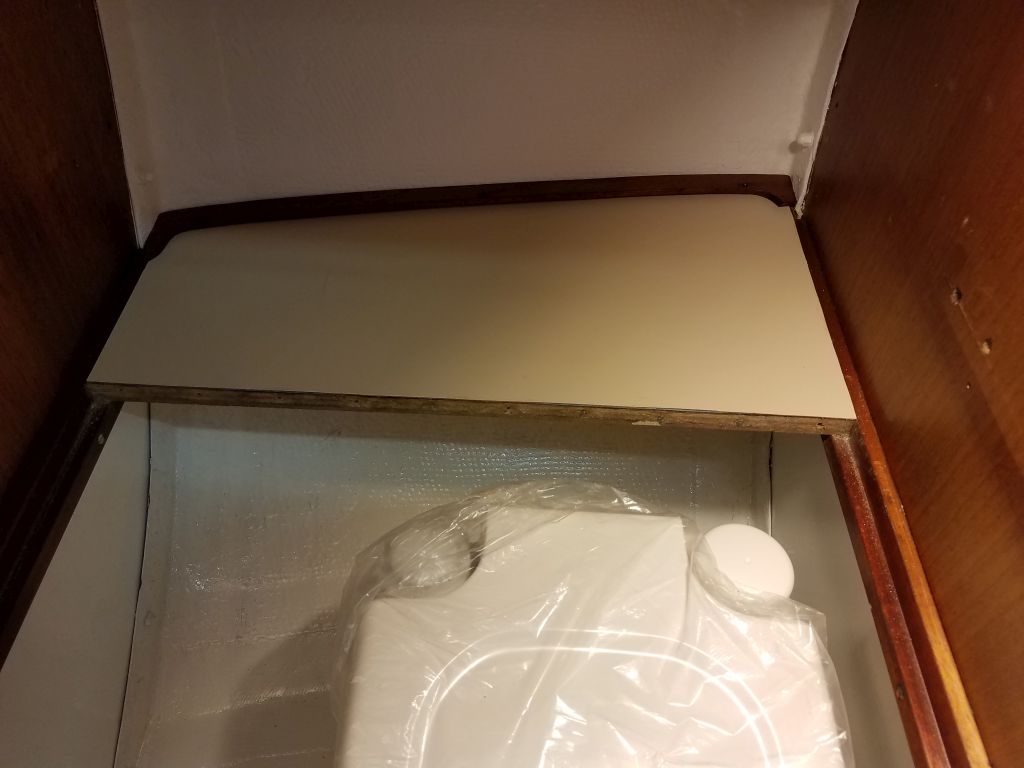
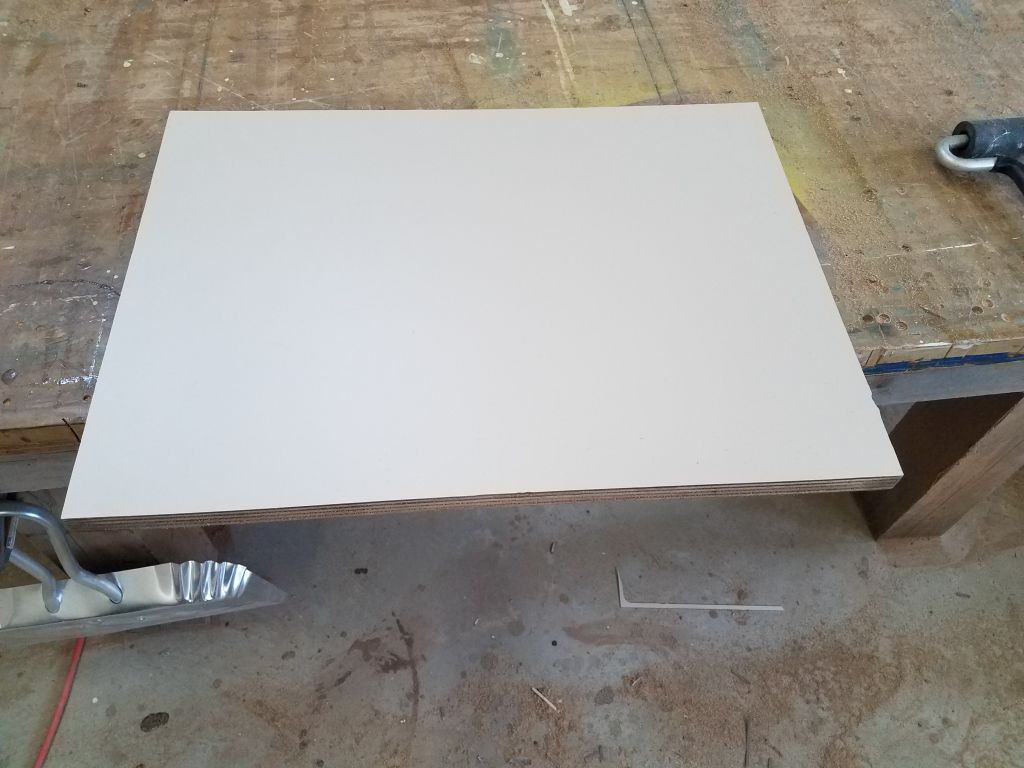
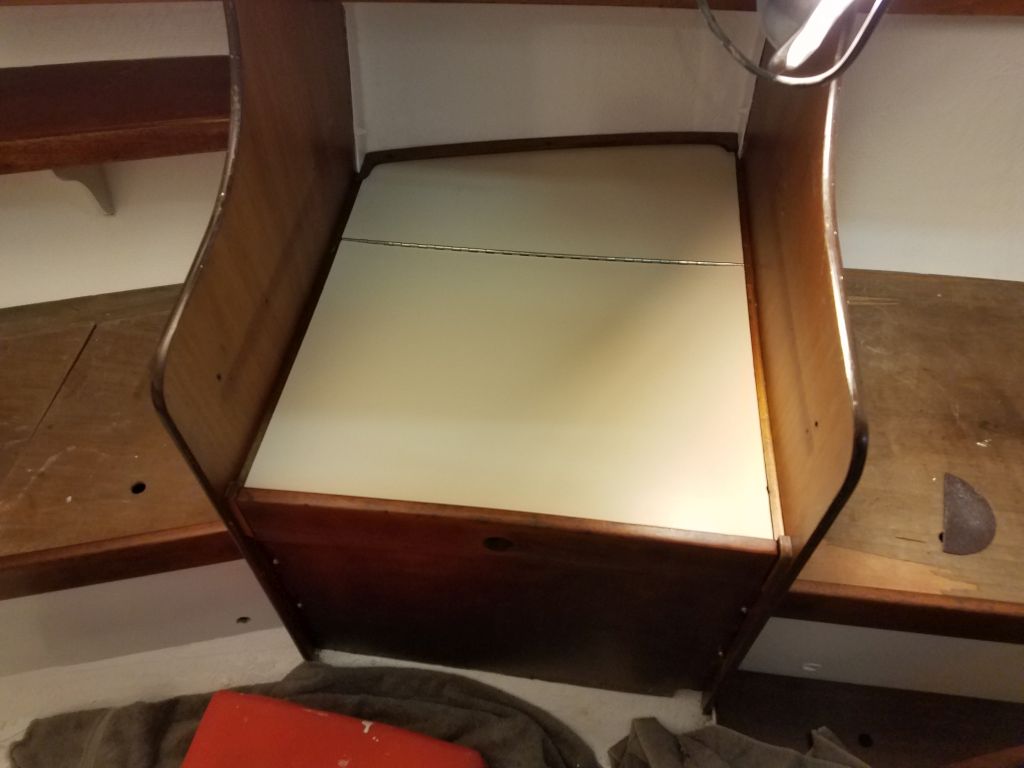
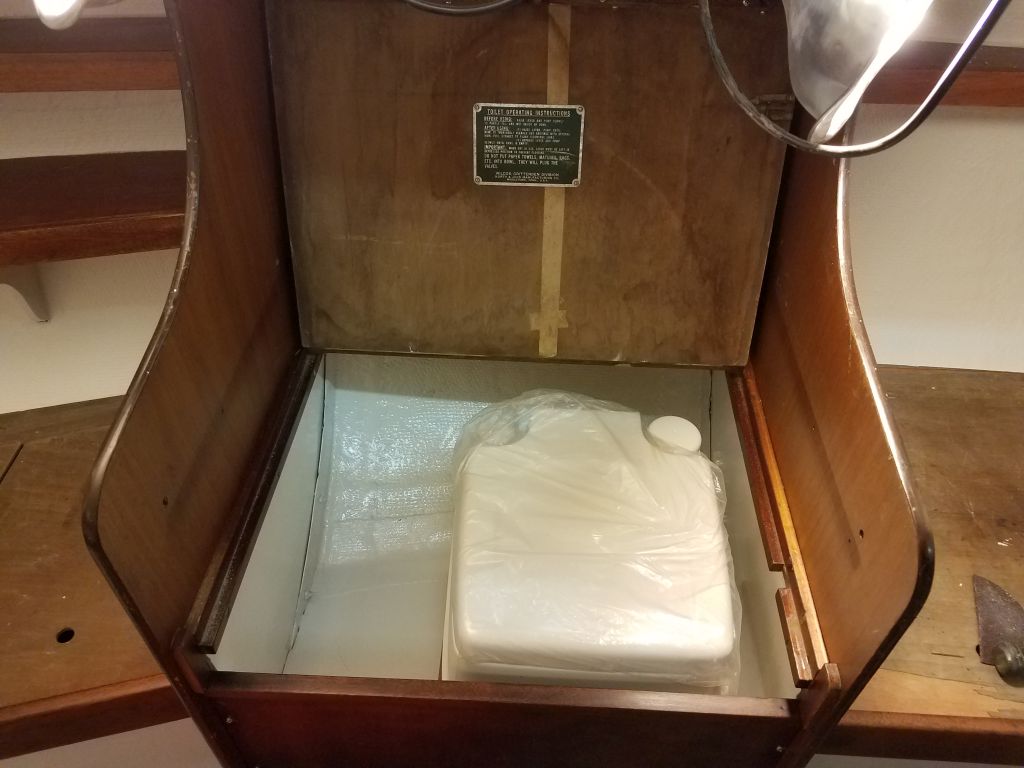
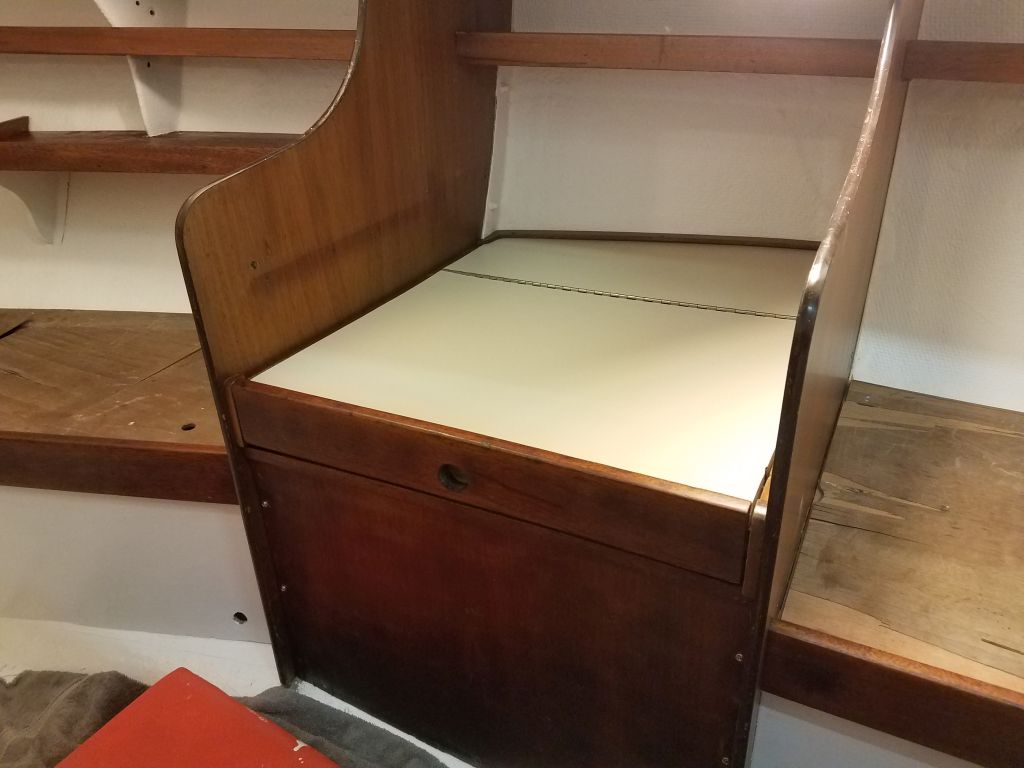
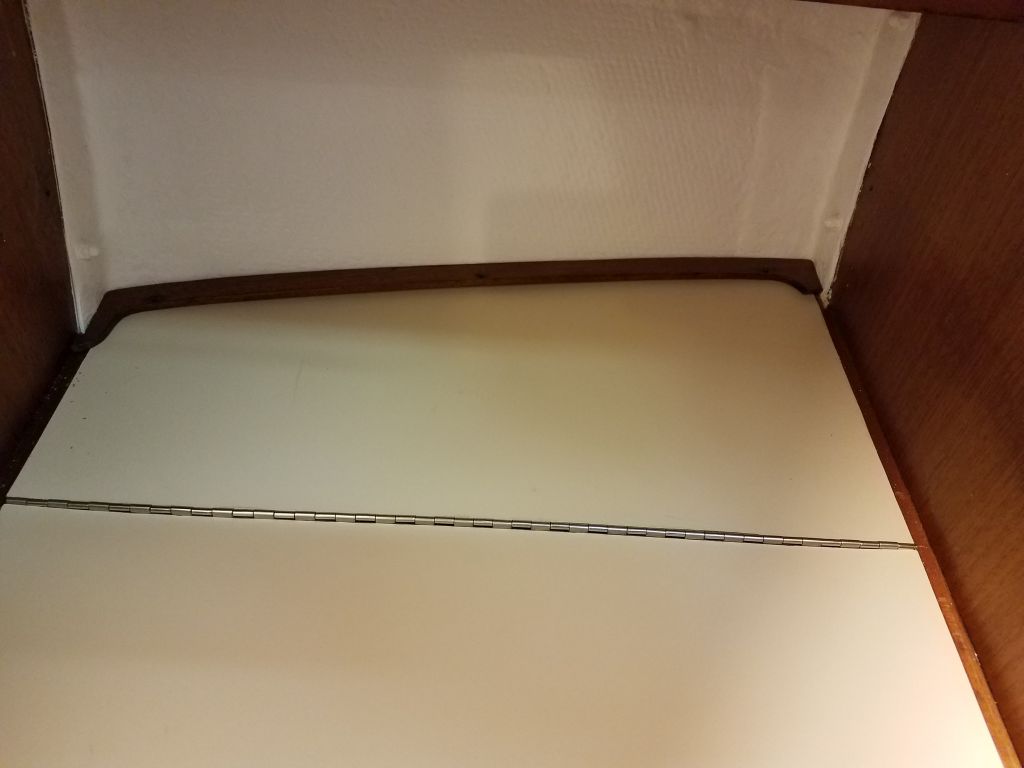
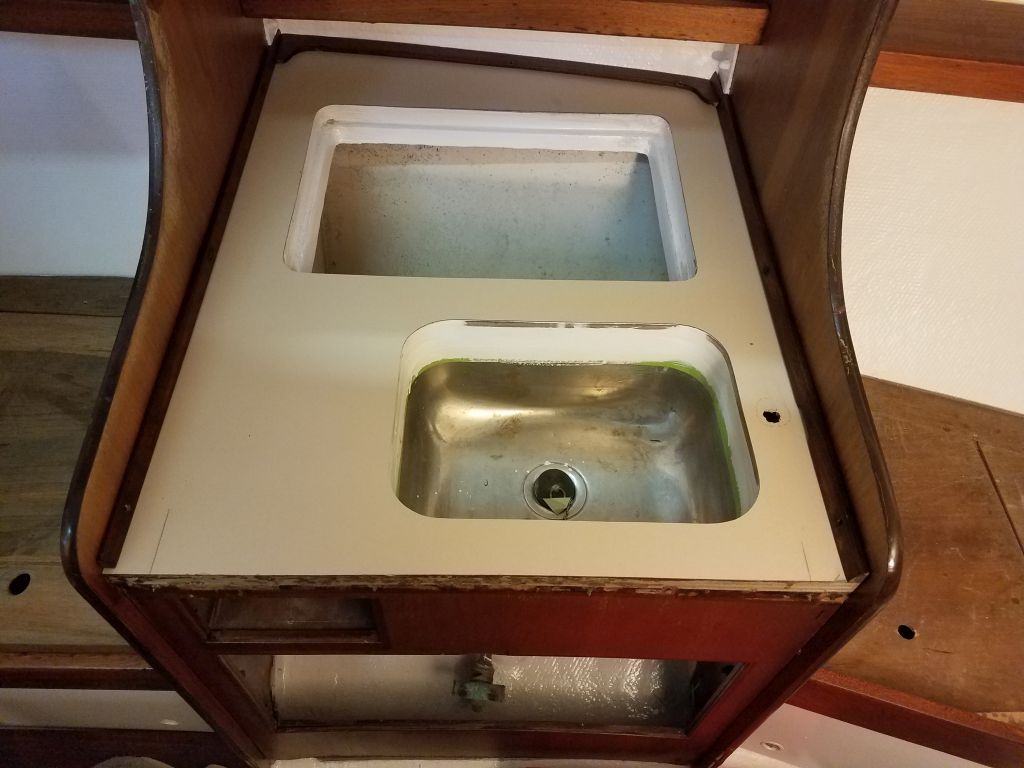
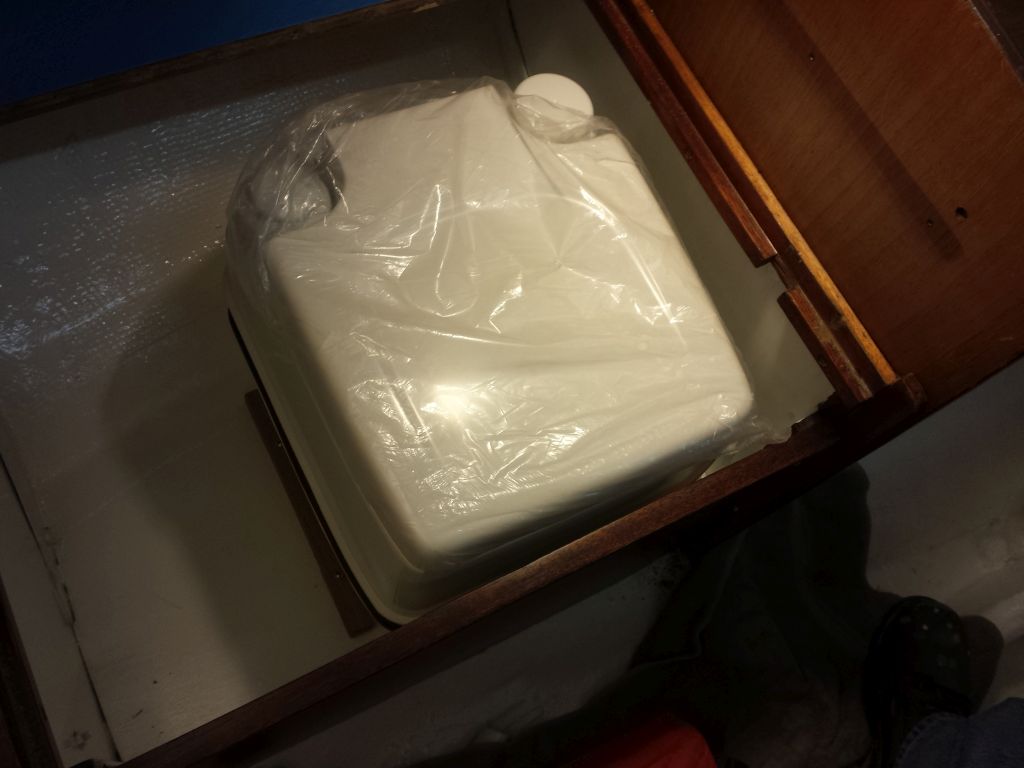
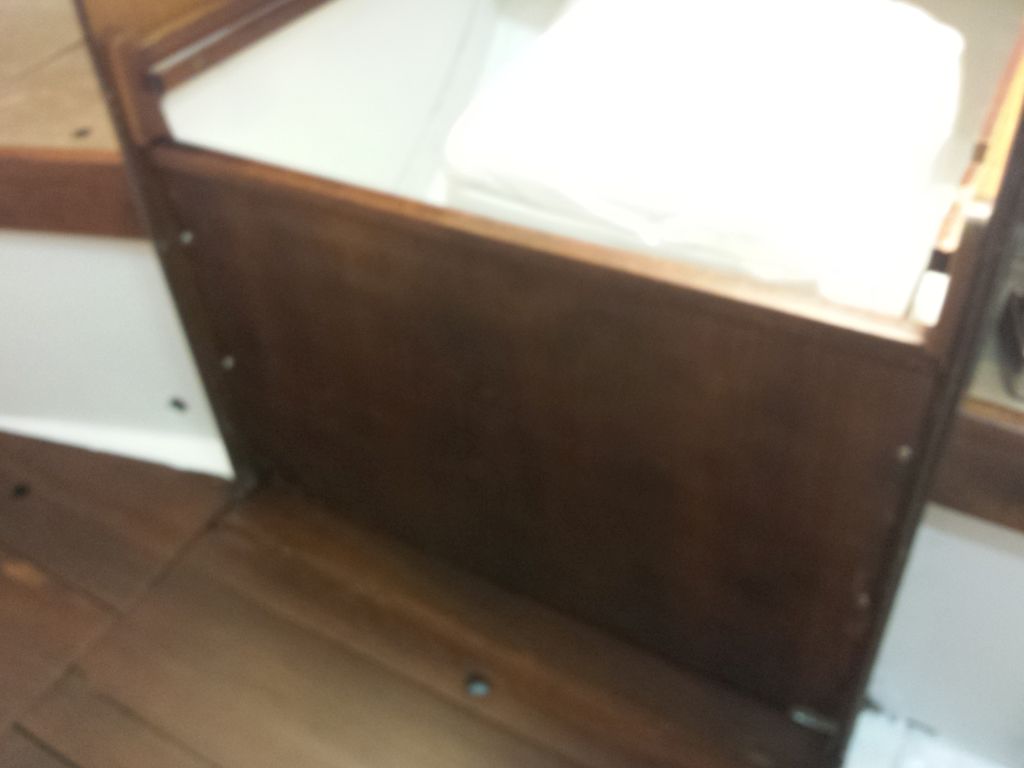
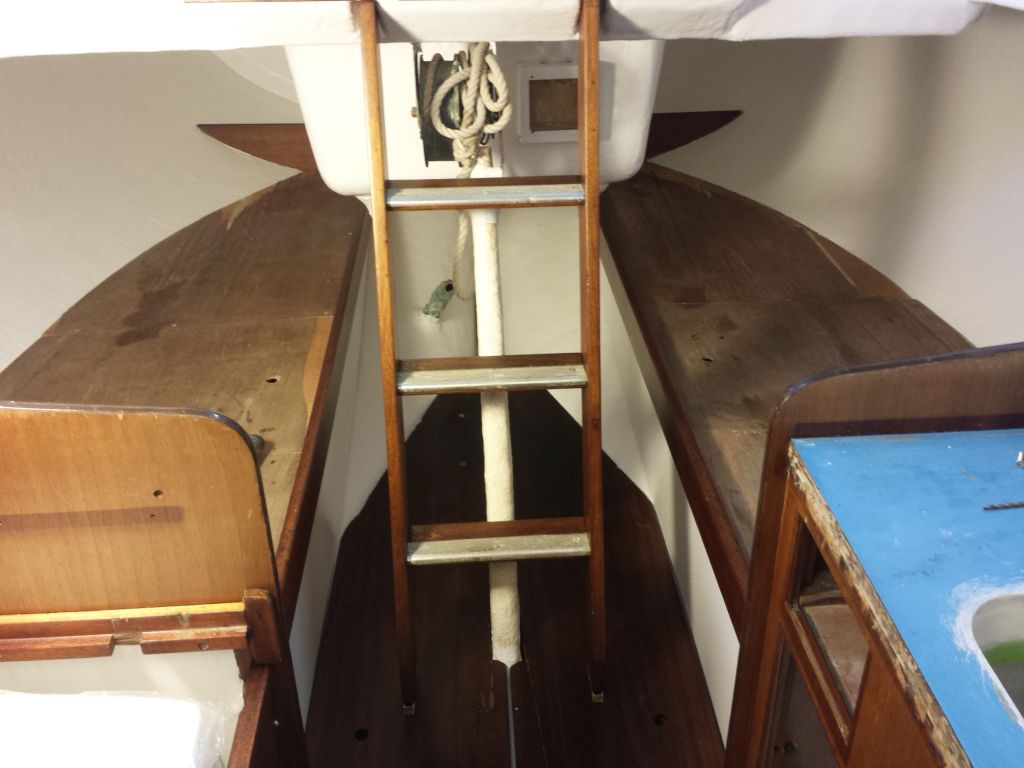
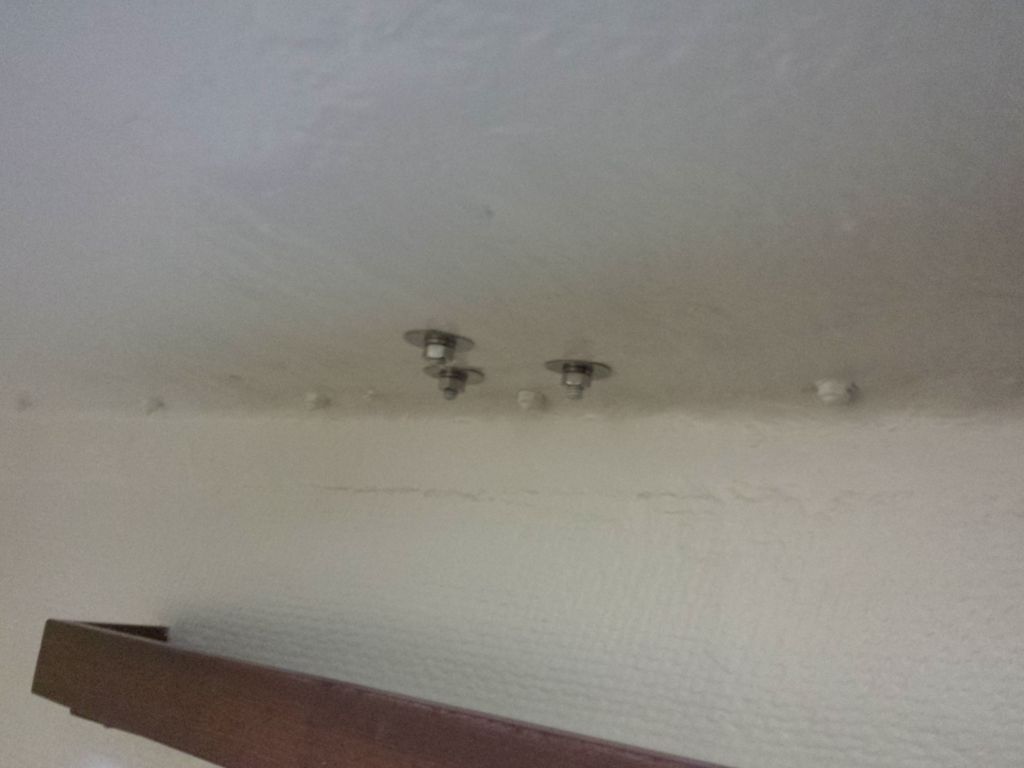
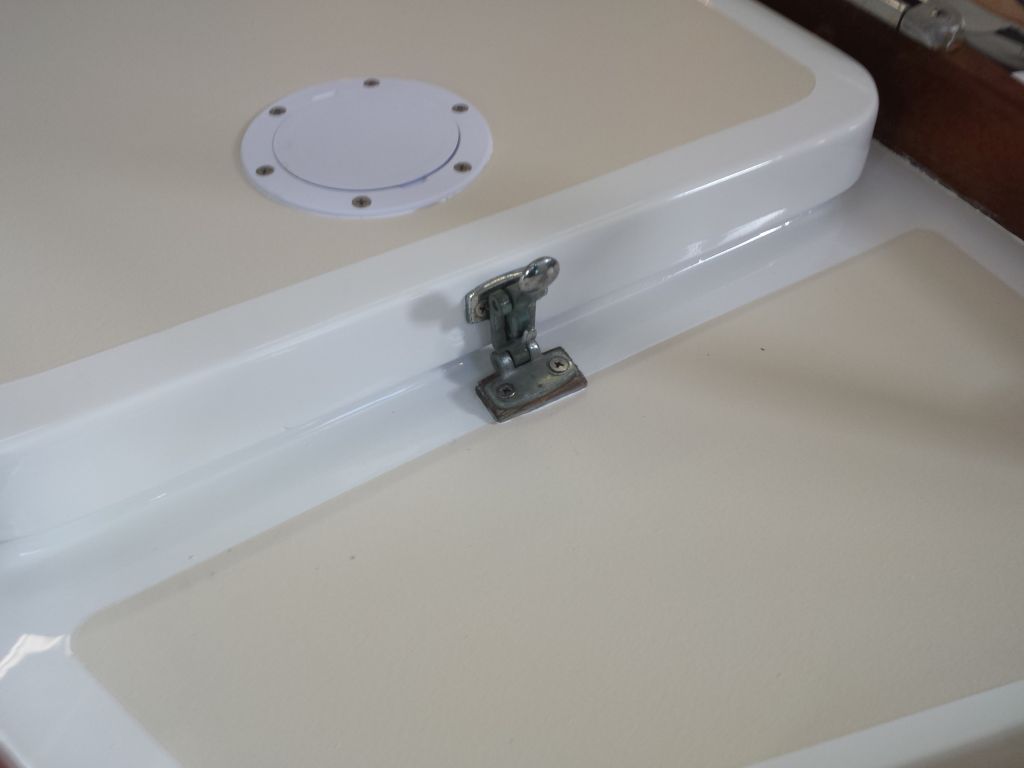
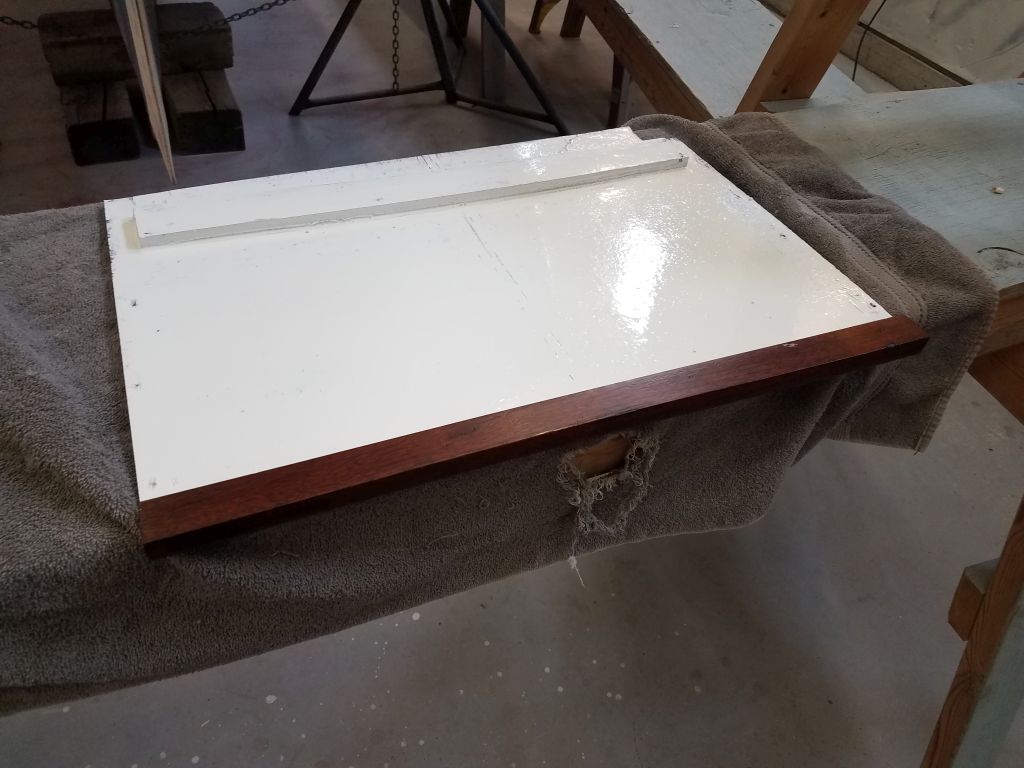
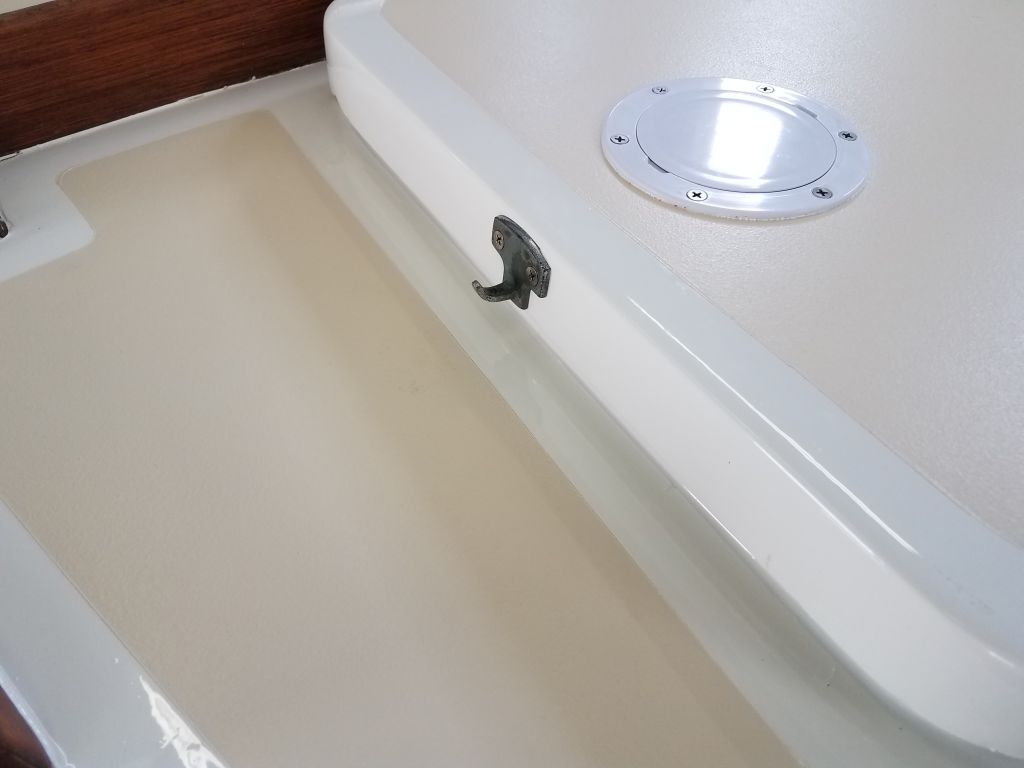
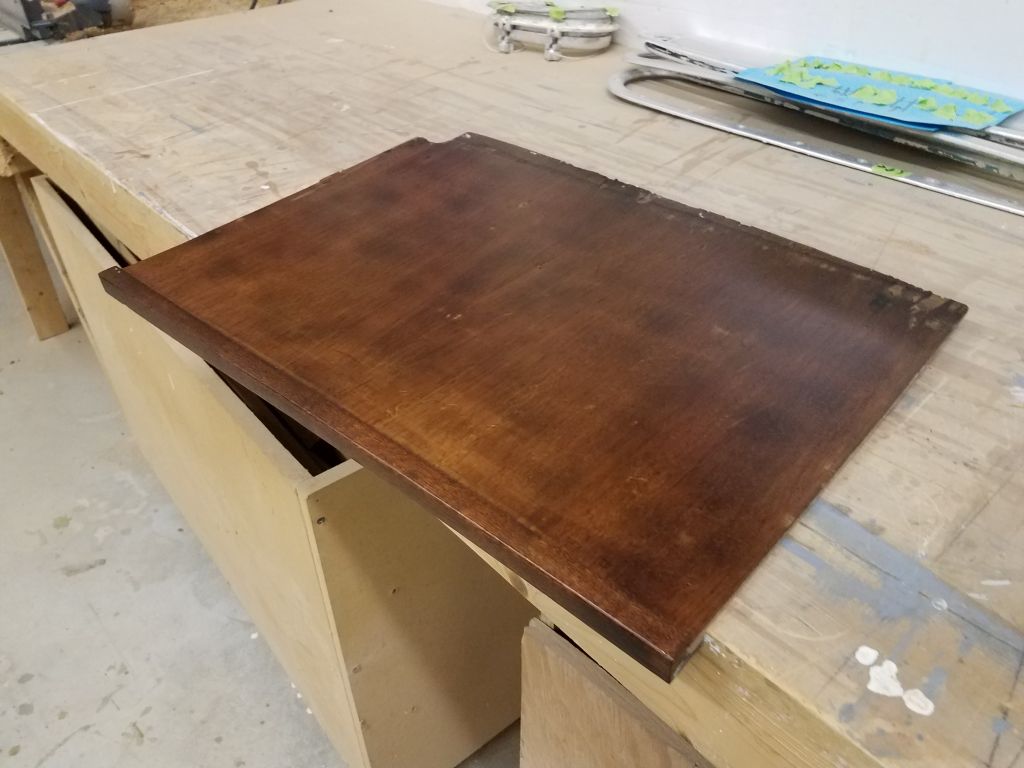
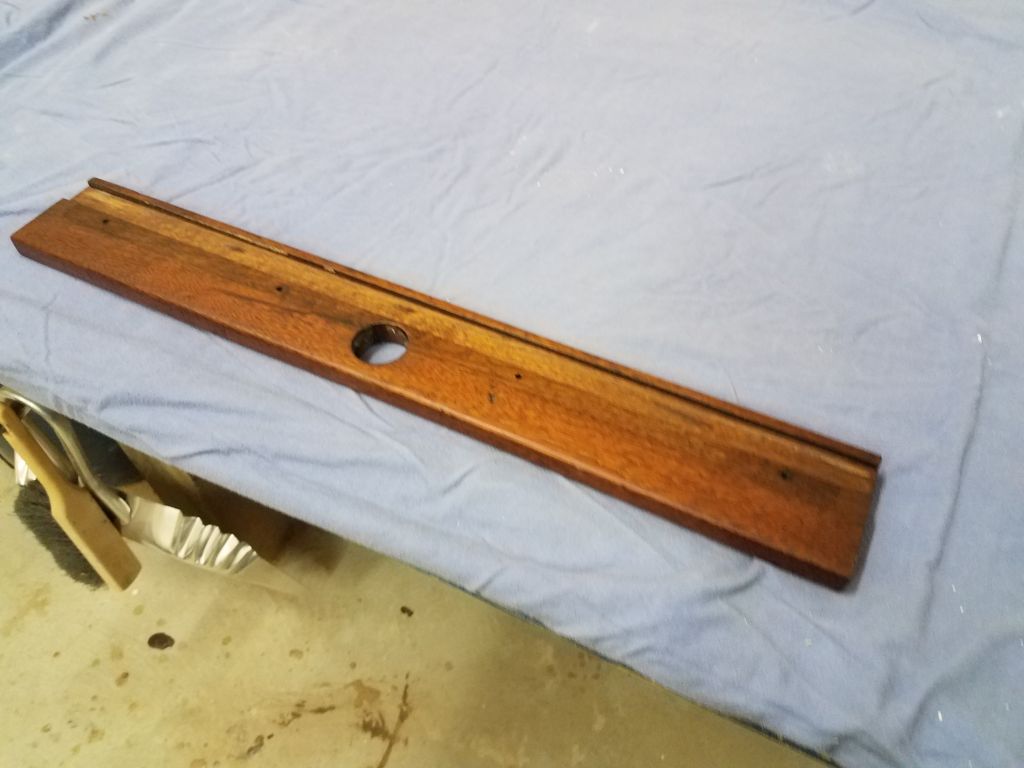
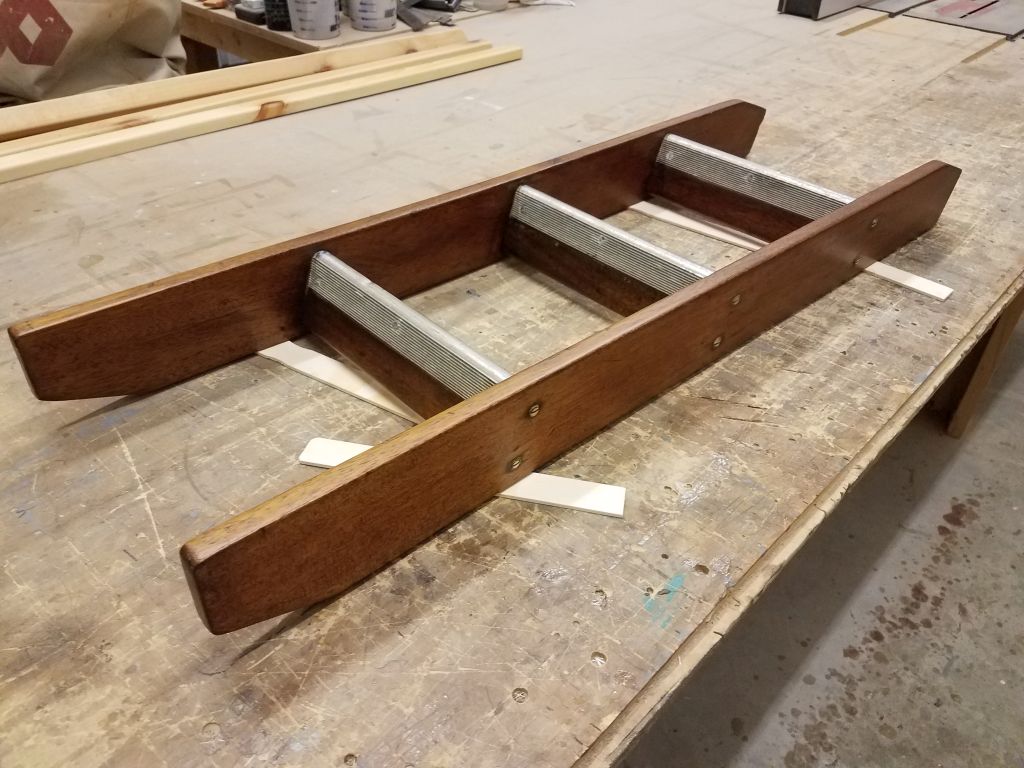
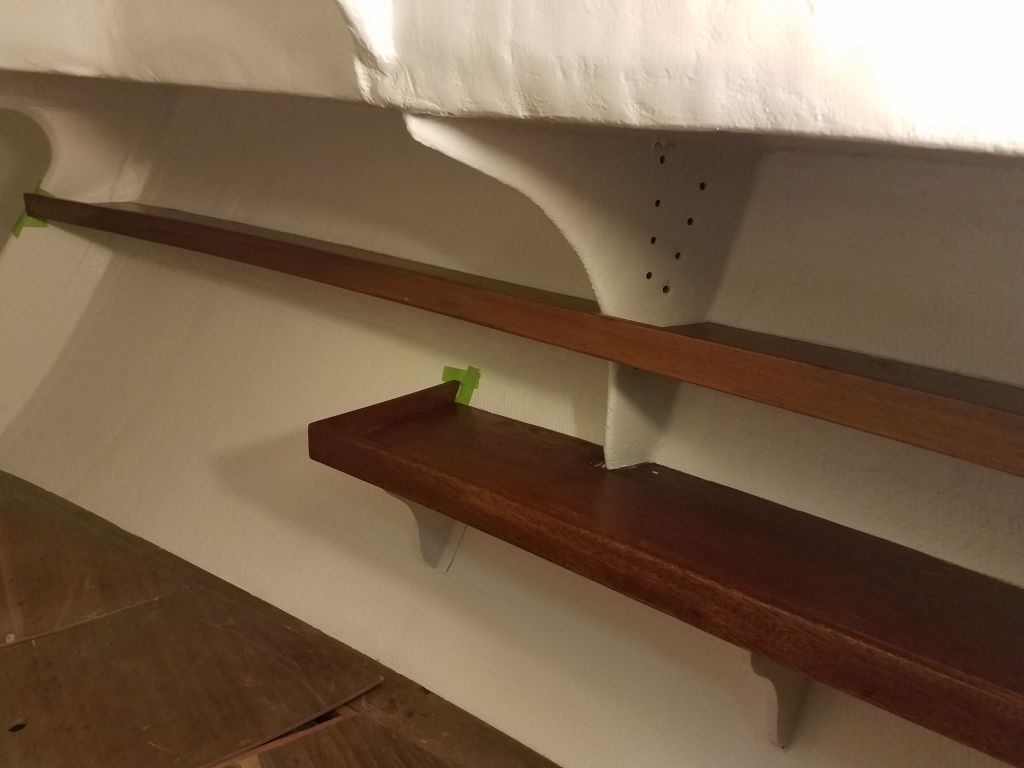
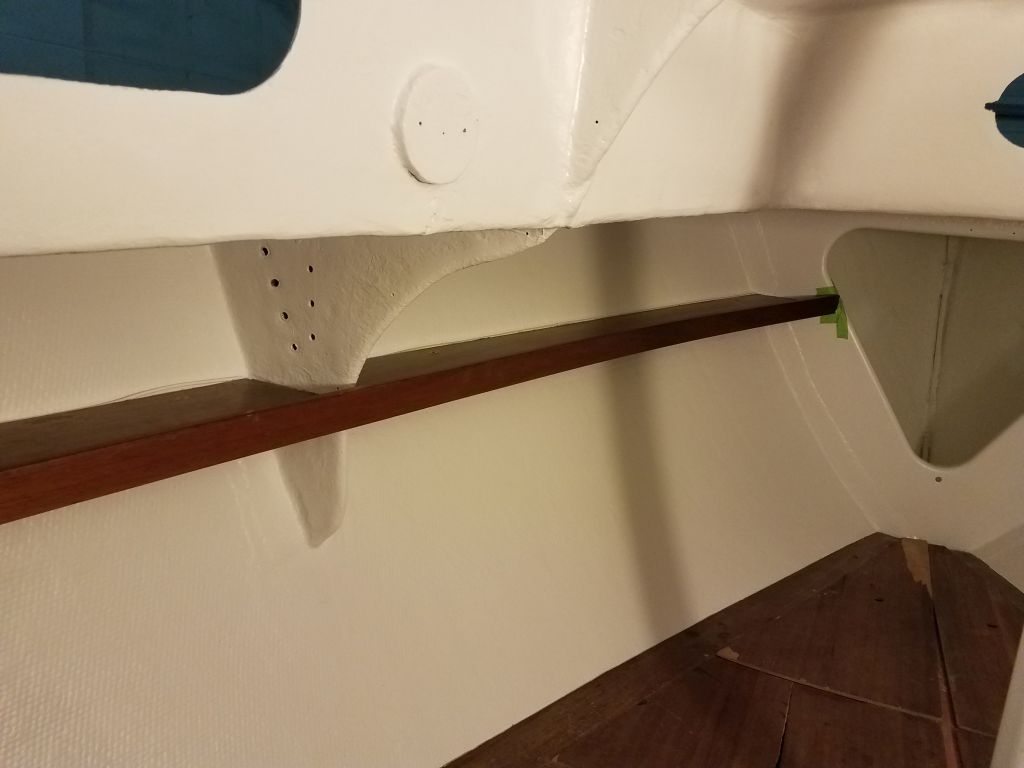
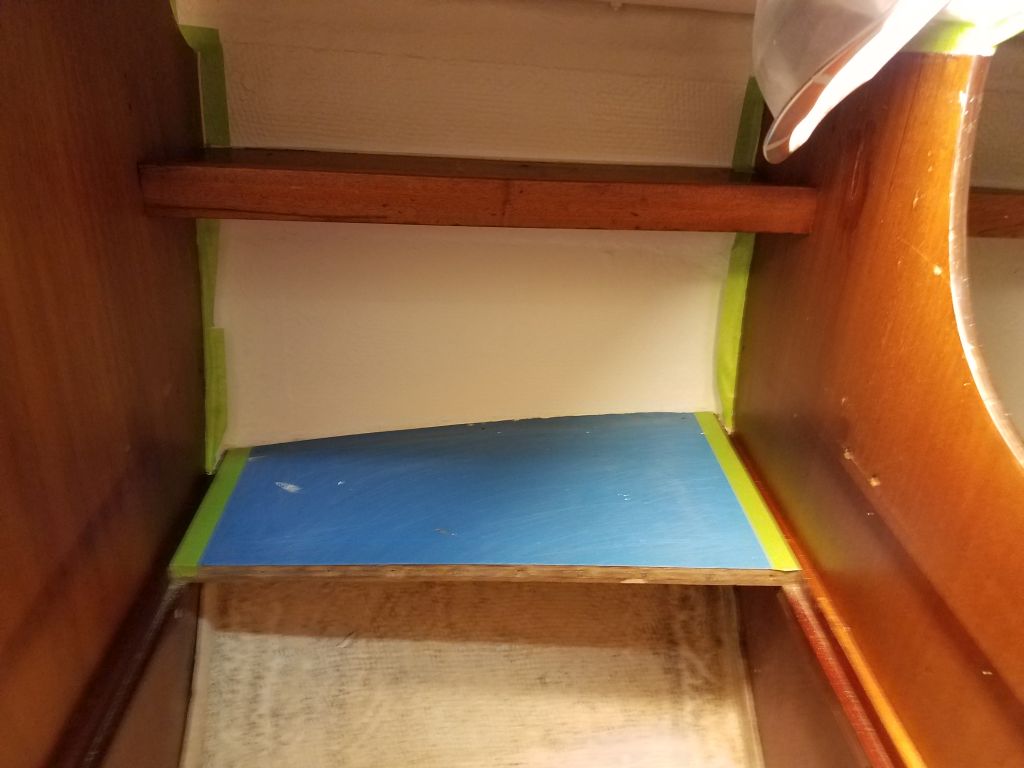
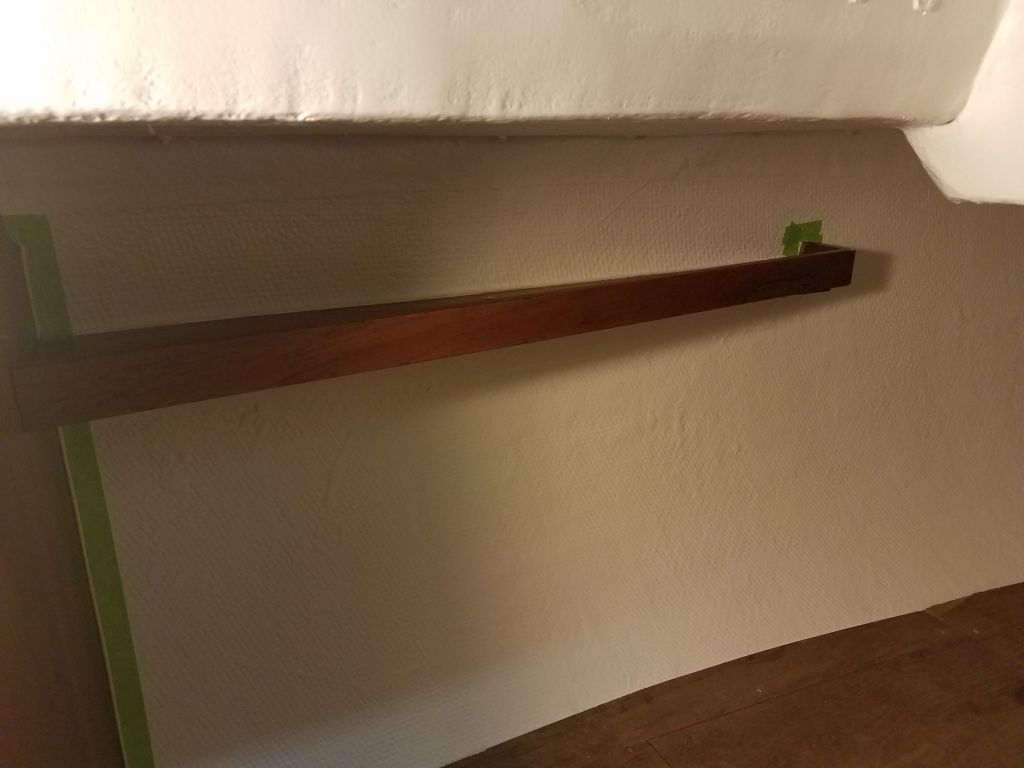
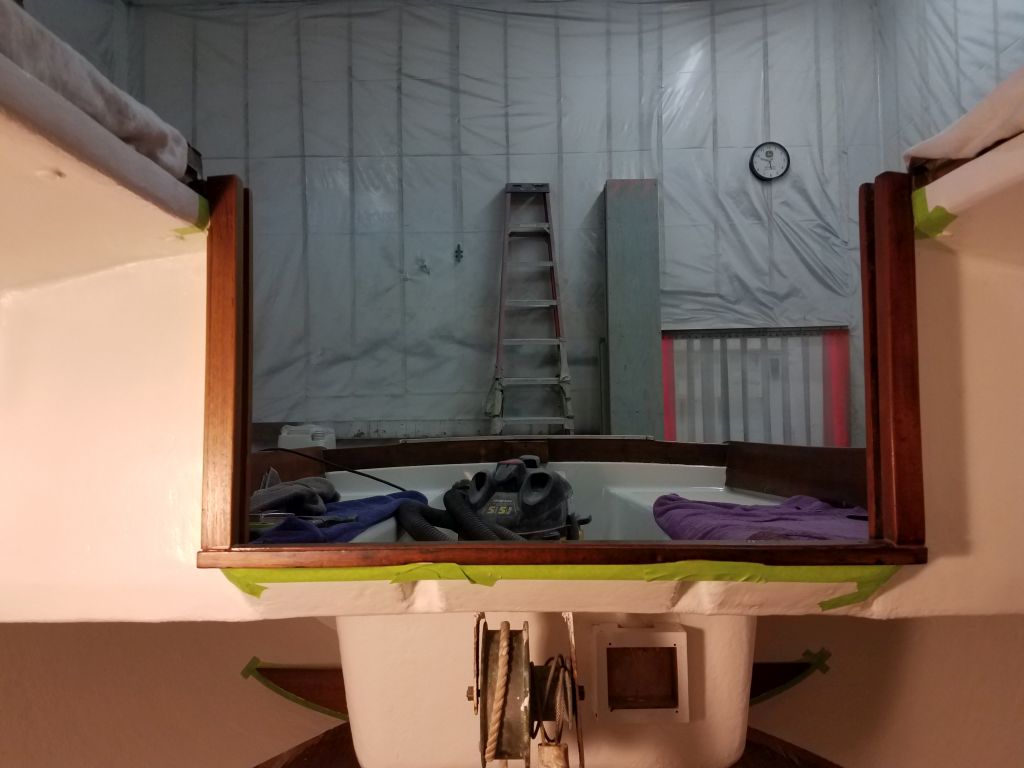
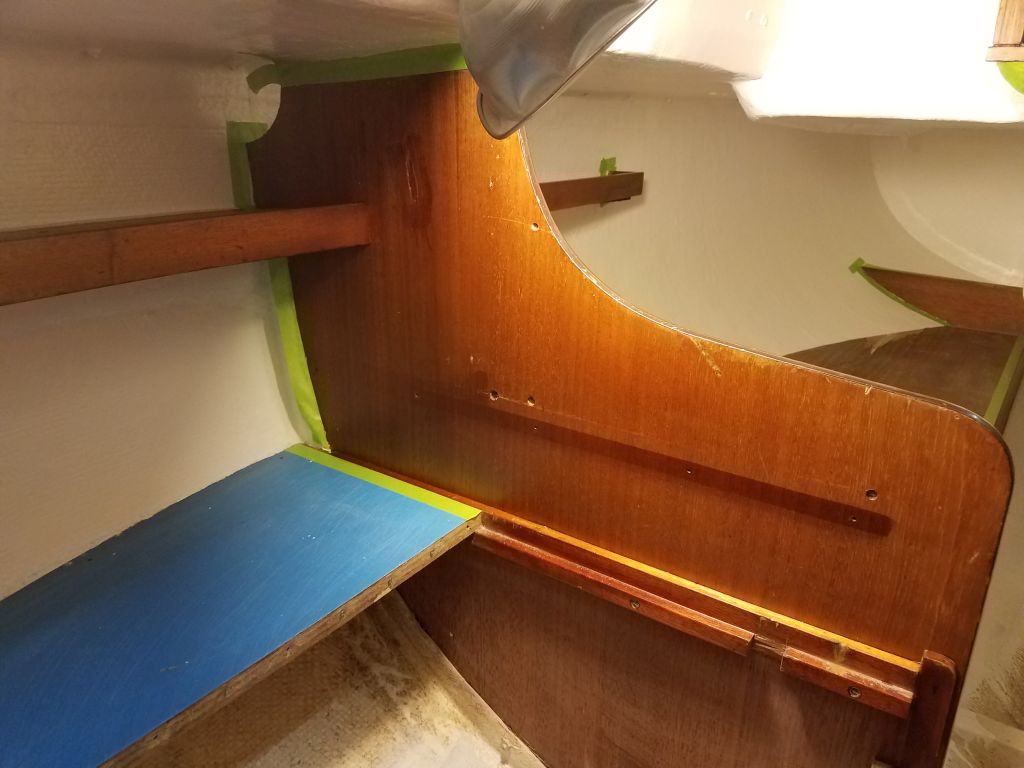
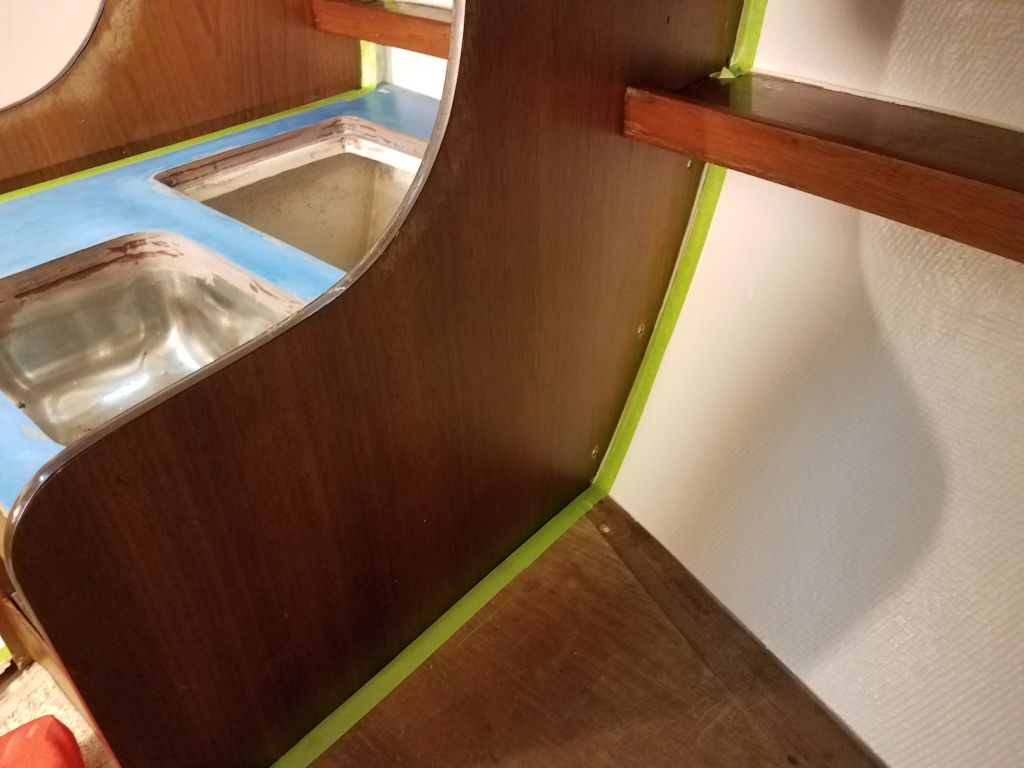
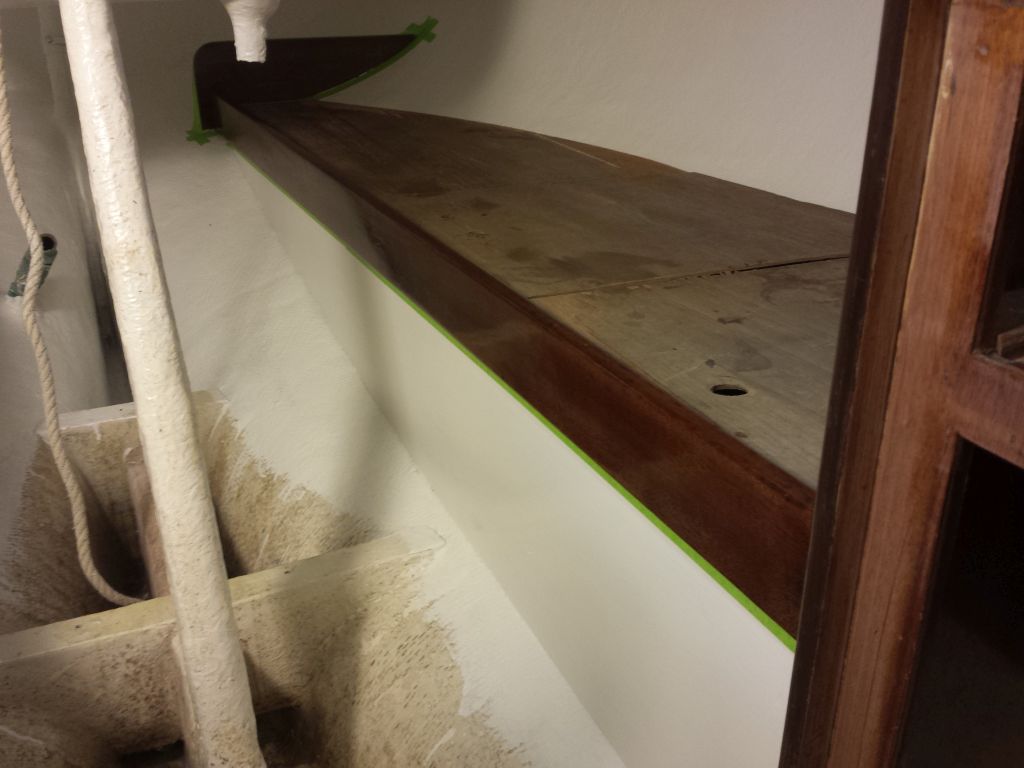
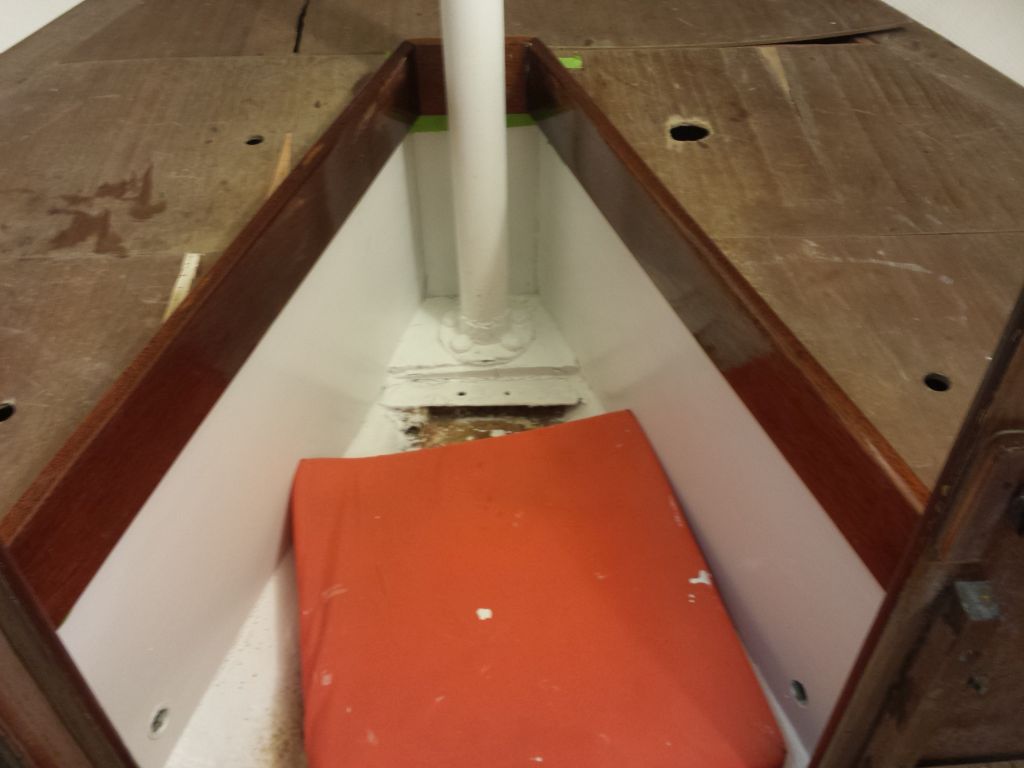
The owners asked about a small stovetop to fit the little sliding shelf above the head, and to test one of the options, a two-burner alcohol stove, I made up a template to the maximum dimensions of the base, as it appeared the fit might be tight.  And it was tight, but it did look like this stove would fit on the shelf without hitting the hull, and there was enough vertical clearance beneath the fixed shelf above too.  Sorry for the blur in the last photo, but the stove required 5-3/8″ headroom, and the space had about 5-3/4″.

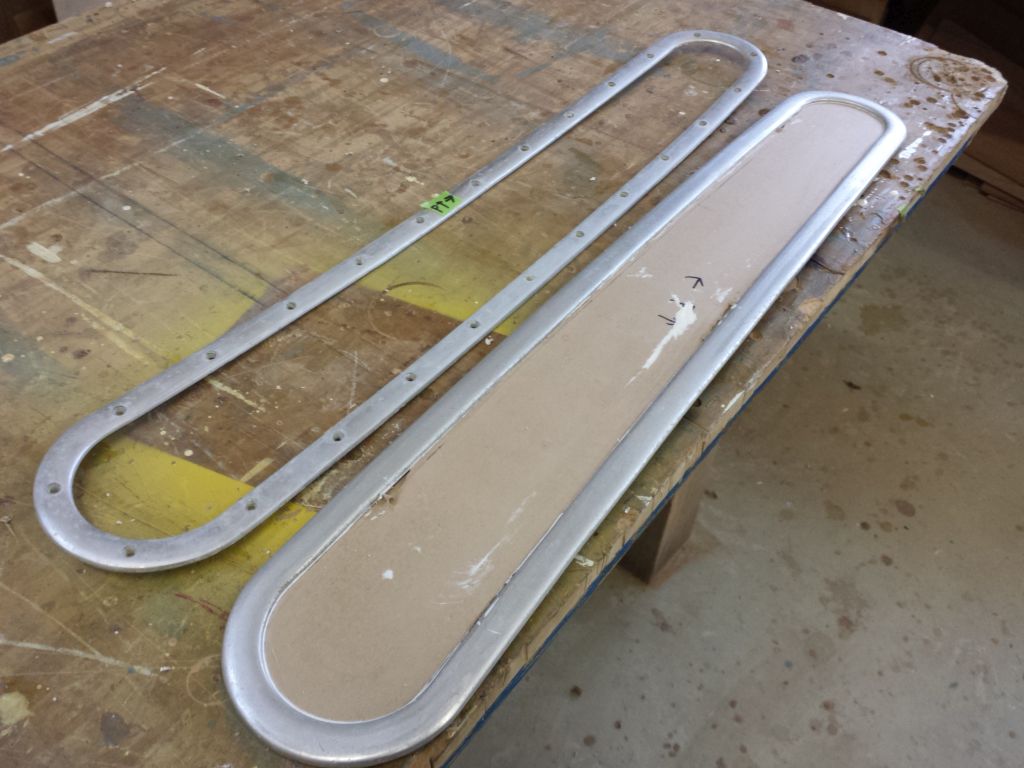
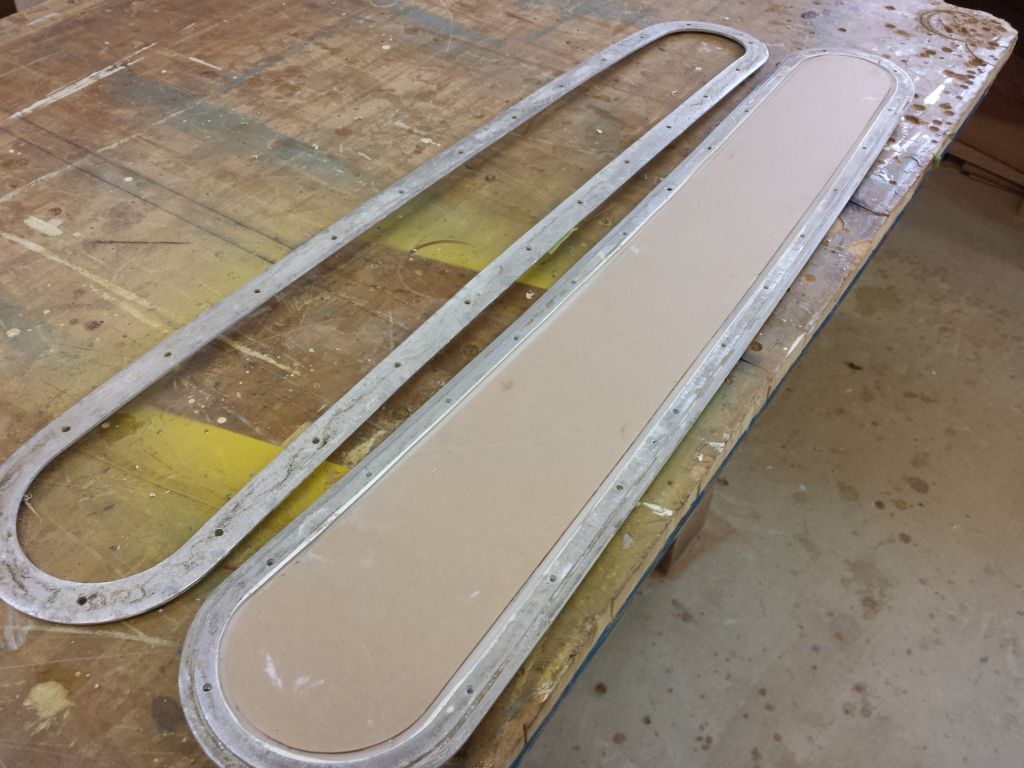
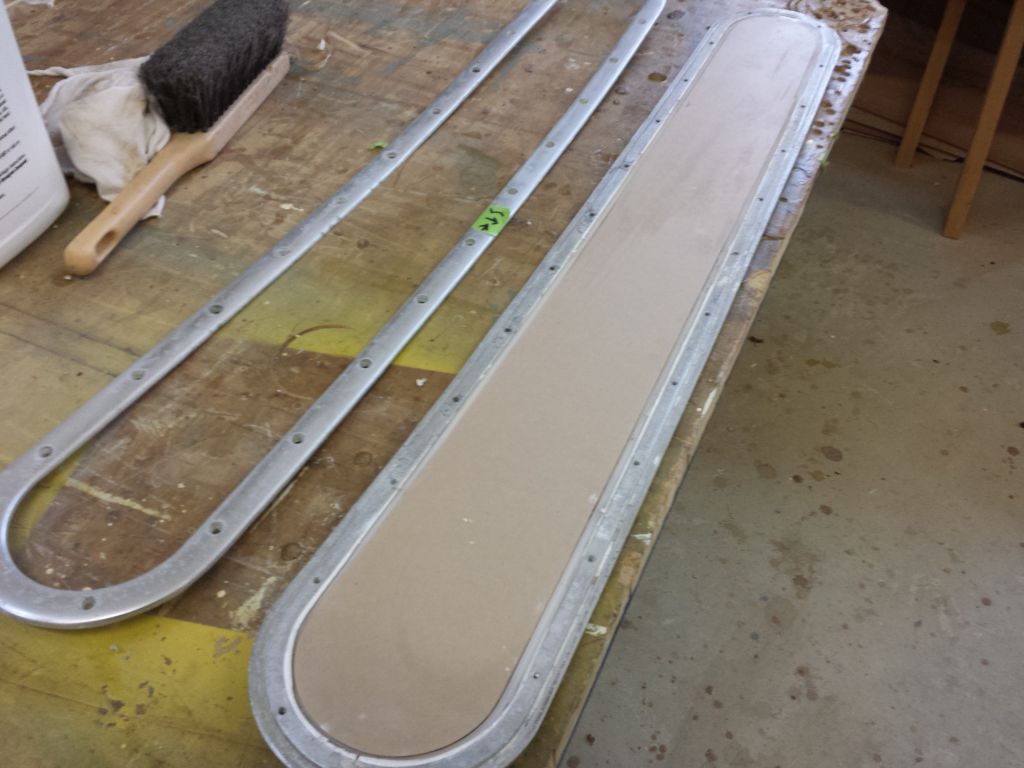
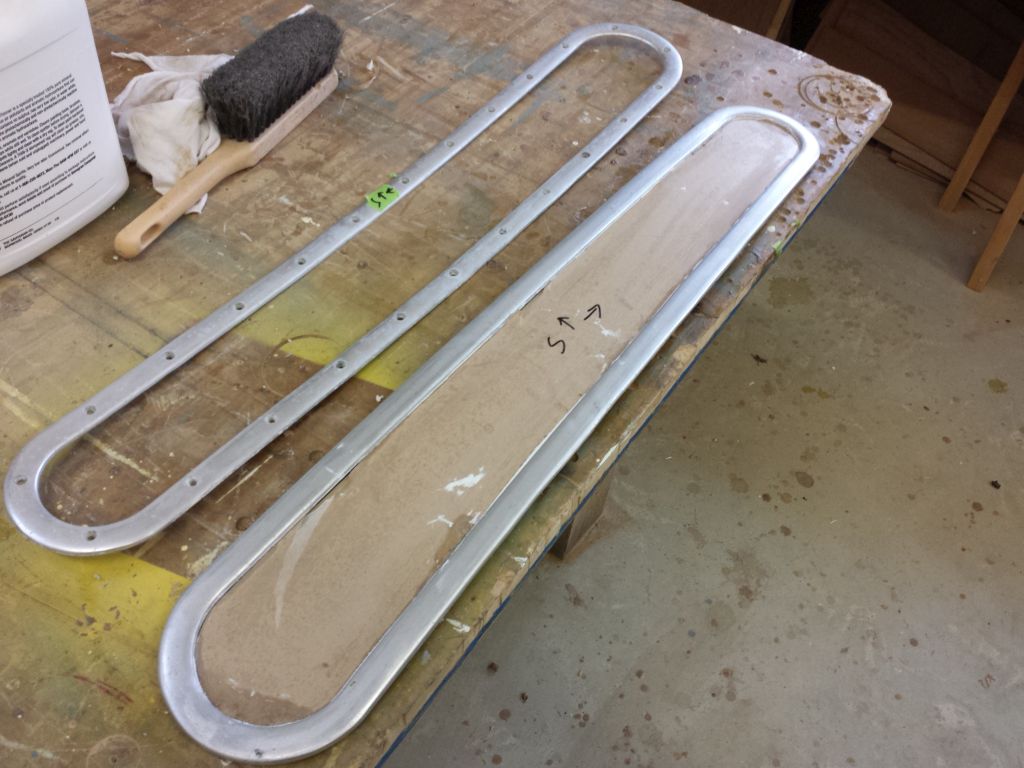
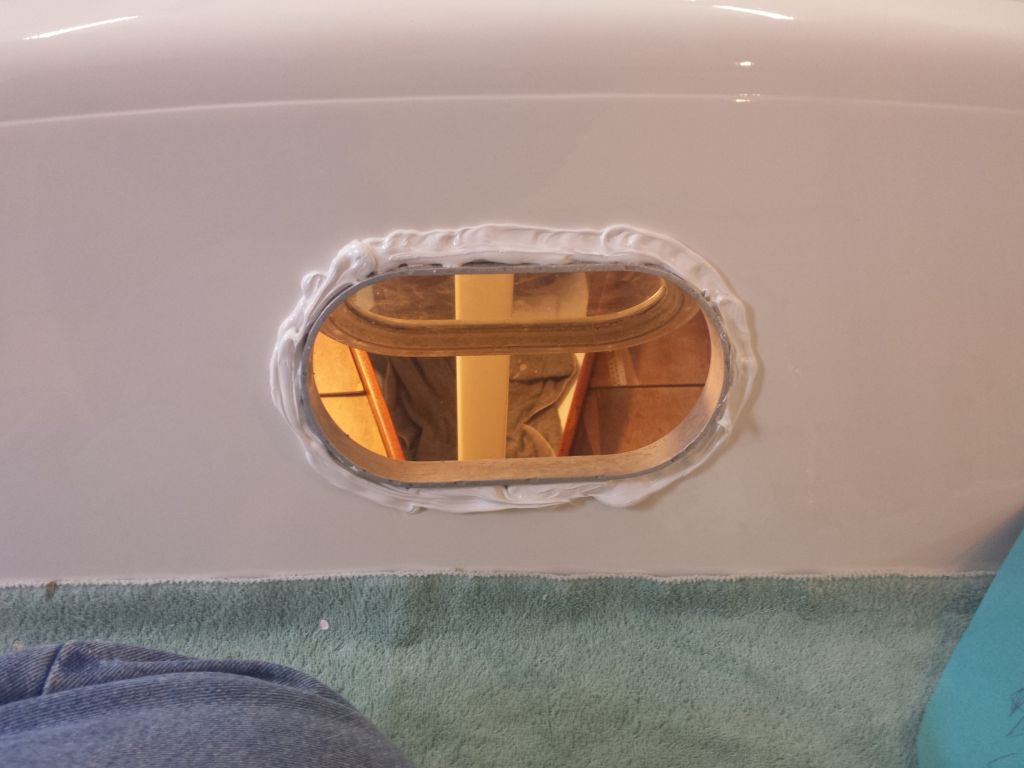
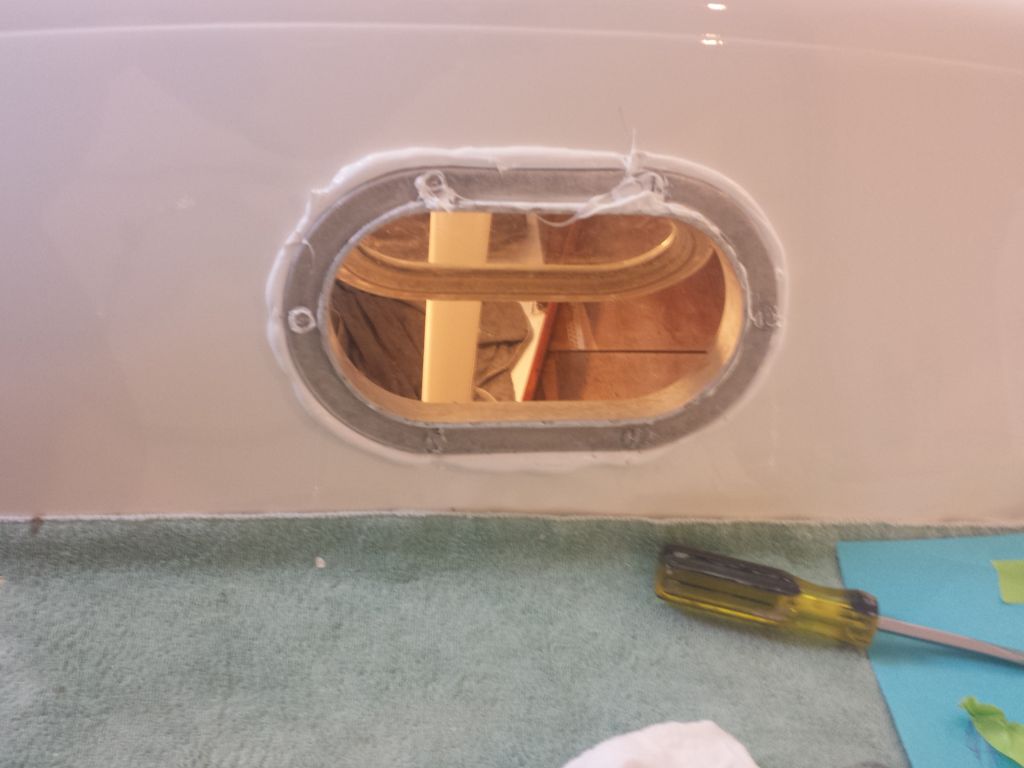
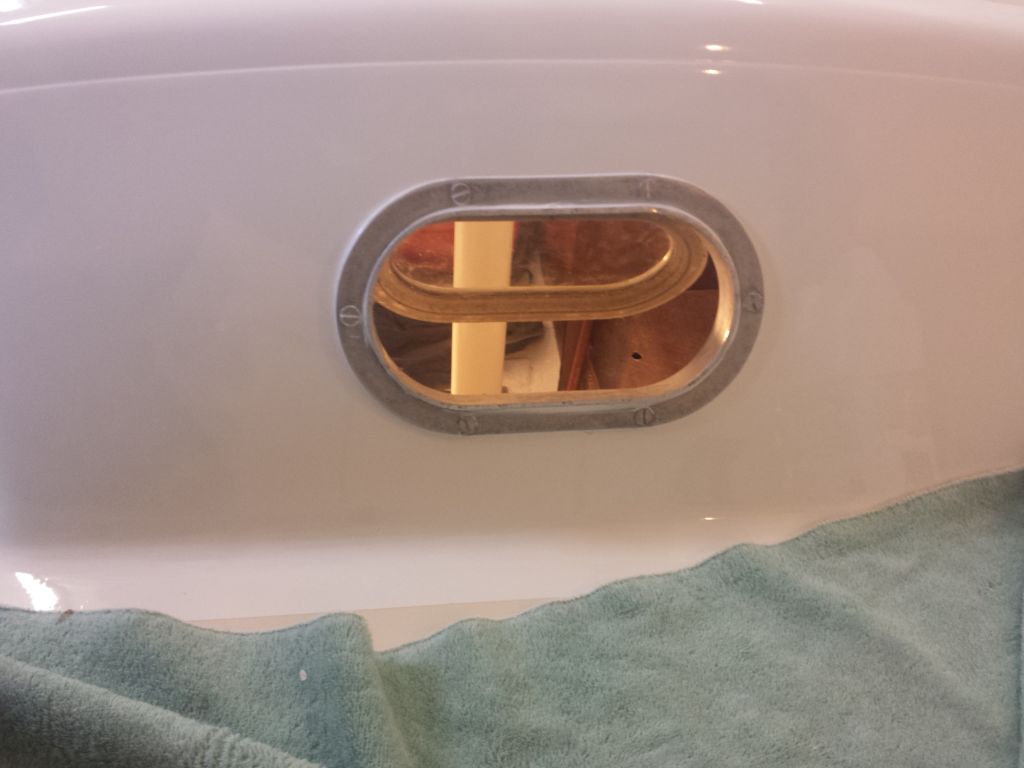
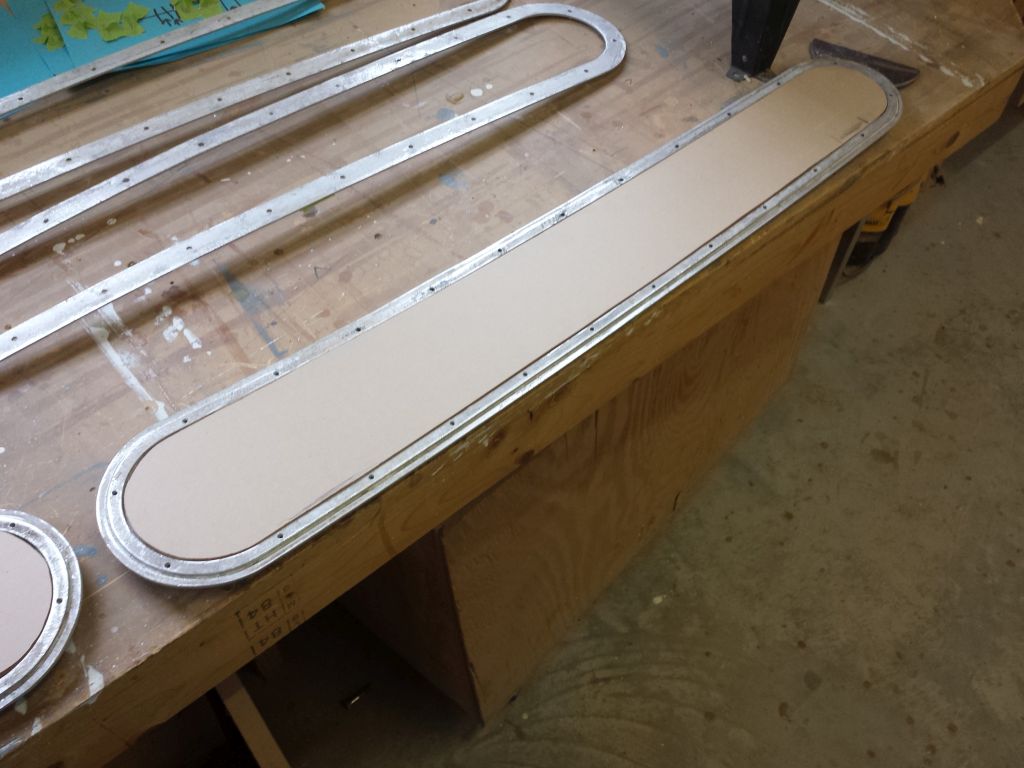
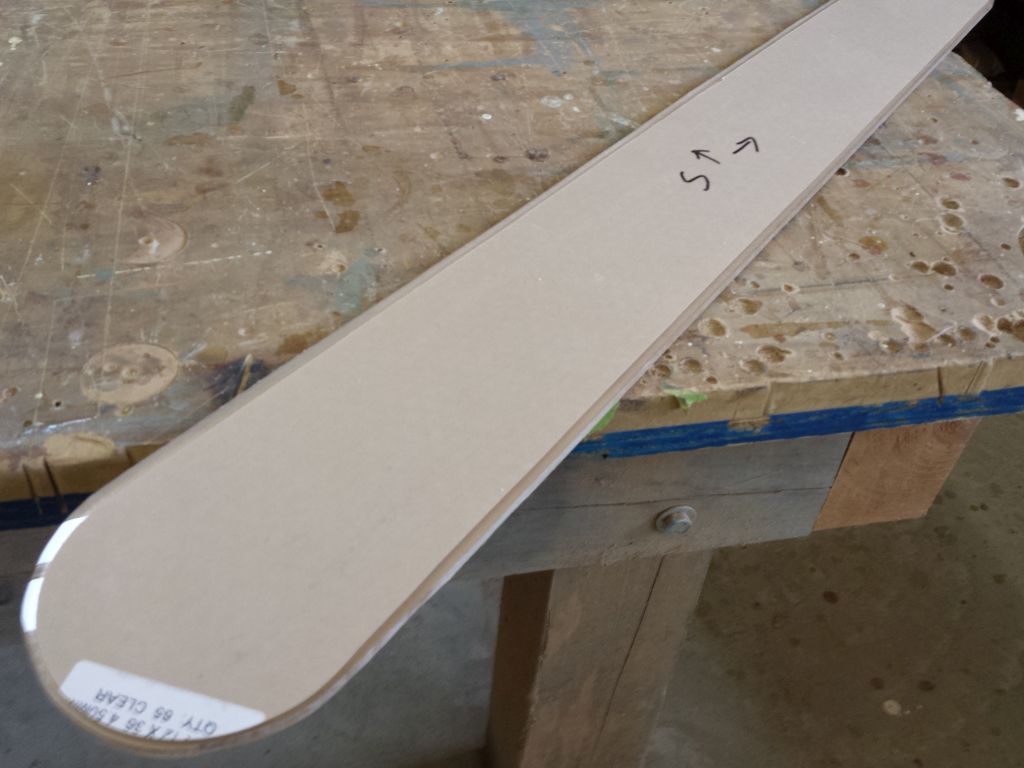
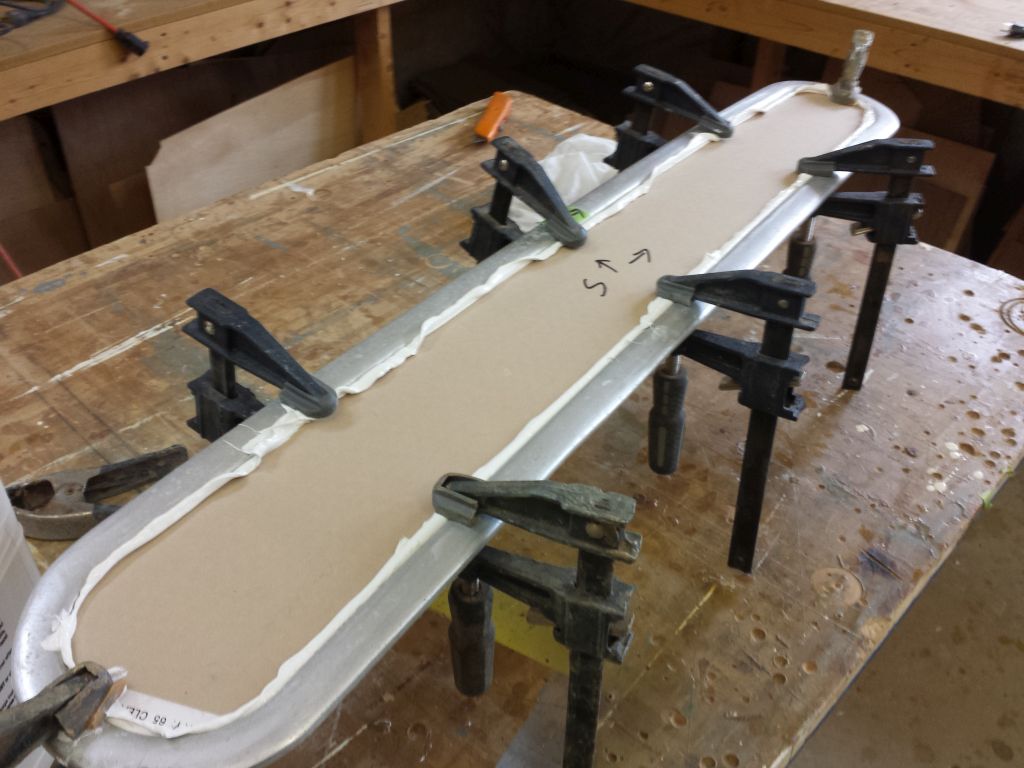
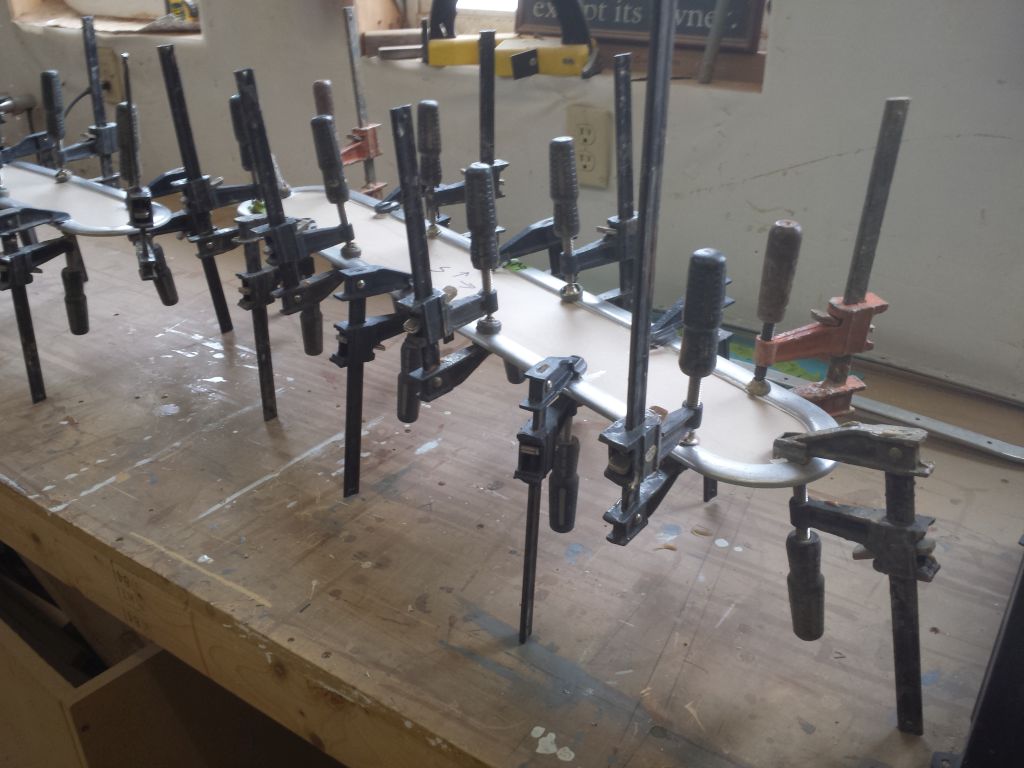
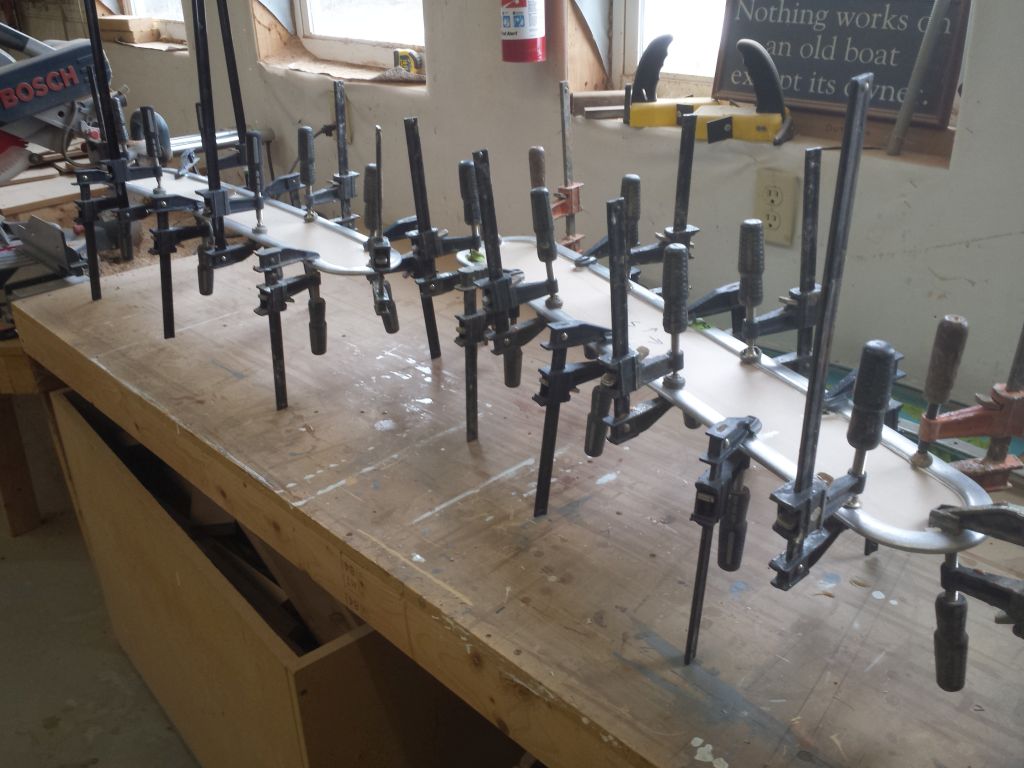
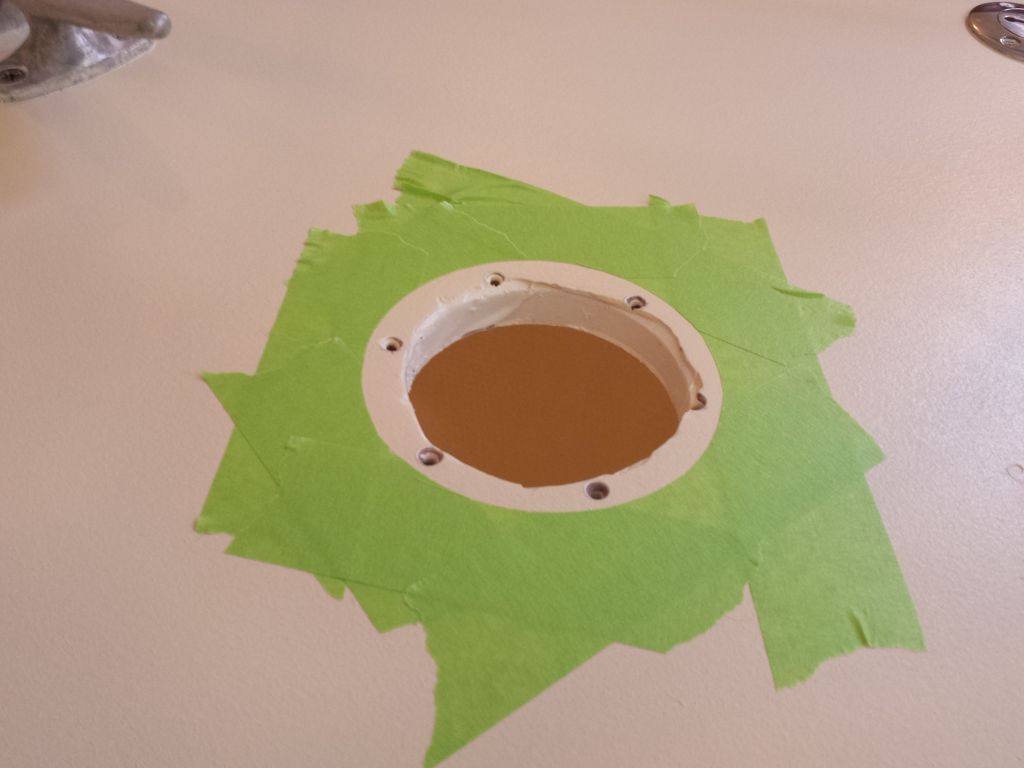
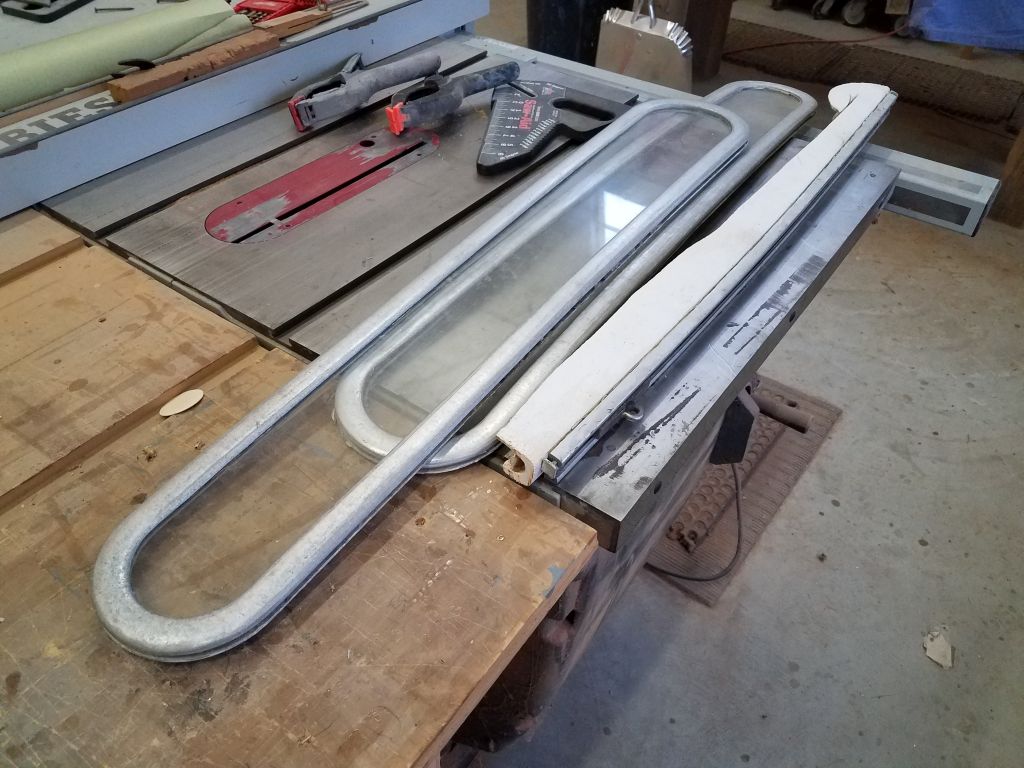
From a sheet of new clear 3/16″ acrylic, I cut two new lenses for the deadlights, using the old ones as patterns and fine-tuning as necessary.  With the lens held in place in the outer frame, I used a knife to trim the protective paper coating at the edges of the frame, to expose the plastic in the bonding area for the next step.

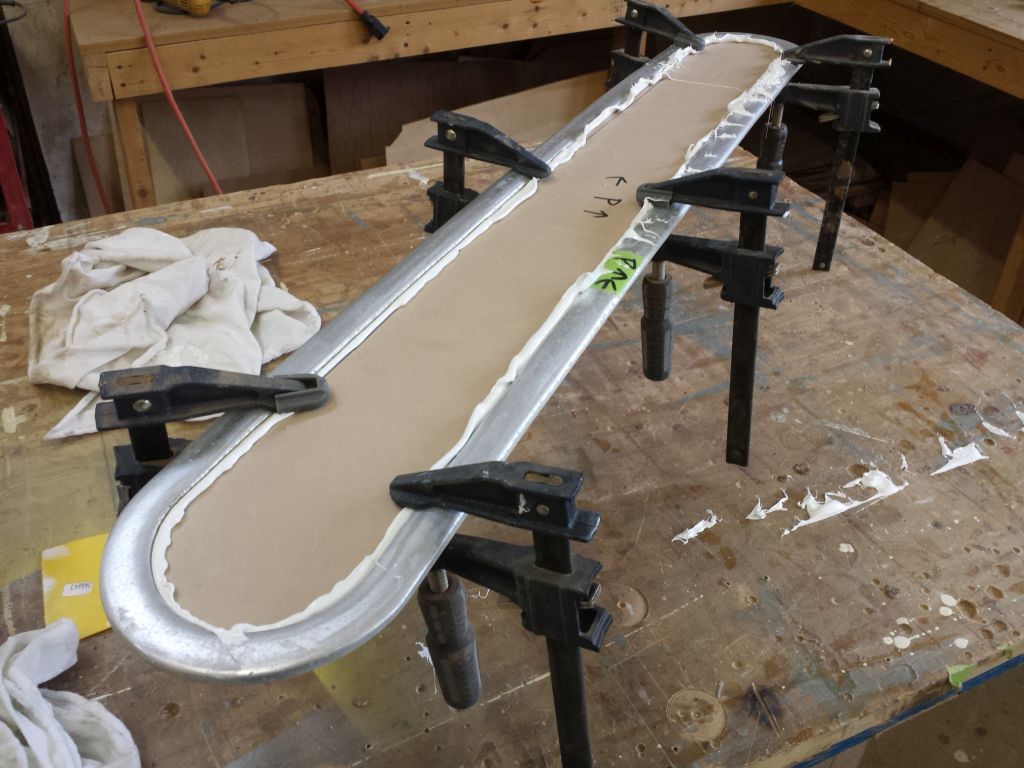
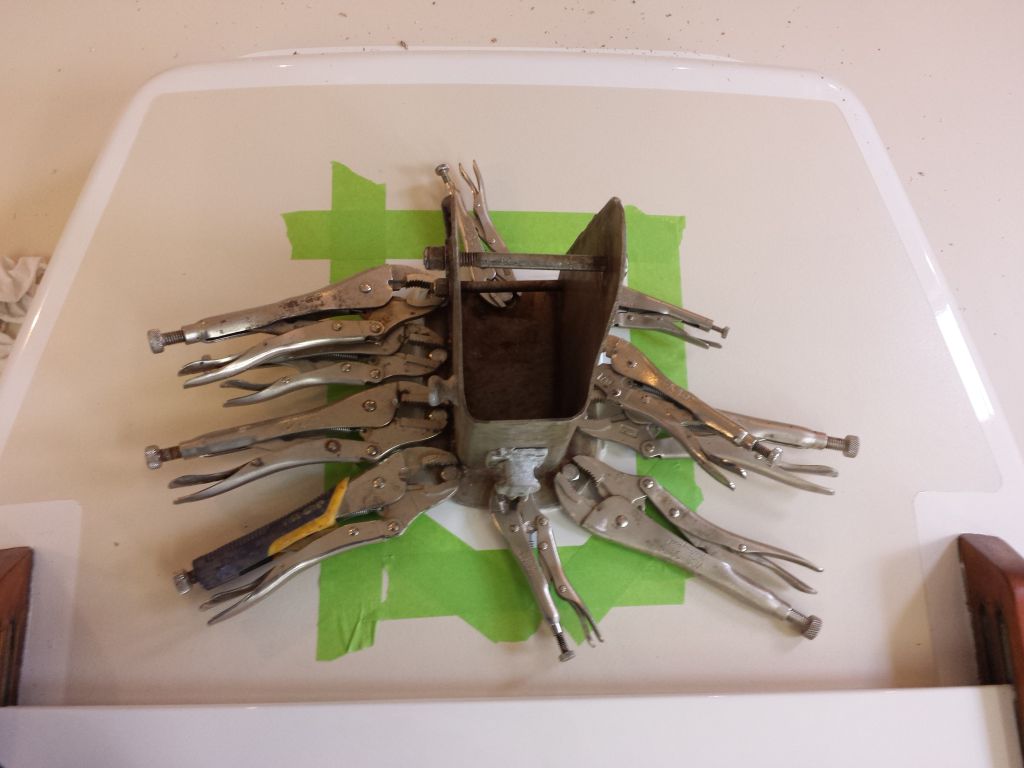
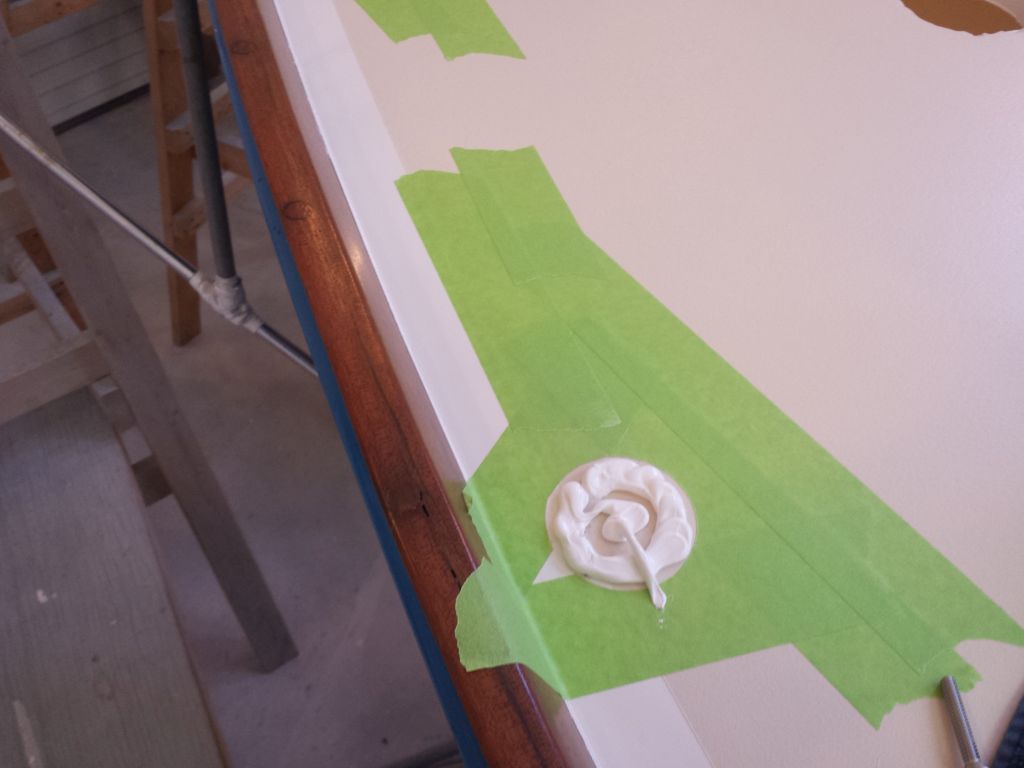
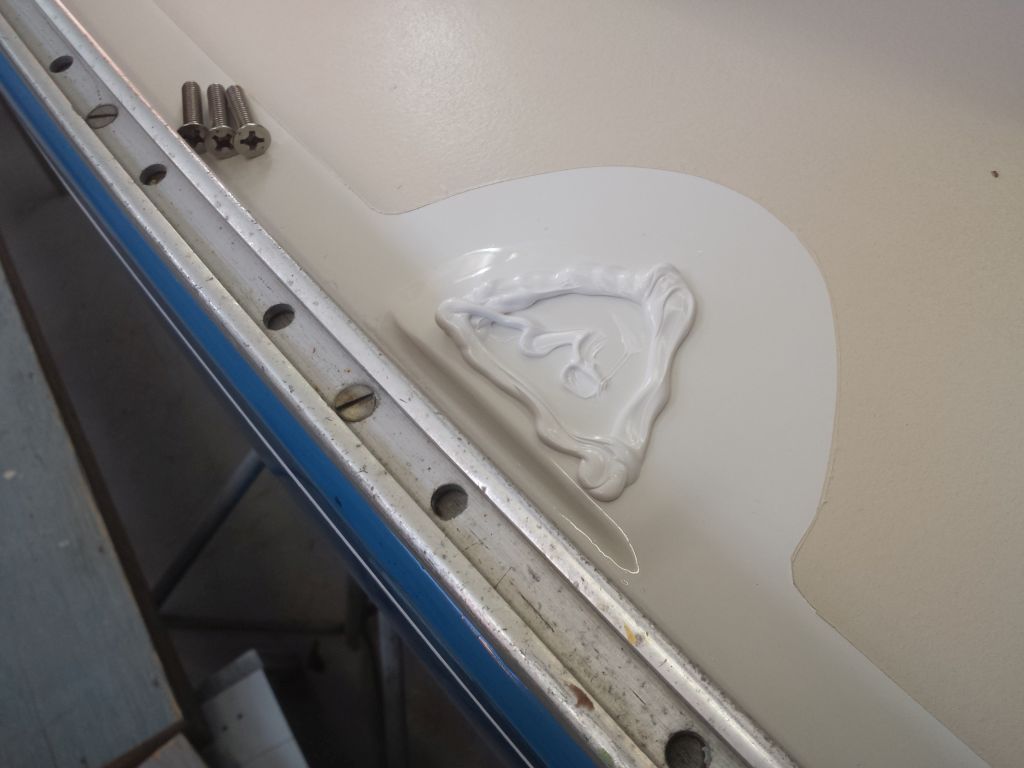
To prepare for final installation on the boat, for which I’d need an additional pair of hands that I’d arrange soon, I decided to pre-install the lenses in the outer frames, using the light adhesive  polyurethane sealant that I use for all general purpose bedding.  For each frame, I applied a good bead of sealant to the shallow, narrow rabbet on the inside of the frame, then pressed in the lens, clamping it securely.  I cleaned up the bulk of the squeeze out now, concentrating mainly on the frames, since I could trim excess on the paper later, once the sealant cured.  With both lenses clamped in place, I set them aside for a good long cure.  This also held the built-in curvature in the aluminum frames, which corresponded to the shape of the cabin trunk.  I used lots of clamps to ensure a consistent and secure bond and seal.

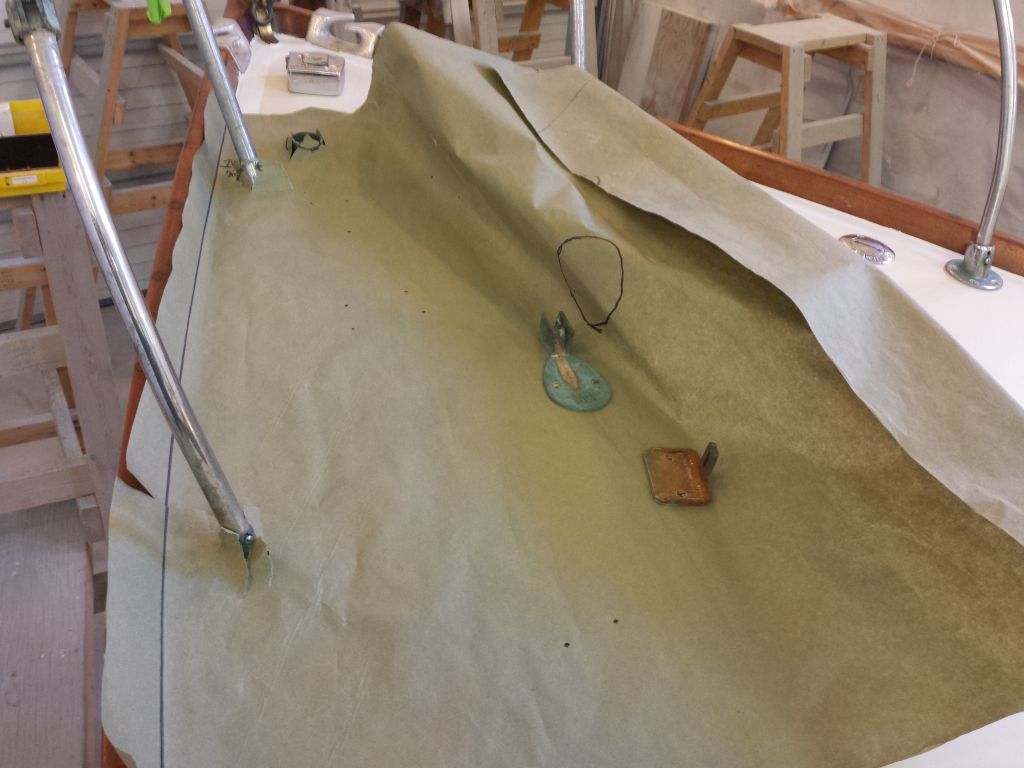
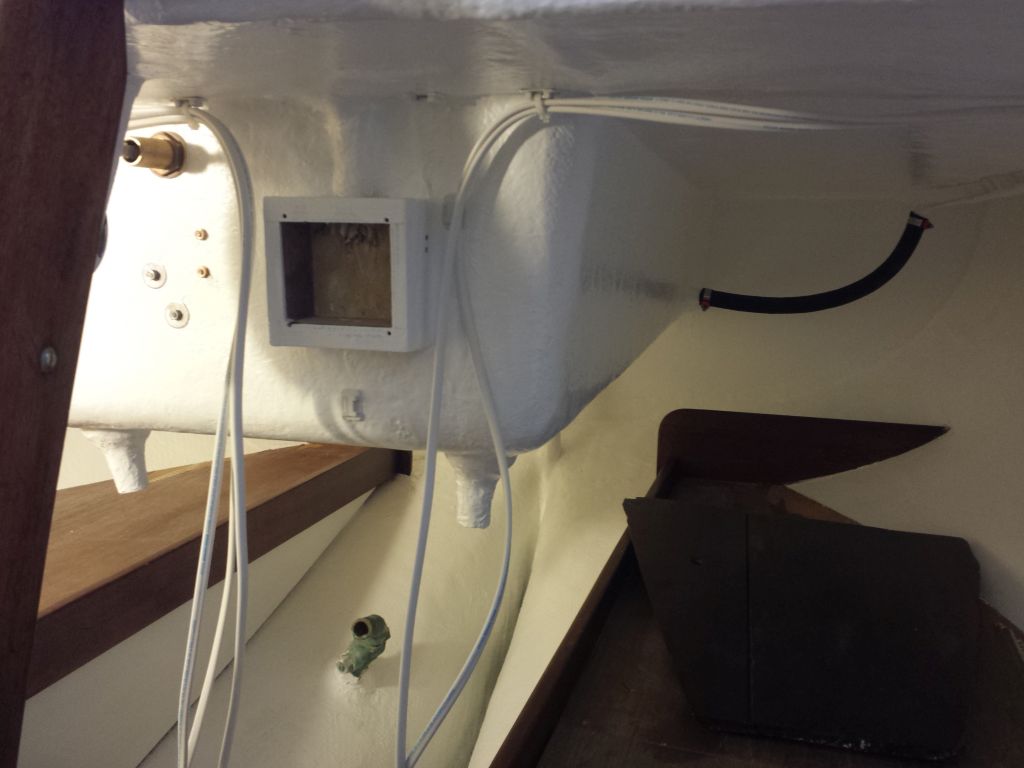
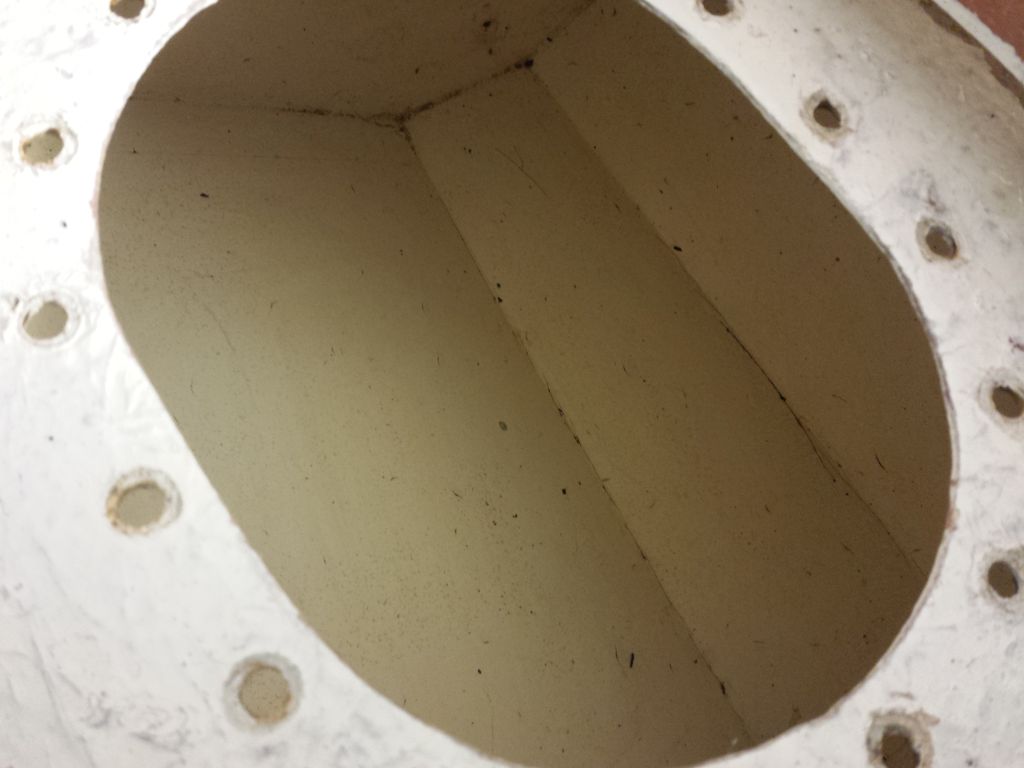
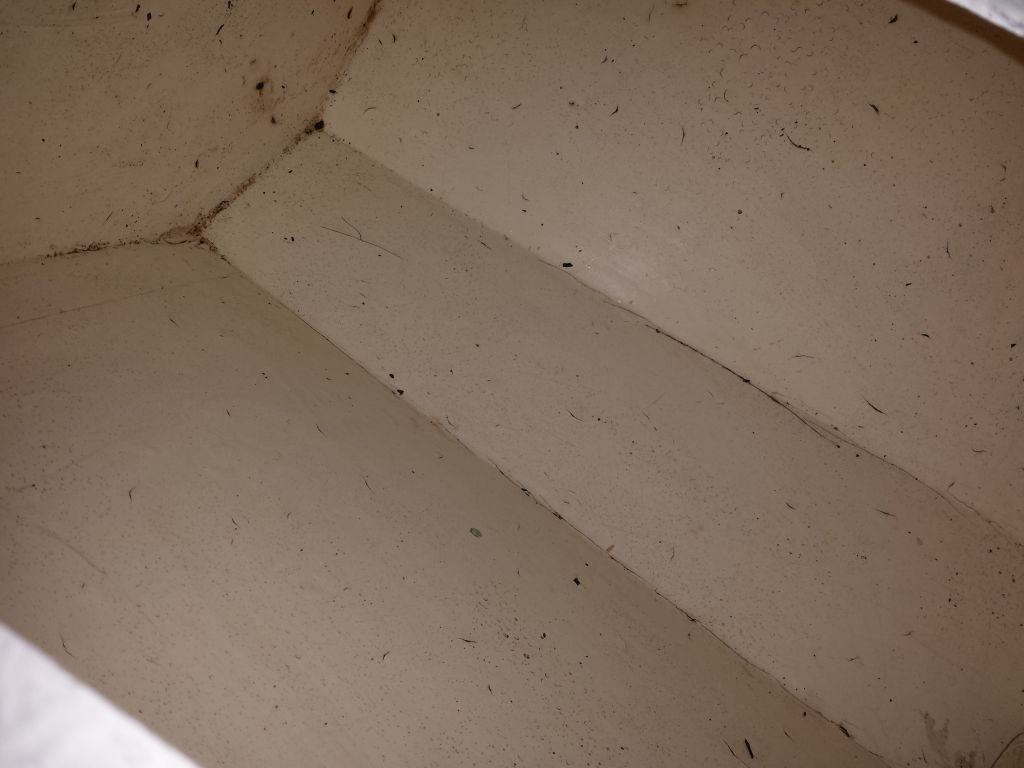
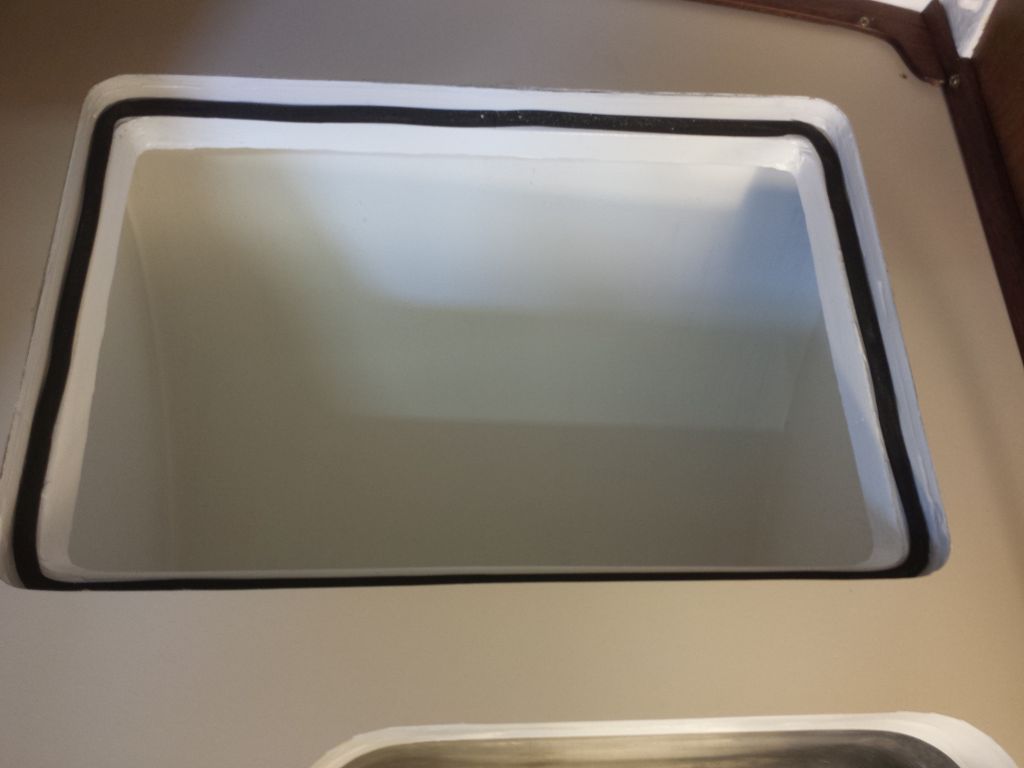
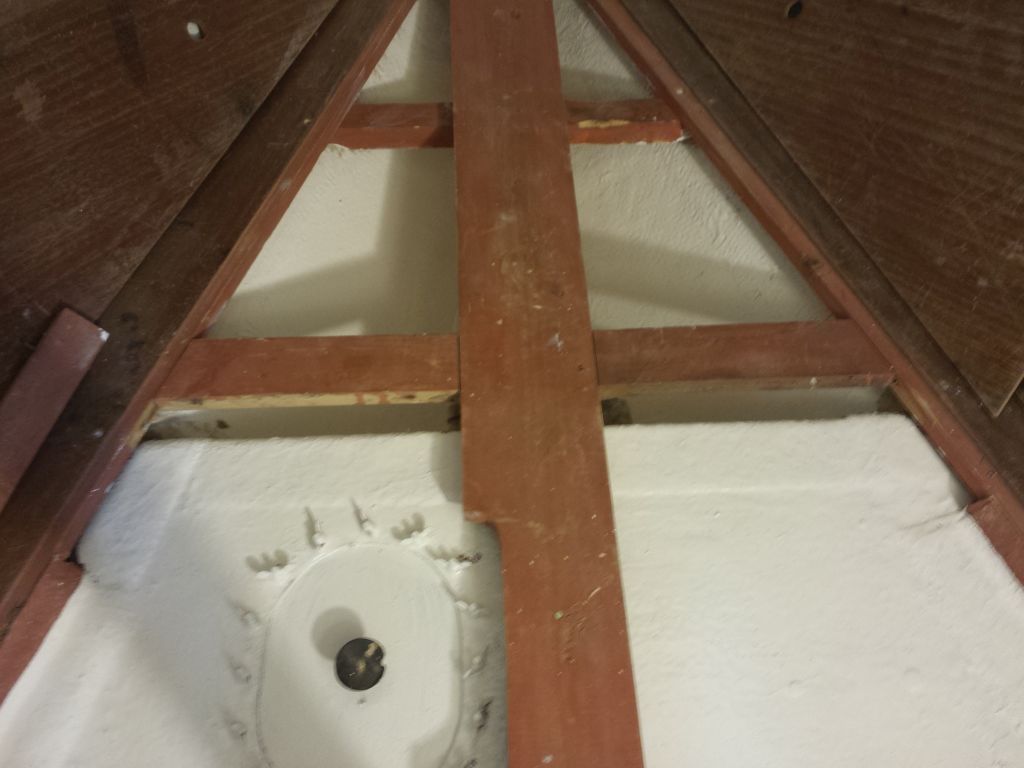
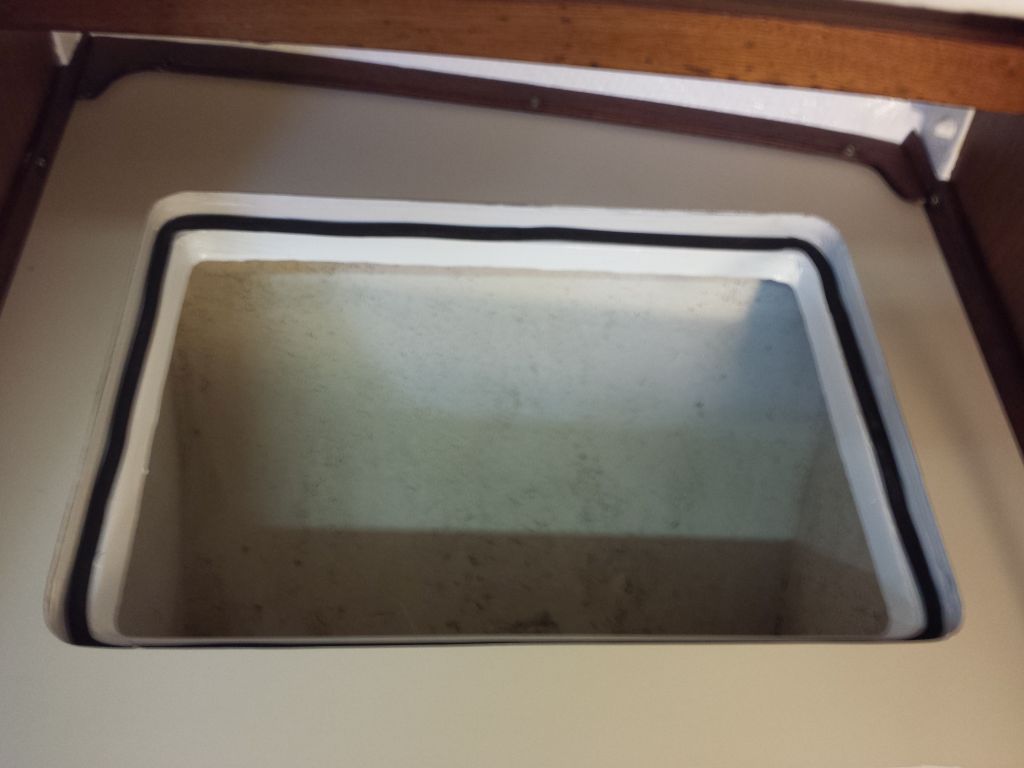
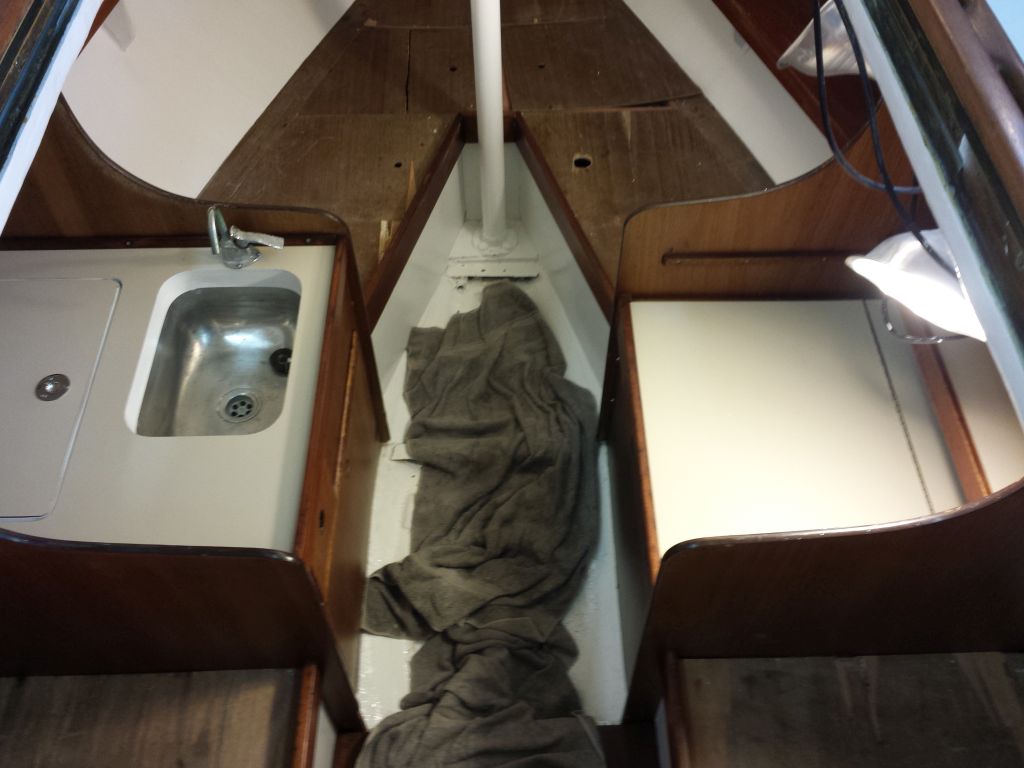
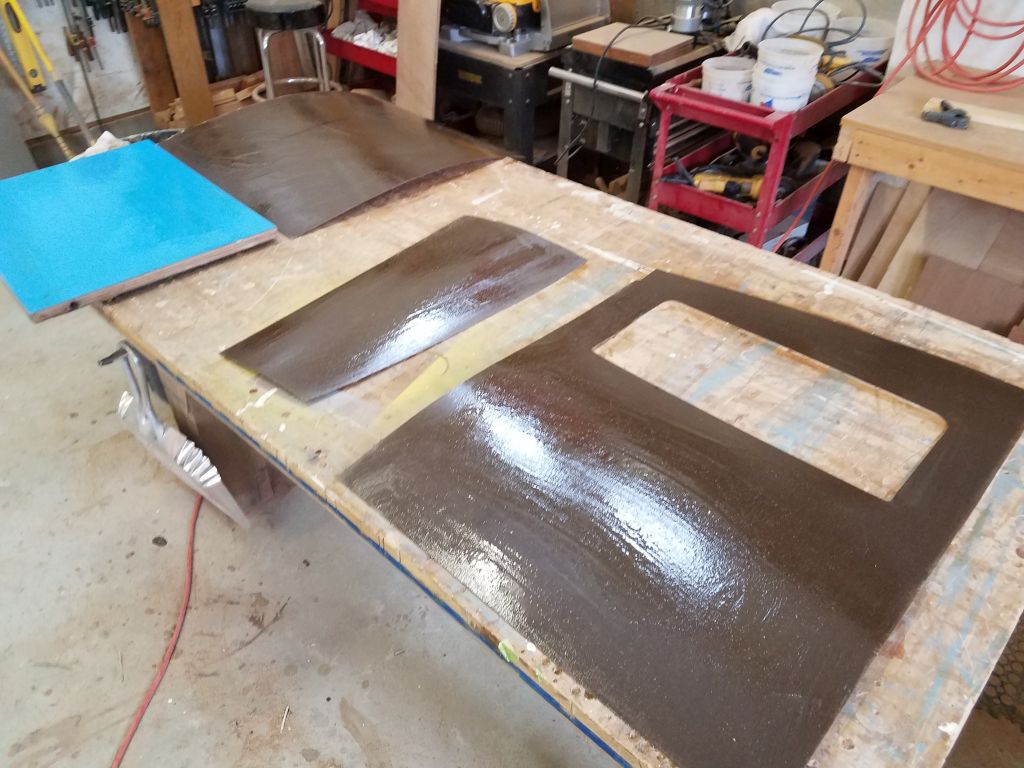
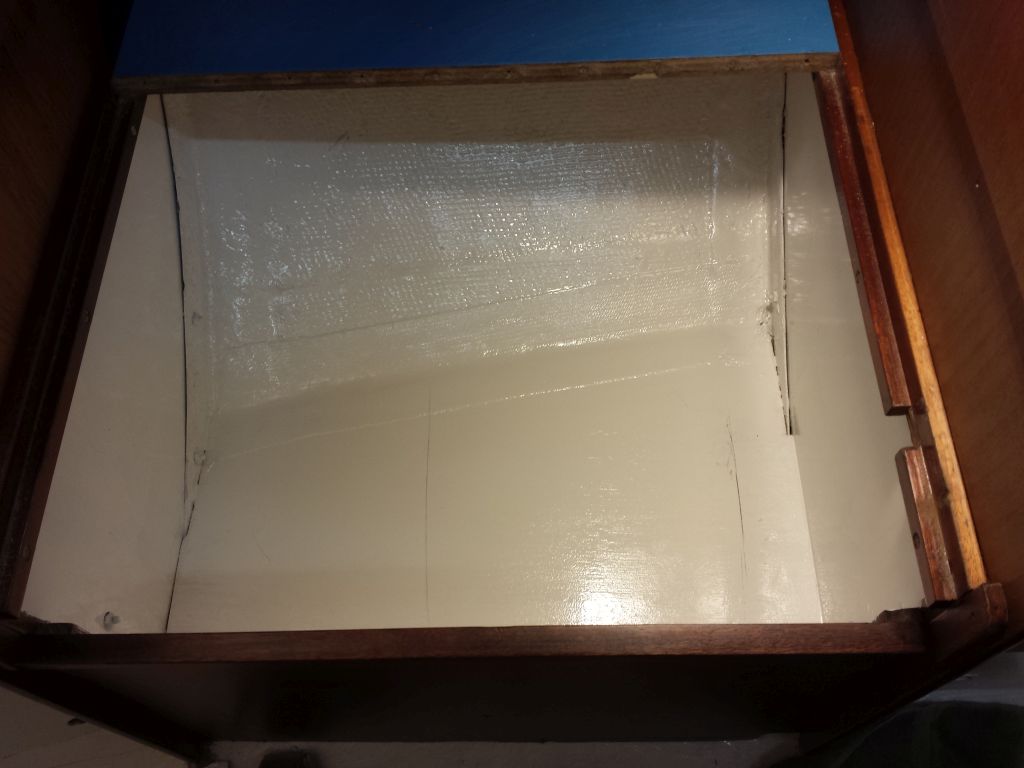
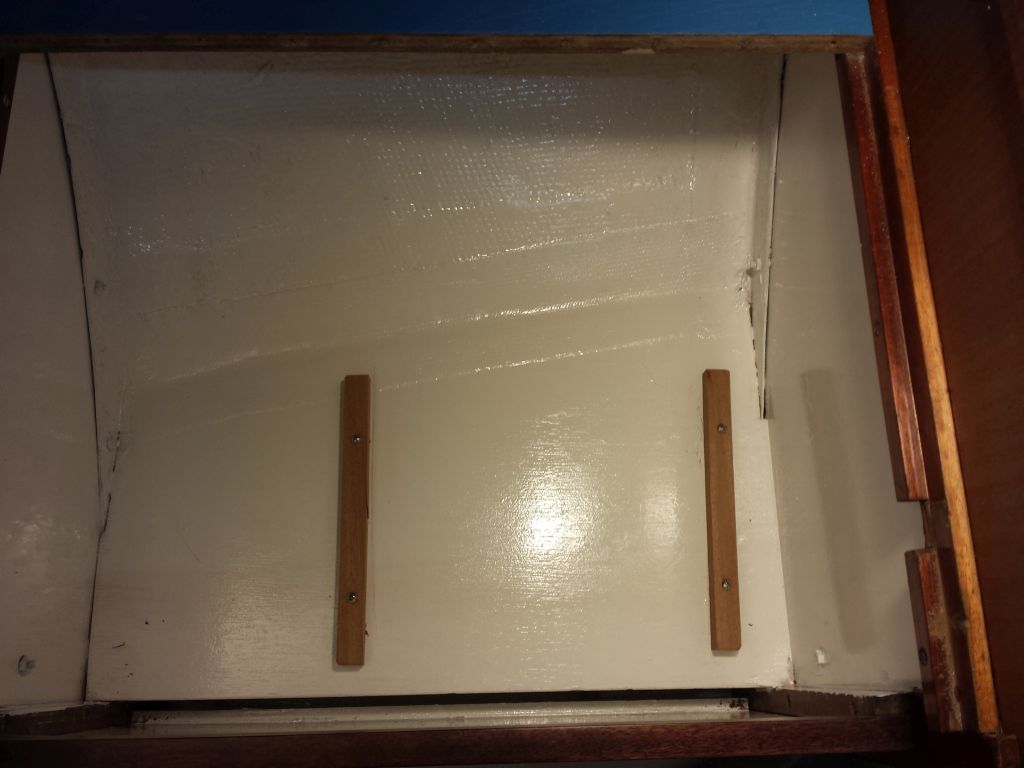
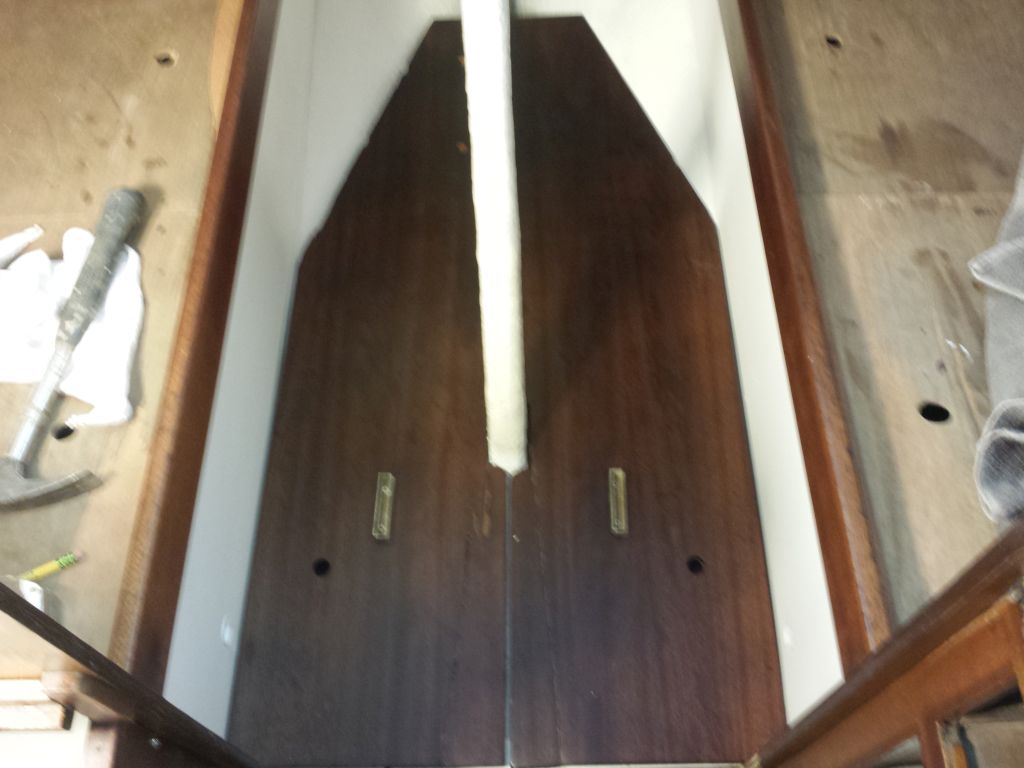
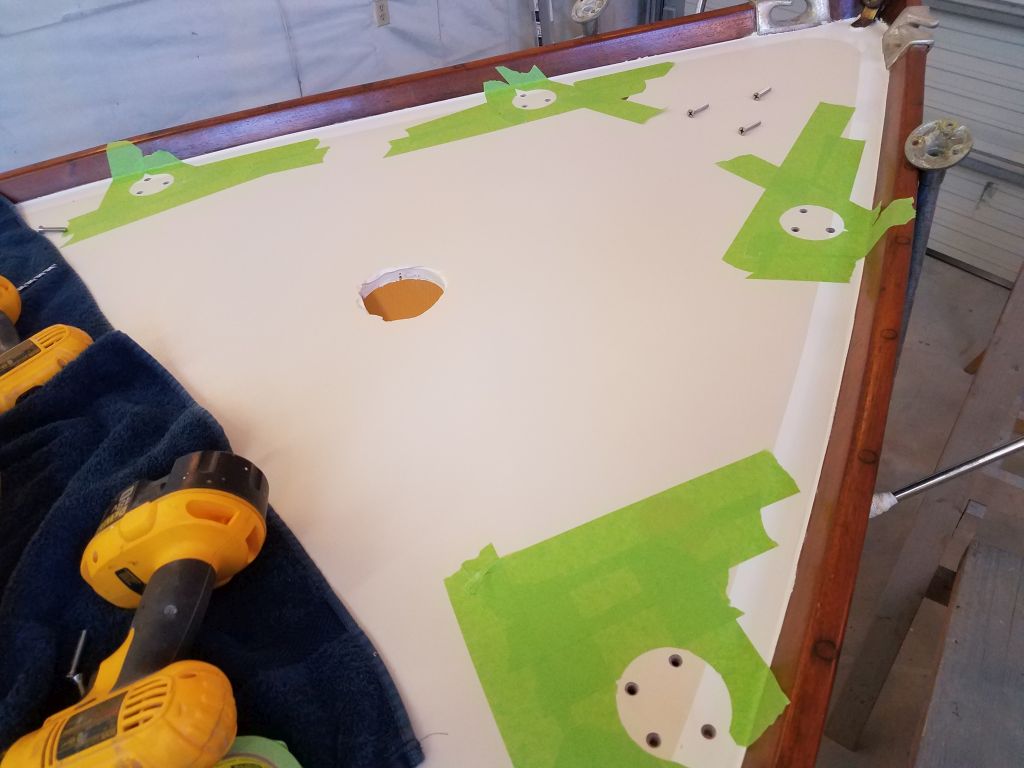
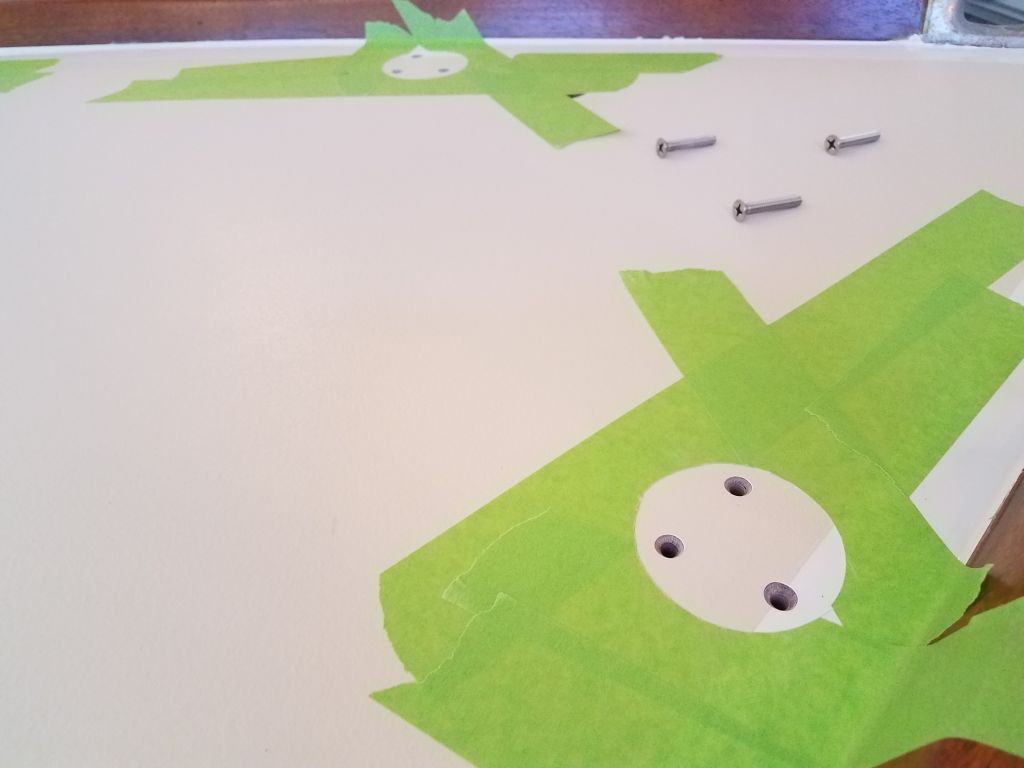
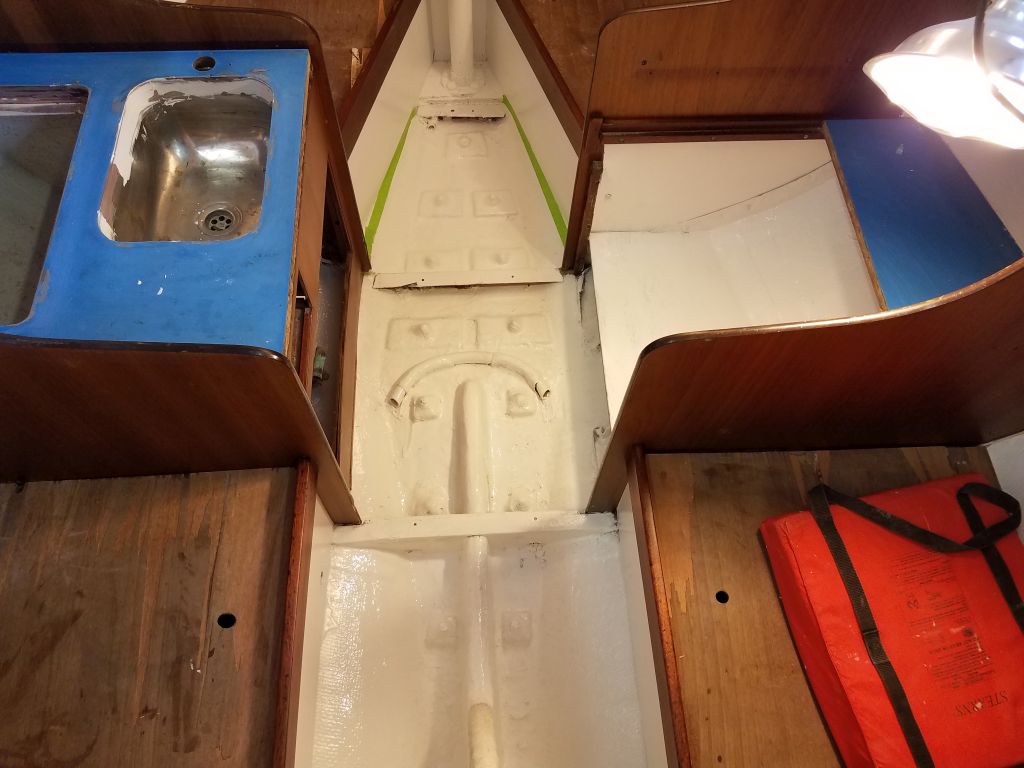
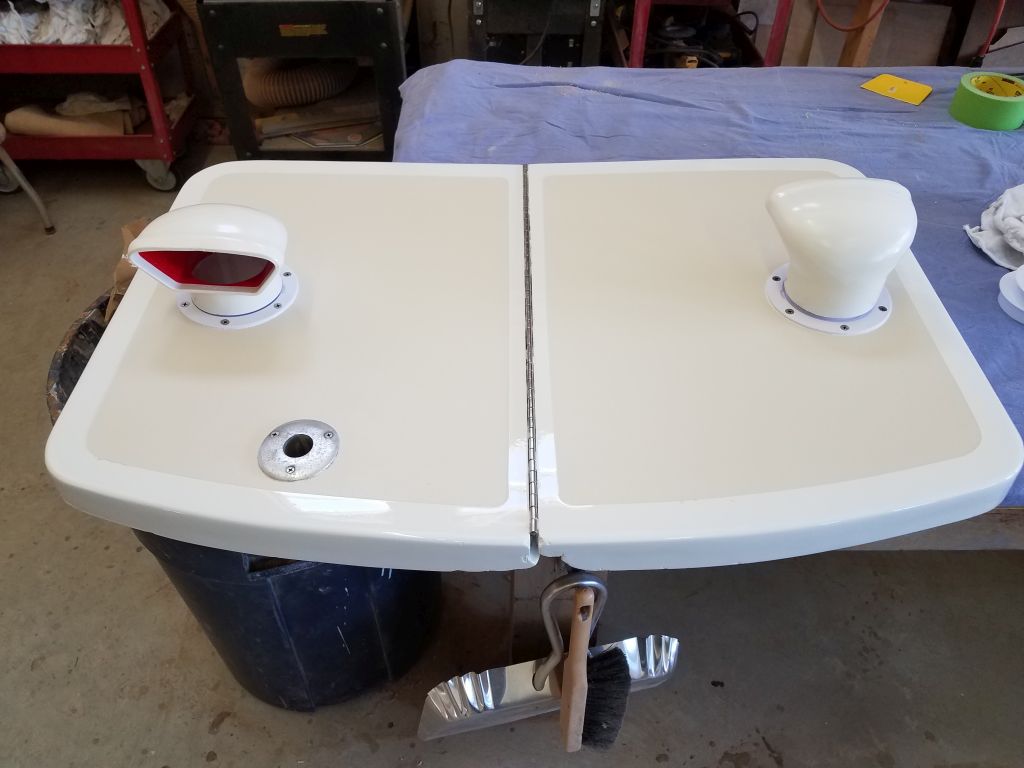
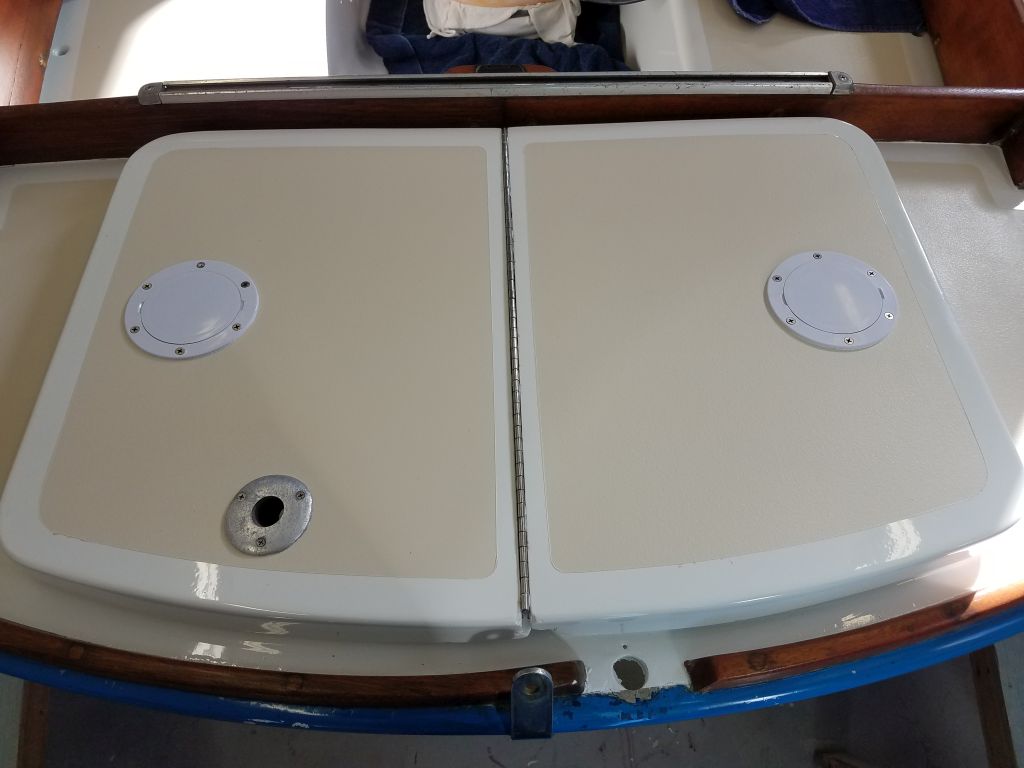
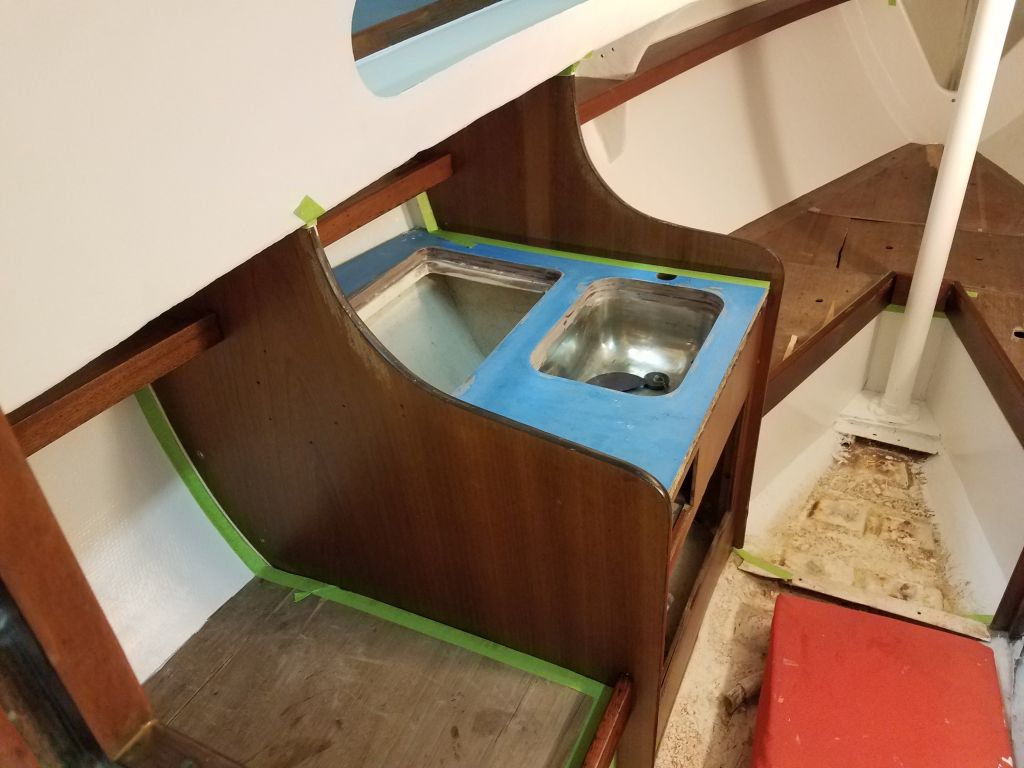
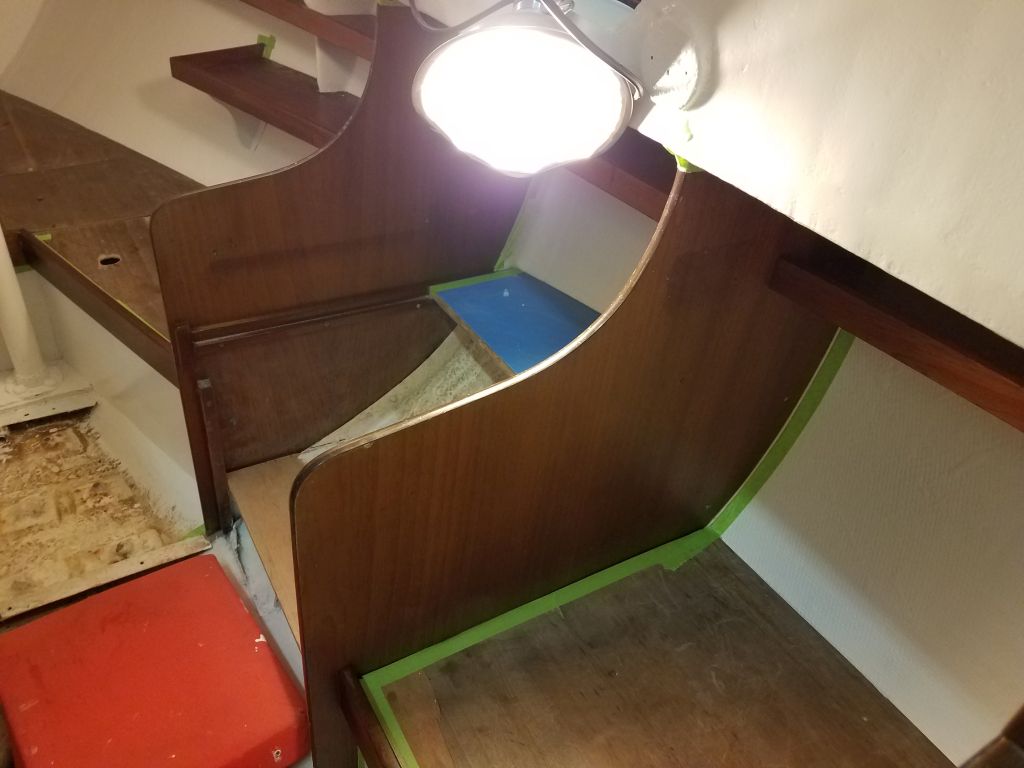
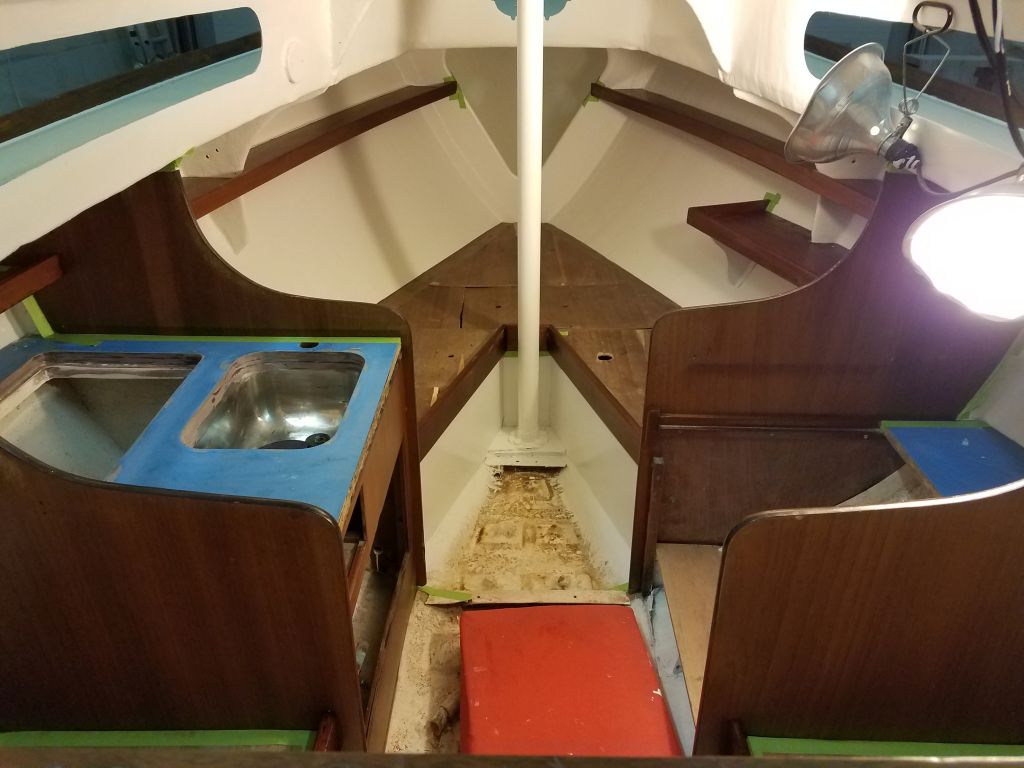
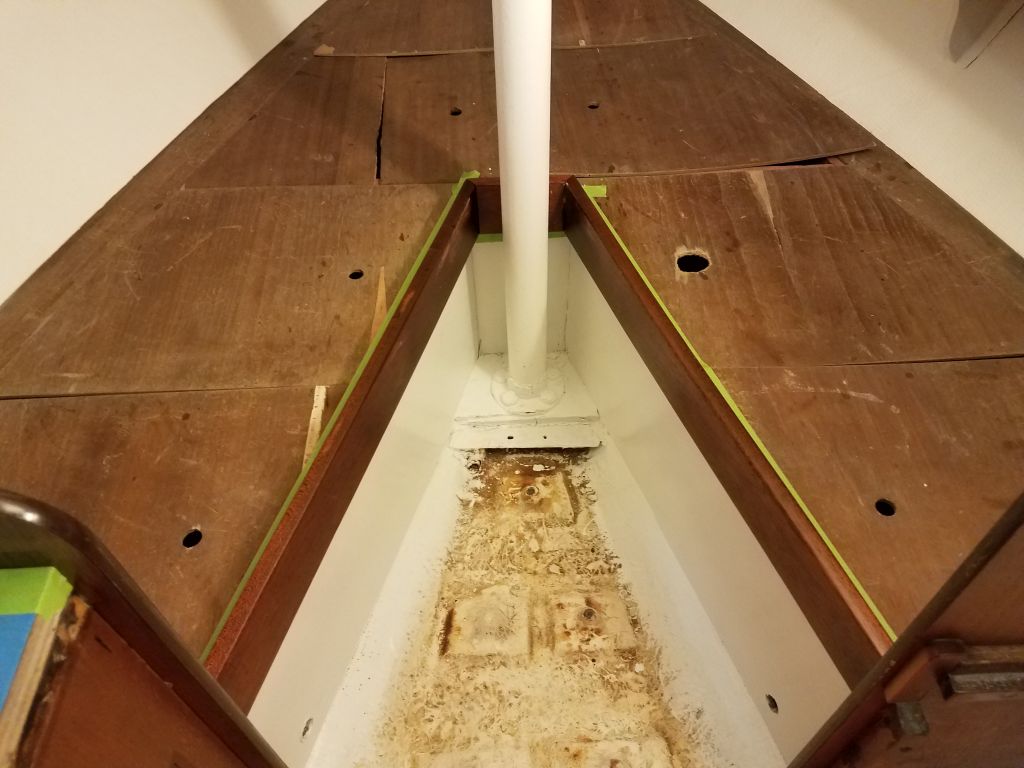
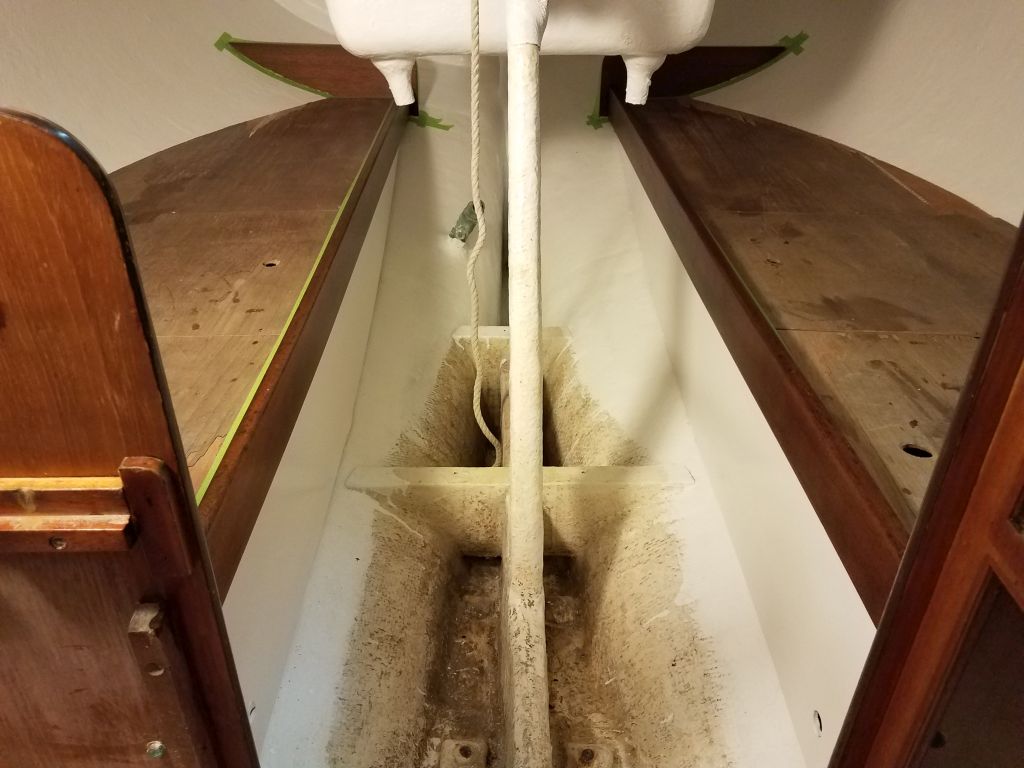
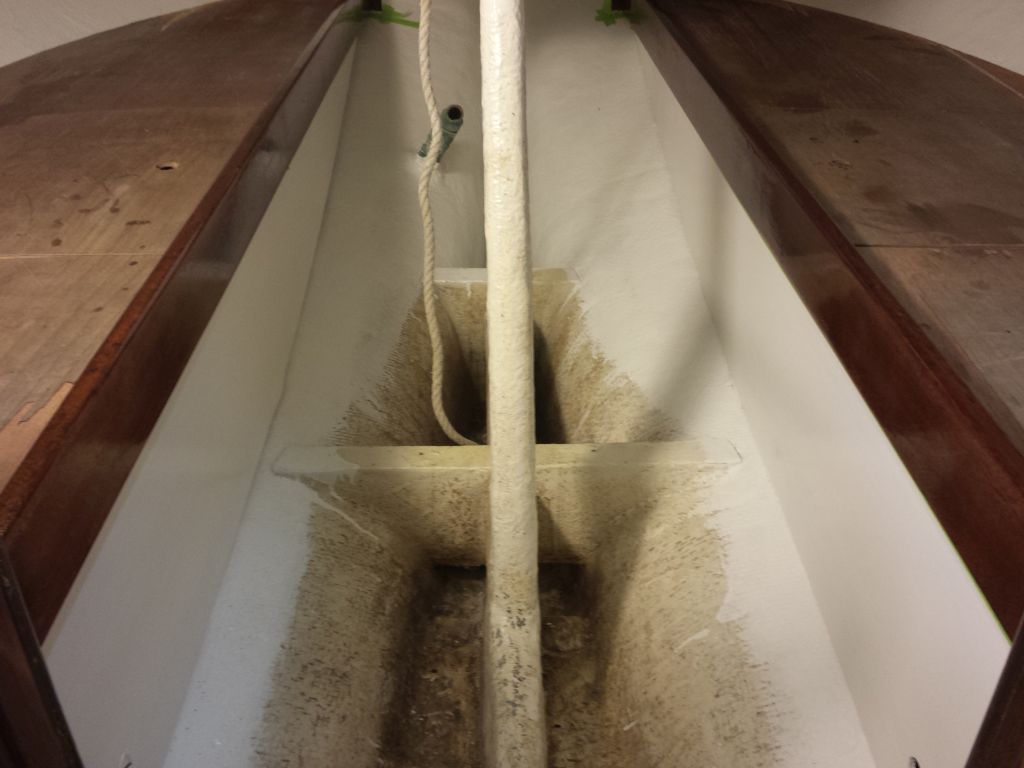
After final preparations, I painted all the locker areas beneath the berths, as well as the inside of the icebox.  I’d previously sanded and prepared these areas during the interior phase of the project.

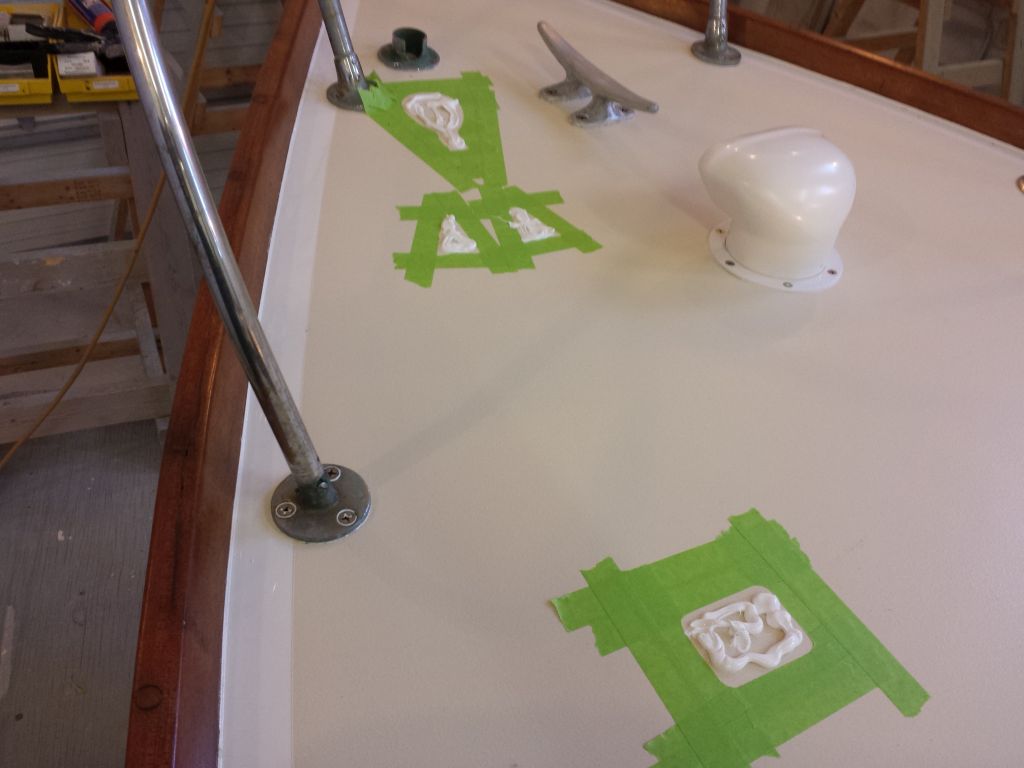
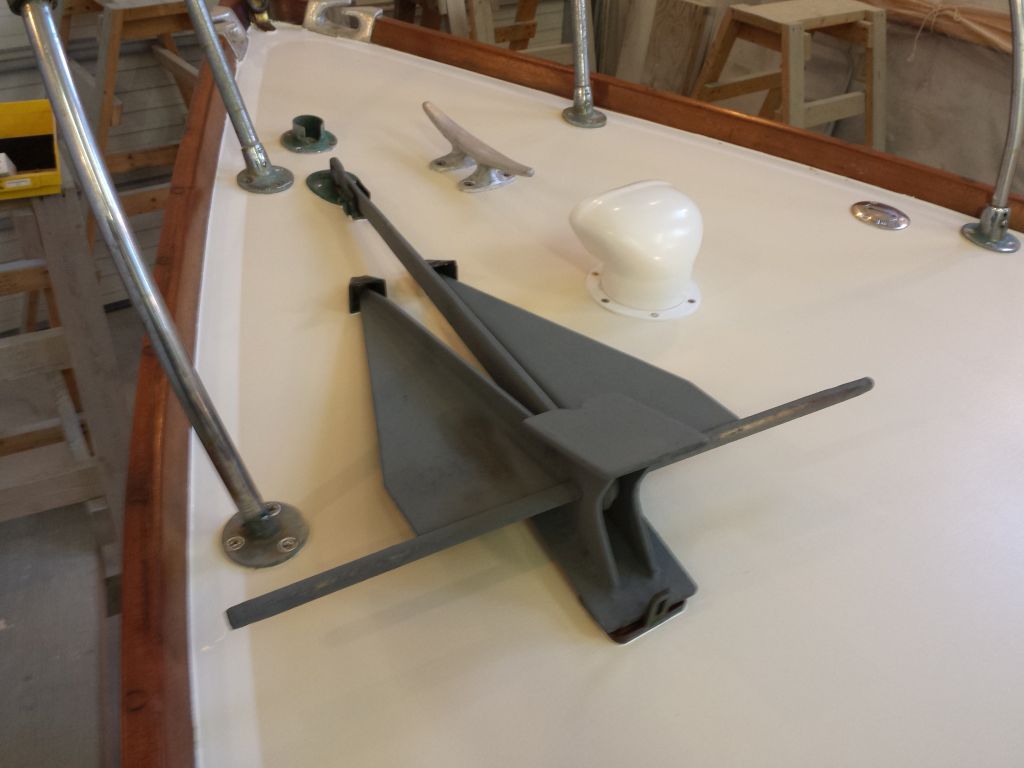
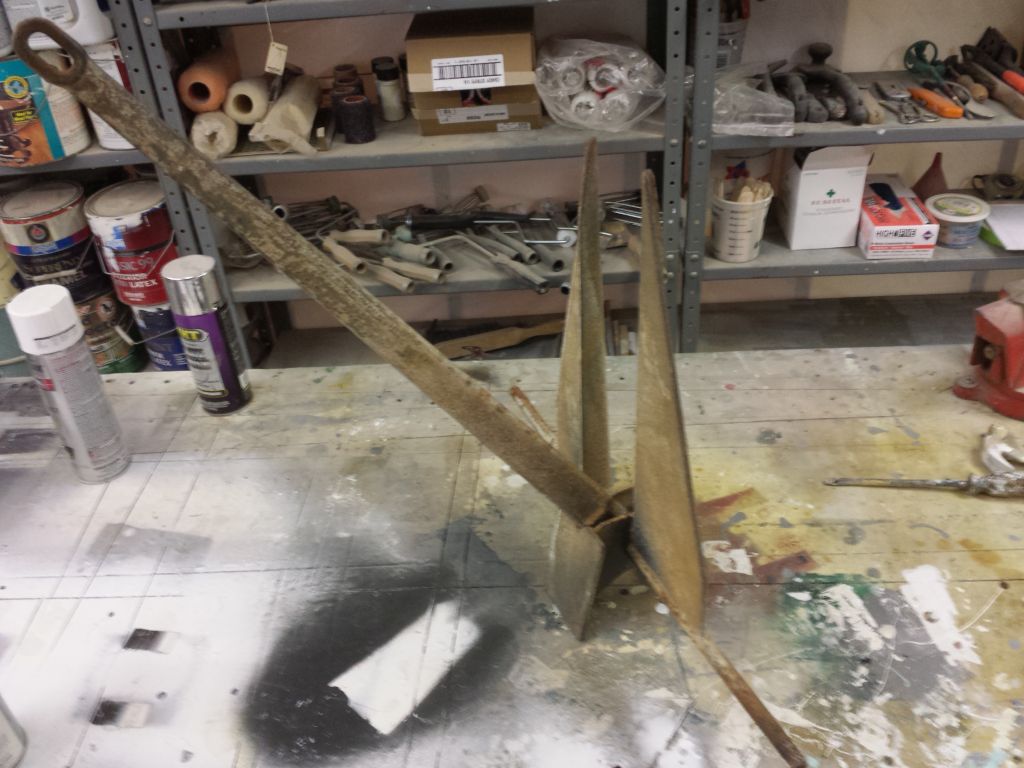
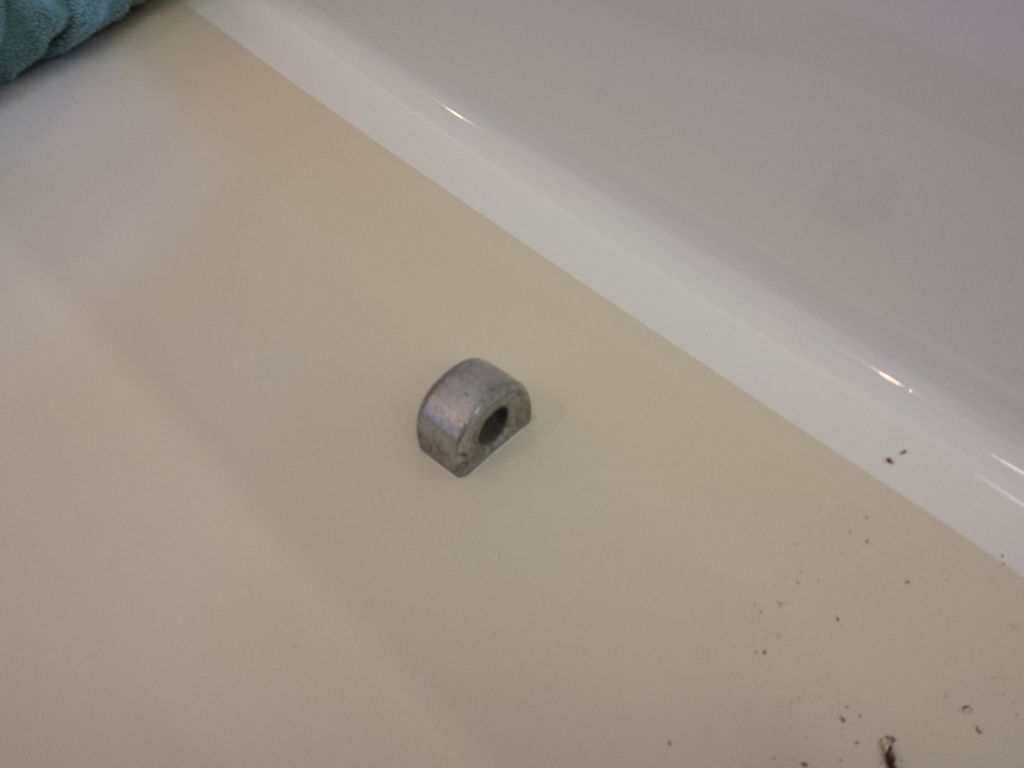
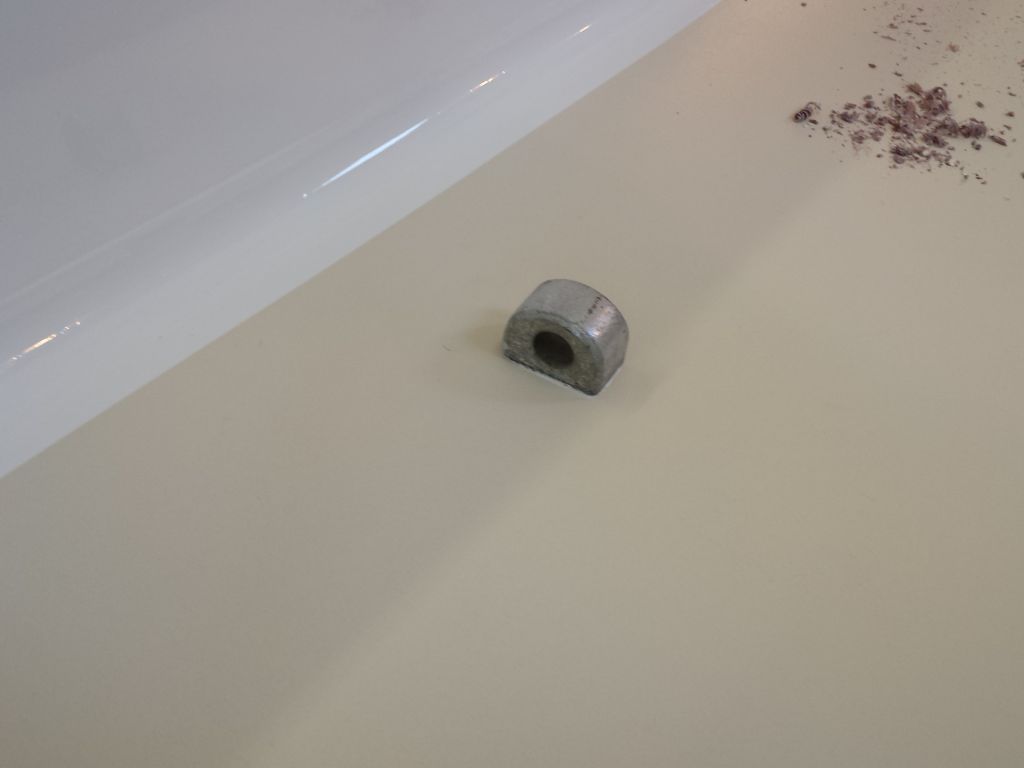
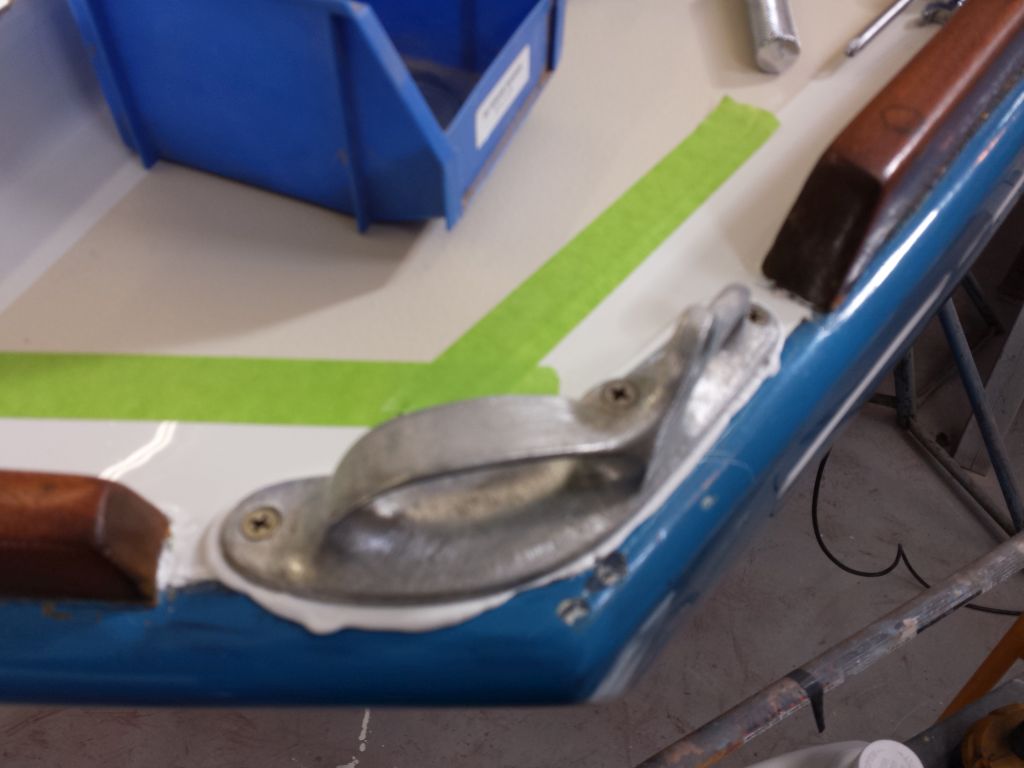
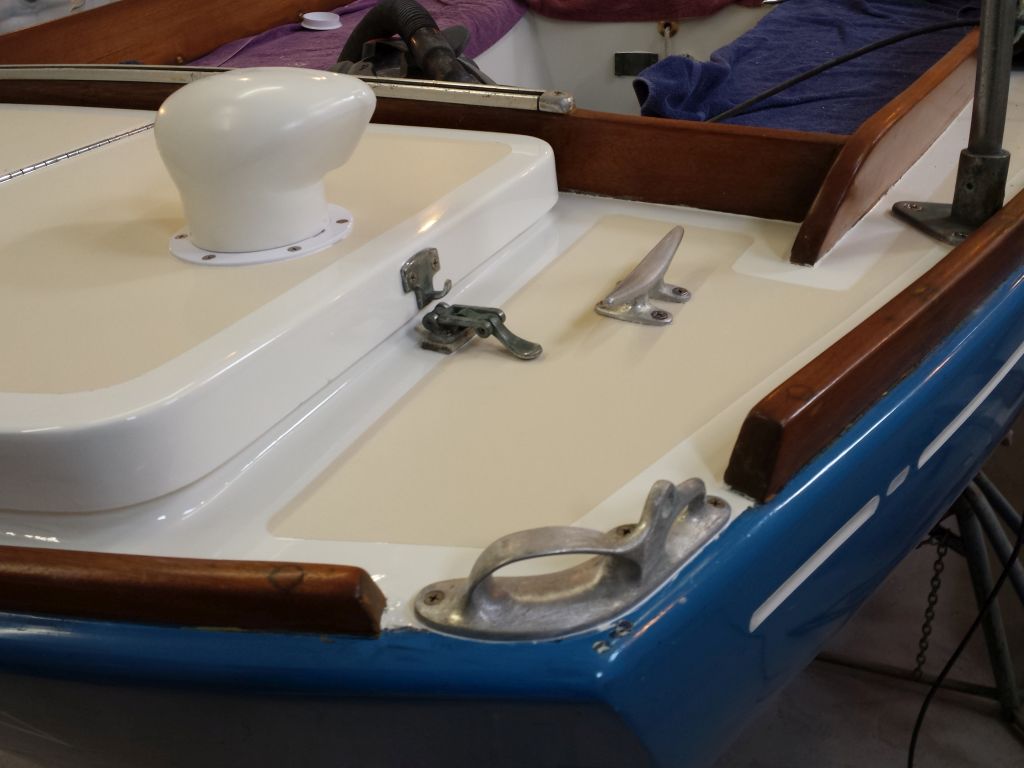
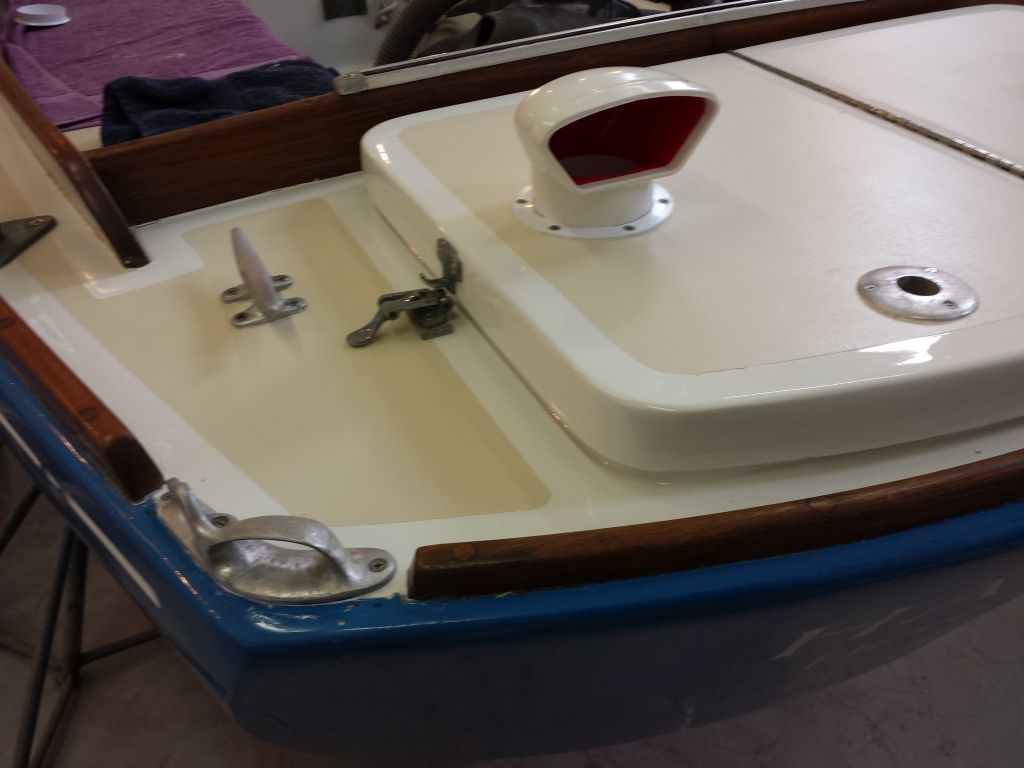
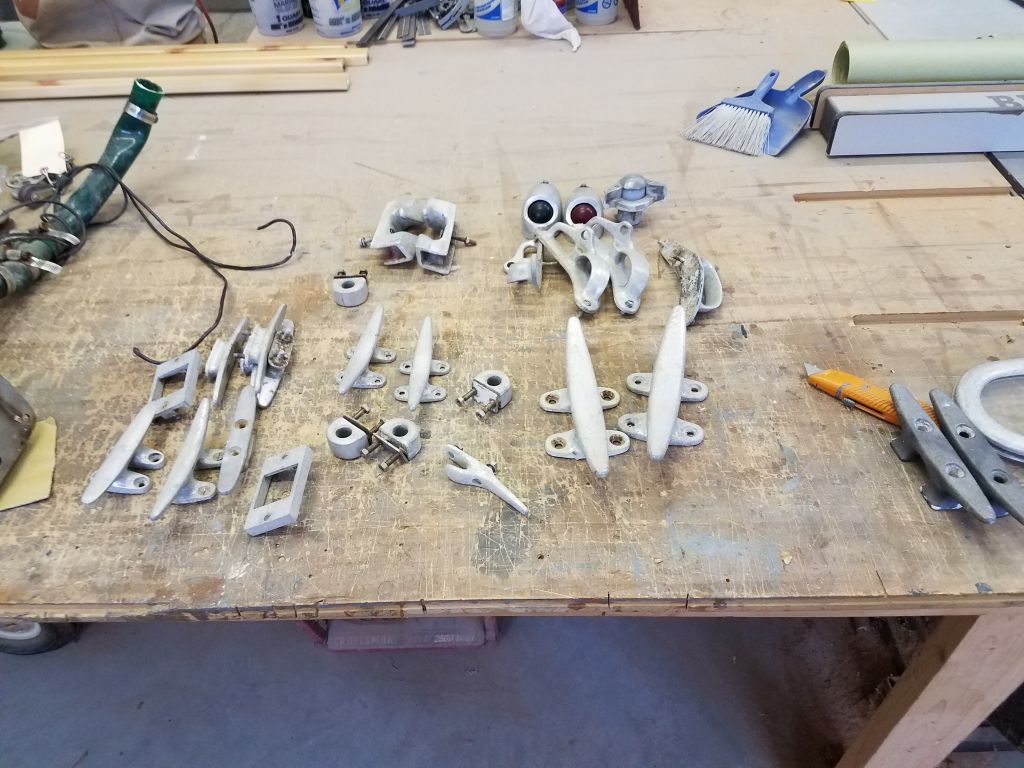
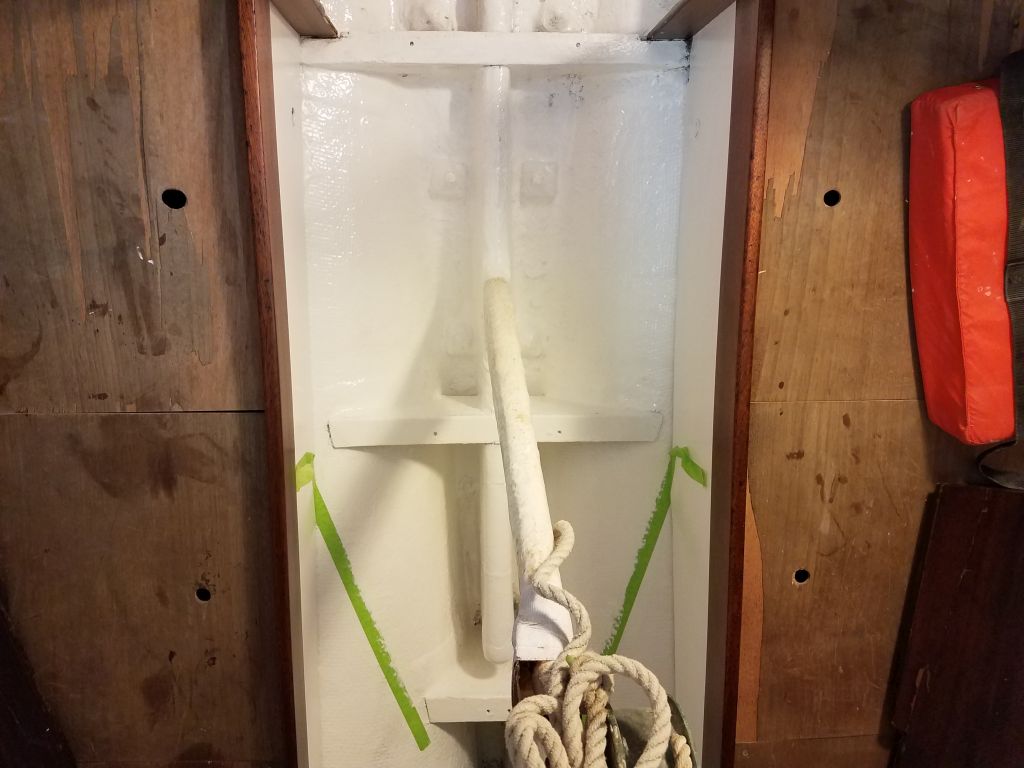
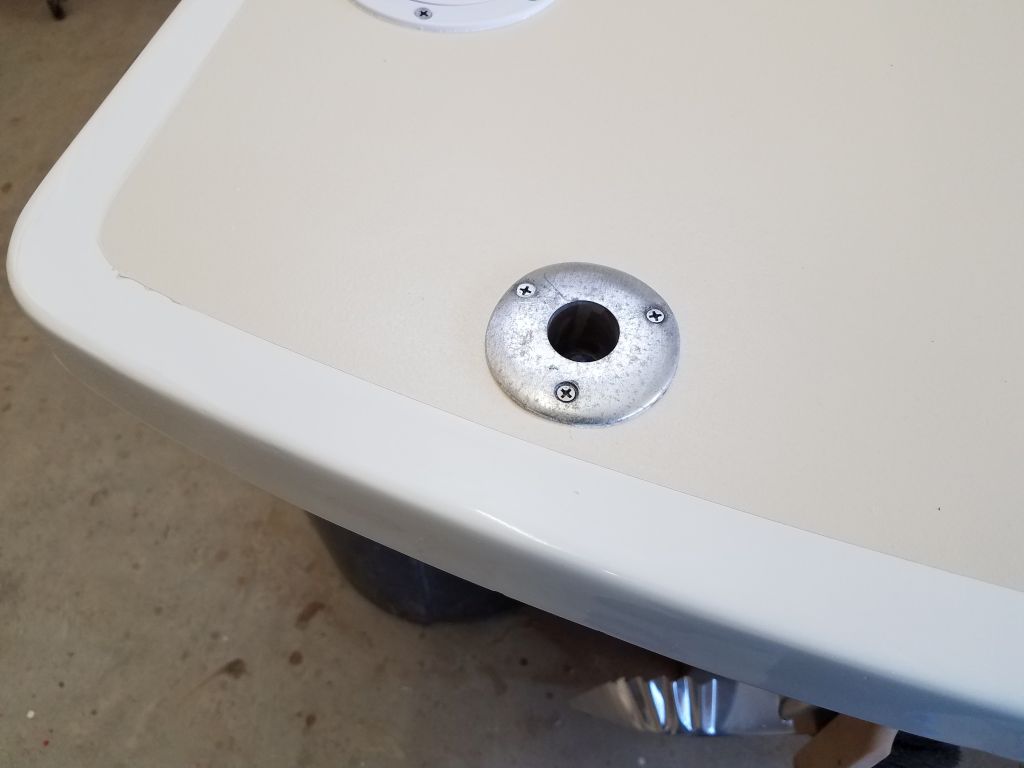
From my little supply of random anchors, I found a suitable replacement anchor for the badly rusted/seized original that I’d removed from the boat.  The anchor was in good condition, but didn’t look terrific as is, so I cleaned it up and applied a spray coat of cold-galvanized primer.  Later, I planned to overcoat this with a topcoat, but I didn’t have the paint on hand so I’d complete that once I received the new paint.

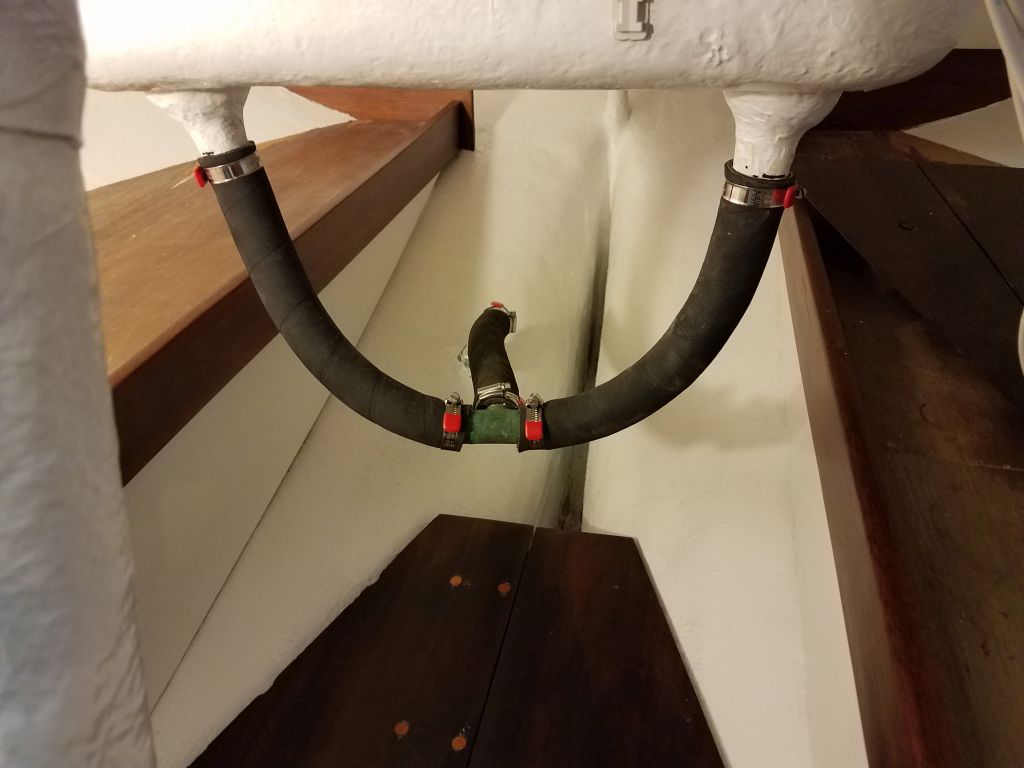
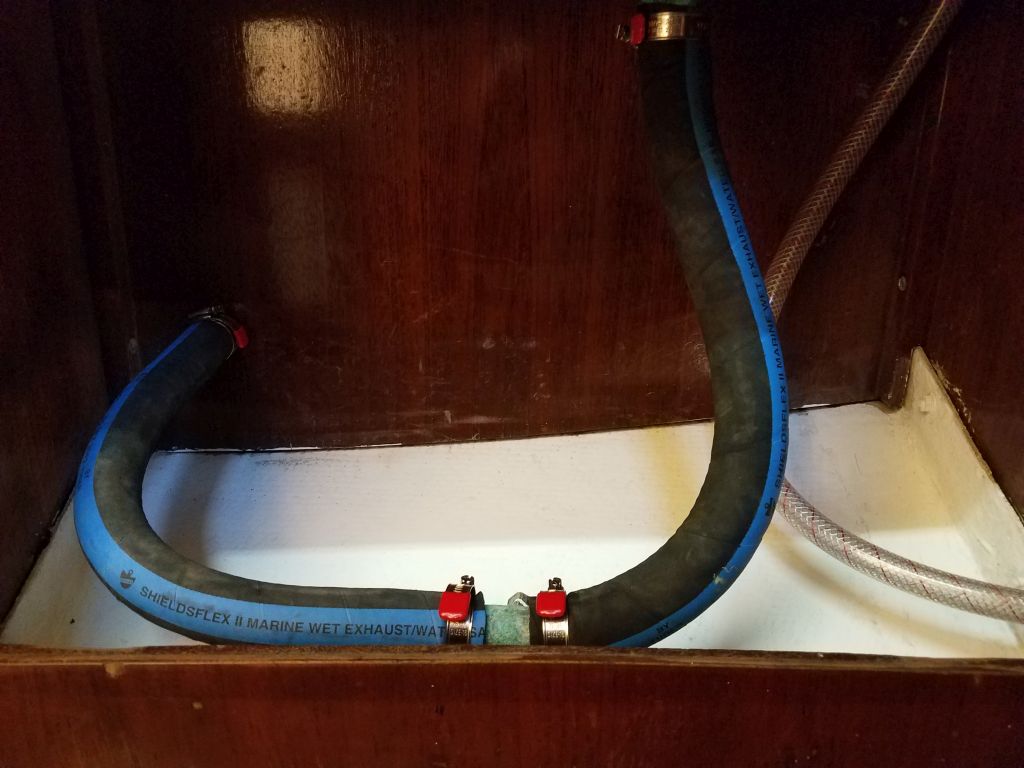
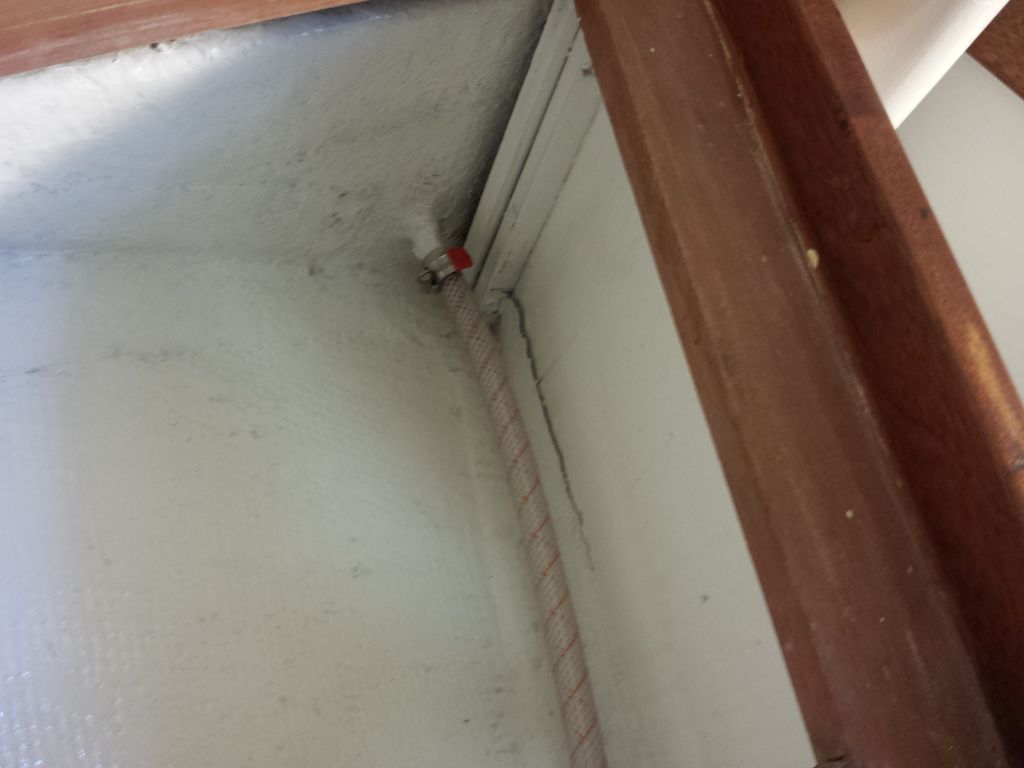
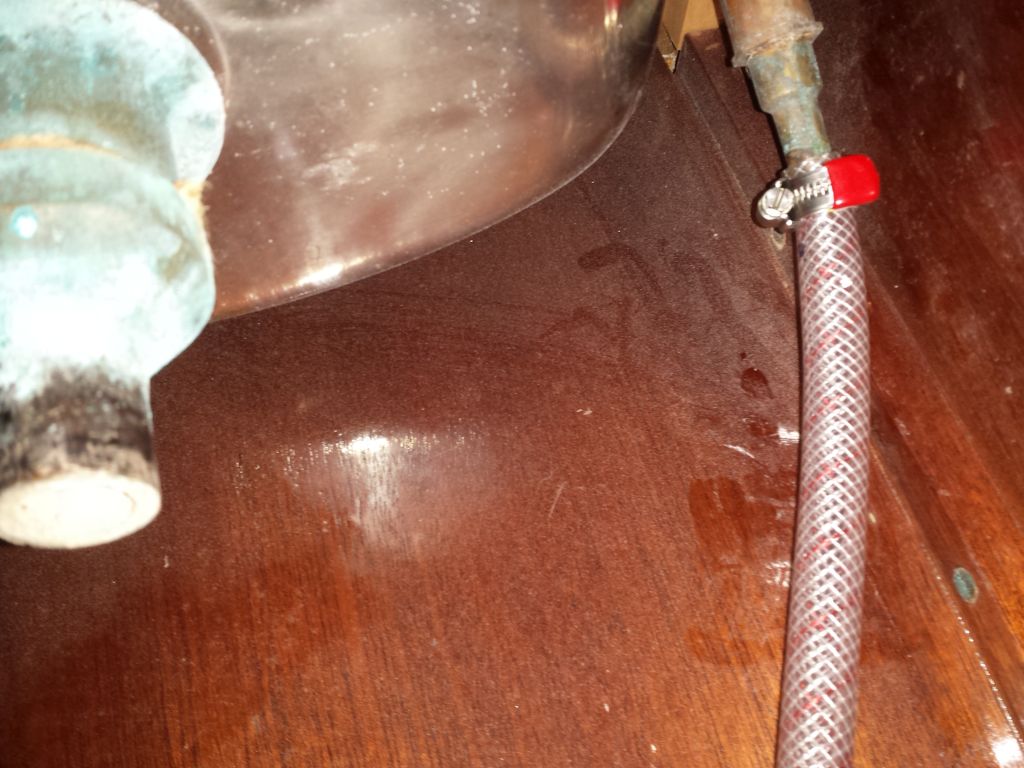
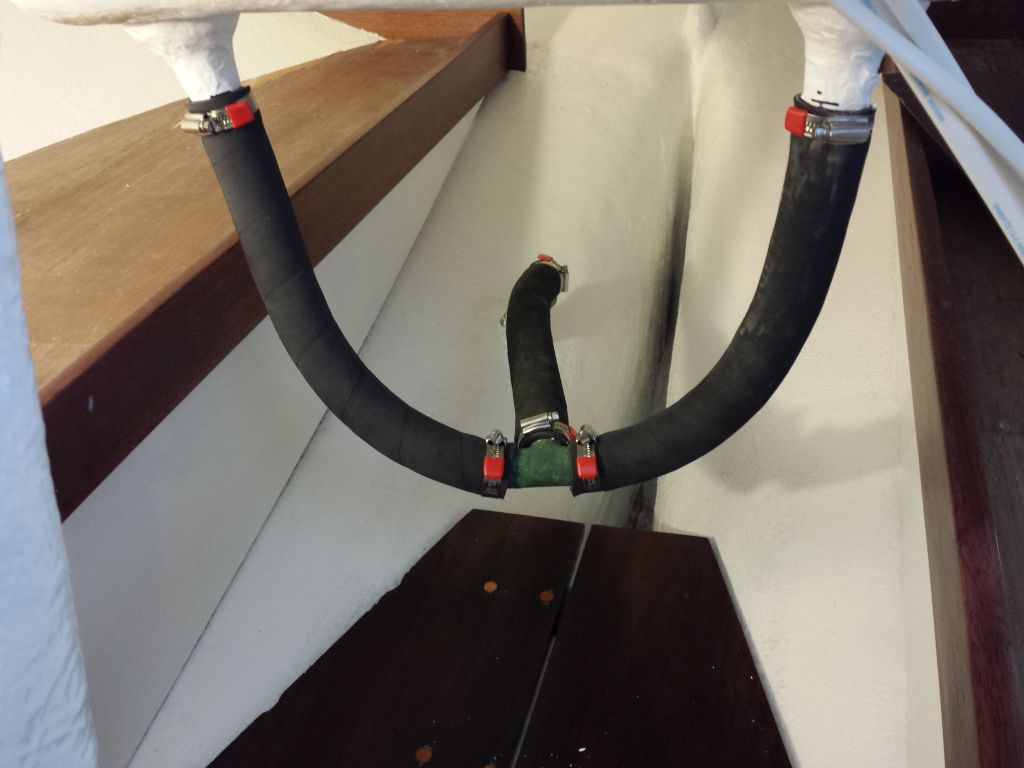
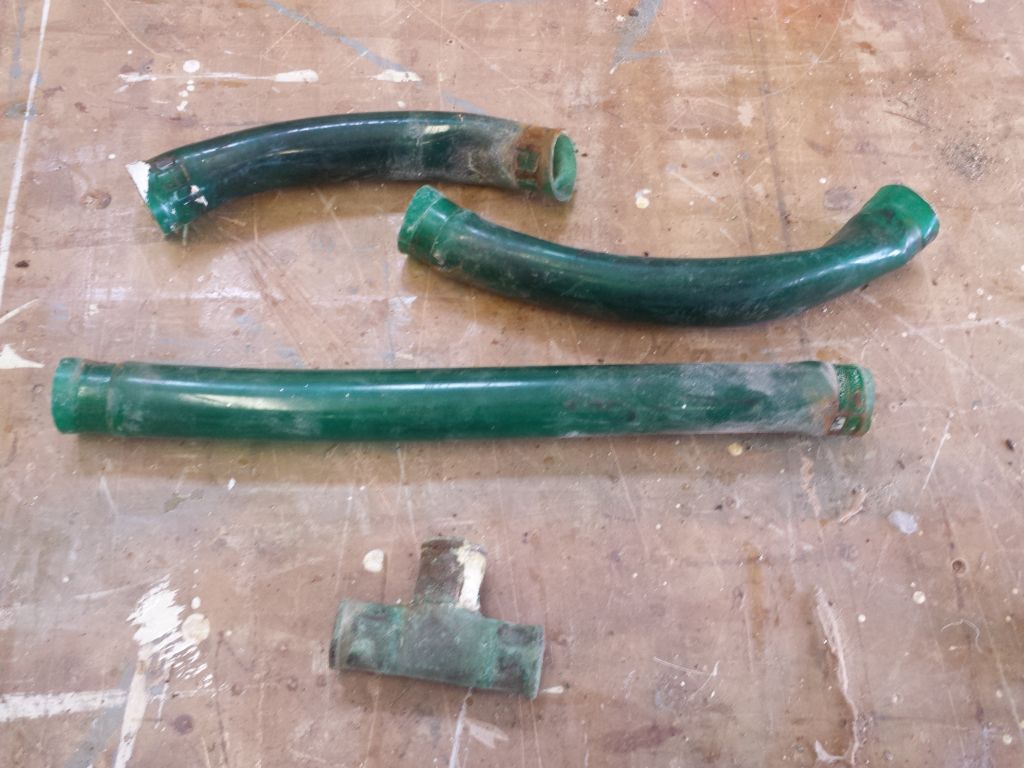
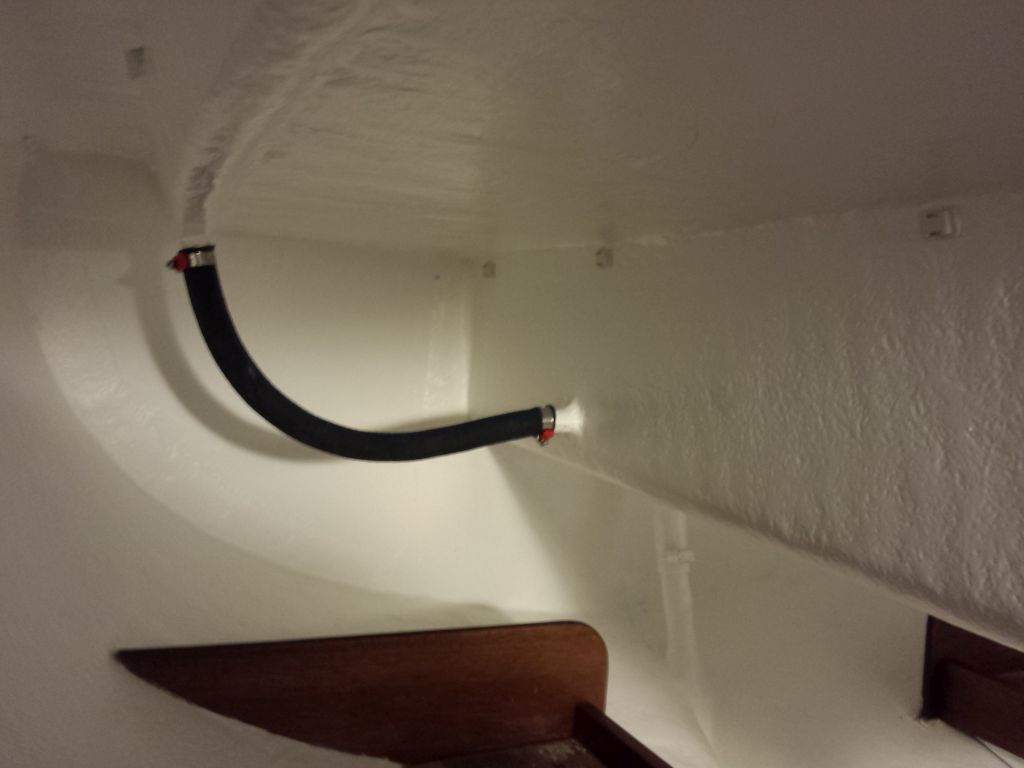
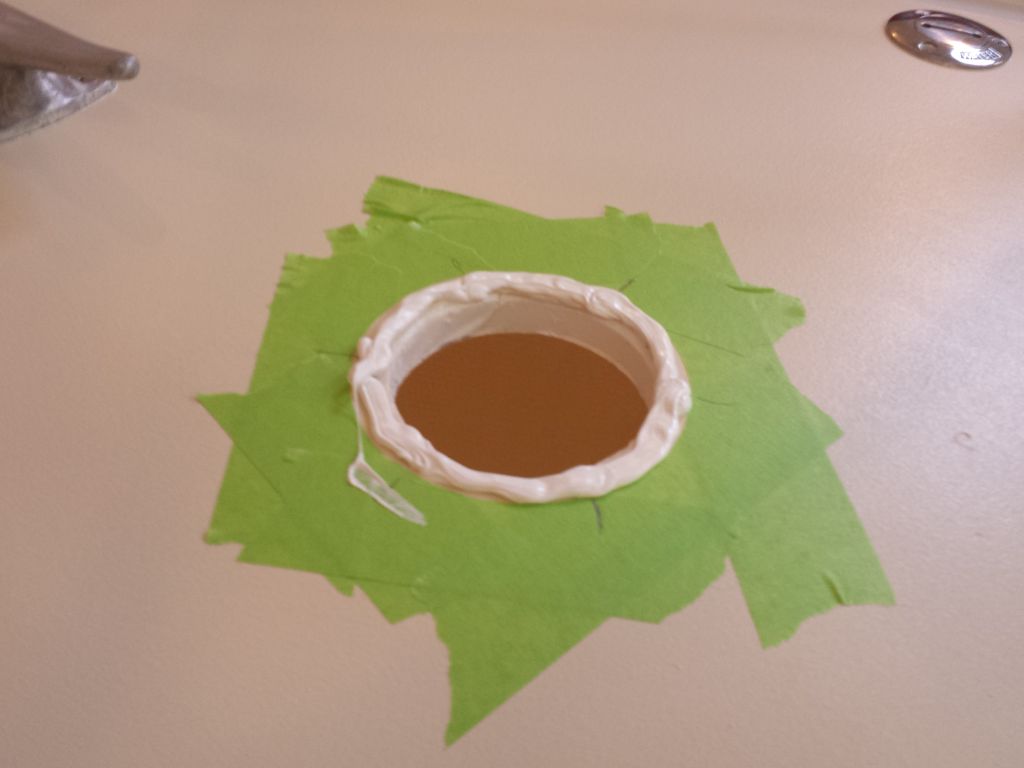
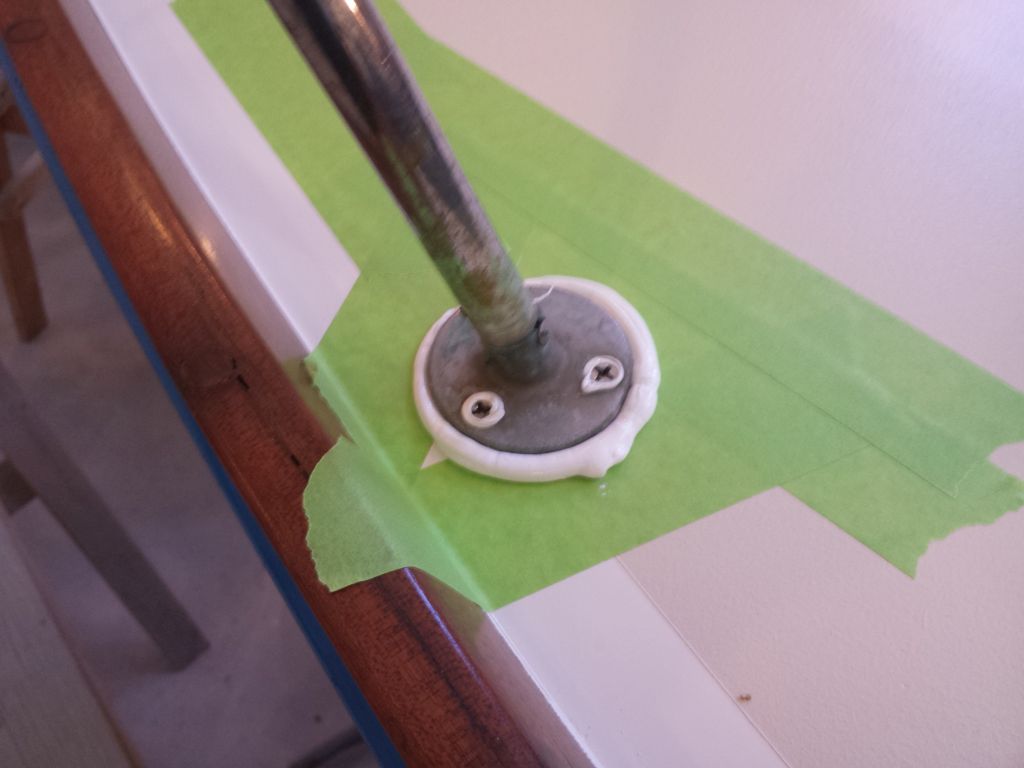
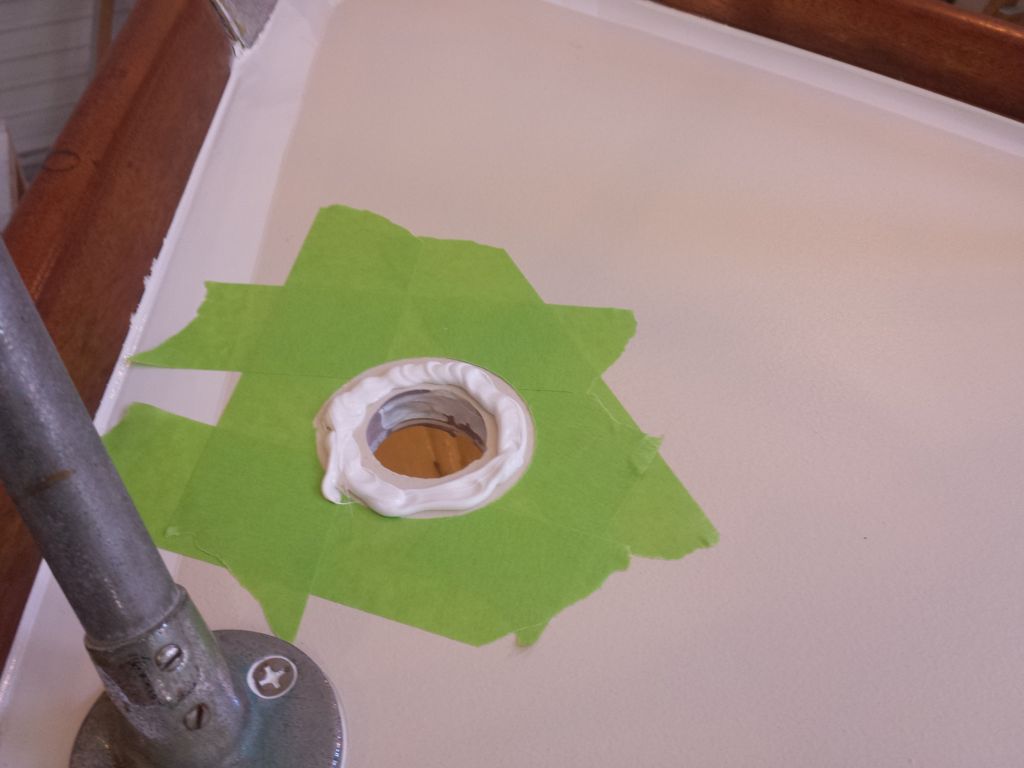
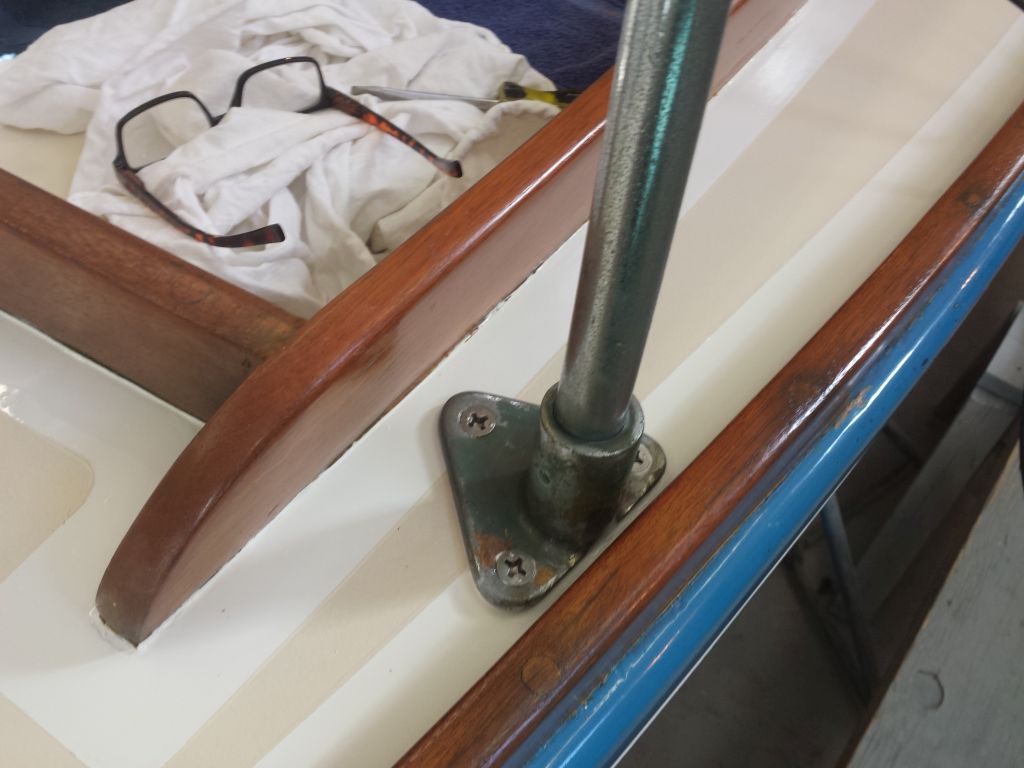
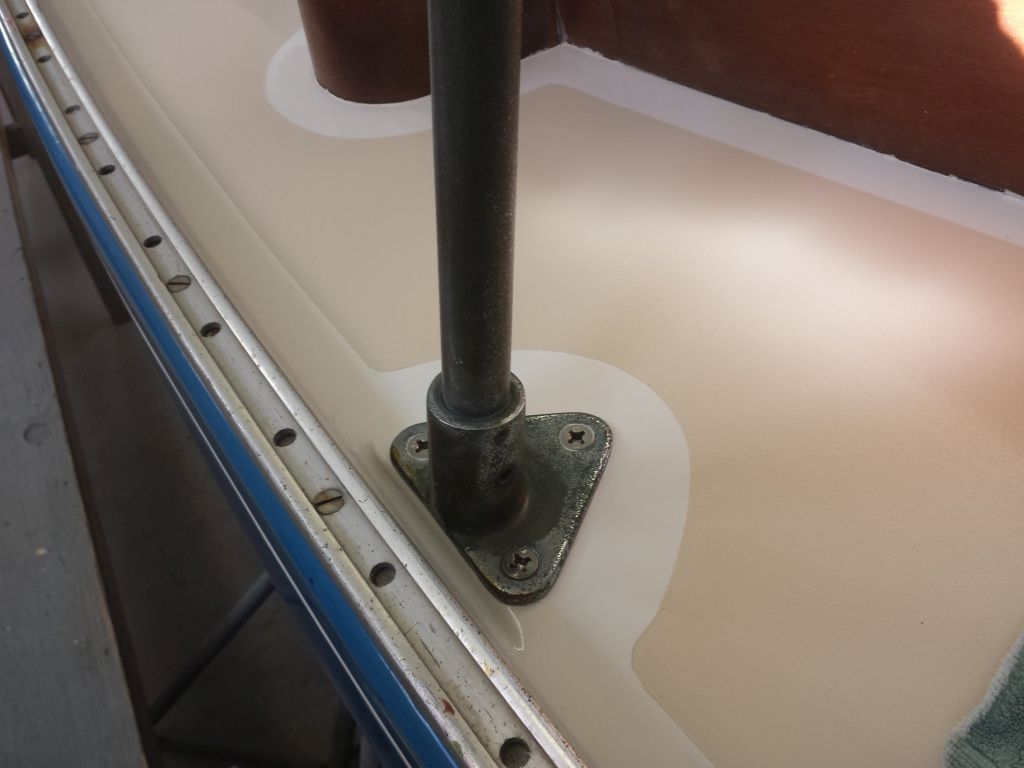
I was ready to install new scupper hoses, both for the seat drains located at the aft end of the cockpit, as well as the main scuppers at the forward end.  I had all the hose on hand that I needed, but I found I didn’t have the proper hose clamps for the larger main scupper hoses, so for now I left those incomplete while awaiting the order.  However, I installed new hoses and clamps for the aft seat drains.

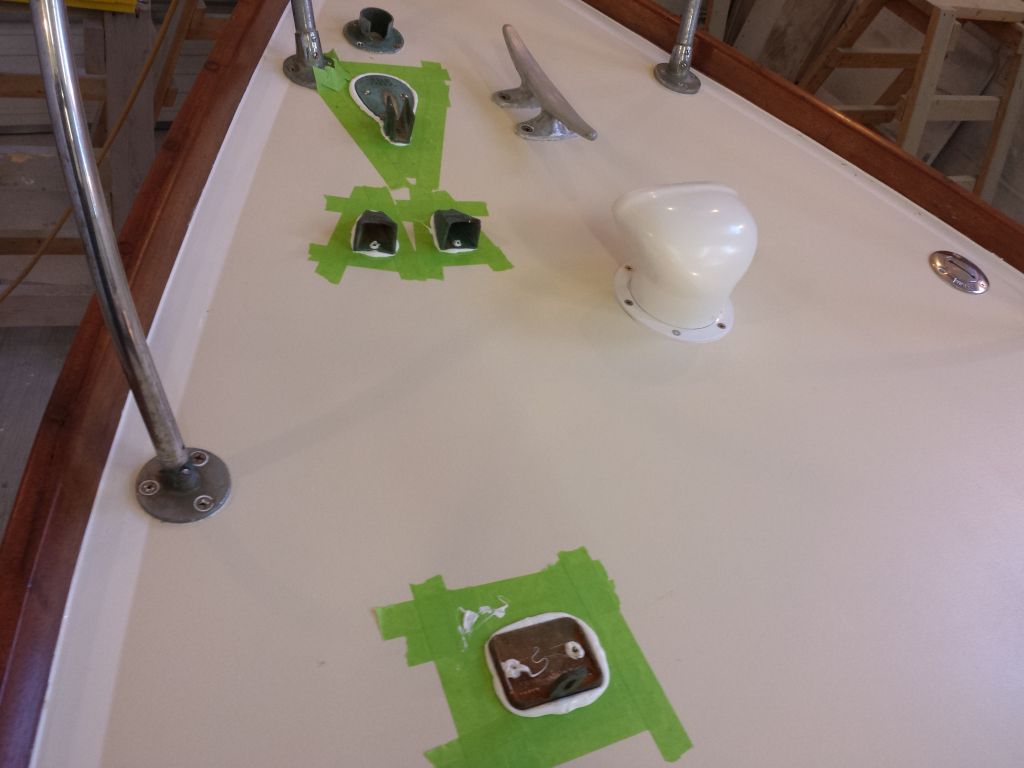
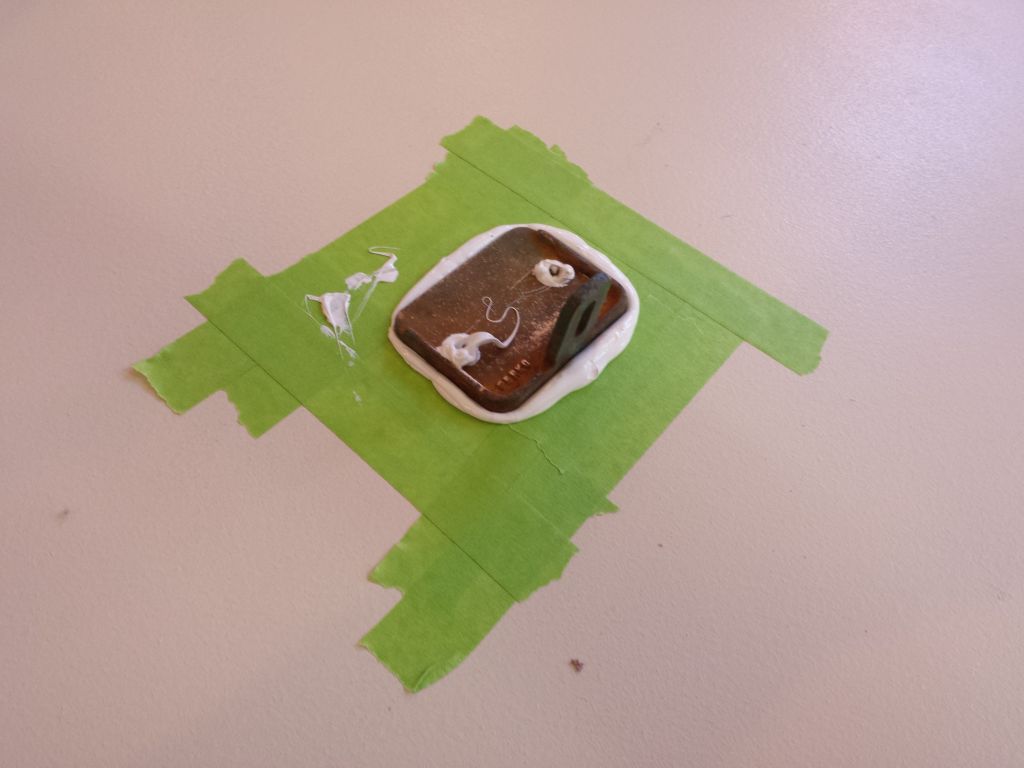
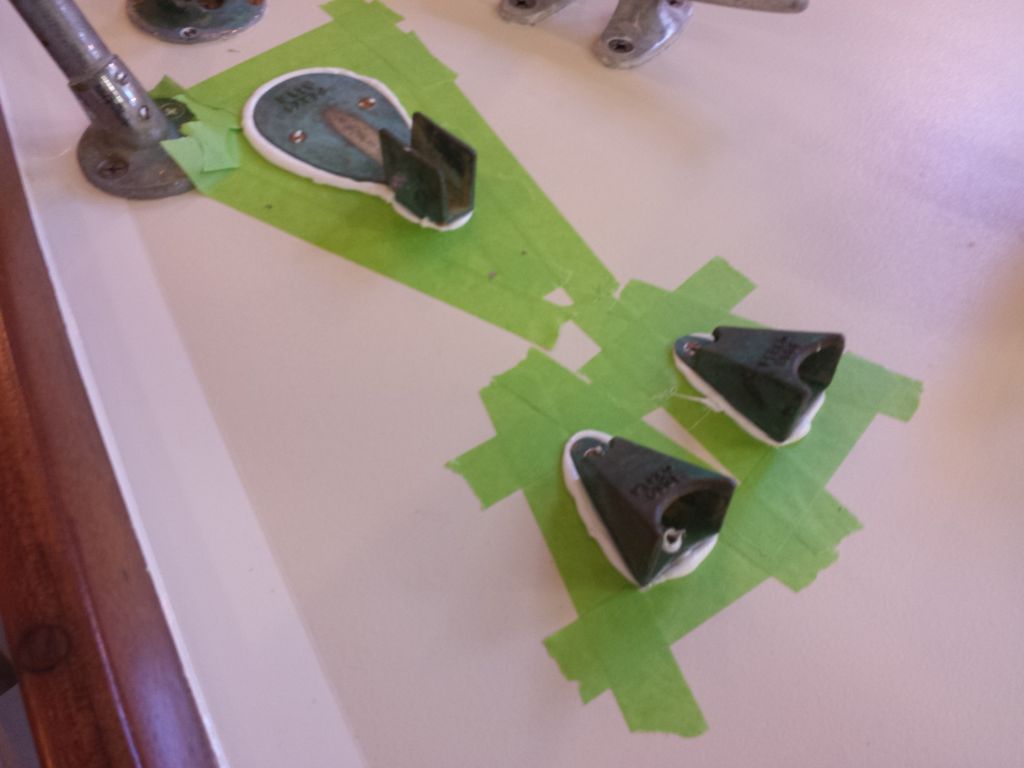
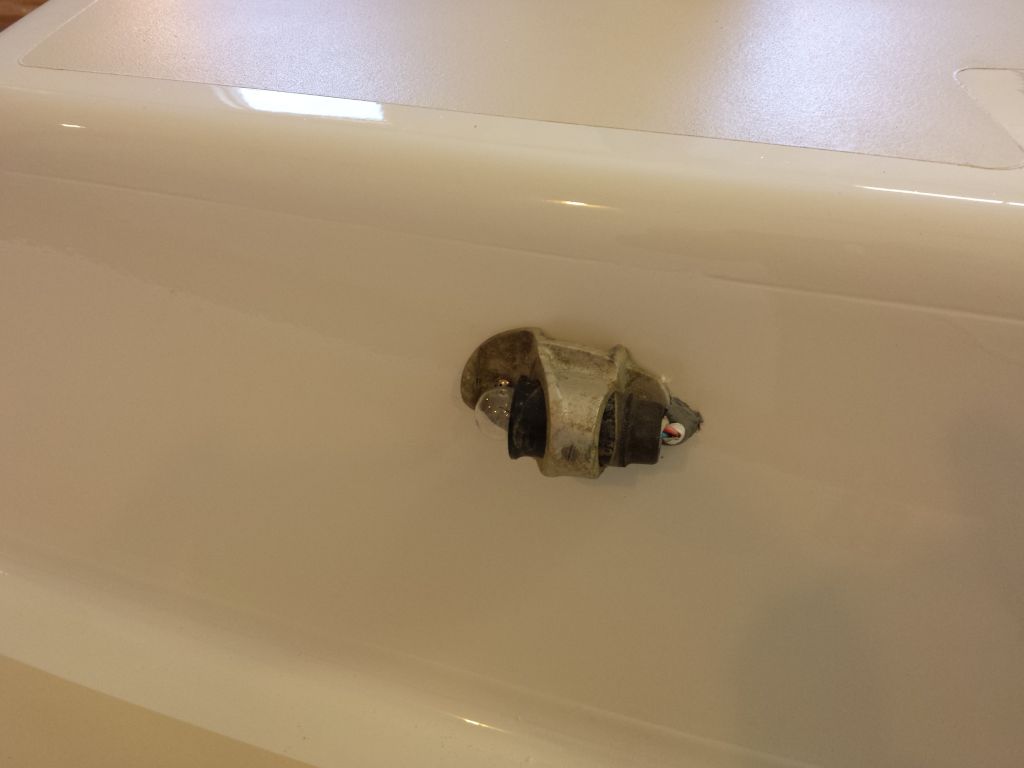
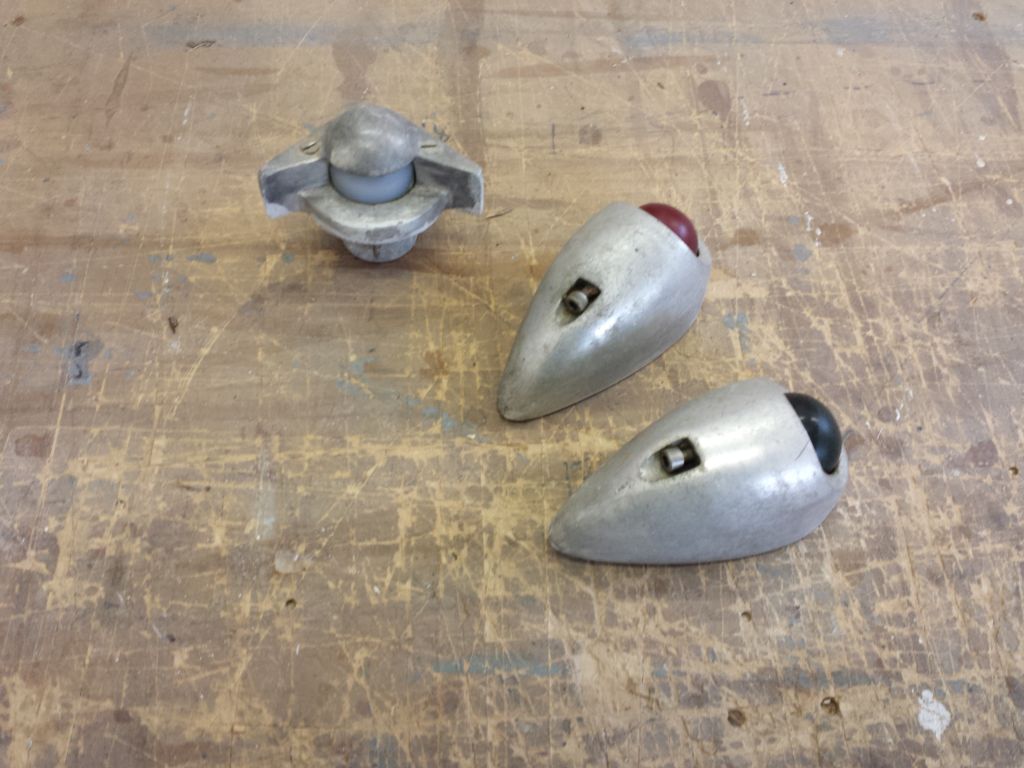
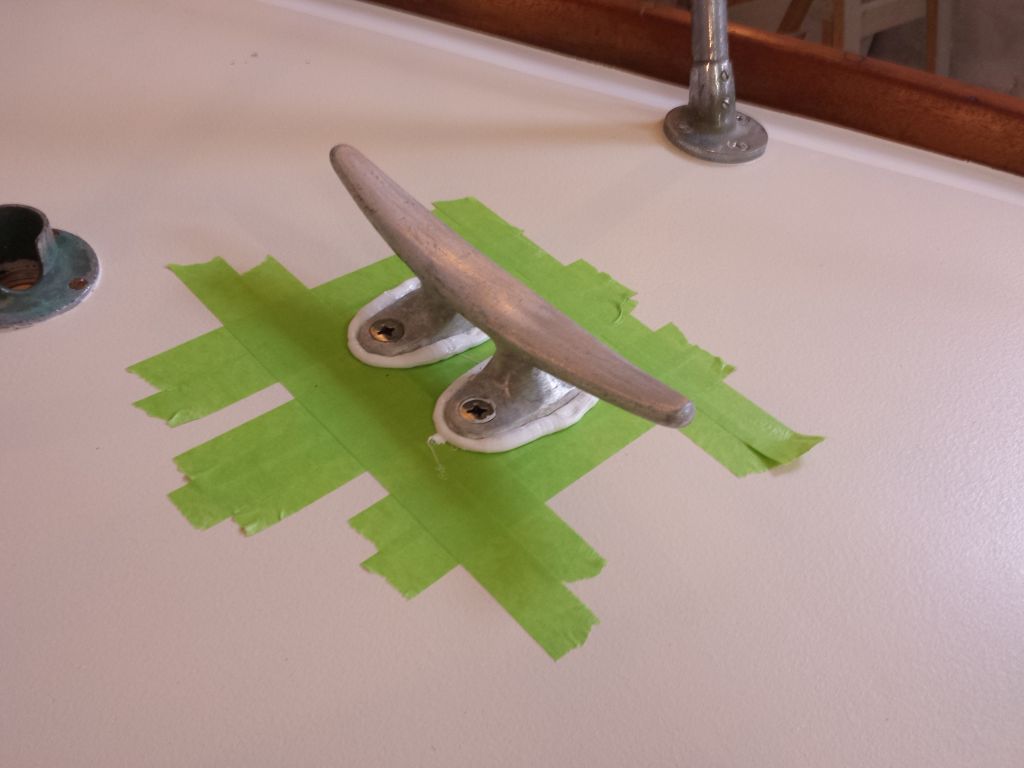
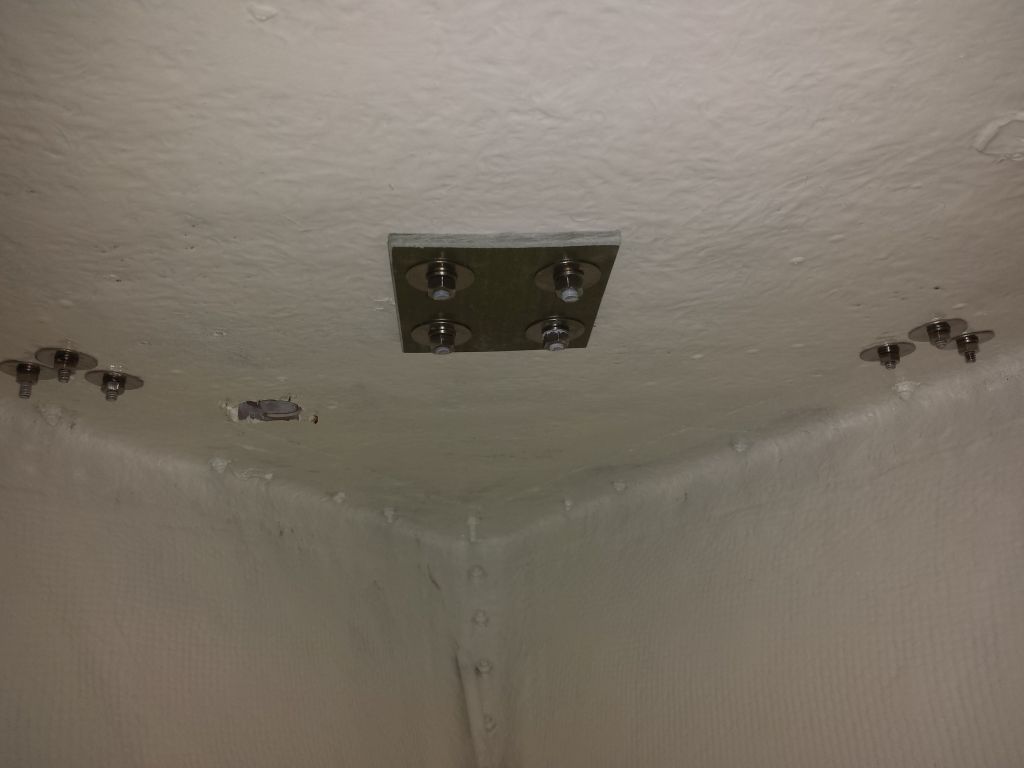
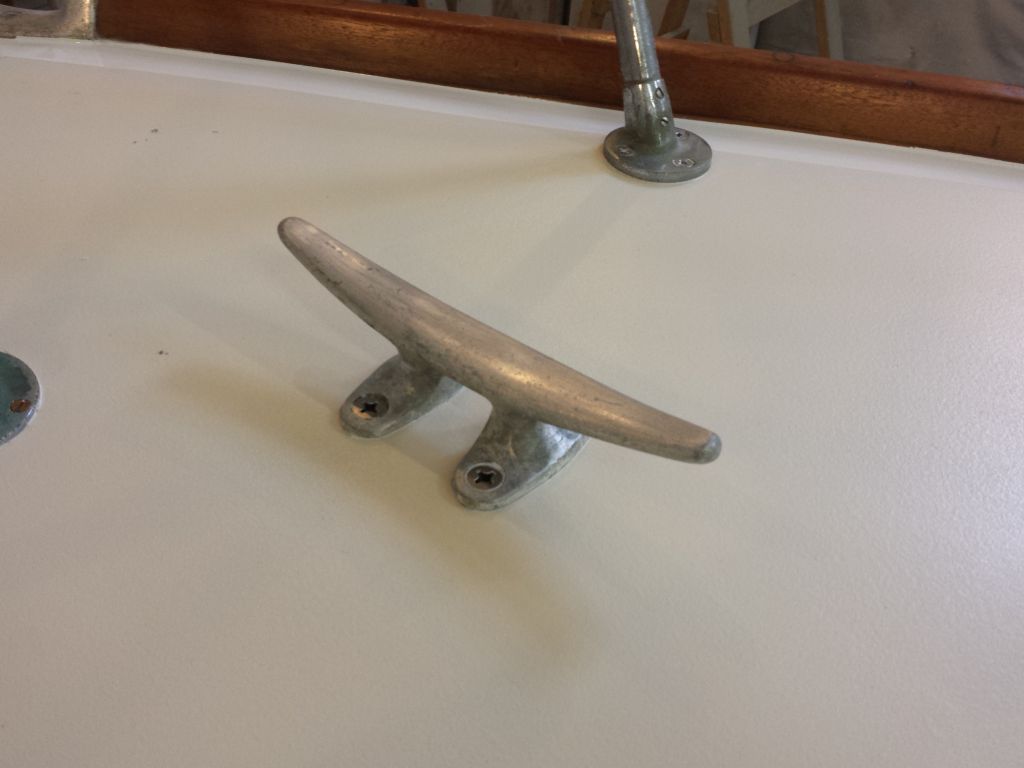
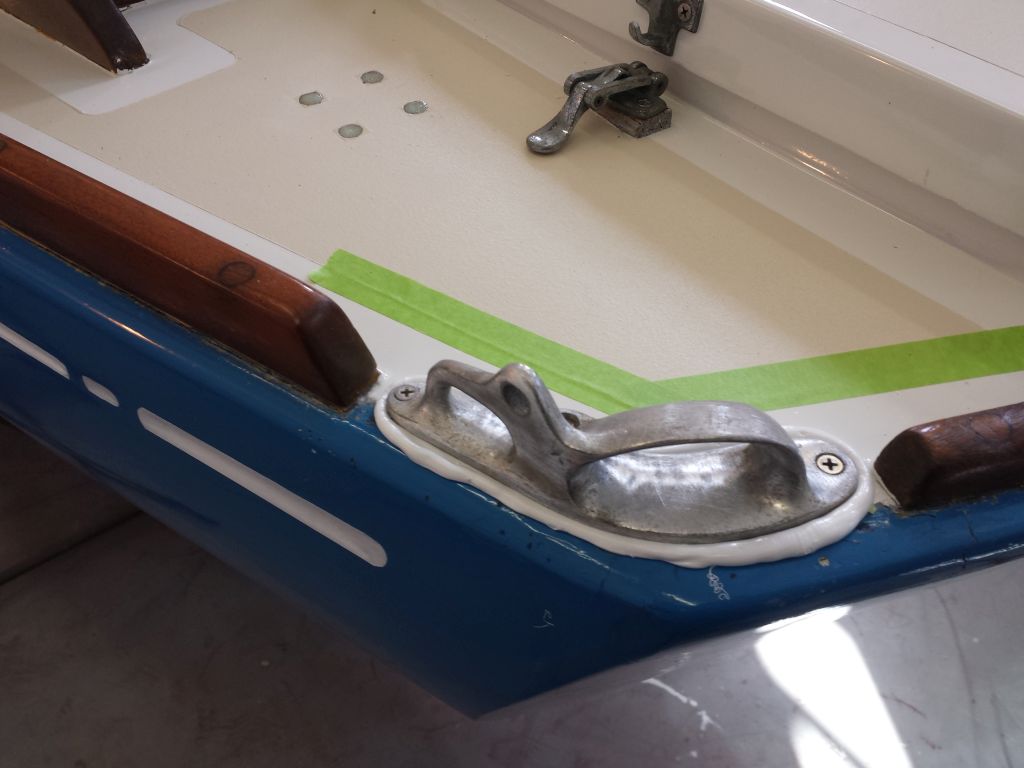
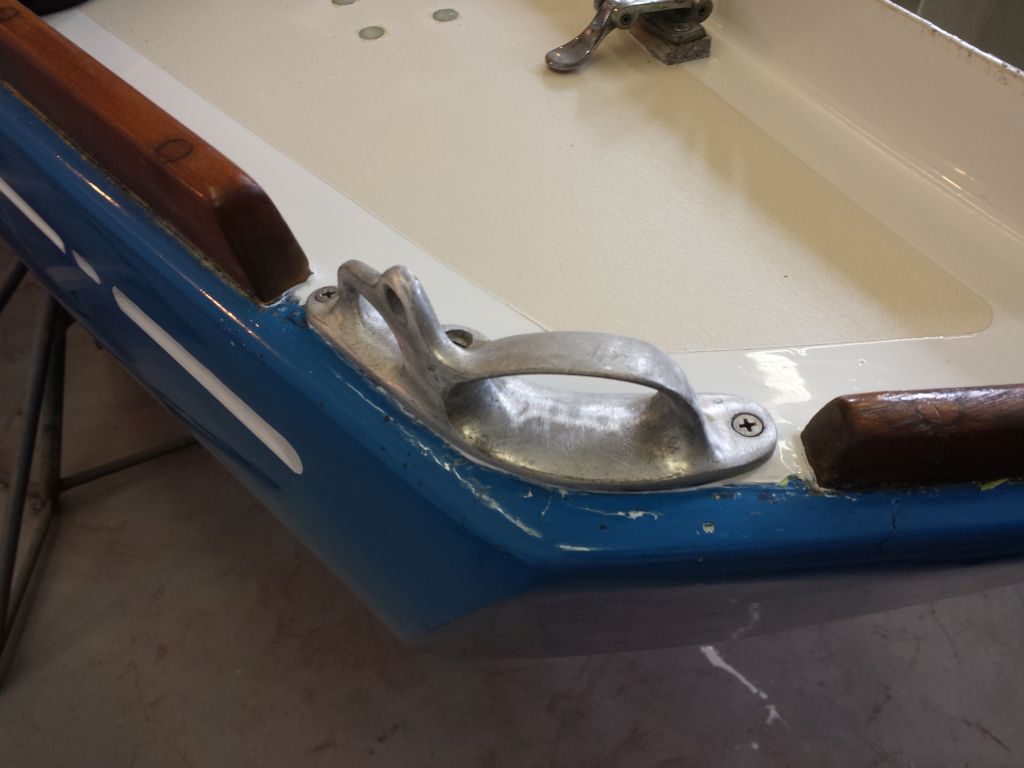
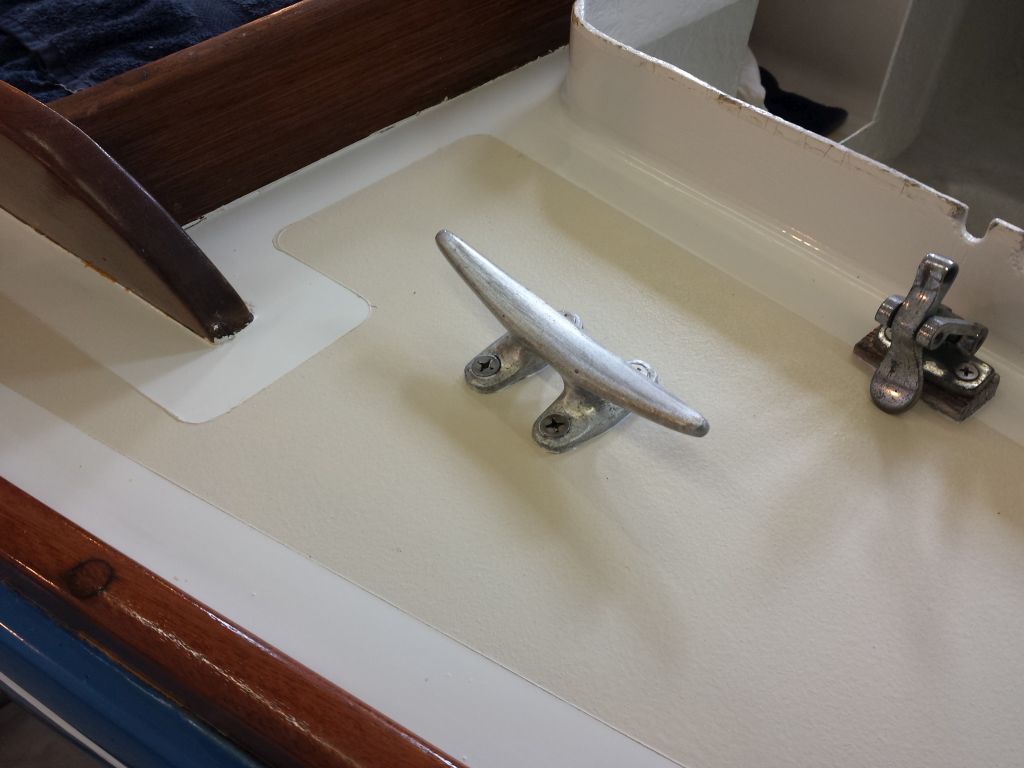
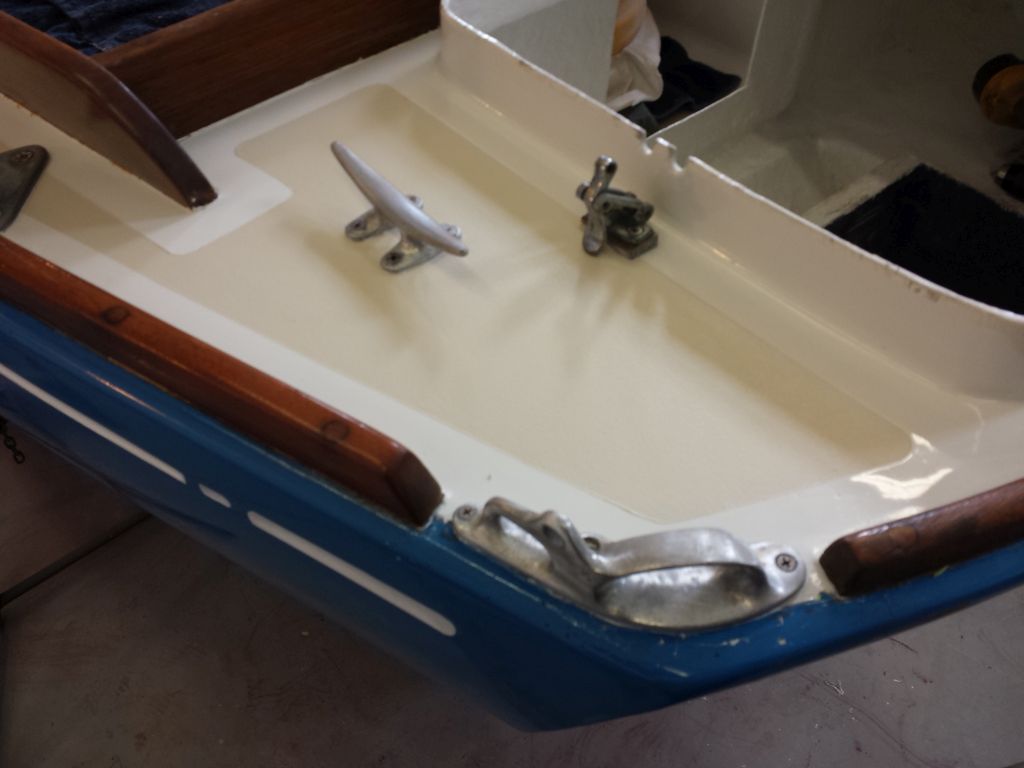
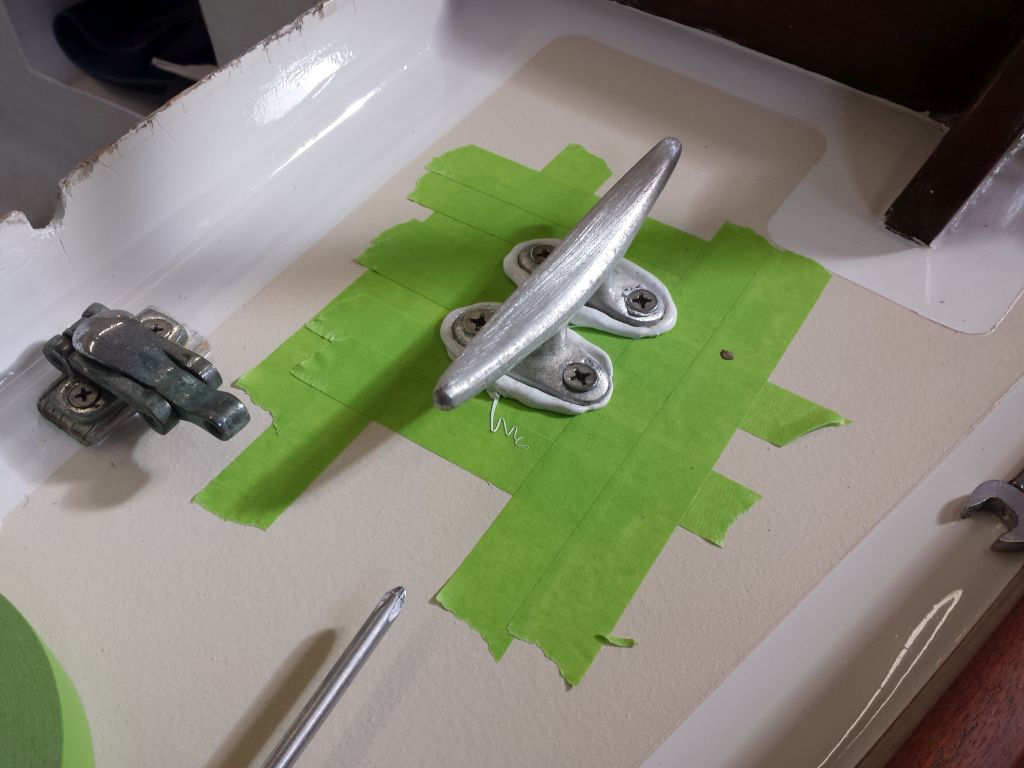
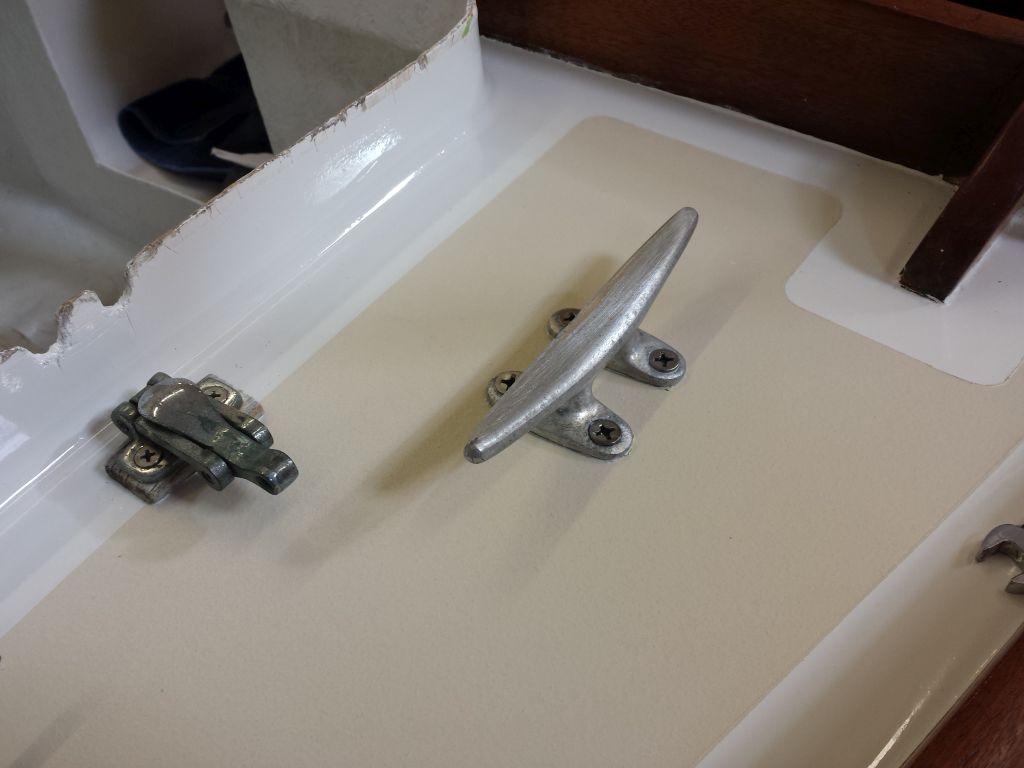
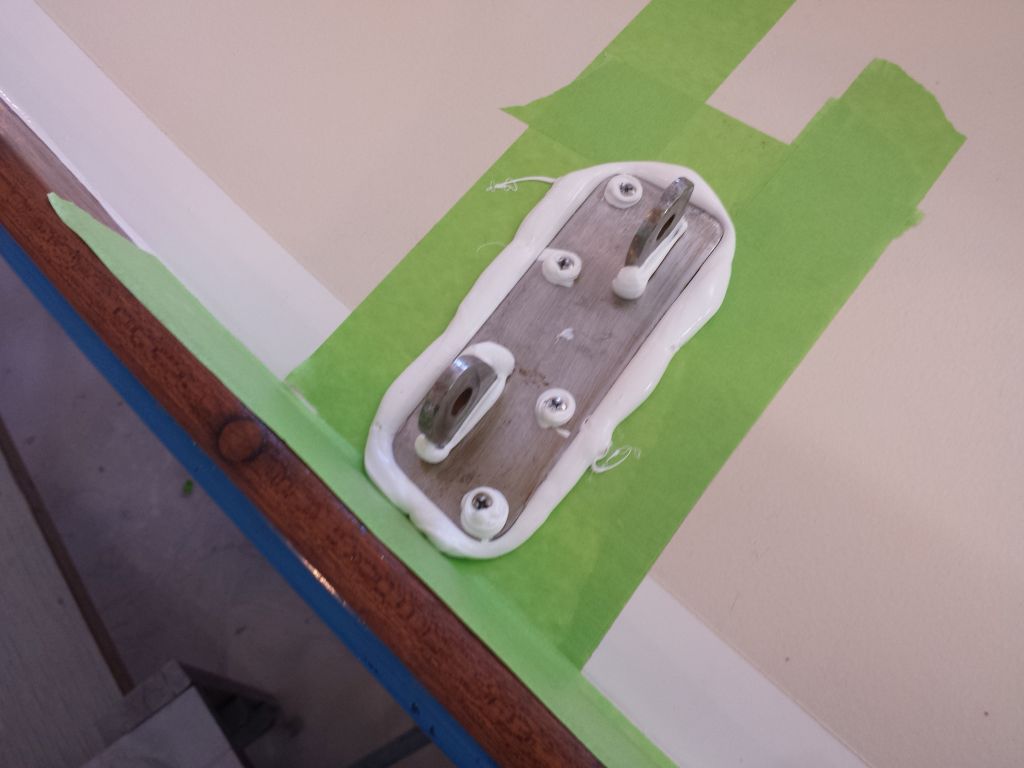
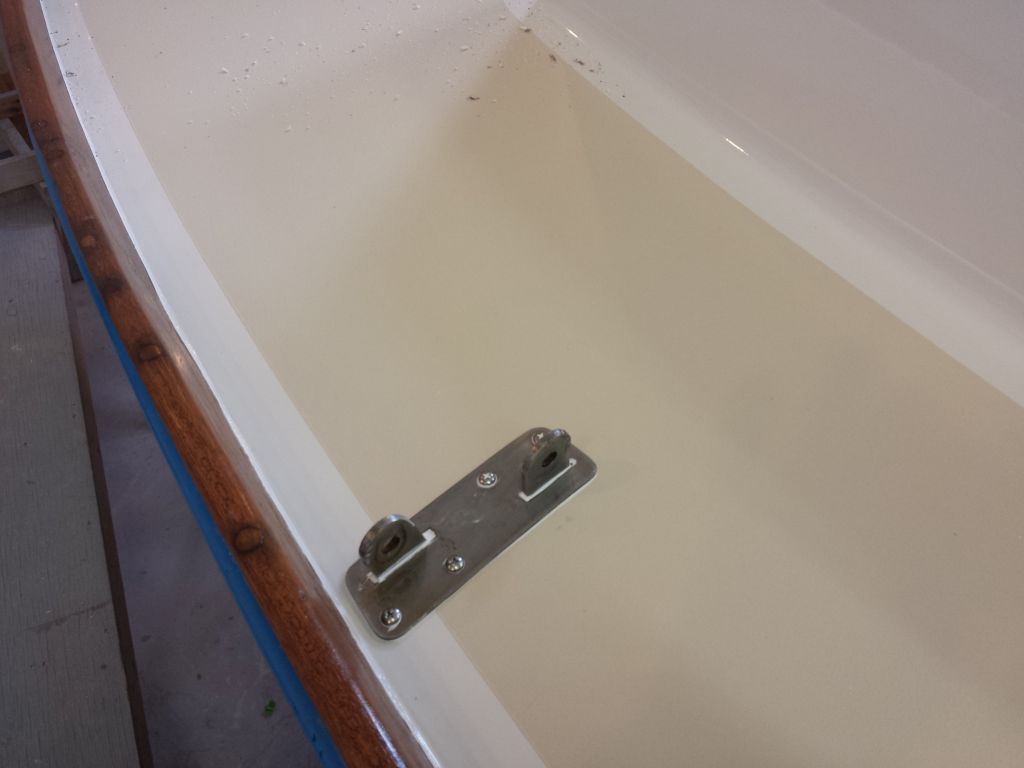
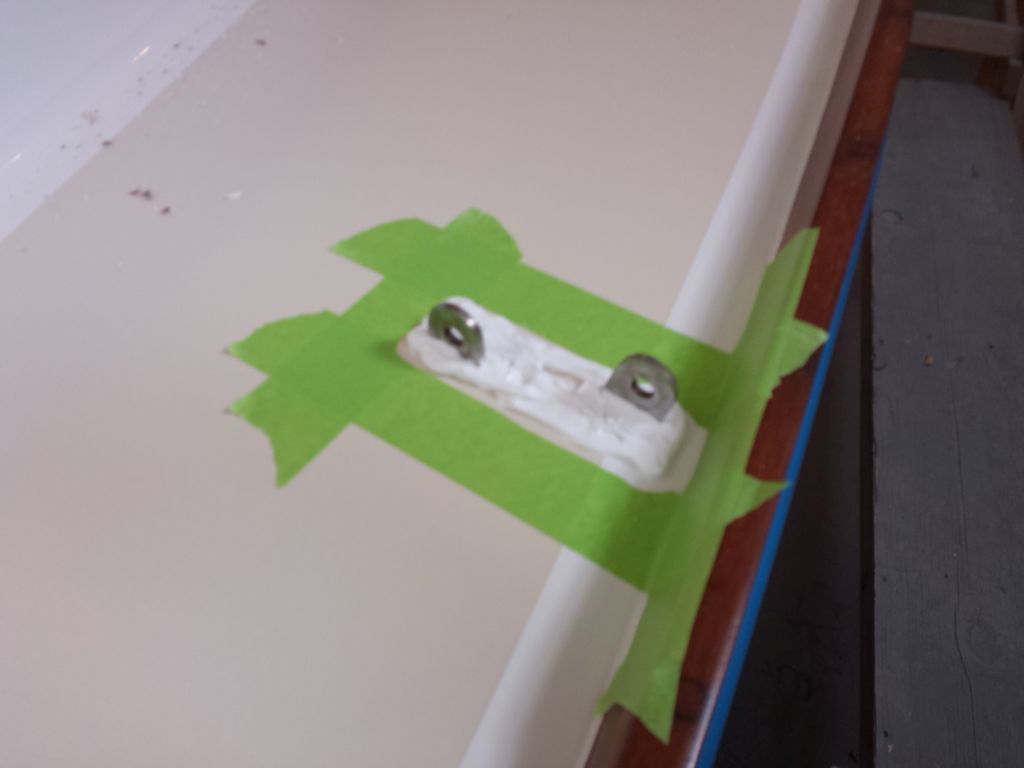
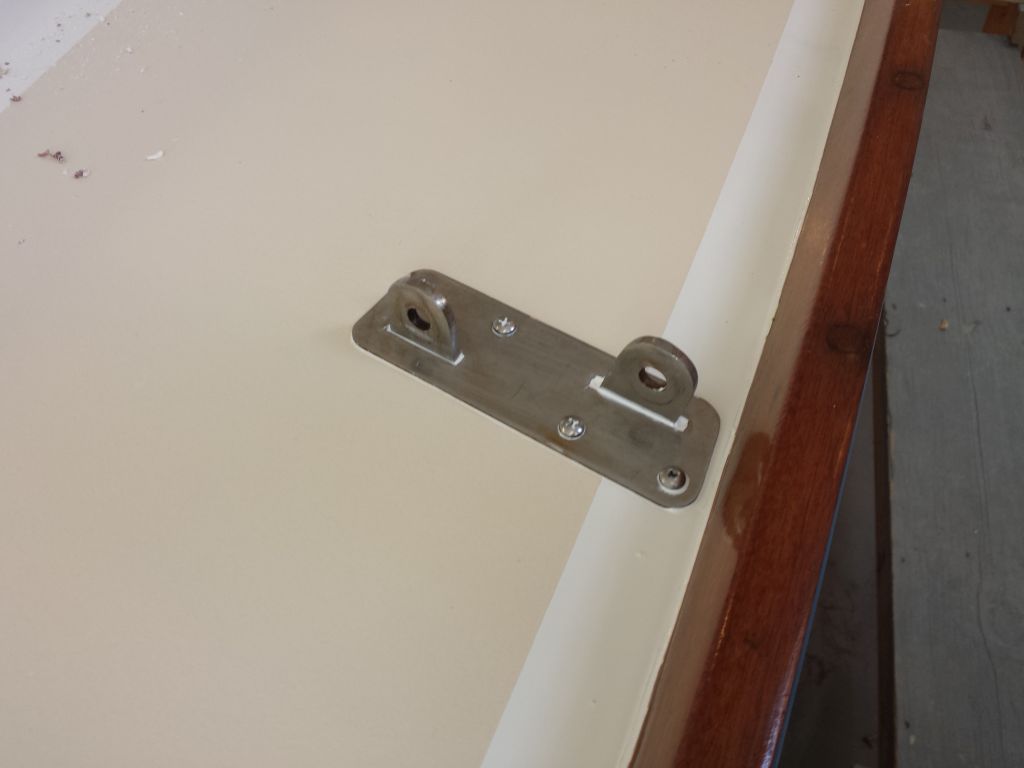
Along with some good replacement cleats and the aft chocks, one of the semi-precious finds in my lot of hardware was original running light housings, which matched the ones I’d removed from this boat but were in much better condition; the originals had half-disintegrated when I removed them.   The housings, lenses,  and castings for the replacements were sound, and from the four lights I found two socket assemblies that were good to go and tested operational.

The stern light housing didn’t have a socket within at all, so I ordered some new sockets to arrive soon so I could rebuild that fixture as well.  Meanwhile,  I’d clean up and rewire the two sidelight housings to prepare them for installation.

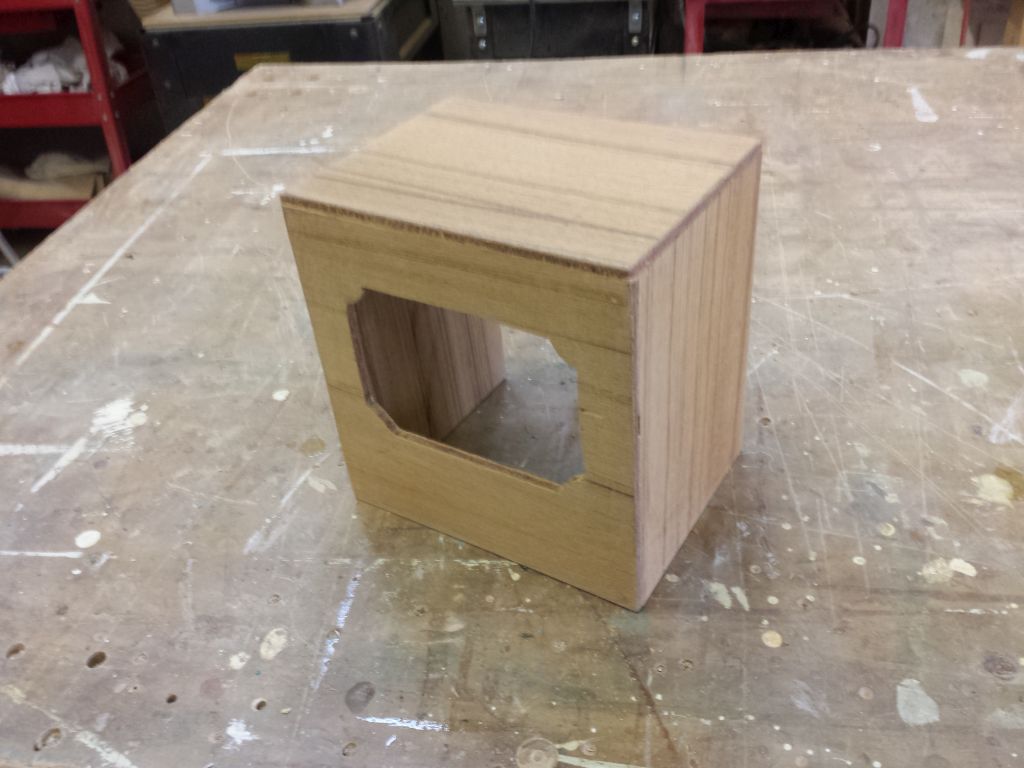
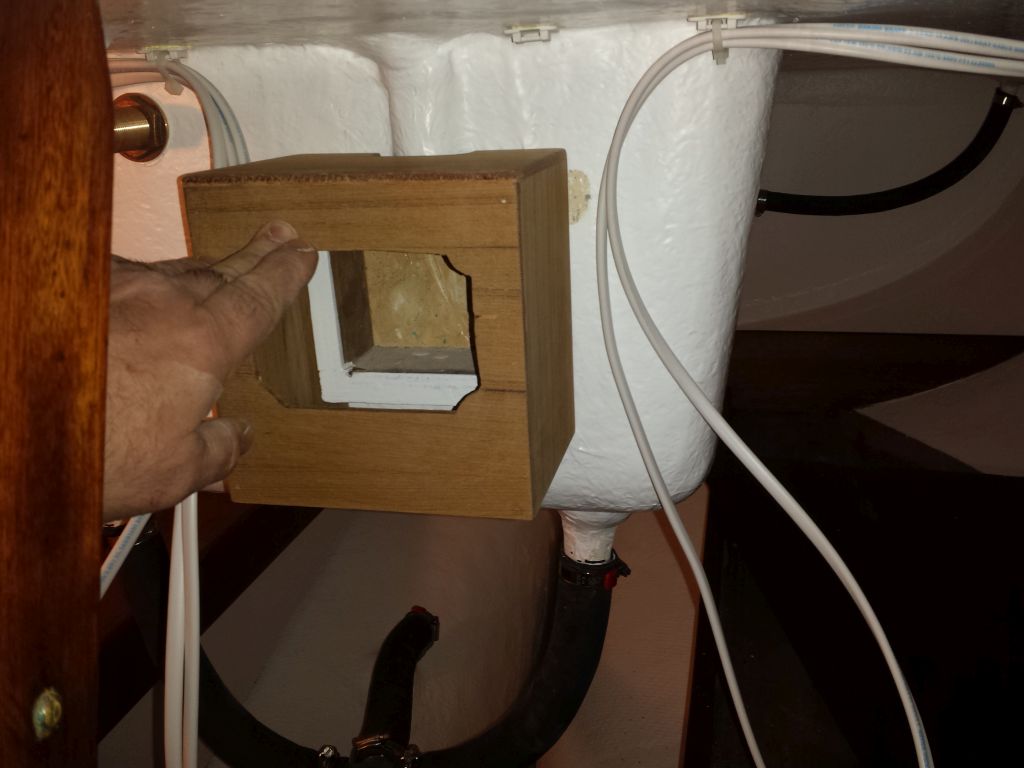
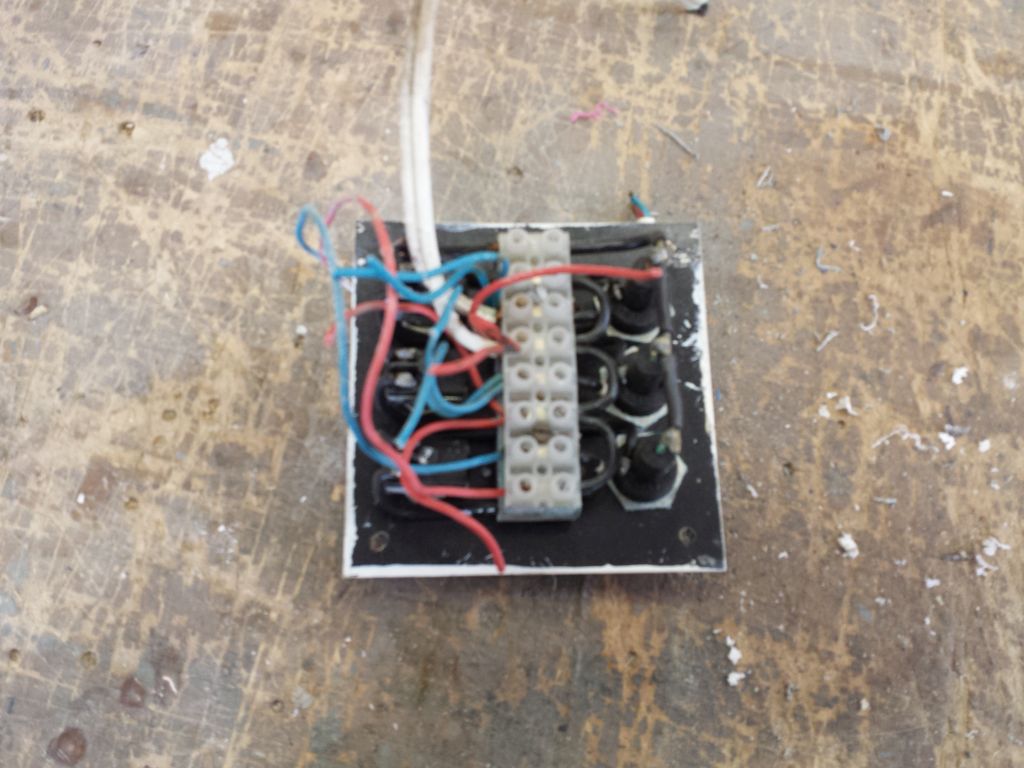
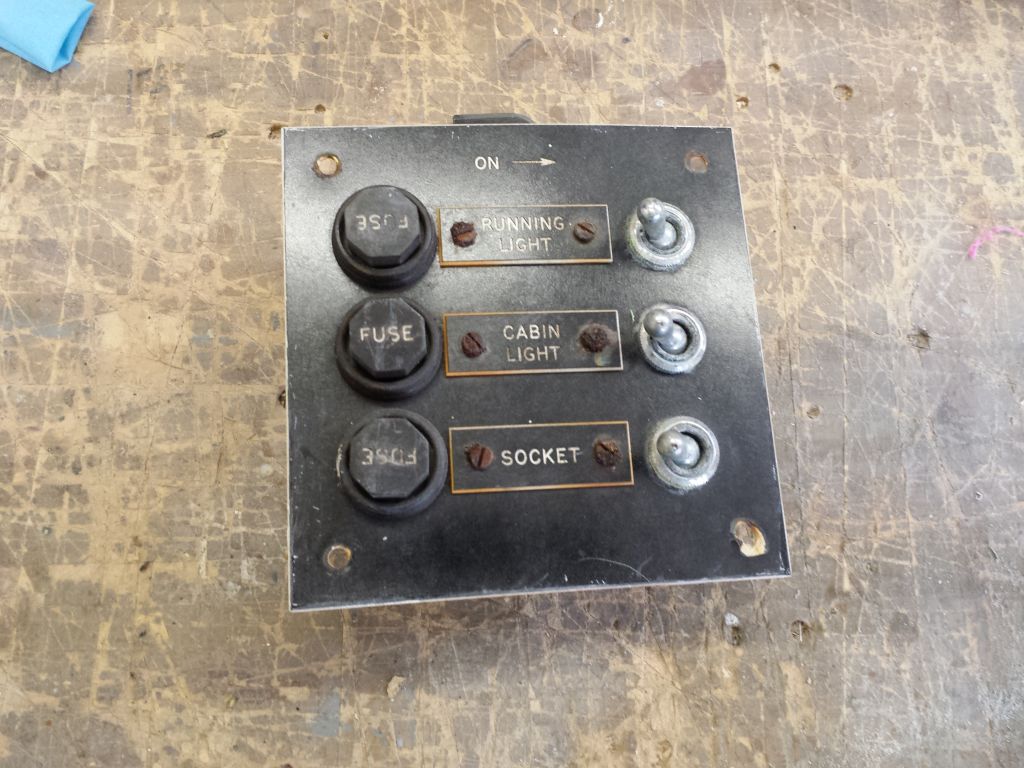
I had originally planned and hoped to reuse the small electrical panel that I’d removed, but as I removed old wires and prepared to reinvigorate the old panel, I found that the little terminal block was in poor condition, and that this, along with some other shortfalls of the panel such as rusted fuse holders and a faded and somewhat cracked faceplate with rusted fasteners, meant that it didn’t make any sense to continue and waste more time on a lost cause.  Instead, I found a simple new 3-position fuse panel that I’d use instead, and ordered it.  I’d probably have to modify the little support box in the cabin to accommodate the new panel, but I’d determine that once the panel was on hand.

Total time billed on this job today:  5.75 hours

0600 Weather Observation:
20°, mostly cloudy.  Forecast for the day:  mostly cloudy, possible snow showers, 28°

Halcyon 50

< Back to Halcyon

Thursday

I spent the large part of the day installing most of the remaining deck hardware, starting at the bow with the water tank fill.  I purchased a new fill since the original one (aluminum) was badly welded together from the ravages of time, and wasn’t going to ever be usable again.

To relocate the bow cleat over the original holes, I used my simple pattern that I’d made earlier.  I’d pre-filled the old holes with epoxy, so once I located the cleat correctly all I had to do was the usual drill, tap, and countersink to prepare the holes for installation.  I installed the cleat with a fiberglass backing plate, large washers, and plenty of sealant.

Next, I installed a replacement vent over the original hole in the foredeck.  The old vent had been in poor condition, and the ring destroyed during removal, so I installed a new one that matched the old, as well as the pair on the lazarette hatches.

Moving on, I reinstalled two original fairlead fittings on the sidedecks, in their original locations.  I’d marked the holes from belowdecks, so I could drill up from there to determine the correct location from the top.

To route the centerboard line into the cockpit, I installed a new bronze through hull, through which I fed the line.  the original fitting had worn completely away, and using the line over many years had even worn into the fiberglass above the old fitting.  I’d patched the whole area during deck repairs earlier, and thought the bronze fitting would be a good way to lead the line.  Beneath it, I reinstalled the original unique little cleat to secure the line.

Next door, I installed the bronze compass holder.

I took a little hardware break and, in early afternoon, spent some time installing various wire tie mounts in the cabin along planned wire runs for the basic electrical service.  For each location, I had to scuff up the paint to allow the adhesive a good bonding surface.  Having these installed would allow me to string in the rough wiring anytime the mood struck in the coming days.

Back on hardware duty, I turned to the poop deck, and reinstalled the corner chocks and mooring cleats.  The original port chock had been broken at the ring where the lifeline attached, and I was fortunate to find an exact replacement for these unique castings.   The port mooring cleat had also been broken, and I had original replacements to choose from as well.

Finally, I installed some T-shaped molding around the edge of the icebox hatch, replicating the original material, and also a little gasket in the opening to slightly raise the hacth and improve the seal, such as it was.  I installed a new ring pull since the old one no longer functioned.  I cleaned up the sink a bit as well, now that the rest of the galley work was essentially done with.  Sometime soon I’d clean up and paint the inside of the icebox.

Total time billed on this job today:  8.25 hours

0600 Weather Observation:
30°, clear.  Forecast for the day:  clear, maybe a snow shower, 40

Halcyon 49

< Back to Halcyon

Wednesday

To finish up the work on the new countertops, I installed a trim piece along the inboard edge of the galley countertop; this was an original trim piece that I’d refinished along with the rest of the interior, but it had fallen off sometime in the past and I’d found it stored elsewhere in the boat.  Then, I reinstalled the edge trim, small drawer, and panel front to complete the installation.  Before installing the forward section of trim, I installed the water pump, since the trim fit over the top of the pump base.

On the opposite side, I reinstalled a pair of wooden cleats on the bulkhead, which would ultimately support a small sliding shelf.

Down in the shop, I prepared the small sliding shelf and the icebox lid for their new laminate covering, then test-fit the pieces once complete.  The icebox lid still needed its edge trim and ring pull installed.

Next, I reinstalled the chainplates, using new bolts.  I’d cleaned up the original chainplates earlier in the project.

Afterwards, I cleaned up and installed the deck cover plates, securing them with machine screws in tapped holes.  I used lots of sealant beneath the plates and around the chainplate slots.

I reinstalled the mast step with new bolts and sealant.  It pays to have many sets of locking pliers sometimes.

When I rebuilt the two sides of the poop deck, I wasn’t sure where the stern cleats would end up, so I cored through the entire area.  Now, preparing ahead for the installation,  I located the two cleats on the deck where I wanted them, and, with a 1/2″ bit, bored out the top skin and core material in way of the cleats’ fasteners, then filled the voids with thickened epoxy, which I’d allow to cure overnight.

Choosing the best pair of deadlight frames from the two sets available, I spent some time scraping off old sealant and cleaning up the frames to get them ready for installation.  I also cleaned up the opening port from the forward side of the cabin trunk.  Installation would follow soon.

Total time billed on this job today:  6.75 hours

0600 Weather Observation:
42°, light rain.  Forecast for the day:  eventual clearing, into the 50s

Halcyon 48

< Back to Halcyon

Tuesday

The two main countertop areas at the galley and the head required resurfacing with fresh laminate to update and freshen the appearance.  The owners chose a beige color to coordinate with the general color scheme on deck and that which was planned below, and to offset the clean white color of the interior.  While the mechanics of resurfacing were straightforward, the confined nature of the surfaces in question, penned in by bulkheads on both sides and with other obstructions, meant that in order to install a new surface I’d need to build accurate templates so I could pre-cut the laminate exactly to size, rather than trimming it flush after gluing.  Much earlier, I’d looked into removing the countertops from the boat to make fabrication easier, but had long ago determined that this was not a feasible proposition.

On the head side, there was just a small section of fixed countertop, at the outer edge of the space next to the hull.  This section of countertop ended just shy of the bulkheads at some flush wooden trim, so the new piece needed to stay within the same bounds.

Photo from 1/30/17

On the galley side, the countertop pattern would be complicated further by the fact that the icebox opening was partially beneath a shelf, and my trim router wouldn’t fit beneath.  So not only would I have to pre-cut the main countertop, but I’d also have to pre-cut the opening for the icebox, at least in part.  The shelf was bolted in place to a little fiberglass flange, and I quickly decided it wasn’t worth the frustration and time to remove versus making a more accurate template.

Photo from 1/30/17

I started with basic paper templates of the countertops.  I used a steel ruler (and dividers at the curved hull end) to mark an offset on the paper pattern, making for easy transfer to some plywood for the actual cutting pattern.  I made rubbings of the sink and icebox openings, along with the hole for the water pump, to make locating them easy later on.  On the head side, I did the same thing, but this was a much simpler space and only required the offset to mark the edges.

The plywood patterns needed to be thick enough to provide a bearing surface for the guide on the router bit that would actually cut the countertop, so I used scraps of 12mm plywood that I had around.   The head pattern was simple and quick to transfer to an appropriate scrap of plywood.

Not wanting to wantonly waste the material, I decided I only needed a “real” pattern of just the outermost portion of the galley countertop, incorporating the curvature of the hull and the portion of the icebox opening that was inaccessible (for the router) beneath the little shelf.  Once I had the main shape cut out (and one round of fine-tuning when I test-fit it), I found I could trace the inside of the icebox opening directly on the bottom of the pattern, making an accurate cutout simple.

Using additional plywood for support and as a straightedge for the pattern router bit, I cut out the sheets for the two sections of countertop. test-fitting them in their respective spaces afterwards.  I initlally left the galley sheet overlong, so I could mark–and then accurately trim–the inboard edge at the proper location.  I cut out only enough of the material at the icebox to allow me to finish the trimming once the countertop was glued in place. along with the sink opening.

I’d previously scuffed the existing countertops with coarse sandpaper to prepare them, so after final cleanup I applied contact cement to the surfaces, including the hinged section of the head area that I could work on at the bench.  Once the cement dried, I installed the countertops, and used my little router to trim out the icebox and sink openings.  I made a rough hole for the sink pump, but I’d finish that up a little later.  A  couple other small pieces, including the icebox lid and a sliding shelf from above the head, remained to be completed, but I’d do those just a little later.

Now I installed a new length of piano hinge on the head countertop, reinstalled its mahogany trim that I’d refinished before, and then attached the other side of the hinge to the fixed portion of the counter in the boat, completing the installation there.  Meanwhile, I dry-fit some of the varnished edge trim that I’d refinished to check the fit, but I’d await its installation till I finished one or two other things, mainly the sink pump installation.

A shipment of old Sailmaster parts arrived, including various deck cleats that I needed to replace some of the damaged ones from this boat, and, most importantly, two nice examples of the damaged port quarter chock.  Now I could pick and choose amongst the best pieces to finish up the hardware and ports’ installation in the coming days.


Total time billed on this job today:  6.5 hours

0600 Weather Observation:
Light snow, 26°.  Forecast for the day:  light snow/rain showers, temperature rising through the 30s

Halcyon 47

< Back to Halcyon

Monday

The supplied mounting hardware that came with the portable toilet wouldn’t work in this installation, given the limited space on the shelf required for clearance. so instead I installed a pair of wooden cleats that would simply hold the unit from sliding; it wasn’t really going to go anywhere in the confines of the space anyway.  Finished with this area, I reinstalled the longitudinal panel across the inside, securing it with screws to allow easy removal if necessary.

I fit in the refinished cabin sole, now that most of the other work was done in the cabin; these pictures came out poorly; apologies.

I spent the bulk of the day installing some of the deck hardware, starting with the bow pulpit.  During the deck structural work earlier, I’d either overbored and filled all fastener holes with epoxy, or replaced the coring in way of certain installations with solid fiberglass, so at this point there was no further need for pre-treating any of the fastener holes, streamlining the installations.    With the bow pulpit locations lightly marked with a small pilot hole earlier, it was straightforward to drill and tap these holes for new machine screw fasteners, lightly chamfer the top edges of the holes, and install the pulpit in a bed of sealant.

I continued with the hawsehole for the anchor rode.  I’d await the anchor chocks till a little later, when I had an anchor on hand to ensure proper fit; the anchor I took off the boat at the beginning of the project was badly rusted and seized, but I had one hanging around that could replace it.

Continuing aft for now, I installed the four stanchions and bases.  Once again, I’d pre-marked the fastener locations, and it was a relatively simple matter to drill and tap the fastener holes for new 5/16″ fasteners.

At the poop deck, I finished up the latch installation for the lazarette hatches, installing the two base sections to the deck.  In these areas, I’d omitted the core during rebuilding, replacing it with solid fiberglass.

After a delay, the replacement hardware–obtained from another owner who’d salvaged the original aluminum hardware off at least two different Sailmasters of similar vintage–was on its way and due at the shop soon.  Once it arrived, I could complete the remaining hardware installations, including mooring cleats and more, using the best of the various pieces included in the large lot.  I also ordered some fixtures and materials to complete some of the remaining tasks on my list, like the simple electrical system and new hoses, etc. for the cockpit scuppers and fresh water plumbing, and I’d be working on those projects in due course.

Finally, down in the cabin I touched up a few places with white paint, and painted out the centerboard winch assembly and riser, which I’d not painted before now.

Total time billed on this job today:  6.75 hours

0600 Weather Observation:
10°, clear.  Forecast for the day:  sunny, low 30s

Halcyon 46

< Back to Halcyon

Friday

With the varnish work complete in the cabin, I removed the masking tape, then, after some final cleanup and other preparations, painted out the galley and head lockers, as well as the bilge areas.  Later on, I applied a second coat to some areas that required it.

In and amongst some planning for the final stages of the project, I got to work on some of the hardware, sorting through and organizing for the installations ahead.  I was still waiting for some original replacement hardware that I’d purchased from another Sailmaster 22, so this continued to delay the installation of deck cleats and so forth.   Instead, I focused for now on the lazarette hatch, beginning with installing a new stainless steel piano hinge to connect the two halves; the original hinge had been beyond salvage.  I’d filled the original fastener holes during surface prep, so I marked and drilled new holes for stainless fasteners to secure the hinge in place to the built-in wooden supports within the hatch edges.

The two cowl vents that had originally graced the hatches had also been in non-salvageable condition at the time of removal, so I installed new replacements in kind, and reinstalled the original flagpole socket and latch mounts on the outer edges as well.  I’d finish up the deck side of the latches at another time.  For each installation, I marked, drilled, and tapped for machine screw fasteners, and secured each piece in a bed of sealant.

Total time billed on this job today:  7 hours

0600 Weather Observation:
18°, clear.  Forecast for the day:  sunny, 30

Halcyon 45

< Back to Halcyon

Thursday

With sufficient base coat buildup now on all small parts and the interior trim, I continued the varnish work with a maintenance coat of rubbed-effect satin varnish on all interior surfaces, including shelf trim and bulkheads, along with the berth trim and various loose trim pieces as necessary.

Total time billed on this job today:  2.25 hours

0600 Weather Observation:
40°. mostly cloudy.  Forecast for the day:  clearing, windy, getting colder

Halcyon 44

< Back to Halcyon

Wednesday

Another quick day, and another quick sand and coat of varnish for the wood trim in the cabin.

Total time billed on this job today:  .75 hour

0600 Weather Observation:
40°, light rain.  Forecast for the day:  showers, getting warm, into the 50s

Older posts Newer posts