Tuesday
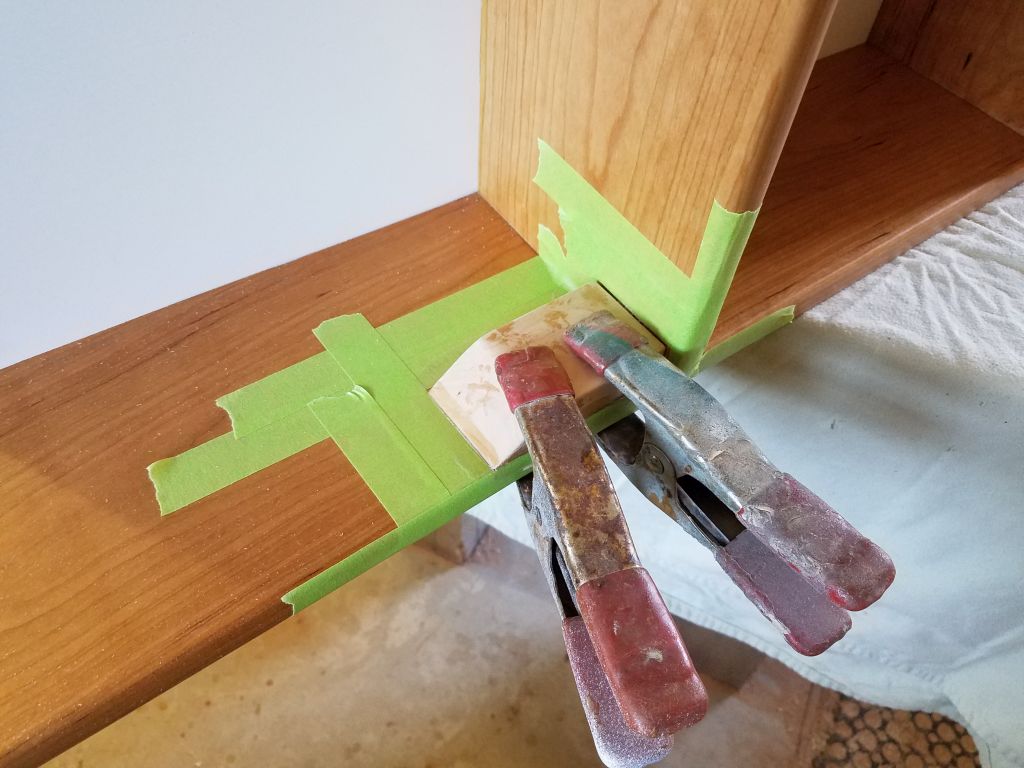
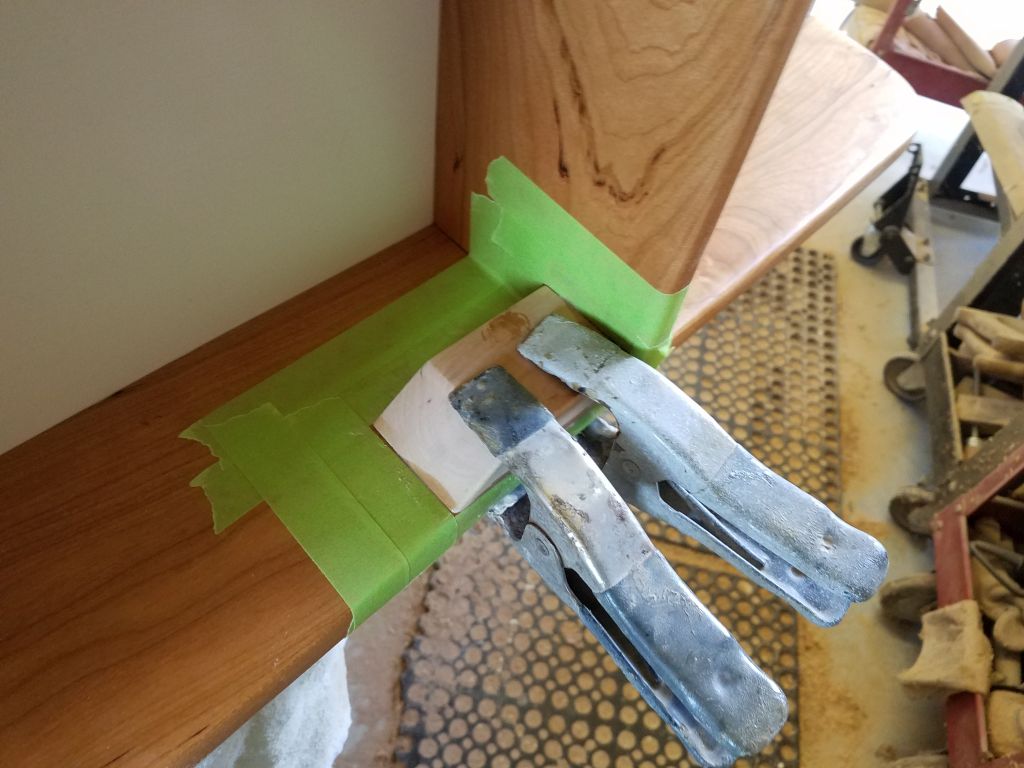
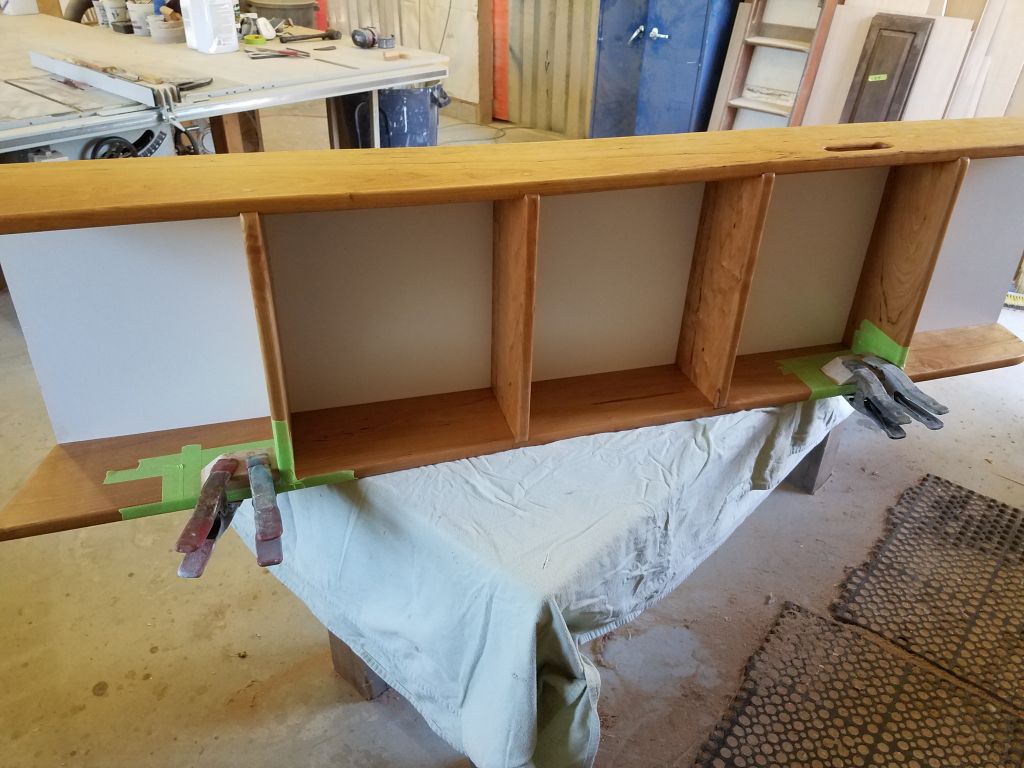
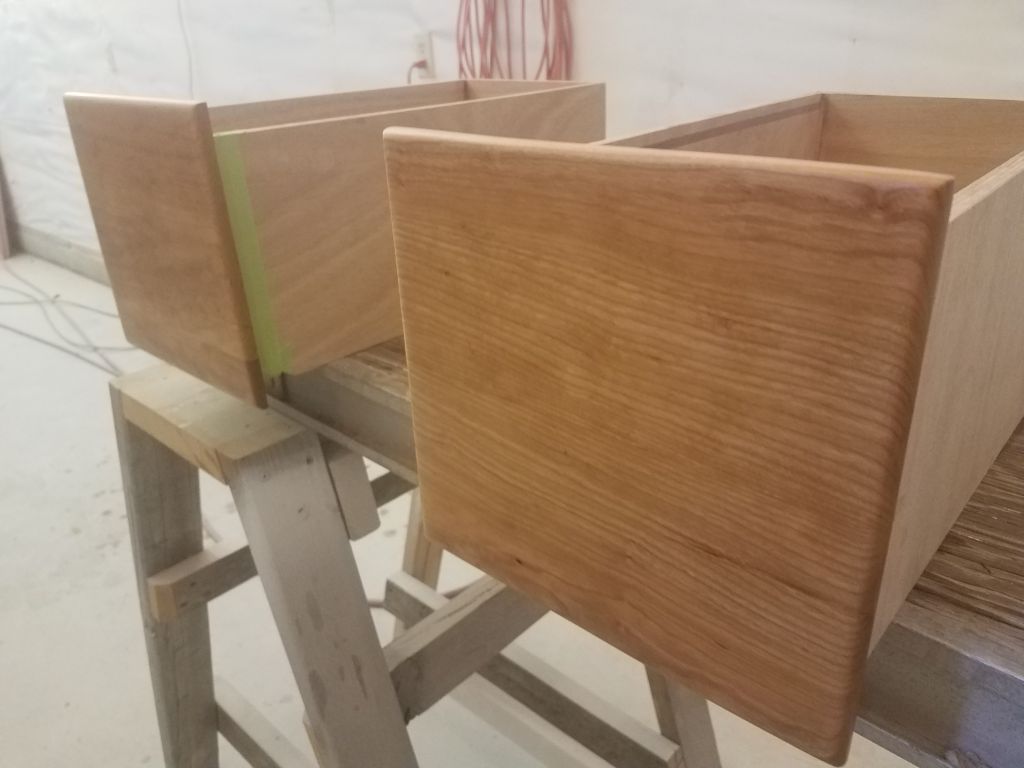
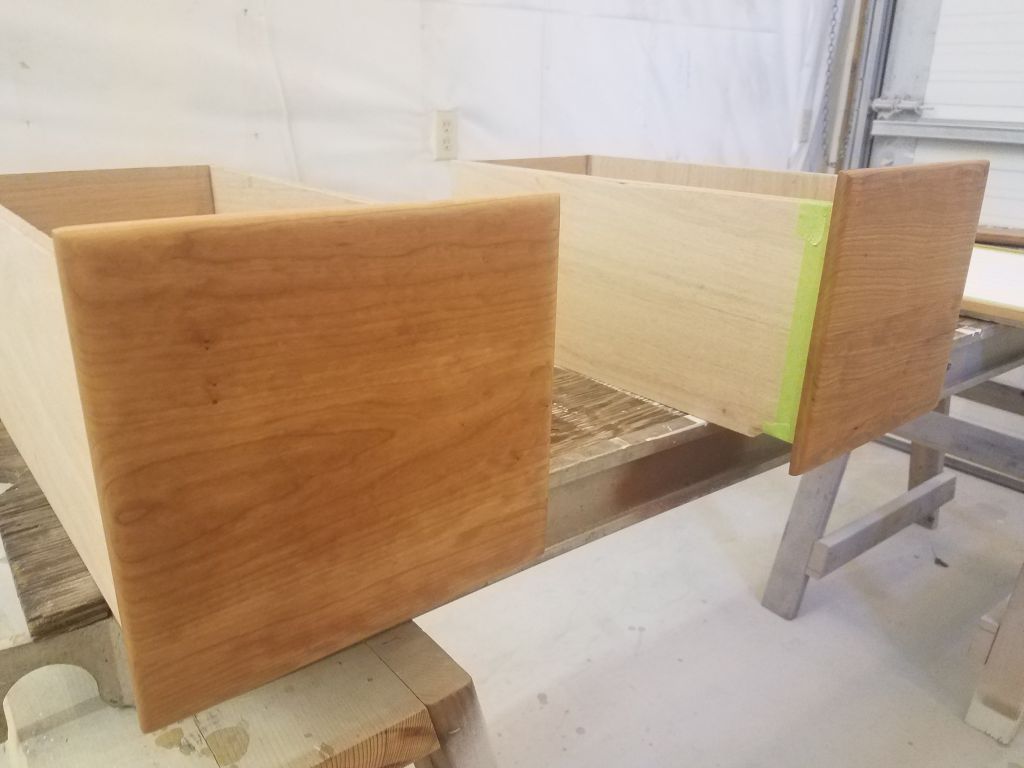
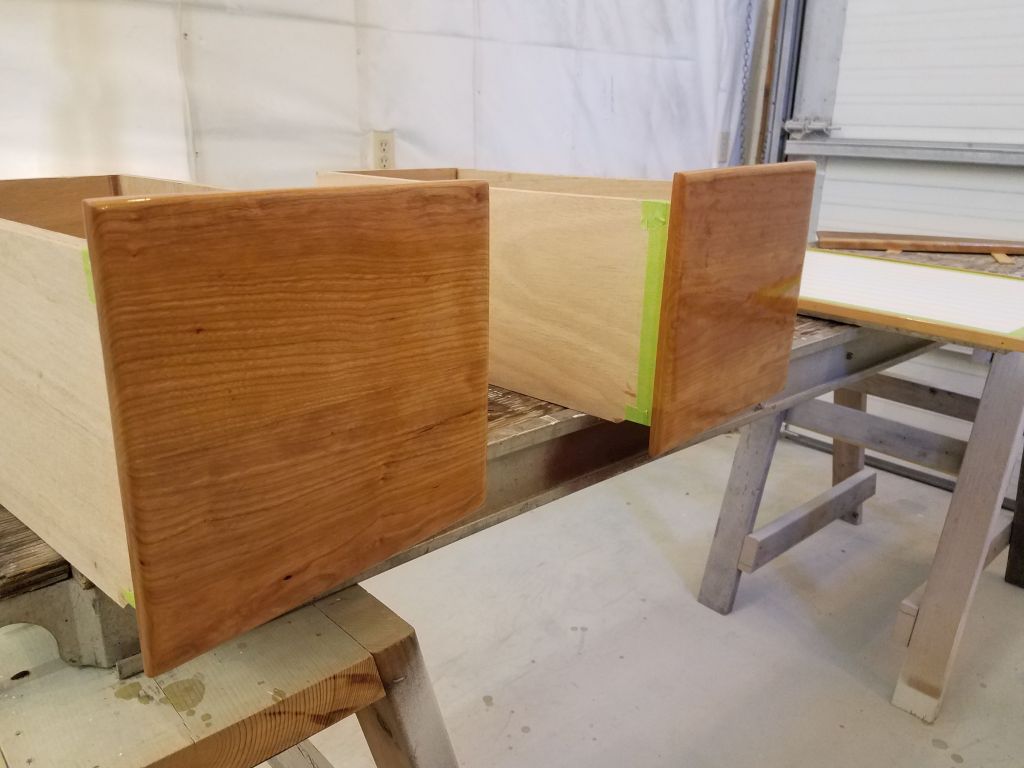
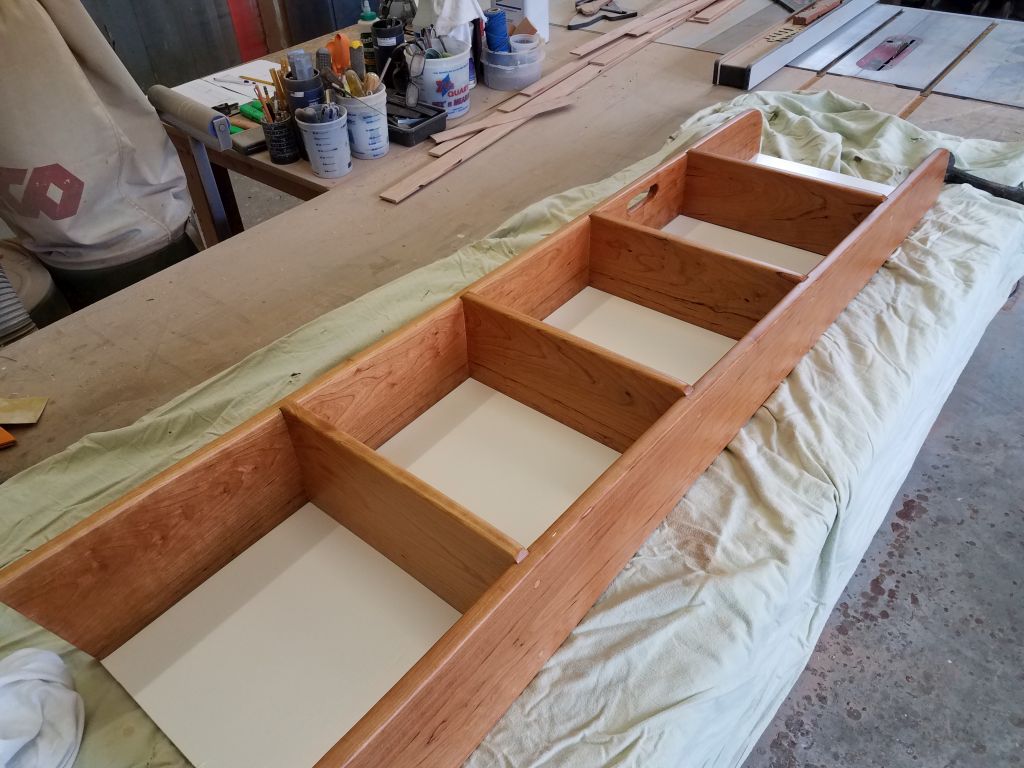
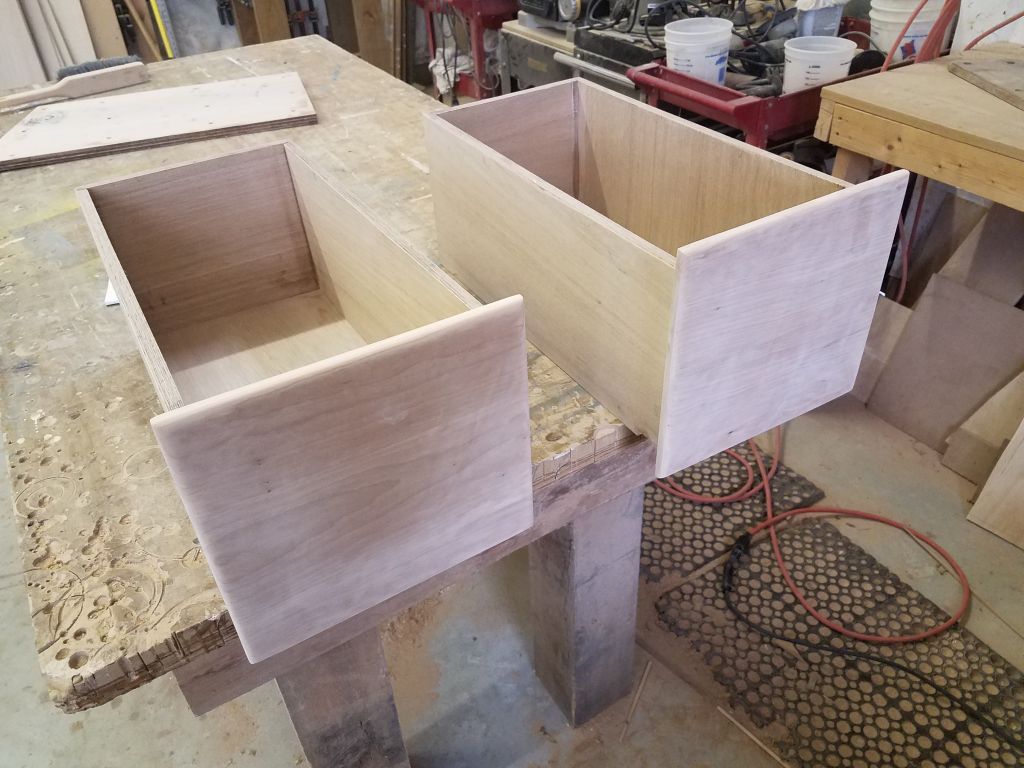
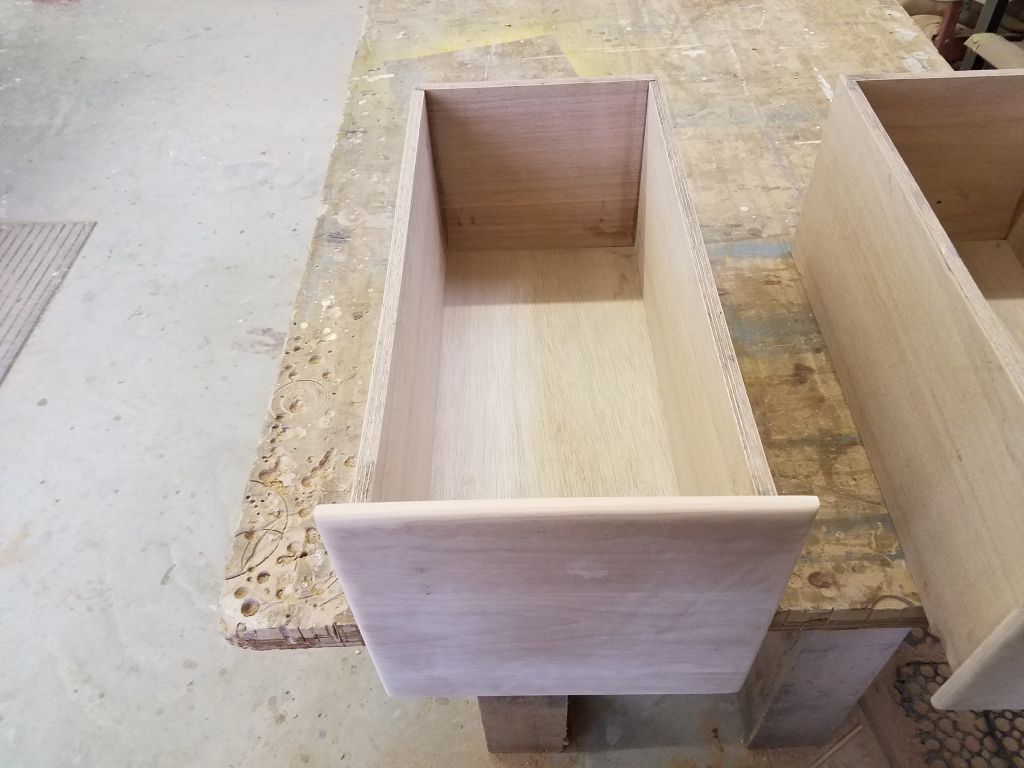
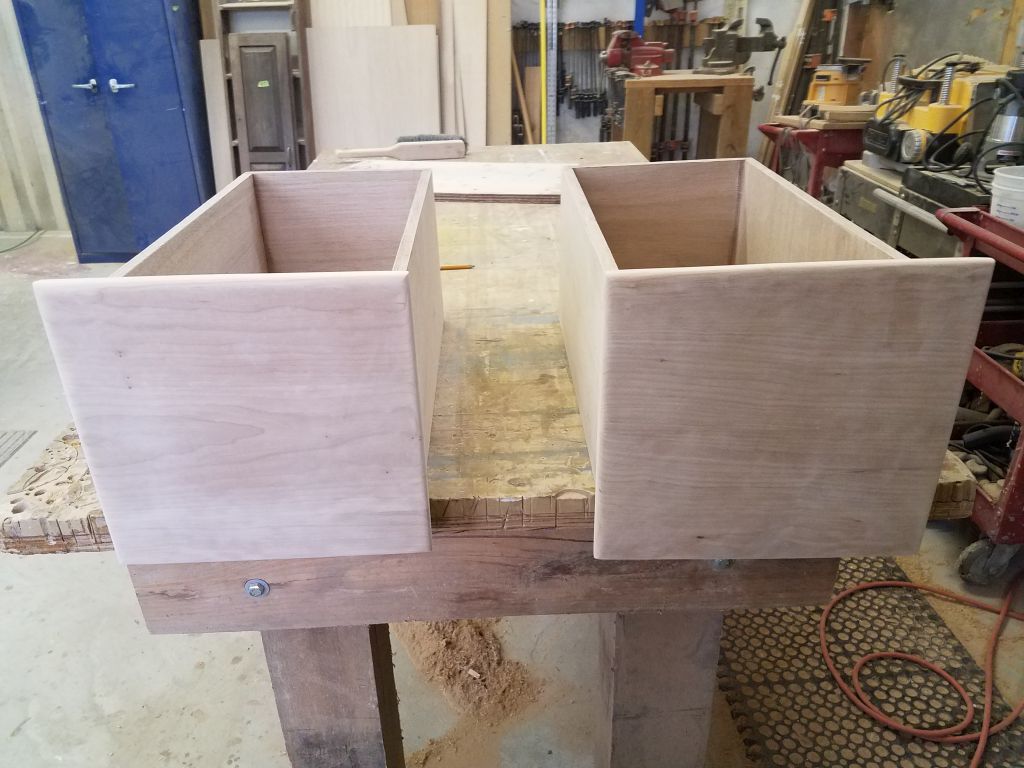
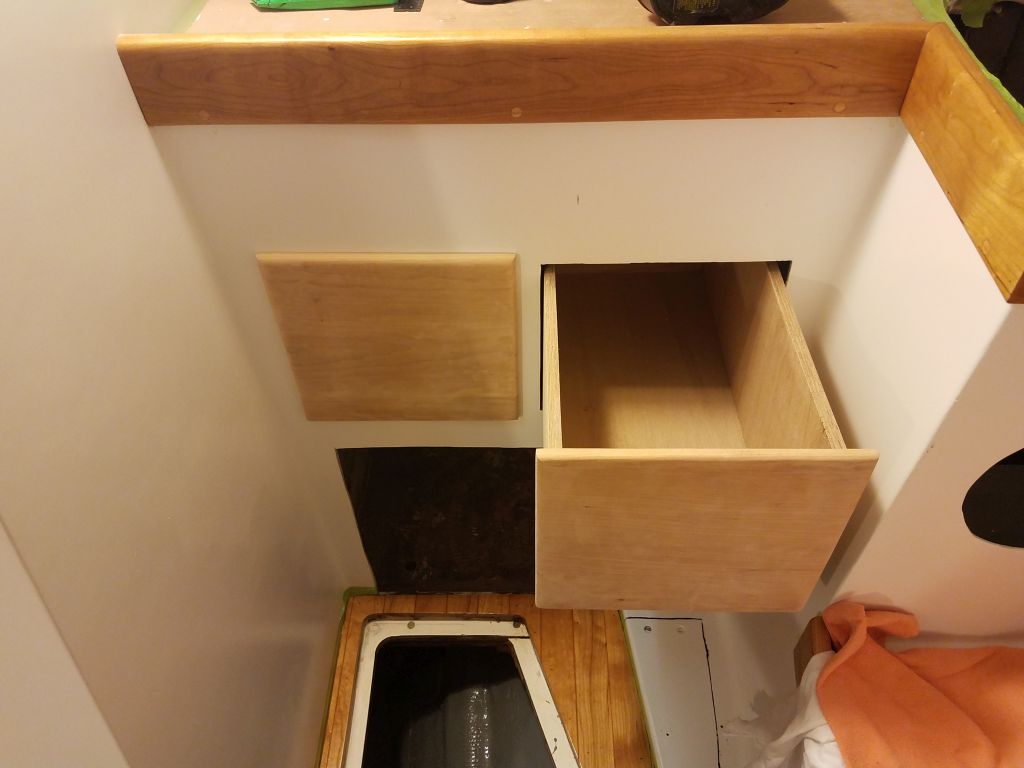
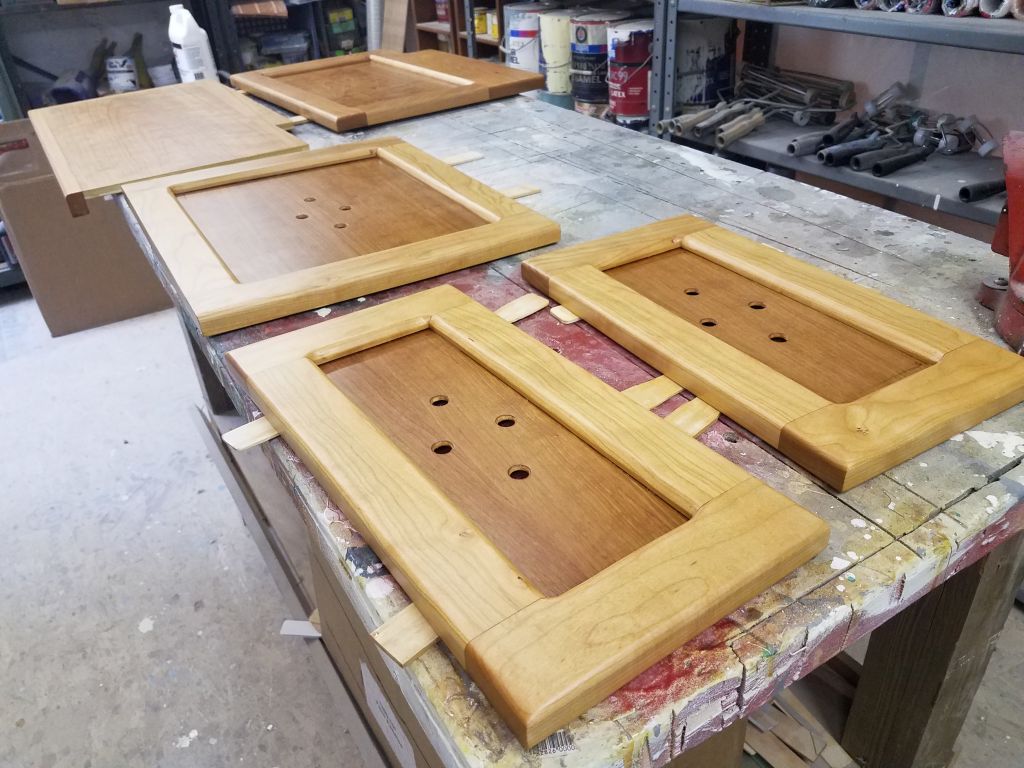
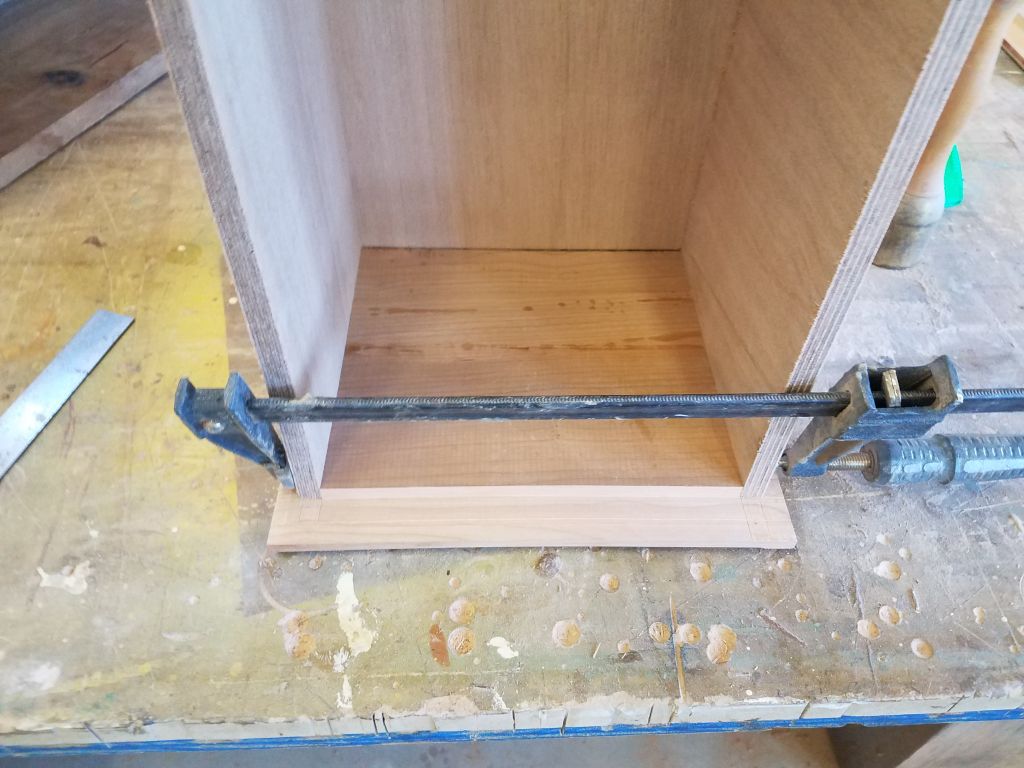
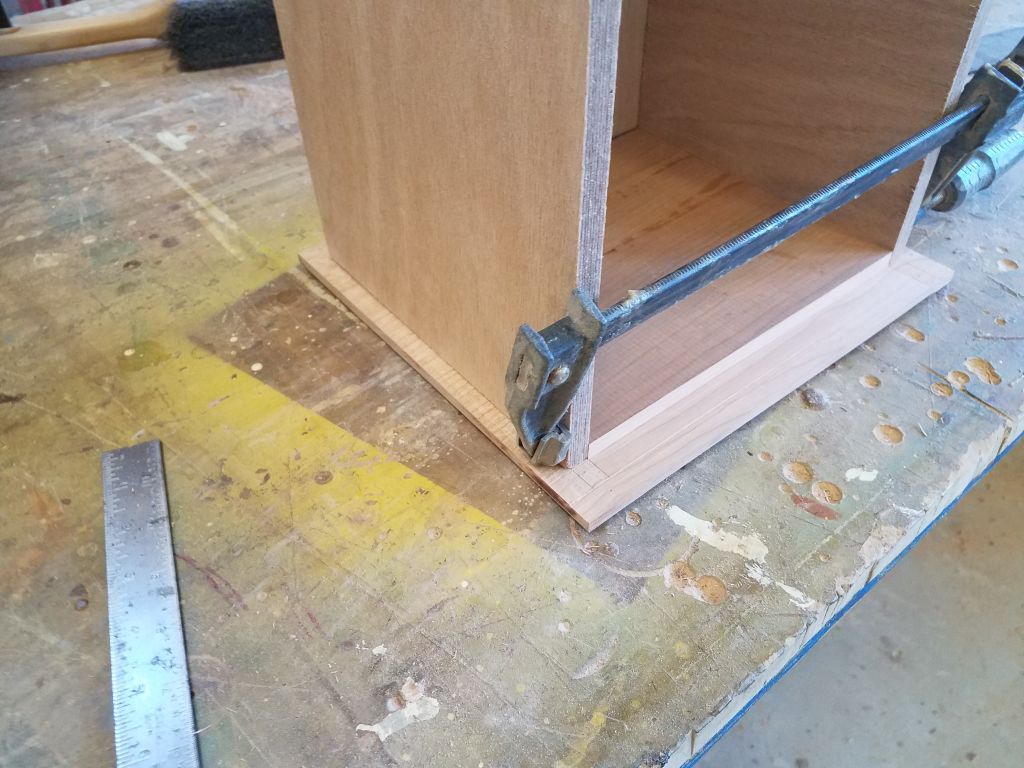
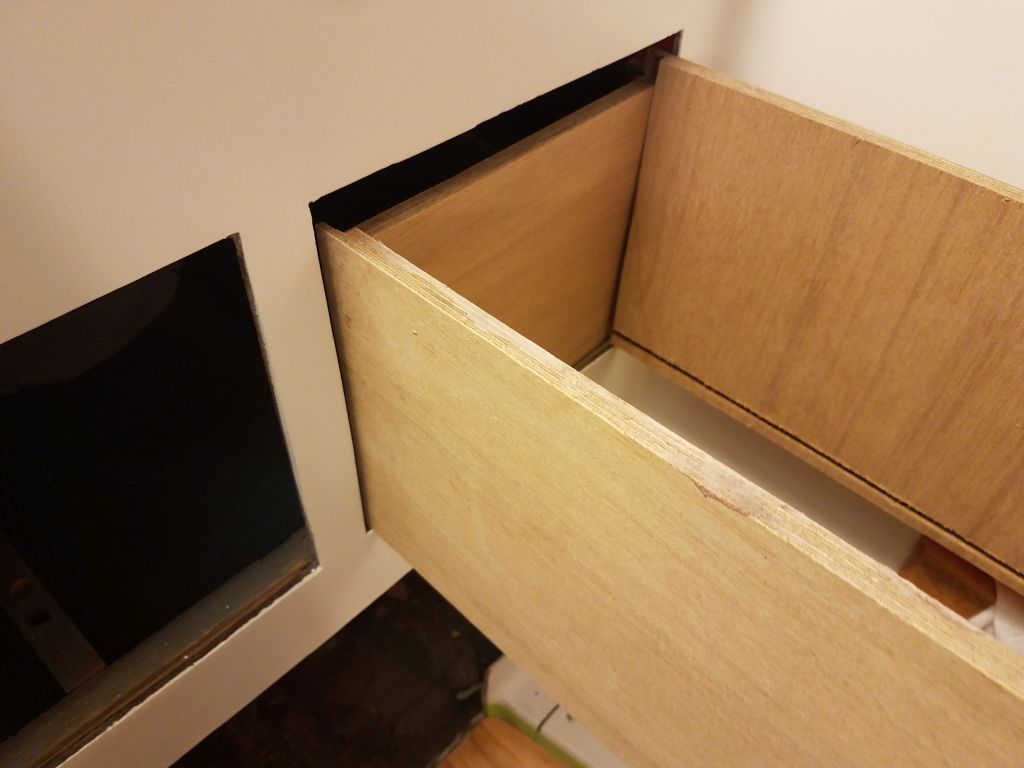
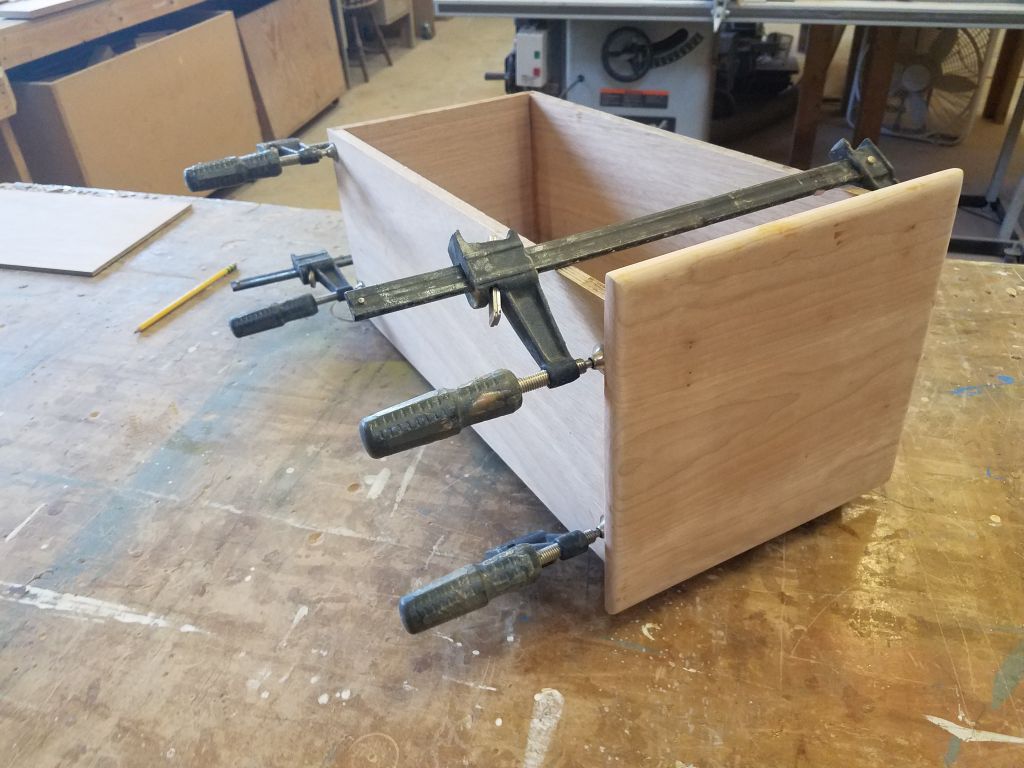
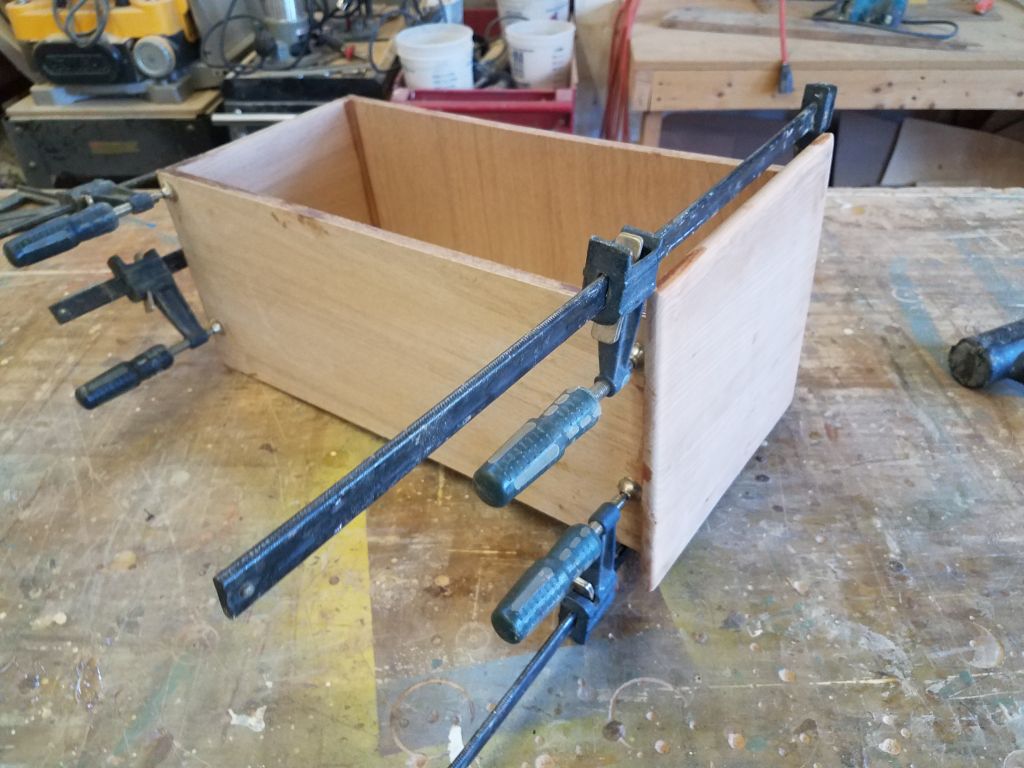
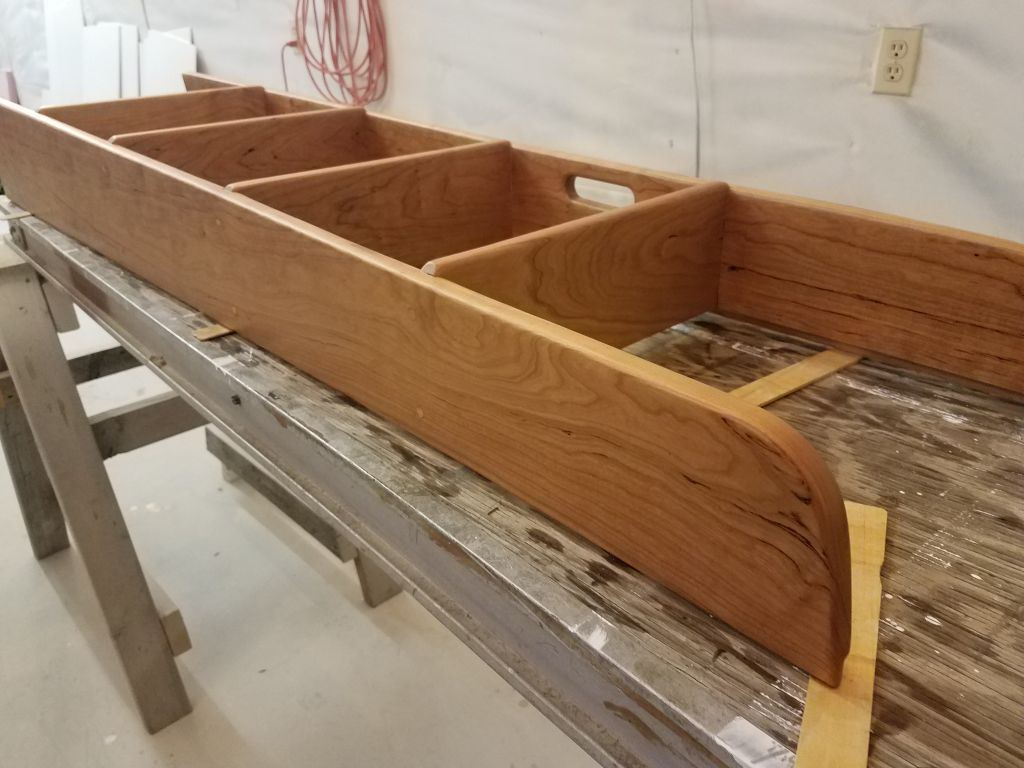
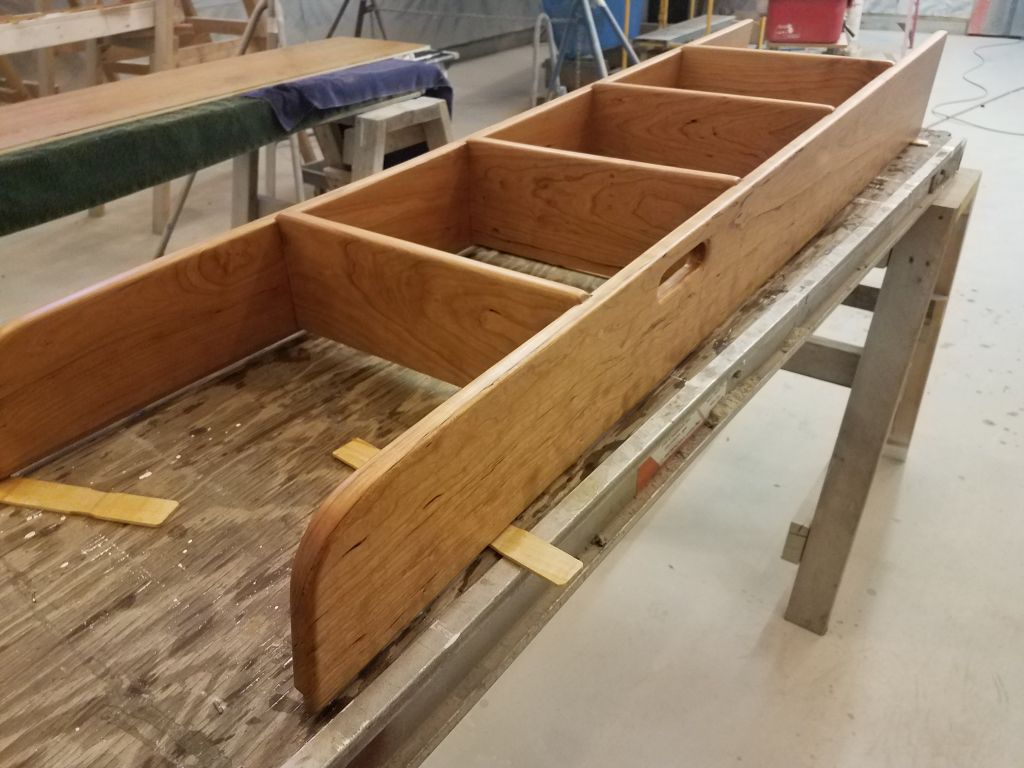
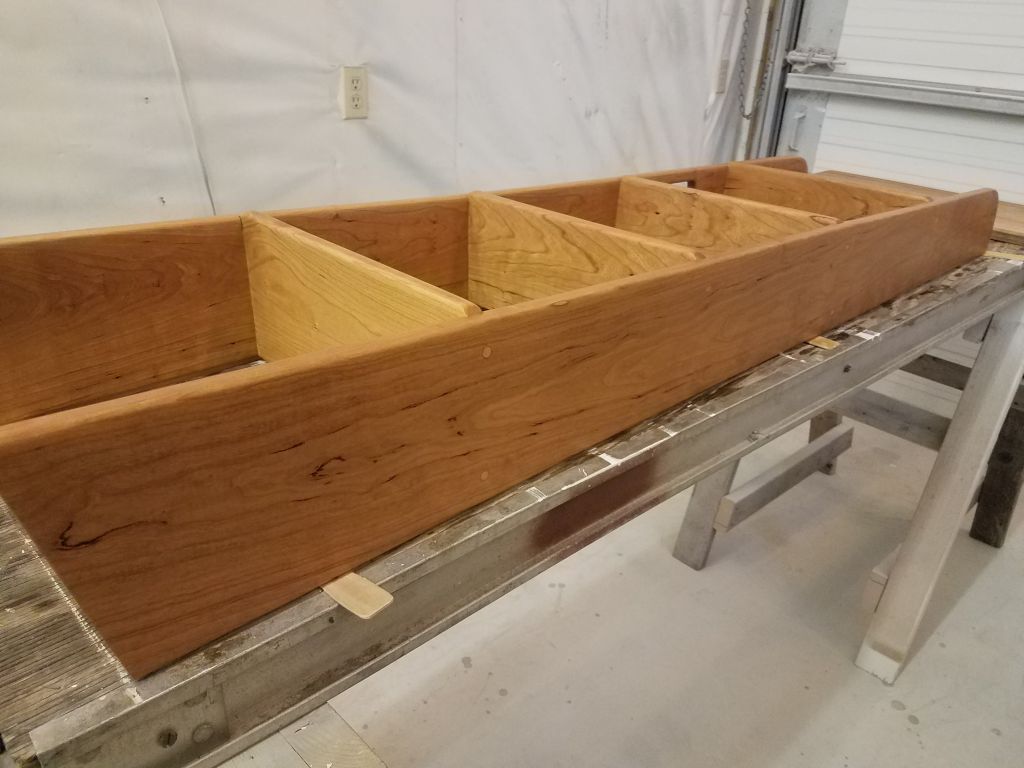
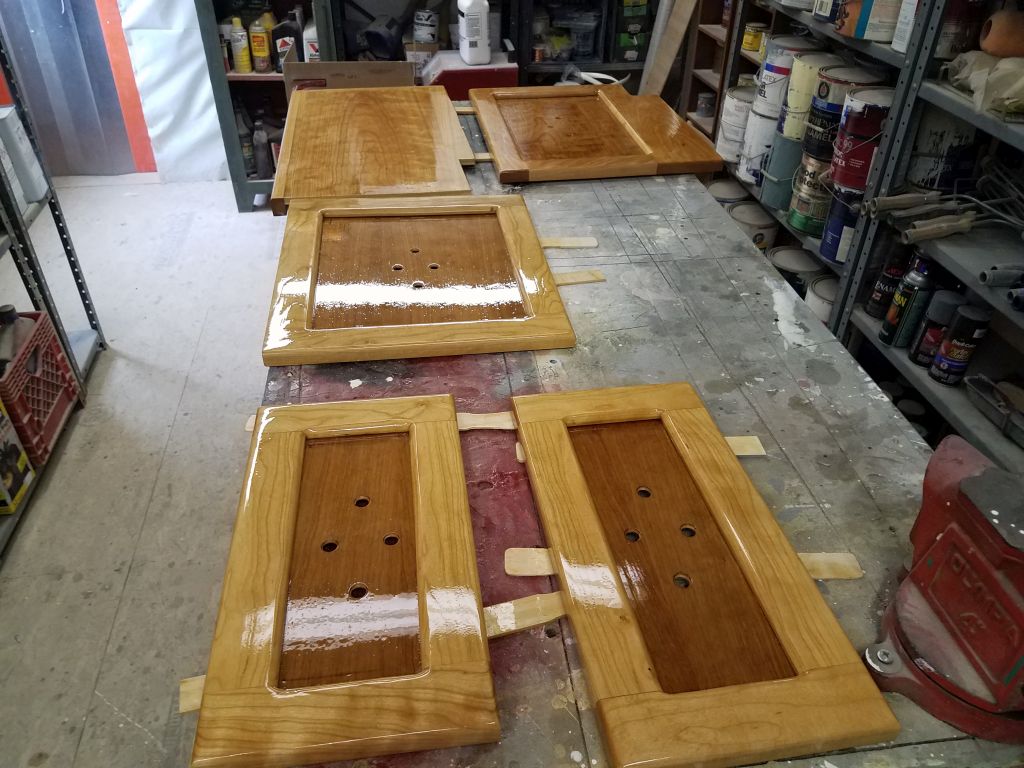
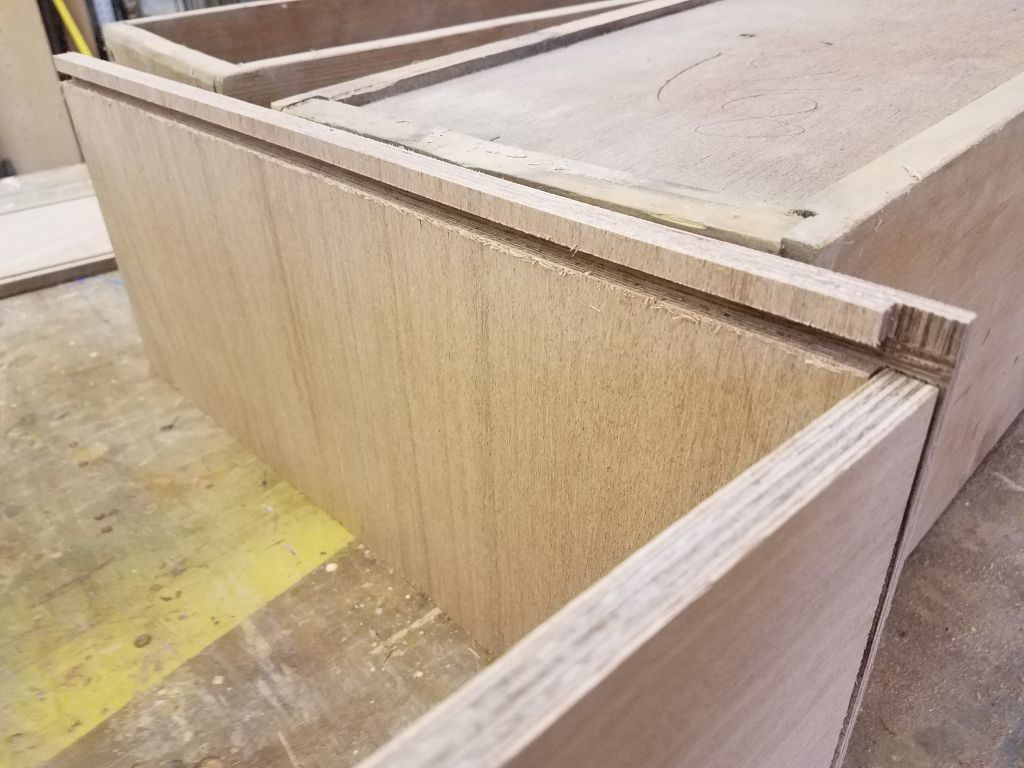
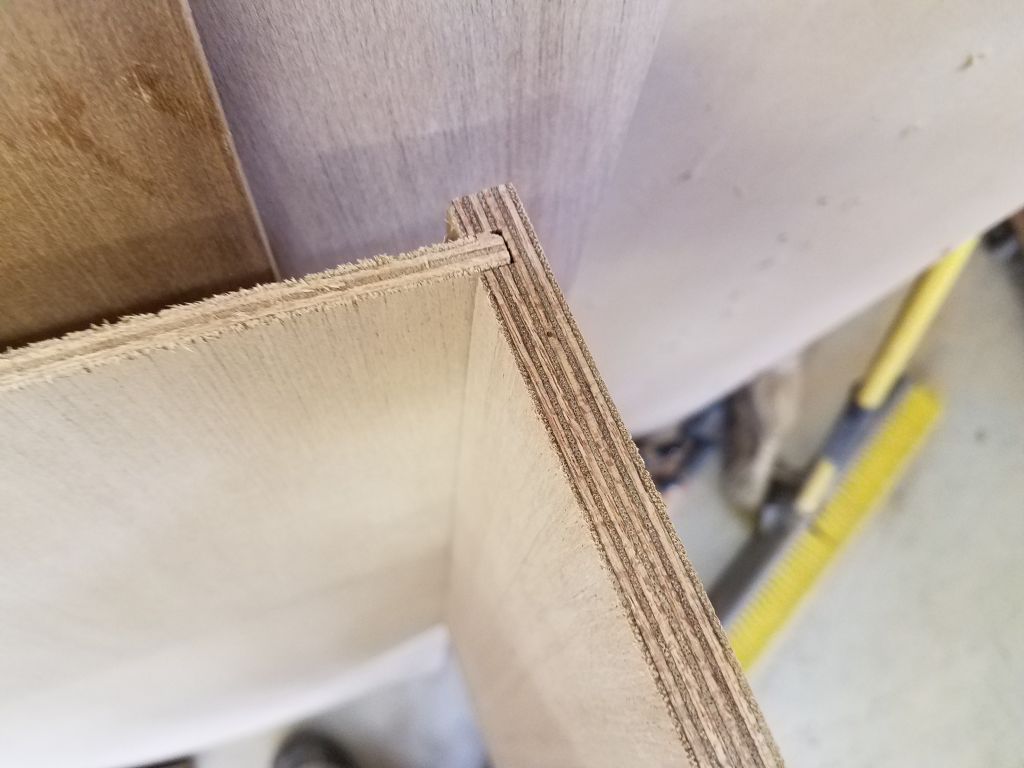
After unclamping the drawers, I sanded the fronts and boxes as needed to clean up any excess epoxy and otherwise prepare them for finish. I tested the completed drawers in the galley, and they fit as expected.
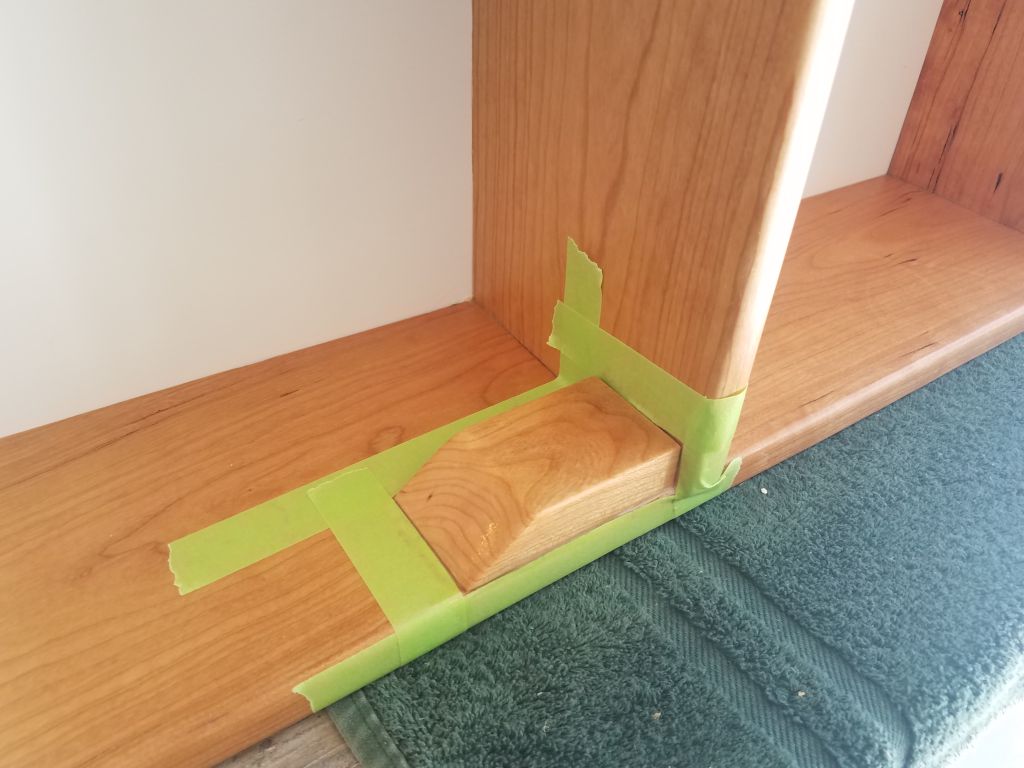
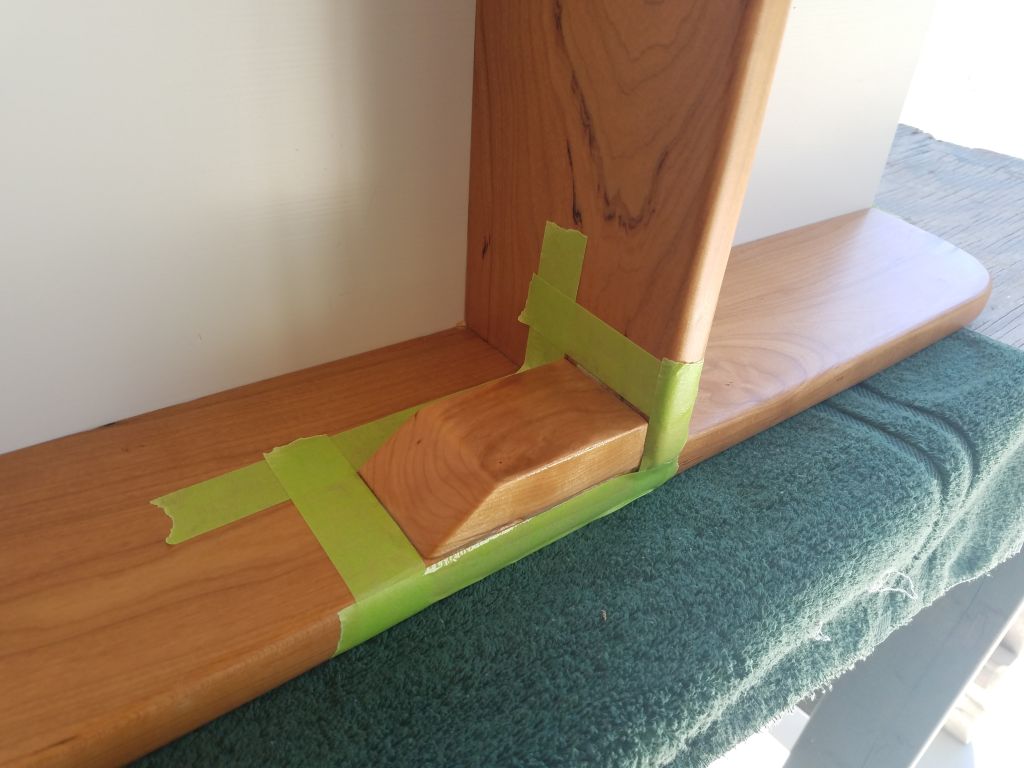
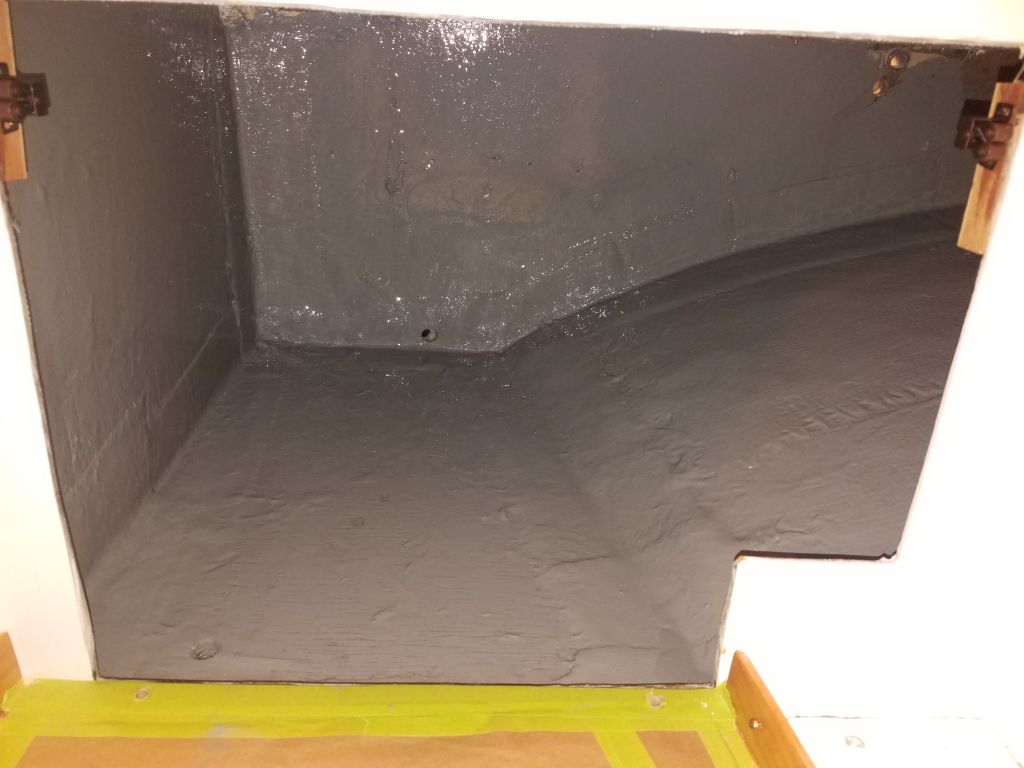
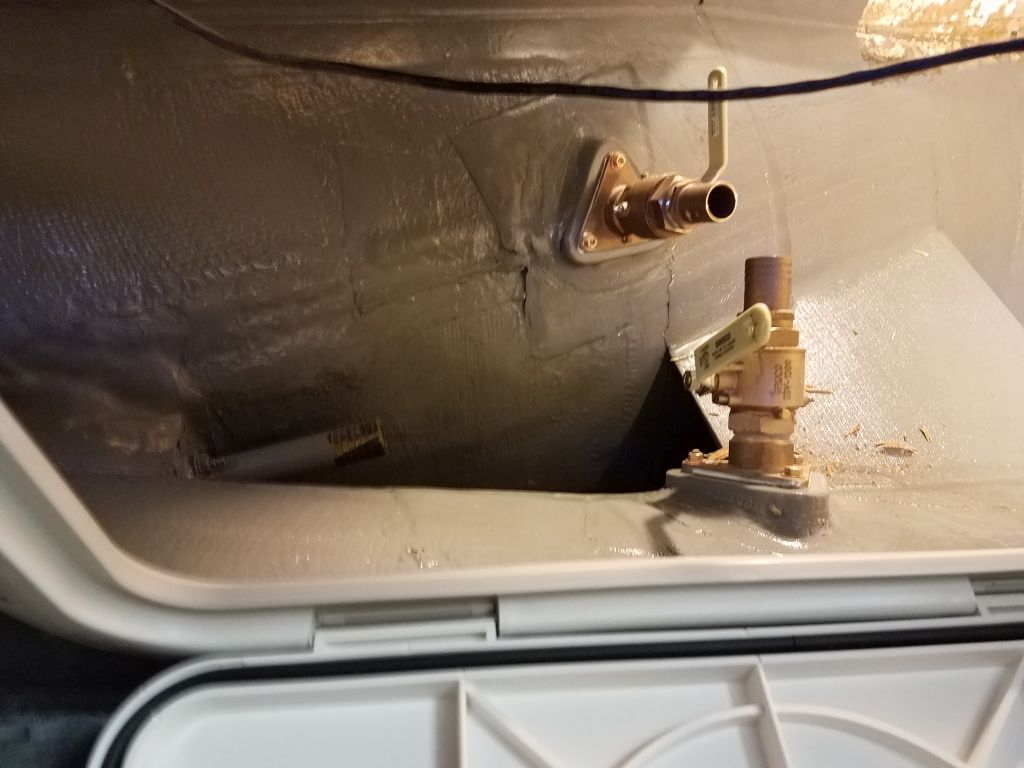
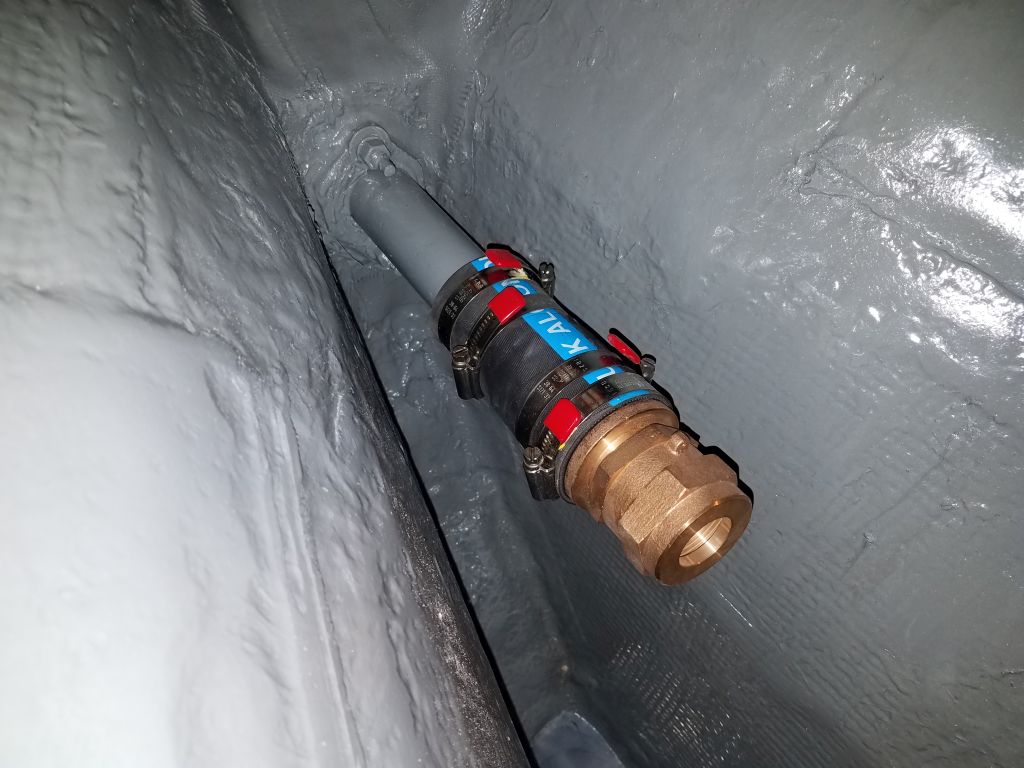
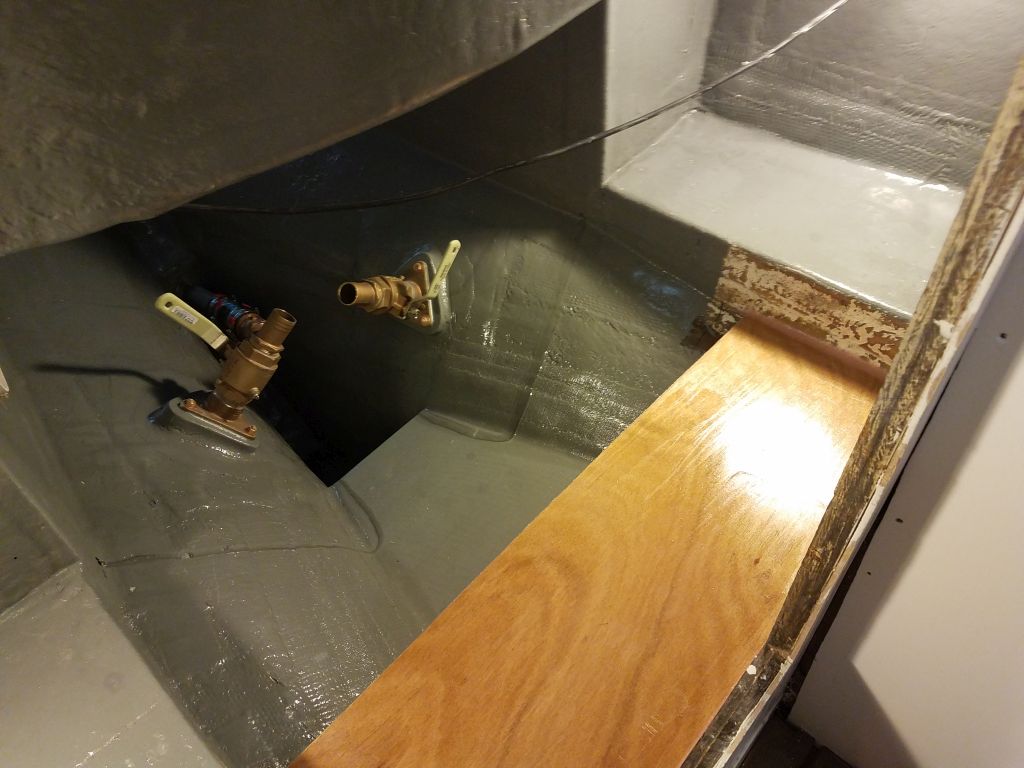
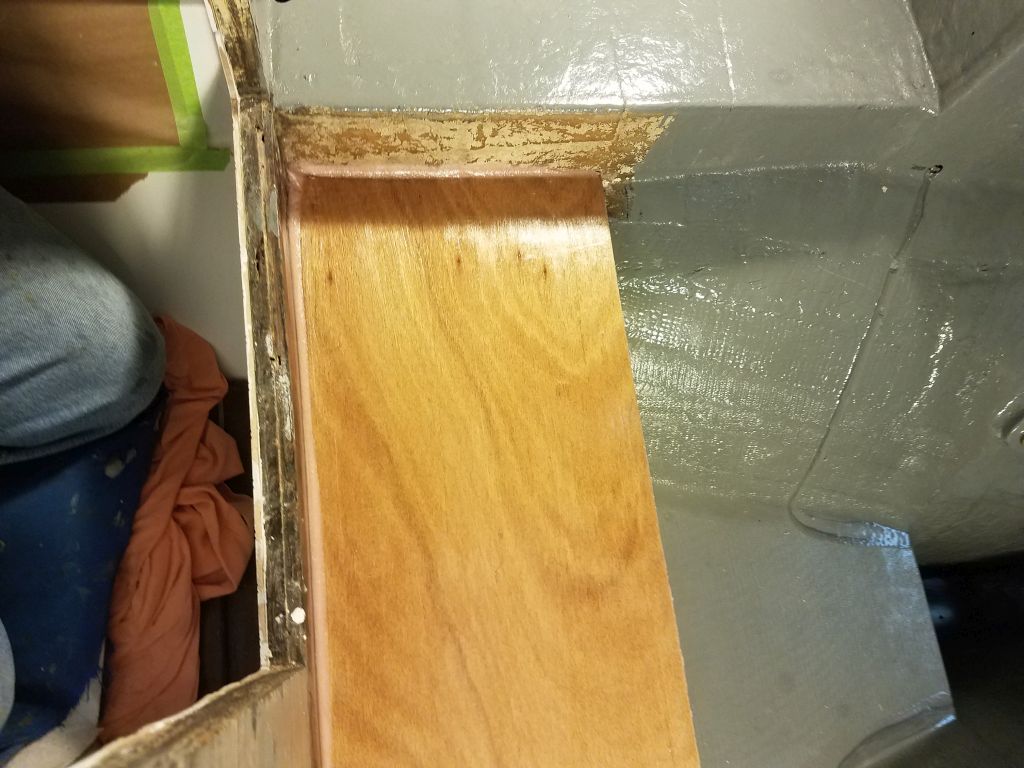
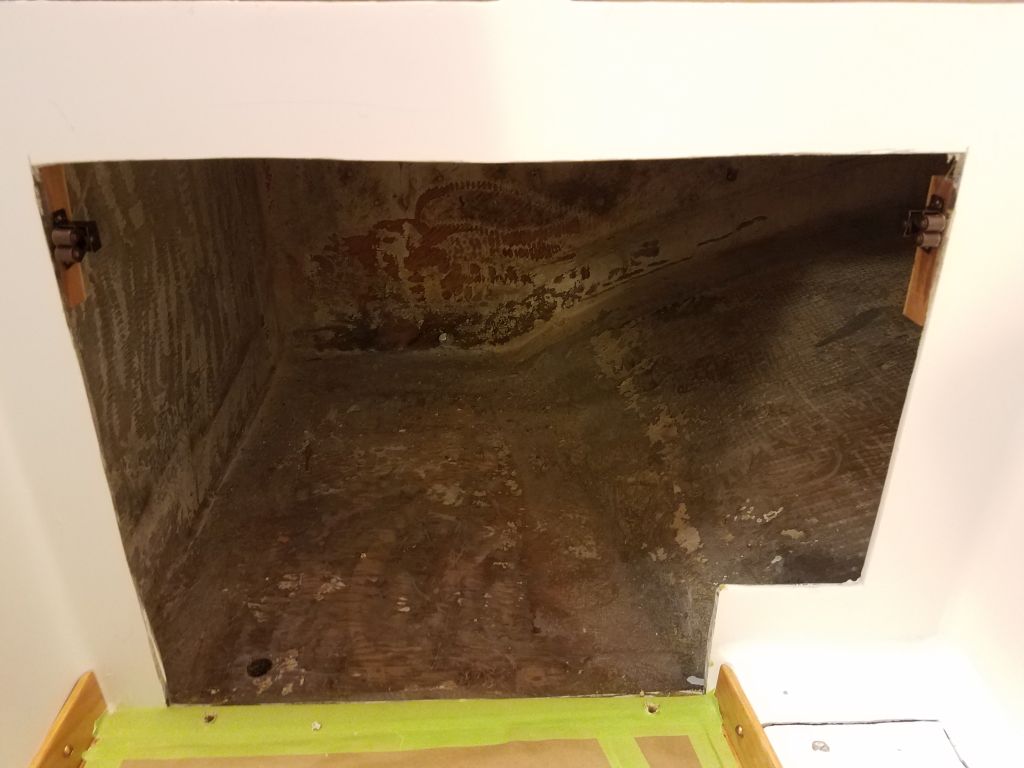
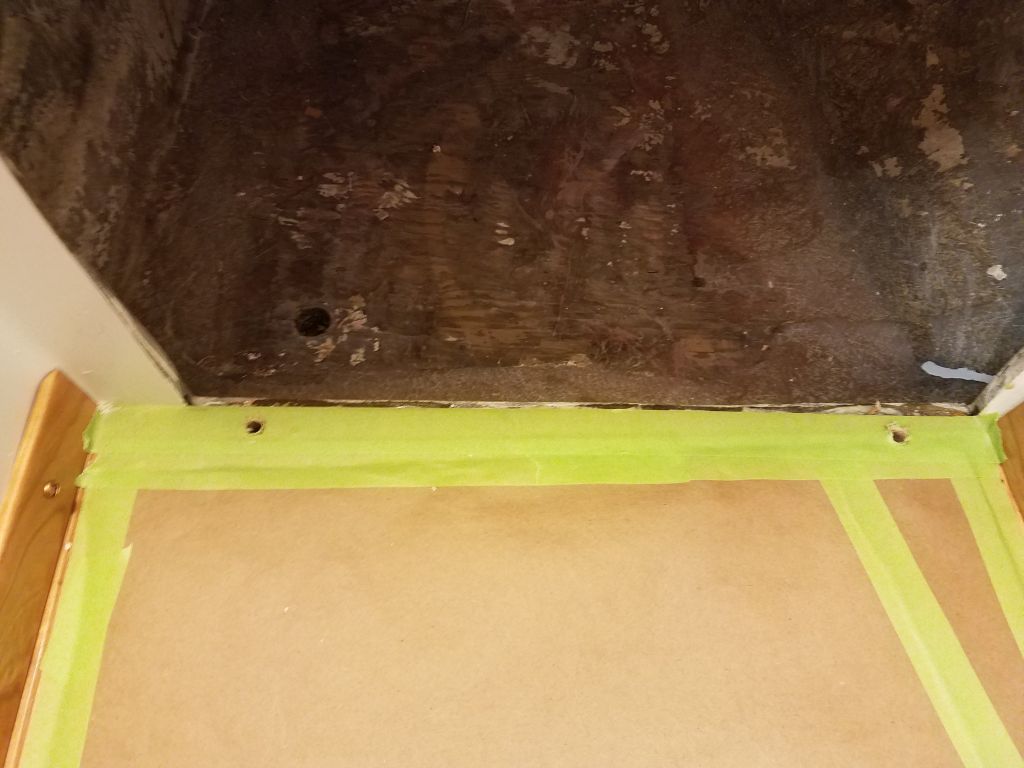
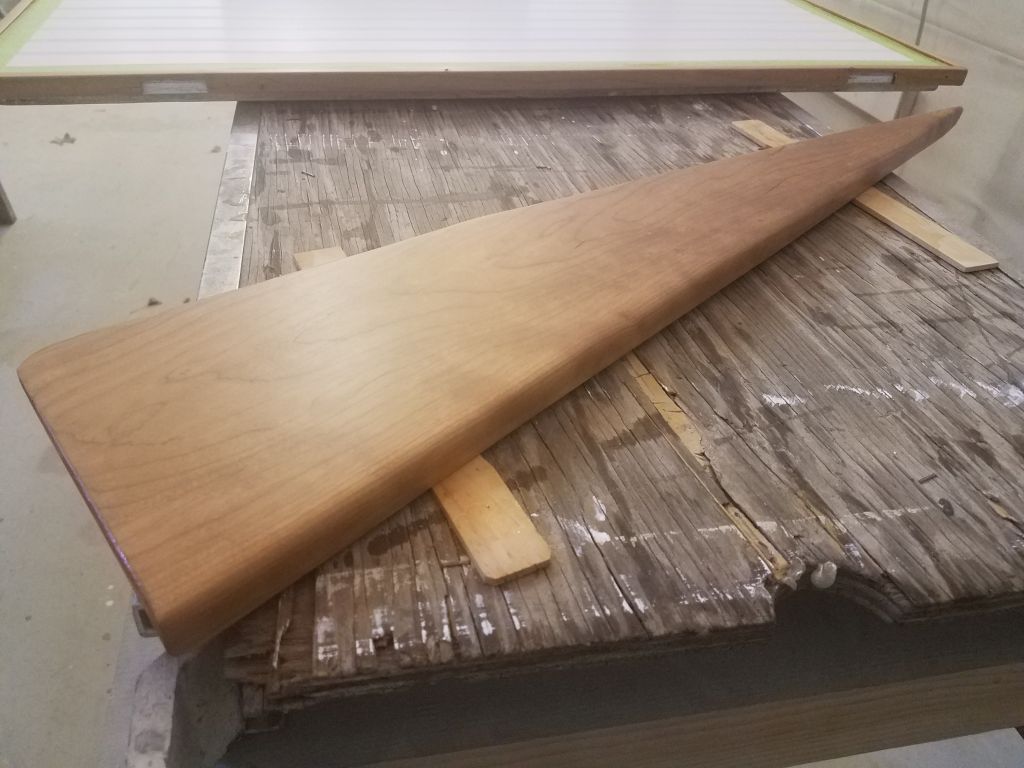
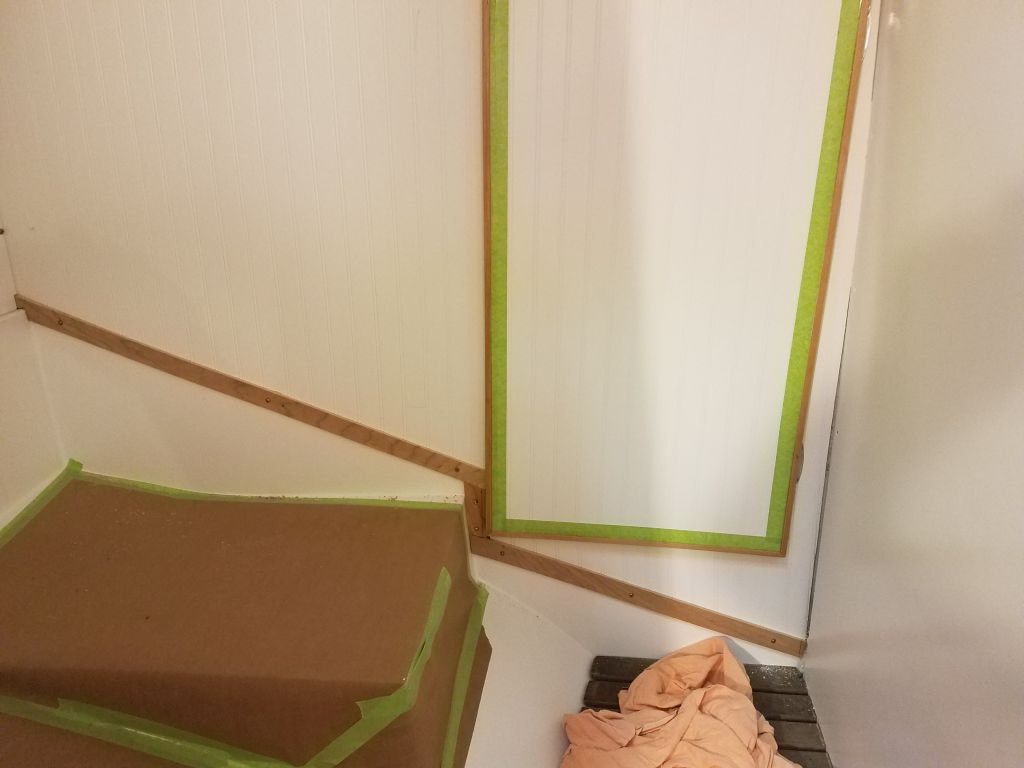
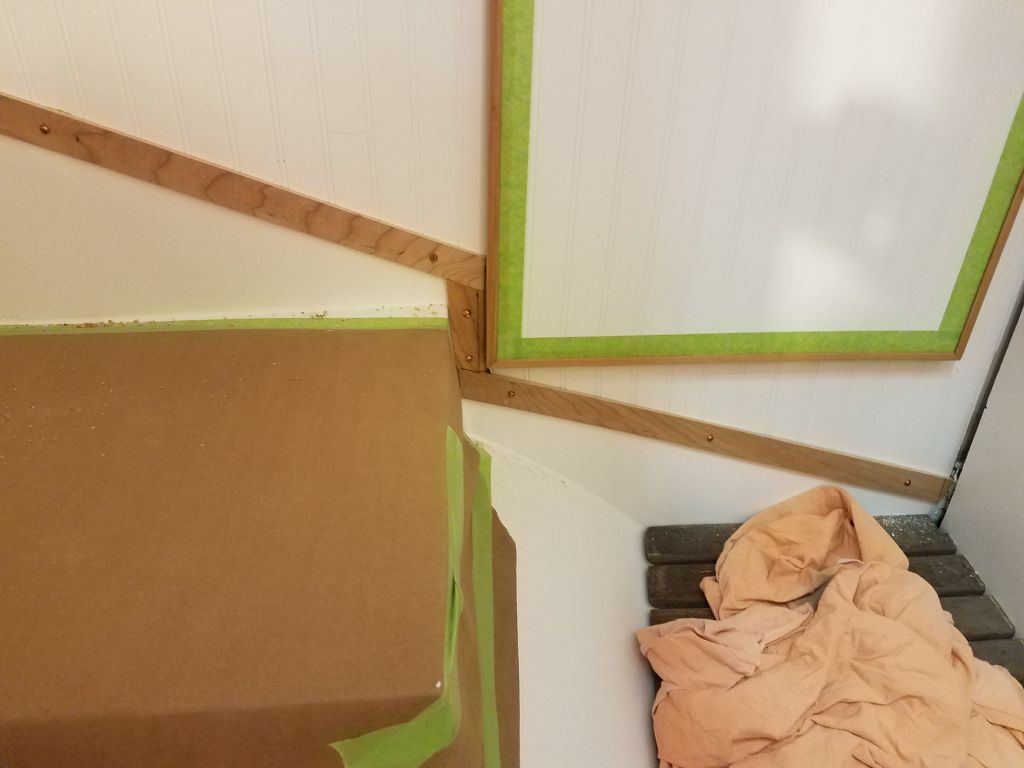
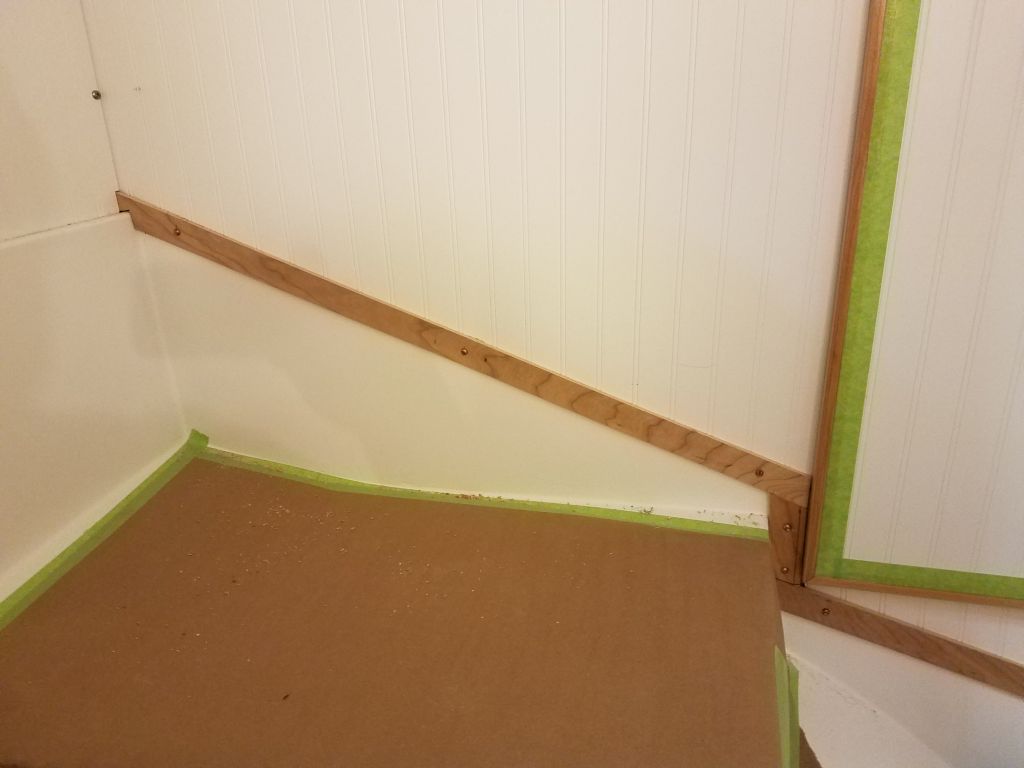
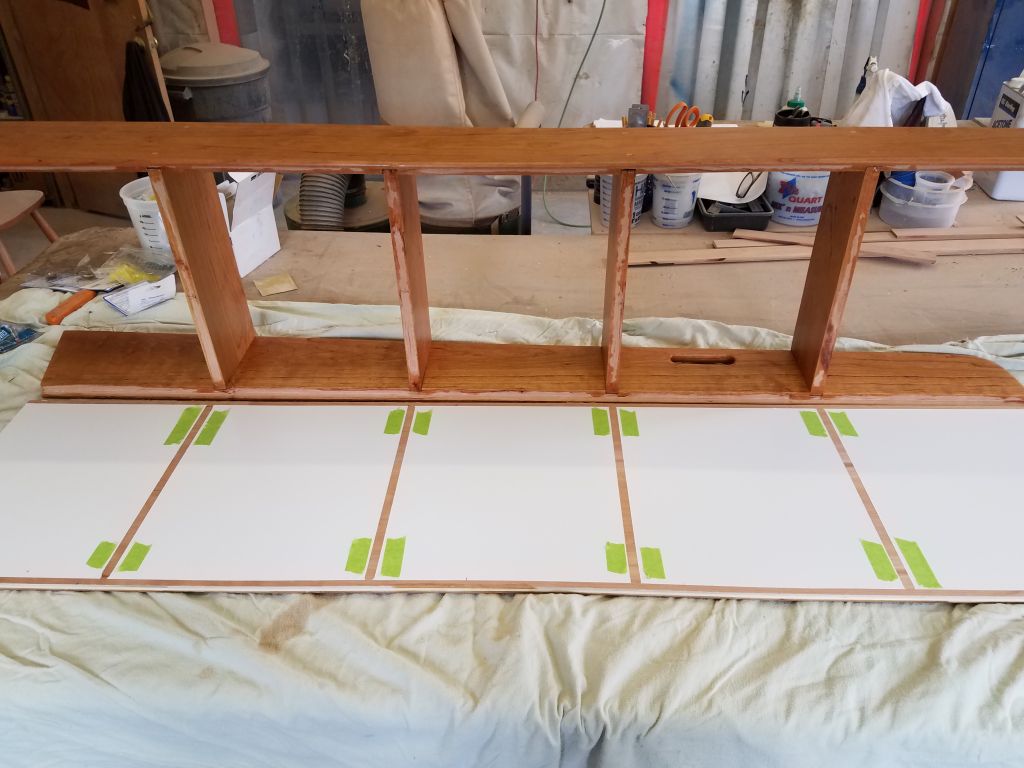
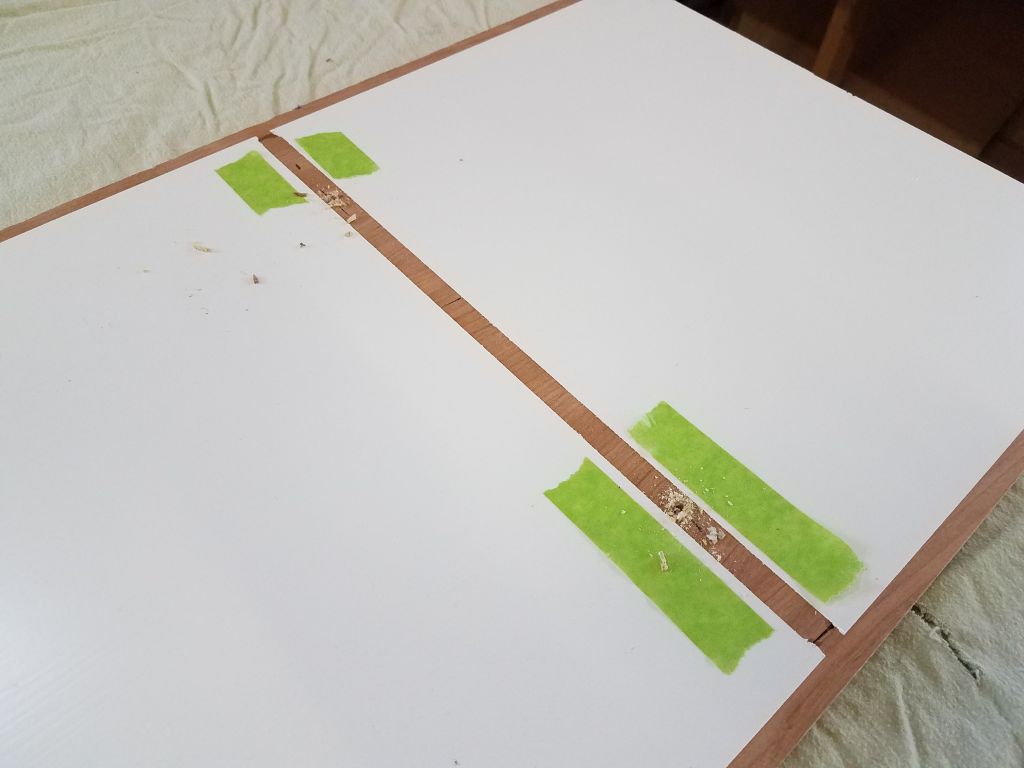
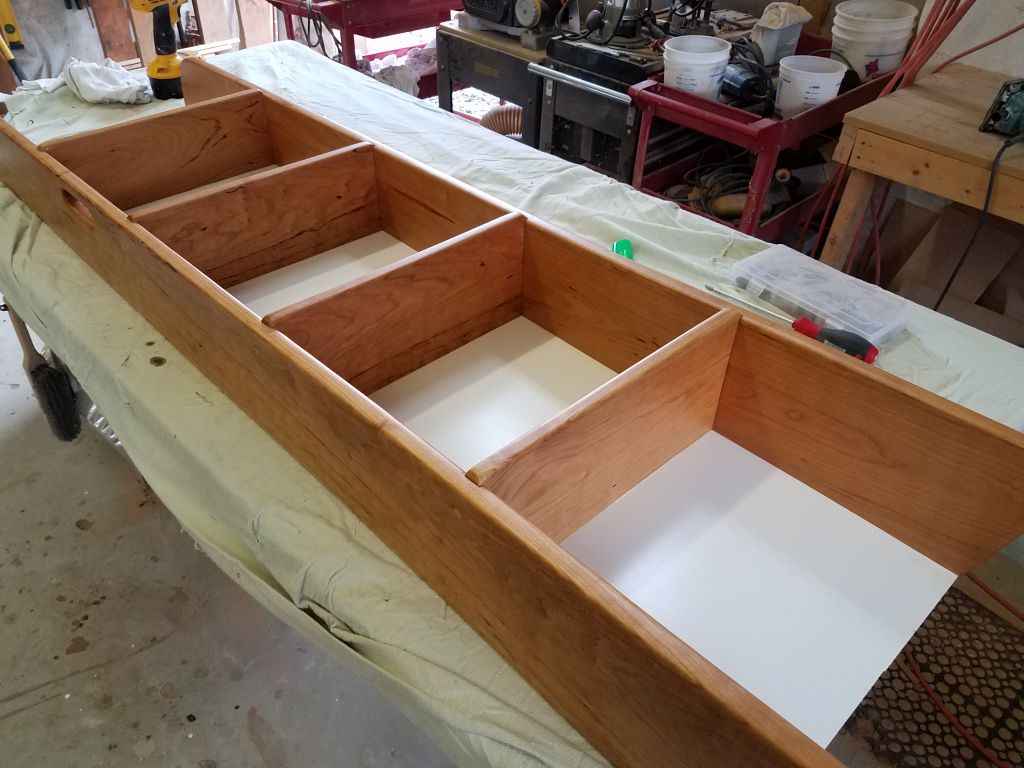
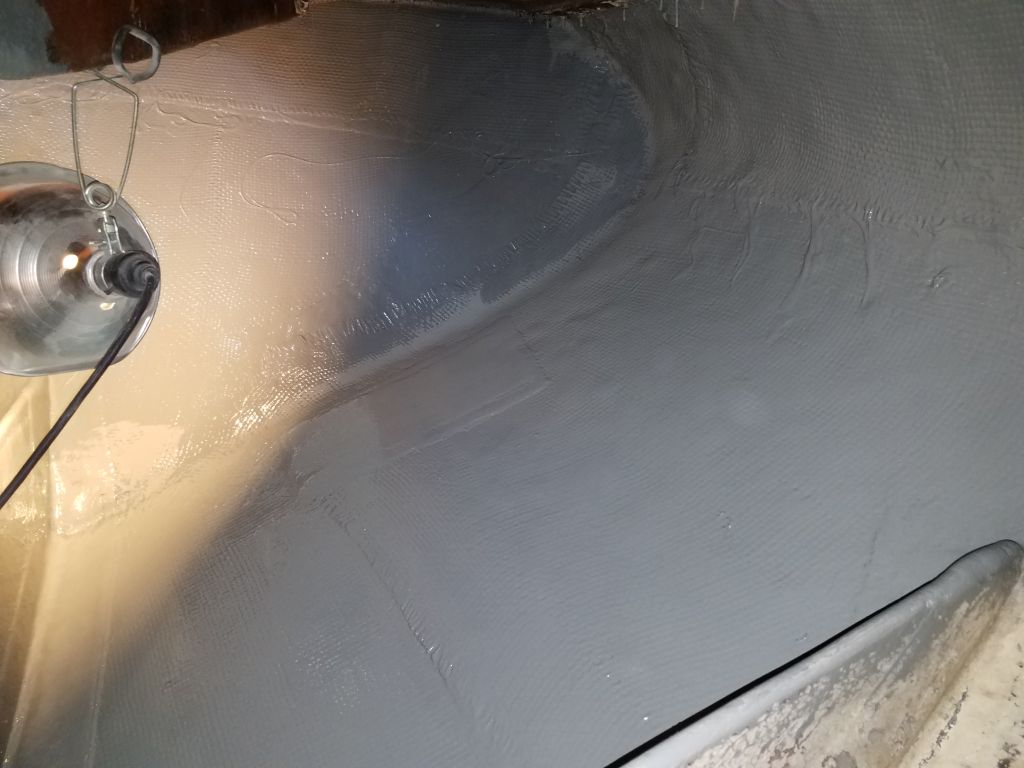
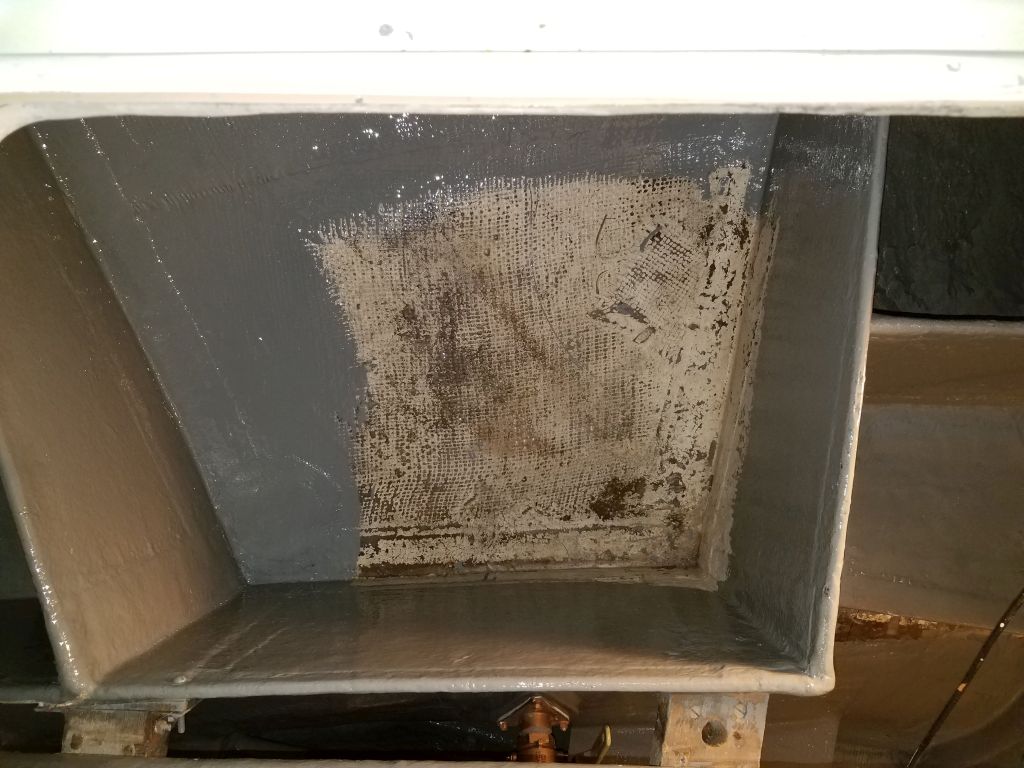
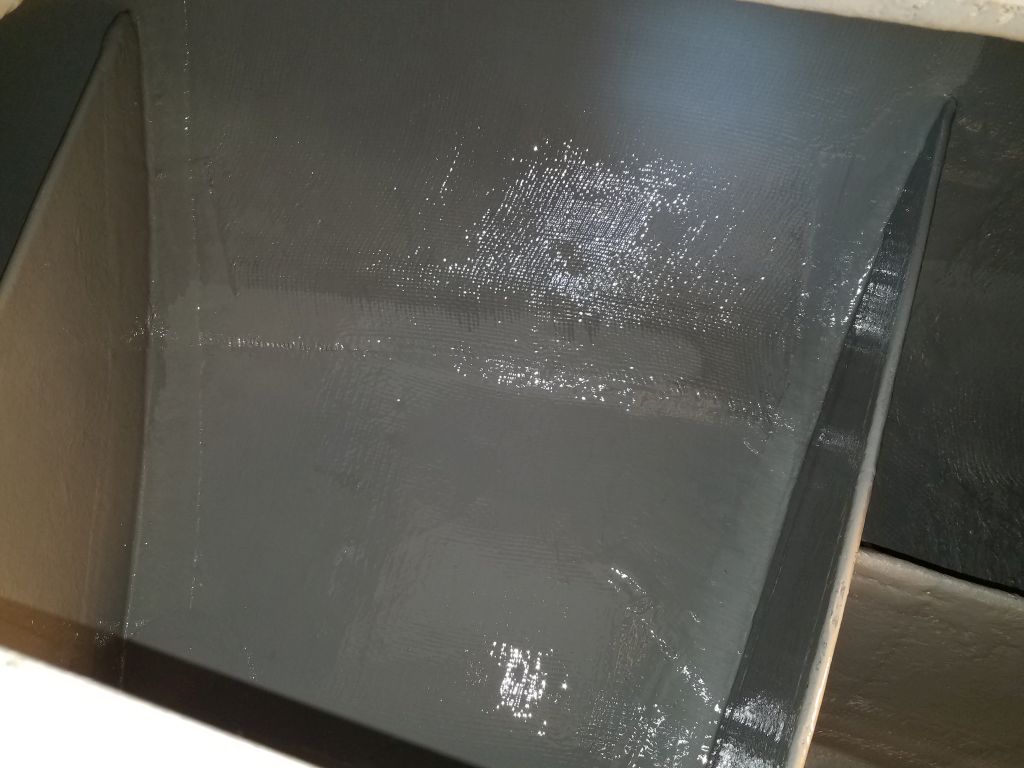
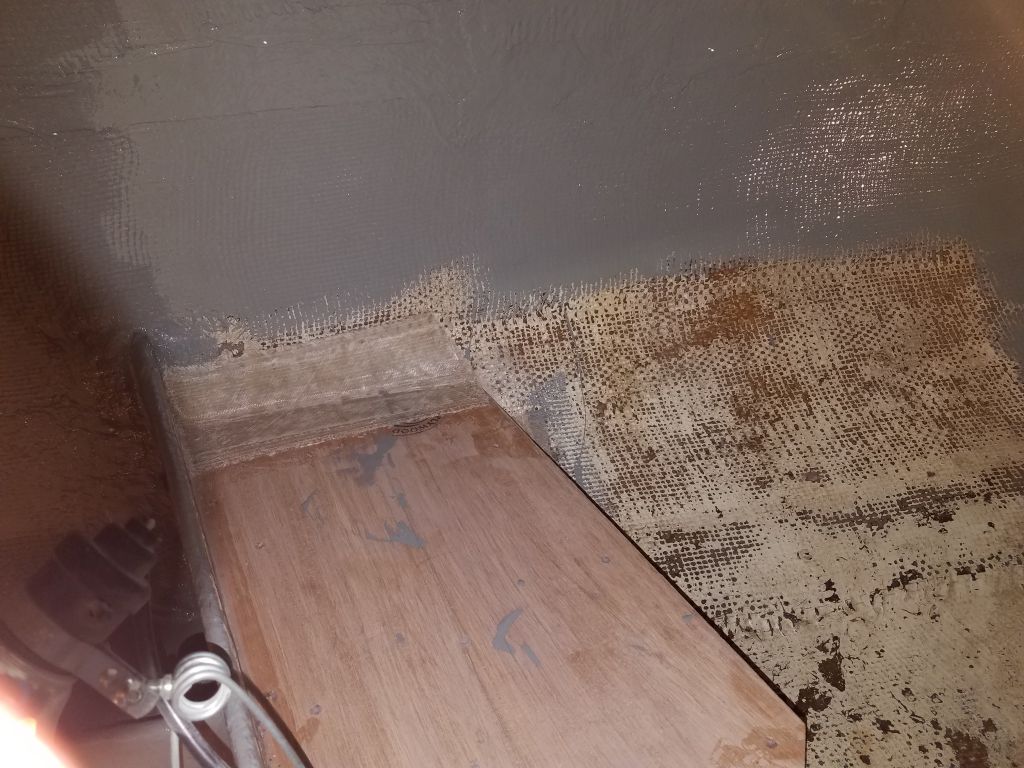
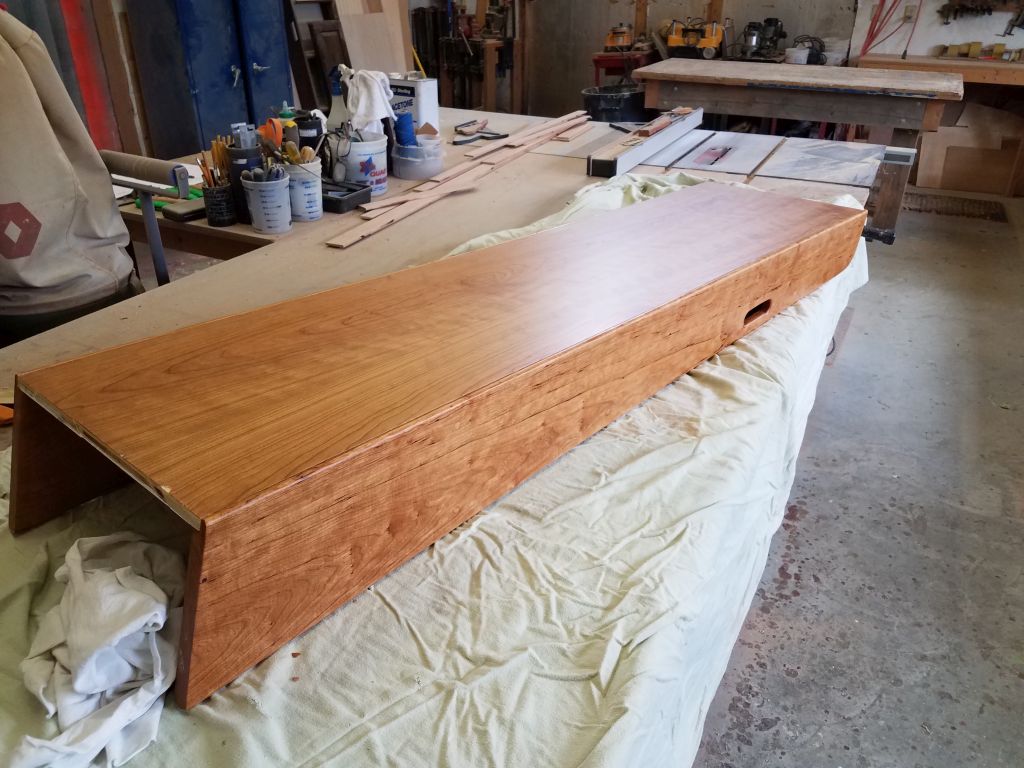
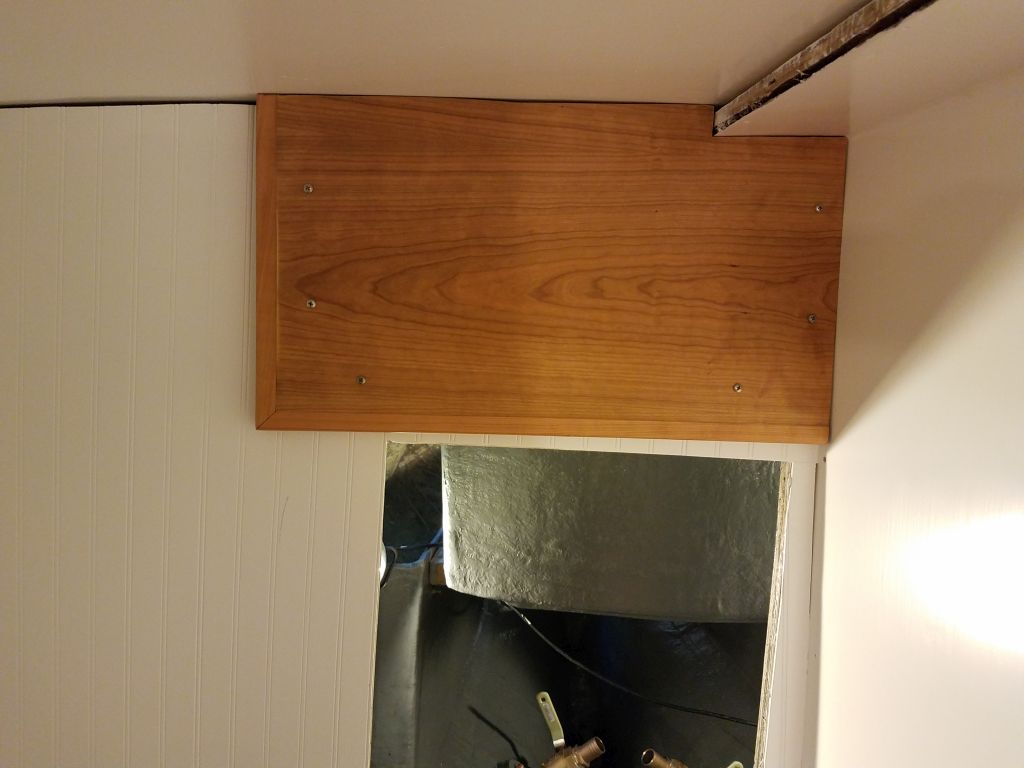
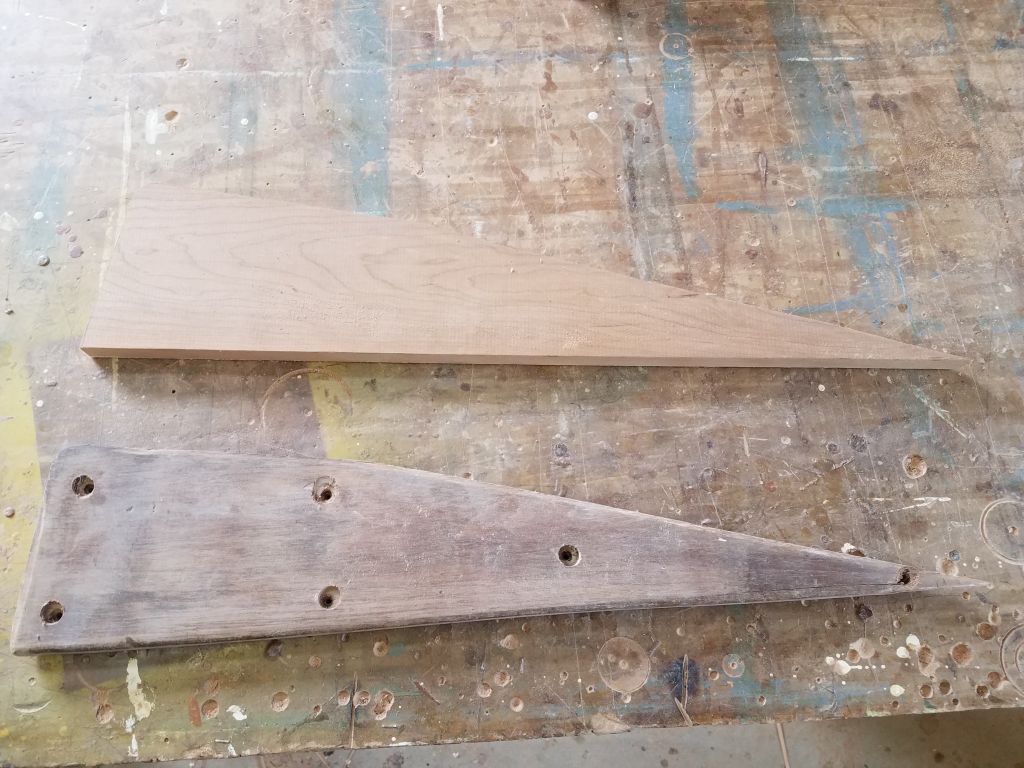
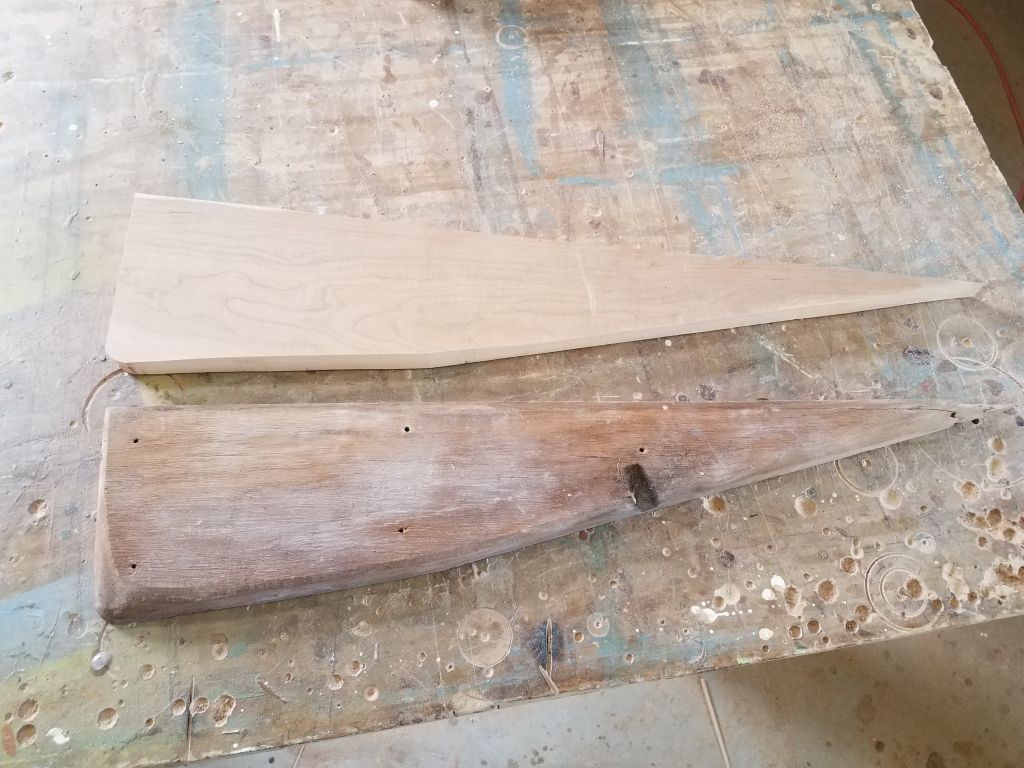
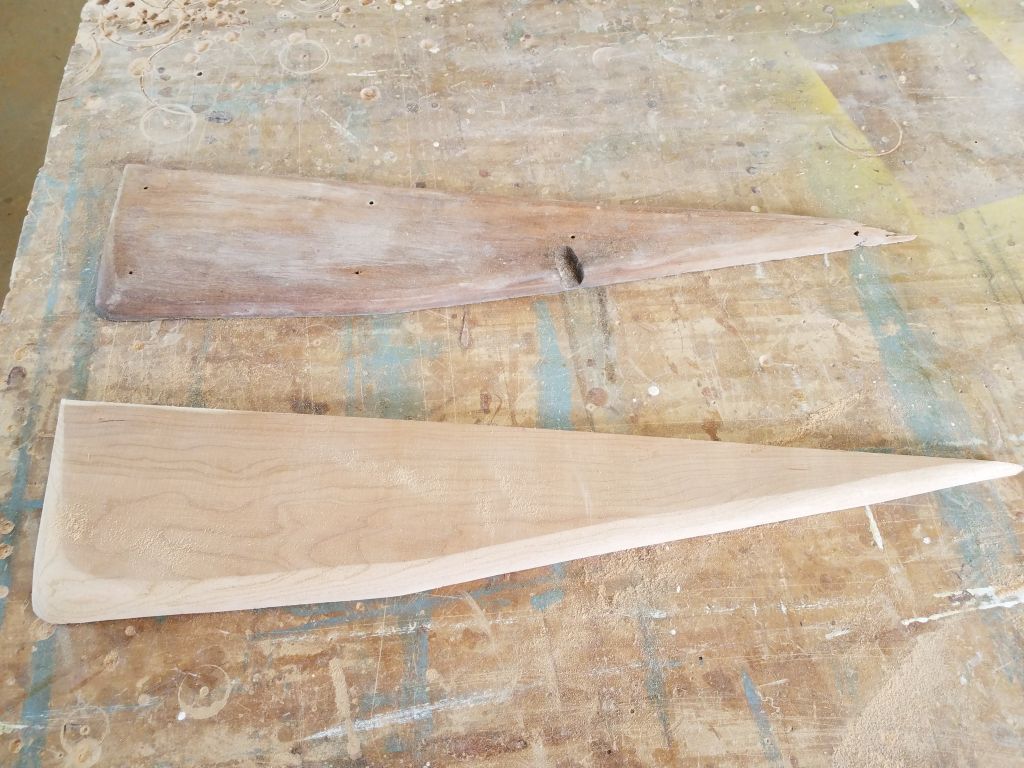
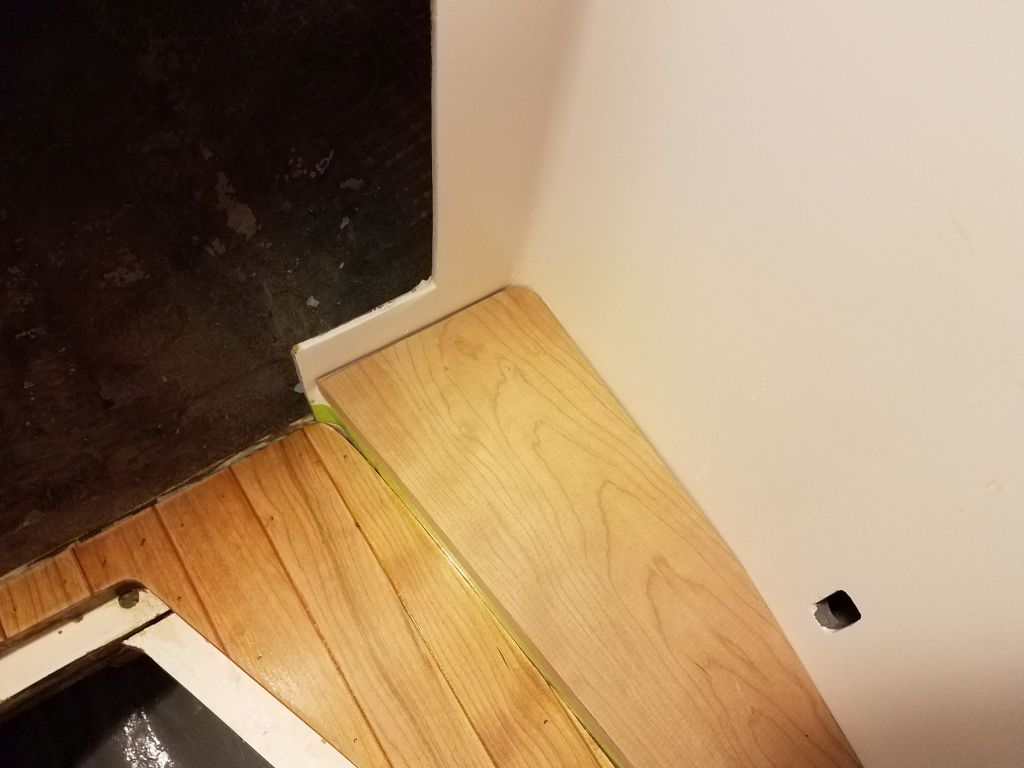
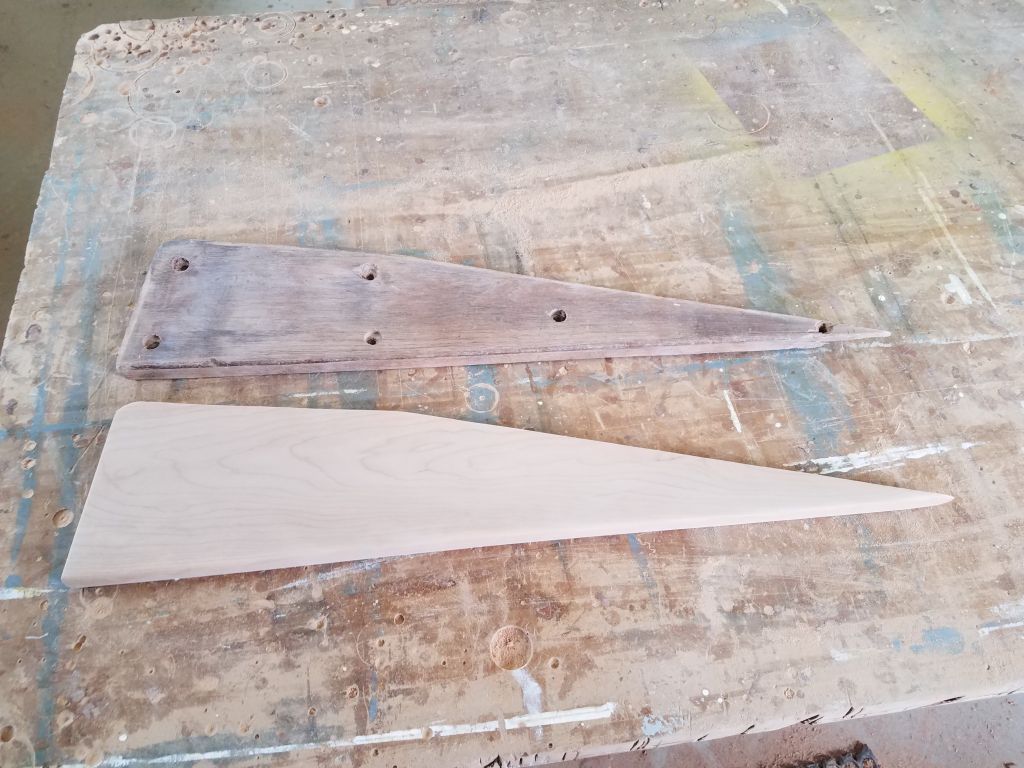
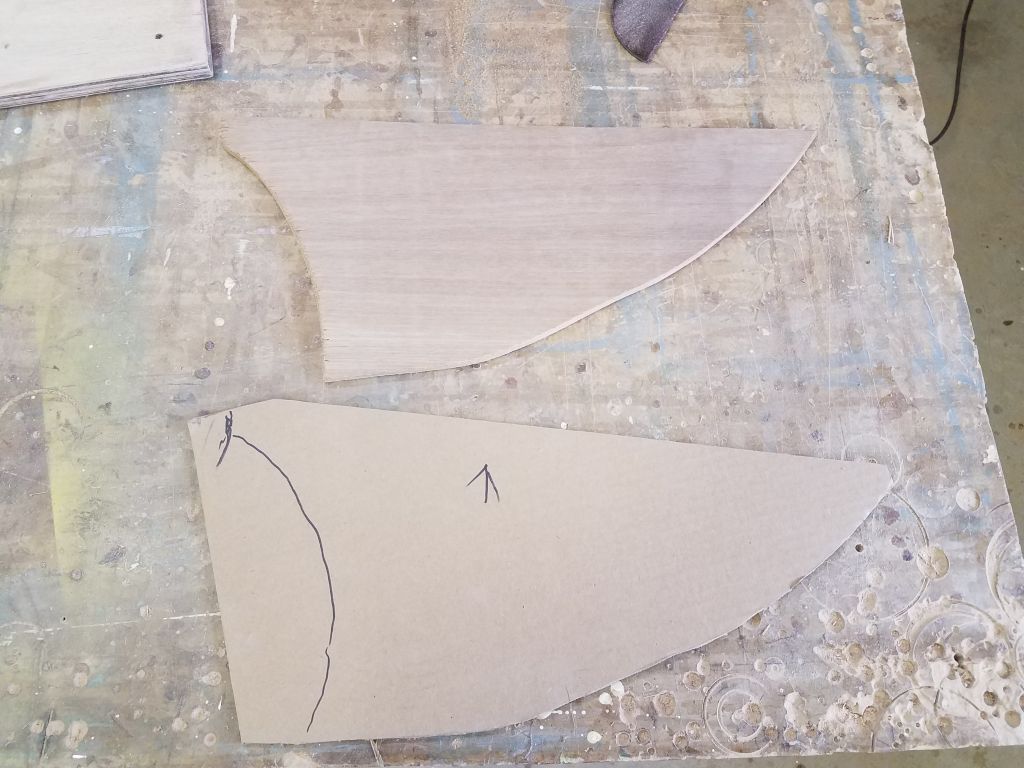
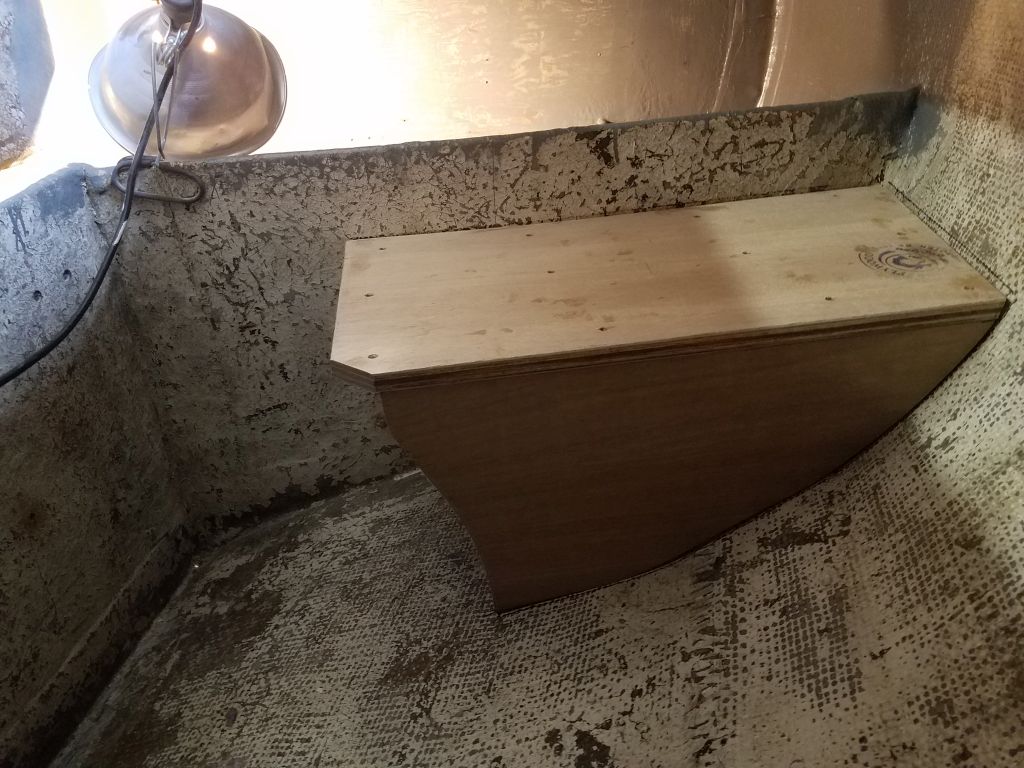
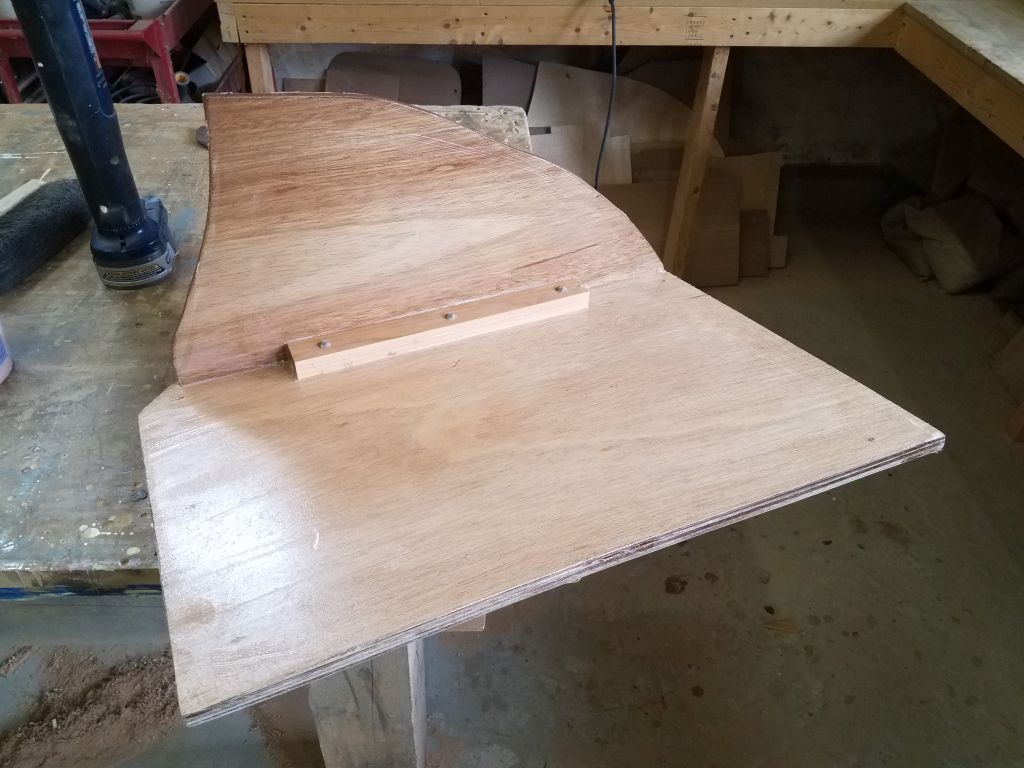
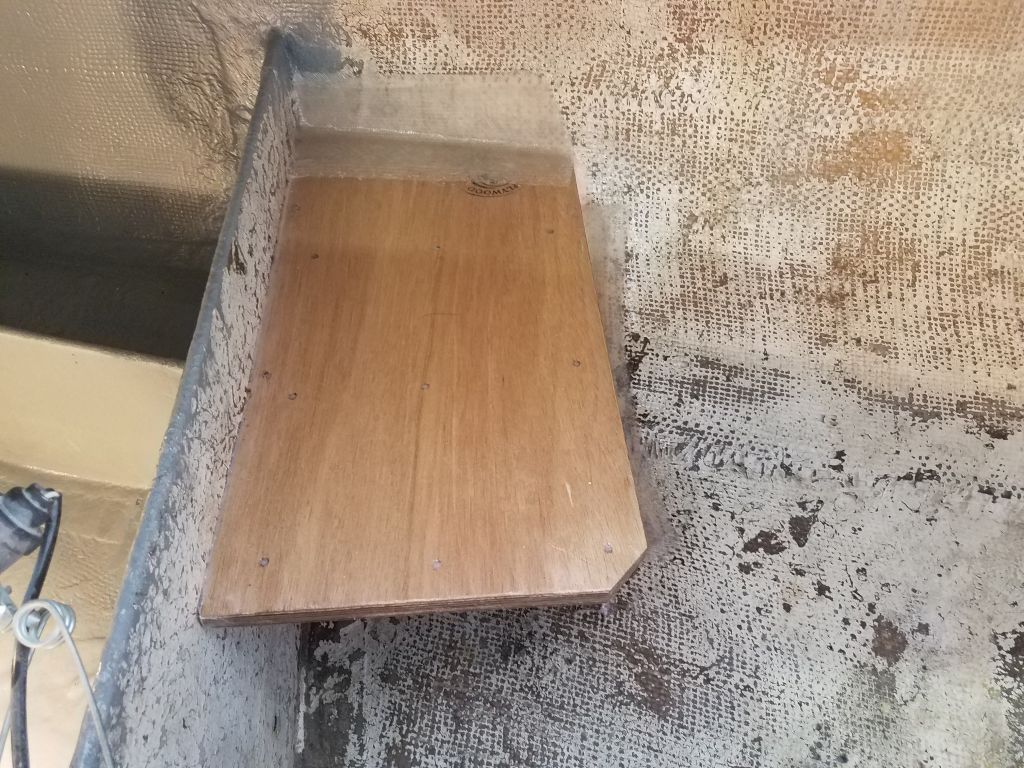
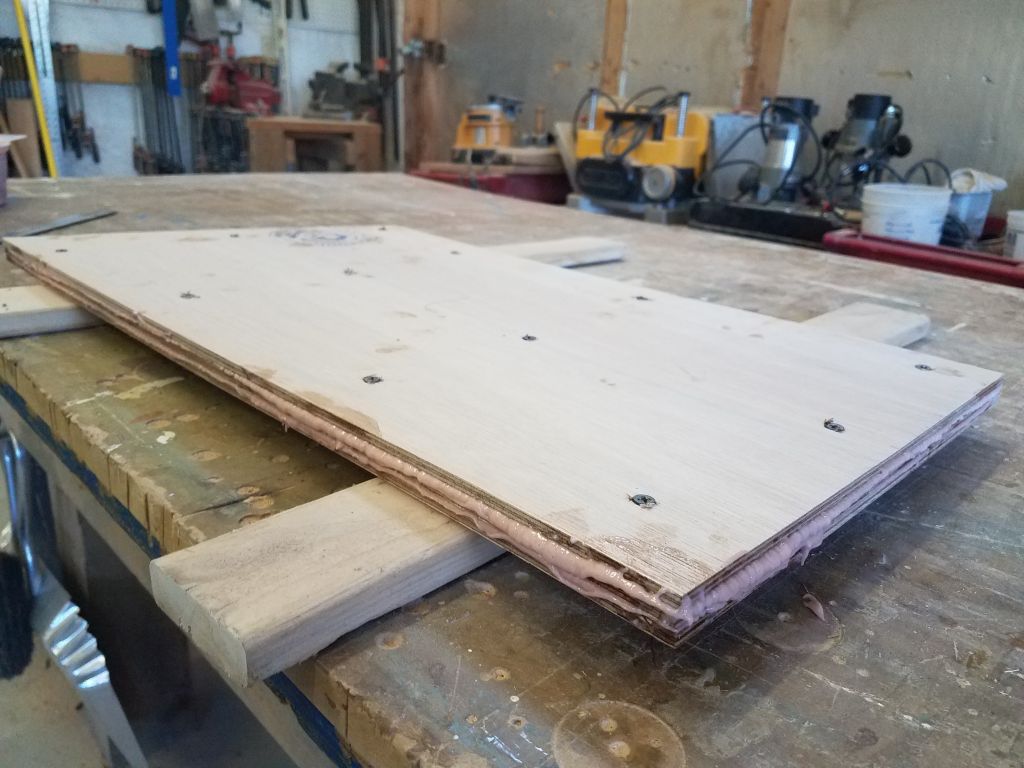
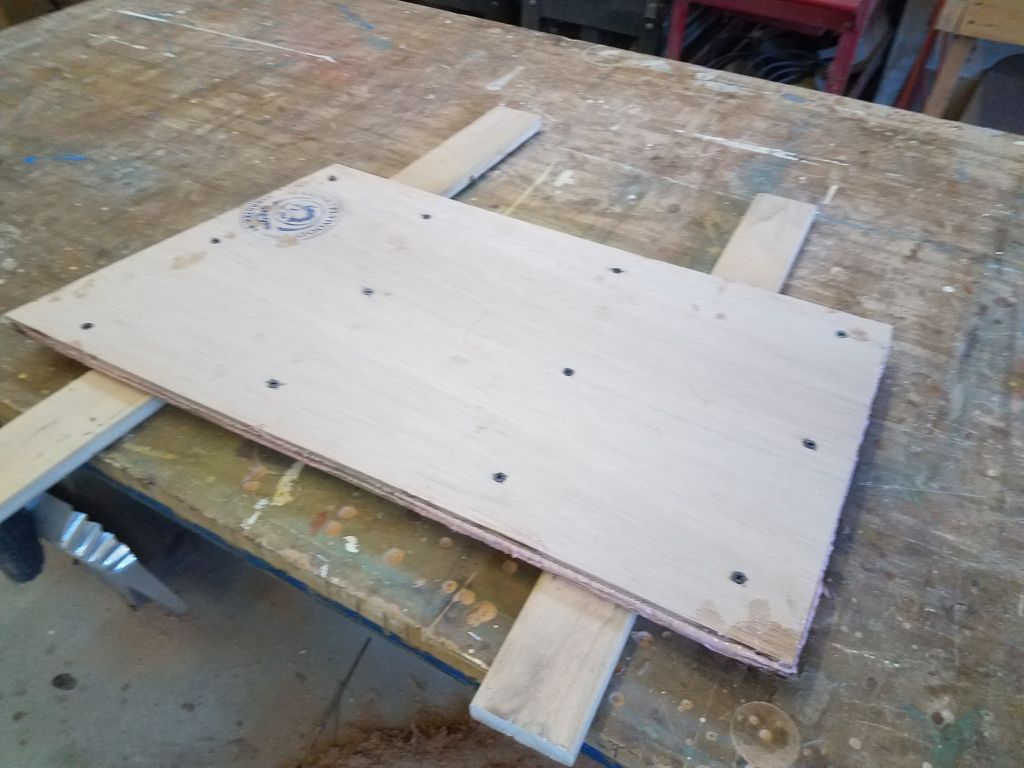
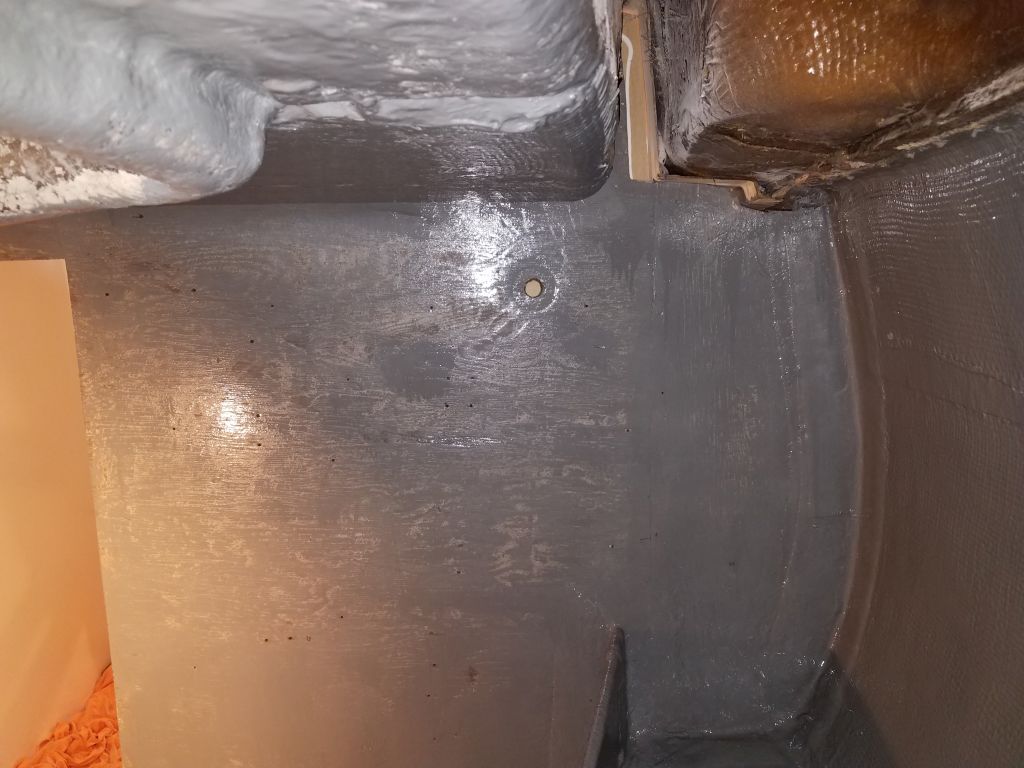
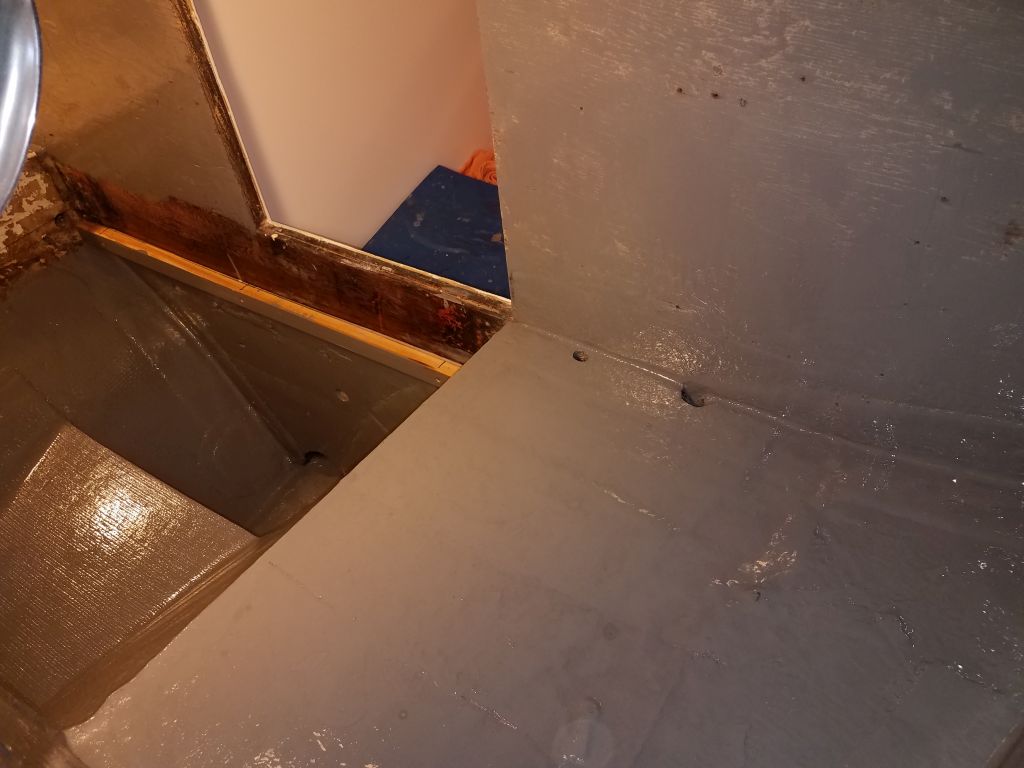
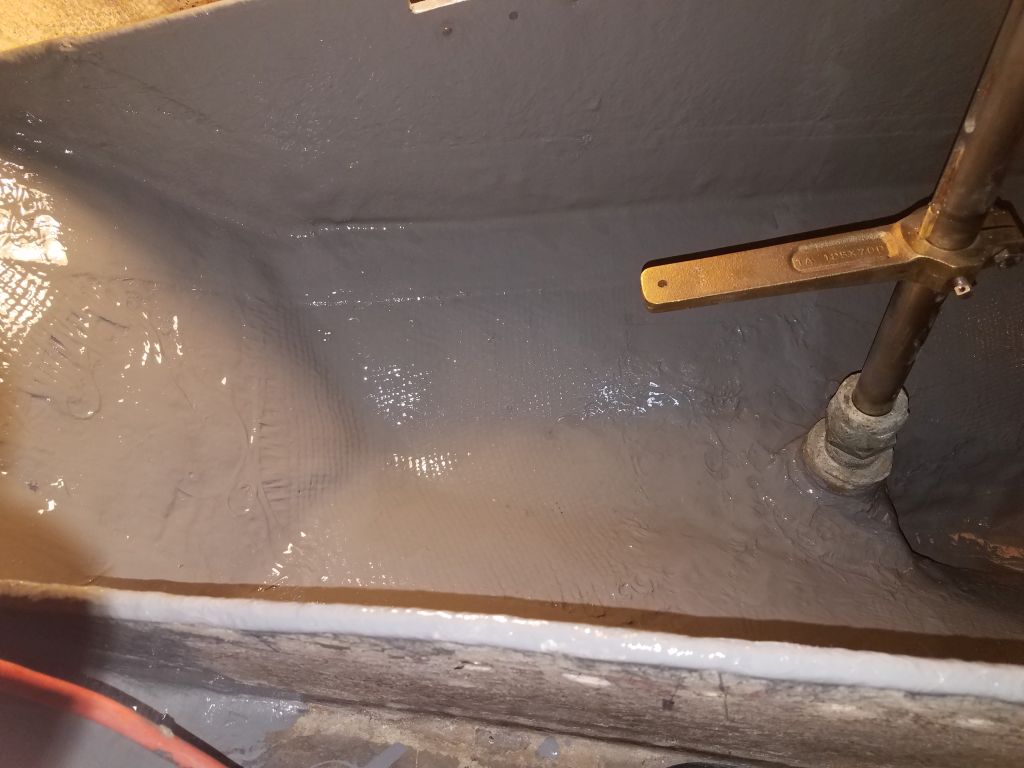
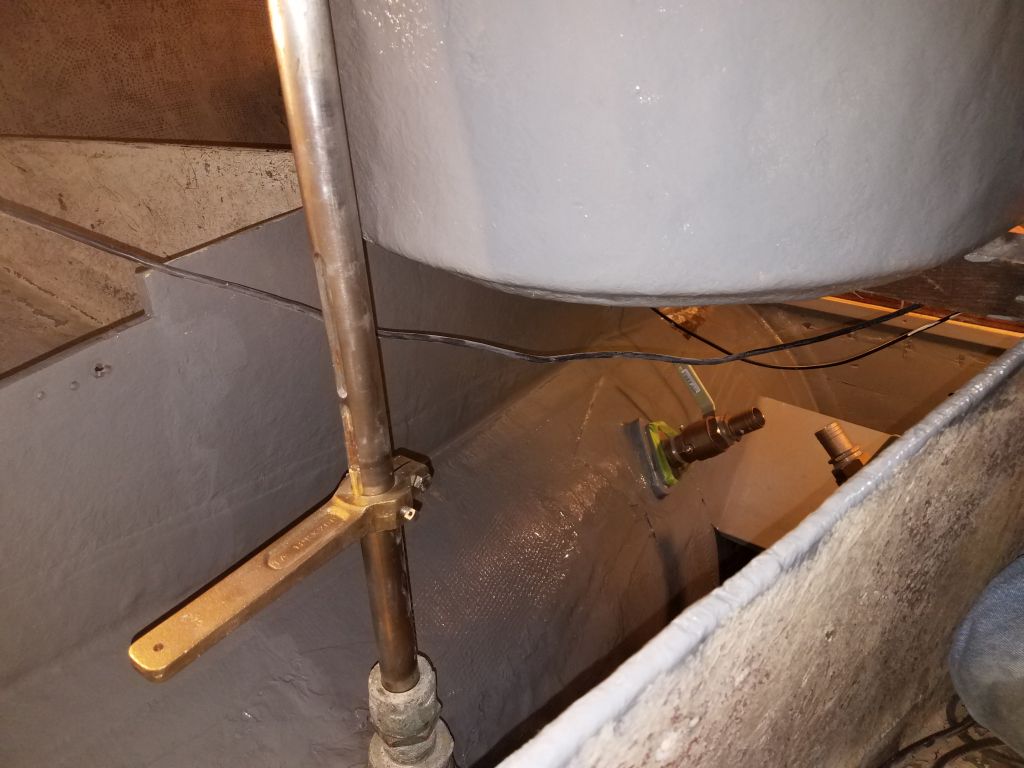
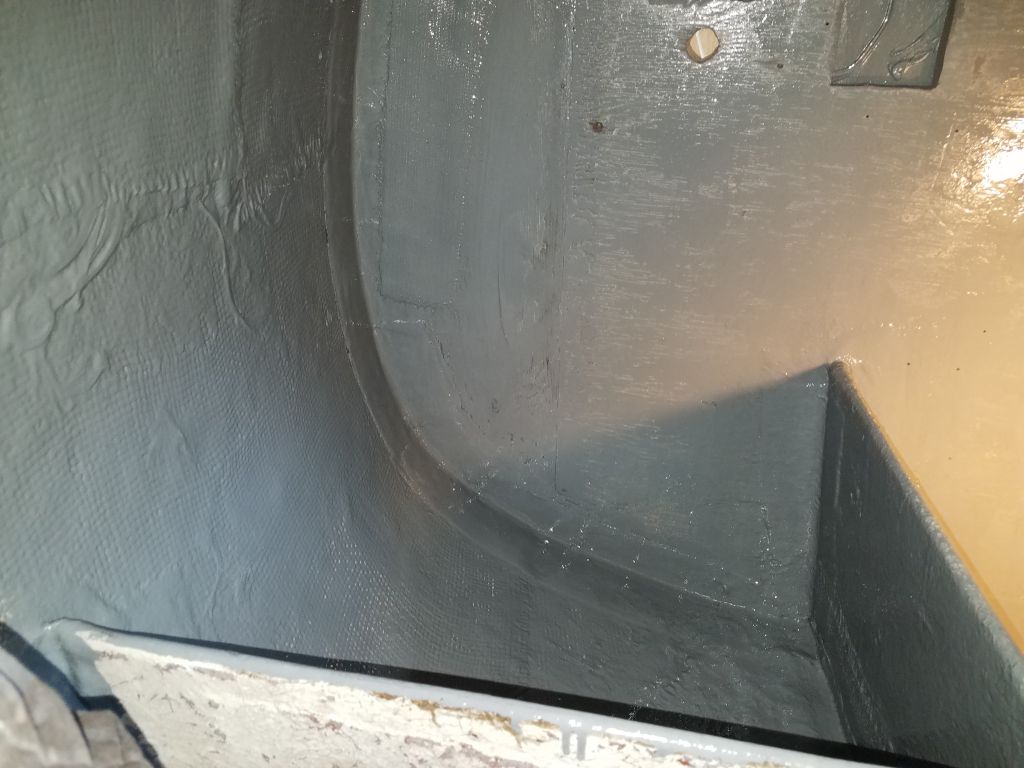
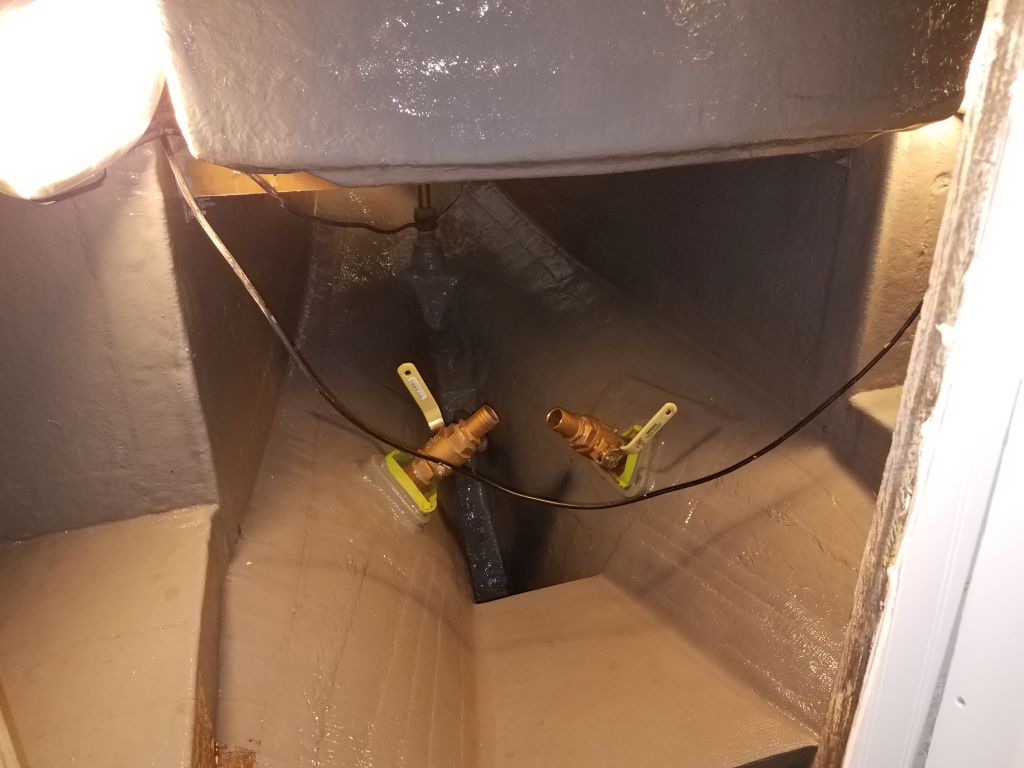
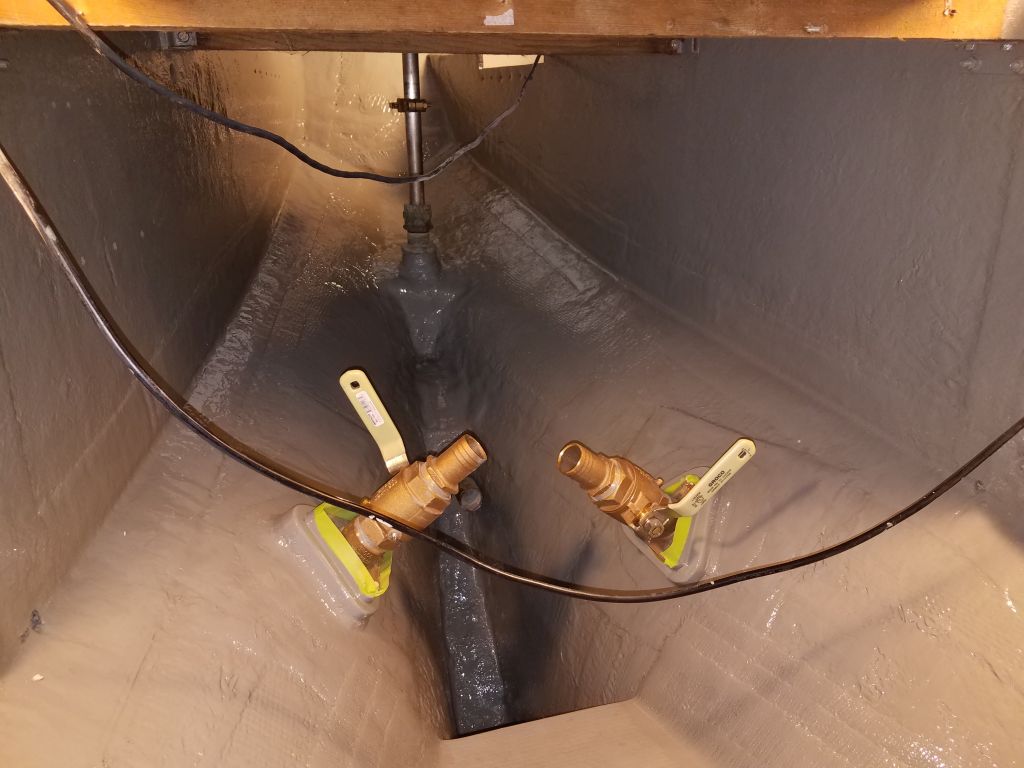
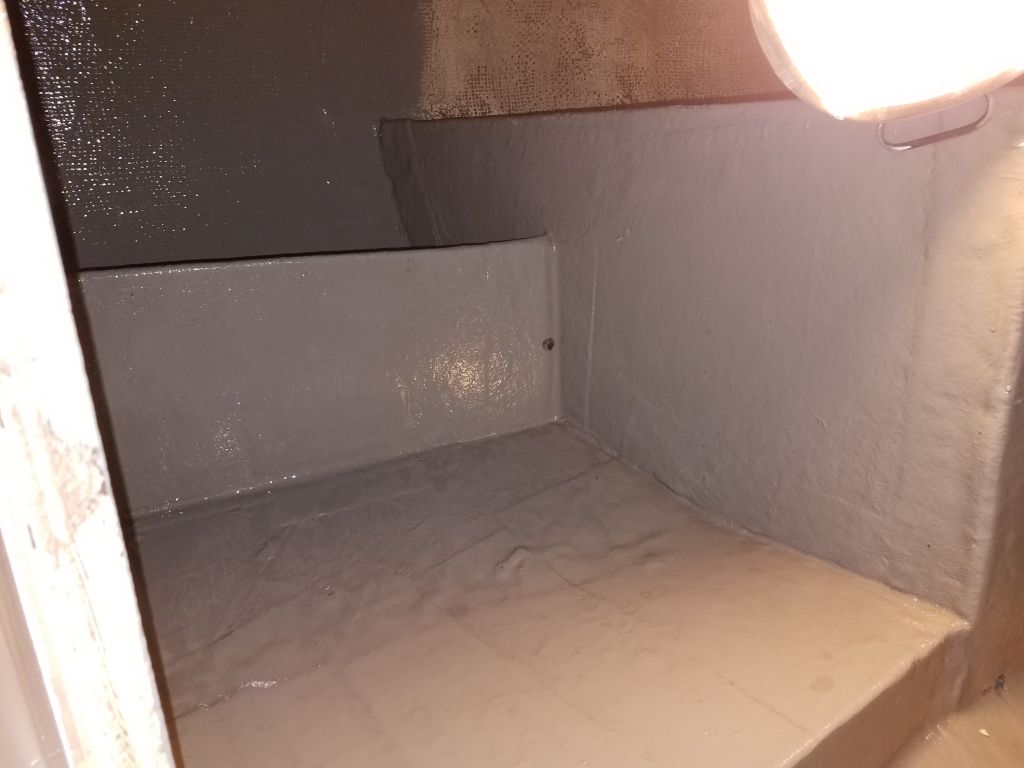
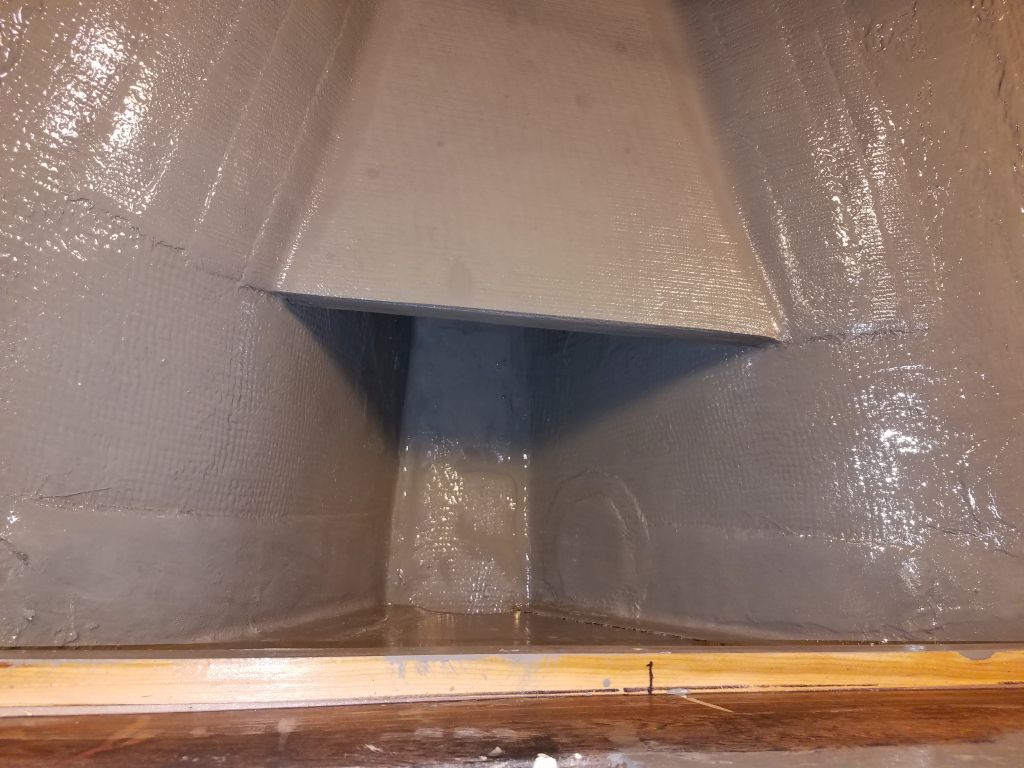
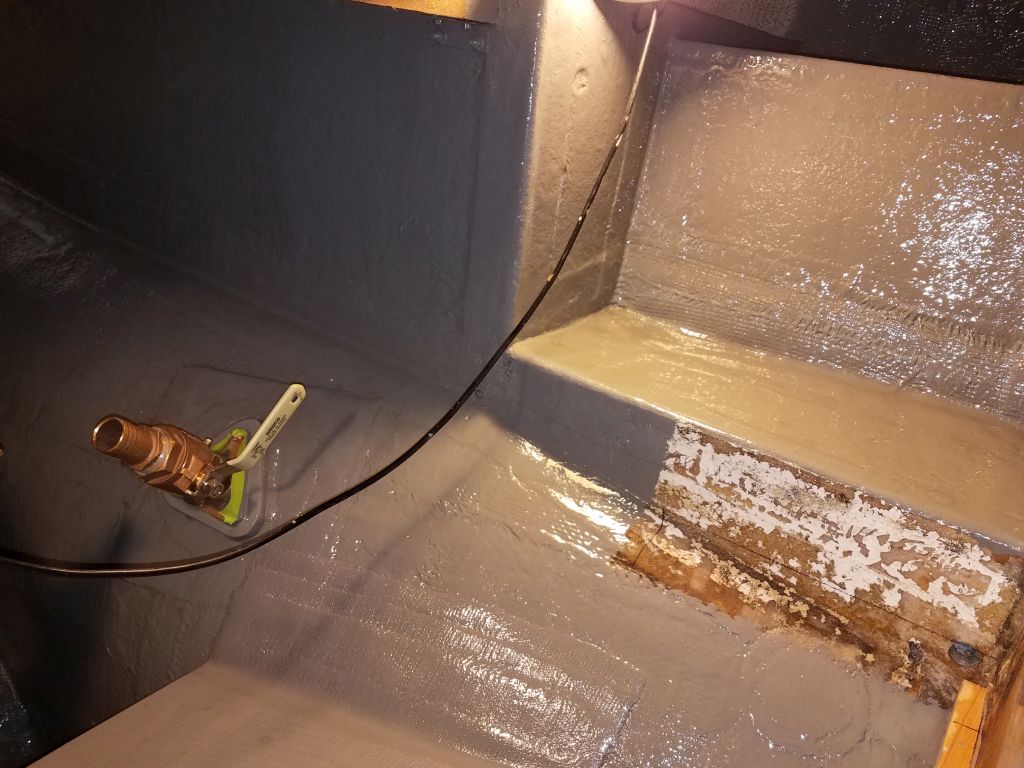
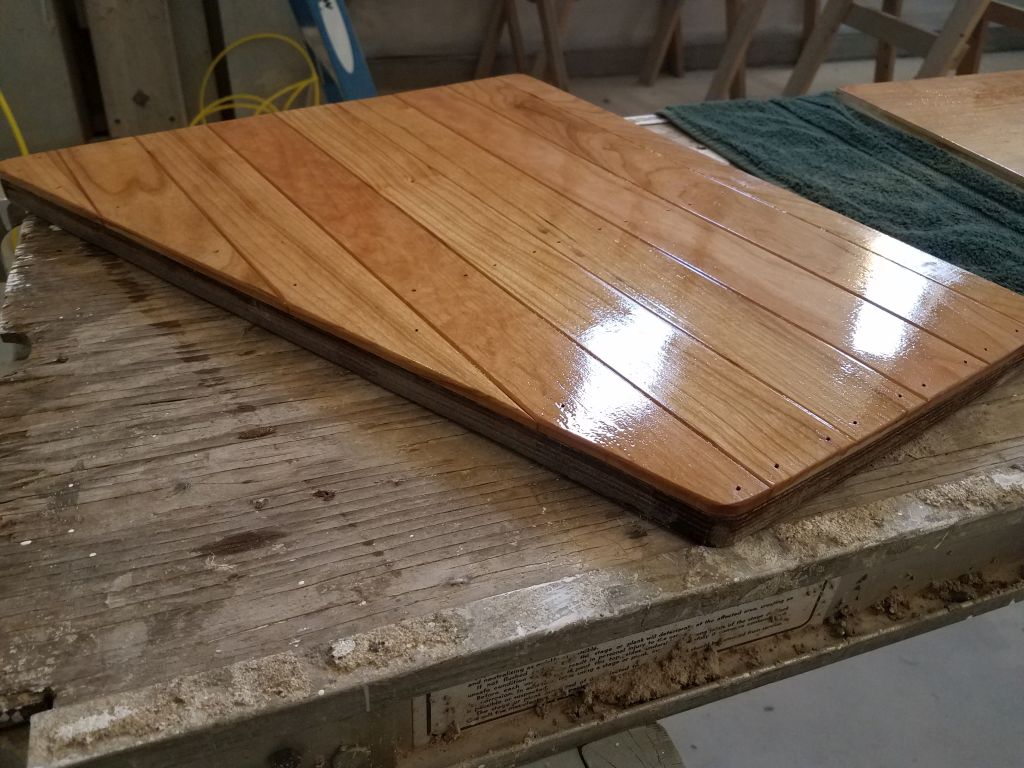
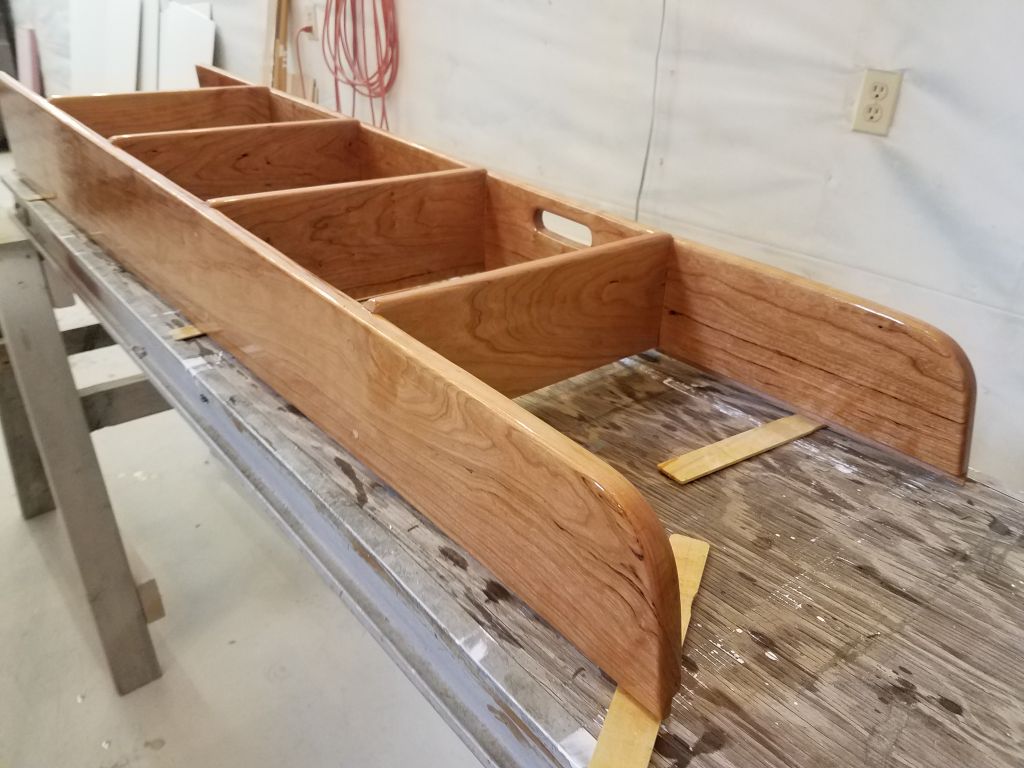
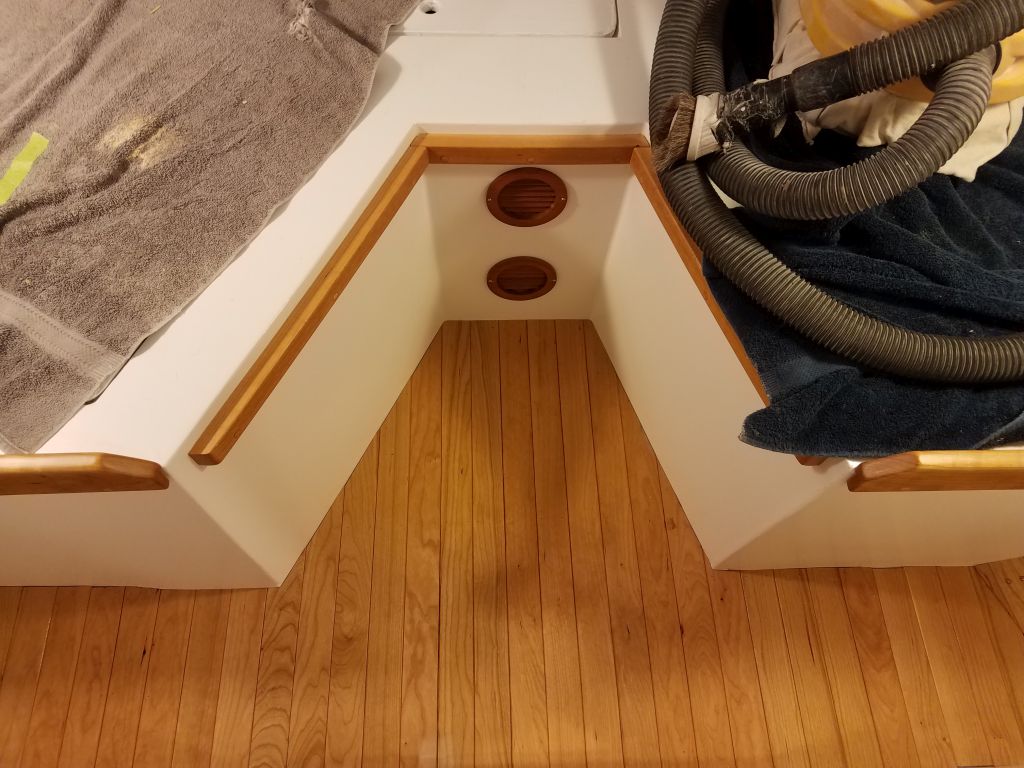
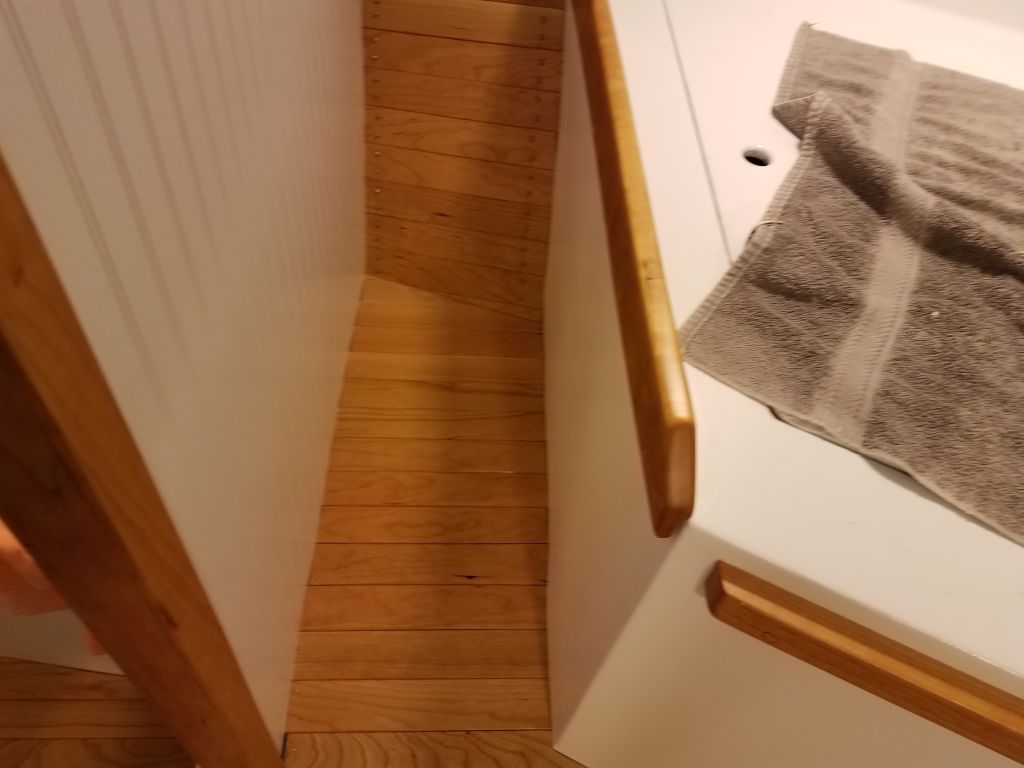
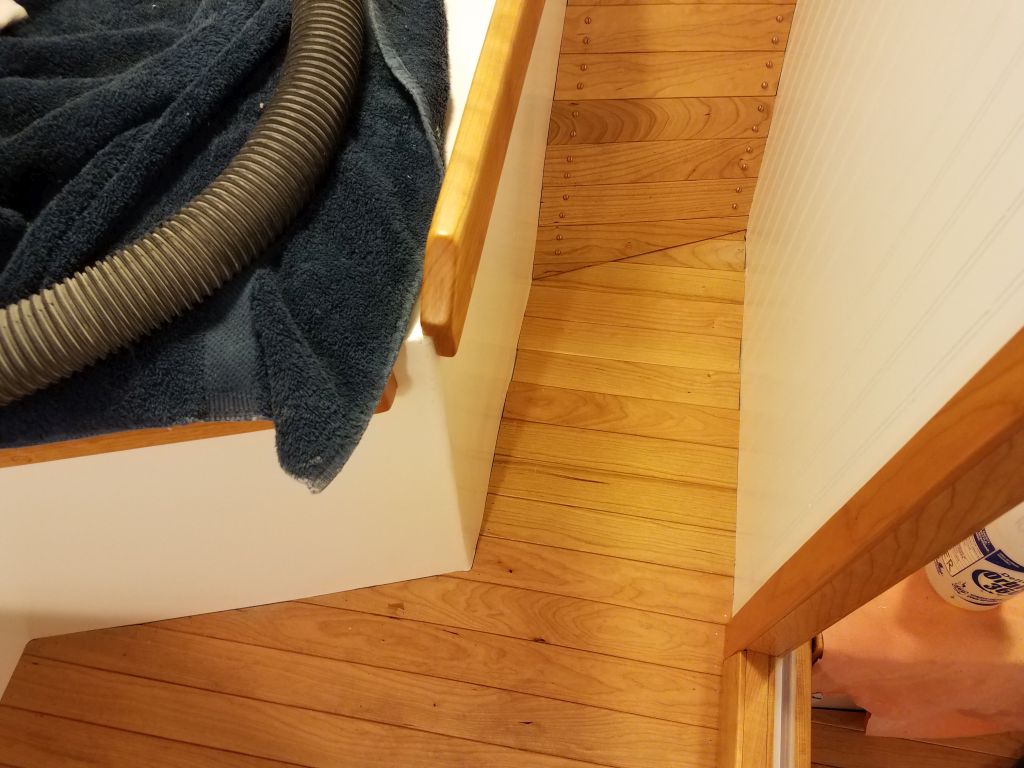
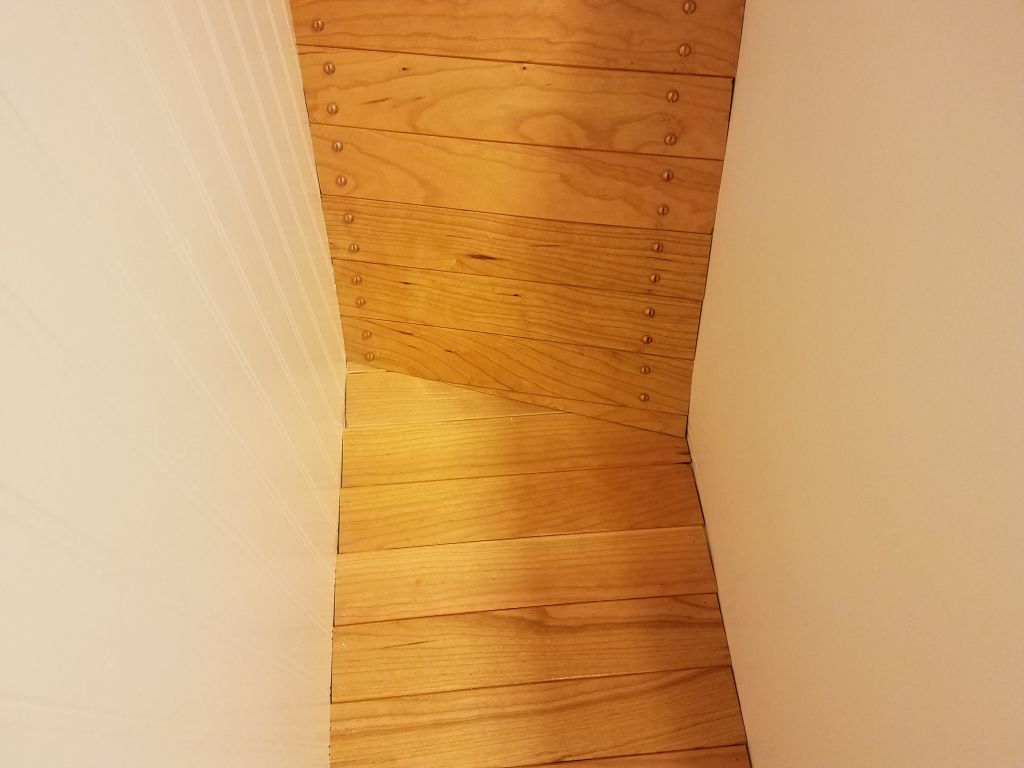
The newly-laminated generator shelf required a light sanding after removing the temporary screws, and a quick test fit showed a need for a slight bevel on the outer edge where it met the hull. With that cut, I patterned a small vertical bulkhead to support the forward end of the platform, and after confirming the fit I secured it to the platform with a hardwood cleat, screws, and epoxy adhesive. I also coated the under-and insides of the platform and bulkhead and all plywood edges with more epoxy.
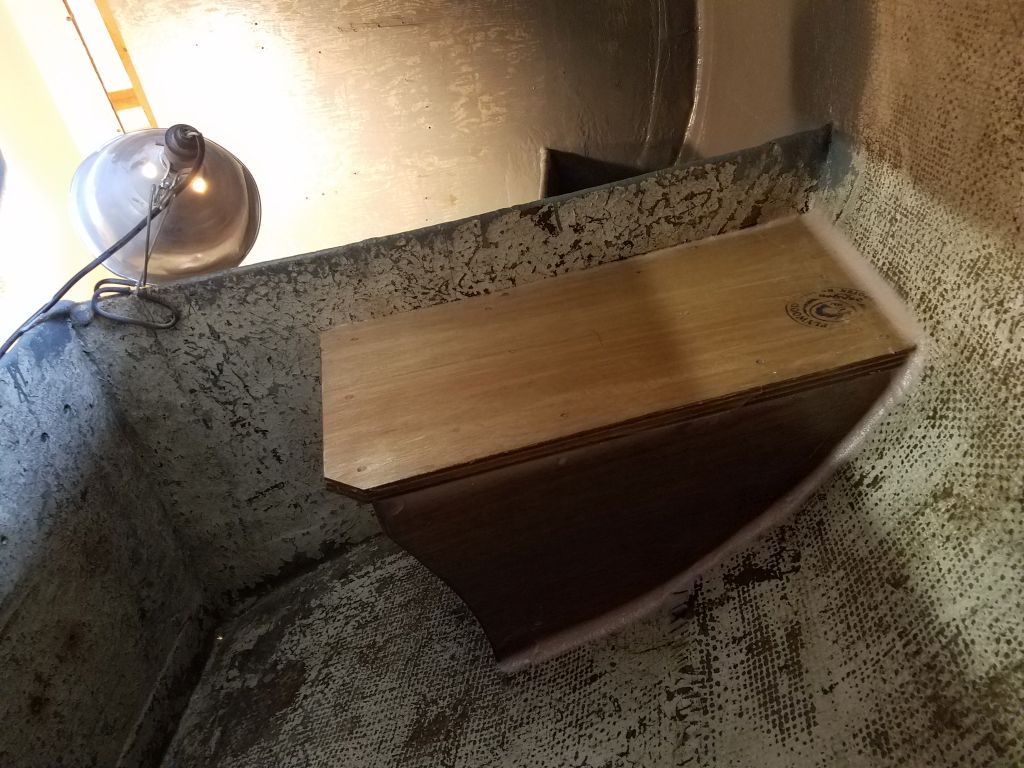
I cut away the inside edge of the new bulkhead to allow better access in the confines of the cockpit locker, and similarly chopped off the corner of the shelf itself to avoid a hard and sharp edge, which measures I knew would be appreciated by me, and hopefully by future denizens of the cockpit locker.
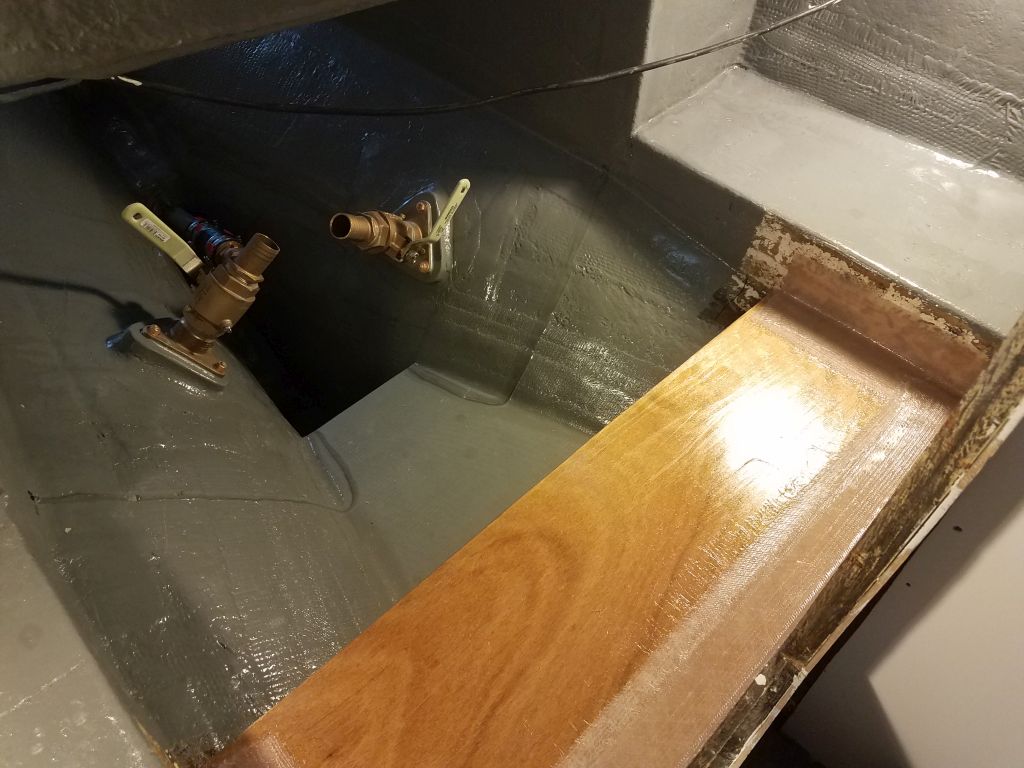
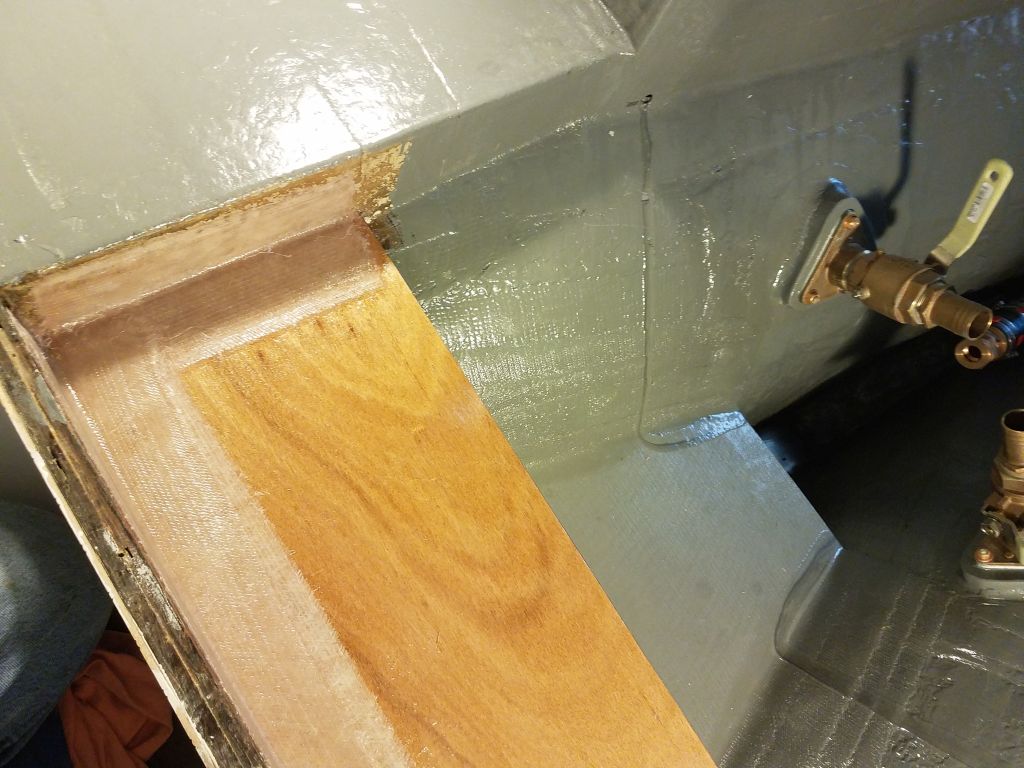
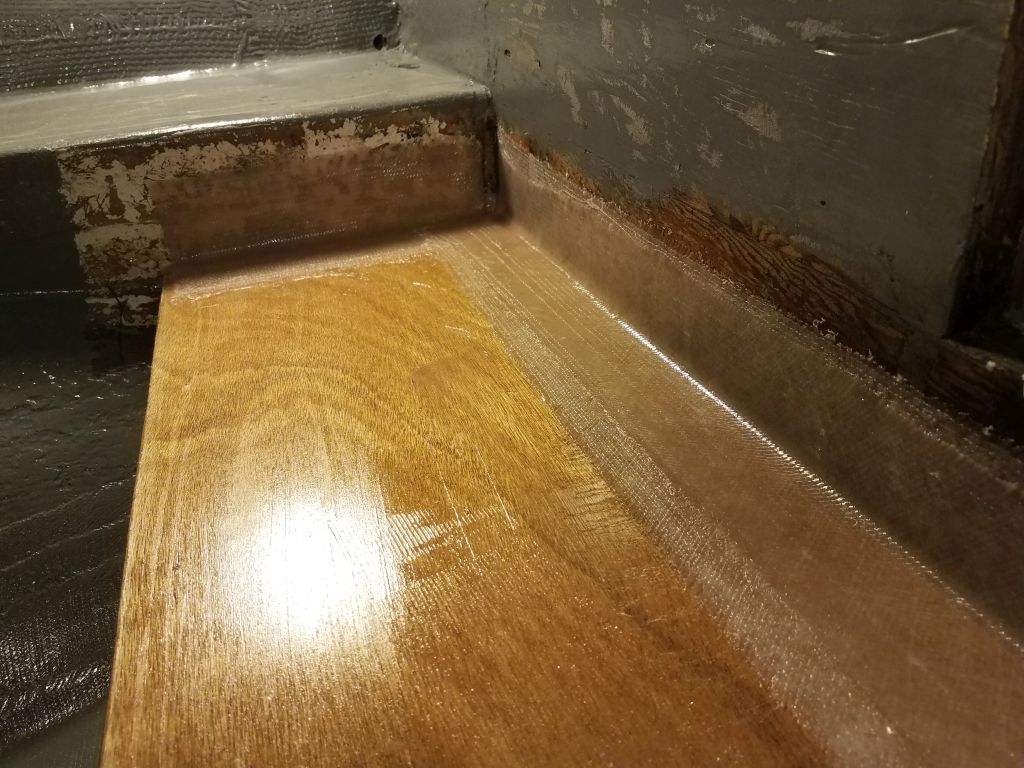
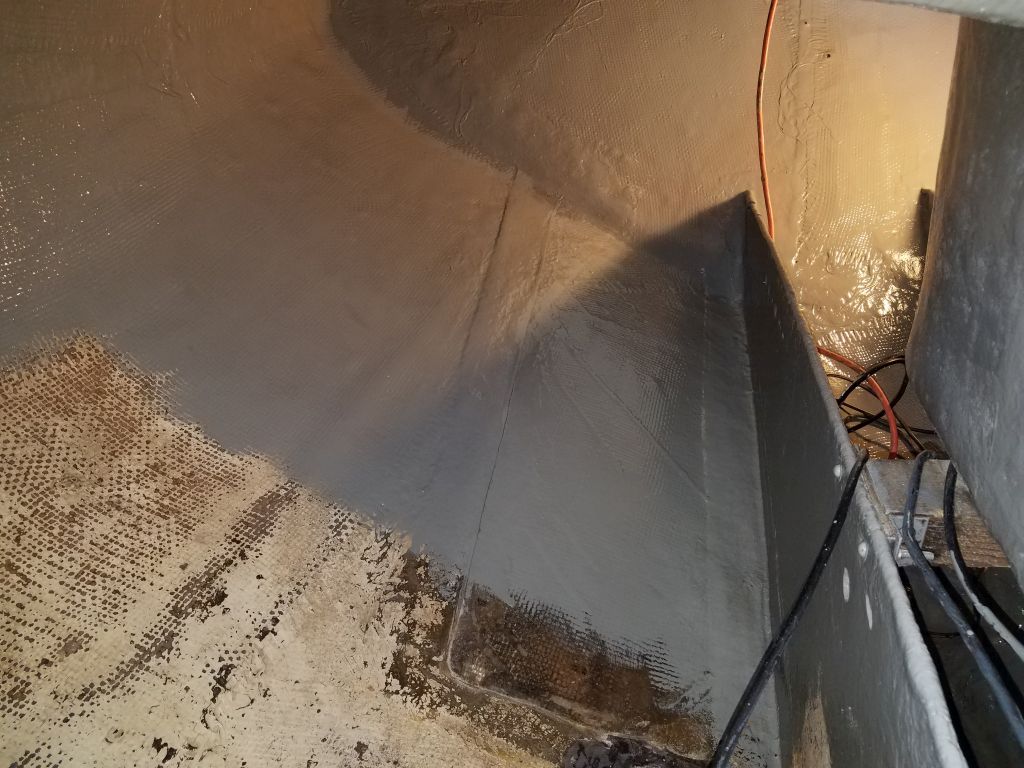
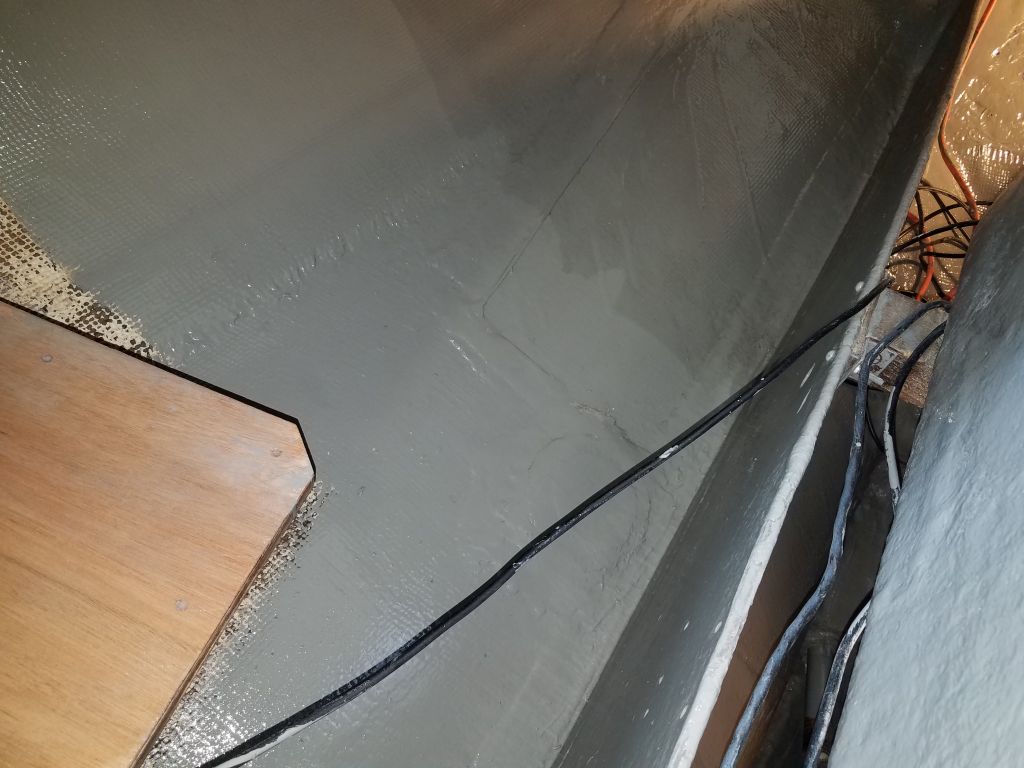
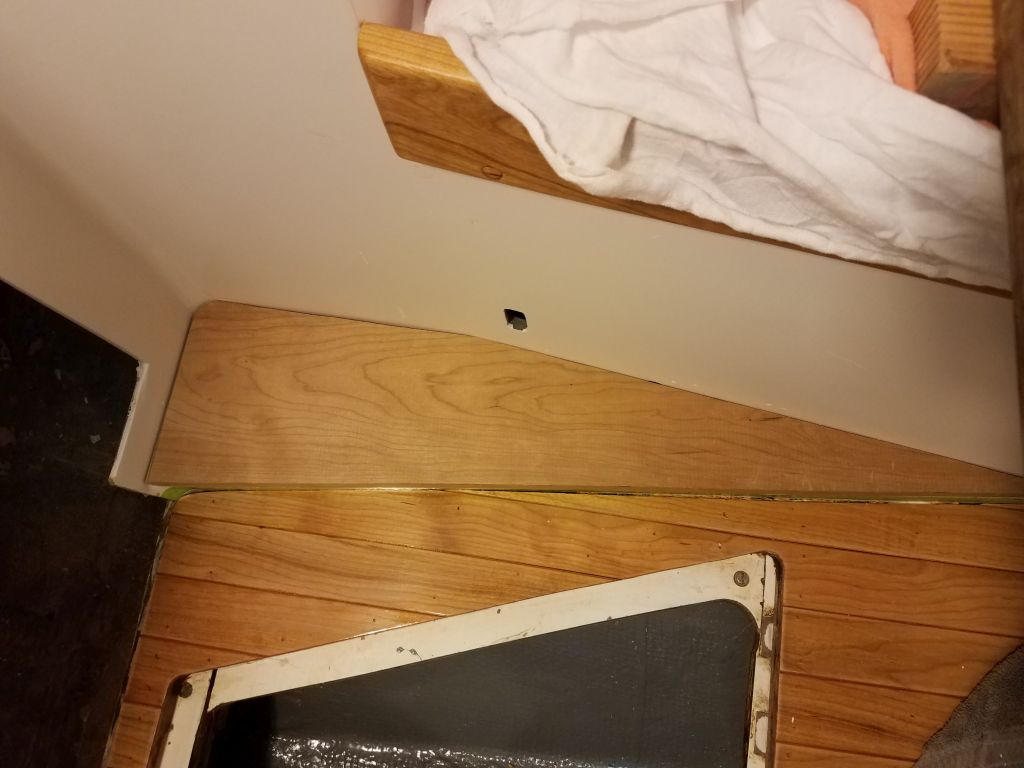
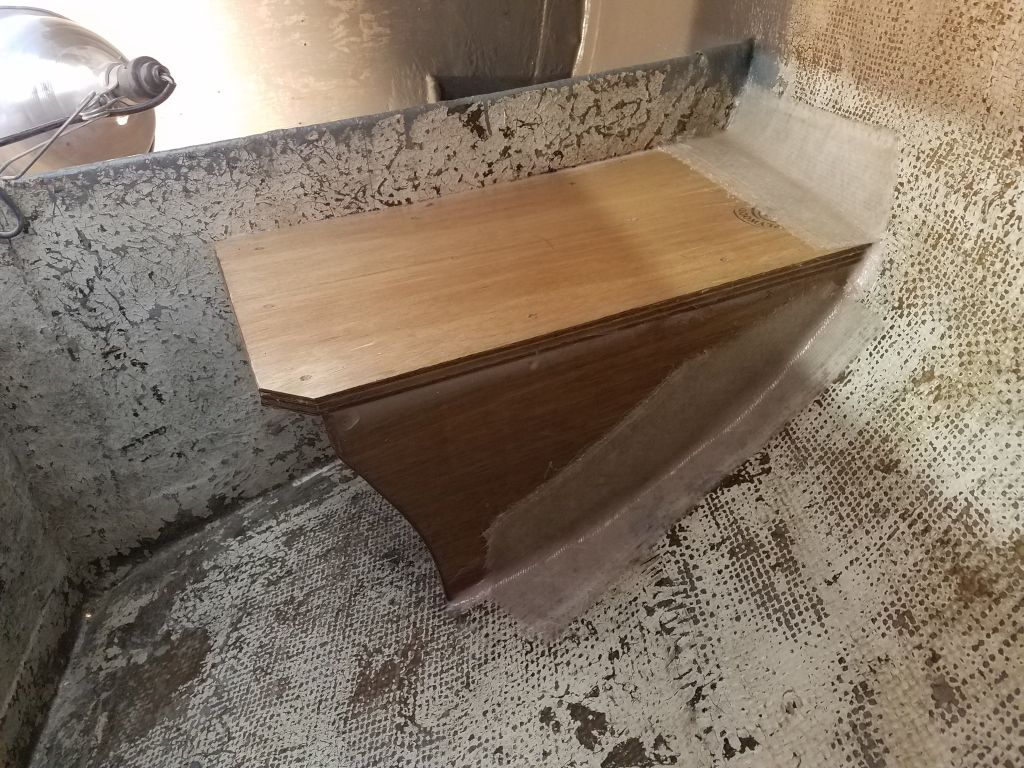
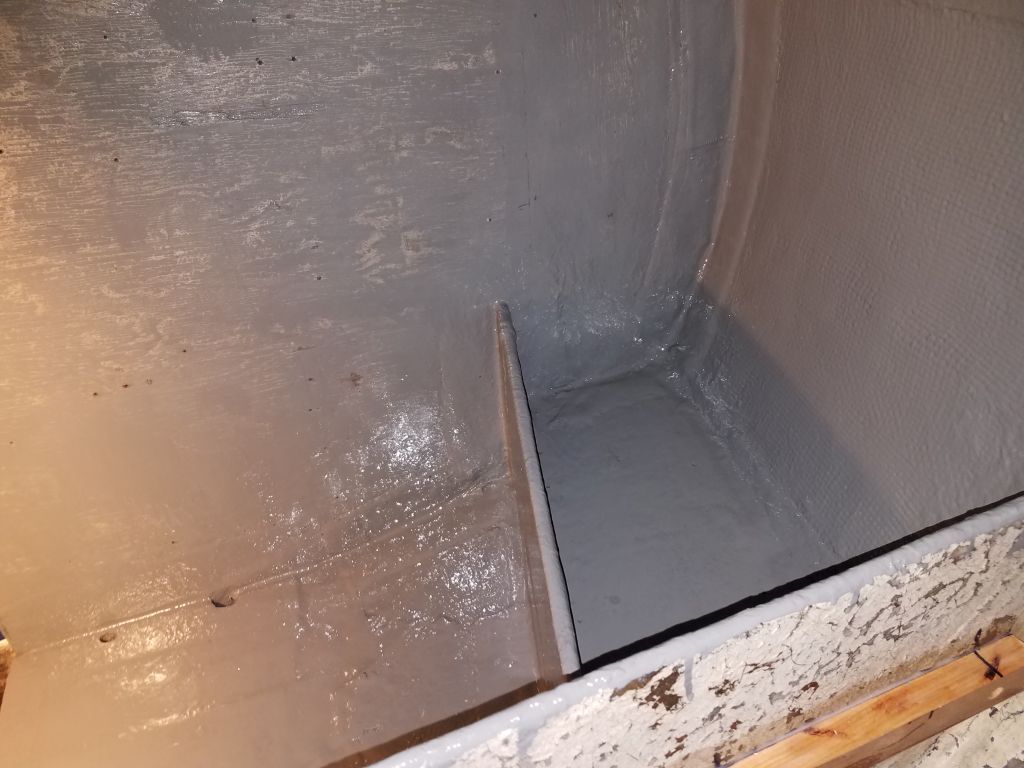
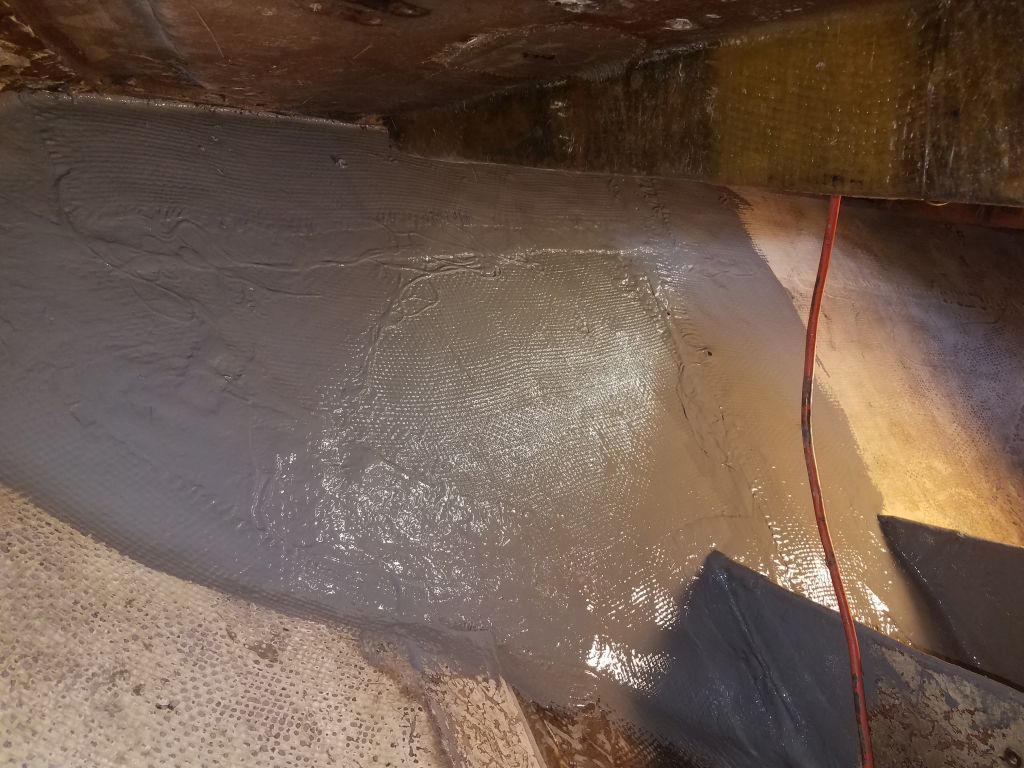
After final preparations in the boat, I secured the platform in place permanently with epoxy adhesive and screws at the aft bulkhead cleat, and additional epoxy where the shelf and forward bulkhead met the hull, and coated the outside portions of the platform with epoxy as well. Then, I applied two layers of tabbing to secure the platform and bulkhead to the hull and secure the entire arrangement.
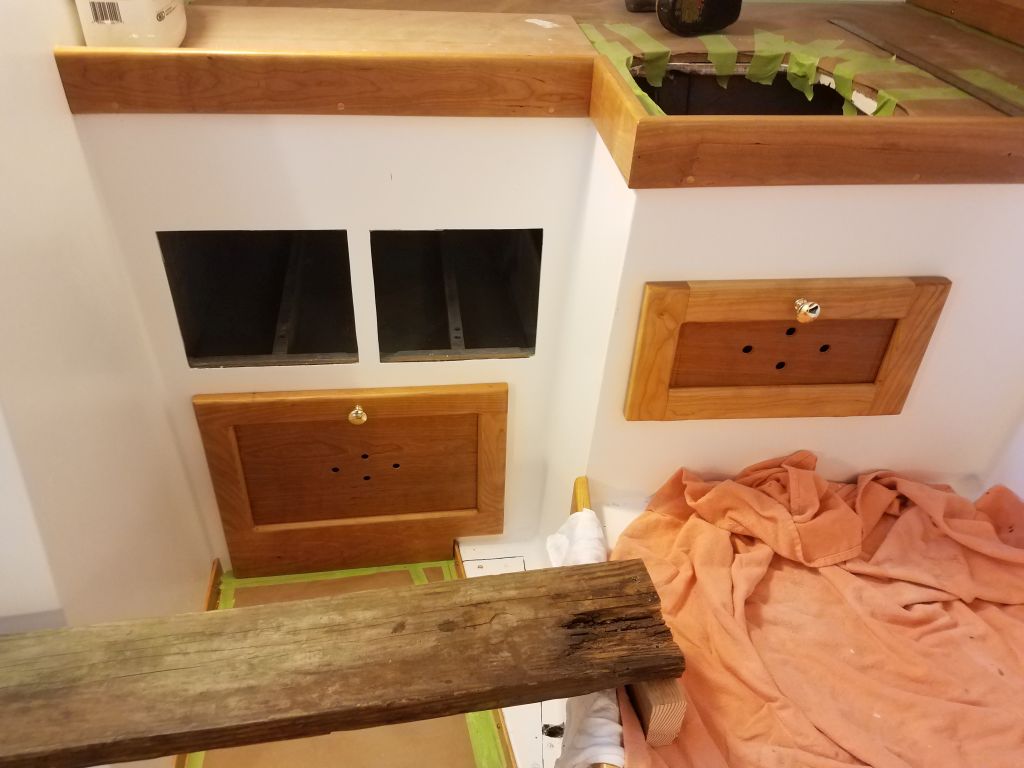
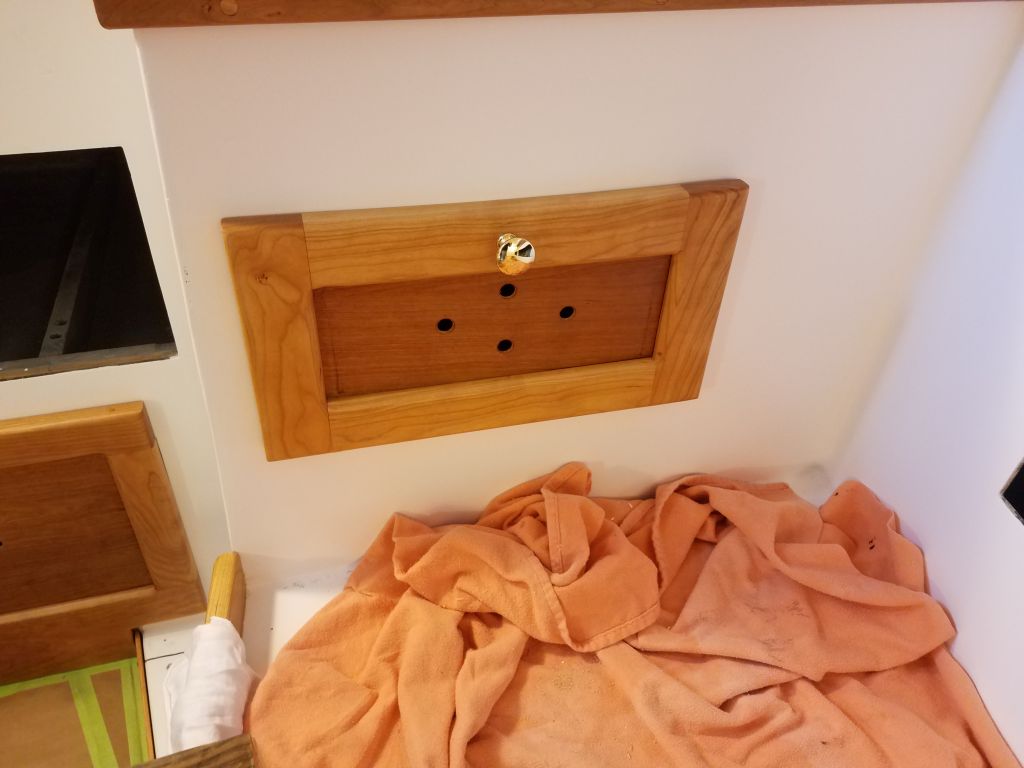
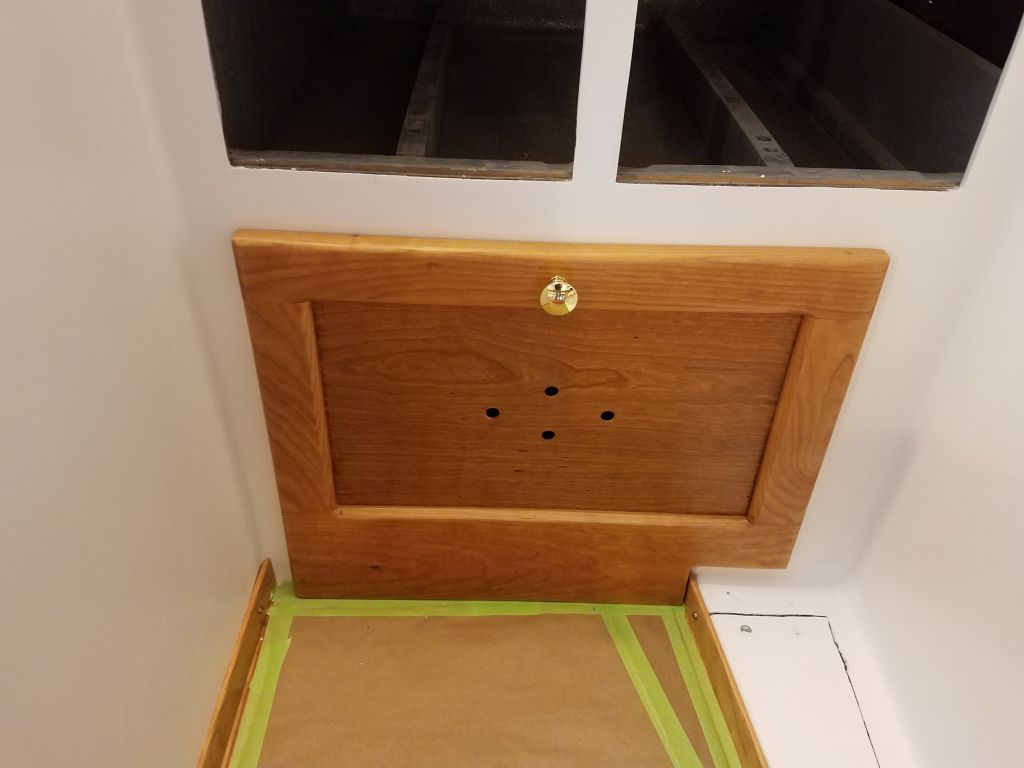
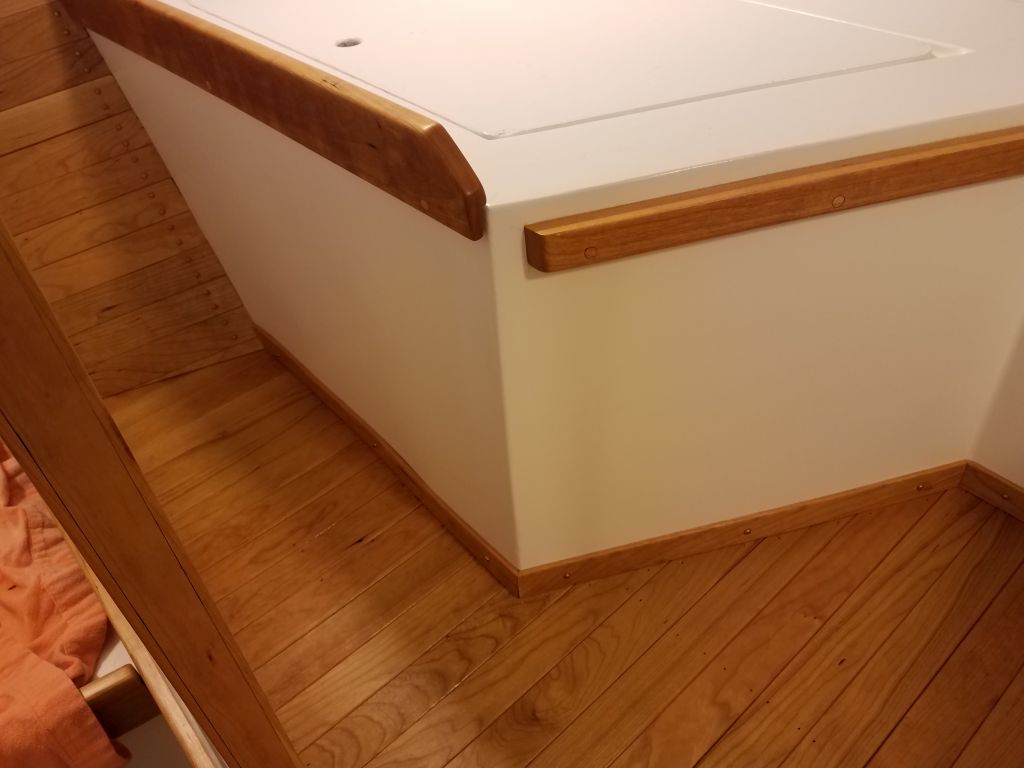
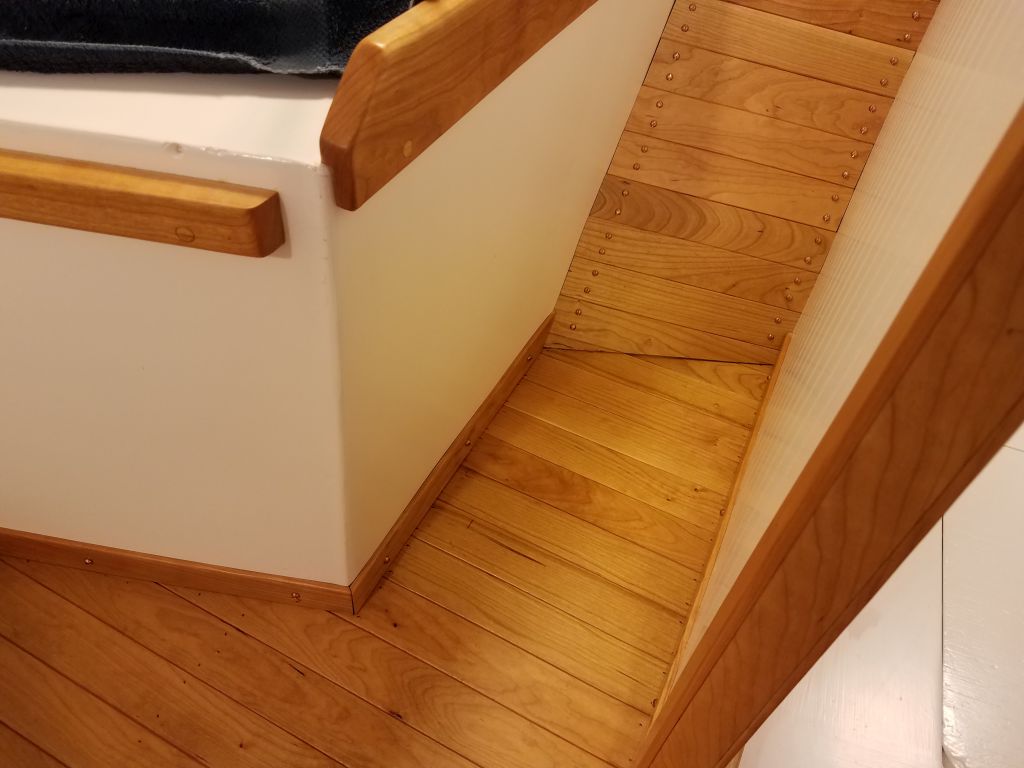
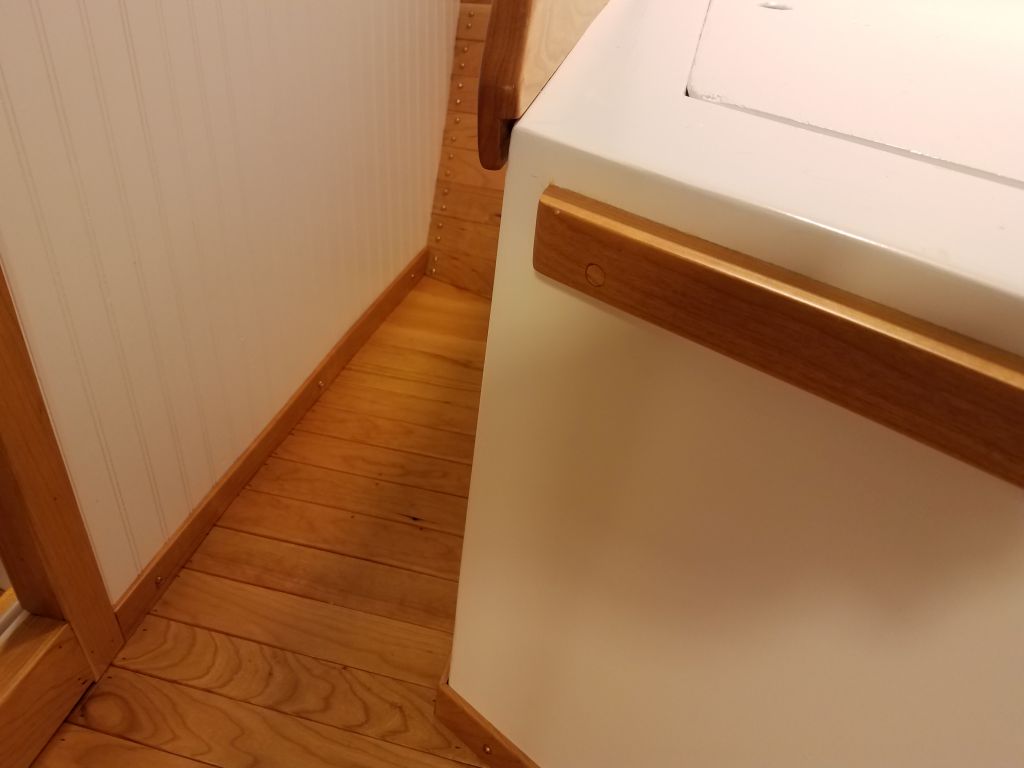
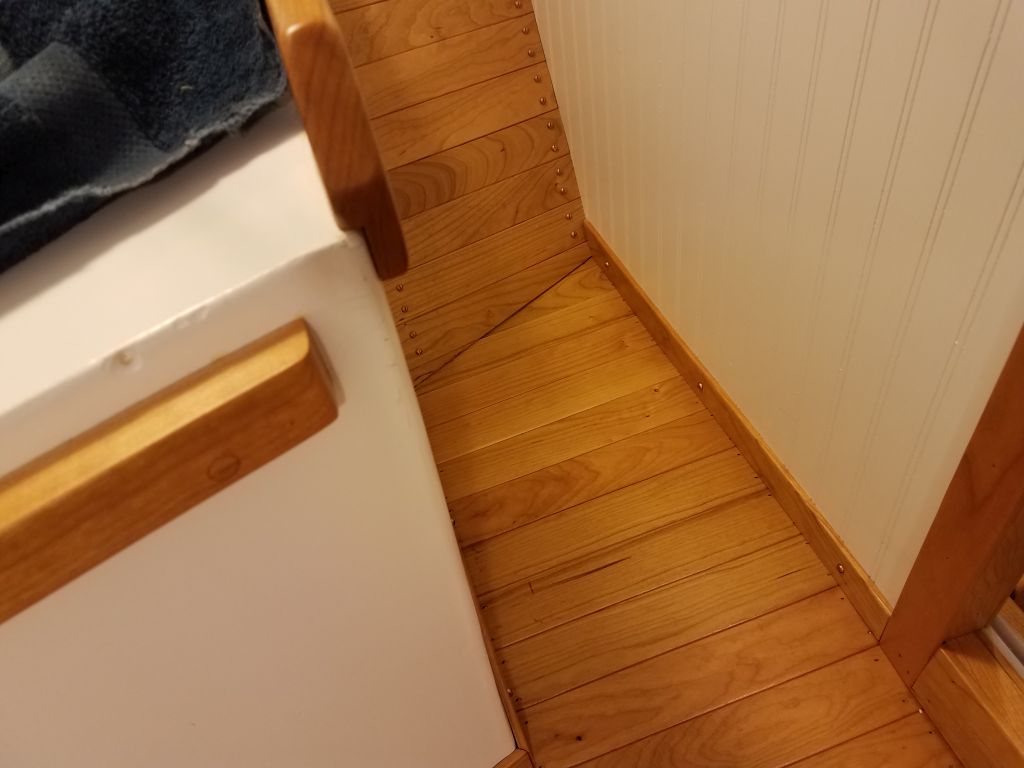
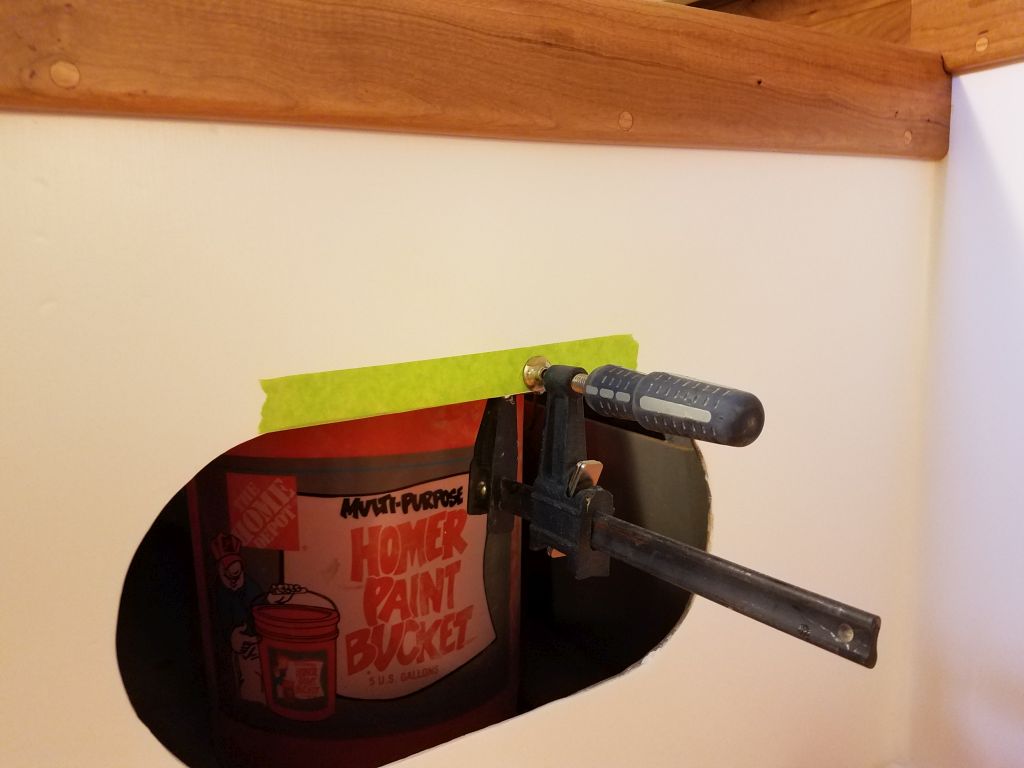
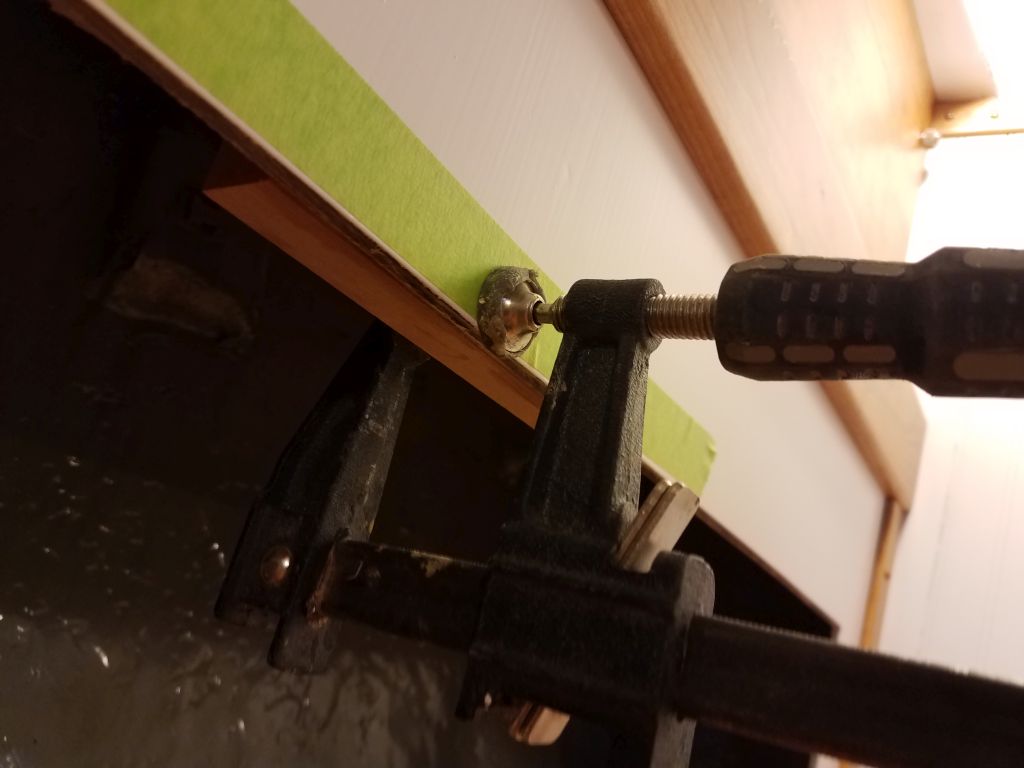
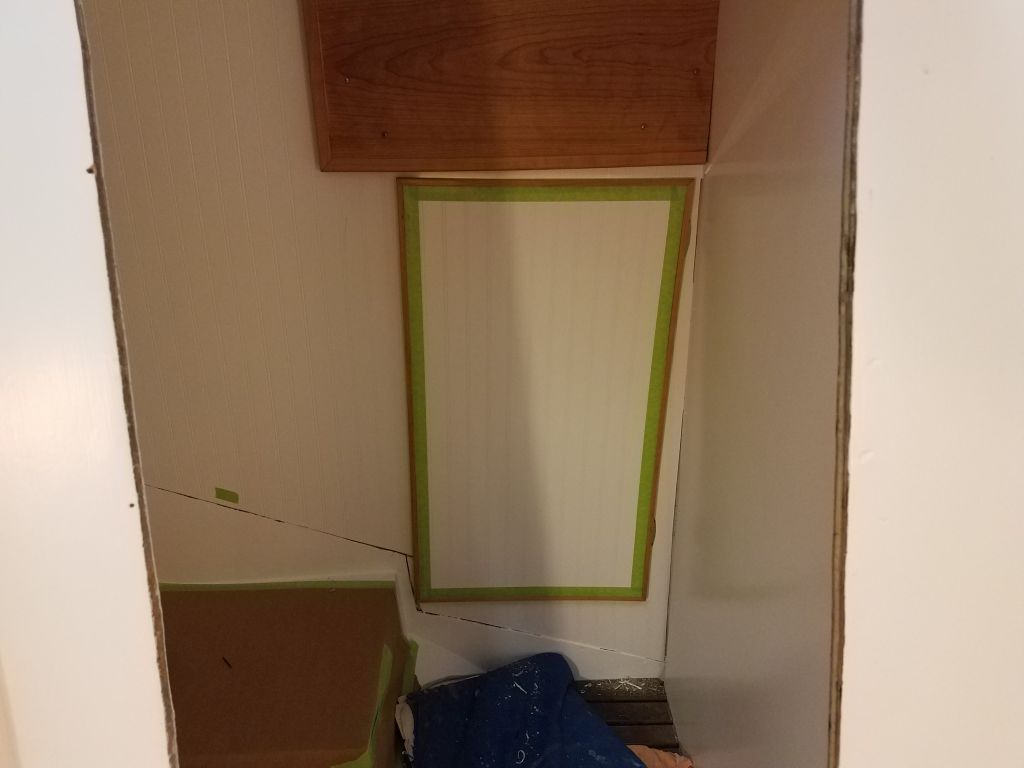
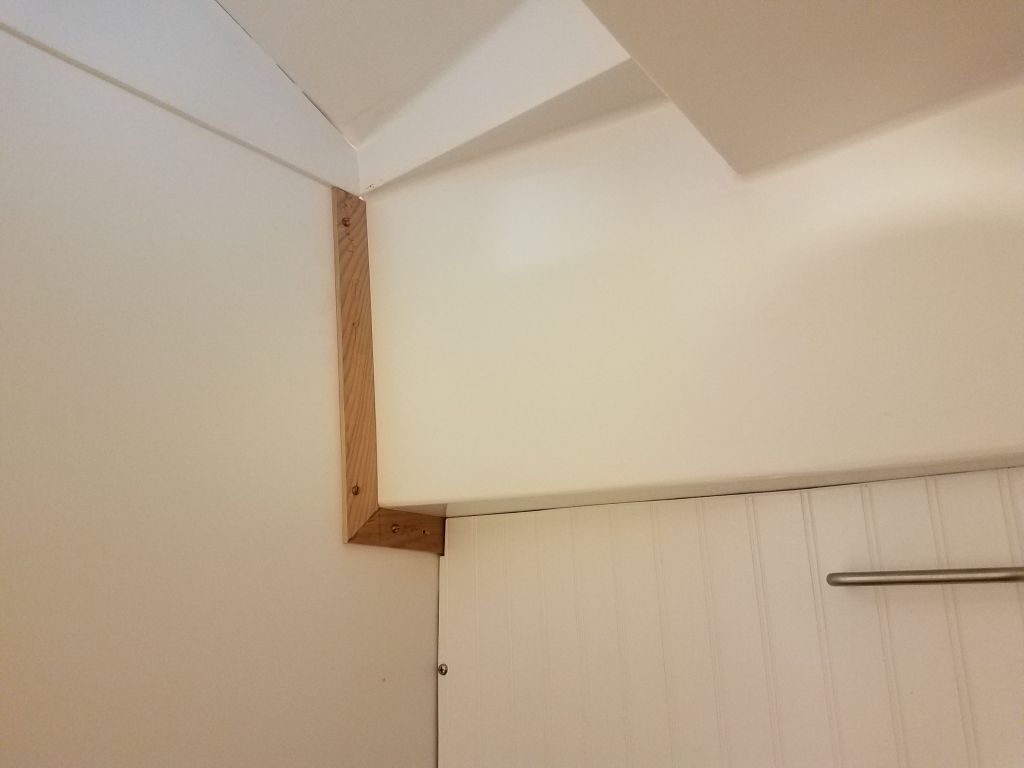
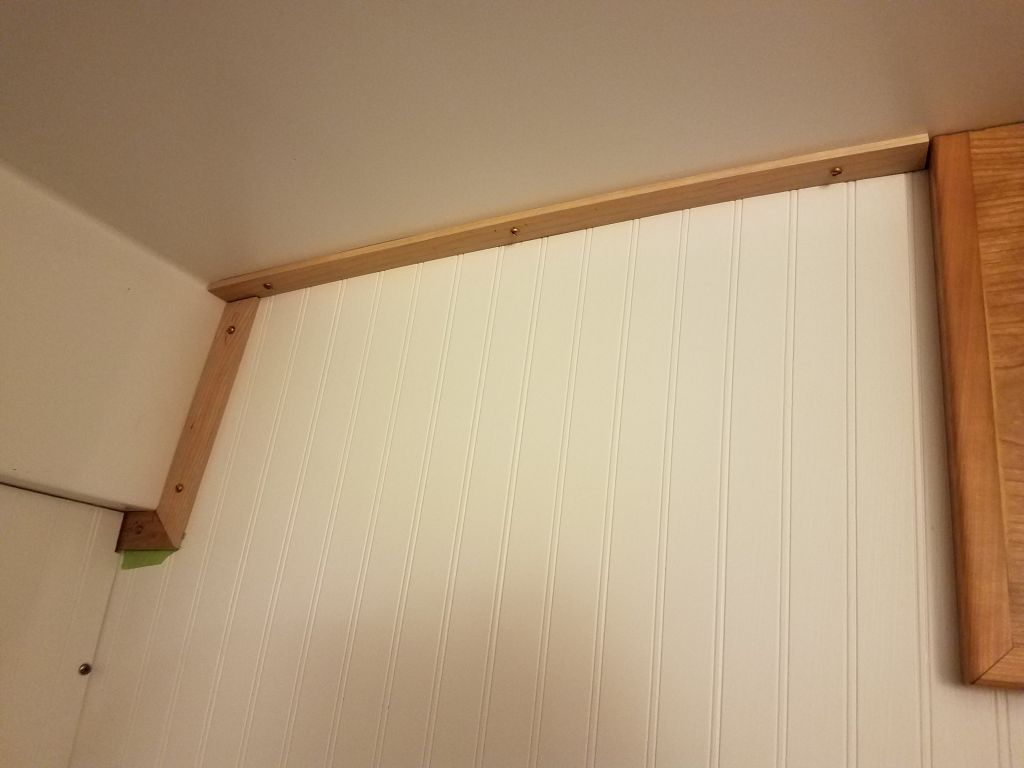
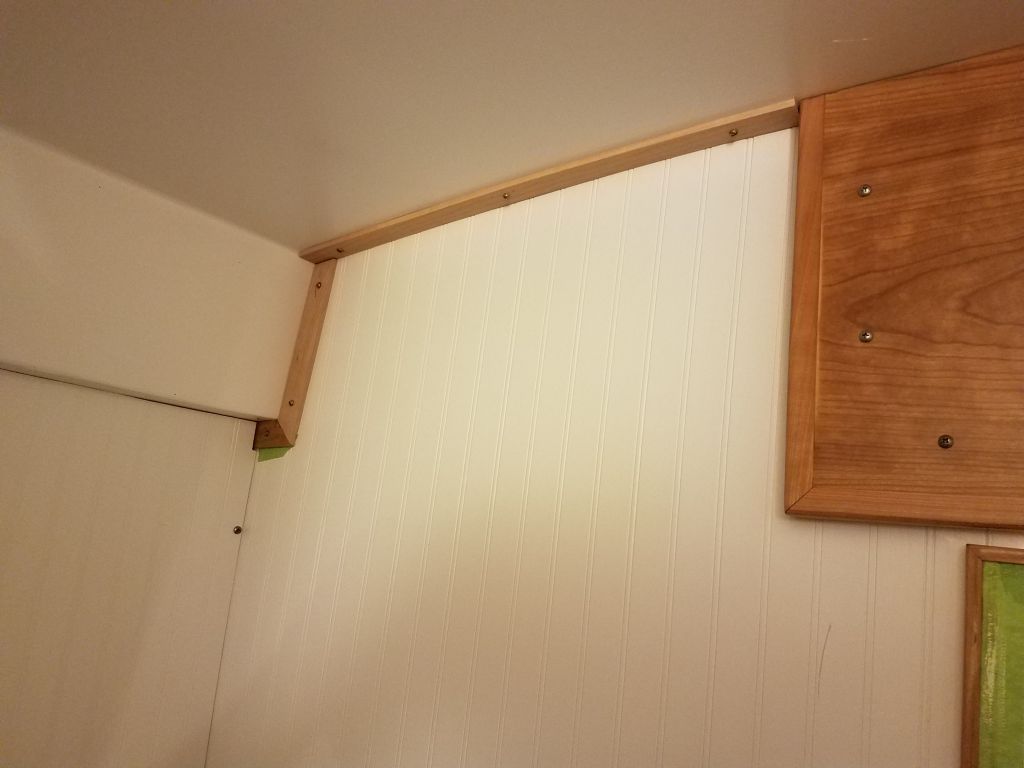
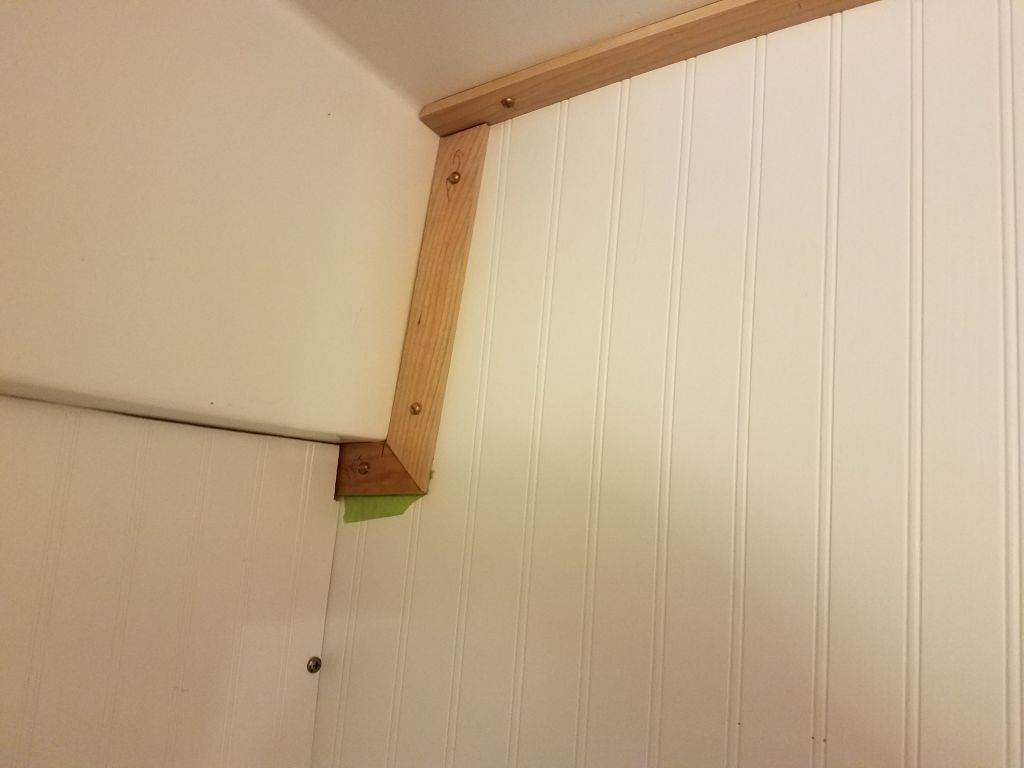
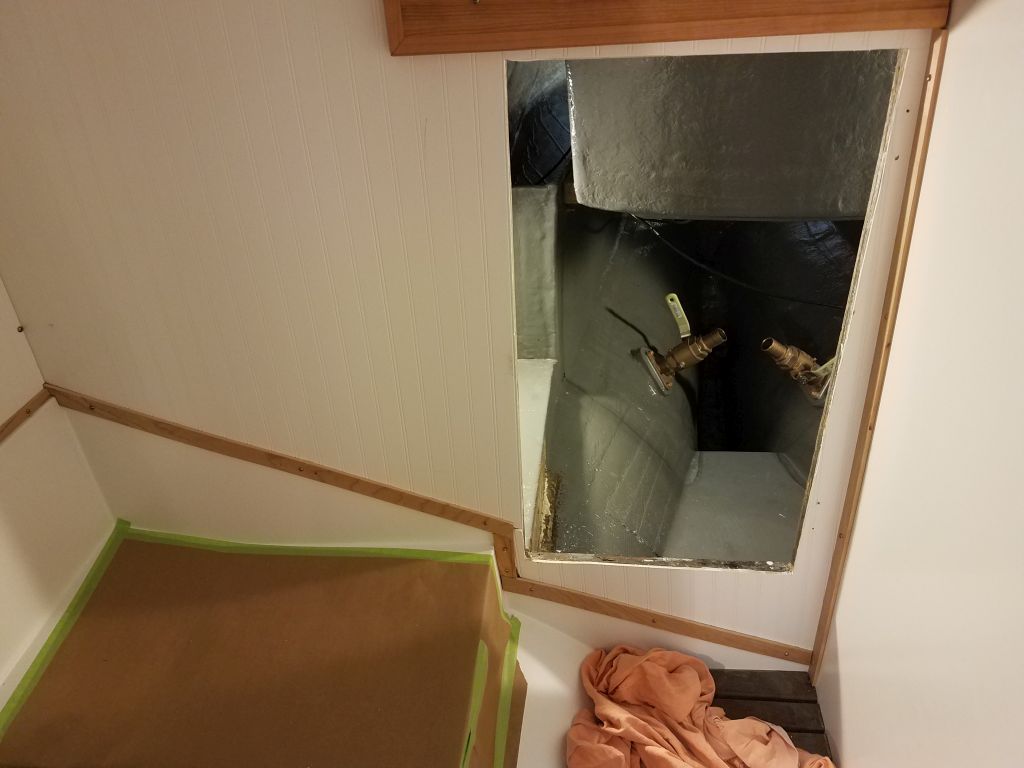
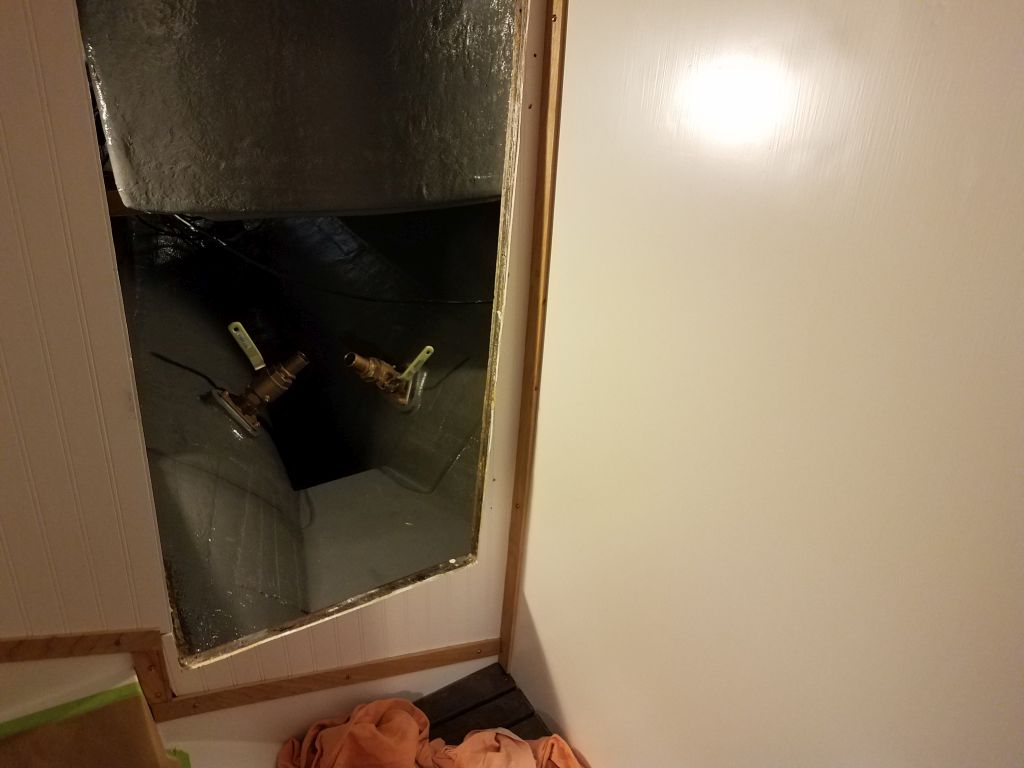
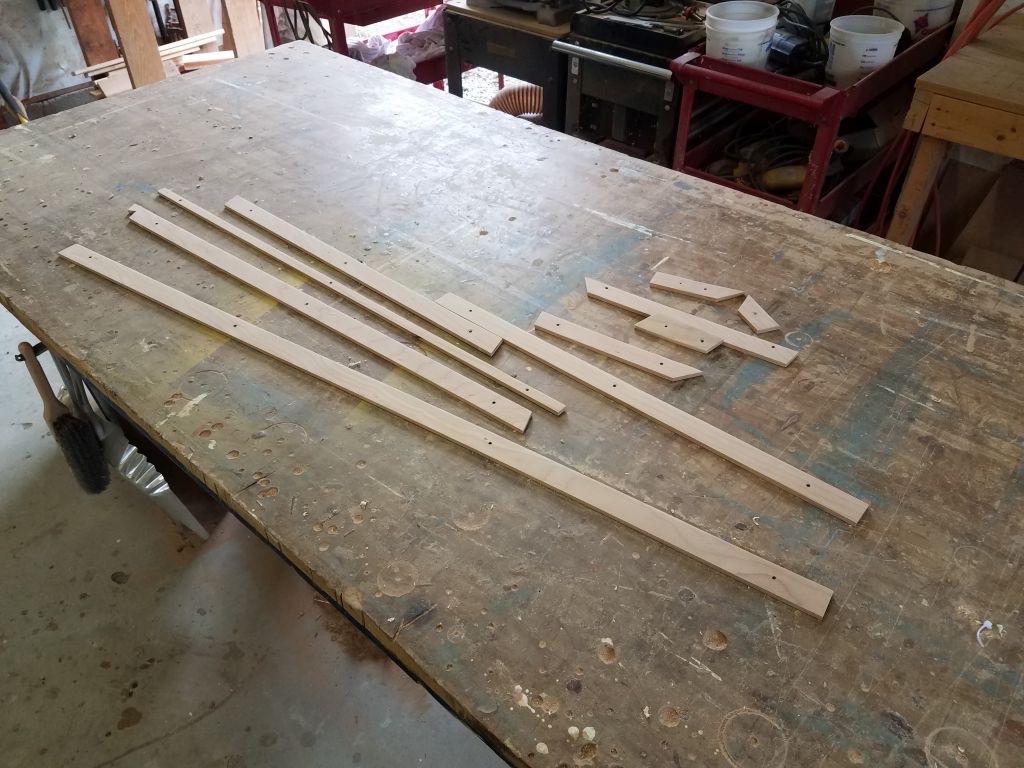
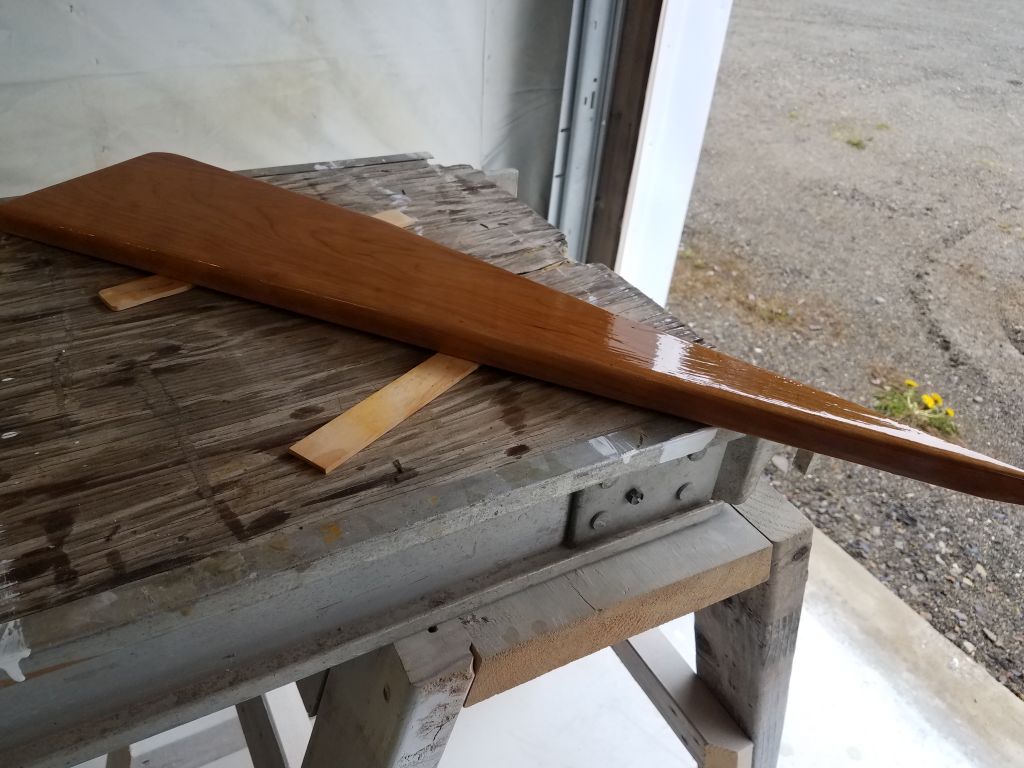
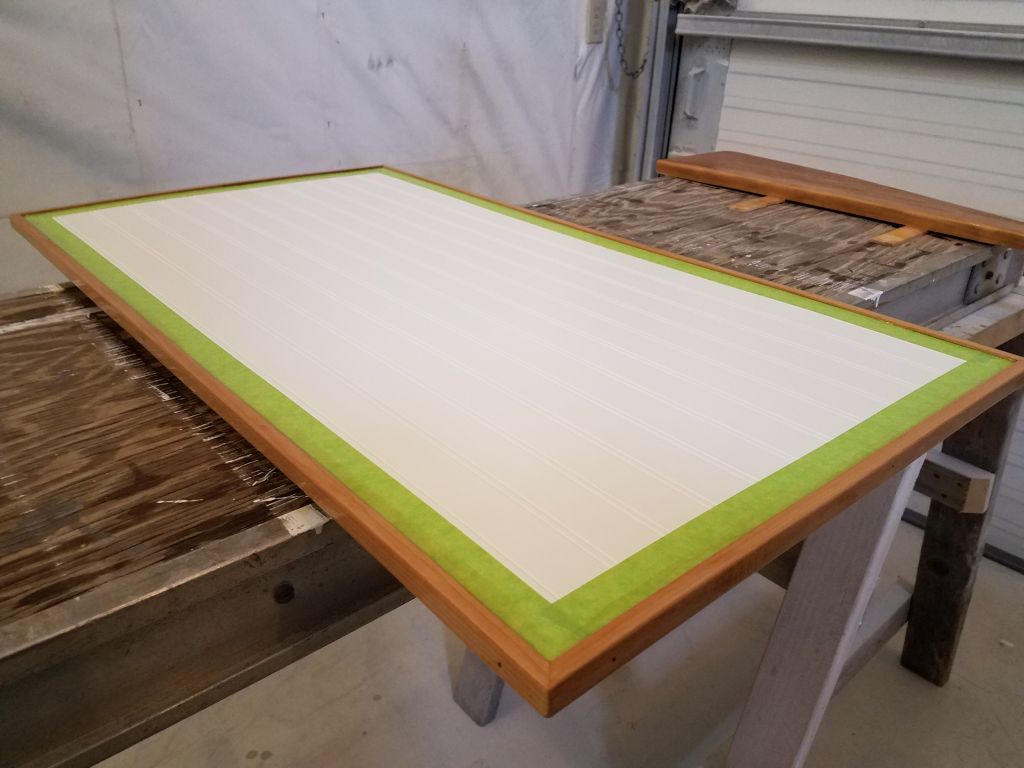
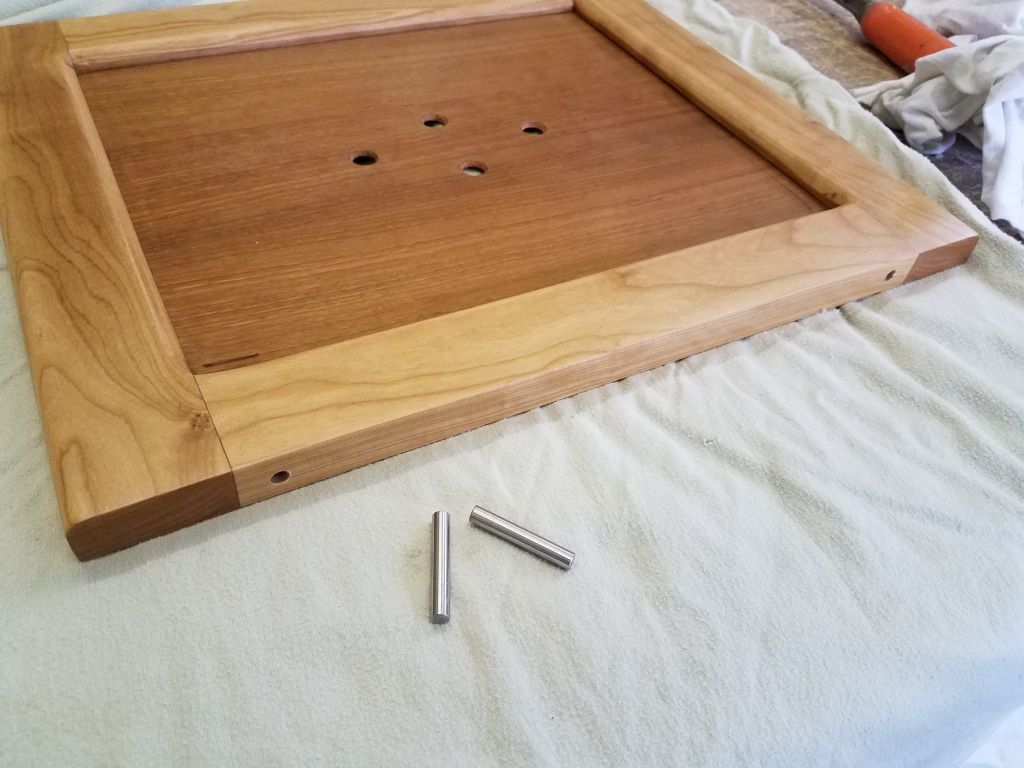
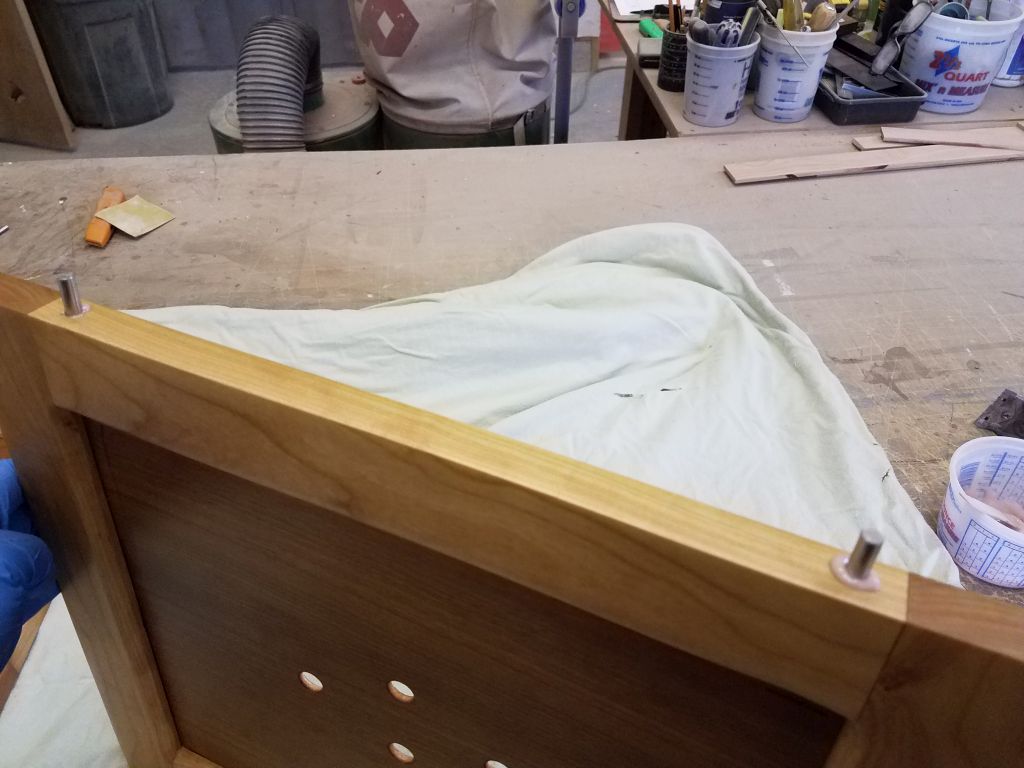
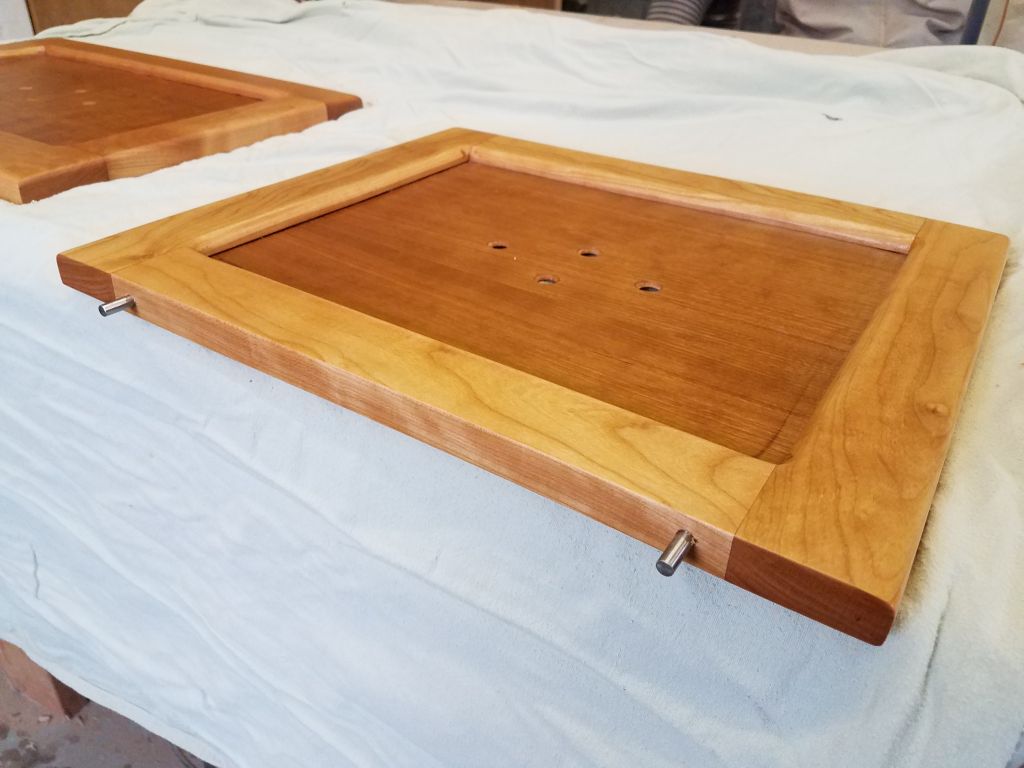
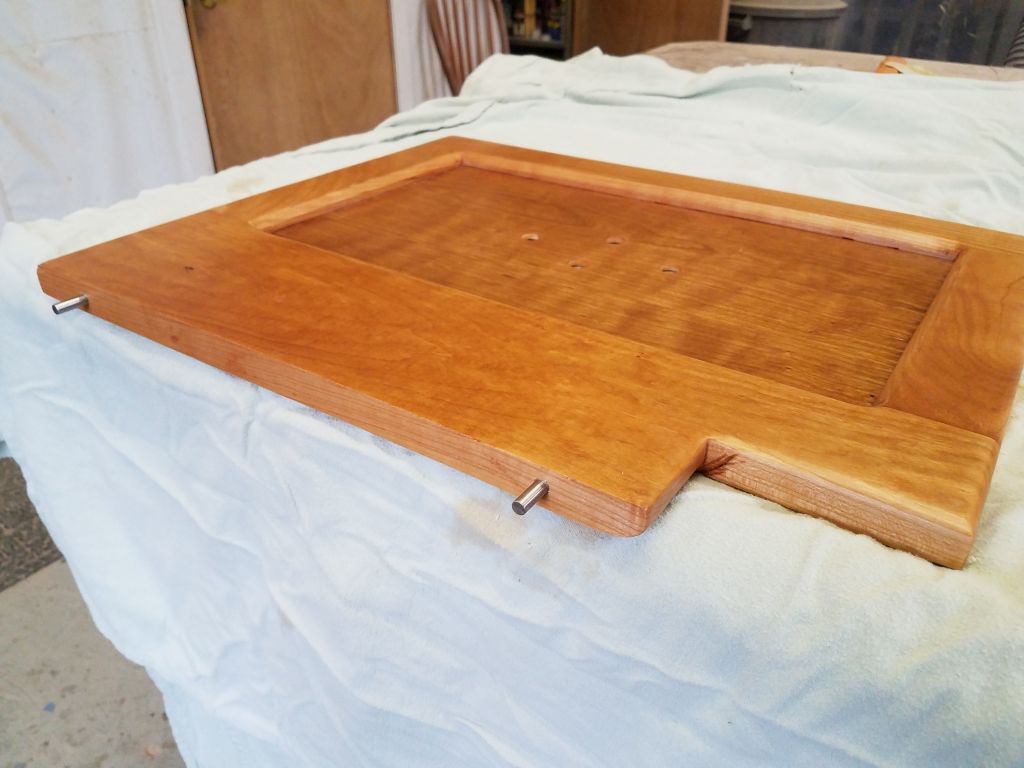
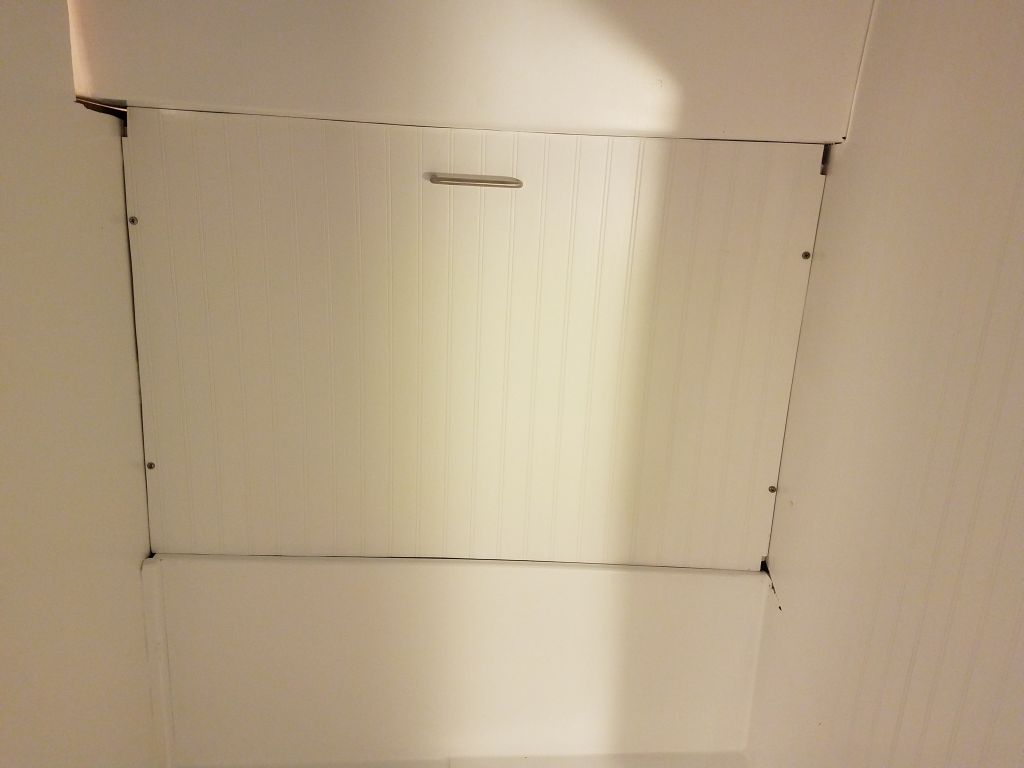
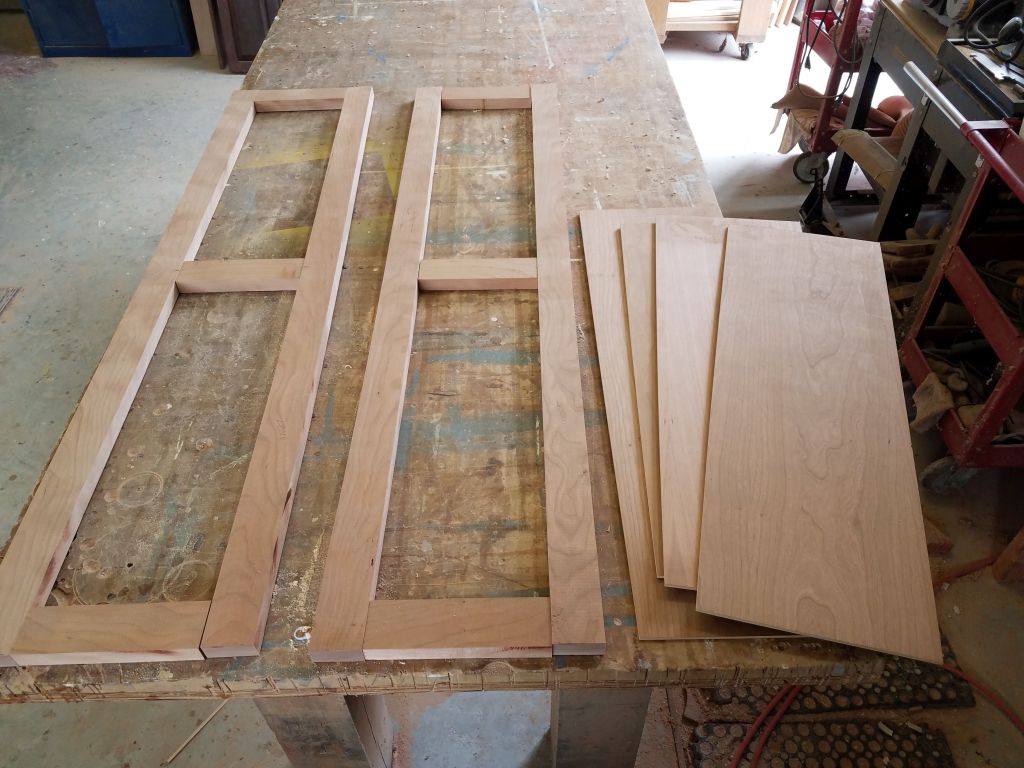
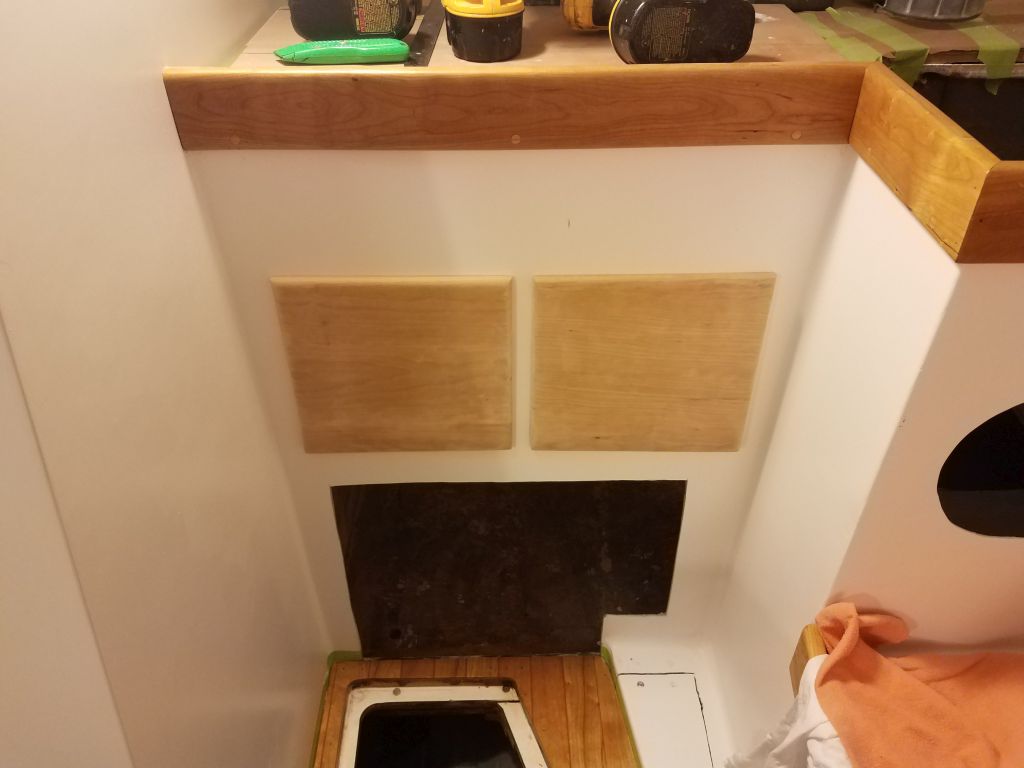
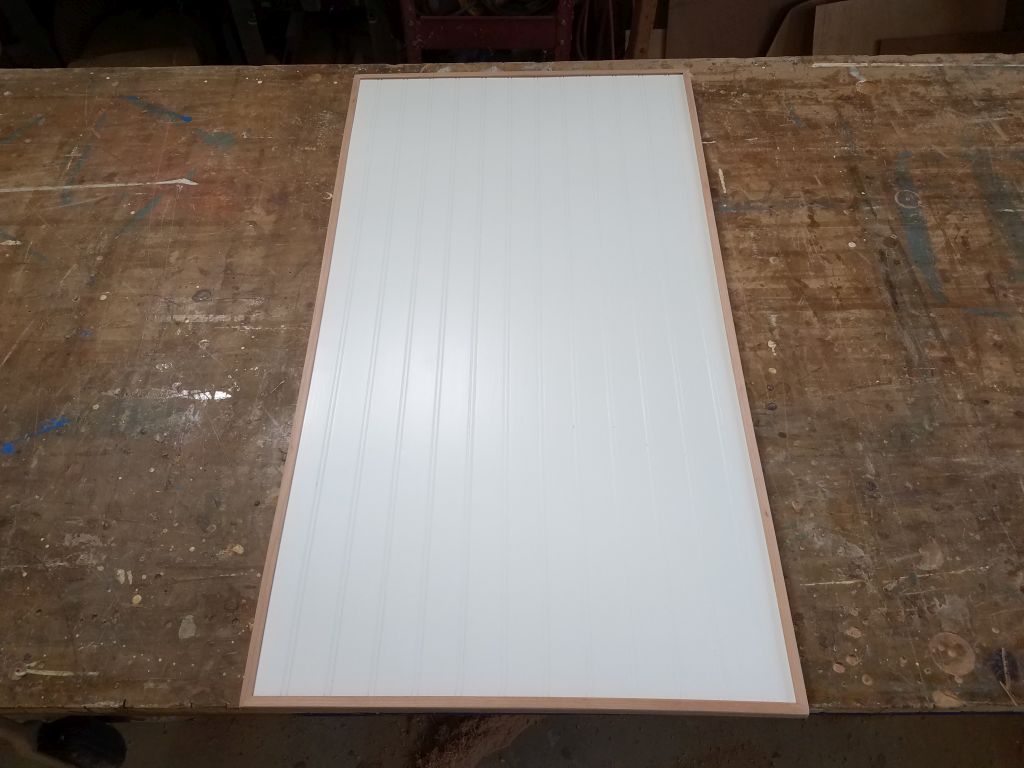
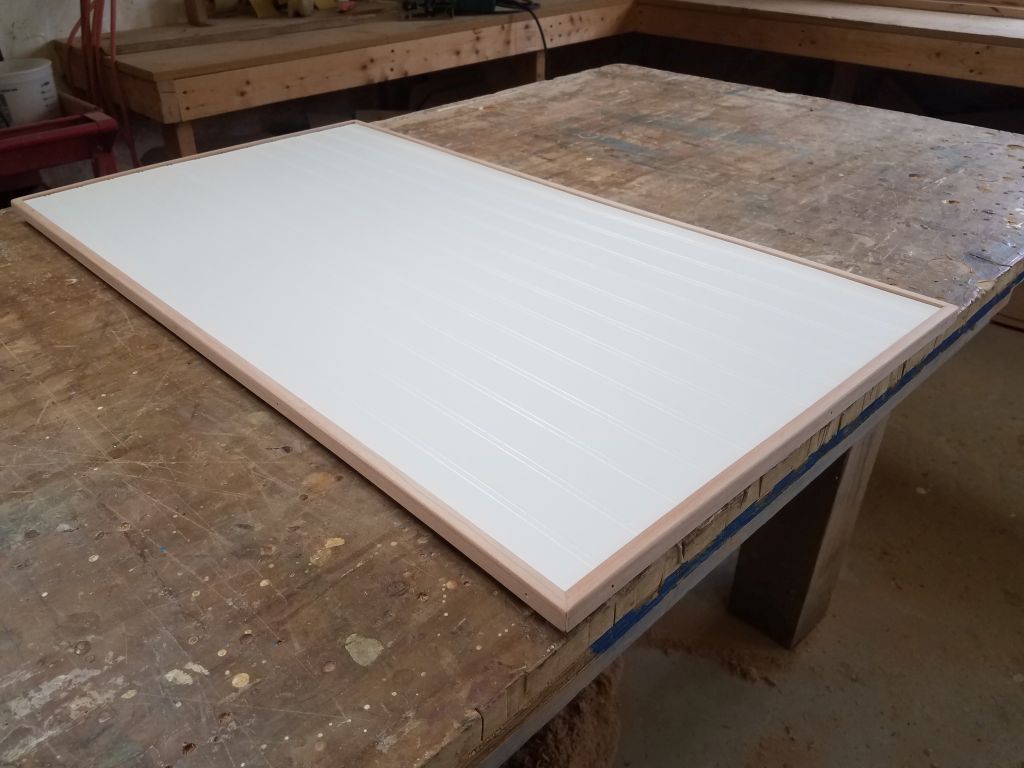
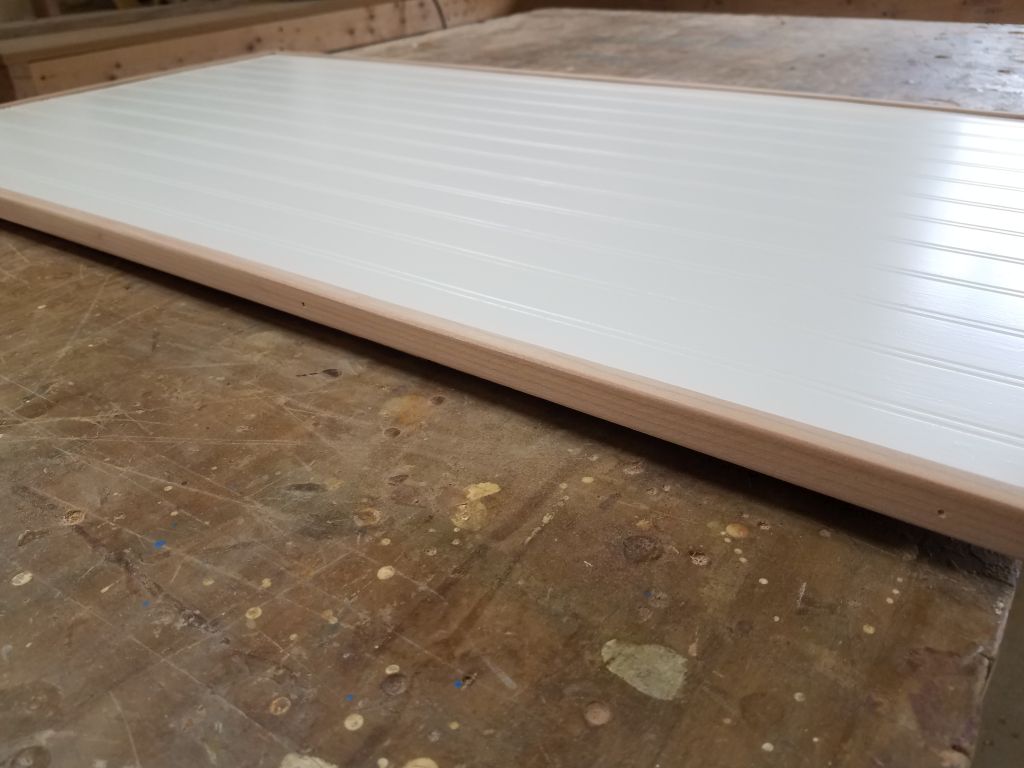
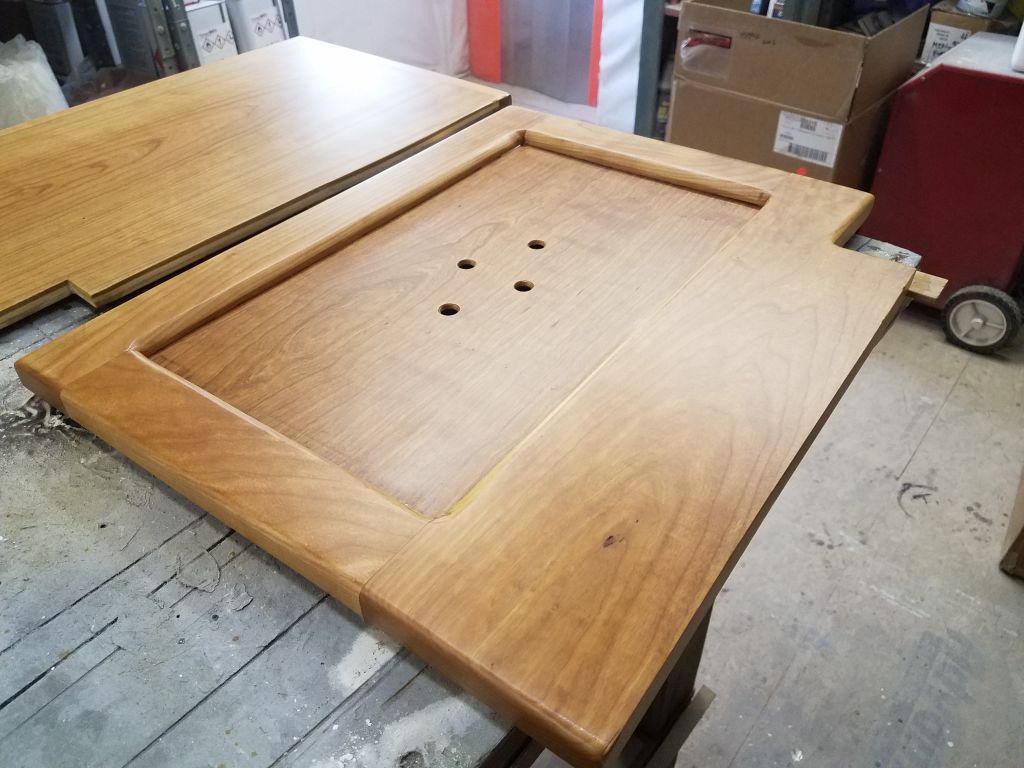
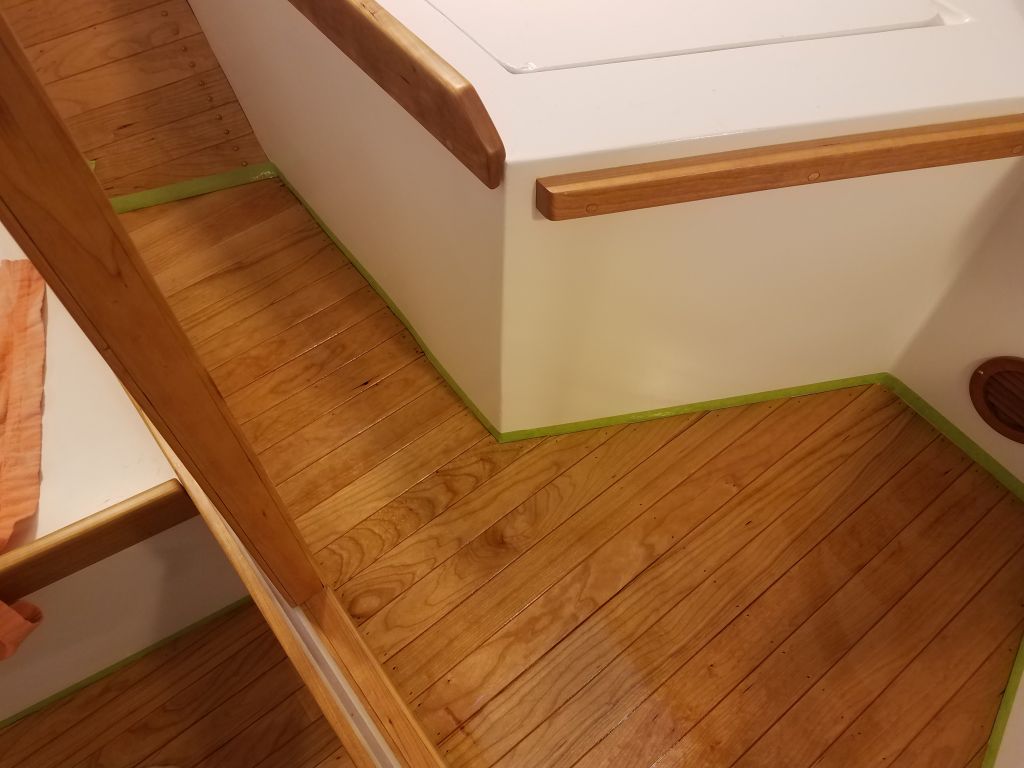
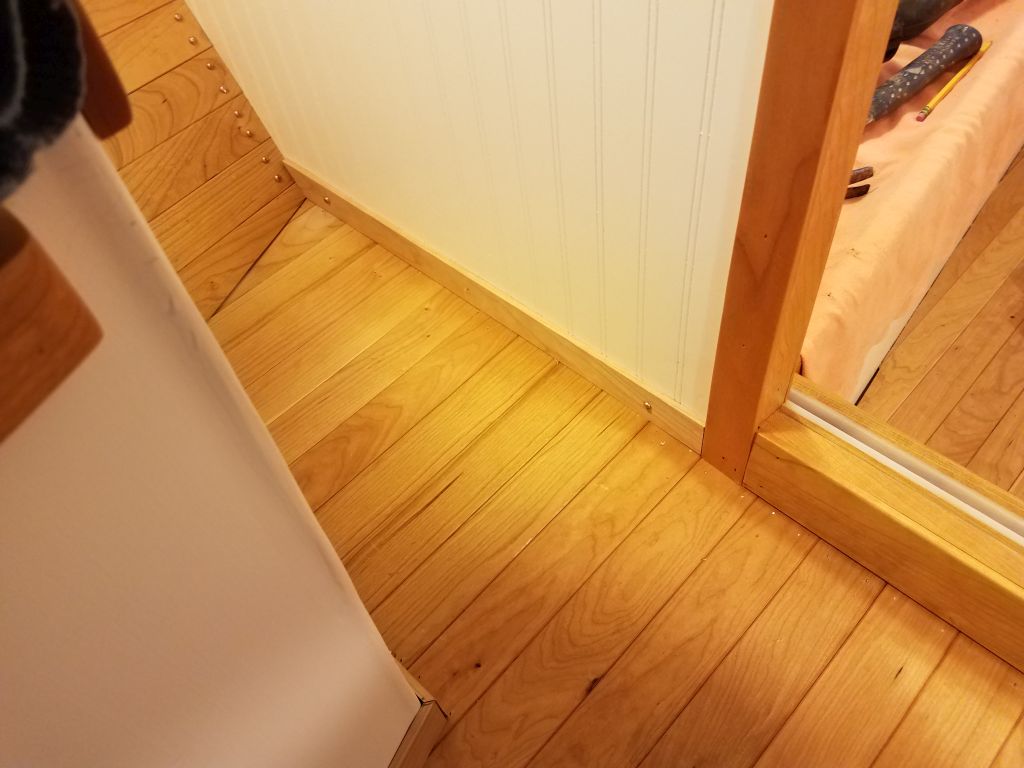
The simple panel door leading from the head to the engine room, which I’d previously veneered with beadboard and painted to match the rest of the boat, required some trim along its outer edges to hide the plywood edge grain, since the door was a basic overlay design. To this end, I milled some delicate wraparound trim from cherry leftovers–I didn’t want, and the door didn’t need, any hefty trim here–and secured it around the edges with glue and brads.
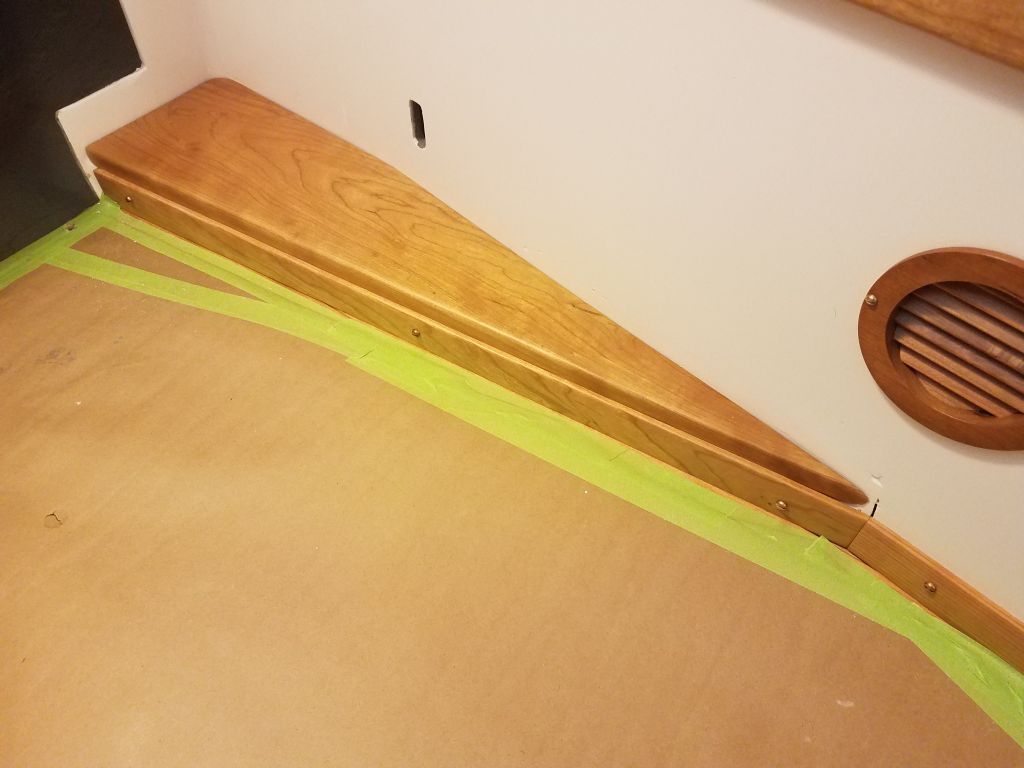
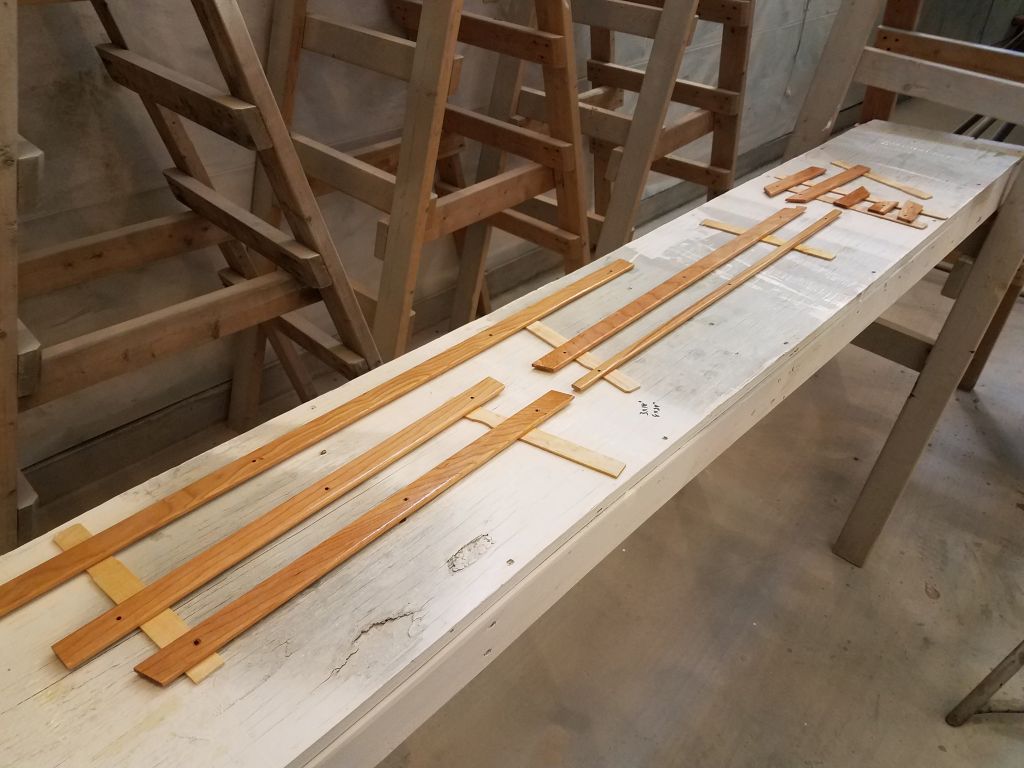
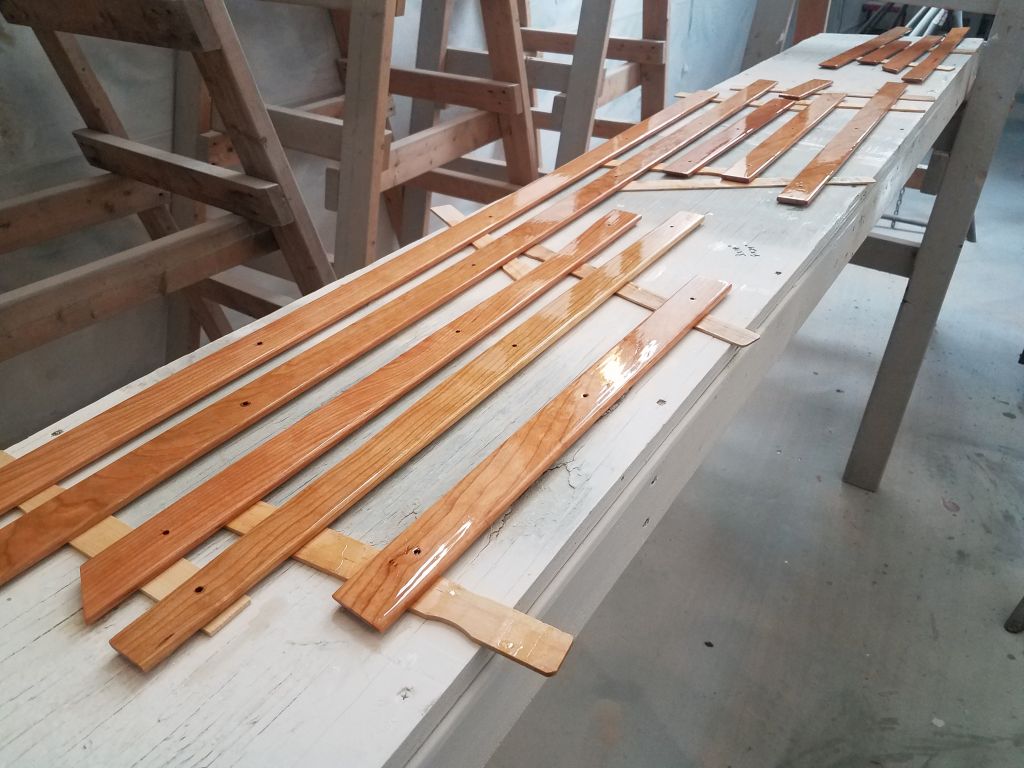
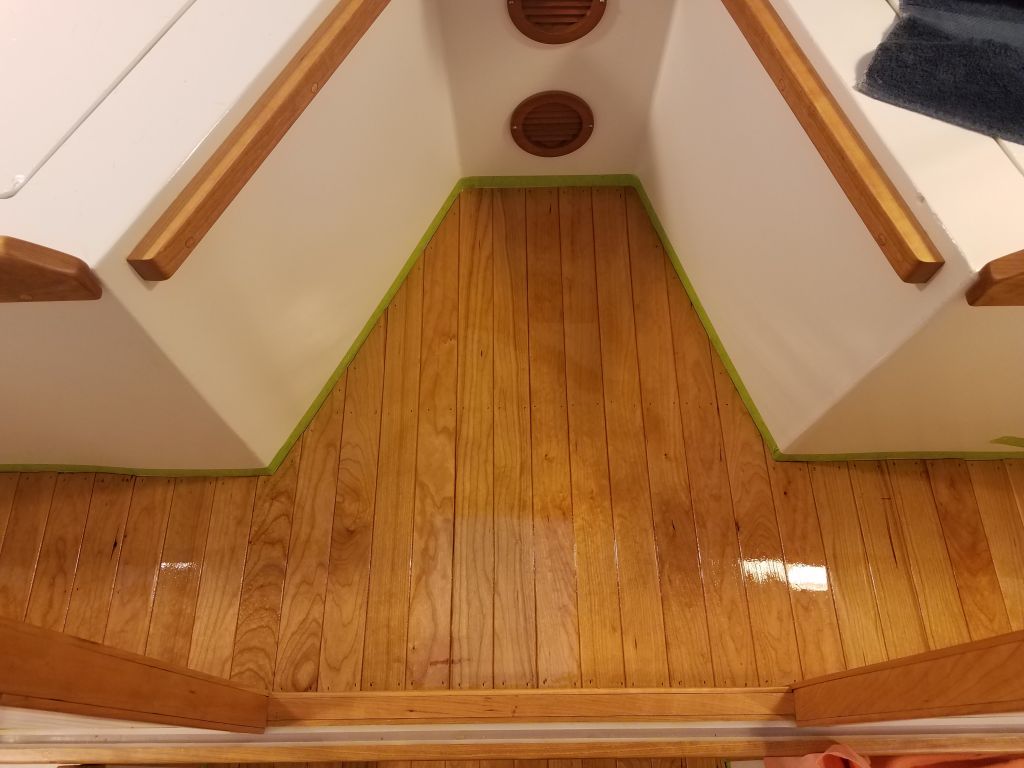
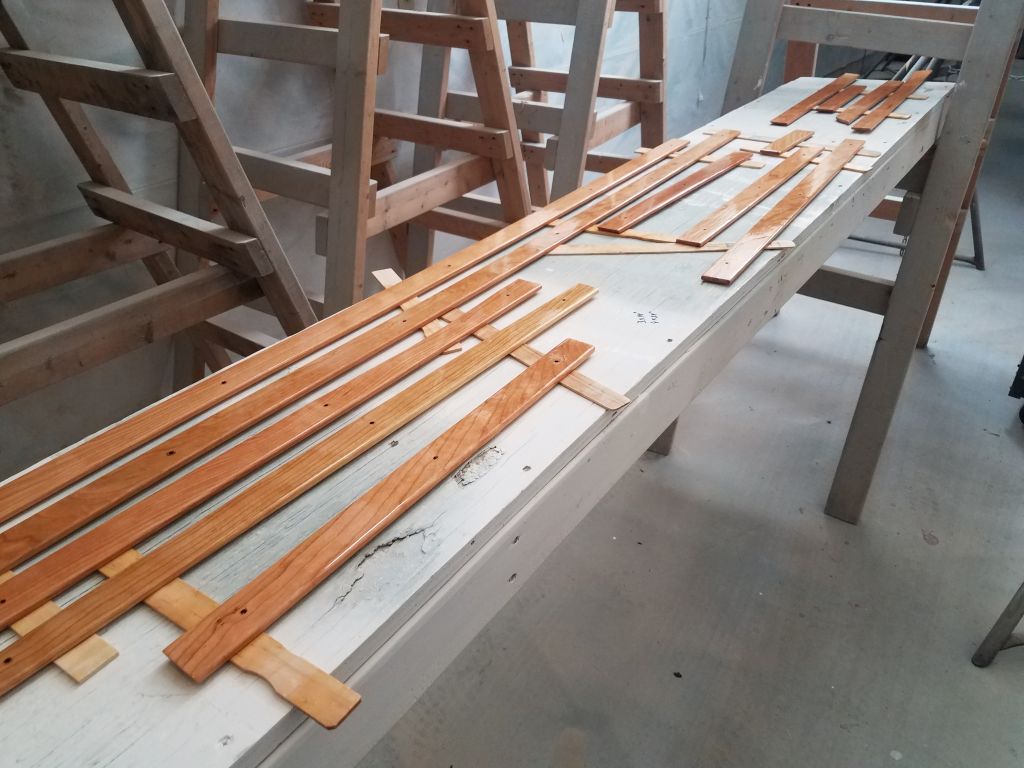
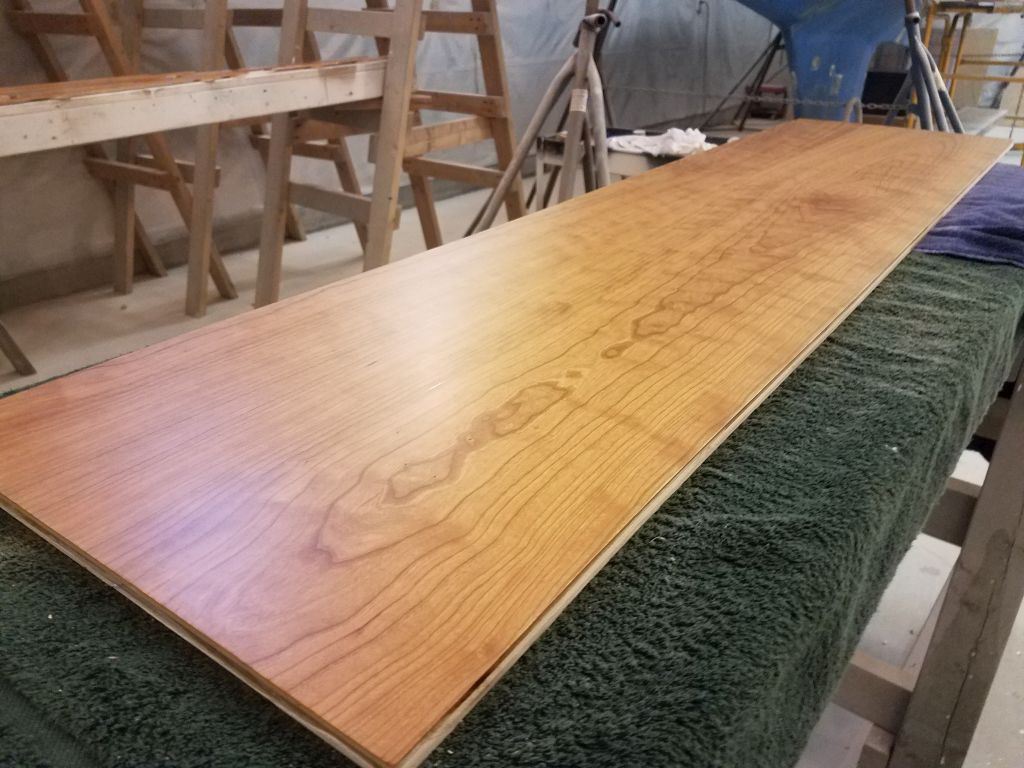
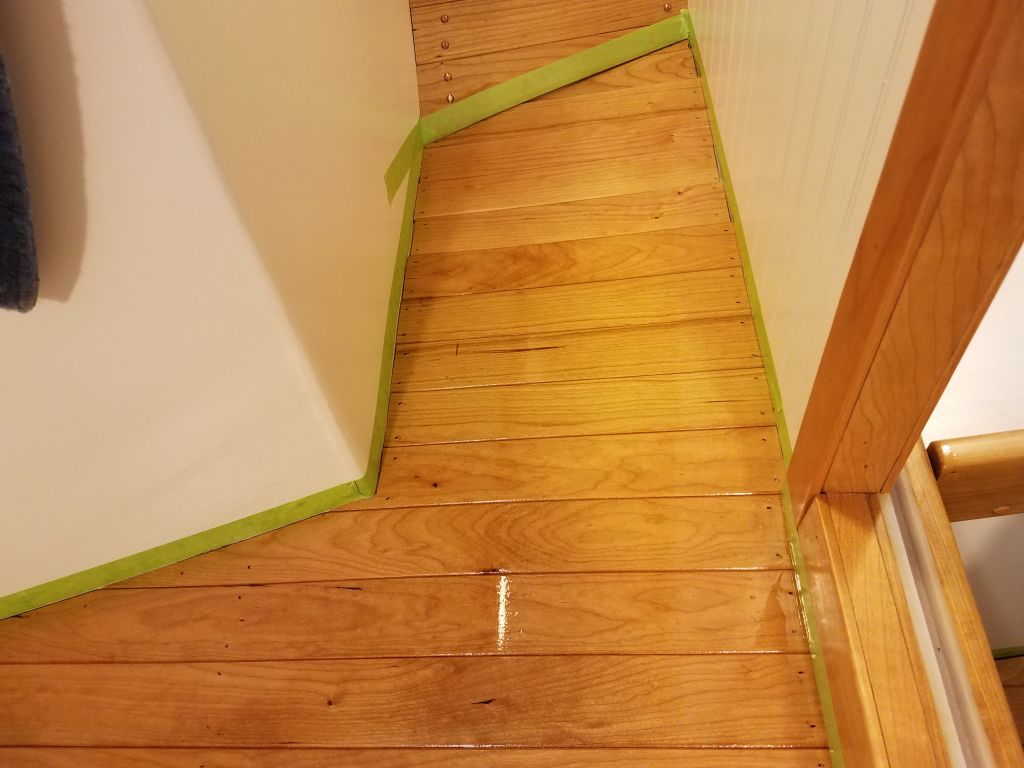
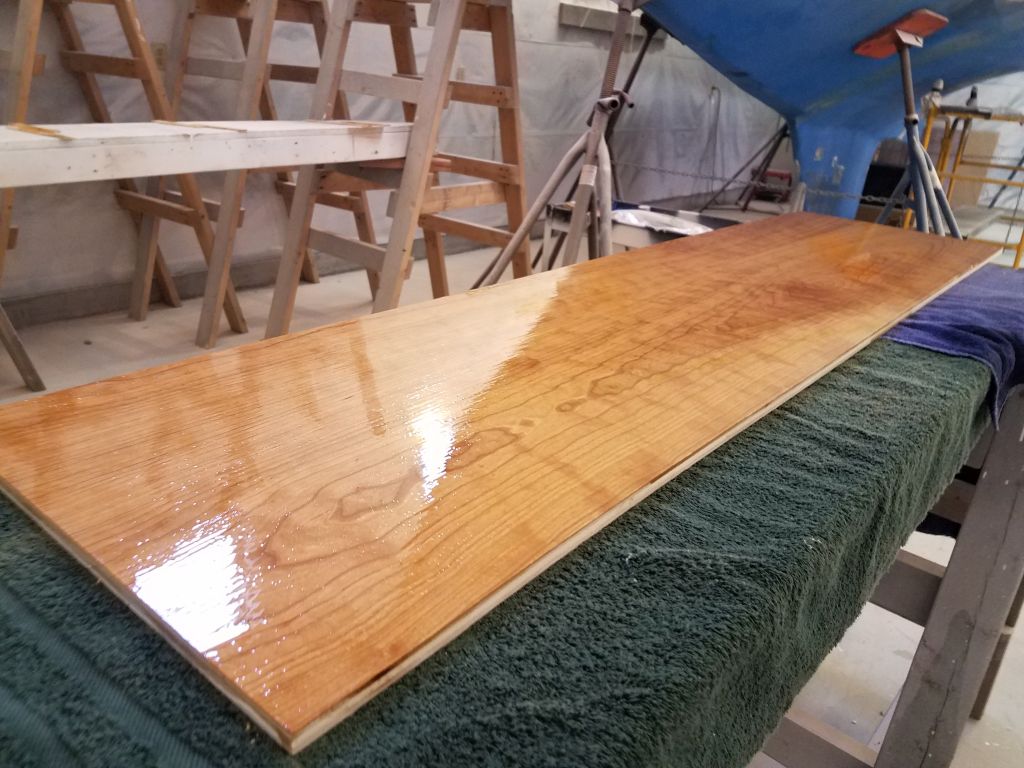
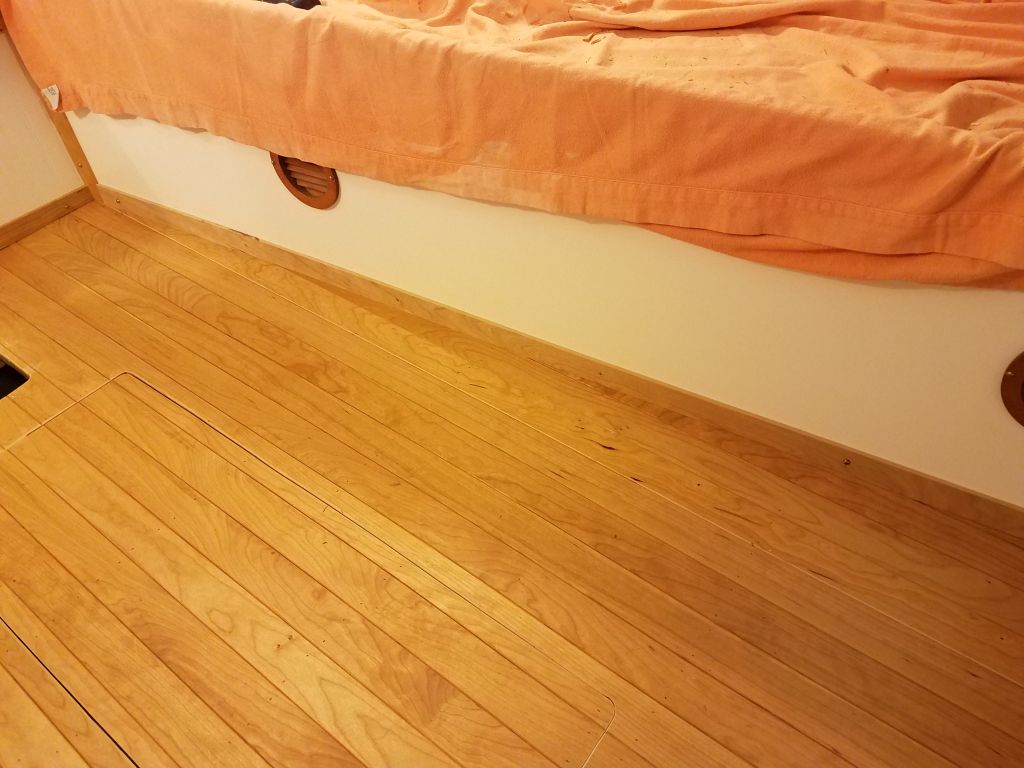
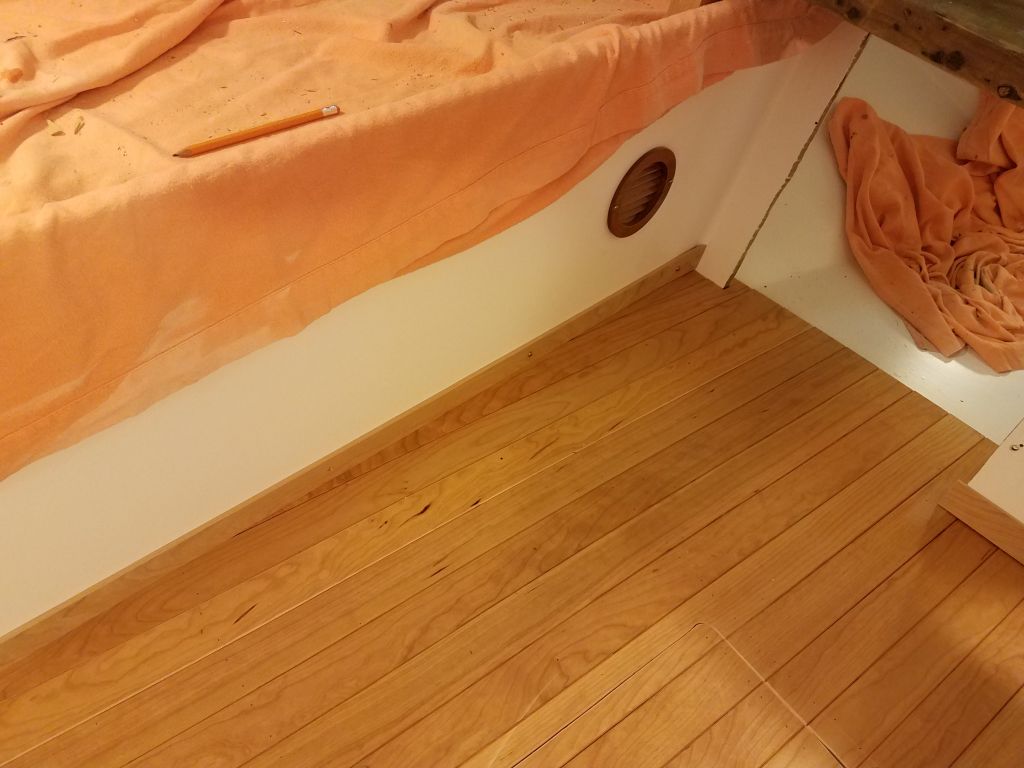
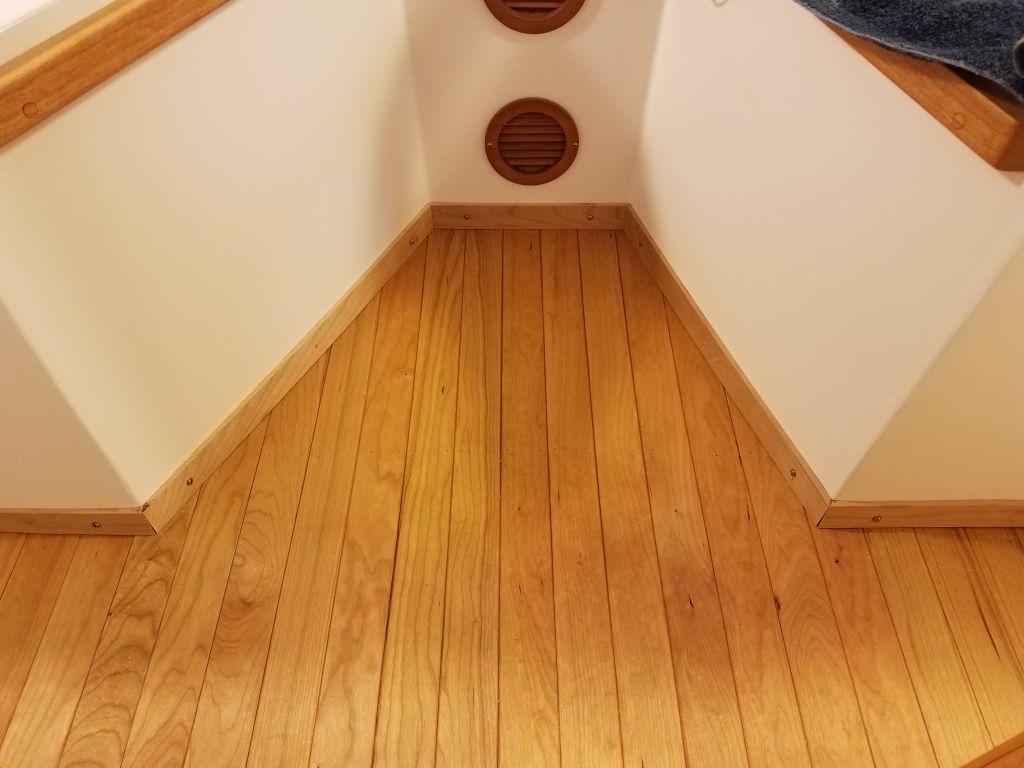
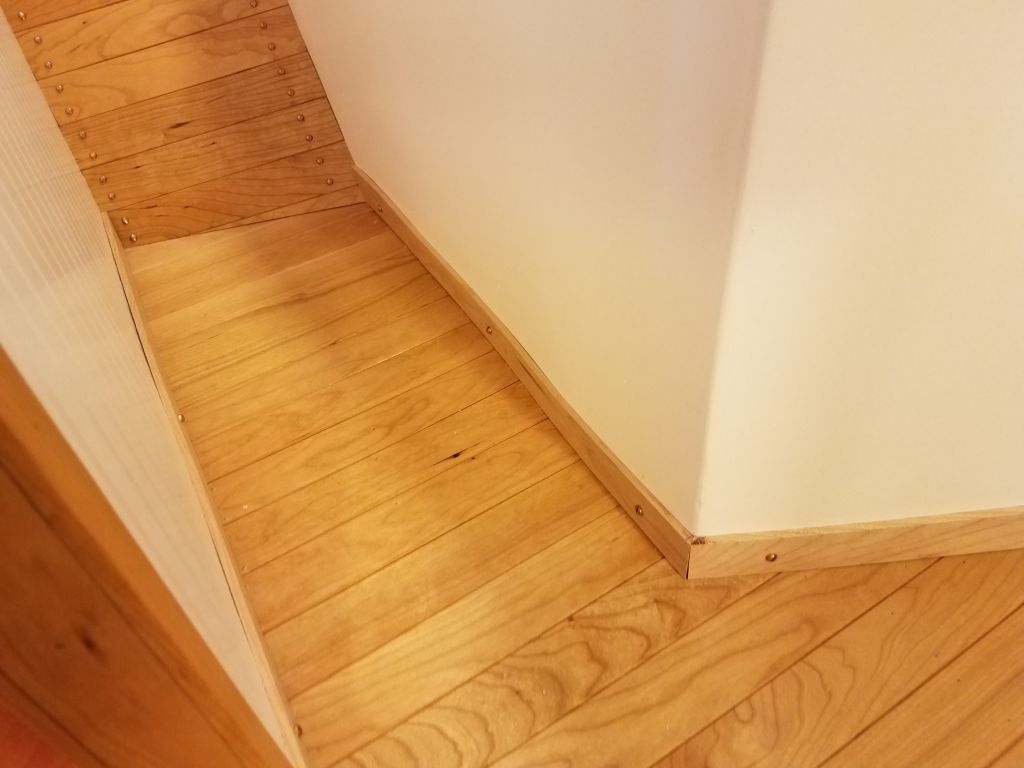
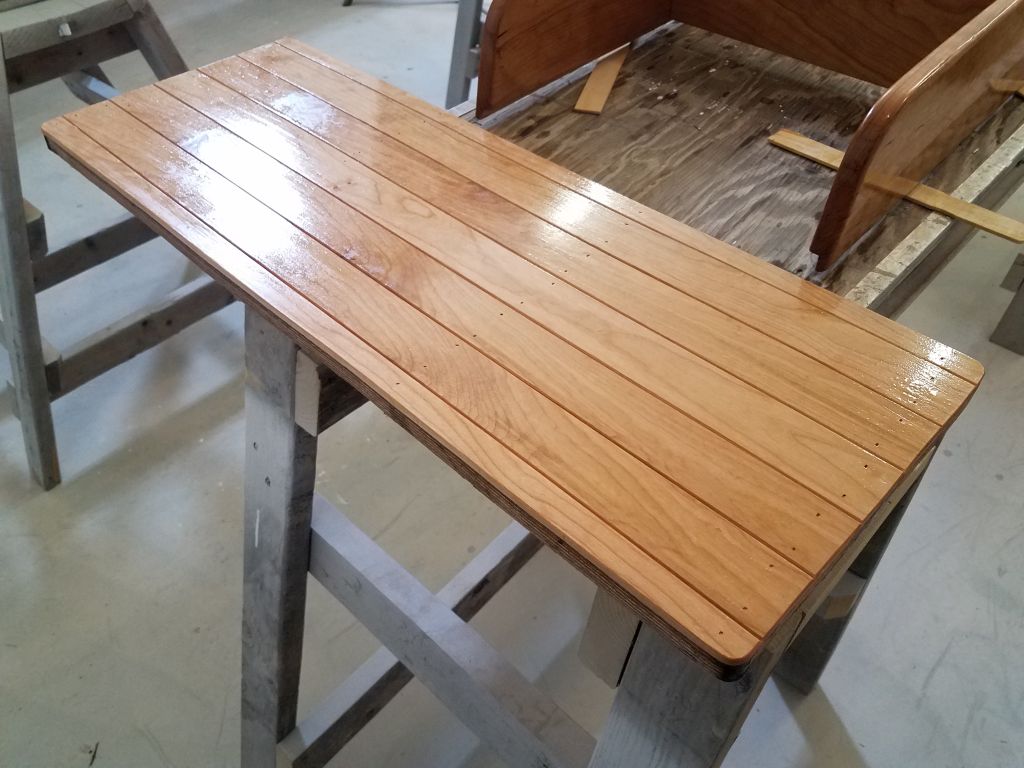
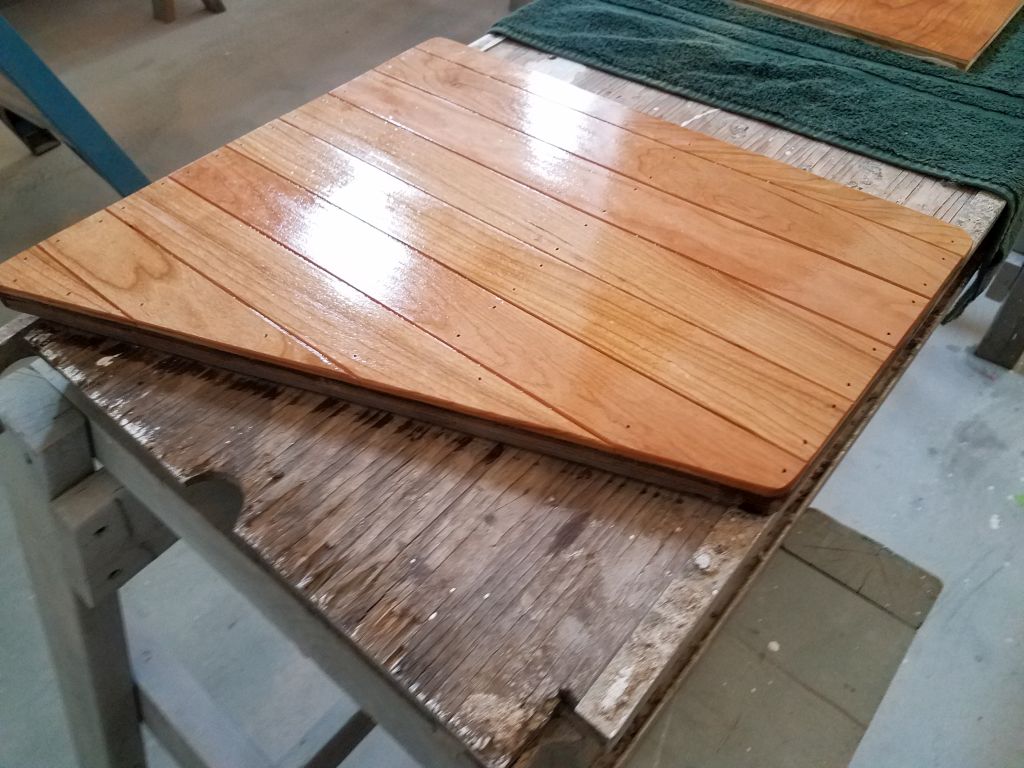
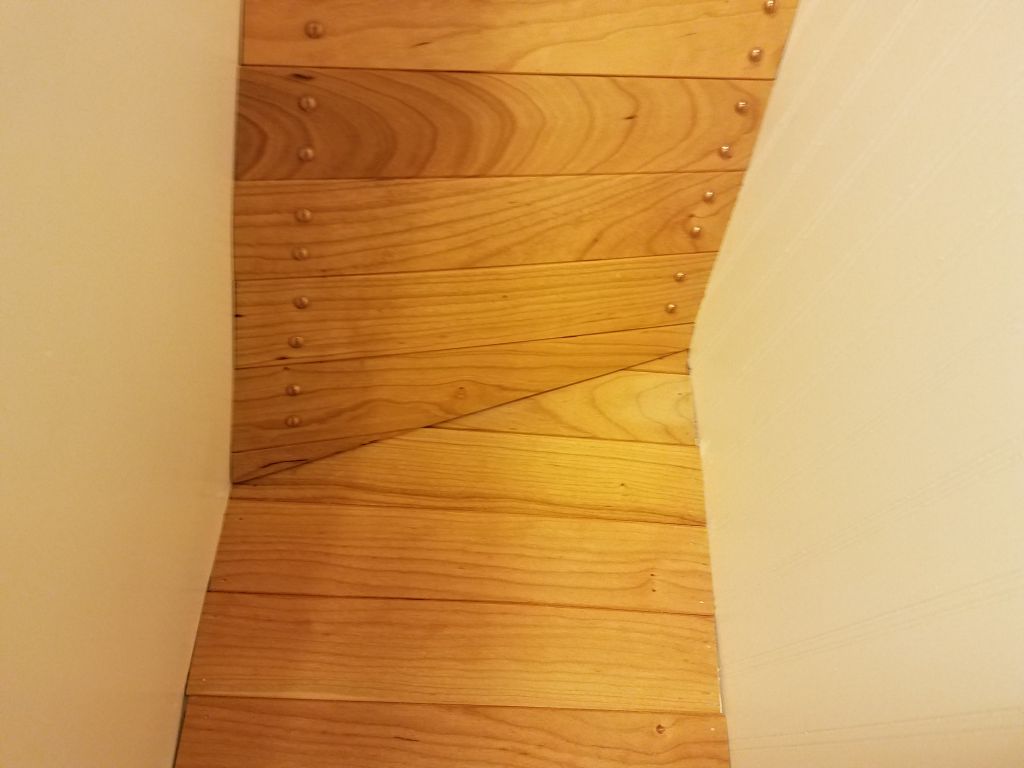
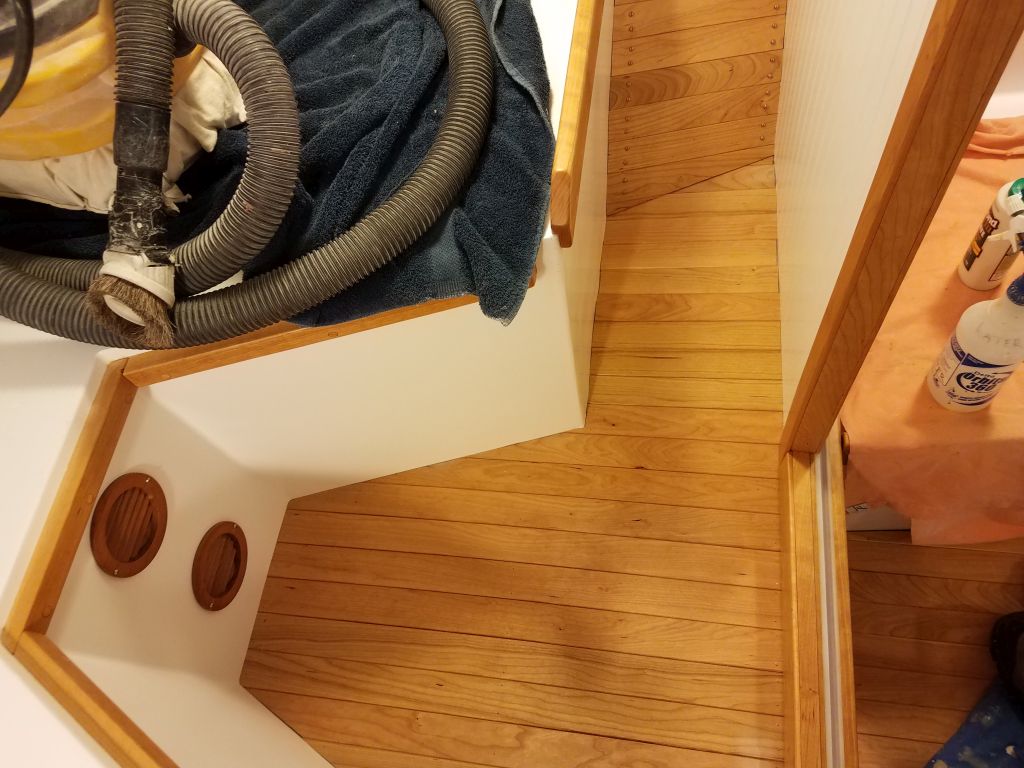
With the afternoon drawing on, it was time for the day’s varnish work, starting with the 4th base coat on the cabin sole trim pieces.
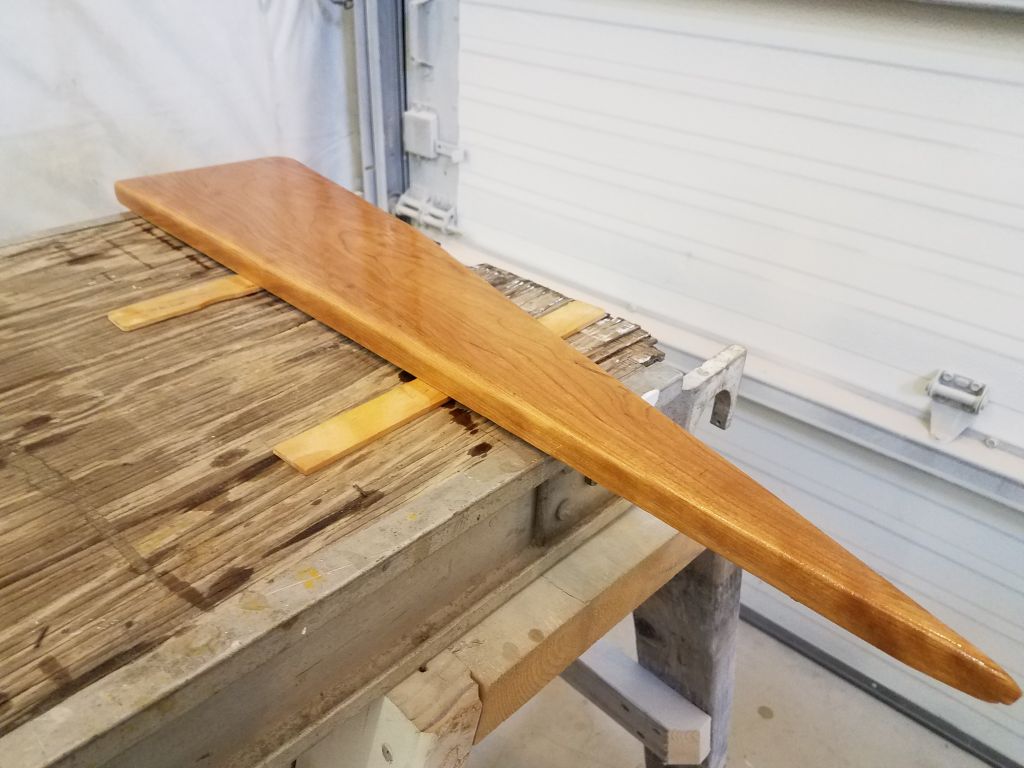
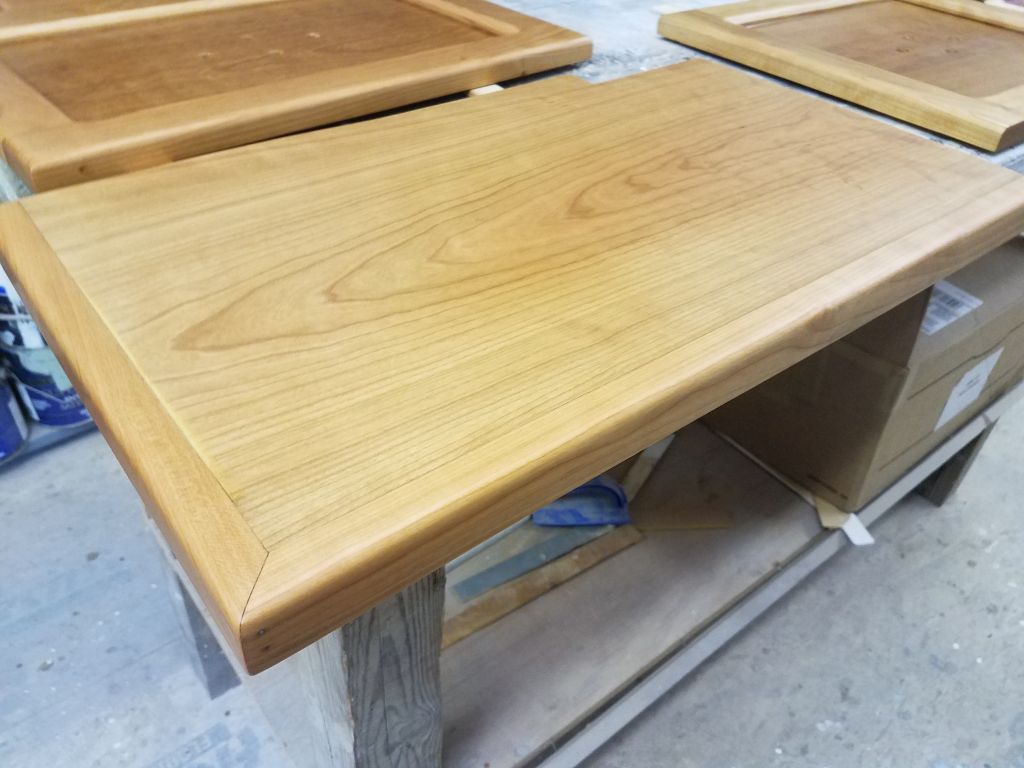
Next, I applied a thinned coat of varnish to the new drawer fronts and engine room door trim, after masking off the areas as needed.
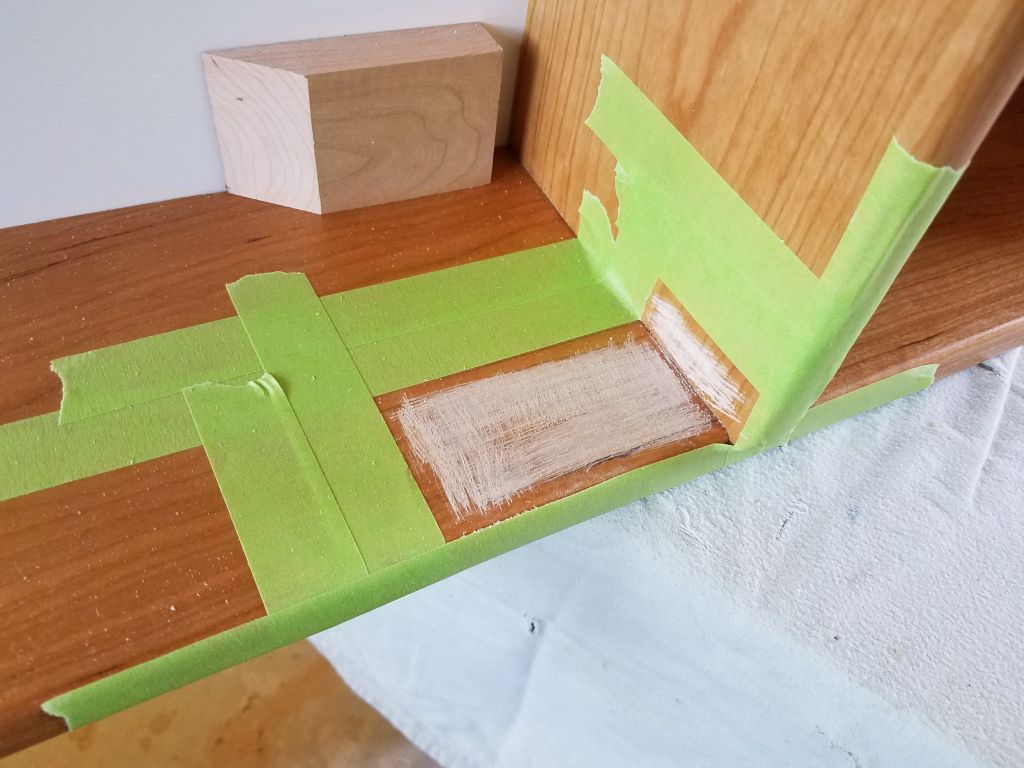
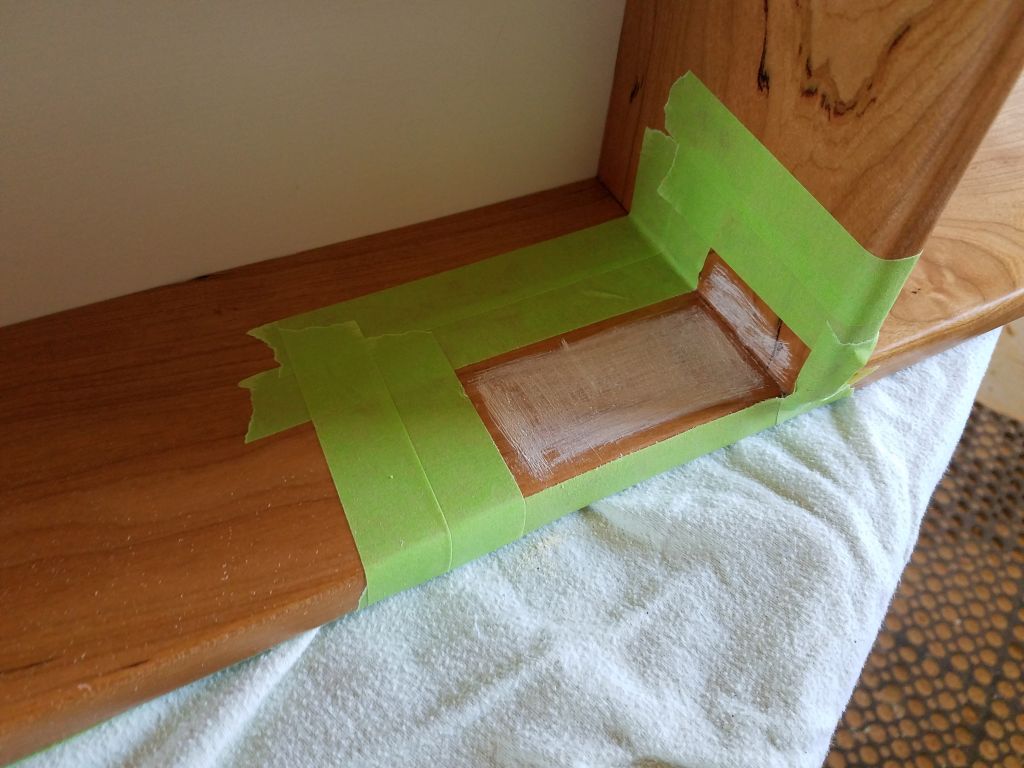
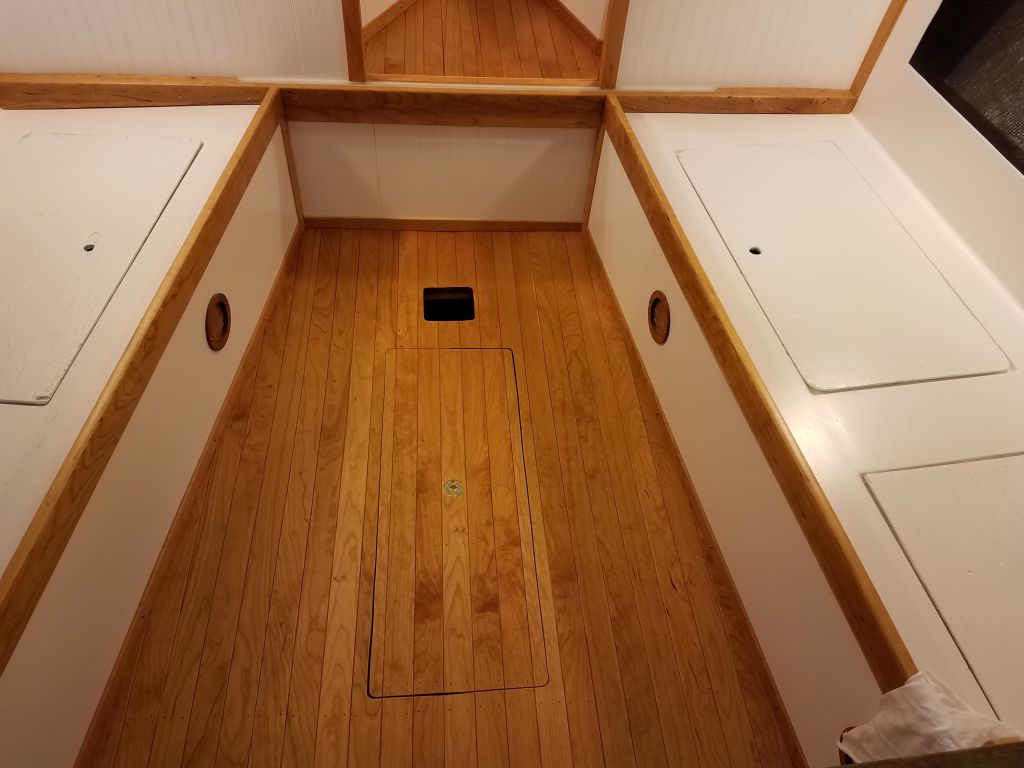
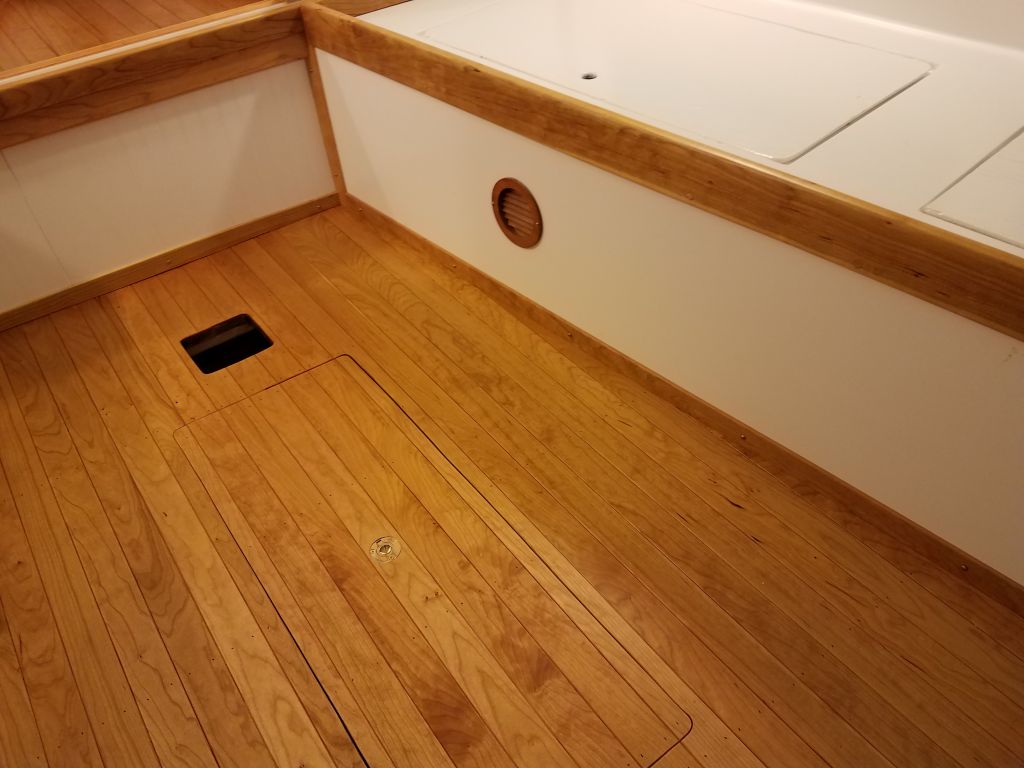
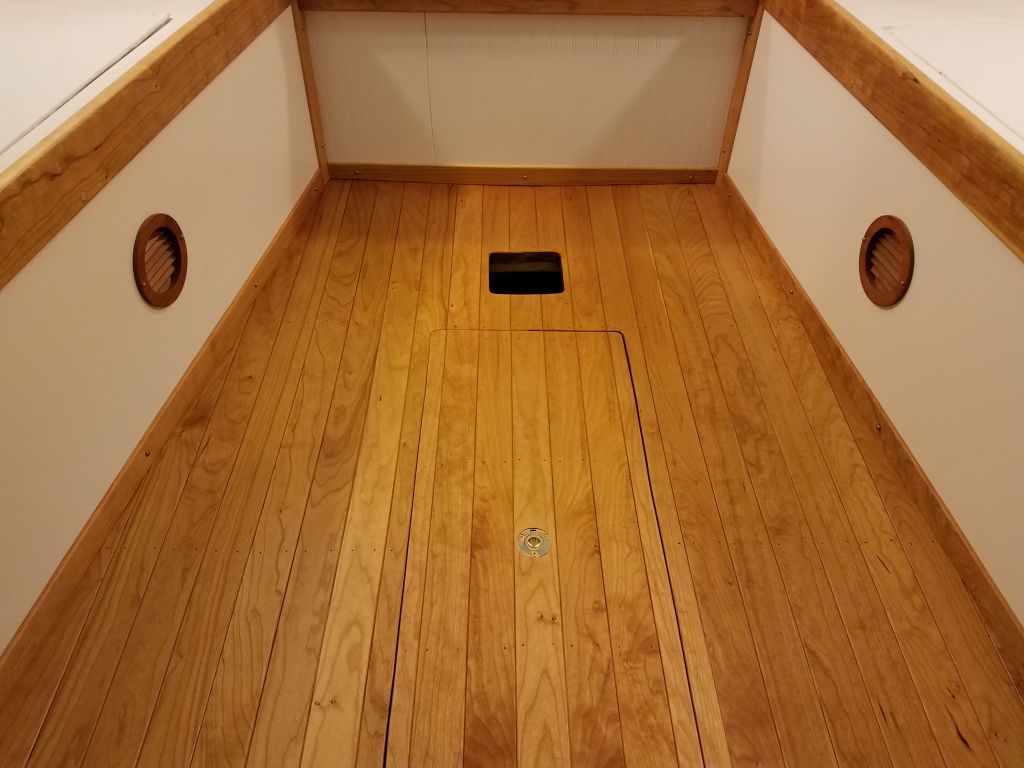
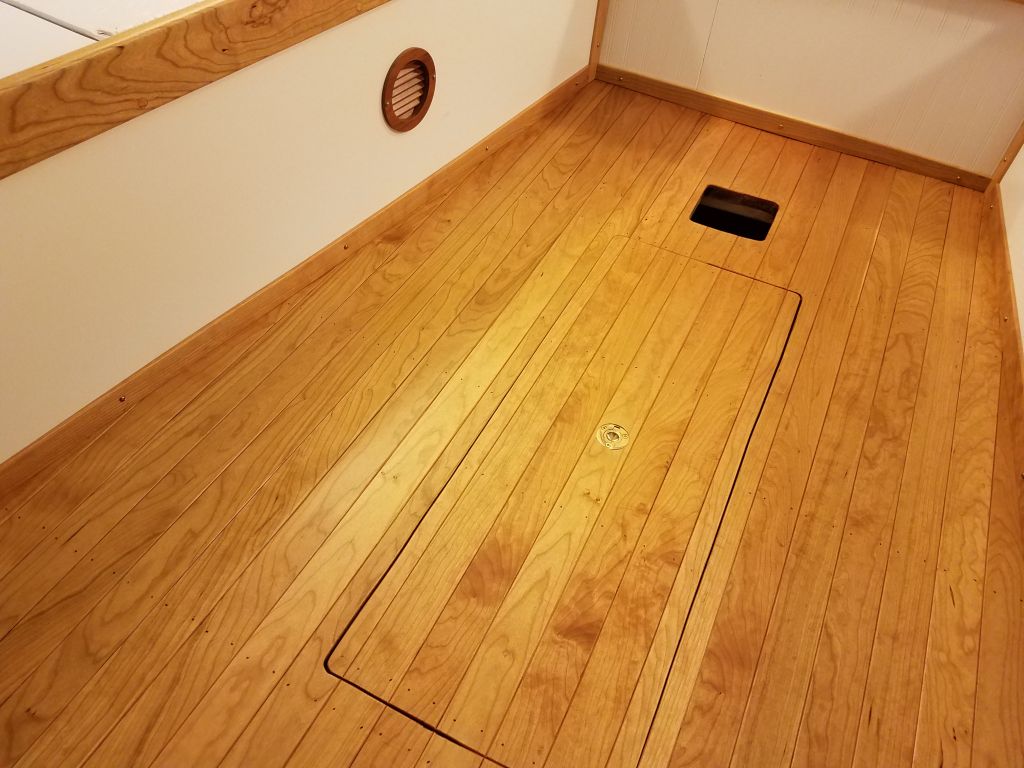
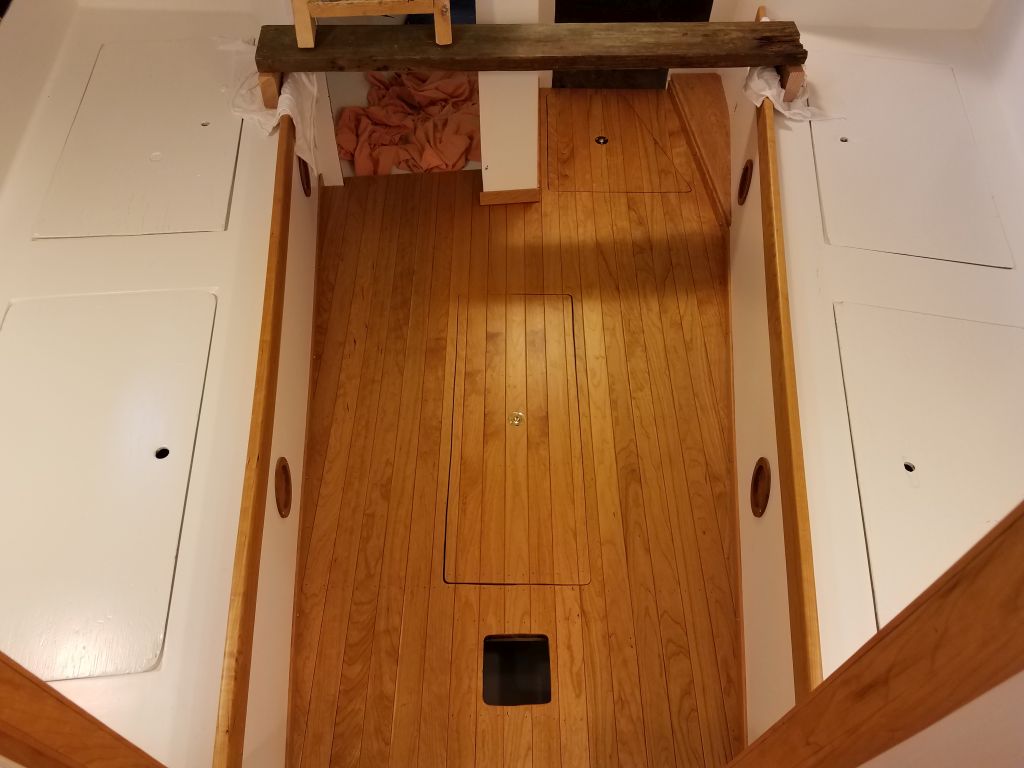
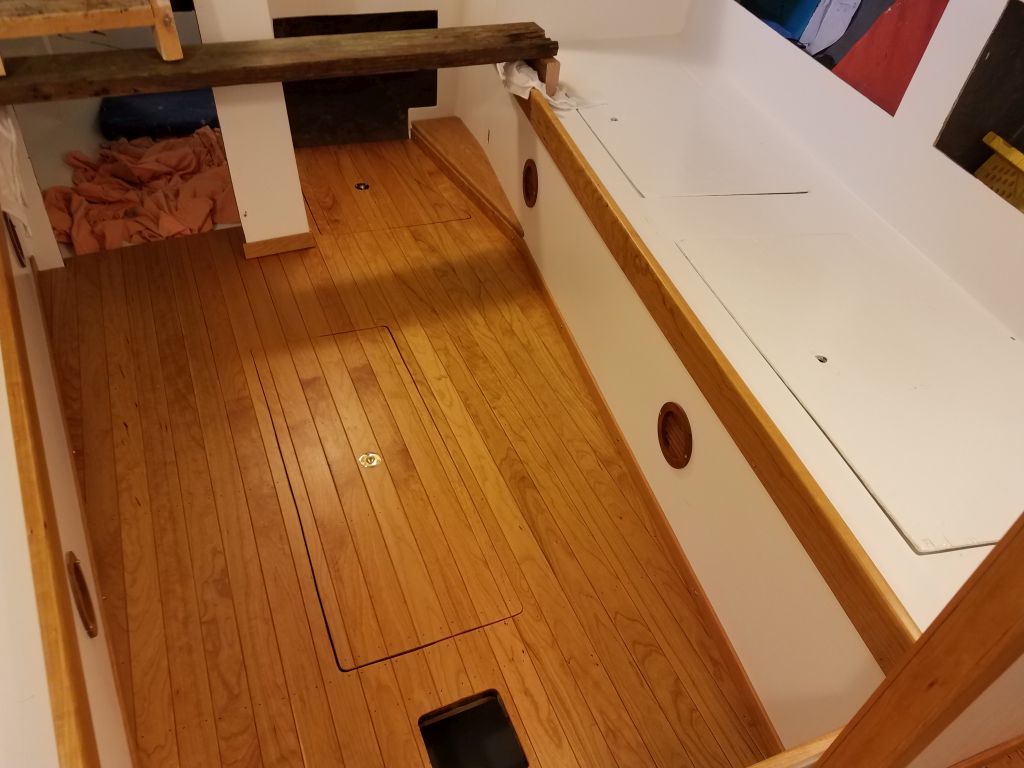
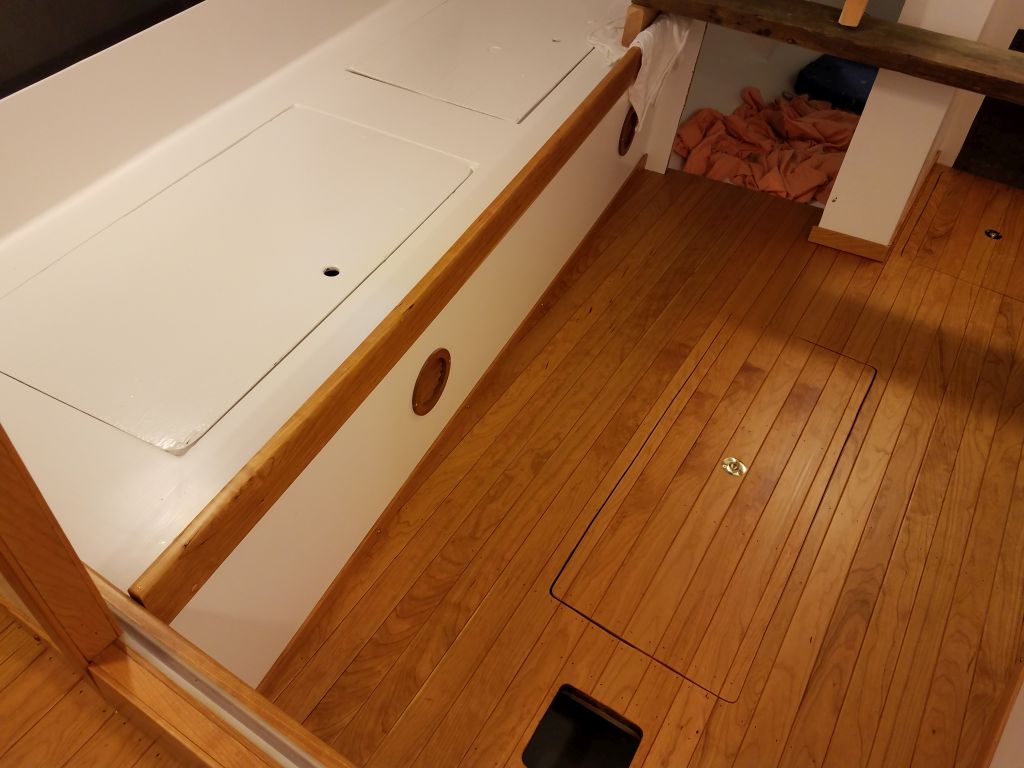
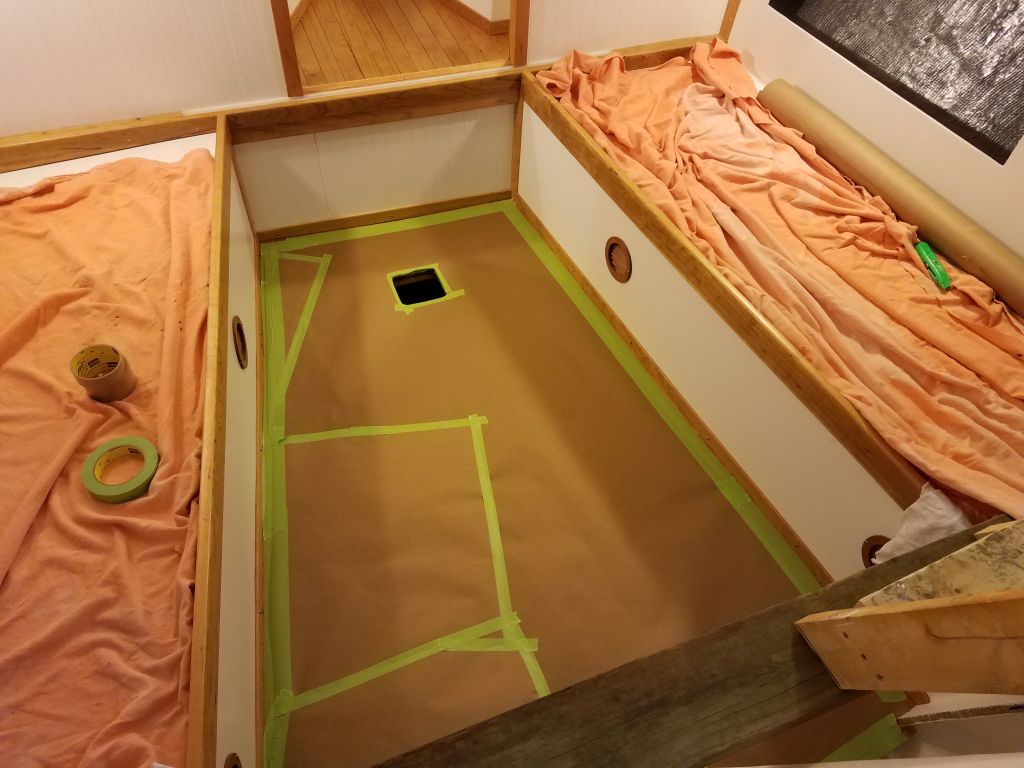
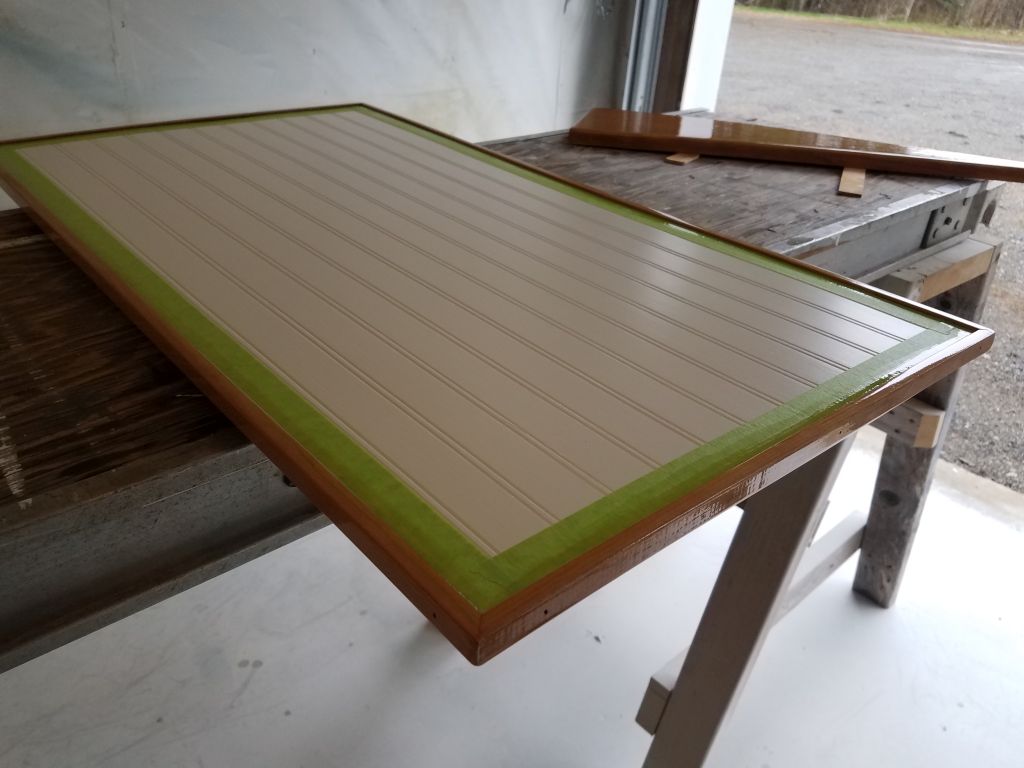
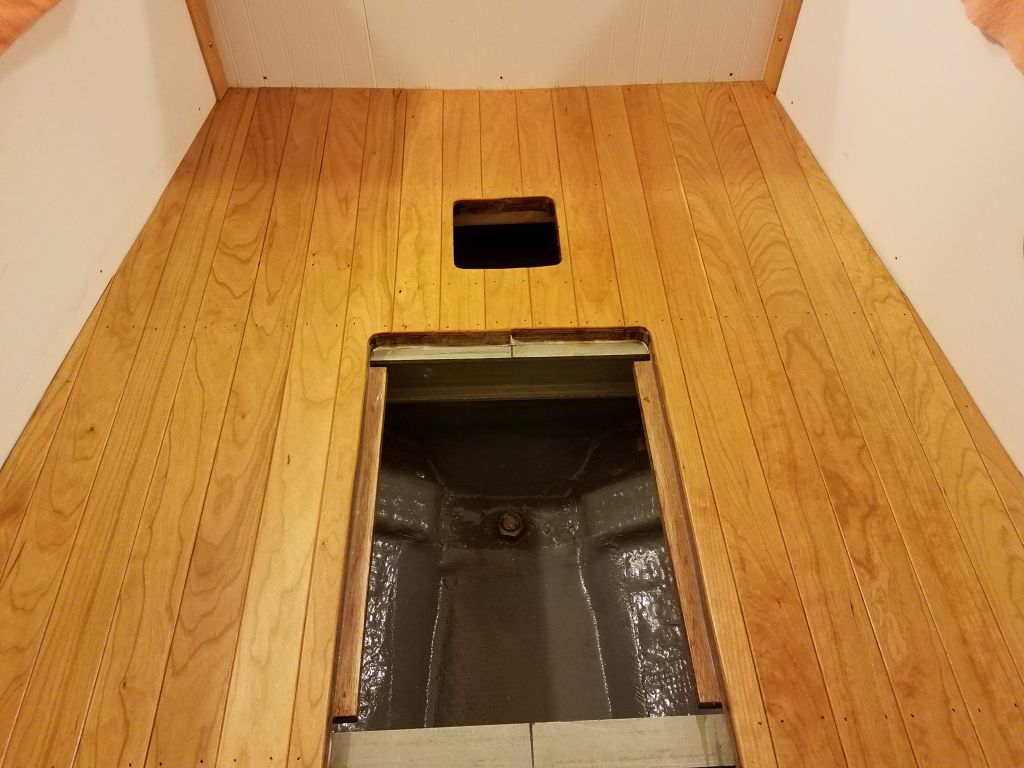
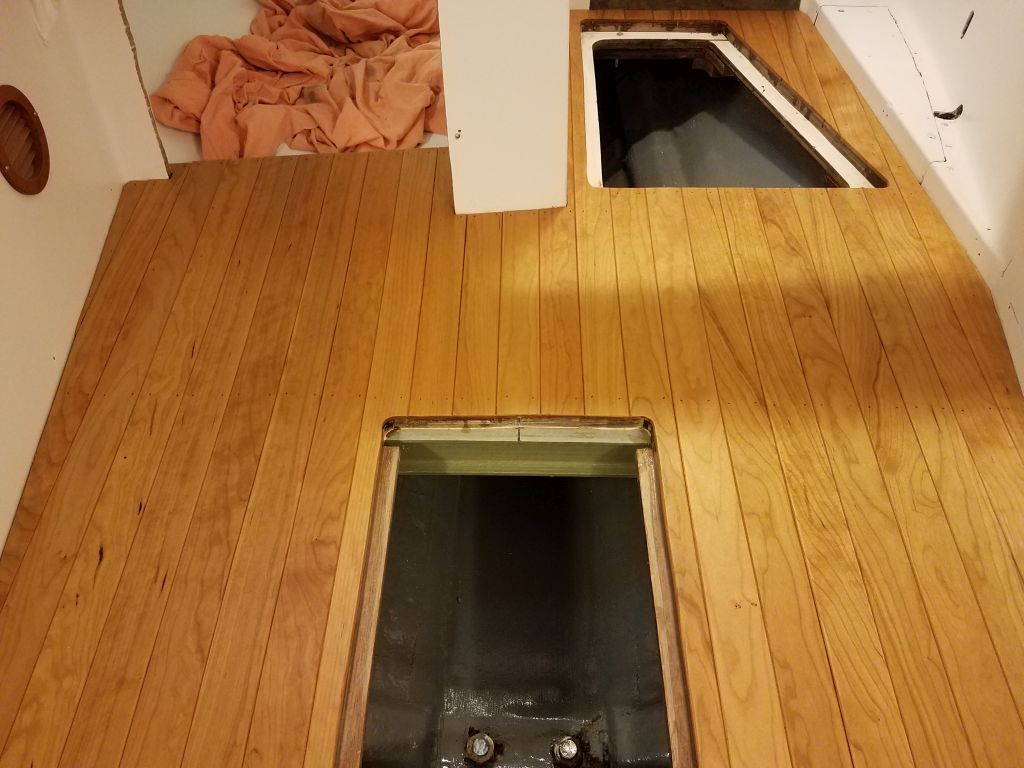
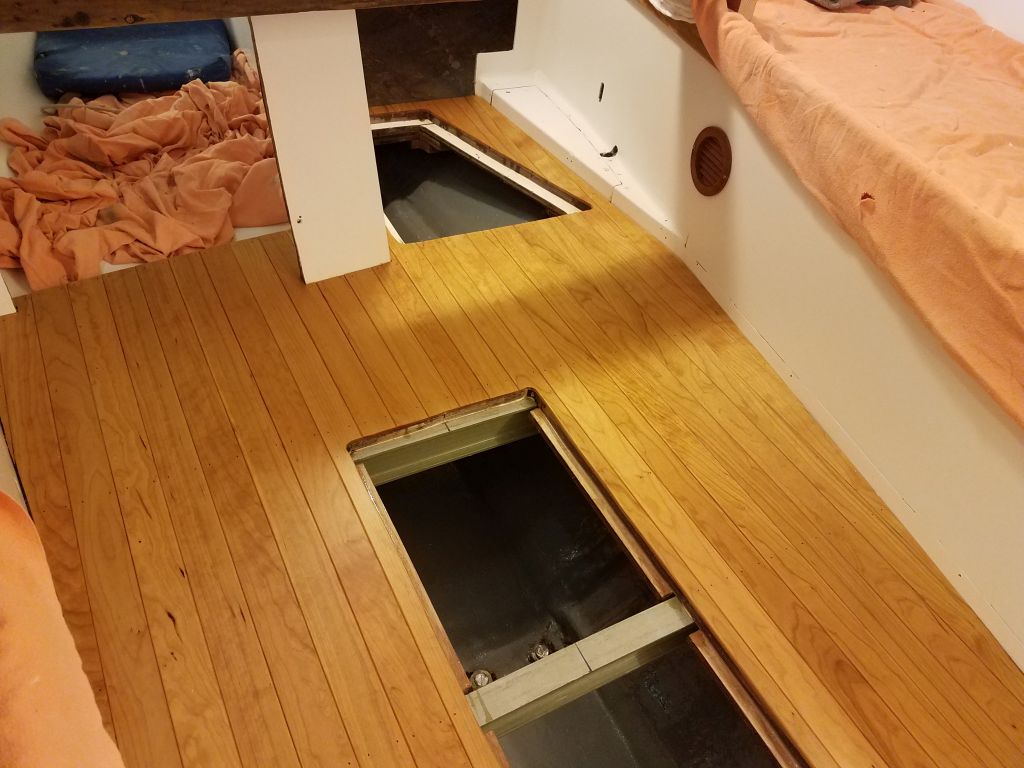
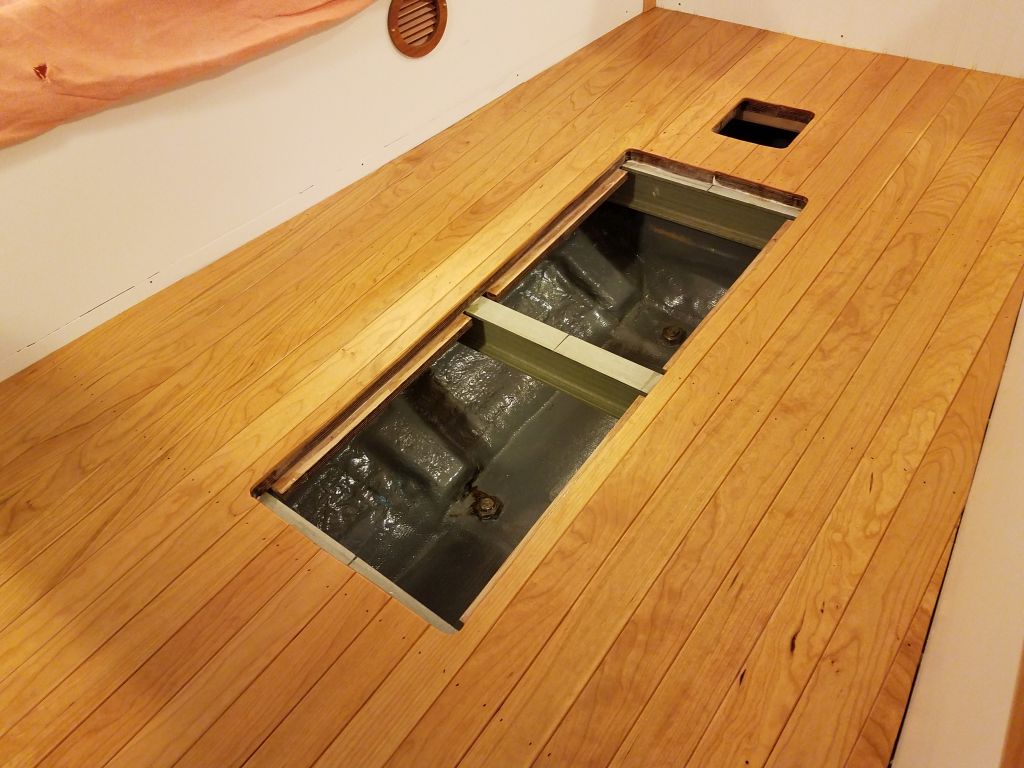
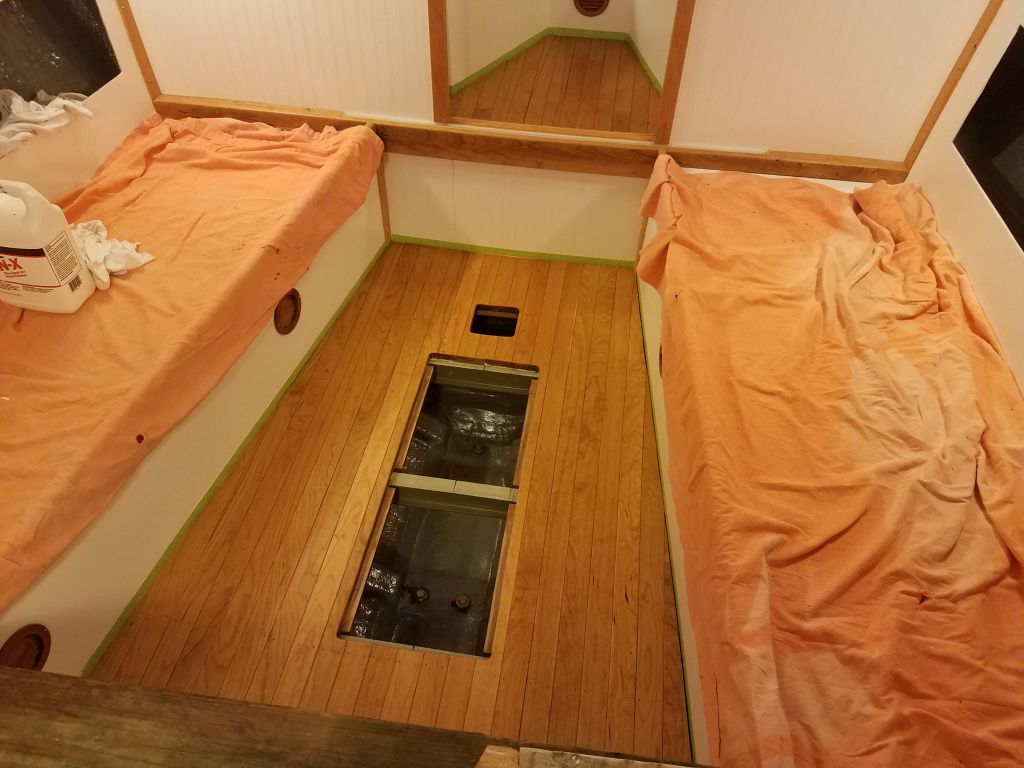
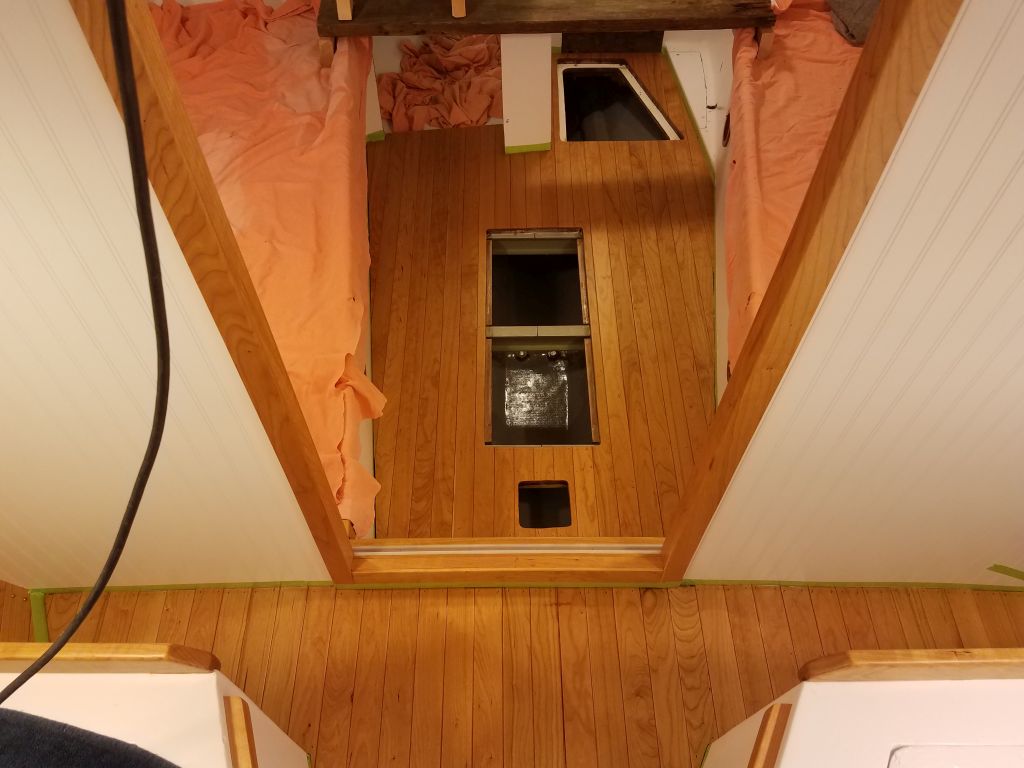
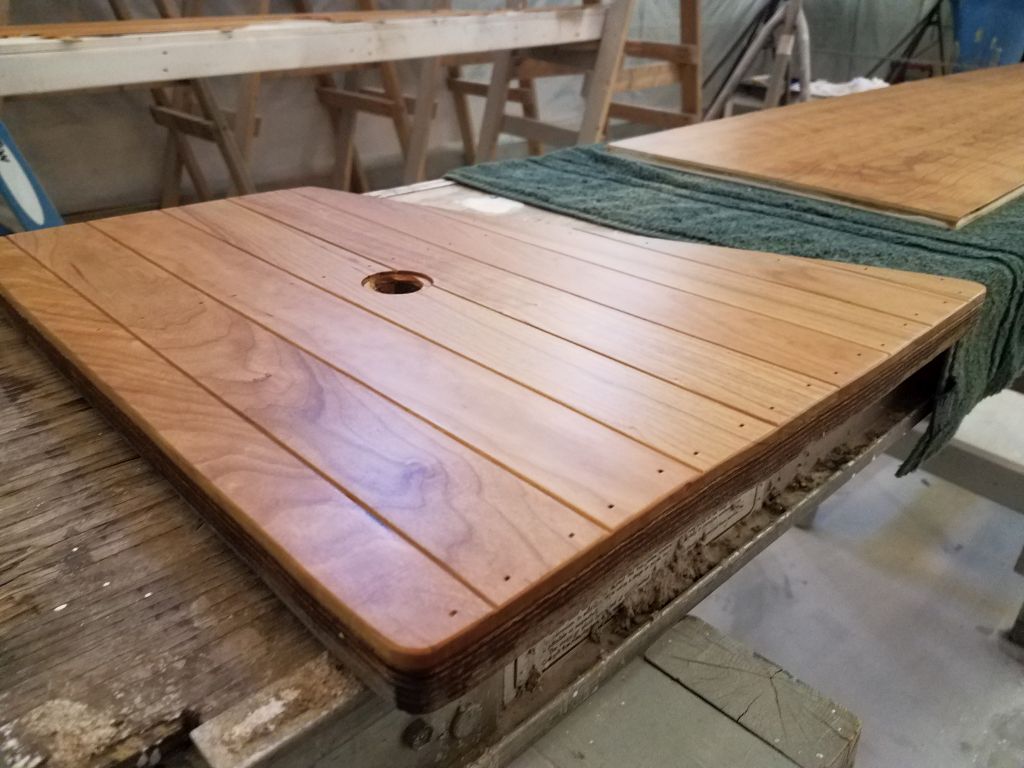
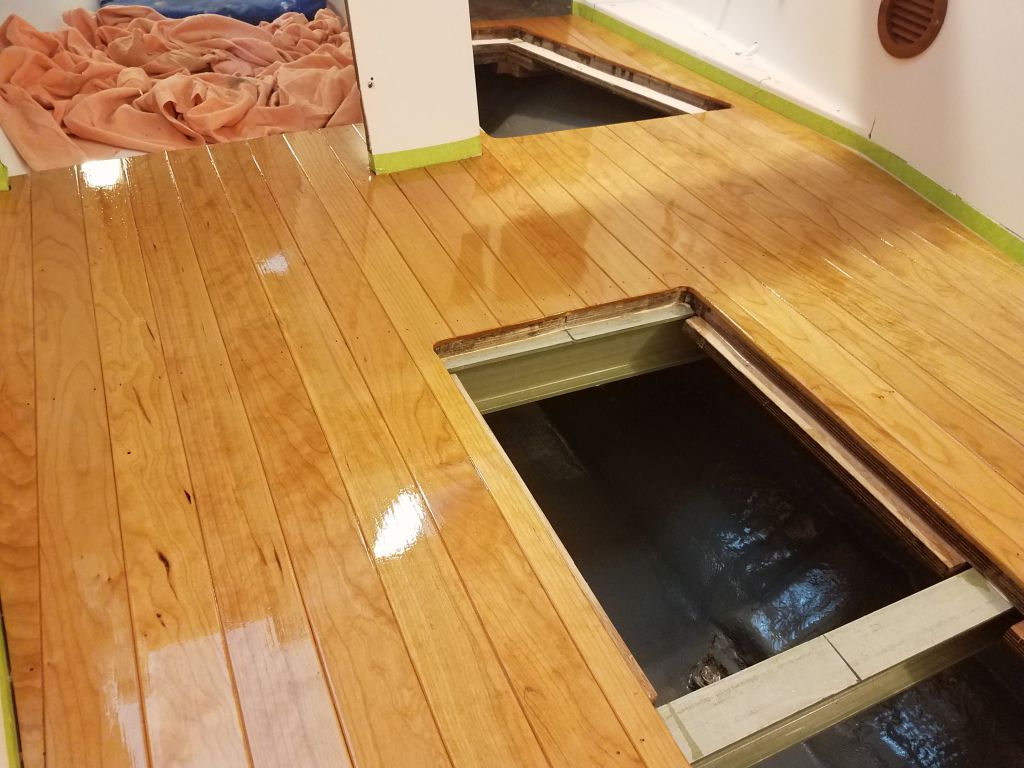
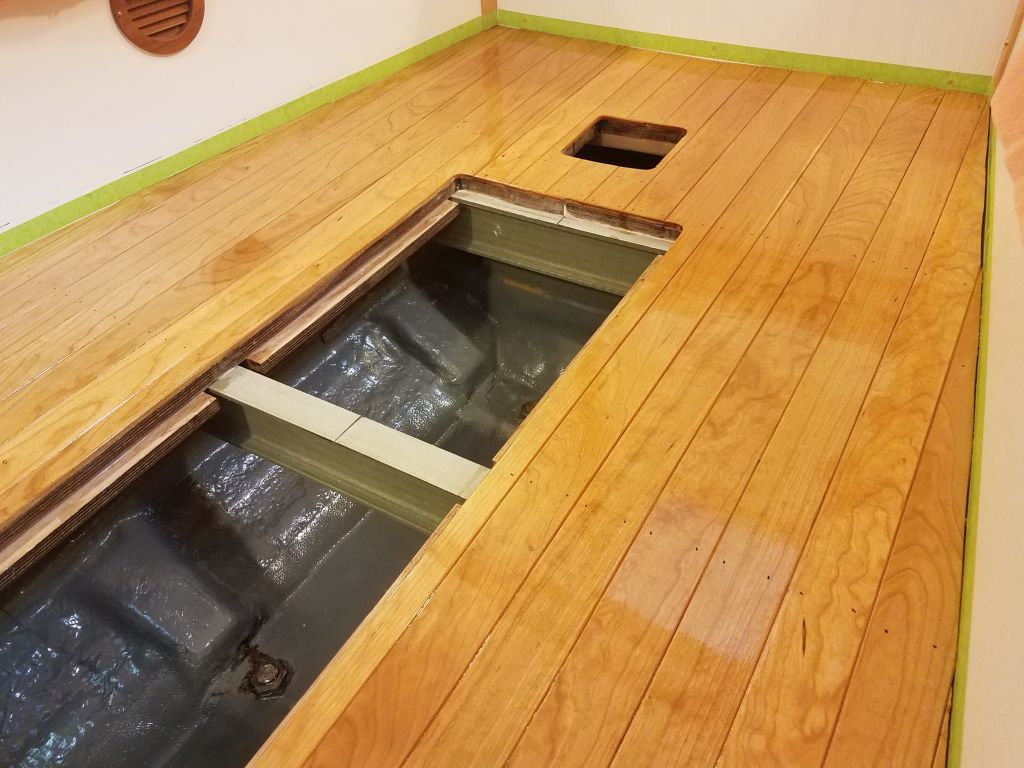
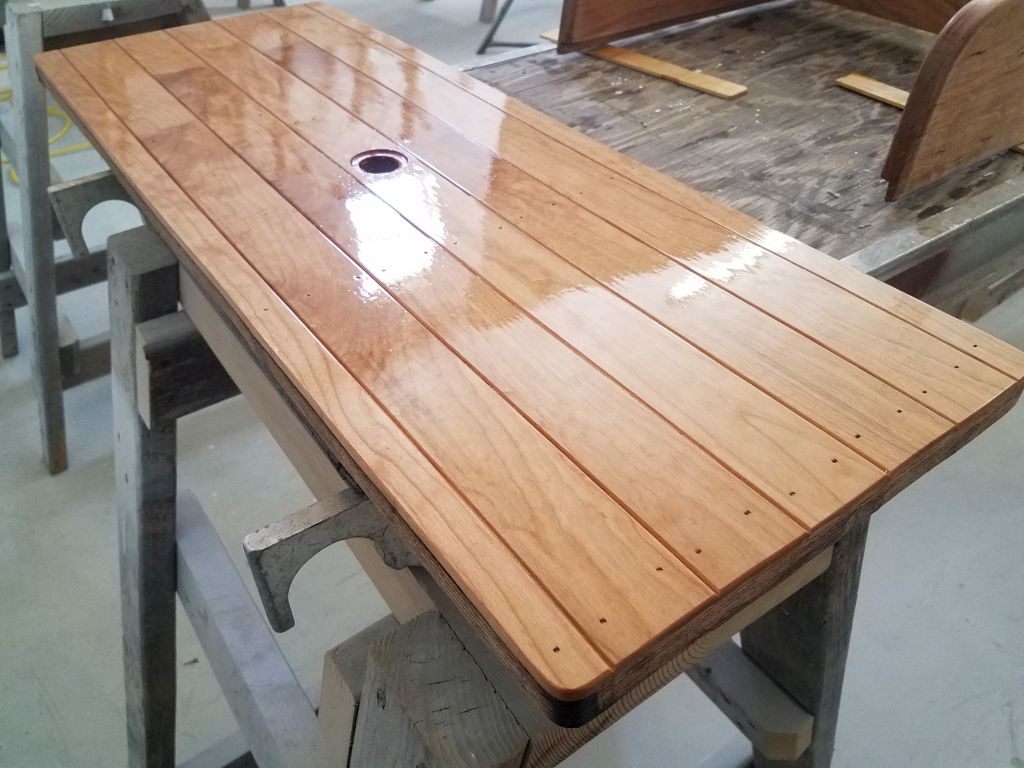
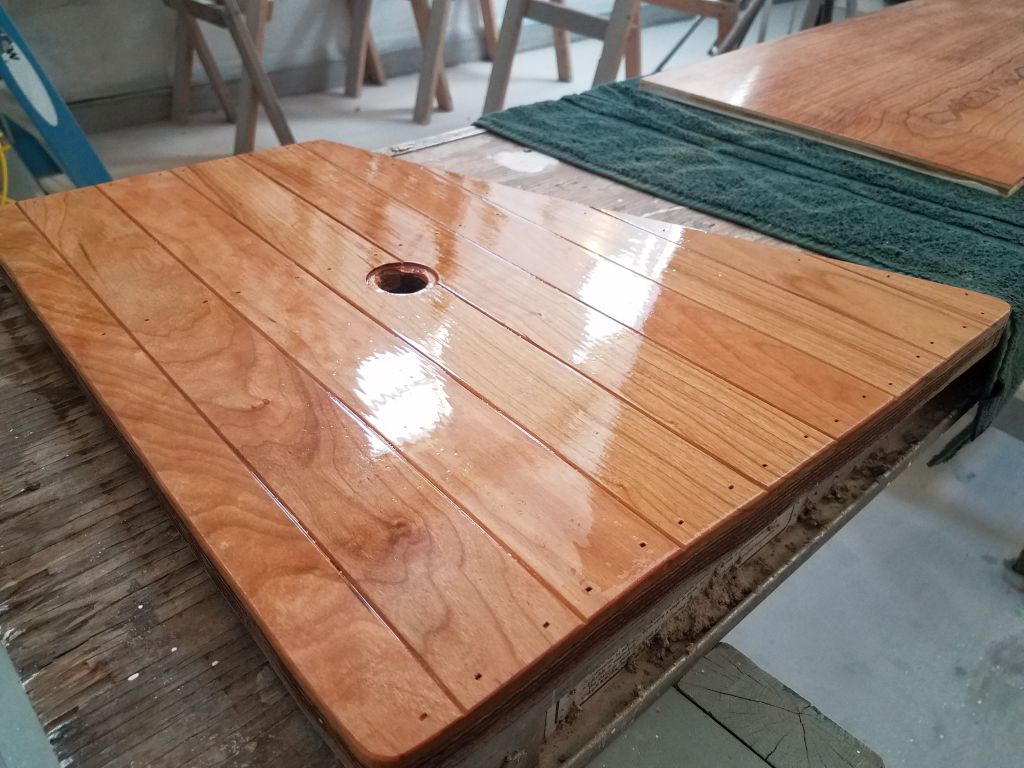
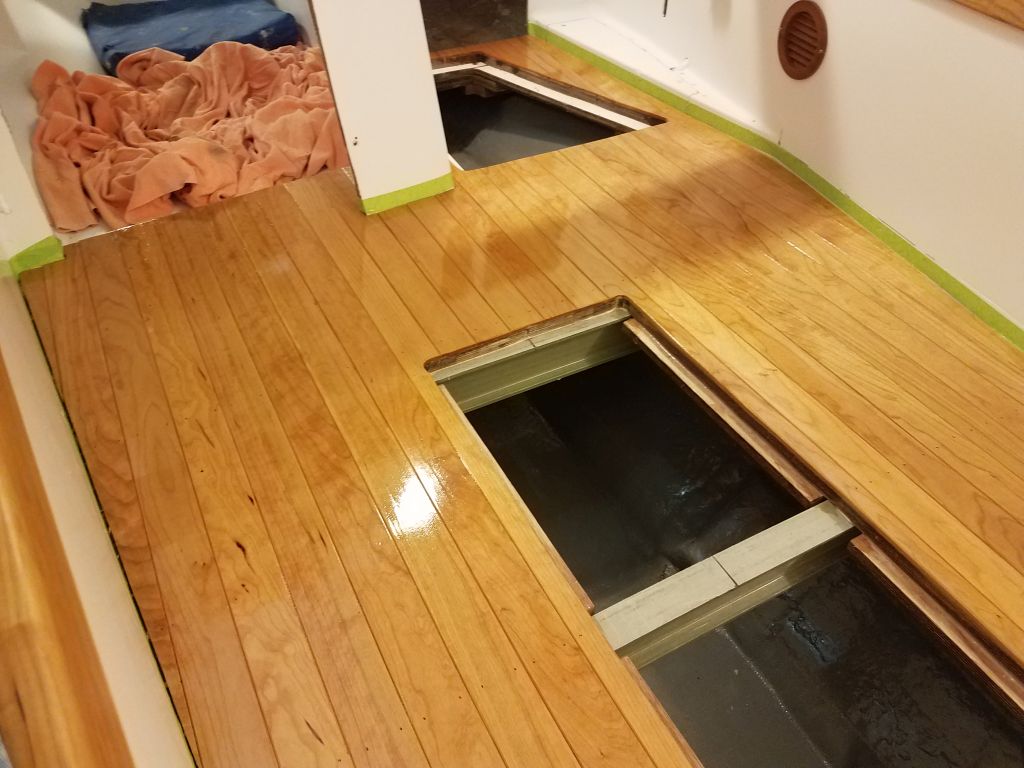
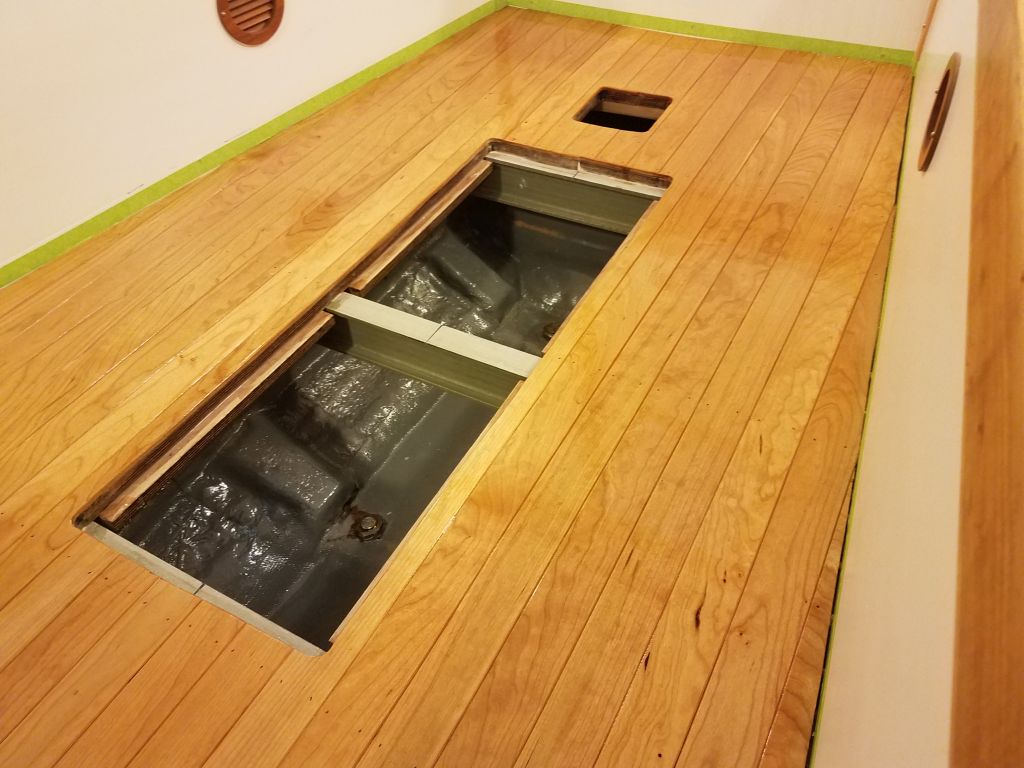
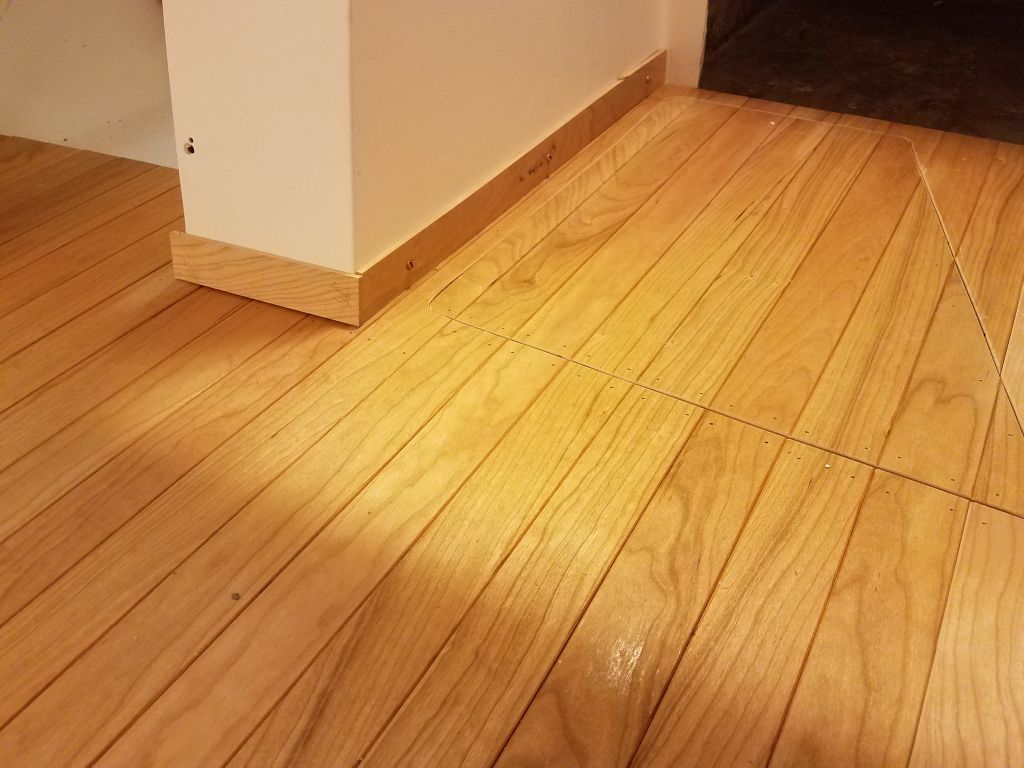
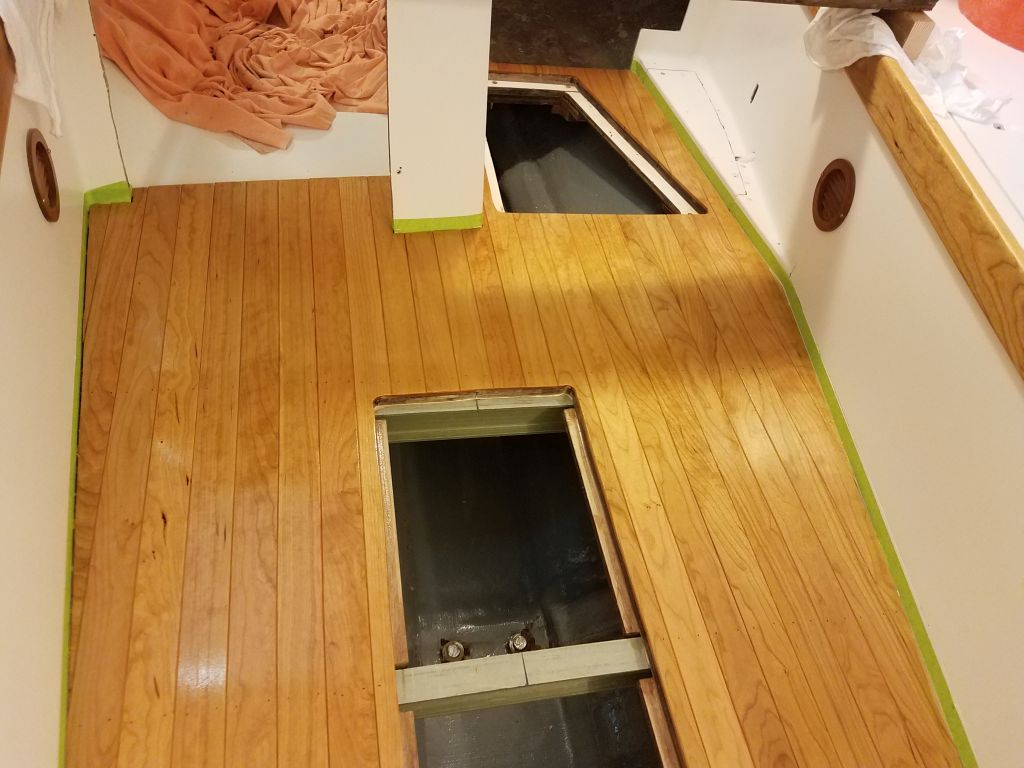
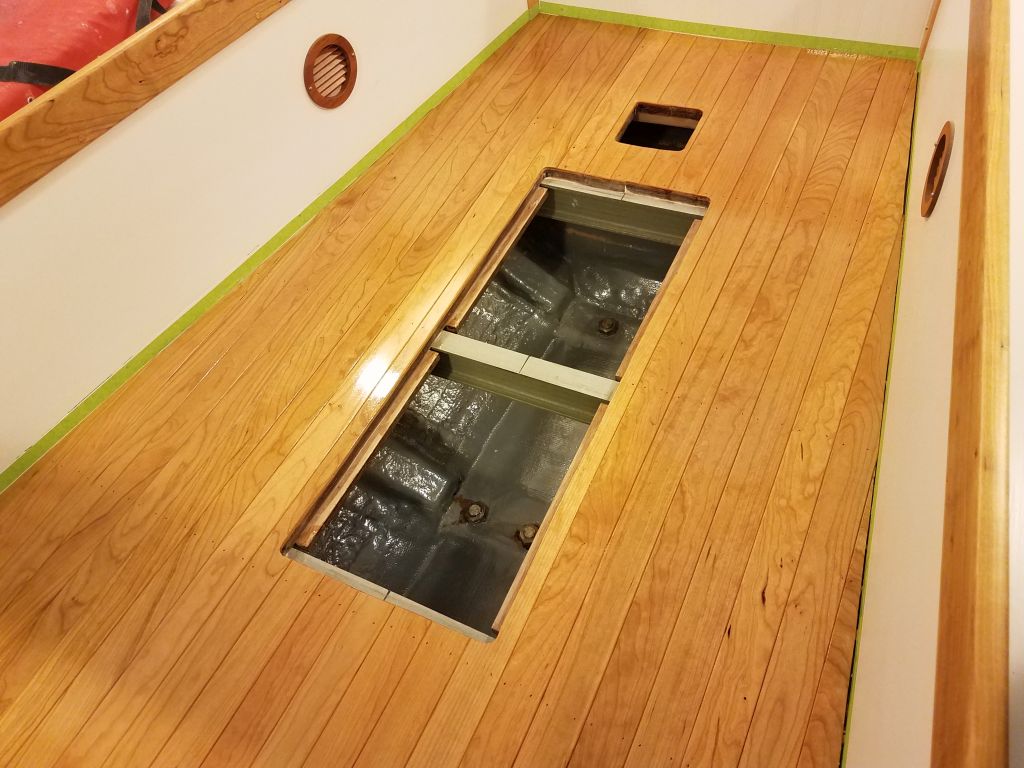
The cabin sole was ready for its final coat or two of satin varnish, but I’d not yet prepared the sole in the cabin, as I wanted to leave the final coat till I knew I could stay off it for a few days (over the weekend), so for now I just applied satin varnish to the two cabin sole hatches.
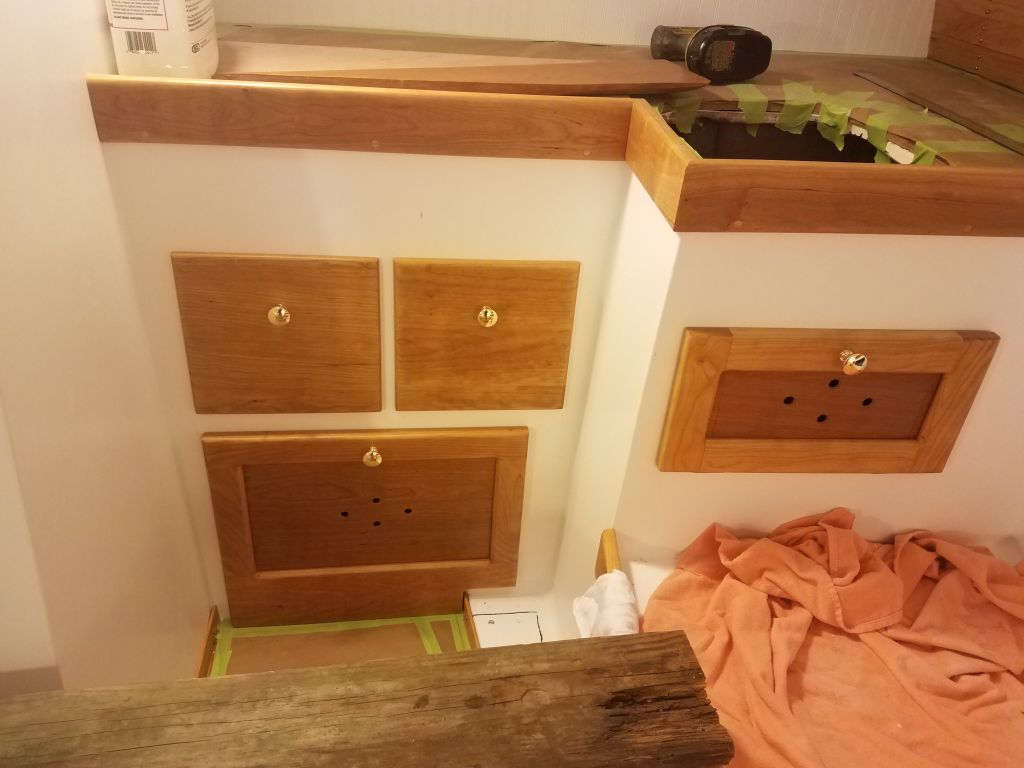
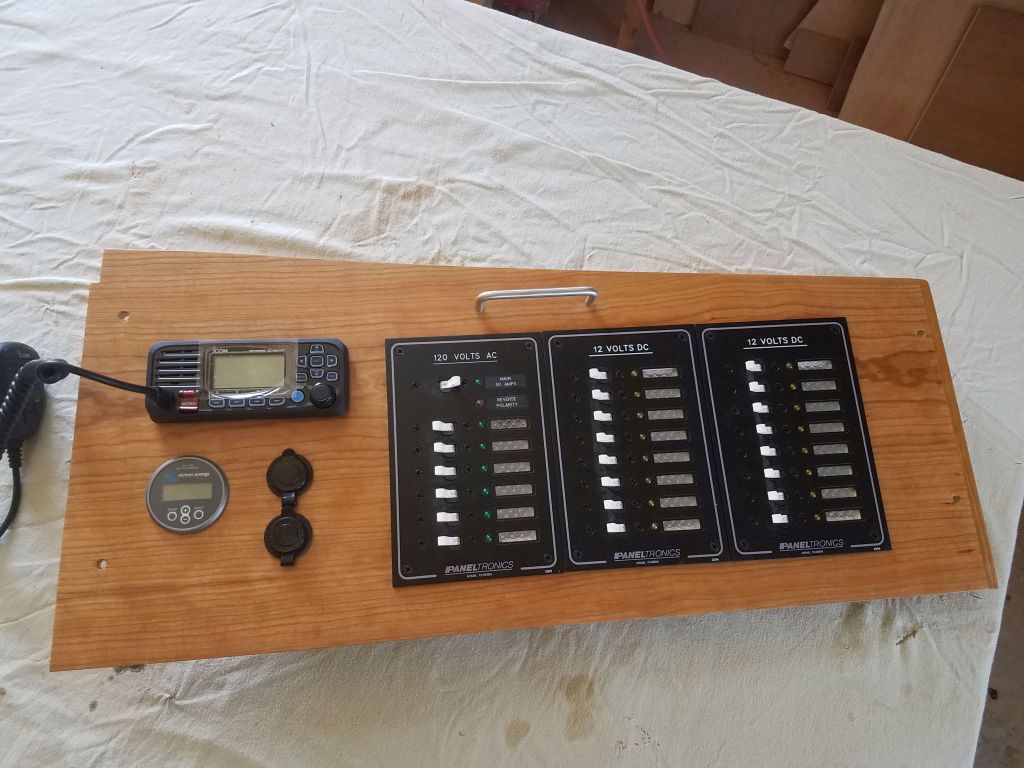
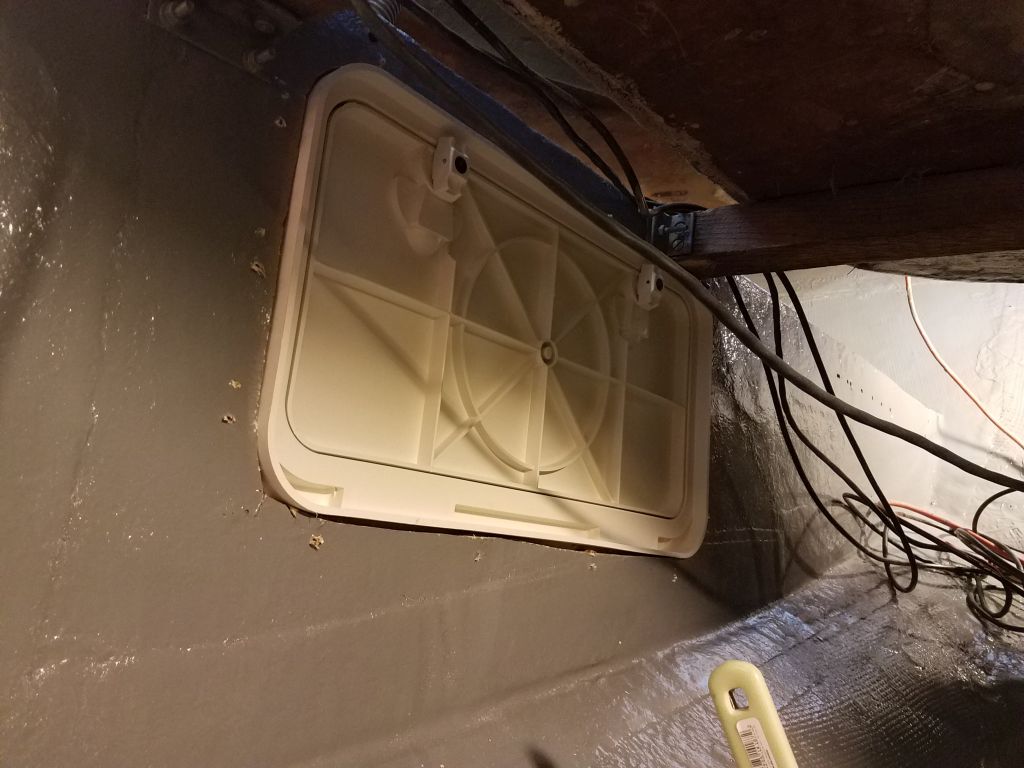
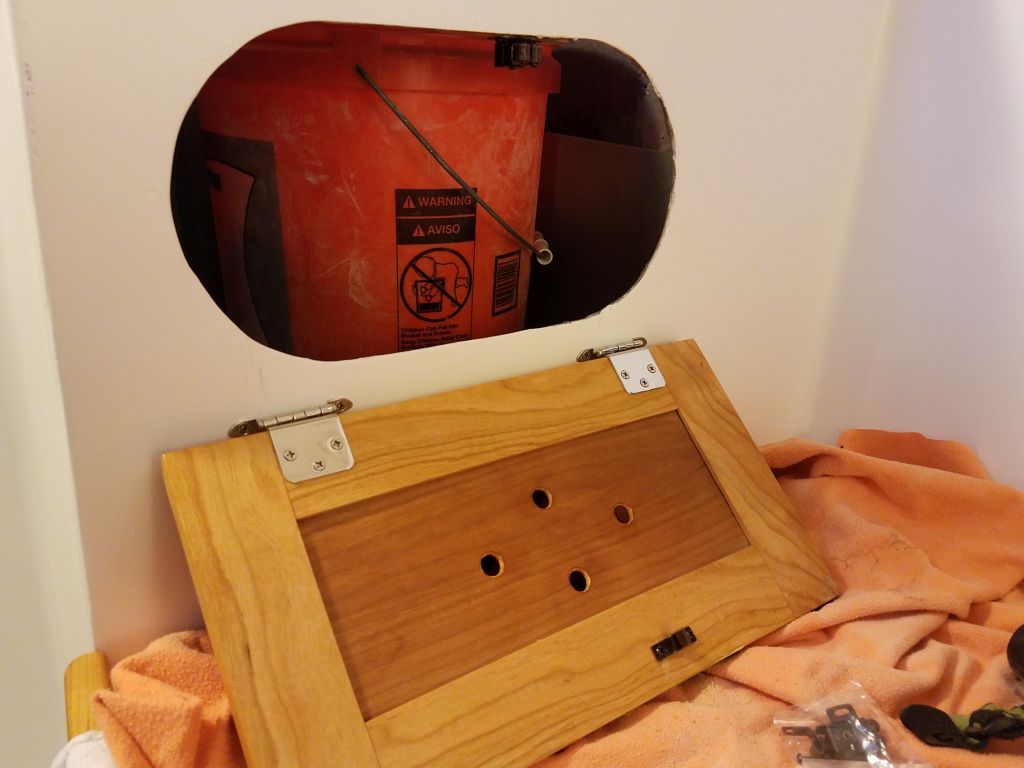
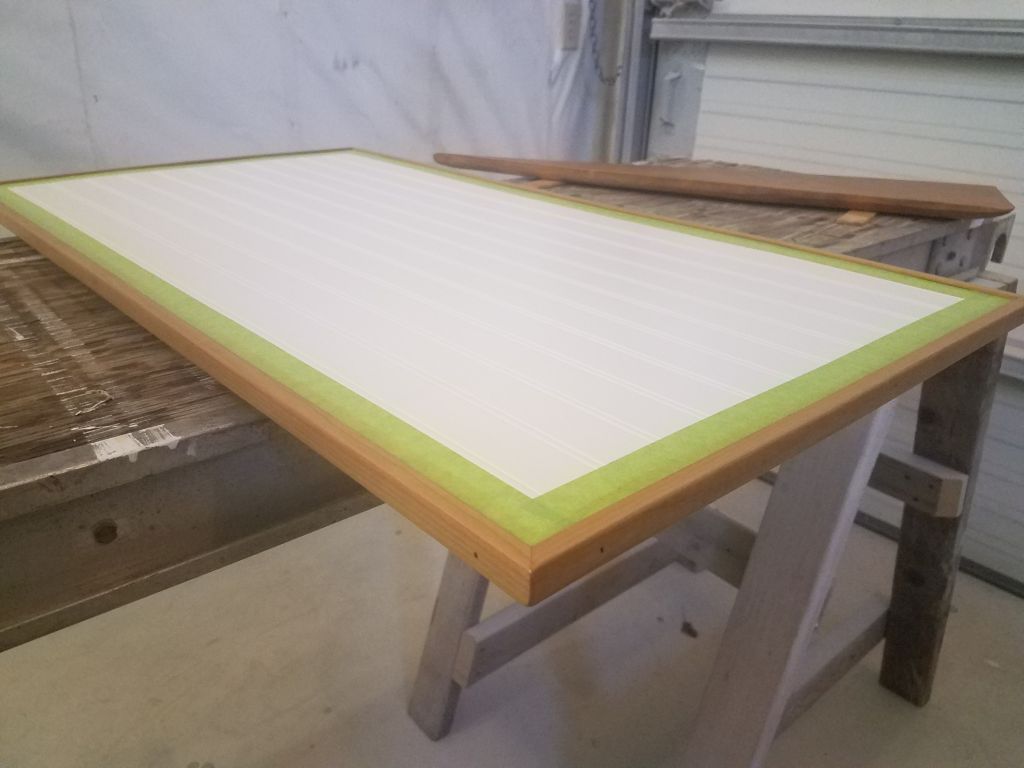
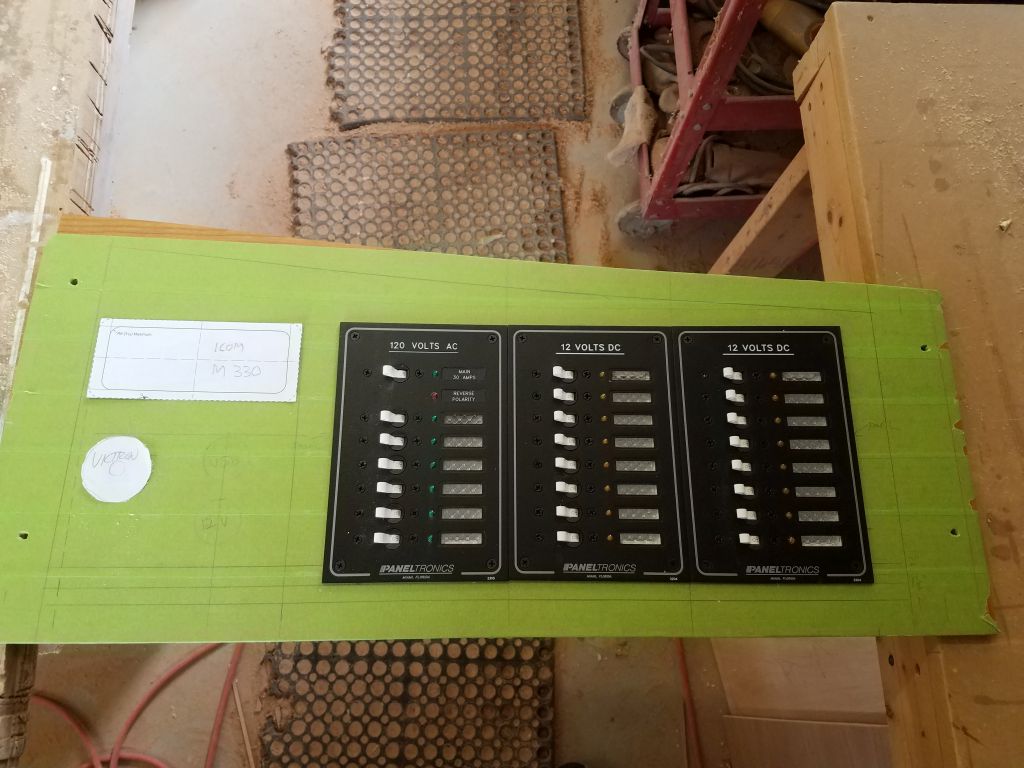
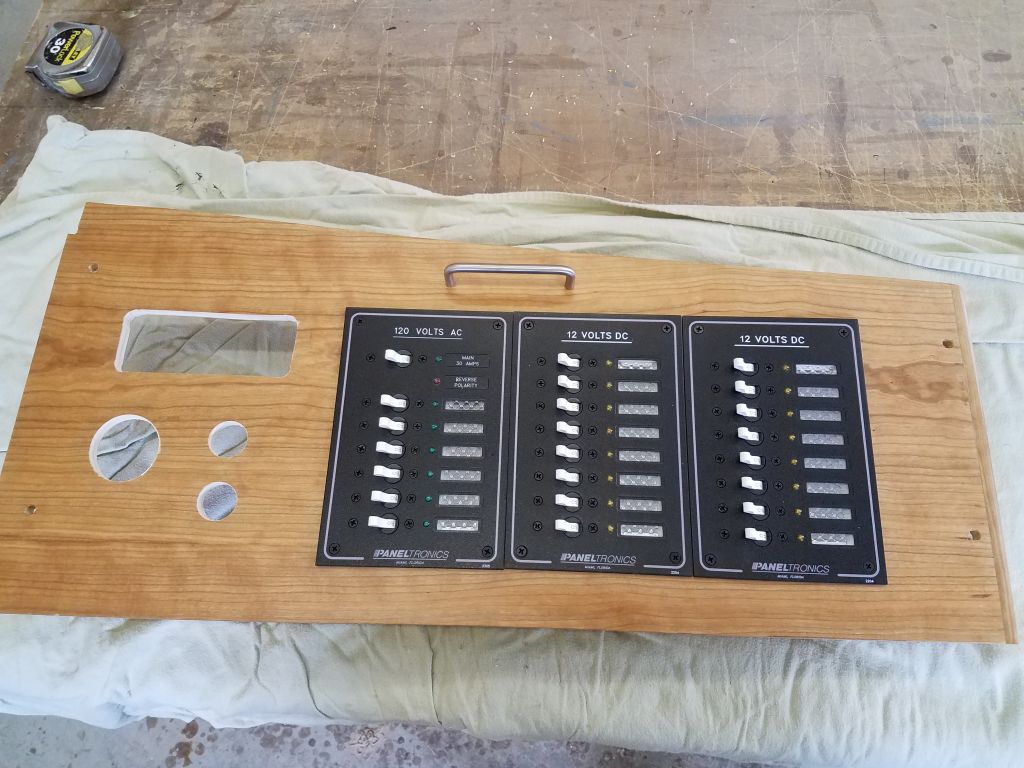
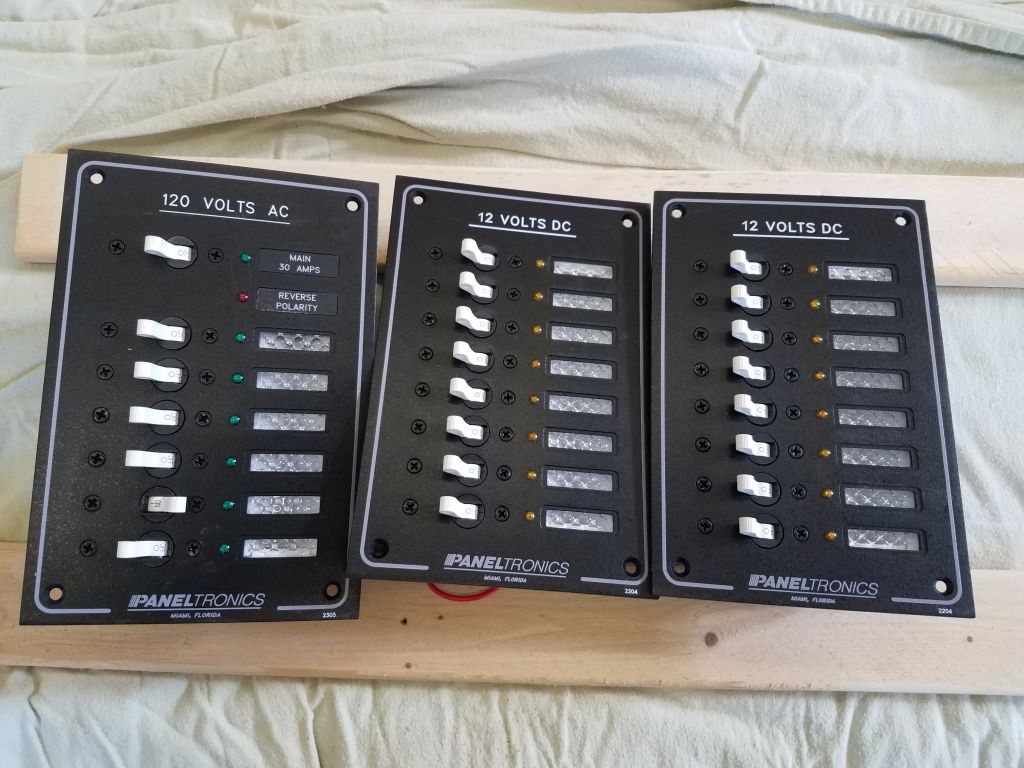
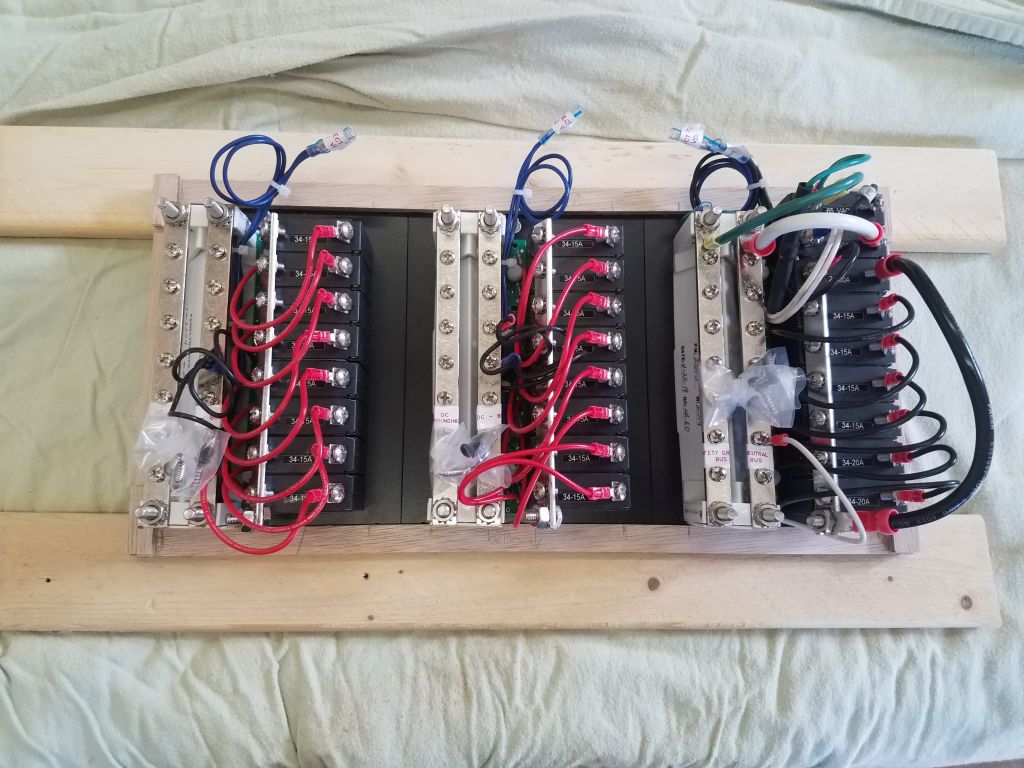
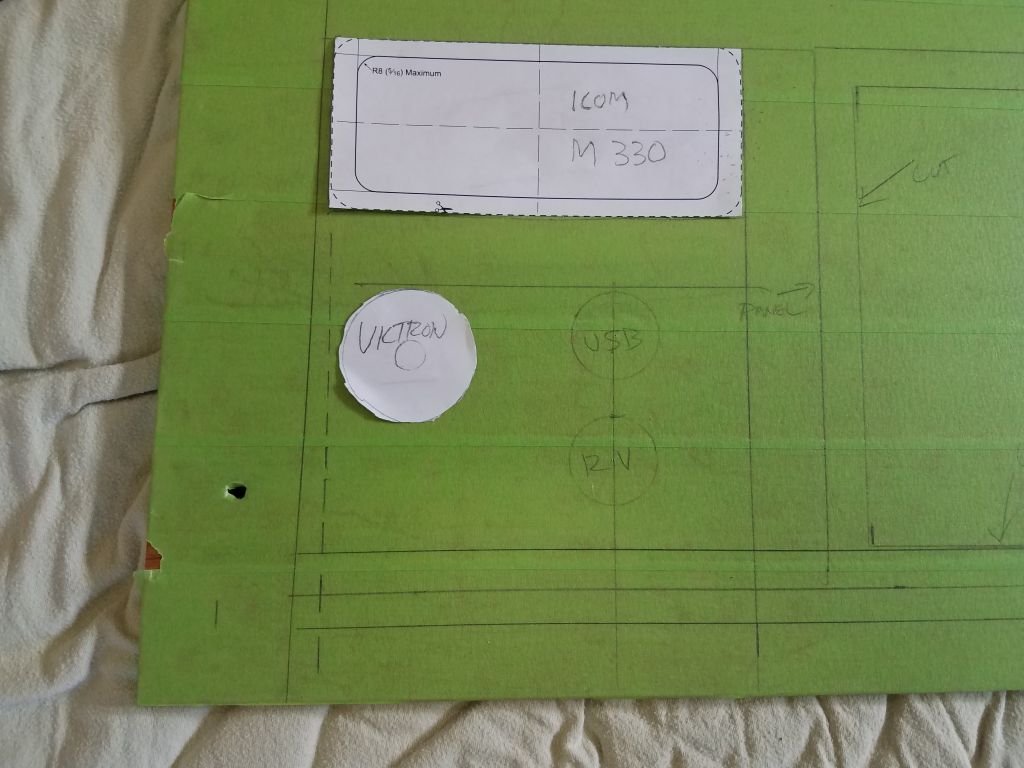
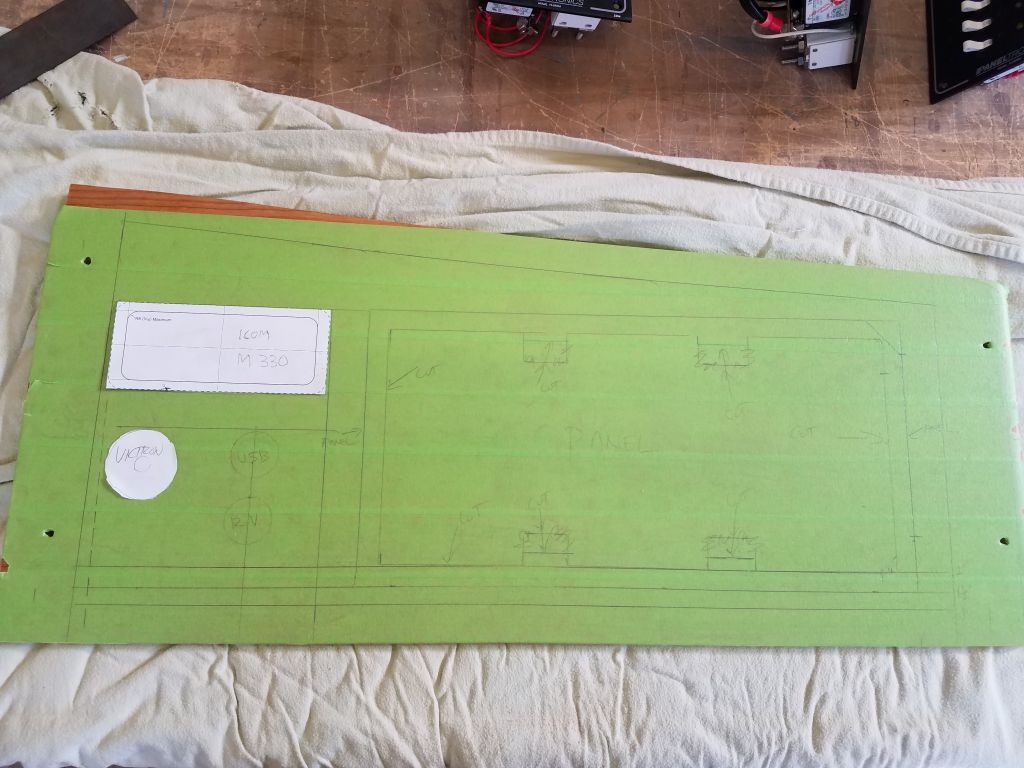
I used the last part of the afternoon to begin laying out the electrical panel and service area, using the starboard panel from the new locker I’d built in the main cabin. This panel would include 16 DC breakers, plus an AC shore power panel, along with a flush-mount VHF radio, battery monitor, and a couple ubiquitous 12-volt and USB outlets. I had the panels on hand, but for the remaining installations I used dimensional information available online to determine the sizes of the VHF, monitor, and outlets.
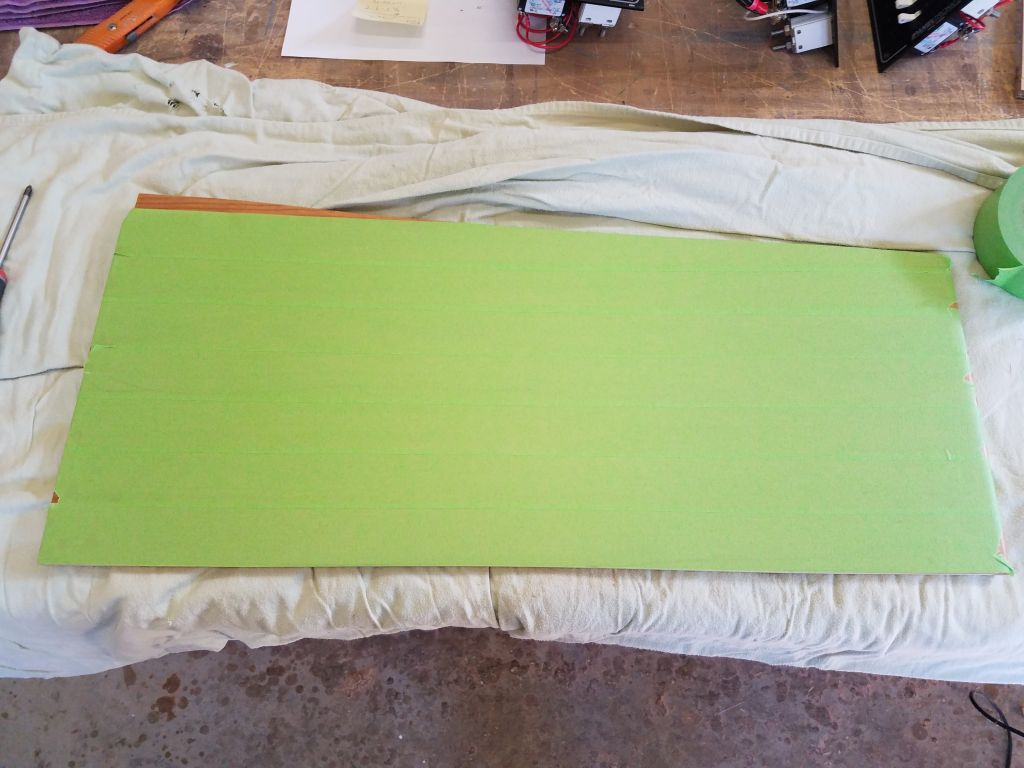
To begin, I covered the face of the wooden panel with masking tape so I could draw layout lines and protect the finished surface.
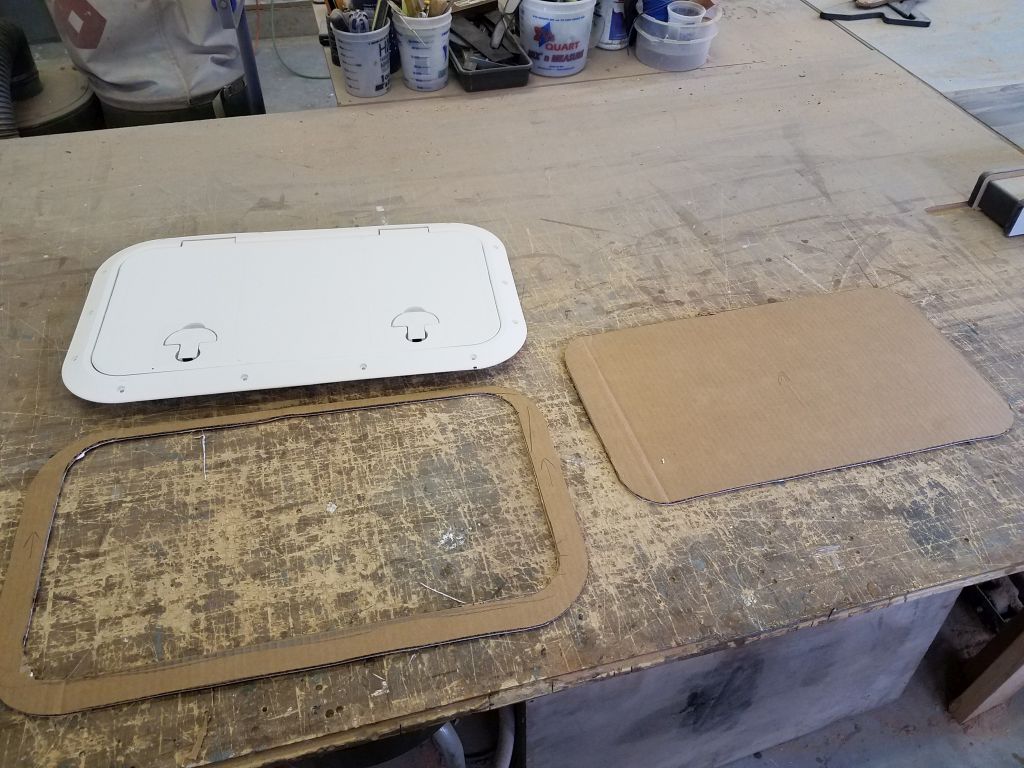
Space requirements had dictated the general shape and size of the electrical service panels, with three separate, identically-sized panels for the job, but I wanted to install them butted together so they looked like a single unit. To ensure an accurate cut opening in the wooden panel, I used plywood scraps and glue to create a basic template of the panels, which always seem to be designed with tight clearances at the edges, and little wiggle room for error.
After some basic layout on the tape-covered panel, where I marked outside limits based on known cleat and fastener locations, I determined that the electrical assembly should be at the aft, narrower end of the panel, leaving the larger forward end available for the VHF and other installations. I used my wooden template to mark inner (cutout) and outer dimensions of the electrical panels, then laid out the VHF, battery monitor, and outlets in a pleasing way in the forward section of the panel, which brought me to the end of the day’s work.
Total time billed on this job today: 8 hours
0600 Weather Observation: 38°, cloudy. Forecast for the day: Cloudy, chance of showers, 49°