Wednesday
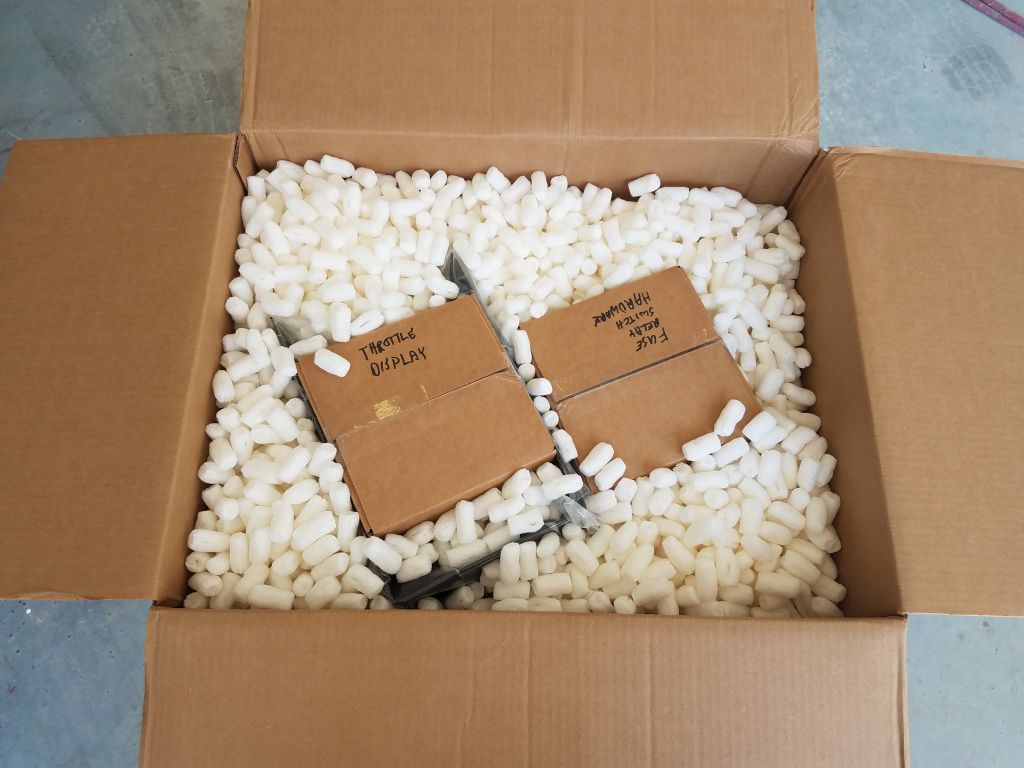
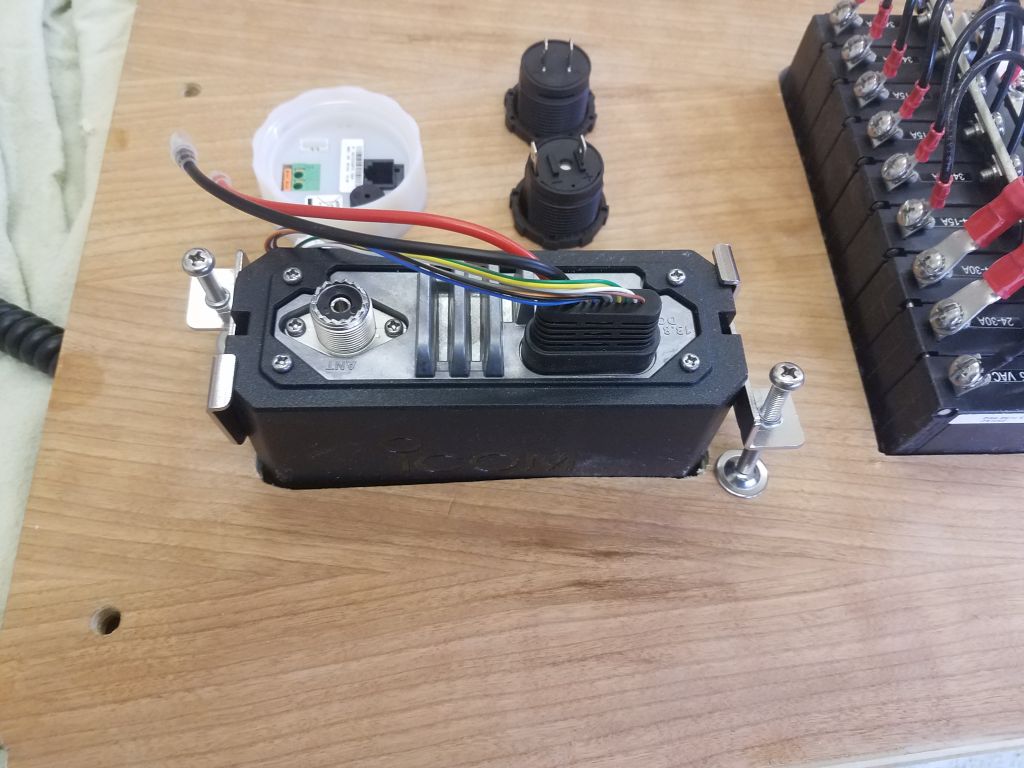
With some other commitments on the docket, it was a shorter day, some of which I spent on planning ahead for the upcoming electrical installation on the boat (both propulsion and house sides), and in the meantime I continued work on the salient ongoing chores on the boat. With summer break approaching, the current phase of the project was winding down at this point, and the important-to-finish varnish work in the cabin was a bit of a crimp on my style in terms of switching focus to either systems or final exterior preparations, so for now I satisfied myself with short days that checked all the critical boxes on my immediate list.
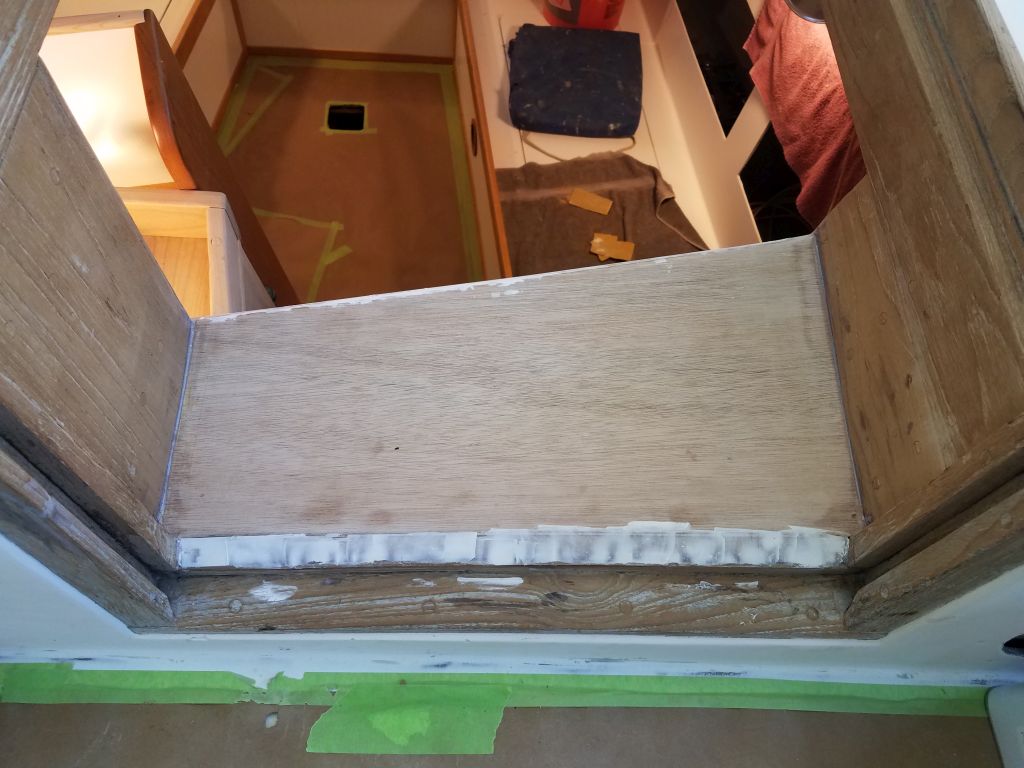
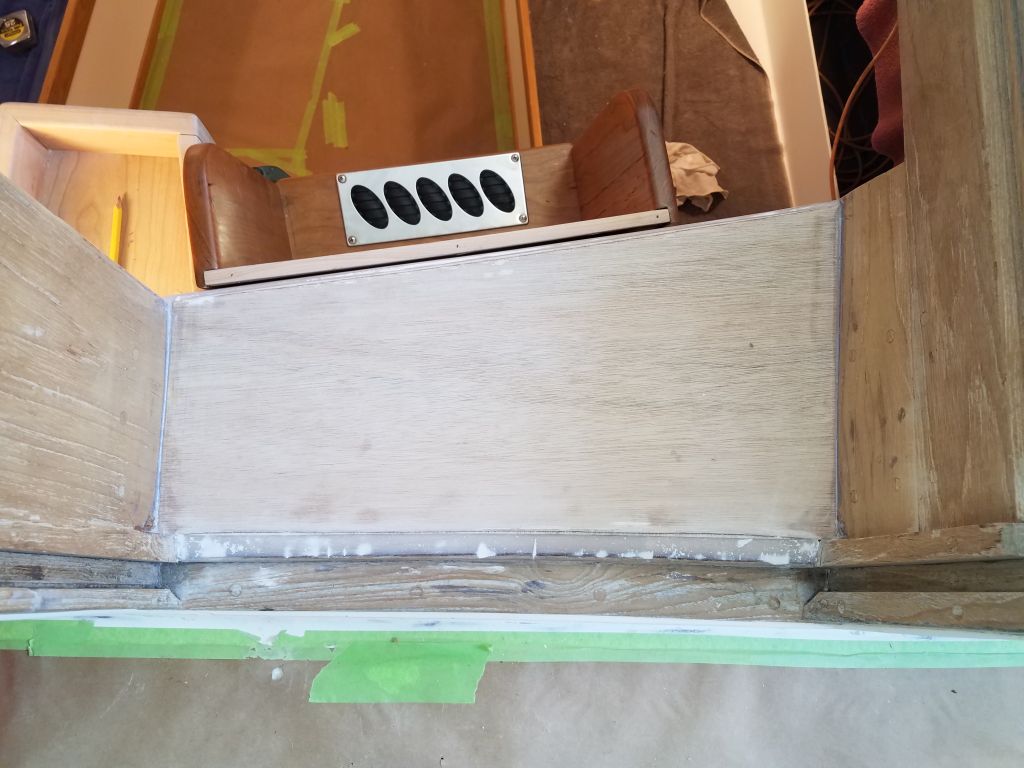
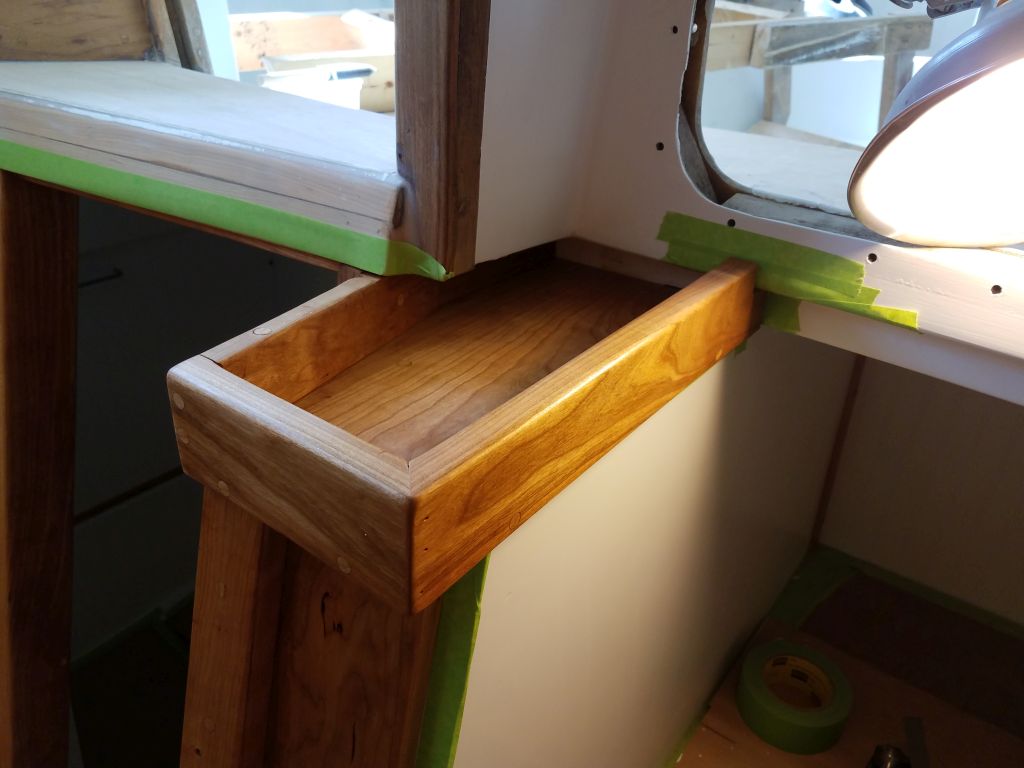
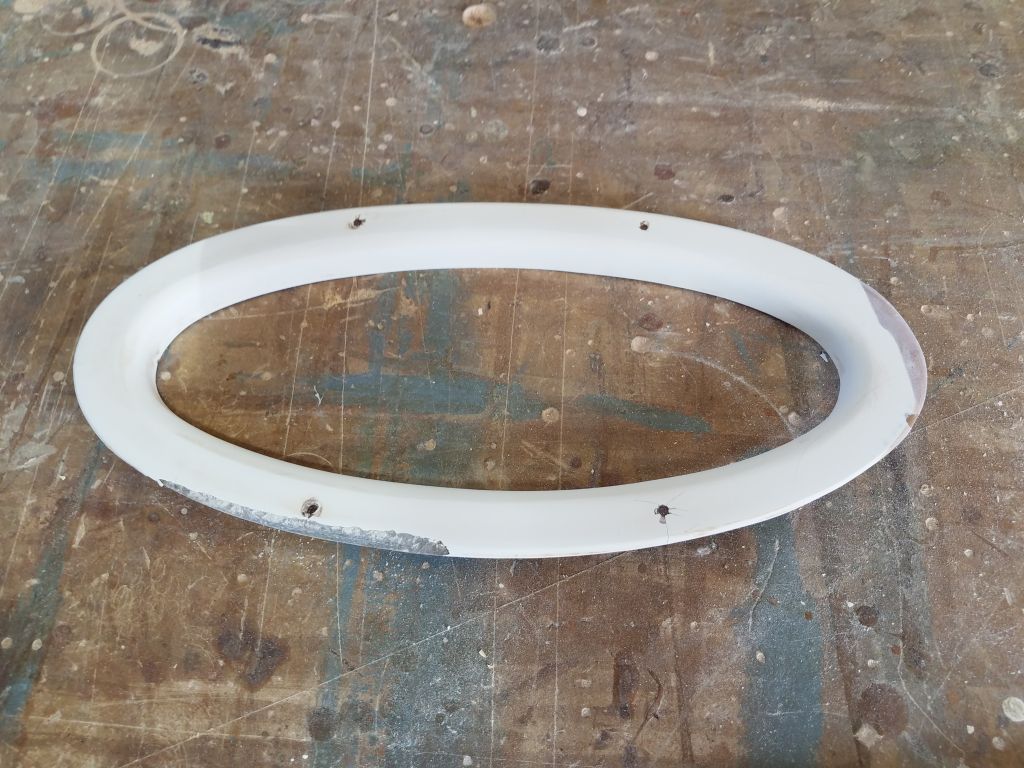
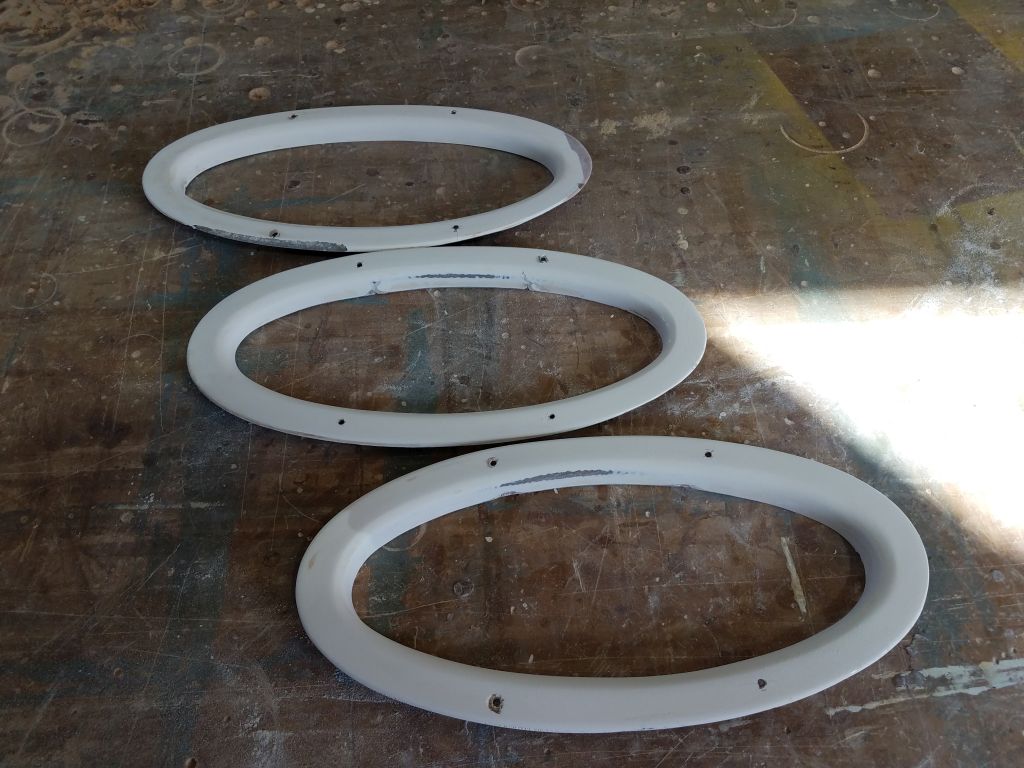
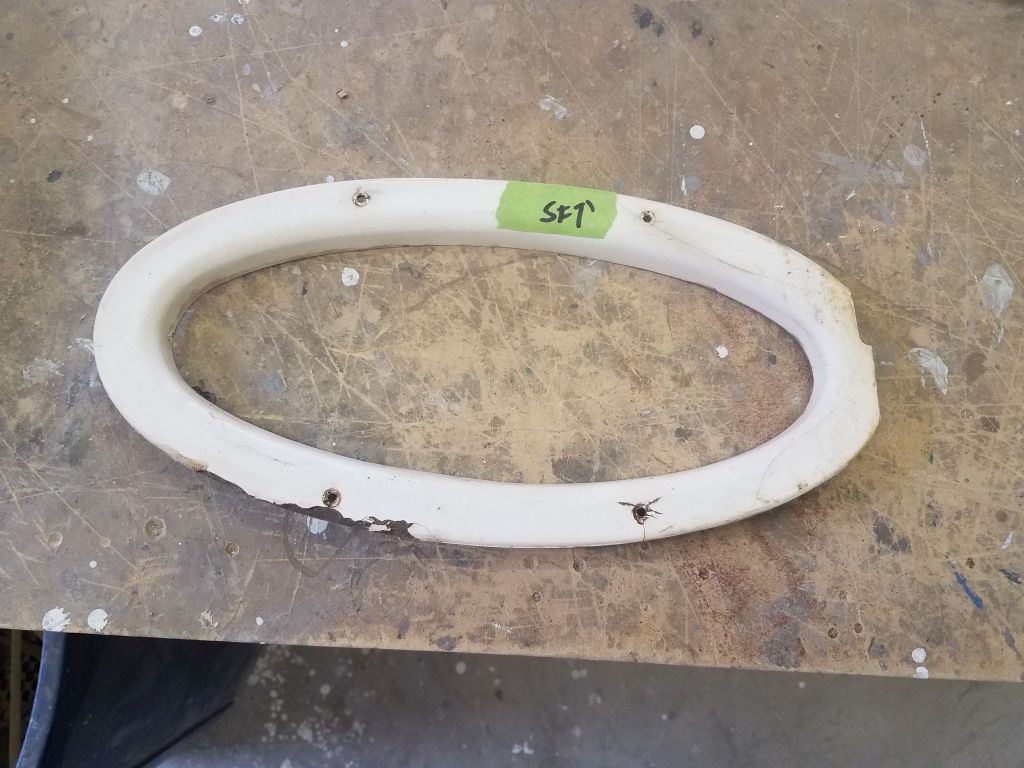
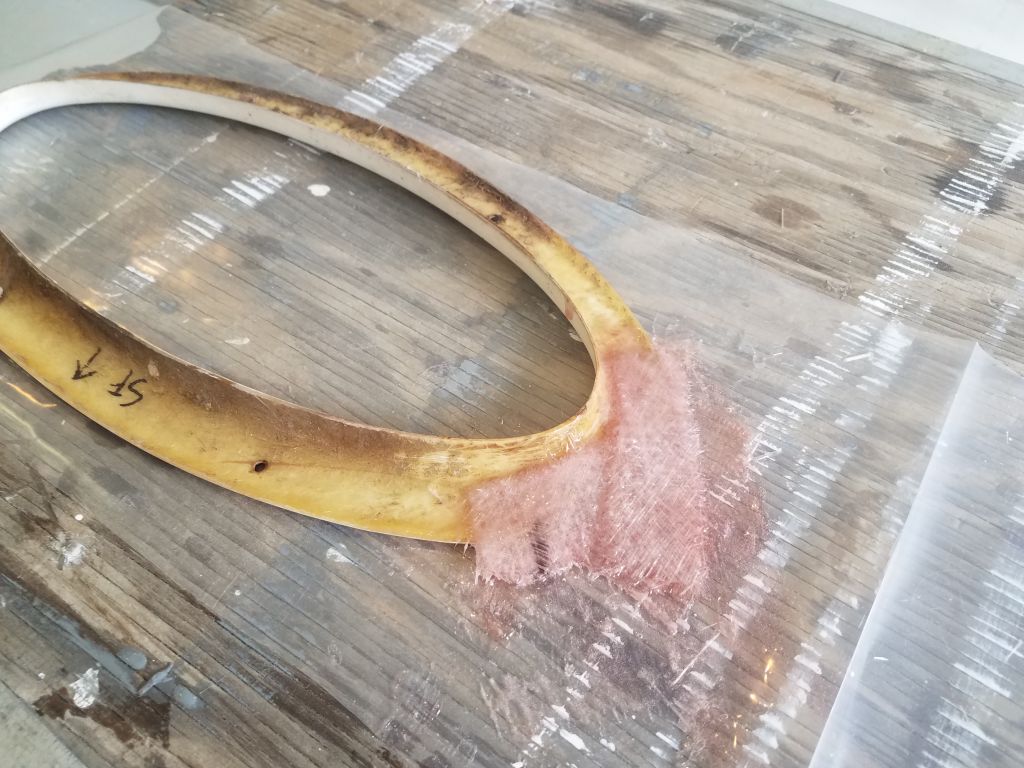
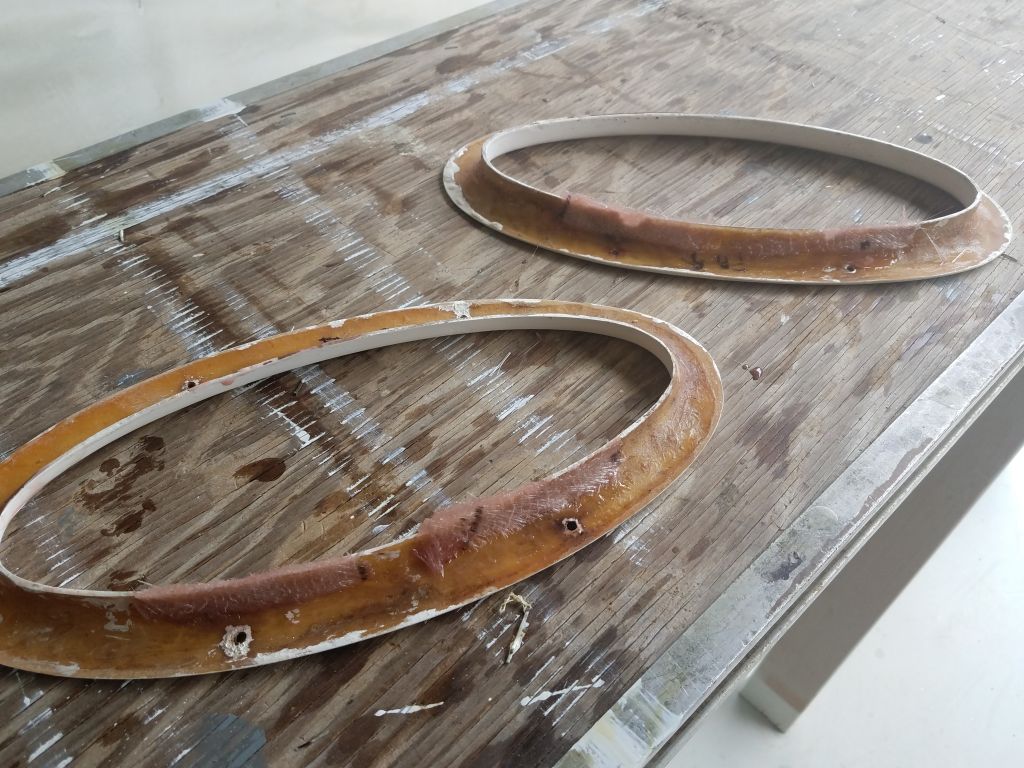
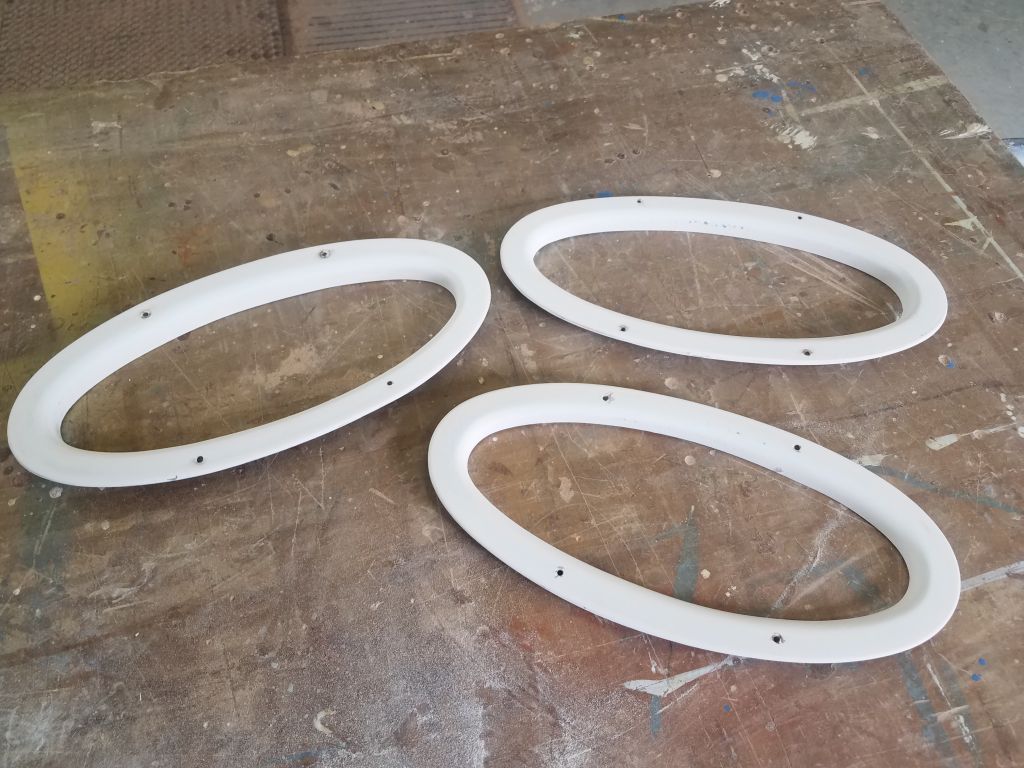
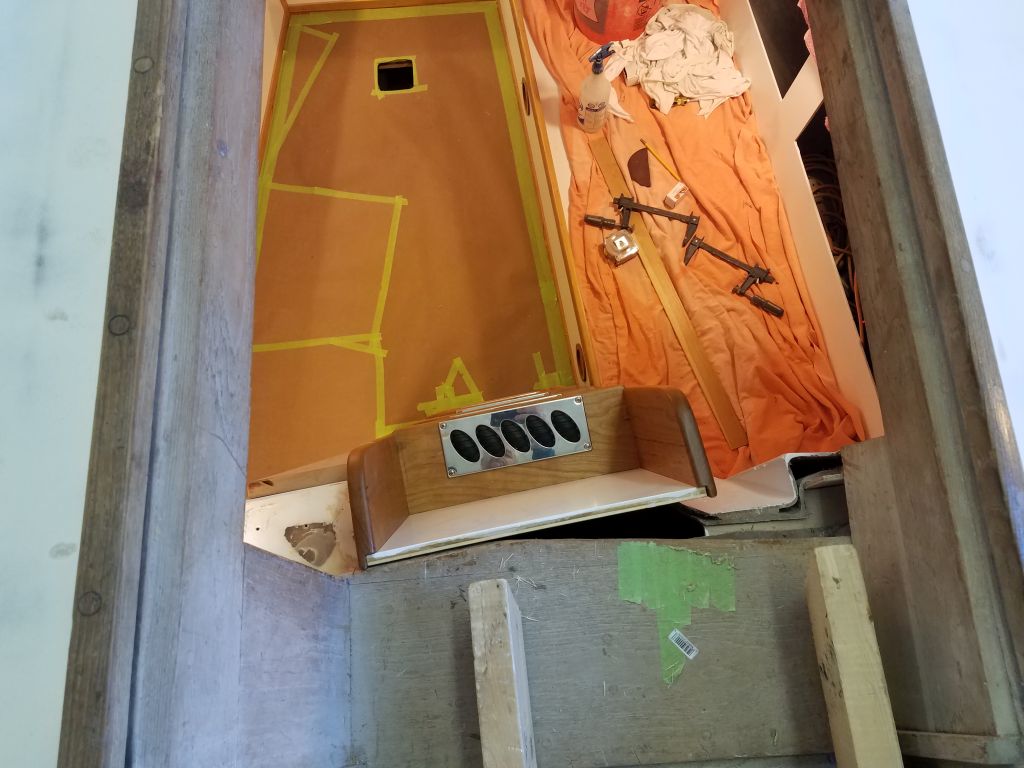
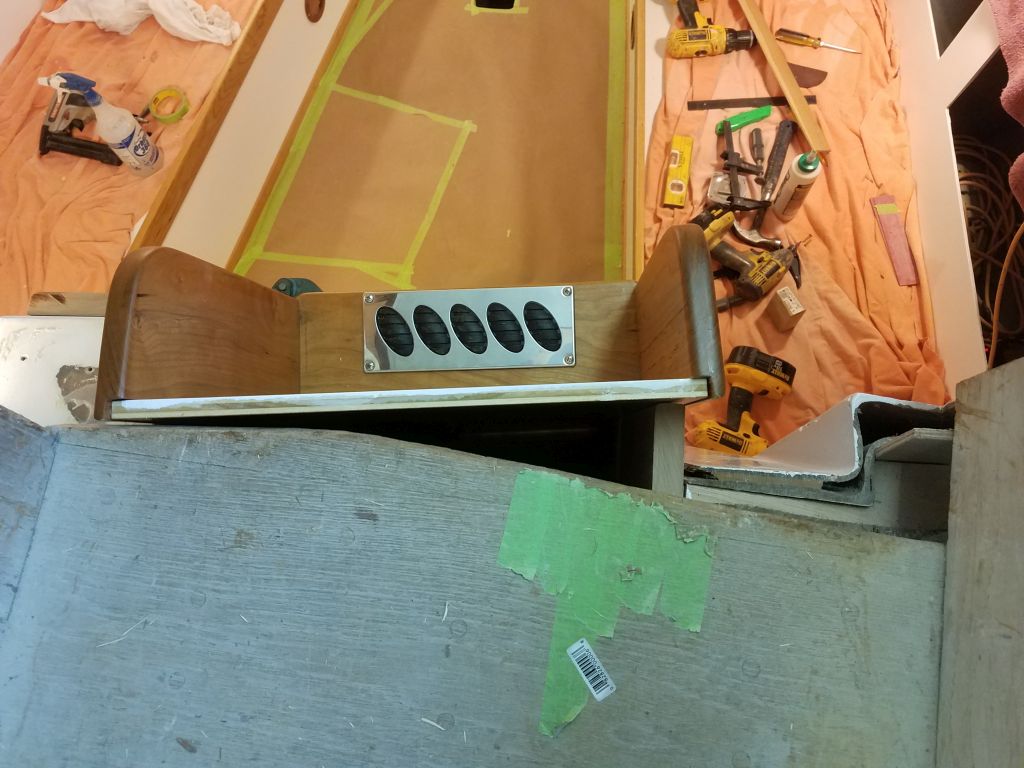
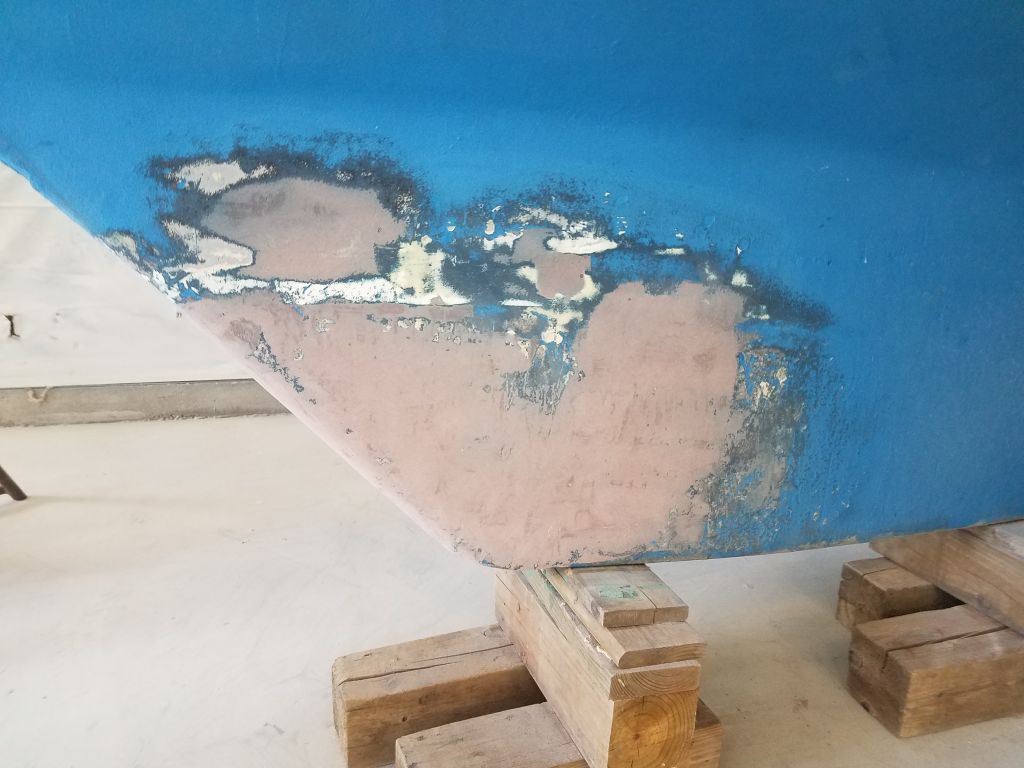
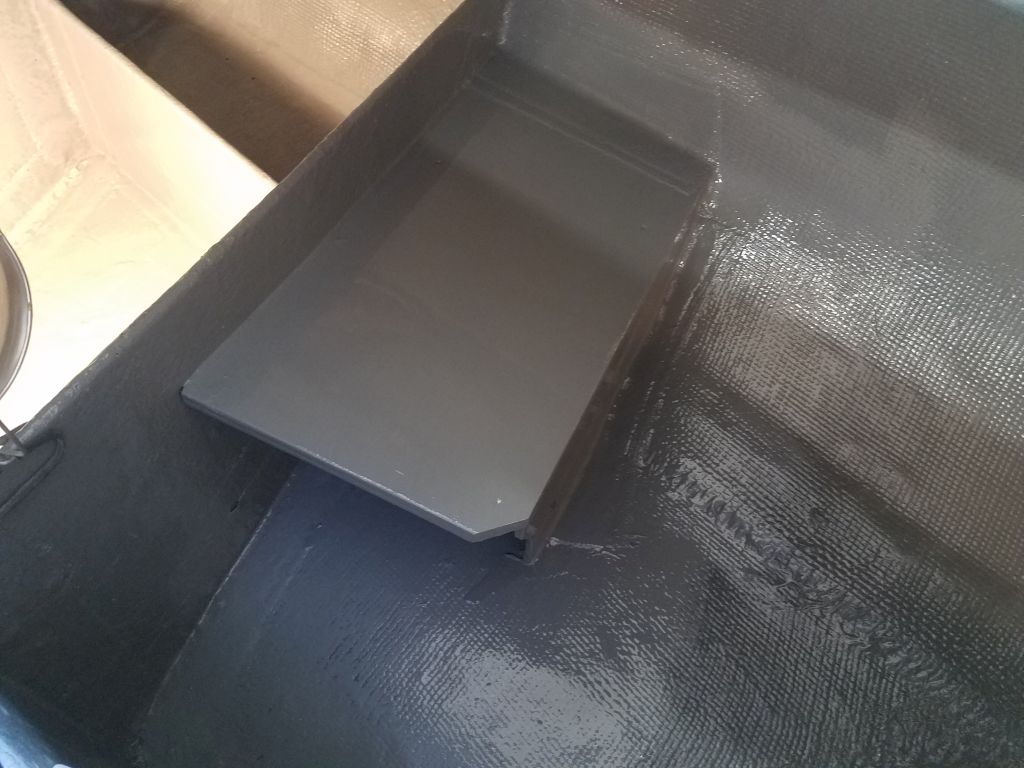
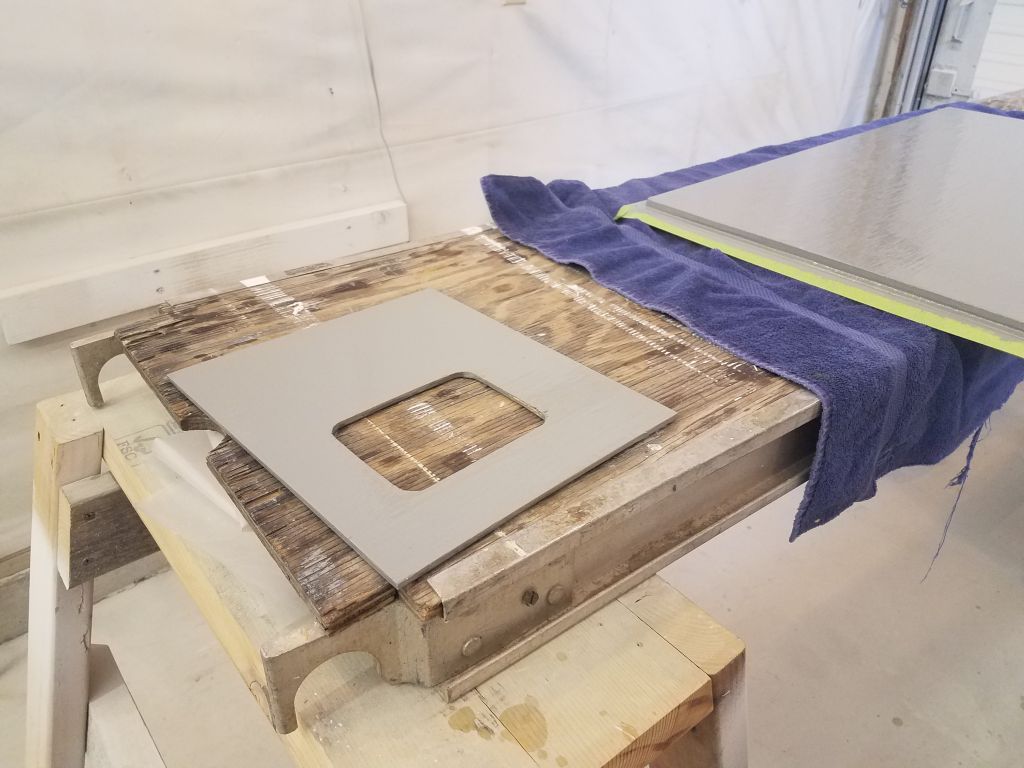
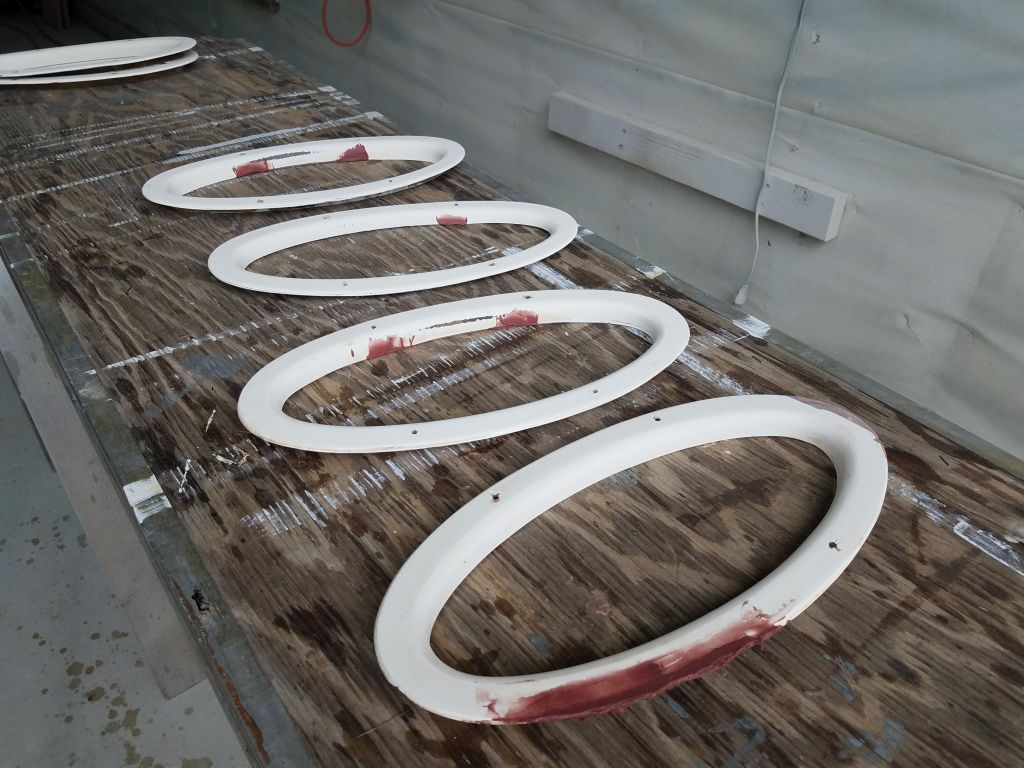
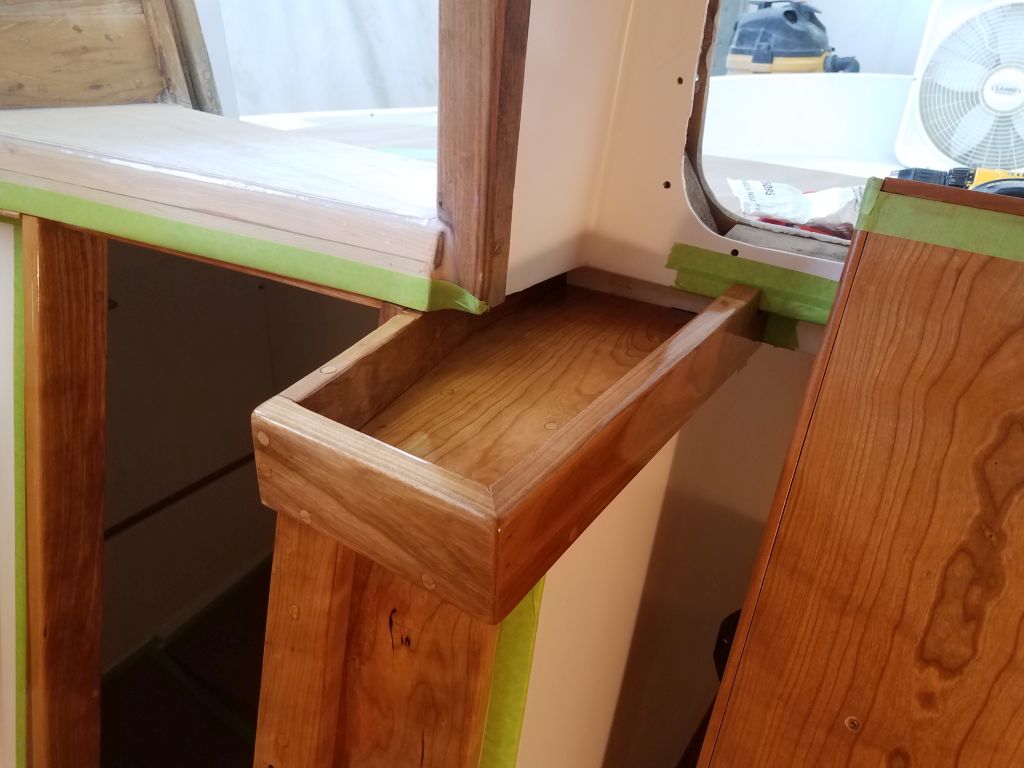
One of these little boxes was the interior port trim rings, several of which required some minor cosmetic-level repair to fix some minor areas of damaged gelcoat inside the rings, and a larger area on one ring where the edge had chipped away in an unsightly manner. I applied epoxy fairing compound as needed to these small places, and set the trim rings aside for curing.
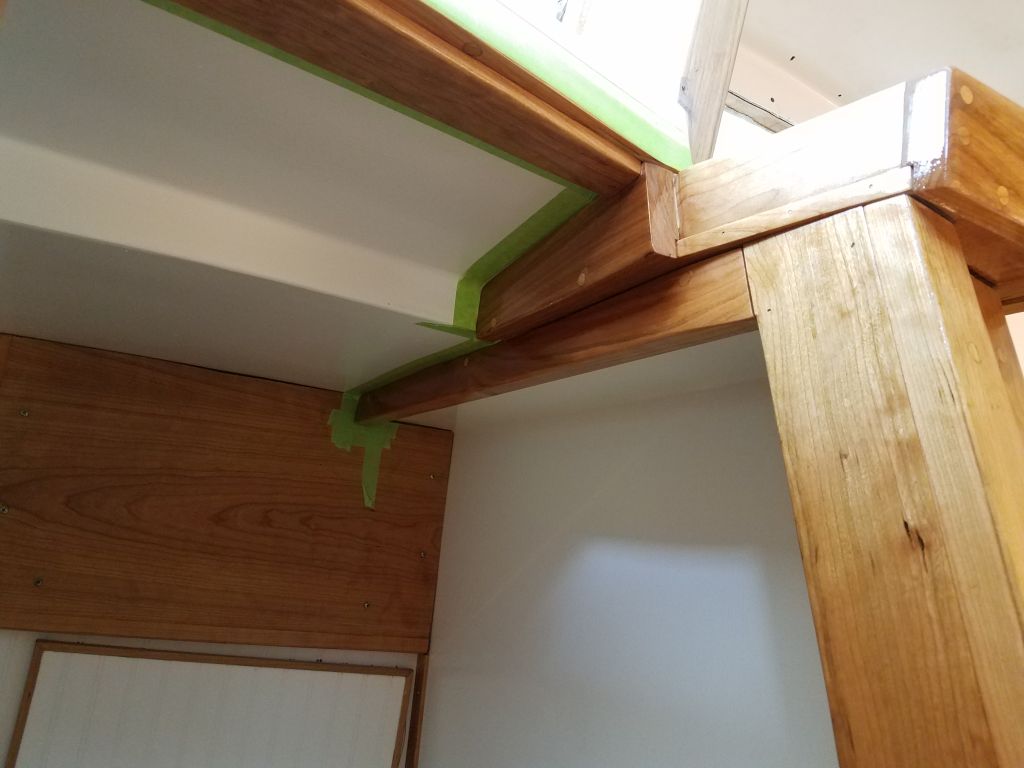
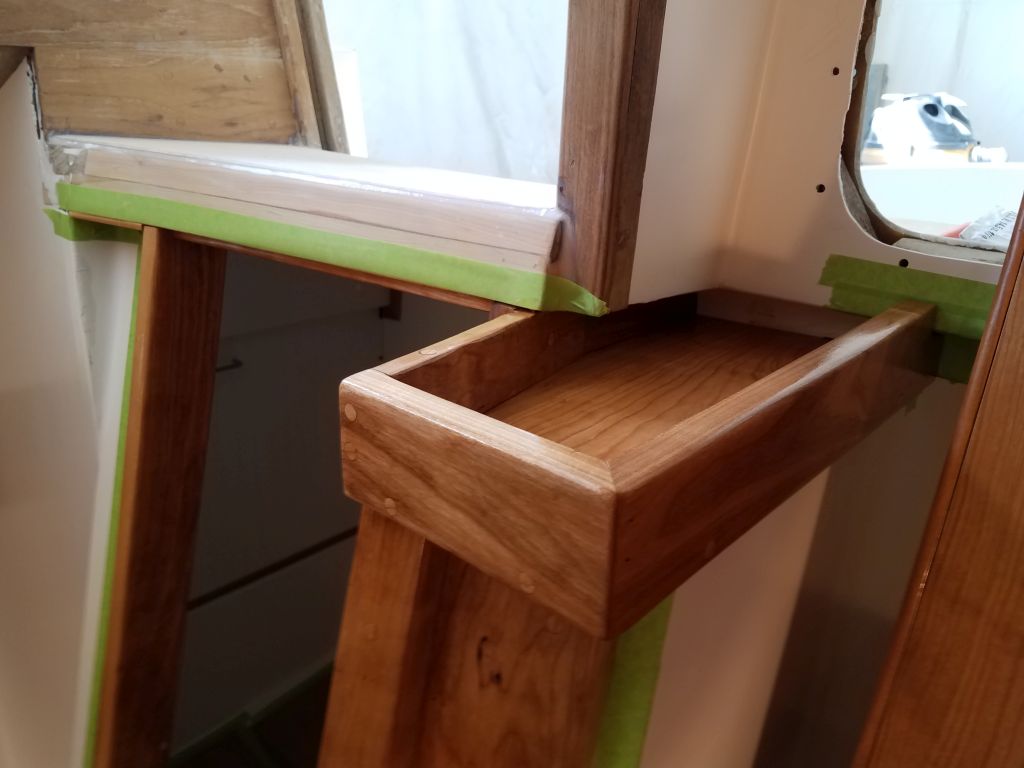
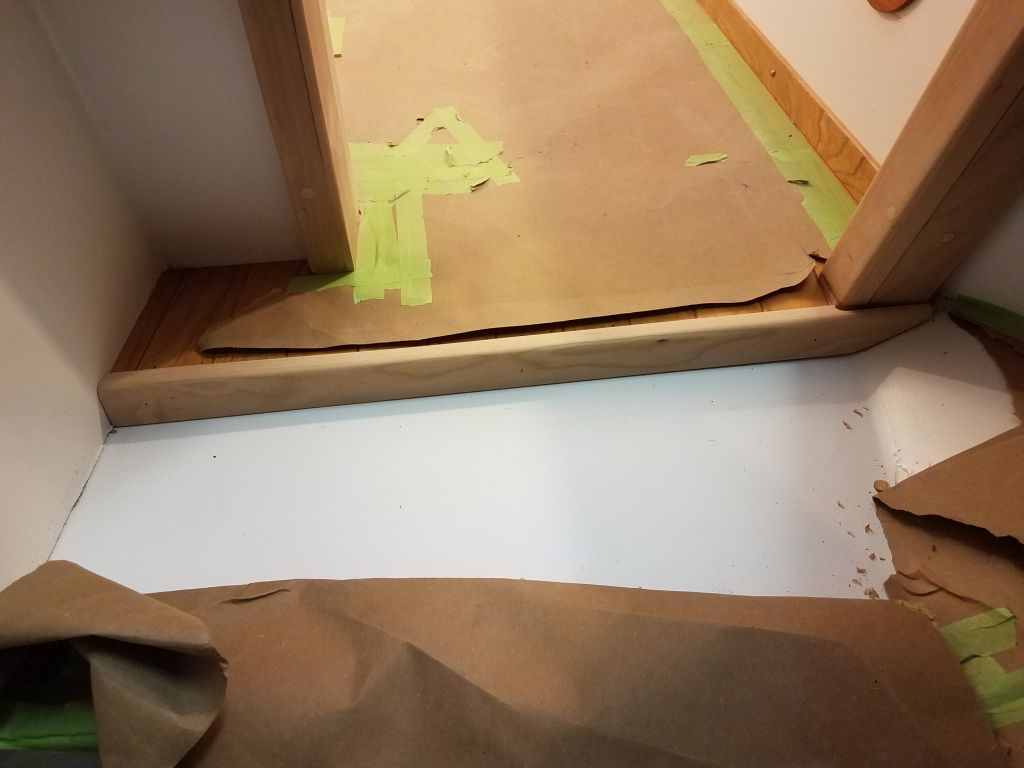
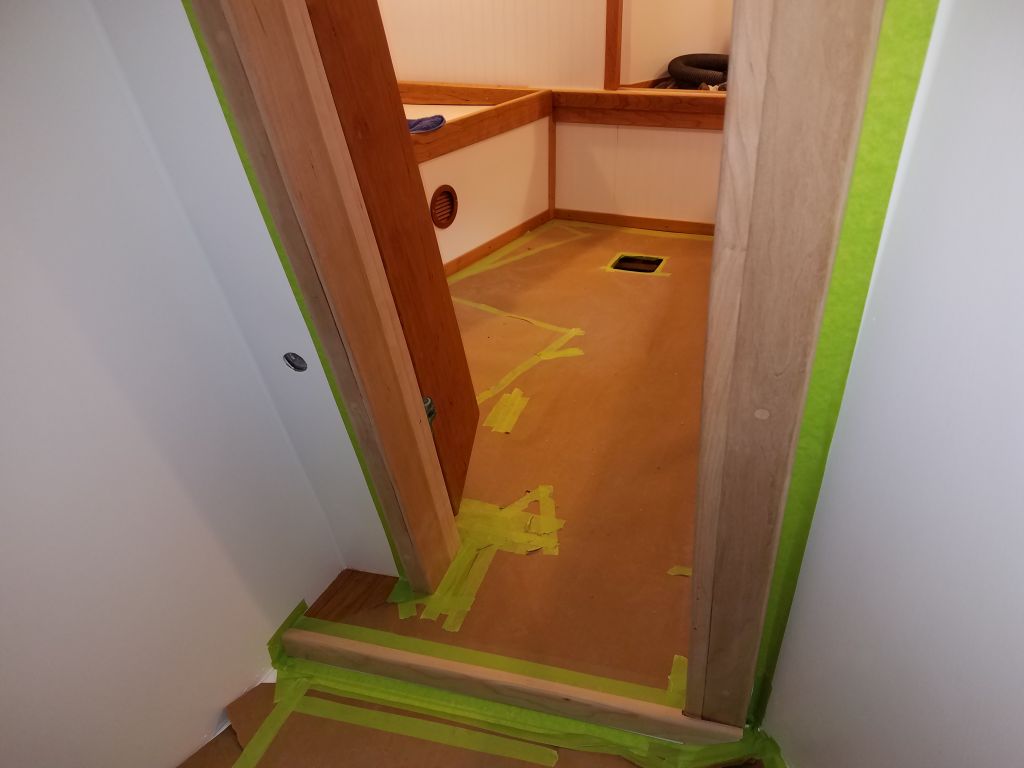
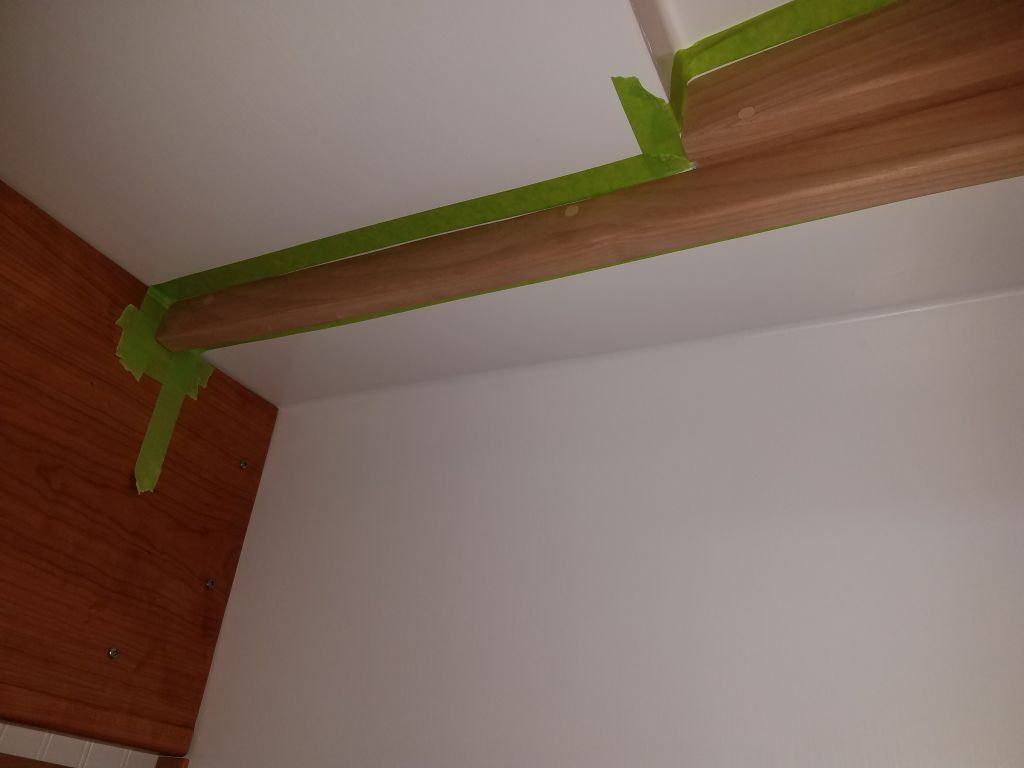
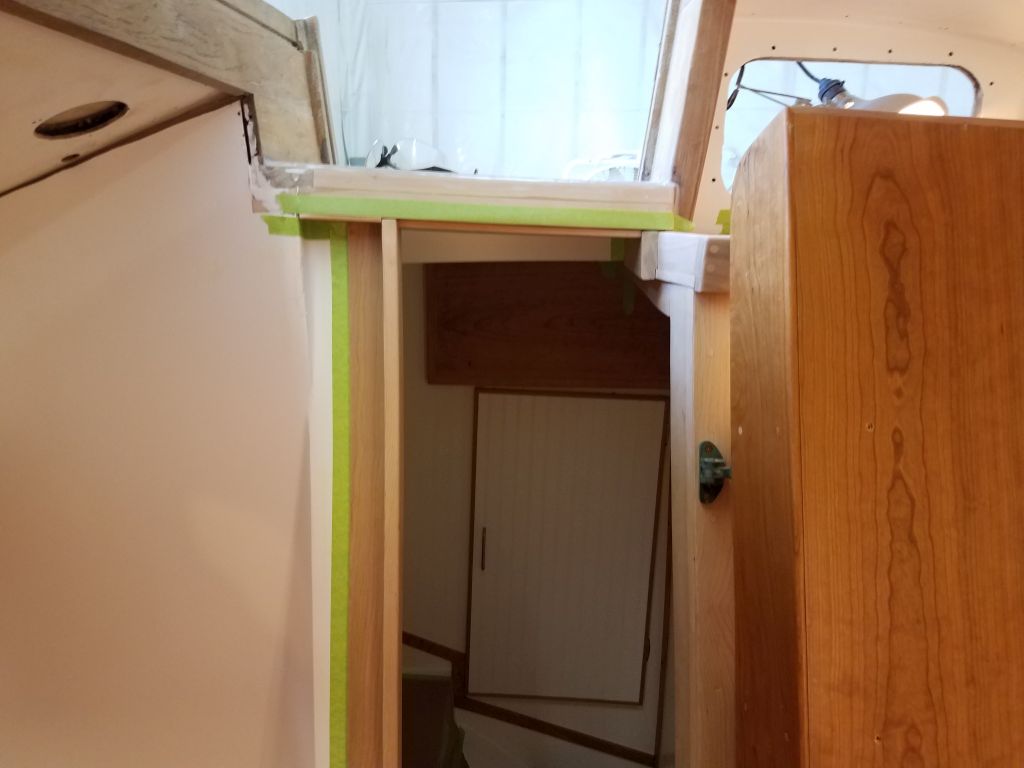
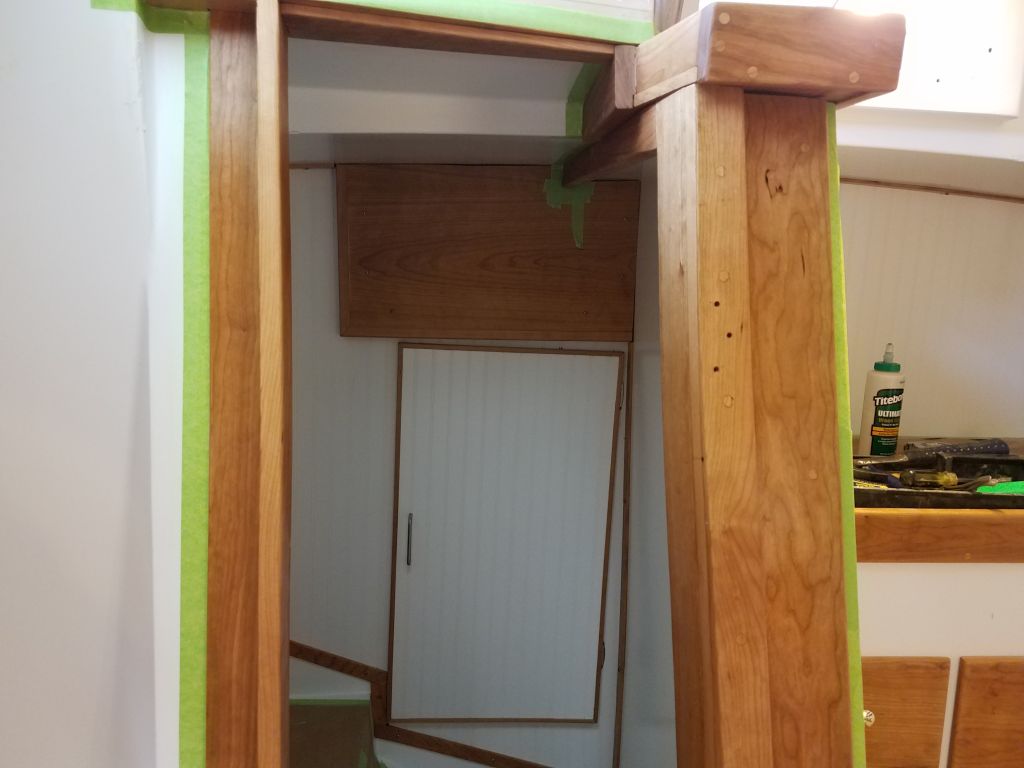
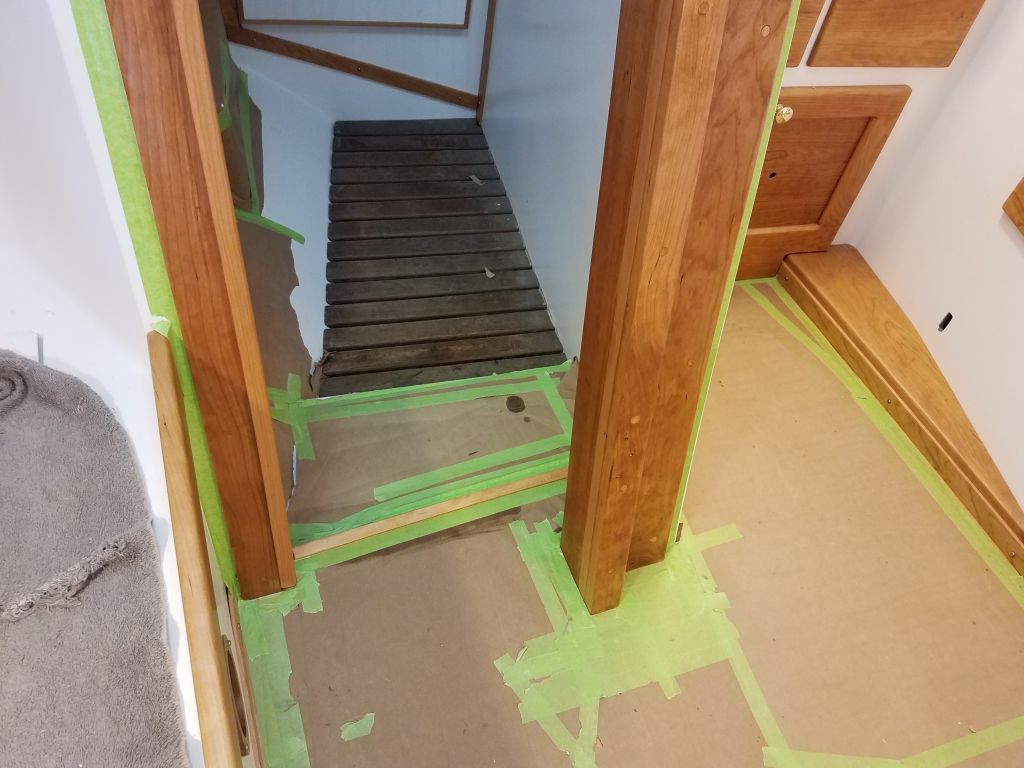
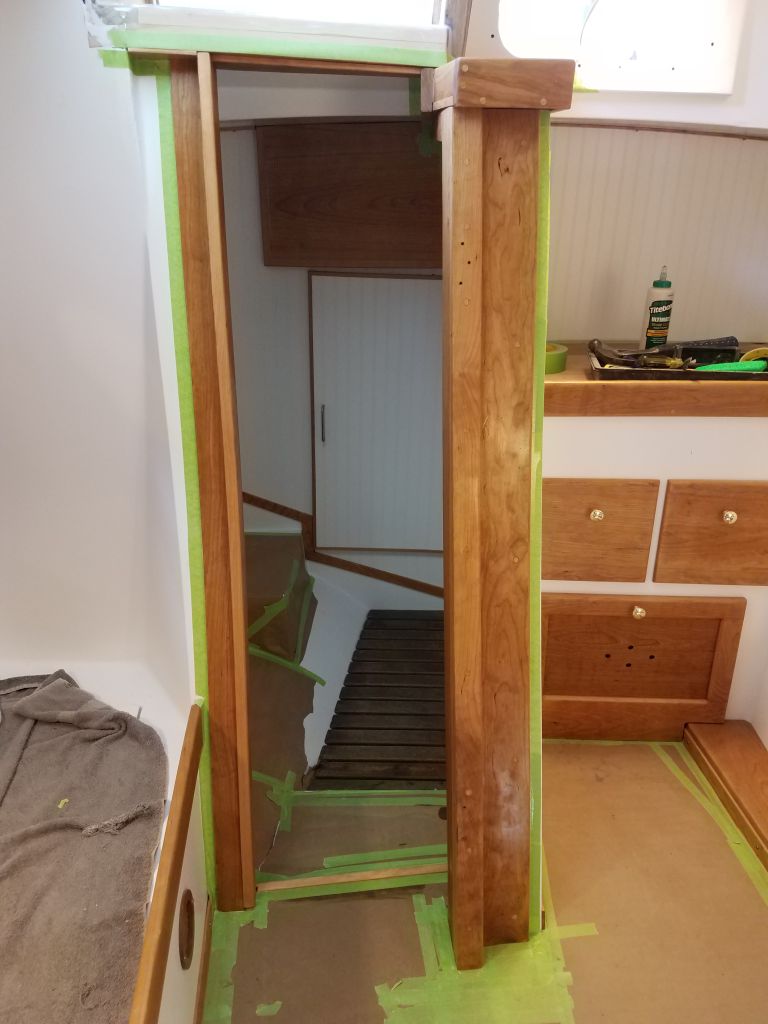
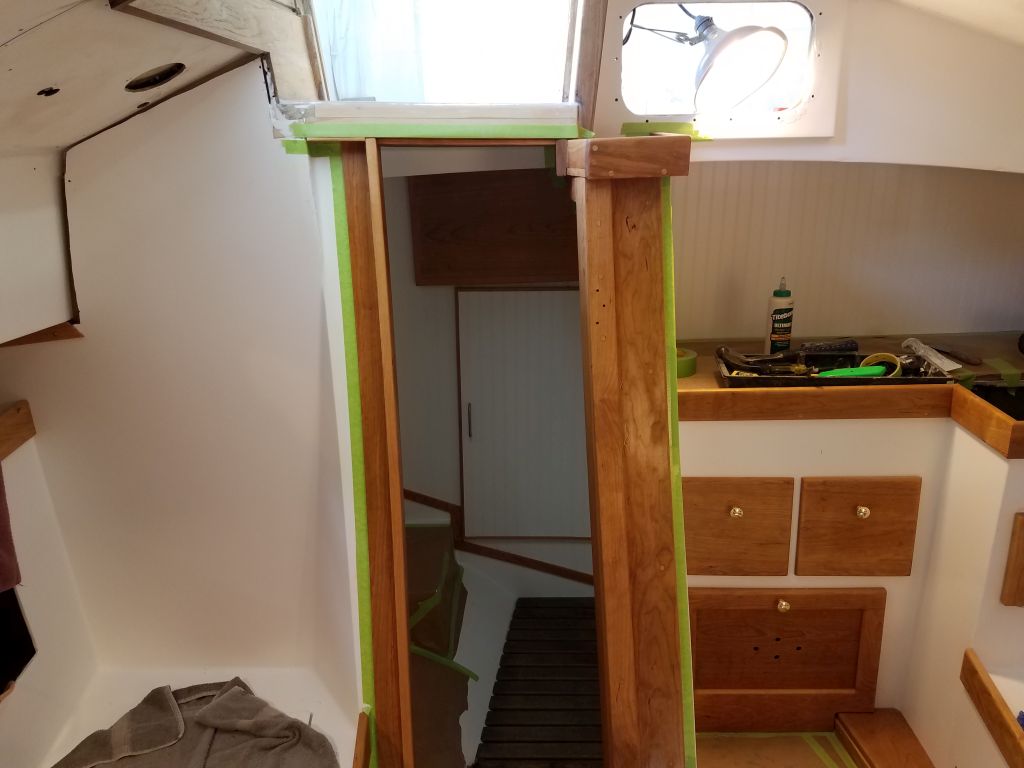
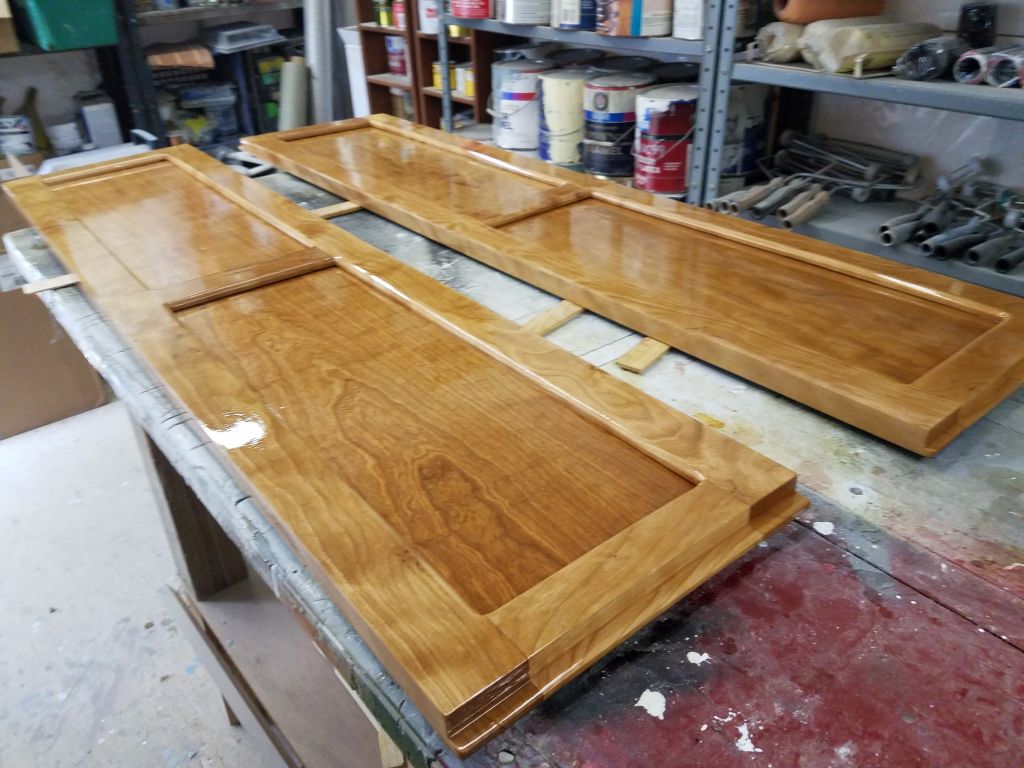
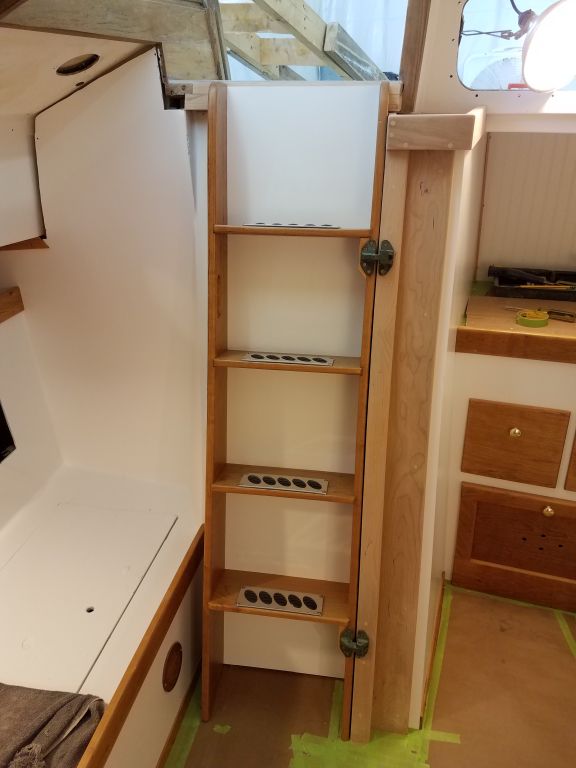
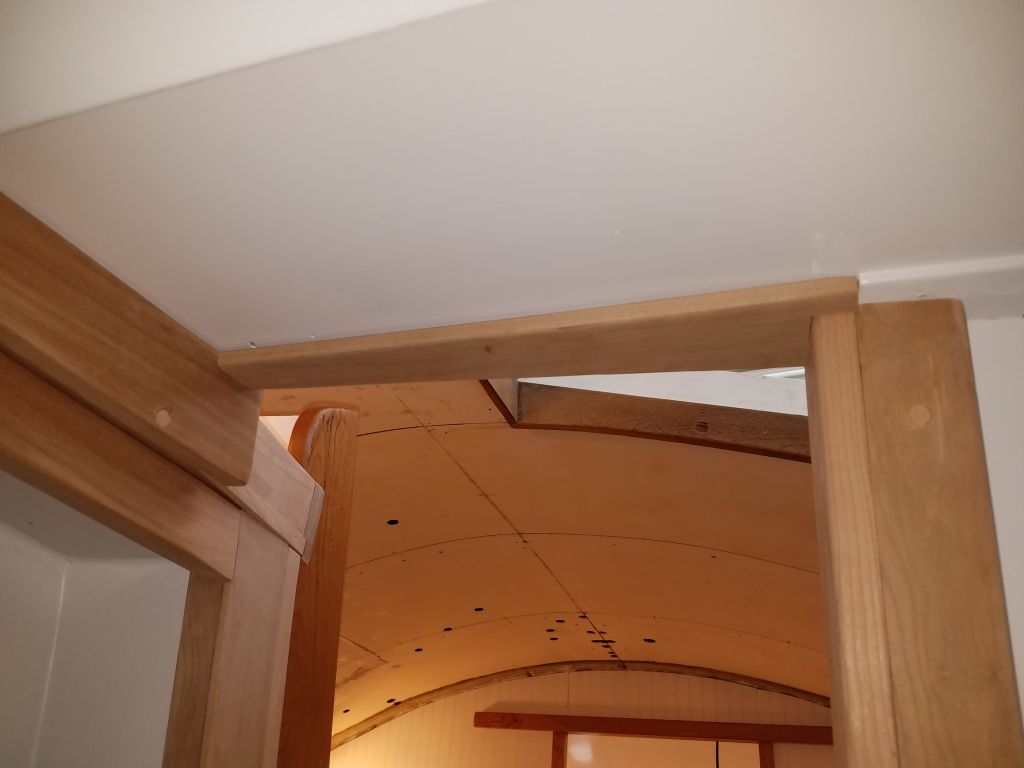
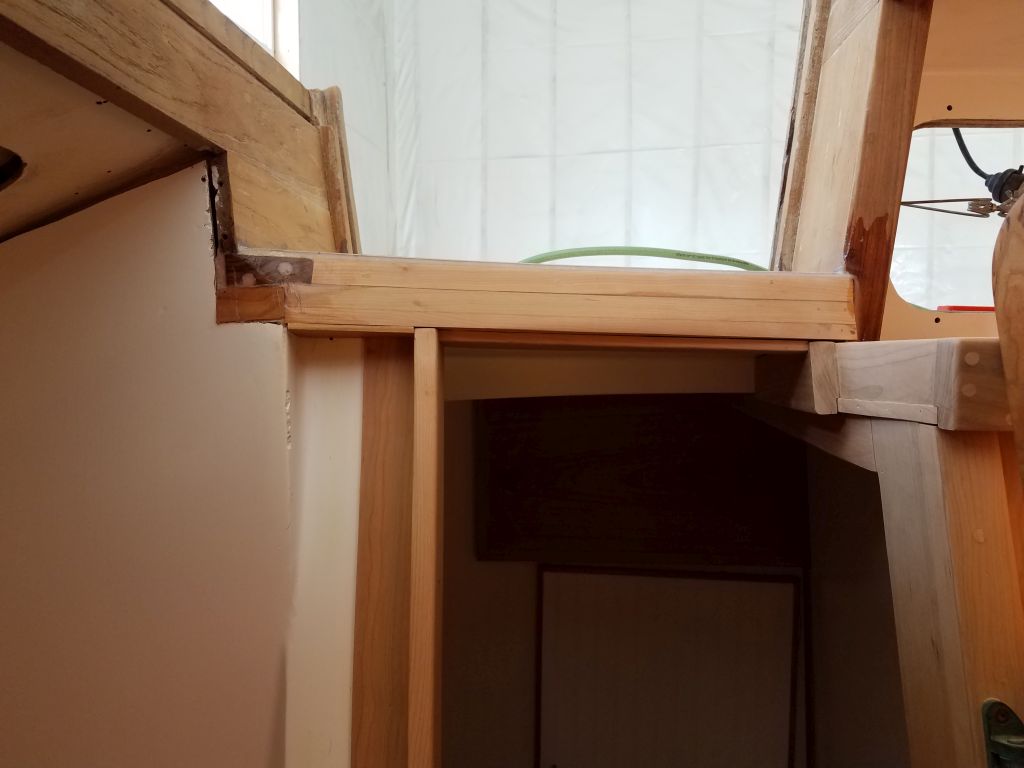
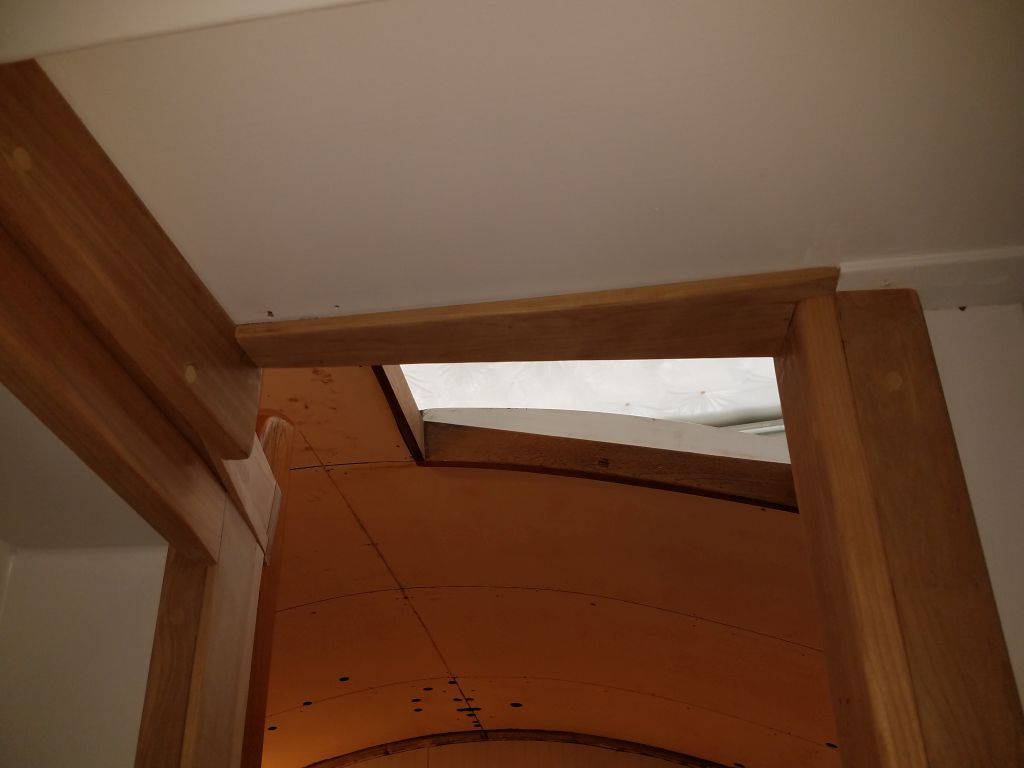
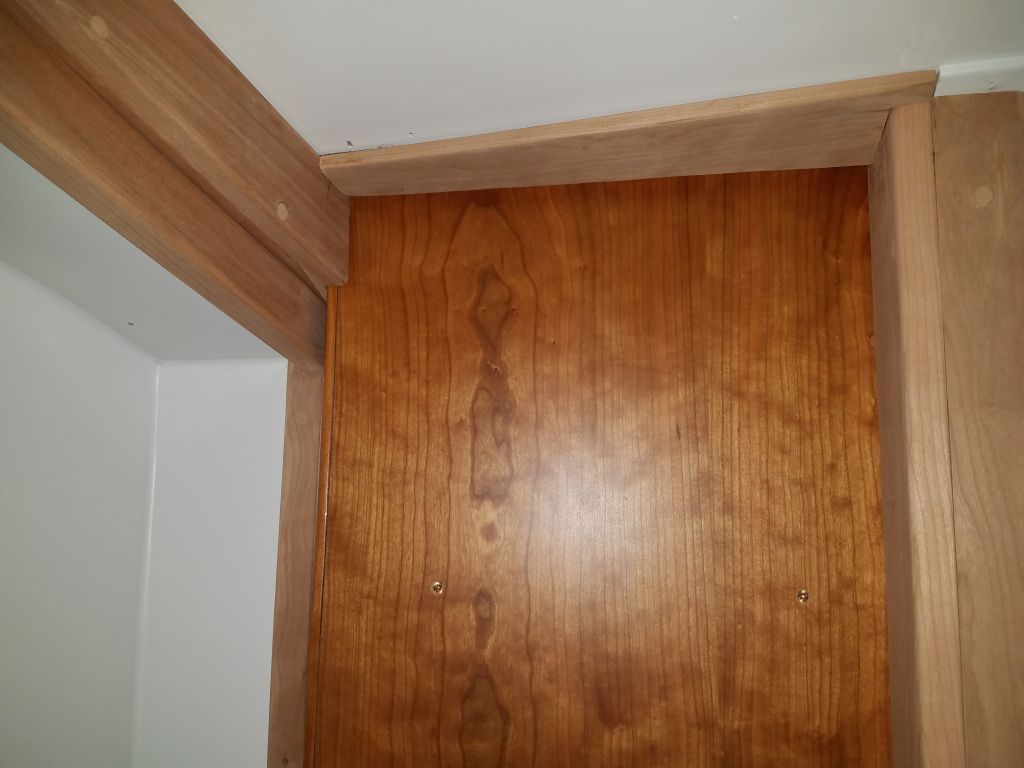
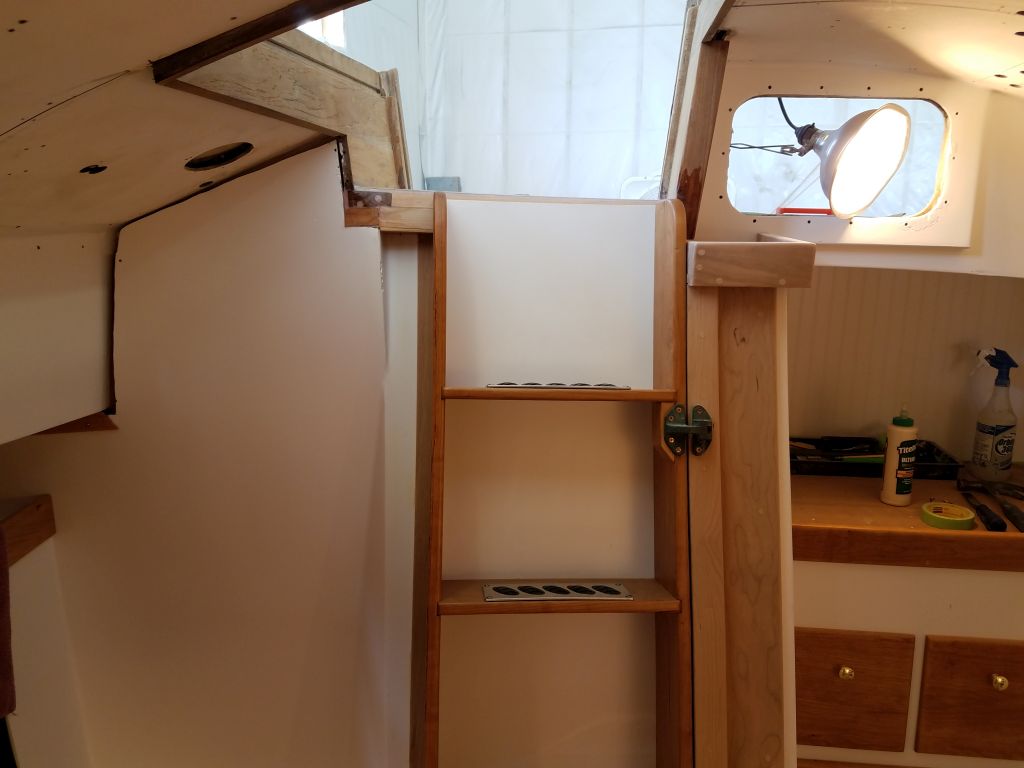
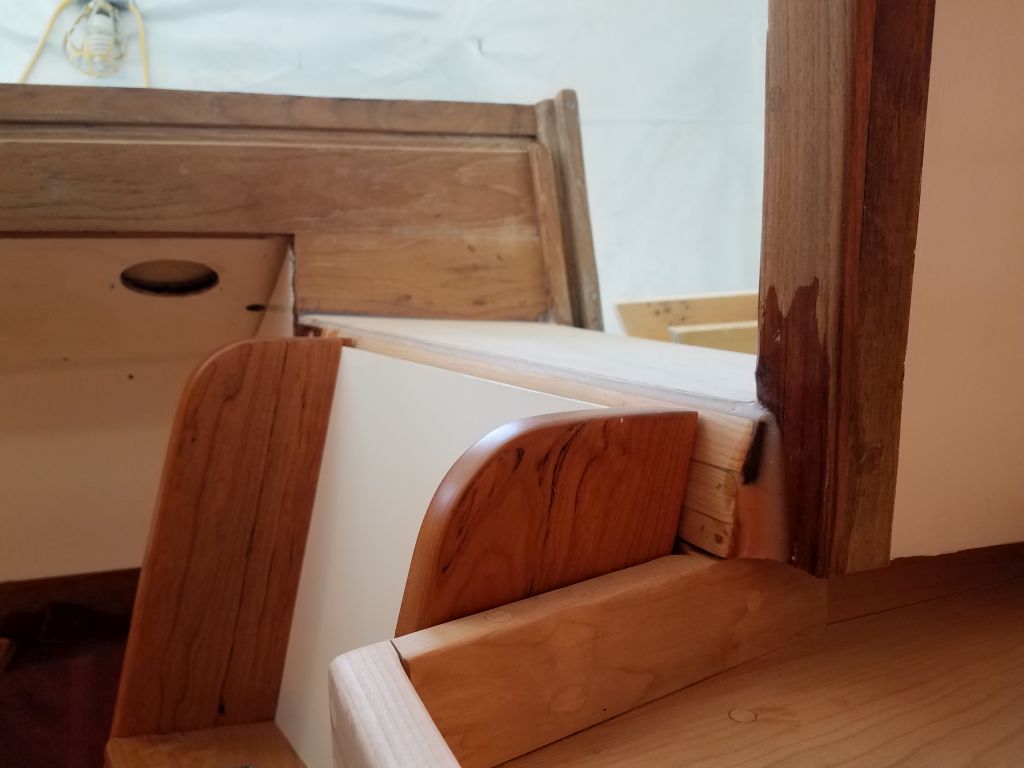
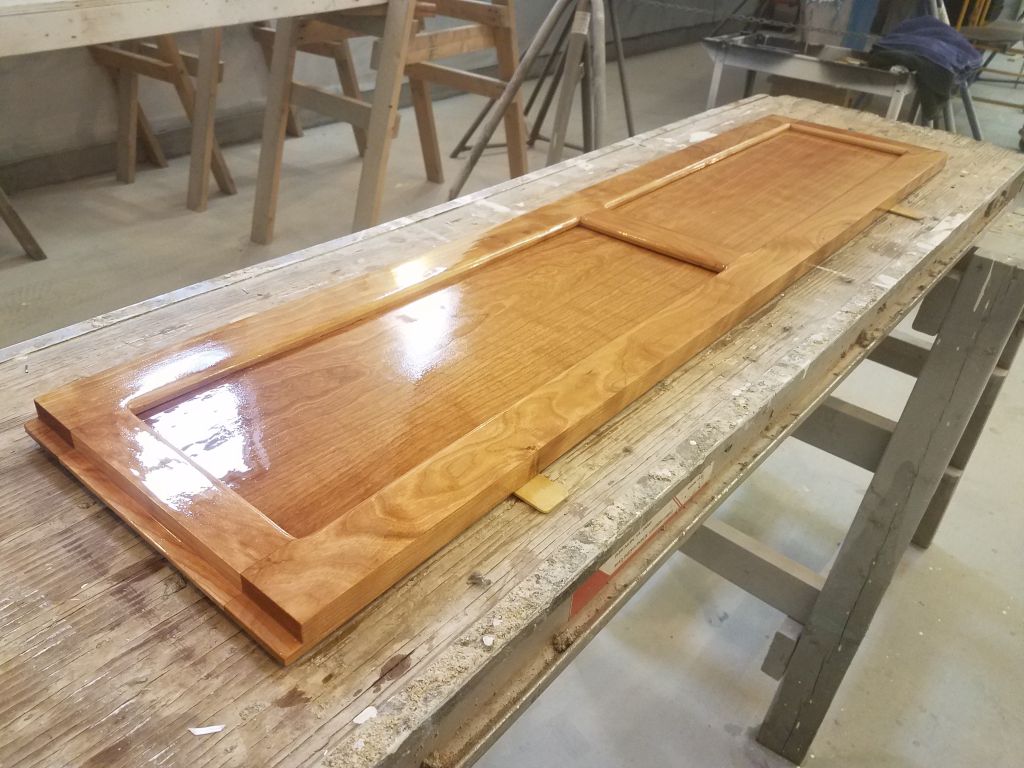
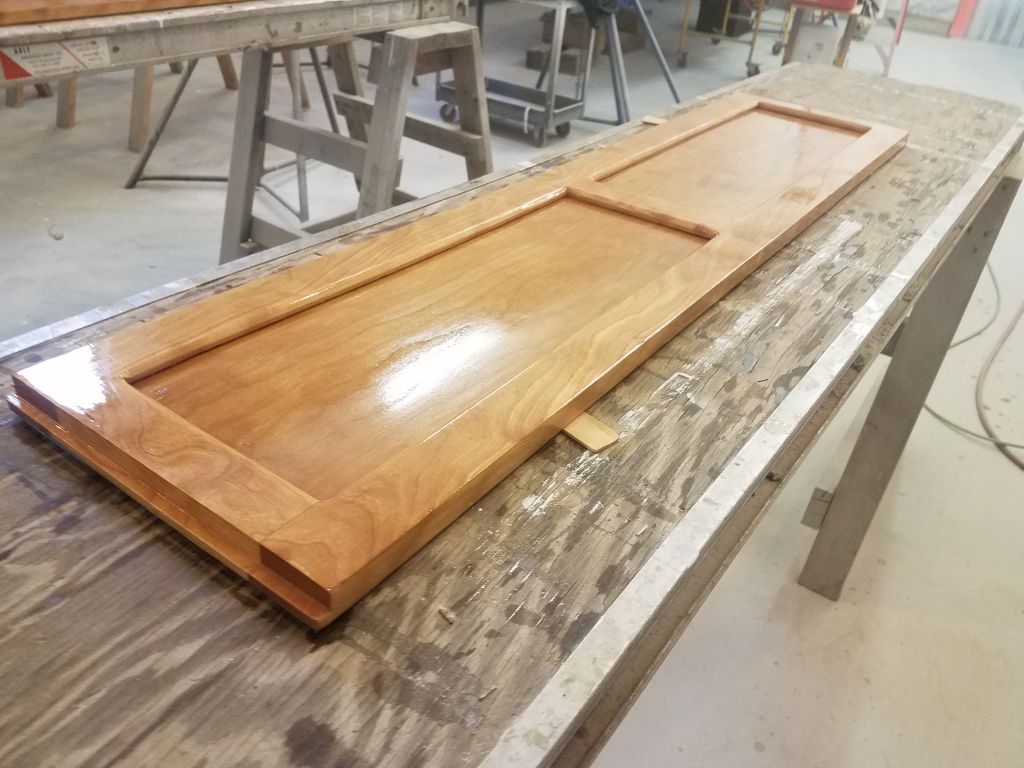
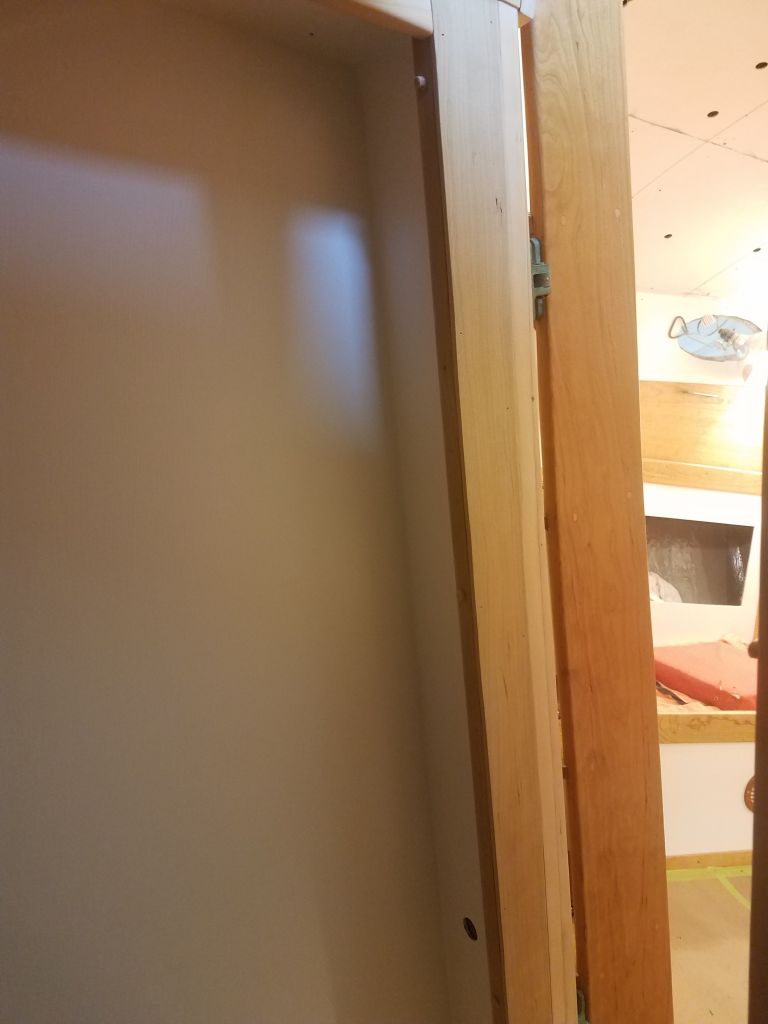
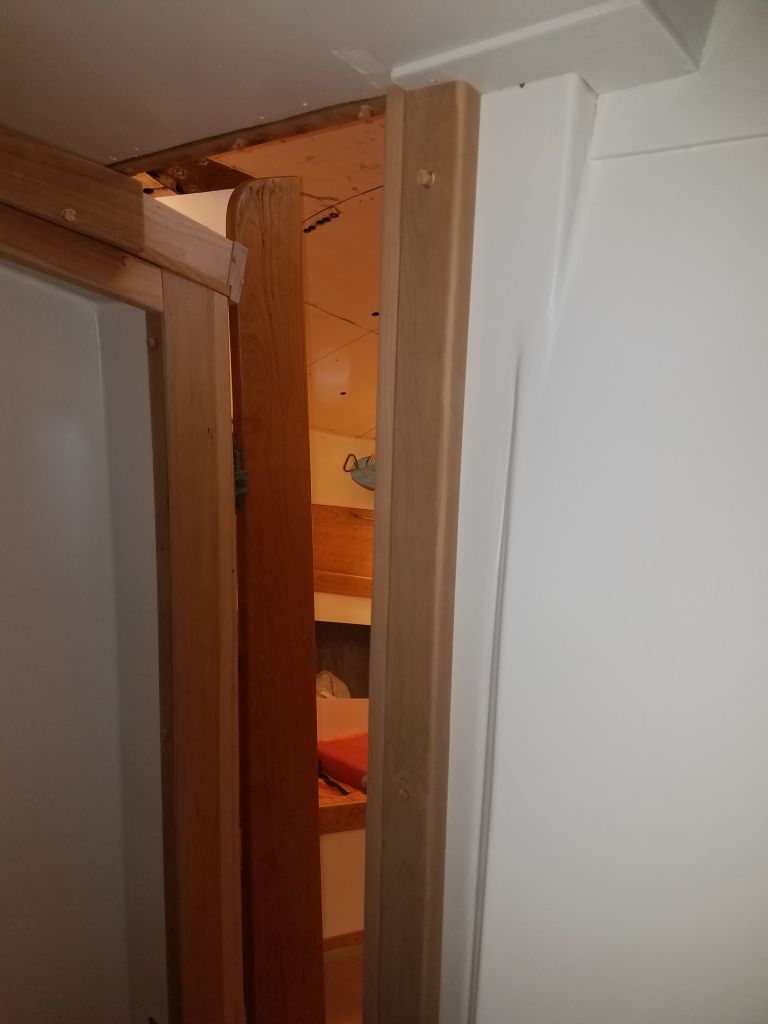
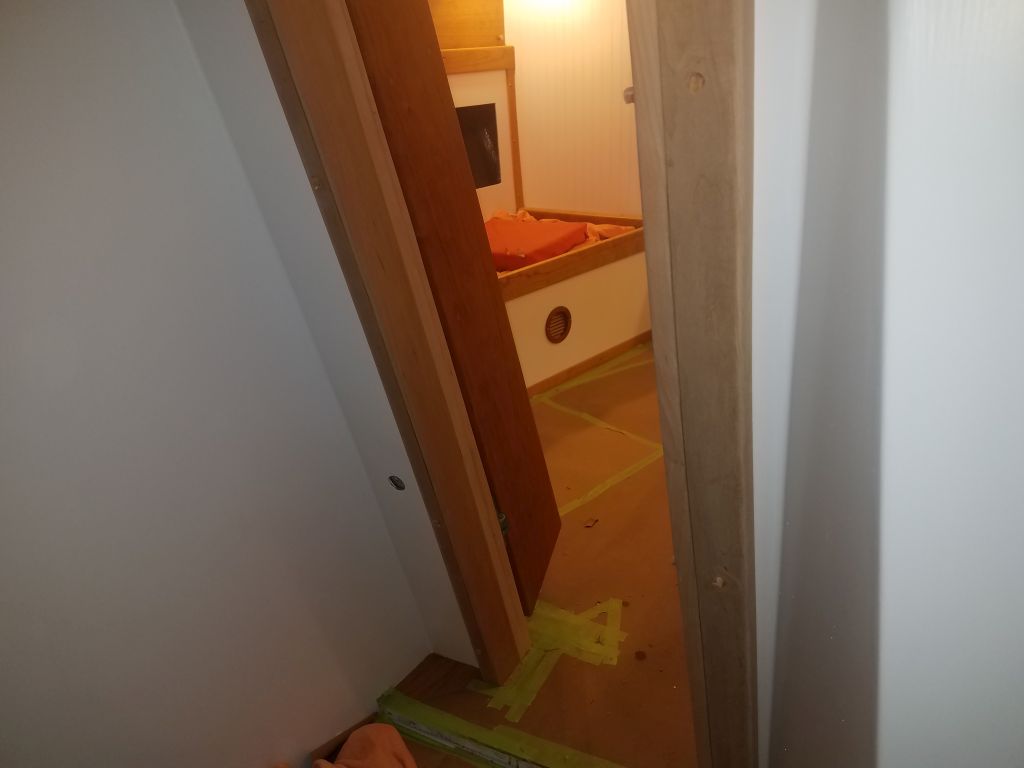
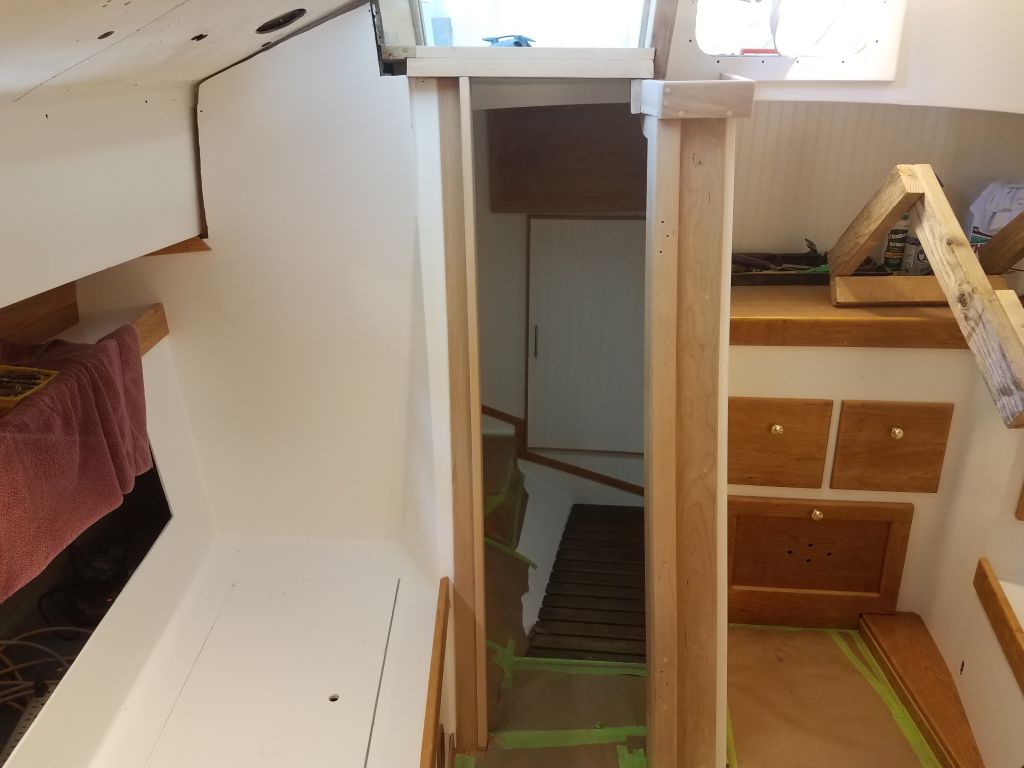
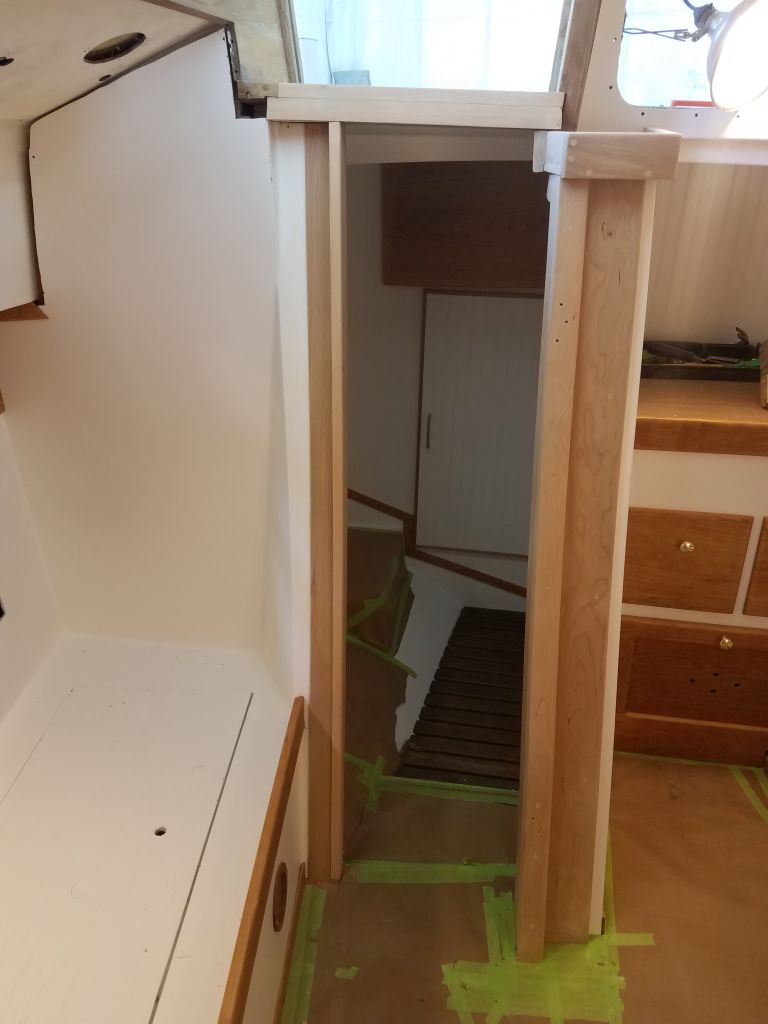
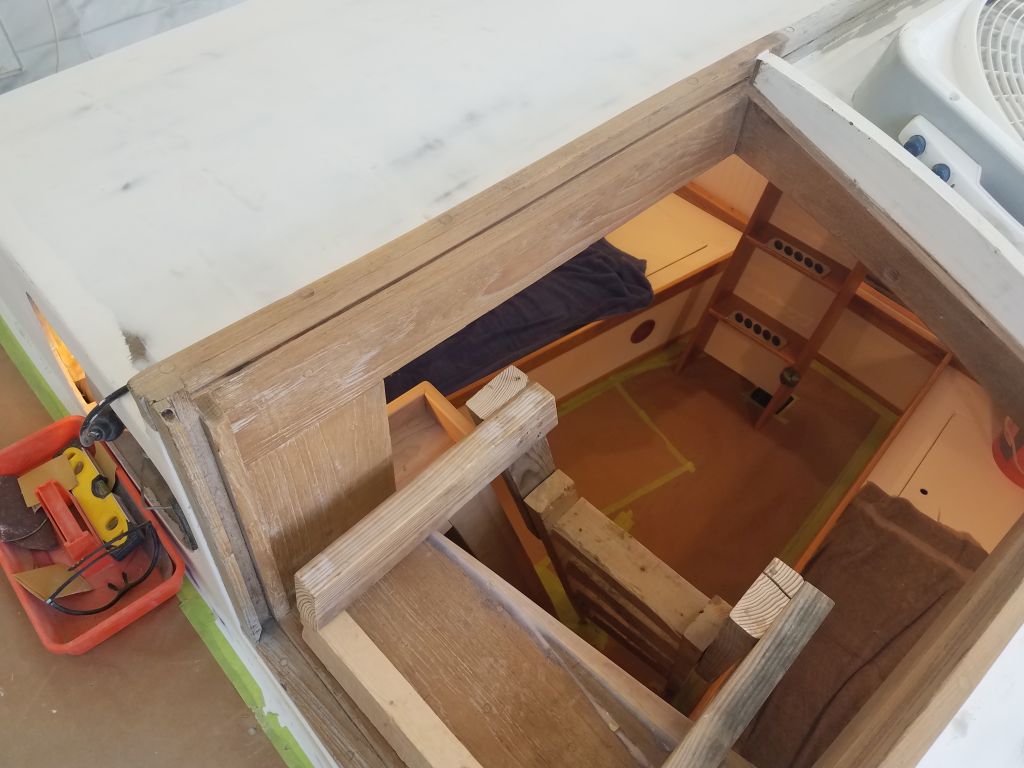
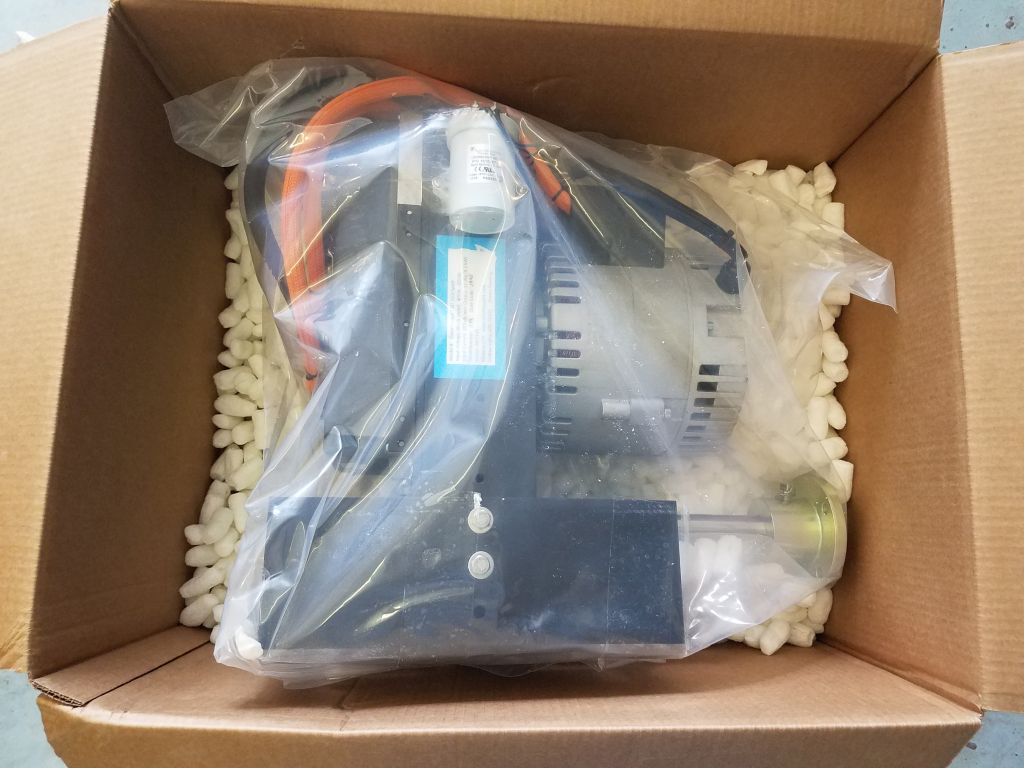
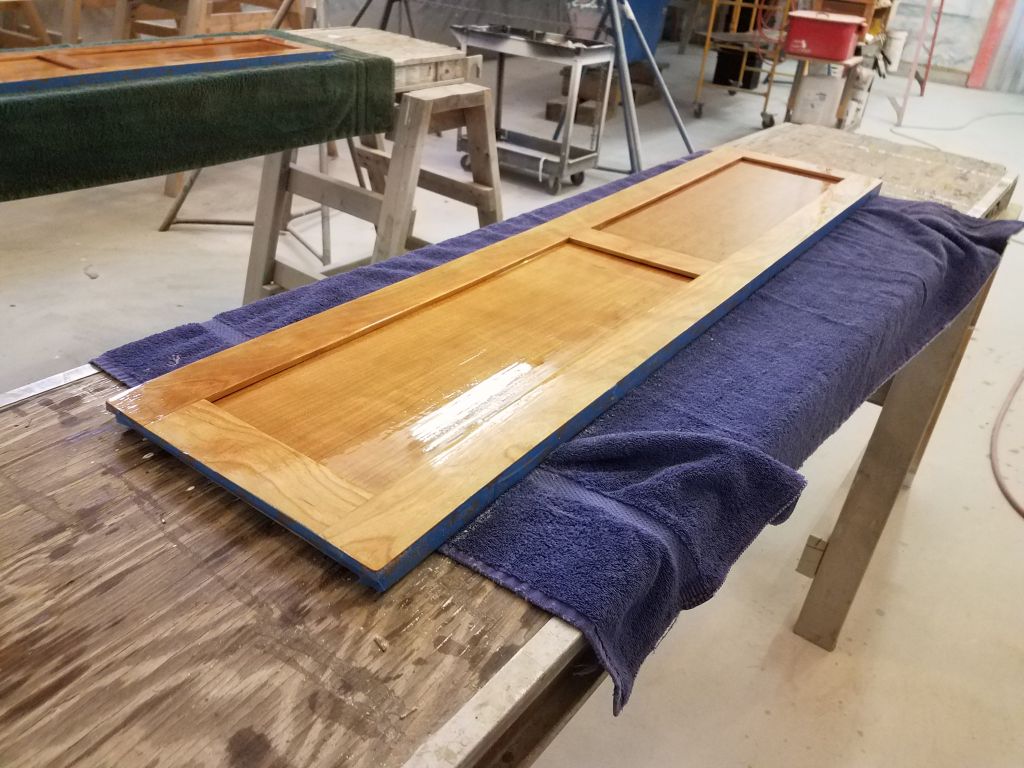
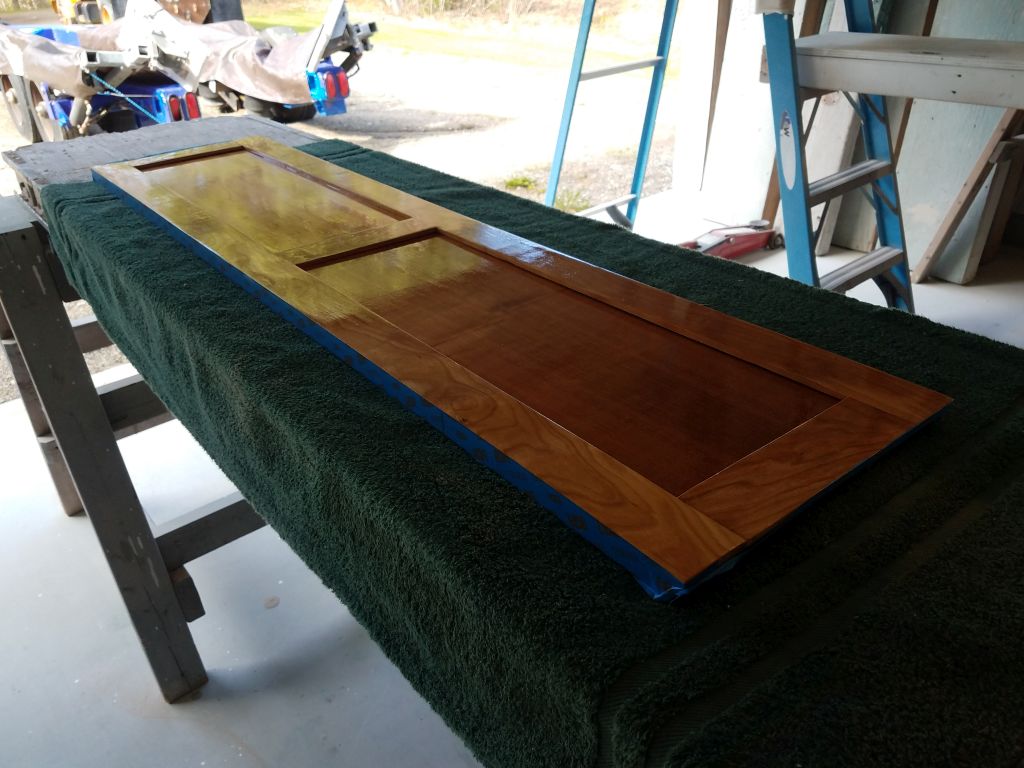
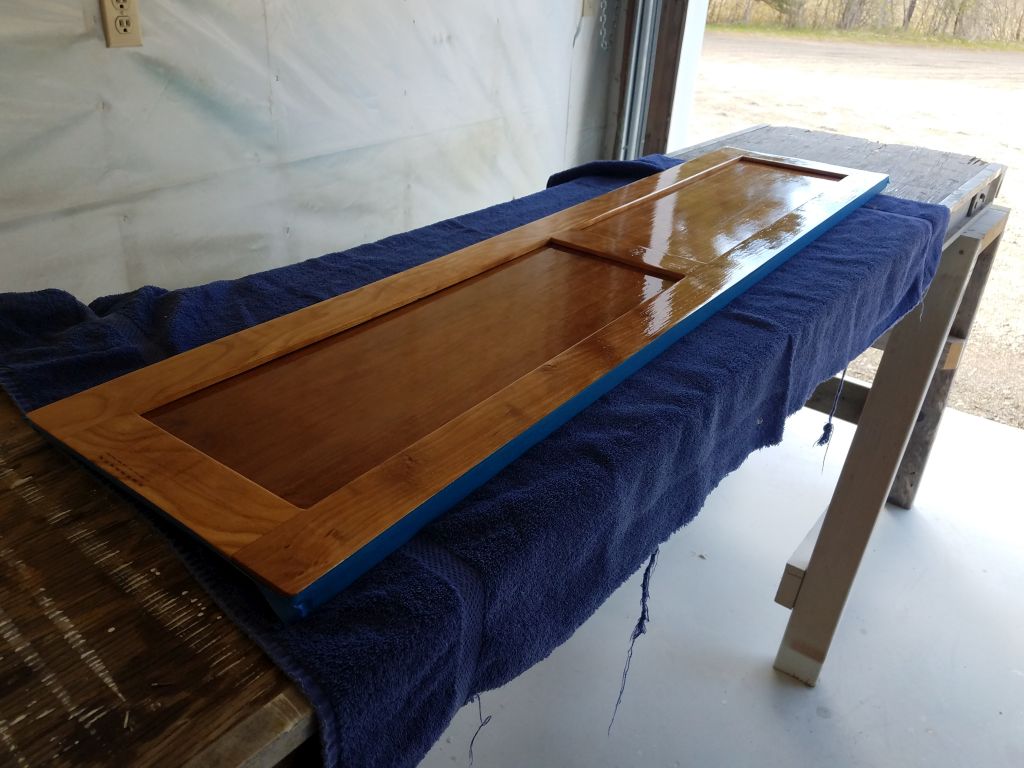
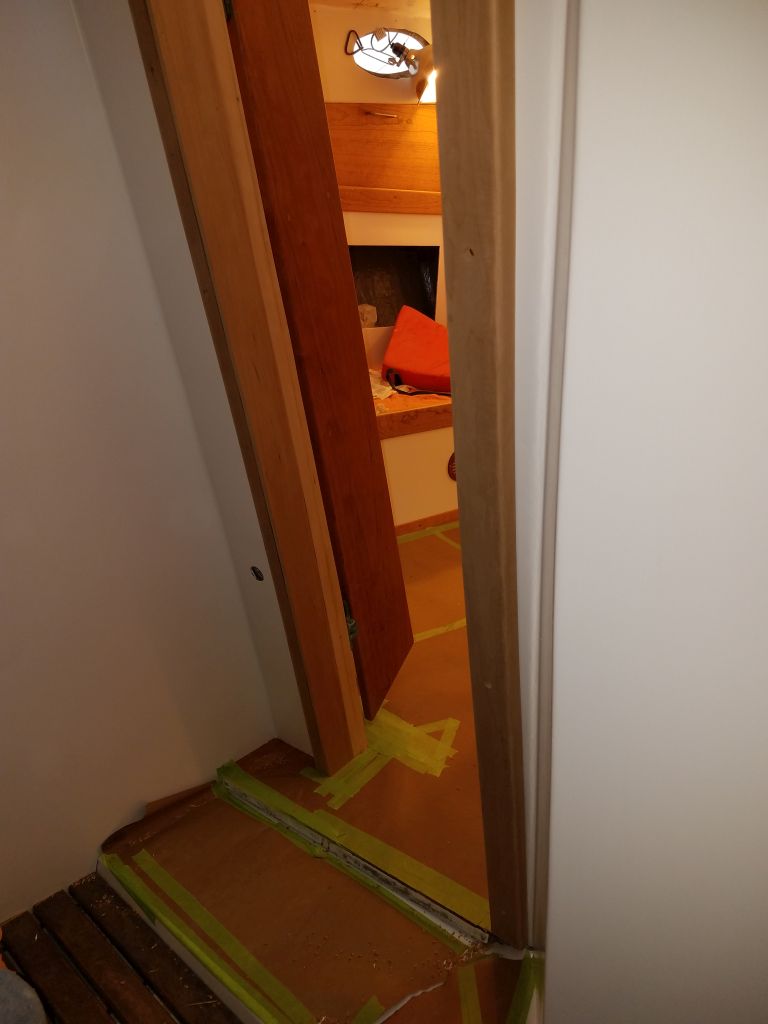
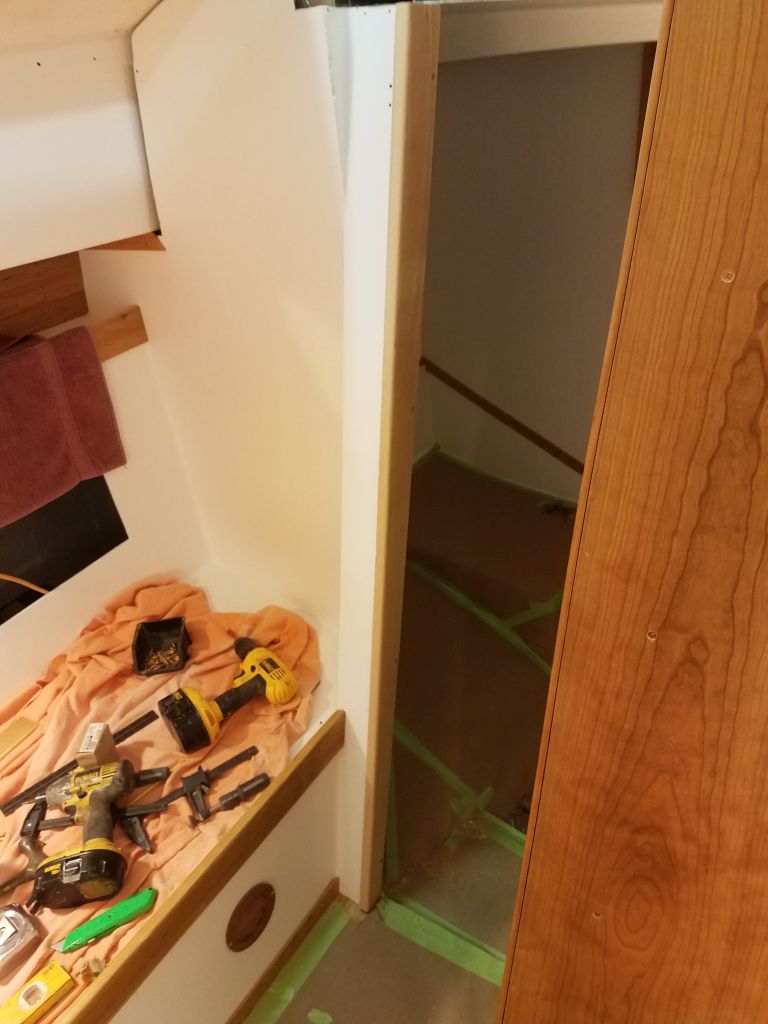
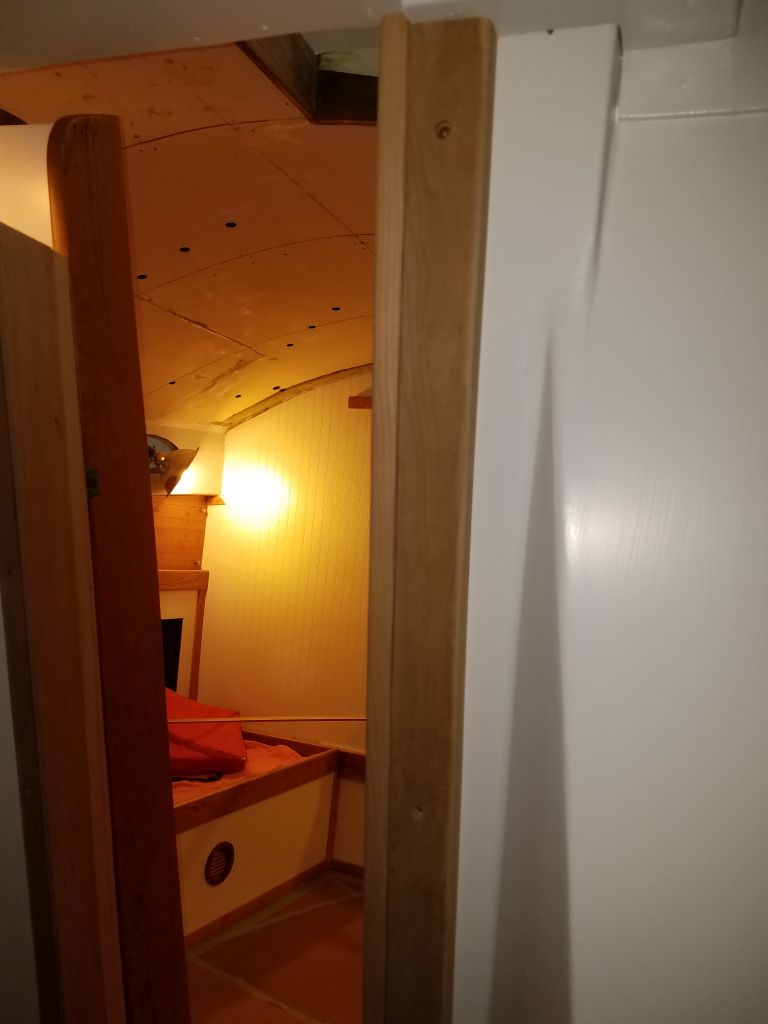
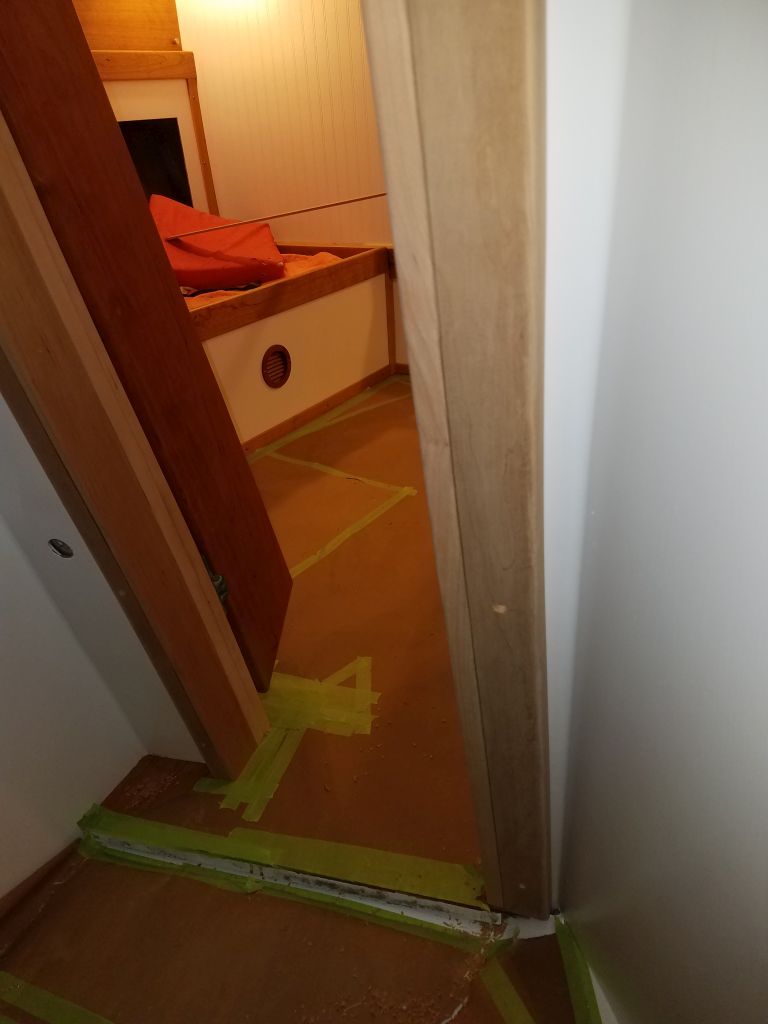
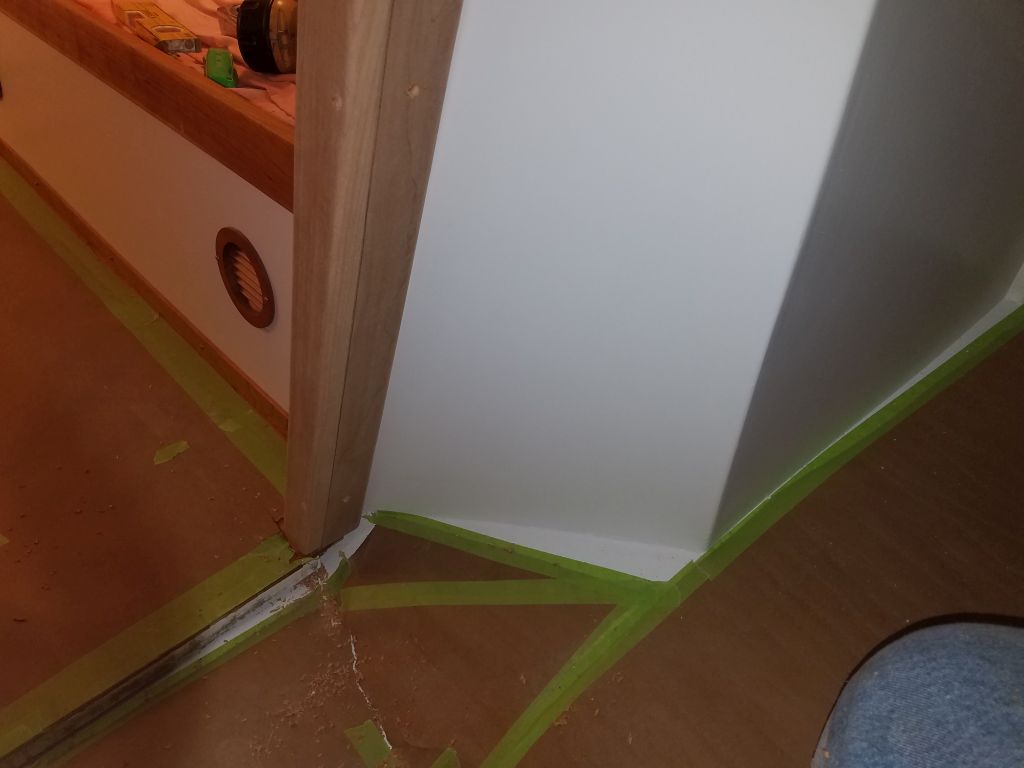
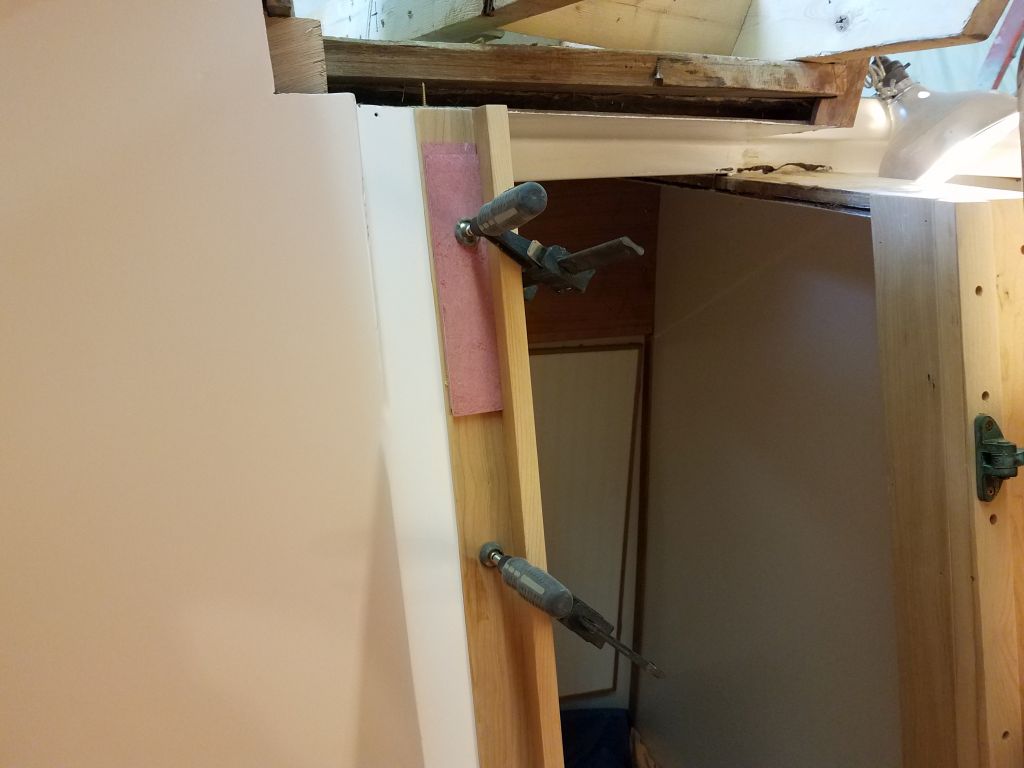
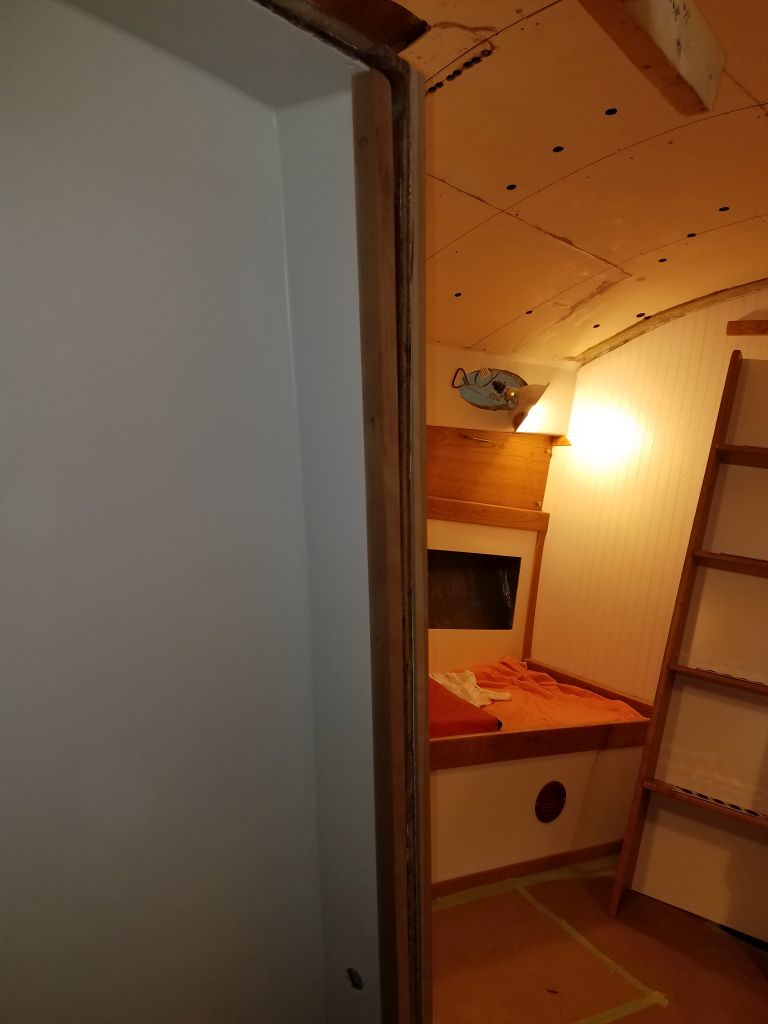
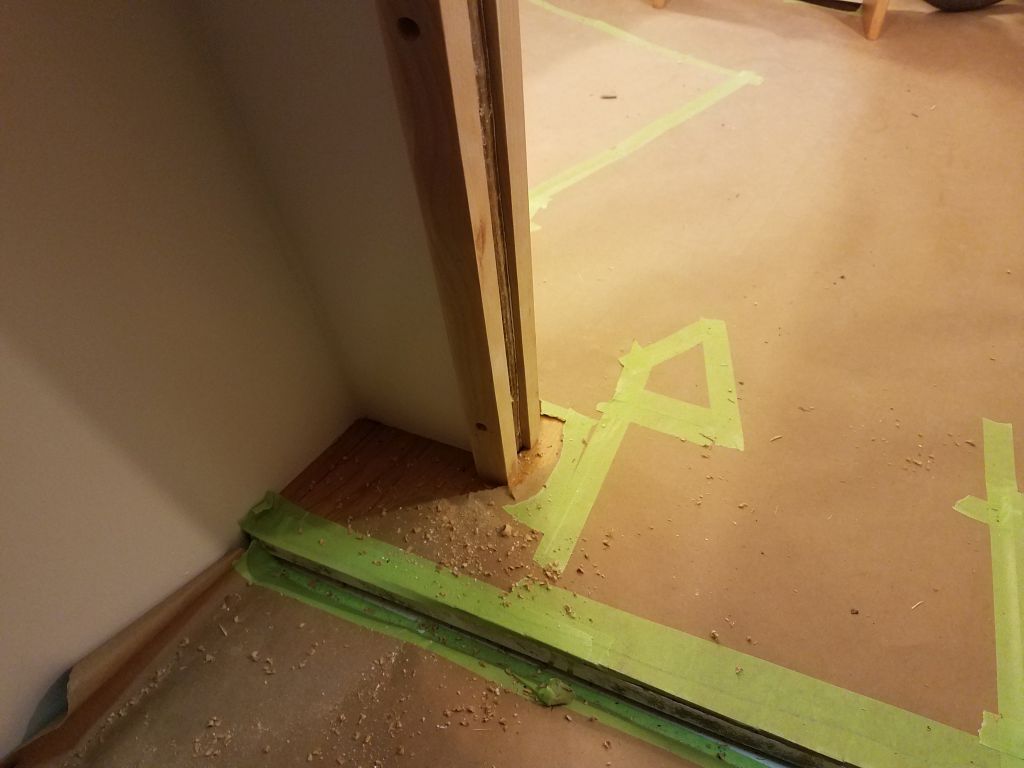
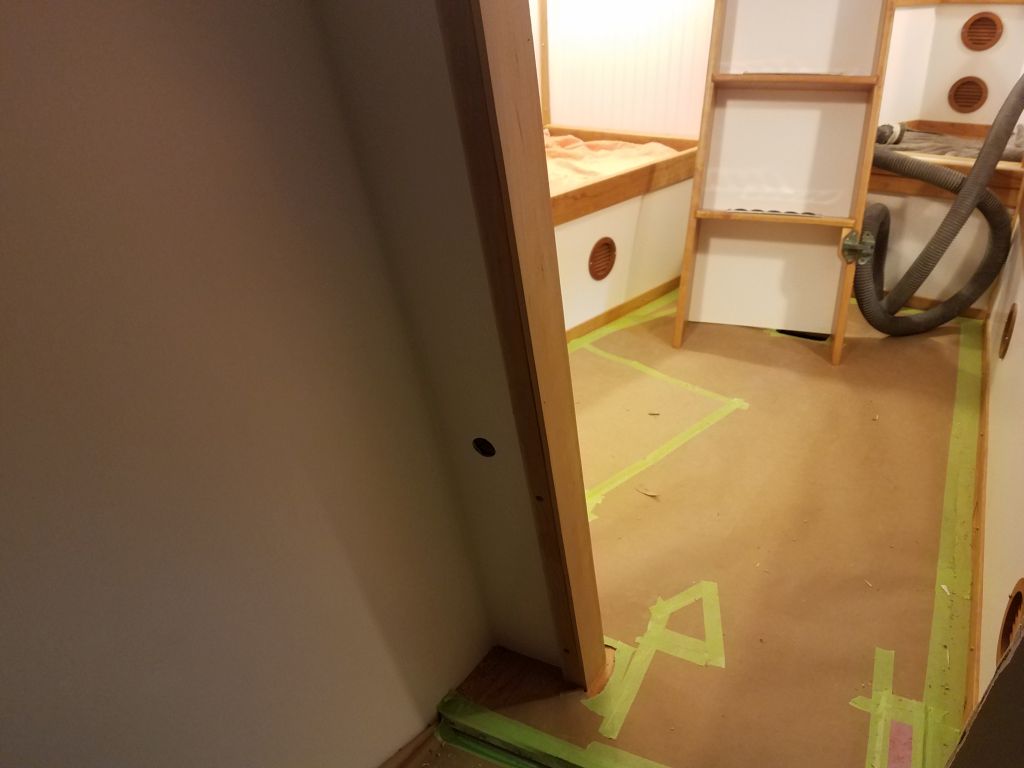
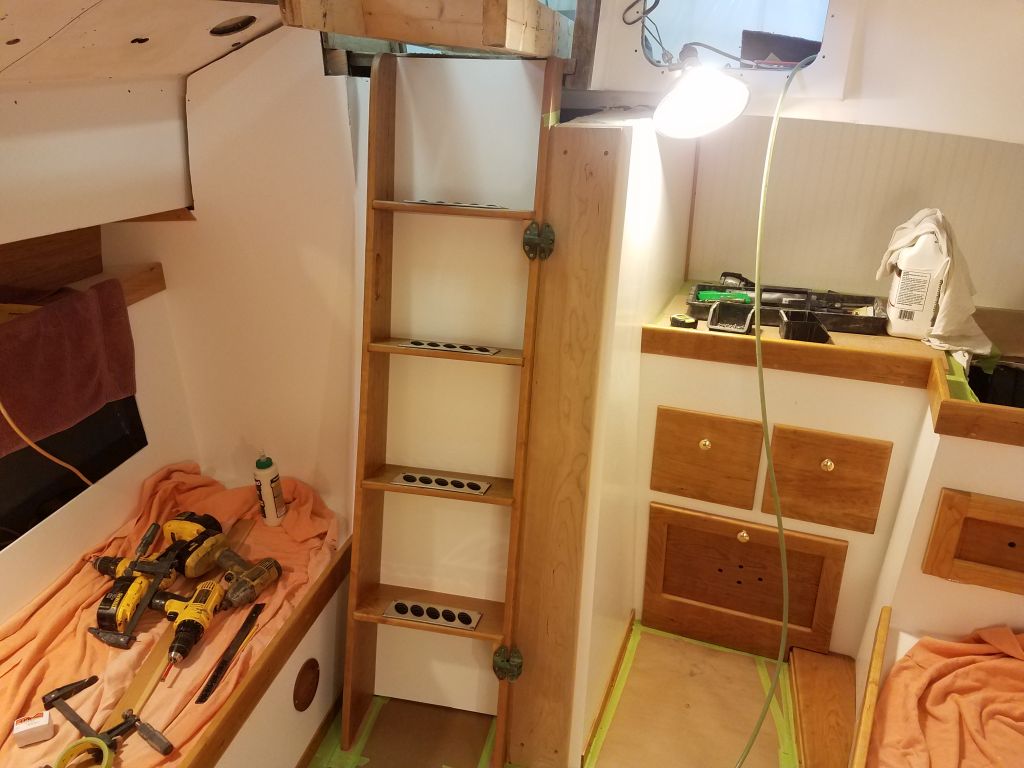
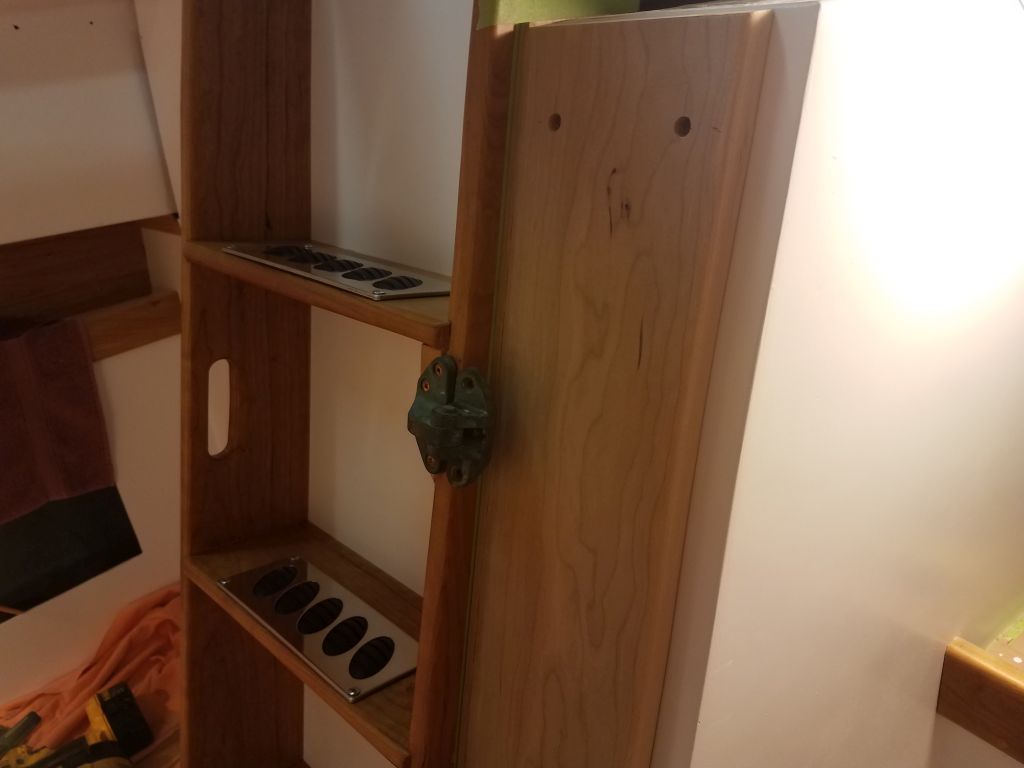
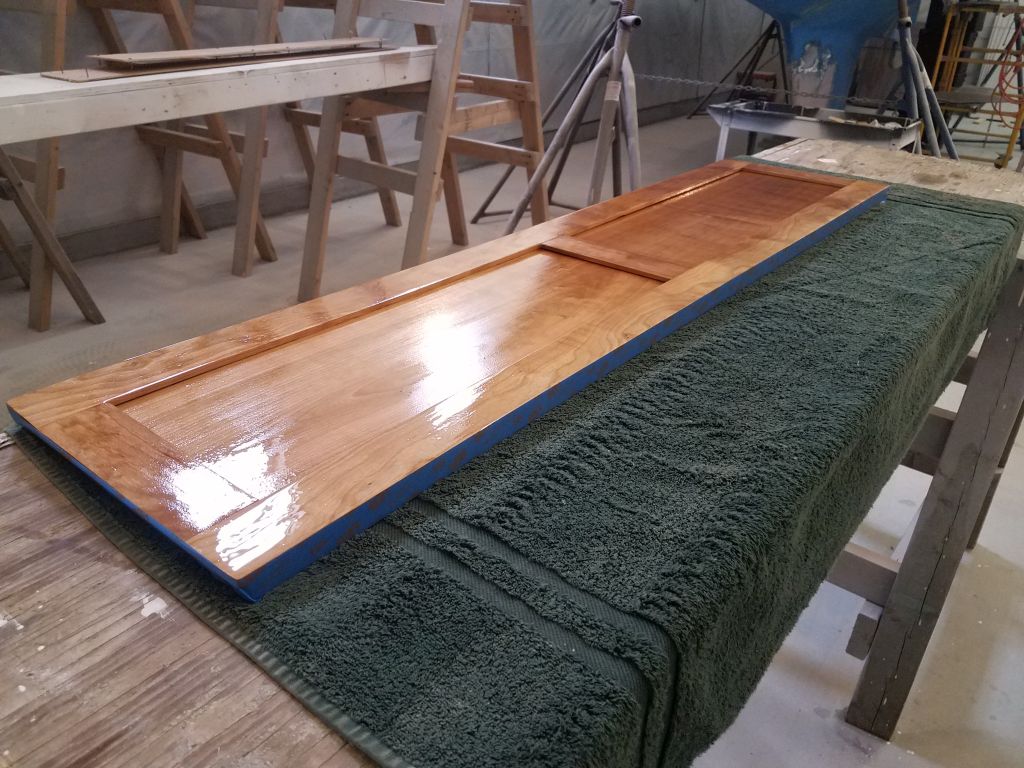
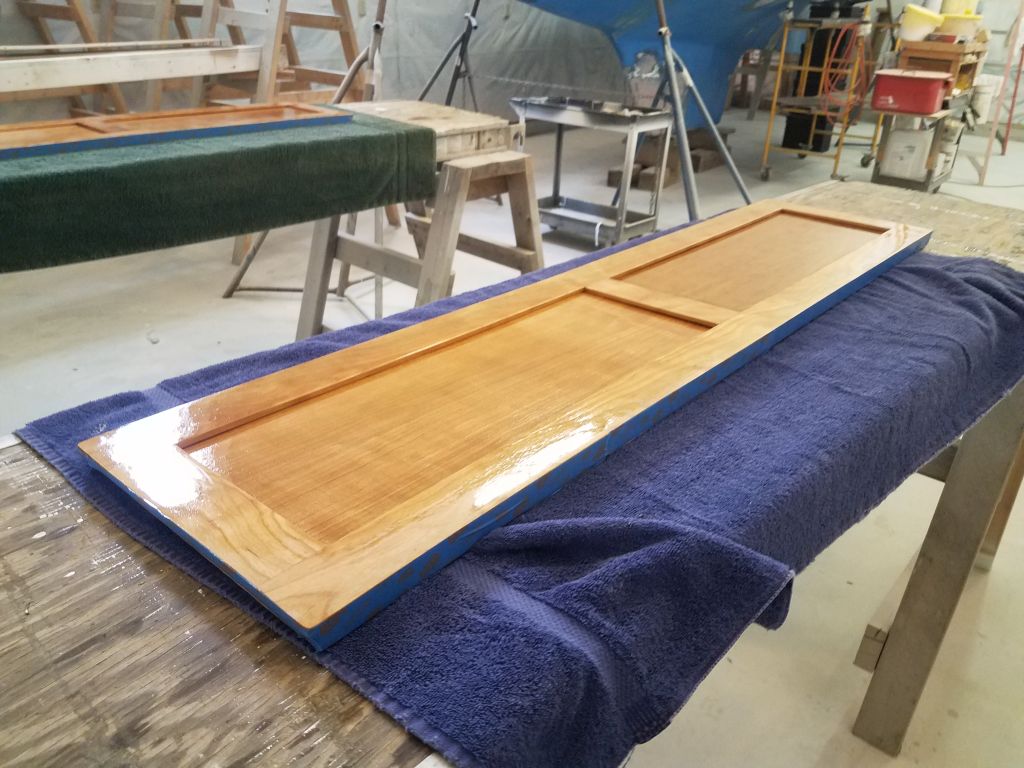
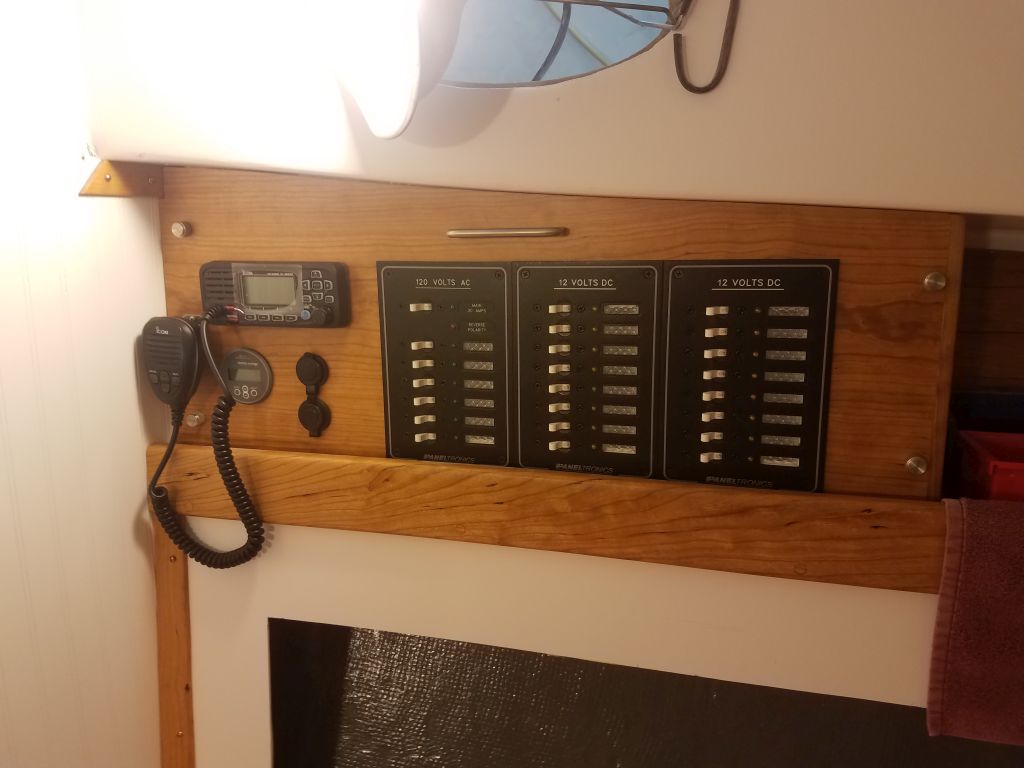
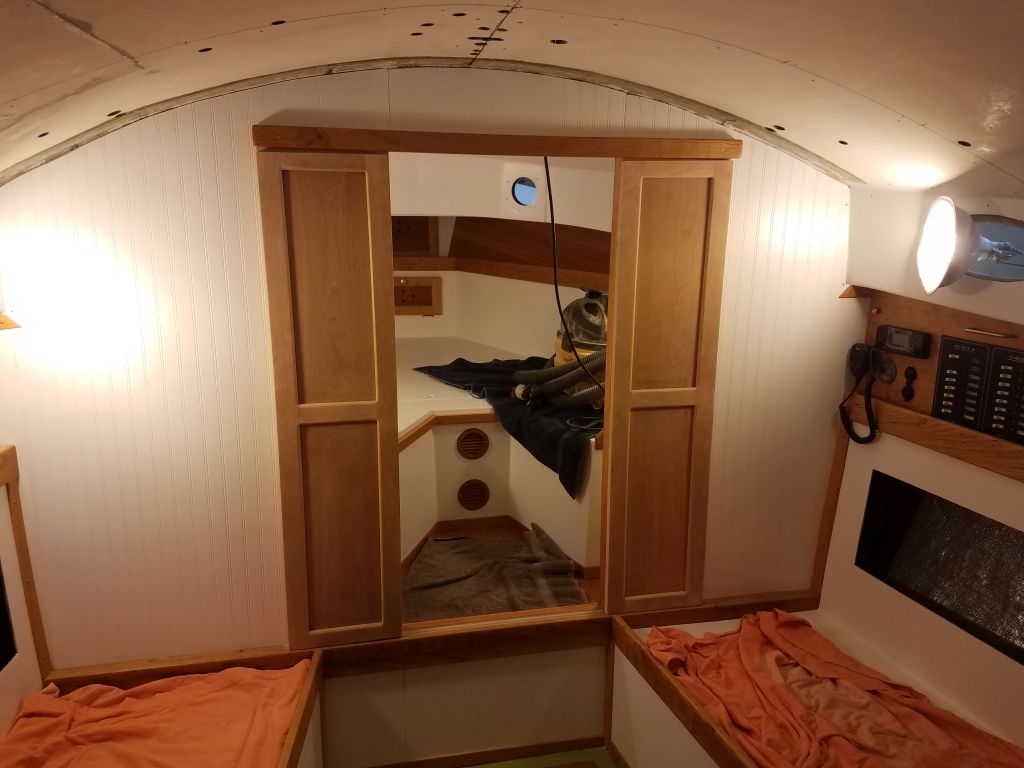
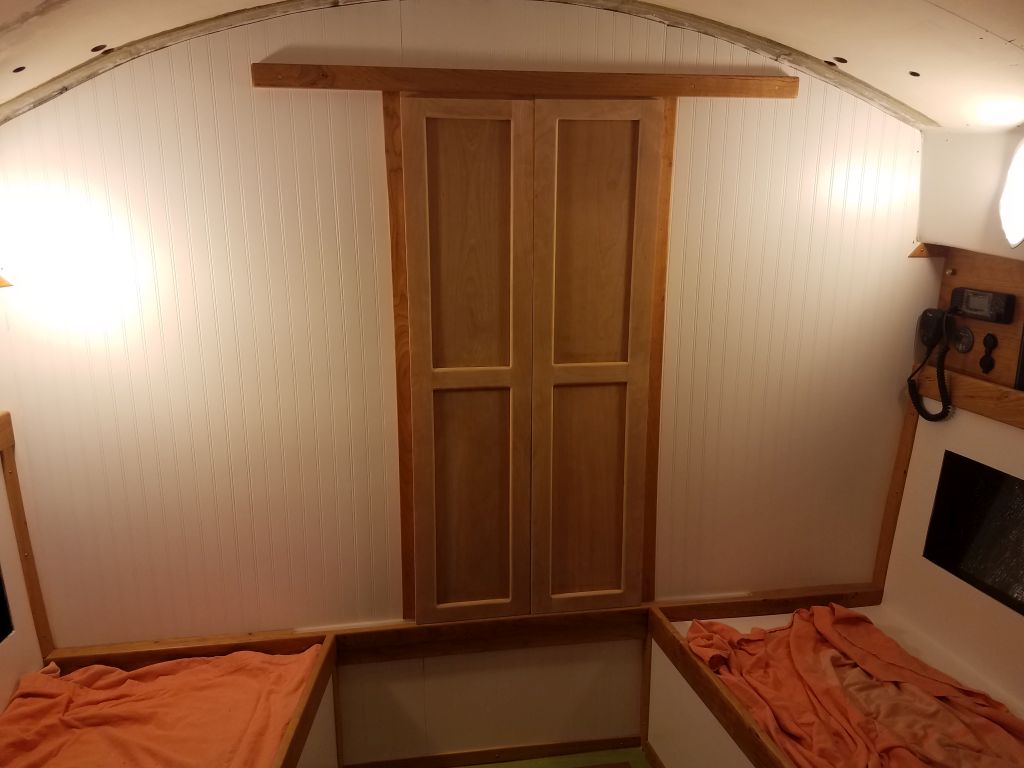
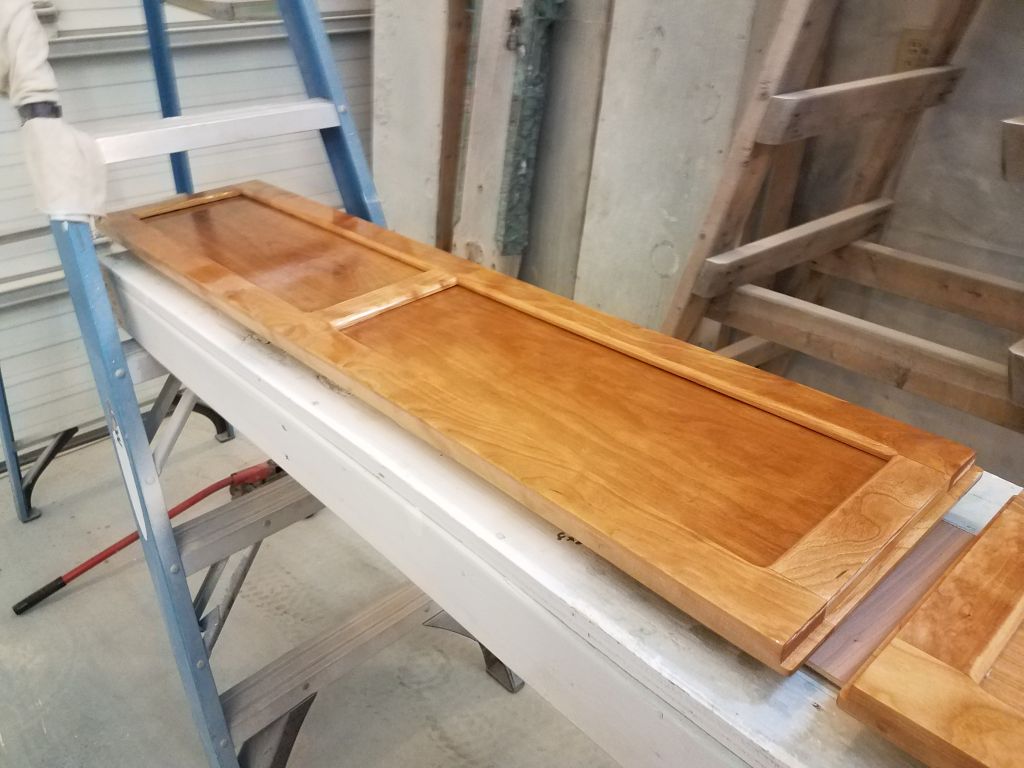
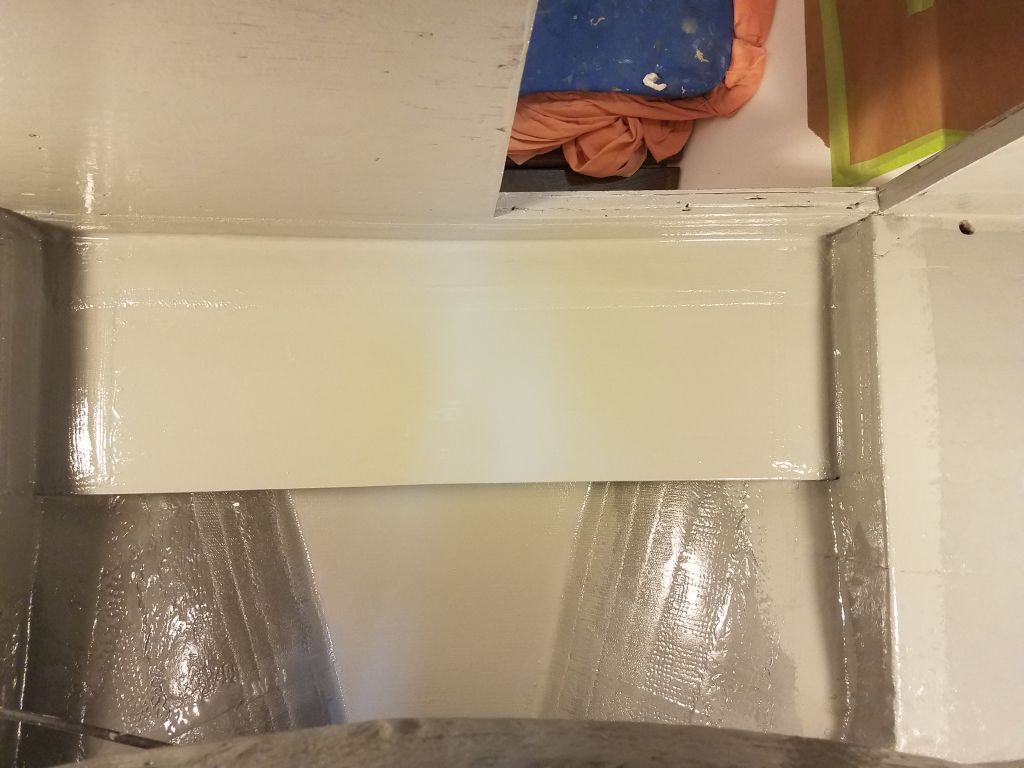
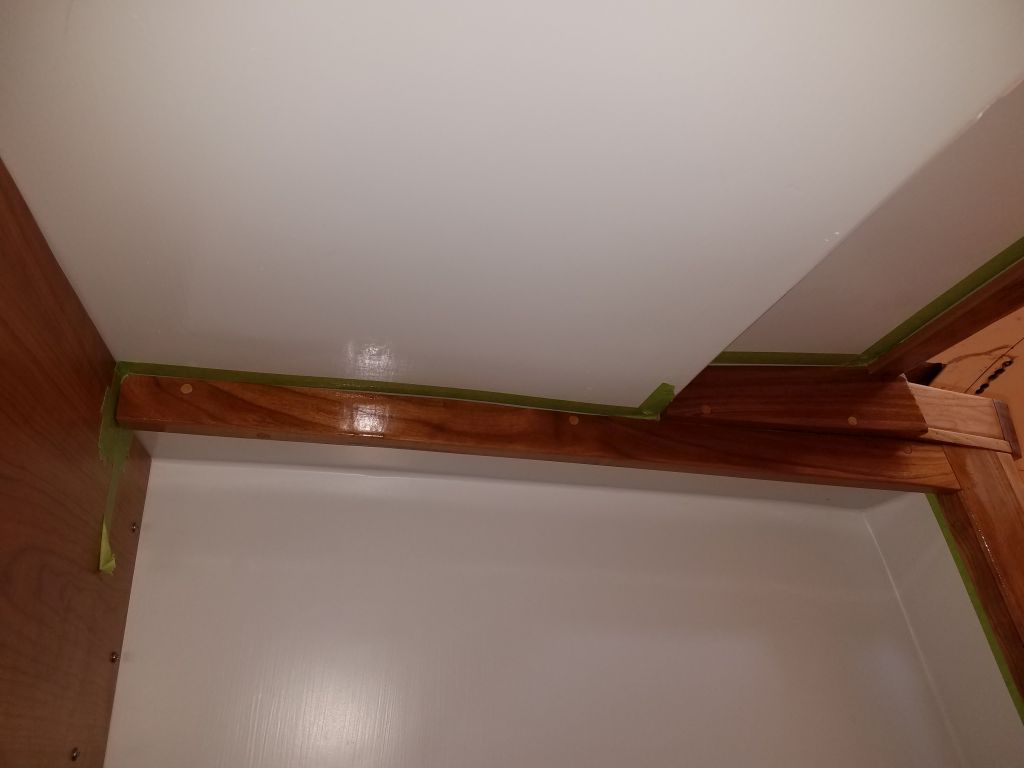
After a session of engine (I can’t help calling it the engine just for convenience’s sake and long convention) and electrical planning and materials specifications, I moved ahead with the companionway trim work, lightly sanding, cleaning, and revarnishing (coat #3) the door trim and environs.
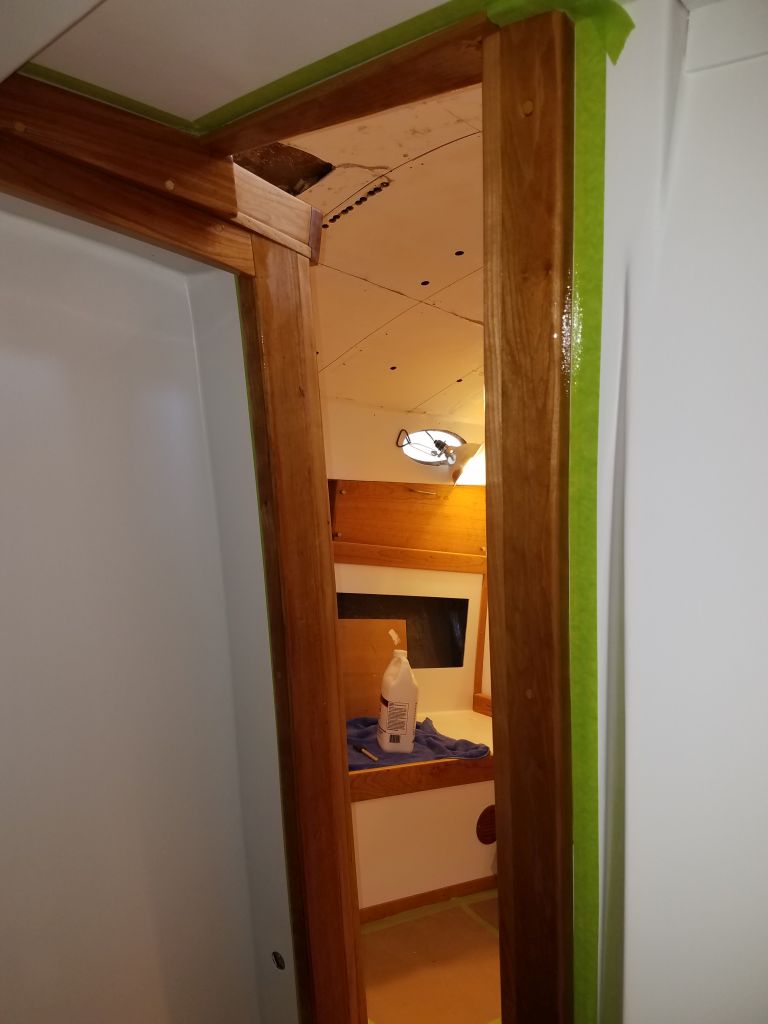
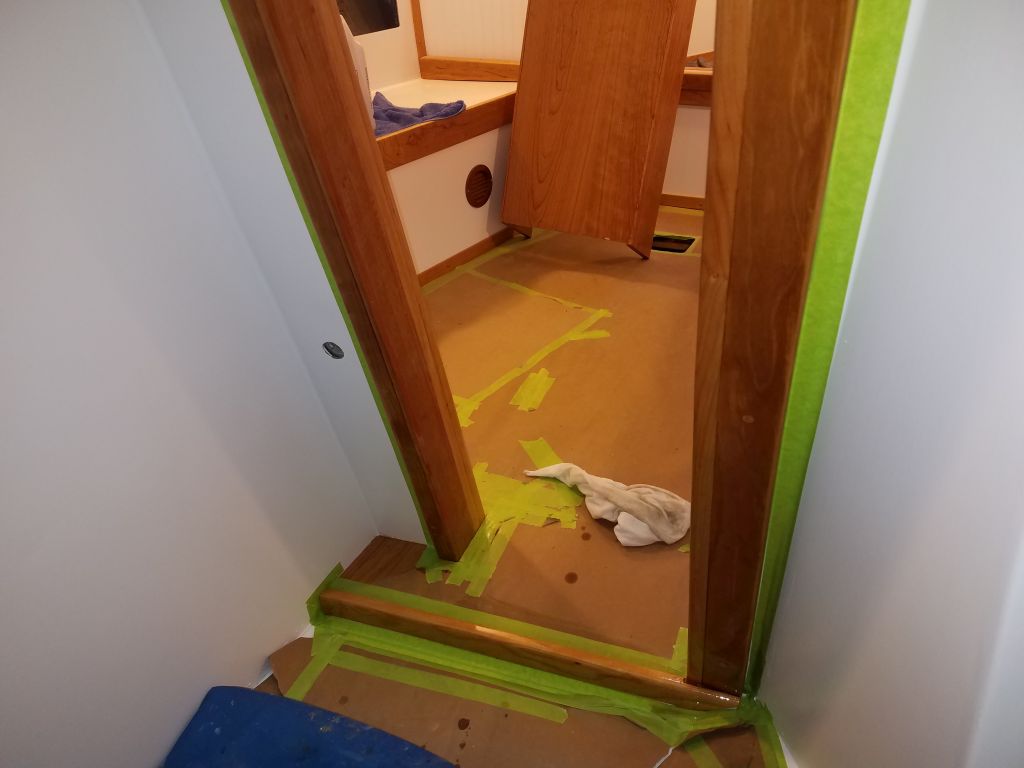
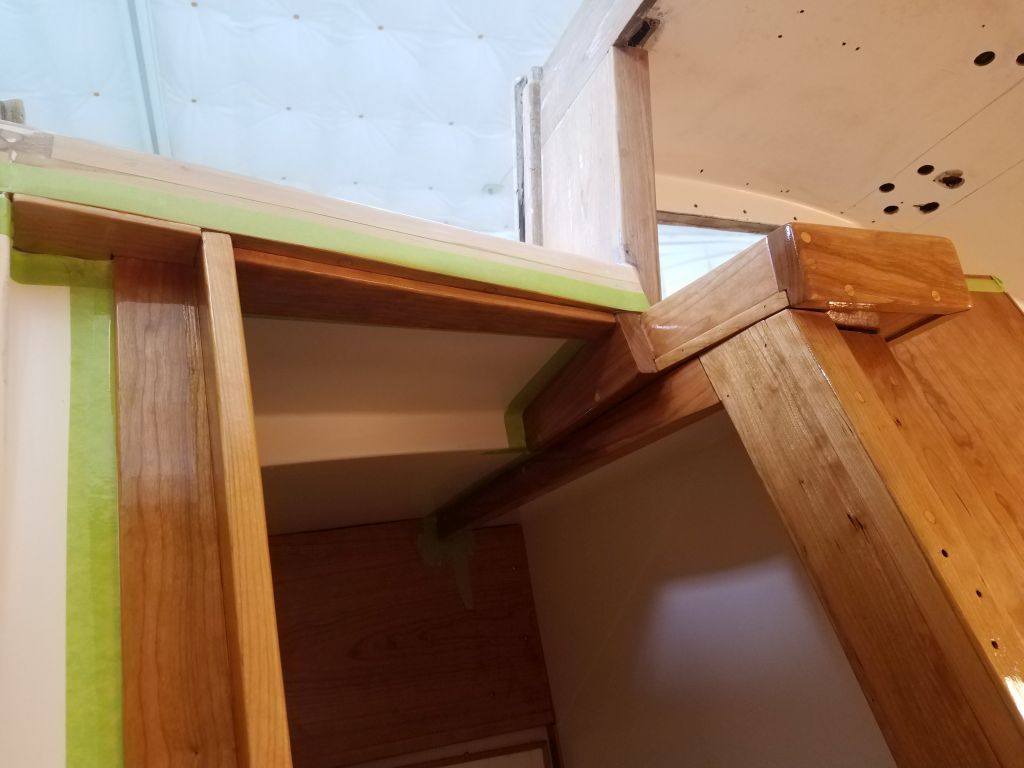
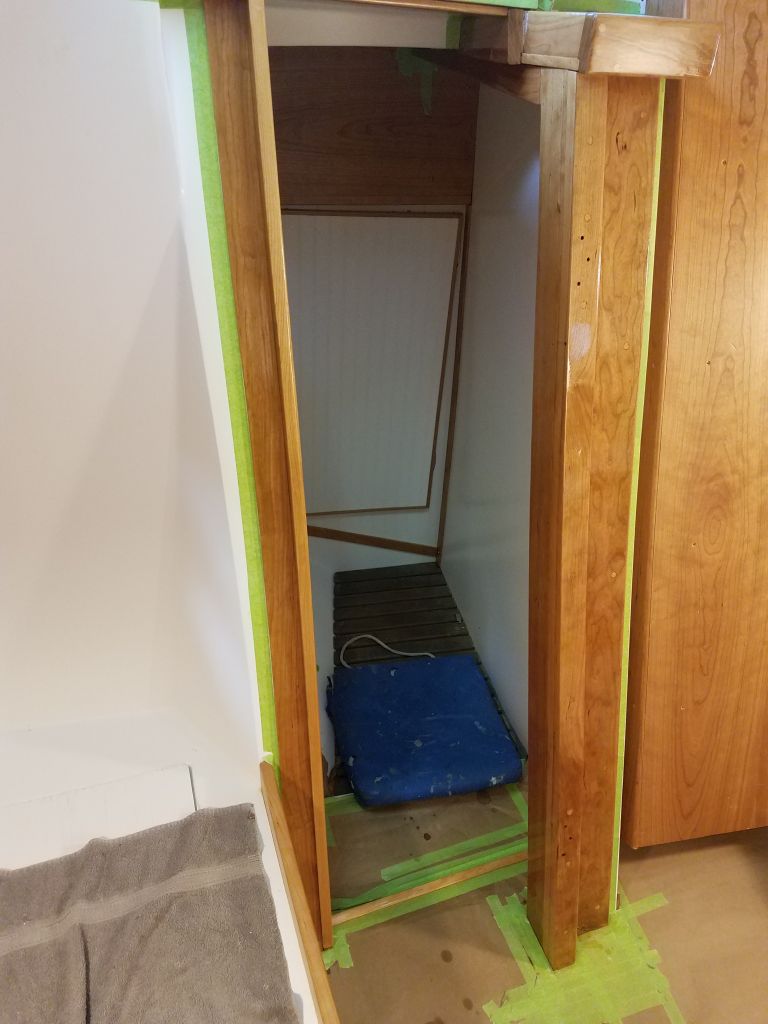
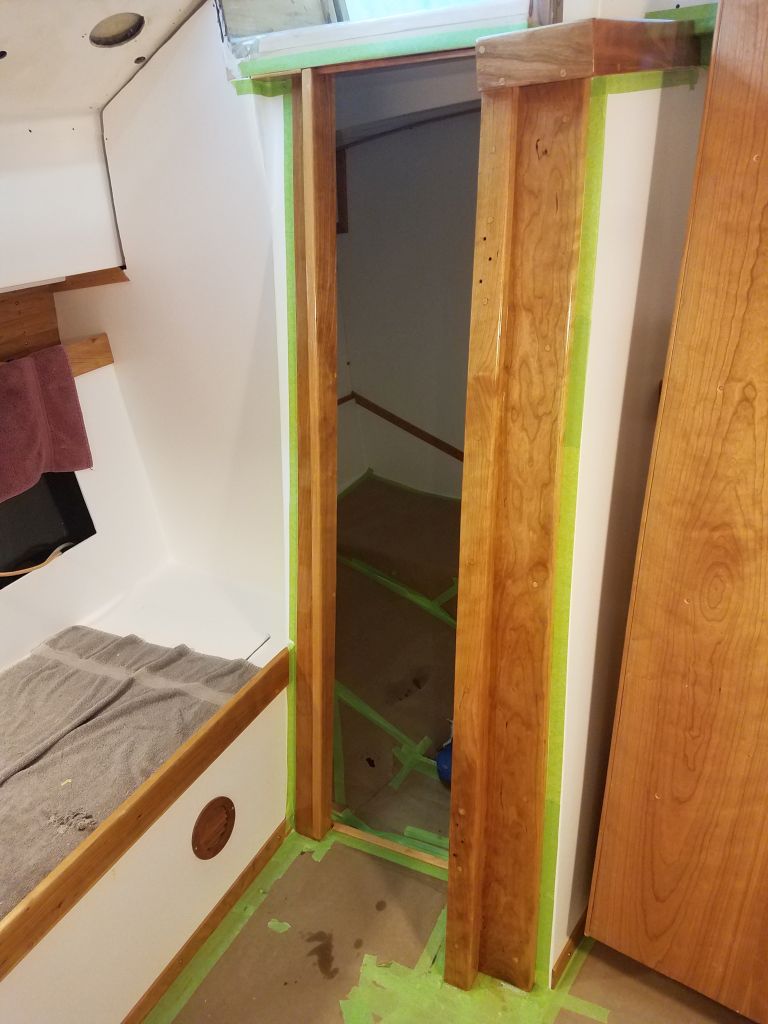
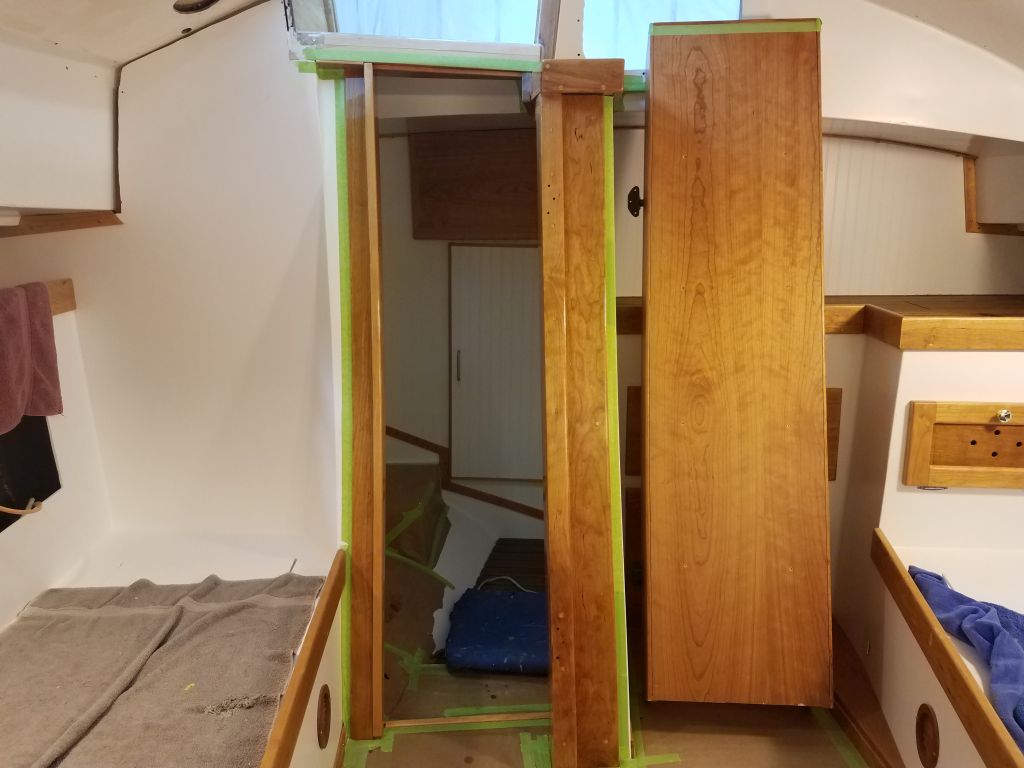
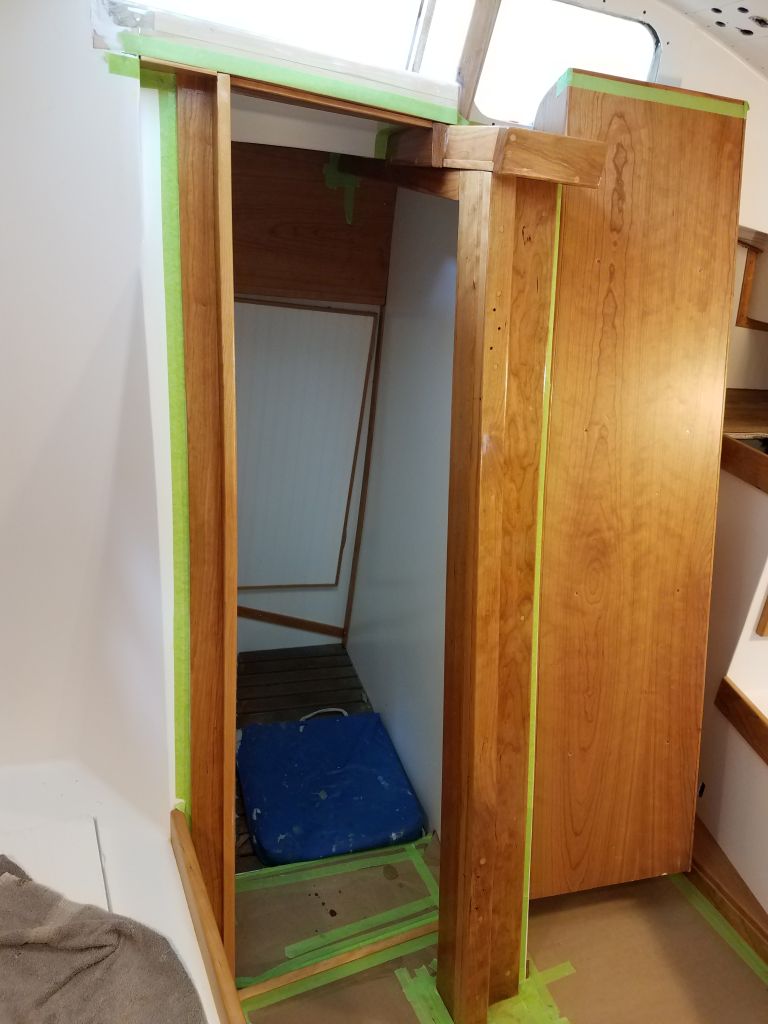
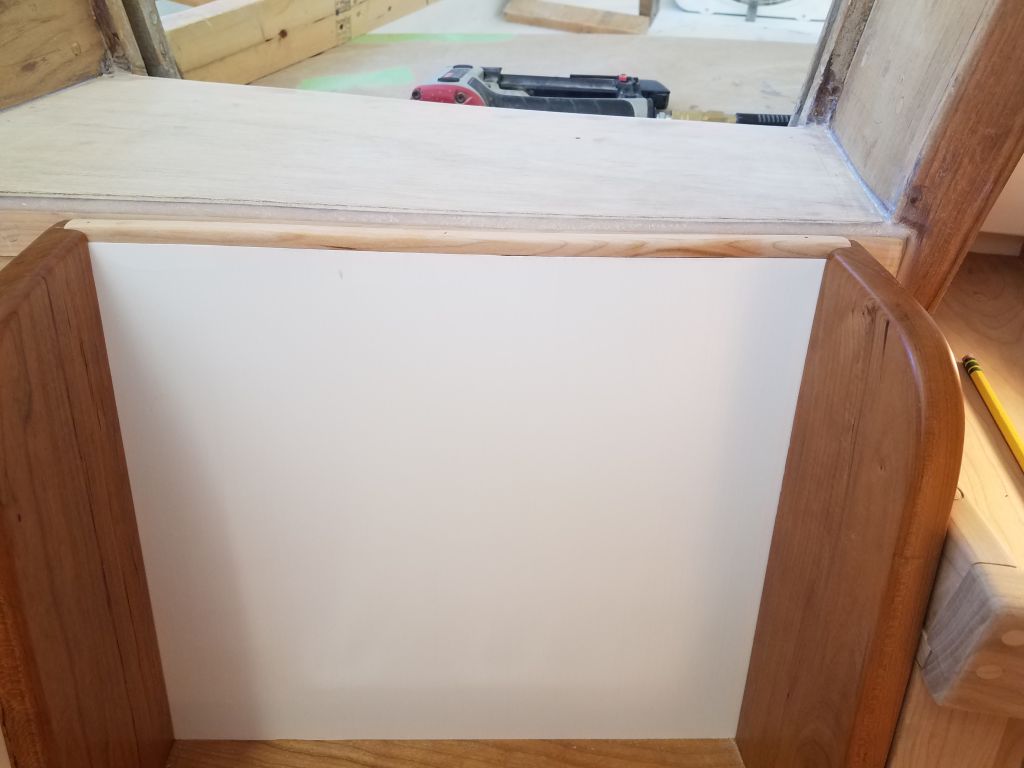
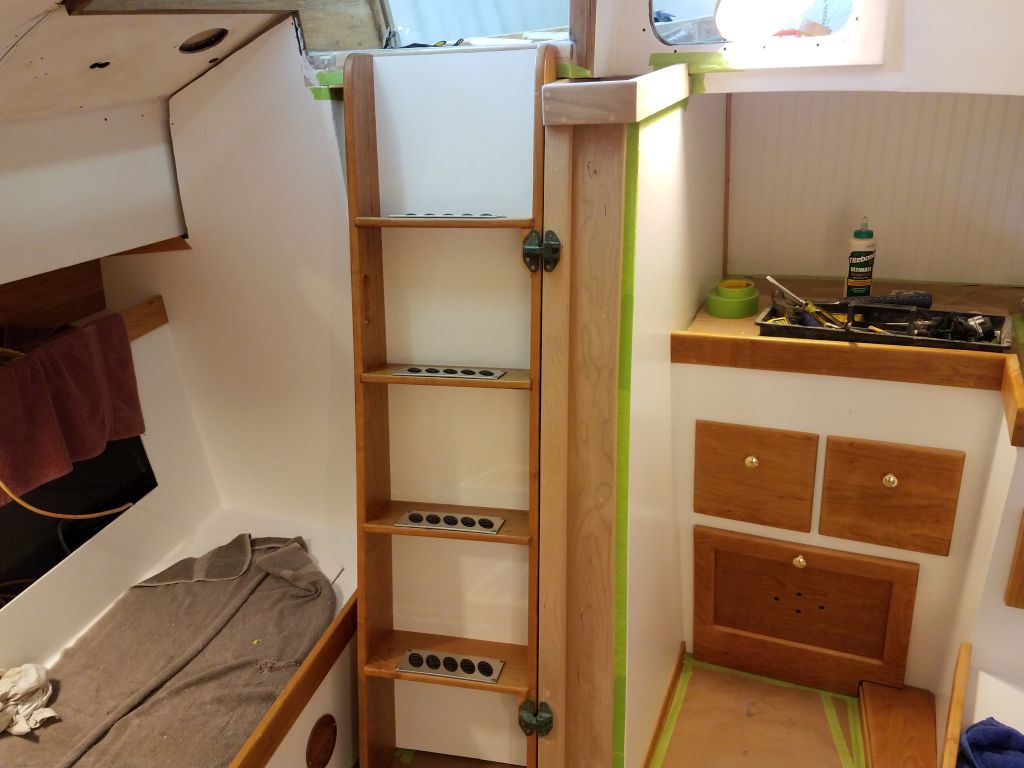
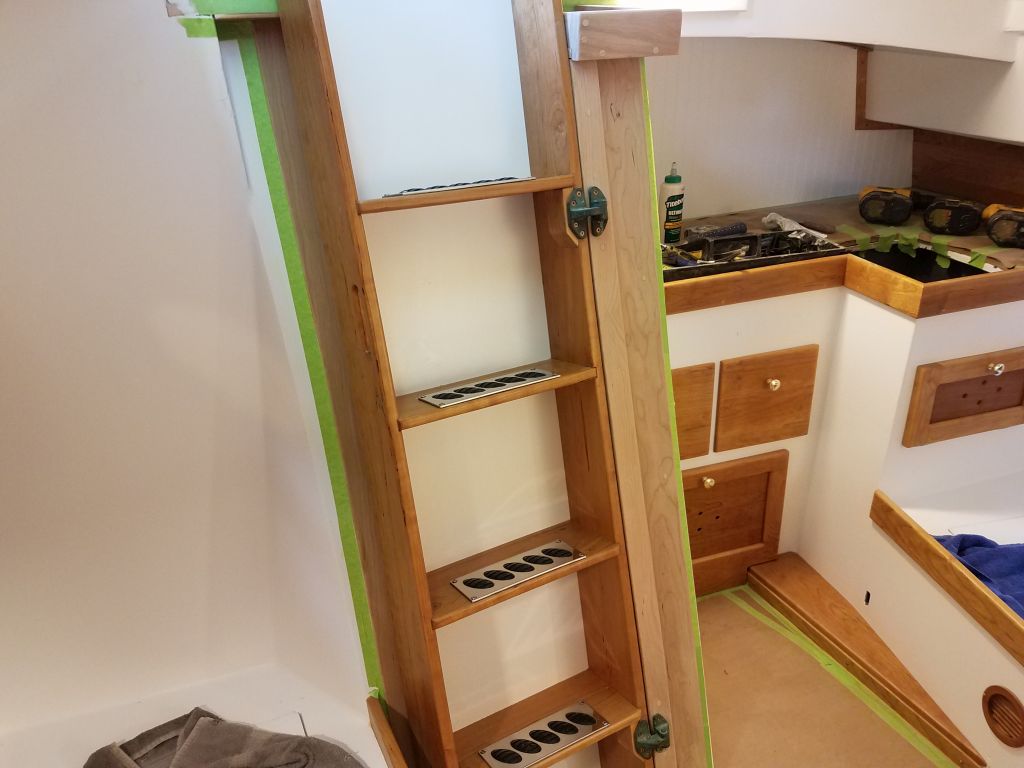
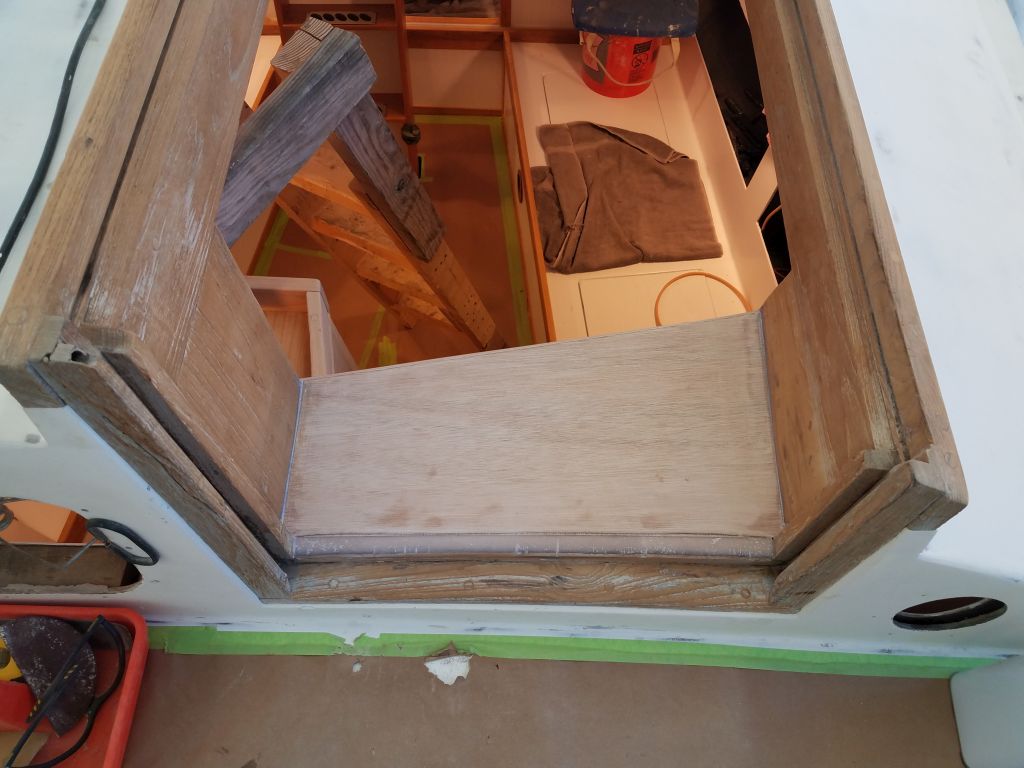
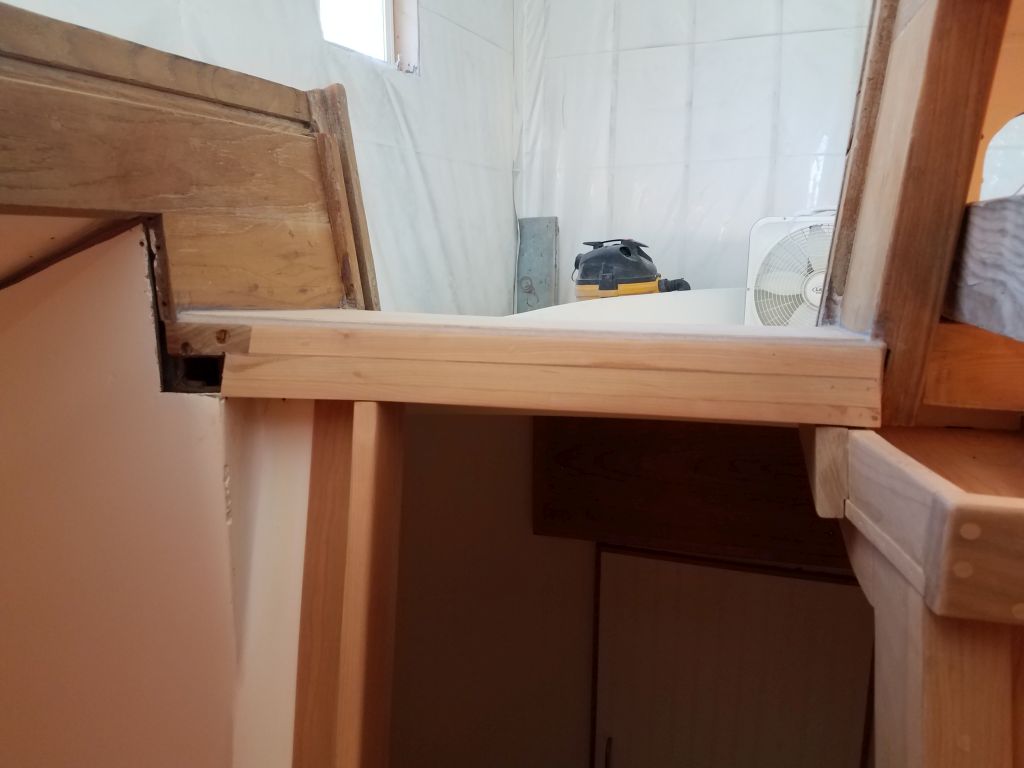
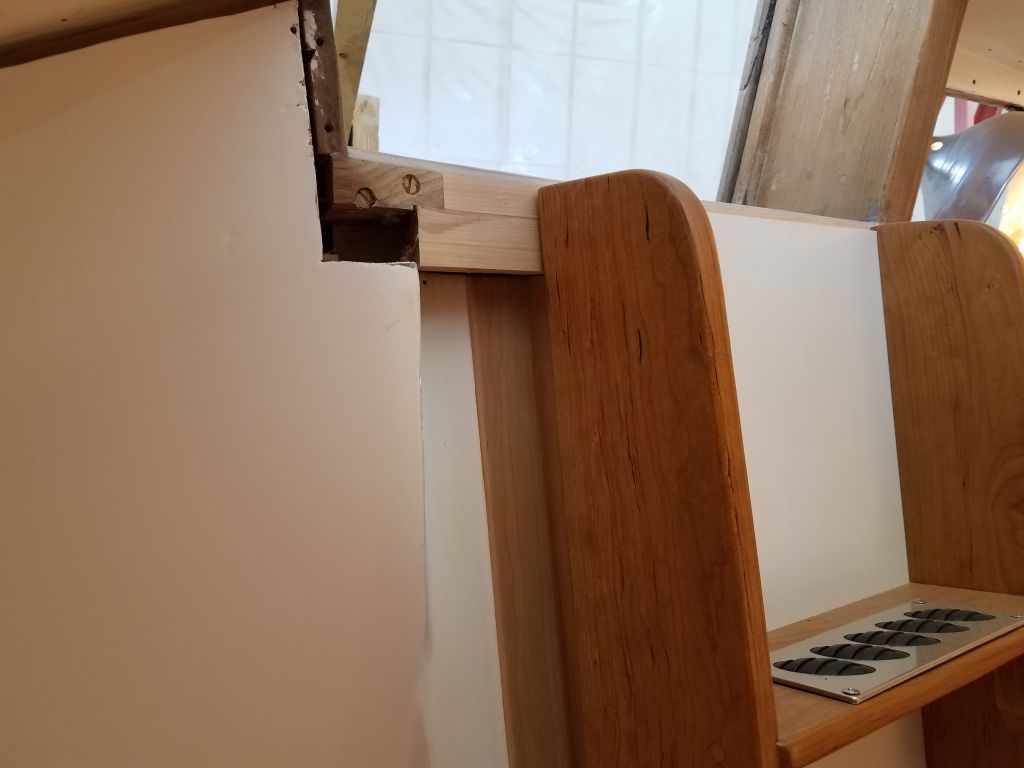
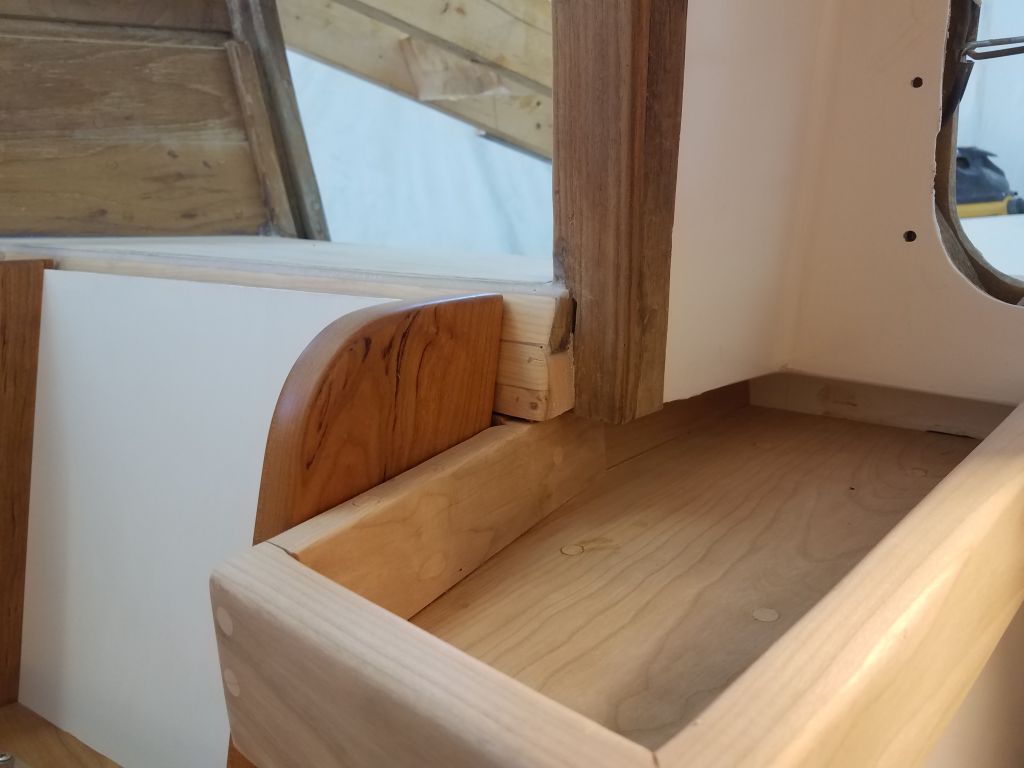
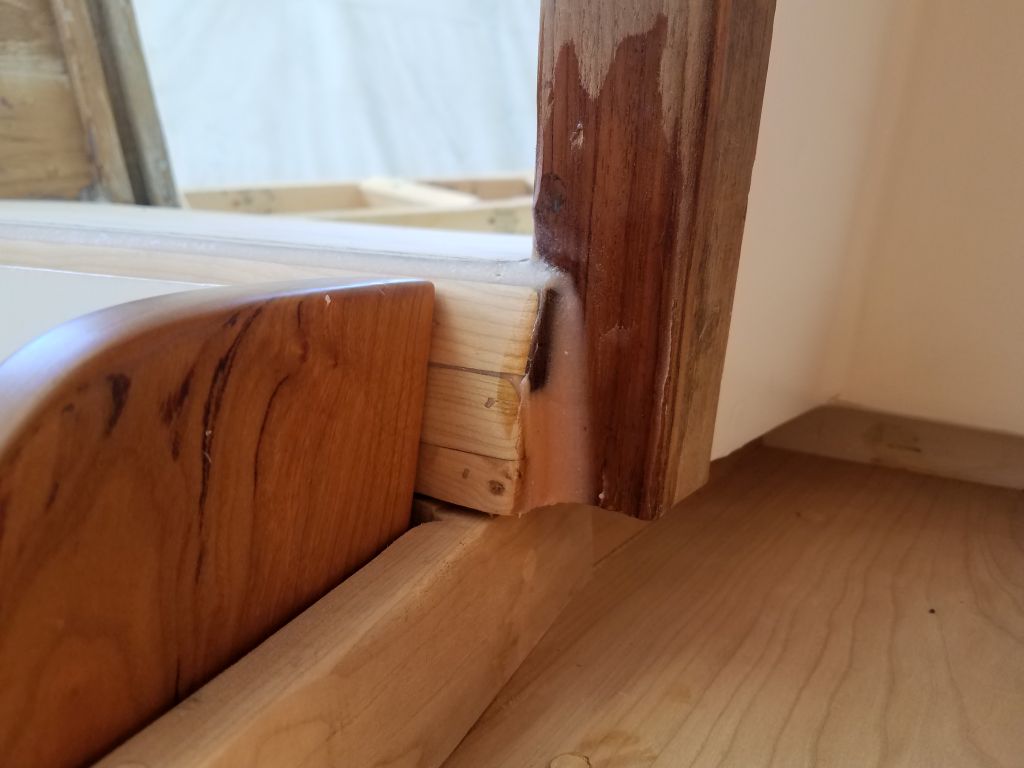
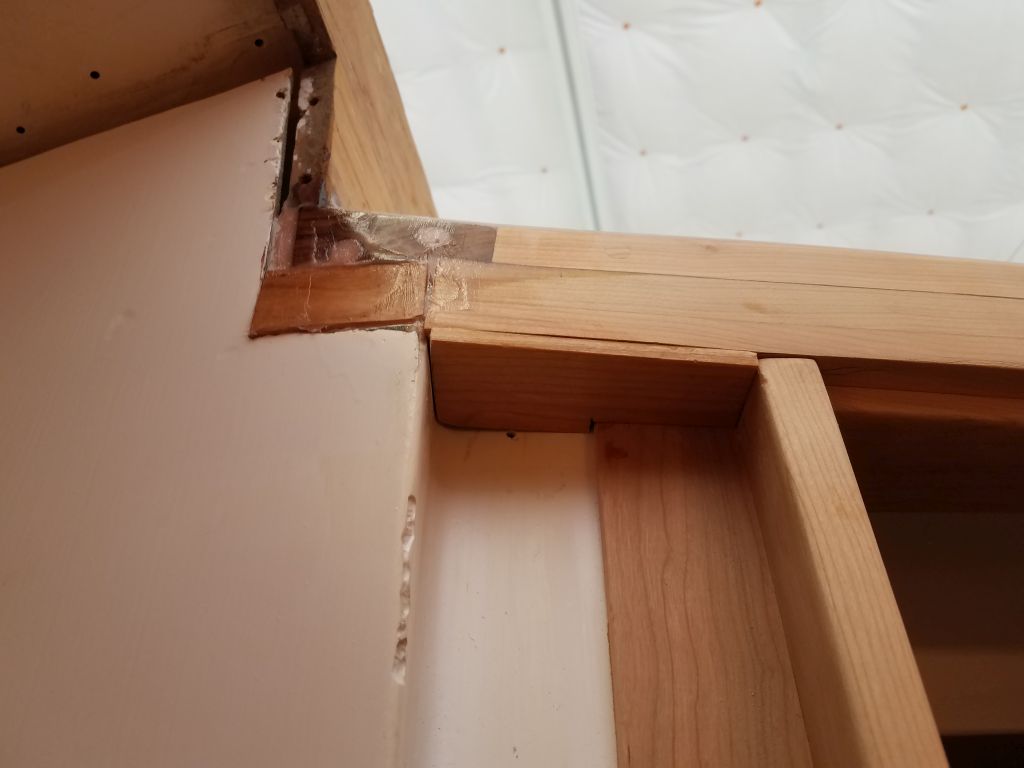
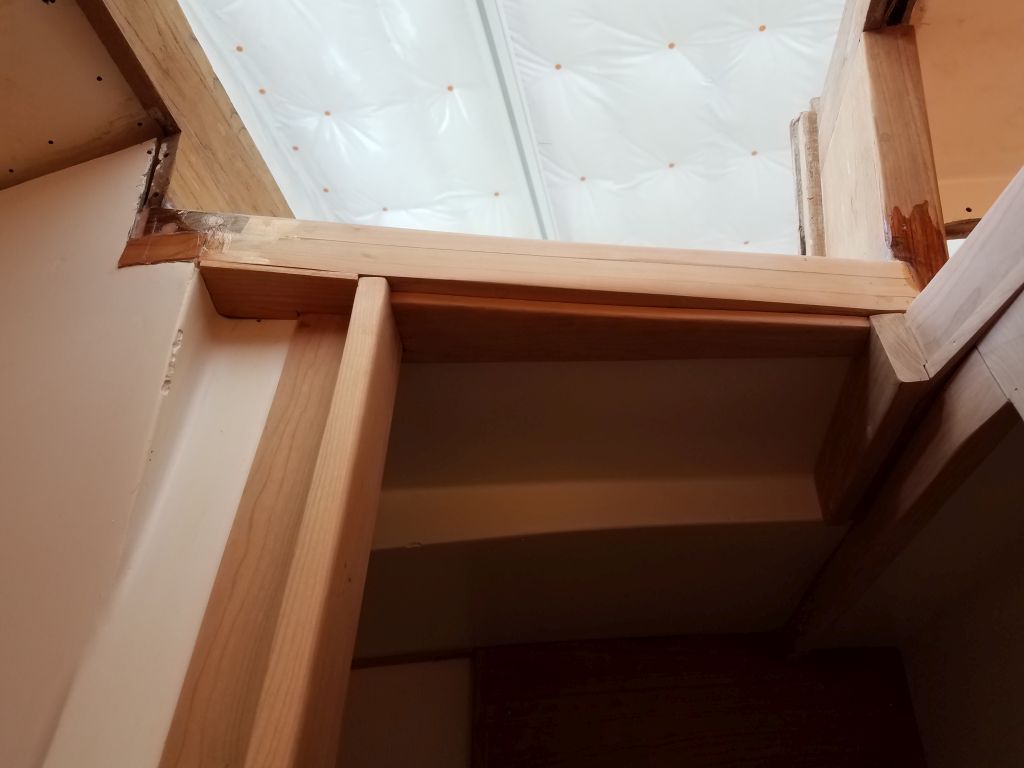
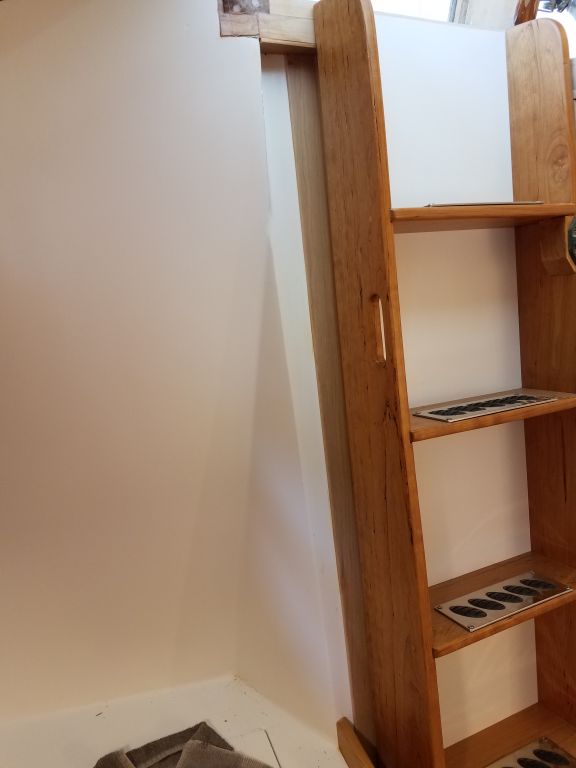
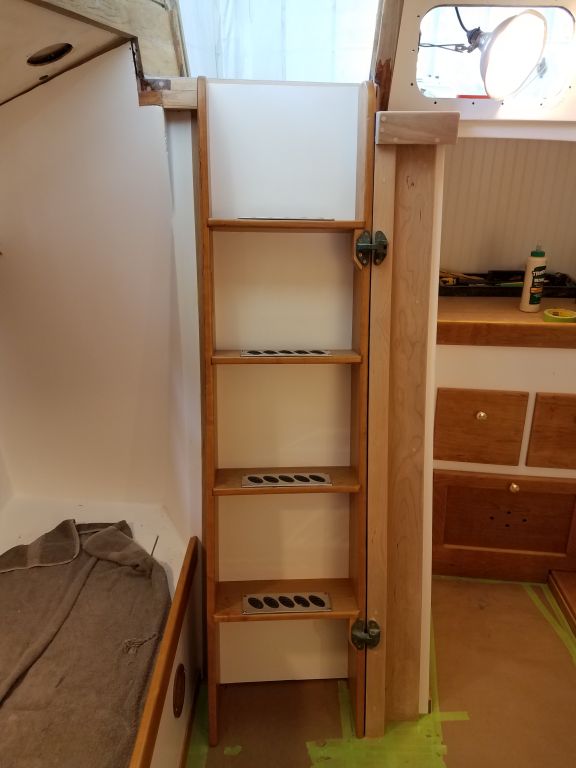
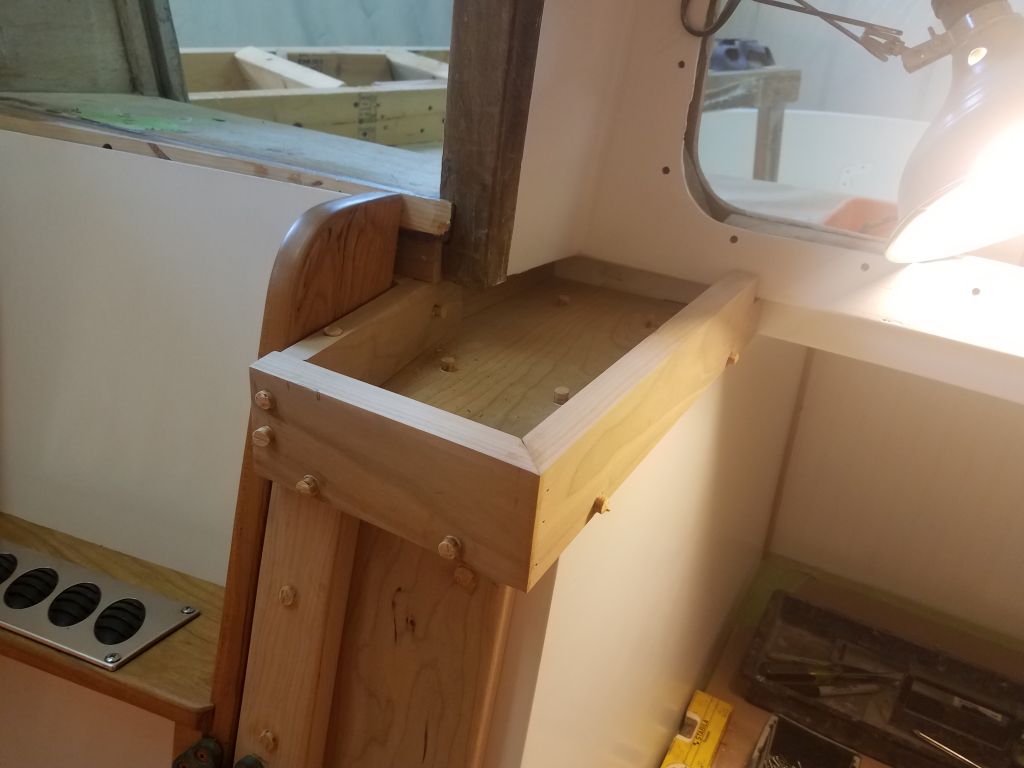
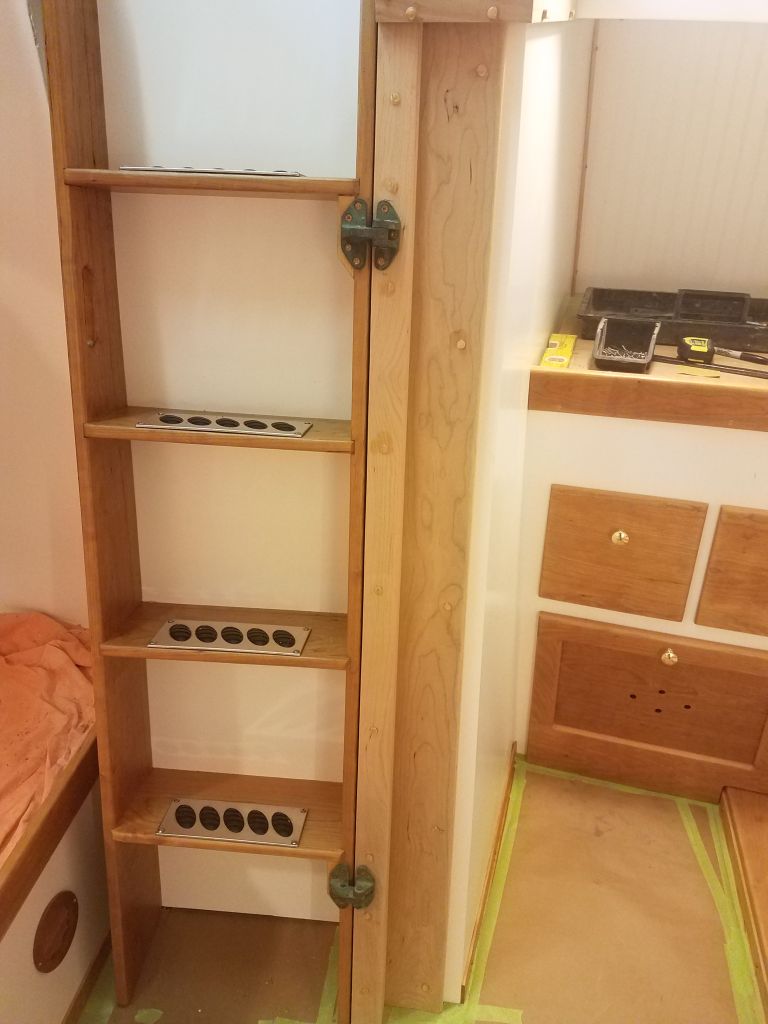
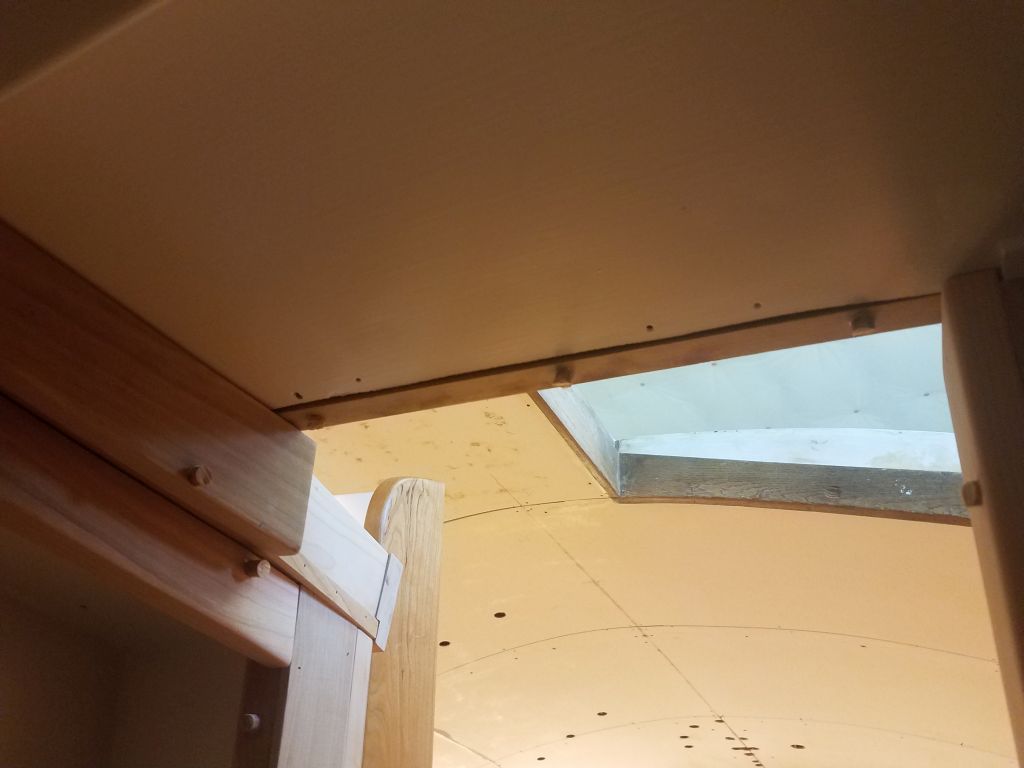
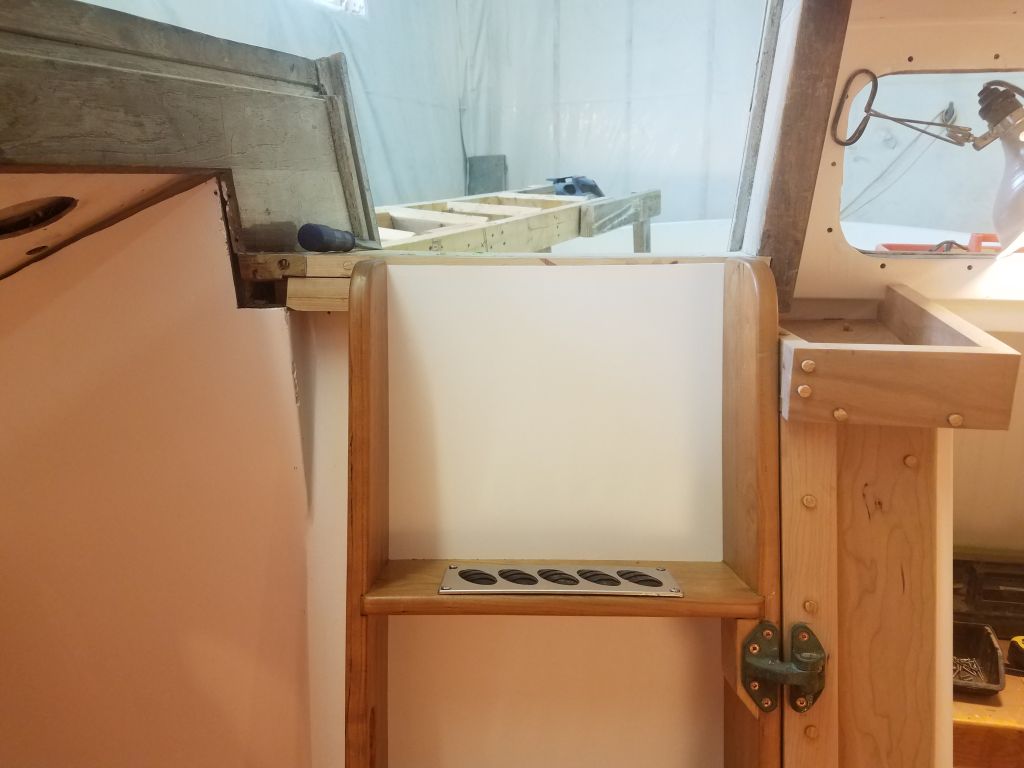
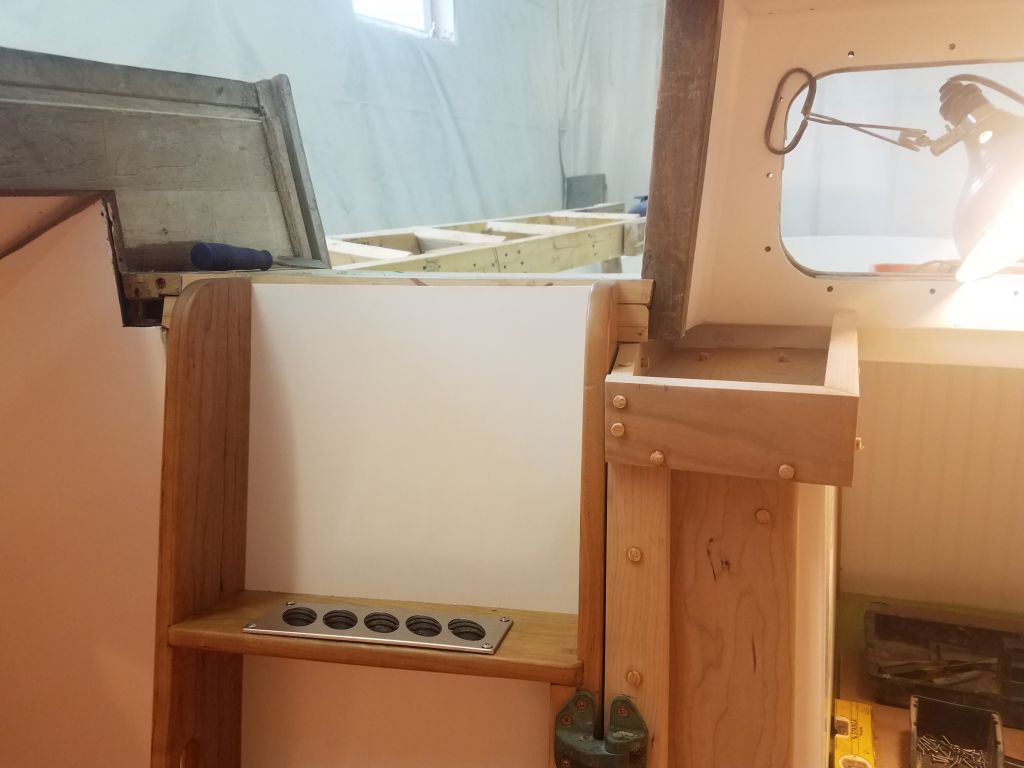
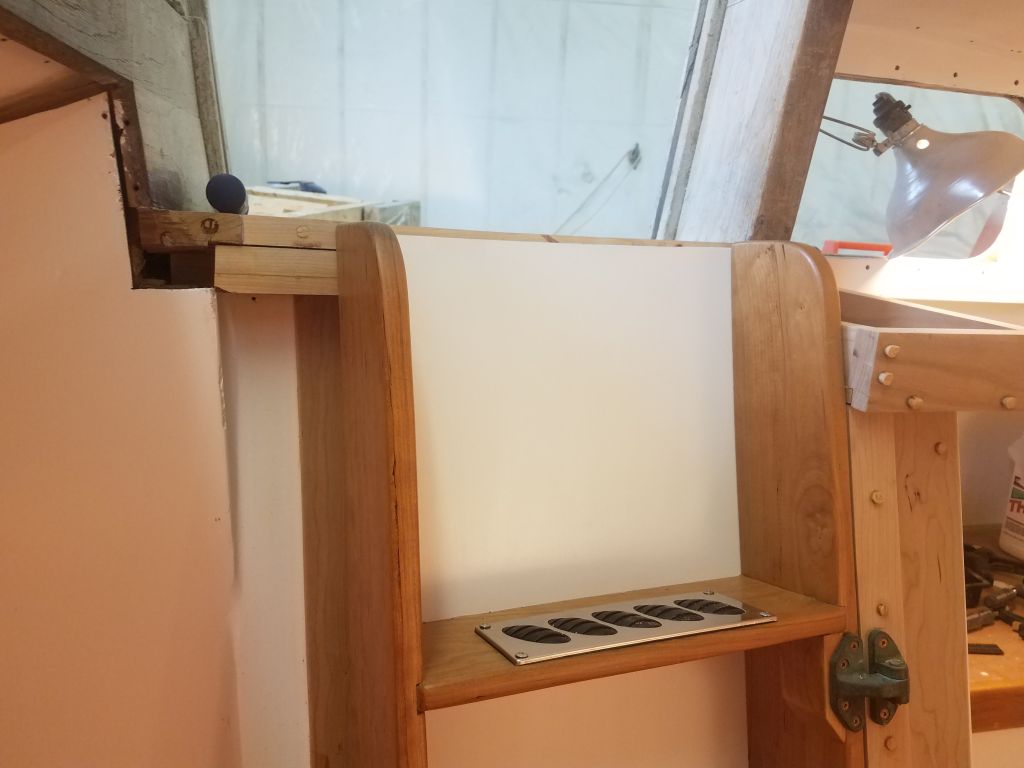
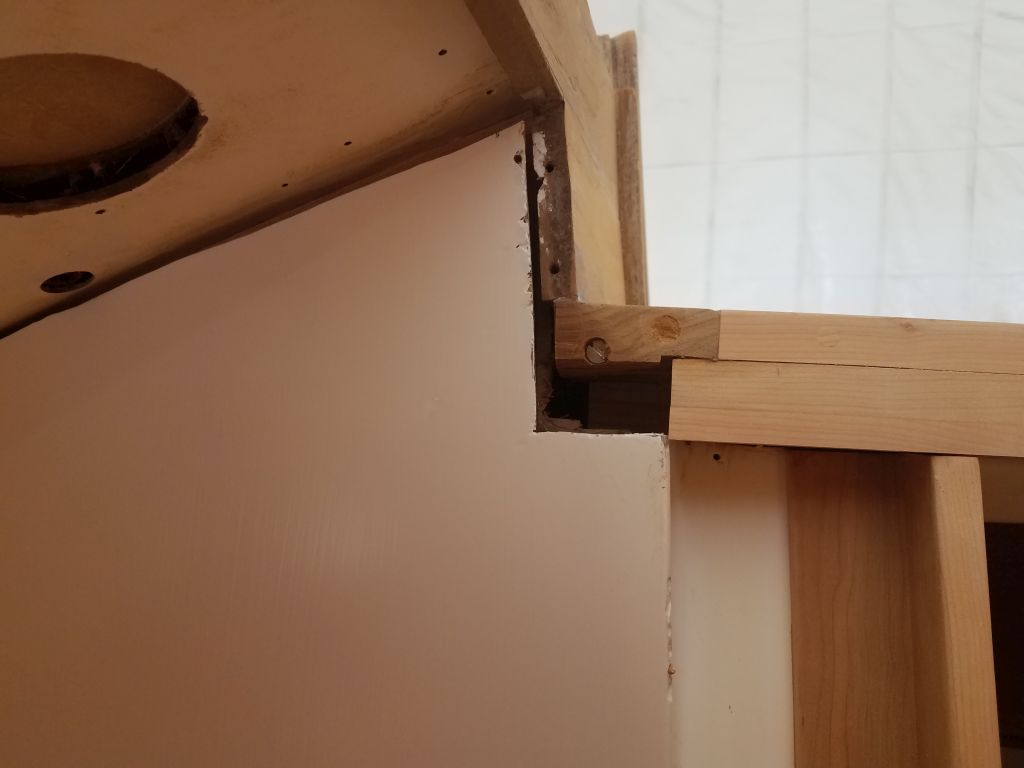
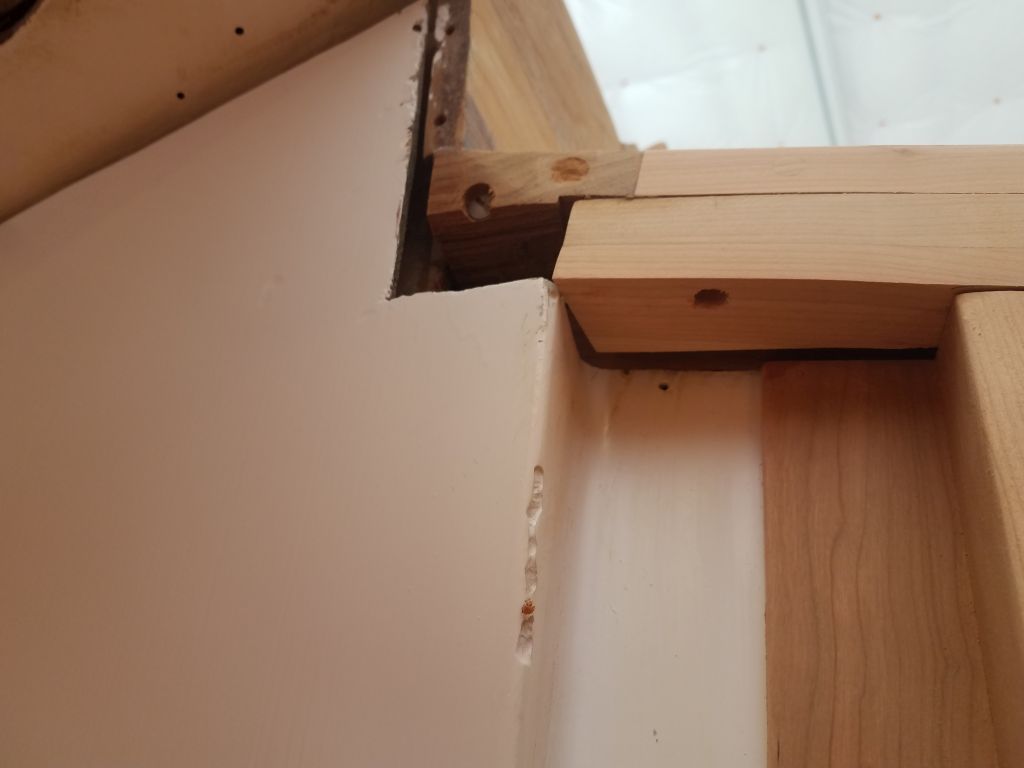
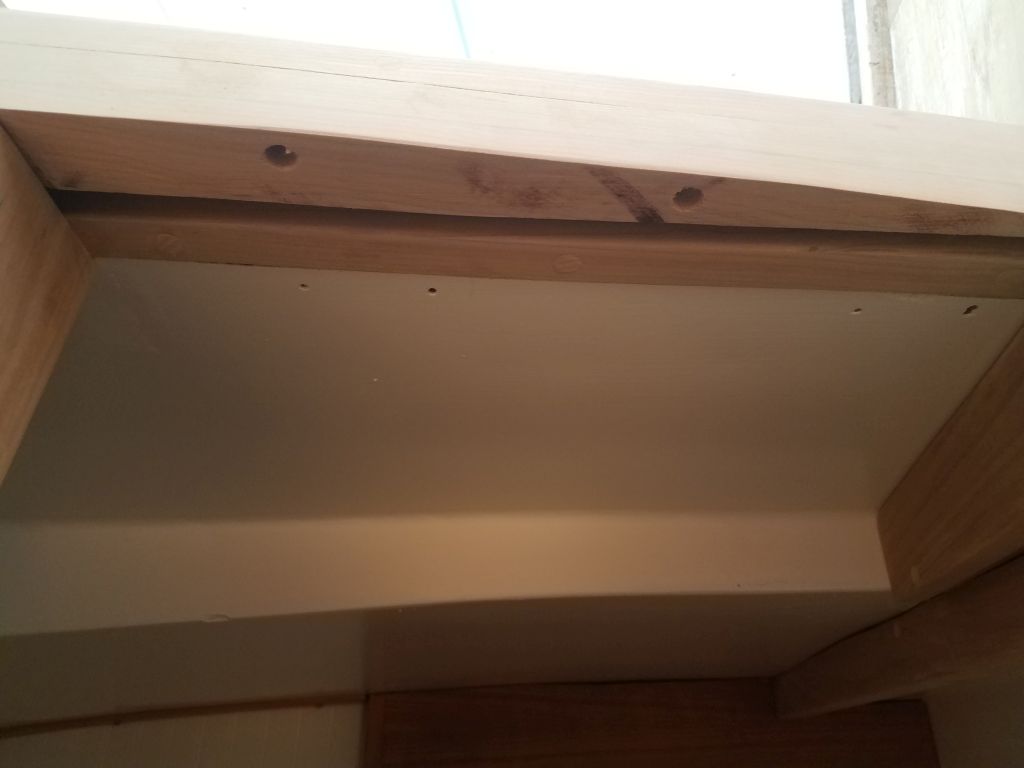
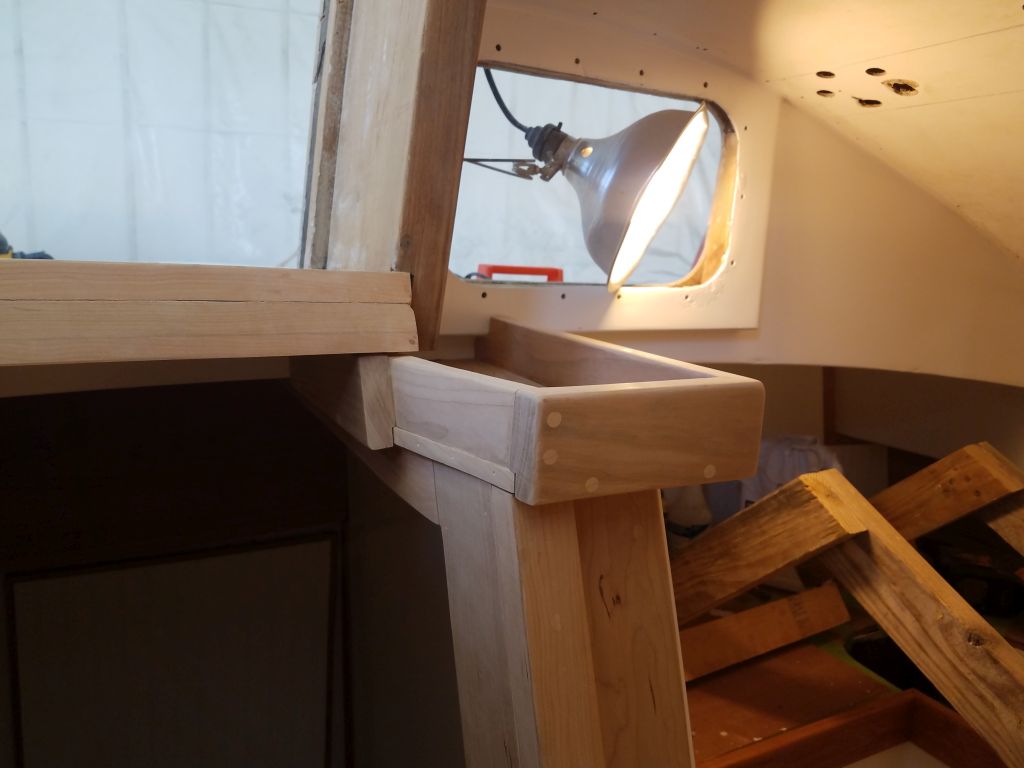
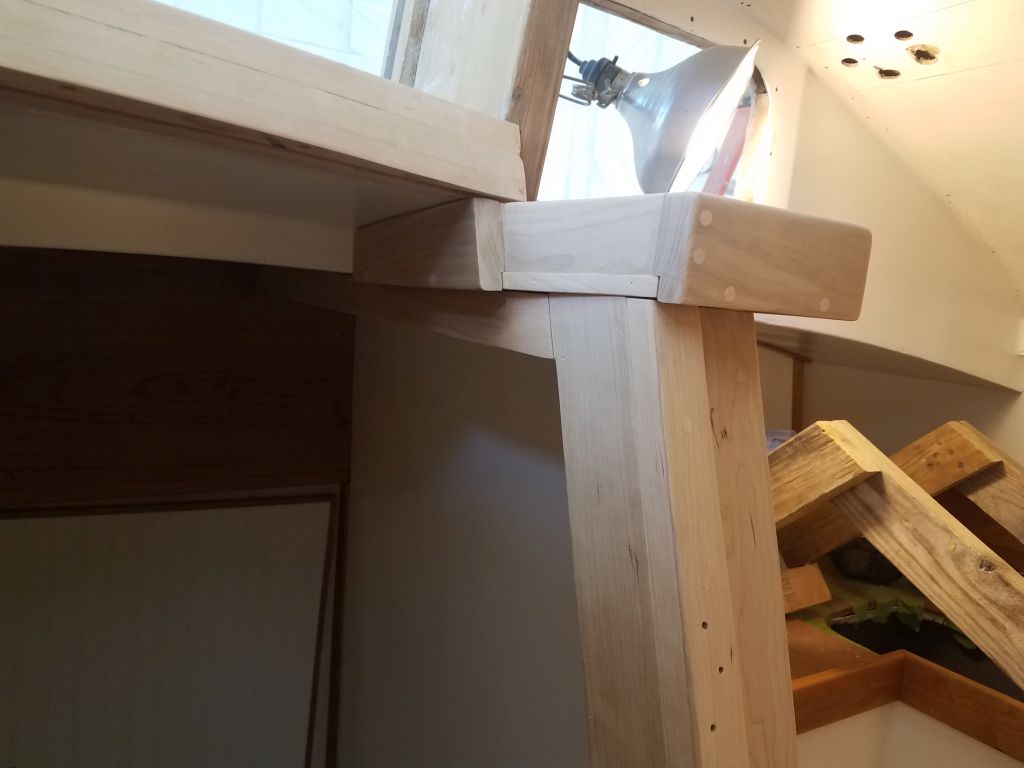
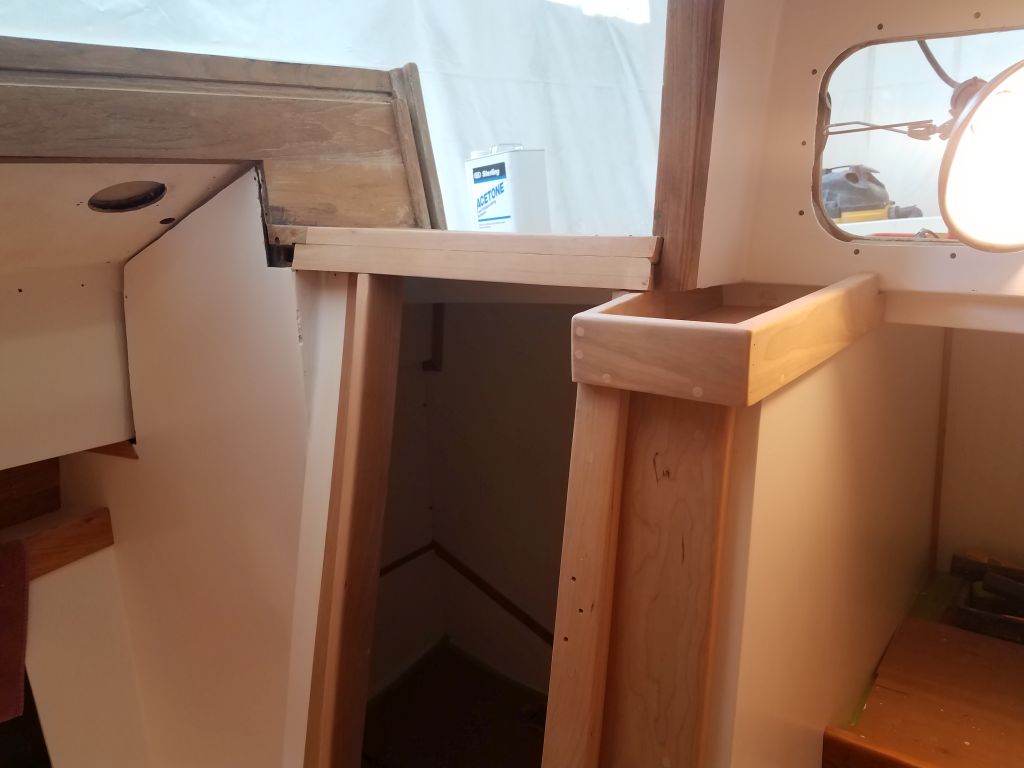
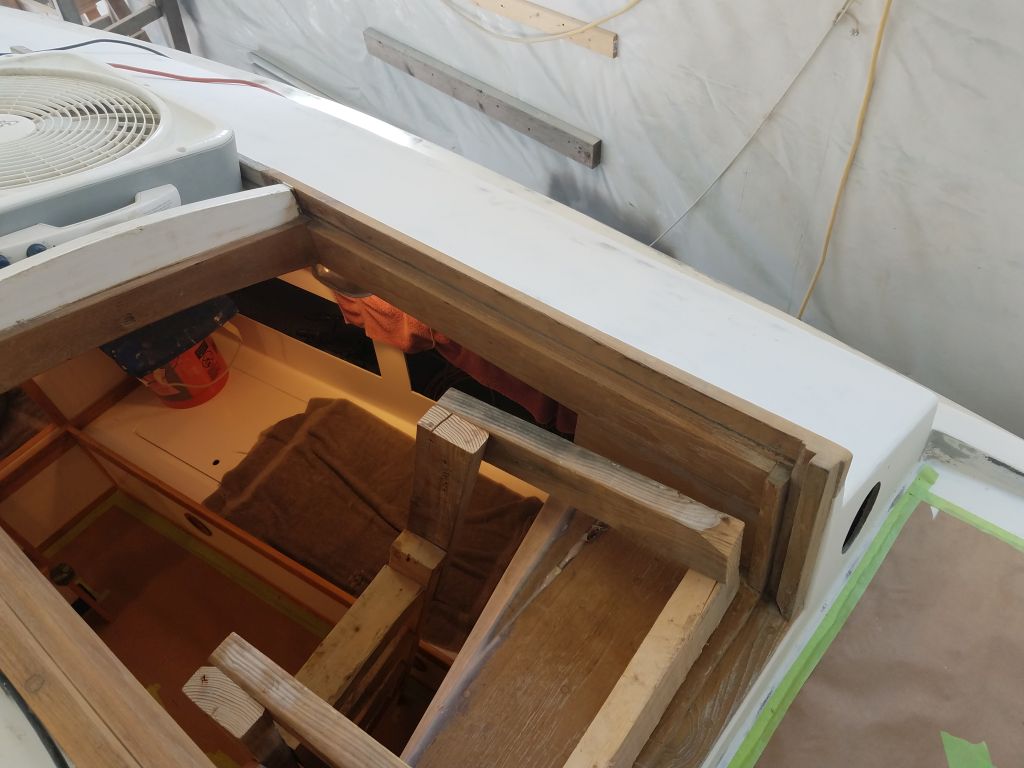
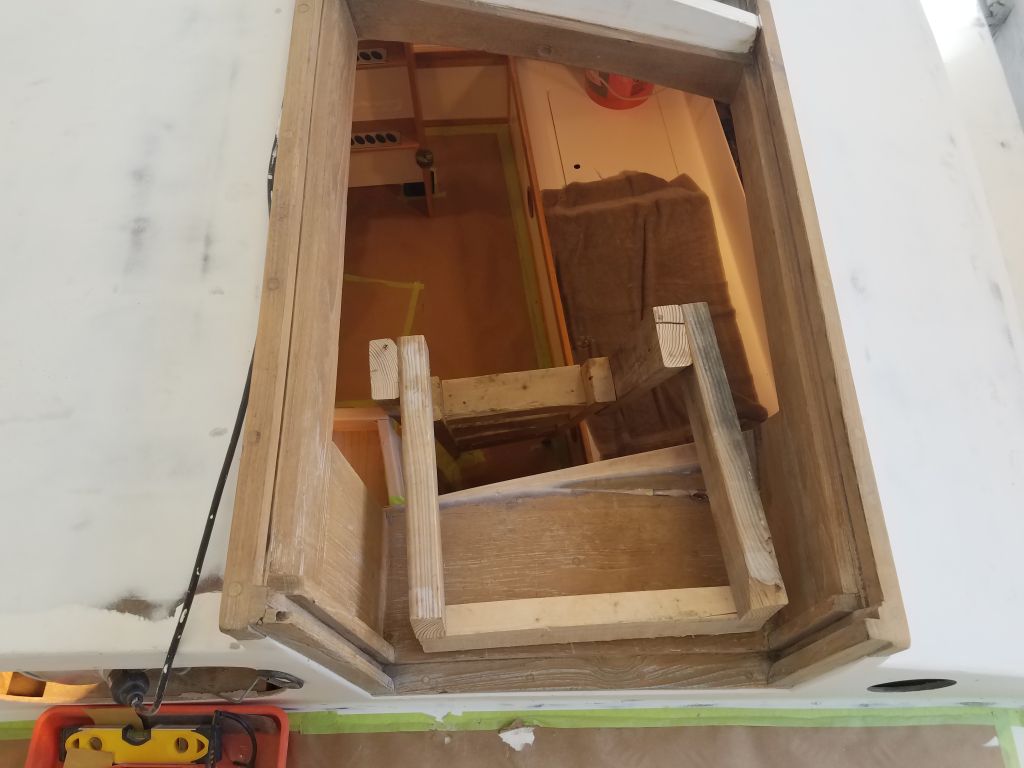
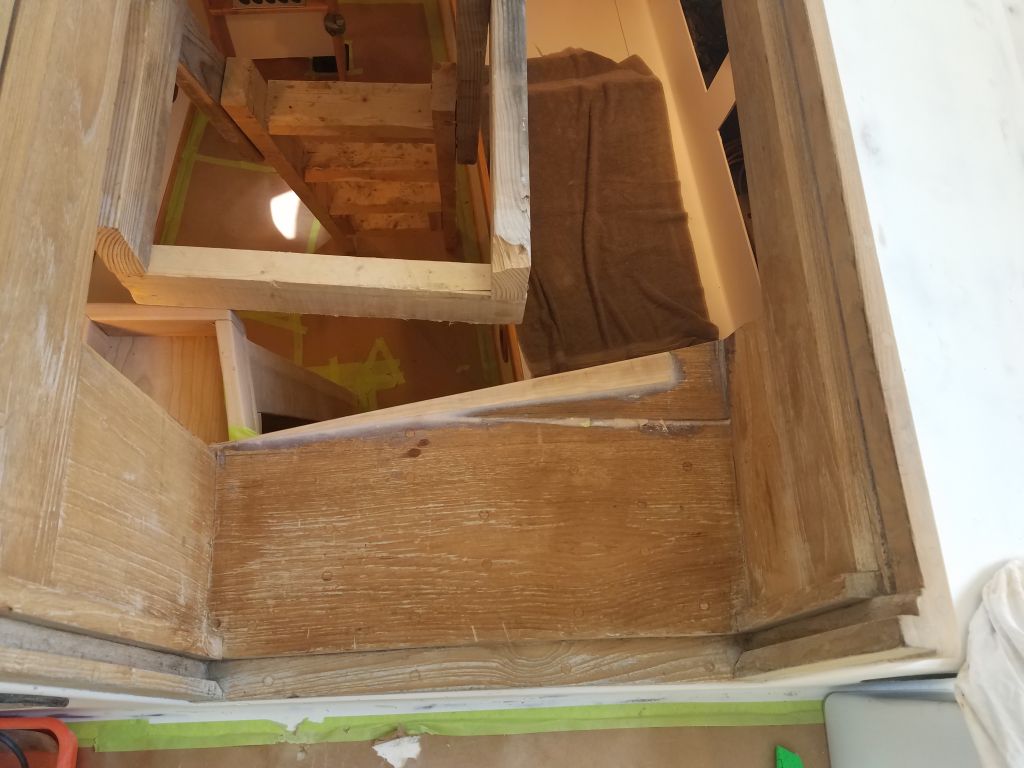
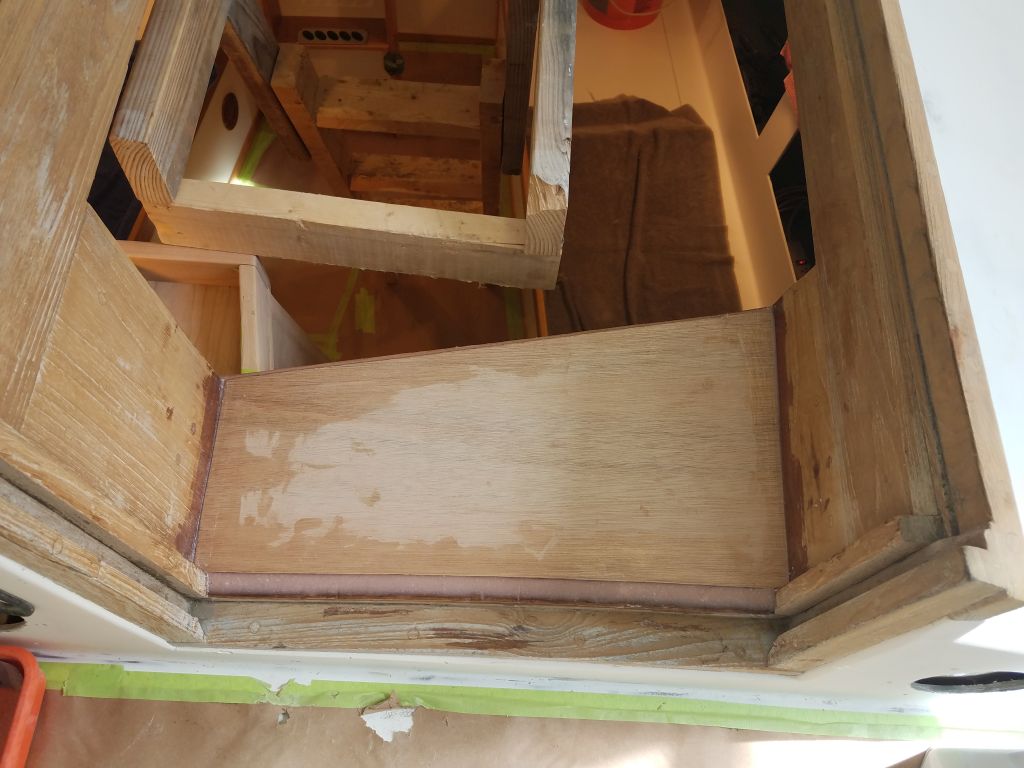
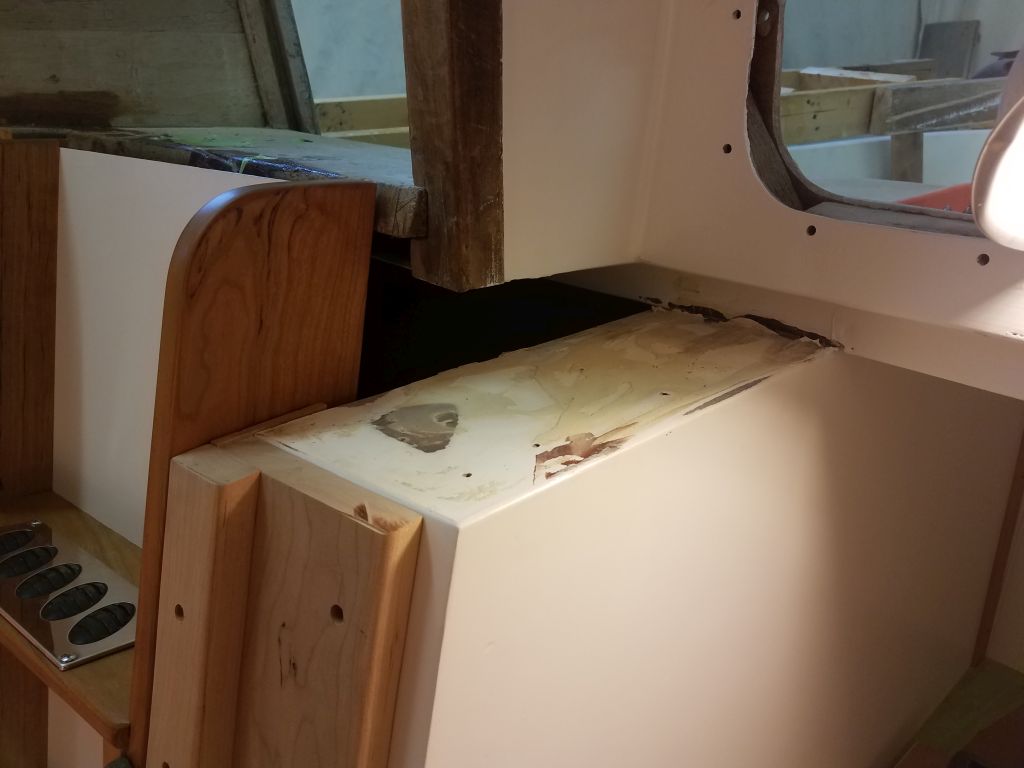
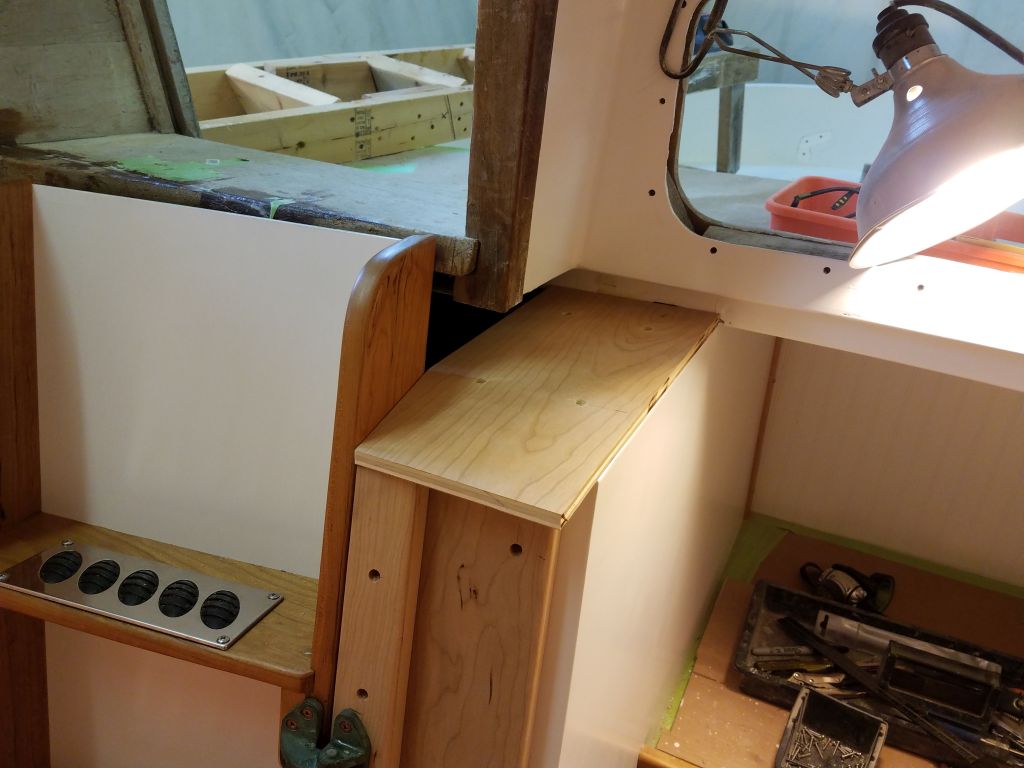
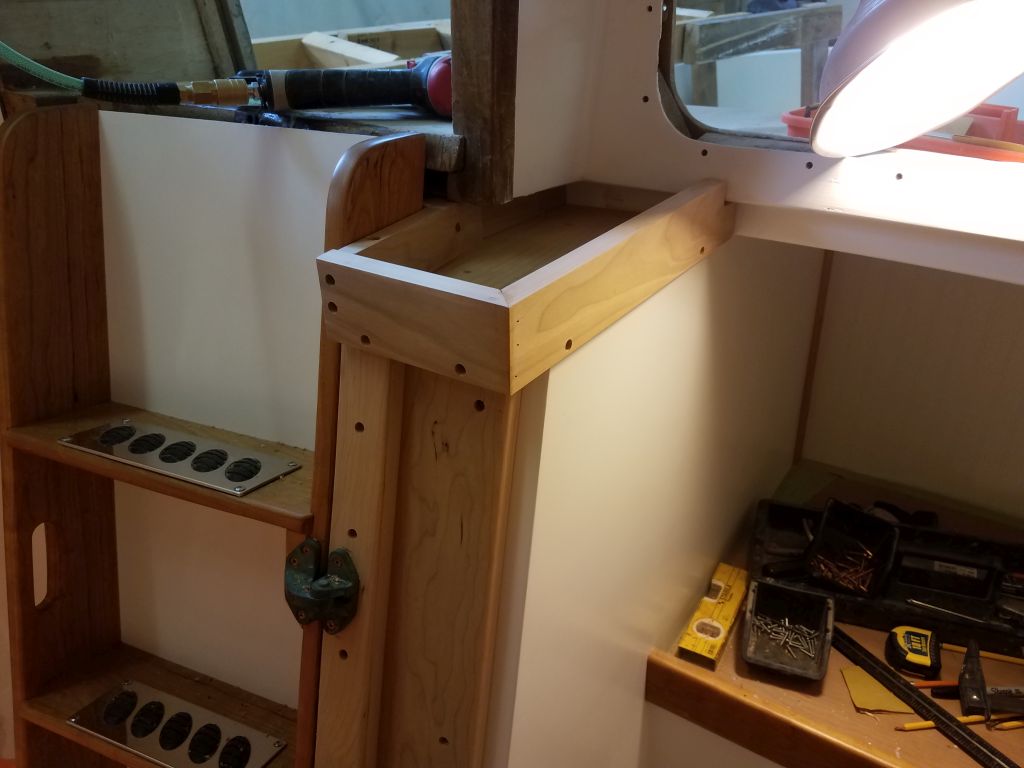
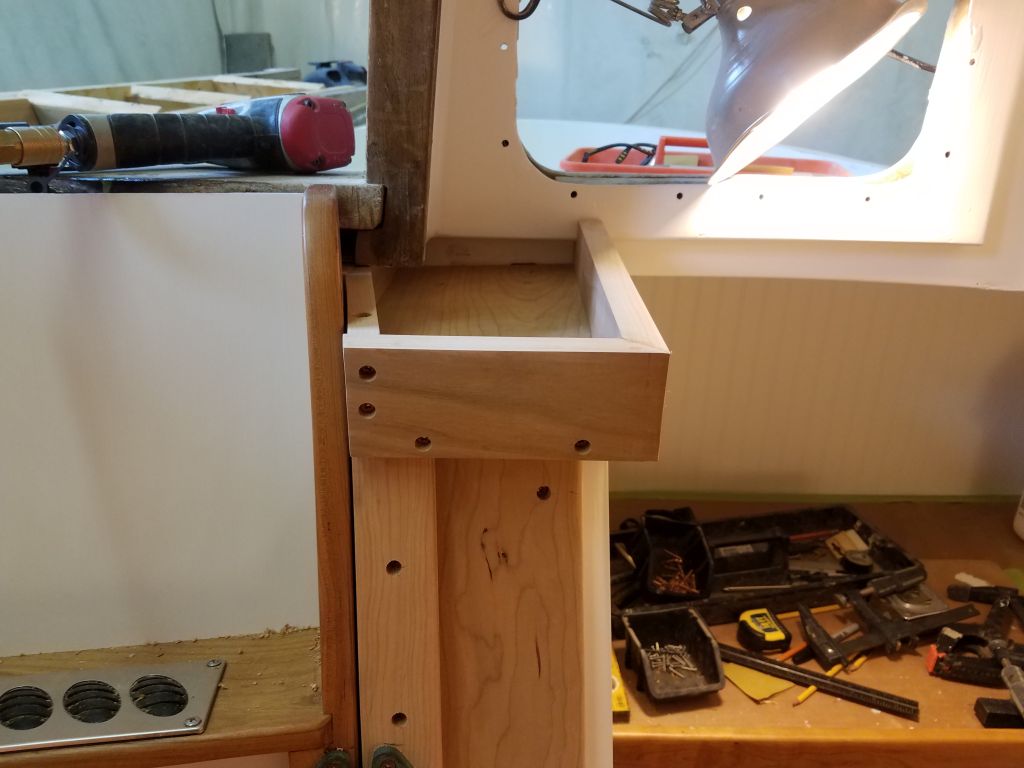
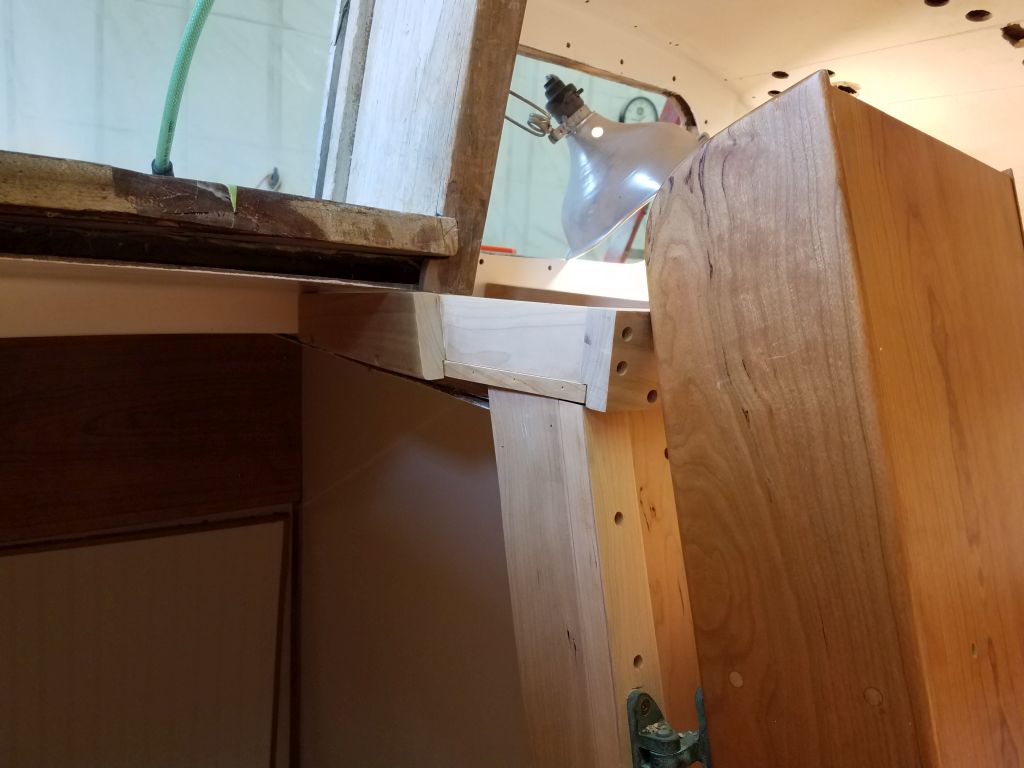
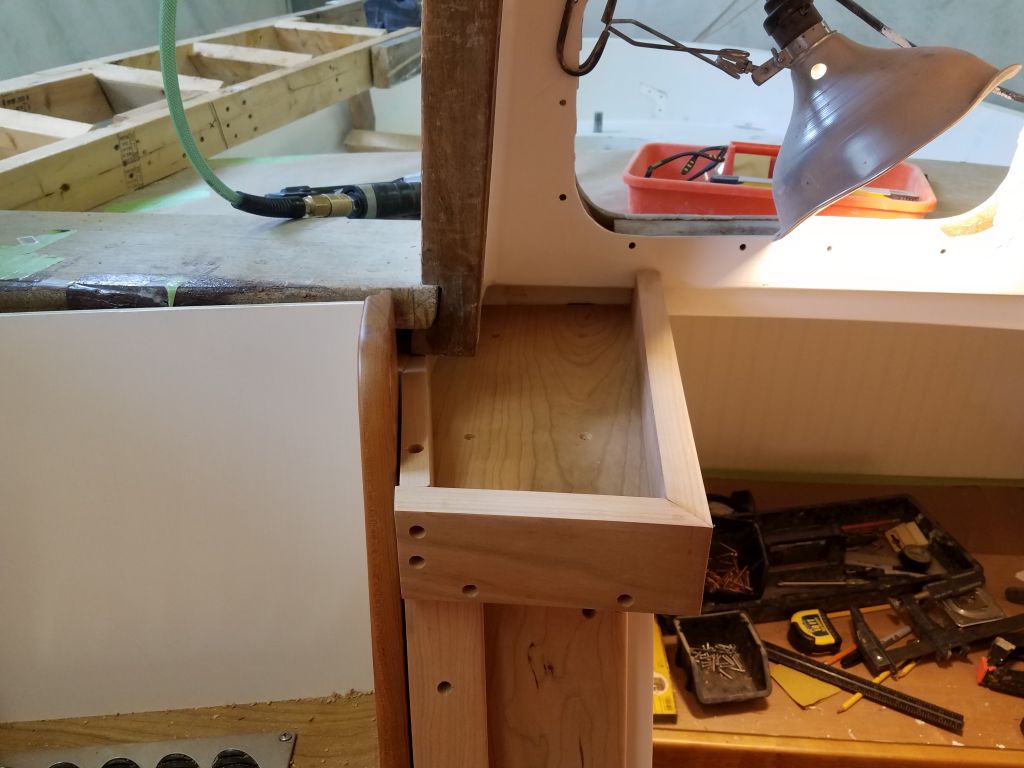
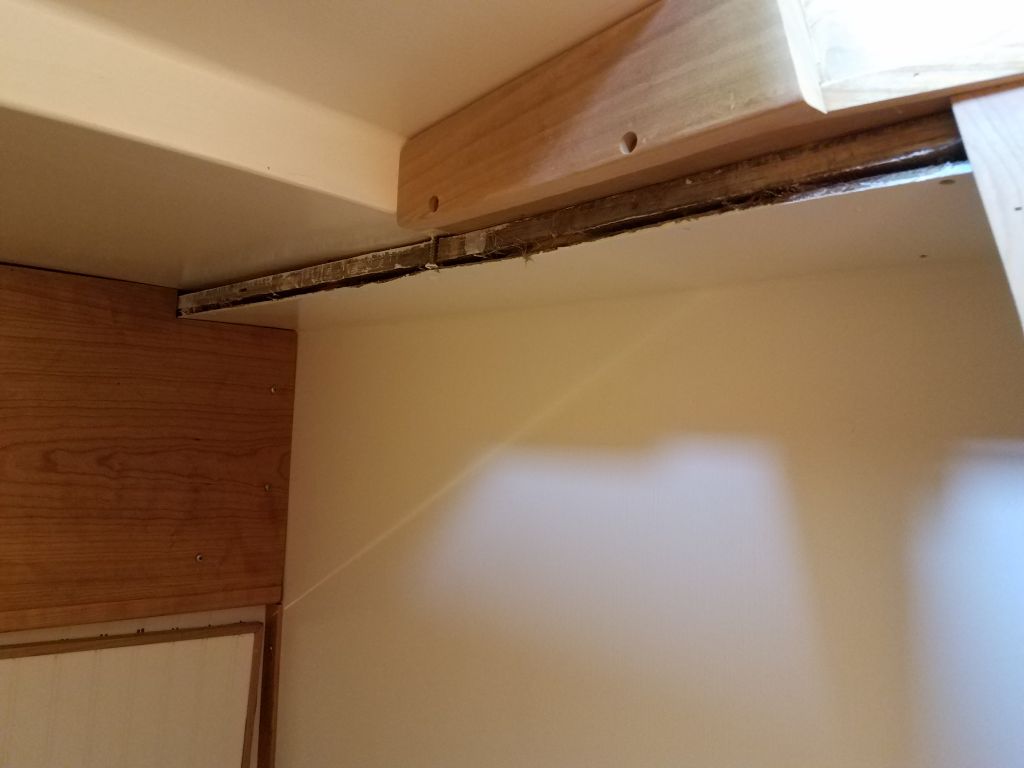
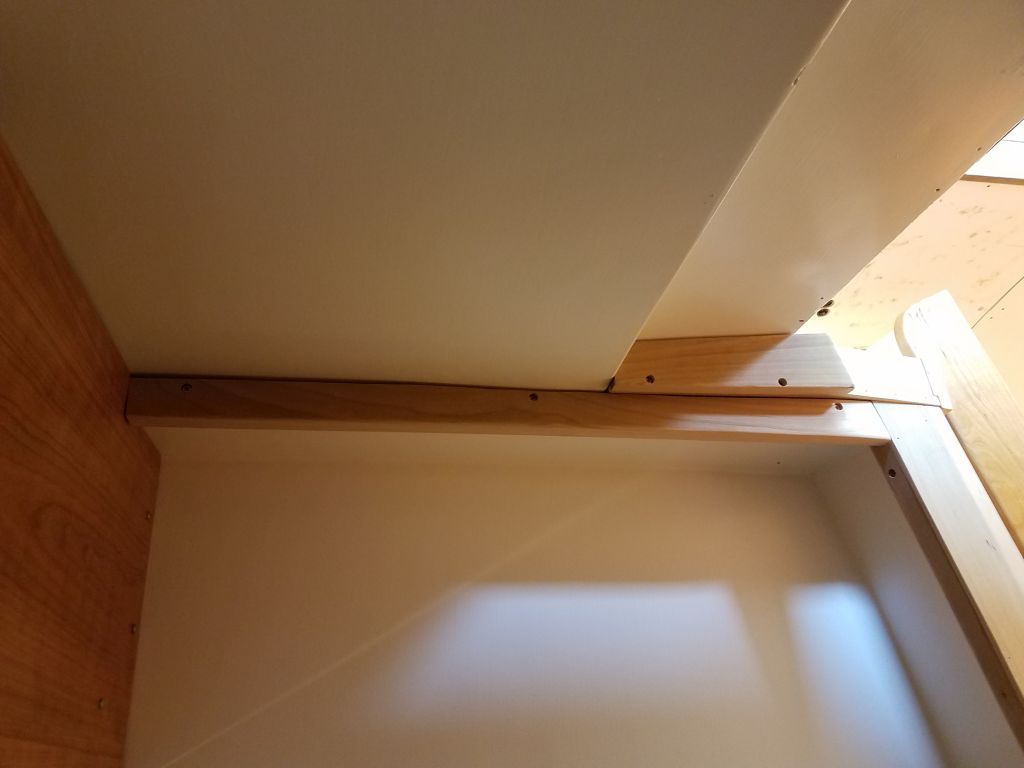
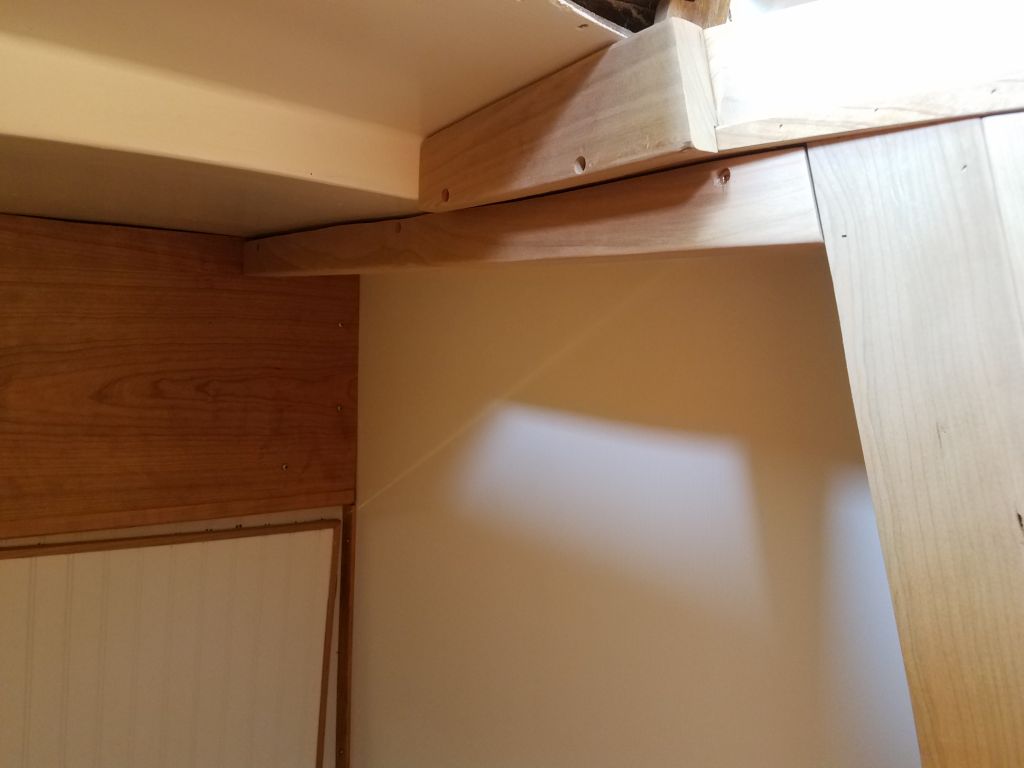
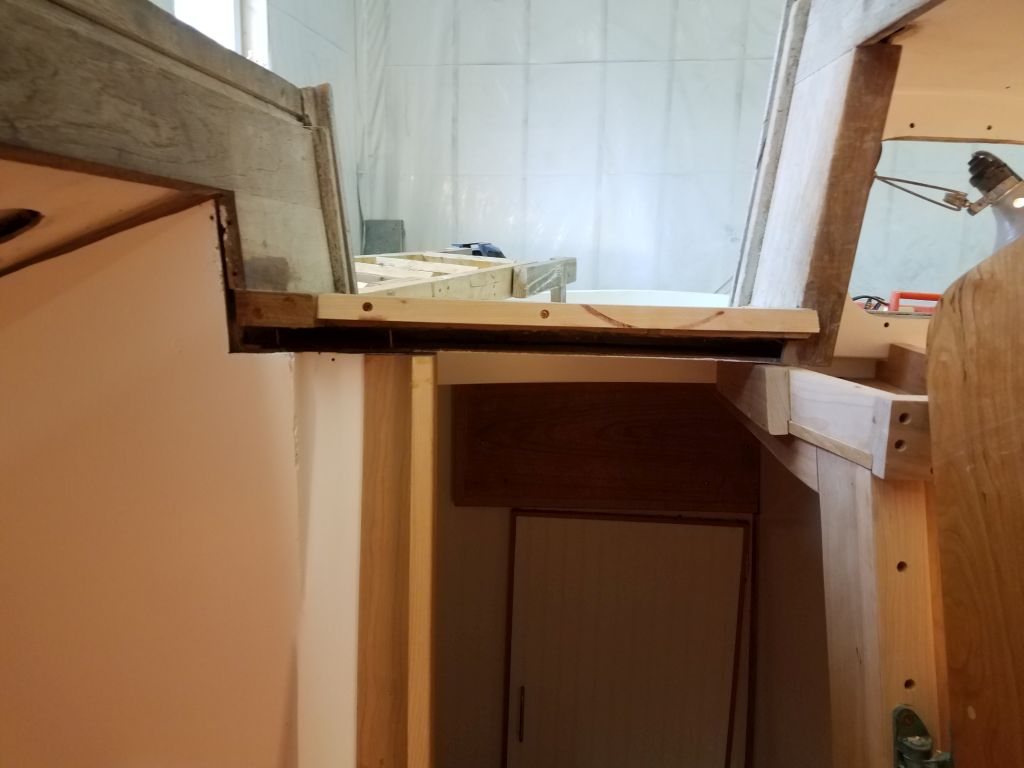
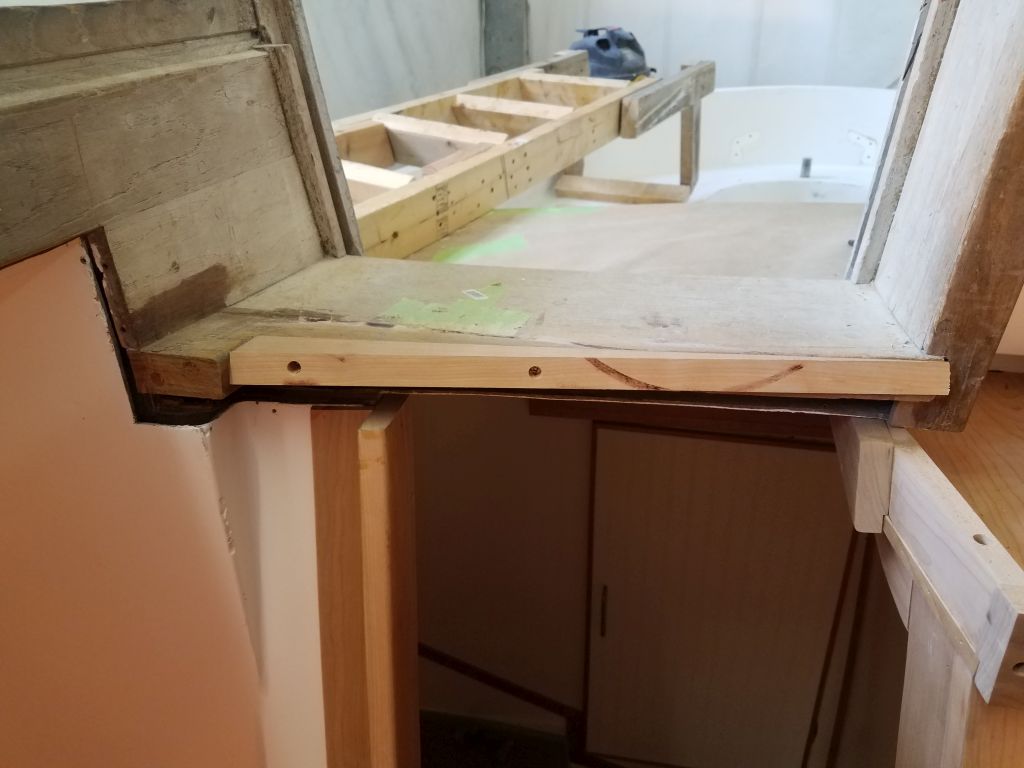
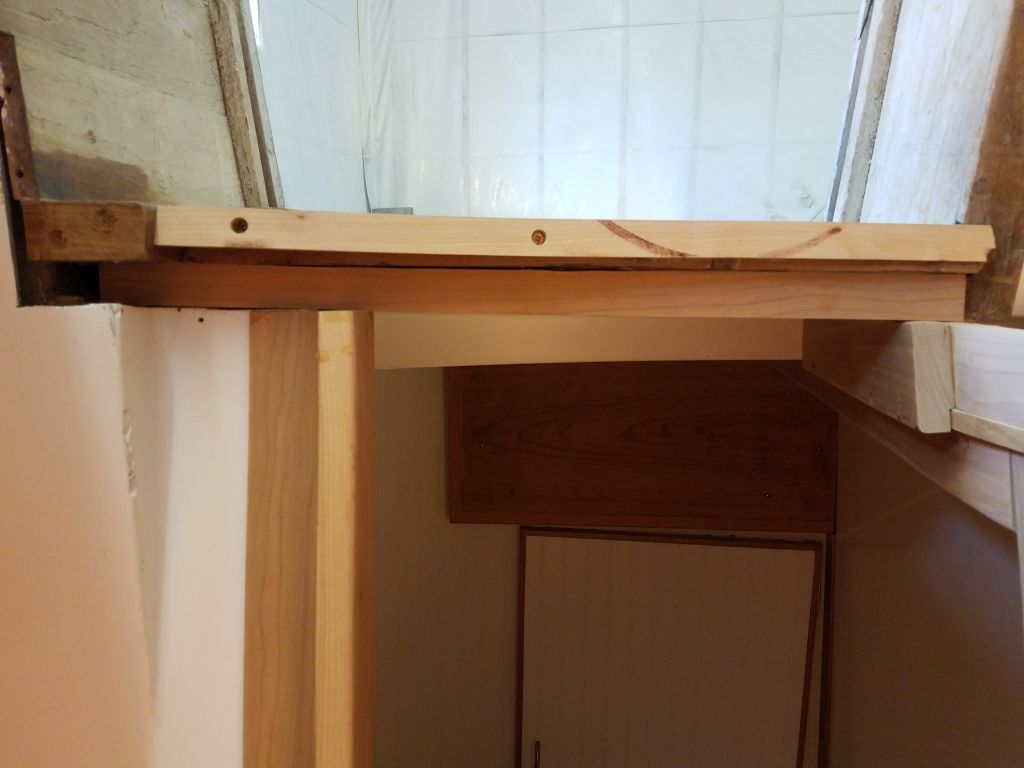
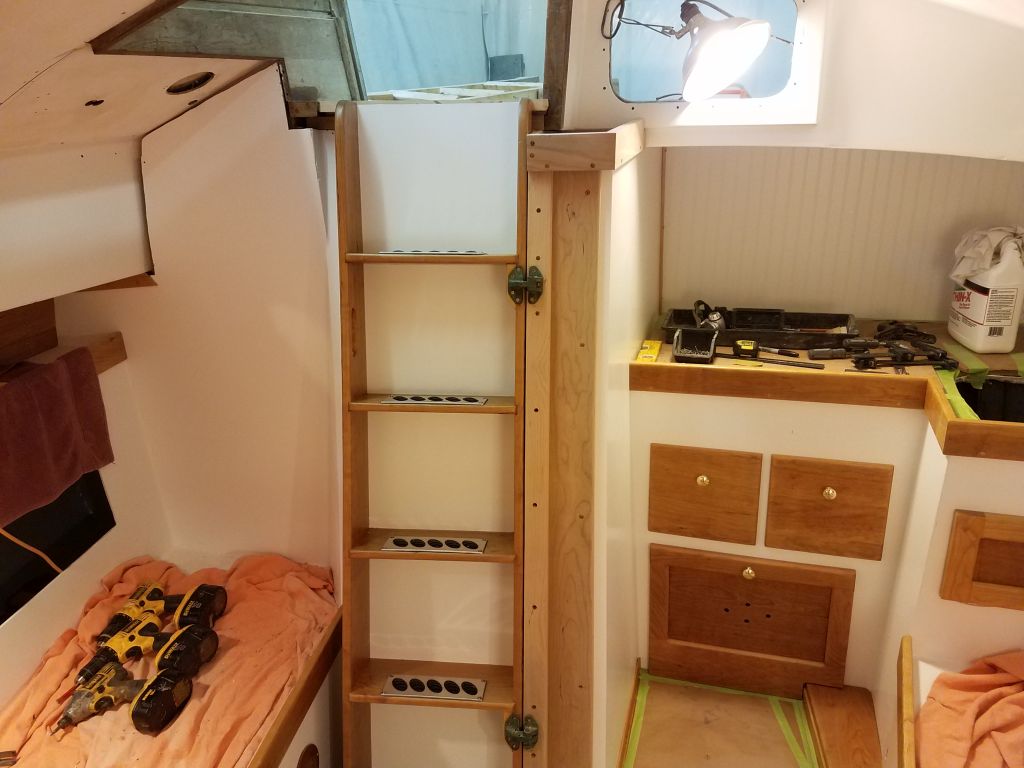
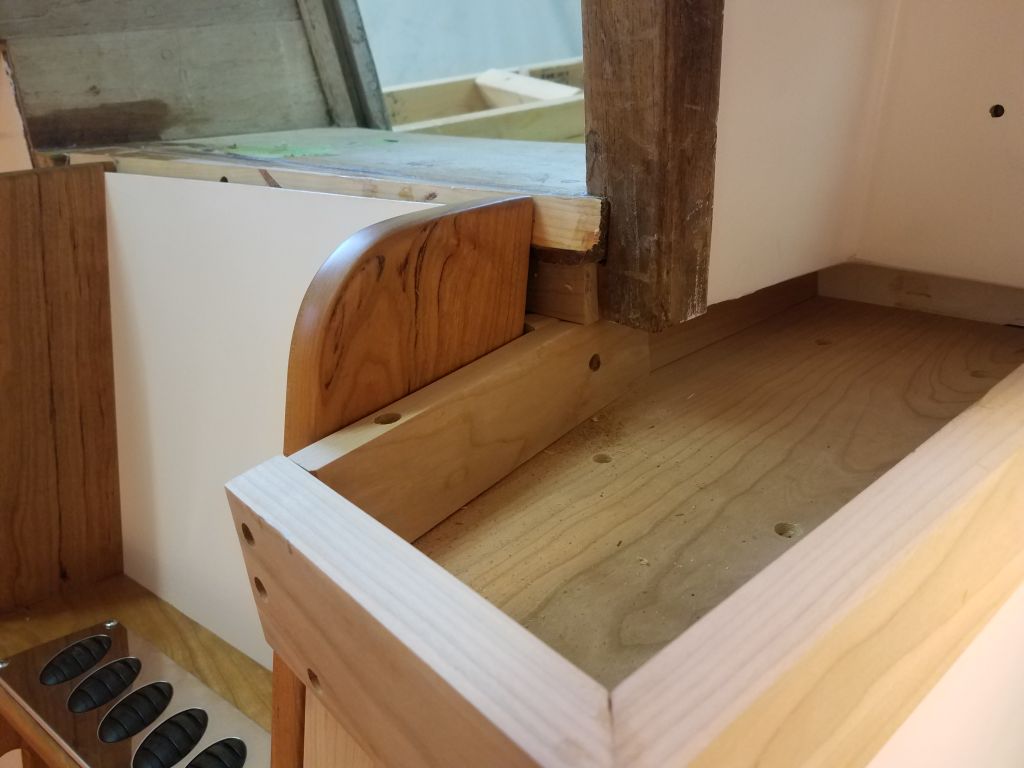
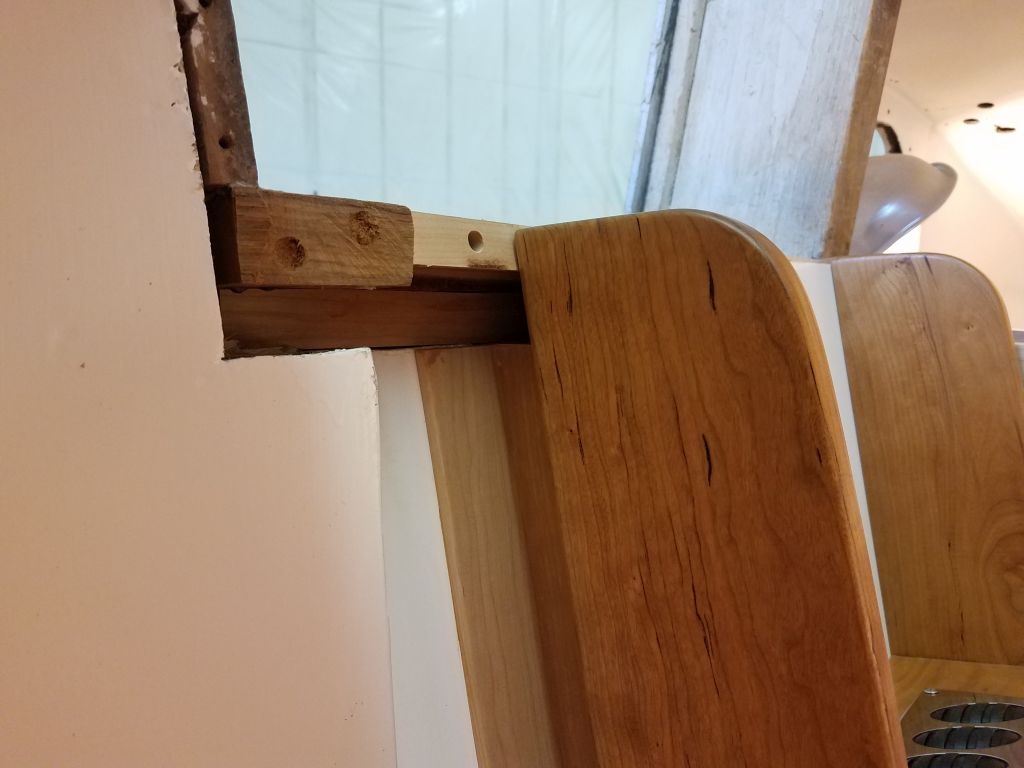
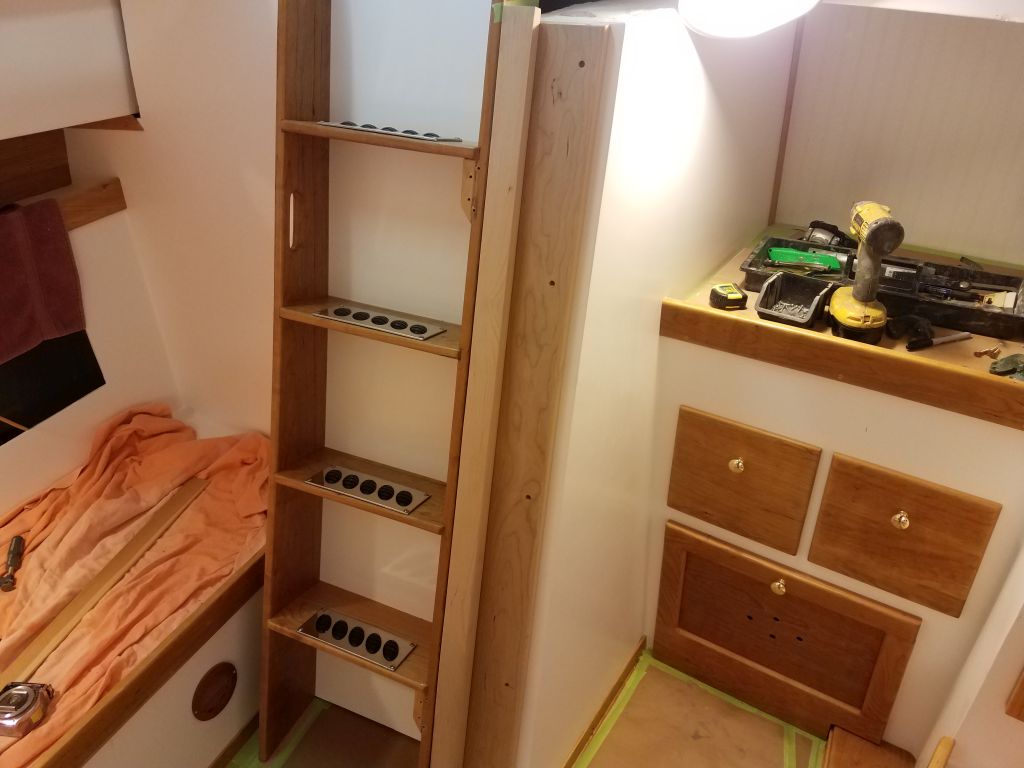
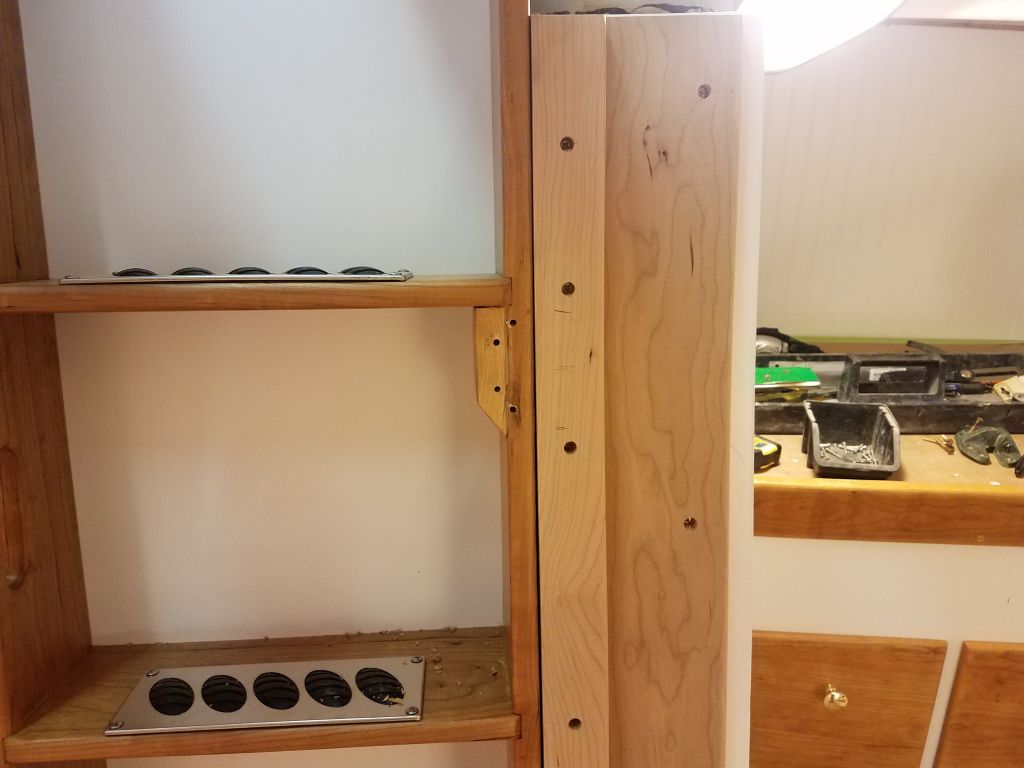
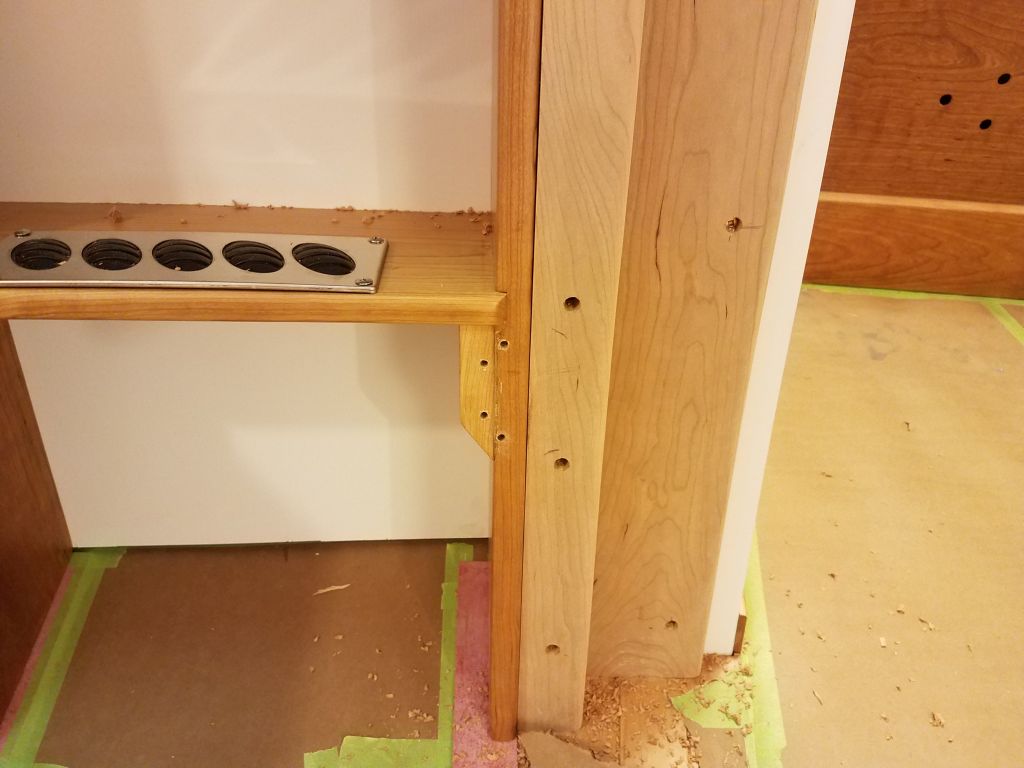
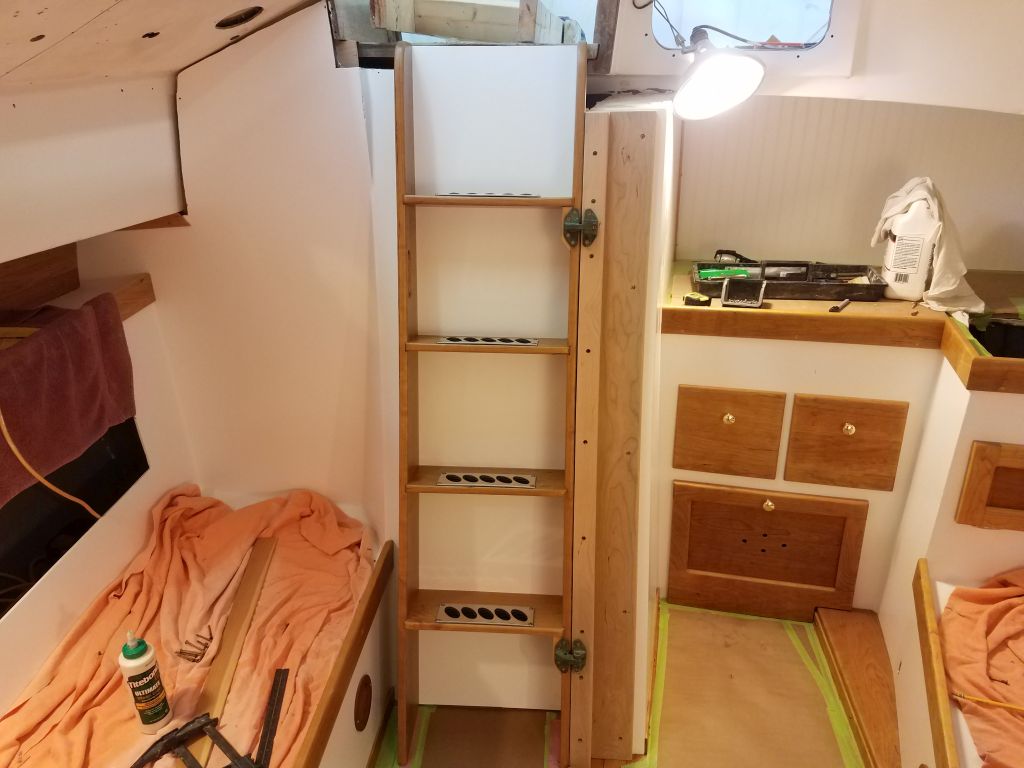
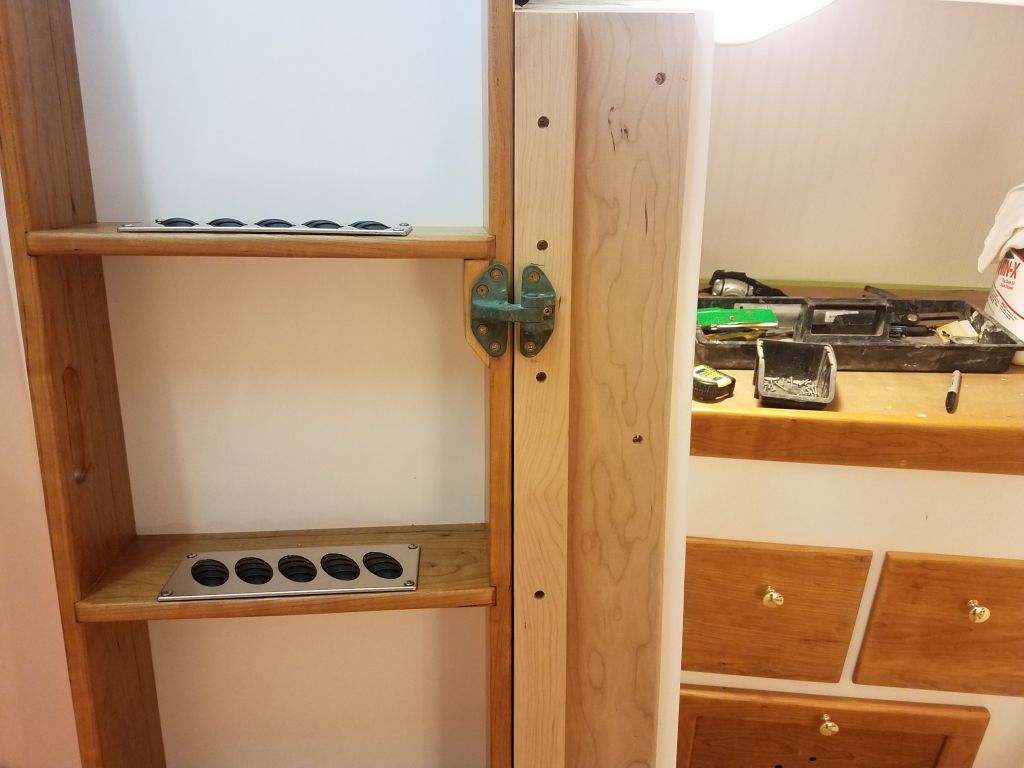
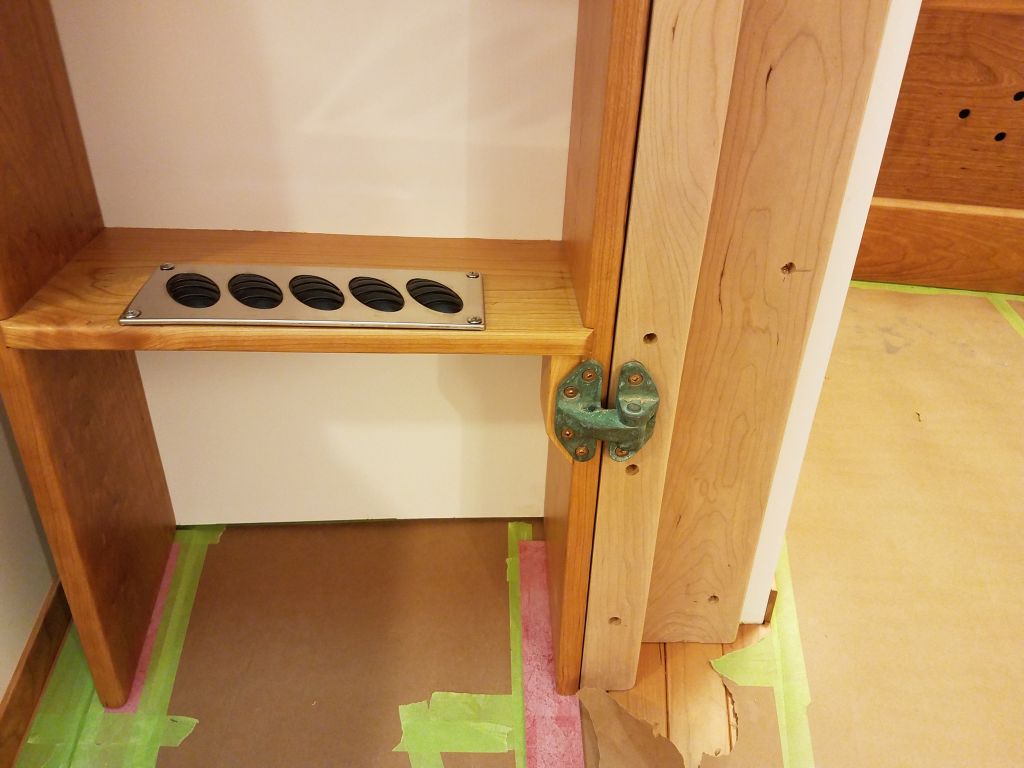
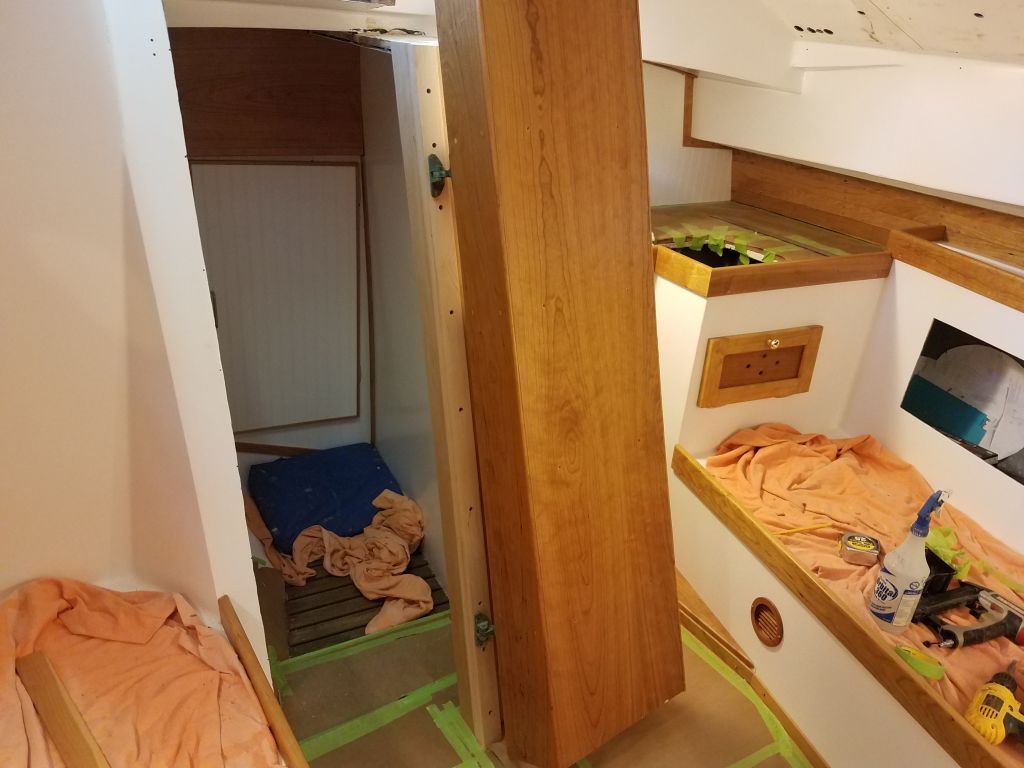
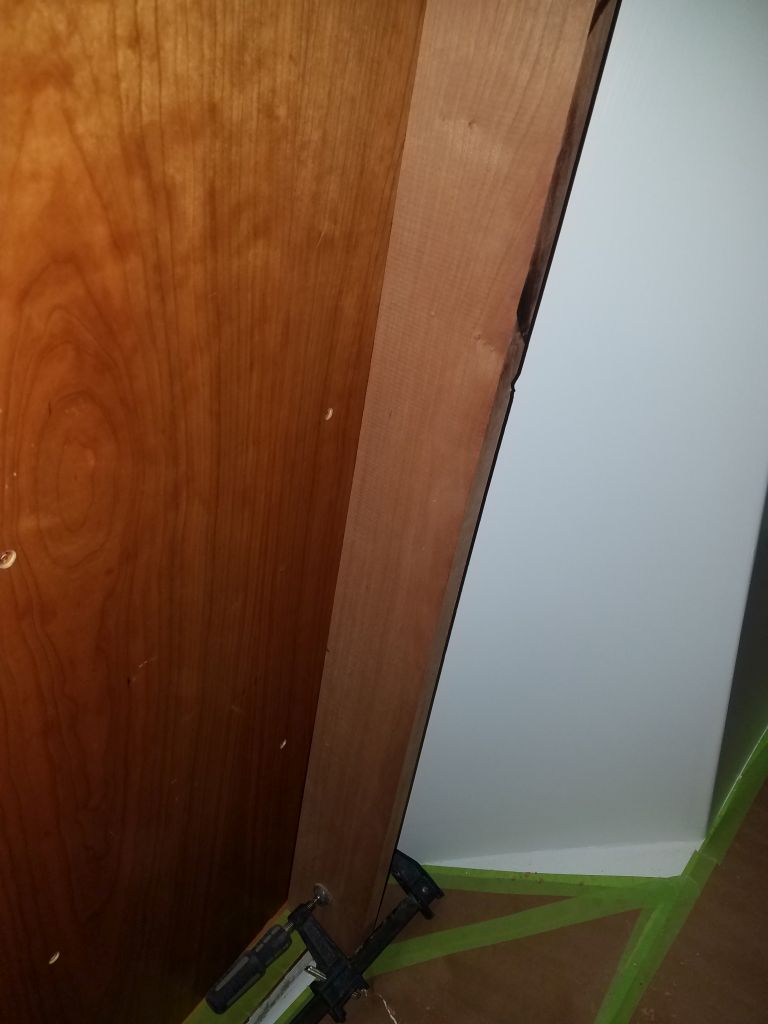
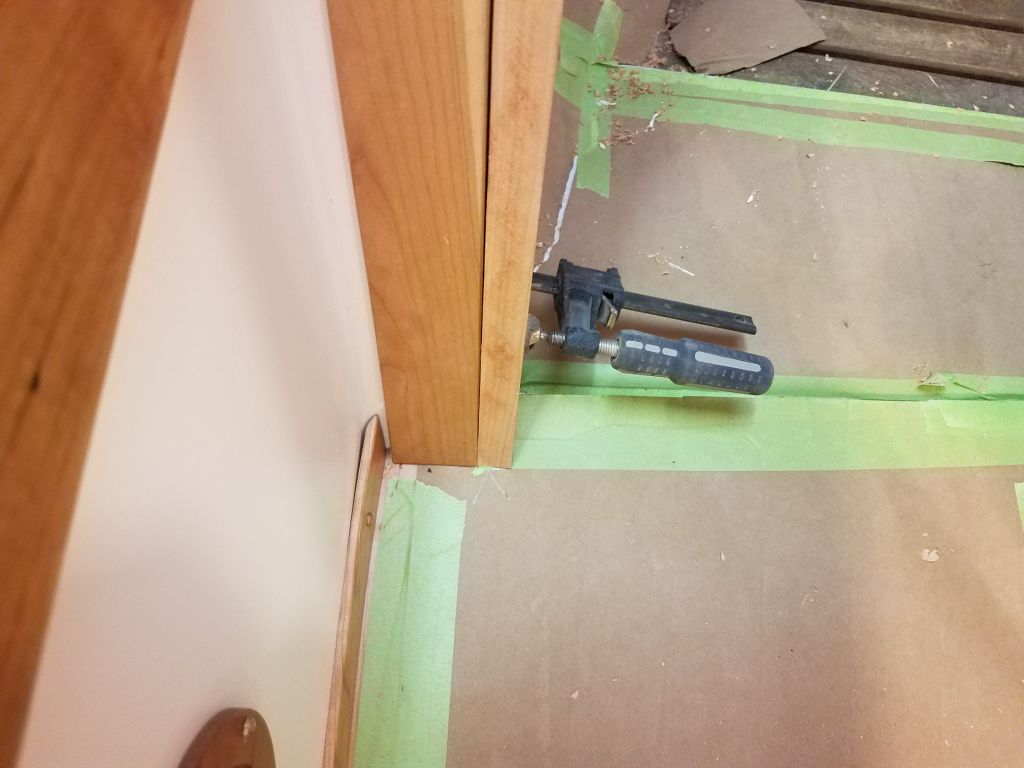
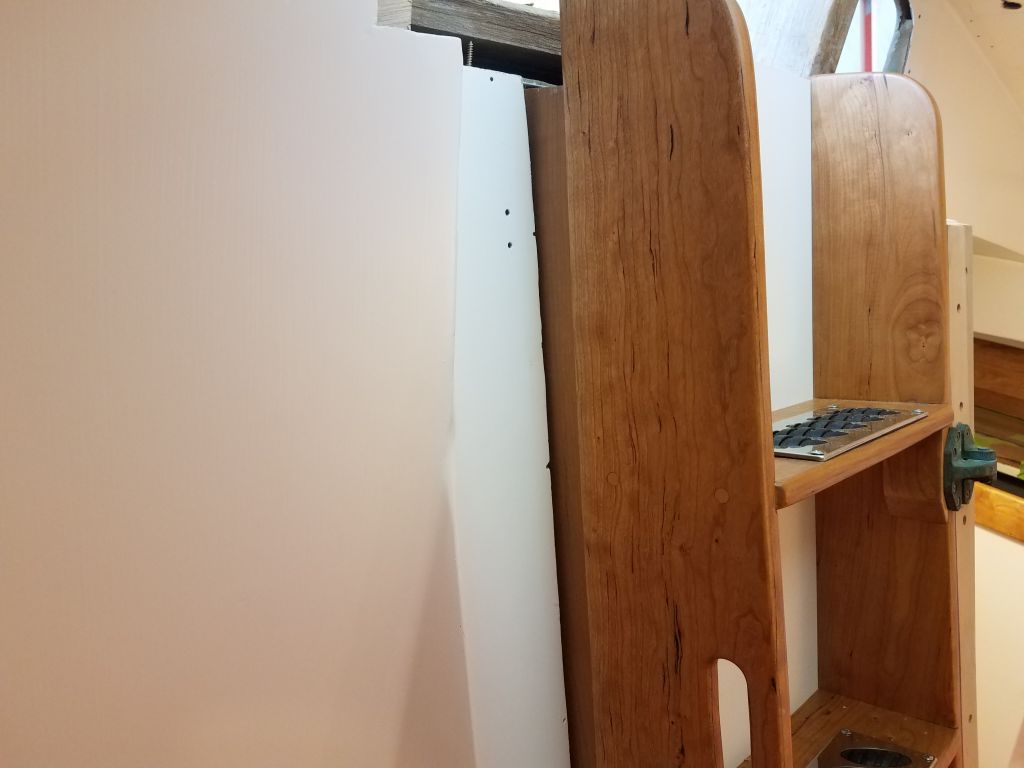
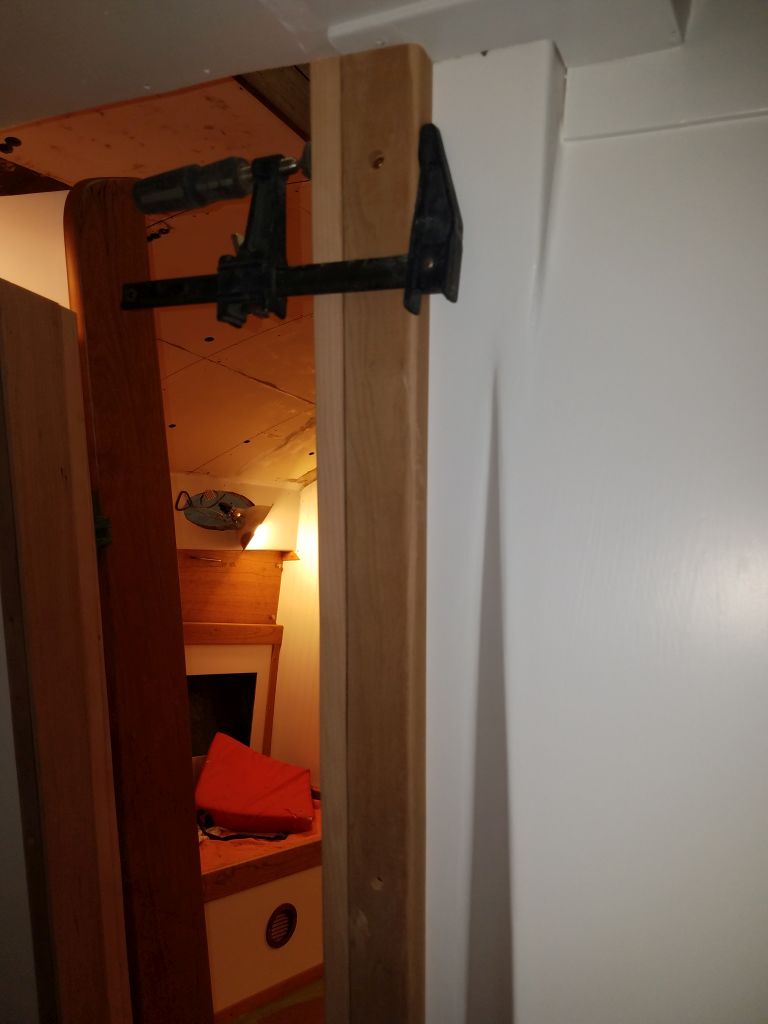
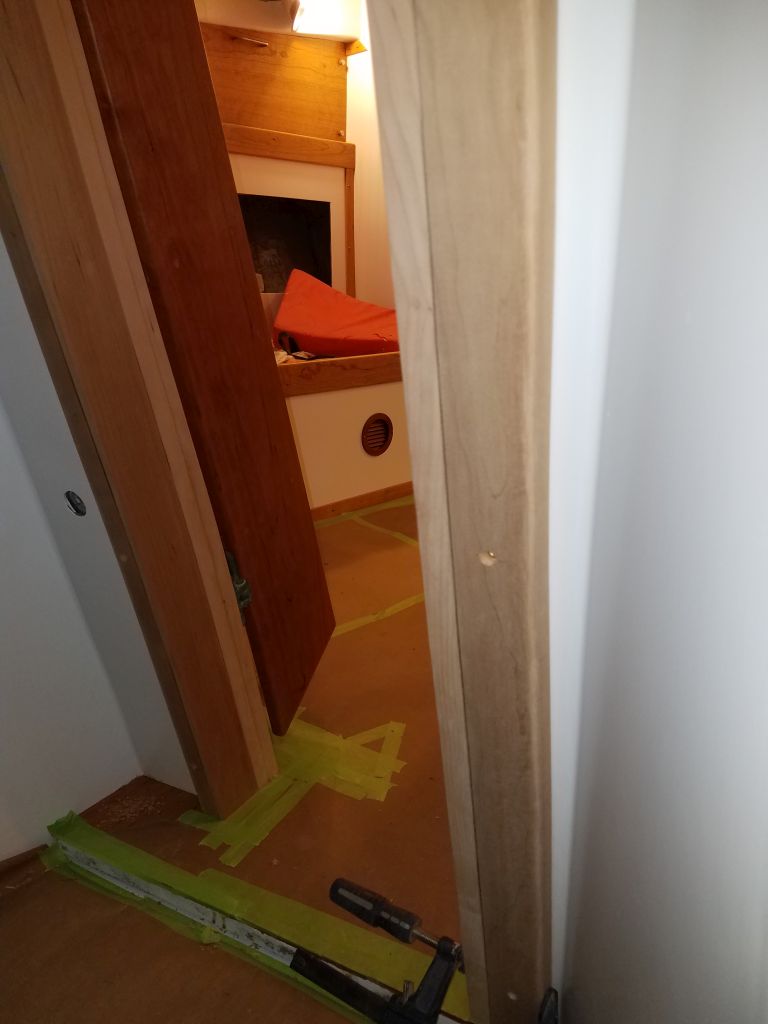
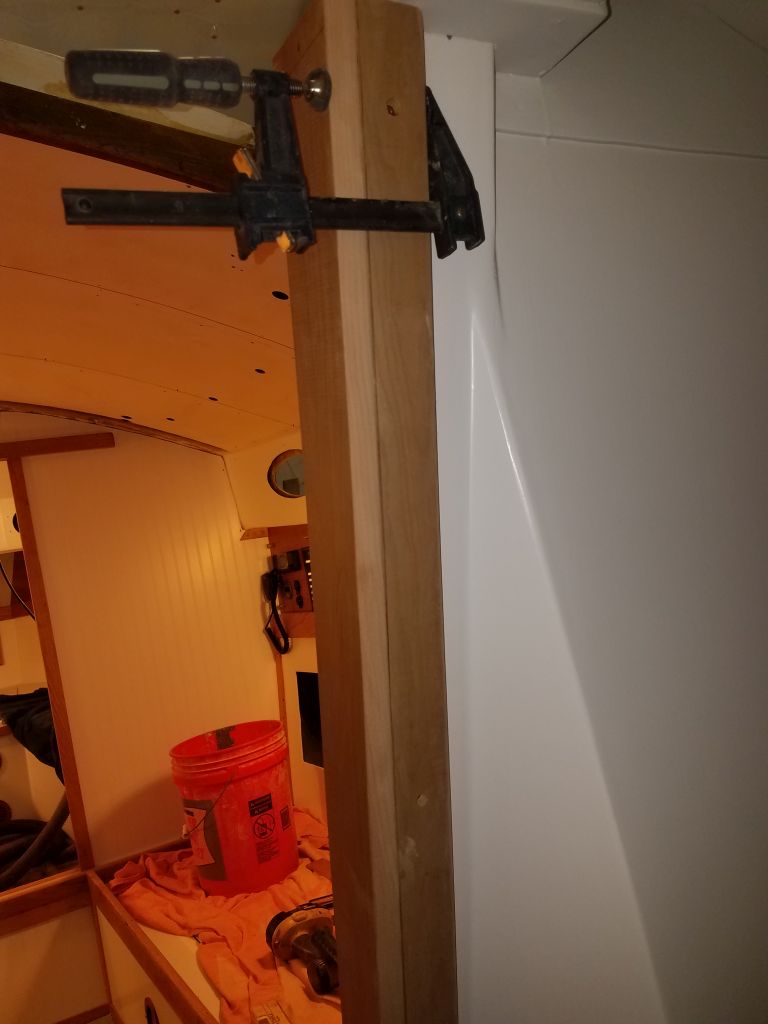
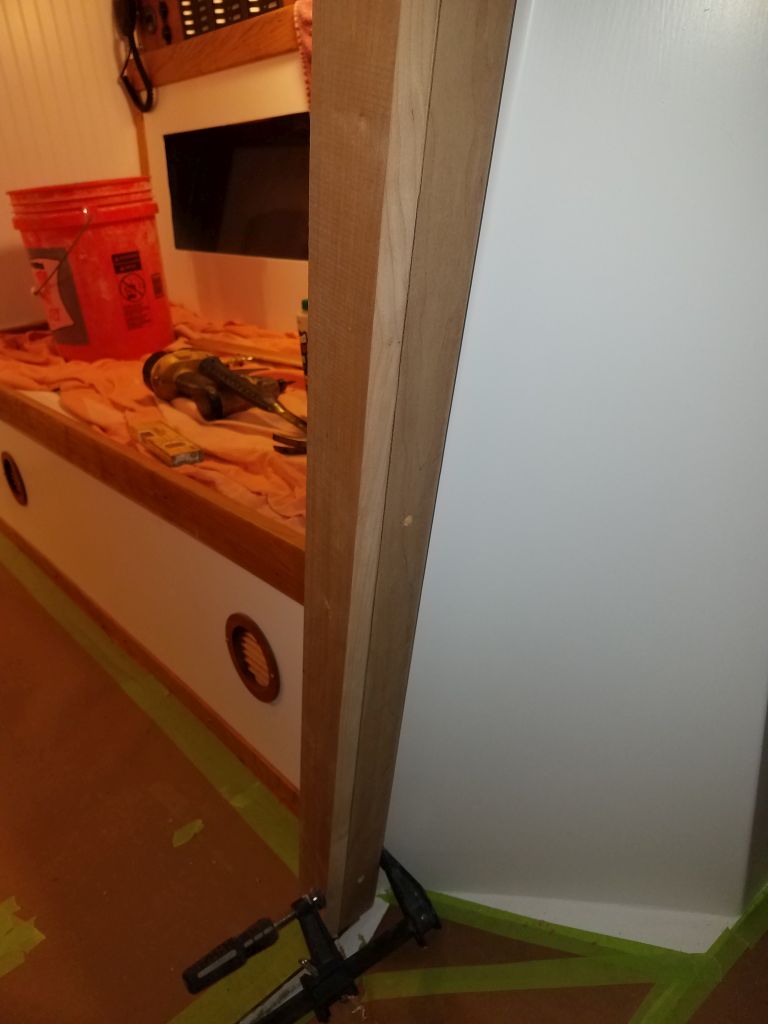
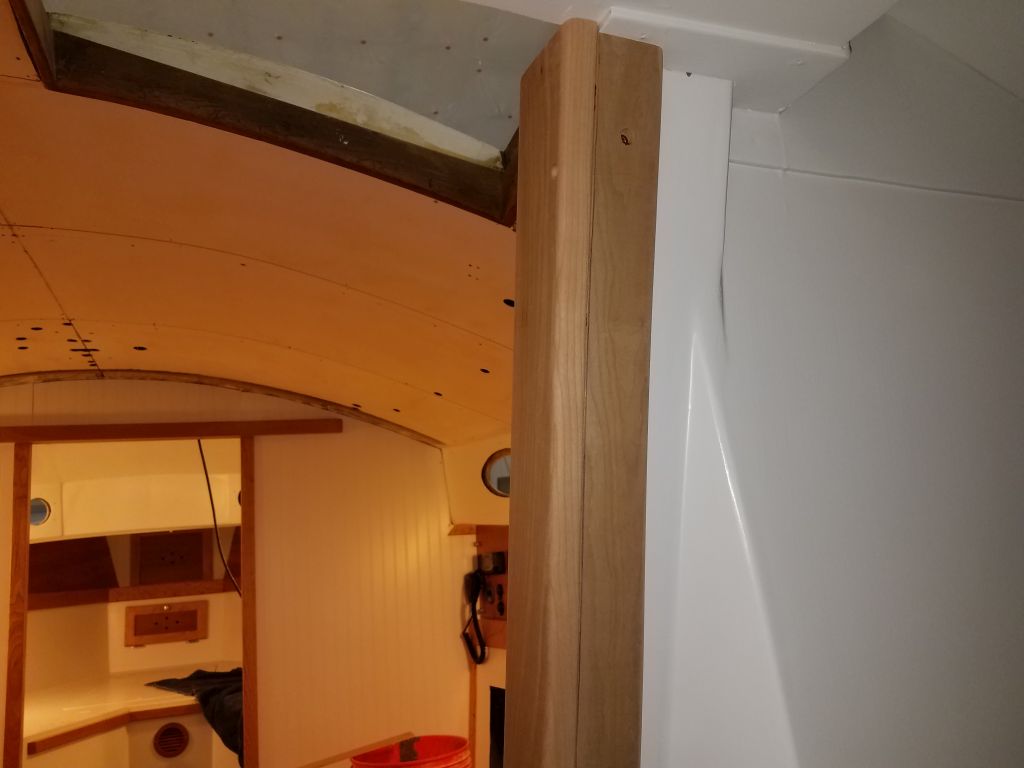
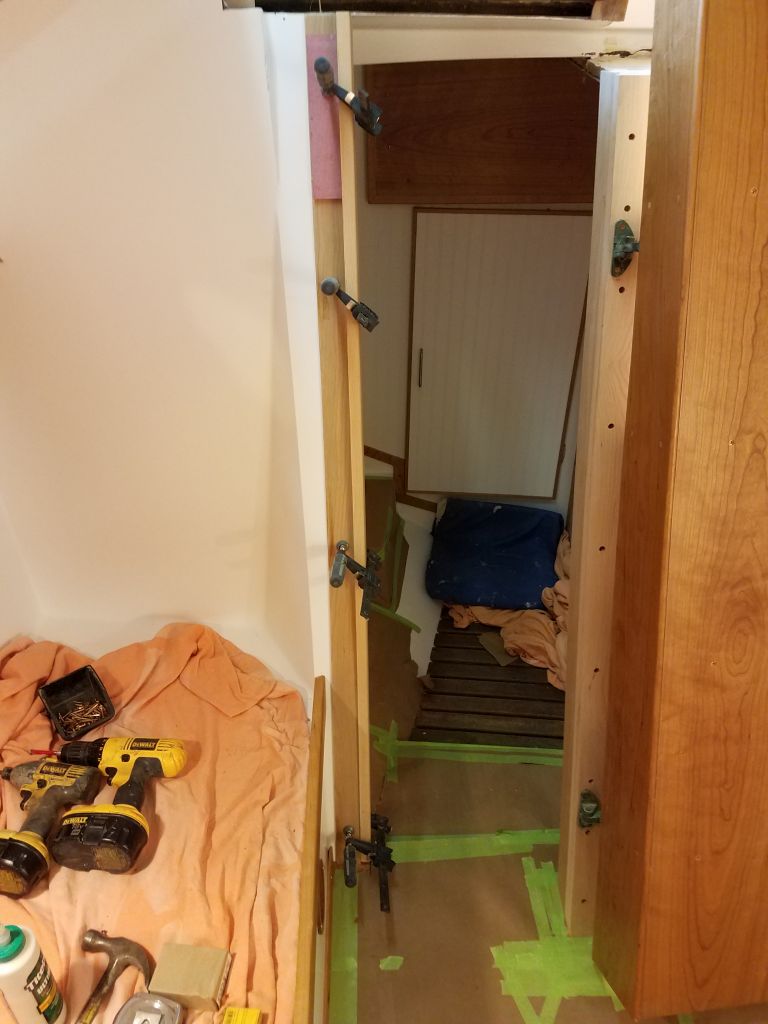
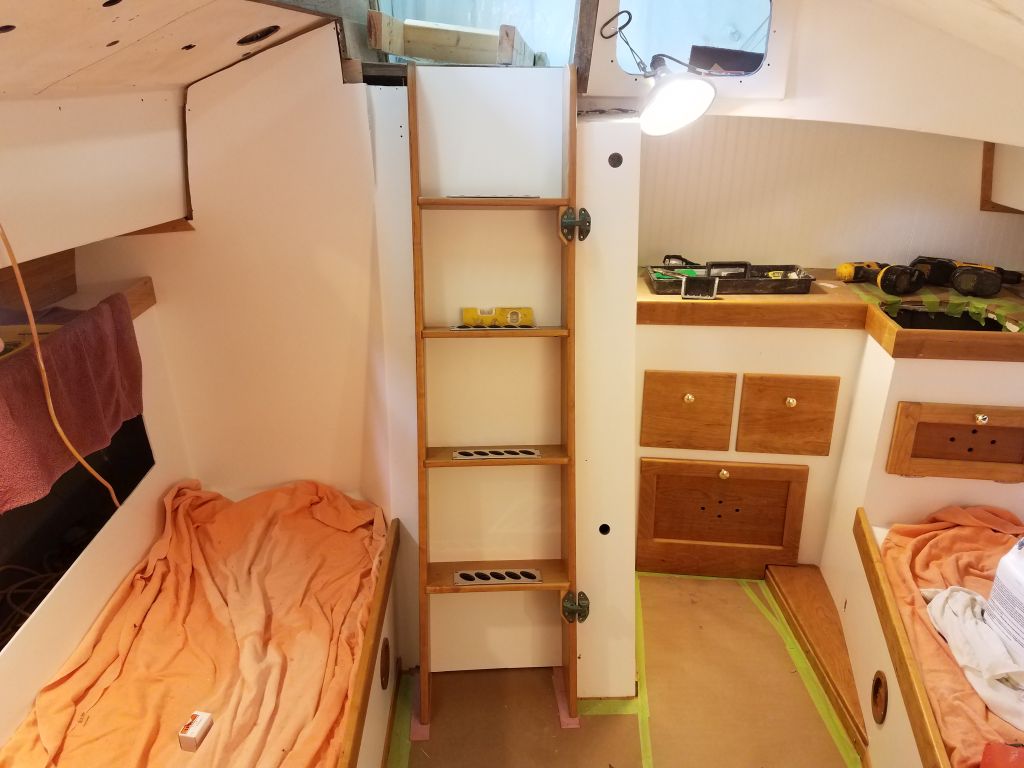
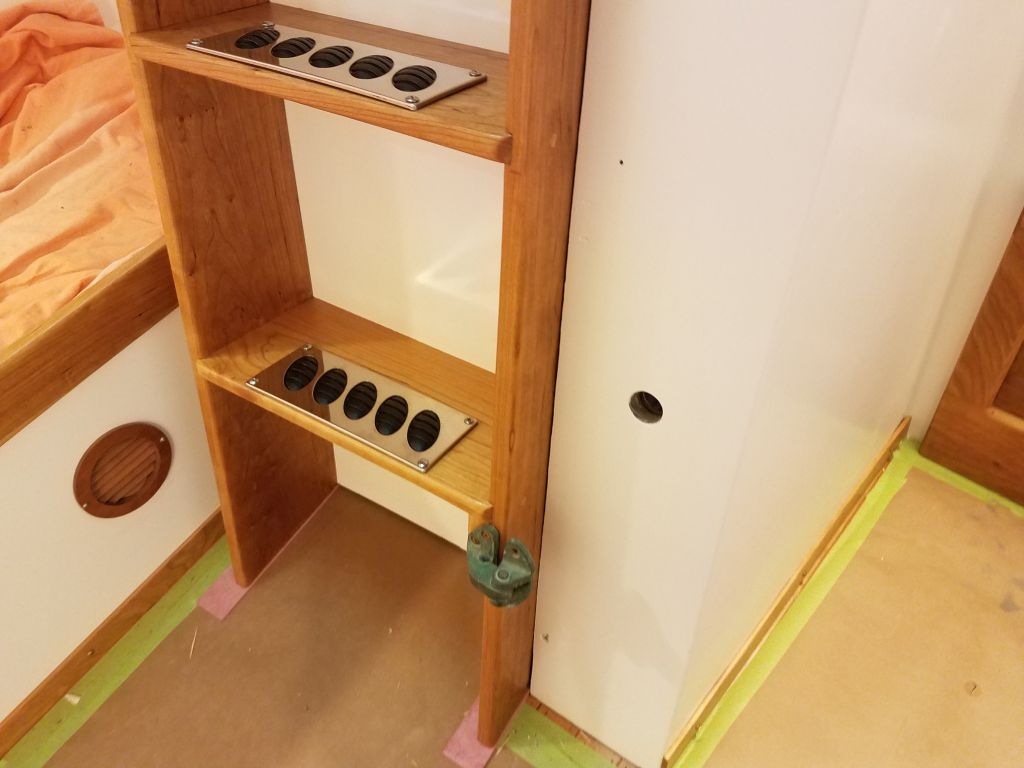
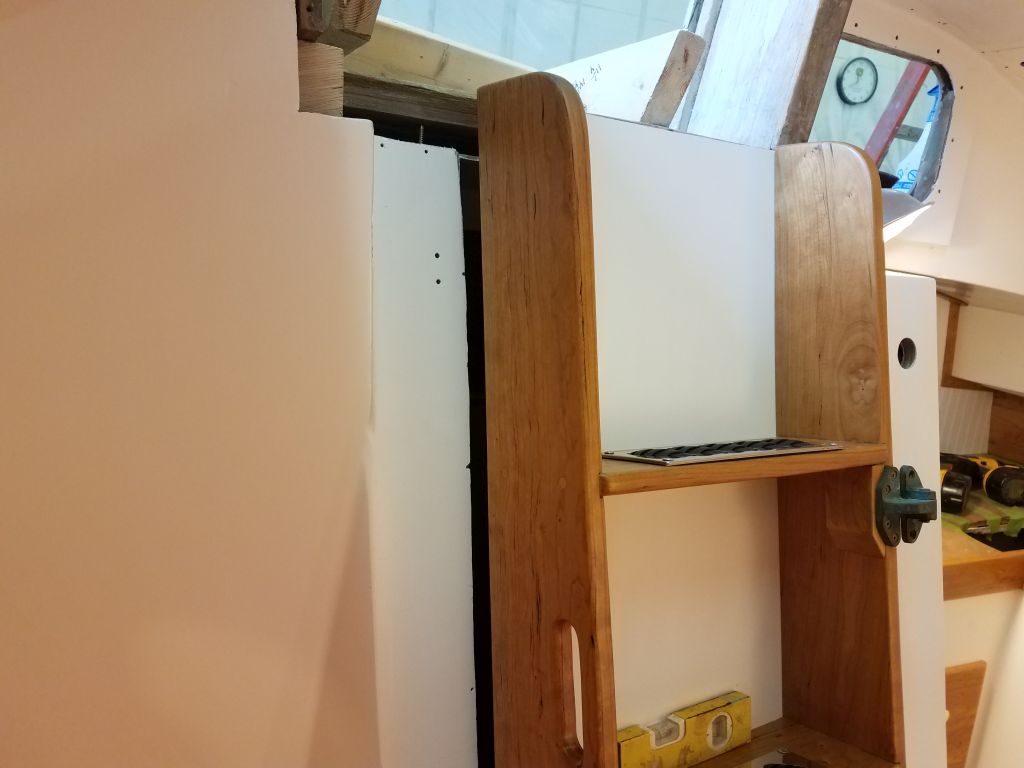
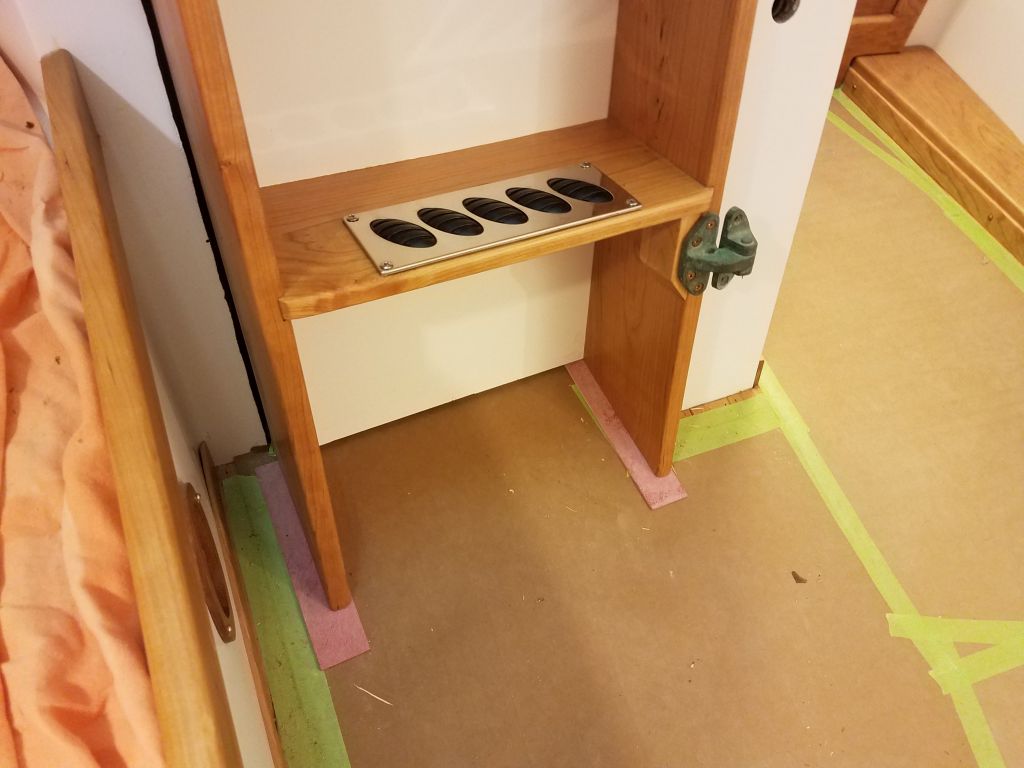
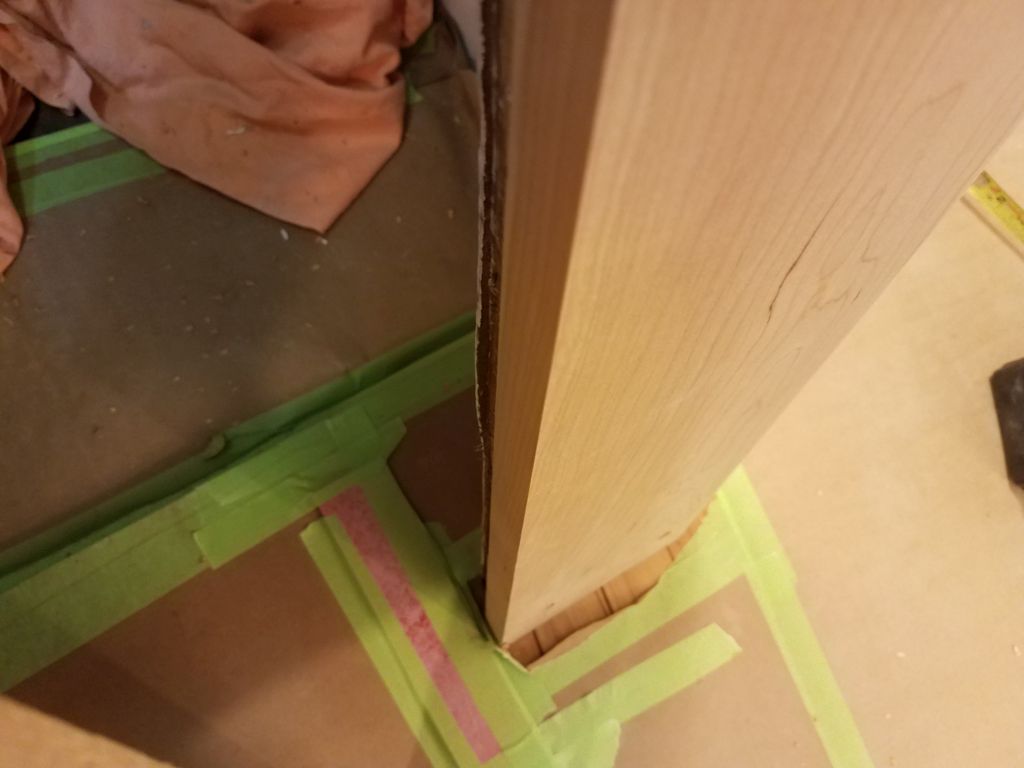
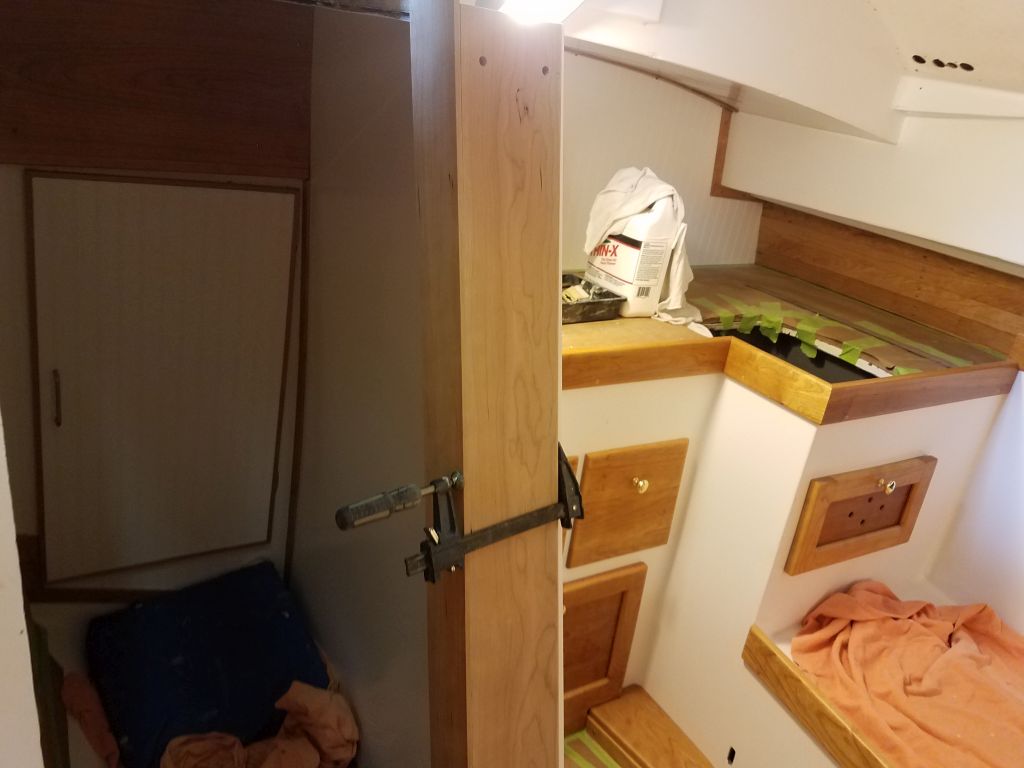
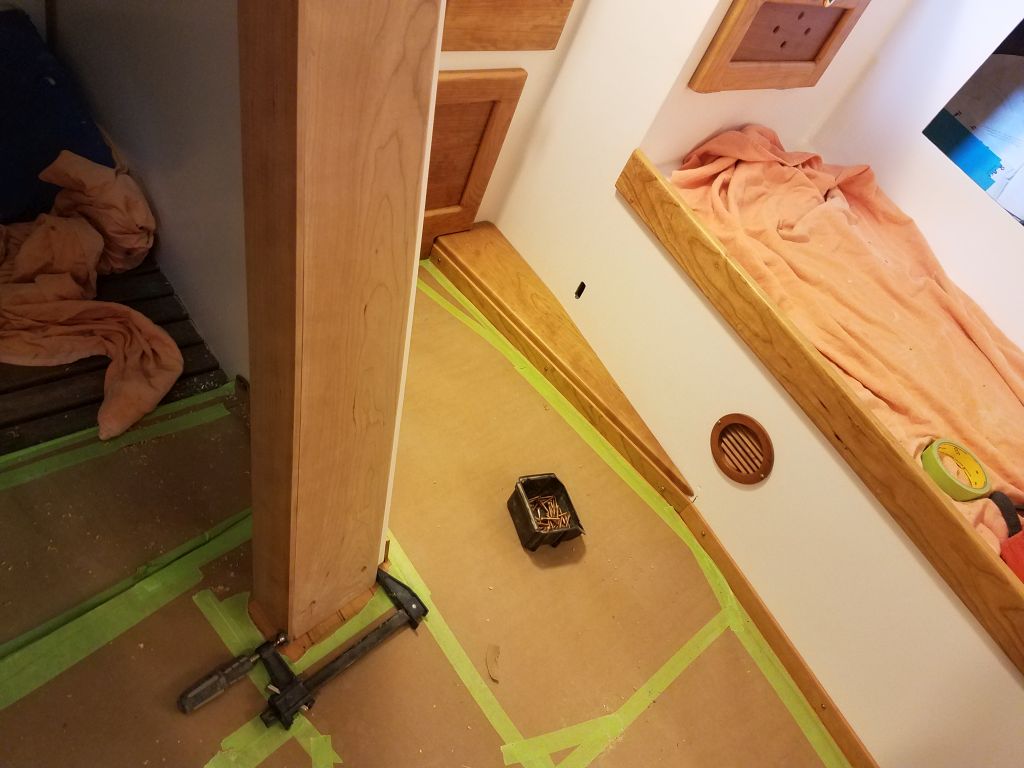
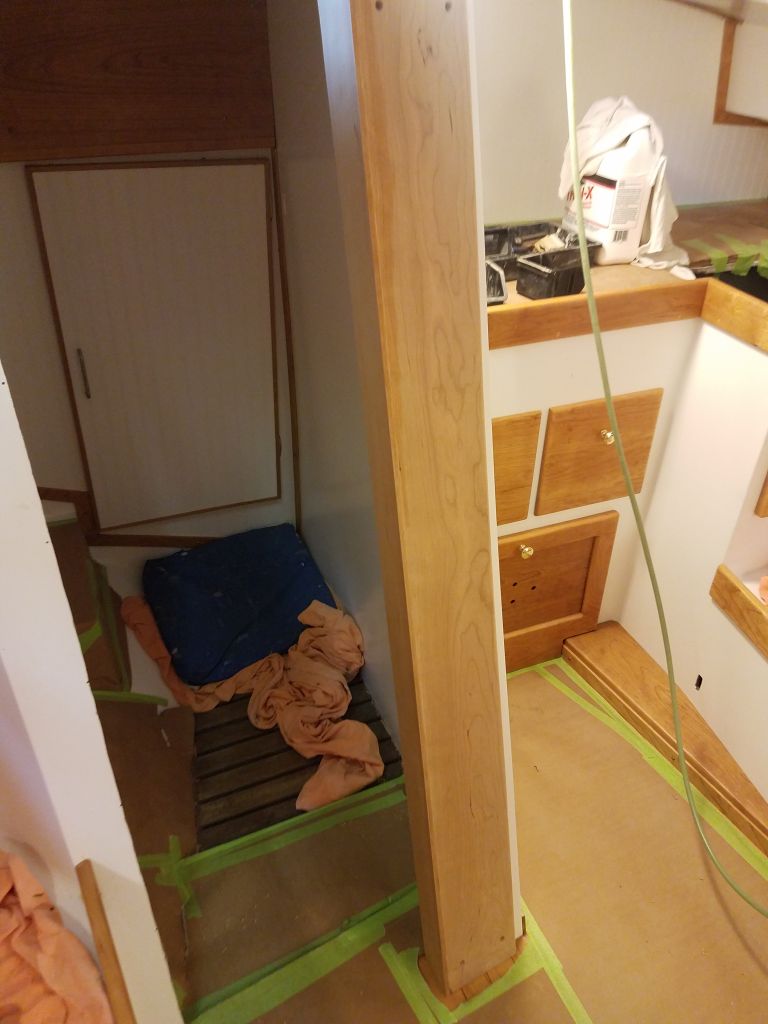
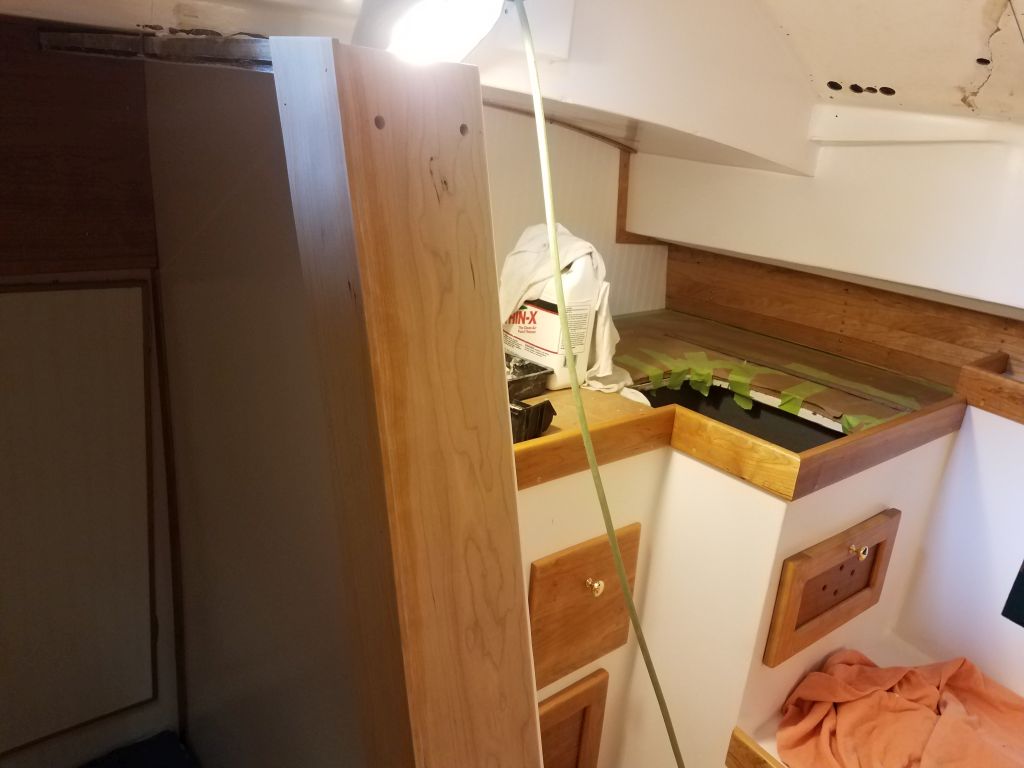
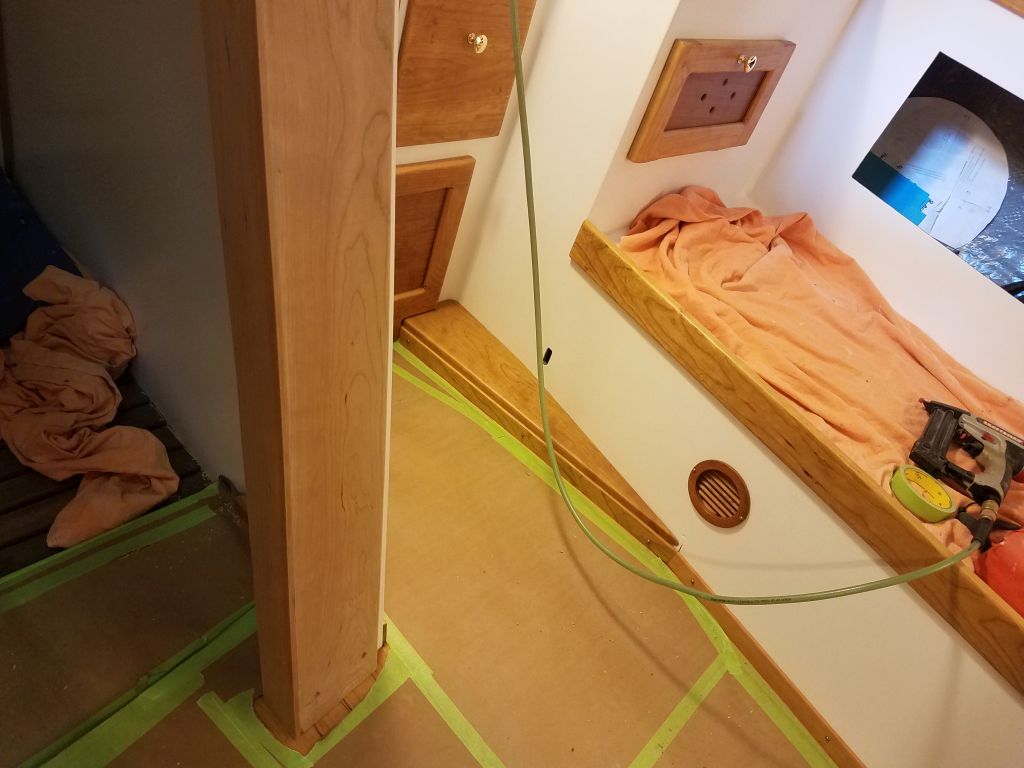
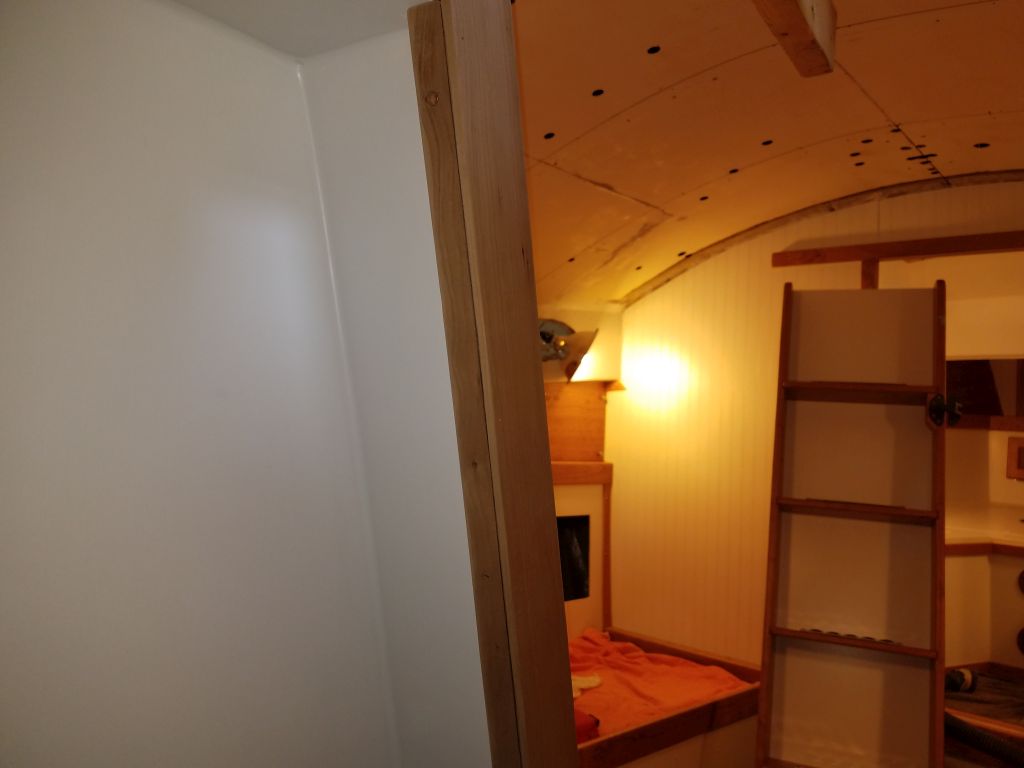
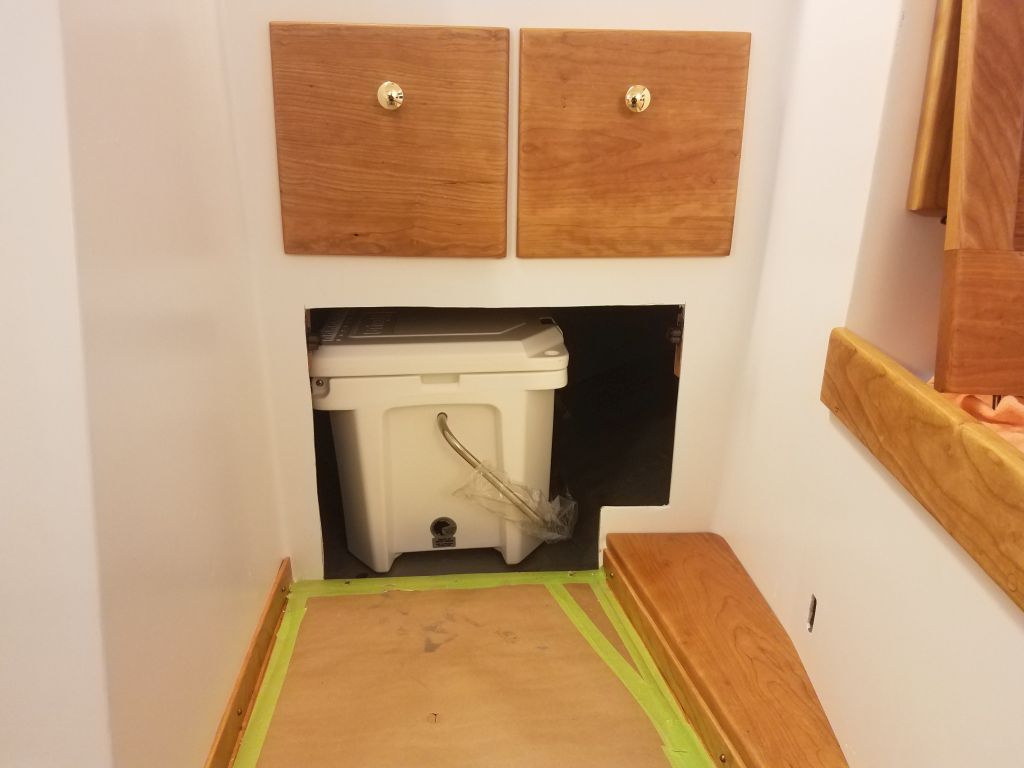
Perhaps the last real interior trim to deal with was the mast compression post, which fit between the deck and keel directly beneath the mast step. As nice and open as the cabin was at the moment, the compression post was required for mast support and therefore I must build a replacement for the original one, which was in fine structural condition but cosmetically suspect and built of the wrong wood species now that the cabin was cherry-trimmed.
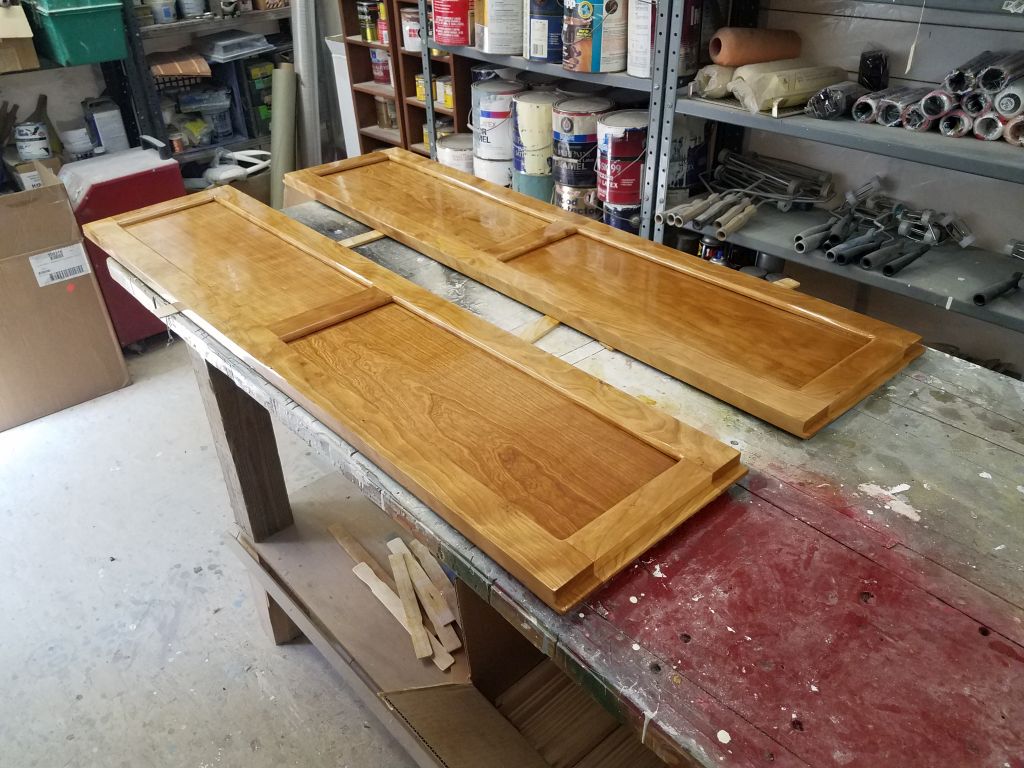
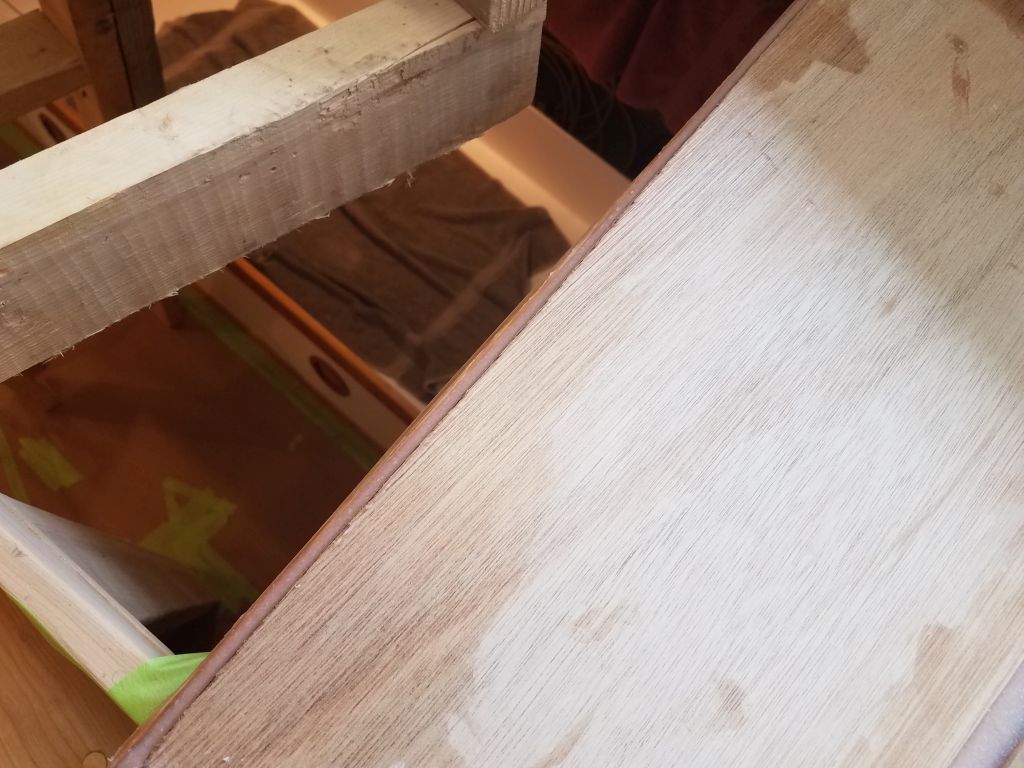
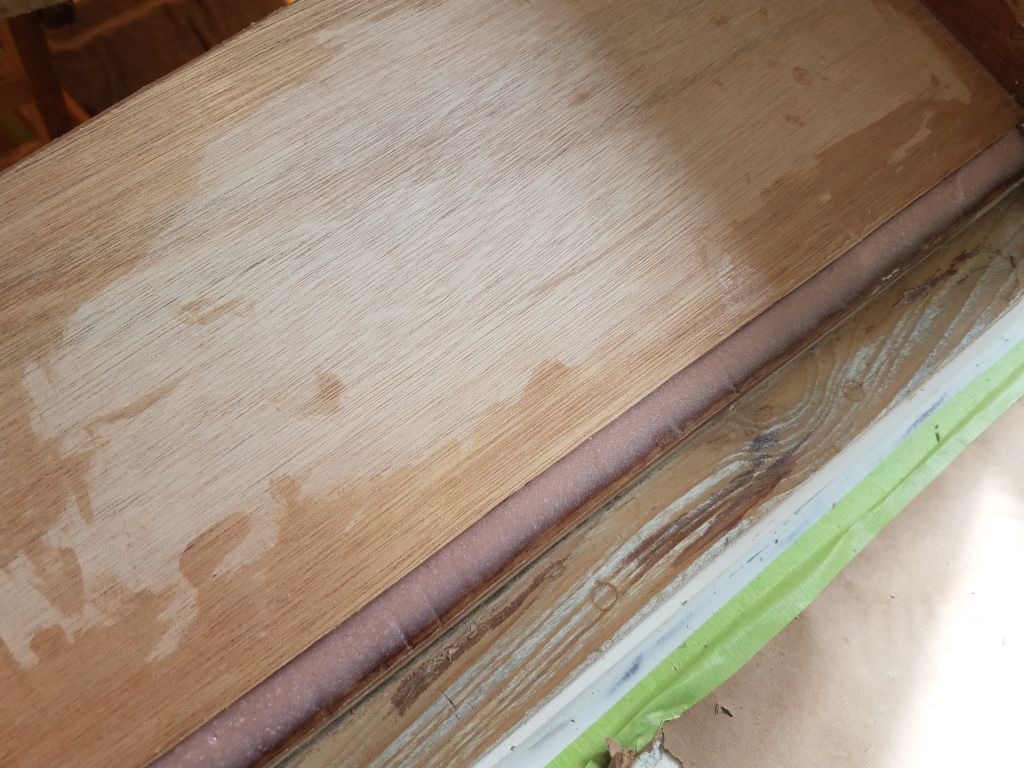
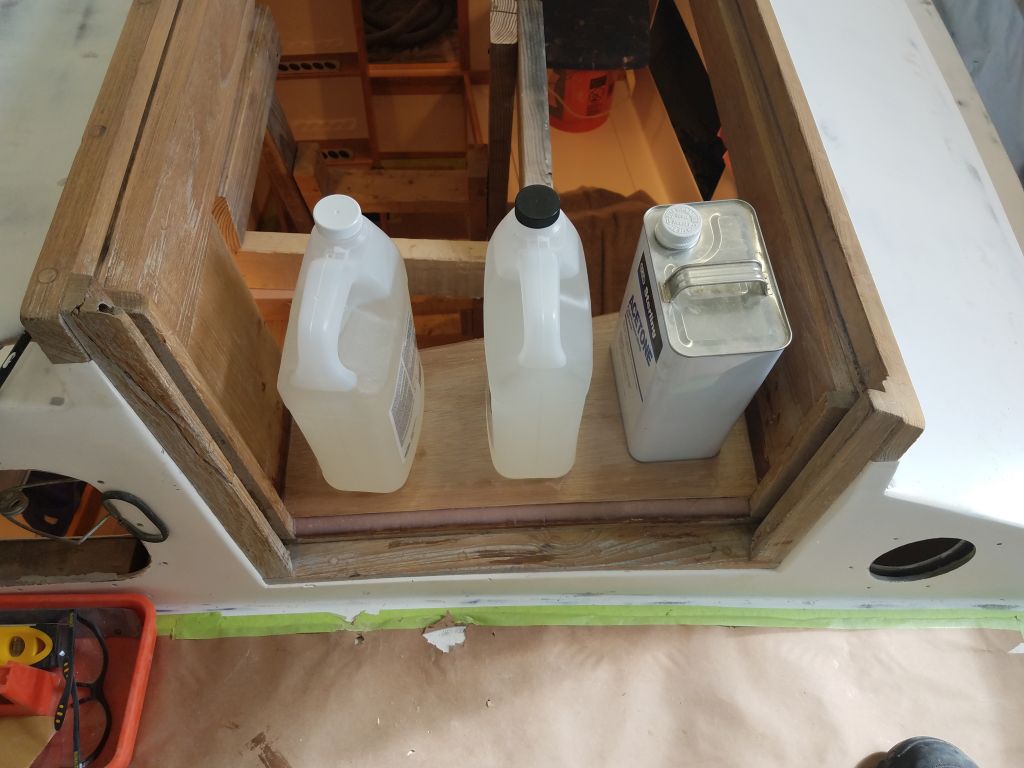
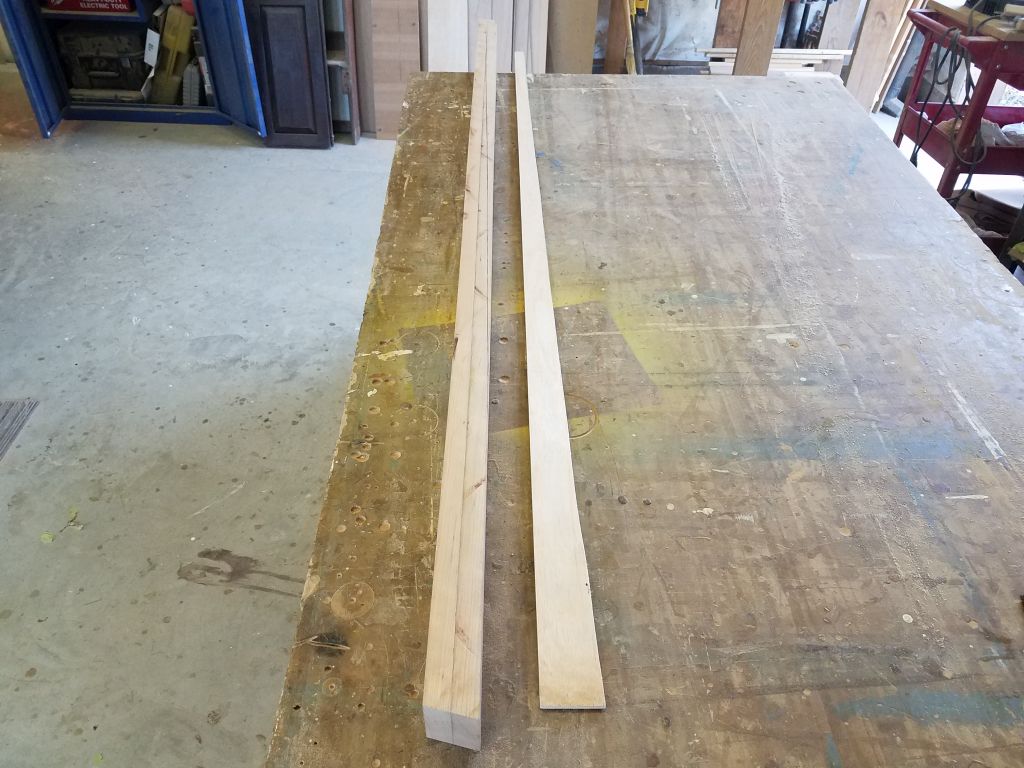
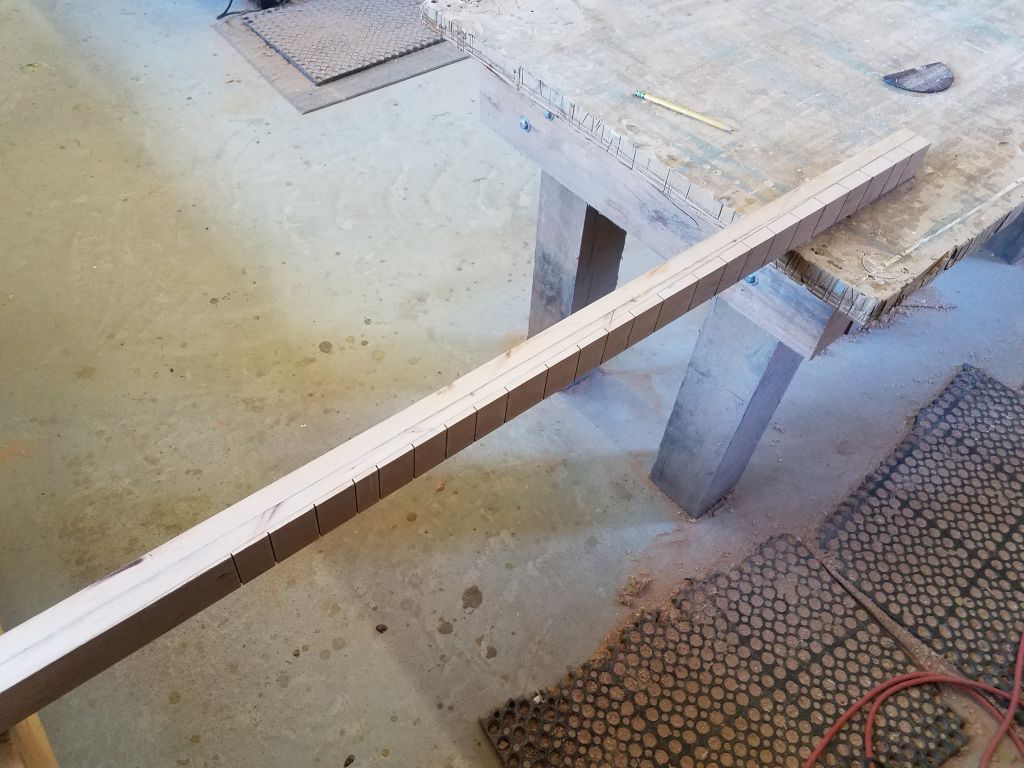
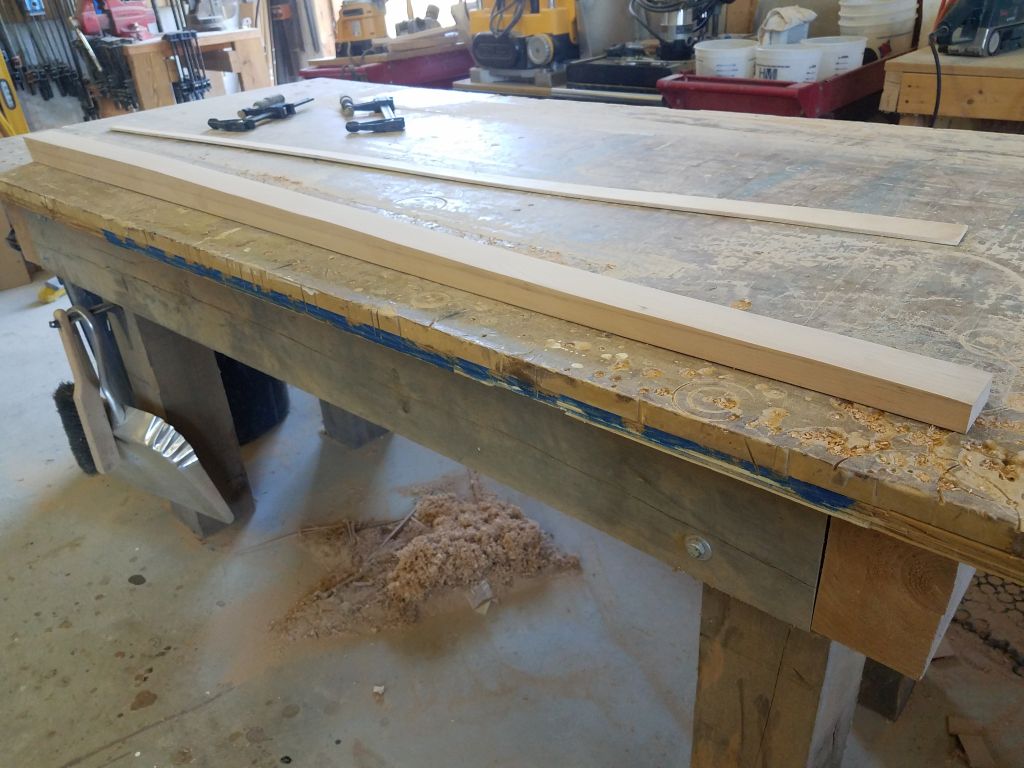
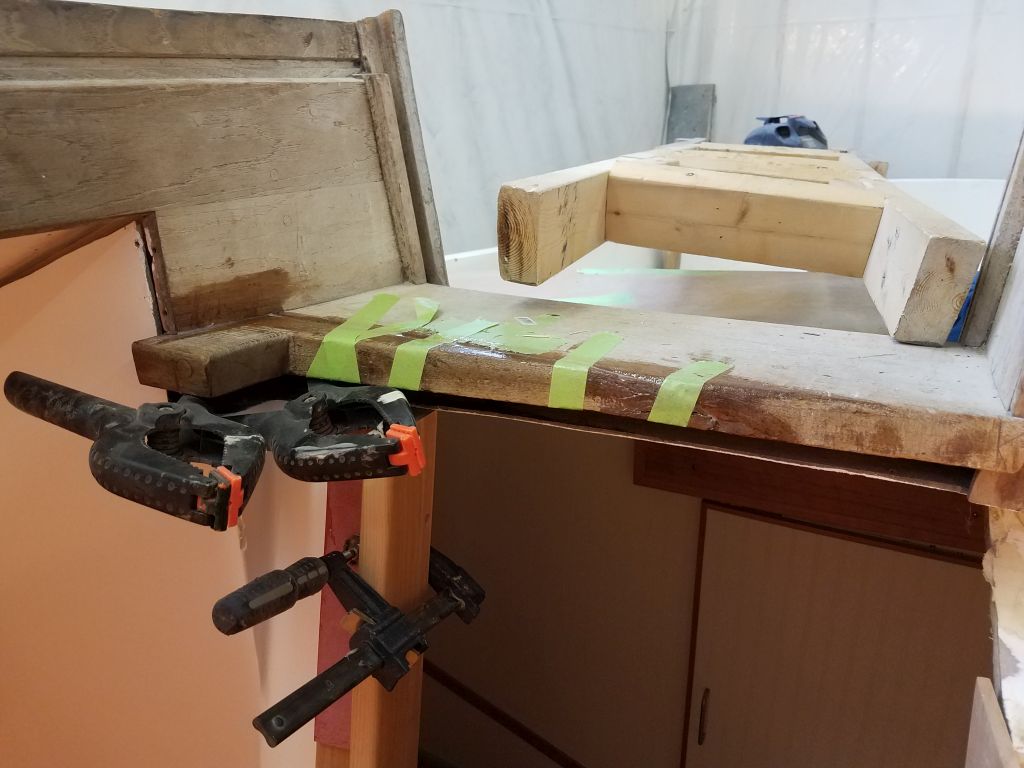
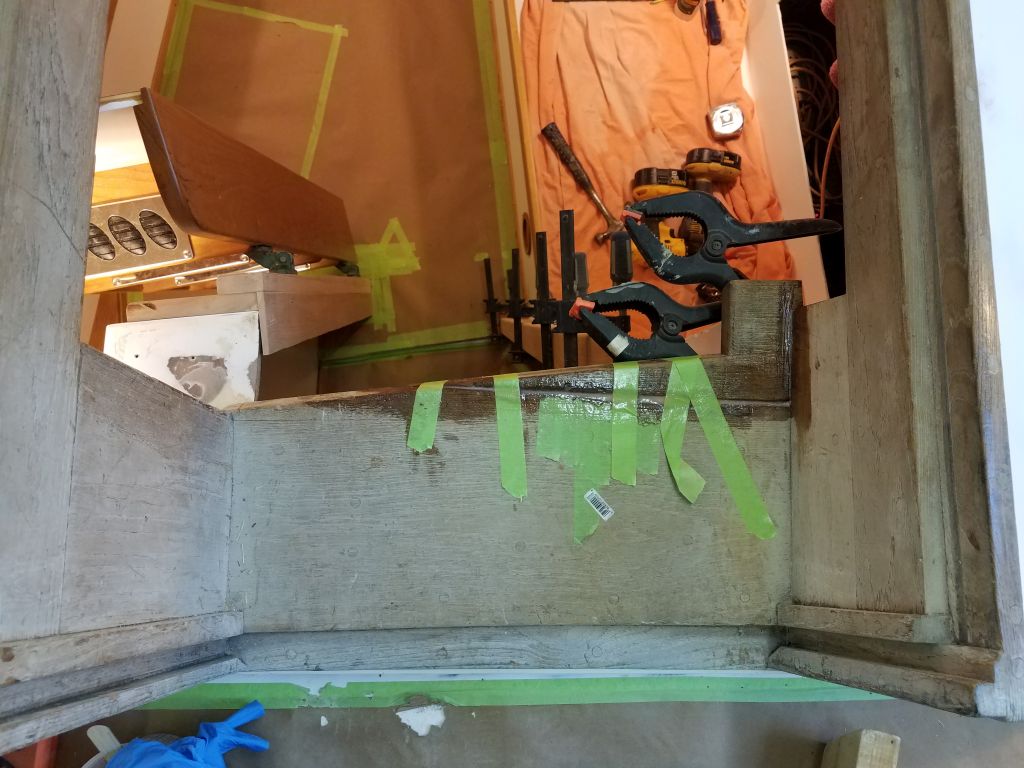
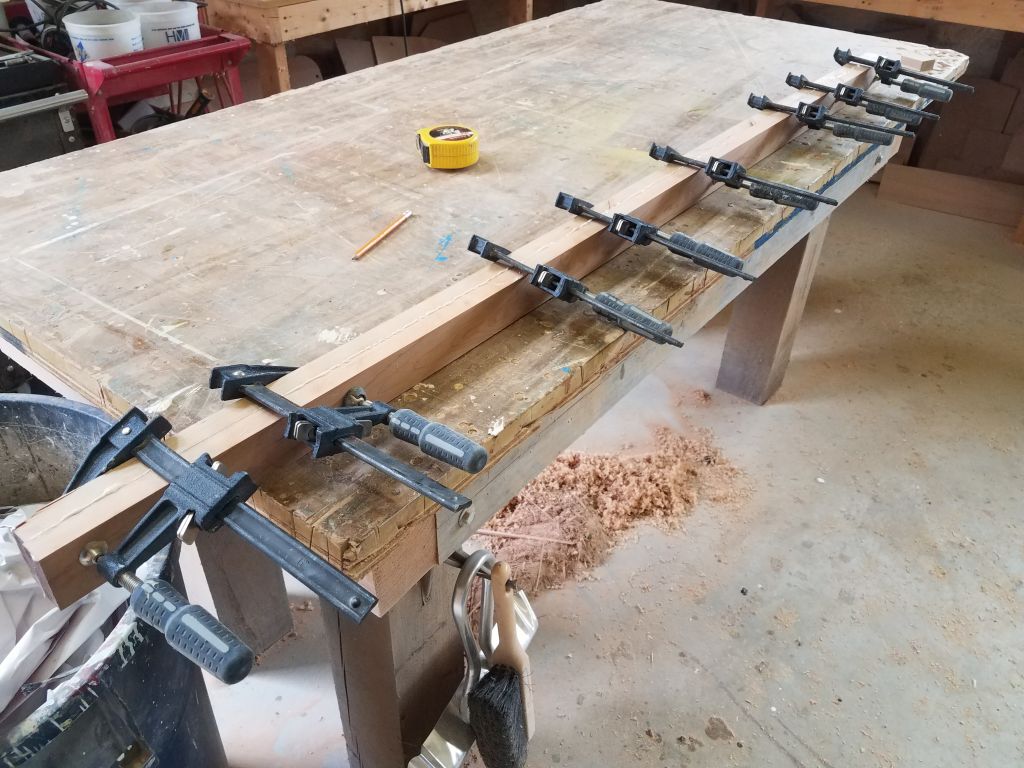
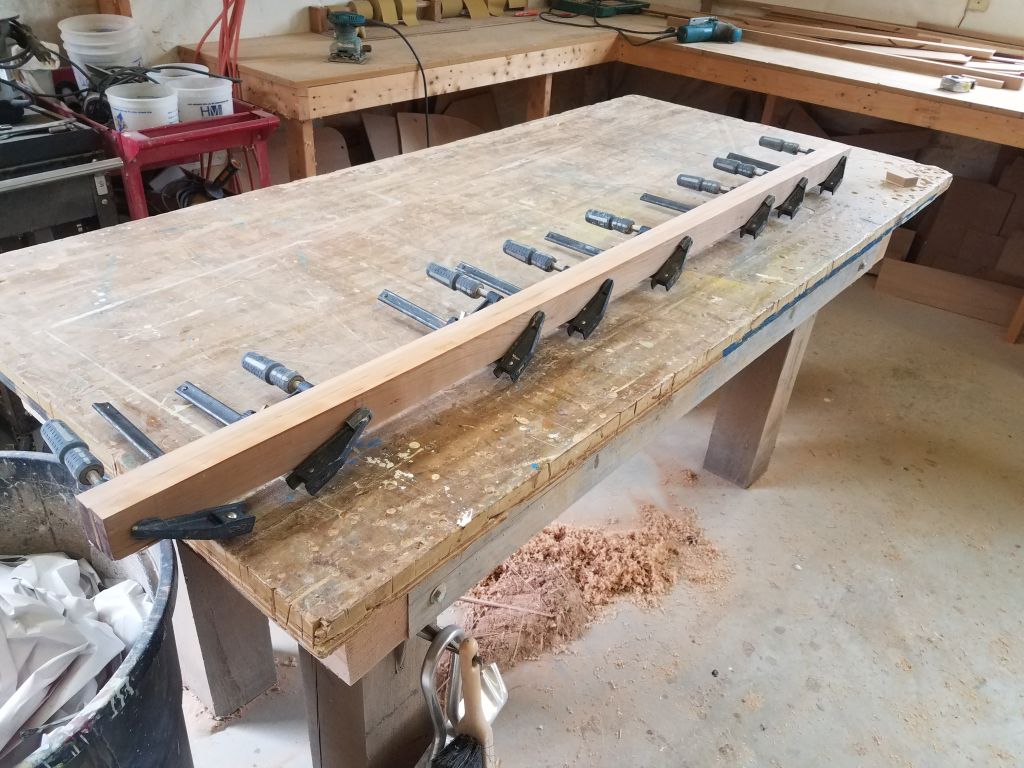
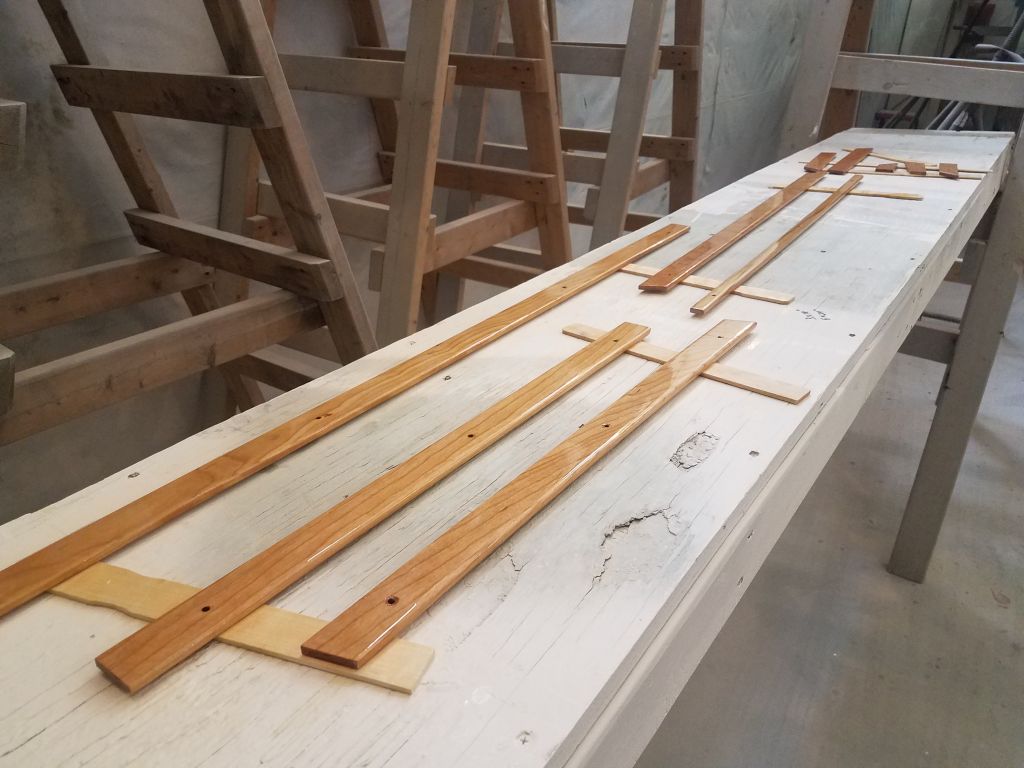
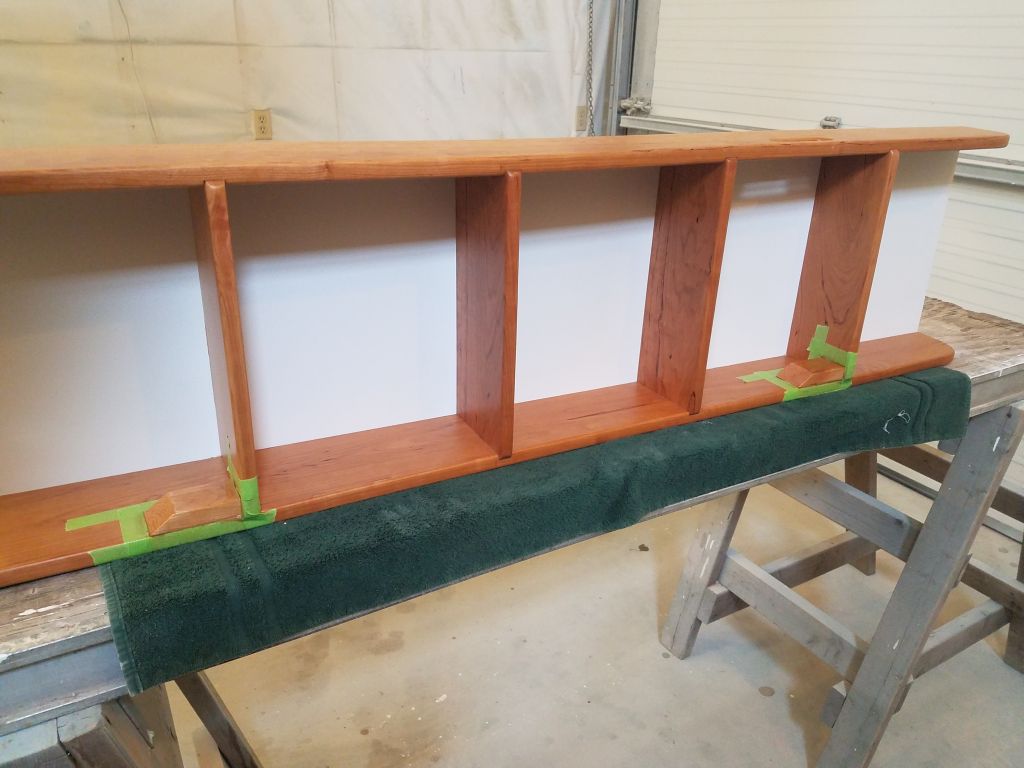
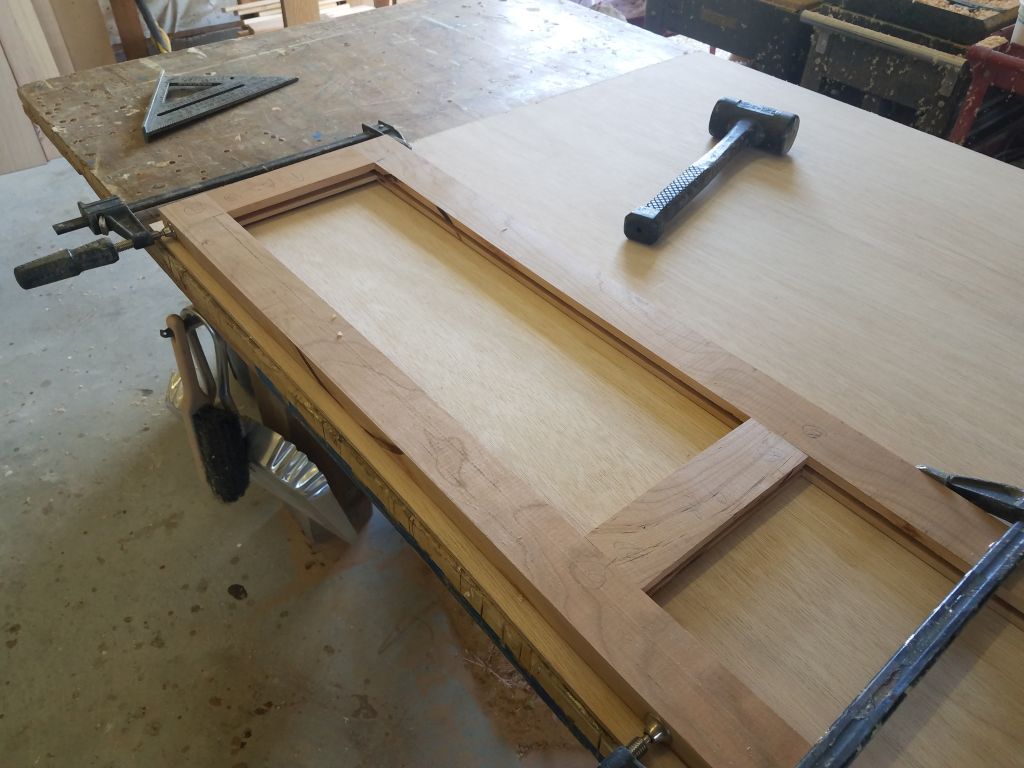
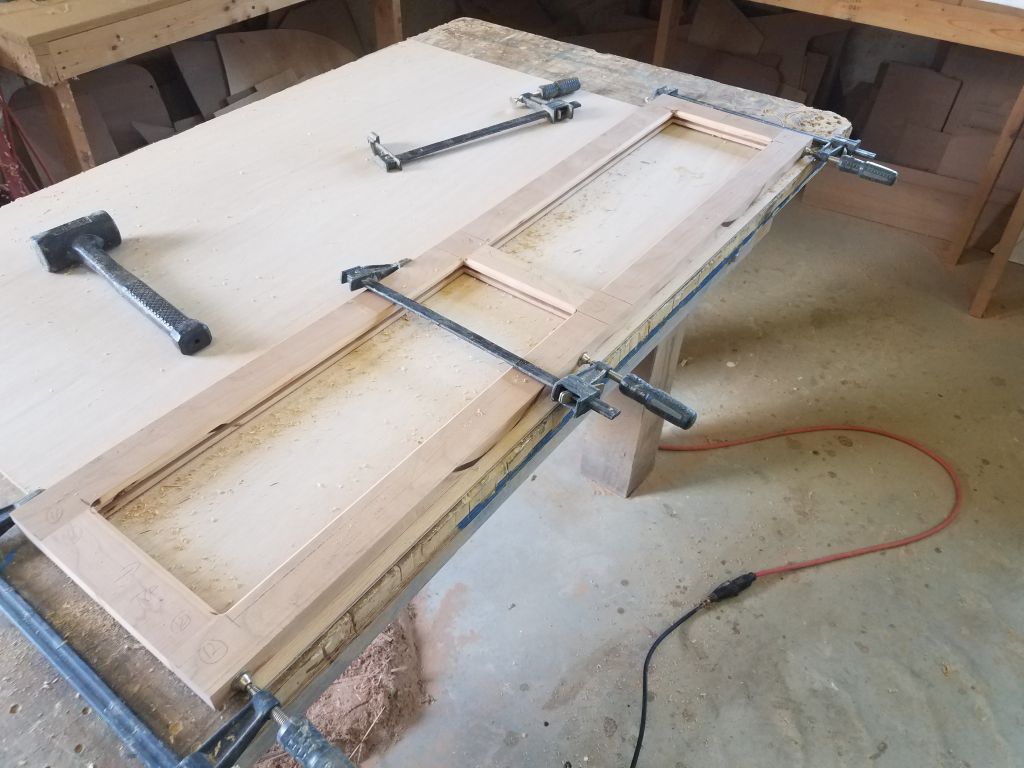
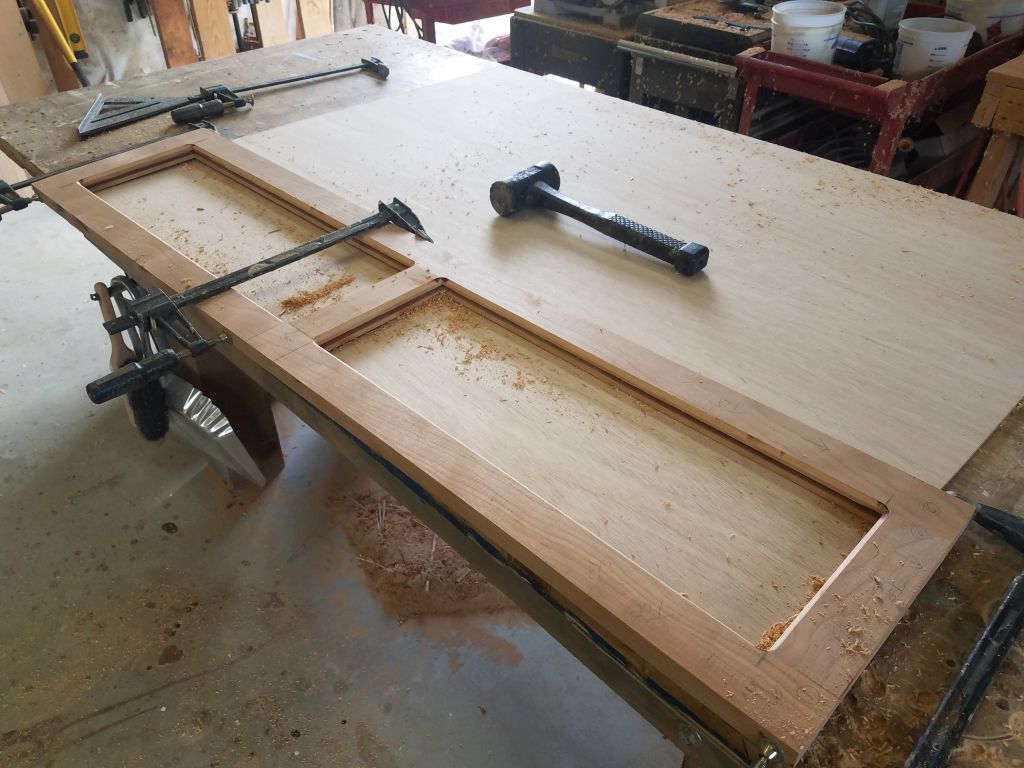
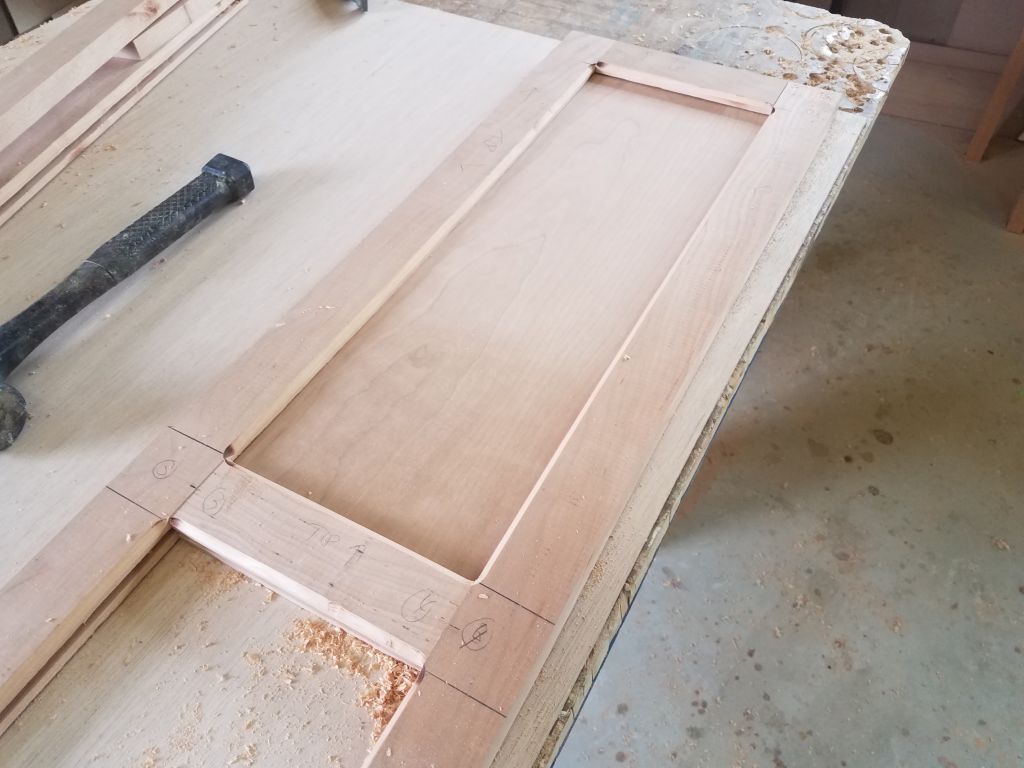
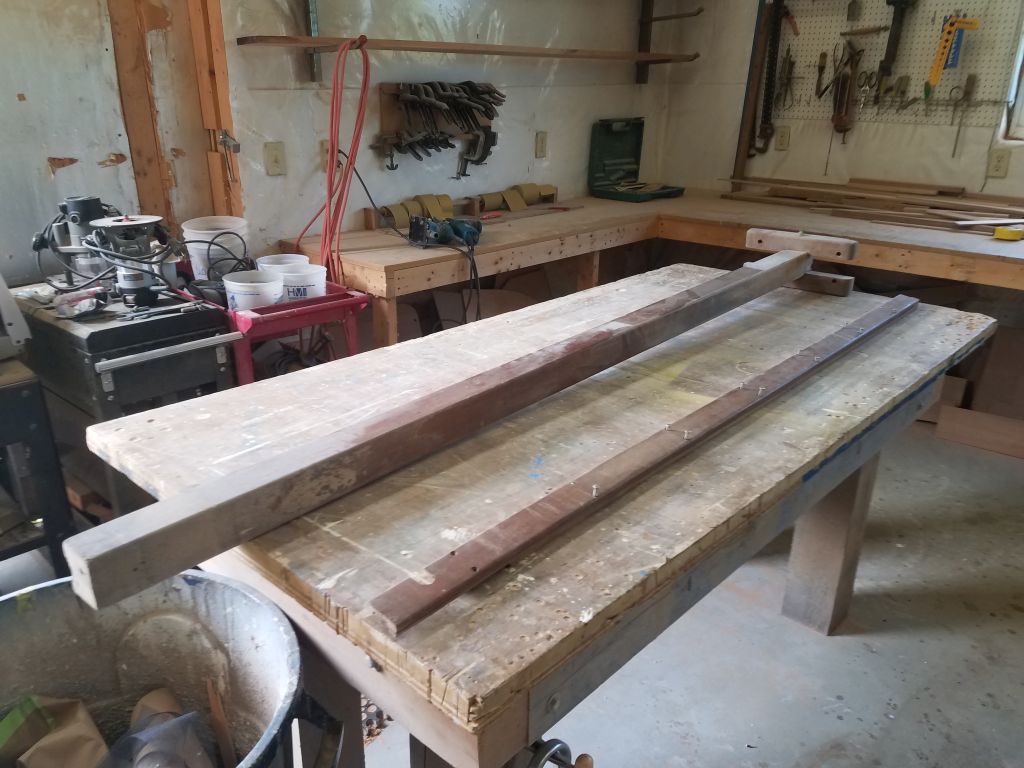
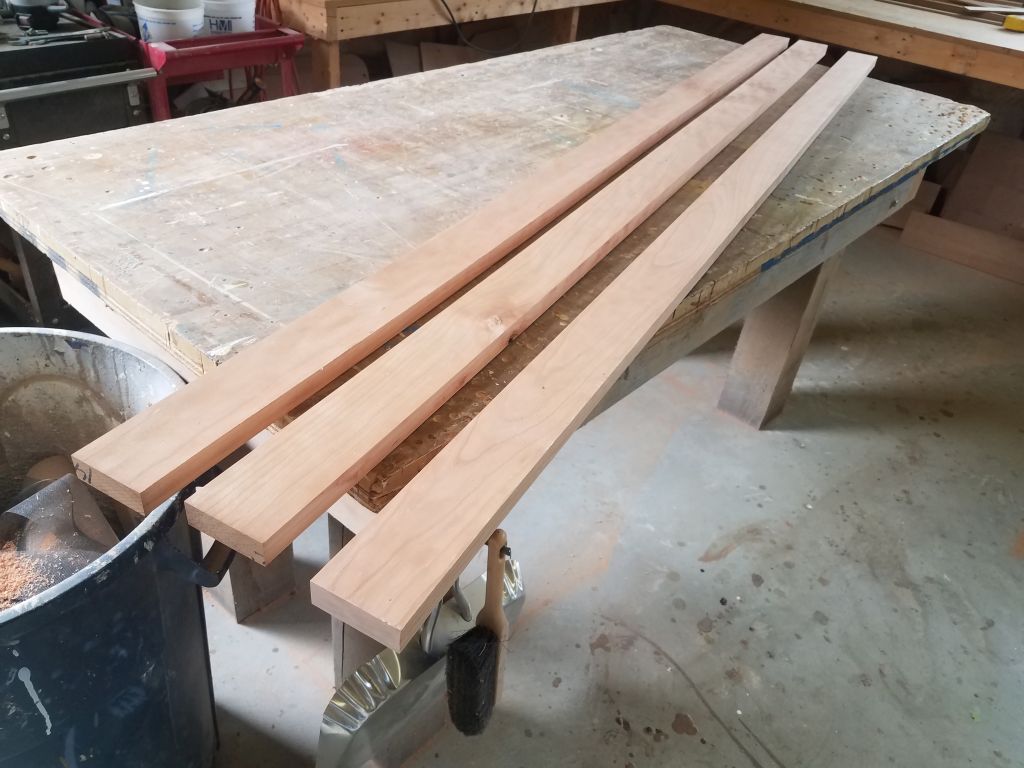
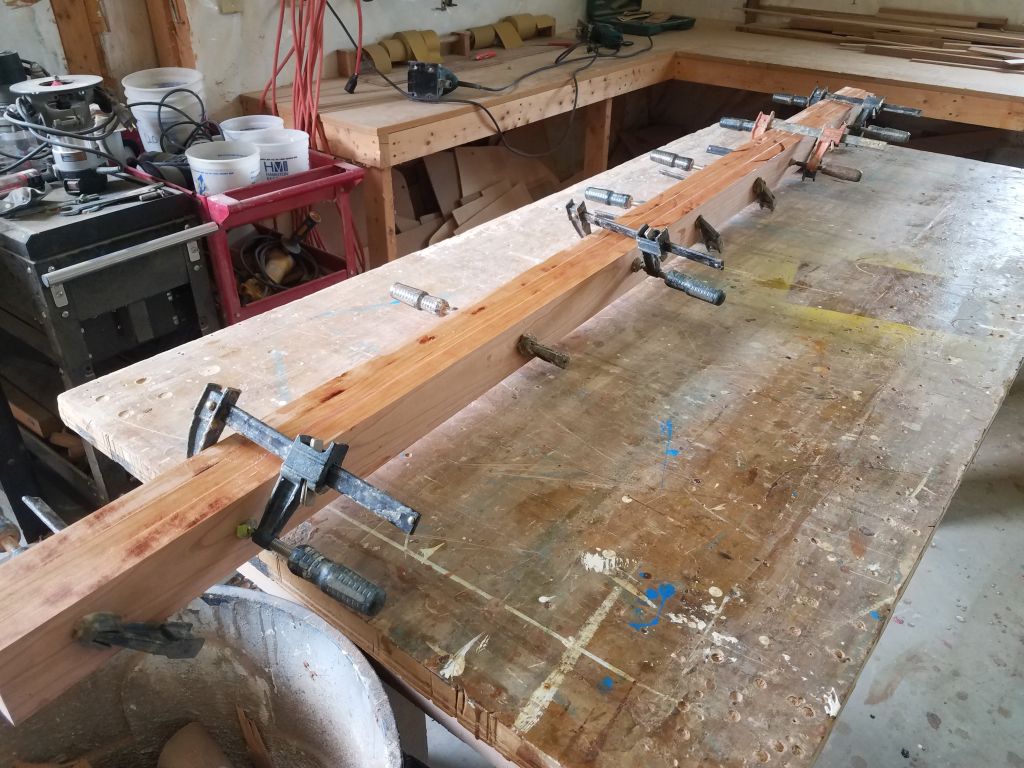
I had one long piece of rough cherry stock on hand, a piece left over from some long-ago order or another, and now I needed it in order to come up with enough cherry for the roughly 3″ square compression post assembly. I began by cutting the 14′ long piece in half (the compression post was somewhere over 6′ in length), then planed it smooth on both sides, keeping the blank as thick as possible while removing all the rough milling marks. I ended up with stock just under 1″ in finished thickness, and after straightening one edge of the rough boards I sawed three pieces 3″ wide from which to build the new post. Finally, I laminated the three sections together with epoxy adhesive for strength, and clamped the assembly securely for curing.

Total time billed on this job today: 4.5 hours
0600 Weather Observation: 50°, light rain. Forecast for the day: Showers and cloudy, 65°