

November 9, 2021
Arietta Phase 2-7
Tuesday
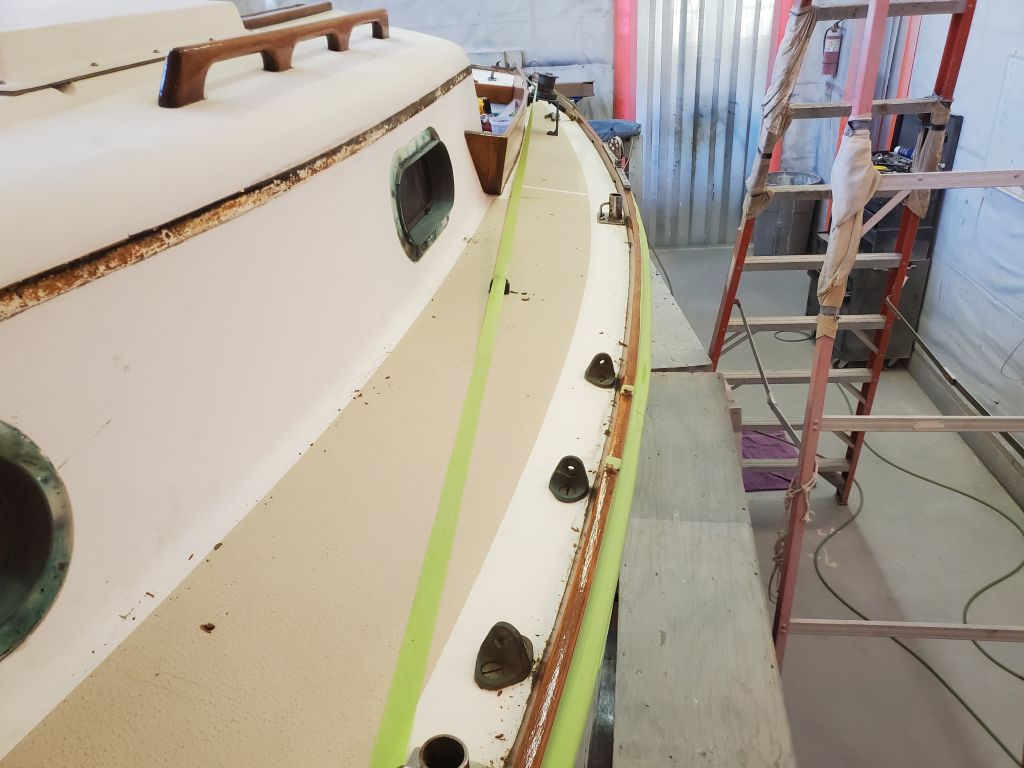
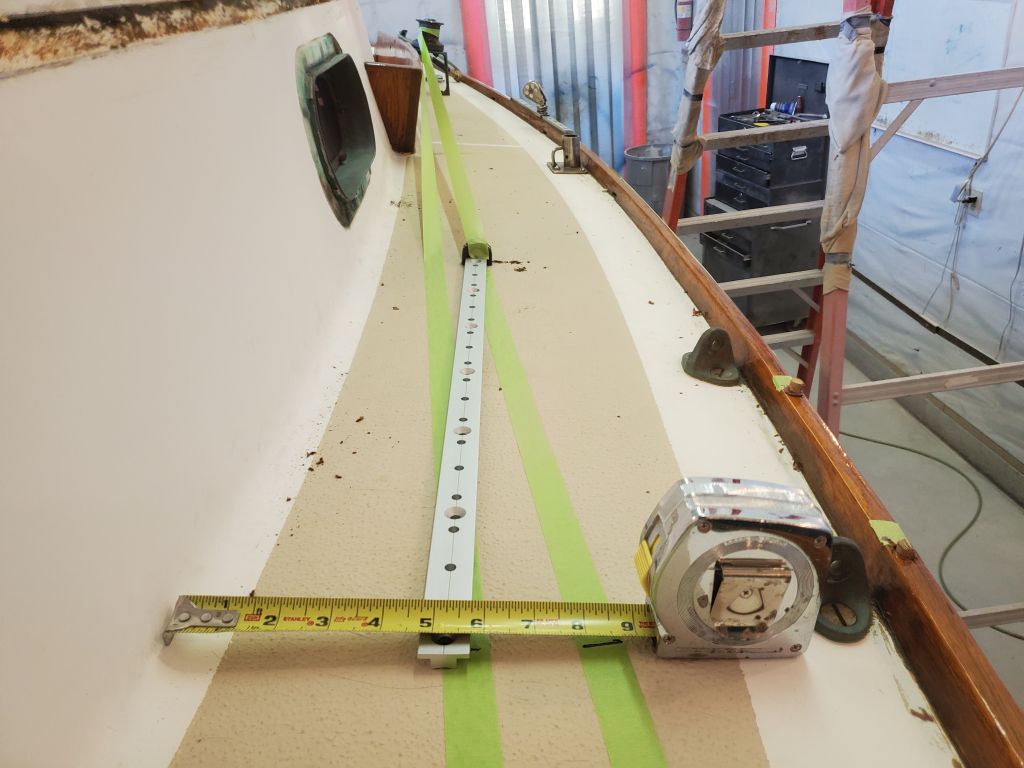
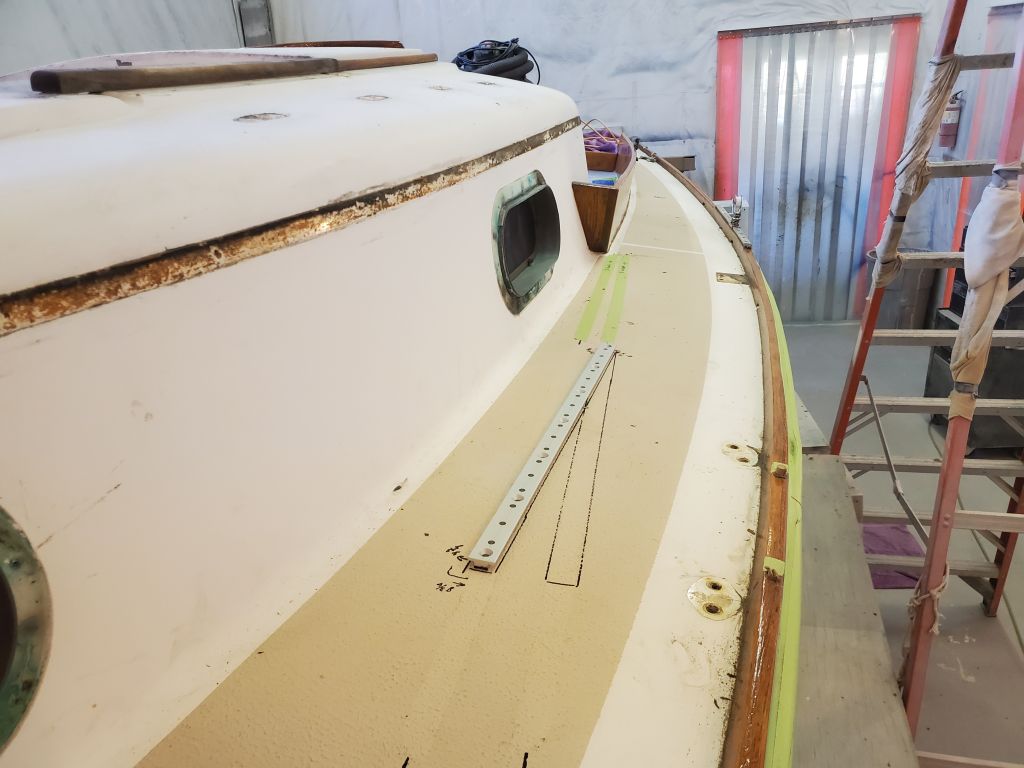
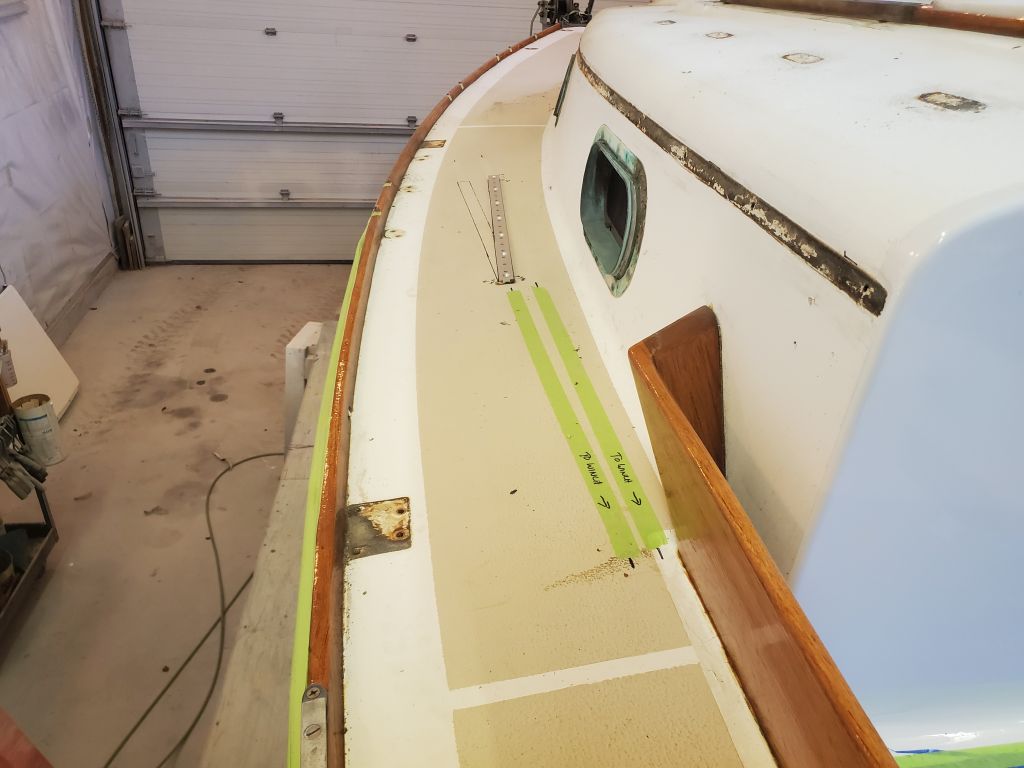
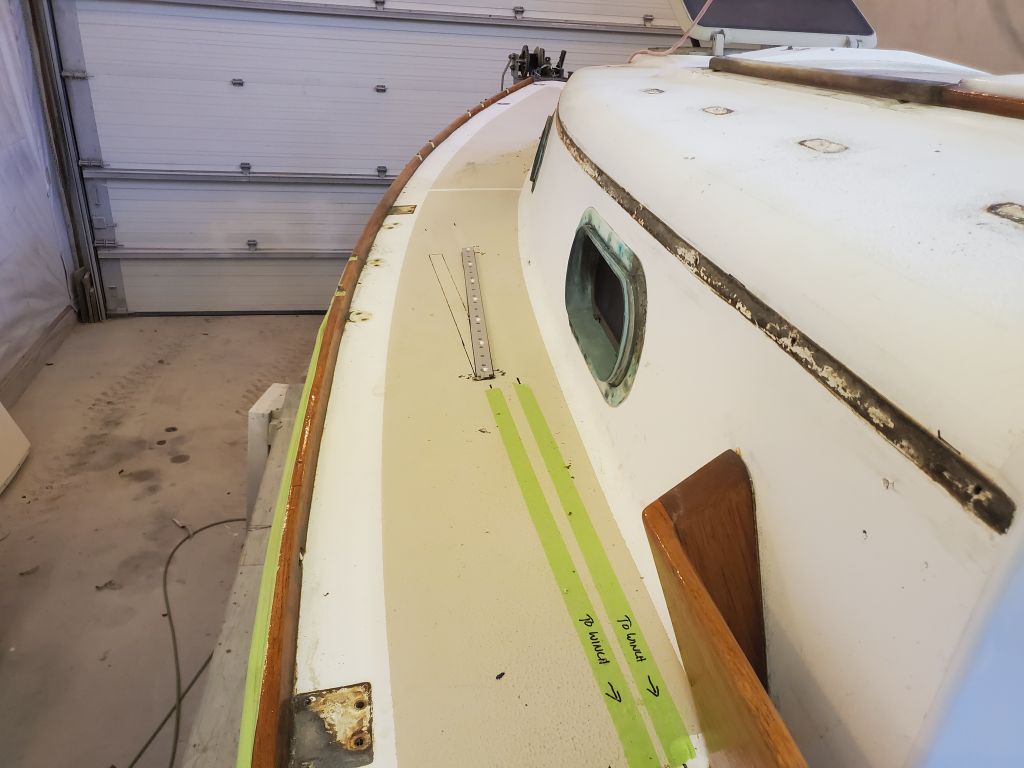
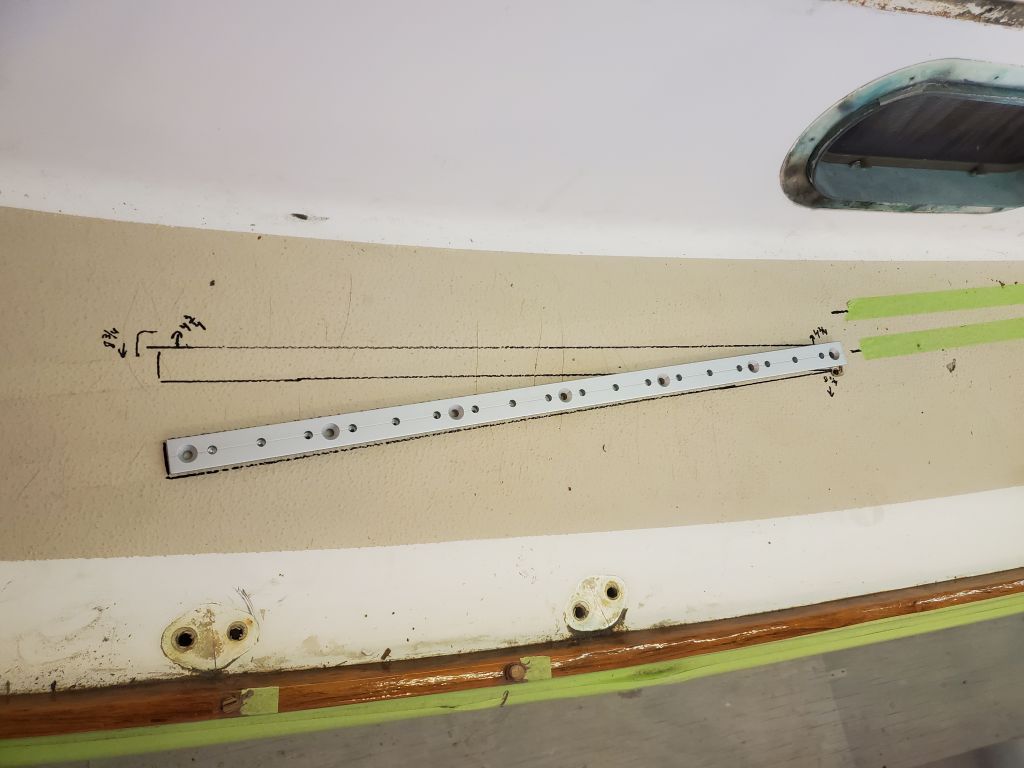
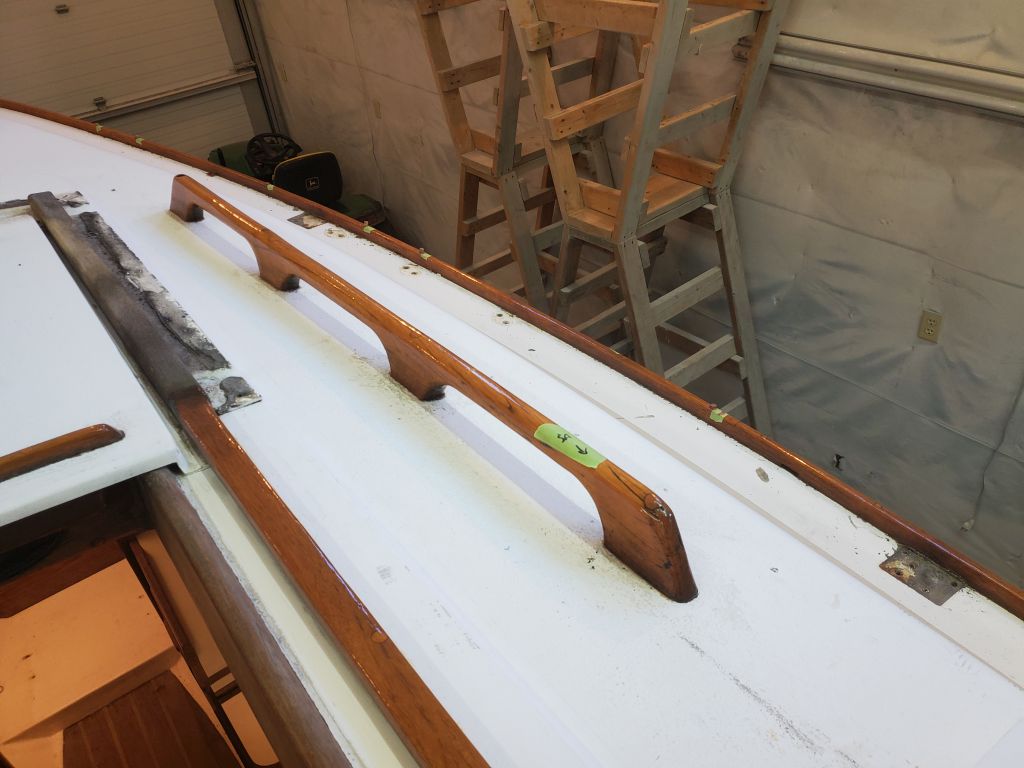
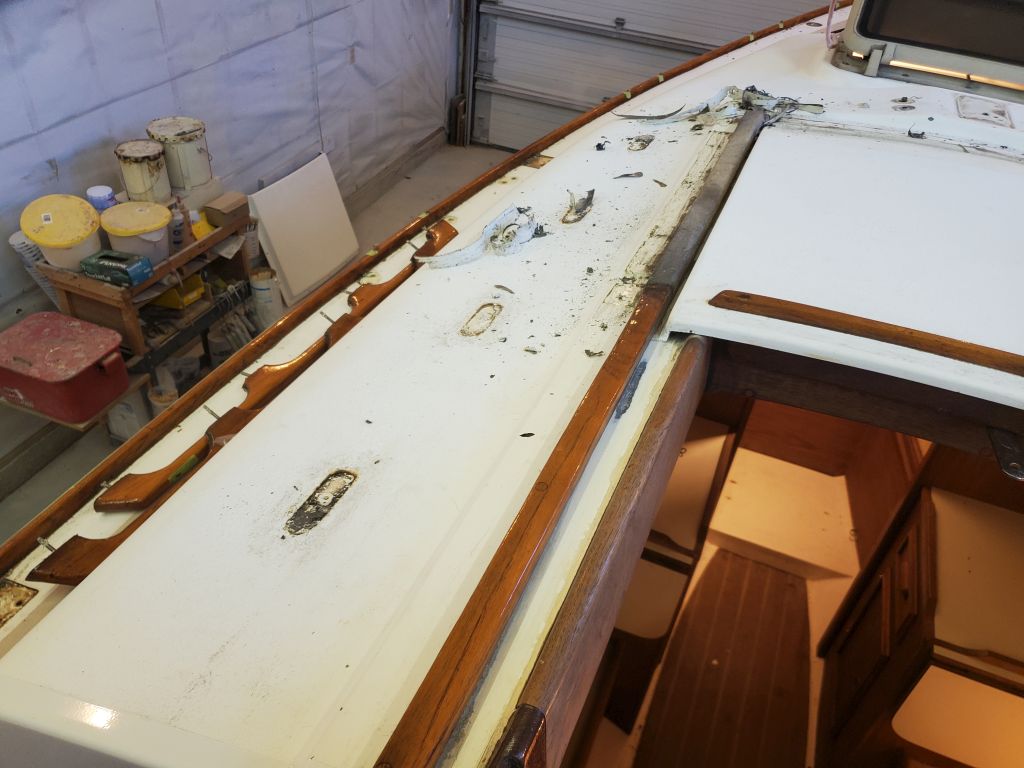
Before getting too far along with the deck cosmetic work, I wanted to finalize and mark the locations of the new 24″ long working jib lead tracks on the sidedecks. Before removing the winches last time, I’d made some marks approximating the existing line leads (from the old bullseye fairleads) to the winch for use in determining the correct position and orientation of the new tracks, mainly to ensure a fair lead aft past the coaming and to the winch drum on the port side, where clearances were closest.
With the existing lead line struck, and representing the outermost position of the eventual track, I struck a second line further inboard, determining the line closest to the coaming as possible for reference and to help determine the theoretical innermost line the track could take (keeping, as a constant, the existing fairlead location as the aft end point of the new track). These two lines gave me a wedge-shaped area through which I could arc the forward end of the track, any point through which could conceivably be the final position.
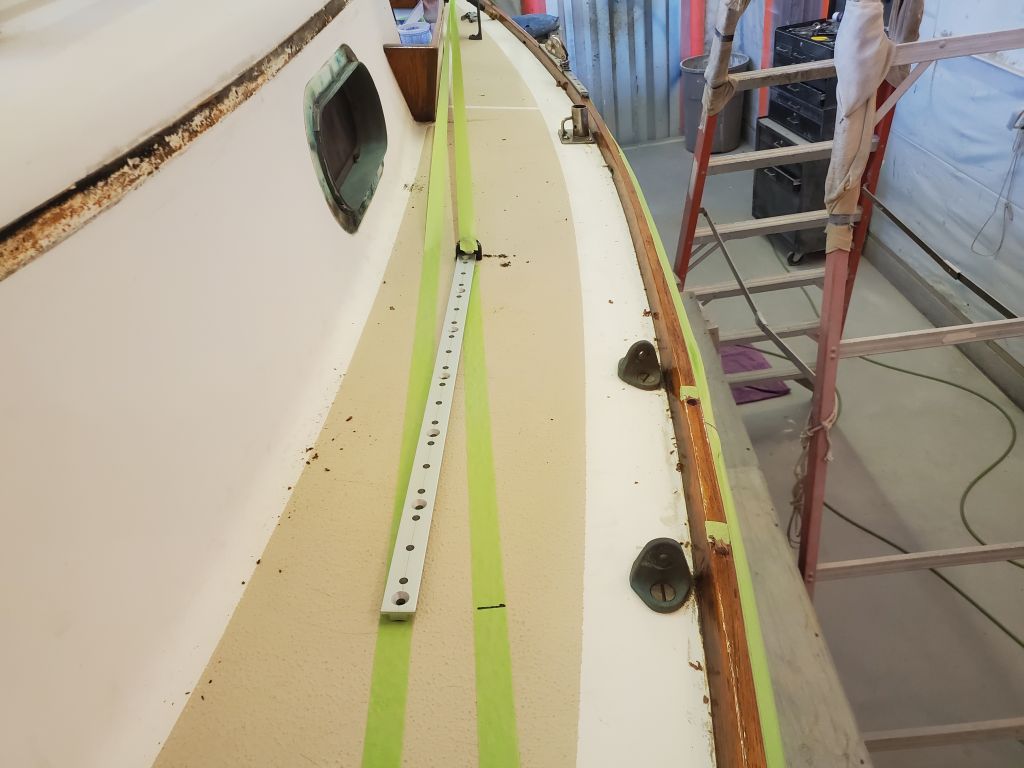
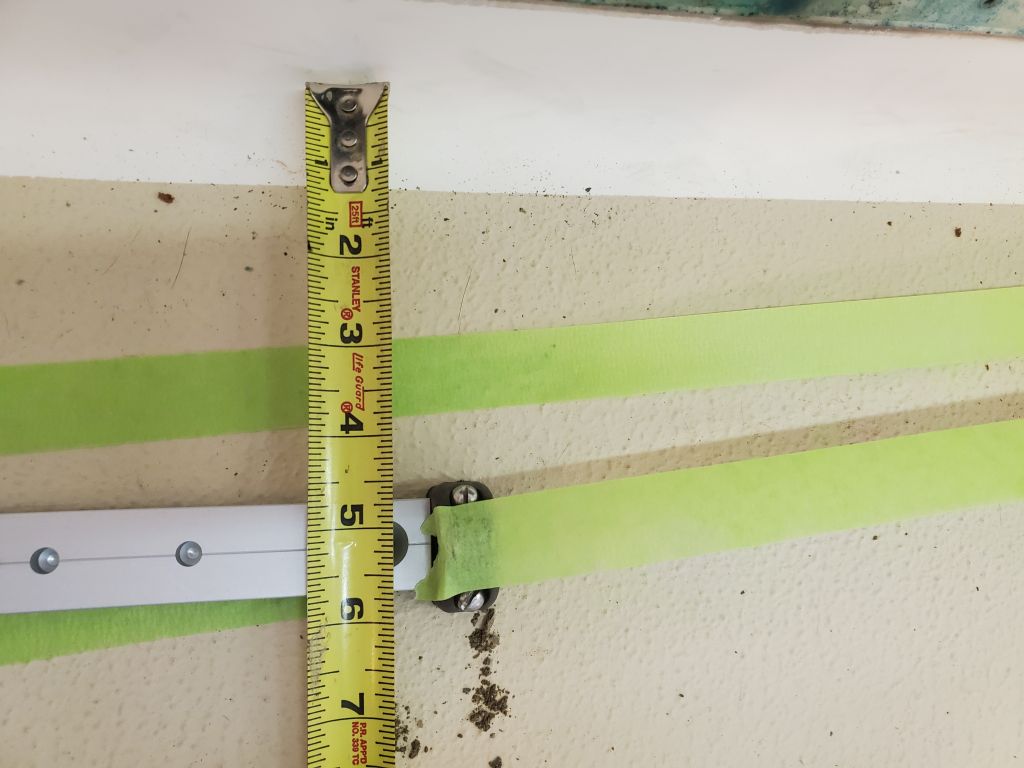
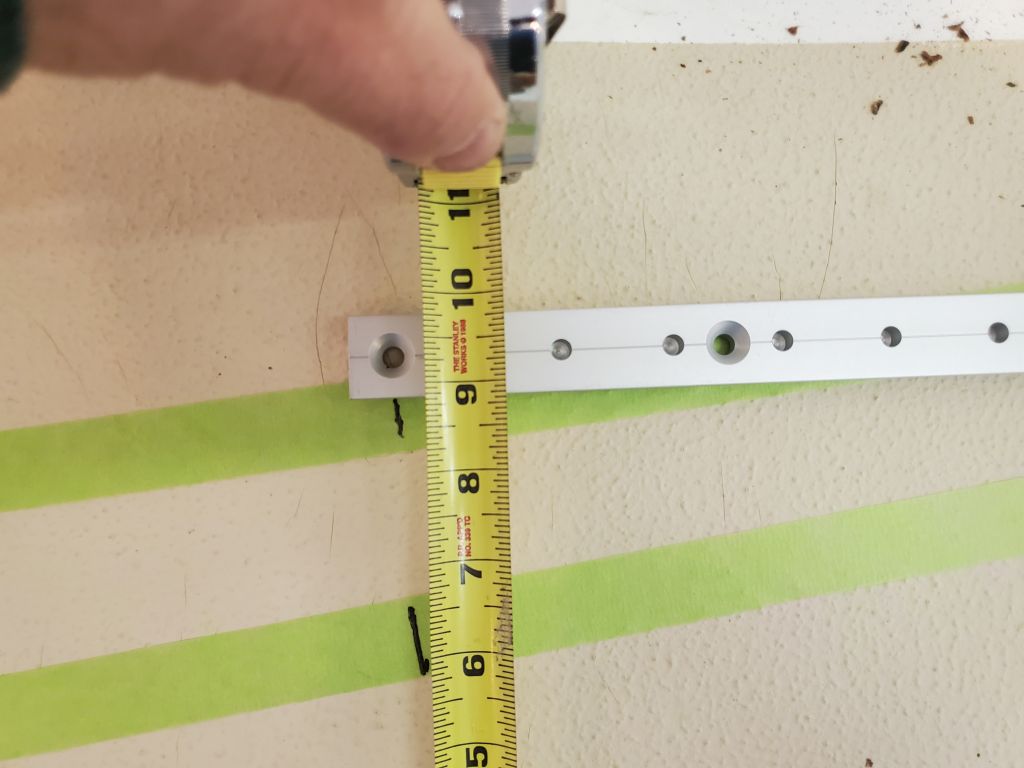
Aesthetically, it would be nice if the tracks lined up with something nearby, though the ultimate lead was more important than pure aesthetics. Not really knowing for sure how the tracks should be aligned going forward, I started for now with the aft end (constant) at the existing fairlead, which meant the edge of the track was 4-3/4″ from the cabin trunk, and replicated this measurement at the forward end. This kept the forward end of the track just on the green tape mark representing the possible fair lead aft to the winch, so this positioning would work, and also look smart.

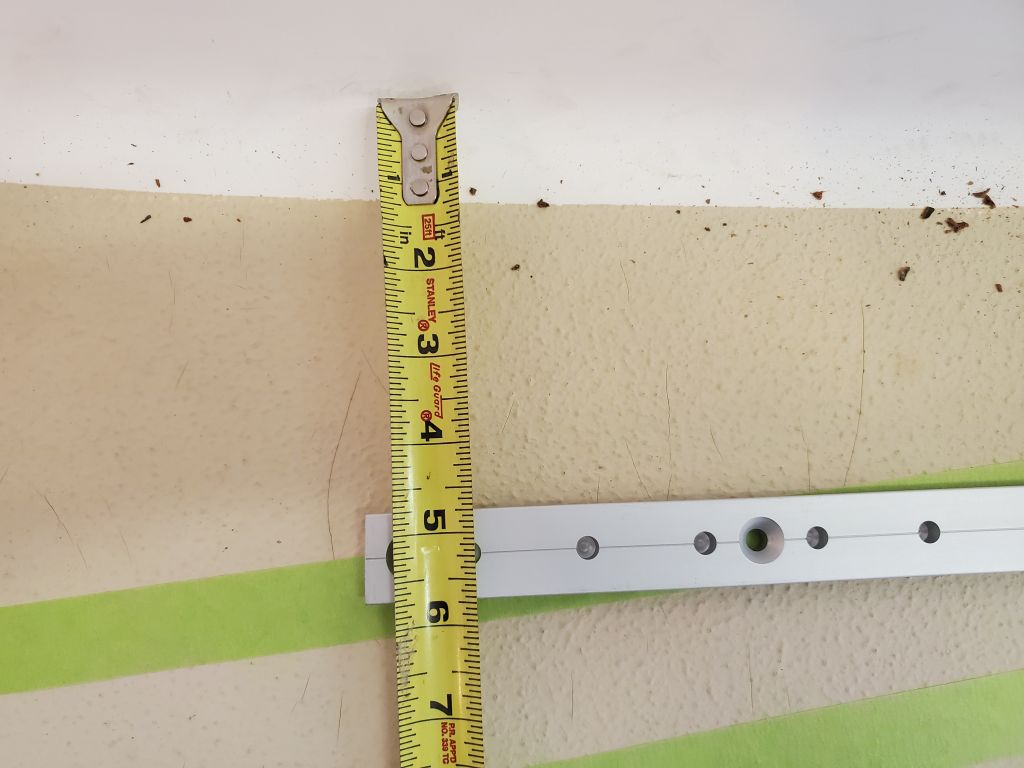
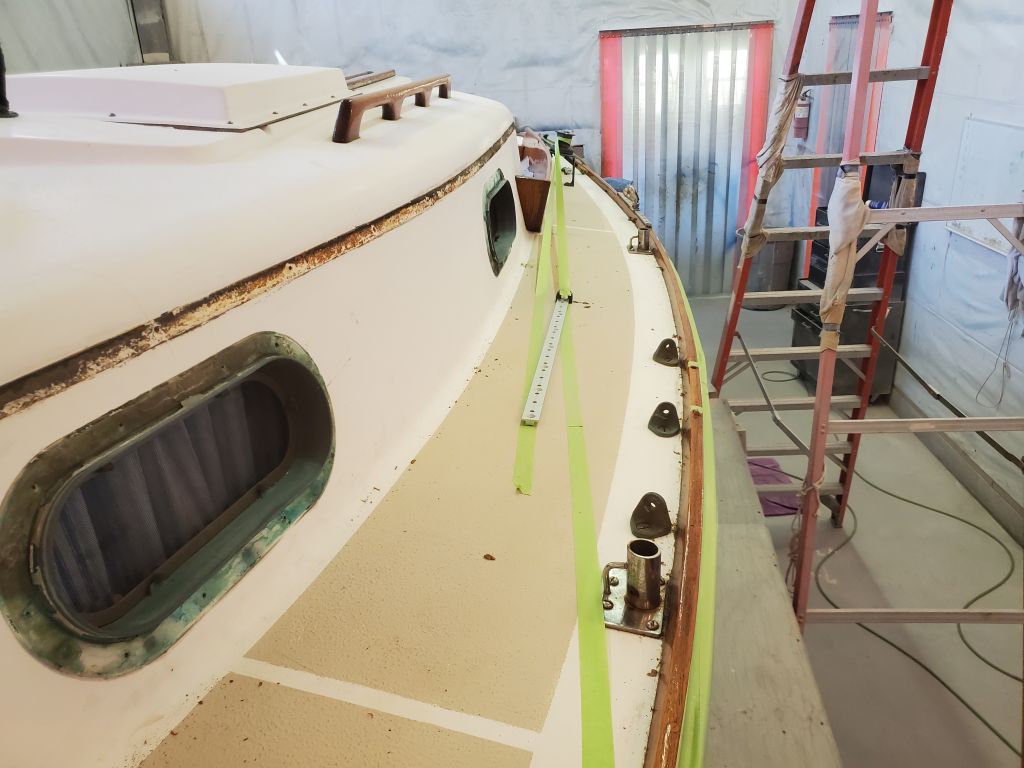
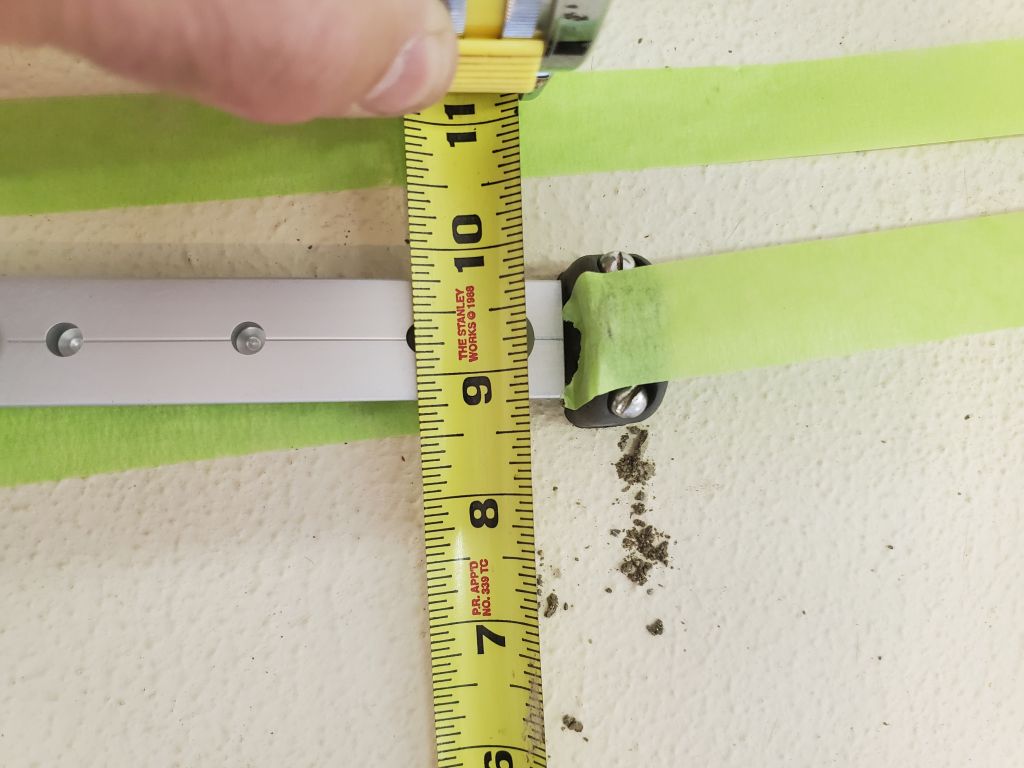
Next, I measured from the toerail to the outboard edge of the track at the fairlead (8-3/4″), and replicated the measurement at the forward end. This actually pushed the forward end of the track closer to the cabin trunk, calling into question the fair lead-i-ness from the first couple hole positions to the winch. Also, this looked odd, but again, it helped establish the ultimate parameters in play.


Of course the track could also just follow the original line extended forward from the winch and bullseye, skewing the track at an oddball angle across the deck, but possibly keeping it in the right place according to the line required by the jib sheet leading from the clew.

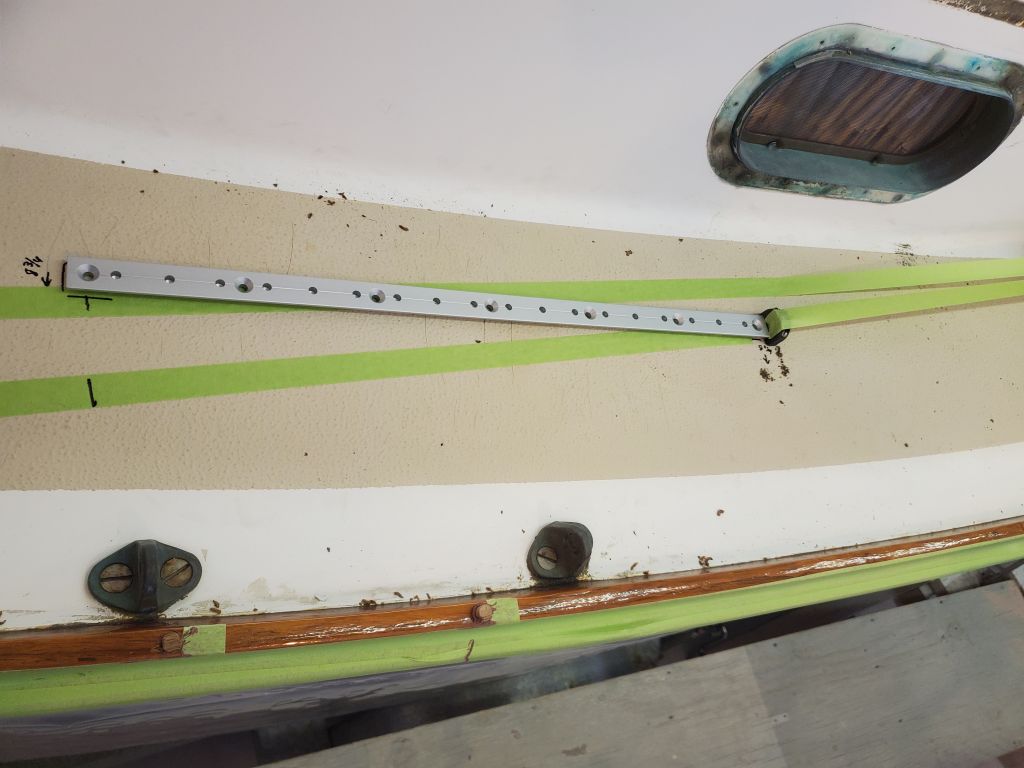
Later, I marked the deck along the two main proposed track locations, starting with parallel to the cabin at 4.75″ (as determined by the position of the original fairlead):

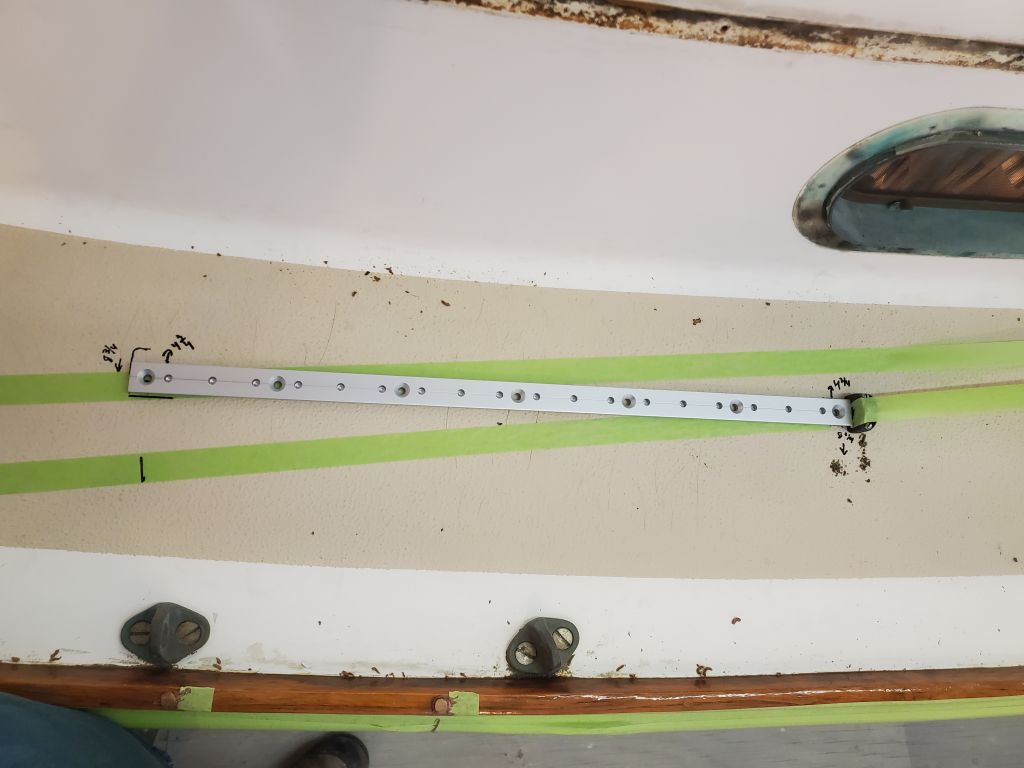
And following the original lead line as established by a straight line incorporating the inner edge of the winch drum, and the original fairlead (and continued forward):
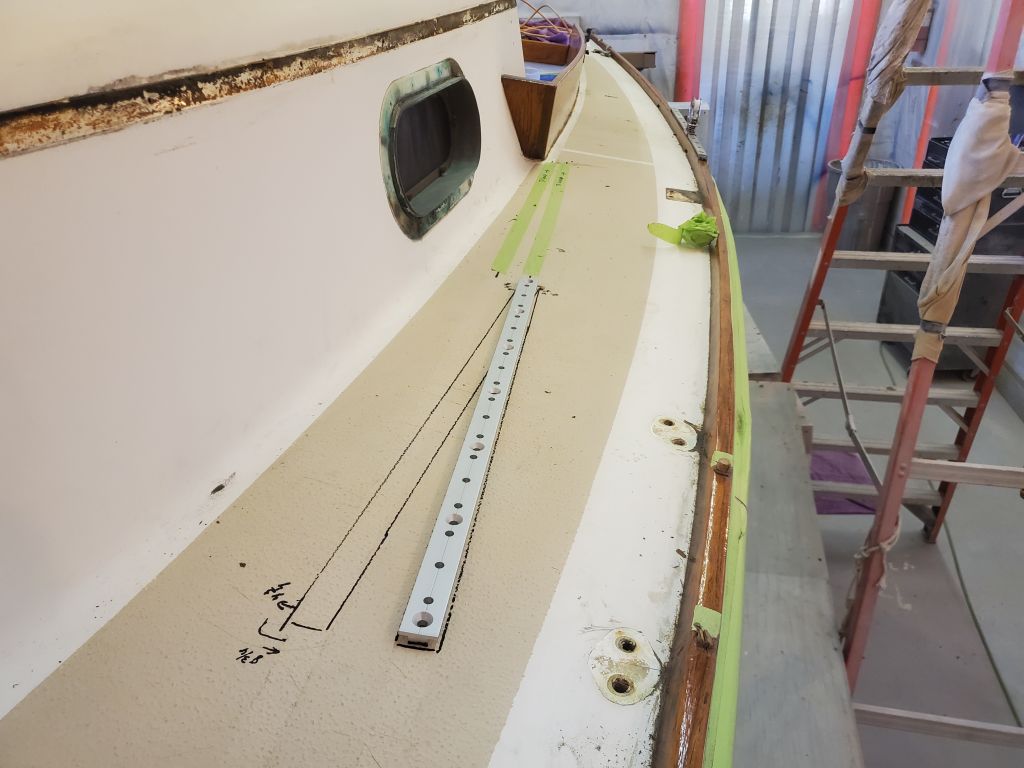

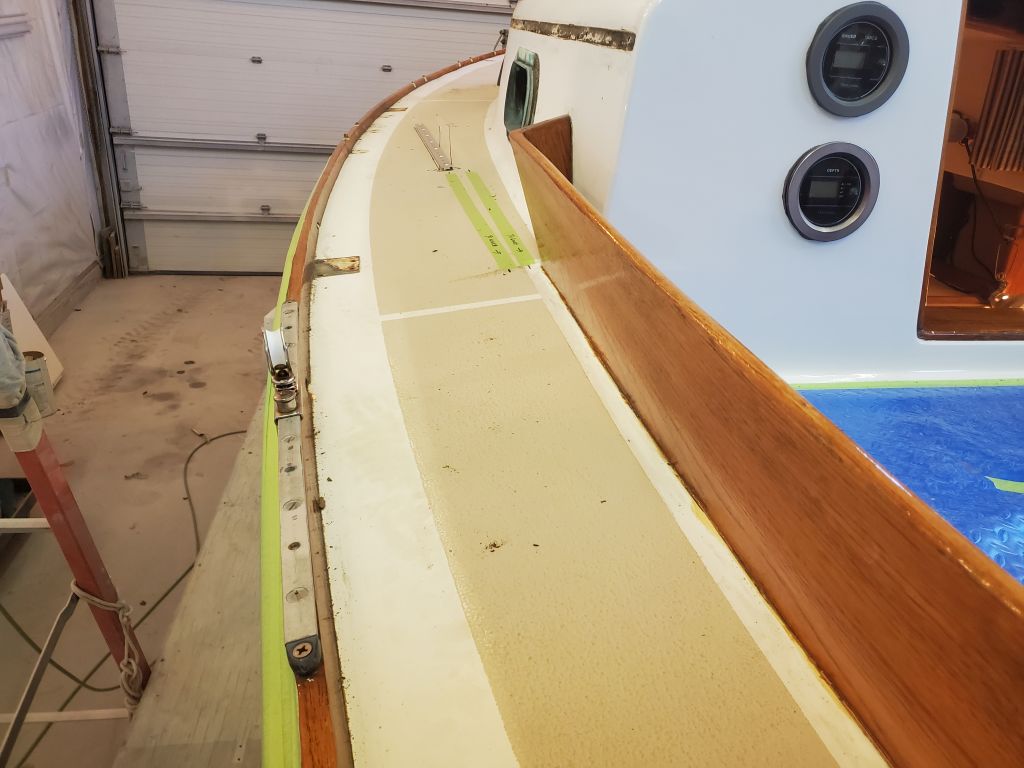
Theoretically, the track could be positioned anywhere between these two outlying positions.
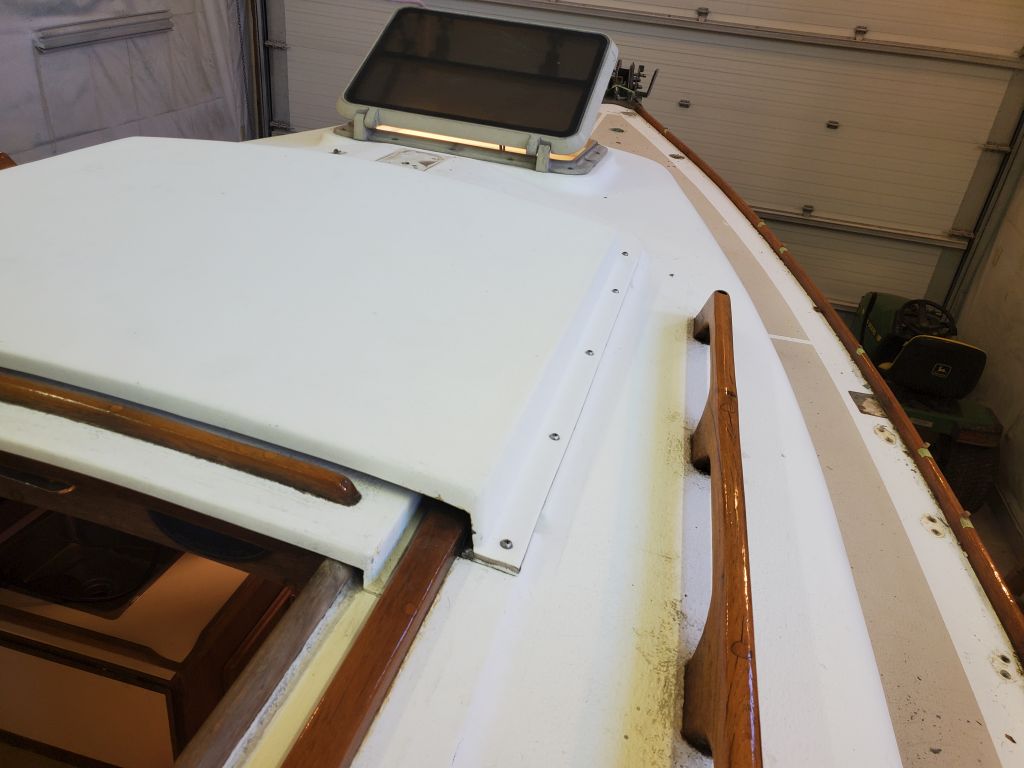
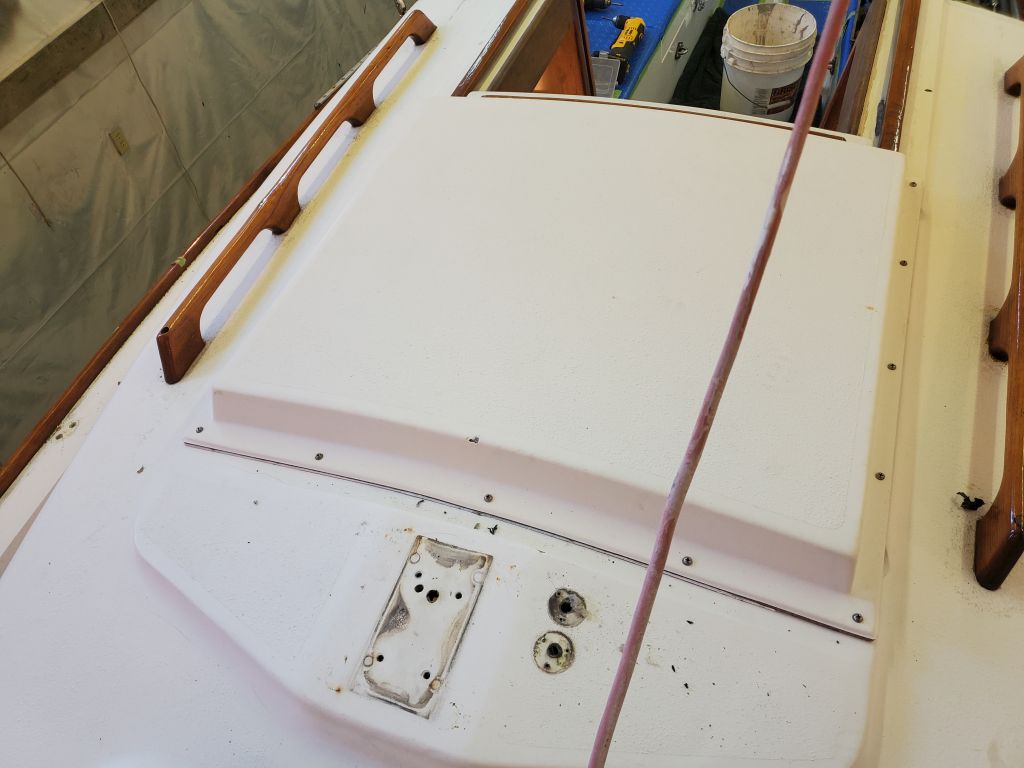
Next, I continued with hardware removal, starting with the sea hood, which was easy to remove by unscrewing the dozen or so screws along the outer flange. I’d hoped to remove the companionway slider too, but it was pinned in place by the trim surrounding the inner companionway, which I did not want to remove; in any case, I could repaint the hatch with it in place.
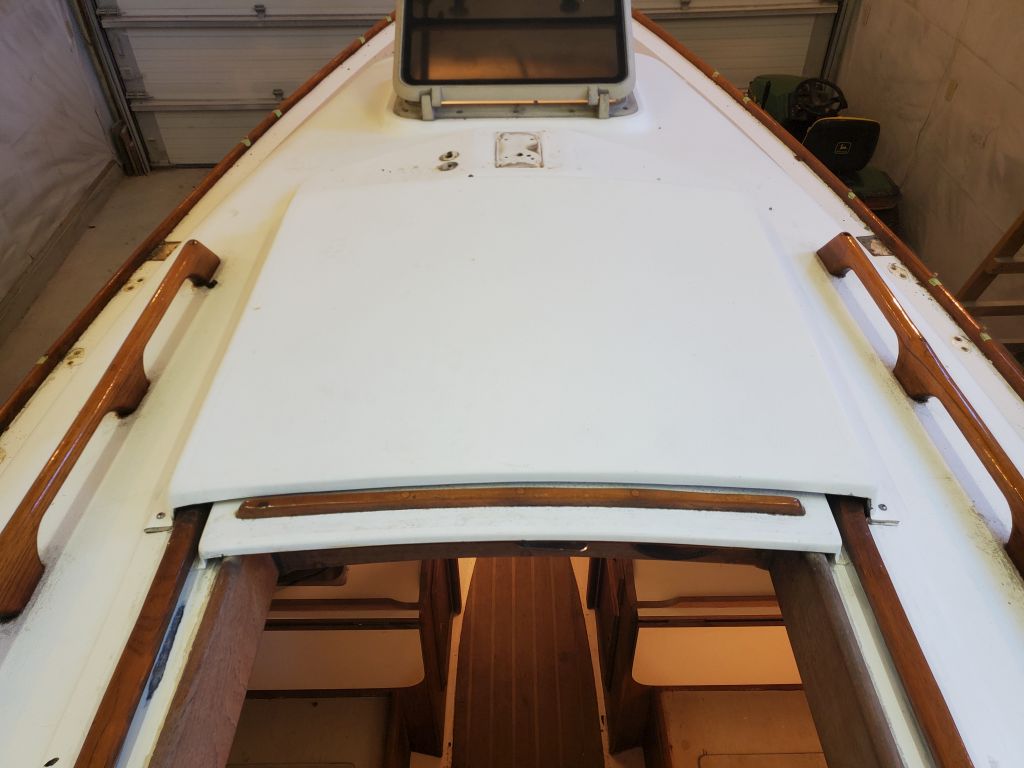
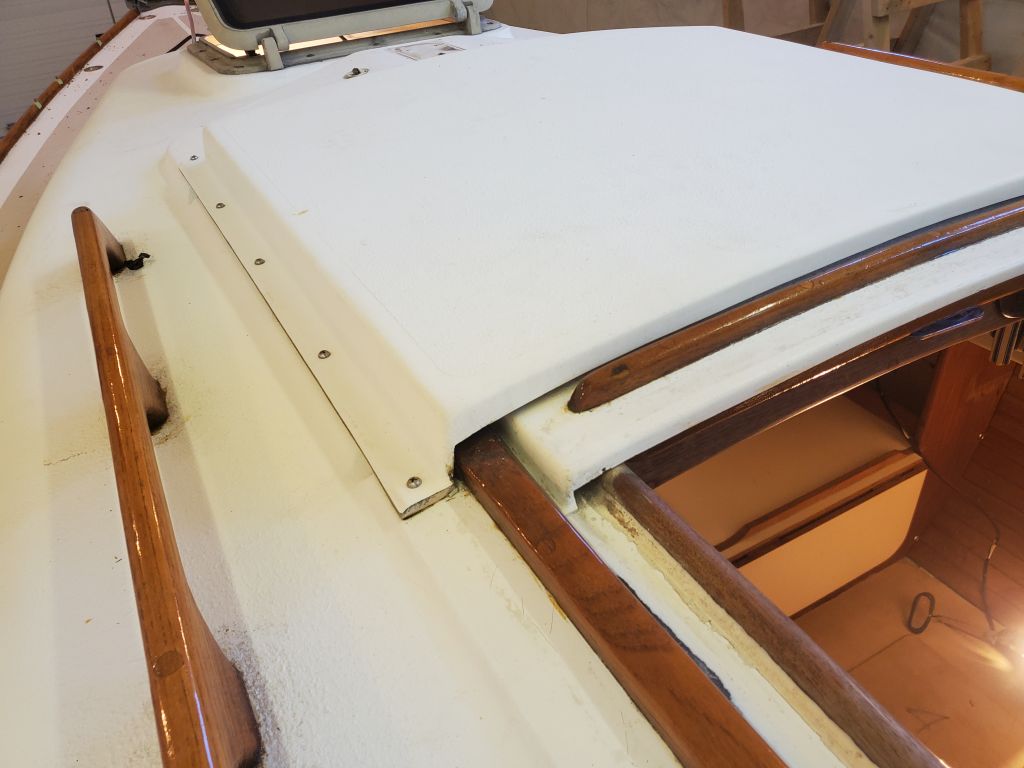
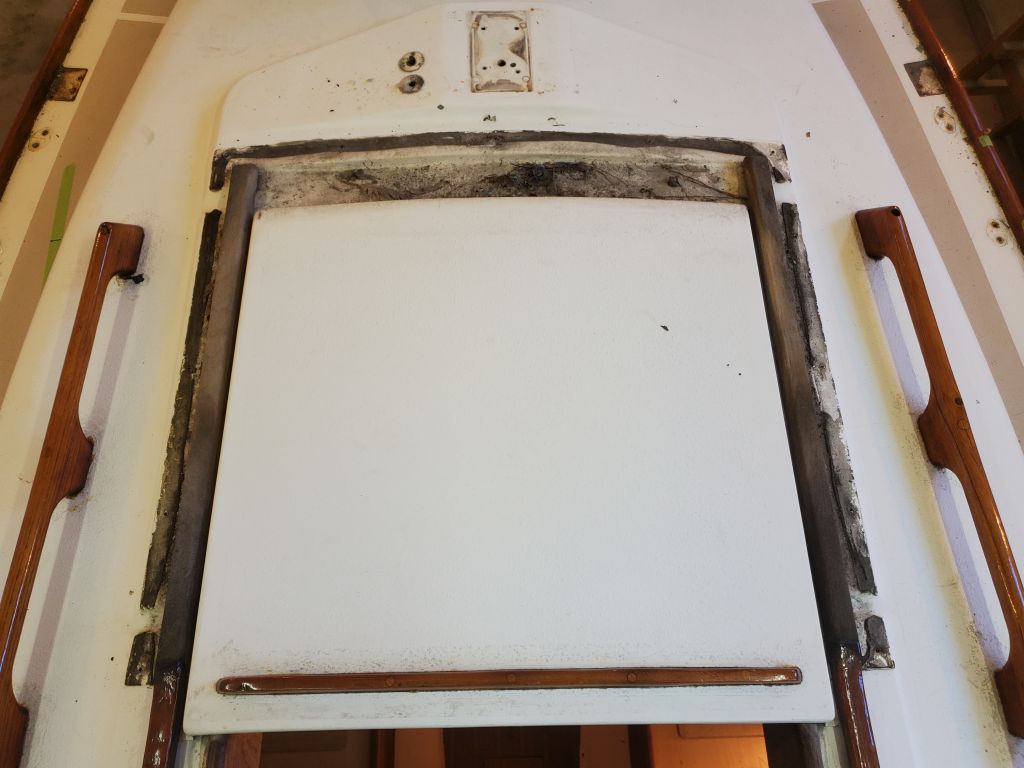
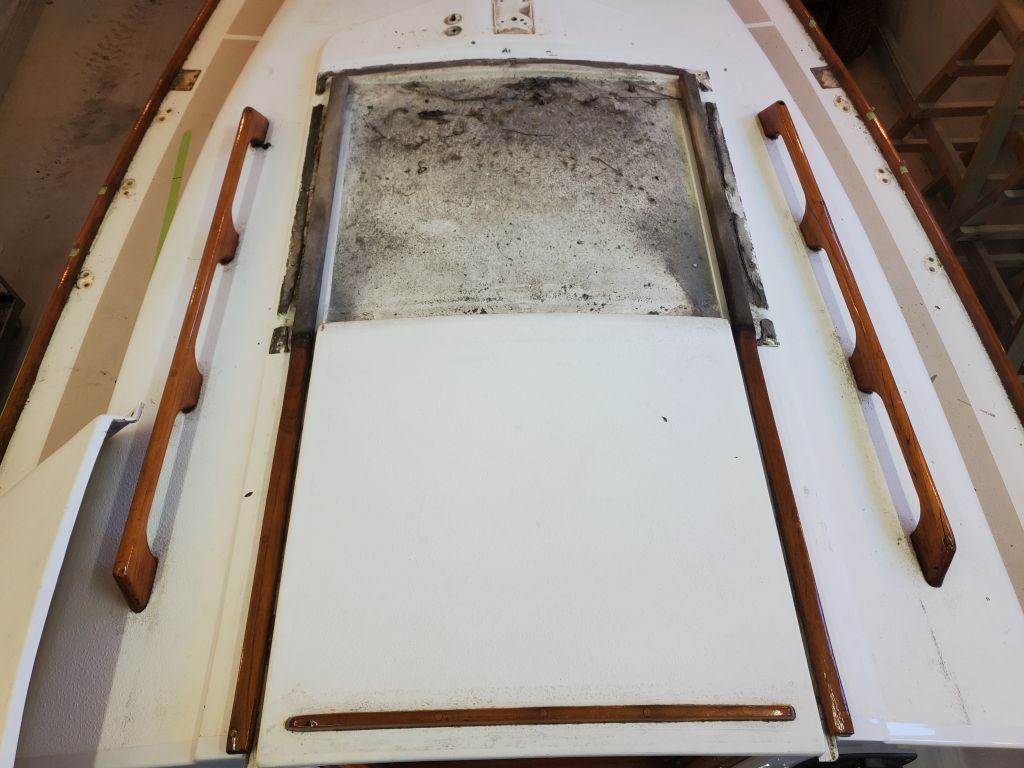
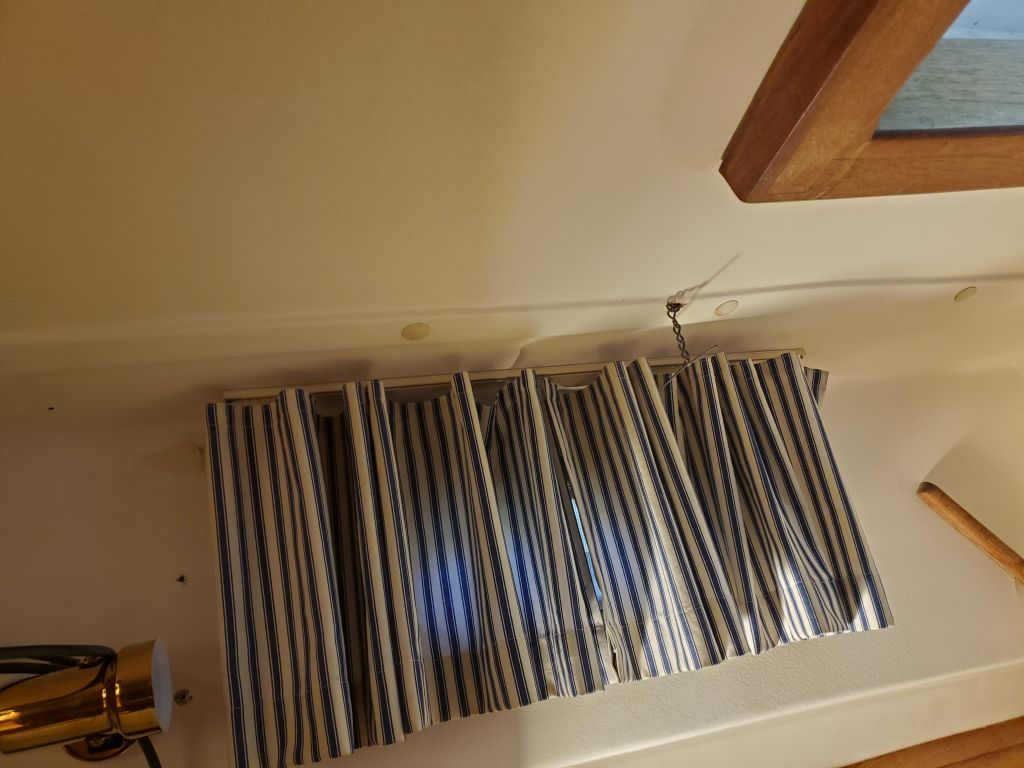
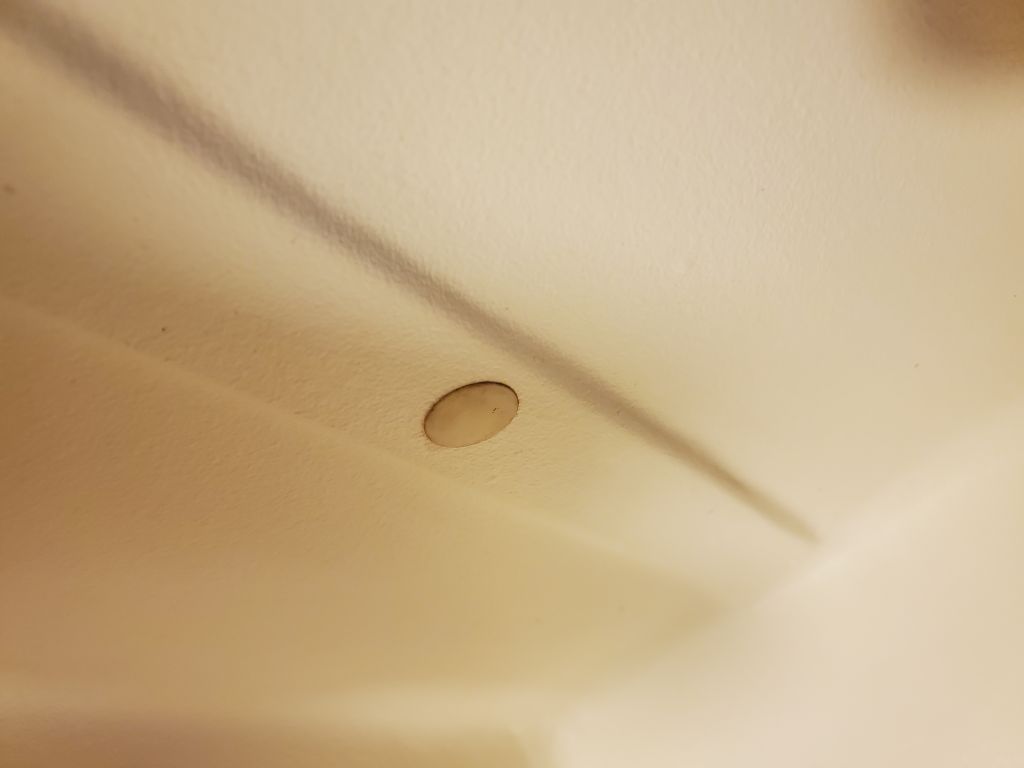
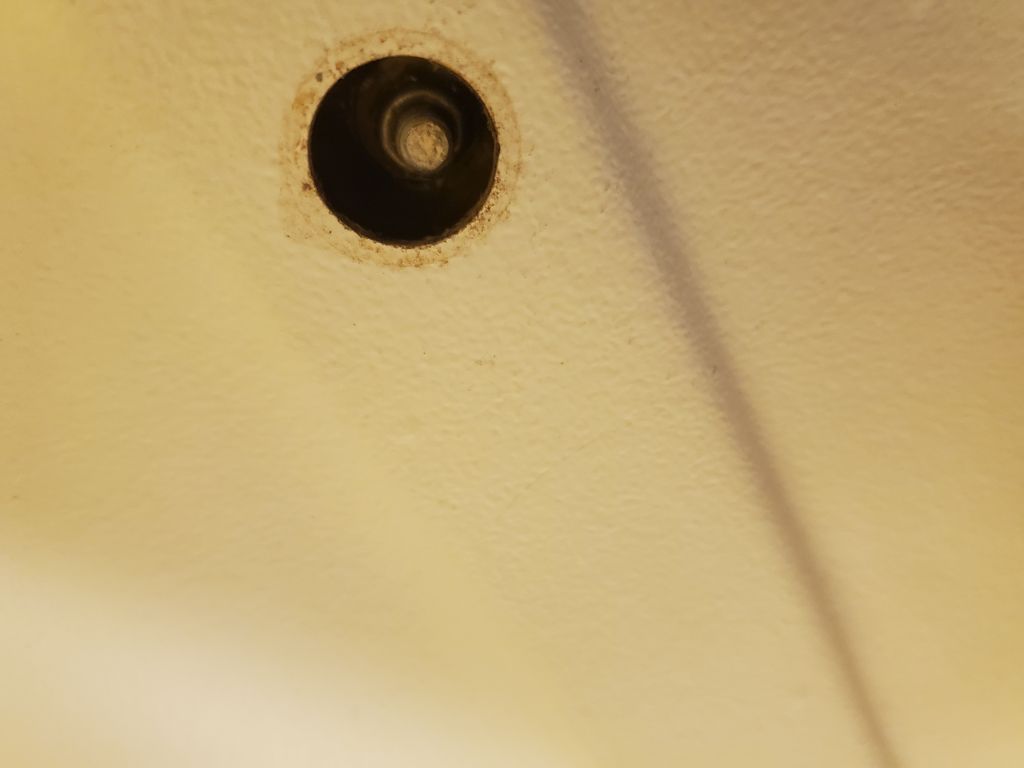
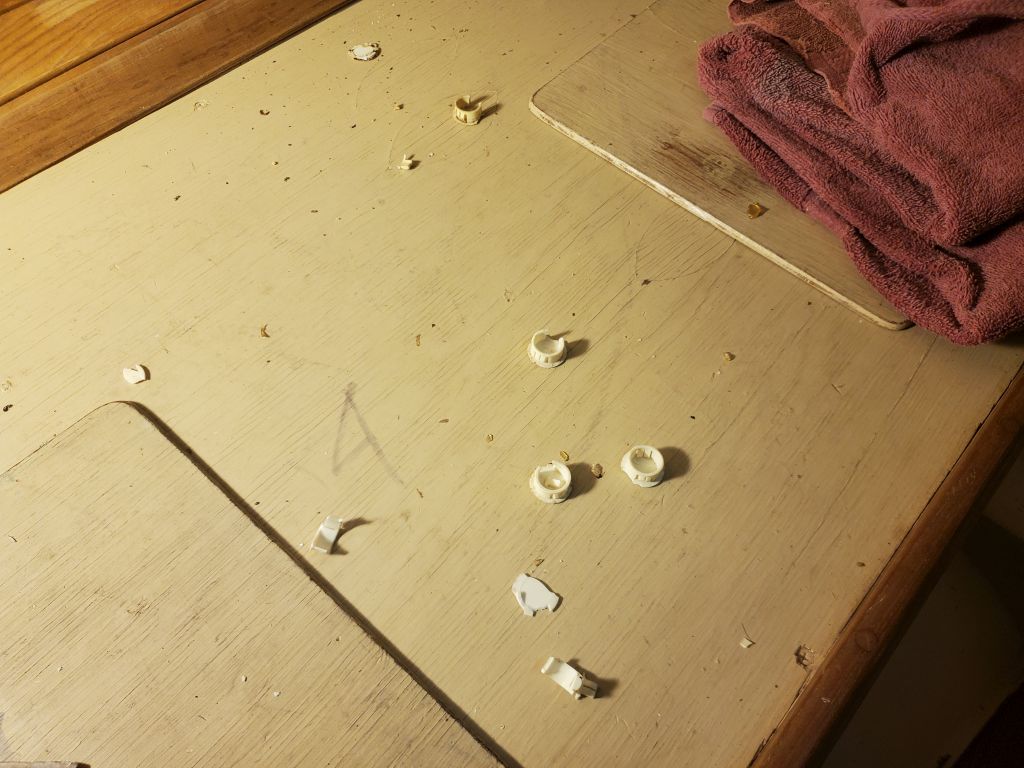
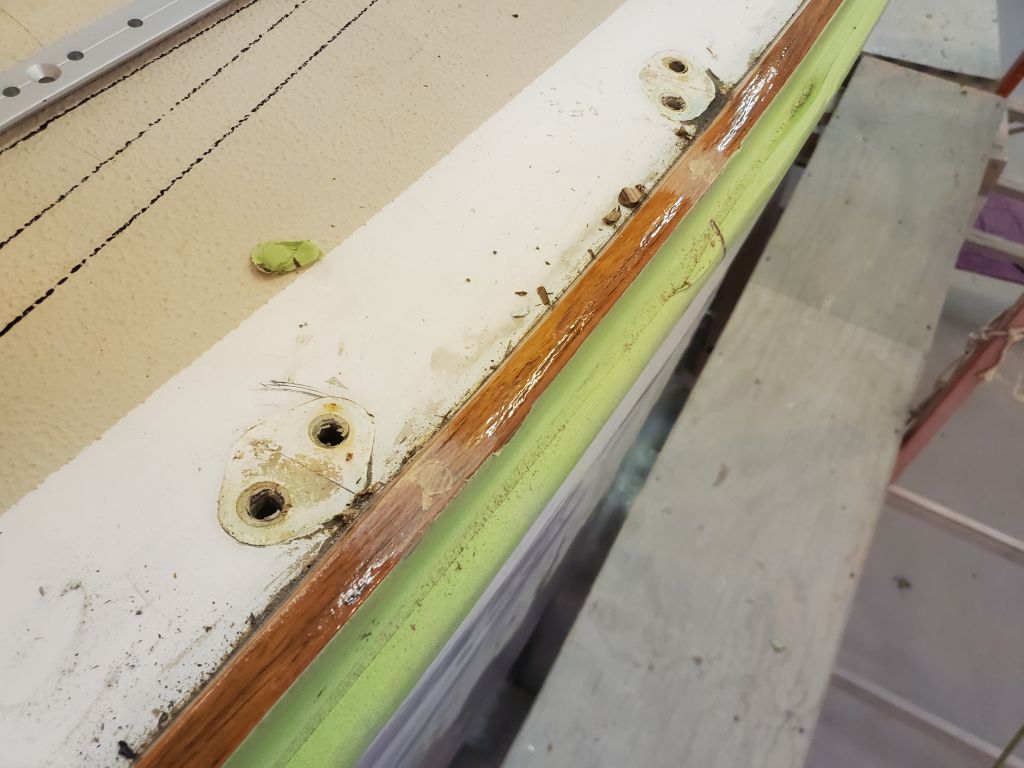
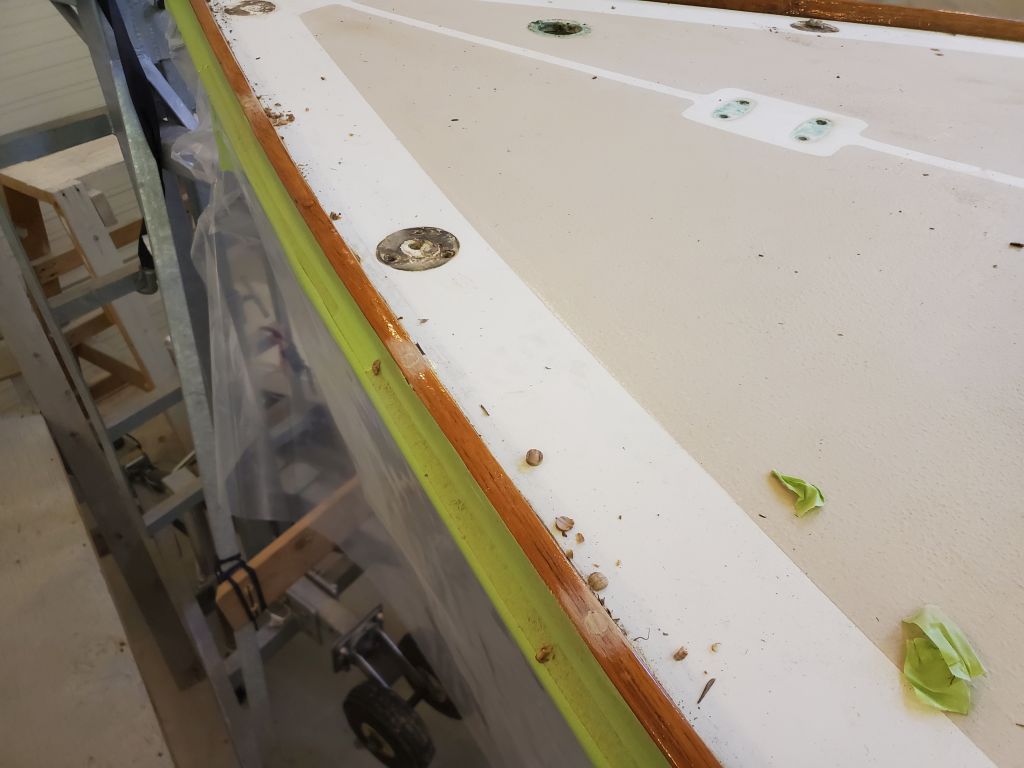
Next, I removed the handrails. Inside the boat, I removed the plastic hole covers in the liner, which hid the nuts and washers from beneath. These covers were old and brittle, and mostly broke during removal. Once the way was clear, I used a 7/16″ nut driver to remove the nuts; fortunately, the bolts didn’t spin, since their heads were hidden beneath bungs in the rails (all except the forwardmost one on the starboard side), and I hoped to remove–and later reinstall–these rails without disturbing the bungs. All eight nuts came off without issue, and with a bit of careful prying I removed both handrails.


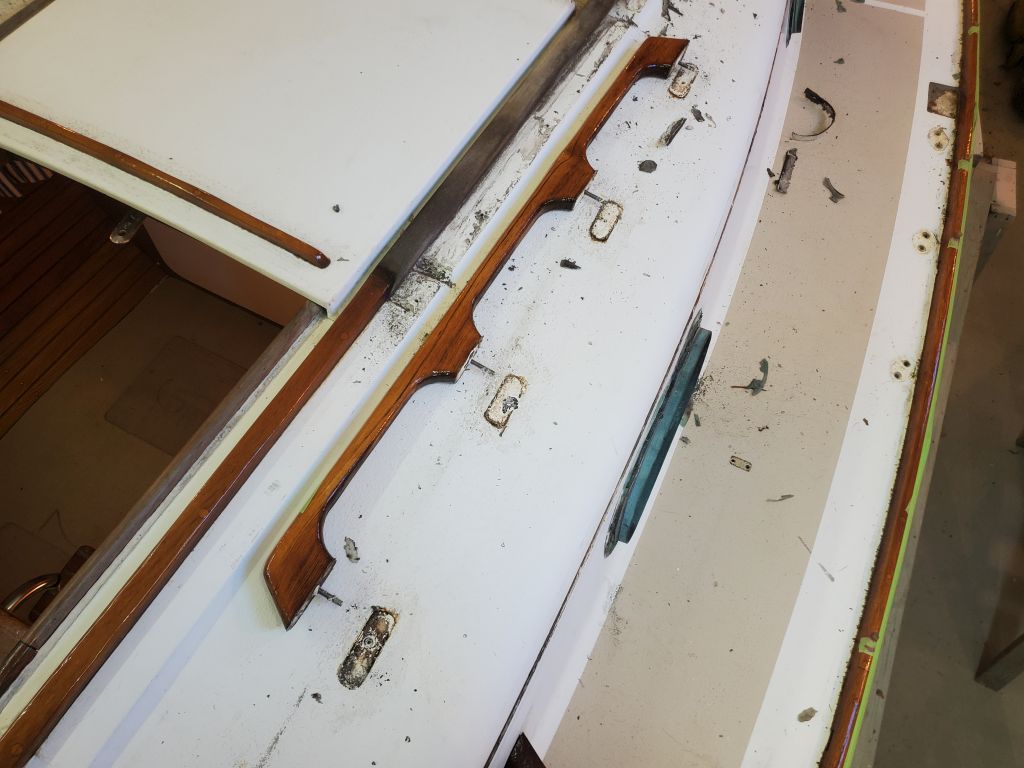
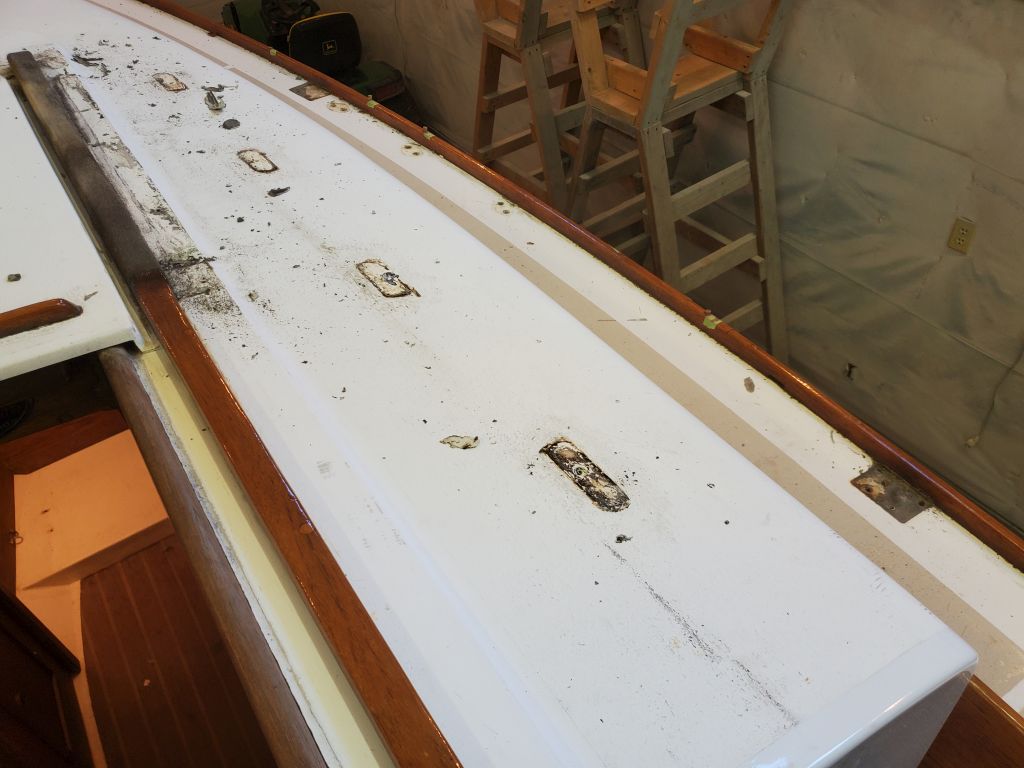
That seemed to be it for hardware in the way of the deck work ahead.
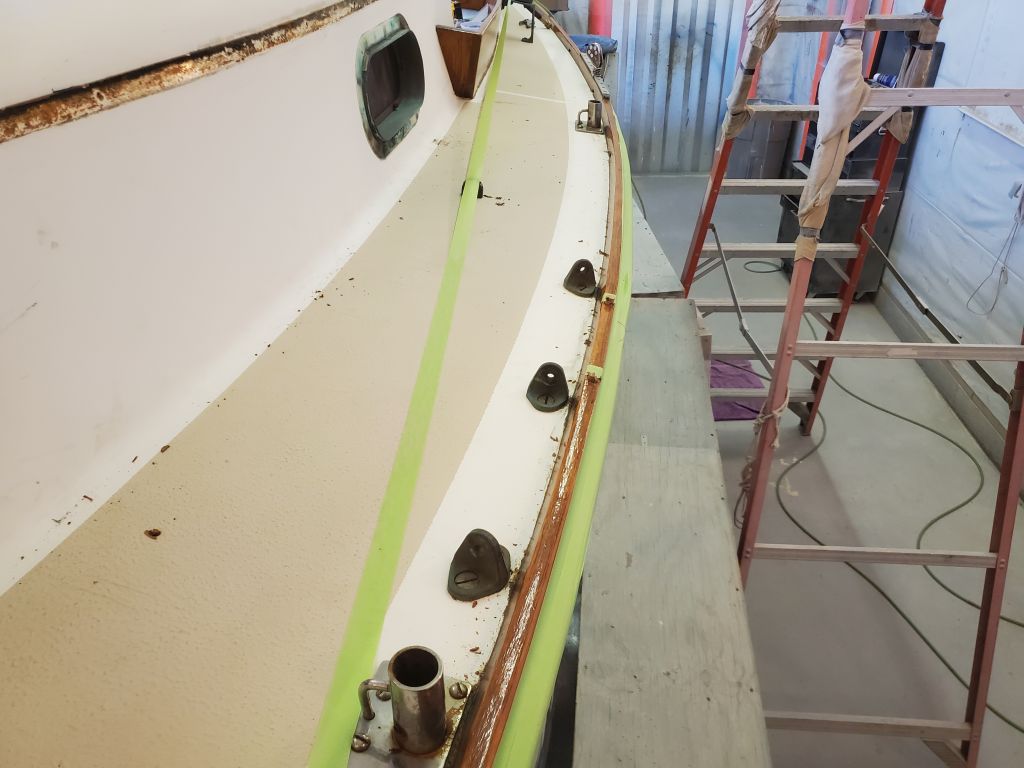
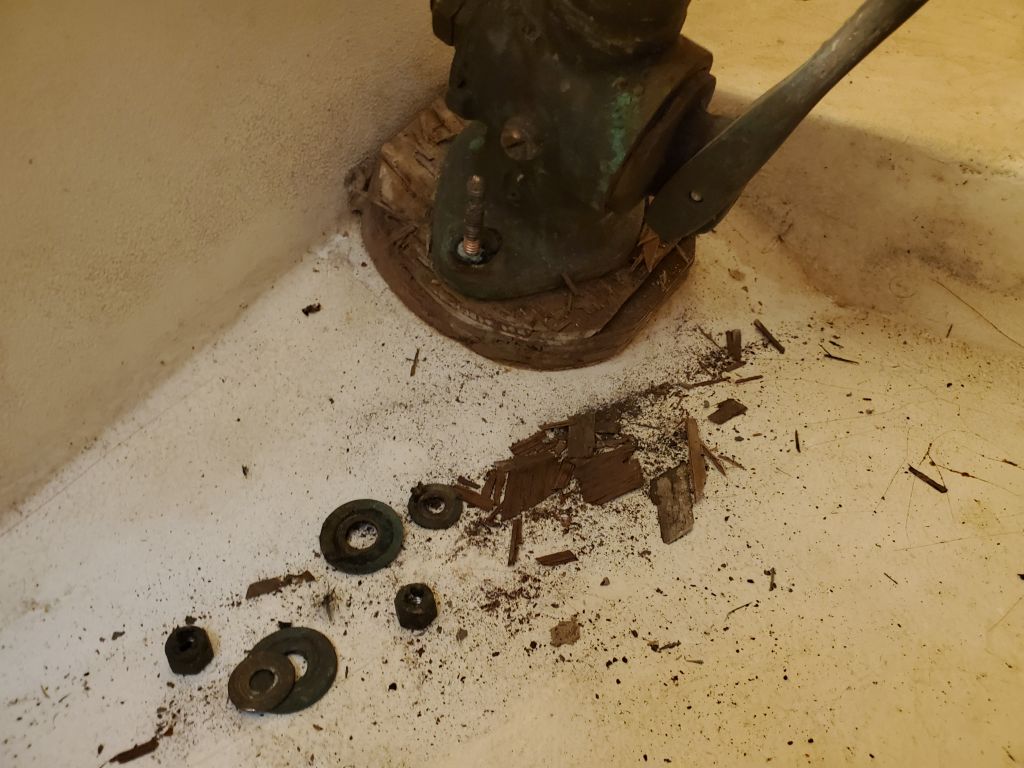
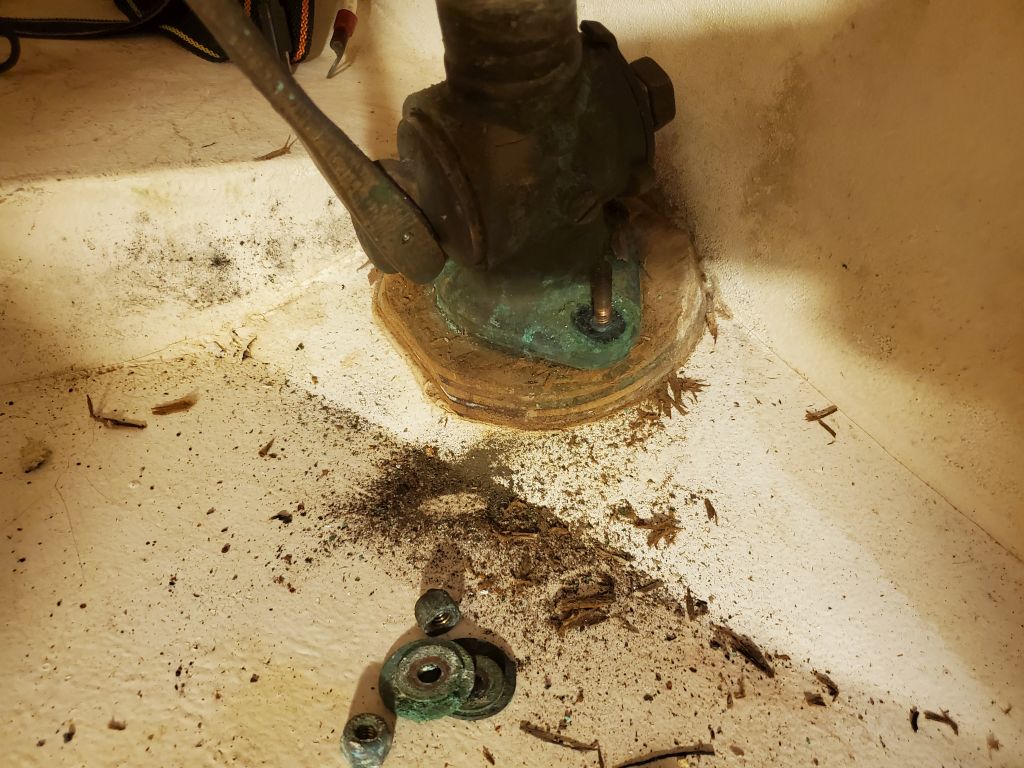
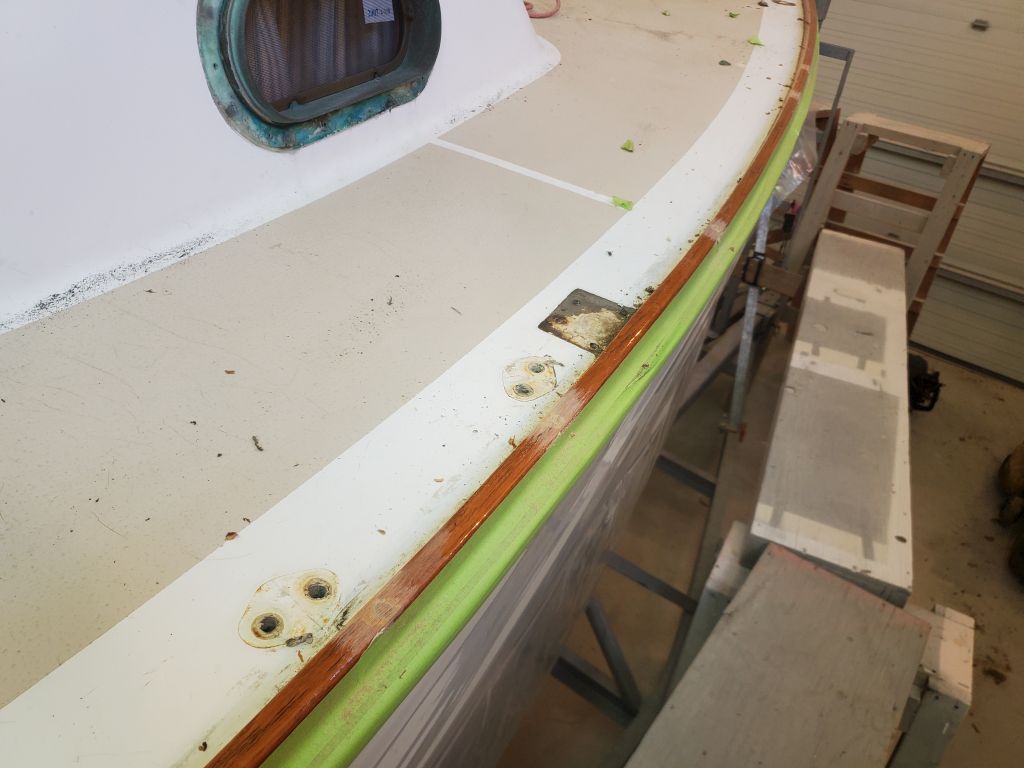
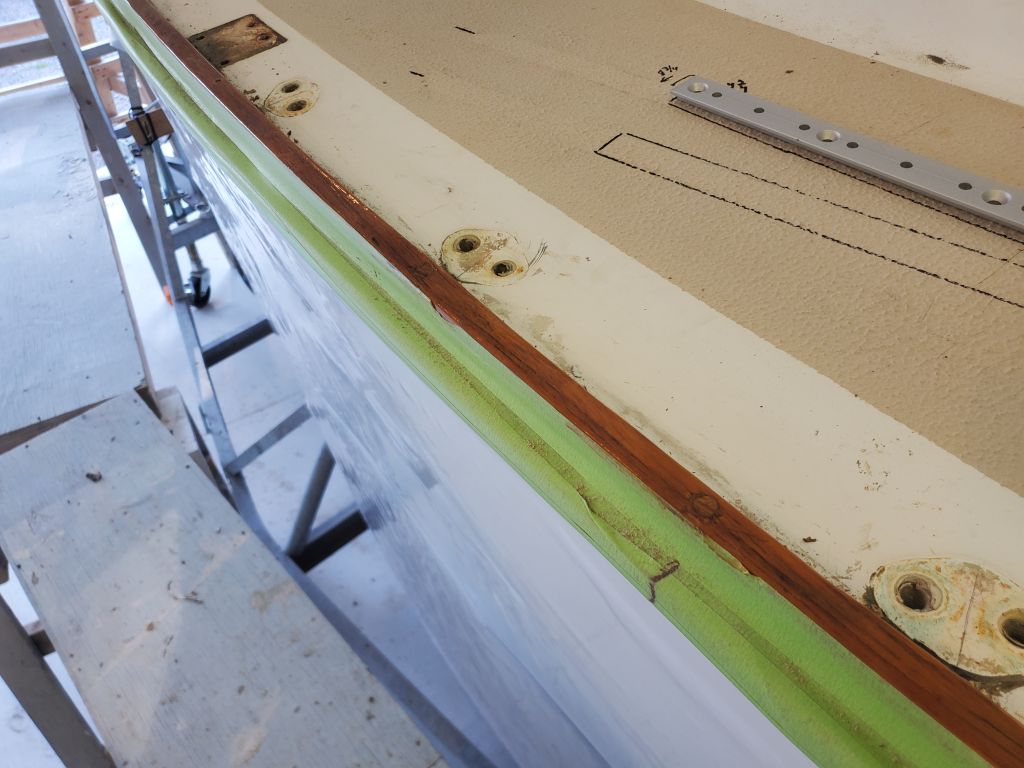
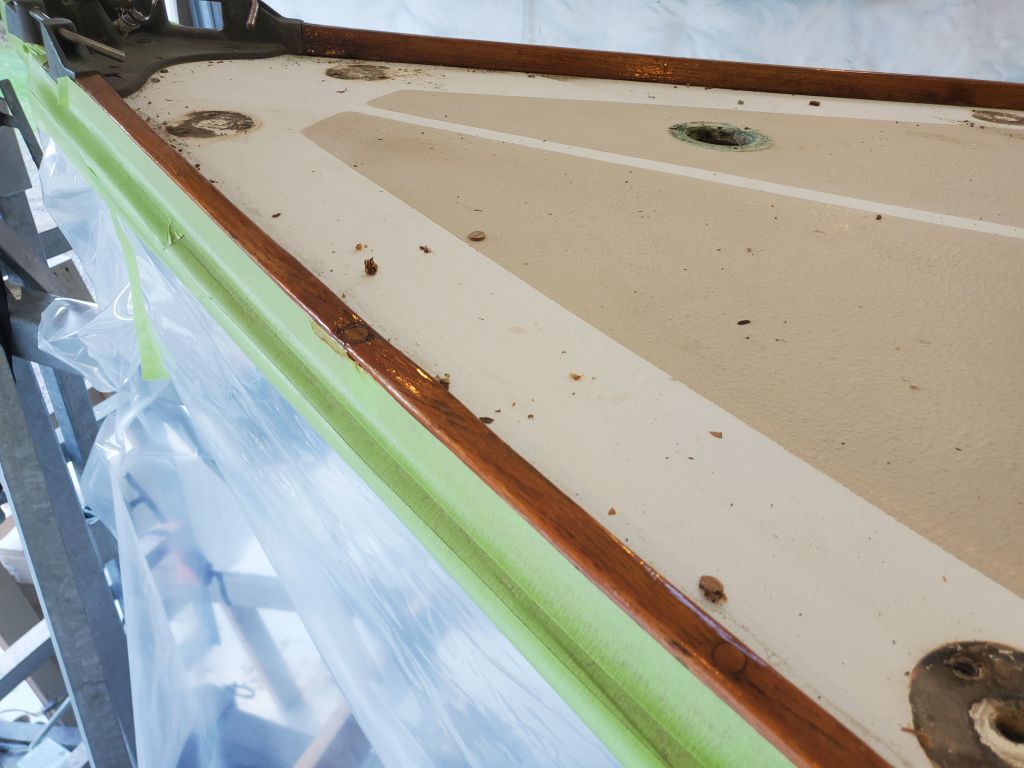
After finishing up some work with another project at the shop, I turned to the scuppers, continuing my work to eventually remove the through hulls and replace the backing pads as the owner requested, and removed the old hoses; these were in fairly poor condition and required replacement regardless of the state of the seacocks.
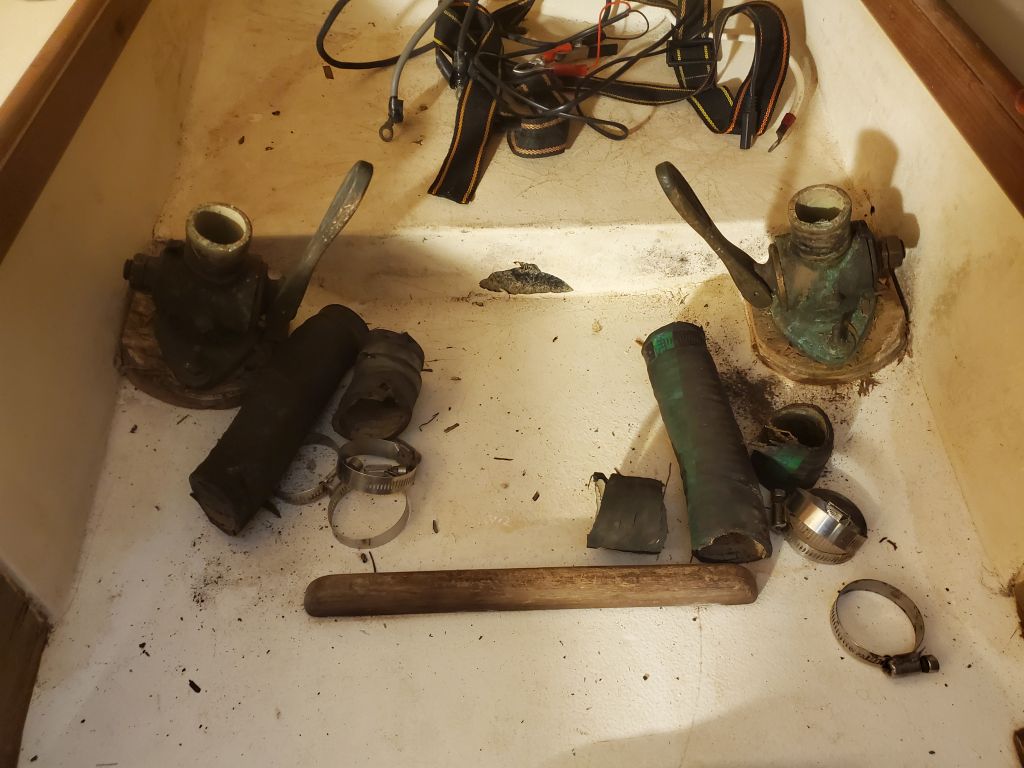
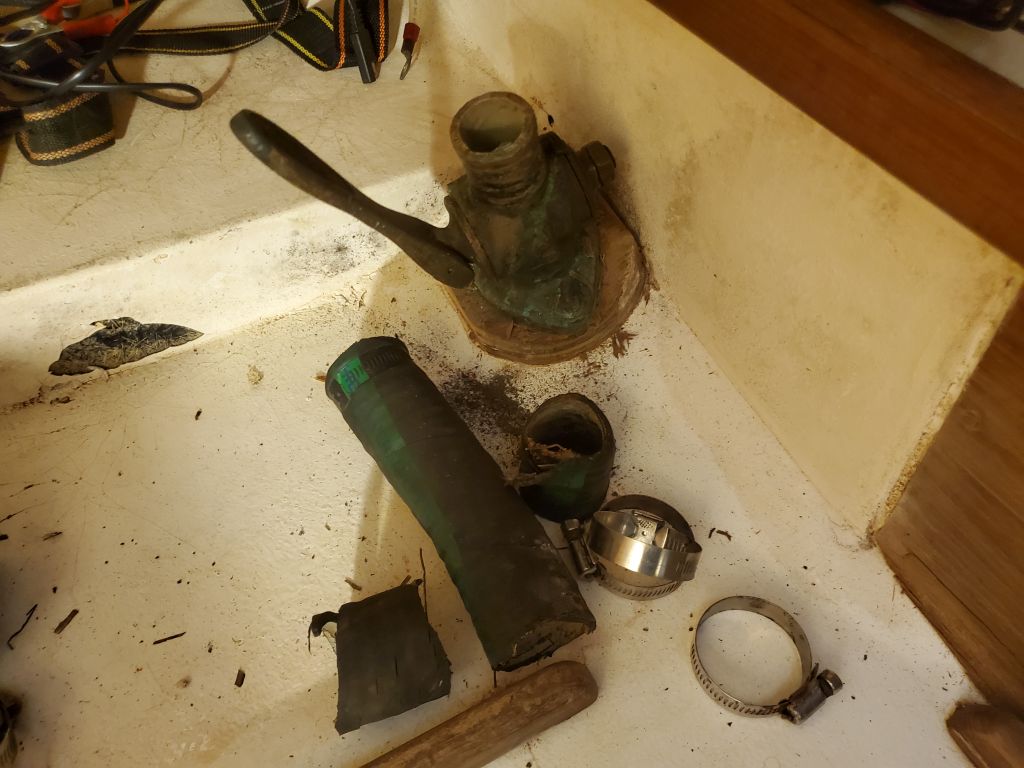
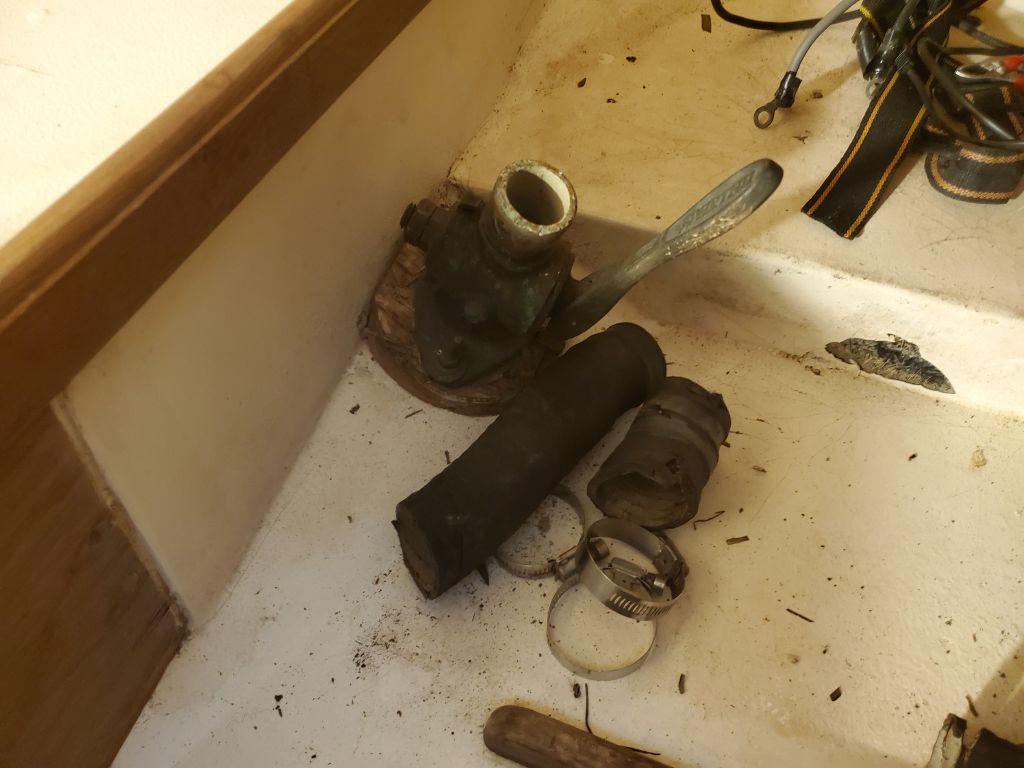


I’d not yet hit upon the right tool combination to unscrew the mushroom fittings from outside the boat, and I thought I’d try unbolting the valves and unthreading from above. The four fixing nuts (two per side) came off without issue, but I wasn’t able to remove the bolts–I’d hoped to hammer them out, breaking whatever putty was covering their heads on the outside, but this didn’t work. I could see no sign of the heads from outside, so I removed some bottom paint from around the through hull, hoping to find them. Eventually I did–the one I’d tried to bang out from within. It was partially hidden beneath the flange of the mushroom head, which meant that hook or by crook, the through hulls would have to come out first before I could remove the valves. I’d revisit this job sometime later when I’d worked out a way to spin out the fittings; the new step wrench I purchased didn’t engage the ears inside these particular through hulls, so wouldn’t be helpful in their removal. My older, original step wrench had a better hope of working, but first I needed a way to increase leverage. More on this to come.

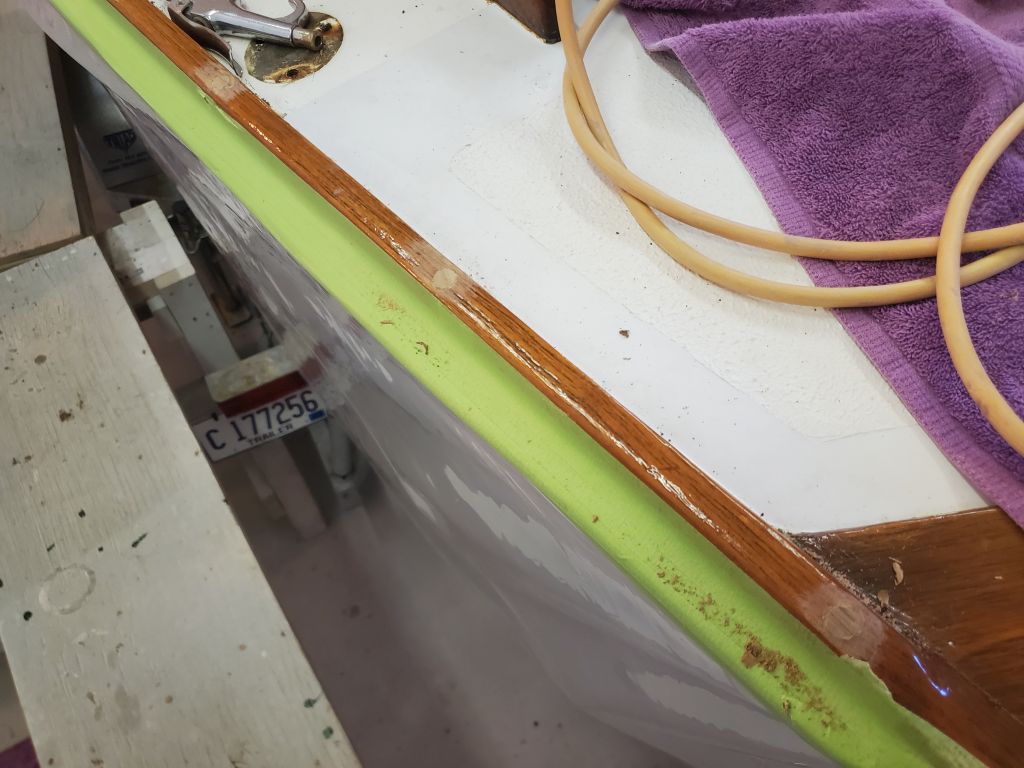
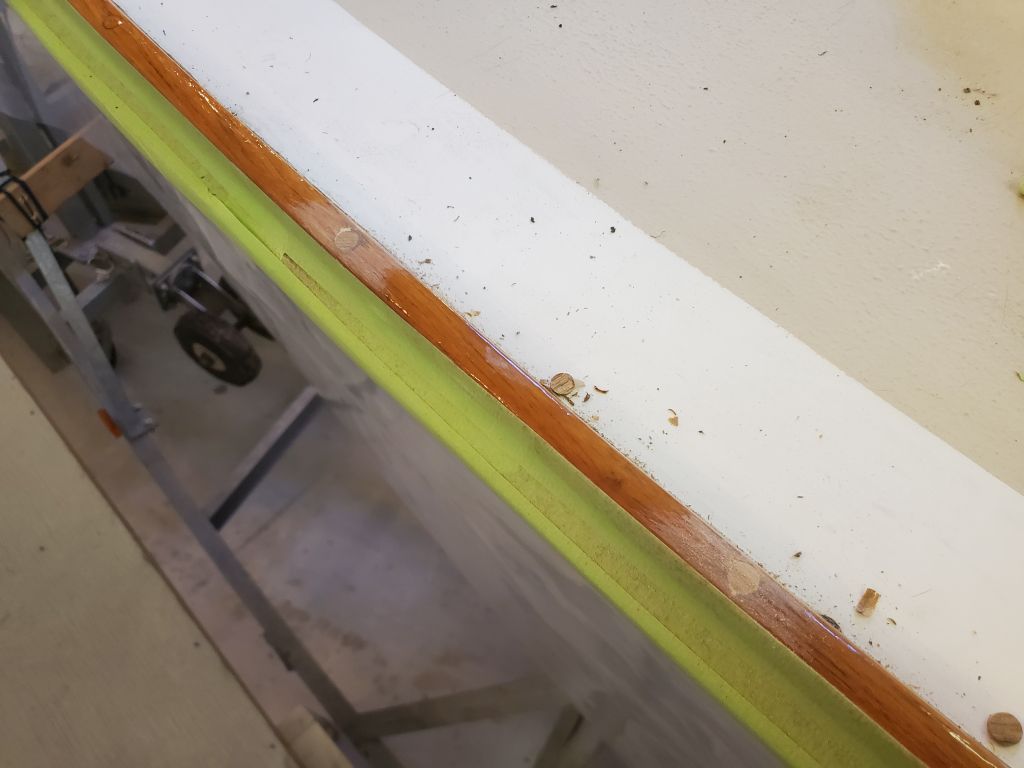
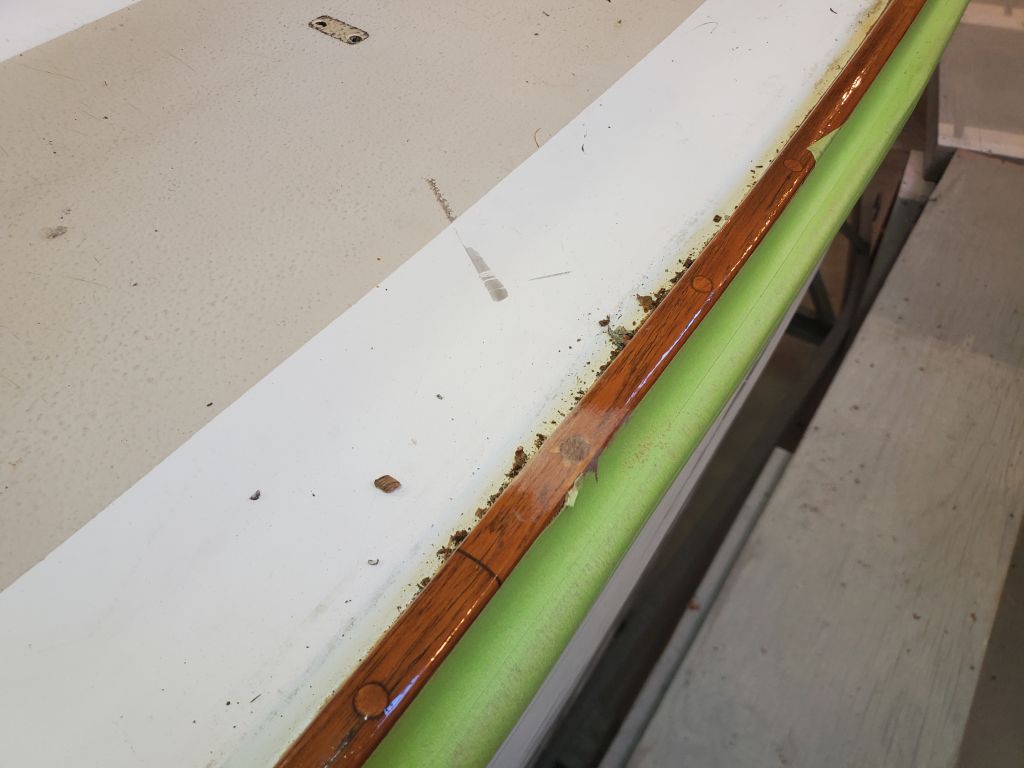
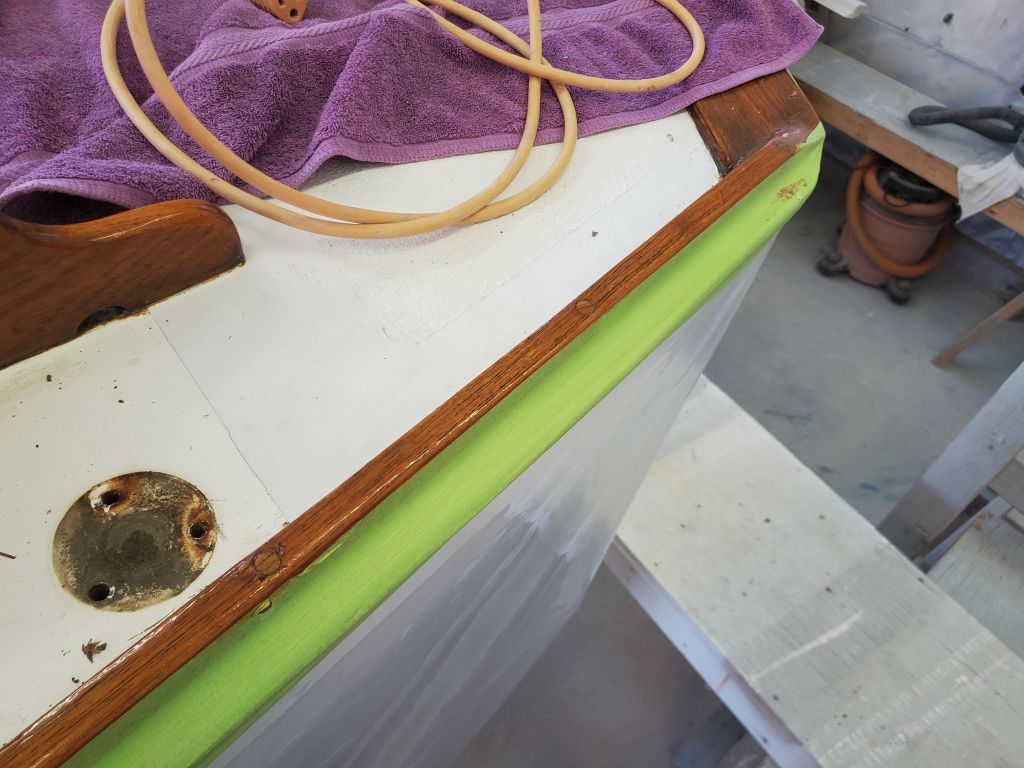
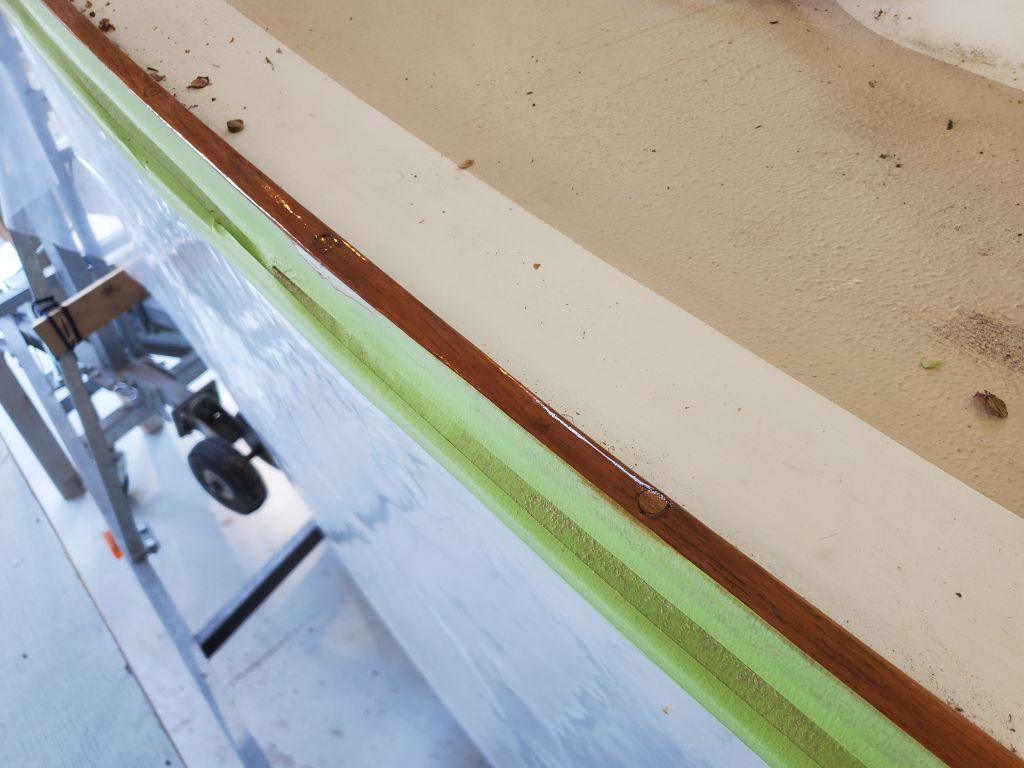
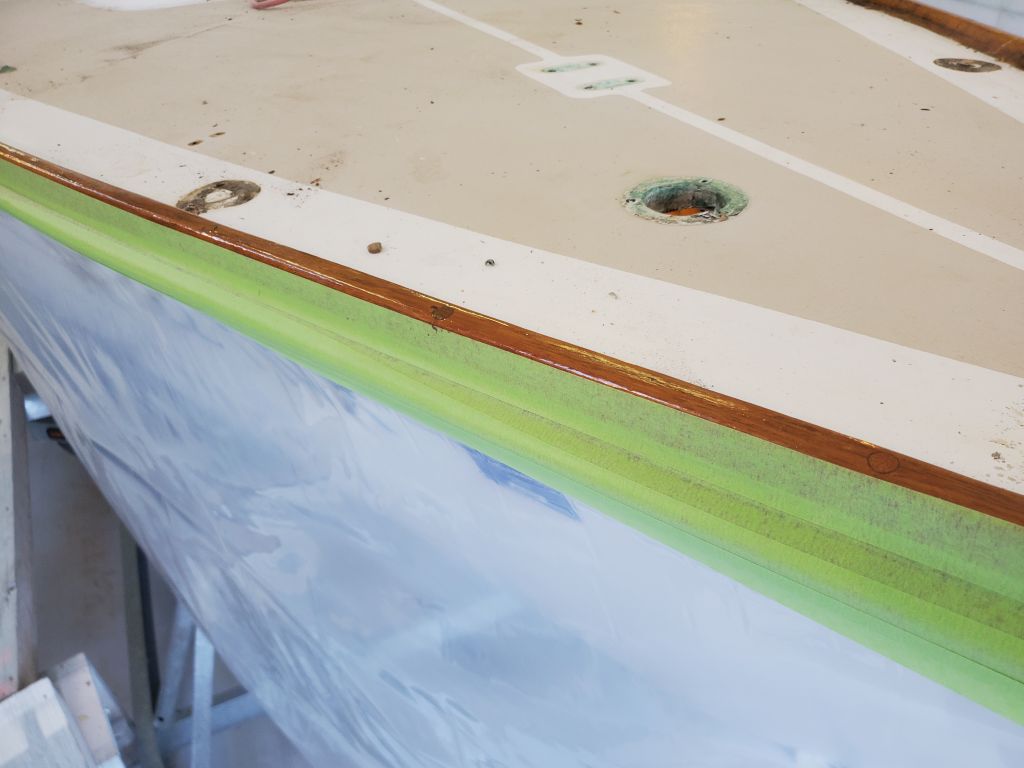
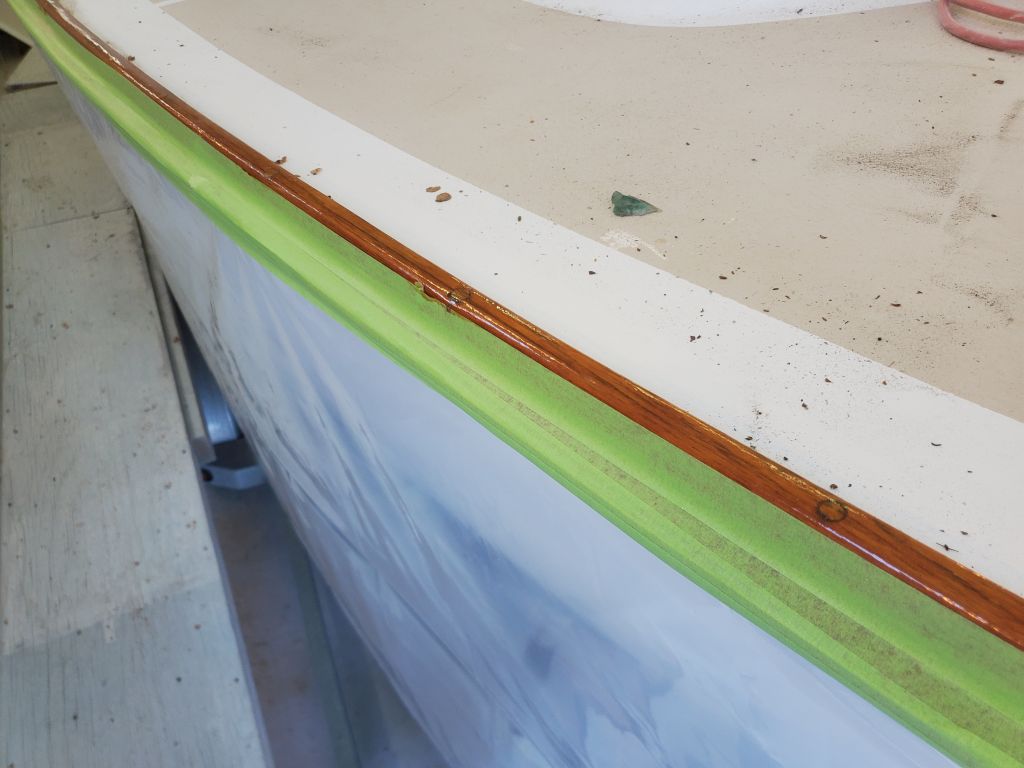
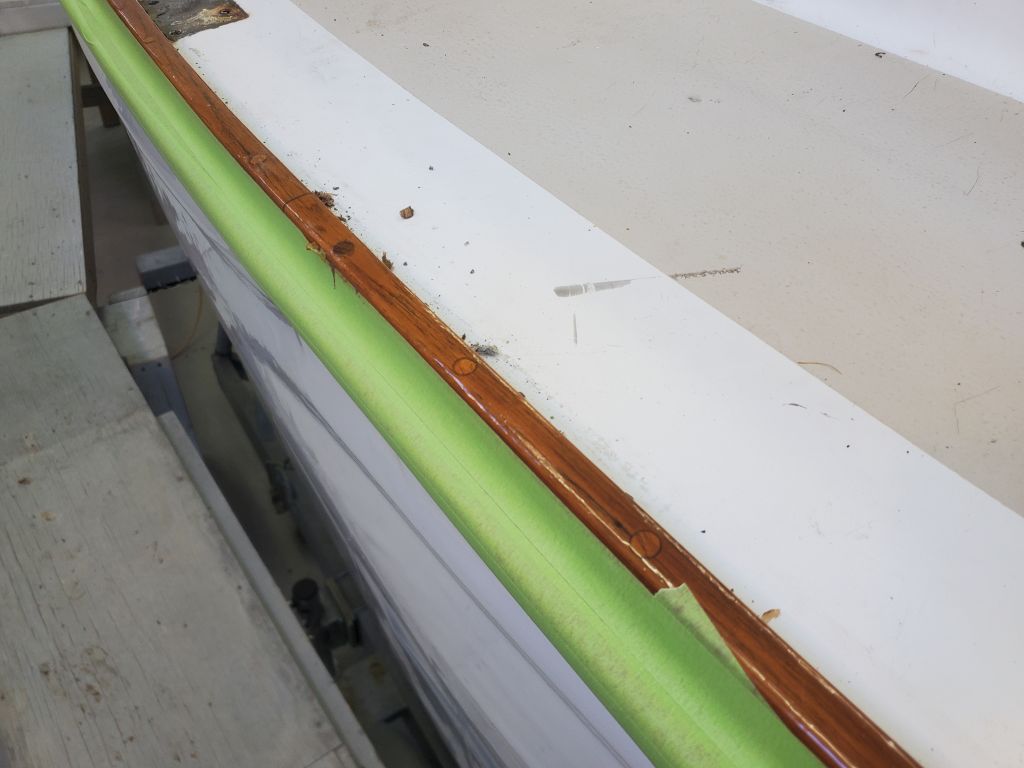
Meanwhile, I finished up work on the toerails by paring away the excess bungs I’d installed the other day, then applying a coat of finish over the new wood to blend it with the existing coatings.


Total time billed on this job today: 4.5 hours
0600 Weather Observation: 30°, mainly clear. Forecast for the day: Sunny, 62°