

December 10, 2021
Arietta Phase 2-26
Friday
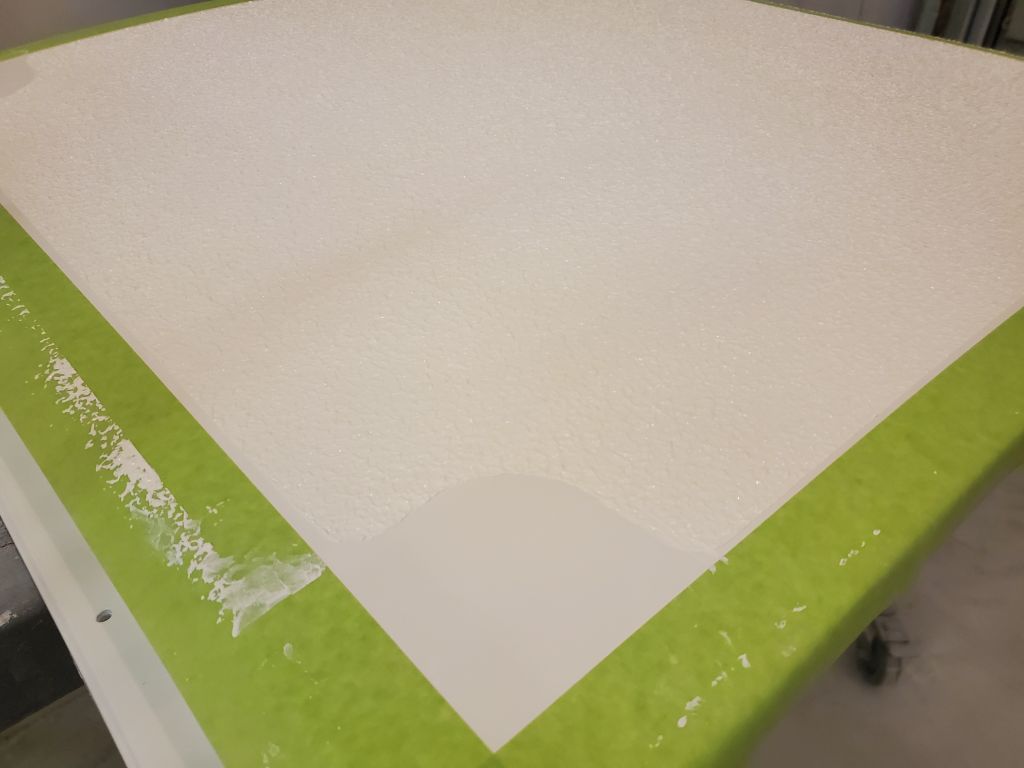
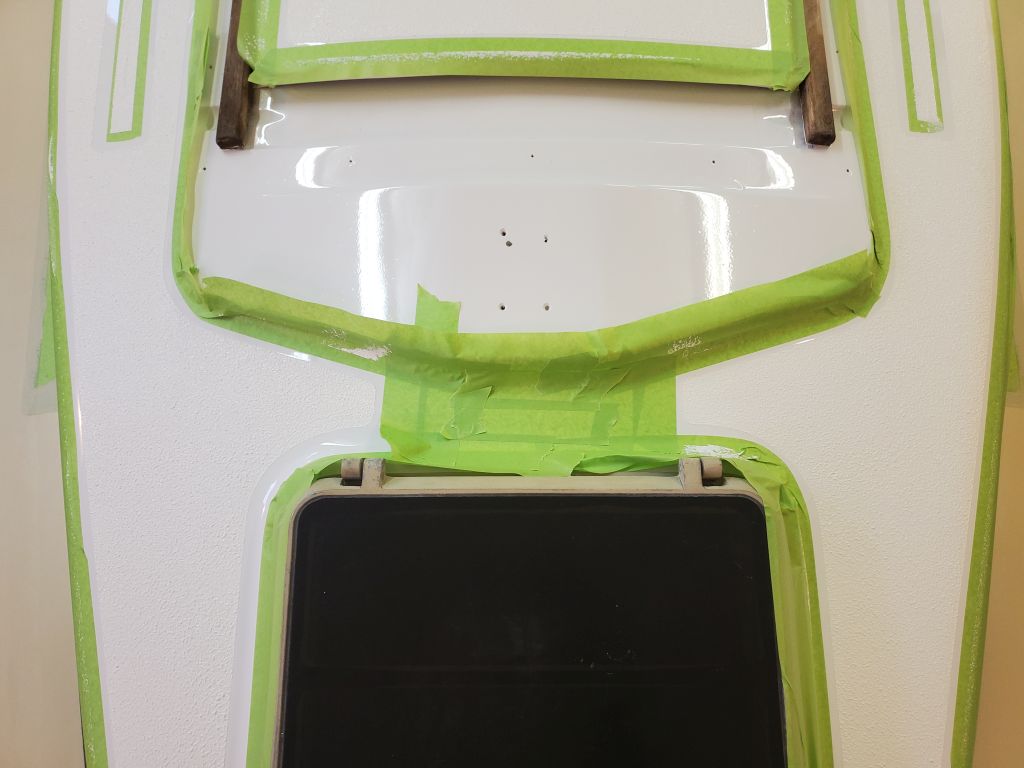
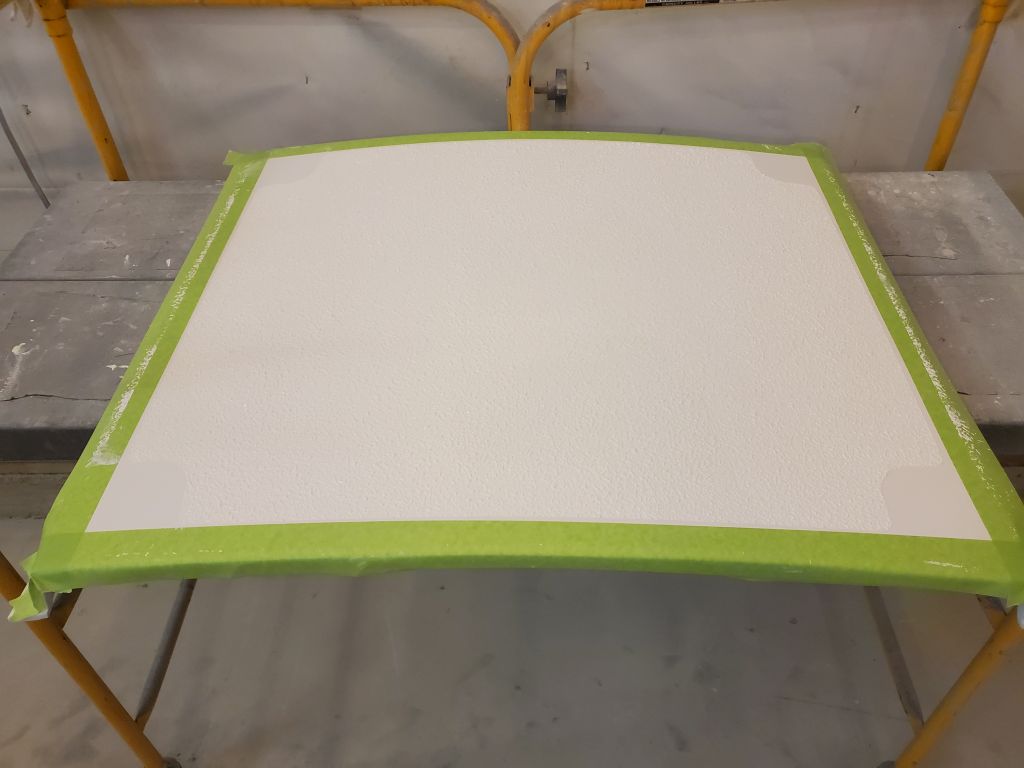
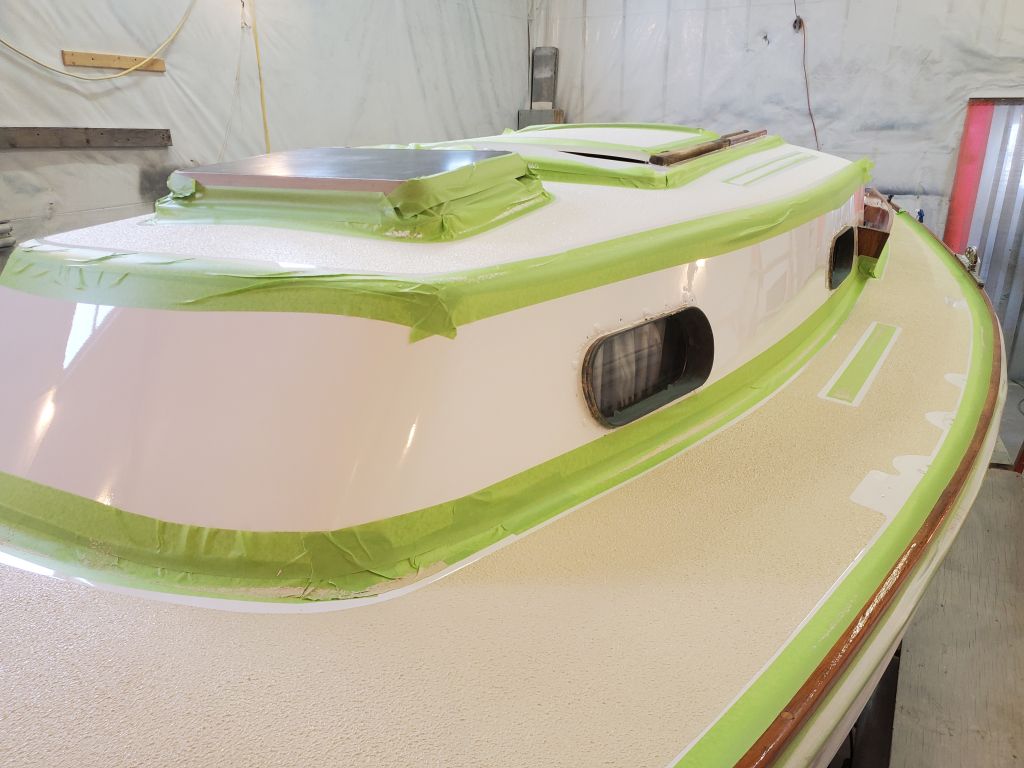
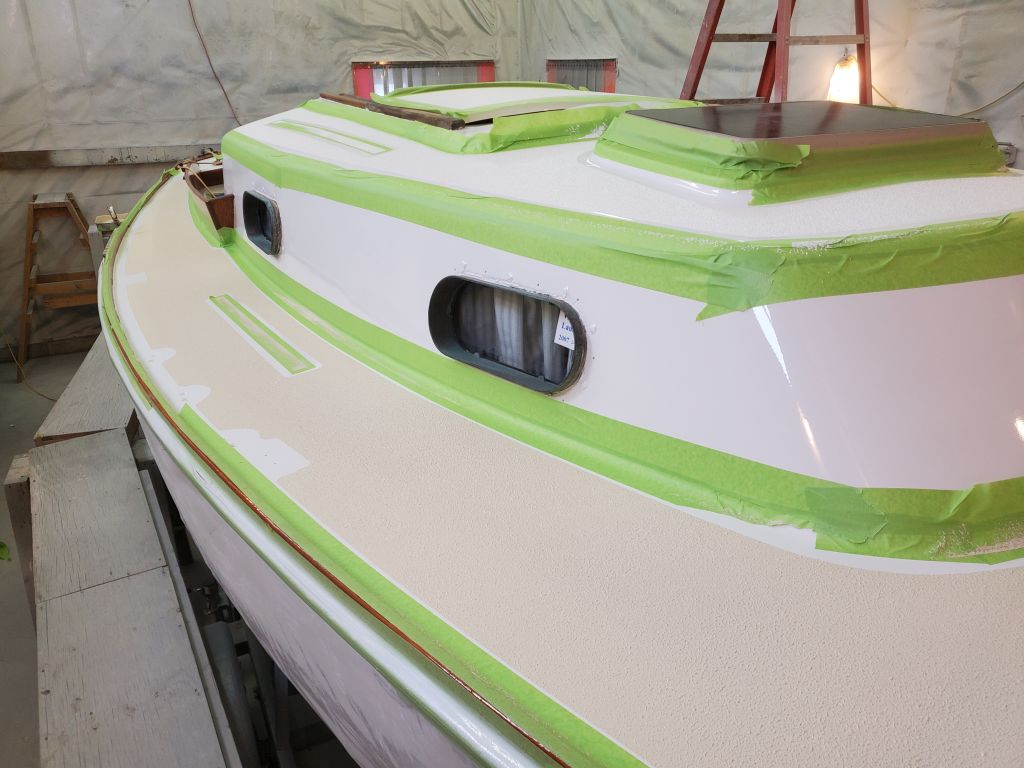
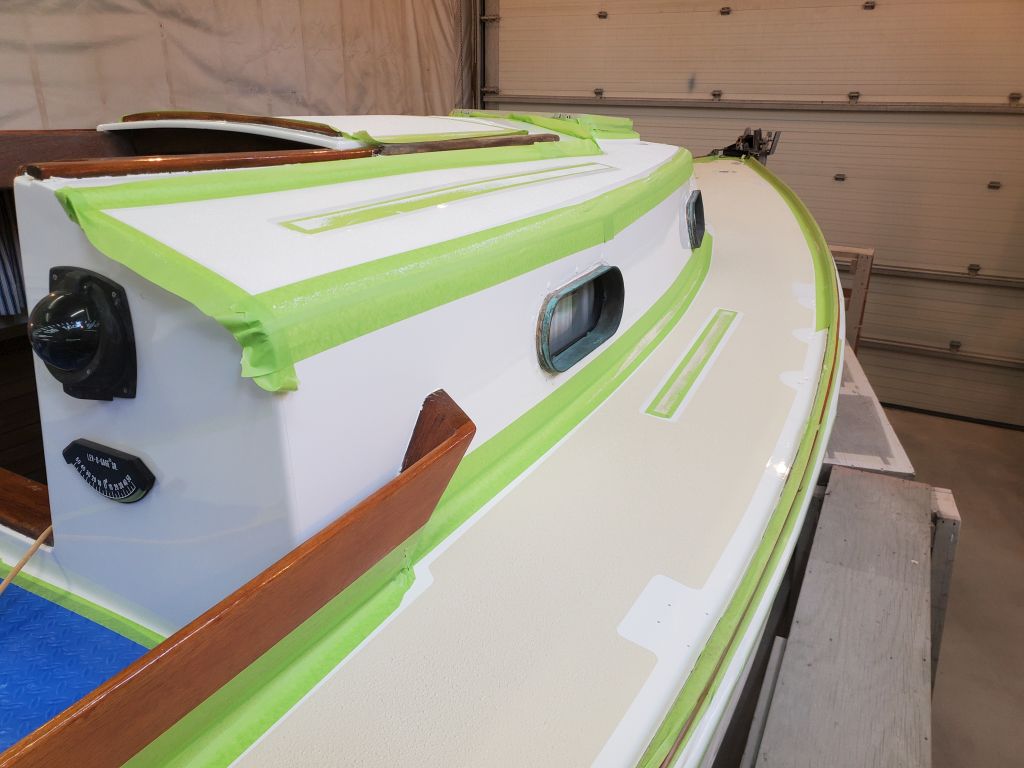
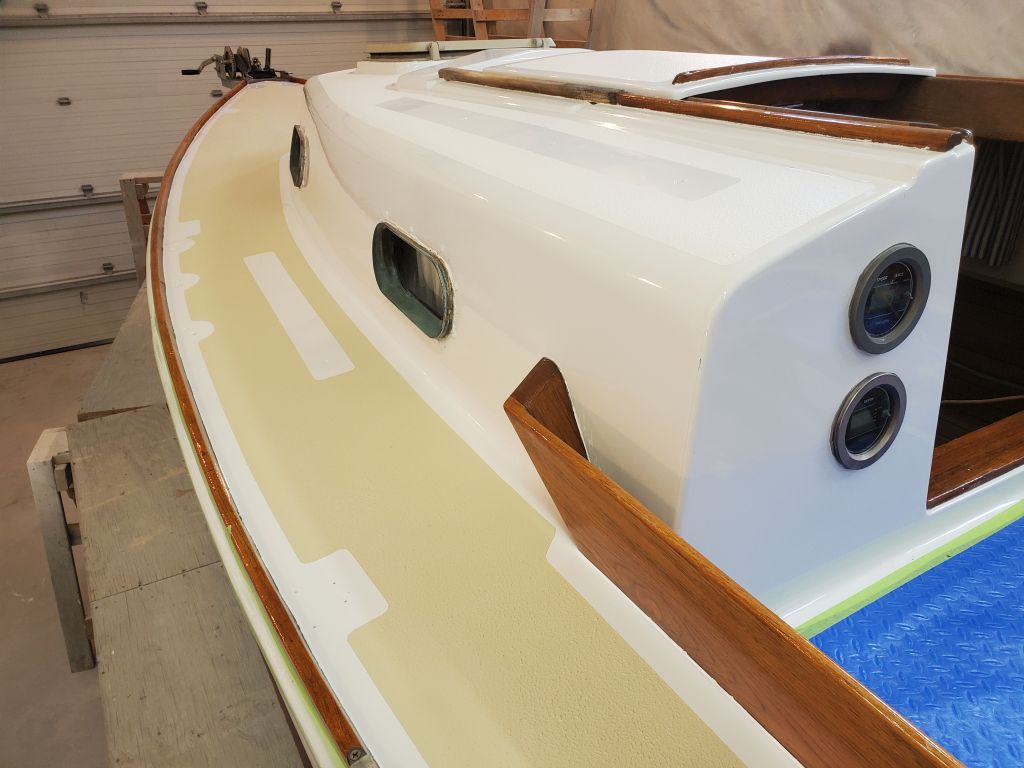
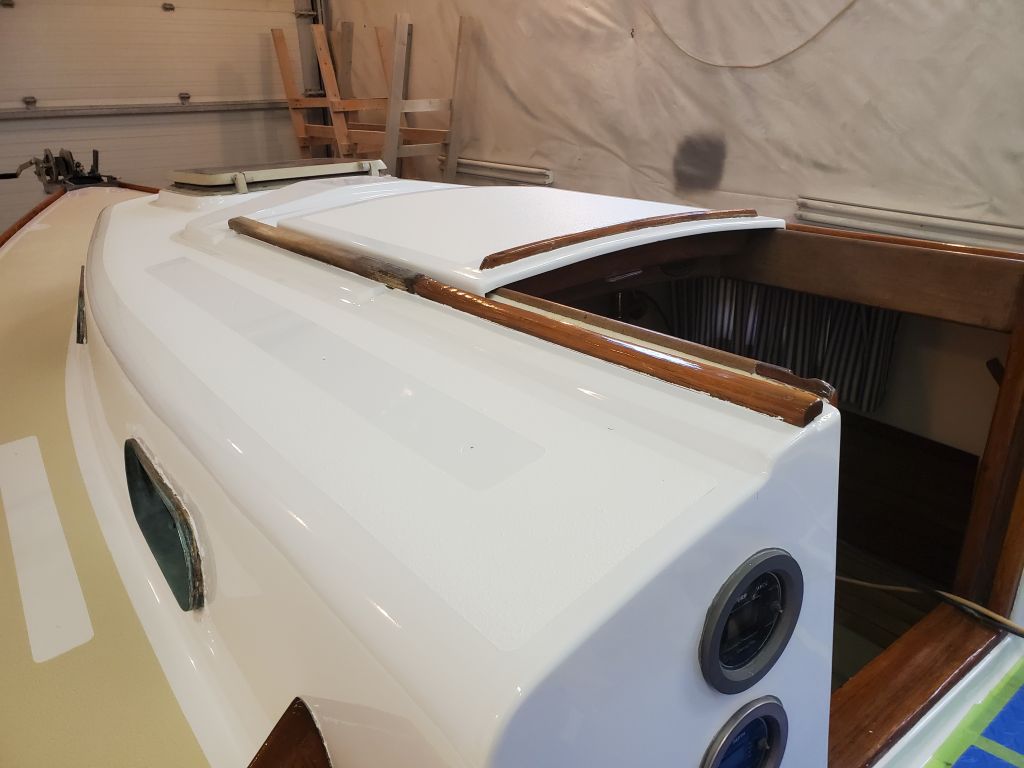
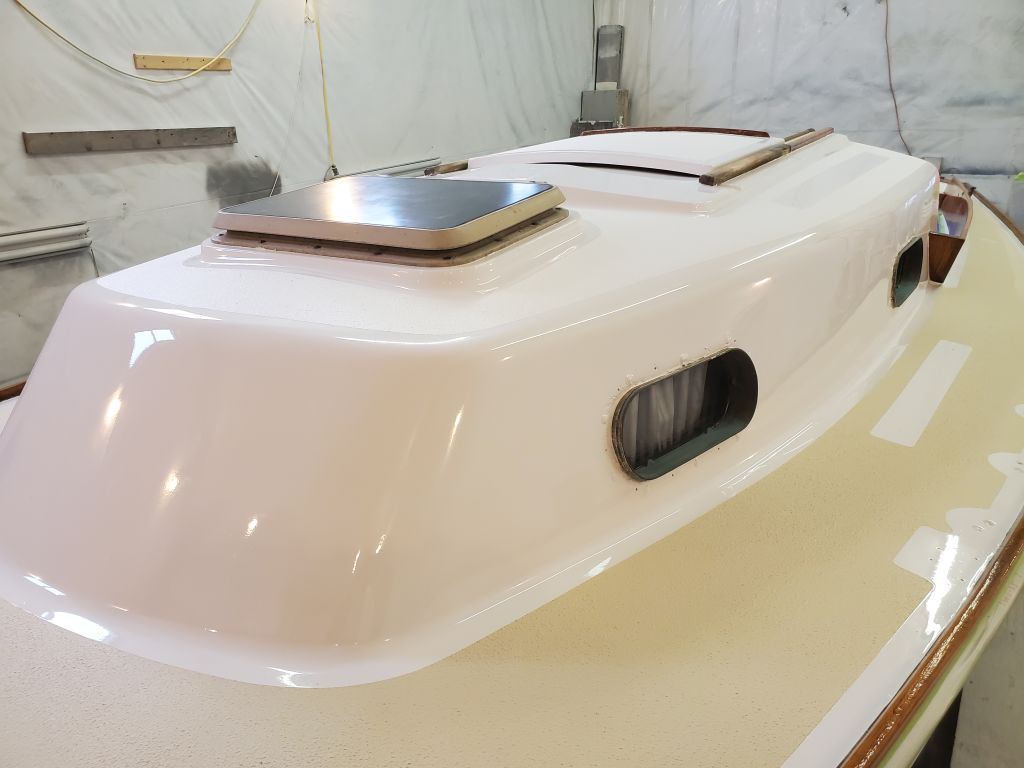
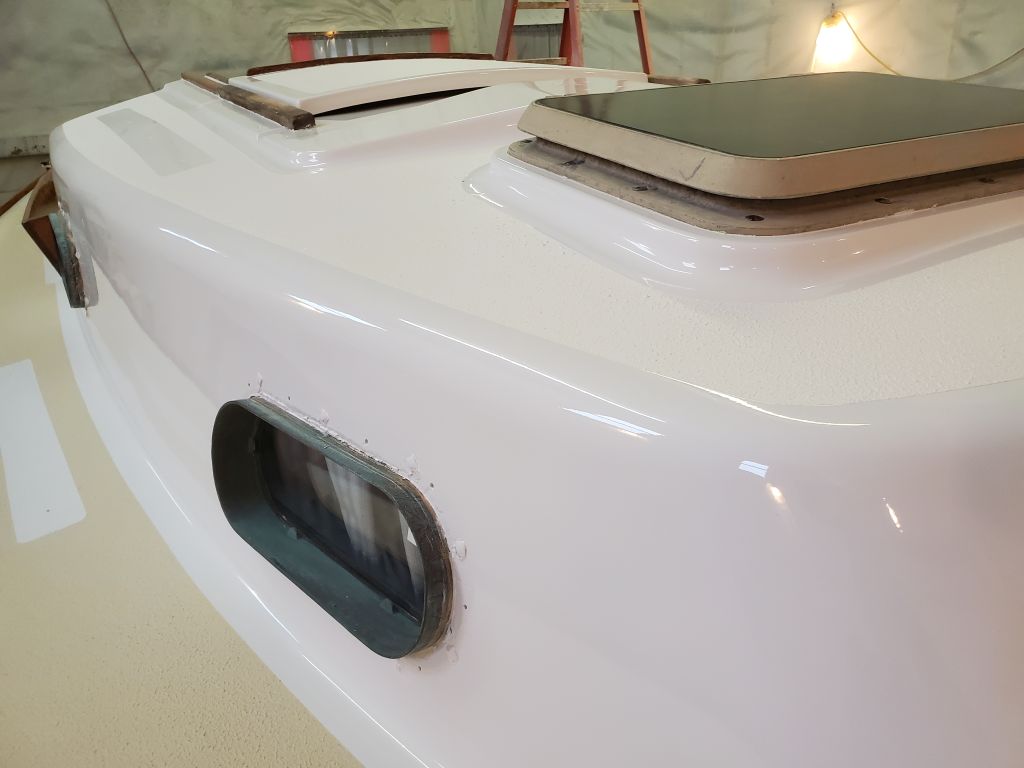
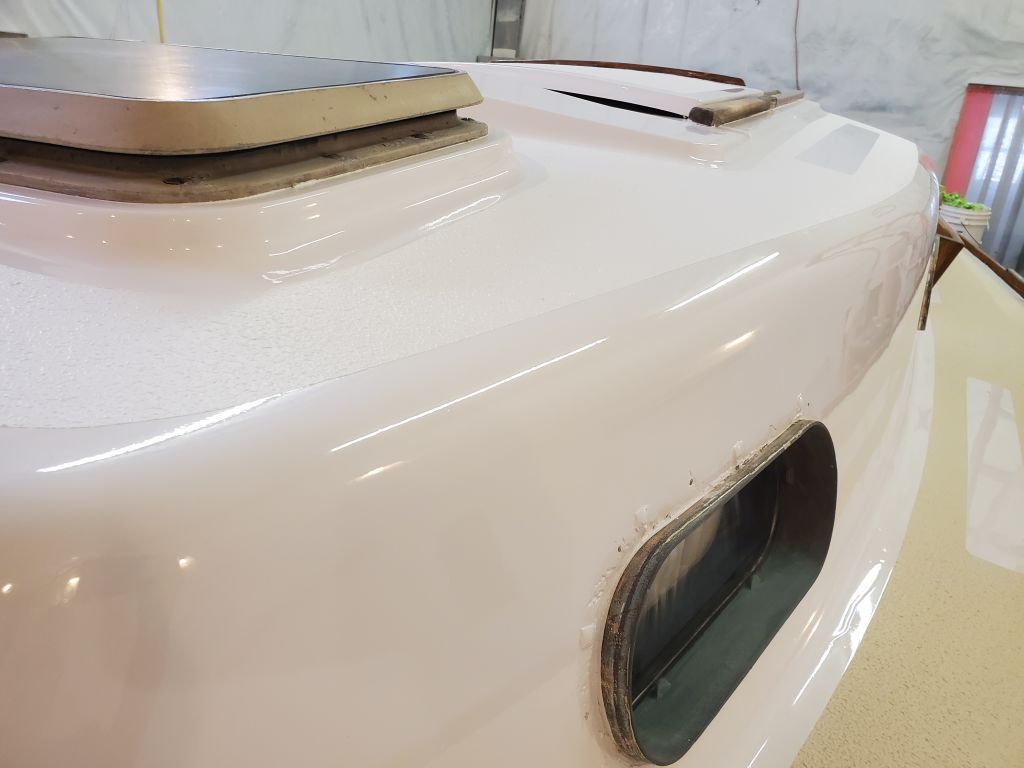
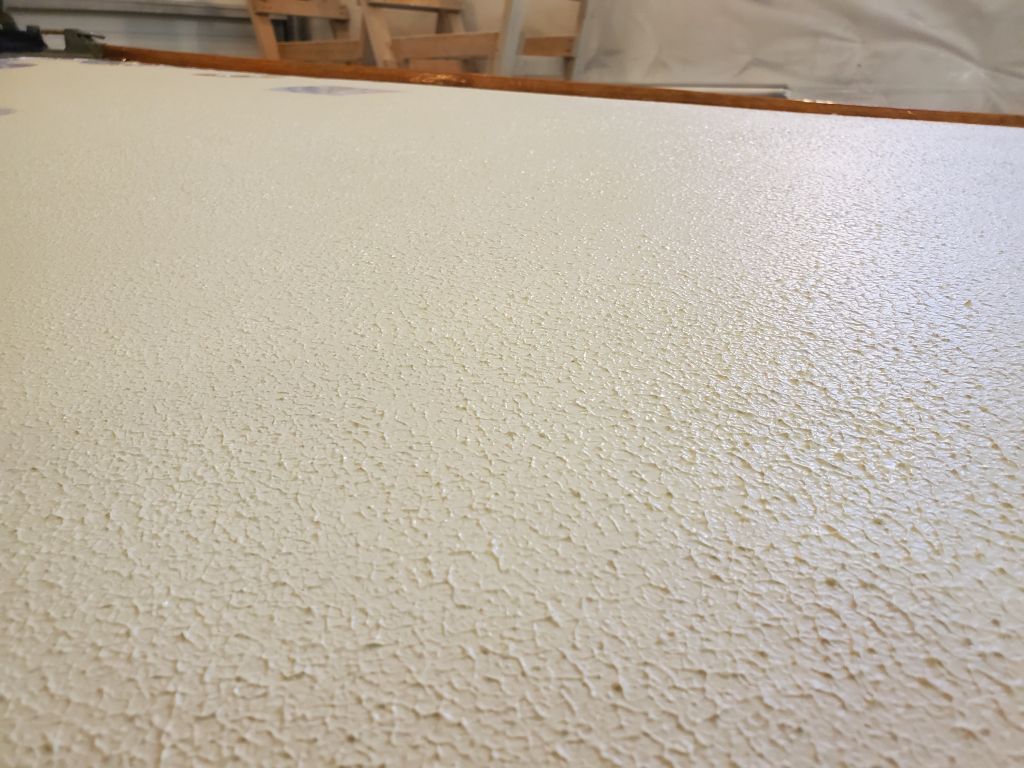
I got started right away with the second coat of nonskid paint–this time applied with the special textured roller–beginning on the coachroof with white paint. The heavy textured coating requires that the masking tape be removed while the paint is still wet, and I’d planned the masking accordingly so that I could easily (at least in theory) remove the strip of tape immediately adjacent to the paint, but not necessarily all the extra tape I’d applied to widen the boundaries. This is a messy and hateful part of the job with this particular paint.
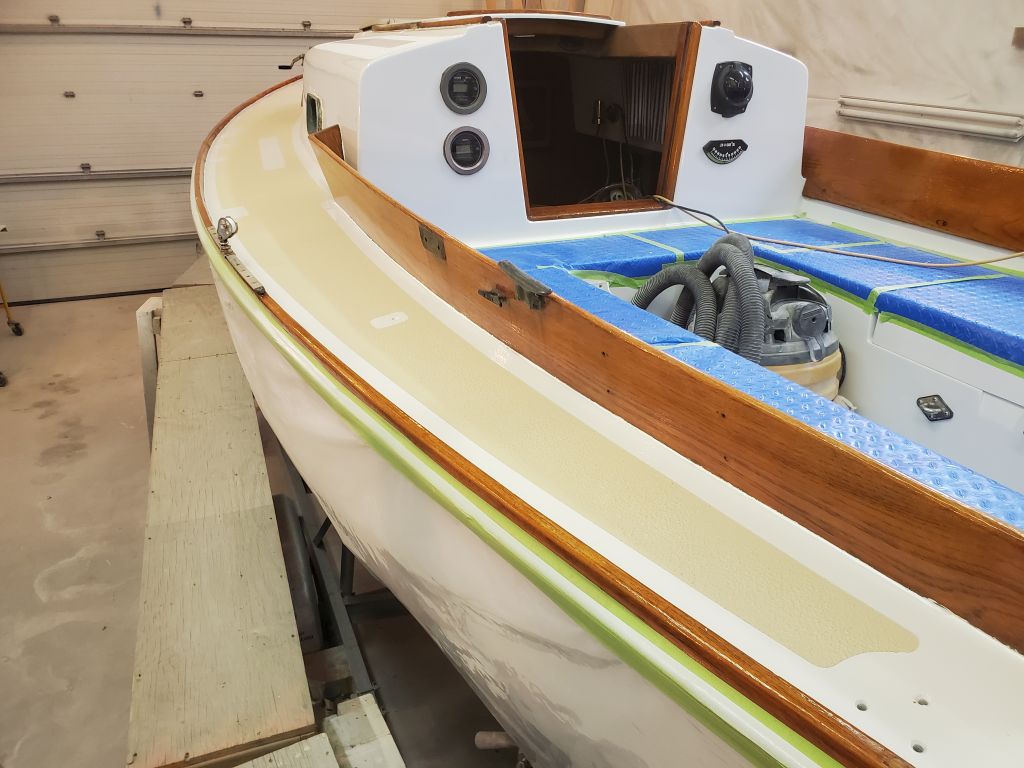
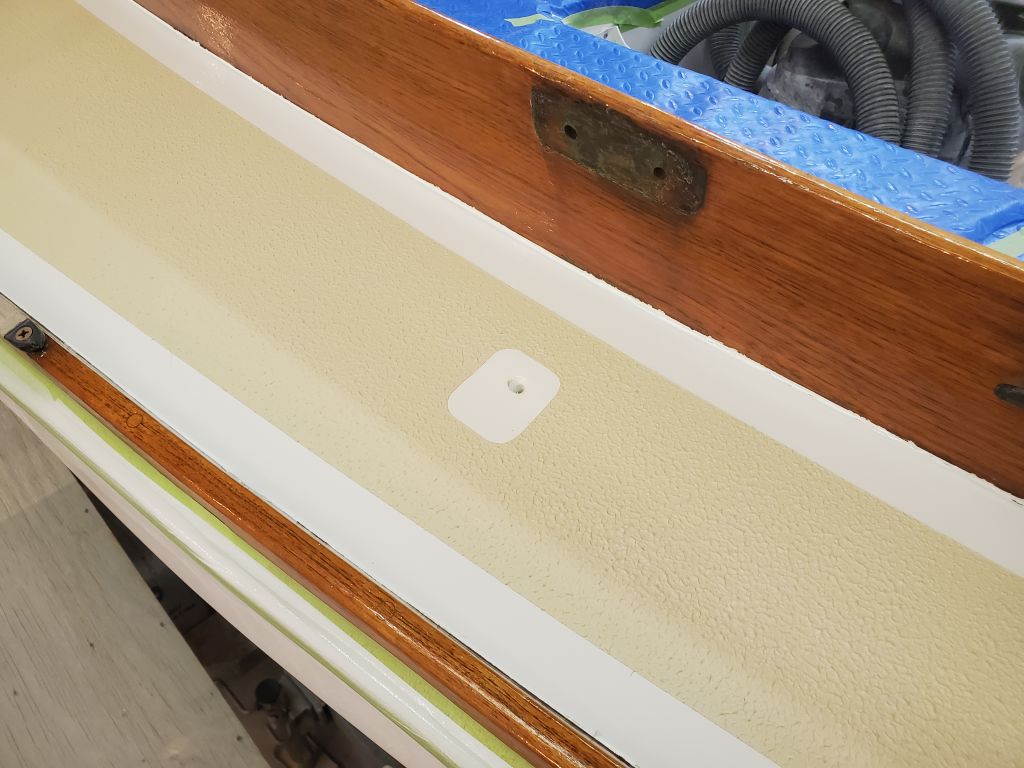
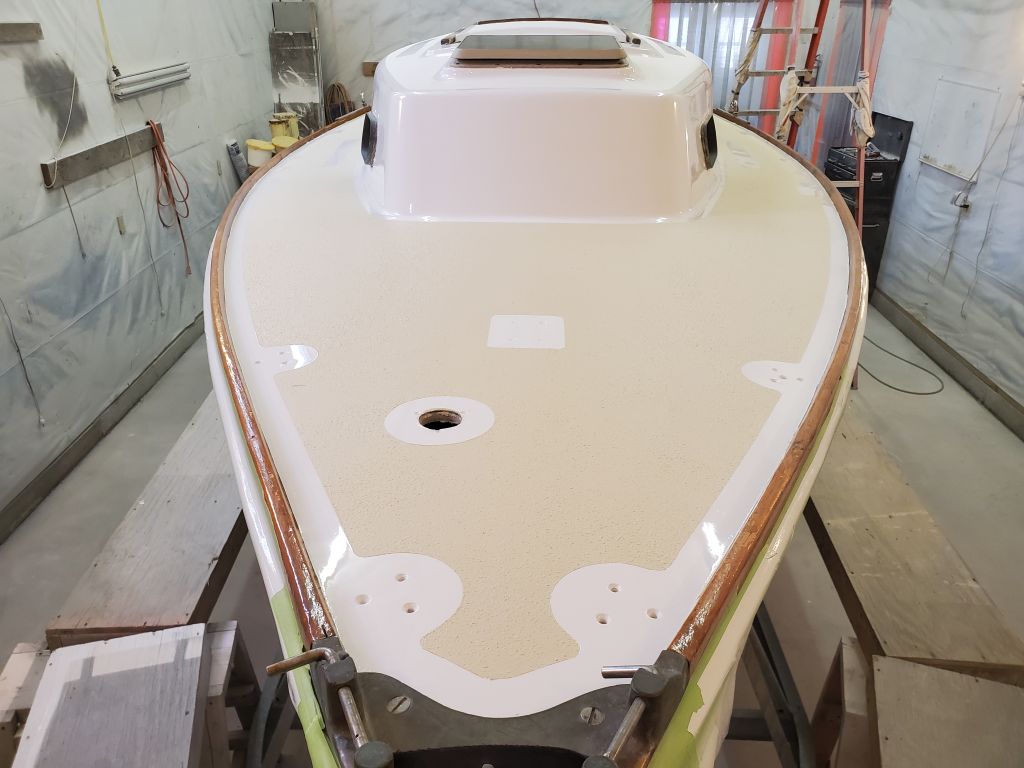
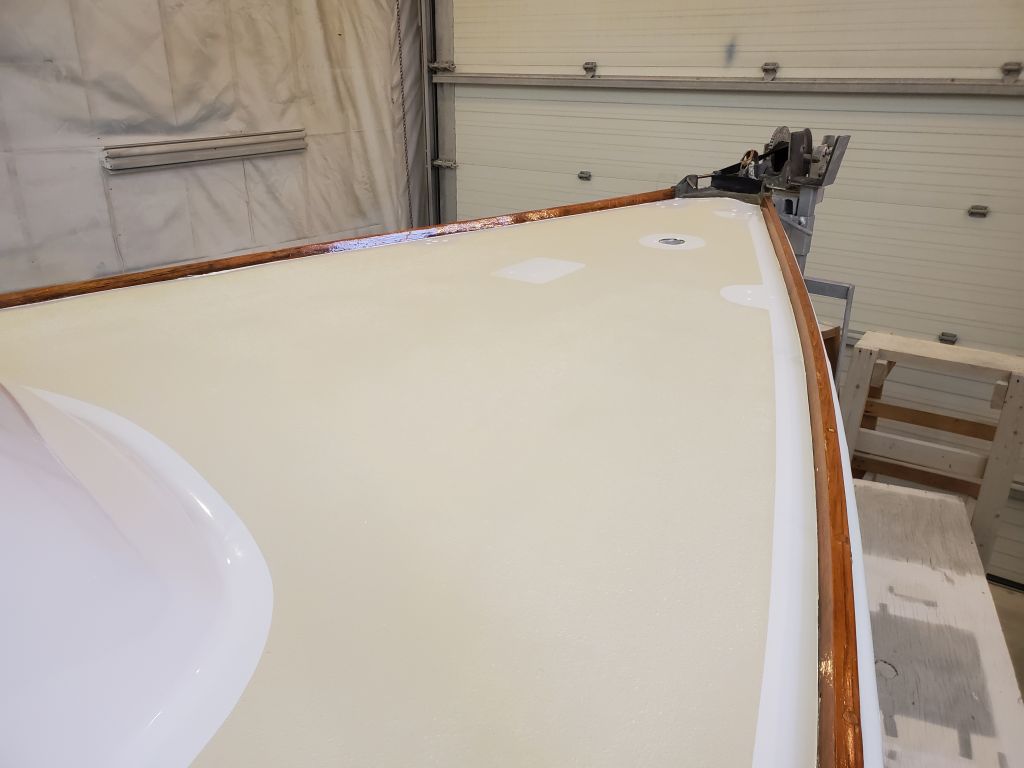
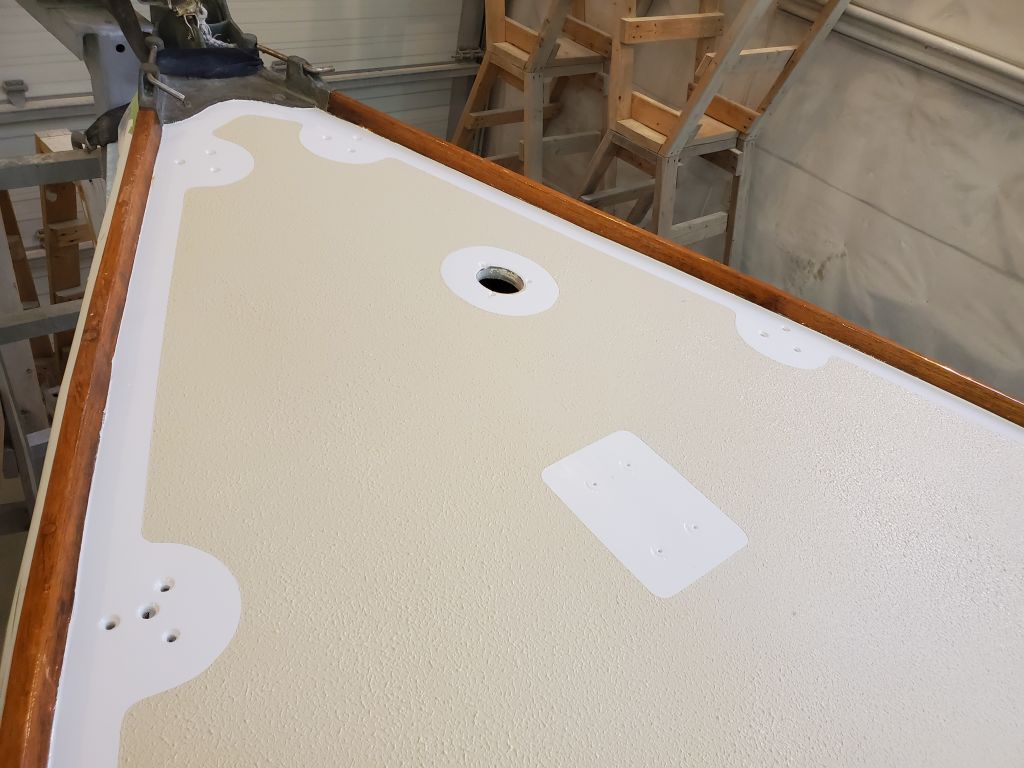
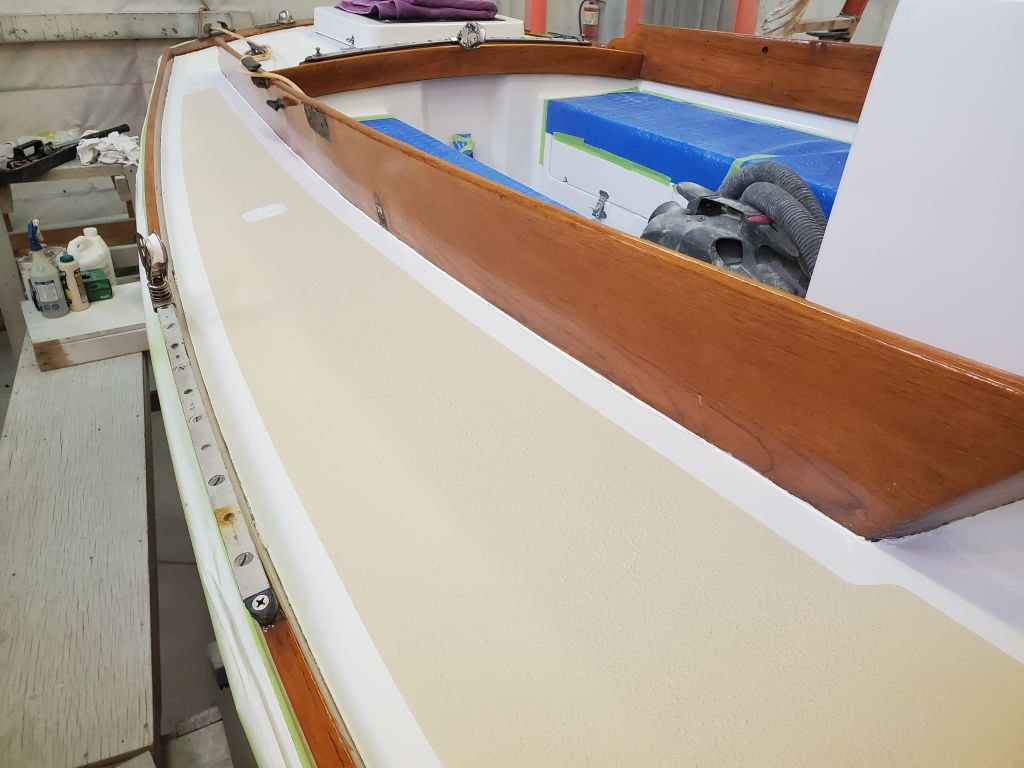
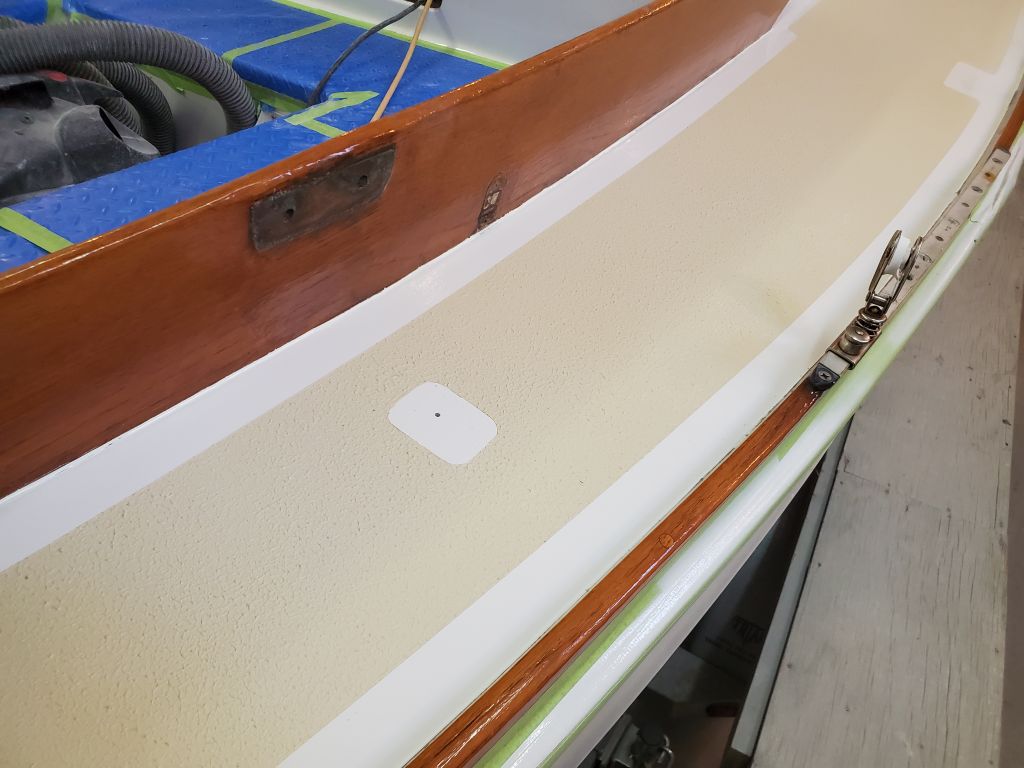
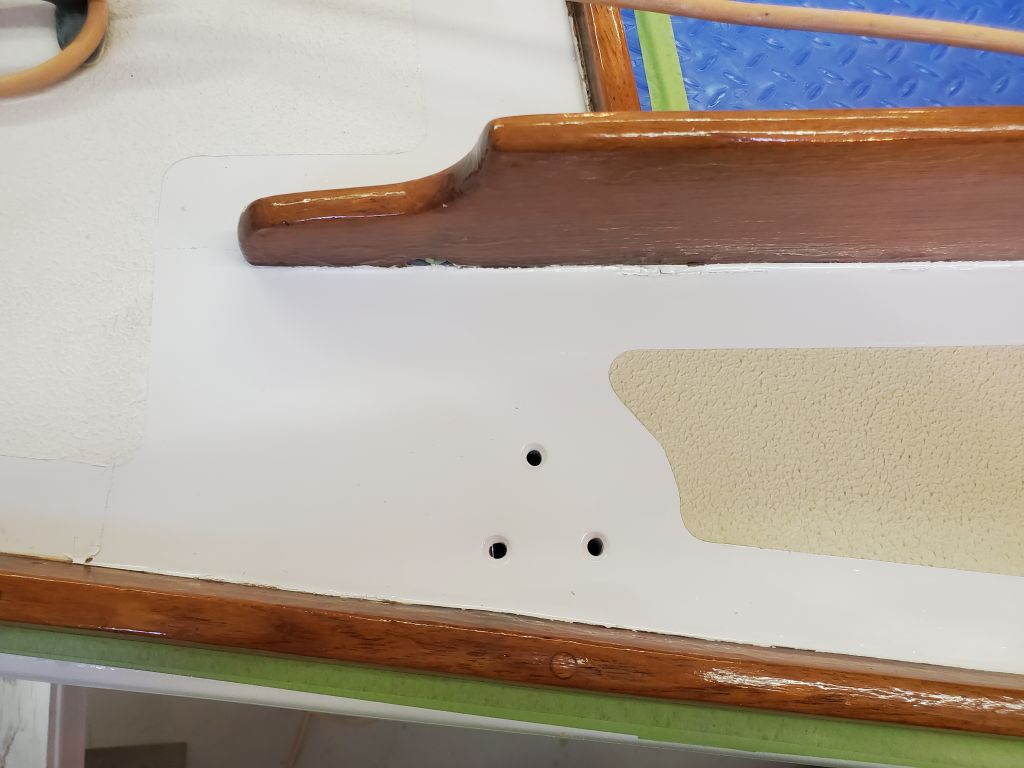
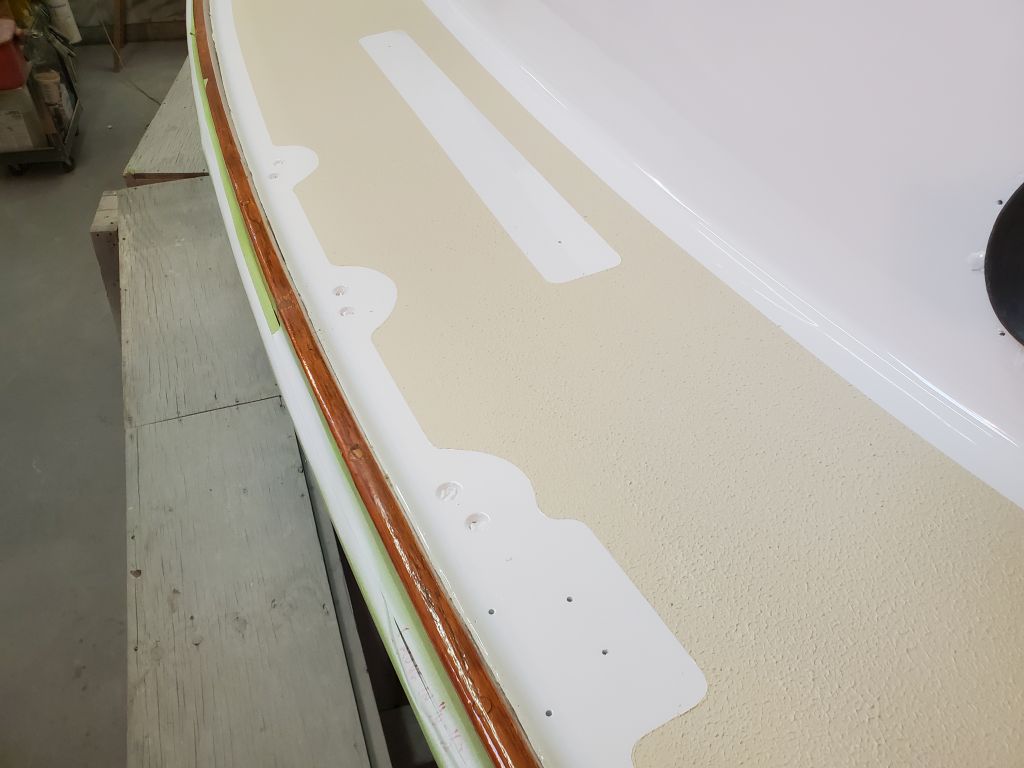
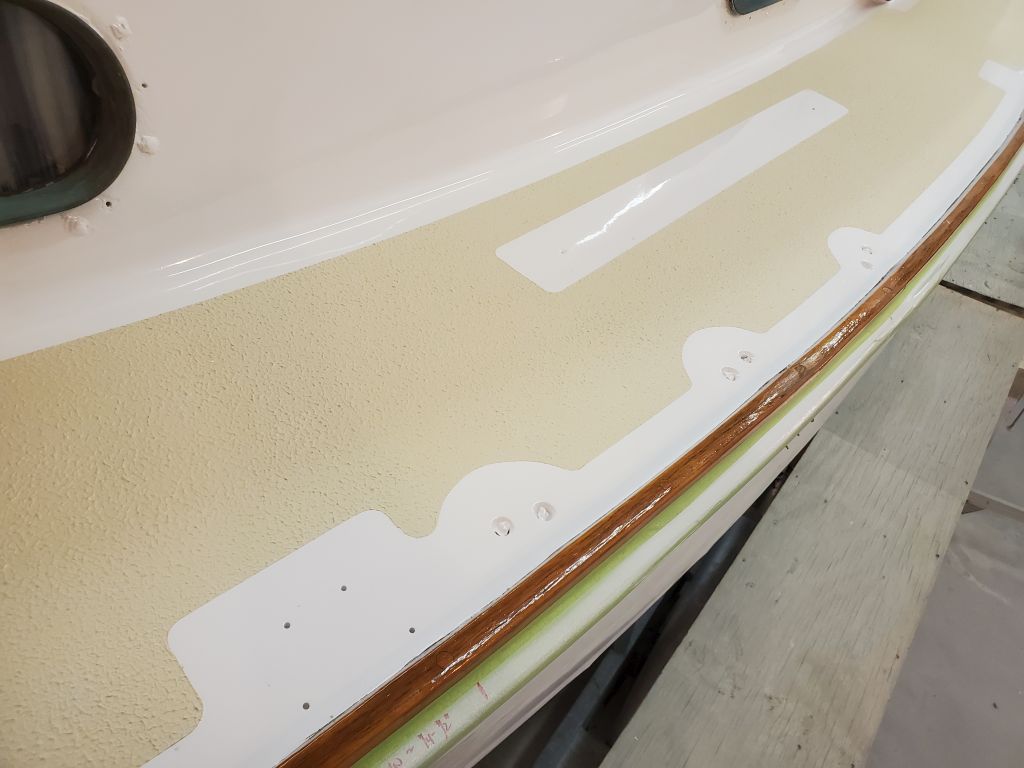
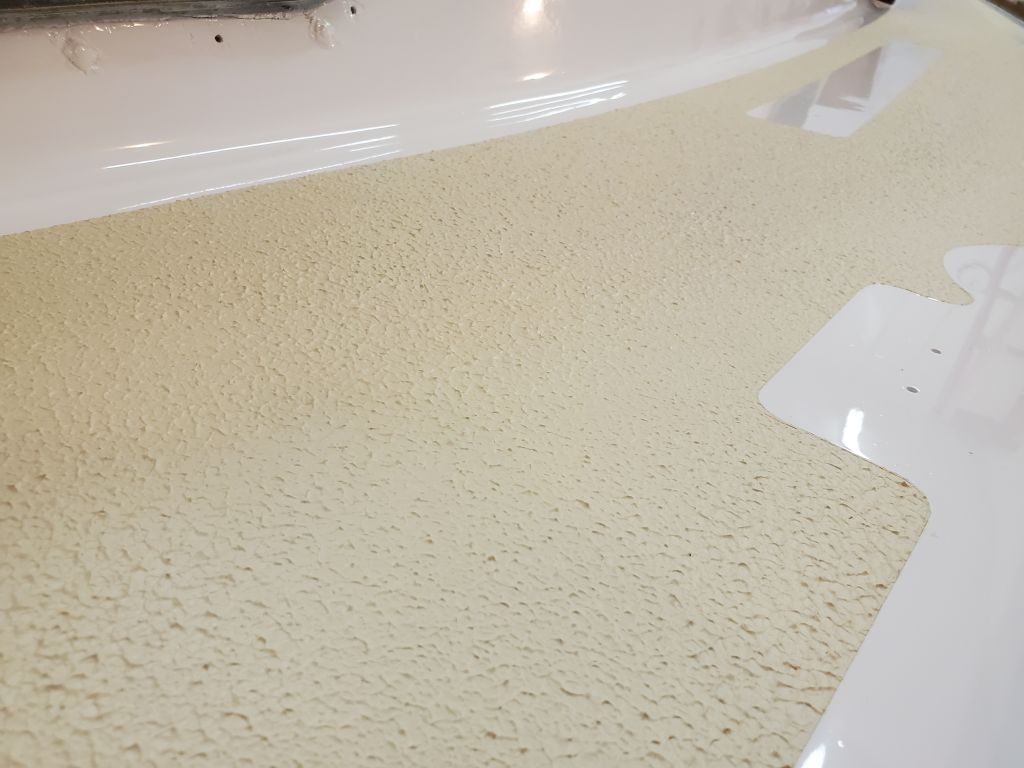
With the coachroof and sea hood done, I switched to the beige (tinted as moon dust) texture coat for the main decks, and removed the first round of tape there.

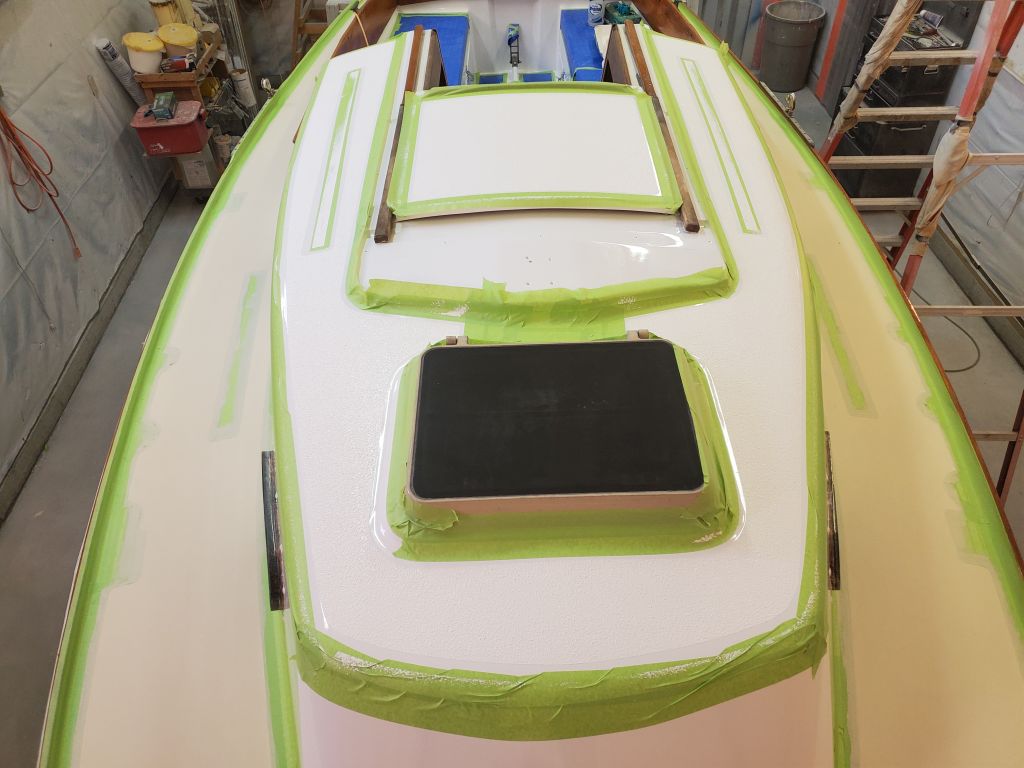
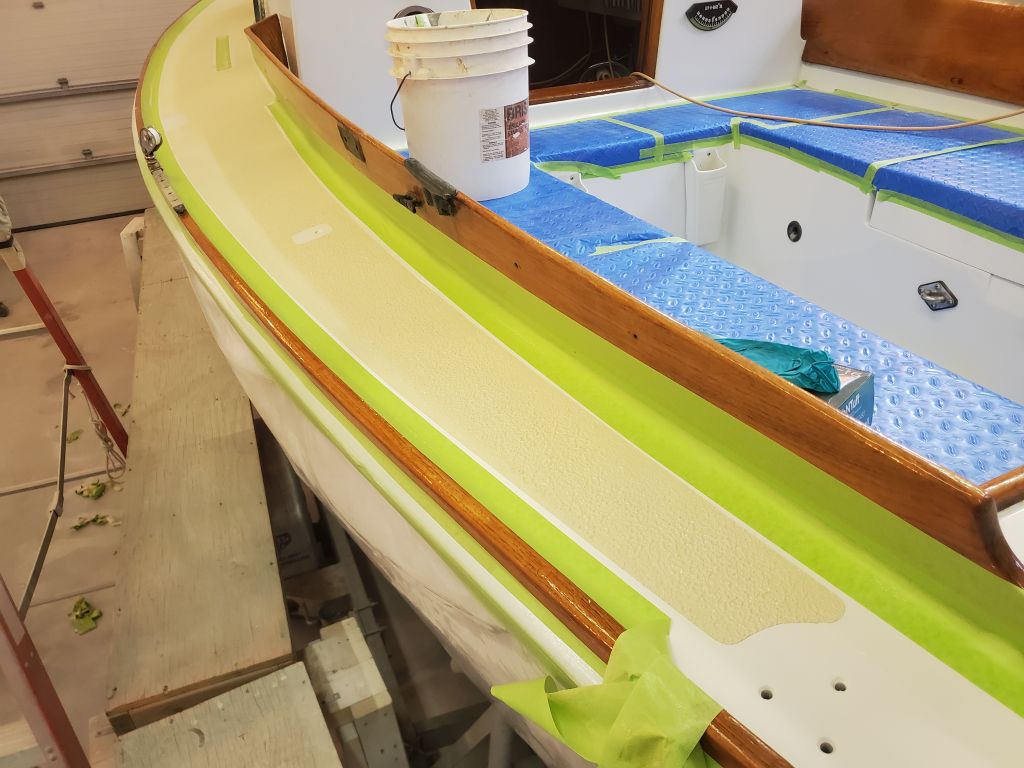

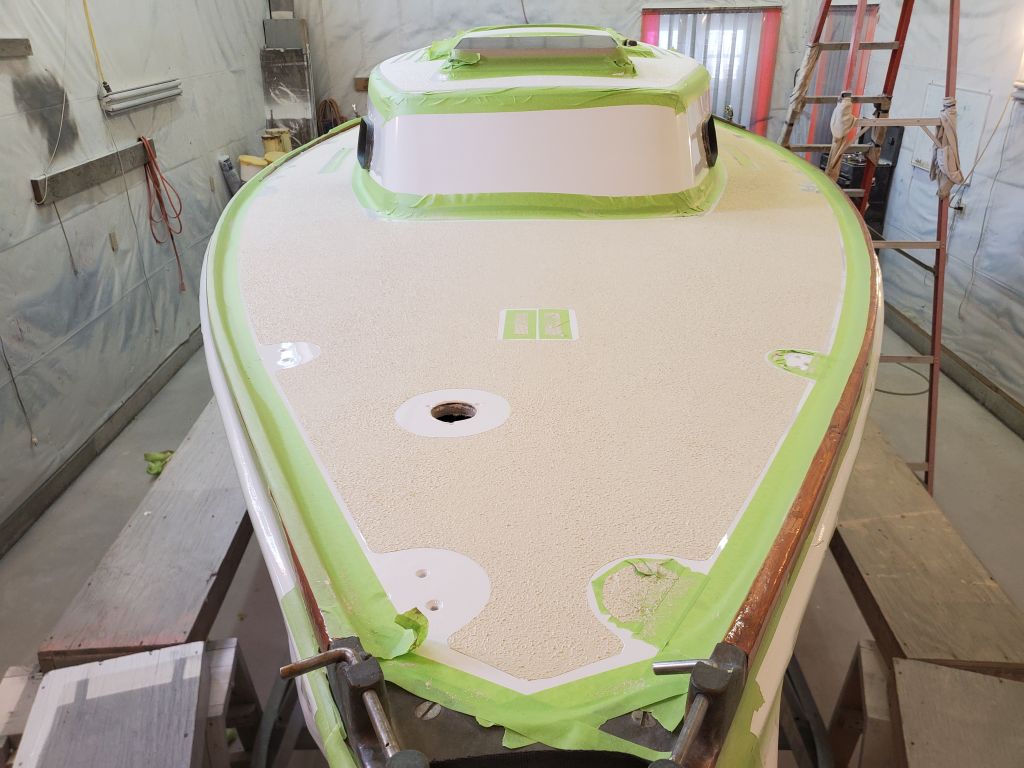
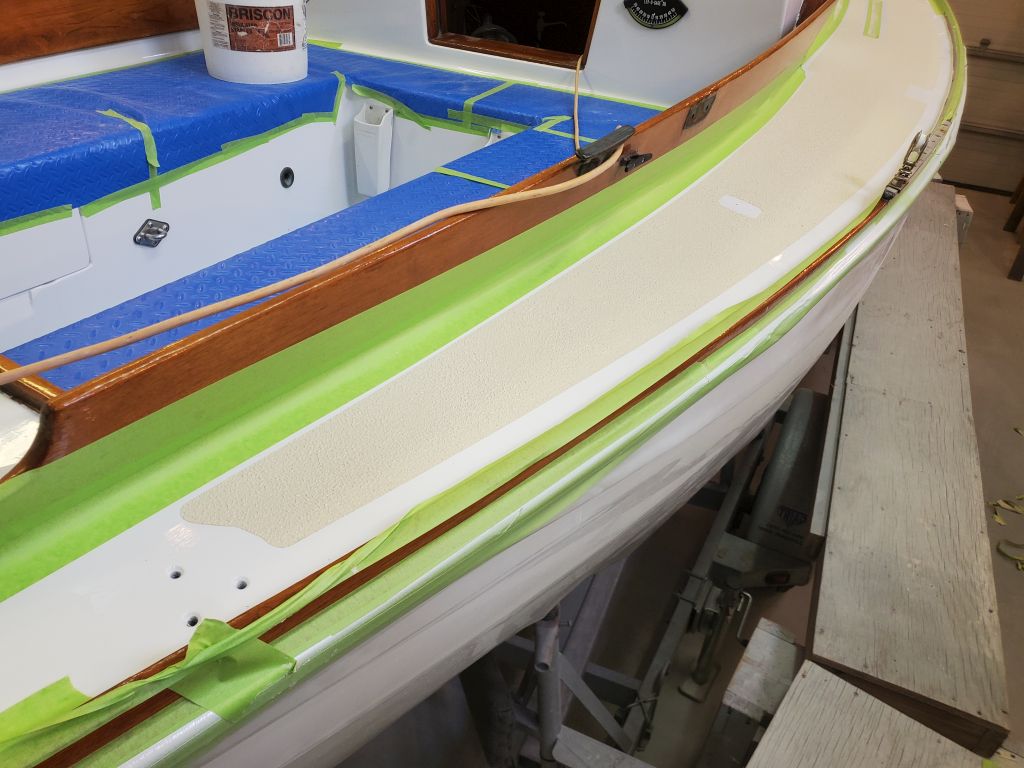
Near the end of the day, the textured paint had cured sufficiently that it was safe for me to go back and remove all the remaining masking tape from the decks.
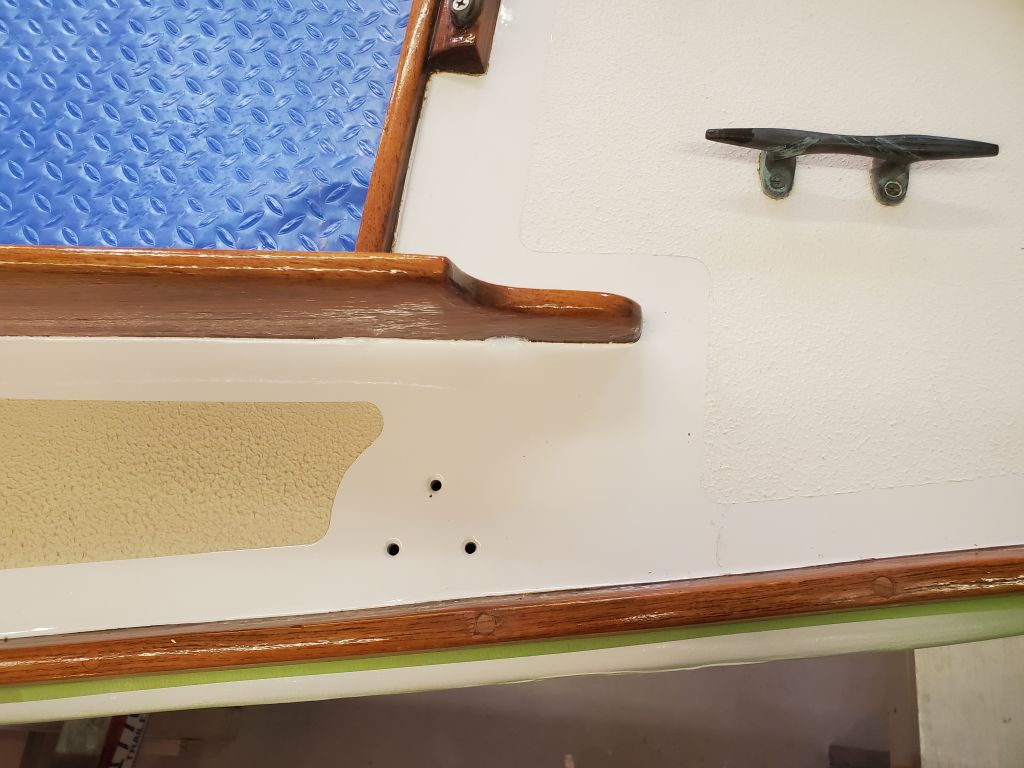


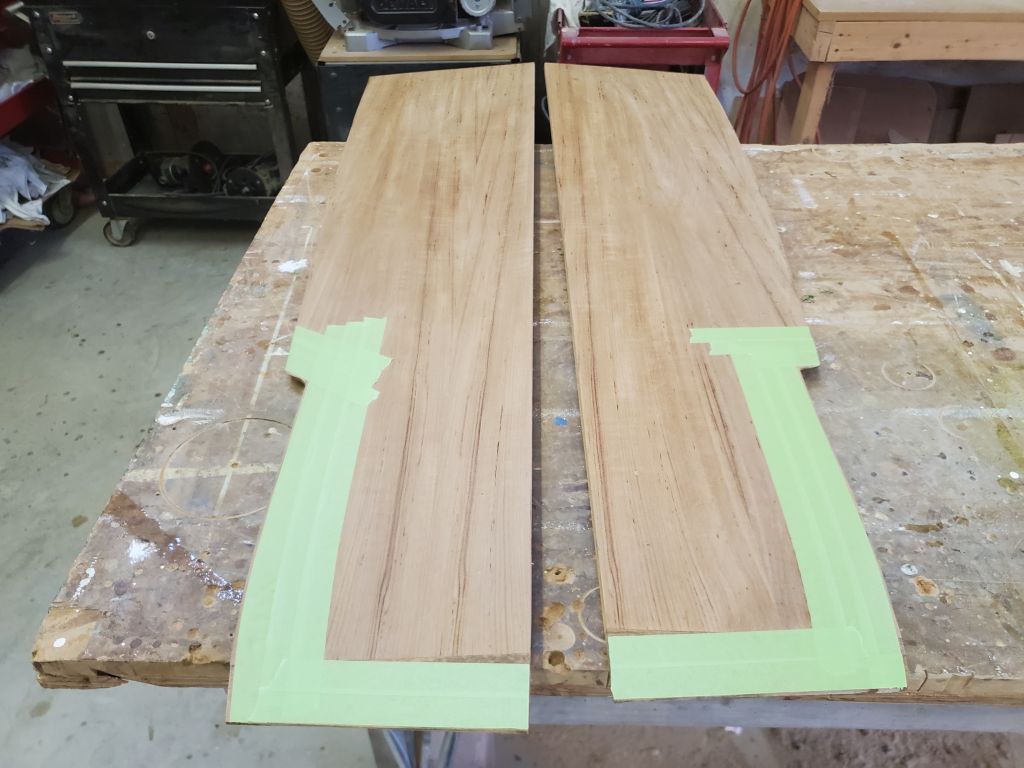
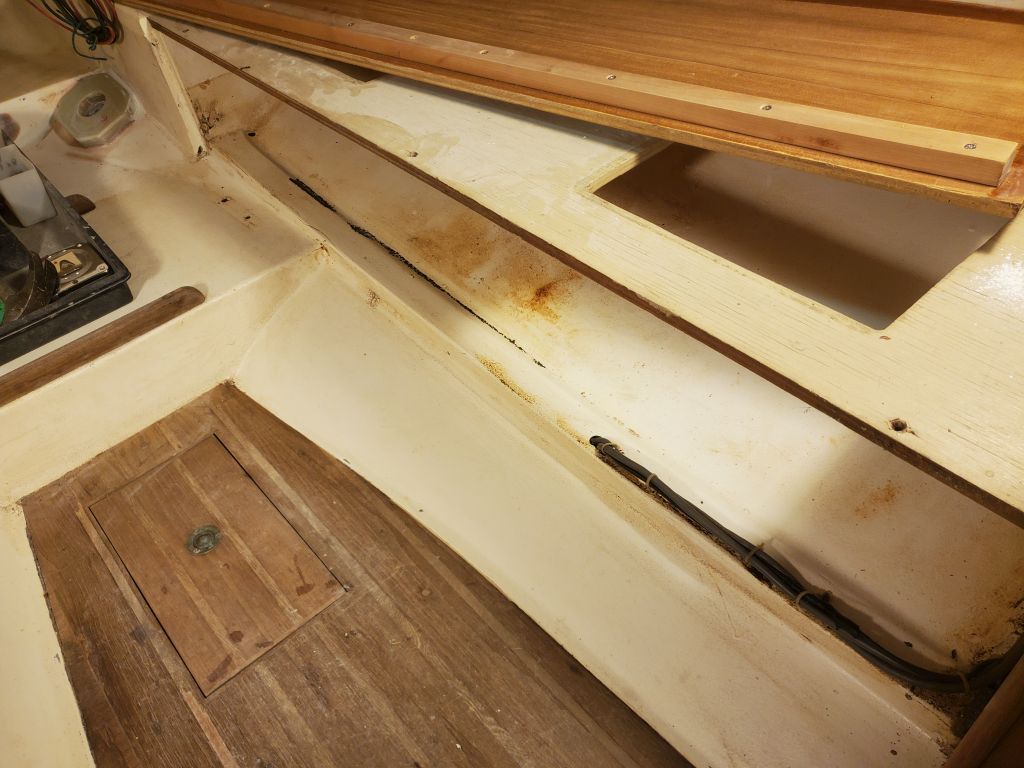
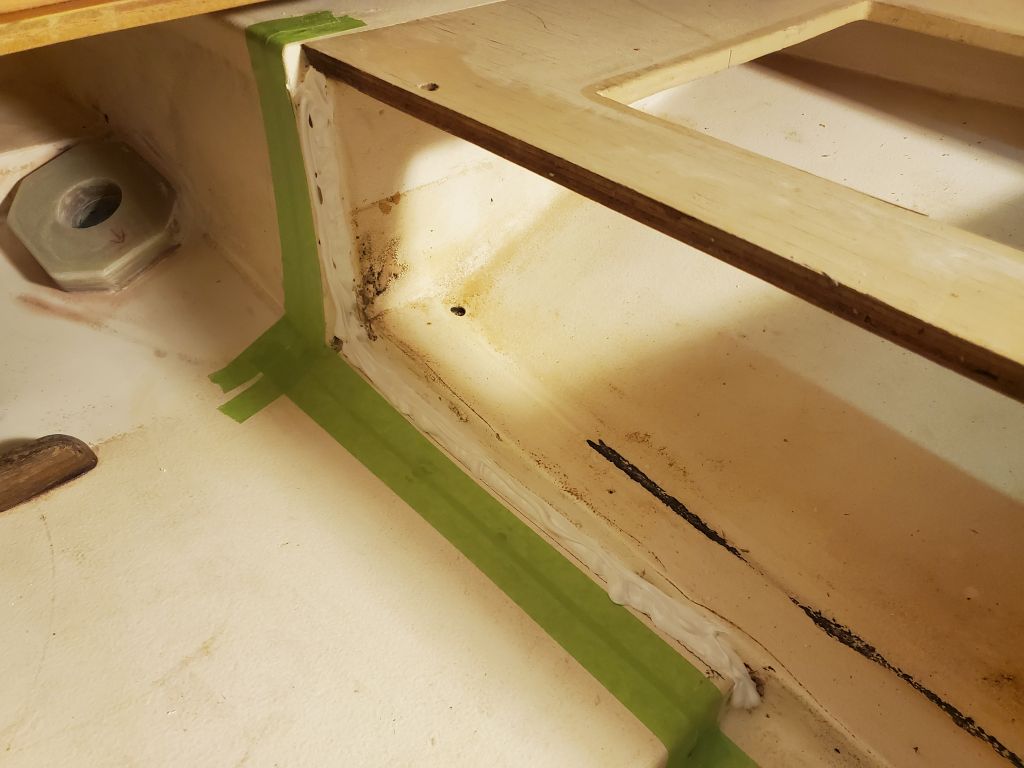
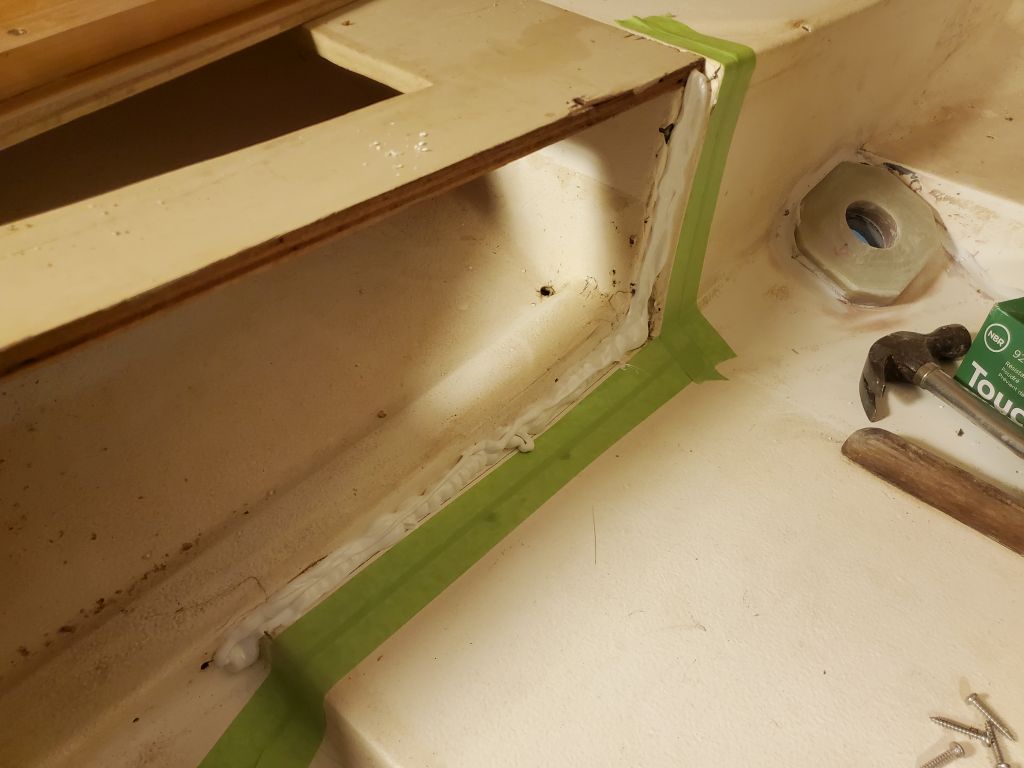
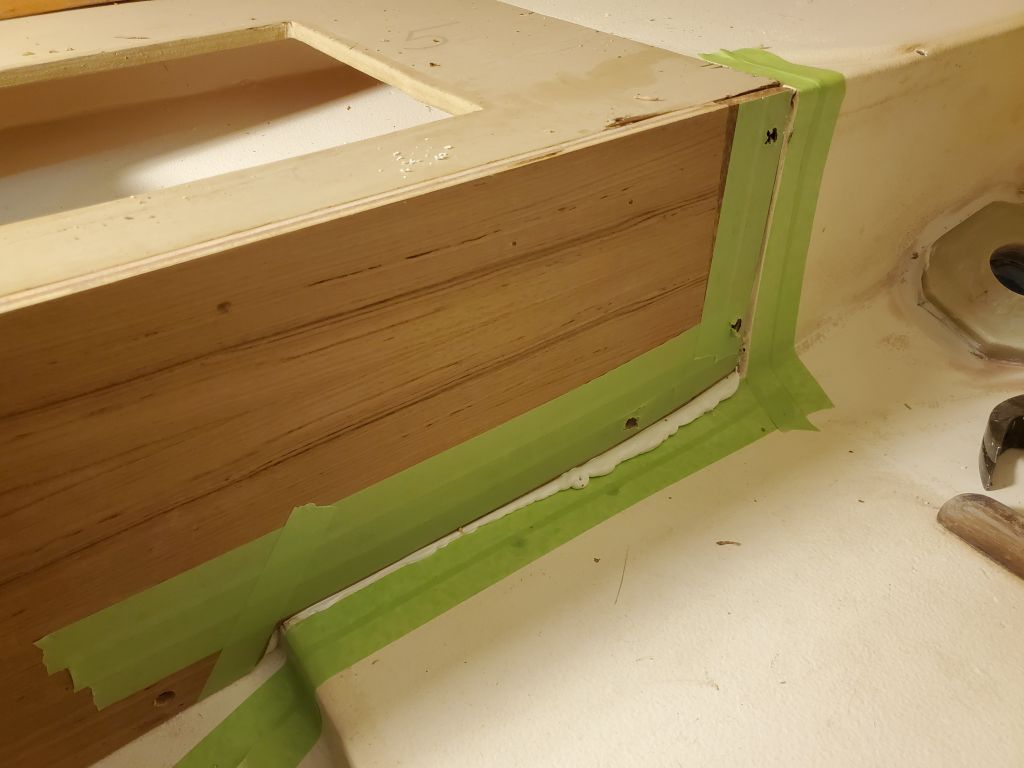
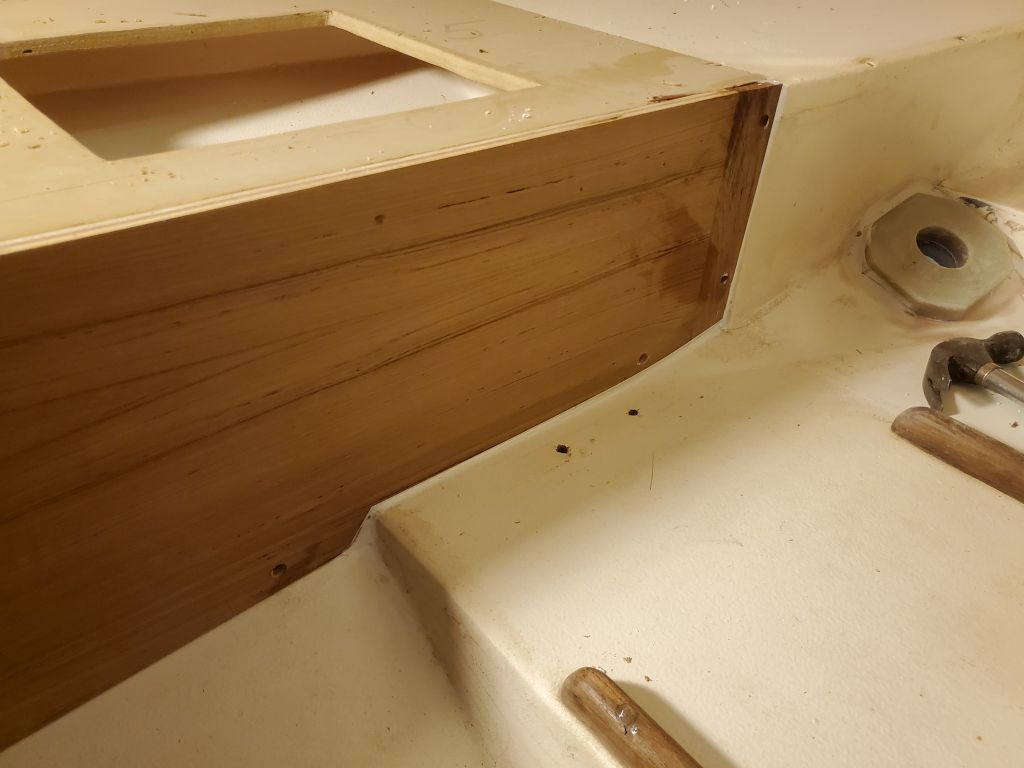
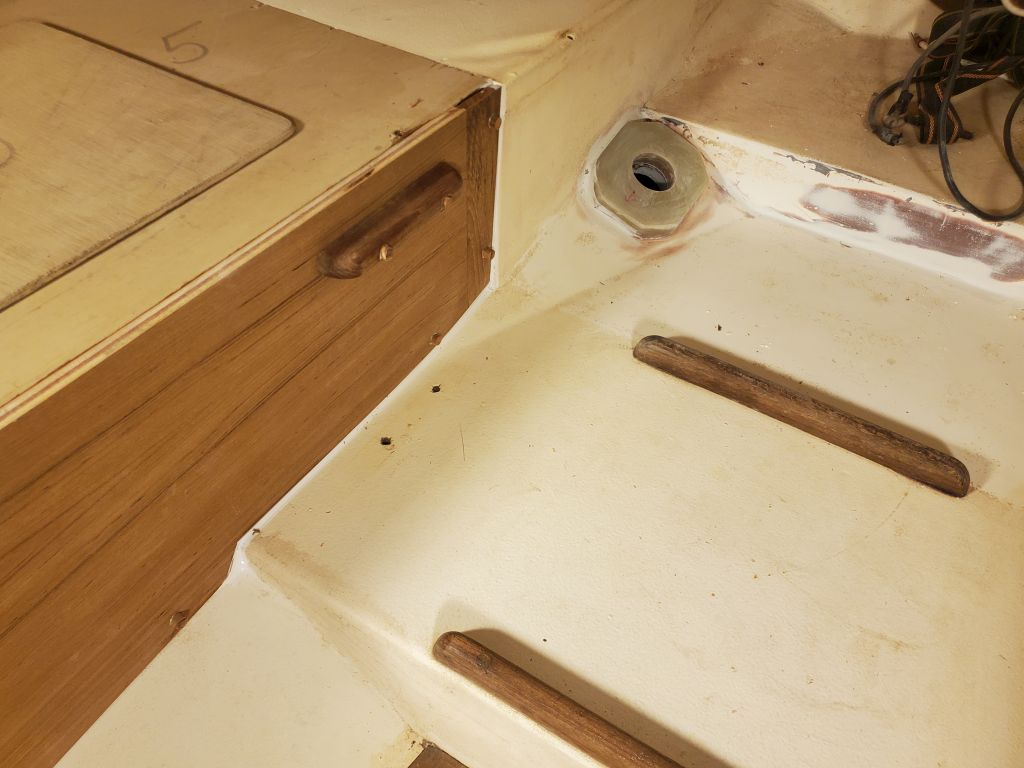
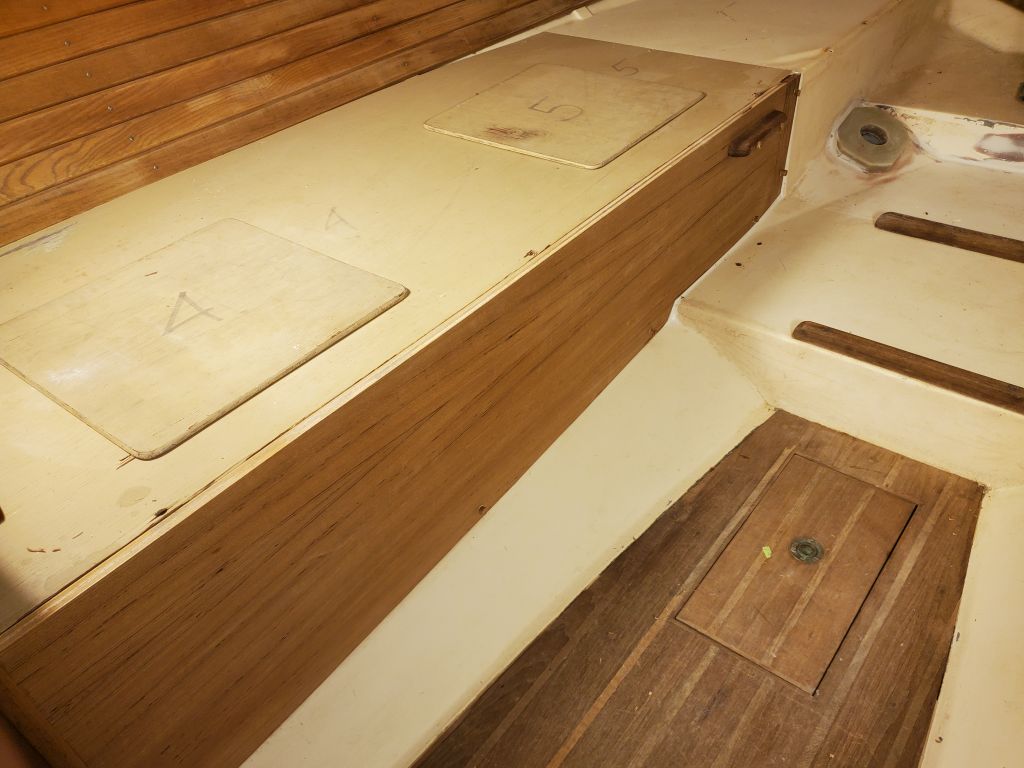
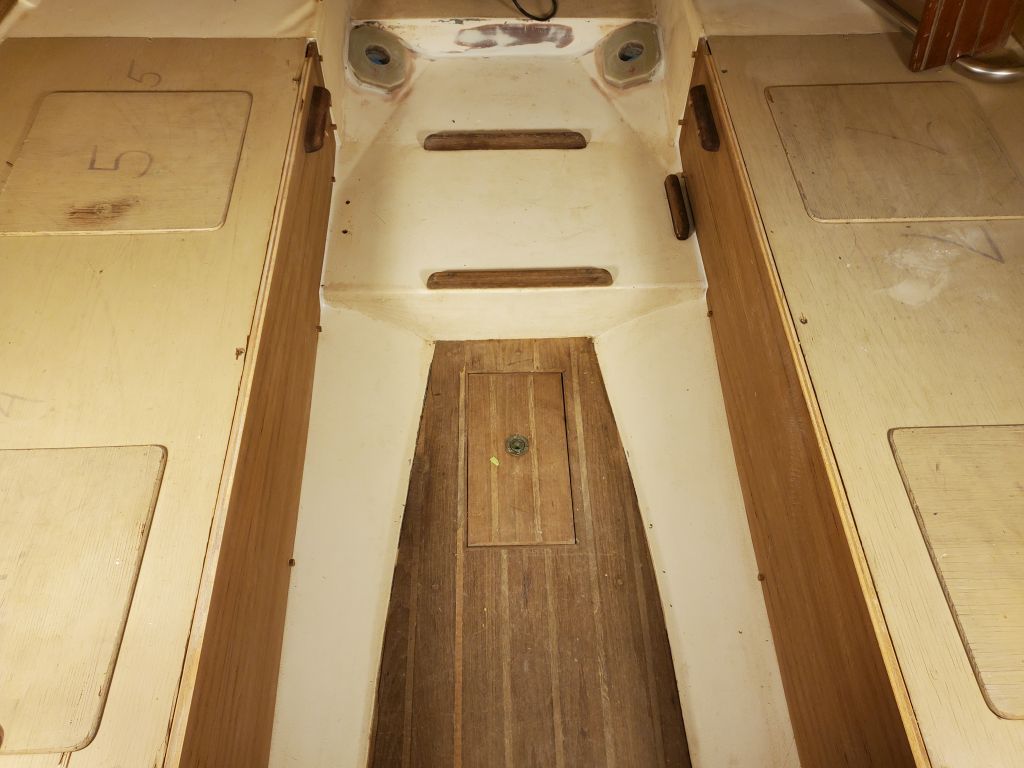
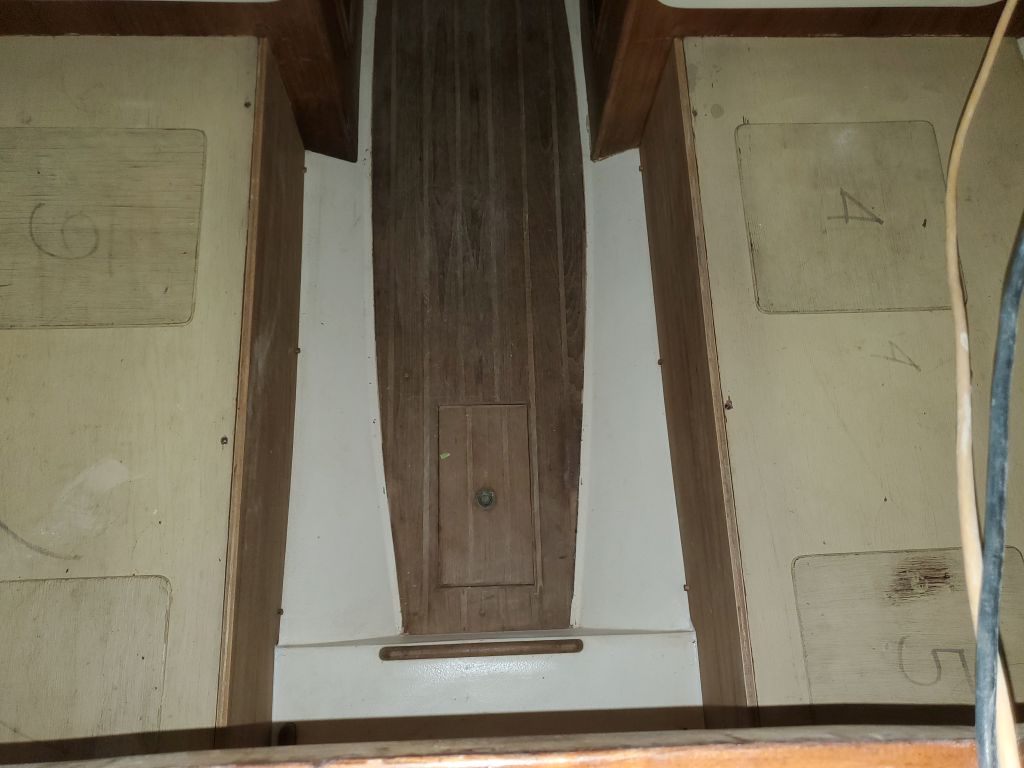
Once I finished the paint application, I worked on the settee bases, starting with a light sanding to clean up any layout marks (on the back sides) and to smooth and clean the visible sides as needed. Then, at the aft ends of each panel, where they would sit on the raised molded platform behind the companionway ladder, I masked off the teak to protect it from the sealant I planned to use to bed the panels in this area, mainly as a hedge against future water damage like that which had ruined the original panels. With the epoxy-coated end grain and the planned bed and slight fillet of sealant, along with management of whatever seepage had caused the original problems, the new panels should last at least as long as the originals.
After loading all sorts of tools and supplies into the boat (carefully boarding at the transom to avoid all the fresh deck paint), I prepared the installation areas by cleaning up any old sealant, dirt, and grime.
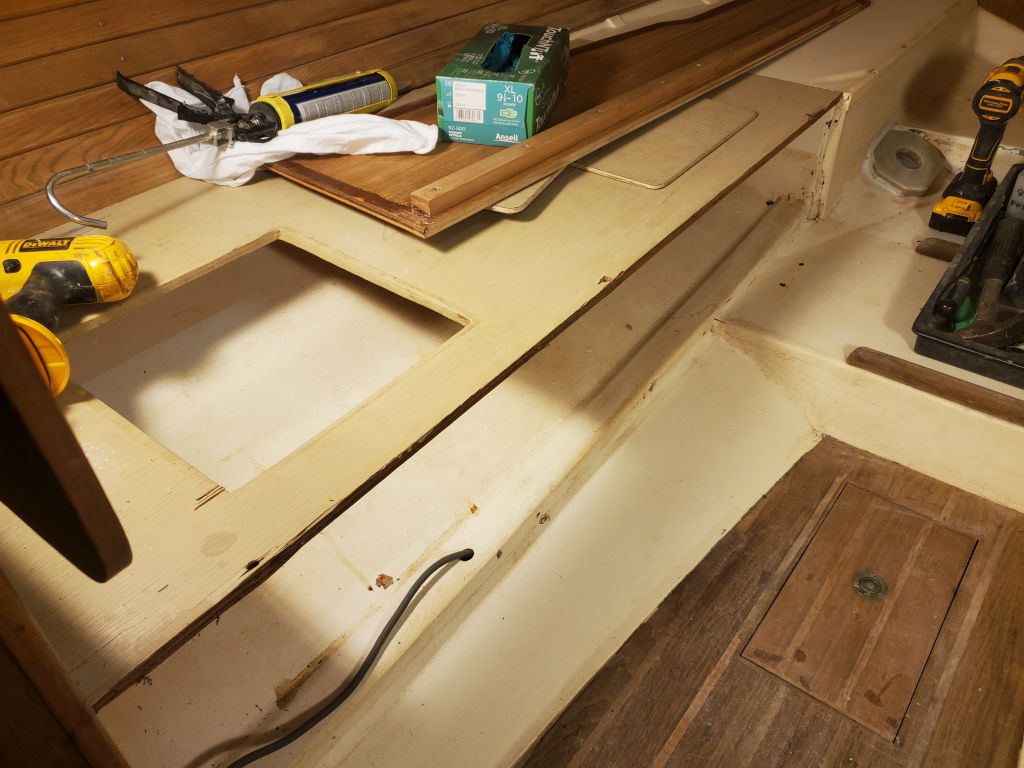
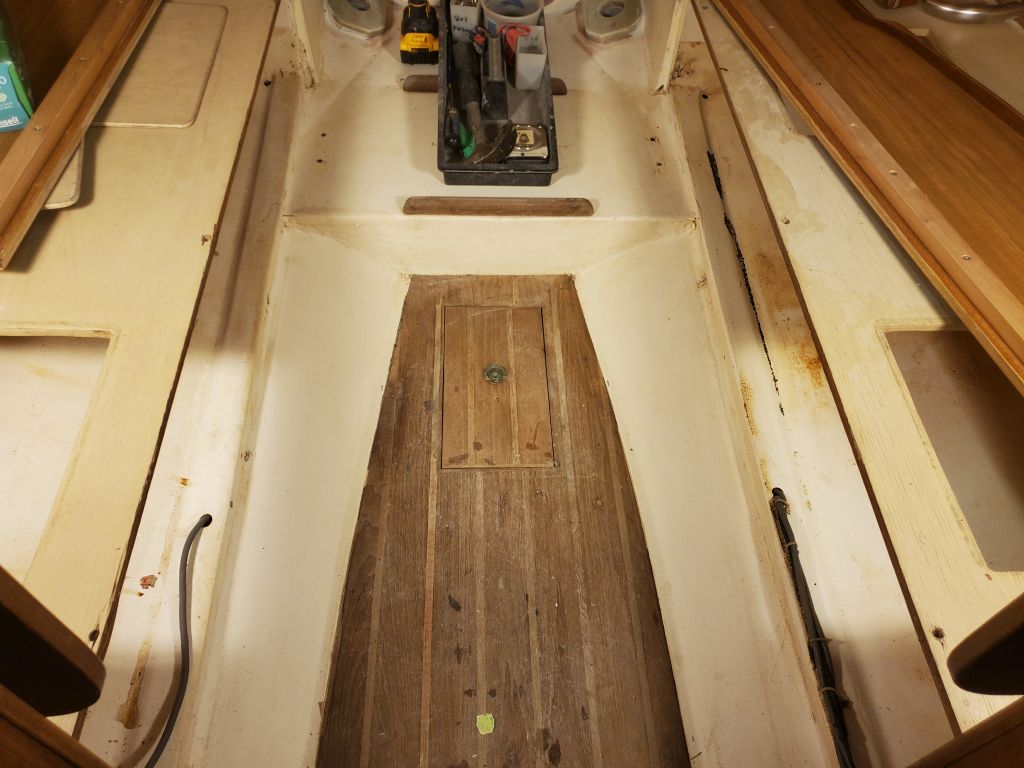
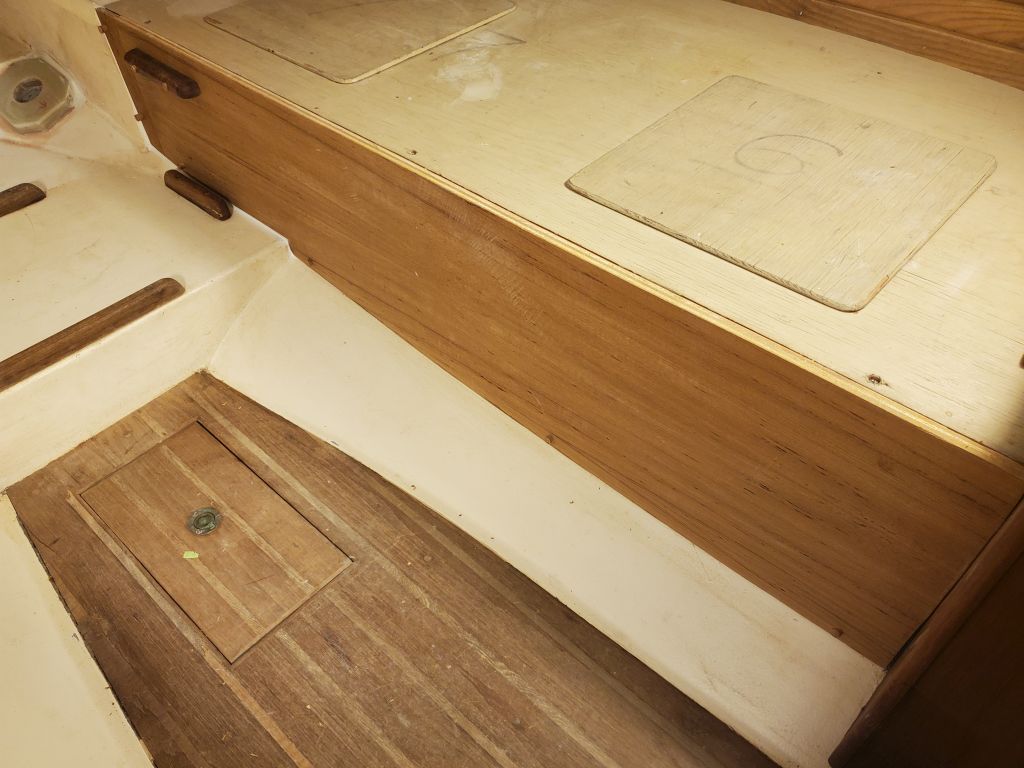
For each panel, I dry-fitted and from the inside marked the extent of the molded fiberglass mounting surfaces on the backs of the panels, which then gave me a boundary within which to drill pilotholes for the mounting screws: two on the aft edge, and four along the bottom edge on each panel. Then I drilled pilot holes into the fiberglass mounting surfaces, and counterbored each hole for bungs.
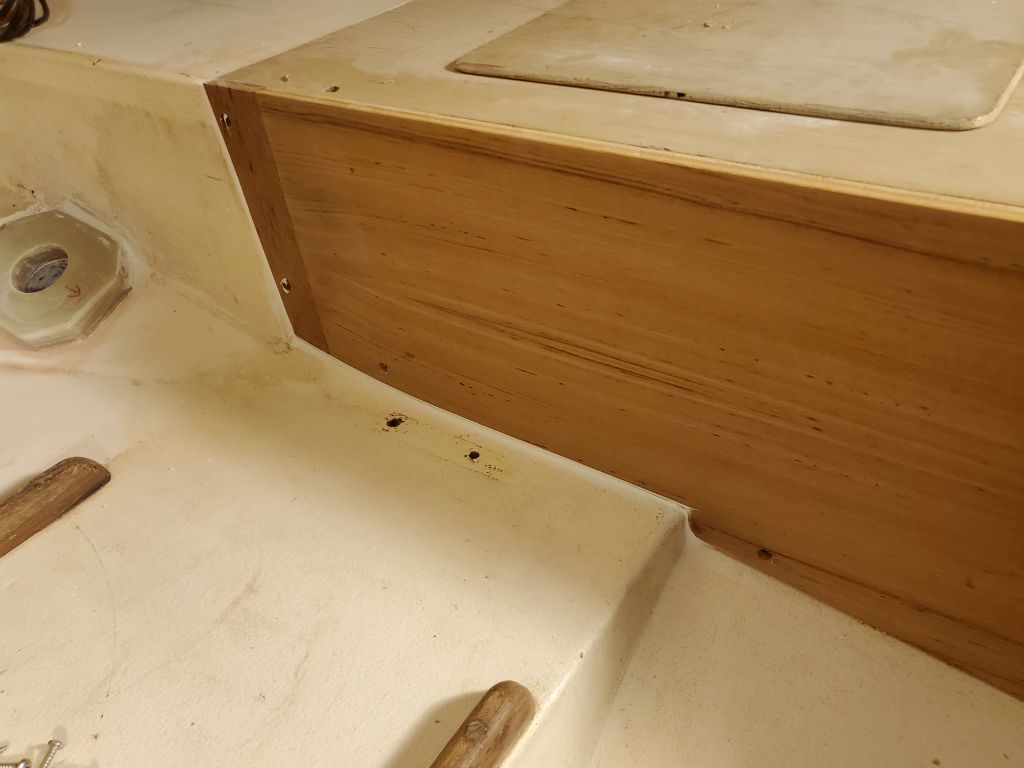
One side at a time, I masked off the fiberglass adjacent to the panels on the raised platform, applied sealant to the base and aft edge, then installed the teak panel with the six mounting screws along the edges, and reinstalled the screws at the settee tops into the cleats on the backs of the panel to secure the whole arrangement fully once more. I cleaned up the excess sealant, forming small cosmetic fillets as needed, reinstalled the original teak cleats at the upper aft ends, and then bunged all the screw holes. Once the sealant cured and I removed the excess bungs, I’d finish the faces of the panels to tie in with the original cabinetry, and then install the teak fiddles to complete the work.


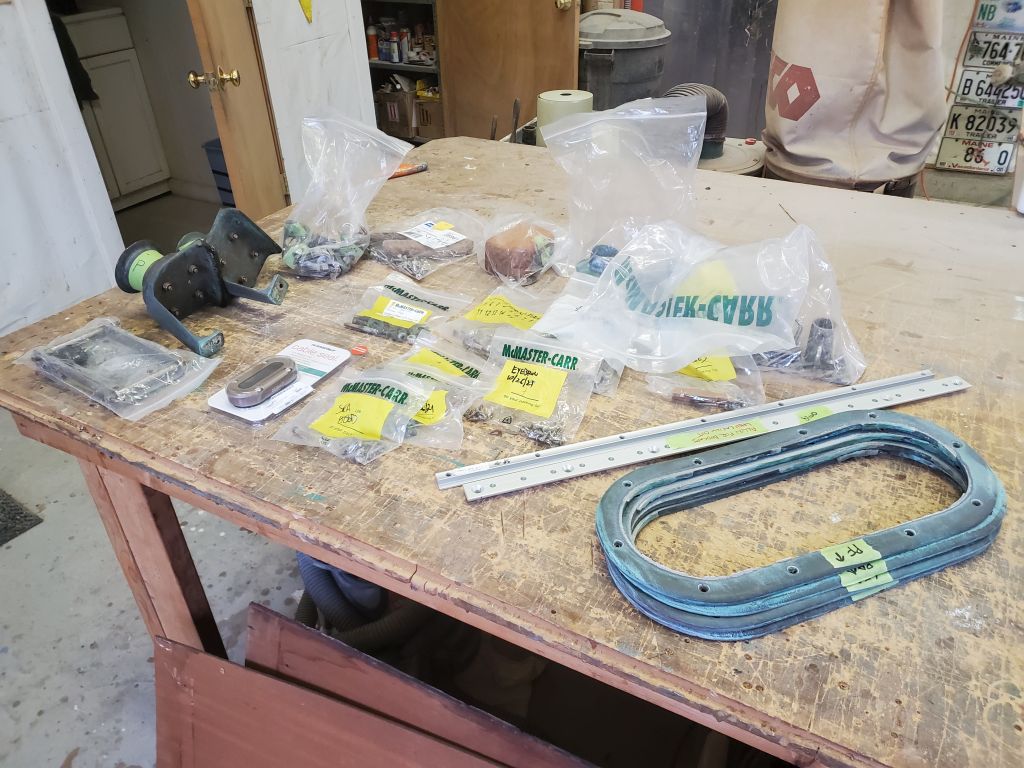
I rounded out the day by going through the deck hardware to check my fastener stock and order any new fasteners I’d need to begin the hardware installation in the immediate future.
Total time billed on this job today: 6.5 hours
0600 Weather Observation: 17°, mainly cloudy. Forecast for the day: Cloudy with snow showers, 32°