

November 5, 2021
Arietta Phase 2-5
Friday
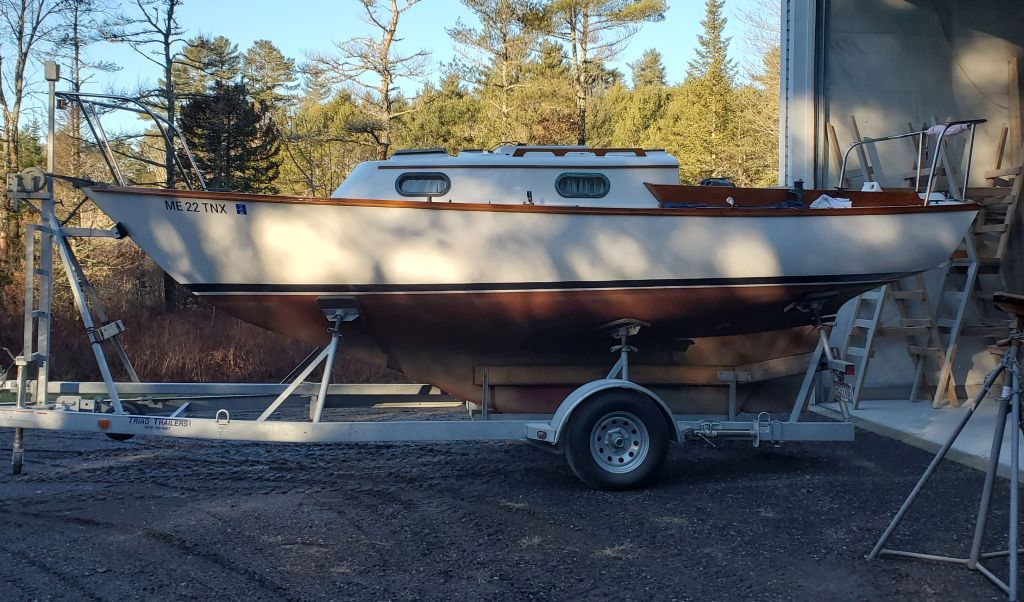
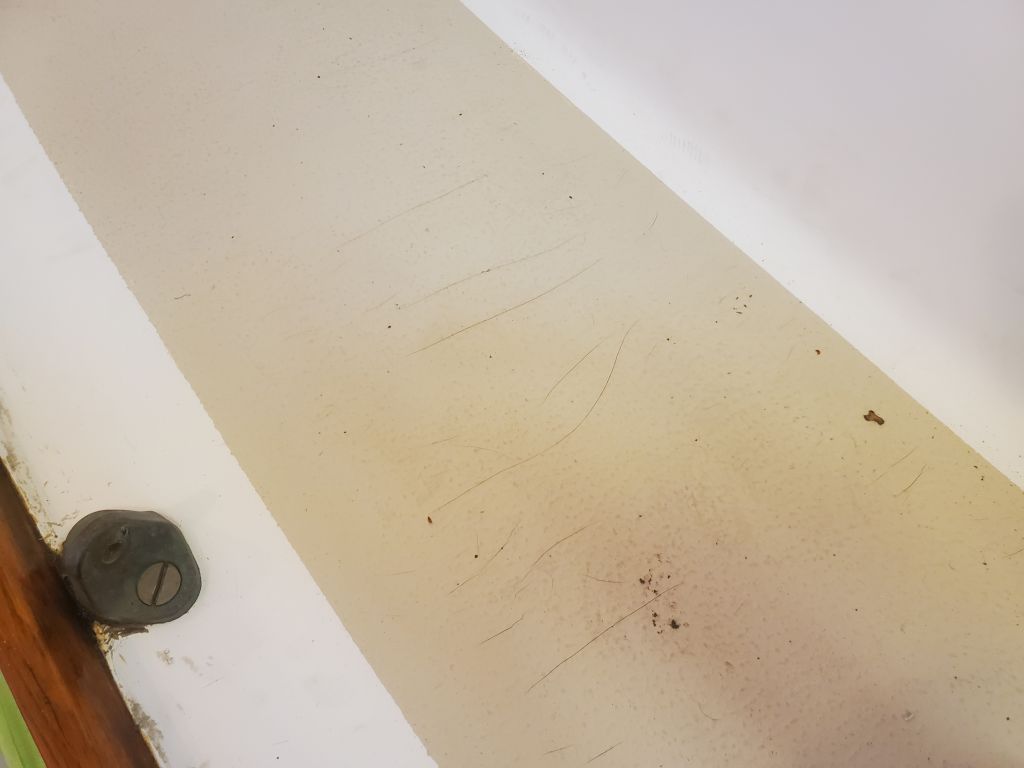
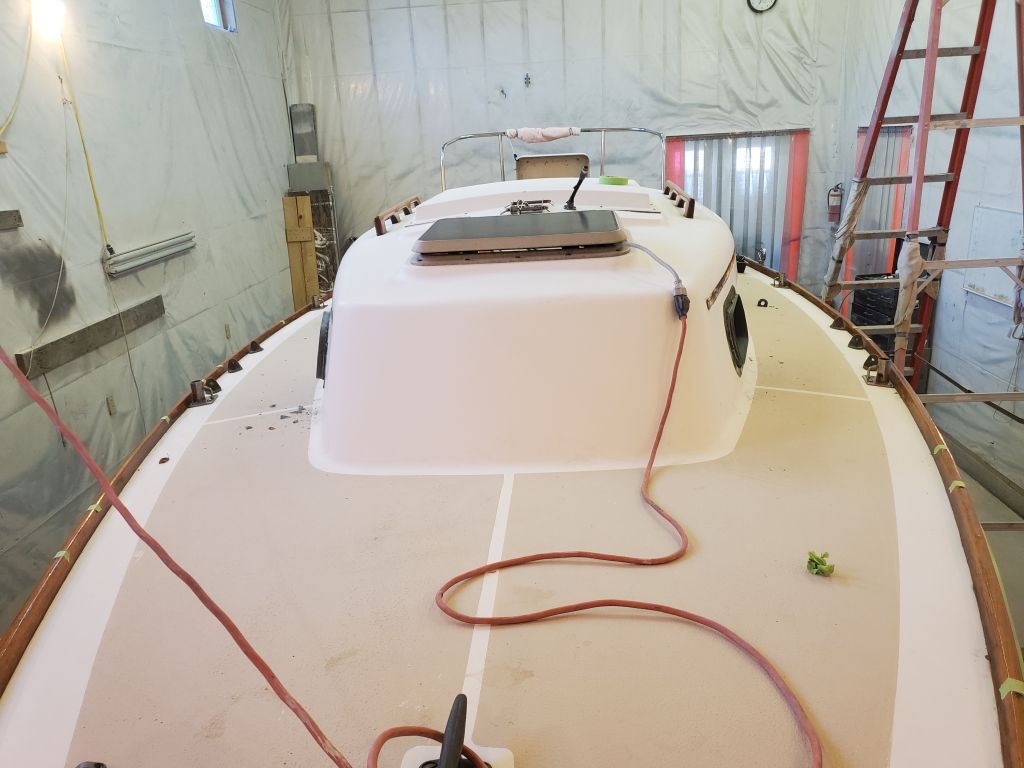
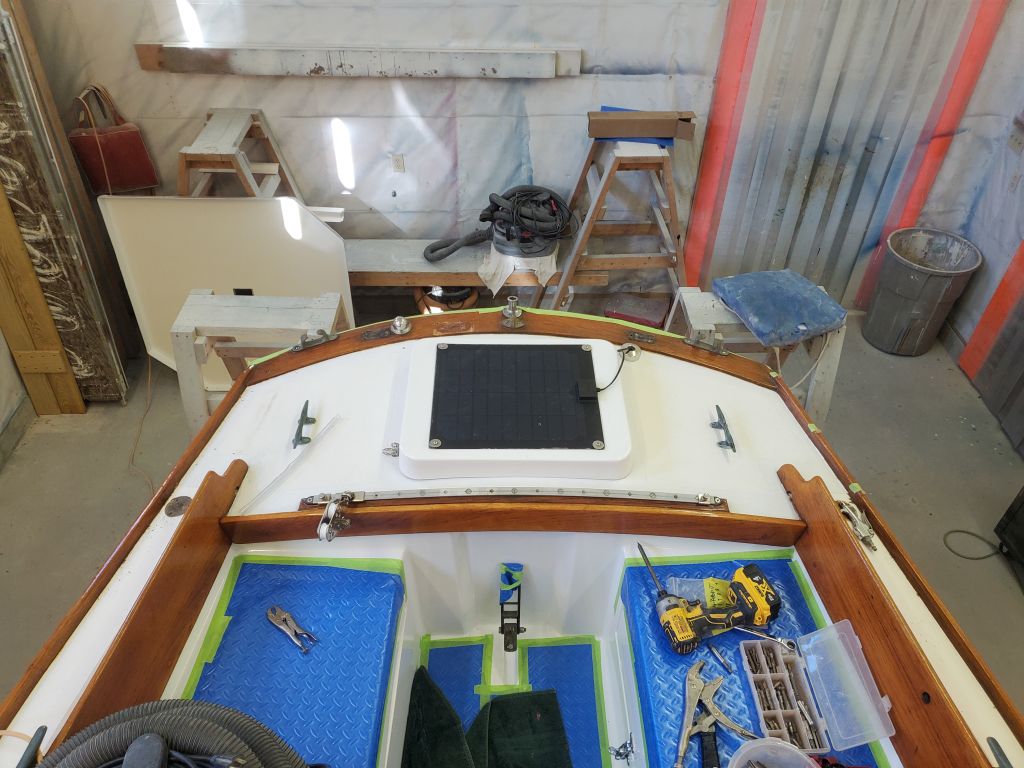
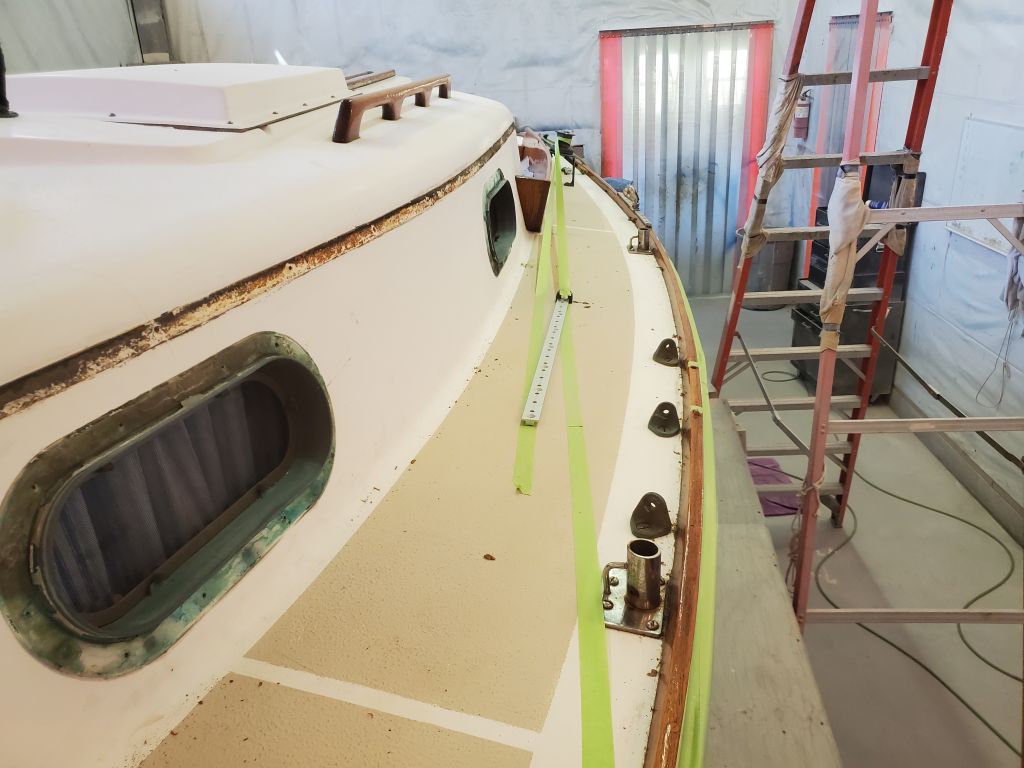
Now that the staging and other setup was complete, I could get into the early stages of the project for real. I began by documenting the existing condition of the decks and hardware, for my own reference later, and for posterity otherwise. The decks were original, with the usual minor and expected cracking here and there at the corners and in the main parts of the deck. I didn’t anticipate the need for any real repairs, though there’d be a fair bit of crack mitigation.
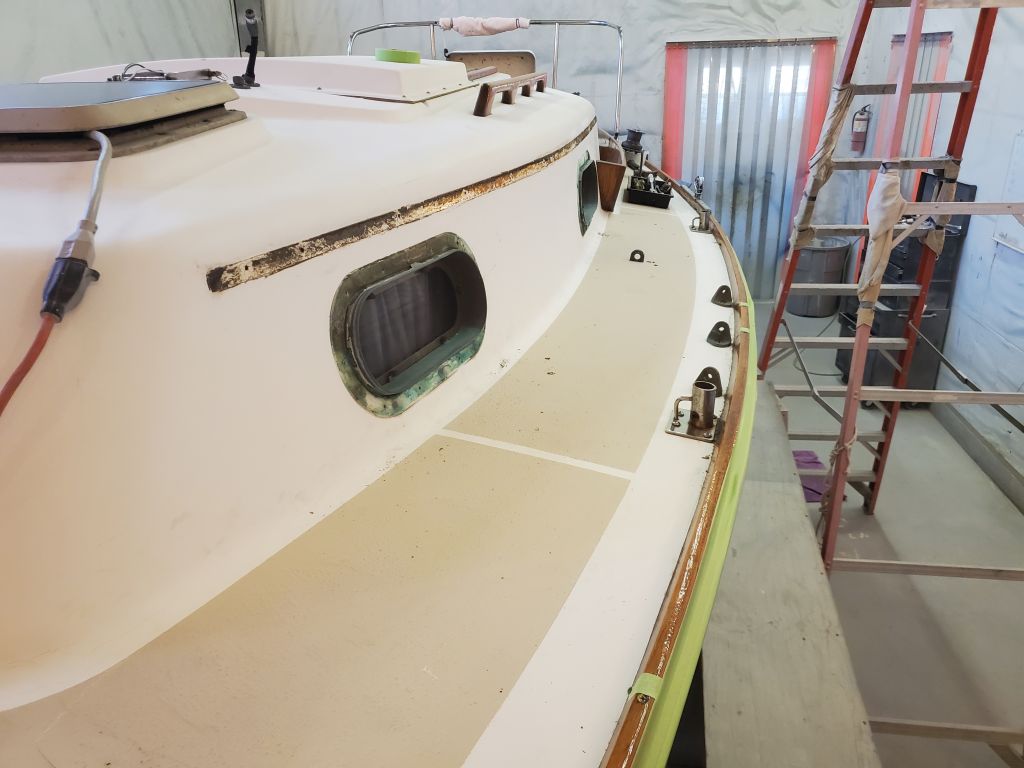


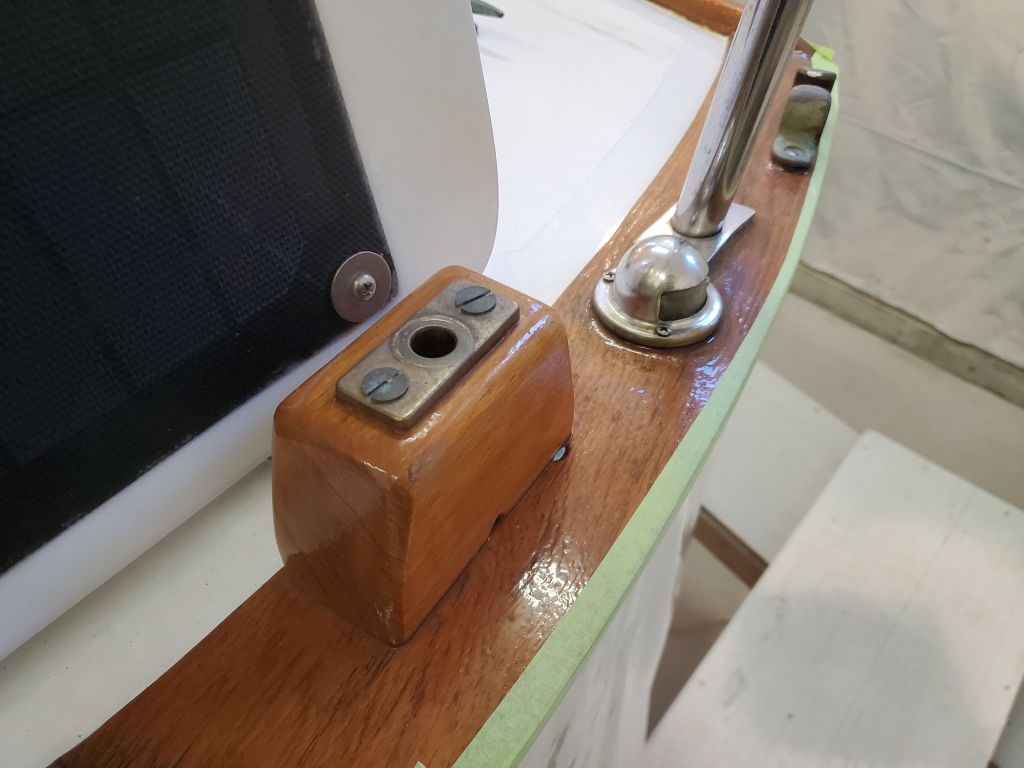
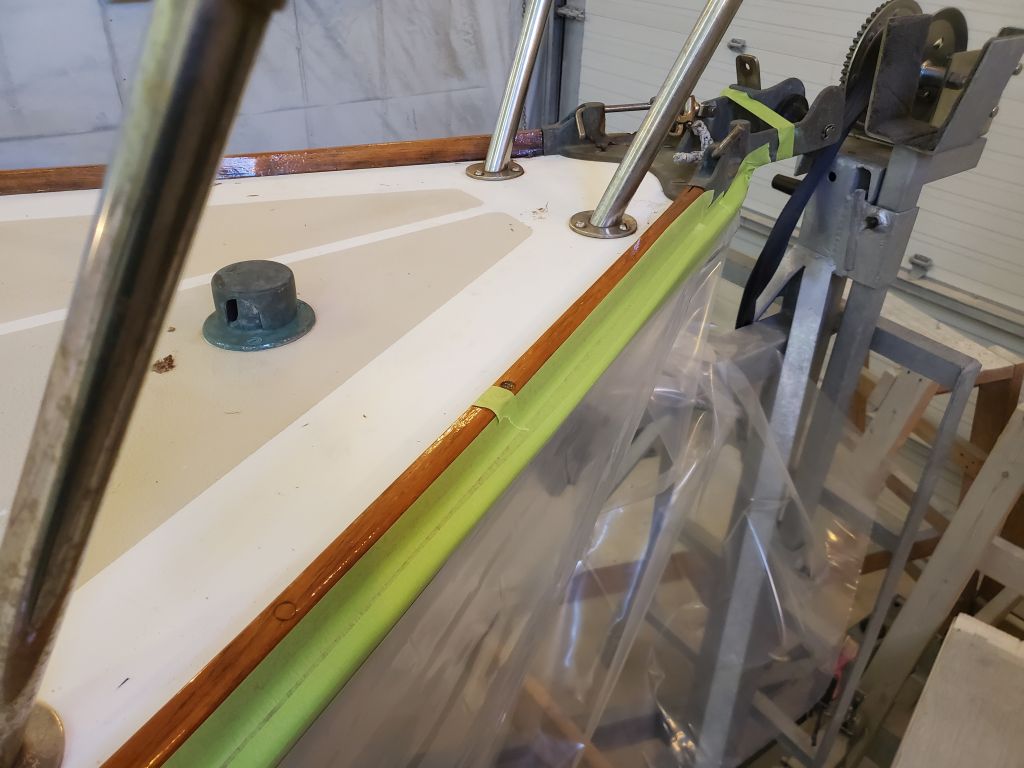
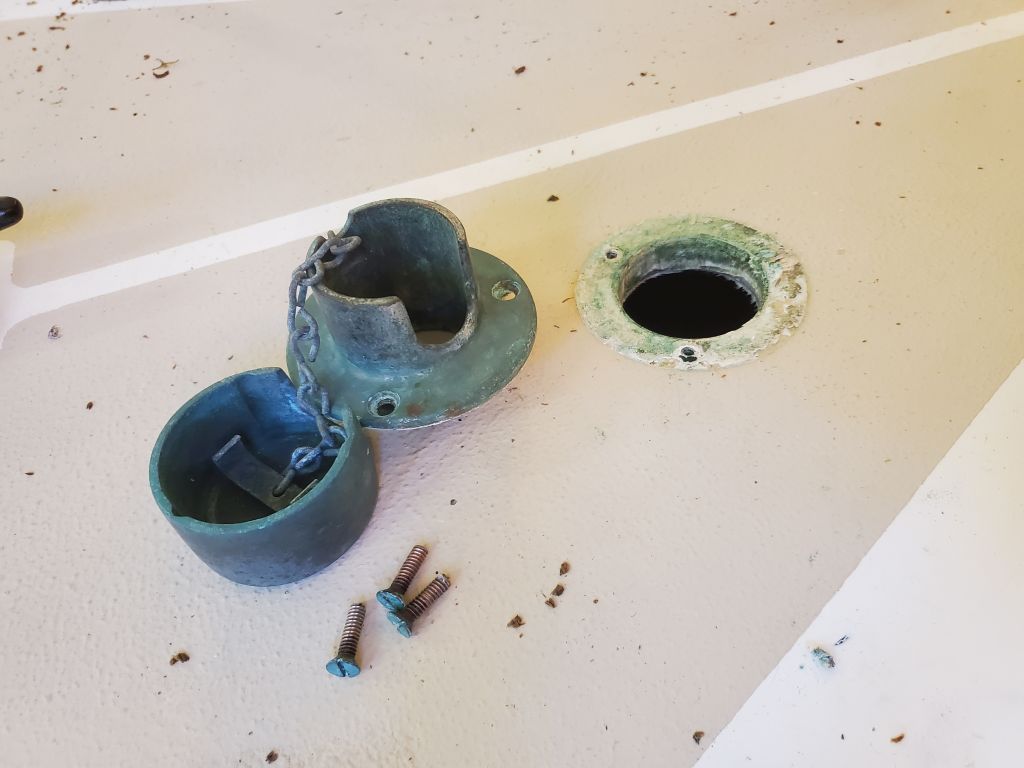
I wasn’t ready to crawl up in the nether regions of the bow just yet–where I normally tend to start my hardware removal–so this time I began at the stern. The owner mentioned that the oarlock, as installed last year, didn’t allow him to properly use a sculling oar since the angle was too acute given the orientation of the mounting block and the oarlock installed. He requested that I reinstall the block, and the oarlock itself, at an angle approximating that of the transom, to better give him the sculling orientation he needed. So to begin, I removed the oarlock and its mounting block, setting it aside for later attention.
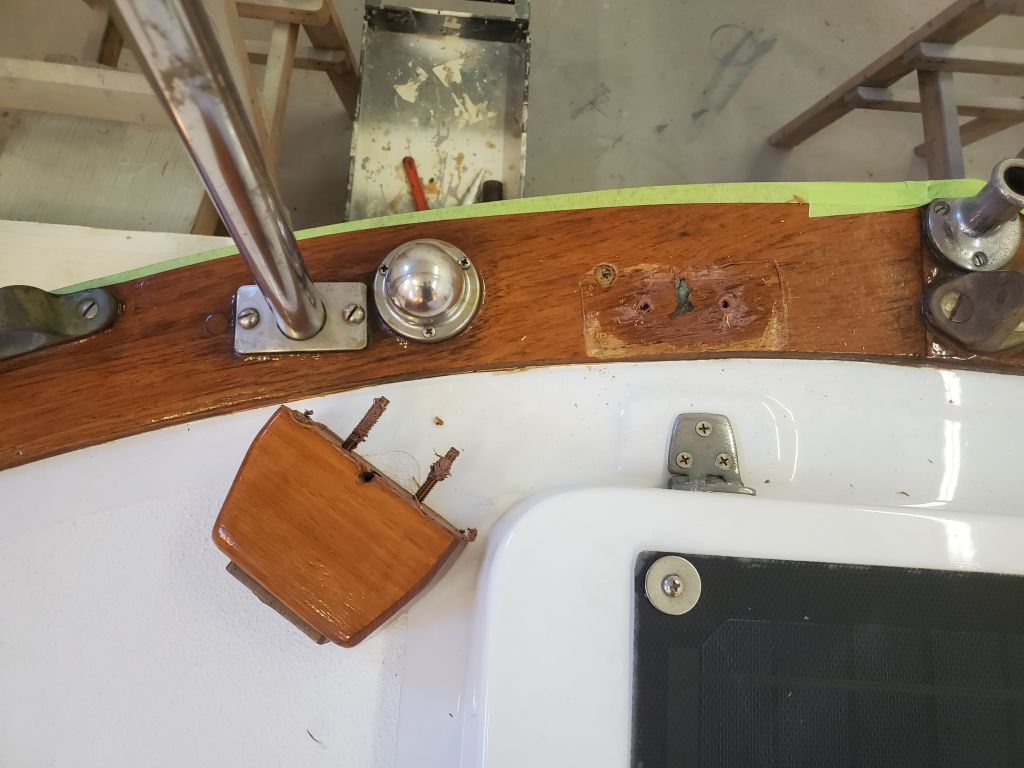
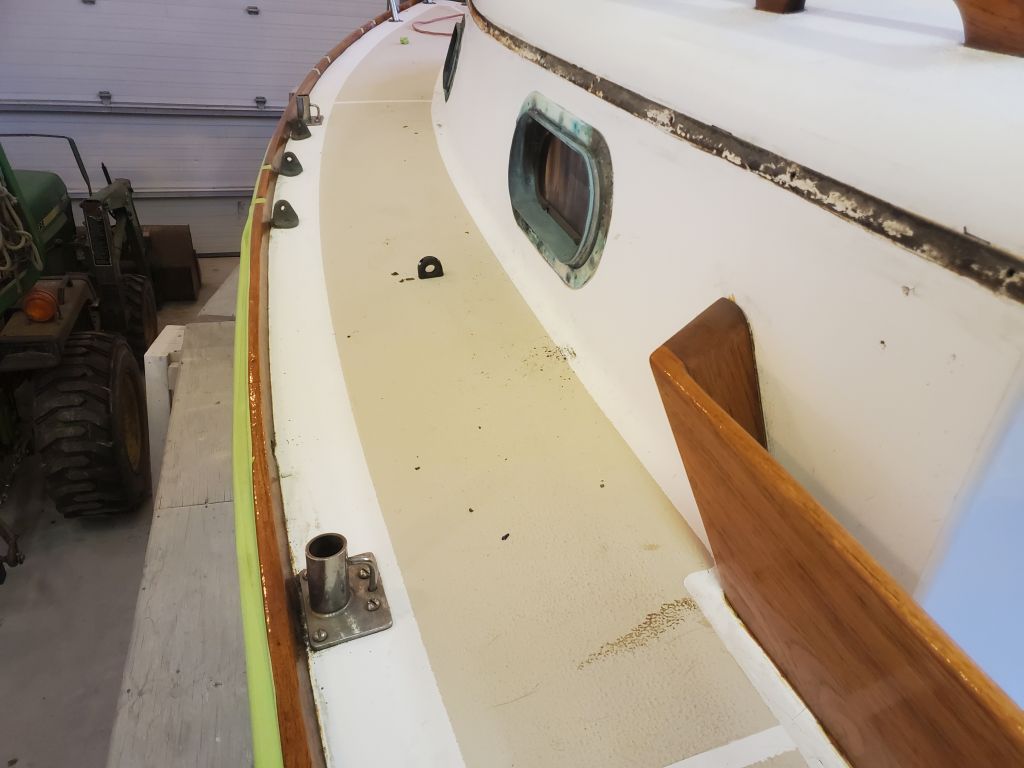
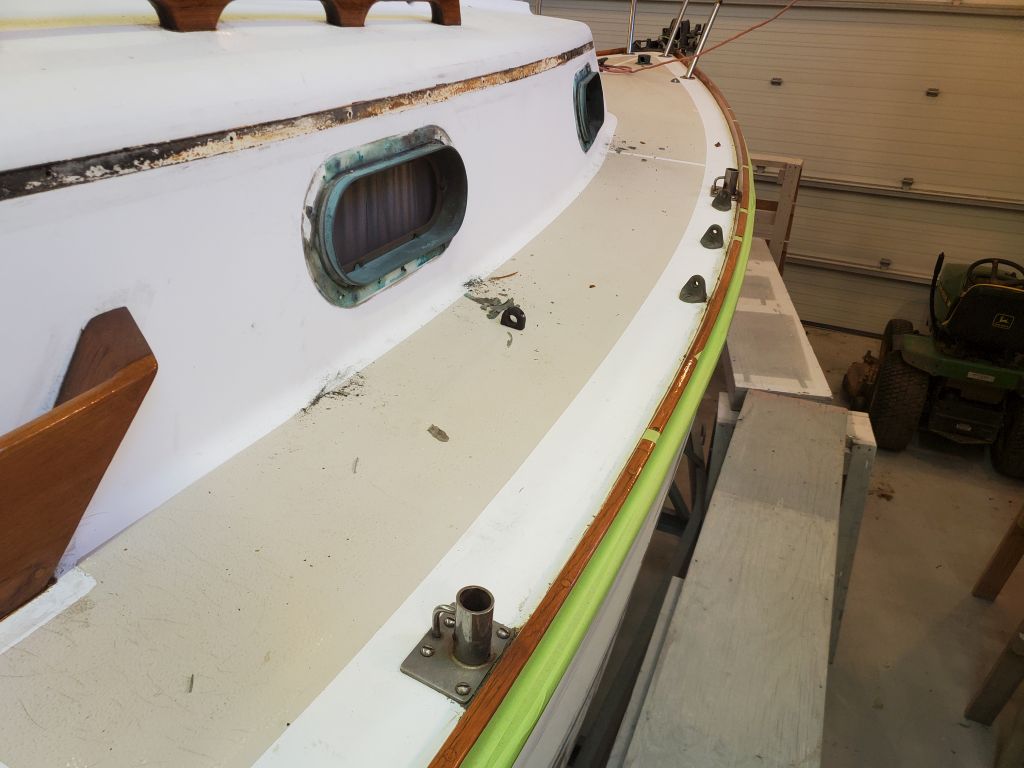
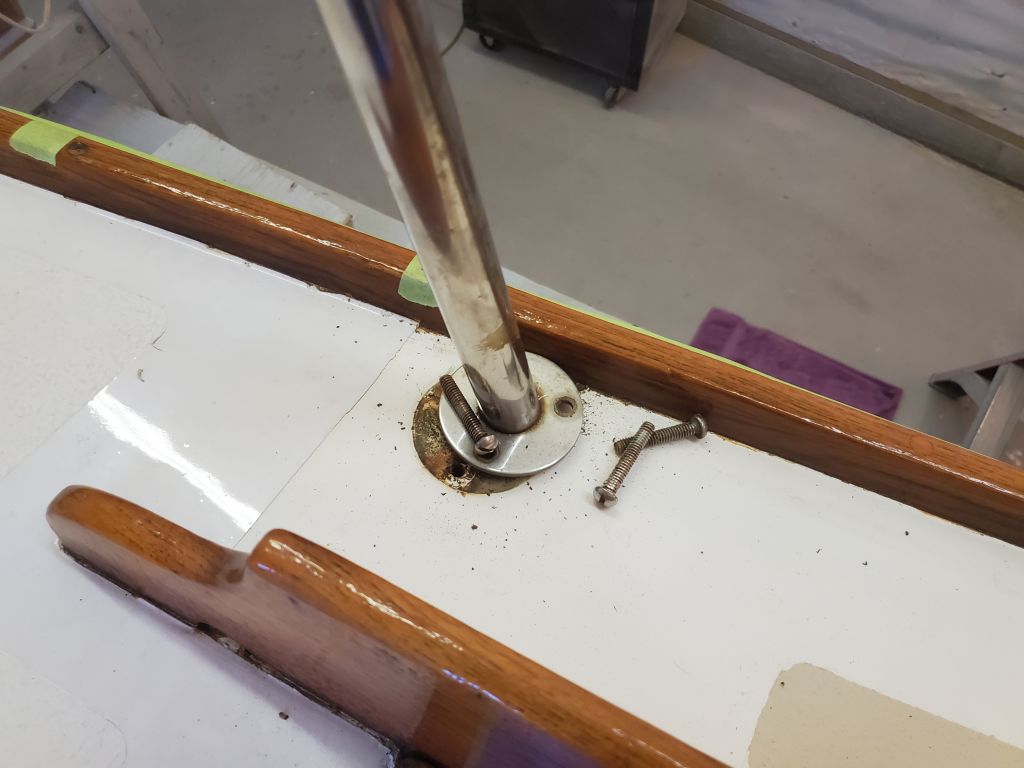
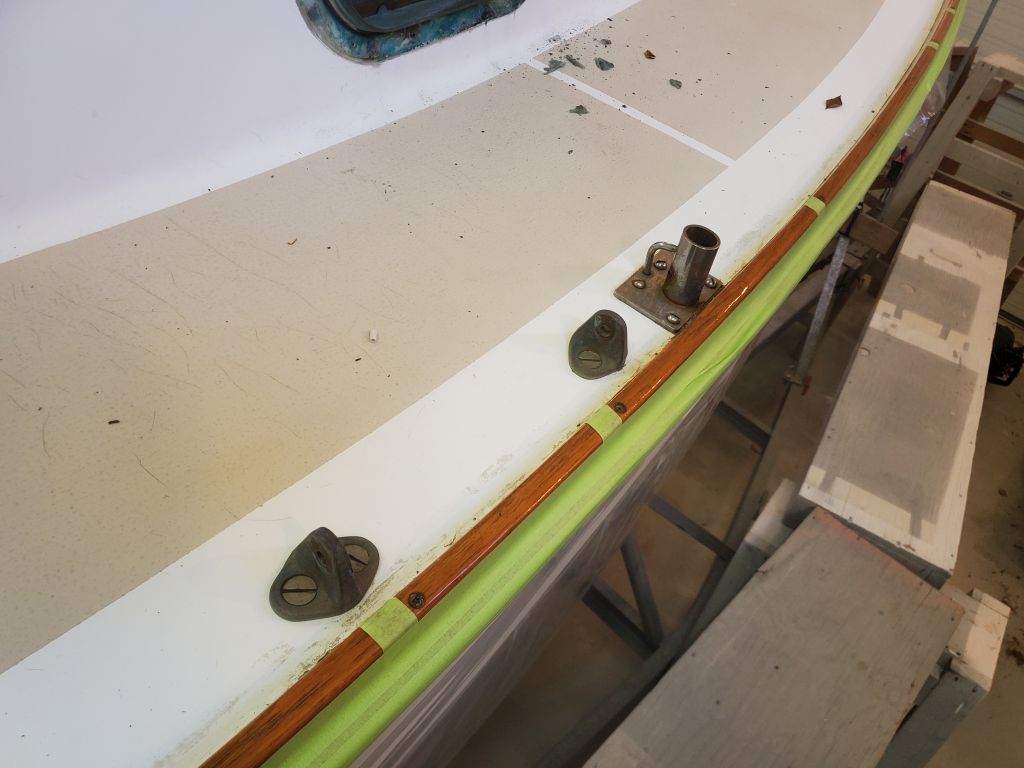
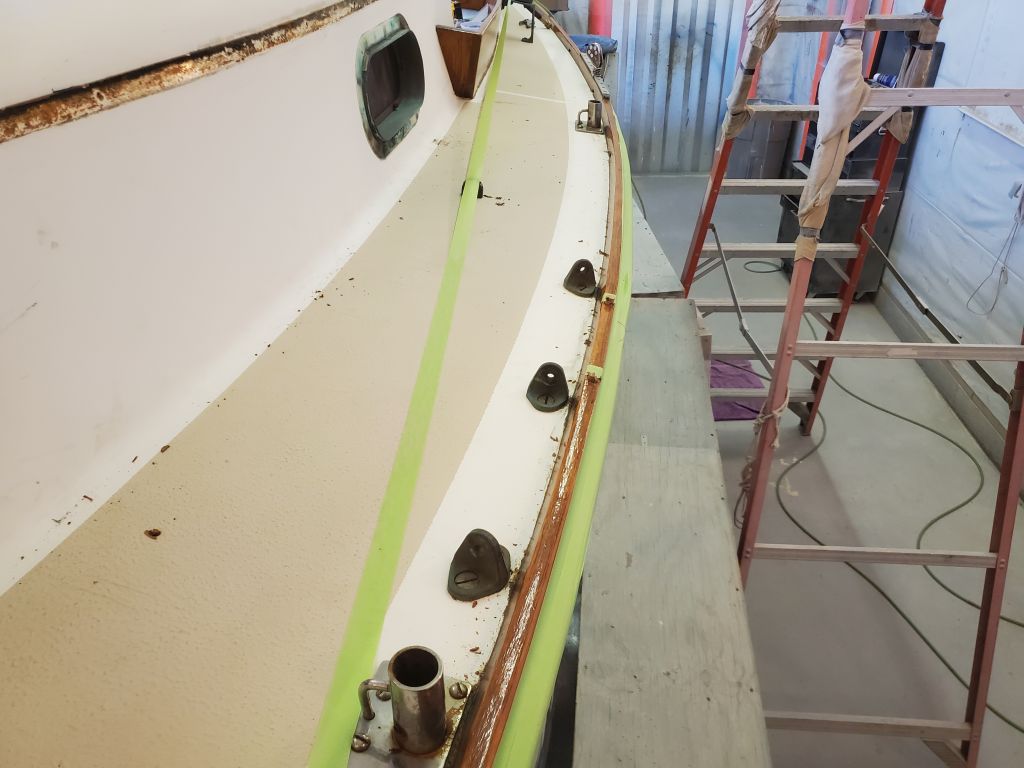
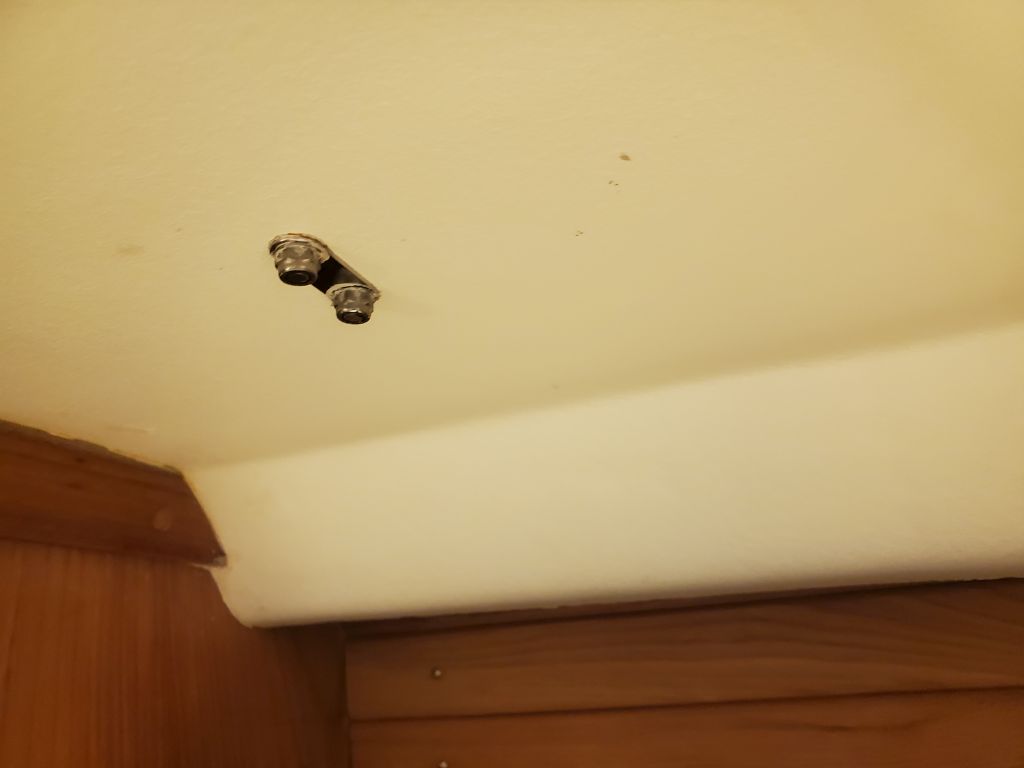
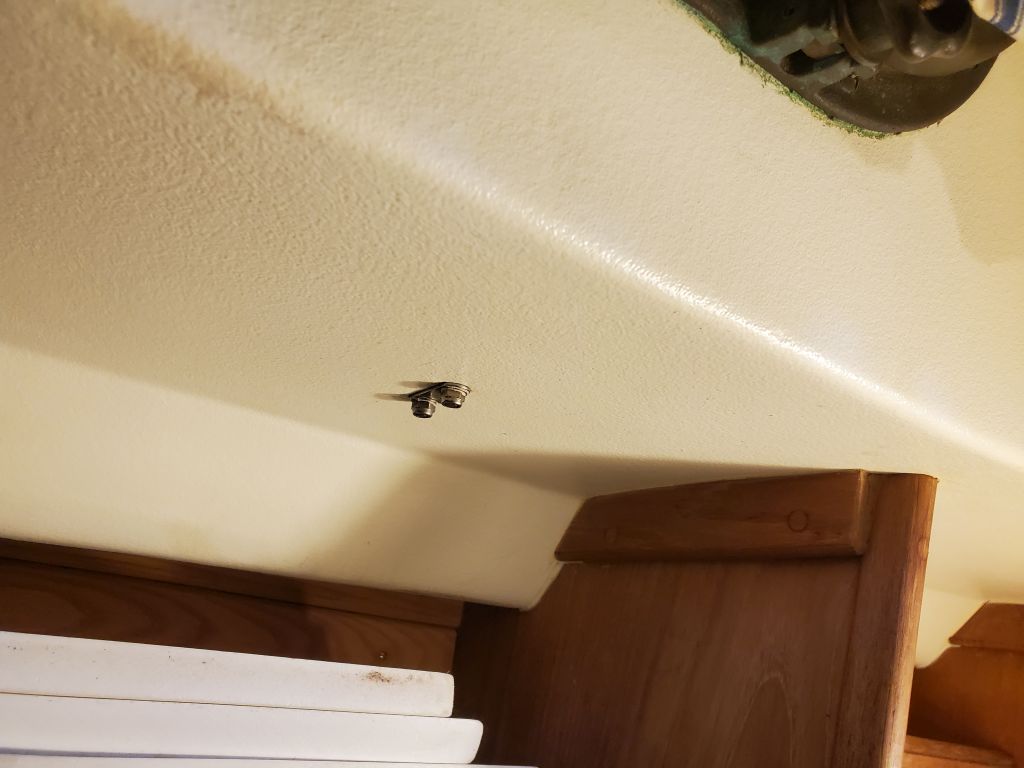
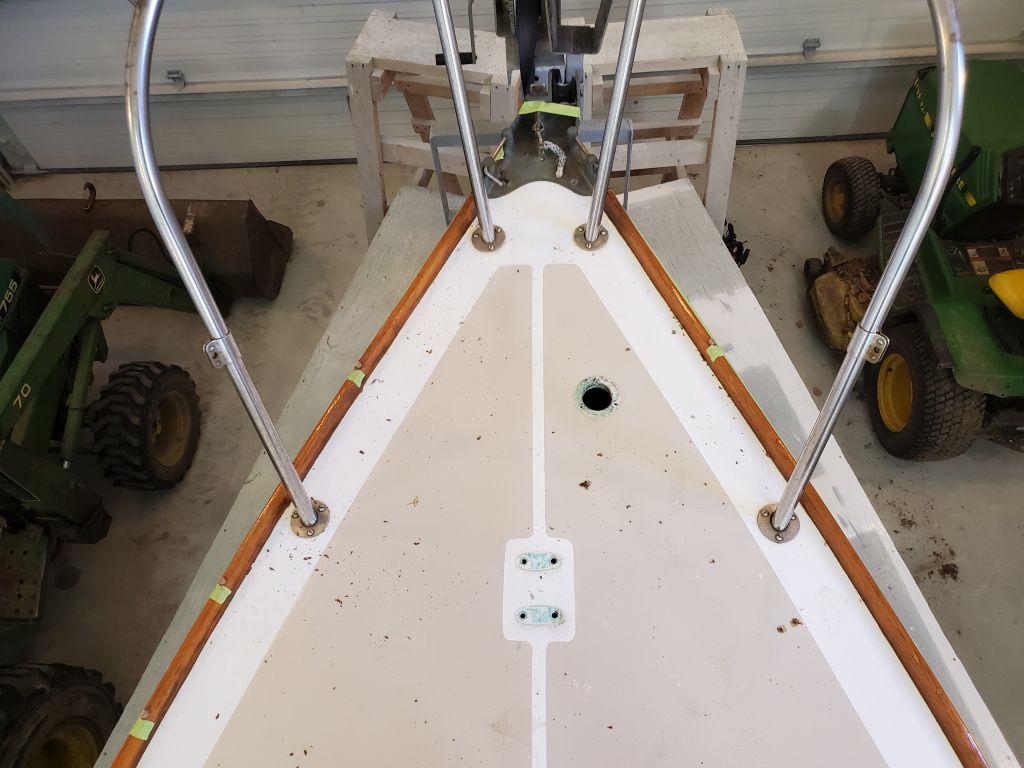
Next, I removed the stern pulpit, as the forward two bases were located in the part of the sidedeck I’d not worked on last time (the poop deck and environs had been part of last year’s work that included the cockpit and hull).


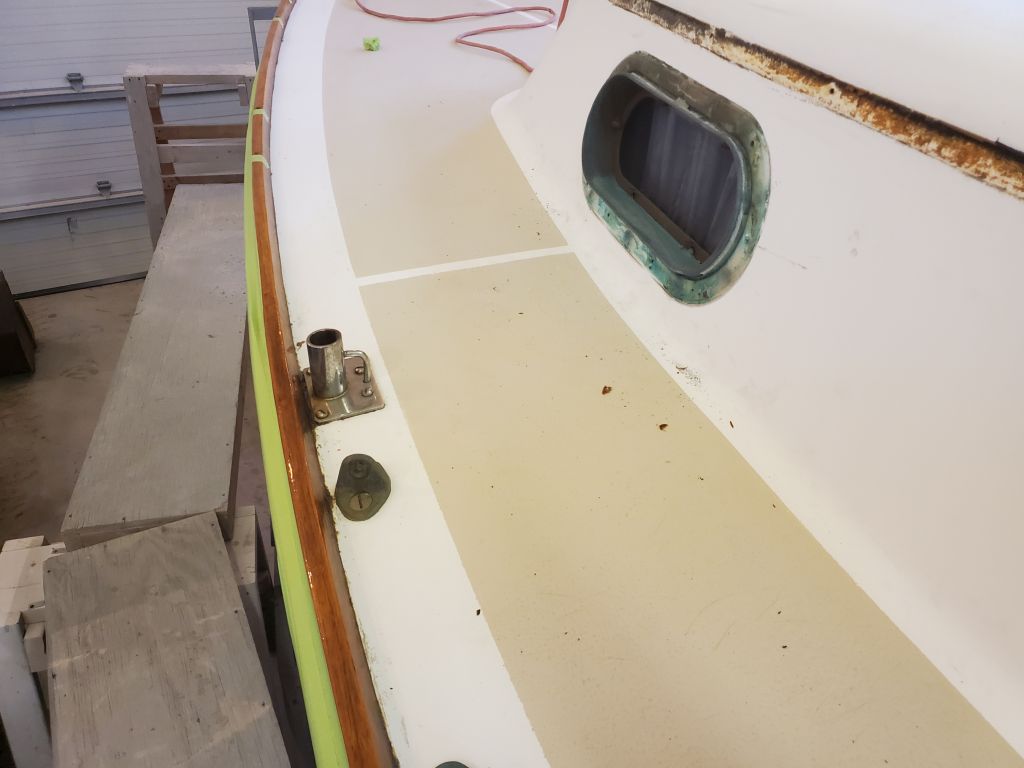
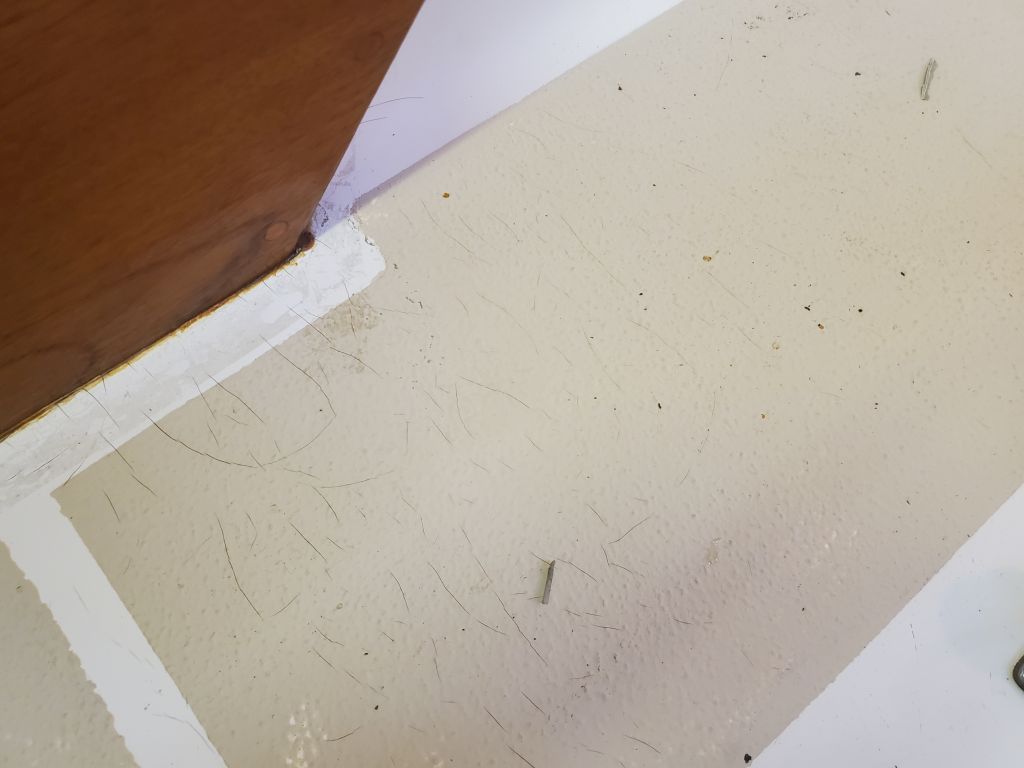
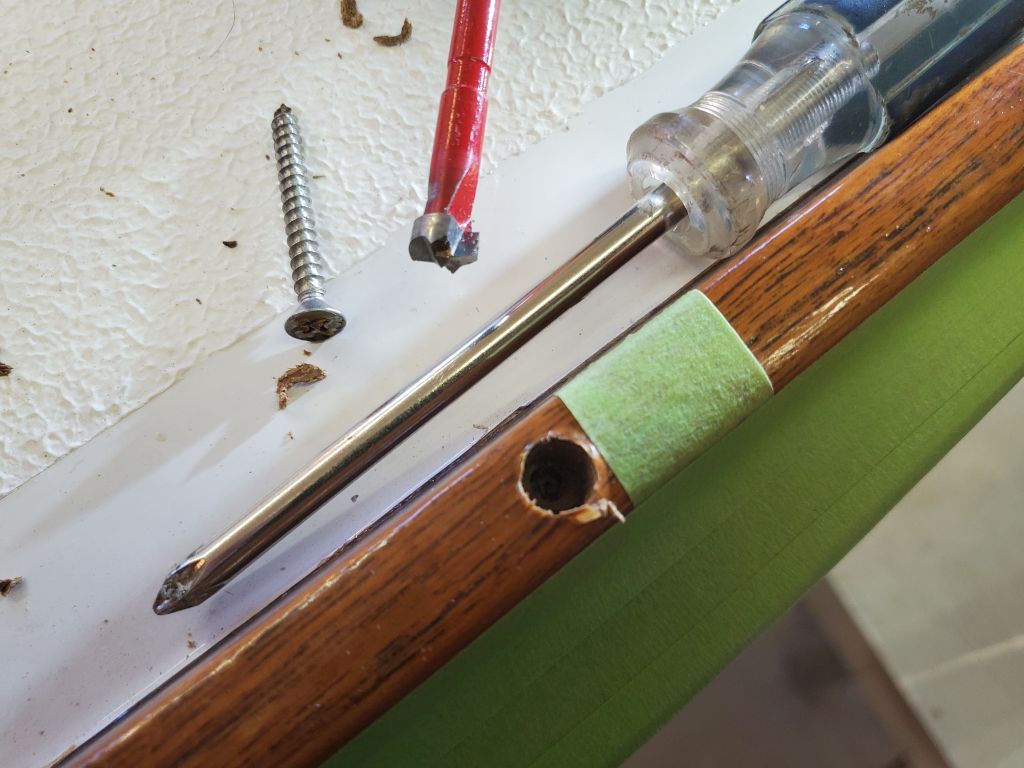
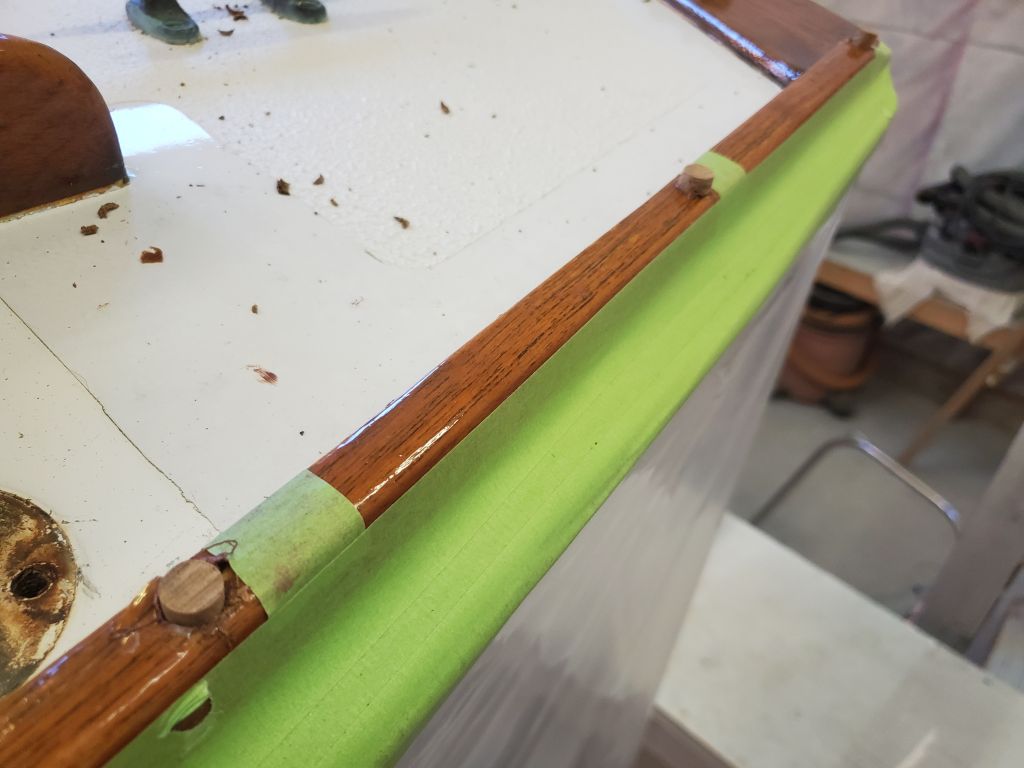
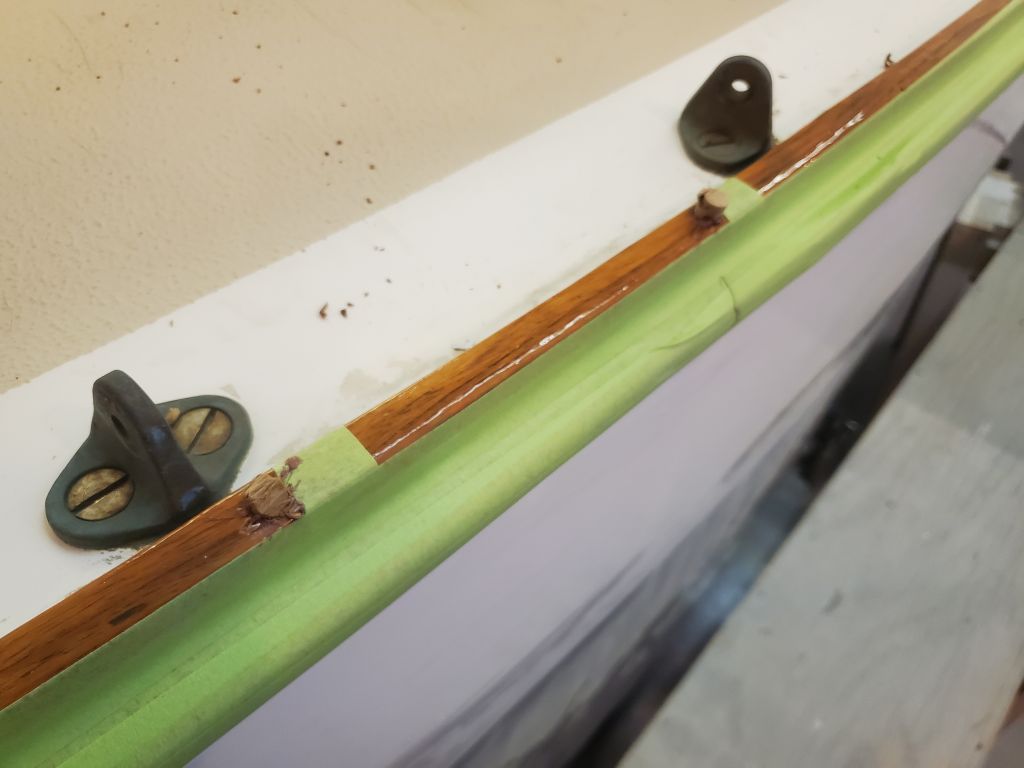
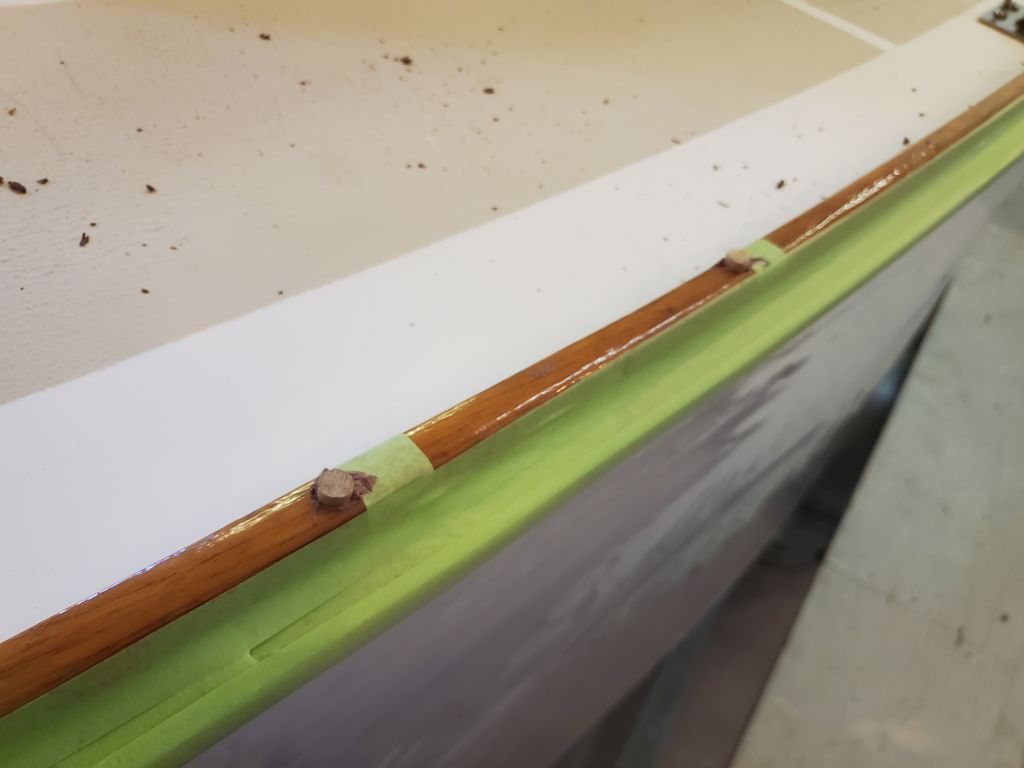
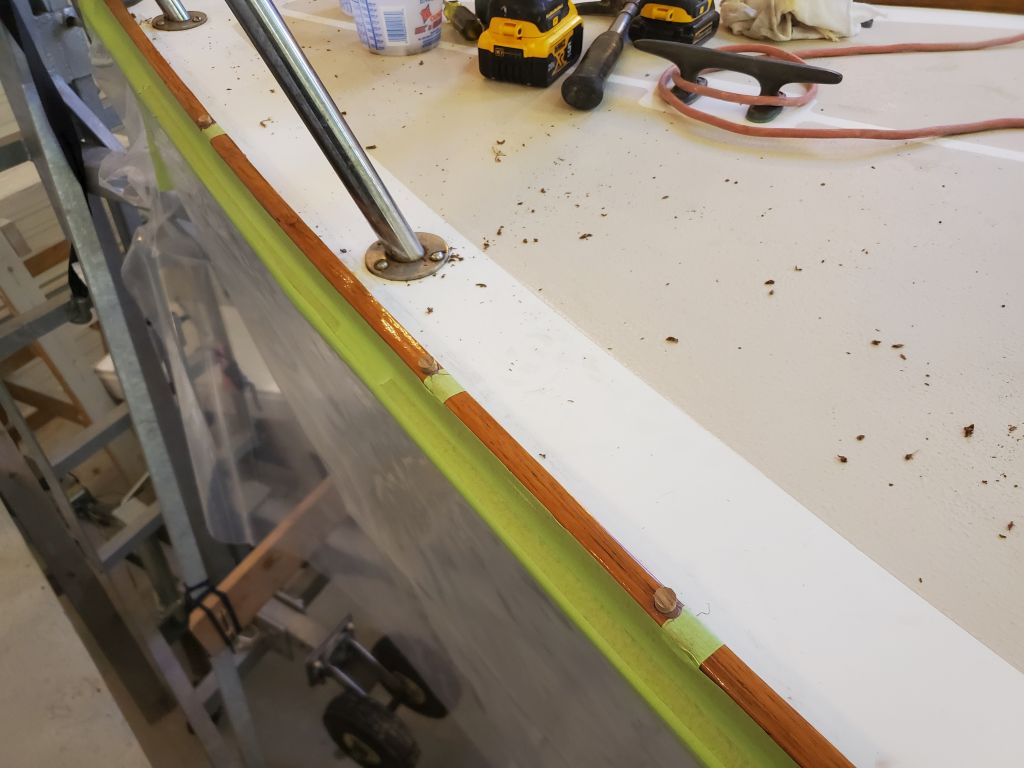
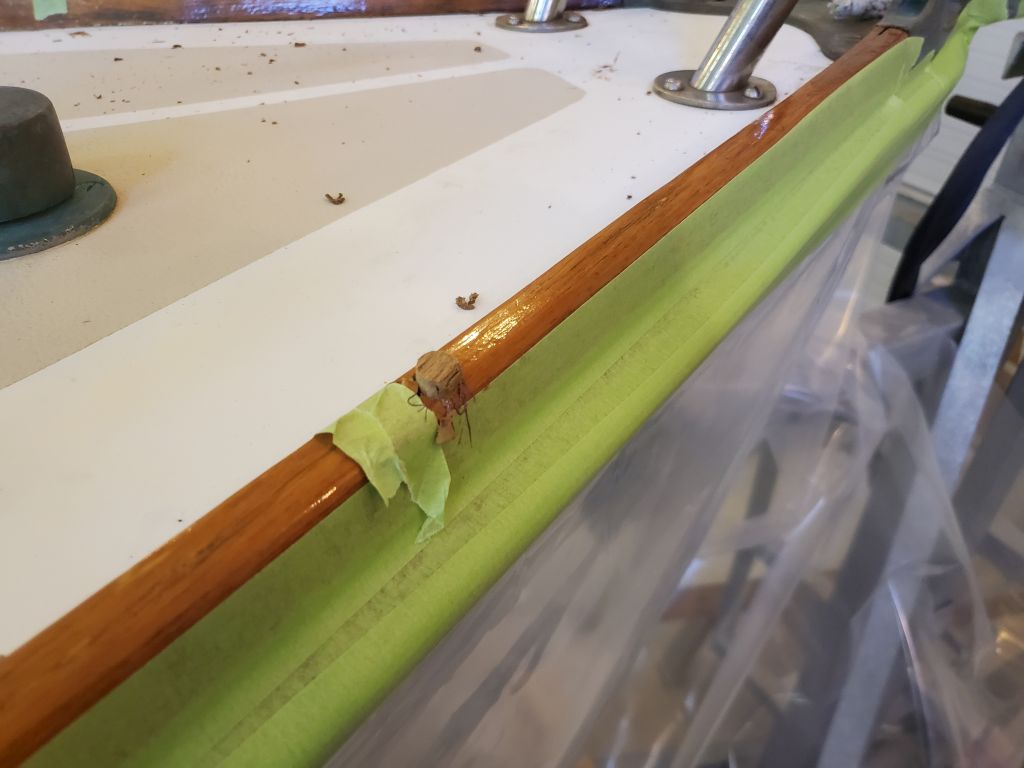
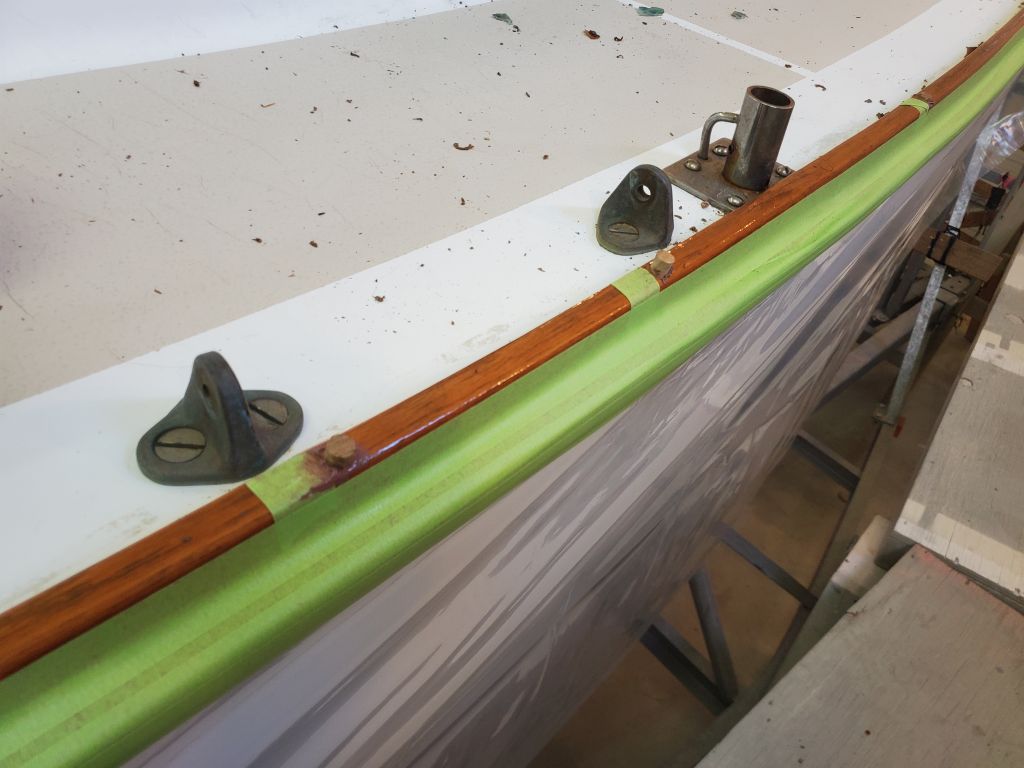
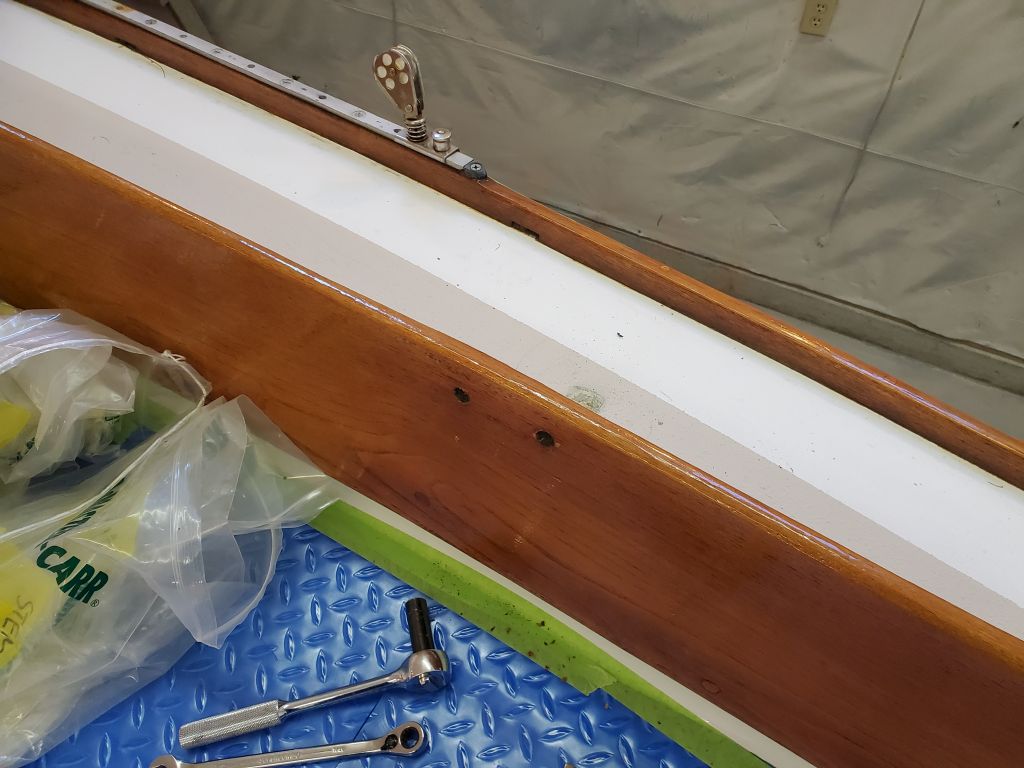
I hadn’t planned on getting into this just yet, but sometimes the stream of consciousness method takes hold. My attention was drawn to a couple screws in the toerail adjacent to the stern pulpit: Another of the small projects the owner had requested, if possible, was to deal with the various (17, as it happened) screws in the toerail that had, over the years, lost their bungs. Since the wood was in good shape all around and given its age, repairing these screws and bungs seemed a good option versus replacing all the exterior wood. Earlier in the project, I’d gone around the boat and marked with tape all the screws requiring attention. I’d planned to get around to these later, but since I was in the area and staring at three such screws at the aft end of the port toerail, I thought I’d go about seeing what the prospects were.
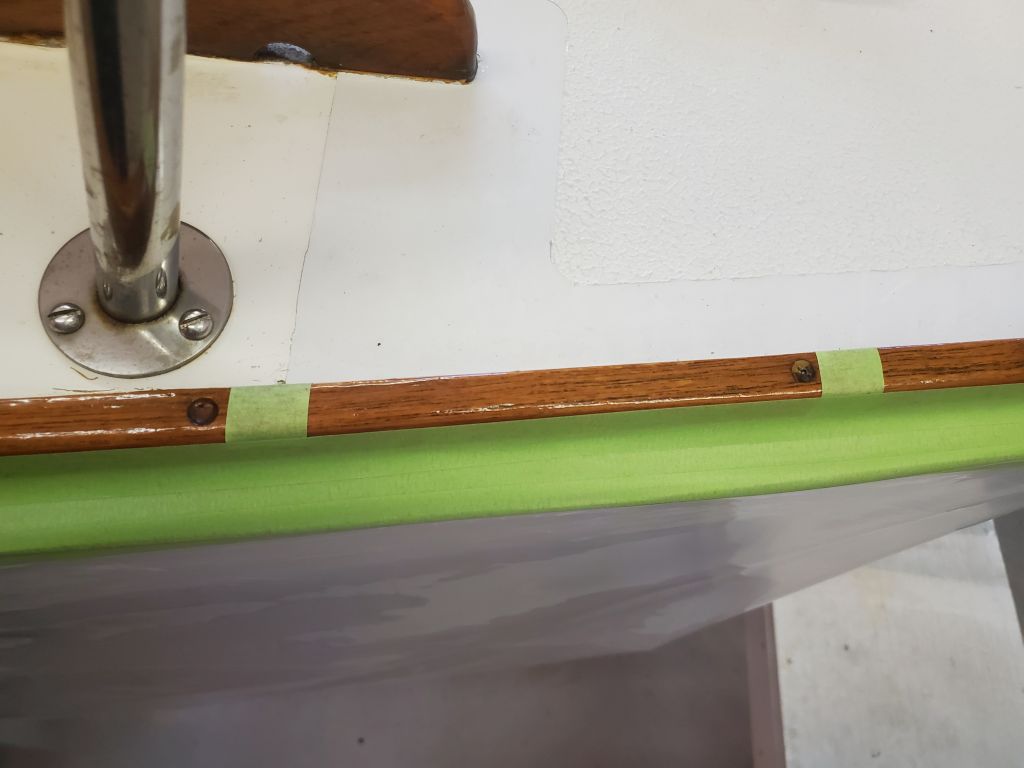
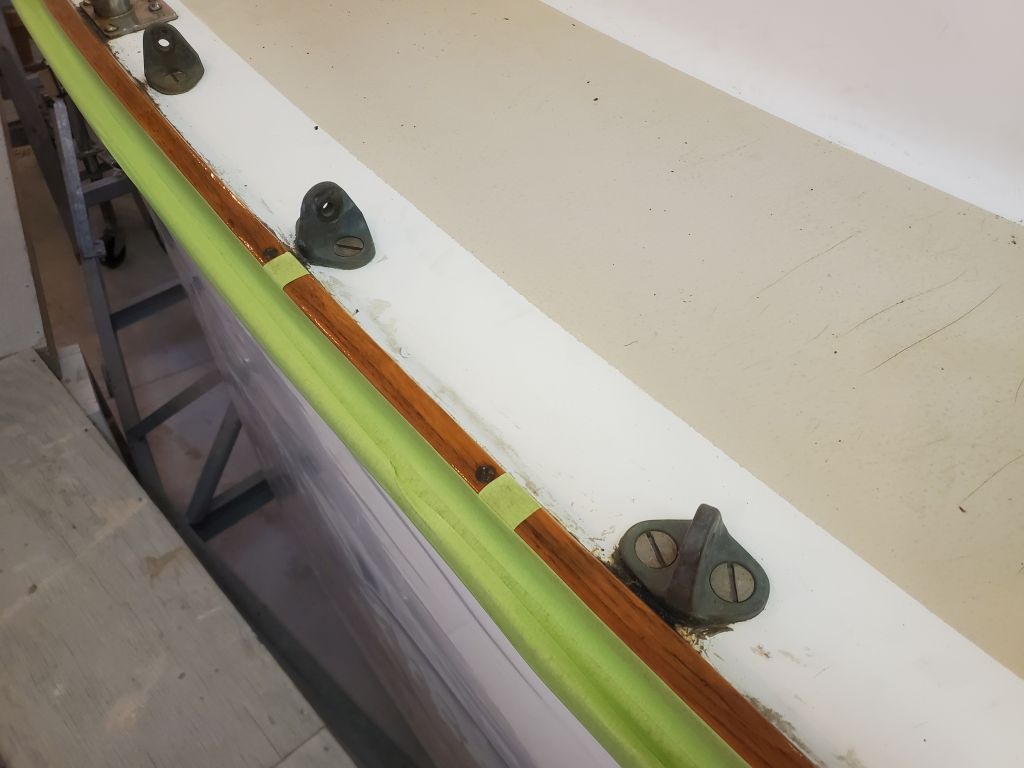
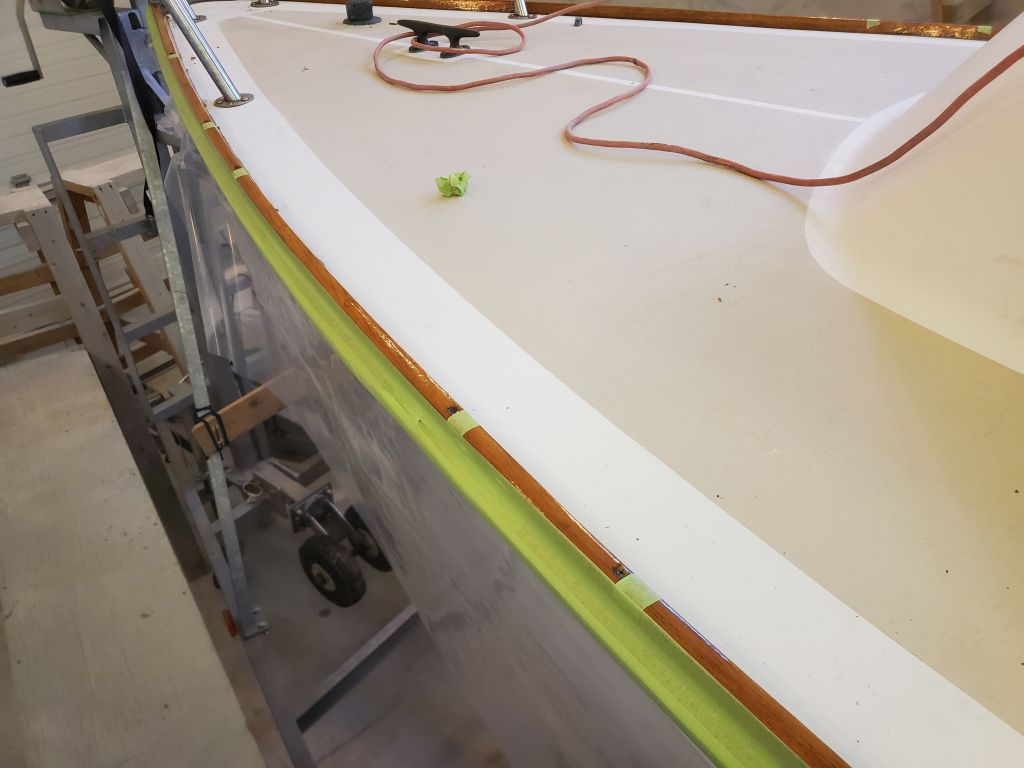
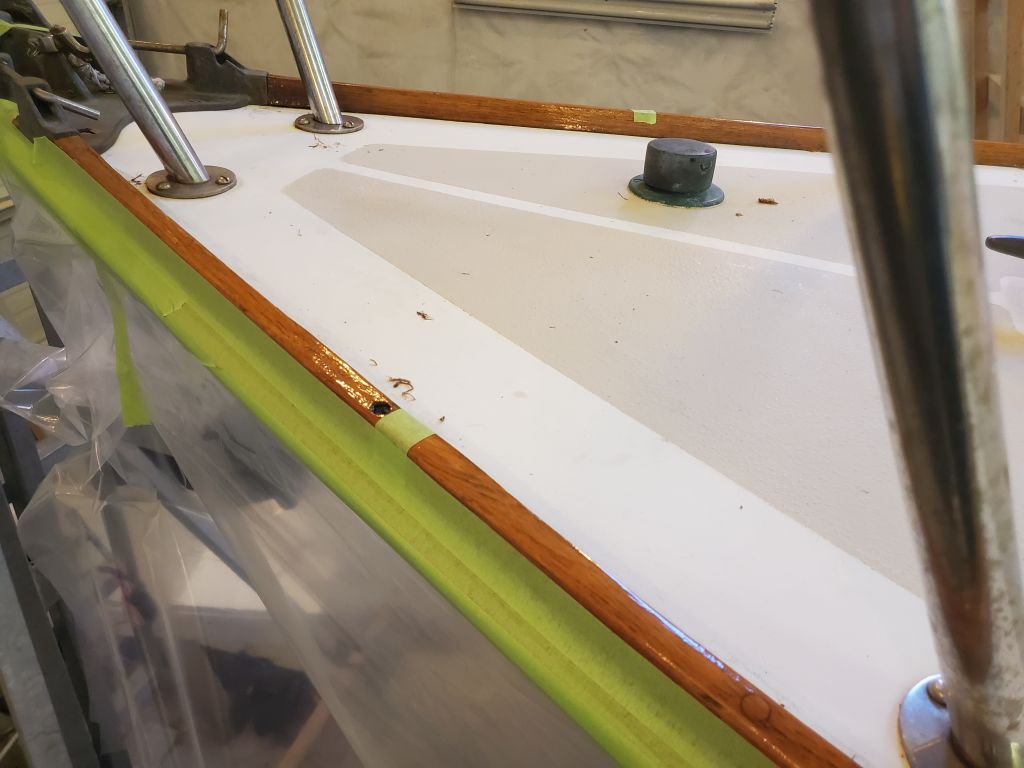
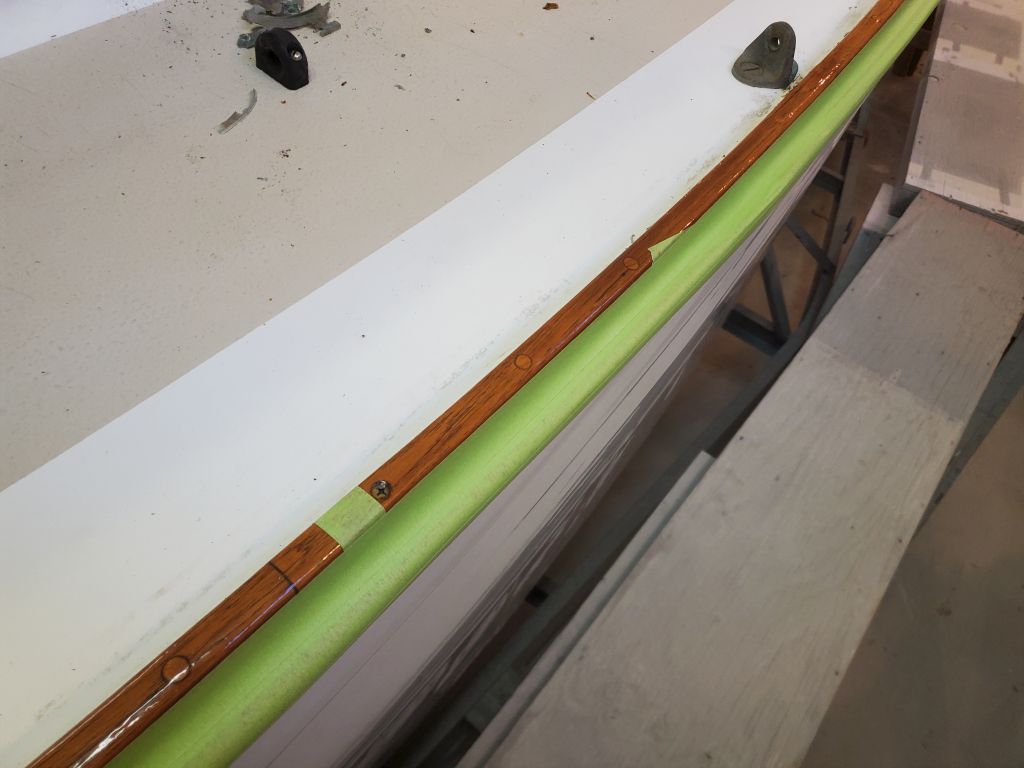

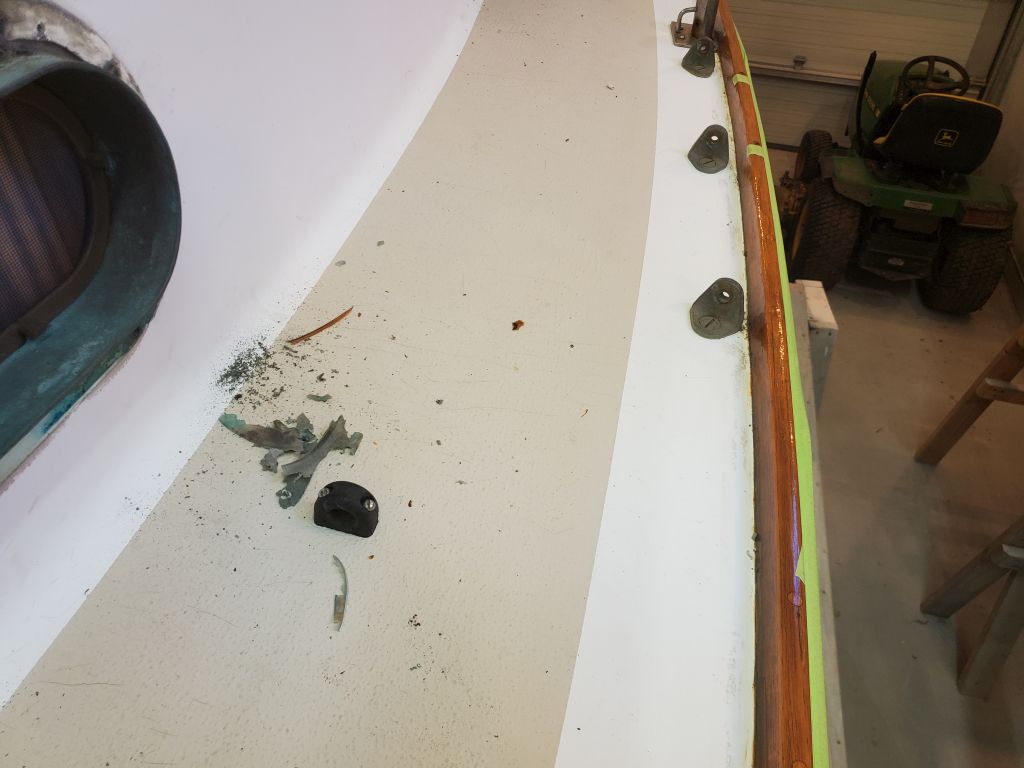
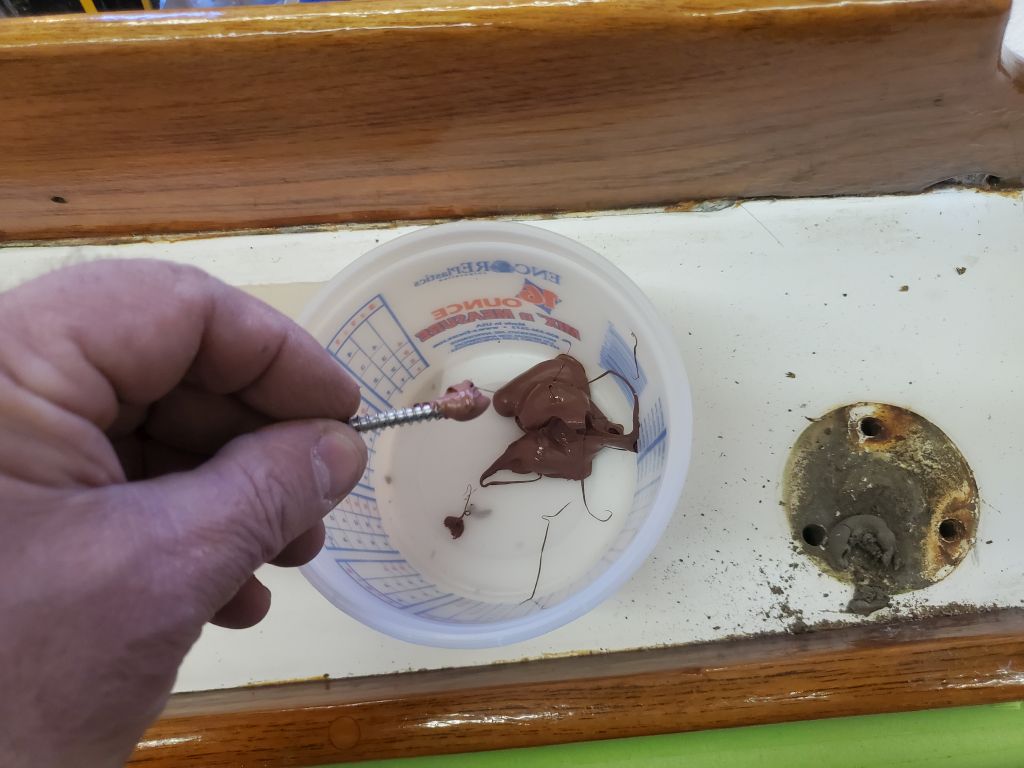
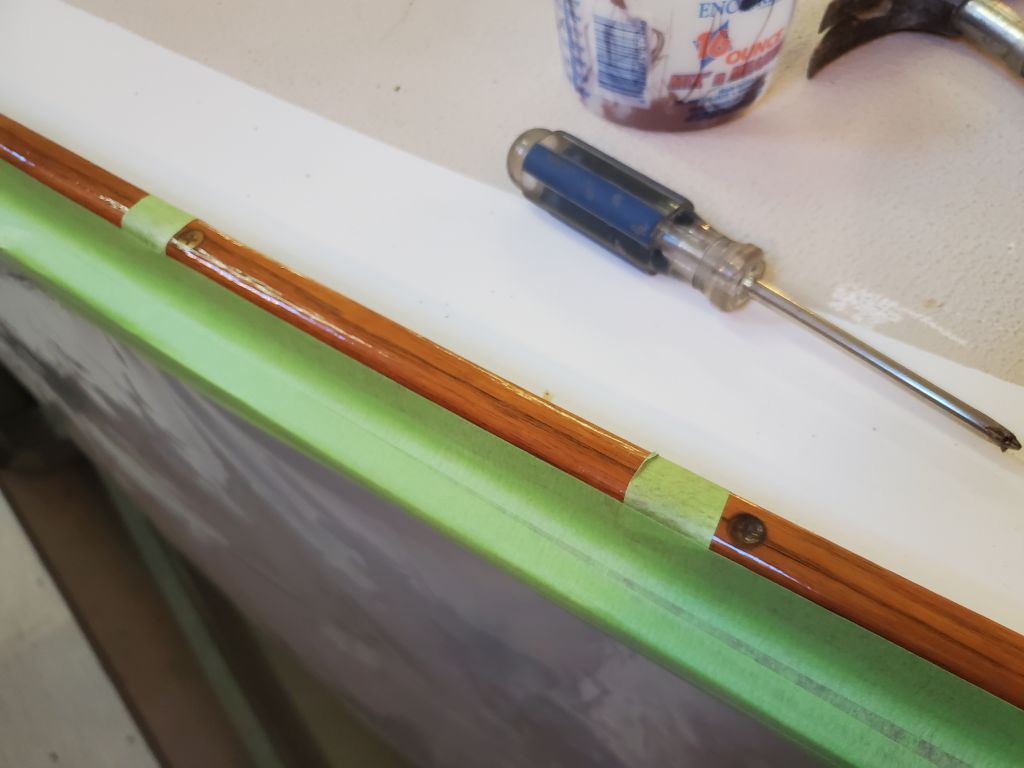
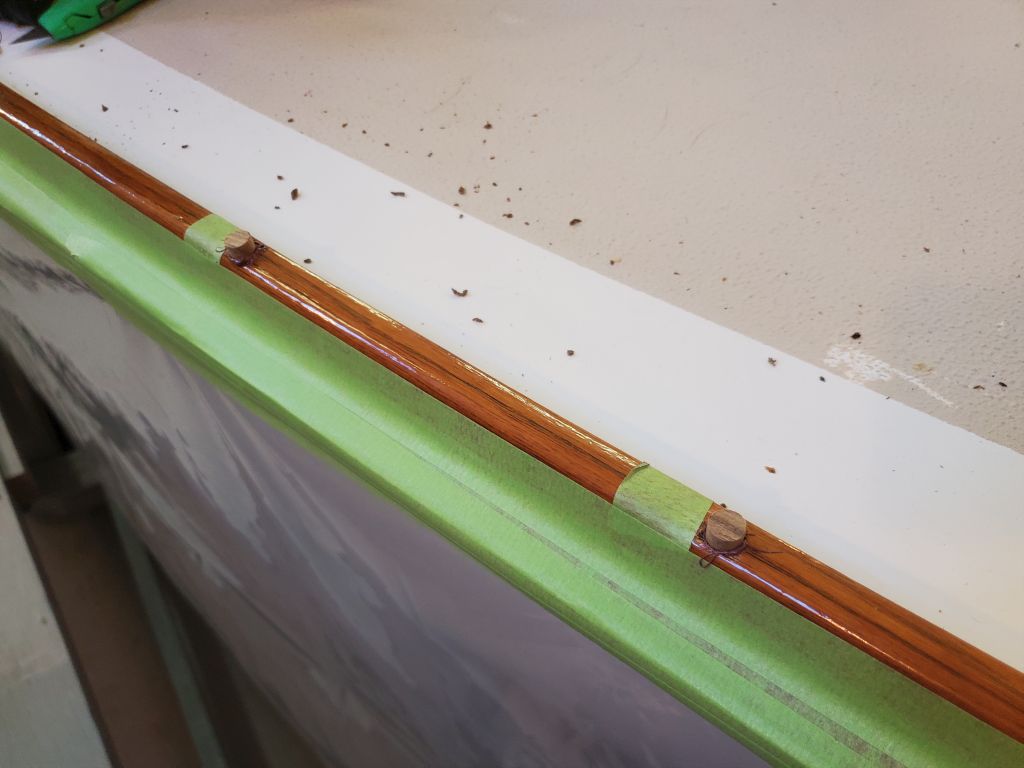
The exposed screw heads were covered with a lot of the toerail finish, but were easy enough to engage with a screwdriver–just a hand driver, as I didn’t want to strip any screw heads–and remove. I started with a single screw as a trial, but once it was out (and with ease), it just seemed to make sense to bang out this little project now. So, one screw at a time (to avoid disturbing at all the bedding of the rail with the deck), I removed the screws, cleaning out the remnants of the bunghole as needed and carefully extracting the screw. Then, I used a 3/8″ Forstner bit to drill a deeper hole for the screw and a new bung, and reinstalled the screw after dipping it heavily in some brown sealant. I finished each hole with a new teak bung, counting on the excess sealant I made sure was in each hole to secure the bungs.

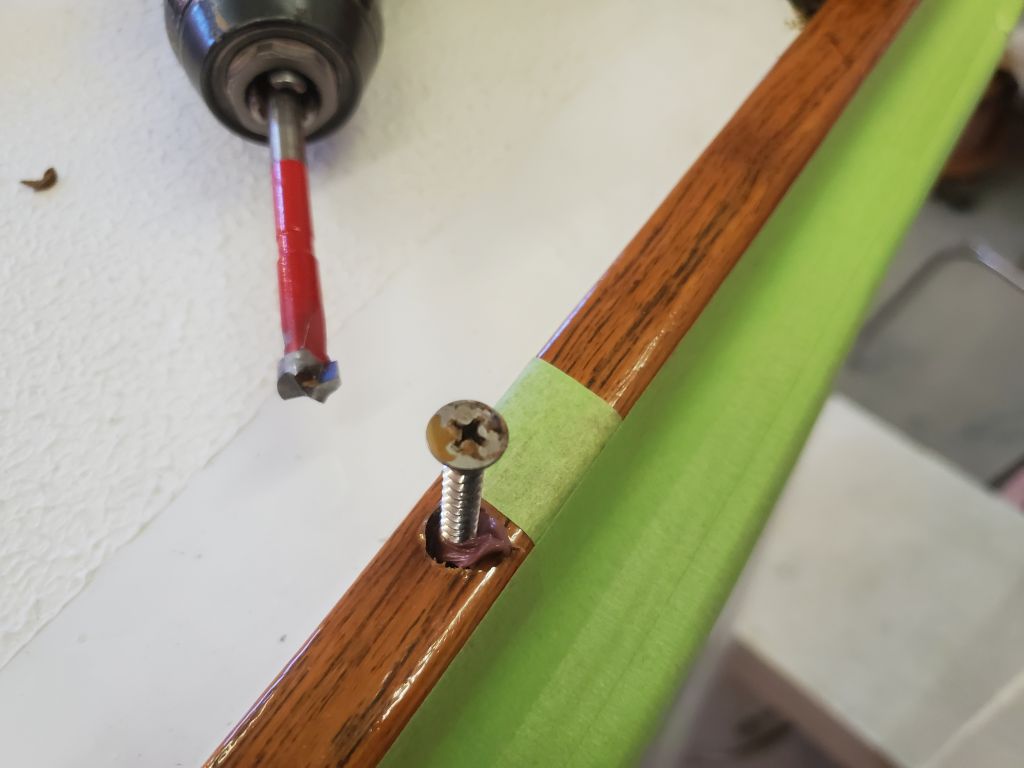


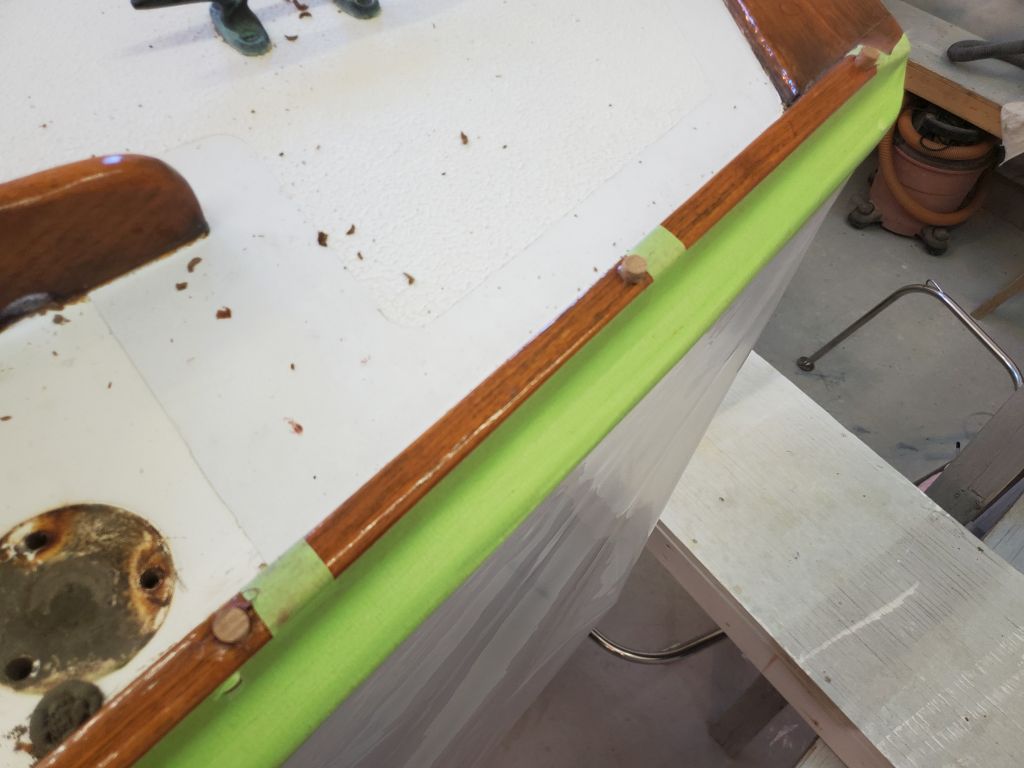
And in such fashion I worked my way up the port rail, then down the starboard side, repairing all 17 locations. Later, once the sealant had cured sufficiently, I’d return and pare off the bungs, and dab on and build up some finish so that annual toerail maintenance in the spring would finalize and cover all the new bungs. Each screw typically only took about two minutes start to finish, though a few required more effort to clean out the heads, and more finesse to remove without damaging the surrounding finish or wood.
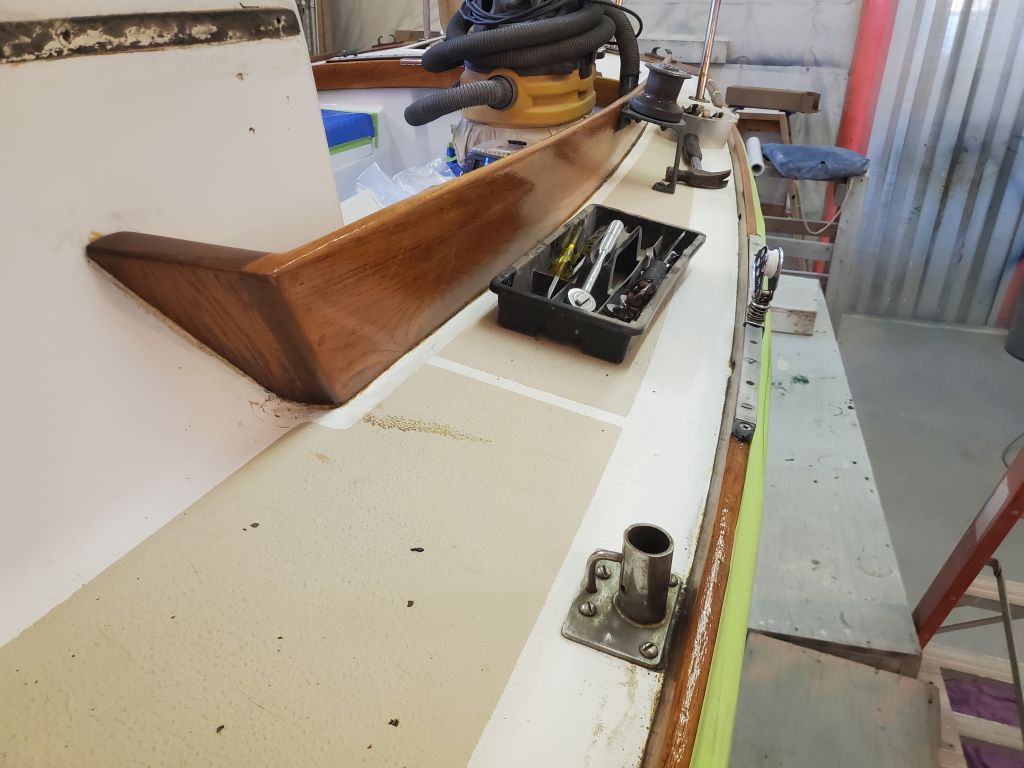
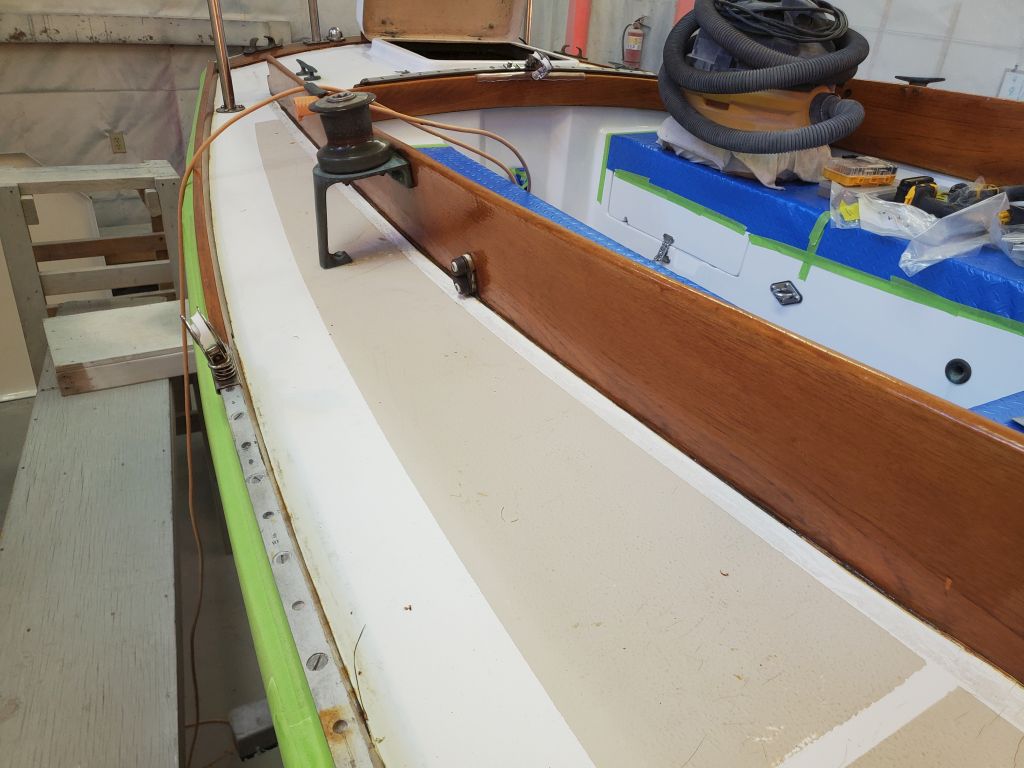
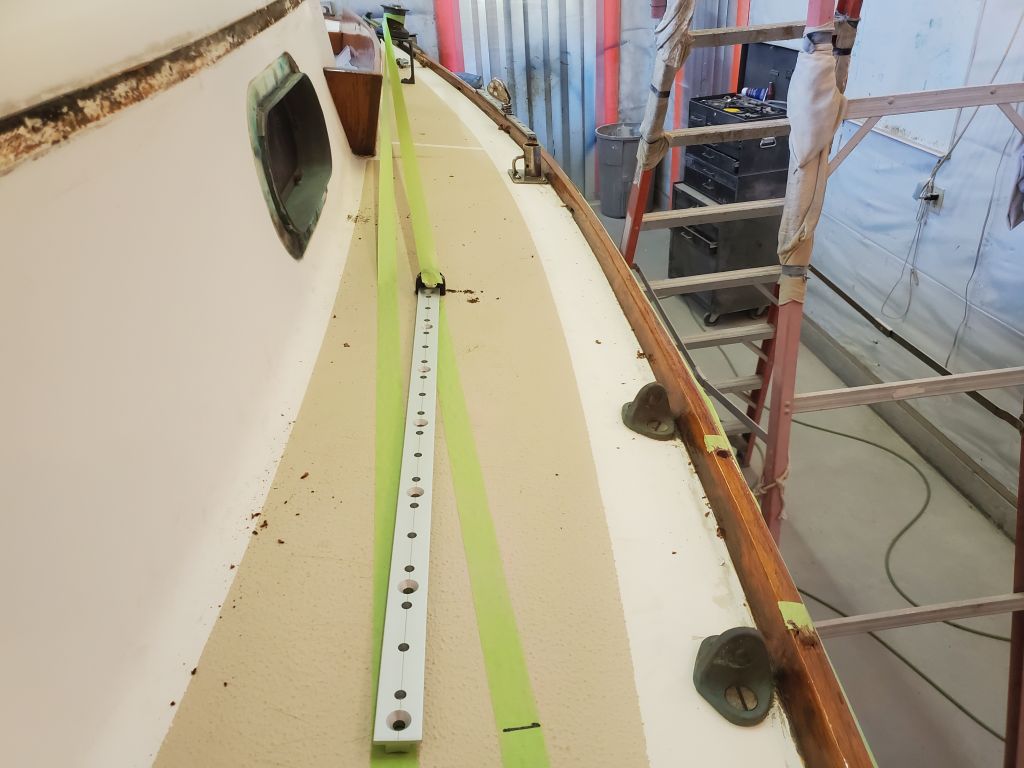
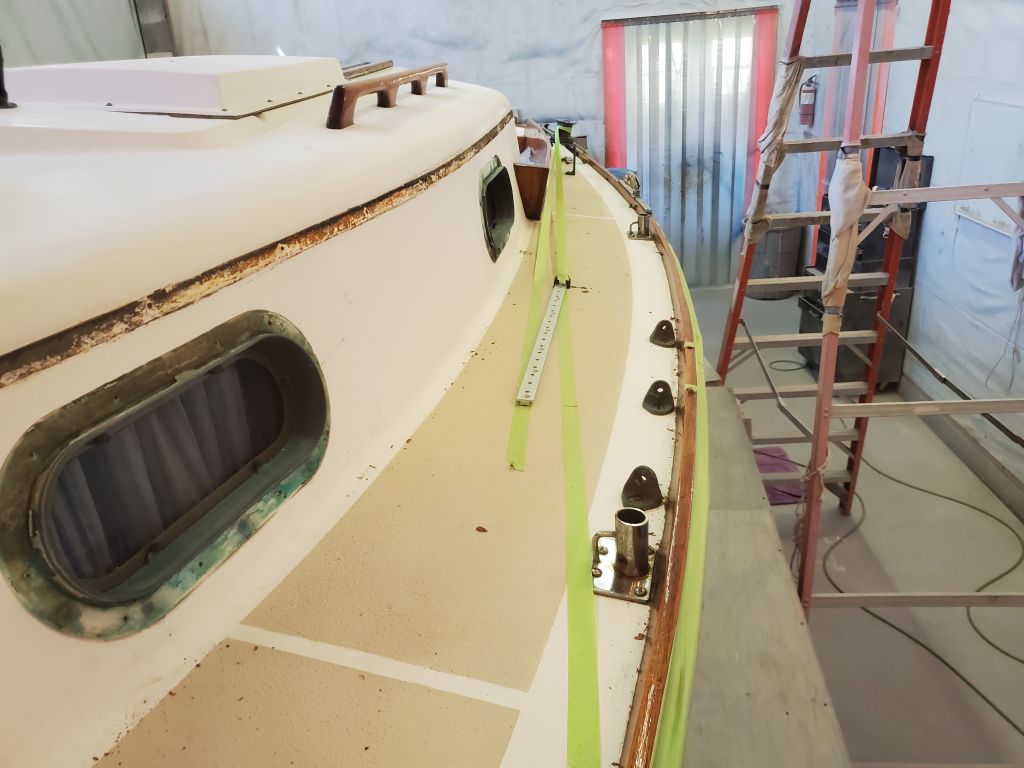
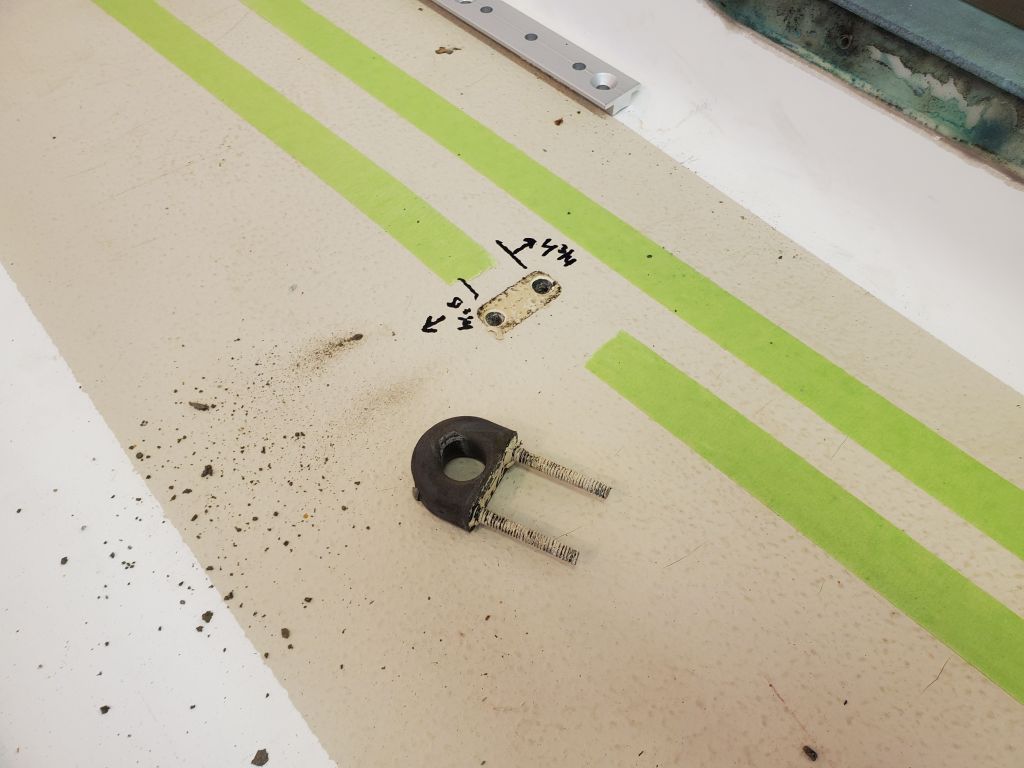
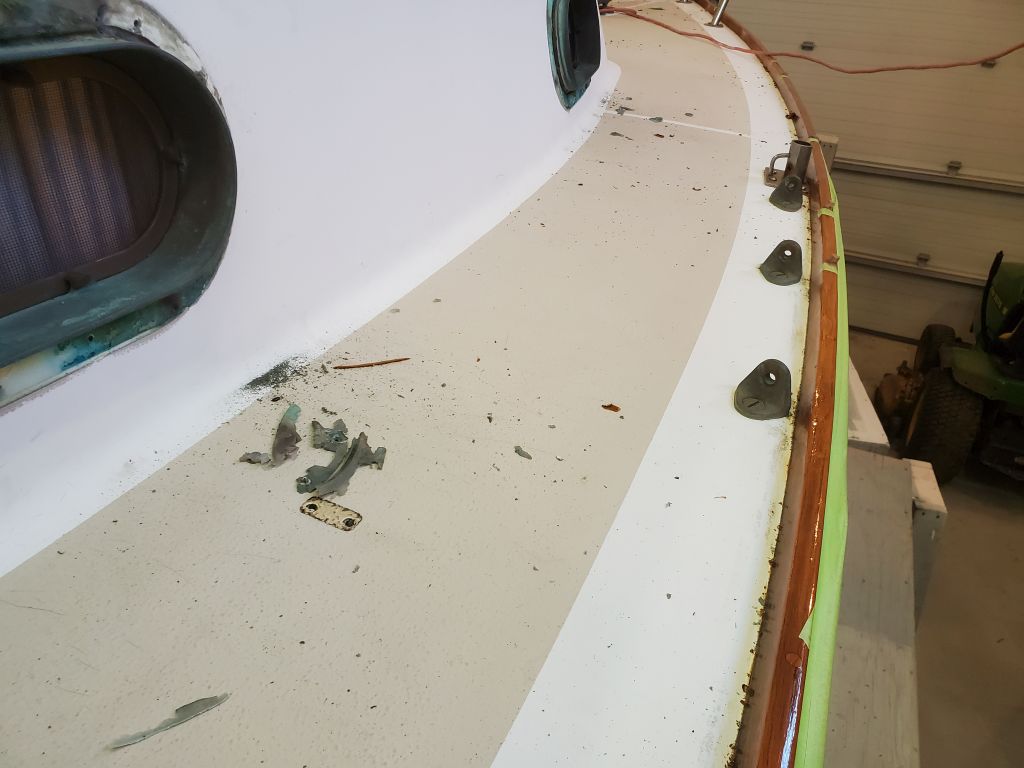
With this small job checked off, and now back on hardware detail, I continued working forward, turning next to the cockpit winch bases. Before removing the winches, however, I used some tape to strike a line between the port winch (at the inboard side of the drum where a line would lead) and the old bullseye fairlead in the sidedeck, which up till now had served as the lead for the working jib. The owner wanted to install short tracks in its stead, but we also had to ensure that the line leads from the various positions of the track would line up with the winch without chafing on the coaming along the way. The tape approximated the path the line would lead between the existing bullseye (which would demark the aft end of the new tracks) and the winch, so I’d have this for reference later. I also struck a second line of tape, this one led as far inboard as it could go while maintaining a fair lead aft, past the coaming, and to the winch drum.
Between these two marks, somewhere, was the sweet spot for the new tracks’ position, which detail I could finalize a little later; I mocked up a couple things and took some measurements that I’ll get into more in the immediate future. For now, I had enough information on the decks to proceed with the winch removal. (I didn’t need to repeat this process to starboard, since on that side, with the line leading to the outboard edge of the winch drum, there was sufficient clearance regardless, so I could simply replicate the final track position as determined to port).
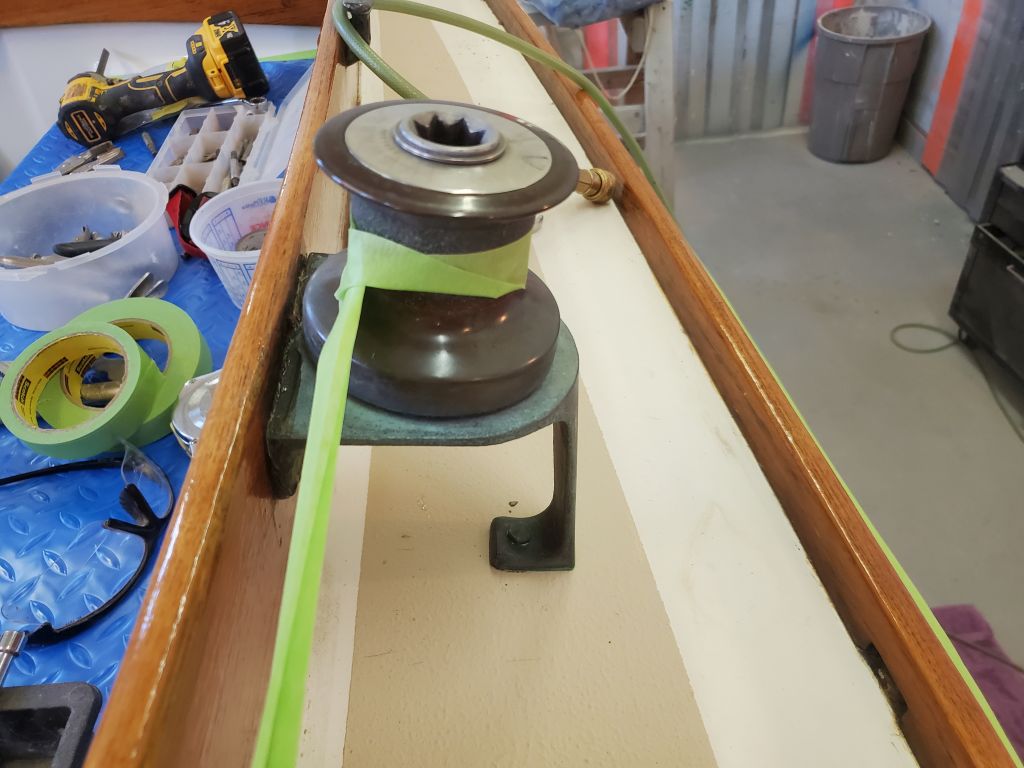

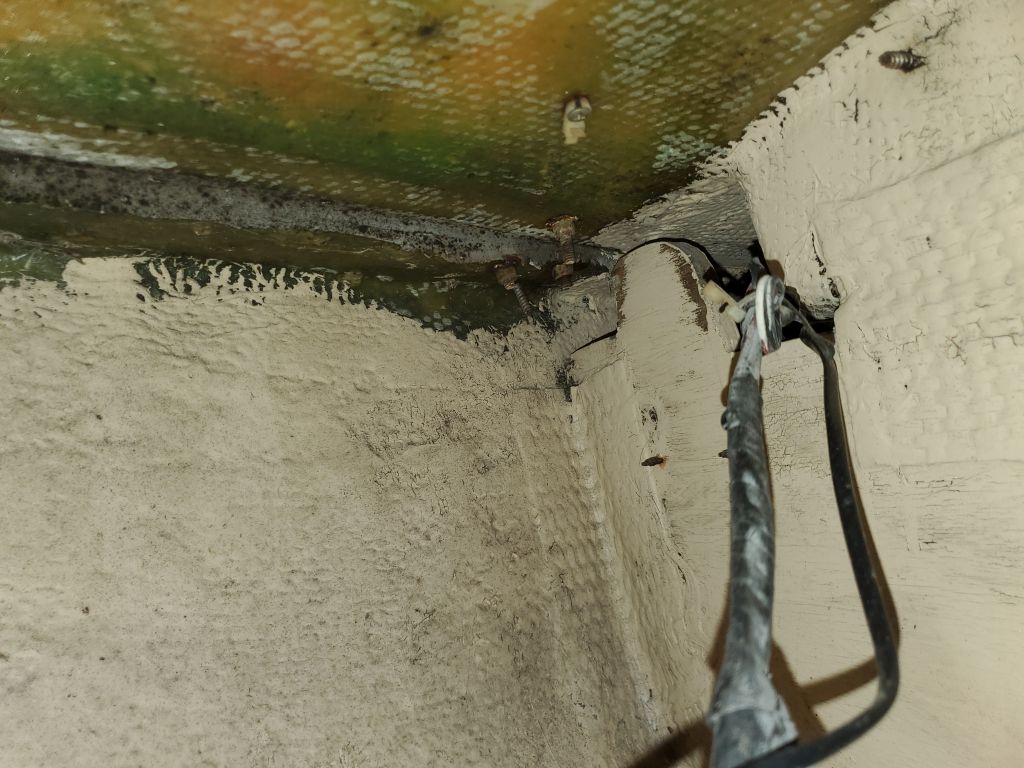
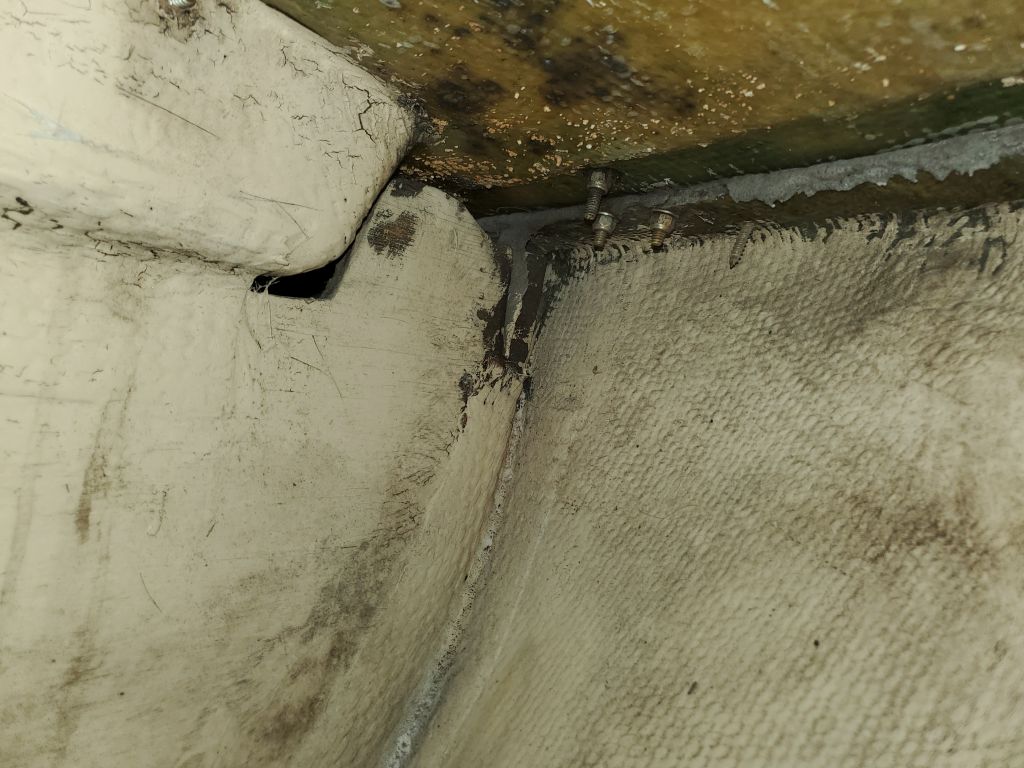
The winch bases had a single bolt passing through the sidedeck, which was accessible from beneath at the aft ends of the quarterberths, and removal proved to be no problem. Two additional screws secured the bases to the coamings, and after removing these both winches were out of the way.


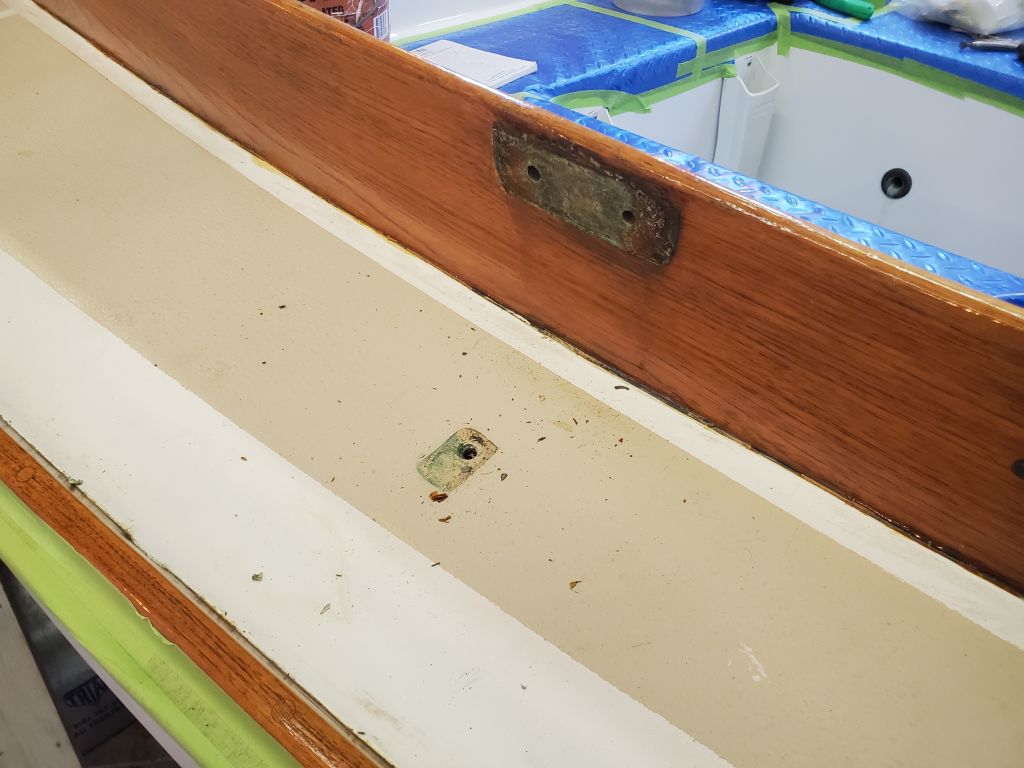
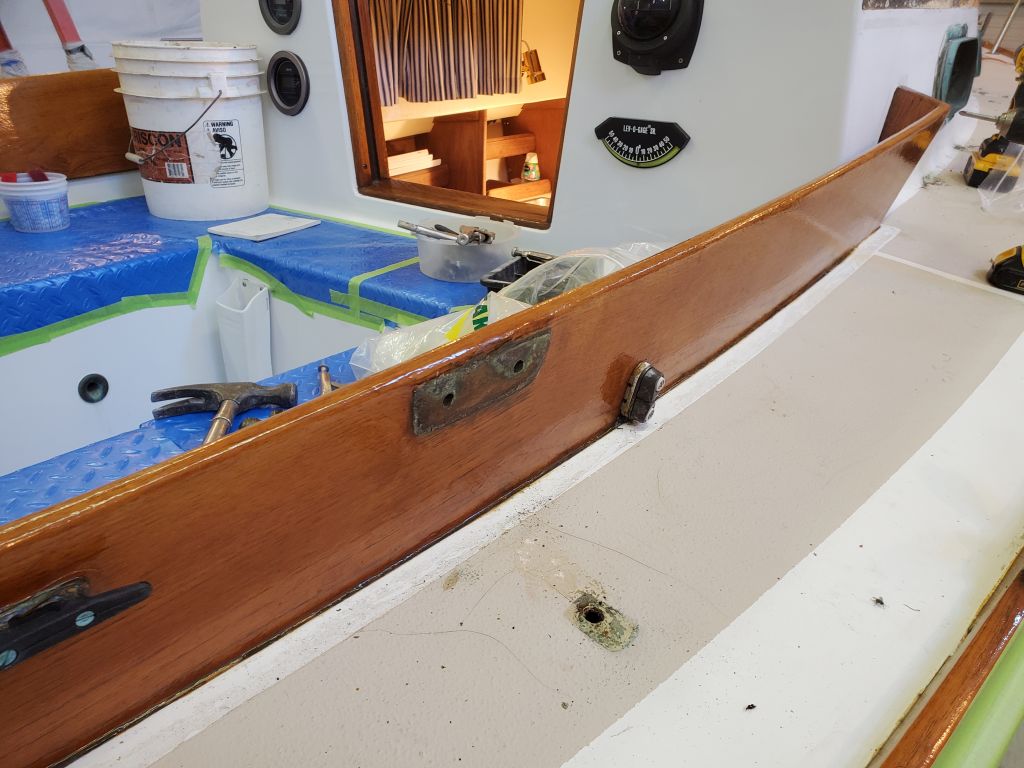
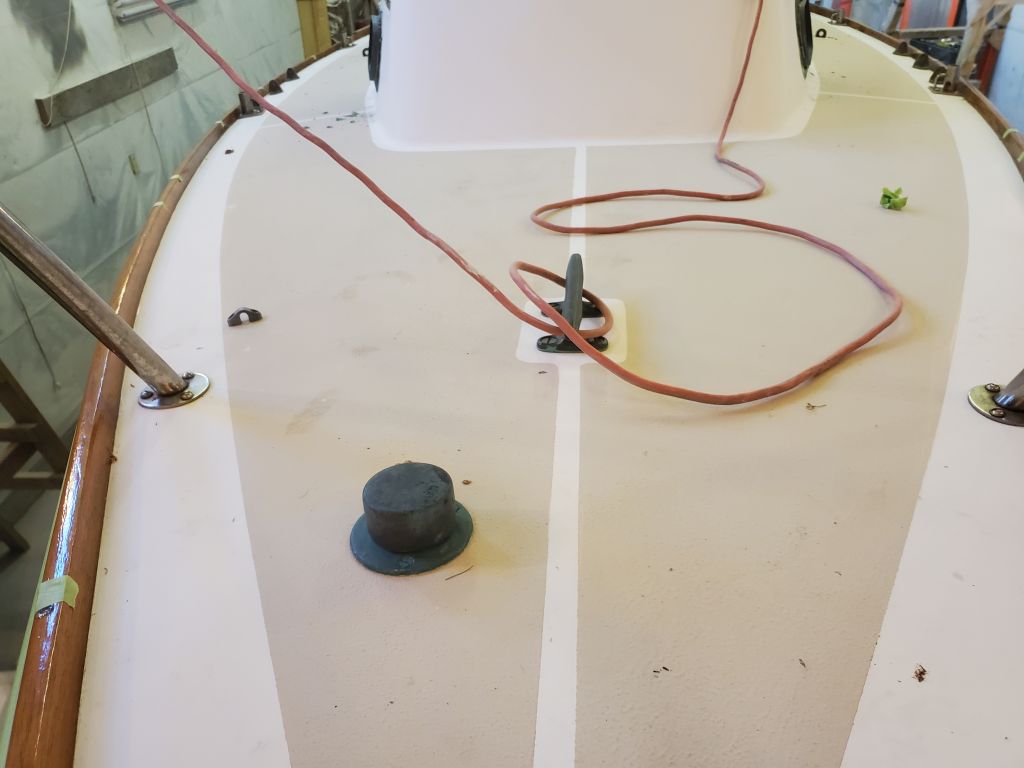
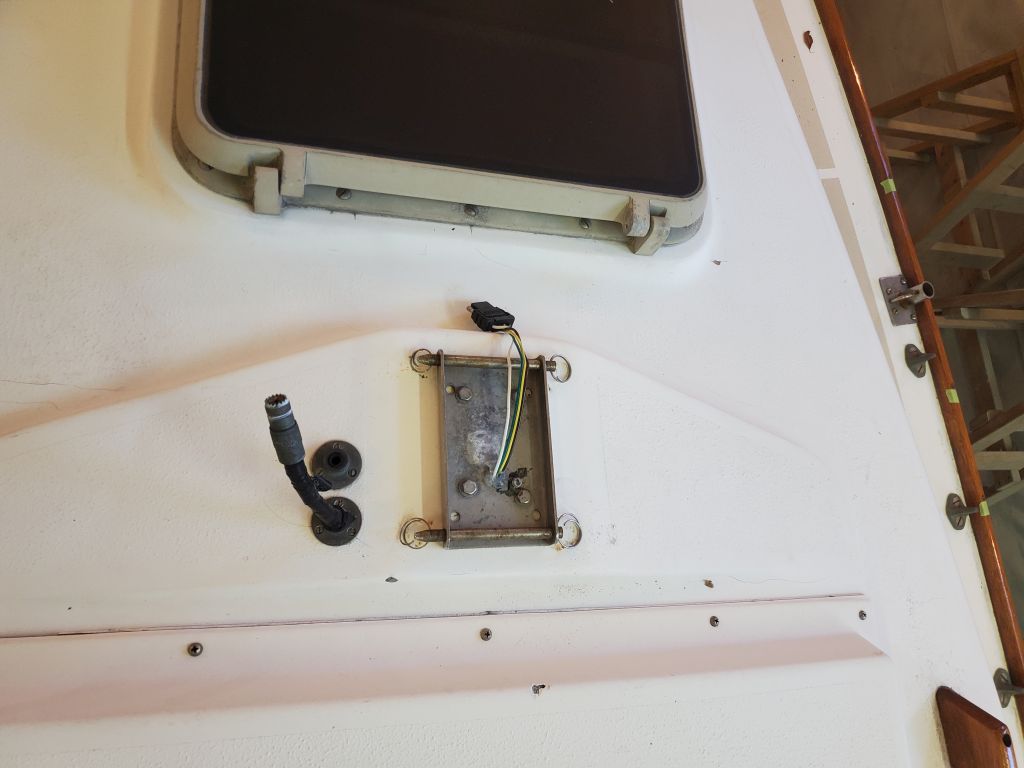
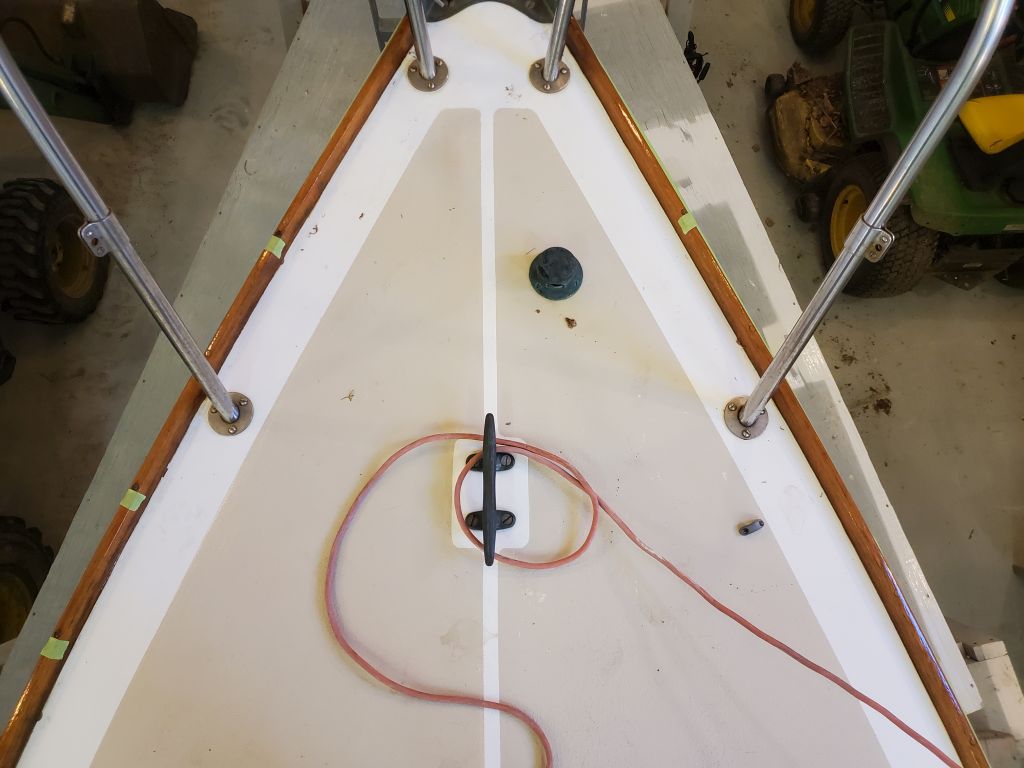
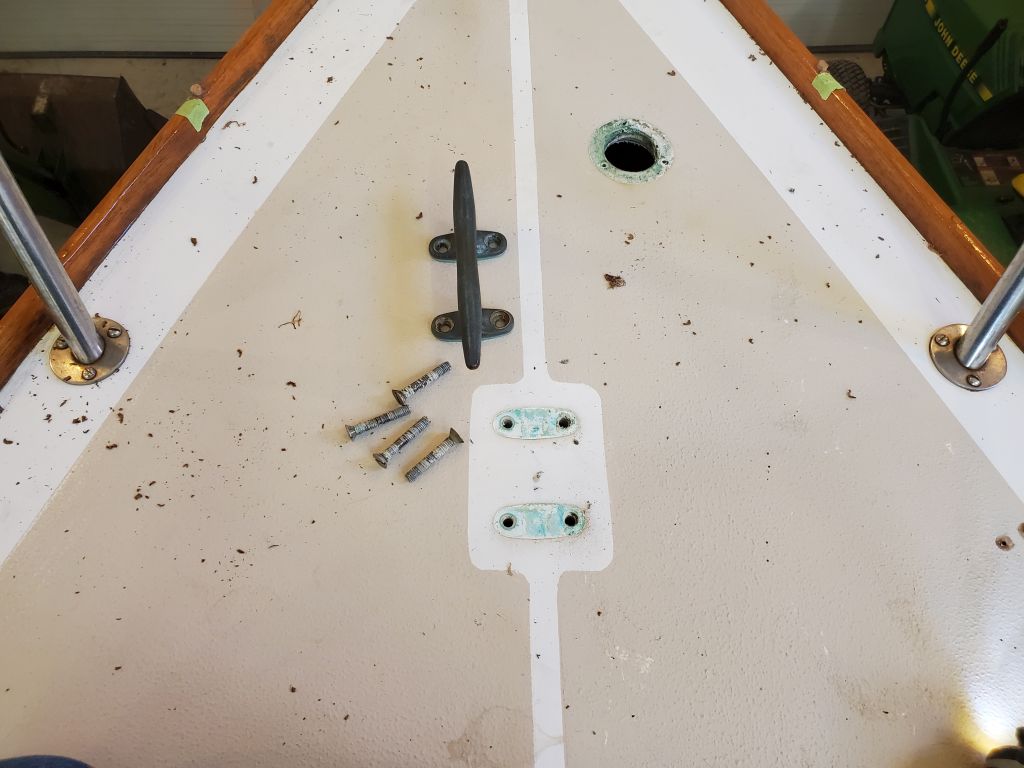
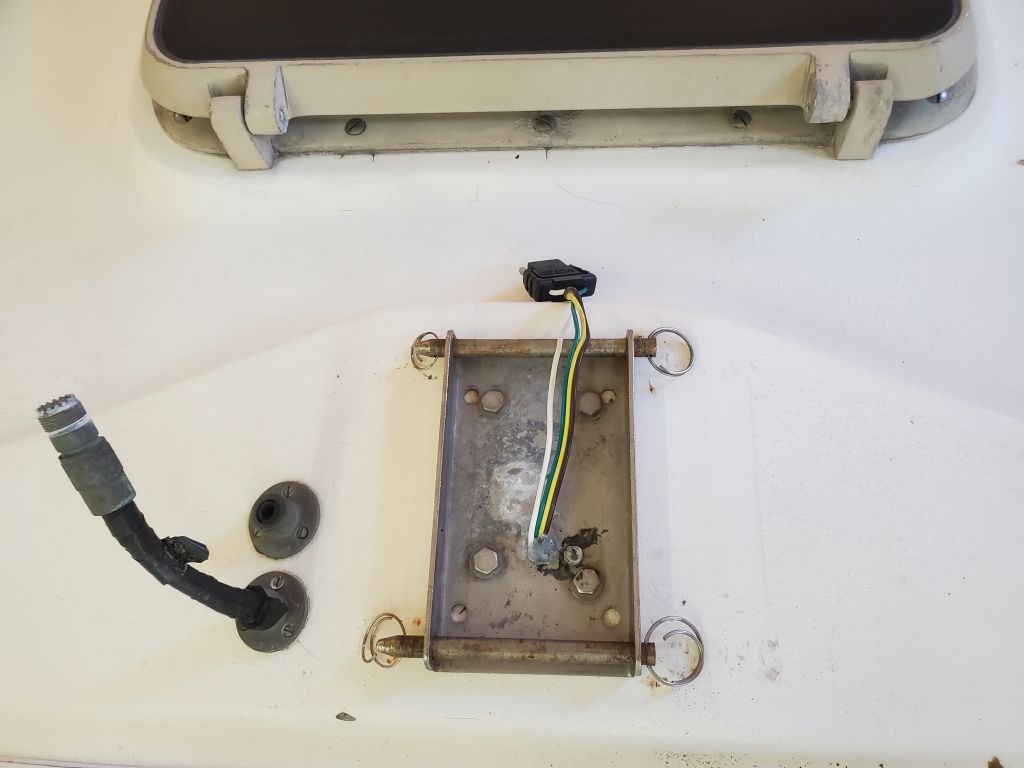
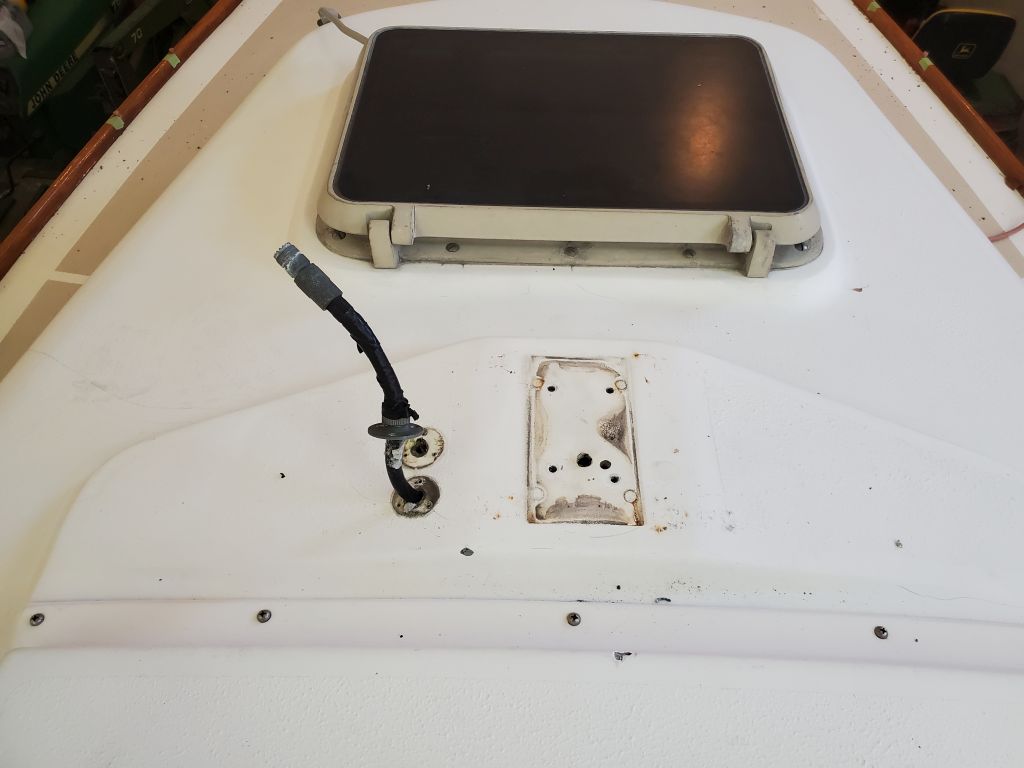
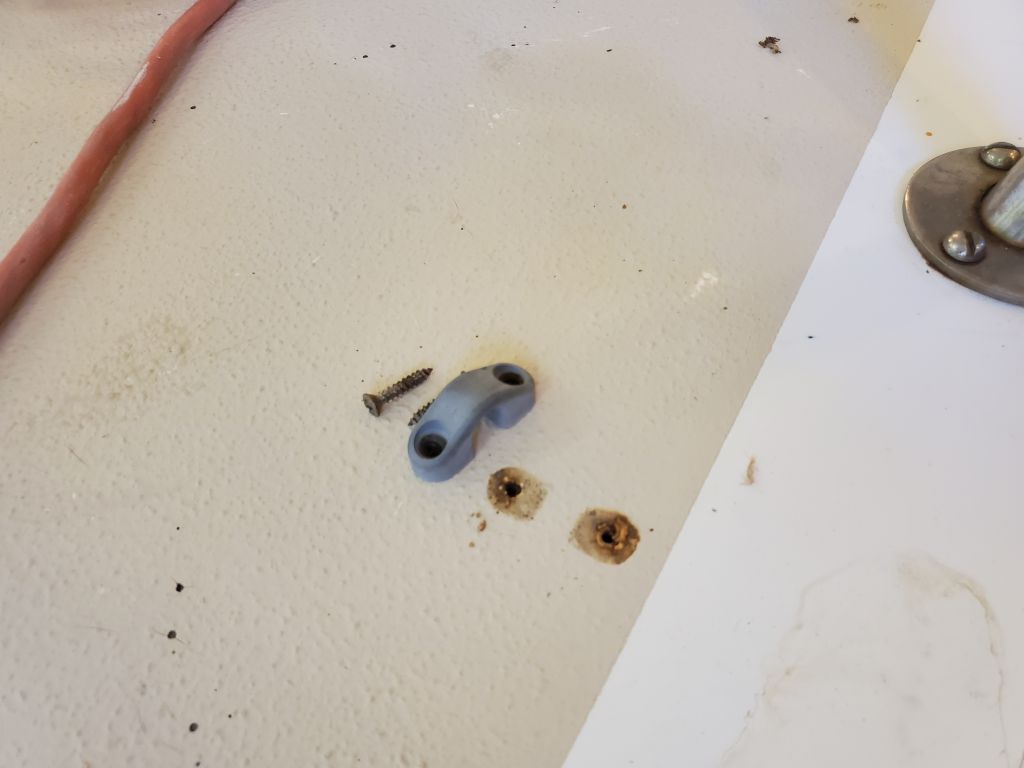
Continuing forward with all the “easy” hardware, I removed, in turn, the bullseye fairleads, anchor hawsepipe, a little fairlead up near the bow pulpit, the bow cleat, and, finally, the mast step and wiring bases nearby, bringing me to the end of the day.

Total time billed on this job today: 4.75 hours
0600 Weather Observation: Clear, 25°. Forecast for the day: Sunny, 48°