

November 8, 2021
Arietta Phase 2-6
Monday
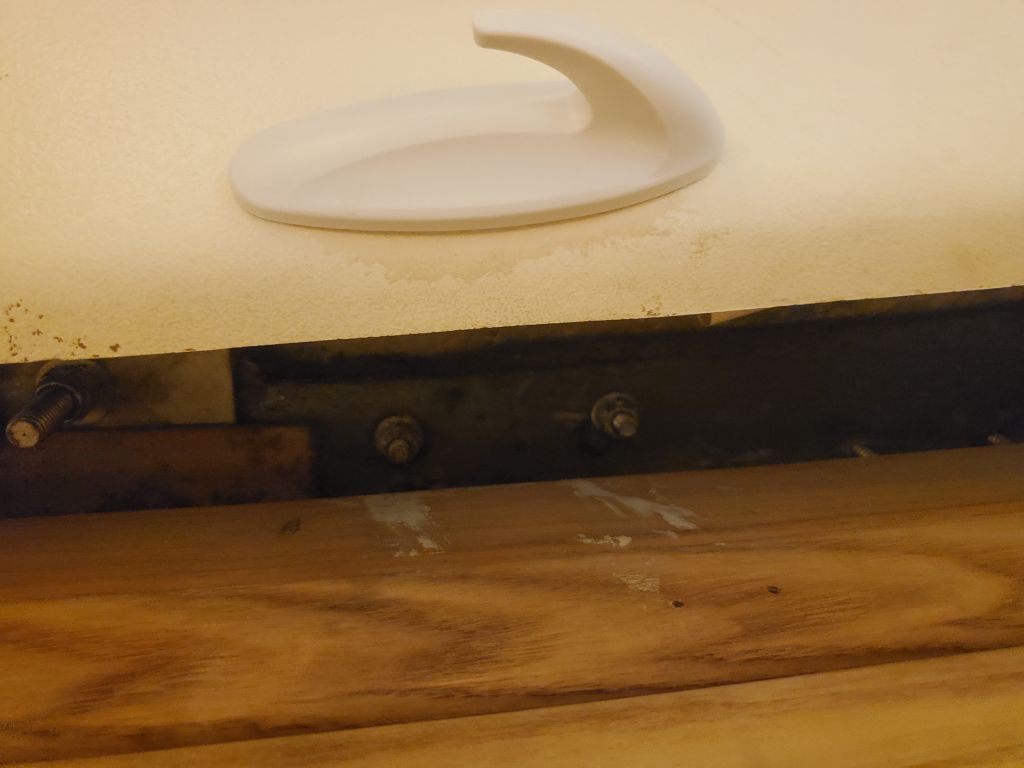
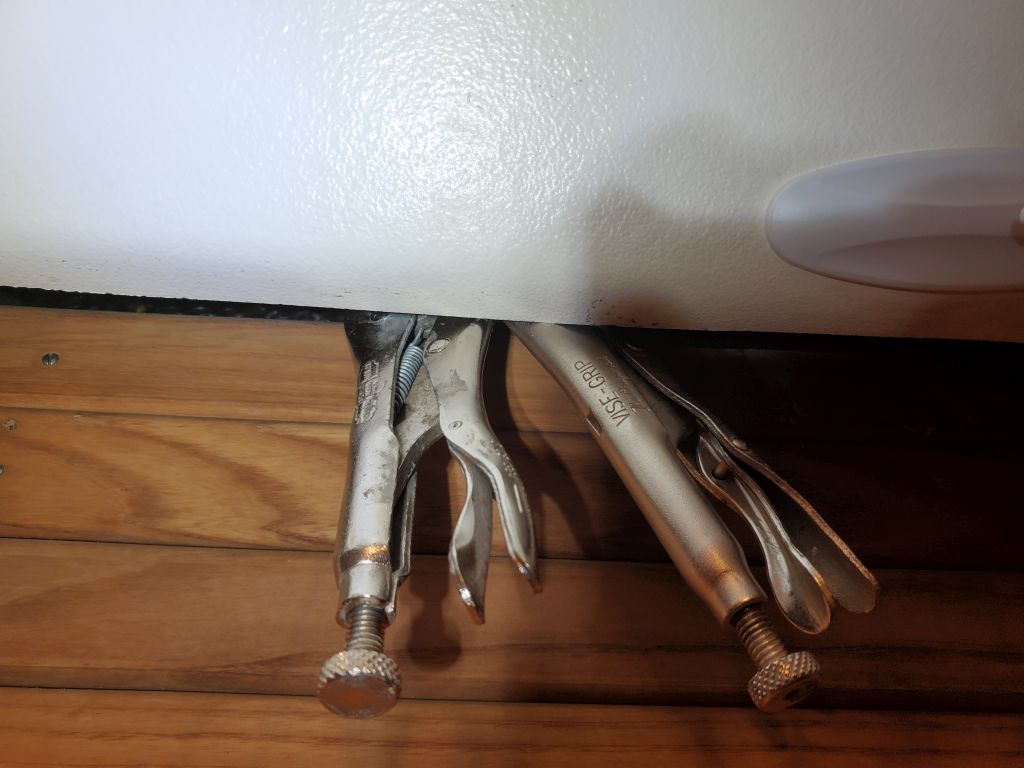
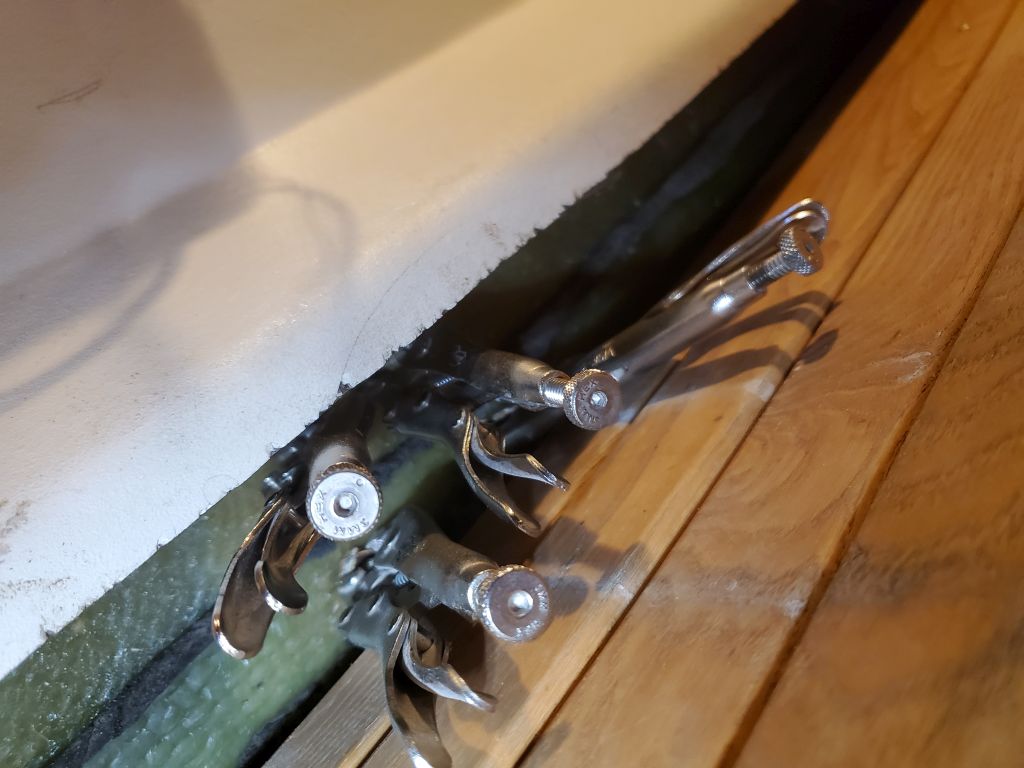
Back on hardware duty, I started at the stem with the bow pulpit, which was secured with 12 long bolts through the foredeck. Access was moderate, if uncomfortable, and it took several trips back and forth between setting up locking pliers from beneath, removing screws from above, resetting the pliers when they fell off before the nut was spun off, and resetting for the next set of bases, but eventually the pulpit was free.


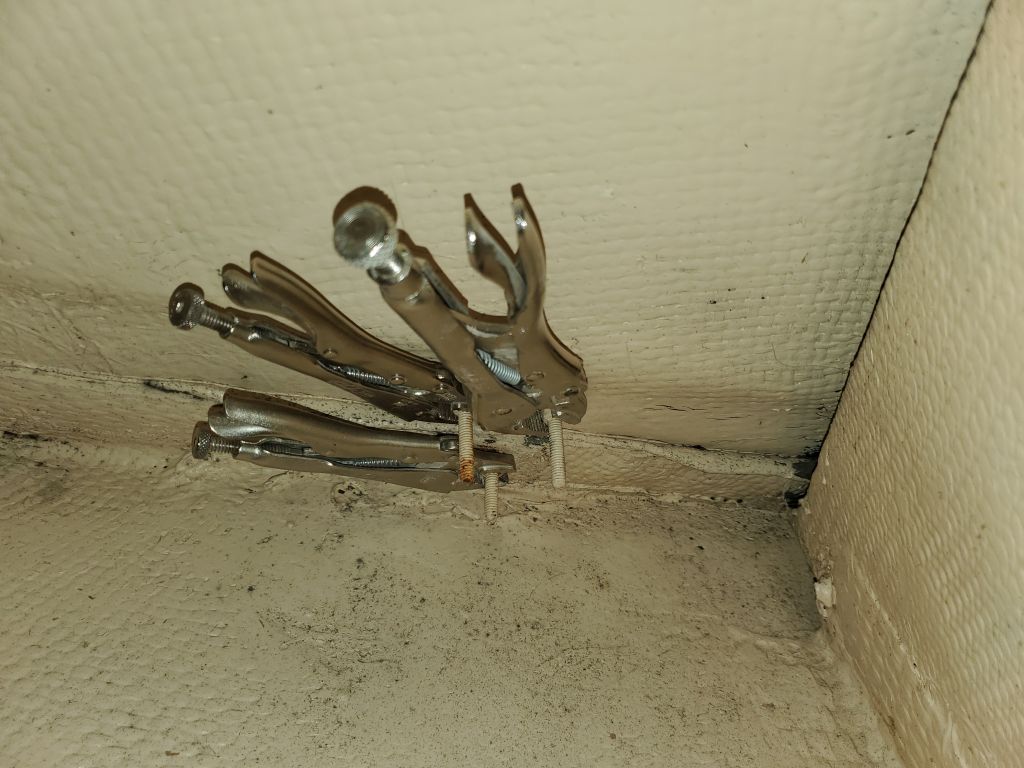
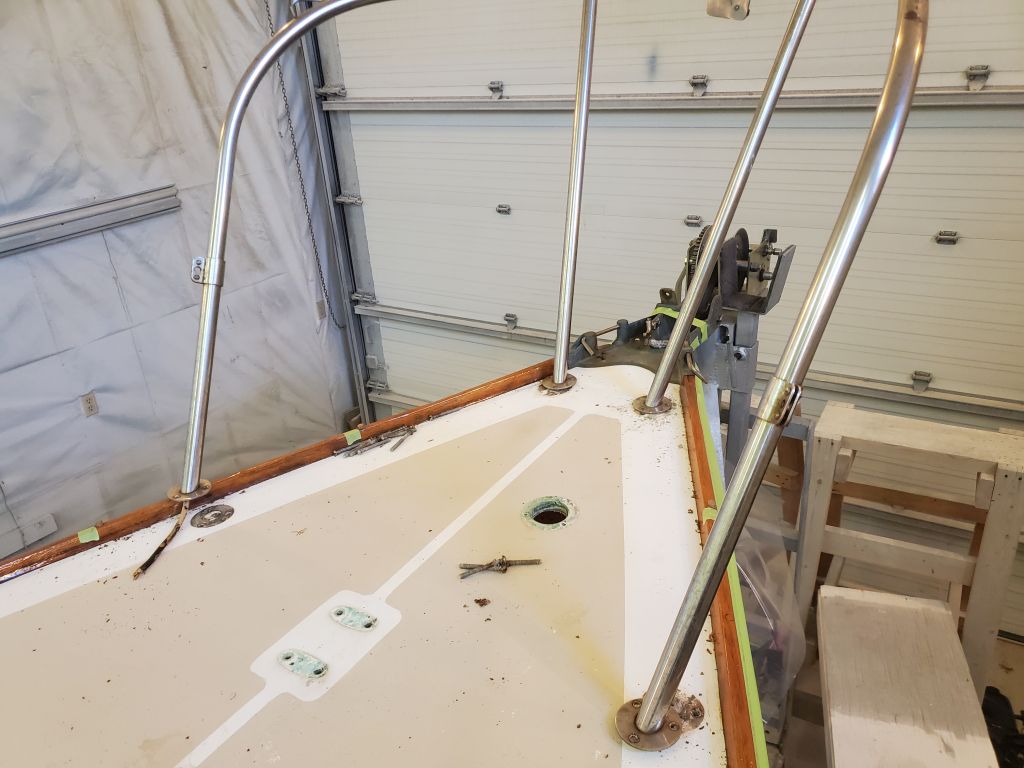

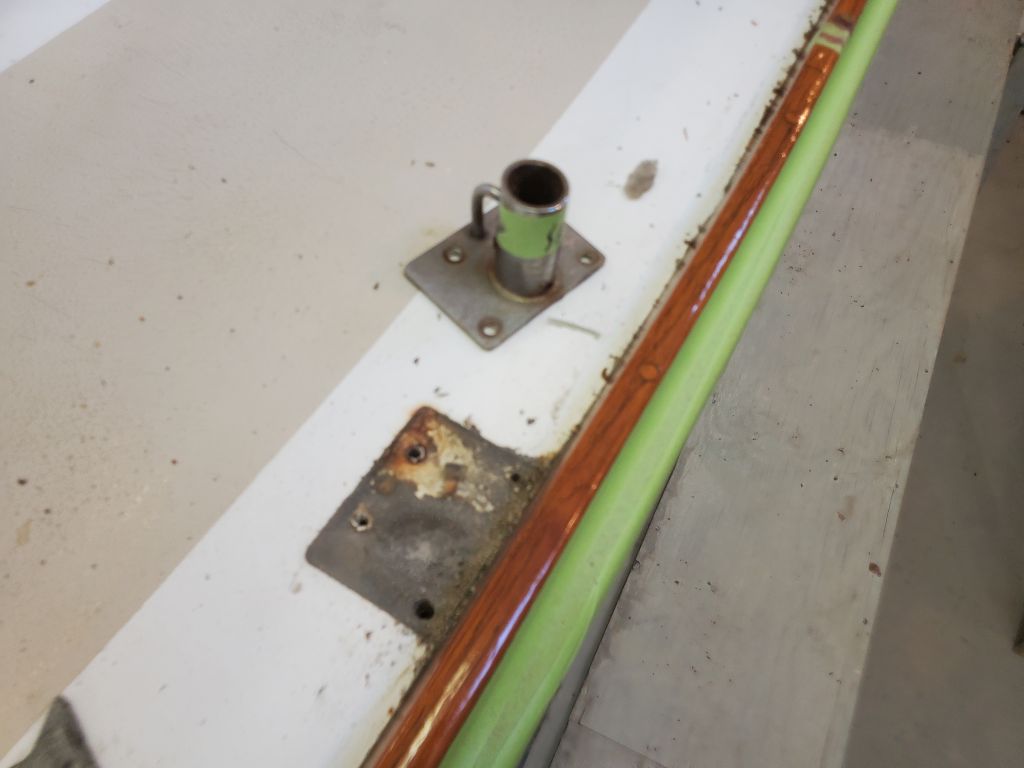
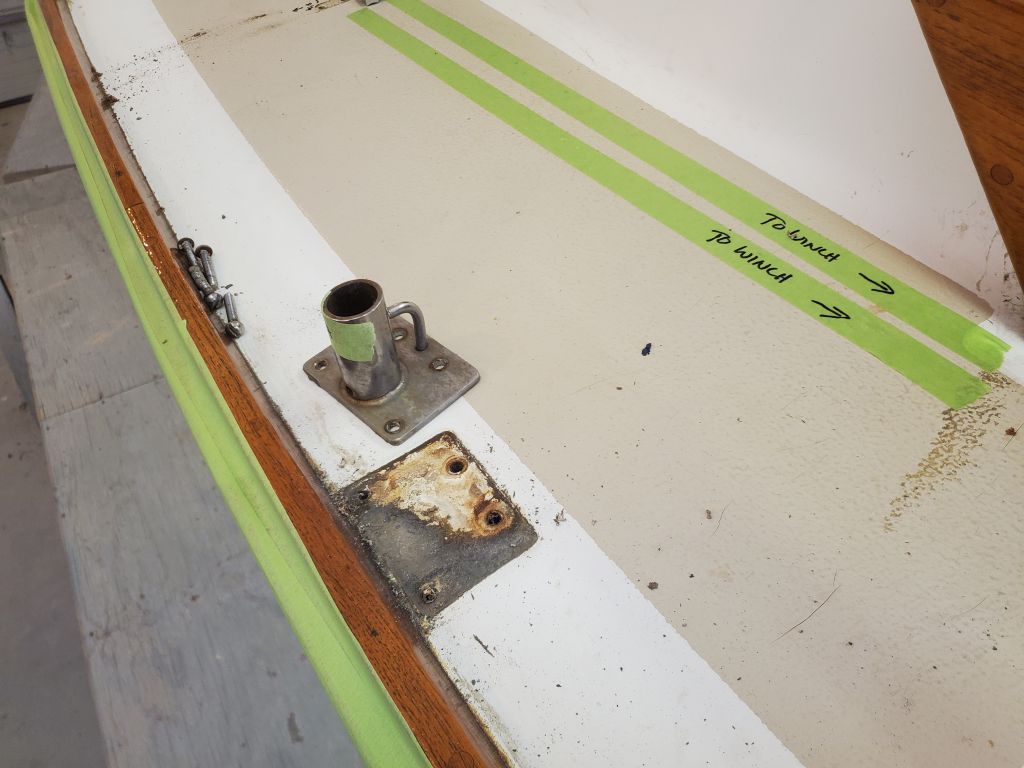
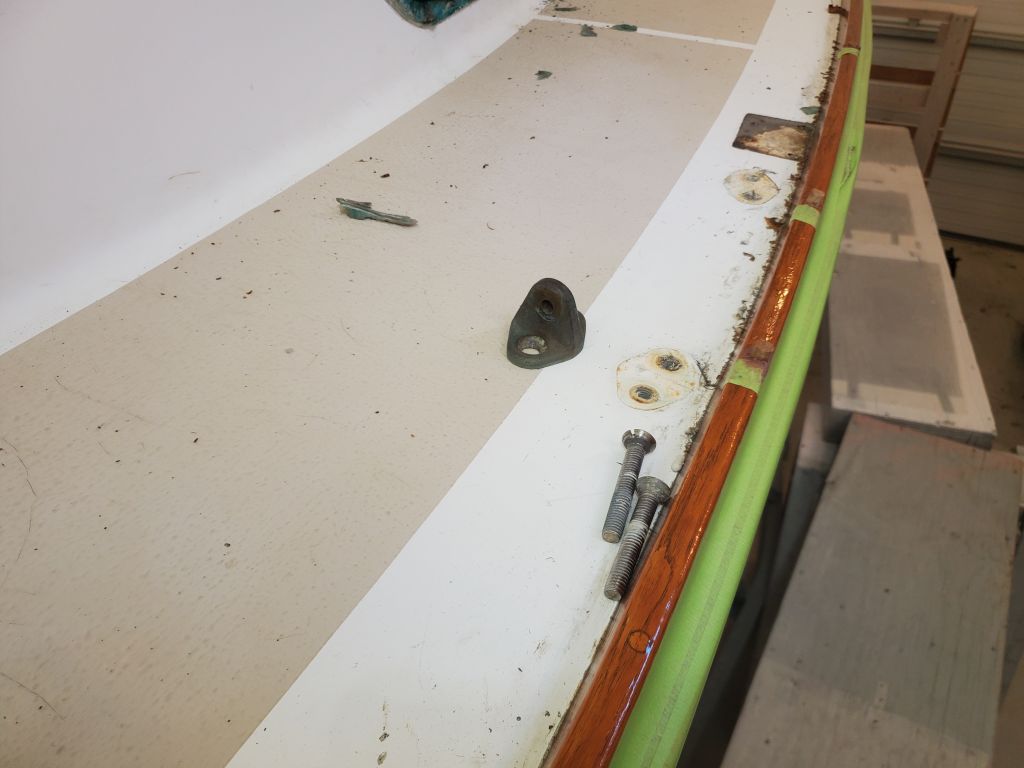
I had to leave the shop for an appointment for several hours, but upon my return in the afternoon I continued work on the hardware, working my way down the sidedecks to remove the stanchion bases (two per side) and chainplates (three per side). Things didn’t start out too badly in the forward cabin, where the forward set of stanchion bases and chainplates were located. Access to the bolts was through a narrow, but accessible, opening at the side of the molded interior liner. There wasn’t really room to work a wrench in there with any sort of efficiency, so again I fell back on my locking plier helpers, eventually removing both port and starboard bases, and port and starboard forward chainplates without too much trouble.
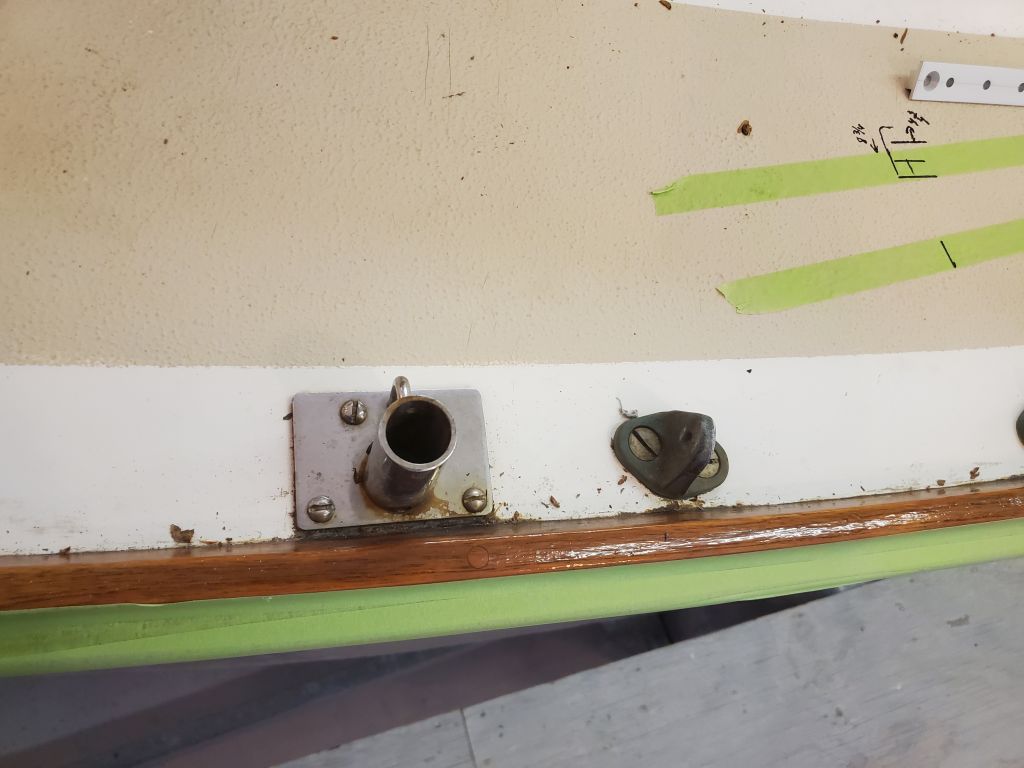


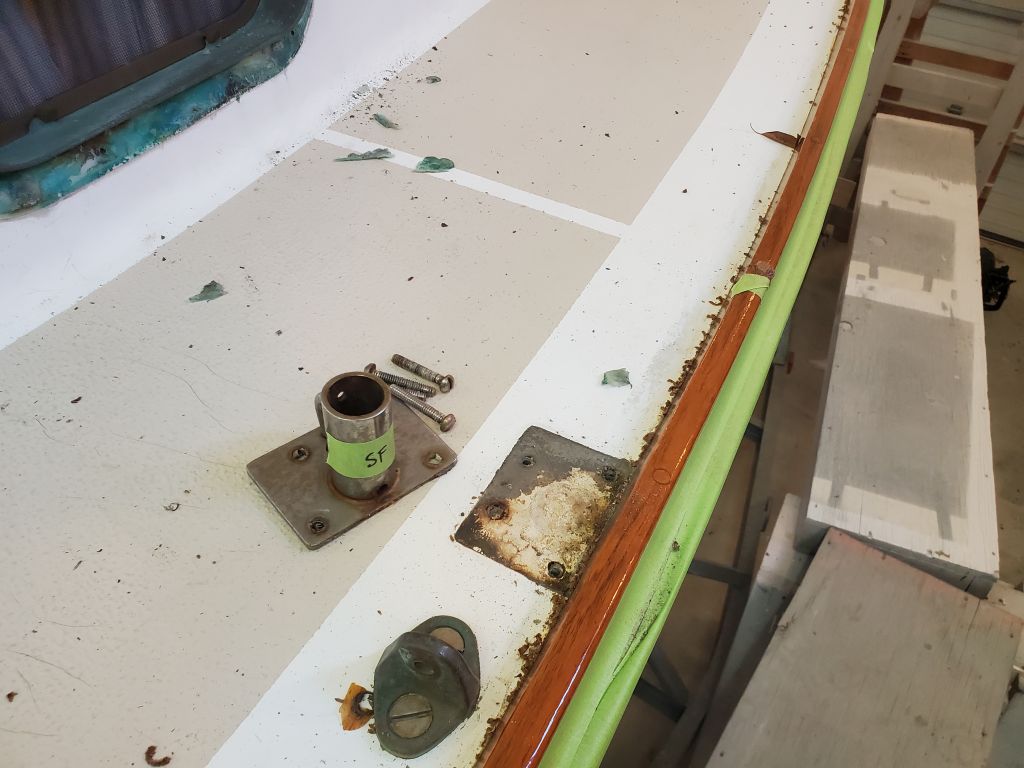

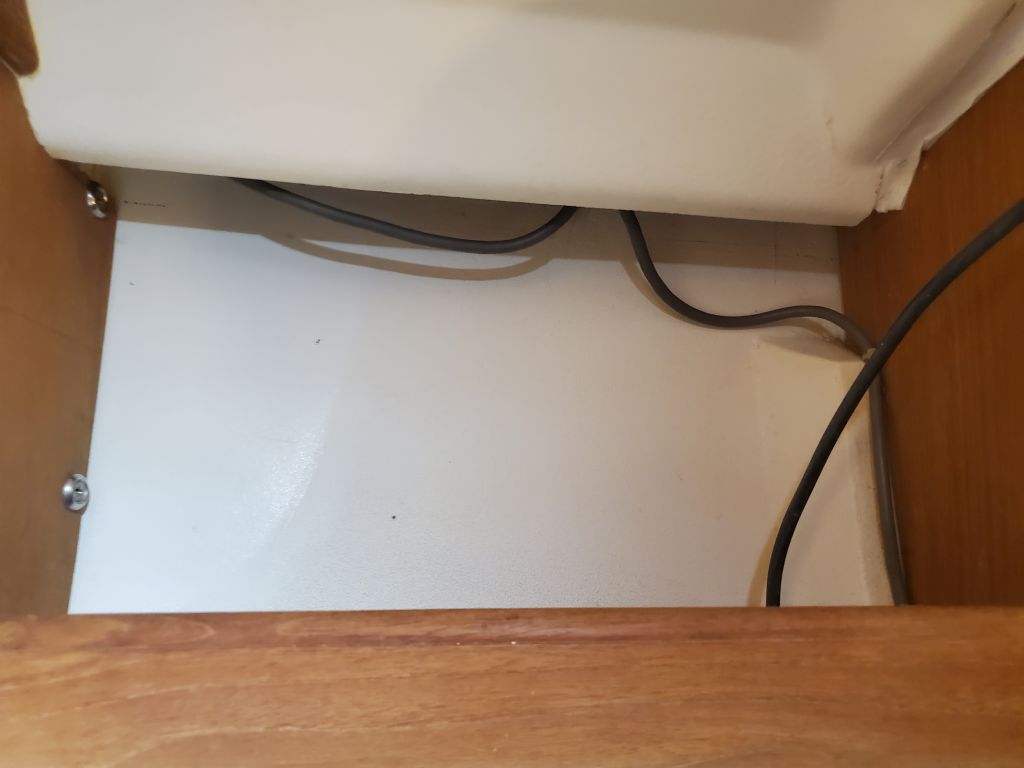
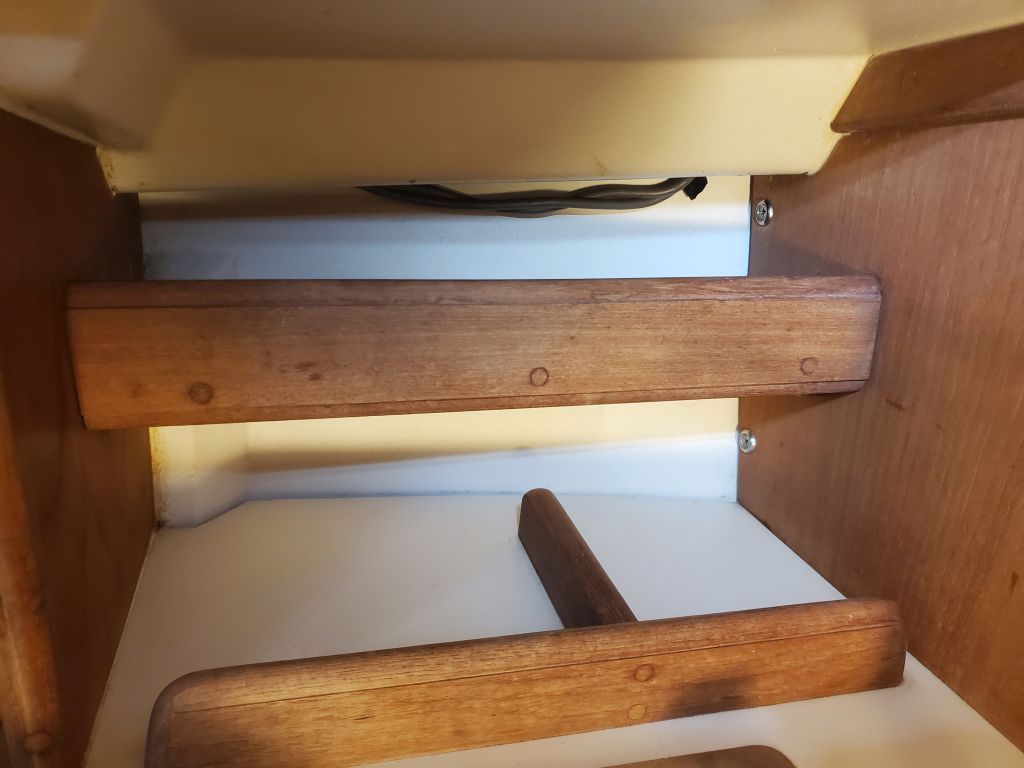
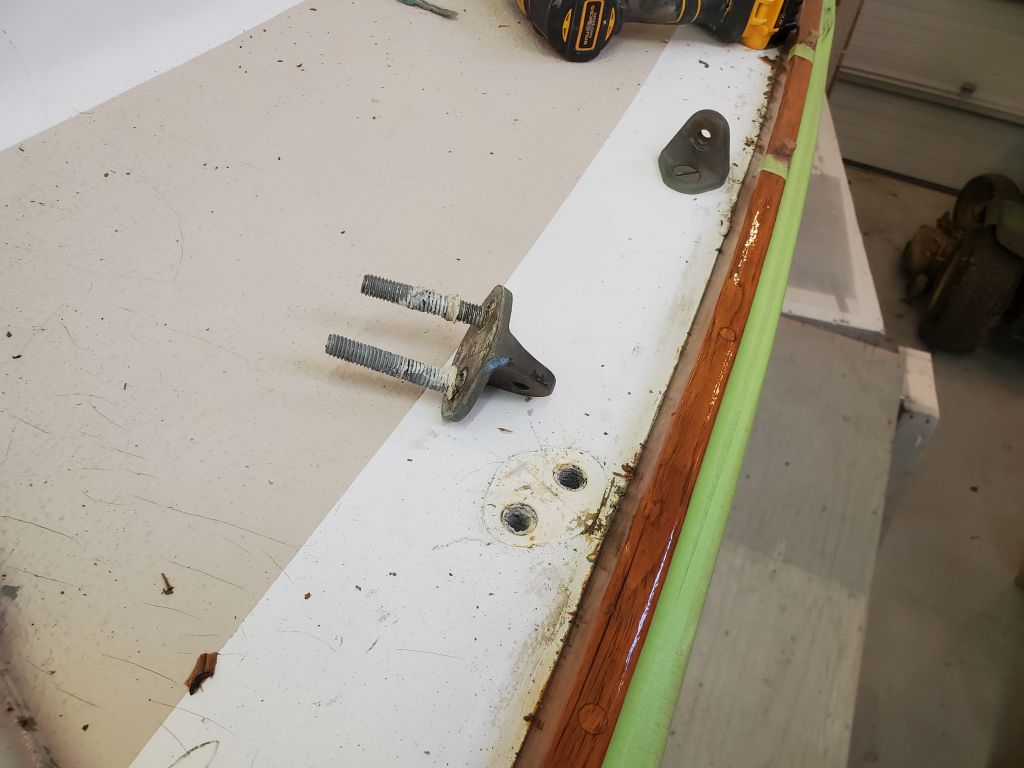
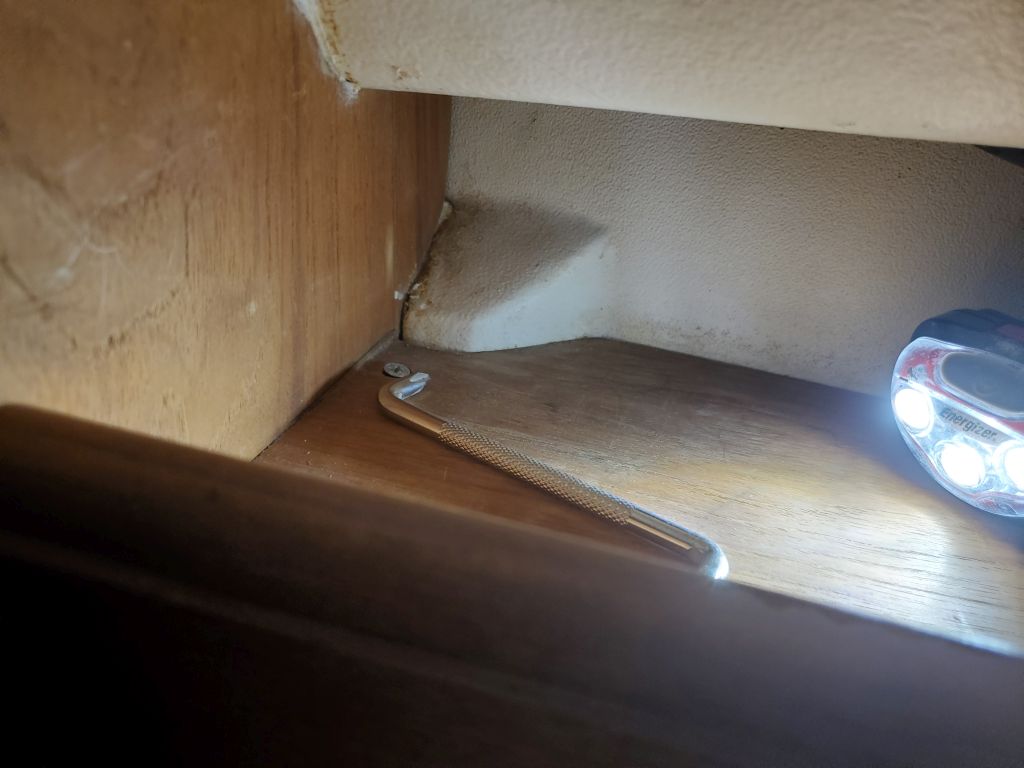
Continuing aft, the situation deteriorated. There wasn’t good access to the after stanchion bases since there were long shelves installed fairly close beneath the locations, which prohibited visual access and greatly limited tool access, so eventually I decided to remove these shelves, as much to assist with the eventual reinstallation of the hardware as anything. With the shelves out of the way, I had sufficient access to remove the after set of stanchion bases from both sides. Note that the stanchion and pulpit removals were all complicated by the choice of round-headed, slotted fasteners that seem to be the most difficult to deal with in a removal situation, but at least the stanchion bolts weren’t an inch or more longer than necessary like the pulpit bolts had been.
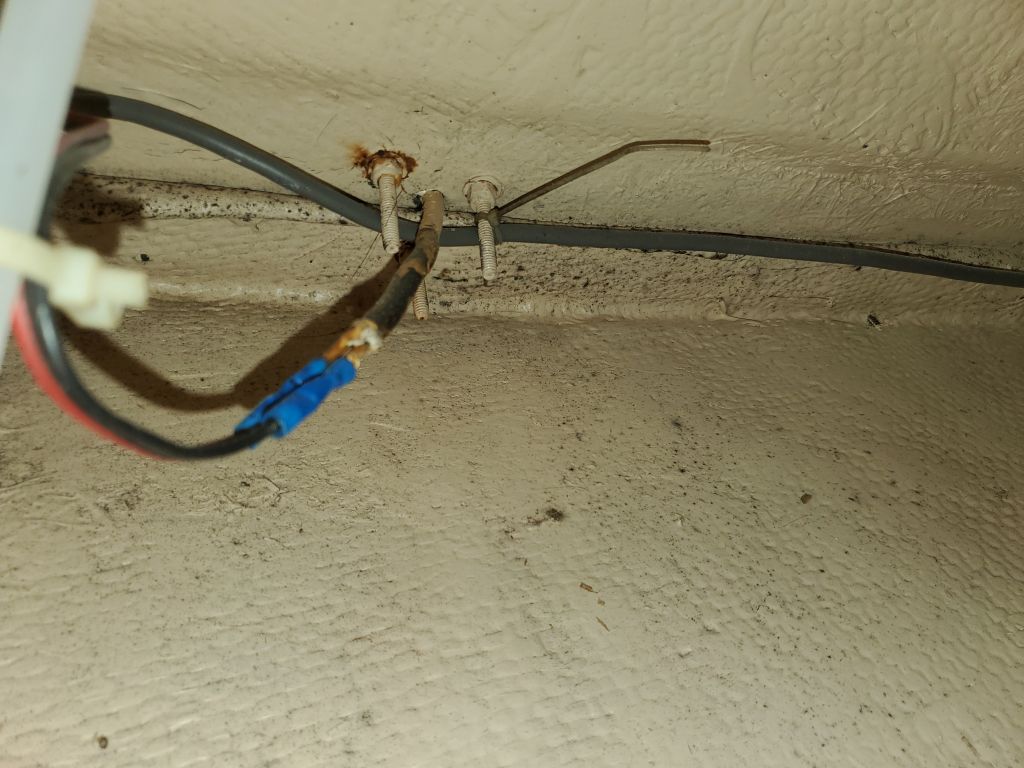
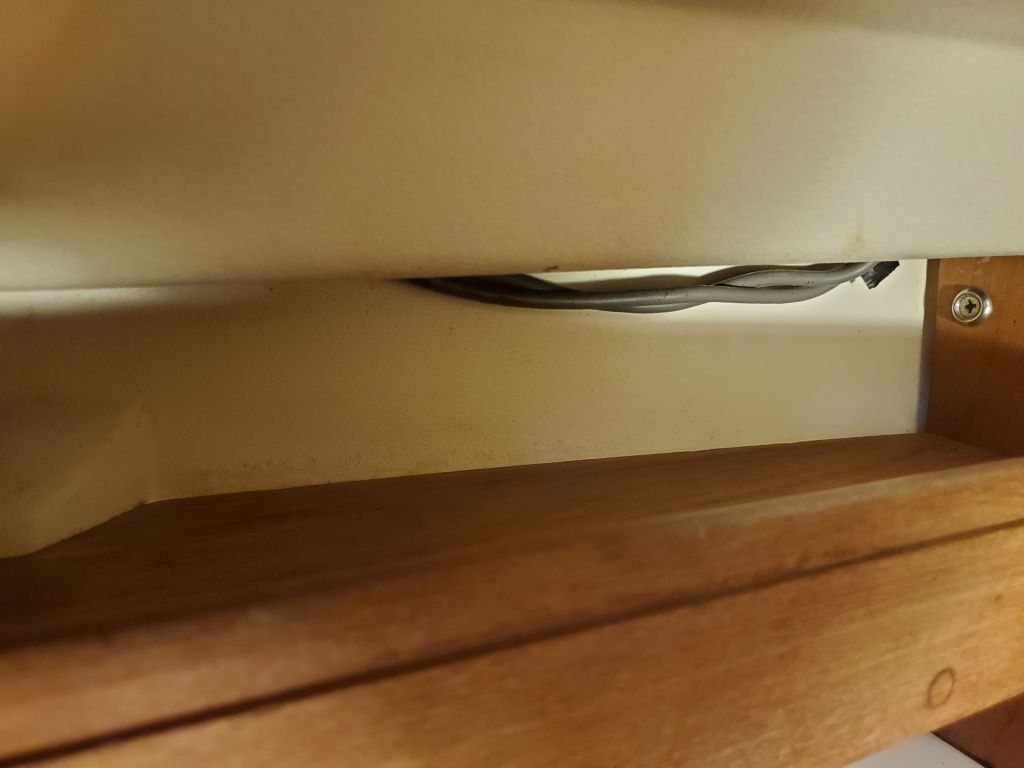
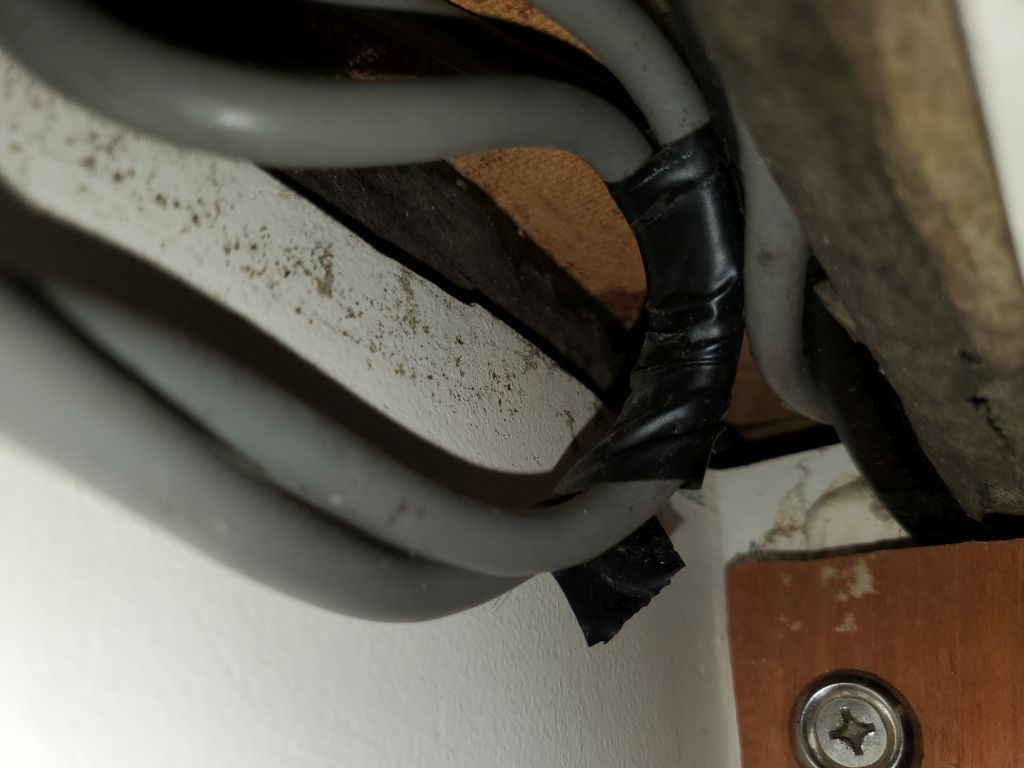
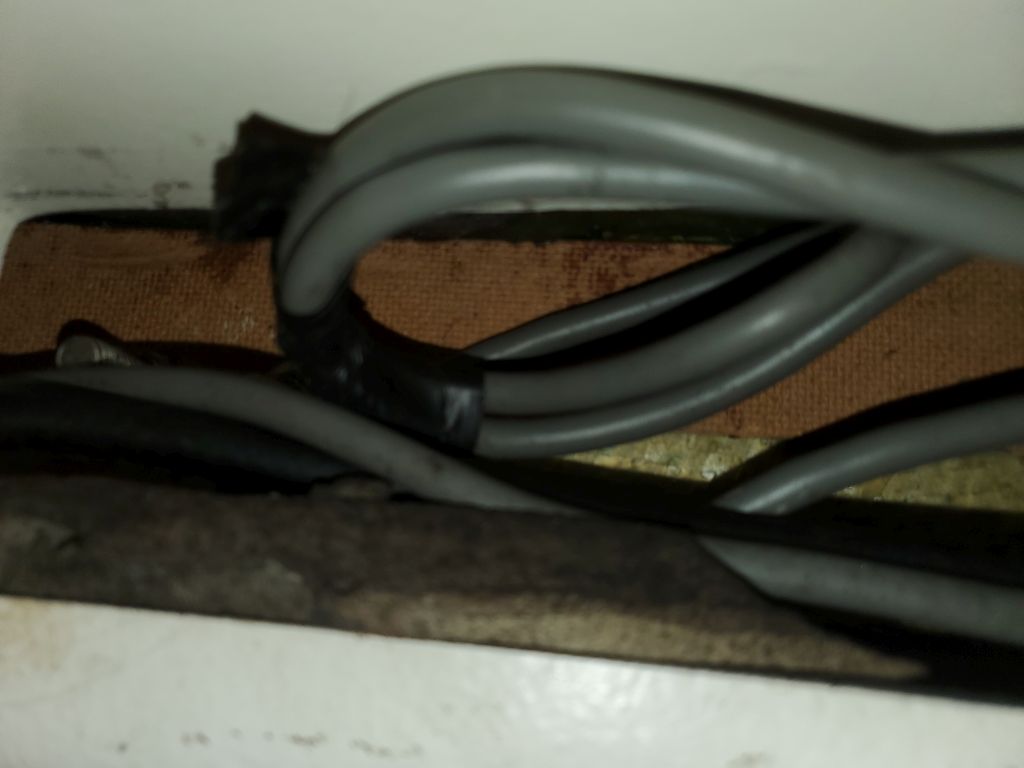
I had wavered on whether or not to remove the chainplates from the getgo, or just work around them, as part of me was loathe to disturb them. But I was lulled into a false sense of security with the forward pair, which weren’t too hard to remove even though the fixing bolts were substantially longer than necessary, meaning unwinding the bolts was near eternal. But I did end up regretting my decision to remove them as soon as I moved on to the remaining two pair: Access was difficult, with no direct visual access from beneath in the tight spaces, and, on the port side, another shelf that blocked all practical access to the nuts. There were various heavy wires in the way as well: Bonding wires connecting all the rigging attachment points (and forming the worst of the bulk that made the access more challenging), plus a wire bundle down the port side. All these factors conspired to make the final removal of the hardware much more time-consuming than I had hoped.

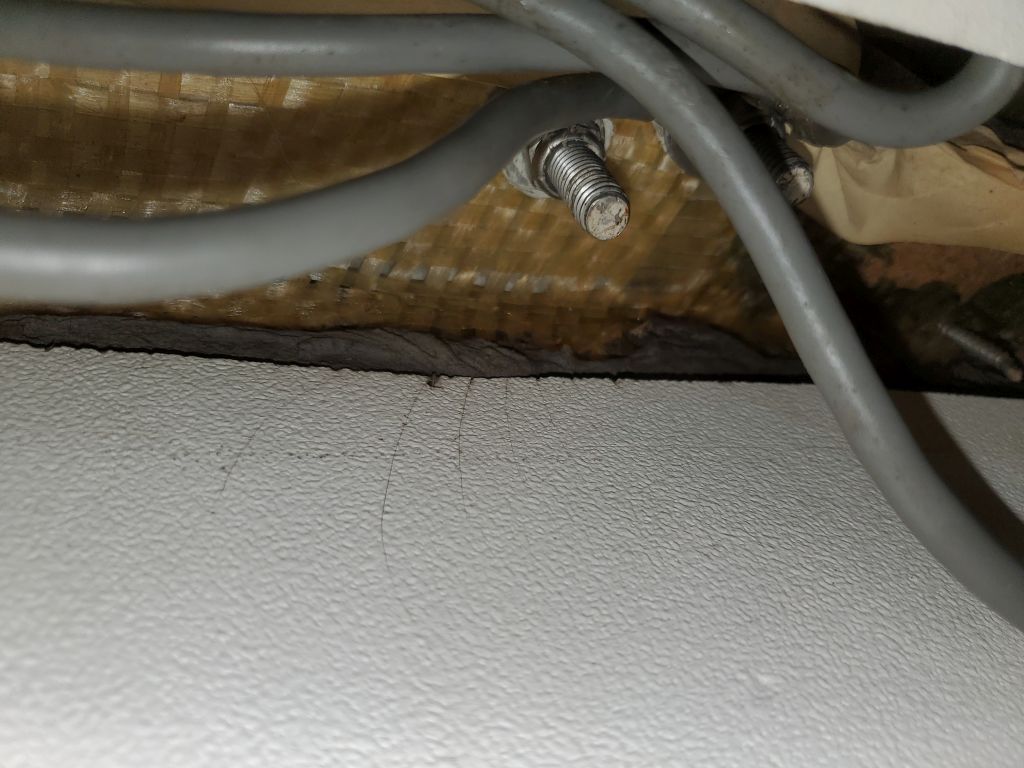
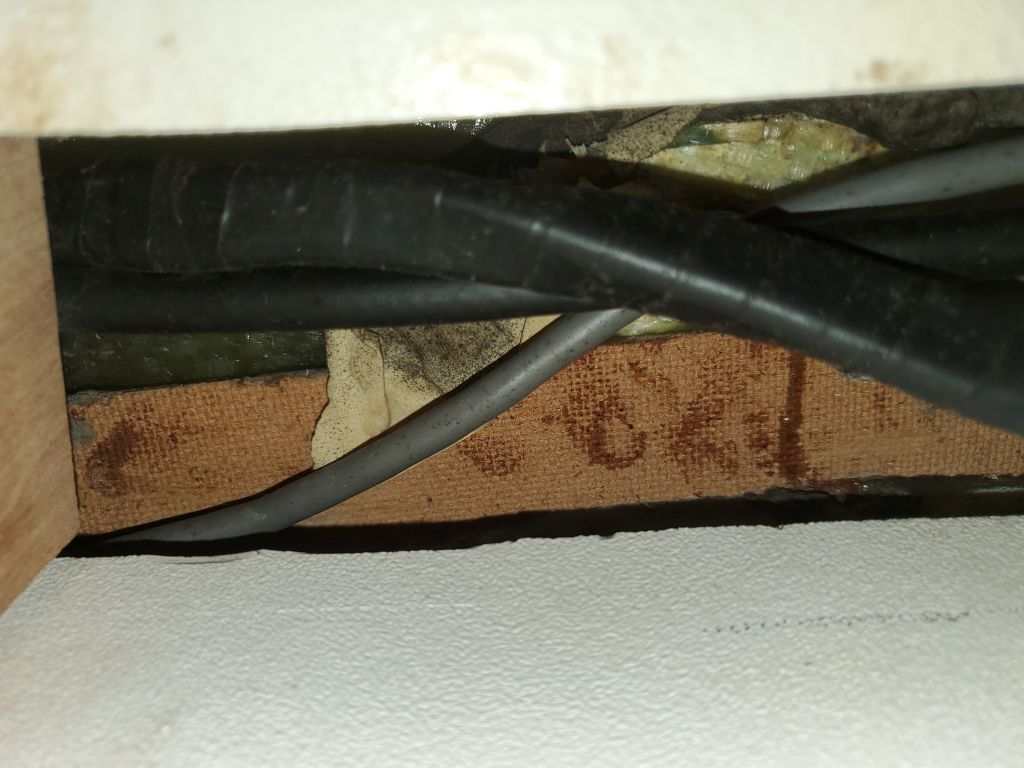
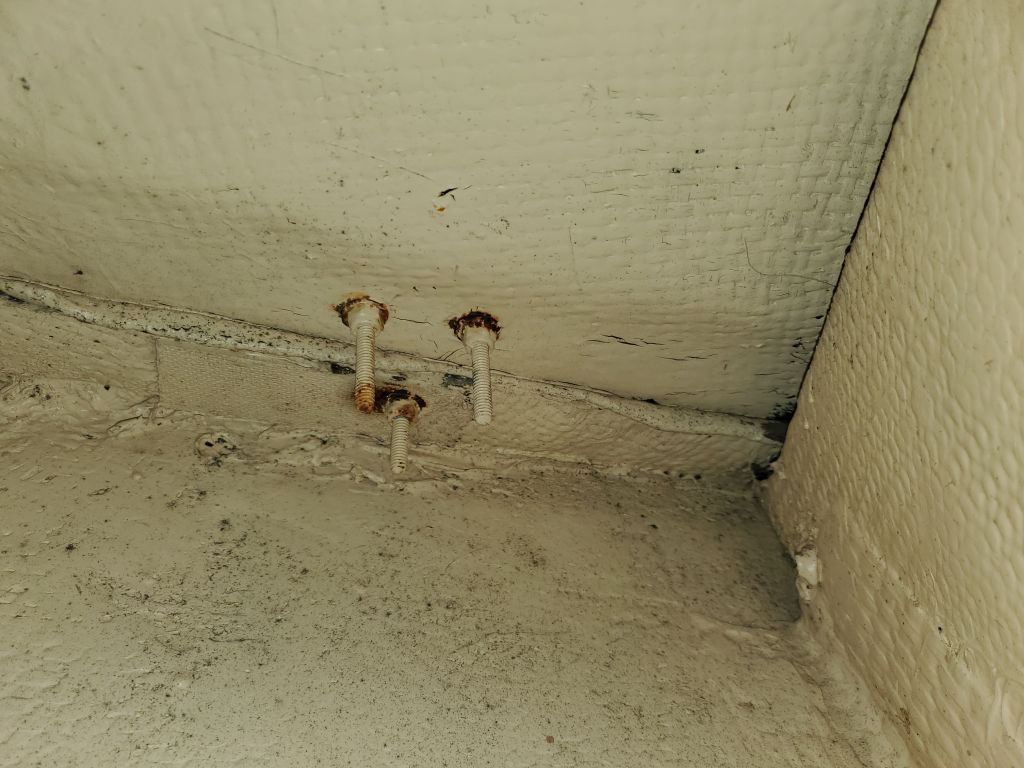
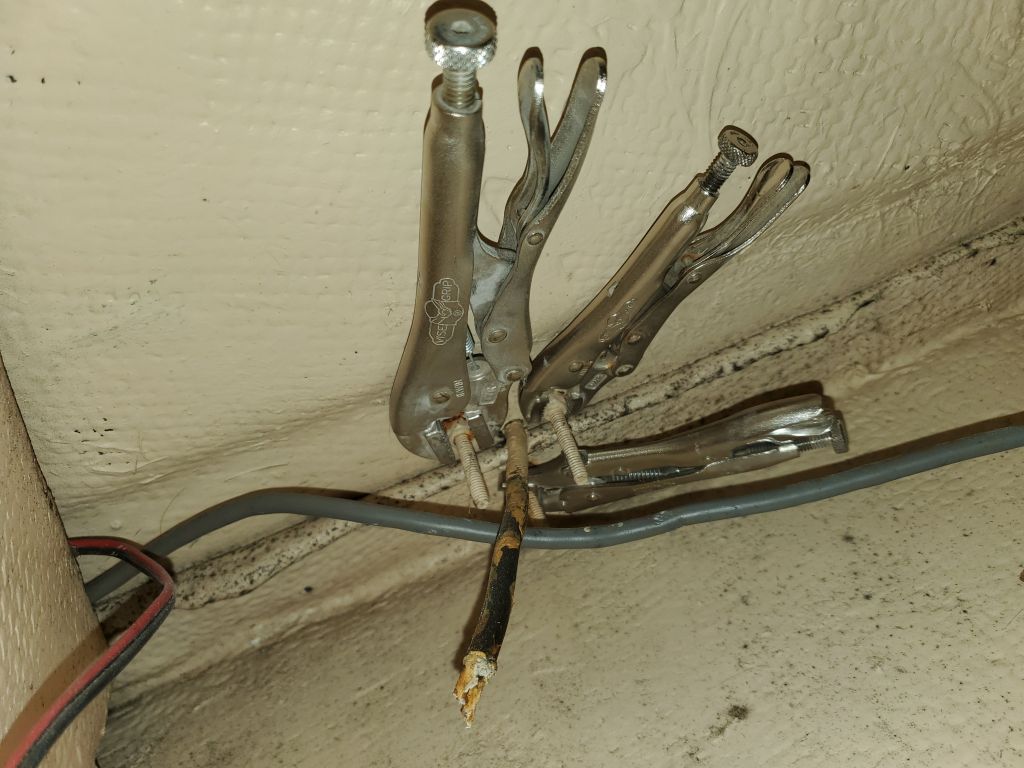
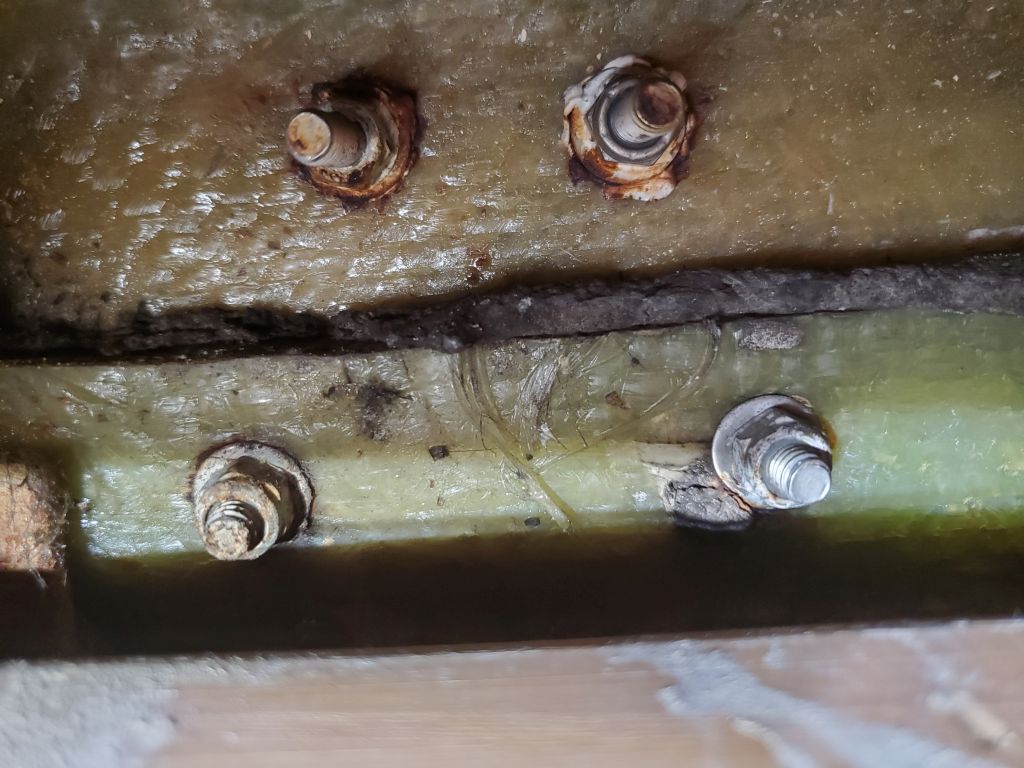
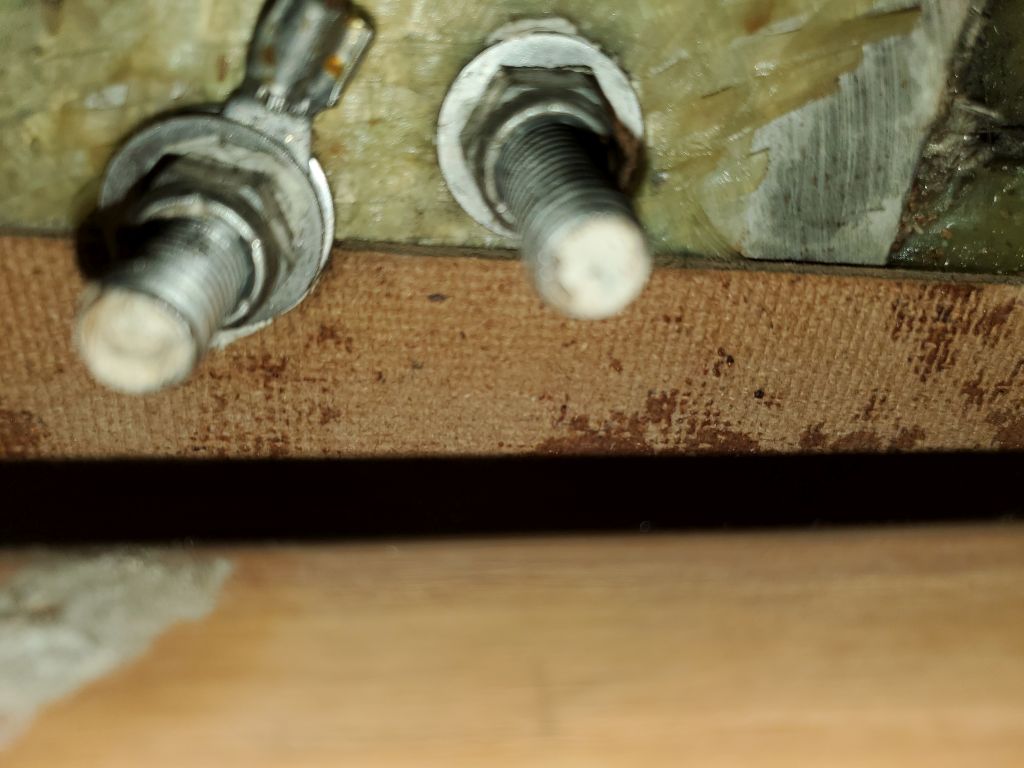
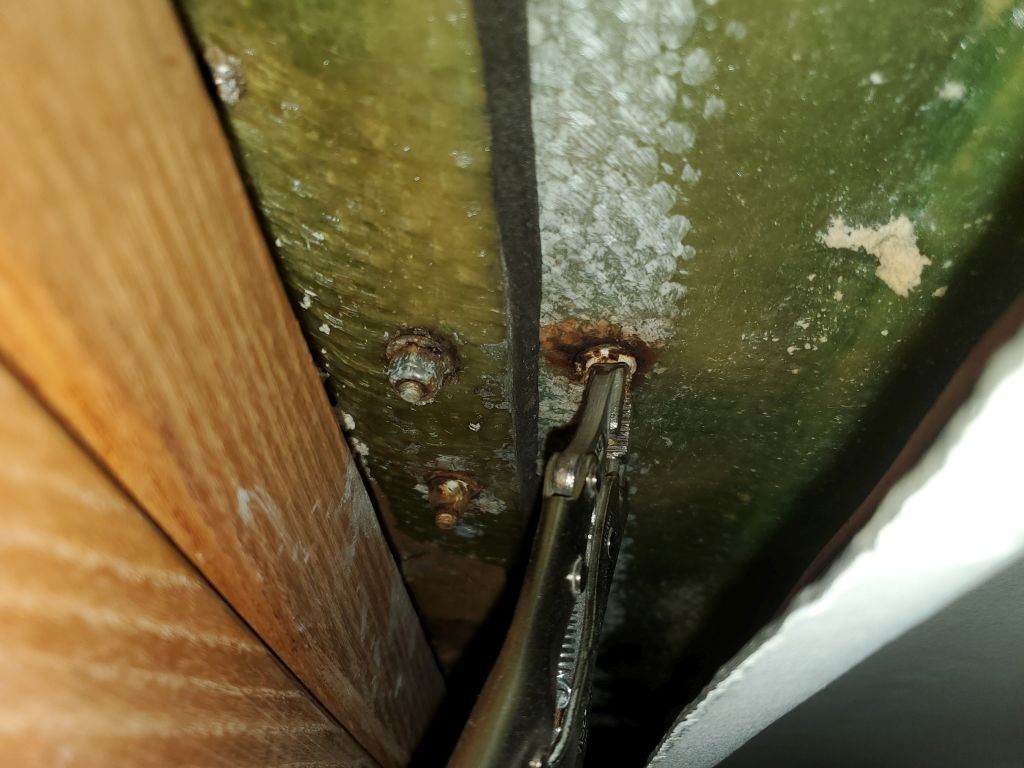
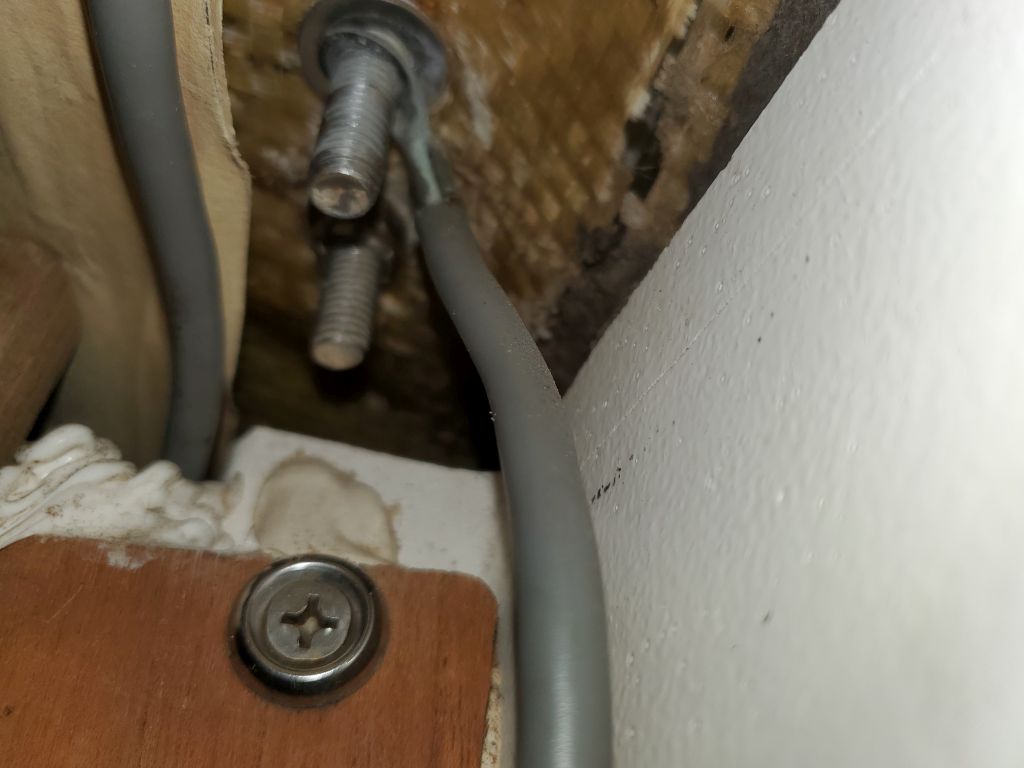
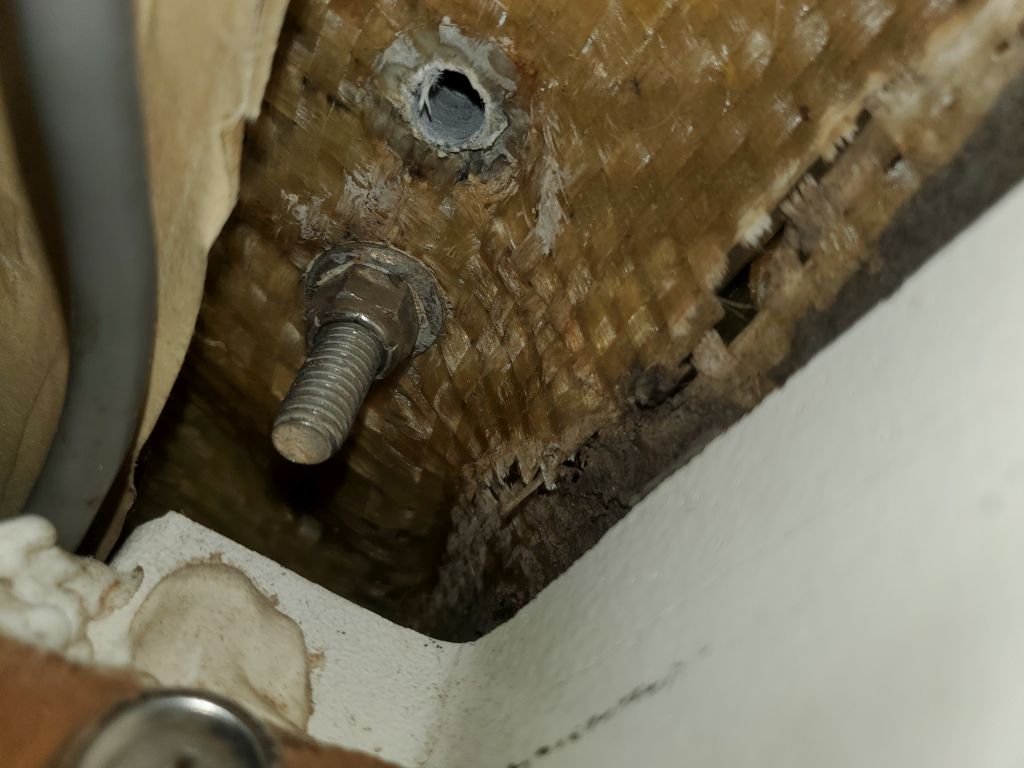
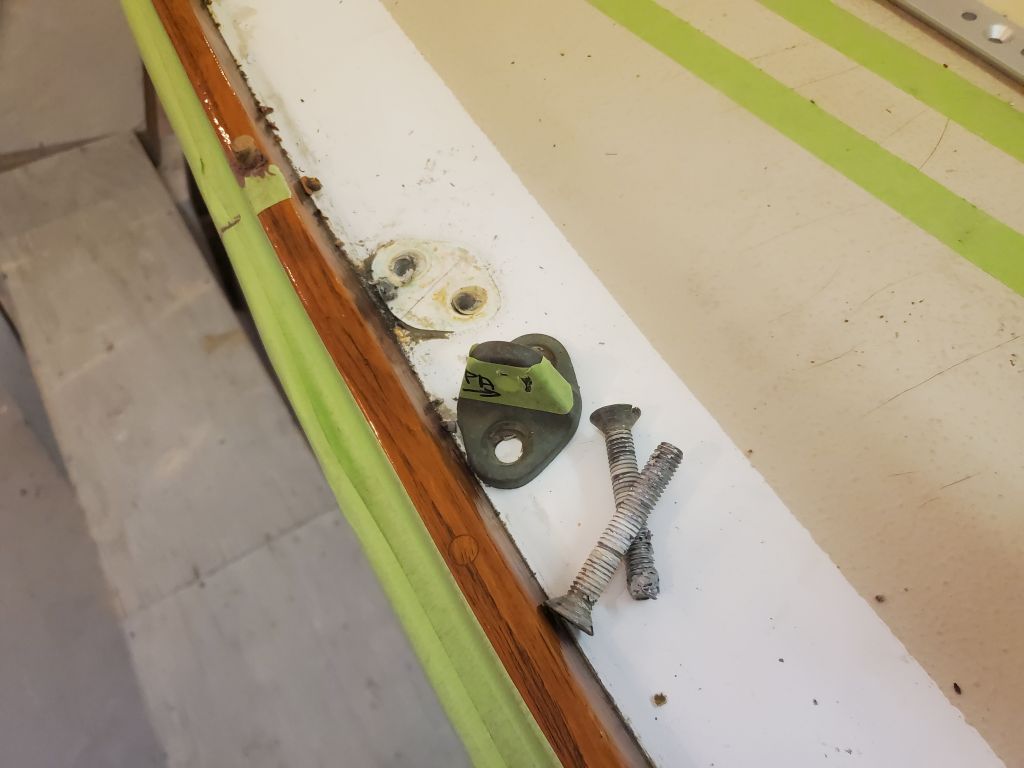
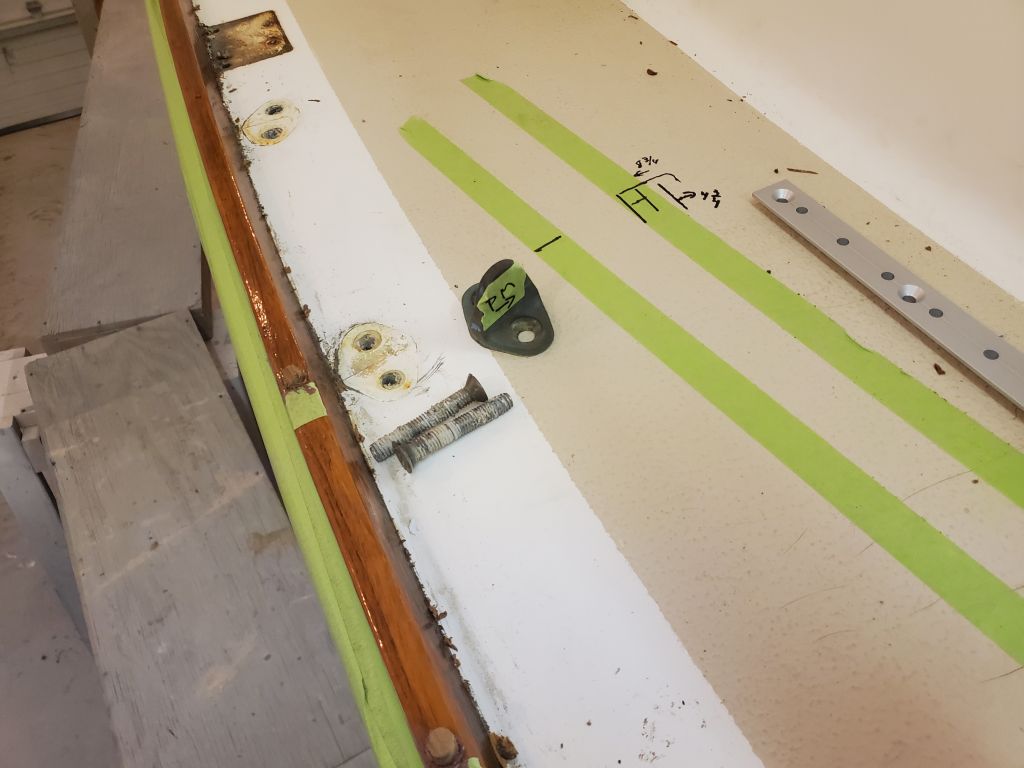
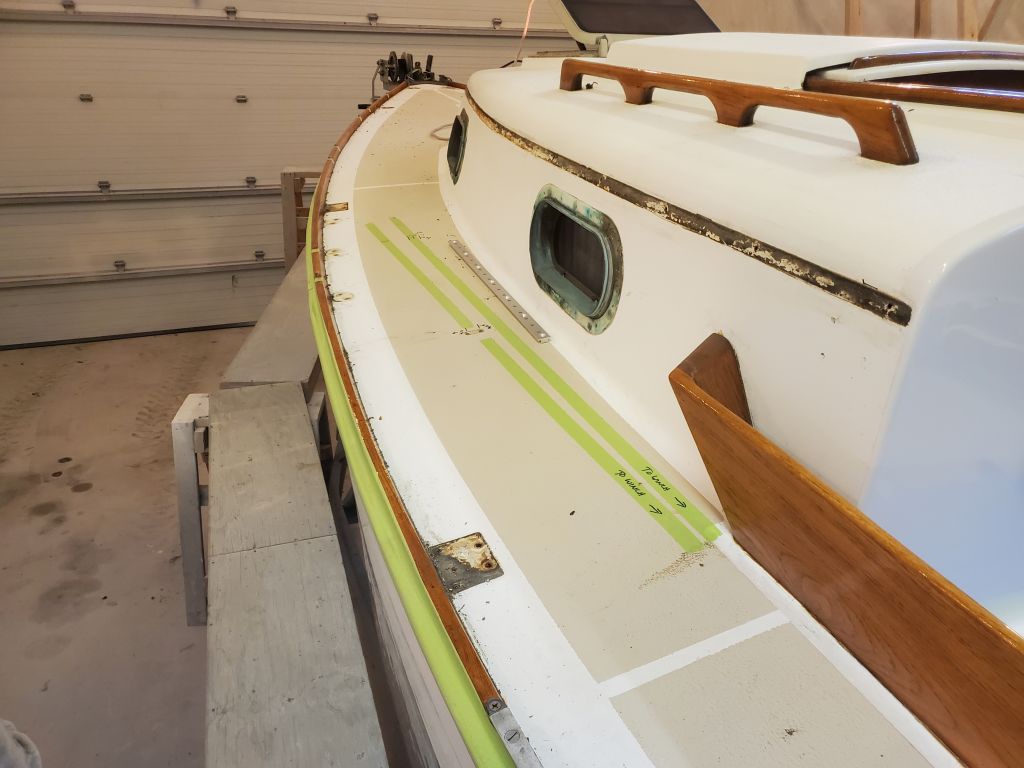
On the starboard side, access was fair enough that I could remove the aft chainplate without too much trouble, but the forward chainplate was located directly in line with the bulkhead, and access to the forward bolt was too tight to allow a socket or wrench, as there was only a small space above the bulkhead, and with the bulkhead right in line with the bolt, there was insufficient room for any sort of convenient tool. I finally prevailed after I removed entirely the after bolt (each chainplate was fixed with two 3/8″ flathead bolts), which then gave me just enough room to clamp onto the nut a small set of locking pliers, after which I could remove the bolt from above. As simple as this all sounds when reduced to these few sentences, it must be said that this took a very long time and I wondered if I’d even be able to remove this particular bolt and chainplate. I prevailed, but it was close. The woven roving with the cracked/broken fibers seen in these photos serves only to secure the metal backing plate beneath the deck, though which the chainplates are bolted and by which are reinforced, and as such doesn’t appear to pose any problems, though, as I discovered it while reviewing these photos, I planned to have a more detailed look presently.
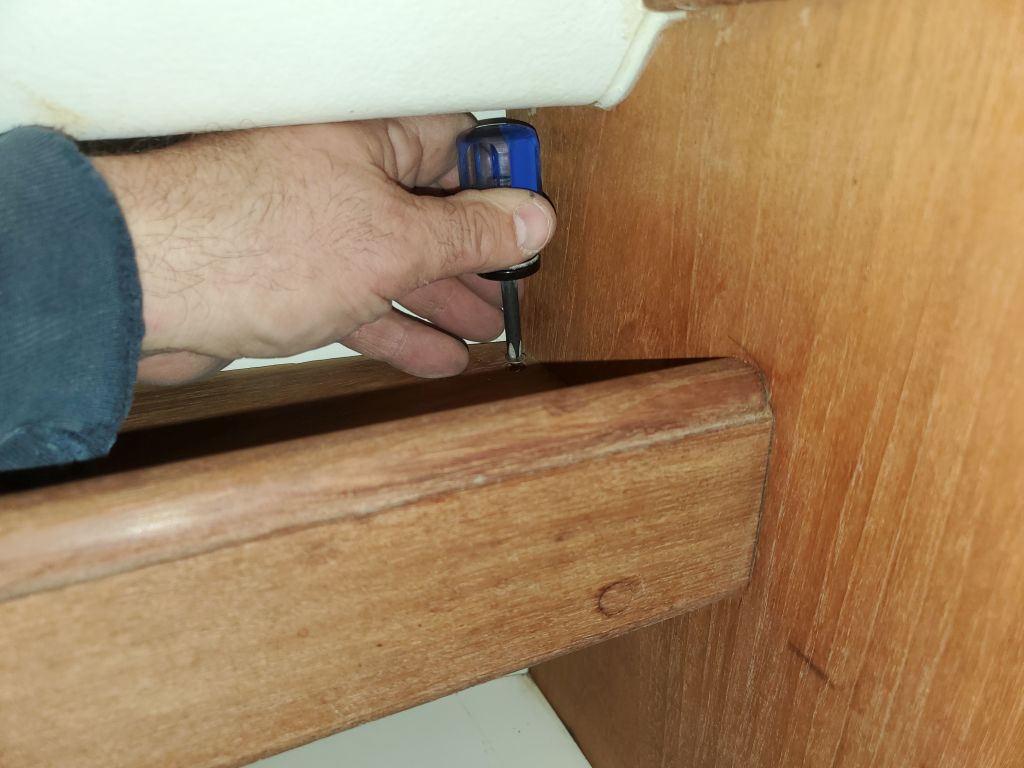
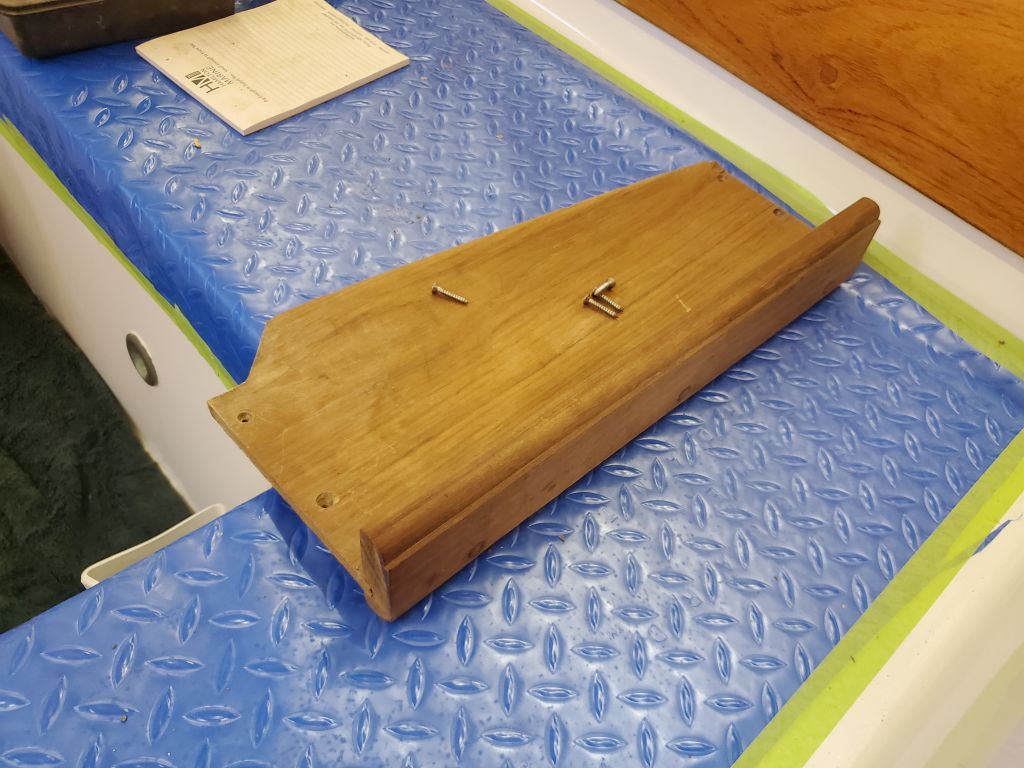
Moving over to the port side, my first task was to remove the little shelf that was in the way, which was secured with four screws through the top side. The inner pair of screws I could reach with my right angle drill, removing them rather easily, but the outer pair had so little clearance that I was reduced to using a stubby screwdriver on one, which was bad enough, and then, for the aft screw, one of those ridiculous right-angle hand screwdriver things that every tool kit has, but one fervently hopes never need use. It worked, a sixteenth of a full rotation at a time, and finally the shelf was out and I could attack the chainplate bolts. Once I managed to get the mess of wires out of the way enough, I was fortunate that these four bolts came out more easily than their counterparts to starboard, aided by the fact that the sealant bedding these chainplates was strong enough to allow me to unwind the nylock nuts from beneath with a ratchet, without need to hold the bolt from spinning. In fact, on these two final chainplates, the bond of the sealant was strong enough that my impact gun, for a while, couldn’t even turn the bolts from above once the nuts were removed, breaking two hefty slotted bits before I found one that didn’t shatter before it had managed to loosen the sealant’s bond on the remaining fasteners.

Despite the fact that it was a short day, it hardly seemed a day’s work, removing these few bits of hardware, but there you are. I daresay I thought this was perhaps the worst of it, though. Next time, I hoped to finish the required removals with the handrails, sea hood, and companionway hatch, which would then leave things pretty much ready for the real work to begin.

Total time billed on this job today: 4.25 hours
0600 Weather Observation: 30°, mainly clear. Forecast for the day: Sunny, 62°