

December 21, 2021
Arietta Phase 2-33
Tuesday
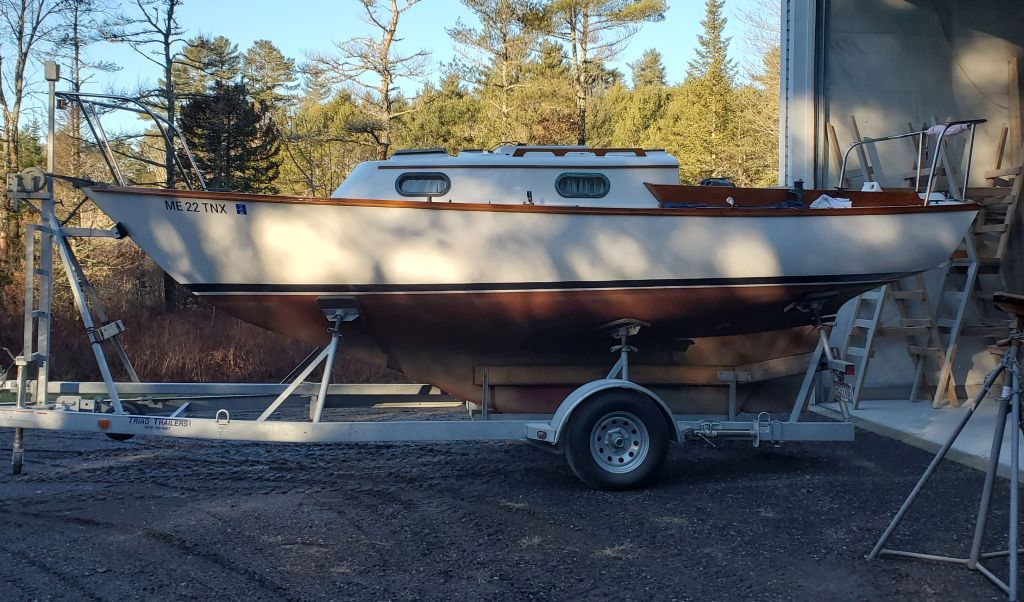
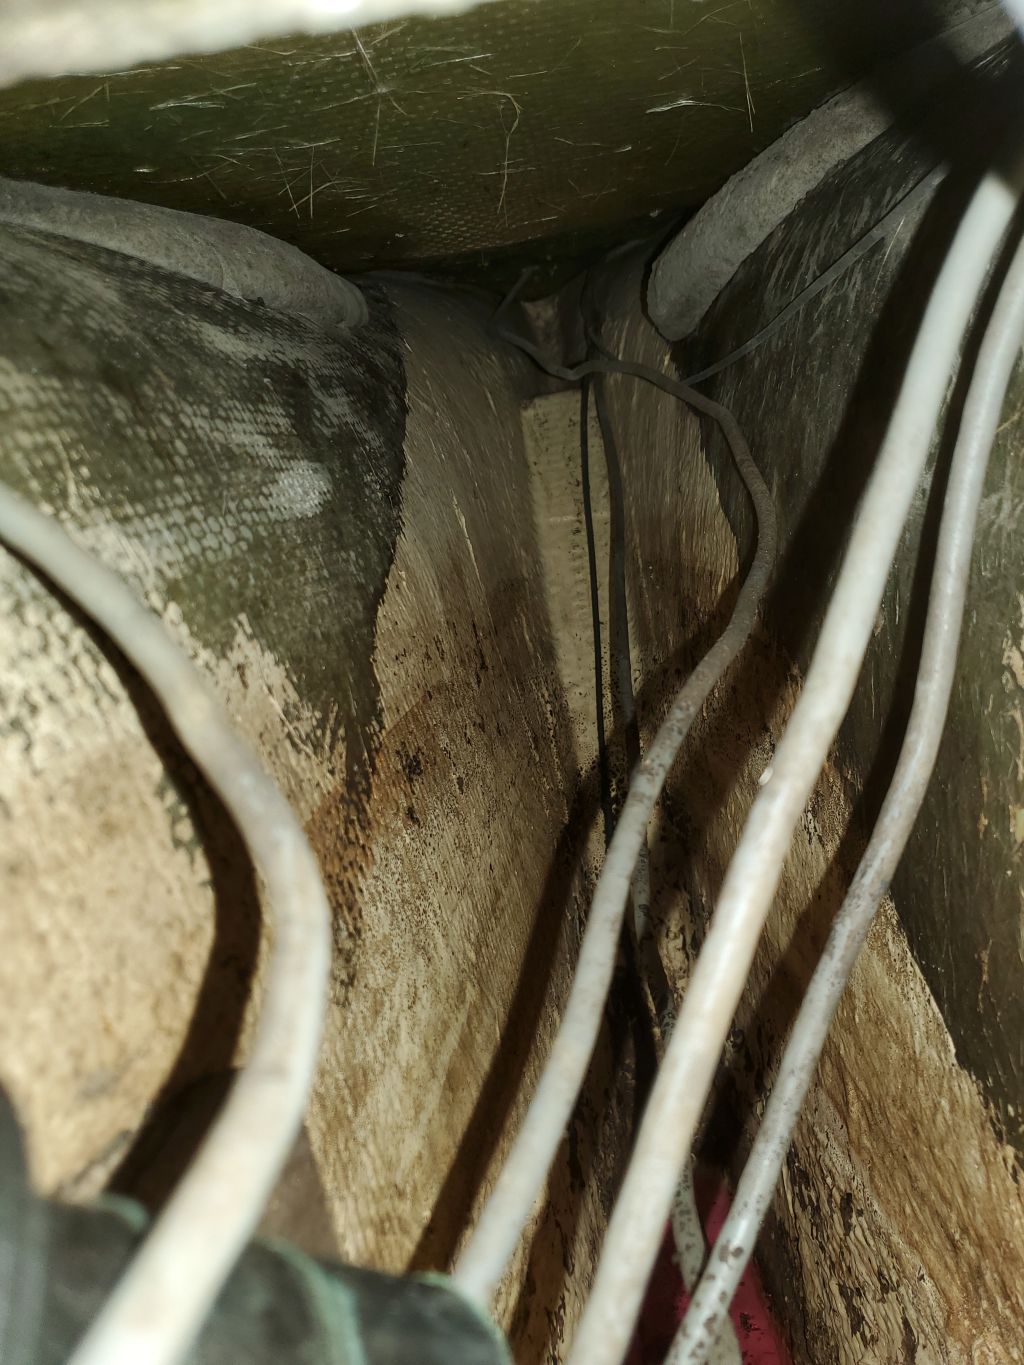
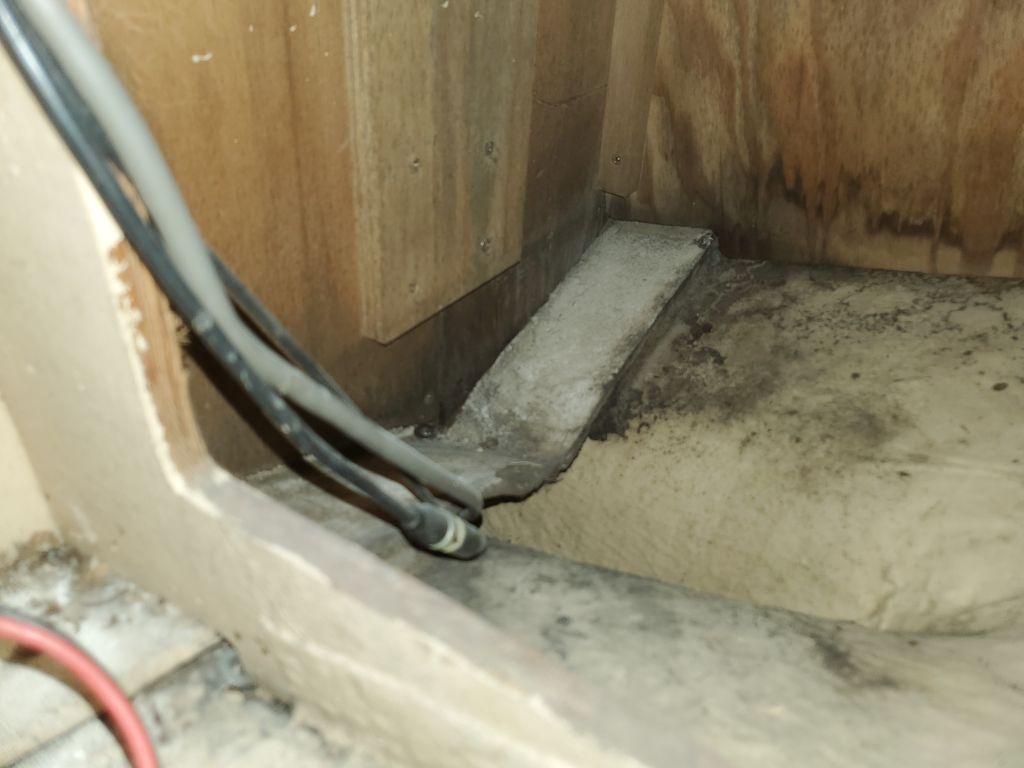
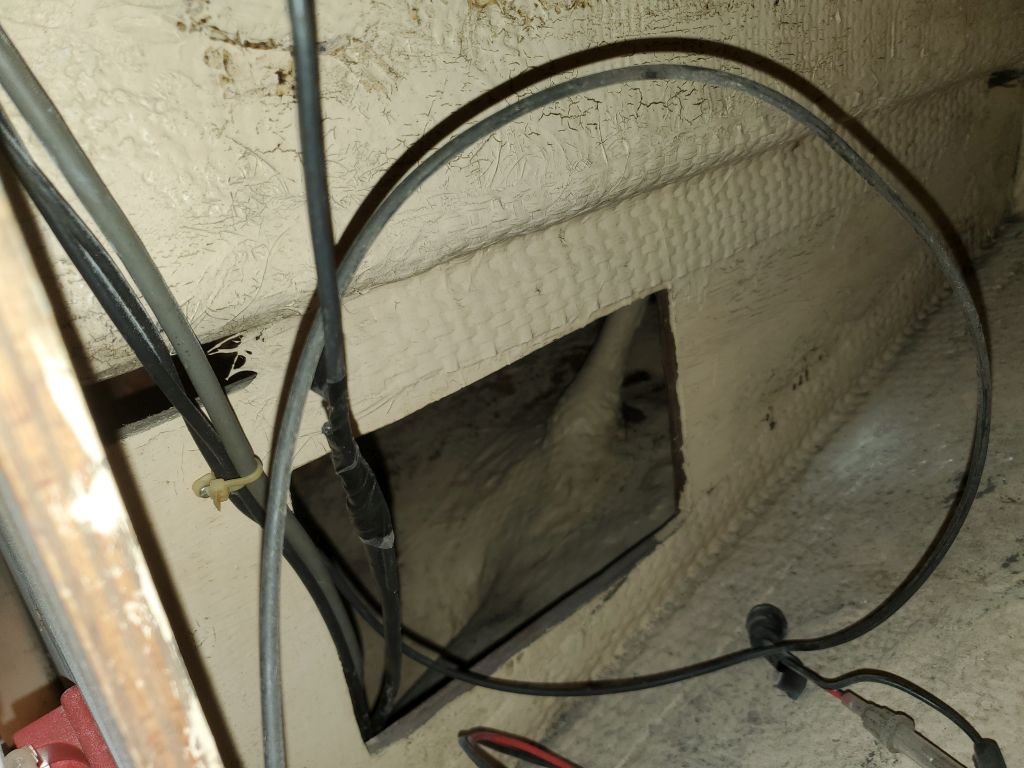
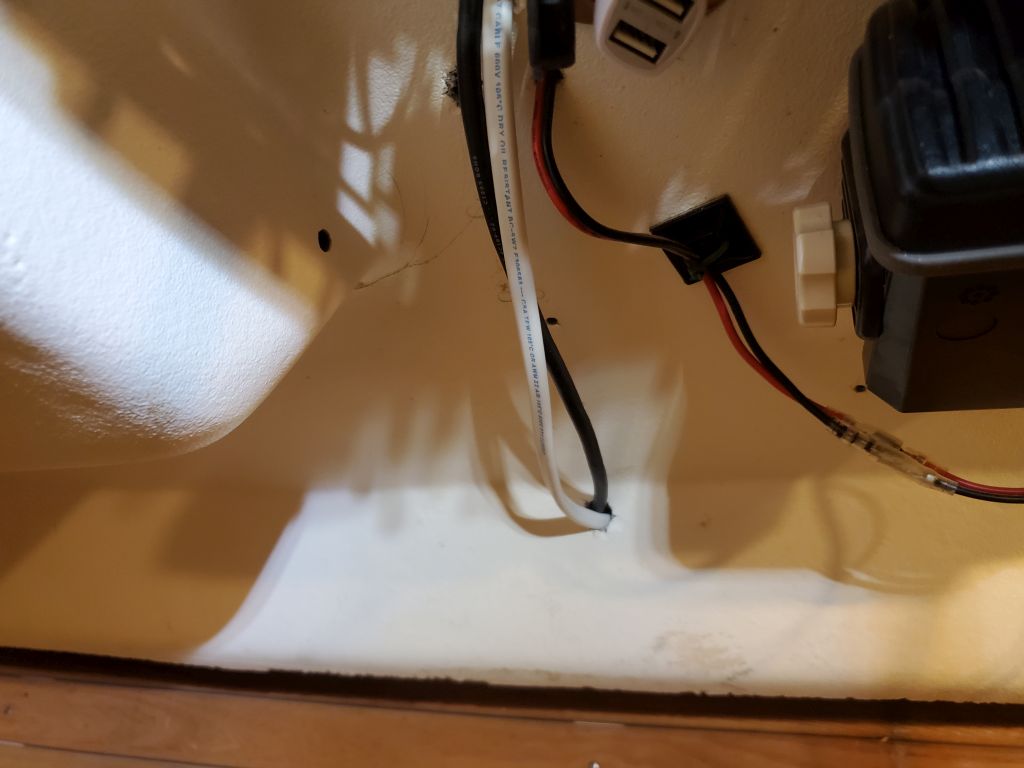
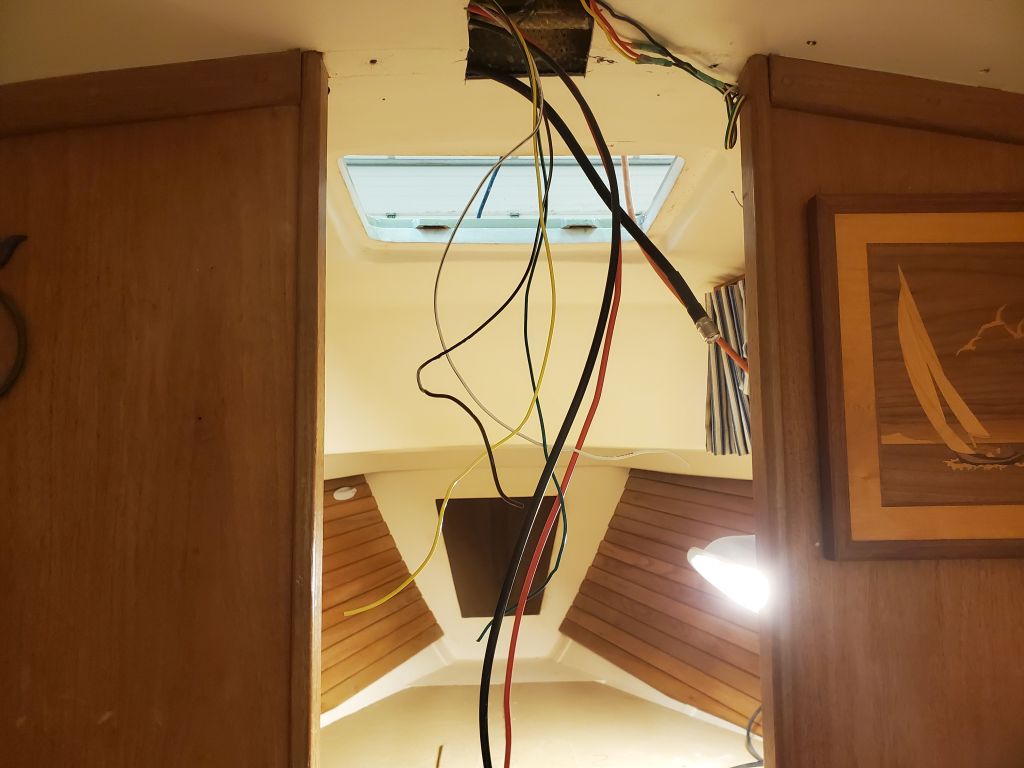
Investigating so that I could run the new transducer cable, I found that the existing cable–where it disappeared into the liner inside the settee locker–ended up in the bilge area beneath and aft of the main cabin, where it led eventually into the port utility/locker space outboard of the cockpit and, from there, beneath the liner and up to the electrical locker, and henceforth to the nearby opening in the bulkhead. This is a camera view held inside the small bilge access hatch, looking to port, up, and aft.
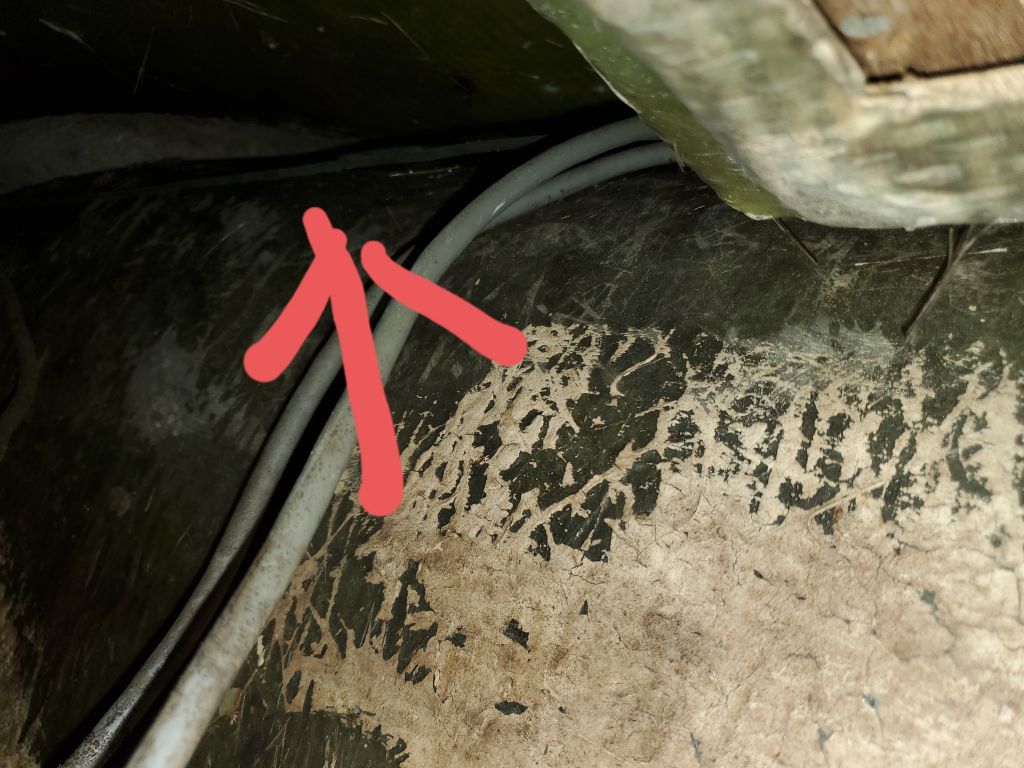
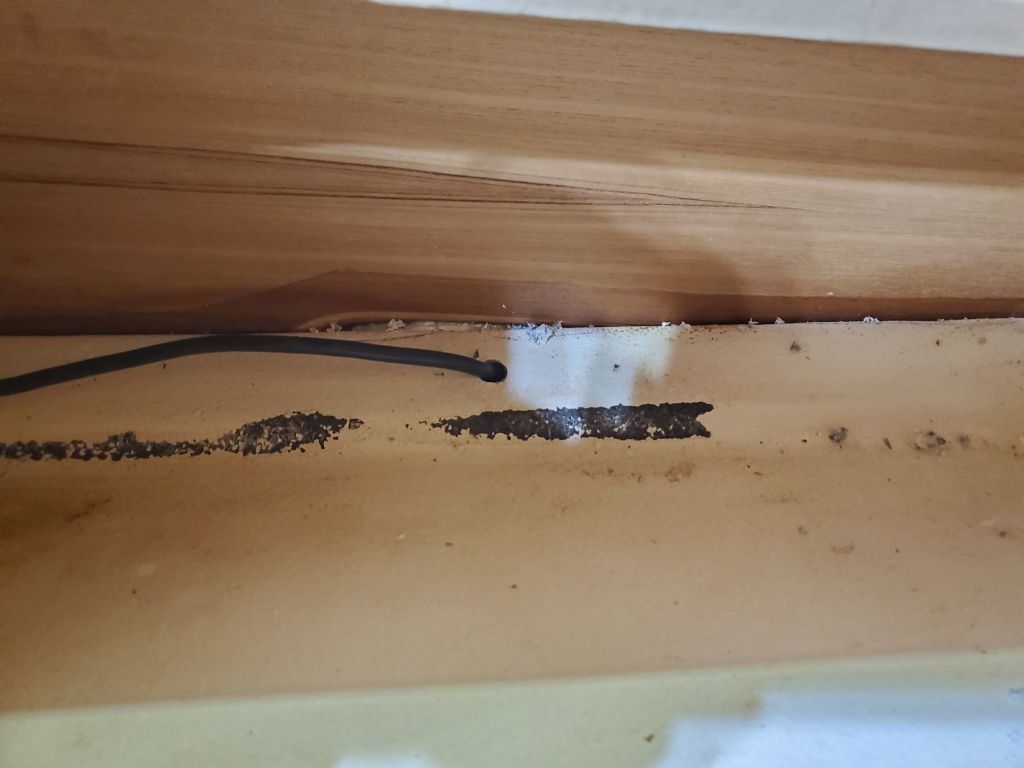
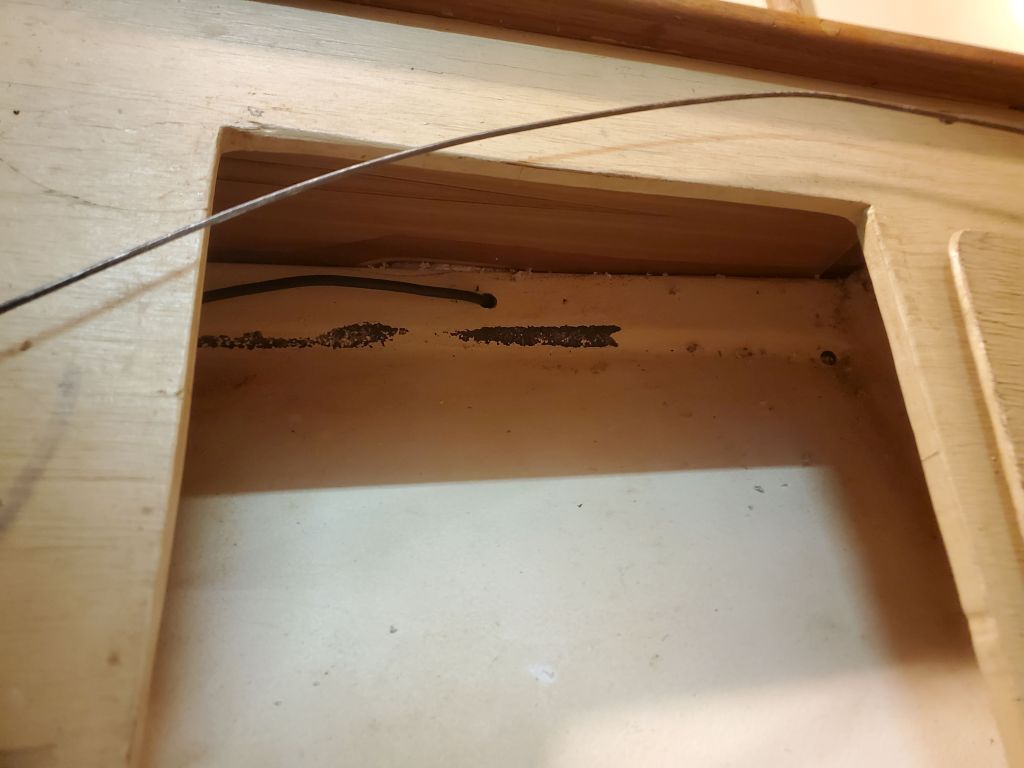
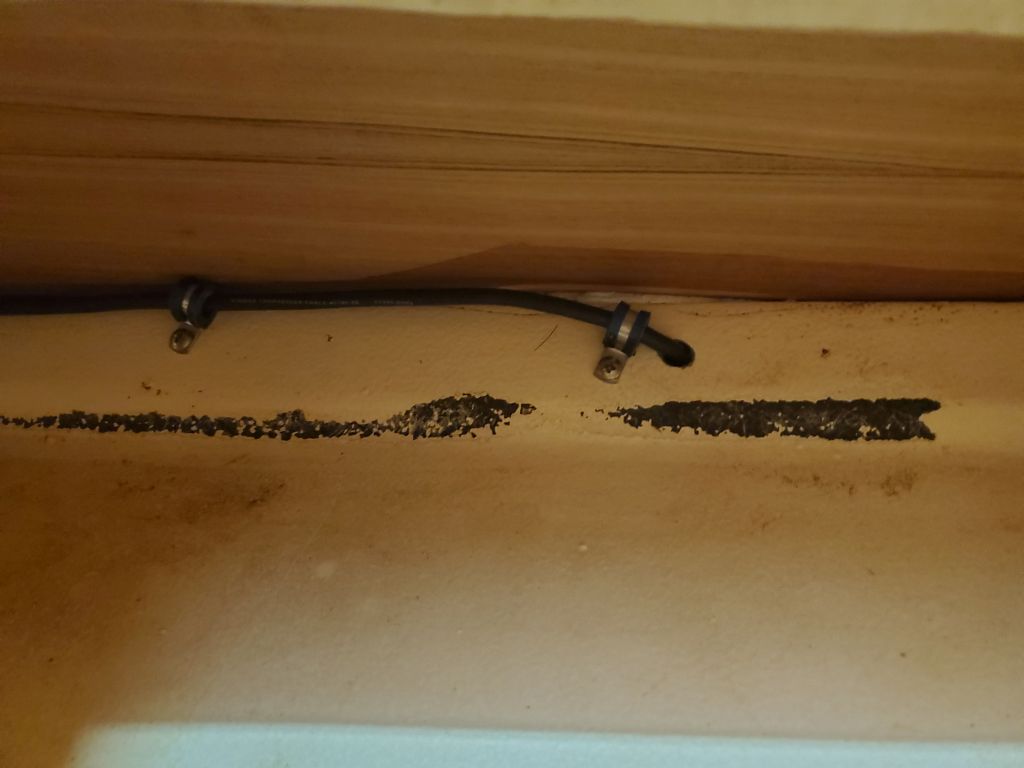
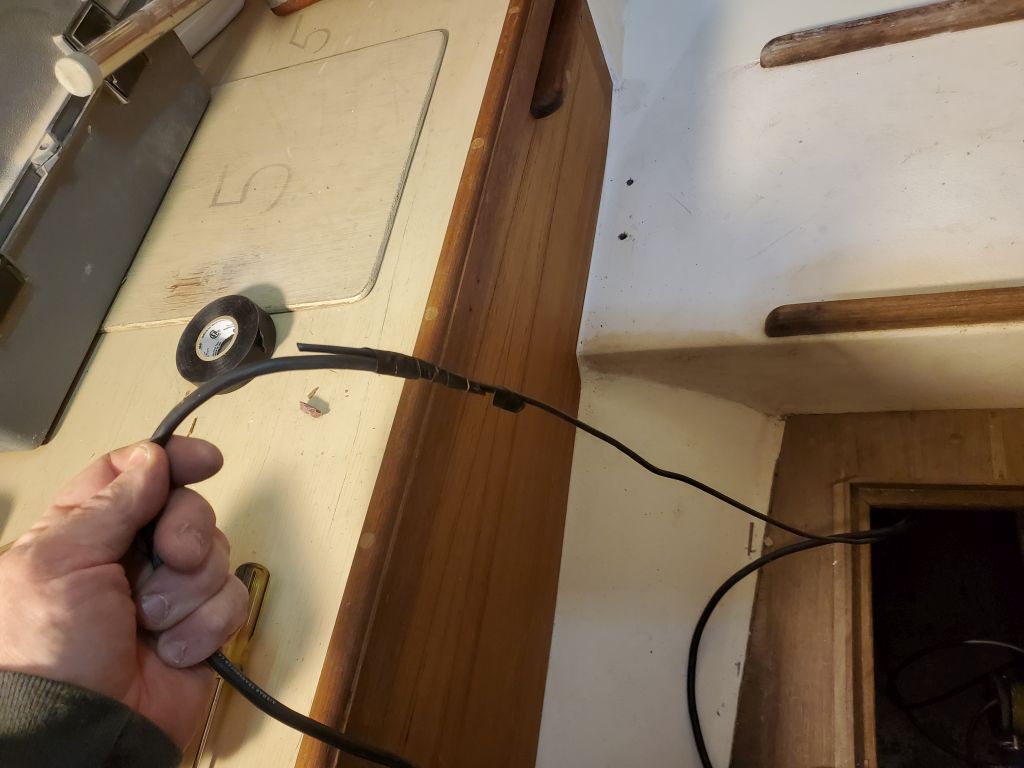
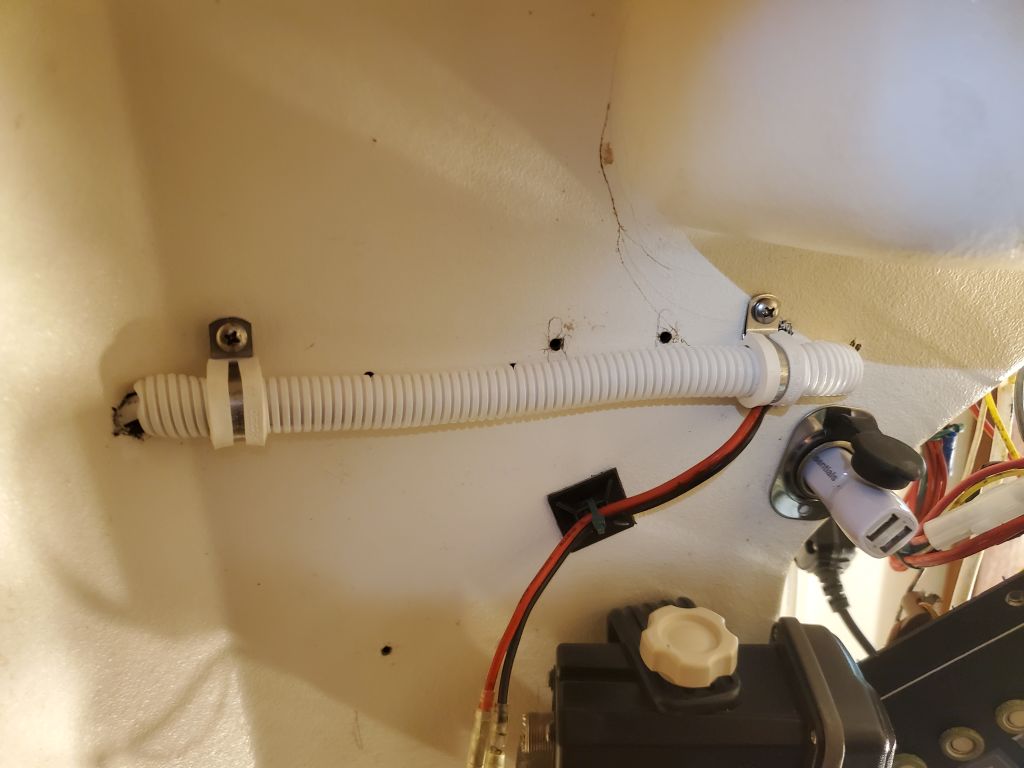
I couldn’t get a snake through the existing hole in the liner, which also contained a couple large gray grounding cables, and since the new transducer cable was larger than the old, and the old cable was already tight in the opening, I didn’t think I’d ever get the new cable pulled through that way, so instead, after confirming that the liner continued to open up into the bilge further aft, I drilled a new access hole beneath the after settee hatch in an area of clear access. With the transducer sensor loosely in place in the through hull to position it and give me a sense of how much cable slack would be required to allow for its removal and proper alignment, I led the rest of the cable aft through the bulkhead and then down the new hole into the bilge, where I could grab the end and pull it up through the bilge hatch for now. I secured the new cable, and resecured the existing grounding cables, along the way inside the locker with rubber-lined clamps, replacing the tired old cable ties that I’d had to remove to take out the old transducer cable.
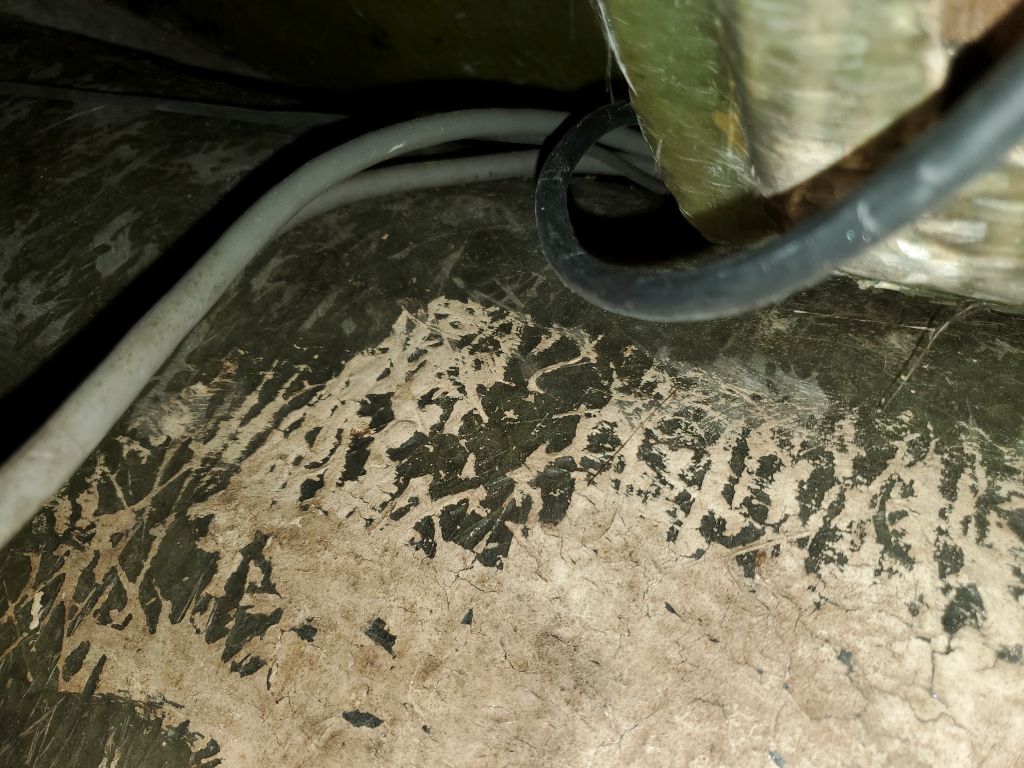


Now I could tape the new cable to the end of the old one, which ran aft through an inaccessible area of the bilge and surfaced again beneath the cockpit, and pull through the new cable into the locker space there.
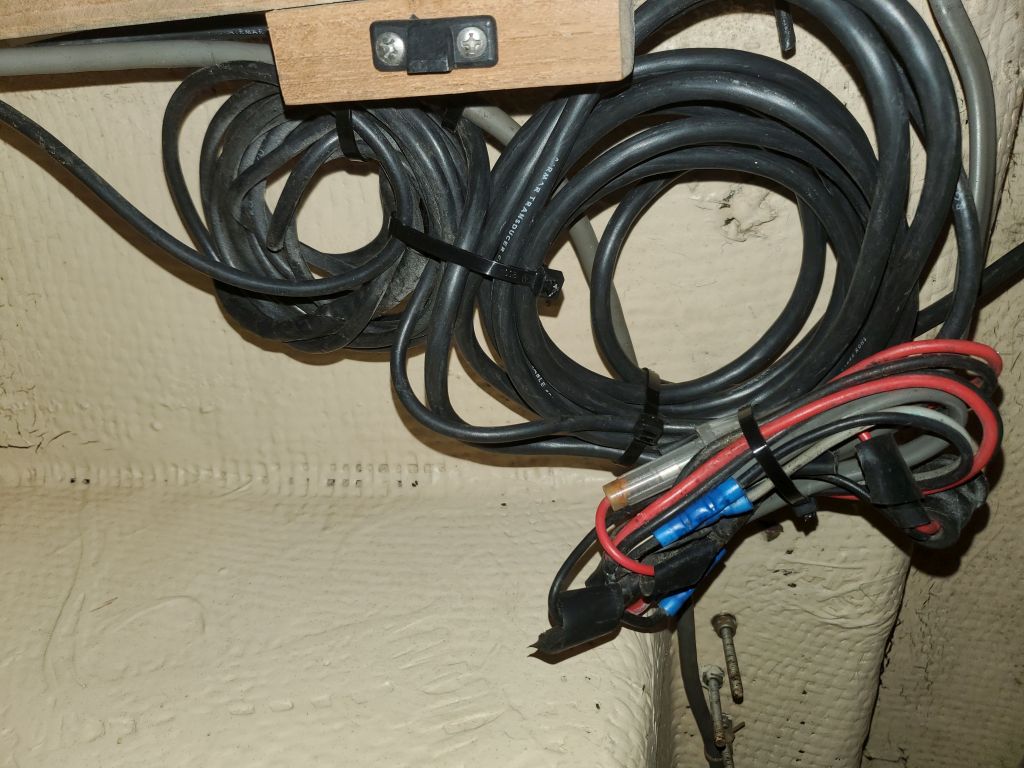
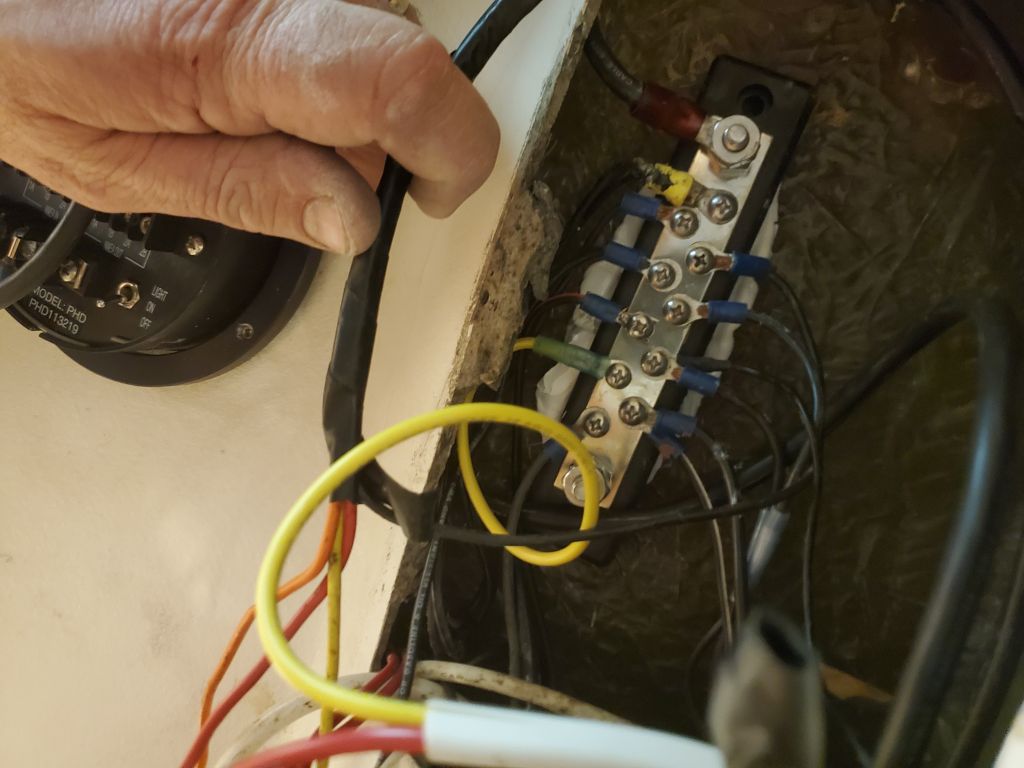
It would have been nice if I could have used the old cable again to pull the new one through the space beneath the liner, which would have provided a clean and simple way forward to the electrical locker where it needed to end up, but alas, this was not to be: The old cable was tightly bound somewhere within, and I couldn’t pull it from either direction. So instead, I cut off the excess and now-obsolete cable at both ends, and ran the new cable through the space at the outboard upper corner of the bulkhead, and along the accessible section of the liner (the outboard area that allowed access to the hull/deck joint and hardware locations), then drilled a hole in this part of the liner to run the cable the short distance to the bottom of the electrical locker, where another new hole allowed me to pull in the cable. I also led in the new bow light cable through these same holes and, after securing the cable appropriately and tying up the excess in the aft locker near the excess speedo cable, covered these briefly exposed wires with some split loom and cable clamps for a neat installation. Running the cable end the short distance through the liner between the electrical locker and the lower instrument opening, I left enough excess cable there to make the wiring connections to the instrument.


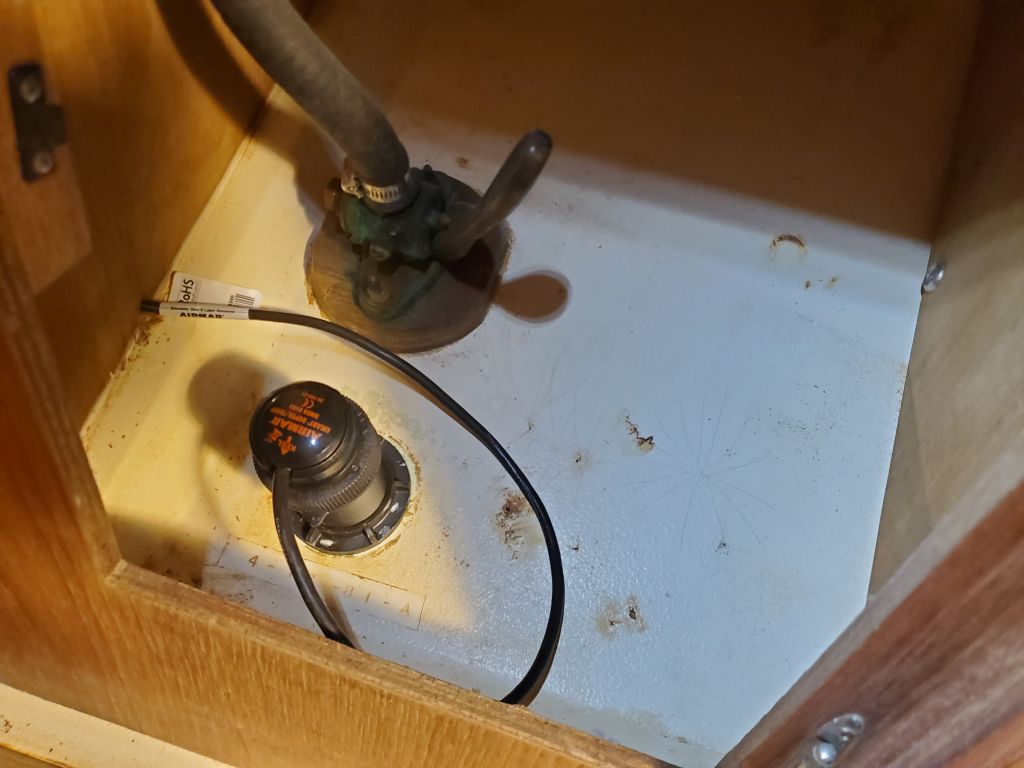
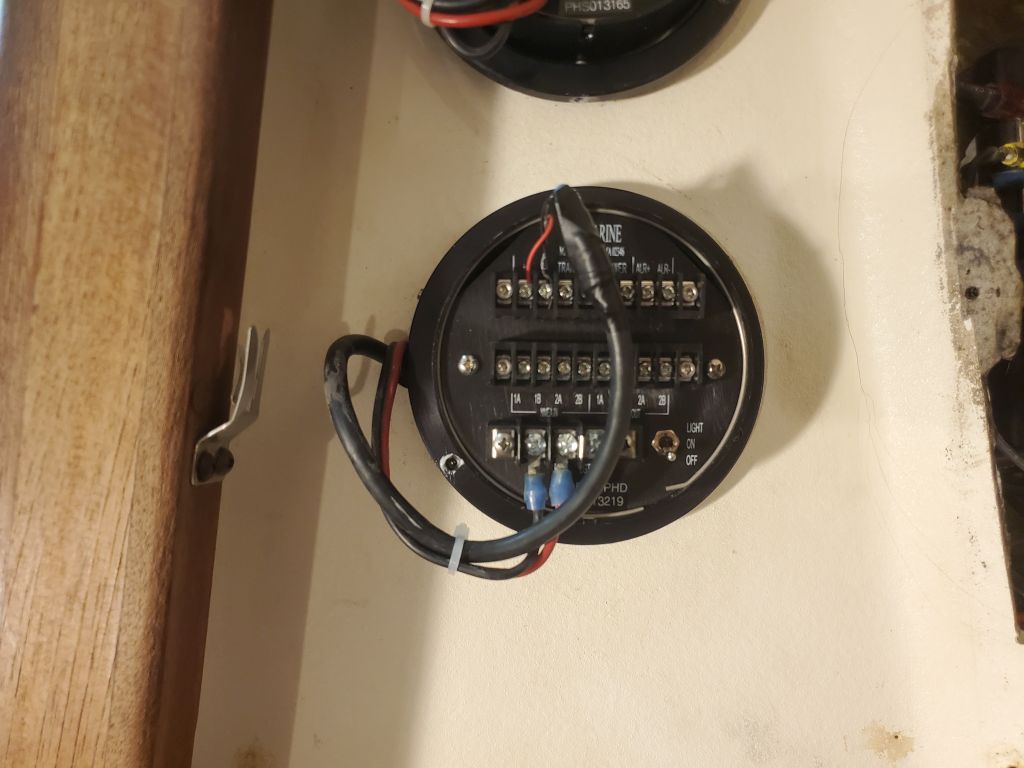
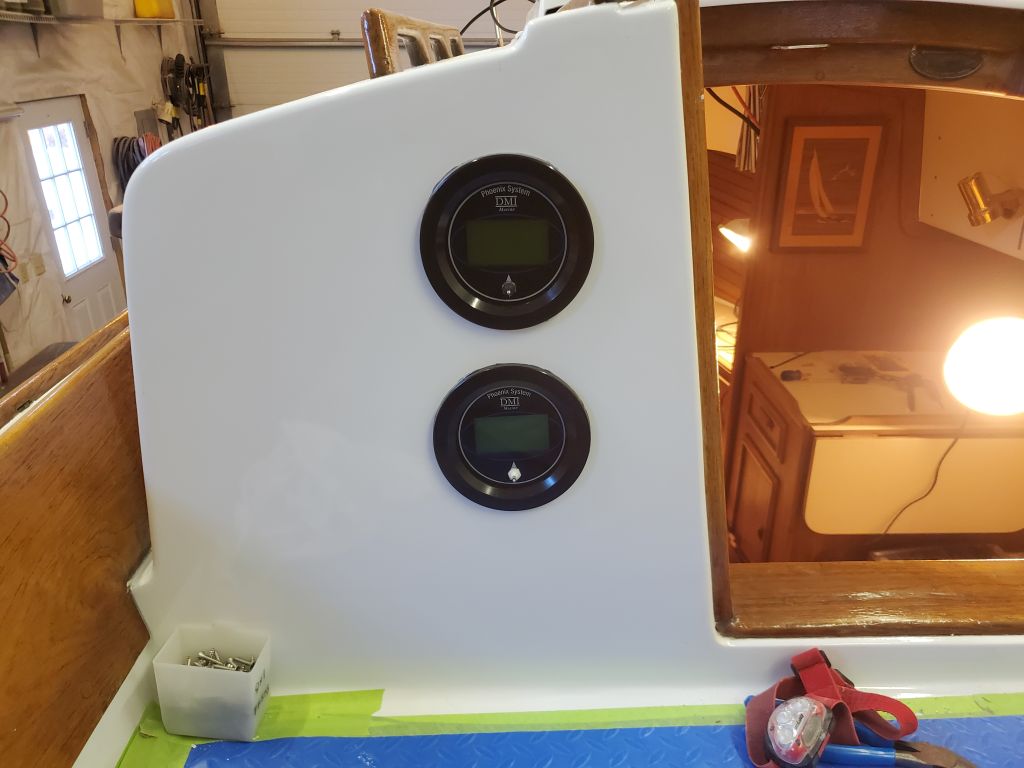
I prepared the end of the old speedo cable by cutting off the BNC connector and, as advised by DMI, stripped back the sheathing to expose the core (speed sensor) and shielding (ground). Now, I could install and hook up both speed and depth instruments. These instruments use an aluminum trim ring to secure them from behind: The trim ring uses setscrews to pinch the instrument housing, then three additional set screws through the face of the ring press against the bulkhead and pull the instrument tightly into position. I treated all the holes and threads with Teflon gel to stave off corrosion between the parts, and, with some new butyl sealant on the backs of the instruments, installed them tightly, then made up the wiring connections as directed.
So simple in description, but this all took 4-1/2 hours when it was said and done.
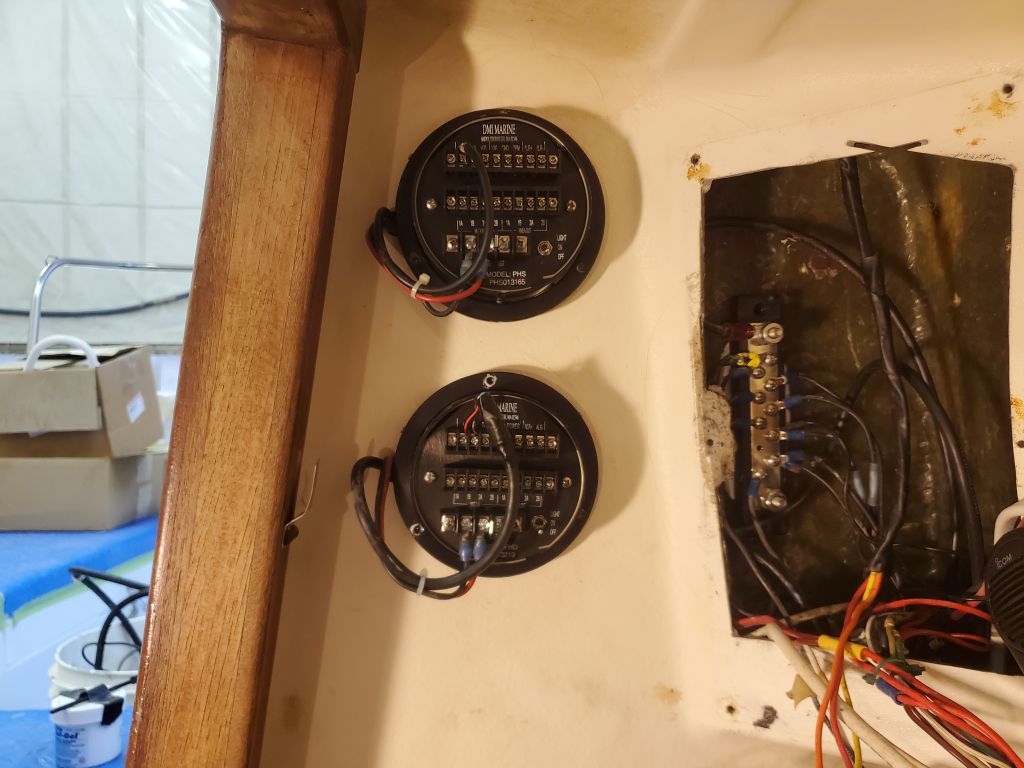

I connected the new bow light wires, which finished my work in the panel area for now.


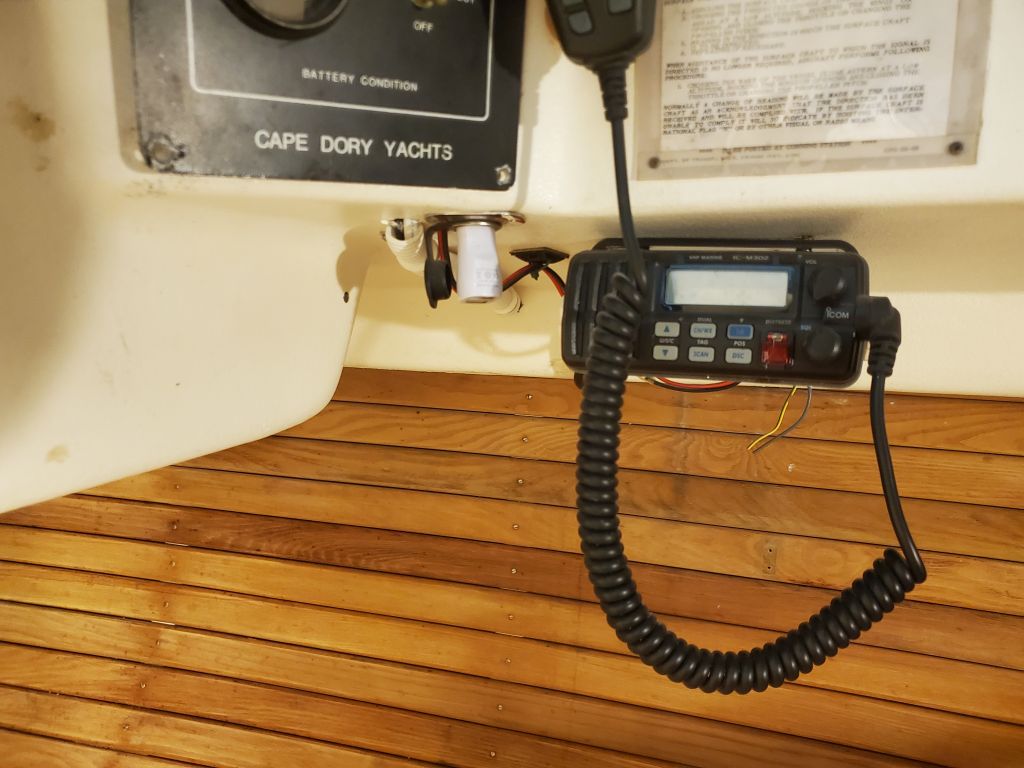
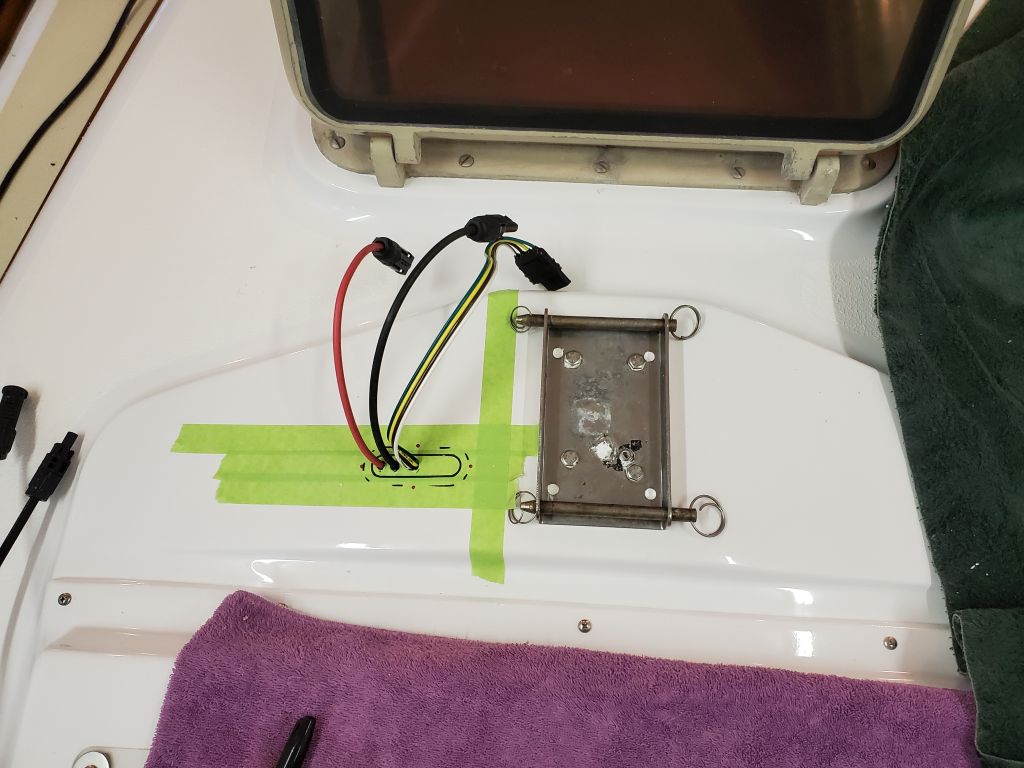
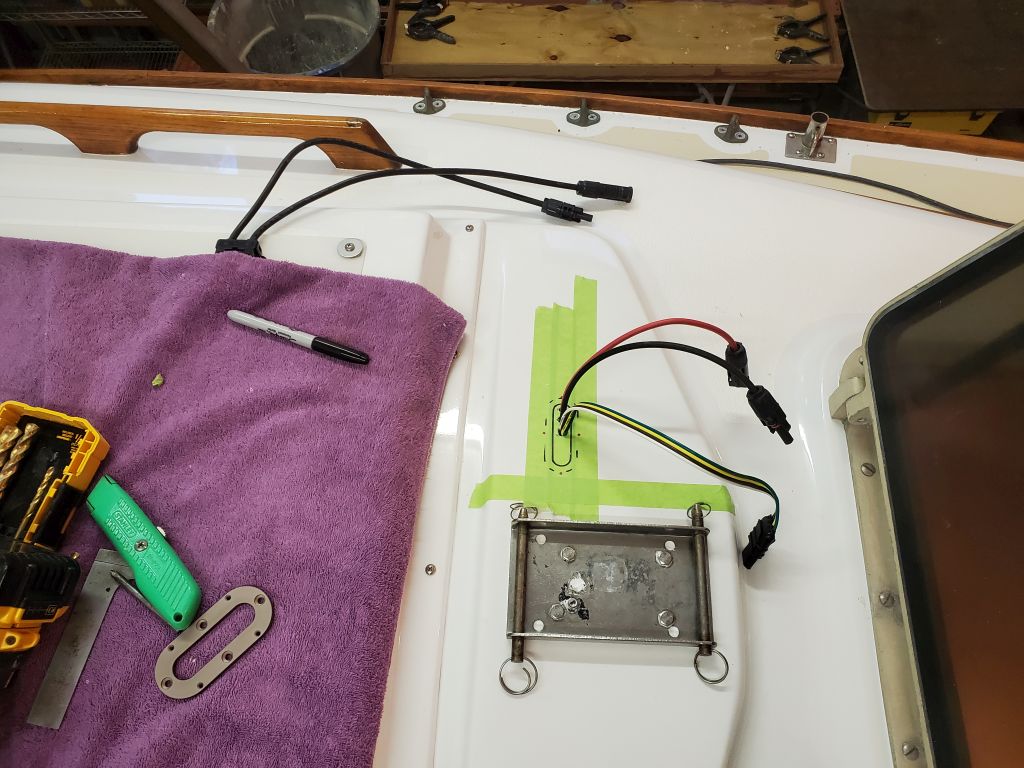
My new solar wire arrived ahead of schedule, which meant during the remains of the day I could start the process of installing these, and the other mast wires. After some additional double-checking and final layout, I drilled two holes through the deck for the pair of solar wires, and managed to run them from above and out the existing liner opening below without too much difficulty, though I couldn’t directly access the openings from beneath. Then, before the end of the day, I drilled another hole for the 4-wire connector harness the owner liked for the mast wiring (a trailer wiring plug-type), and led these below as well. These wires would all eventually run through the compressed rubber oblong gland designed for this purpose, but at the moment I didn’t need any of its components in place. All that remained was the larger hole for the VHF cable, which I’d have to lead from the bottom up, and that would be the first task for next time, after which I could straighten up and lead the wires belowdecks.

Total time billed on this job today: 6 hours
0600 Weather Observation: 26°, clear. Forecast for the day: Sunny, 35°