December 13, 2021
Arietta Phase 2-27
Monday
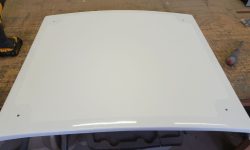
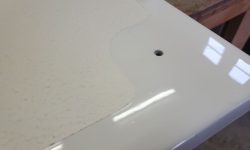
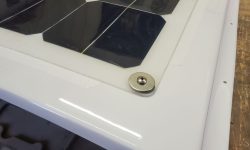
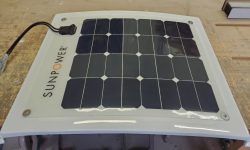
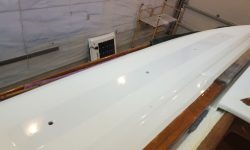
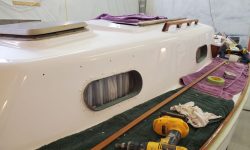
Some of the hardware reinstallation would have to wait till I received my new supply of fasteners in a day or so, but in the meantime there was no shortage of things I could do. After working on a couple unrelated projects and an errand in the morning, I got to work on the sea hood, where I installed the new solar panel the owner had provided. I secured the panel through its four mounting eyes with sealant, machine screws, and fender washers in tapped holes in the corners of the sea hood, ensuring that the fasteners didn’t protrude at all through the sea hood since there was little clearance to the sliding hatch beneath when installed. As I was awaiting a supply of the correct fasteners for the sea hood itself, I set it aside for now to await final installation soon.
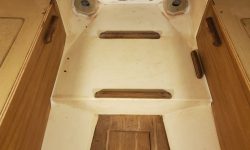
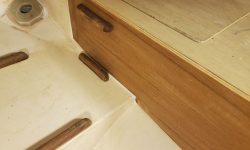
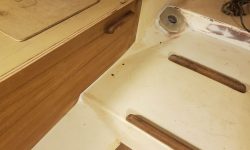
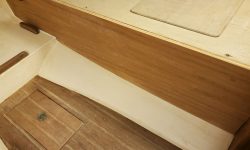
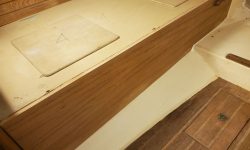
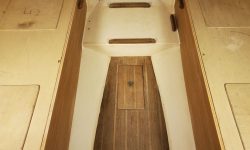
In the cabin, I took a few moments to pare away and sand smooth the excess bungs on the new settee fronts. These were complete except for applying finish to the new wood.
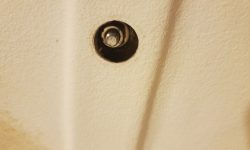
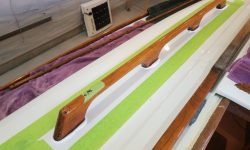
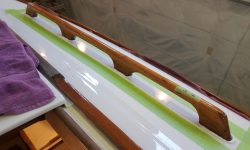
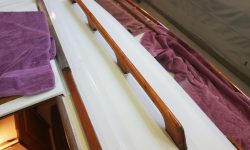
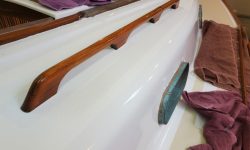
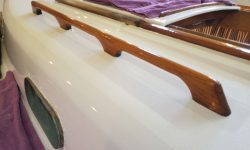
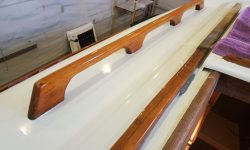
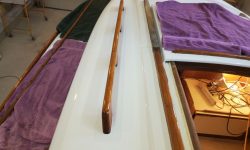
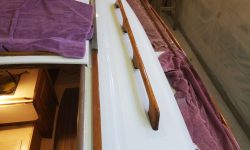
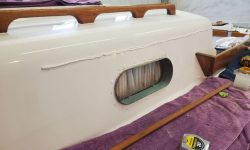
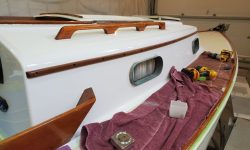
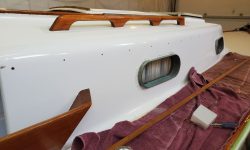
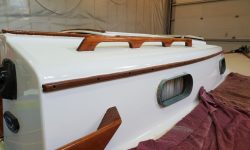
Using the previously-marked holes as a guide, I drilled the coachroof for the handrails on each side, then reinstalled these with ample sealant and new nuts and washers from below. I covered the holes in the interior liner with new plastic cosmetic plugs, and cleaned up the excess sealant to complete the installation.
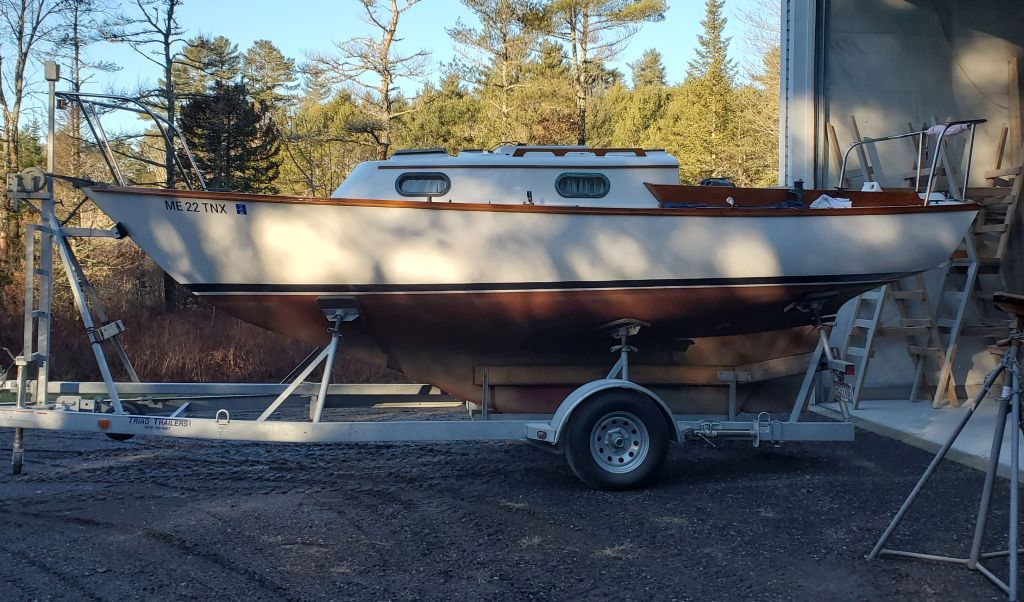
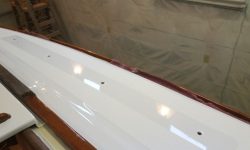
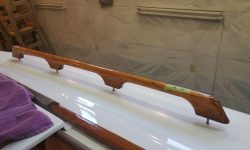
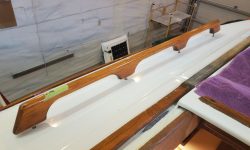
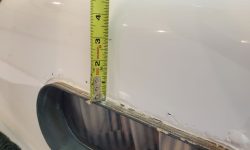
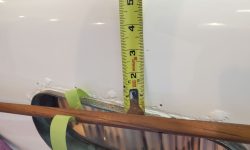
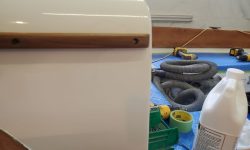
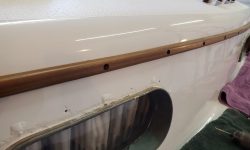
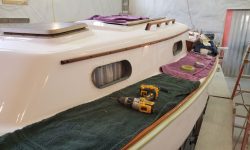
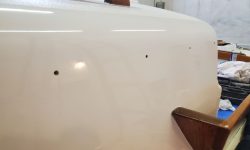
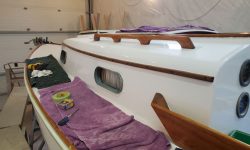
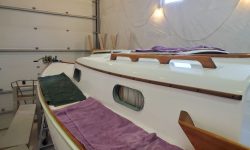
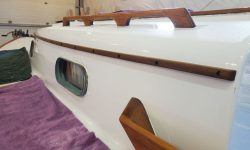
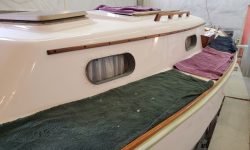
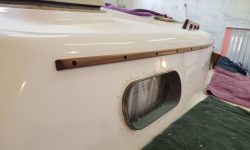
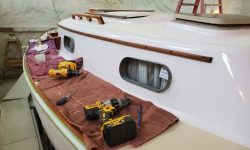
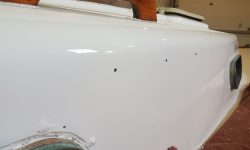
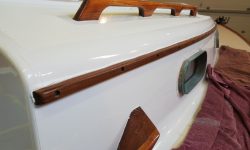
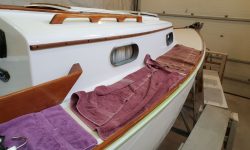
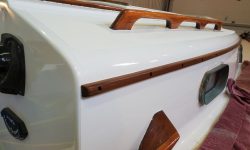
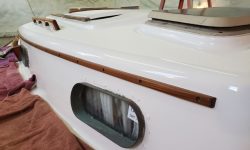
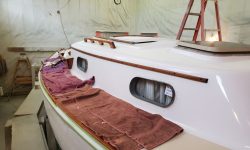
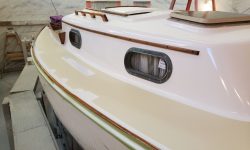
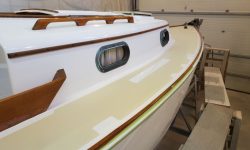
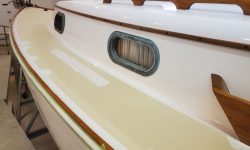
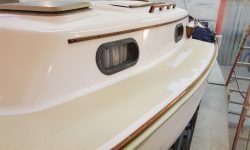
Earlier in the project, after I removed the original eyebrow trim, I made a note of the position of the trim for future reference: the top edge of the trim was 3″ above the port spigots at each location. Now, to install the new eyebrow, which I’d prepared with several coats of finish on the bench first, I began on the port side because that’s where I began, and made a mark 3″ above each of the port spigots. With a third known position at the aftermost end (because it is where I had stopped the cockpit paint a year before and was still visible), I easily laid out the new trim, securing it with a few screws aligned with the three known marks. Once the trim was thusly in place, I drilled pilot holes at all the remaining locations before removing the trim again and finishing the holes with small countersinks at the surface.
I applied a bead of sealant about halfway the length of the trim from the aft end, then installed a few screws to hold it securely before continuing the sealant and securing the forward end, and installing all the remaining fasteners between. After cleaning up the excess sealant, the new trim was complete except for the 15 bungs required to hide the screw holes.
After shifting my operation to the starboard side, I repeated the whole process to install the eyebrow there.
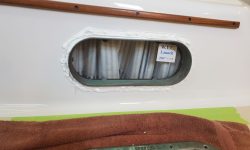
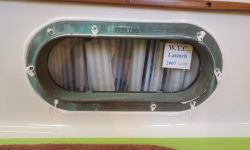
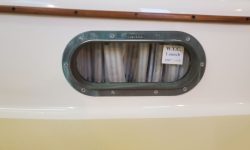
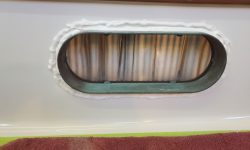
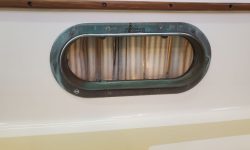
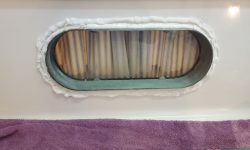
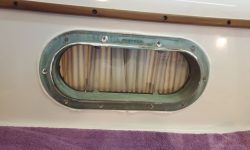
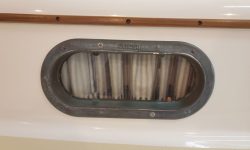
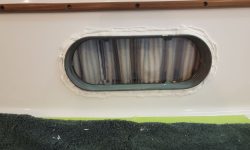
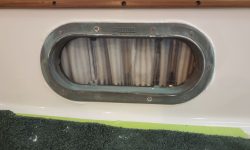
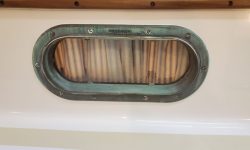
After removing a few vestiges of old sealant from the bronze port trim rings, I reinstalled them at all four locations with their original fasteners (still in fine condition) and “bo-koo” sealant around the spigots and beneath the trim rings.
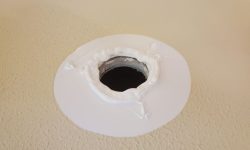
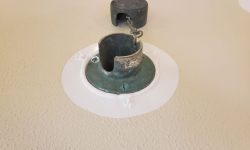
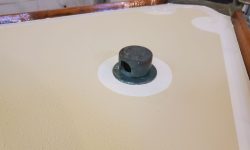
Finally for the day, I installed the bronze hawsepipe on the foredeck.
Total time billed on this job today: 5 hours
0600 Weather Observation: 30°, mostly clear. Forecast for the day: Sunny, 46°


