December 16, 2021
Arietta Phase 2-30
Thursday
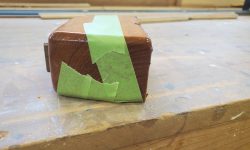
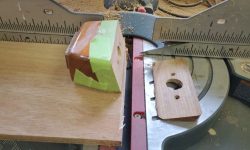
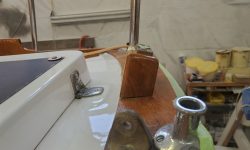
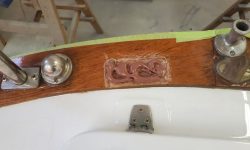
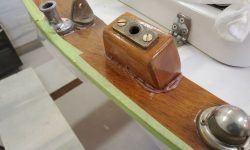
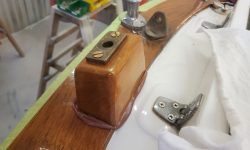
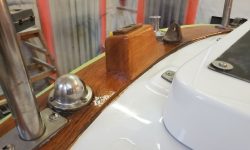
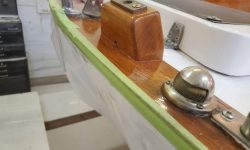
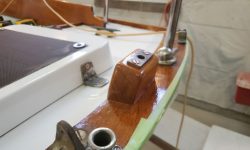
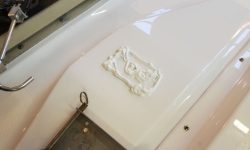
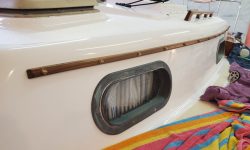
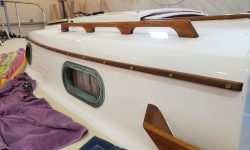
The owner requested that I modify the oarlock I’d installed for him last year, as he’d found that it required an angle to help the oar reach the water effectively. Earlier in the project, I’d removed the oarlock and its spacer block, and now with the block on the taffrail I eyeballed the angle required to match that of the transom, which the owner had said was about right. This turned out to be 15°. Because the block was too small to cut safely, I covered it with tape and hot-glued it to a plywood scrap so I could use my saw to make the cut.
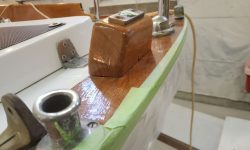
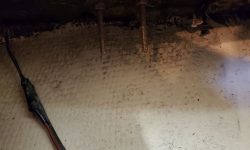
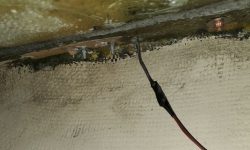
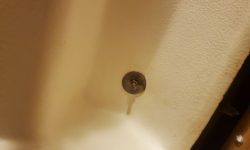
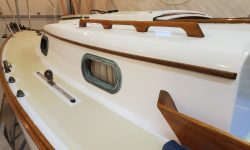
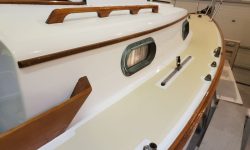
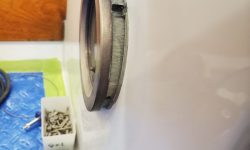
After recreating the little drain at the bottom of the block, to prevent water from collecting through the oarlock hole, I installed the block in the same position with sealant and new fasteners. I had planned to use the angled offcut as a wedge belowdecks to properly support the washers and nuts, but it turned out to be unnecessary. I’d bought longer (2″ longer, as I could get only 4″–the original bolt length which had barely been enough before–or 6″) bolts for the job for this reason, but cut off the excess length afterwards. (My photo of the trimmed bolts was misaligned but one is visible to the right of the third photo).
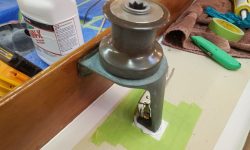
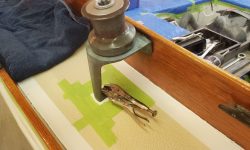
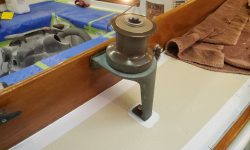
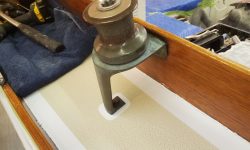
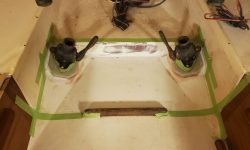
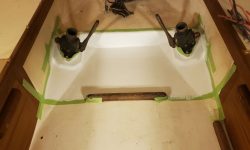
Next, I reinstalled the winch bases, which required a single bolt each through the deck along with the two through the coamings. Belowdecks, I secured the bolts with nuts, large washers, and, on the starboard side where there was room, a small backing plate. The angle of the liner through which the bolt protruded on the port side precluded effective use of a backing plate, so I allowed the large washer to bend itself to the contours as needed.
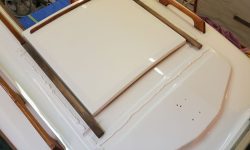
After applying a bead of sealant all around, I installed the sea hood with new fasteners.
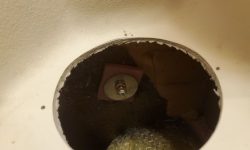
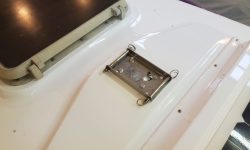
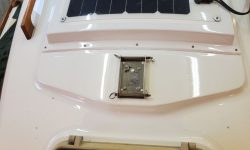
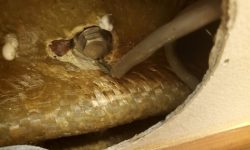
The final piece of deck hardware for now was the mast step, which I installed next. Belowdecks, there was a 3/8″ bolt to which the grounding wire had originally been secured, and which passed through the deck to thread into the mast step from beneath. Later, I’d install the new wiring gland and wires, but now right now.
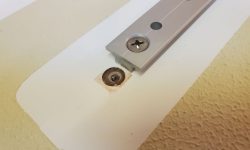
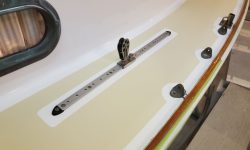
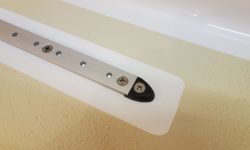
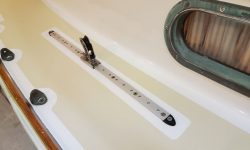
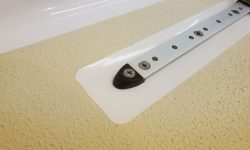
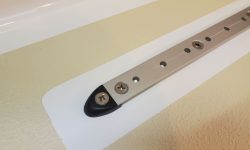
I prepared the fastener holes for the jib track end stops, drilling into the deck about 3/8″ and tapping the holes in the new epoxy. I installed the ends with some butyl sealant and 3/4″ machine screws, after installing the lead cars on the tracks.
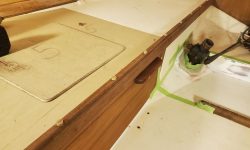
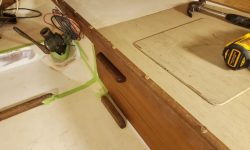
In the cabin, I reinstalled the teak berth fiddles, and bunged all the fastener holes.
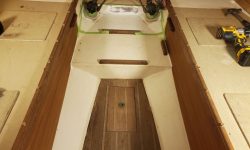
I masked off and prepared the small area around the scuppers and where I’d repaired the liner earlier, then applied a coat of primer.
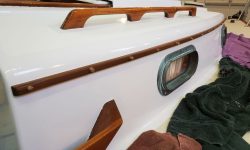
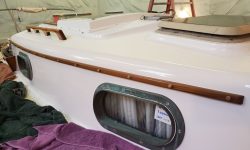
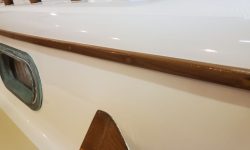
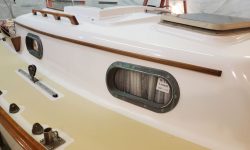
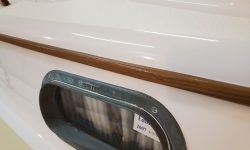
Back outside, I bunged all the screw holes in the eyebrows. Late in the day, I pared these off, sanded as needed, and applied a coat of finish over the raw bungs.
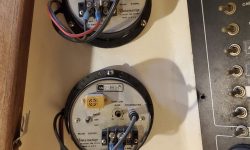
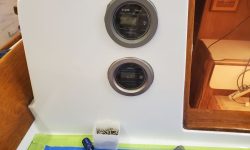
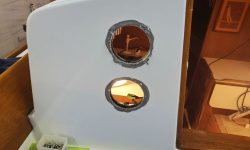
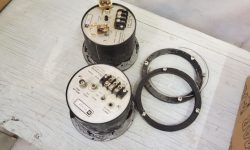
The owner purchased replacement instruments designed to have the same footprint as the old round originals, and to begin the process of replacing them I removed the old instruments.
Total time billed on this job today: 7 hours
0600 Weather Observation: 39°, light rain. Forecast for the day: Rain and showers, 46°


