December 9, 2021
Arietta Phase 2-25
Thursday
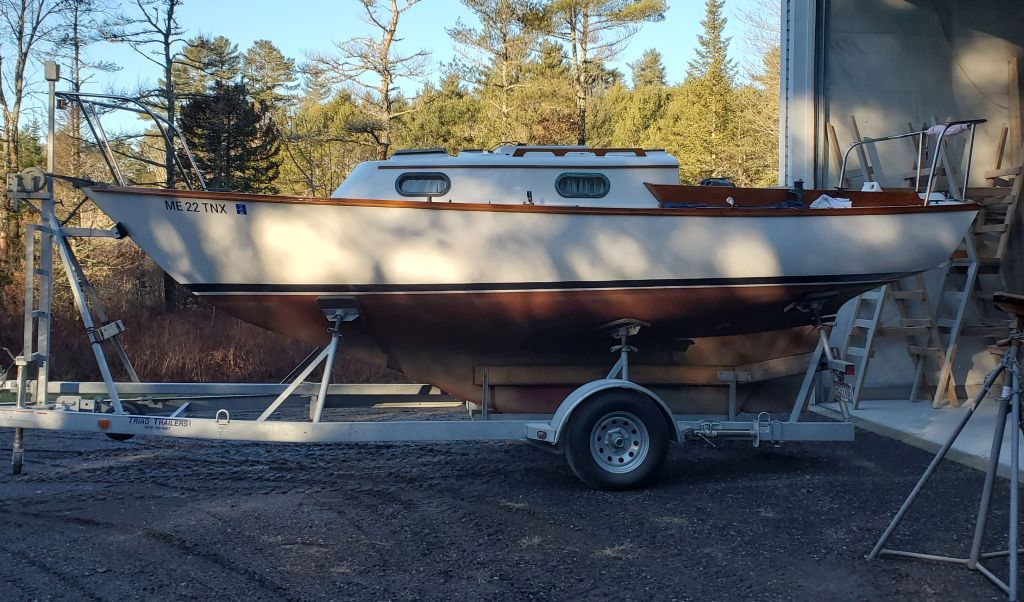
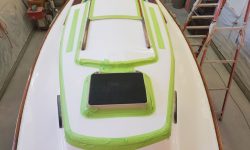
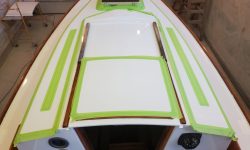
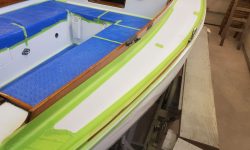
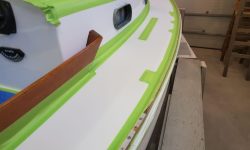
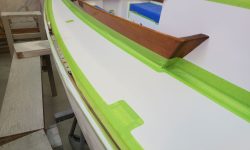
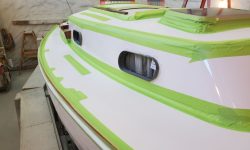
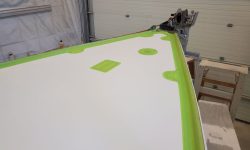
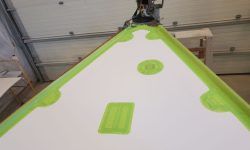
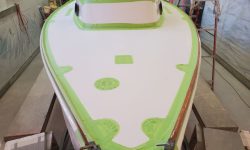
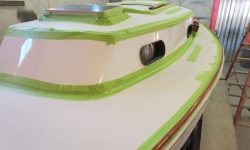
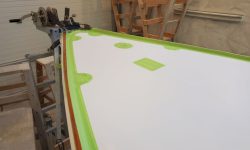
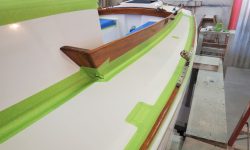
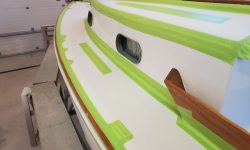
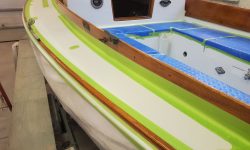
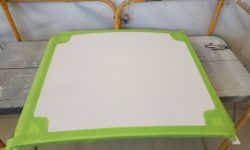
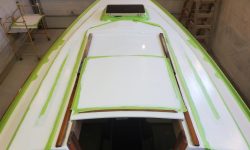
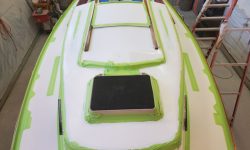
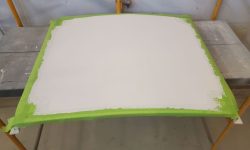
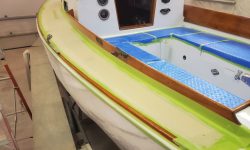
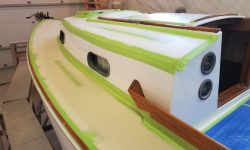
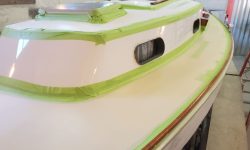
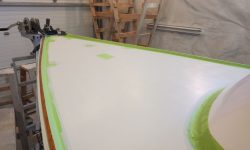
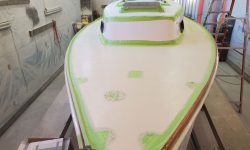
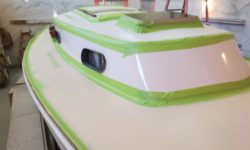
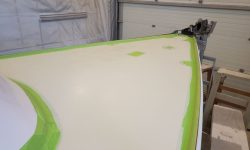
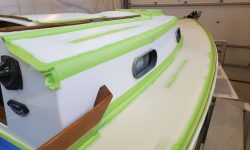
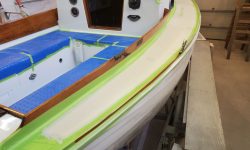
The first order of the day was to mask off the fresh gloss paint on deck so I could get going on the nonskid. Beginning on the coachroof, and then around the main decks, I lavishly masked off the surrounding areas, providing wide taped borders to protect against the inherent sloppiness of the special application tool for the chosen nonskid, which was Kiwigrip to match that in the cockpit, which had in turn been chosen originally to generally match the boat’s original texture.
With the masking and other final preparations complete, I applied an untextured light layer of the nonskid coating with a smooth-nap roller, an extra step that I’d found provided the necessary consistent base of color beneath the heavily-textured final coat to come, which otherwise risked leaving the occasional color void. For this boat, as specified by the owner and in keeping with the way the pattern was originally laid out from the factory, I applied white nonskid to the coachroof and sea hood, and beige nonskid to the main deck areas.
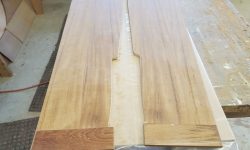
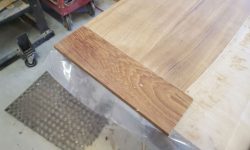
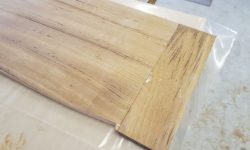
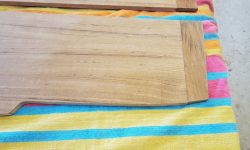
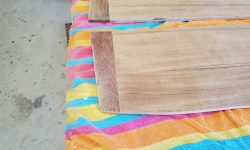
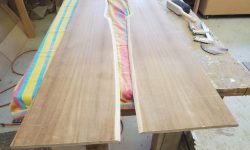
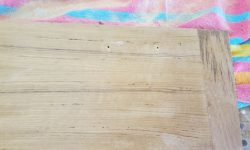
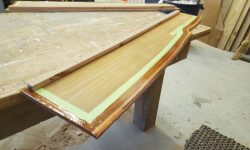
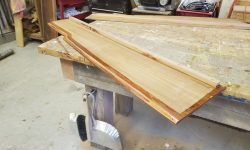
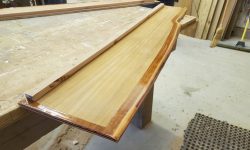
Leaving the first coat to cure overnight, I worked on the new settee fronts for the remainder of the day. These small pieces were critical to the continuation of other parts of the project since the settees were structurally unsound while the fronts were removed, so to be ready to reinstall deck hardware and work below I needed the settees back in business. The solid teak end caps had cured sufficiently and now I could use the original fronts to finish patterning and cutting the aft ends of both sides.
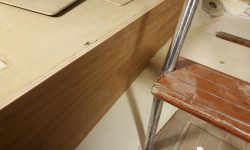
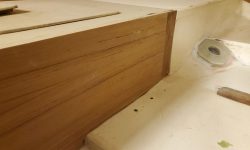
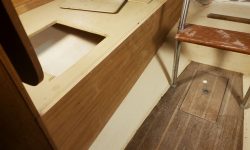
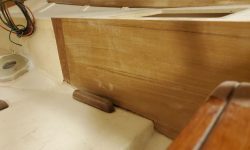
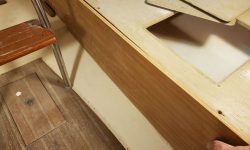
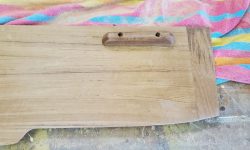
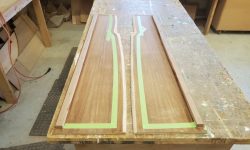
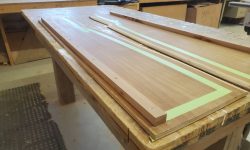
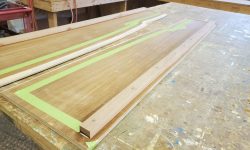
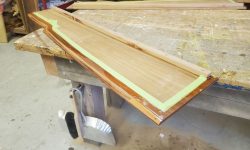
I sanded a curved bevel into the bottom edge of the back sides of the plywood to allow it to fit against the molding in the boat, and after a test-fit found only one place on the port side where I was required to remove a touch more material so the new panel would fit properly. In these photos, the panels are somewhat awkwardly held loosely in place for illustration only, and I’d not yet installed the support cleat for the settee tops.
On each panel, and working off the originals as a guide, I marked the screw locations for the solid teak cleats that I’d removed from the originals, part of the ice cooler-retention system in this area of the boat. I’d reinstall these cleats a little later in the process.
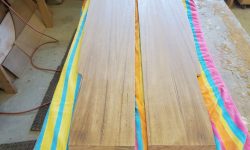
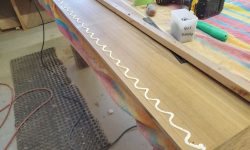
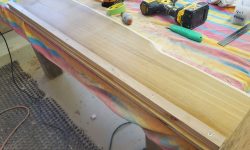
I cut a pair of hardwood cleats, 3/4″ x 1″, to mount to the inside top edges of each panel; these formed the critical support for the berth tops. Using some strips of 1/2″ plywood (the same thickness as the settee tops) as a guide, I secured the new cleats in place with glue and screws 6″ on center to ensure a firm mounting for the settee system in accordance with its original configuration. Afterwards, I masked the panel faces (not shown) and a border a couple inches above the bottom edges of the panels (and along the vertical front seam) so I could coat the plywood end grain and a portion of the panel backs with epoxy for added moisture protection once in place. The tape on the (unseen) front protected the epoxy from staining the visible teak, and on the back side provided a neat border for the application. I removed the tape once the epoxy was applied so there’d be no difficulties in removing it later.
Total time billed on this job today: 6.75 hours
0600 Weather Observation: 16°, partly clear. Forecast for the day: Becoming mostly sunny, 30°


