(page 9 of 27)

Scupper 183

Friday

With the major painting behind me, I was happy to remove all the masking tape, paper, and plastic from the boat, and start getting the shop back to normal.

It would have been nice to address the bottom while the boat was clear of staging and other impediments, but it was too soon to tape the new boottop, and I needed to continue the work rolling along on deck, so the bottom could wait for now.  Eventually (soon), I planned to patch in the barrier coat below the boottop and over the various hull patches, then apply a first coat of bottom paint as a base and to complete the new appearance of the boat.

For now, though, I set up staging at deck height once more, to allow access for nonskid painting and some of the other upcoming work on deck.

I set to work masking off the new glossy deck paint so I could paint the nonskid field areas.

After final preparations, I applied the first coat of off-white nonskid paint, a color subtly darker than the gloss white areas but light enough to avoid the heat of the Florida sun, where the boat was eventually headed once complete.

Total time billed on this job today:  8 hours

0600 Weather Observation:  28°, mainly cloudy.  Forecast for the day:  Decreasing clouds, 44°

Scupper 182

Thursday

Now that the topsides paint had had adequate cure time, I worked to mask off the hull so I could spray the boottop.  I started with a narrow strip of vinyl fine-line tape to define the top edge of the stripe, then covered nearly all the vinyl tape with a strip of regular masking tape.

Afterwards, I covered the hull in plastic and masking paper above the boottop to protect against overspray.

After final preparations, including solvent-washing and tacking off the boottop, I applied three coats of Alexseal Toreador red to the stripe, leaving things to cure overnight.

Total time billed on this job today:  4.5 hours

0600 Weather Observation:  6°, mainly clear (high clouds).  Forecast for the day:  Mainly cloudy, chance of snow showers, 33°

Scupper 181

Wednesday

With the topsides paint complete, now I could remove the masking tape defining the boottop.  I also chose to remove the old tape marking the waterline (bottom edge of the boottop), as this tape had been on there for quite a while, and had been sanded and primed over, and while it was in good condition I didn’t want to risk a problem removing it once the boottop had been painted, so it made sense to replace it.

I needed to give the fresh hull paint some cure time before I could mask off the topsides in preparation for the boottop painting, so, having done what I could on the boat herself for now, I spent the rest of the day’s time working on an assortment of tasks to get ready for the work to come once the paint was all complete, including sourcing and ordering teak to build the new bowsprit and tiller, and preparing some measurements for a new boom vang we hoped to order.

I’d earlier pulled out of storage some of the original hardware–ports and stanchions–to prepare them for eventual reinstallation, and now I cleaned up the bonding surfaces on the bronze ports (three small round and the large rectangular galley port), plus the bronze trim rings for the six elliptical deadlights in the cabin.  I had new lens material on hand for the cabin deadlights.

The stanchion bases required some sealant removal and basic polishing to prepare them for re-use.

Total time billed on this job today:  6.25 hours

0600 Weather Observation:  12°, clear.  Forecast for the day:  Sunny, 26°

Scupper 180

Tuesday

After final preparations, I applied three coats of Alexseal snow white topcoat to the hull.

Total time billed on this job today:  3.75 hours

0600 Weather Observation:  28°, cloudy, about an inch of snow, sleet, and frozen rain down overnight.  Forecast for the day:  Cloudy, freezing drizzle, snow, and general unpleasantness, 37°

Scupper 179

Monday

I got started up on deck, where I masked off the new paint edge along the perimeter of the deck and covered the decks with plastic to protect them during the hull painting.

I removed the staging to clear the work area, then set about striking and marking the top edge of the new boottop.  I began setting up my level beams at the transom and stem (I’d leveled the boat previously), choosing a point at each end to provide a 2-1/2″ visual height to the new stripe, then struck and marked the boundary in my usual manner.

I masked beneath the newly-made tick marks, then at the bow masked a new, sheered line, starting well back on the hull (about 10′) and  eventually extending 2″ higher than the marks at the stem, in keeping with the boat’s original striping and the specific characteristics of the boat’s bow sections.  Afterwards, I covered the area below the tape with paper to protect against overspray.  (Sorry, I forgot to take pictures of the bootstripe from all angles just after I taped it.)

During the remainder of the day, I set up staging at the appropriate height, added additional lighting around the shop to illuminate the hull, cleaned the floor and staging, solvent-washed and tacked off the hull, and finished all the other paint and equipment preparations required to be ready for paint in the morning.

Total time billed on this job today:  7.25 hours

0600 Weather Observation:  34°, cloudy.  Forecast for the day:  Cloudy, with a chance of rain and snow, 37°

Scupper 178

Friday

I spent the first part of the day removing all the masking tape, paper, and plastic from the decks, hull, and loose parts.

I planned to continue the painting with the topsides next, but final preparations for that would have to wait just a little while so the fresh deck paint could cure enough to be masked over, so I couldn’t work on that today.  I wanted to leave the staging at its current height till I covered the decks with tape and plastic, so for the moment there wasn’t much I could do conveniently to move forward on the hull.

One thing I could do now was to double-check the level of the boat from side to side, which was important for laying out the new boottop, so I set up a level and made some minor adjustments to the boat stands till I was satisfied.

With little more I could do to advance the painting project for now, I decided to go ahead and install the new prop shaft and propeller.  On this boat, the shaft needed to be installed from inside, since the rudder blocked access from without, so I could install the shaft coupling down on the bench first.  Then, I installed new graphite packing in the stuffing box nut and pre-installed that on the shaft before inserting the shaft from inside the boat.  I’d intended to mouse the coupling setscrew while I had the shaft on the bench, but forgot about it and didn’t notice till I’d proceeded far past the point of re-removing the shaft, so I’d complete that in place later.

With the shaft in place but still free within the boat, I installed the new propeller (3-blade 10RH8, as calculated to match the requirements of the boat, aperture limitations, and electric motor combo), since the only way it could fit (again thanks to the tight aperture and rudder) was to have room to move the shaft forward a bit to make room for the prop hub.

This was as far as I’d originally planned to take the task for now, but I couldn’t resist continuing and installing the electric motor and finishing up the shaft connection now.  This was quite straightforward since I’d already more or less completed the alignment and engine mounts installation earlier, when I measured for the new shaft, so it was a pretty simple matter of placing the motor on the mounts, completing some minor adjustments, and securing the shaft couplings and engine mounting bolts.  Note that the cover housing for the electric motor assembly is not installed in these photos, pending final connections and electrical work that would happen soon once the painting project was done with.

That was about all I could do now without disrupting the “clean room” condition of the shop pending the final paint, so I called it quits on this project for the day and worked on a couple micro-jobs I had on hand for other, unrelated projects at the shop.

Total time billed on this job today:  4.75 hours

0600 Weather Observation:  25°, clear. Forecast for the day:  Mostly sunny, 35°

Scupper 177

Thursday

After final preparations, I spray-applied three coats of Alexseal snow white topcoat to all deck areas, working as usual in two stages and over the course of several elapsed hours:  First the inboard areas of the coachroof and cockpit, including the cockpit well; and then all the remaining areas, including cabin trunk, channels, coamings, and the outer areas of the cockpit.

Total time billed on this job today:  5 hours

0600 Weather Observation:  32°, cloudy. Forecast for the day:  Cloudy with rain likely in the afternoon, 45°

Scupper 176

Wednesday

I continued the layout for the final masking on the port side, working aft from the bow to mark the deck the way I’d done at the stern earlier.  Once I had my series of marks, I applied the masking tape along both lines, fairing the curve by eye as needed.

Then, I completed the same on the starboard side, starting on the quarter then moving forward to the bow.

Afterwards, I filled in the field areas with masking paper and tape to protect against overspray, which completed the deck taping.

Along the hull-deck joint, I applied a length of plastic sheeting to protect the hull during the deck work, securing it with masking tape to the outer line of tape I’d laid on the decks.

I spent the remains of the day on various final preparations, including vacuuming and solvent-washing the deck areas to be painted, preparing paint and spray equipment, and all the other small items leading up to a final state of readiness for the deck topcoats.

Total time billed on this job today:  5 hours

0600 Weather Observation:  32°, clear. Forecast for the day:  Sunny, 48°

Scupper 175

Tuesday

I had only a couple short hours for shop work in the morning, as I had to depart for an appointment and also to pick up the pallet of plastic “lumber” that I’d ordered for the deck trim according to the owner’s wishes, and which had arrived at a local shipping depot a few days earlier.  This errand and other, unrelated stops kept me out of the shop for the bulk of the day.

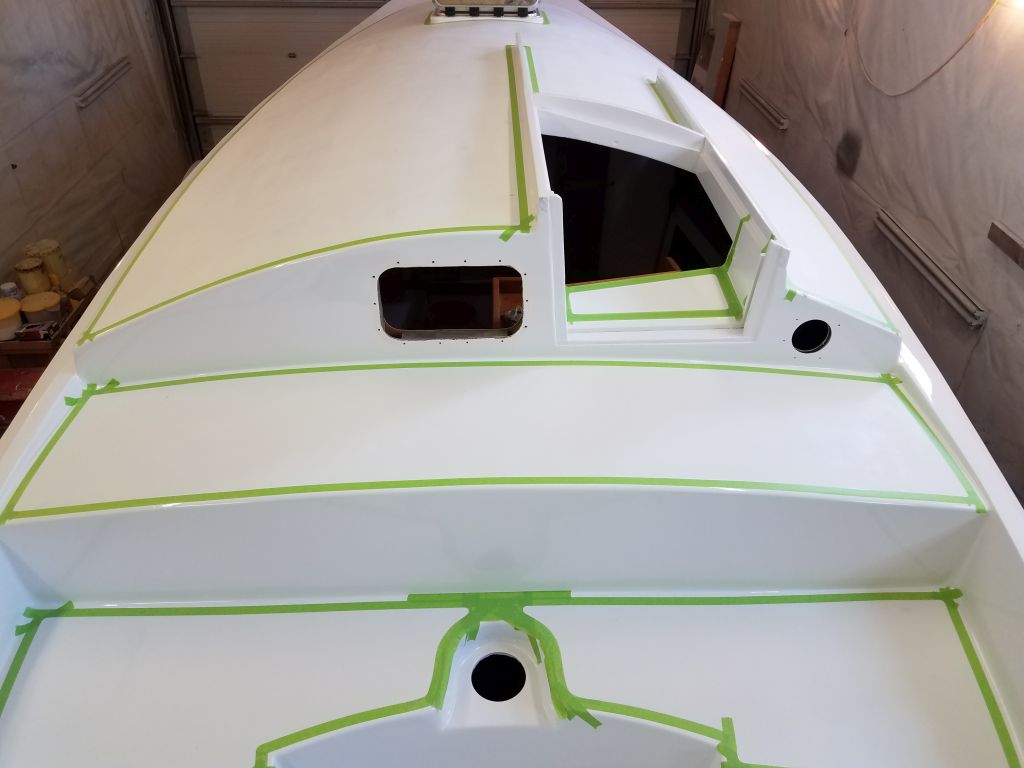
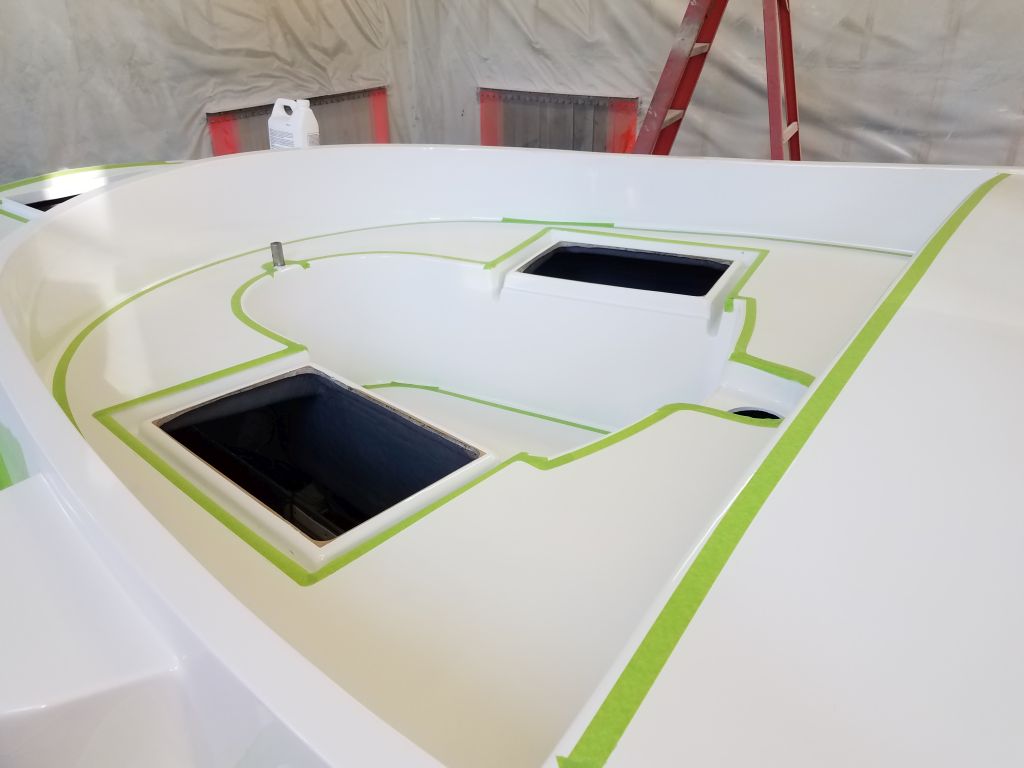
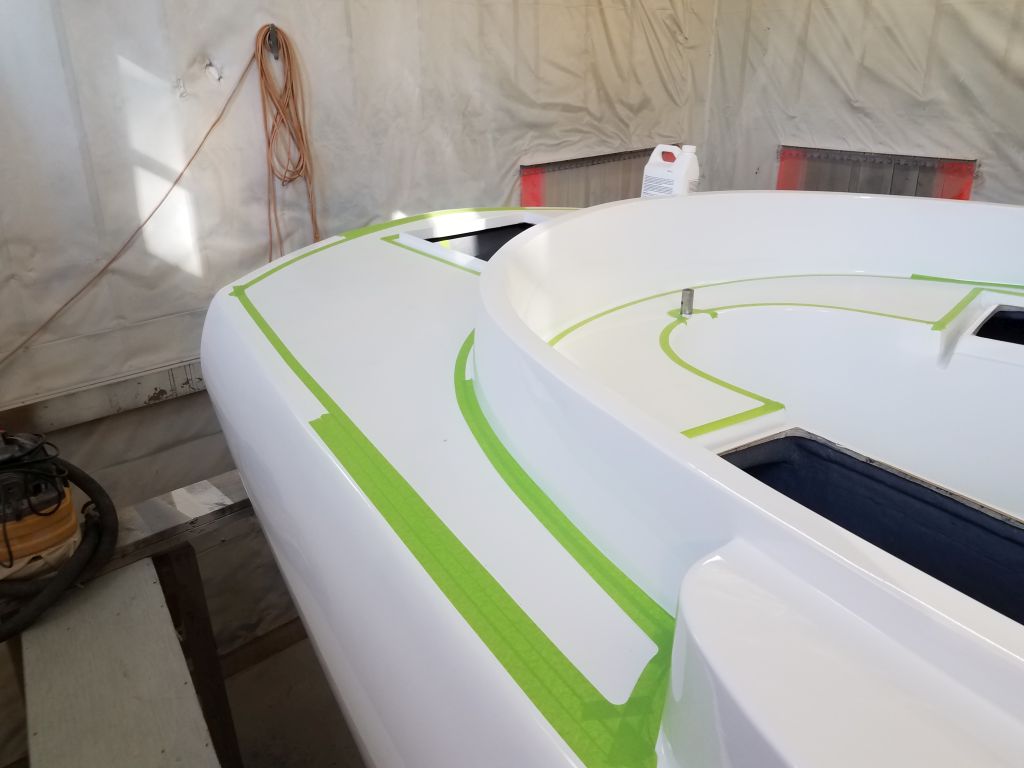
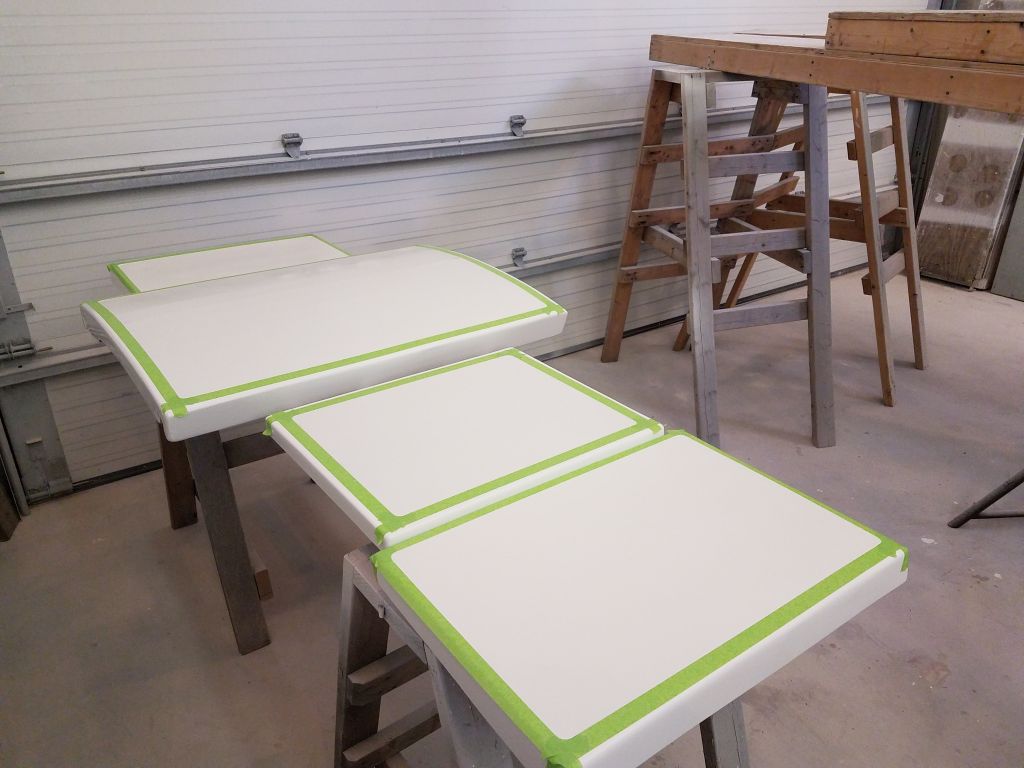
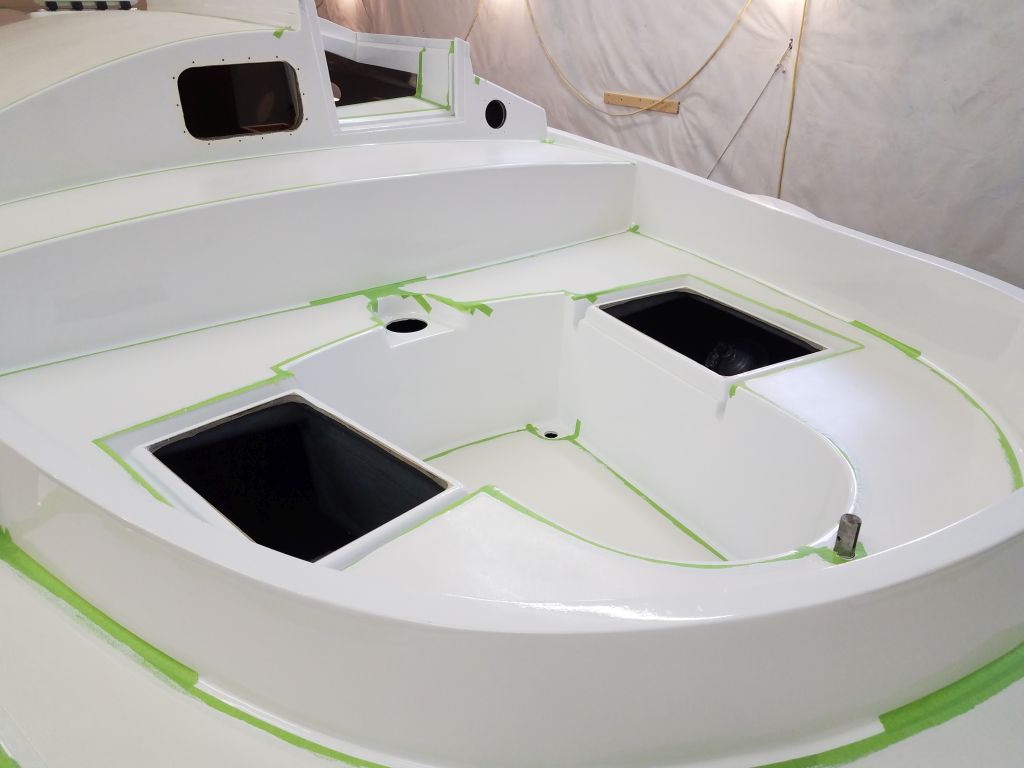
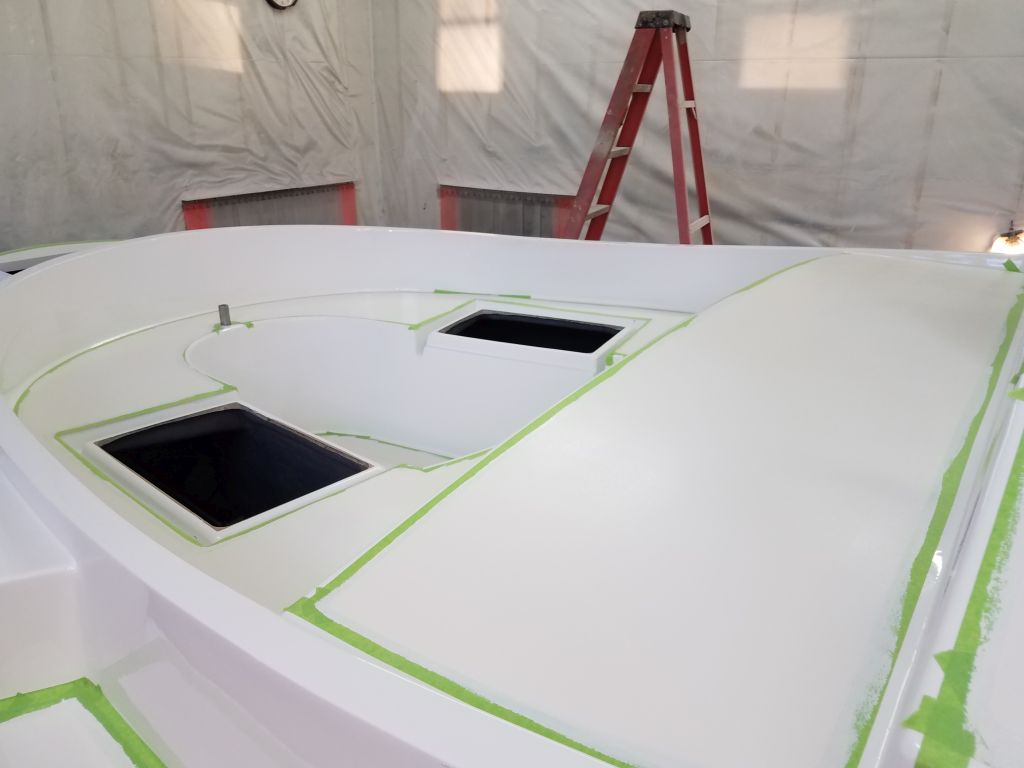
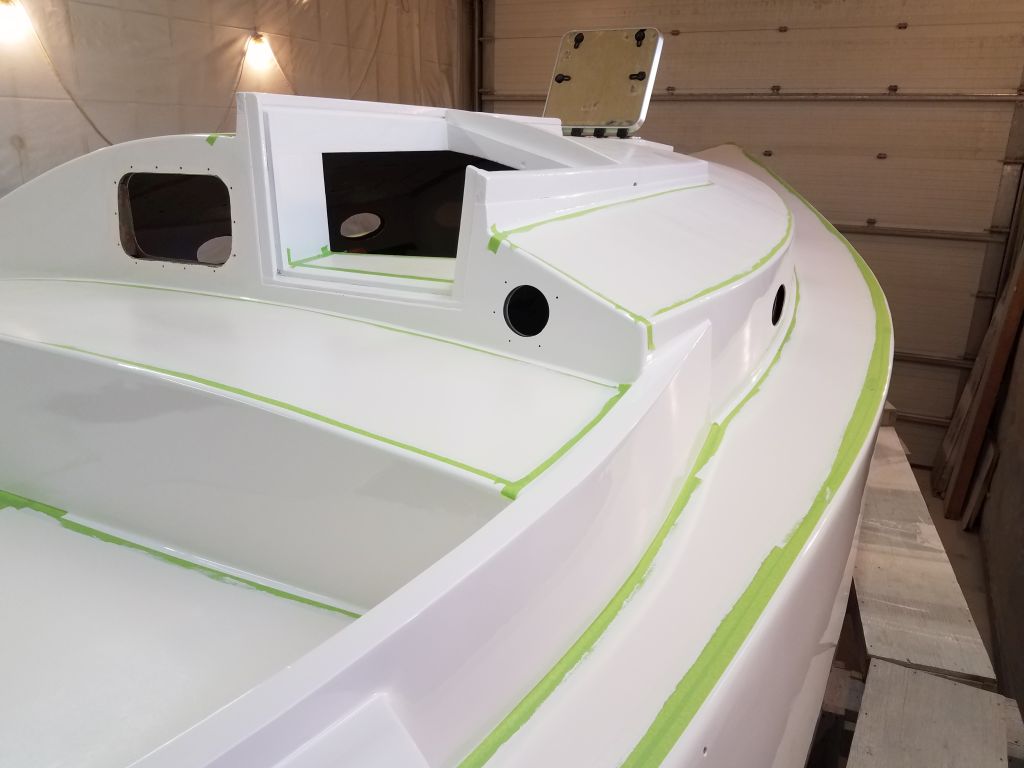
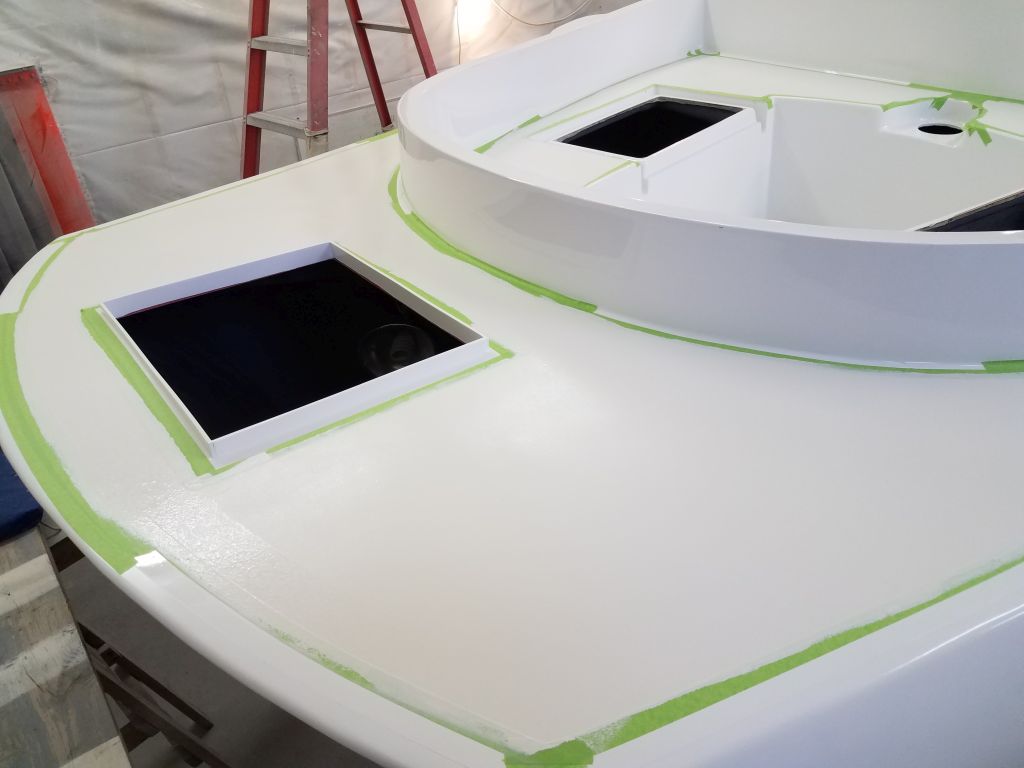
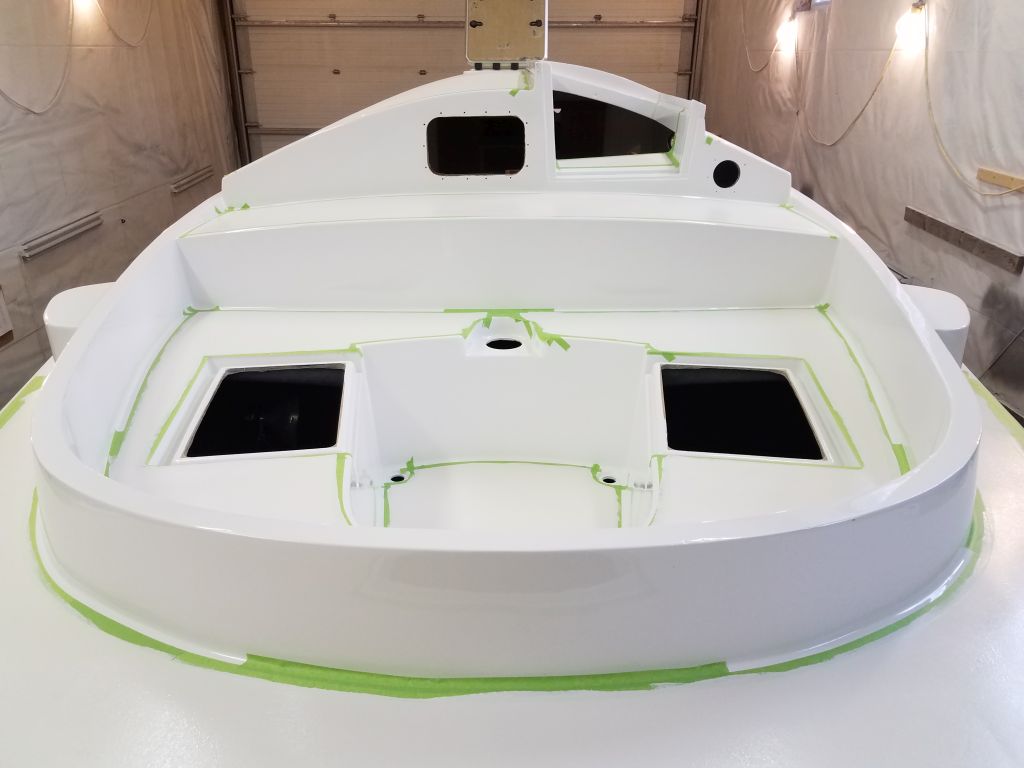
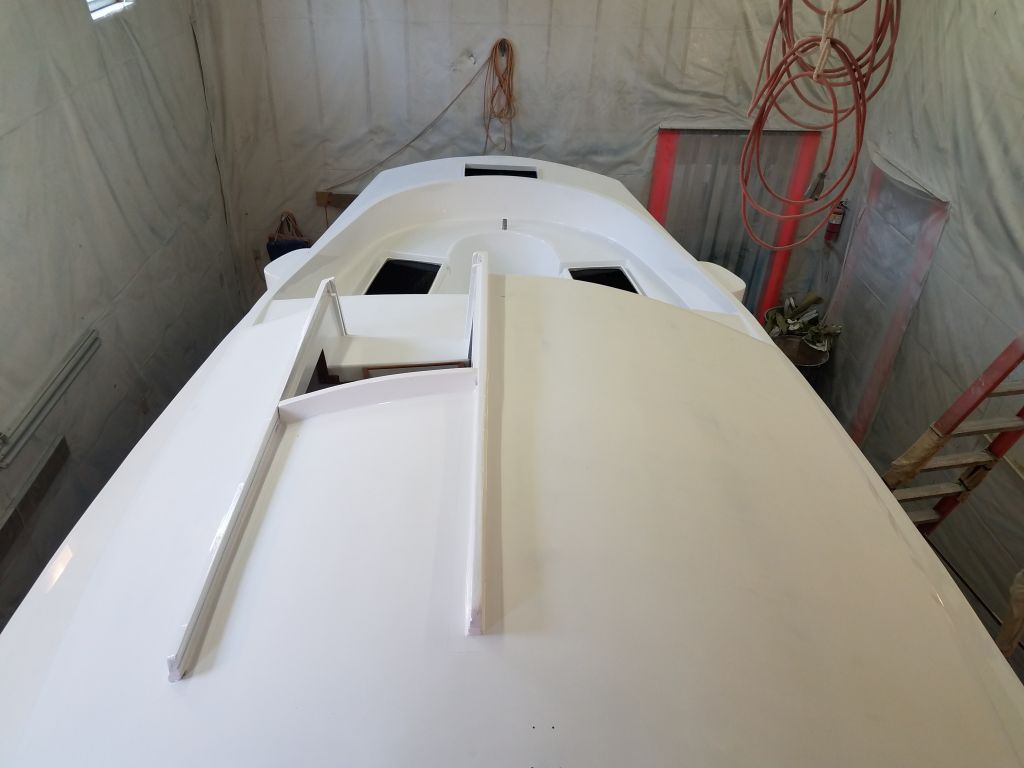
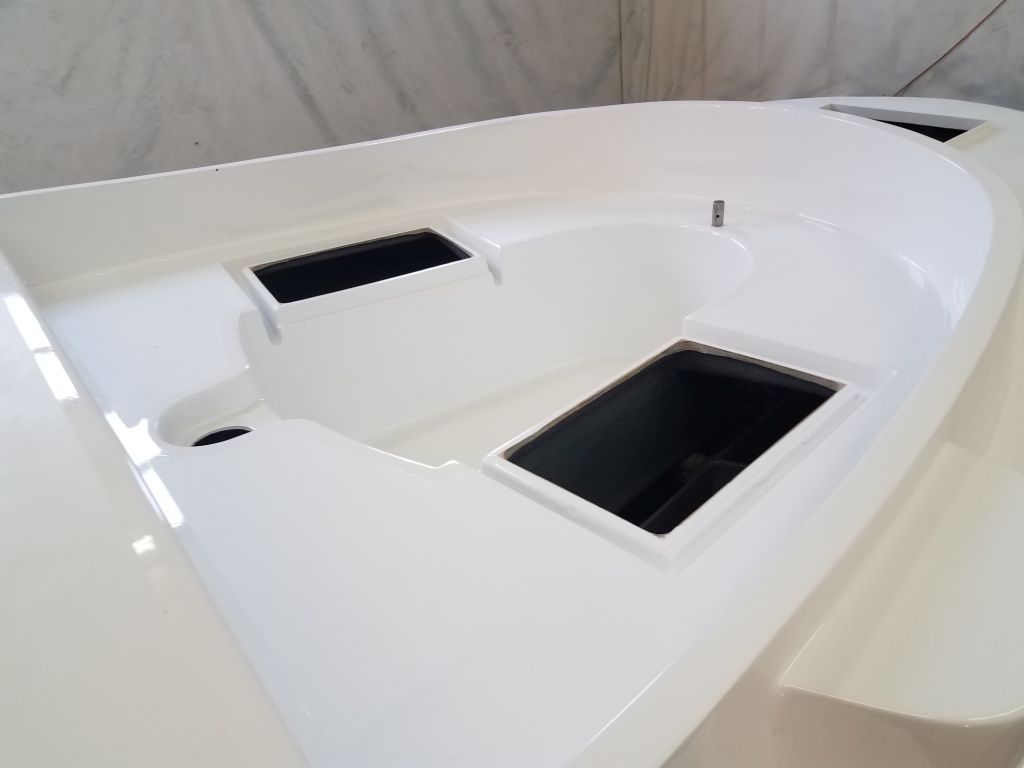
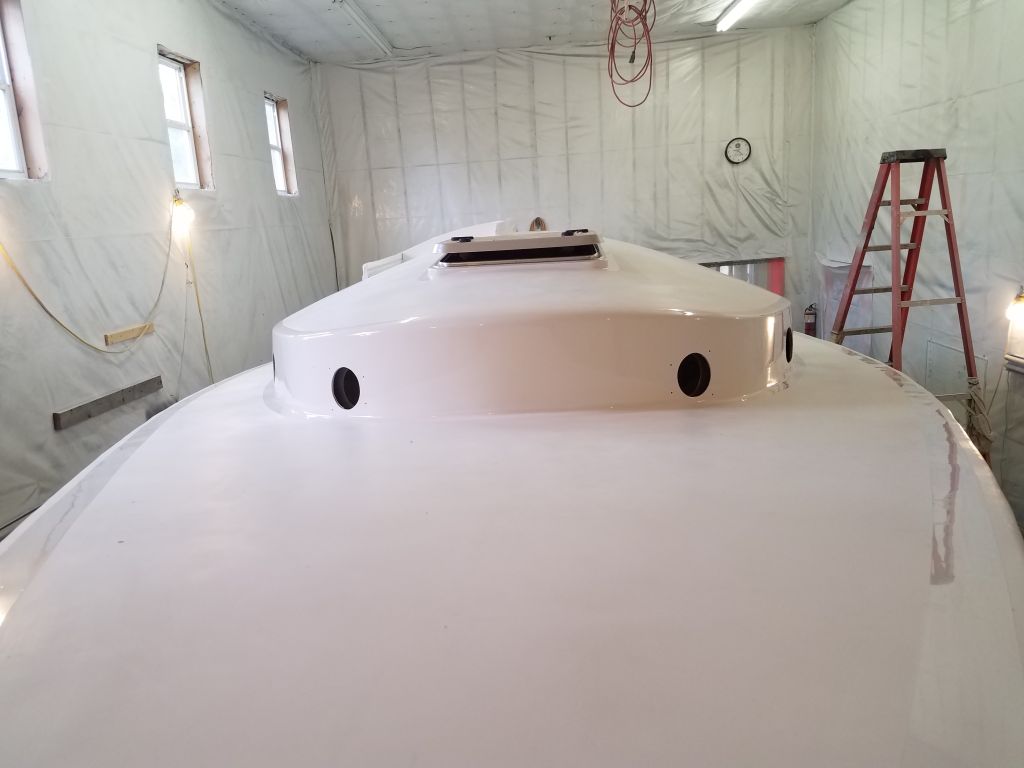
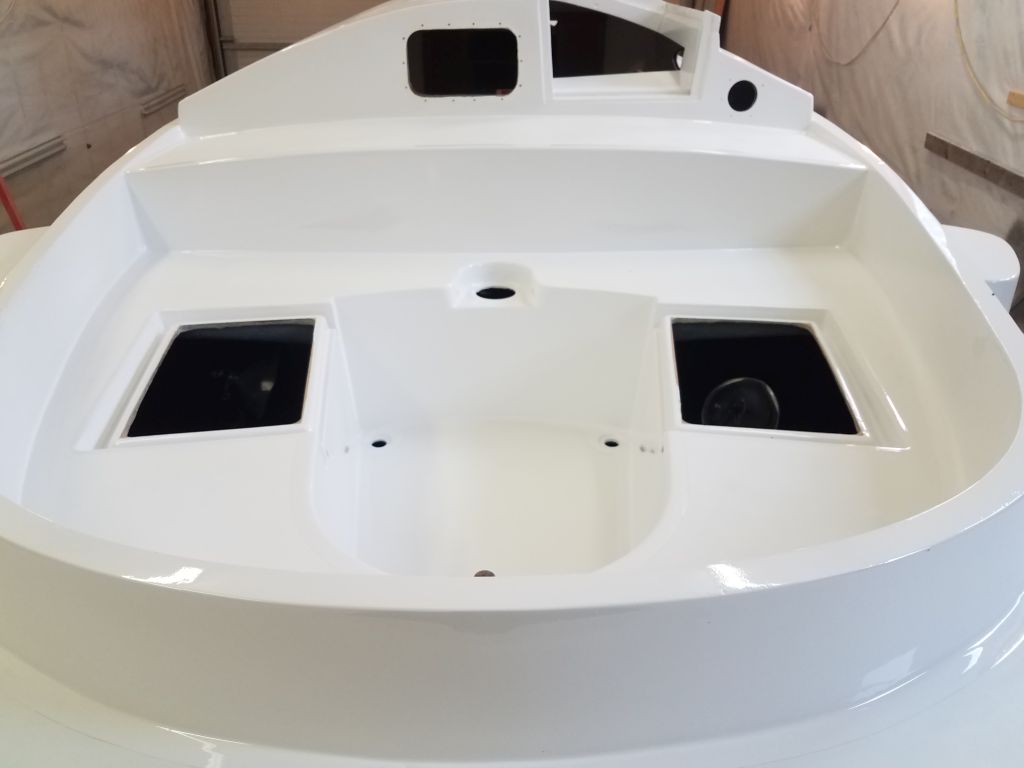
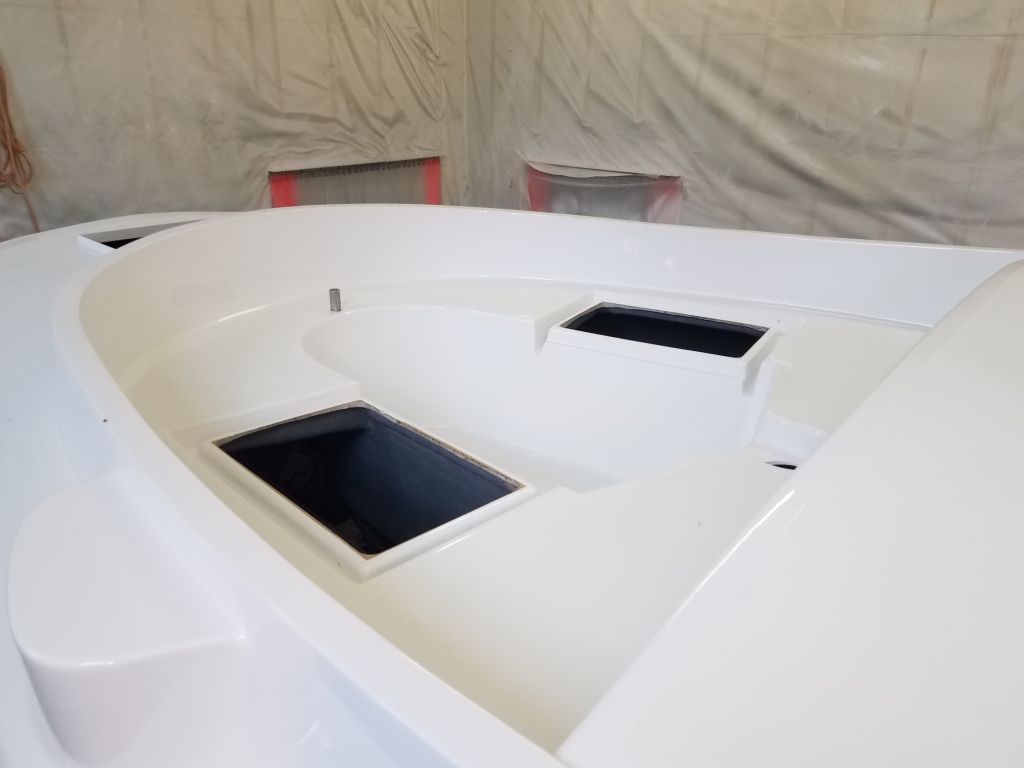
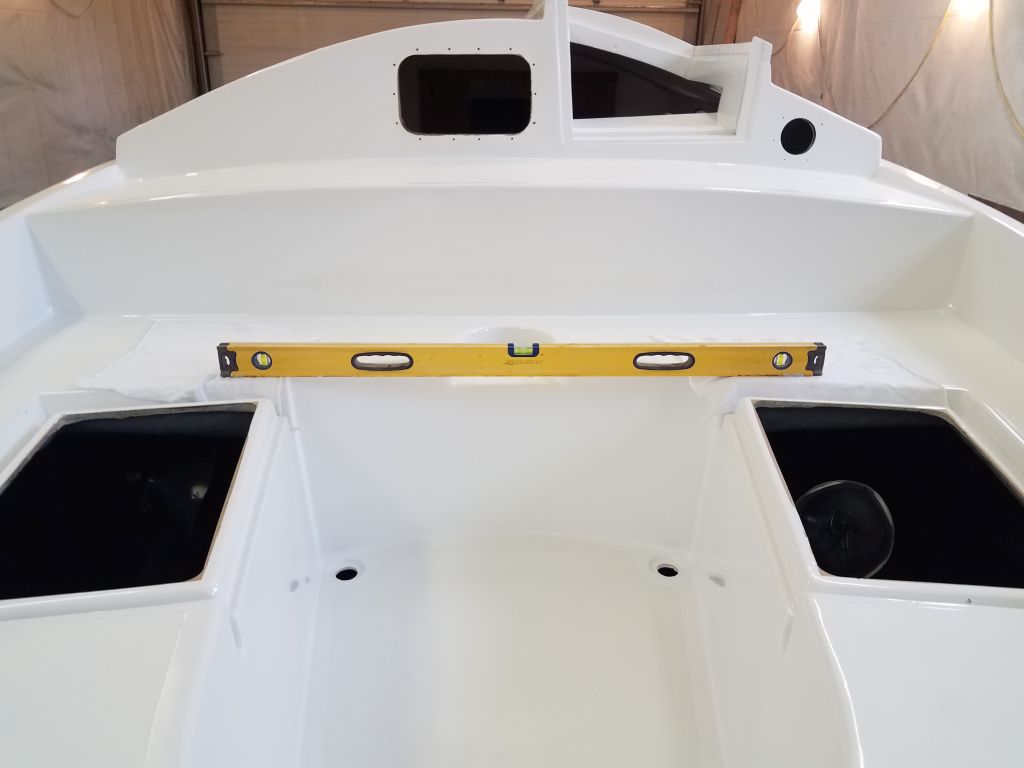
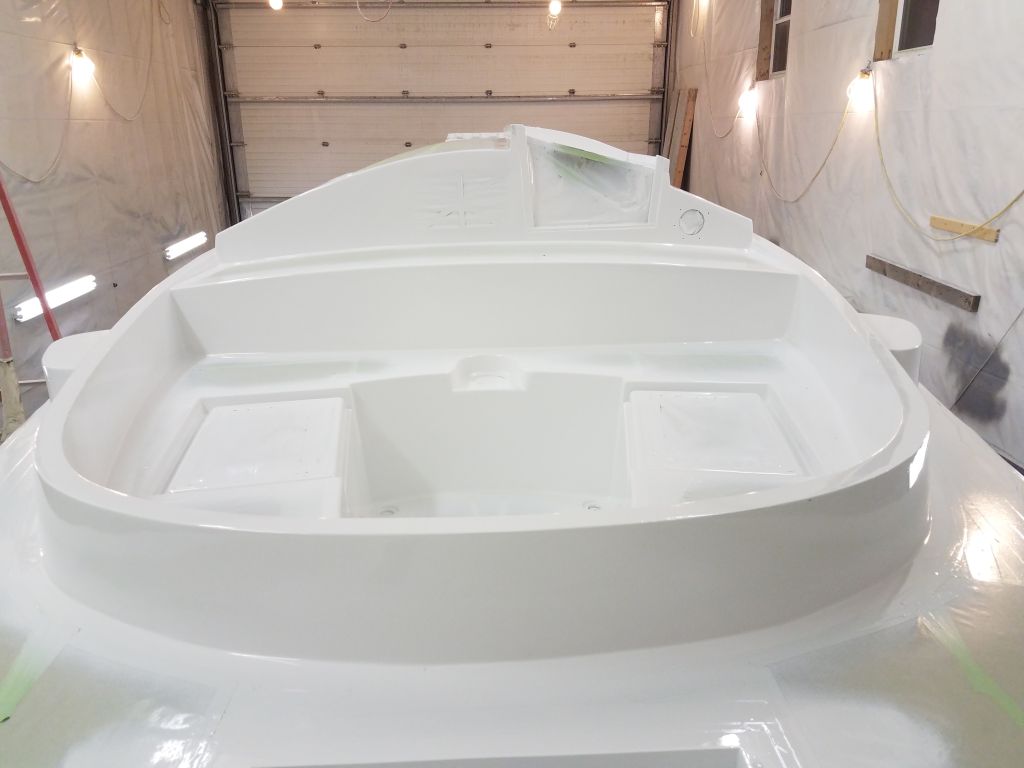
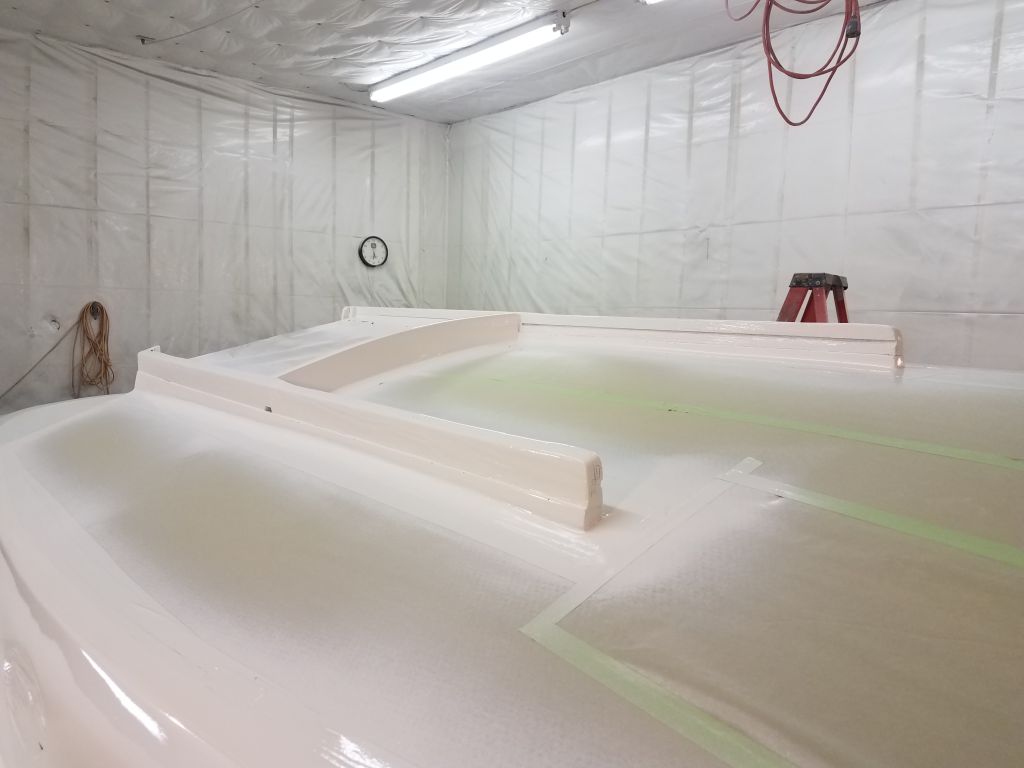
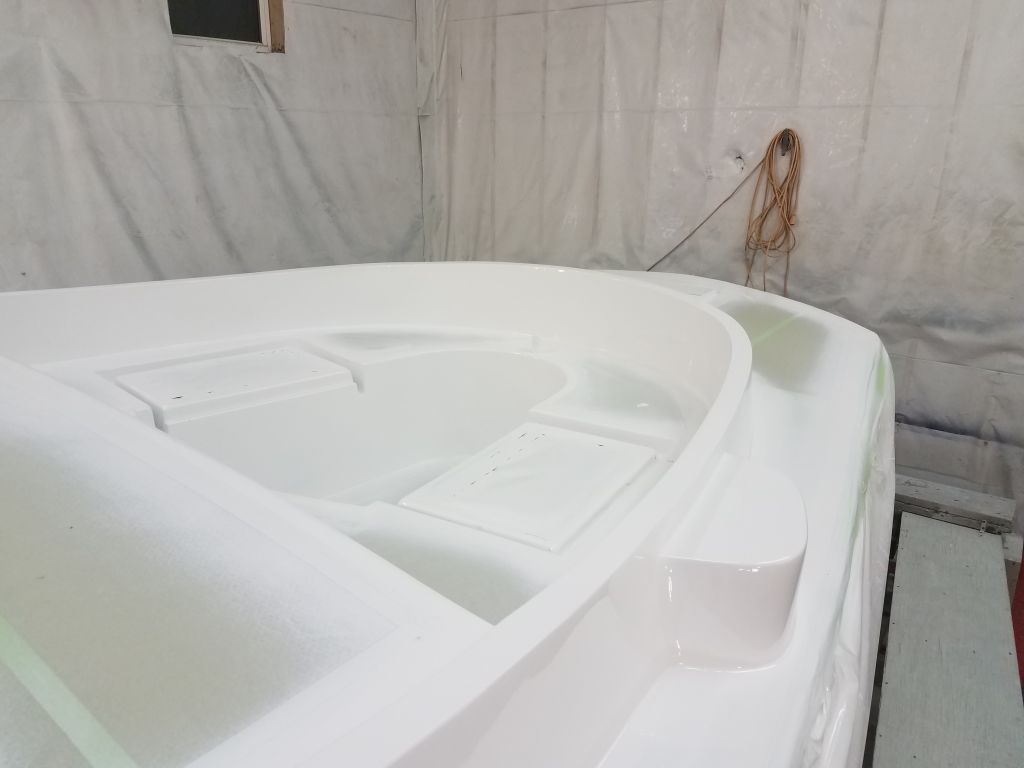
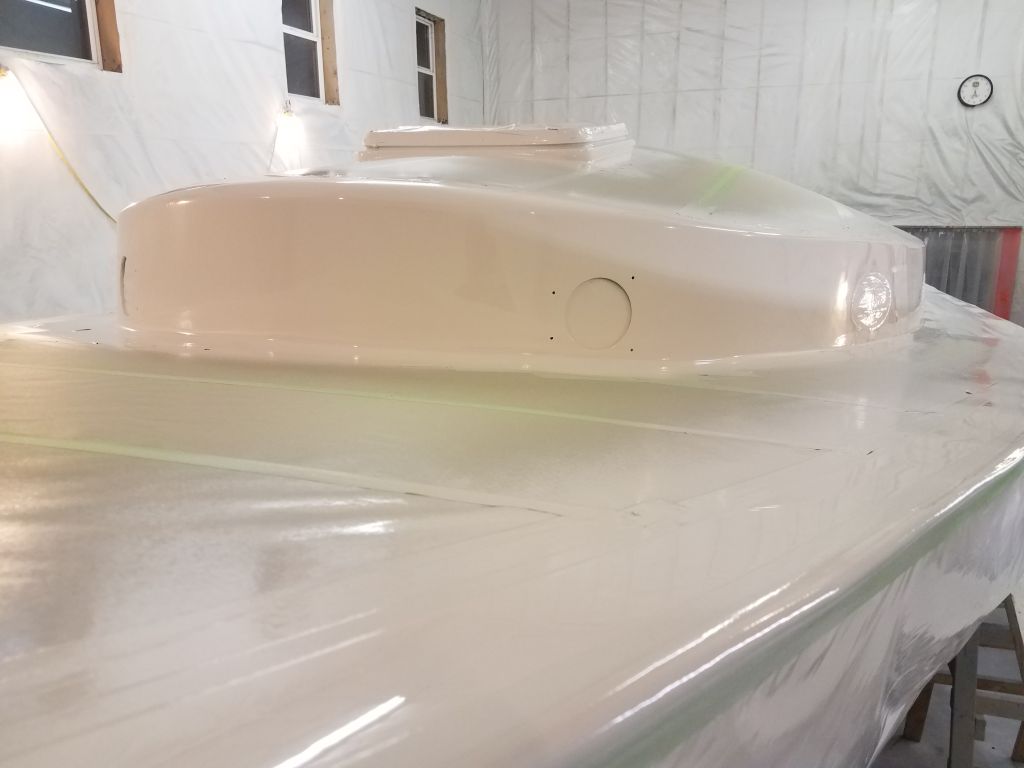
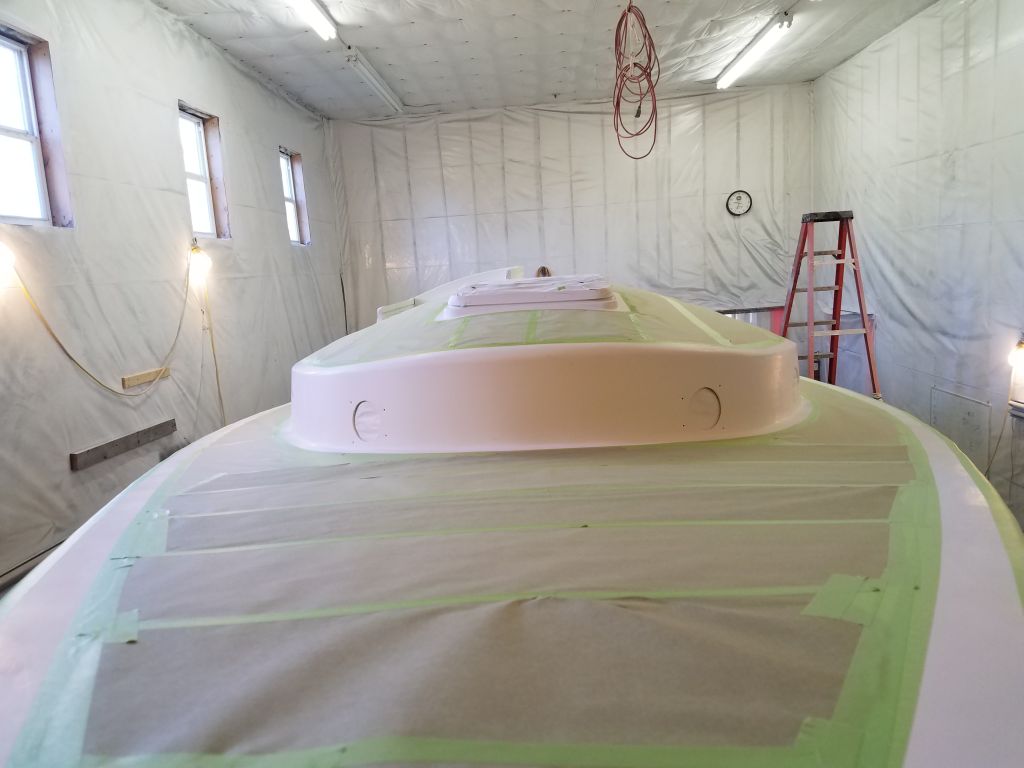
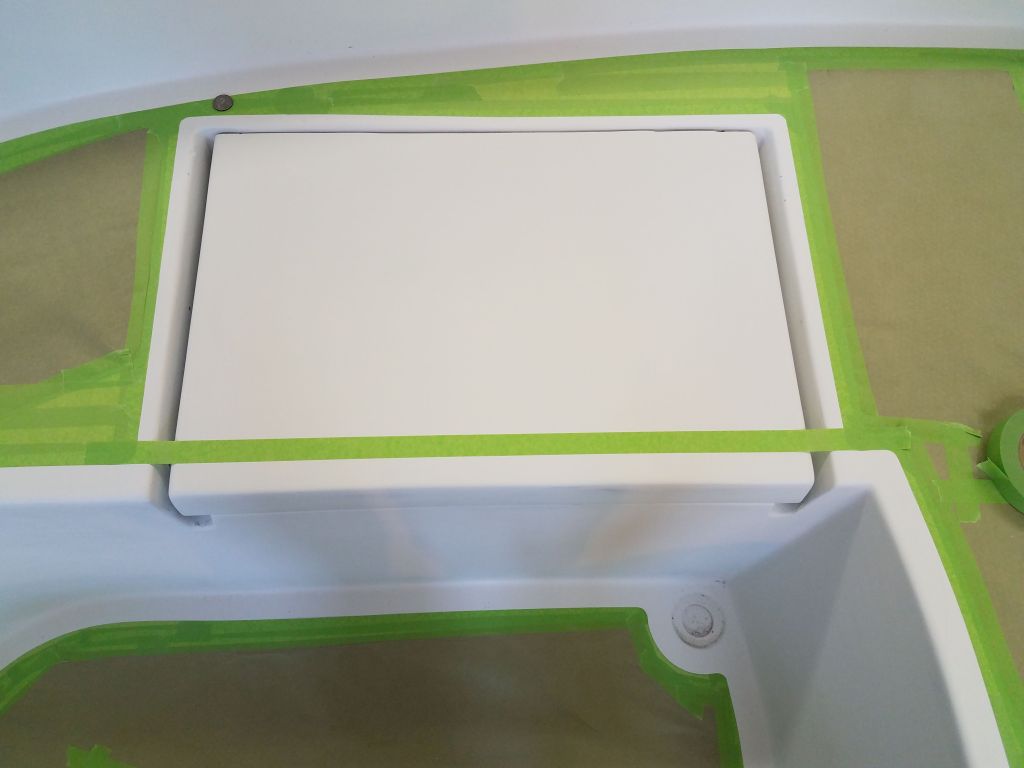
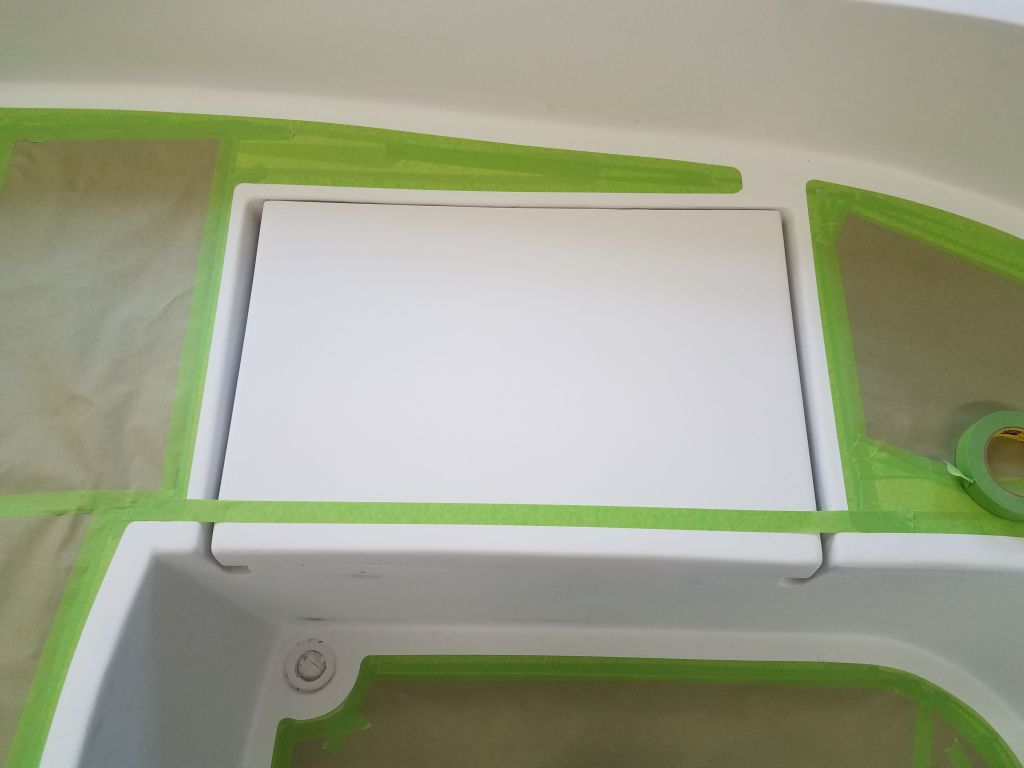
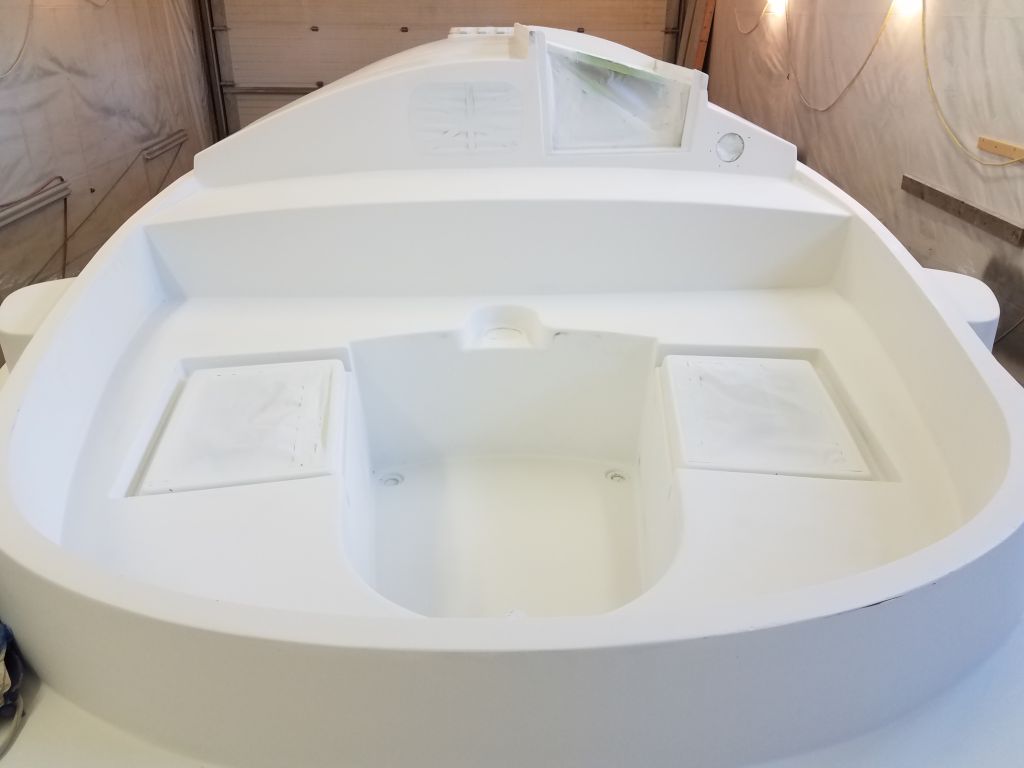
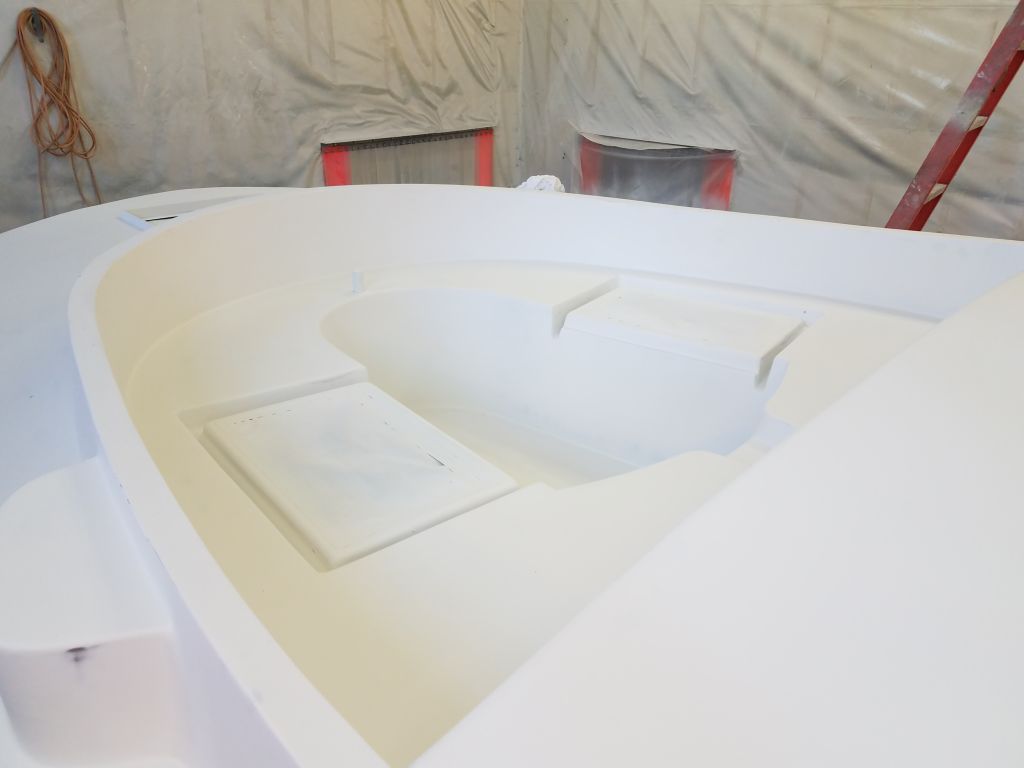
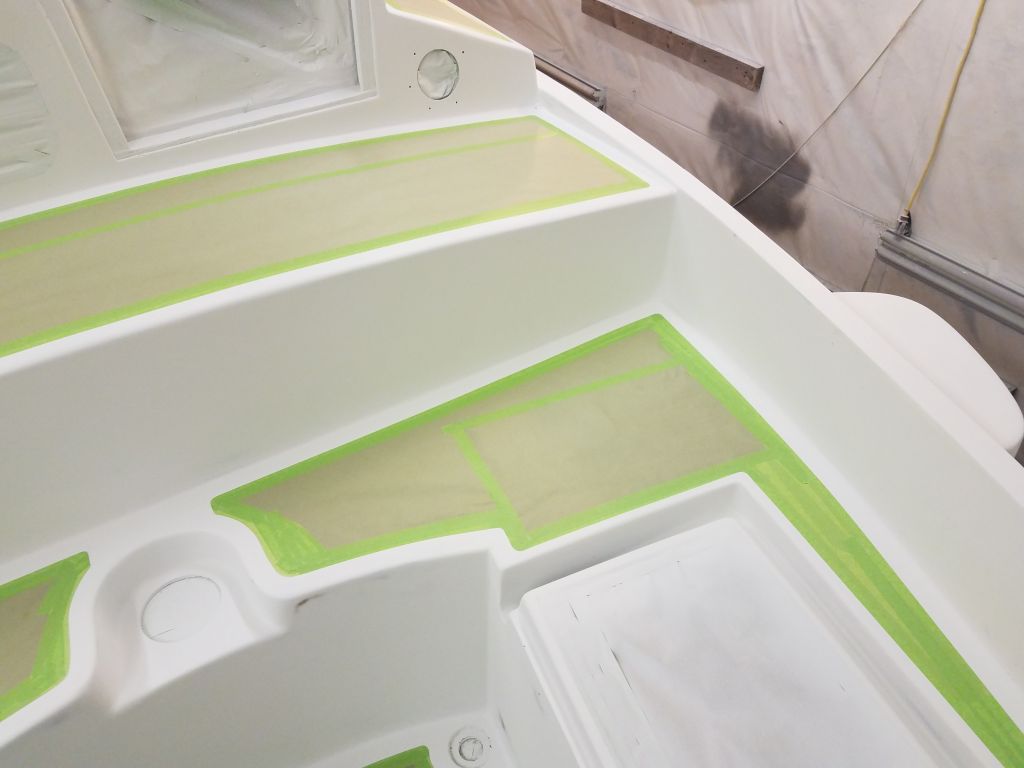
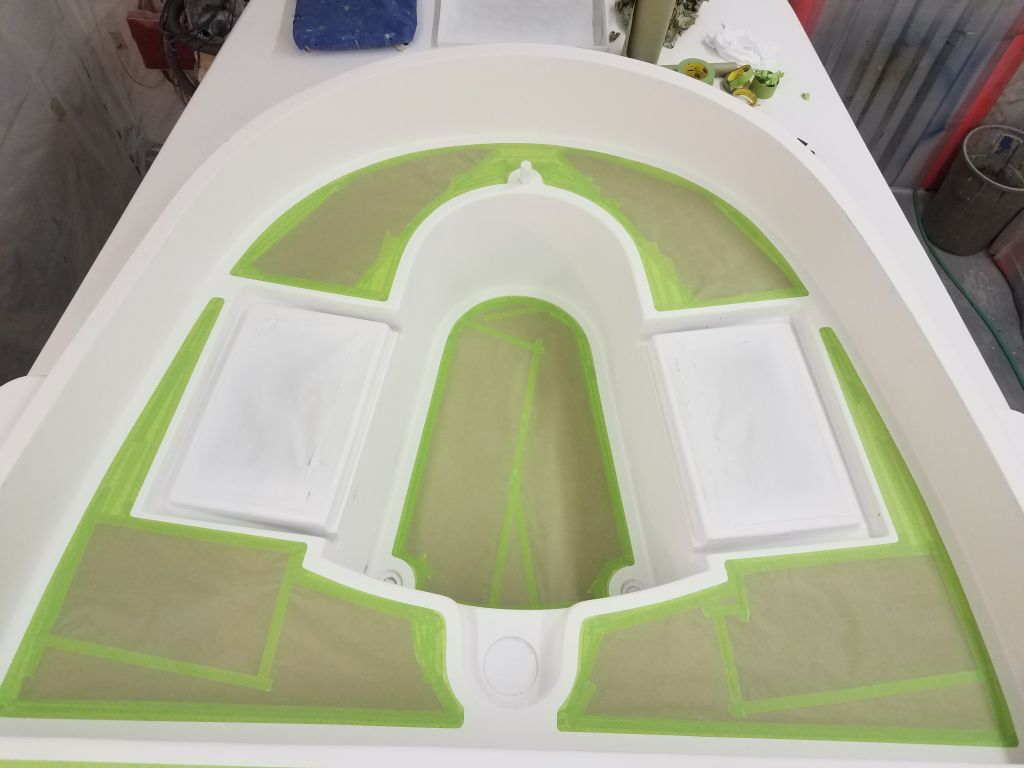
I temporarily set the two cockpit locker lids in place so I could align the masking at the inboard edges with the existing borders on each side.

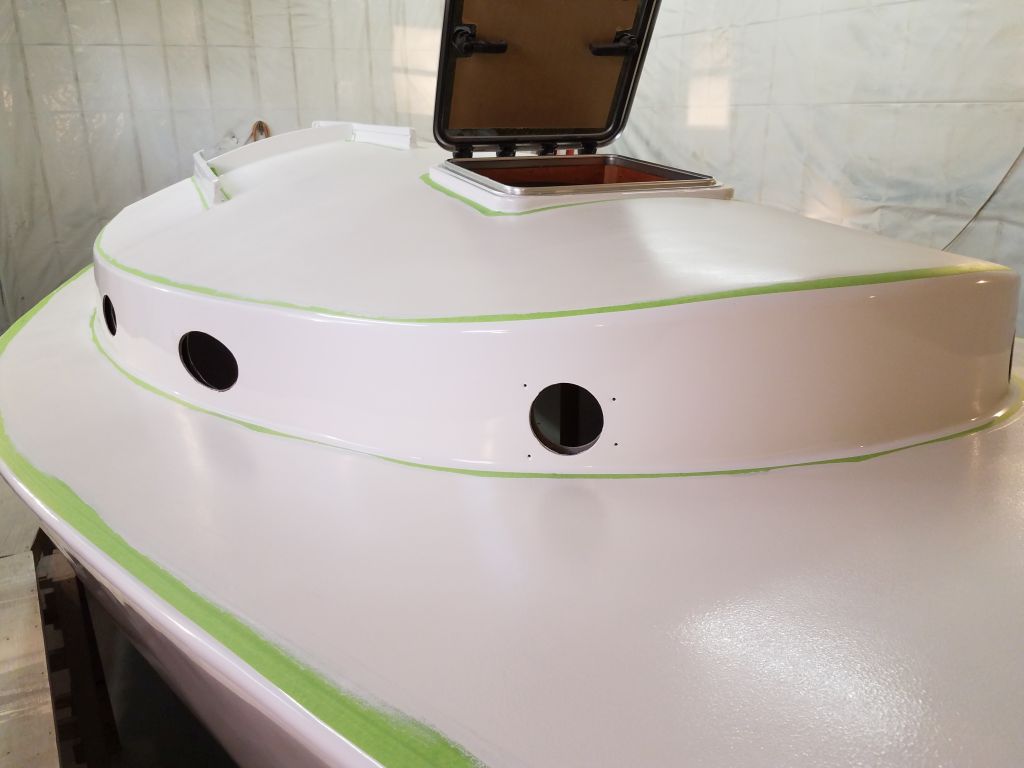
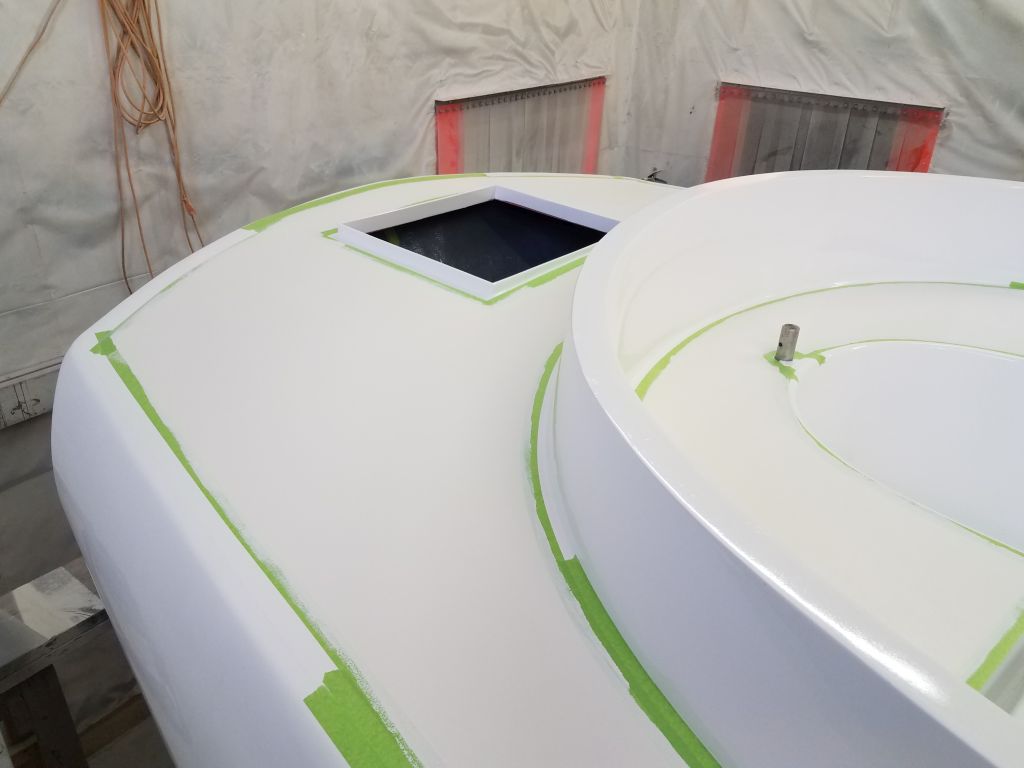
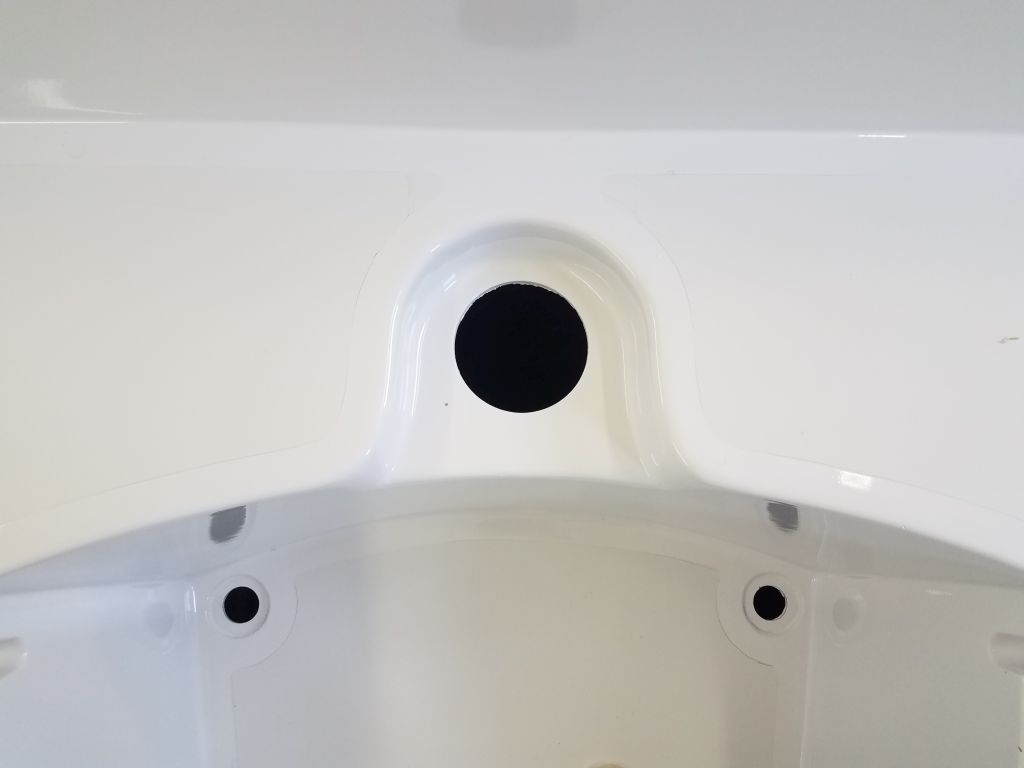
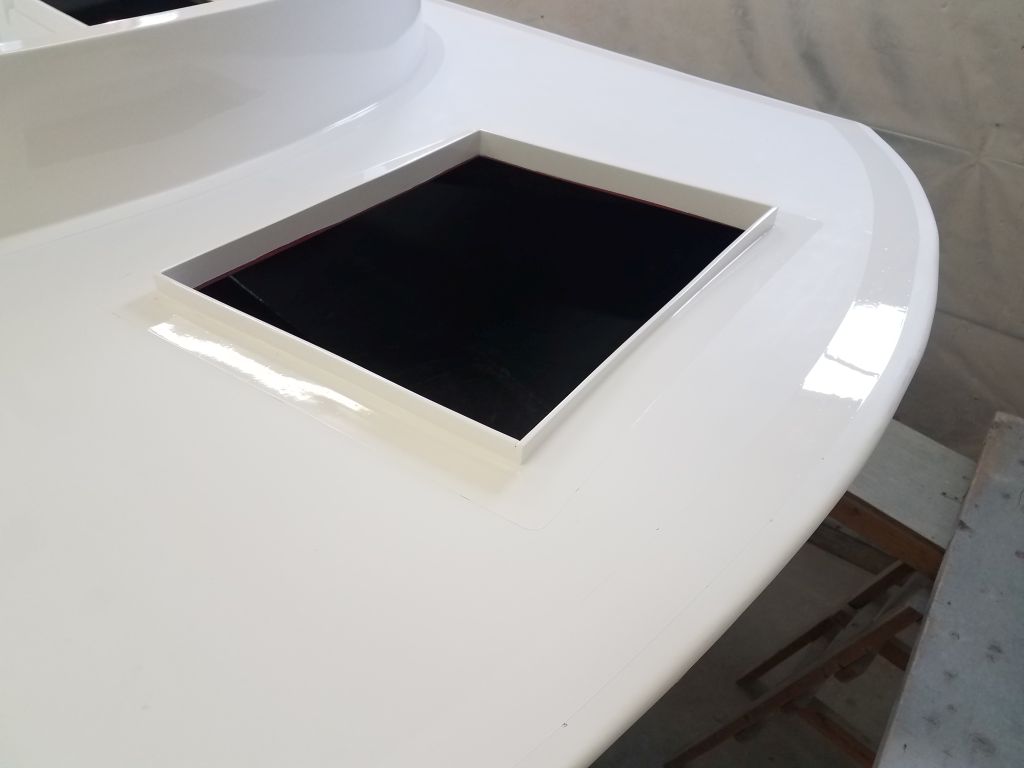
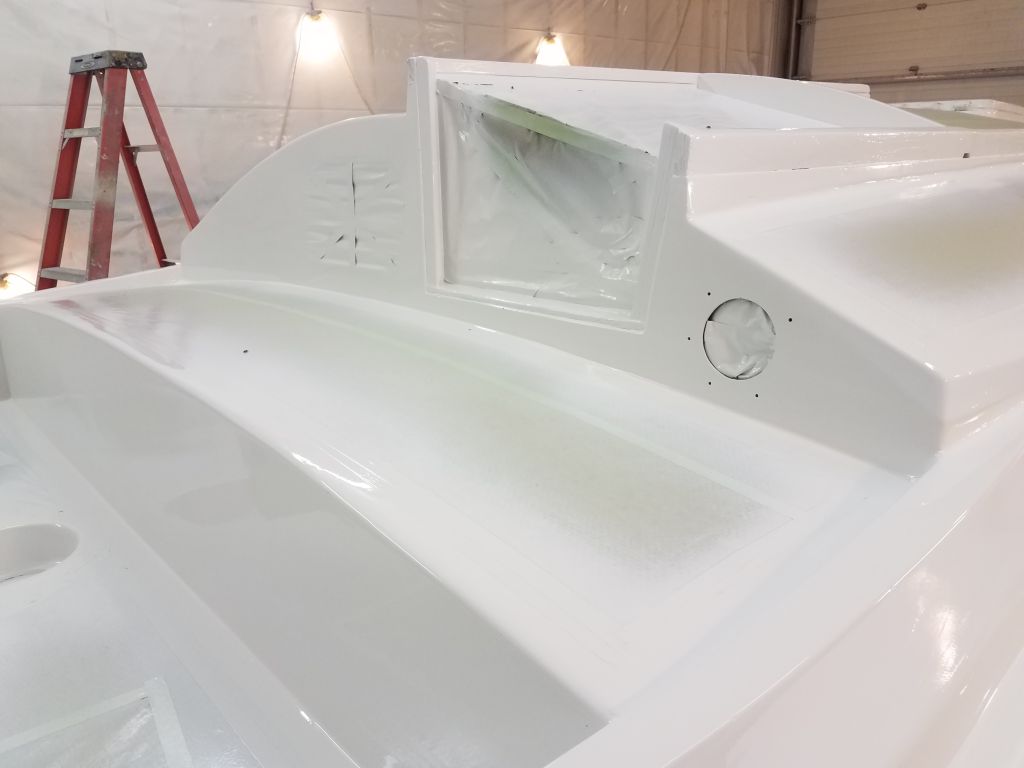
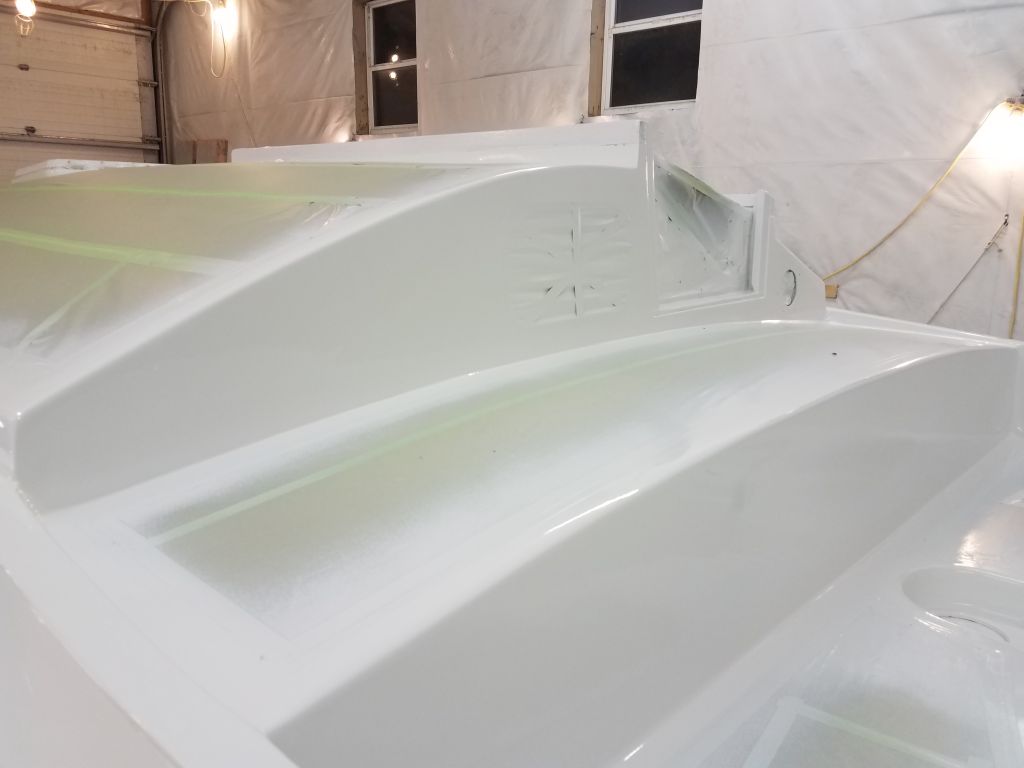
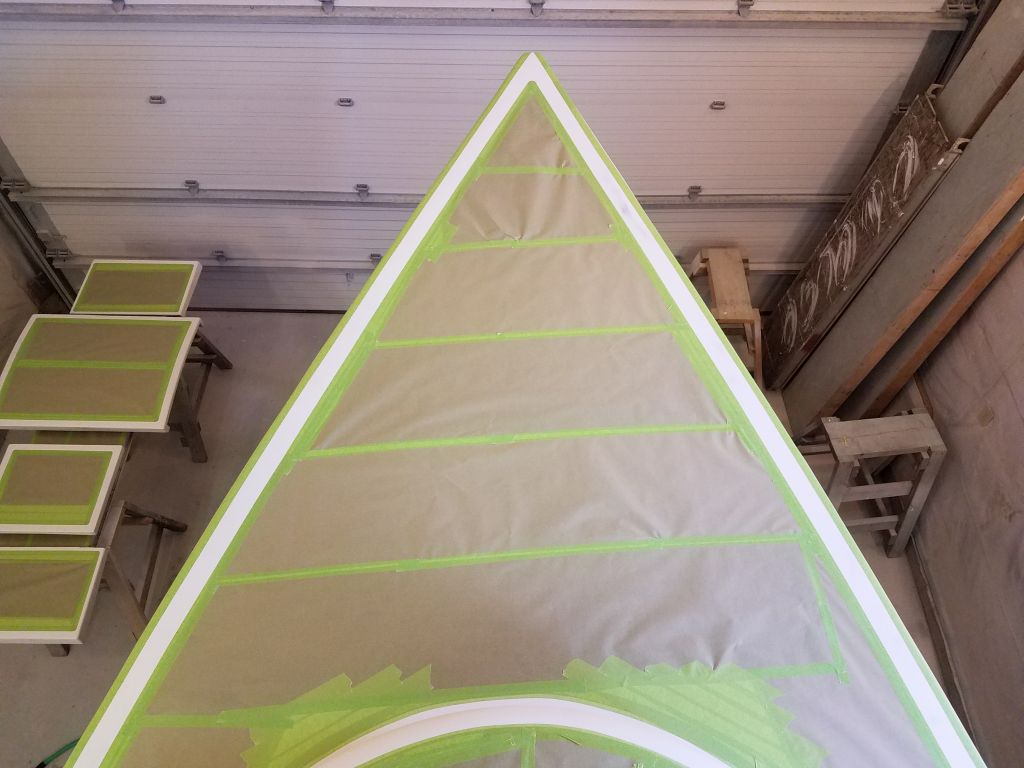
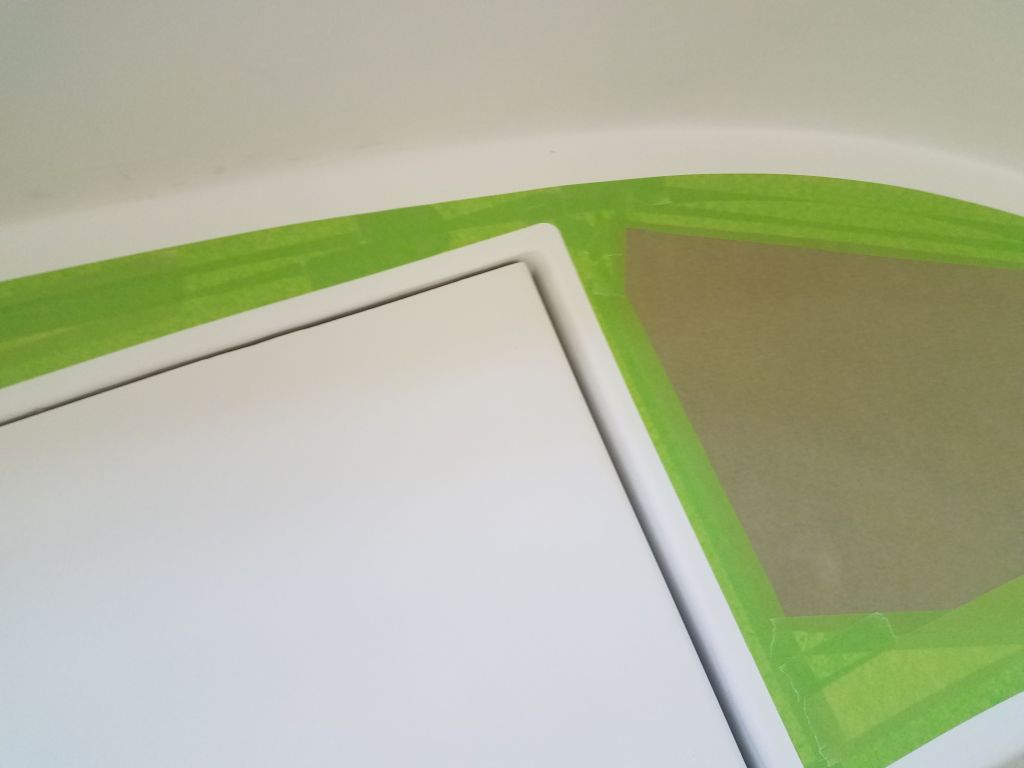
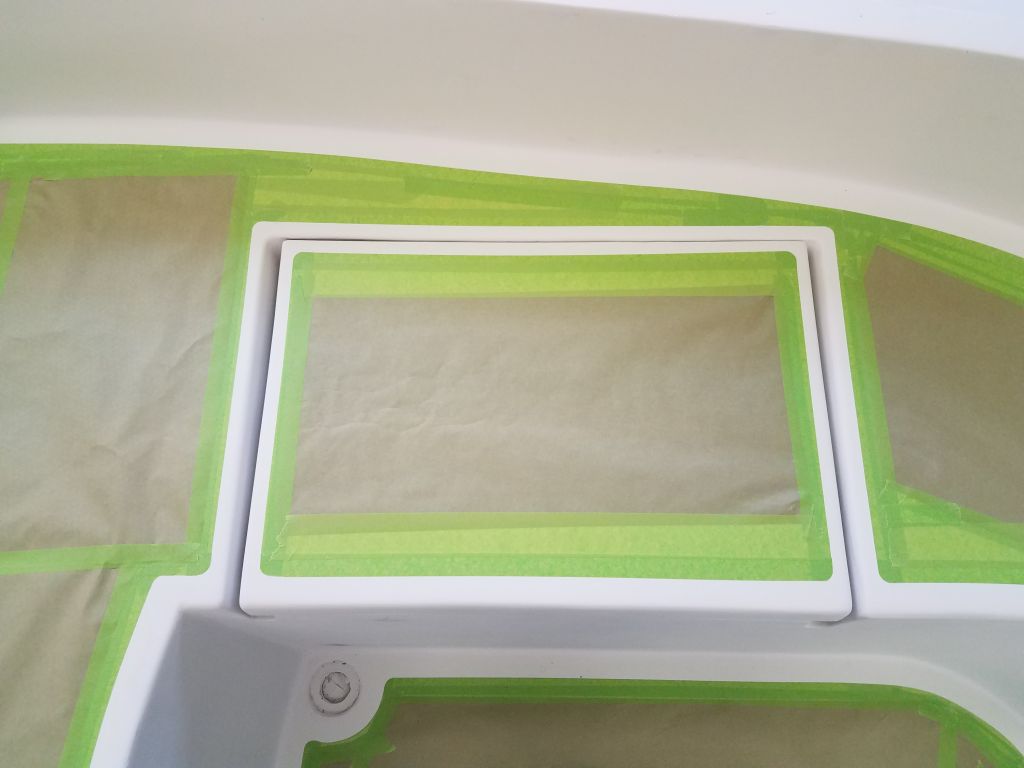
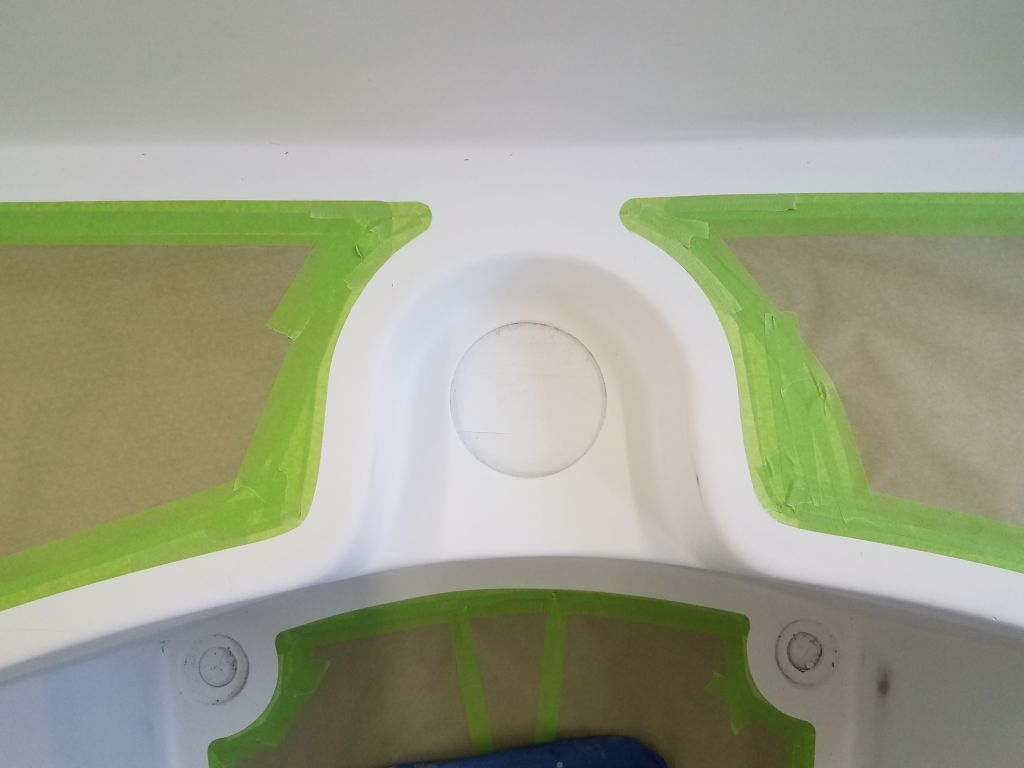
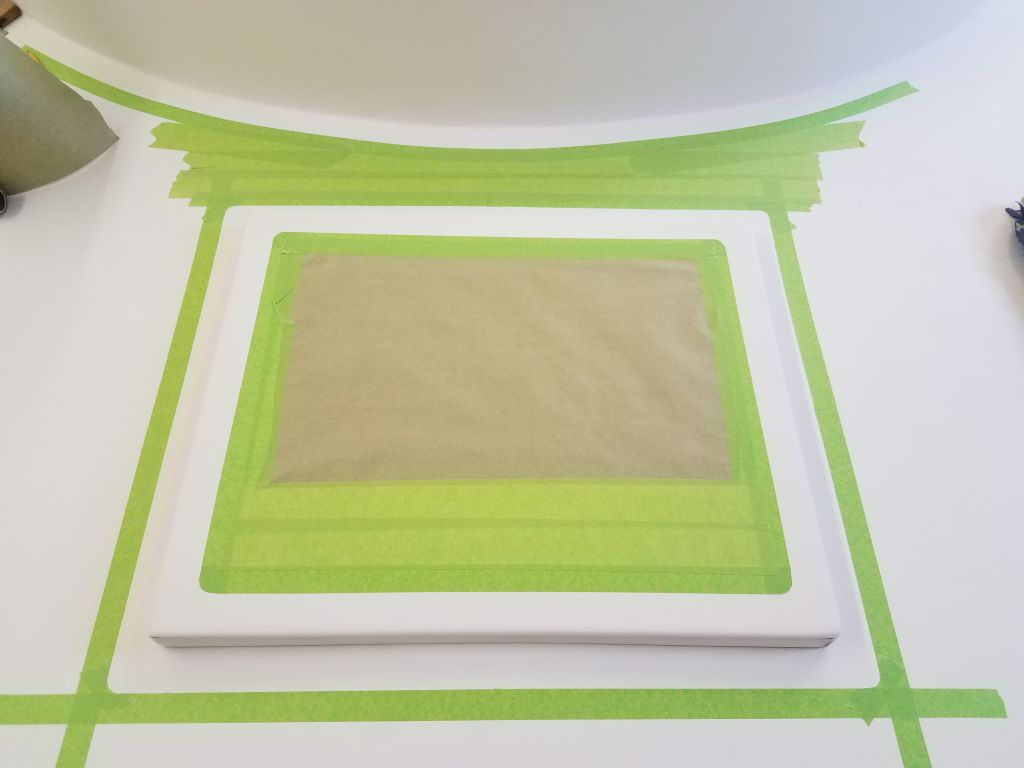
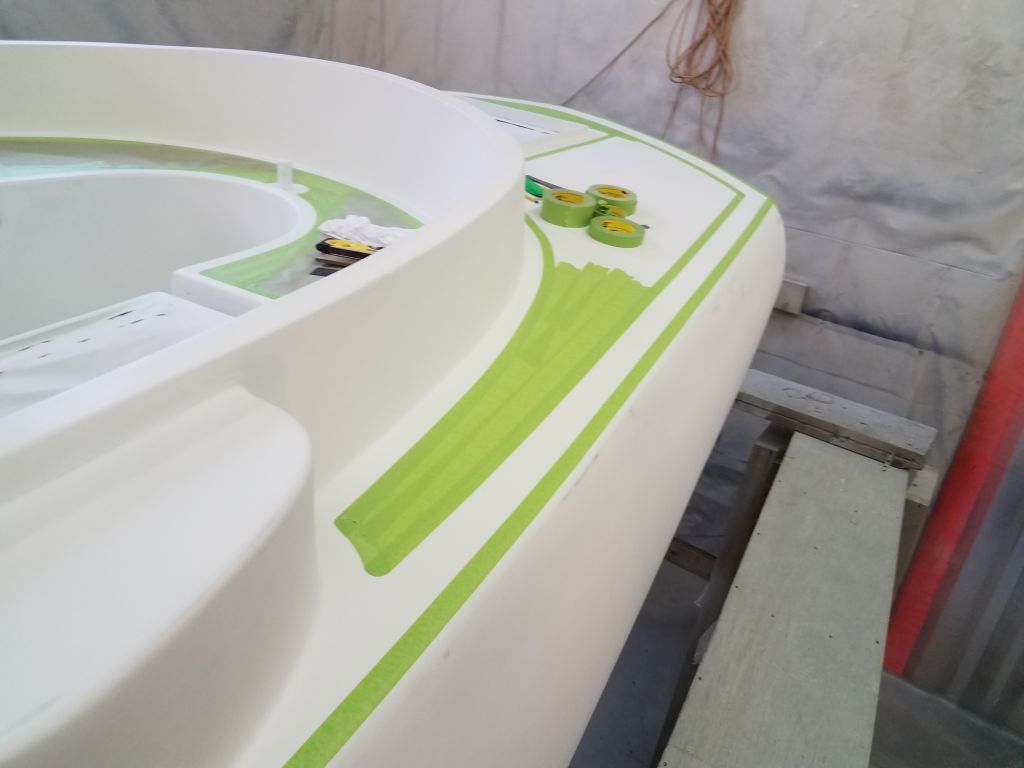
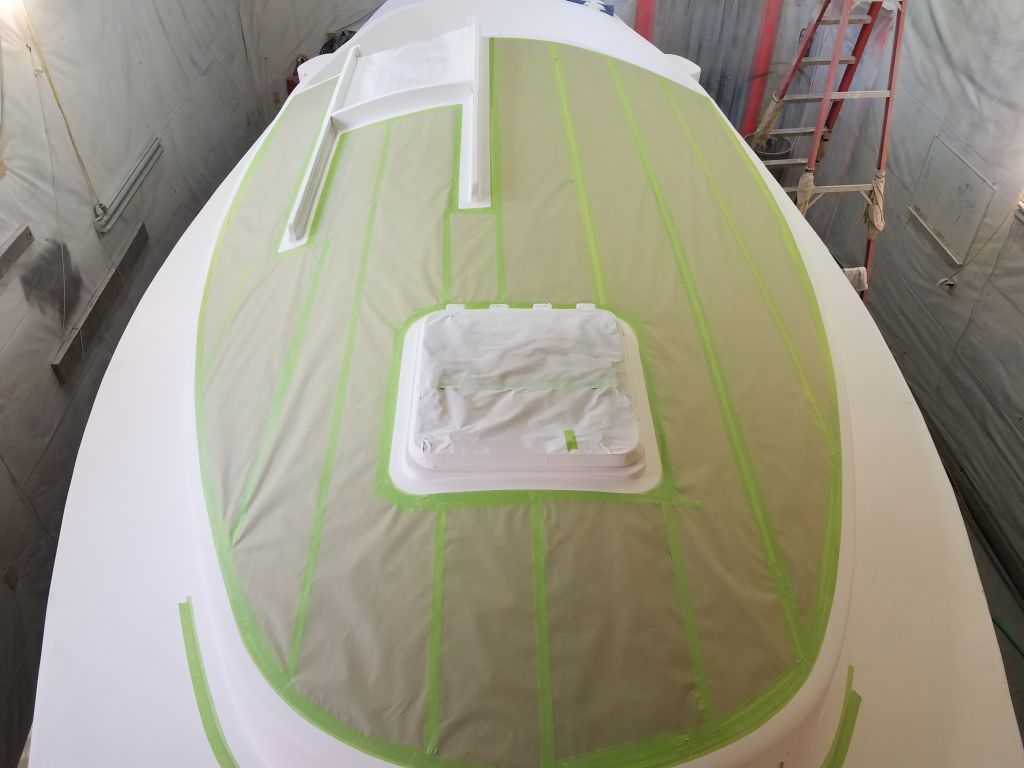
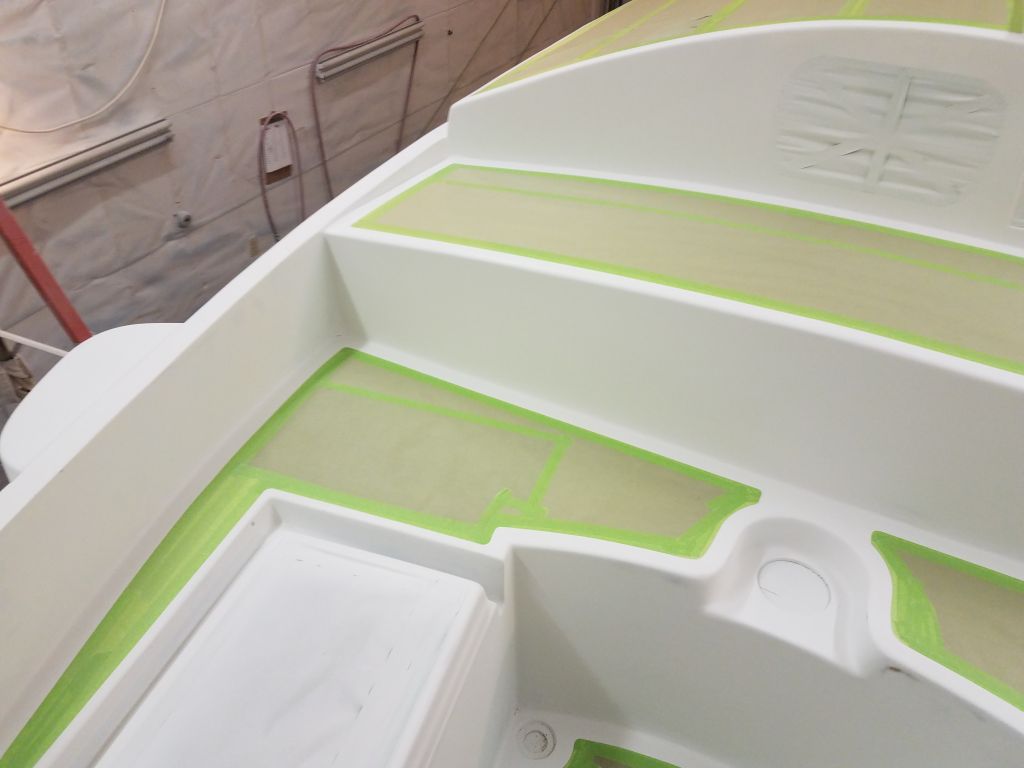
From there, I masked off the remainders of the hatches and covered the field areas with paper.  Here, as on the adjacent deck borders, I used a 3/4″ border width on the hatch so that the total border area around each hatch seam would total 1-1/2″ and be visually consistent with the other deck borders.  While I was at it, I slightly changed the way I’d masked off the cockpit outboard of the hatches, running the tape continuously through the narrowest part of the area rather than leaving a gap as I had originally.  Similarly, I also massaged the masking around the compass recess at the forward end of the cockpit, bringing the end result more in keeping with my general masking conventions.

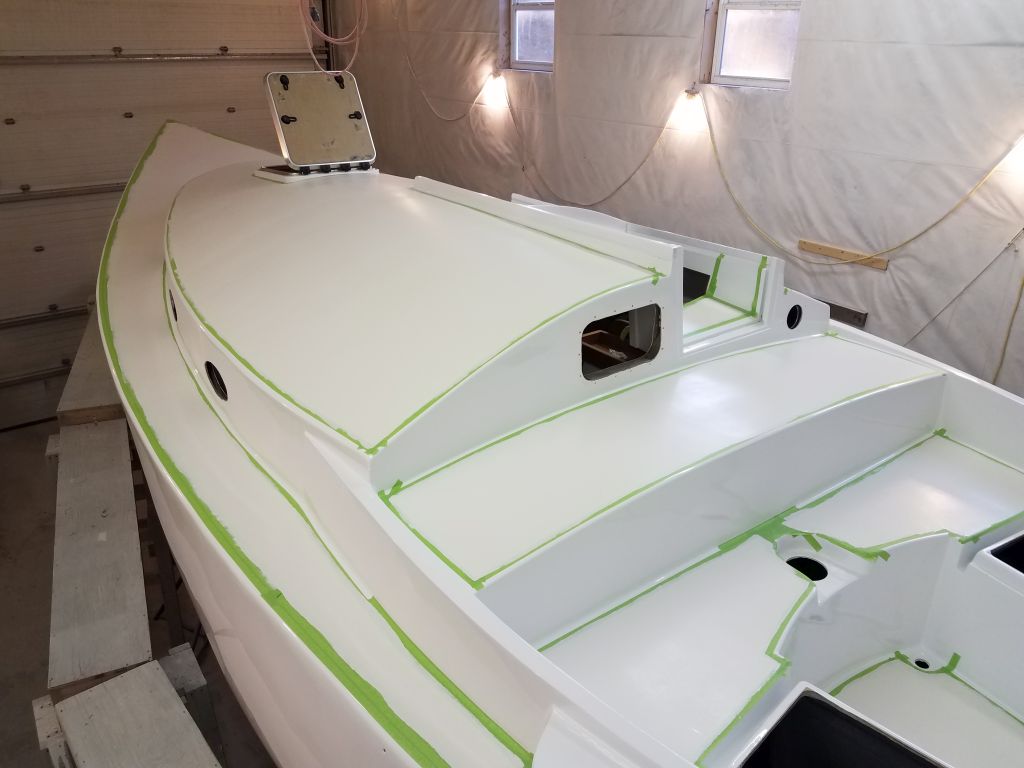
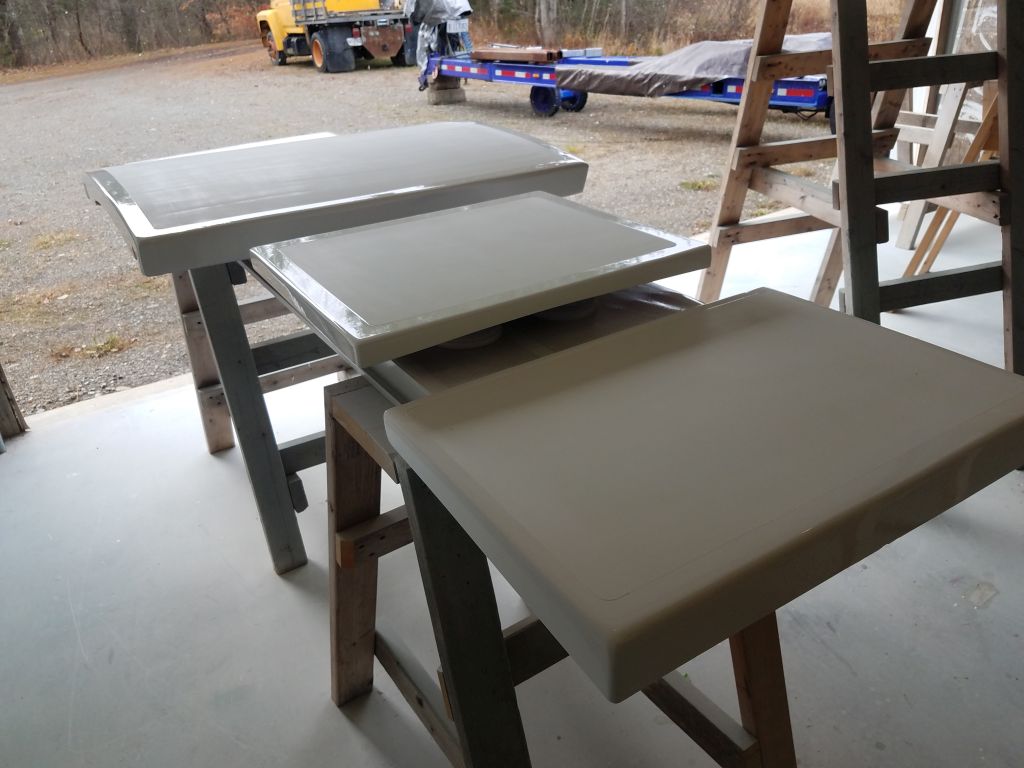
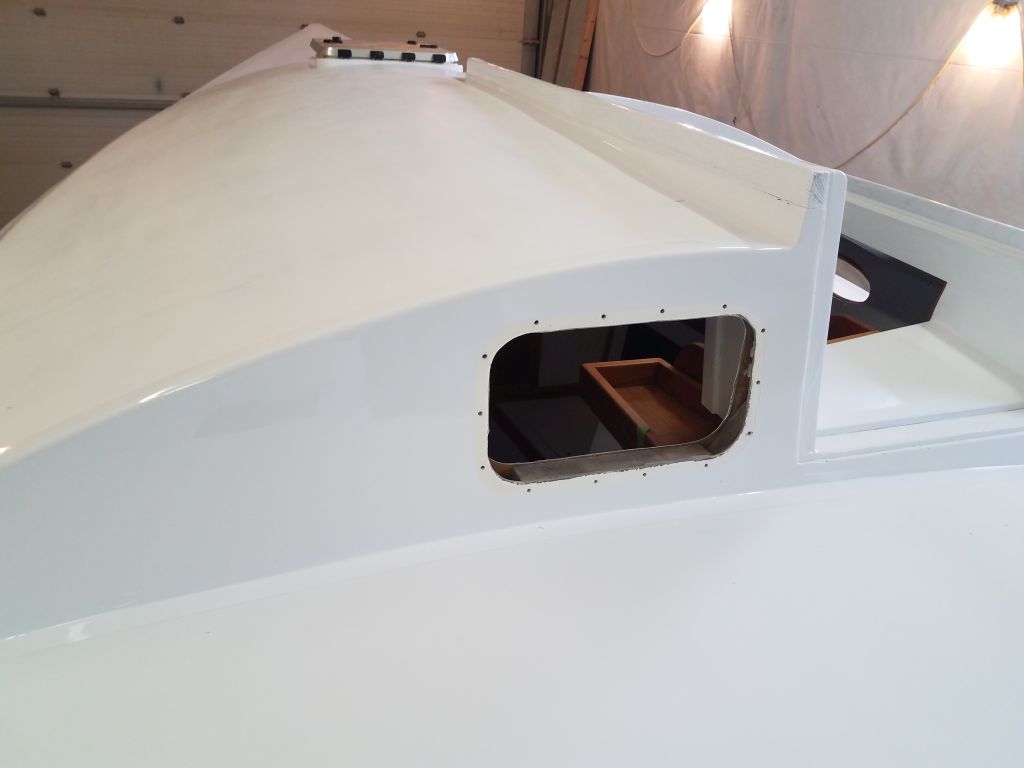
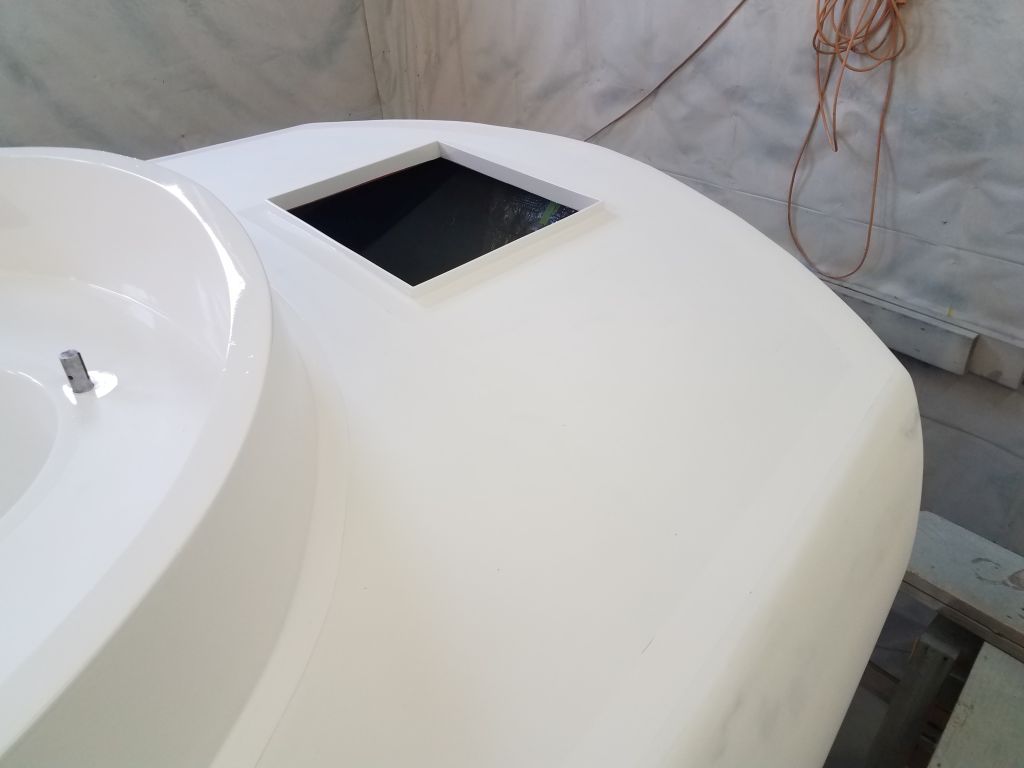
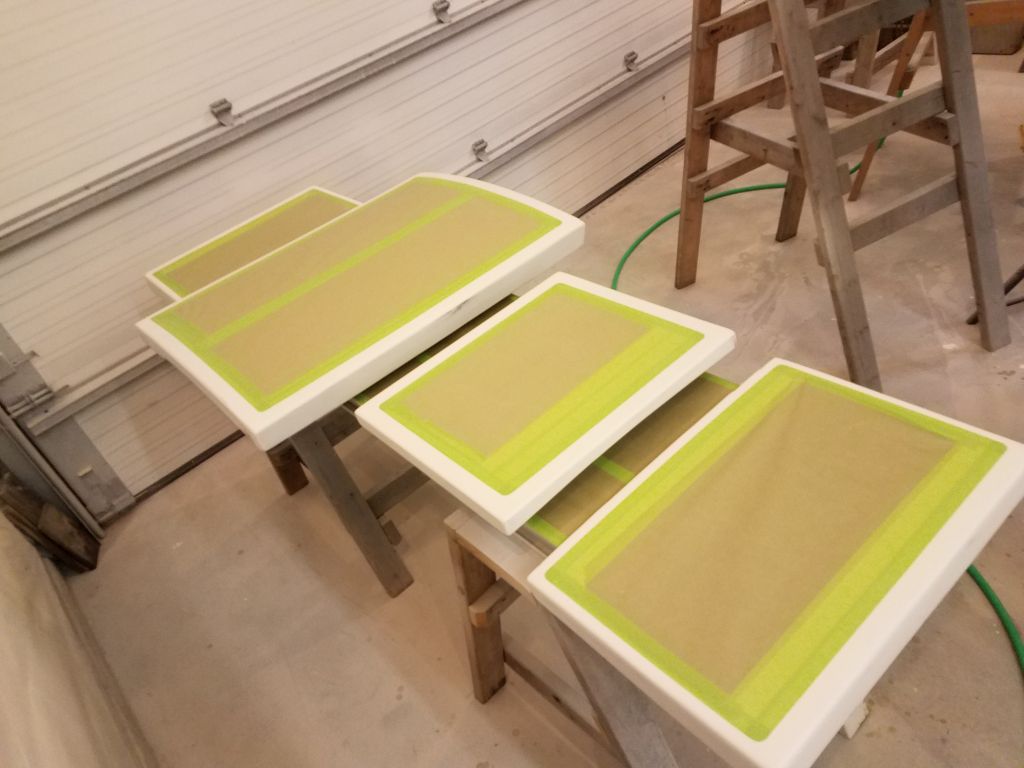
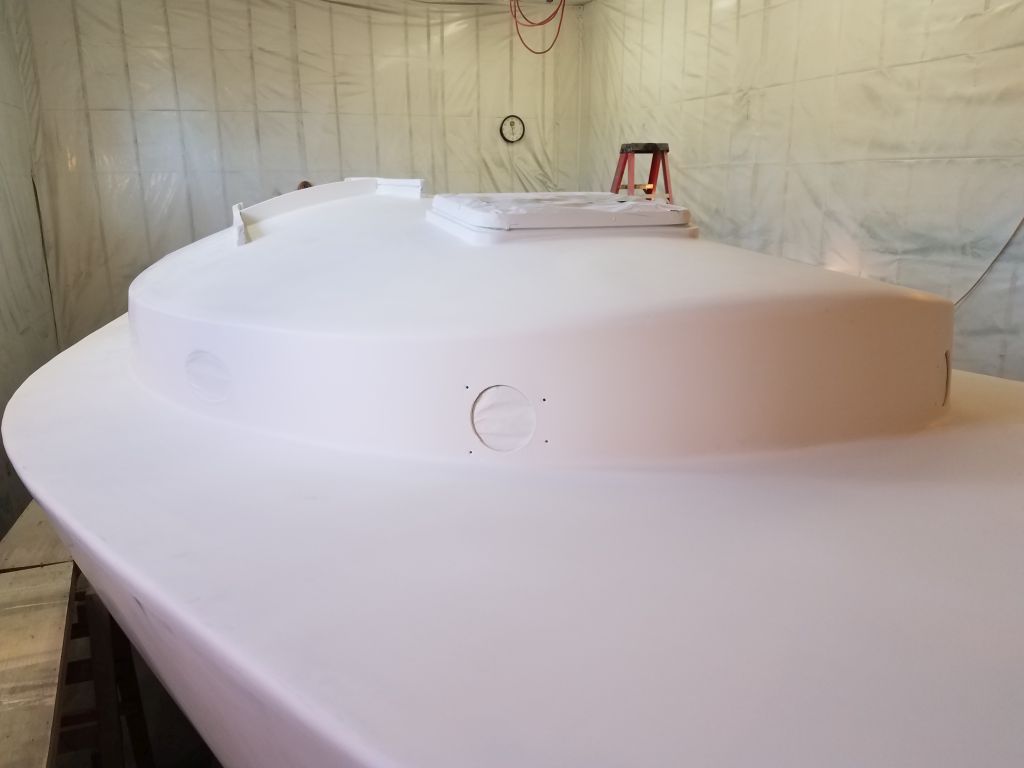
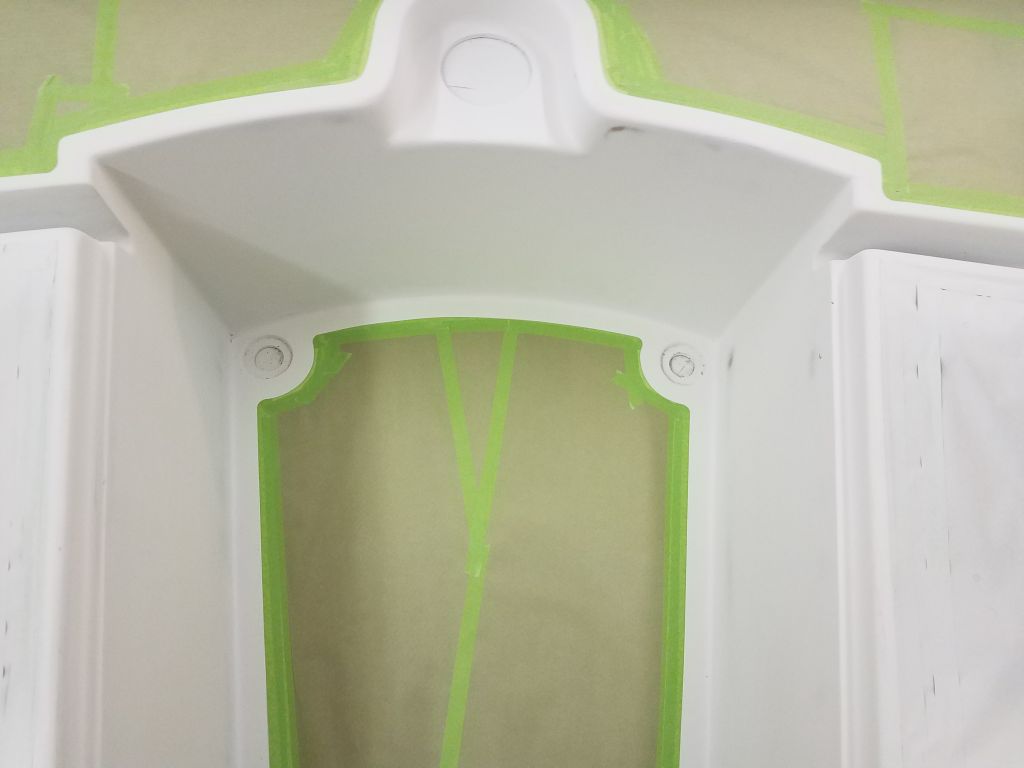
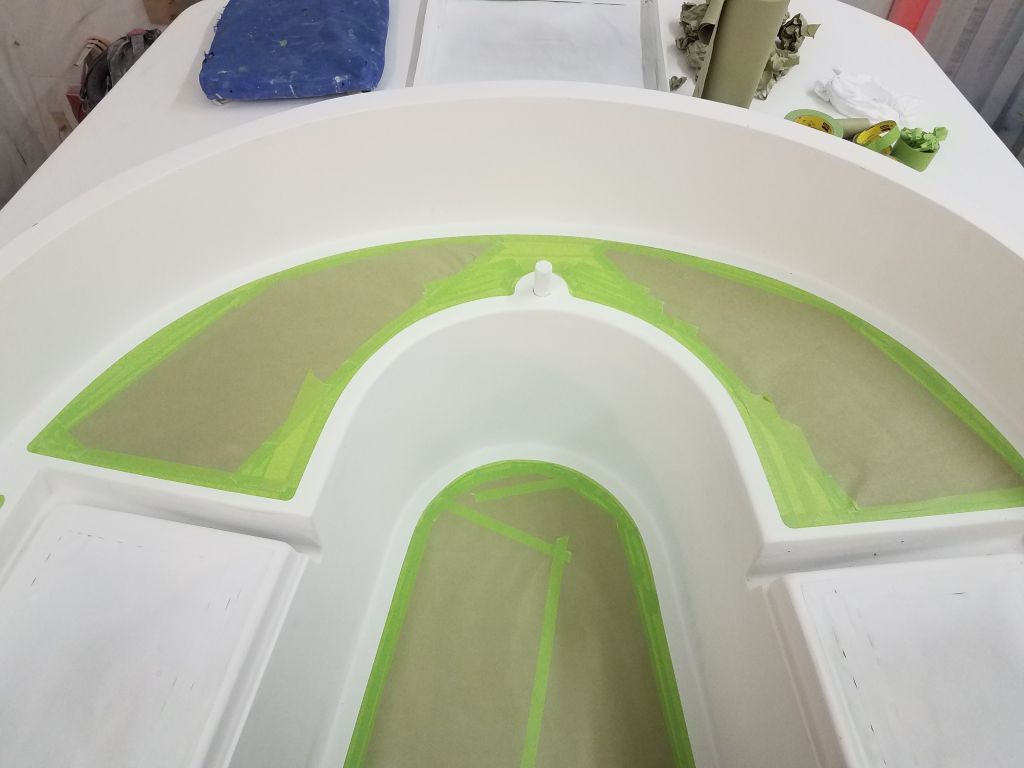
At the lazarette hatch in the poop deck, I temporarily installed the new hatch cover so I could mark my borders from its outside edge, then masked off the area and the hatch accordingly.  After returning the three deck hatches to their table on the shop floor, I finished up by masking the companionway hatch.

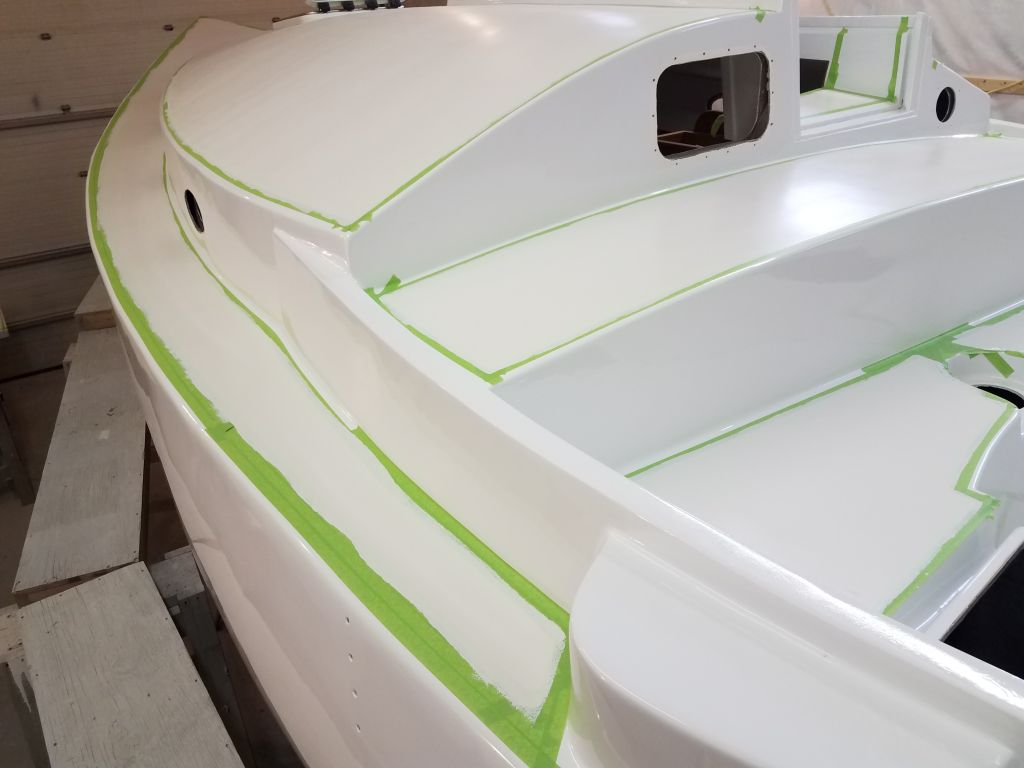
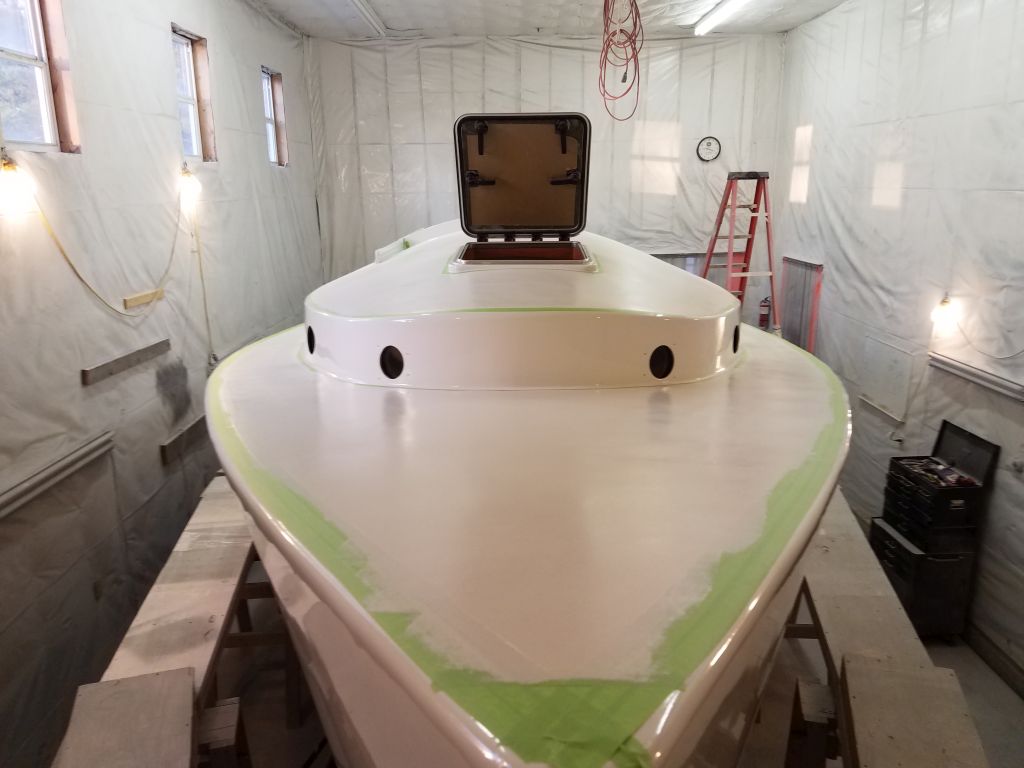
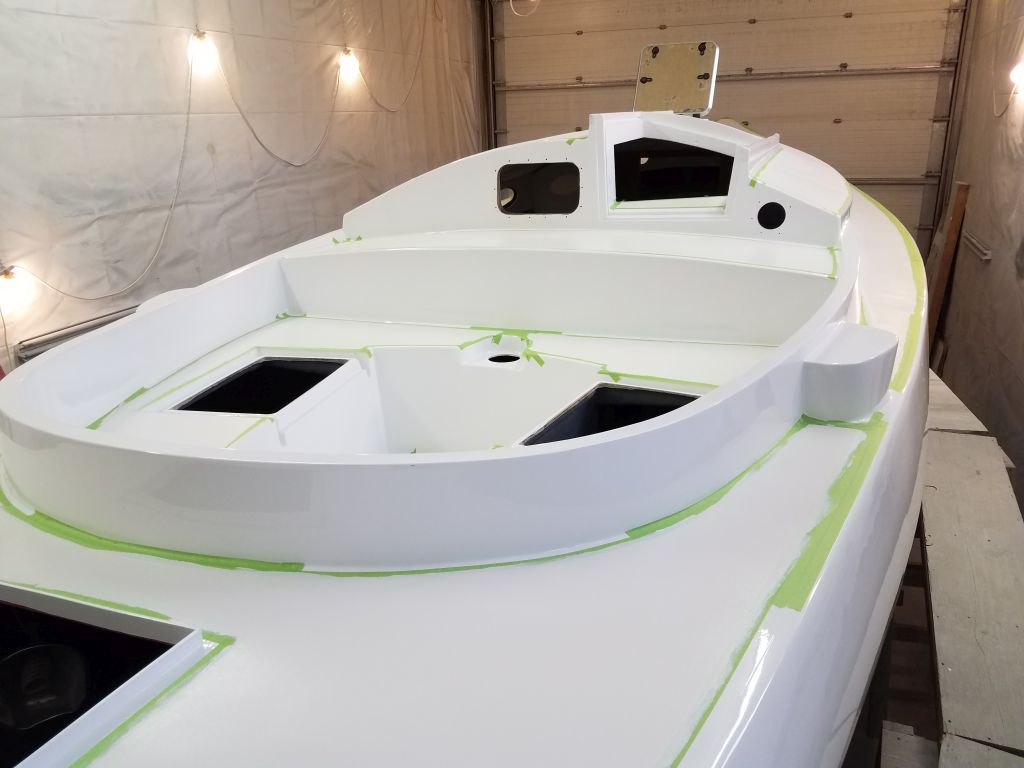
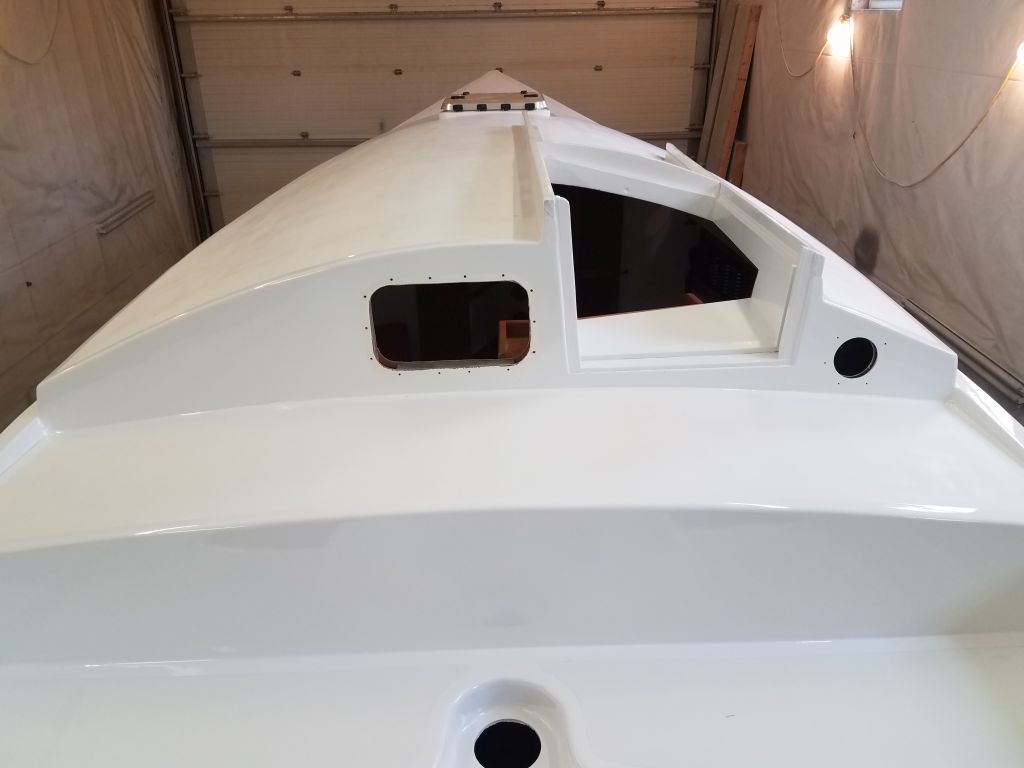
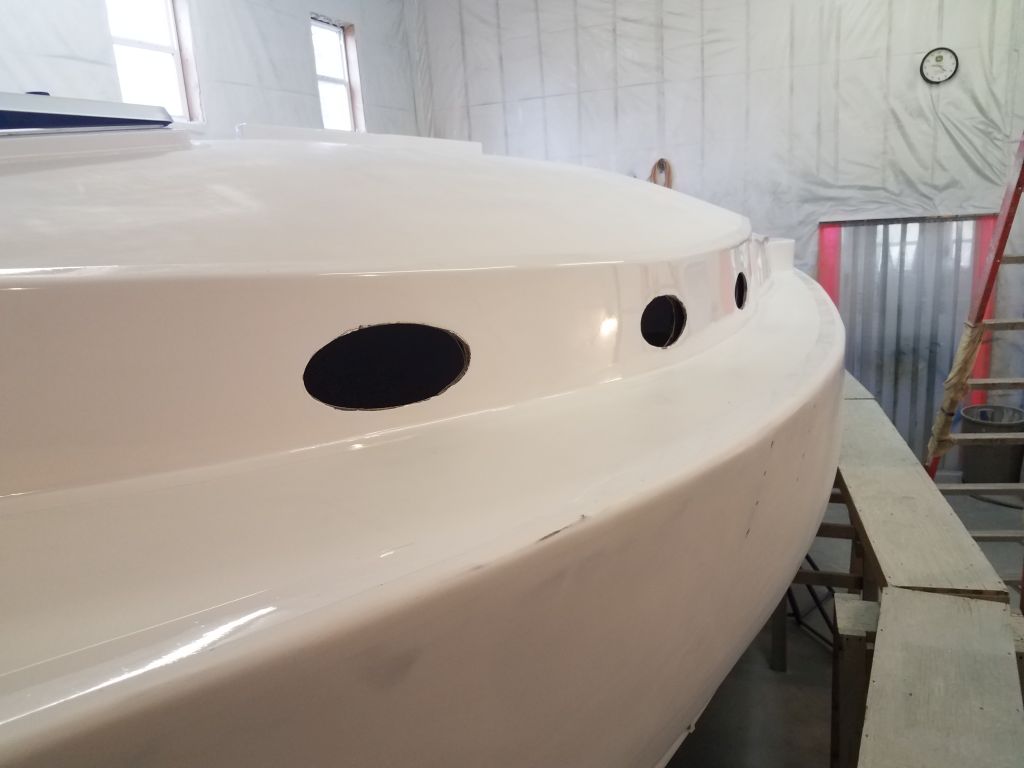
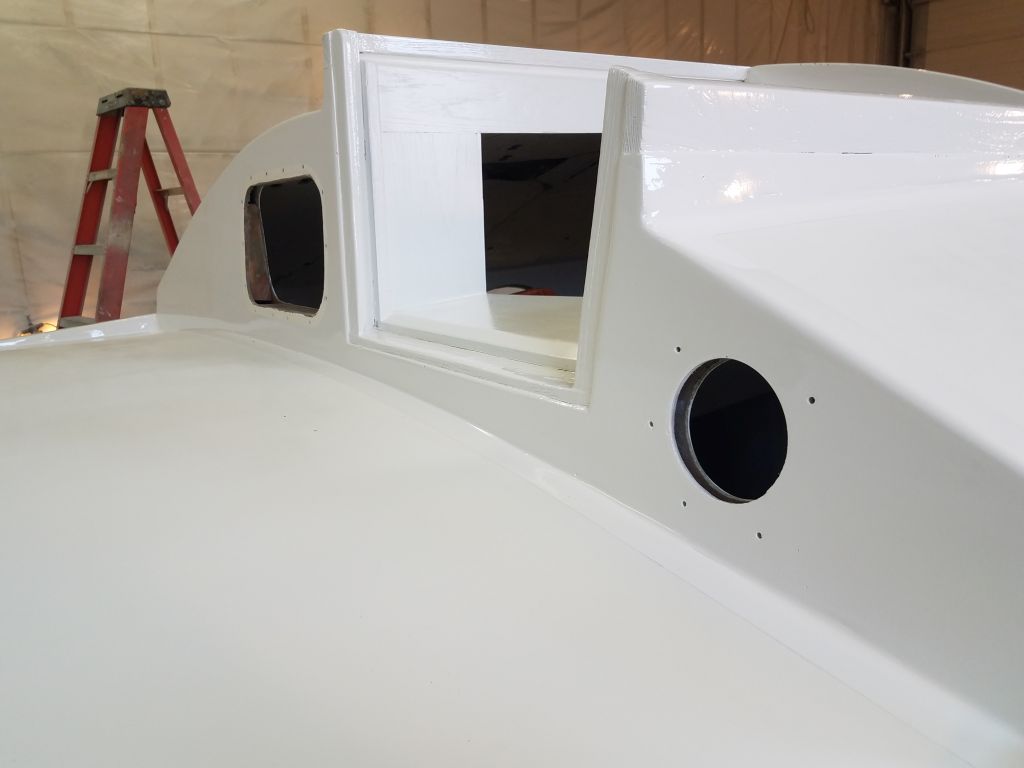
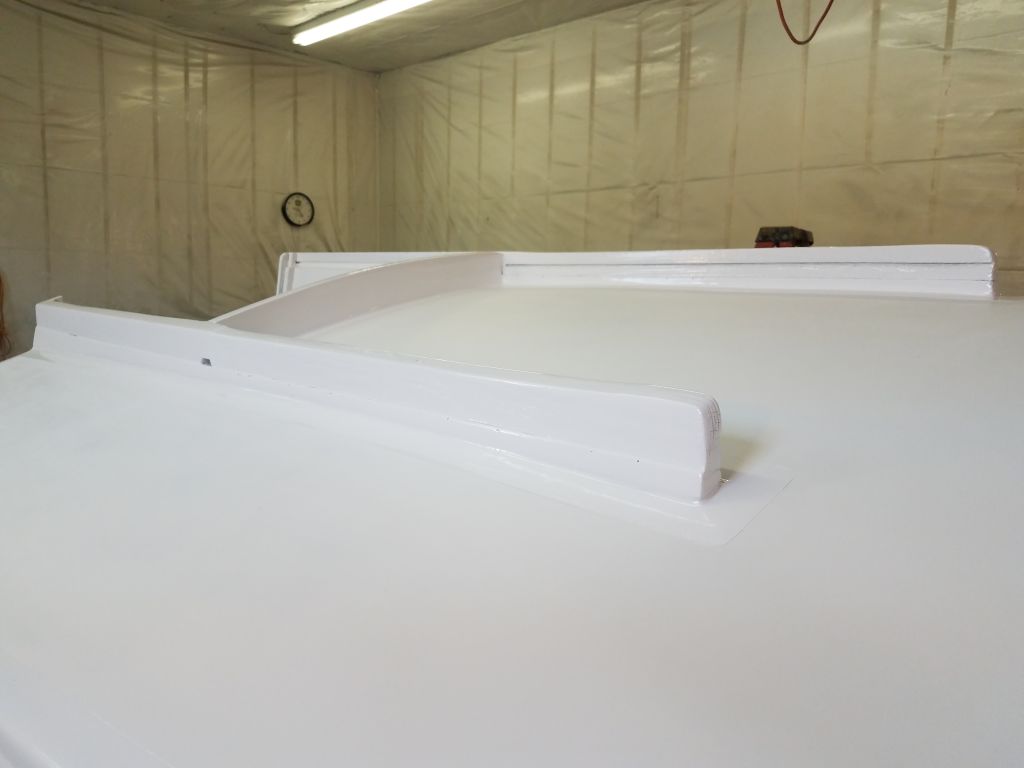
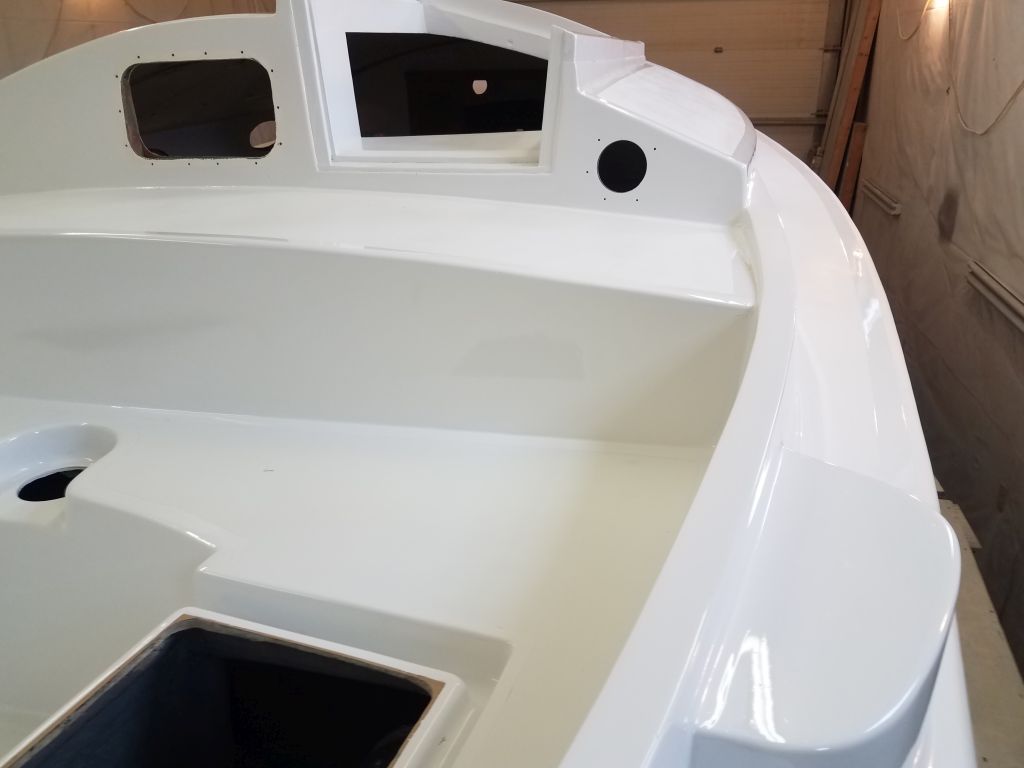
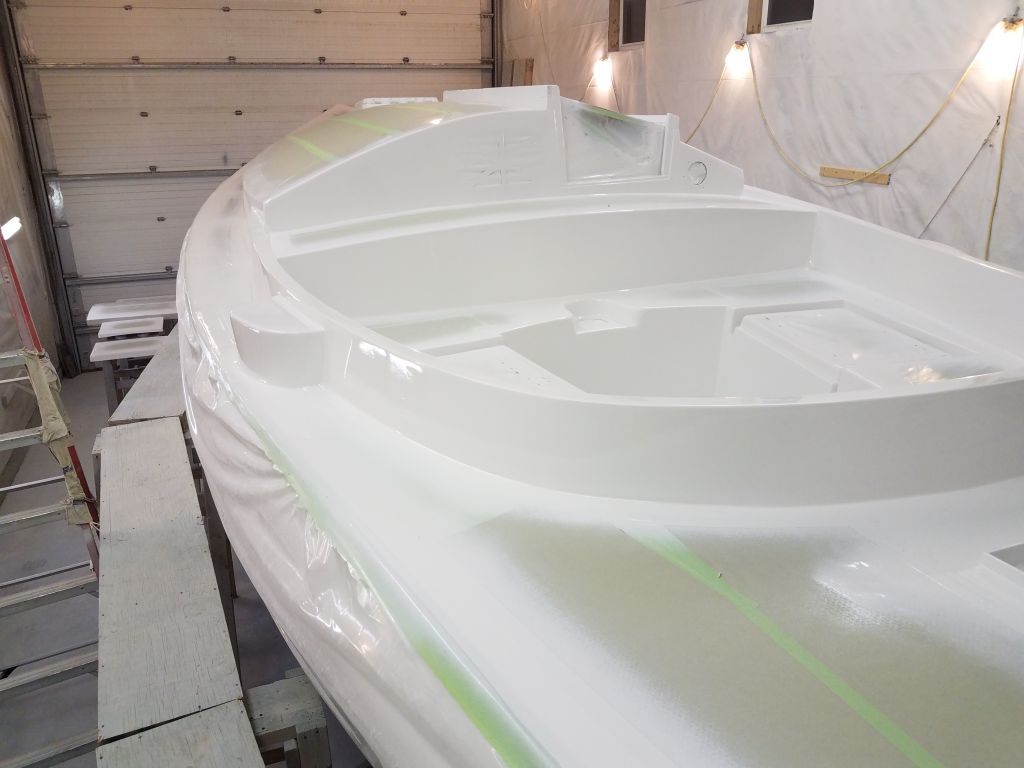
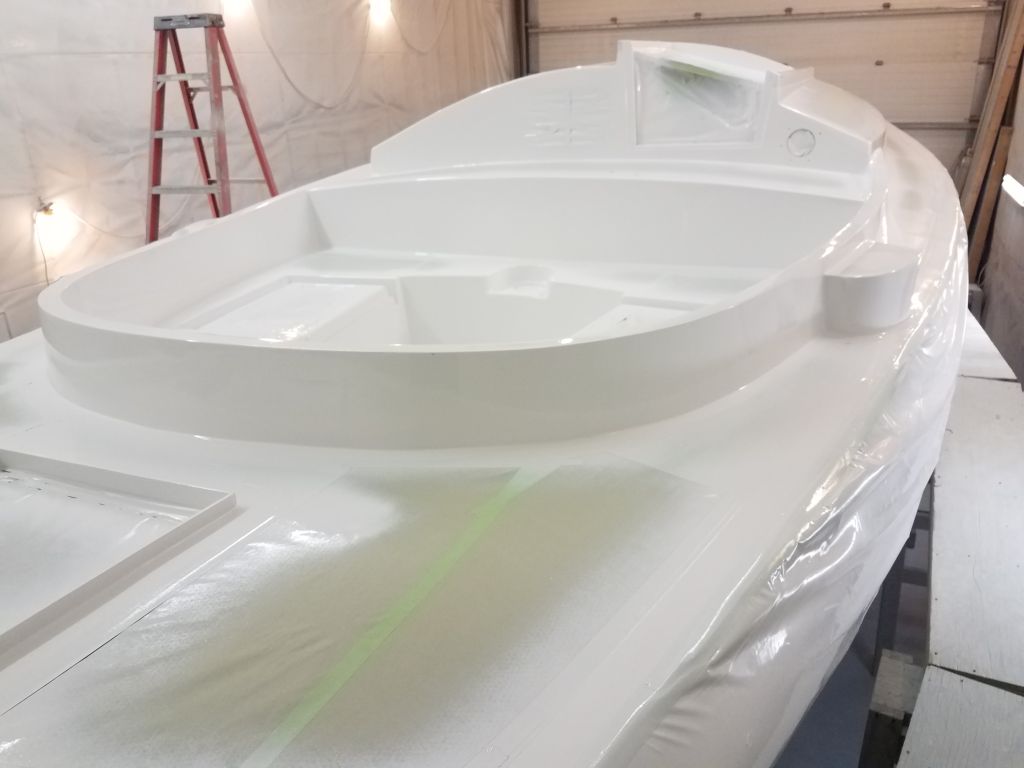
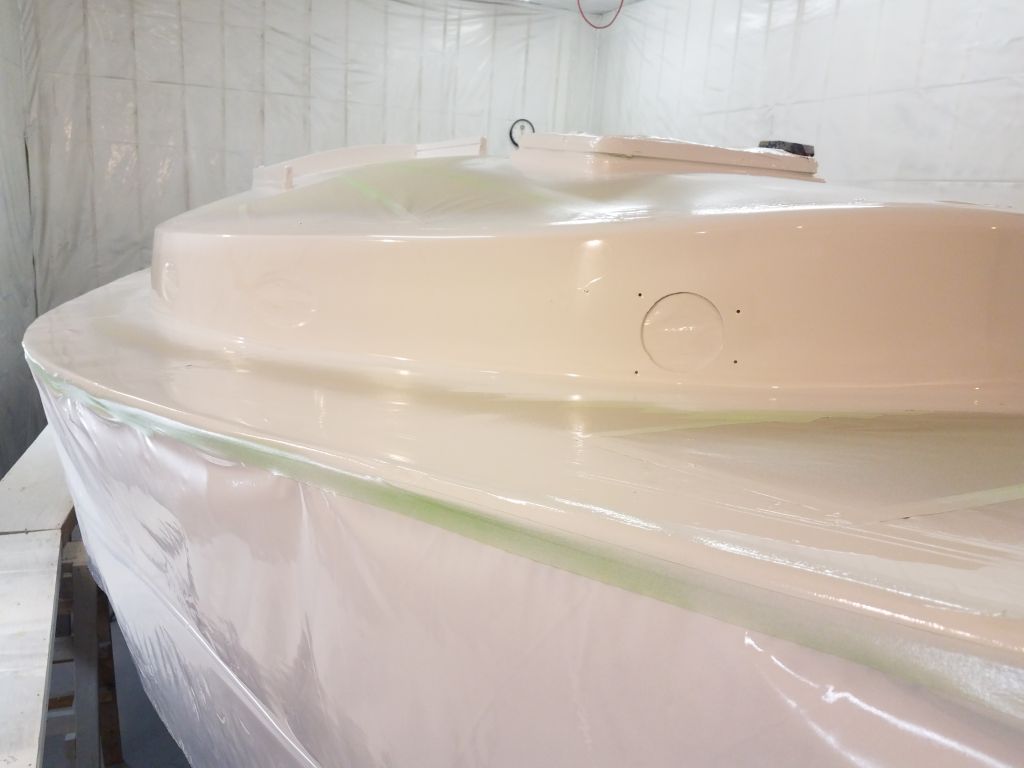
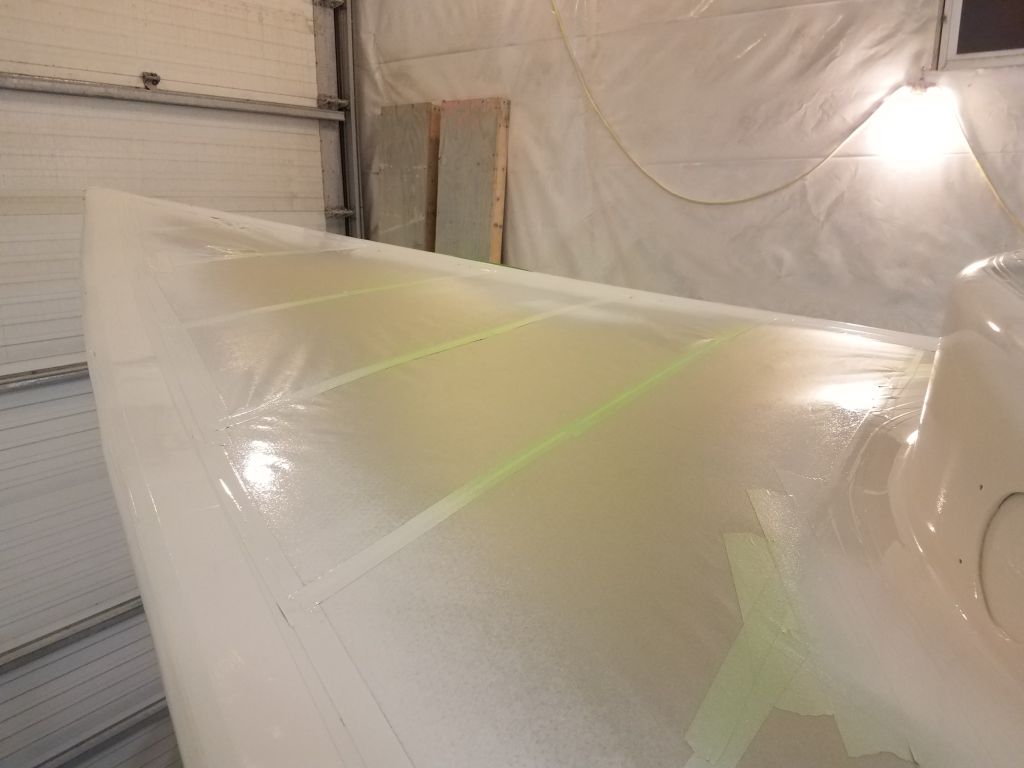
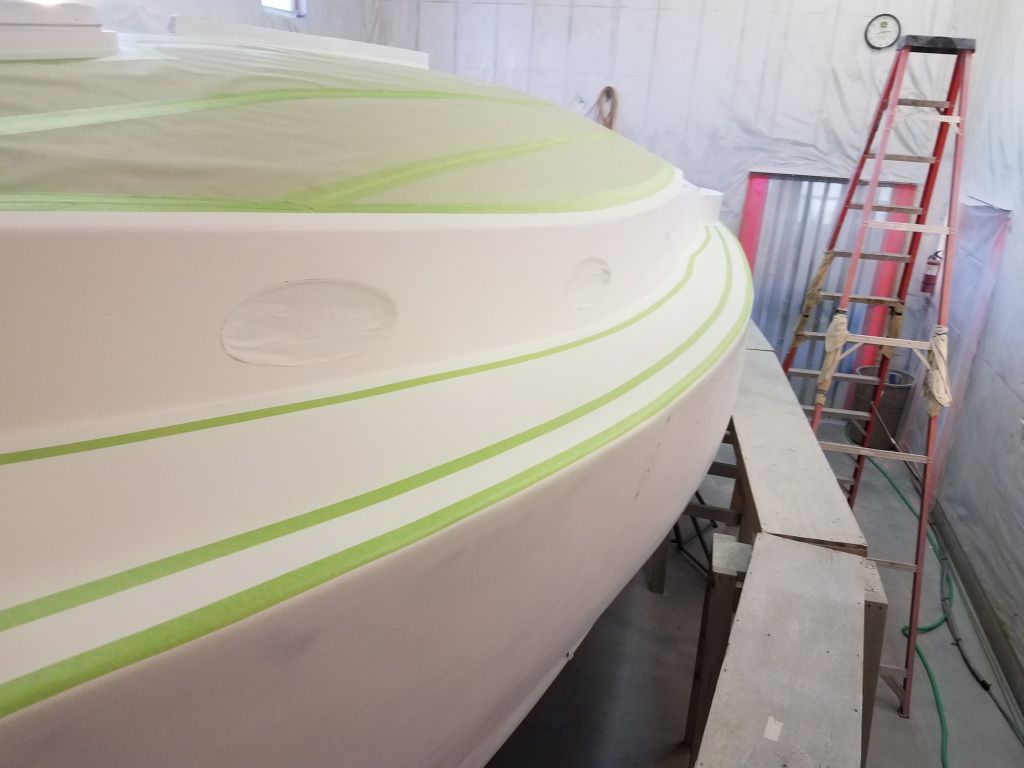
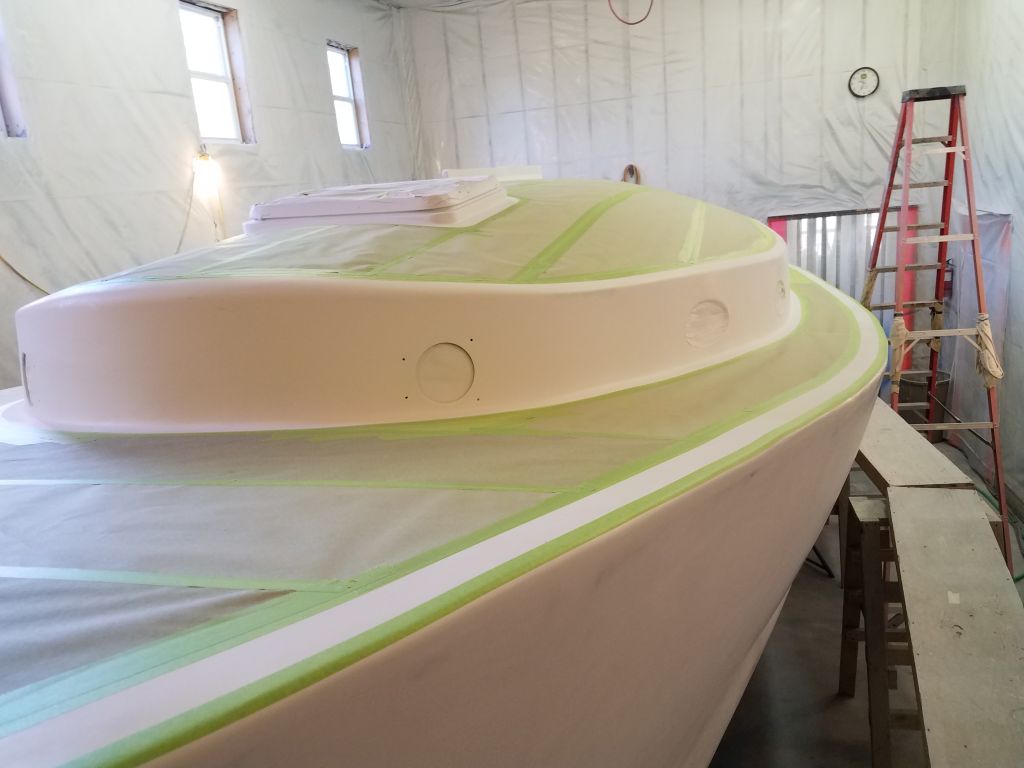
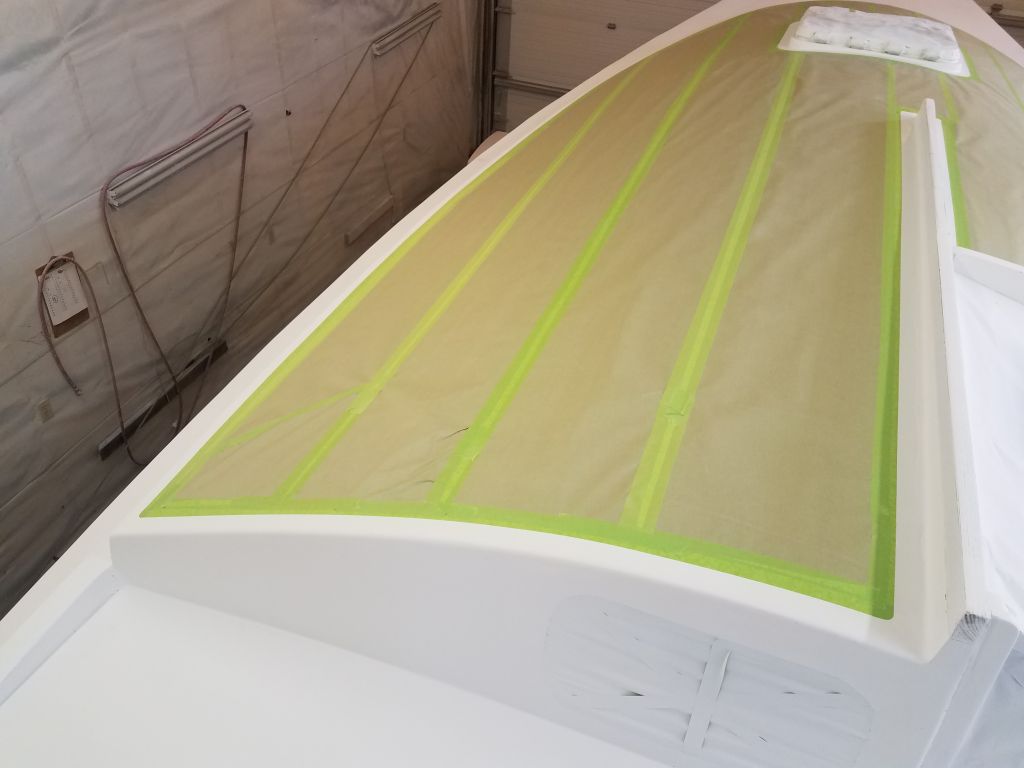
Starting on the port sidedeck, I marked my border along the cabin trunk and coaming, and masked along these lines to define the inboard edge of the deck.

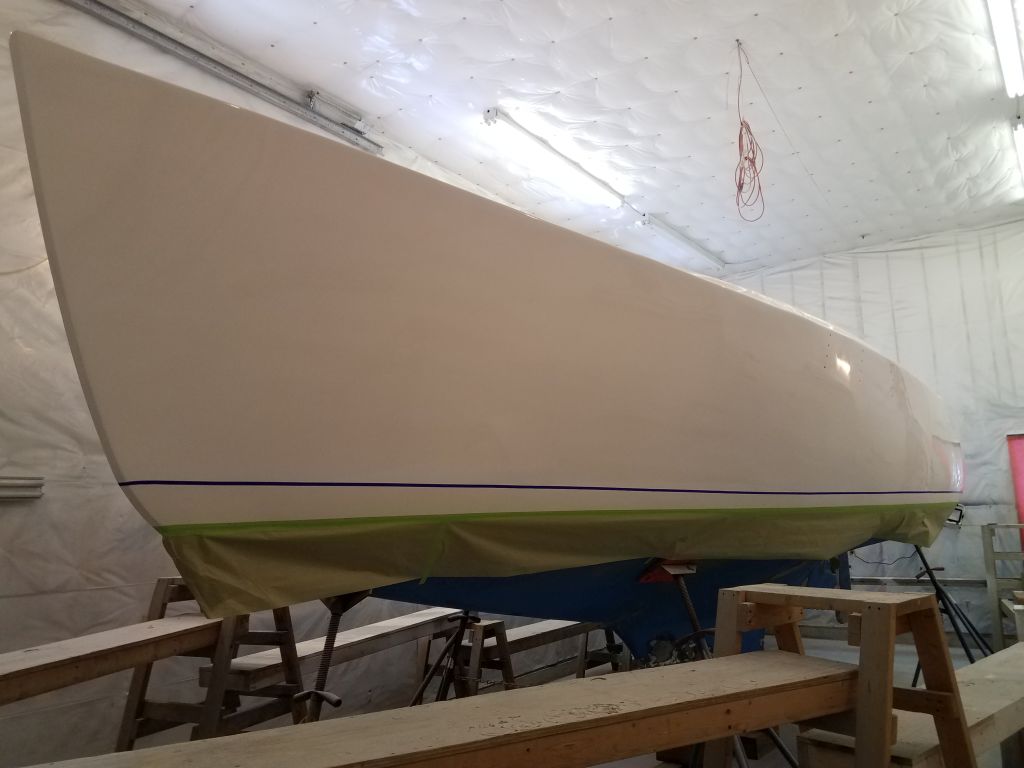
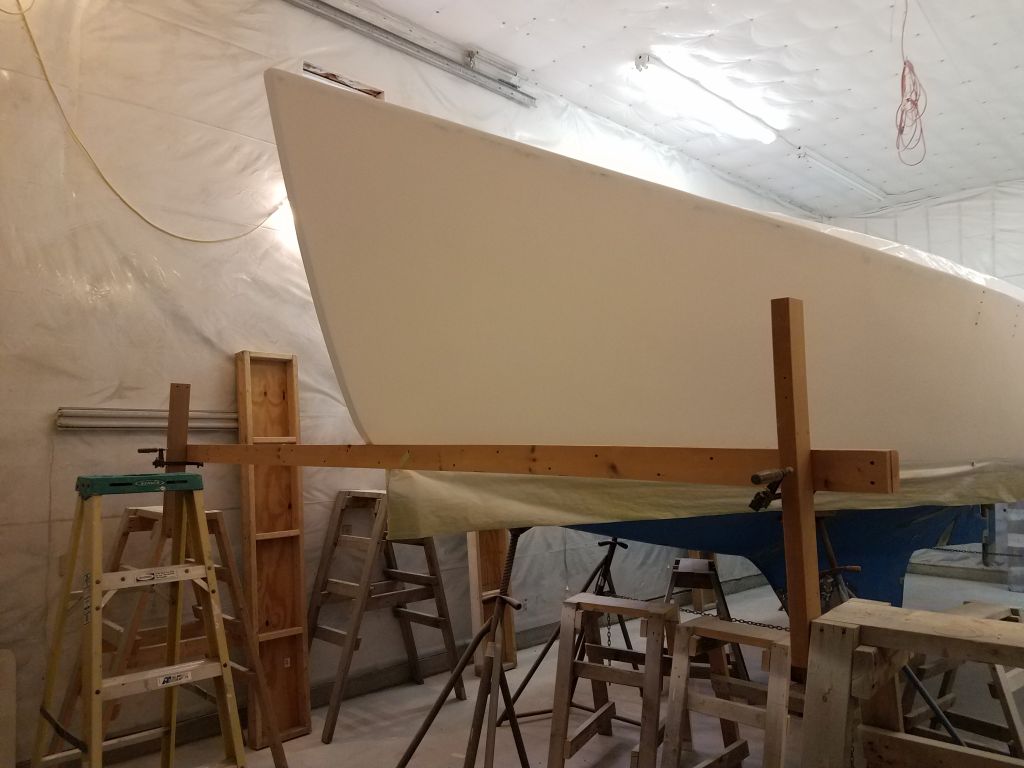
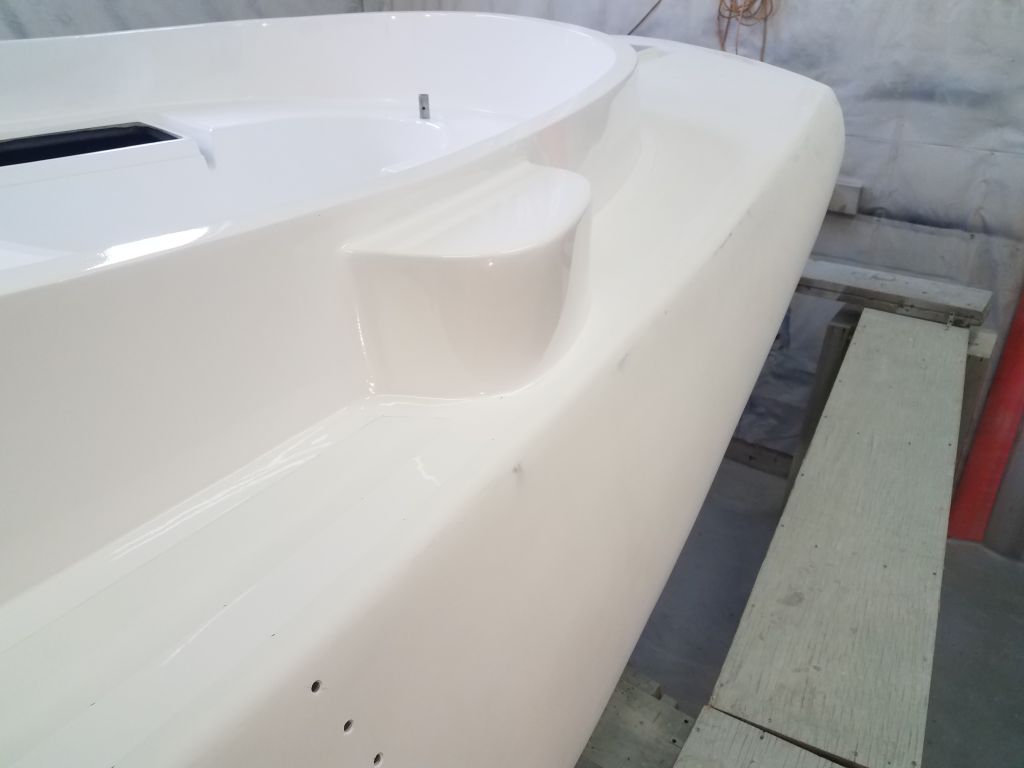
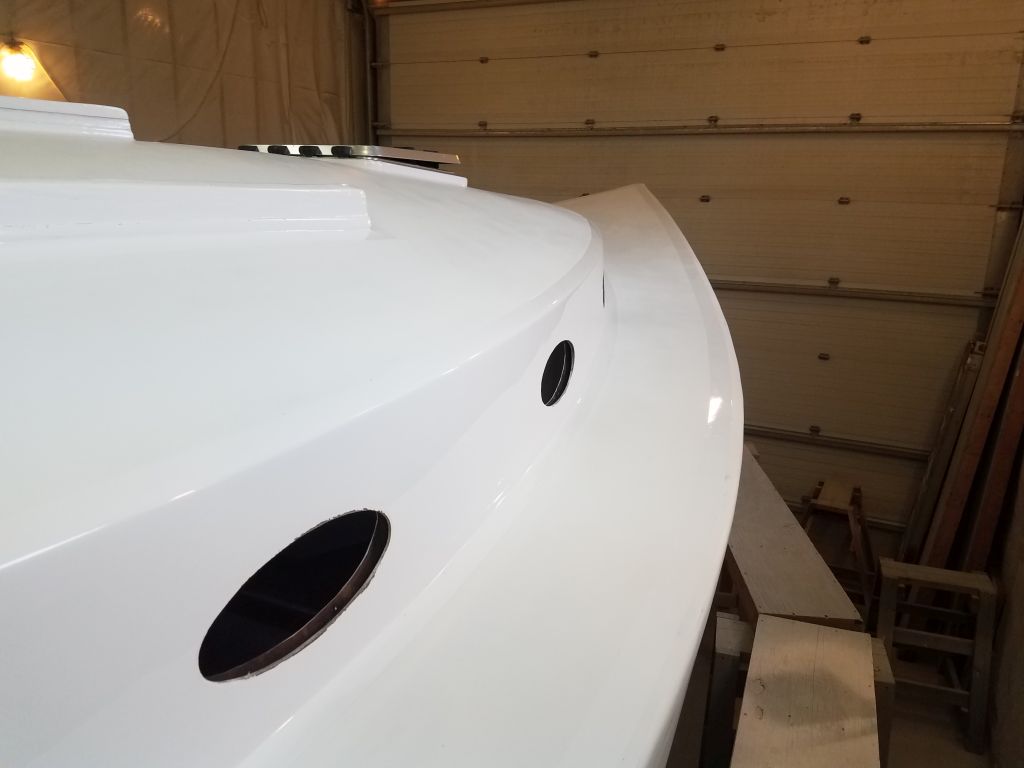
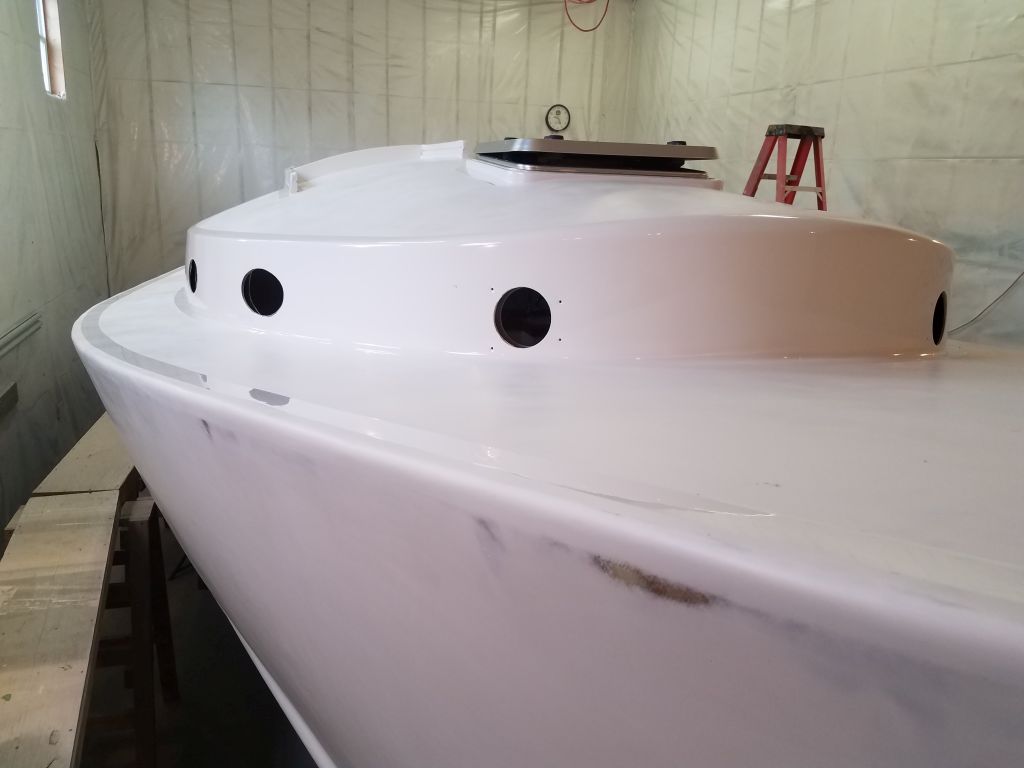
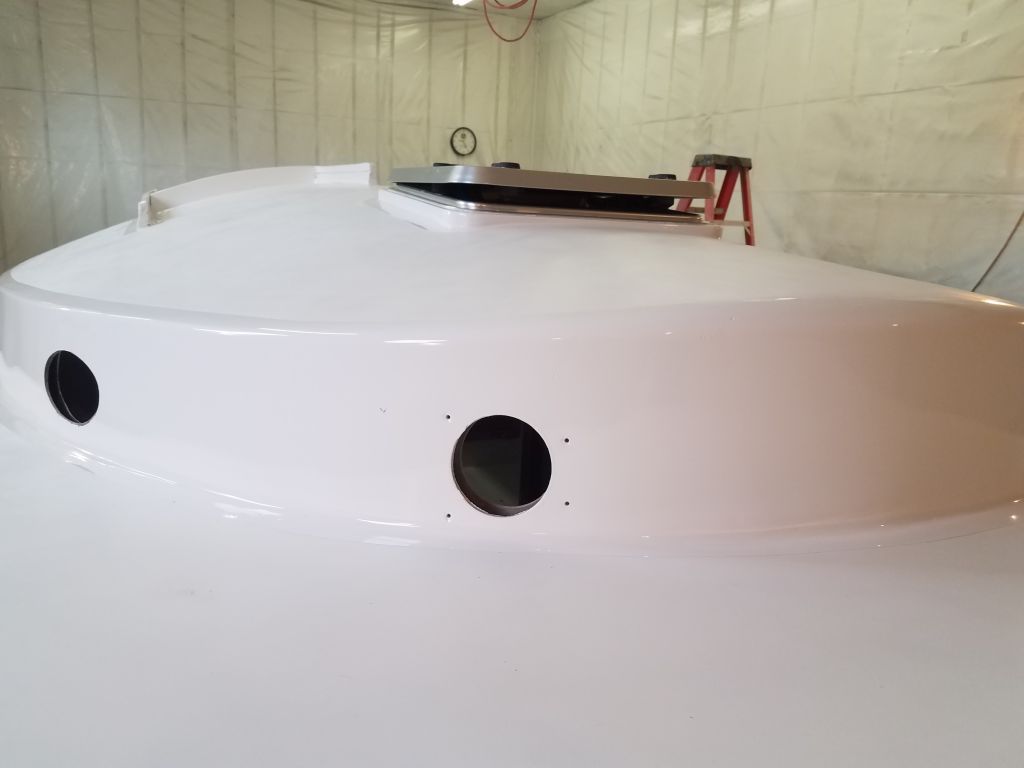
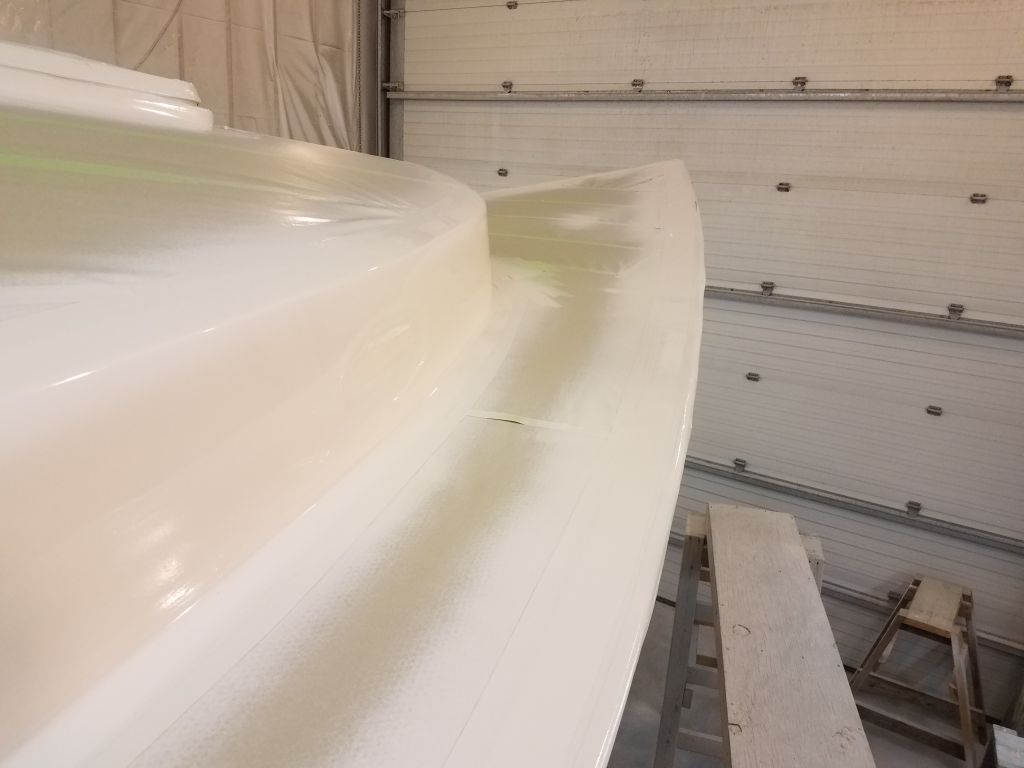
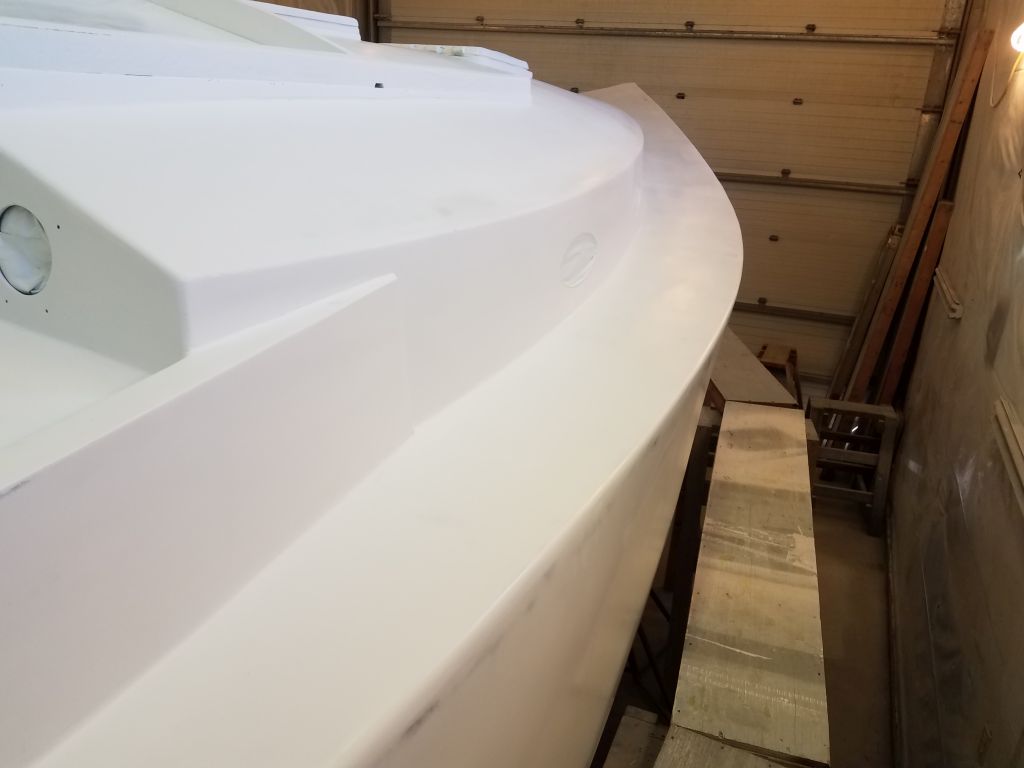
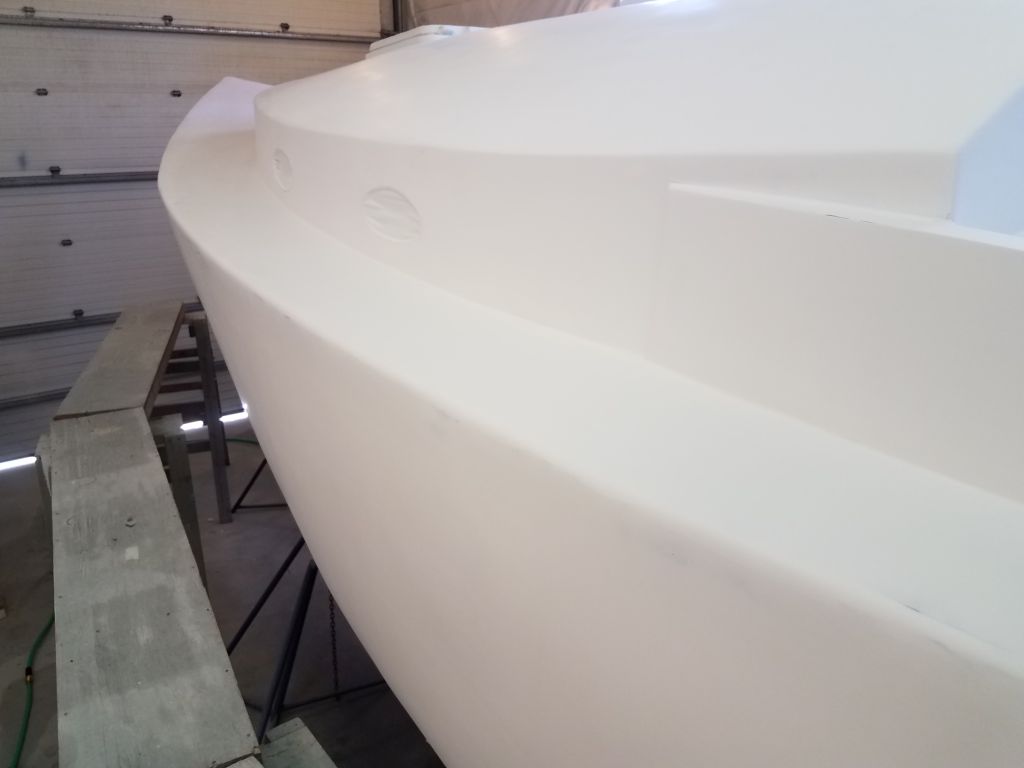
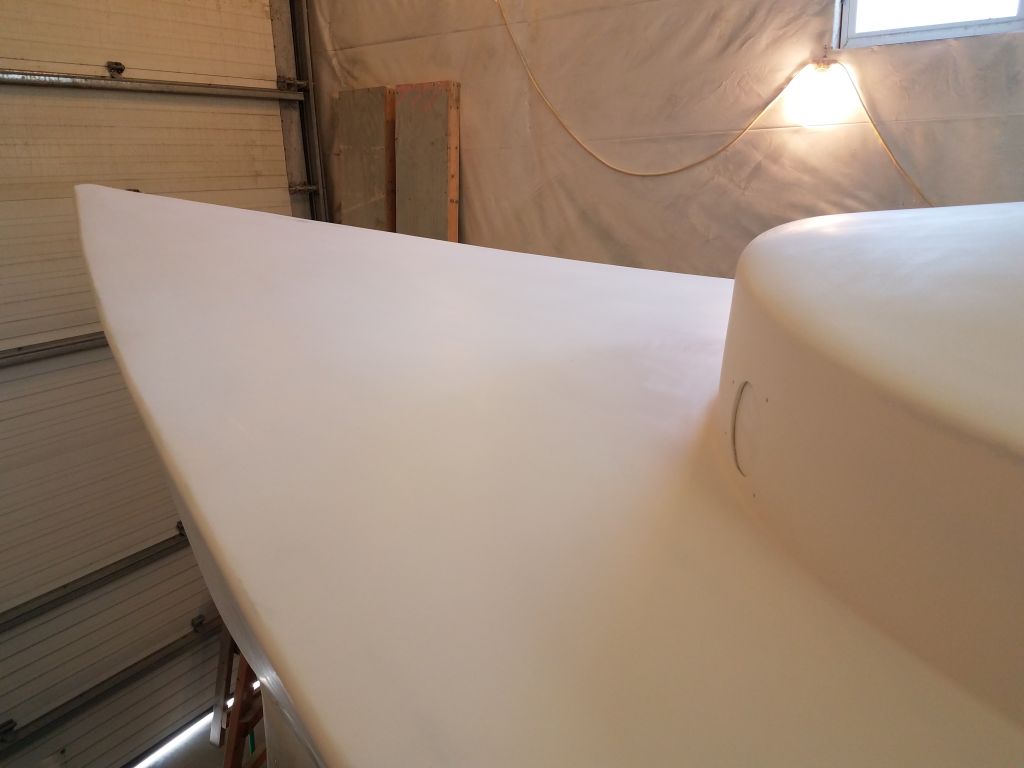
At the outboard edge, I needed to create a similar border and also mark an edge against which I’d mask off the hull during the deck work, and coming up with the plan for this masking was a bit more of a challenge.  The key factors I had to consider here included the width of the as-yet nonexistent new  toerail, plus the seamless rounded profile of the hull/deck joint, with its variable geometry thanks to the flare of the hull (forward) and tumblehome (aft).

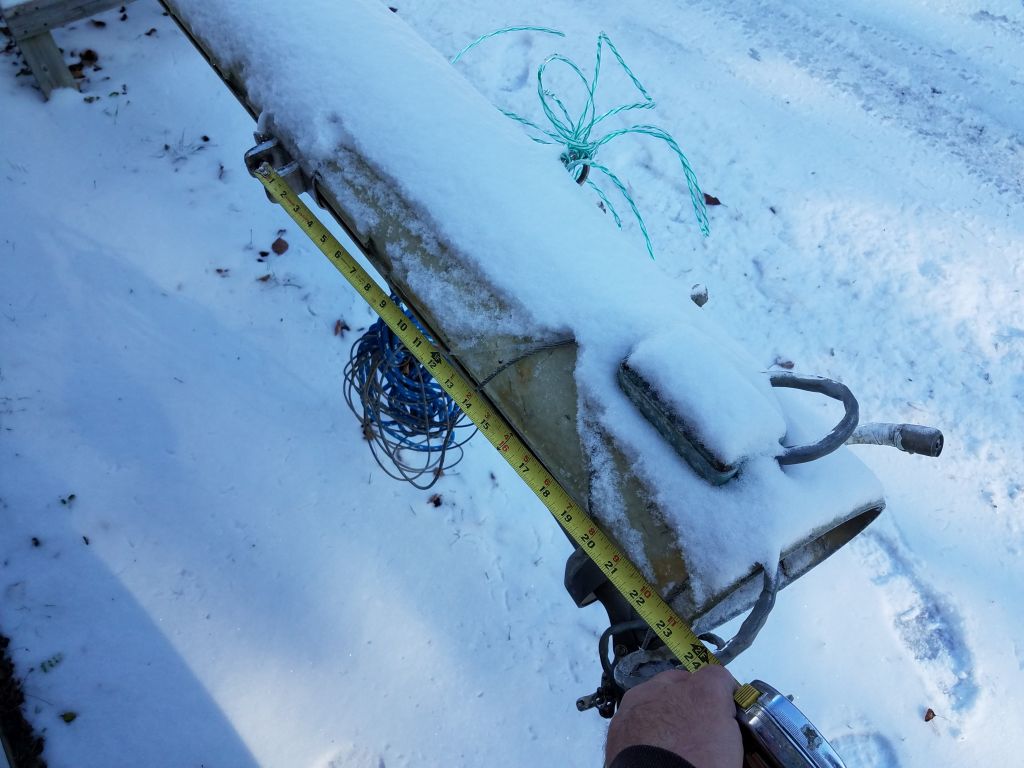
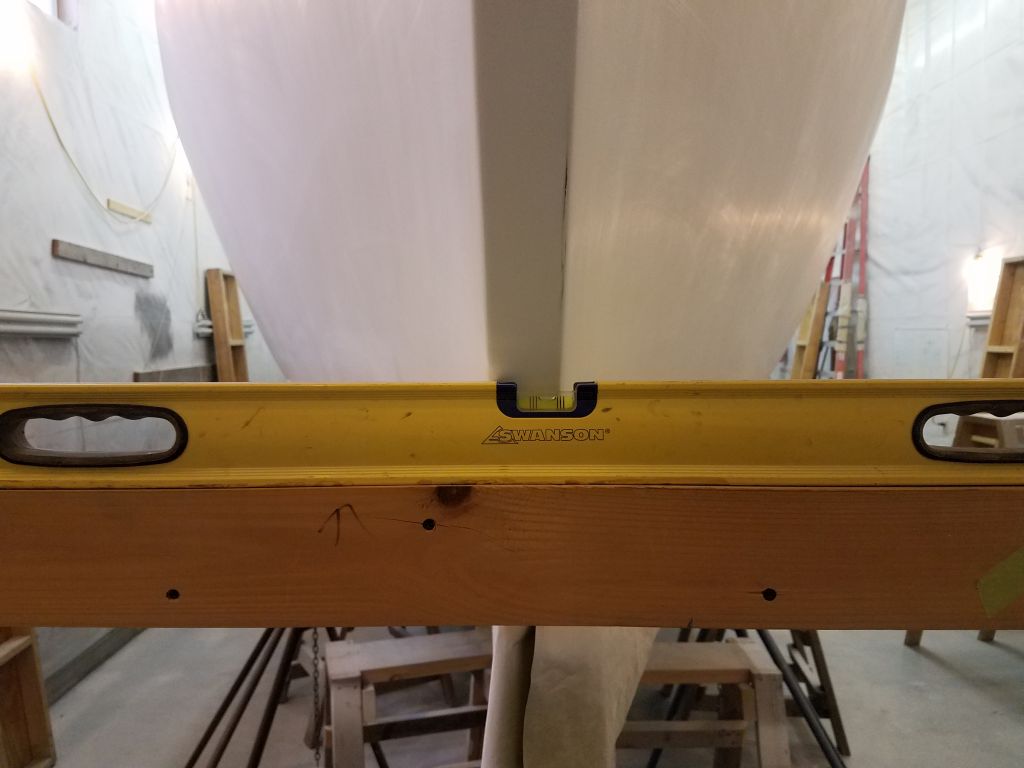
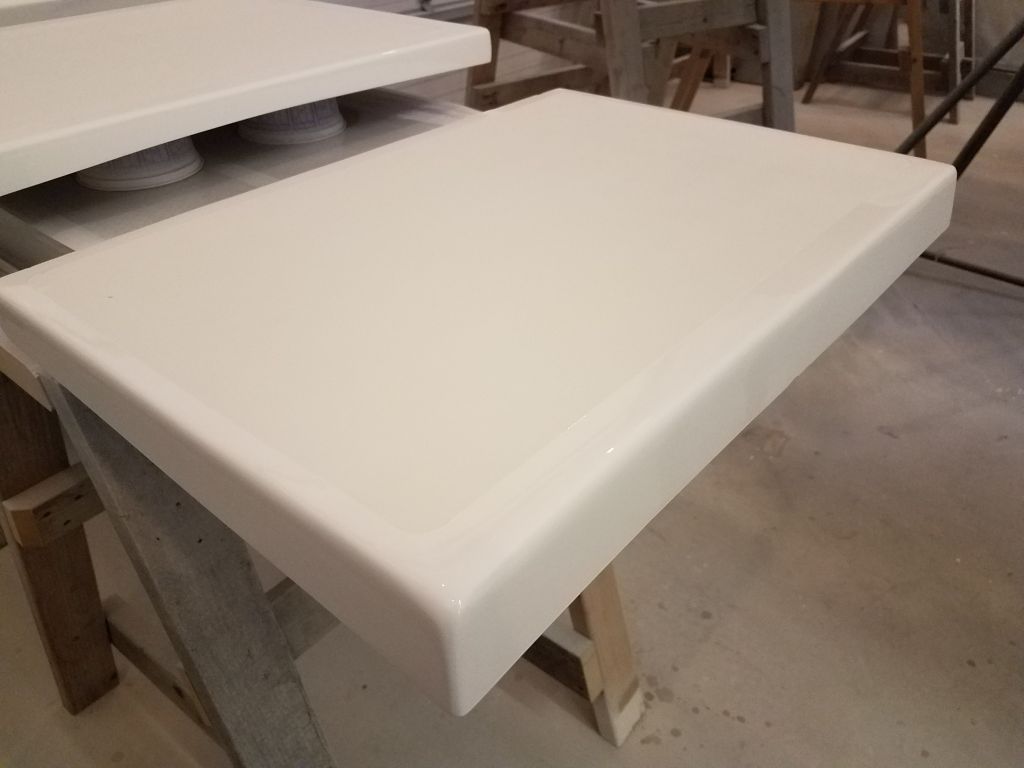
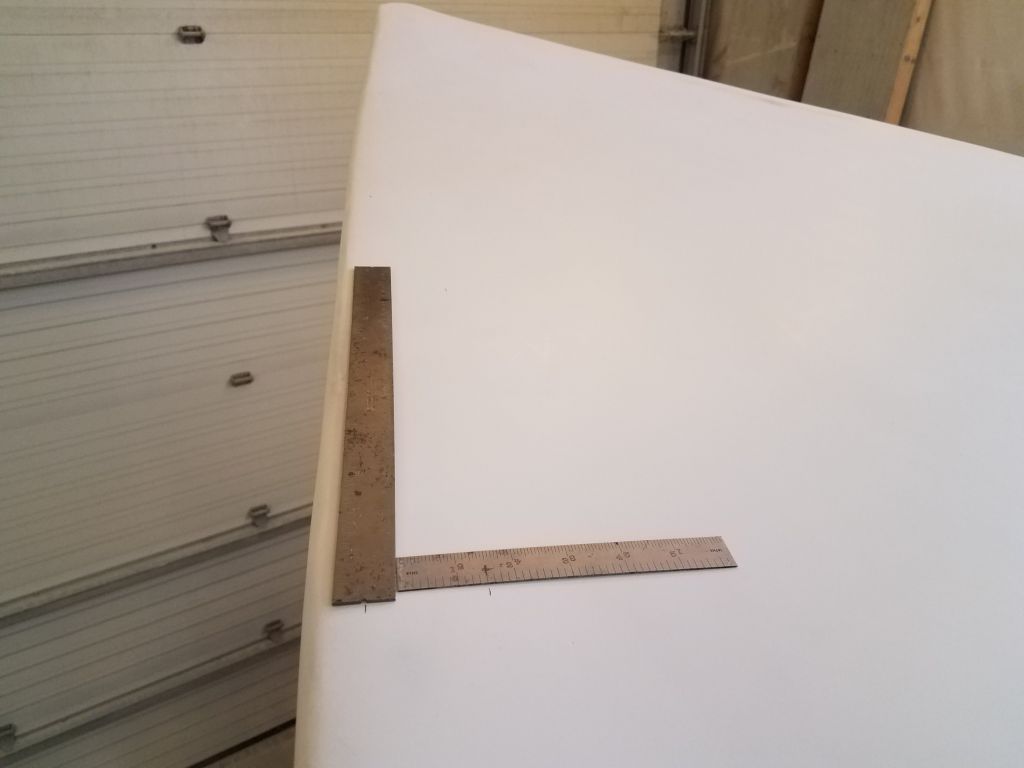
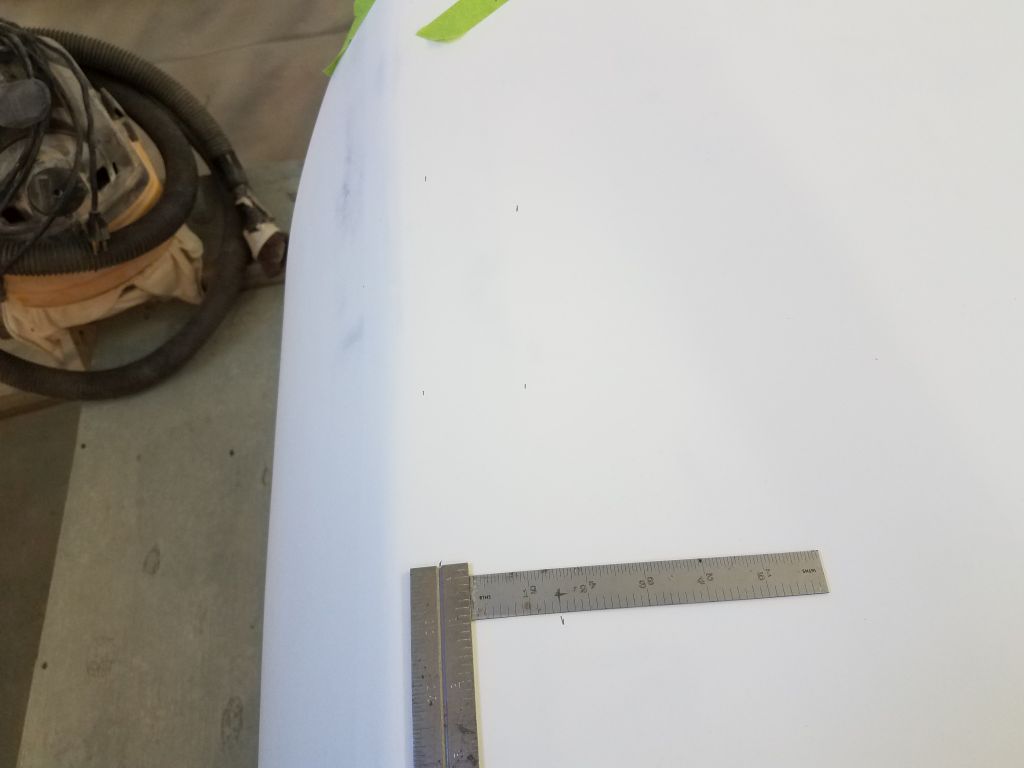
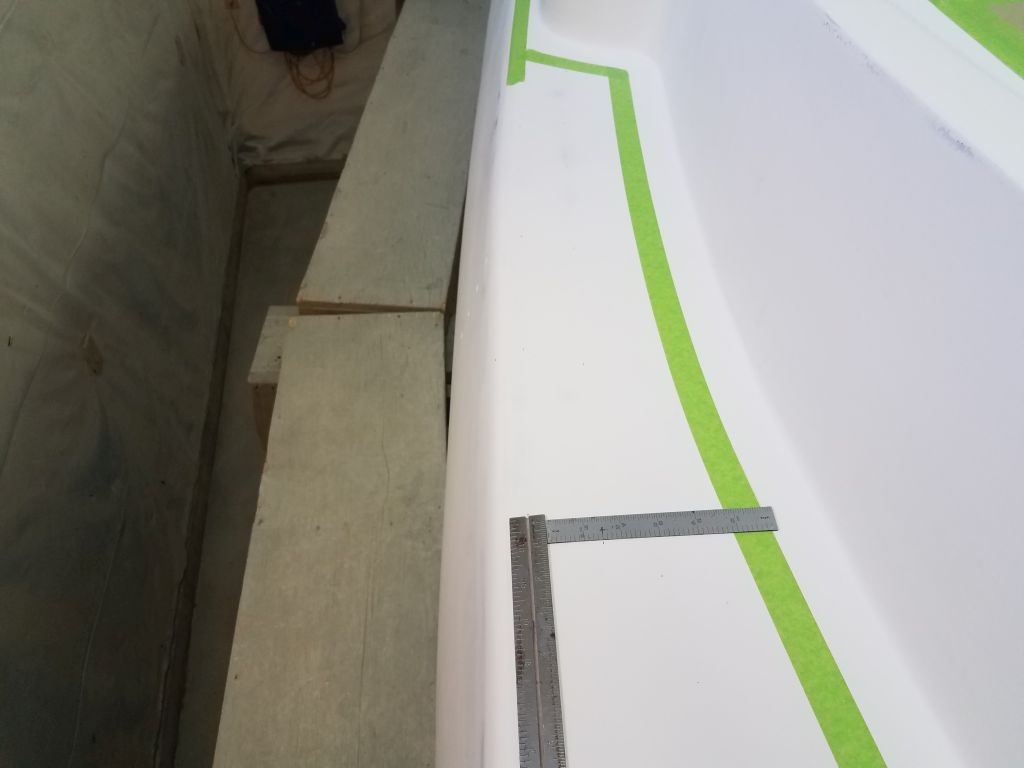
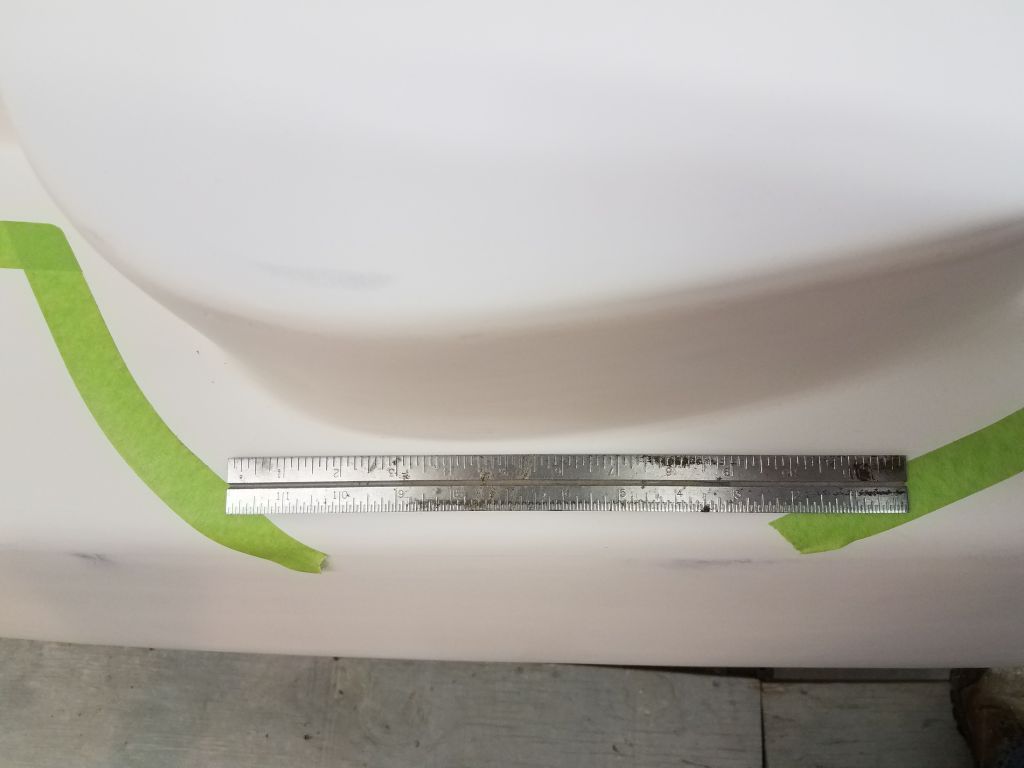
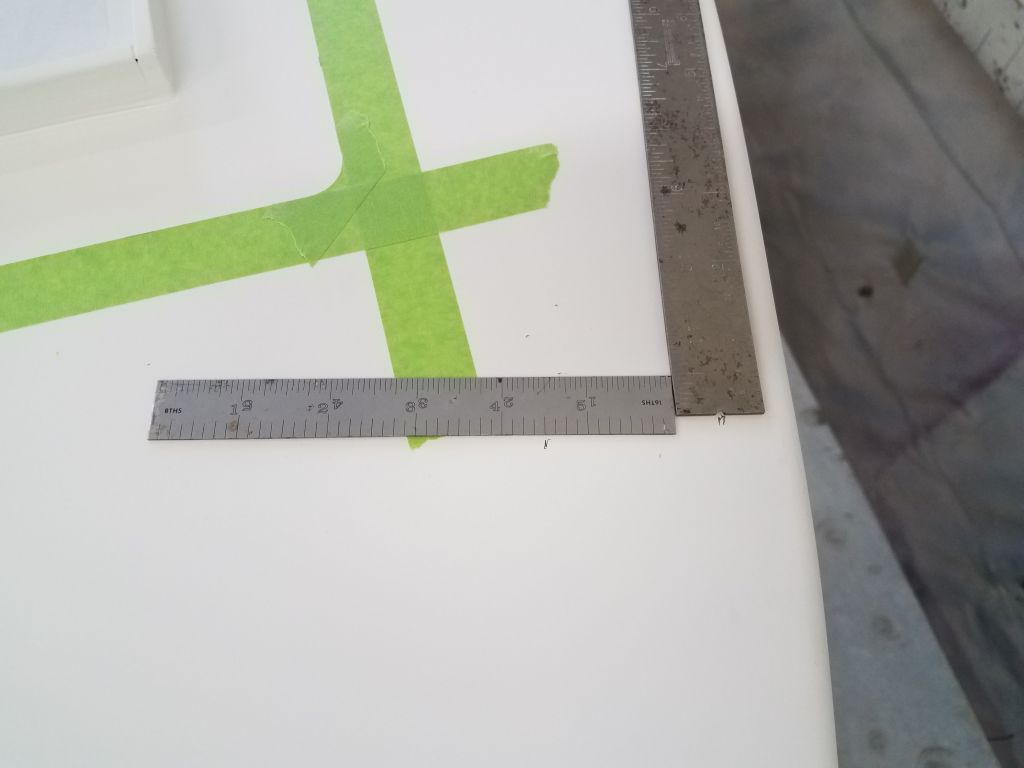
The toerail width was more or less unalterably determined by the space outboard of the winch islands, through which space the rail would need to pass cleanly.  I thought I’d reserved a section or two of the original toerail, but they were either hiding or I’d thrown them out in a fit of pique during one cleaning binge or another.   However, it seemed pretty clear that the available space, allowing for a reveal at the outer edge and just enough space on the inside, was about 1″, same as my steel rule as shown below.   Reviewing photos from the boat’s disassembly, I confirmed that that original rail also fit in the same space, and was approximately 1″ wide.

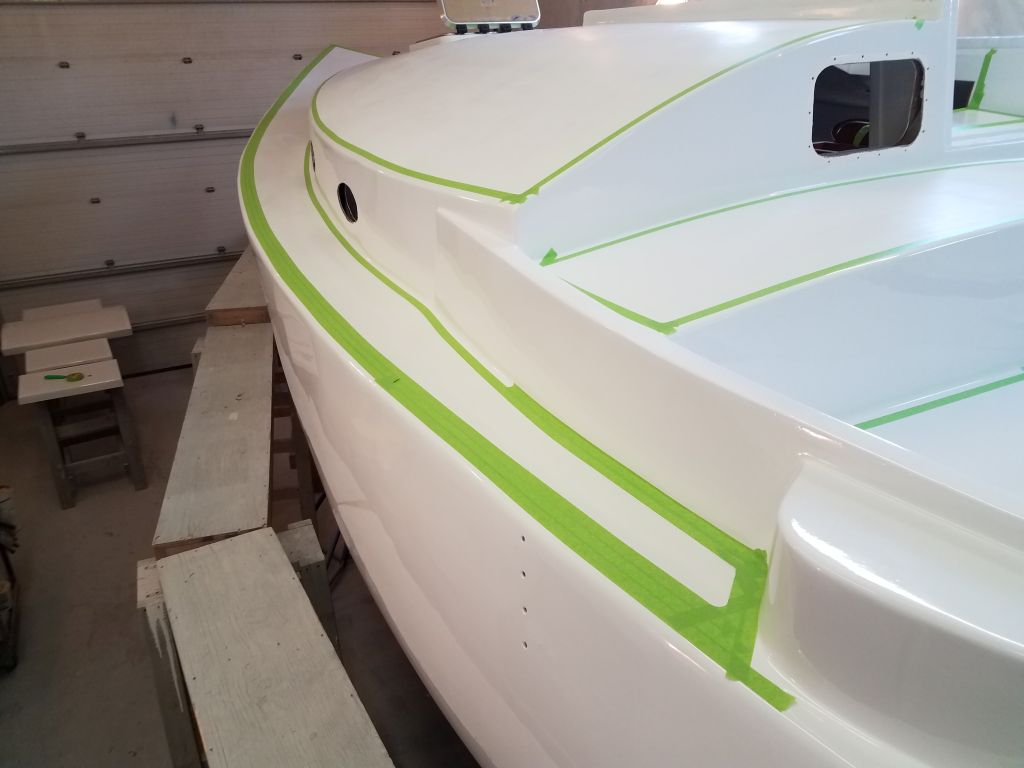
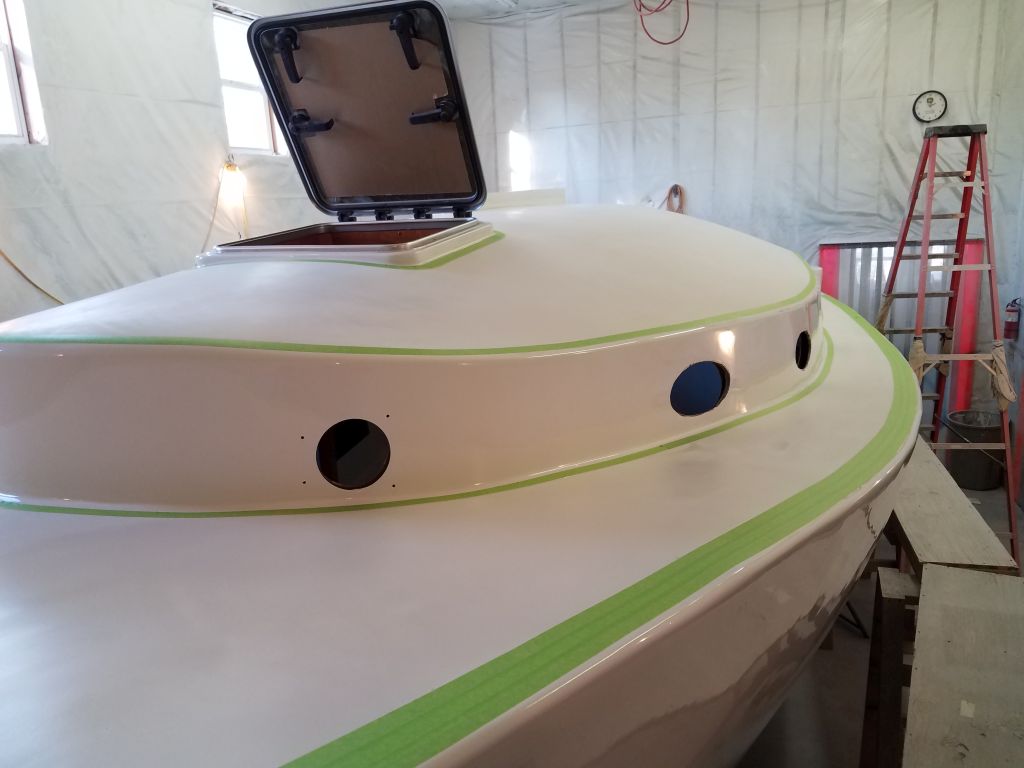
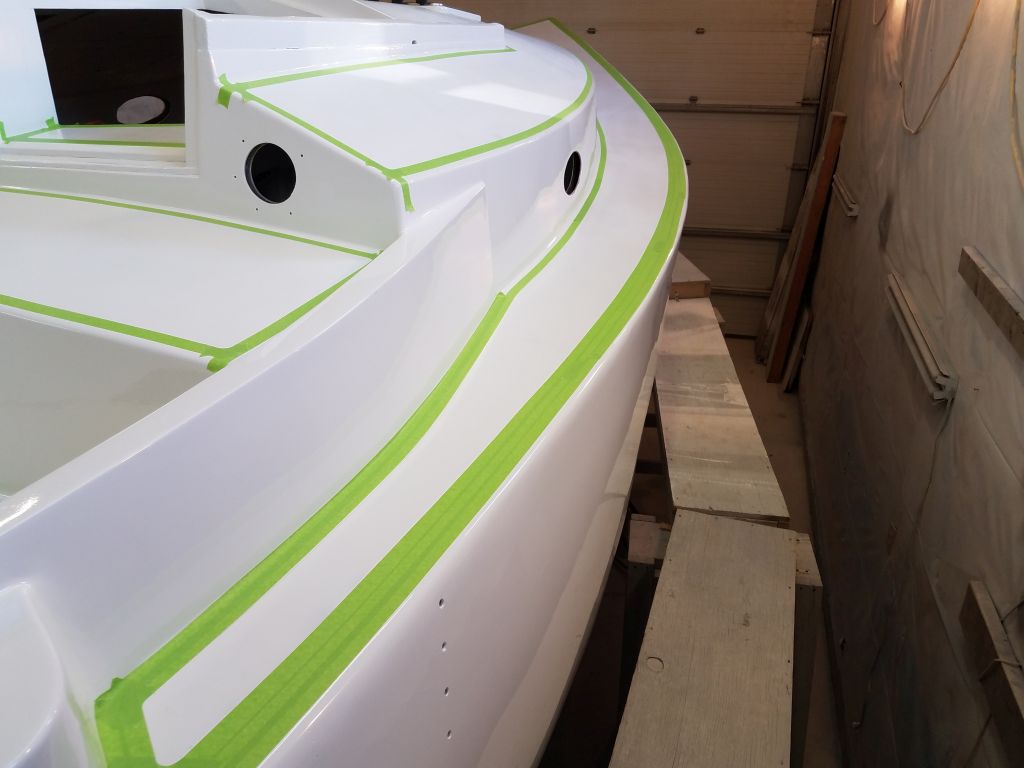
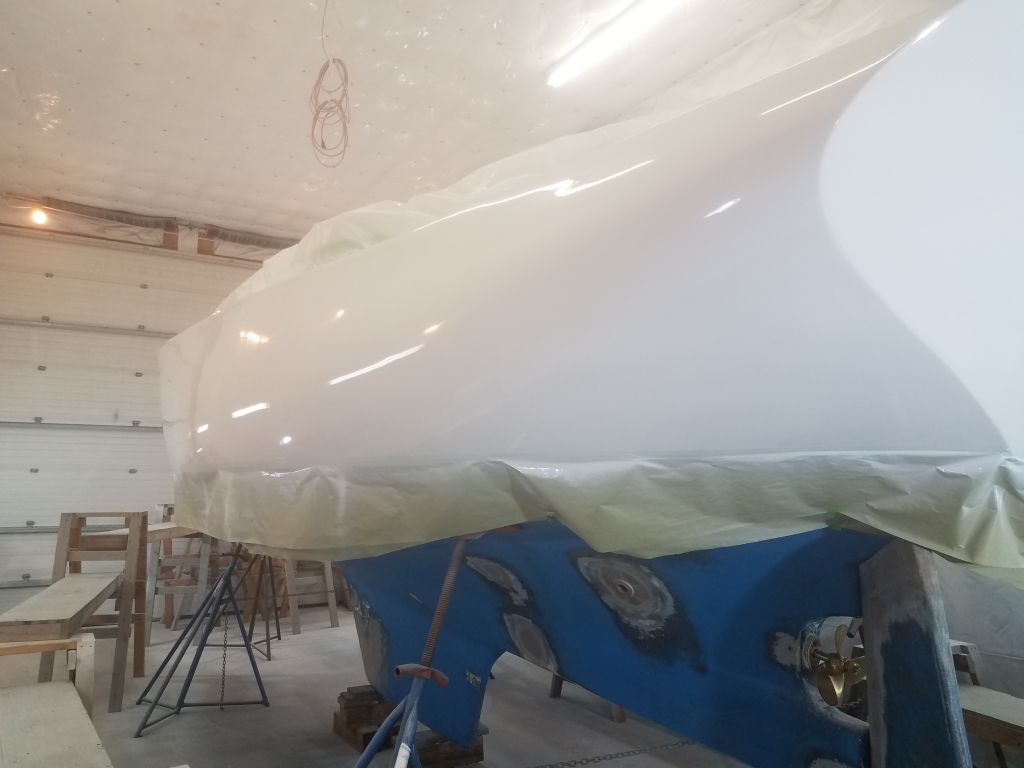
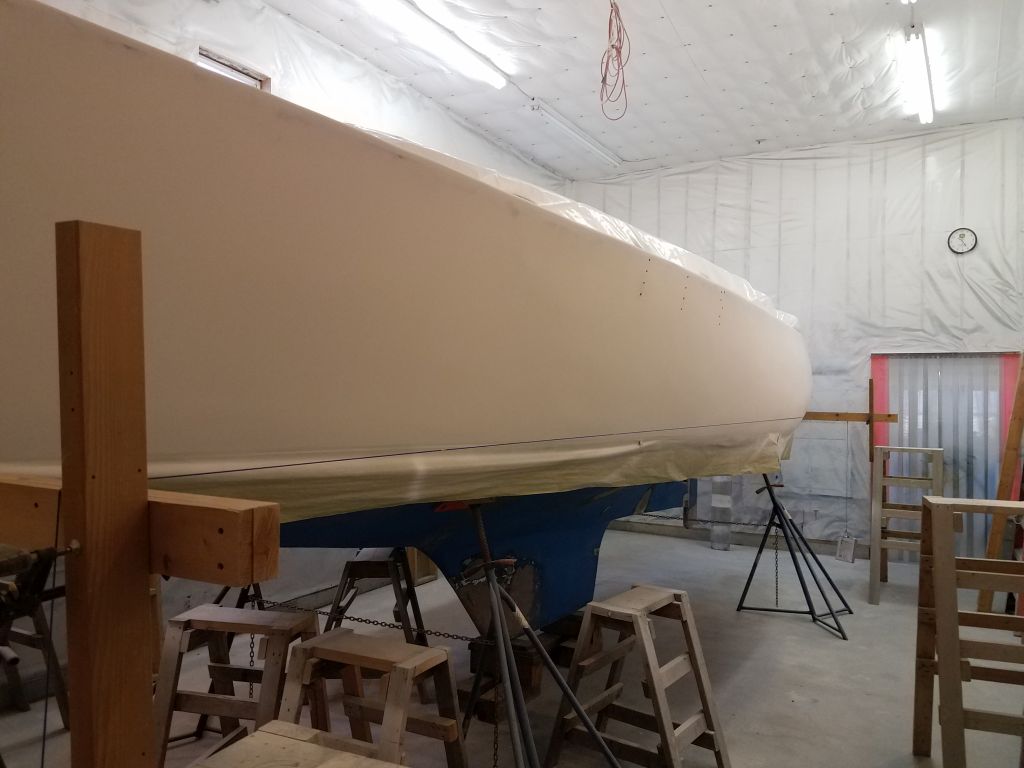
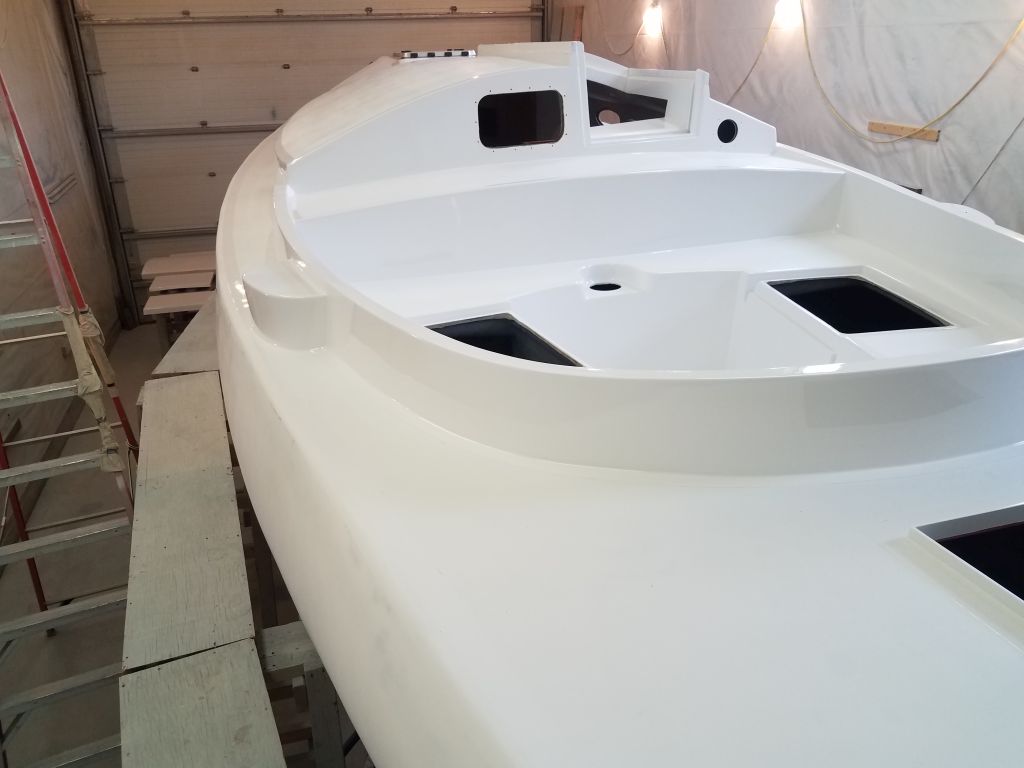
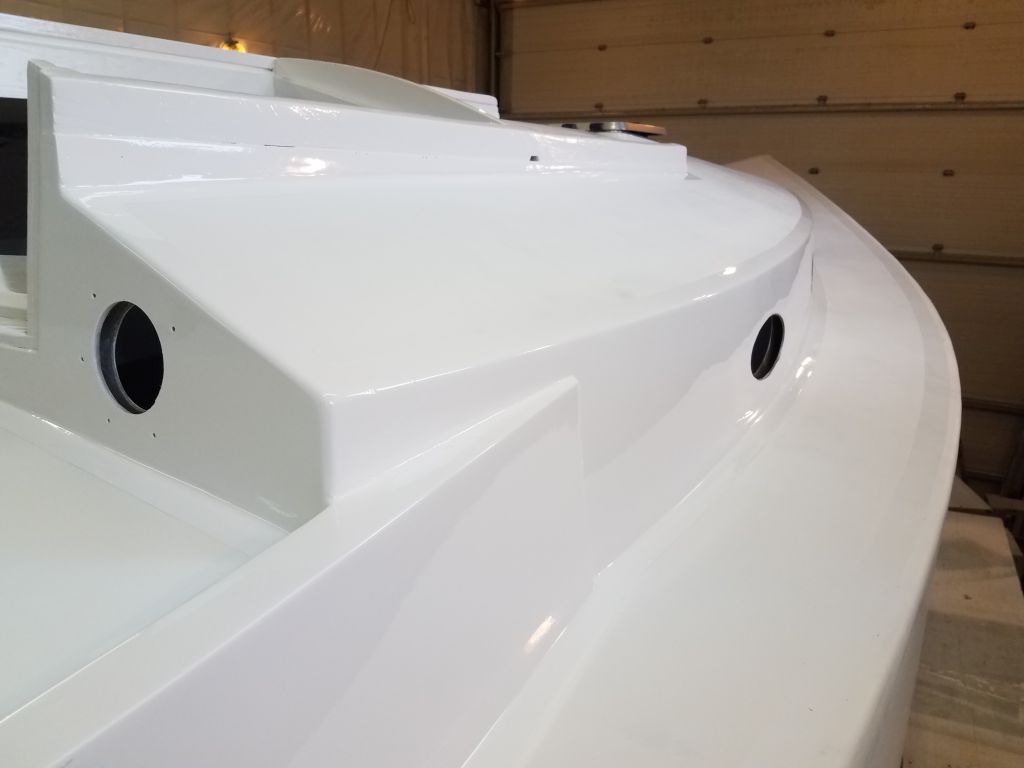
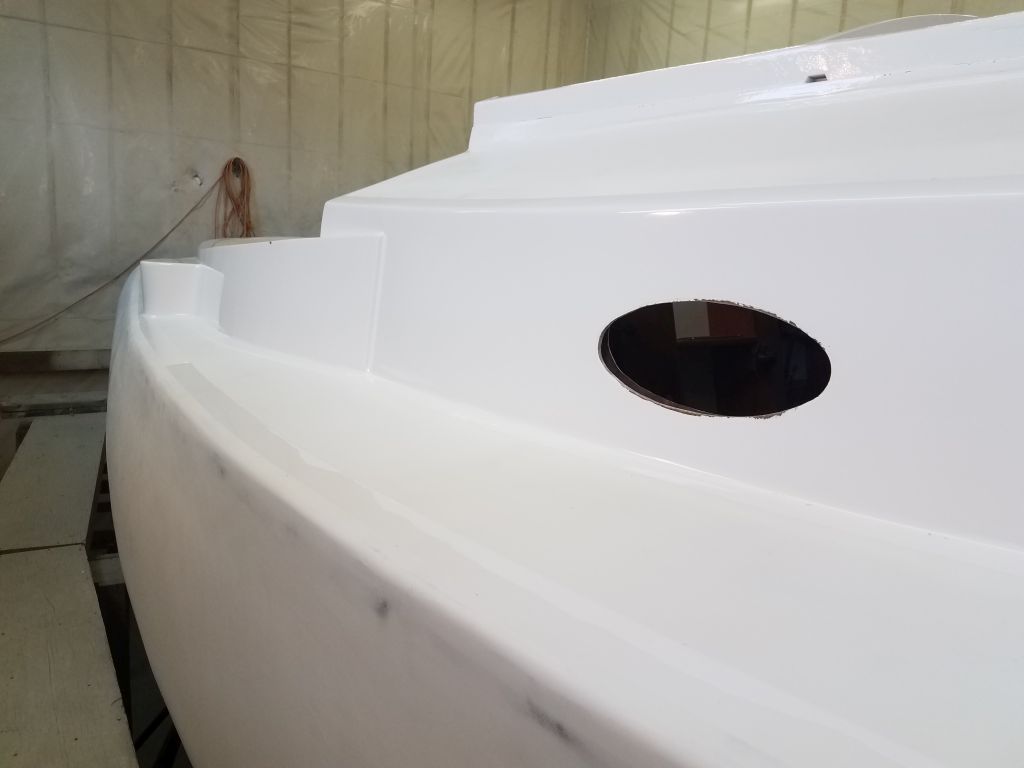
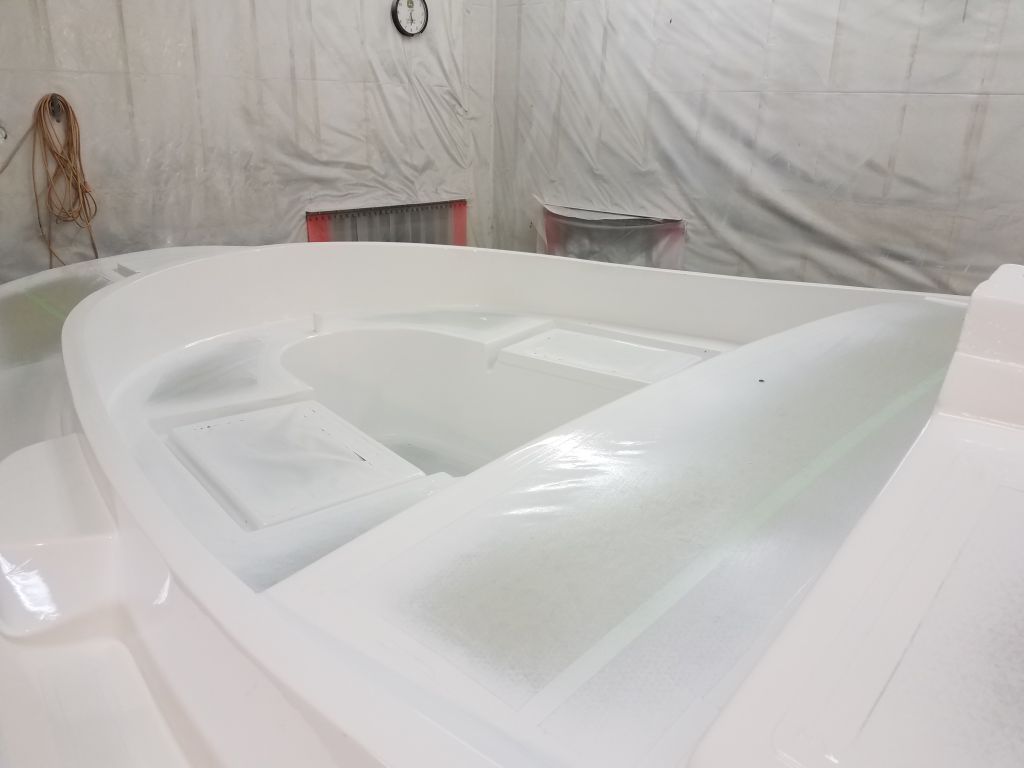
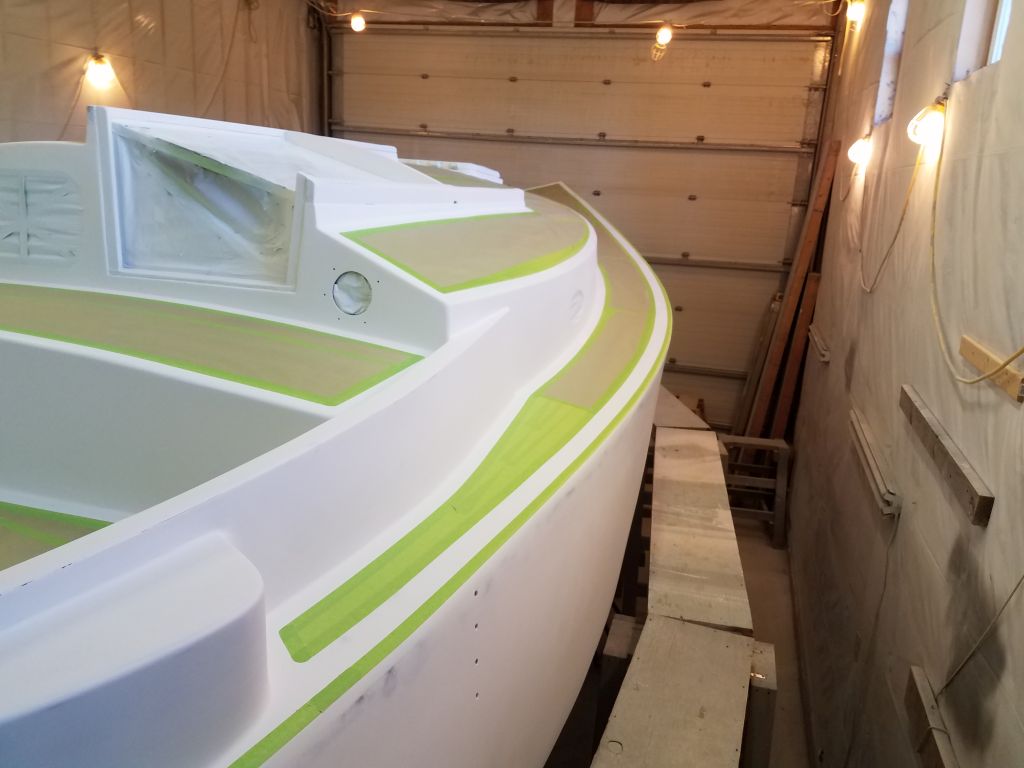
Now I had to translate this into some consistent and workable method of marking and masking the border, which I wanted at 1-1/2″ inside the finished toerail to remain consistent with the other deck borders.  Here, the hull shape worked against me, as I tried one or two marking blocks cut to a specific length to try and align and make the marks, but I found the results inconsistent and unworkable, so in the end, I relied on an eyeball approach, which netted the results I wanted more quickly, easily, and accurately than the other things I’d tried.  For these initial steps, I was working on the port quarter, a relatively short and defined section tailor-made for experimentation, but also where the most difficult shapes were in play thanks to the significant tumblehome there.

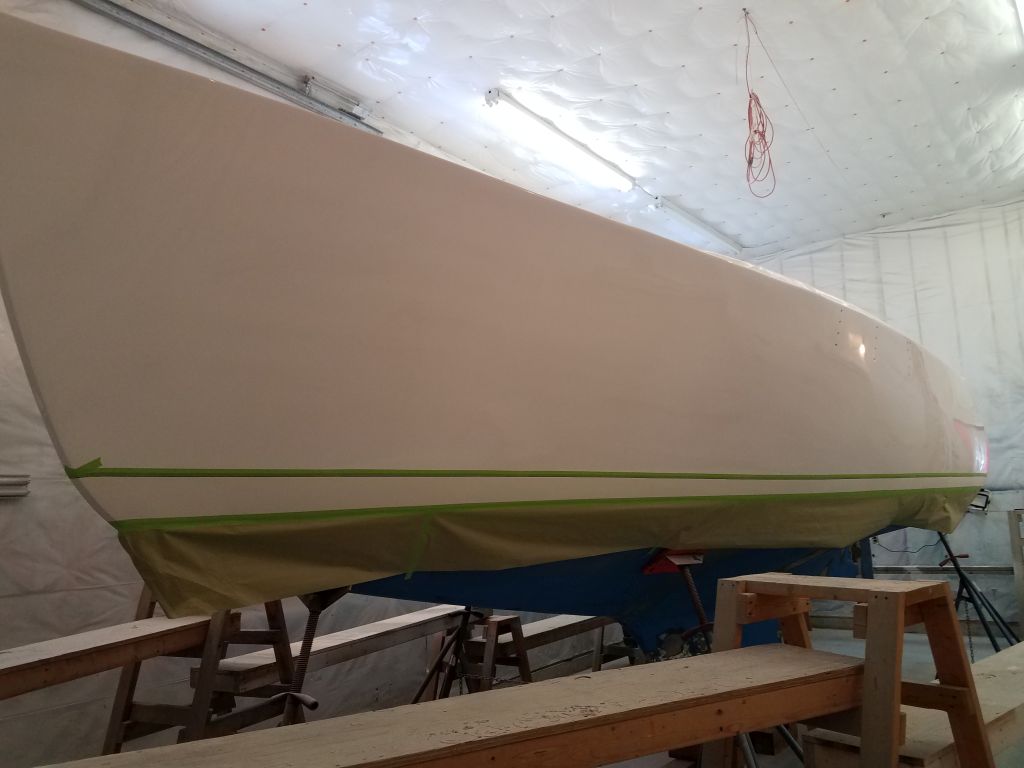
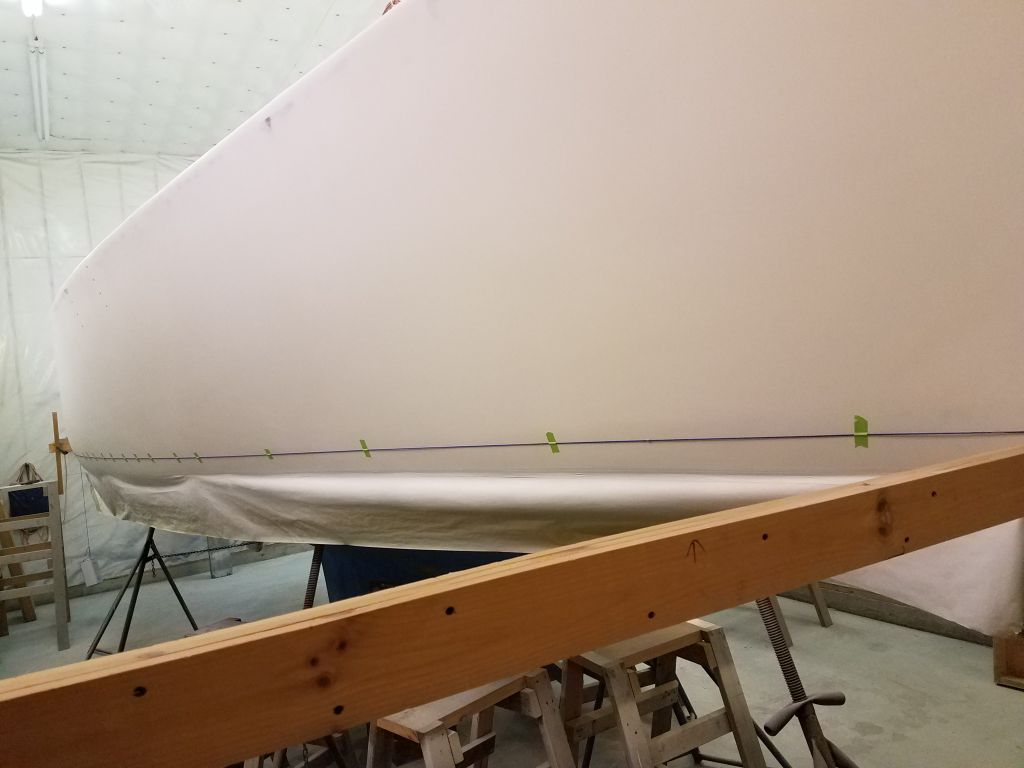
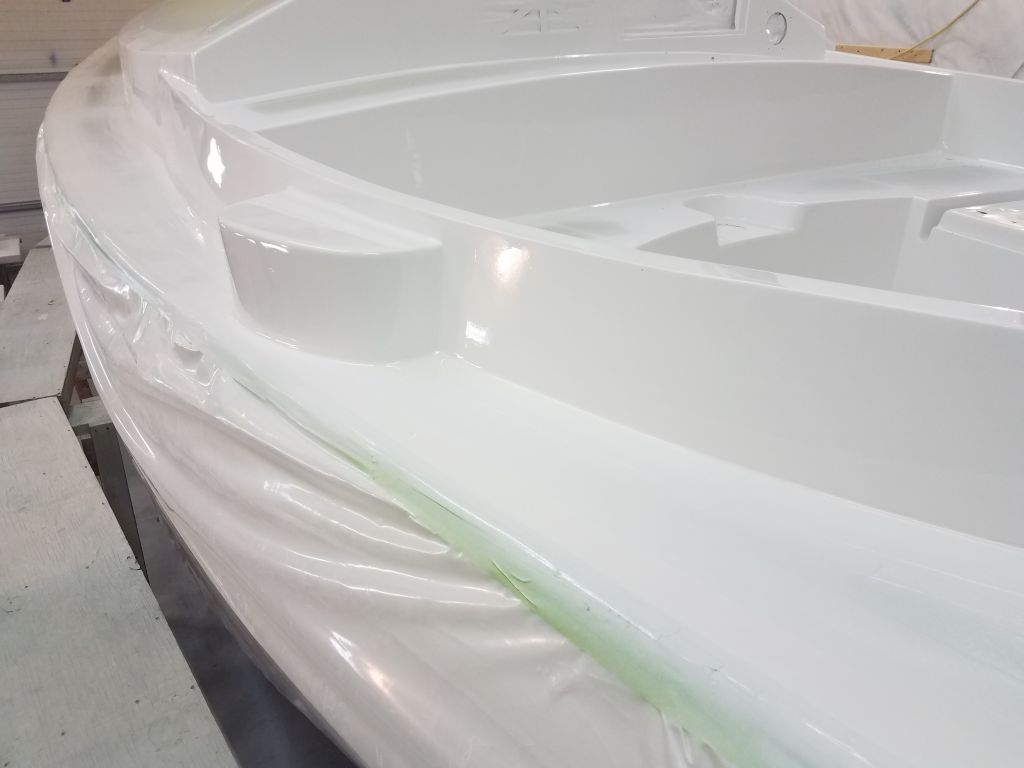
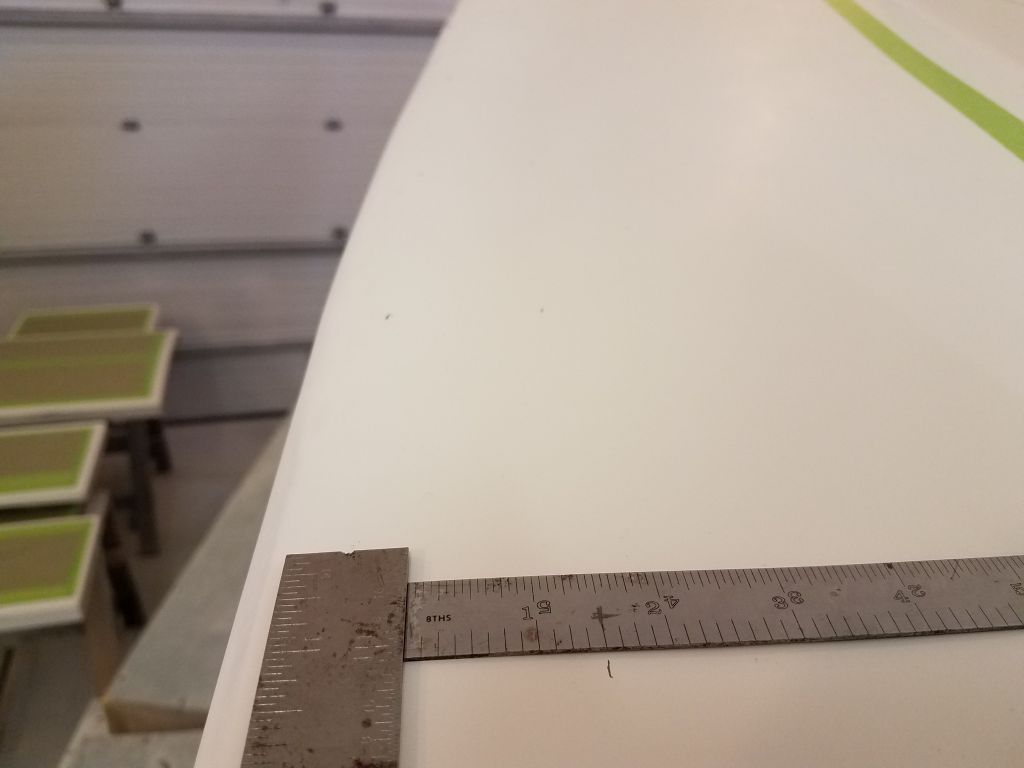
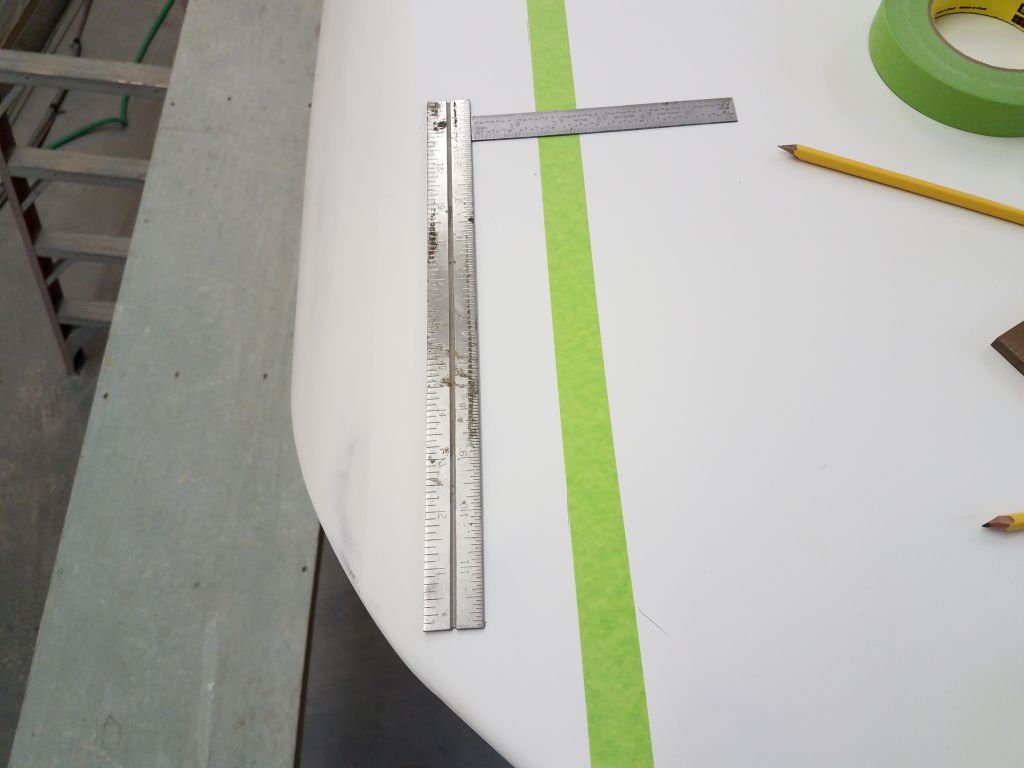
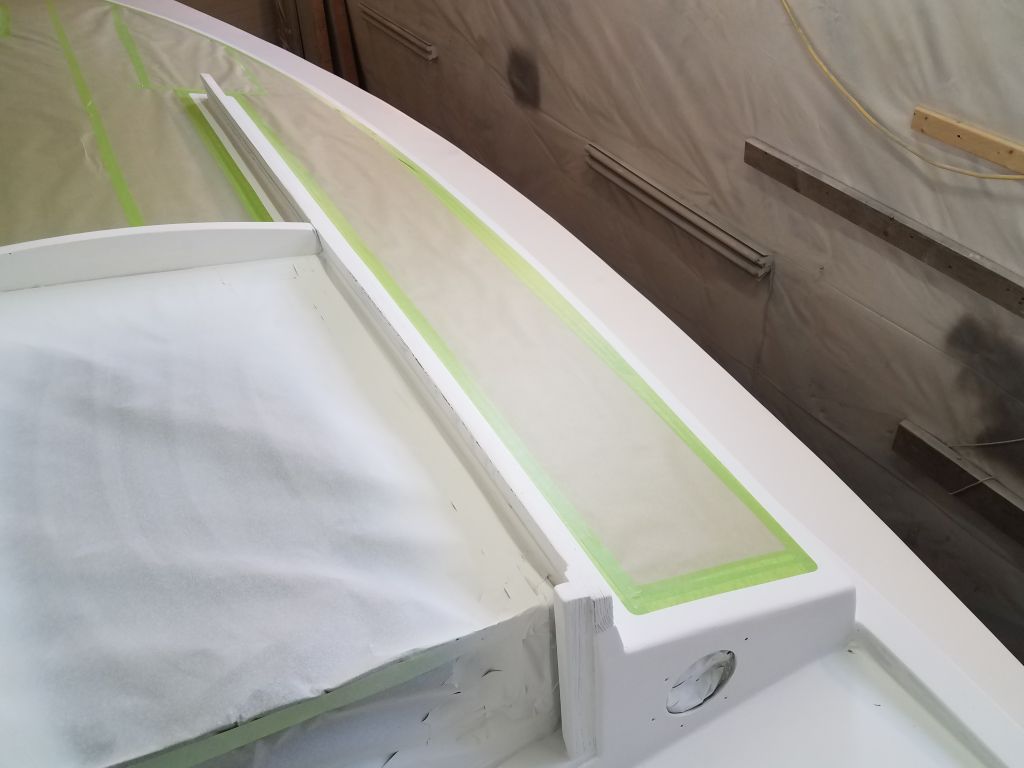
Using the steel rule as an analog for the toerail, I placed it on deck where I thought it should be (i.e. a certain visual distance inboard of the hull/deck roundover), and made a couple reference marks.   I made the first mark at the center of the rule’s width (i.e. the center of the toerail), and this was made easy since the steel rule featured a notch down the center.  This mark would represent the inside edge of the tape line I’d install to cover the hull against overspray and demark the hull and deck paint.

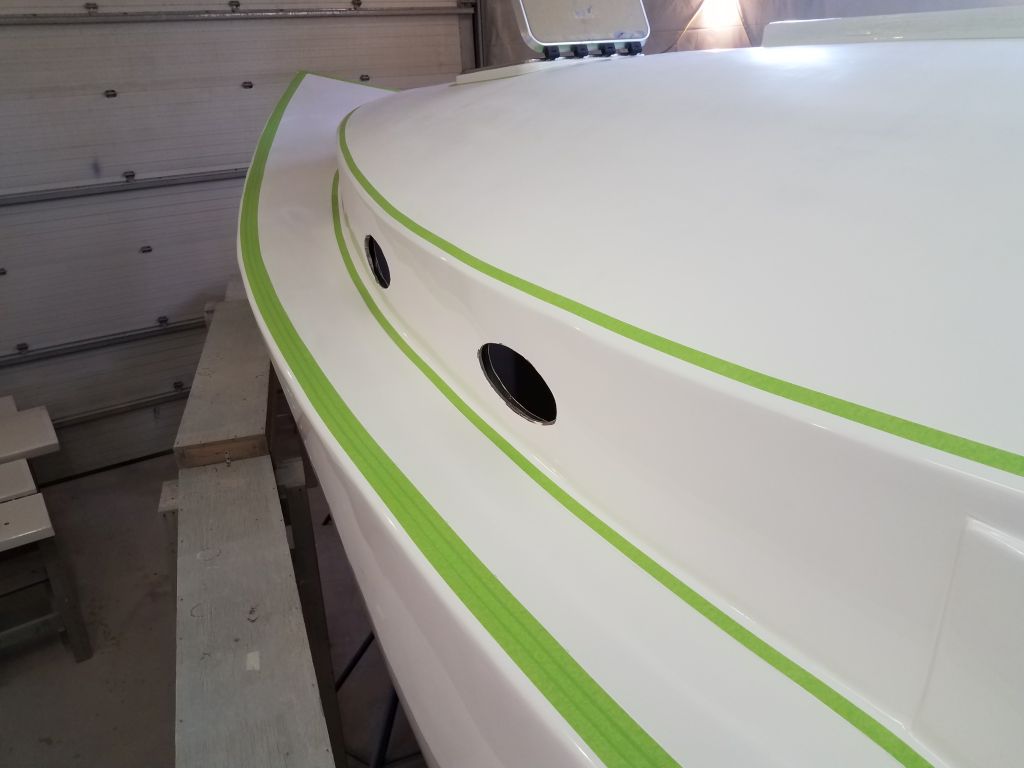
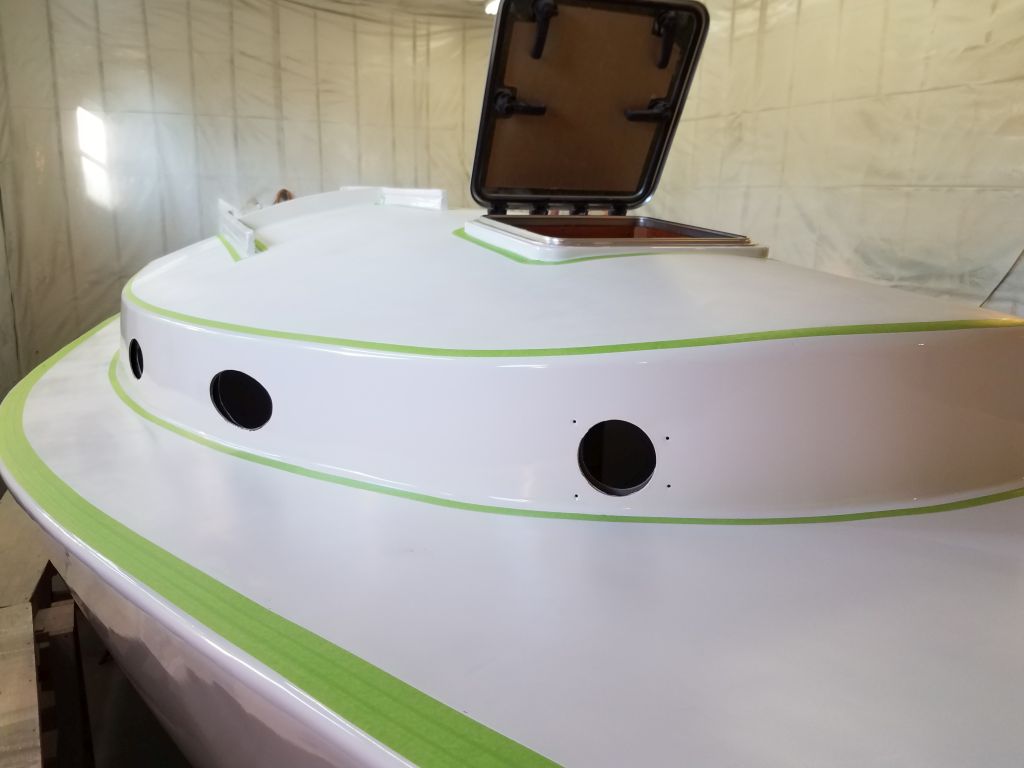
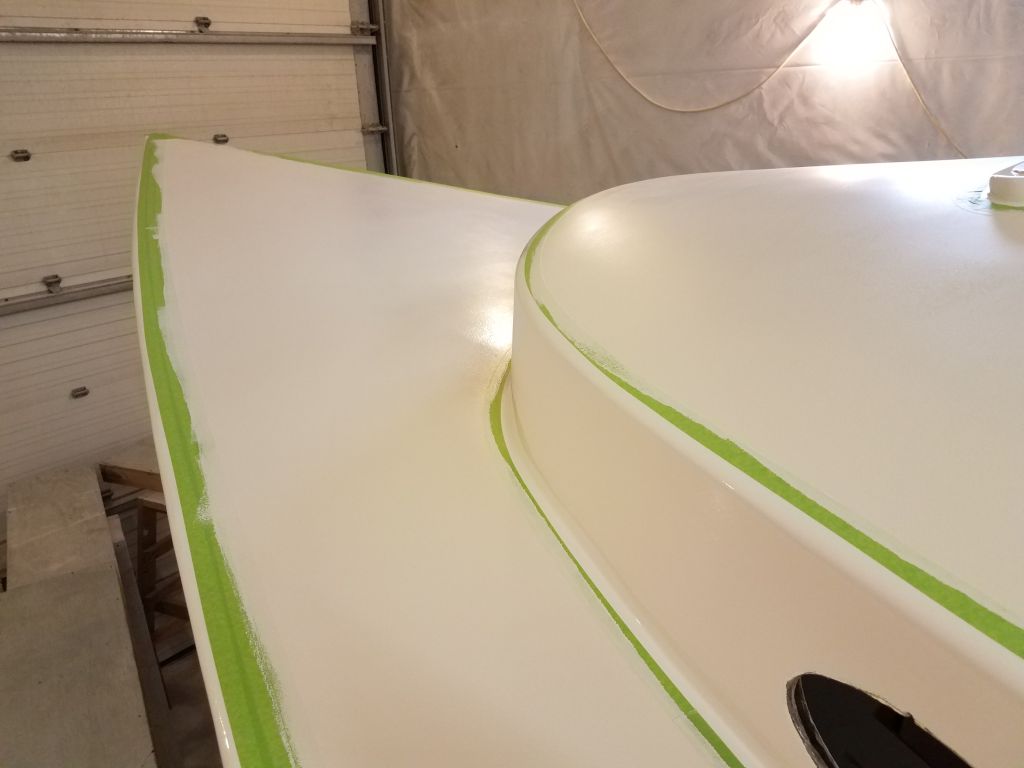
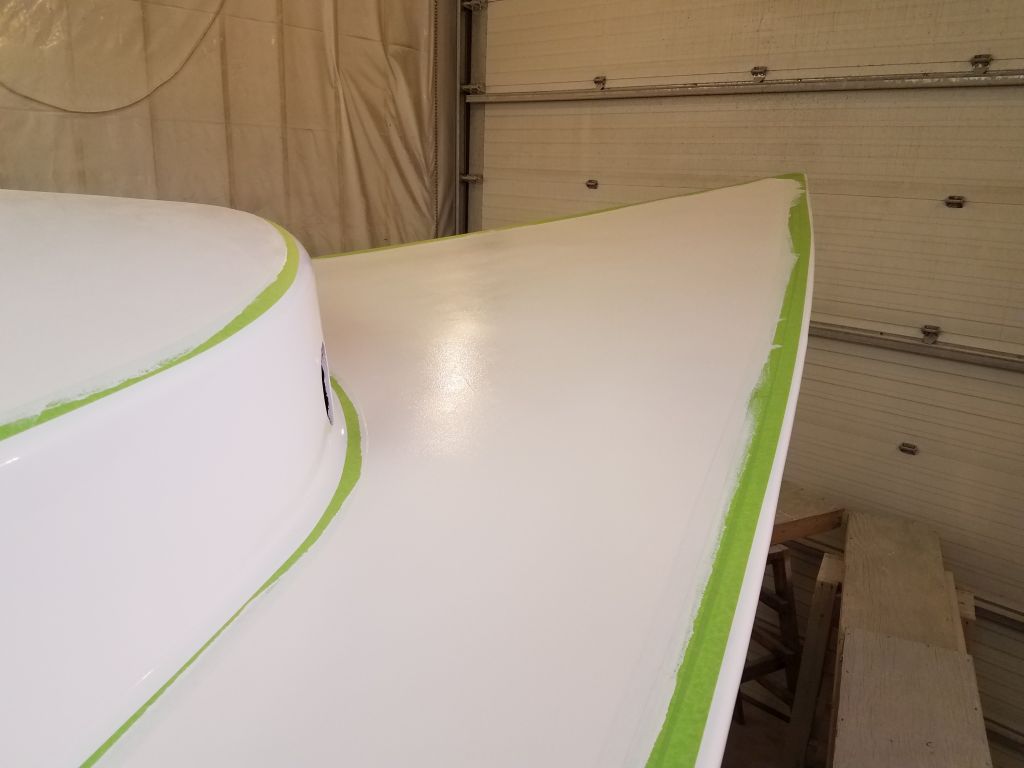
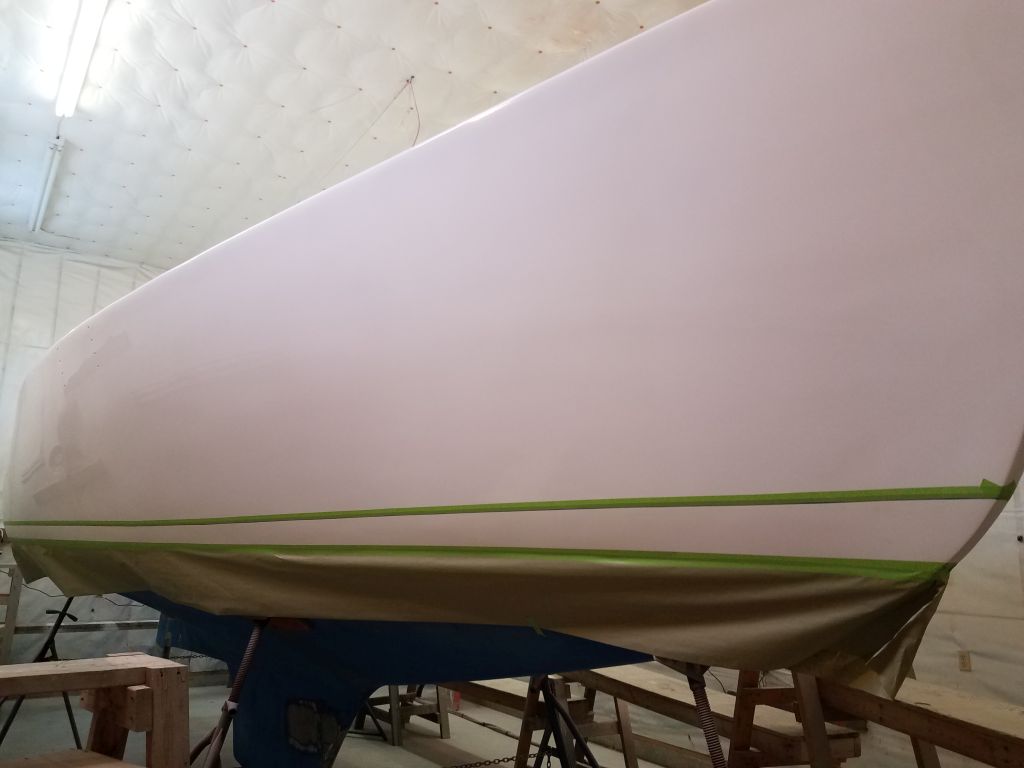
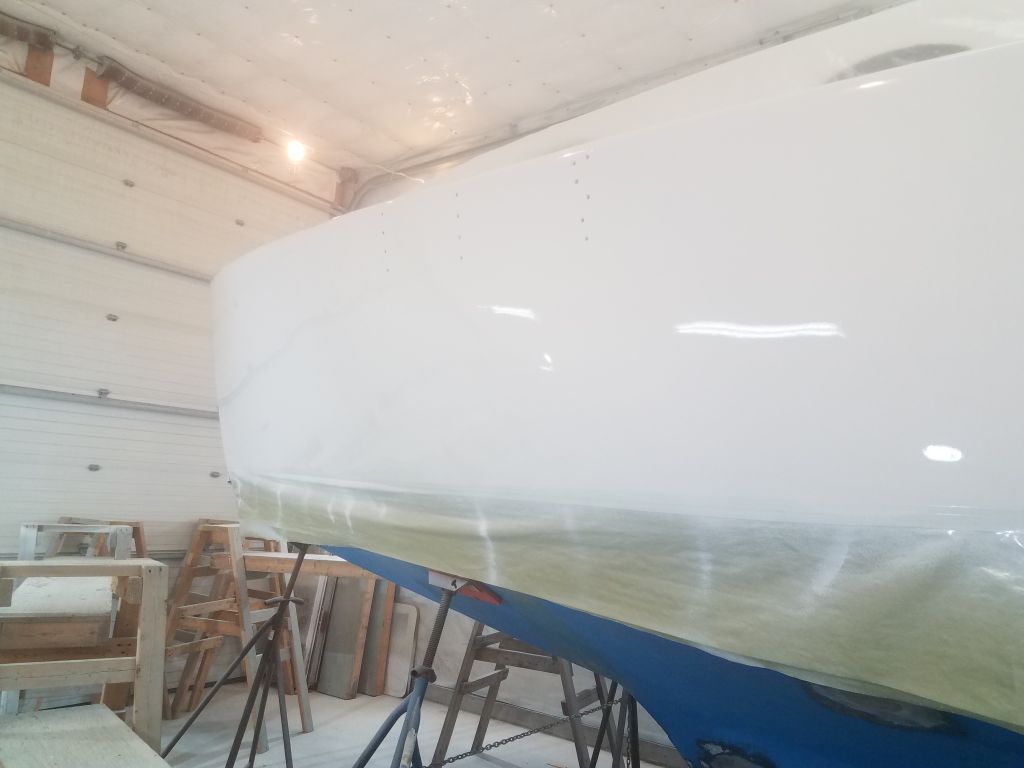
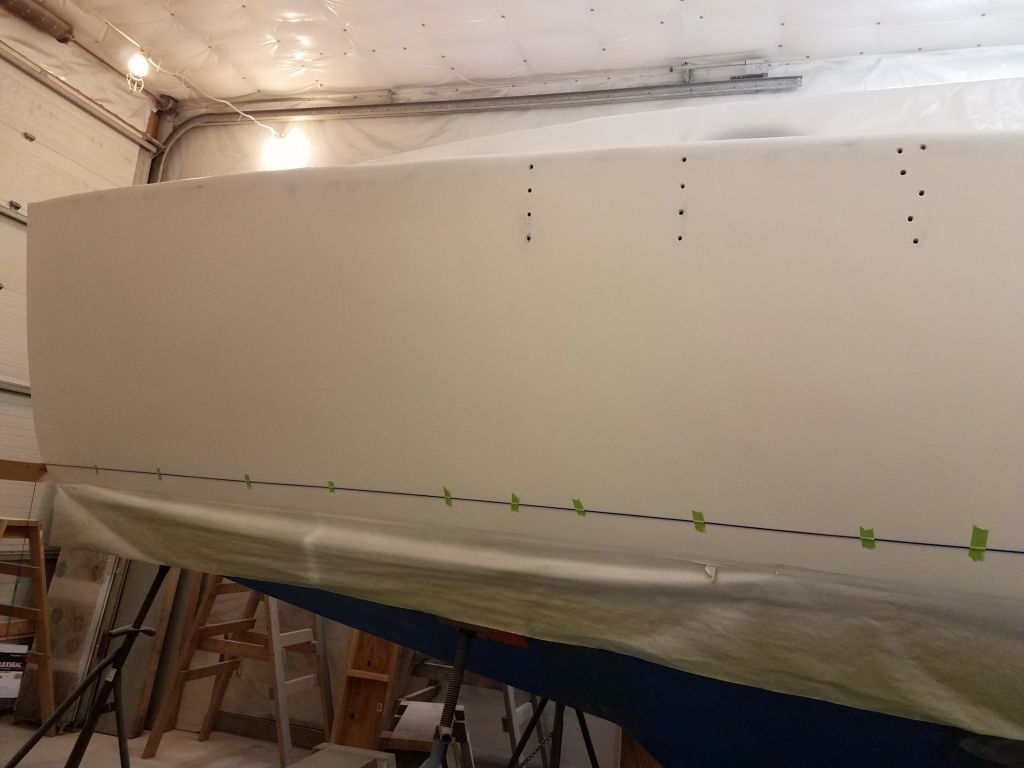
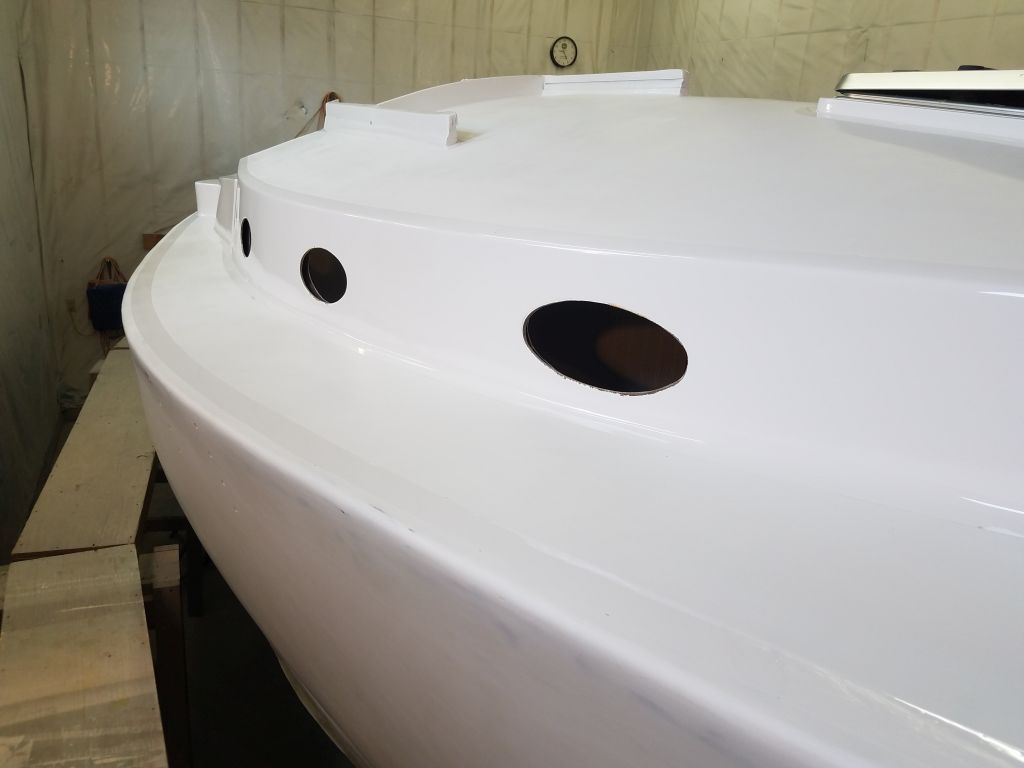
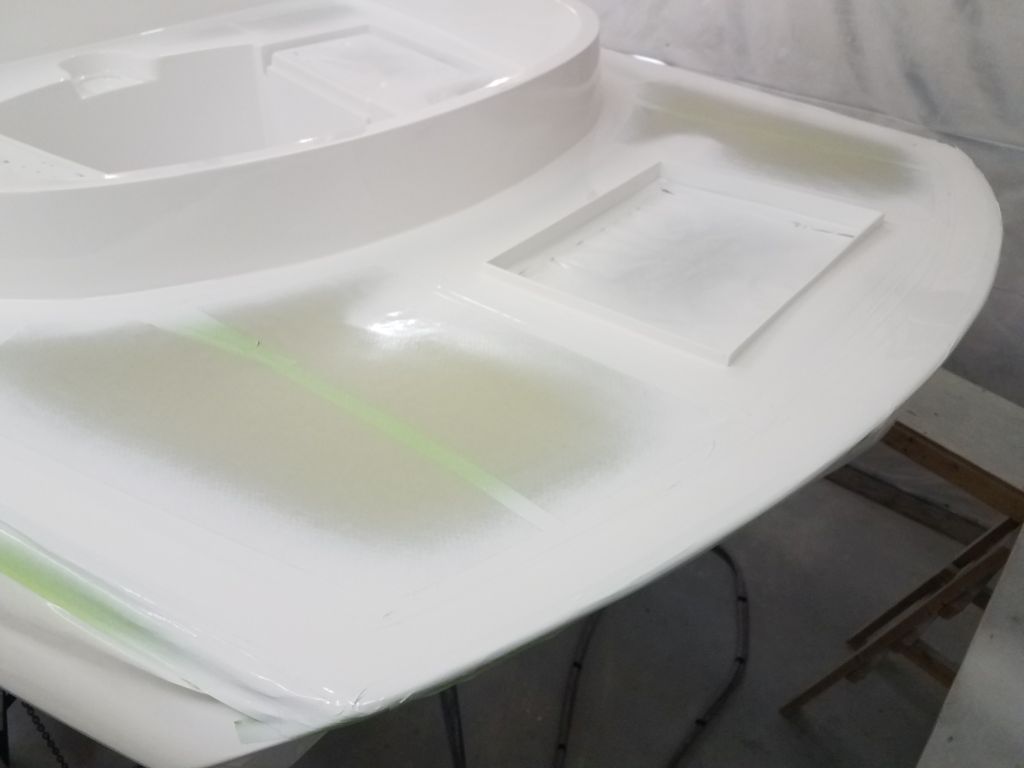
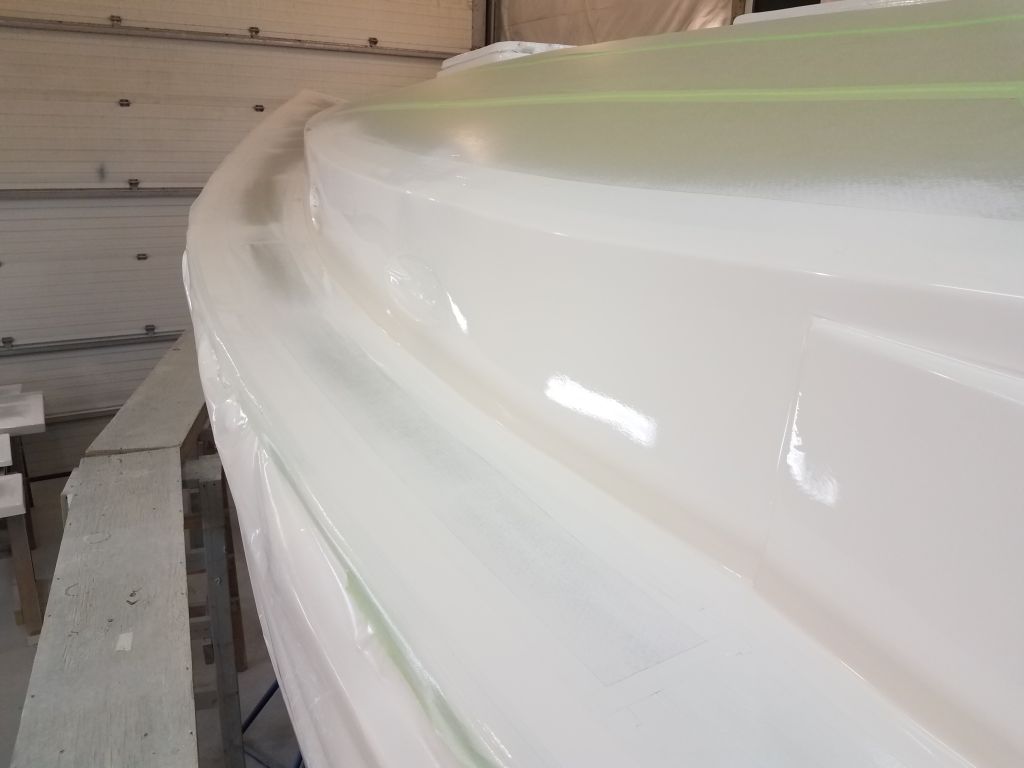
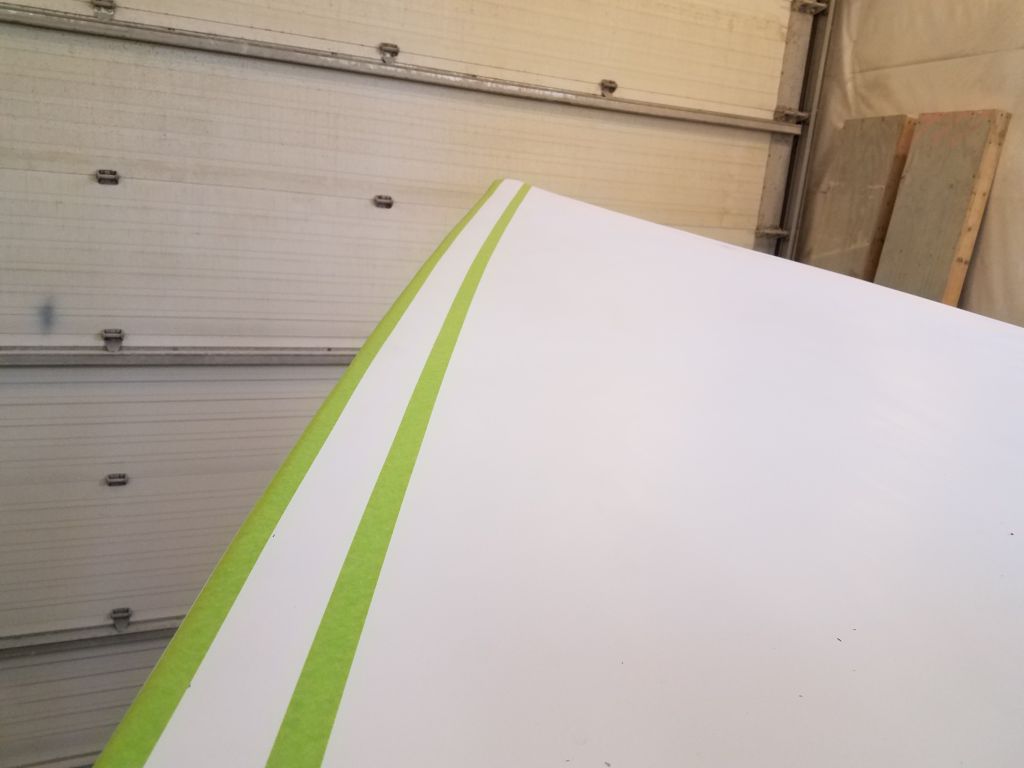
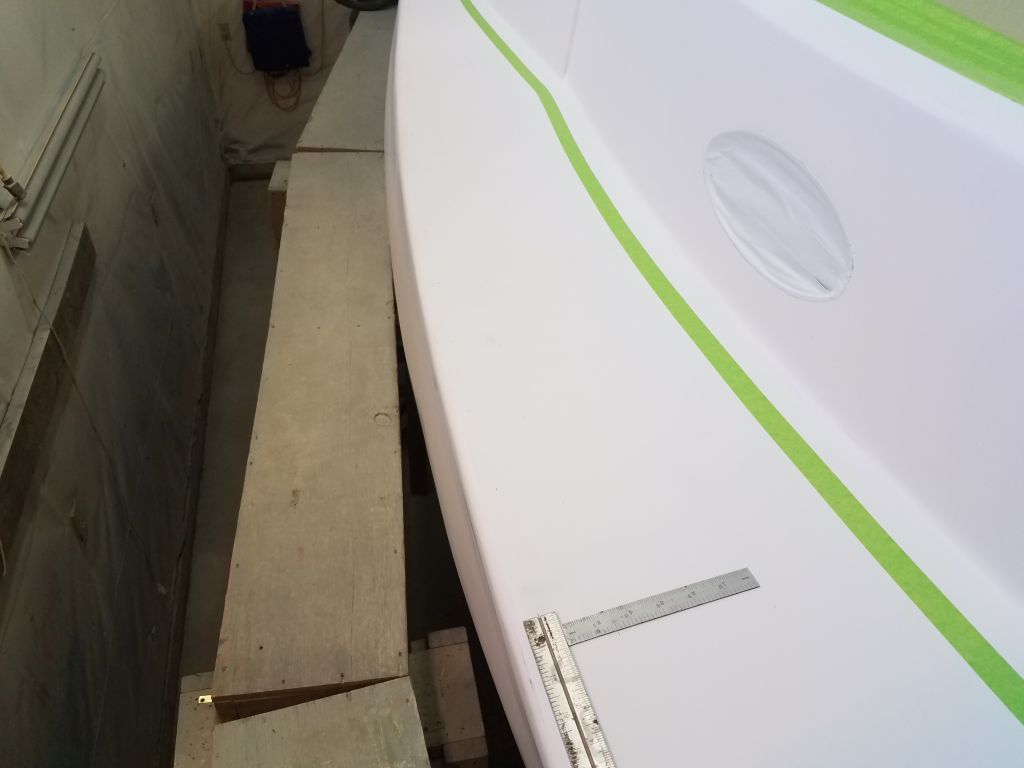
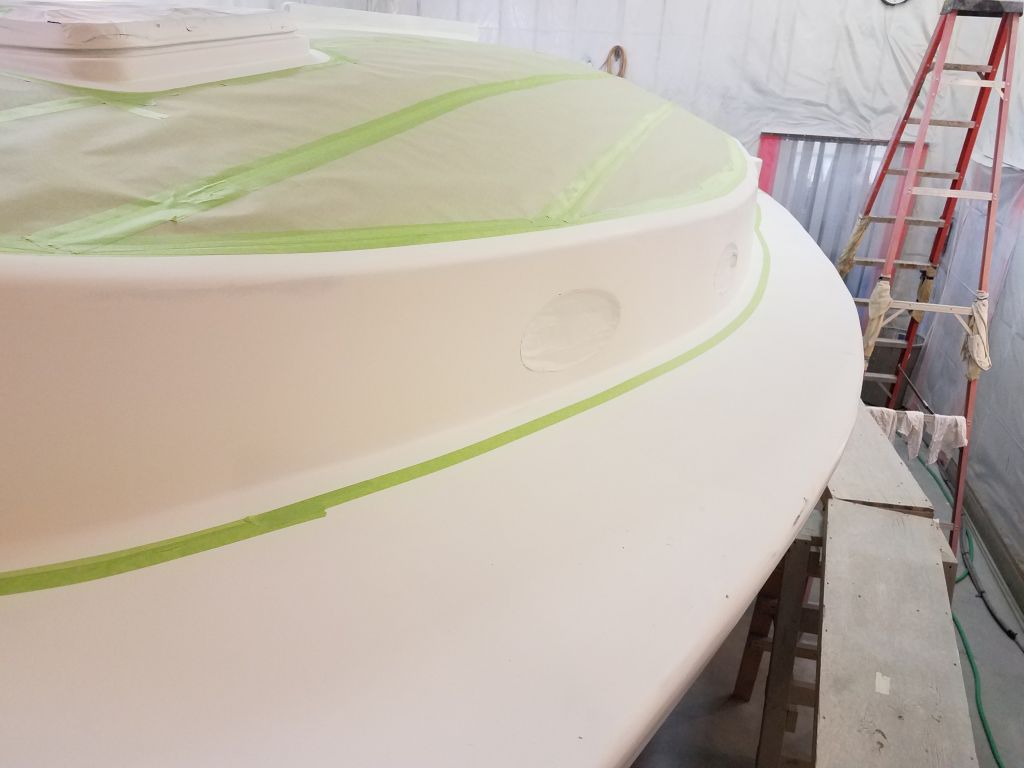
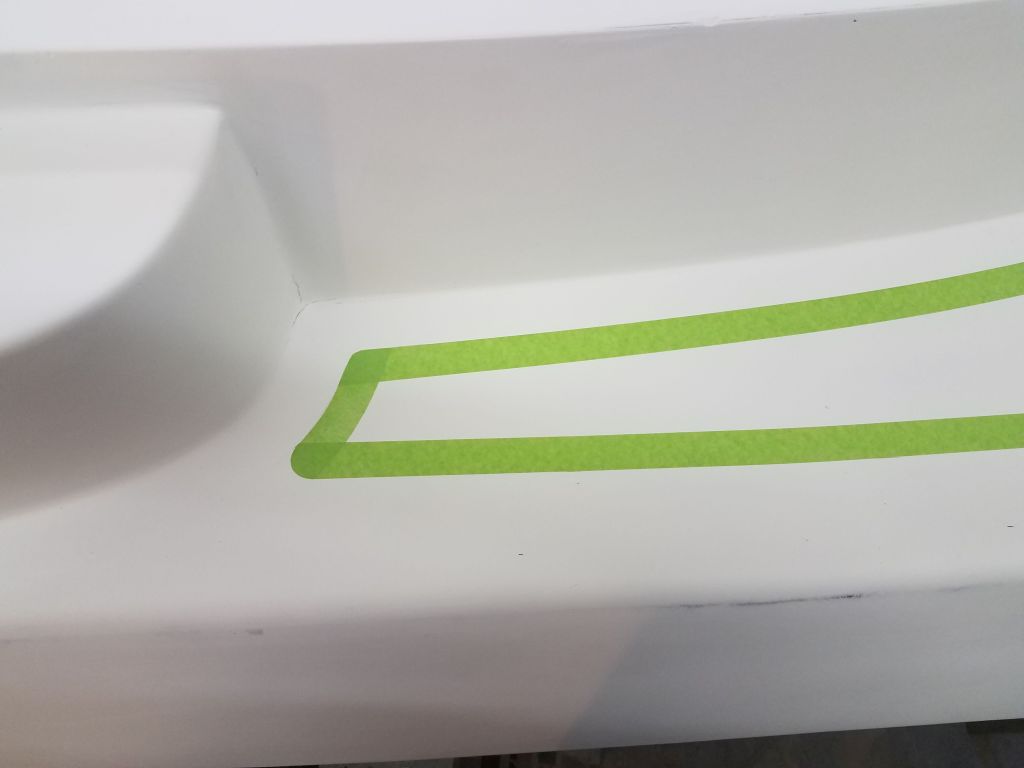
Using another, smaller steel rule, I made the second mark 1-1/2″ in from the inside edge of the “toerail”, and this mark defined the line against which I’d mask for the deck edge border, or channel.  I repeated this marking process ever few inches along the four-or five-foot length of the hull where I was working, from the winch island aft to the transom.  Then, I masked to the line, fairing the tape by eye as needed.  This ultimately created the clean, fair line that I wanted and needed inboard of the eventual toerail.

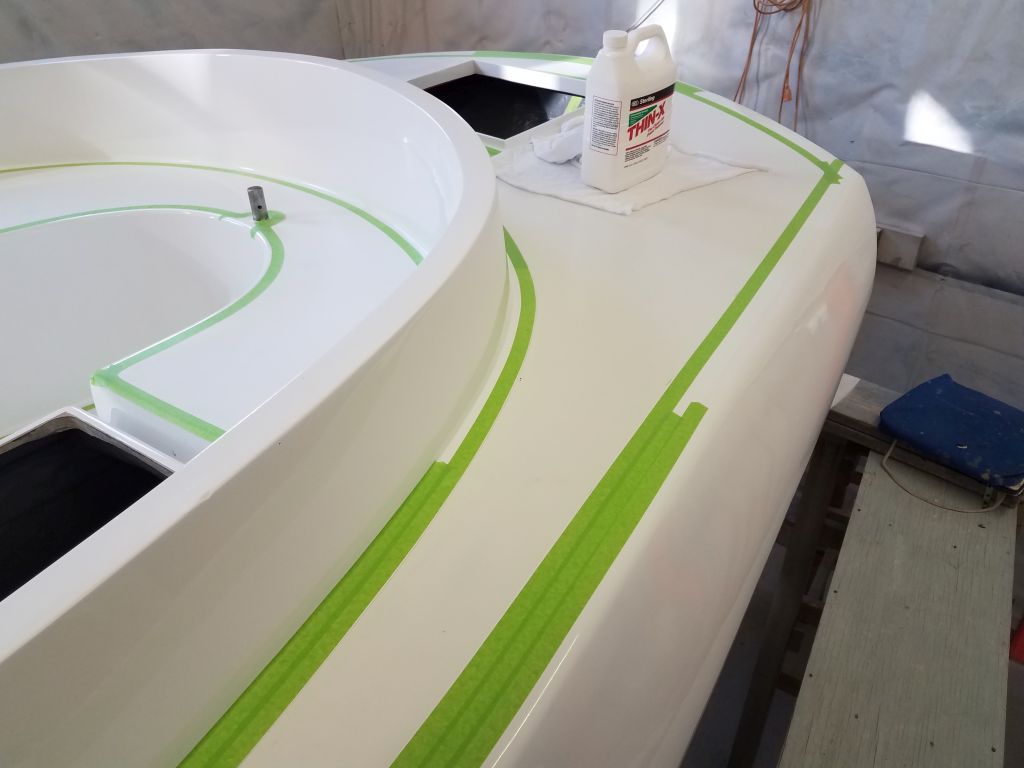
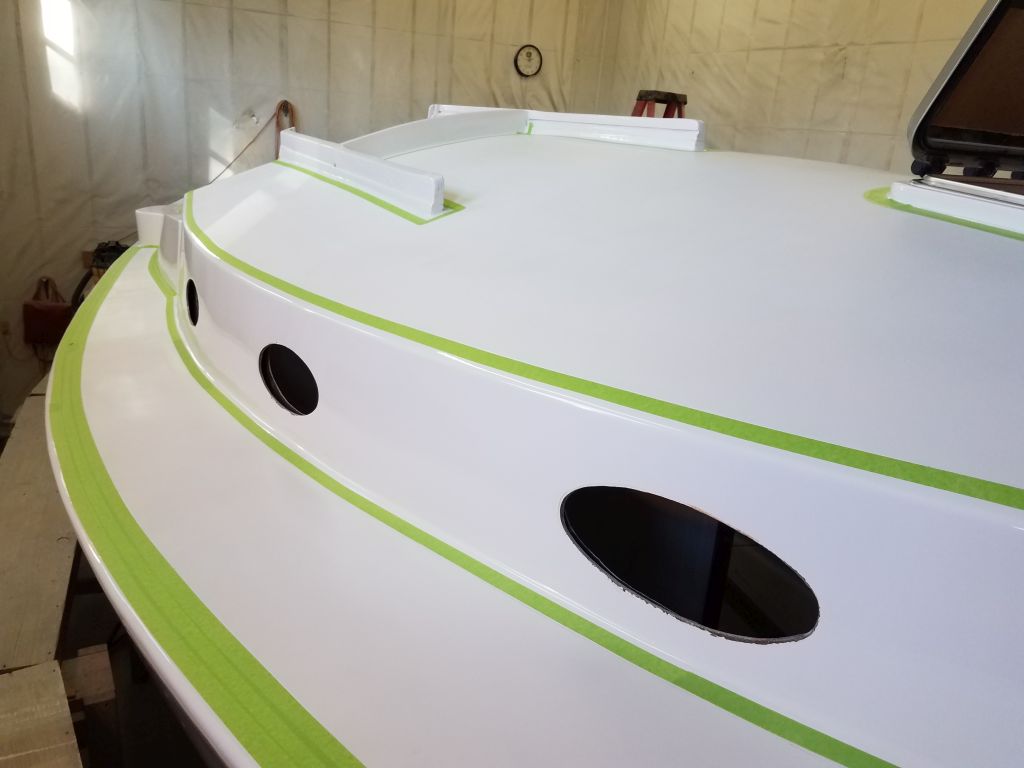
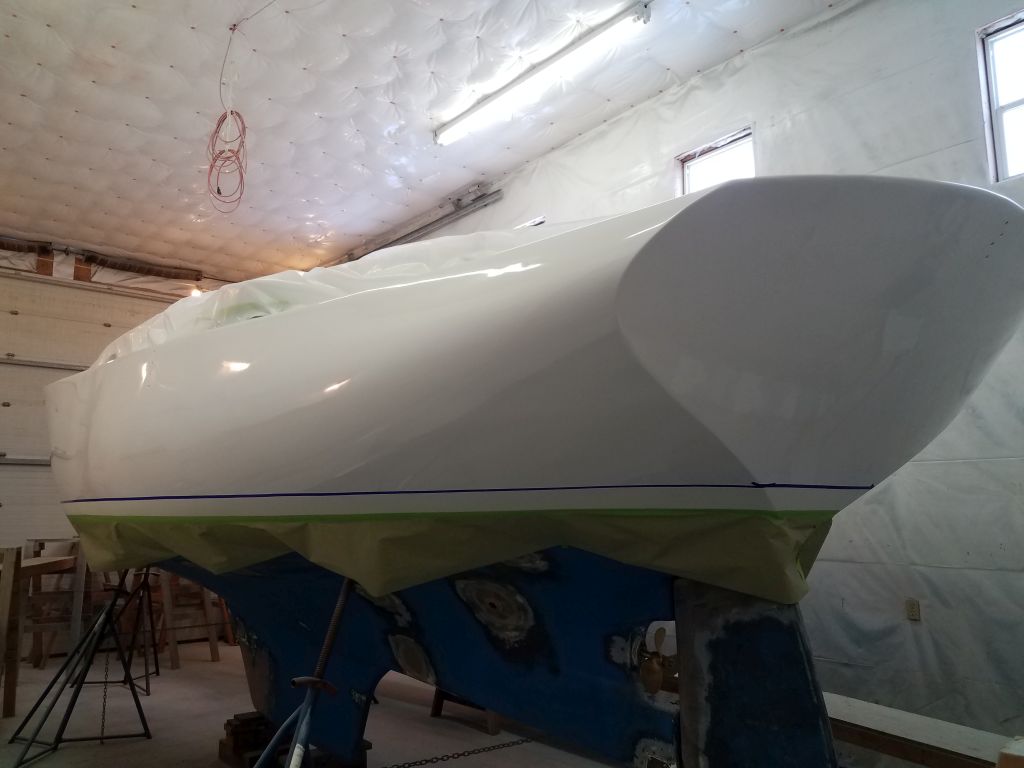
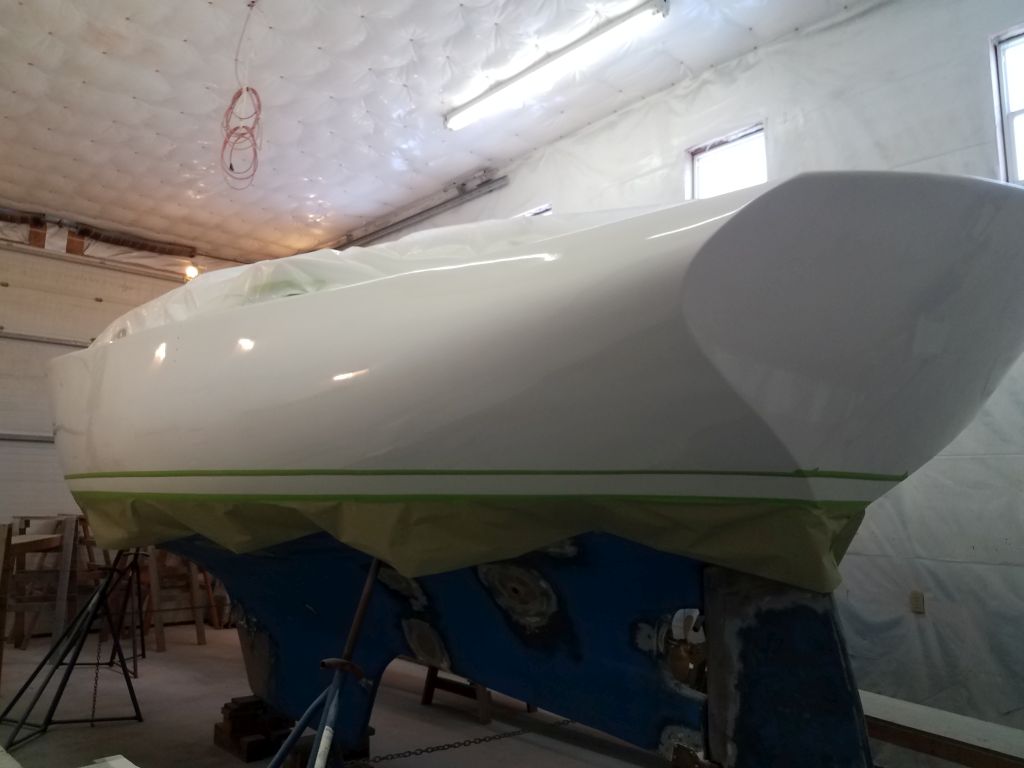
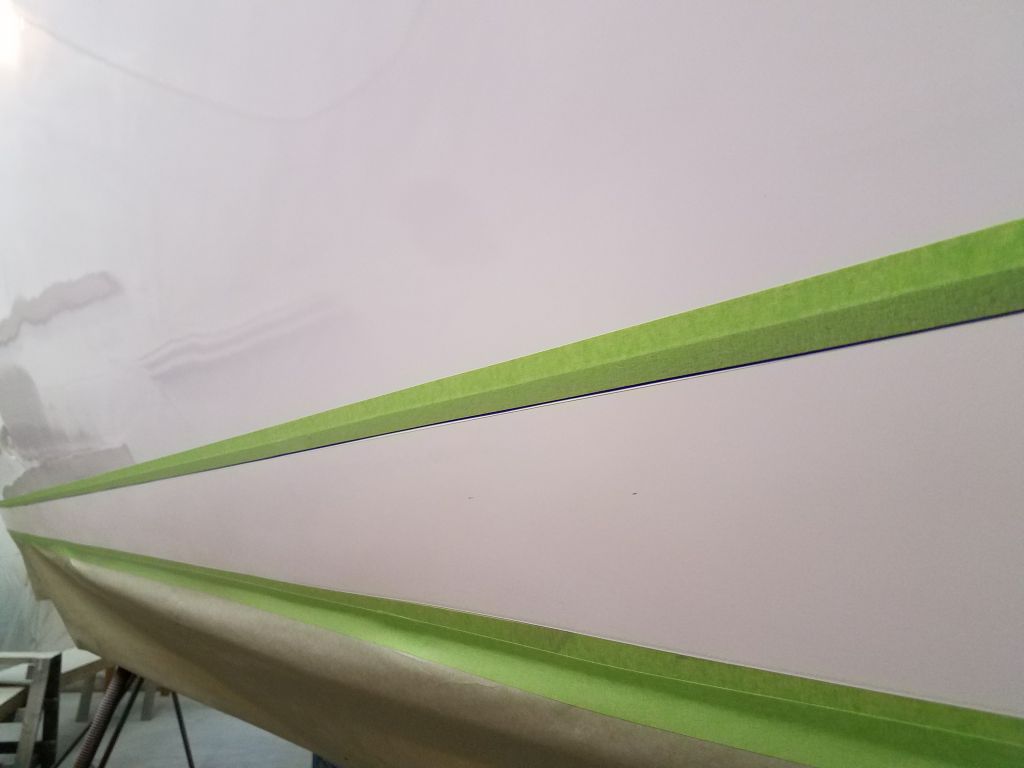
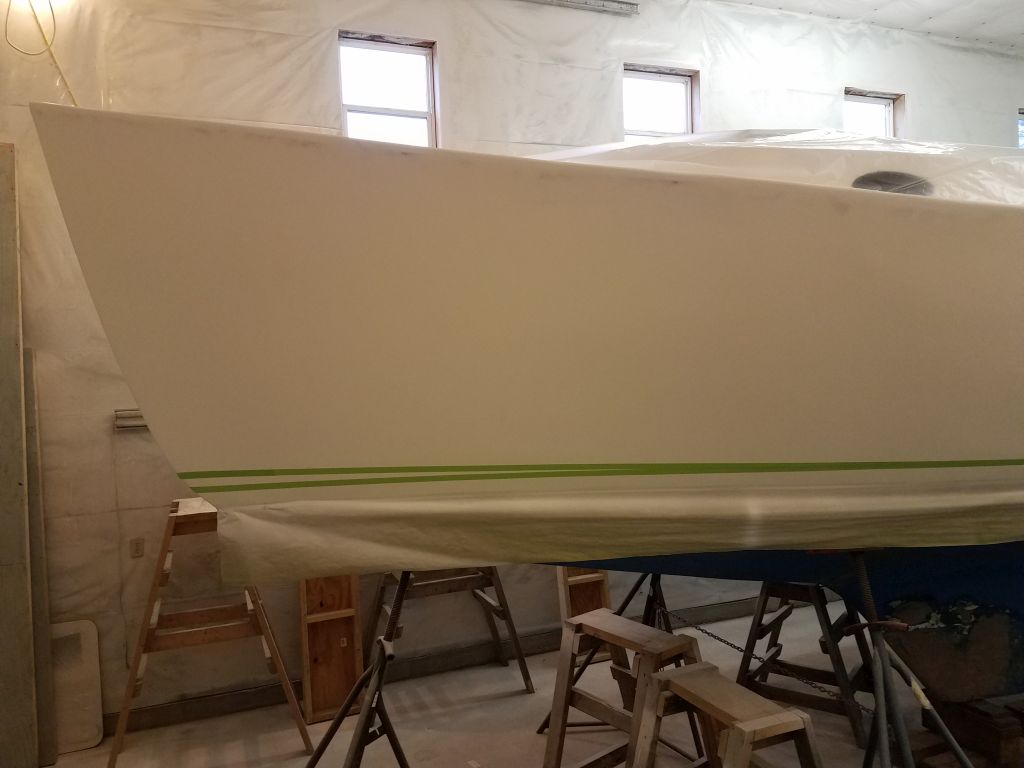
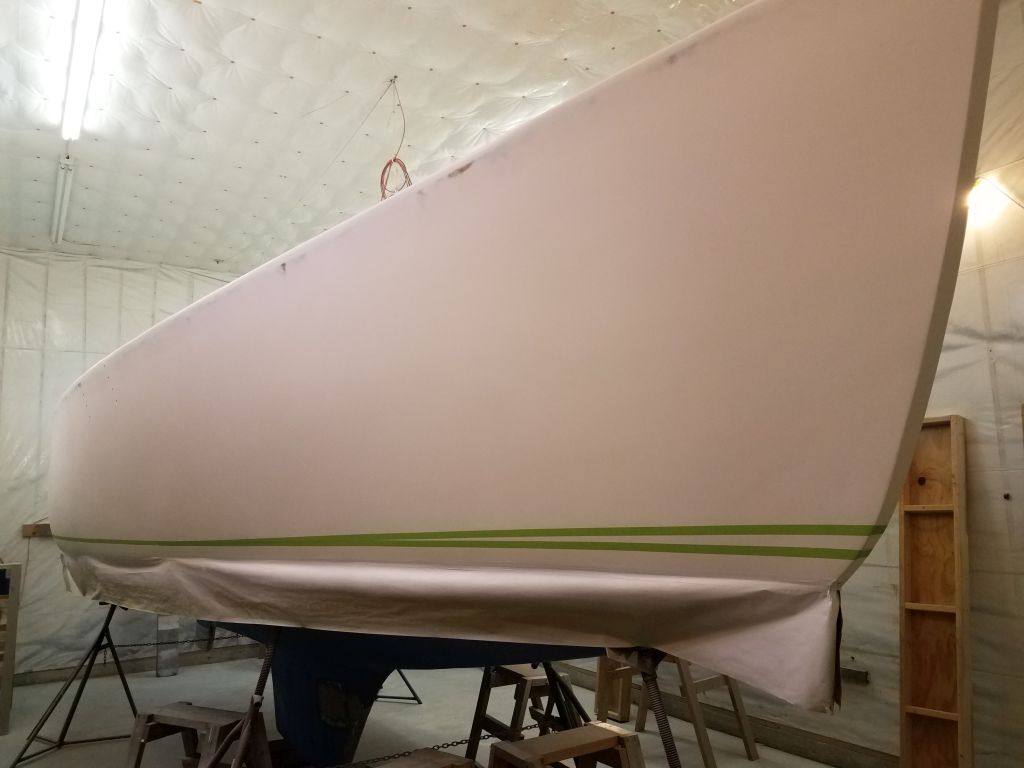
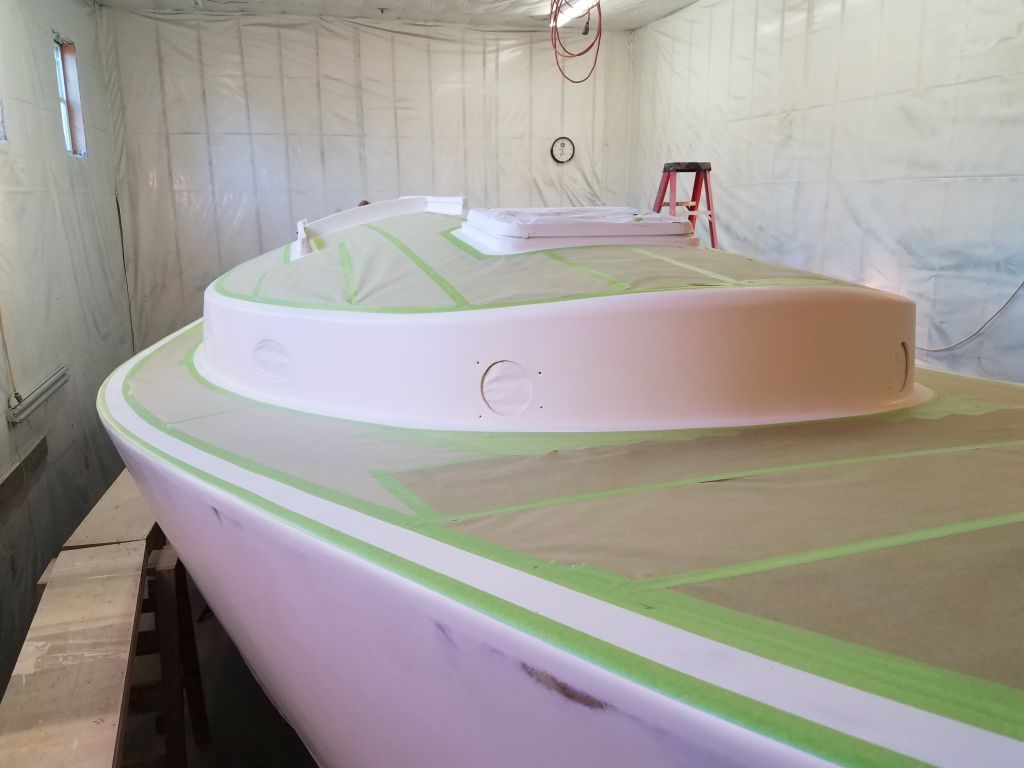
Next, I could mask to the outboard marks, leaving the tape on the hull side of these marks.

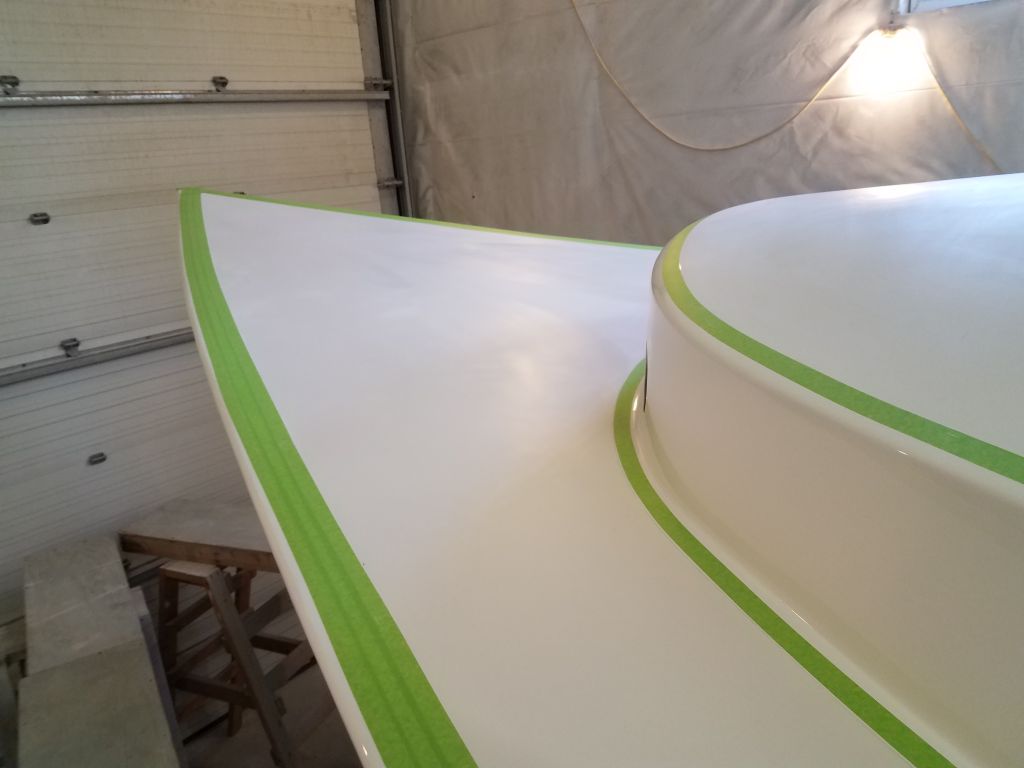
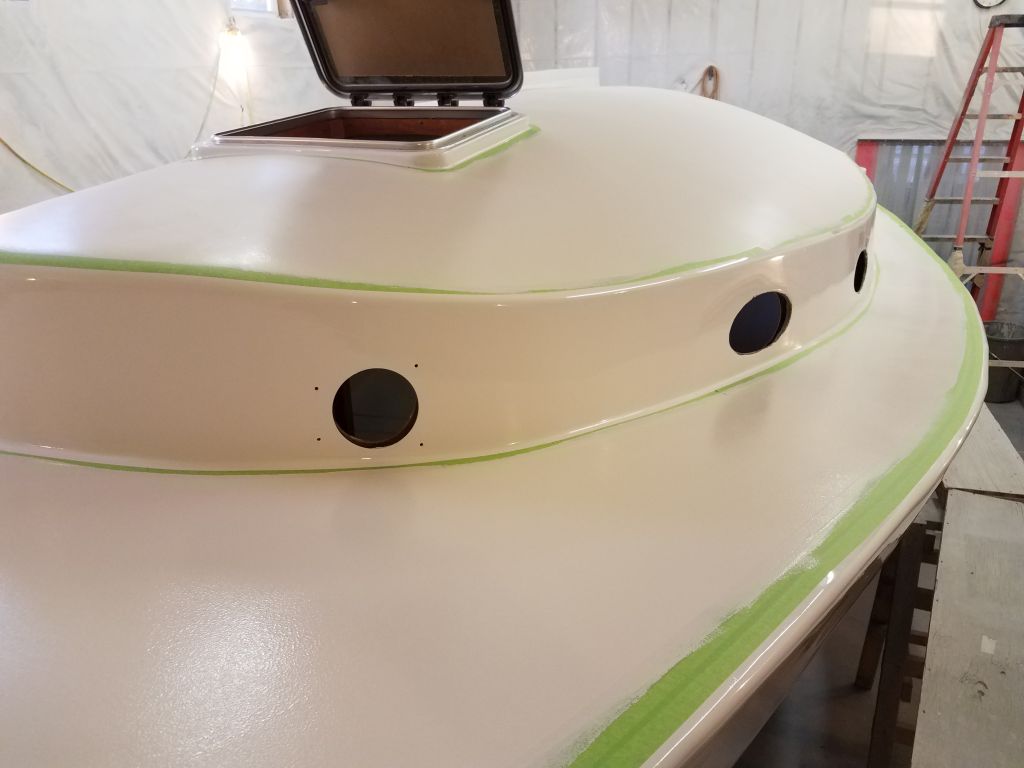
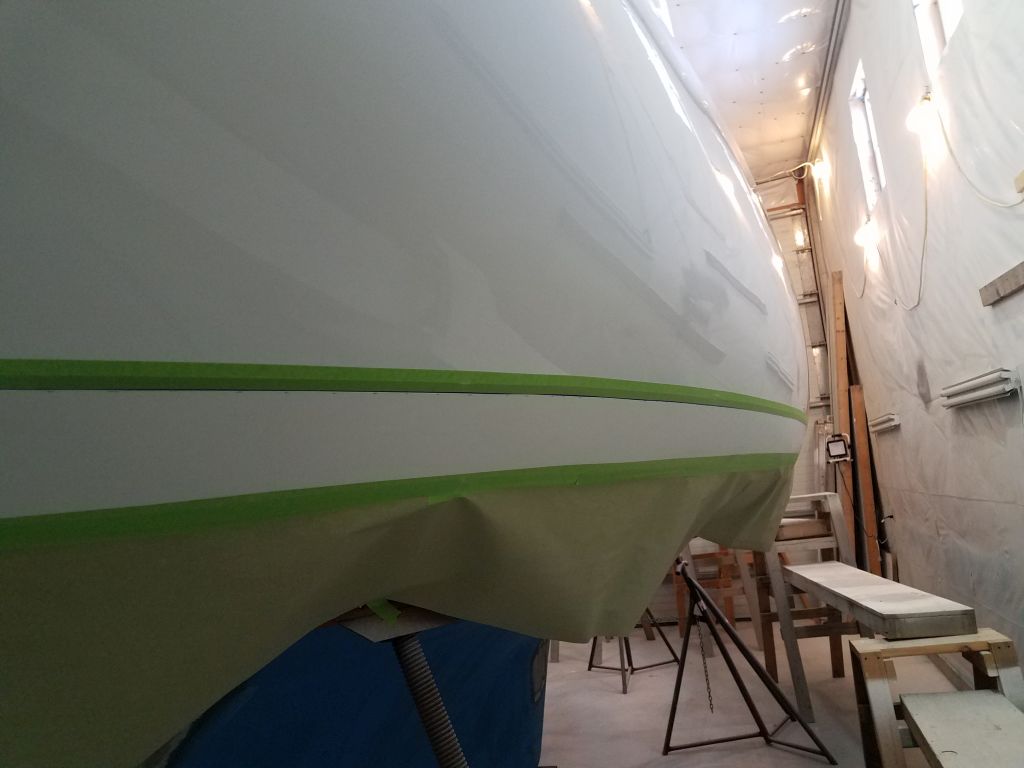
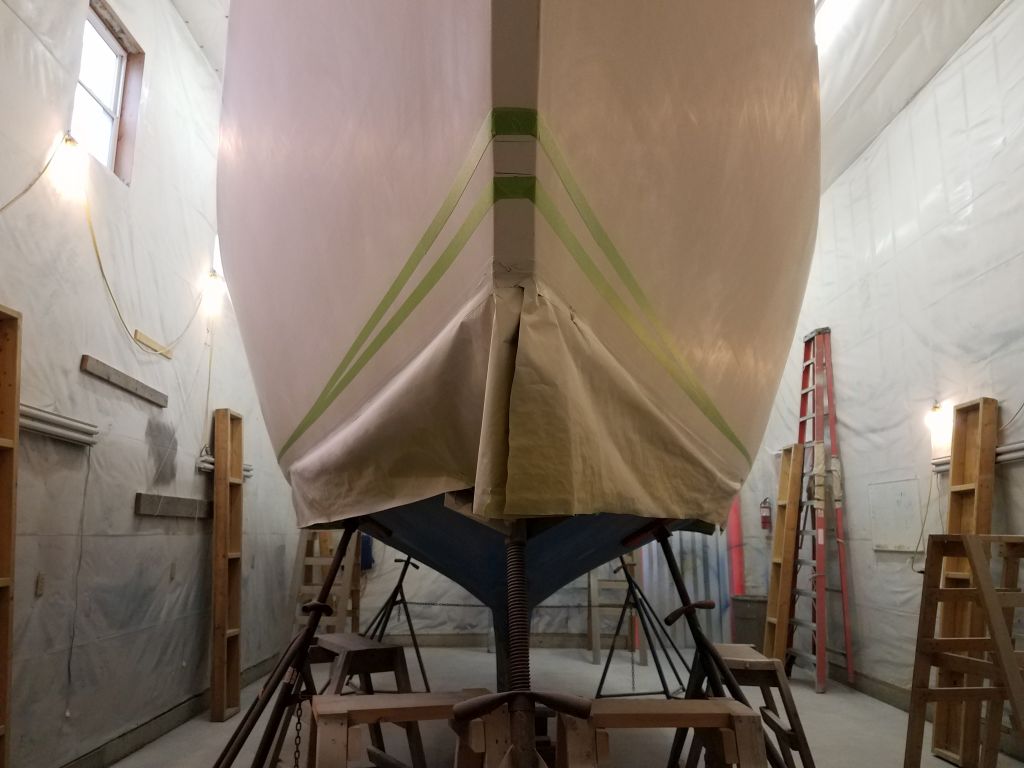
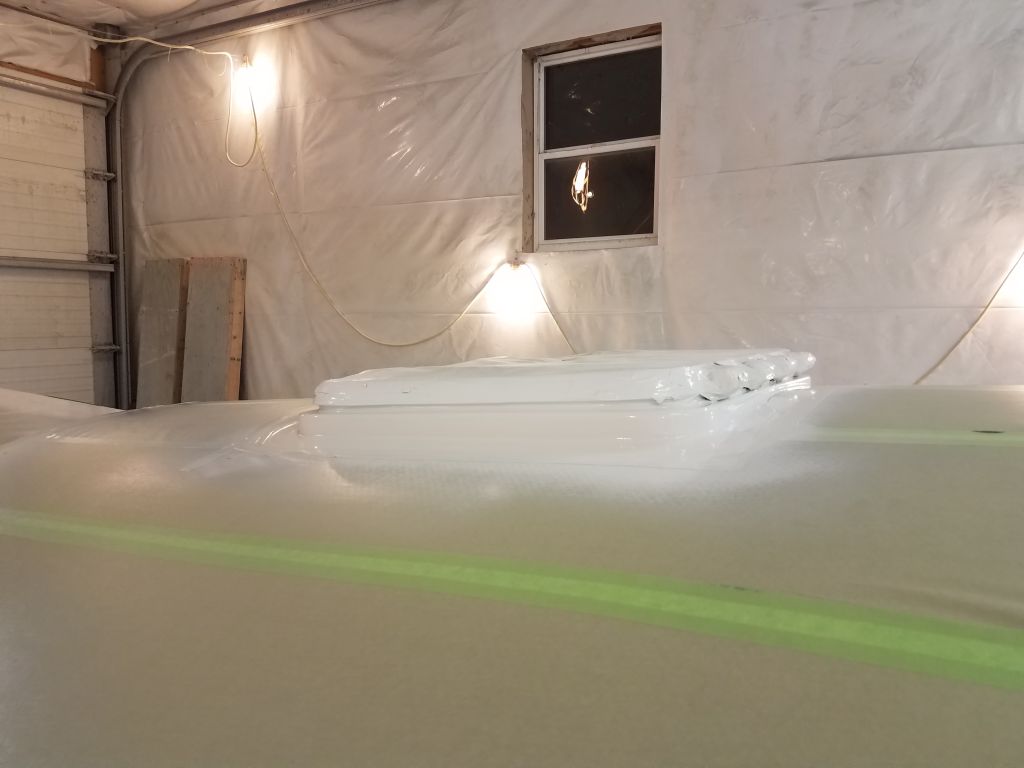
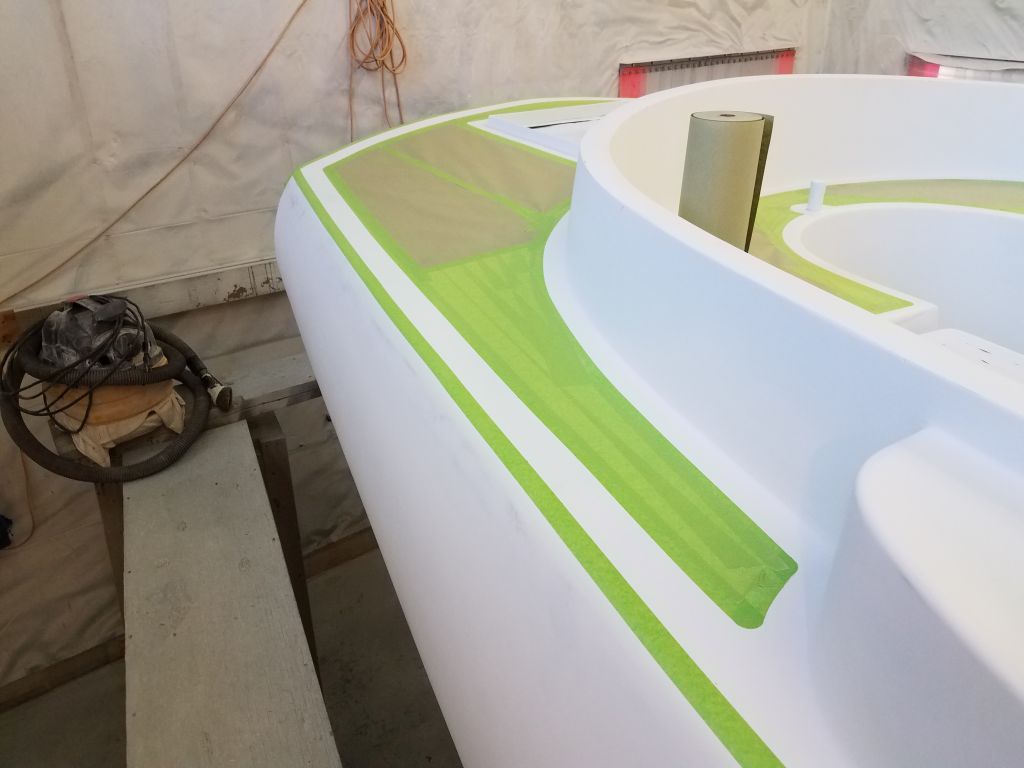
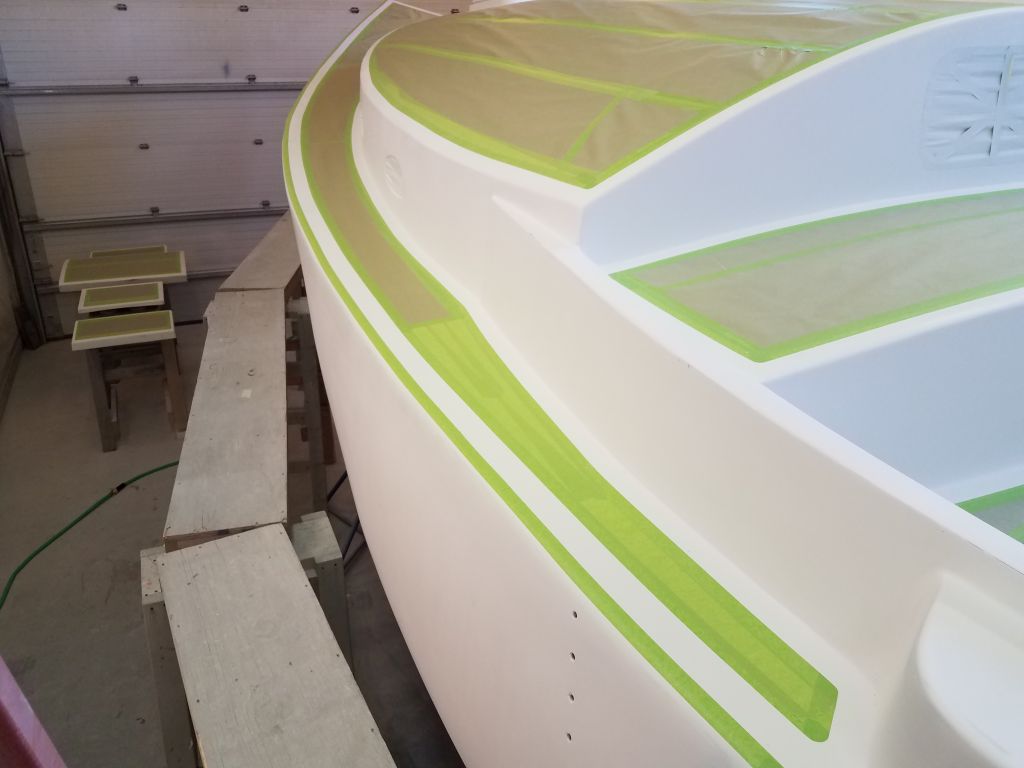
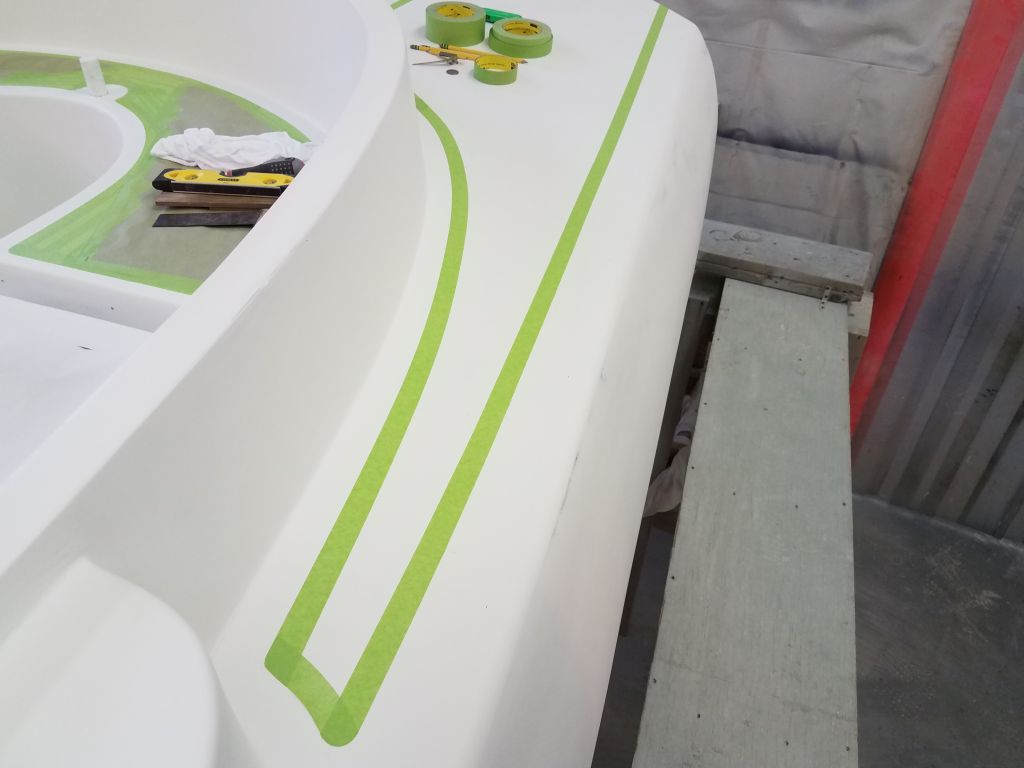
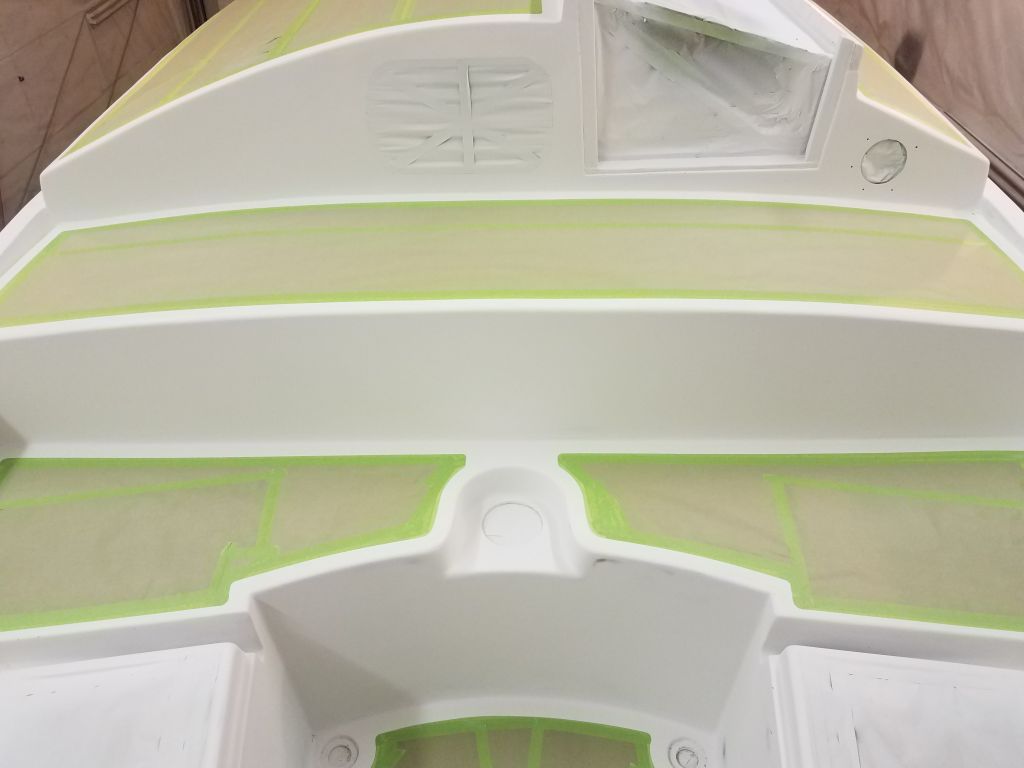
Flush with success, I repeated the marking and masking process across the curvy transom, validating the methodology in the process.

Now that I had the basic method worked out, marking the remainder of the deck edges would go more quickly, and I looked forward to finishing that up next time, but for now I had to head out for appointments,  and boat-related and unrelated errands.

Total time billed on this job today:  5  hours

0600 Weather Observation:  45°, cloudy. Forecast for the day:  Clouds and showers, 52°

Scupper 174

Monday

Now that the primer sanding was complete, my next task was to clean up the boat and shop.  I went through the usual motions to thoroughly blow down and sweep the shop and boat, which I followed by rinsing off the floor and staging and other surfaces to calm any remaining dust before thoroughly vacuuming the hull and deck and then solvent-washing both as well.

With the deck clean and dry, I began the process of masking off for the gloss topcoats.  Starting on the coachroof, I marked and masked a 1-1/2″ border around the edges, including the companionway and forward hatch, and masked to the lines, then covered the field areas (which would eventually be nonskid) with paper to protect against overspray and also give me places to lean, support, and kneel as needed during the final painting.

I continued in the cockpit and similarly marked and masked all areas as needed.  I was out of time for now, but would continue the masking and other prep work next time.

Total time billed on this job today:  7.5 hours

0600 Weather Observation:  25°, clear. Forecast for the day:  Sunny, 49°

Older posts Newer posts