(page 14 of 27)

Scupper 133

Thursday

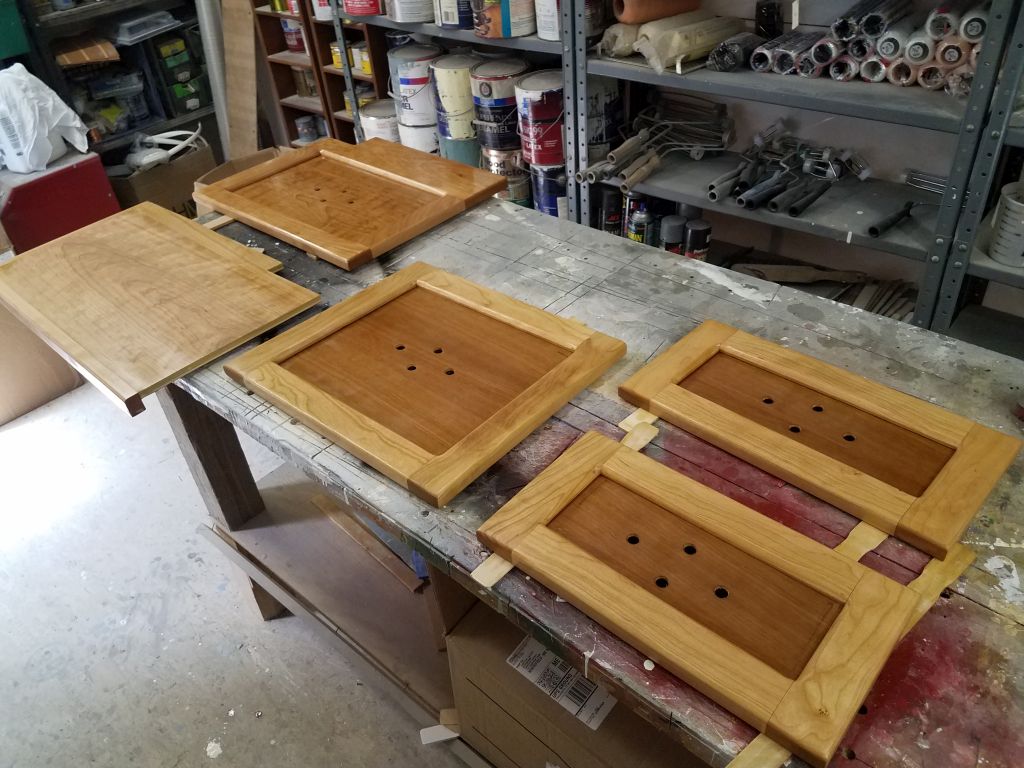
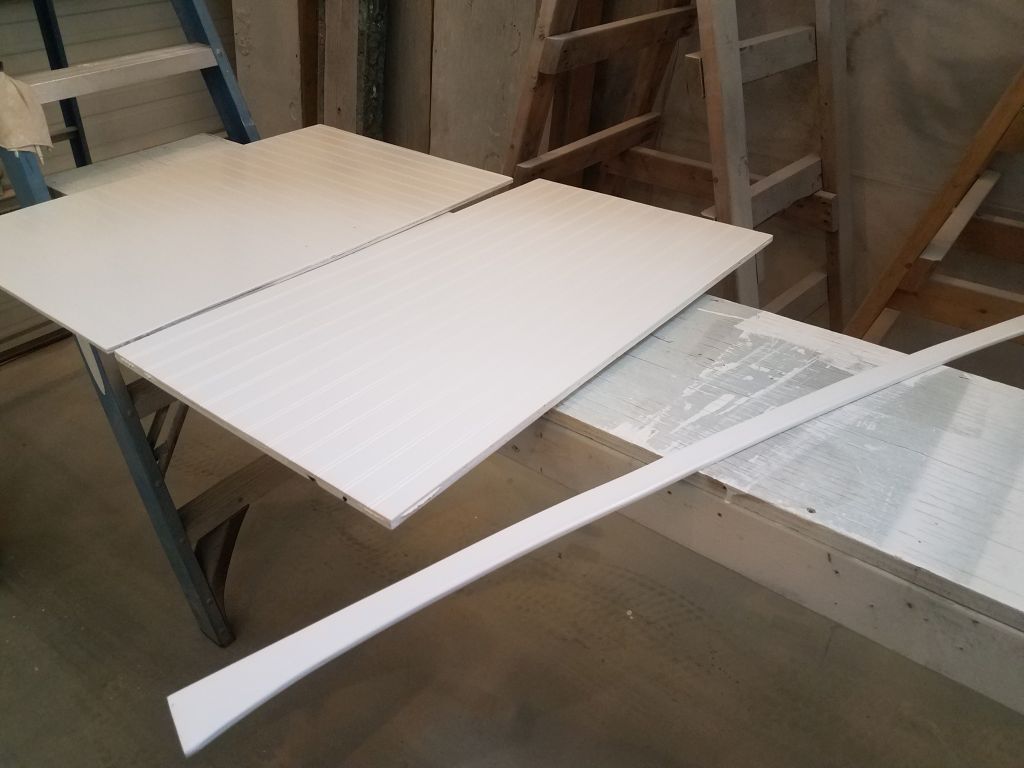
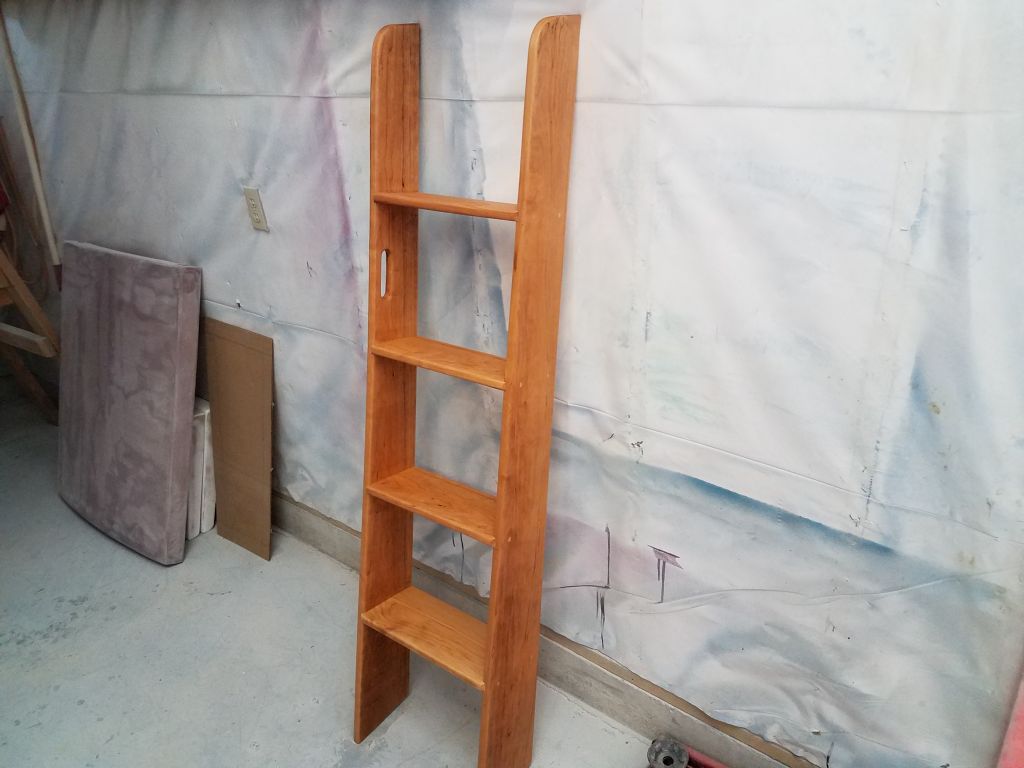
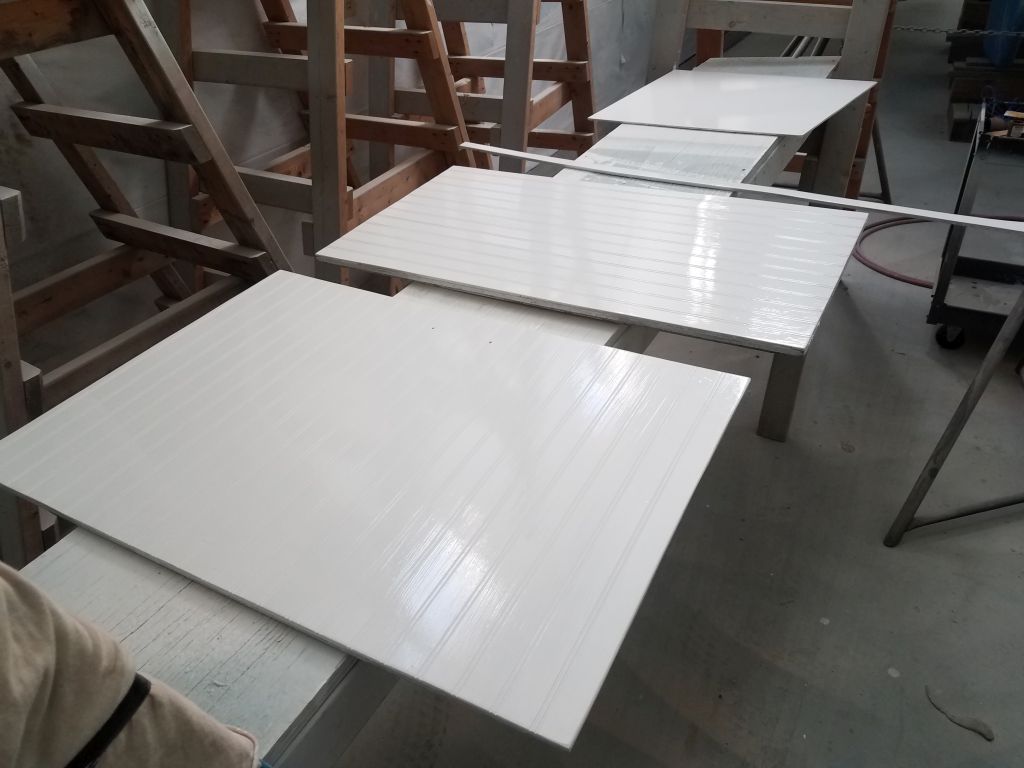
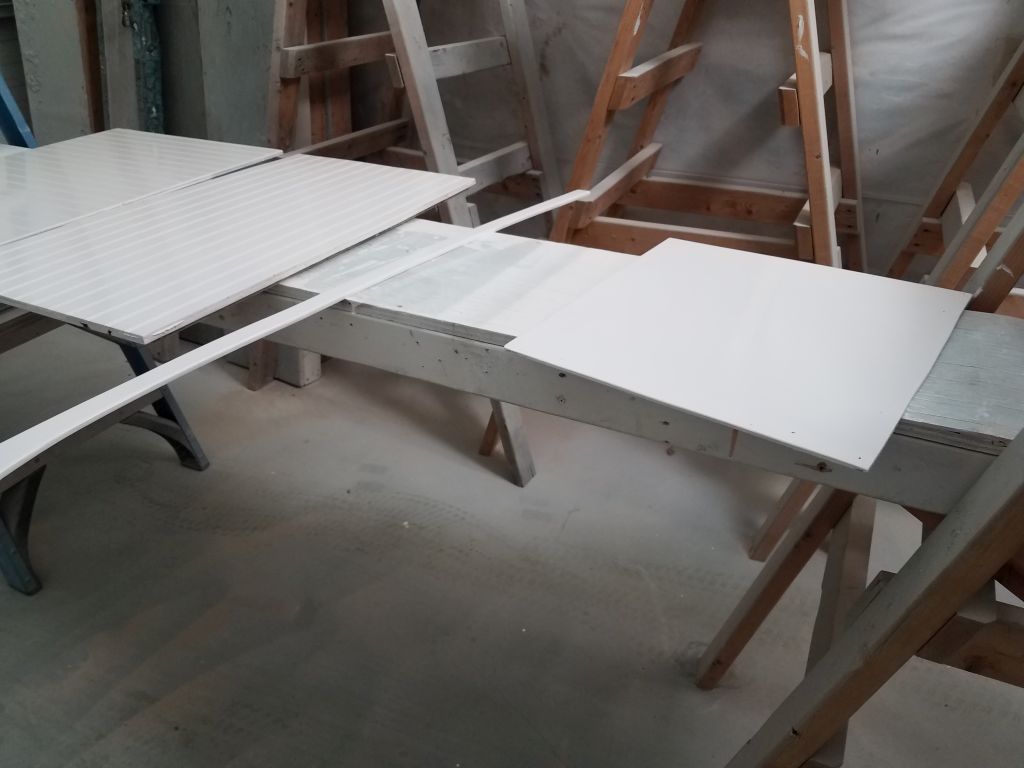
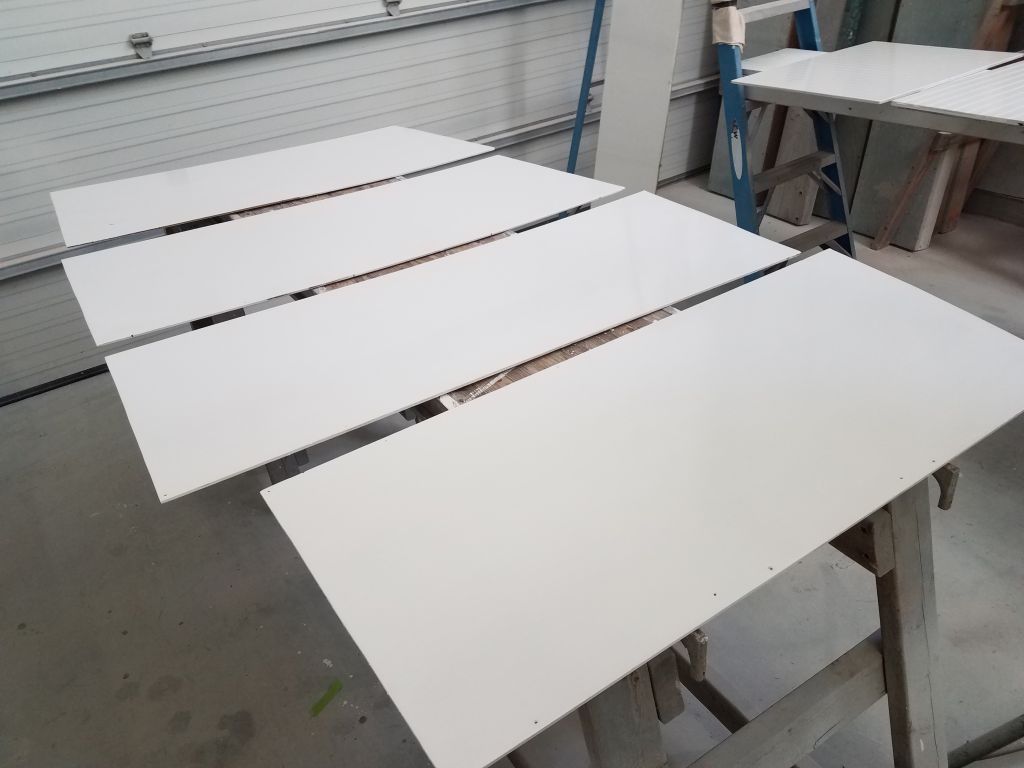
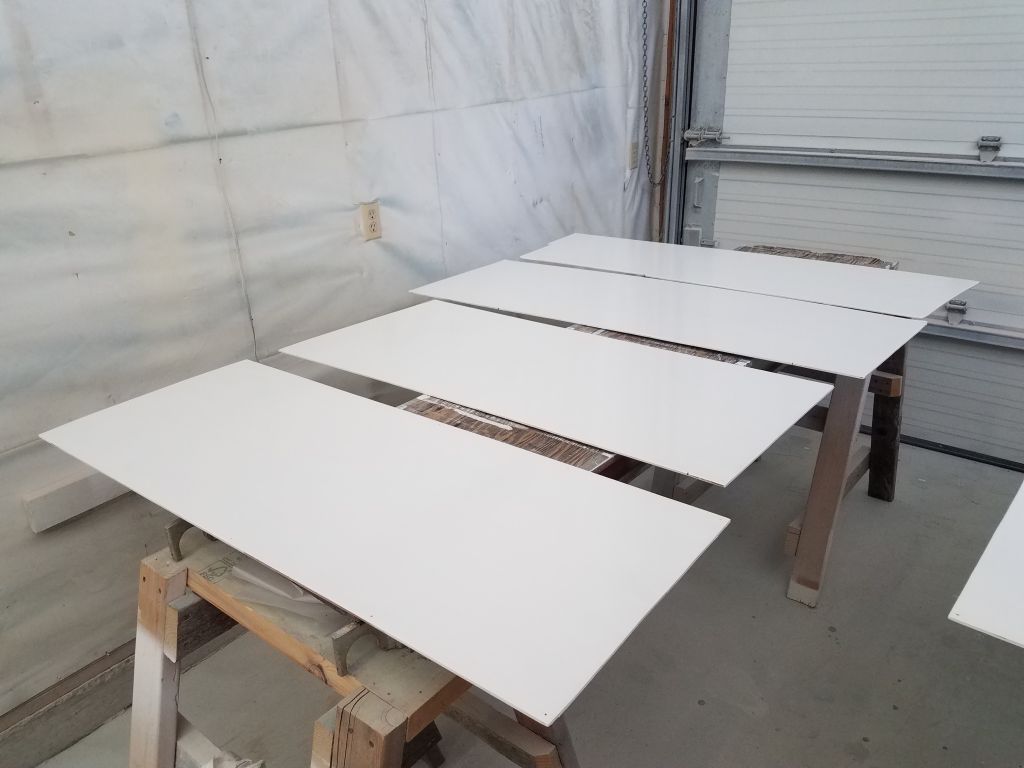
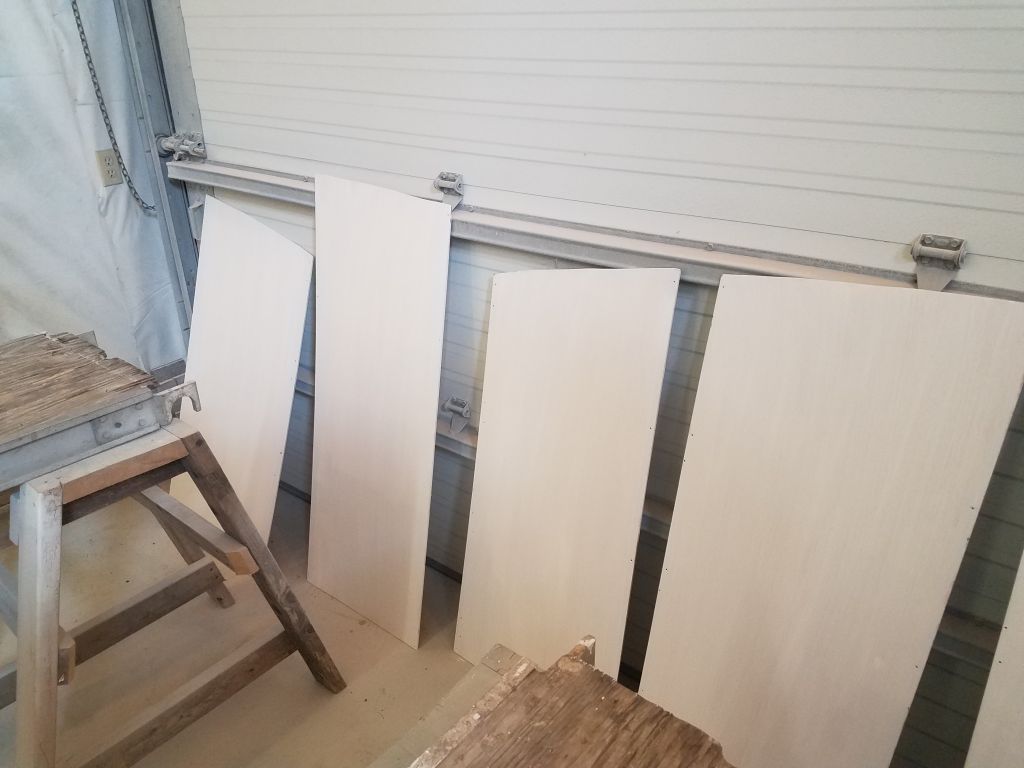
After a light sanding, I applied the third coat of base varnish to the interior doors and companionway parts.

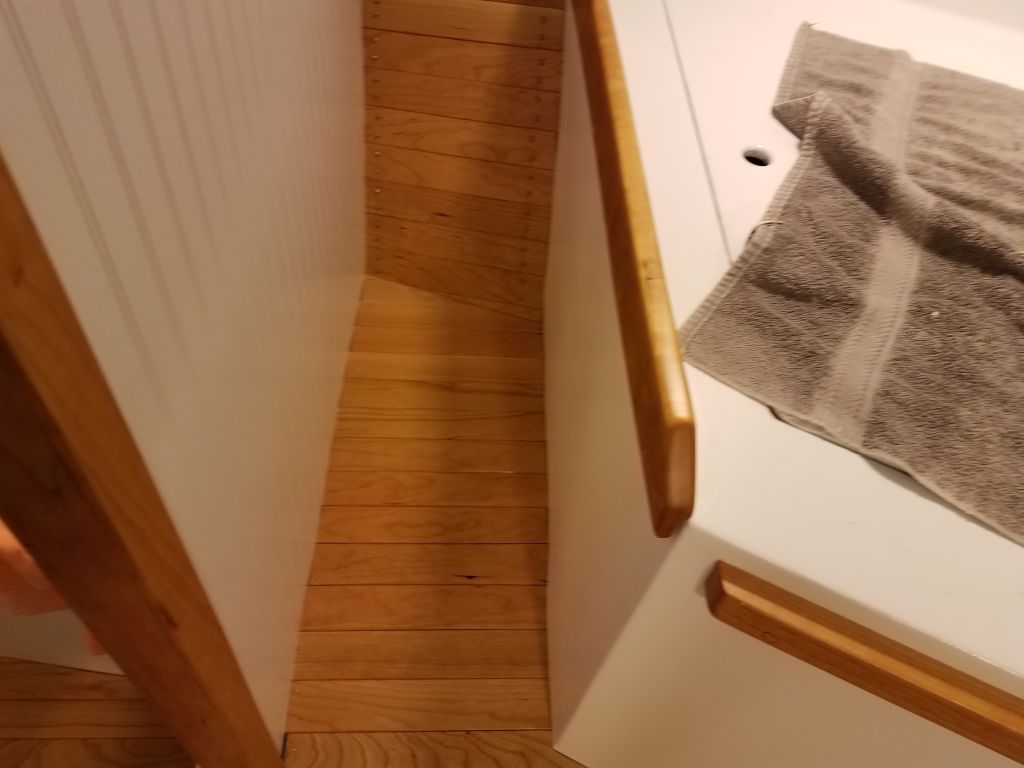
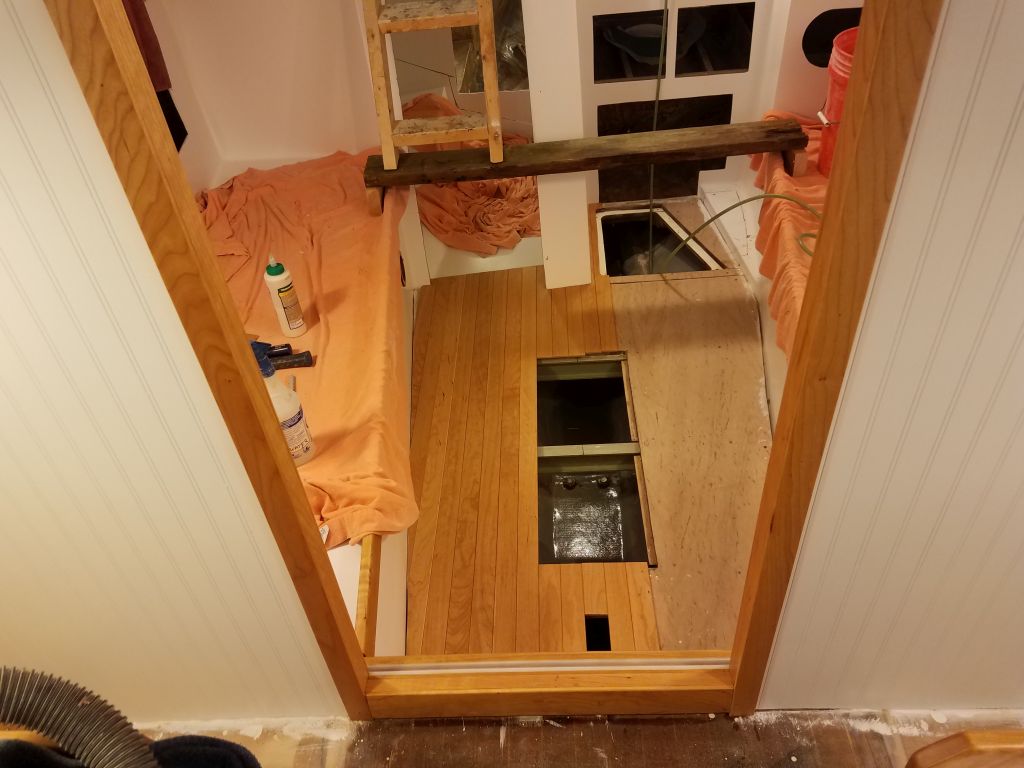
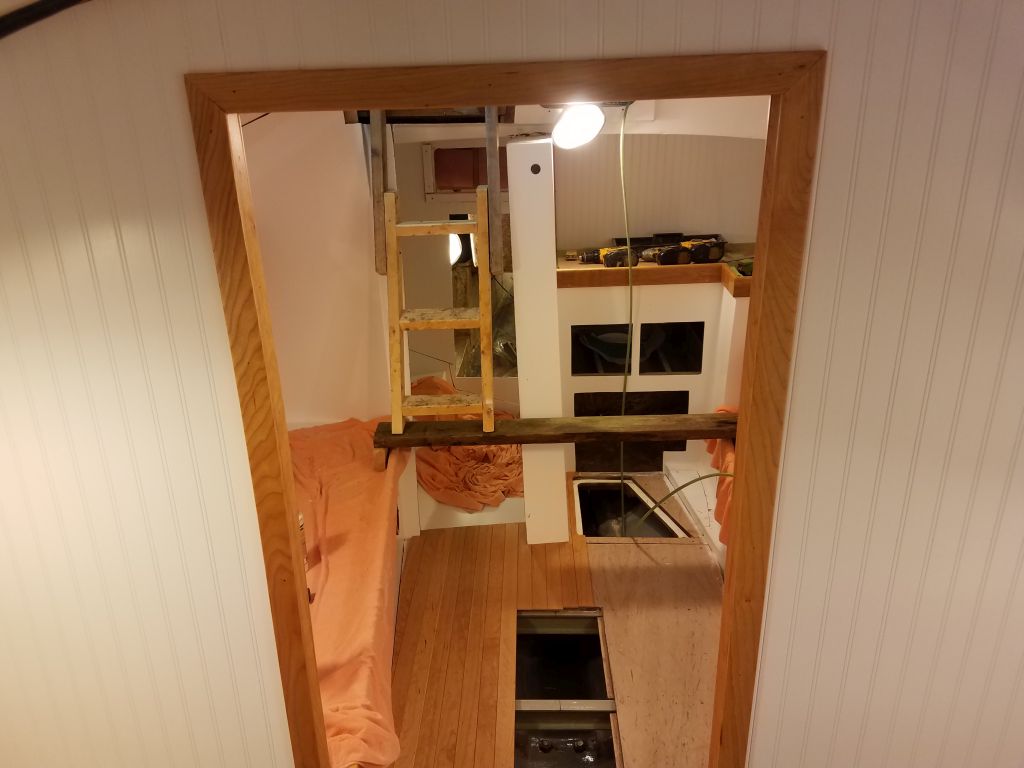
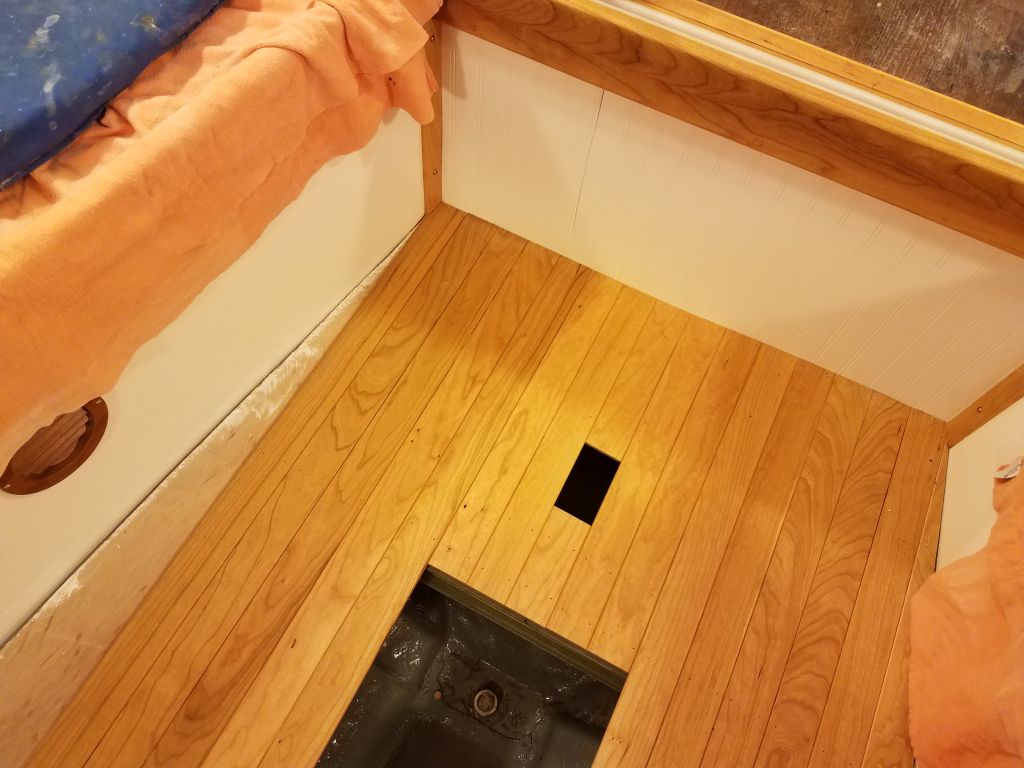
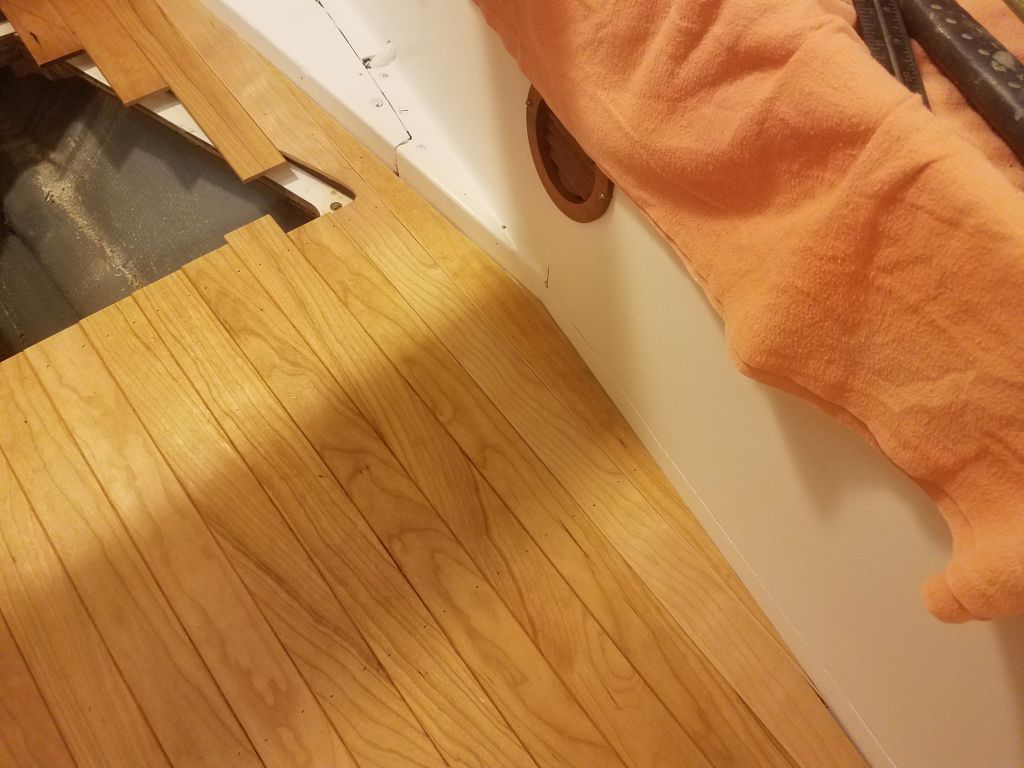
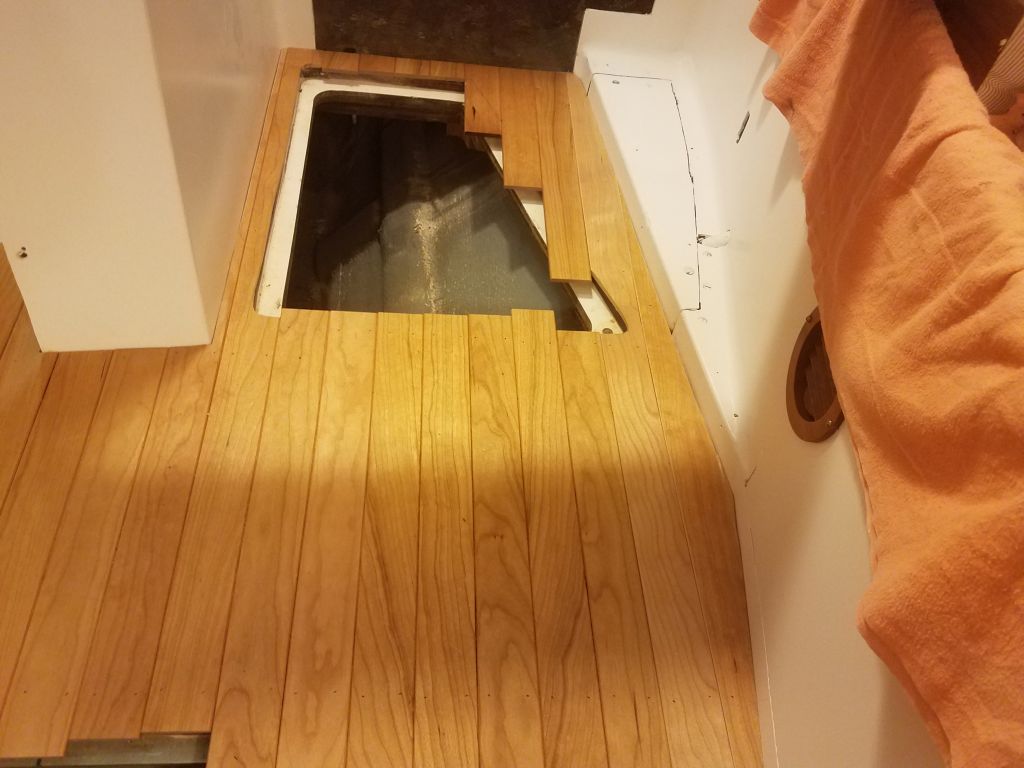
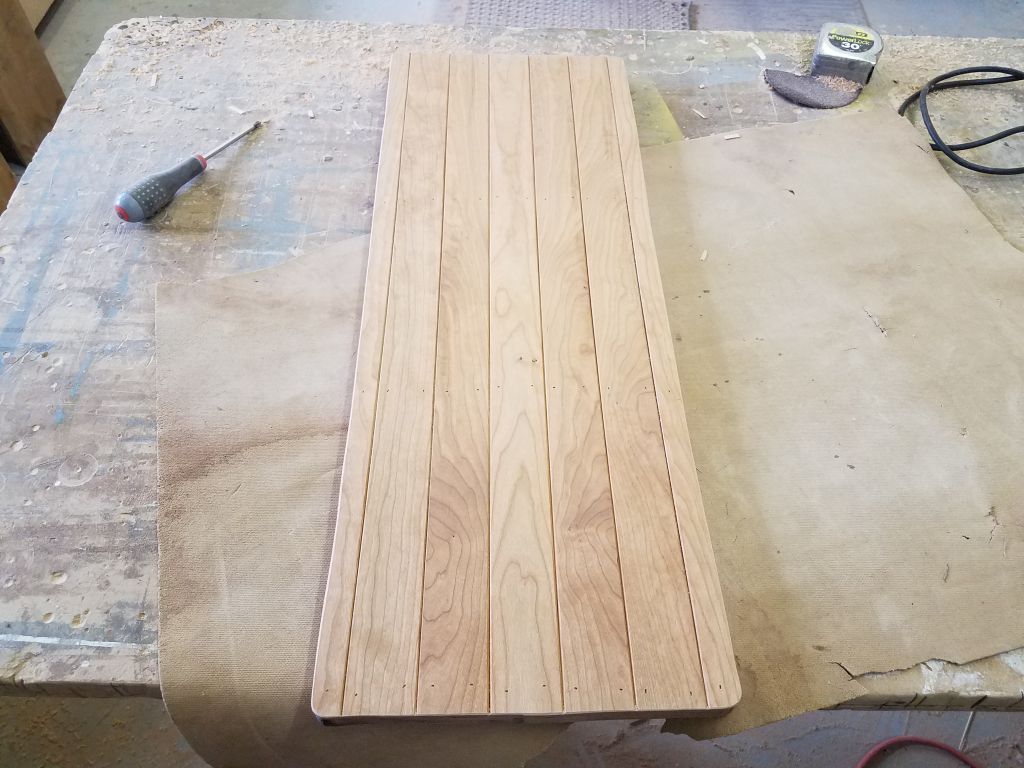
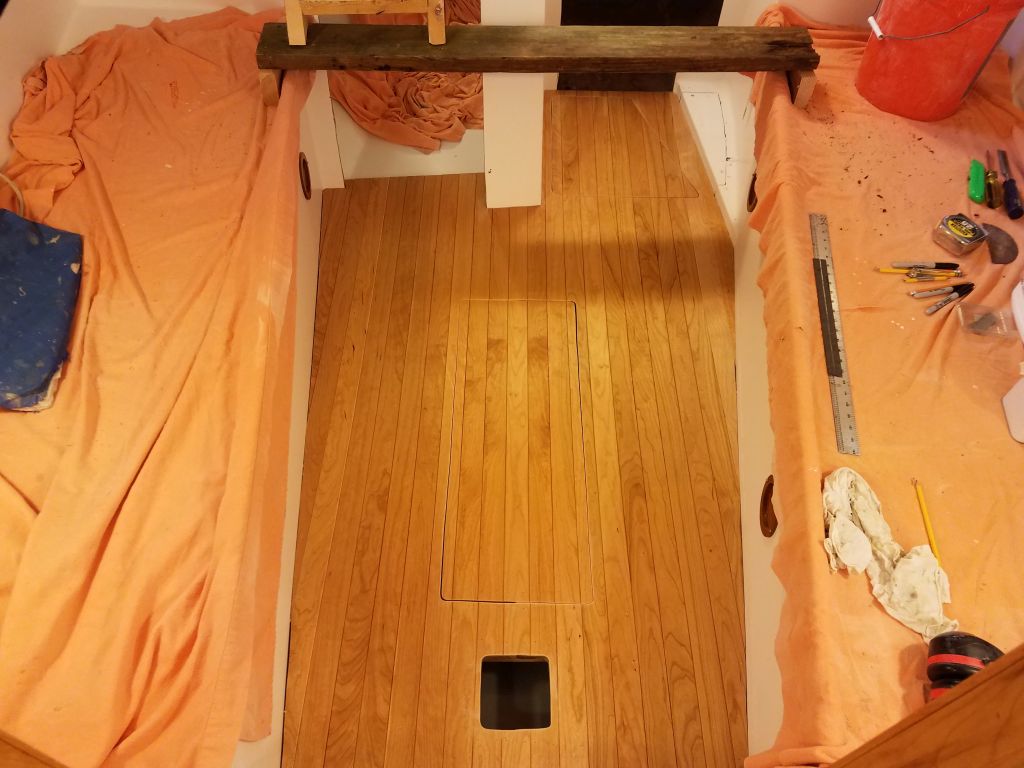
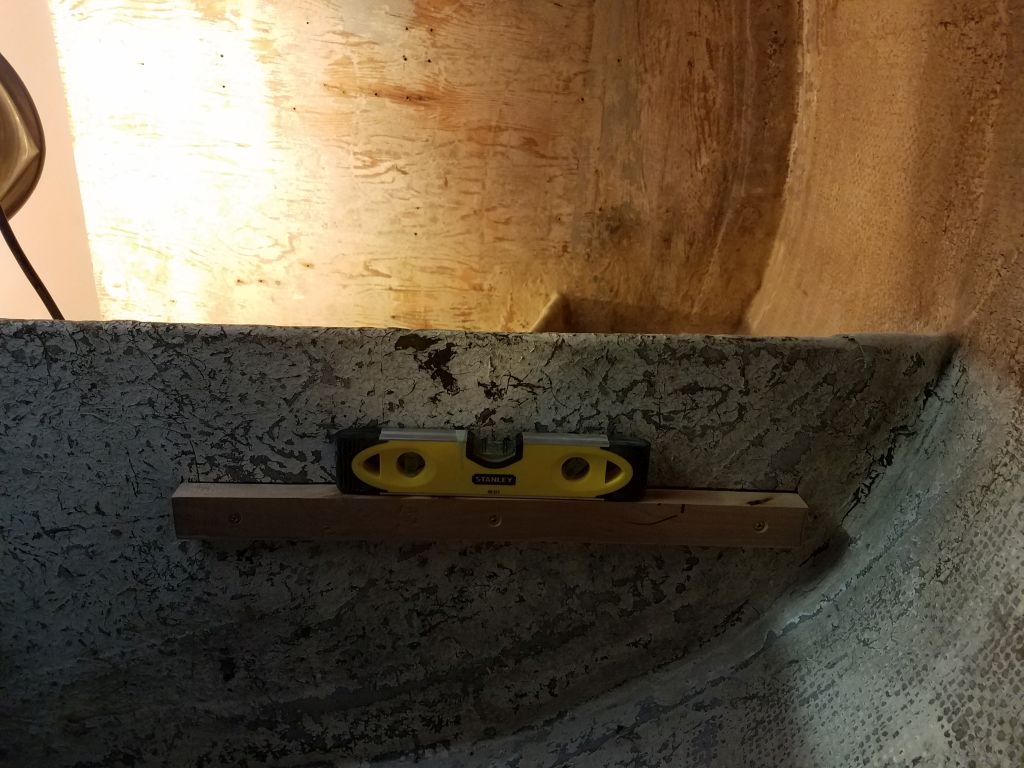
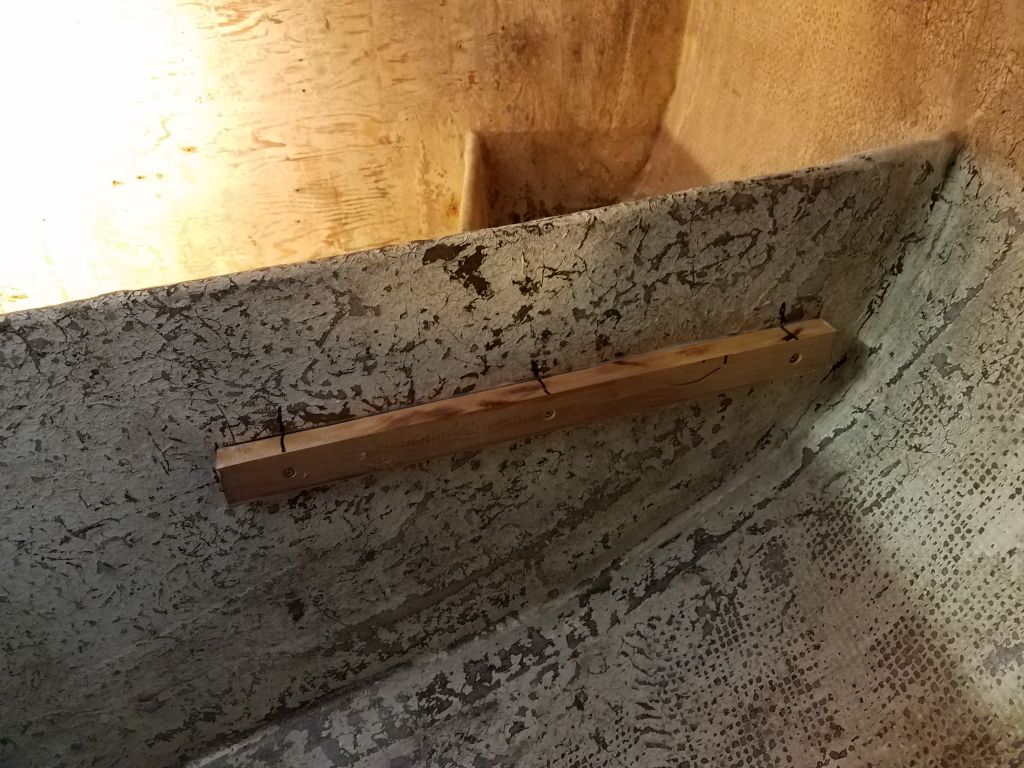
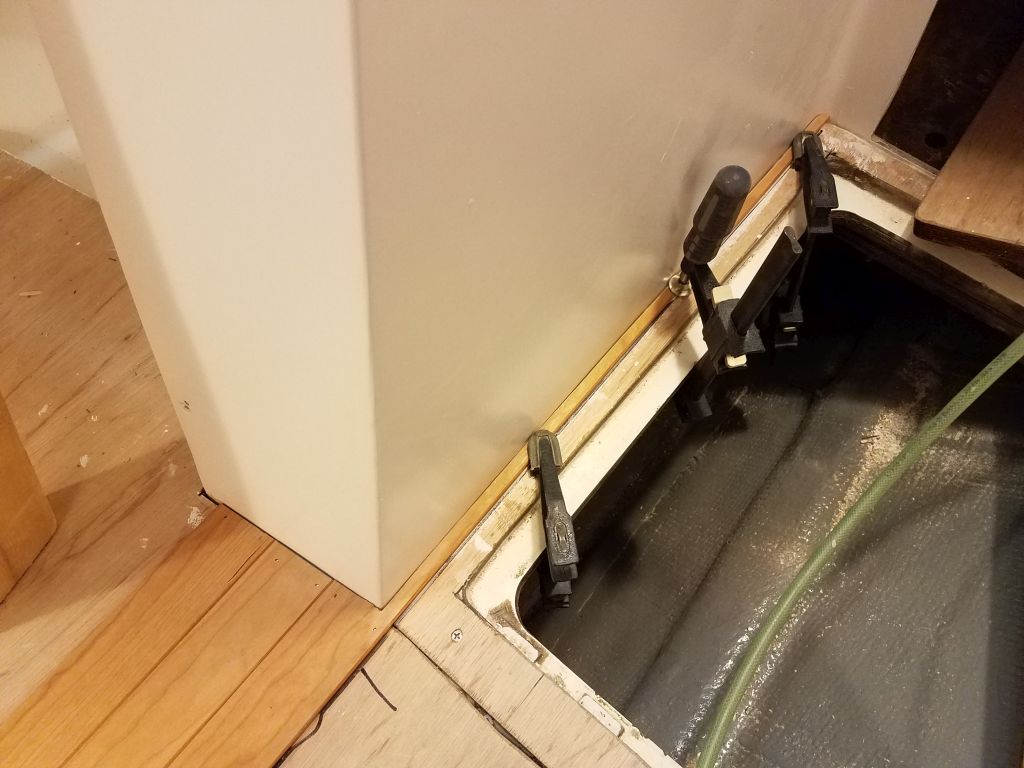
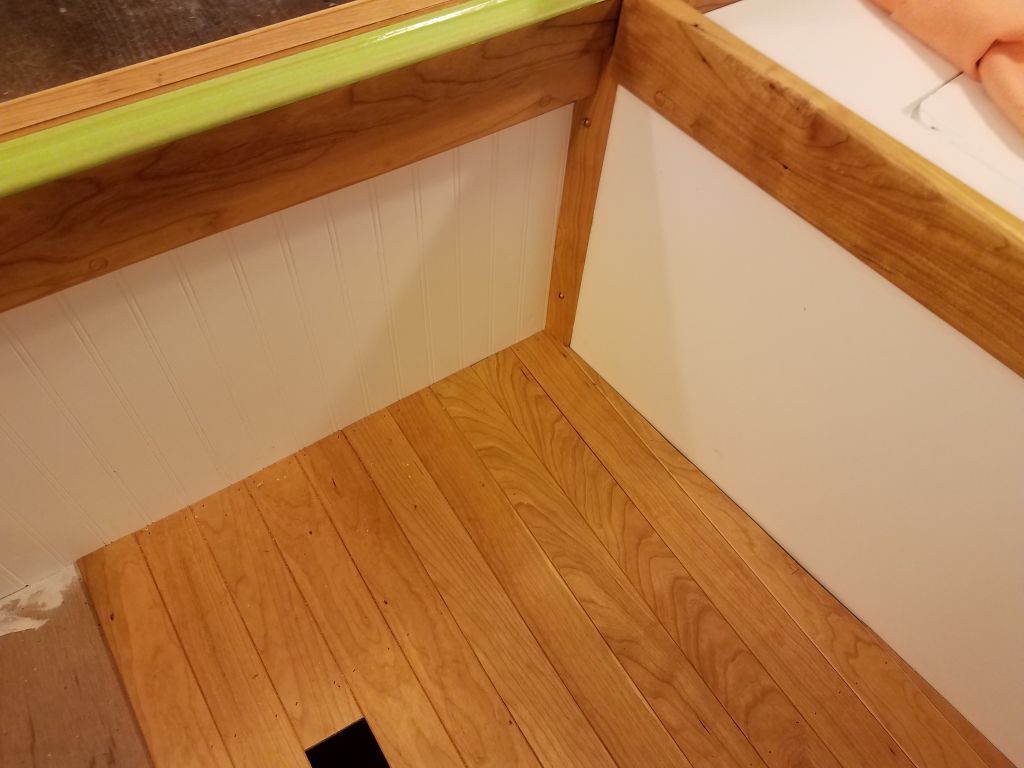
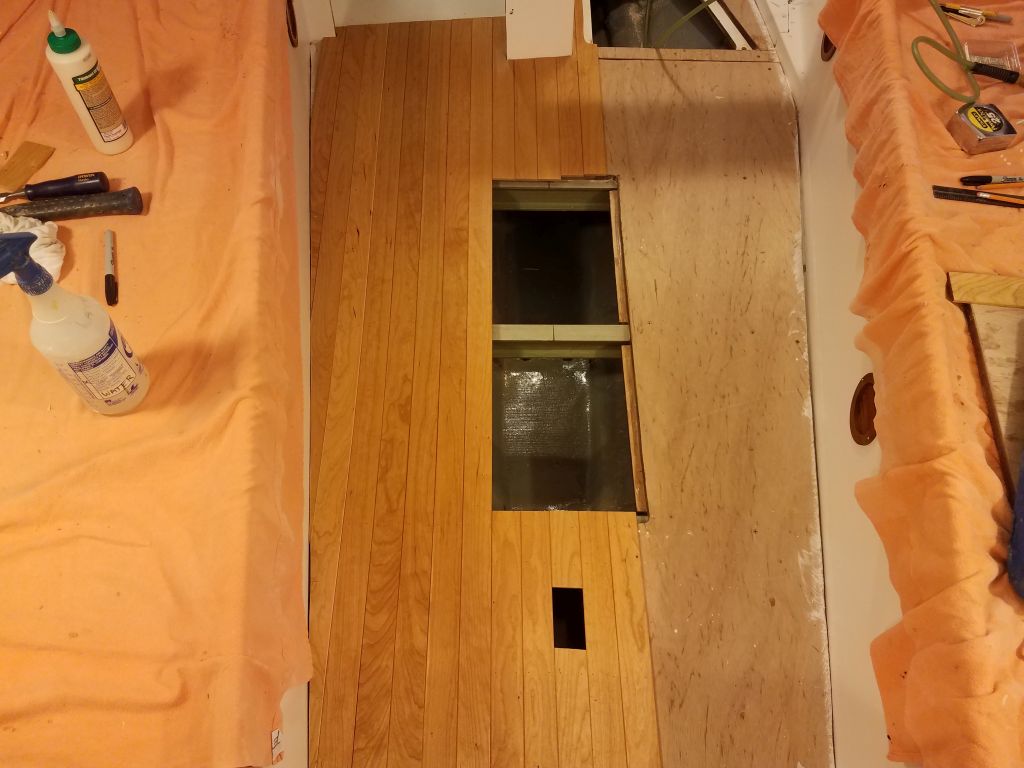
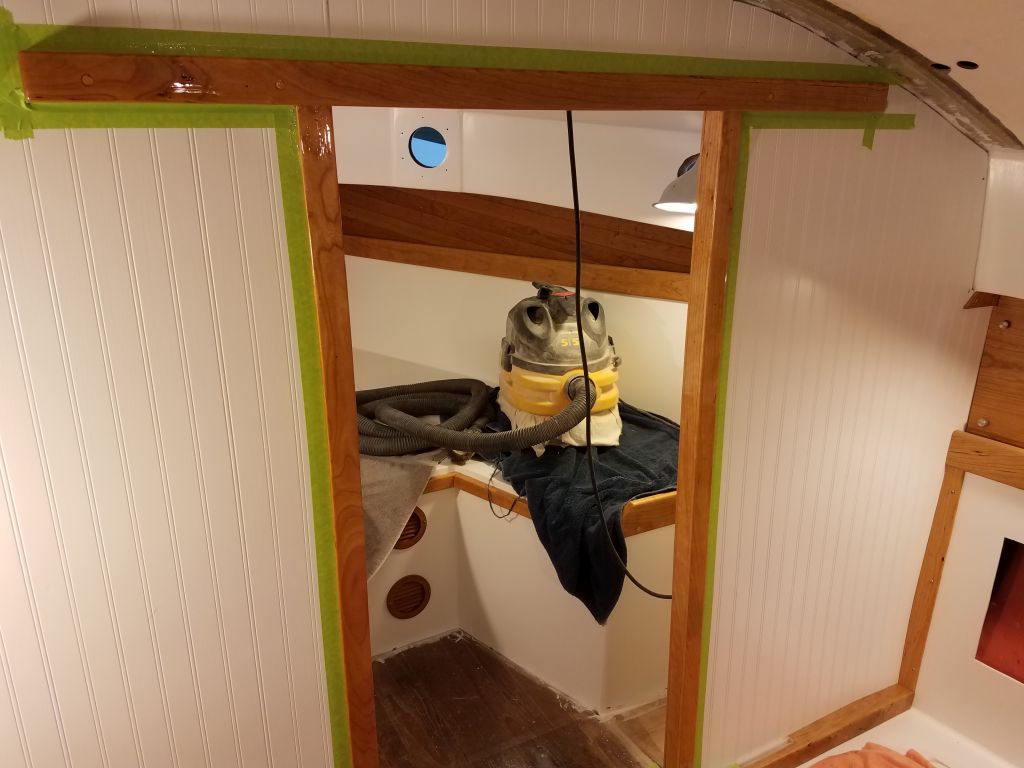
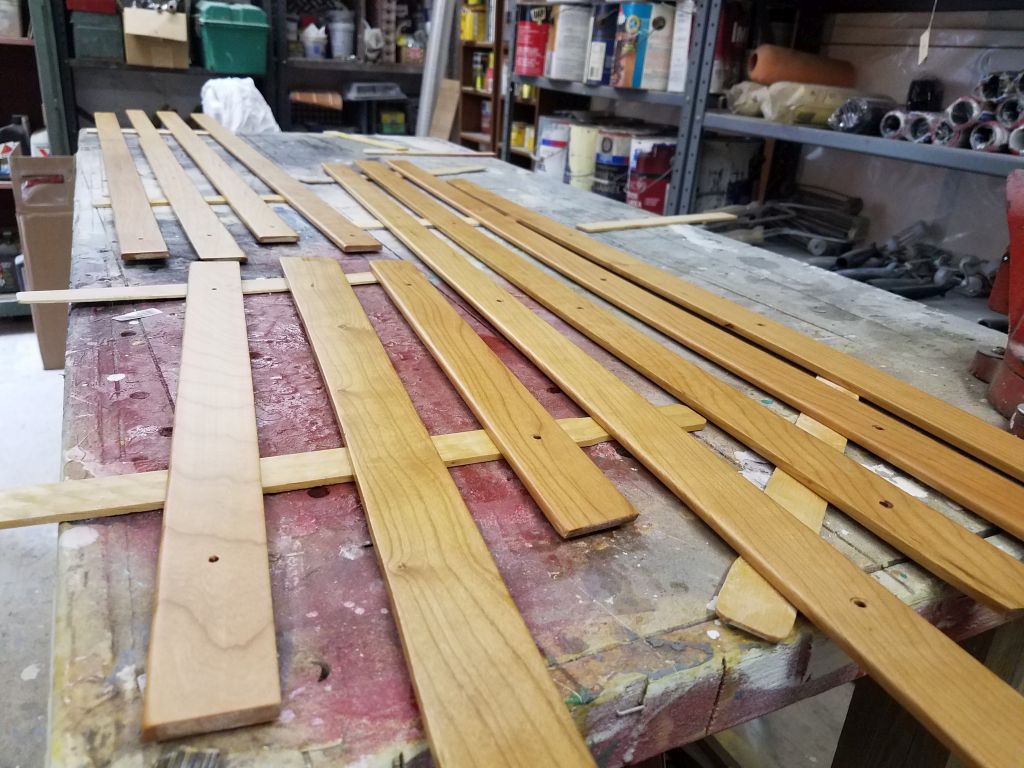
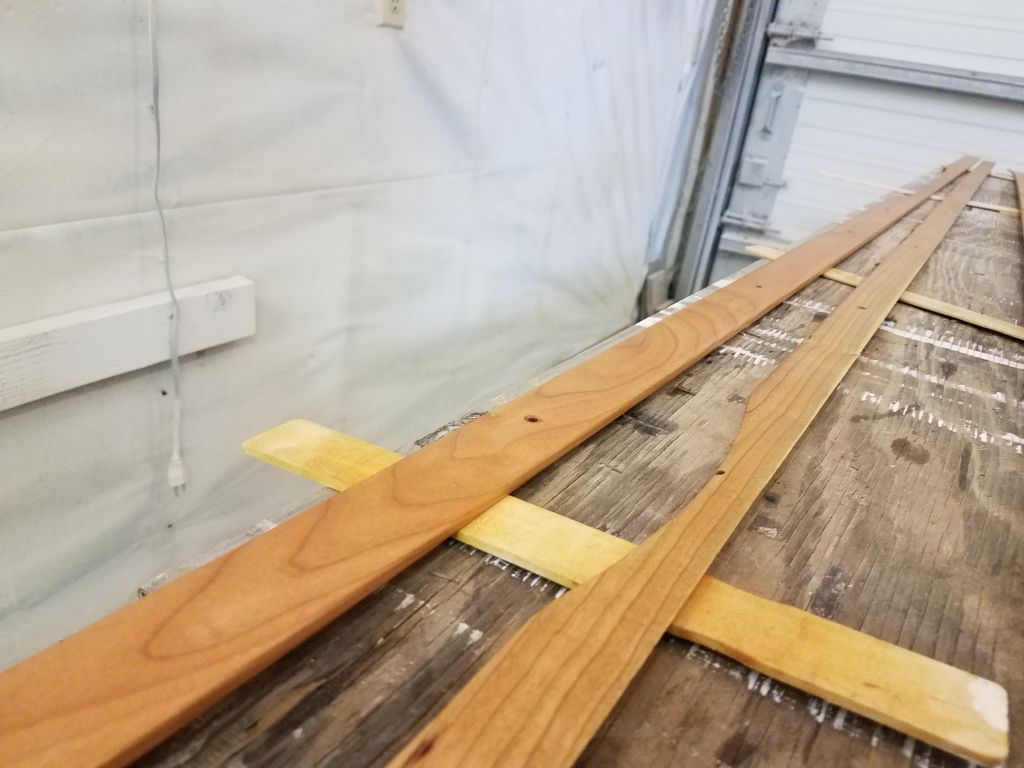
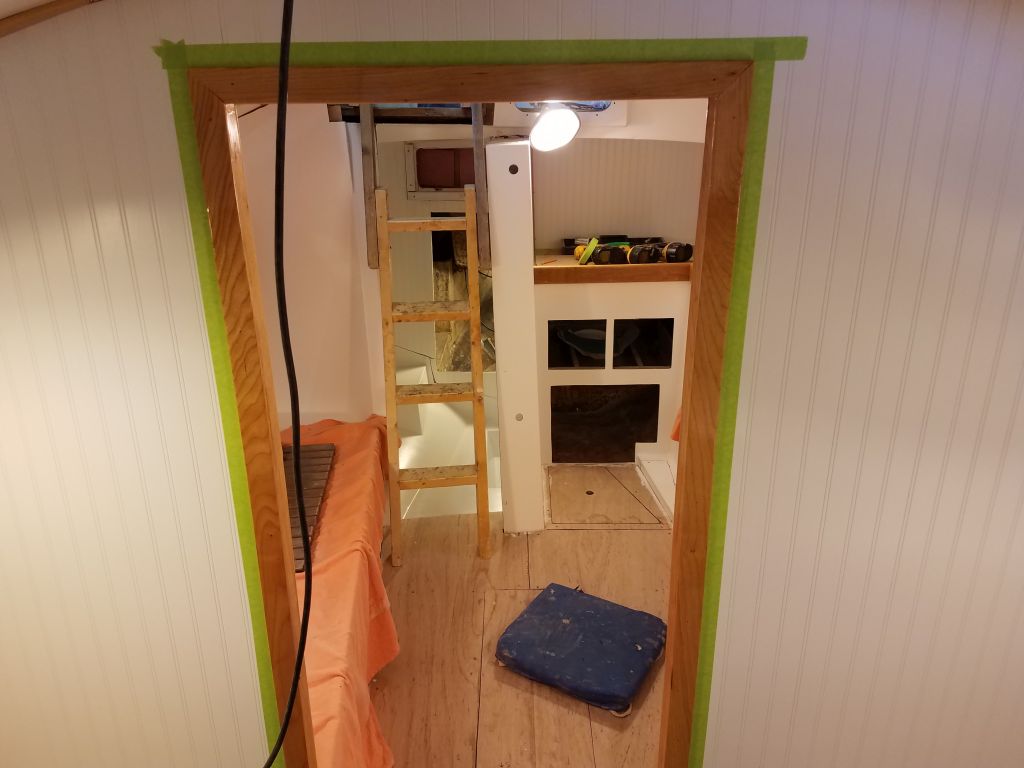
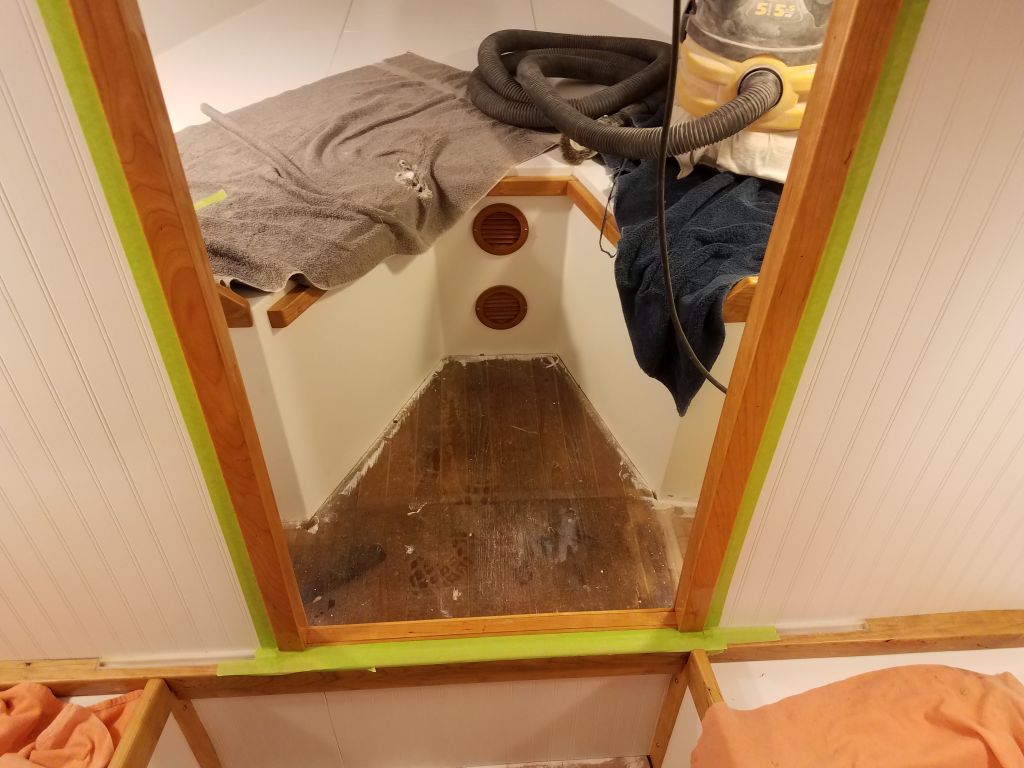
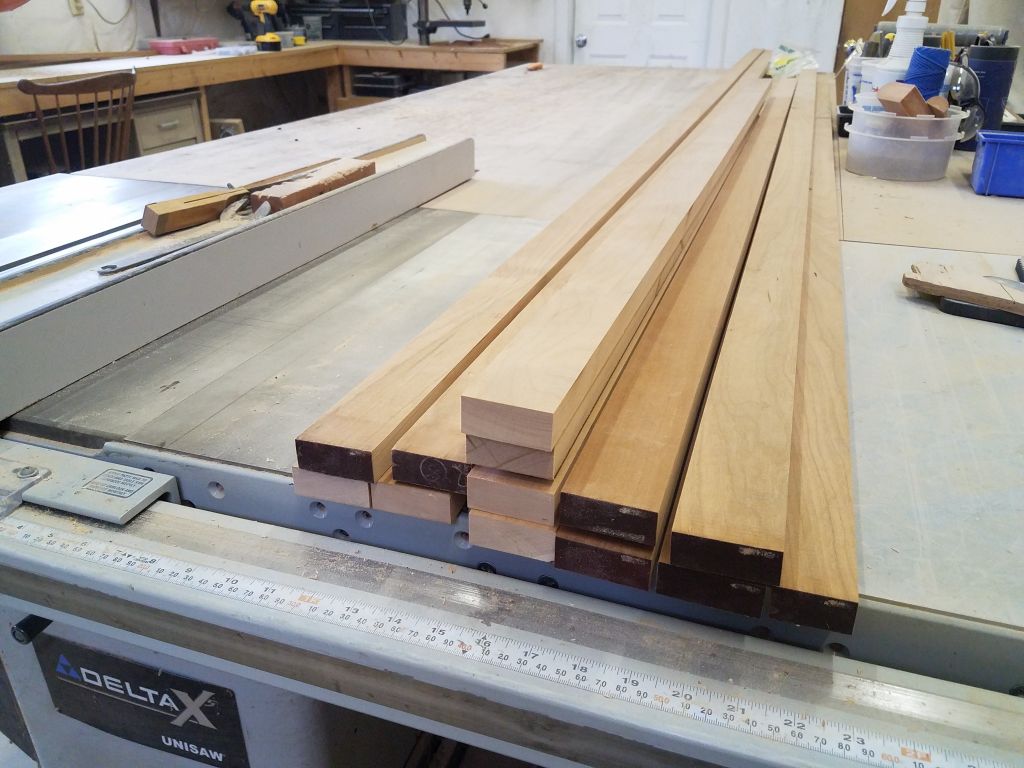
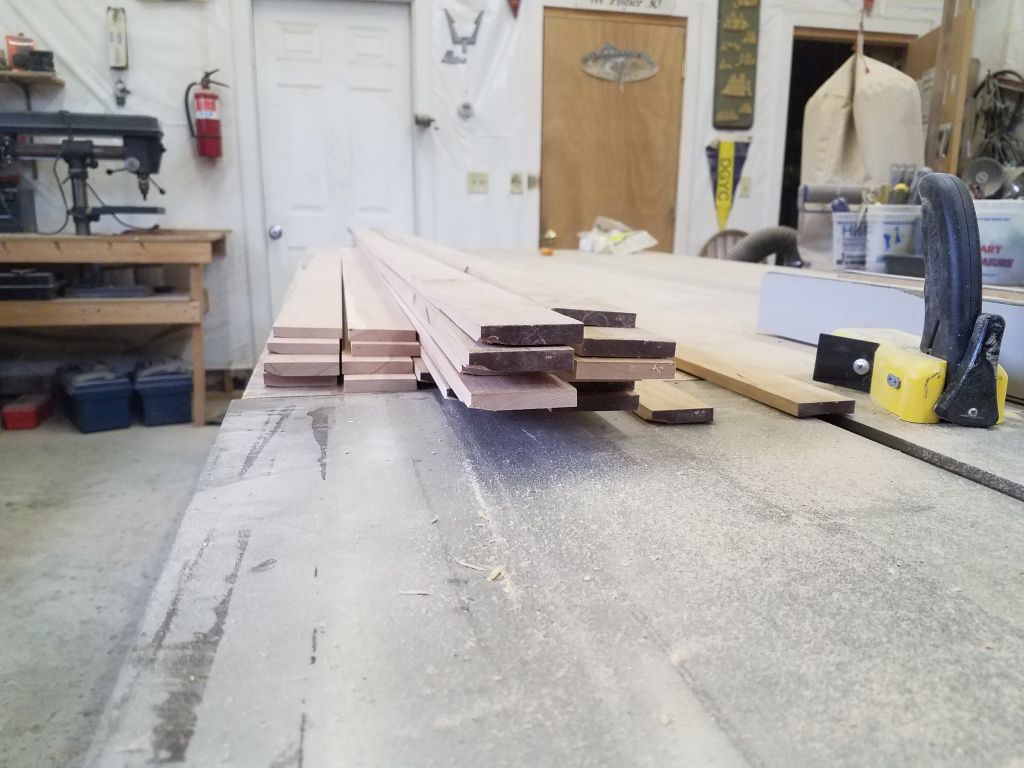
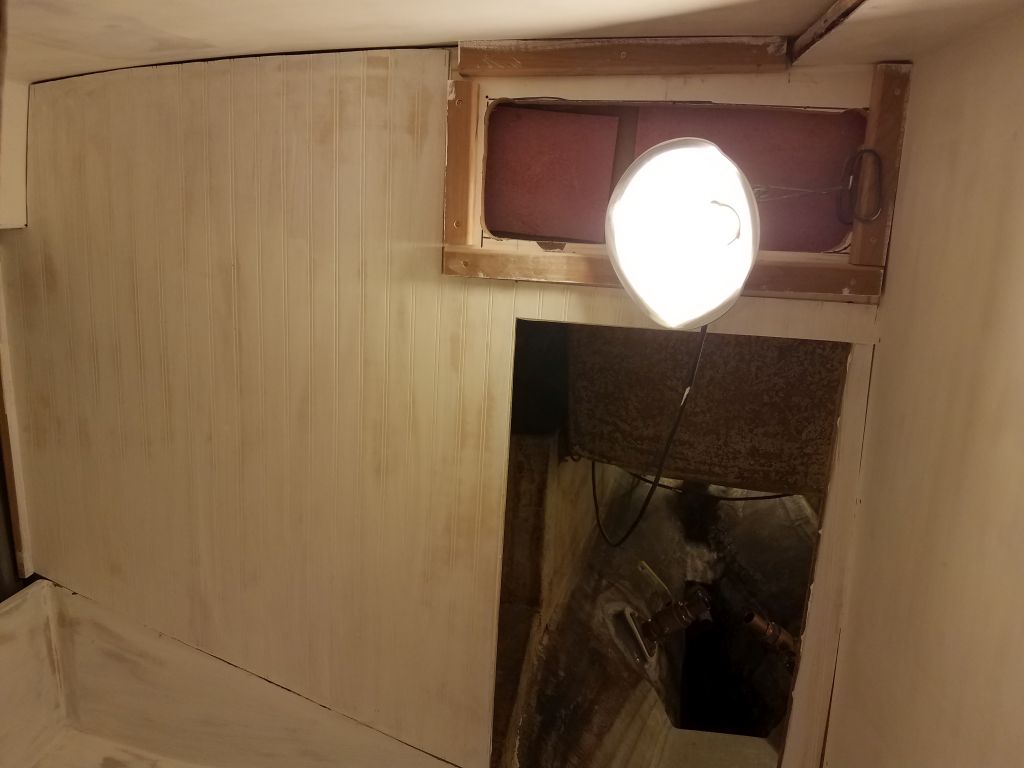
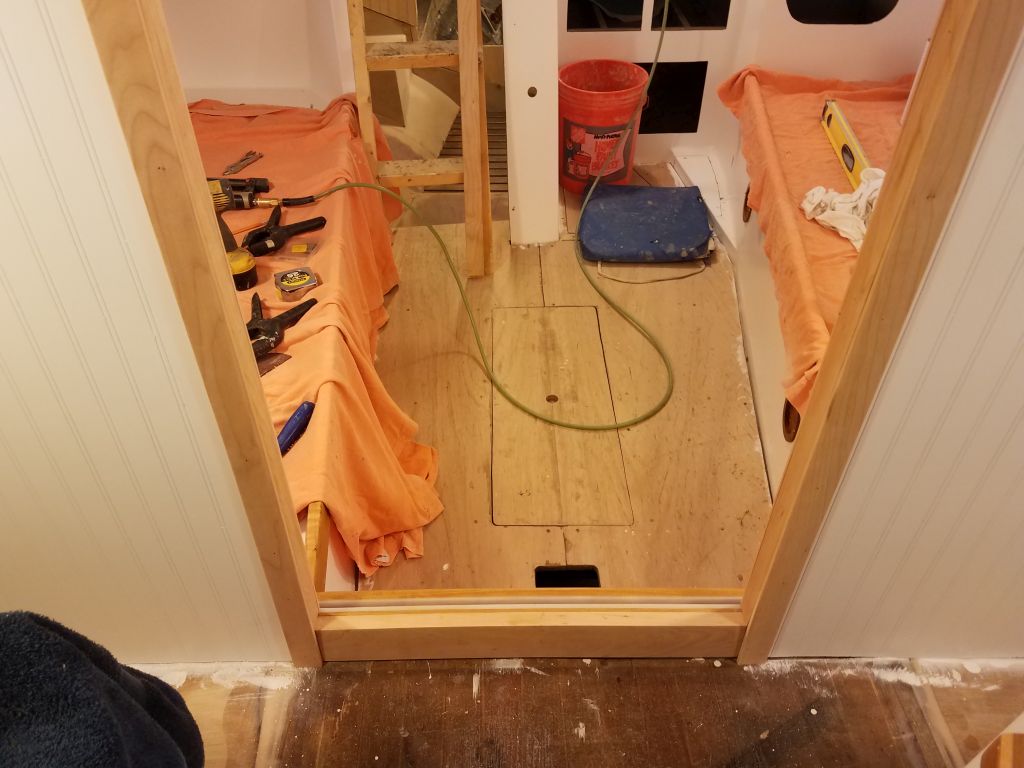
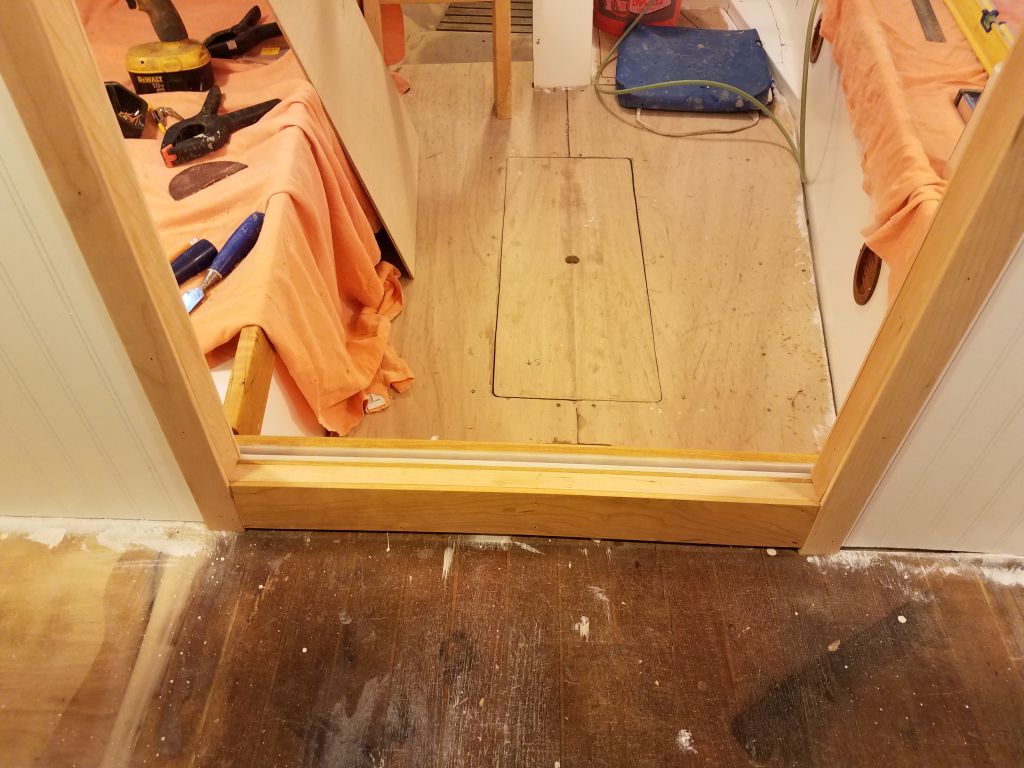
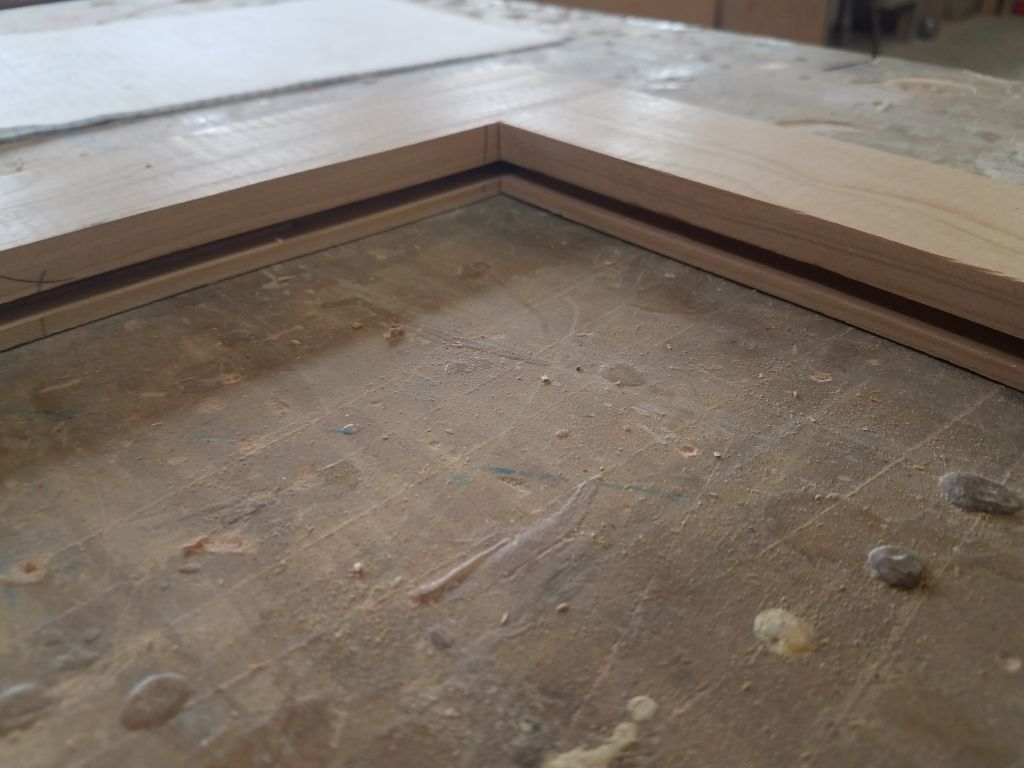
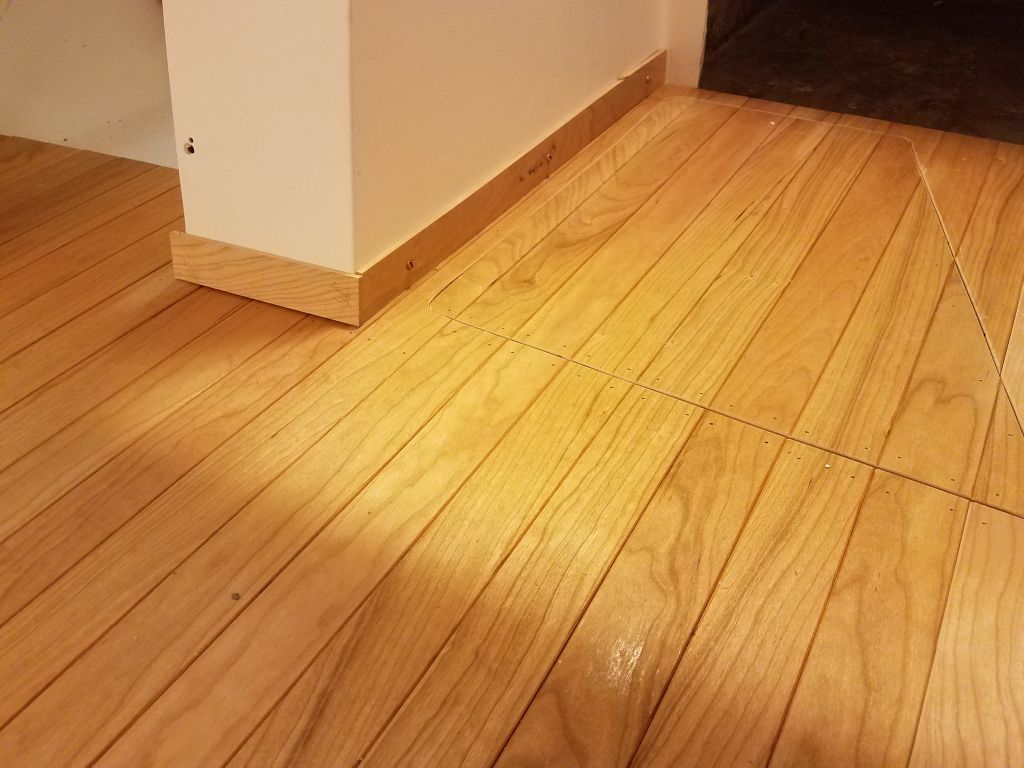
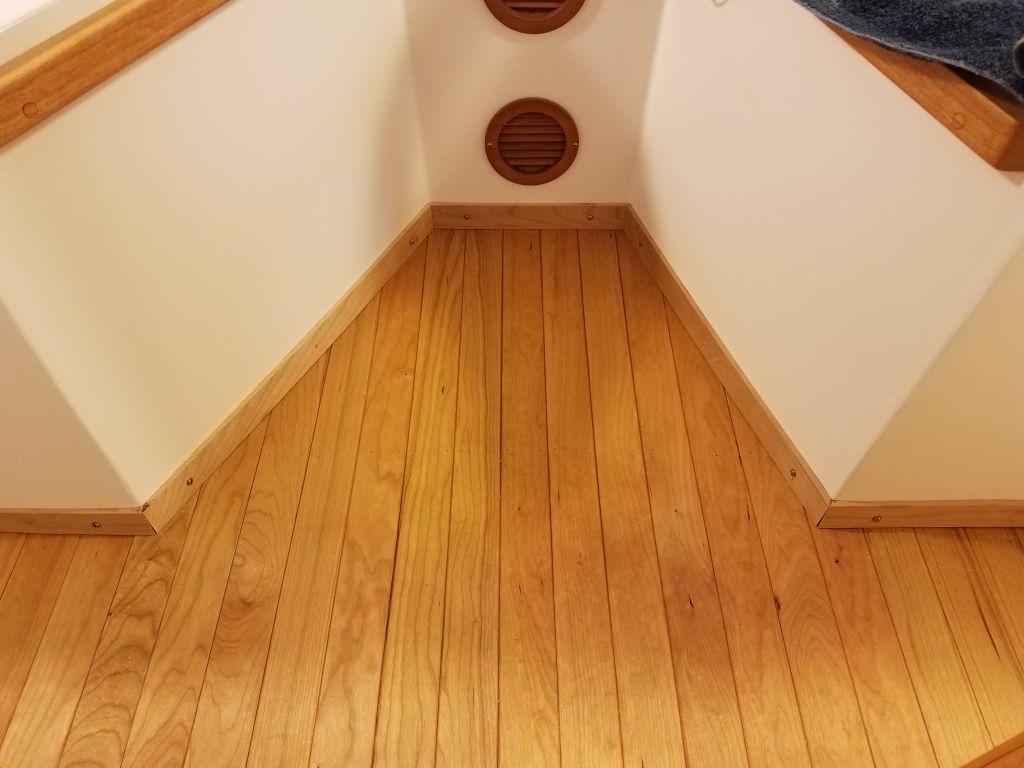
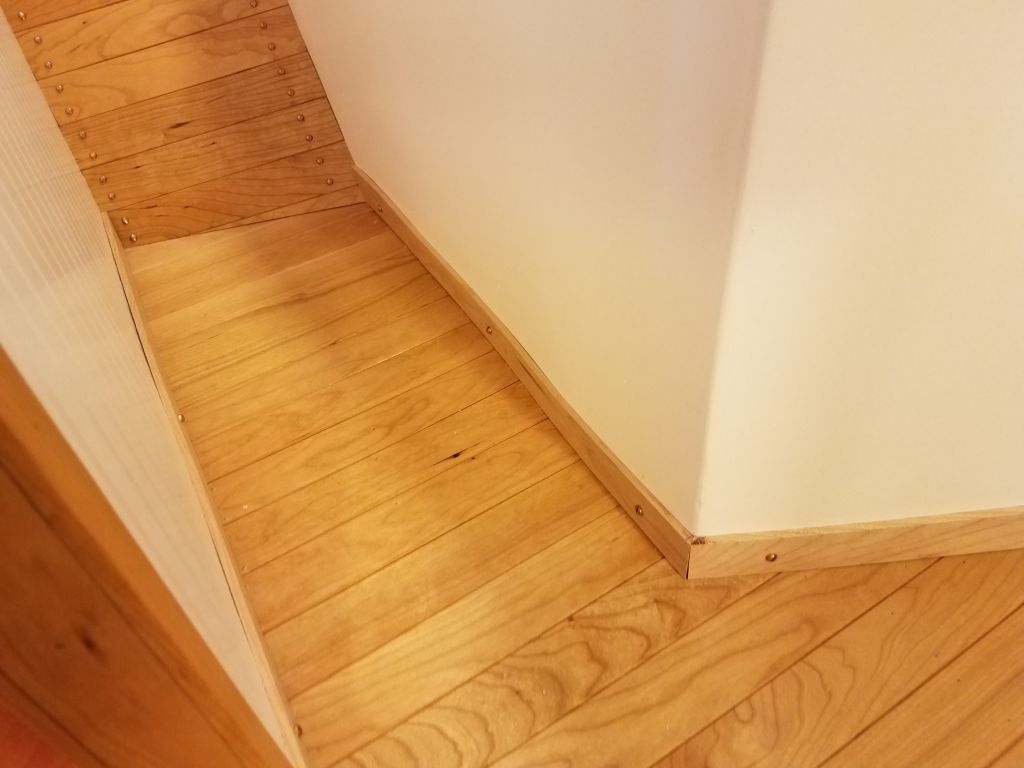
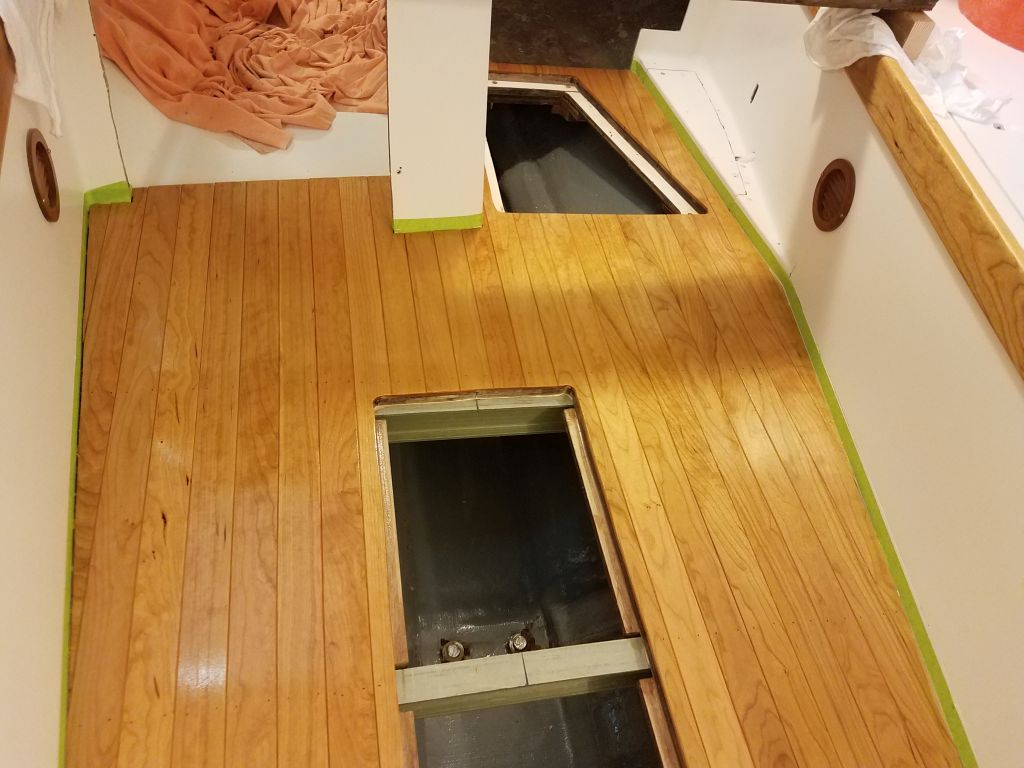
To finish off the cabin sole, I used 1-1/2″ wide cherry to install a small baseboard along the edges all around, beginning in the main cabin.  I cut and fit each piece as needed in its given space, but the stock was still unfinished so I planned to remove it all once complete so I could sand and varnish all the pieces before final installation.

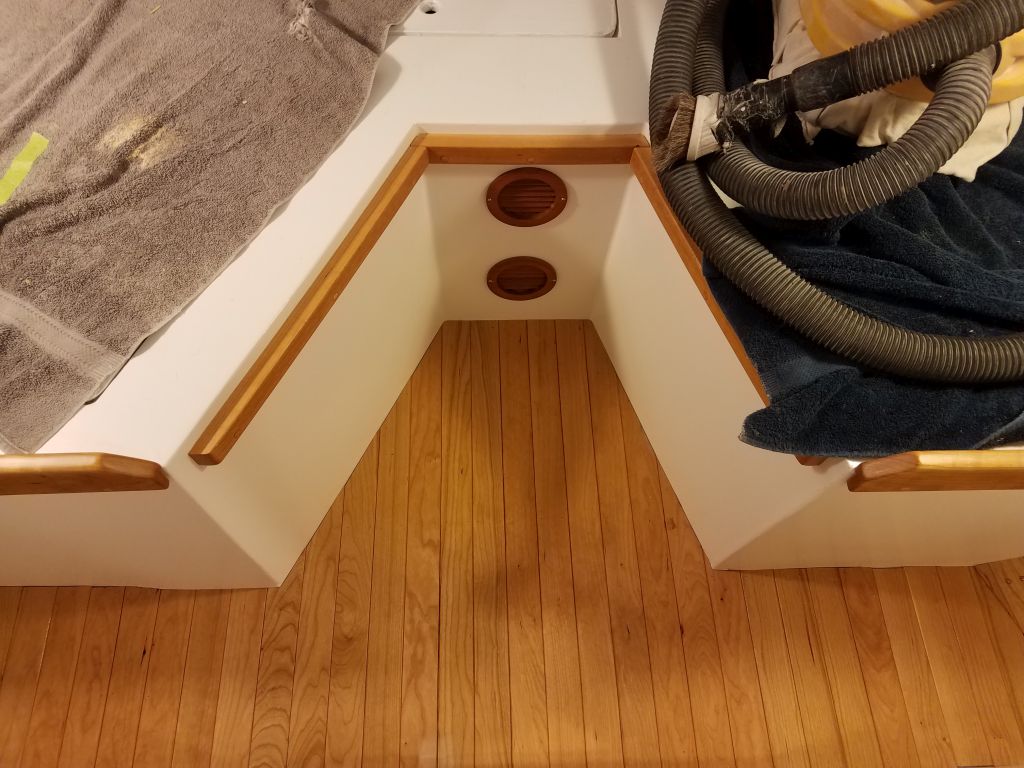
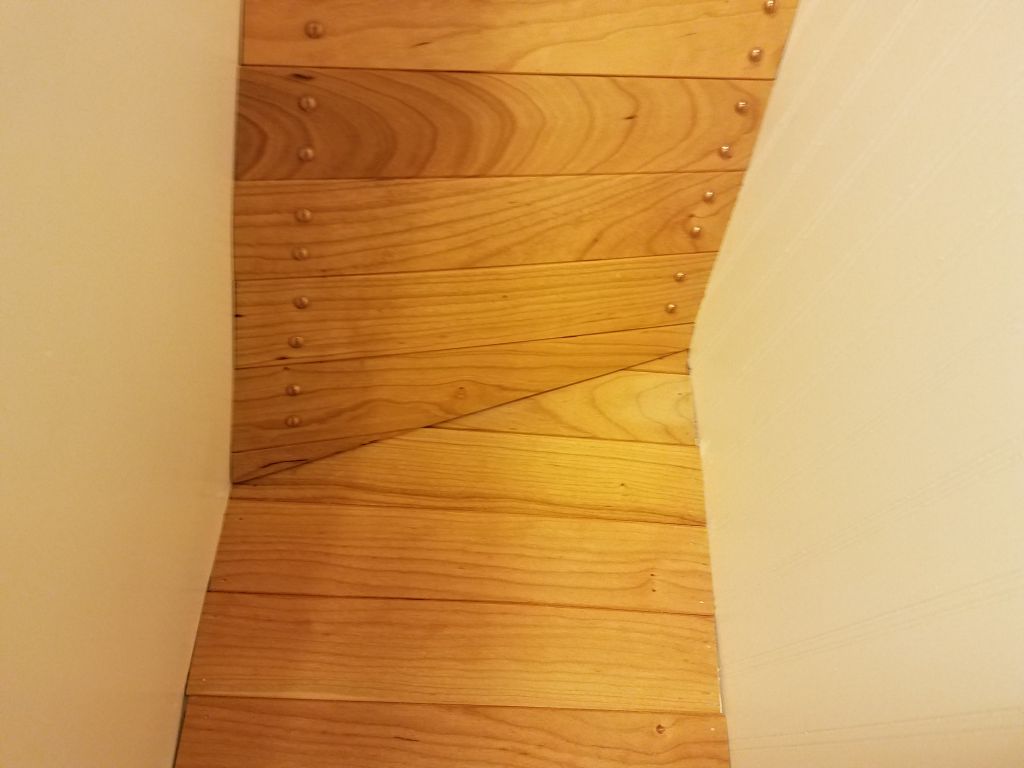
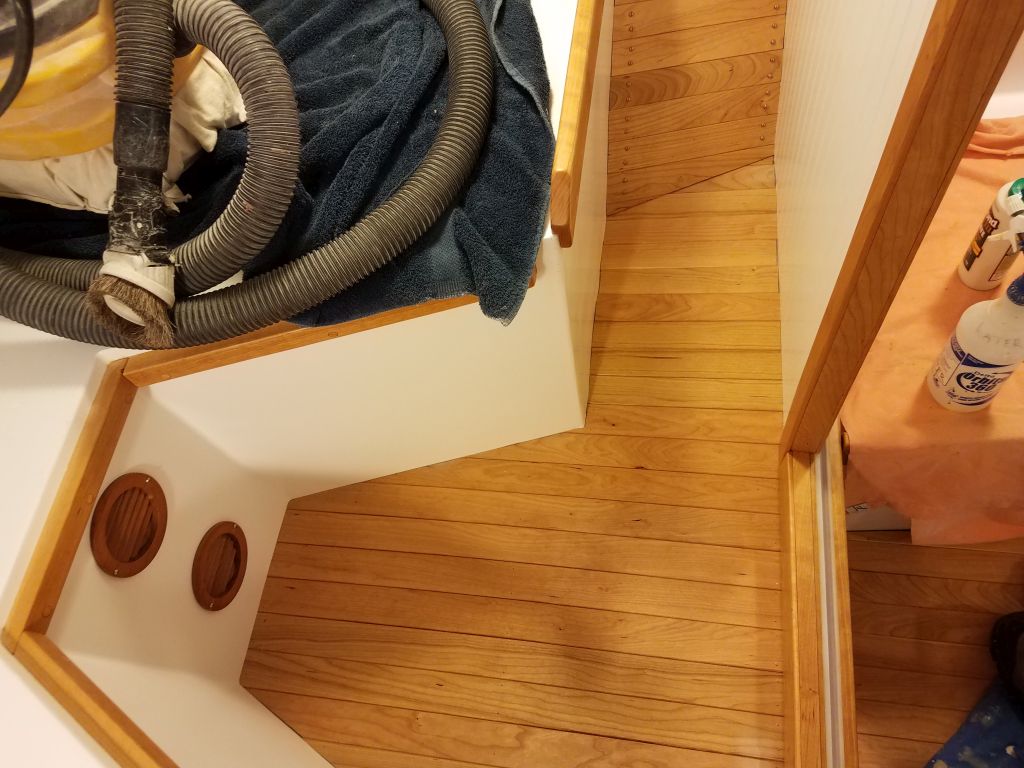
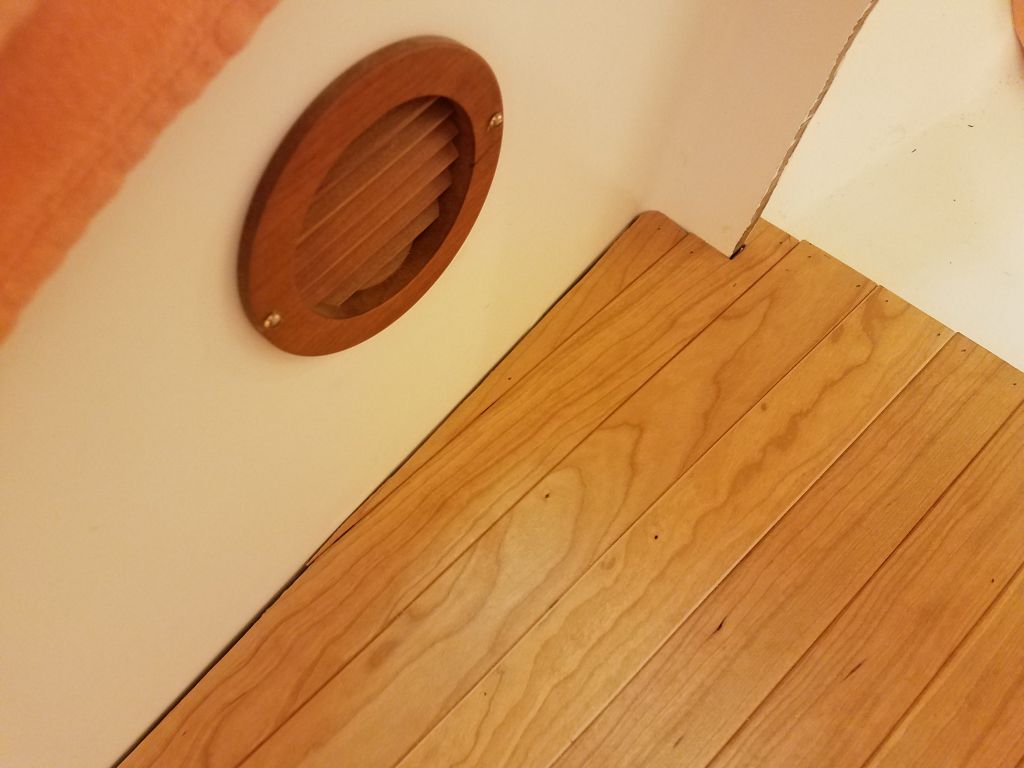
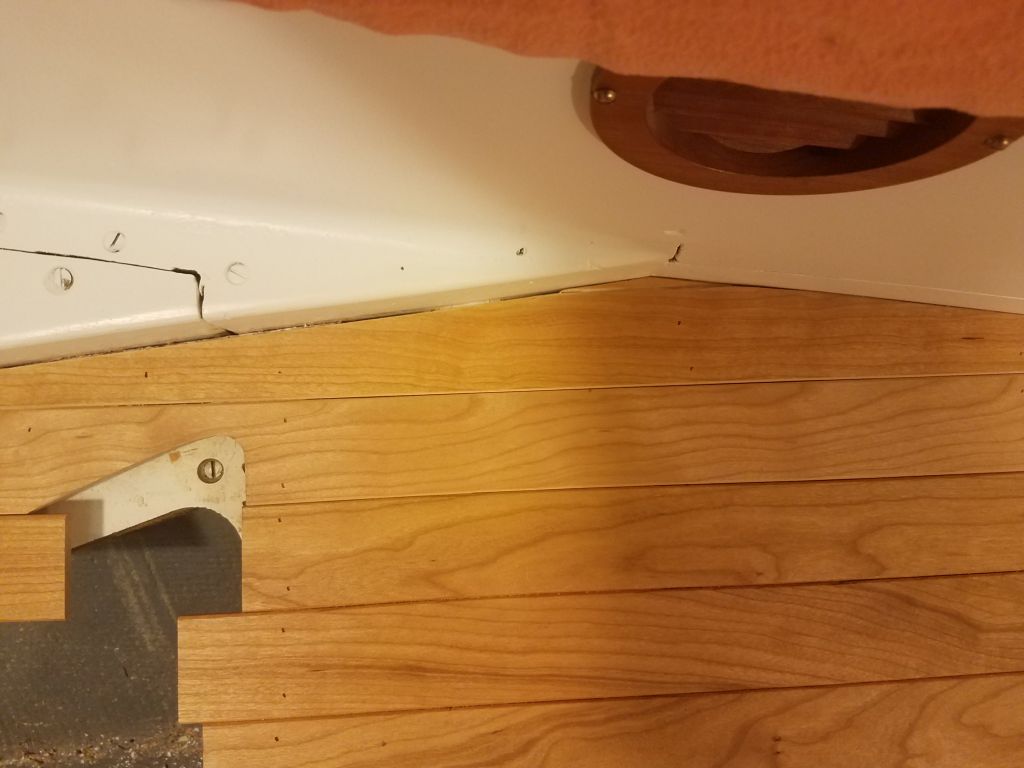
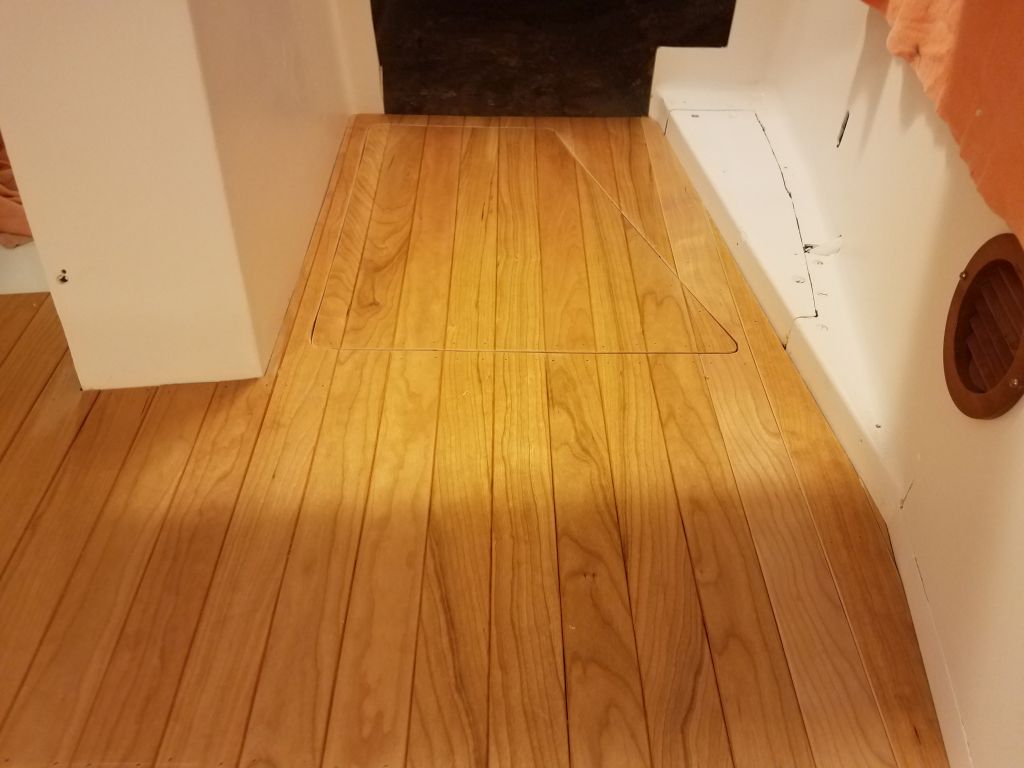
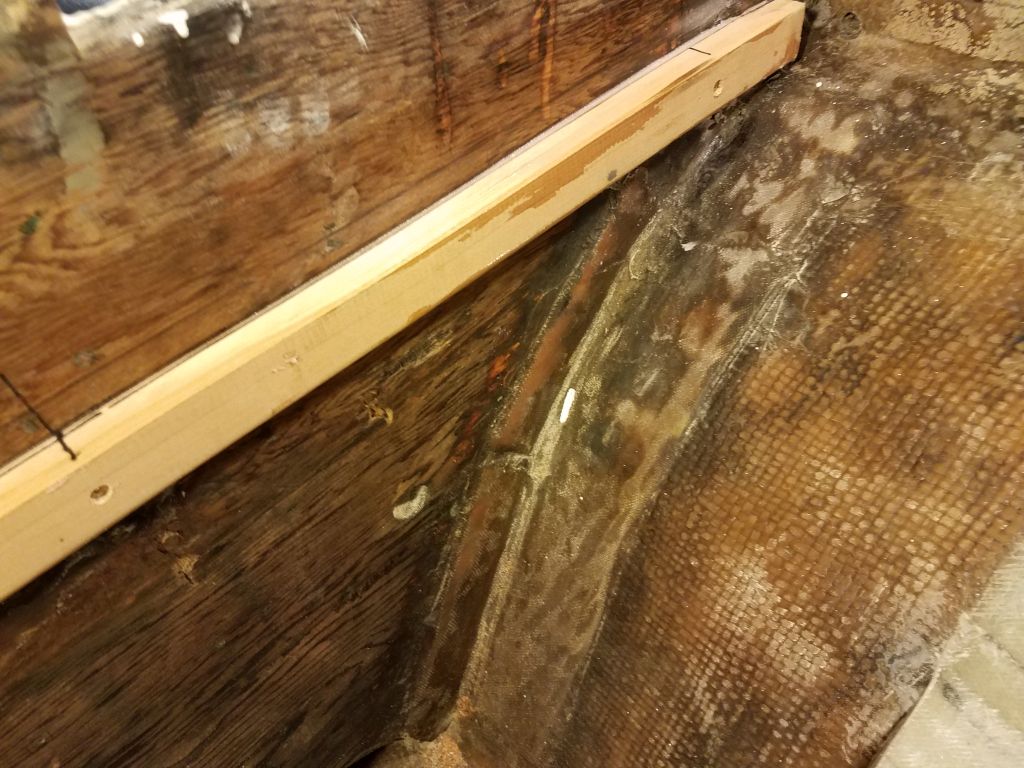
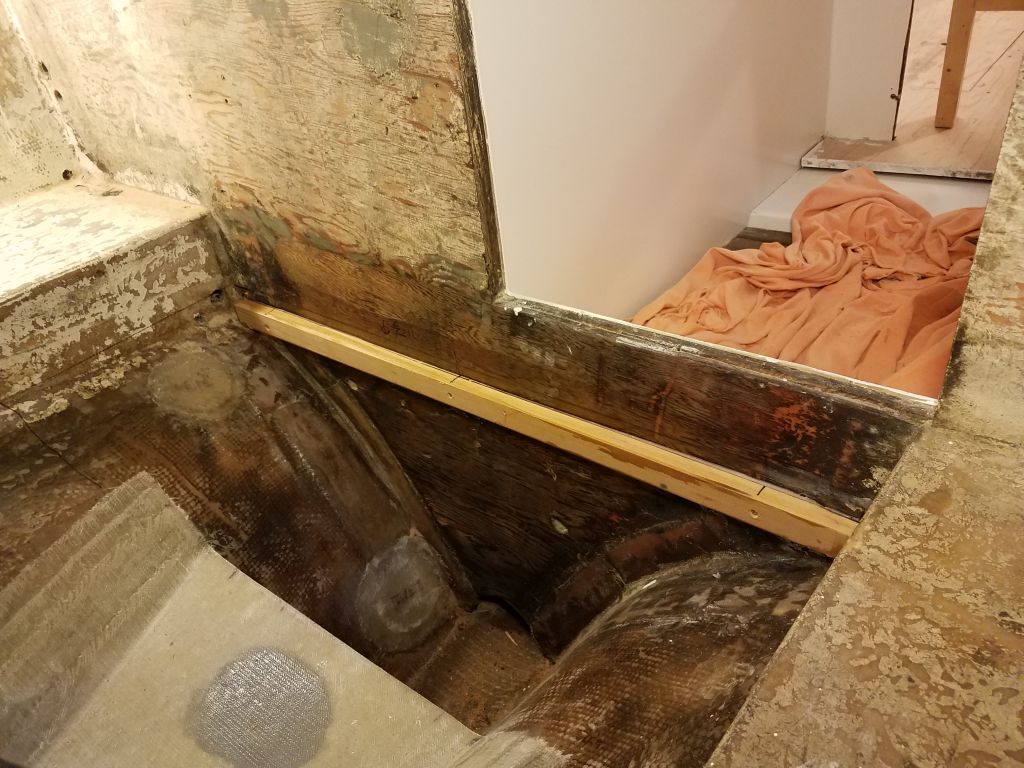
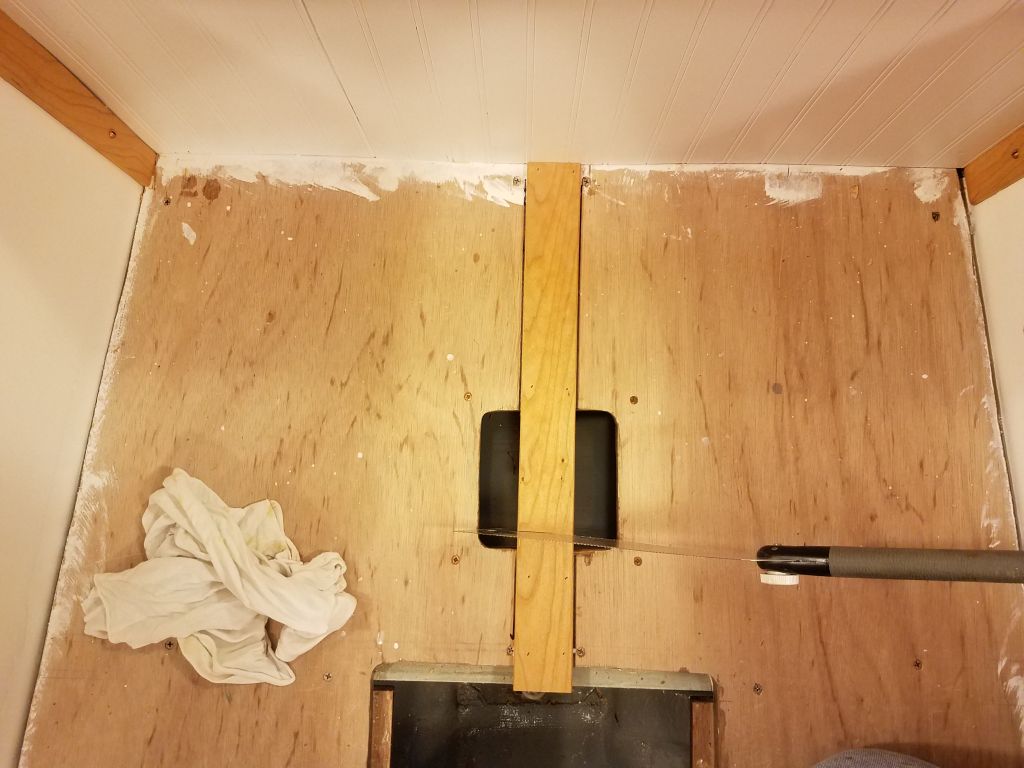
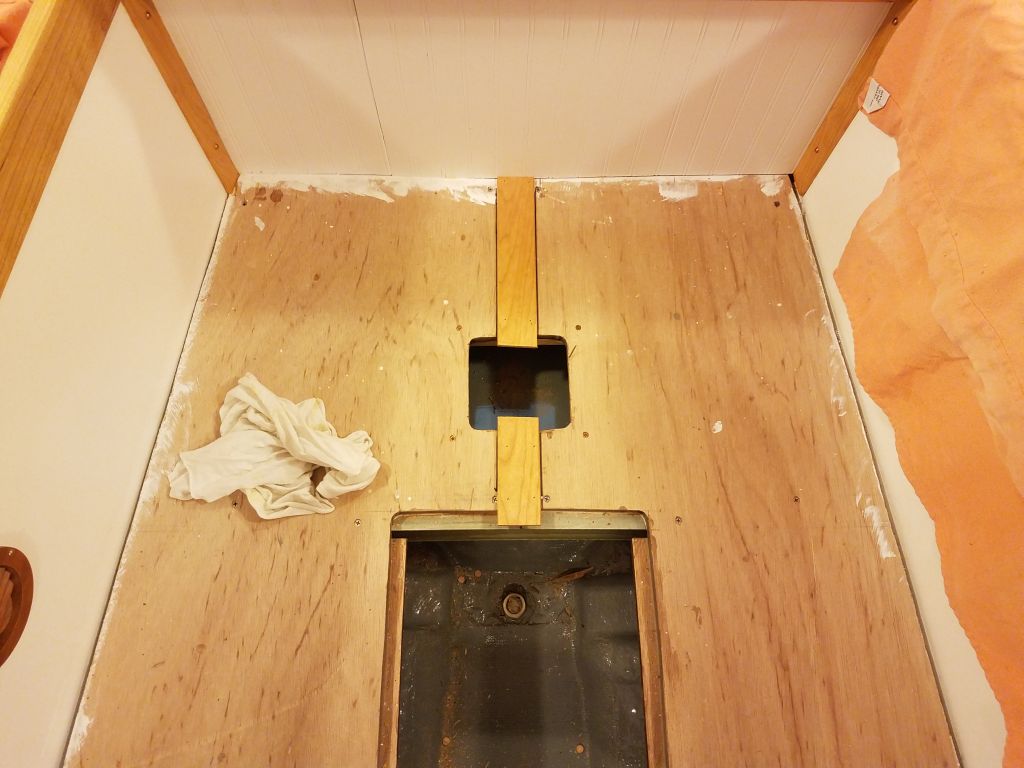
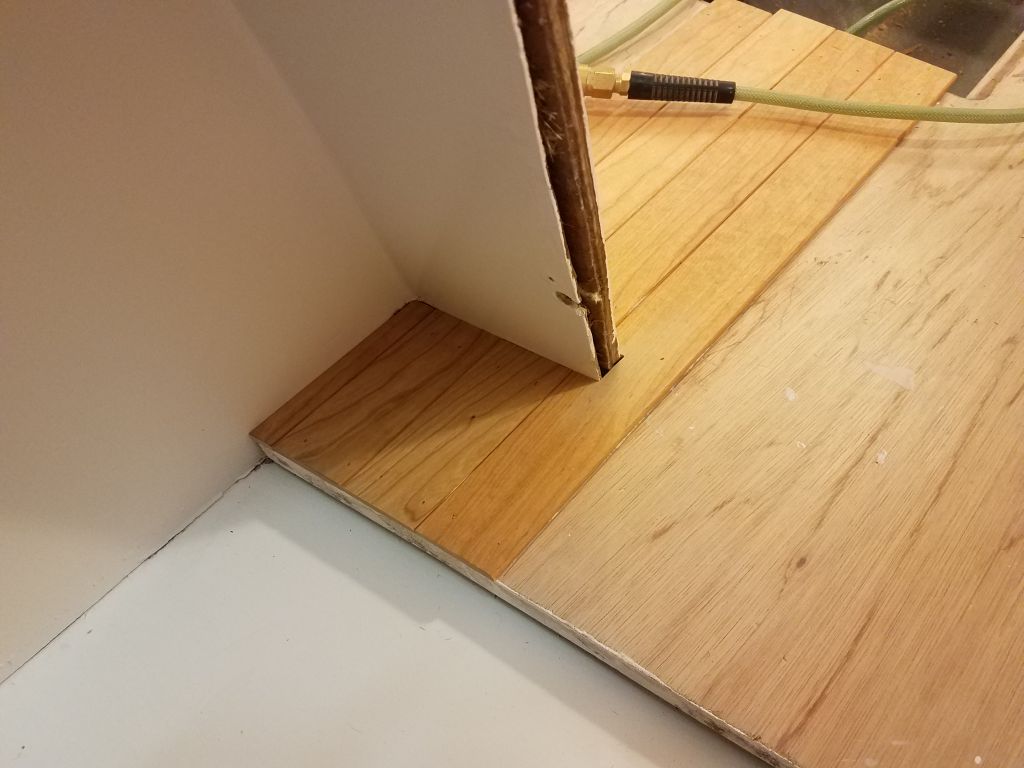
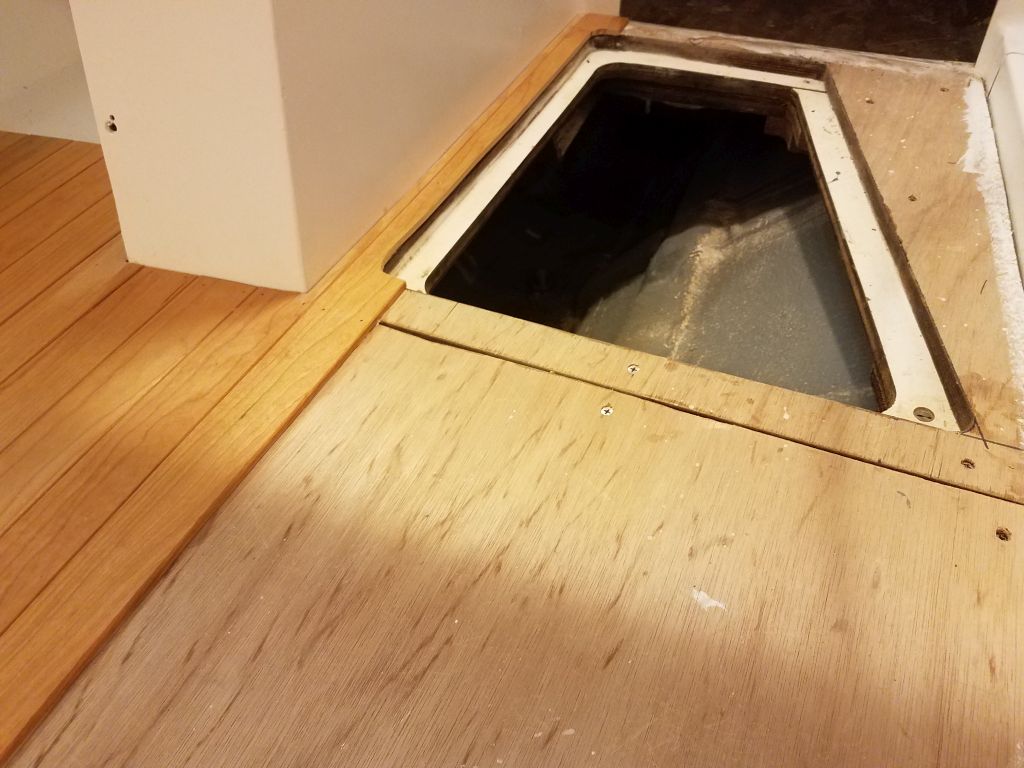
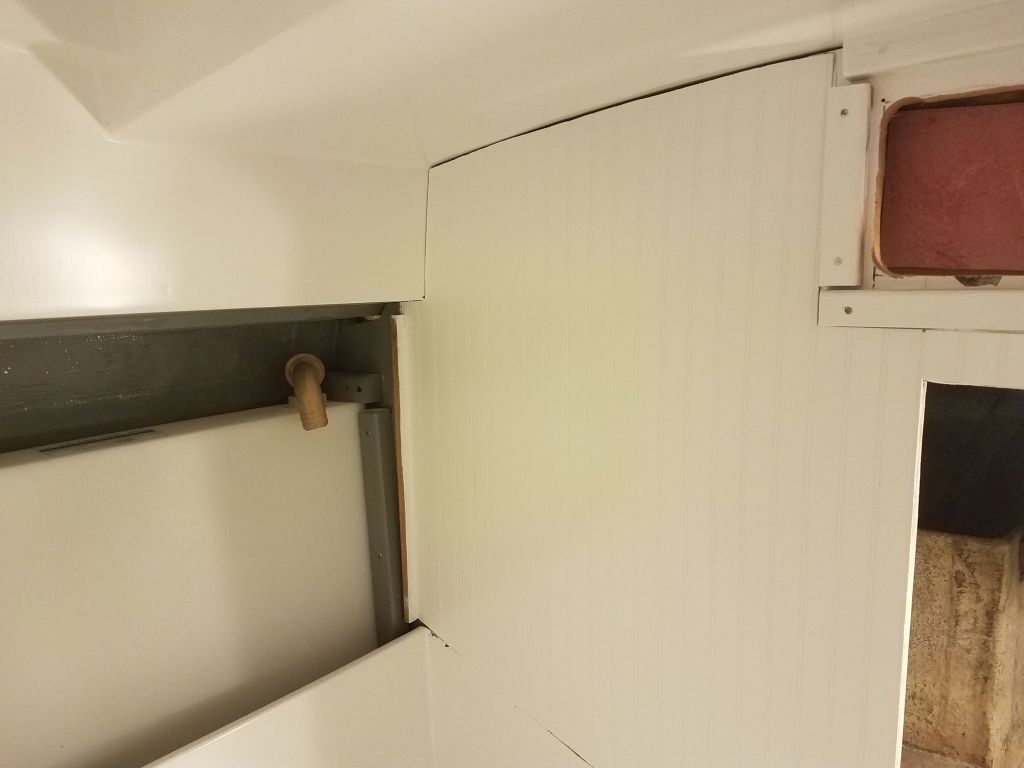
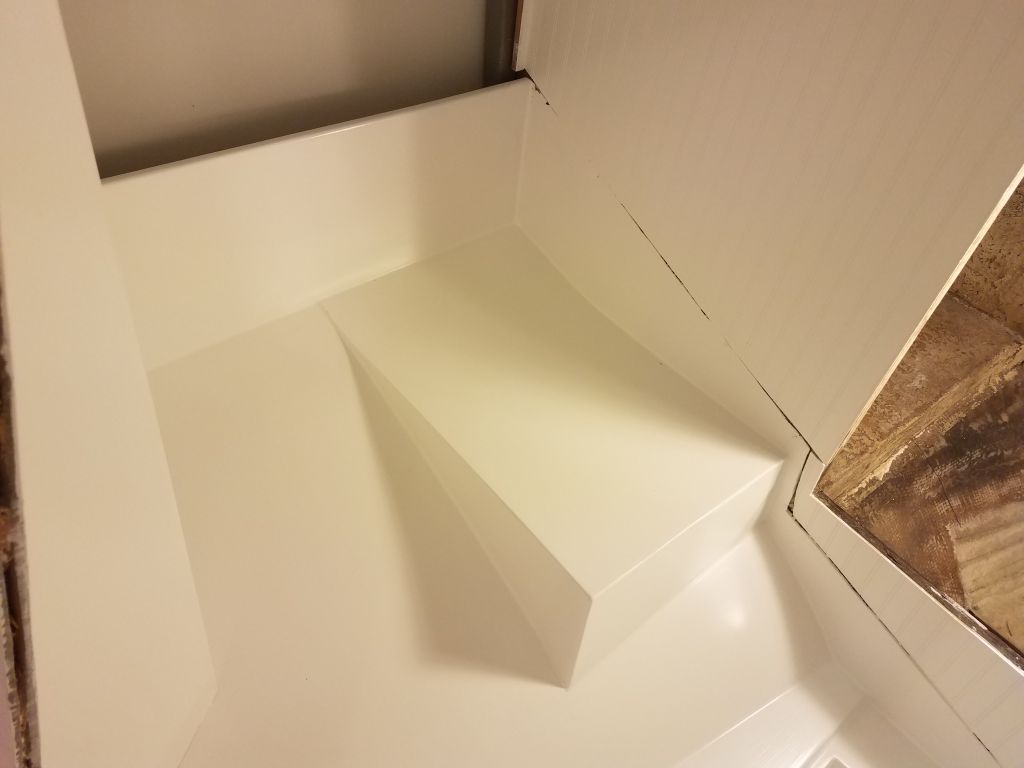
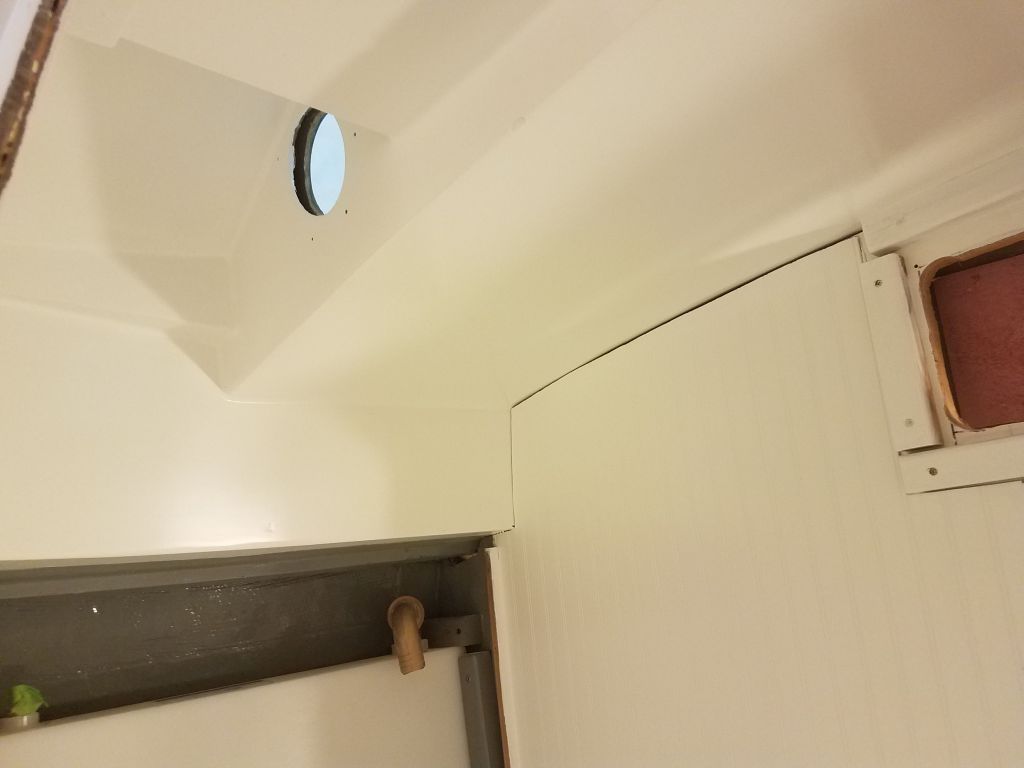
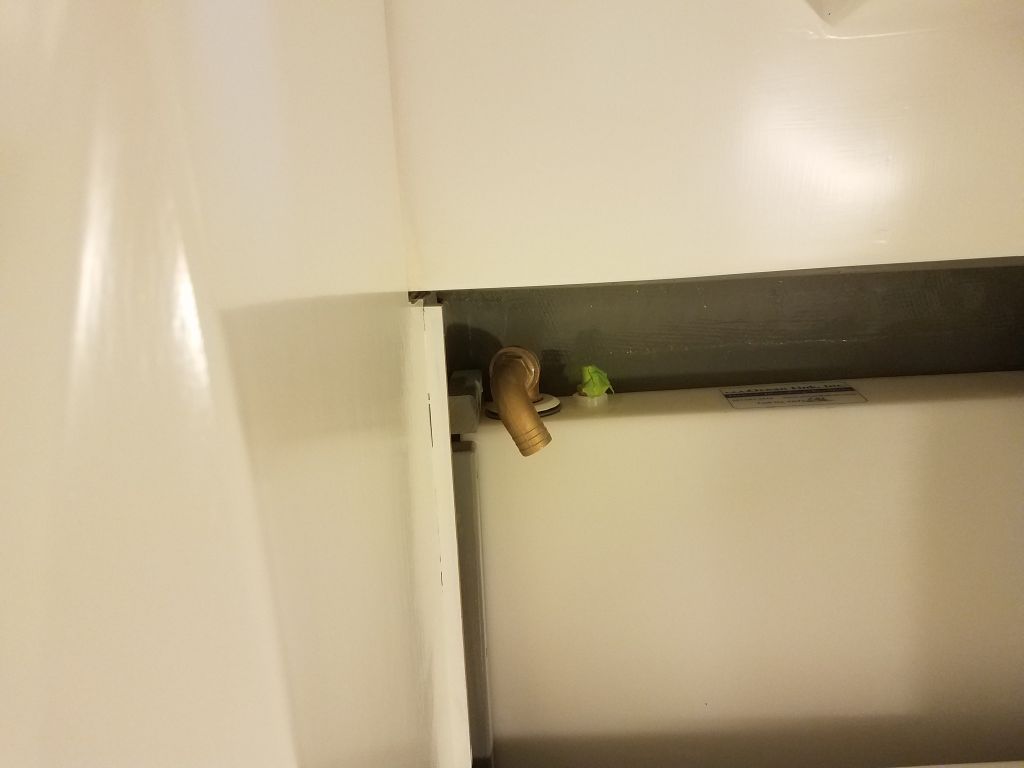
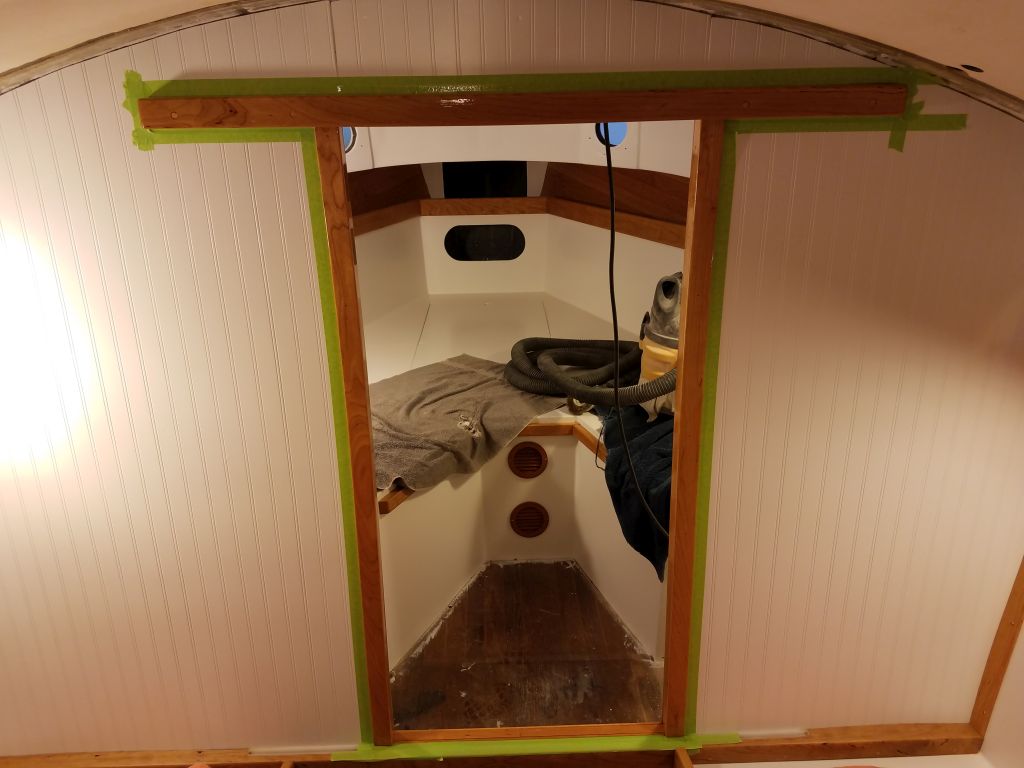
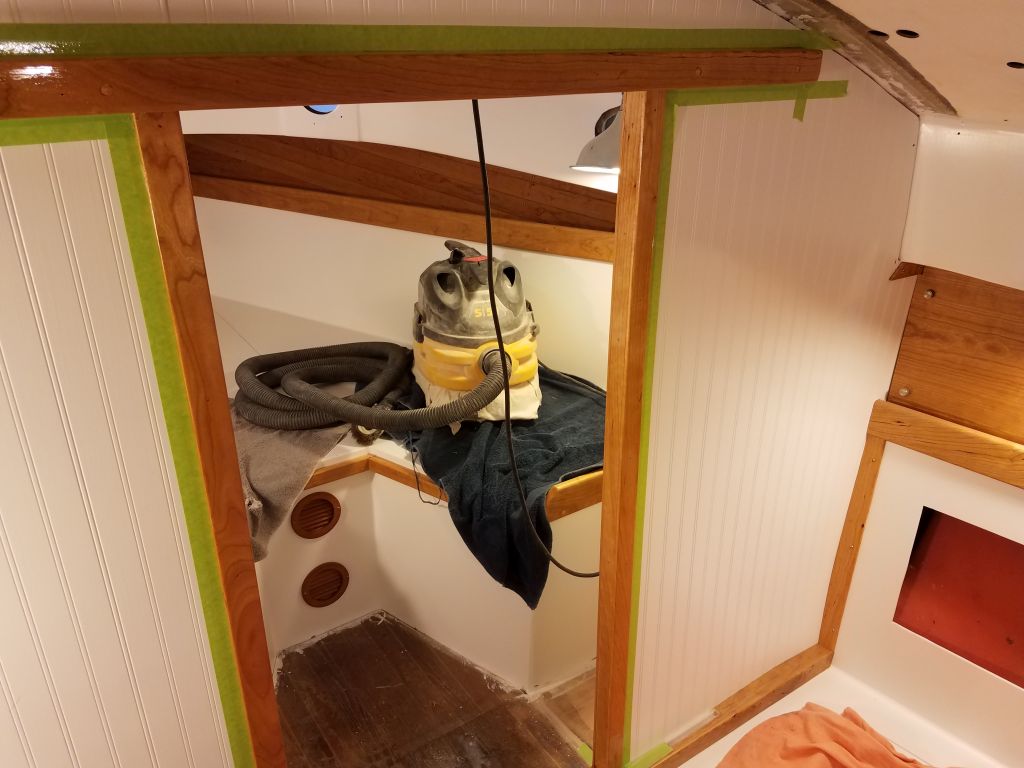
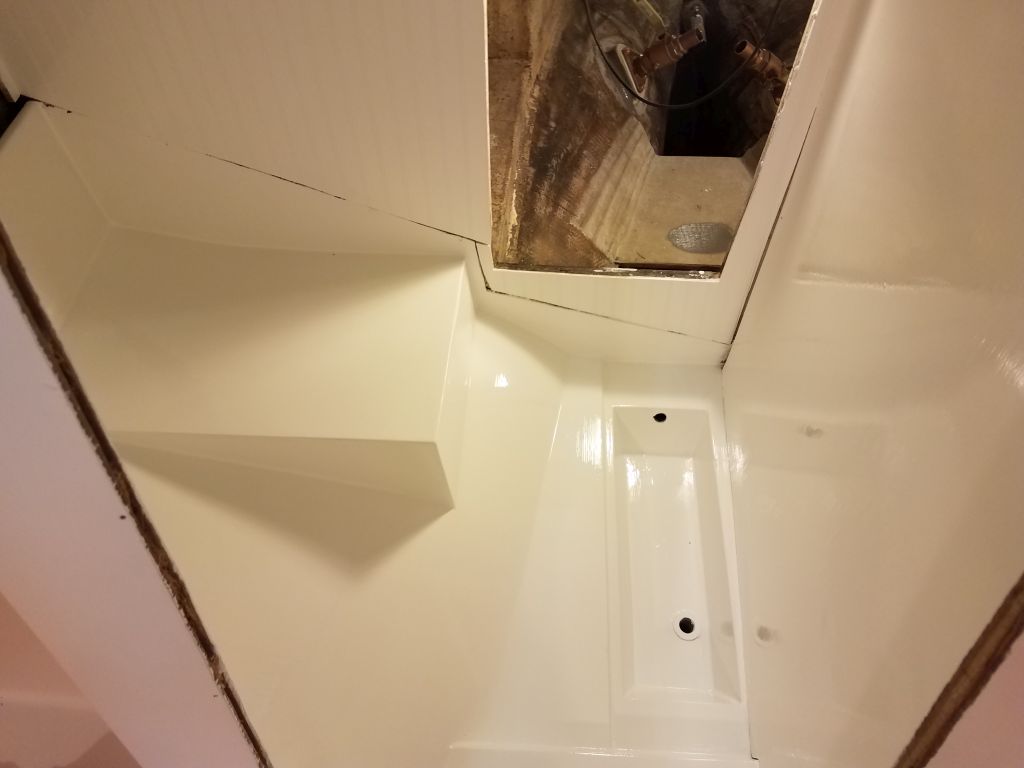
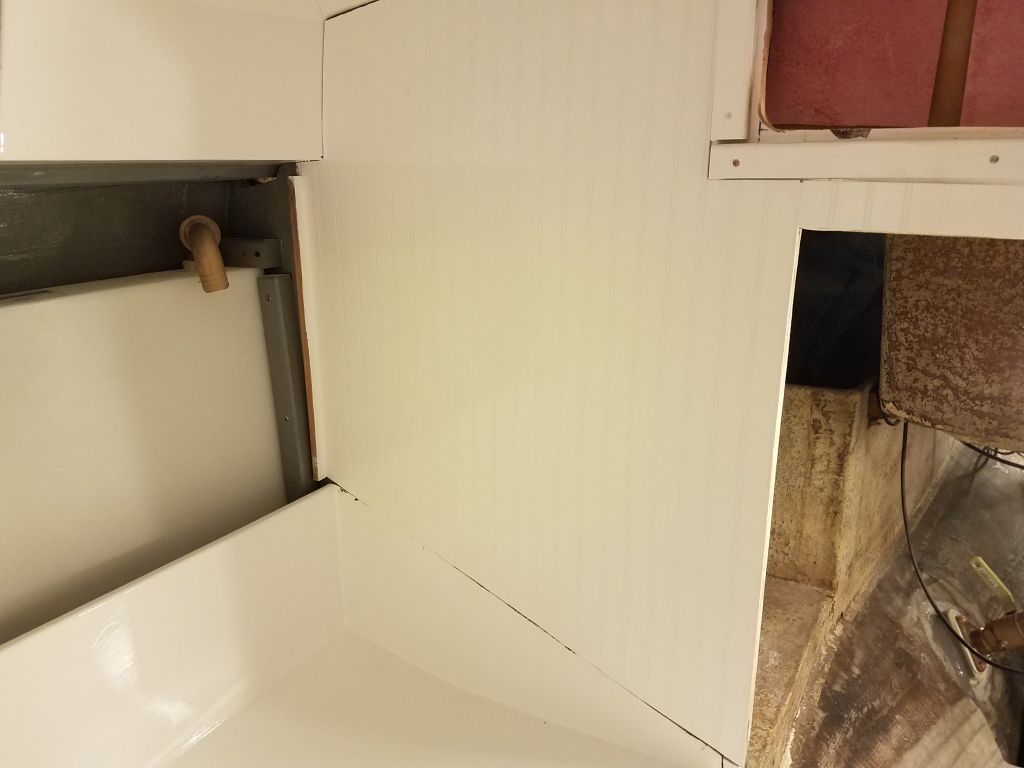
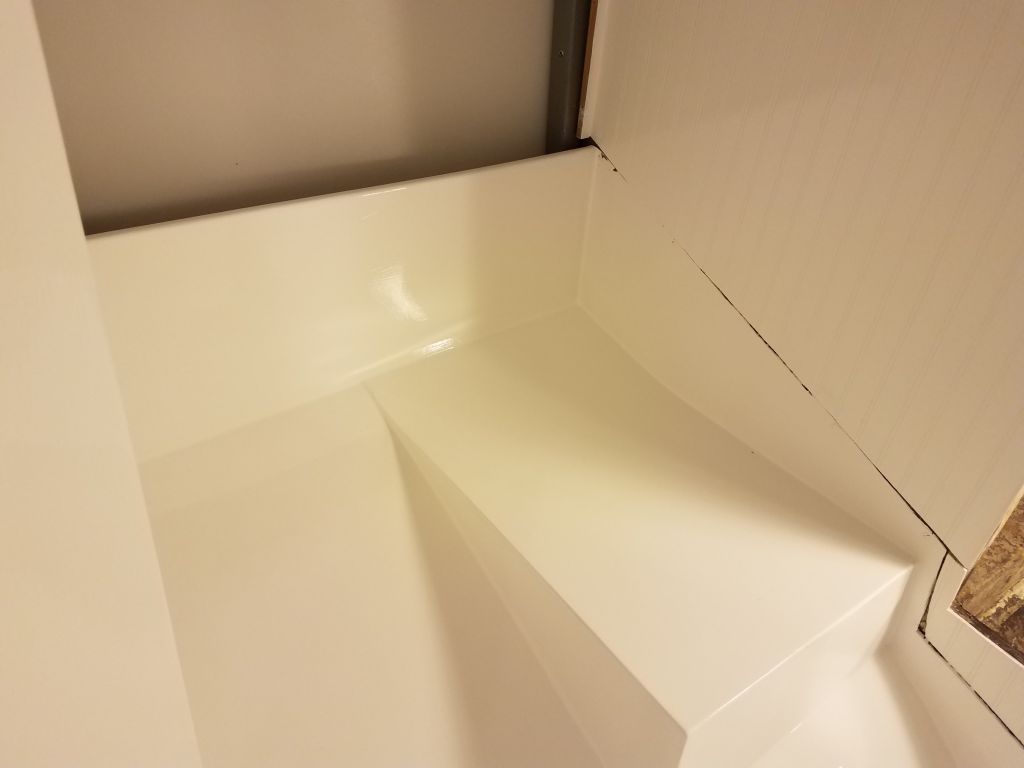
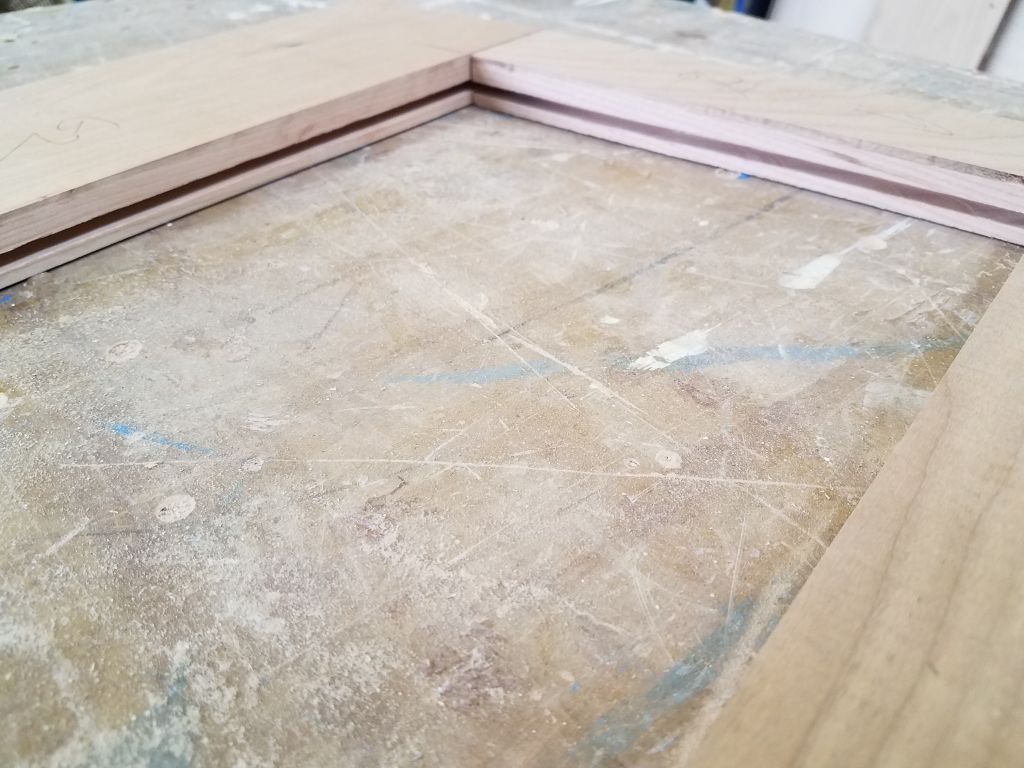
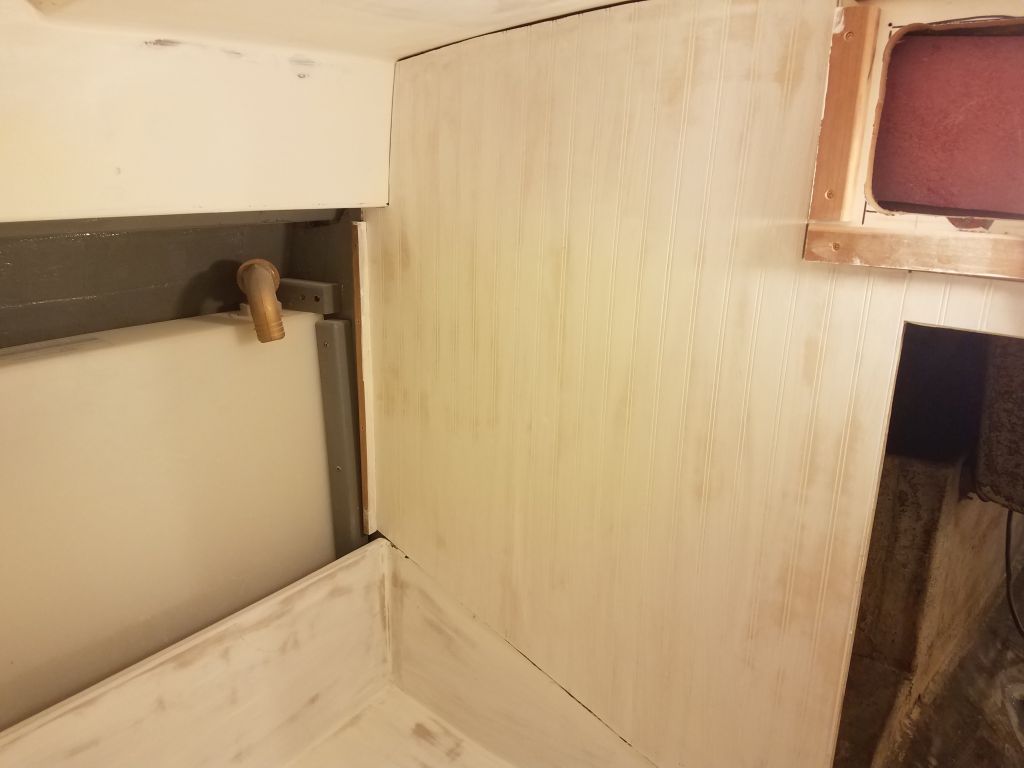
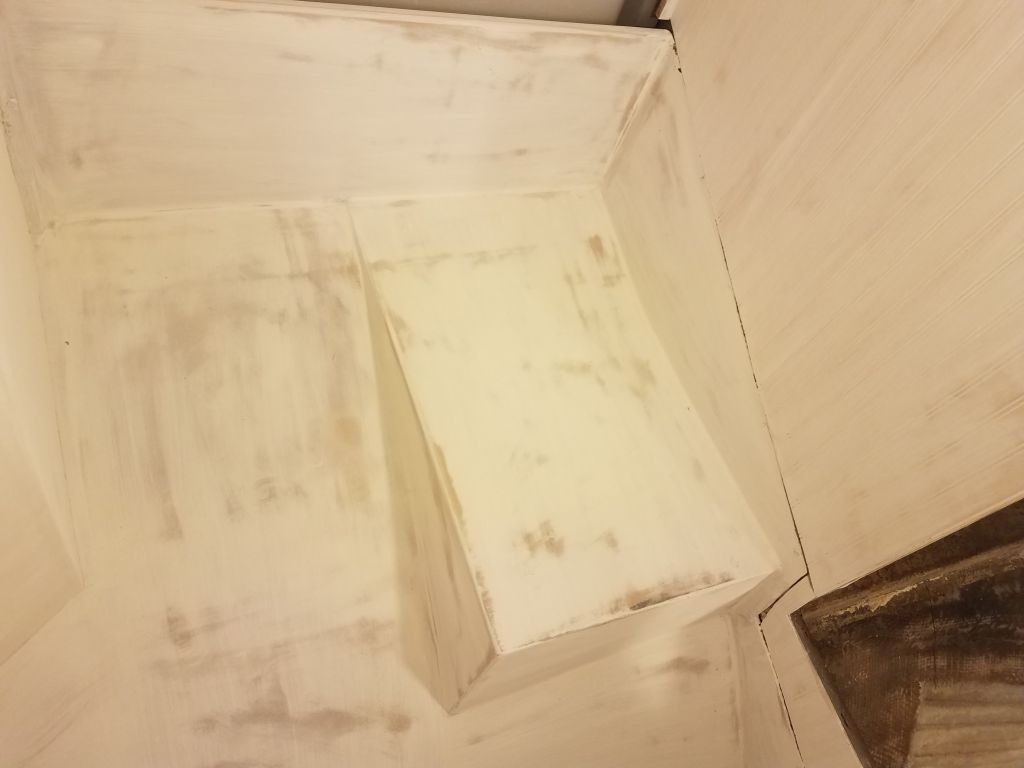
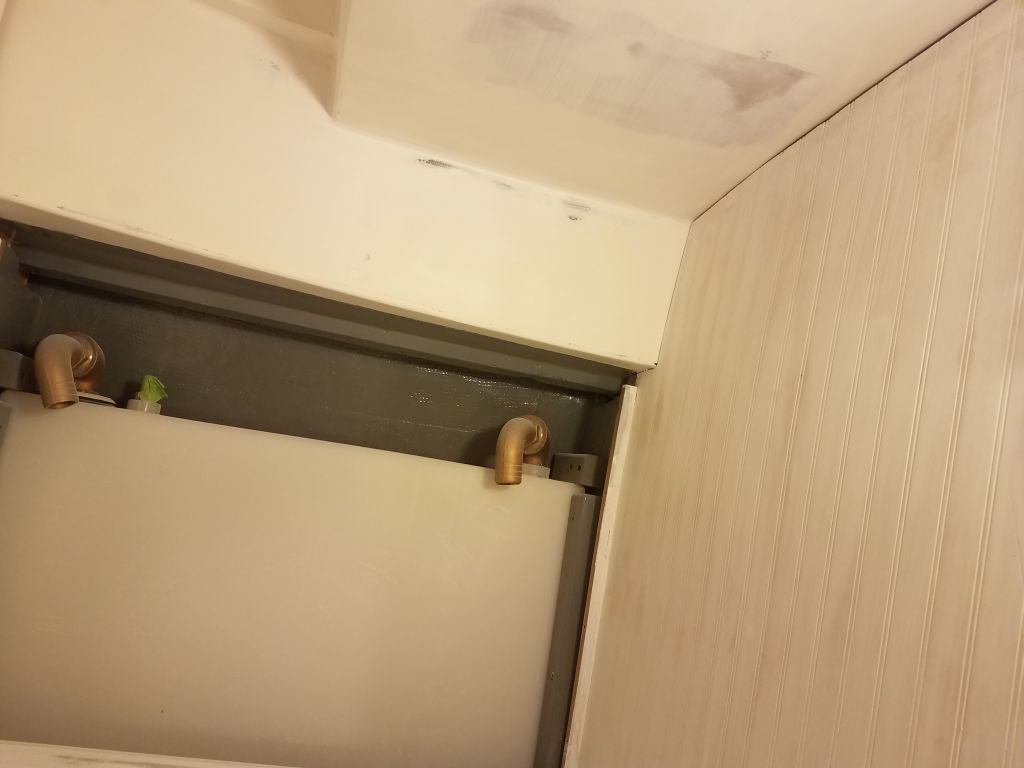
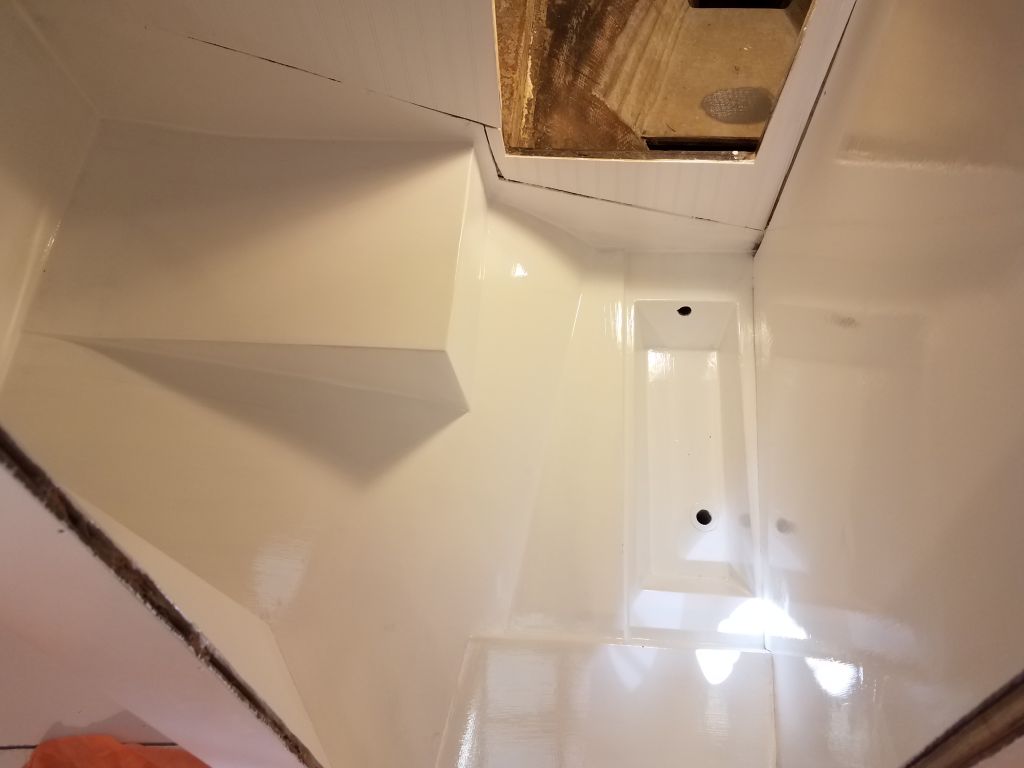
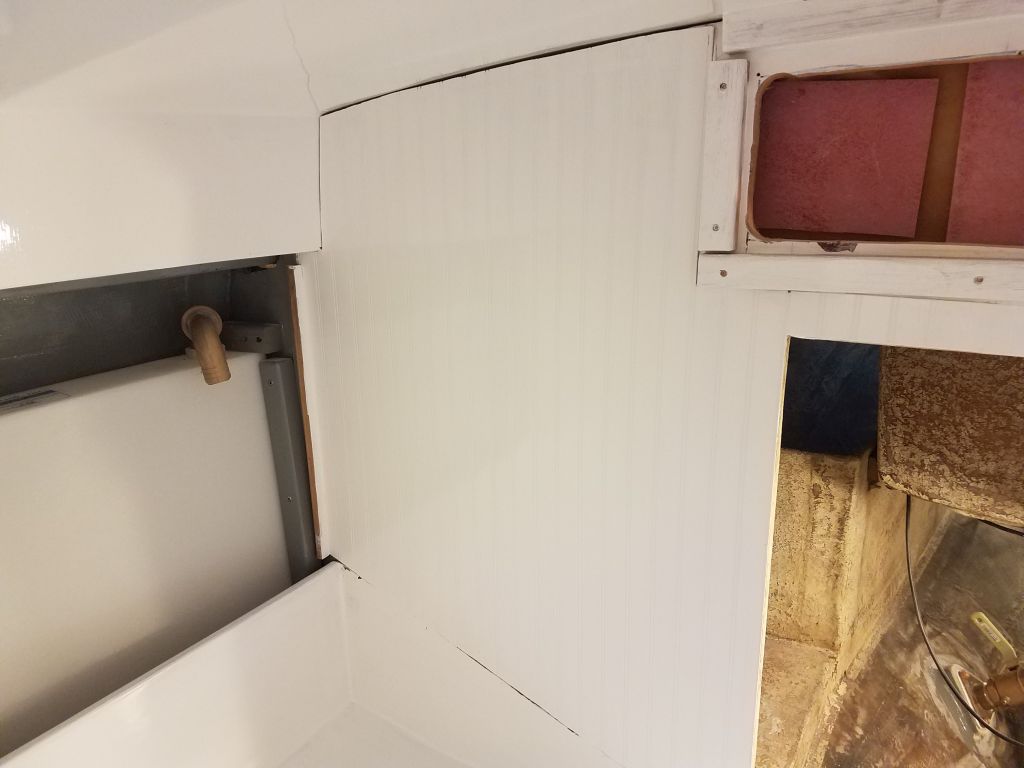
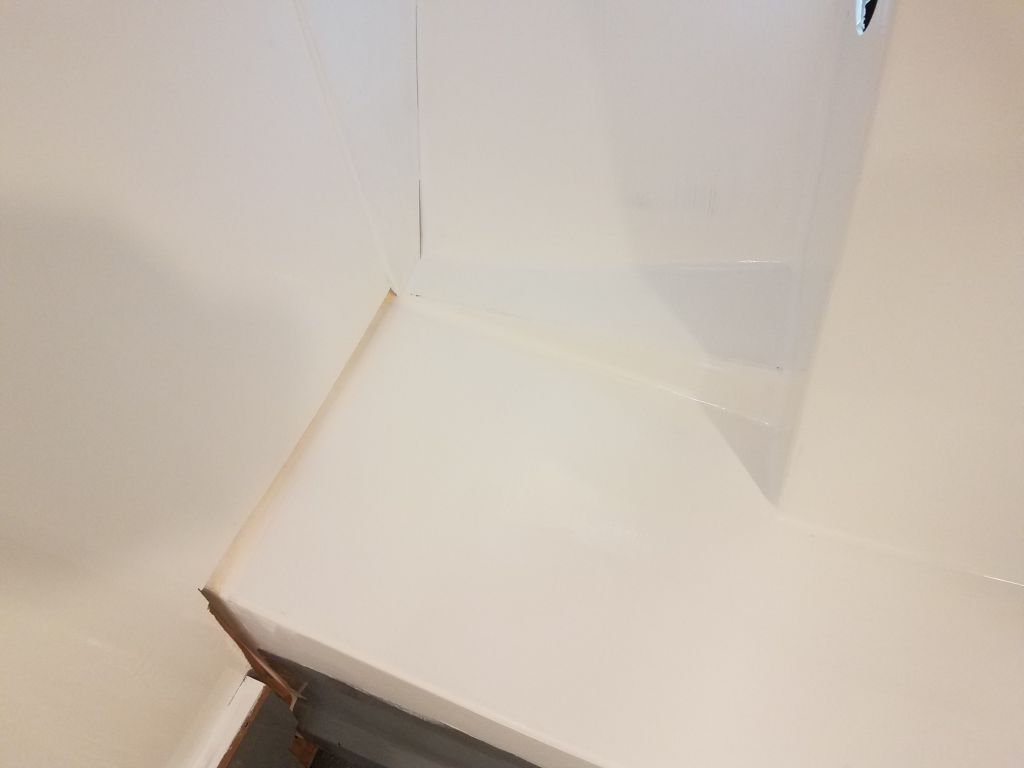
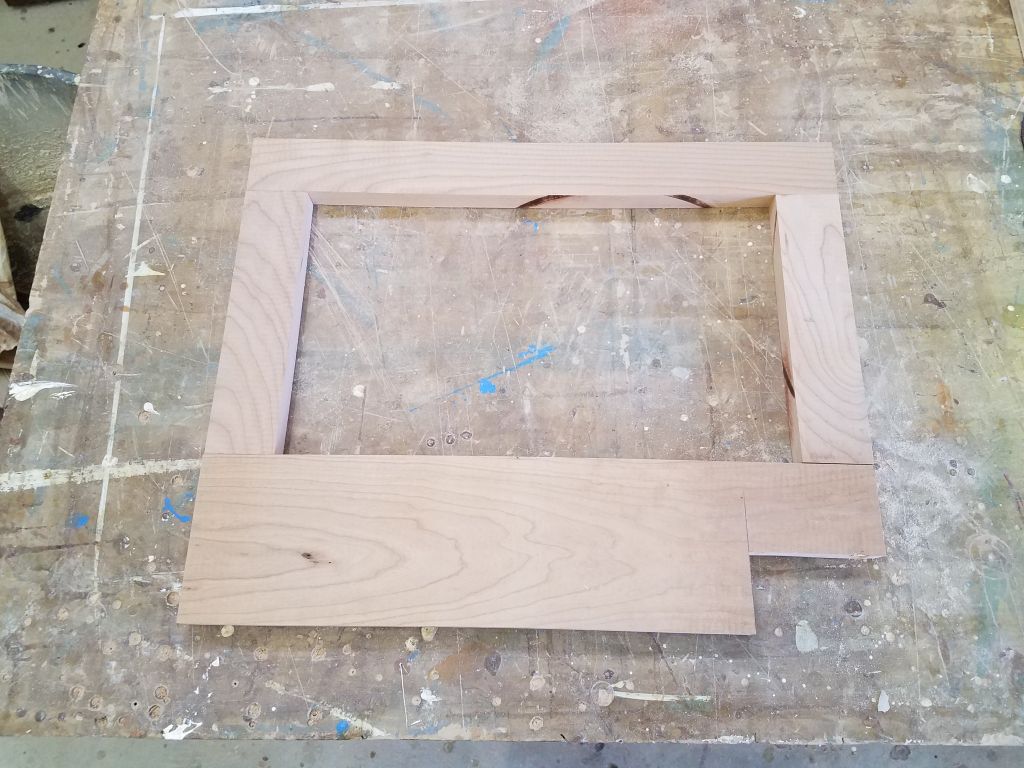
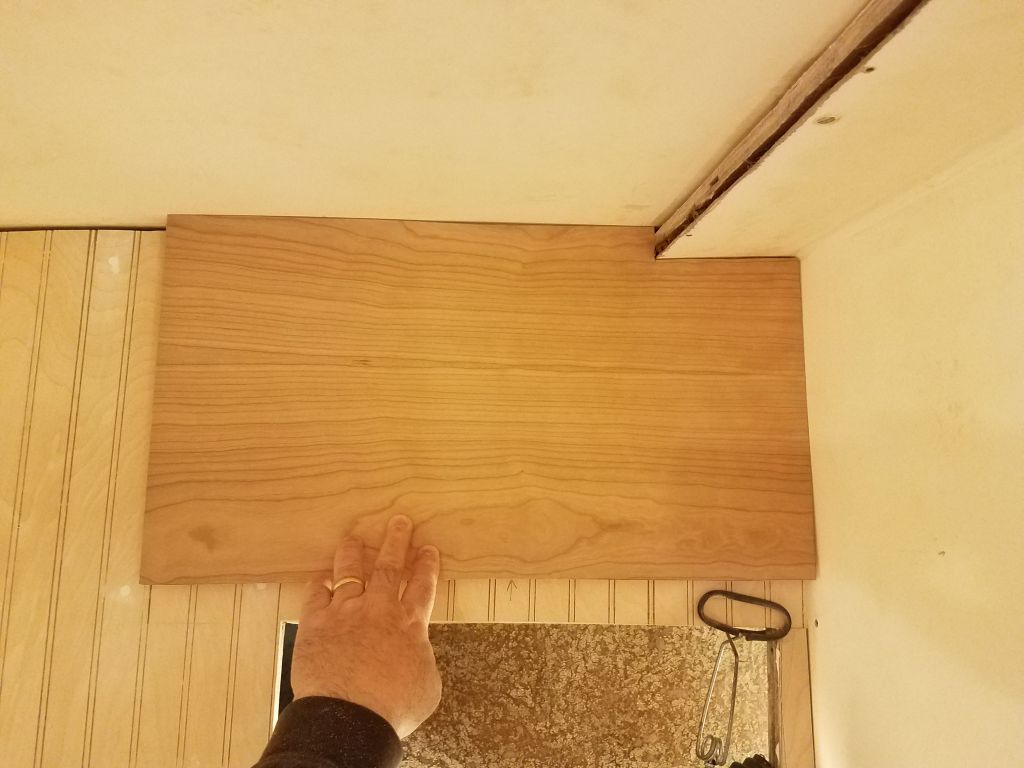
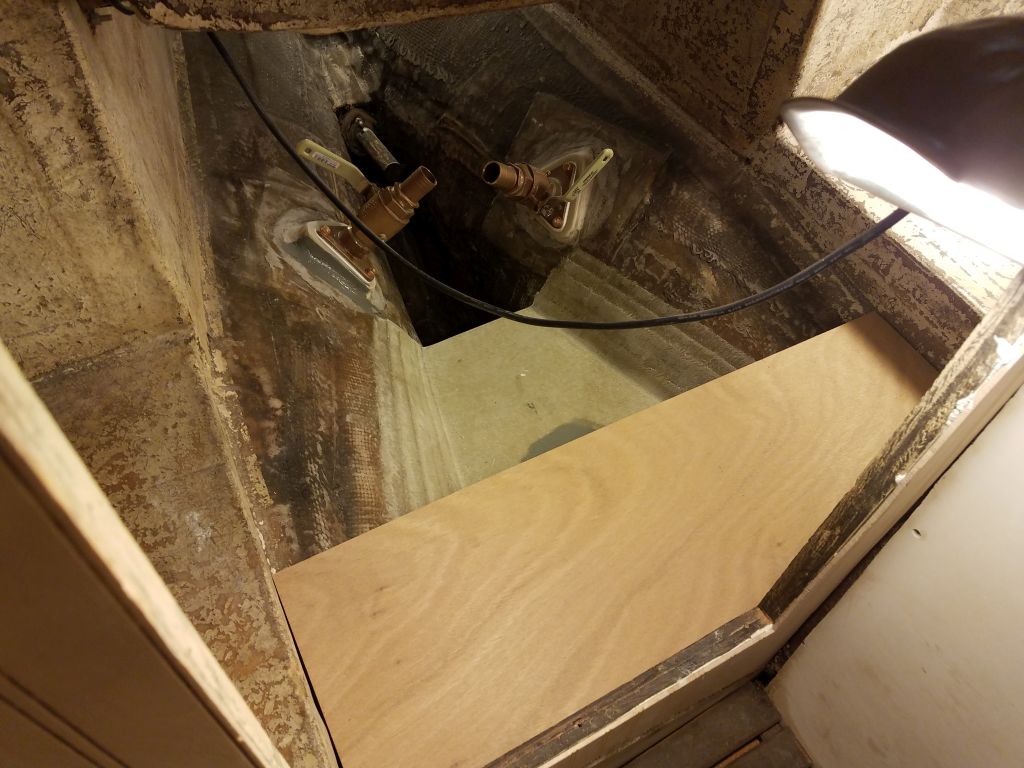
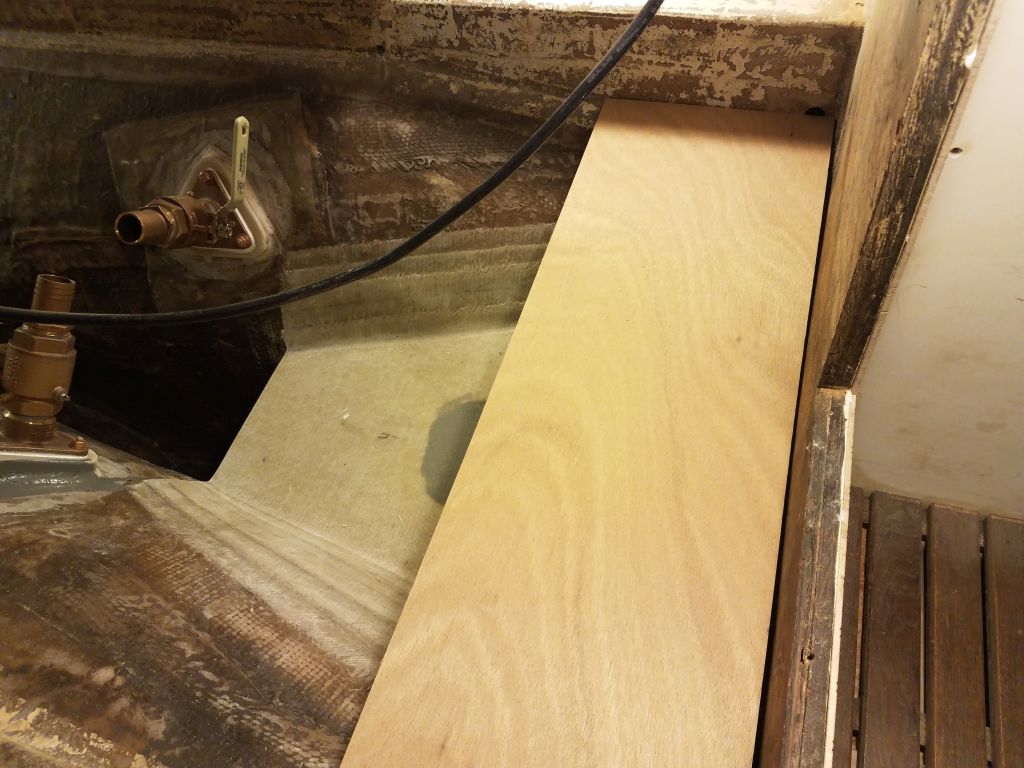
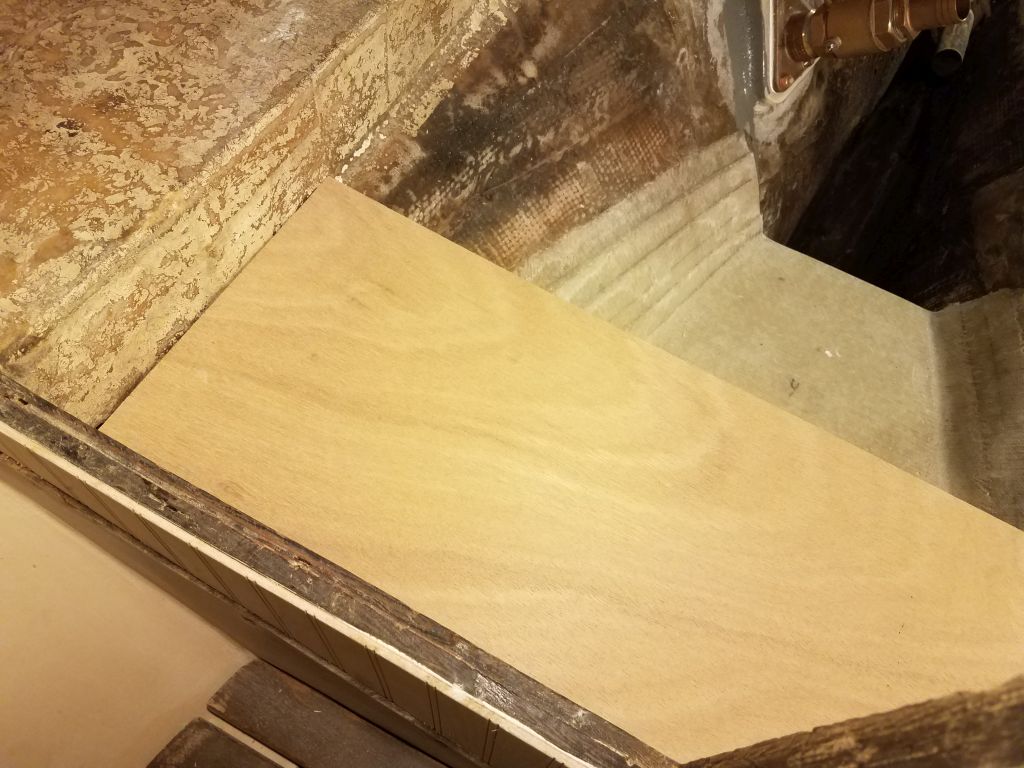
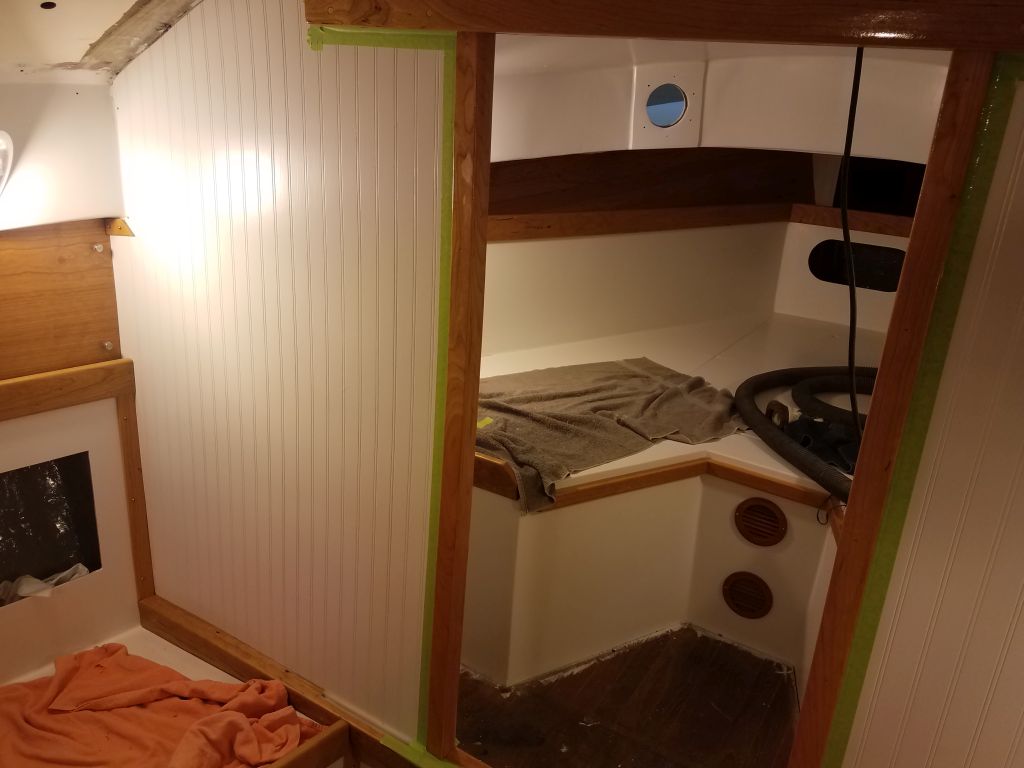
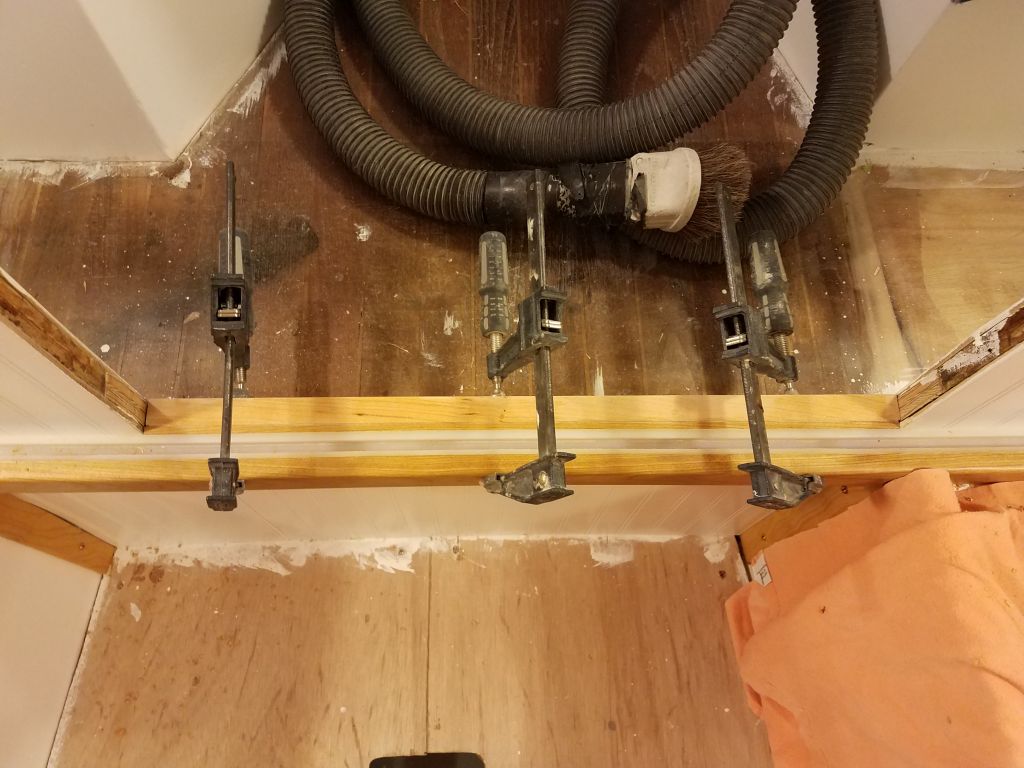
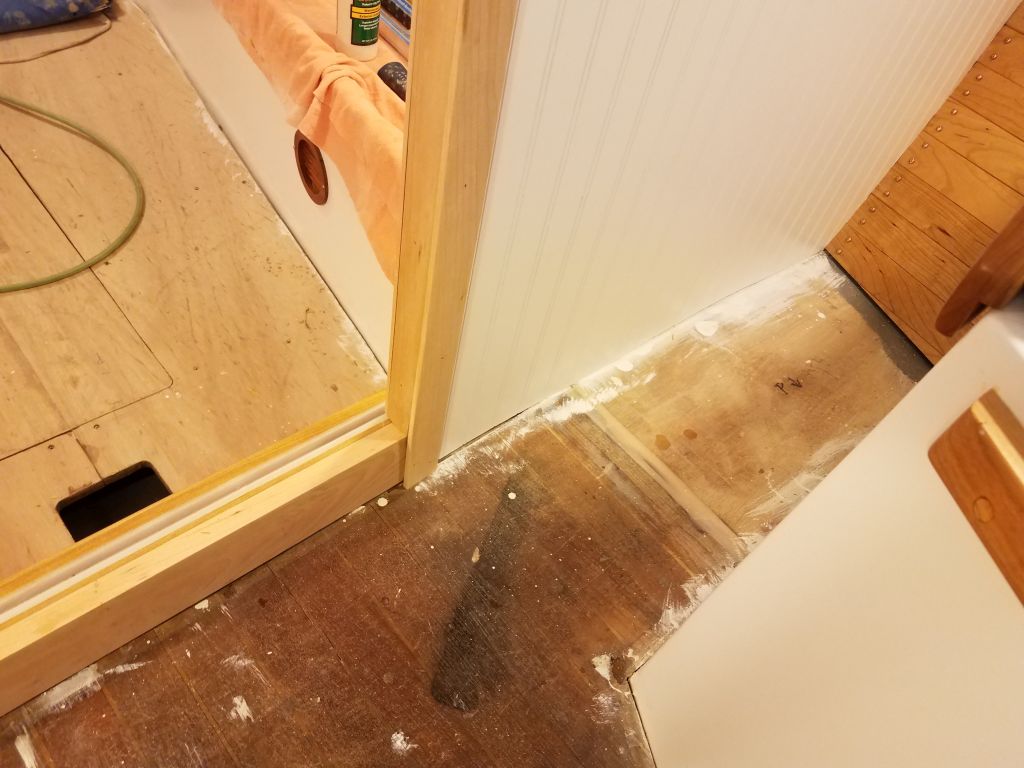
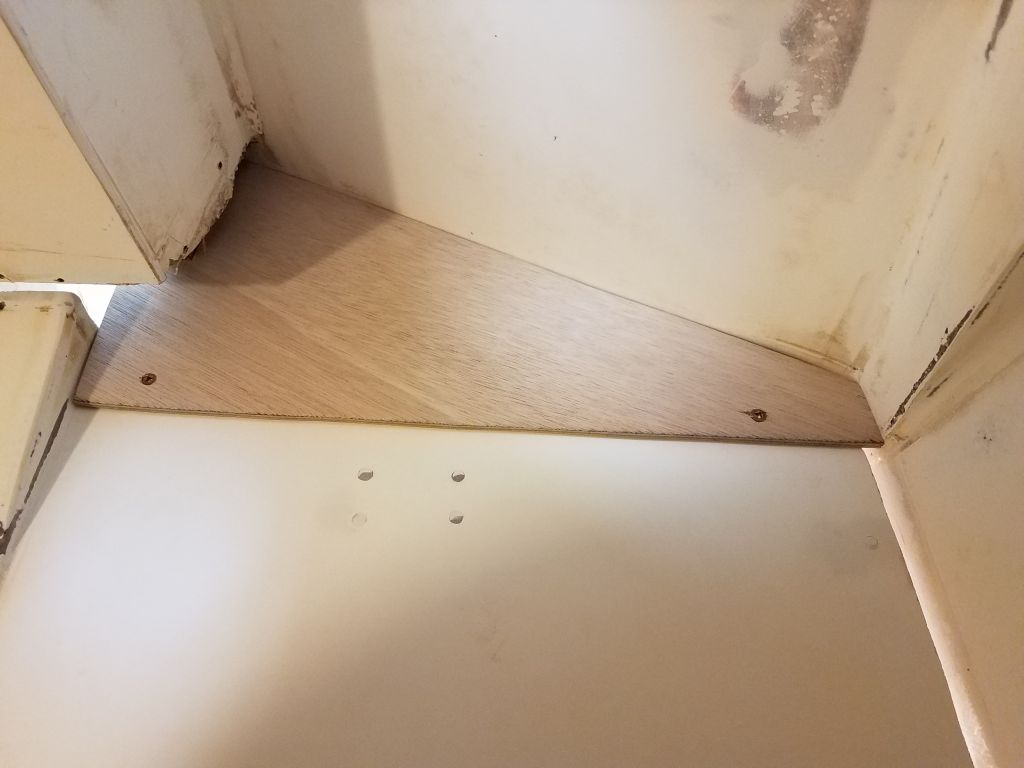
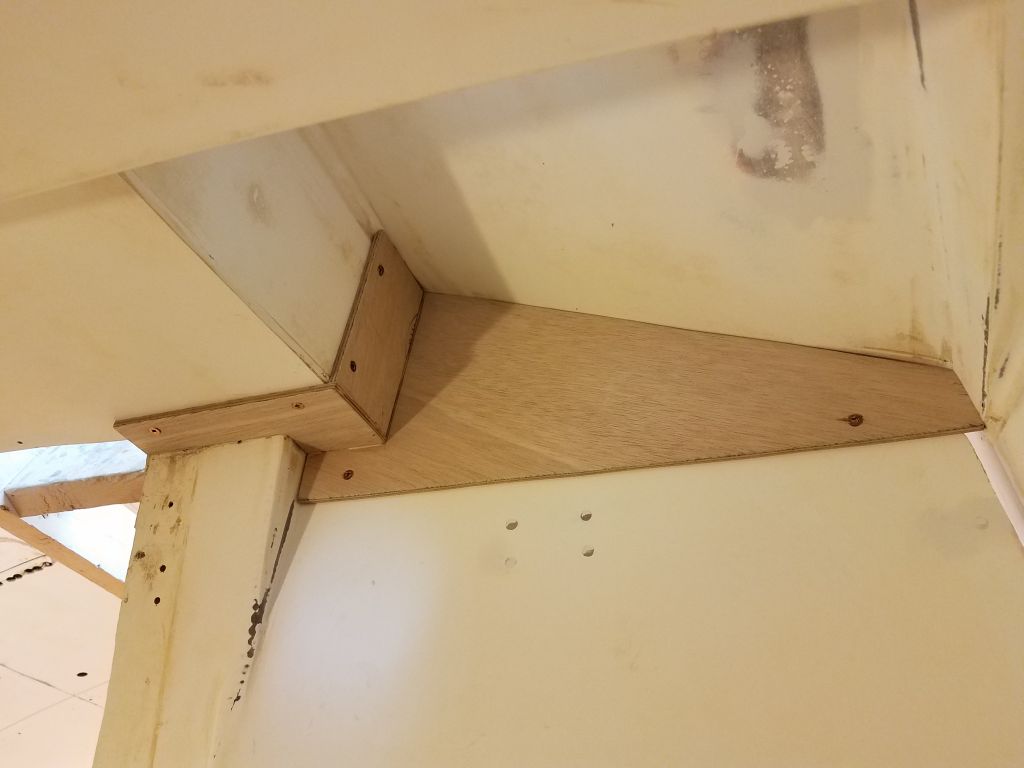
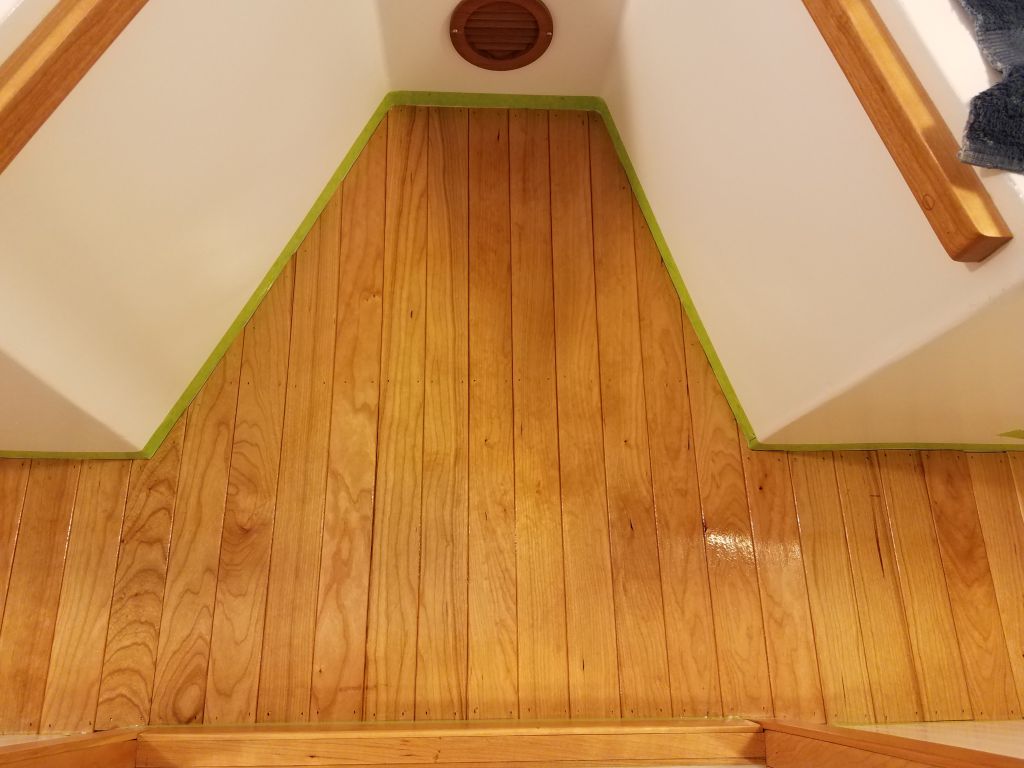
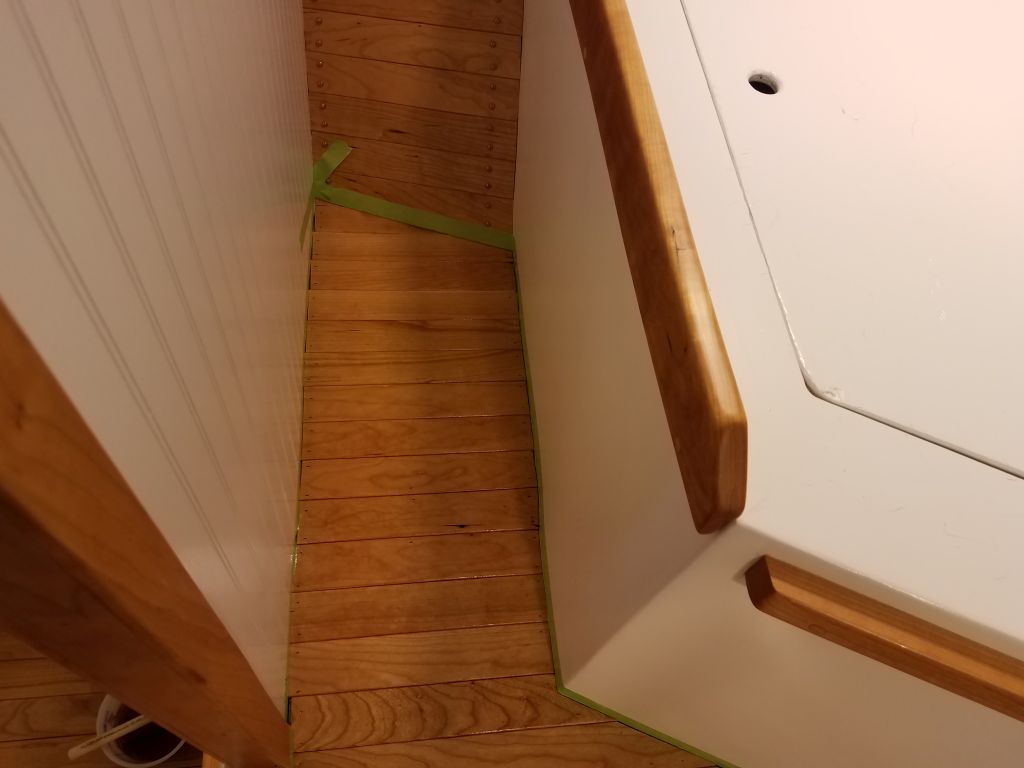
At the centerline bulkhead adjacent to the companionway, I cut a small piece of trim but left it long since the eventual companionway and door trim itself would later take up some of this space and at this point I didn’t know how long this baseboard piece would end up.  In the photo, it’s just resting in place with no fasteners.  Also unfinished at this point was a triangular piece of flat trim required over the molded stepped area in the aft corner of the galley; I’d mill this piece in the immediate future.

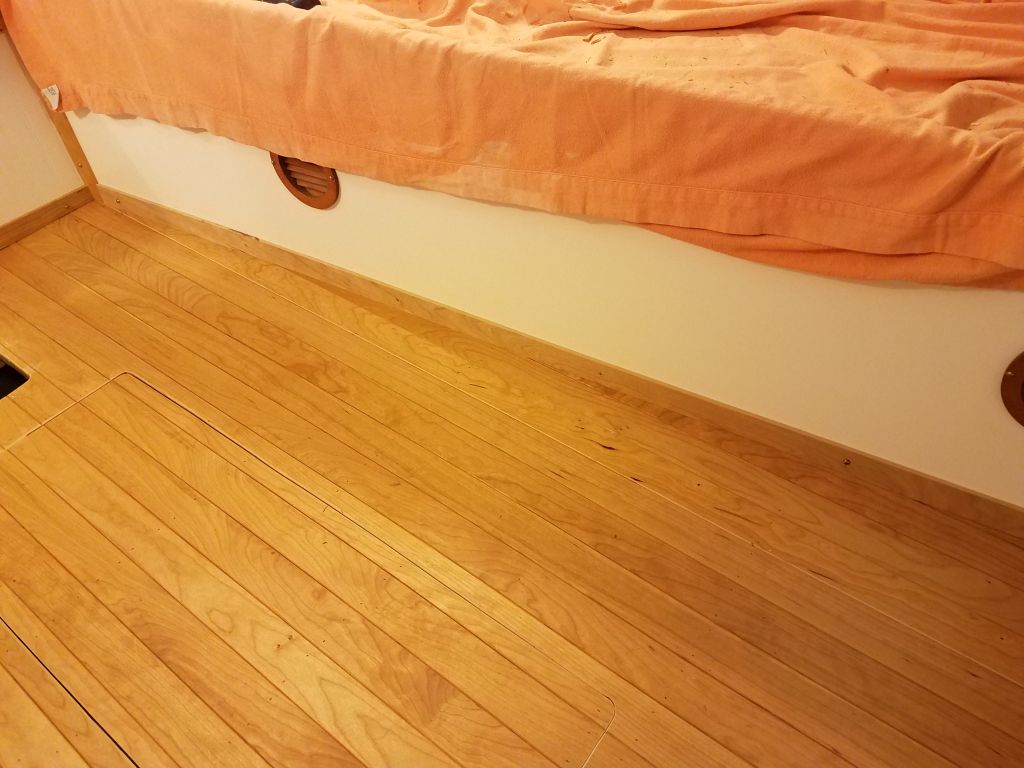
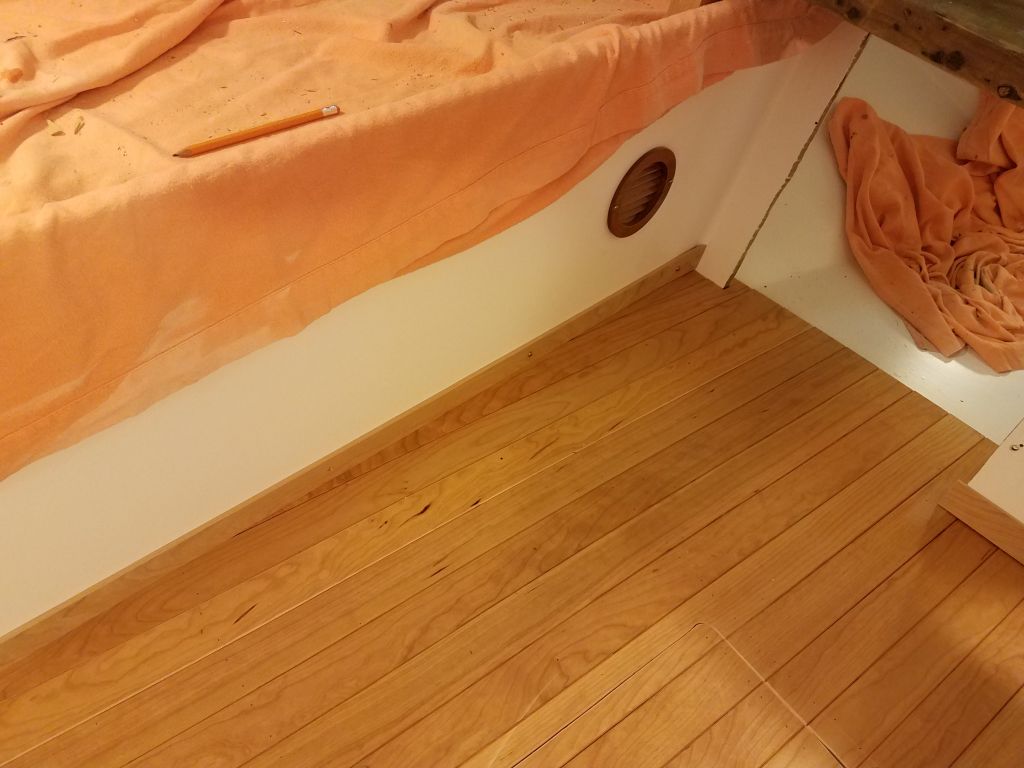
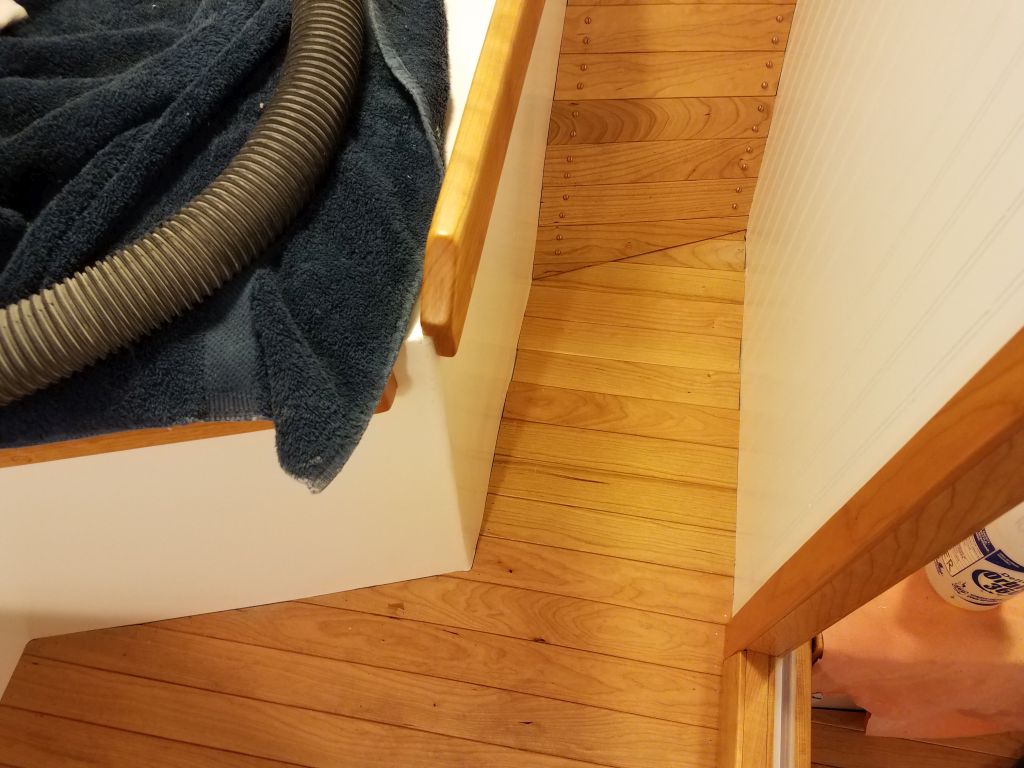
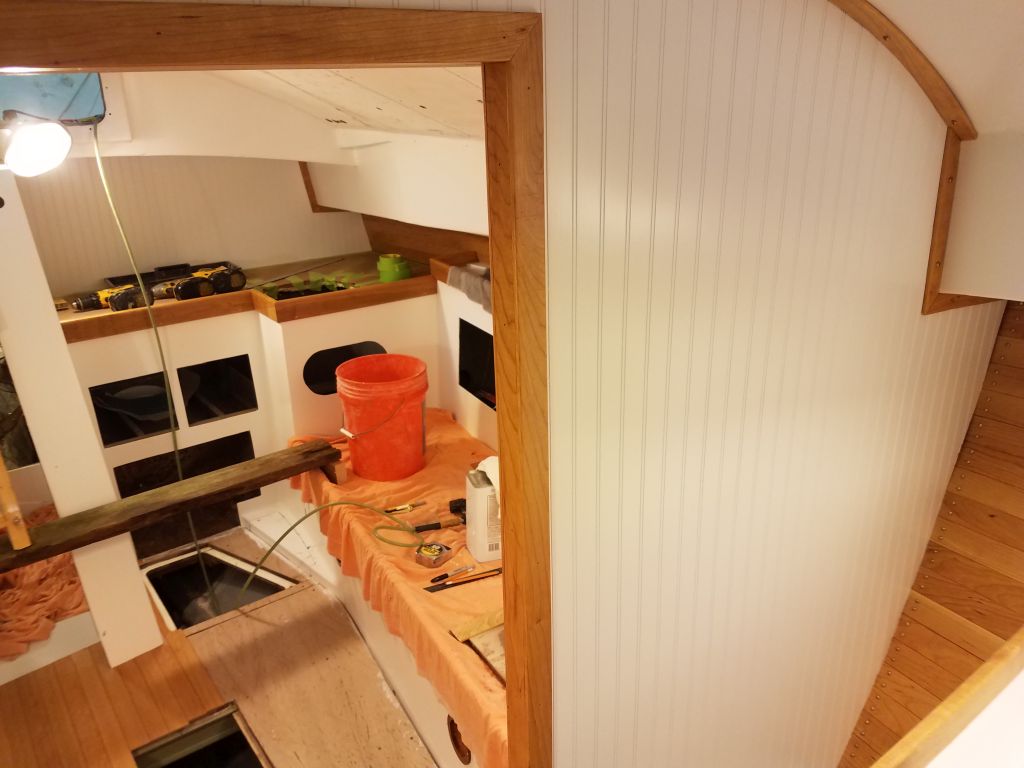
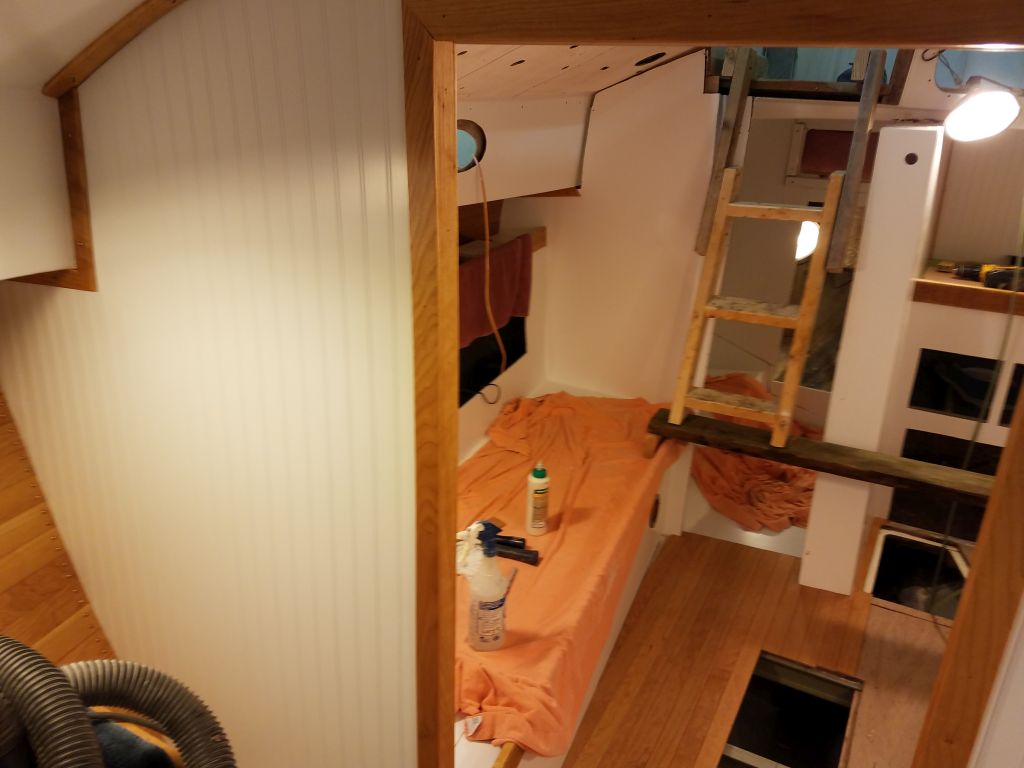
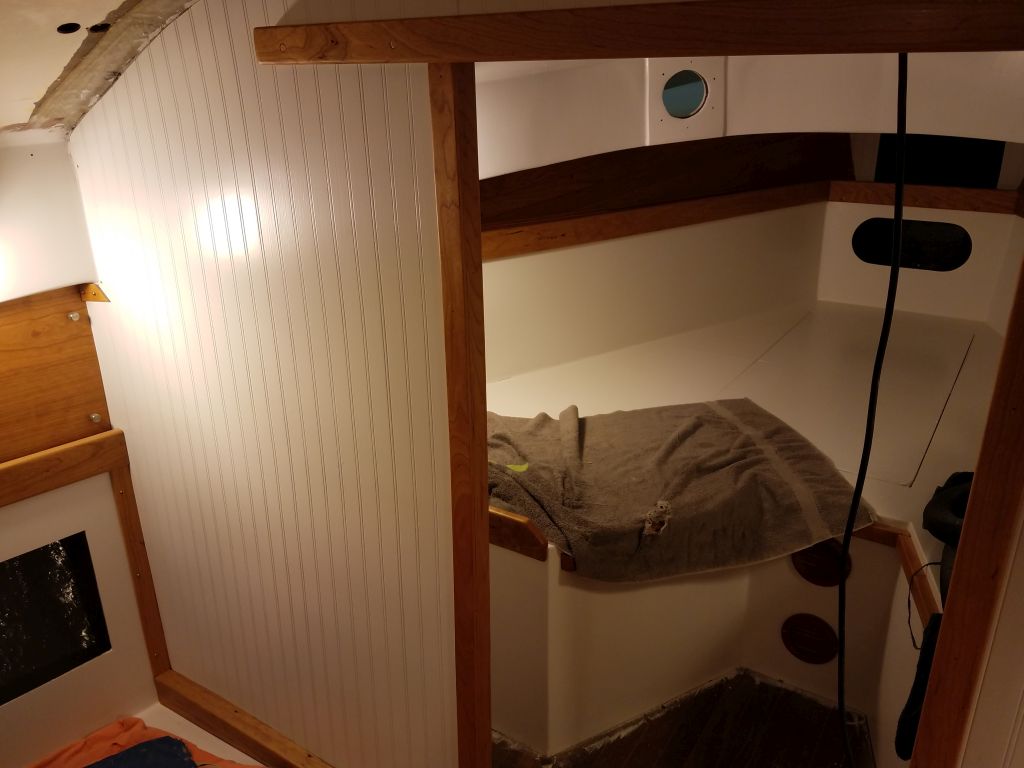
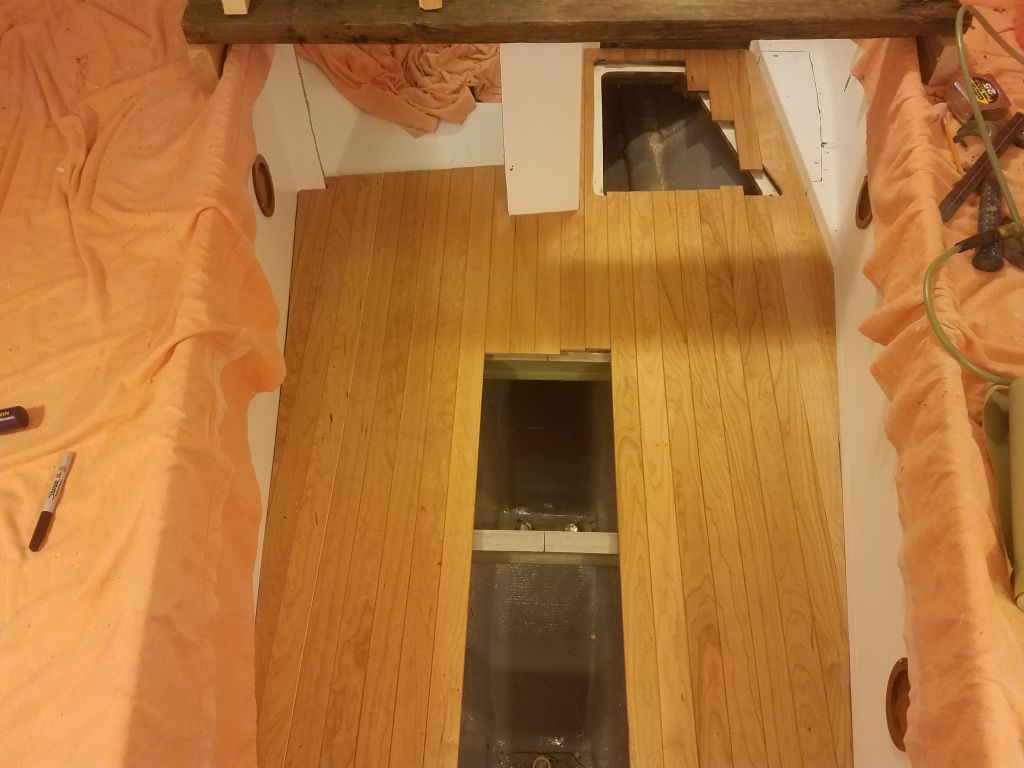
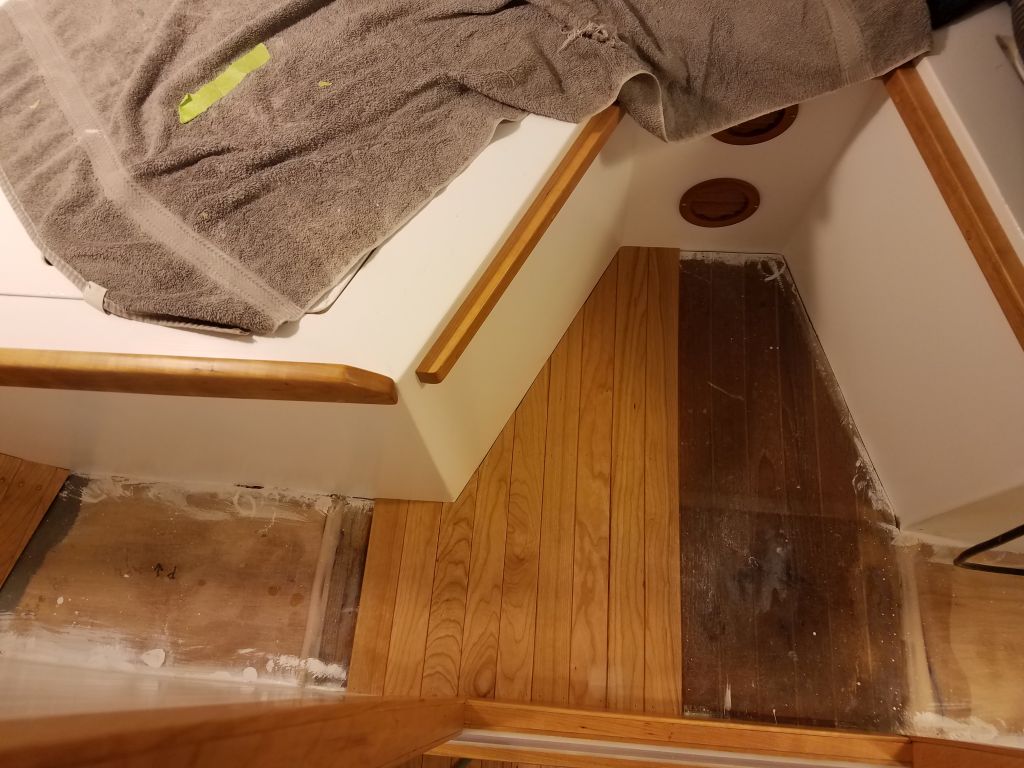
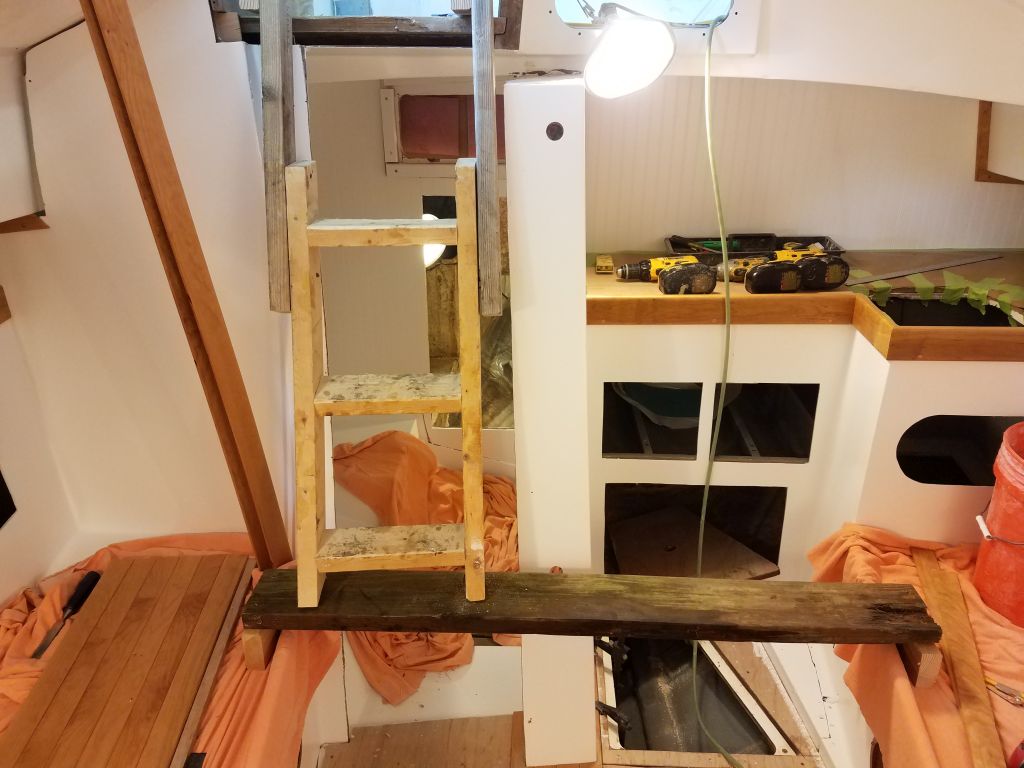
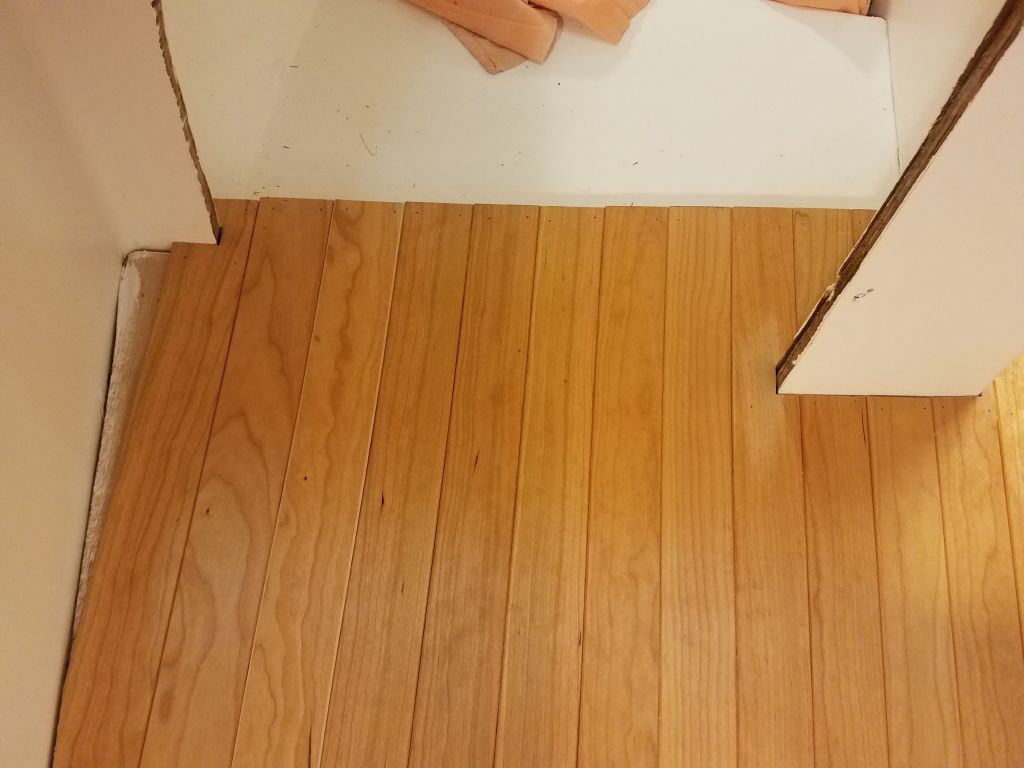
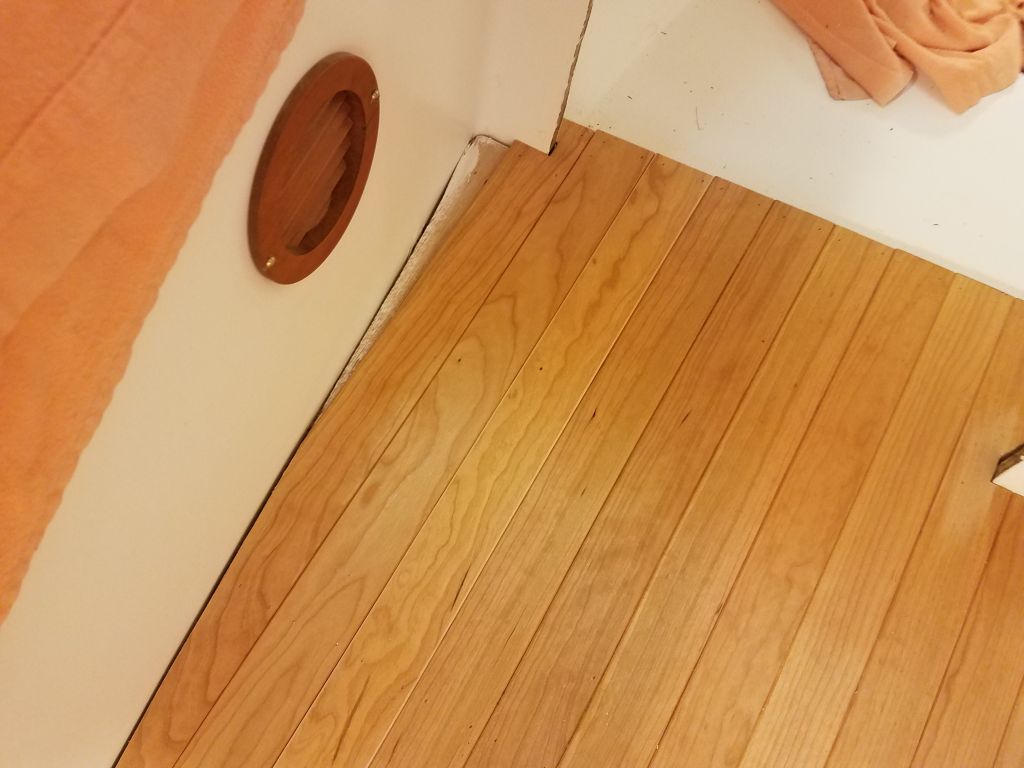
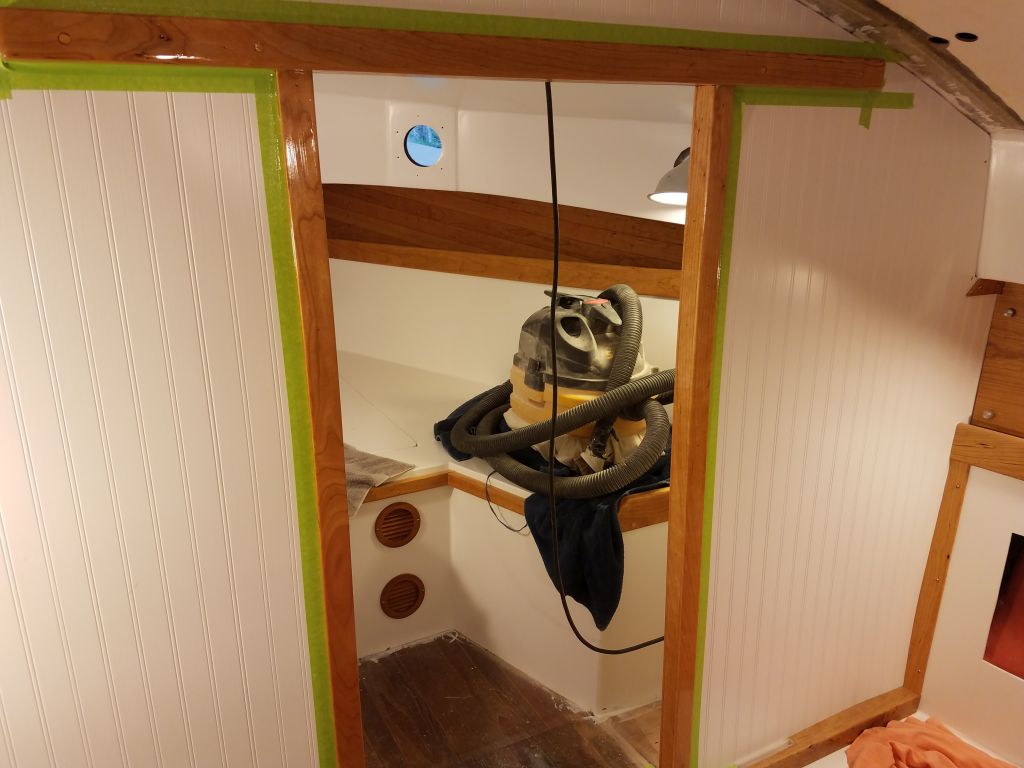
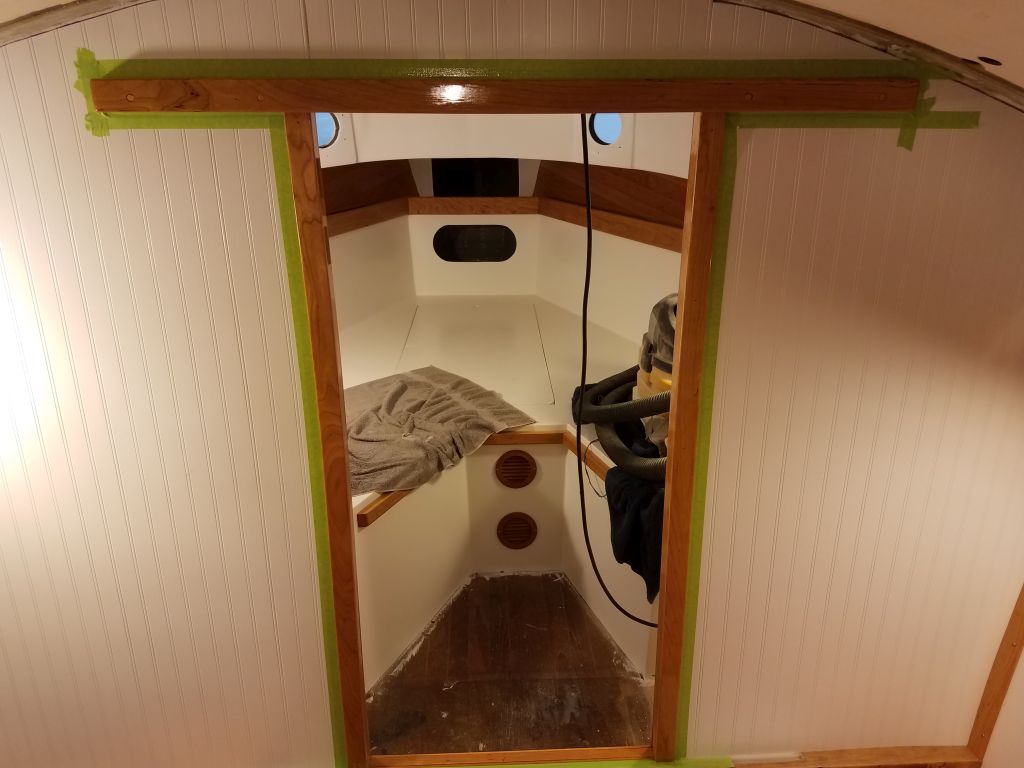
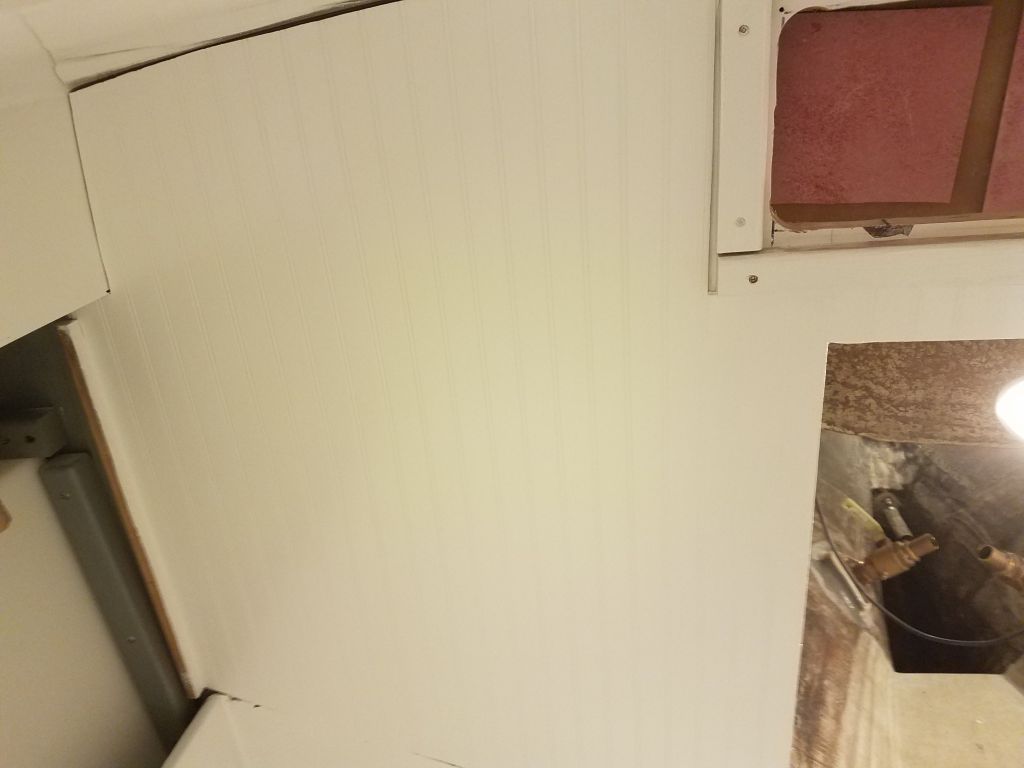
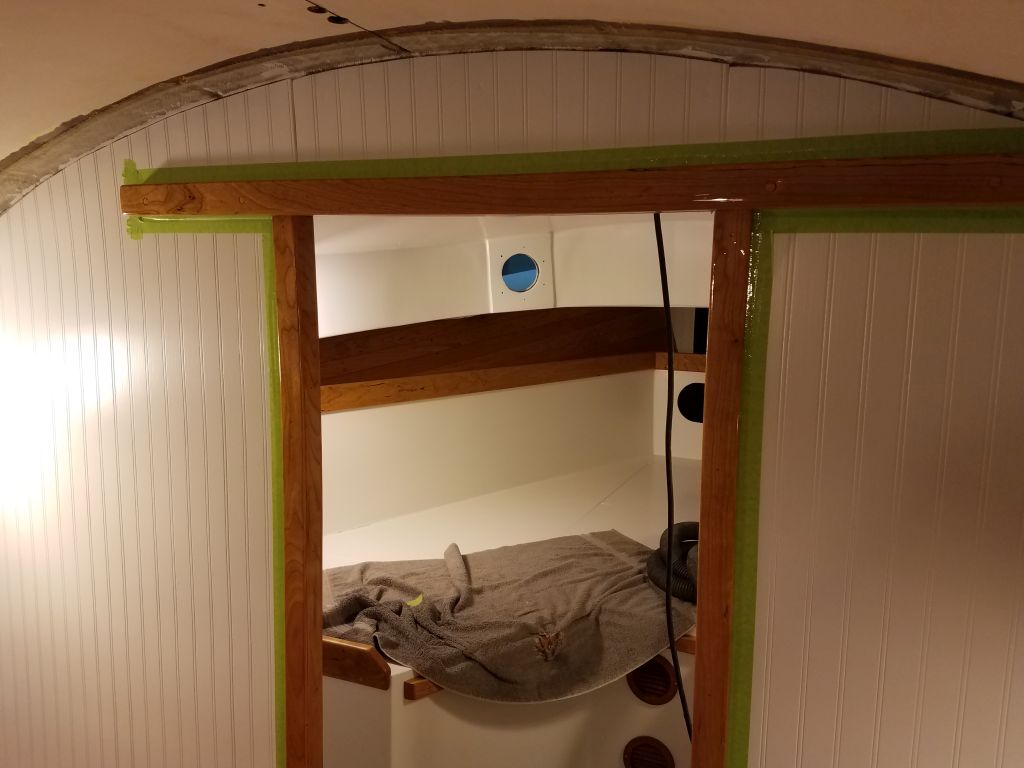
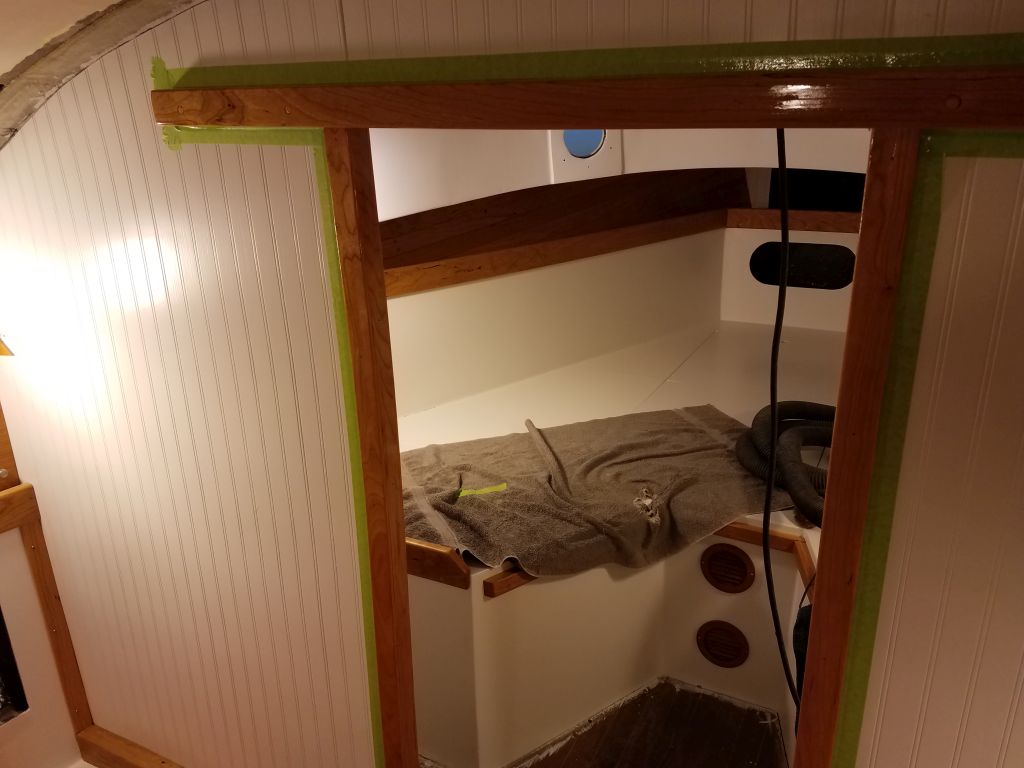
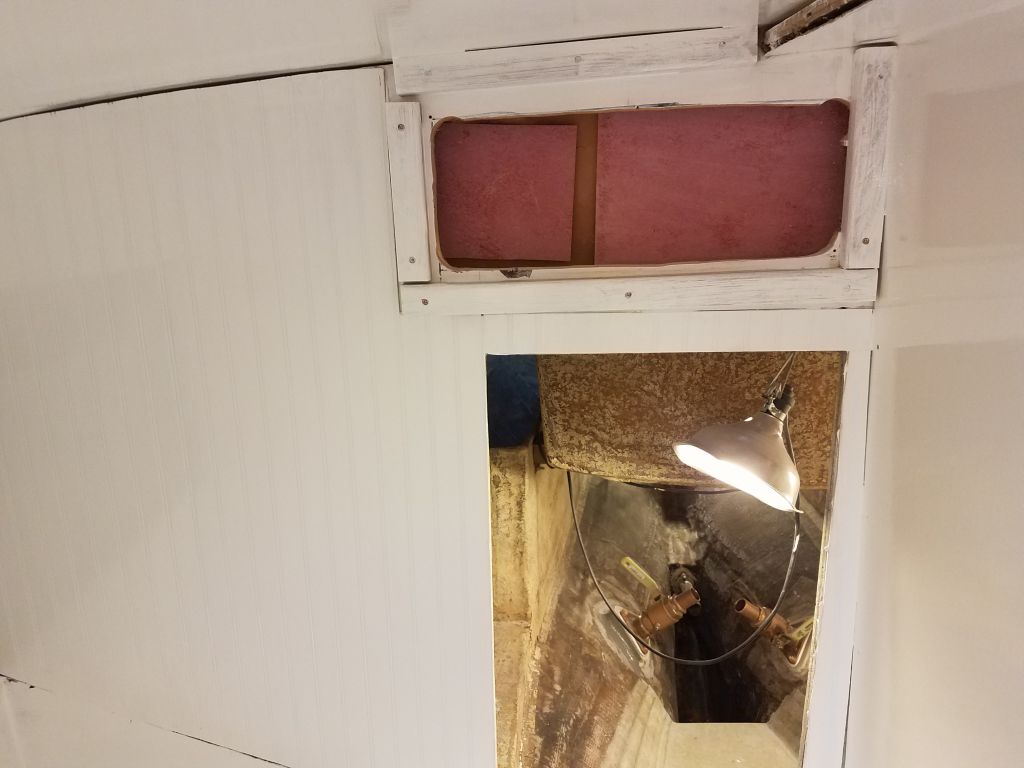
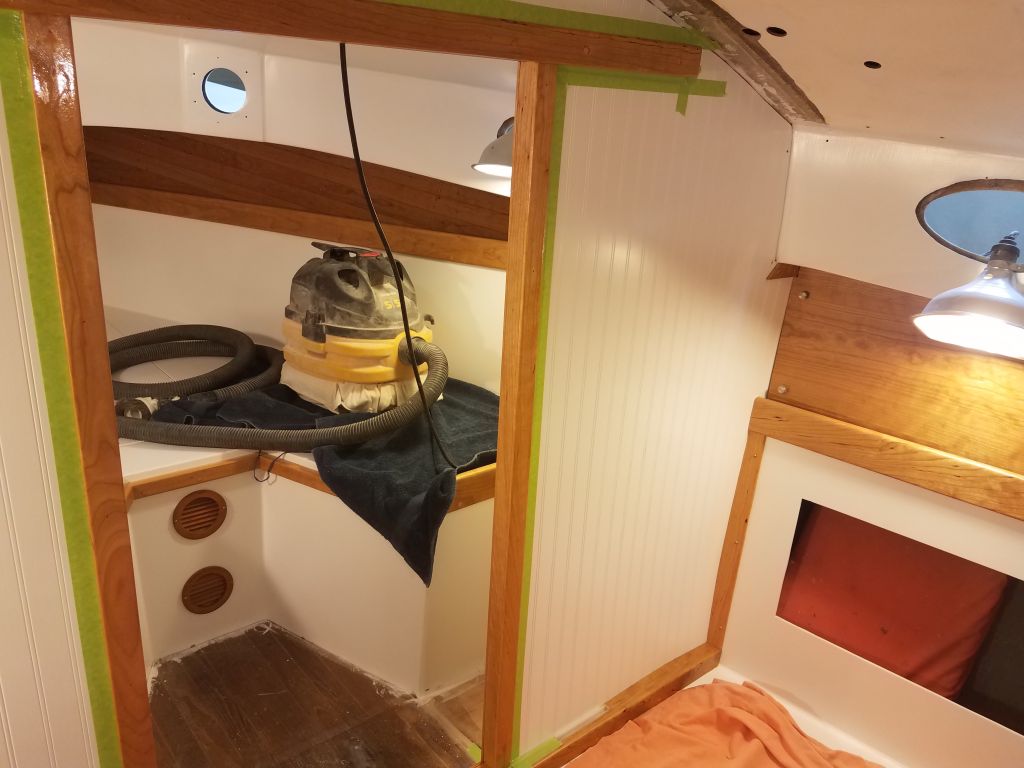
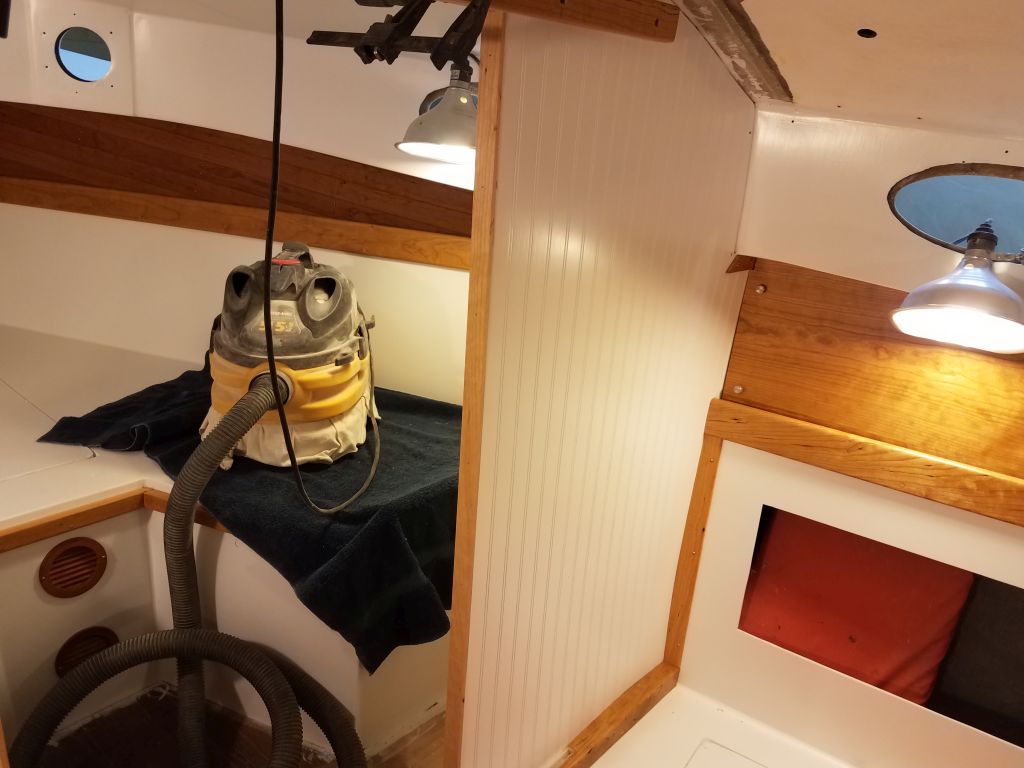
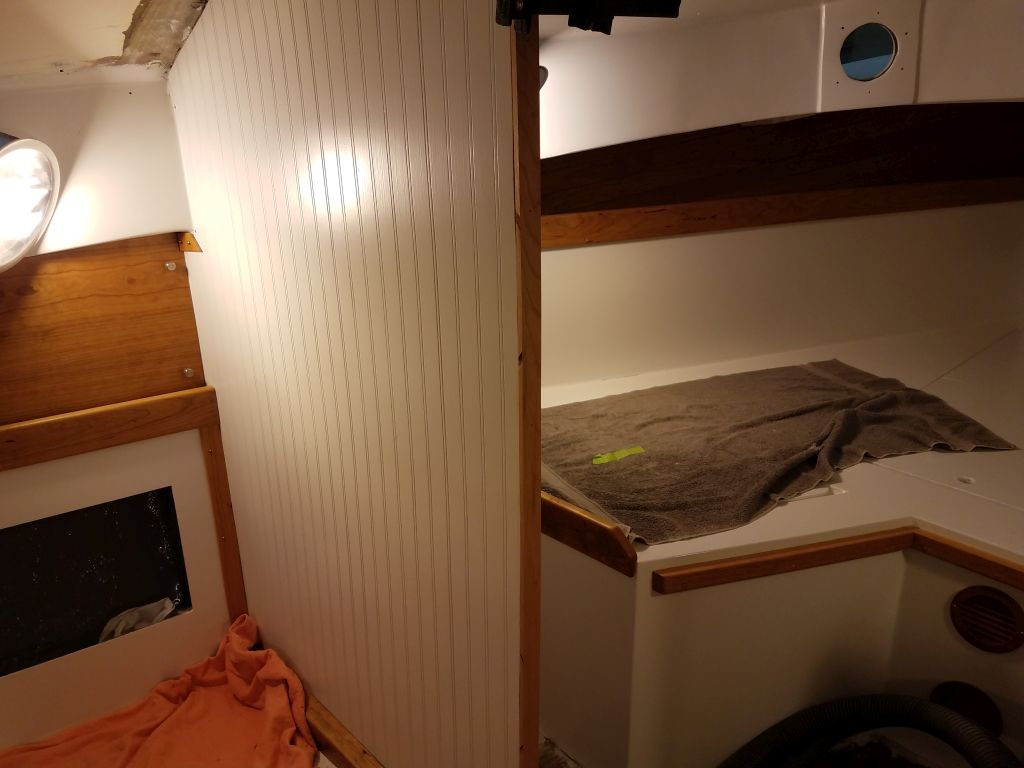
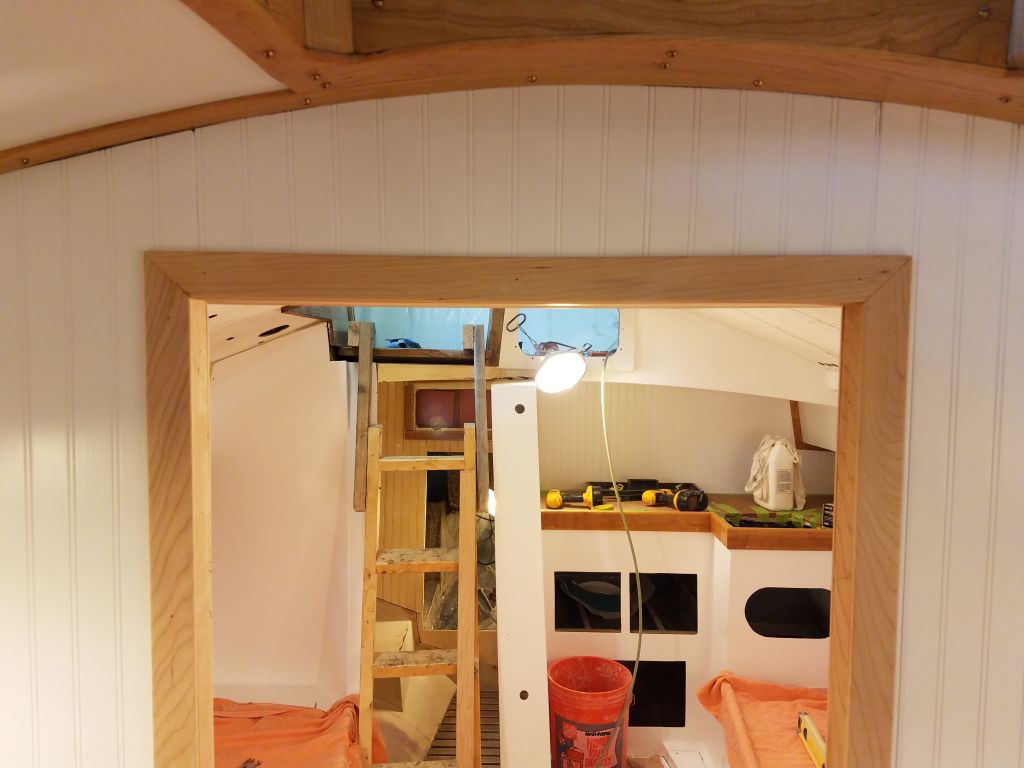
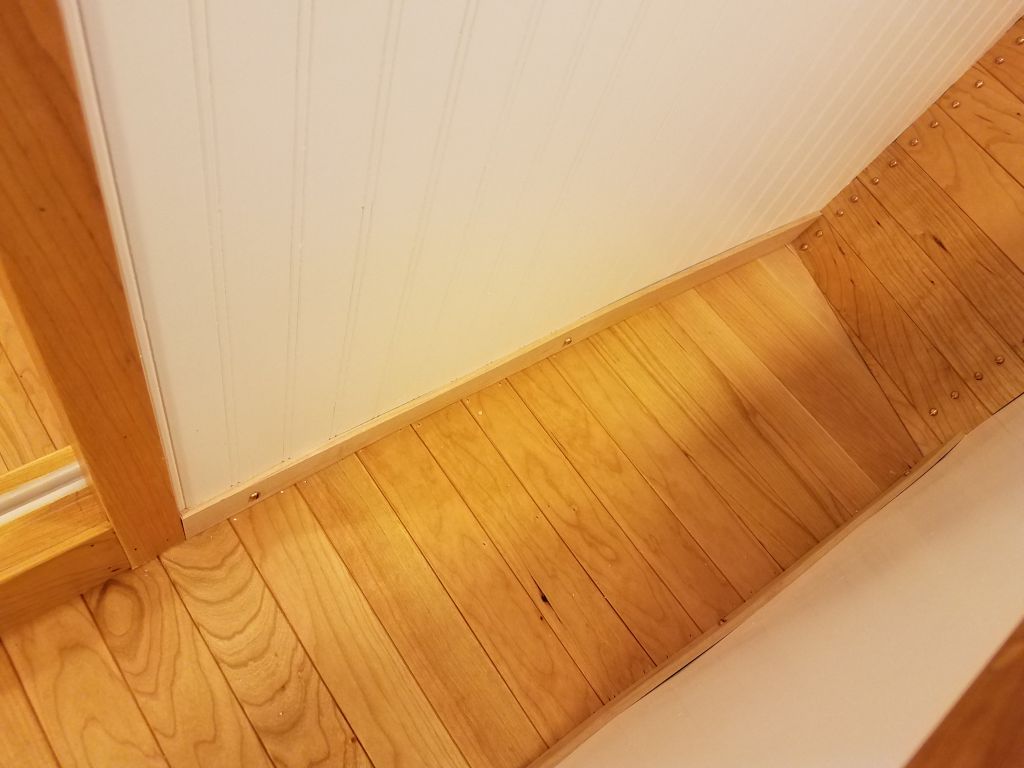
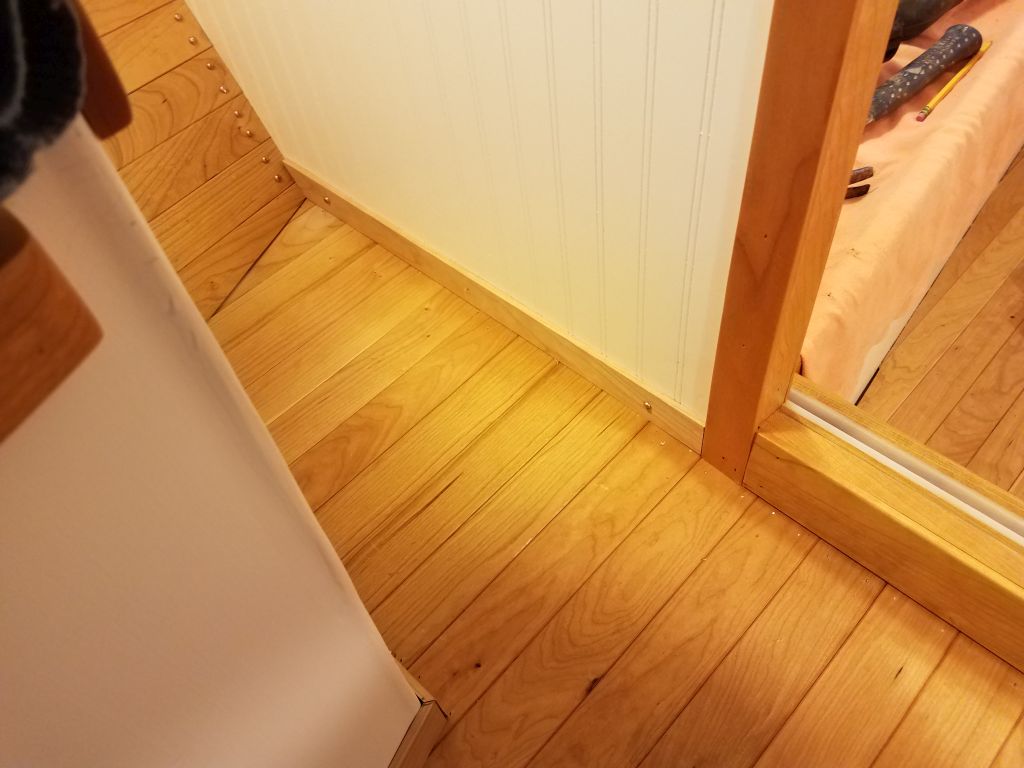
With the main cabin complete, I repeated the process with the forward cabin trim.

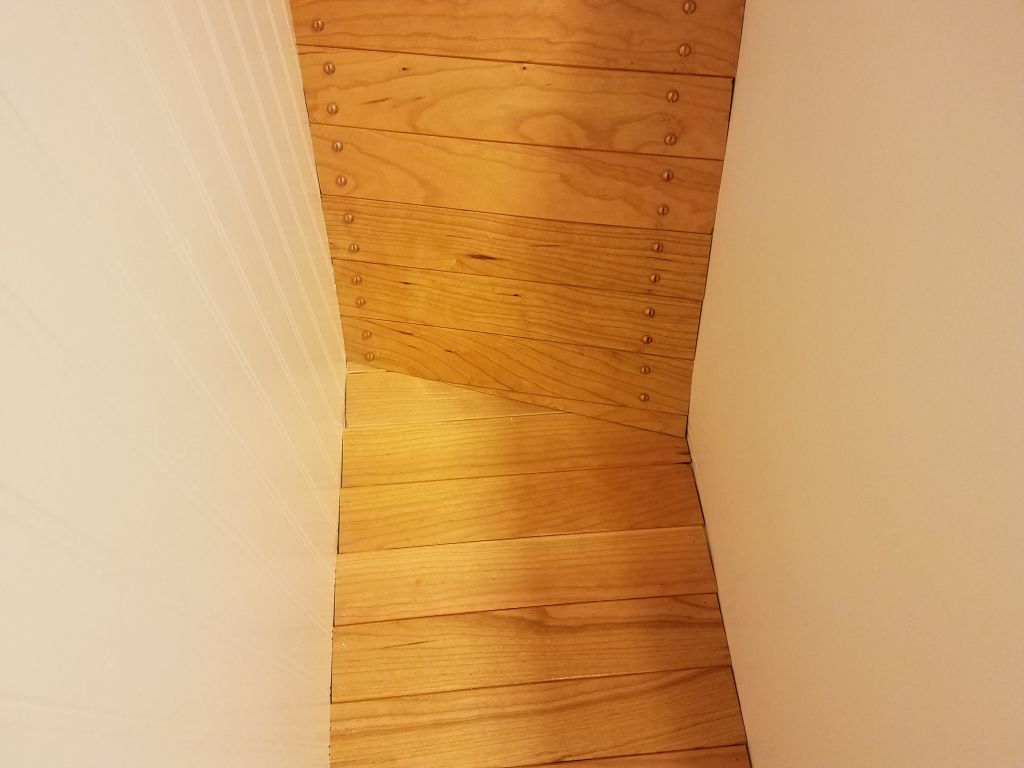
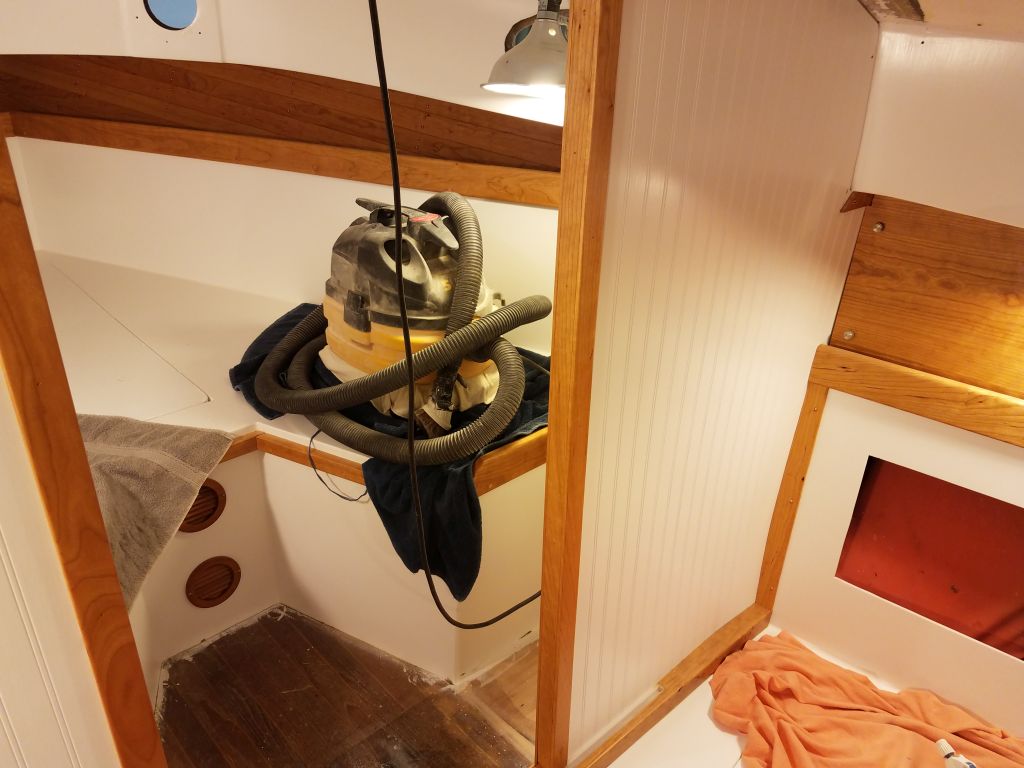
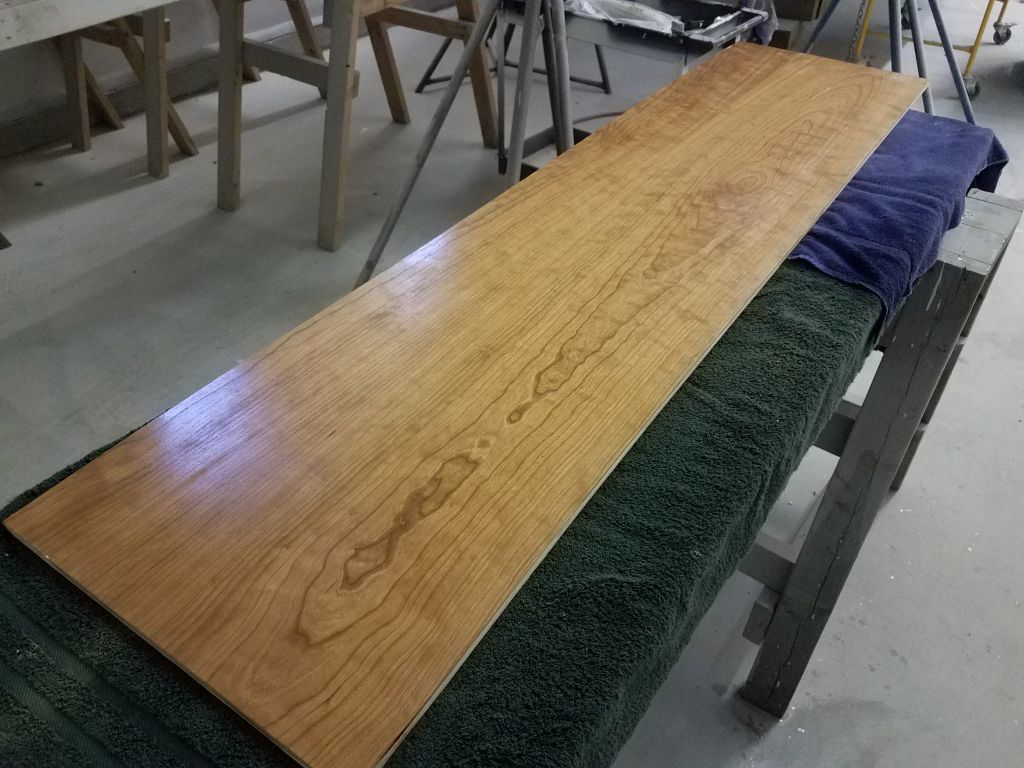
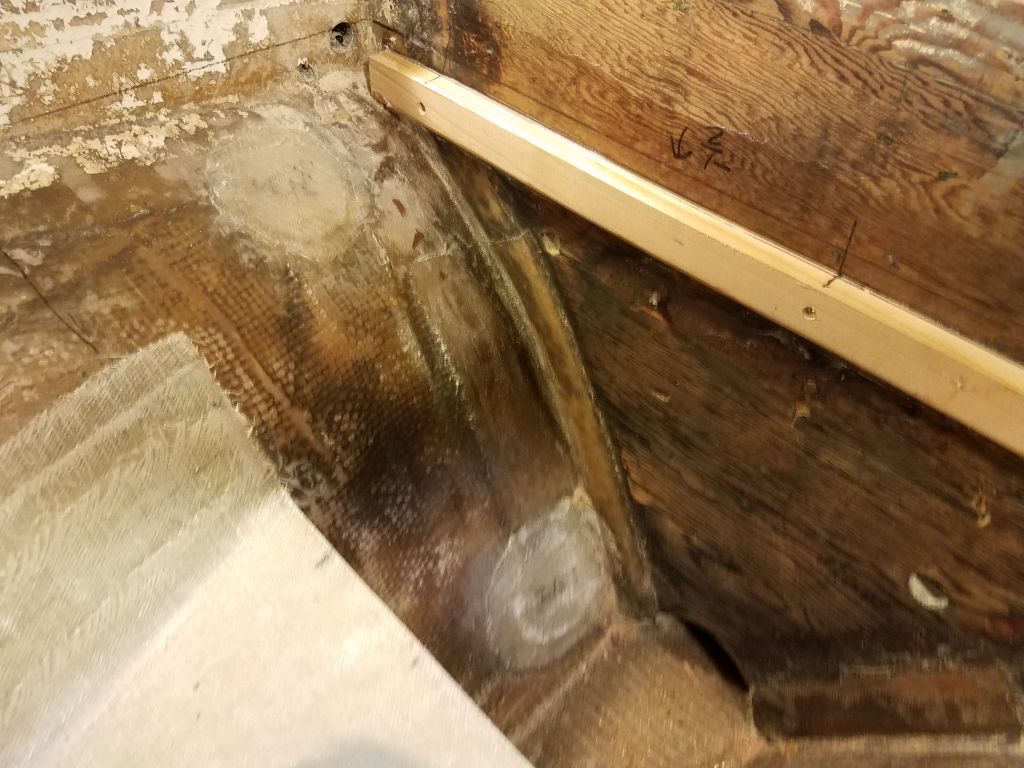
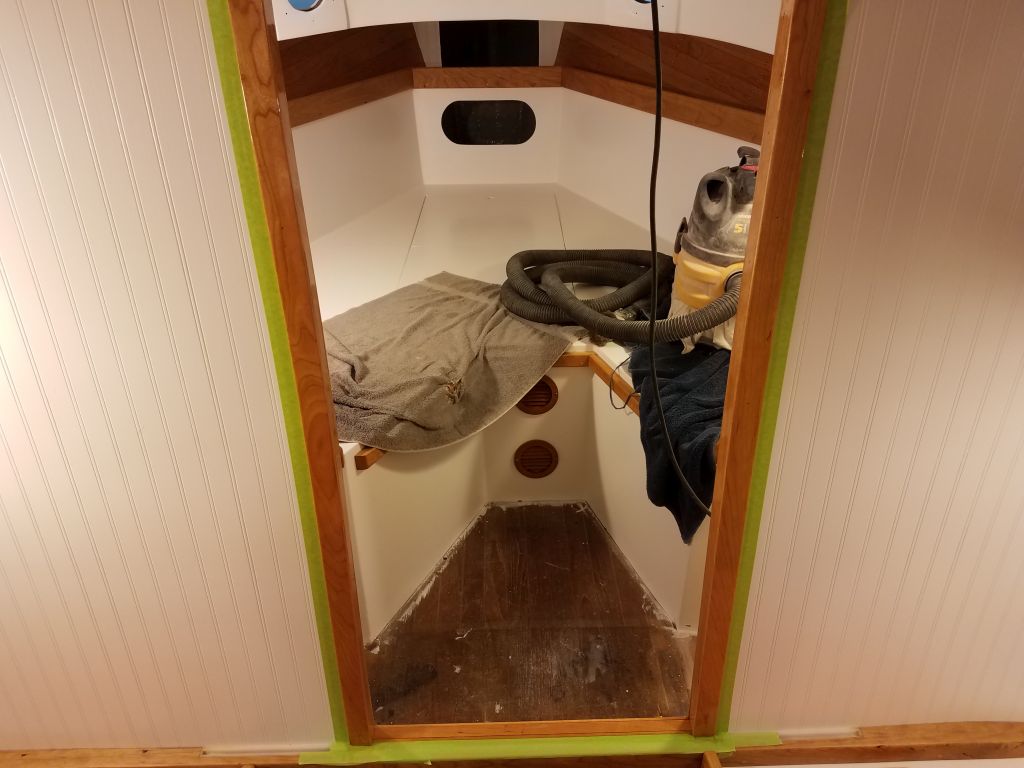
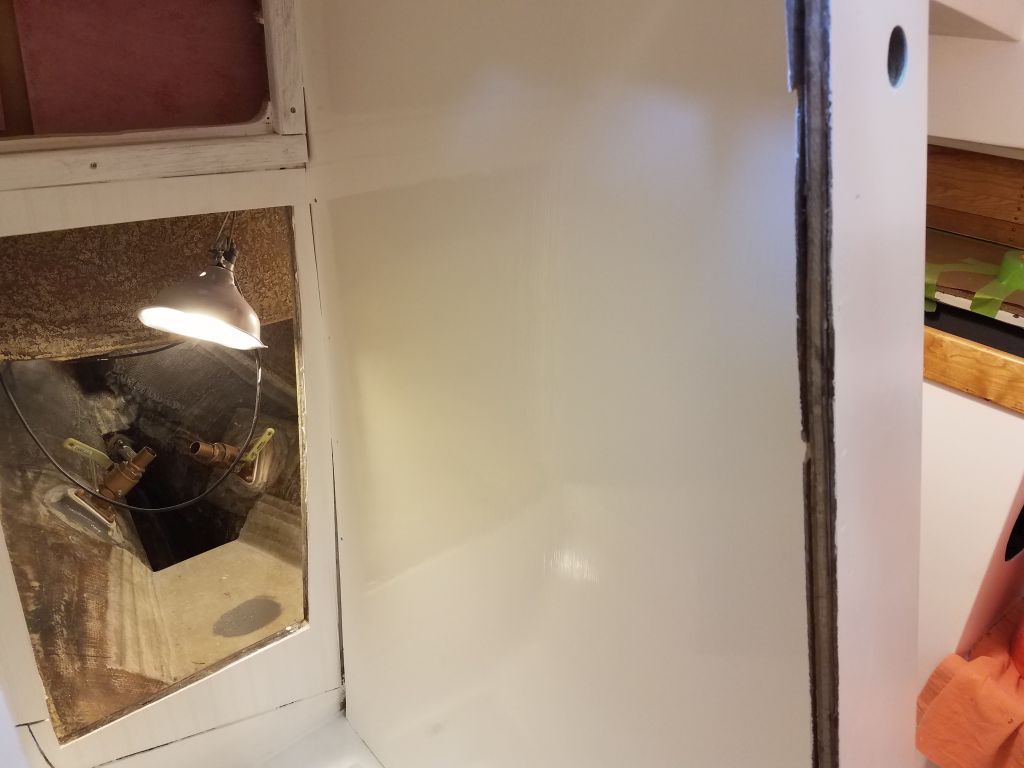
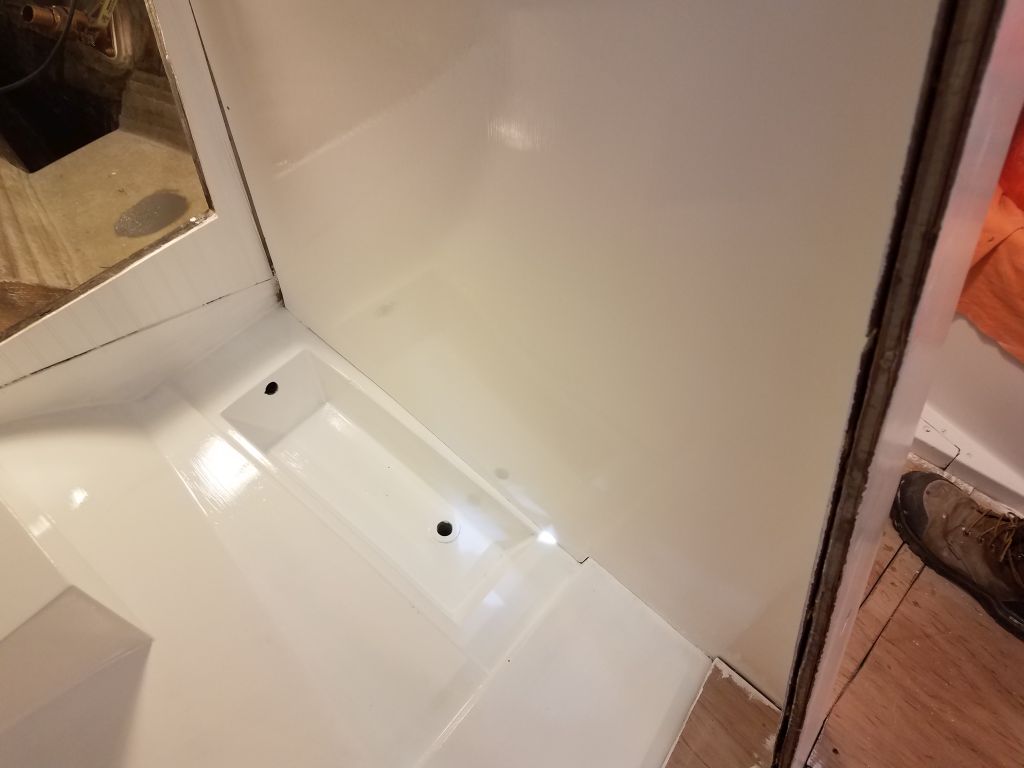
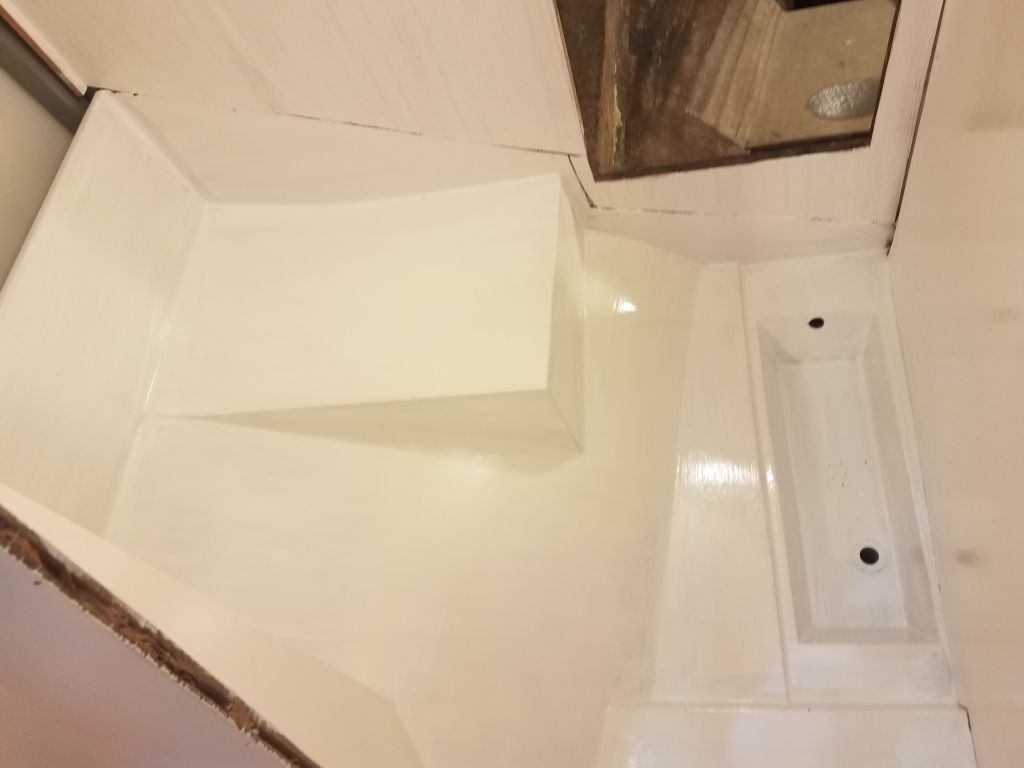
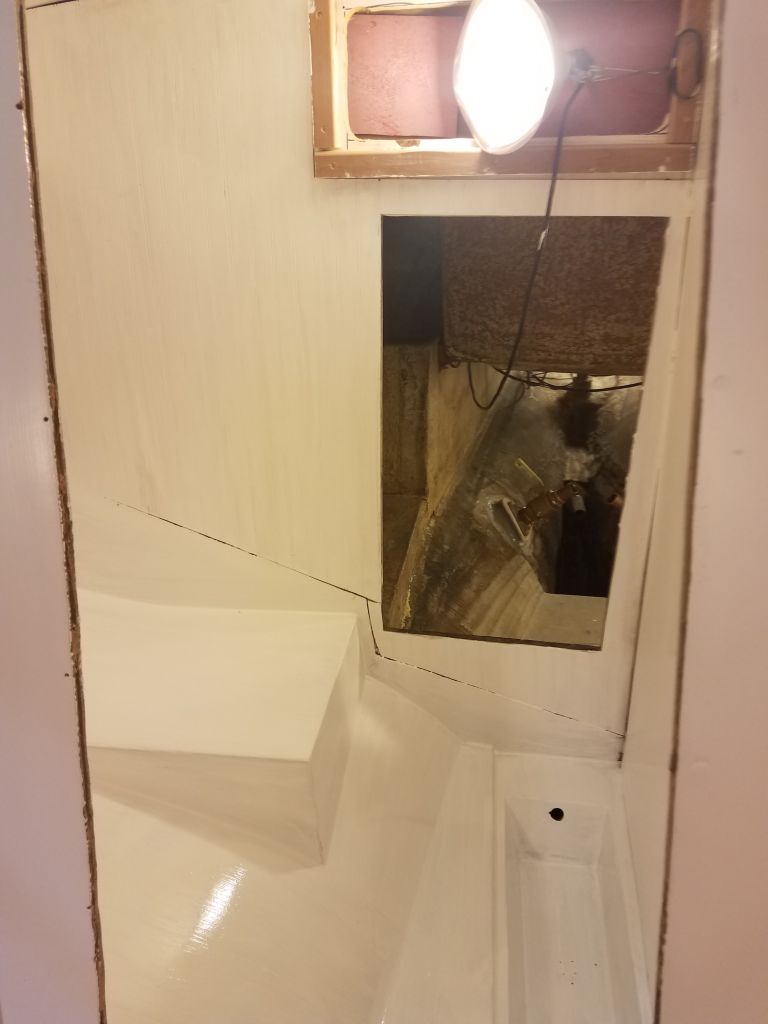
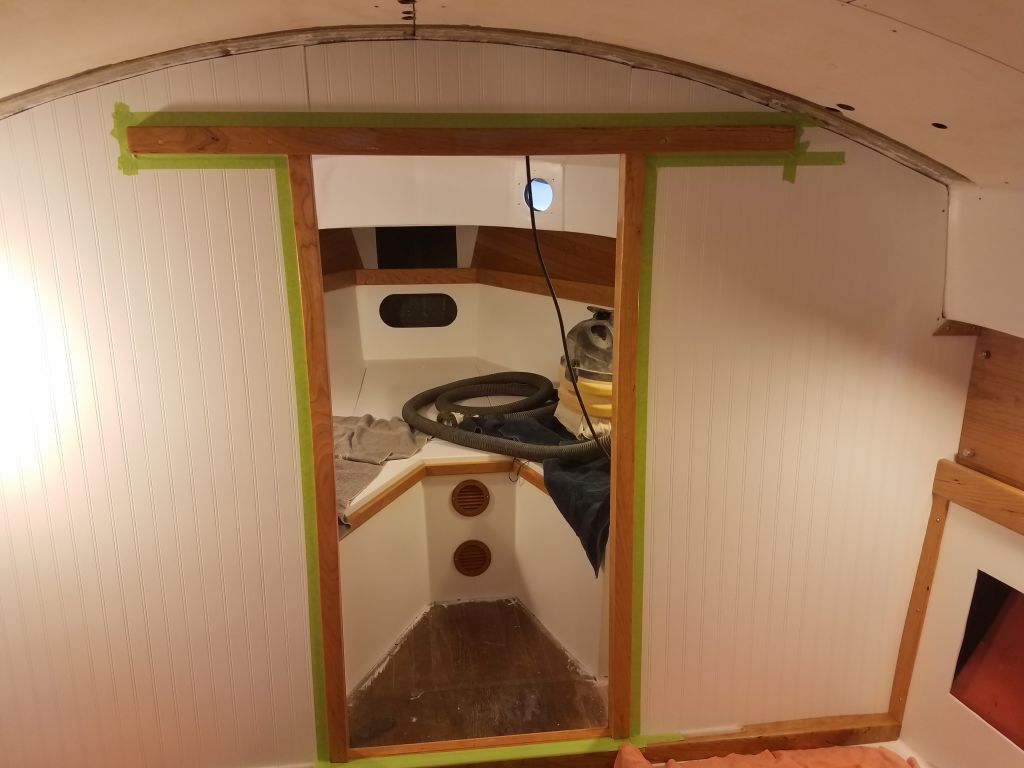
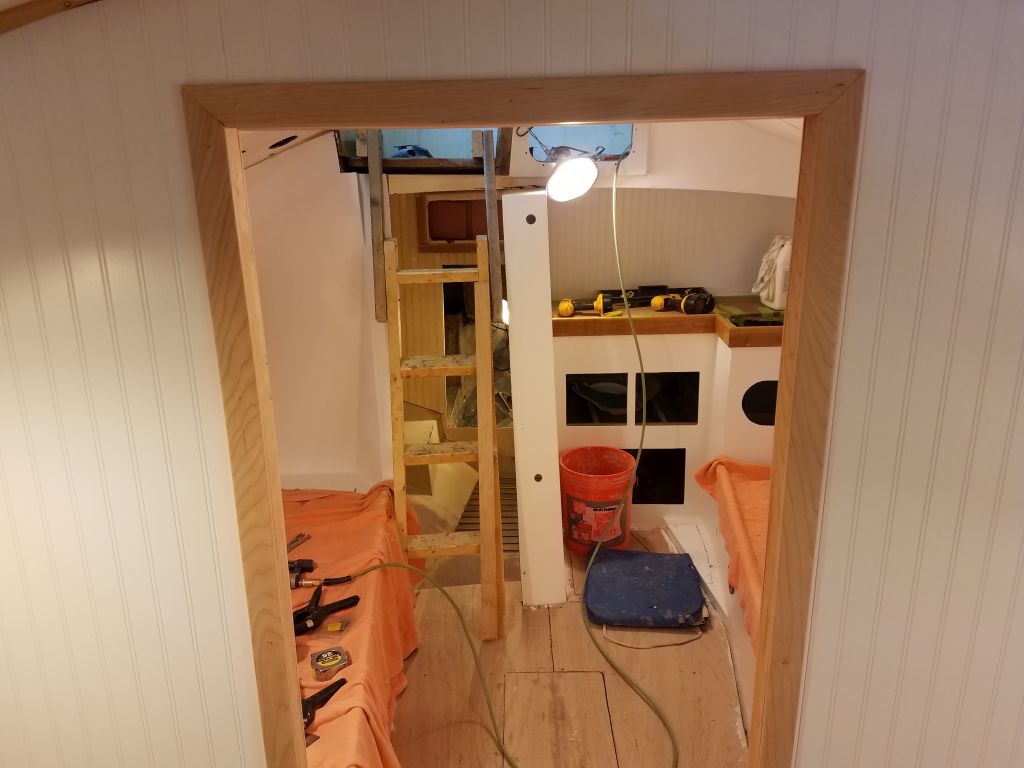
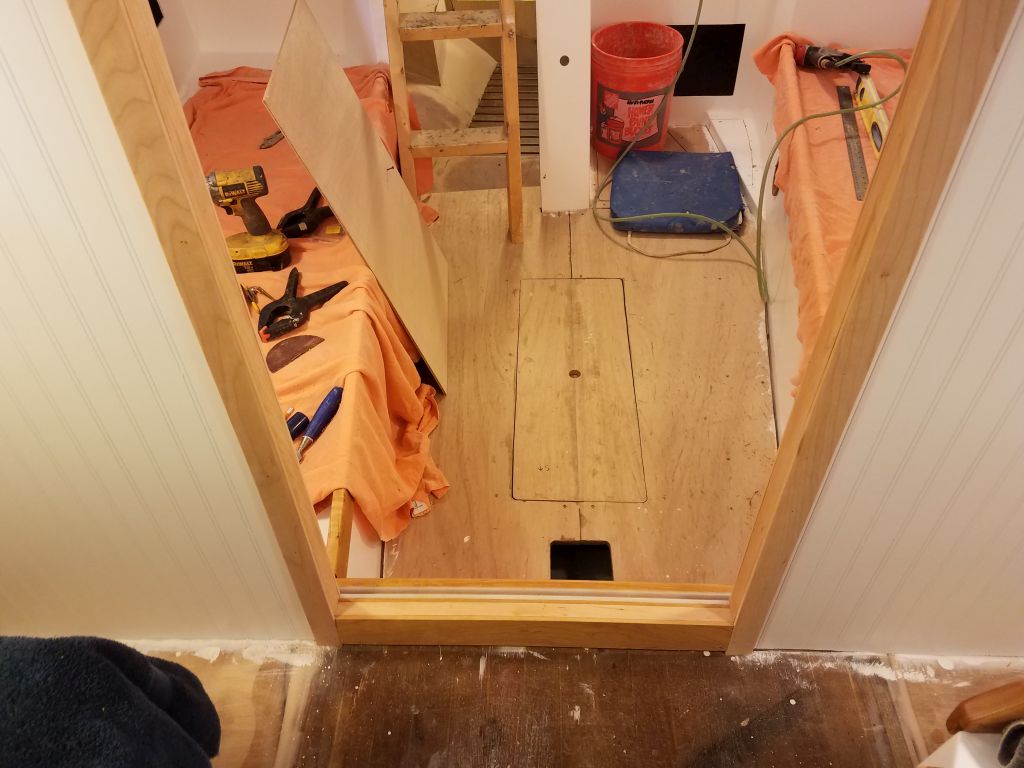
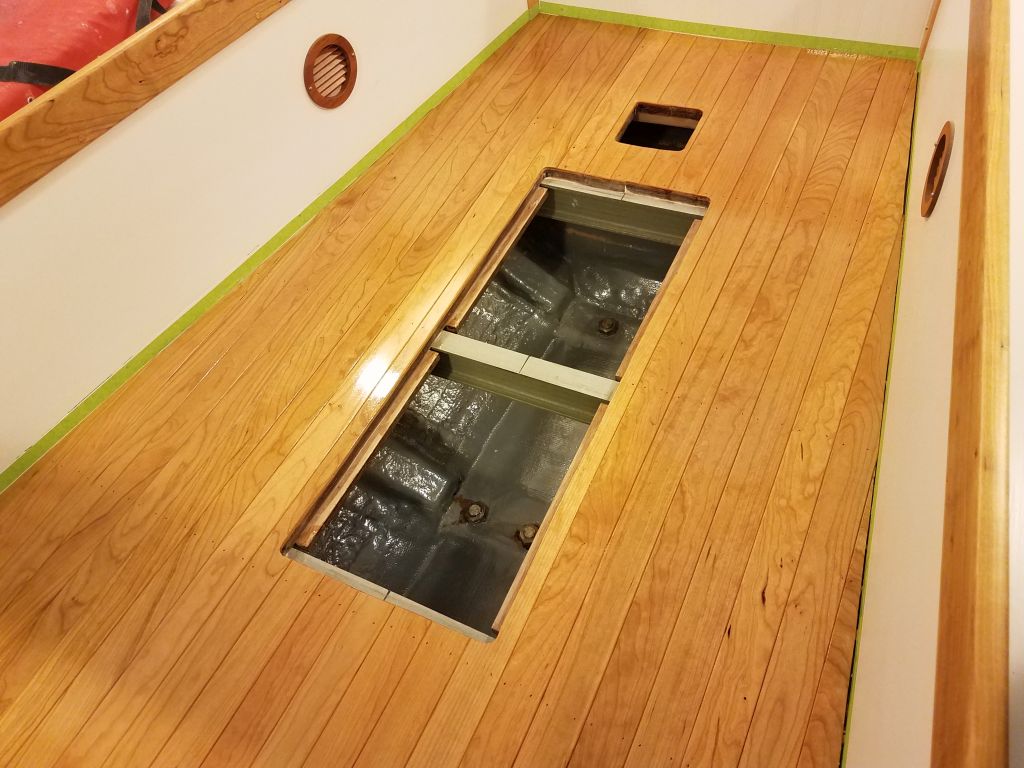
After removing all the trim pieces so I could sand and varnish them separately, I cleaned up the cabin and masked around the sole in all areas, then lightly sanded it to prepare for varnish, which I did next.

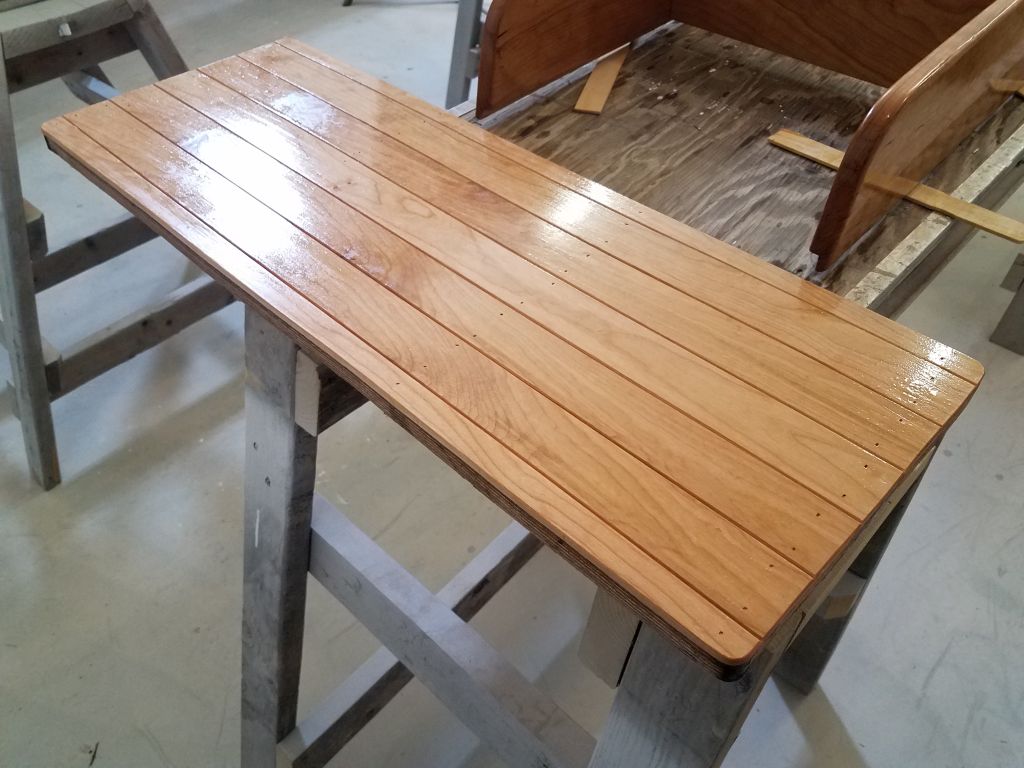
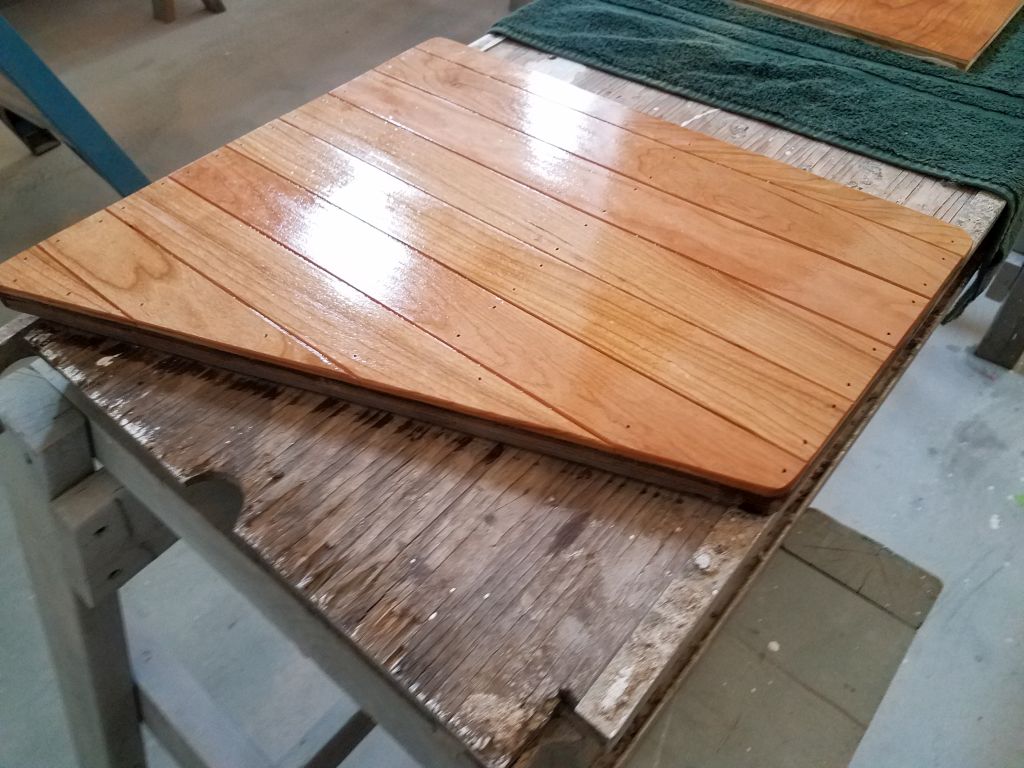
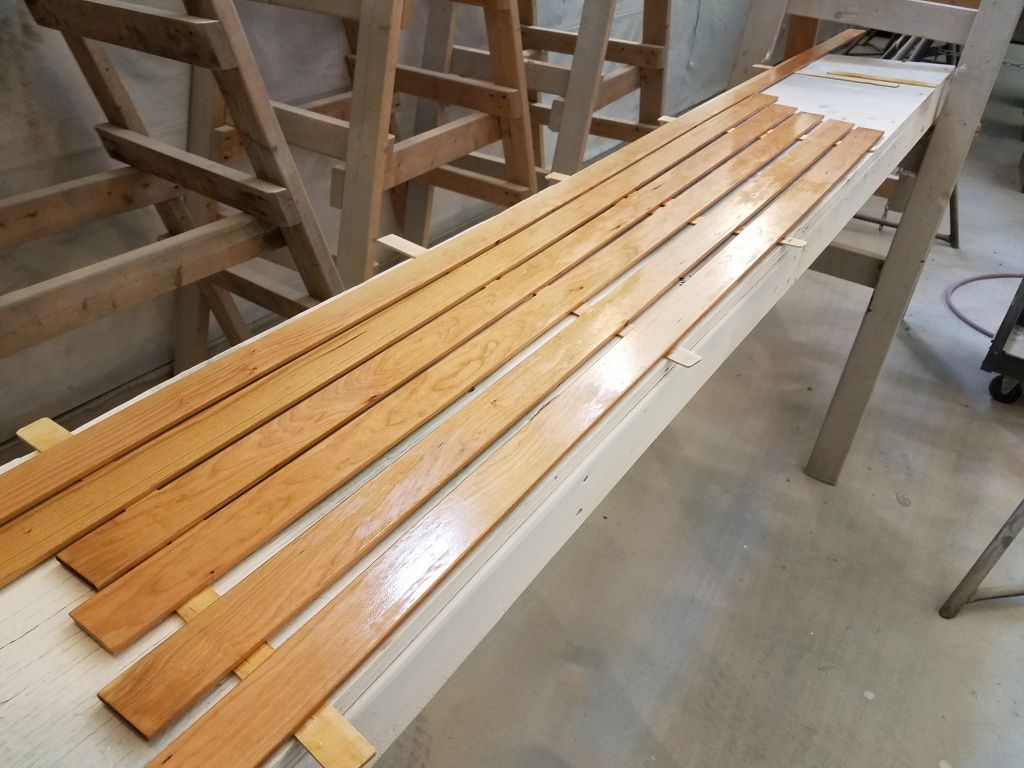
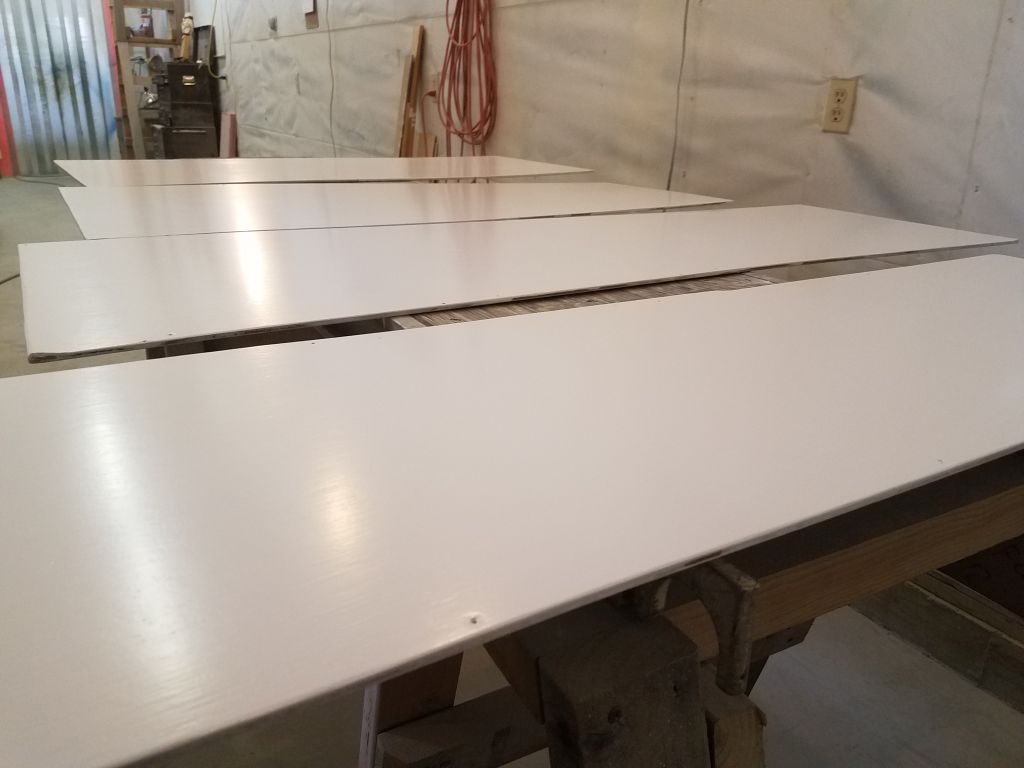
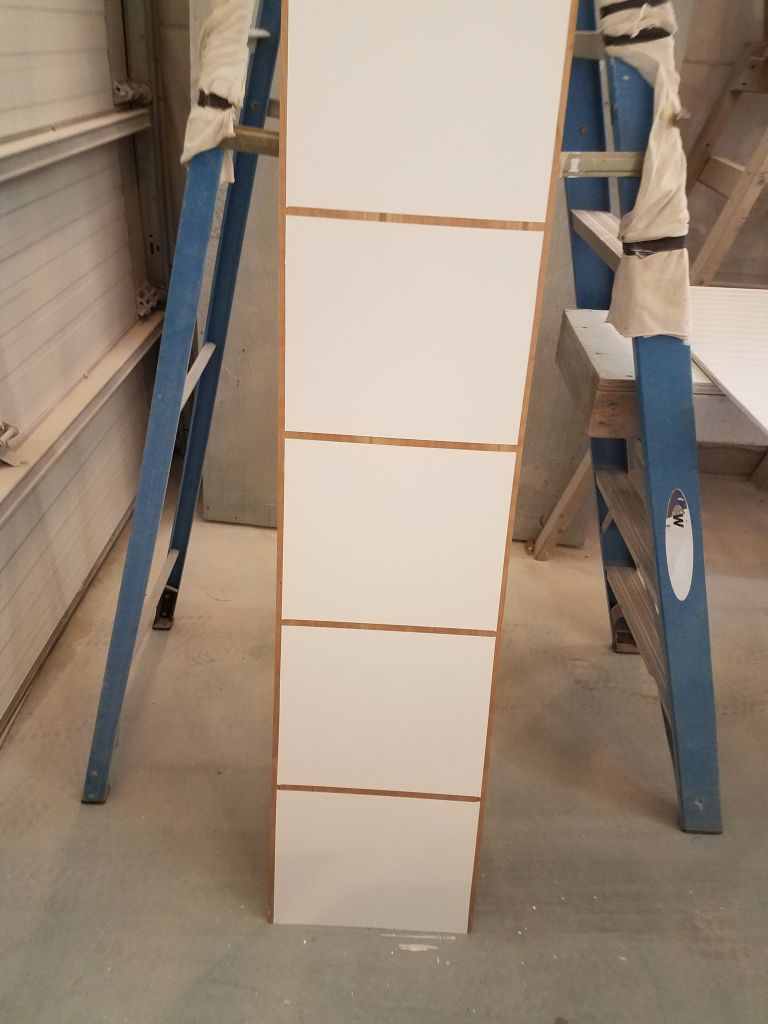
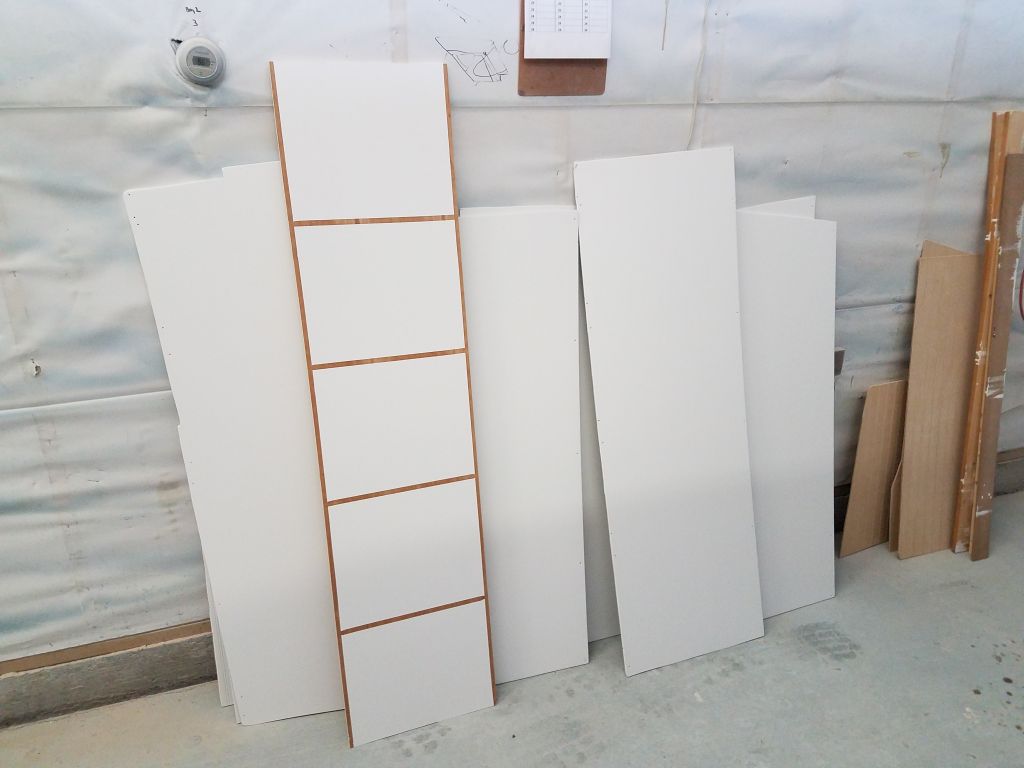
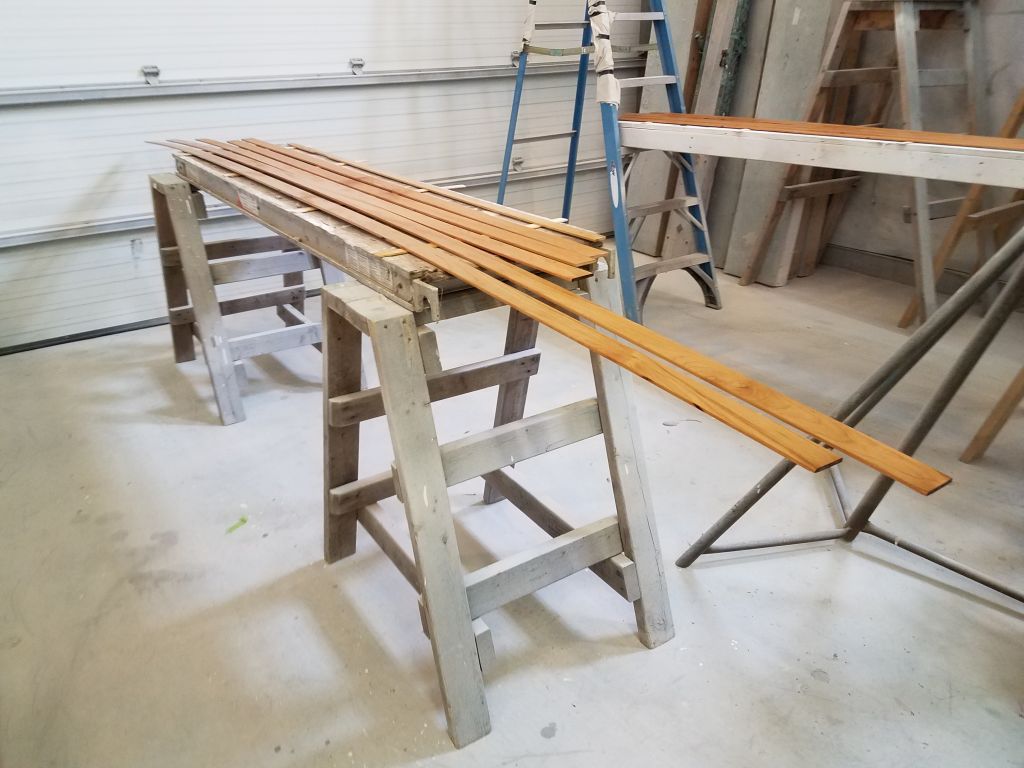
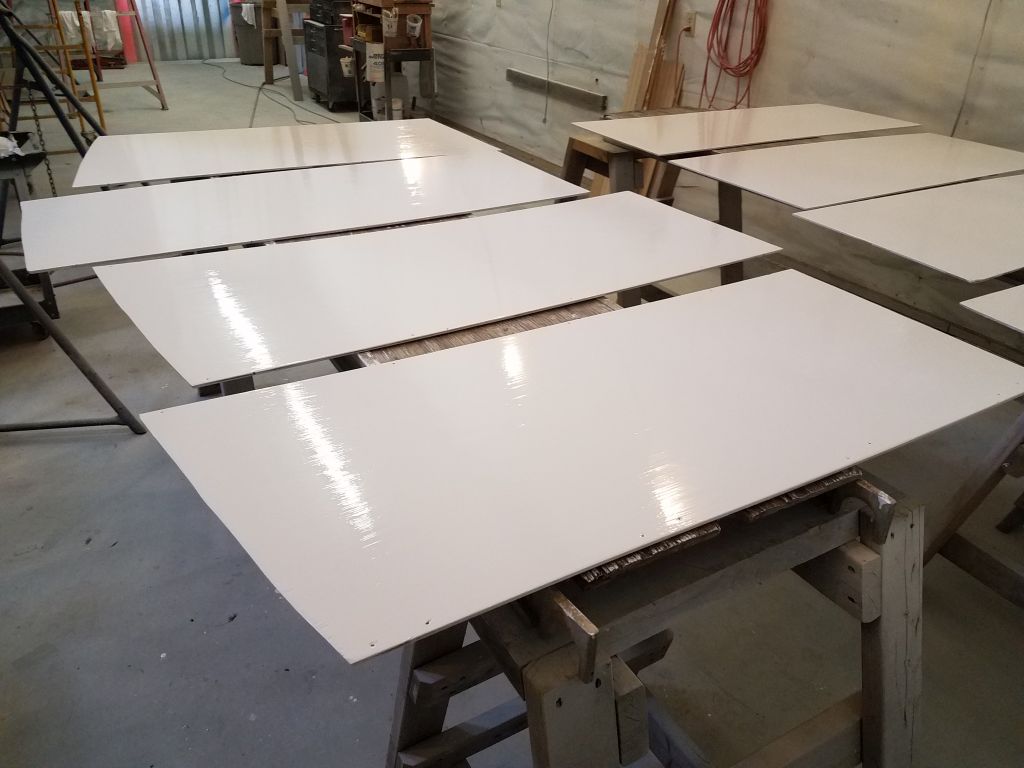
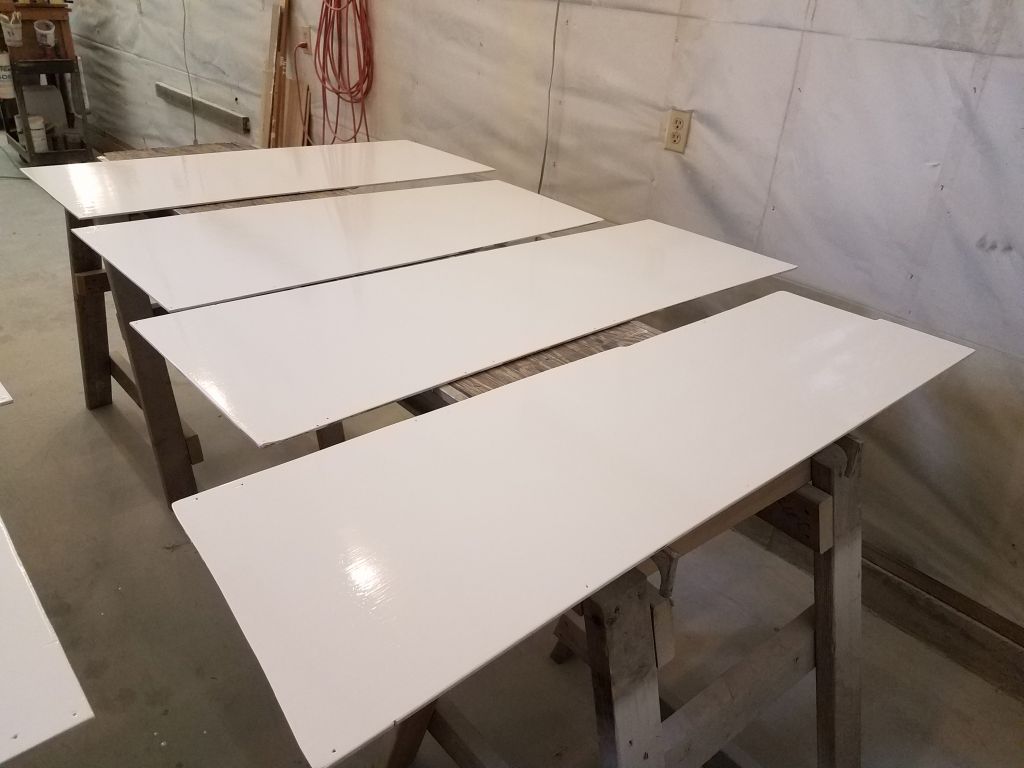
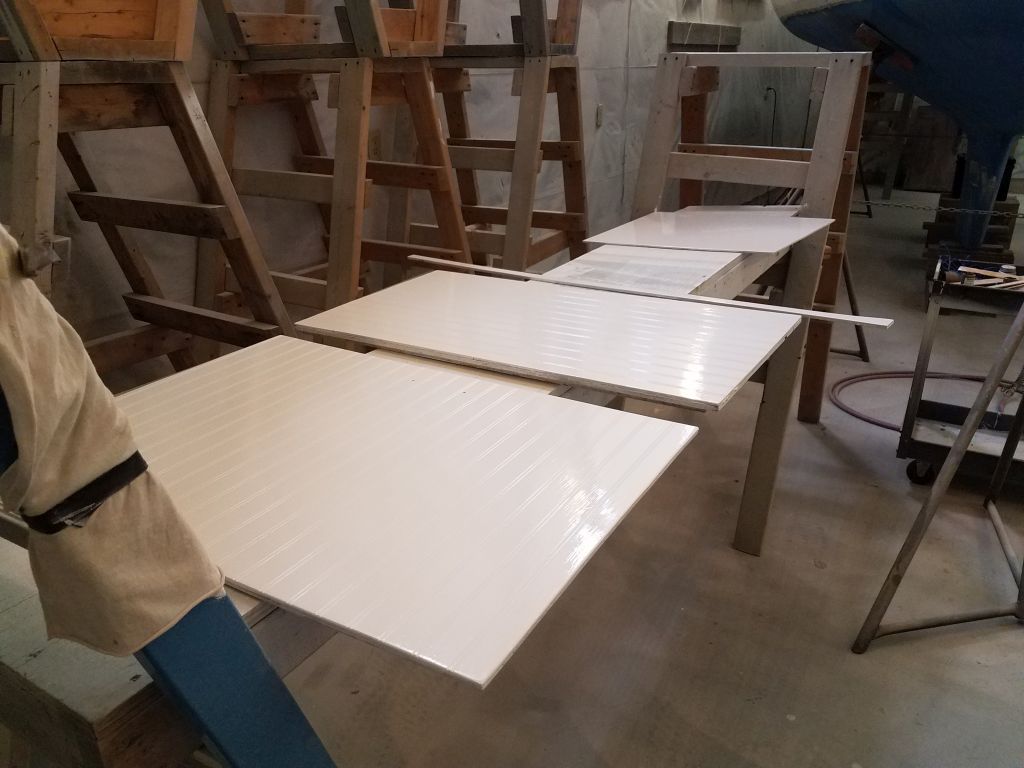
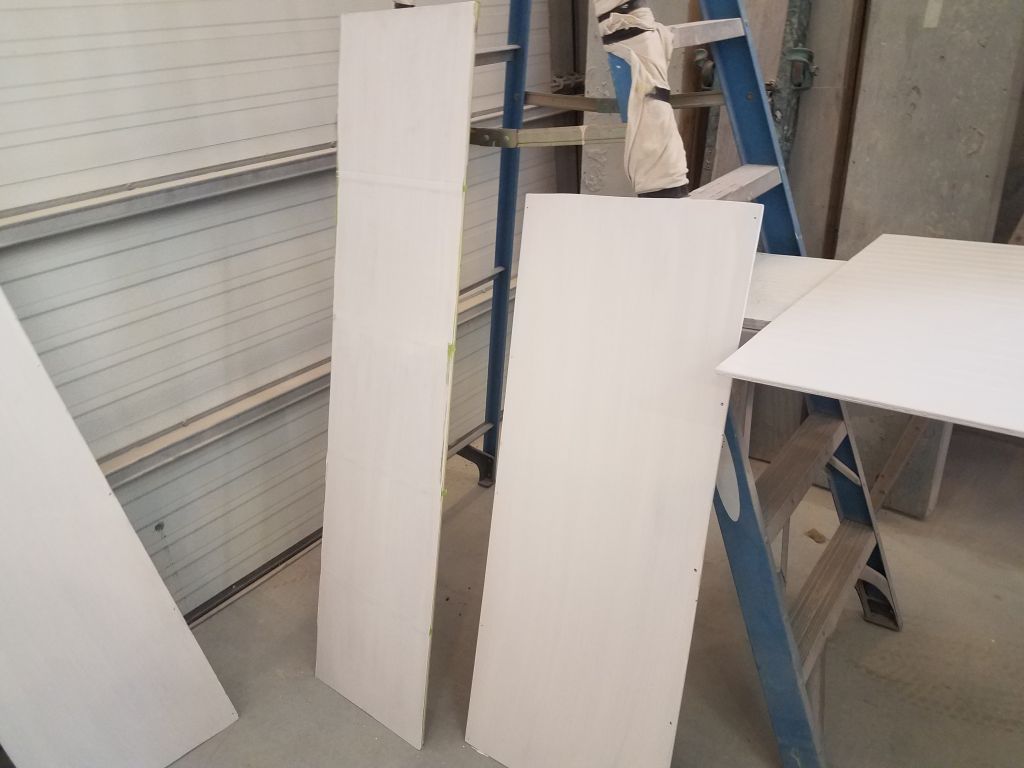
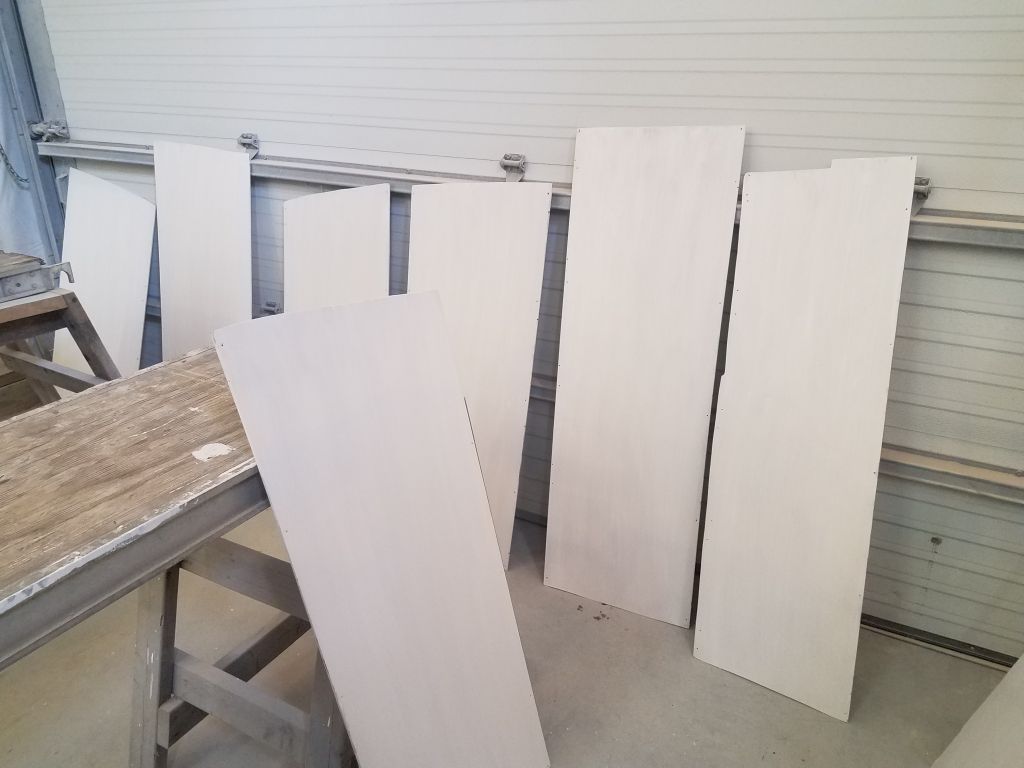
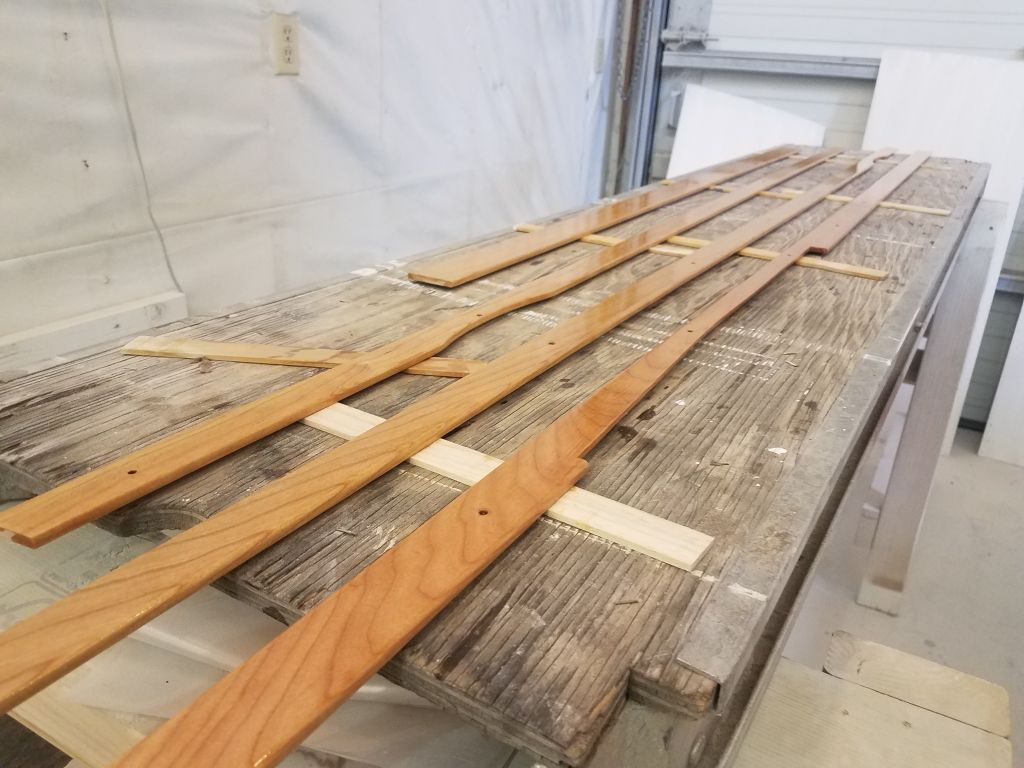
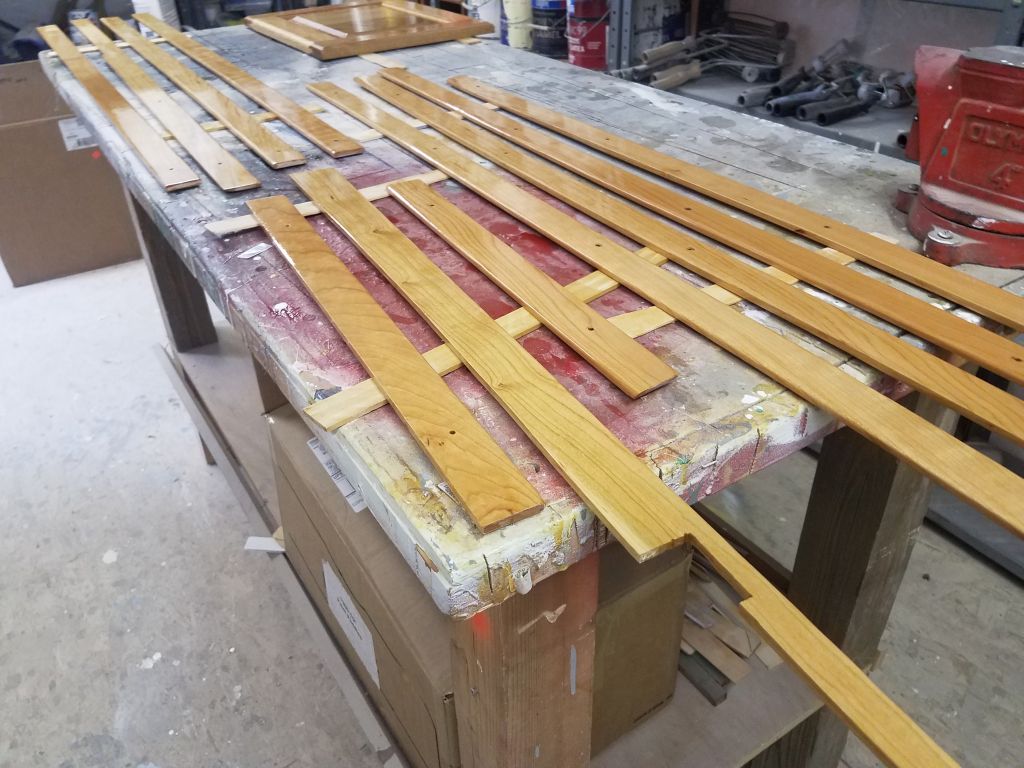
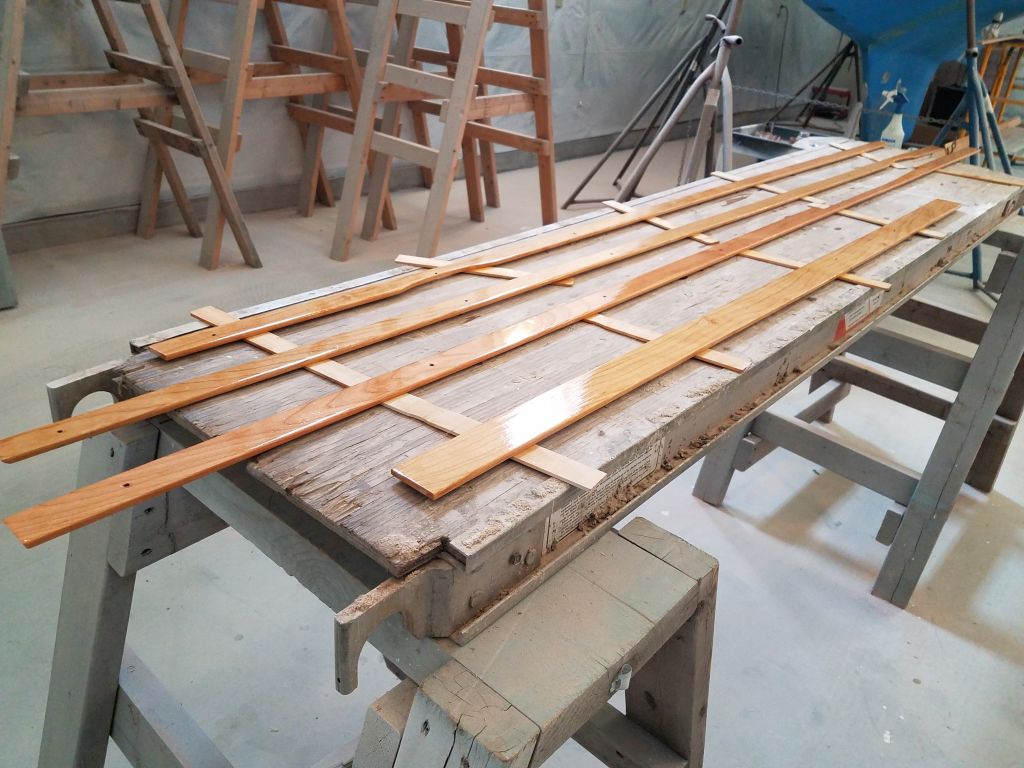
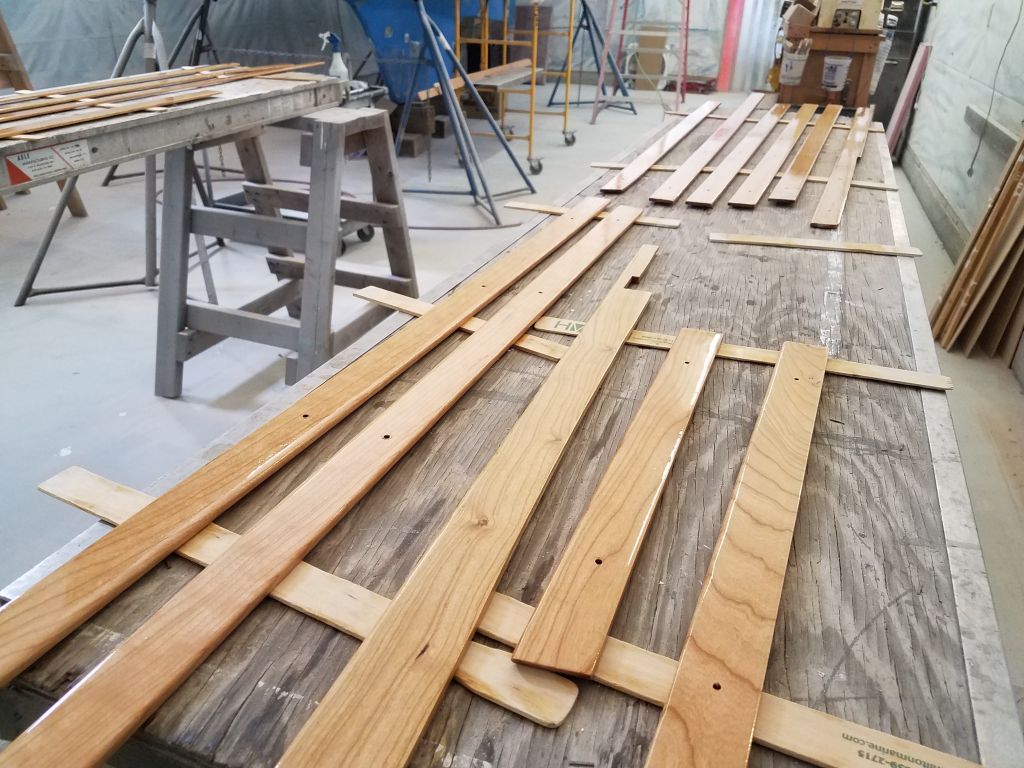
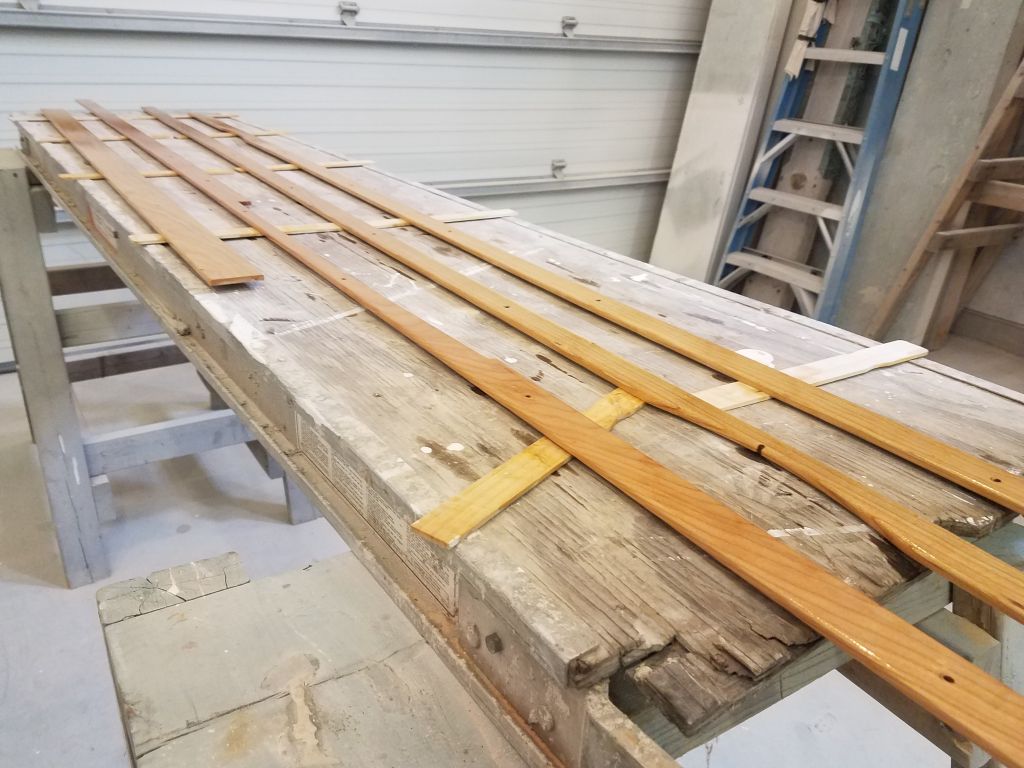
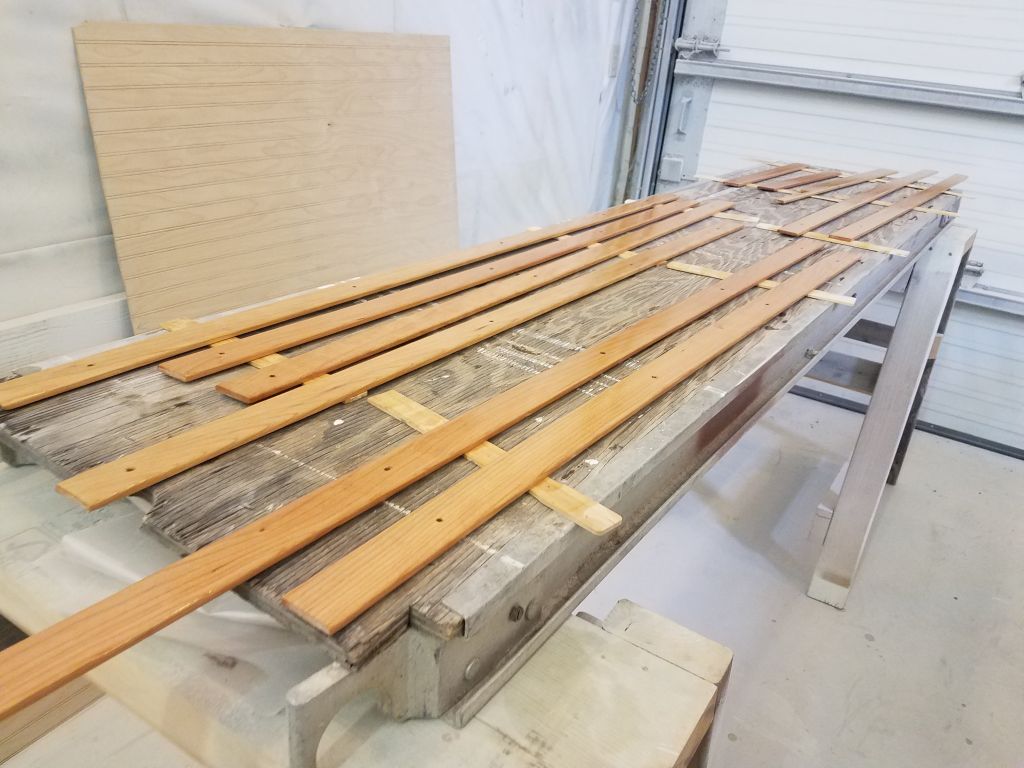
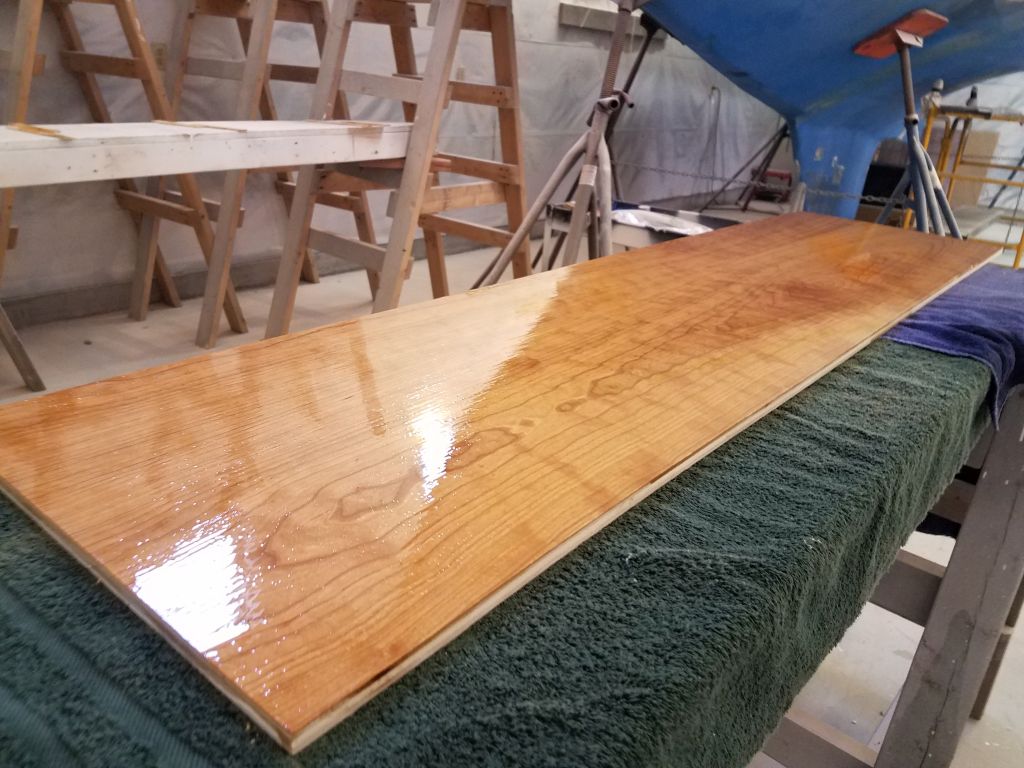
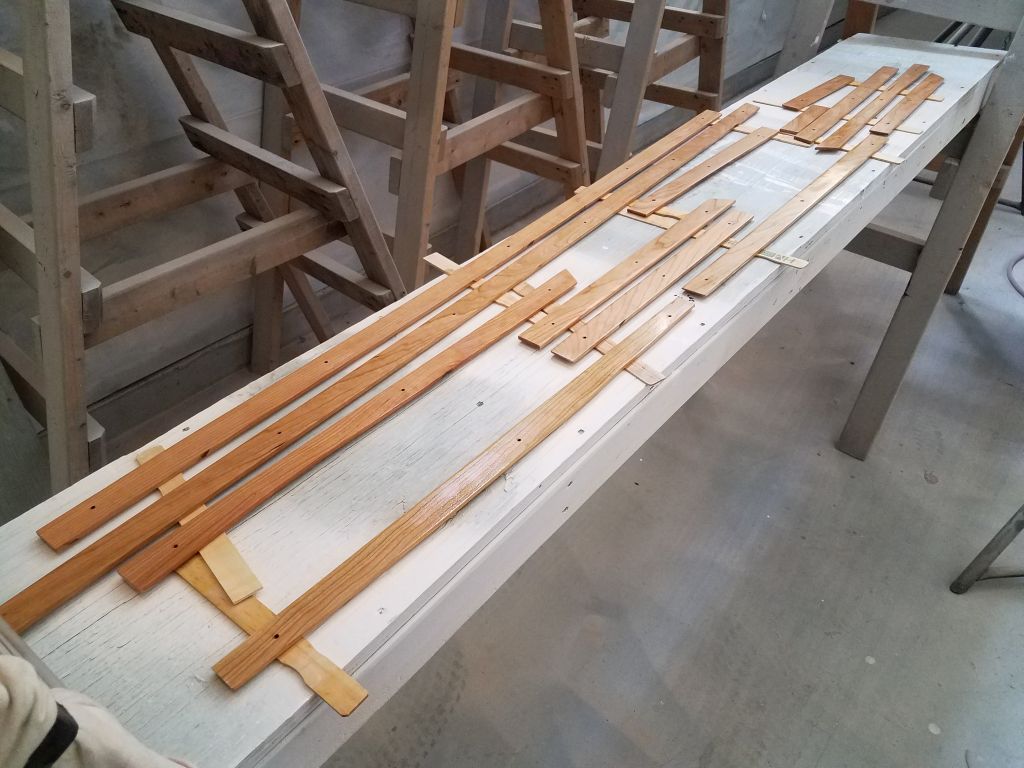
Next, I sanded all the trim pieces as needed to remove layout and tool marks, and to lightly round the top edge for appearance.  Afterwards, I applied thinned varnish to all sides of the trim pieces.

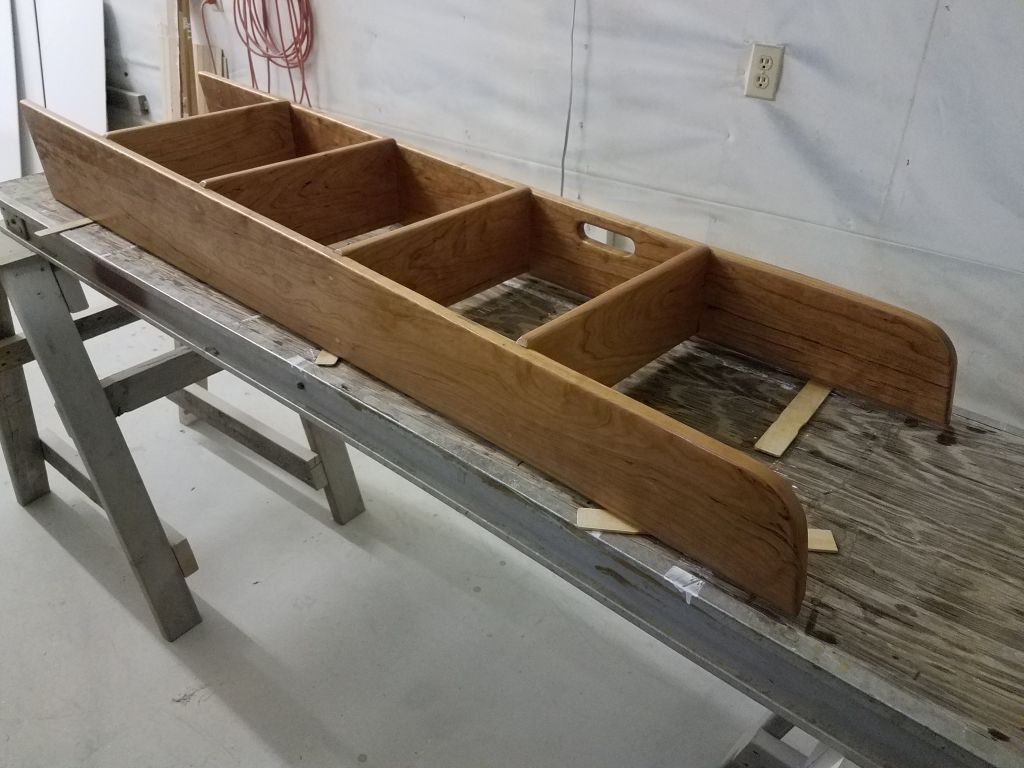
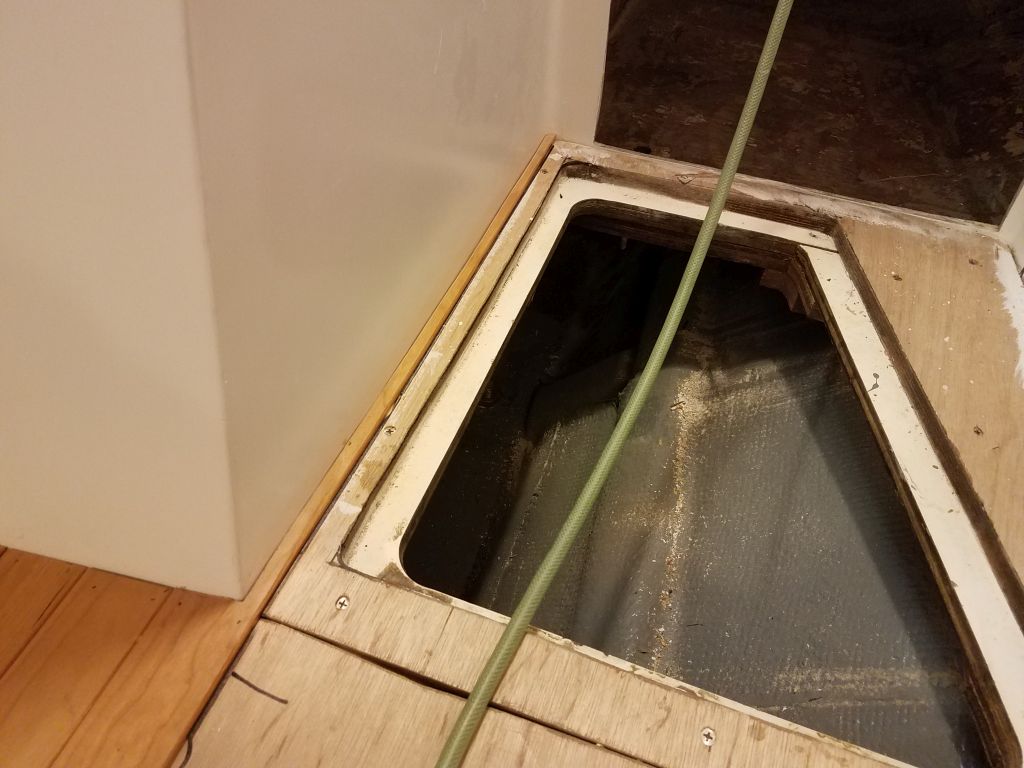
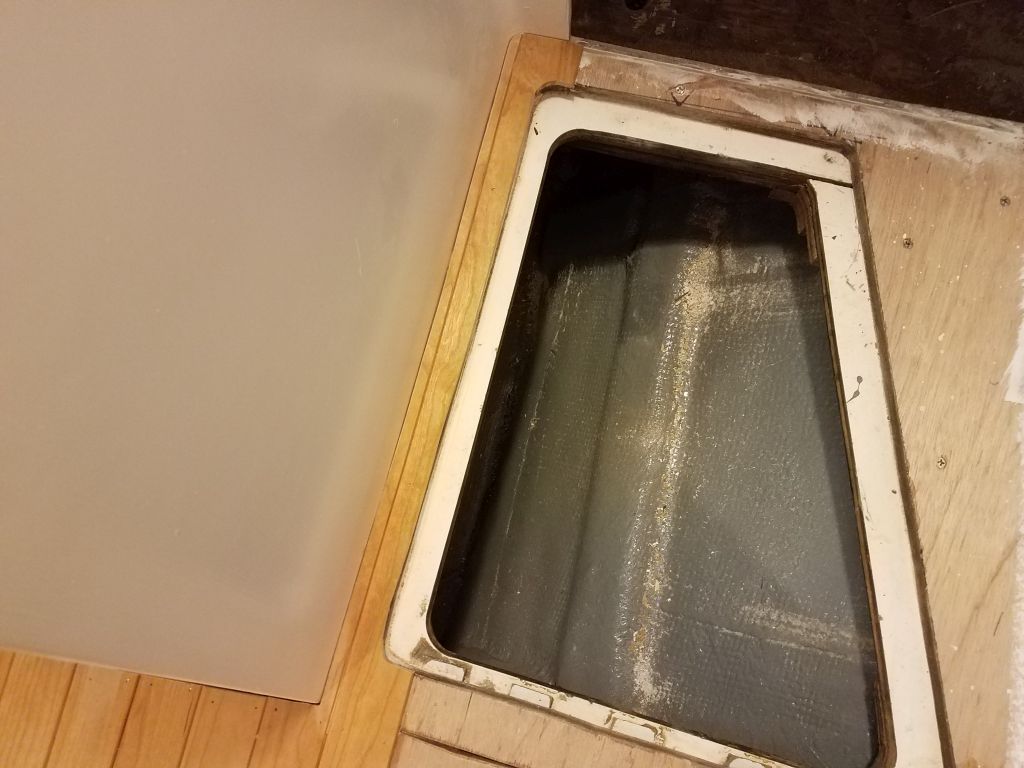
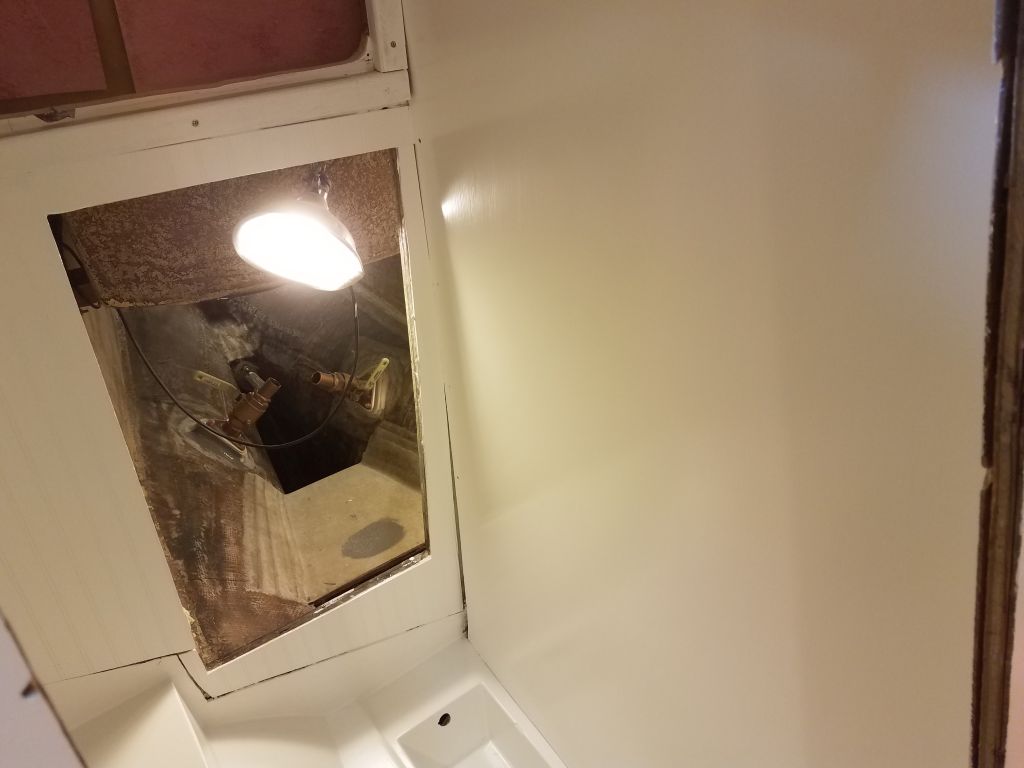
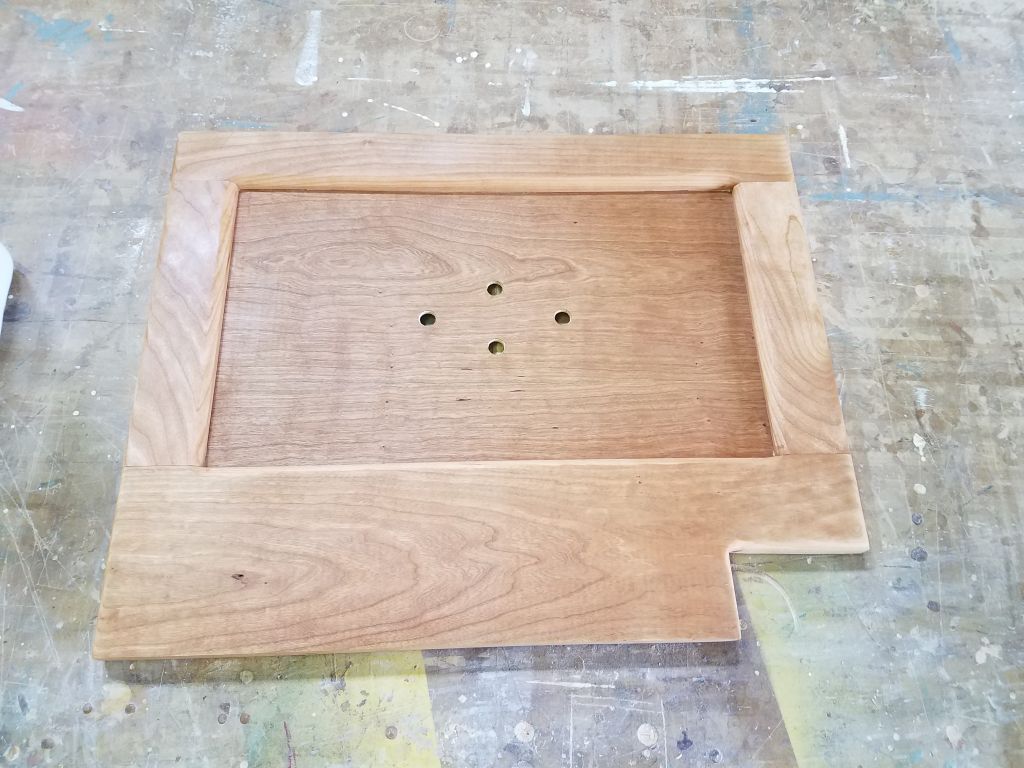
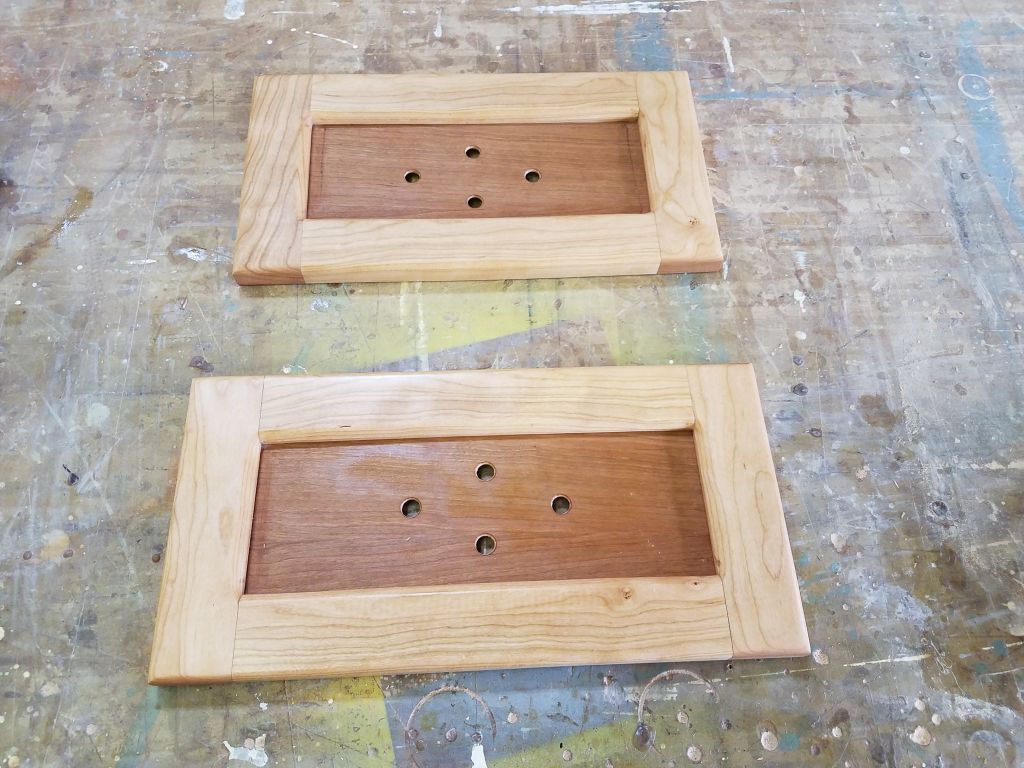
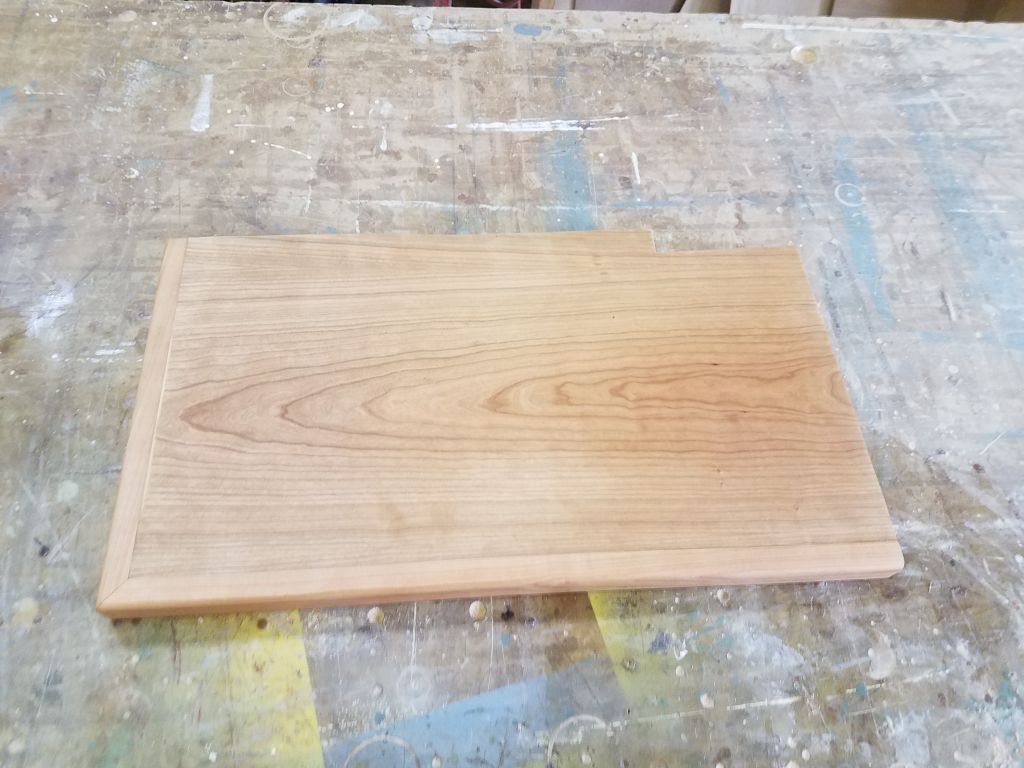
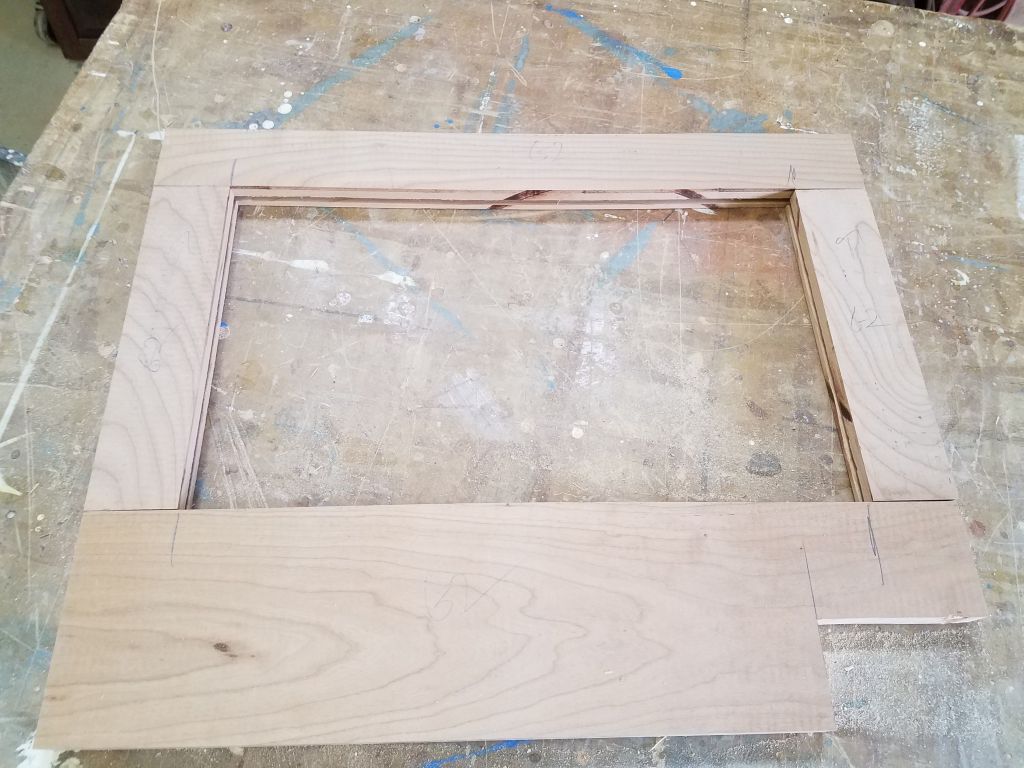
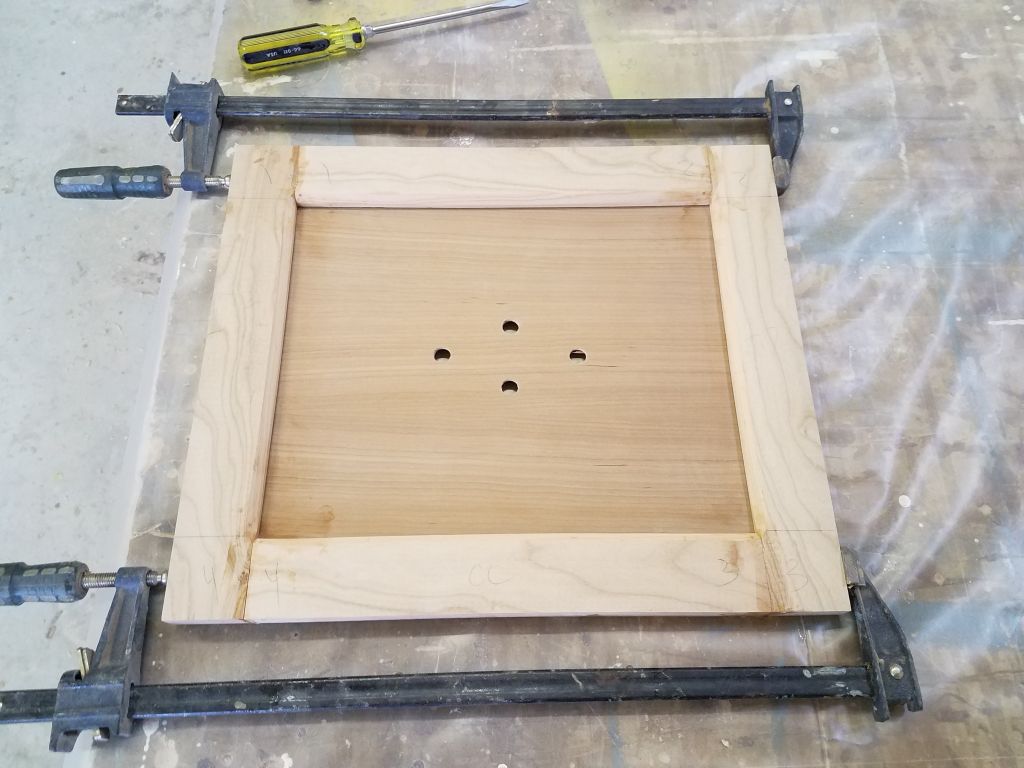
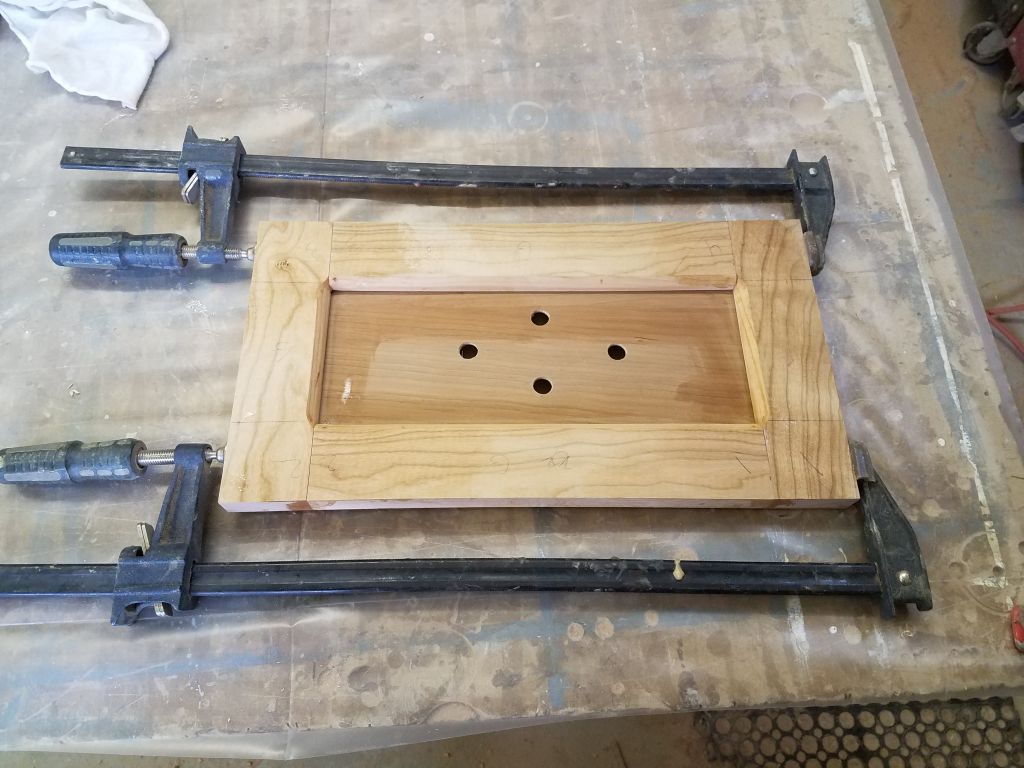
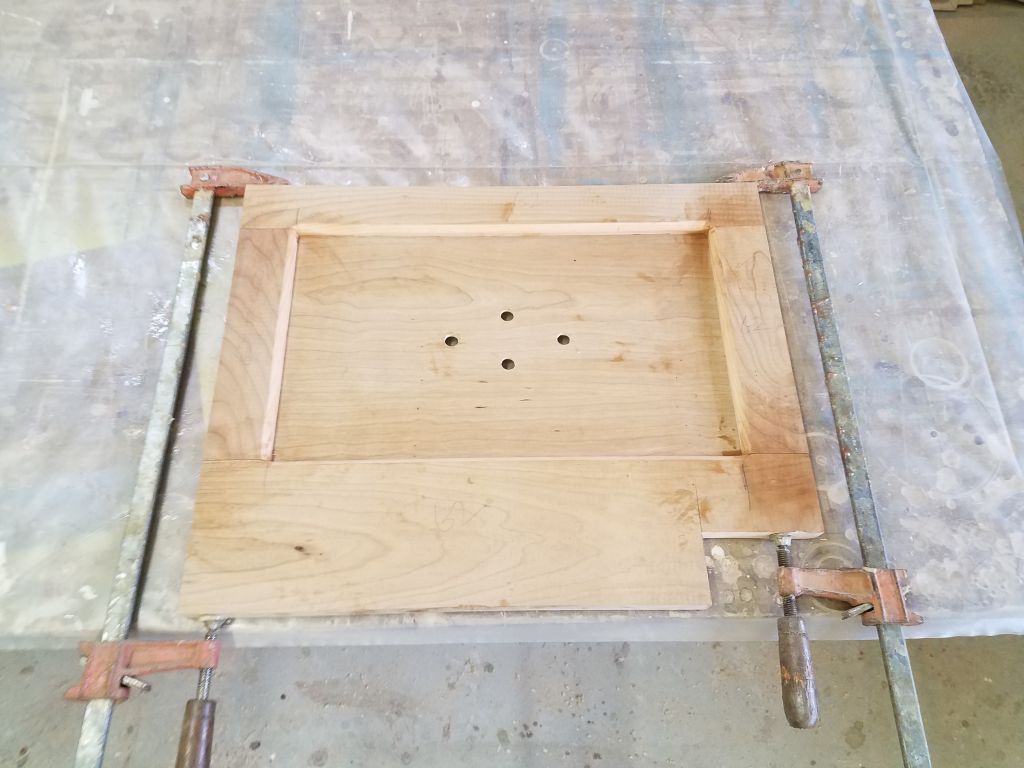
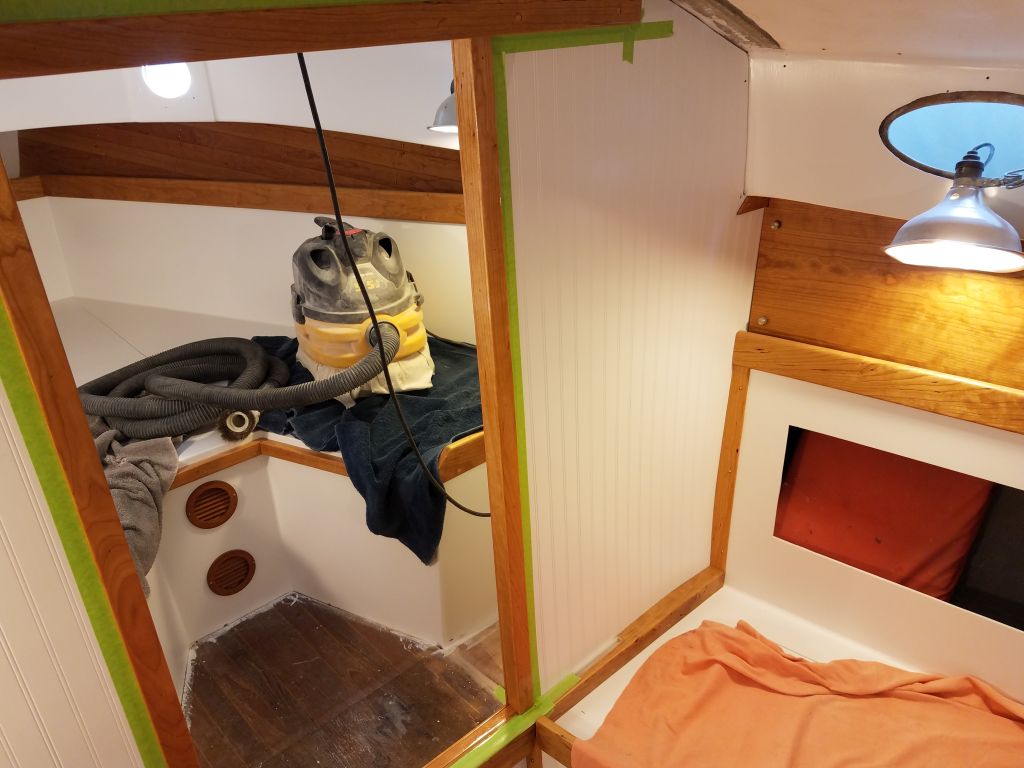
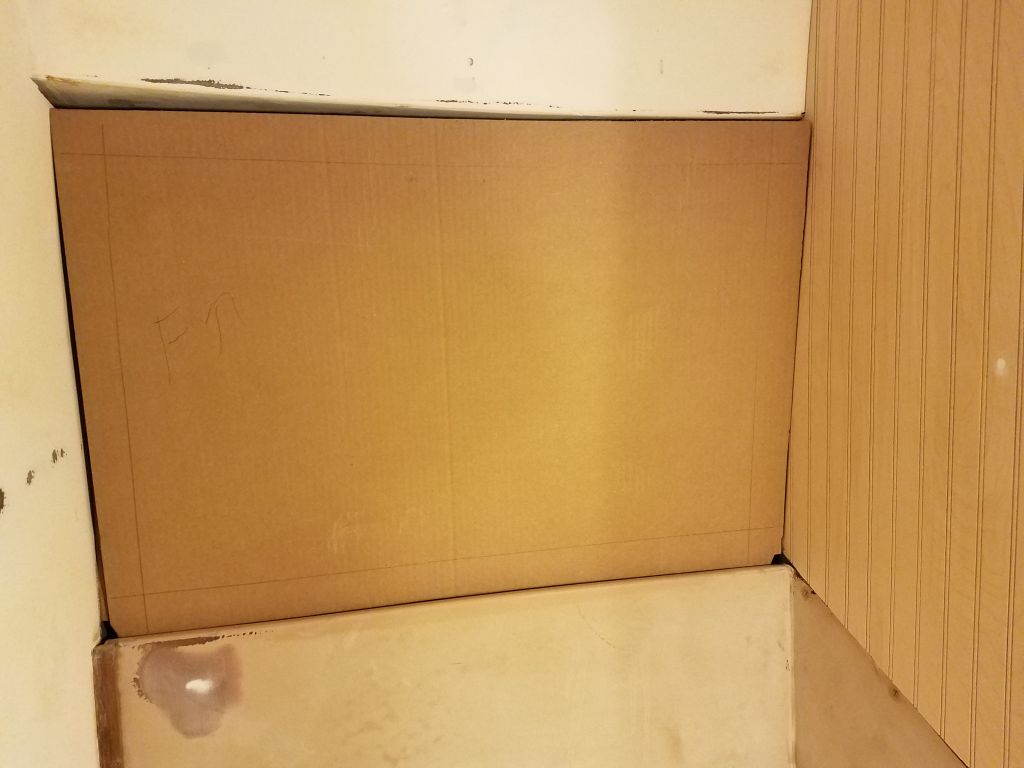
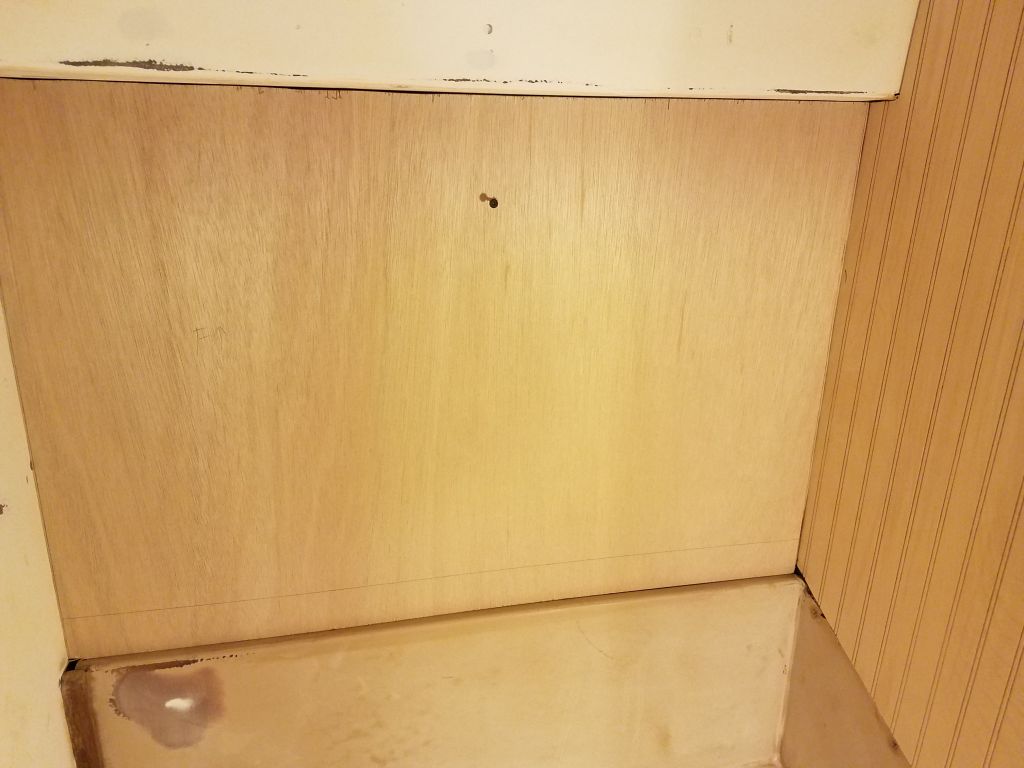
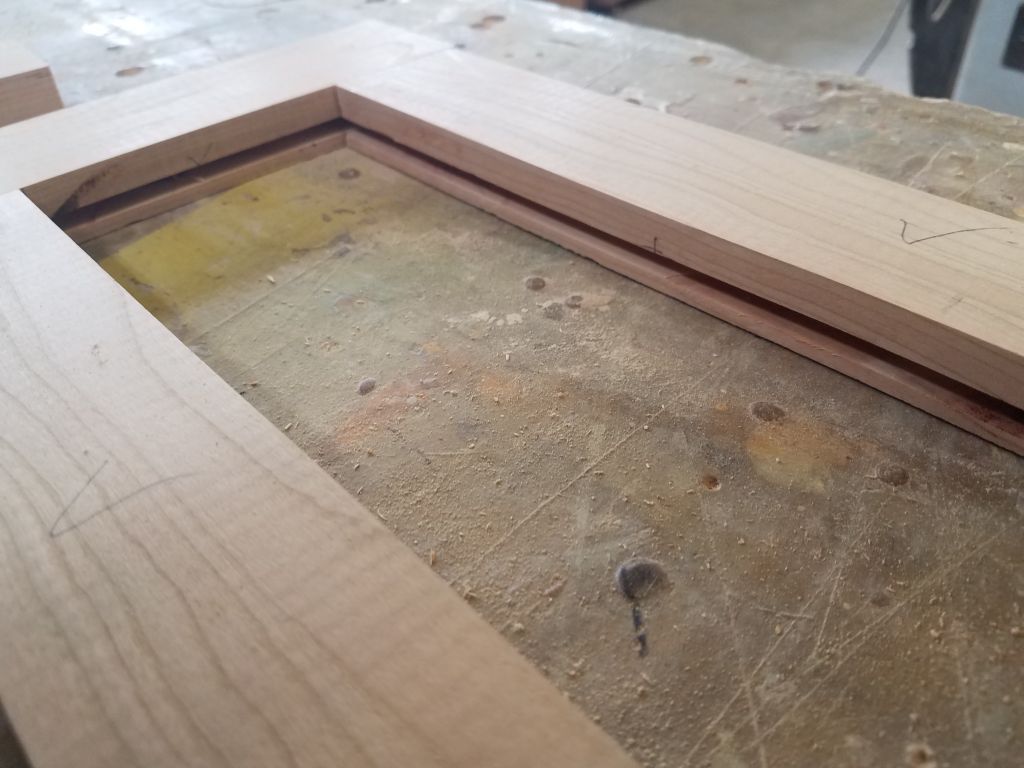
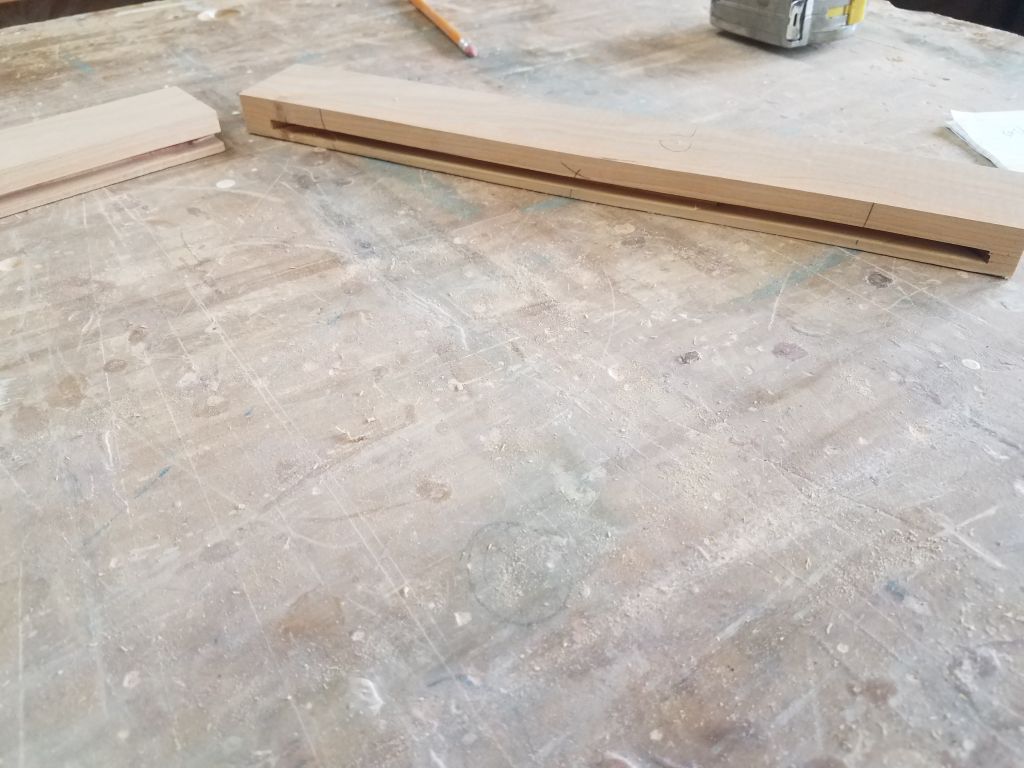
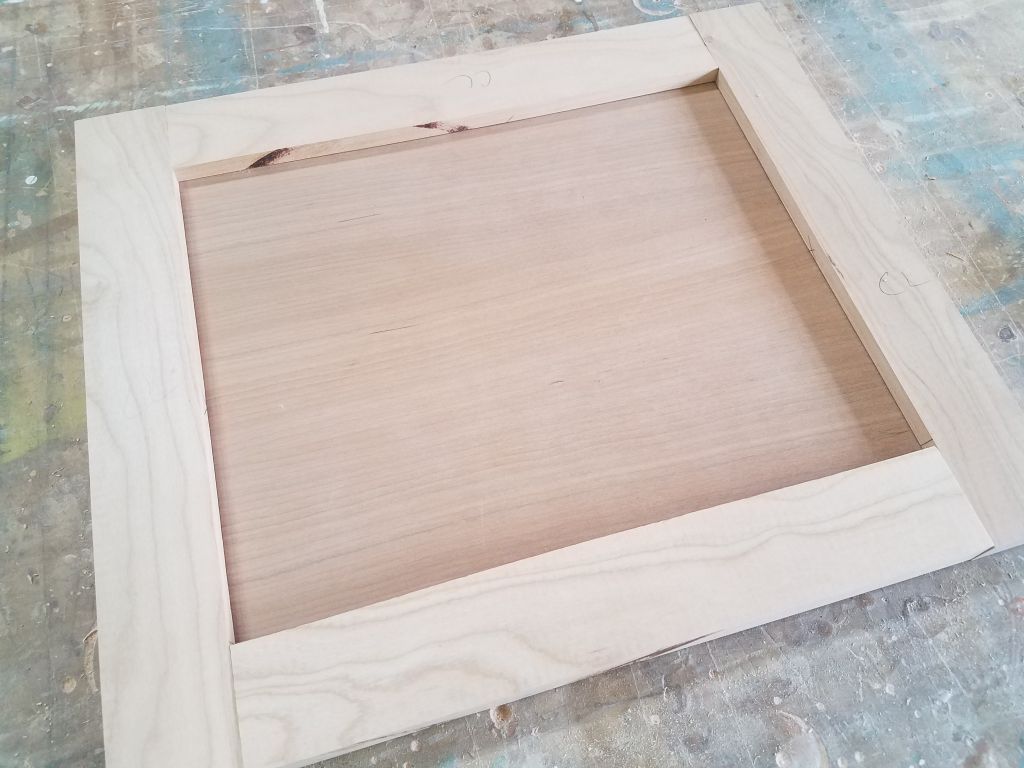
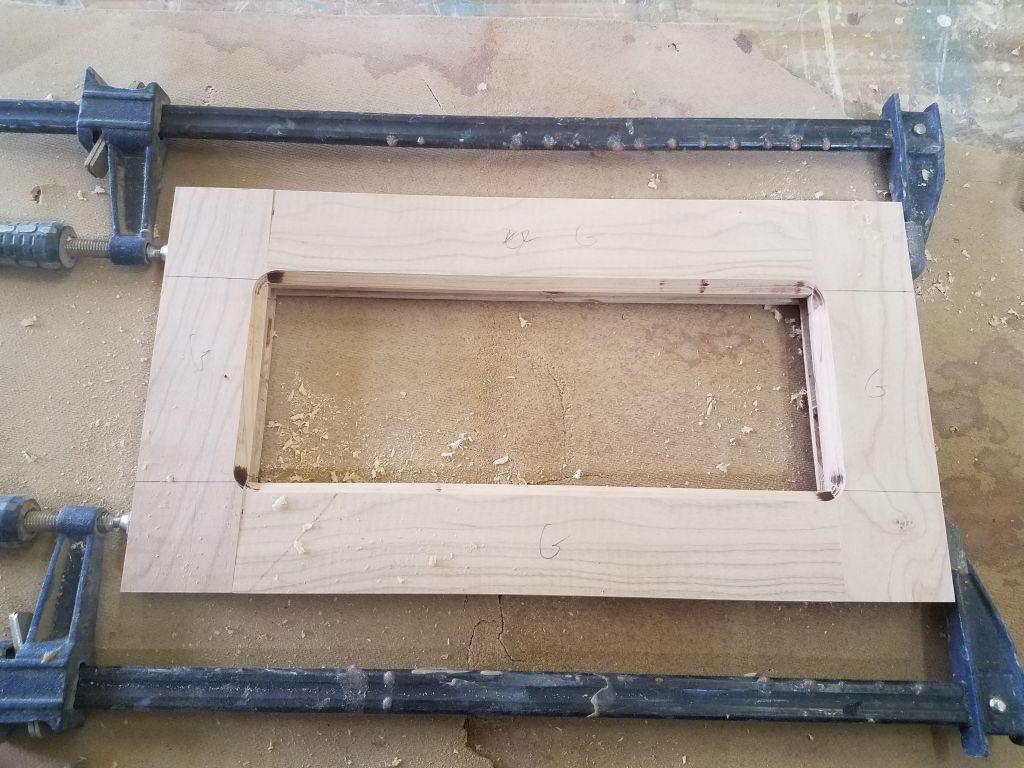
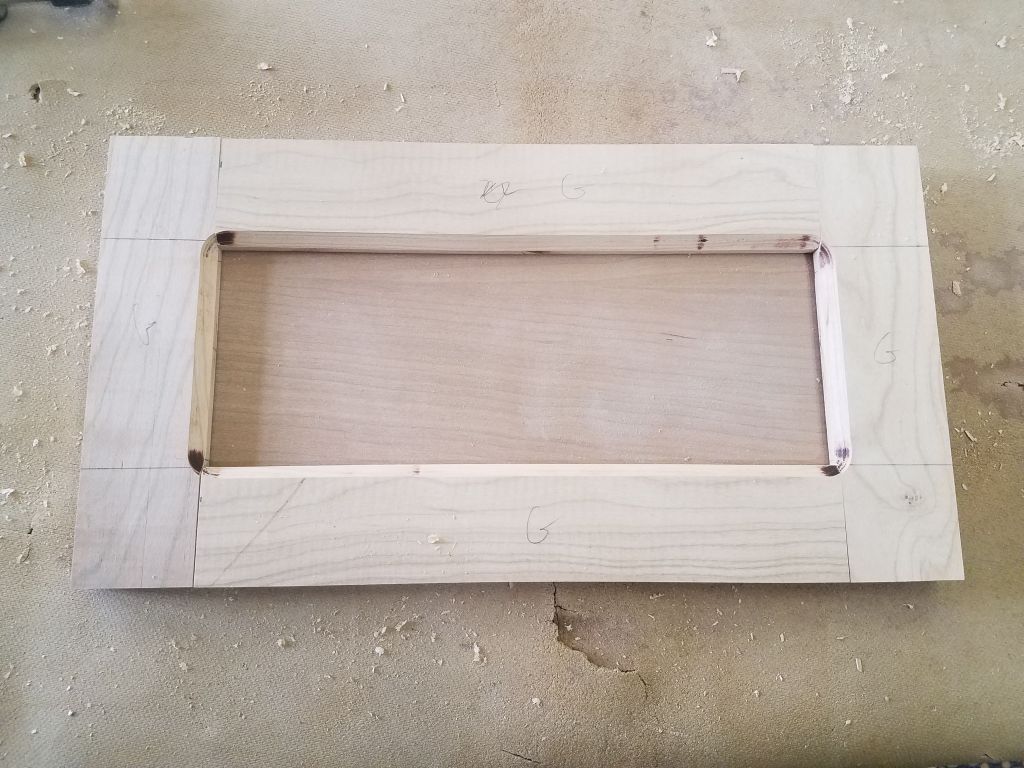
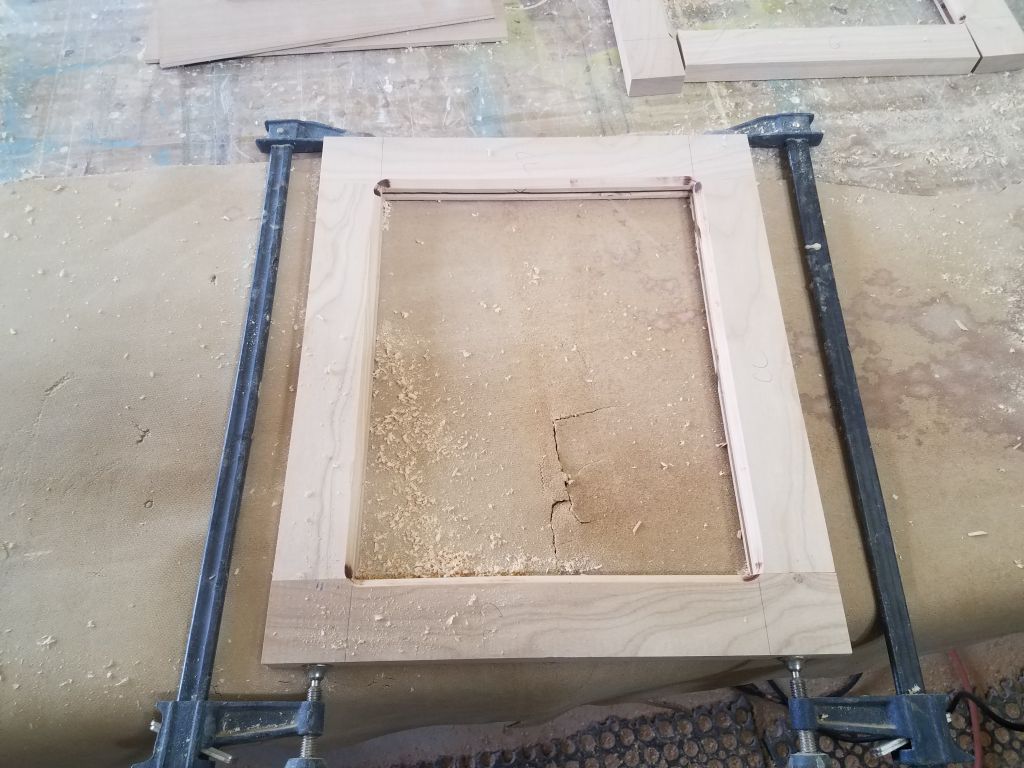
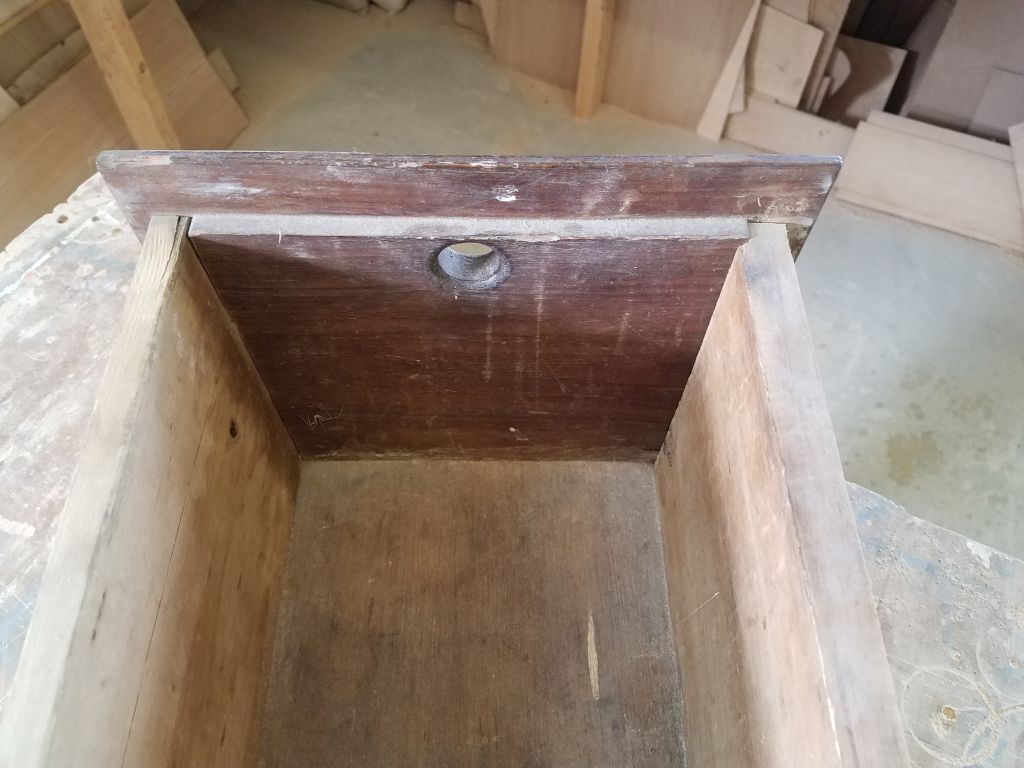
With a little time left in the day, I turned to the two drawers from the galley.  I’d thought of reusing the original drawer bodies and just replacing the old teak fronts with new cherry, but there were several reasons I quickly decided against this:  First, the drawers were nailed together, and it was unlikely I could successfully separate the old fronts without damaging the old, dry pine drawer boxes; second, the bottoms of the drawers, made from 1/4″ plywood, were delaminating and semi-rotten; and finally, the whole construction wasn’t fancy enough to warrant efforts to save and maintain the old units, and the surfaces were worn and moldering from previous dampness and dry-outs.

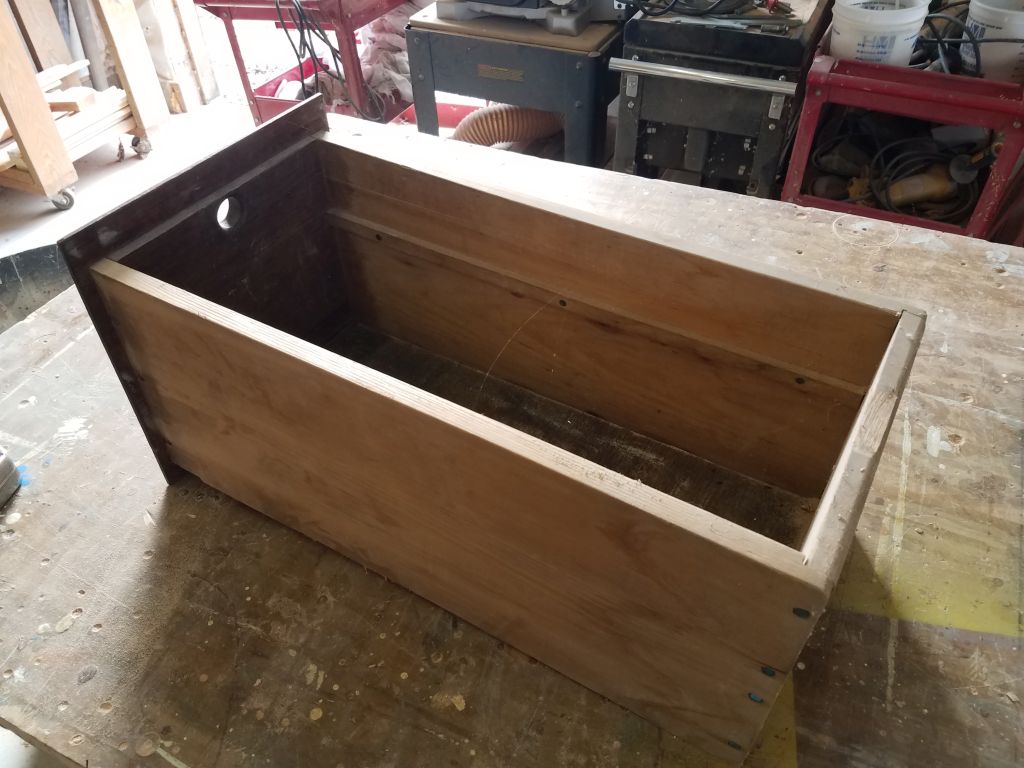
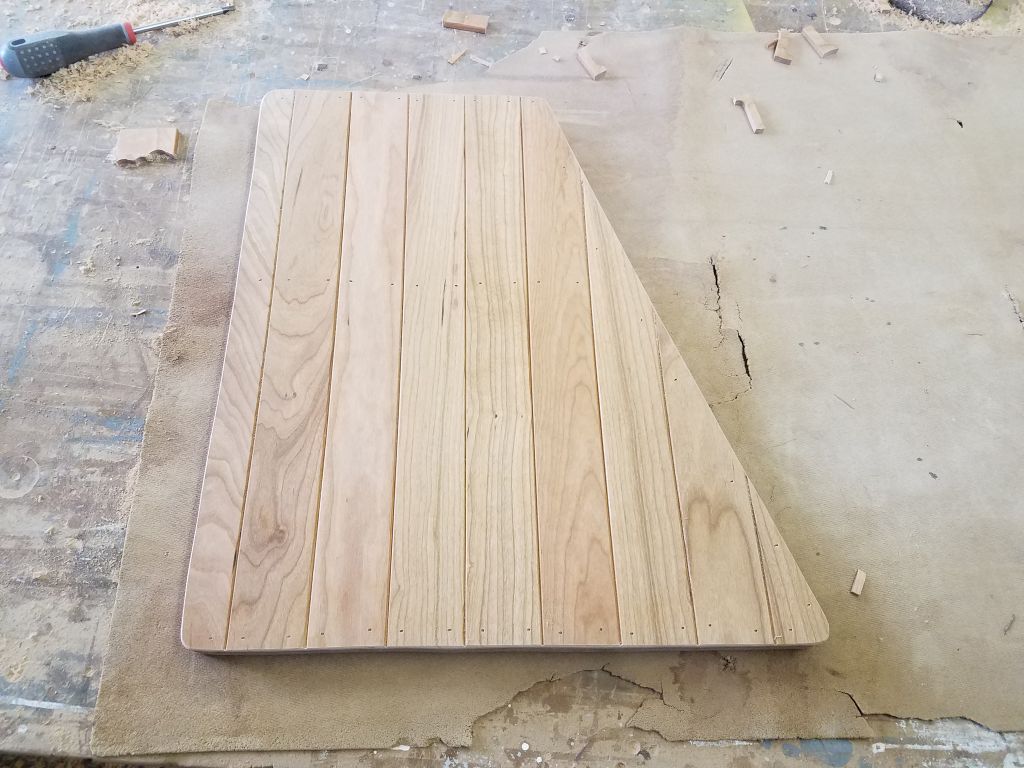
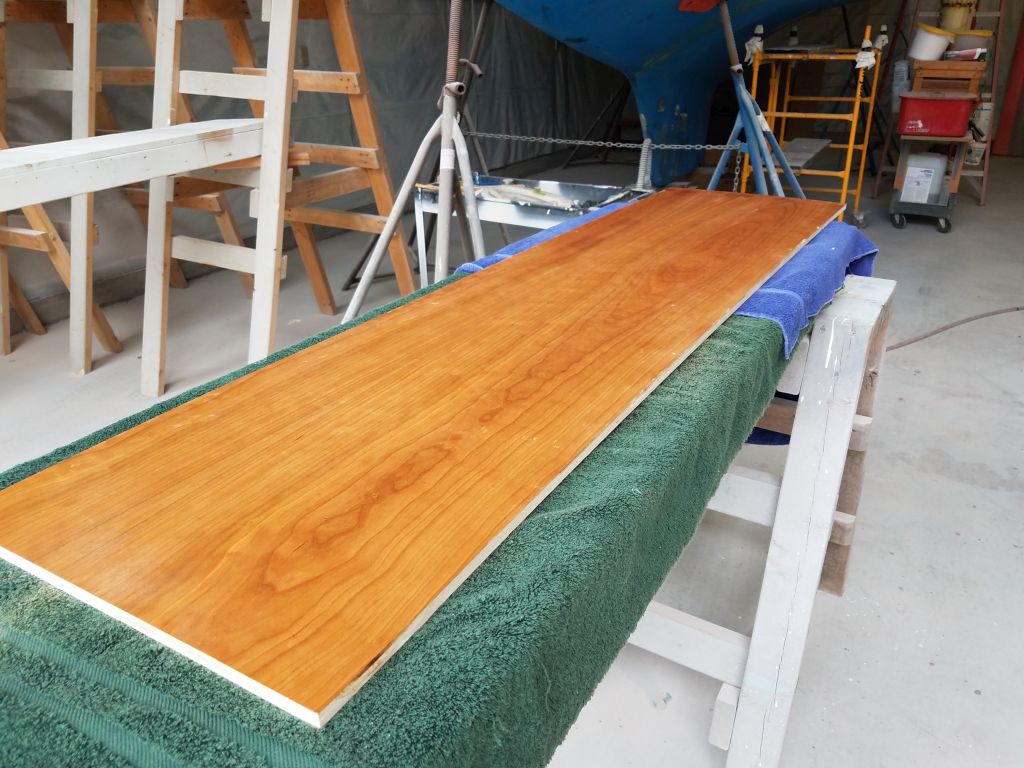
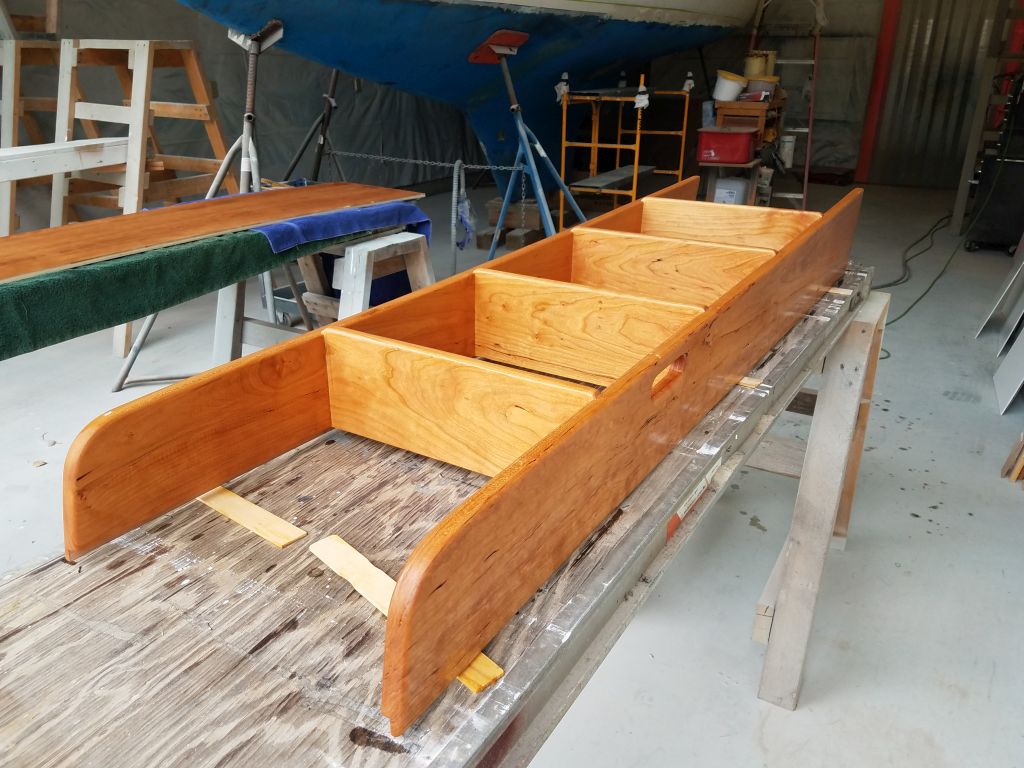
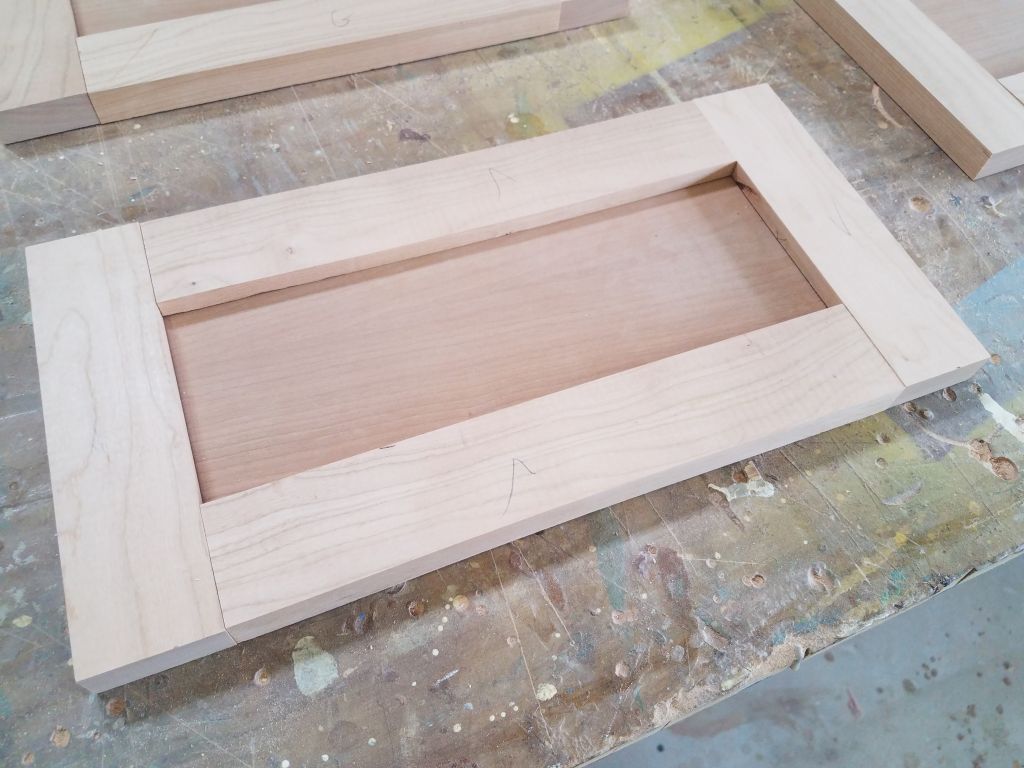
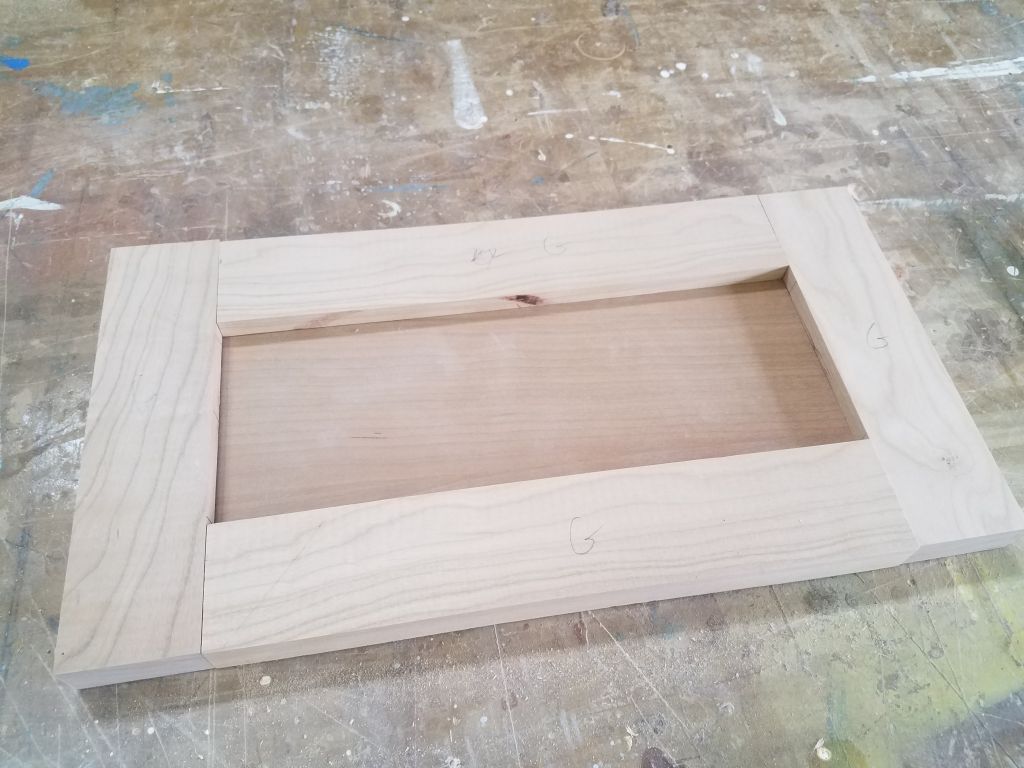
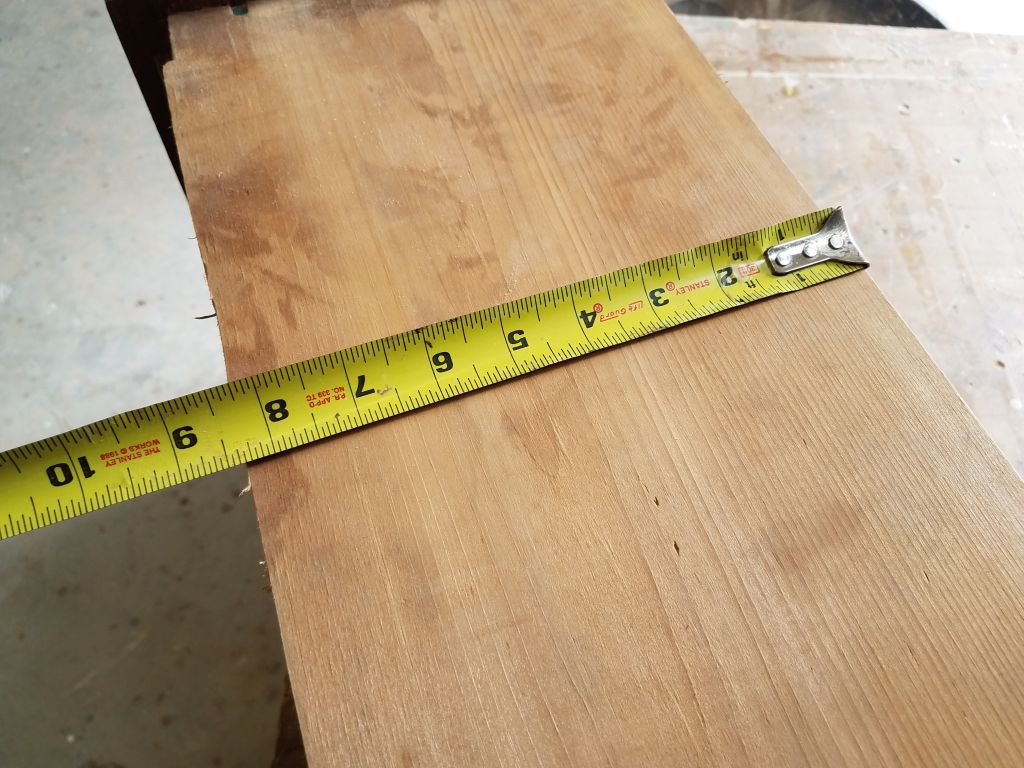
I had just barely enough 12mm plywood of sufficient dimension left on hand from which to build new drawer boxes, so after measuring the sides of the original drawers I milled four new plywood sides to the proper dimensions.  This left me just enough material to make the drawer backs, but the backs’ final dimensions would depend on how I ultimately chose to secure the boxes together, so as it was late in the day I left that task till another time.

Total time billed on this job today:   8 hours

0600 Weather Observation:  38°, partly cloudy. Forecast for the day:  Partly sunny (what?), 58°

Scupper 132

Wednesday

An appointment kept me out of the shop much of the day, but upon my return in the afternoon I had enough time to finish up the cabin sole in the forward cabin.  The process was the same I’d been through on previous days, and was not particularly noteworthy.  Once I filled in the center opening in the berth, the planks were all short in length, but the bulkheads on both sides of each narrow space were inconsistent enough that I could only cut and install two or three planks to the same measurement before the lengths or angles changed enough to force a different size.

At the outboard ends, I removed the lower ceiling boards, which I’d held up 1/4″ to allow for the sole to slip beneath, and filled in the final angled pieces towards the curved hull; once reinstalled, the ceiling covered the plank ends cleanly.

To complete the installation in both cabins, my next step would be to cut and fit baseboard trim around all the edges:  a project for next time.

Total time billed on this job today:   3 hours

0600 Weather Observation:  40°, light rain.  Forecast for the day:  Clouds and showers, 50°

Scupper 131

Tuesday

With the varnish on the forward cabin door trim complete, I removed the masking tape.

Continuing on the cabin sole, I started with a small piece to fill in the last corner on the starboard side, then continued on the port side with four or five long boards to fill in the bulk of the remaining space.  As before, I cut lengths for the galley hatch and the tiny area aft of it from the same lengths of board at the same time to keep the grains consistent, and secured the planks with glue and brads.  Once I passed the forward corner, each board required long angle cuts on the ends to fit; the next-to-last piece fitted here required careful cuts at both ends, and a fair bit of final fitting before it was right.

This left a small triangular section that required a pattern and some test-fitting before I achieved the final fit and completed the main part of the cabin sole.

I’d collected the small pieces for the galley hatch down in the shop, and to finish things up now I glued and nailed these to the hatch cover itself.

After lunch, I took some time to prepare several additional boards–which I’d earlier dimensioned and planed to the proper size, but had set aside for later use–for use in the sole, since I’d used up most of the material I’d already prepared.  For these six or seven pieces, I sanded the chamfered edges on the top corners, cleaned them, then applied thinned varnish to all sides.  These would be ready for use next time.

While I had varnish underway, I took care of the second coat on the interior doors and companionway ladder.

With a router and flush-cutting bit, I trimmed the excess lengths of cabin sole from the two main cabin hatch covers and openings.  Then I could install the hatches to make moving through the cabin easier and safer as I continued work.

Using the offcuts from the main cabin sole, I started laying the sole in the forward cabin.  Because at the moment I only had a few lengths long enough for the longest pieces here, I started at one side of the berth cutout and worked towards the outside of the boat from there, with the pieces growing progressively shorter as I went.  The aft ends of the planks fit neatly beneath the door trim as planned.  I had enough material to turn the corner into the narrow space aft of the port berth before running out, but fortunately this coincided nicely with the close of business.  Next time, I’d be able to use the newly-varnished lengths of sole stock that I’d gotten ready earlier in the day.

Total time billed on this job today:   8.25 hours

0600 Weather Observation:  48°, clouds and fog. Forecast for the day:  Clouds and showers, 50°

Scupper 130

Monday

To support the eventual battery shelf across its forward edge, I cut and installed a hardwood cleat across the bulkhead in the engine room, securing it with epoxy adhesive and bronze screws, keeping the cleat level and aligned with a mark I’d made during an earlier layout.

Some time back, I’d made a shelf template sized to hold a small portable generator that the owner specified to have on board, and now used the template to start laying out the shelf location at the forward end of the starboard cockpit locker, where I installed a hardwood cleat with epoxy and screws against the bulkhead, keeping it low enough that the bulkhead would hold the generator partly in place (along with additional fiddles and a strap later).  The cardboard template was the raw size required to fit the generator footprint, but I’d need to angle its outboard edge to fit the shape of the hull when I cut the actual platform, which would be a little later.

Earlier, I’d noticed a short section of the tabbing on the port aft side of the after bulkhead was a bit loose at its top edge, so now I prepared the area and re-secured the tabbing with epoxy from behind, and added some new tabbing over the top to finish the repair.

When I’d applied the high-build primer to the decks earlier, the final decision on steering had not yet been made, and I’d left in place some small wooden cleats that had helped hold a wooden helm seat (and rudderpost cover) in place at the aft end of the cockpit.  The helm seat would no longer be needed nor wanted now that the boat would be tiller-steered, so I removed the cleats and their screws, prepared the holes for filling, and filled the various fastener holes with an epoxy mixture.

With that short list of lingering small jobs complete for now, I finished up preparations on the interior doors and companionway ladder and applied a sealer coat of varnish.

The day’s real focus was to be the cabin sole.  I started in the main cabin with a plank down the centerline, which was straightforward to lay out and align since I had a nice centerline seam in the plywood substrate to work from.  I cut various lengths from a single piece of cherry to fit the three sections required:  the forward part; the bilge access hatch; and the after length, keeping the pieces aligned according to the original woodgrain.  I ran the forwardmost piece directly over the hole for the mast compression post to begin, then cut out the center part with a saw; later, I’d trim this with a router.  I secured the sole with glue and brads.

With the center plank in place (I also aligned and installed the center plank on the removable hatch), I worked in both directions to cut and install several more sections of the sole, leaving the ends and edges wild over the openings as needed.  As I reached the opening into the head, I extended the planks to the end of the plywood substrate and wrapped the planking around the edge of the door frame as needed.  As I went, I kept cutting and adding planks to the center bilge hatch as well, leaving the edges and ends long for later trimming.

On the opposite side, in the galley, the plank sizing required that the first full-length piece be cut into a narrow strip to continue past the center bulkhead as needed.  This little strip was too narrow to nail, so I clamped it in place to let the glue cure.

The construction companionway ladder continued to be a bother, and now it was in the way of the planking runs into the head opening.  I grew quickly tired of moving the ladder for each fitting, so since I also needed a way to keep the ladder clear of the sole when it was time to varnish, I cut off the bottom part of the ladder and rested it on a new rough platform I built to span between the two settees.   This kept the way clear beneath so I could work without constantly moving the ladder.

In this way, I continued working towards the starboard side, cutting and fitting a couple planks at a time.  Eventually I reached the forward corner, where I’d earlier used a scrap of planking to cut off the corner trim just above planking height, so now a full width of the planking fit nicely into the corner.  From there, each plank end required a steep, long angle cut where it died out into the angled settee side.  I worked my way to the last full plank running past the door opening at the head, leaving the little angle piece in the corner for next time.

Meanwhile, it had been long enough that I could now unclamp the little strip in the galley, and from there I ran one more width of planking to even up what I’d begun earlier in the day.  The piece next to the narrow strip required marking and cutting to fit the hatch opening in the galley, which I had to do now since the edge of the opening was too close to the bulkhead to allow a router to fit for normal flush-trimming like I’d do in the other openings.  I left the cut just slightly overlarge and would have to sand it to final shape later.

For now, though, this was a stopping point, since I wanted to use what was left of the day to sand, clean, and varnish the forward cabin door trim once more–this time with the rubbed-effect satin varnish that I hoped would be the final coat.

Total time billed on this job today:  8 hours

0600 Weather Observation:  50°, clouds and fog.  Forecast for the day:  Cloudy, chance of rain, 61°

Scupper 129

Friday

The new paint in the head and on the overhead panels was looking good after the second coat, and I deemed it complete.  I planned to stay strictly out of the head for the rest of the week to give it time for a good solid cure before continuing any work there, or in the engine room beyond.

Now I could move all the overhead panels off the benches so I could use those for other finishing work in the immediate future.  I removed the narrow strips of masking tape I’d applied on the companionway ladder back; I’d done this to keep the bonding surfaces at each step location, as well as in the rabbets on the side, clear for future bonding purposes when I installed the panel on the ladder itself.

Next, I got started where I left off, with the stock for the cabin sole.  With all the pieces rough-milled to size, I ran them all through the planer to smooth both faces and eventually bring them down to the finished dimension of 1/4″ thickness.

Afterwards, I used a sanding block to create a small chamfer, or v-groove, on the edges of the boards just like I did with the ceiling boards earlier.  This not only looked nice, but would help mask any minor inconsistencies in the boards once laid on the sole itself.  I set aside several of the smaller lengths to handle another time, if they were needed at all.

After cleaning and solvent-washing the new planks, I applied a sealer coat of varnish to all sides.

After a light sanding, I applied the fourth coat of gloss base varnish to the forward cabin door frame.

I installed the trim on the shelf above the port settee, covering finally the raw fiberglass edge  there.

With some open bench space available now, I could finish up the varnish work on the overhead trim pieces, this time with a coat of rubbed-effect satin varnish.

After unclamping the four new interior doors, I sanded them clean and smooth, and rounded the outer edges of the frame for pleasing appearance.  Then, I solvent-washed the frames (as well as the companionway ladder and new head cover panel) and set them aside to air-dry before varnishing, but it took so long for the paint thinner to evaporate from the bare wood that I didn’t get to the sealer coats of varnish as I’d hoped.

Total time billed on this job today:  6.5 hours

0600 Weather Observation:  48°, clouds and fog.  Forecast for the day:  Clouds, showers, drizzle, fog, 64°

Scupper 128

Thursday

1:  Sand and varnish (#3) the trim to the forward cabin.

2:  Lightly sand, clean, and apply second coat of semi-gloss white enamel to the head.

3:  Lightly sand, clean, and apply second coat of semi-gloss white enamel to the overhead and other panels.

4:  Perform final milling operations on galley door #4 to produce groove for the center panel; mill chamfered edge detail around panel opening, and mill plywood panel to size.

5:  Sand inside edges of all frame pieces to remove tool marks; lay out and drill ventilation holes in pleasing visual pattern in four door panels; glue doors together with epoxy adhesive.

6:  Mill and install edge trim for head/cockpit instrument access panel.

7:  Pre-cut into rough lengths and set aside frame and stile pieces for the doors to the forward cabin.

8:  Straighten edges of new cherry boards and mill 2″ wide planks, then resaw into half-thickness sufficient material for the cabin sole planking.  (Planing to final thickness still to come.)

9:  Sand companionway ladder and bungs with 220 grit to remove glue residue and prepare for varnish.

Total time billed on this job today:  8 hours

0600 Weather Observation:  21°, clear. Forecast for the day:  Partly sunny with increasing clouds, 49°

Scupper 127

Wednesday

As is my wont, I began the day by lightly sanding the forward cabin door trim in the boat, as well as the overhead trim pieces to prepare them for their next coat of varnish.  These now had four coats of gloss varnish, and were ready for the switch to satin varnish, and for the moment I set these aside for later attention, moving some of the trims out of the way so I could use the tables for the overhead panels.

In the head, I sanded the primer I’d applied last time, preparing the space for finish paint.  I cleaned up the sanding spoils and solvent-washed all the surfaces afterwards.

Staying with the theme, next I sanded the primer on all the overhead panels and other panels currently being painted.  Afterwards, I cleaned up the boat and shop as needed, and prepared all the panels for paint by laying them out on various tables in the shop and solvent-washing to clean them.

Meanwhile, I received a new delivery of additional cherry wood so I could finish up the cabin sole and other remaining bits of trim throughout the boat, and then I took a short trip to pick up some of the new interior cushions from my upholstery contractor (more on these later).

Back at the shop, I returned to the head and applied the first coat of white semi-gloss enamel to all surfaces.

I continued with all the flat panels.

I applied the second coat of base varnish to the forward cabin door trim.

Finally, I cut the frame pieces for the last door in the galley, into the cooler storage space.  I kept the lower rail extra wide to deal with the dogleg shape of the bottom edge of the opening, and cut the remaining pieces as needed to create the overall door dimensions required.  Soon I’d mill the grooves for the panel and get going on finishing up and assembling all the new doors.

Total time billed on this job today:  7 hours

0600 Weather Observation:  30°, clear.  Forecast for the day:  Sunny, 56°

Scupper 126

Tuesday

The new cover panel for the head and holding tank area required just a bit of sanding around the edges to clean up where I’d laminated the two plywood panels together.  Afterwards, I installed (temporarily) a handle to help install and remove the panel now and going forward.

Still in the head, I made a template of the panel required to cover the instrument access area in the upper corner, then cut a panel from cherry plywood to fit.  I planned to trim the edges with solid wood and install the panel with removable fasteners for future access needs.

In the galley, I turned my attention to one last dust-making chore:  enlarging the opening to the locker beneath, where the owner planned to store a small high-performance cooler to replace the defunct icebox.  I needed to raise the height of the opening as much as possible, and also cut it down to floor level to allow the cooler to fit.

The drawers and shelf above limited the amount I could enlarge the opening to about an additional 1-1/4″, so I masked around the opening and struck a cutline with a marker.  I also decided to expand the opening to starboard (inboard) by an inch, as well as removing the bit of panel just above the cabin sole.

I made the new cuts with my reviled knock-off vibrating multi-tool, which did the job albeit slowly, but it made a clean cut with minimal disruption.  Now I could measure the new opening so I could build the final cabinet door to match the others I’d recently started.

In the engine room, I measured for and cut a plywood shelf that would support four of the eight batteries required for the new electric motor.  The shelf would span across the forward end of the engine room, and while I wouldn’t actually install the shelf till later (it would limit access to some areas within the space, and there was more work to do first), I wanted to build it and have it ready to go.

I found some molded battery boxes that seemed to fit the chosen batteries well, and planned to use these to house and secure the batteries.  I had one of the boxes on hand as a test, and used it to help dimension and confirm the shelf’s size.  In the final photo, the lid is standing in for the second box that would eventually fit on this shelf; two additional boxes (one per side) would hold the remaining batteries on existing platforms in the engine room.

After test-fitting the piece of plywood, I cut an identical piece of the 12mm material and laminated the two pieces together with epoxy adhesive to make a thicker, stronger piece about 1″ thick.

After final preparations and cleanup, I applied a coat of white primer to the entire head area.  This was a challenging and deceptively large space, with many facets and surfaces, but it was nice to cover up the old surfaces.

While I had the primer out, I primed all sides of the overhead panels and other panels I’d been working on, including the new head panel, the engine room door, and the back panel for the companionway.  Earlier in the day, I’d lightly sanded these panels as needed, mainly at the edges to slightly ease them and remove minor splinters common to this plywood.

In the main cabin, I masked around all the new doorway trim in the bulkhead and applied the first coat of varnish to the new cherry.

Finally, I applied the fourth coat of varnish to the overhead trim pieces, which I’d lightly sanded early in the morning.

Total time billed on this job today:   8.25 hours

0600 Weather observation:  40°, clouds, windy.  Forecast for the day:  Becoming mostly sunny, windy, 52°

Scupper 125

Monday

To begin the day, I sanded and varnished (3) the overhead trim pieces.

Some of the last trim needed in the main cabin was at the doorway to the forward cabin, which was still a raw opening, with only the long trim across the bottom in place so far.

After protecting the bulkhead in some key areas with masking tape, I made some basic alignment marks for the top  trim piece, which was also the track to support the sliding doors that would eventually close off the space.  I needed to keep the starboard side of this trim far enough away from the overhead to allow for the overhead and trim, so with some 1″ tape I roughed out the practical clearance required.  With a level, I transferred up the end points of the lower track section, which I used to position the top track properly from side to side, and level.  I secured the track with four screws into the bulkhead.

The upper and lower tracks left space in the door opening on the forward side, so now I cut pieces of cherry to fit and fill in those gaps and bring the edges flush with the forward face of the bulkhead.  I glued the new extensions in place.

Next, I cut and installed cherry trim on the inside of the two vertical sides of the opening, covering the plywood end grains there.  This required about 1-1/4″ width.  I let these narrow trim pieces hang out just barely past the bulkhead paneling on both sides, which would ensure a tight seam there when I installed the face trims on both sides.  I used glue and brads to secure the trim.

With more 1/4″ thick trim, this time 1-1/2″ wide, I trimmed the main cabin side of the opening, bringing the trim flush with the edge of the edge trim and tight against the upper and lower rails.  The thin trim fit within the inside edge of the door tracks, which was required to ensure that the doors themselves would pass by the trim.

Now, on the forward side of the opening, I cut and installed three pieces of the trim to finish off the opening there.

I decided to fill in and make flush the lower edge of the forward door trim between the two trim pieces I’d just installed, so I cut another piece of 1/4″ trim to fit.  I held the bottom edge high enough off the cabin sole substrate to allow the finished sole to slip beneath the new trim during installation.

In the head, I used cardboard to make a template of the panel required over the holding tank space, and cut out a 1/4″ plywood panel to fit.  This required several different minor modifications before it fit appropriately (the panel needed to remain removable for access), since both adjacent bulkheads (original construction) were neither straight nor plumb.

For the final surface, and to increase thickness and stiffness, I cut a piece of the beadboard to fit over the base panel, and glued it in place.

The head overhead was a complicated and small little space, which allowed for light to come in through a small opening port leading to the cockpit, but otherwise served no useful function, since there was no standing headroom anywhere in the head.  There were wide gaps here between the various pieces of the original molded liners and bulkheads, and I chose to use some thin panels to essentially rebuild and cover this angular and tight area and reduce the number of small and fussy trim pieces that would otherwise be required to finish it off.

To begin, I templated a piece for the after, largest side, which was fairly straightforward in nature and, since there was room to slip past the adjacent face, I didn’t have to worry about a perfect fit on the one side.  Once I had the fit where I wanted it, I sanded the new panel smooth and secured it with screws.

Continuing, I made small panels for the remaining two sides of the space (that’s the angled opening around the companionway at the upper corner), and fastened them with glue (to each other) and screws (to the boat), finishing up the area.  These panels would be painted to match the rest of the space, and I’d trim out the other corners and edges as needed with more varnished cherry later.

Total time billed on this job today:   8.25 hours

0600 Weather observation:  42°, rain and showers. Forecast for the day:  Rain, fog, and heavy showers, 61°

Scupper 124

Saturday

After a light sanding and cleanup, I applied another coat of varnish to the overhead trim pieces.

There were four cabinet doors required in the cabin:  One for the opening to the chainlocker; one for a small storage cubby a the forward end of the v-berth; one for a storage area beneath the galley sink; and a final one for the lower galley storage area, against the hull (though this opening required modification in order to fit a cooler within, so I left this door for later).

Concentrating for now on the three doors that were ready for attention, I measured the rough openings and figured out the sizes of the doors needed.  These would be simple surface-mount flat-panel doors, built from cherry.

Once I’d determined the overall frame size, I cut the rails and stiles from some 2″ wide stock that I’d earlier ripped for this purpose.

Next, I slotted all the frame pieces to accept the plywood center panels.  I used a slot cutting bit in a router for this job, since the slots in the vertical stiles had to end before the ends of the pieces so the slots wouldn’t show through.   I didn’t have any fancy setups to make these cuts, so with the slot cutter I had I required two passes to make the slot the proper width for the panels, which was OK for a small quantity of doors like this.

To ease the transition between the frame and panel on the visible side of the door, I clamped the frame pieces tightly together temporarily and routed a chamfer on the edge, which I’d later sand clean and smooth before final assembly.  For the moment, I was out of time, so I set the pieces aside for later attention.

Total time billed on this job today:  3.5 hours

0600 Weather observation:  42°, clouds and showers. Forecast for the day:  Showers, fog and mostly cloudy, 66°

Older posts Newer posts