Monday
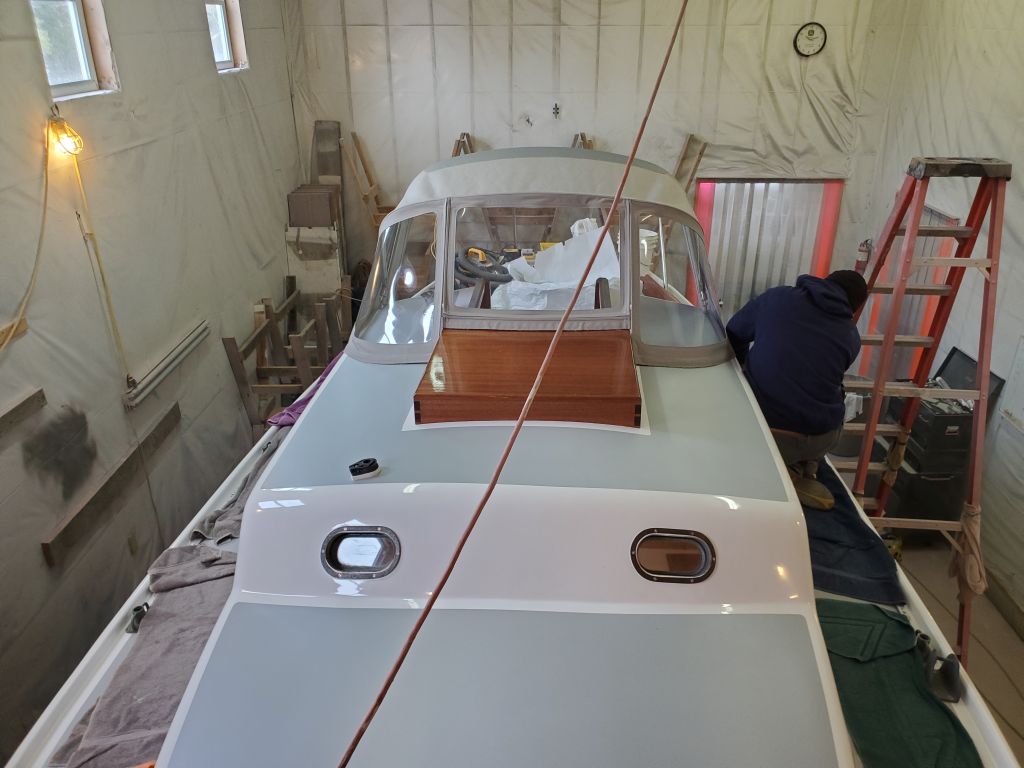
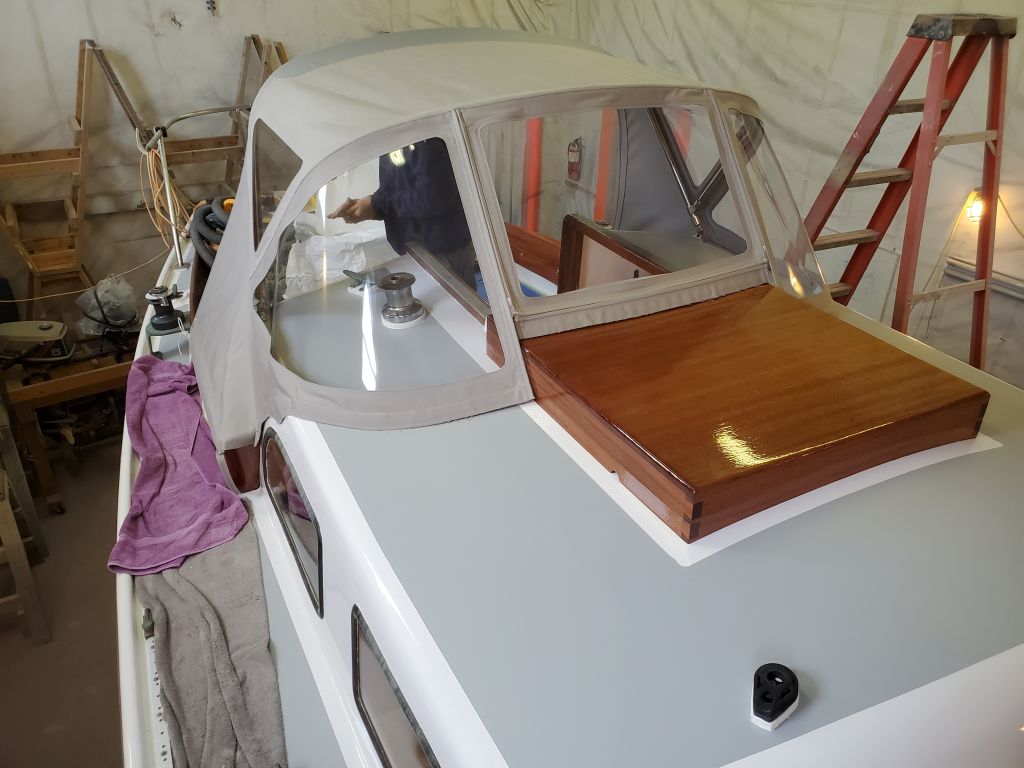
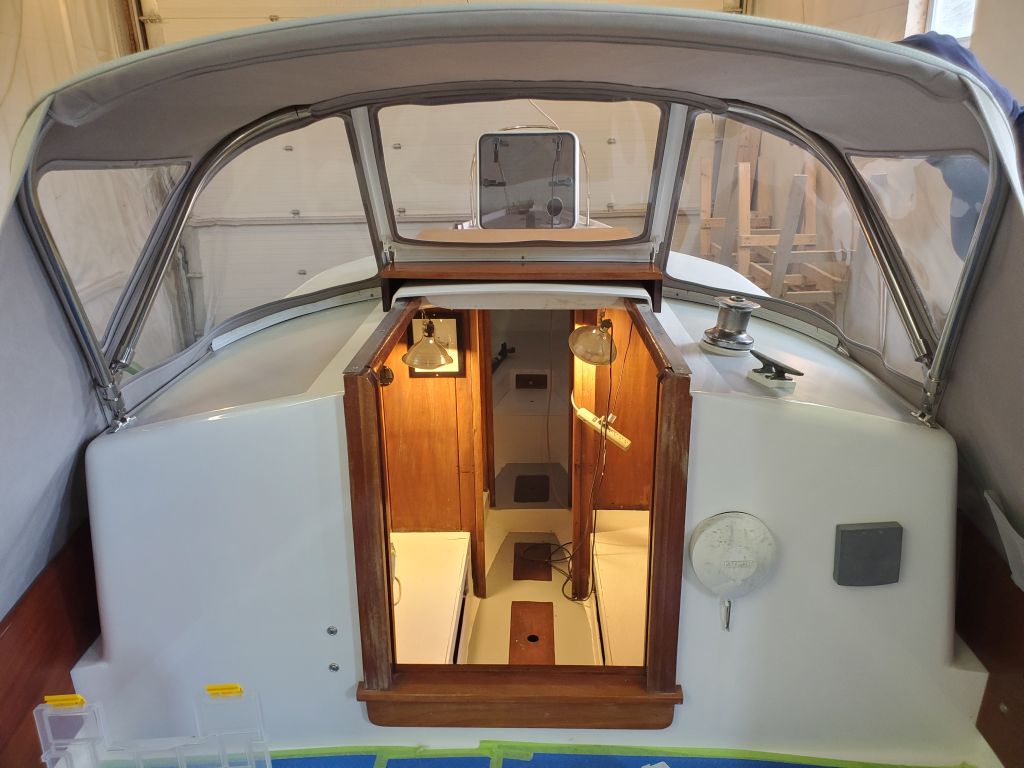
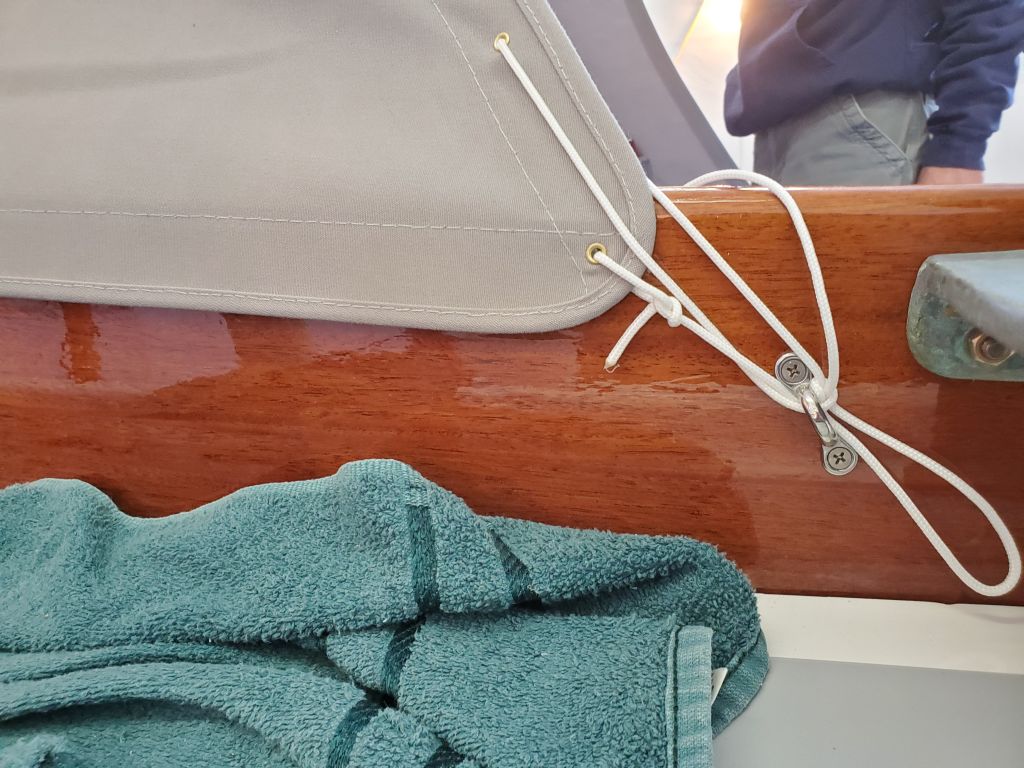
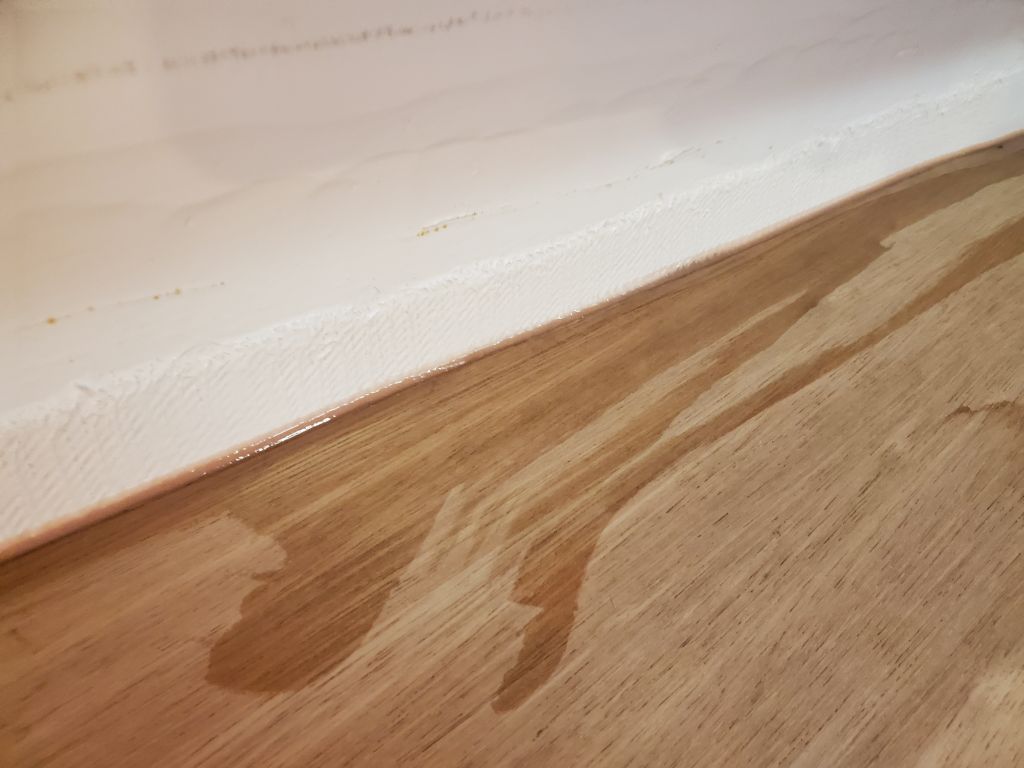
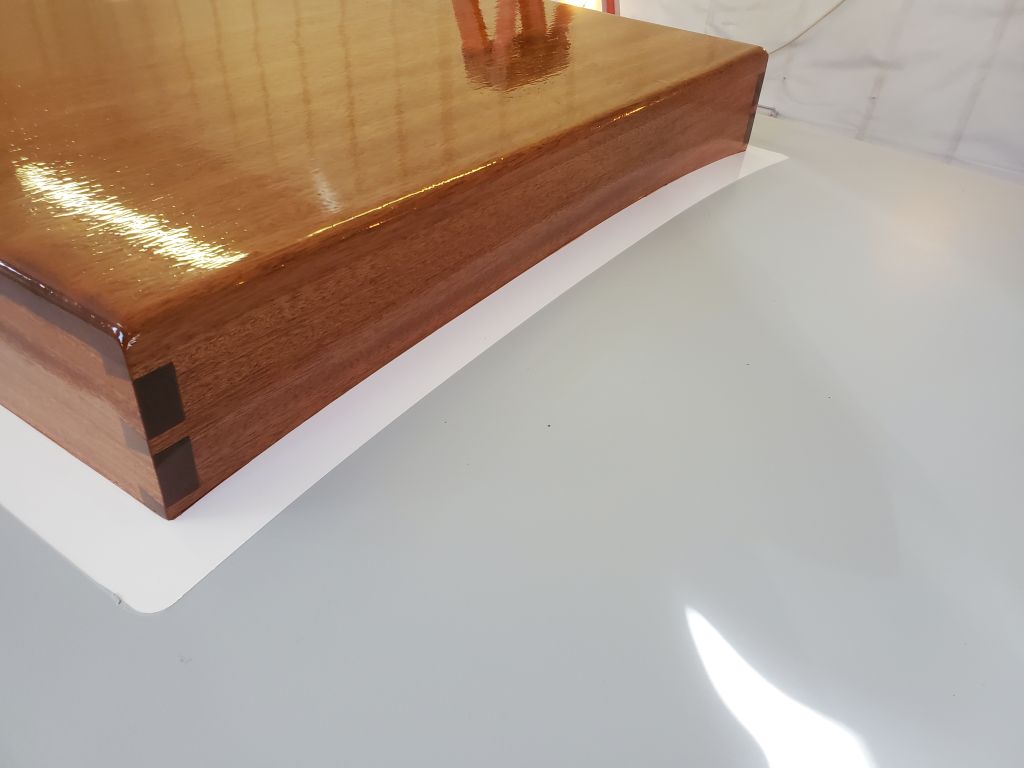
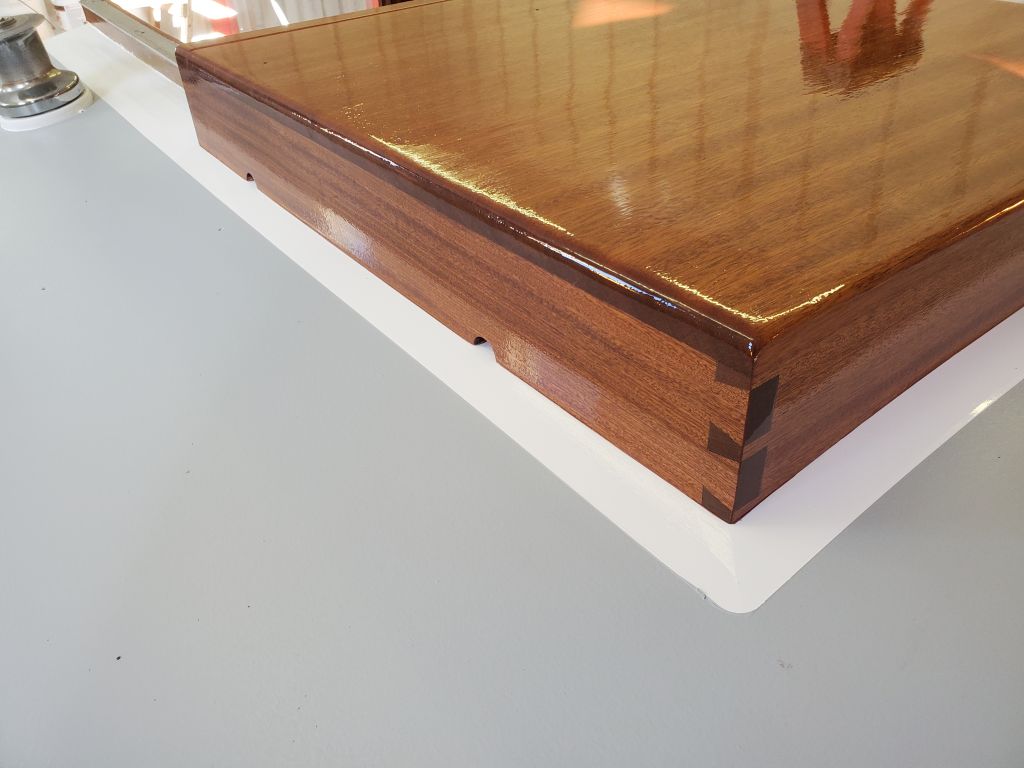
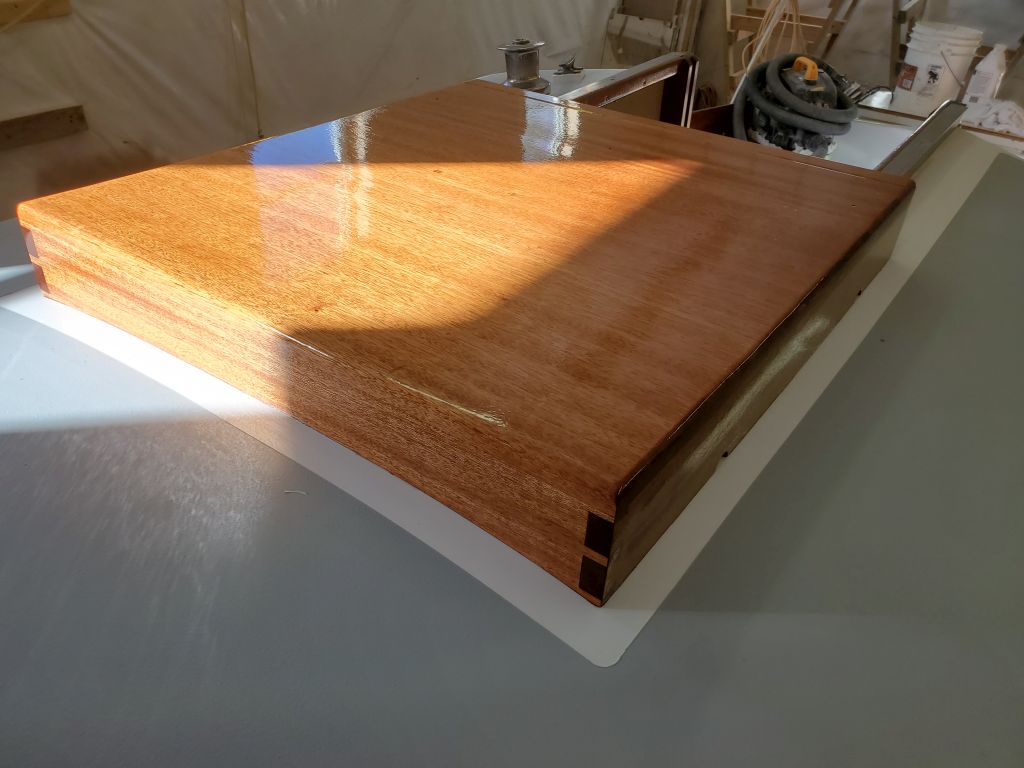
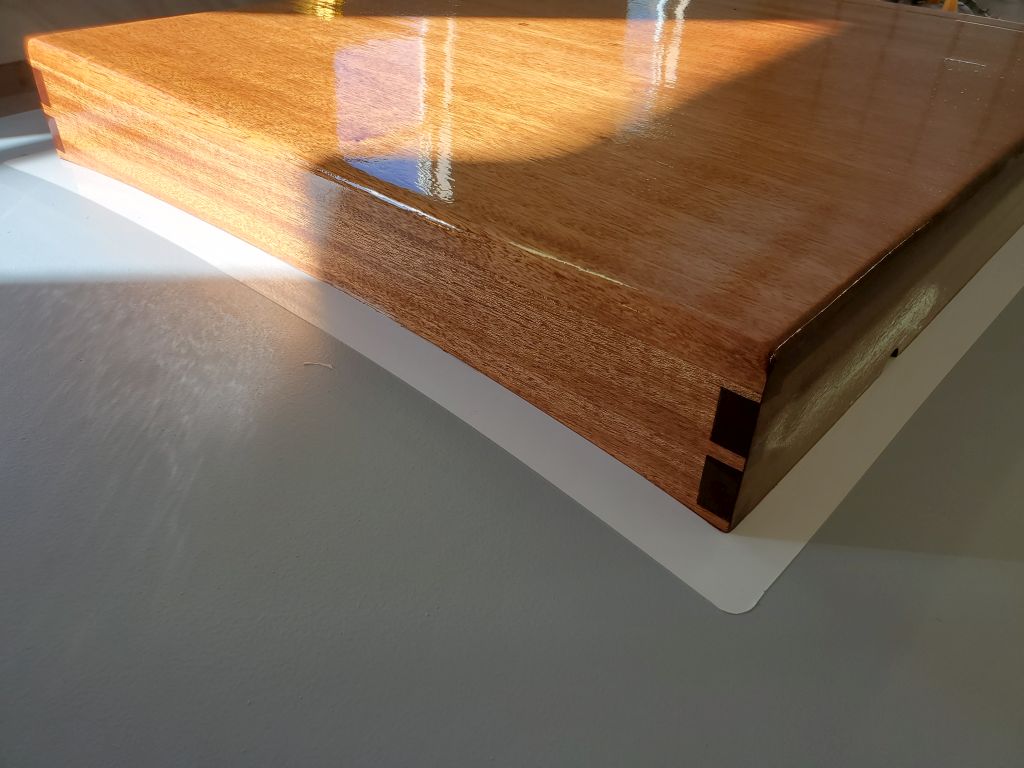
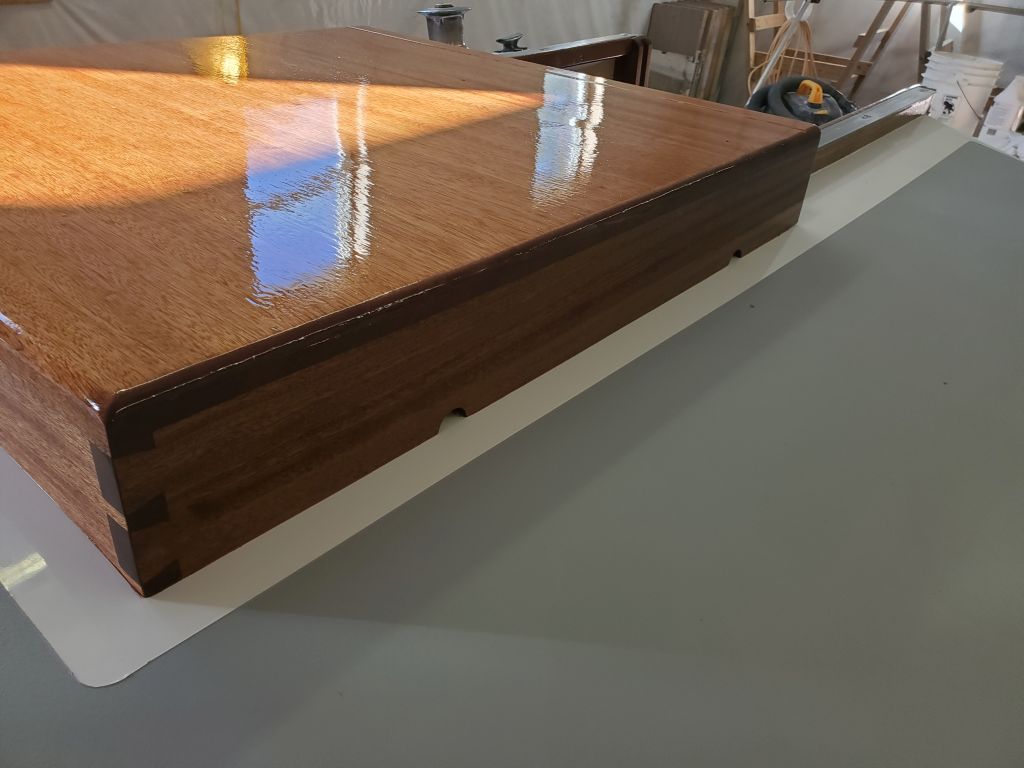
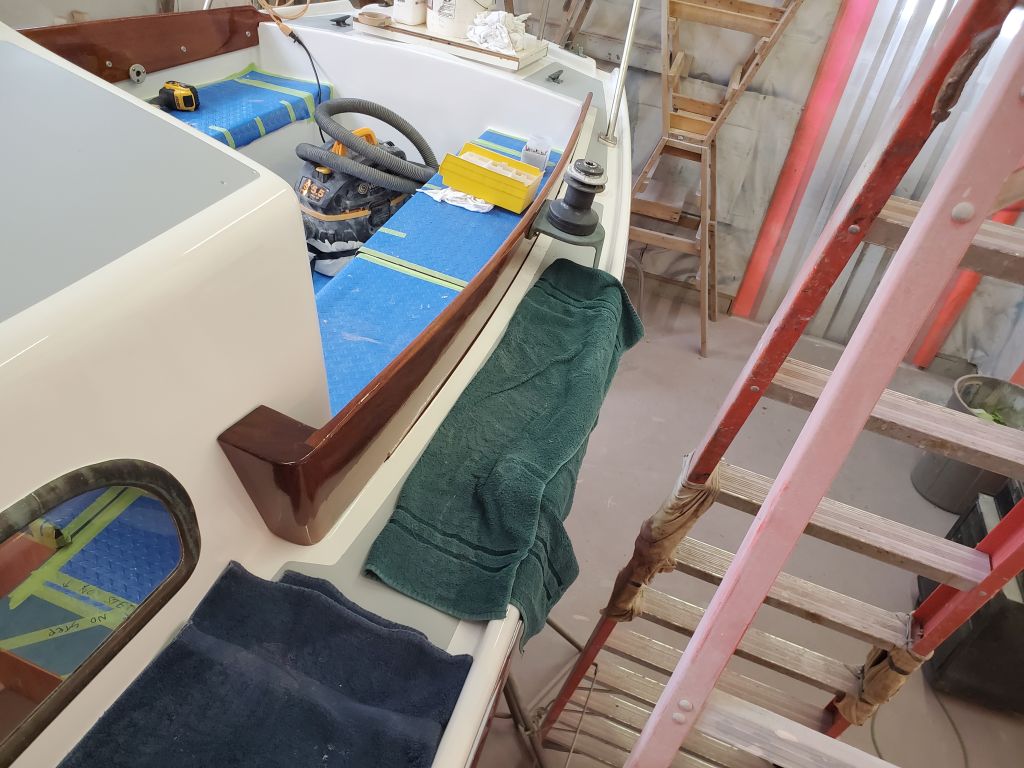
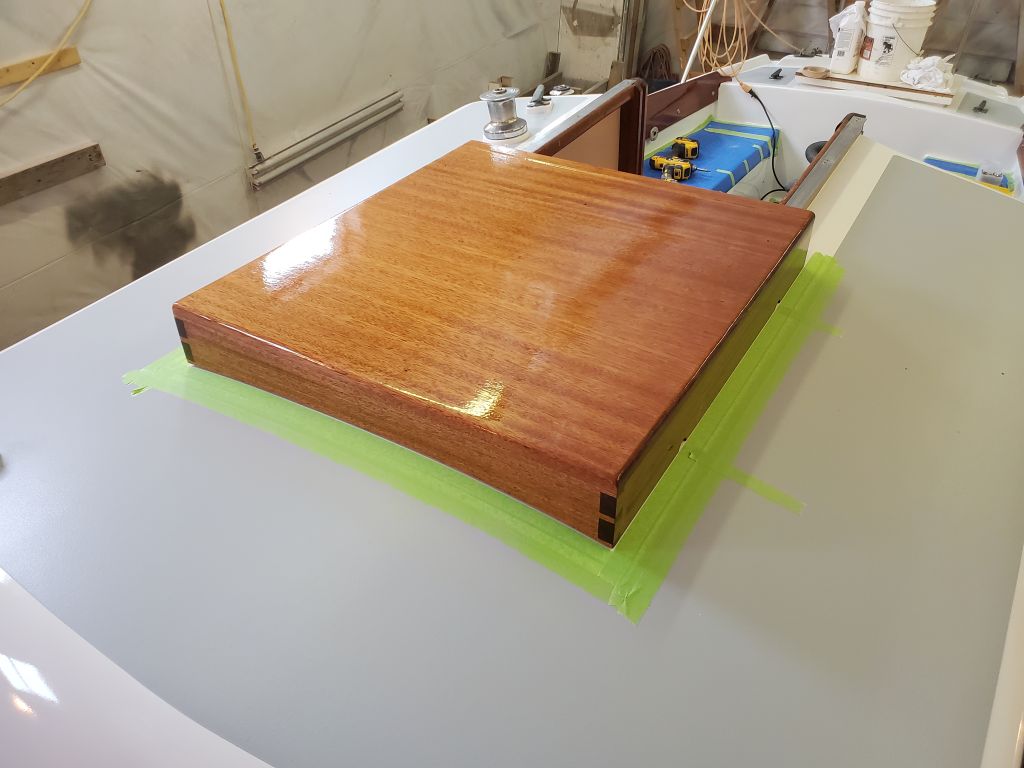
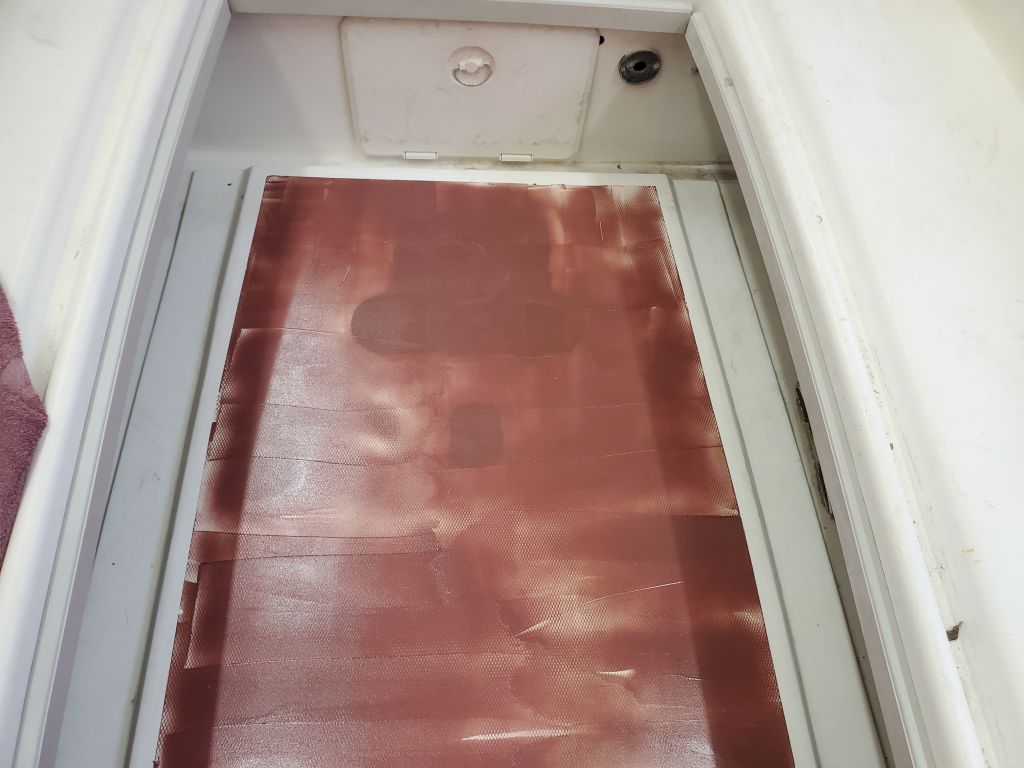
After an errand to pick up the newly-varnished coamings and sea hood from the owner’s home, I got to work on their installation, beginning with the coamings. This was straightforward and quick, as these had been installed previously and it was a relatively simple matter of applying sealant (butyl tape) and screwing the coamings into position.
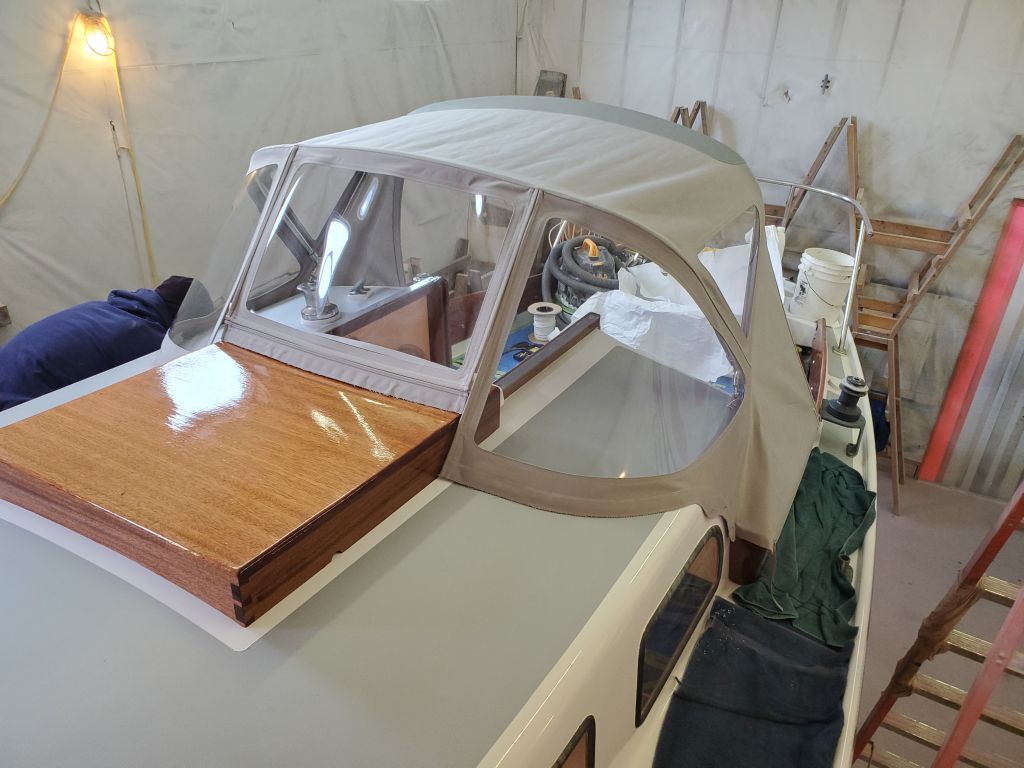
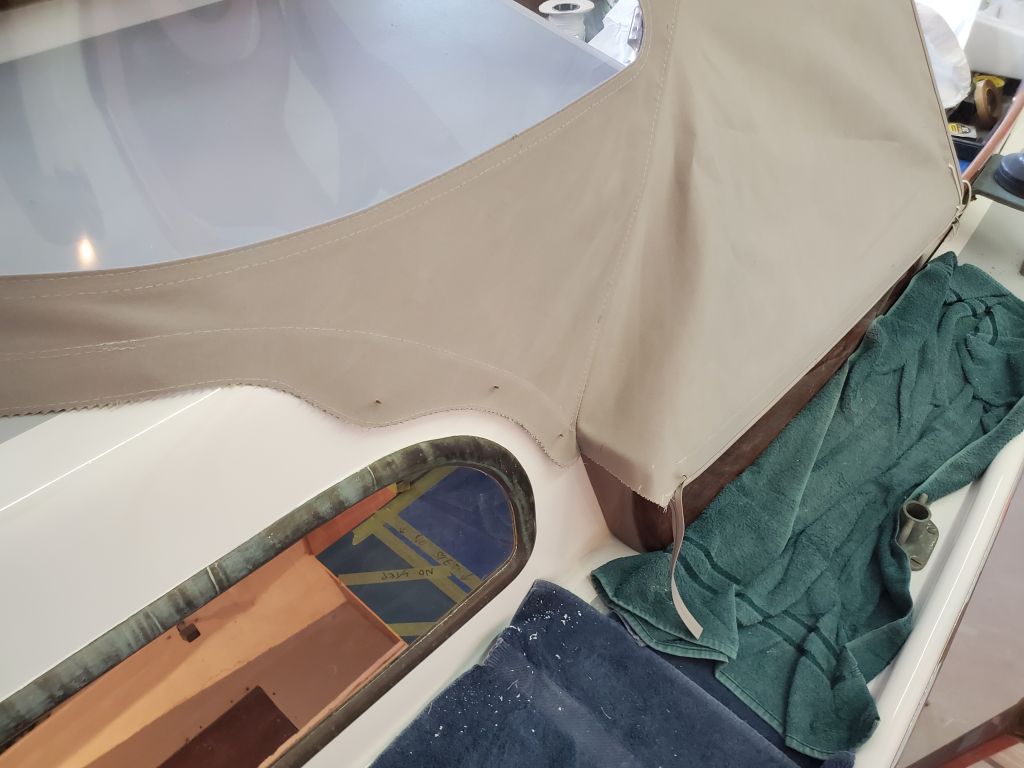
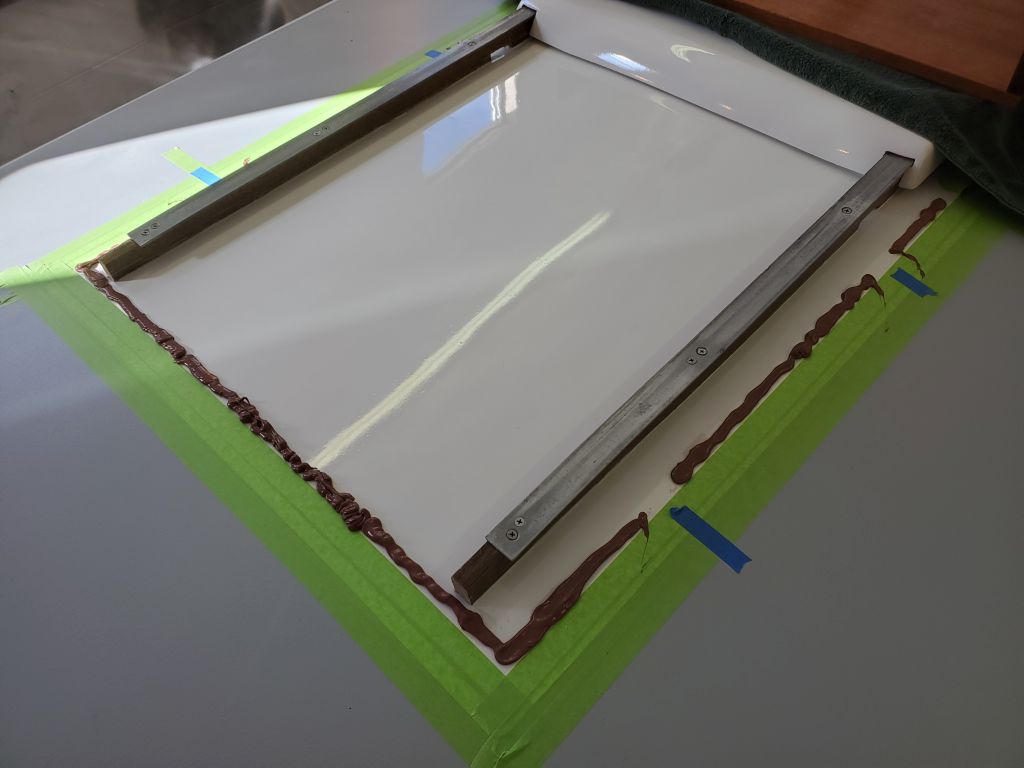
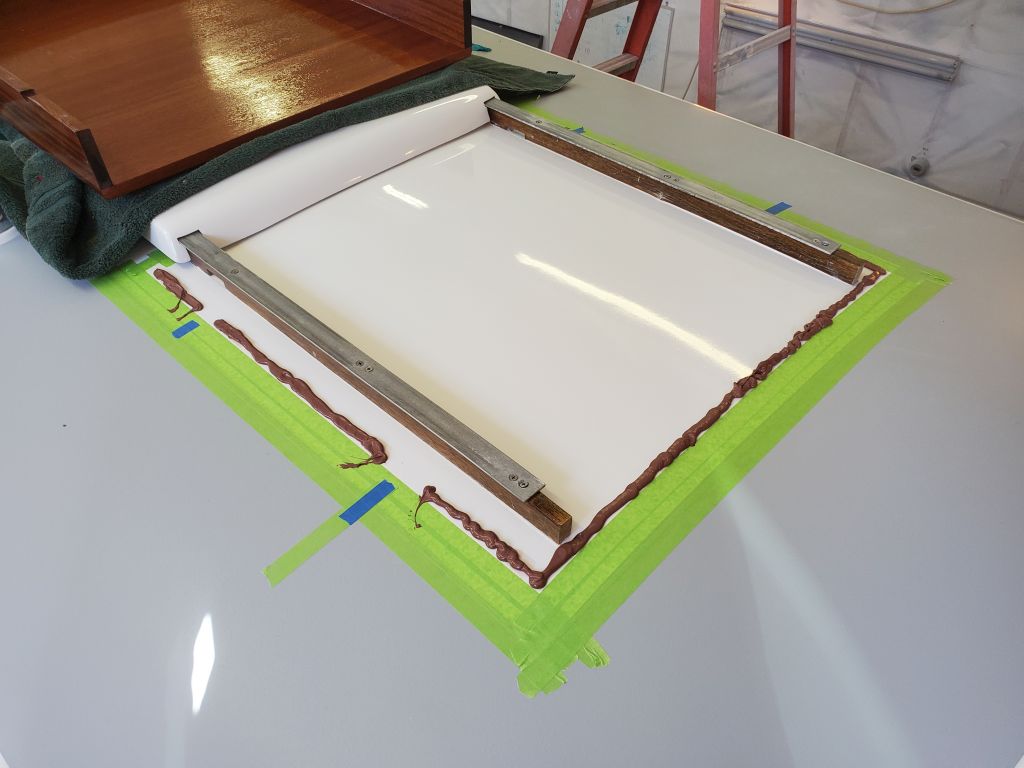
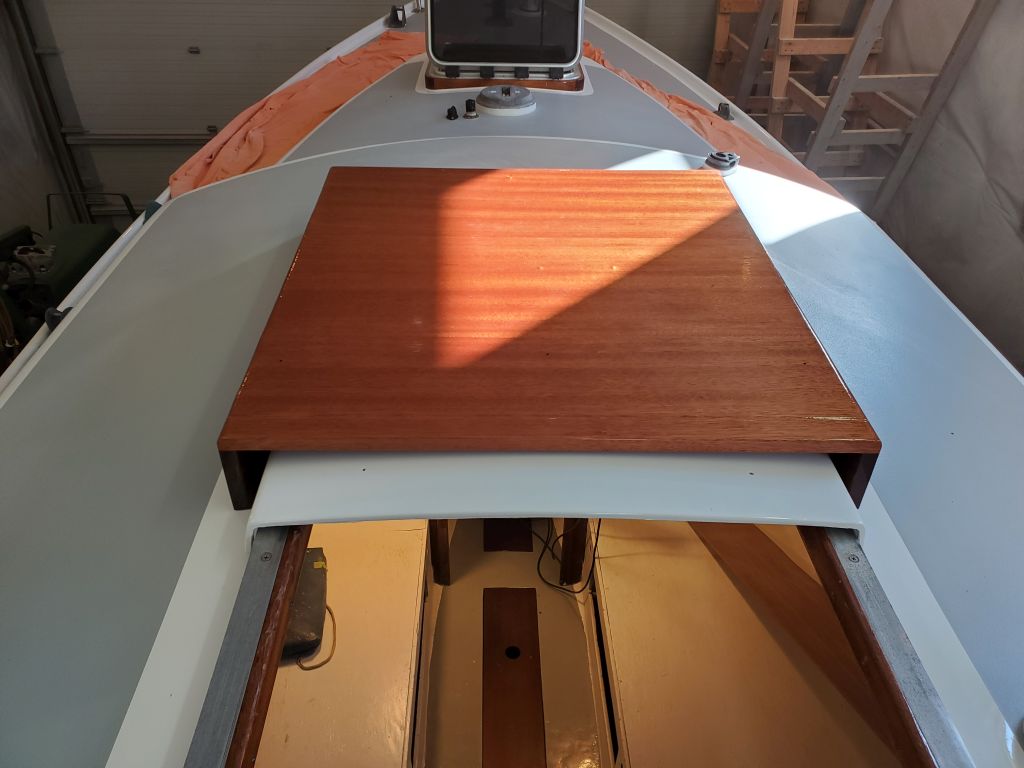
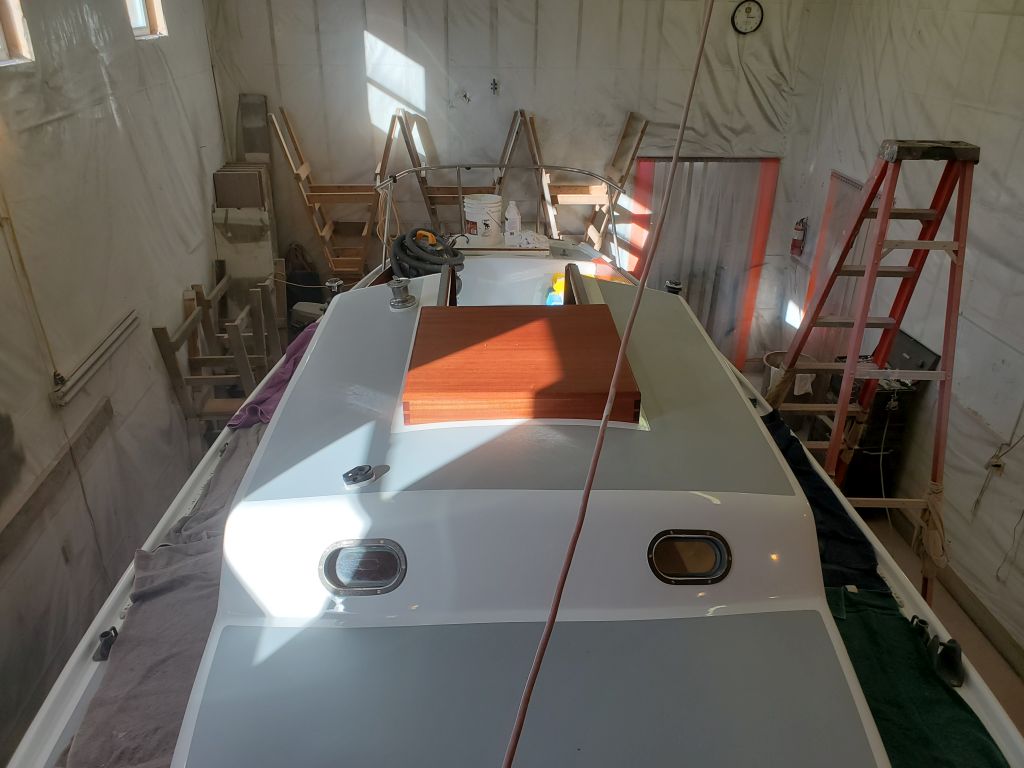
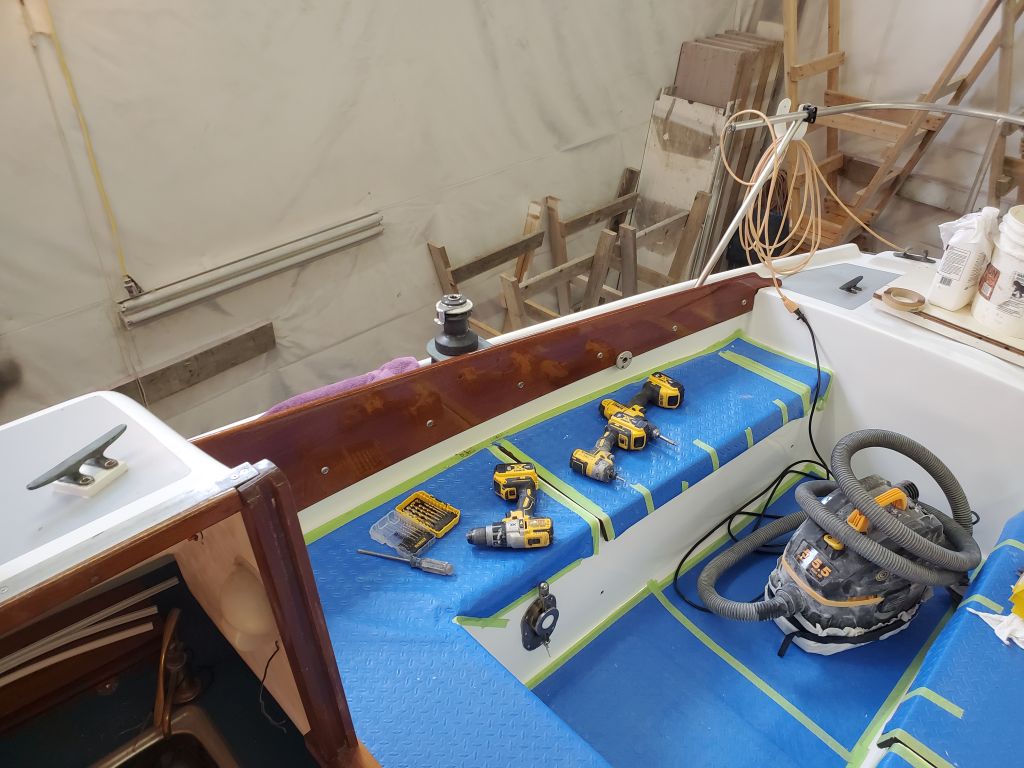
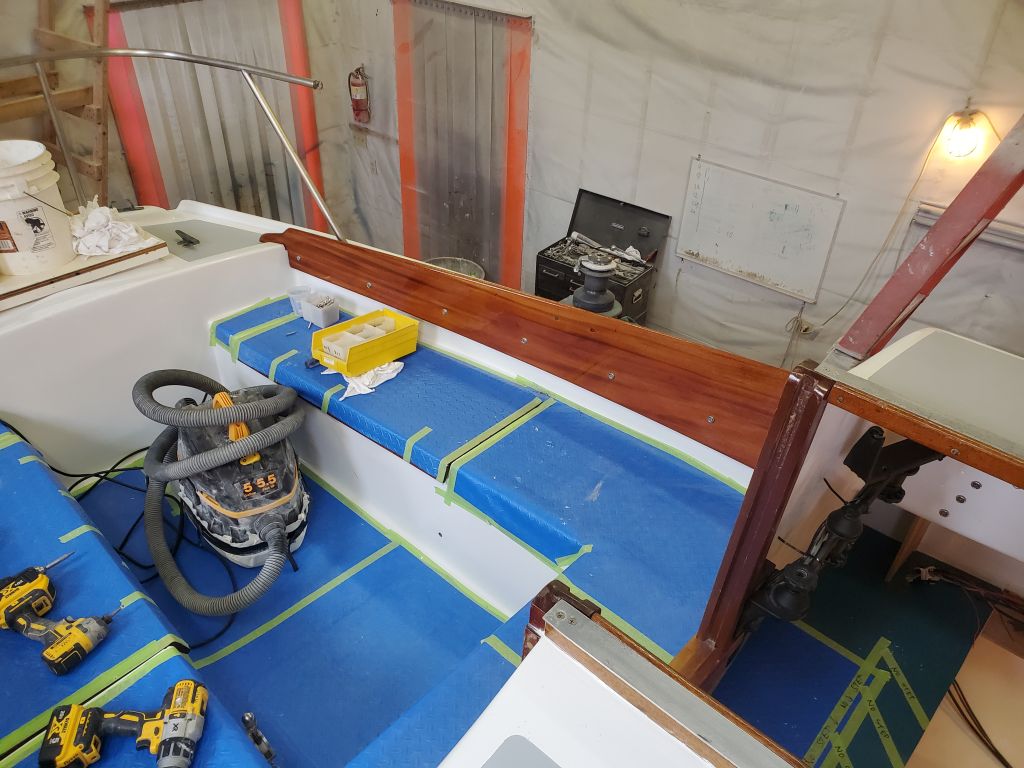
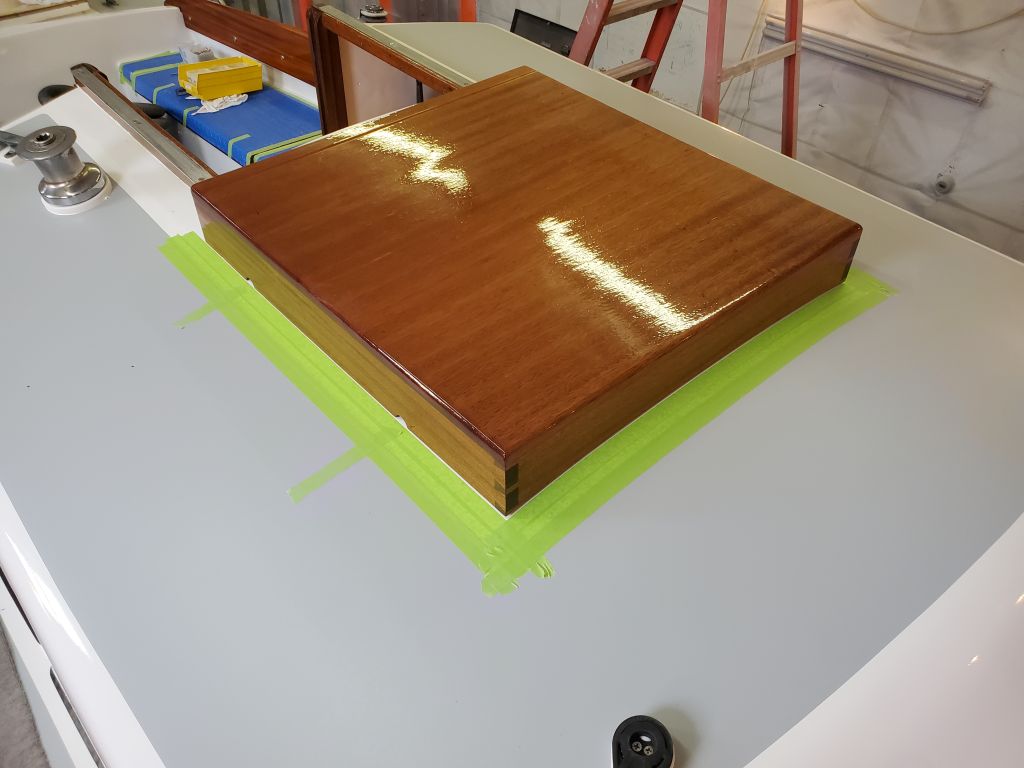
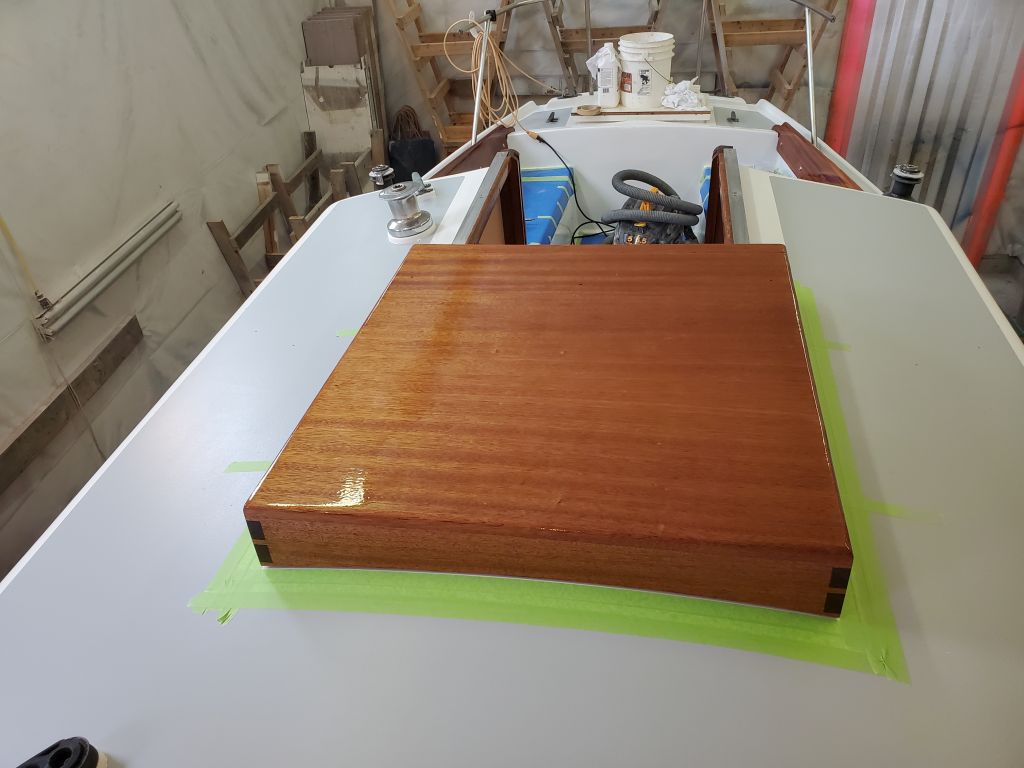
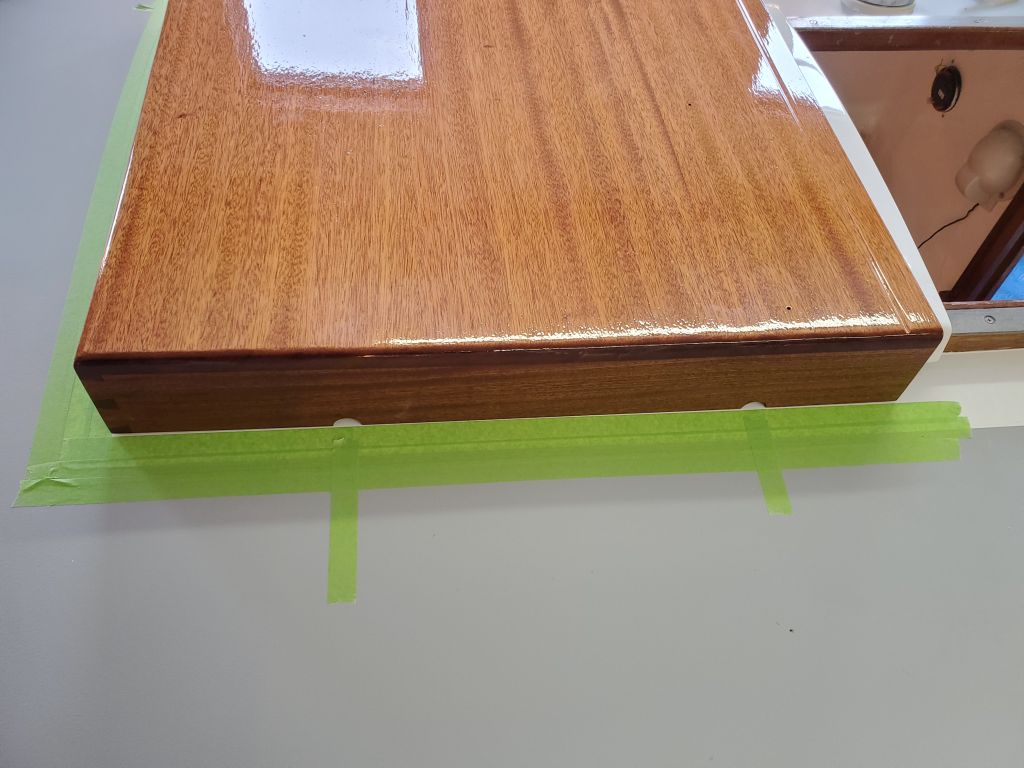
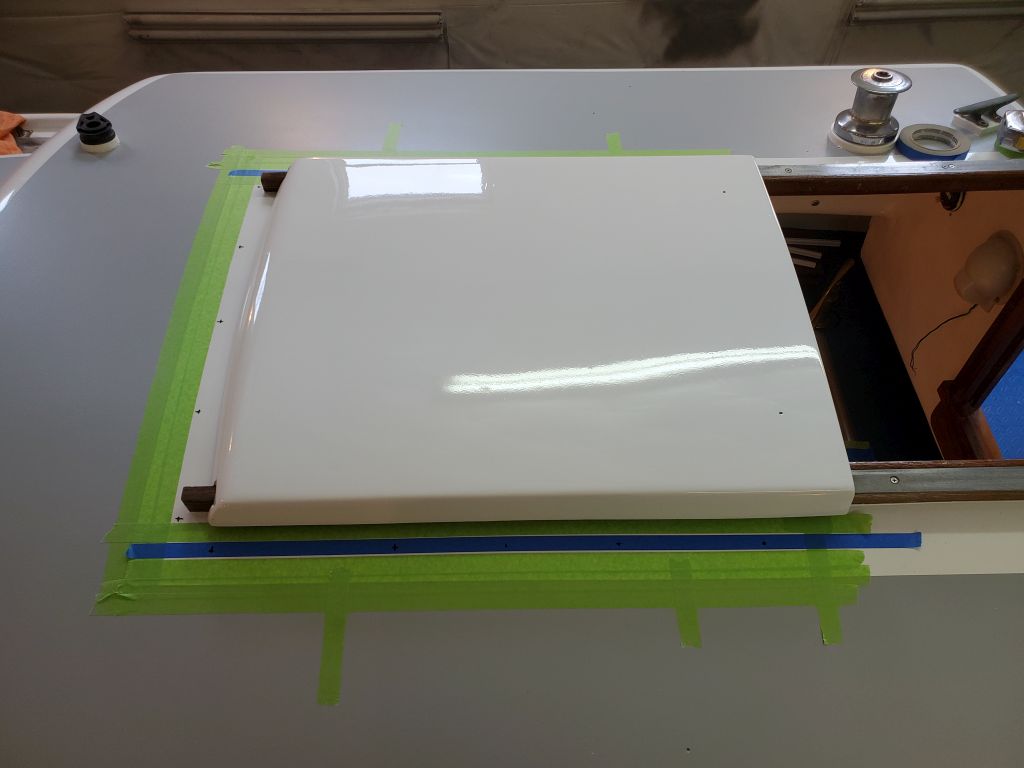
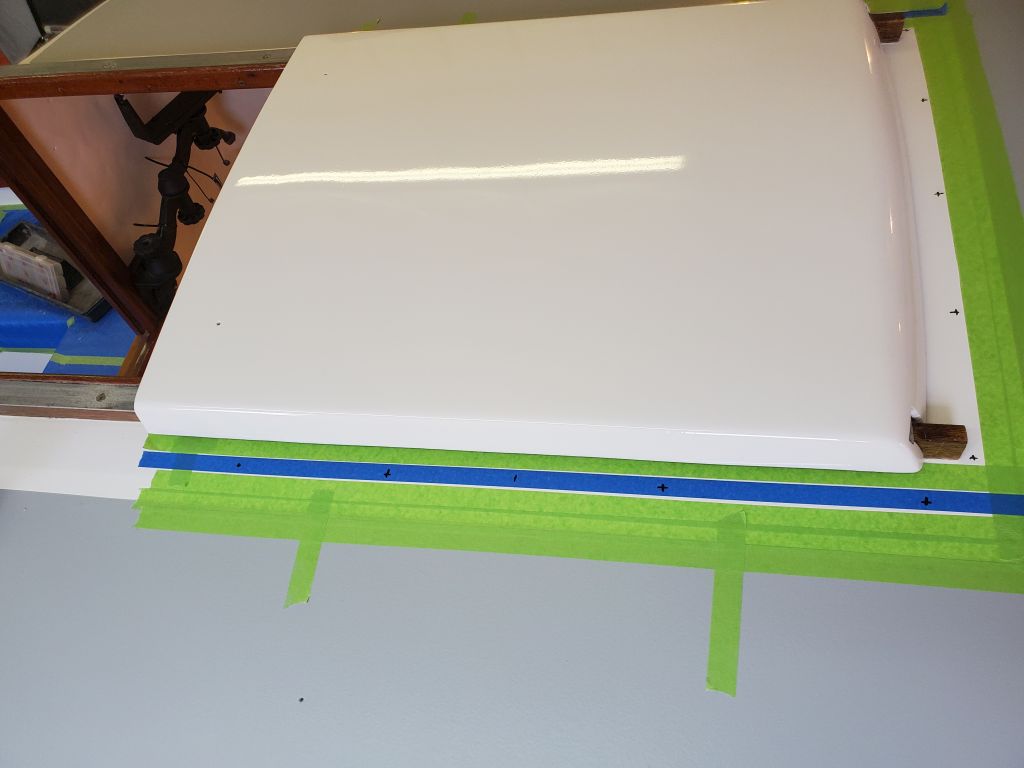
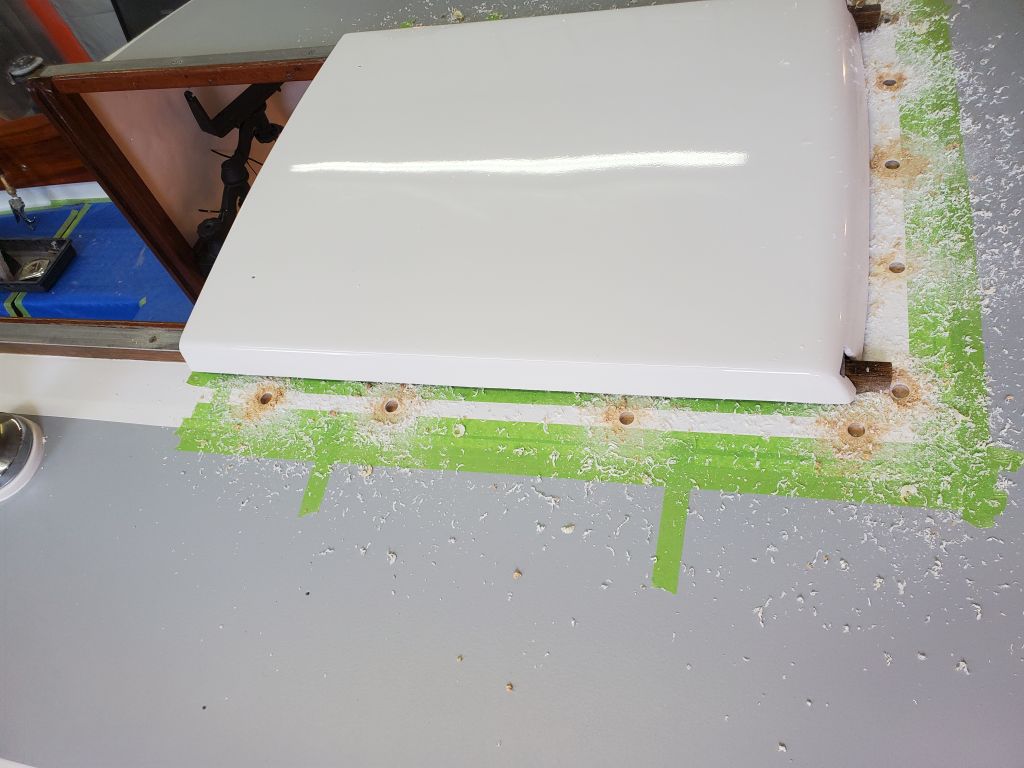
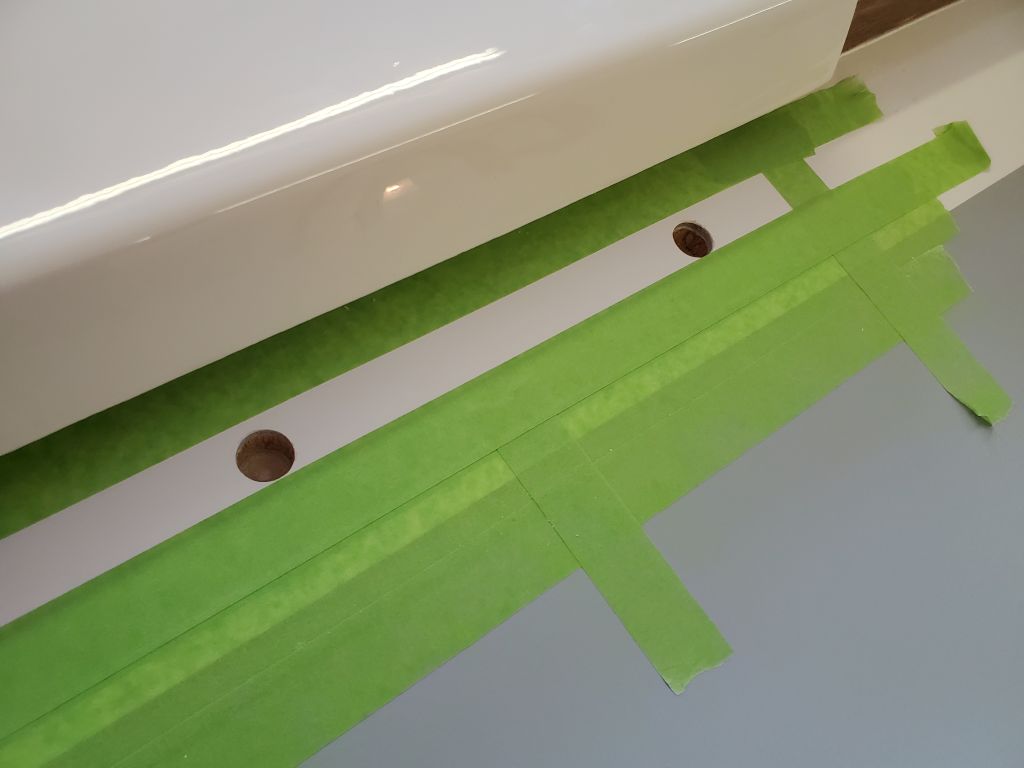
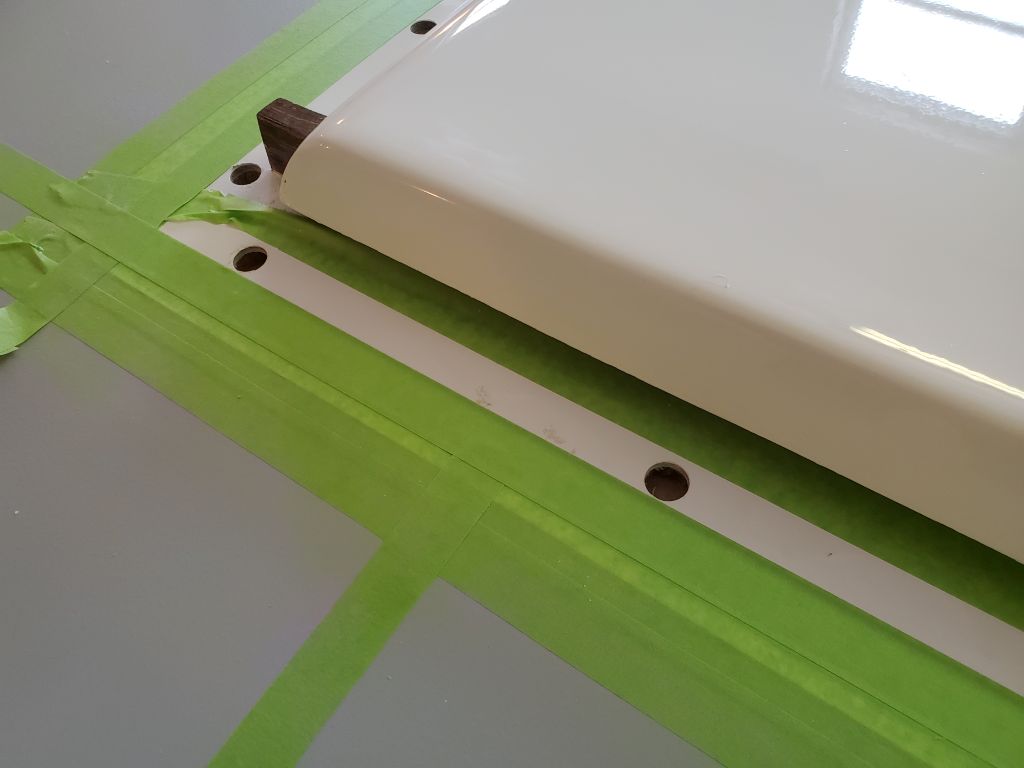
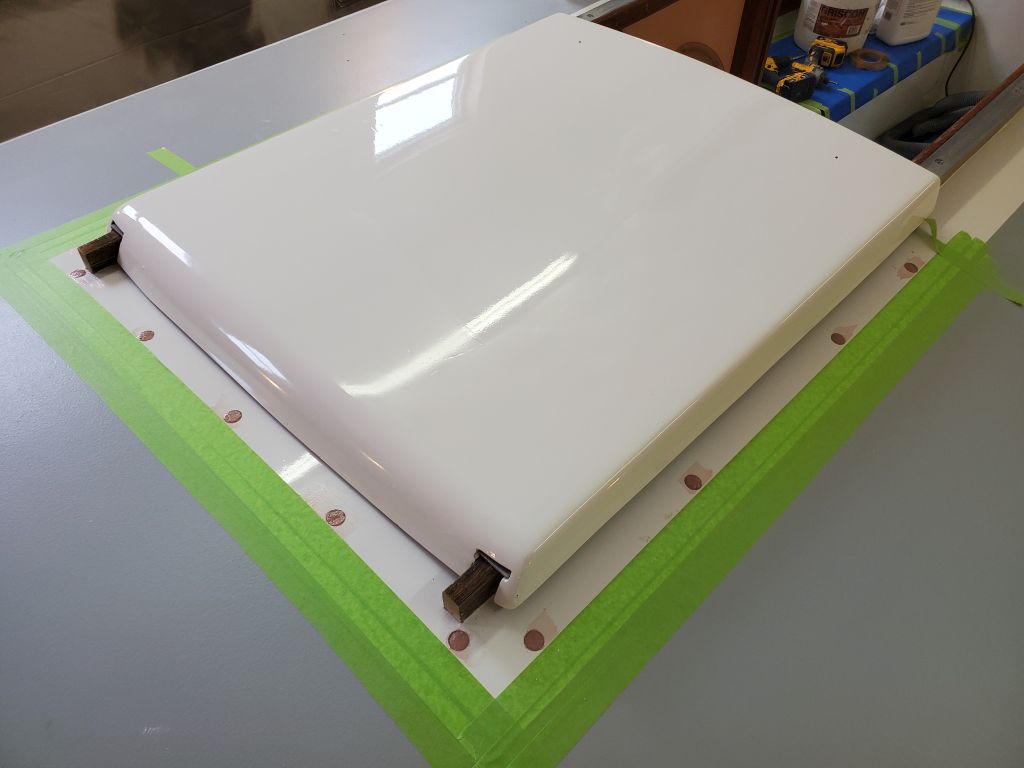
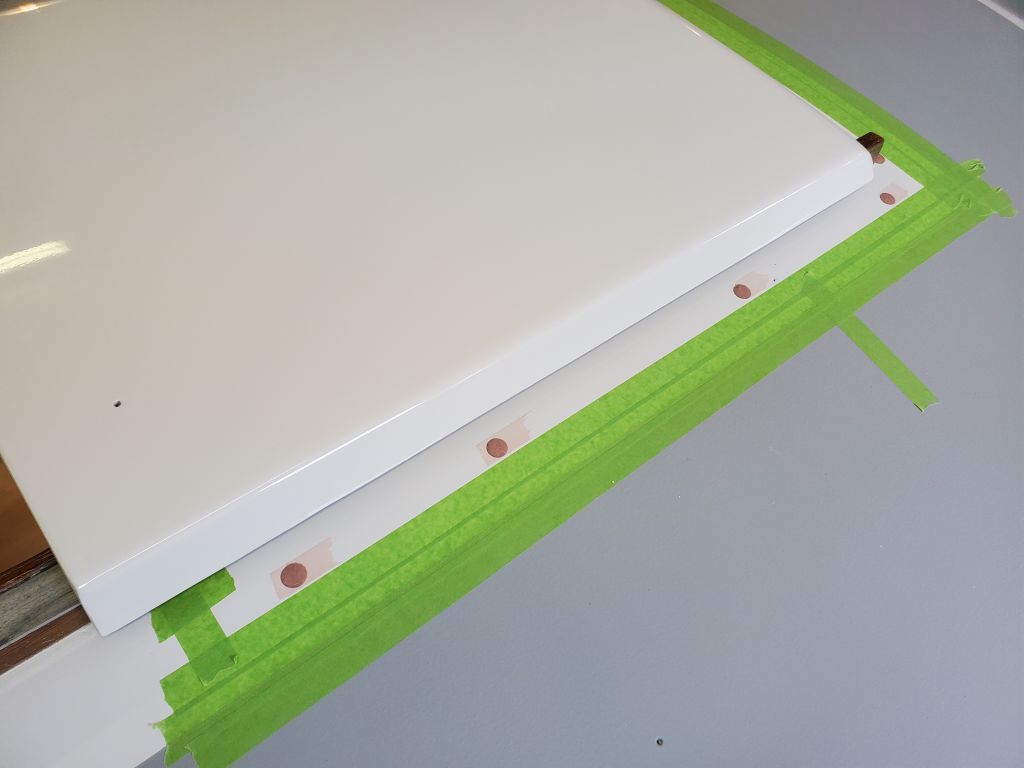
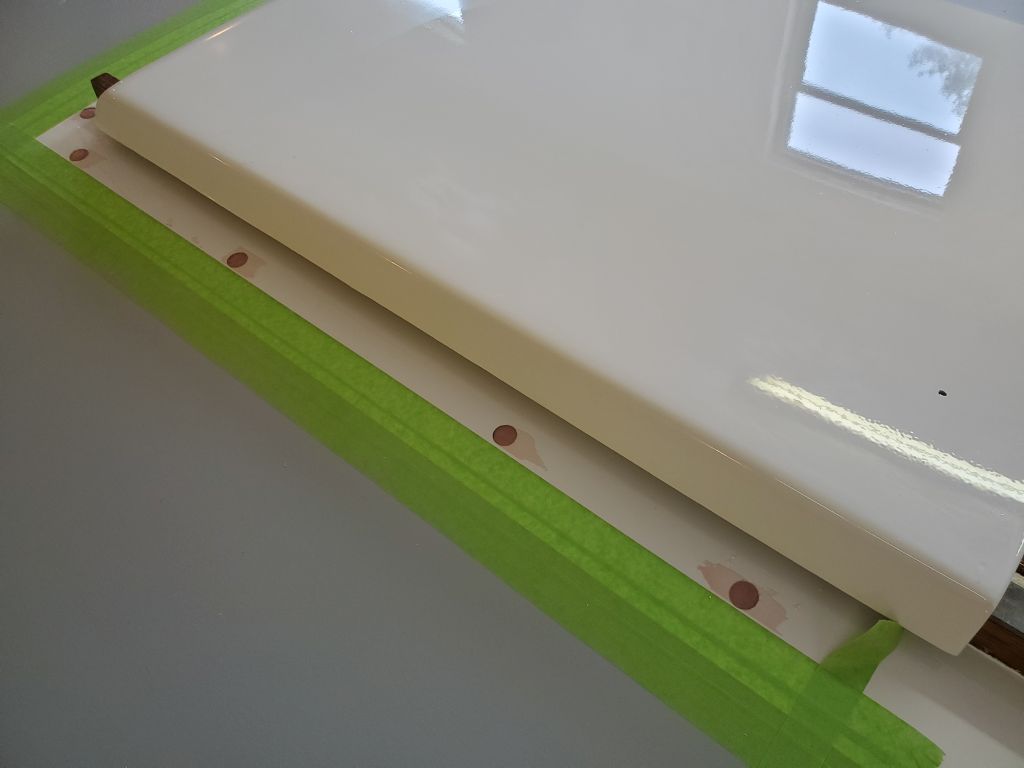
With the sea hood repositioned on the coachroof, and secured temporarily with the two screws that I’d installed a couple months before when the dodger was being patterned, I masked around the edges to mark the position and, later, to protect against excess sealant during installation. I also marked the sea hood scupper locations with pieces of tape for future reference. Then, I removed the hood again so I could prepare the fastener locations in the deck.
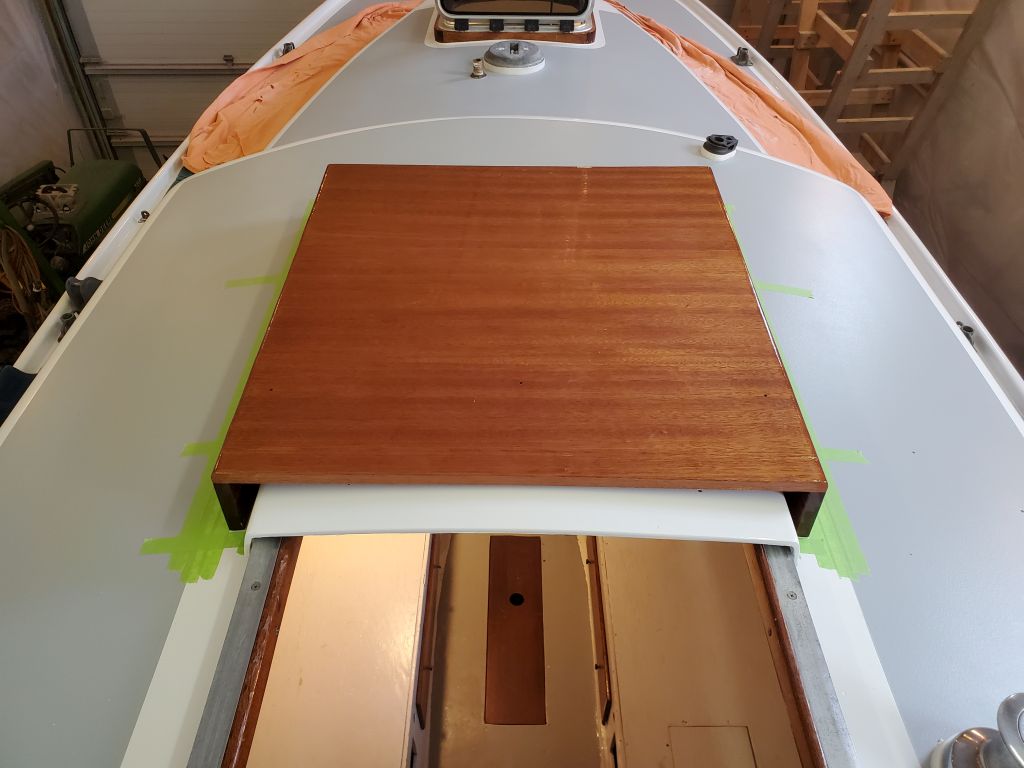
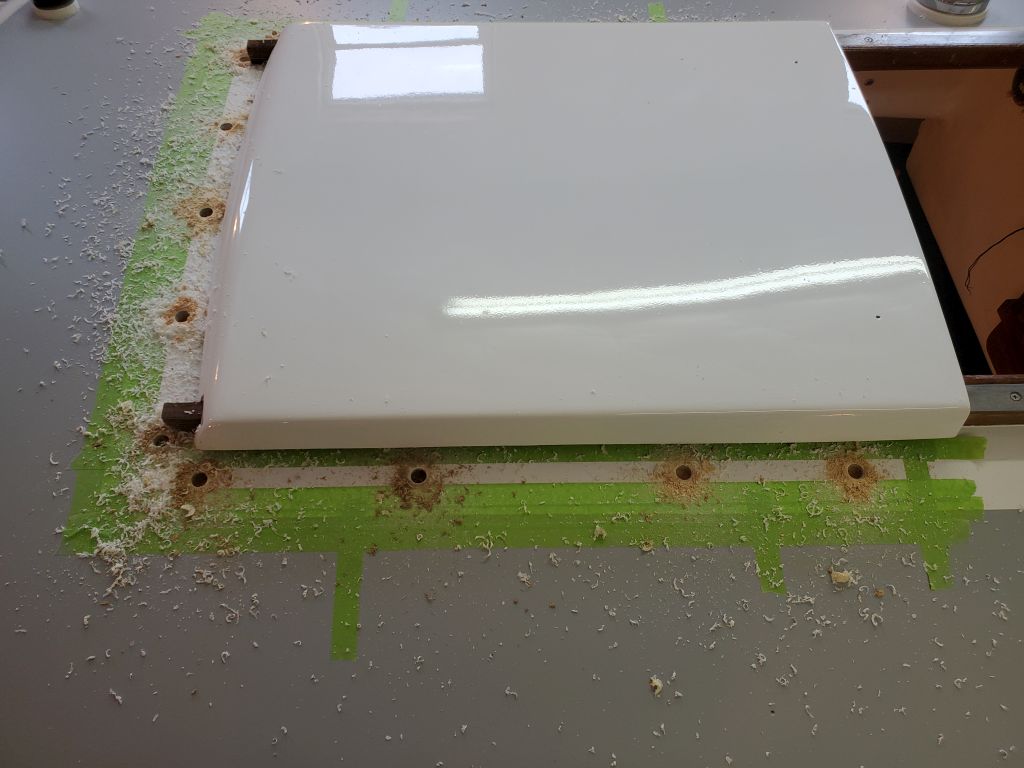
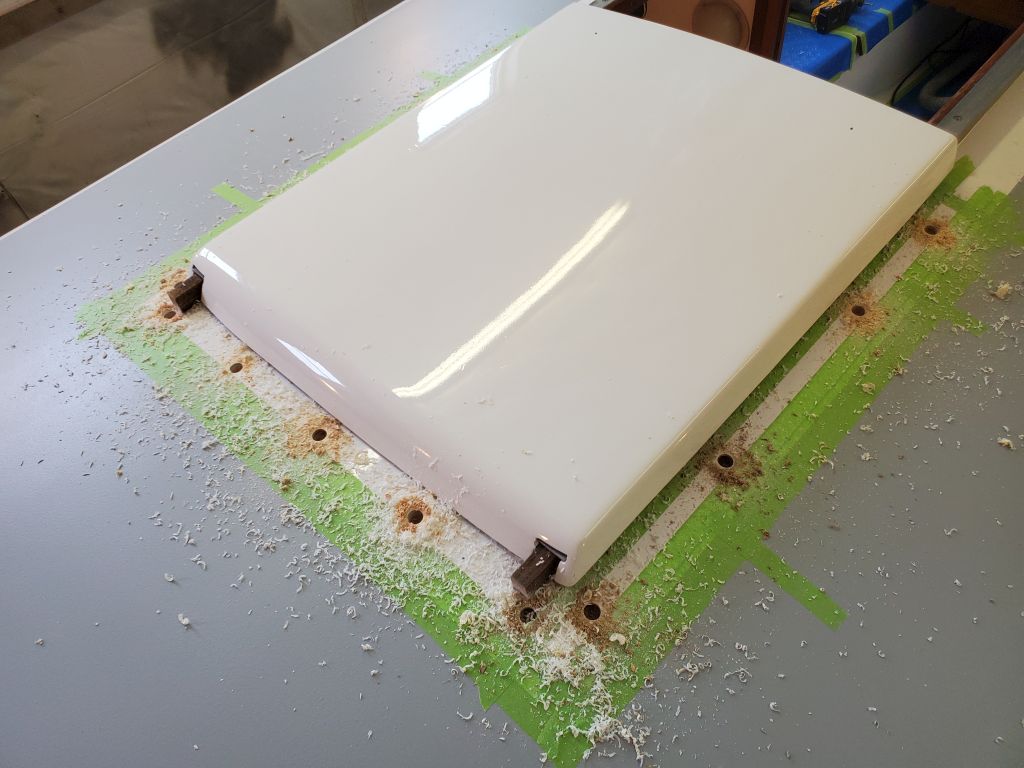
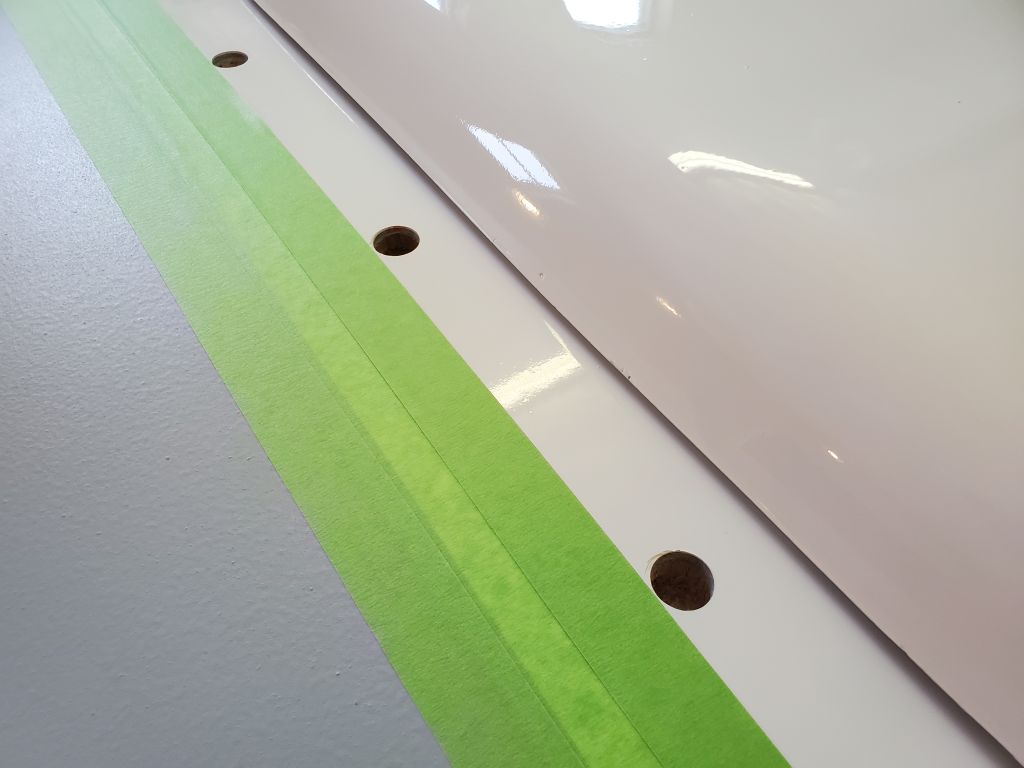
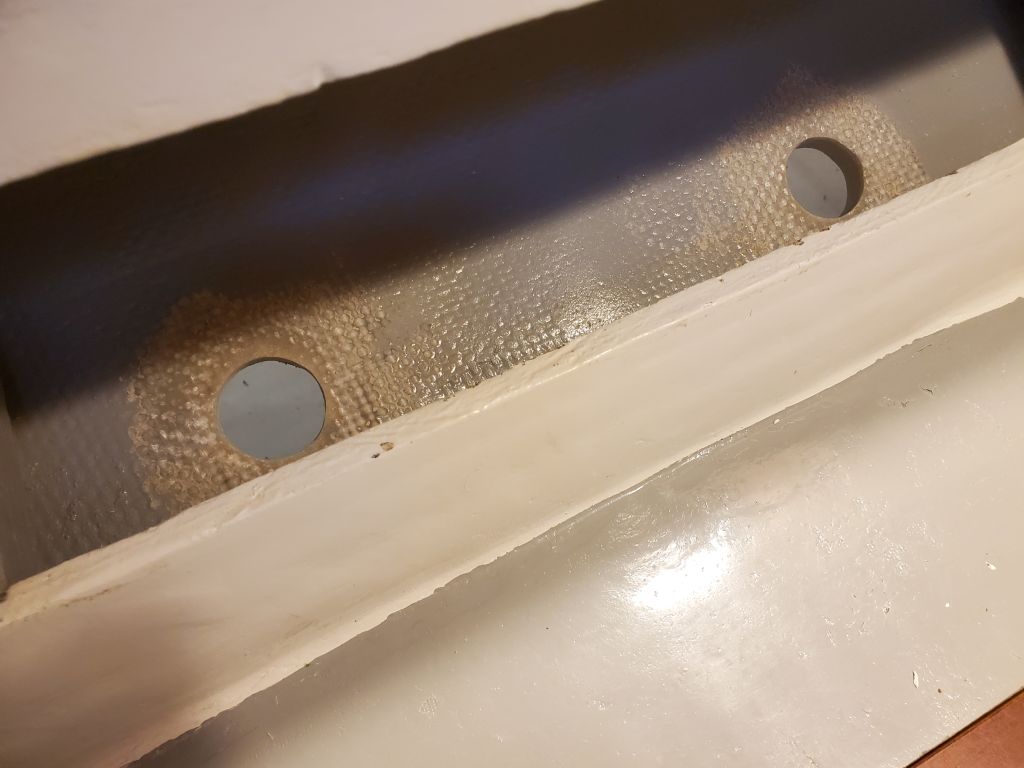
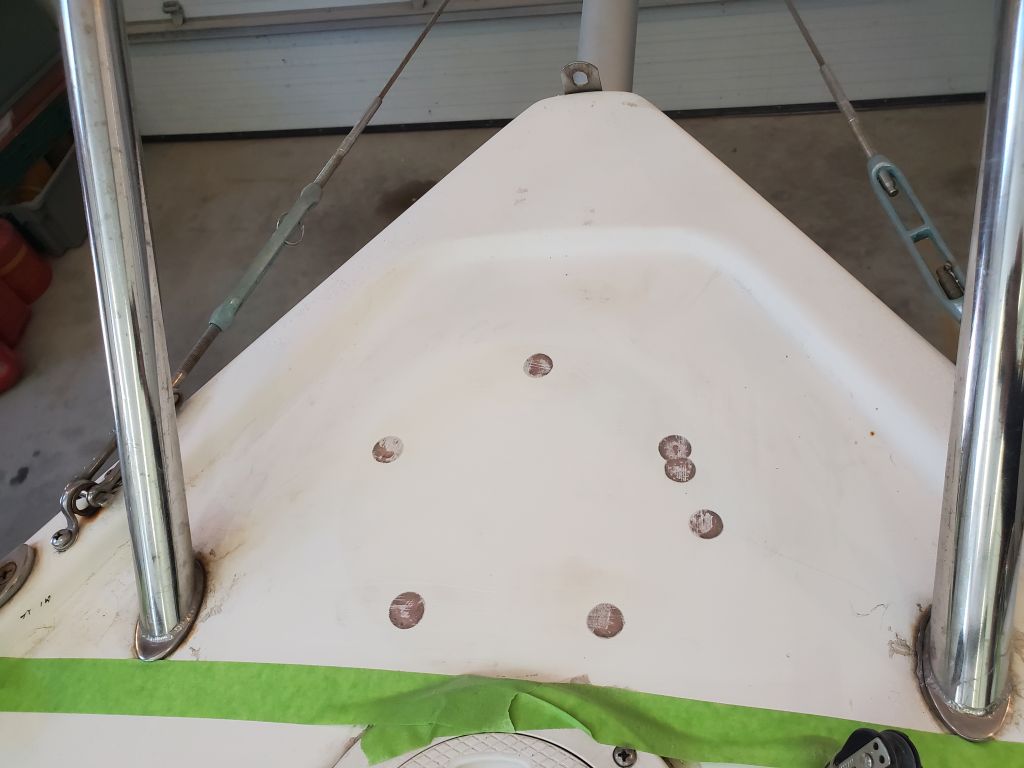
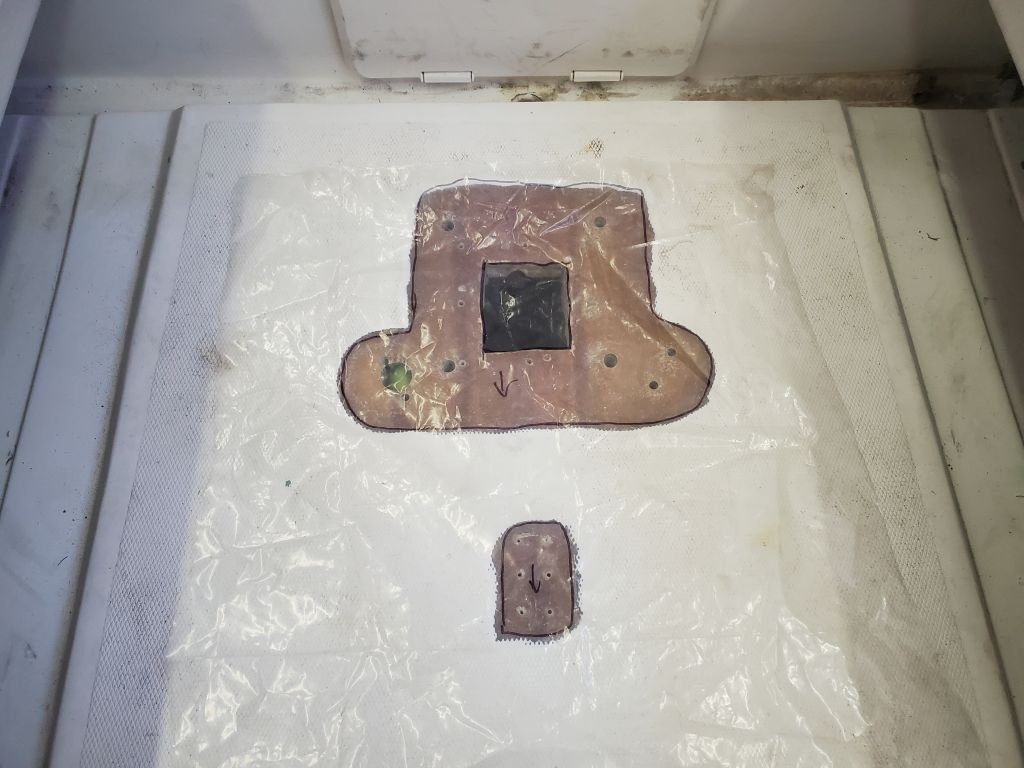
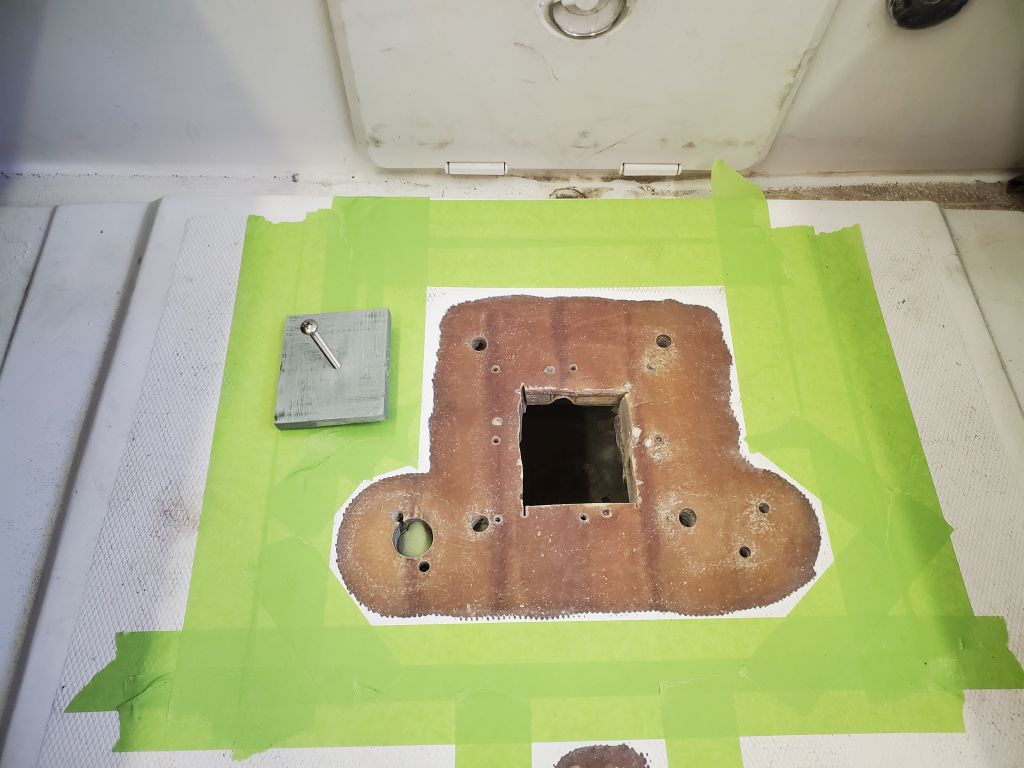
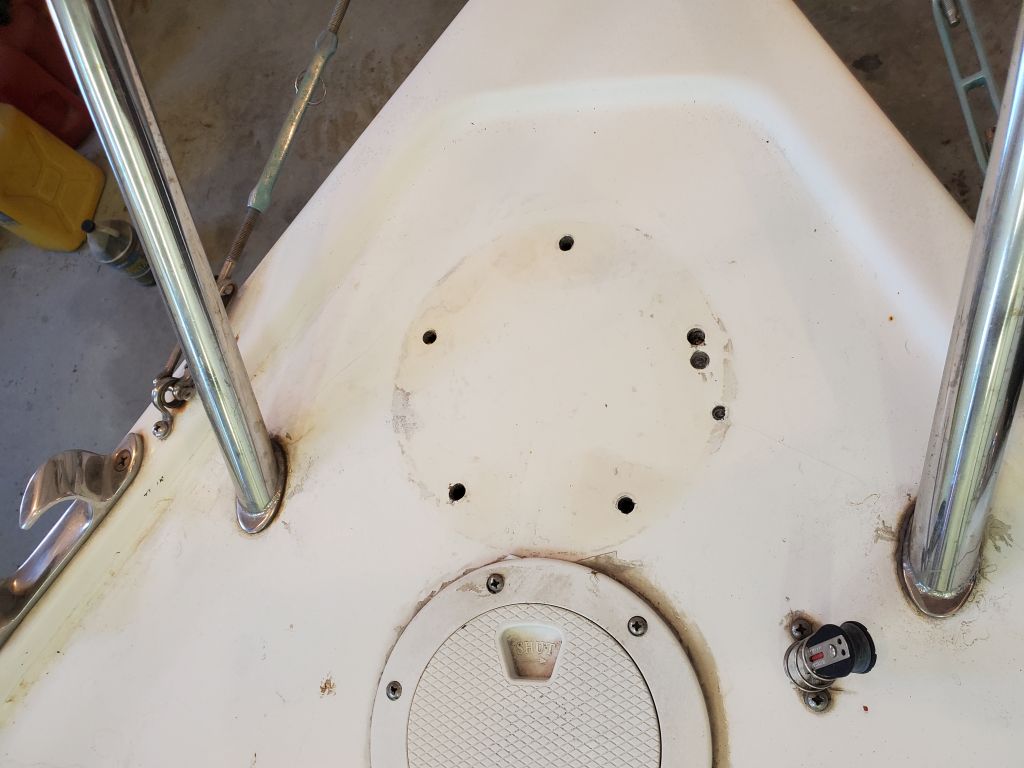
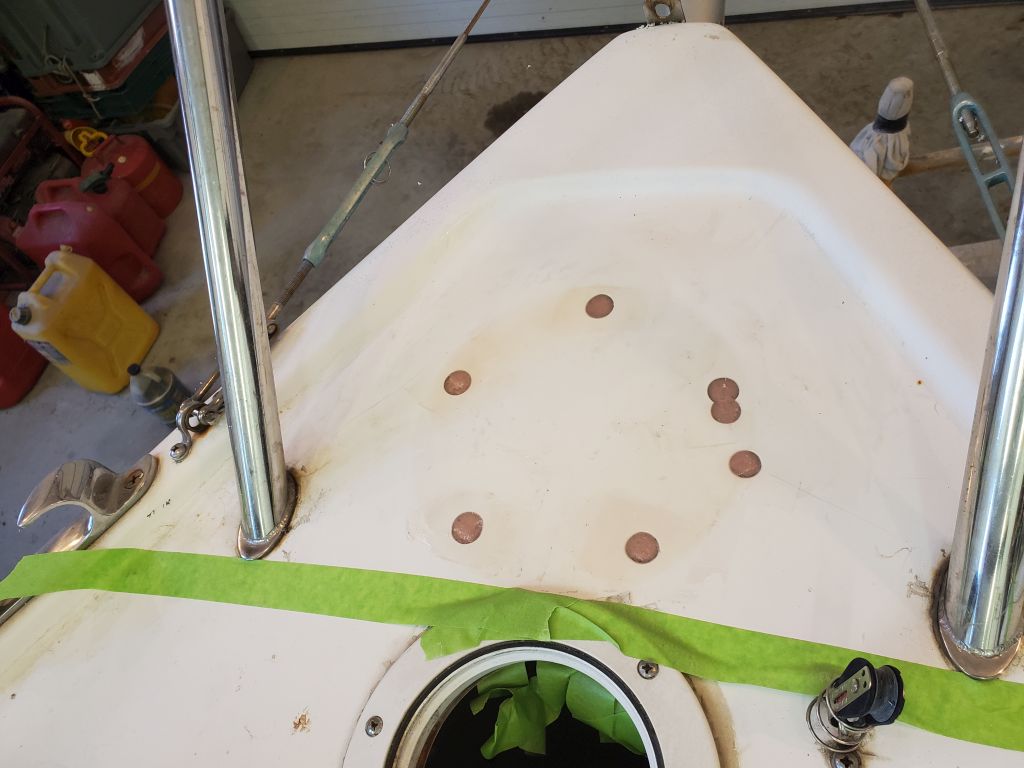
Using a narrower strip of tape to simulate the thickness of the sea hood, I marked in the center of the marked area for various screw holes all around the perimeter: four on each side (spaced away from the drain locations), and four along the forward edge. Since the coachroof was cored, I needed to overbore, remove the core, and epoxy-fill each fastener location first, so I drilled a small pilot hole through the top skin only, followed by a 5/8″ Forstner bit to remove the top skin and core from around each fastener location, leaving the bottom skin intact. Though I’d inspected the coachroof two different times over the course of this project and wasn’t expecting any issues, I was still happy to see clean, bright core spoils at each hole location.
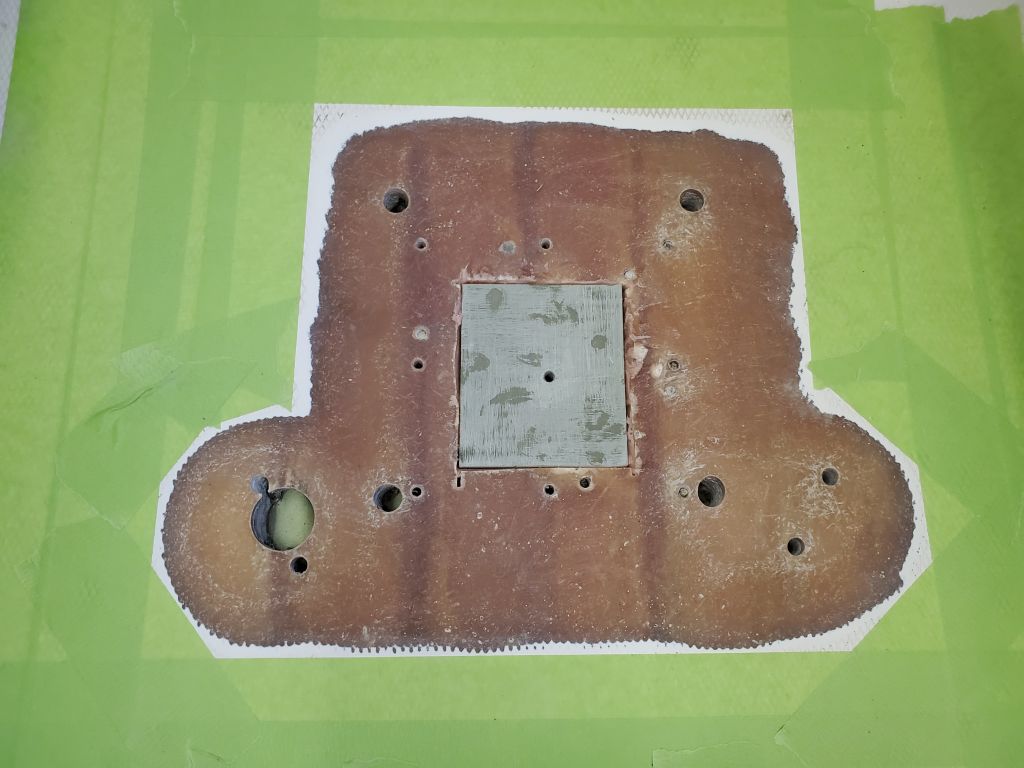
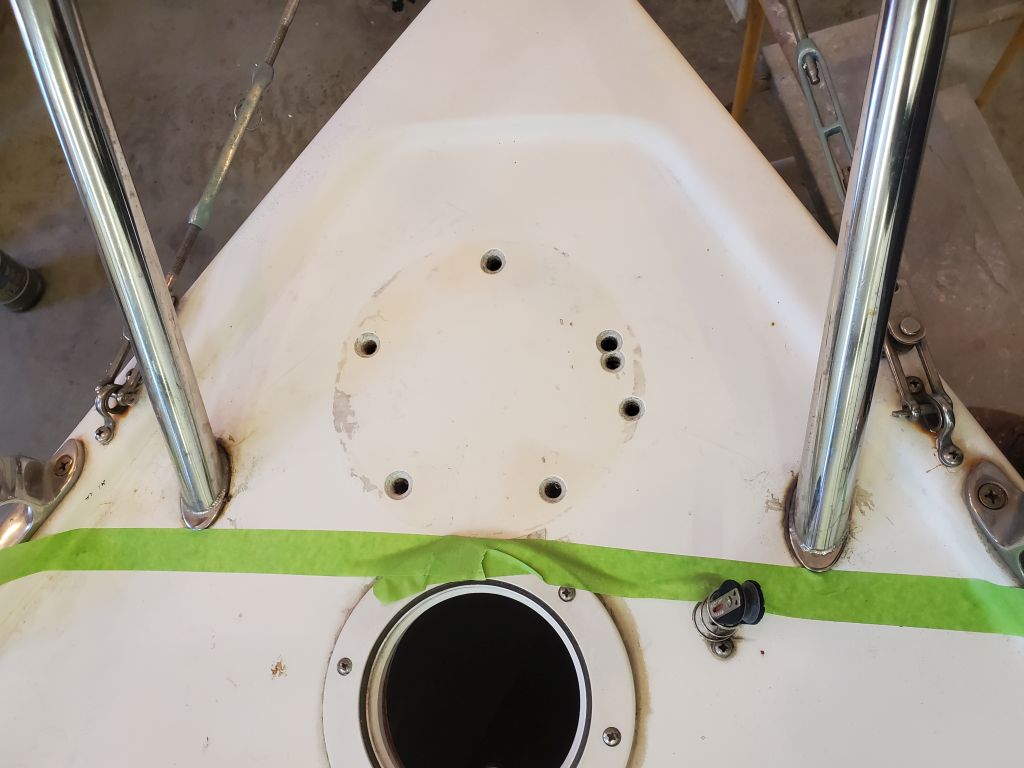
After cleaning up the spoils and preparing all the holes, I filled the voids with a thickened epoxy mixture and left it to cure before continuing with the final sea hood installation another time.
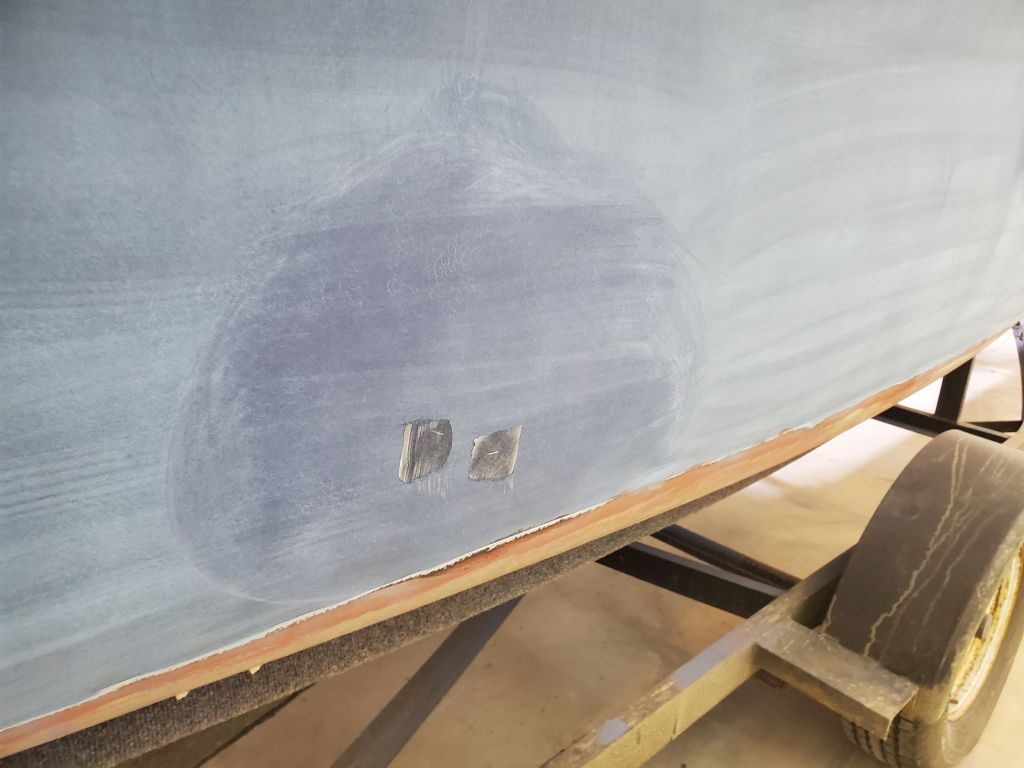
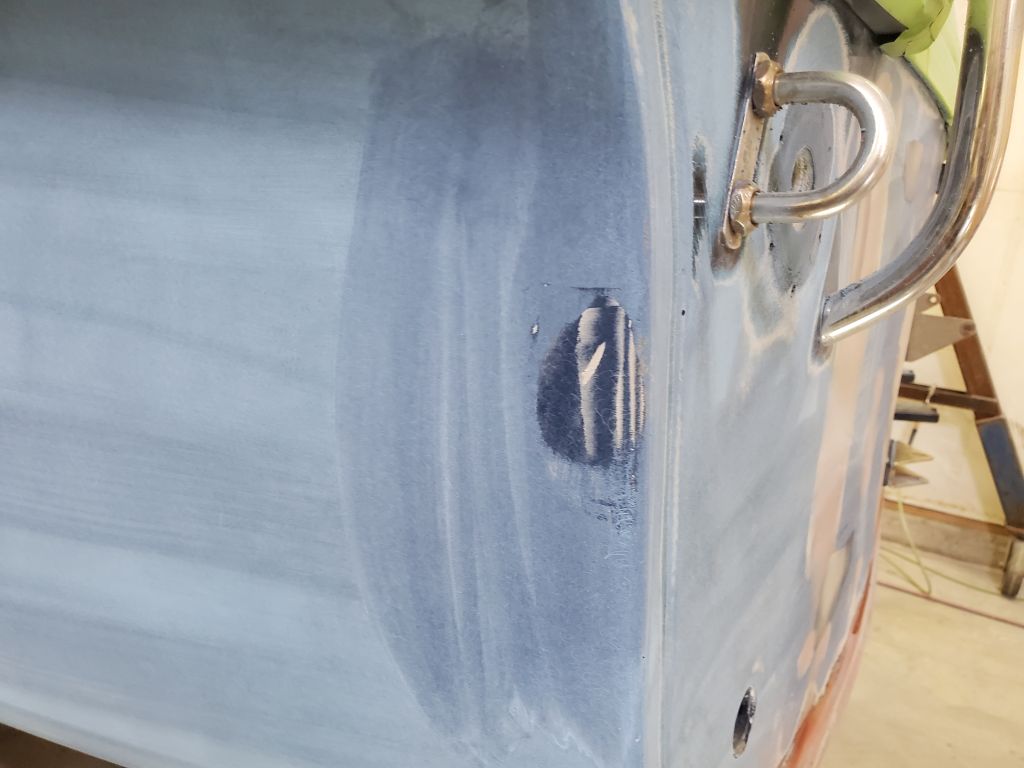
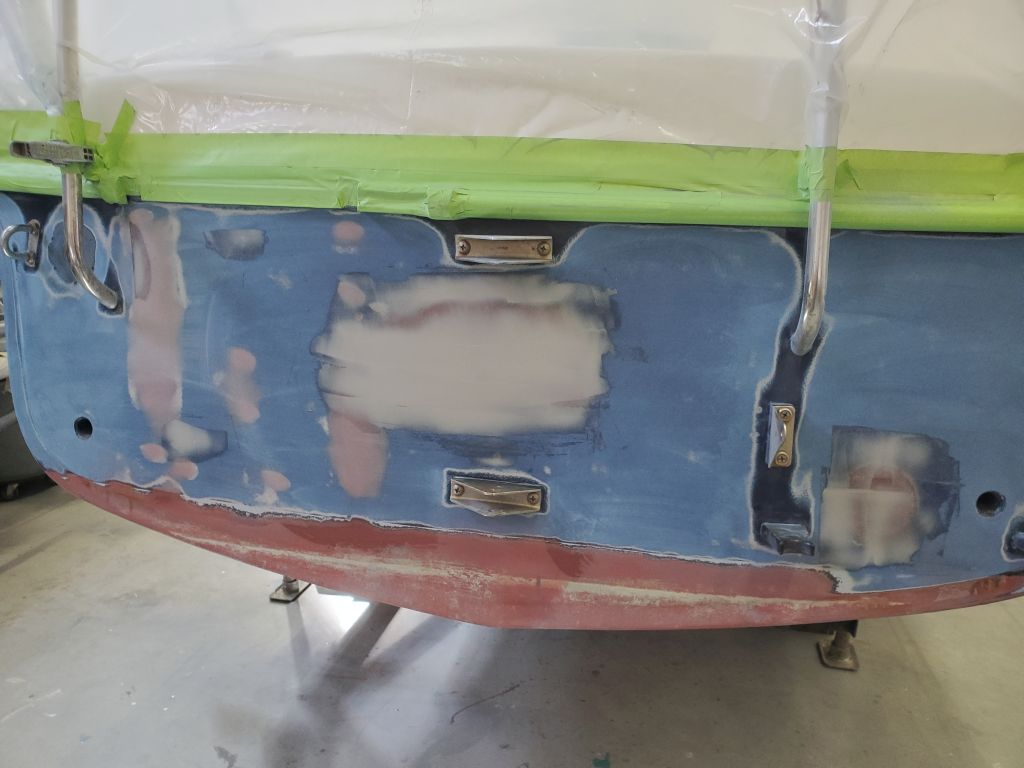
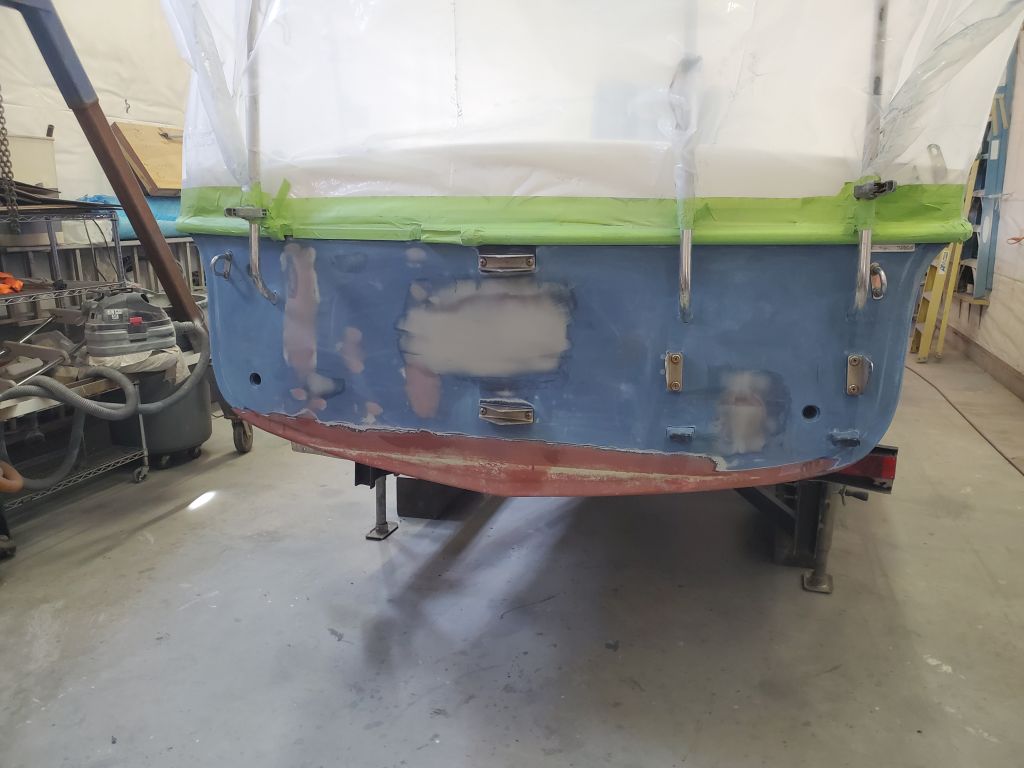
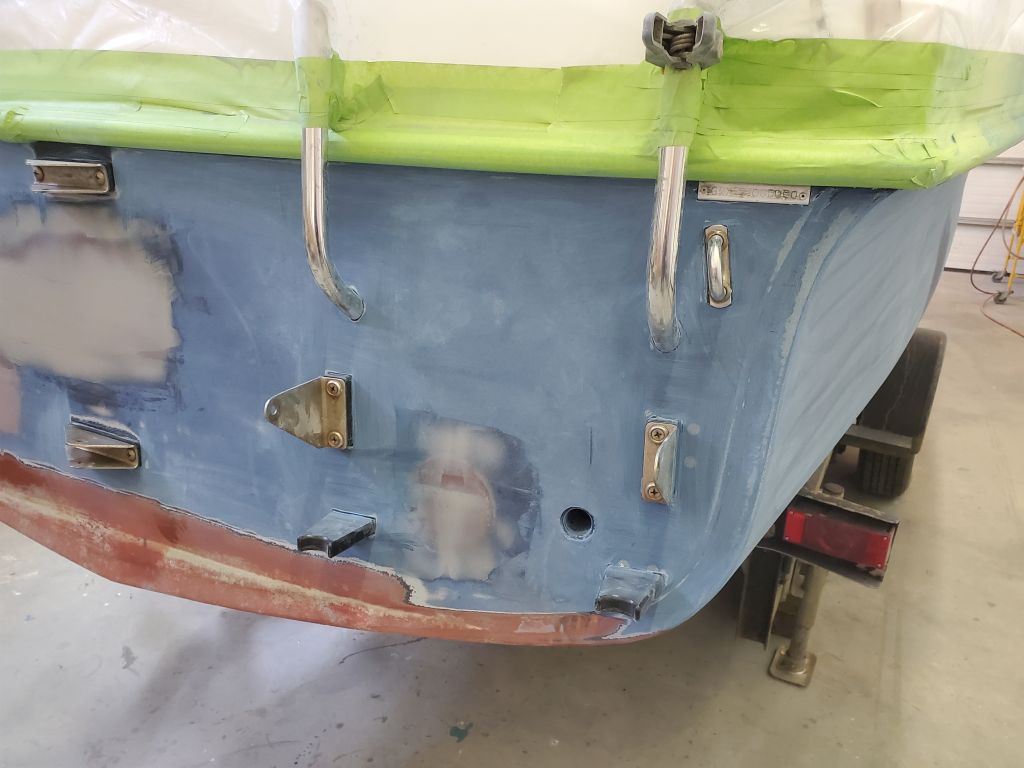
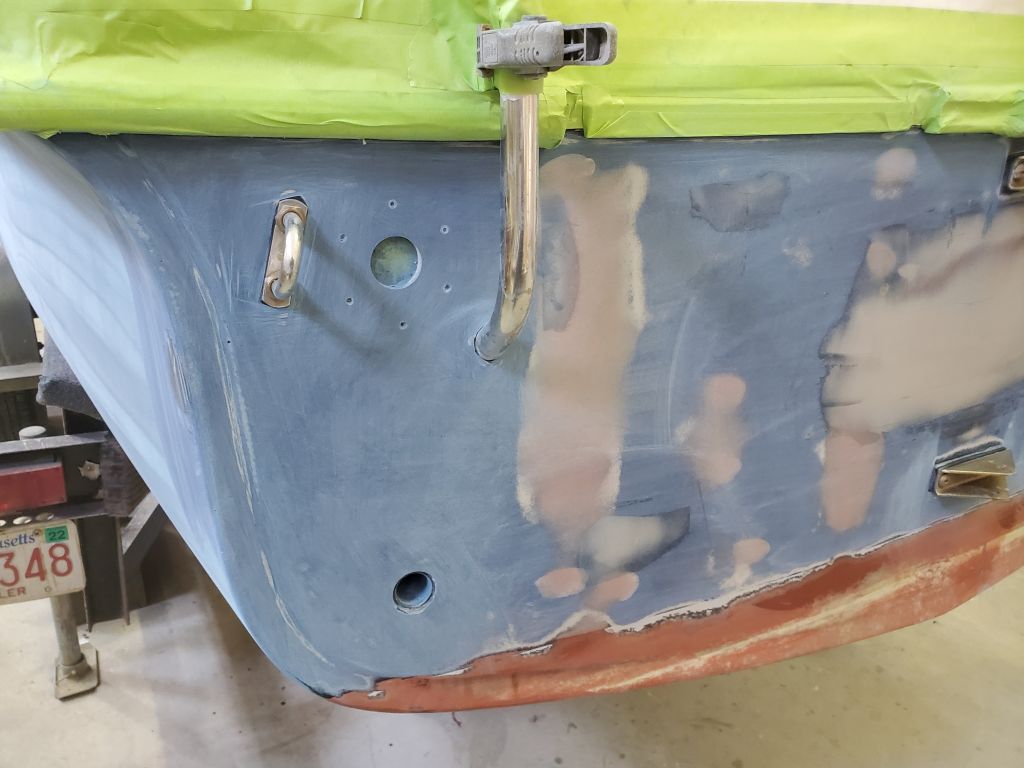
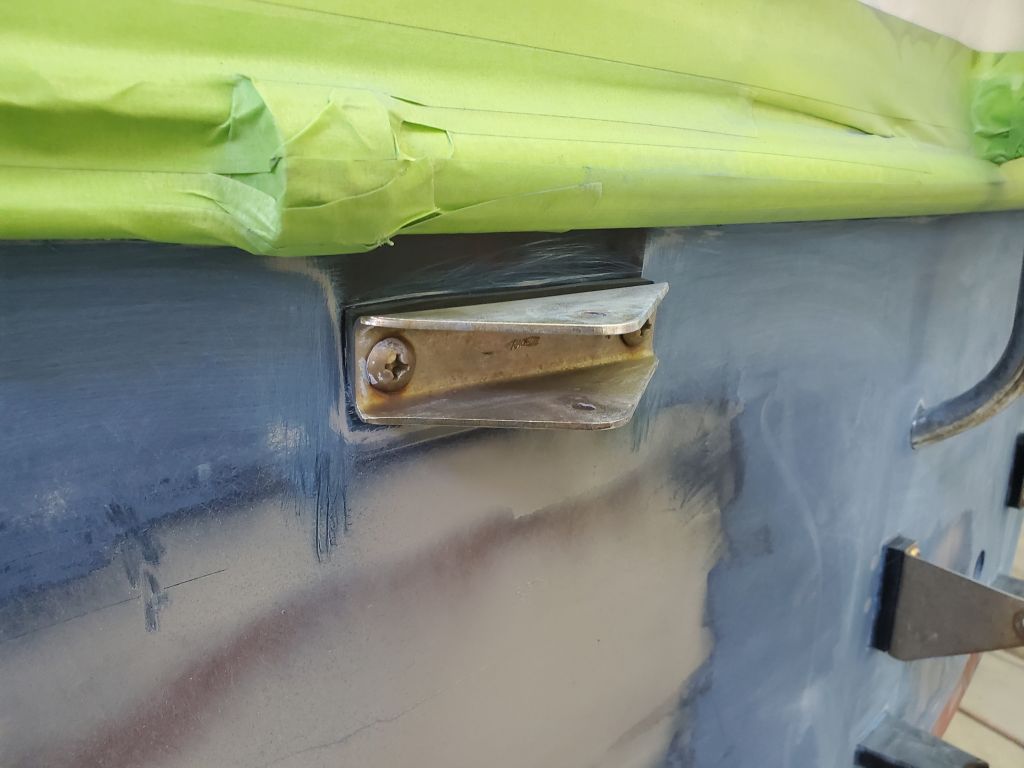
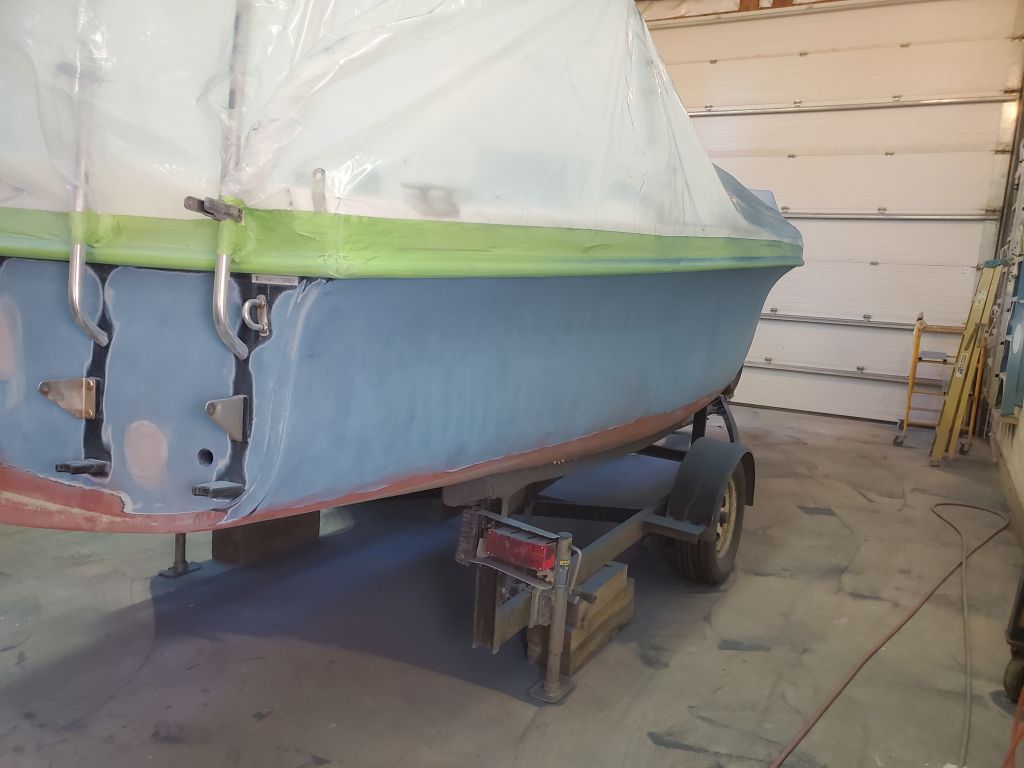
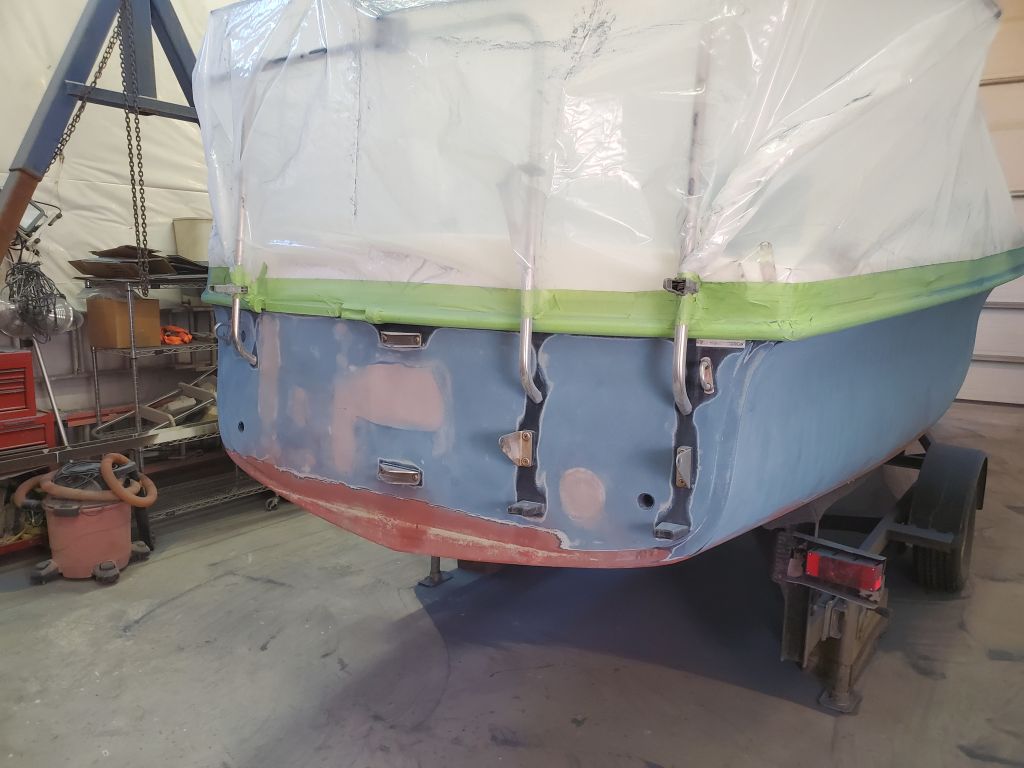
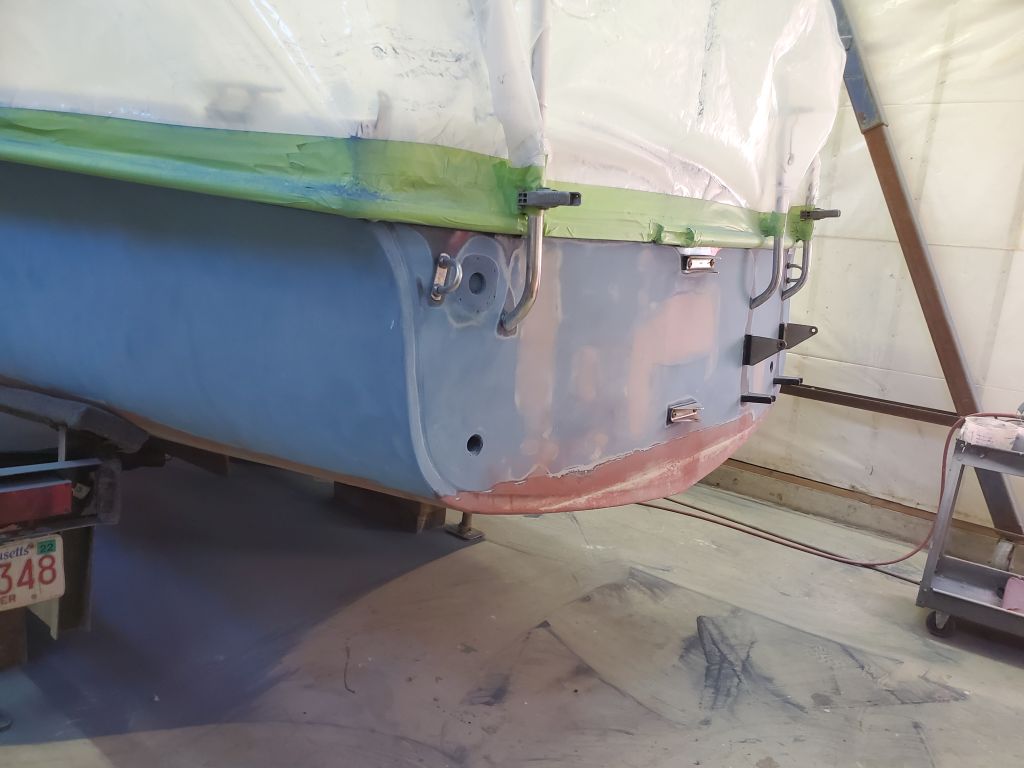
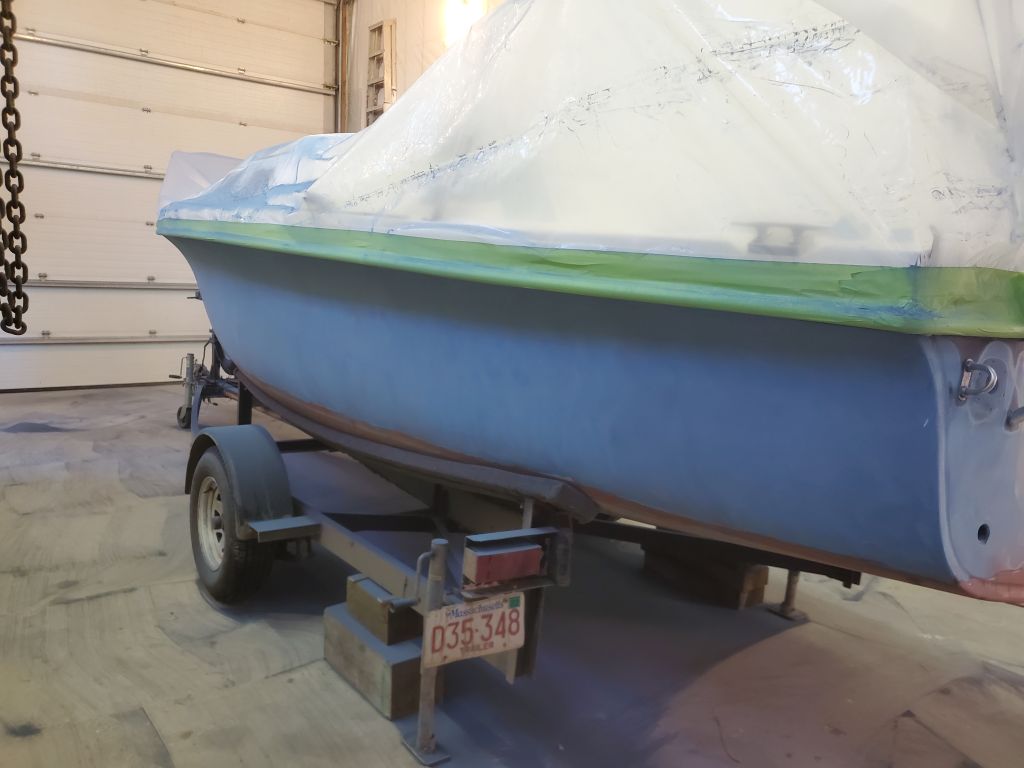
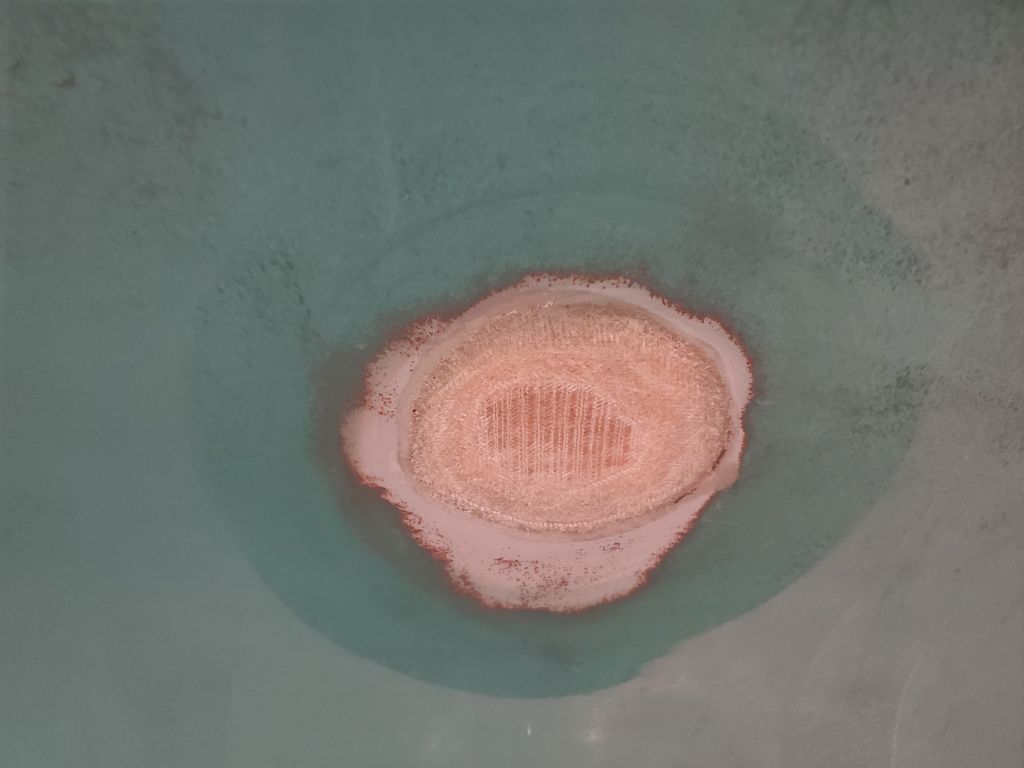
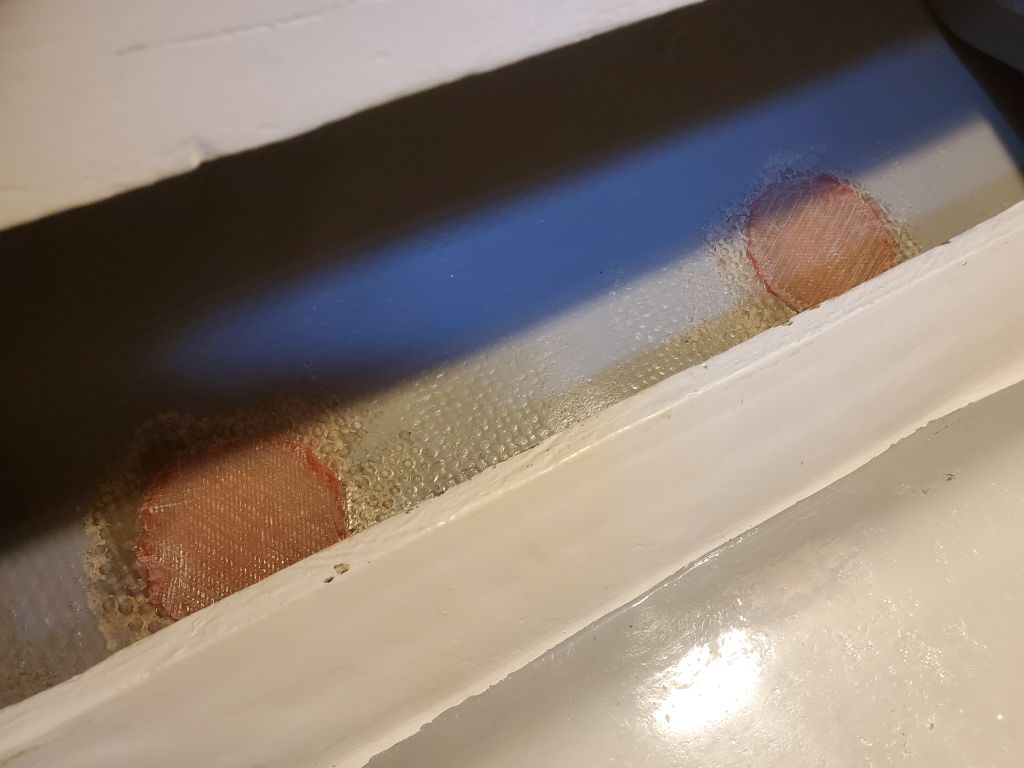
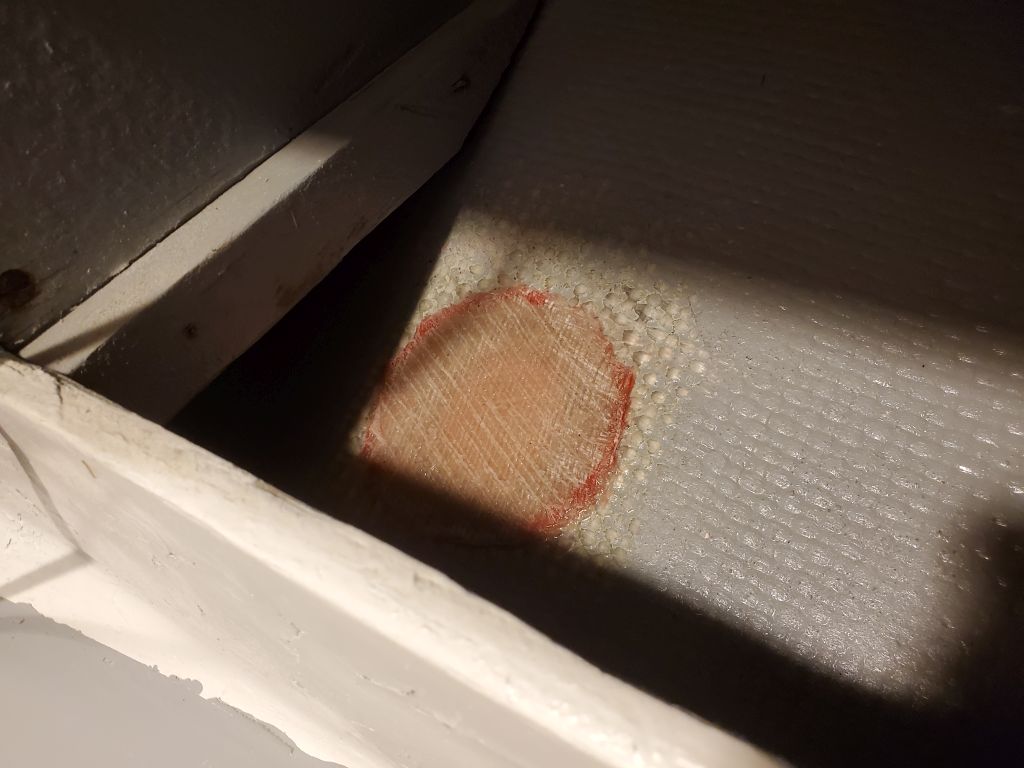
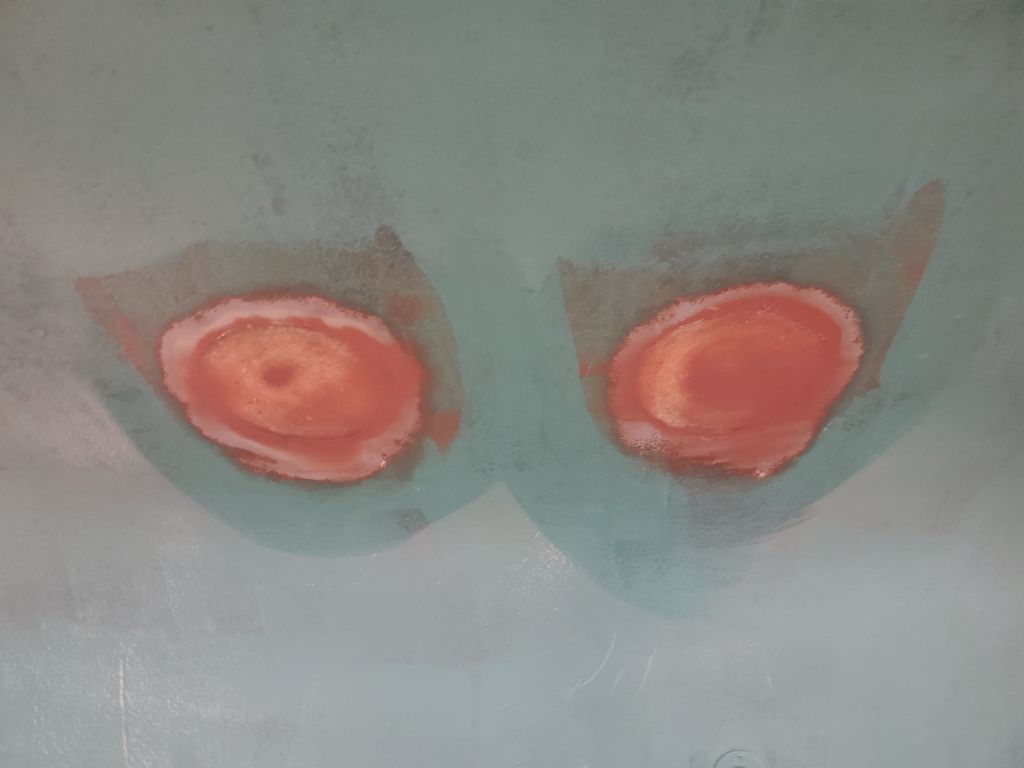
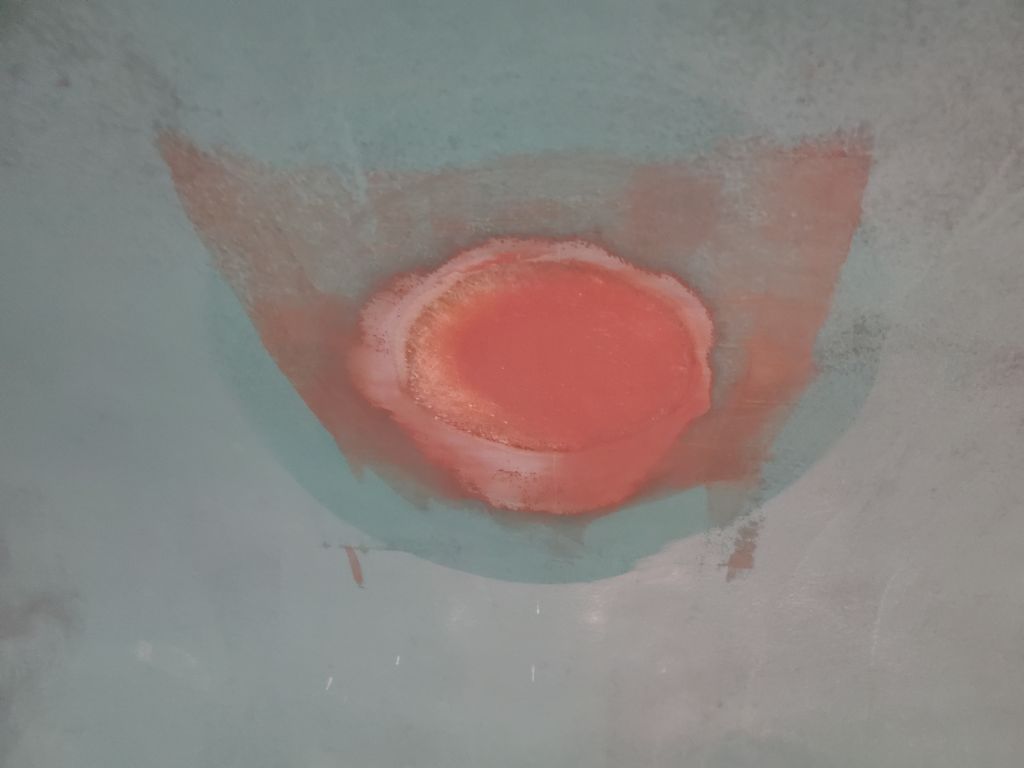
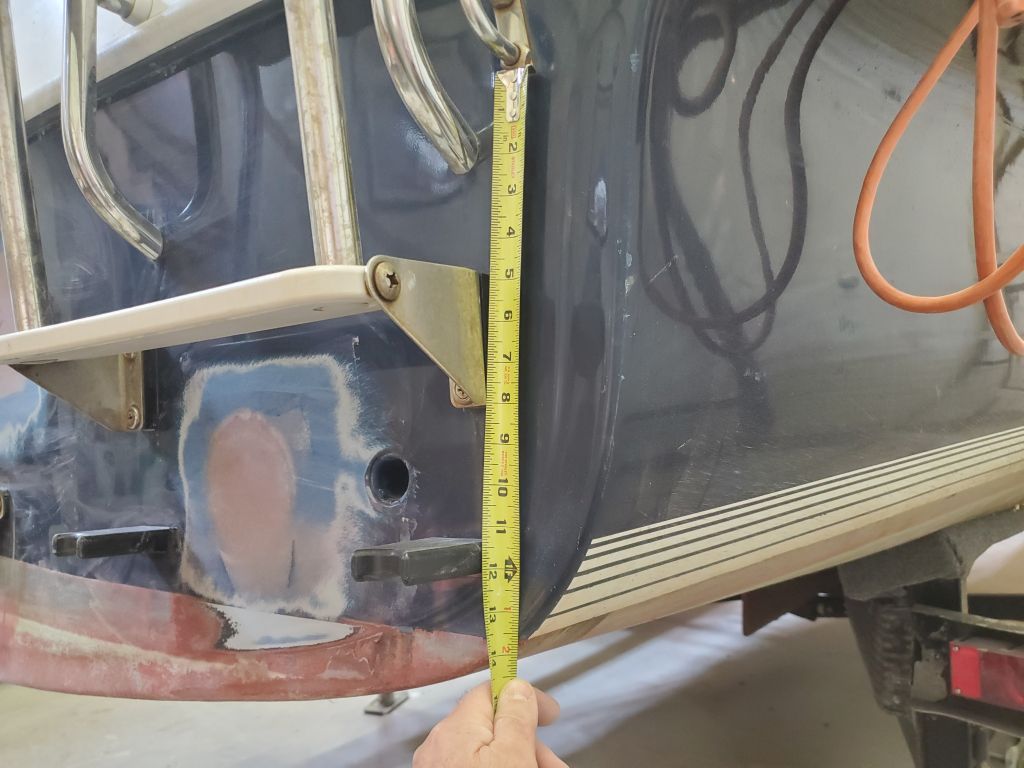
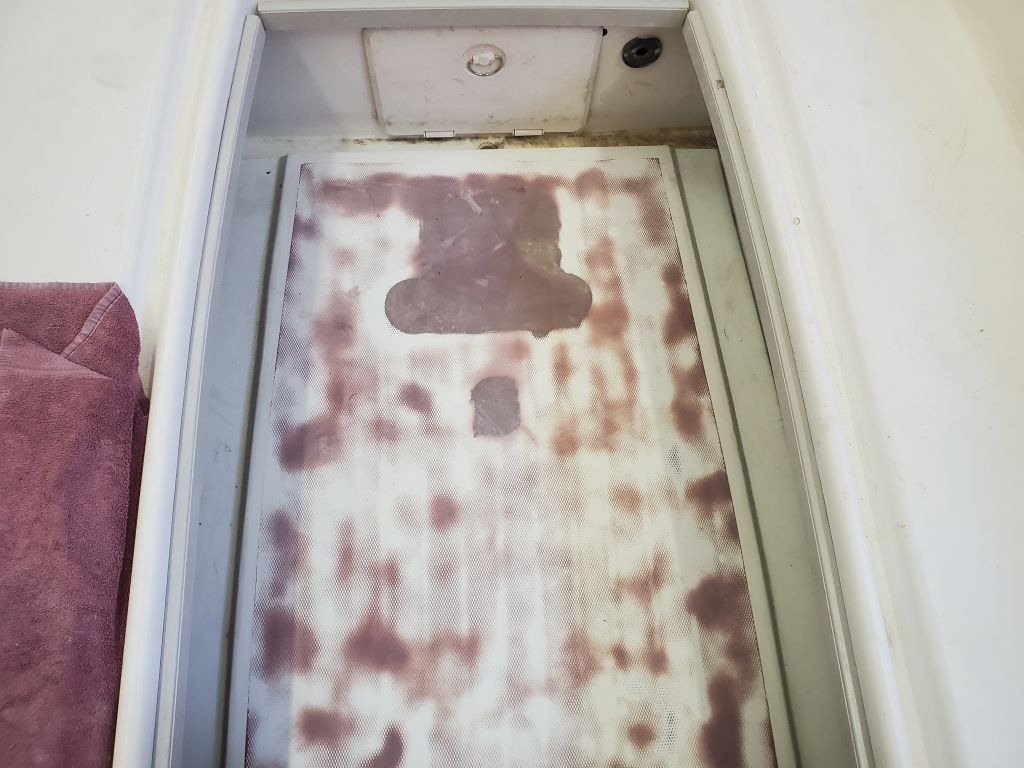
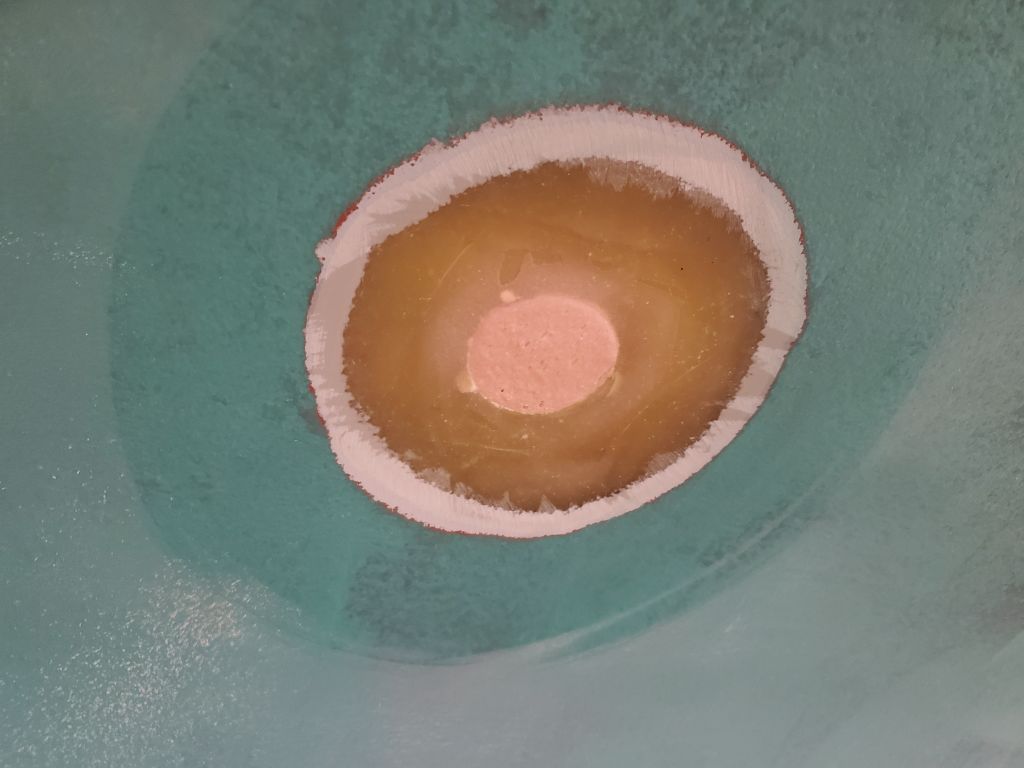
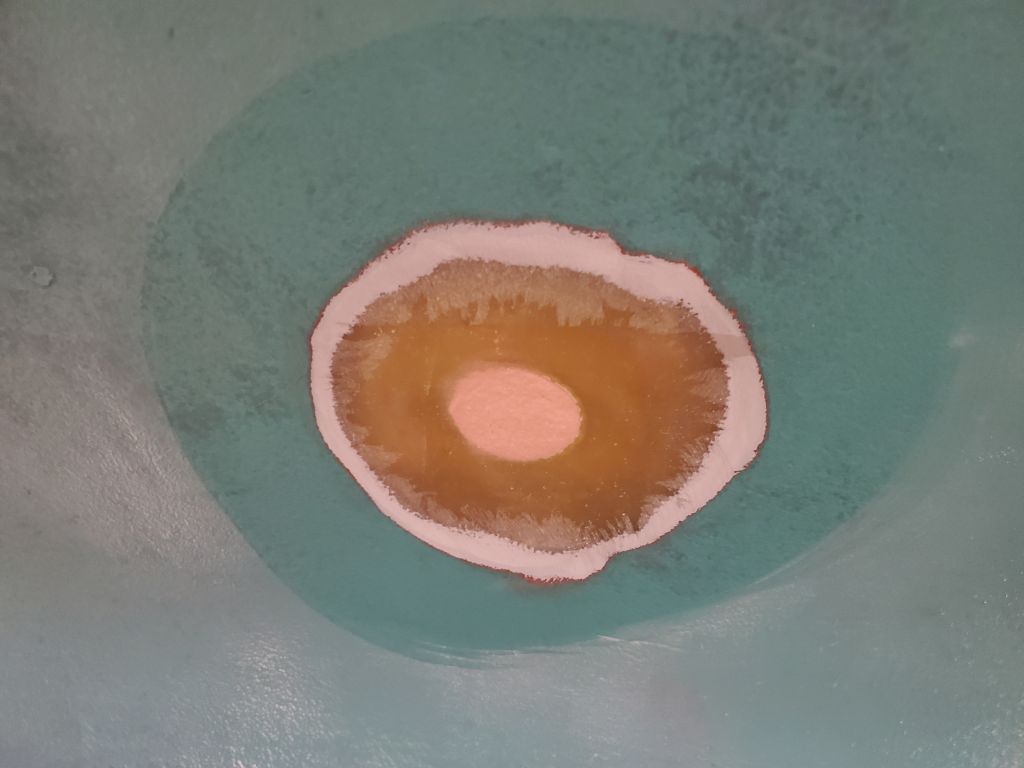
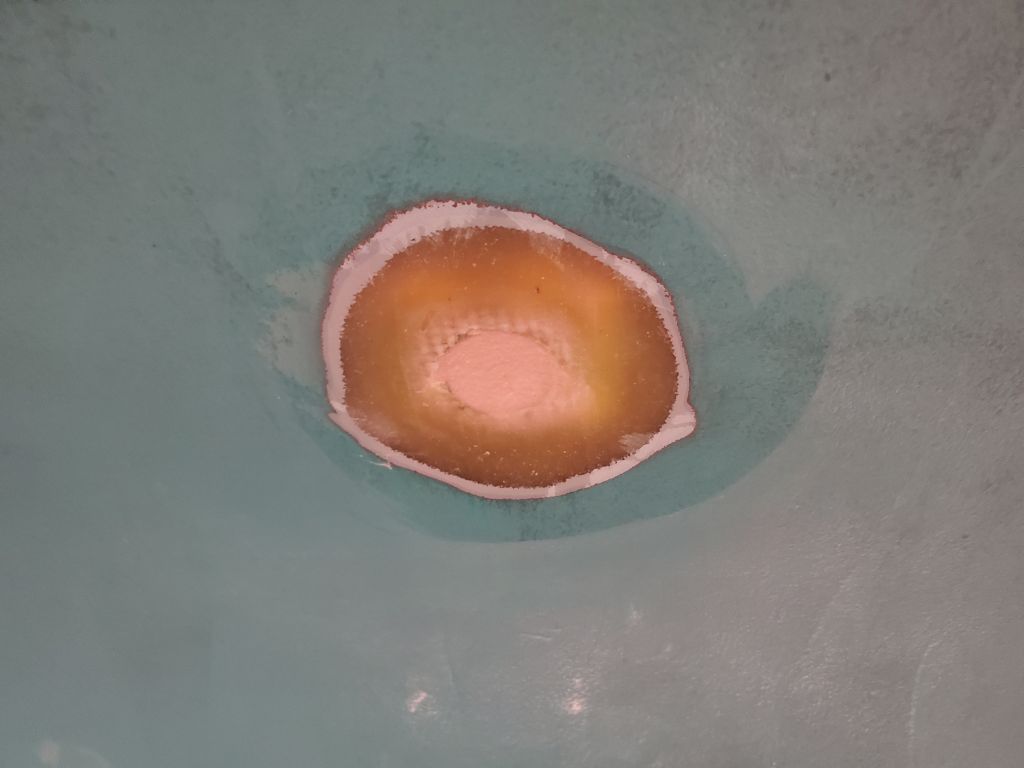
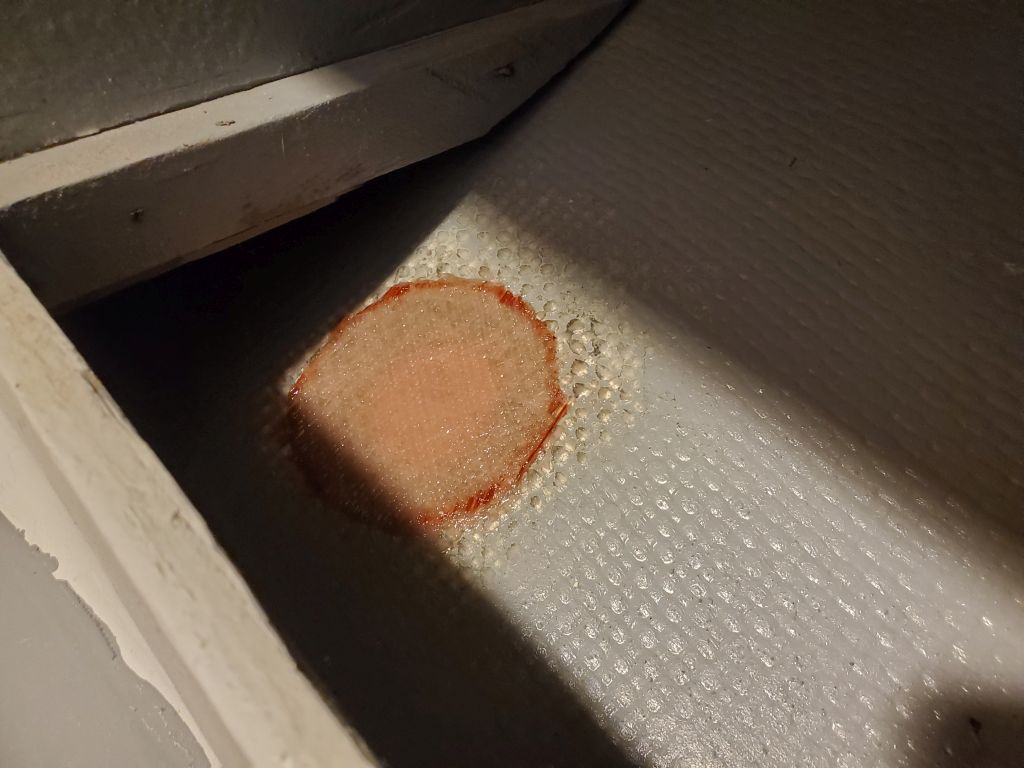
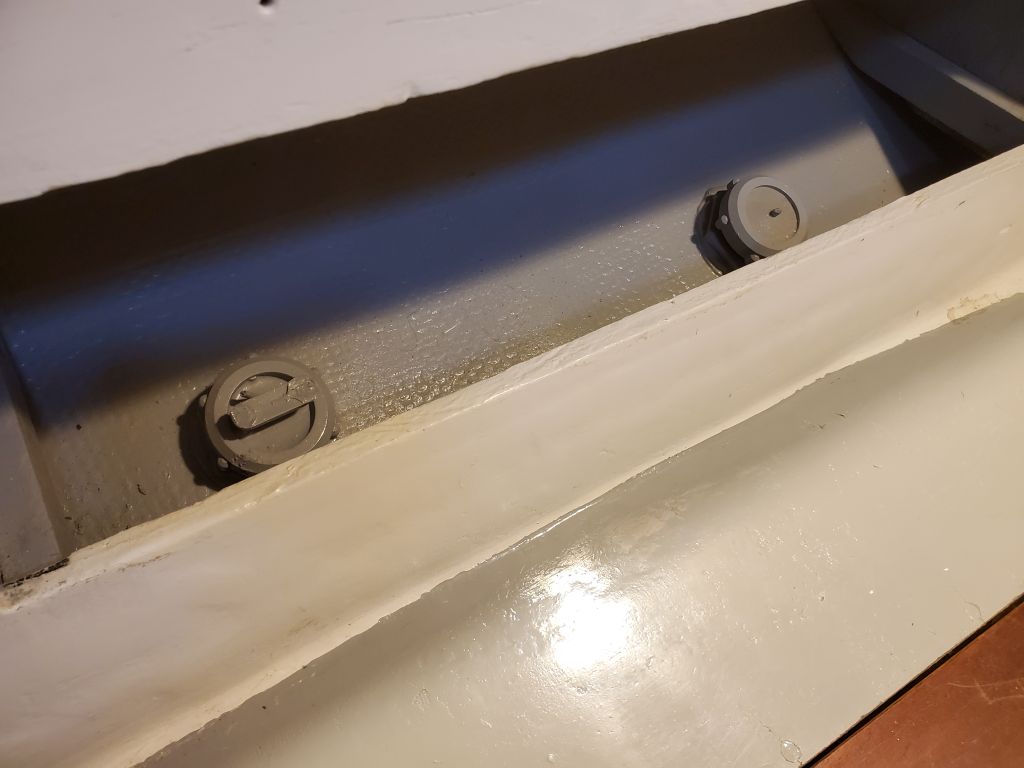
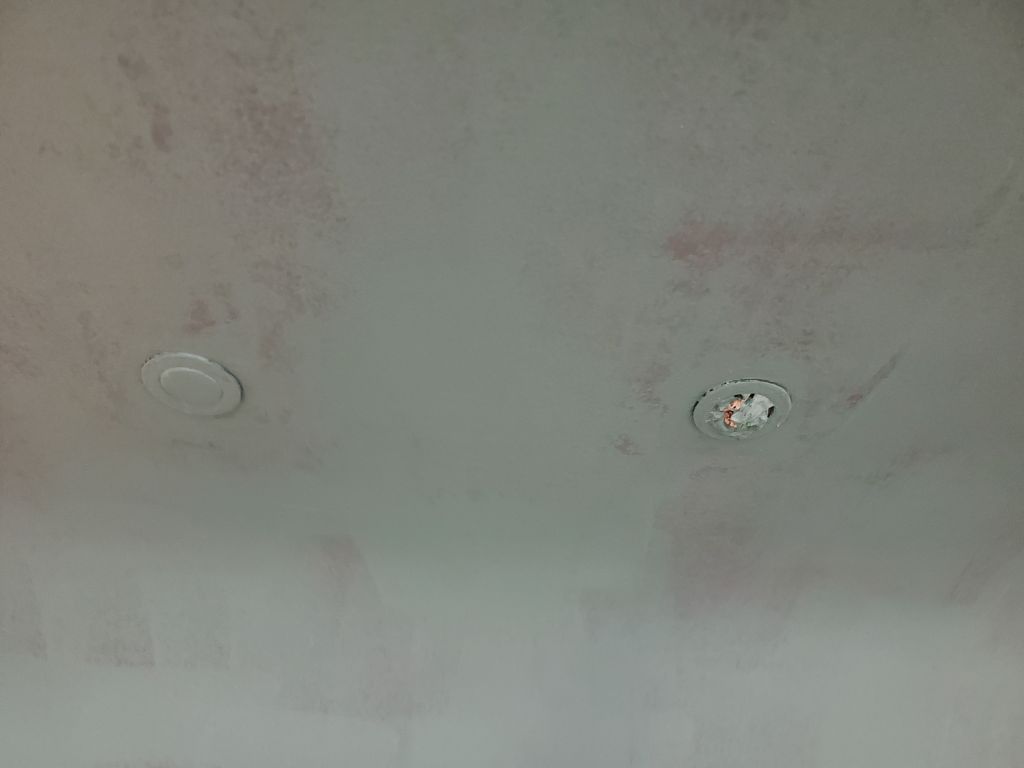
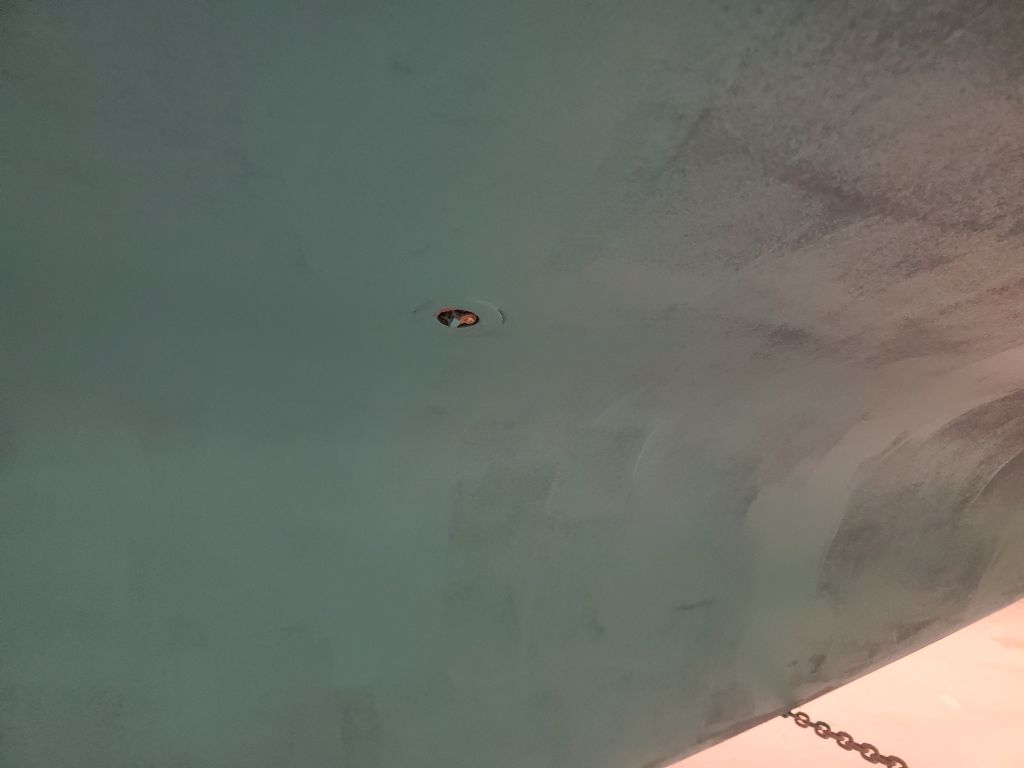
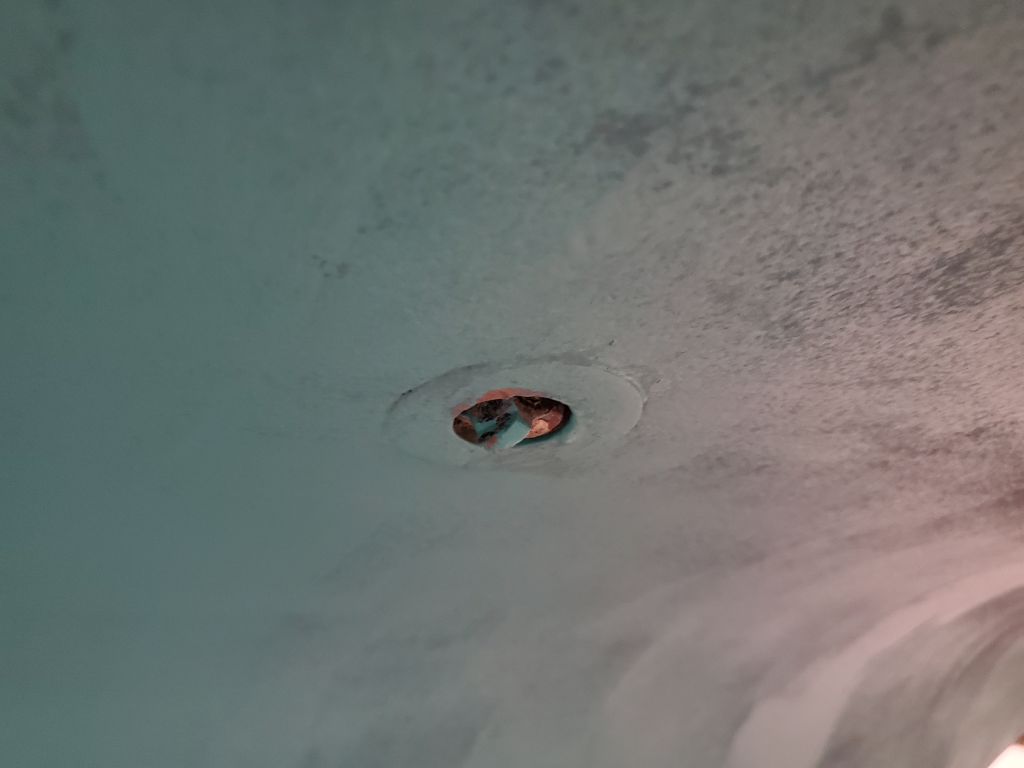
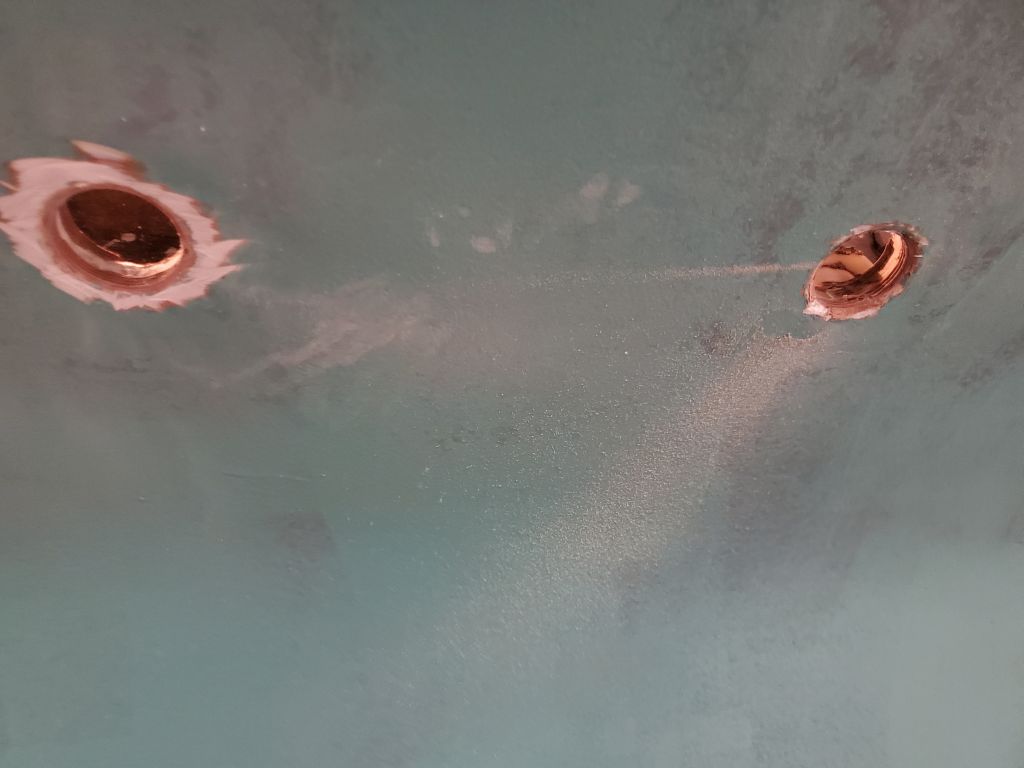
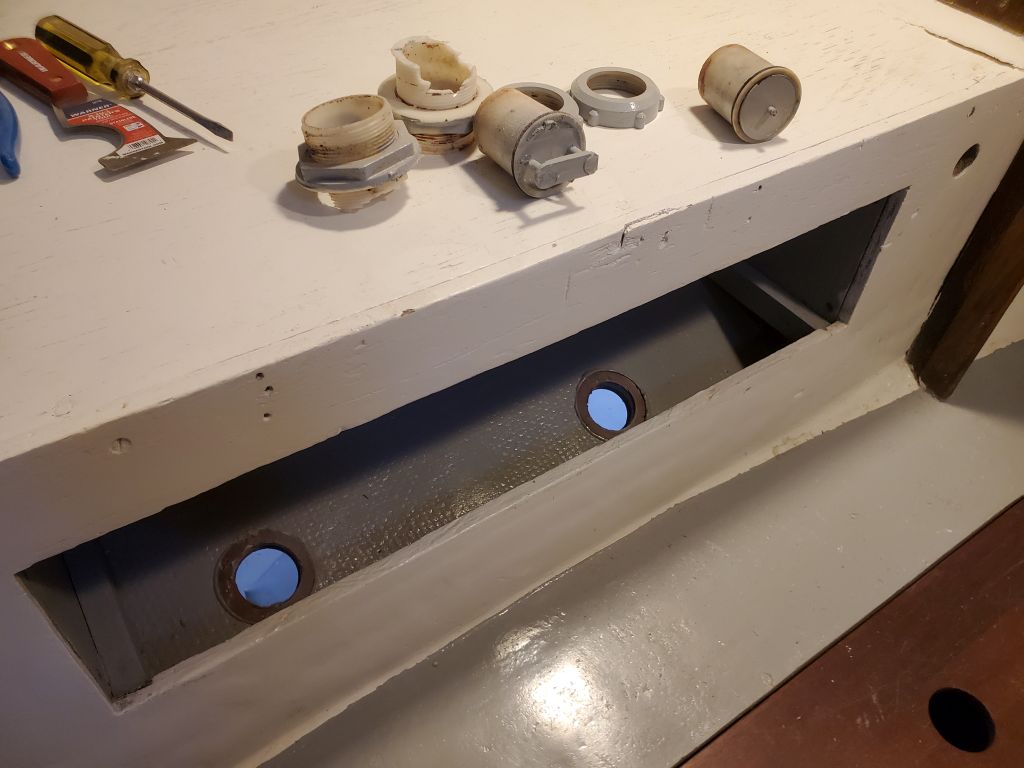
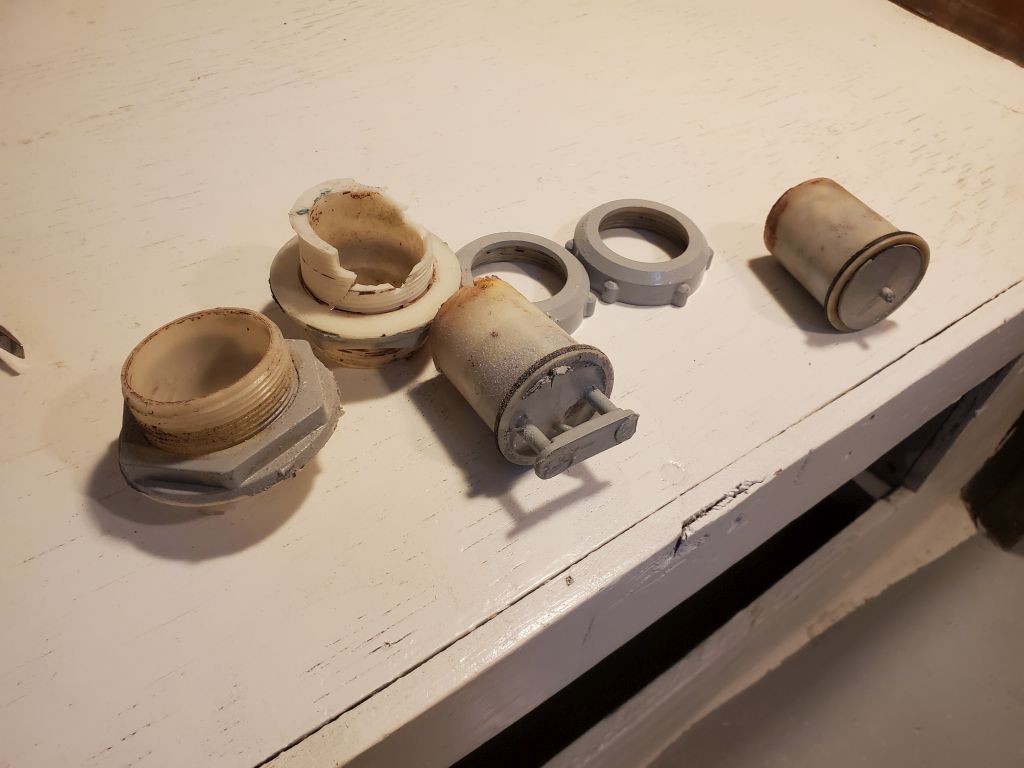
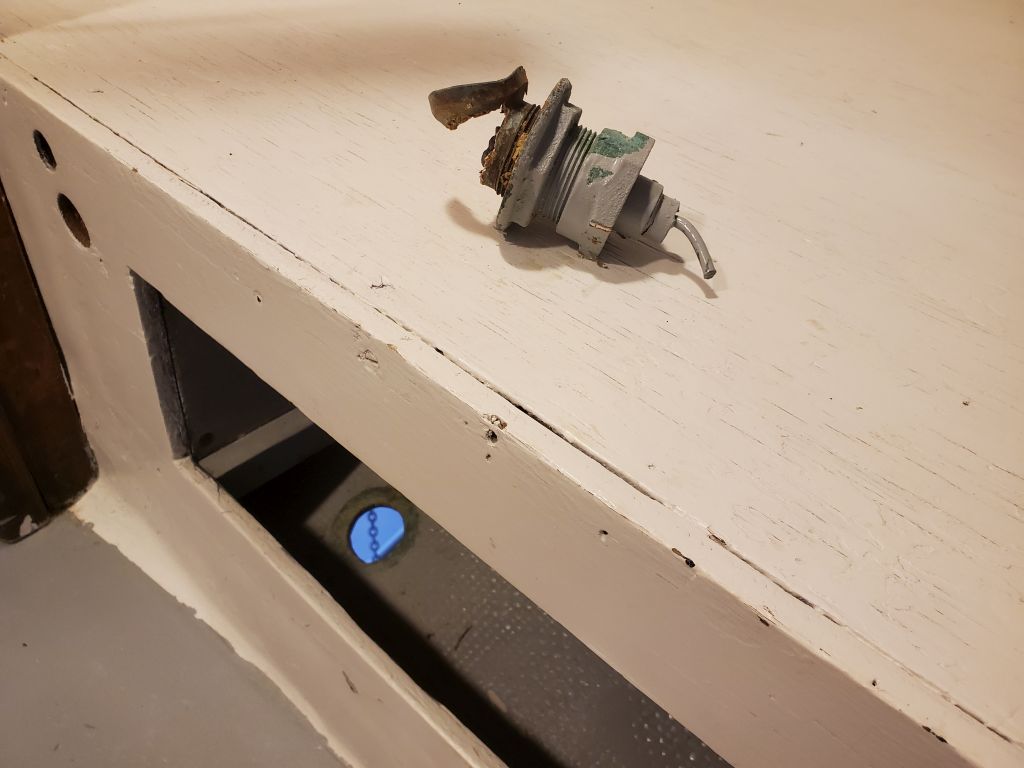
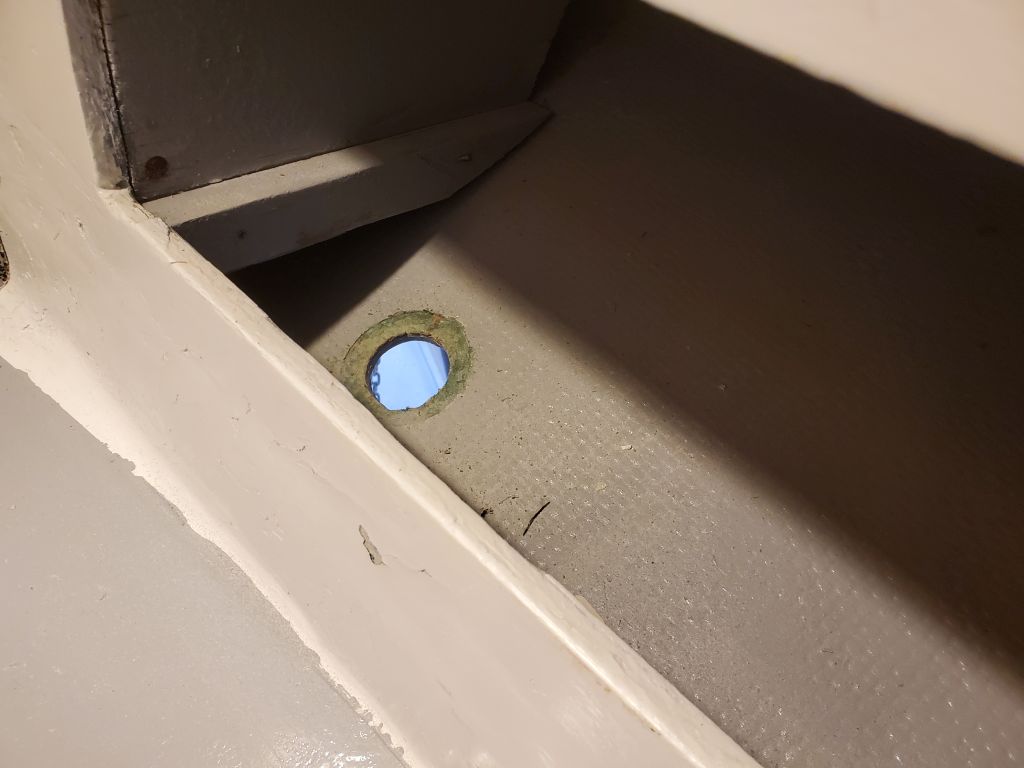
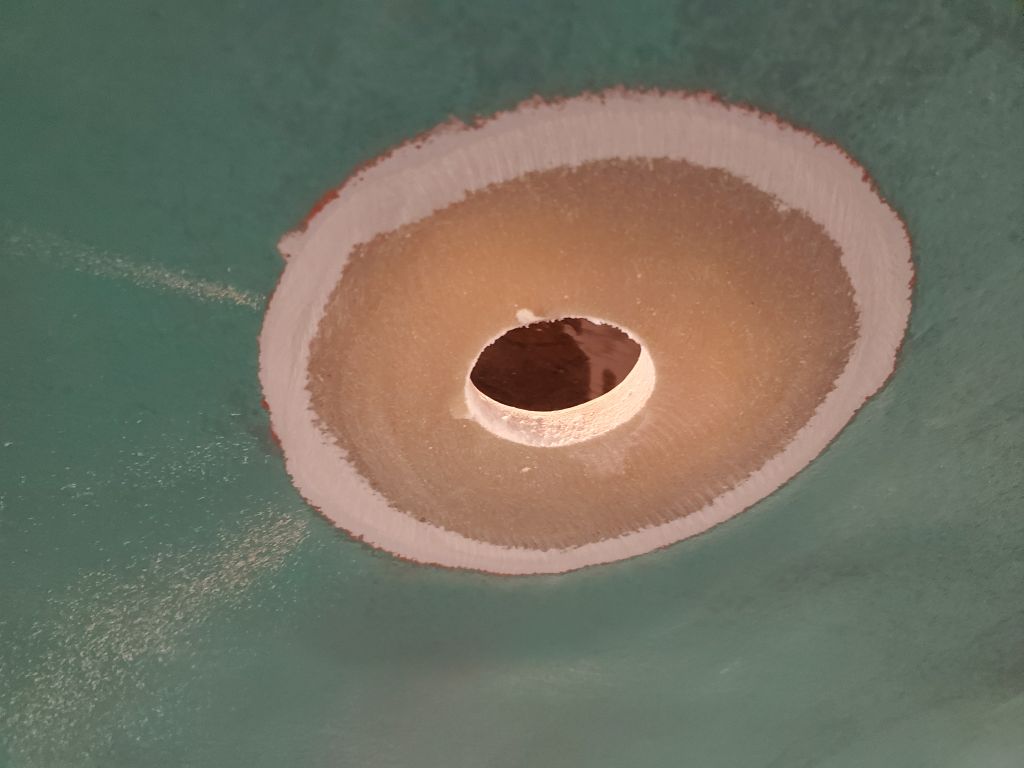
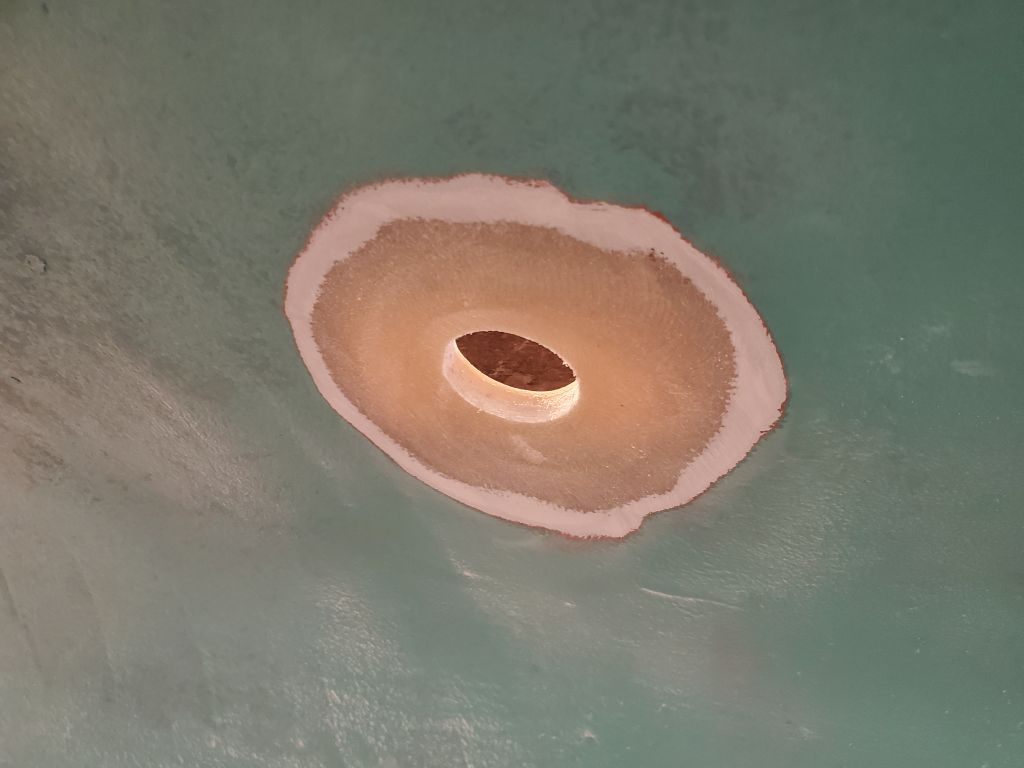
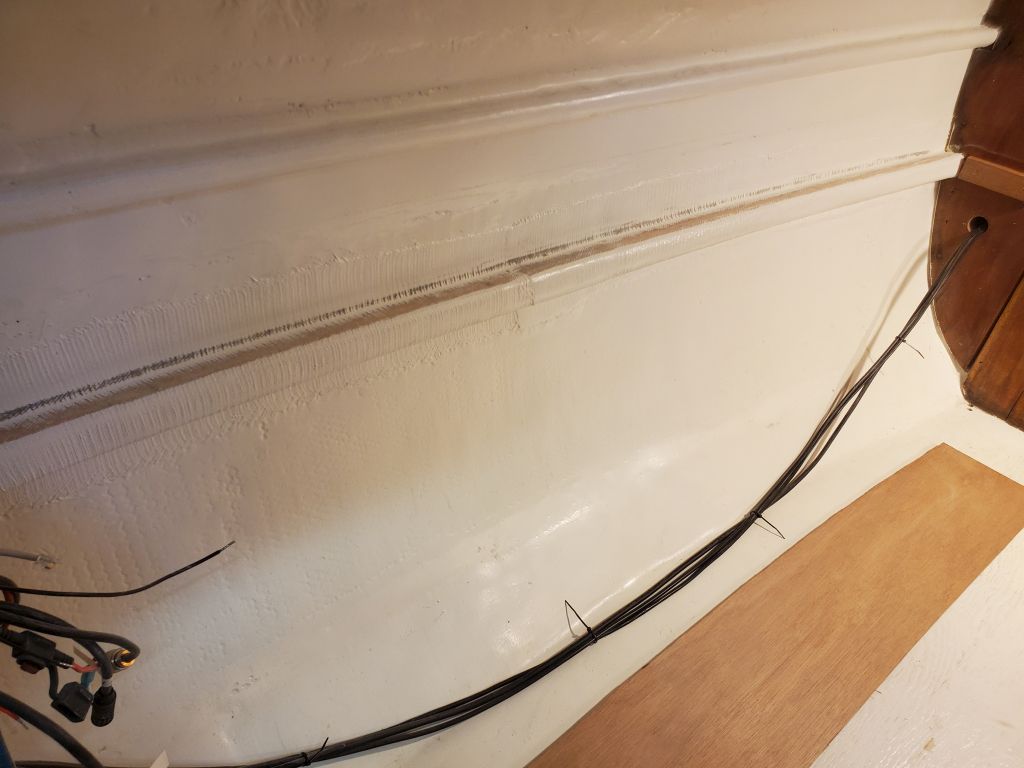
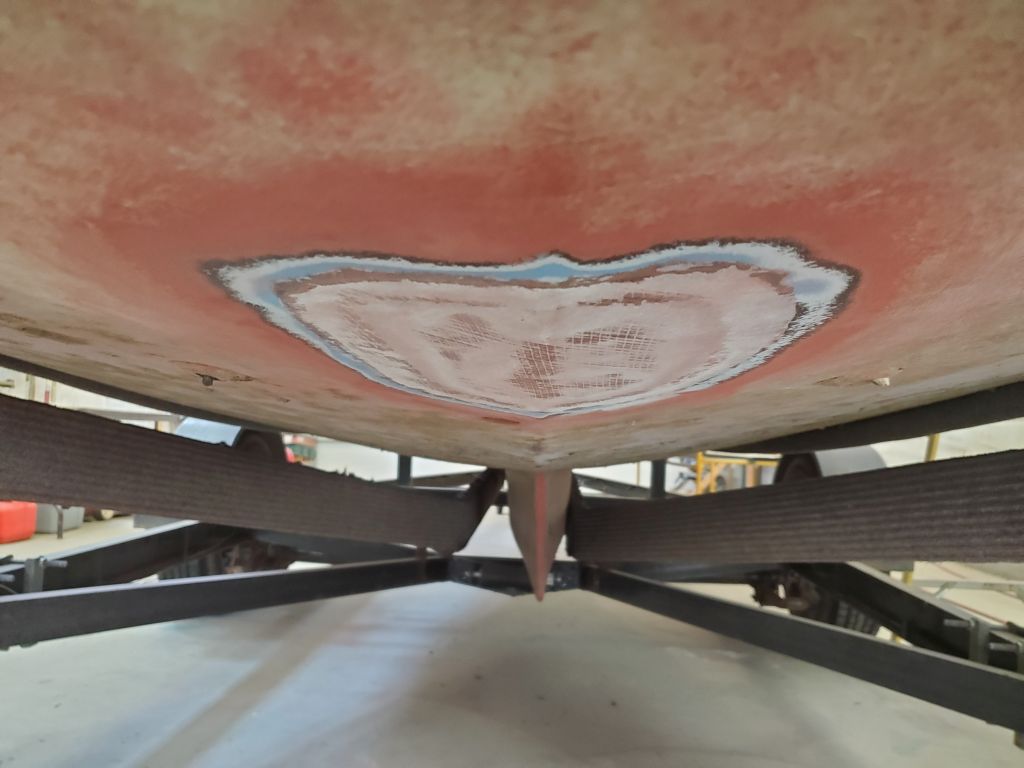
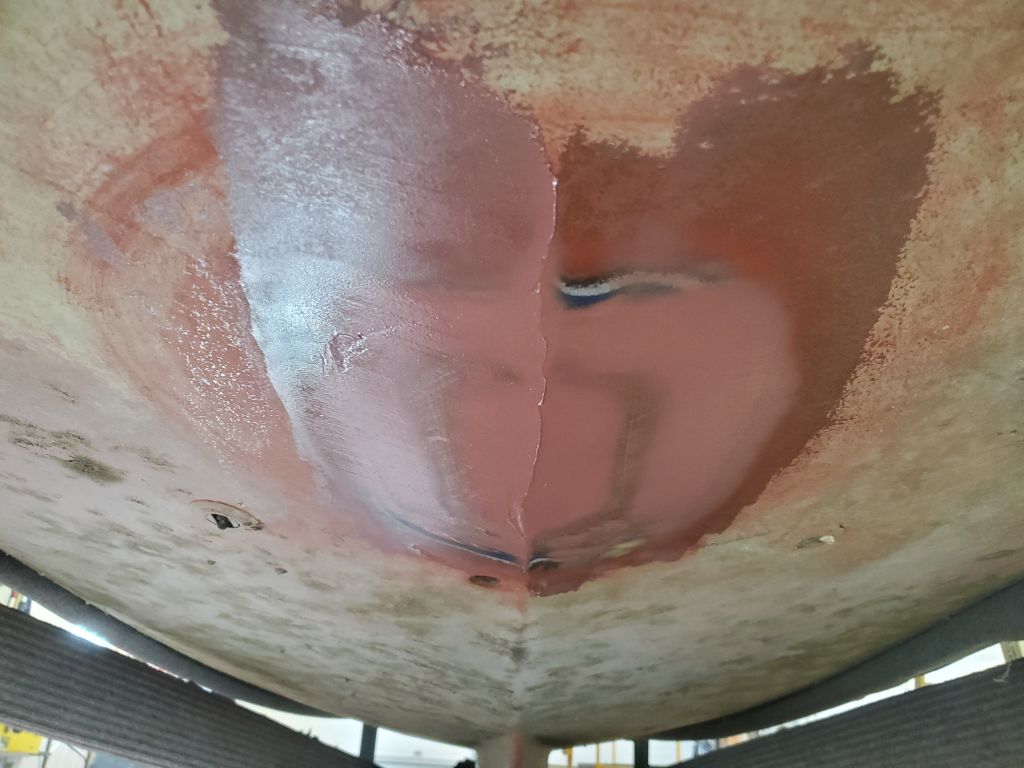
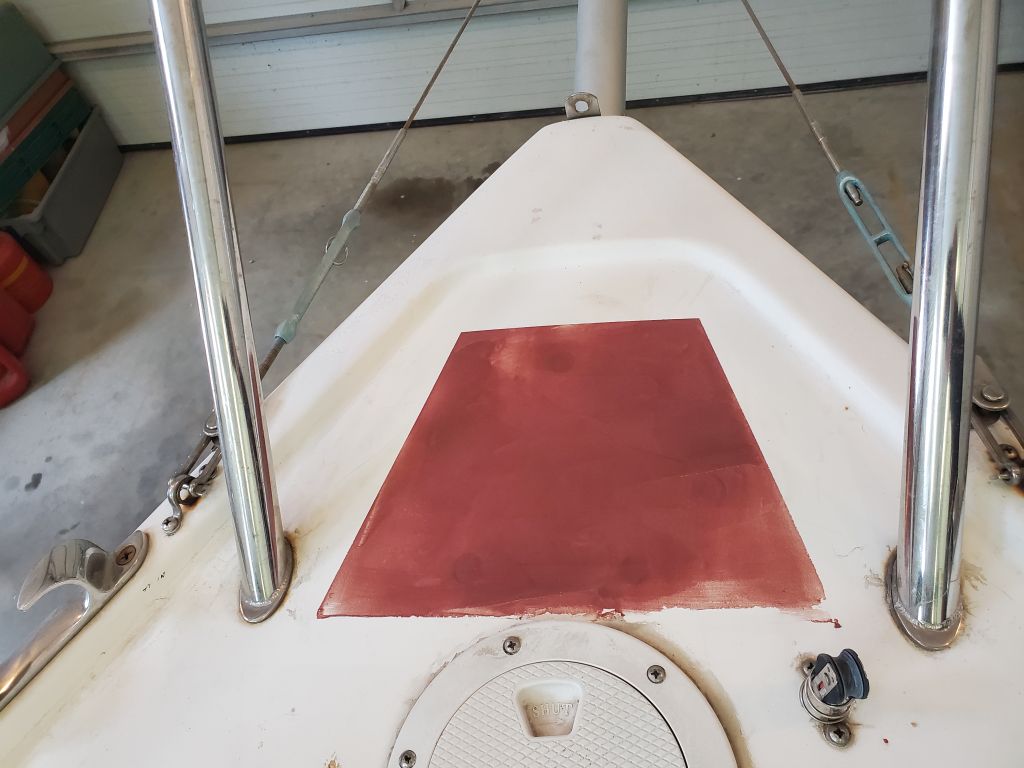
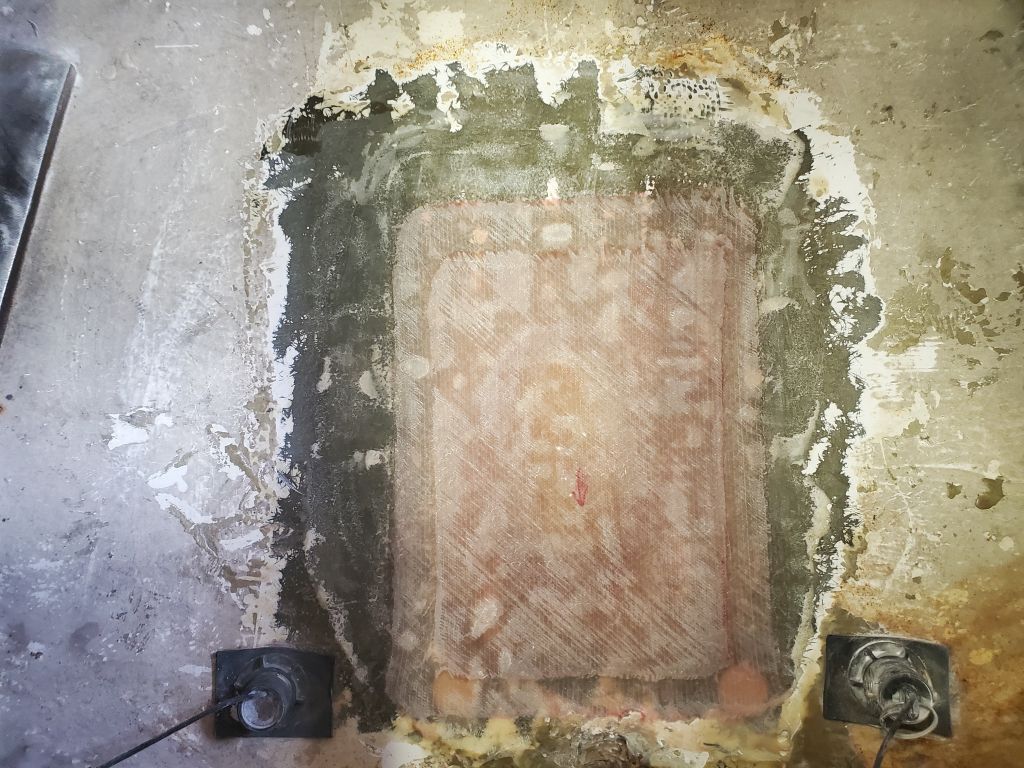
Meanwhile, the owner had given me a few additional small tasks to take care of, starting with removing three obsolete and abandoned transducers (one depth, two speed) from the hull. One older bronze speed unit was located on the starboard side, accessible from within through a drawer opening in the settee, and the other pair (plastic/nylon) was located on the opposite side.
As usual, I first tried to remove these in the logical way: from inside, by removing the threaded fixing rings, i.e. the opposite of how they were installed in the first place. This almost never works, at least not in any sort of practical or useful timeframe, and now was no exception. It never makes sense to me to waste time fighting recalcitrant fittings with a wrench in an impossible location when in a few short minutes I can cut the whole fitting out from the outside, but it’s always worth trying first.
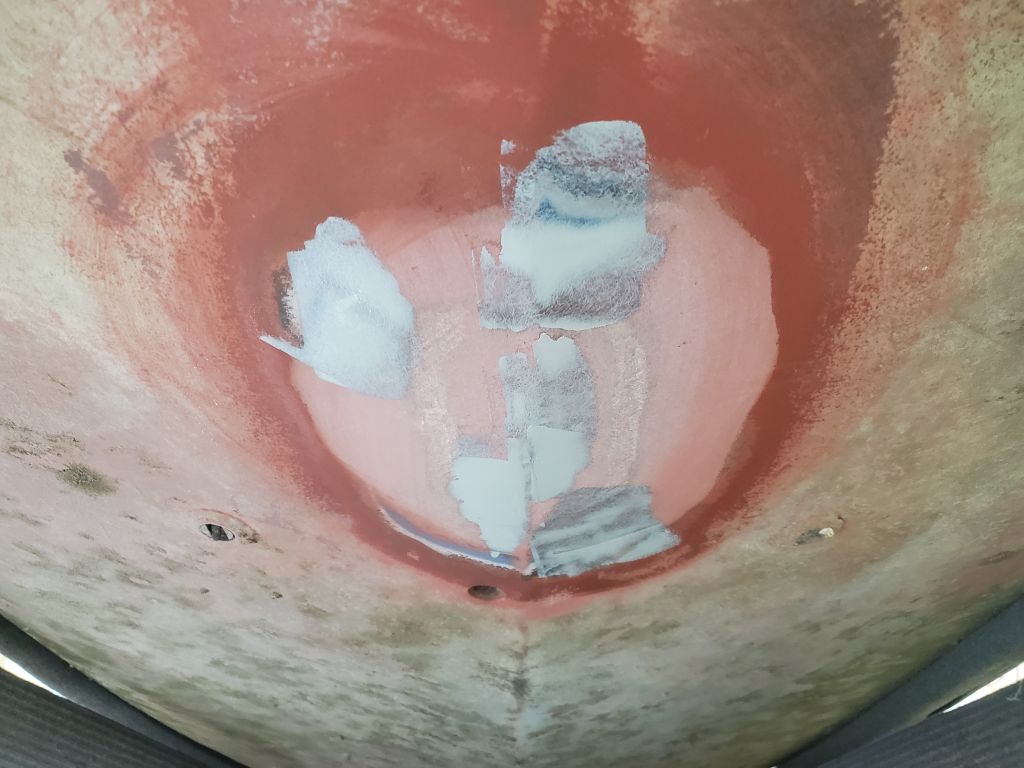
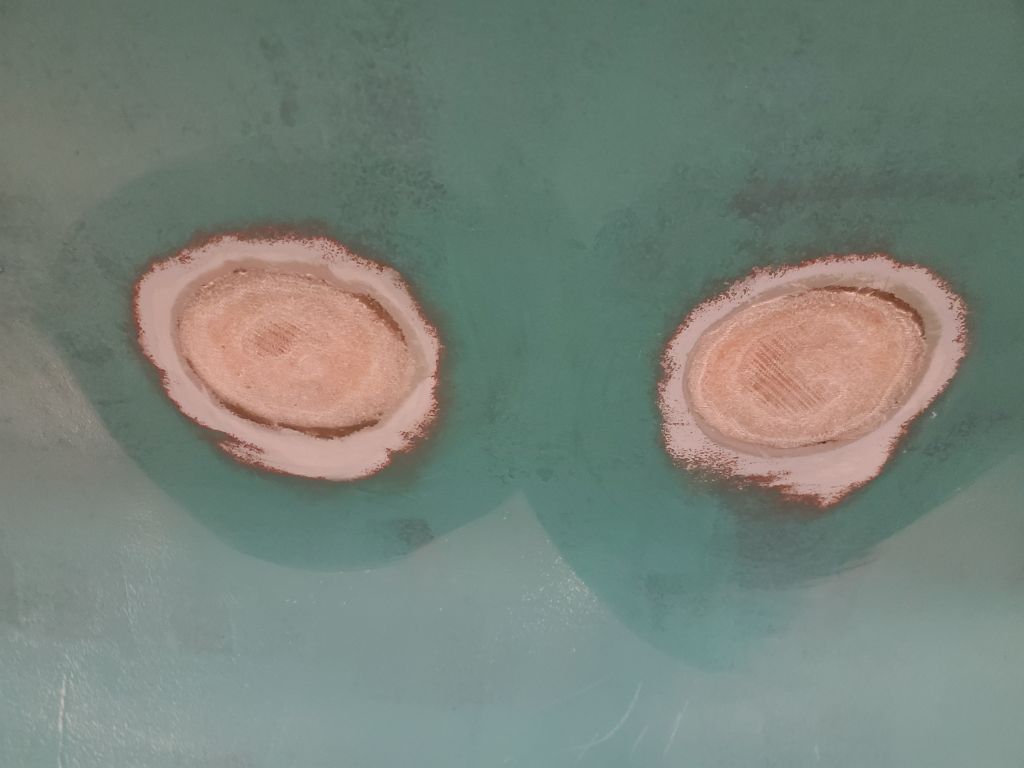
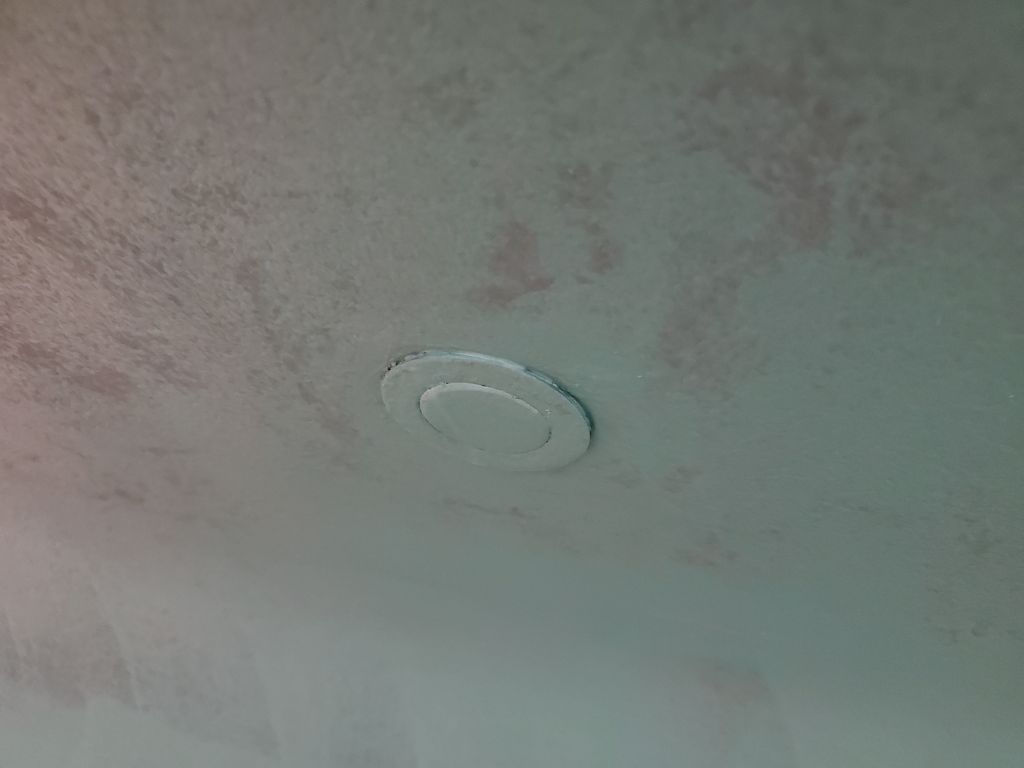
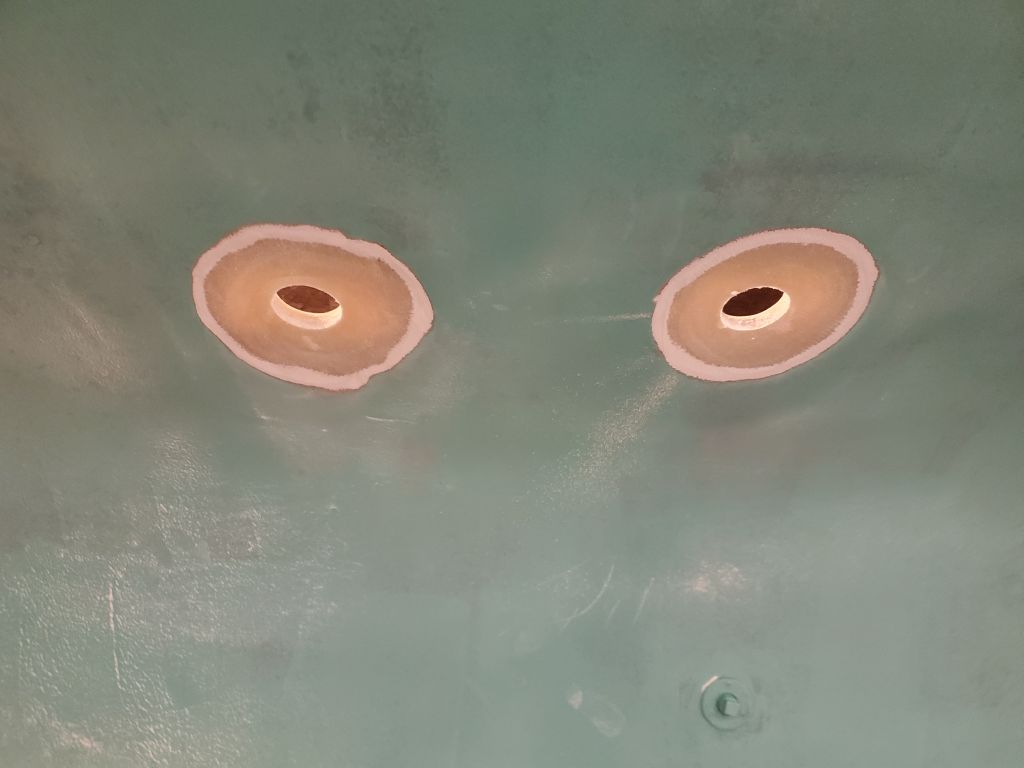
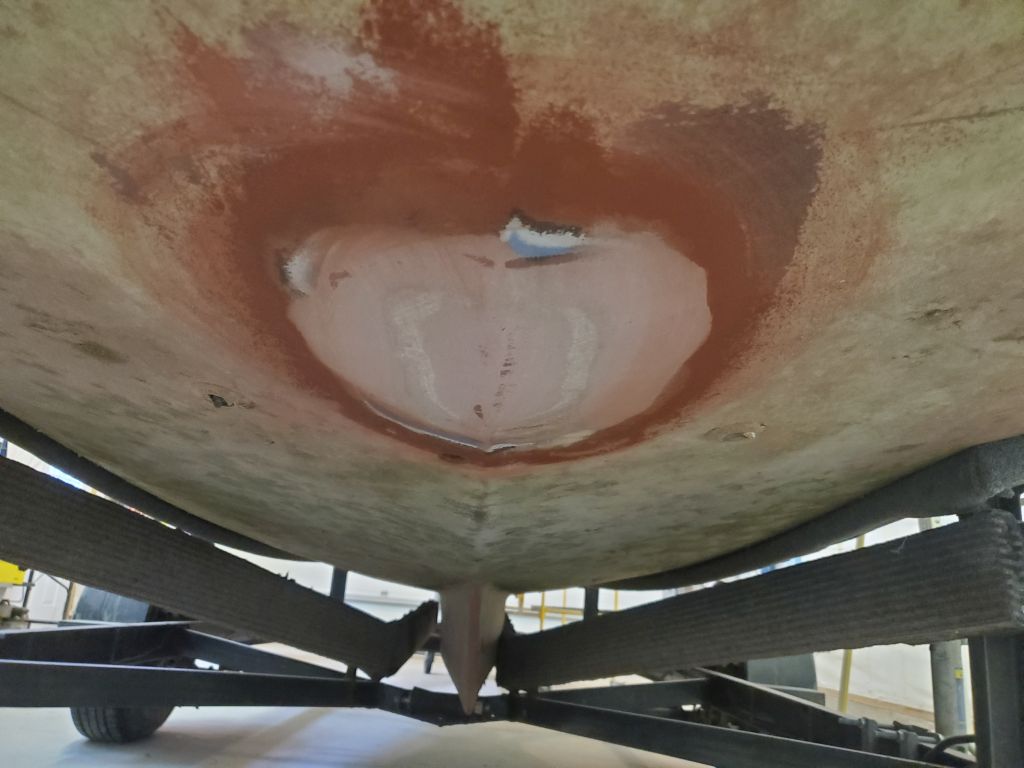
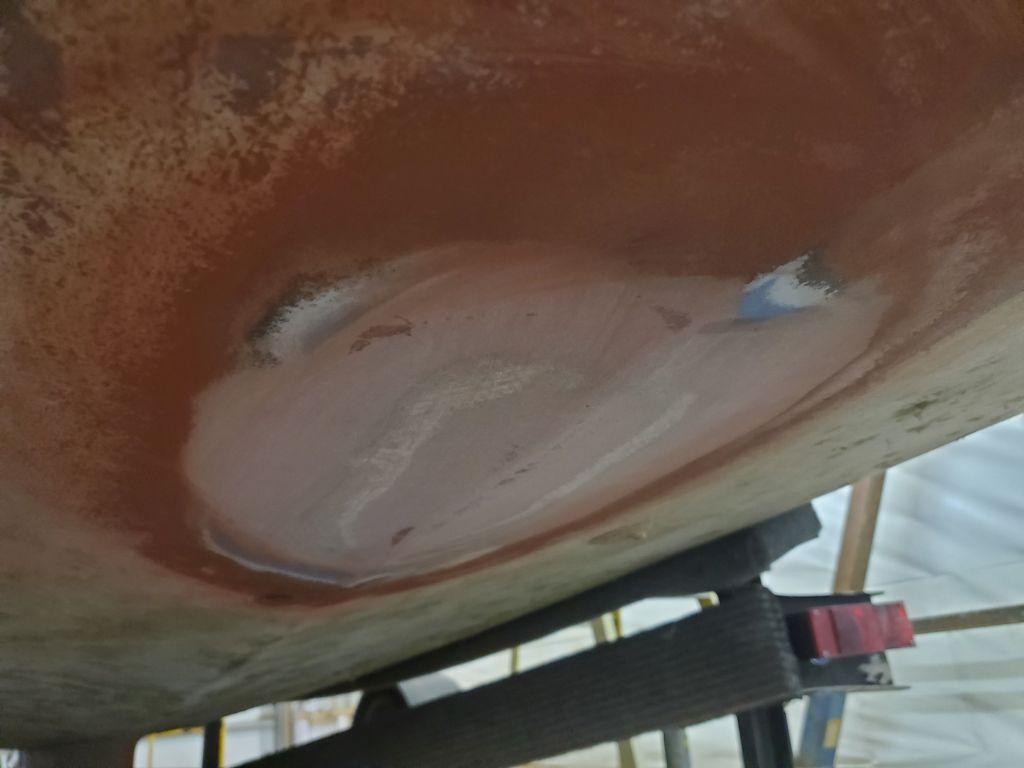
Having quickly abandoned the notion of unthreading these fittings, I moved outside and used a grinder and cutoff wheel to remove the pair of plastic fittings on the port side in about the same number of seconds: I only like plastic through hulls and transducers when I have to remove them from someone’s boat; otherwise I don’t think they’re worthy. But they are easy to cut through and remove, and from this perspective they’re wonderful.
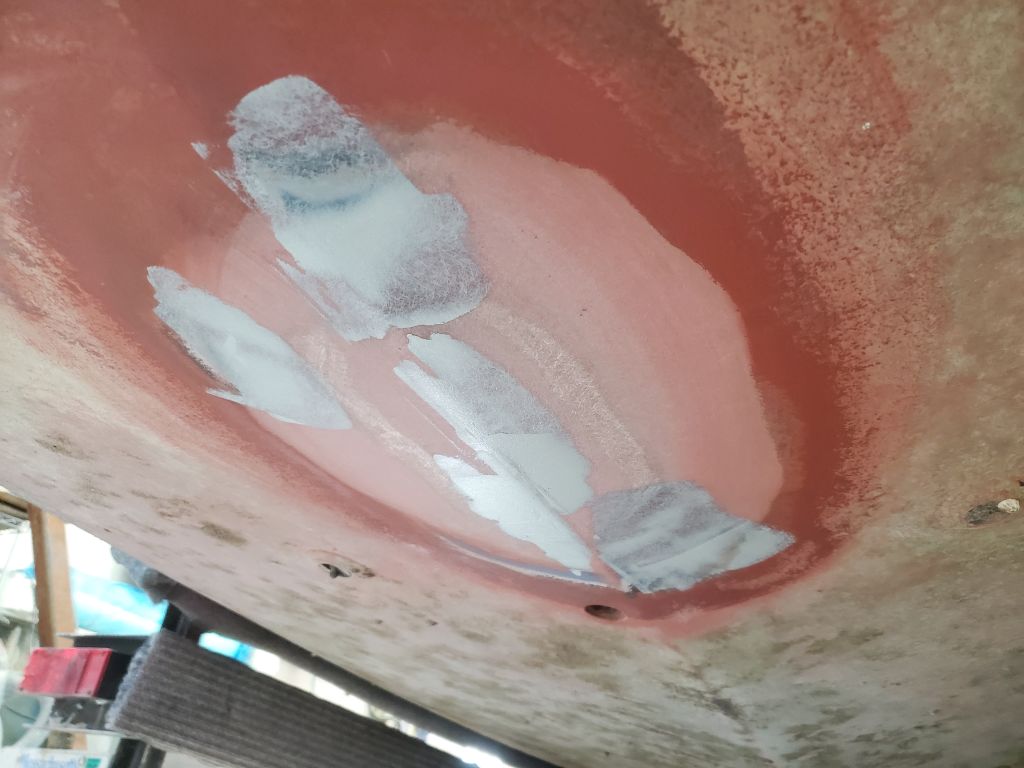
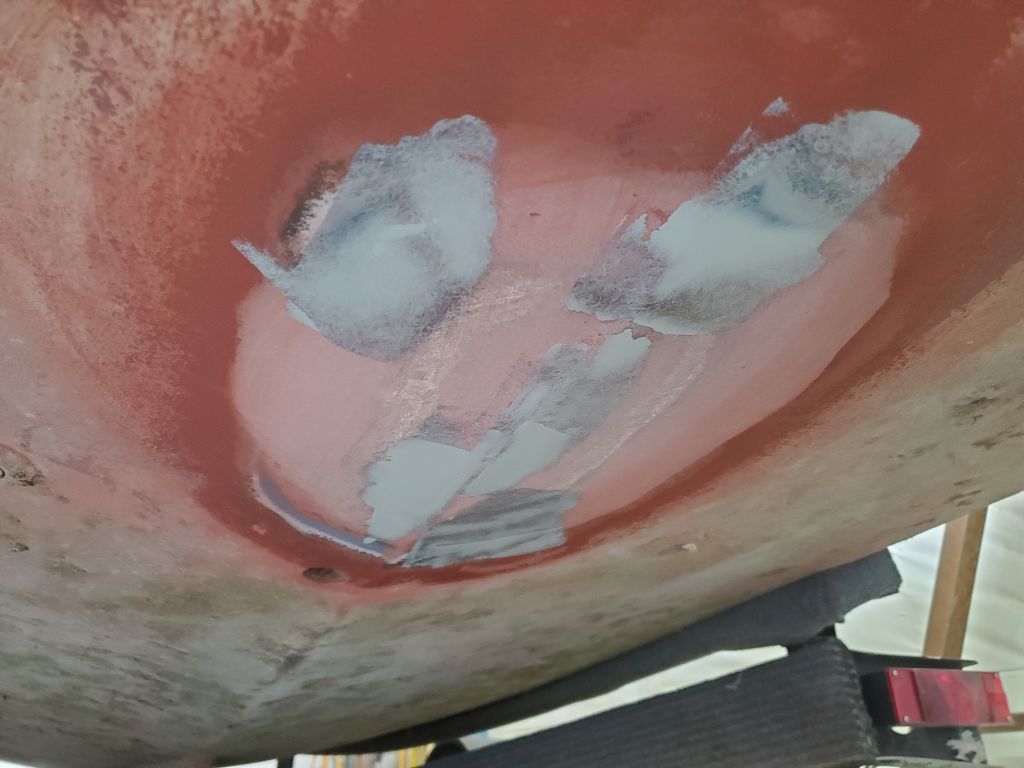
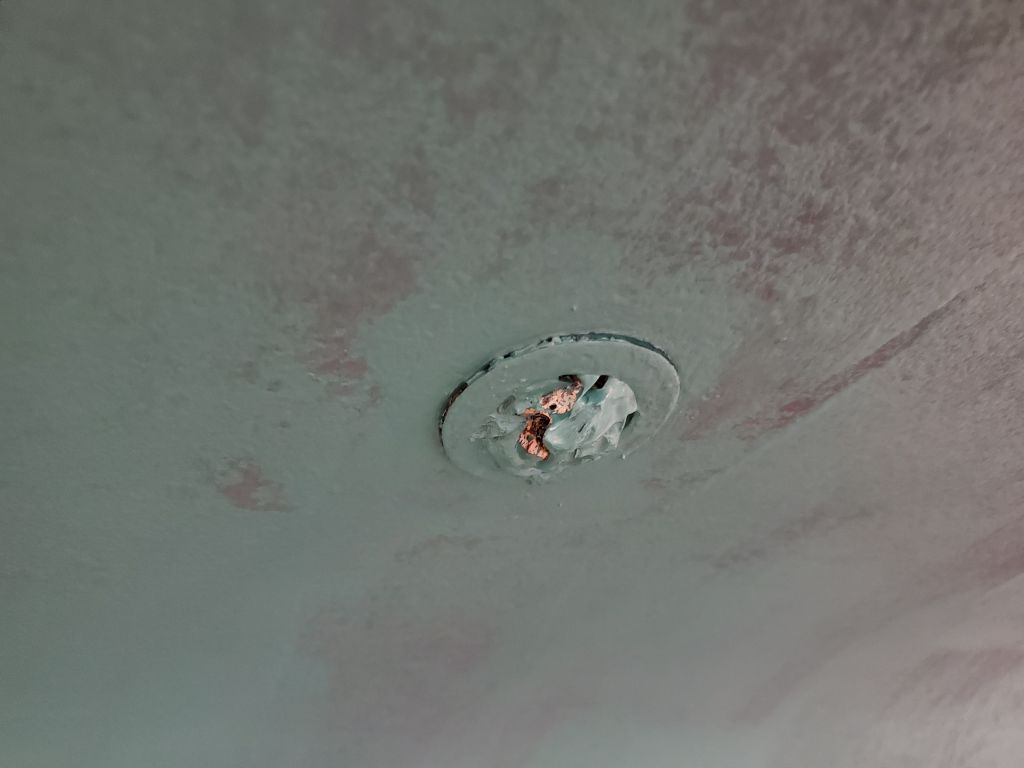
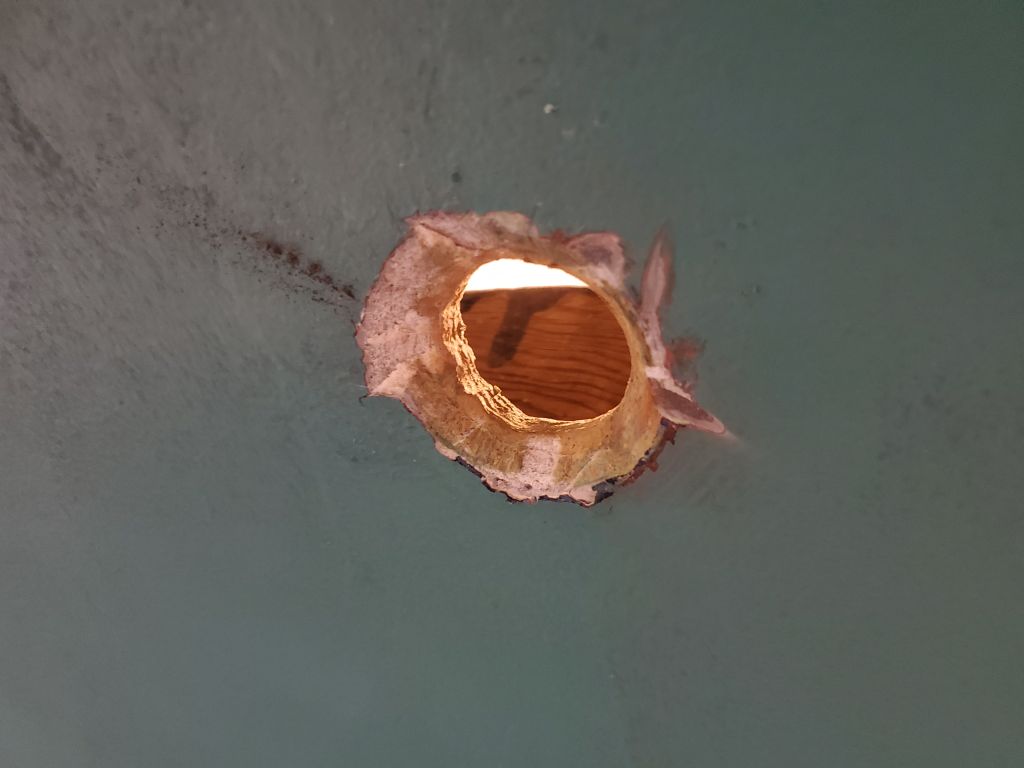
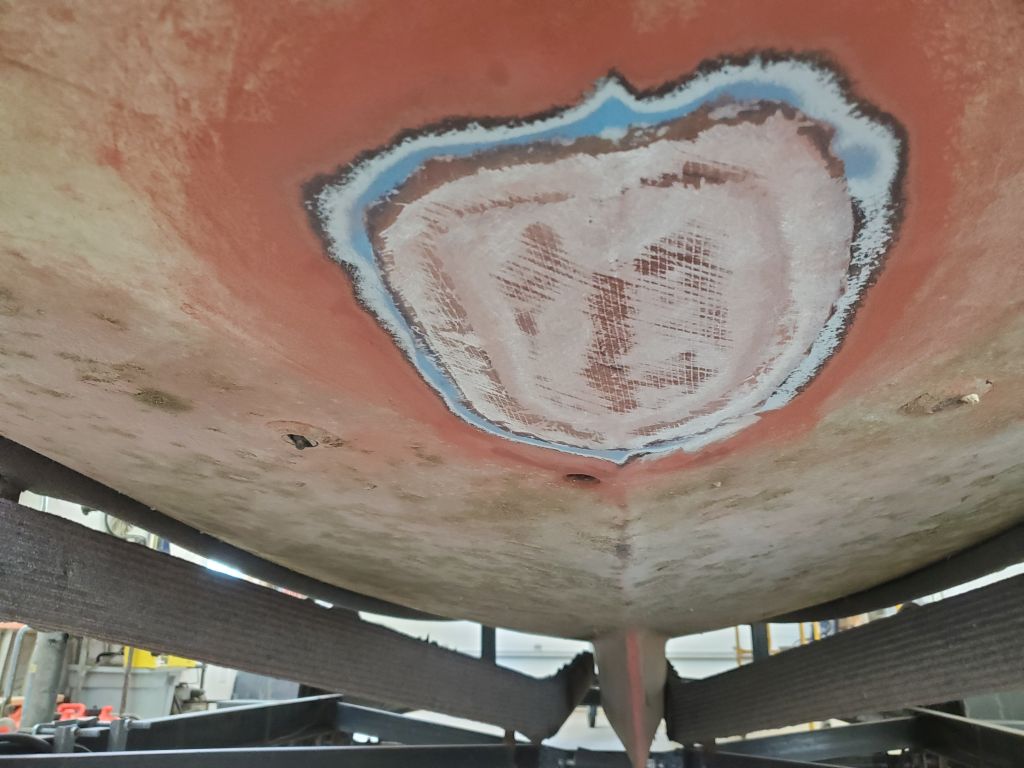
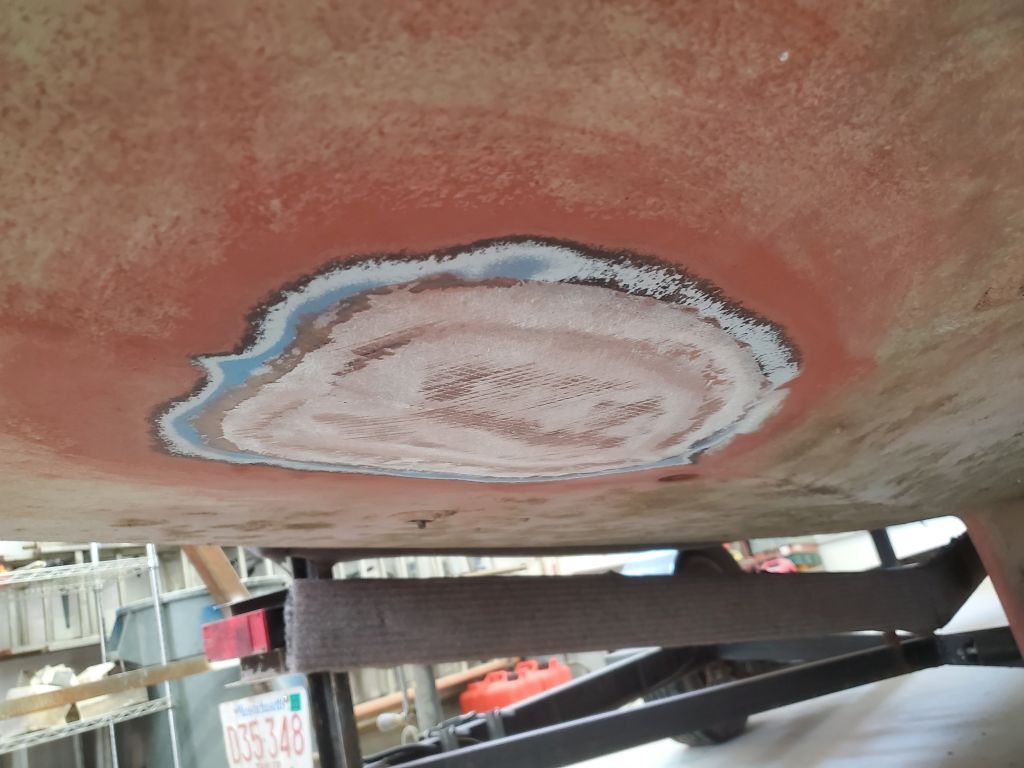
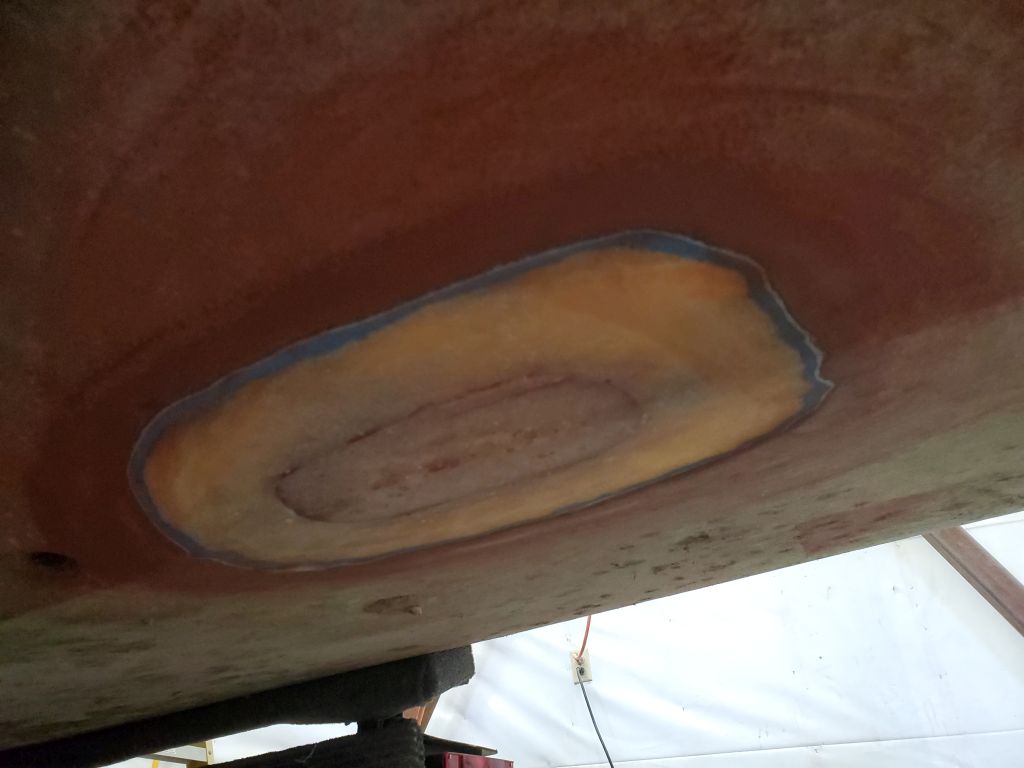
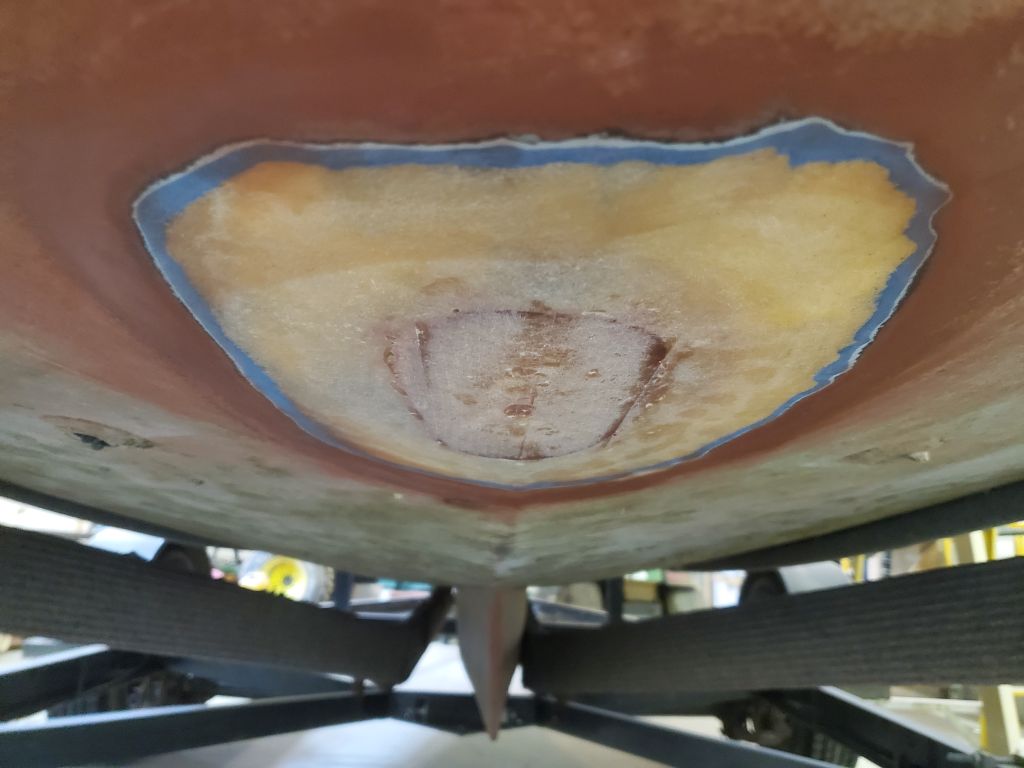
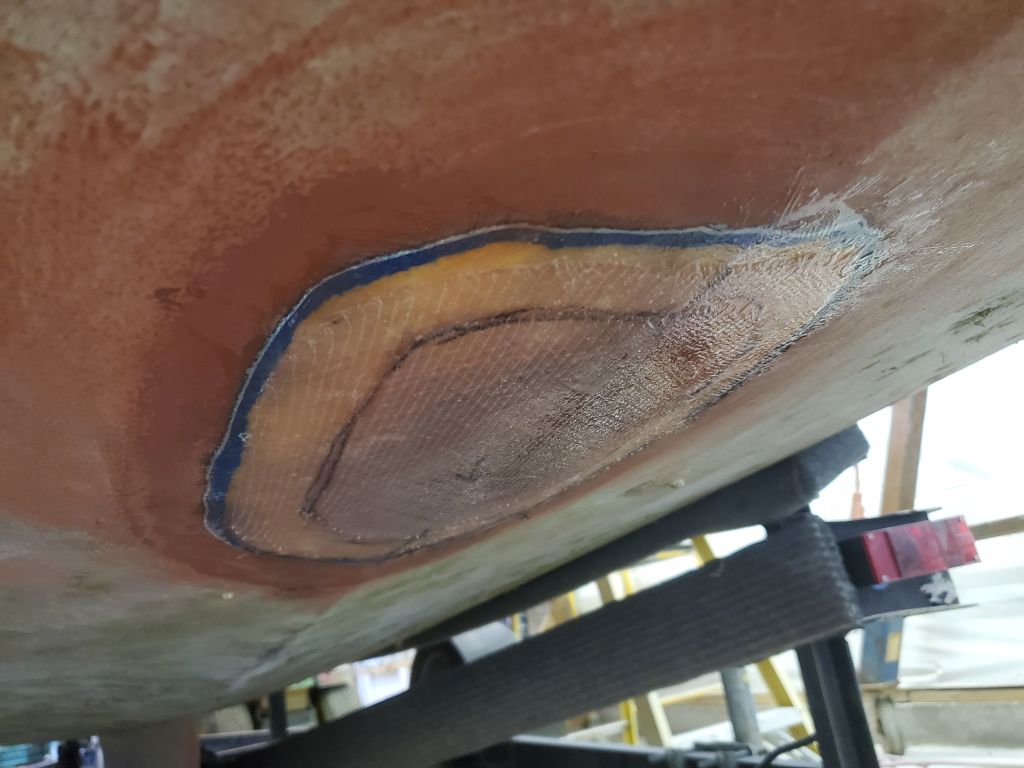
The single bronze speedo unit on the starboard side was a bit more time-consuming to remove, but not much. Being bronze, of course it took a bit more work to cut free; also, this was a flush-fitting (more or less), without a large mushroom head but with the flange mostly recessed into the hull, but in only a few minutes it was out as well.
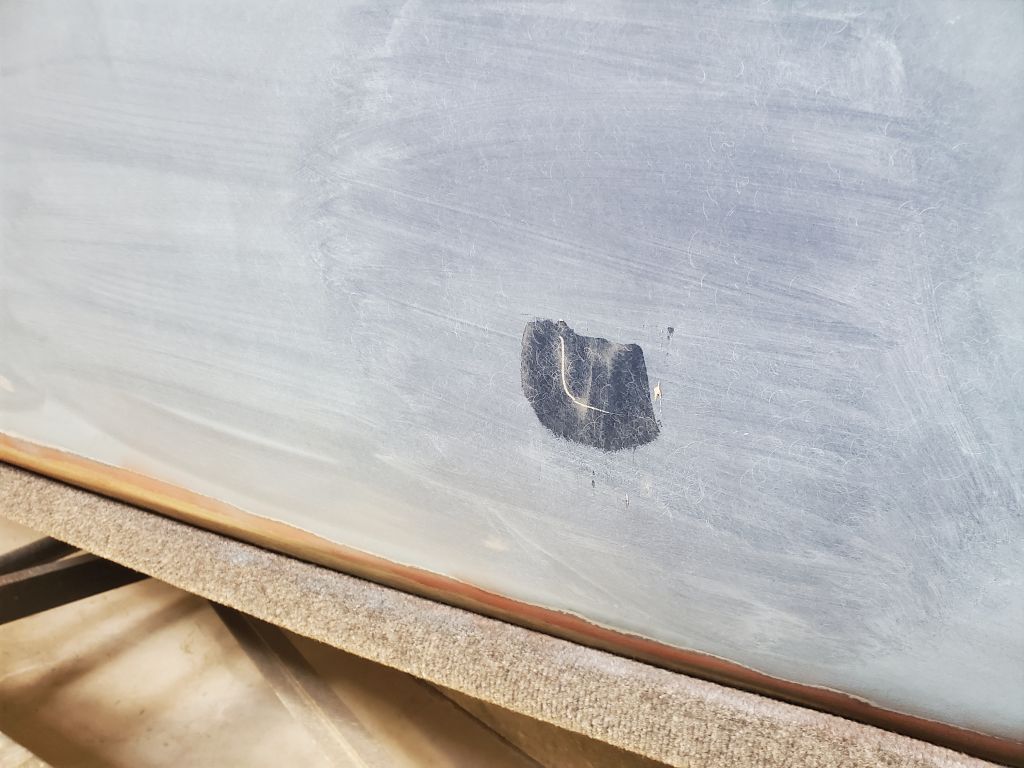
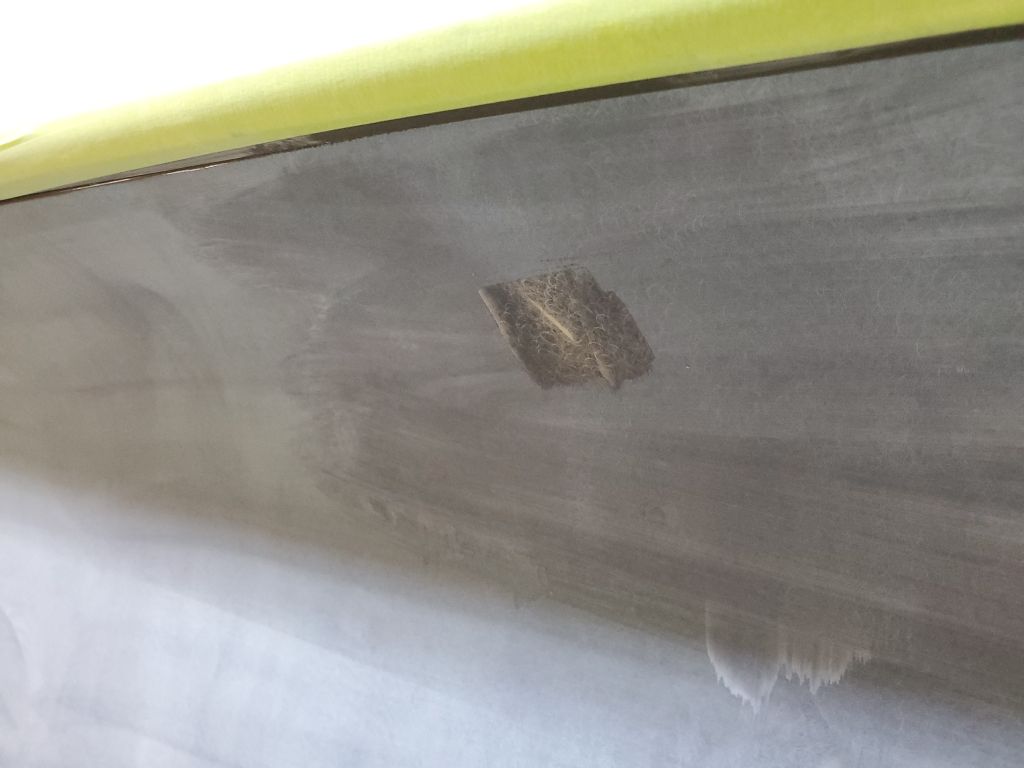
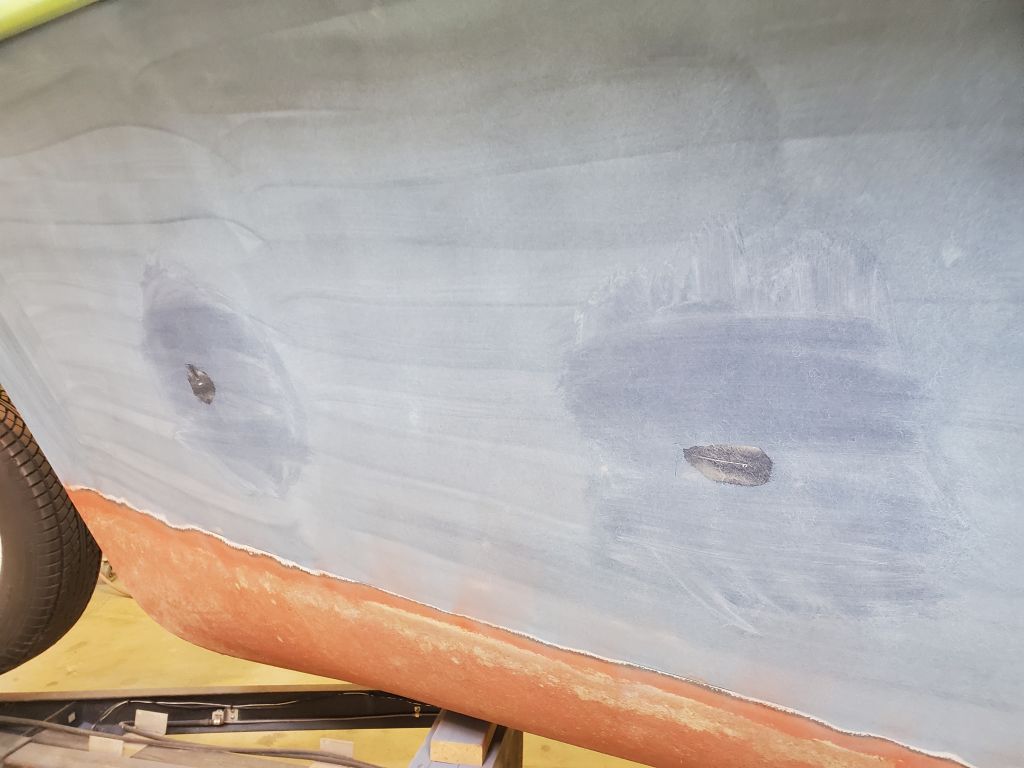
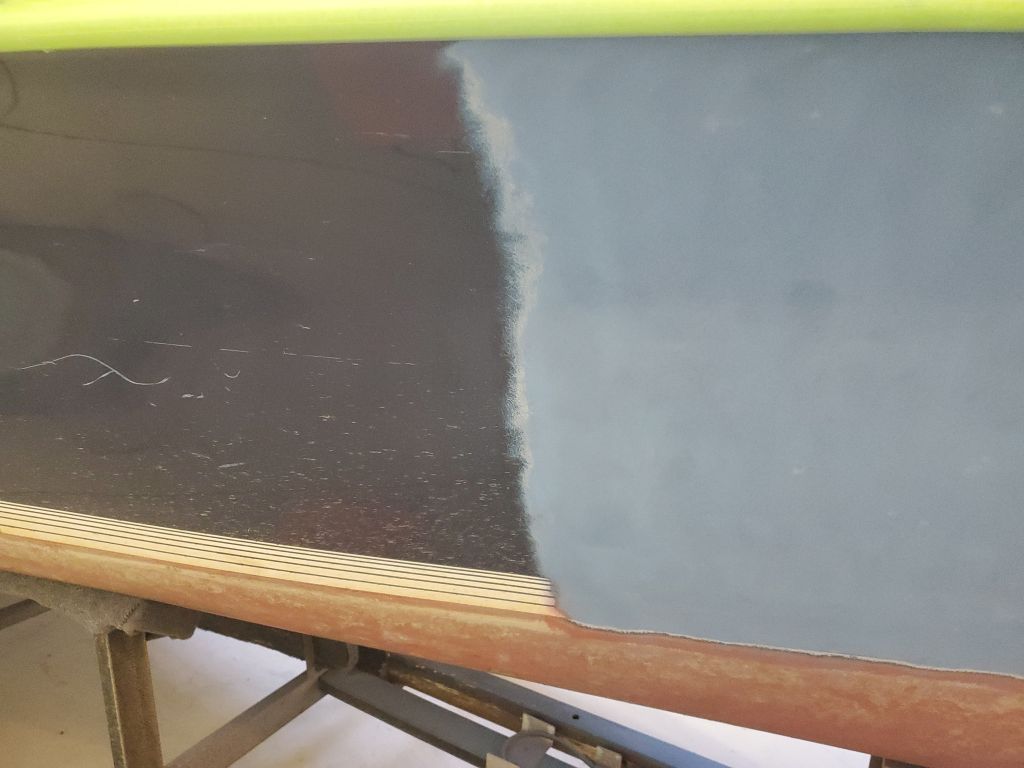
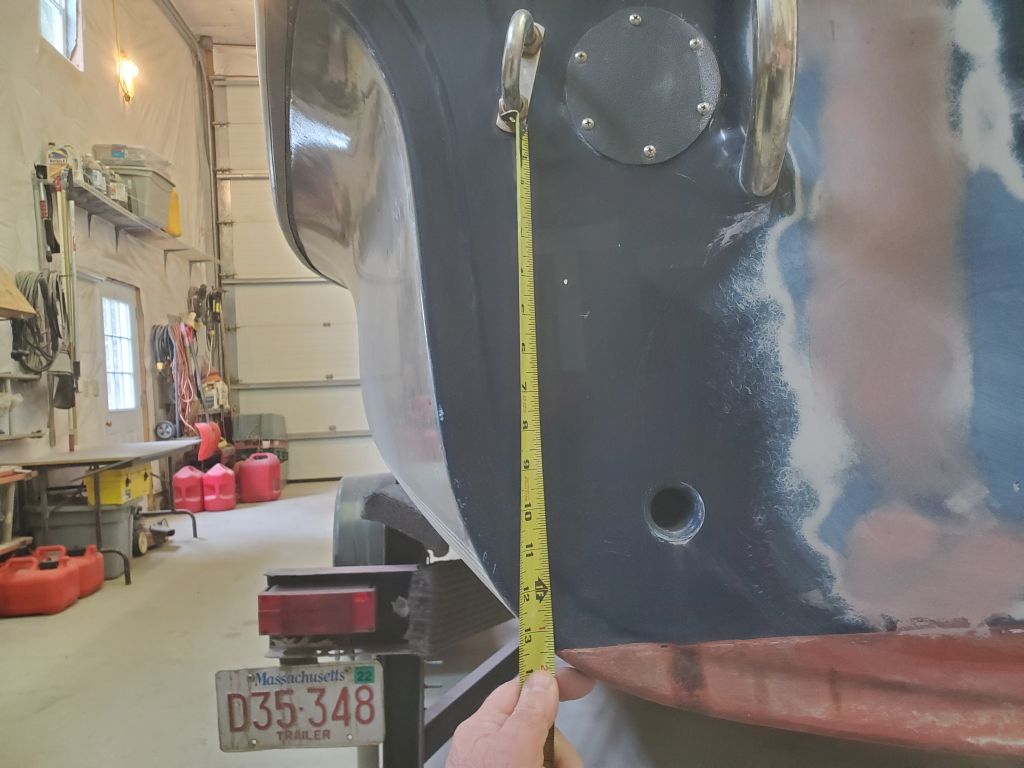
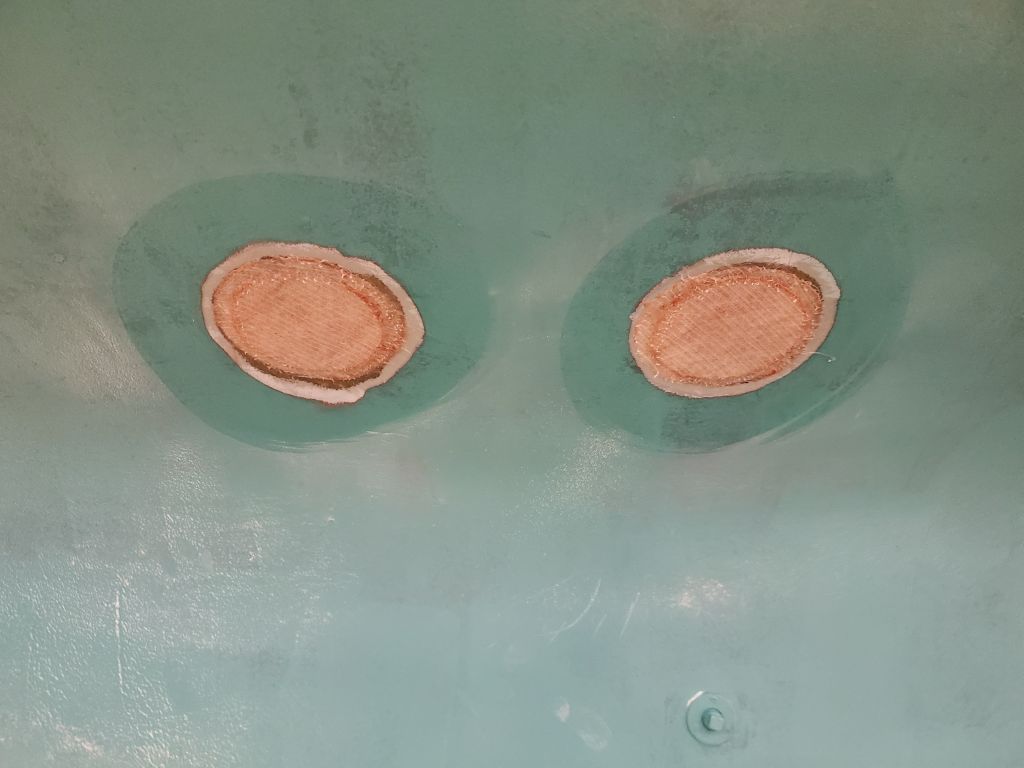
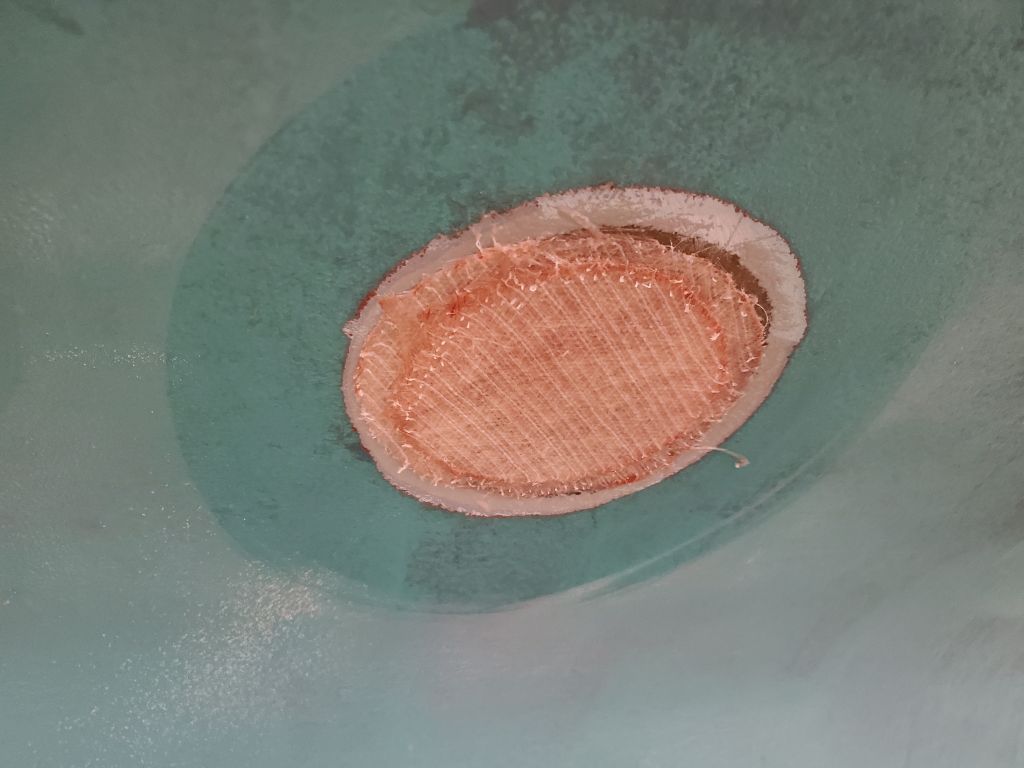
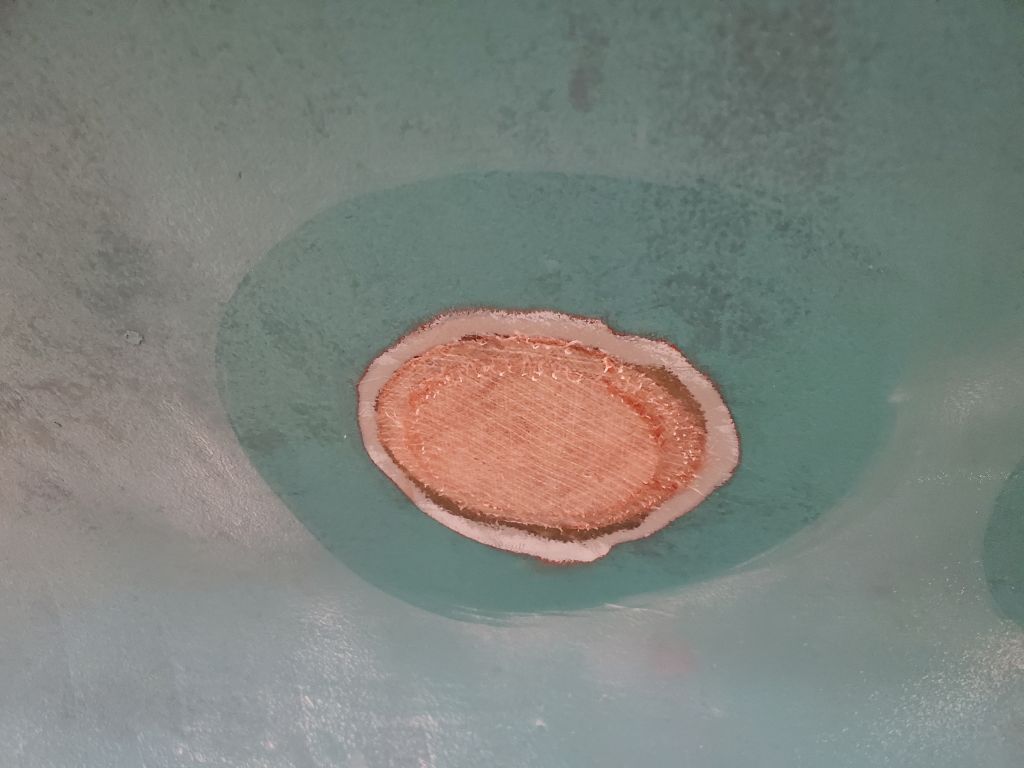
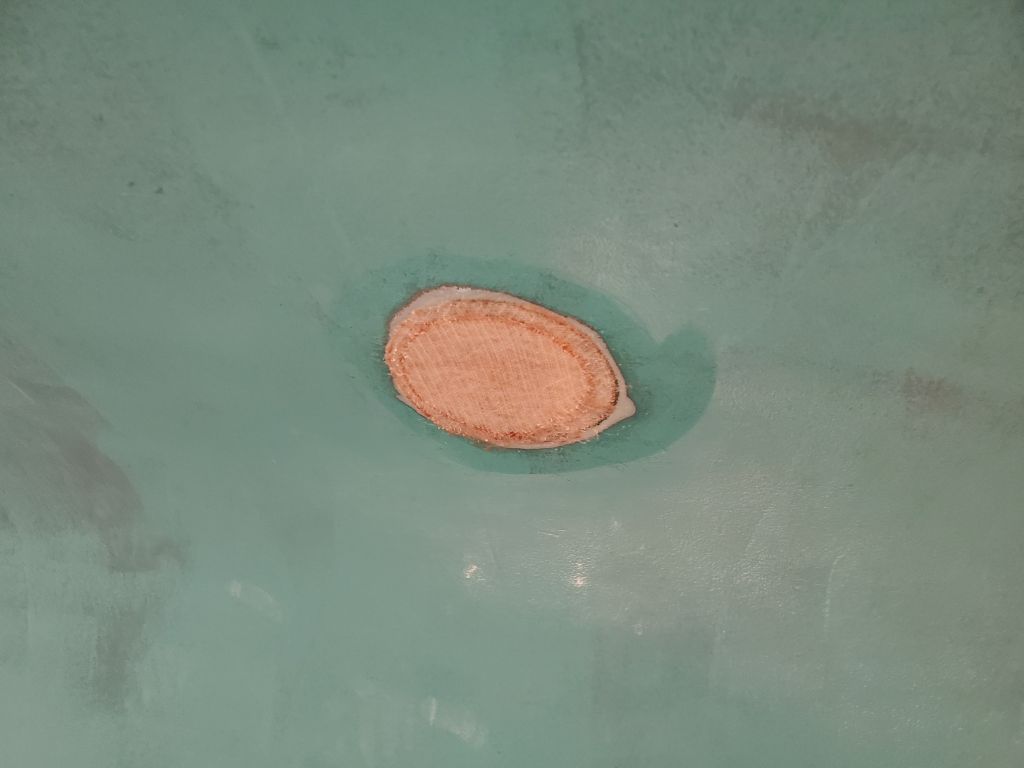
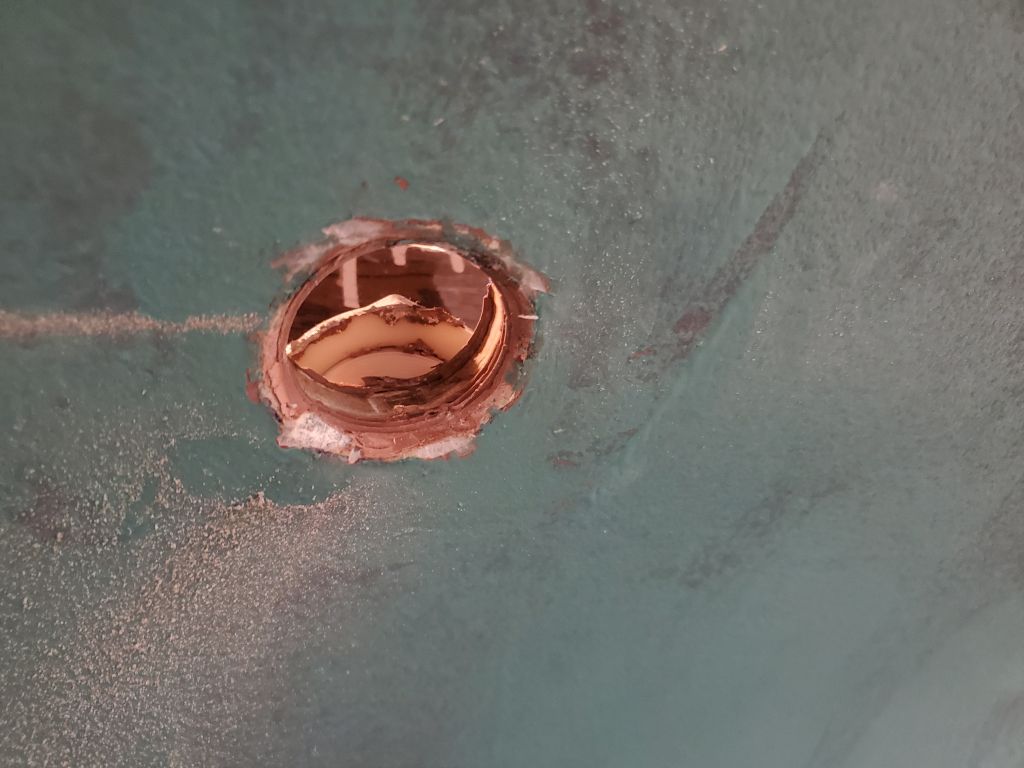
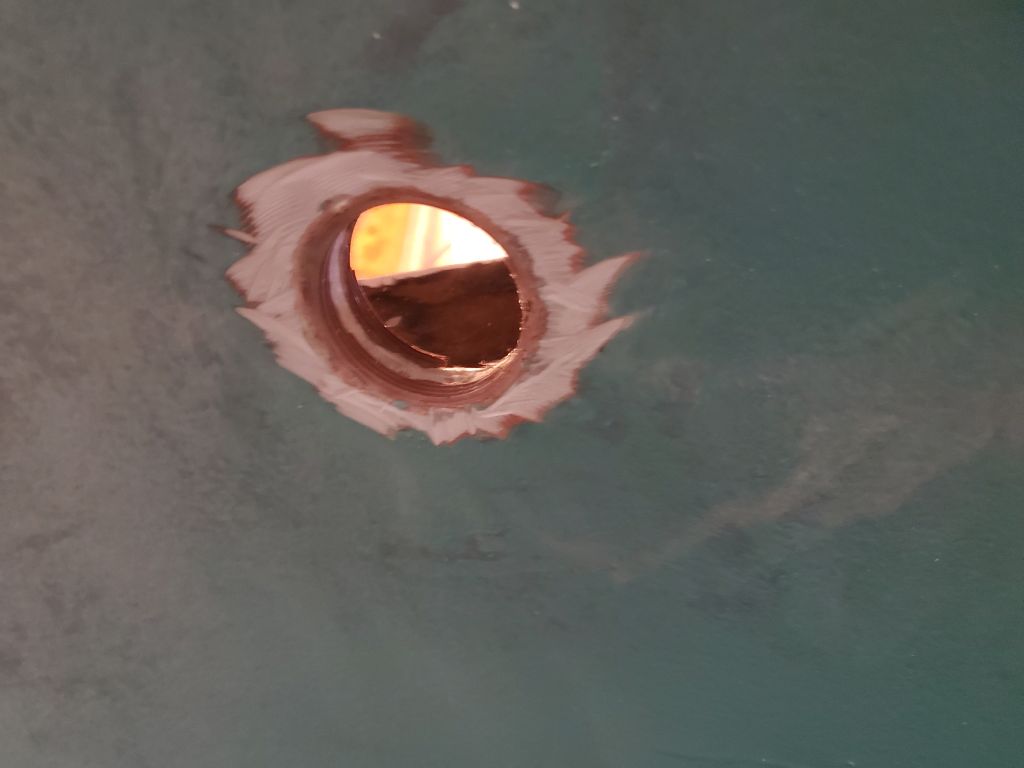
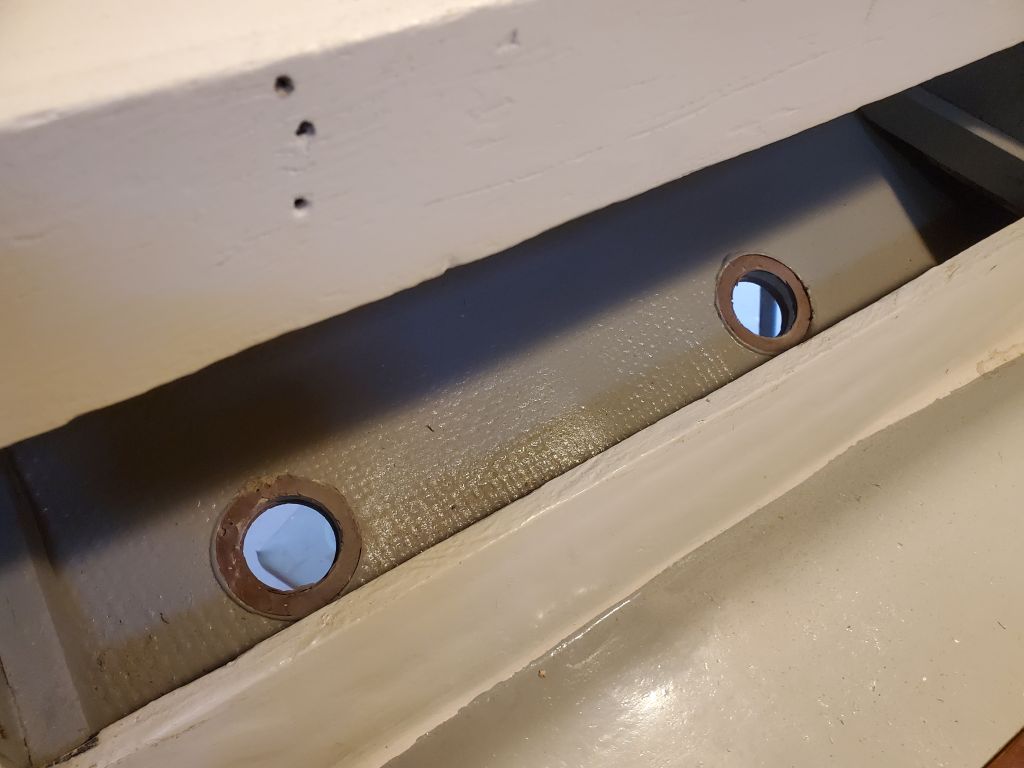
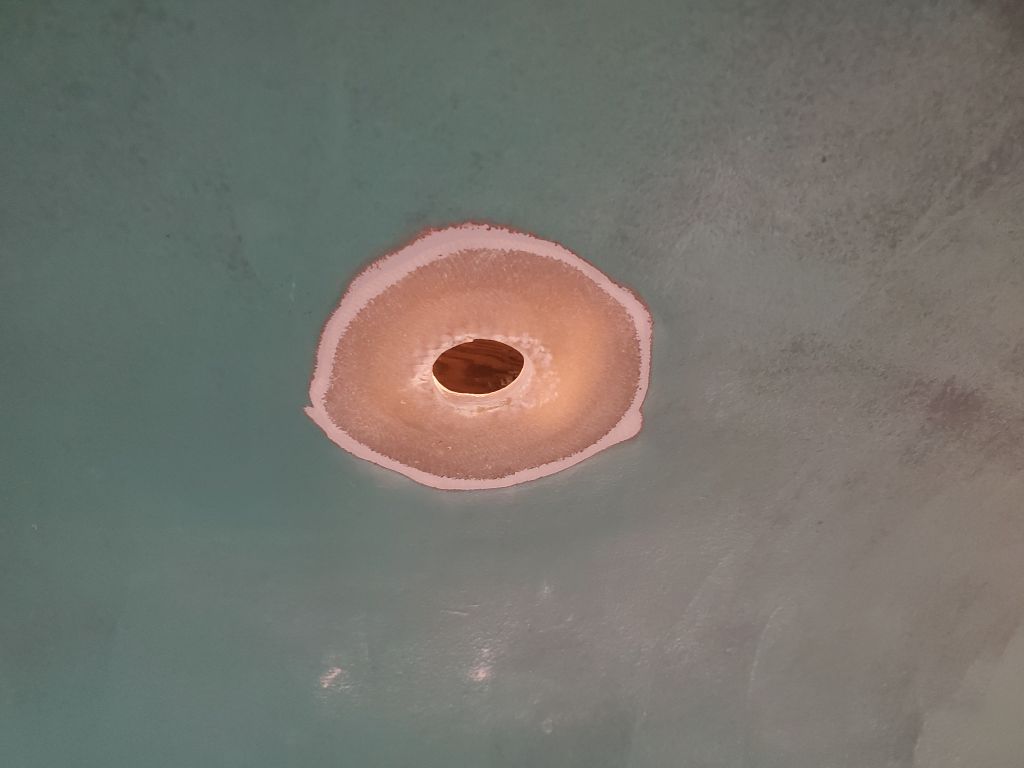
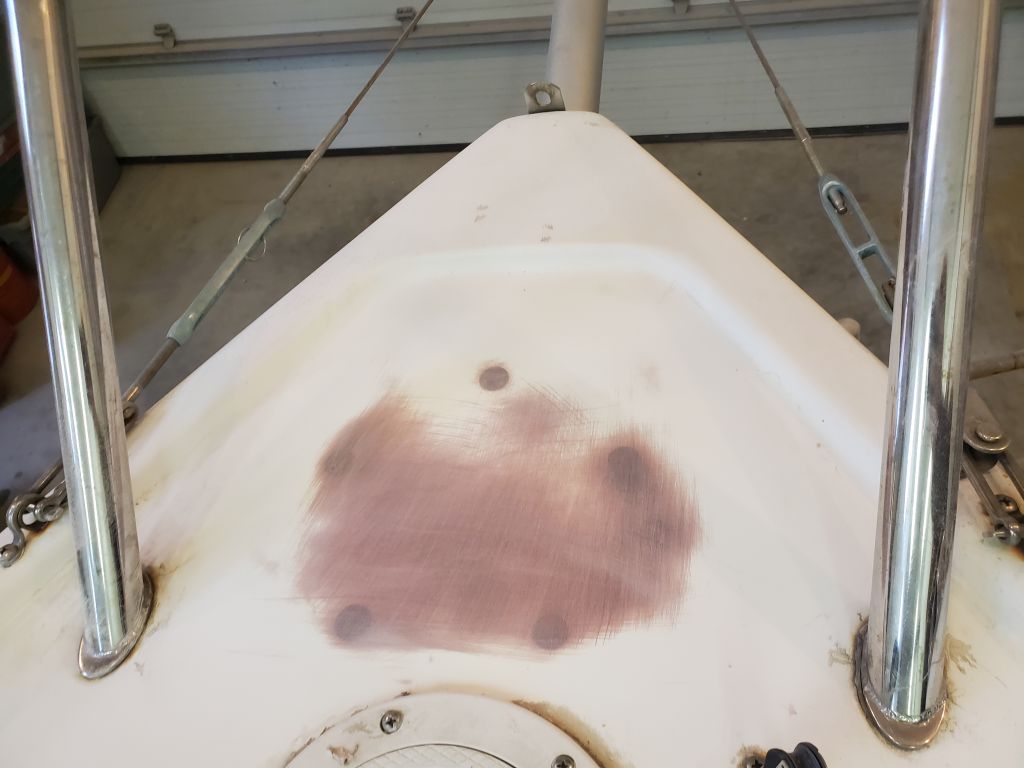
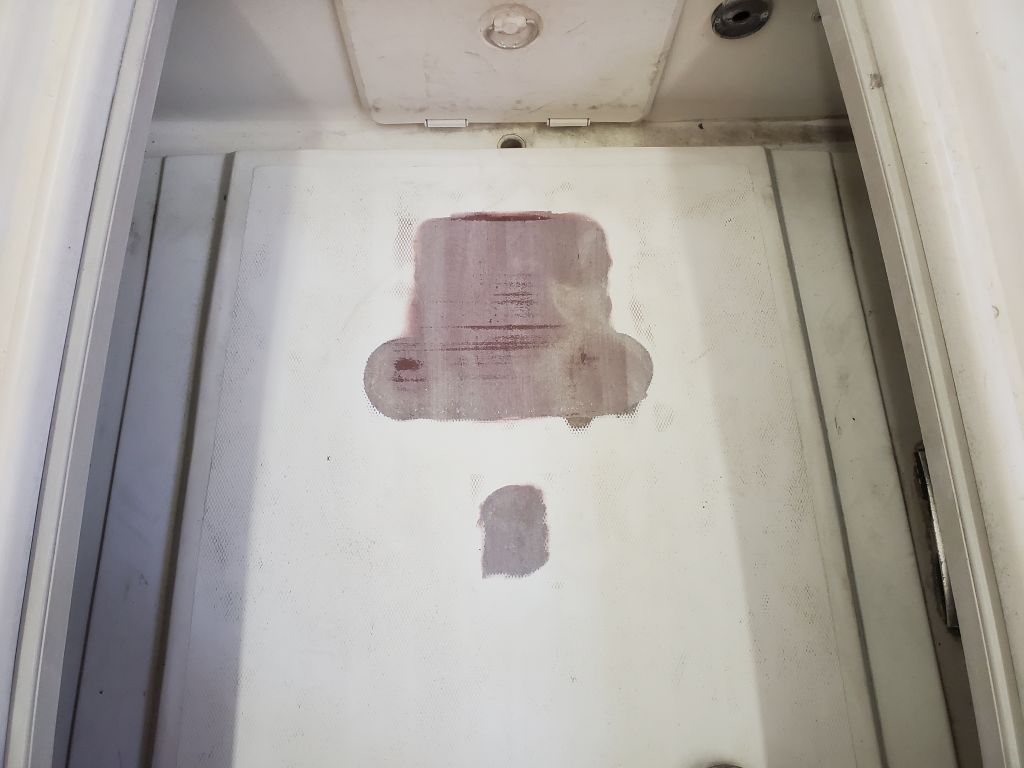
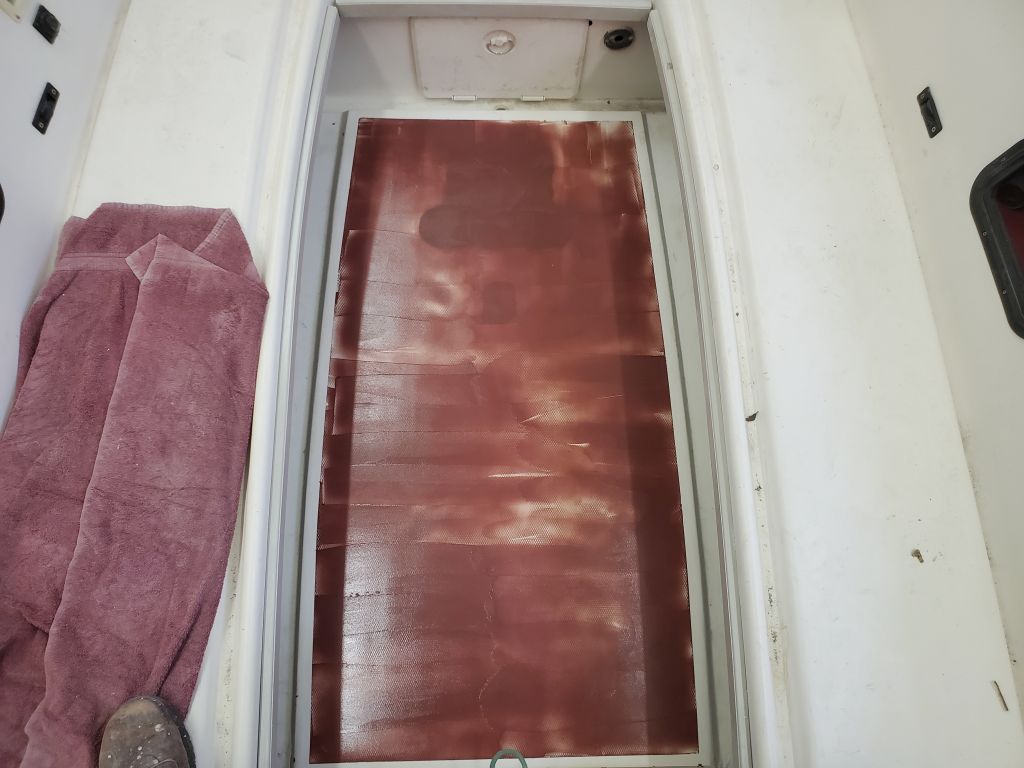
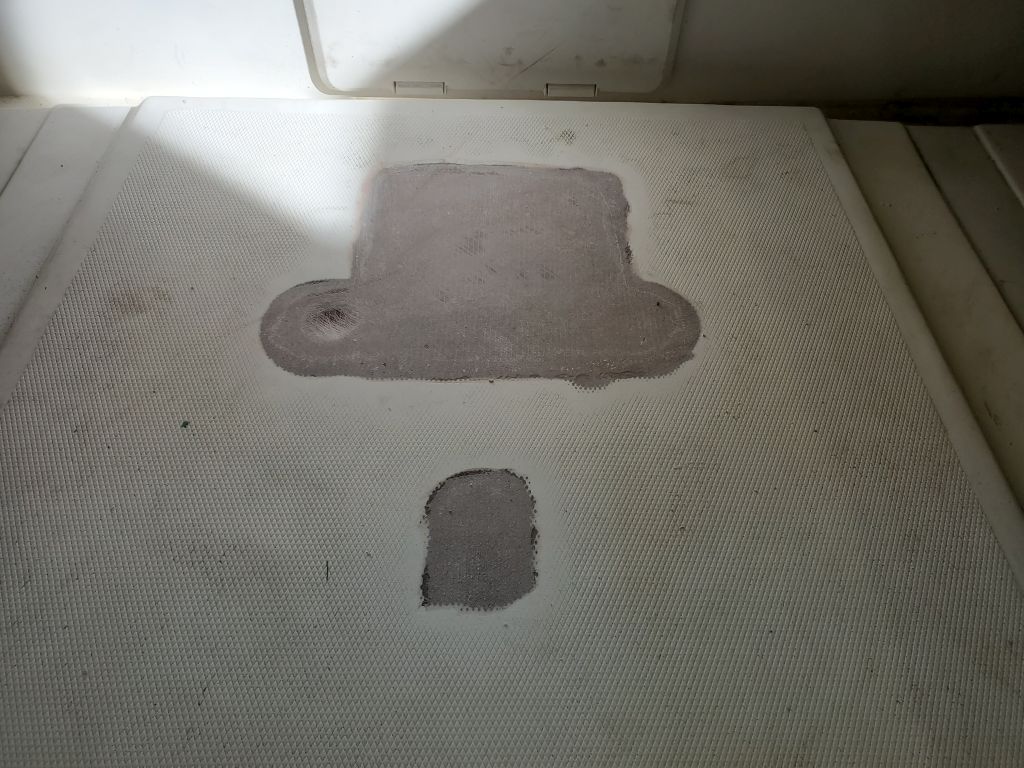
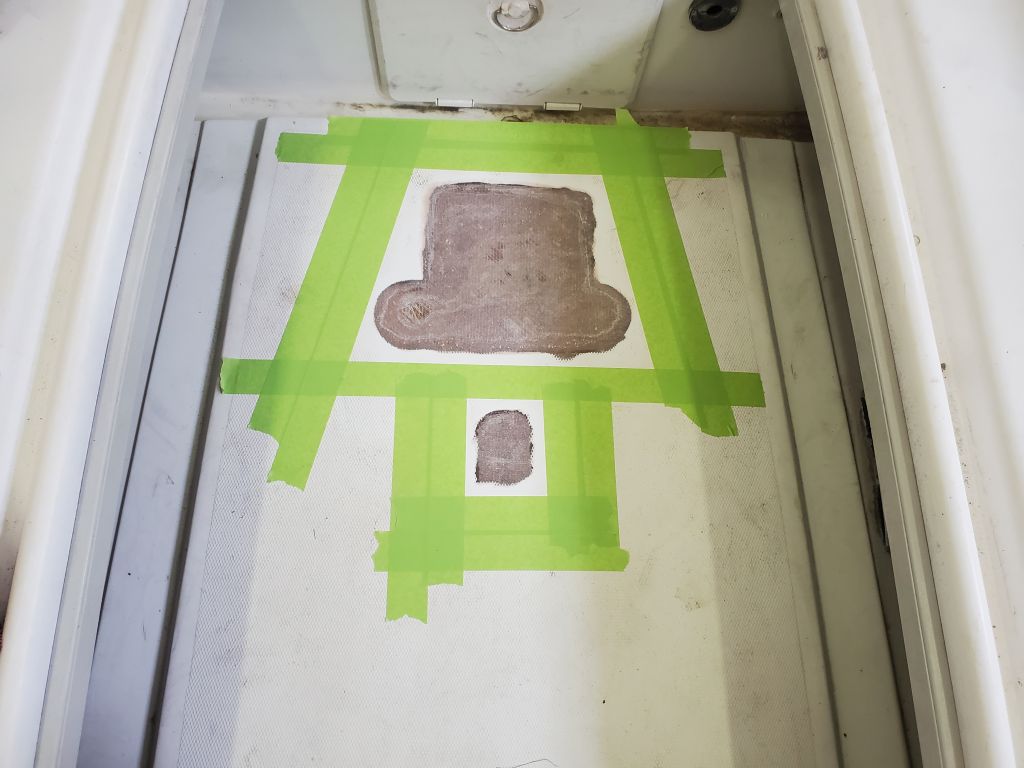
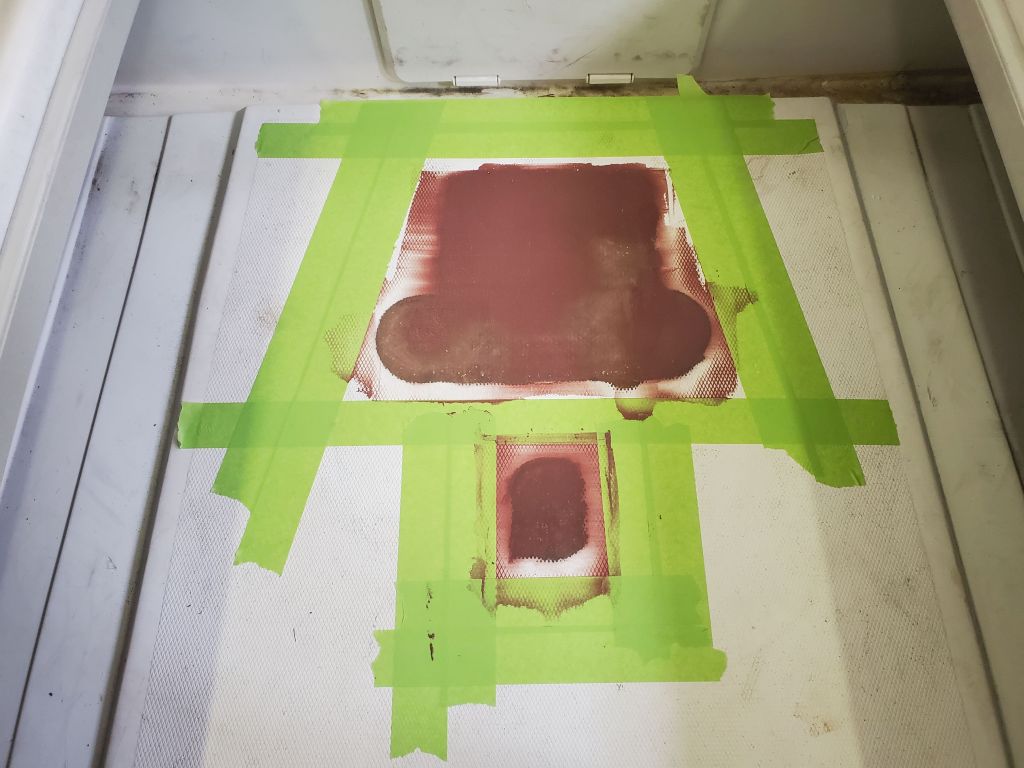
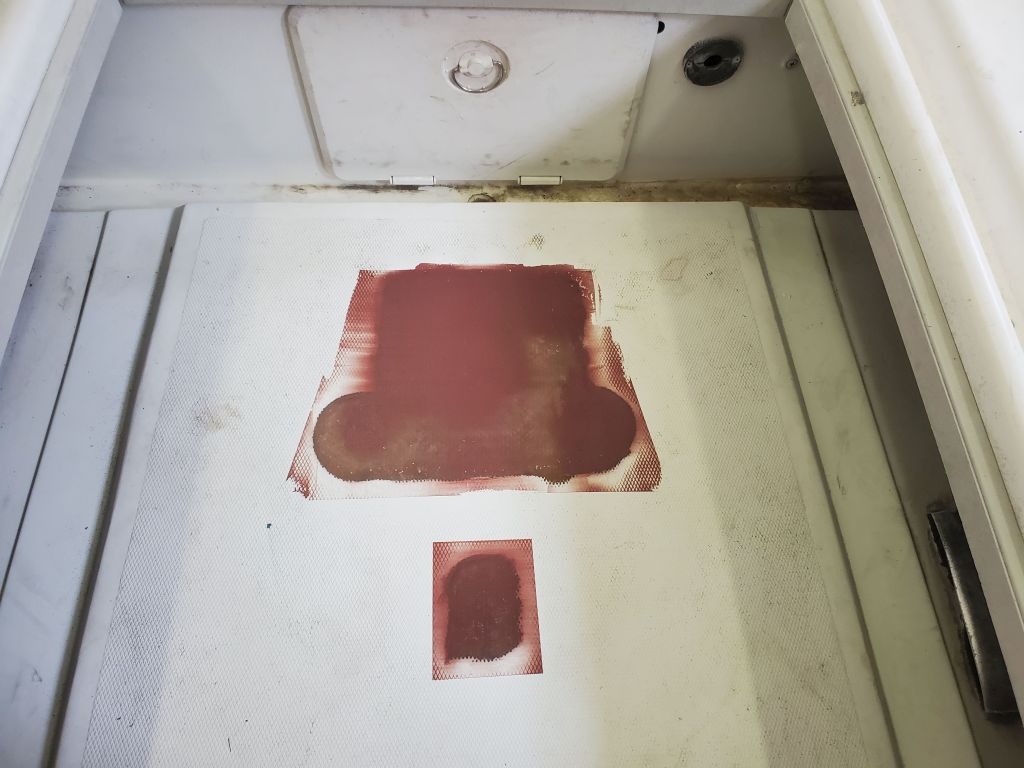
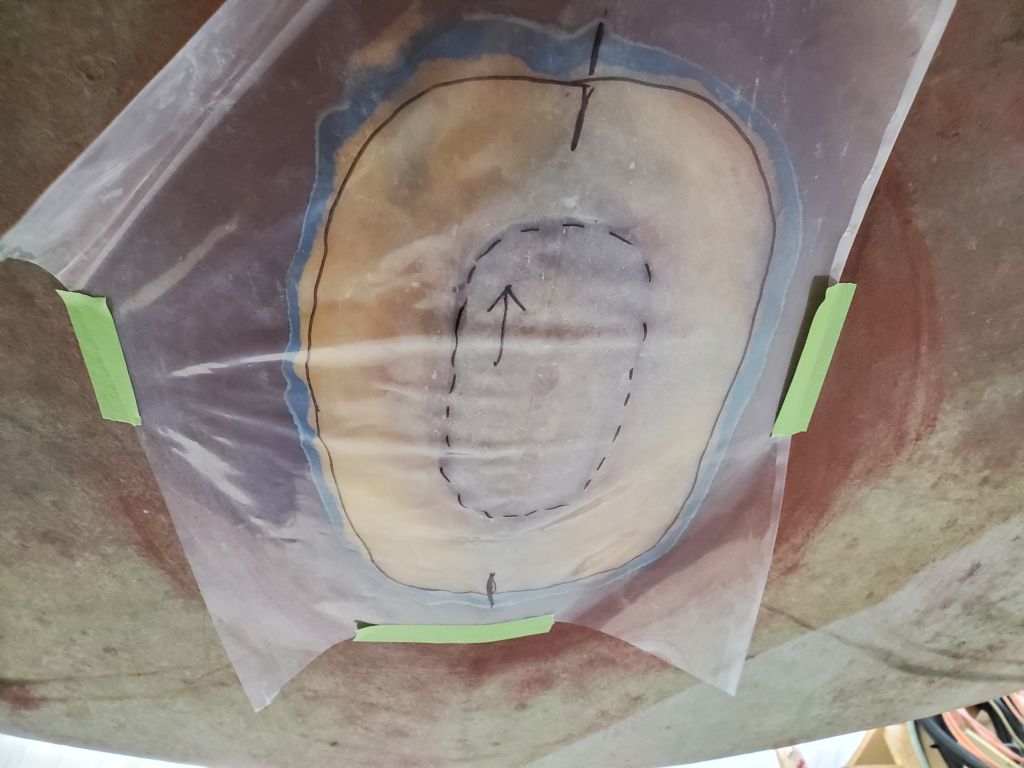
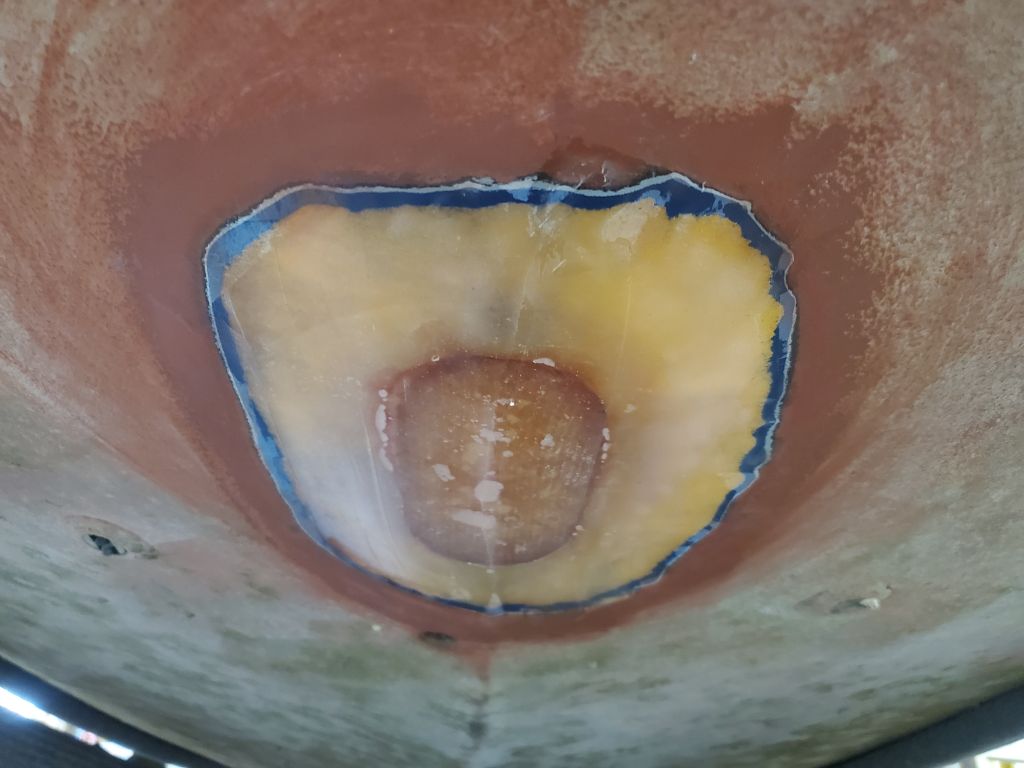
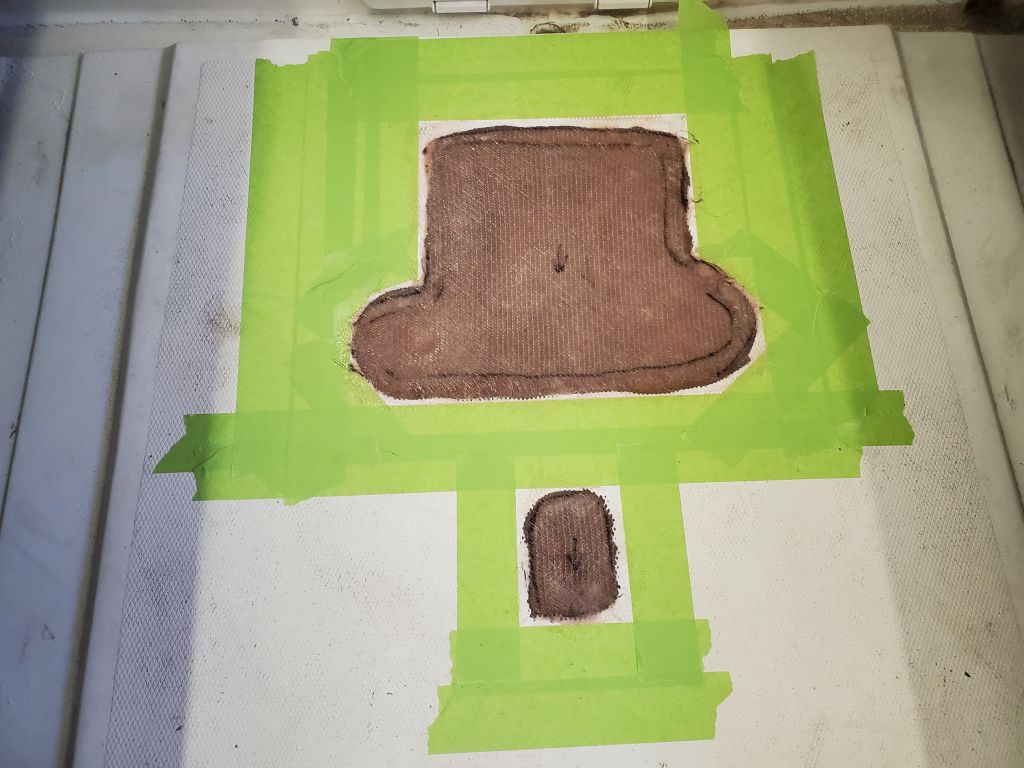
Next, I prepared the openings for patching by grinding away paint and gelcoat around each hole, preparing for a flush repair on the exterior with a dished, tapered opening, and a simpler surface patch over the hole on the inside, which only required that I remove the paint and old sealant from around the holes. I also reamed out the holes themselves to remove old sealant. I cleaned up from the work and prepared the holes for patchwork, but I wouldn’t do that till another day as I was running out of time at the moment.
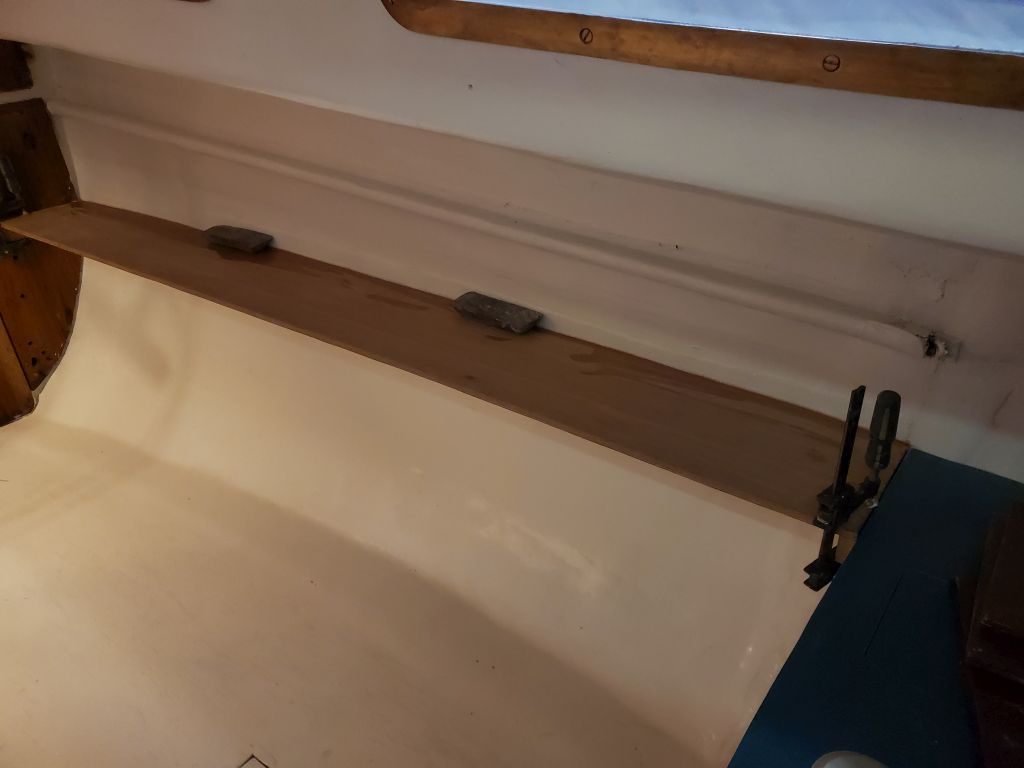
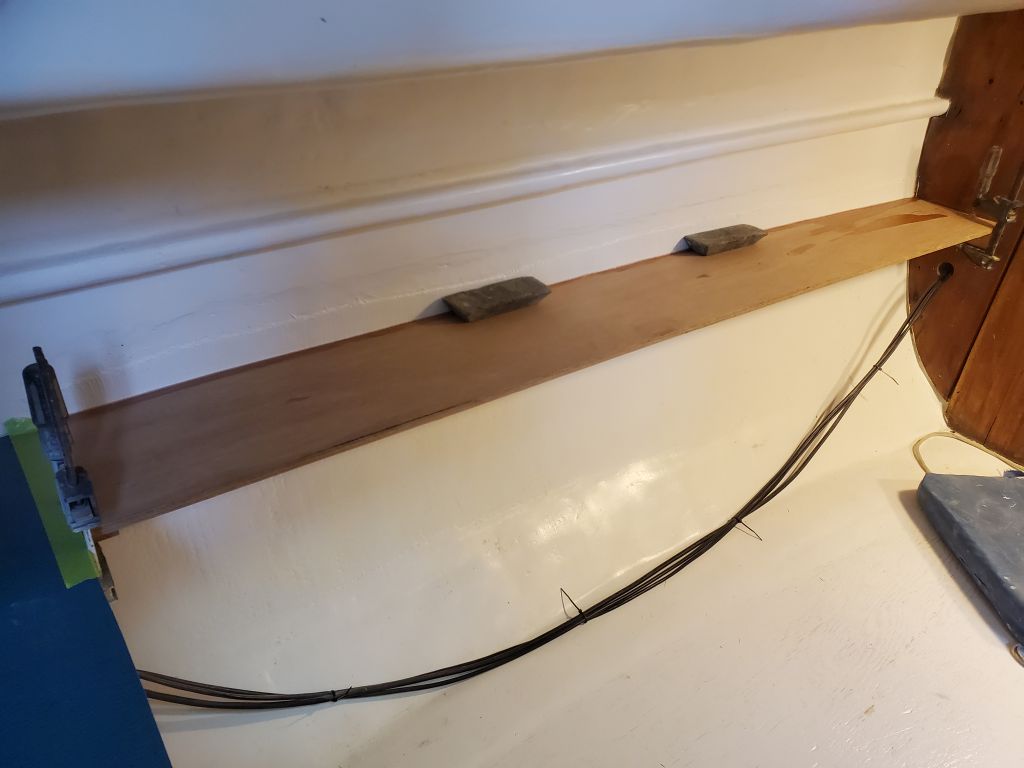
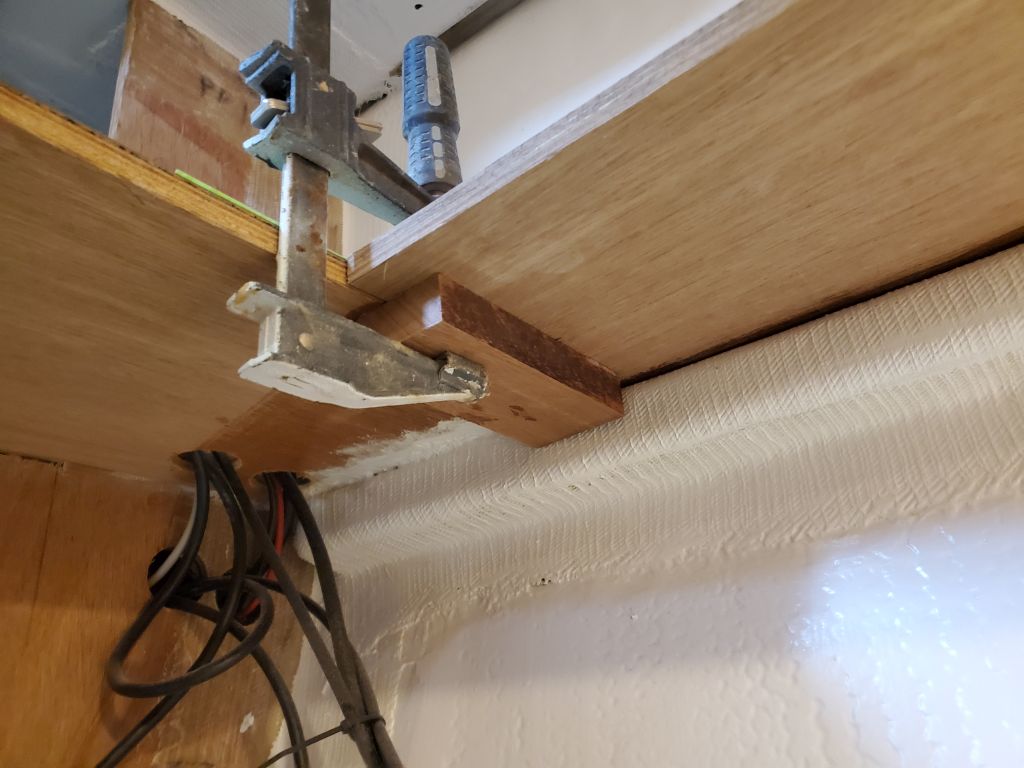
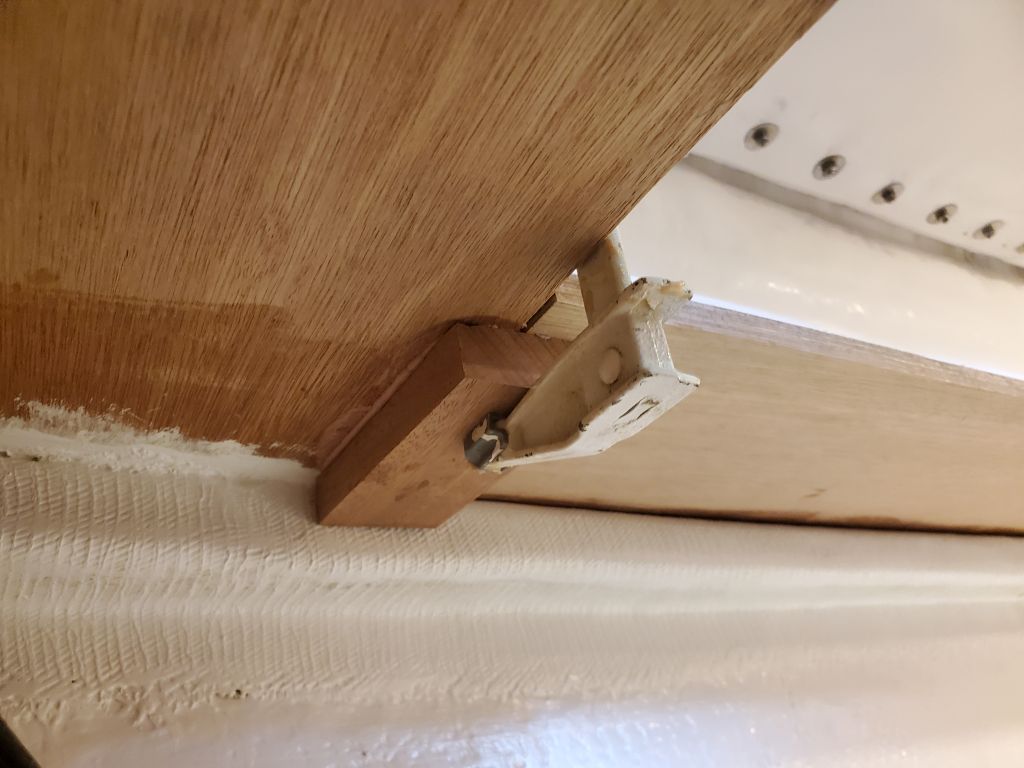
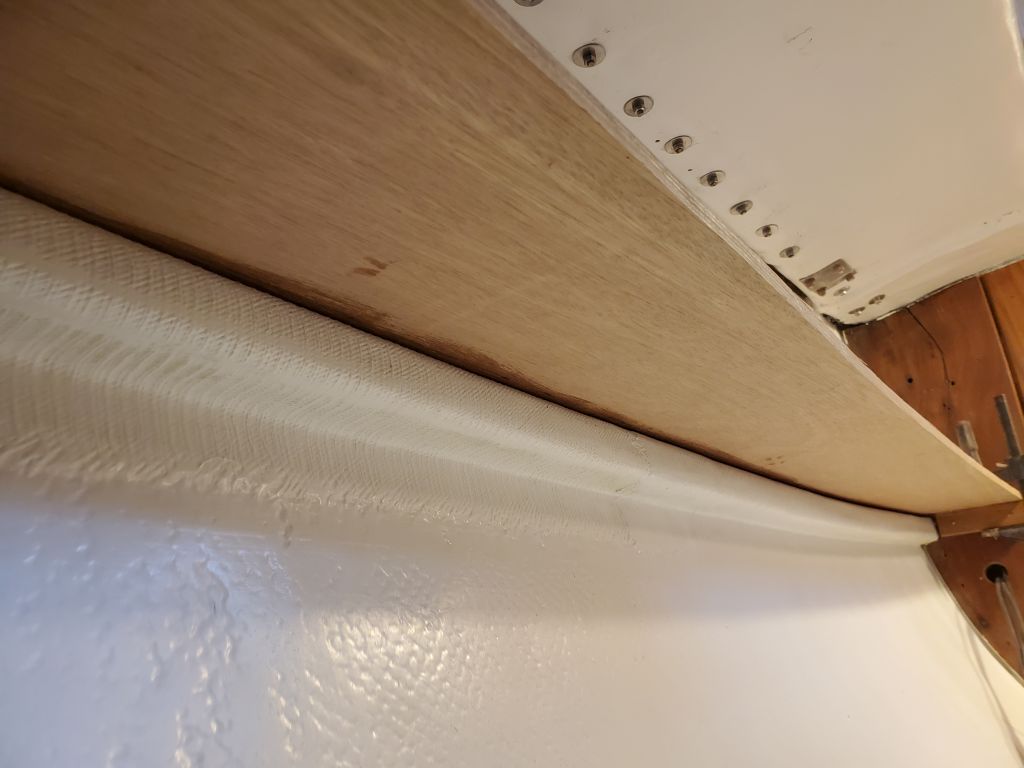
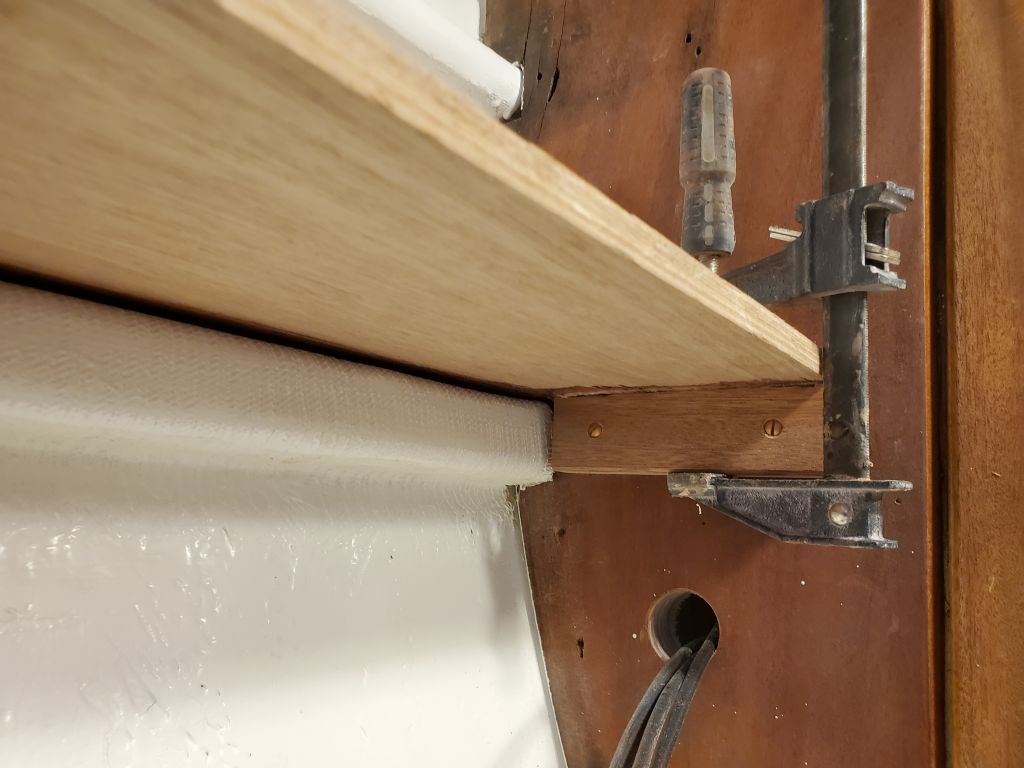
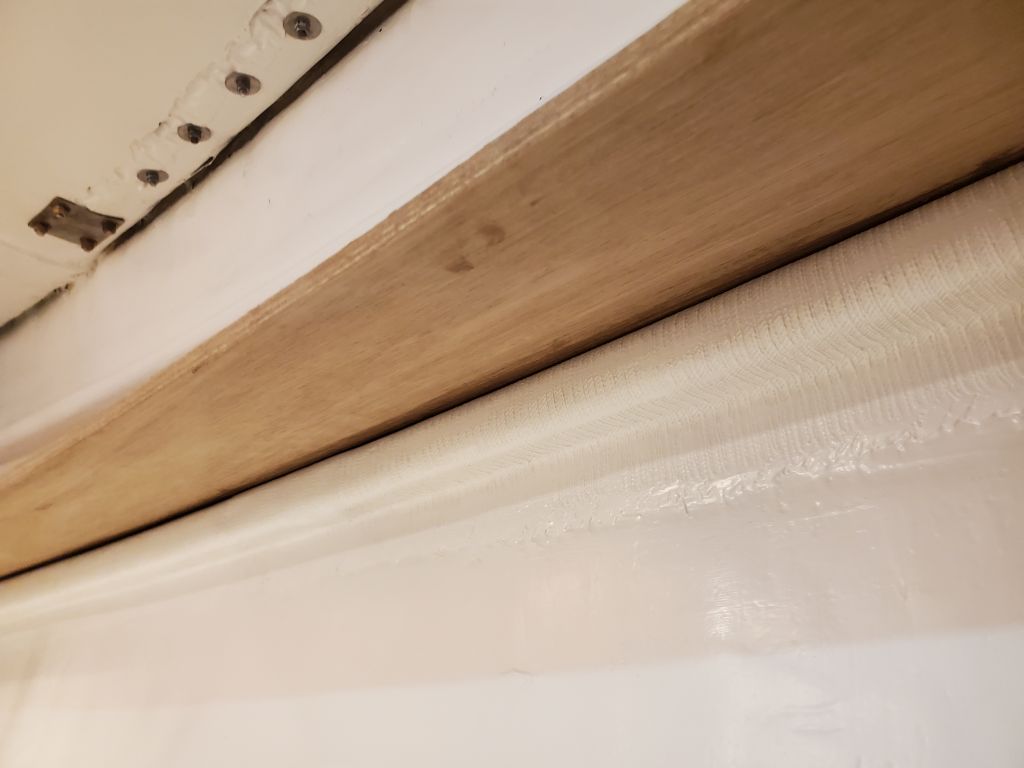
While I was making a mess, I also sanded away the paint from the top edges of the shelf supports I’d built during phase 1 on each side of the saloon; the owner had cut some plywood shelving to fit and asked me to install them. I’d finish up that small job another time as well.
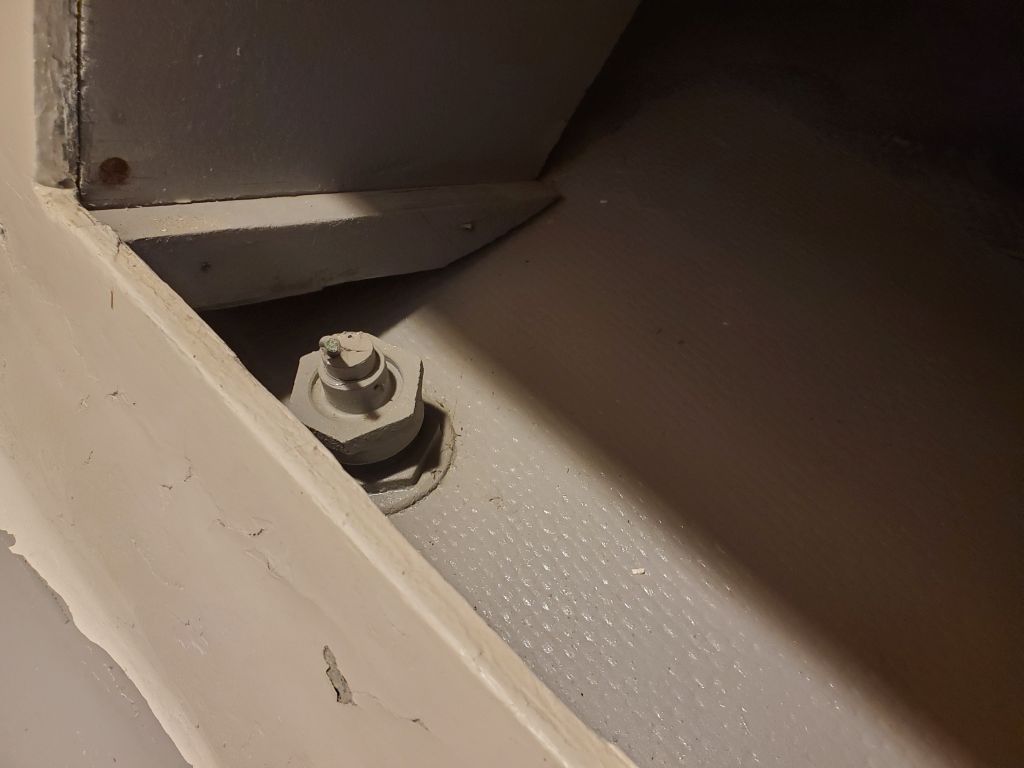
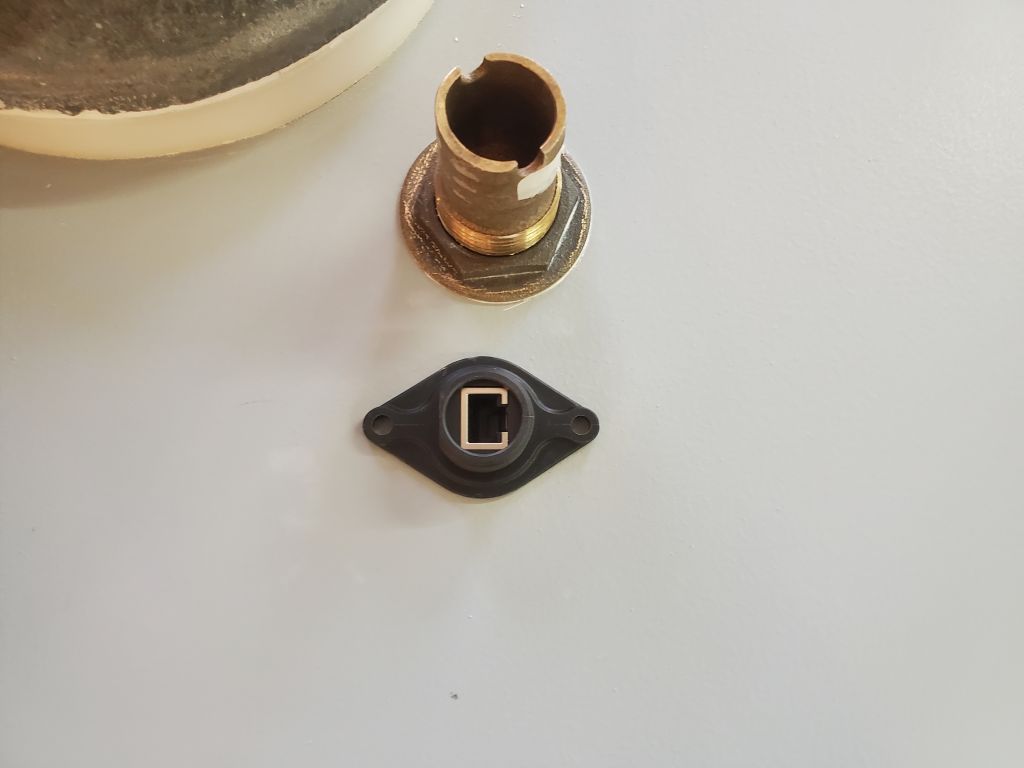
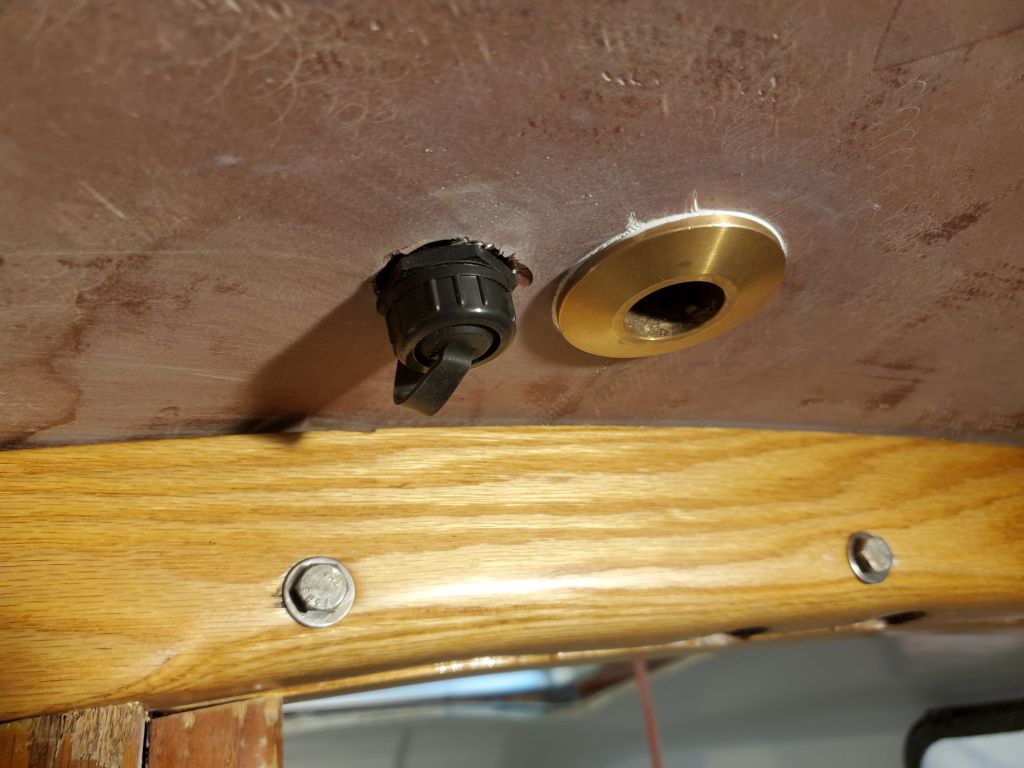
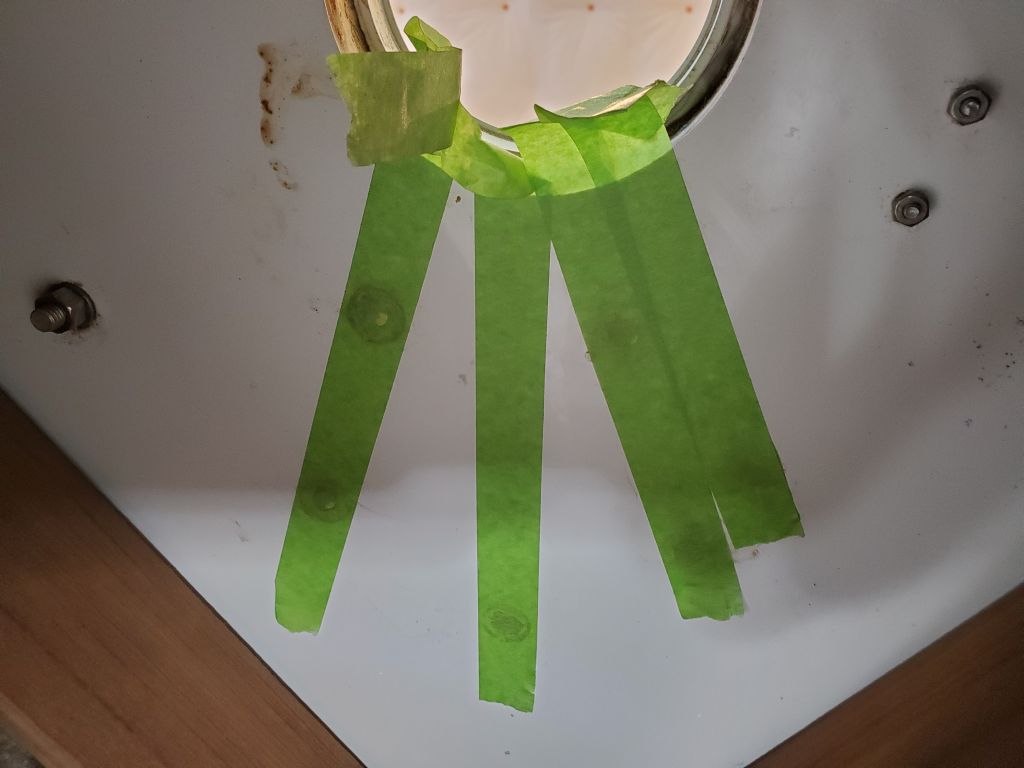
The owner also asked that I install a through-deck connector fitting for his mast-mounted radar. He already had the fitting on board, and it was a simple installation: drill a hole through the deck large enough for the fitting, and install it with two screws from above. The fitting came with a mounting gasket, and the design of the flange base didn’t allow room for anything in the way of real sealant, but I added some butyl tape to the portion running through the deck and to the screws when I installed them from above. (The deck here was solid fiberglass.) The thickness of the deck exceeded the threaded length of the fitting available for the included metal trim/fixing ring, but there was still room for the plastic nut and the included cap; I thought I might look for a washer that would better cover the edges of the drilled hole on the inside and gussy things up, but I didn’t have anything this large on hand so this would wait till later.
Total time billed on this job today: 4 hours
0600 Weather Observation: 44°, clear. Forecast for the day: Rain in the afternoon, 44°