

February 23, 2022
Luna Mia 1
Wednesday
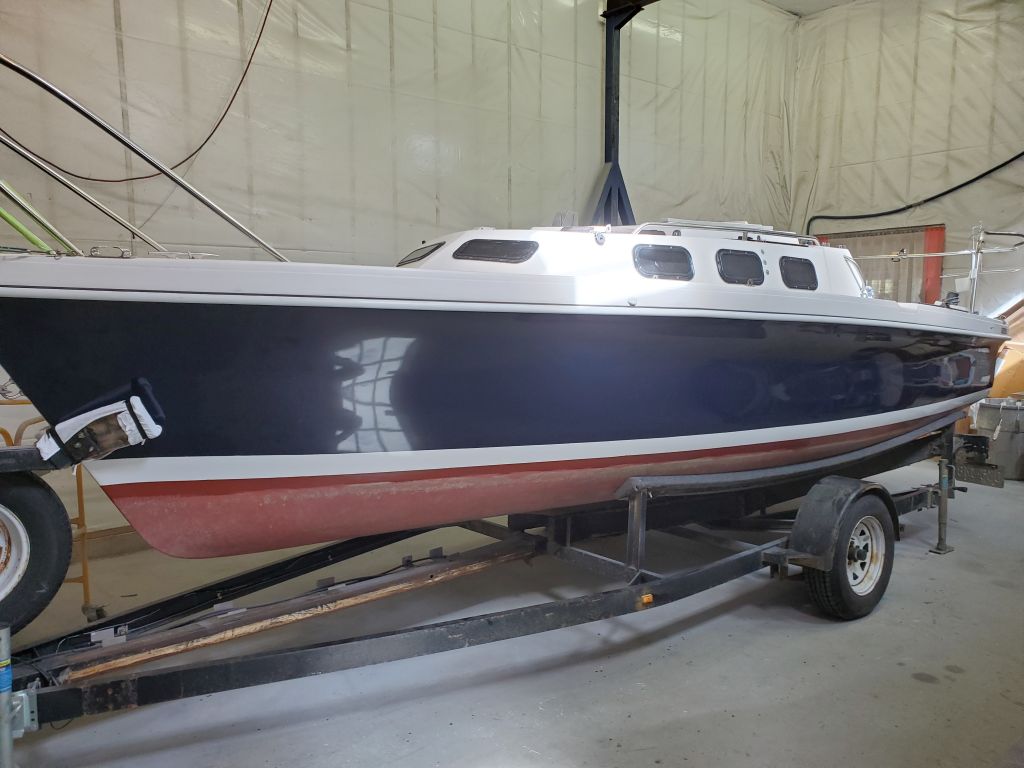
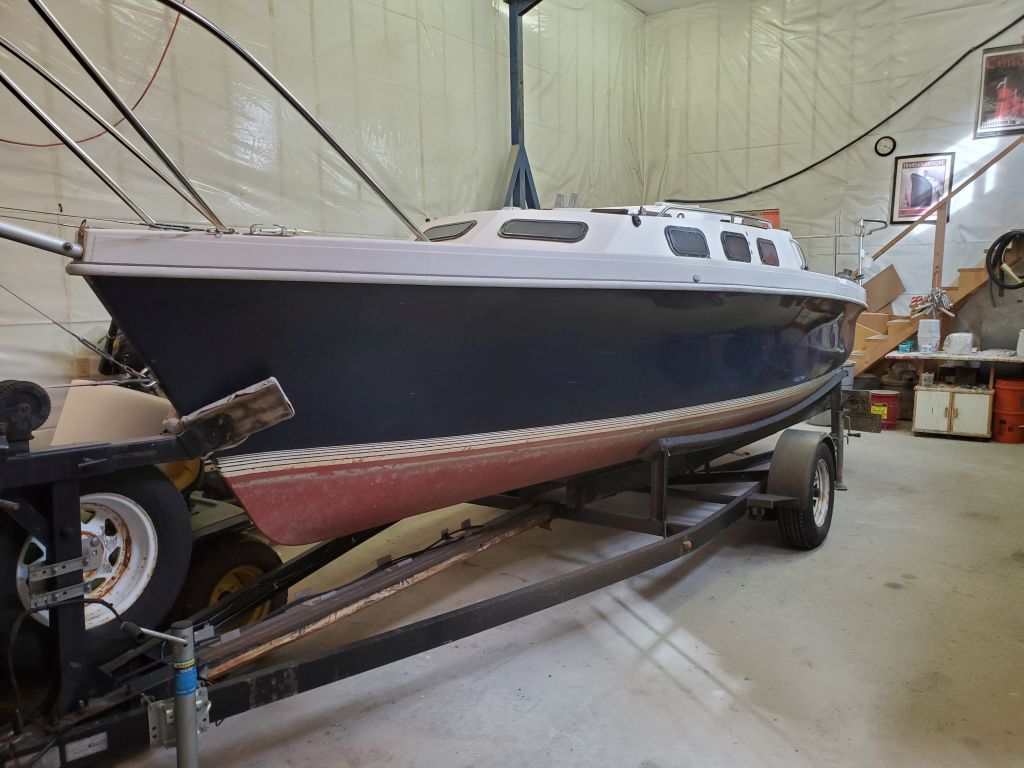
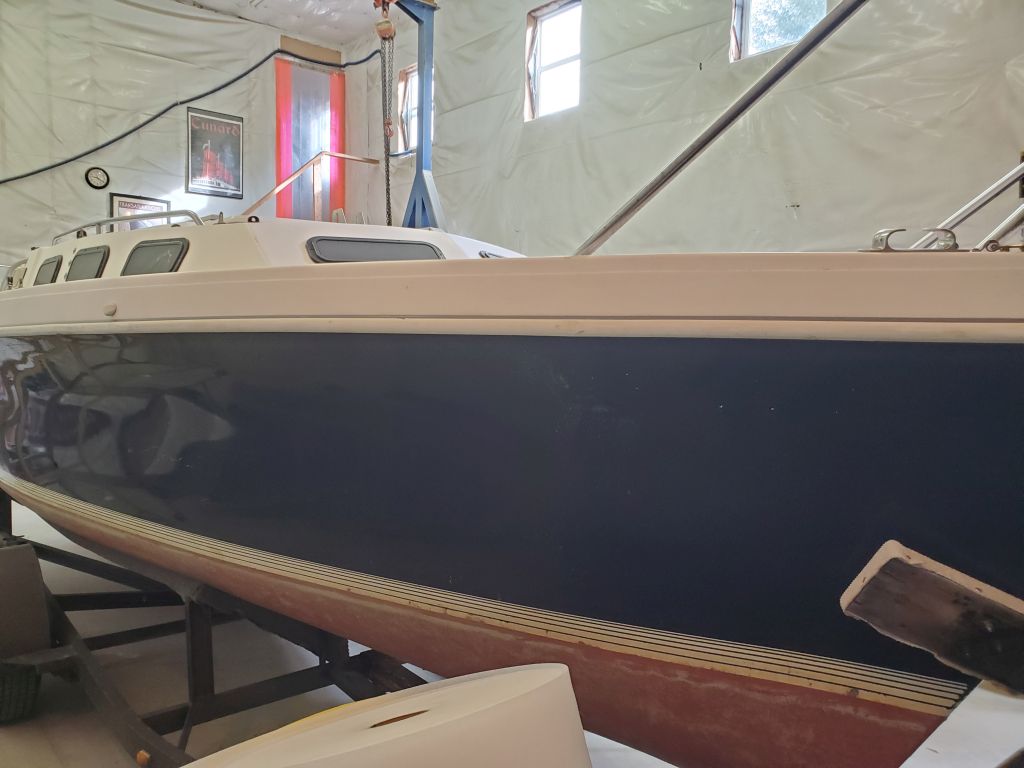
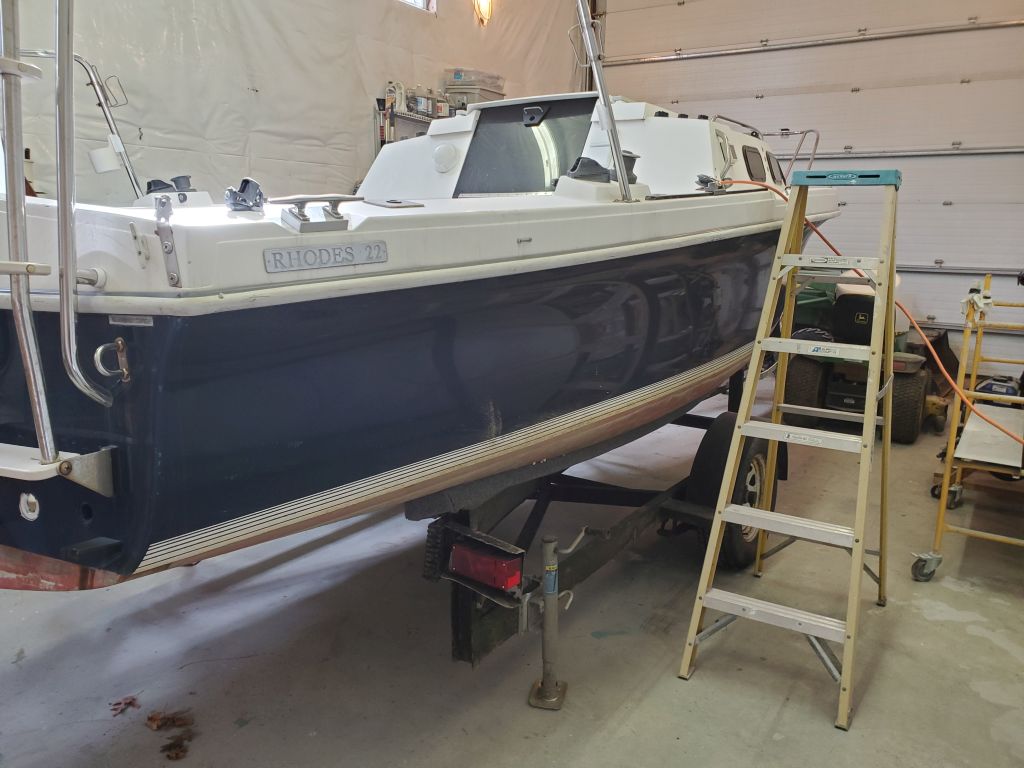
Luna Mia’s owner brought her to the shop to repaint the hull, as well as for a few other small projects and repairs, and the boat had been stored indoors in the second shop bay since delivery several weeks earlier. Though I didn’t plan to get into the project in depth for a few more weeks, a required pause in my ongoing project gave me a free day, so I decided to get a head start on things.
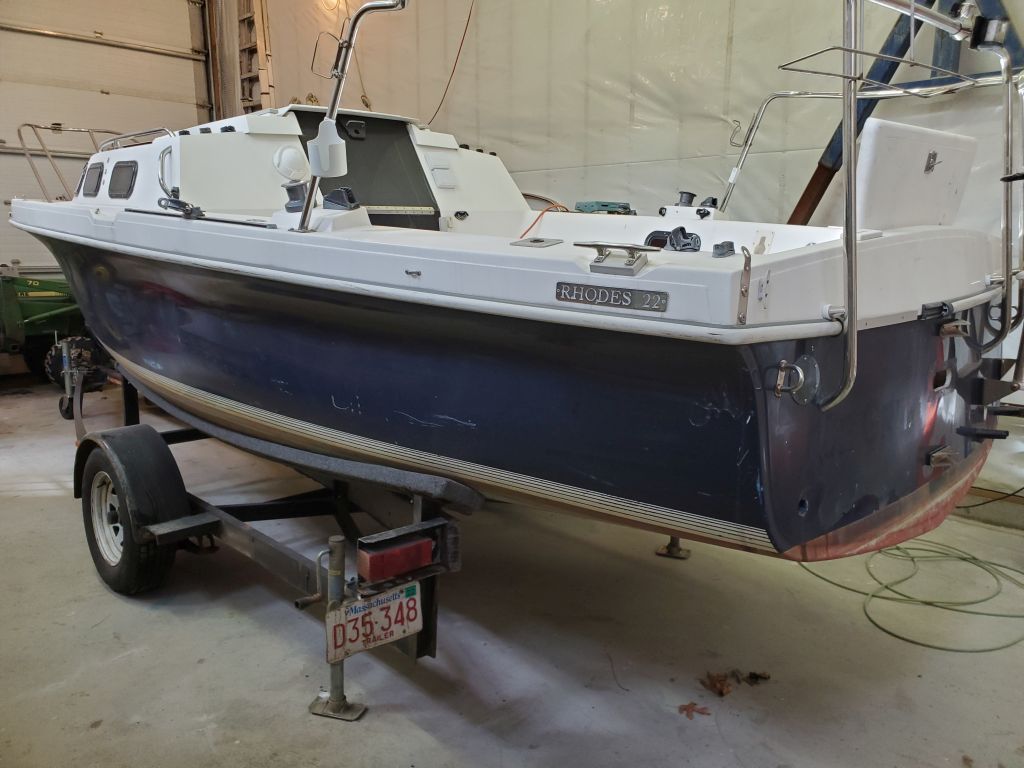
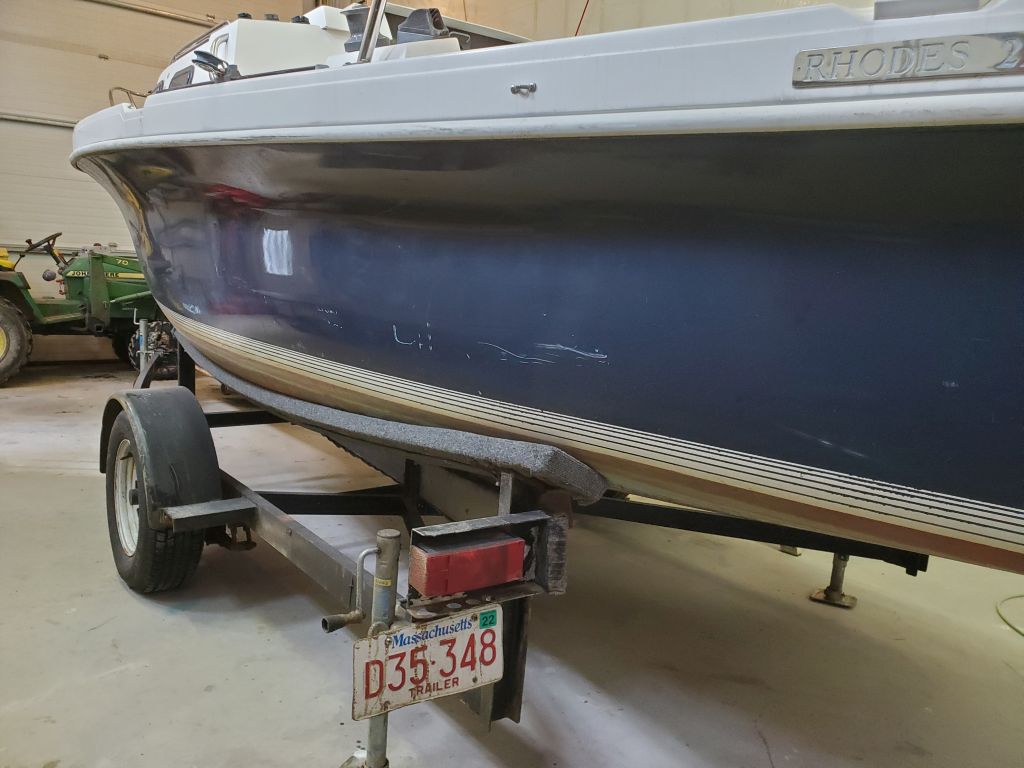
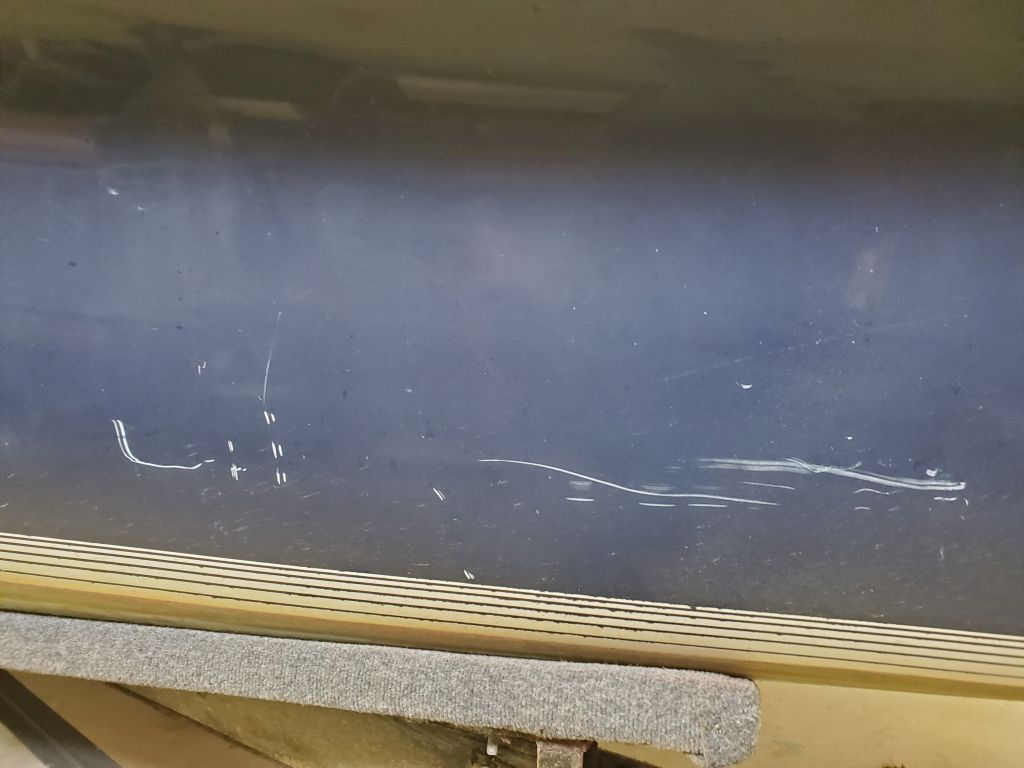
The hull appeared to have been painted once, as there were signs of blue gelcoat beneath the existing topcoat in a few areas where the finish had been worn down or scratched. Overall, the hull was in pretty good condition, with no major repairs anticipated during the refinishing process. I’d get into all that in more detail later on.


For now, my plan was to focus on the other smallish tasks on my list, including the following:
- Remove an old engine bed from the lazarette (the owner had previously removed the engine and saildrive unit)
- Patch the old saildrive hole in the bottom
- Patch holes left from the removal of a steering pedestal in the cockpit (the owner had previously removed the wheel steering)
- Patch several now-obsolete holes in the transom
- Patch some obsolete fastener holes in the bow
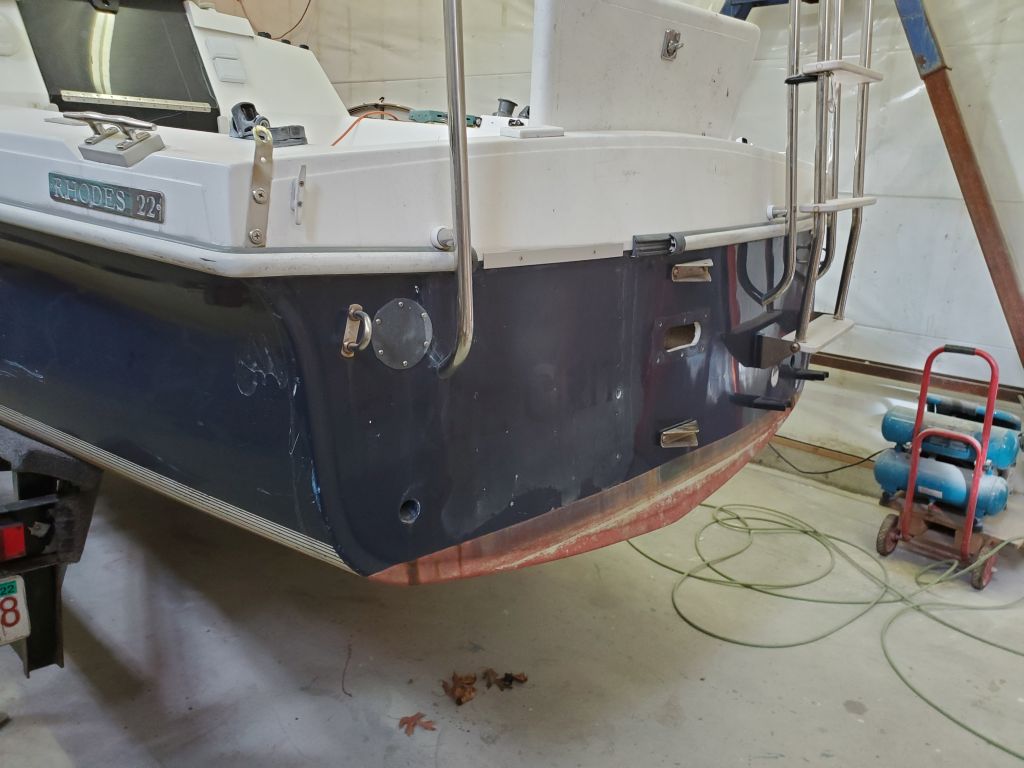
The removal of the wheel steering (the owner reported that the pedestal was so far aft that there was no room to stand behind it, never mind the other reasons it didn’t make a whole lot of sense to begin with) left a large hole, and several smaller holes and fastener locations, in the cockpit sole, as well as a slot in the transom through which the original steering cable had extended to the transom-hung rudder. In addition, there were several old fastener holes in the transom that required minor work (previously filled, but showing through), and the now-obsolete engine exhaust outlet to starboard. These various openings in the cockpit and transom needed to be patched and repaired.

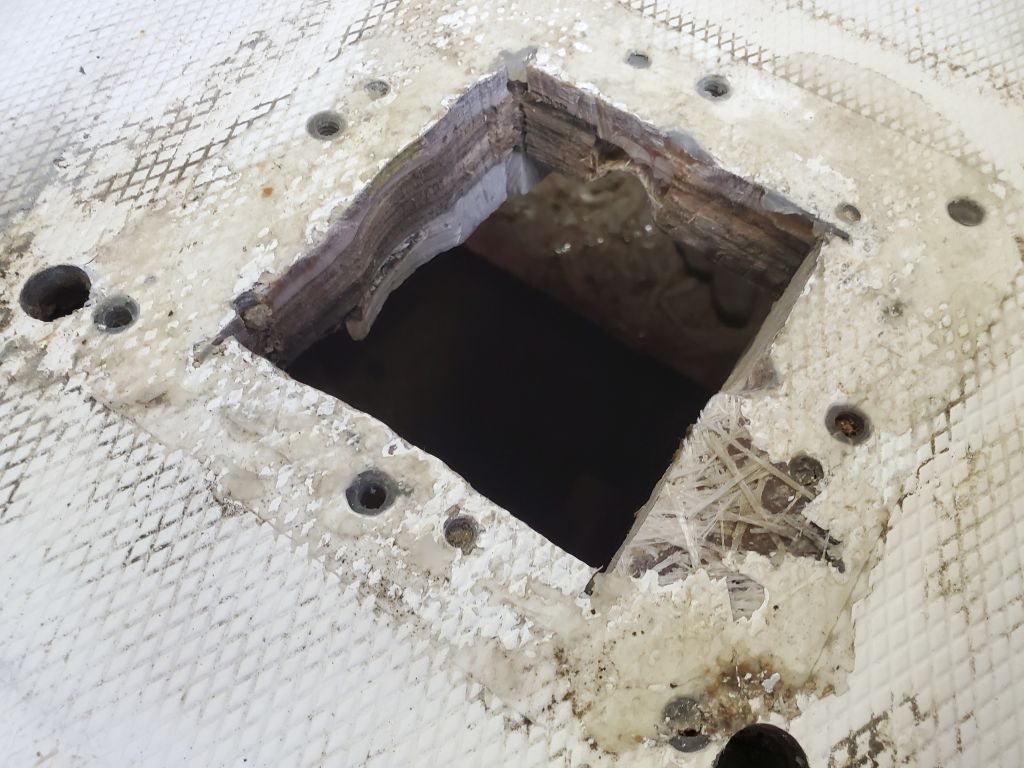
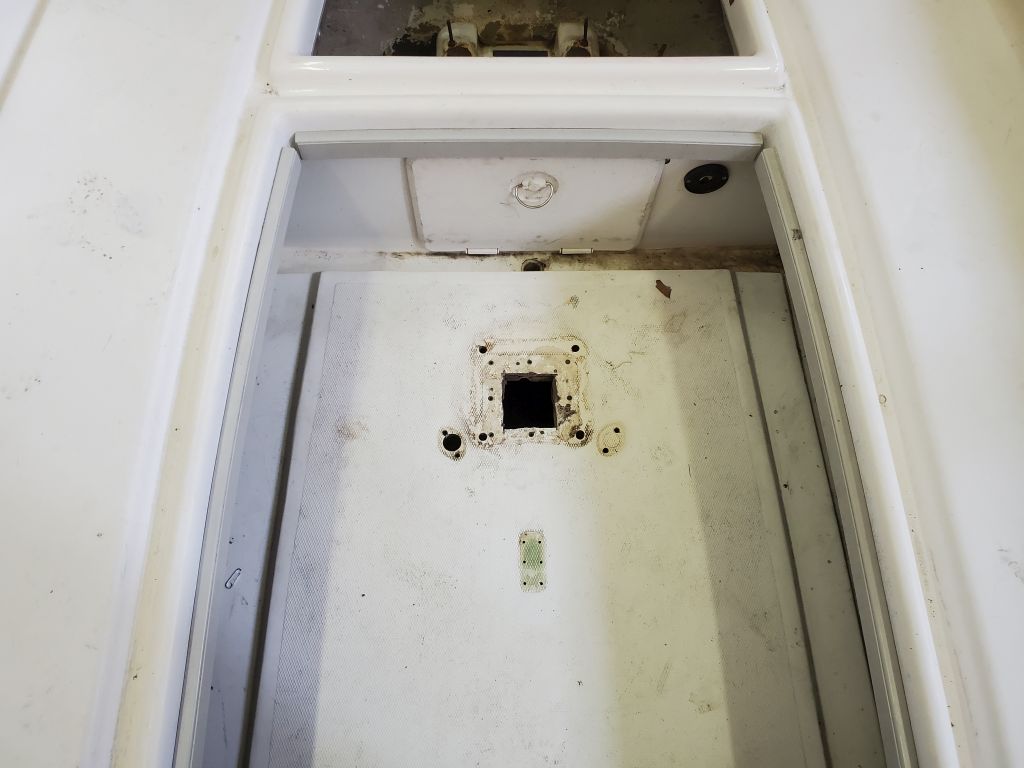
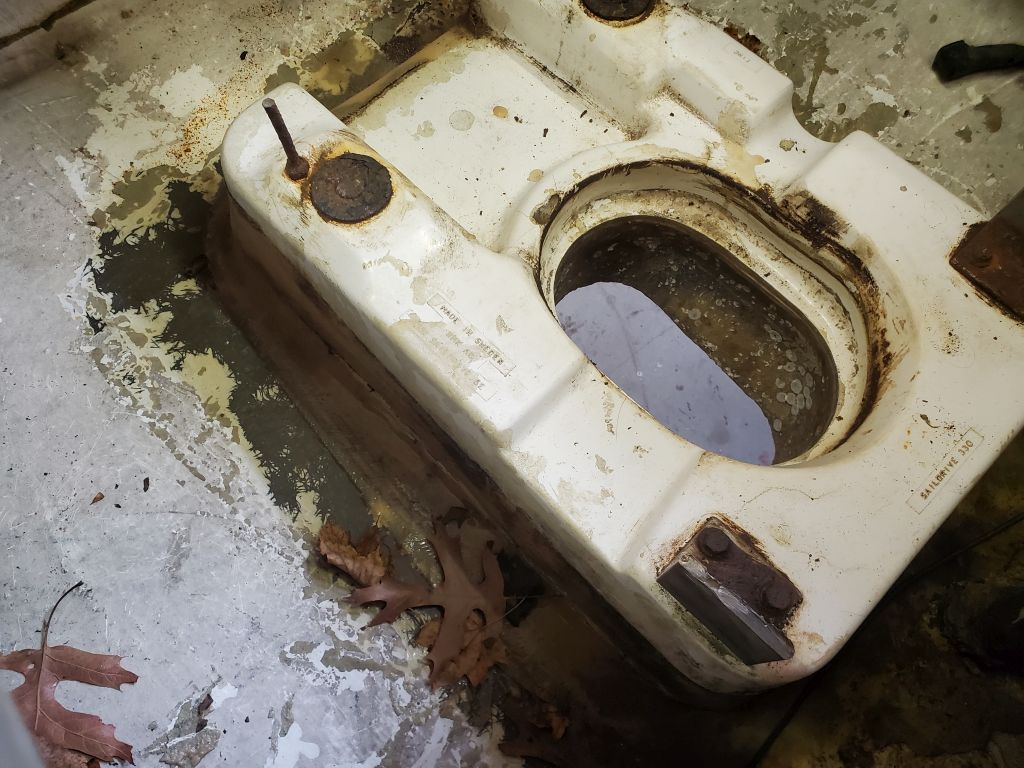
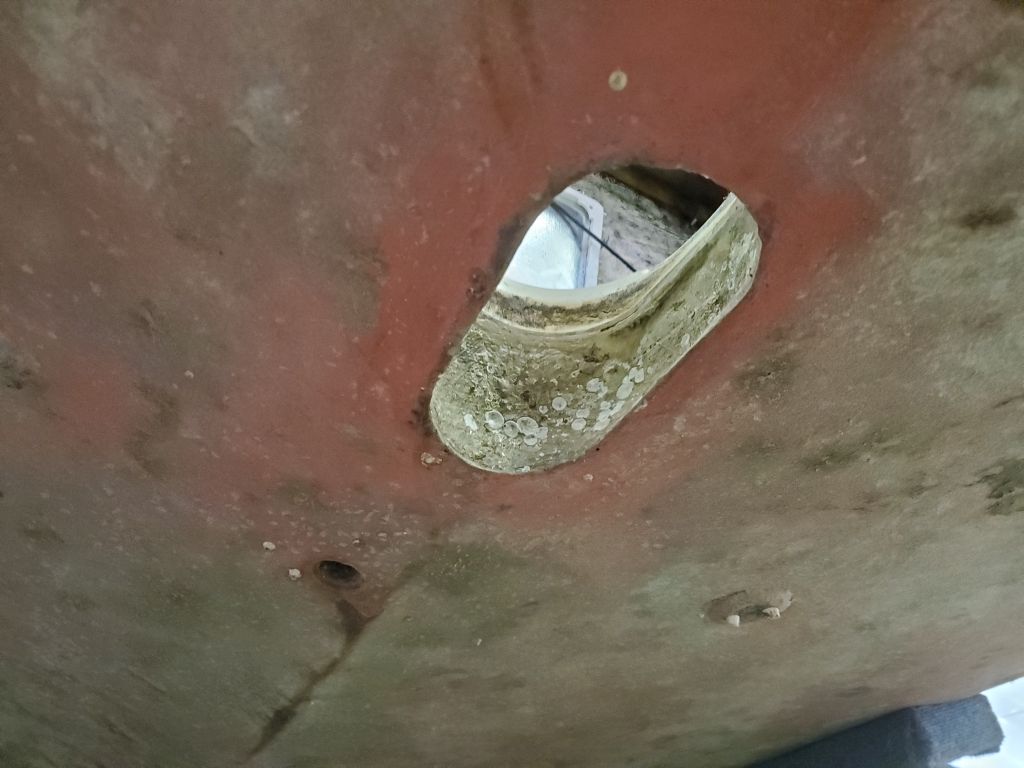
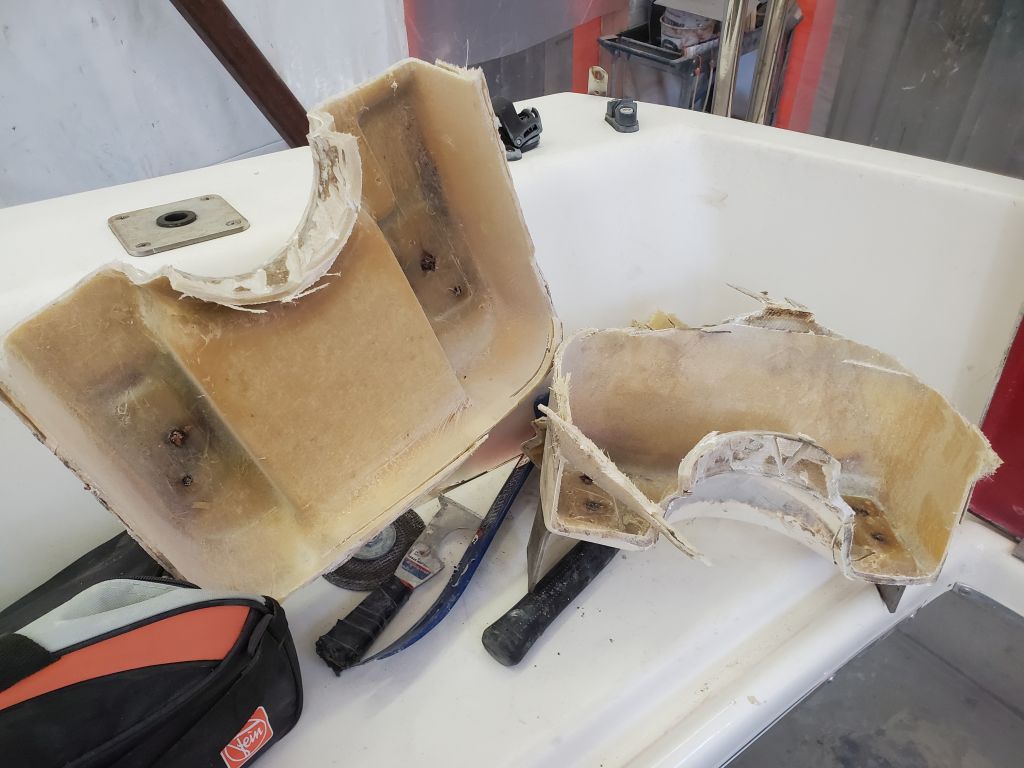
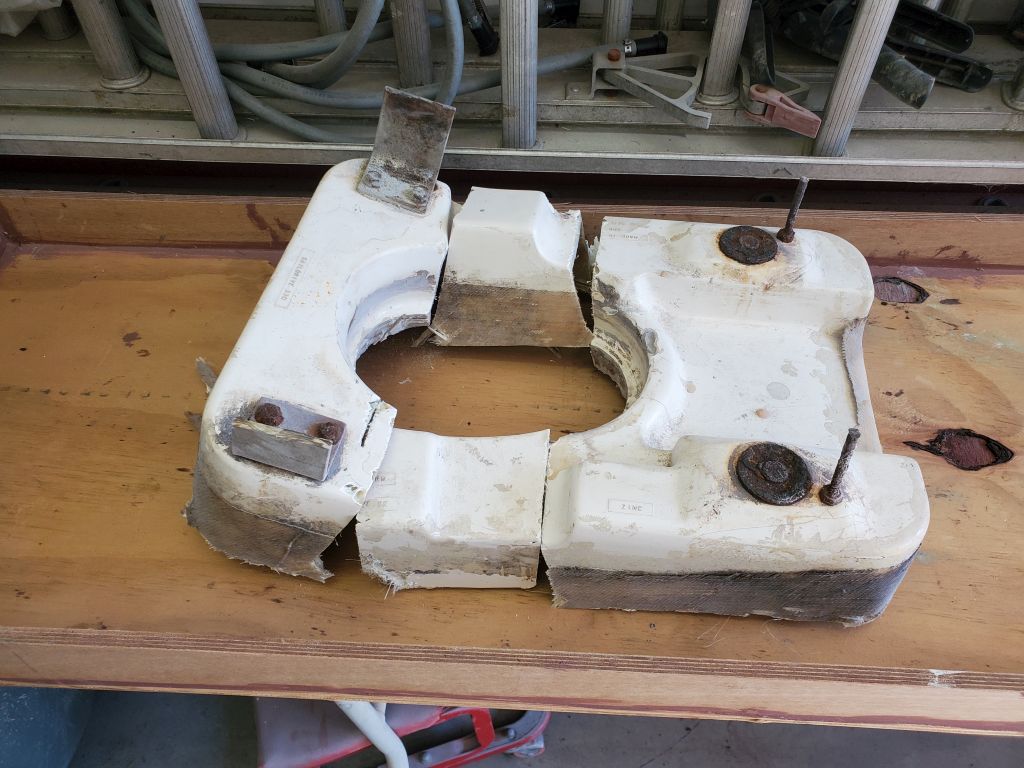
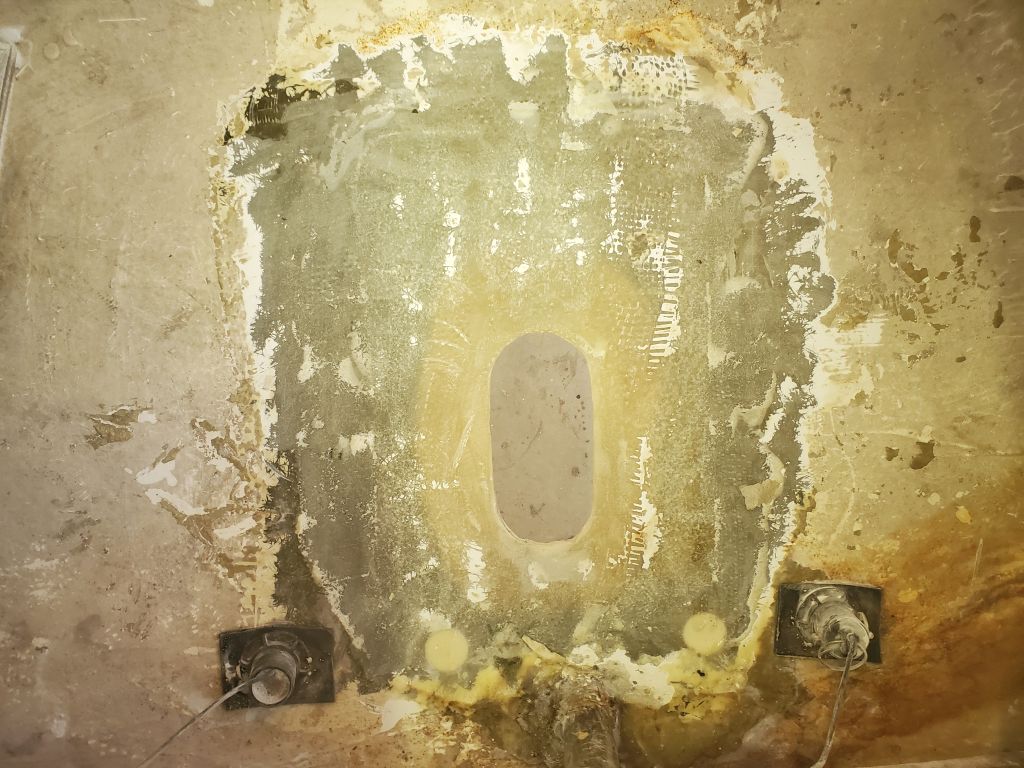
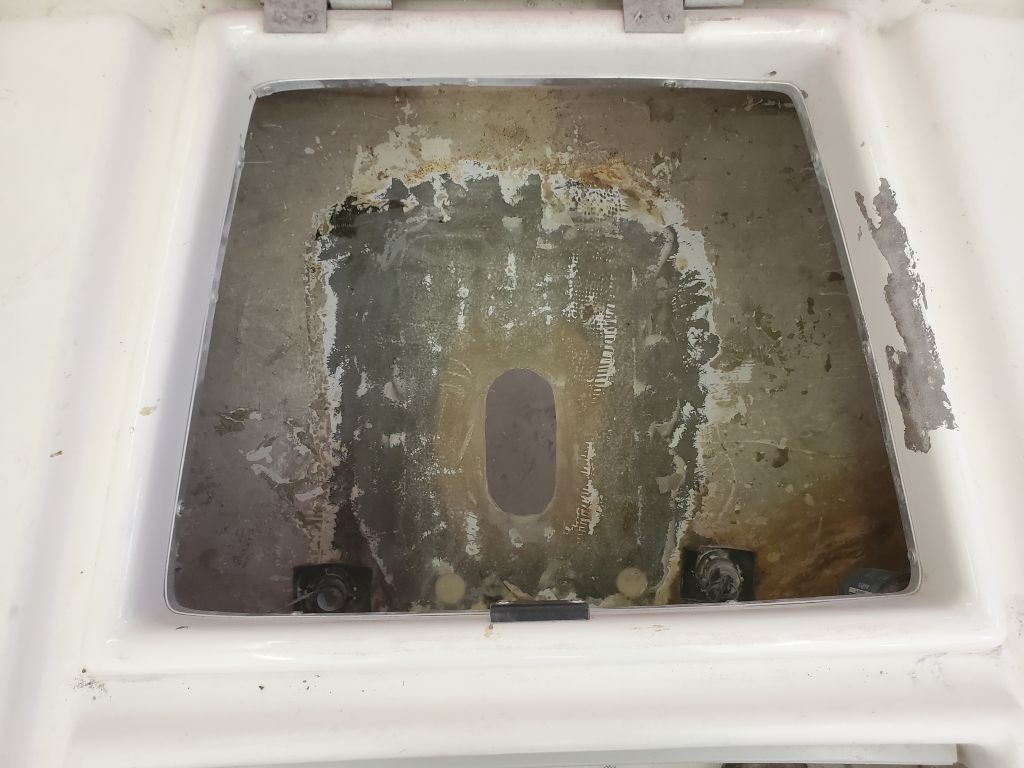
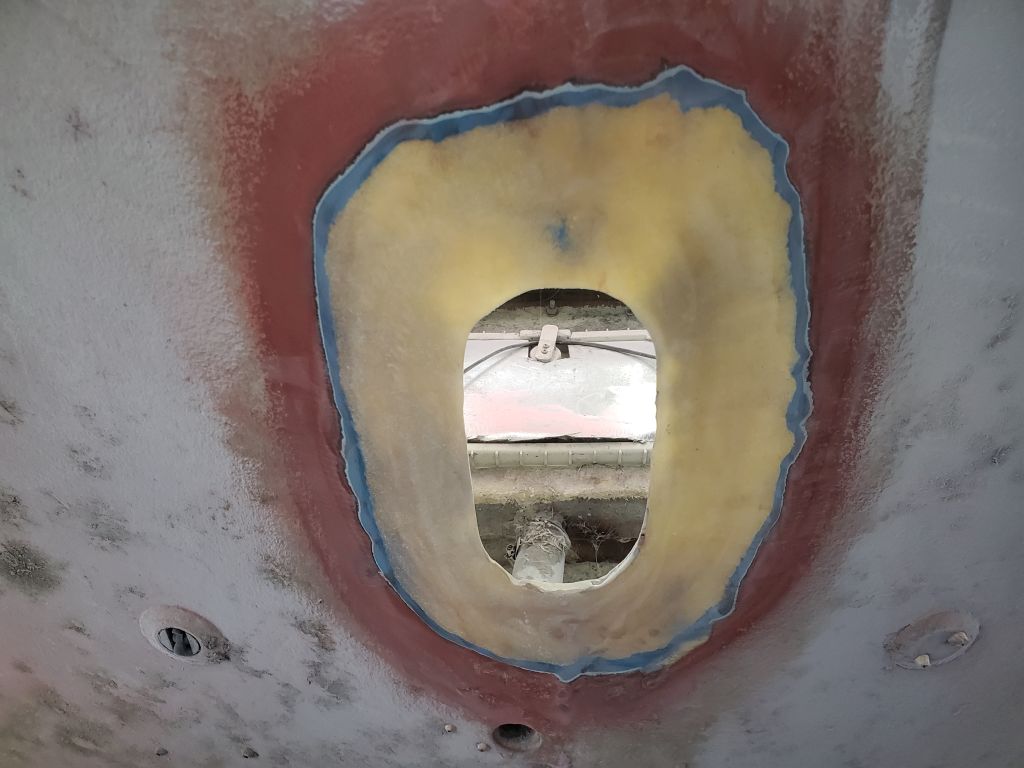
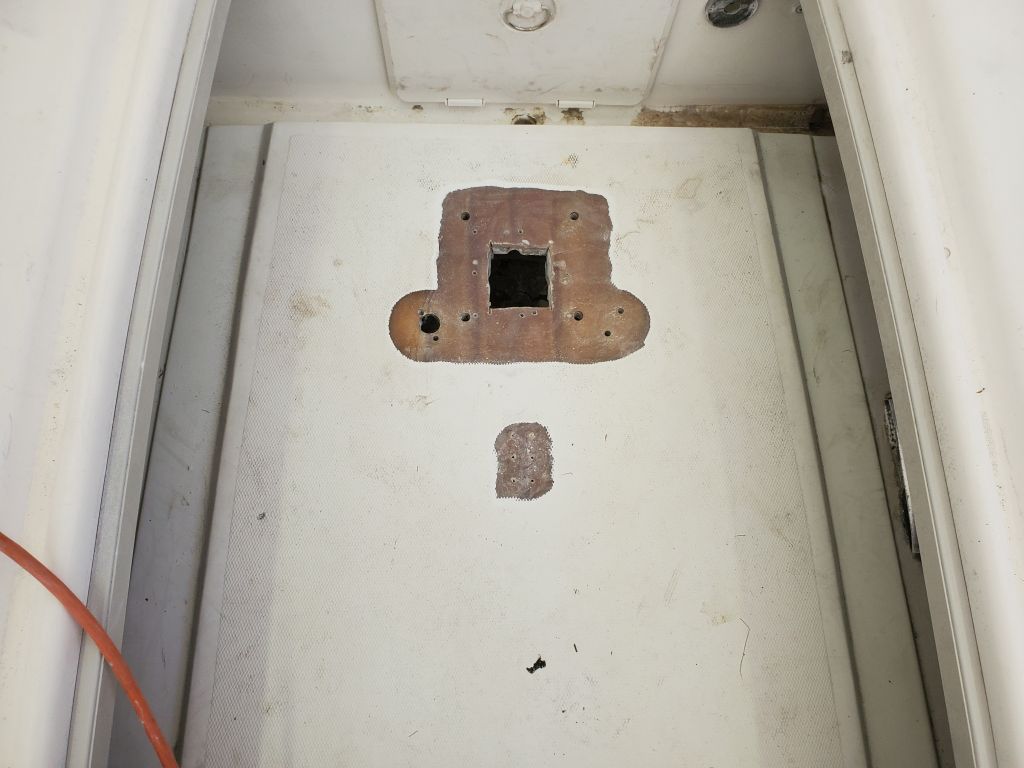
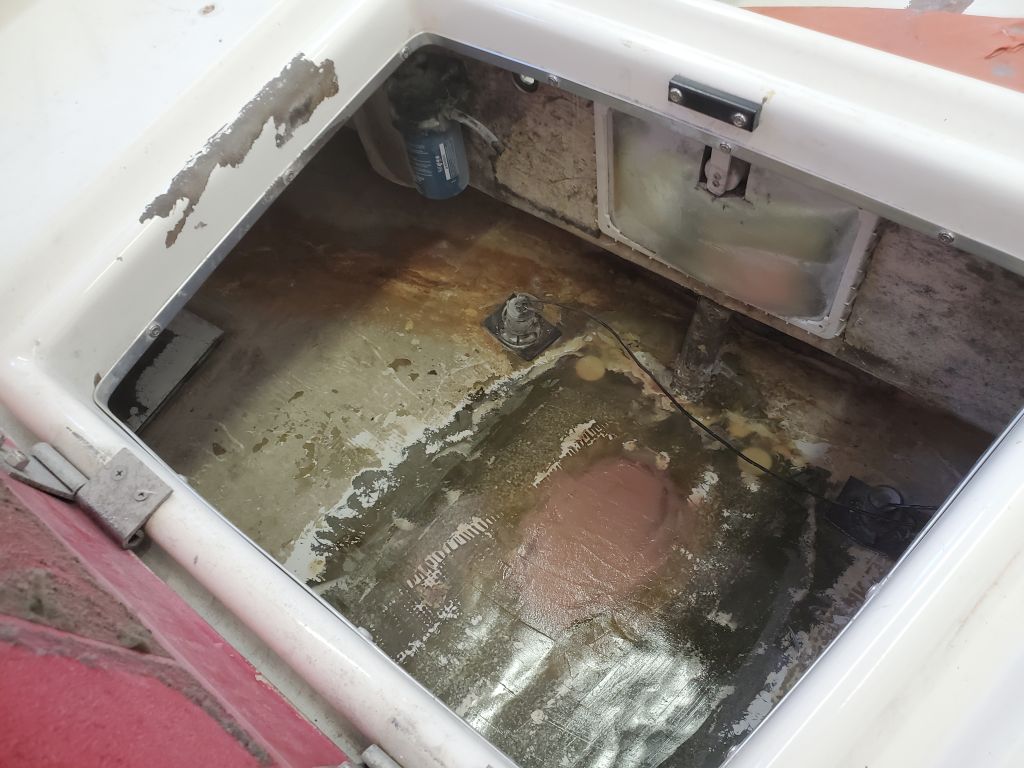
The engine bed was a molded fiberglass construction glassed to the hull inside the large aft lazarette, with generally good access thanks to a large hatch. The mount incorporated a large hole that extended through the hull where the saildrive leg had once penetrated. The owner requested that I try to remove the engine foundation in one piece if possible.
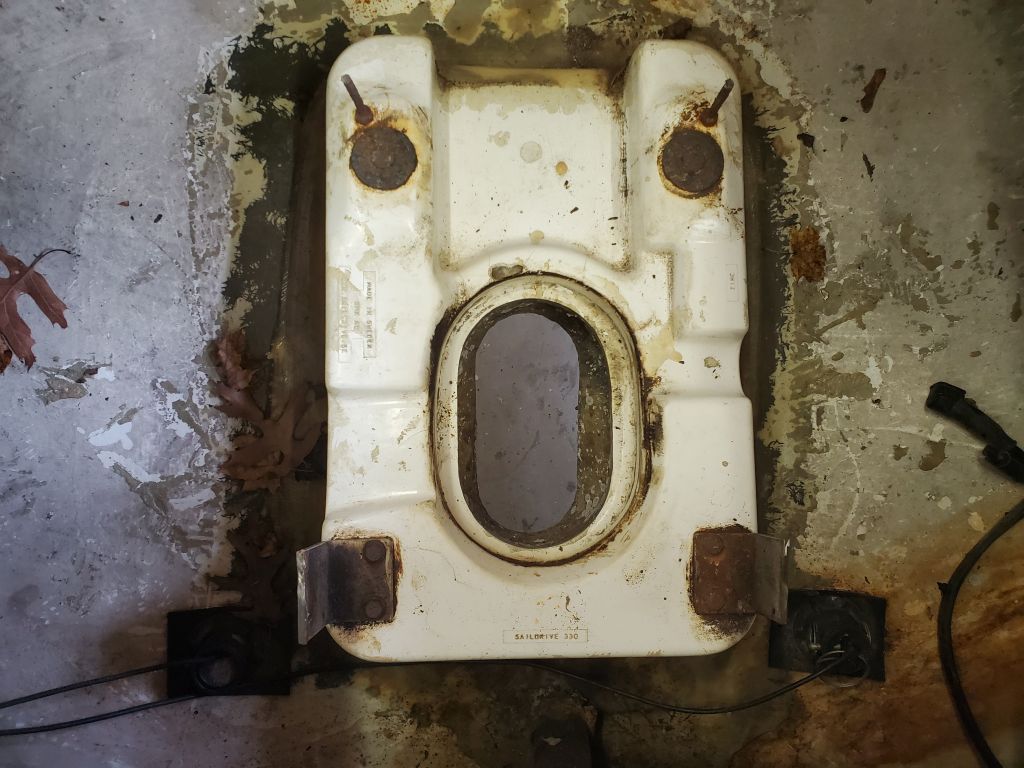

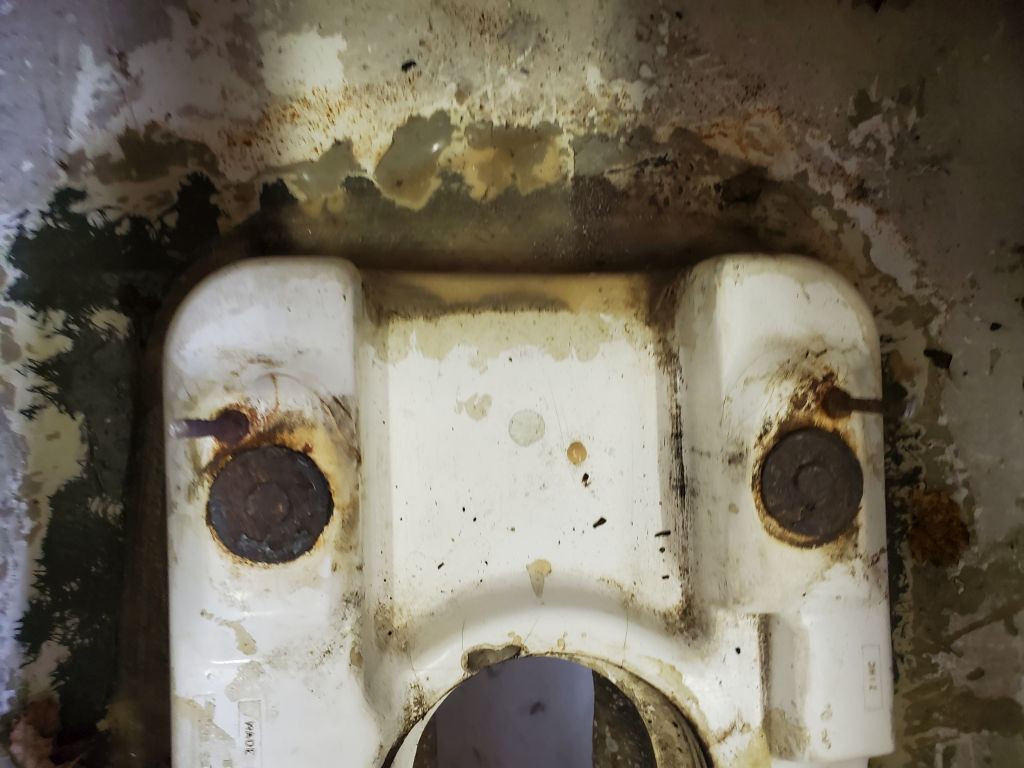
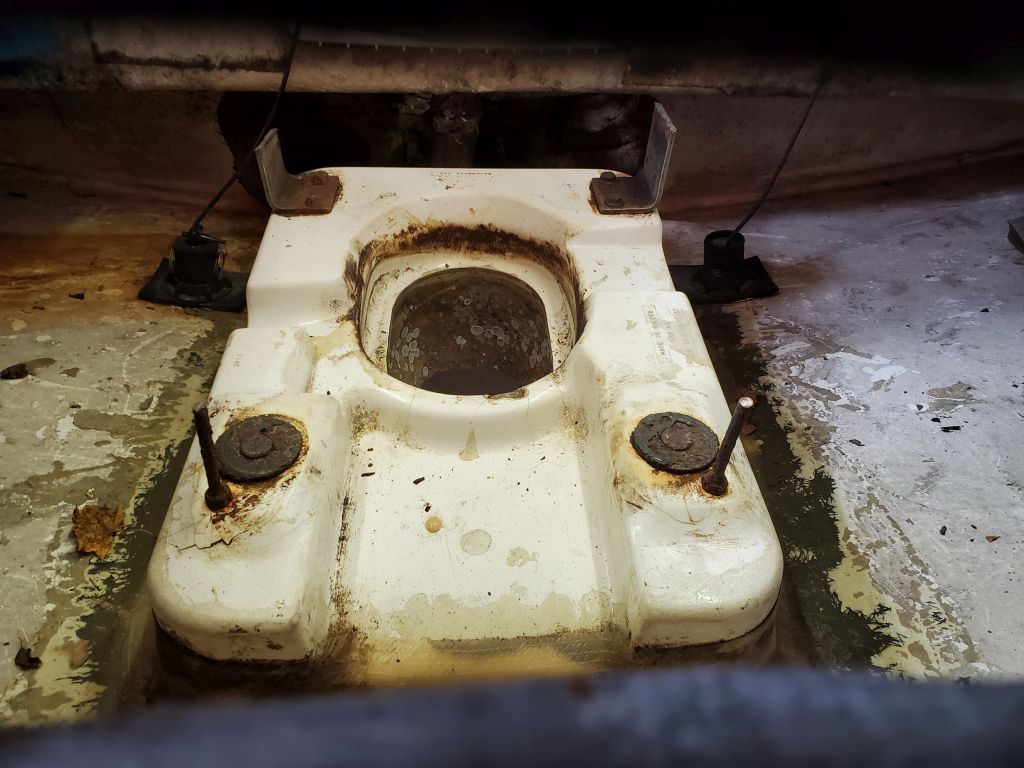

After getting properly set up with tools, lighting, and a fan (and as it happened, this was a great weather day for a messy grinding project, as the weather was warm enough to allow me to open the shop door for ventilation), I cut around the base of the foundation, where it was tabbed to the hull all around, with a grinder and cutoff wheel, which easily sliced through the tabbing. Access at the forward corners was tighter, and made more so by the transducers mounted on either side of the foundation, so with various other tools I eventually cut through the tabbing in these trouble spots. So far so good.
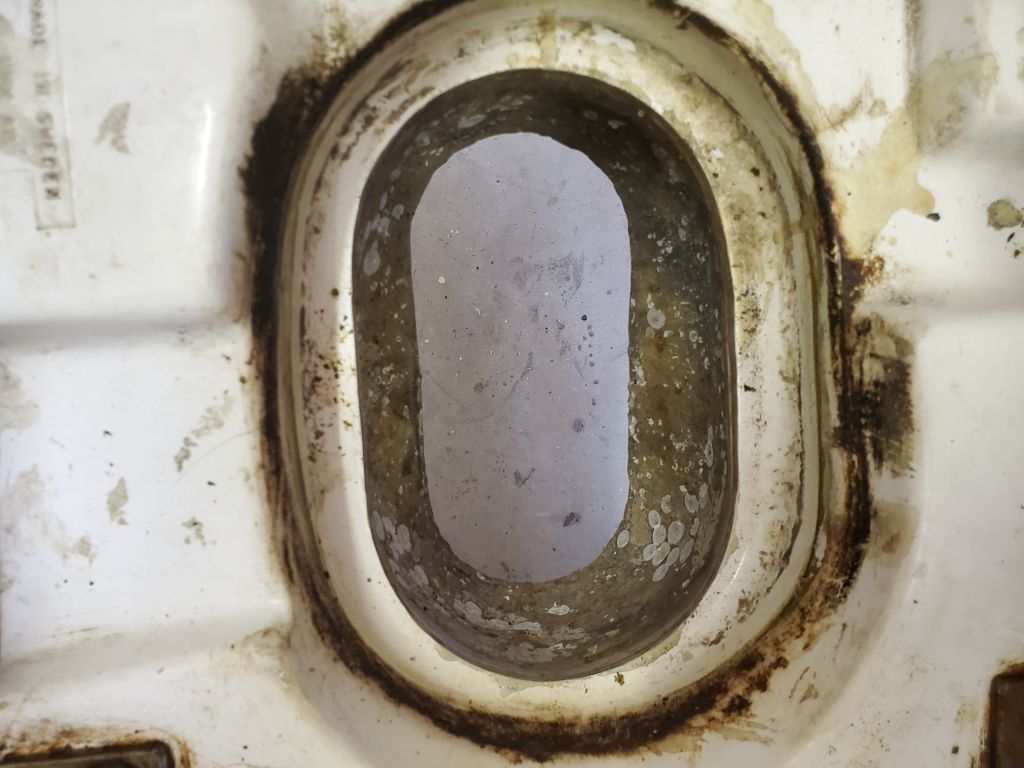
The challenging part came when I worked to remove whatever resinous material was filling the area between the hull cutout and the inside of the engine mount. I’d known this would be the hardest part all along, mainly because the opening was fairly small and there wasn’t adequate room for tools within. After various attempts and too much time using grinder and multi-tool from within, and even chisels and prybars from without, with little progress and no clear path to success, I cut through the foundation from side to side in two places, which opened up enough room that I could cut through the remains of the resin mash that secured and filled the opening all around, allowing me to easily remove the rest of the engine foundation. Technically, the old molding could be reassembled and fiberglassed from beneath without too much trouble, so despite having to cut it in the name of efficiency, it wasn’t destroyed beyond all hope. I couldn’t imagine a scenario where this thing would ever be reinstalled in this boat, but theoretically it would be possible with some work.

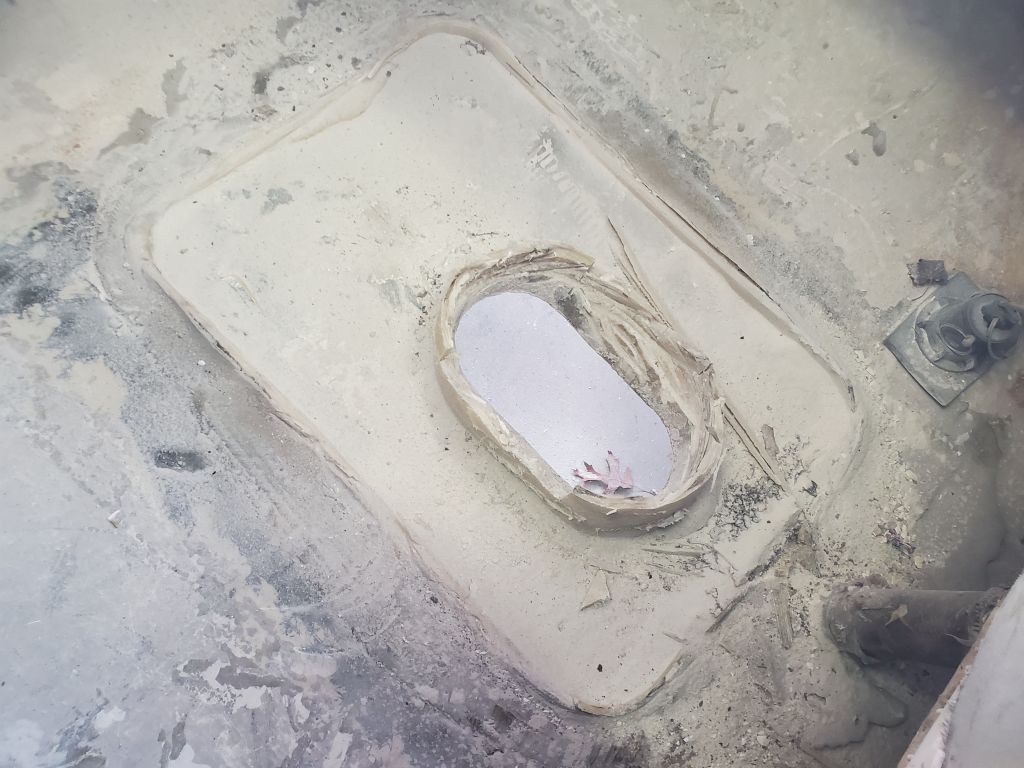
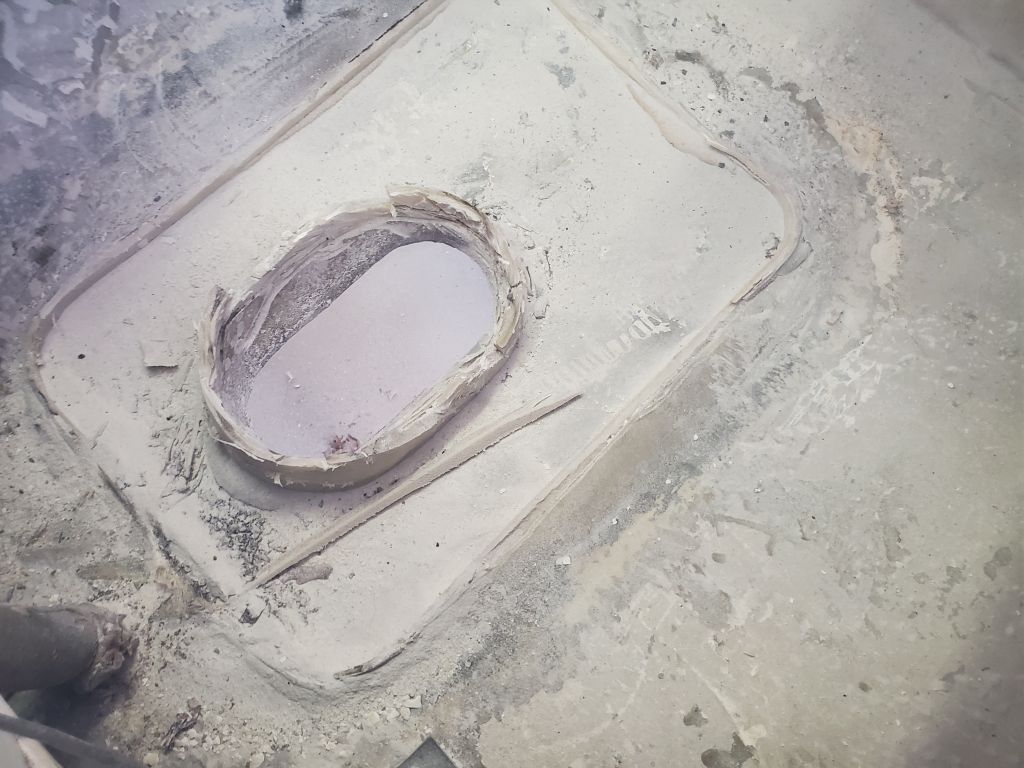
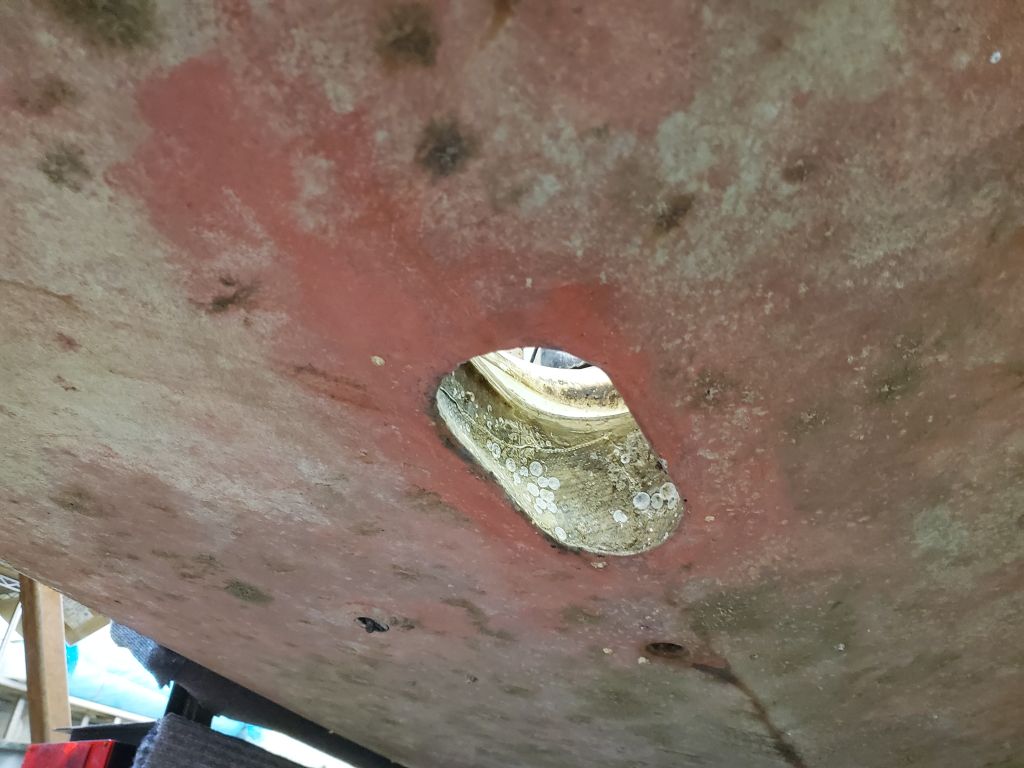
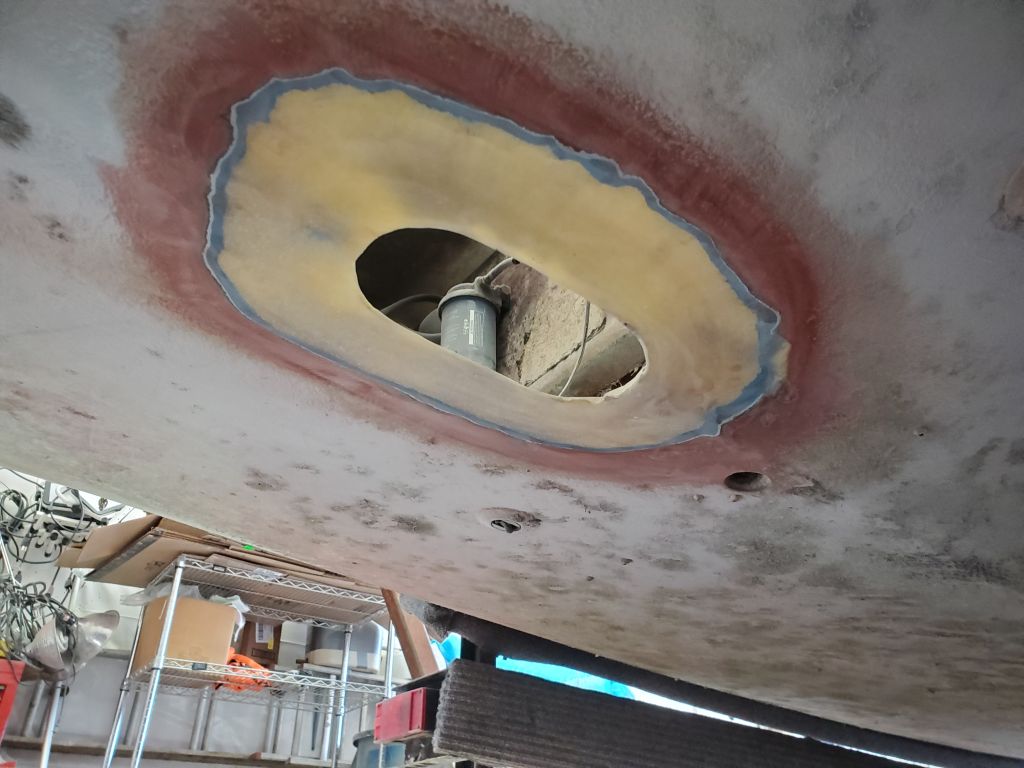
With a hammer and chisel, I easily removed most of the tabbing and adhesive bead from the hull around the old footprint, then cleaned up the whole area with a grinder. A little later, from beneath the boat, I prepared the underside of the opening for patching as well, removing paint and gelcoat and creating a tapered area to accept new fiberglass.

Meanwhile in the cockpit, I prepared the pedestal mounting area for patching, removing the gelcoat and grinding the area appropriately. I also sanded away the coatings from the insides of the various transom repairs to be dealt with: the engine exhaust to starboard, and the steering slot (and a nearby small hole).
Outside the boat, I prepared the transom for the repairs and patching.
After cleaning up everywhere, and solvent-washing inside and out, I masked over the transom openings from inside, providing a “mold” for the patching work ahead.
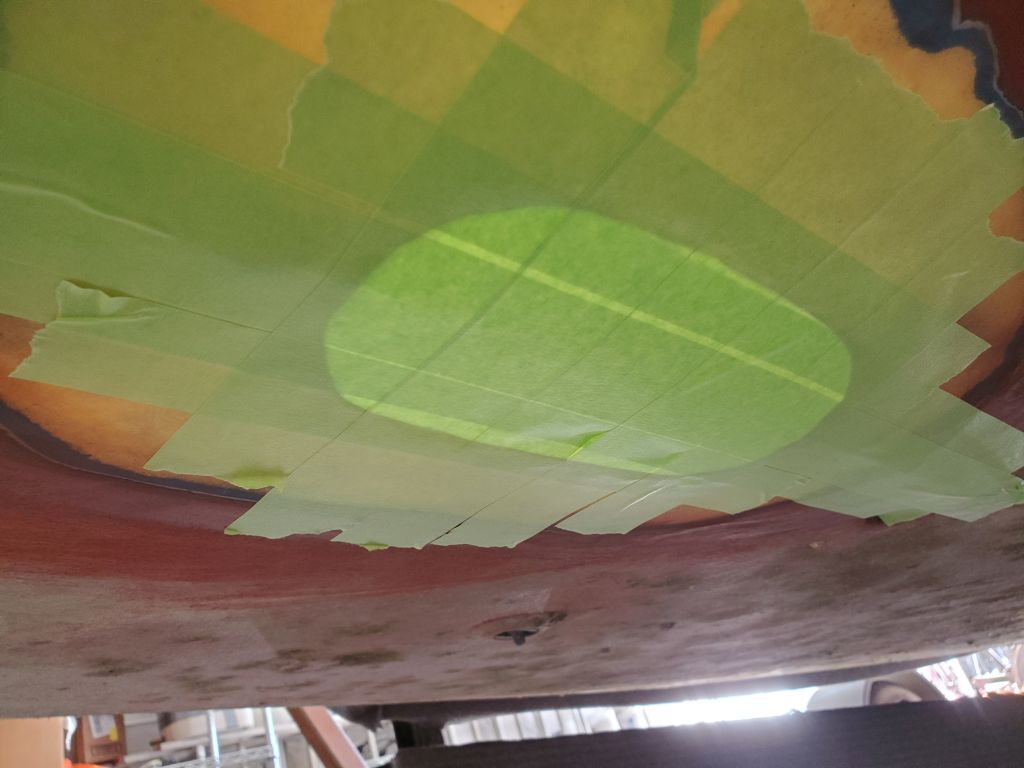
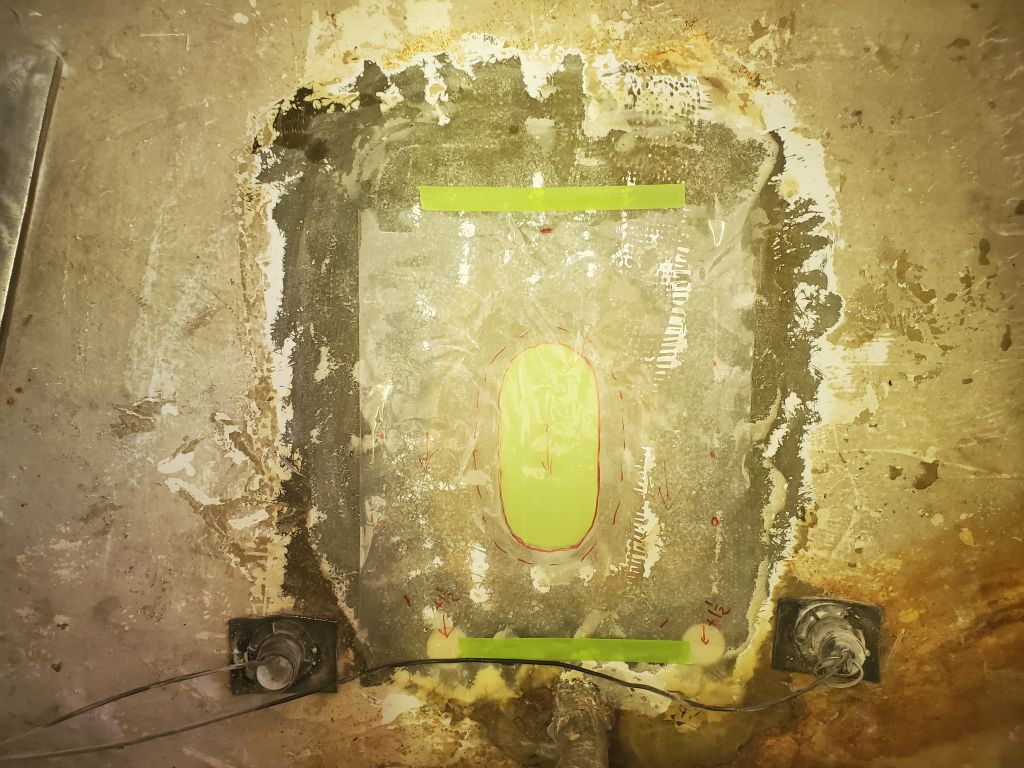
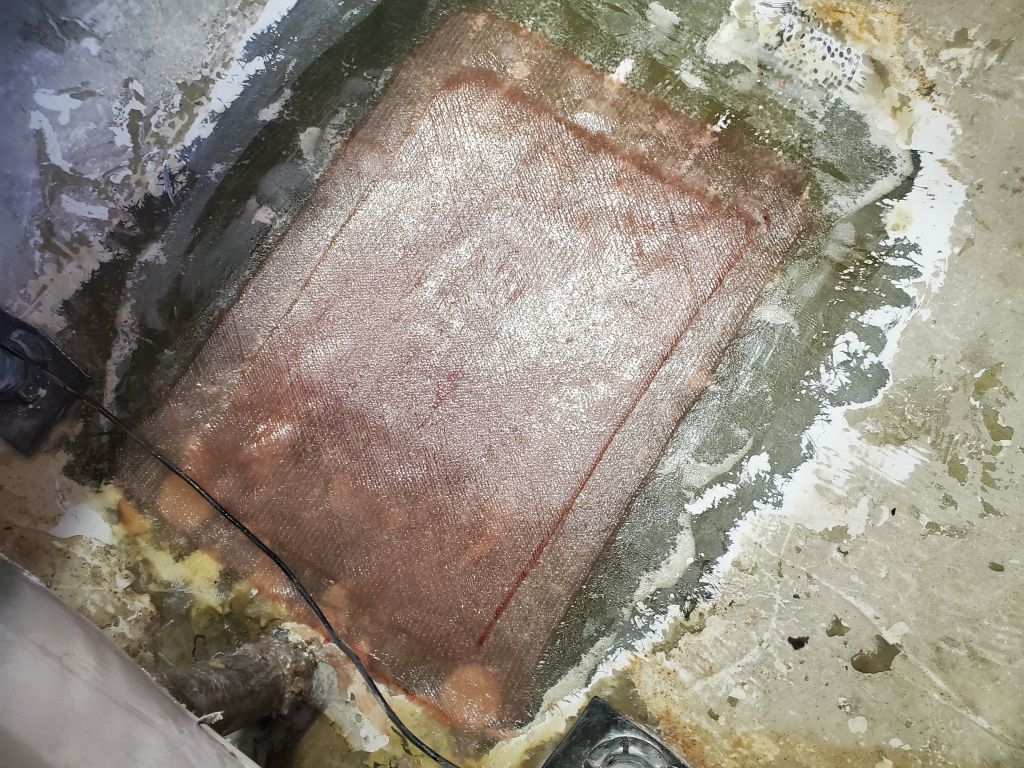
Similarly, I masked over the saildrive opening from beneath, using the tape to stretch tightly across the opening in a way that maintained the shape of the hull (there was a slight V shape to the hull along the centerline), and would support and mold the fiberglass above.
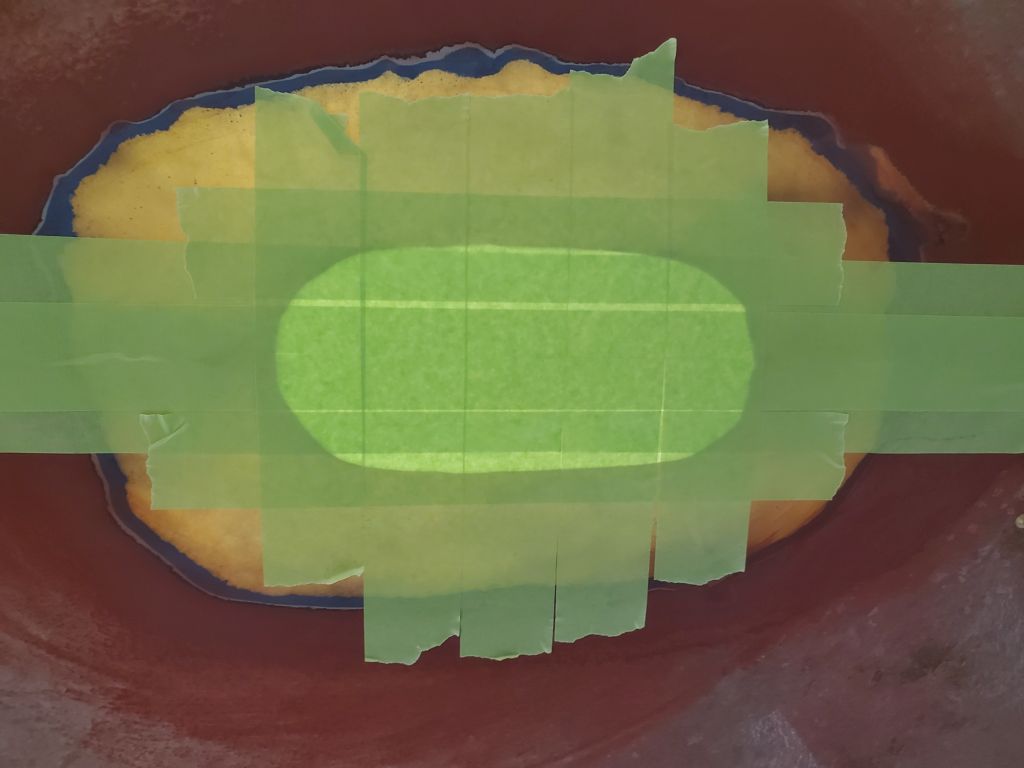

I made simple patterns of the various patches and cut fiberglass as needed: For the saildrive opening, and the large transom slot, I cut material to fit within and completely fill the openings as required by the thickness of the hull in each area (about 4-6 layers of 1708), then larger pieces to overlap and fill the previously-ground repair areas, including two large rectangular pieces to widely overlap the hull in way of the saildrive cutout.
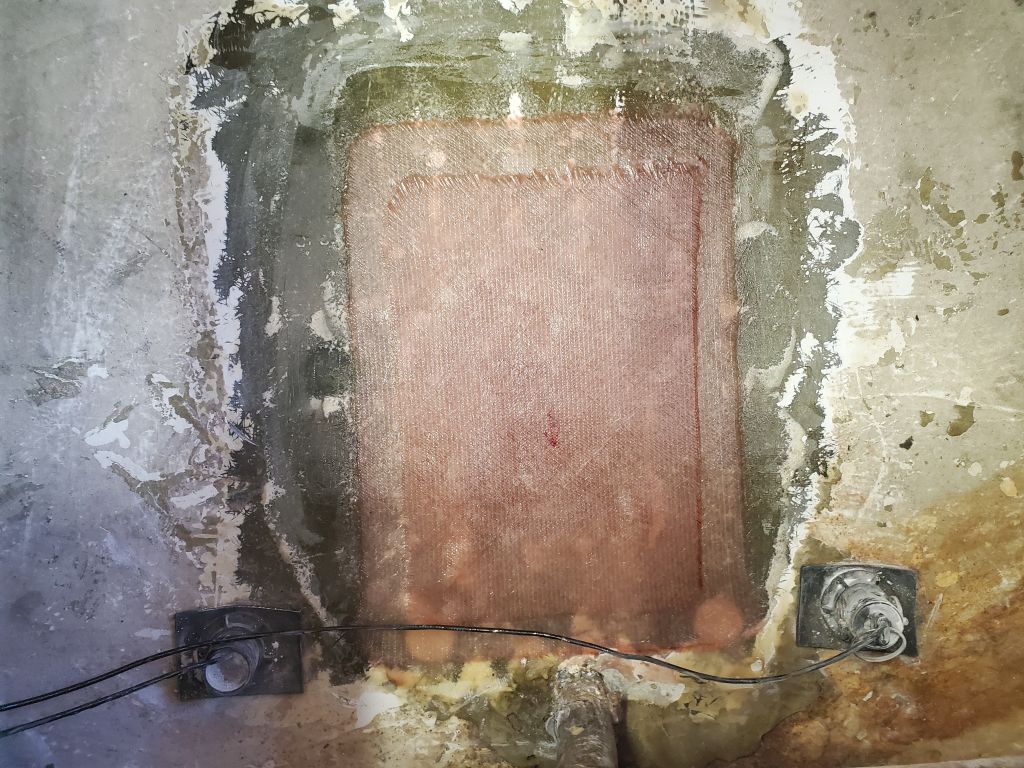
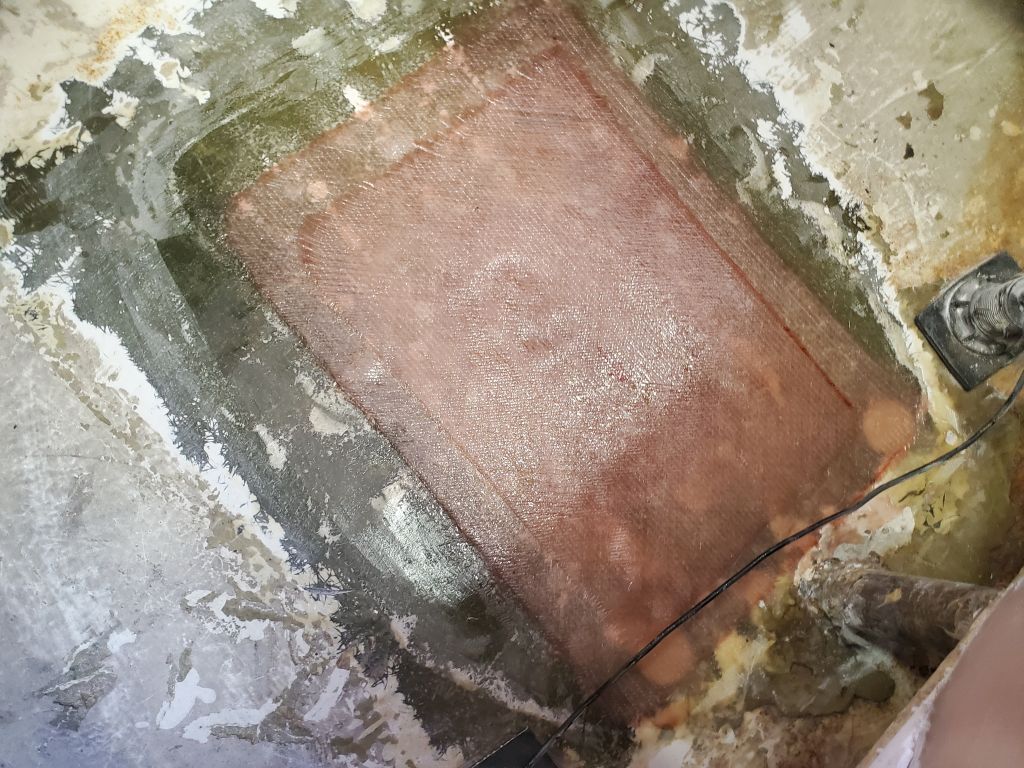
Then, after final preparations, I installed the new fiberglass in epoxy resin, first filling the recessed openings with solid fiberglass, then, after using some thickened epoxy to make up some minor variations in the center areas, the larger, overlapping layers to tie the repairs in with the adjacent hull at each location. For the smaller, round holes in the transom, I began by filling the openings with a thickened epoxy mixture, then installed fiberglass to tie in with the hull all around.
I’d continue the repairs another time with the outside part of the patch for the saildrive cutout, and inside patches for the transom openings.
Total time billed on this job today: 6 hours
0600 Weather Observation: 50°, partly cloudy, rain overnight. Forecast for the day: Gradually becoming sunny, 65°