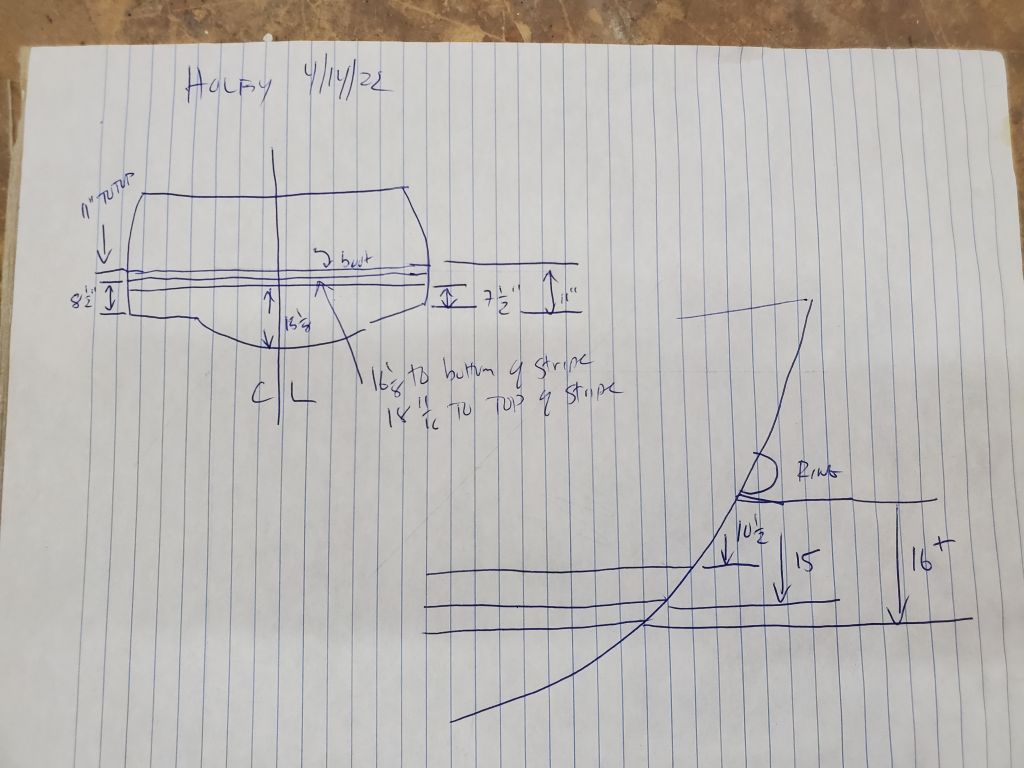
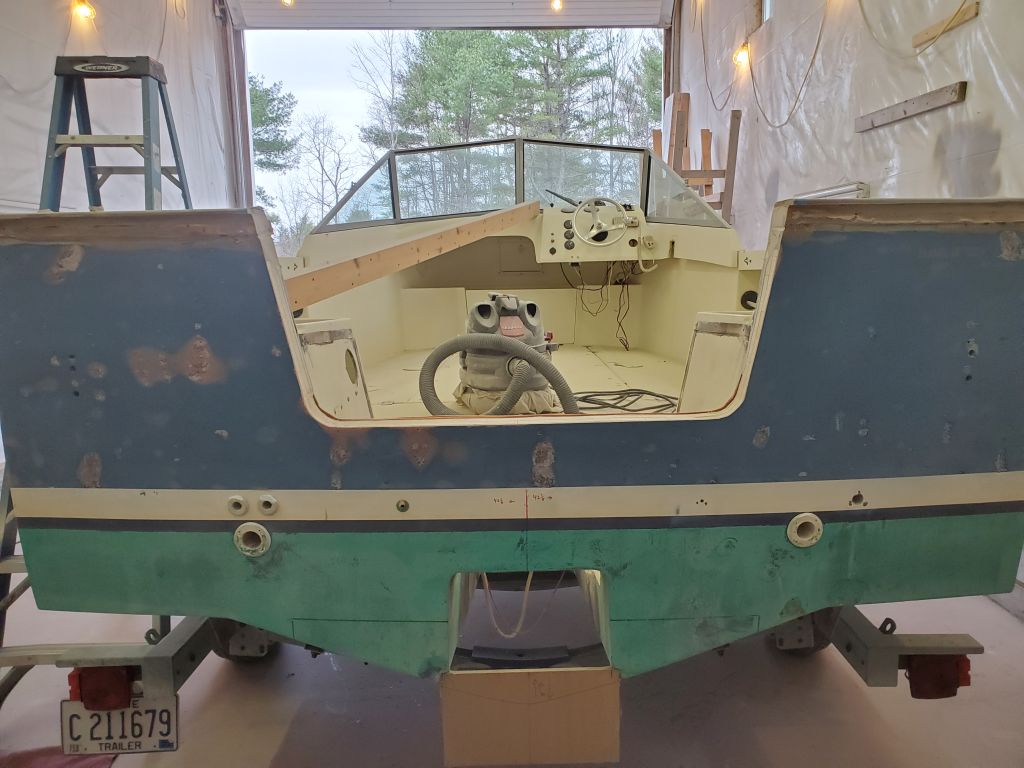
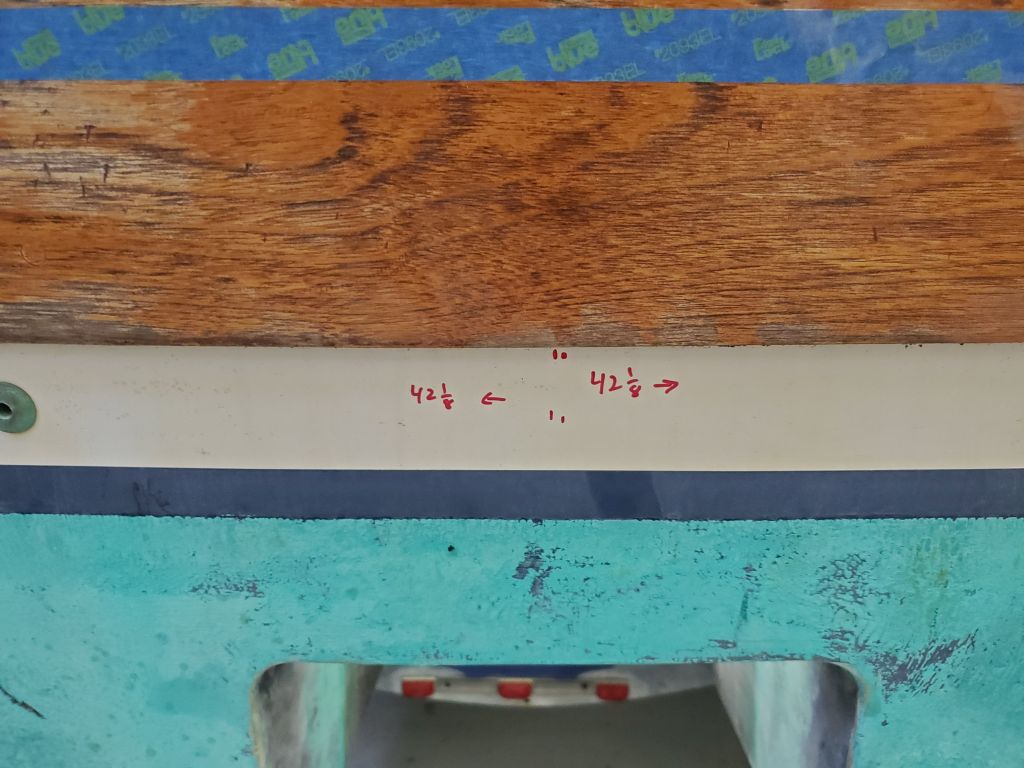
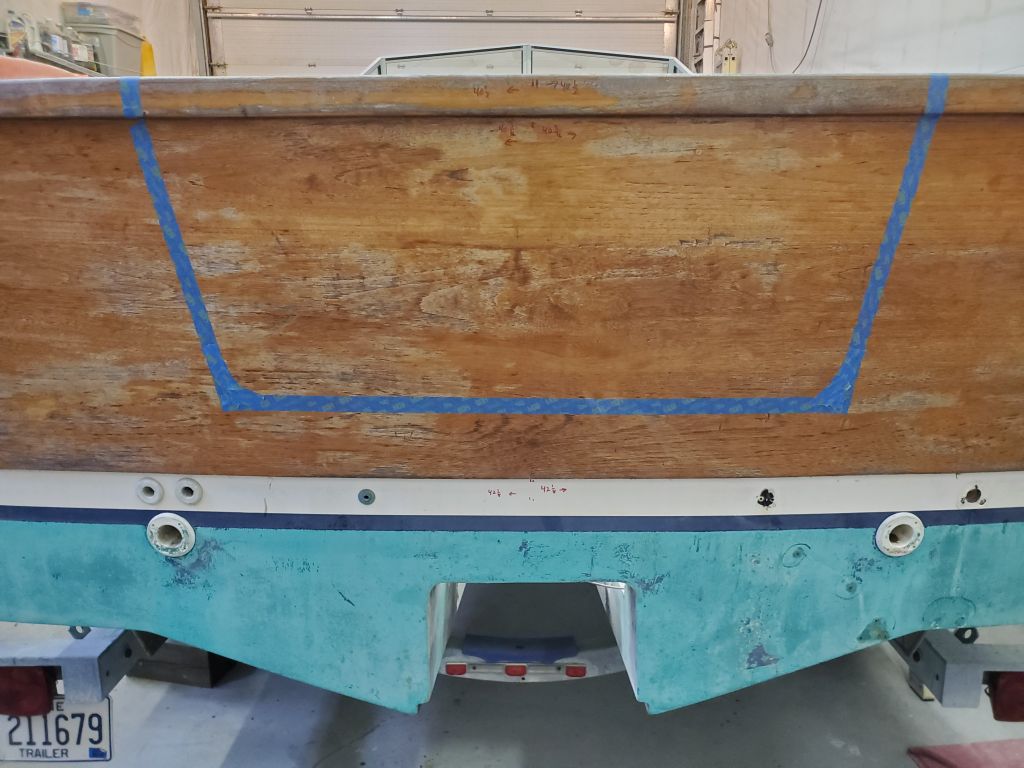
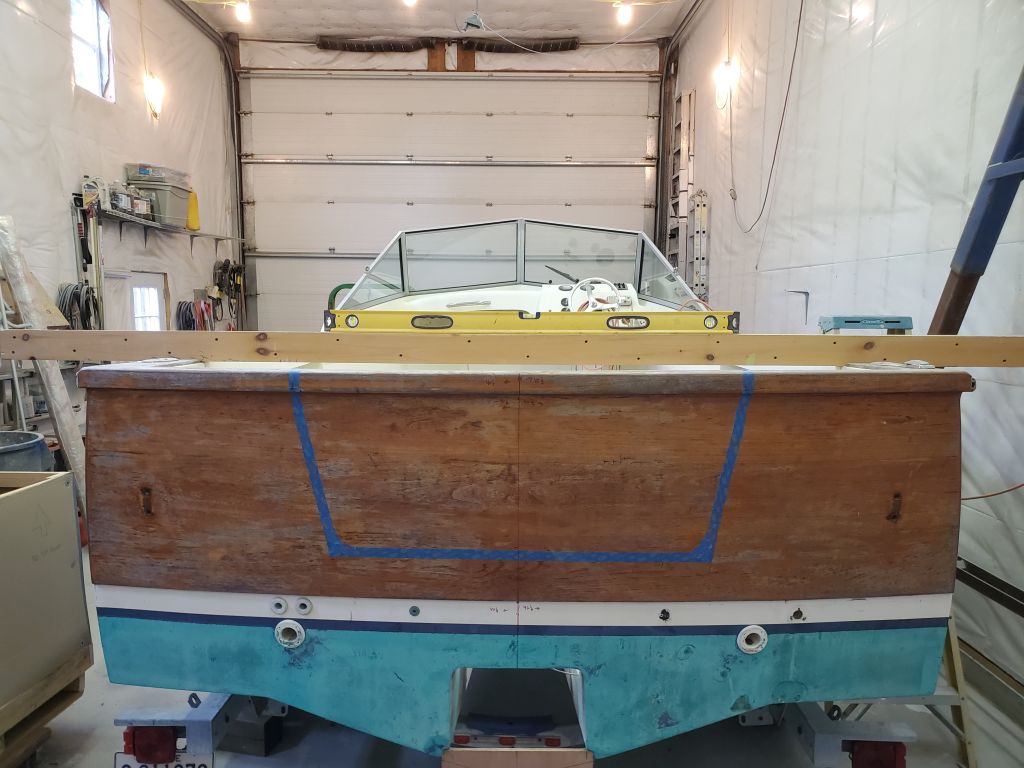
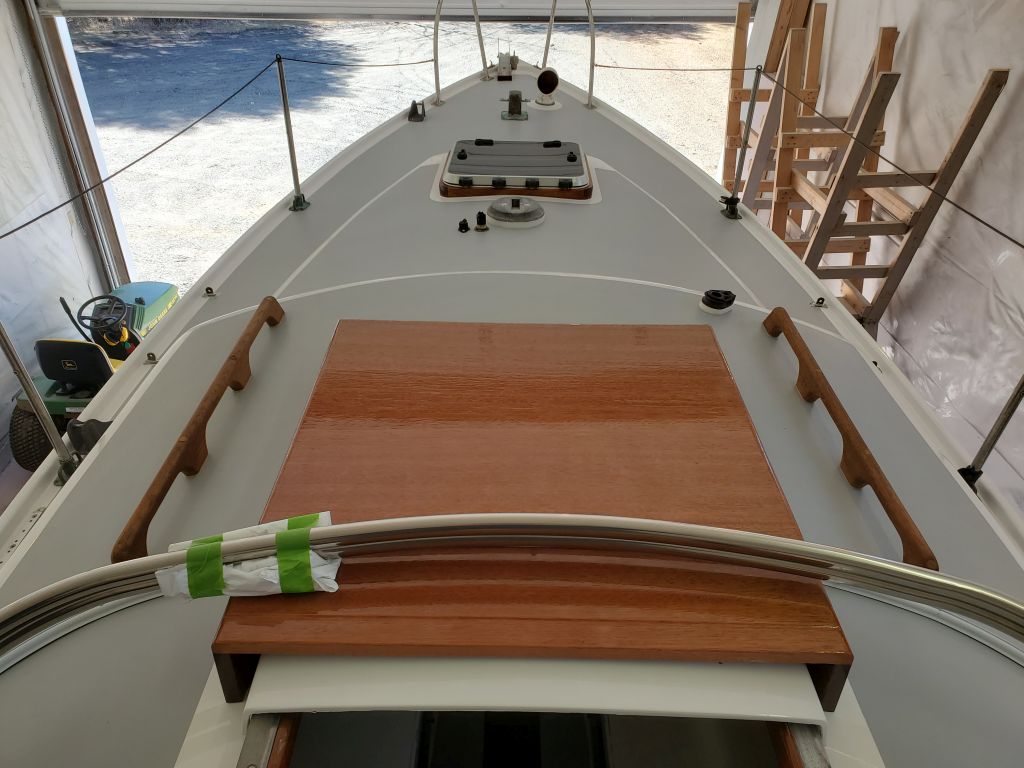
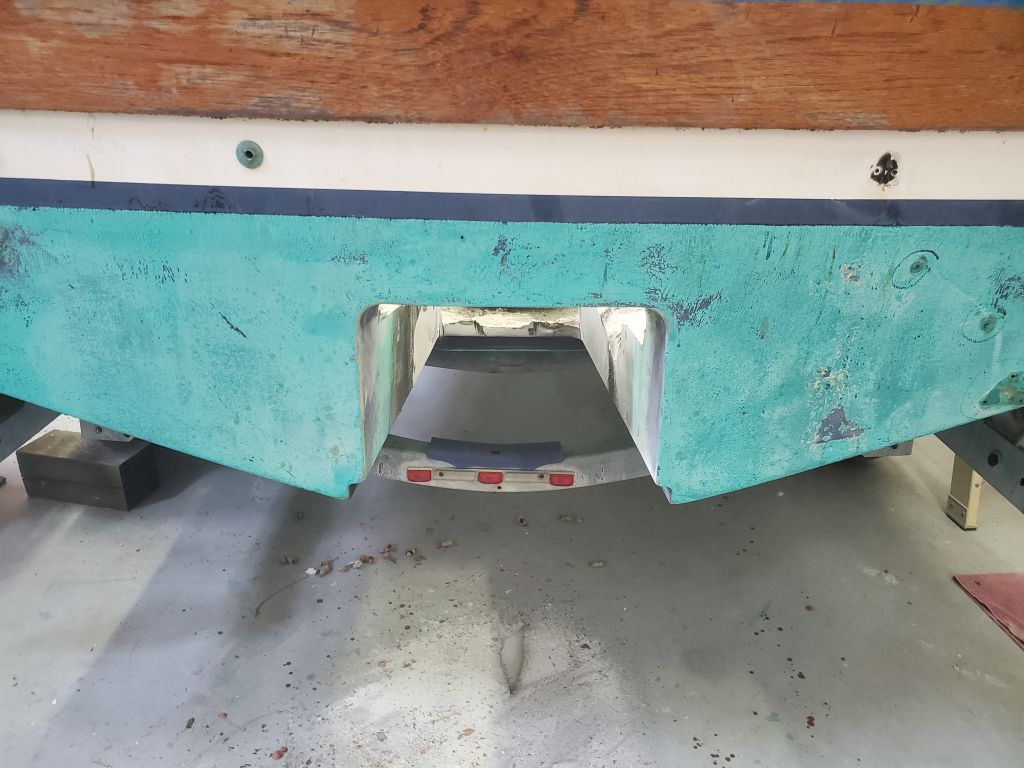
Using the various transom measurements I recorded from the sistership, I worked to lay out the new transom cutout. The owner had previously laid out, and marked in blue tape, an approximation of the shape, but this was never intended to be the actual cutting template, though I was interested to see how it would compare with the physical measurements I had from the other boat.
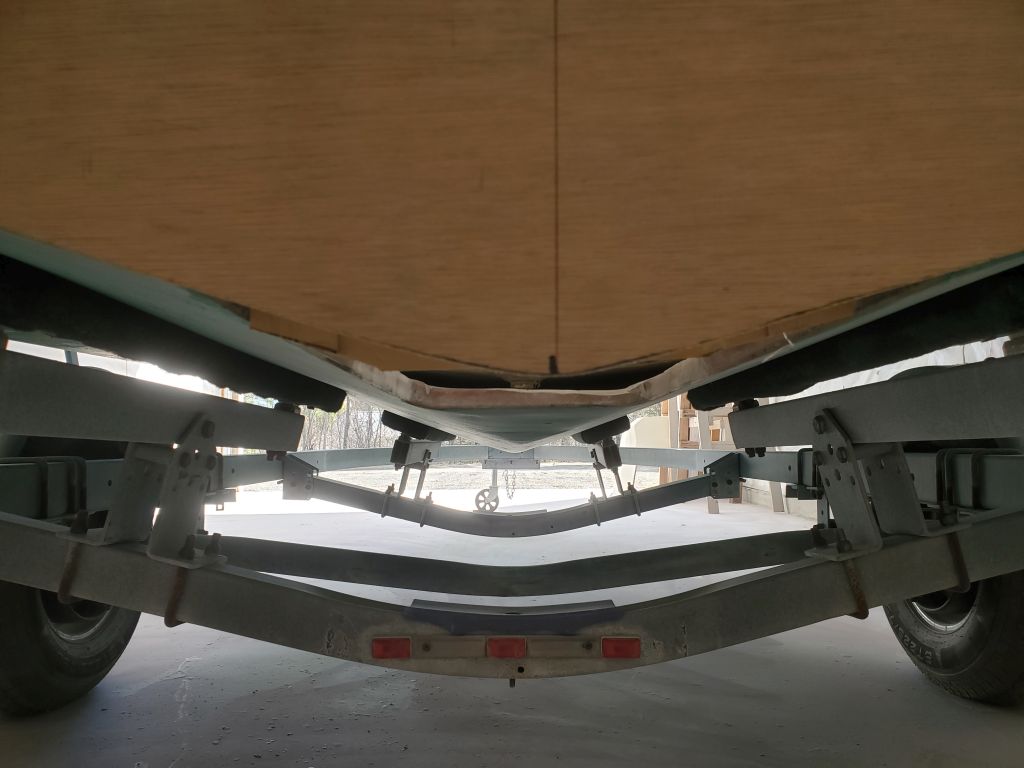
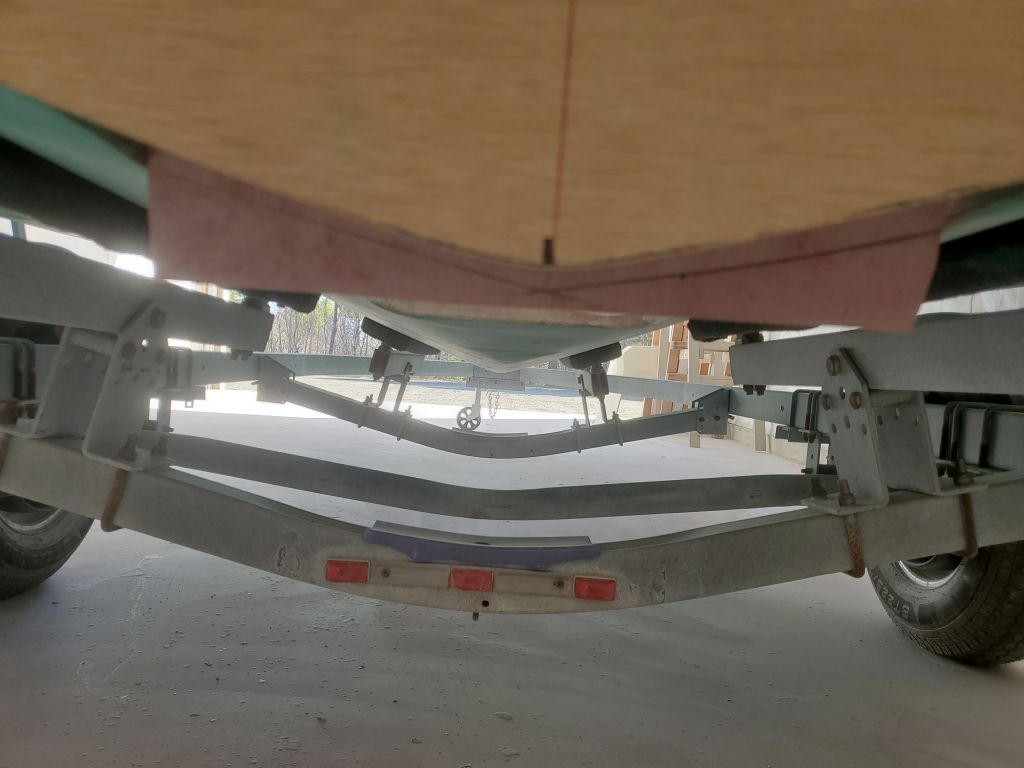
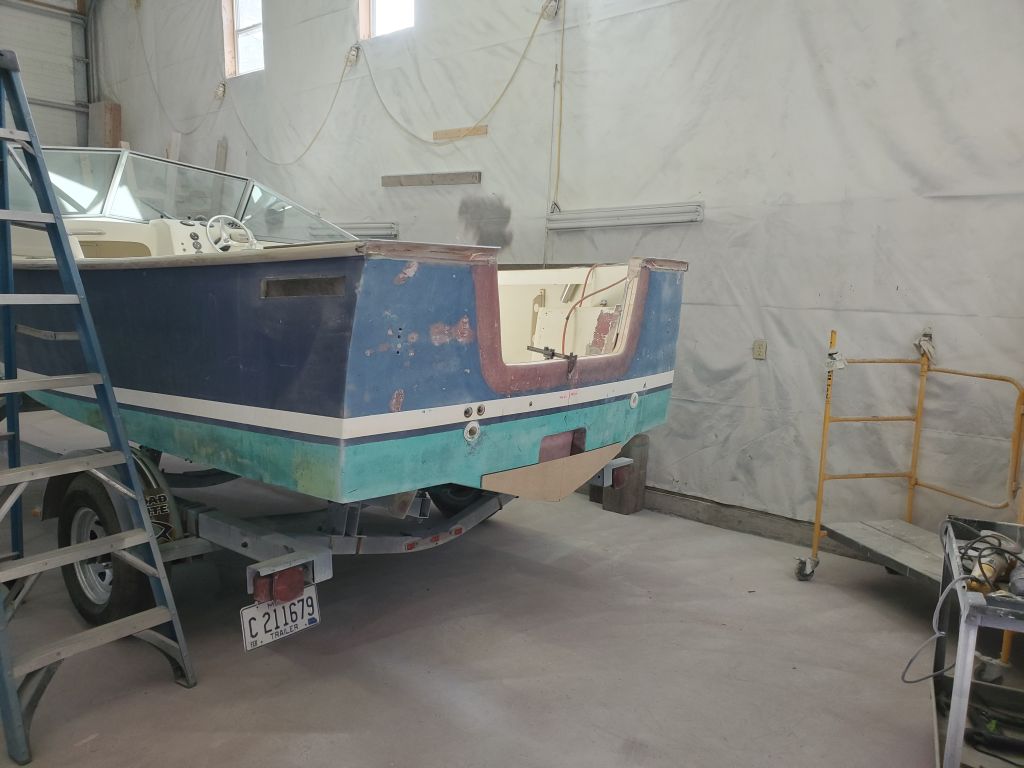
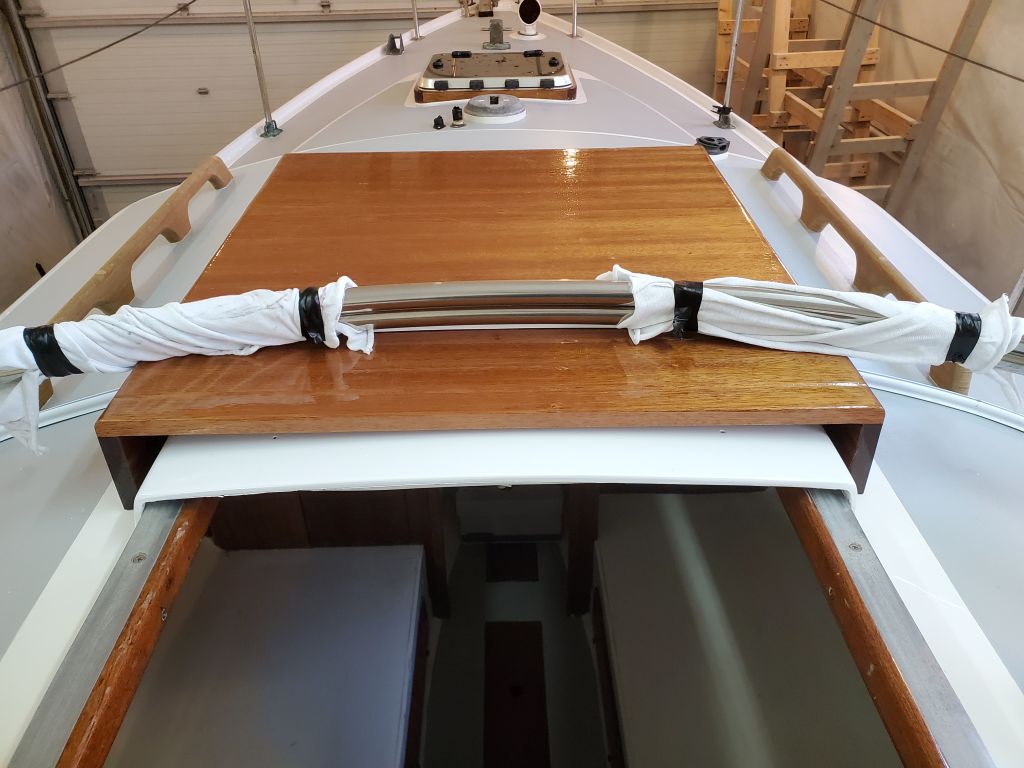
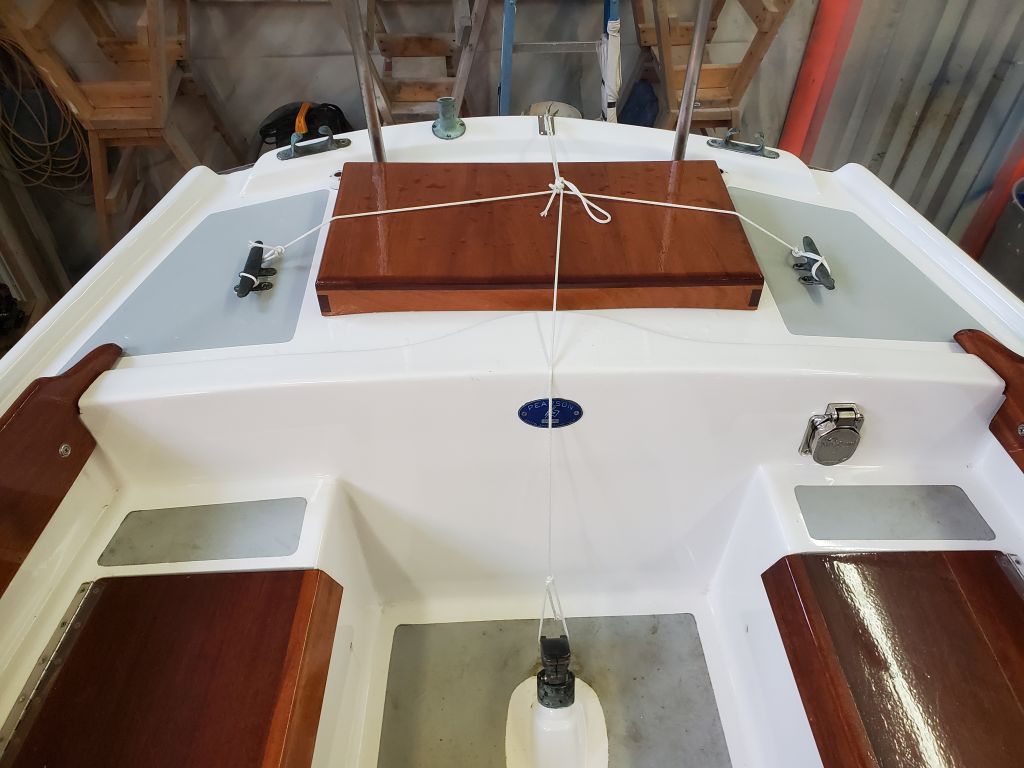
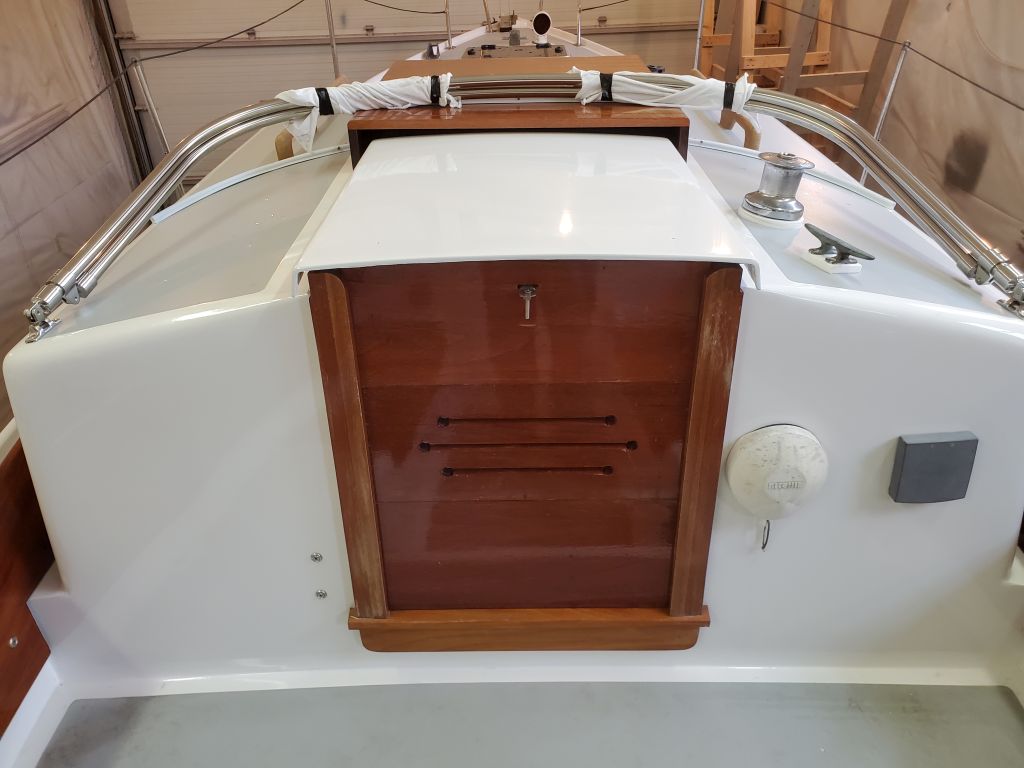
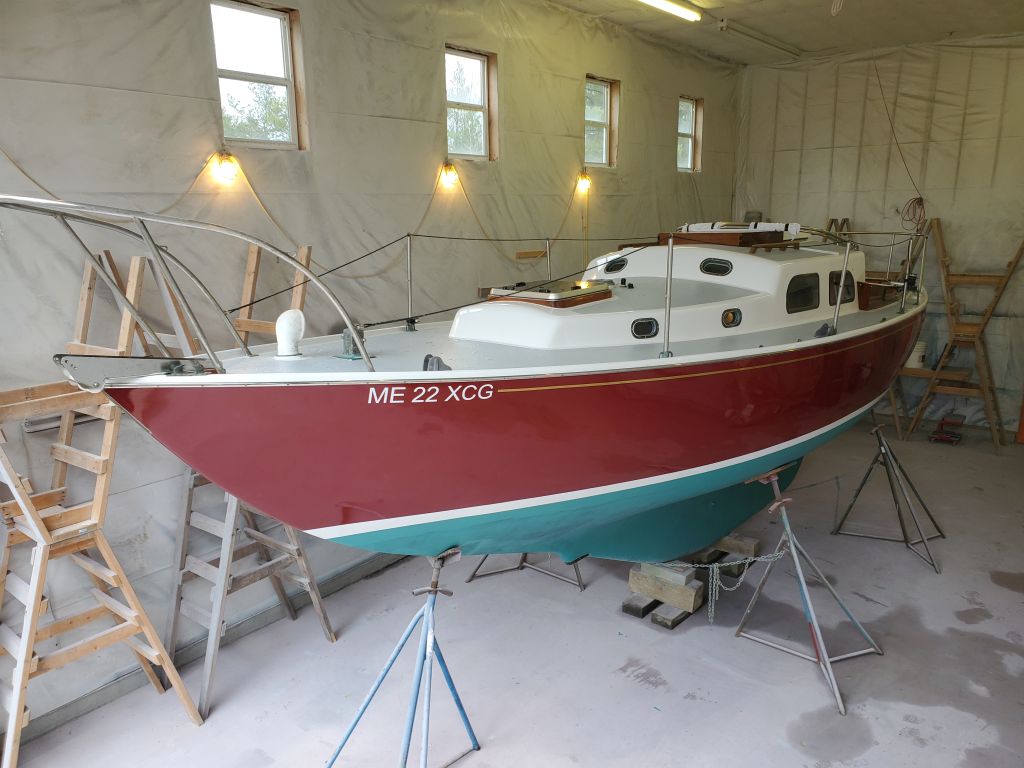
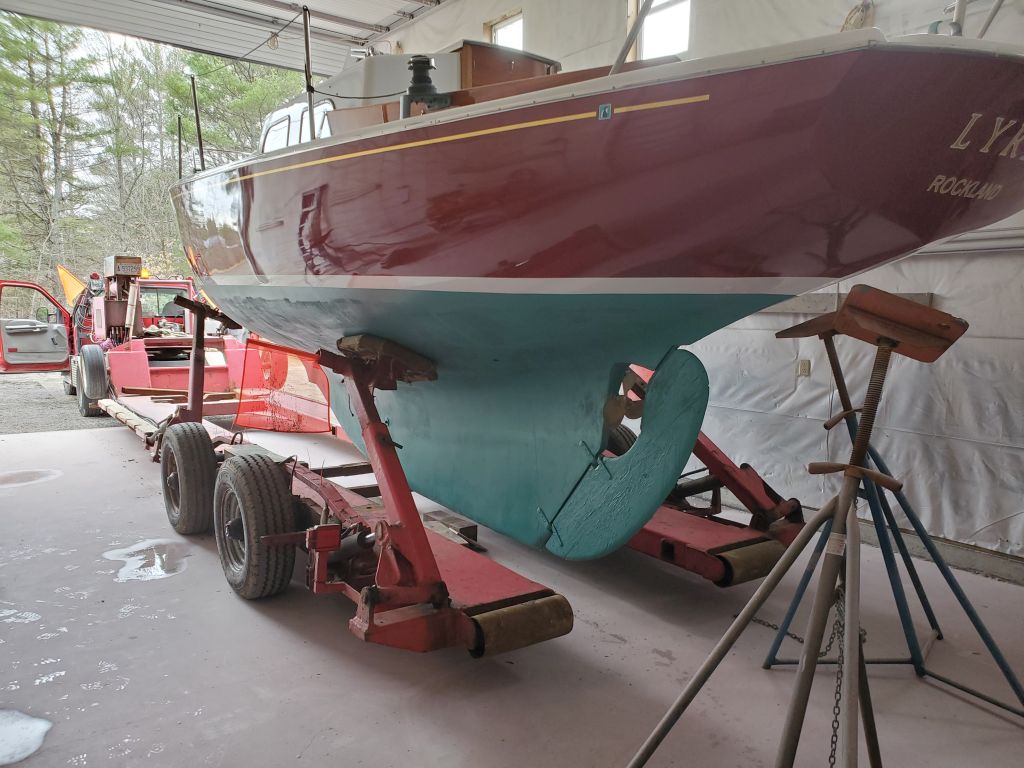
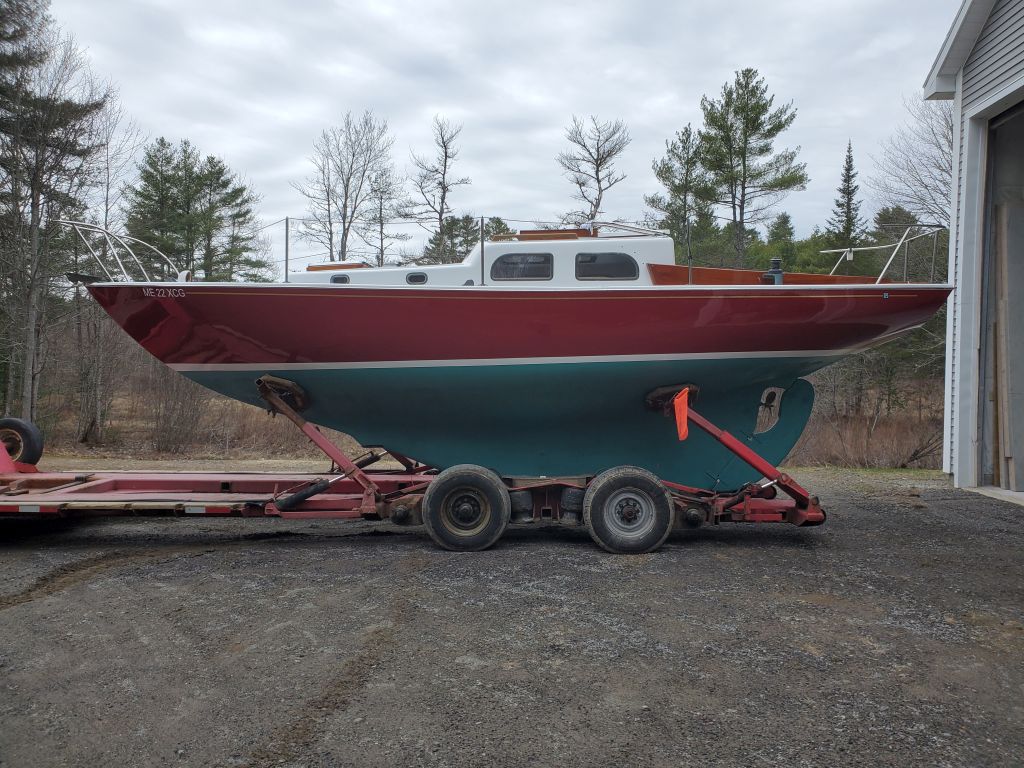
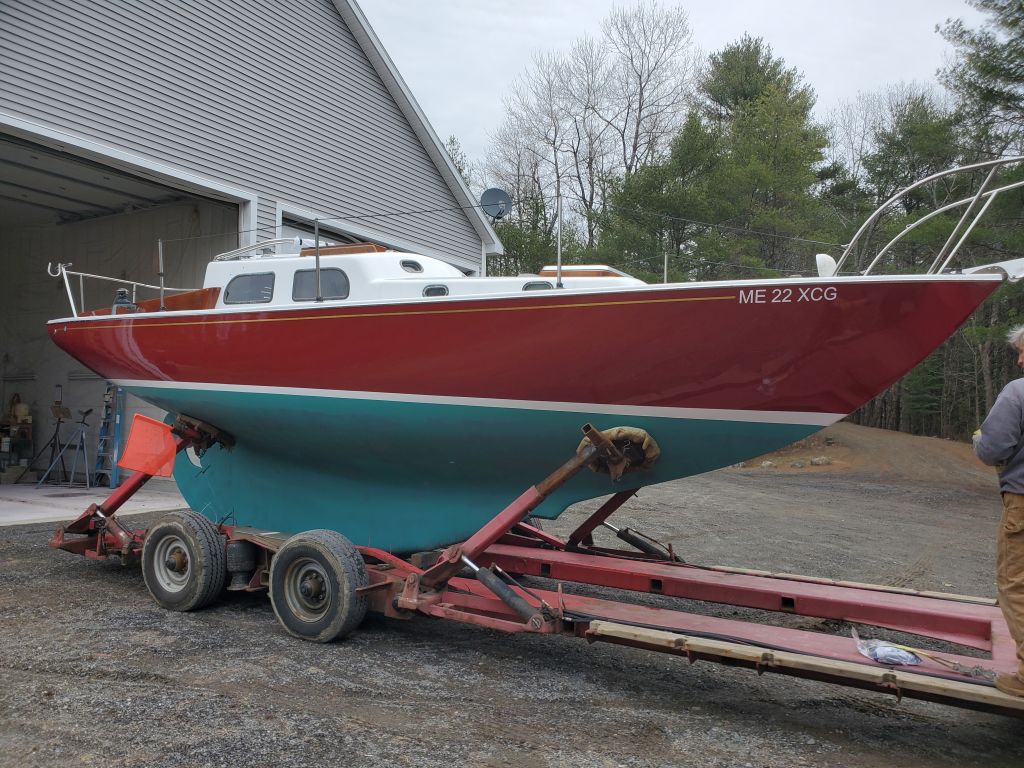
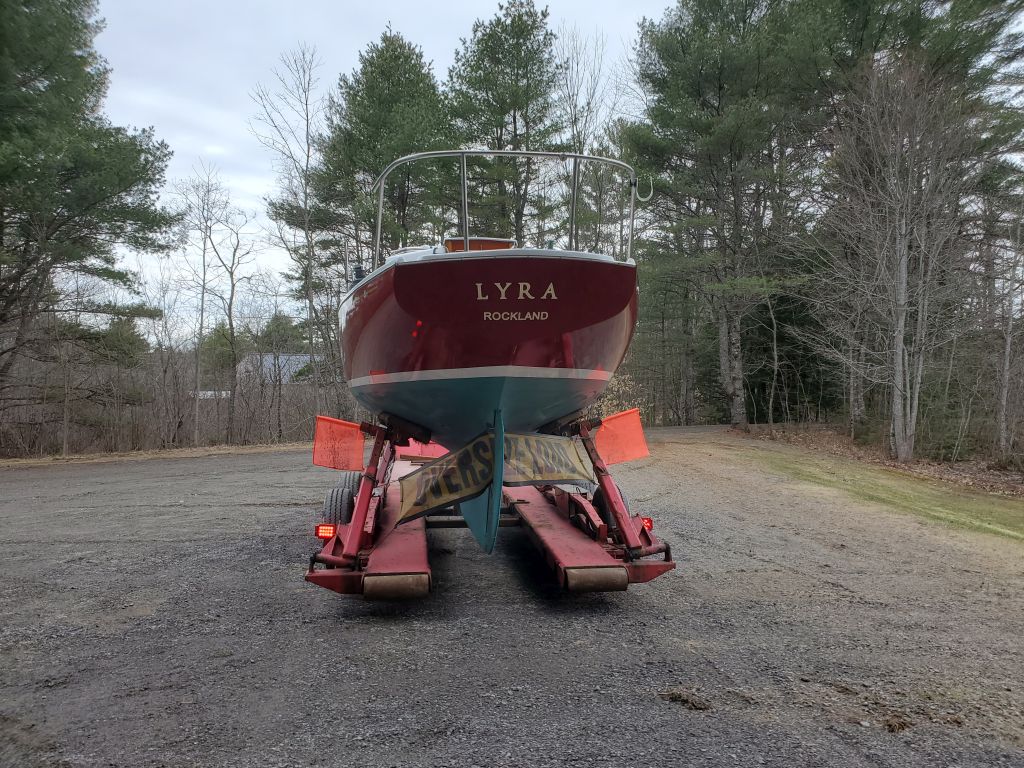
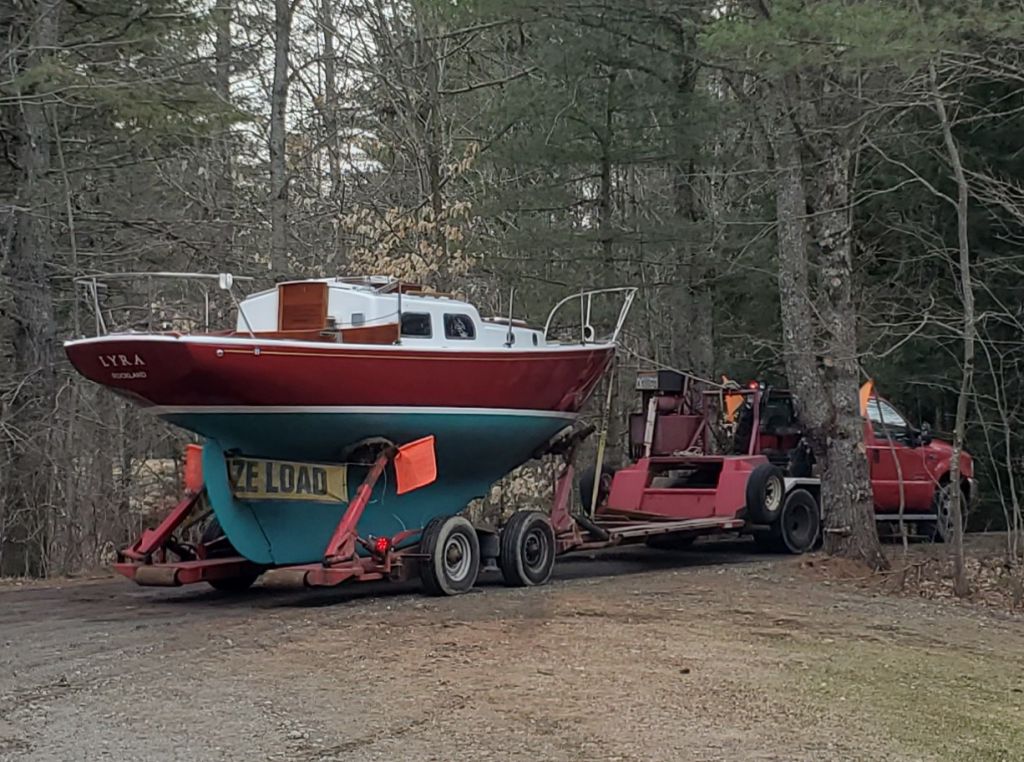
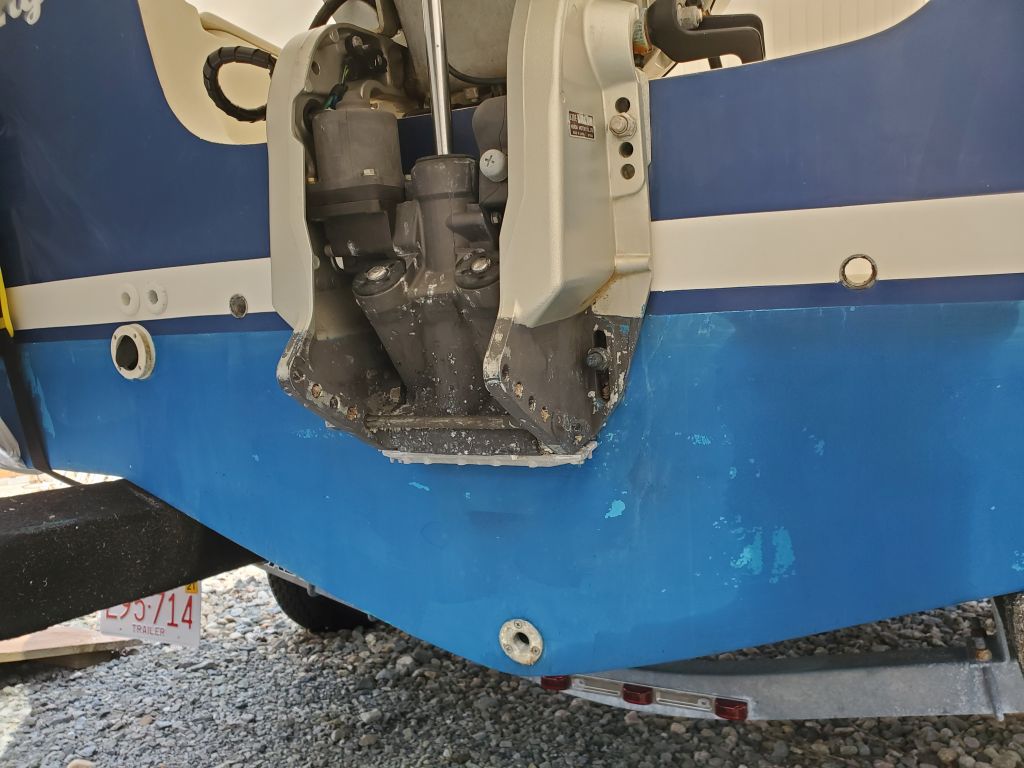
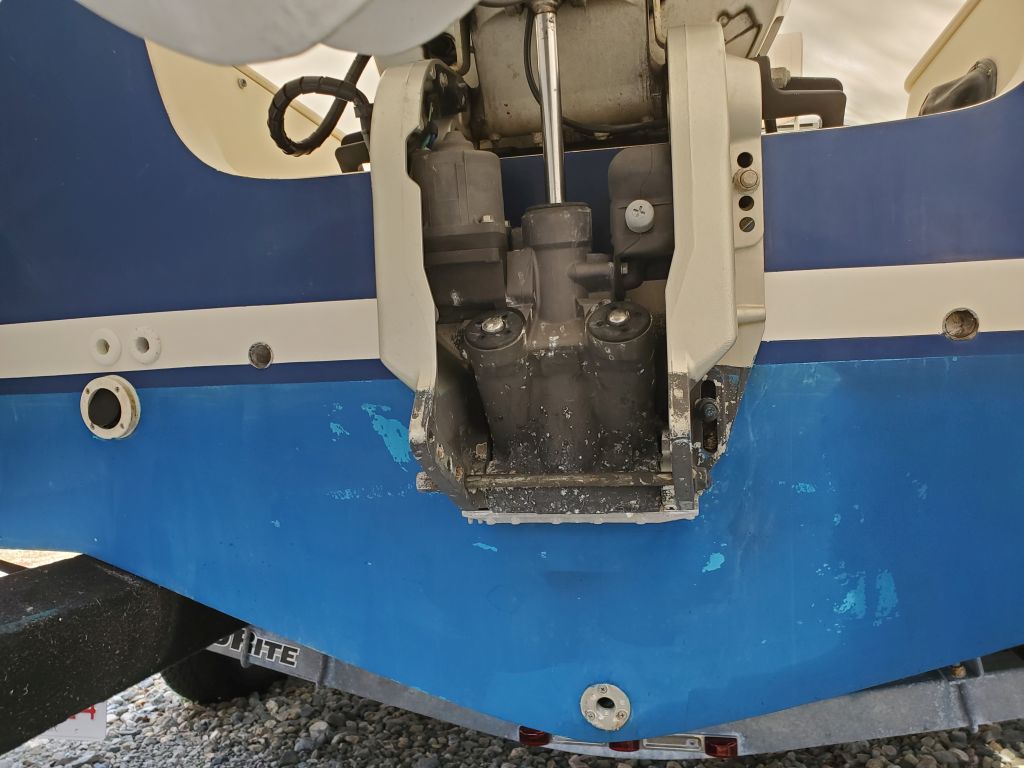
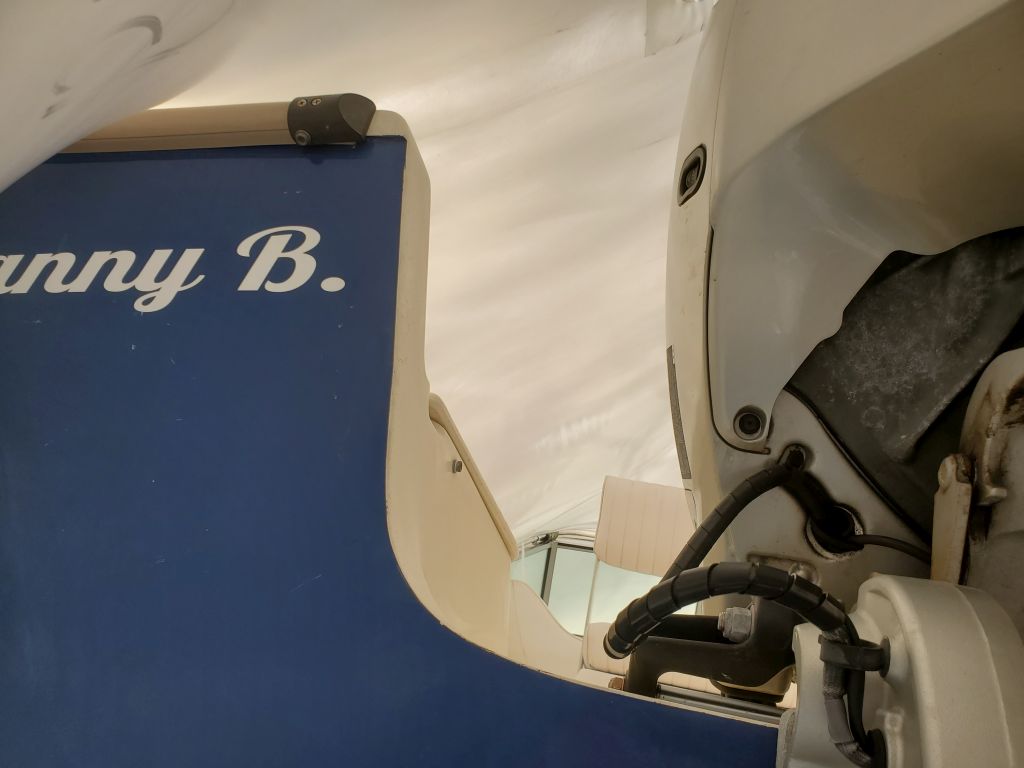
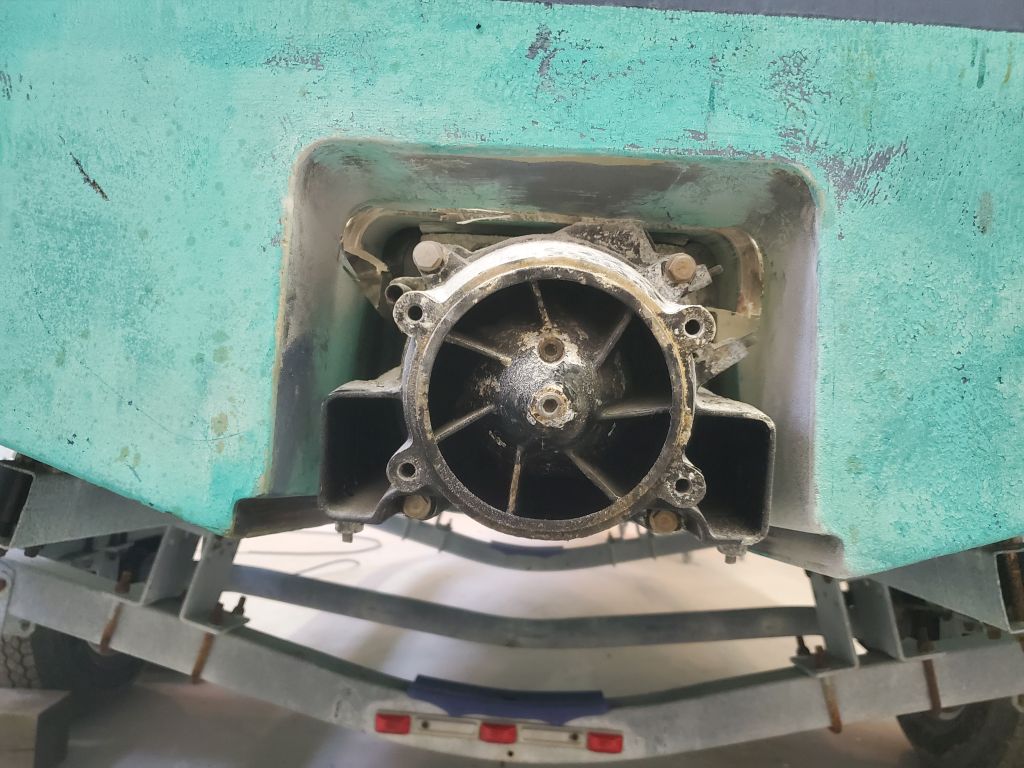
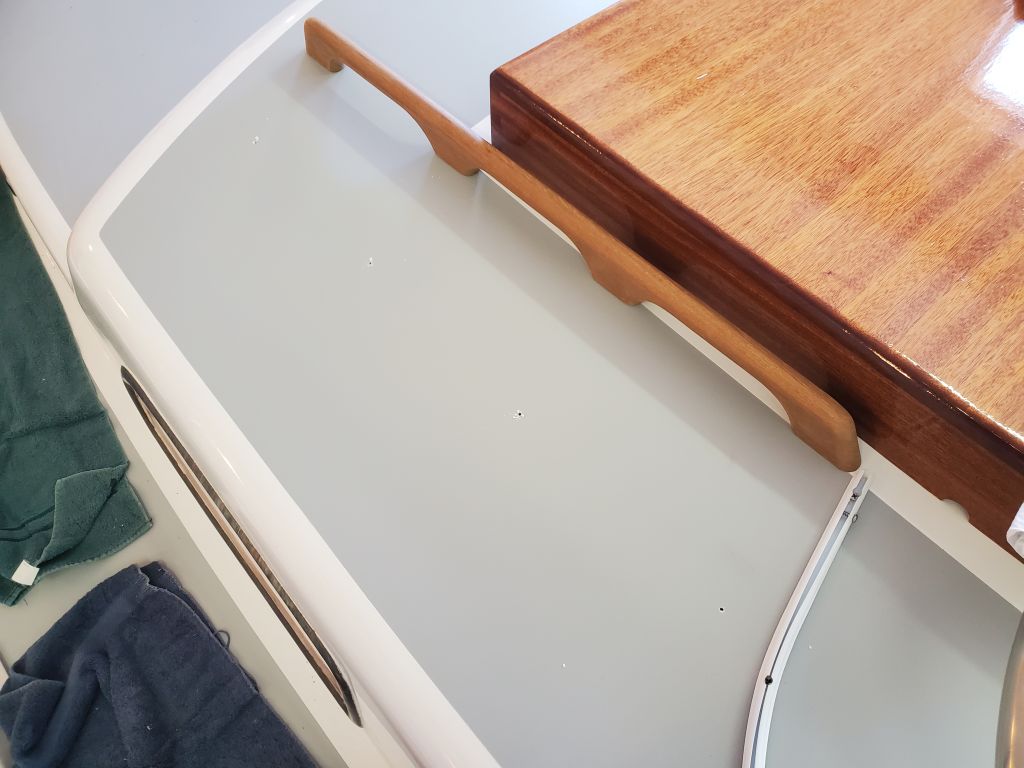
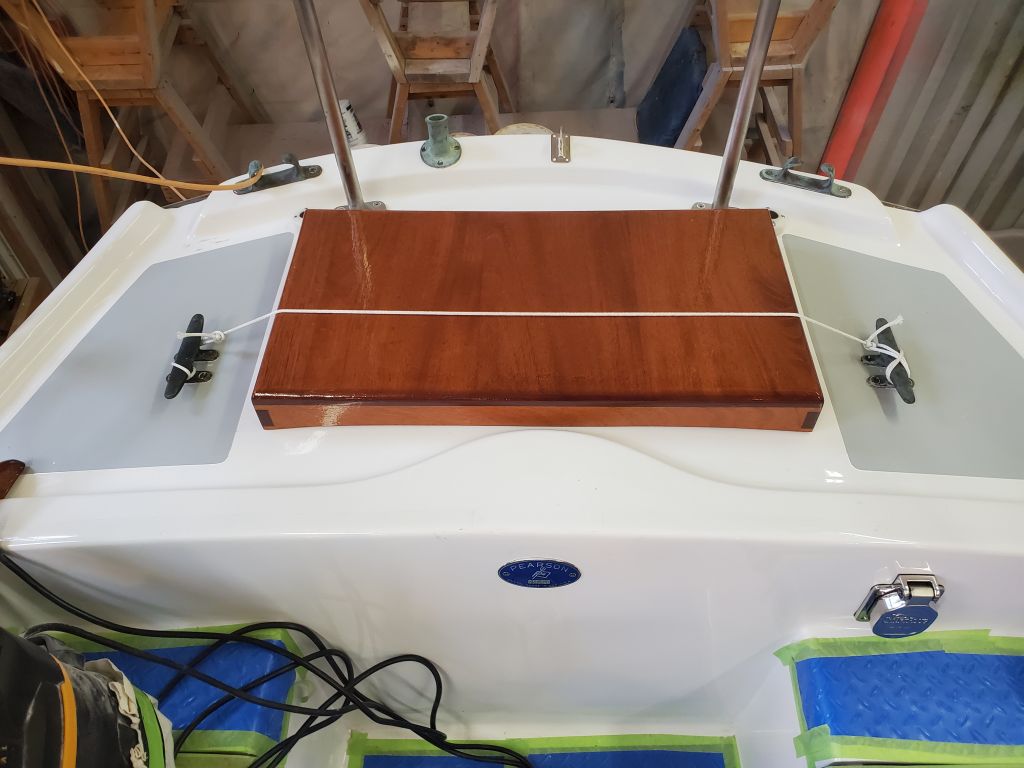
These photos of the sistership, including one from a year or so ago when the boat was in the water, serve as visual references for the work below. Also refer to this page.
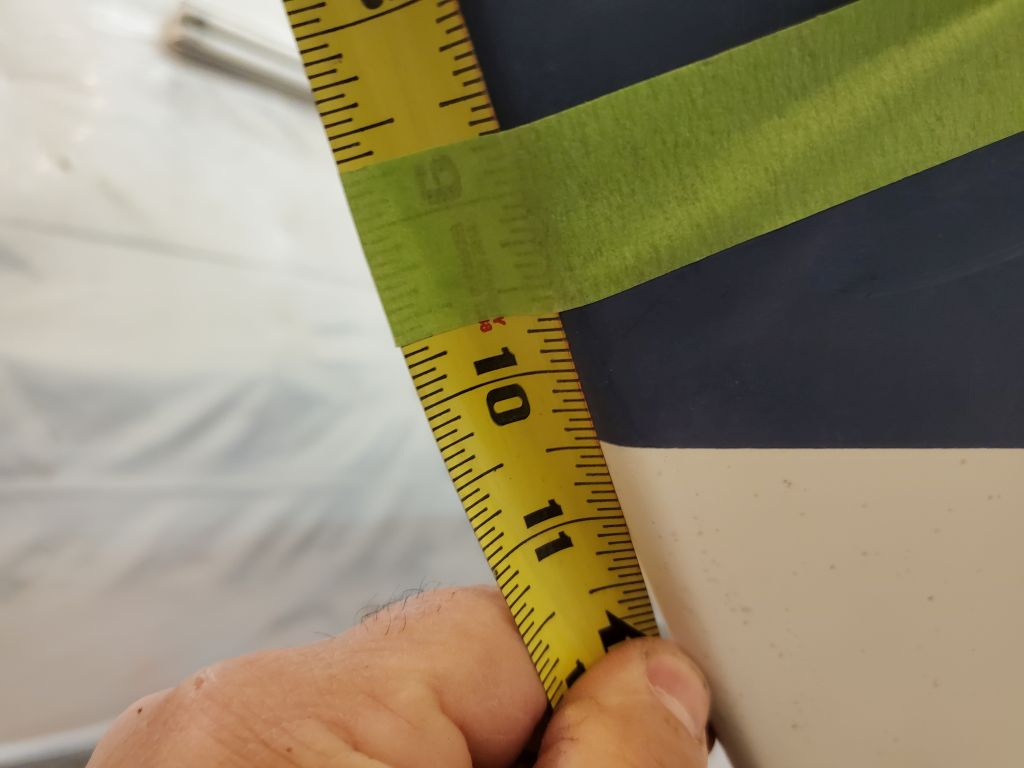
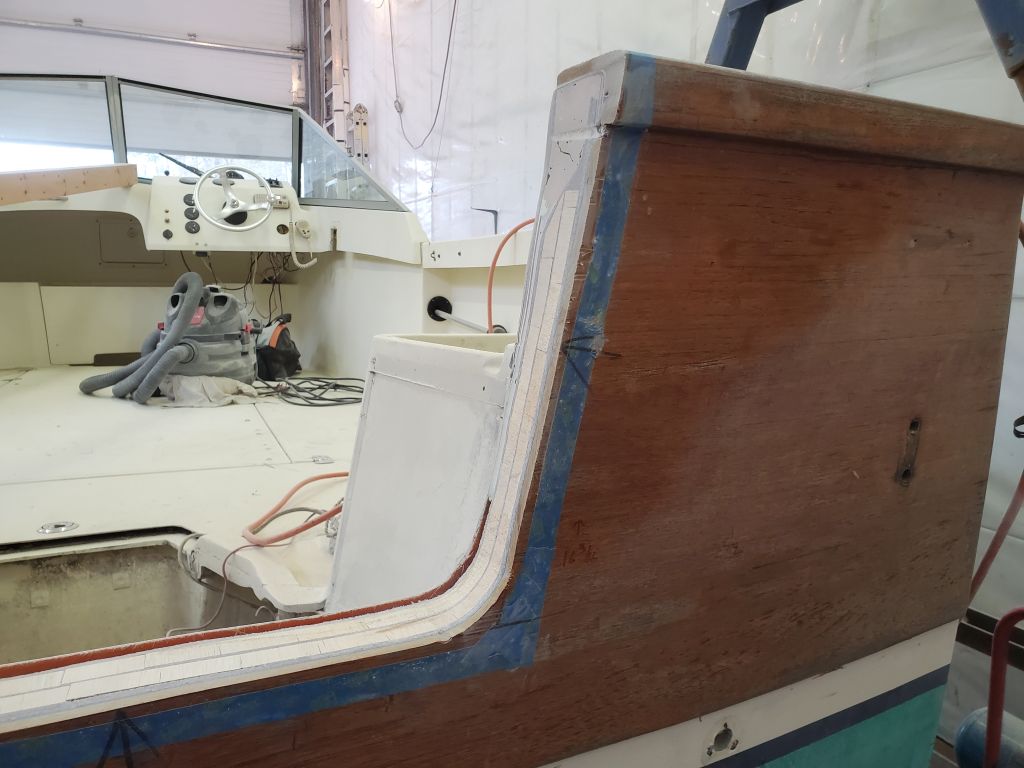
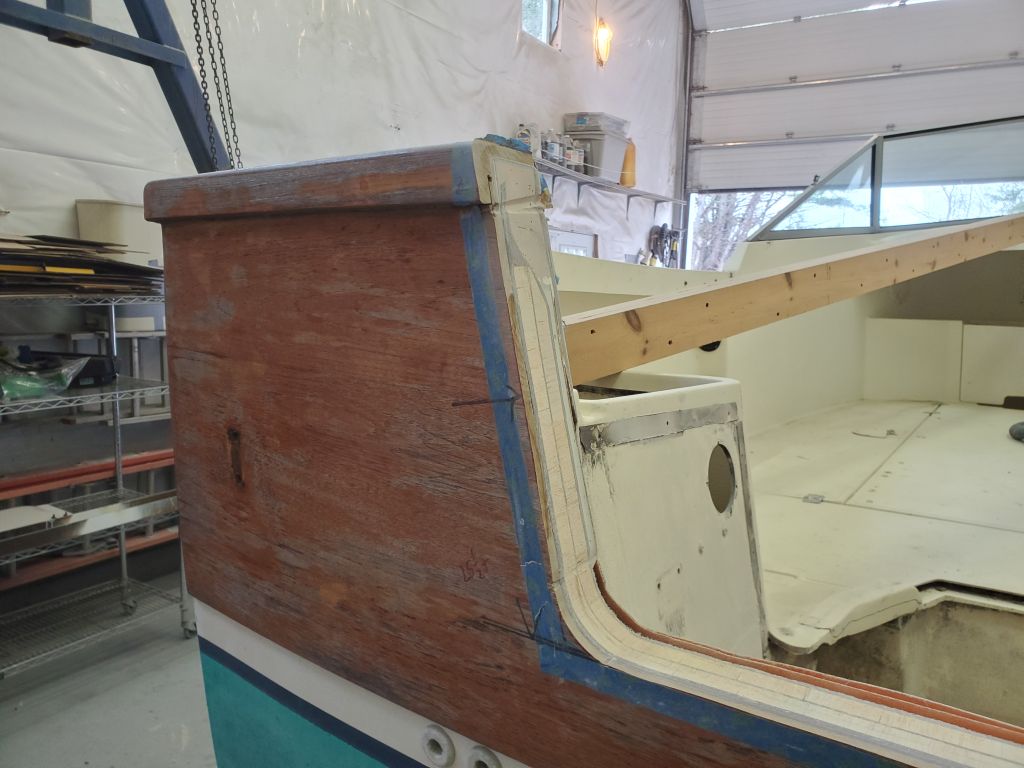
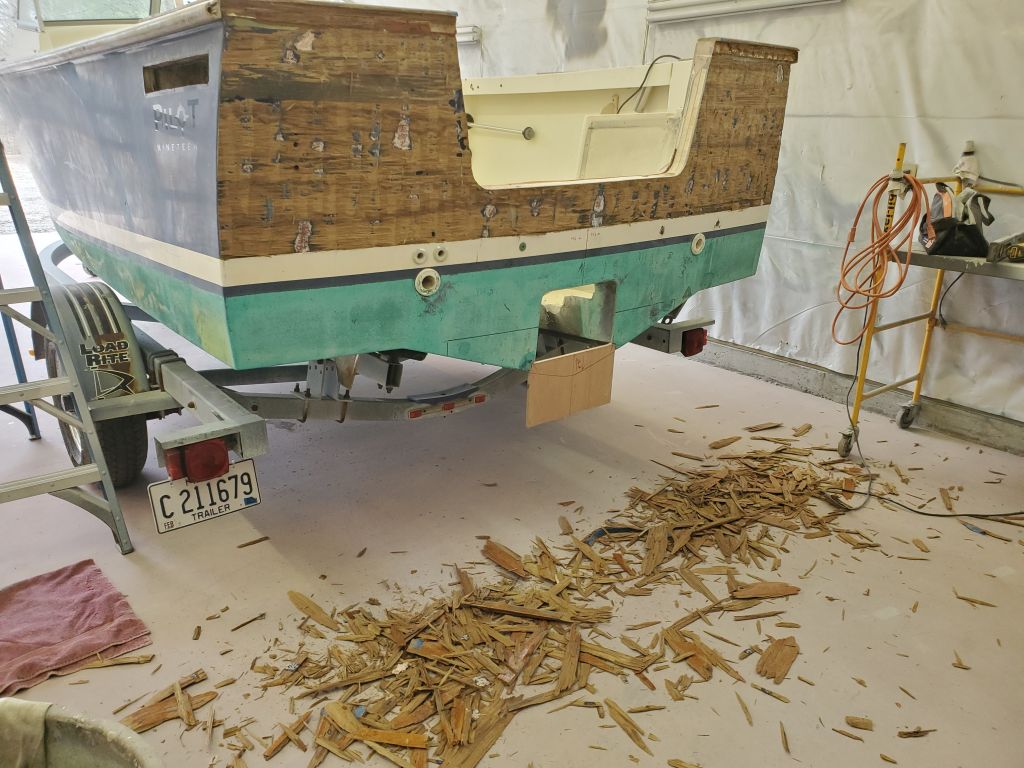
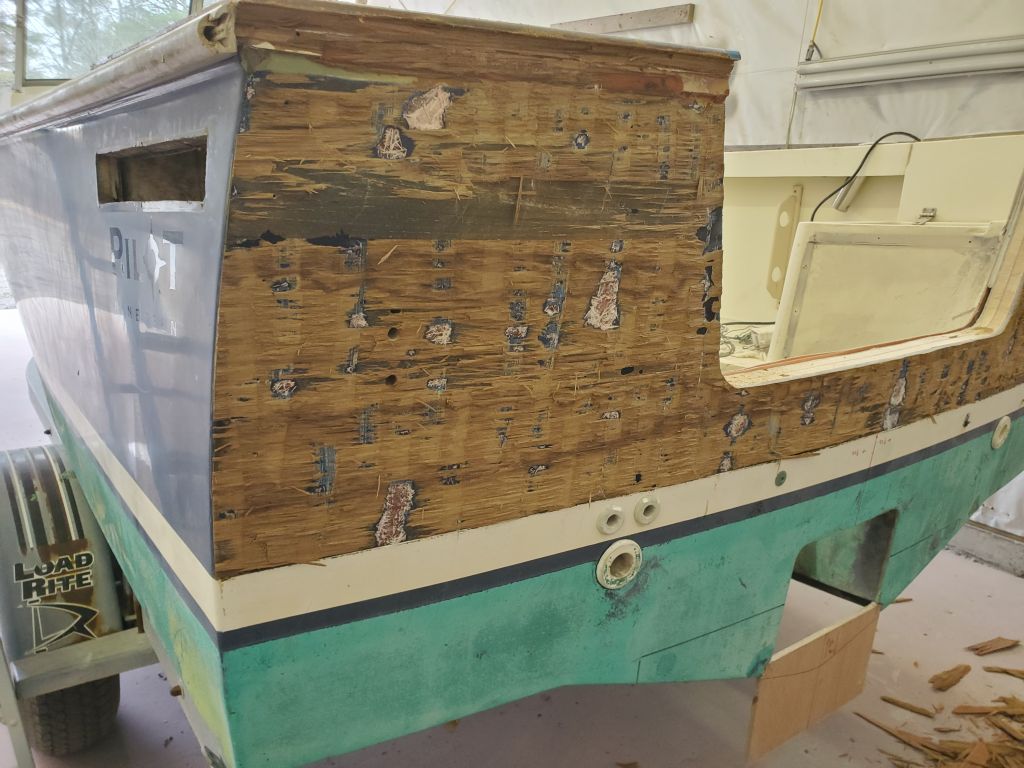
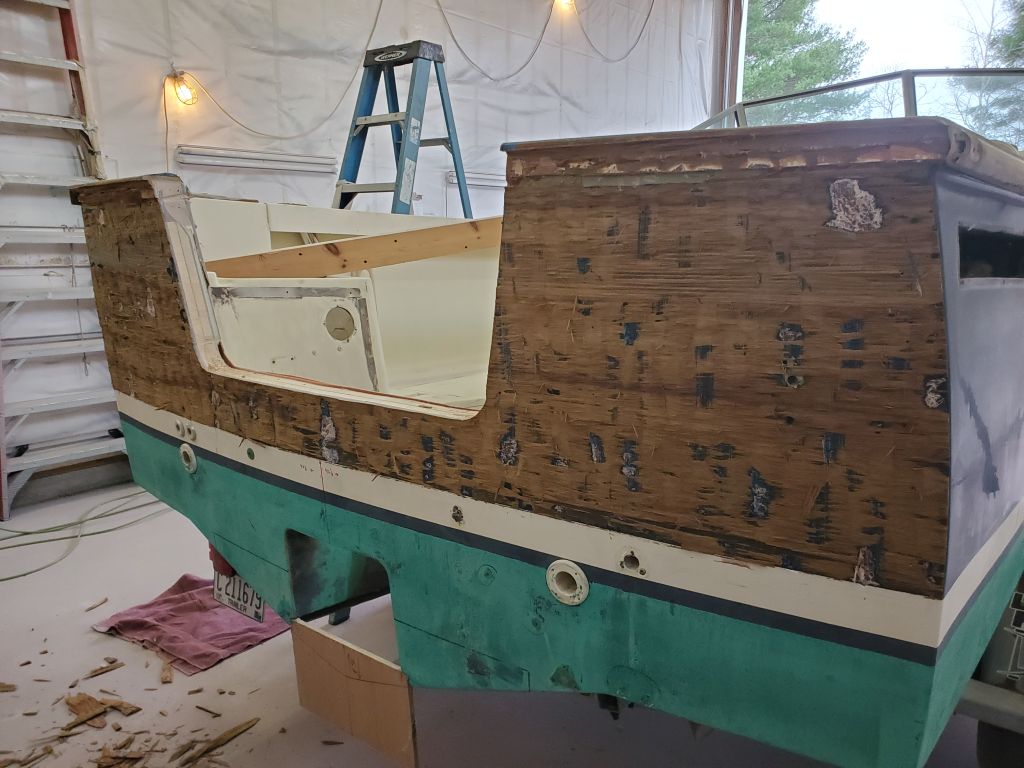
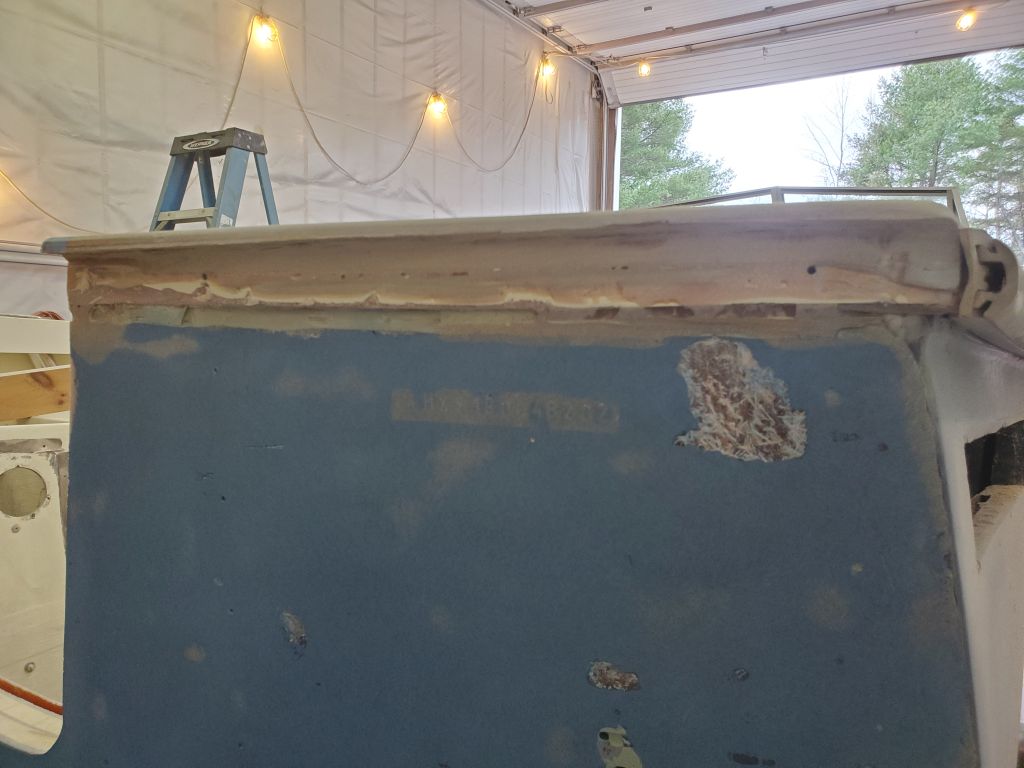
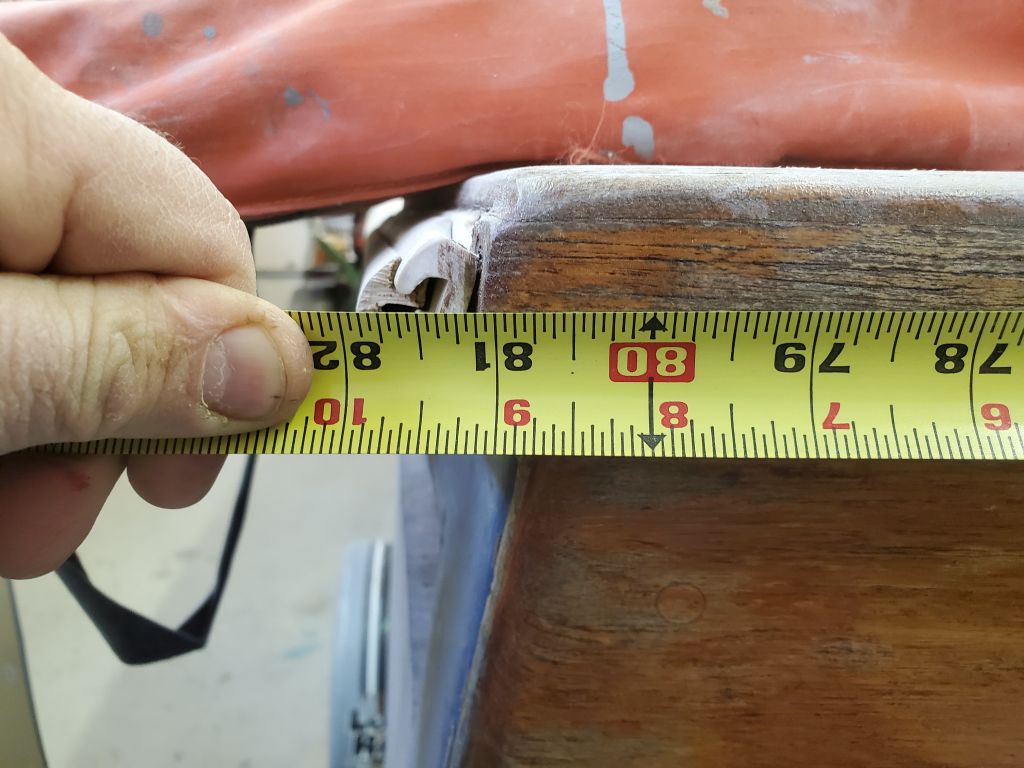
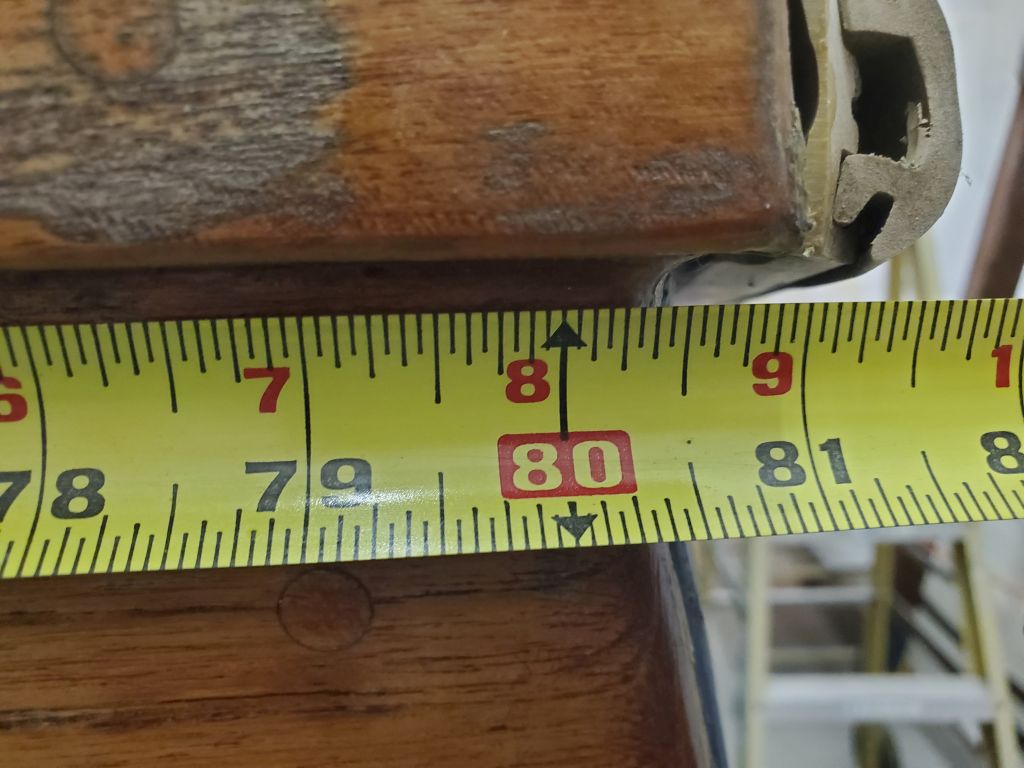
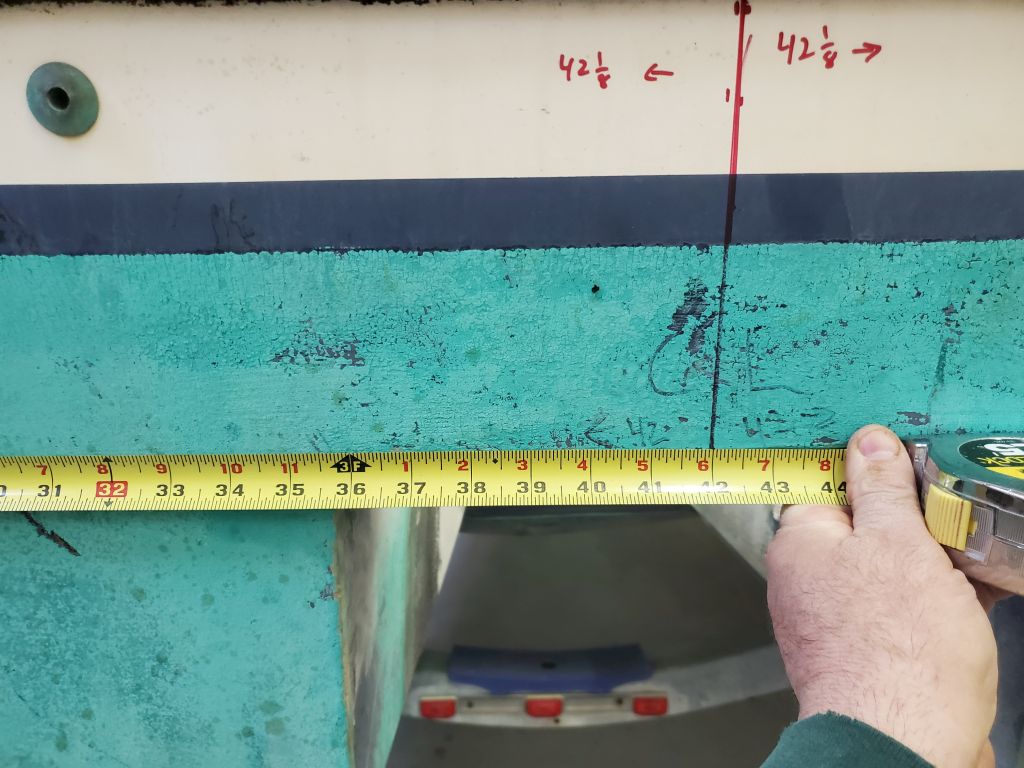
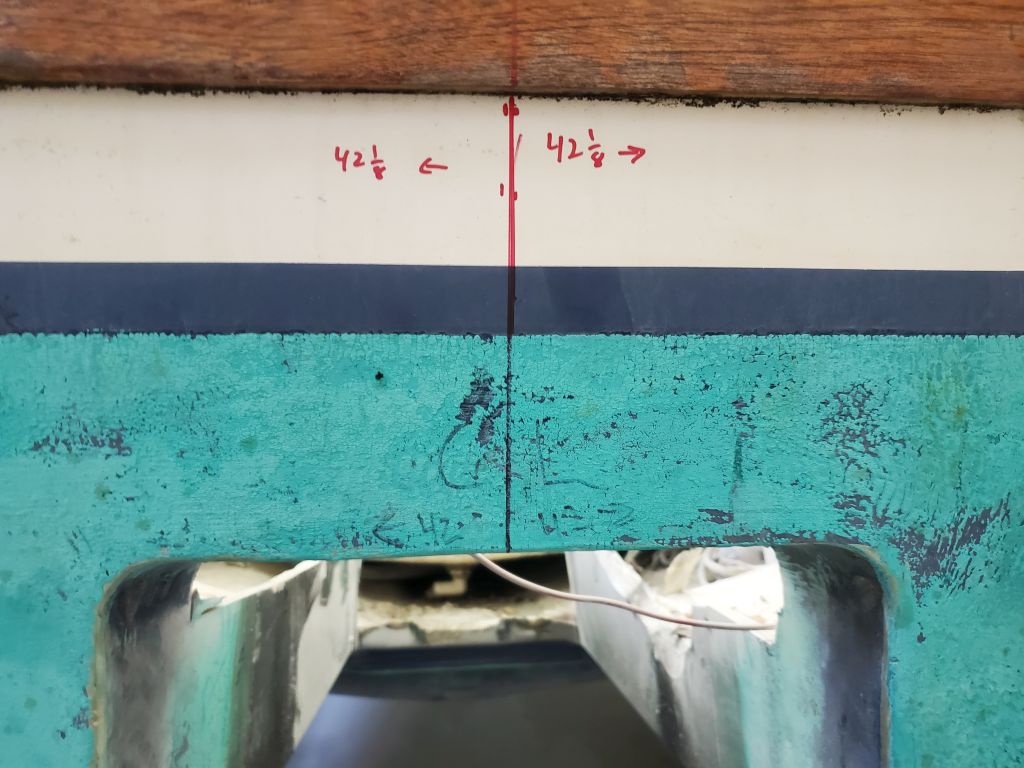
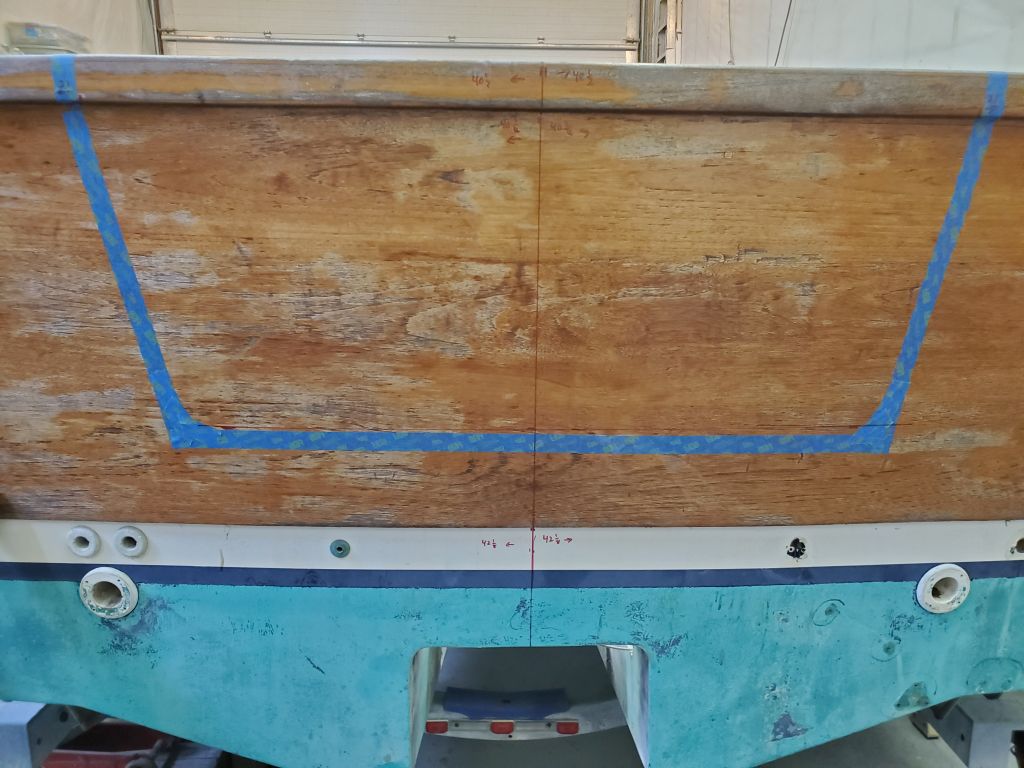
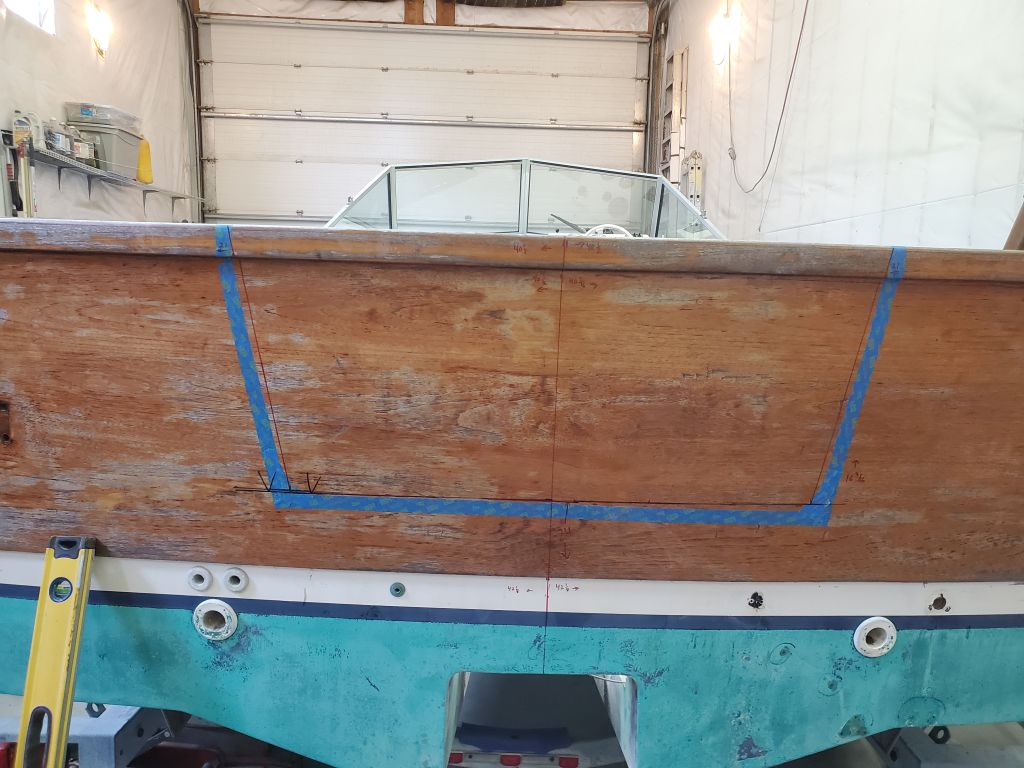
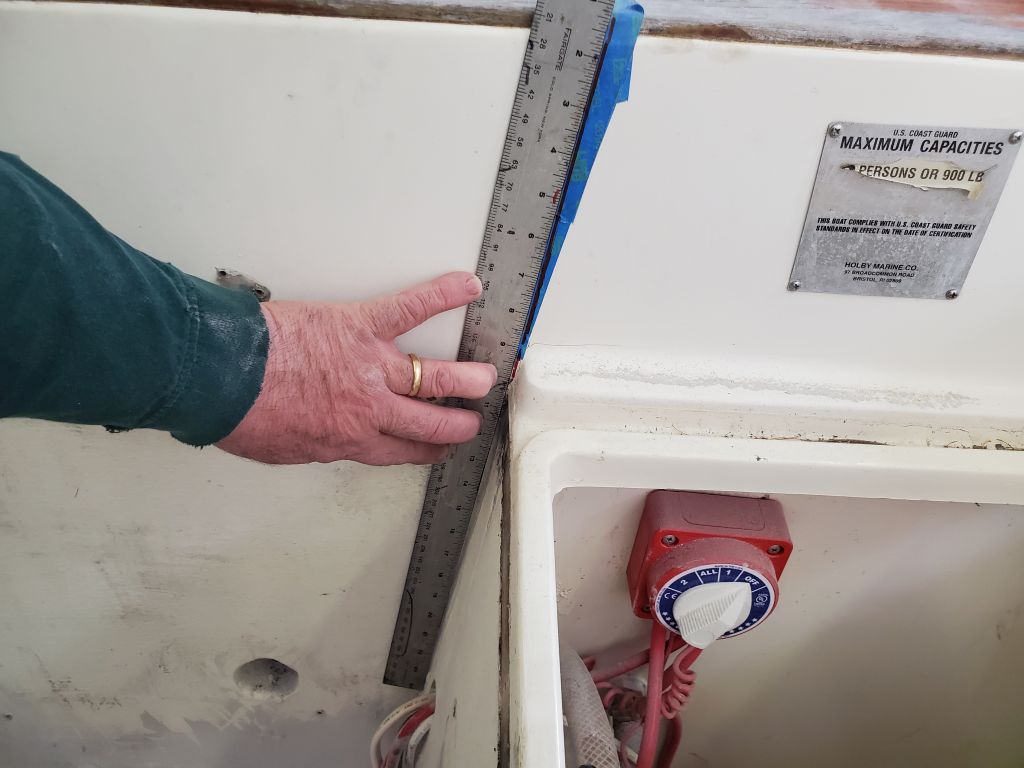
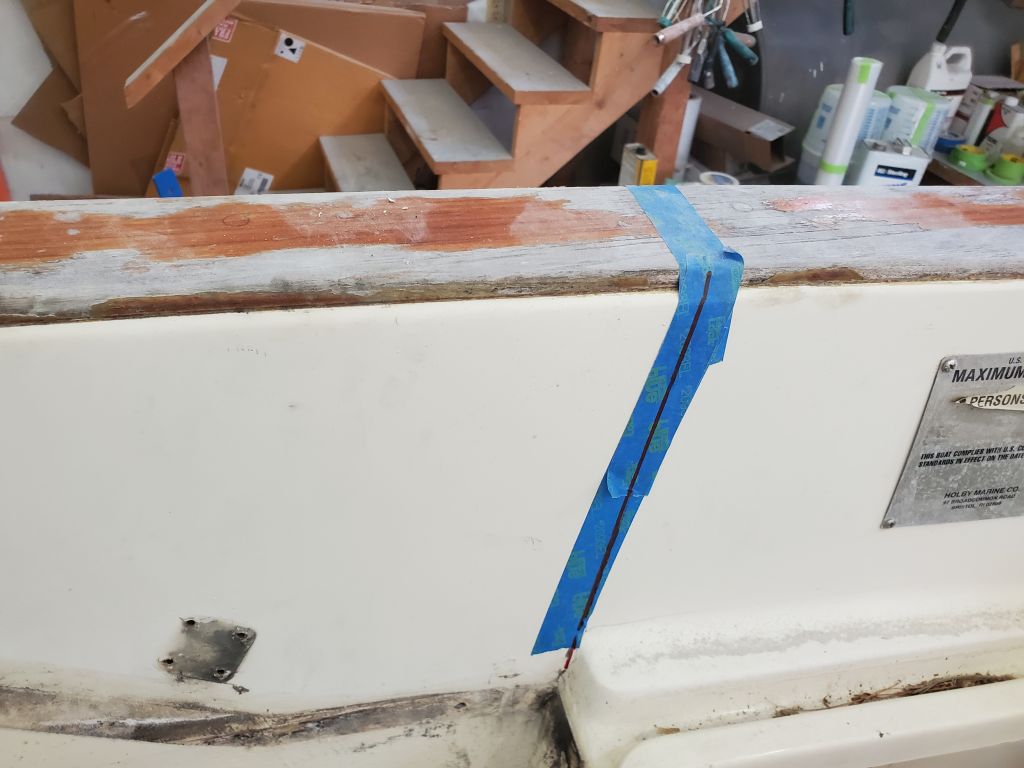
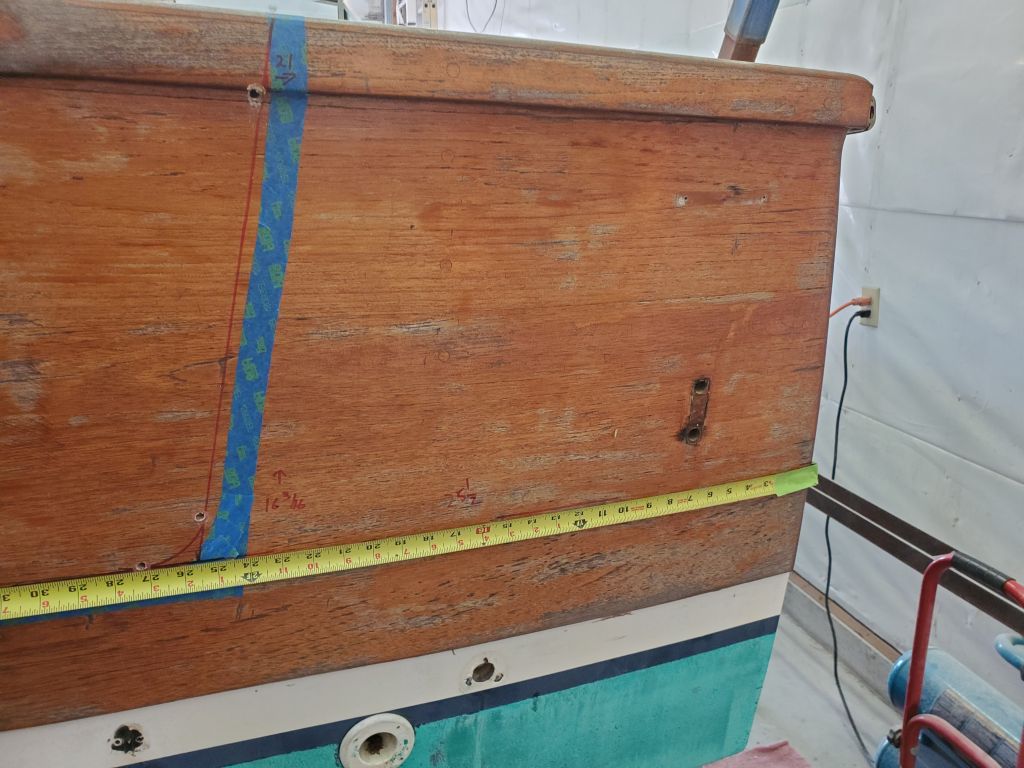
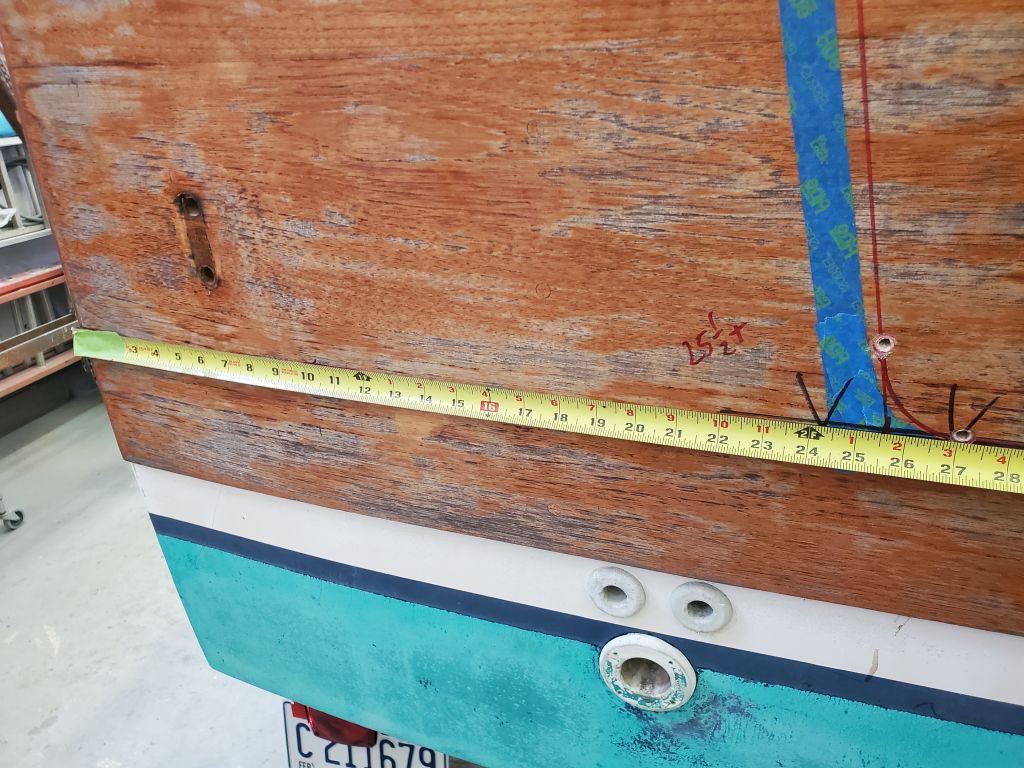
I began by marking a vertical centerline, measuring the overall width in various places and making marks as needed. I measured across the top of the rubrail at the transom corners; just beneath the rubrail; just beneath the wooden part of the transom; and just above the cutout leftover from the jet drive. Then I connected these with a line, which would become one of the key bases for the remaining layout. Note that the wooden transom veneer would be going away as part of this project, so I didn’t worry about marking directly on the old wood.
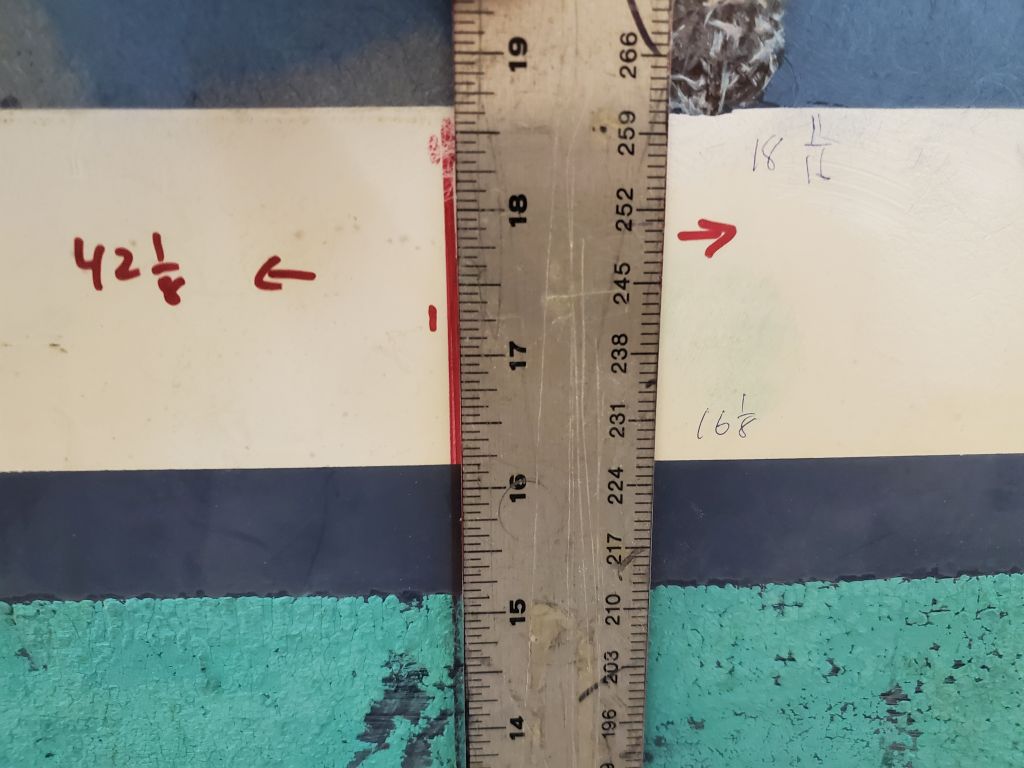
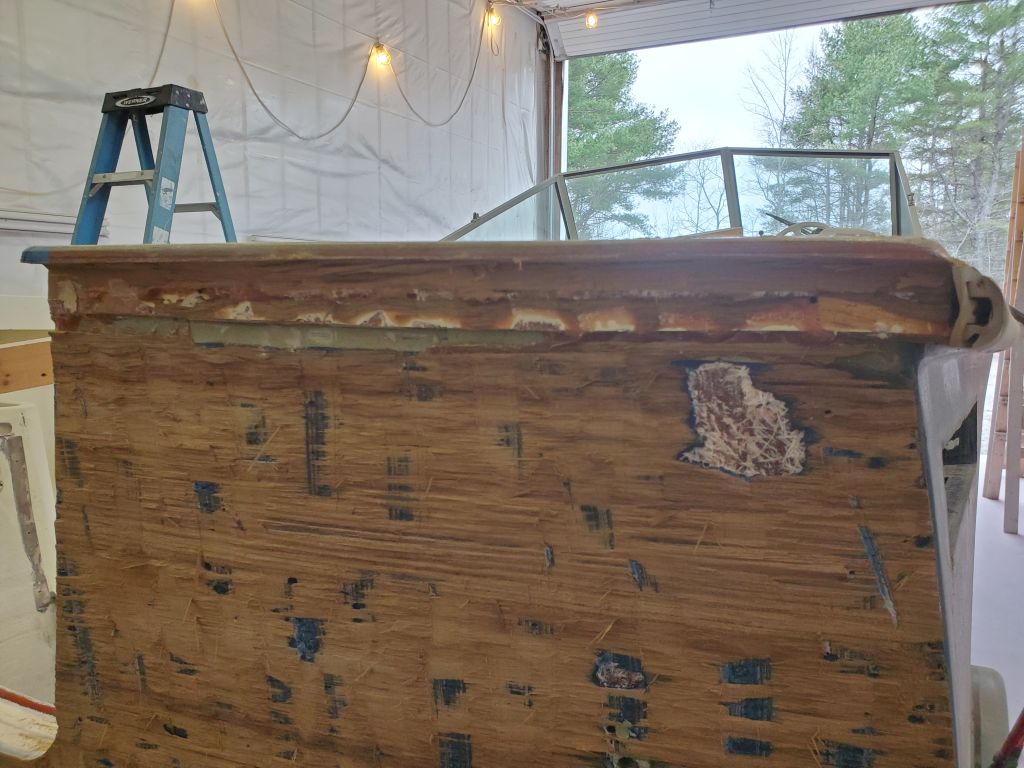
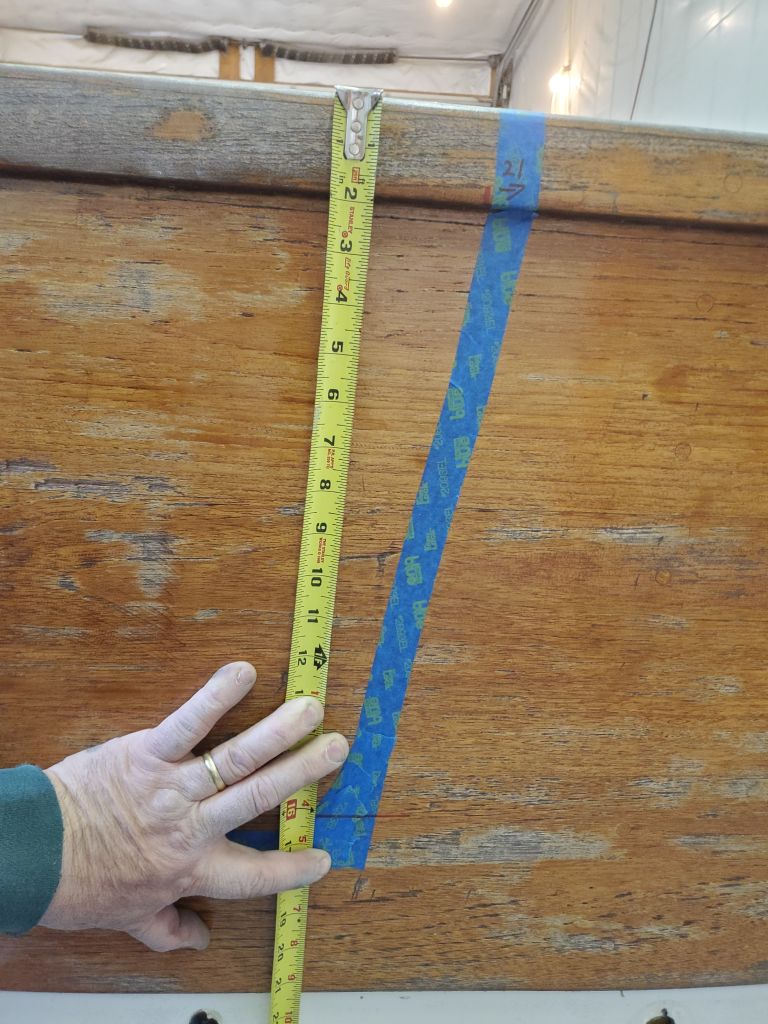
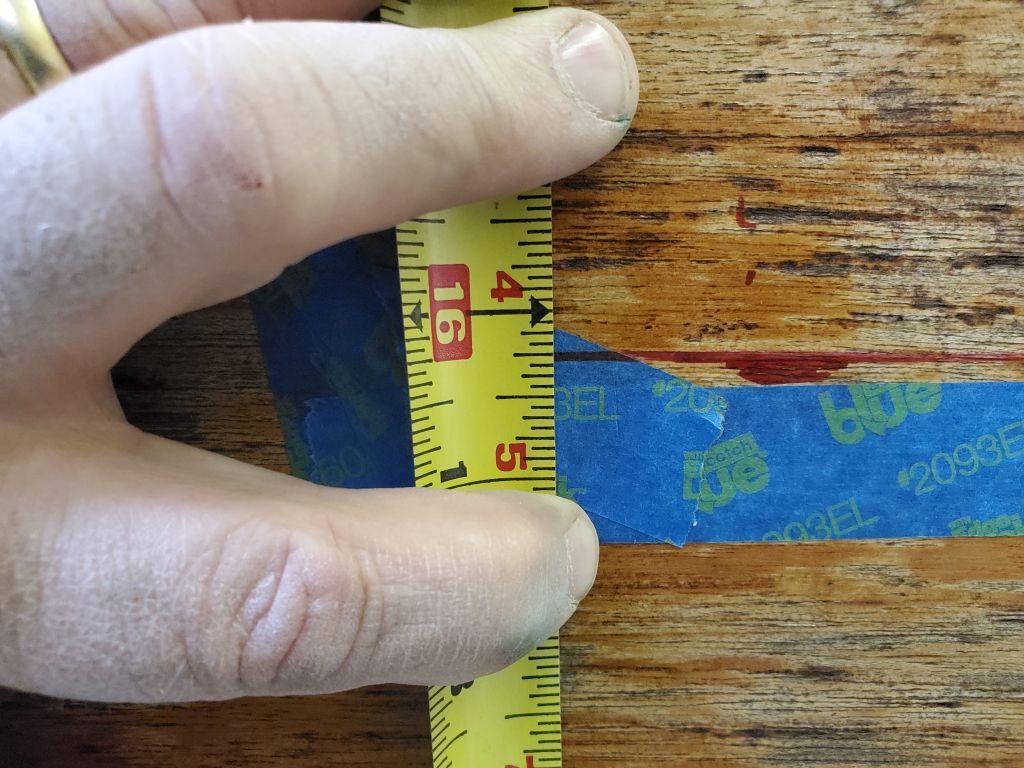
At the top of the transom, I measured 21″ in from each corner, which according to the sistership would provide the overall width of the top of the opening. So far the measurements were tying in well, but not exactly, with the taped approximation.
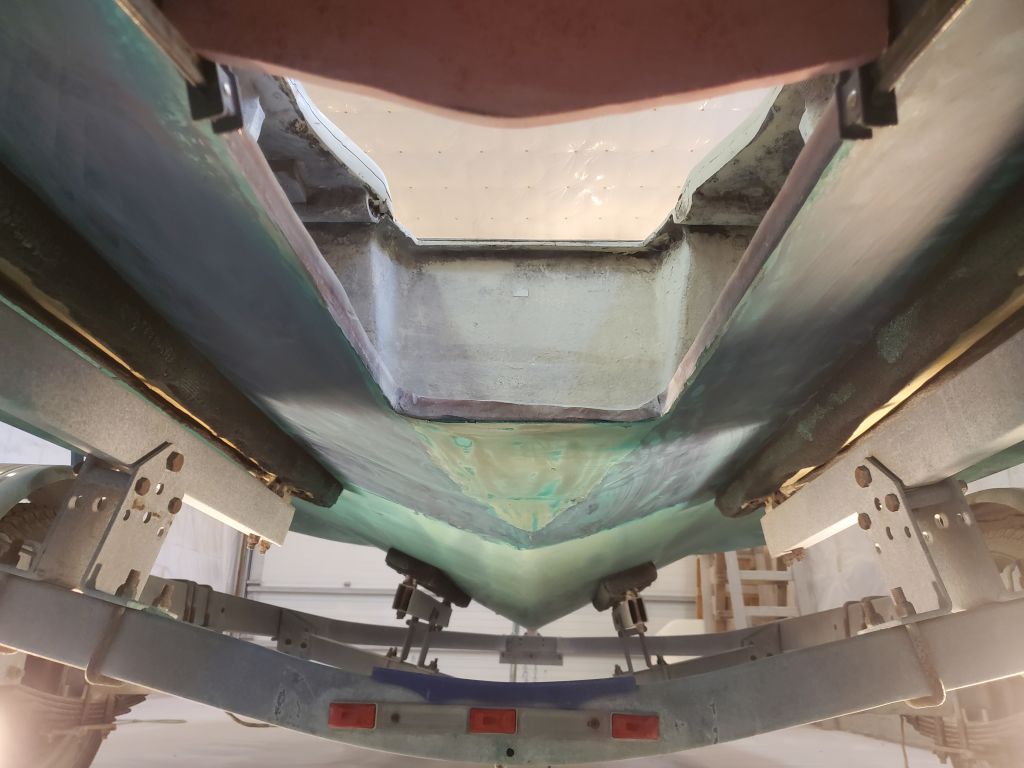
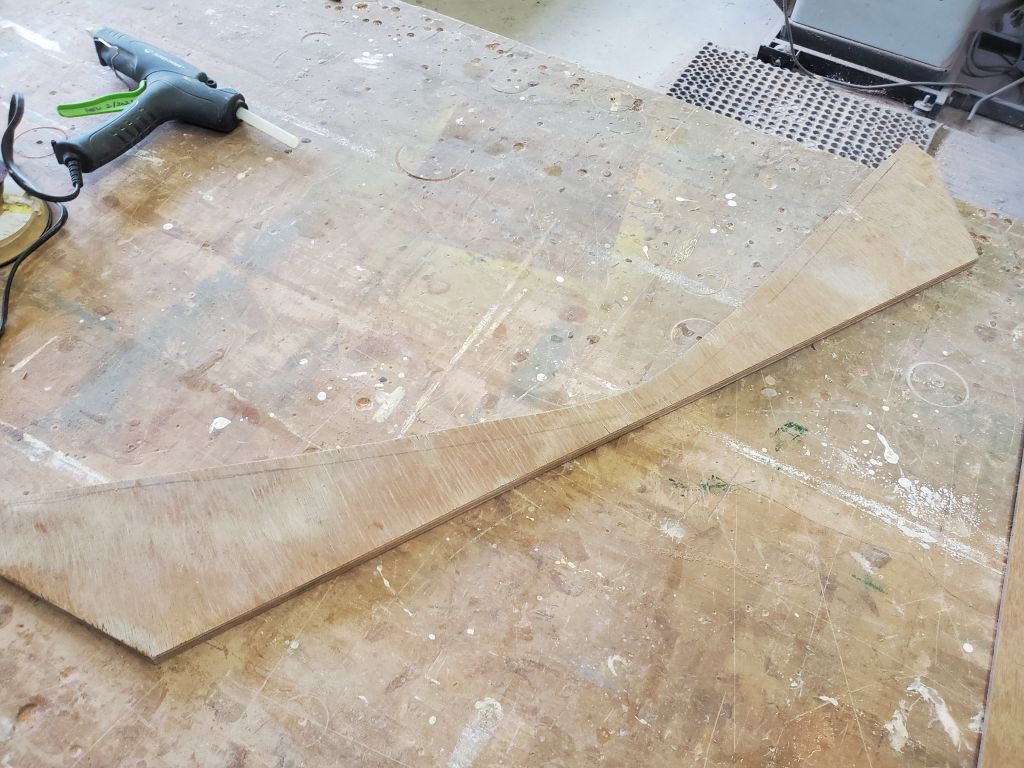
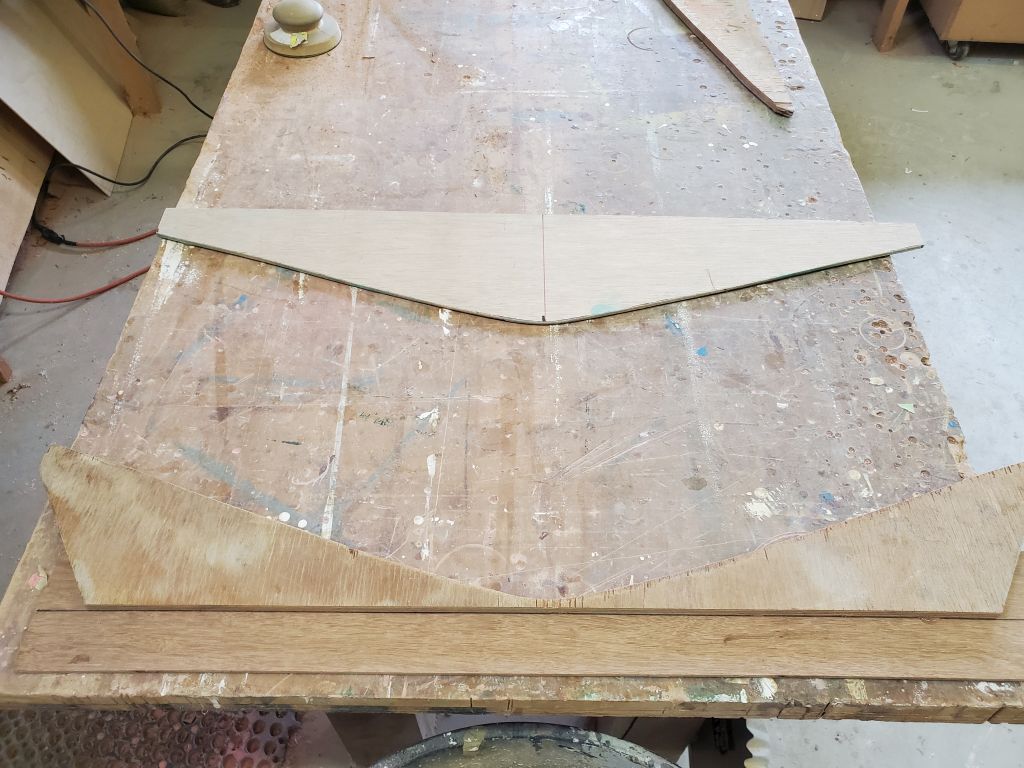
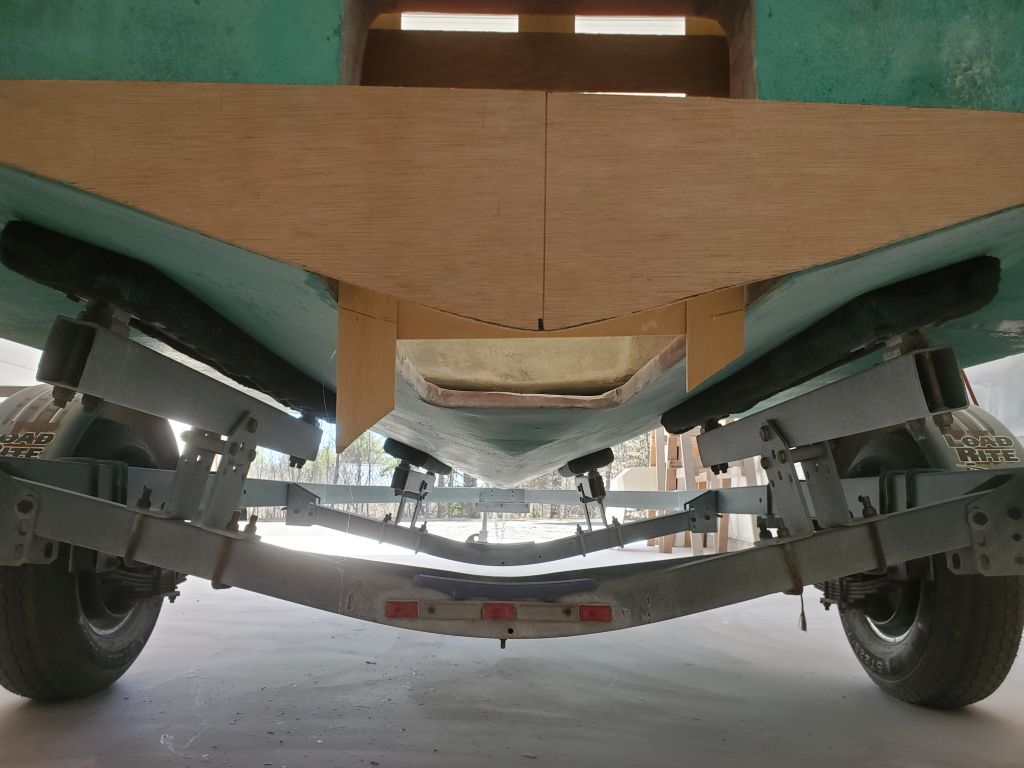
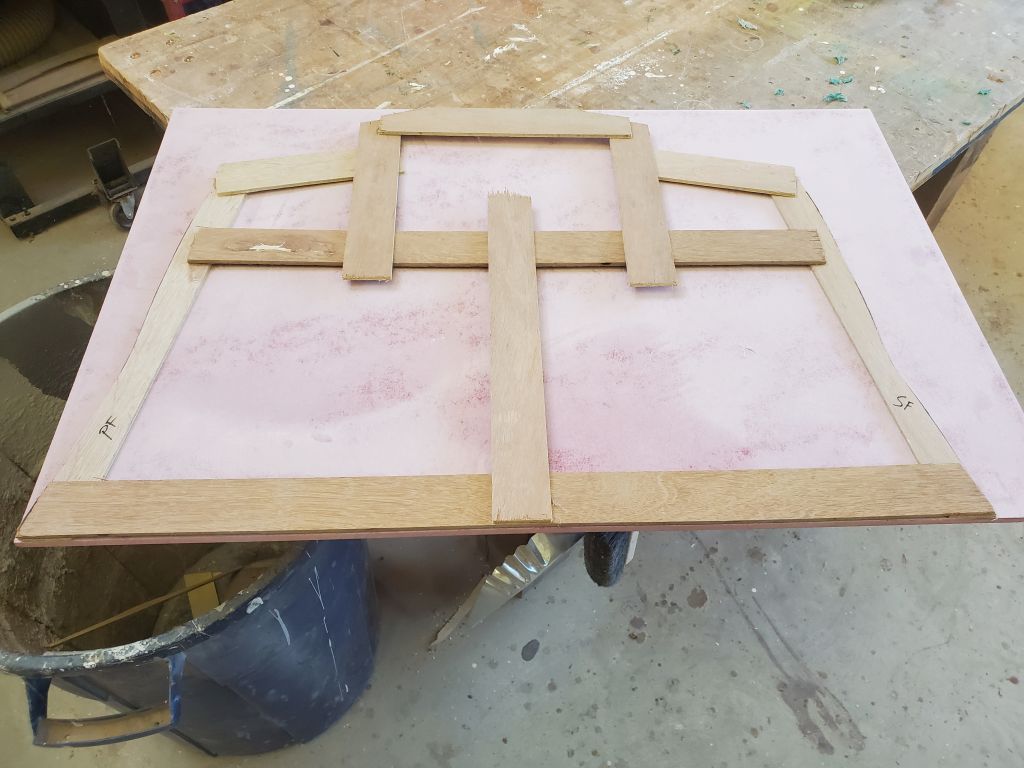
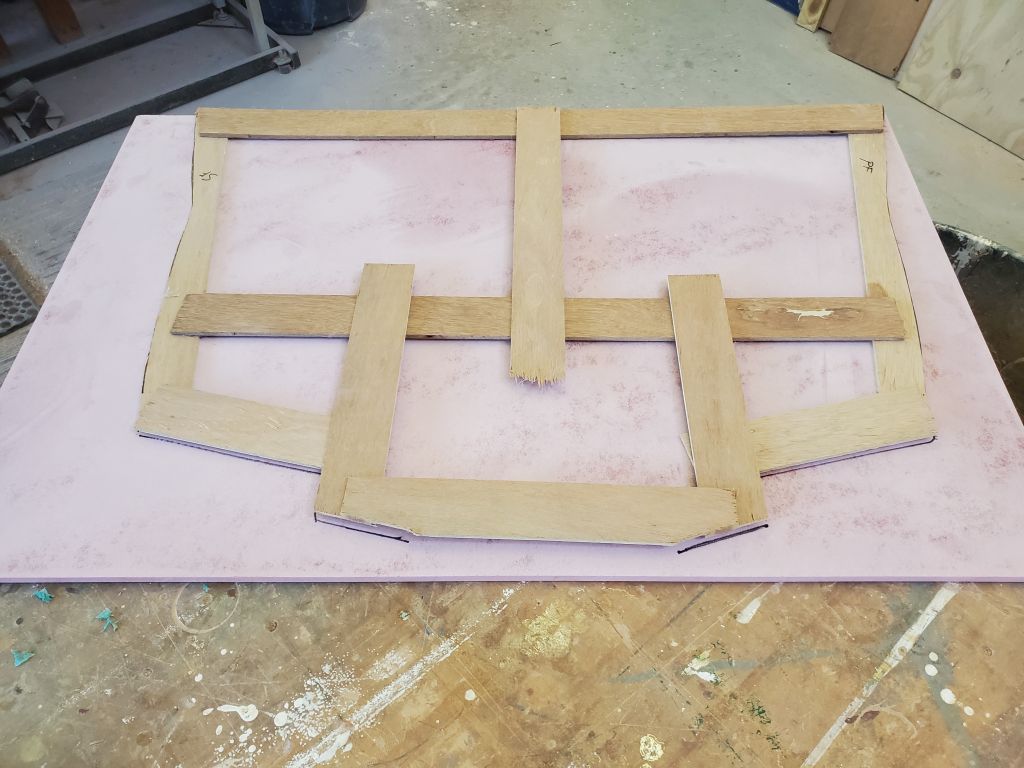
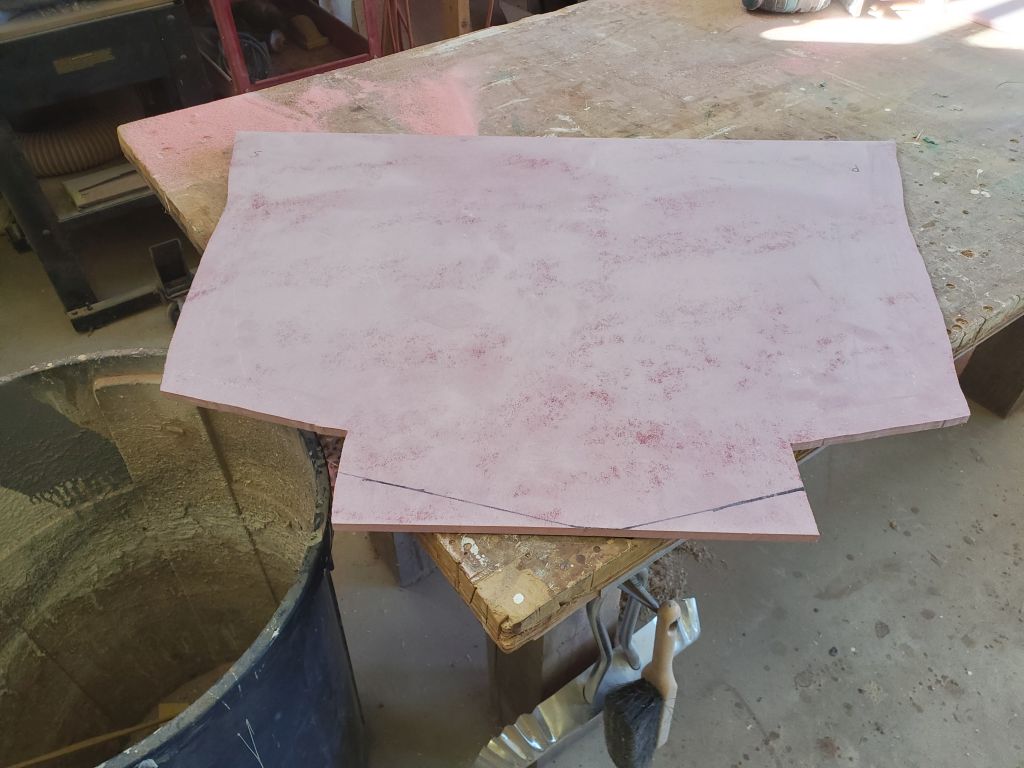
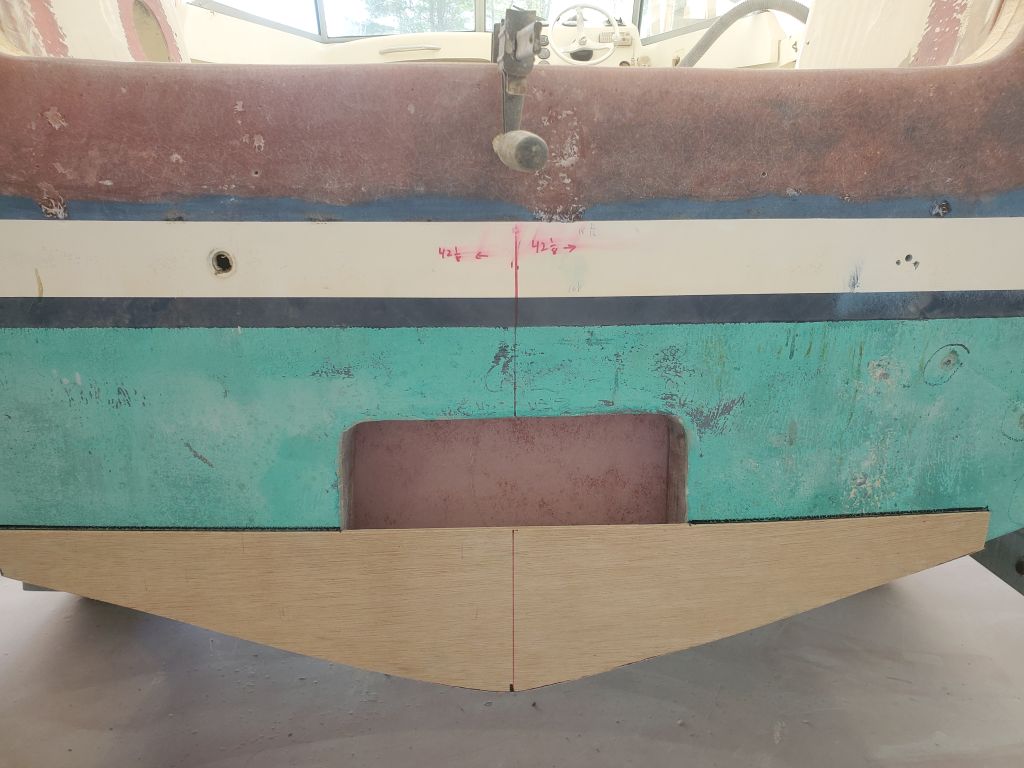
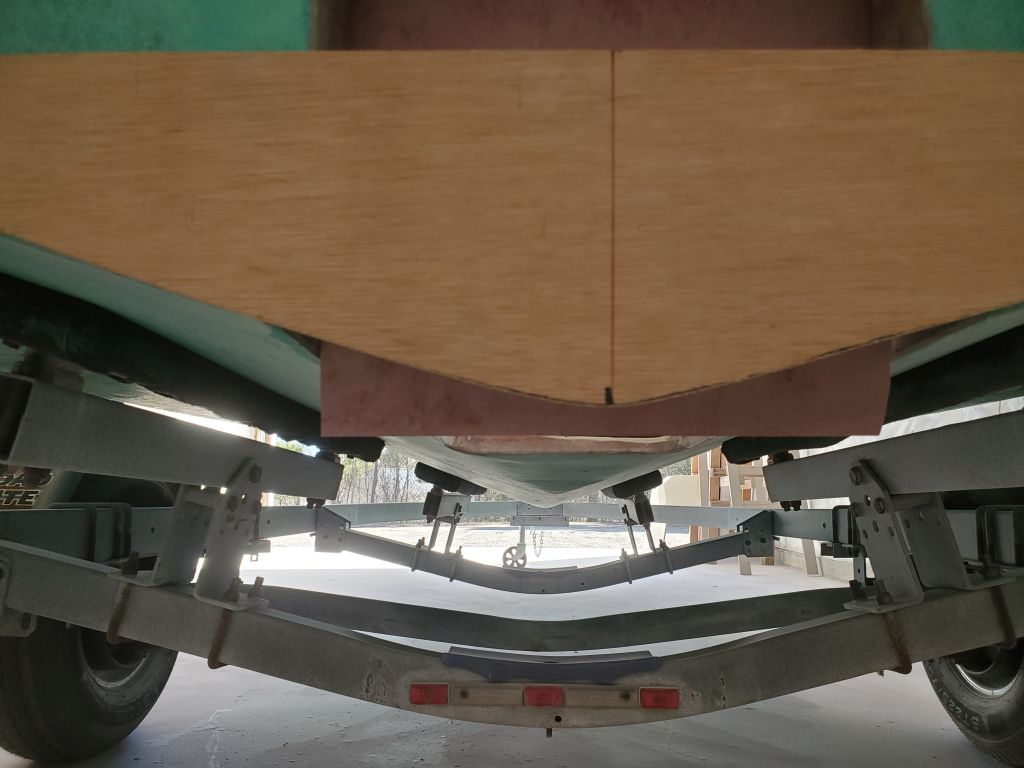
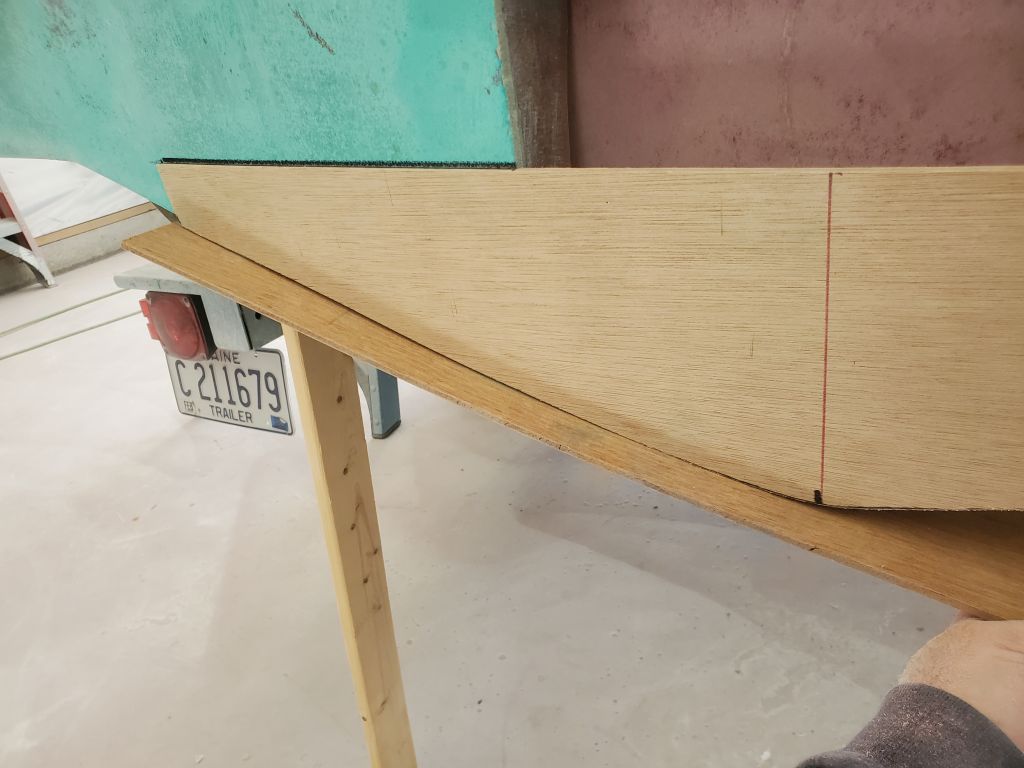
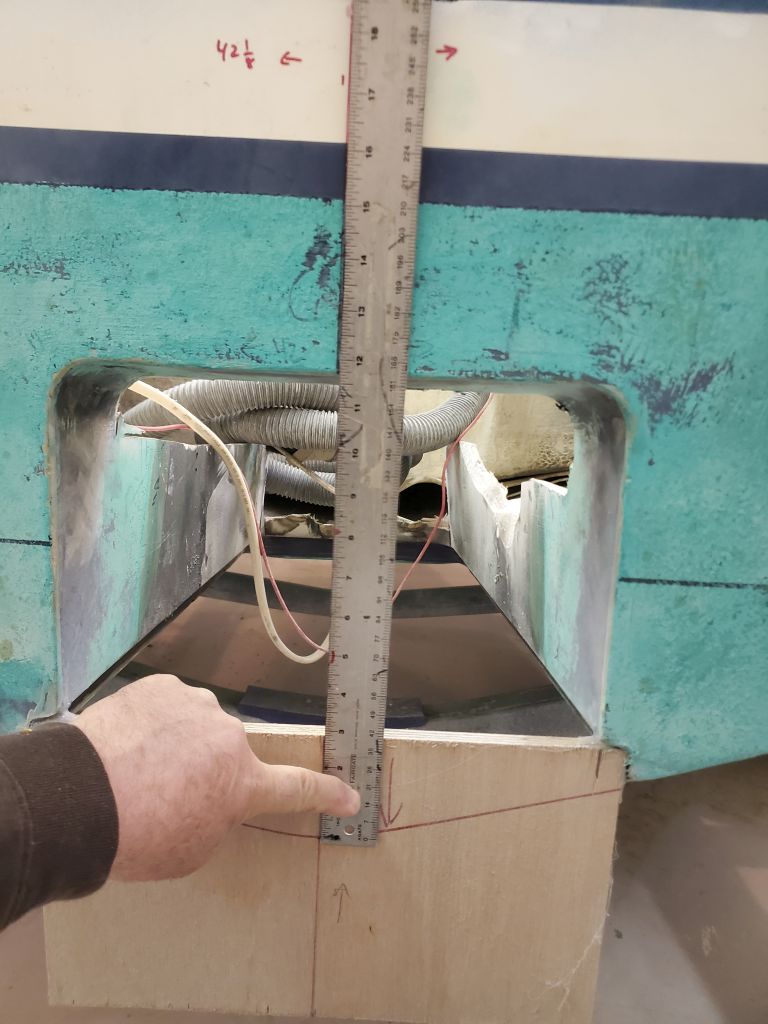
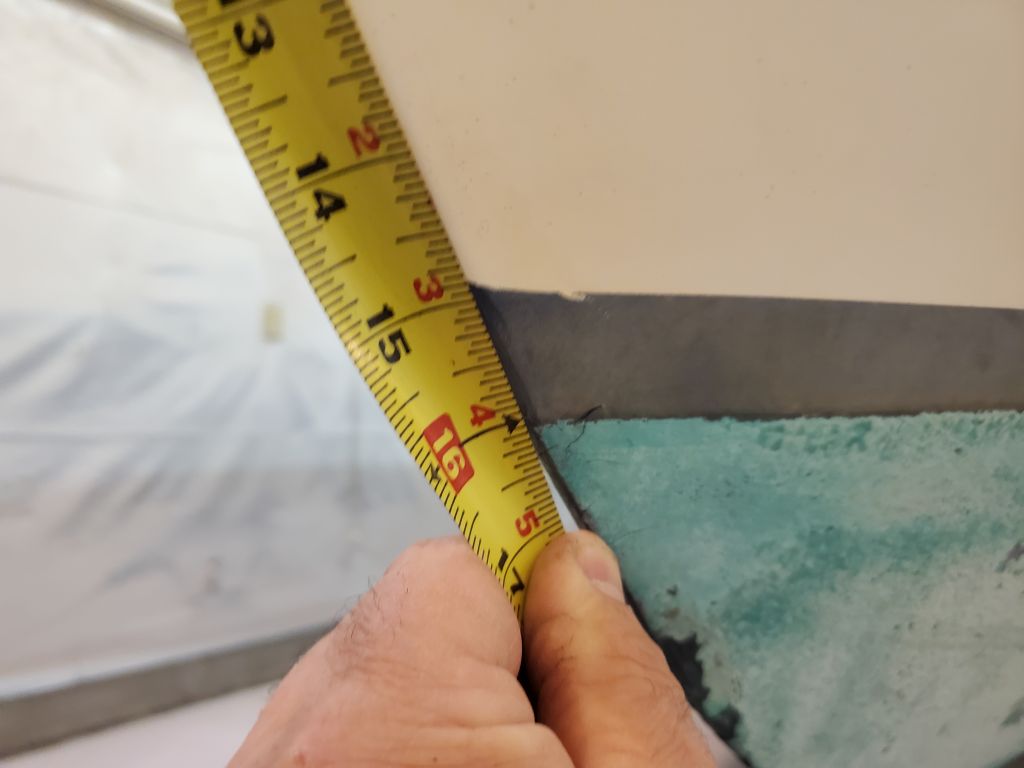
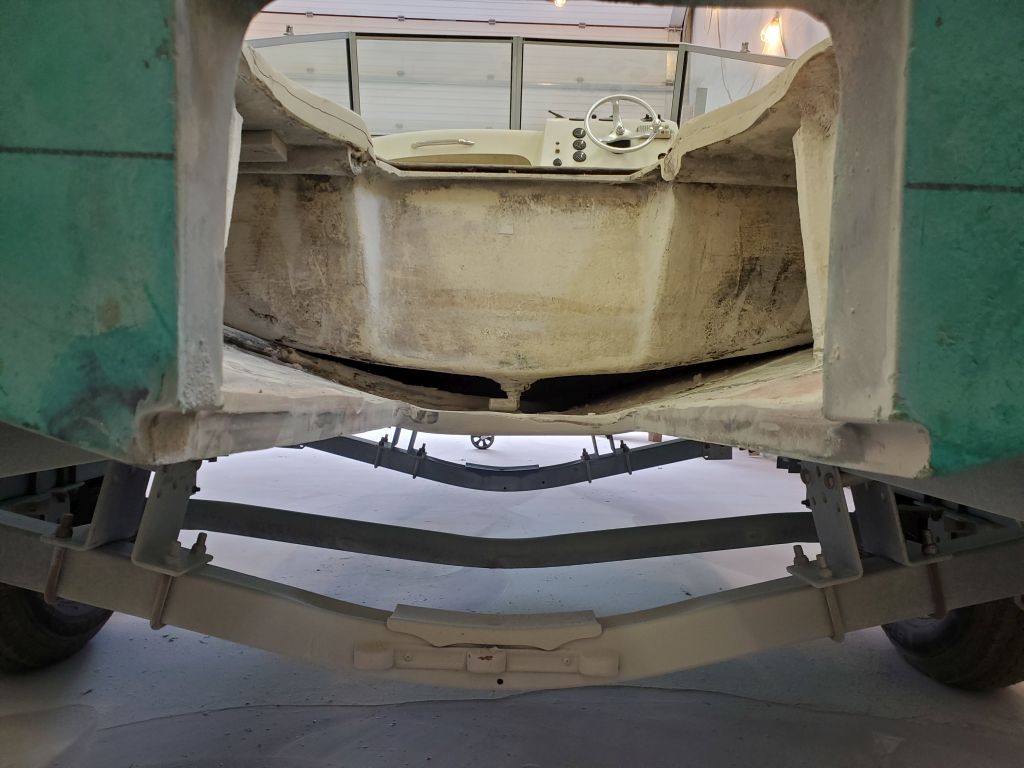
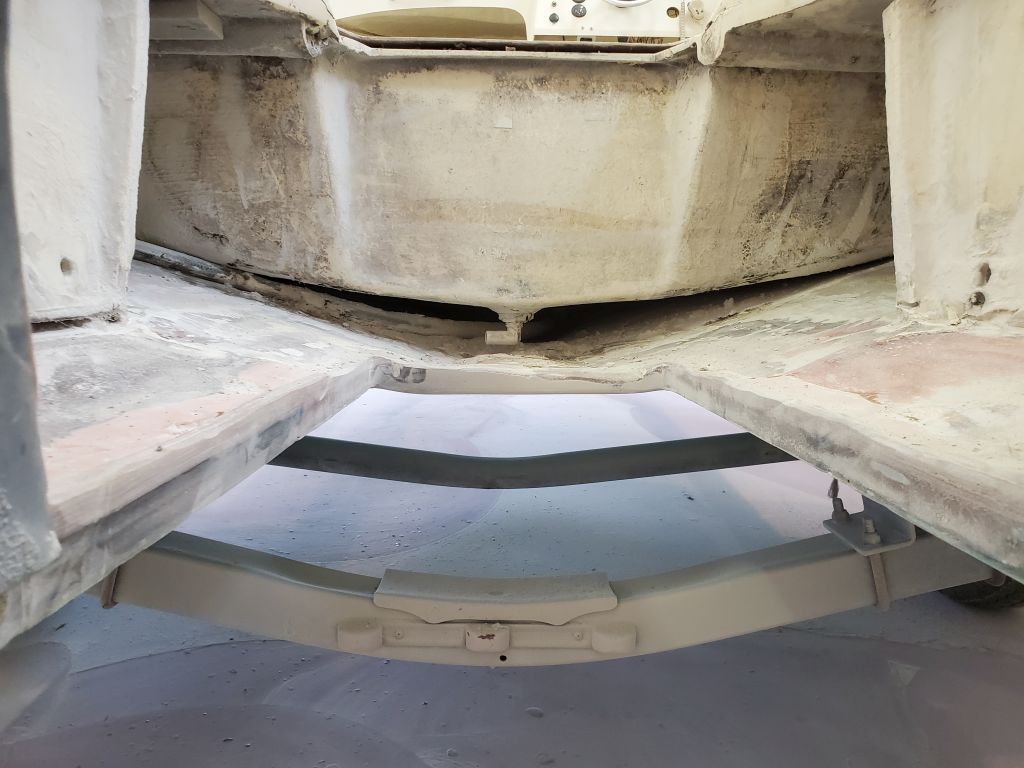
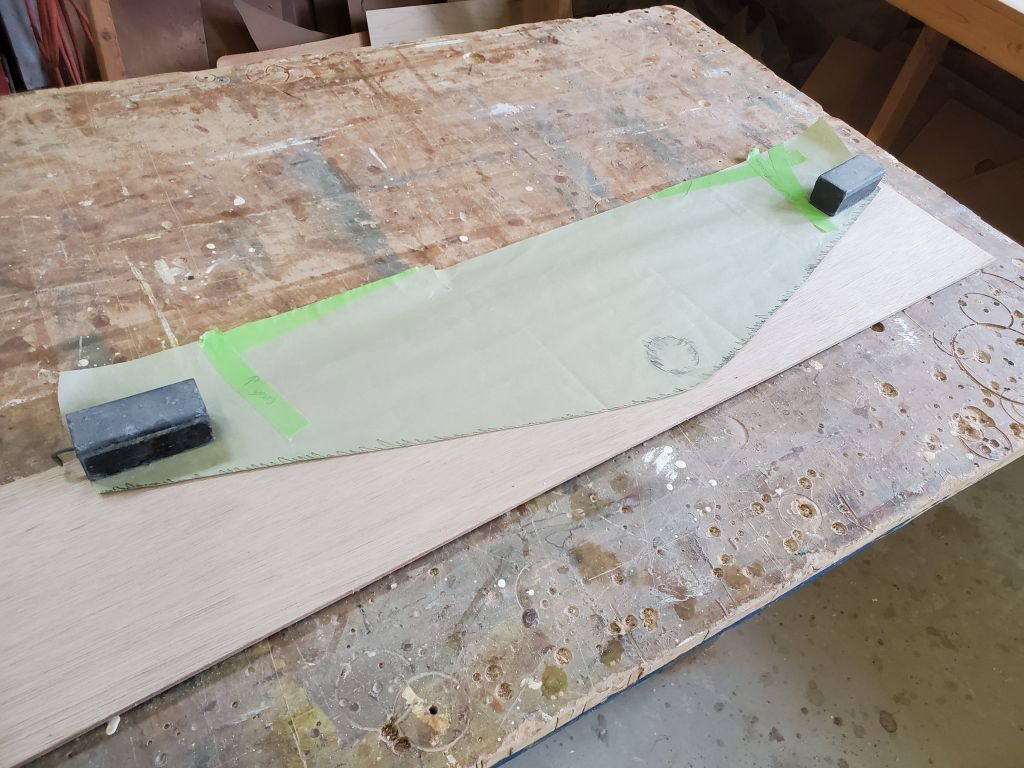
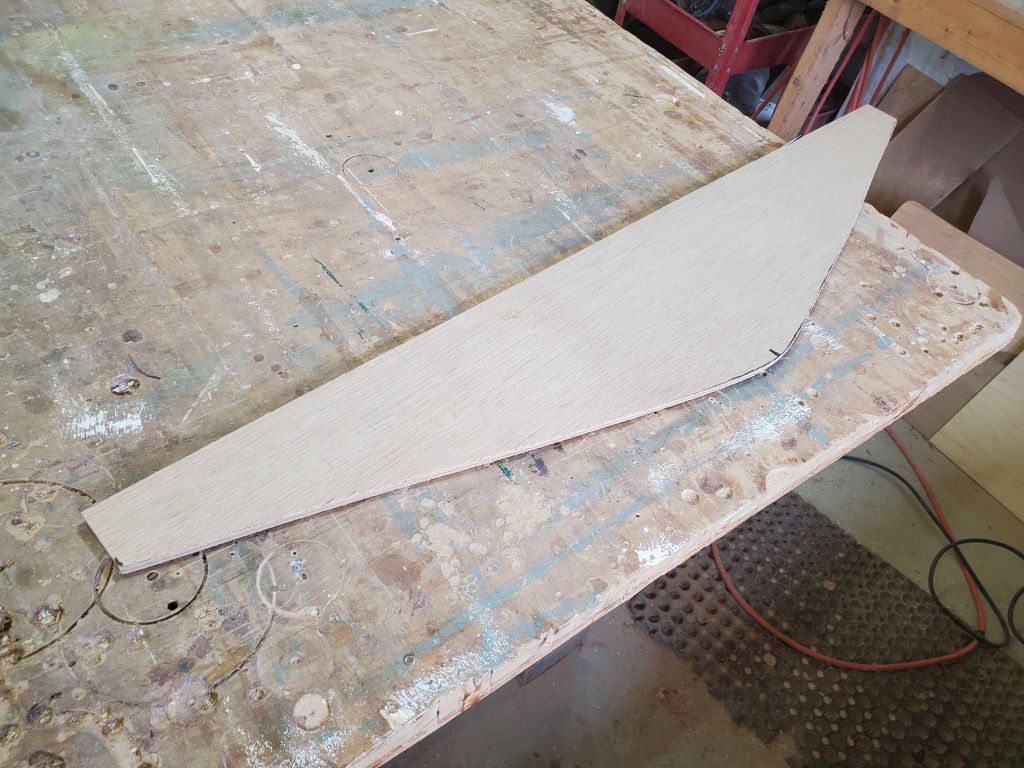
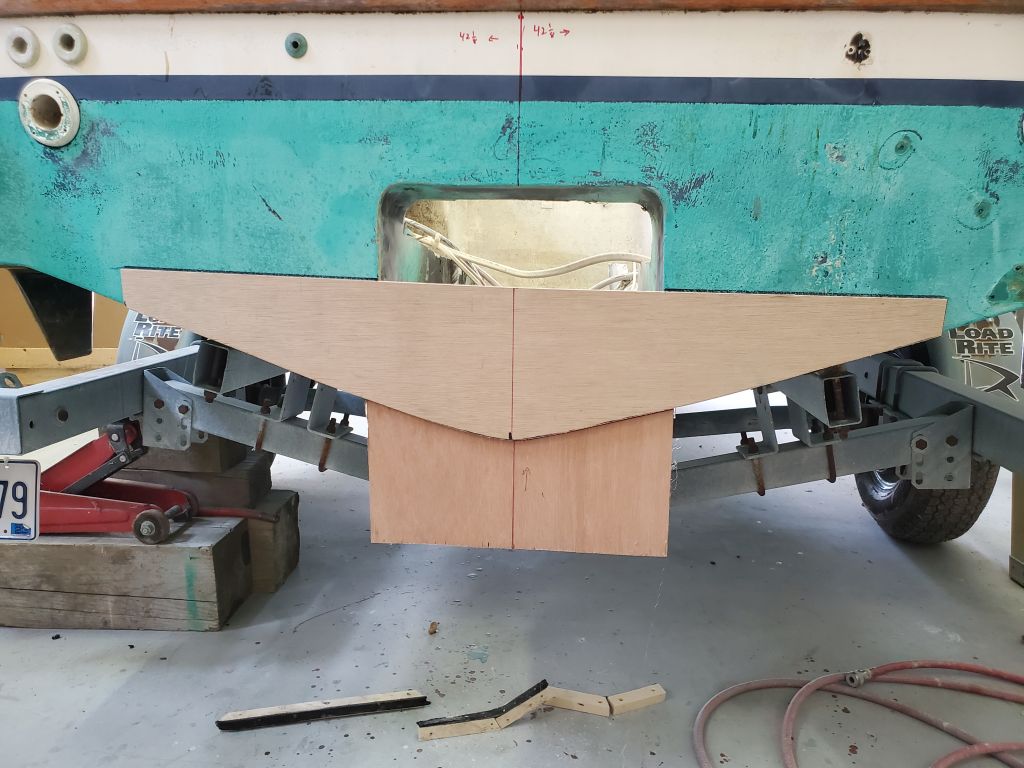
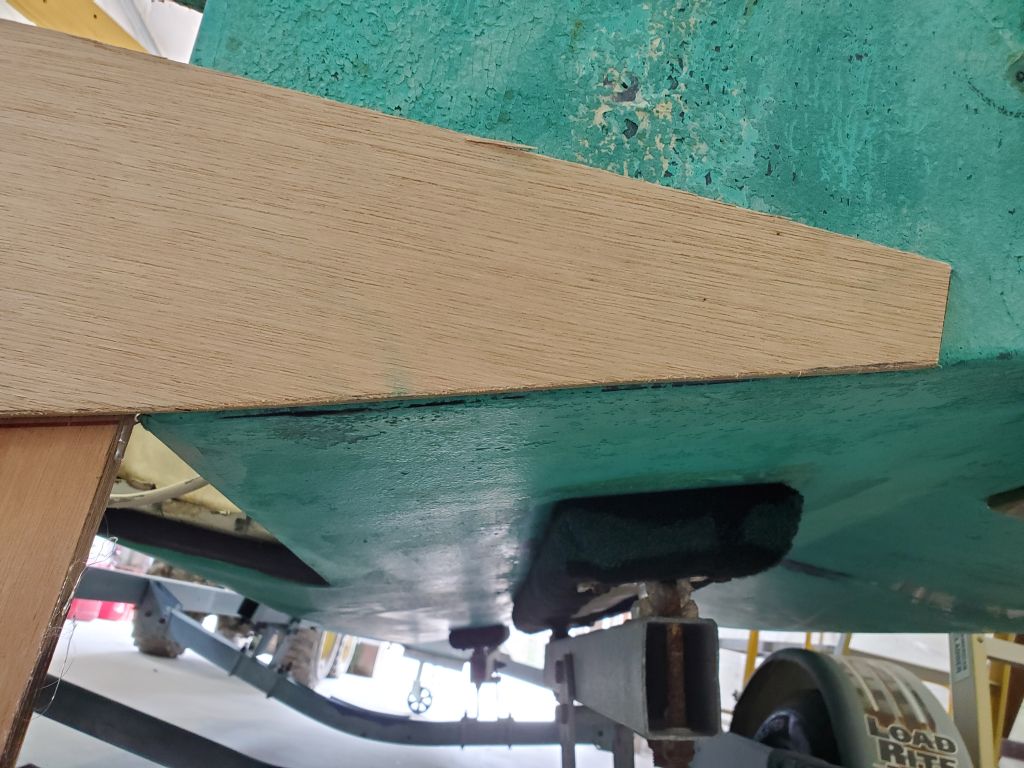
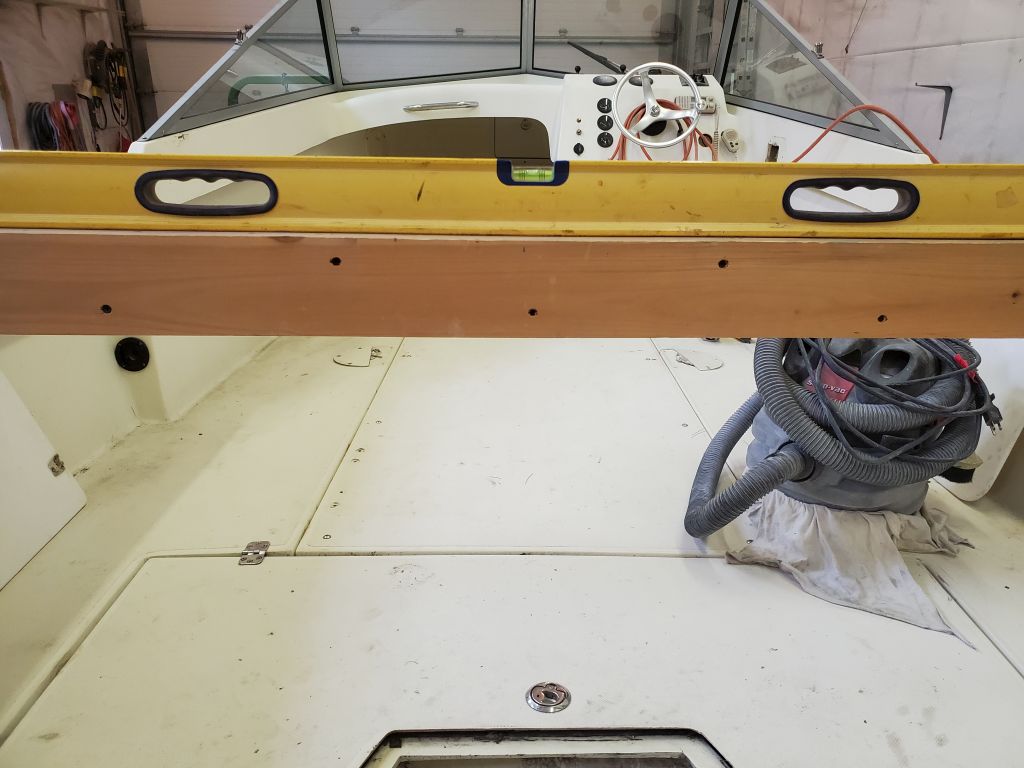
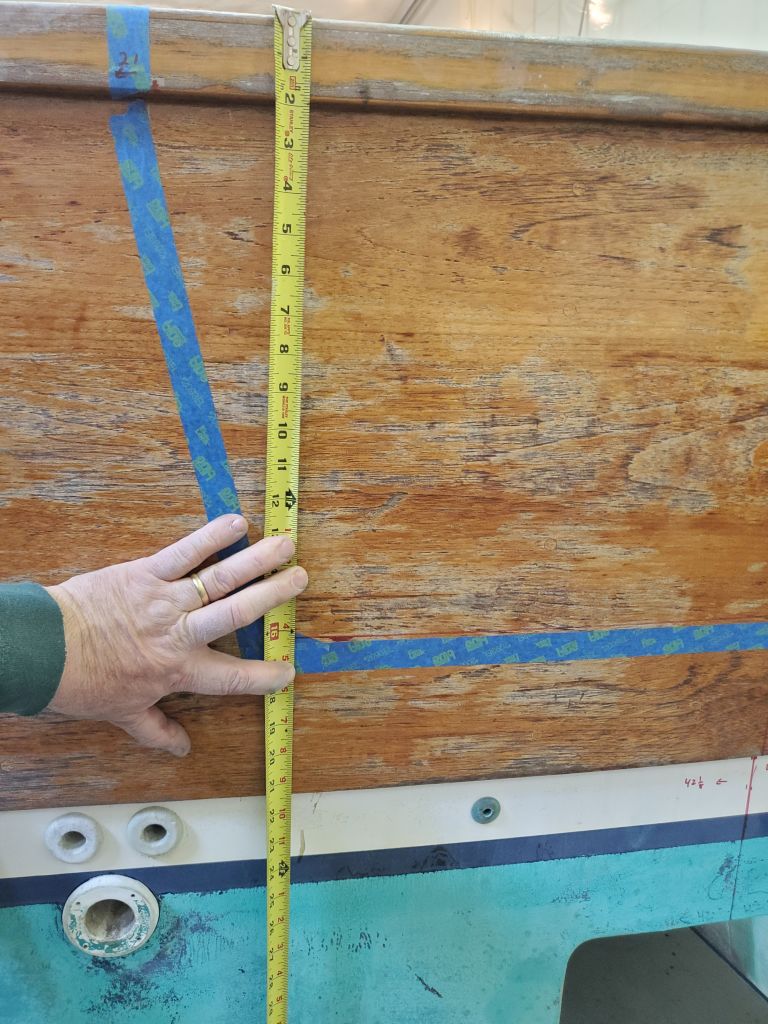
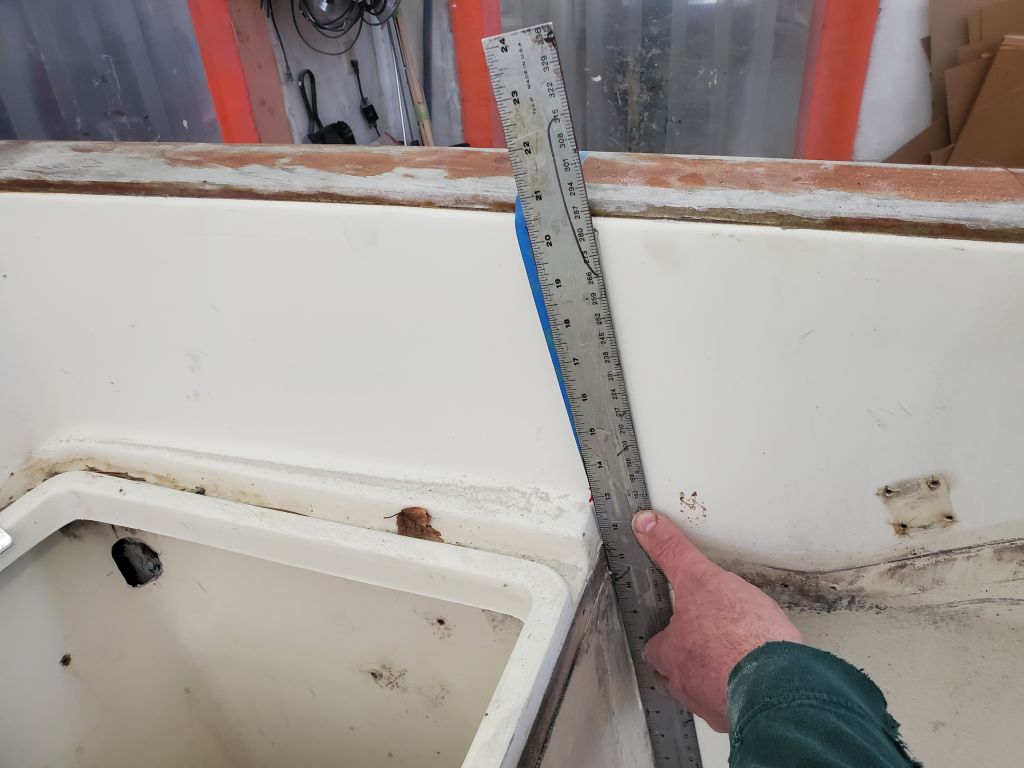
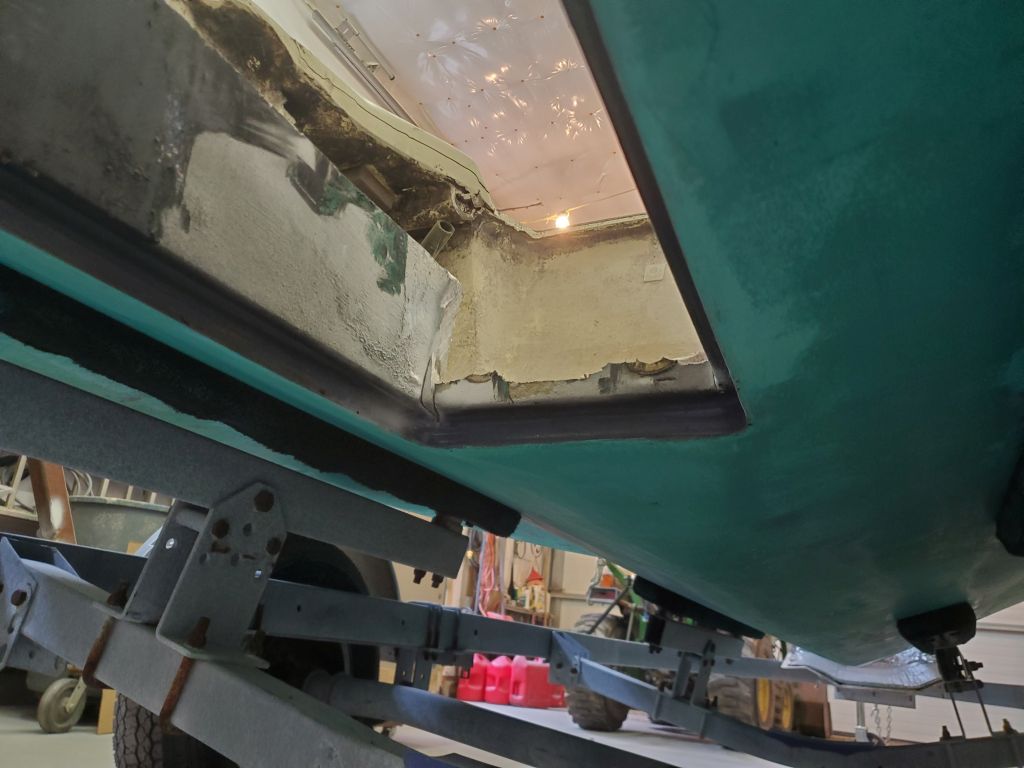
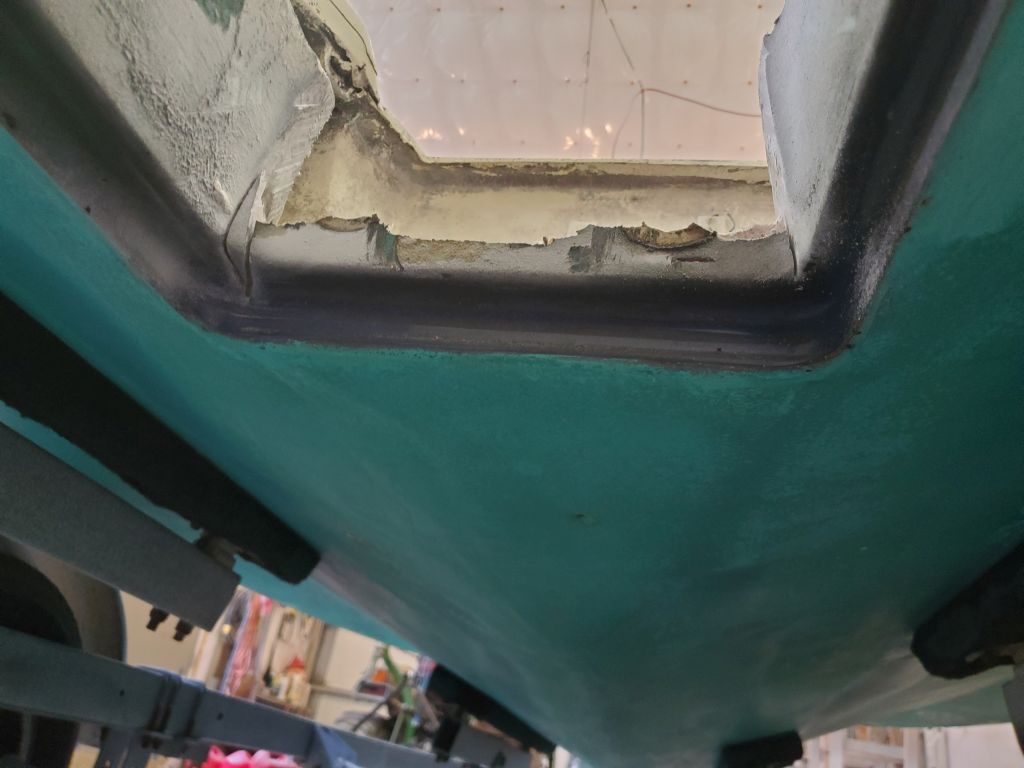
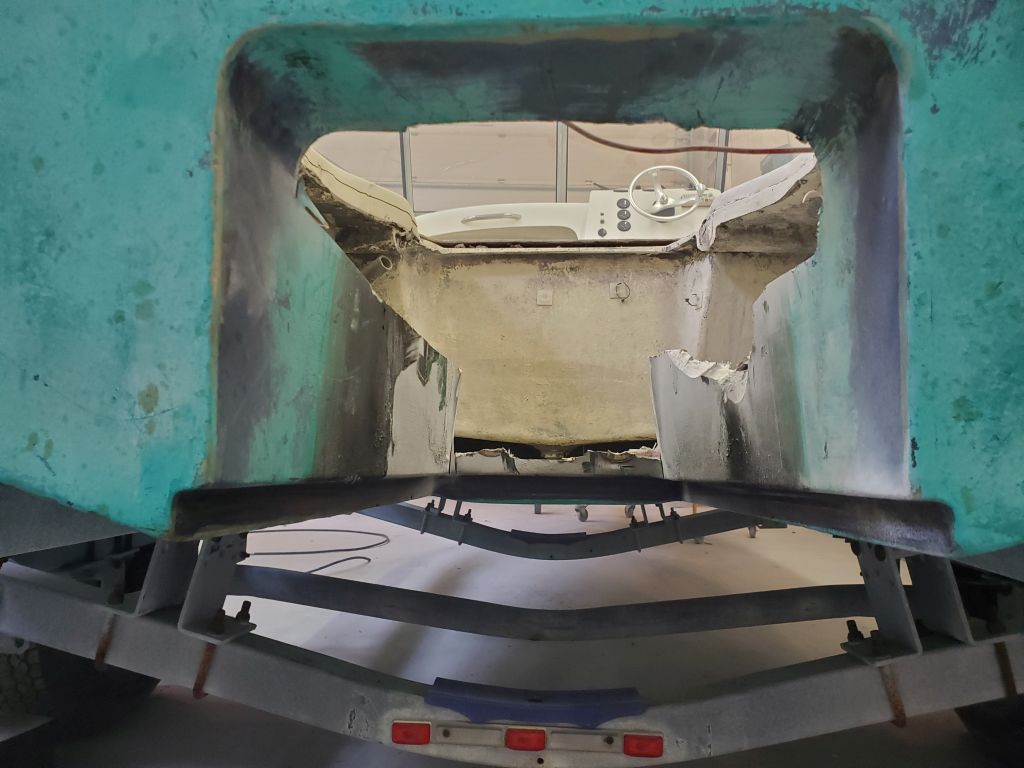
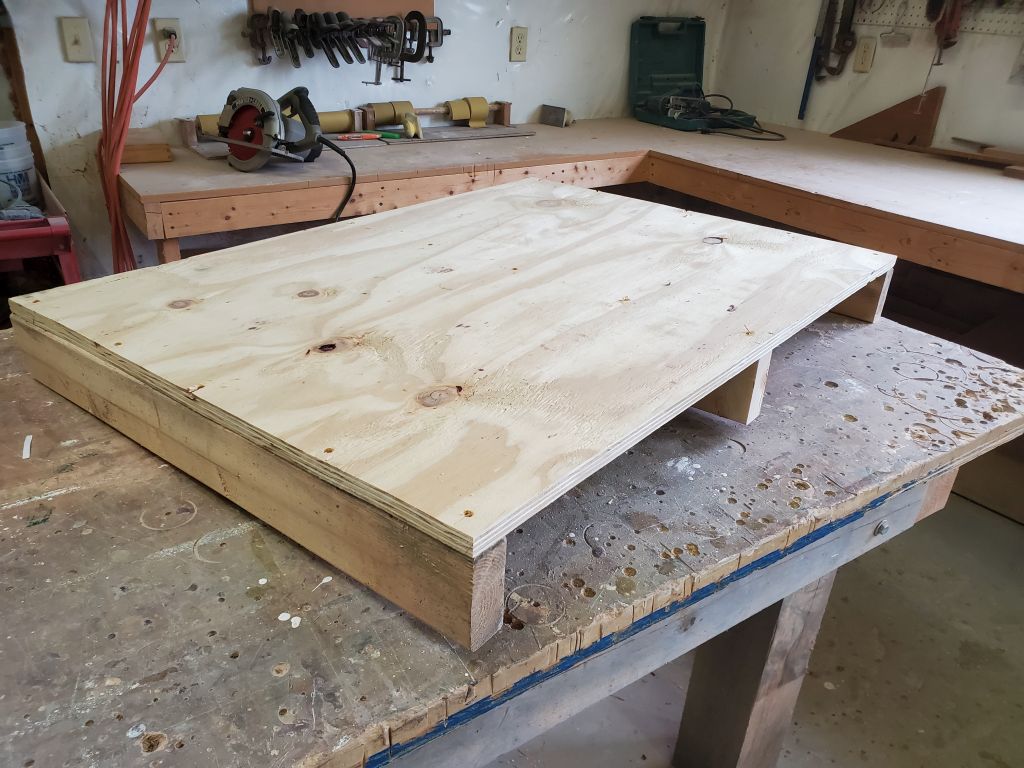
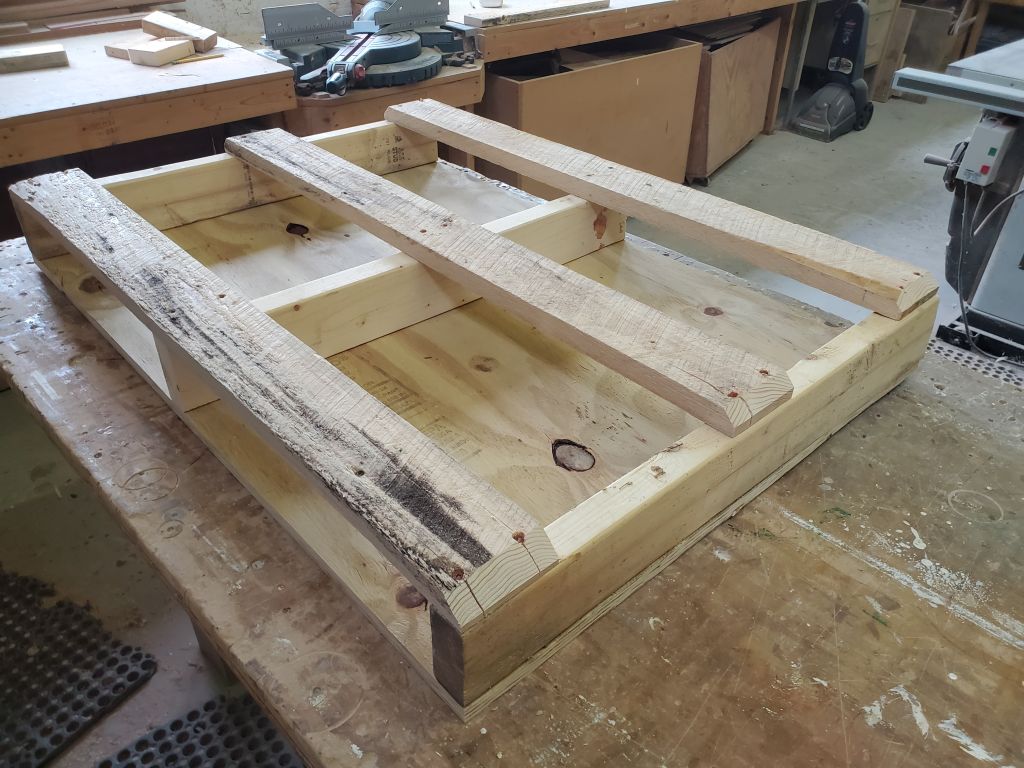
Perhaps the most critical measurement for the new cutout was the height of the cutout, which I’d measured on the sistership at 24″ from the centerline of the bottom. To recreate that point, which at the moment didn’t exist thanks to the jetdrive tunnel, I transferred my paper template of the other other boat’s hull shape to some 1/4″ plywood and cut out and faired the shape. I hot-glued a scrap of plywood into the gap below the tunnel, then used the new plywood hull shape template to draw on the eventual shape, temporarily securing hte template to the stern with more hot glue; the template was easy to align properly since I just had to line up the sides flush with the existing hull; it only fit one way. In the end, all this gave me the lower point needed to determine the cutout height, which I then marked on the centerline exactly 24″ up.
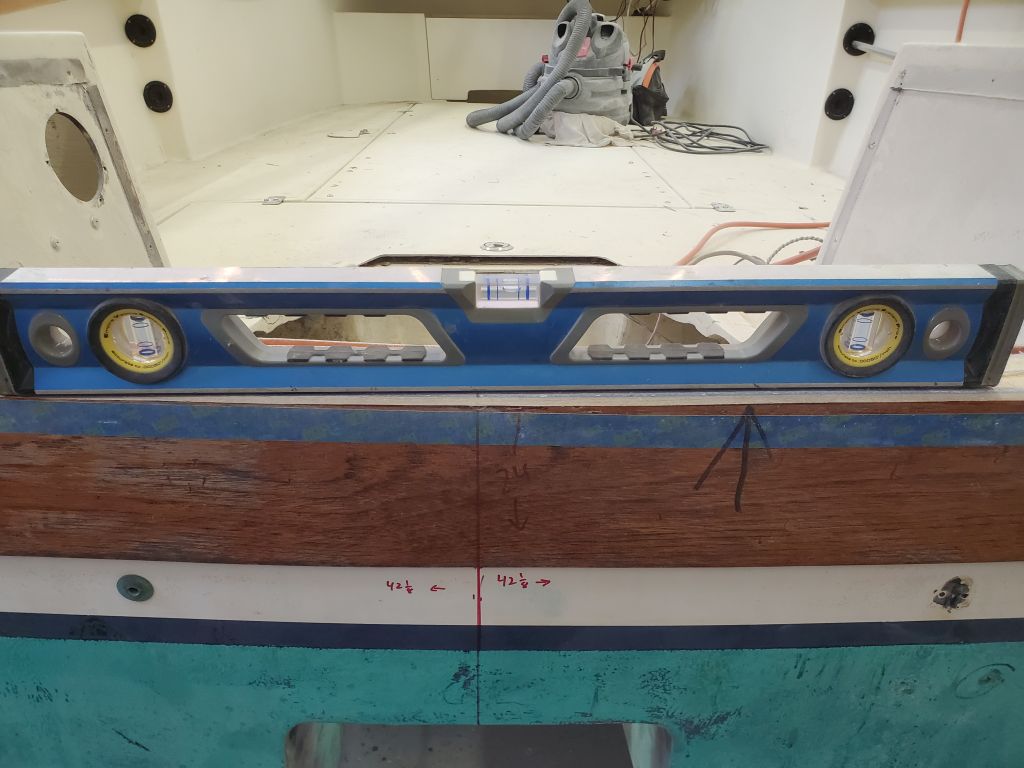
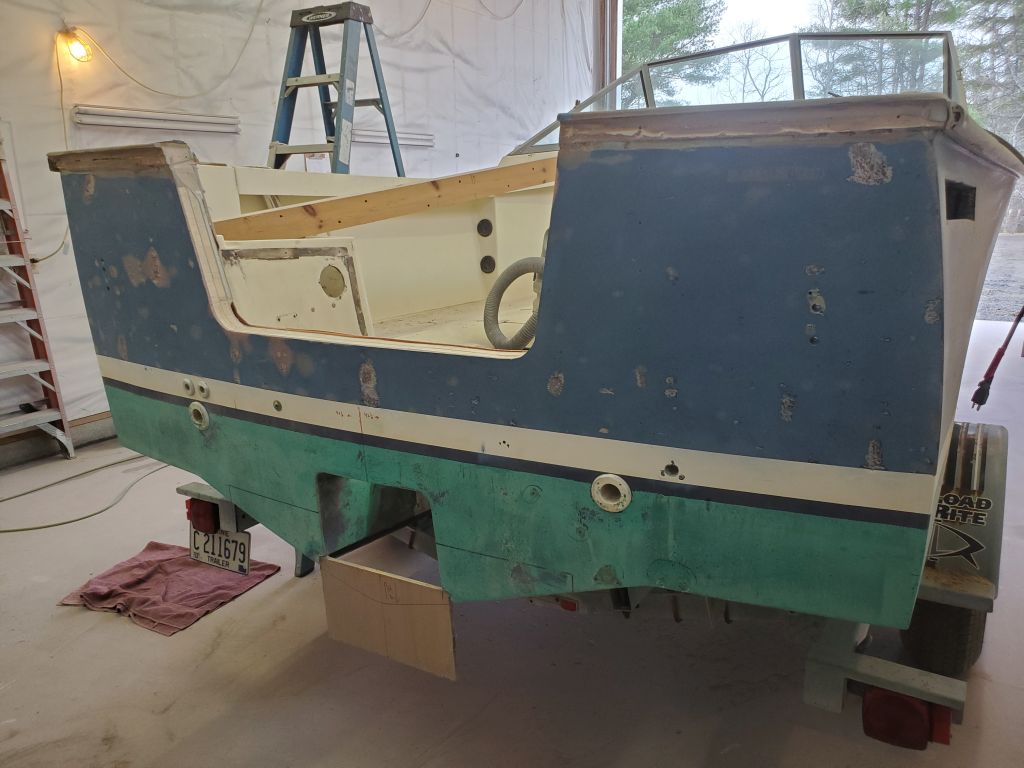
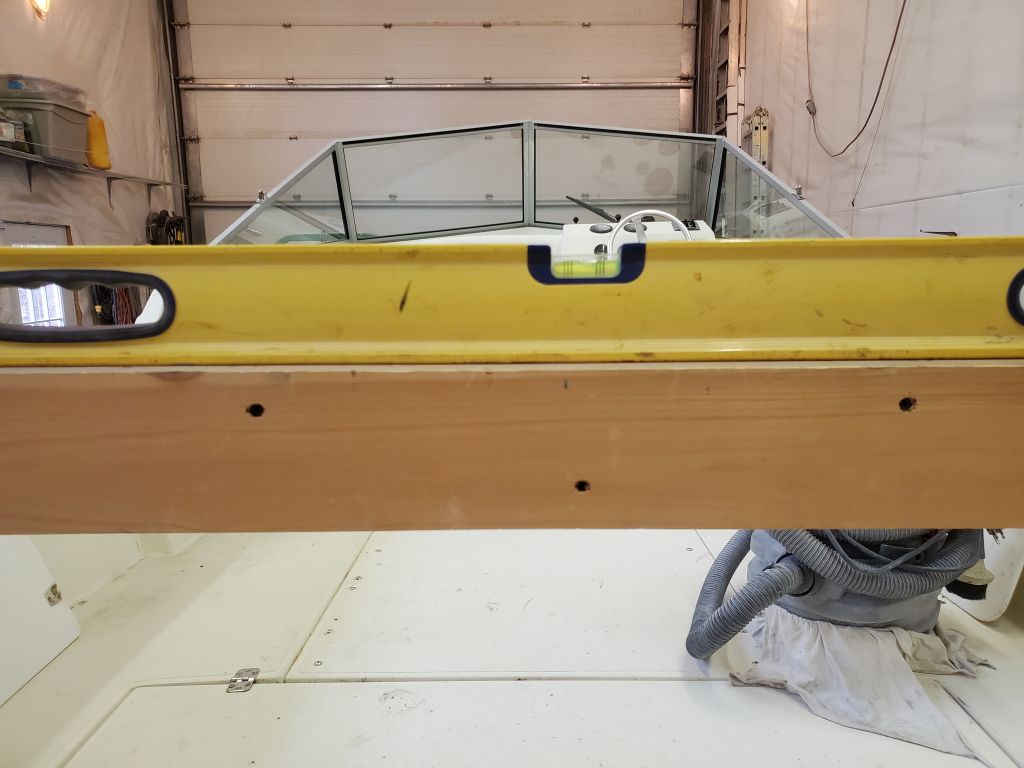
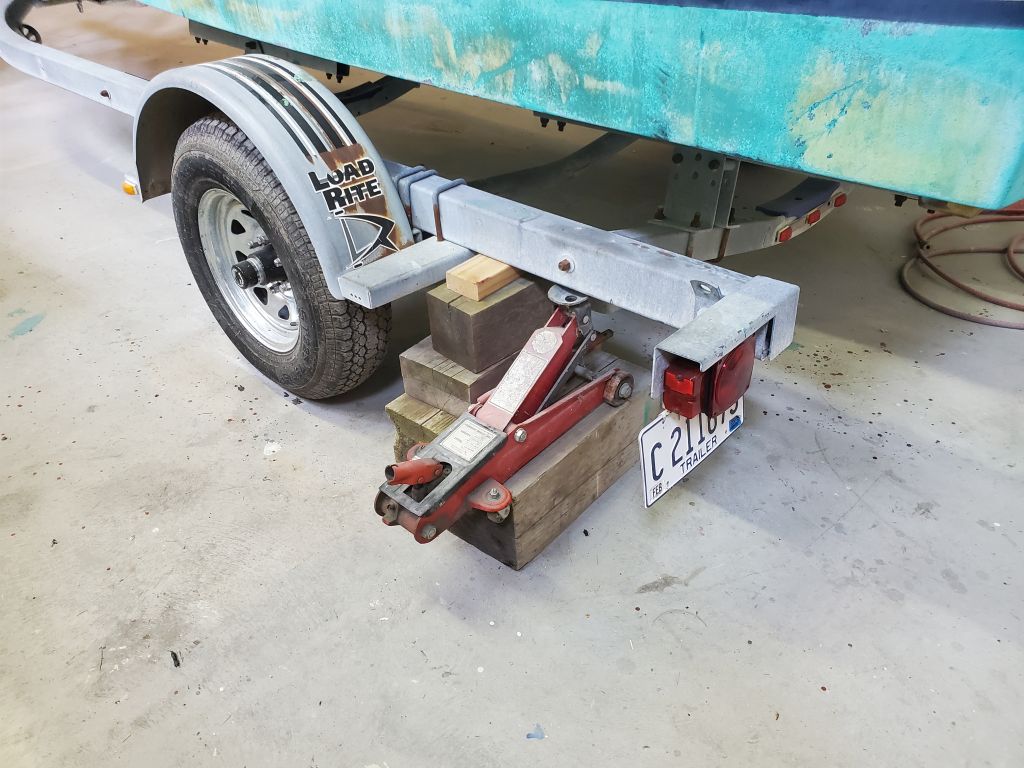
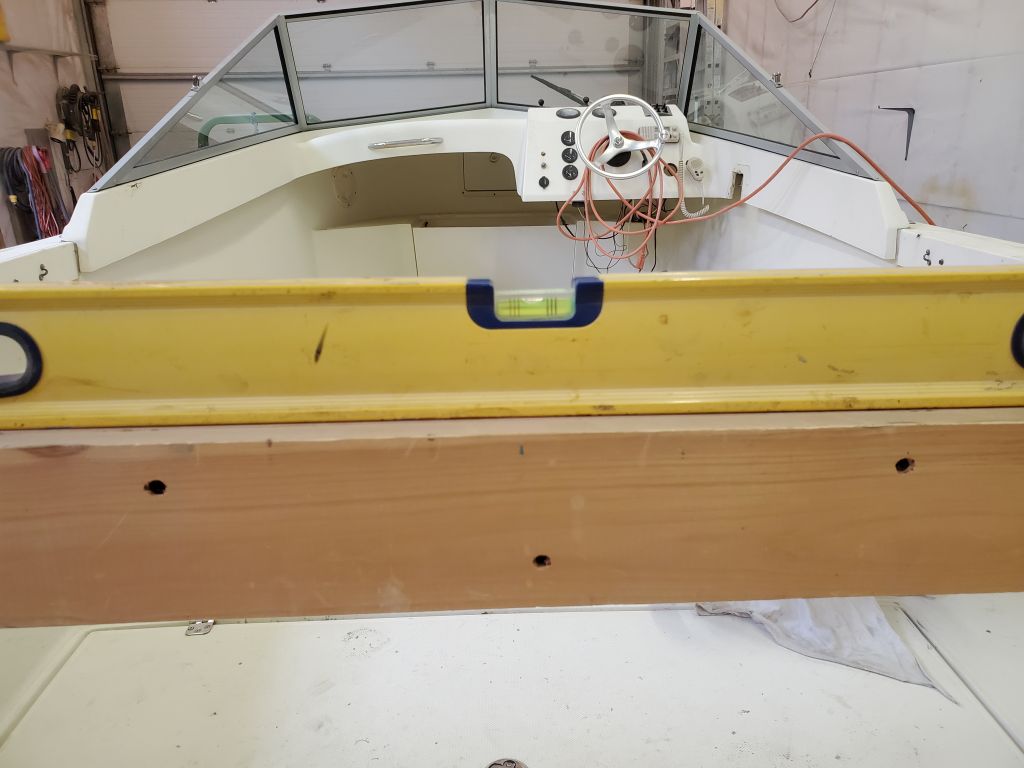
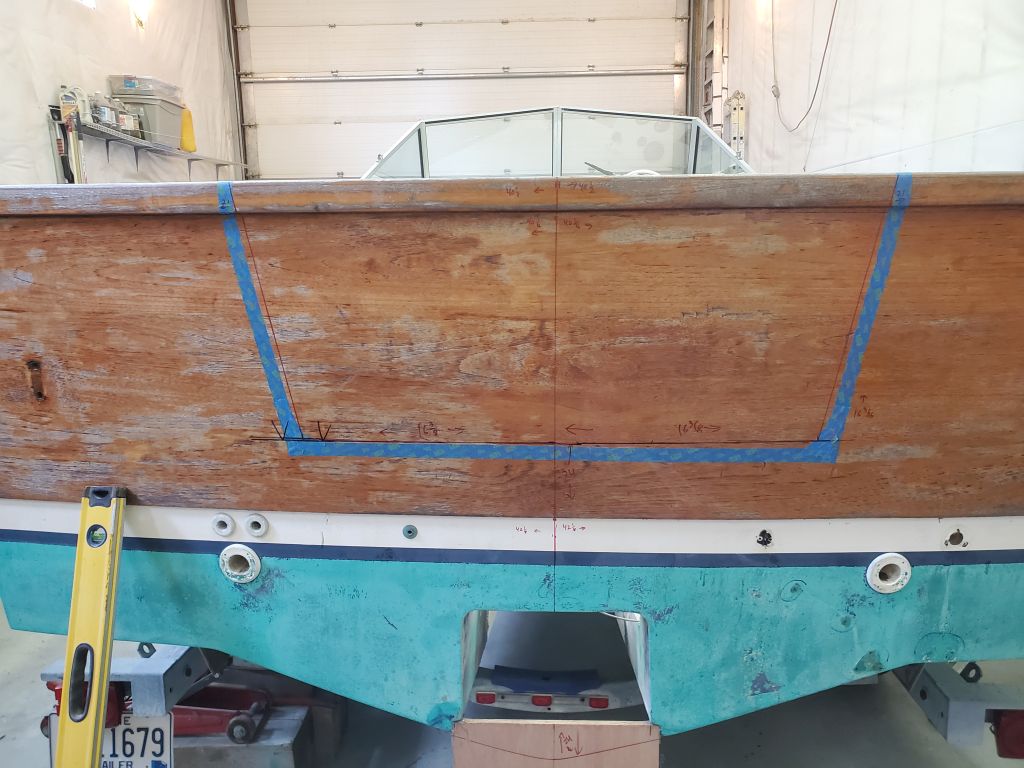
The boat was slightly out of level, so I propped up one side with a jack and blocking till she was level across both sidedecks, using a long straightedge.
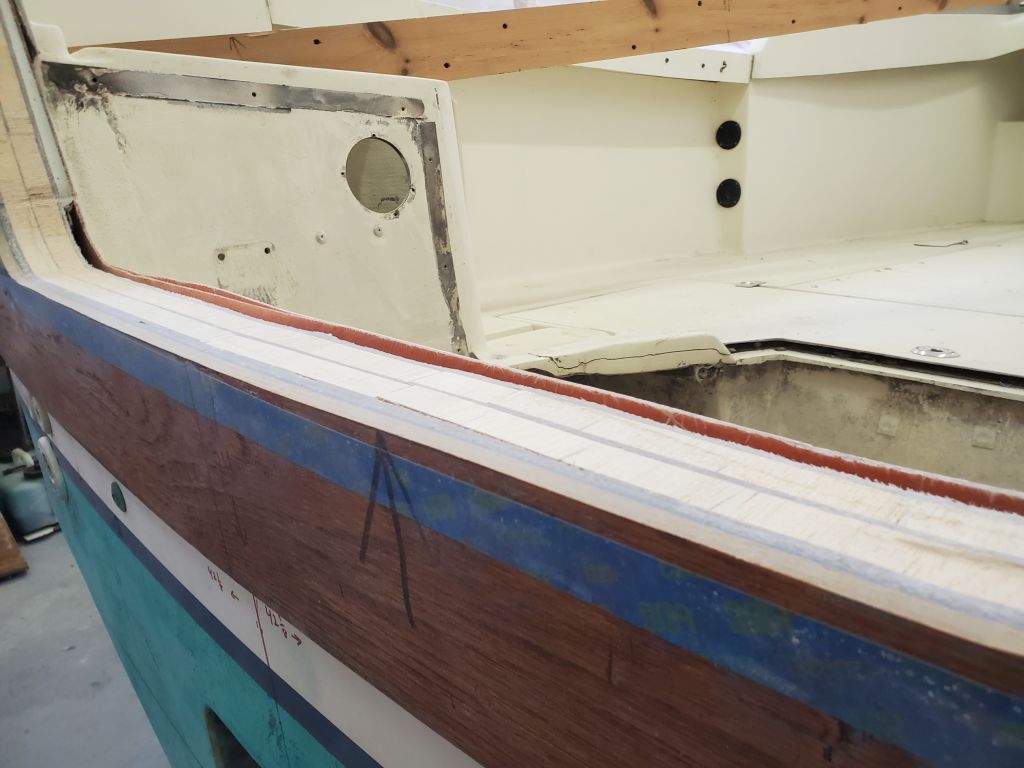
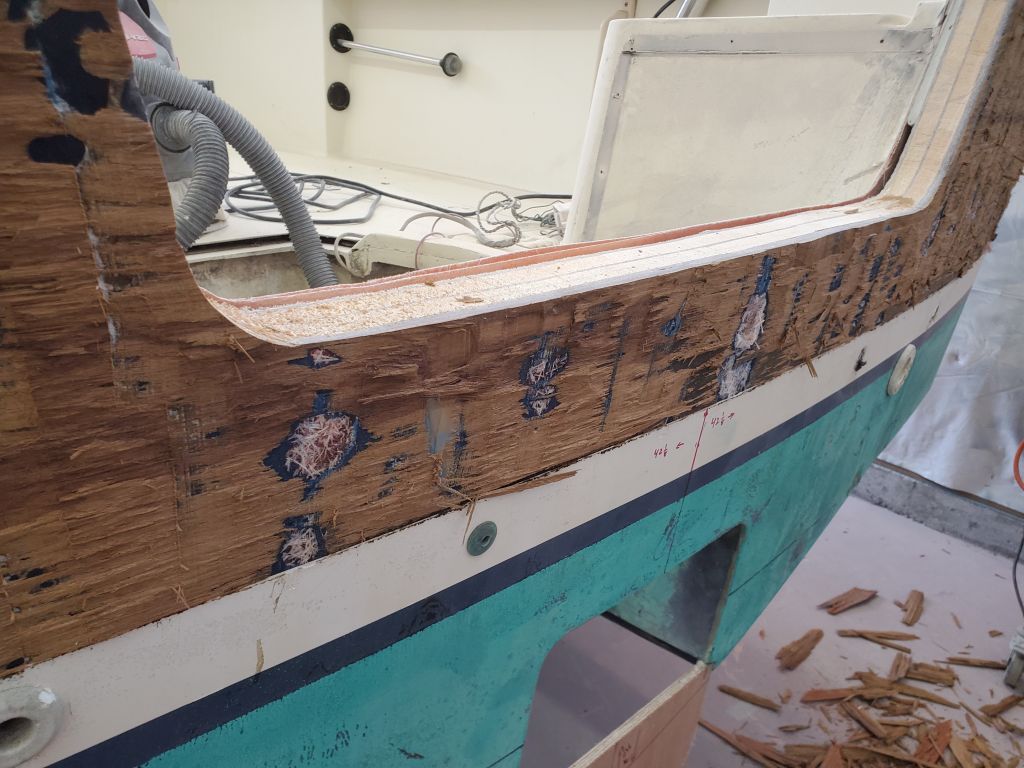
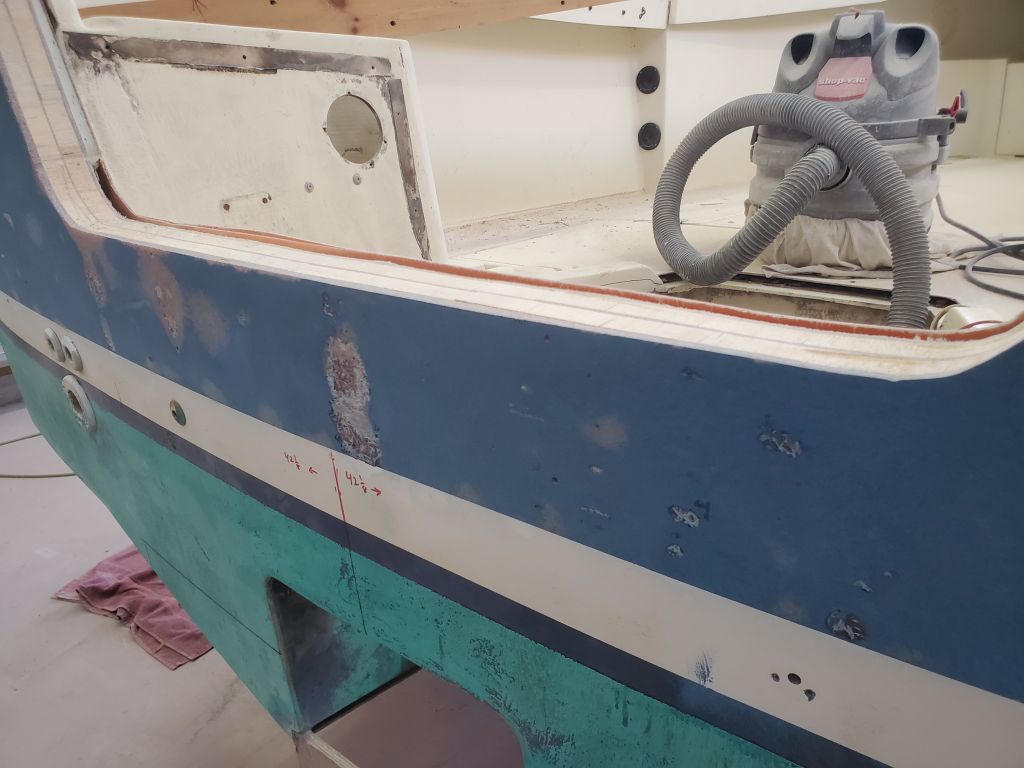
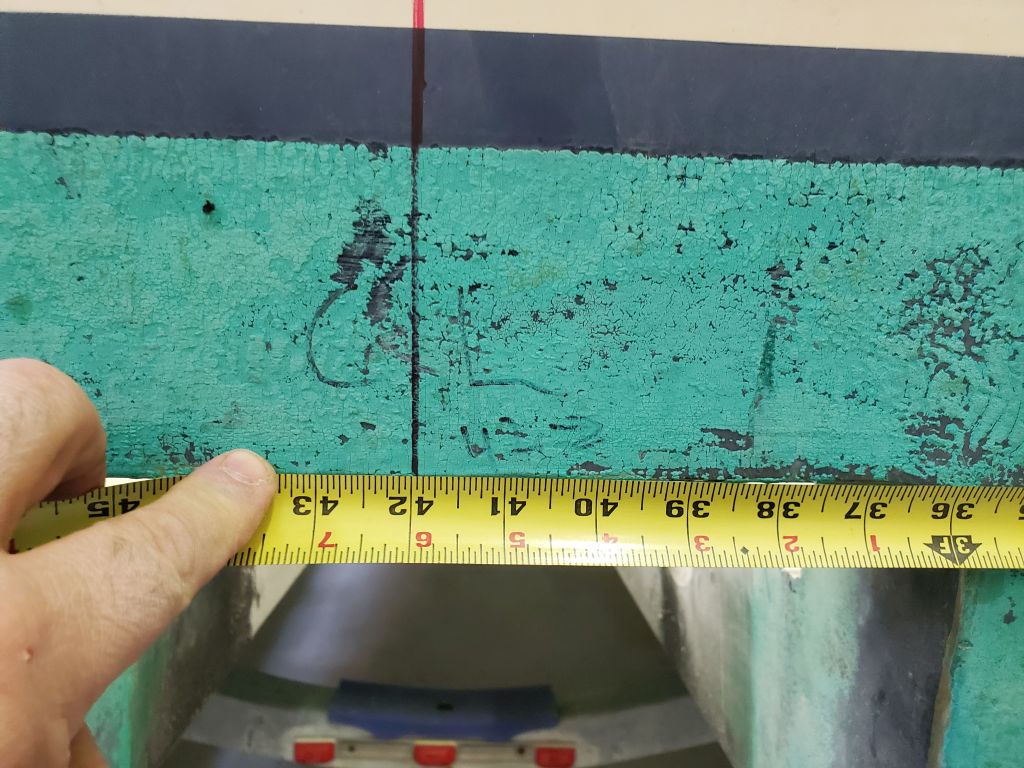
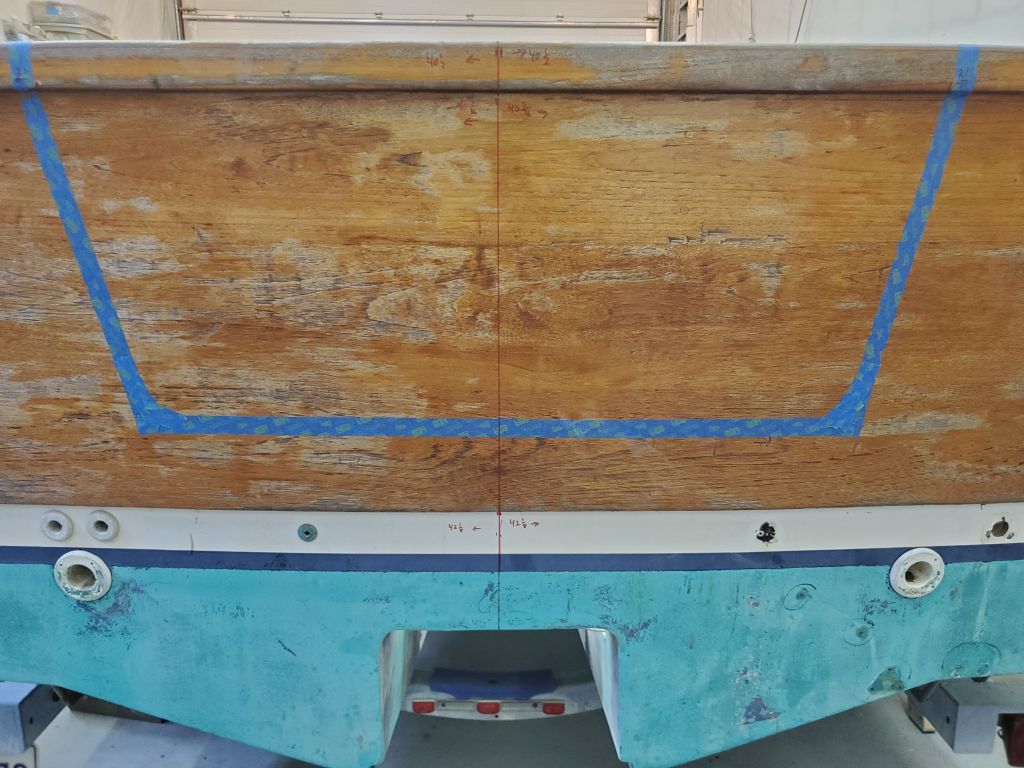
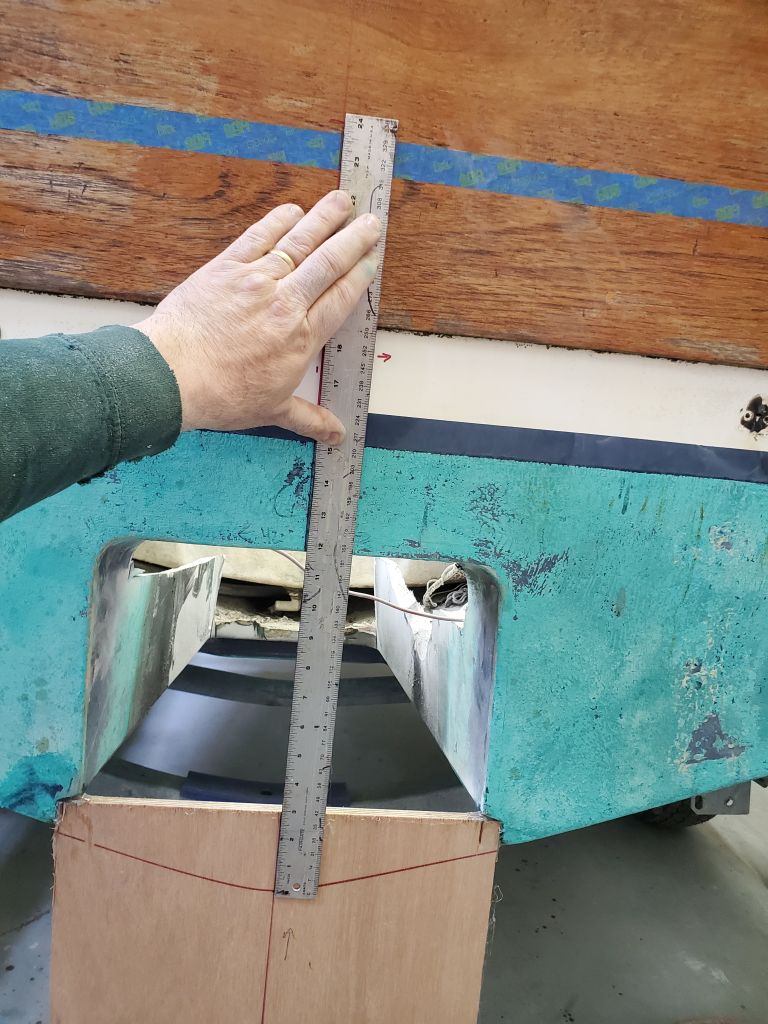
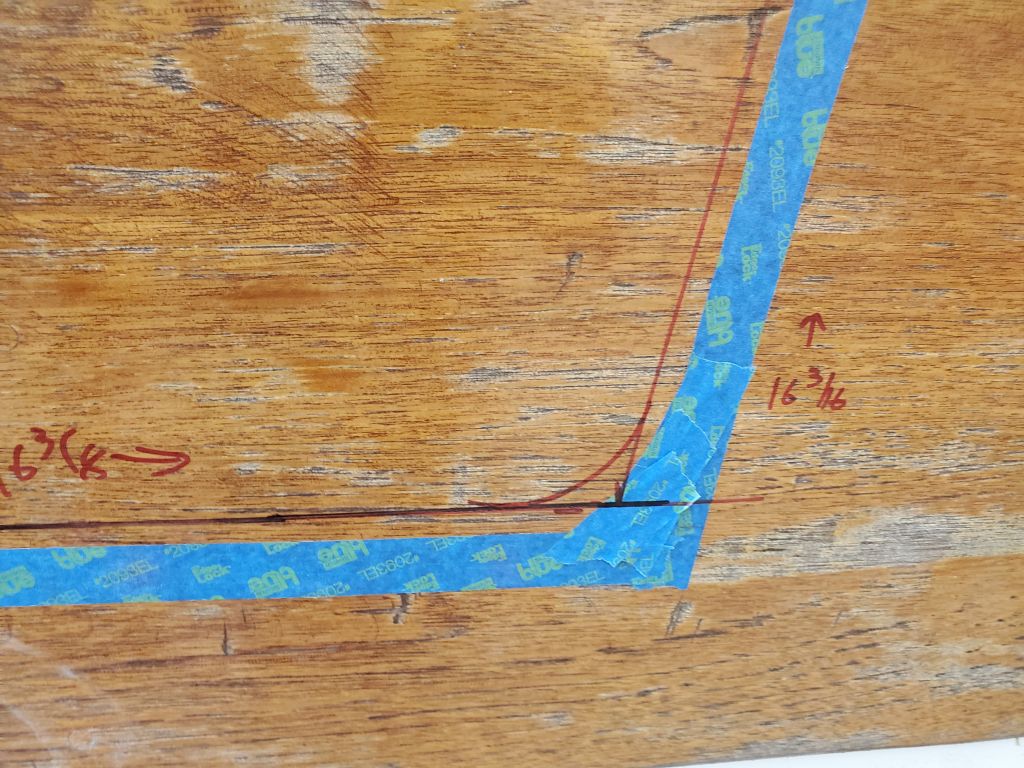
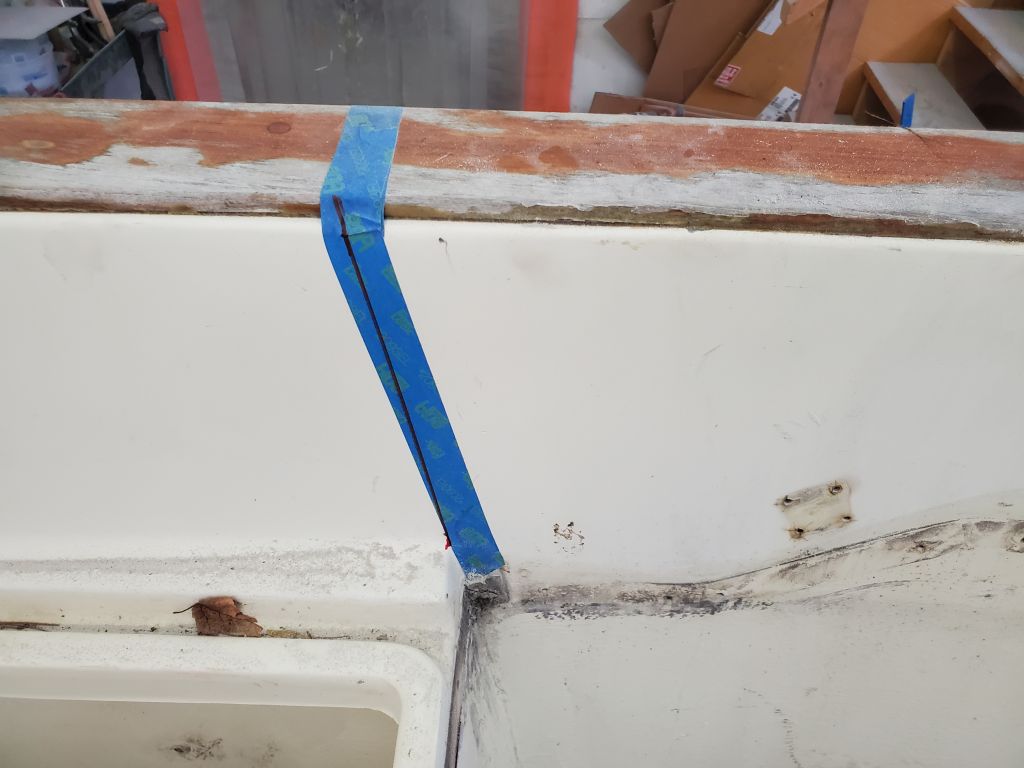
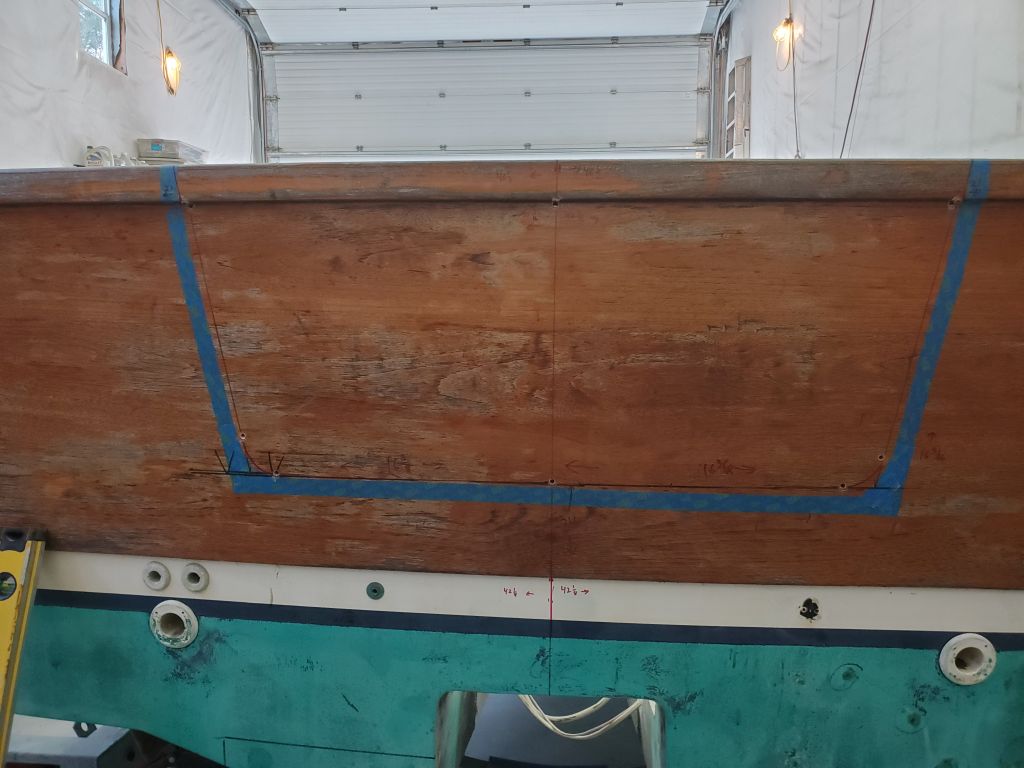
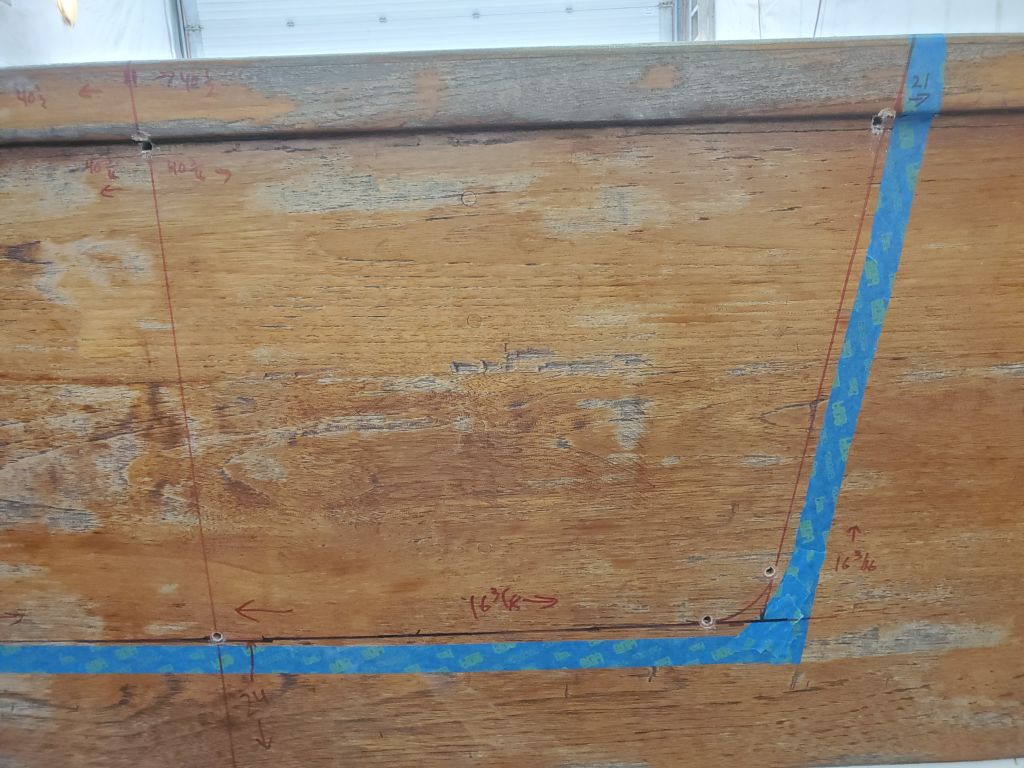
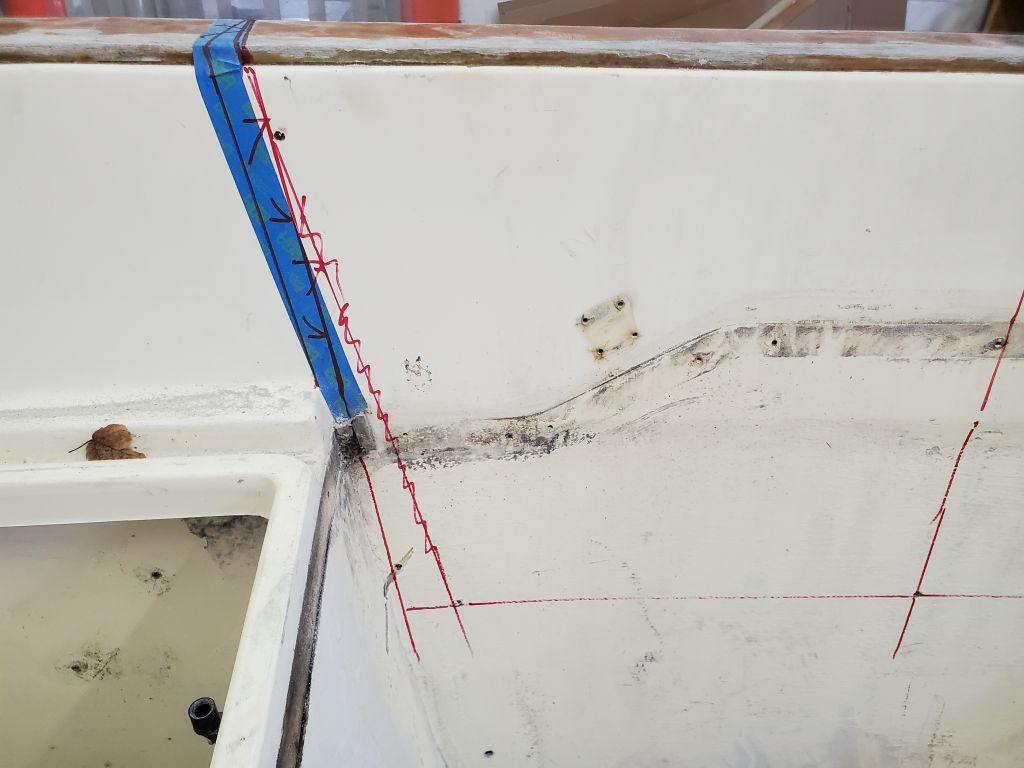
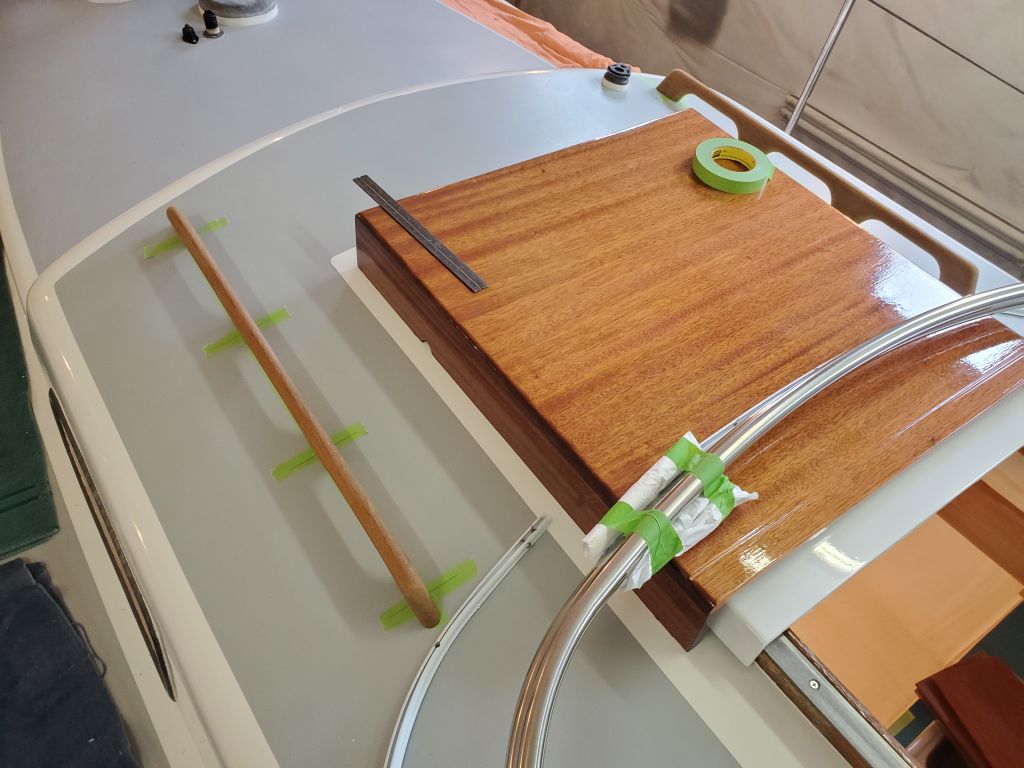
Now that the boat was level, I could transfer my most recent mark for the bottom of the cutout to each side, using a level from the center point to create a tick mark out near the edge of the existing taped marks. Then, because the transom was slightly curved, rendering the level inherently (if slightly) inaccurate for this method, I double-checked the height of the tick marks on each side with measurements from fixed points on the boat and, again with the level, confirmed the new marks and slightly fixed the line on the port side as a result (the black line).
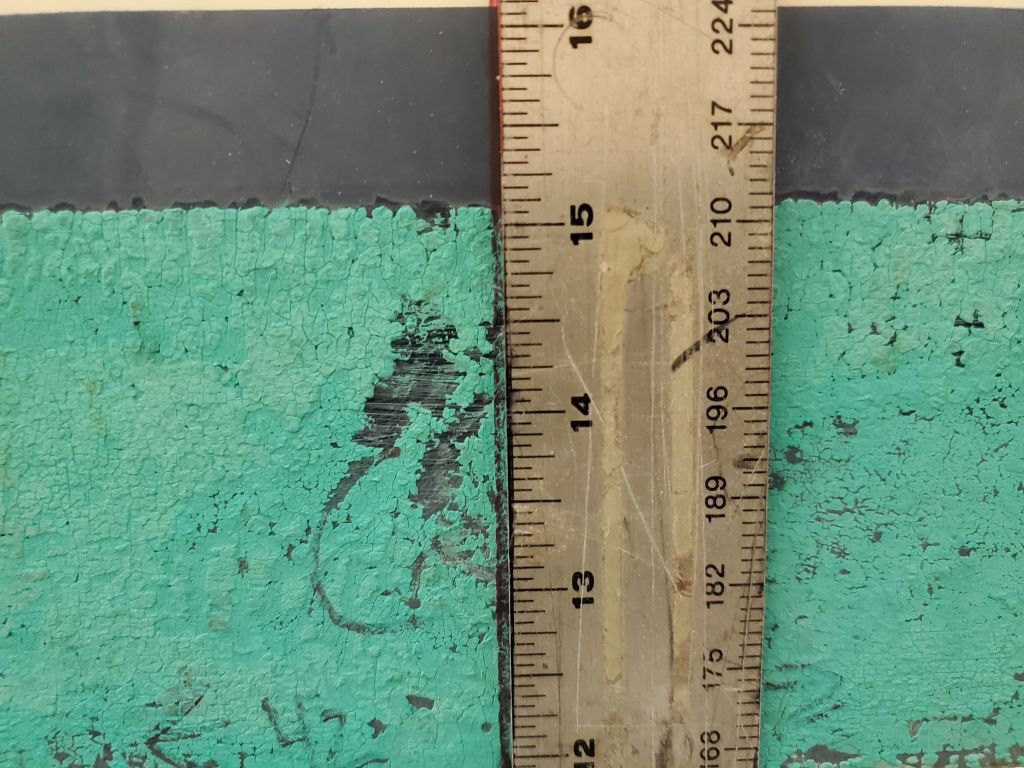
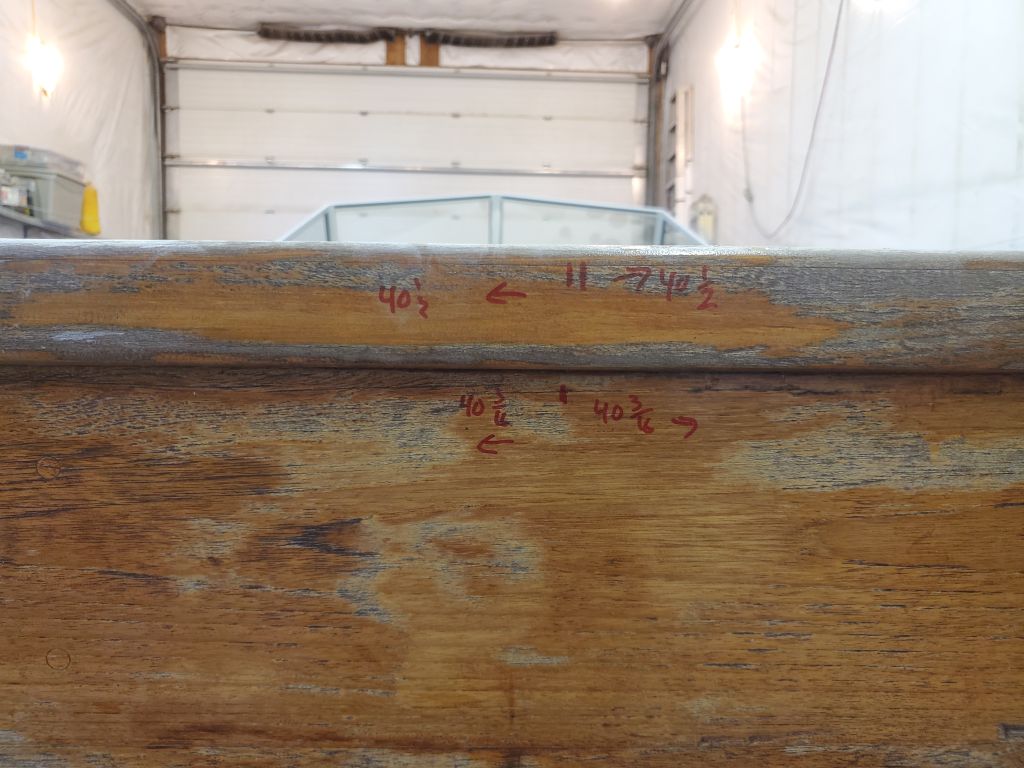
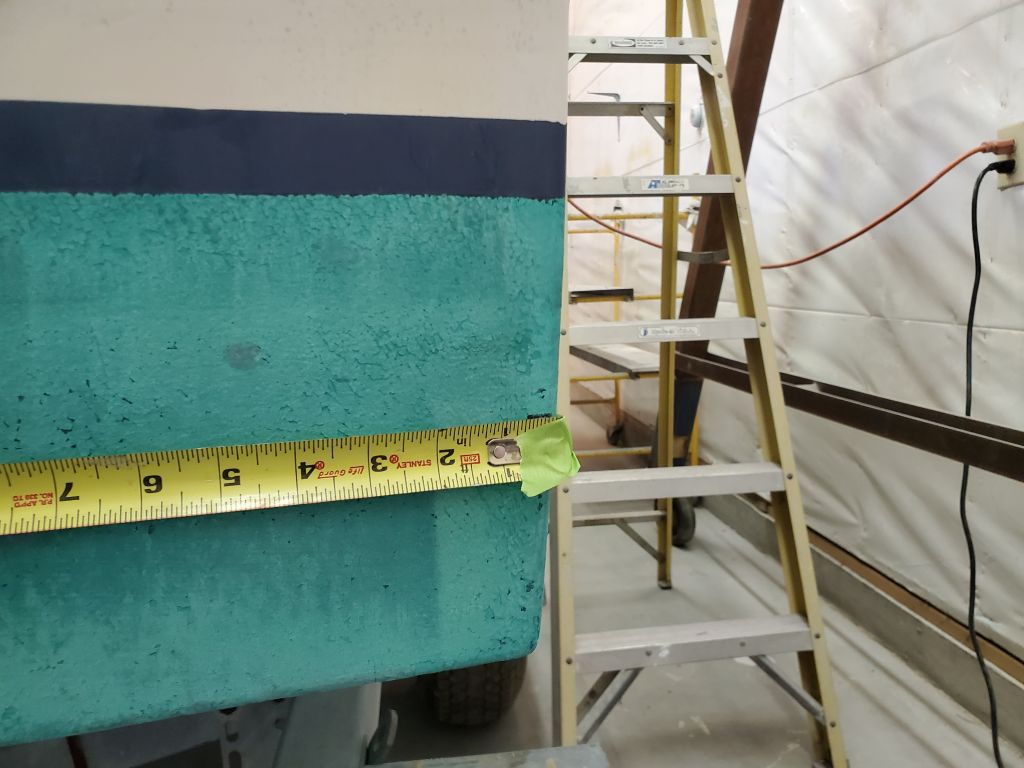
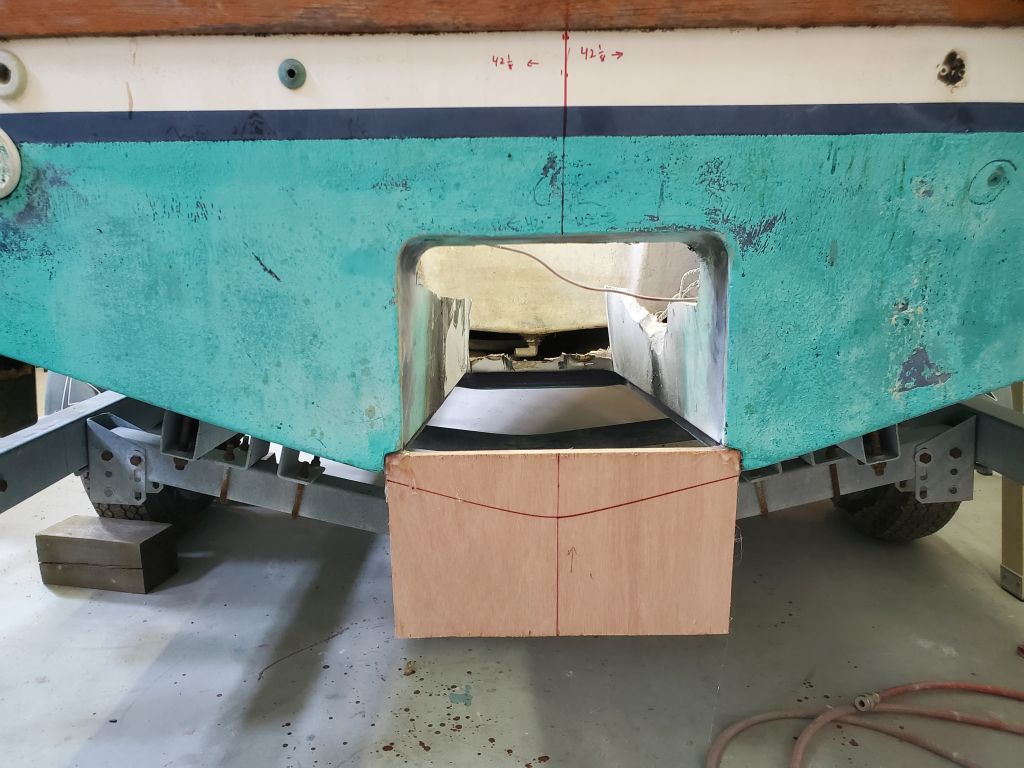
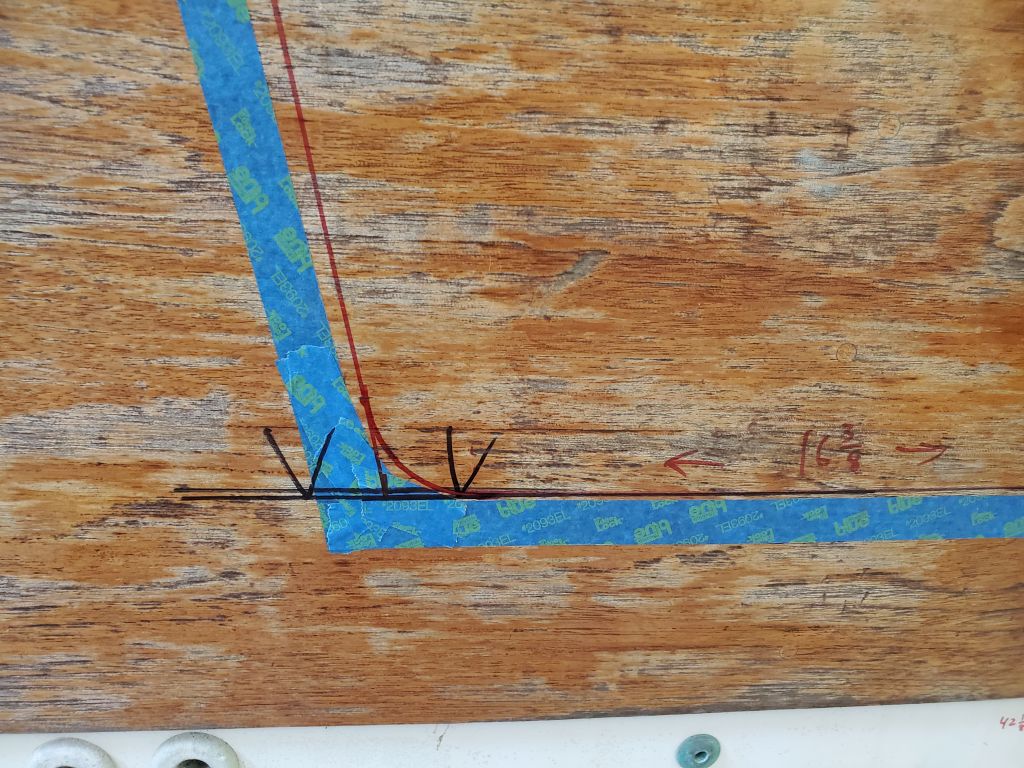
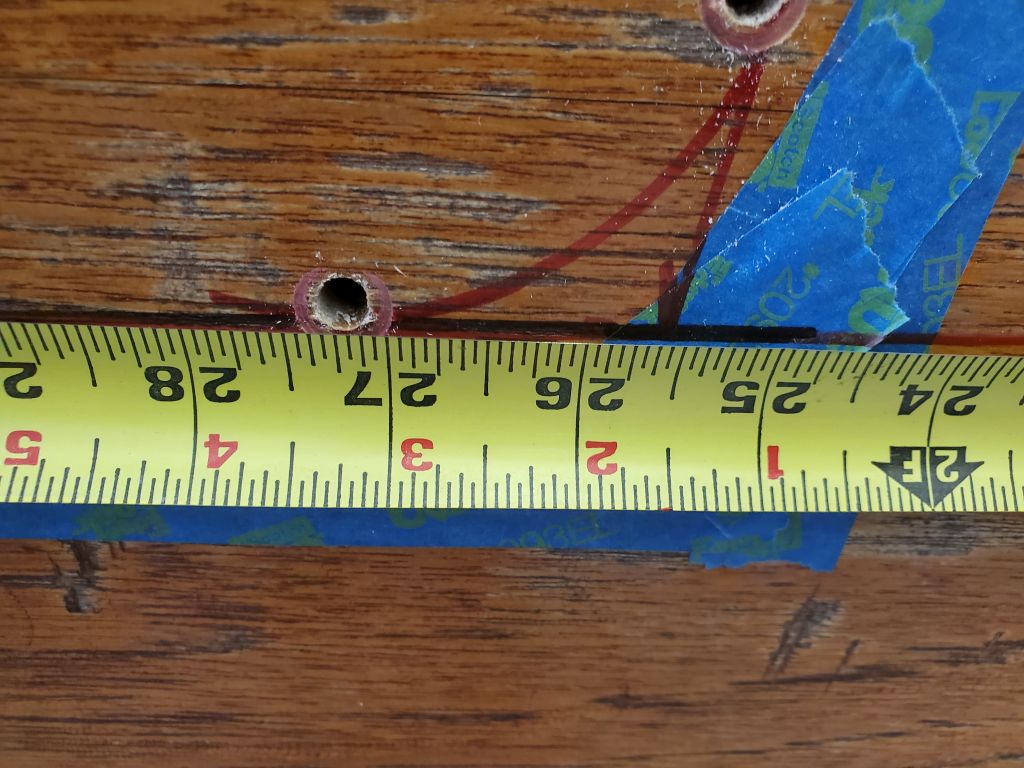
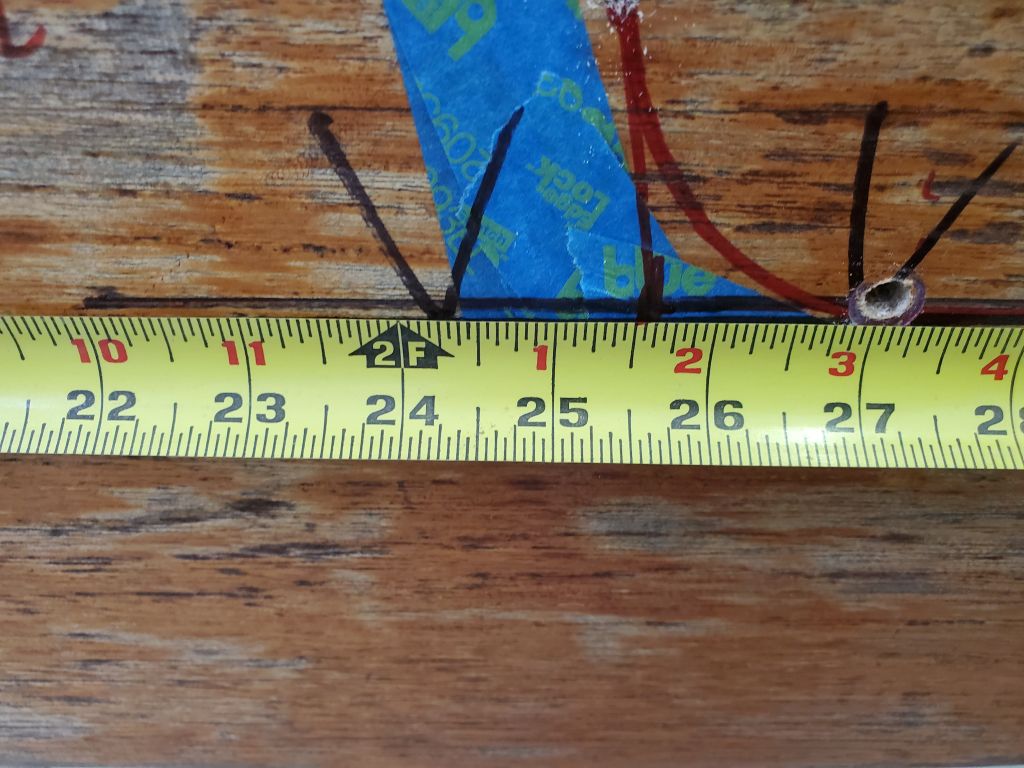
Next I could measure out from centerline the required distance as recorded from the sistership, 16-1/2″ on each side, representing the lower corner of the cutout. I could connect this point with the measurements I’d made at the top, thus creating the raw shape of the cutout. To finish the early layout, I marked a 2″ radius curve at each lower corner, which looked and felt appropriate and again approximated what I’d seen on the sistership.
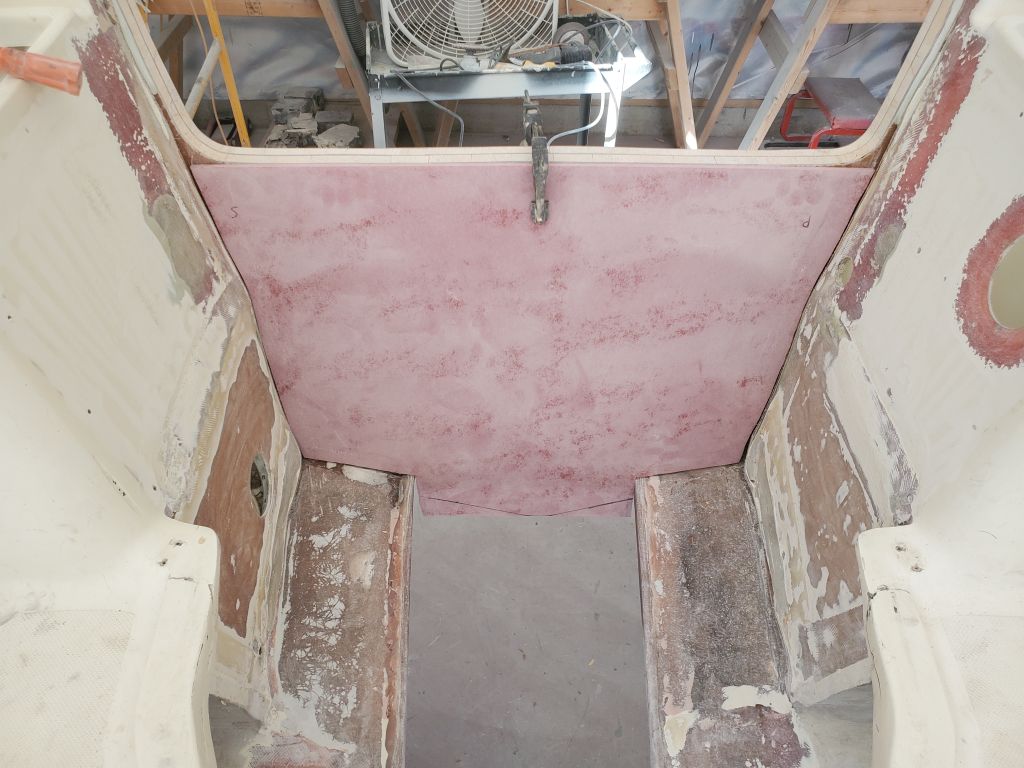
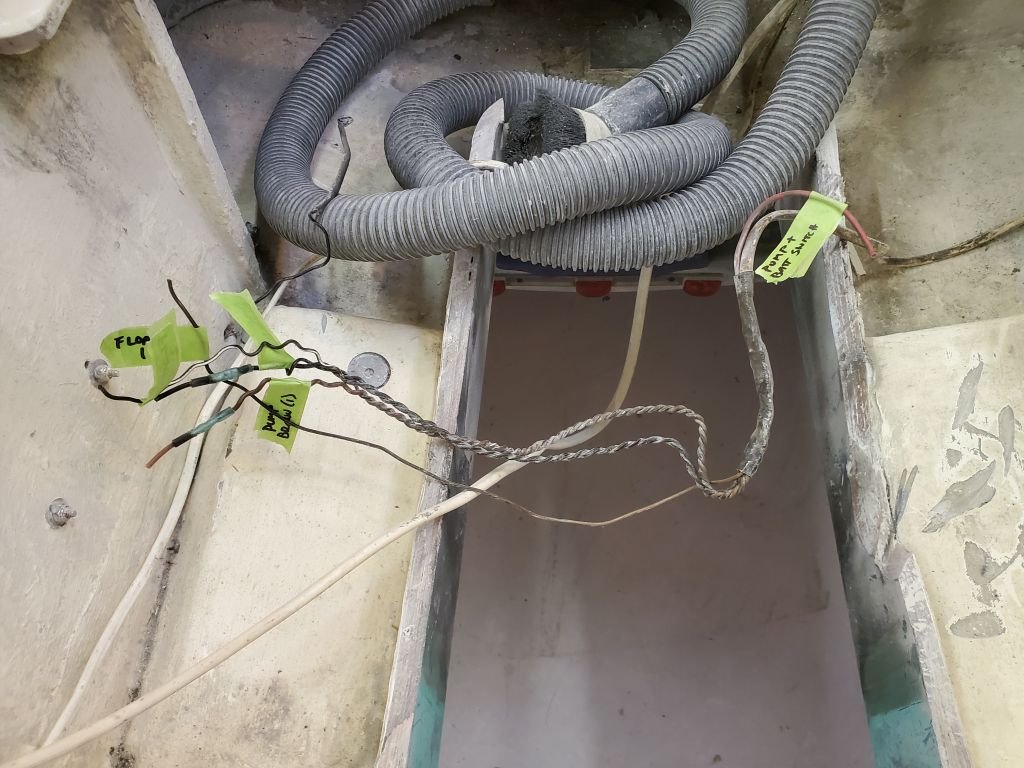
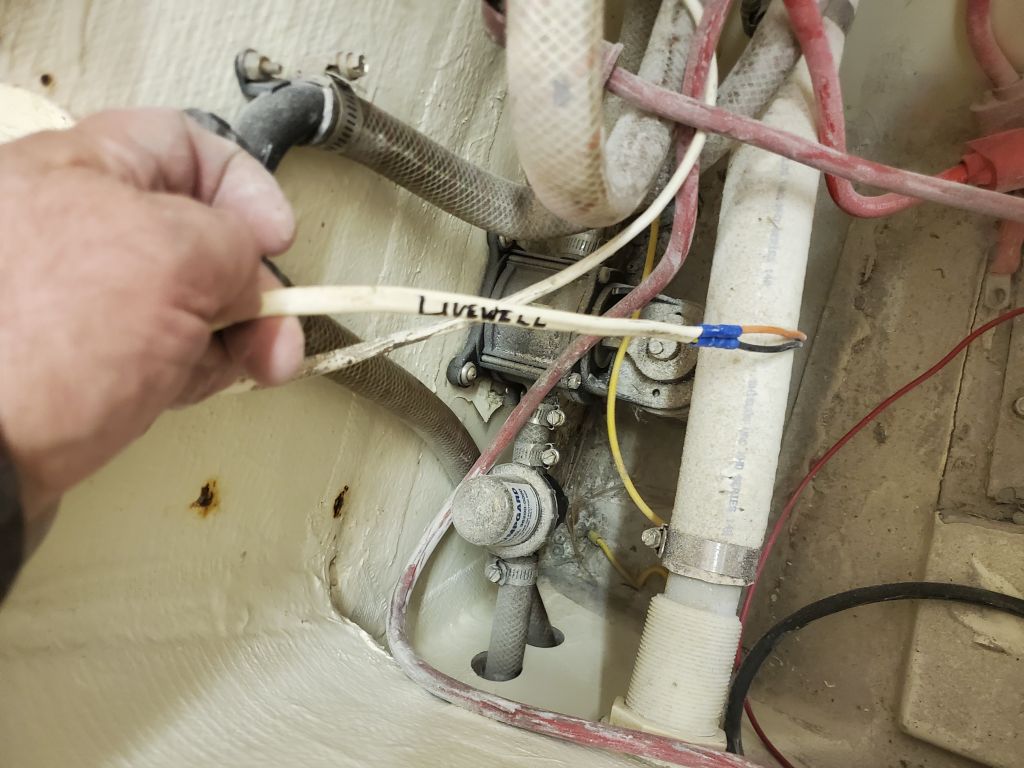
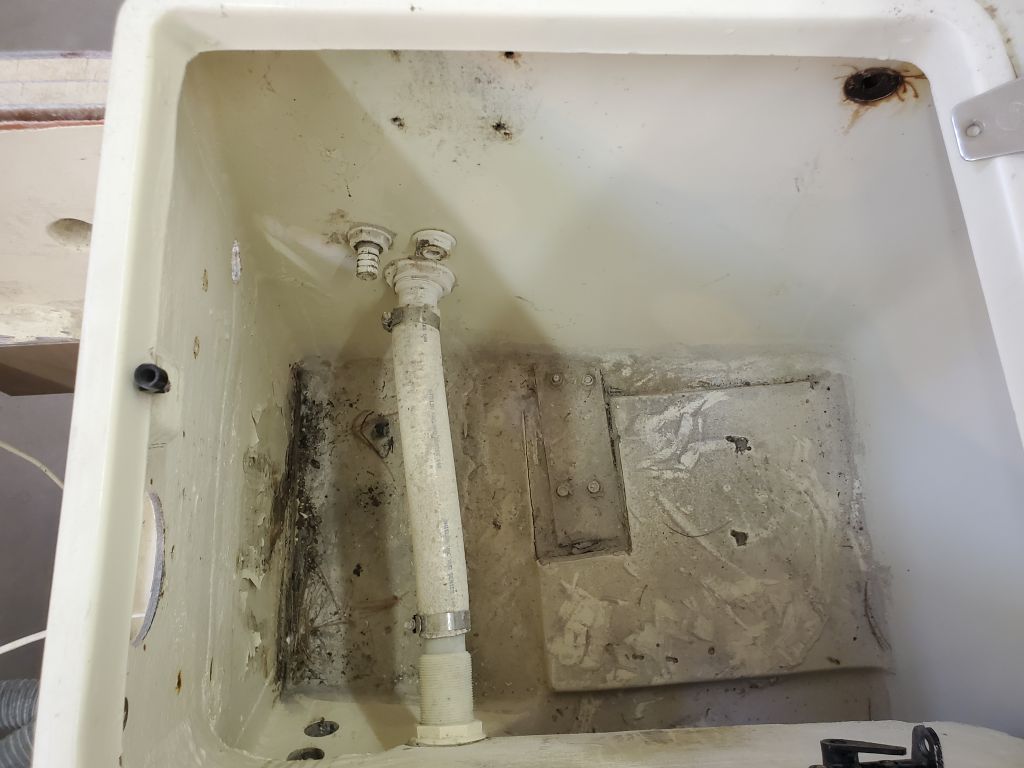
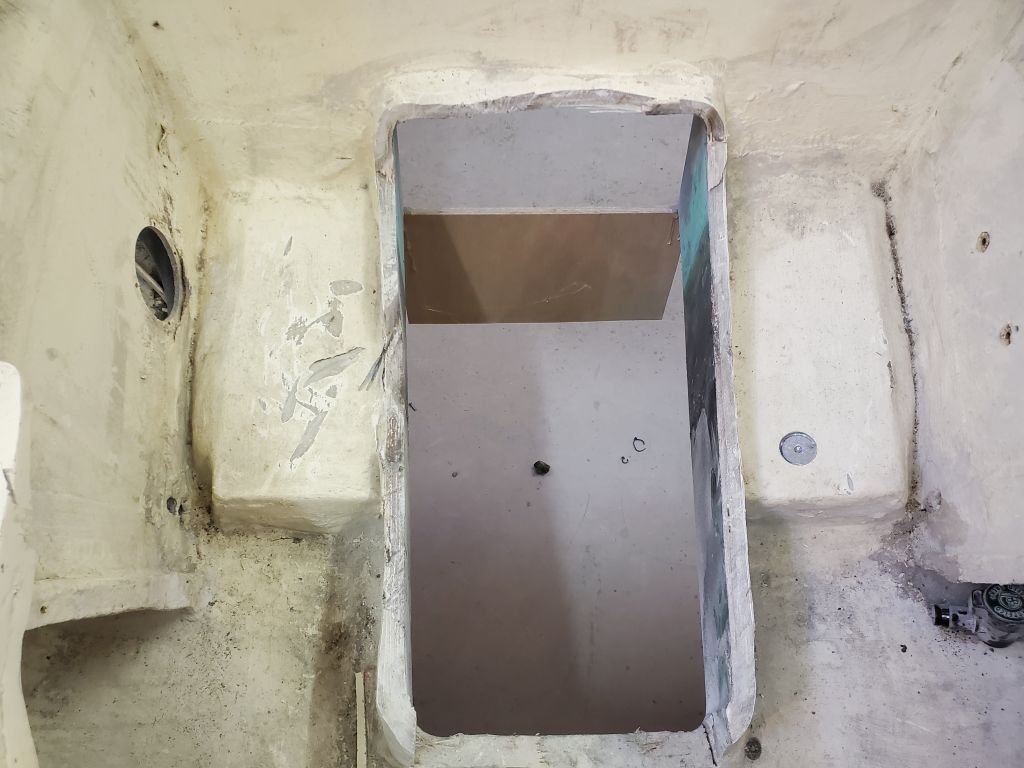
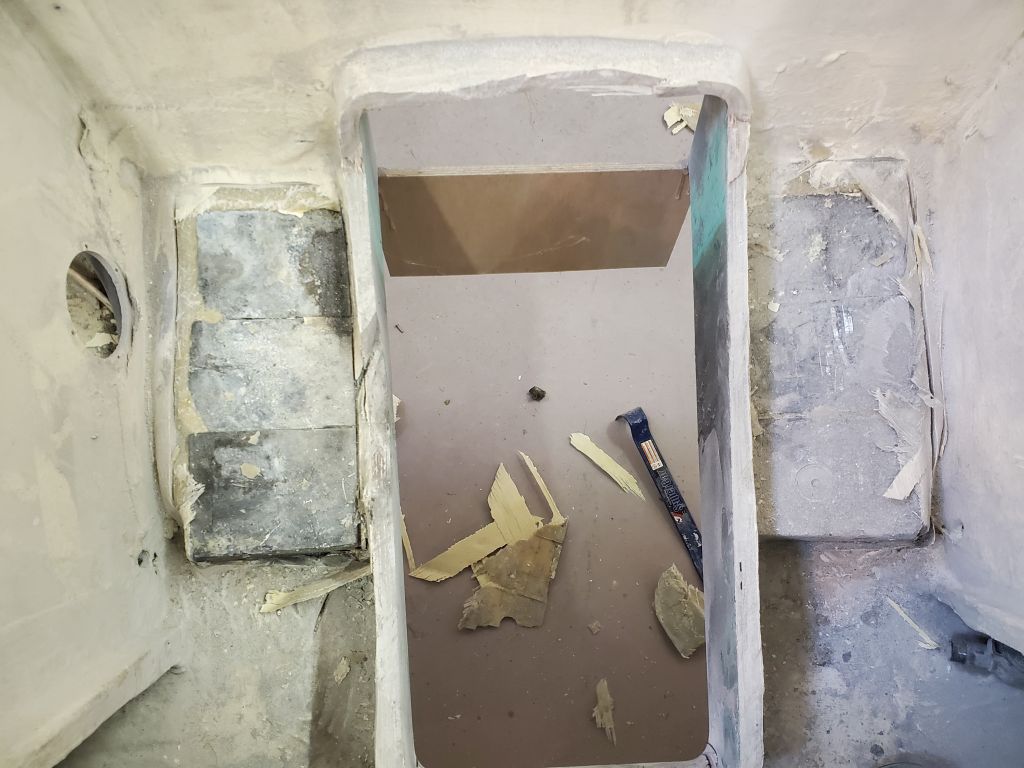
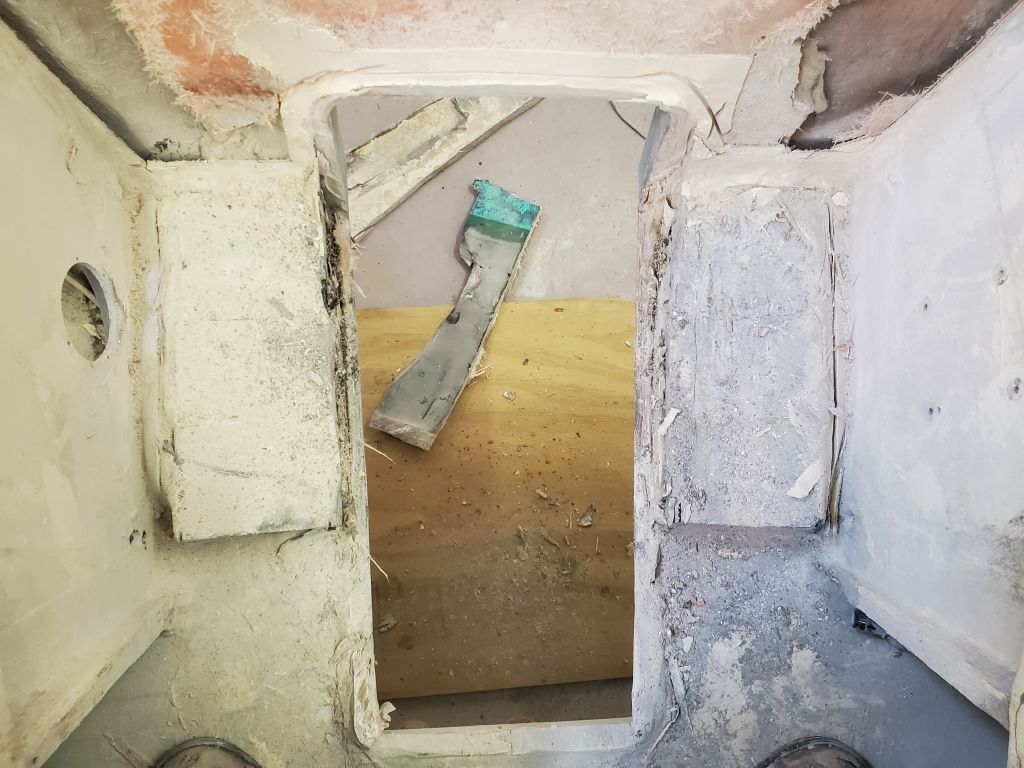
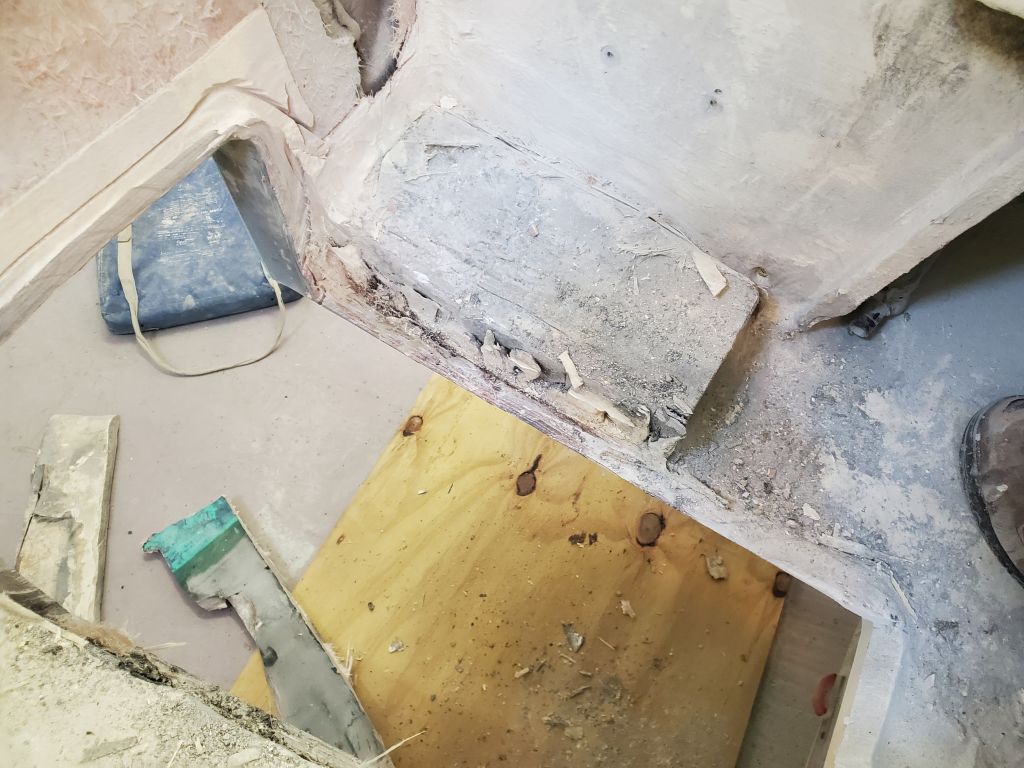
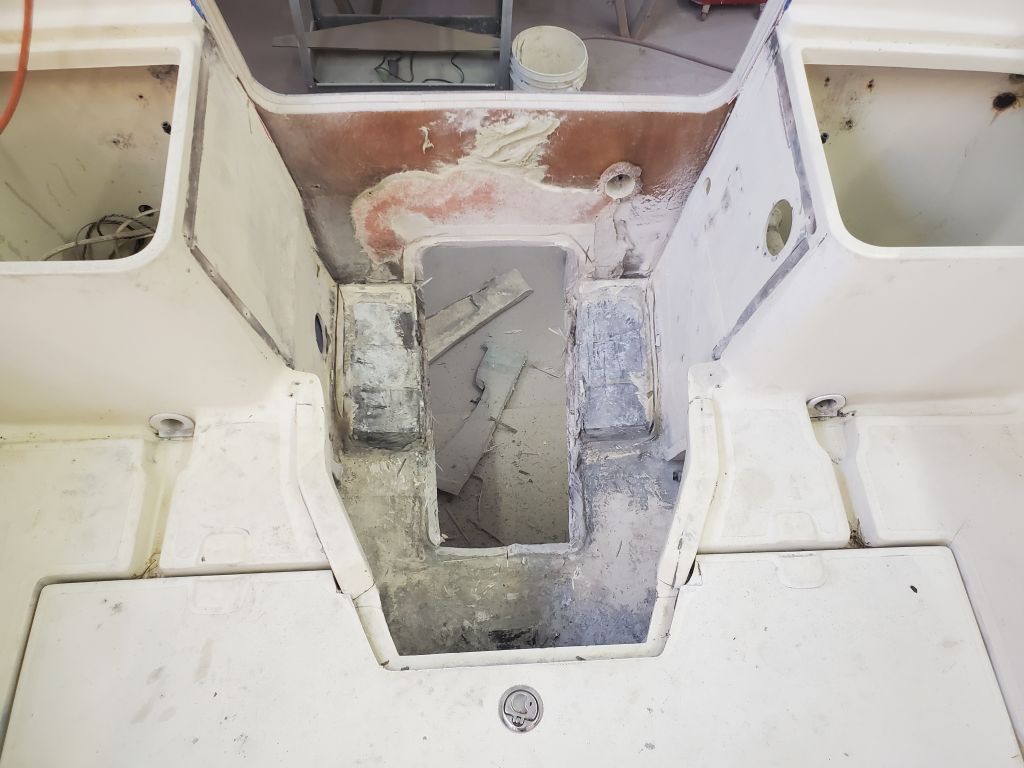
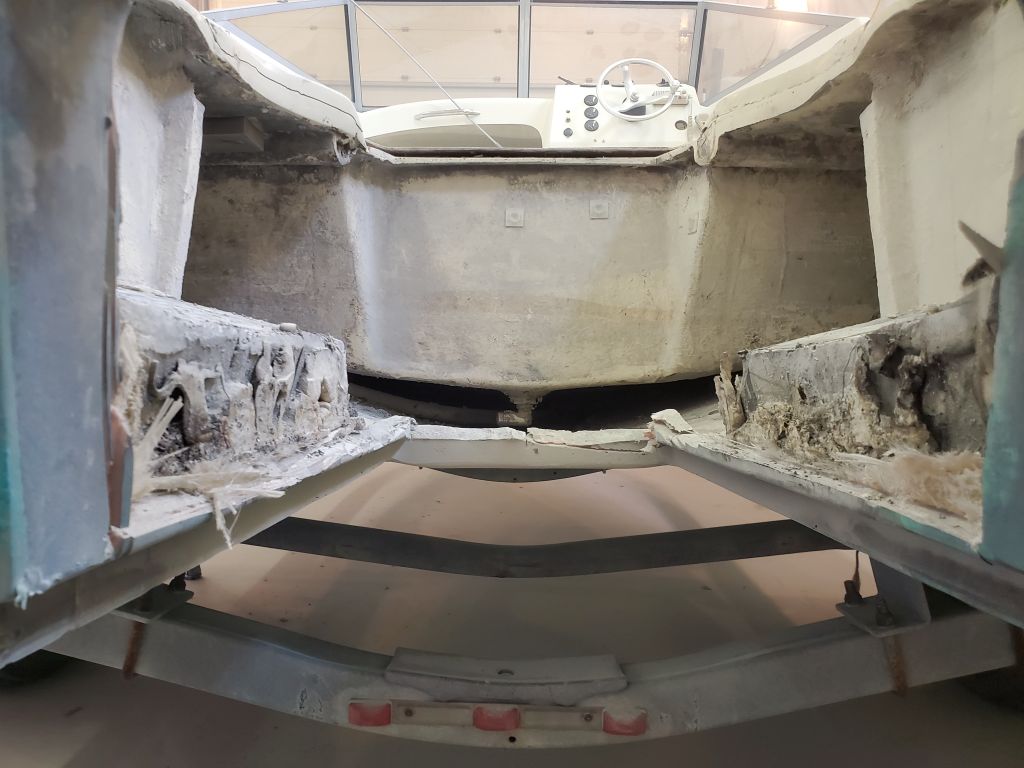
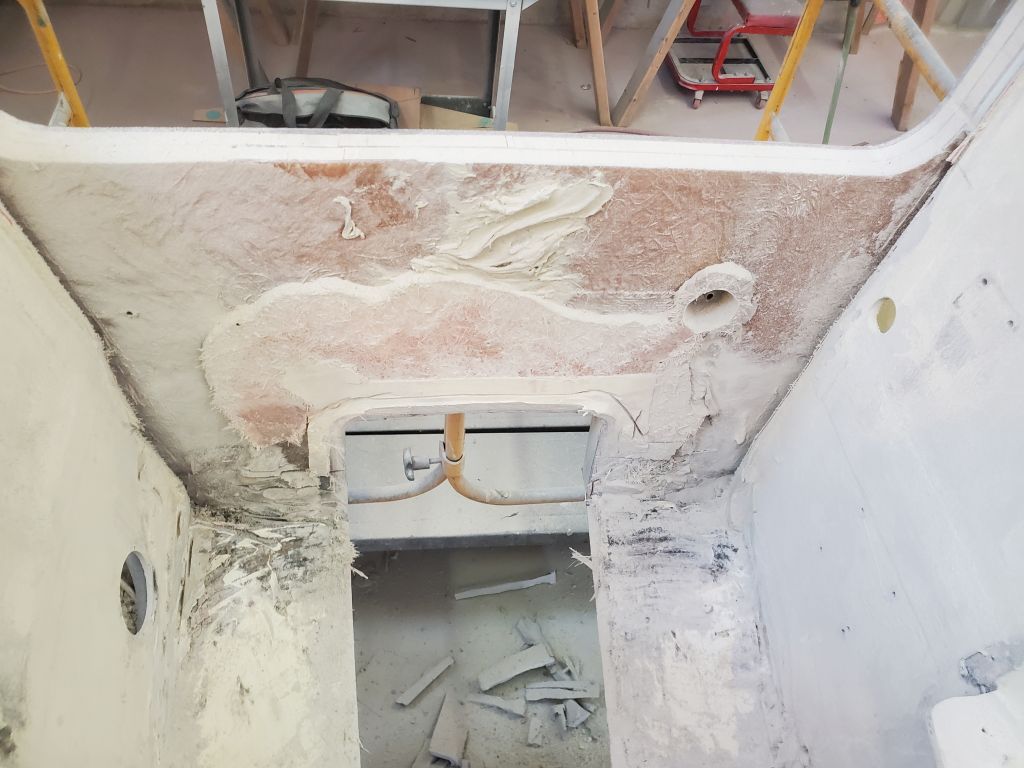
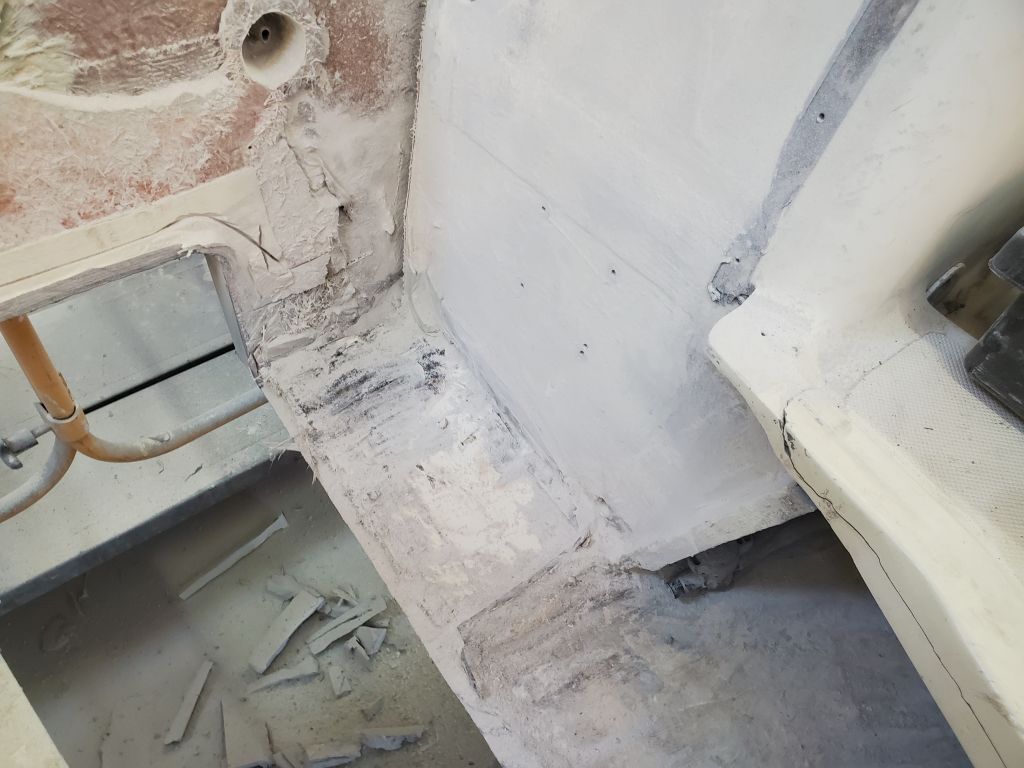
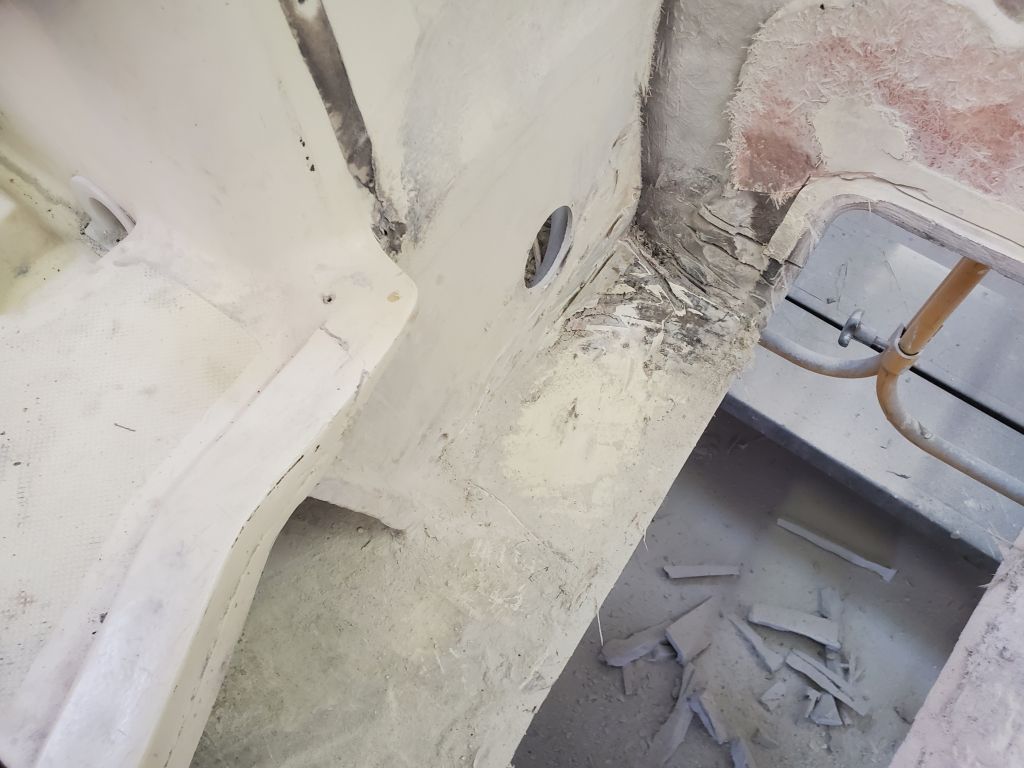
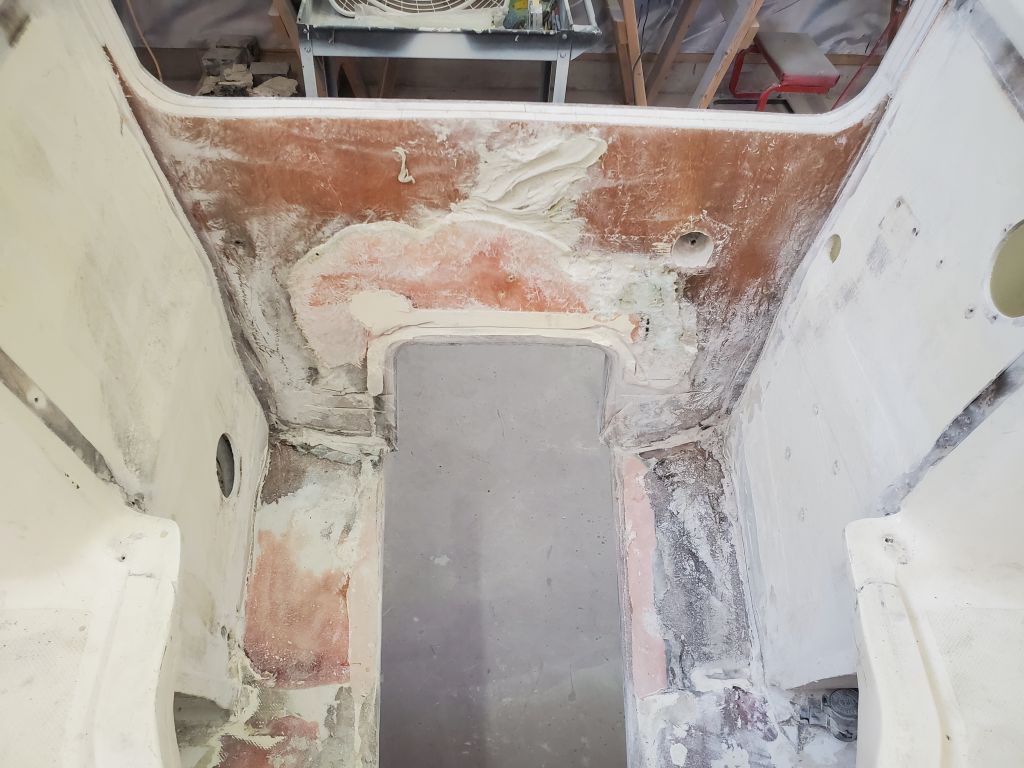
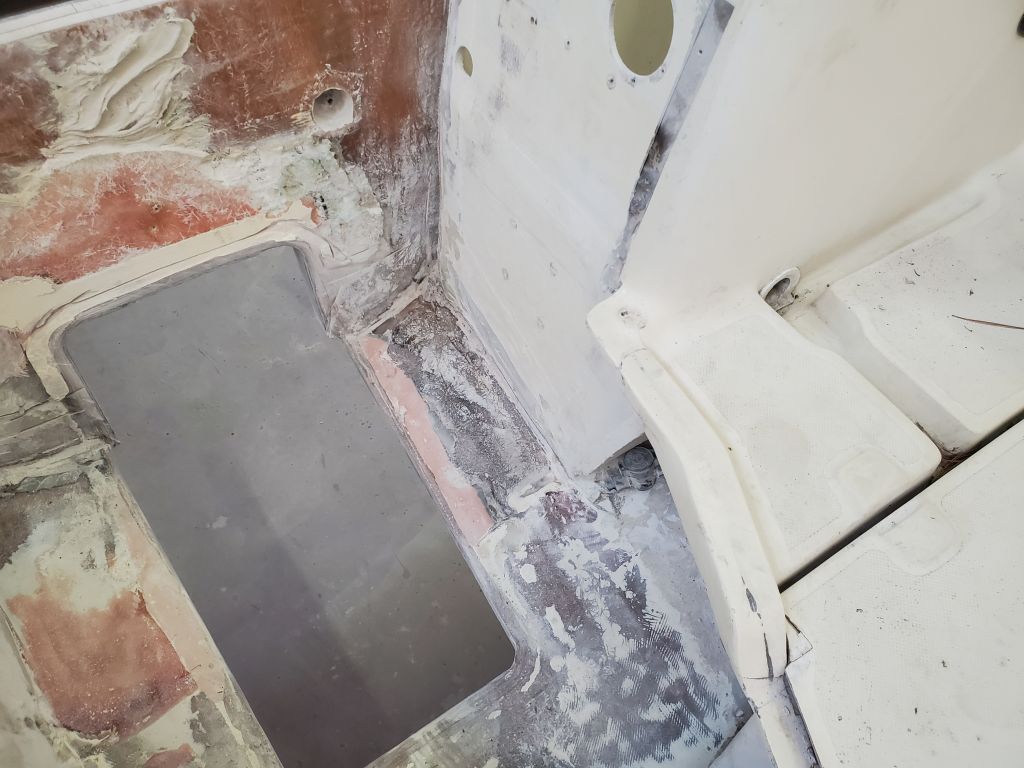
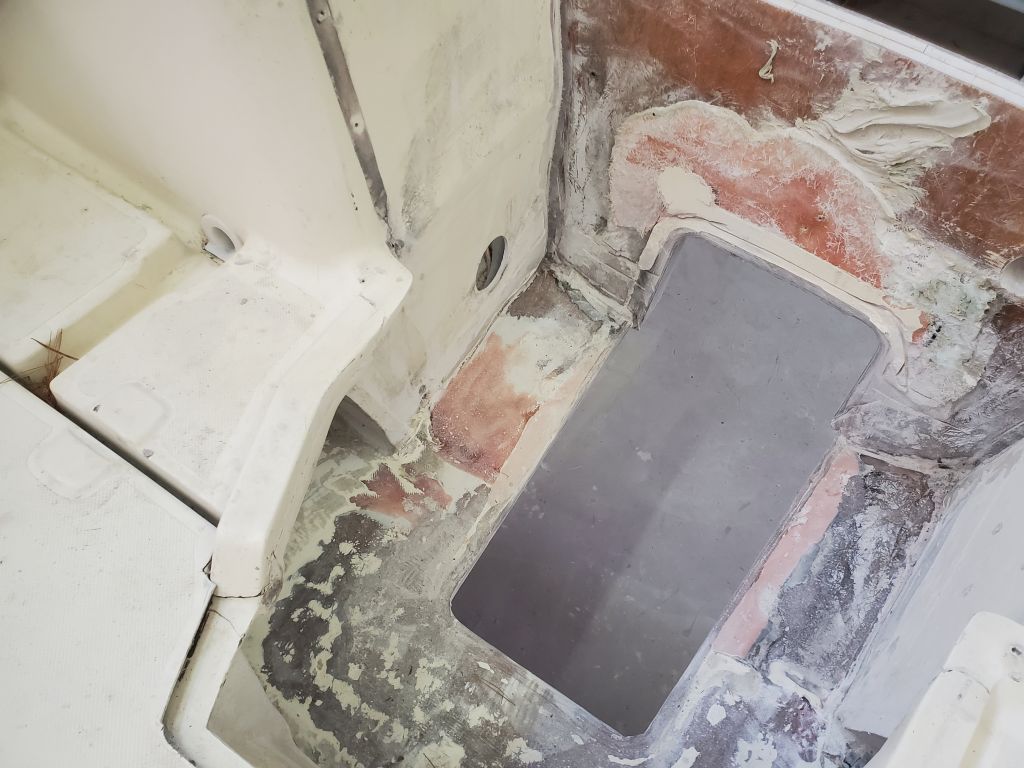
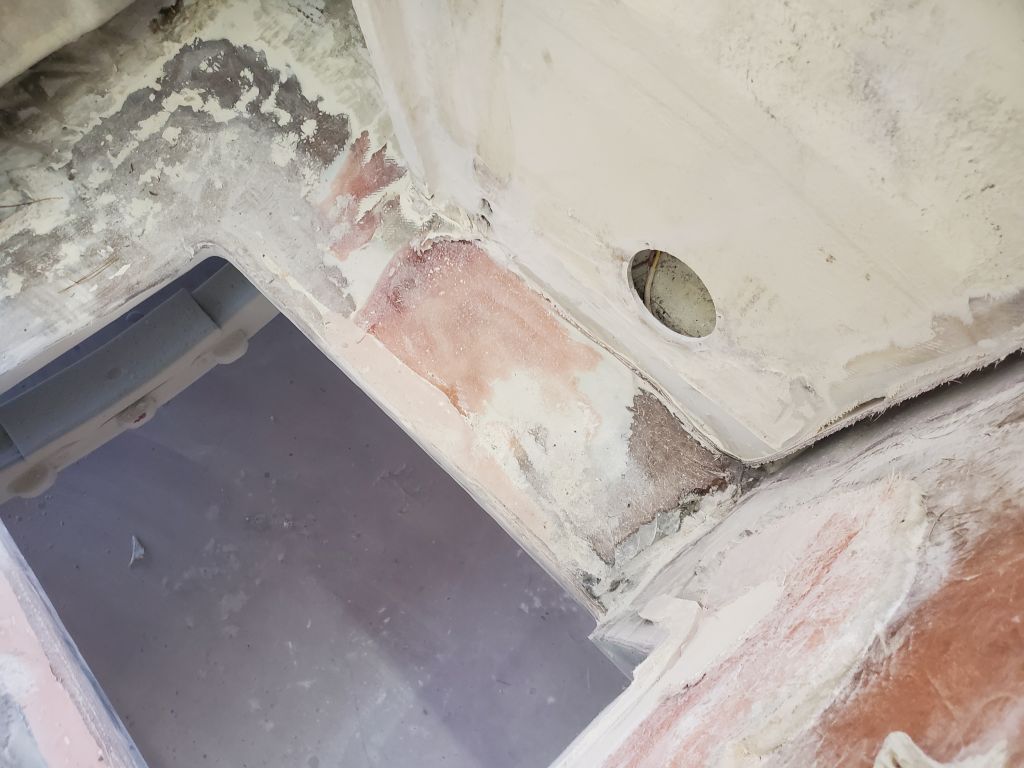
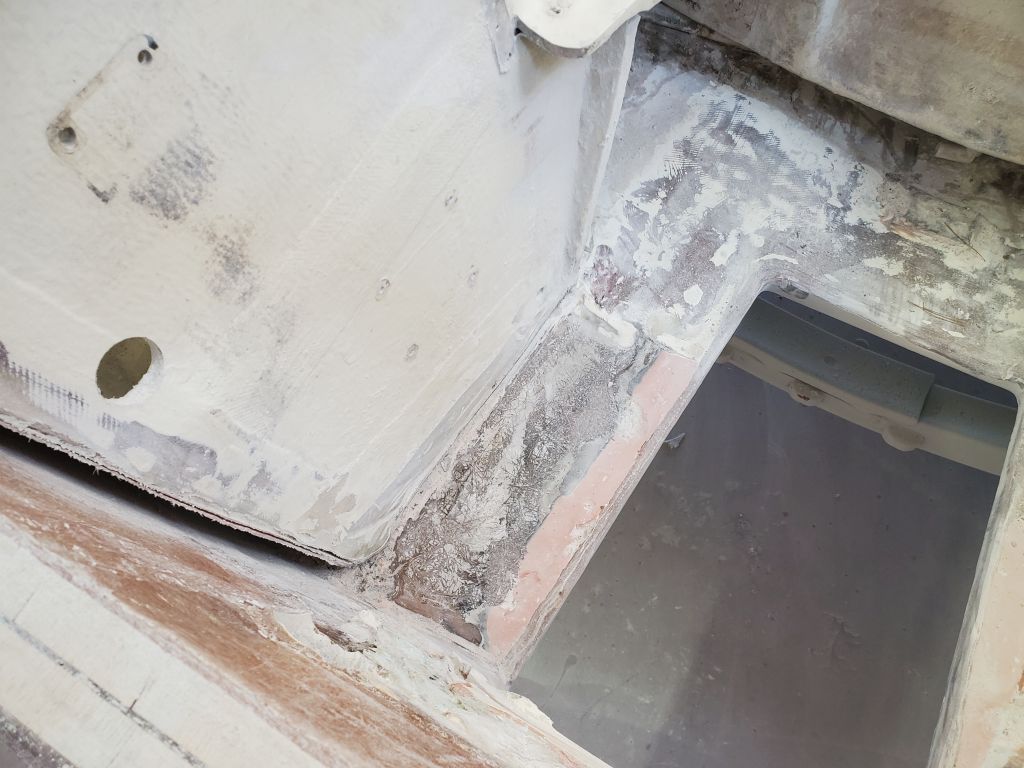
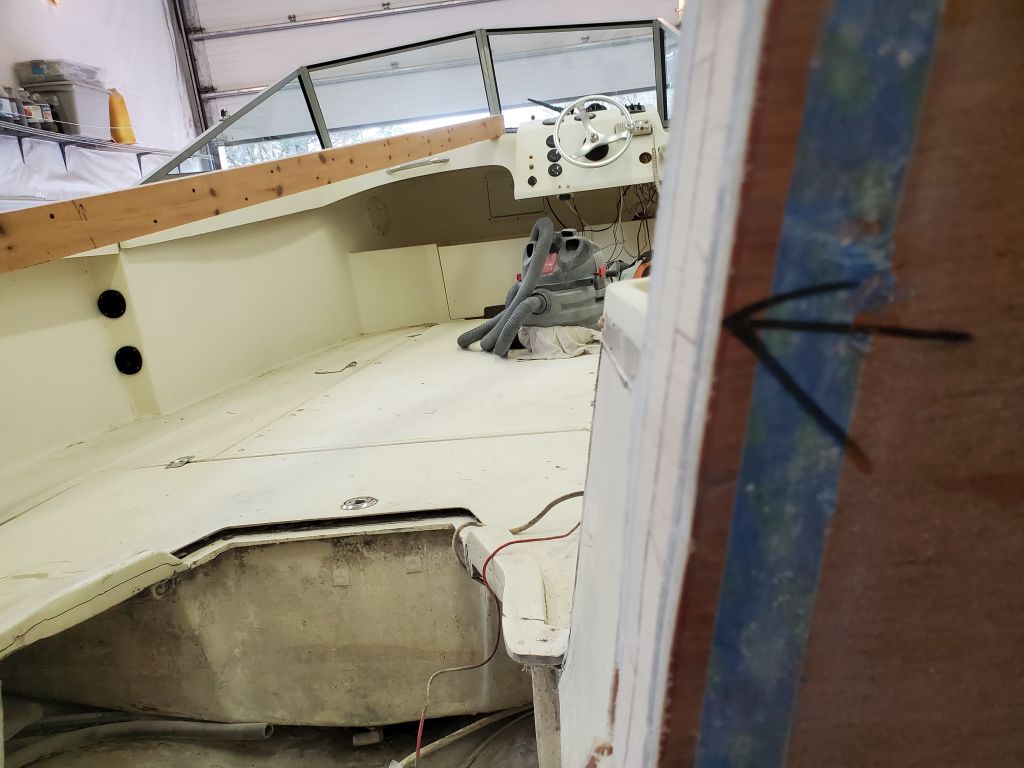
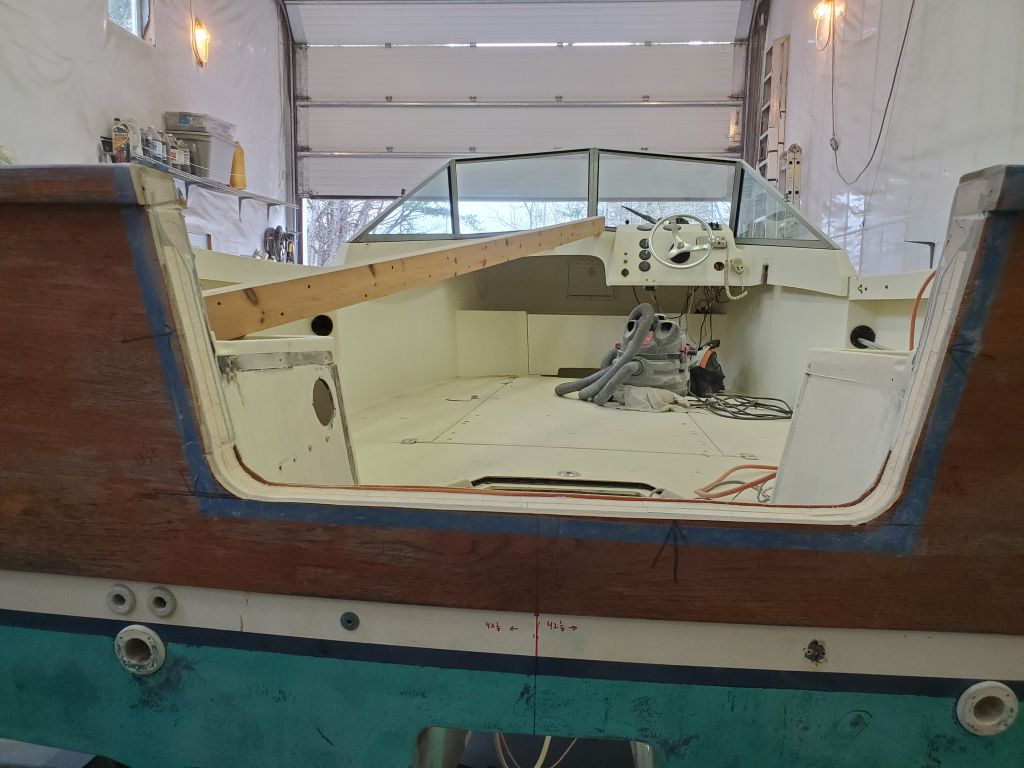
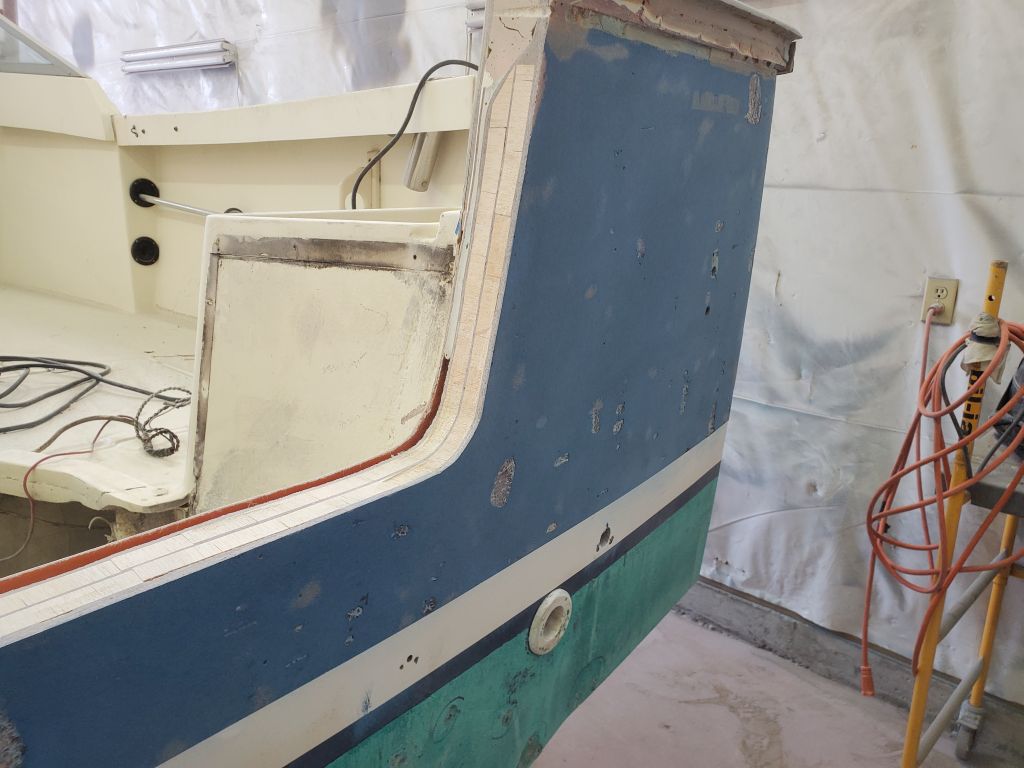
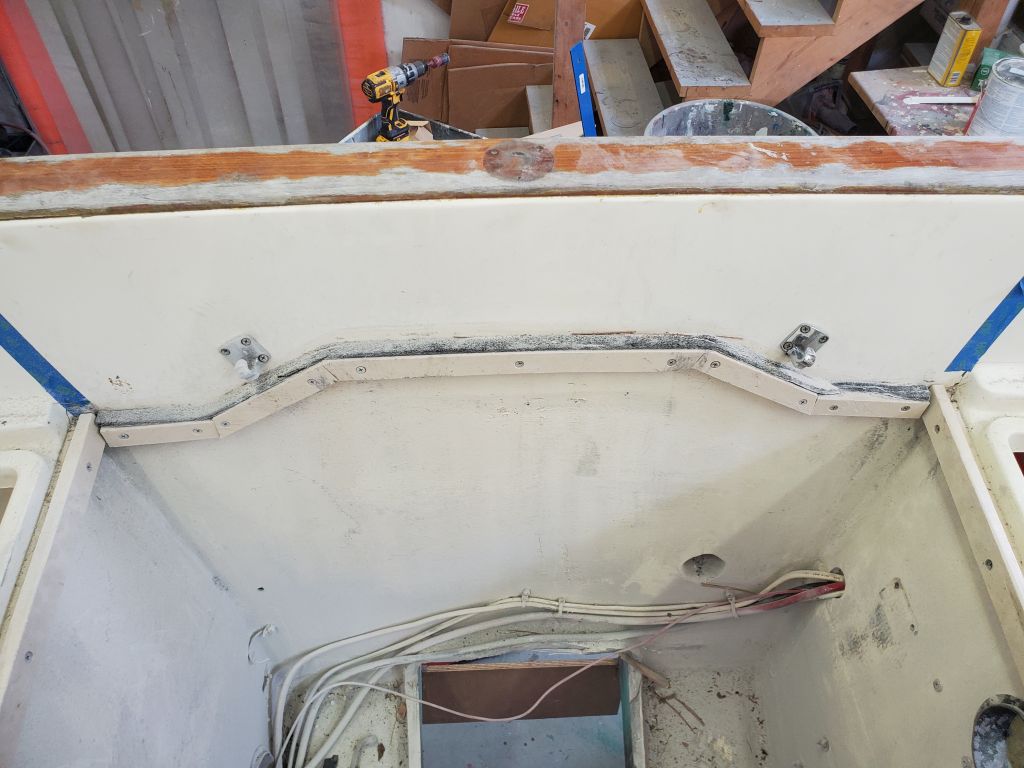
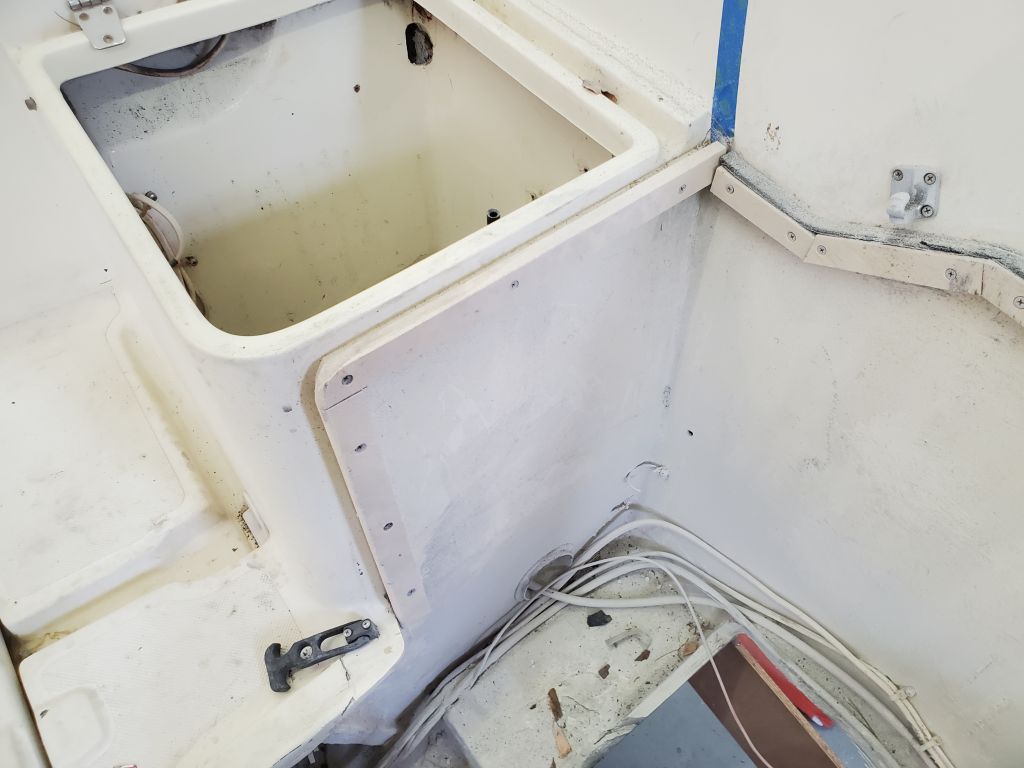
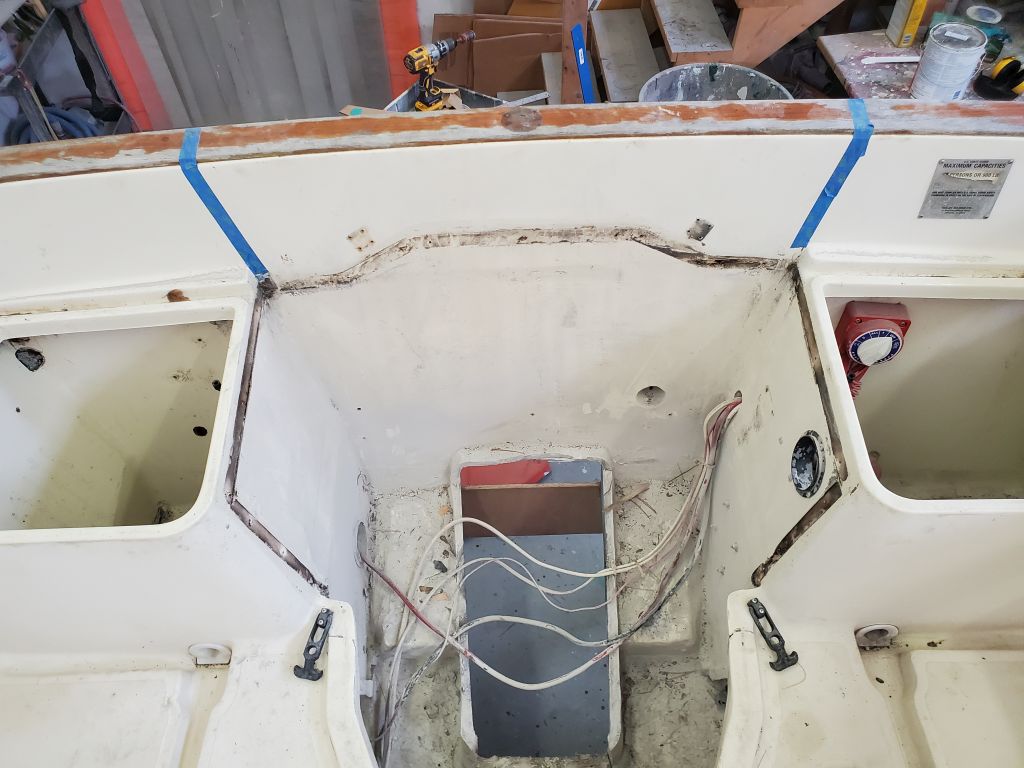
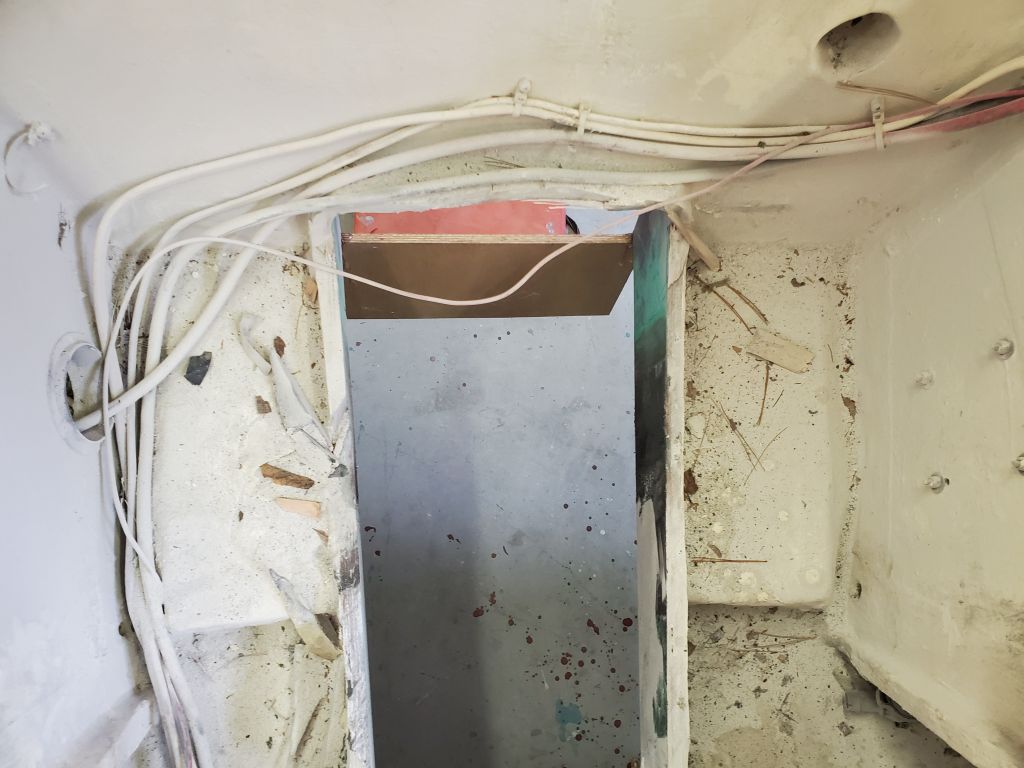
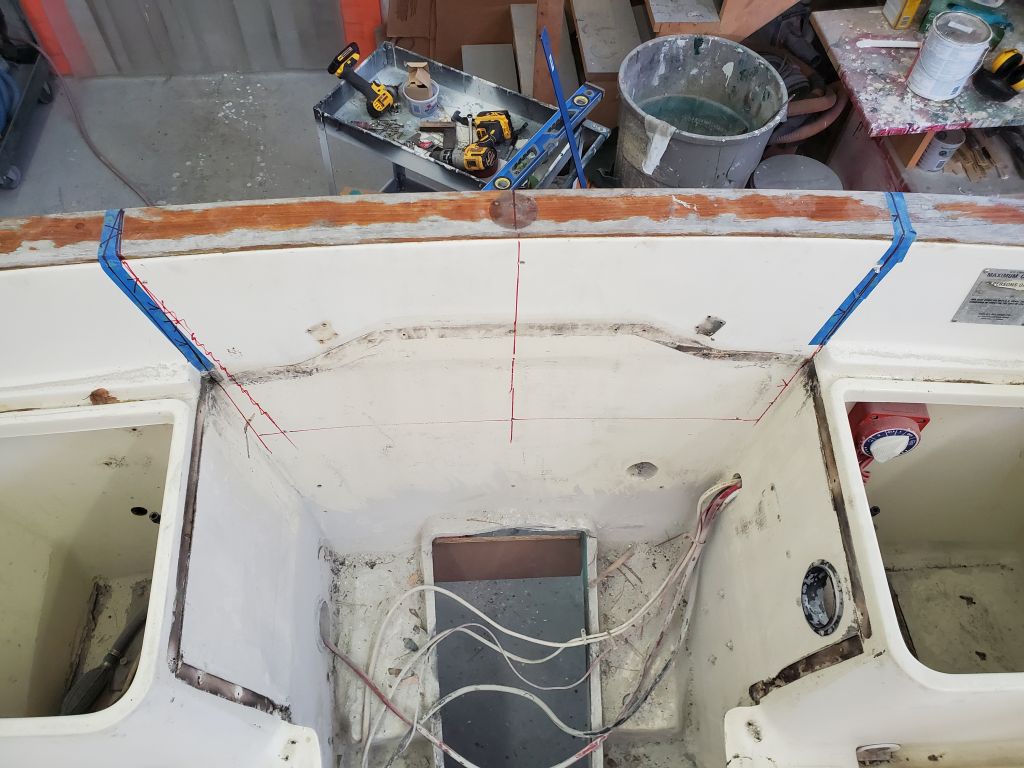
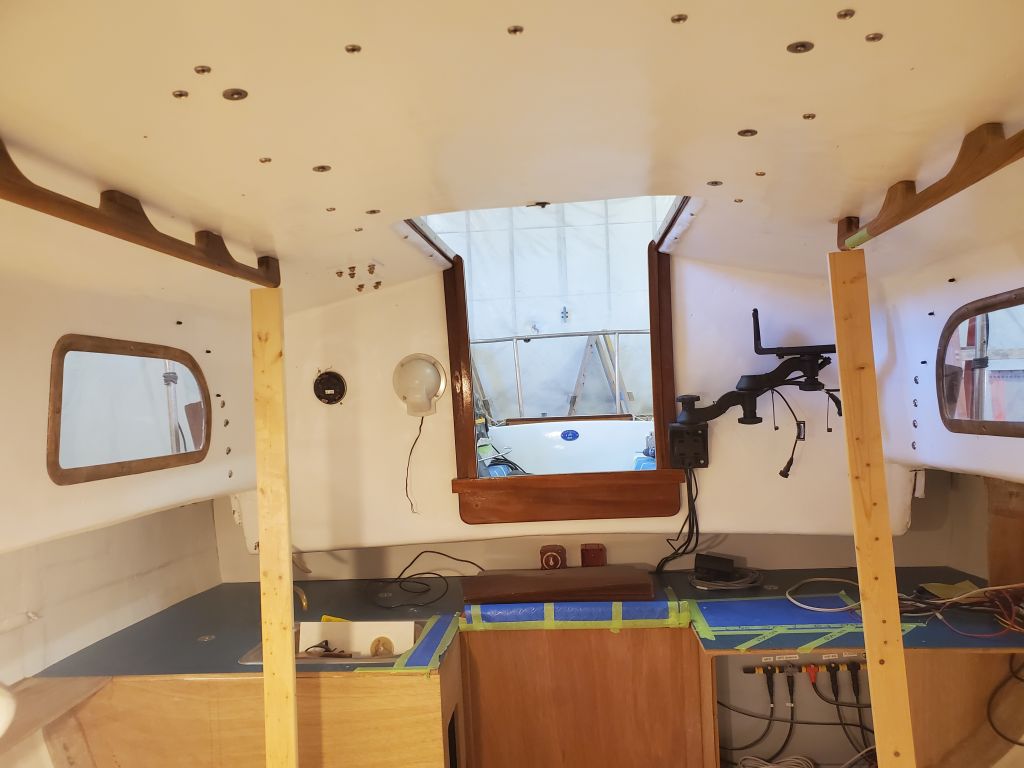
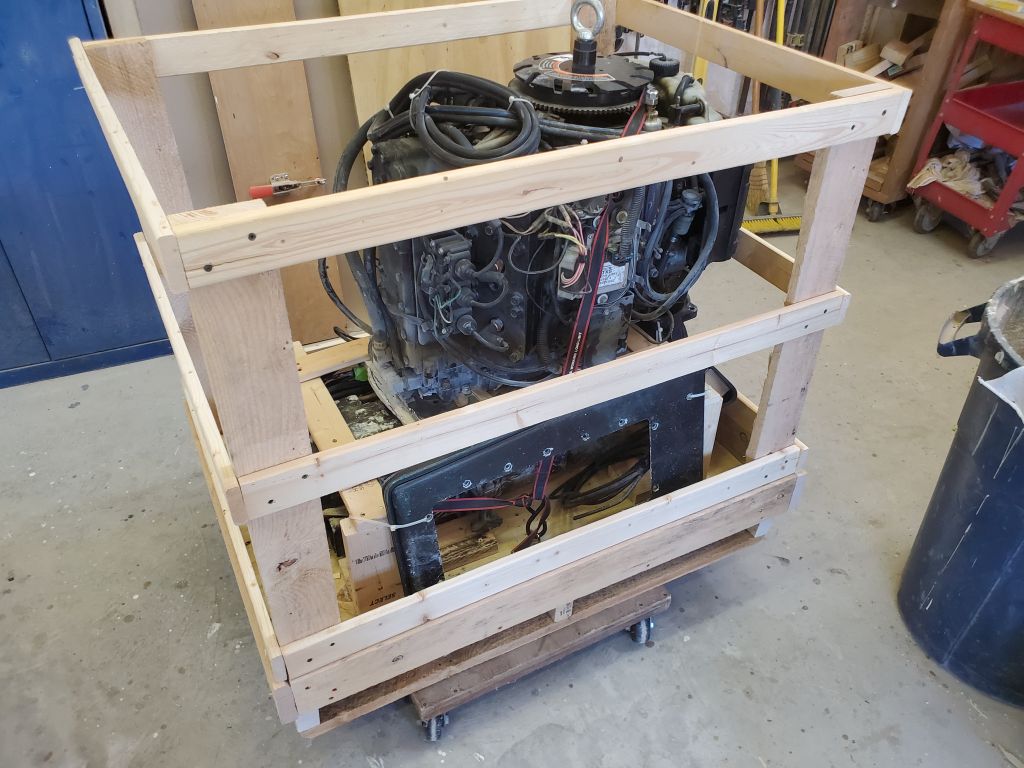
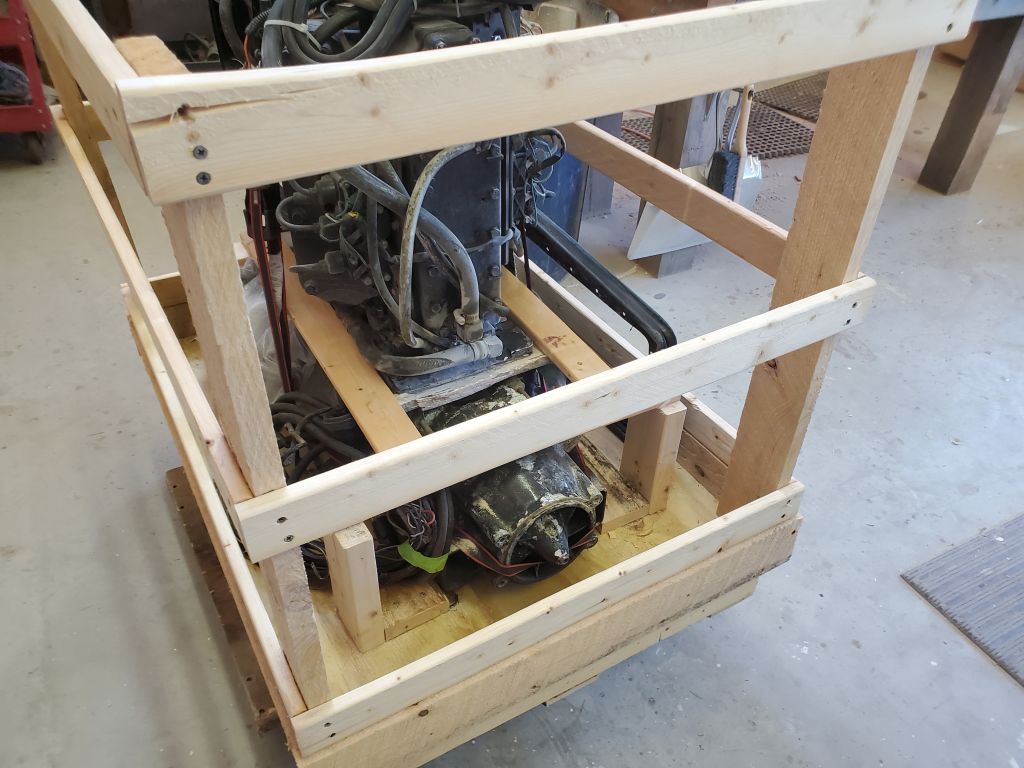
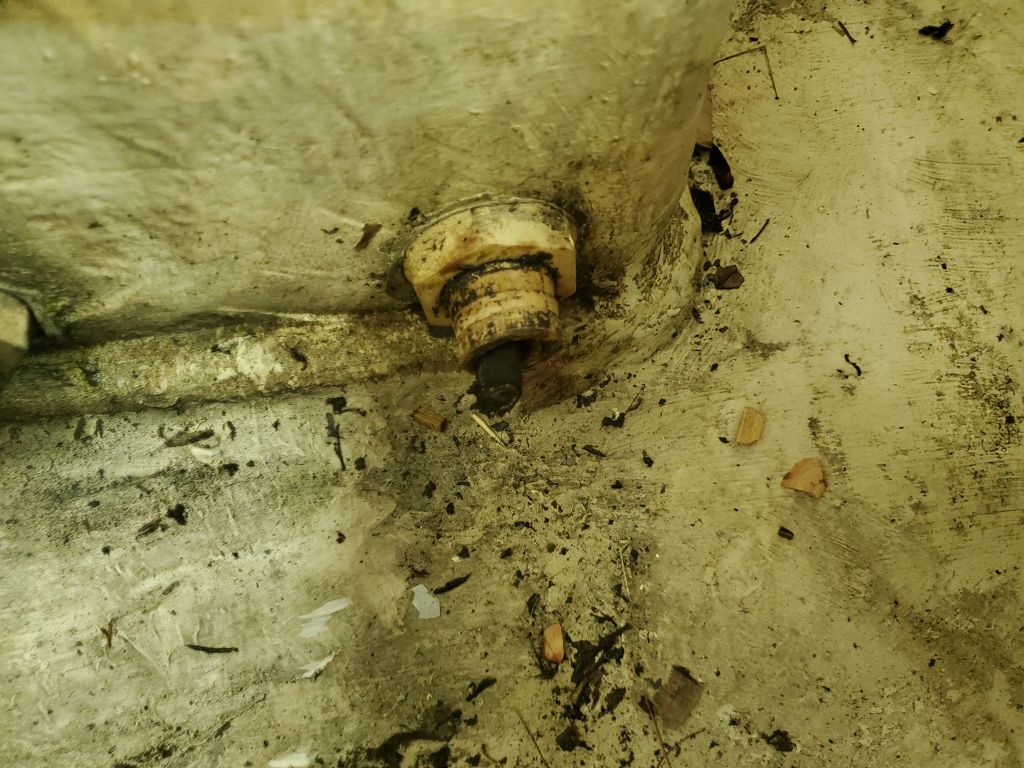
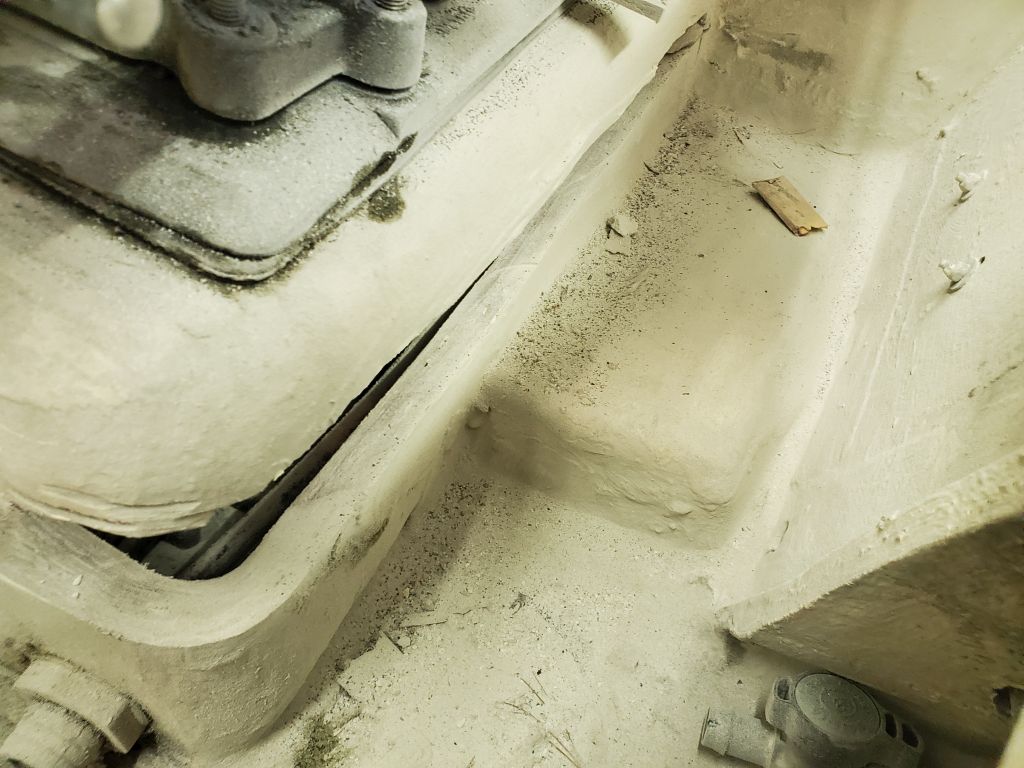
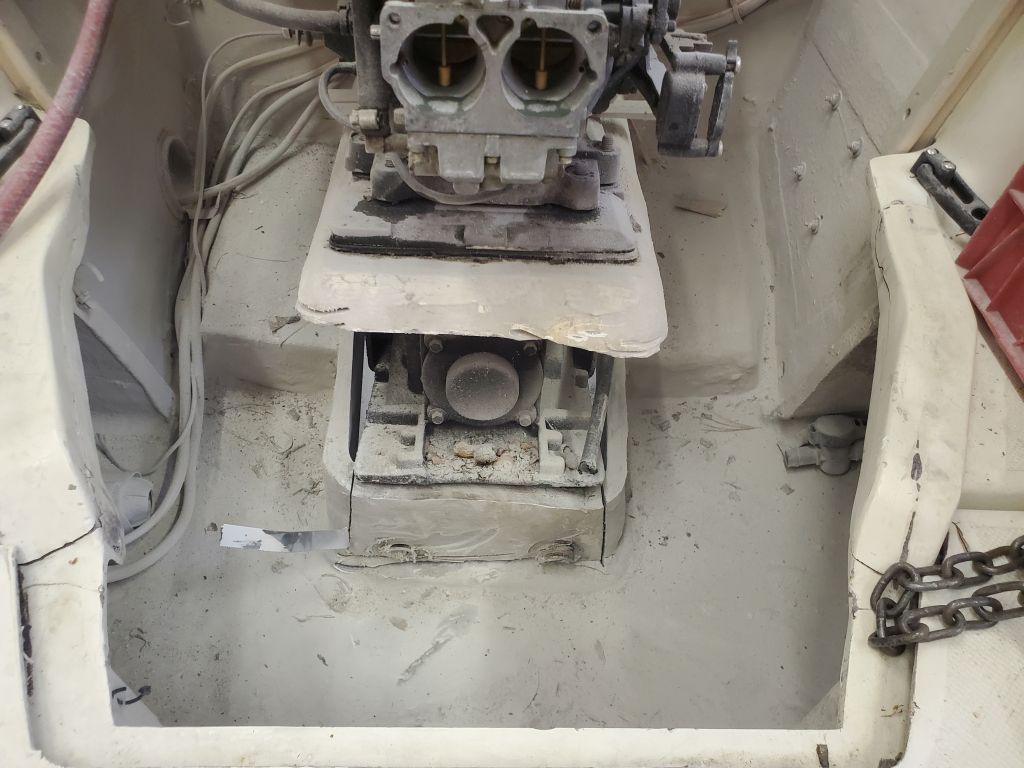
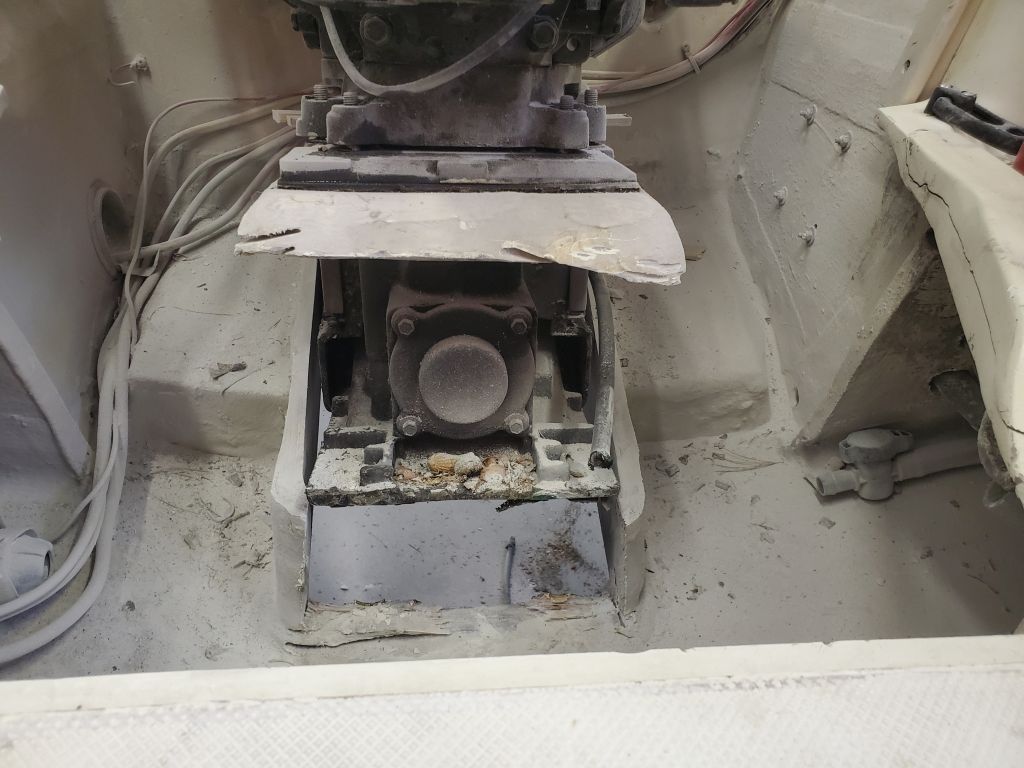
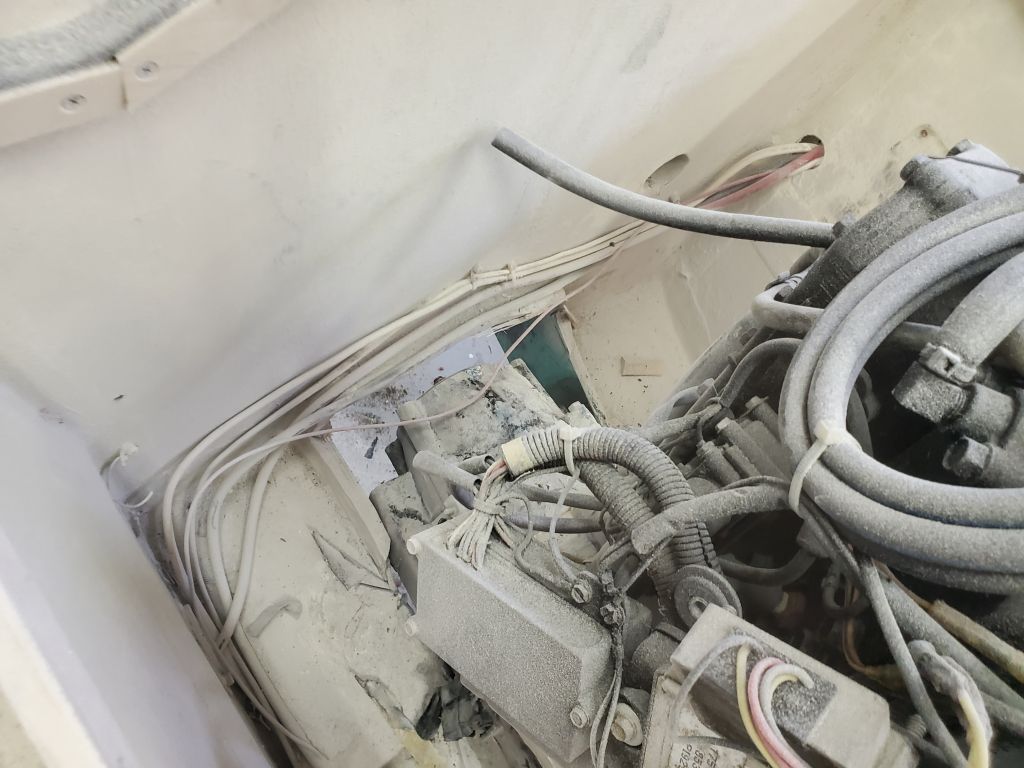
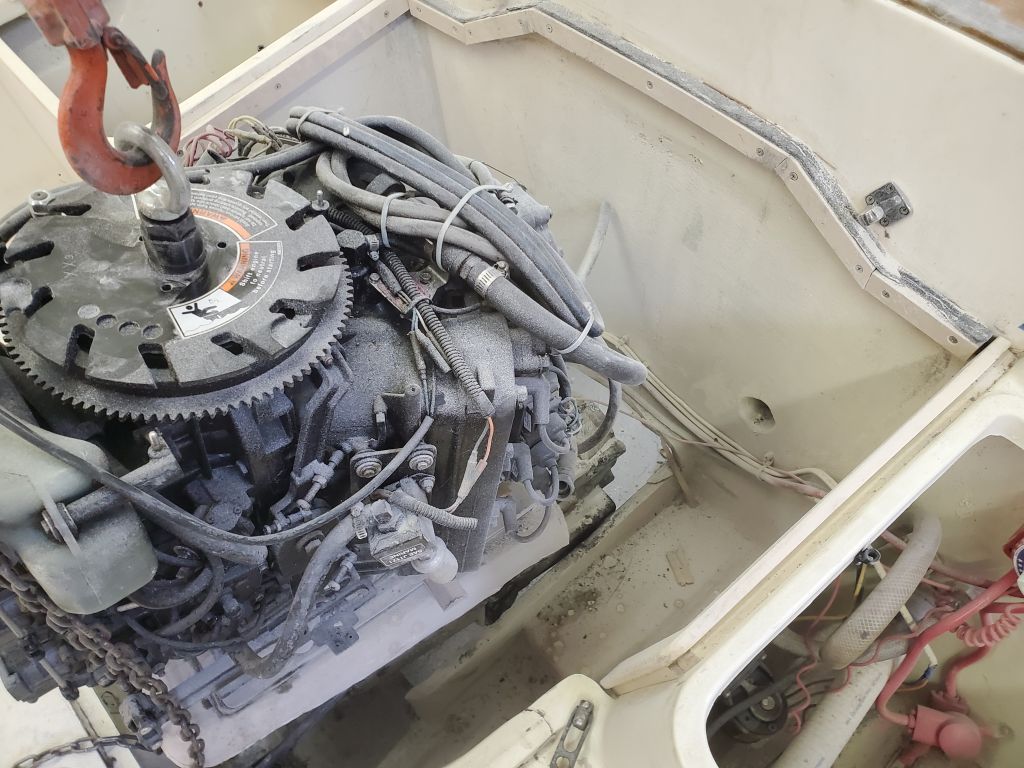
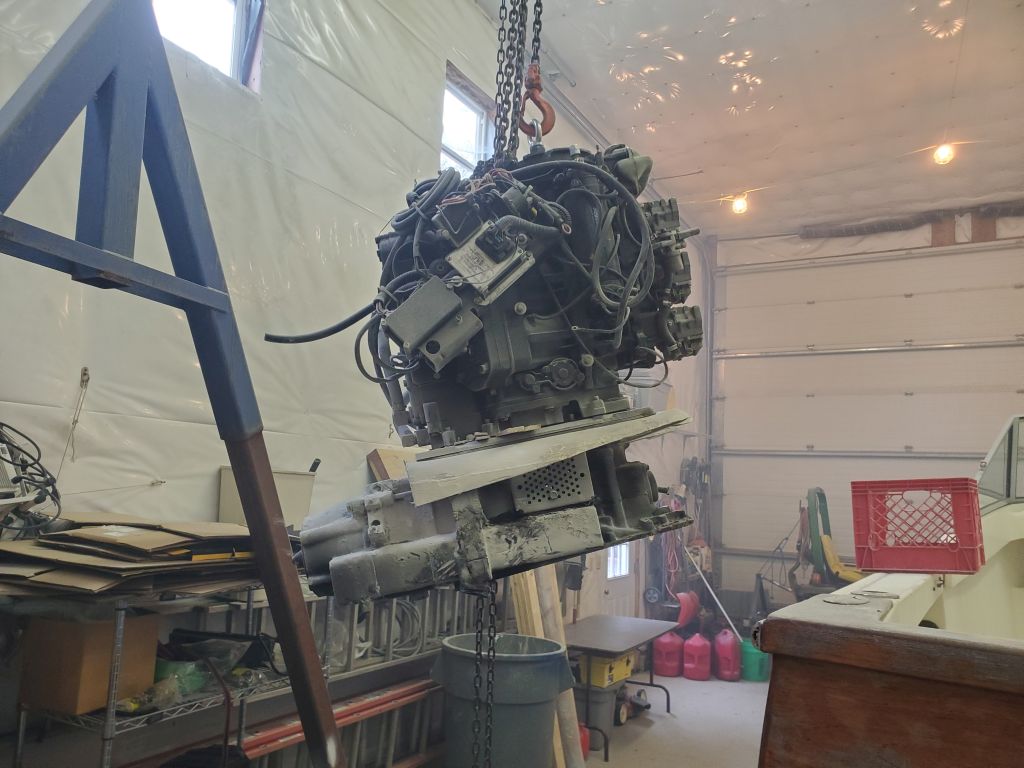
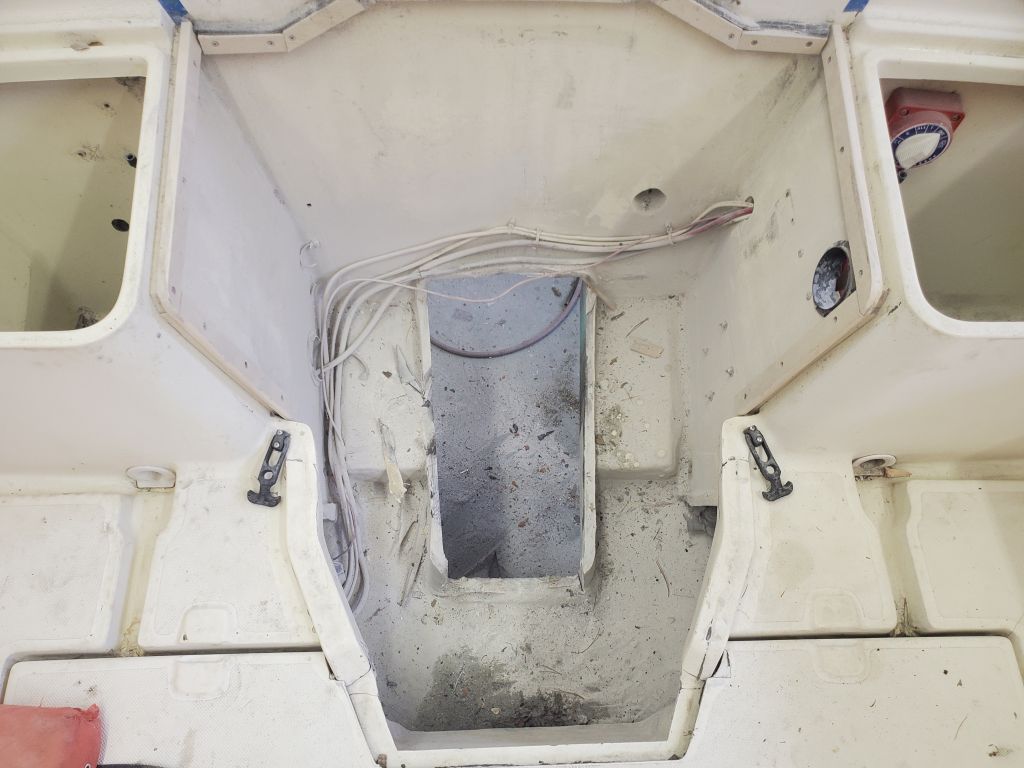
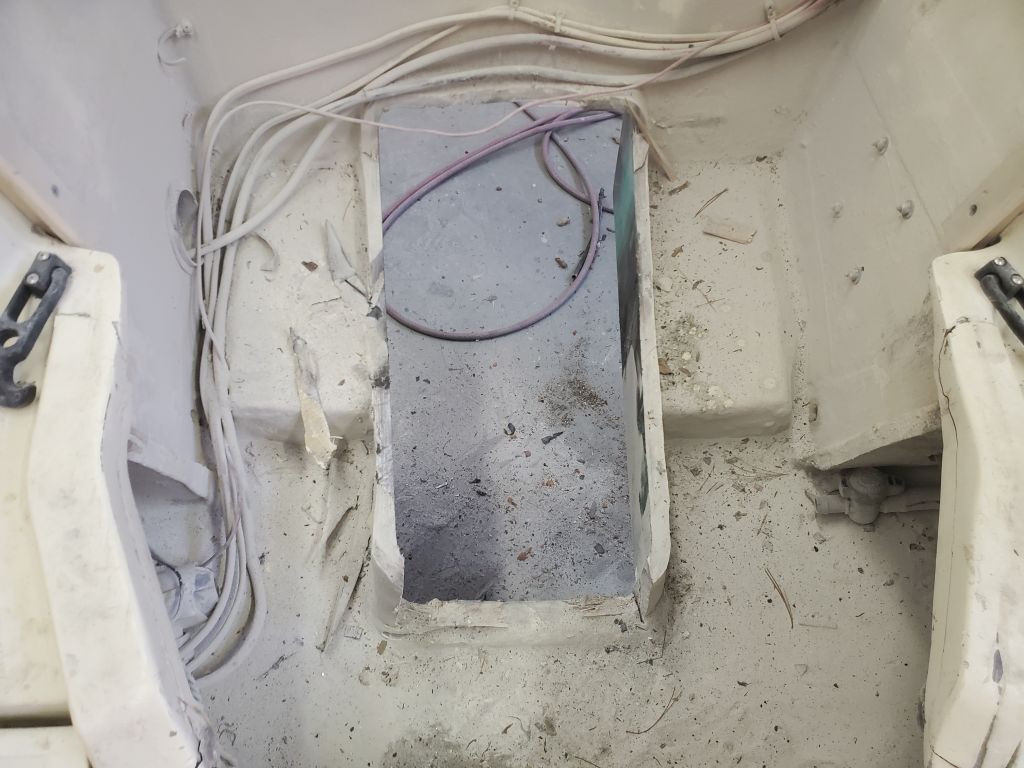
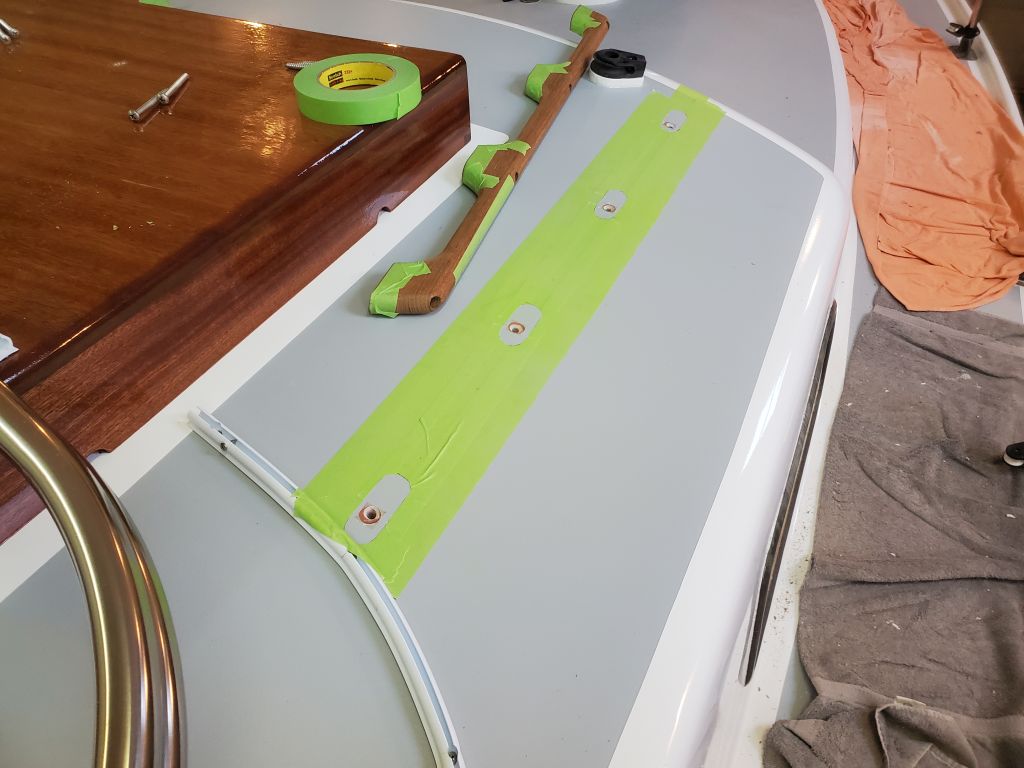
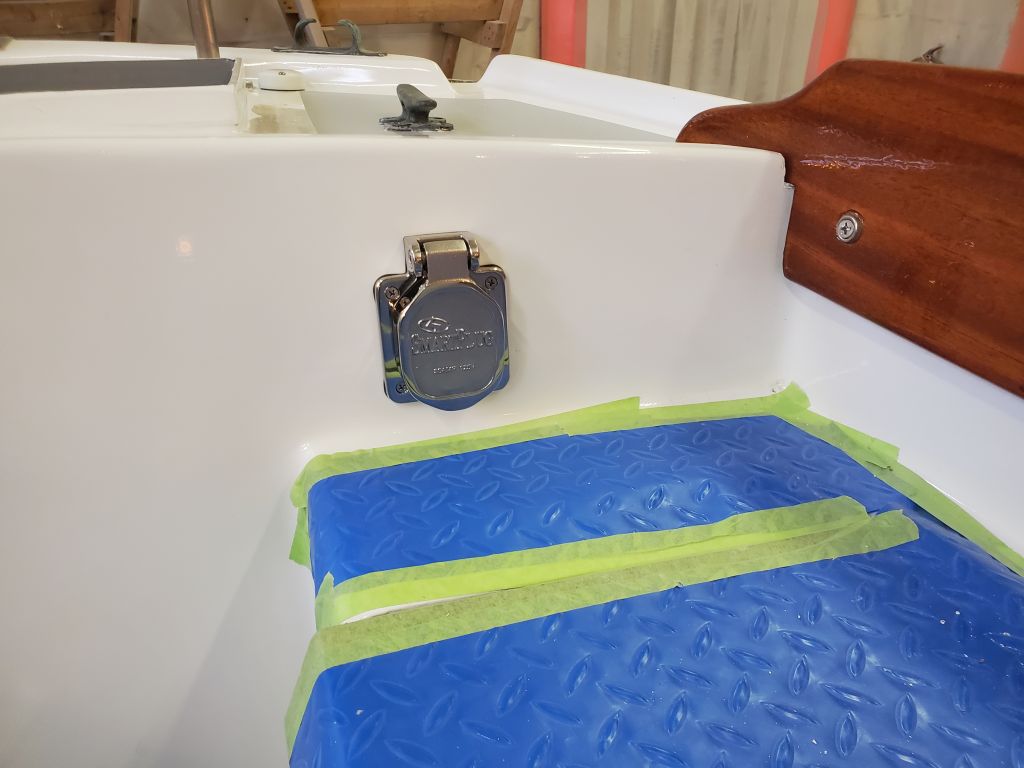
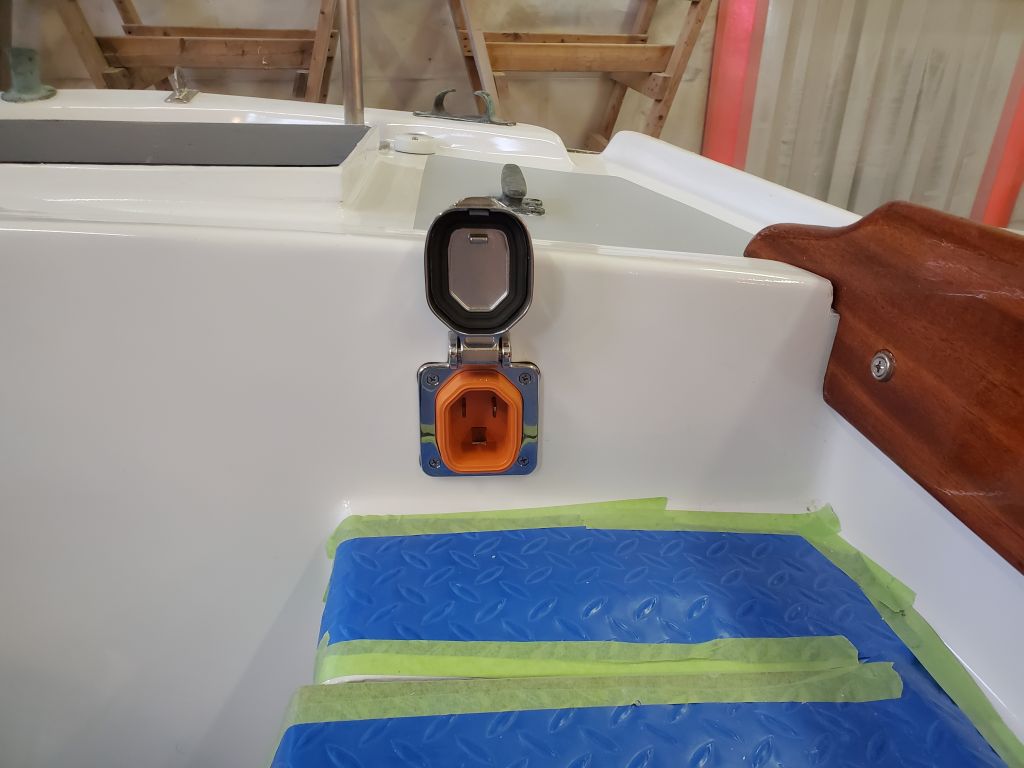
Inside the boat, I prepared for additional layout by first removing the plastic moldings that had supported the now-obsolete engine box.
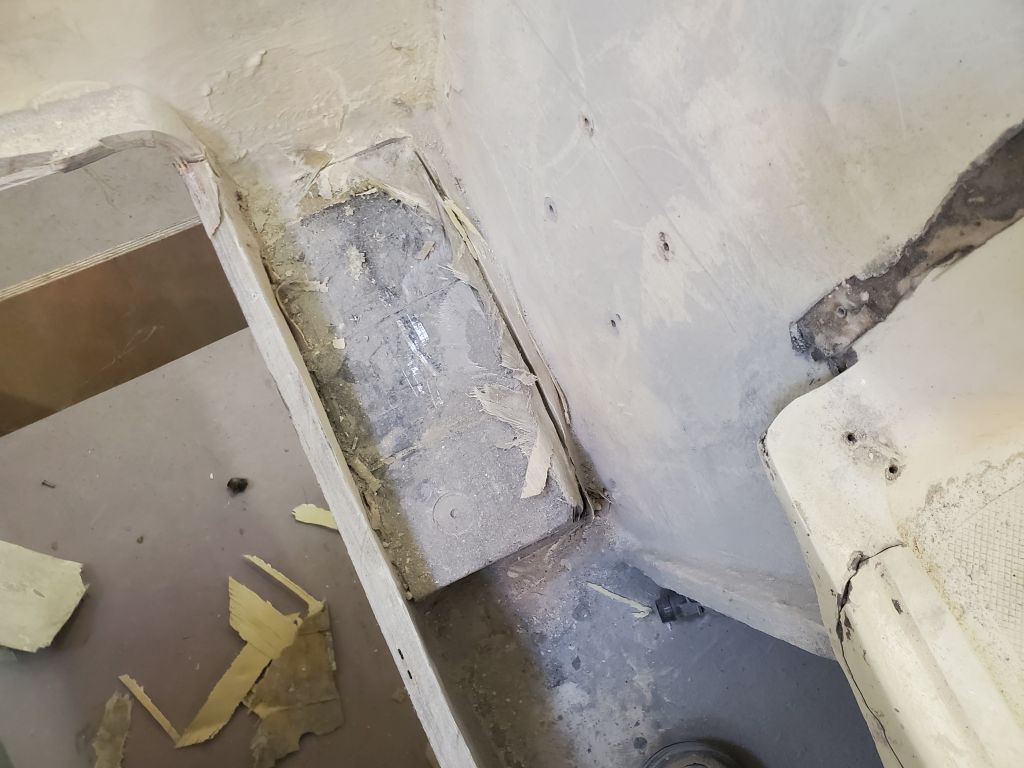
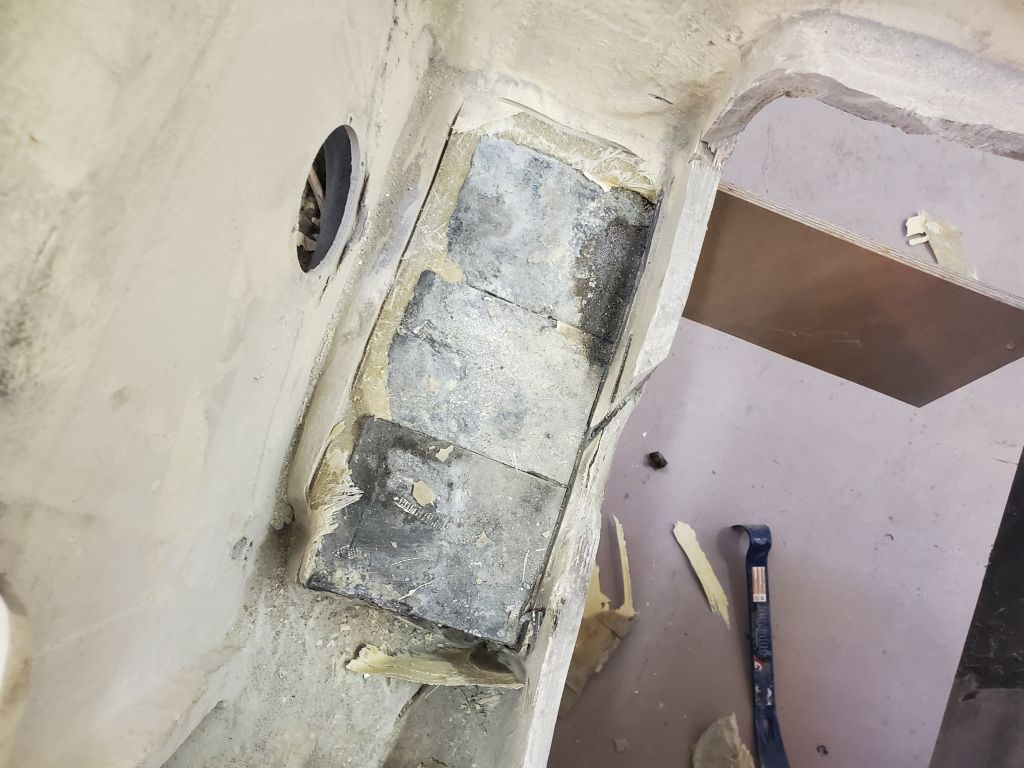
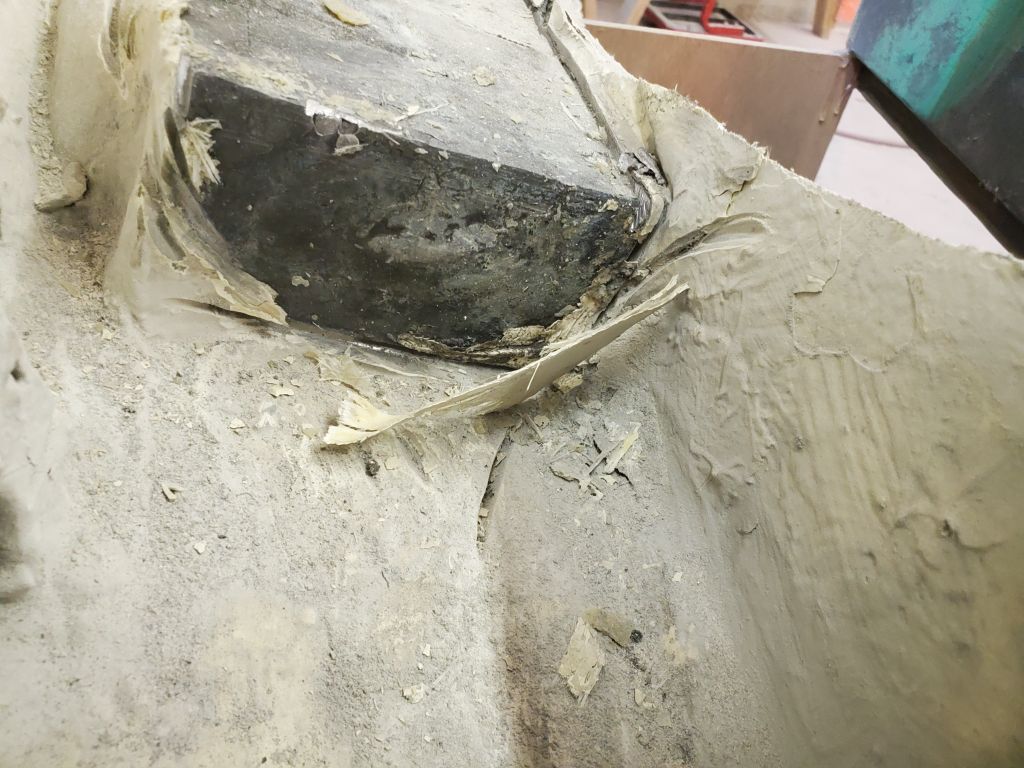
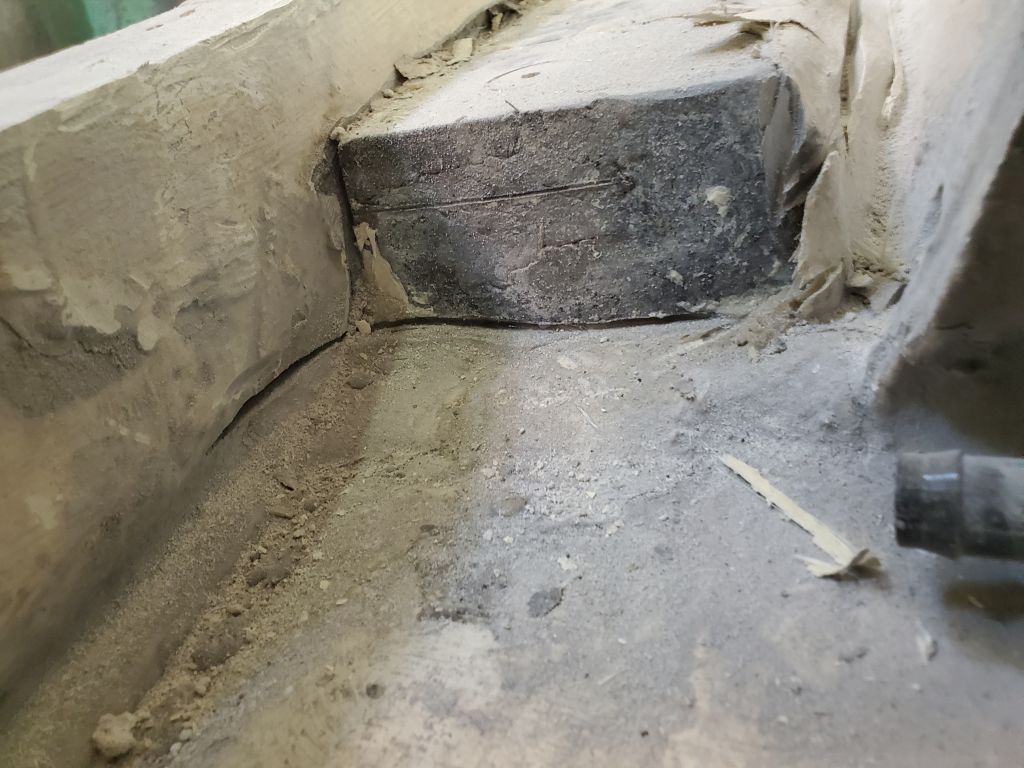
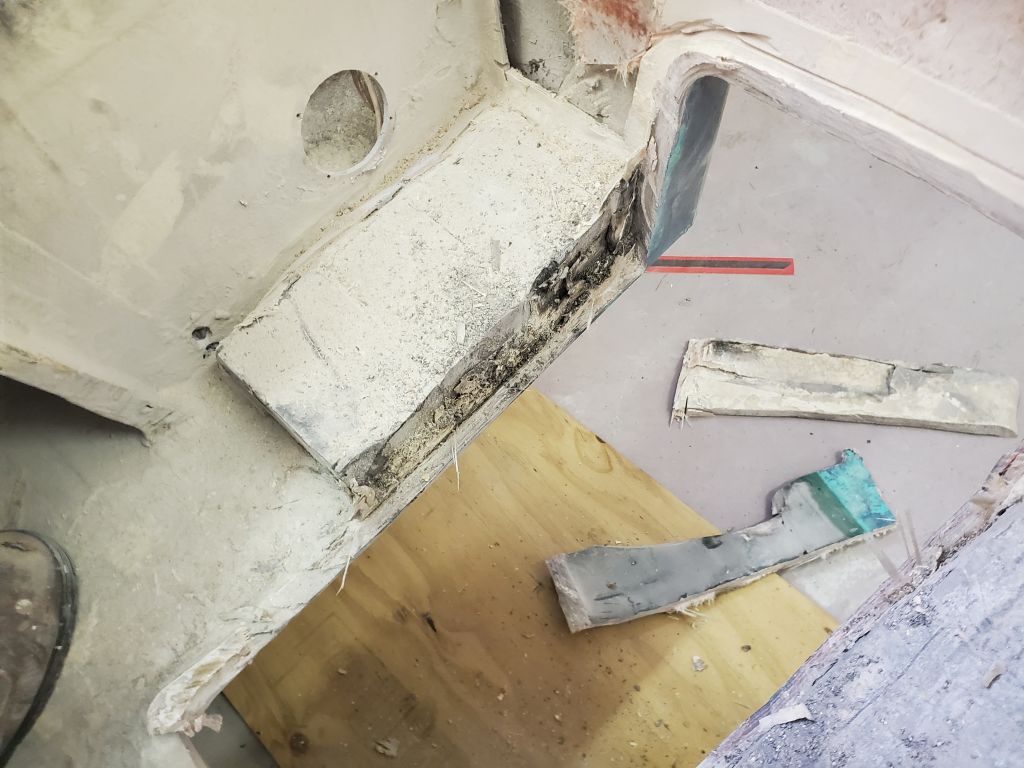
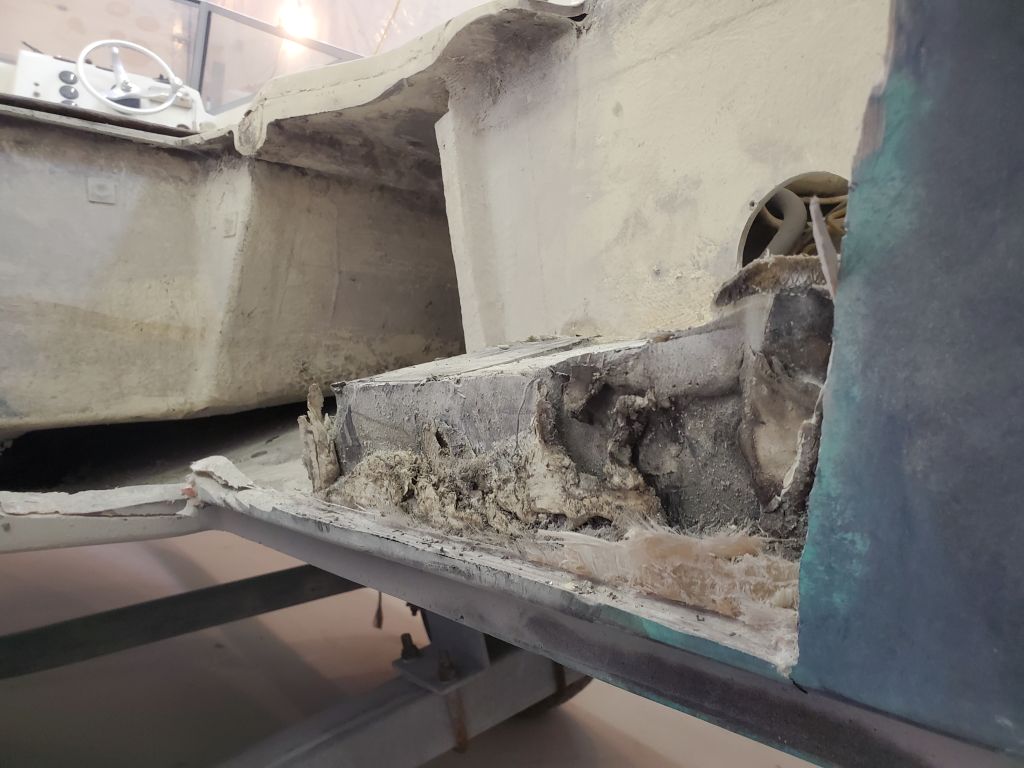
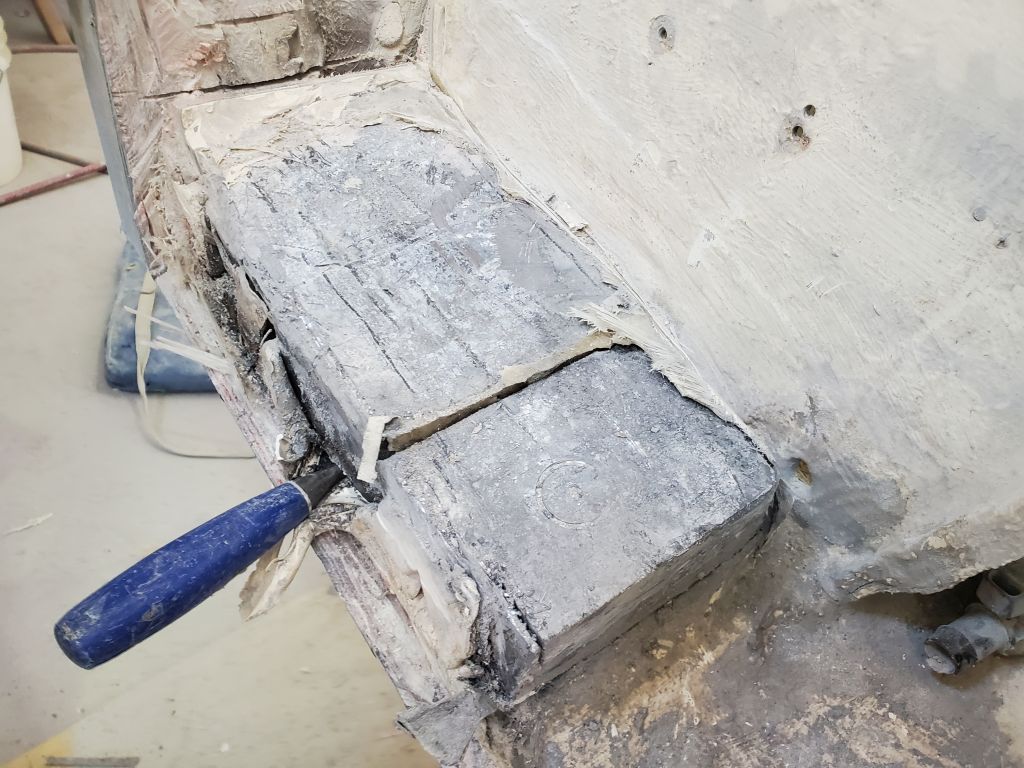
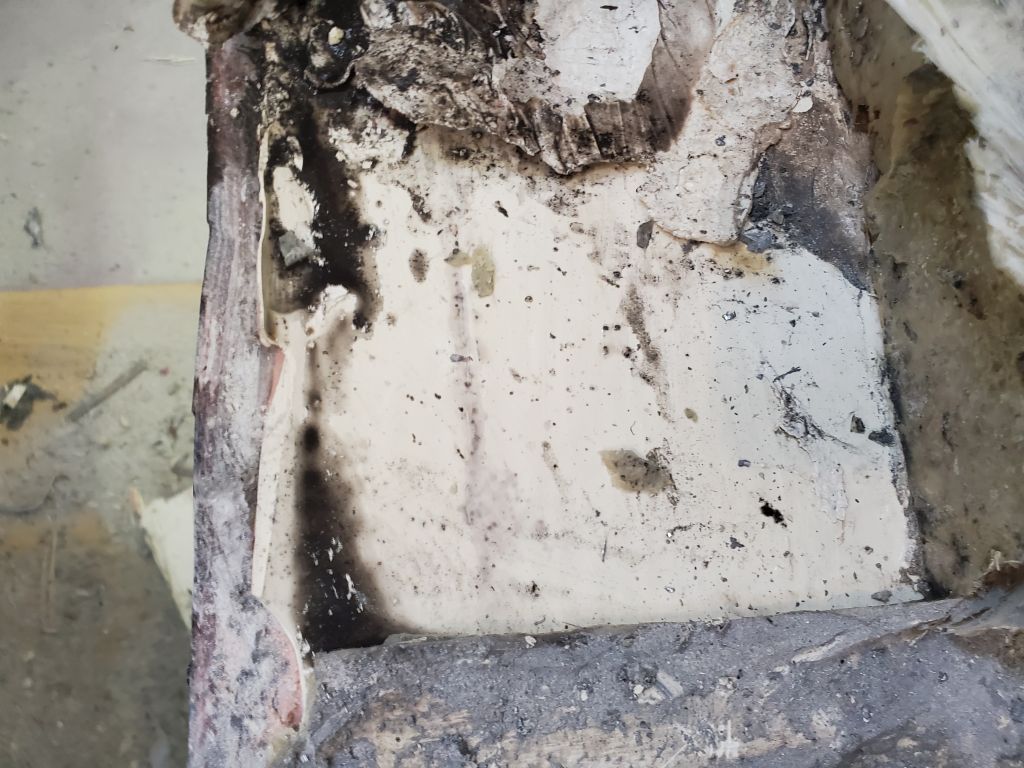
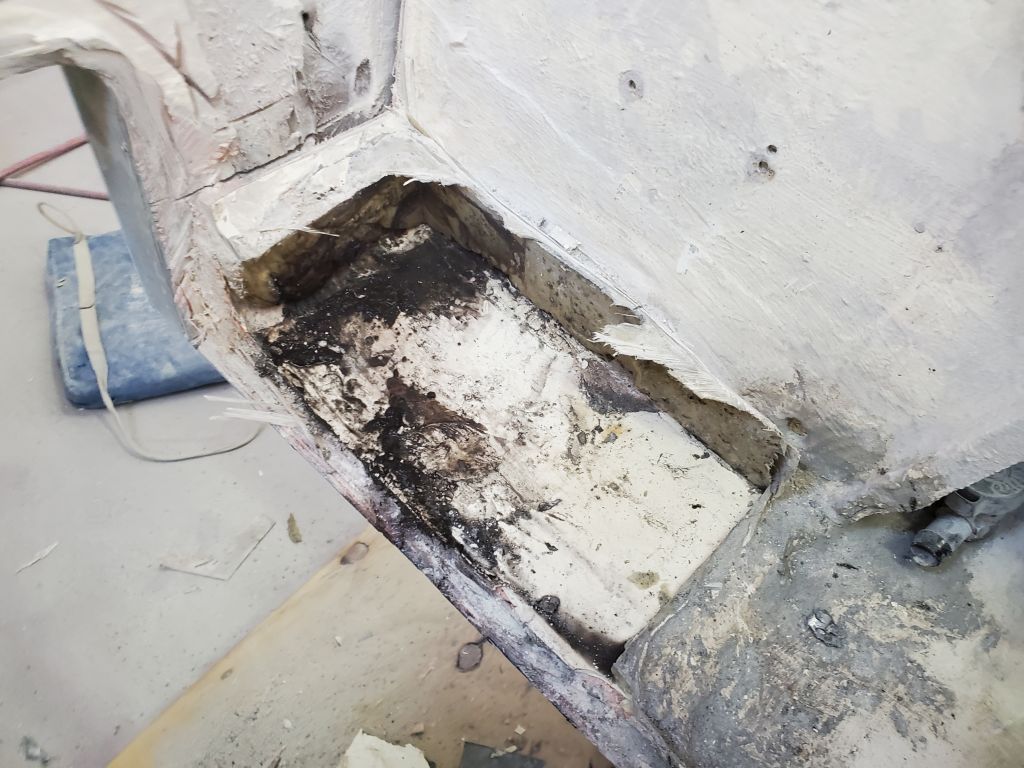
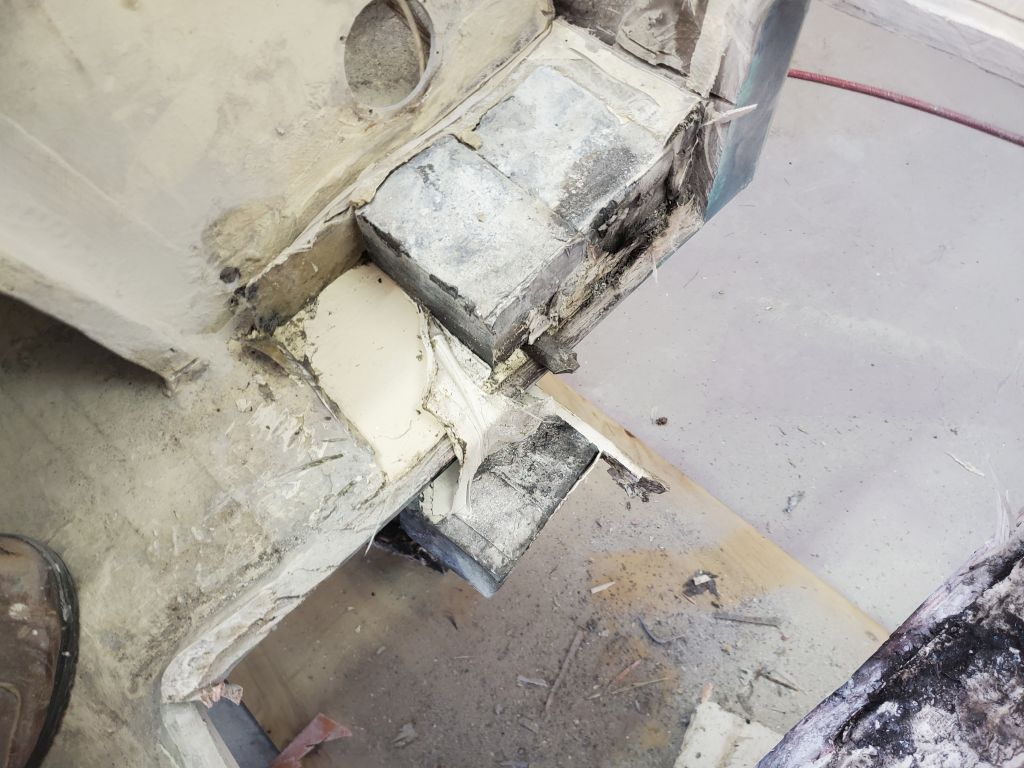
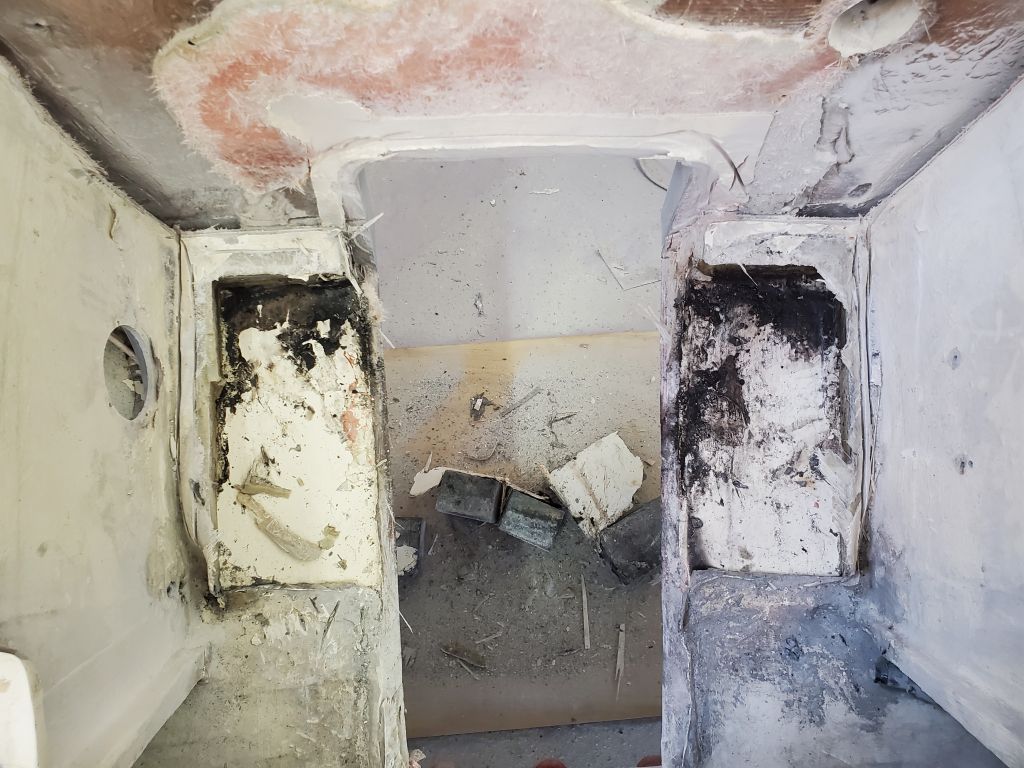
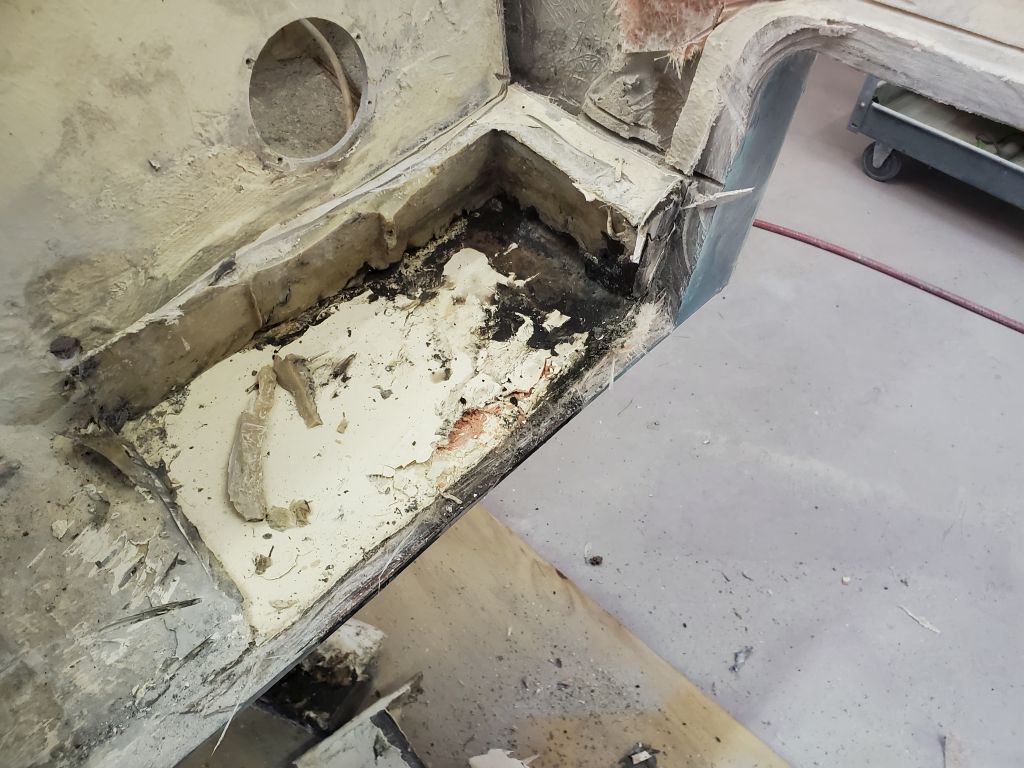
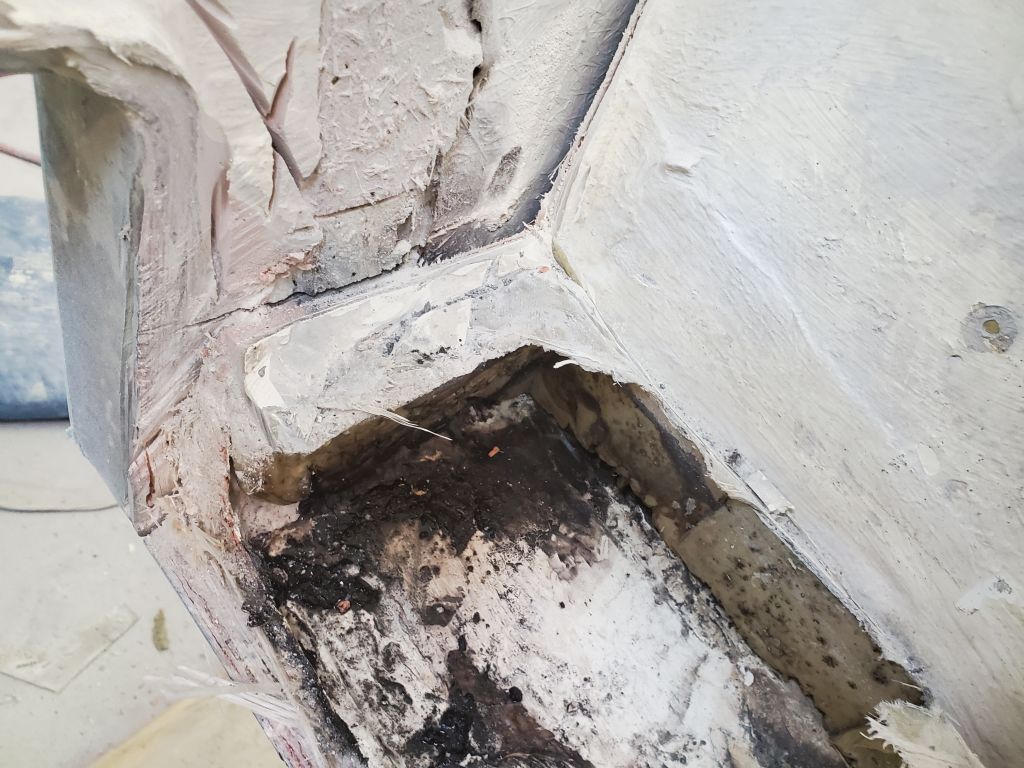
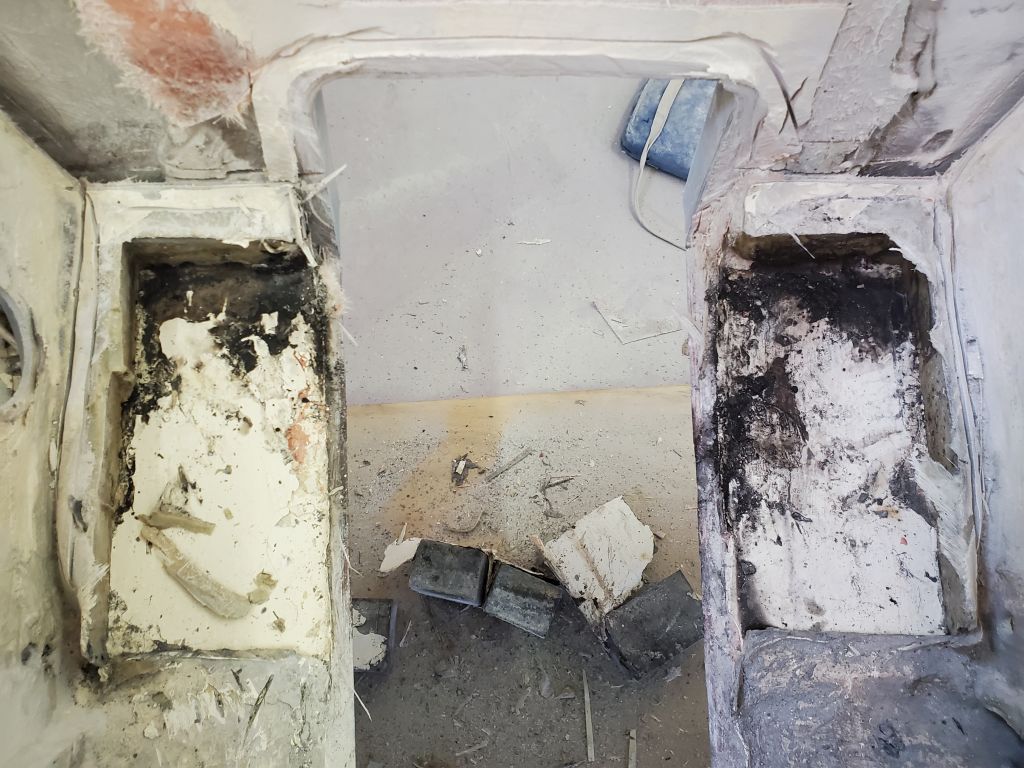
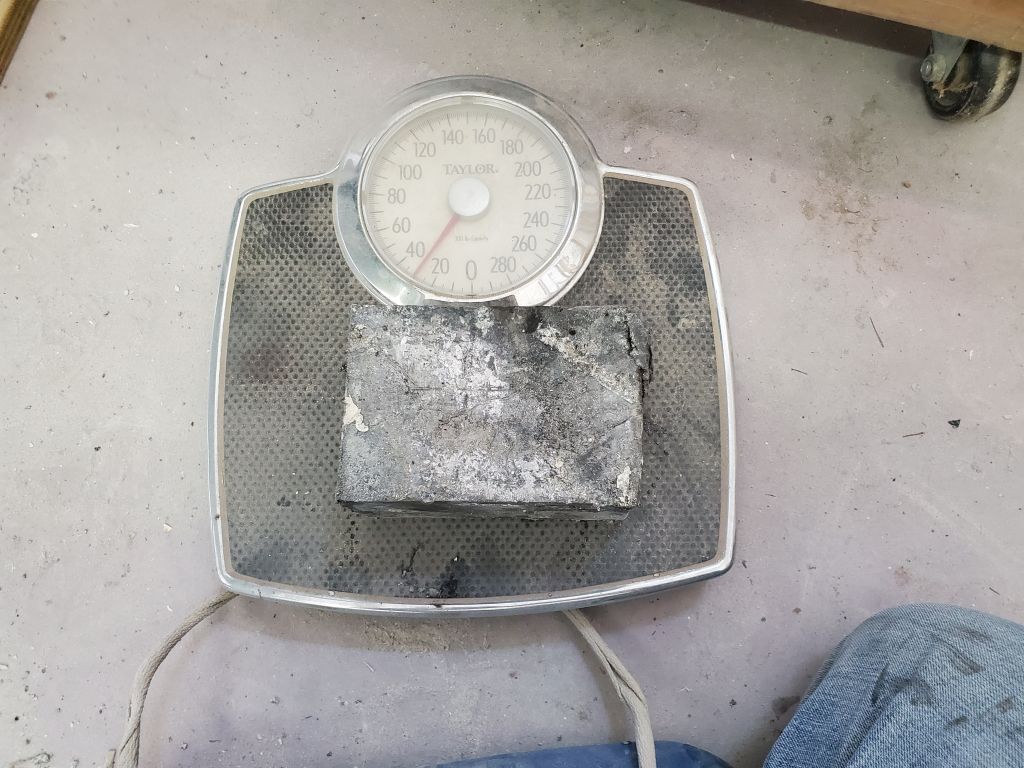
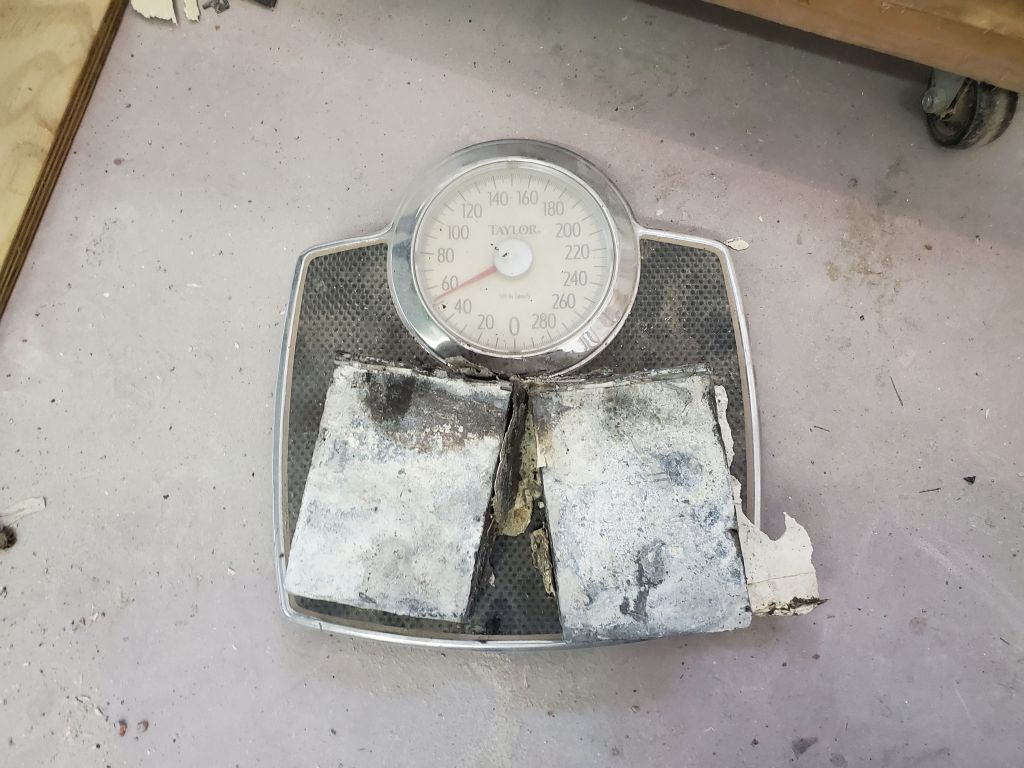
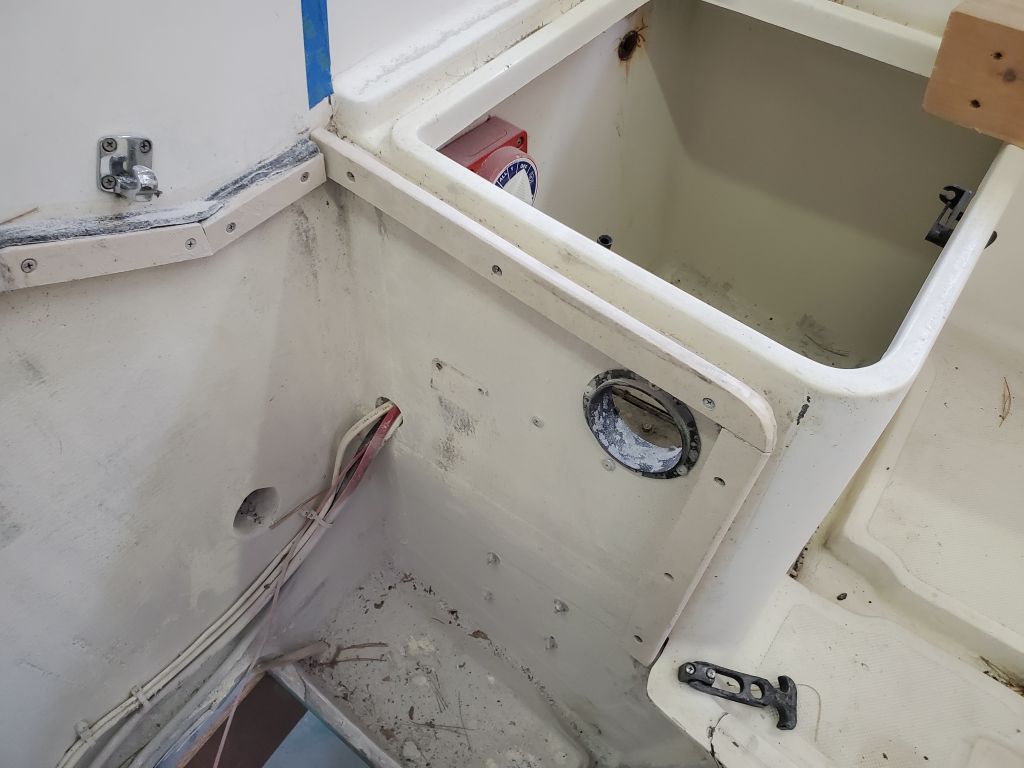
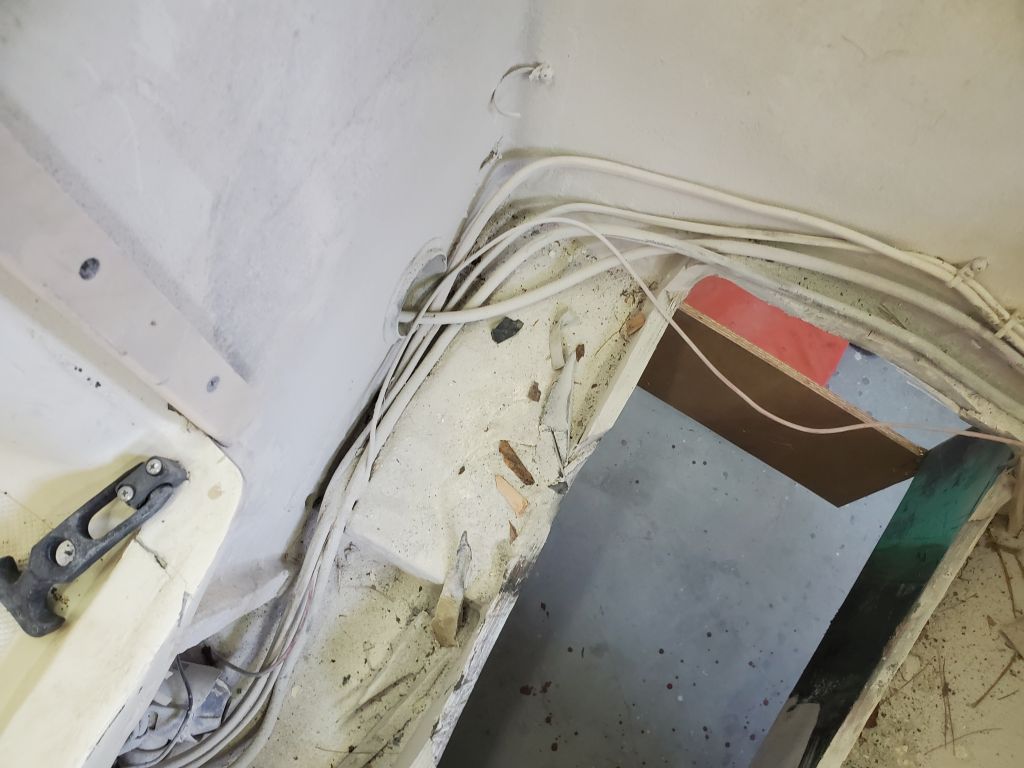
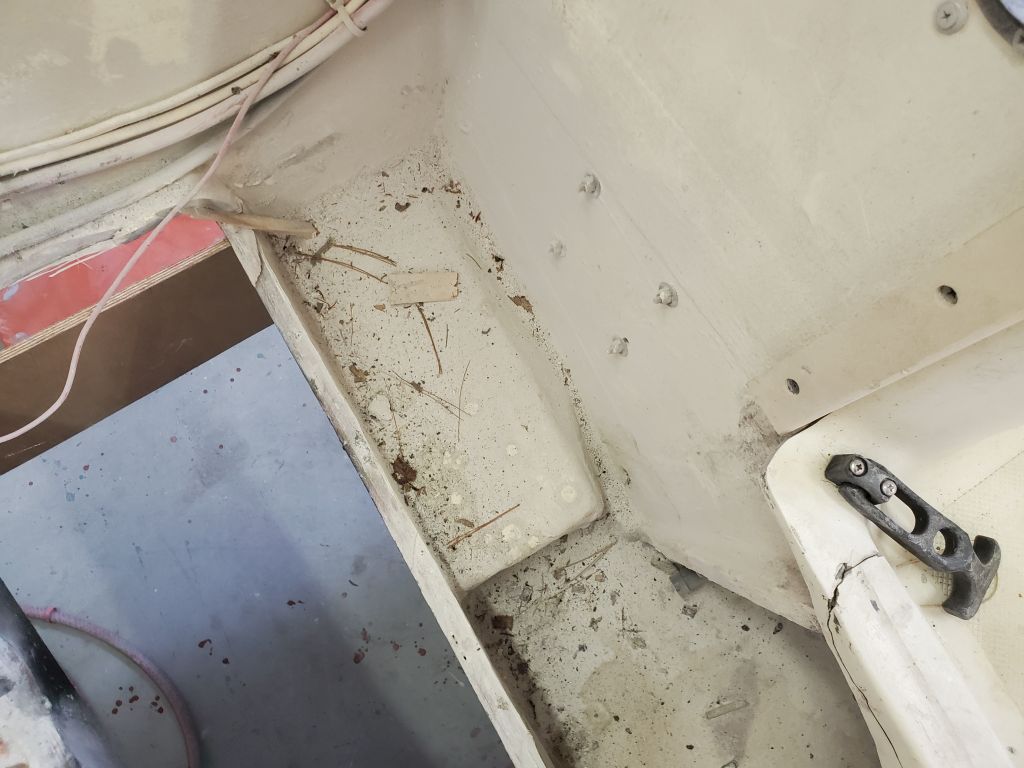
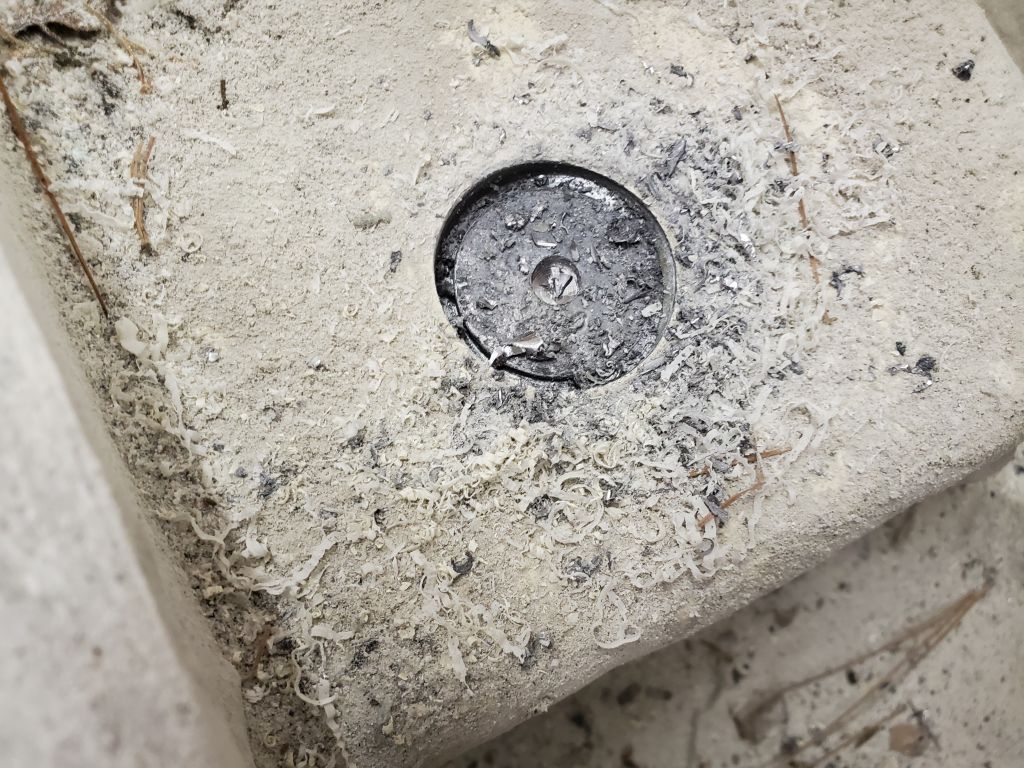
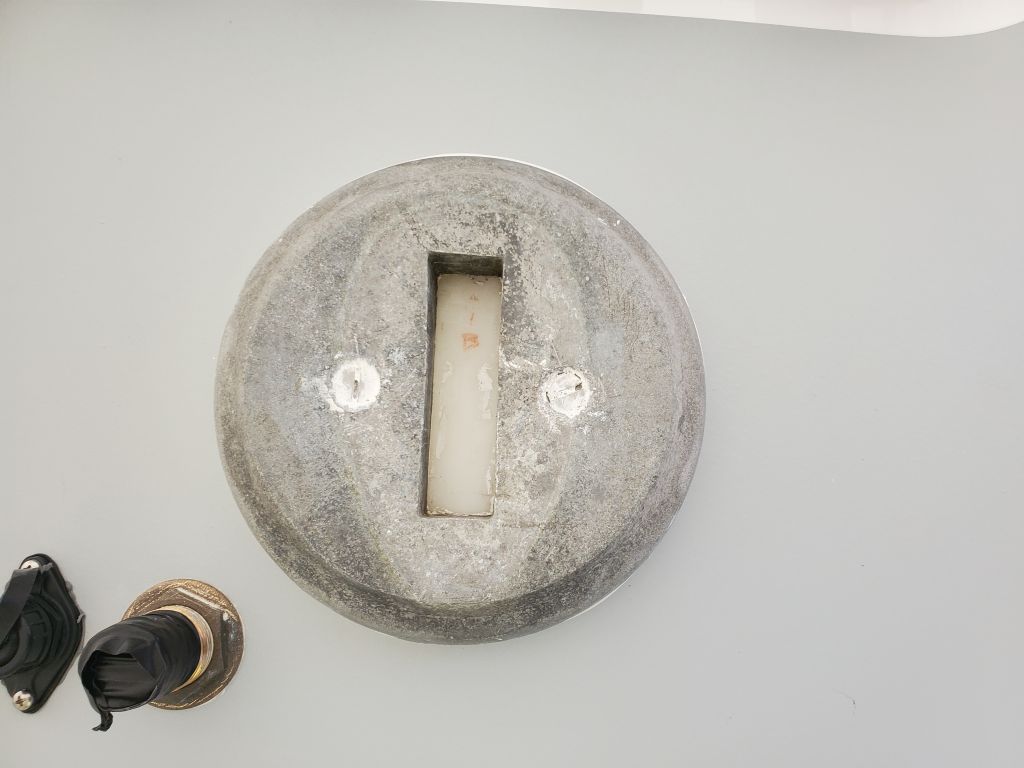
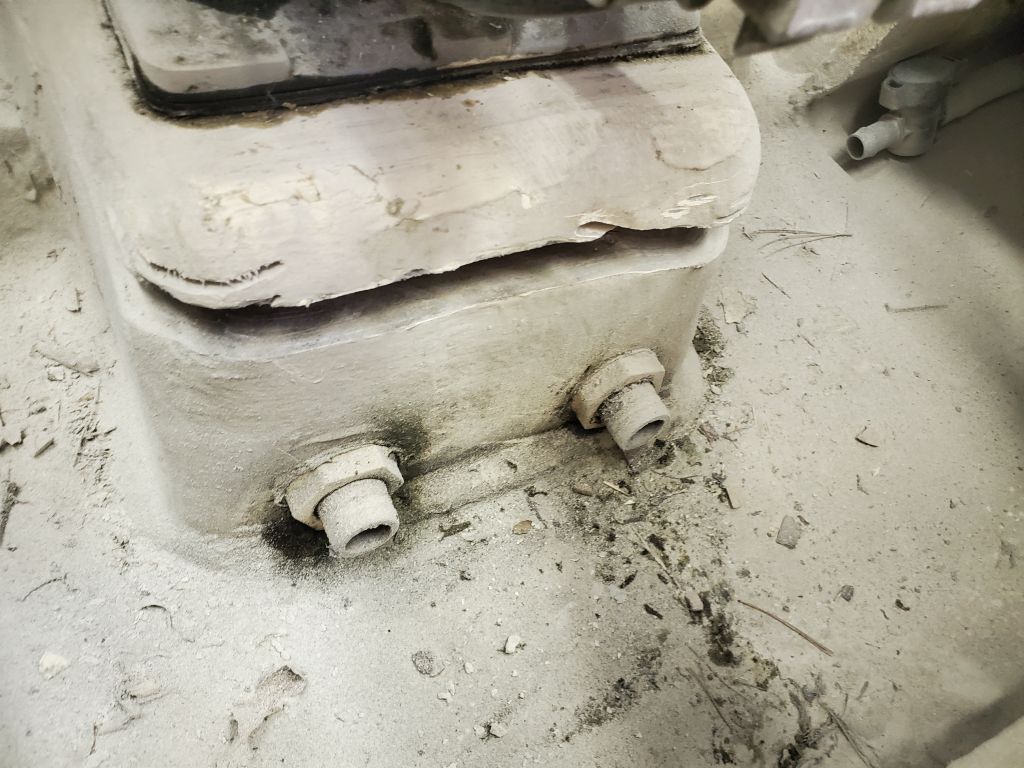
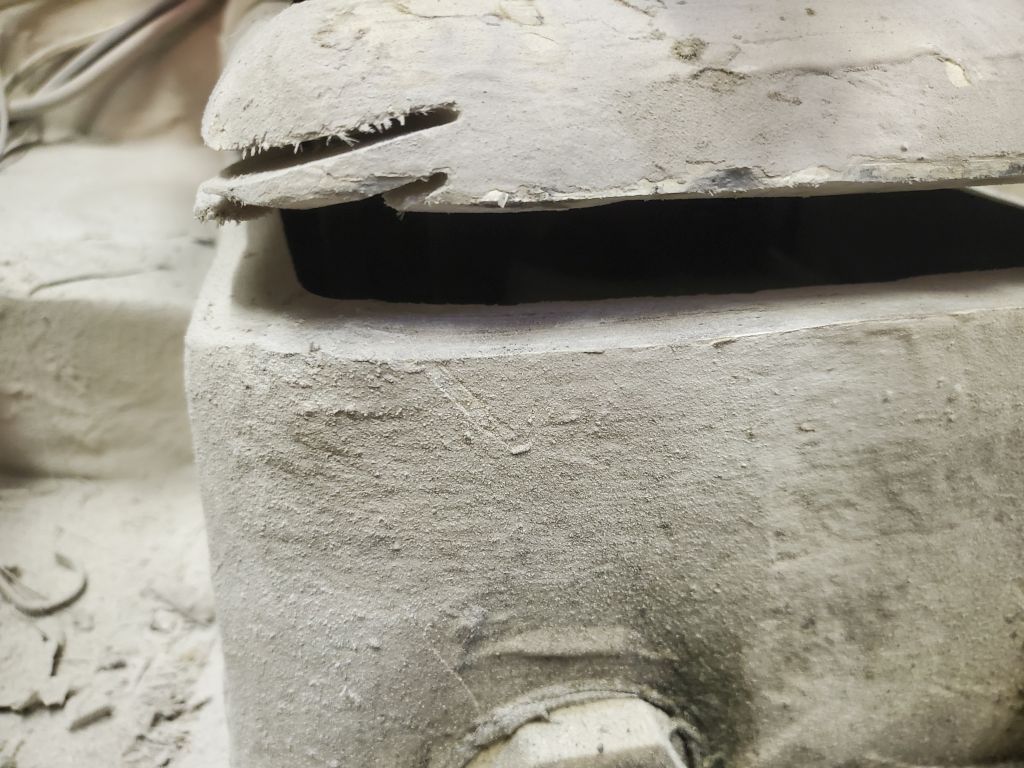
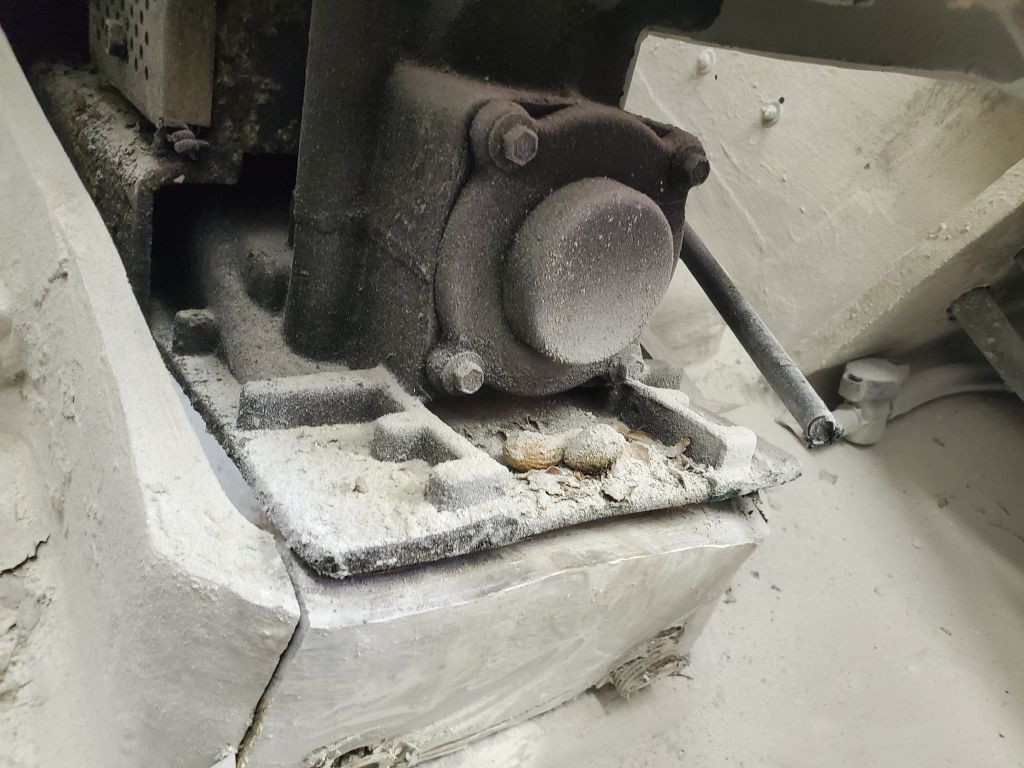
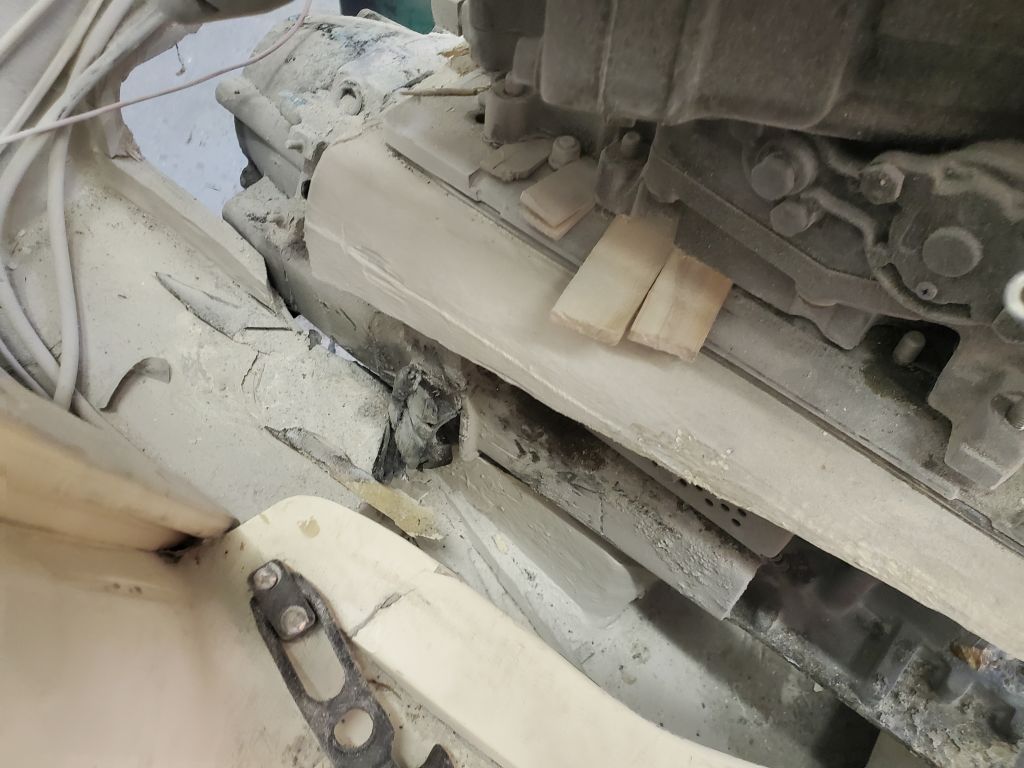
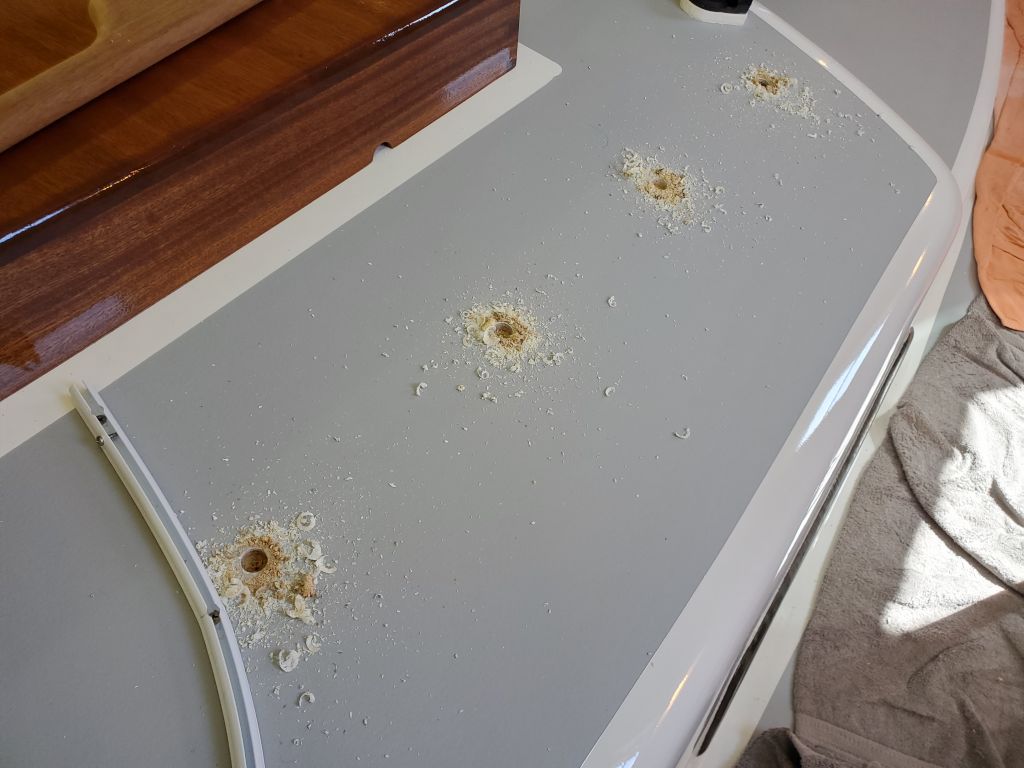
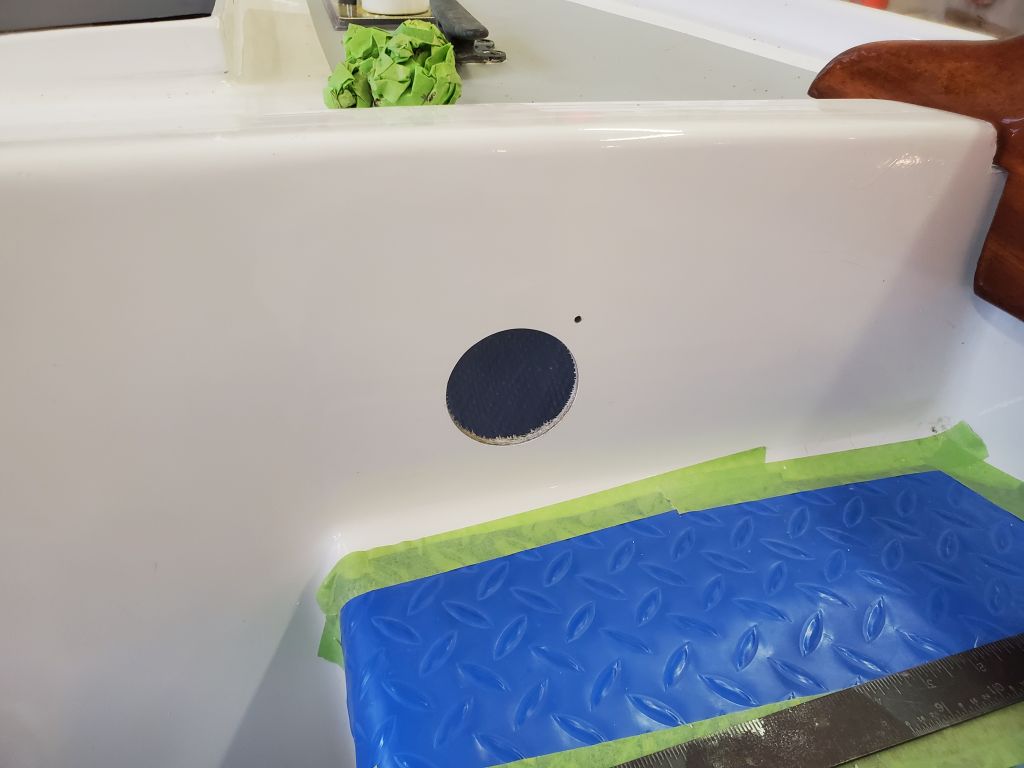
Throughout the engine removal, I’d wondered to myself about two raised areas, one on each side of the engine location right up against the transom. I figured I’d want to remove these as I reconfigured the boat to traditional outboard power, but now I decided to drill into one and see what was inside, which would ready me for whatever might be required in its removal. I was rather surprised to discover that these were trim ballast with lead encapsulated beneath the fiberglass–presumably something related to the engine configuration on this boat, unless the trim weight was something required due to a basic (if small) design error. I figured I’d still probably remove these, as weight could always be added back if it turned out to be needed for trim later, and they were frankly in the way of the rebuilding work required in the bilge. At least now I knew what I was up against.
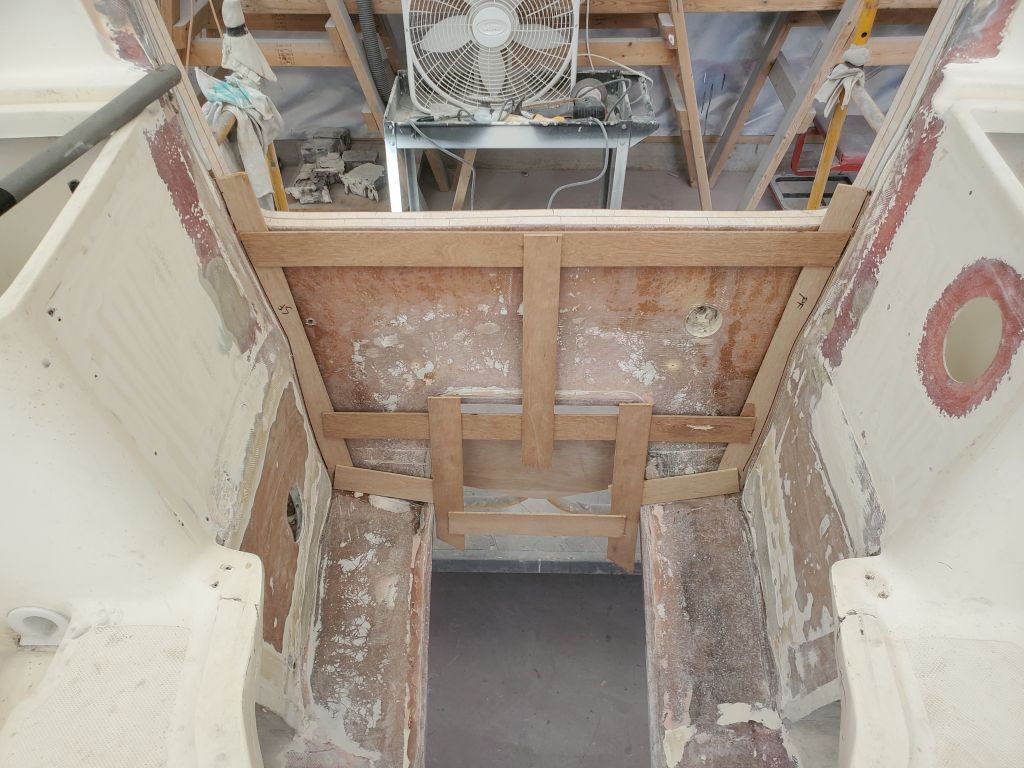
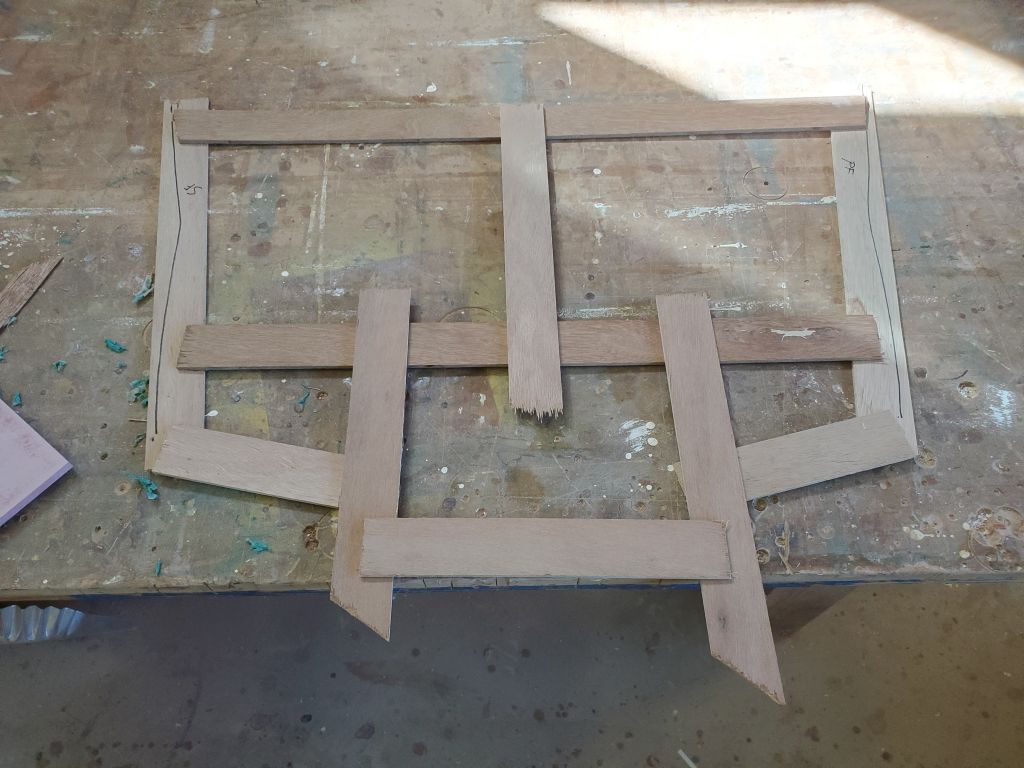
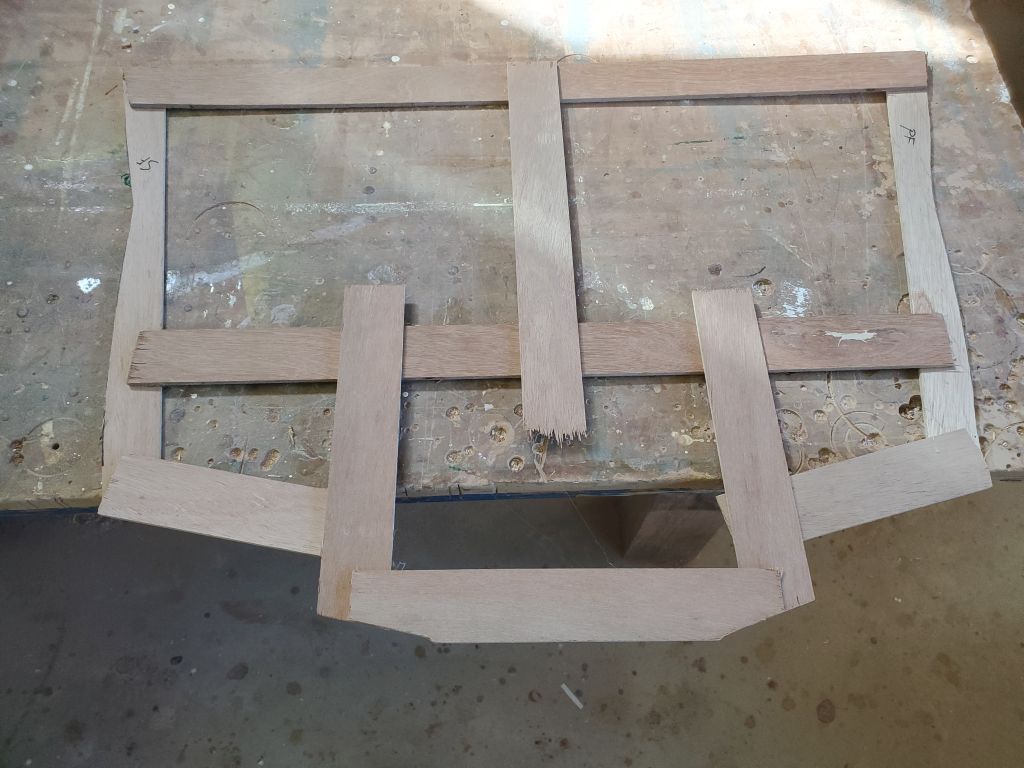
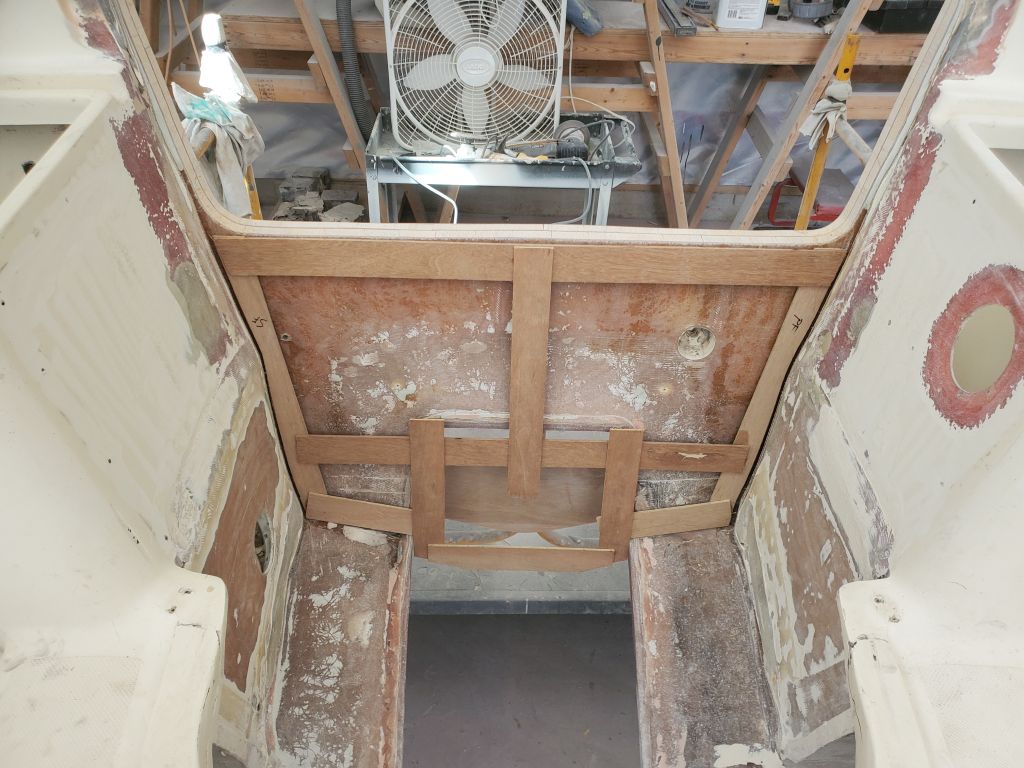
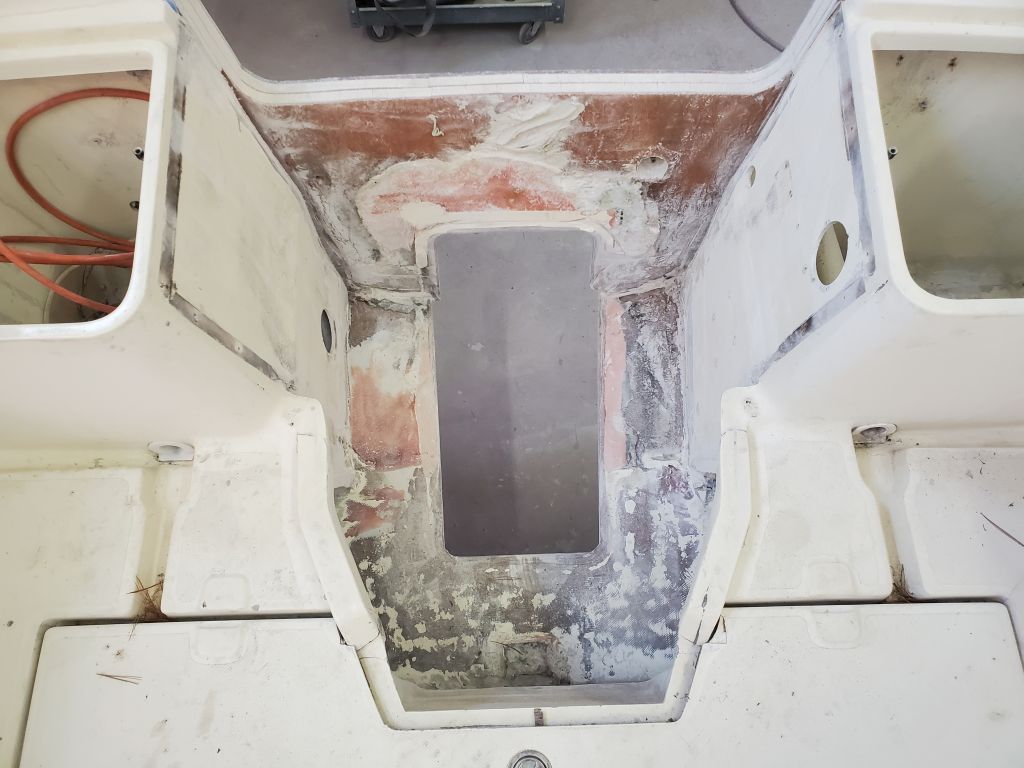
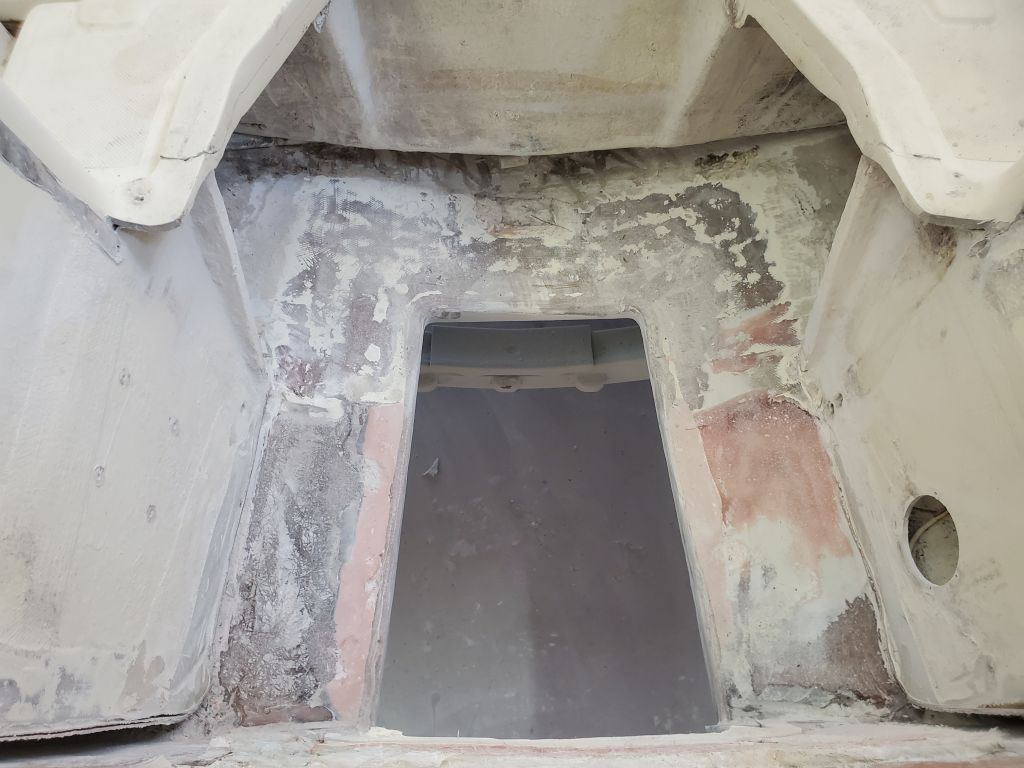
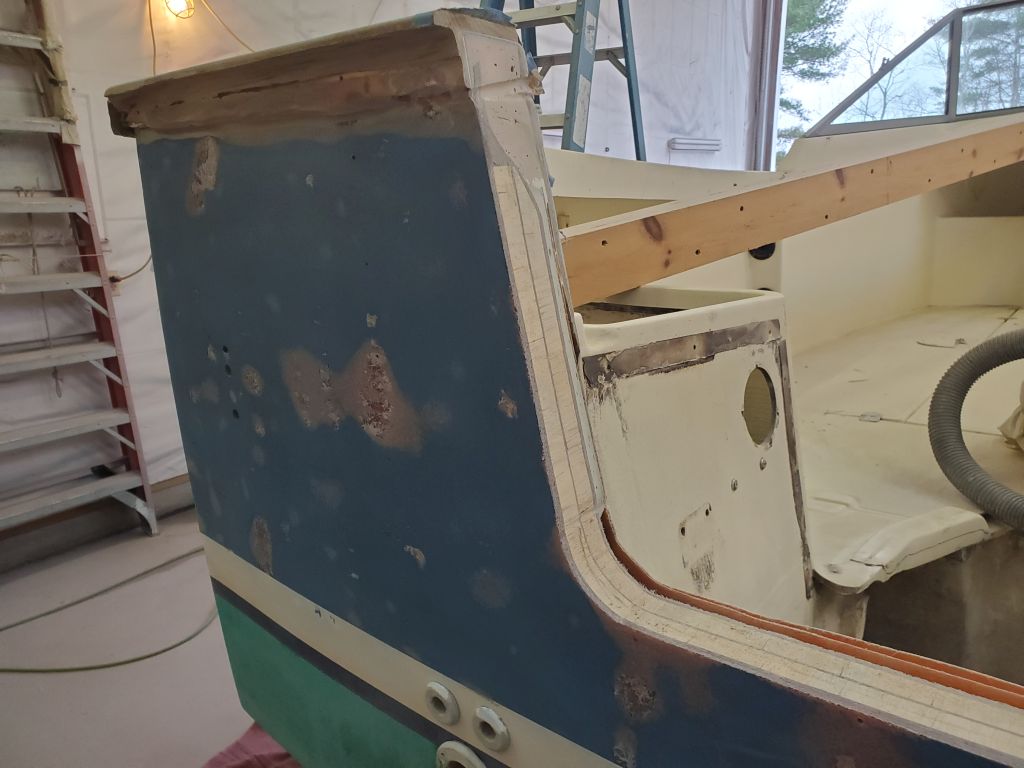
I began my rough interior layout by extending a straightedge up from the two molded seat arrangements on each side, but quickly determined that this wasn’t sufficiently accurate as a means of confirming the exterior layout.
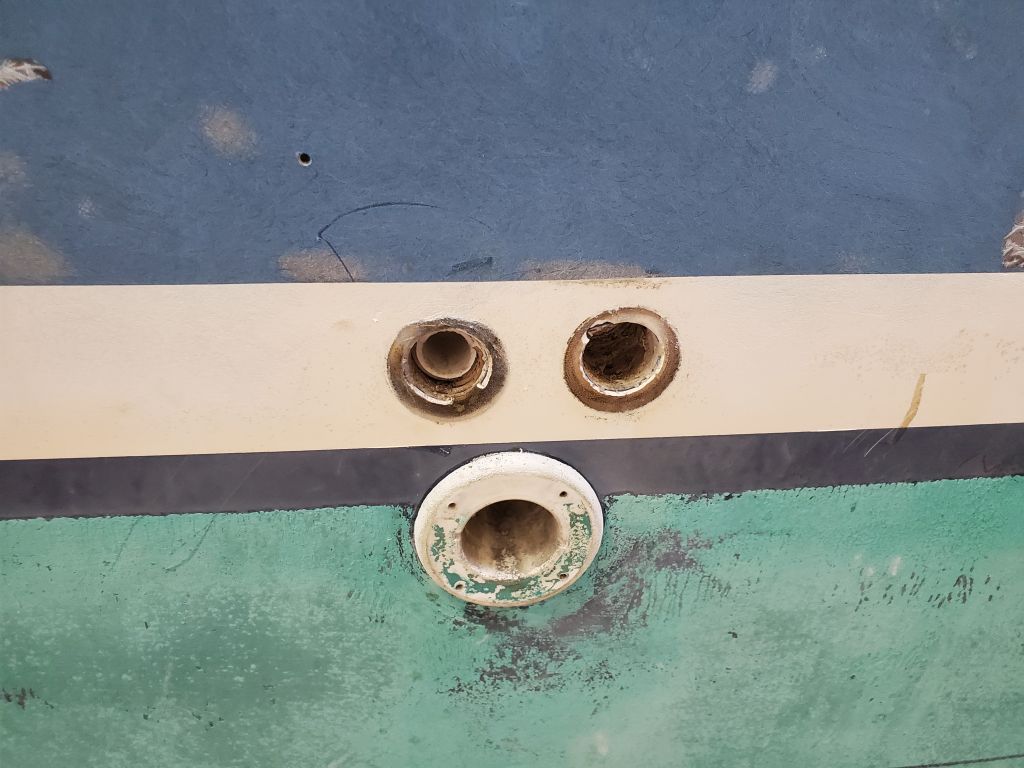
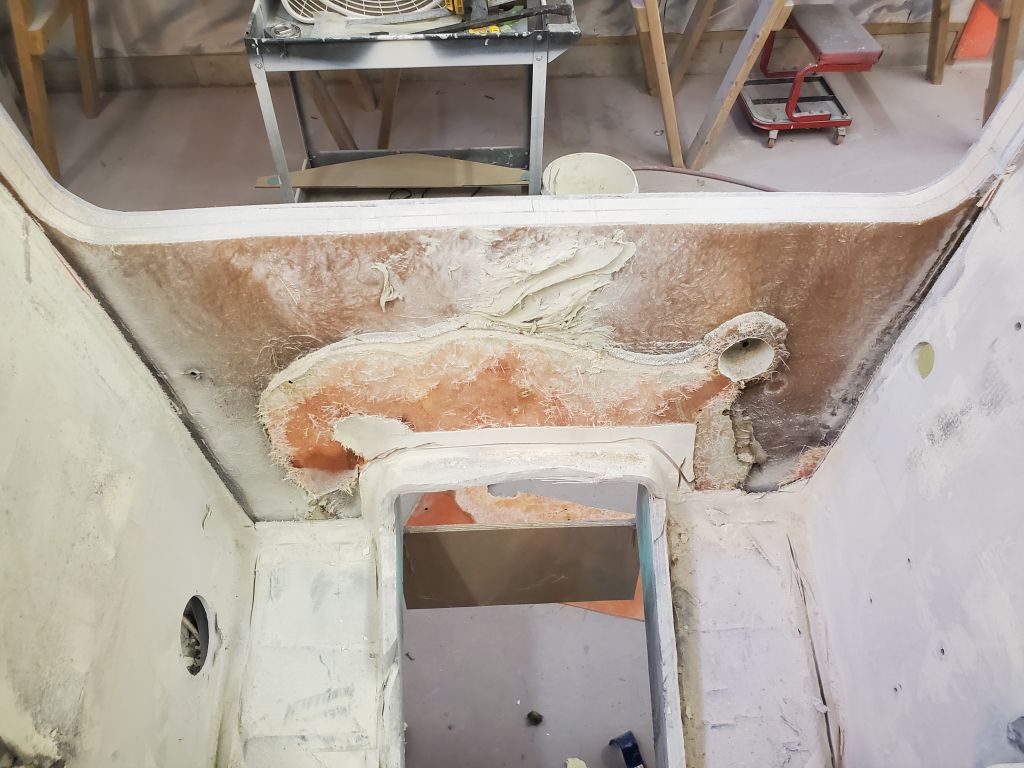
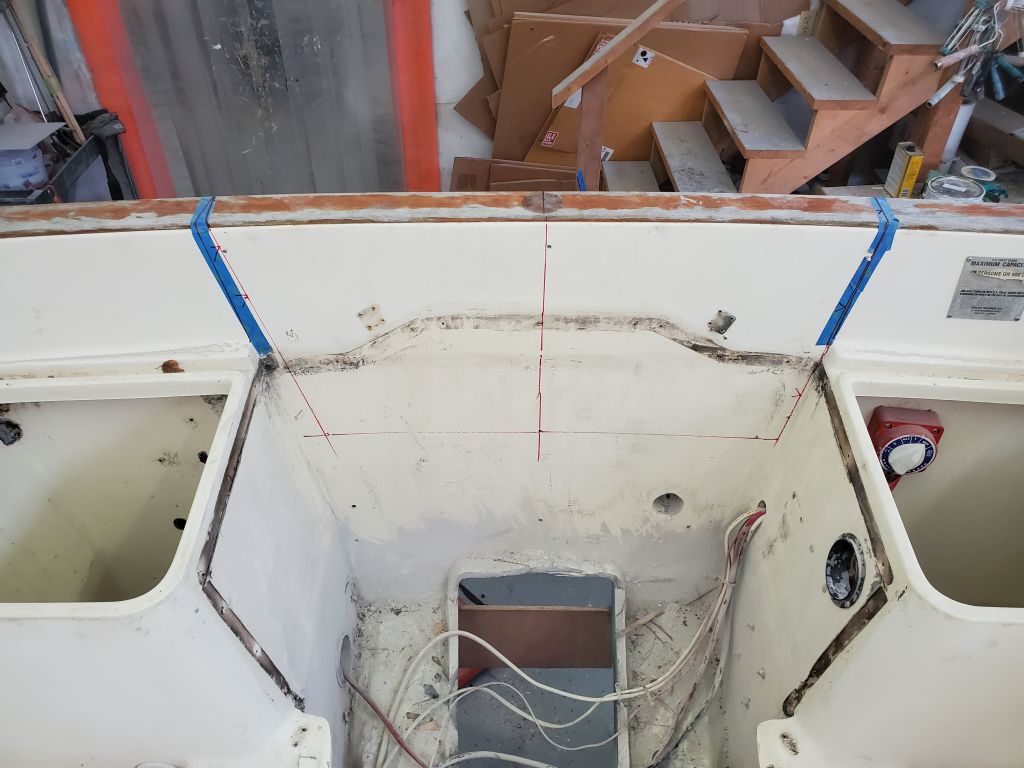
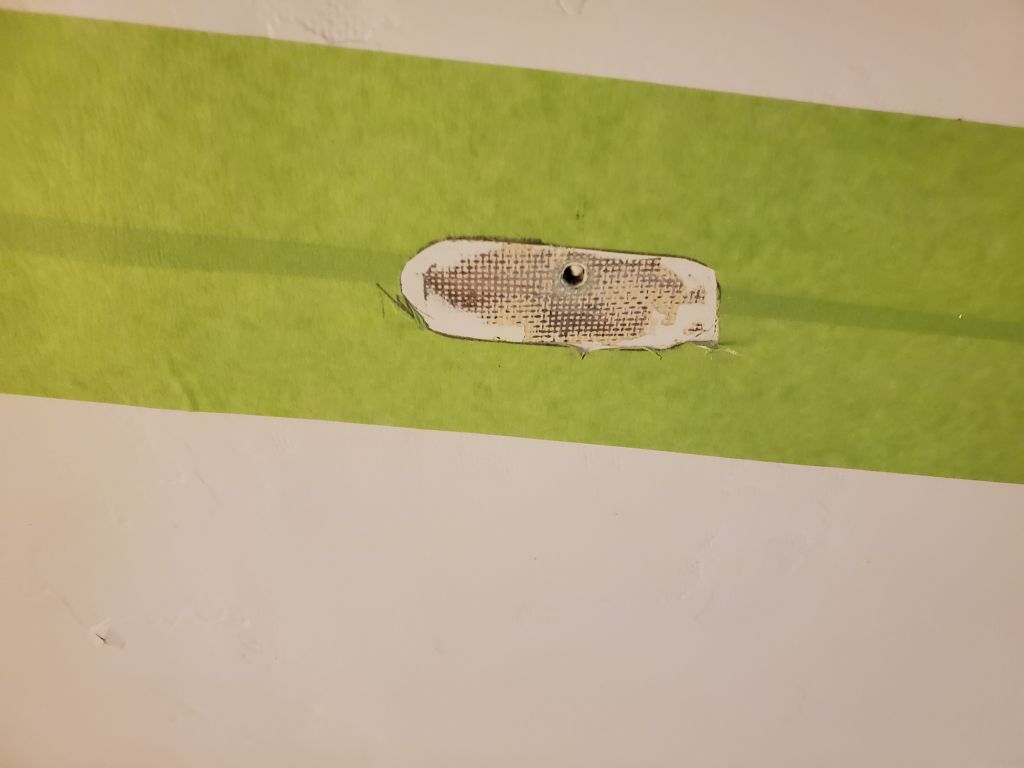
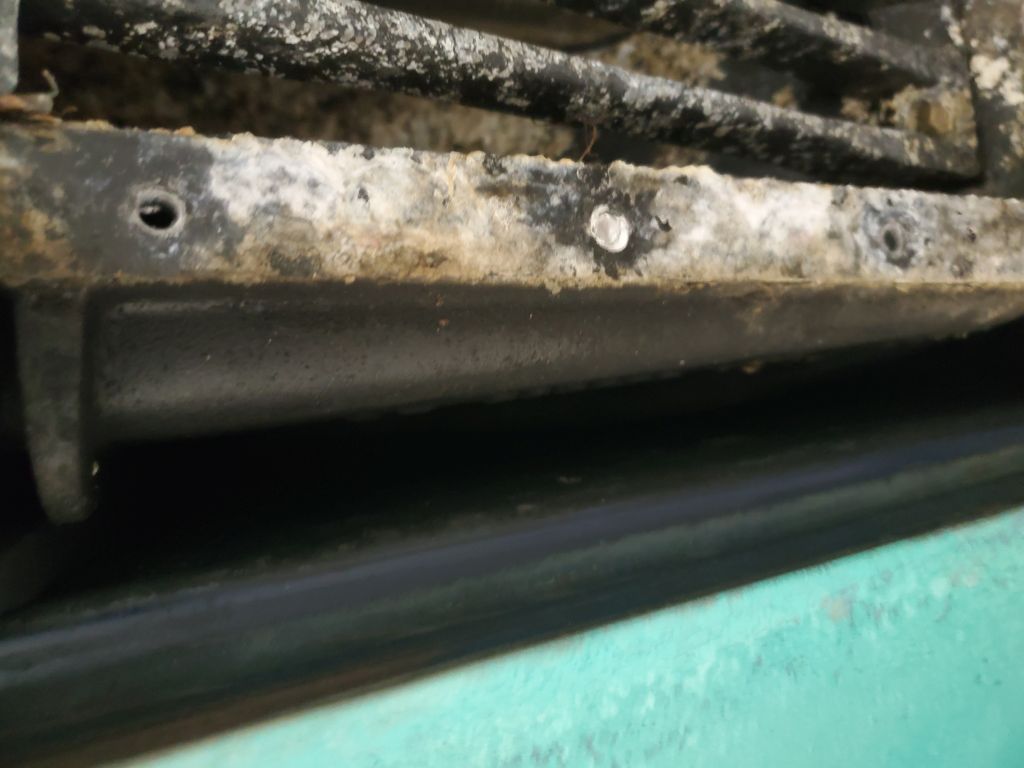
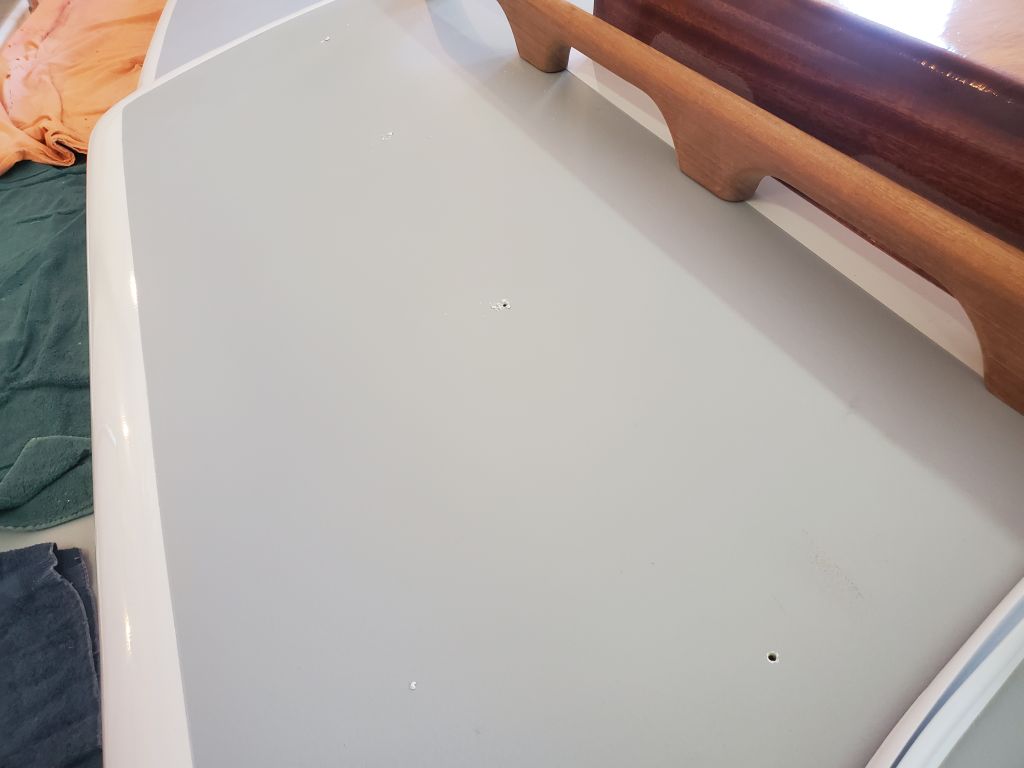
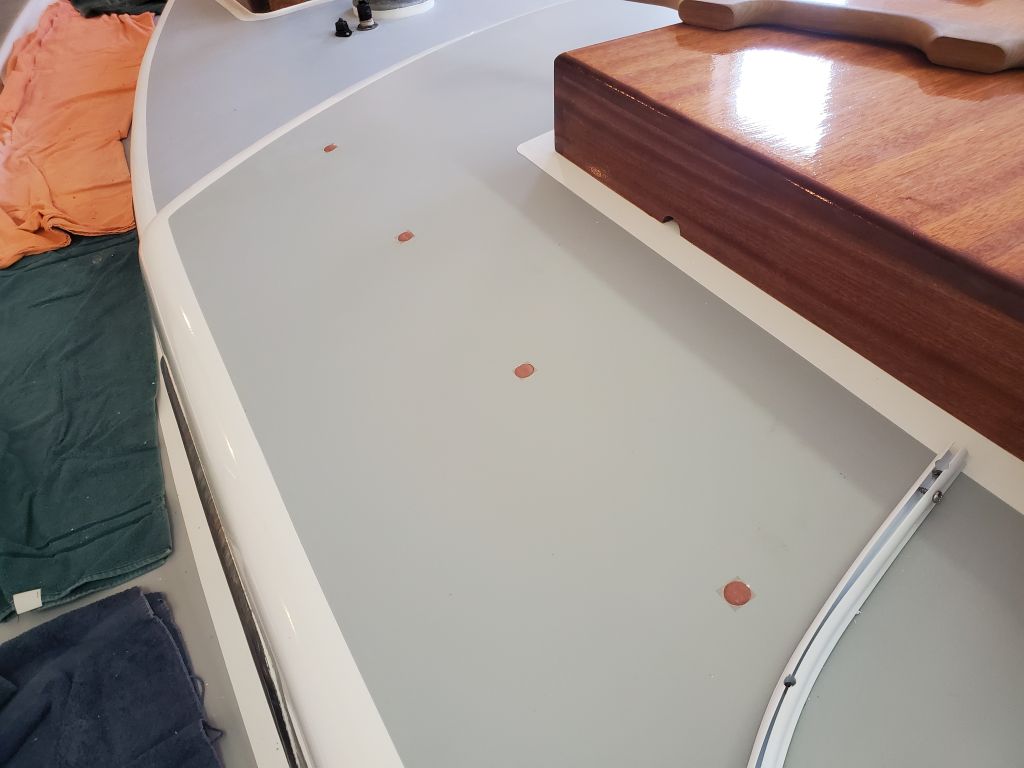
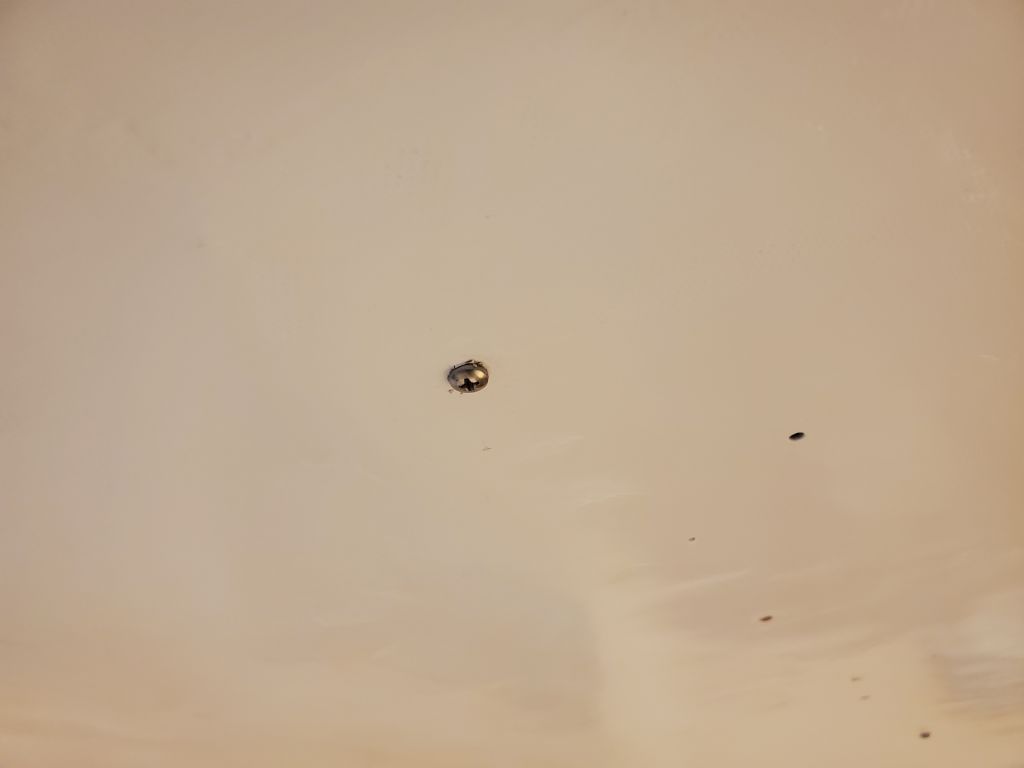
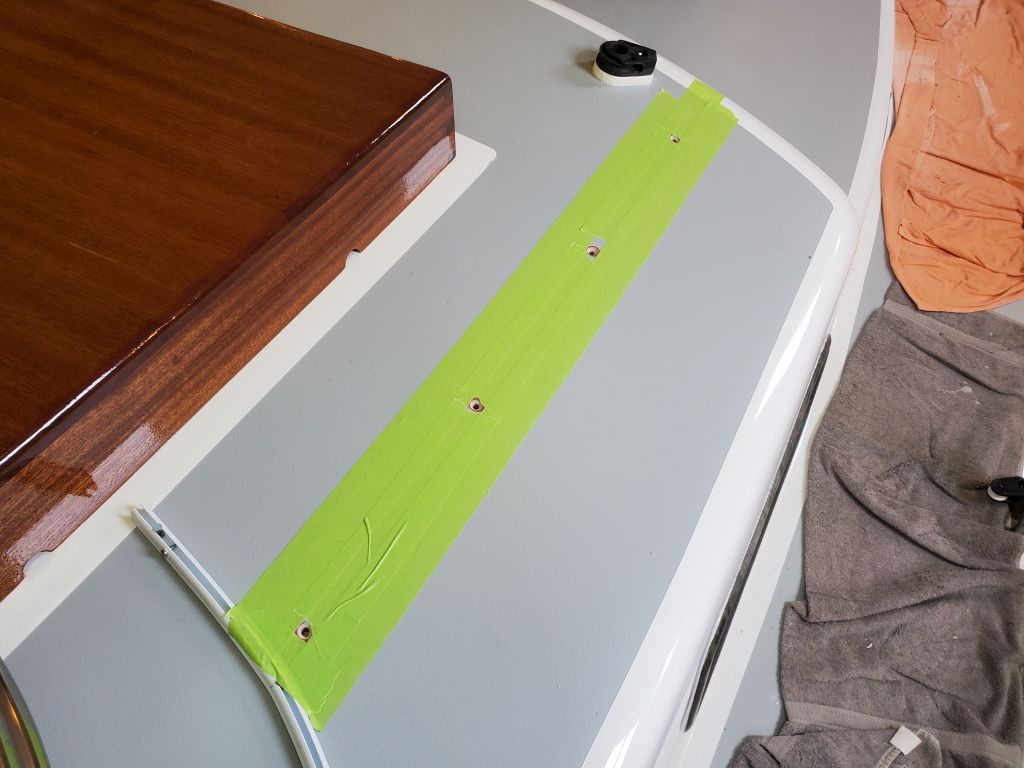
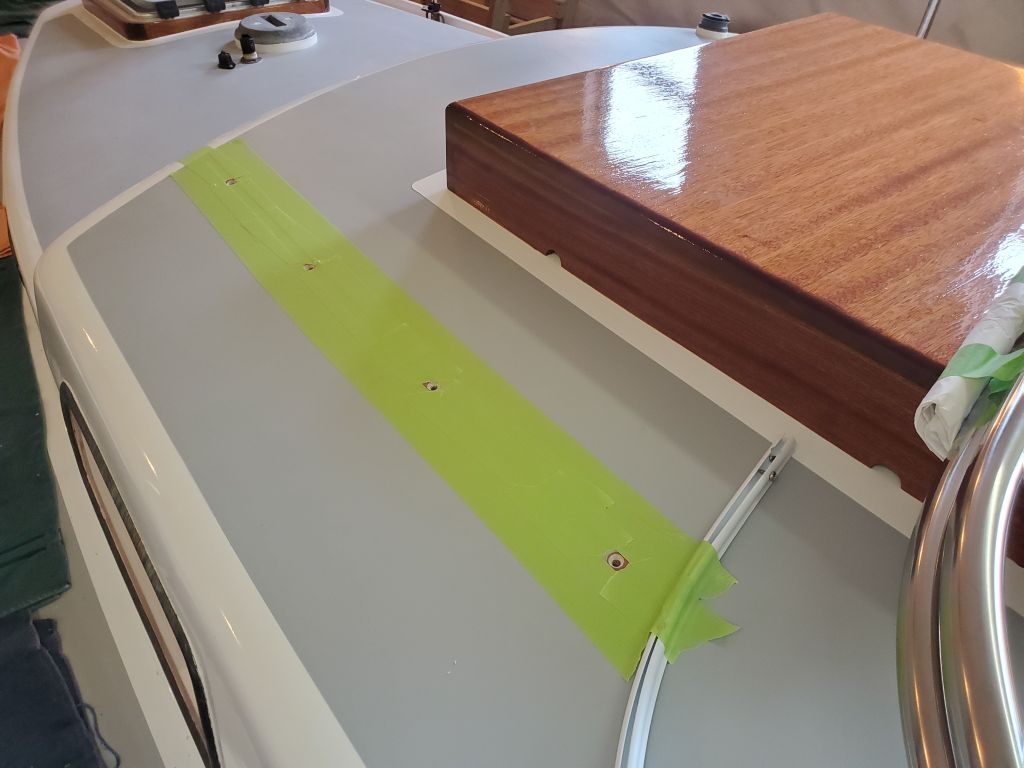
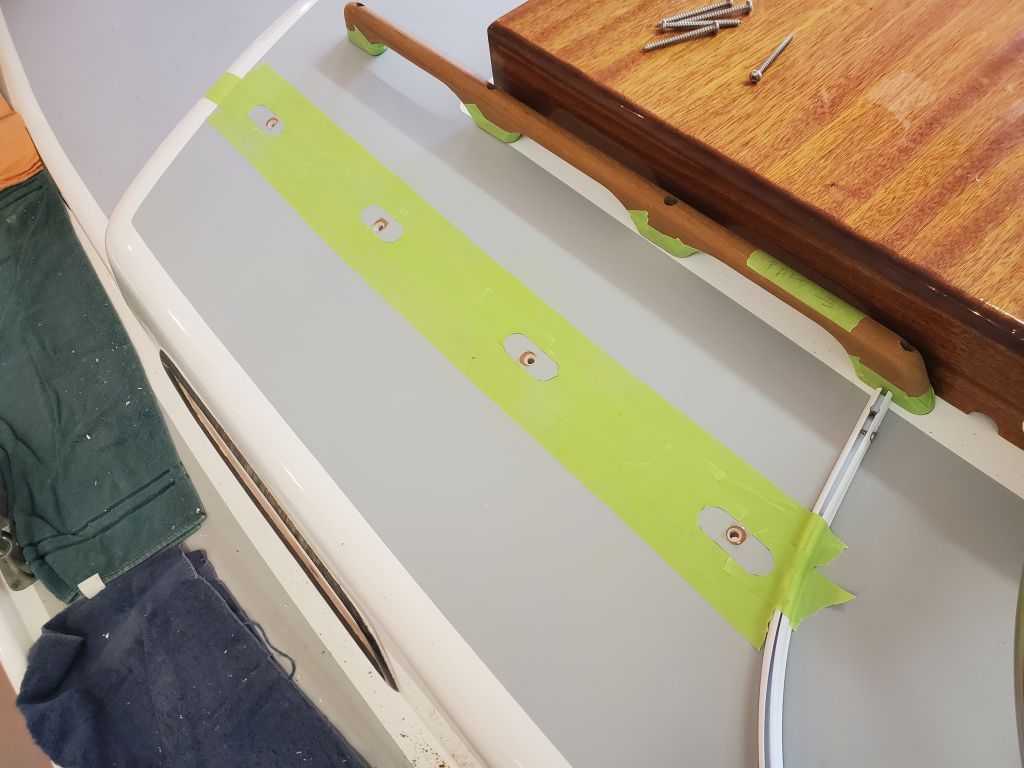
So from outside, I drilled 1/4″ holes through the transom at key points, including the centerline at the base; the beginning and end of each of the lower corner radii; and the top of the cutout just below the wooden rubrail. These points gave me a series of references on the inside that I could use to draw out the approximate cutout, to ensure it seemed in the right place from the inside as well. At first, my marks seemed to show an asymmetry on the starboard side, as the mark there was well inboard of the one to port, but I soon discovered that I’d missed one of the drilled holes and had connected one of the wrong points; the hole had come through, but a little flap of fiberglass had stayed affixed, hiding it. When I corrected the layout to the proper position, it made a lot more sense.
As a final confirmation of the position and layout on the transom, I made a final pair of measurements from each side, at the height of the bottom of the cutout, to the corners on each side; these proved to be symmetrical, clearing the way for me to cut out the piece in the center.
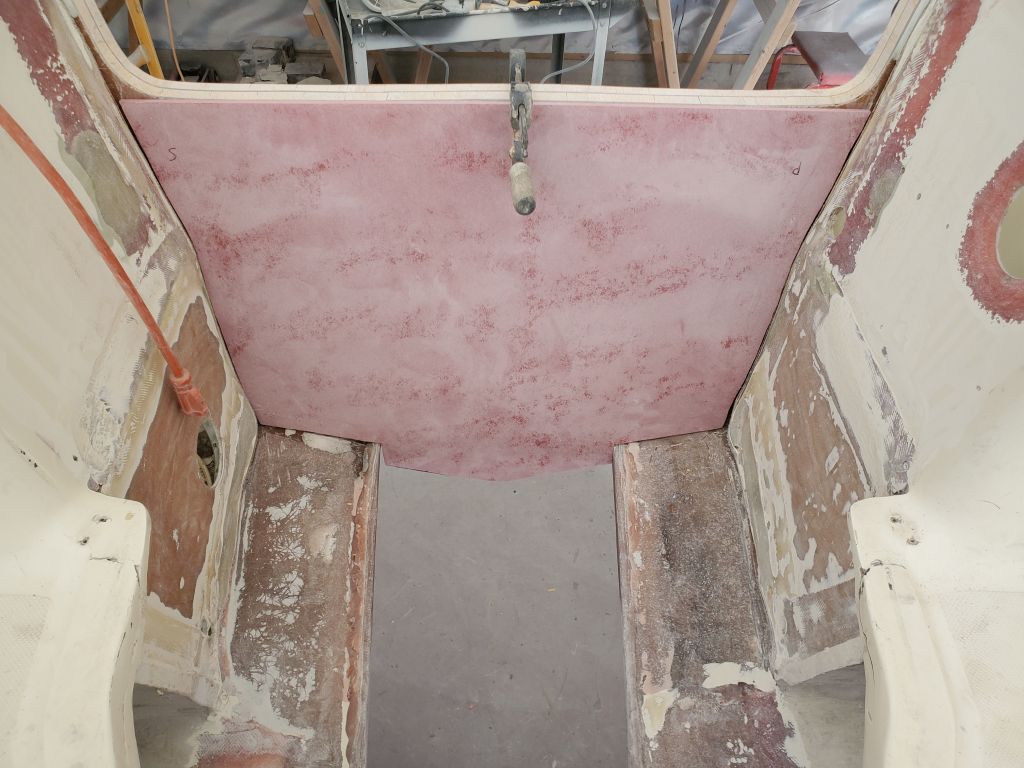
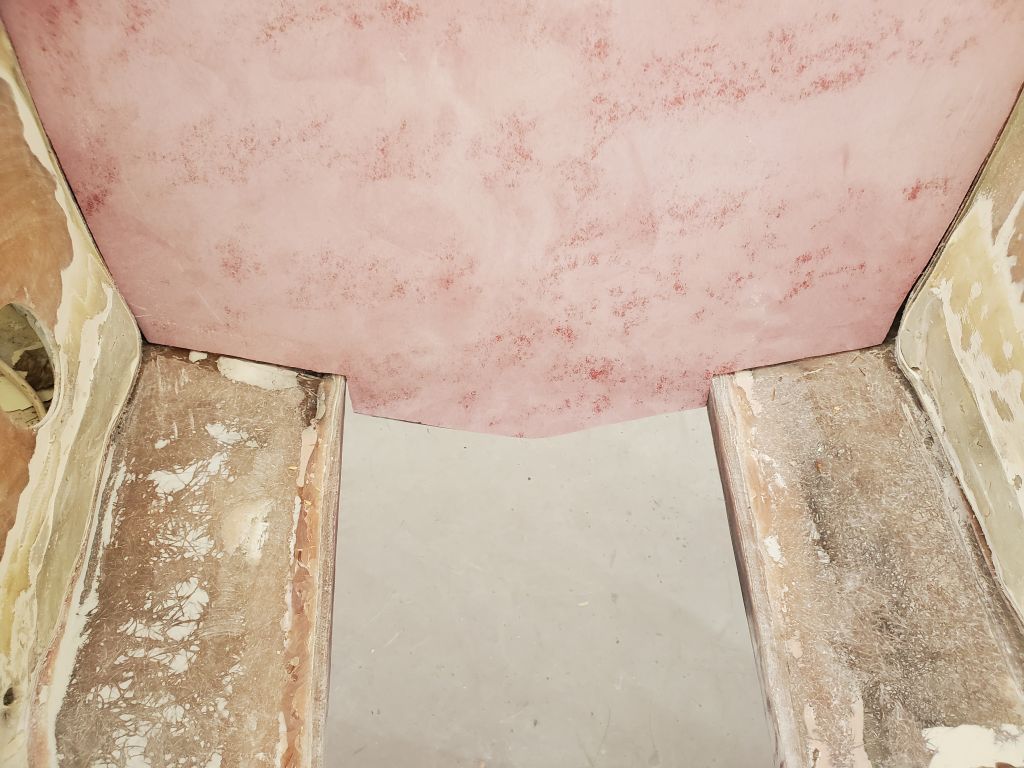
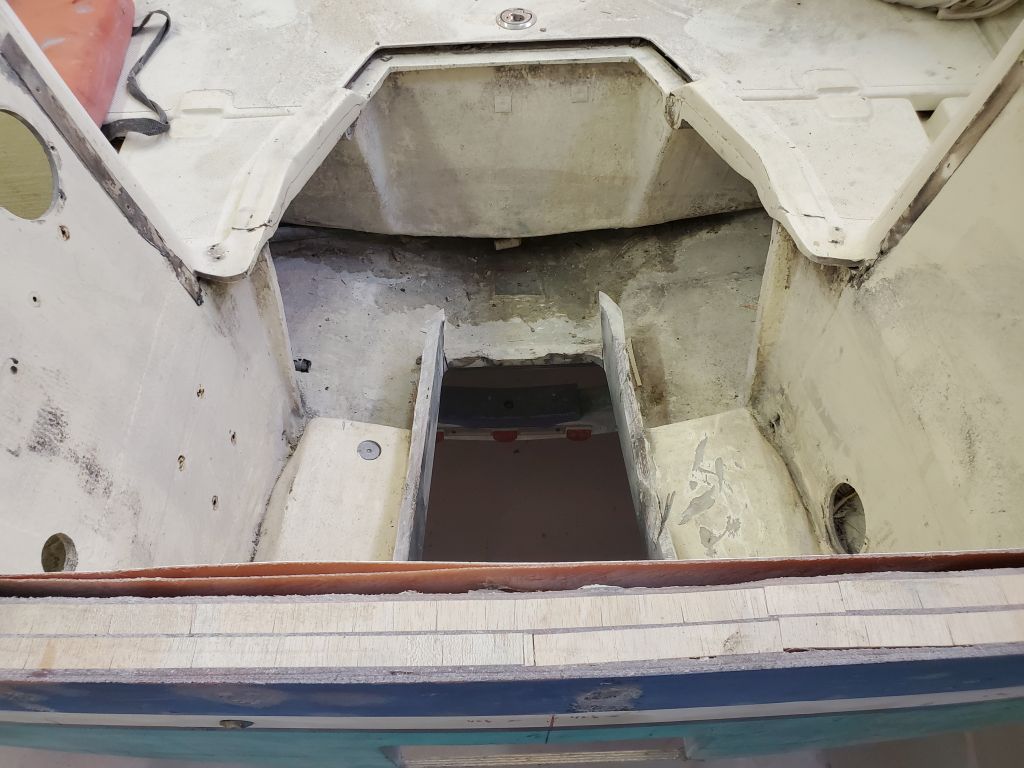
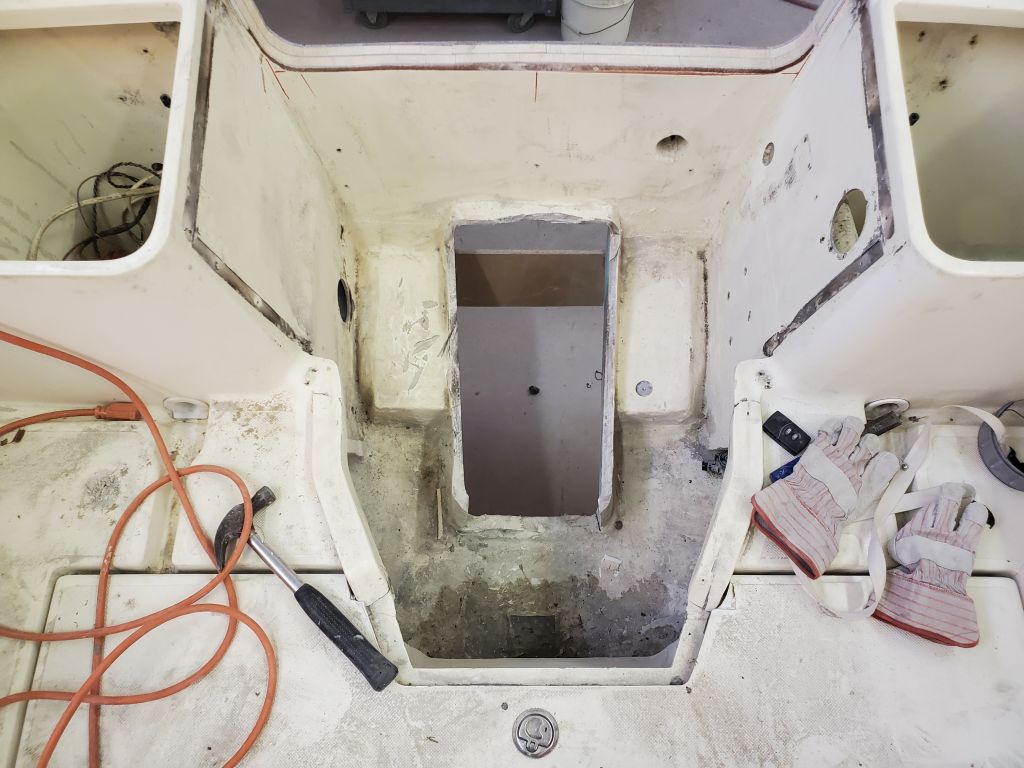
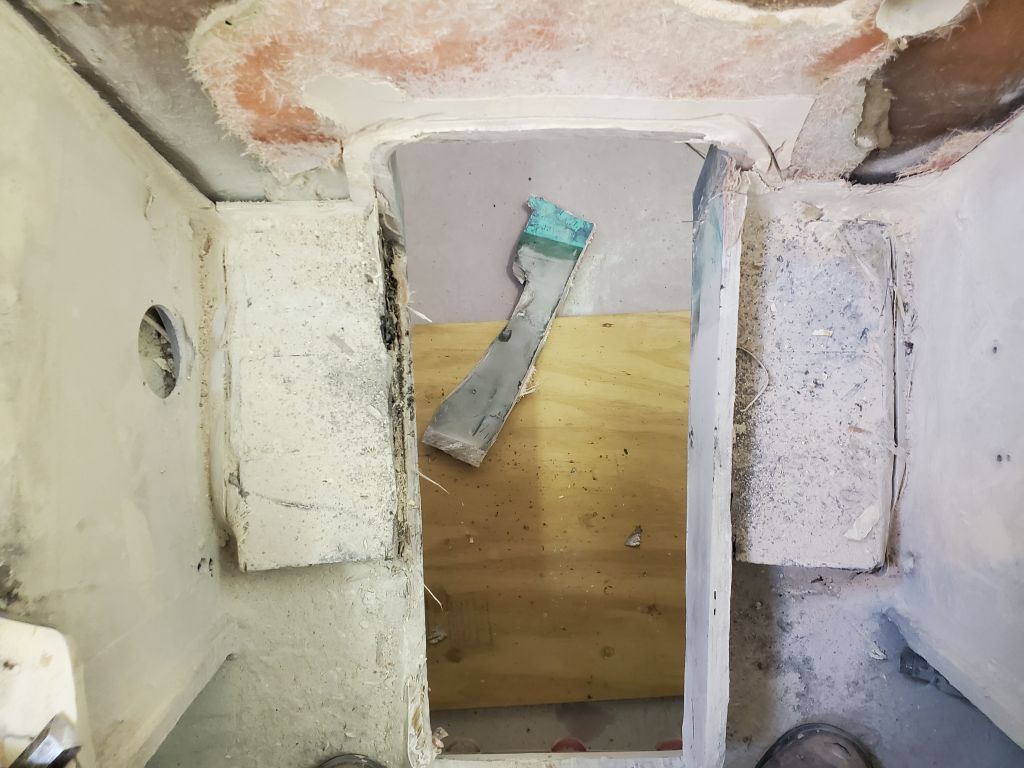
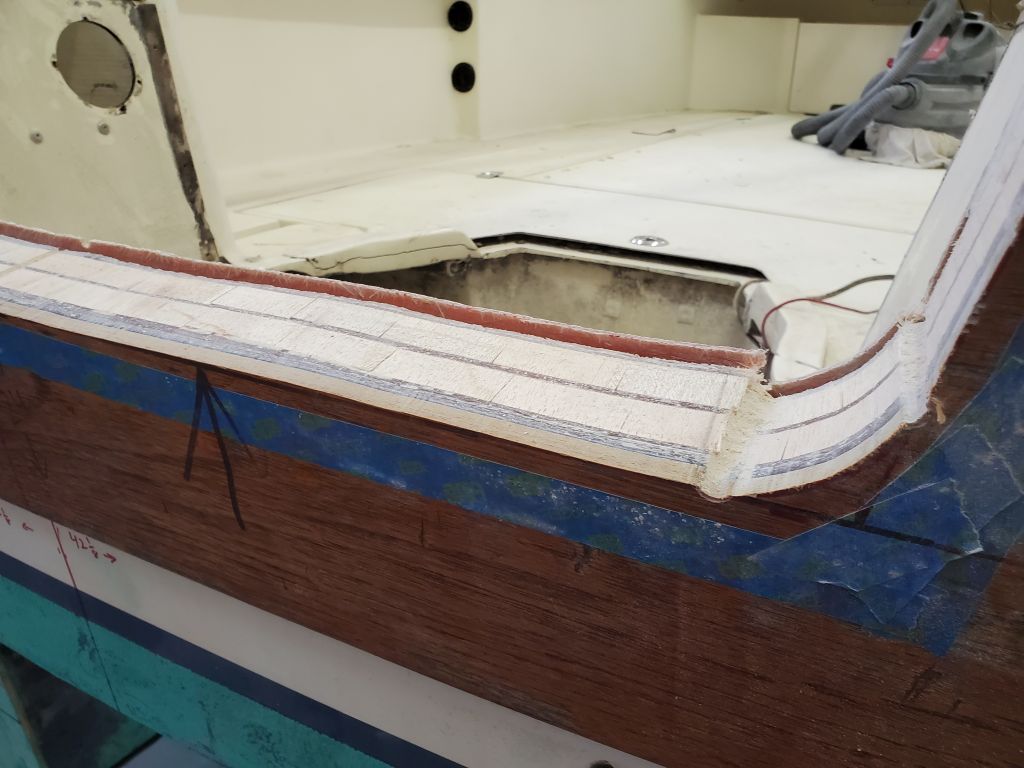
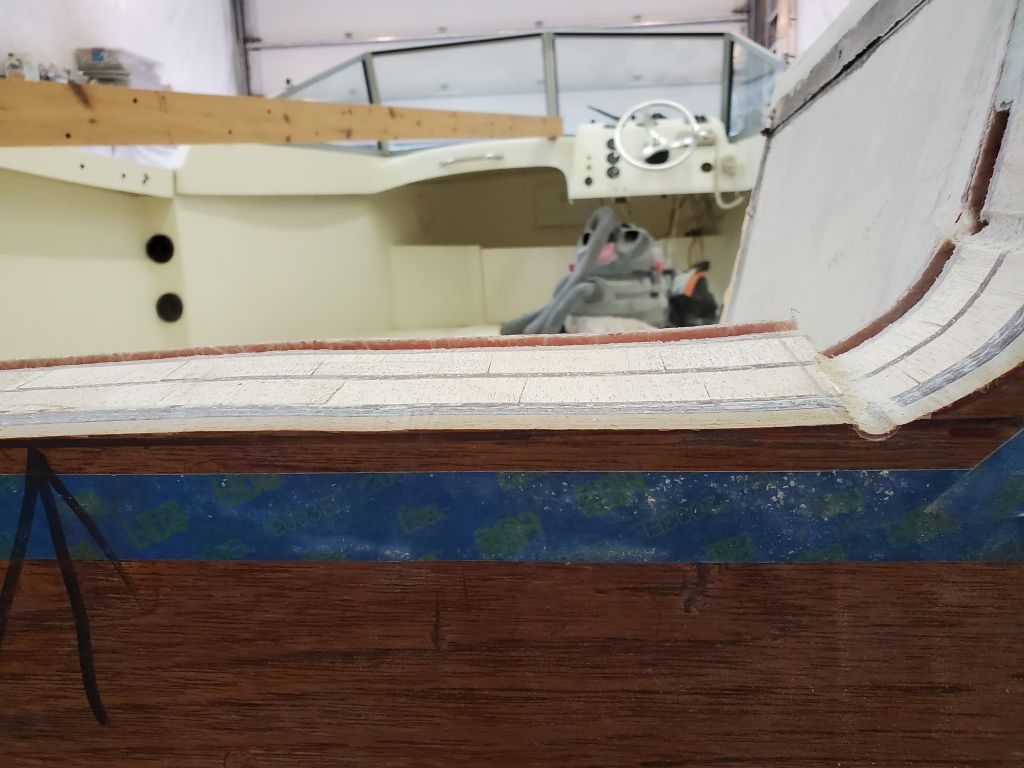
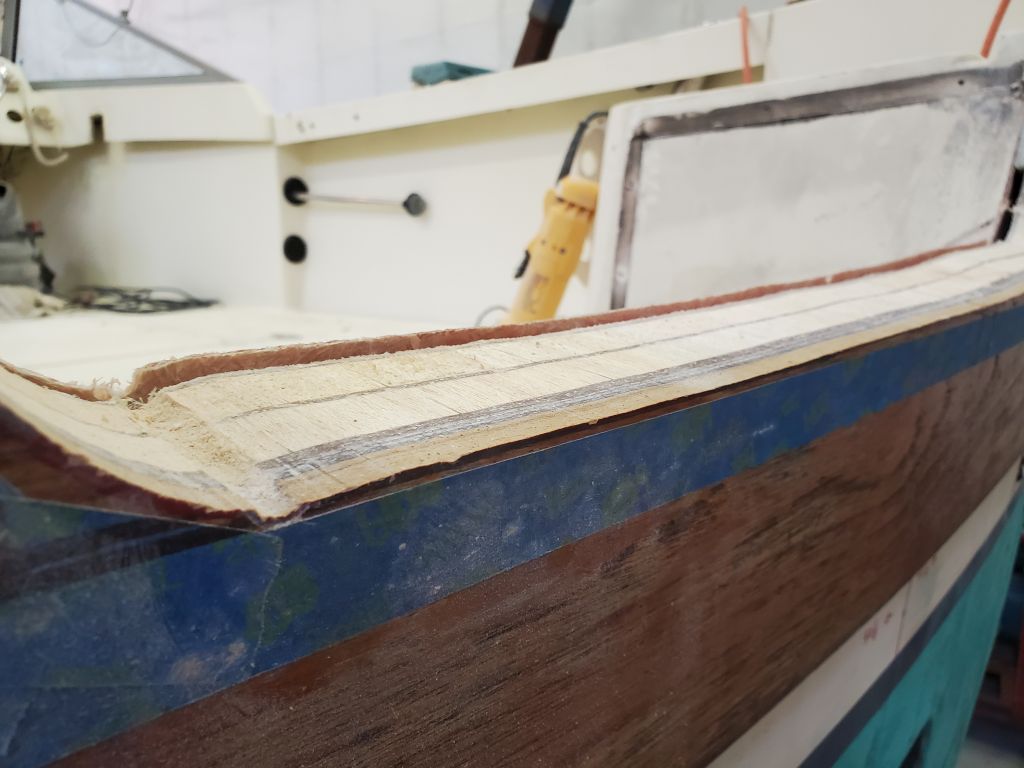
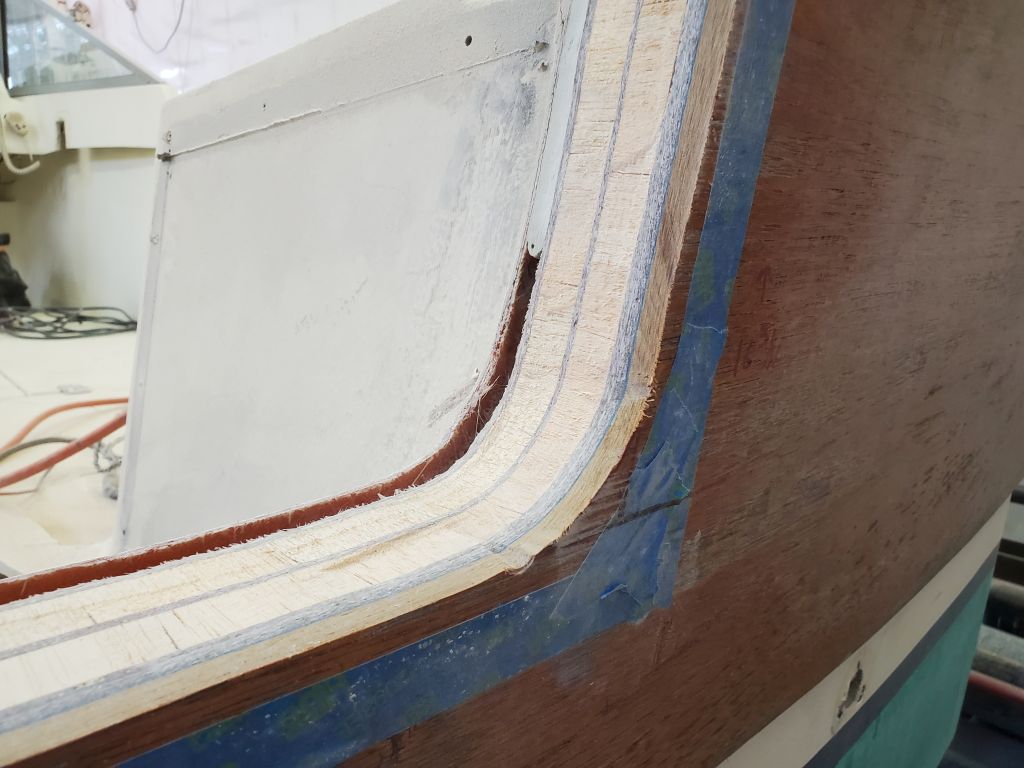
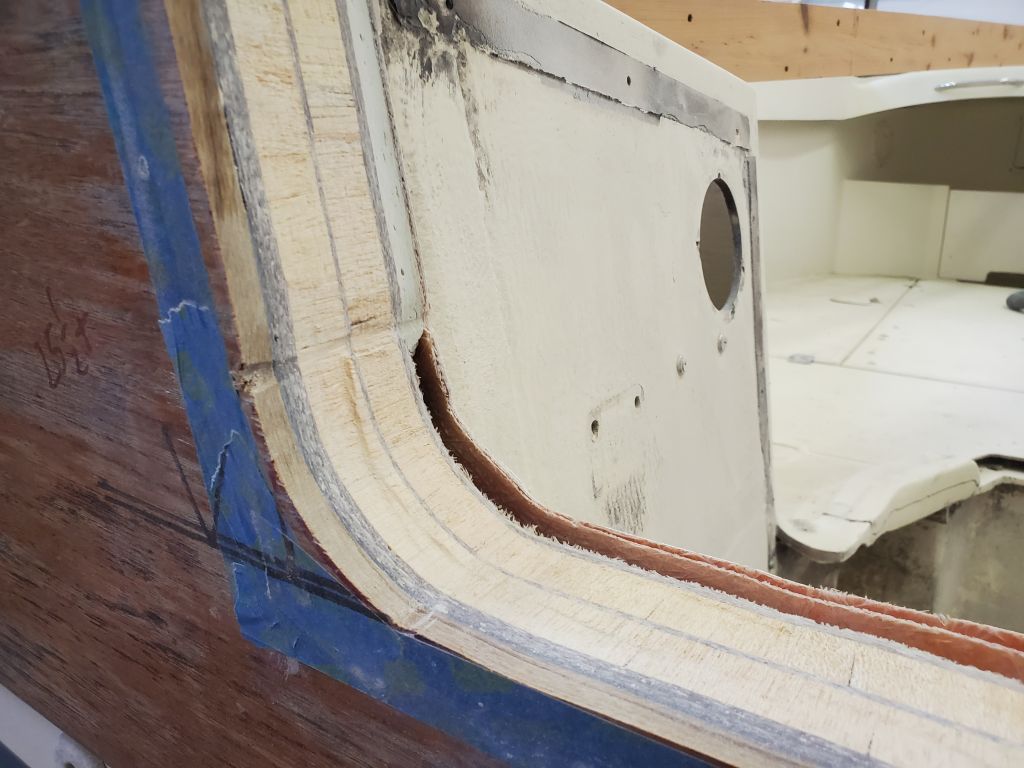
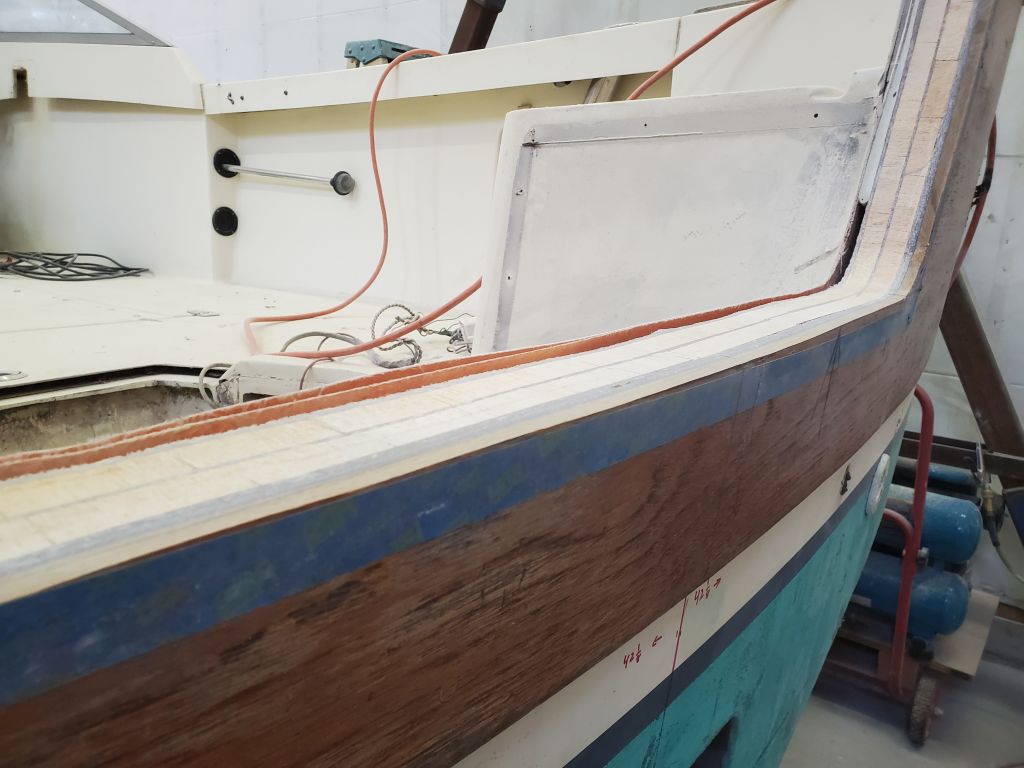
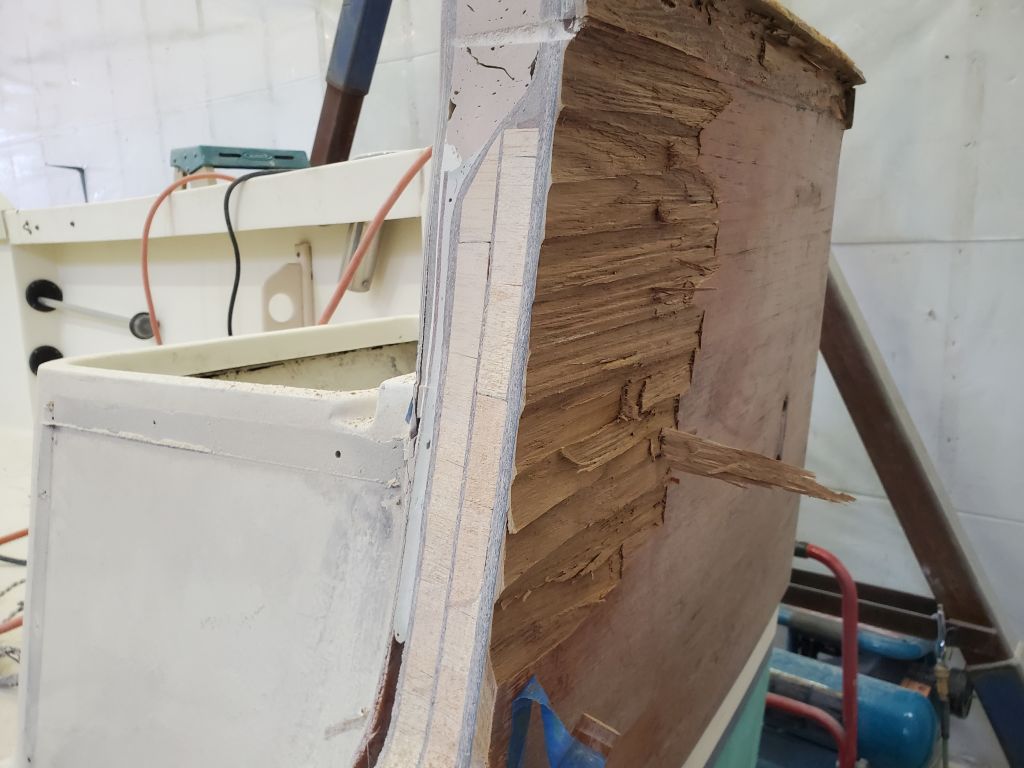
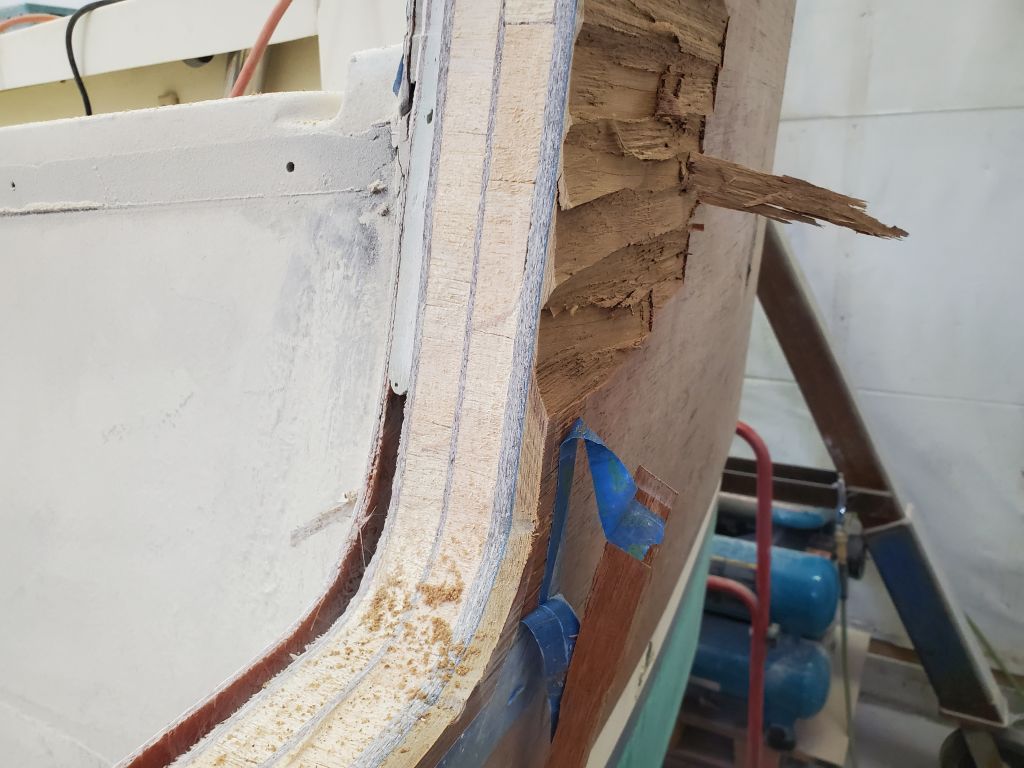
With a long blade in my jigsaw, I cut through the transom to remove the piece. I cut just inside (waste side) of the red lines, as accurately as possible but there’d be ample opportunity for correcting minor inaccuracies later. The transom was thick enough that I needed to use the longest blades in my current arsenal, which unfortunately weren’t the carbide ones I might have preferred for the job, but although I needed three of them for the job, they preformed admirably, and soon the heavy piece of the transom was out, revealing for the first time the inner construction.
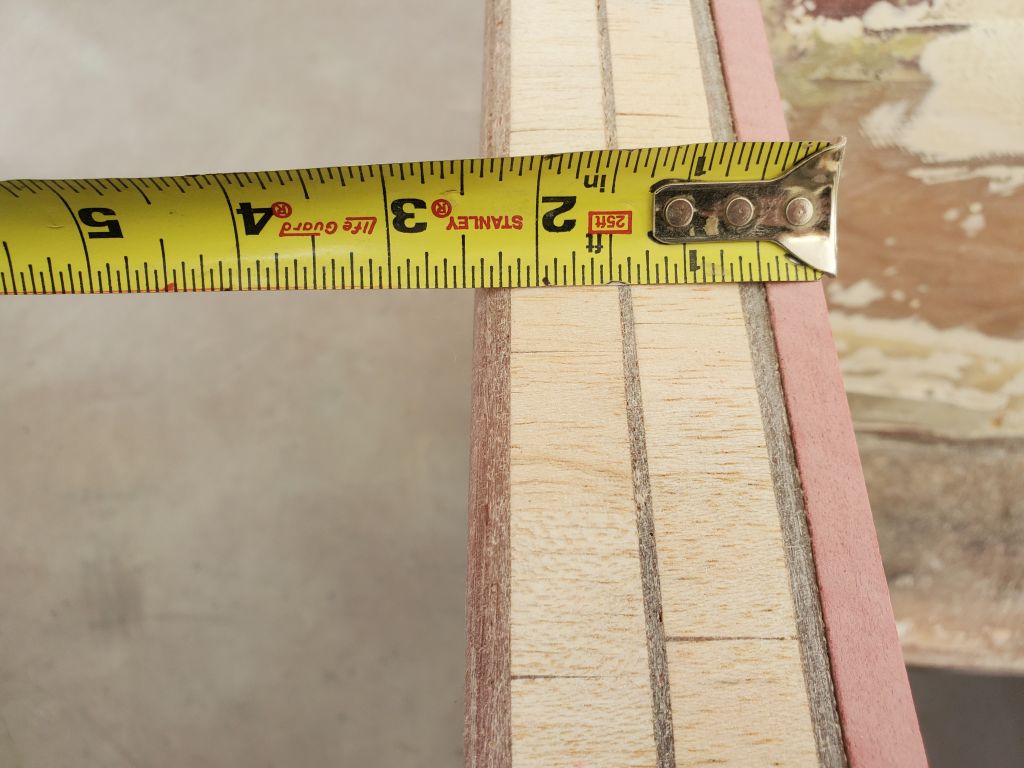
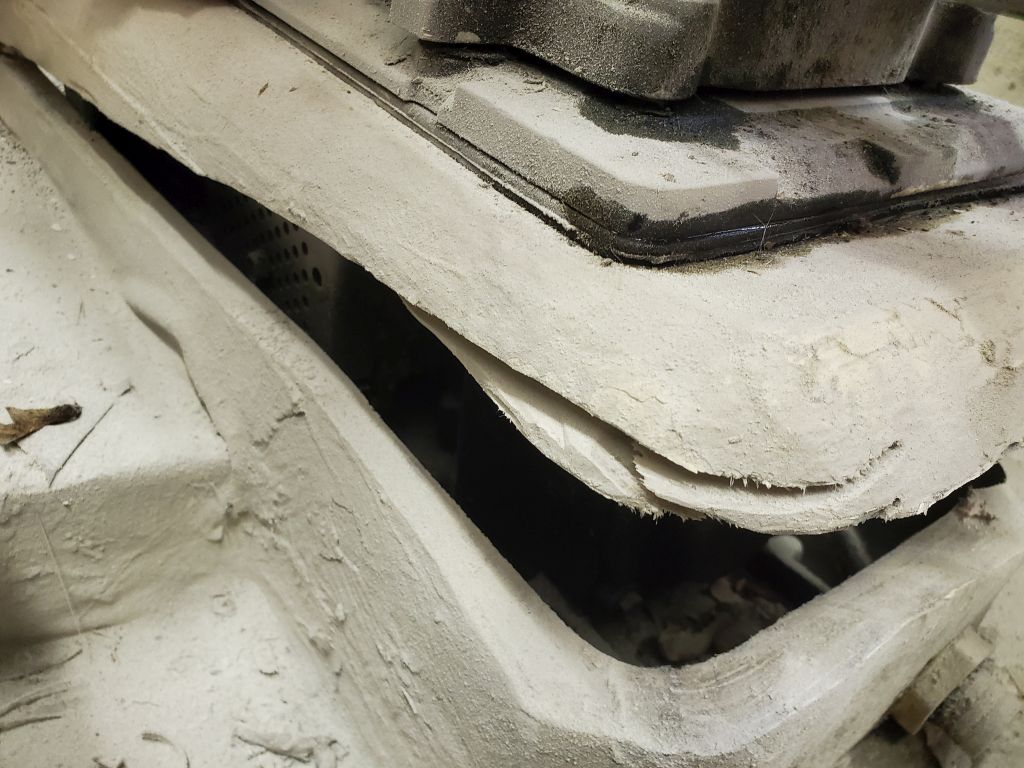
The construction featured nearly 3/8″ thick outer laminate, two layers of 3/4″ balsa separated by an additional 1/8″ laminate, and an inner laminate of about 3/16″ (plus the inner liner, separated by about 1/4″ gap and which would soon be removed as part of this process). The exterior wooden veneer was also going to be removed later and would not be part of the final configuration. The structural condition of the exposed transom appeared excellent, which was good news as this had been one of the known-unknowns of the project.
I’d measured the transom thickness on the sistership at 2-3/4″ overall (which probably included an interior liner), so I thought in this case I’d probably add a glassed-in prefab fiberglass panel to the inside to increase thickness, provide the requisite compression resistance, and add strength, all of which would be coupled with and tied to the existing structures with and around the new work to close off the old jet drive tunnel and recreate the proper hull shape. The hull on this boat featured a slight flattened area beginning just forward of the tunnel opening, versus the rounded deadrise shape of the basic hull, so recreating this shape from its natural starting point a foot or so forward of the tunnel to the transom would be part of the work to come. All this and more, including final shaping and finishing of the new cutout opening, would form the bulk of the work on this project in the time to come.