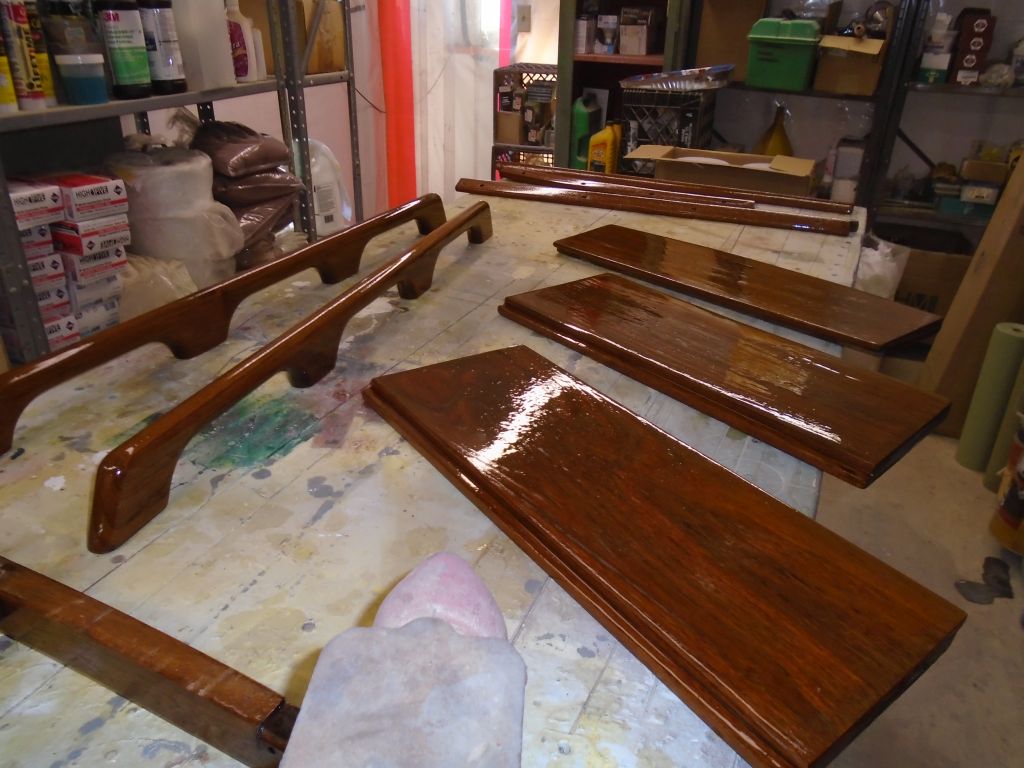
(page 161 of 167)

Aventura 50

< Back to Aventura

Friday

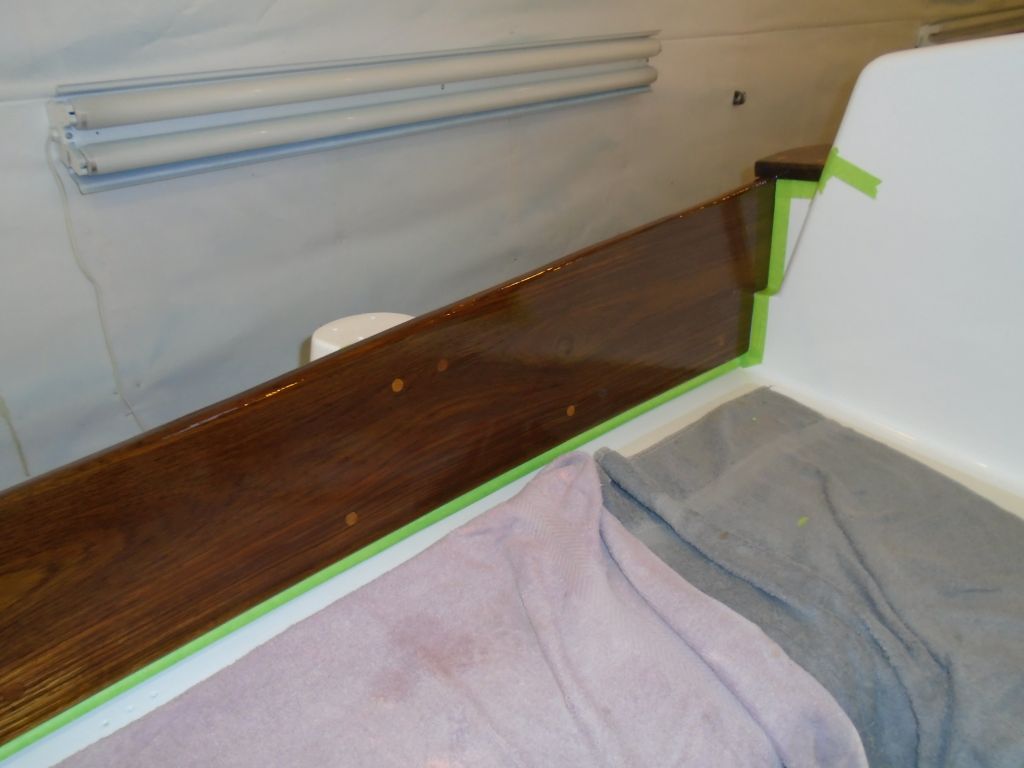
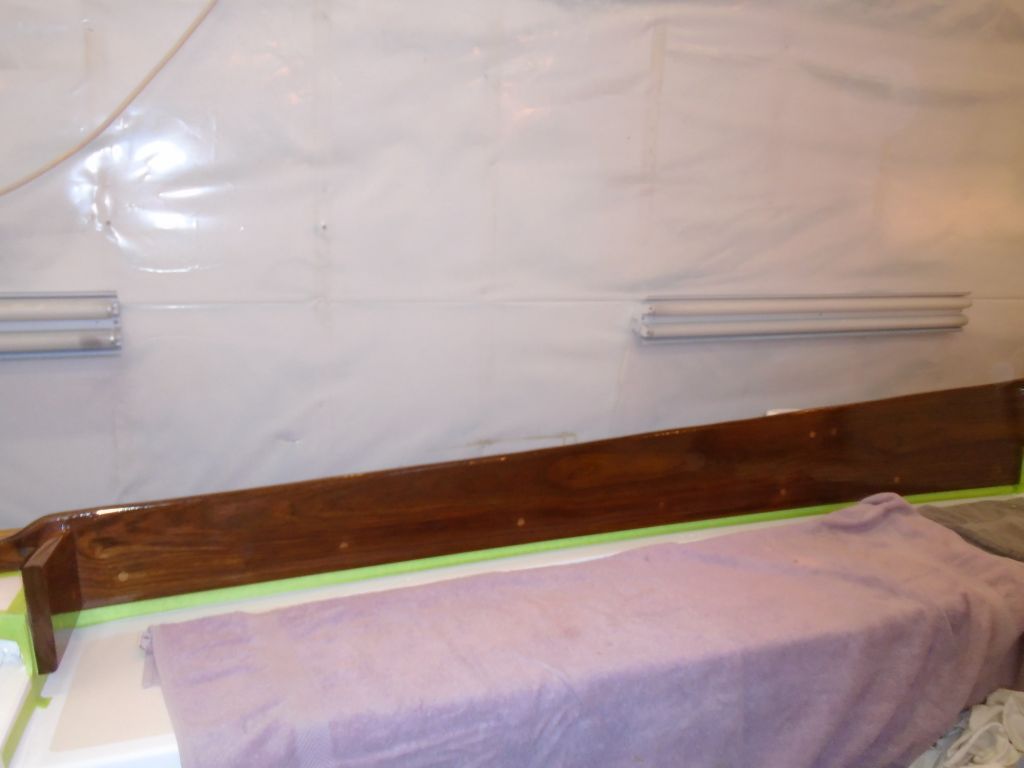
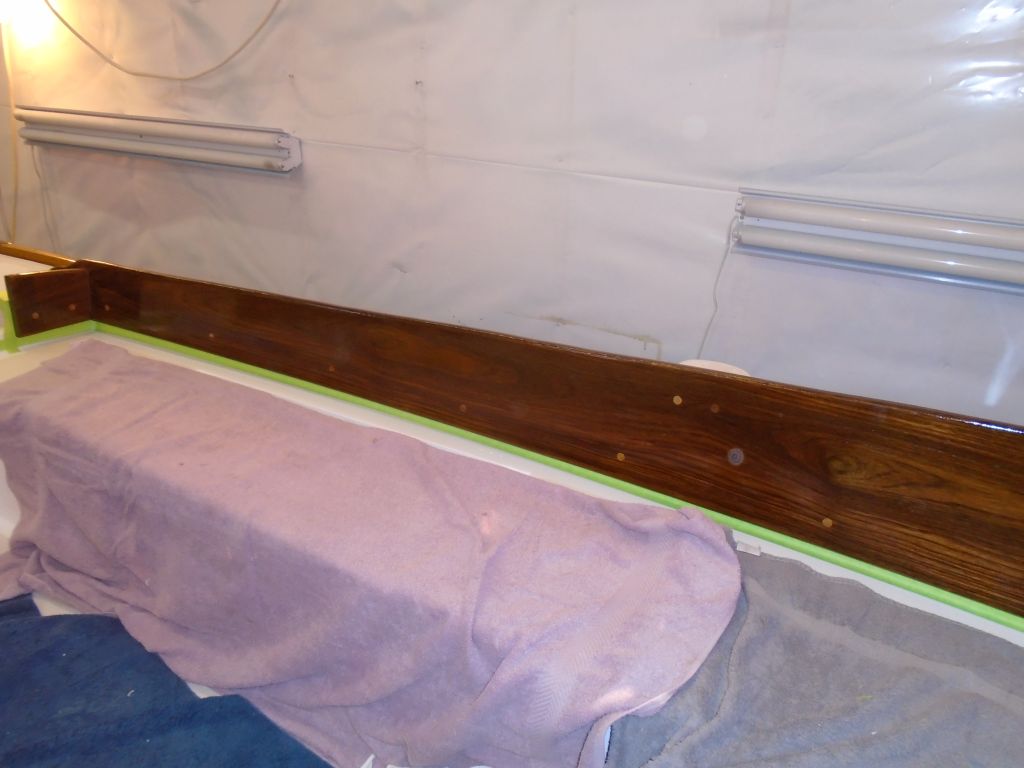
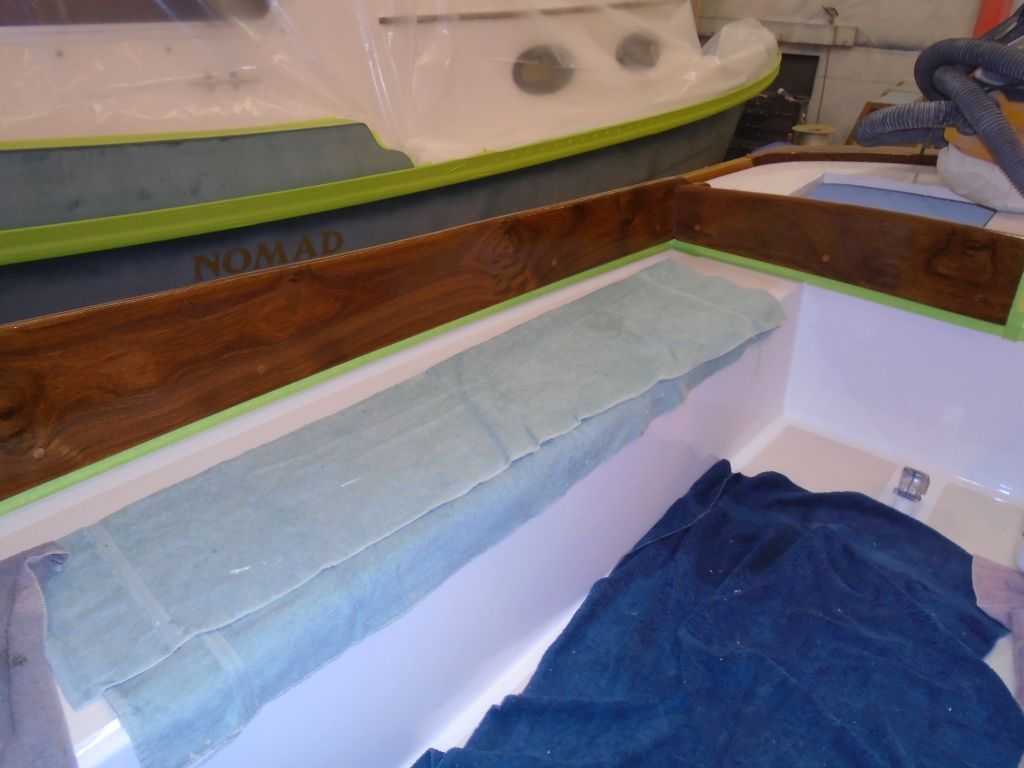
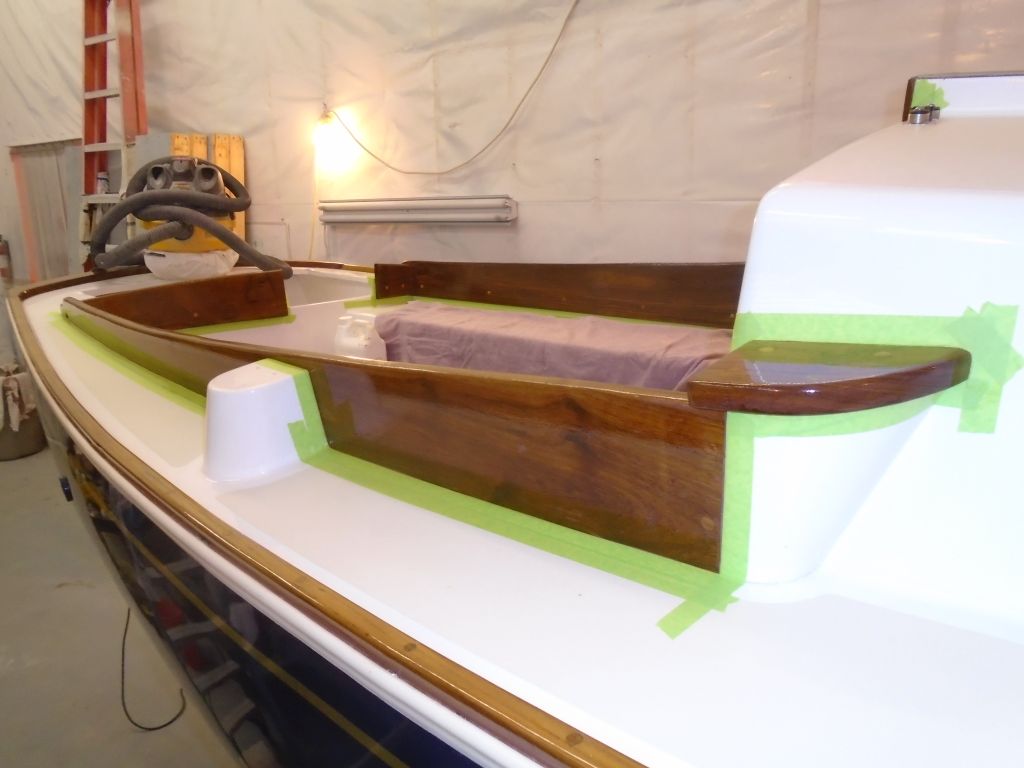
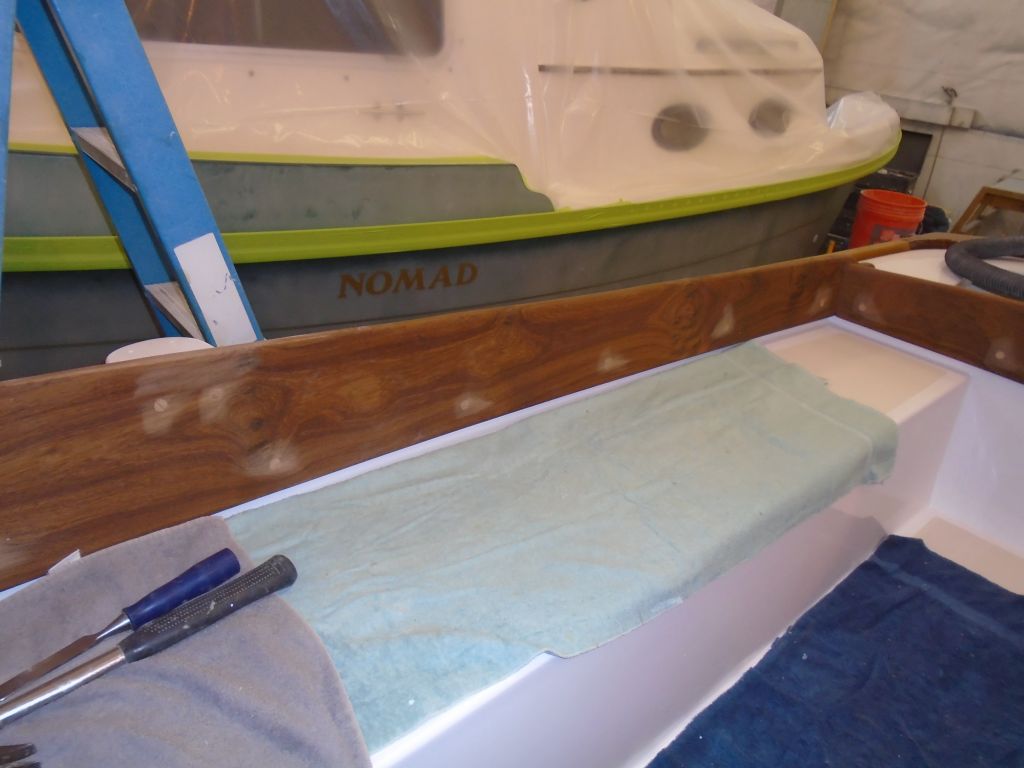
Although I began the day as usual with the prepwork for the next coat of varnish on the coamings, as the day wore on I ultimately decided to focus on finishing up the hardware, rather than necessarily leave enough time at the end of the day for the varnish work, and along with some time spent moving another boat into the shop during the afternoon,  in the end I didn’t get to the varnish after all, but did expunge all the hardware installations from my list, leaving only the genoa winches off for now, since it would make the varnish work easier without them.

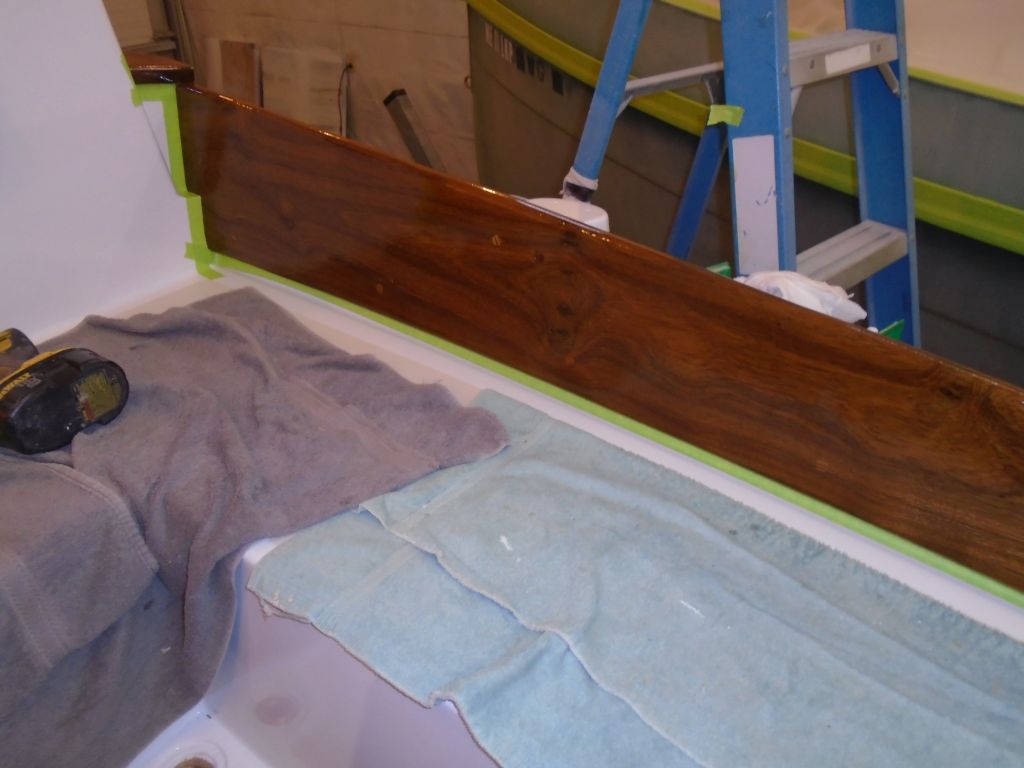
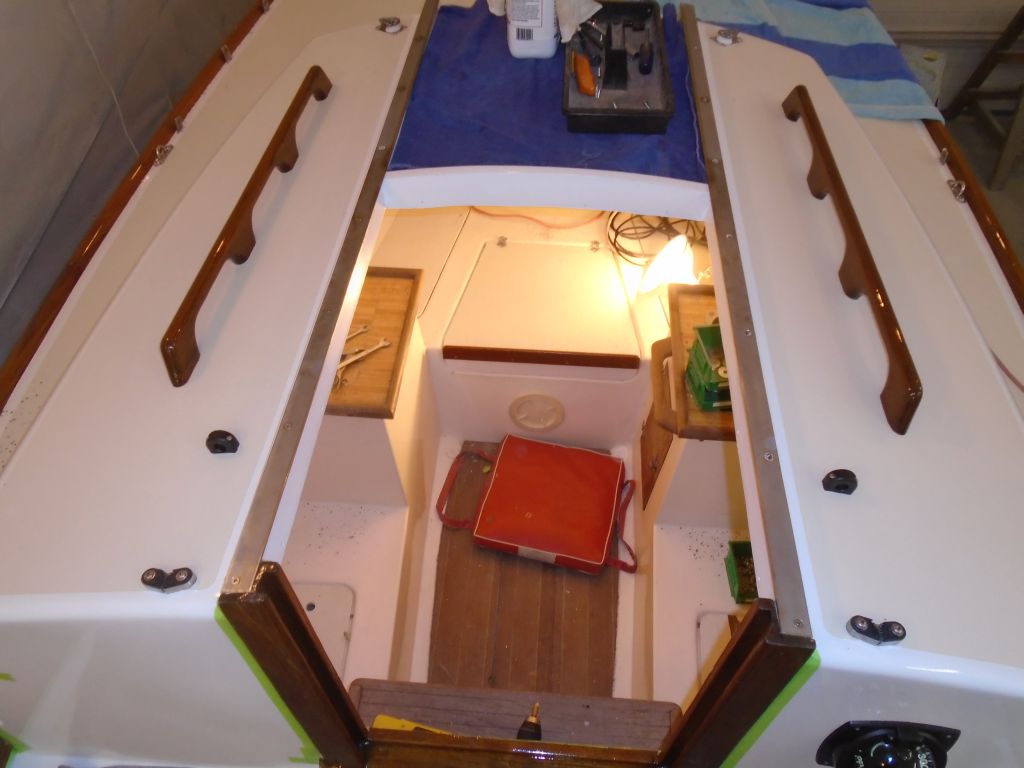
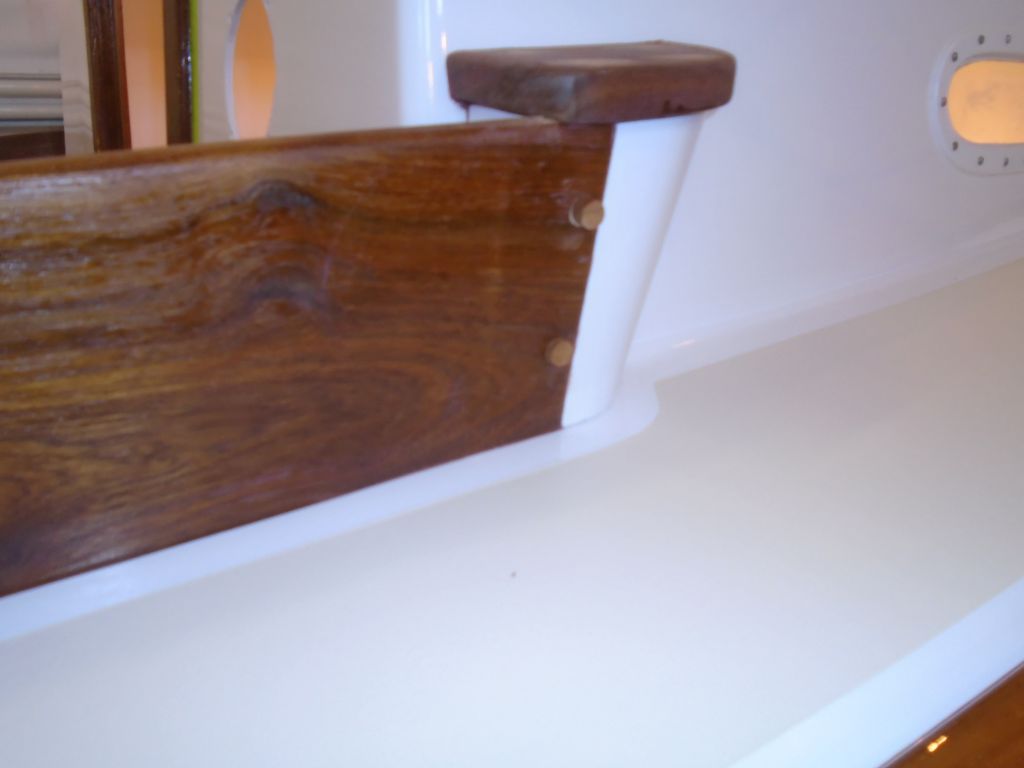
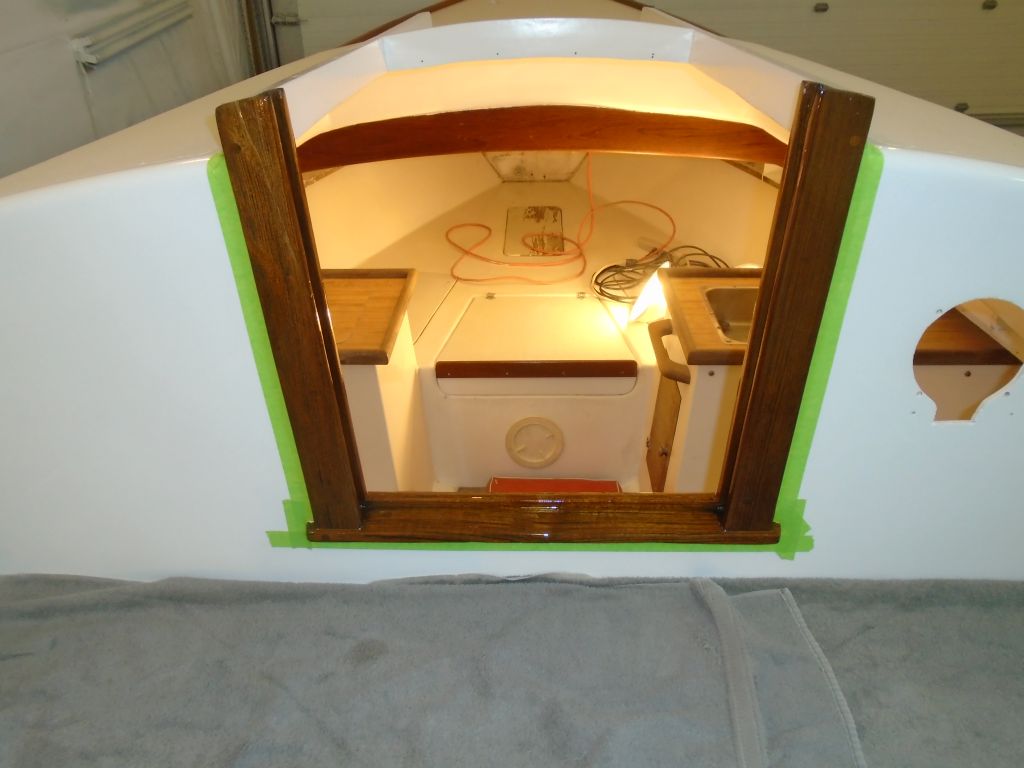
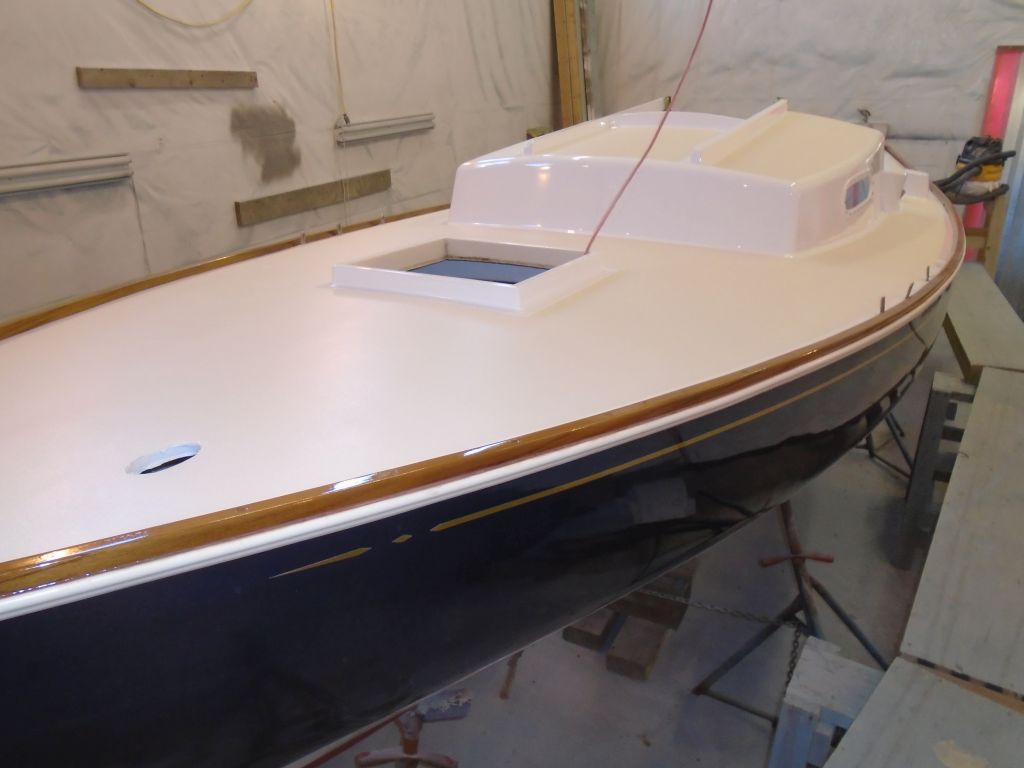
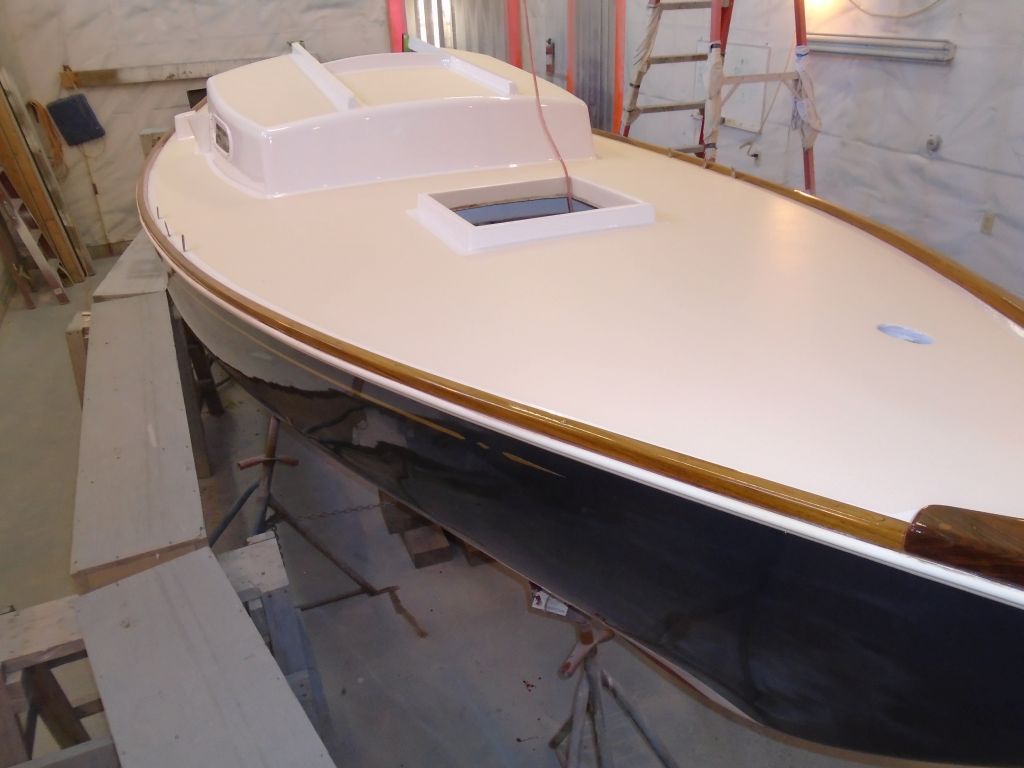
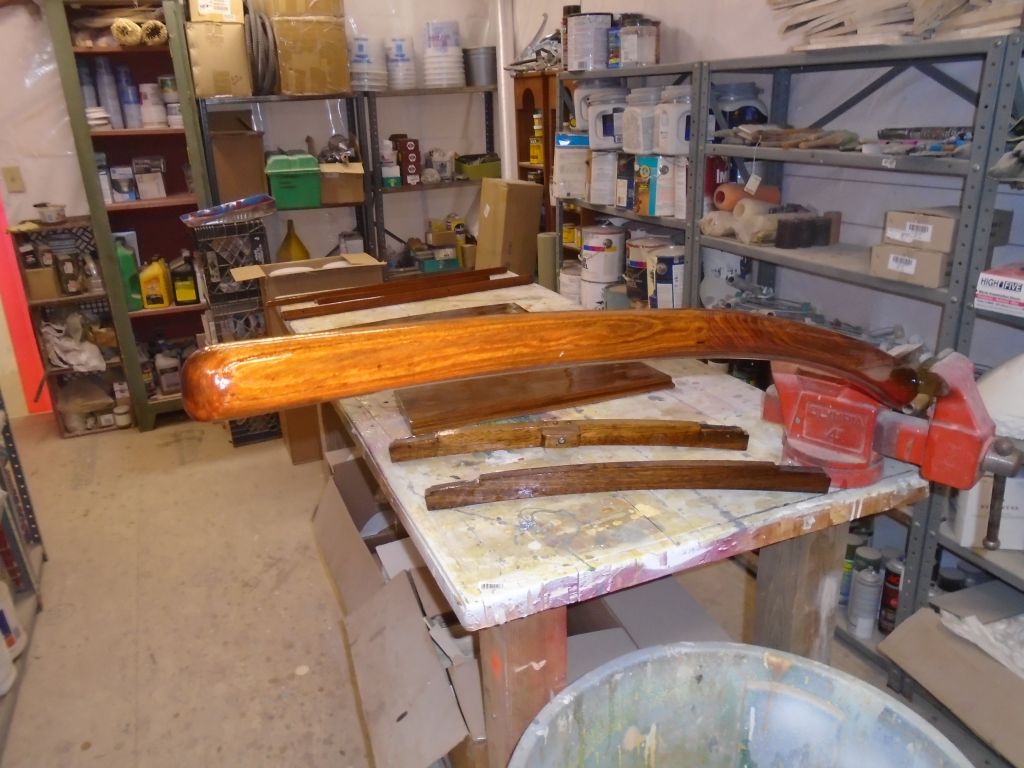
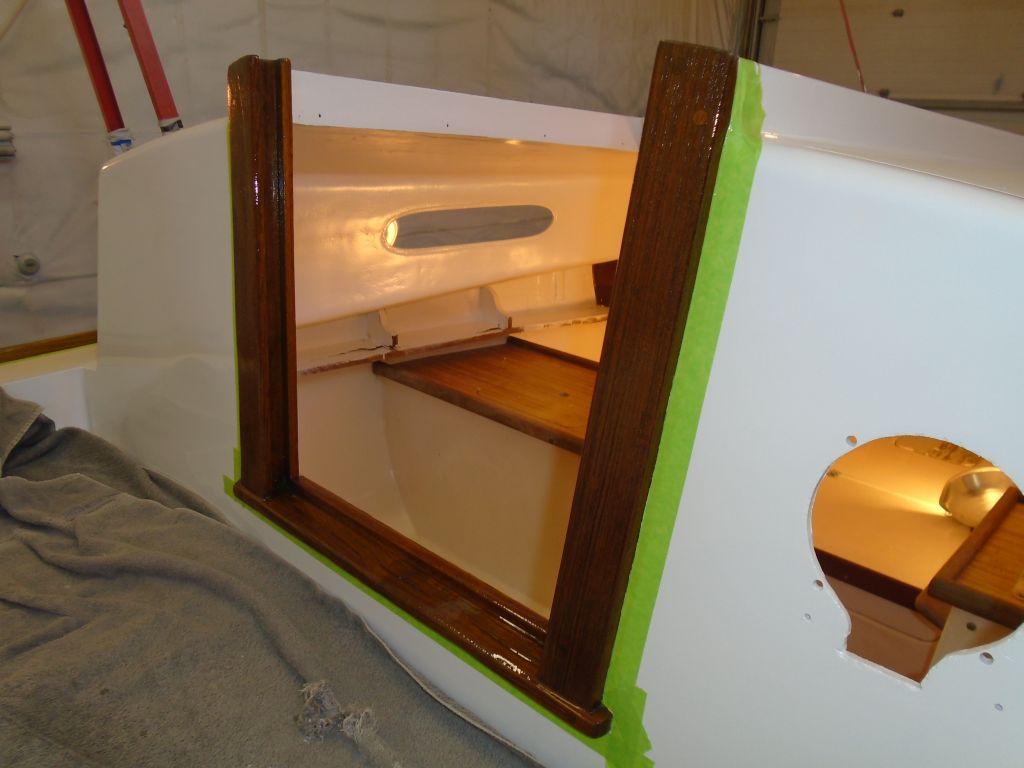
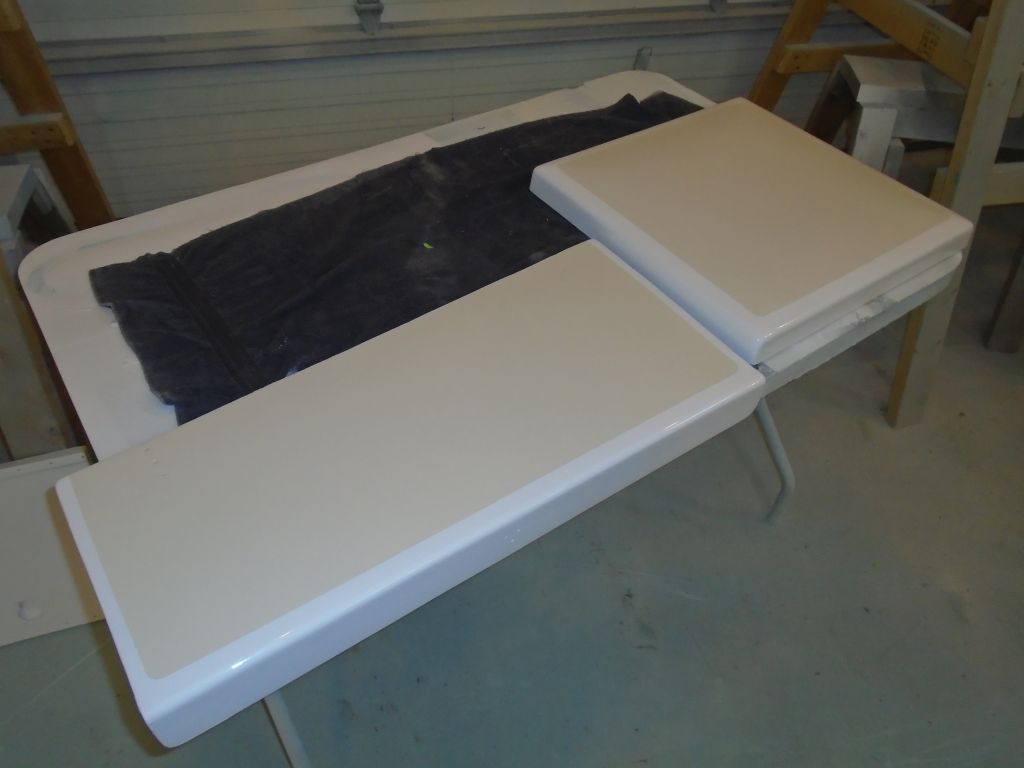
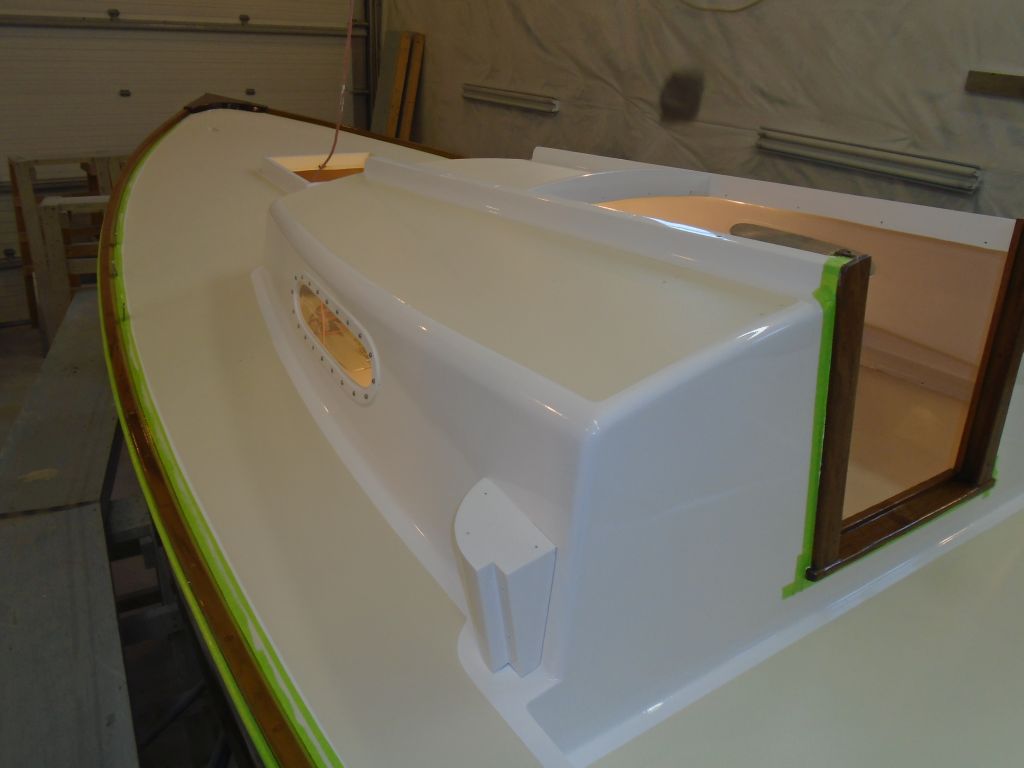
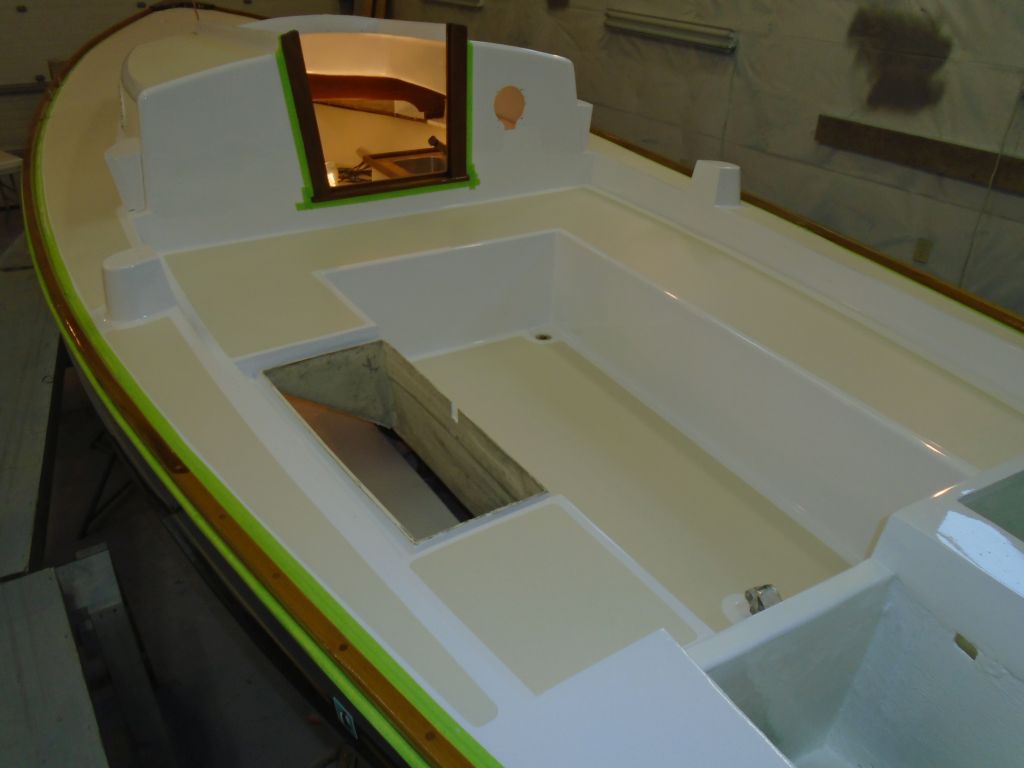
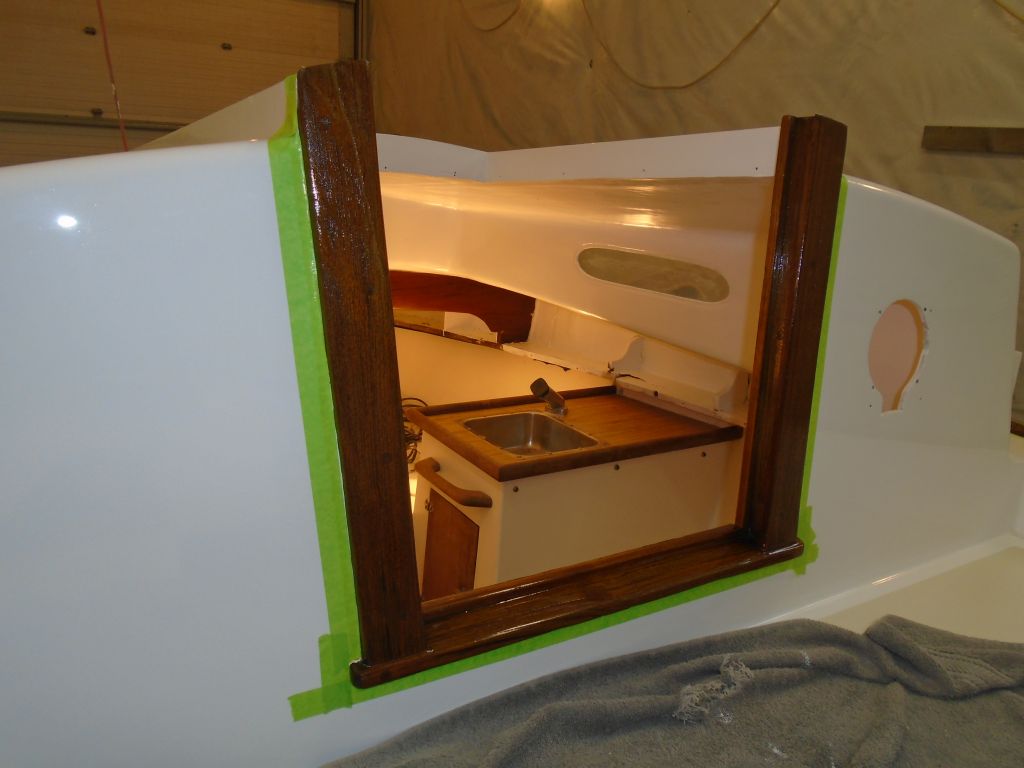
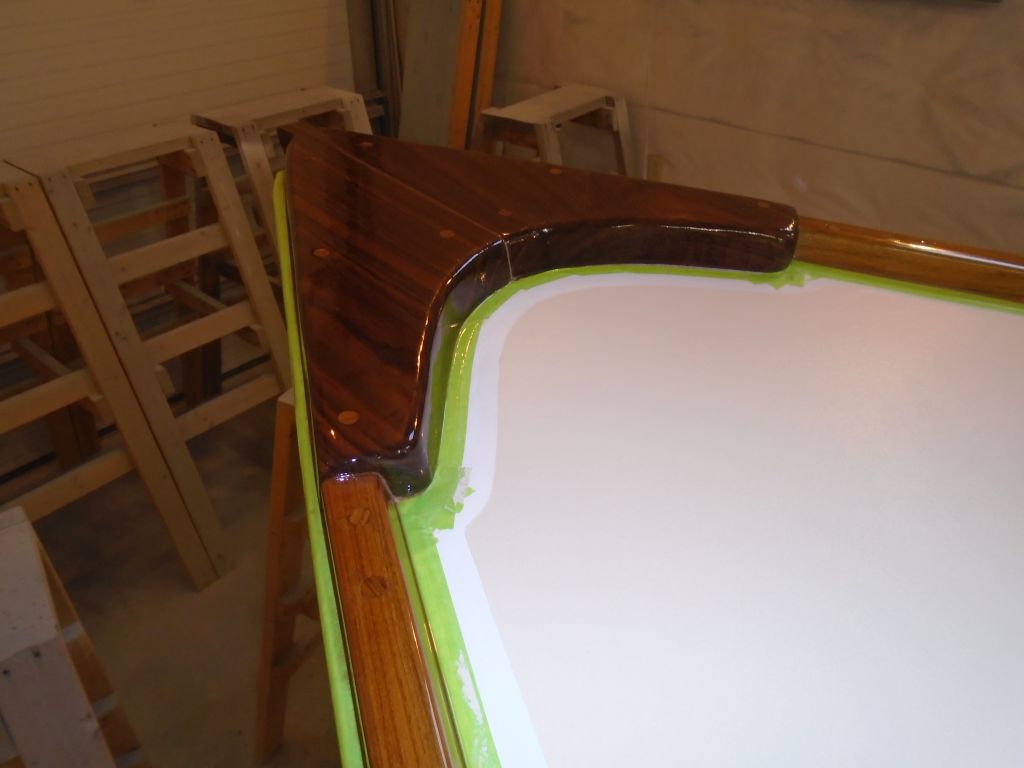
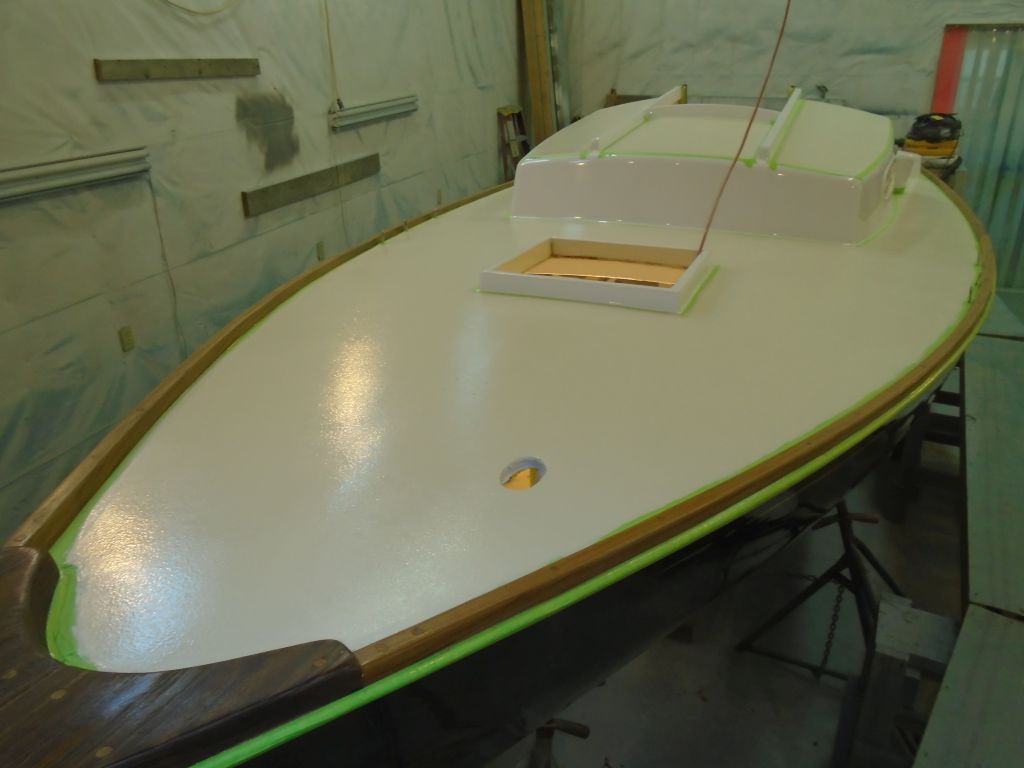
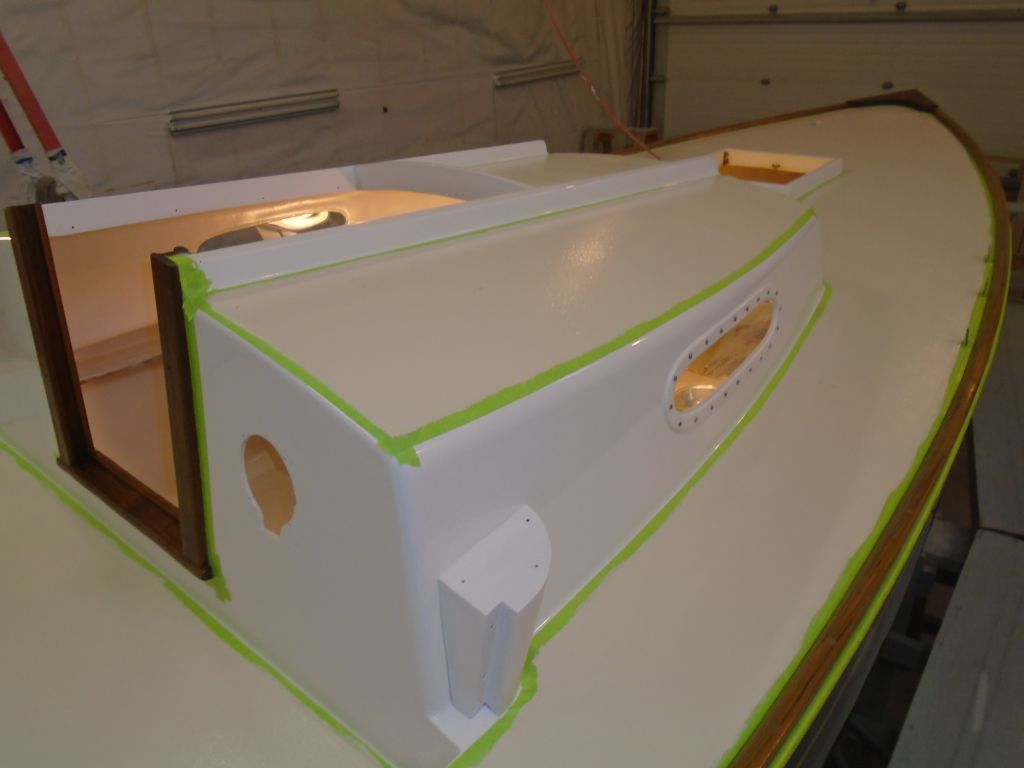
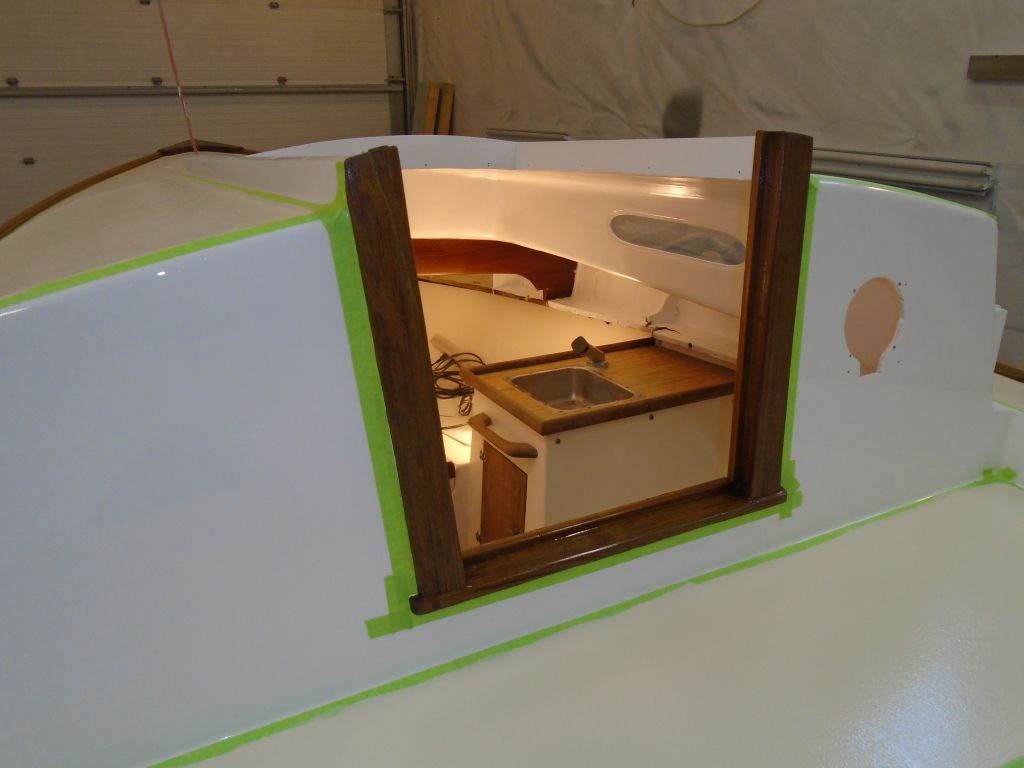
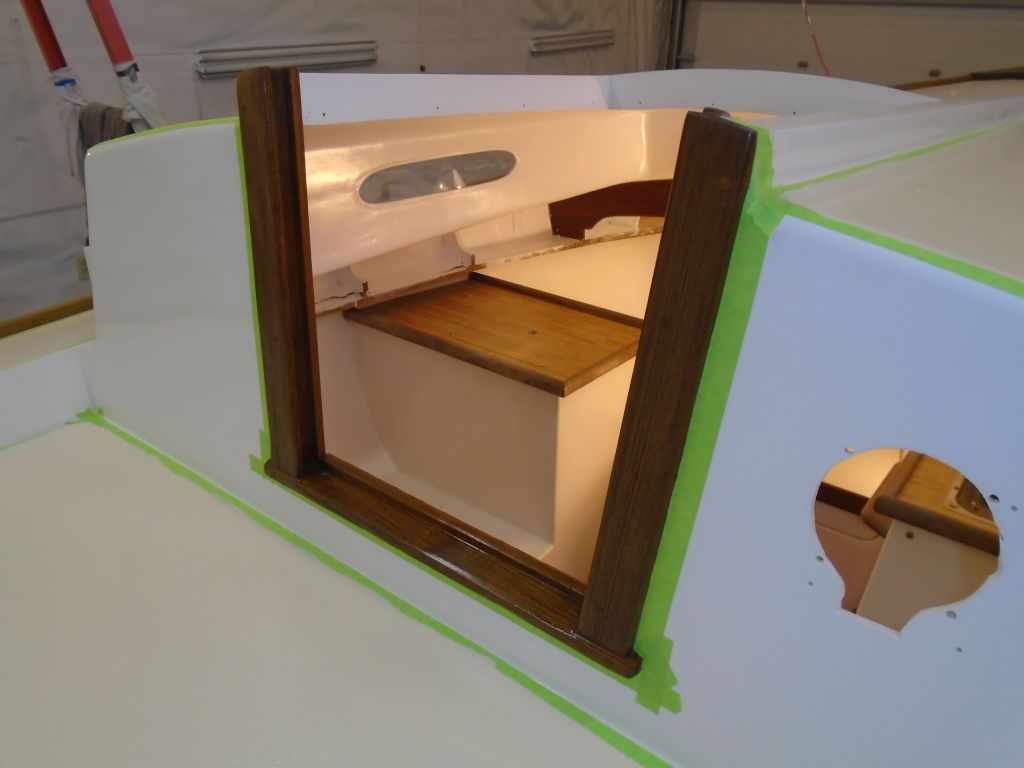
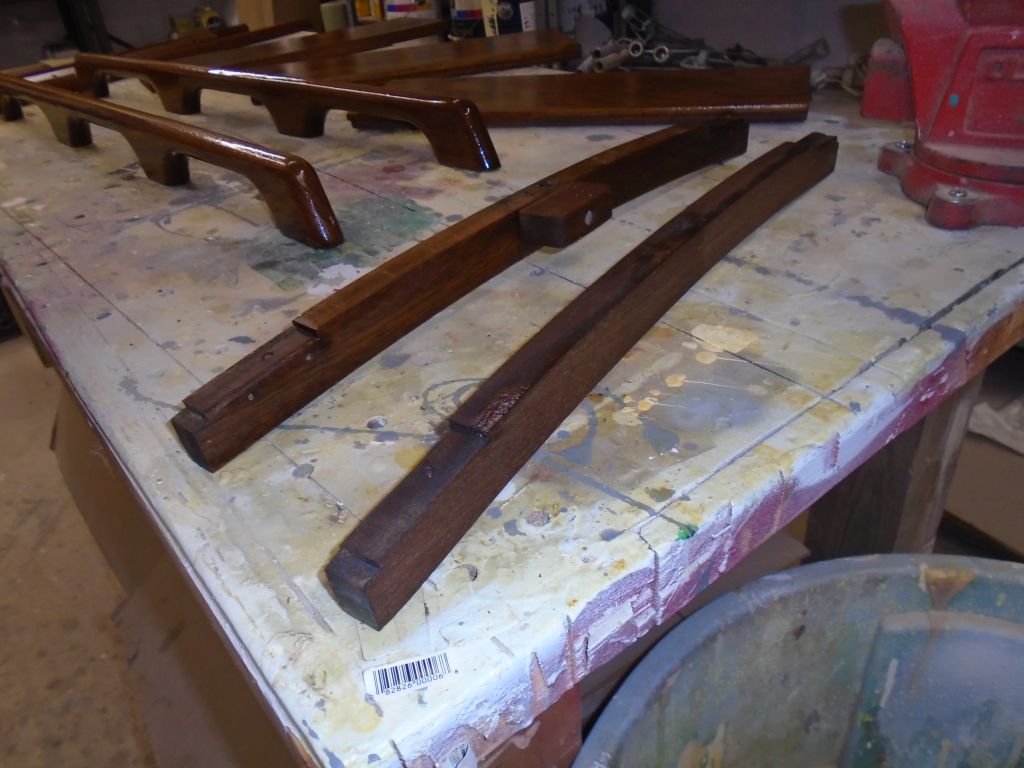
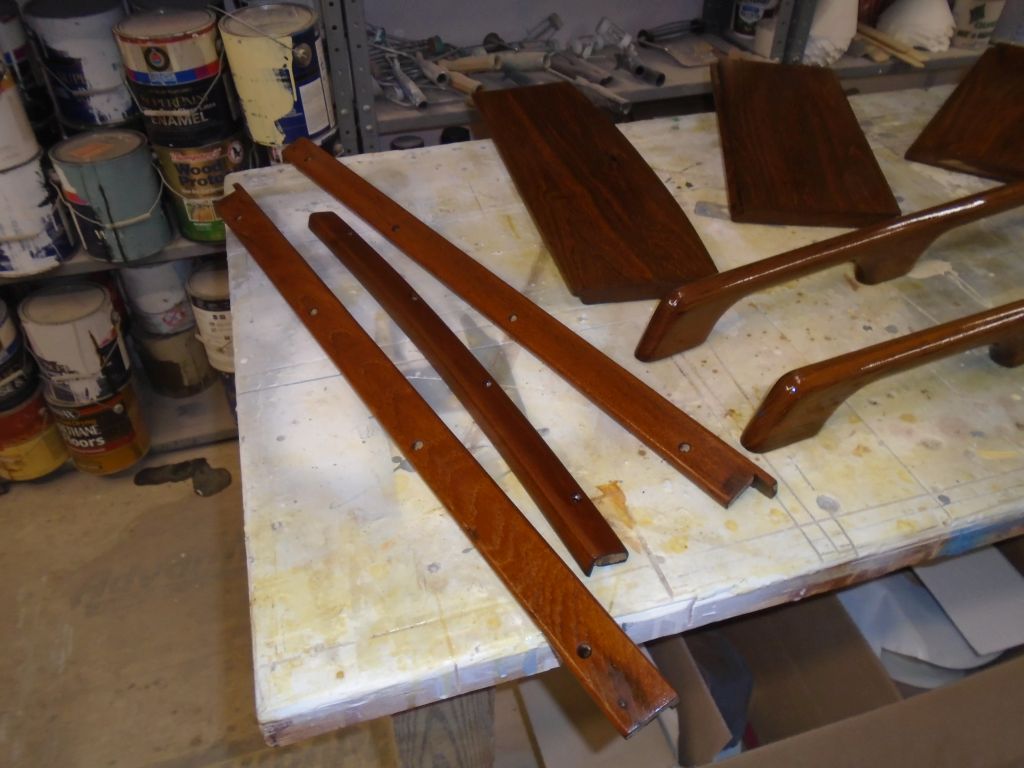
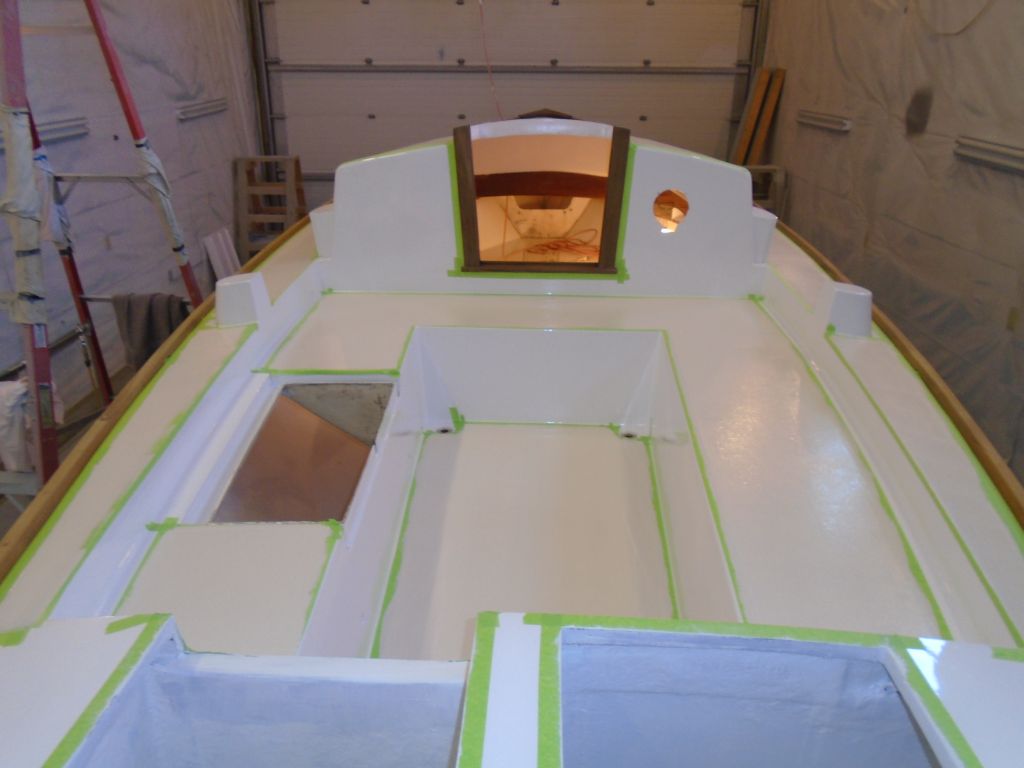
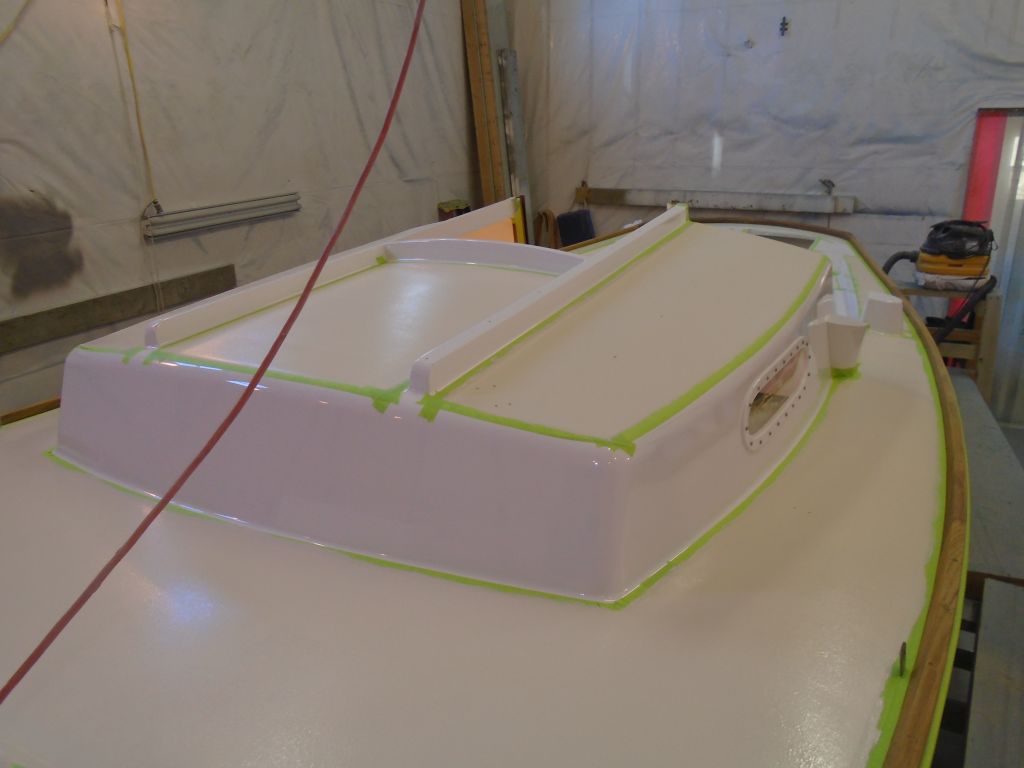
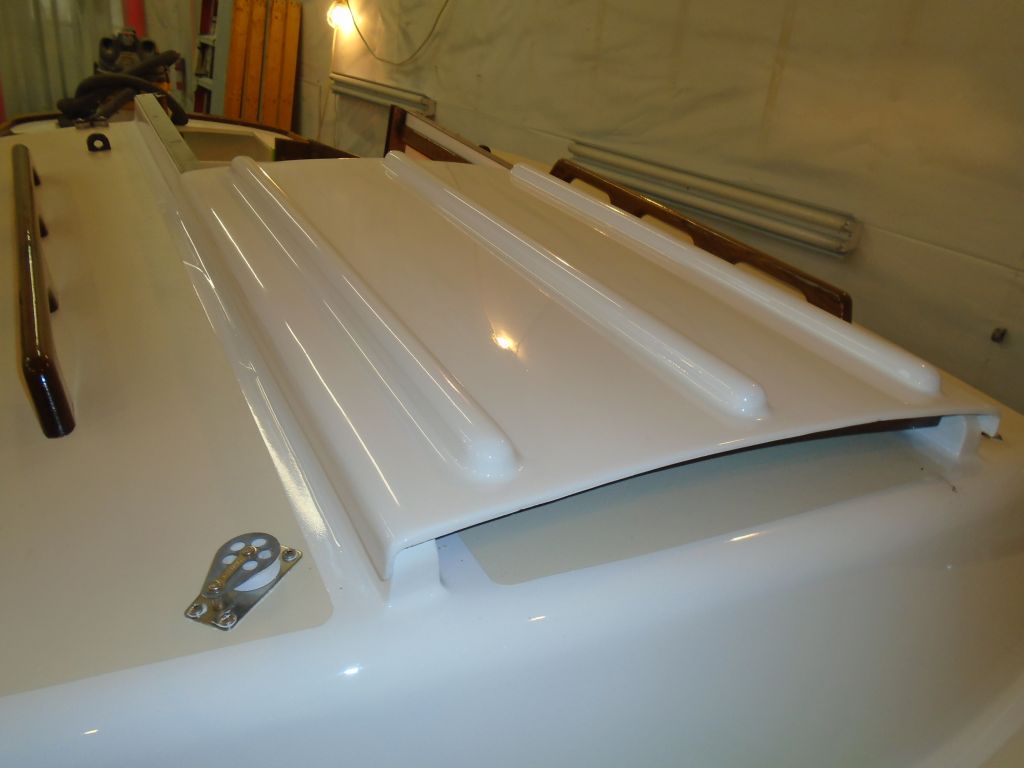
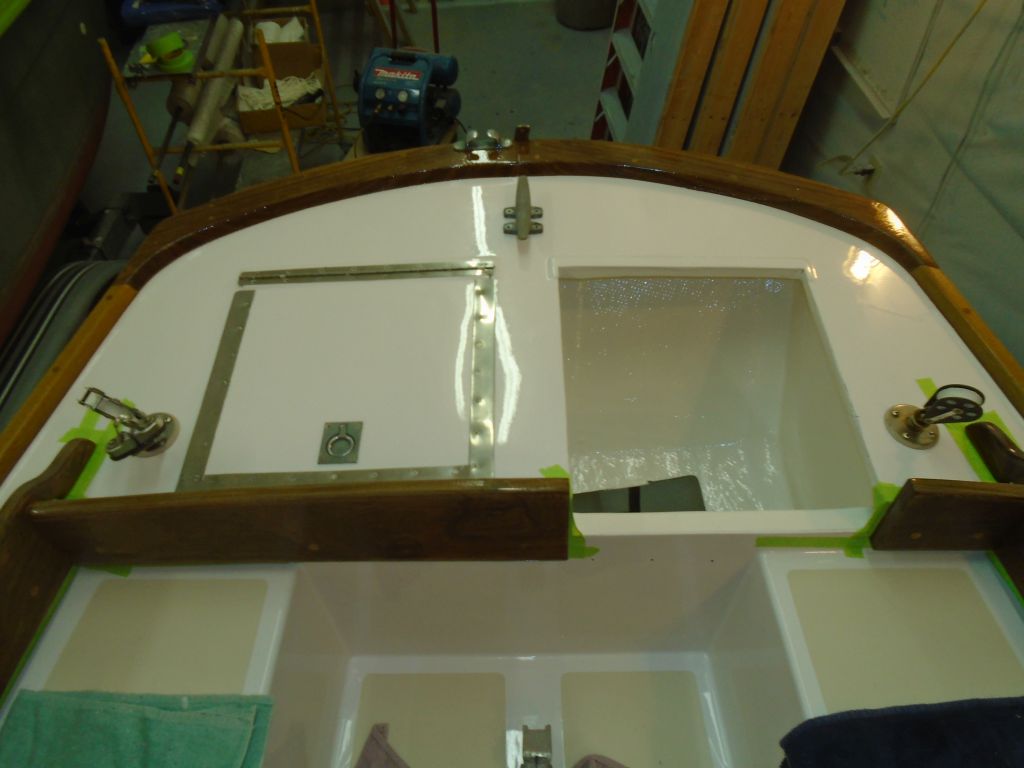
I reassembled the companionway sliding hatch with its forward stop, then slid the hatch on the tracks and installed the after stop, completing its installation,  Meanwhile, I reinstalled the varnished trim along the inside edges off the companionway.

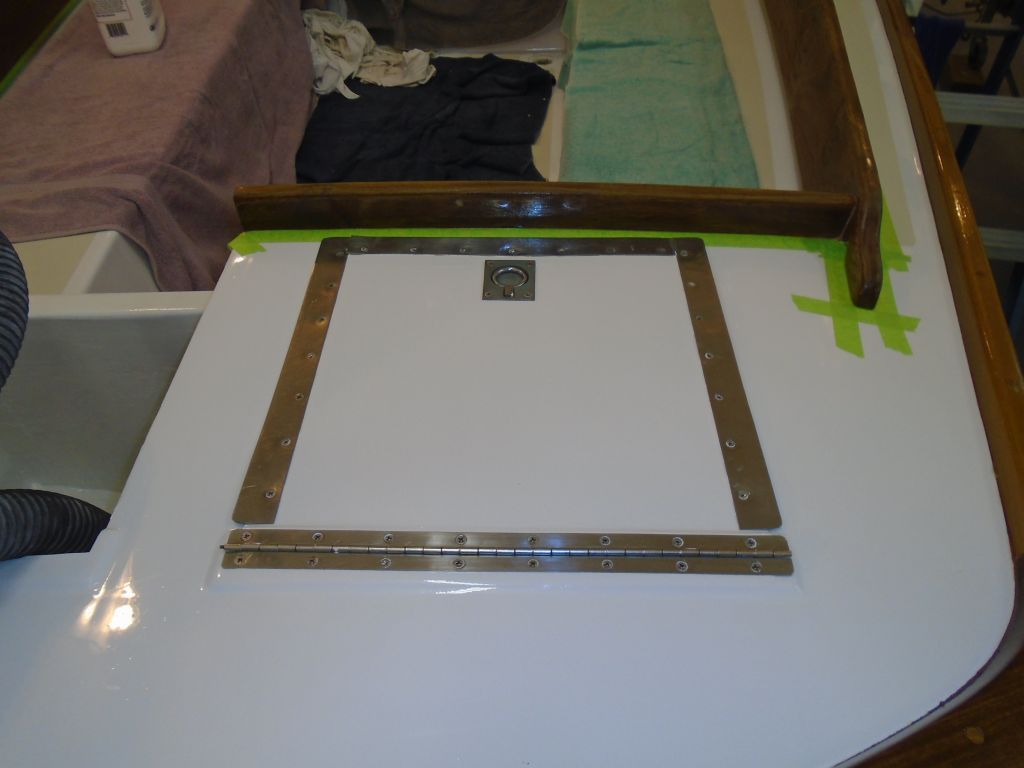
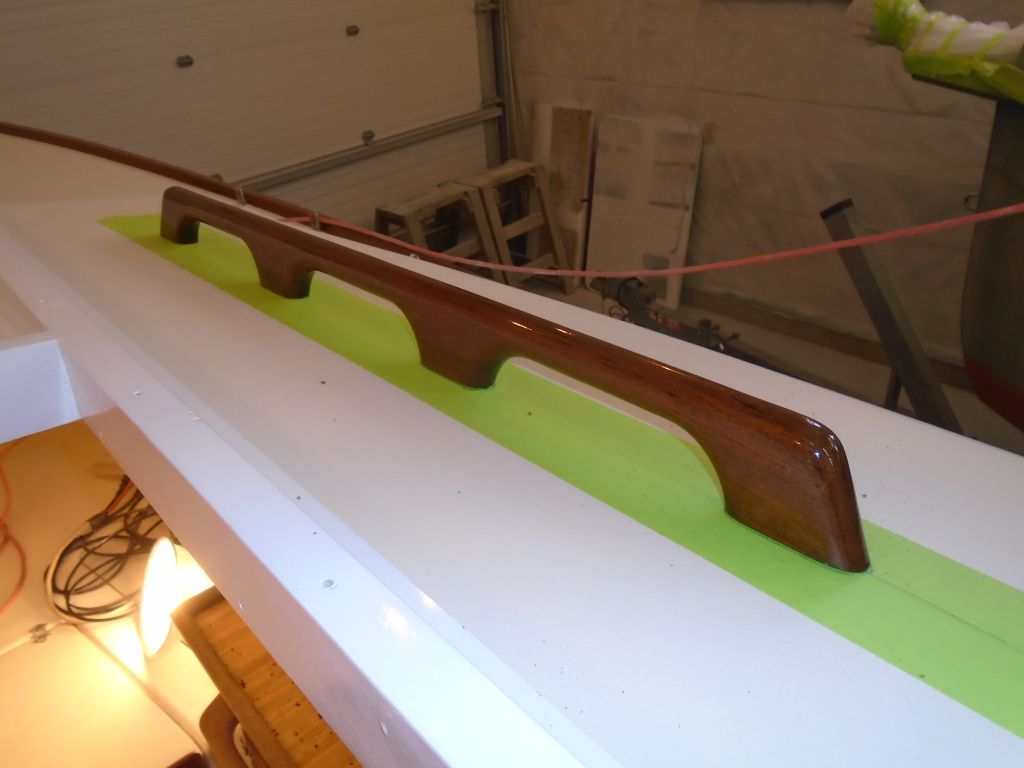
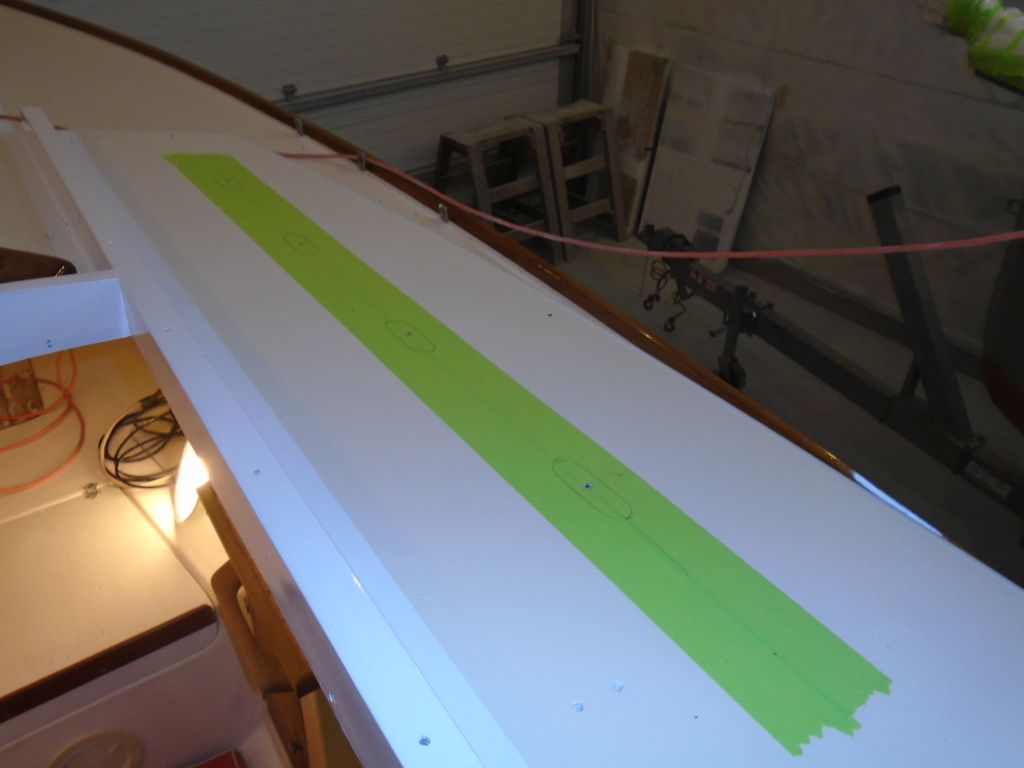
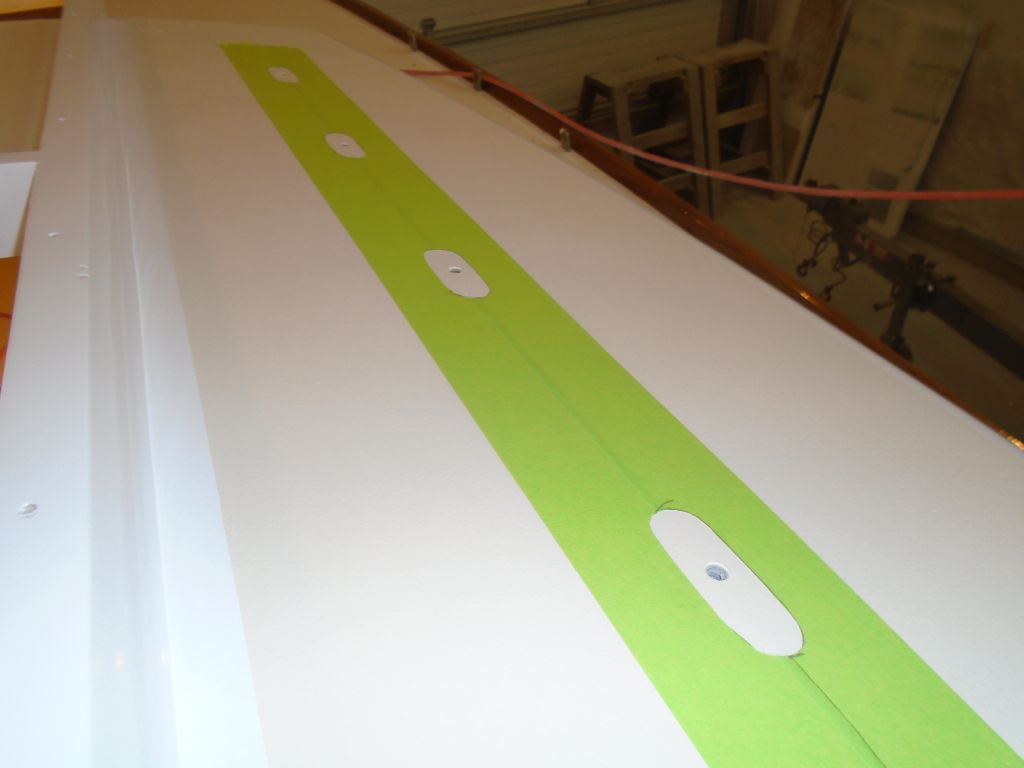
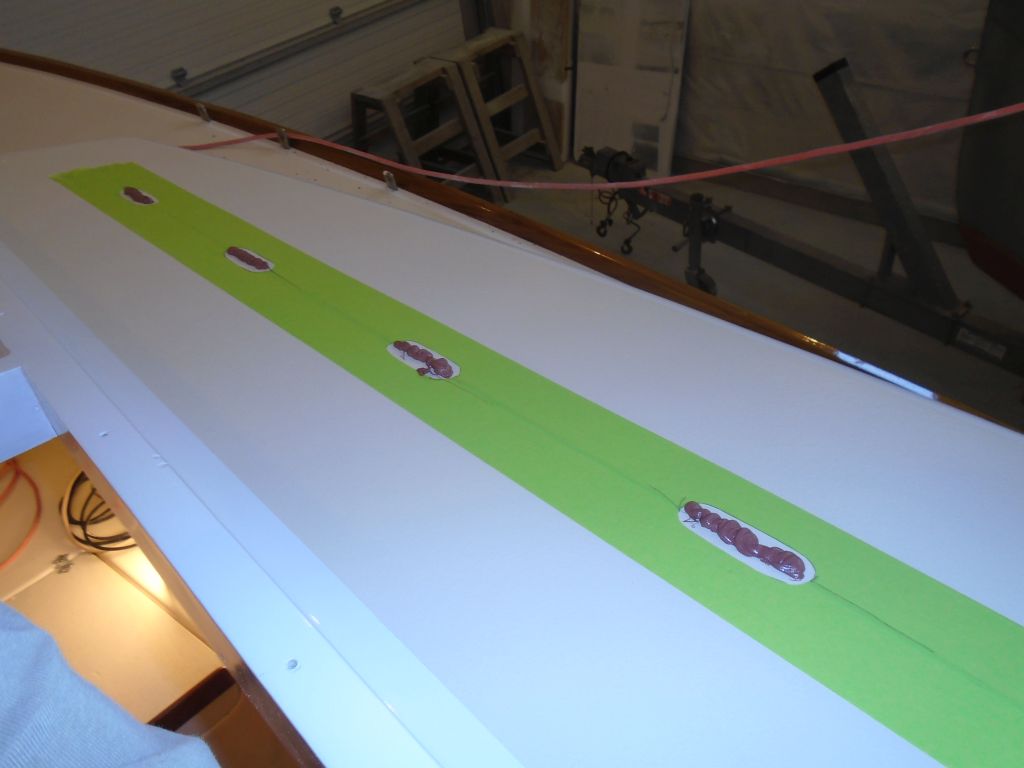
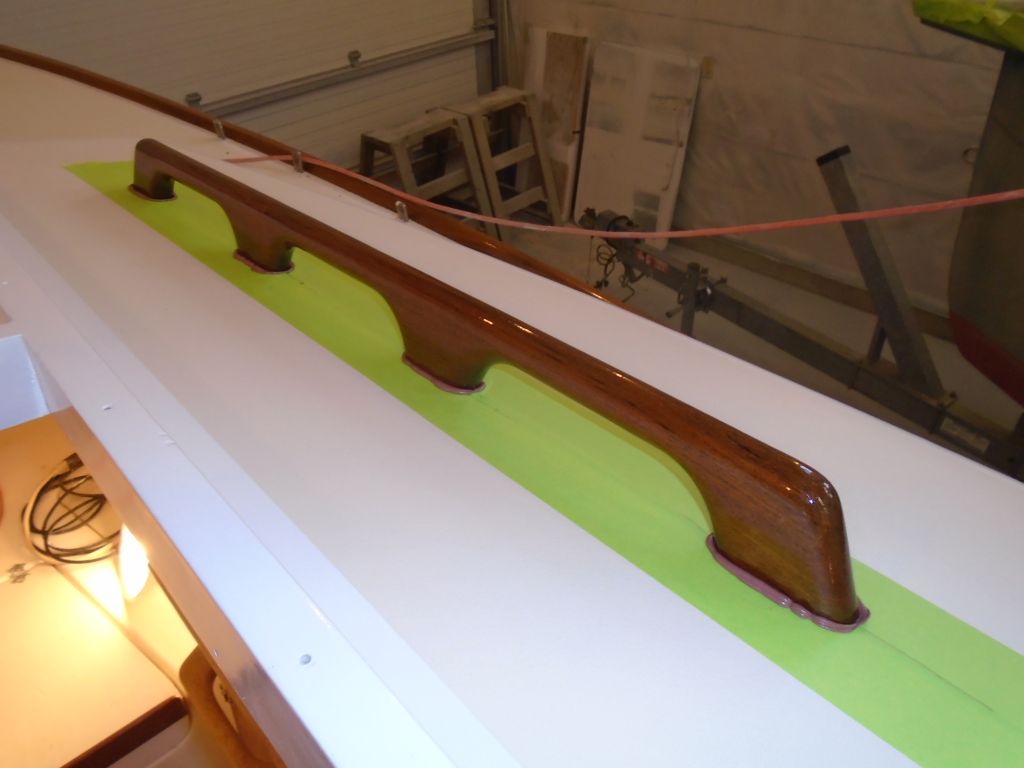
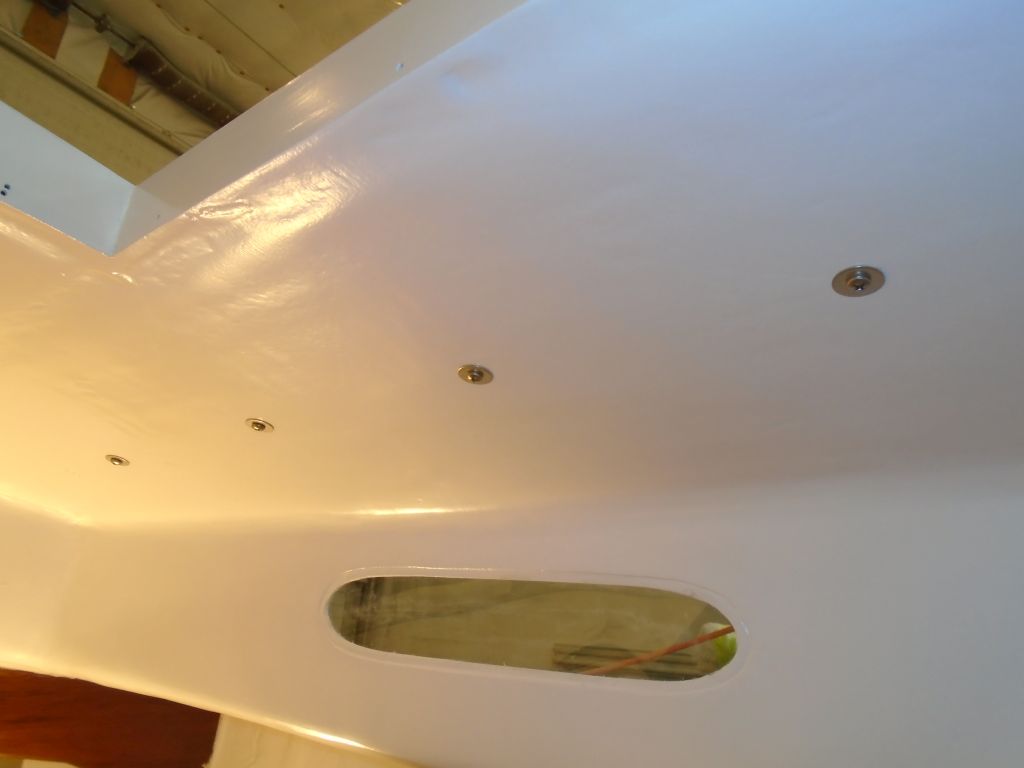
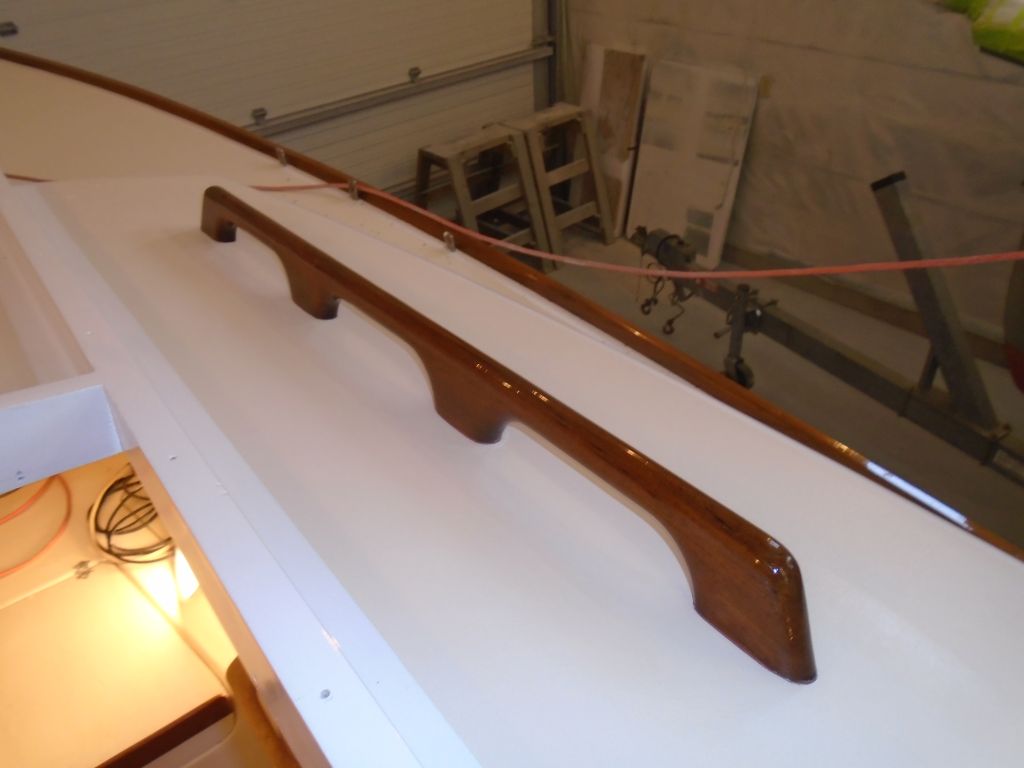
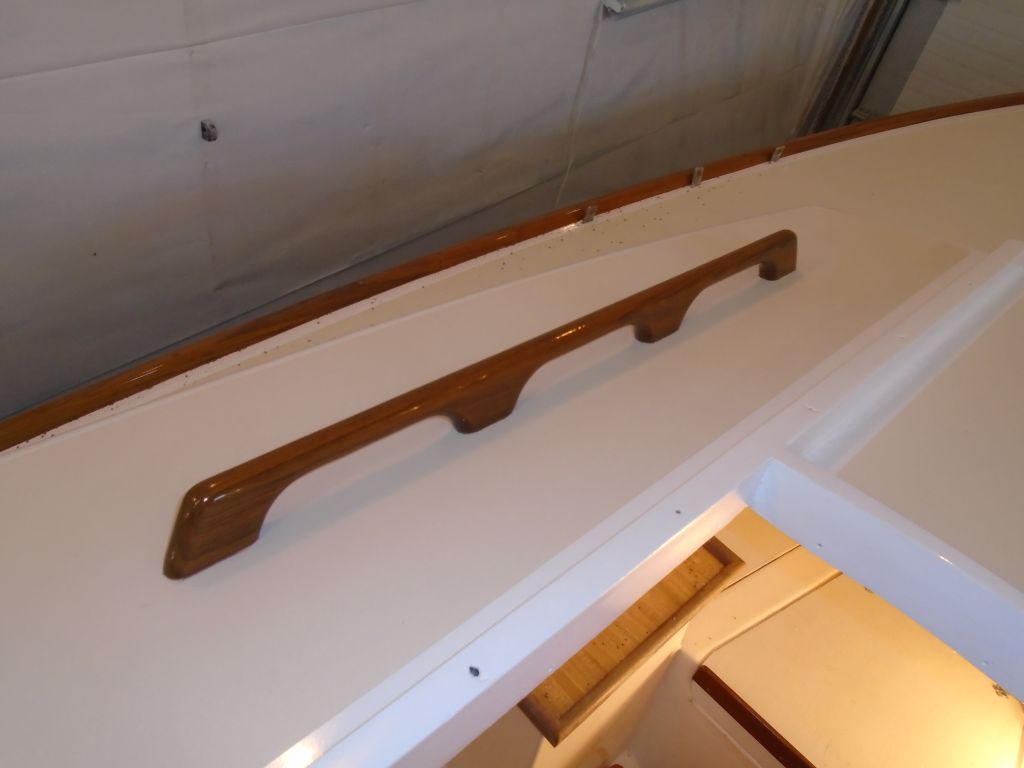
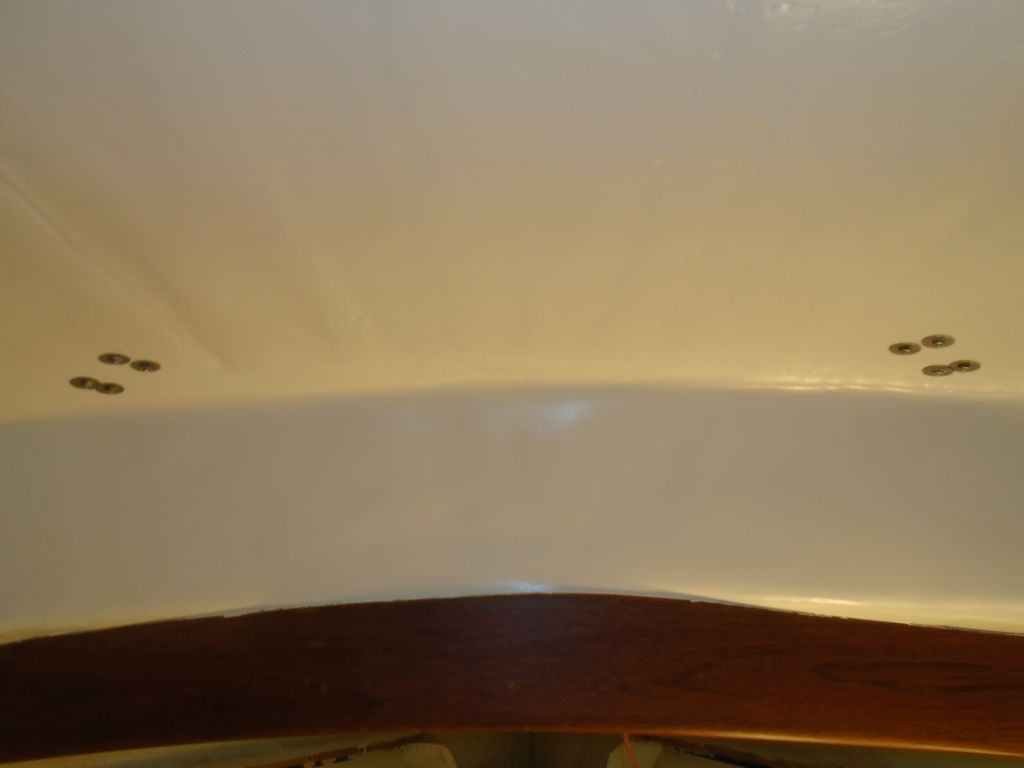
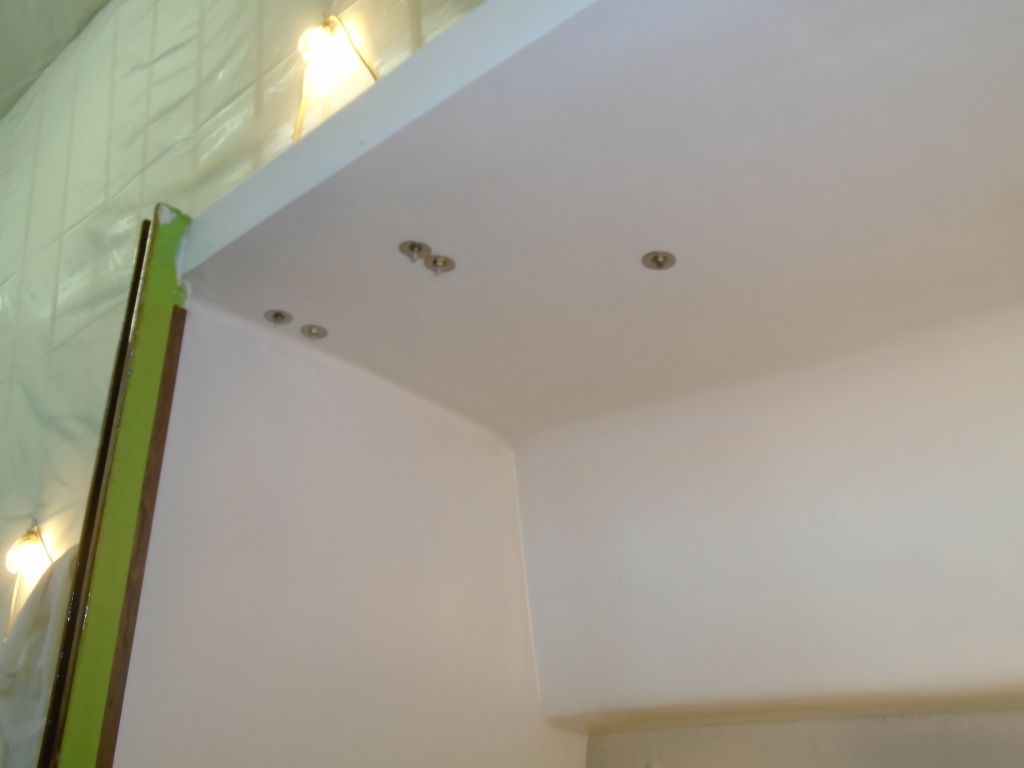
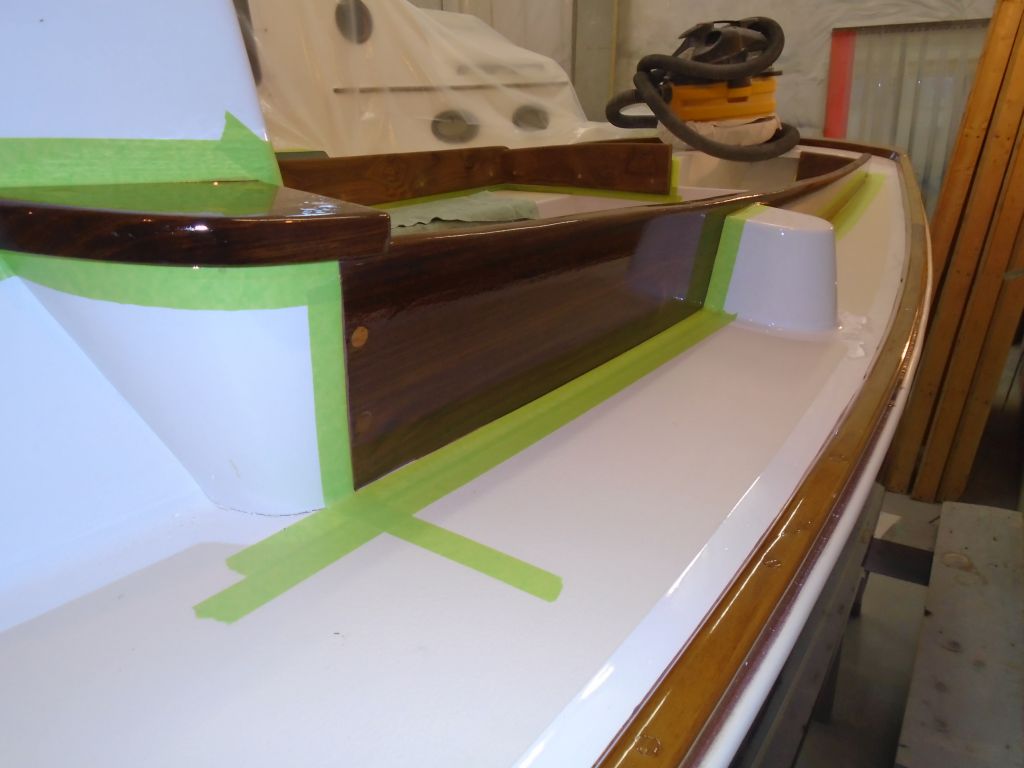
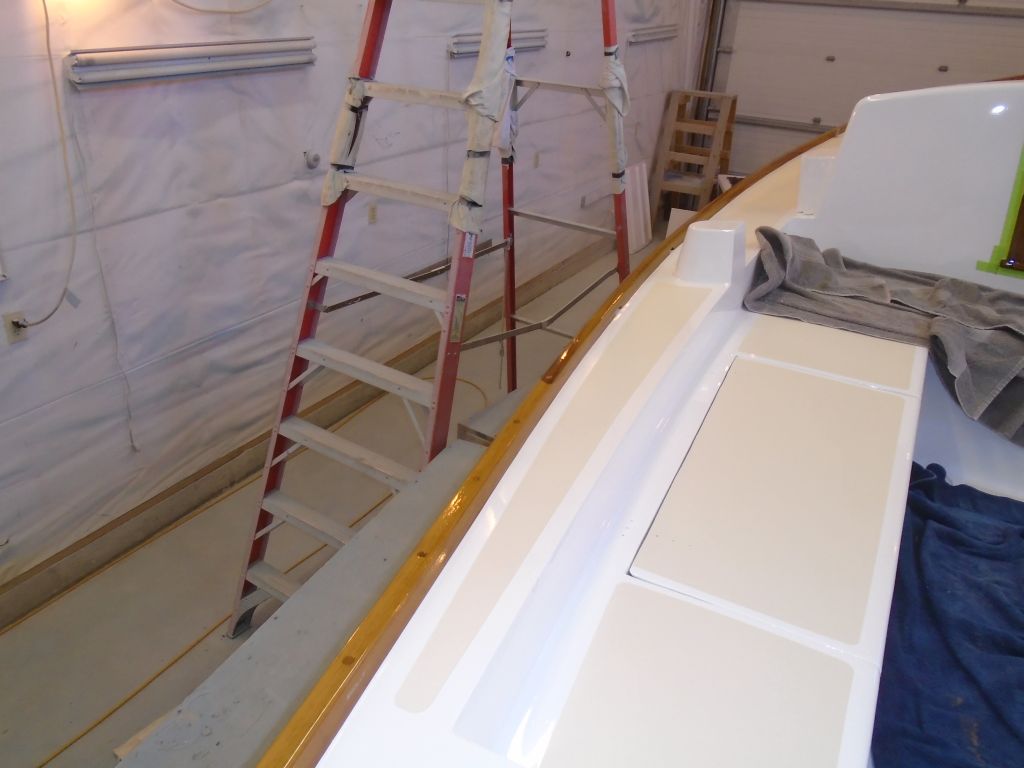
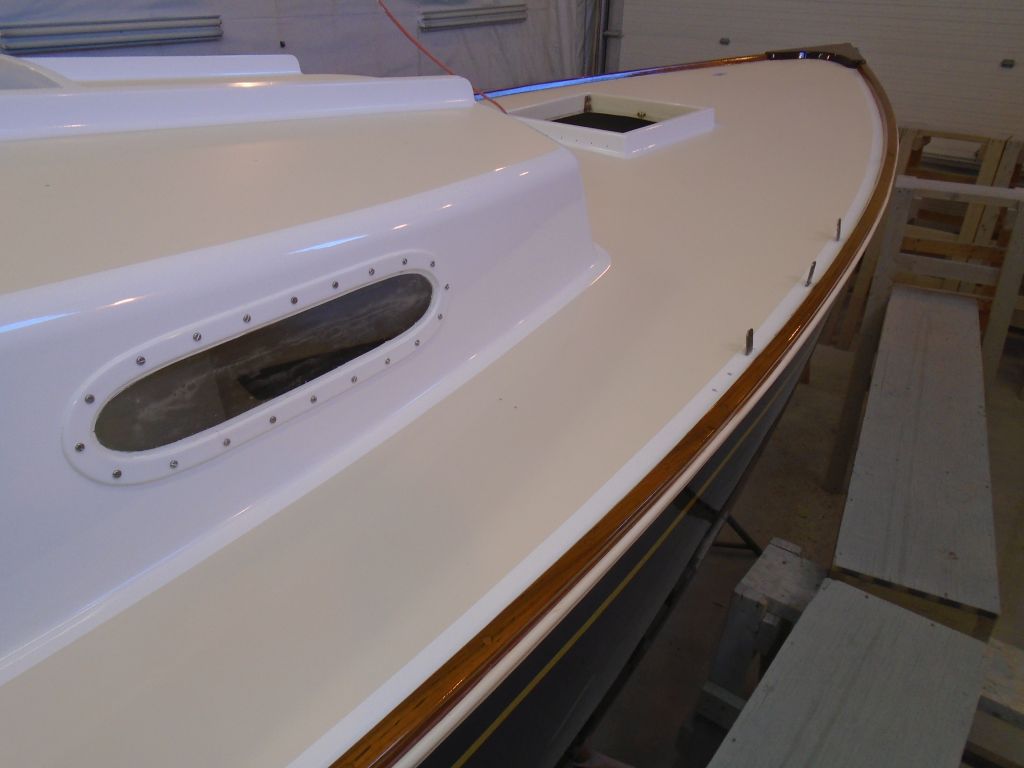
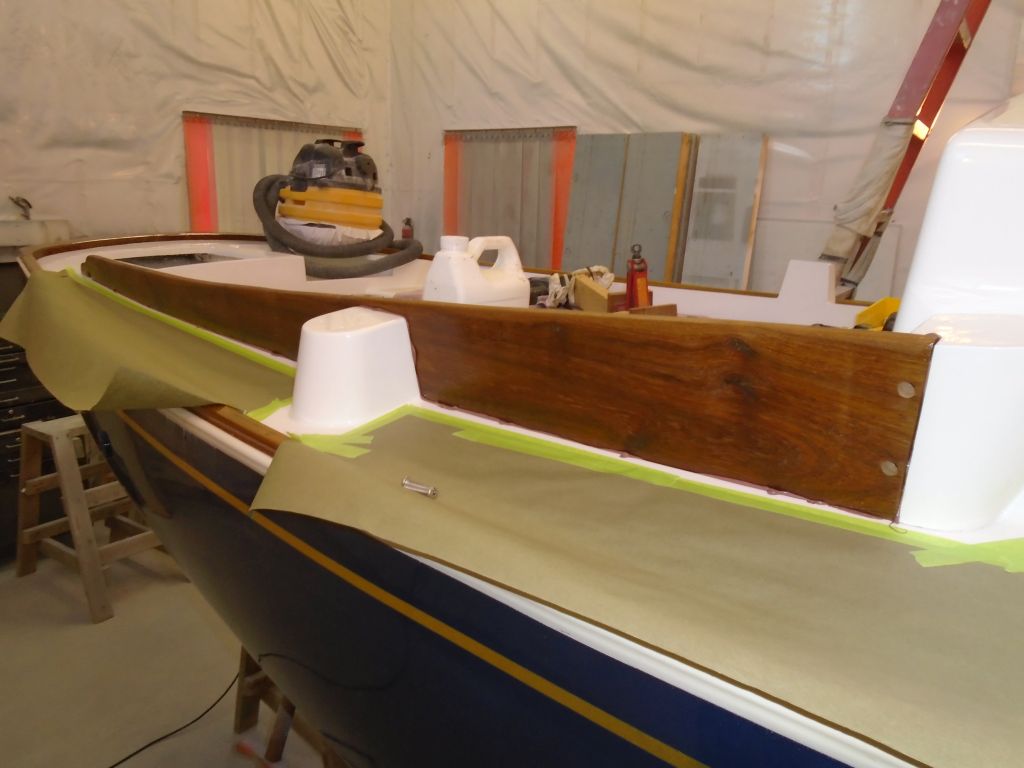
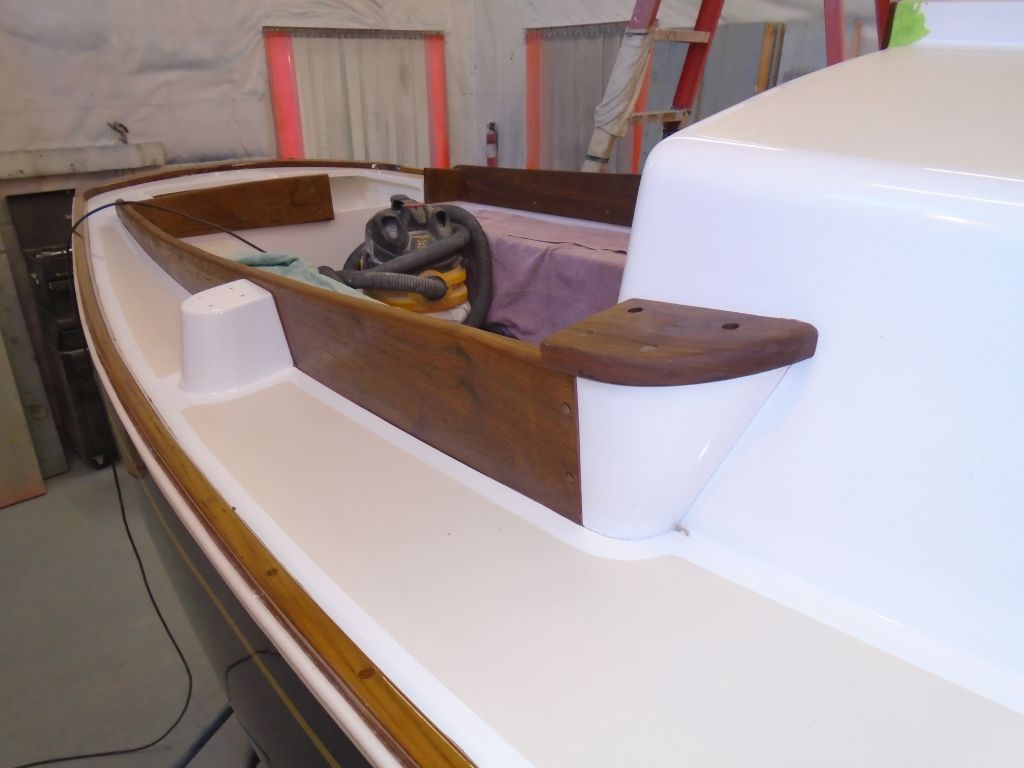
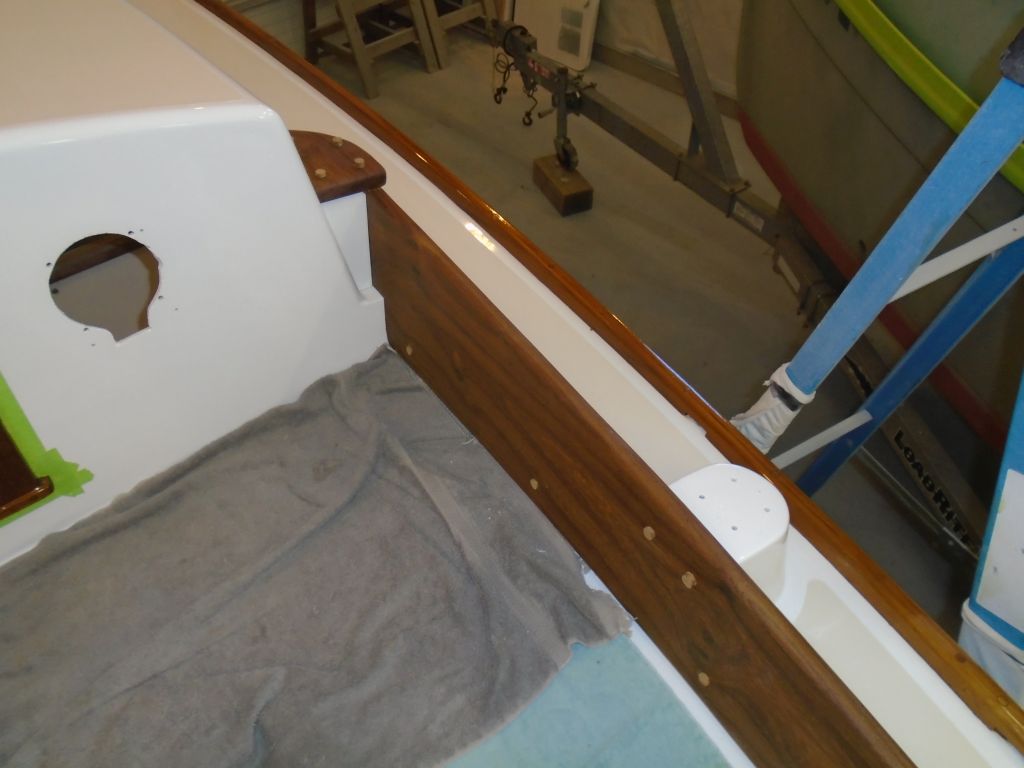
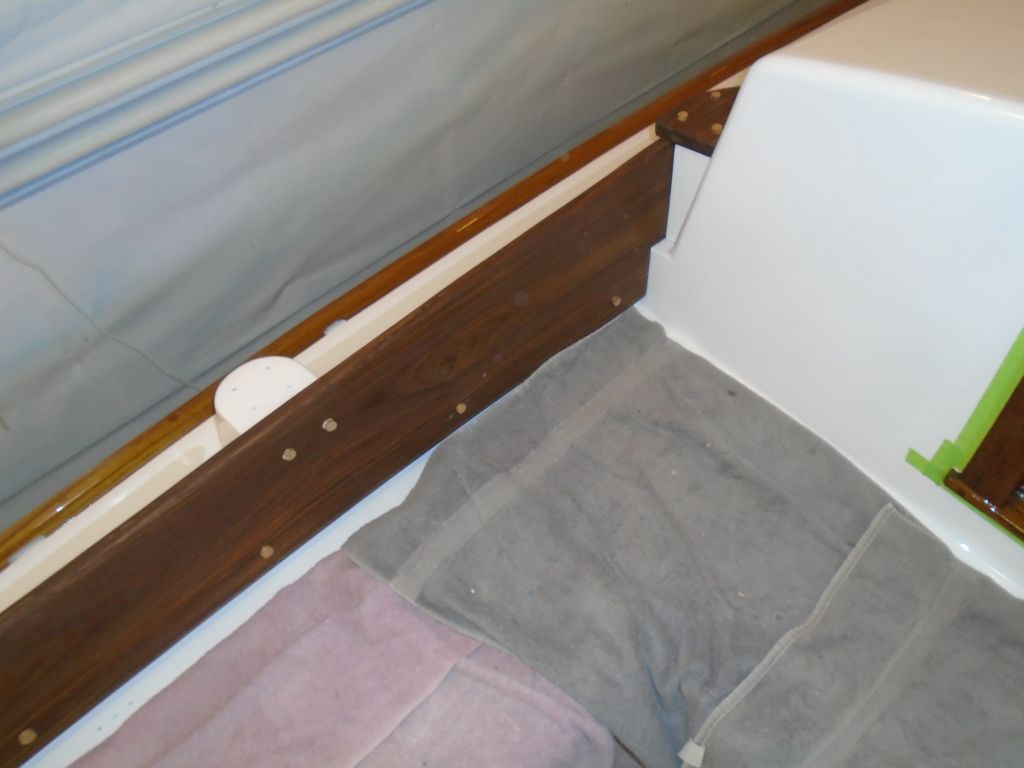
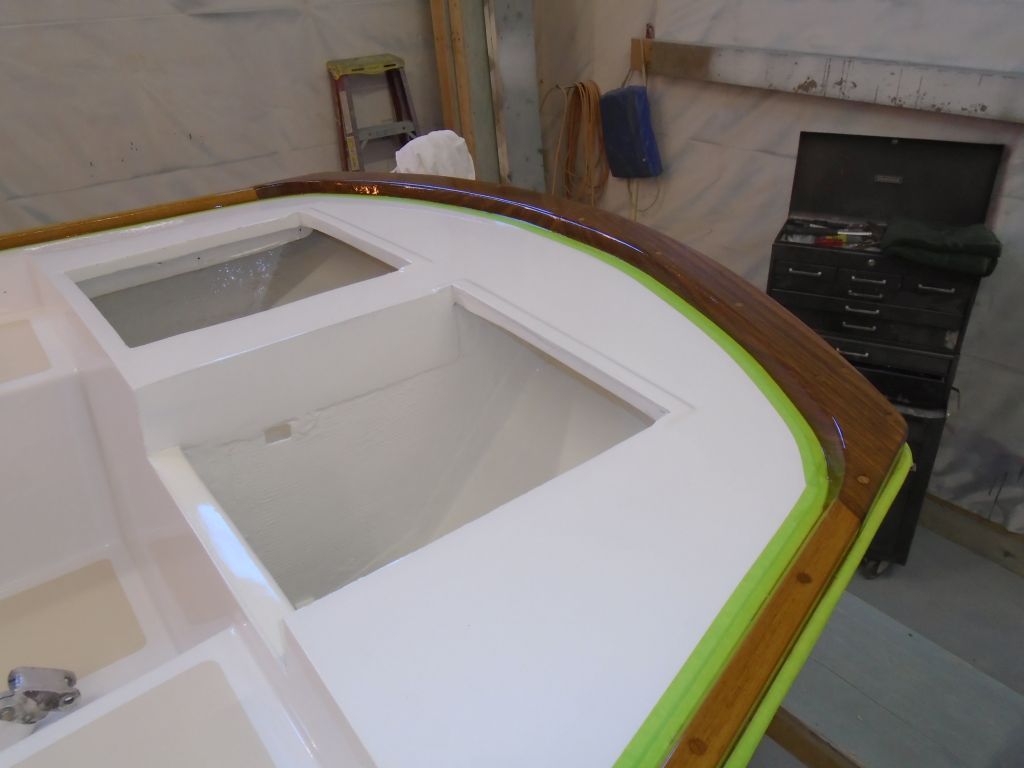
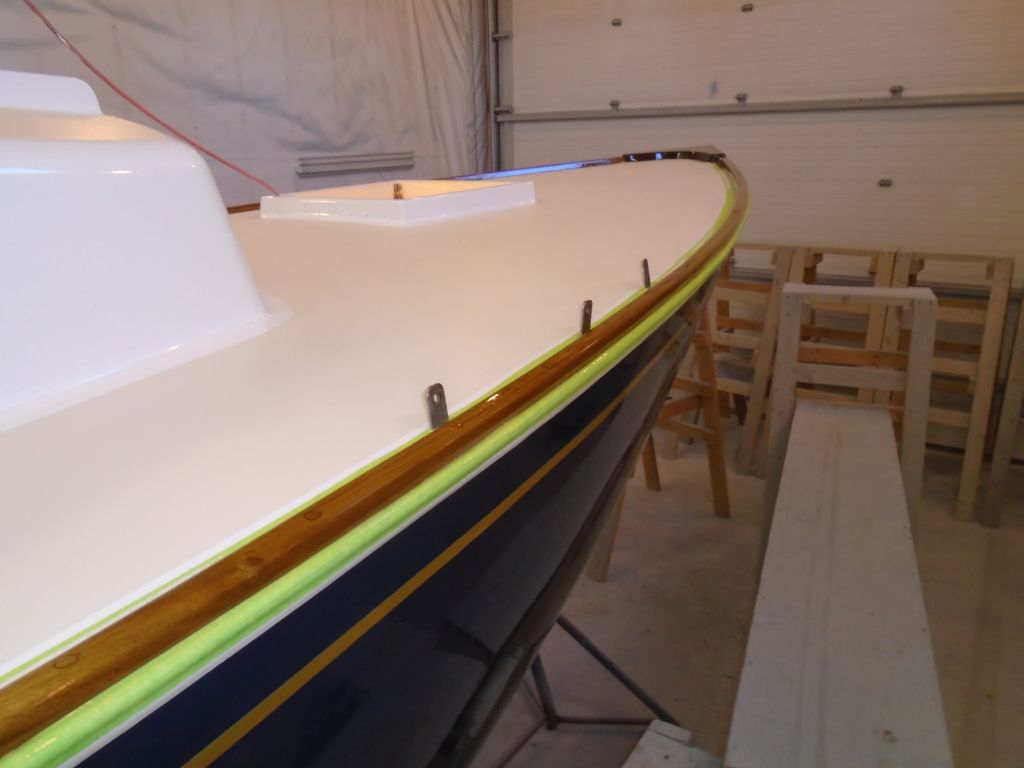
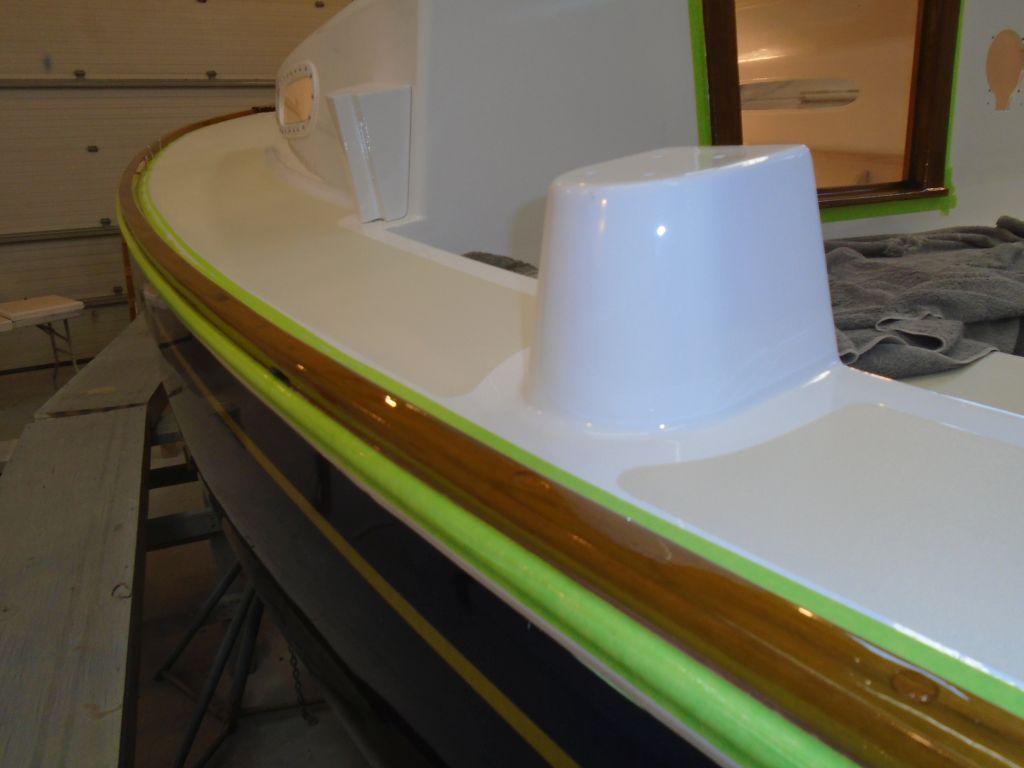
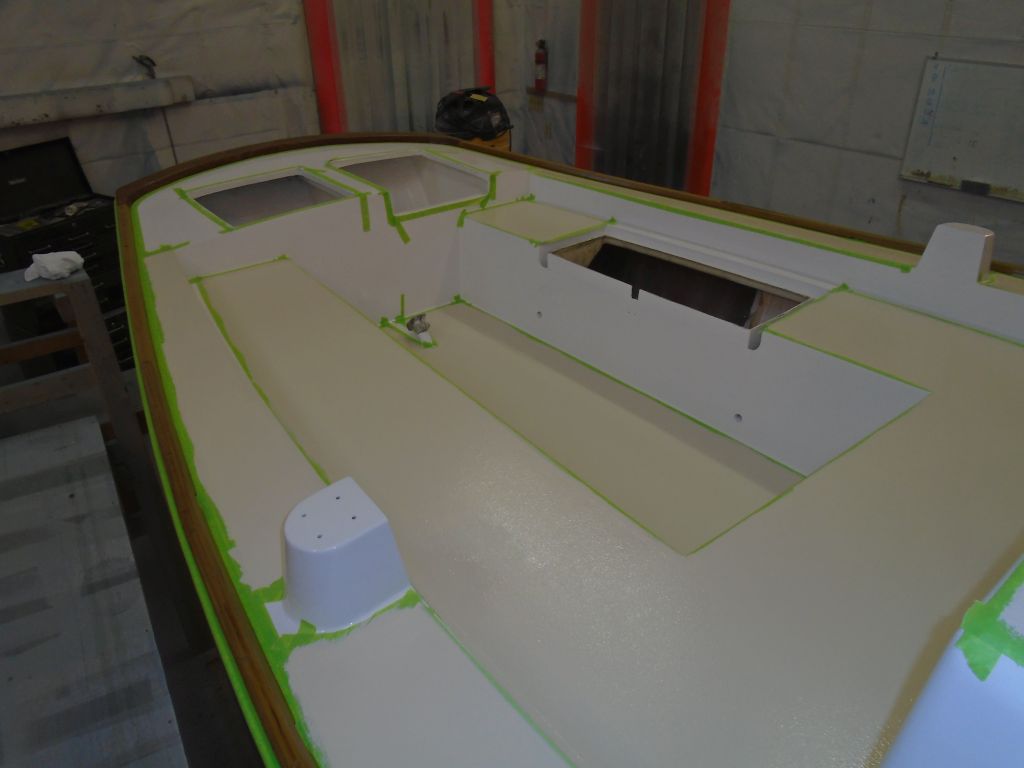
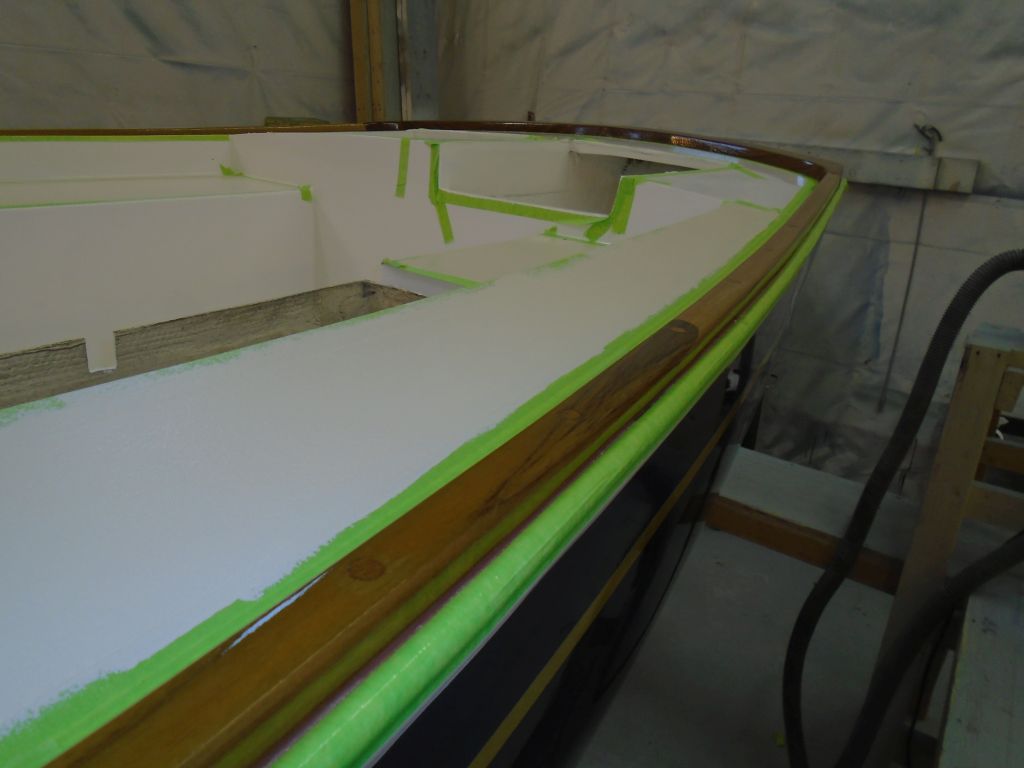
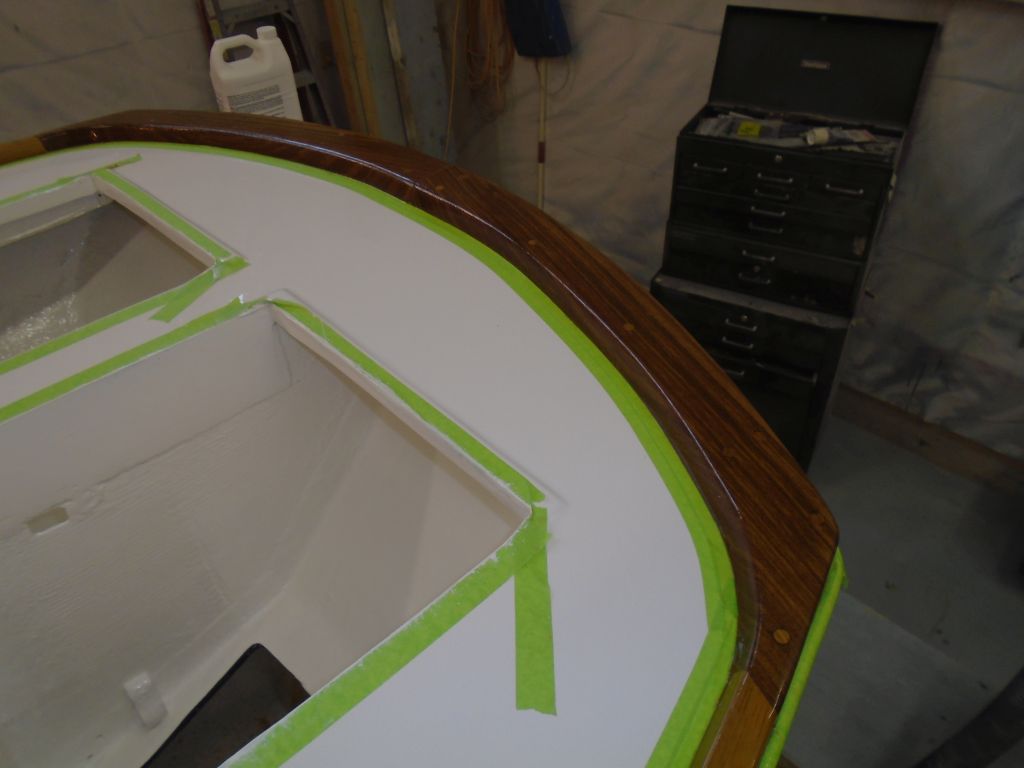
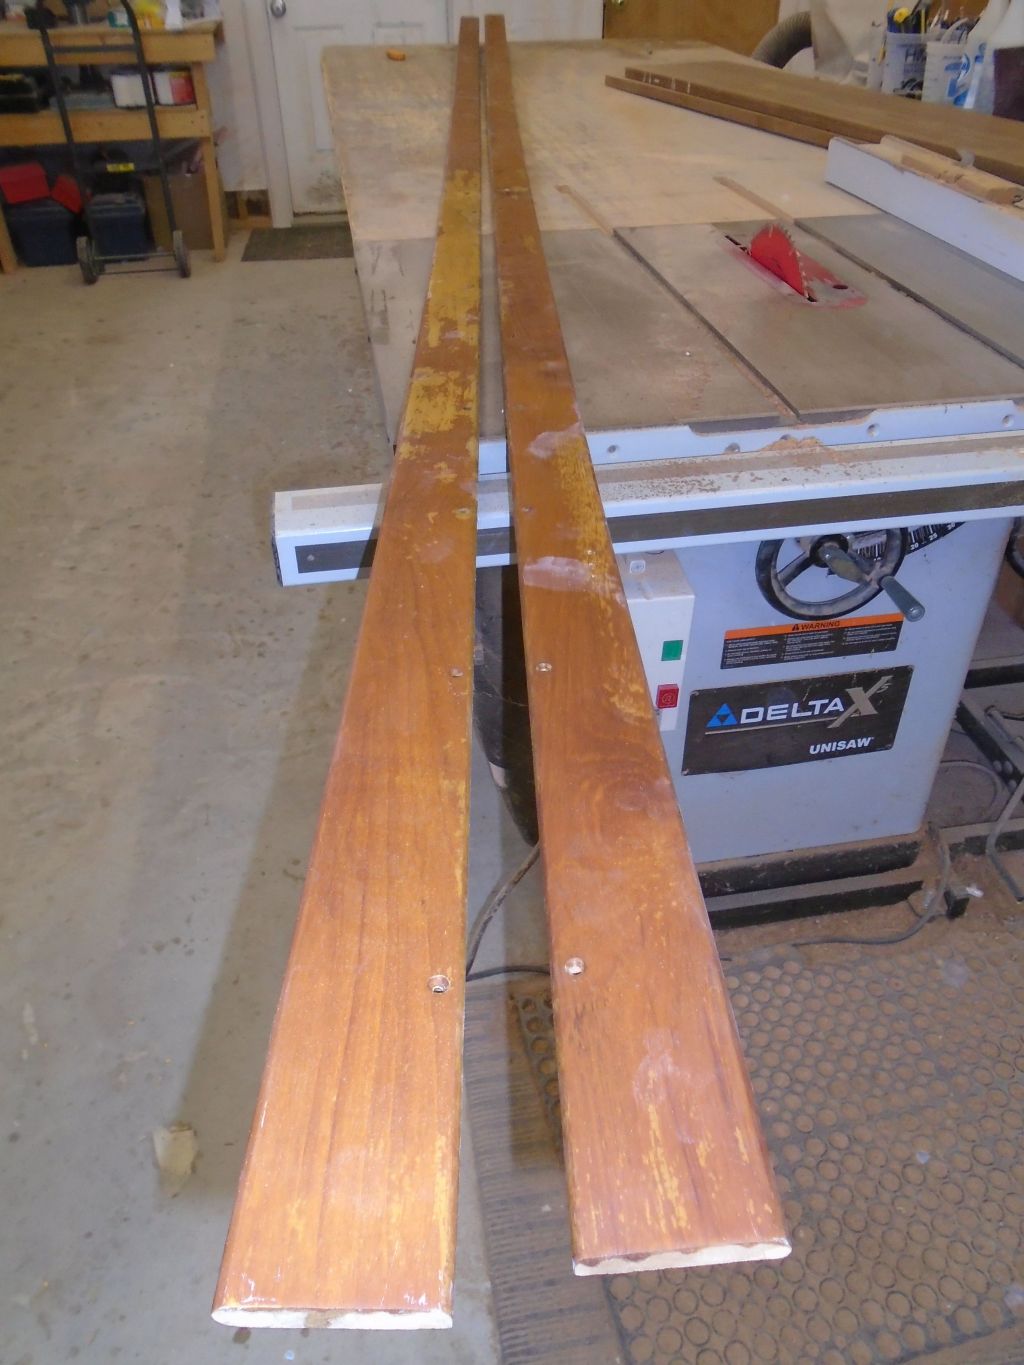
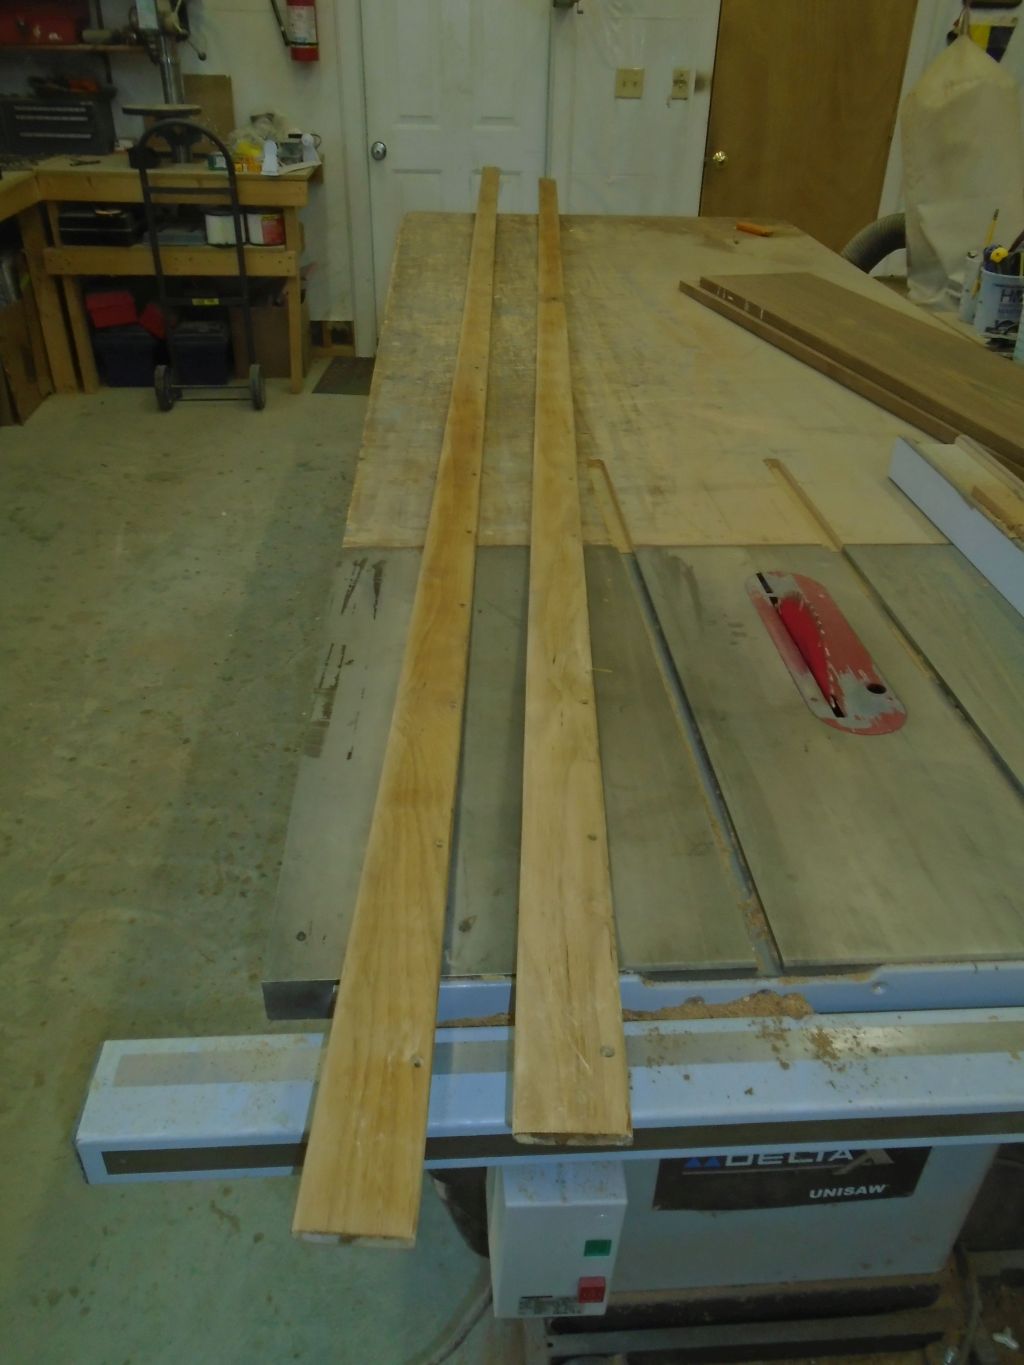
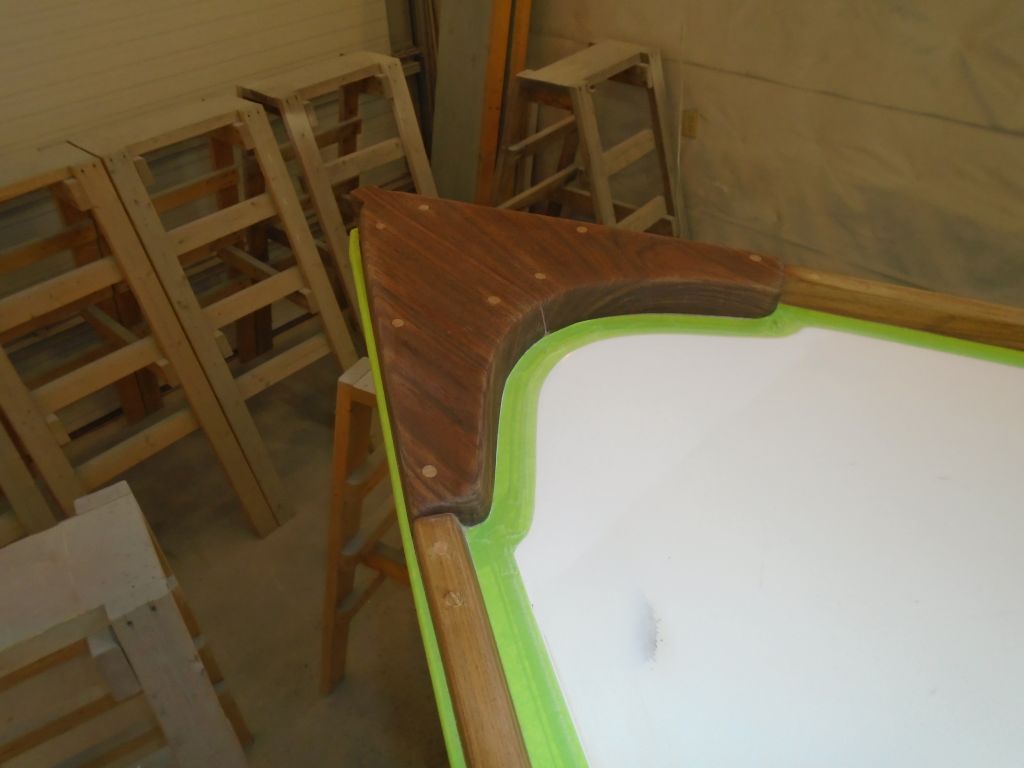
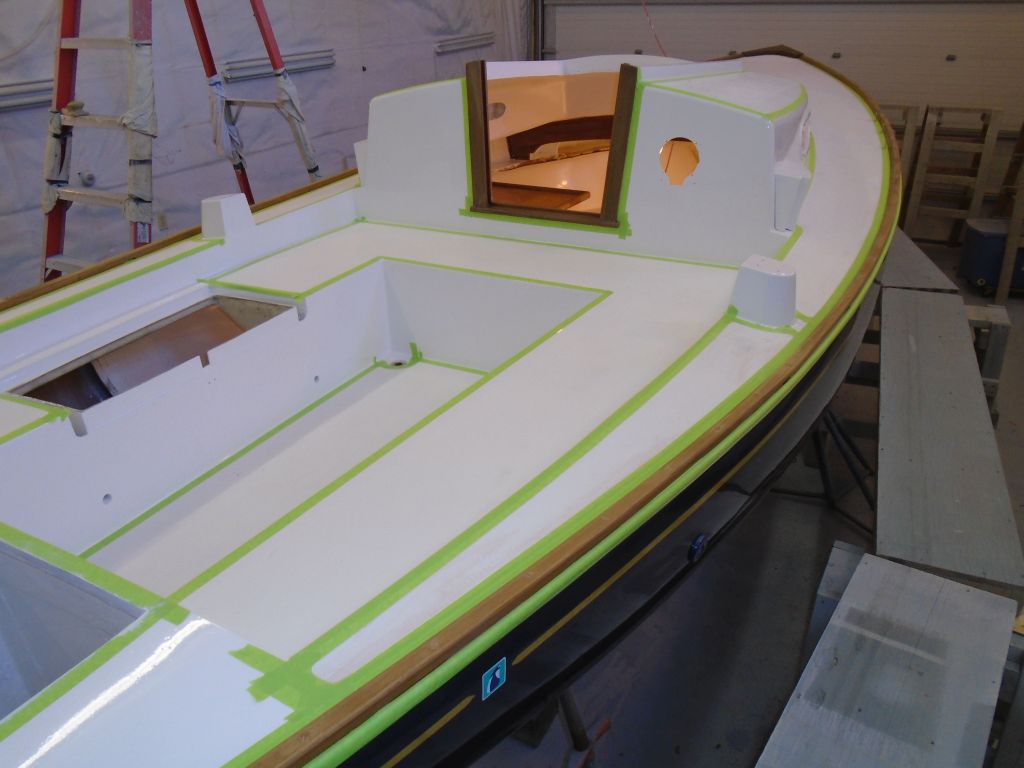
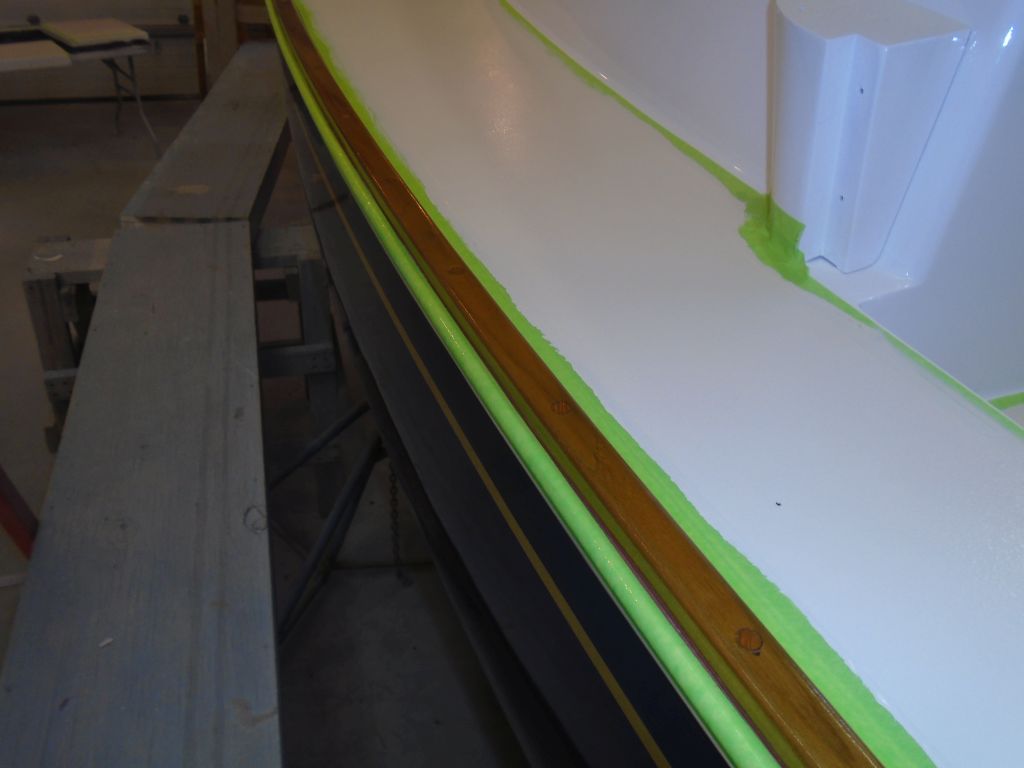
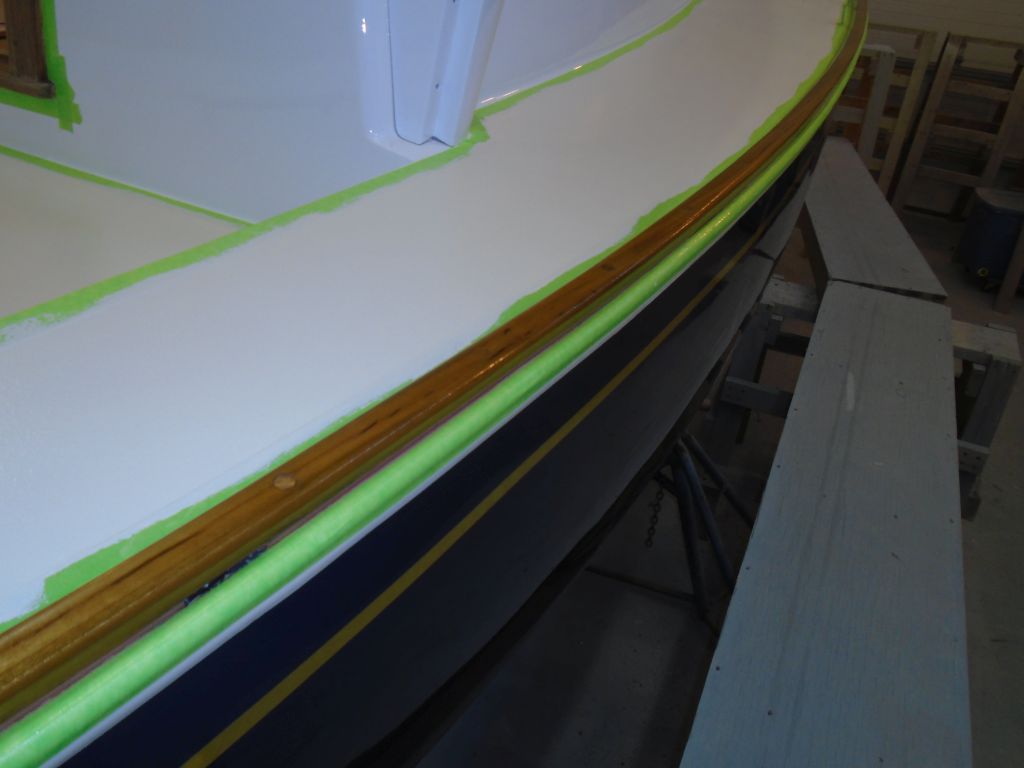
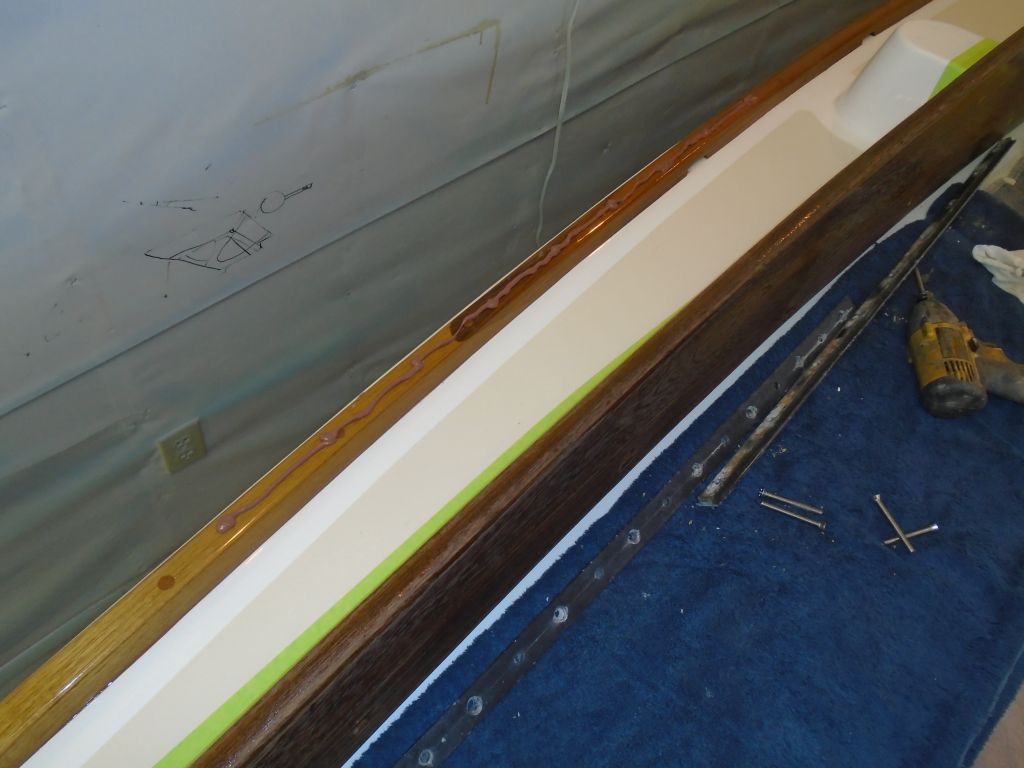
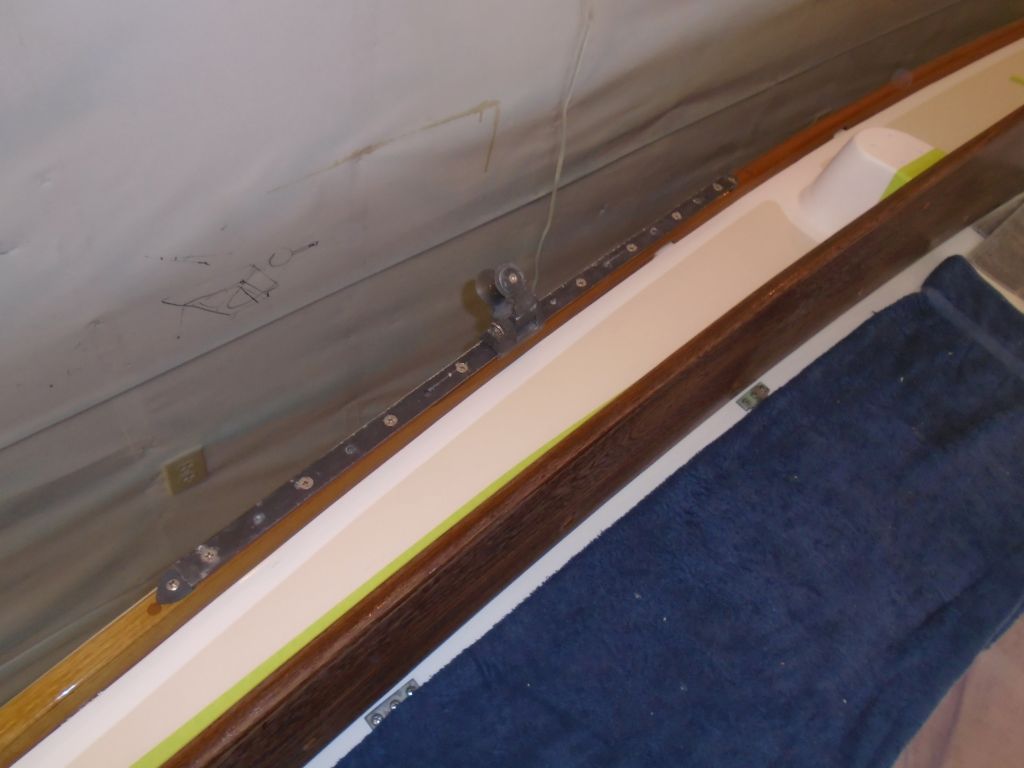
Using some reference measurements I’d taken earlier in the project, I determined the positions of the genoa tracks, and reinstalled them.  For each track, I drilled and tapped through the toerail and deck for 1/4″ machine screws, then applied sealant before driving home the screws and installing nuts and washers from beneath.

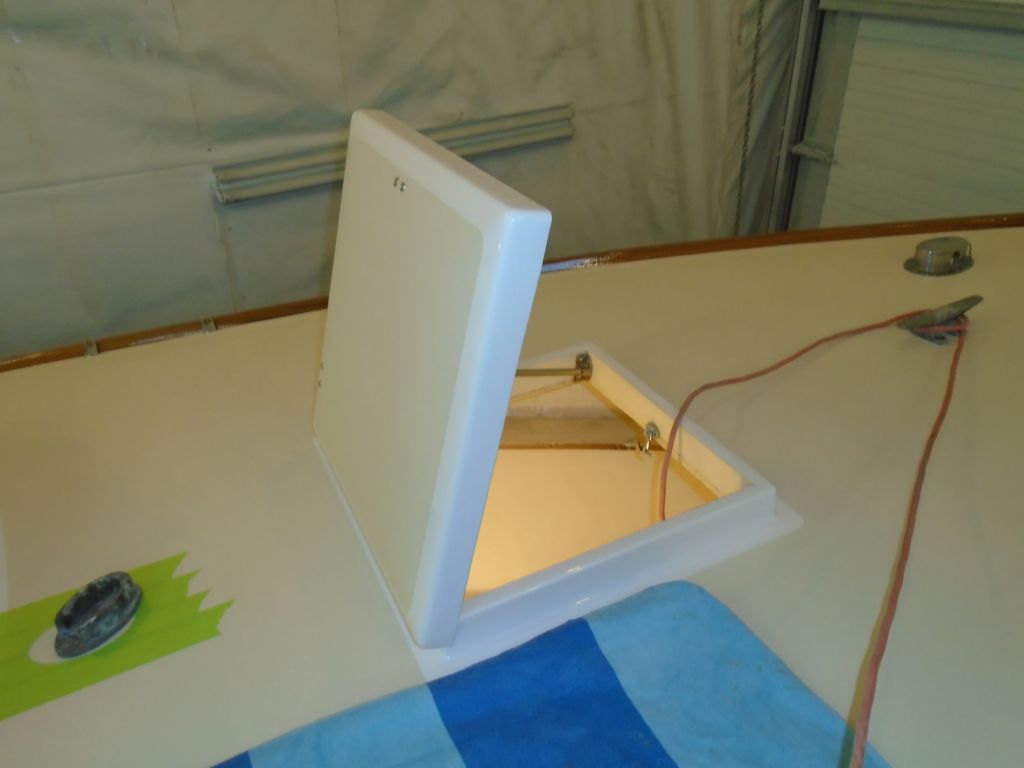
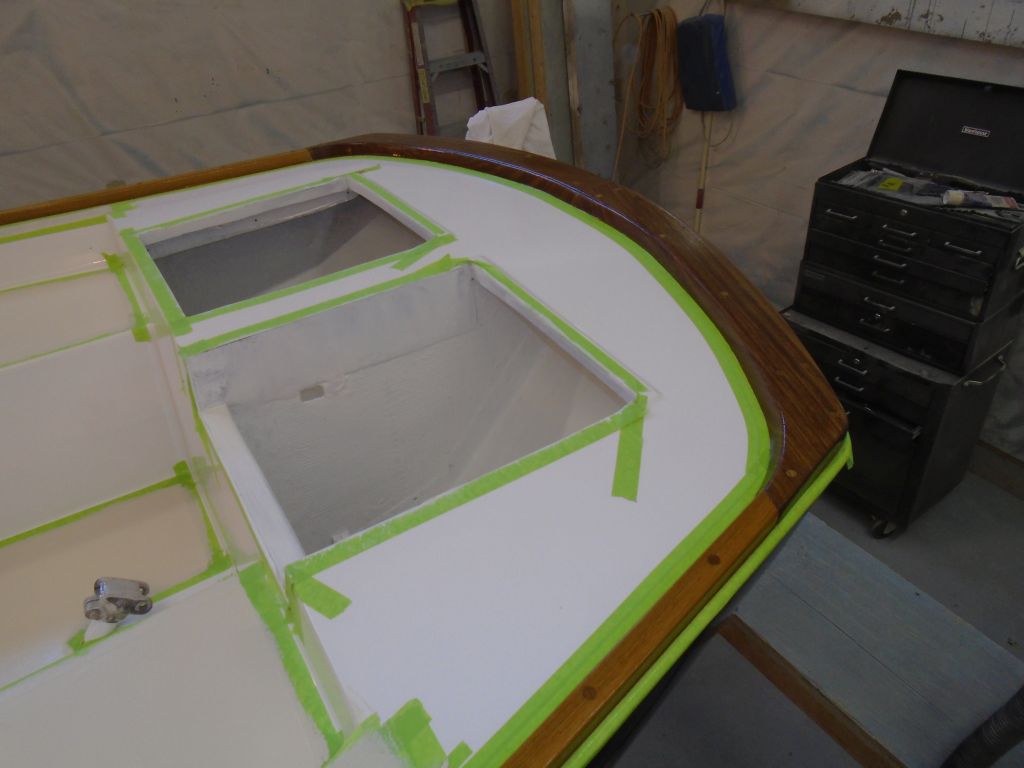
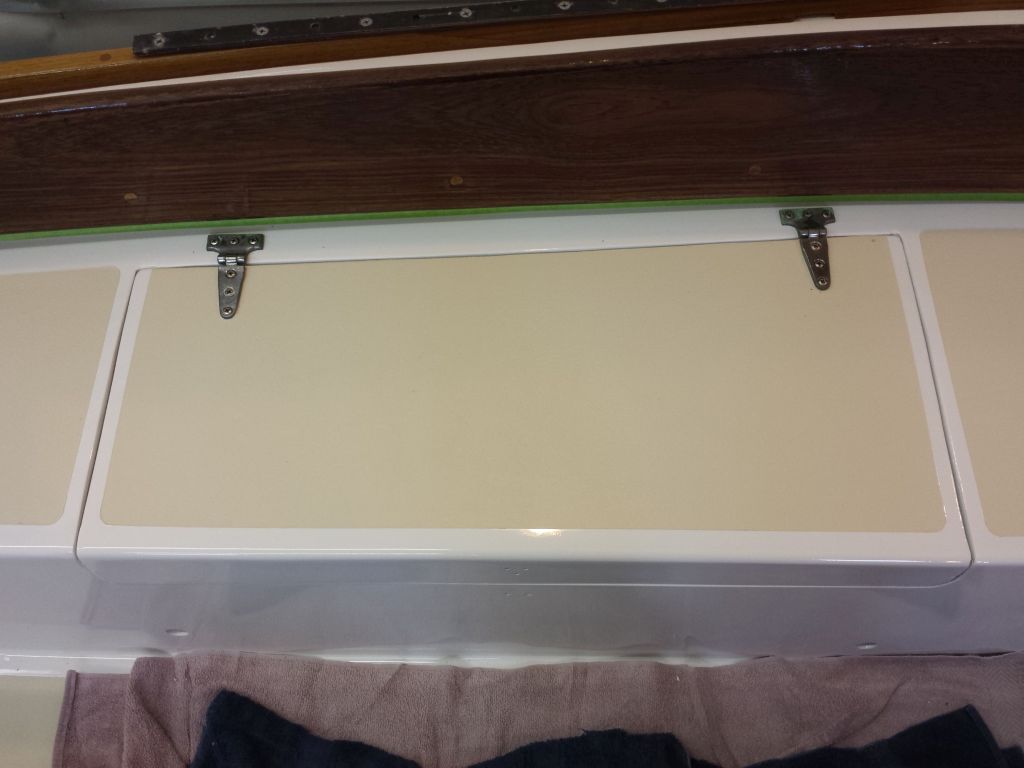
I resecured the cockpit locker lid hinges with screws and sealant.

hw1-121115

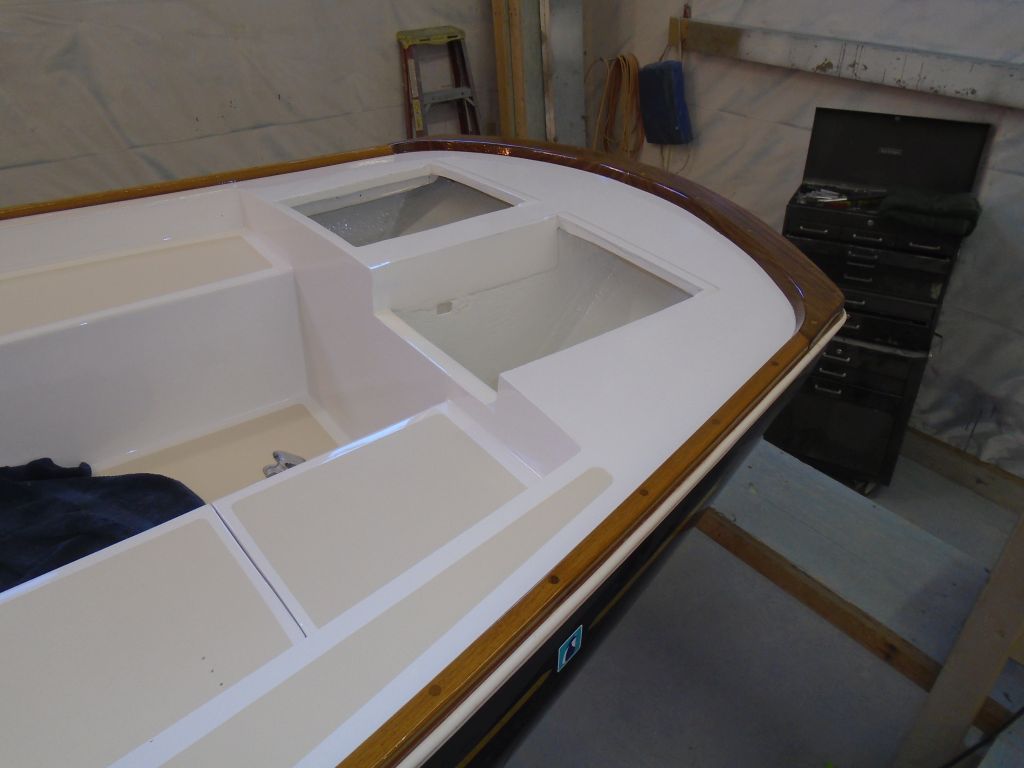
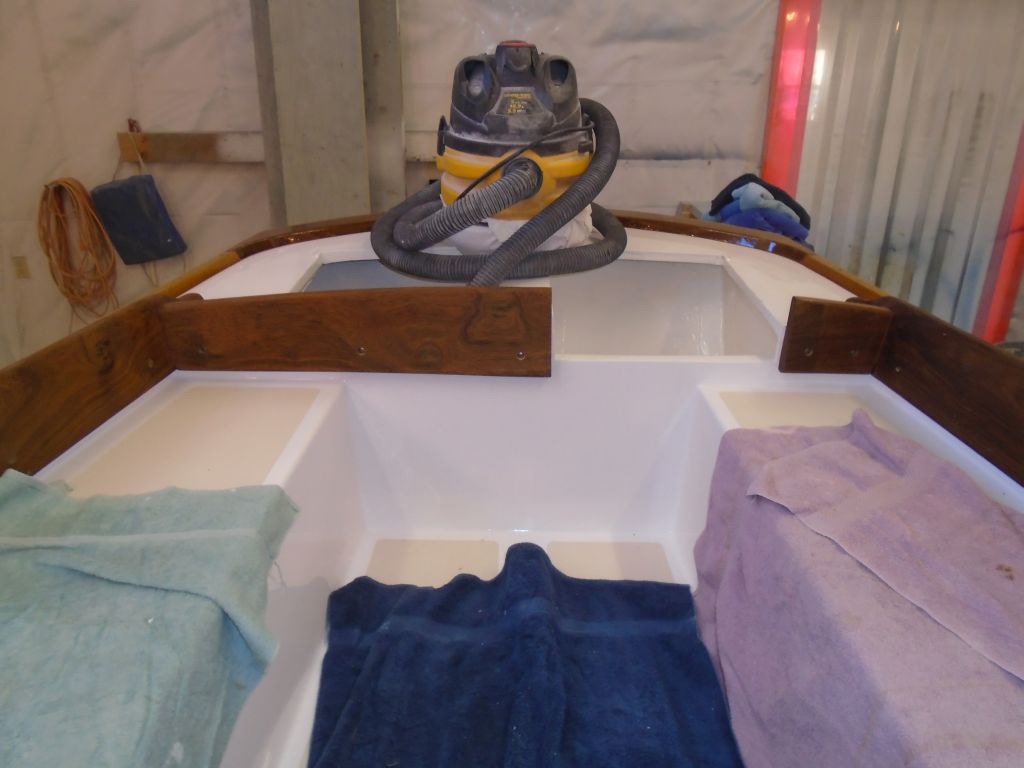
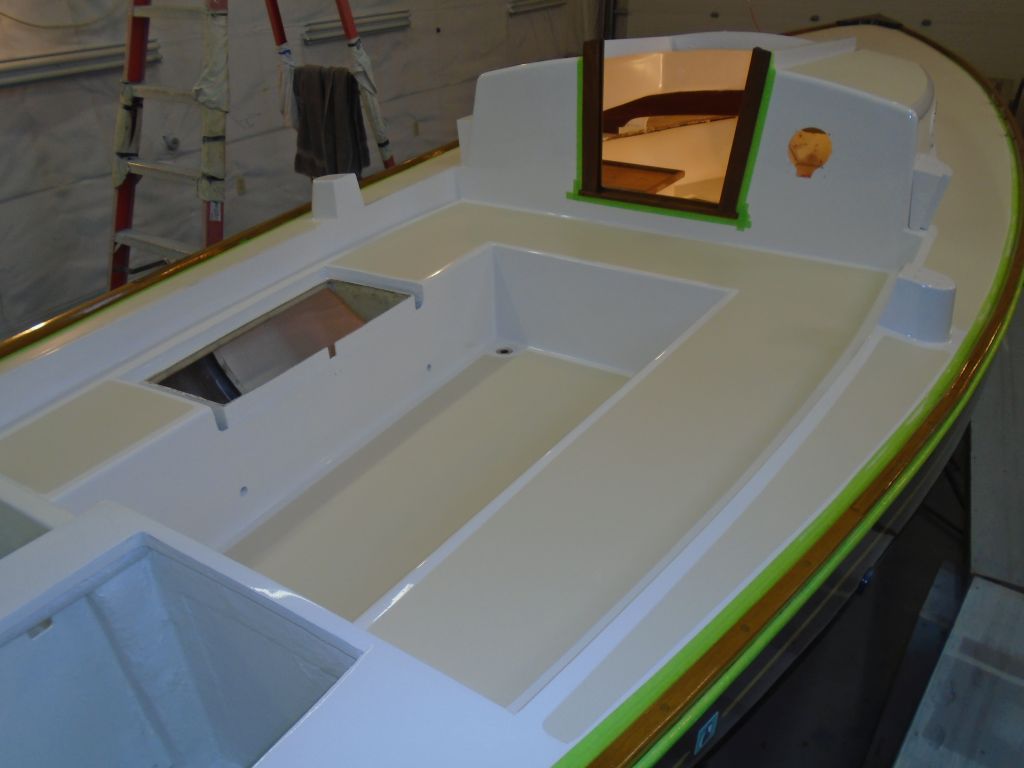
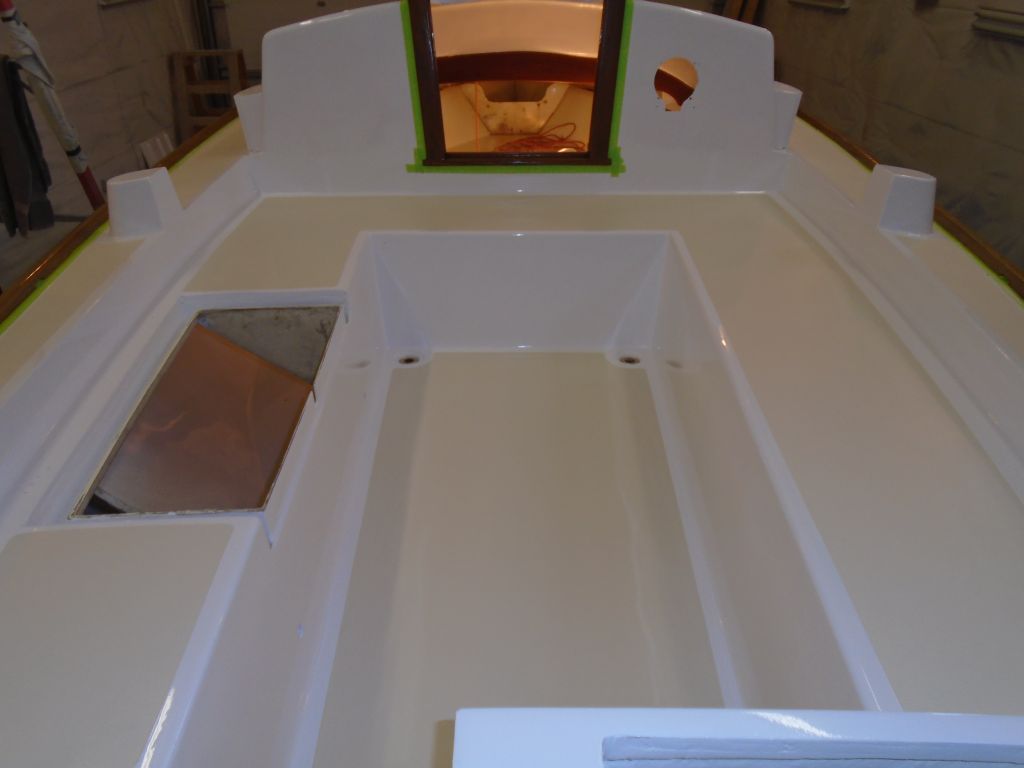
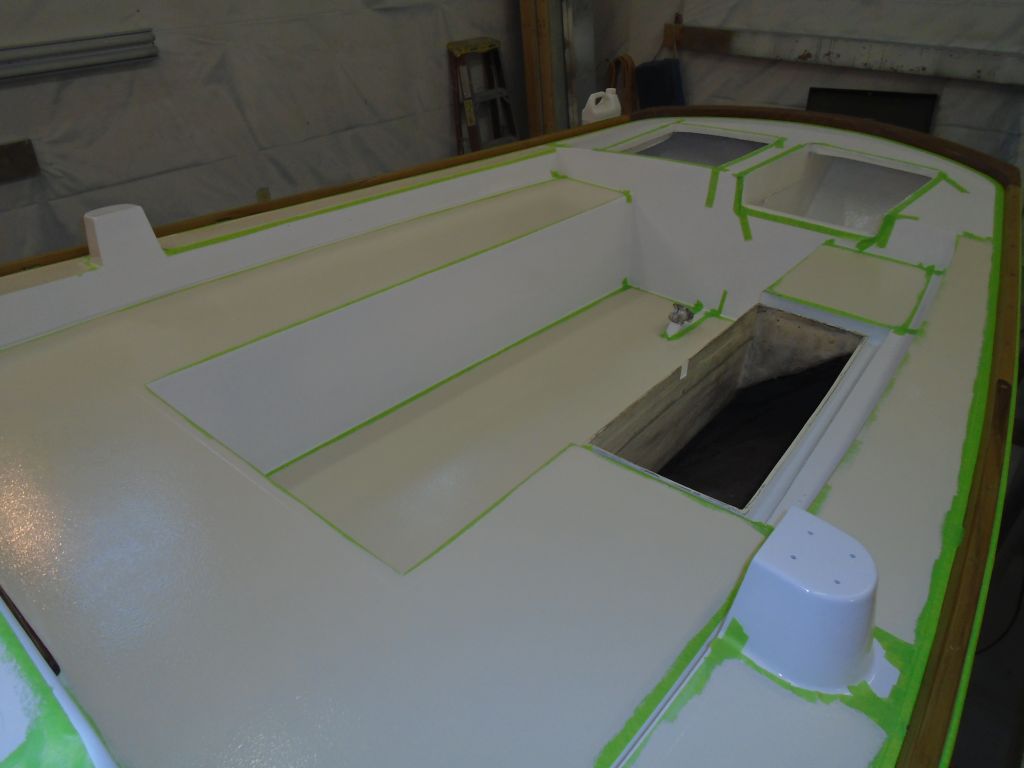
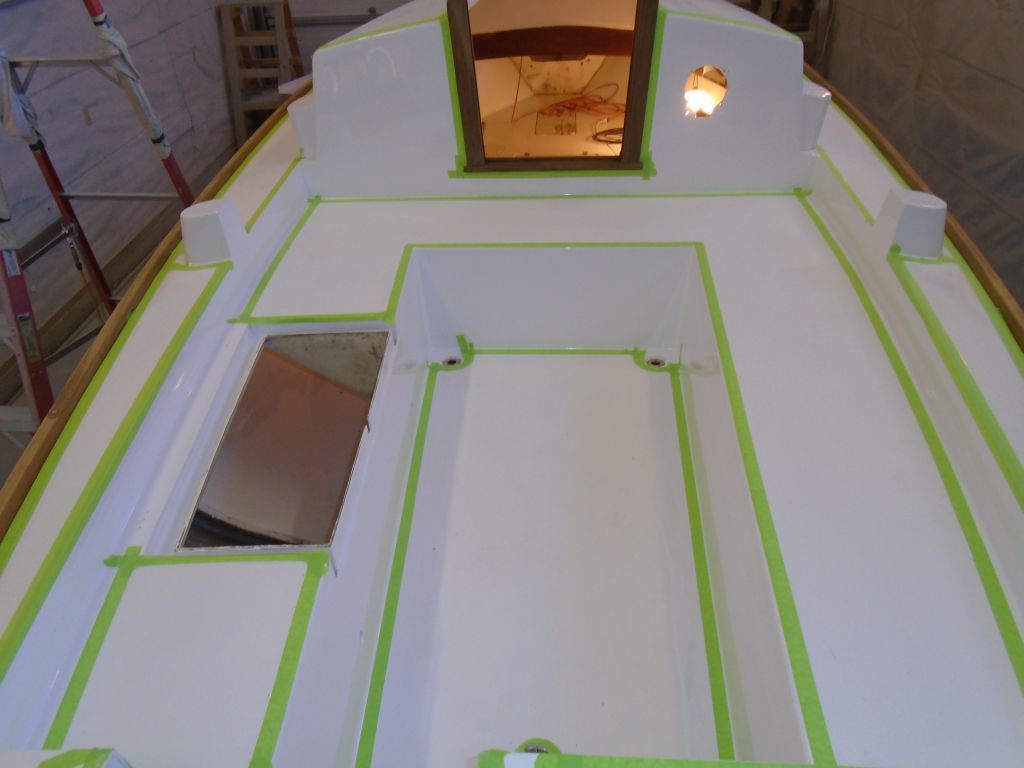
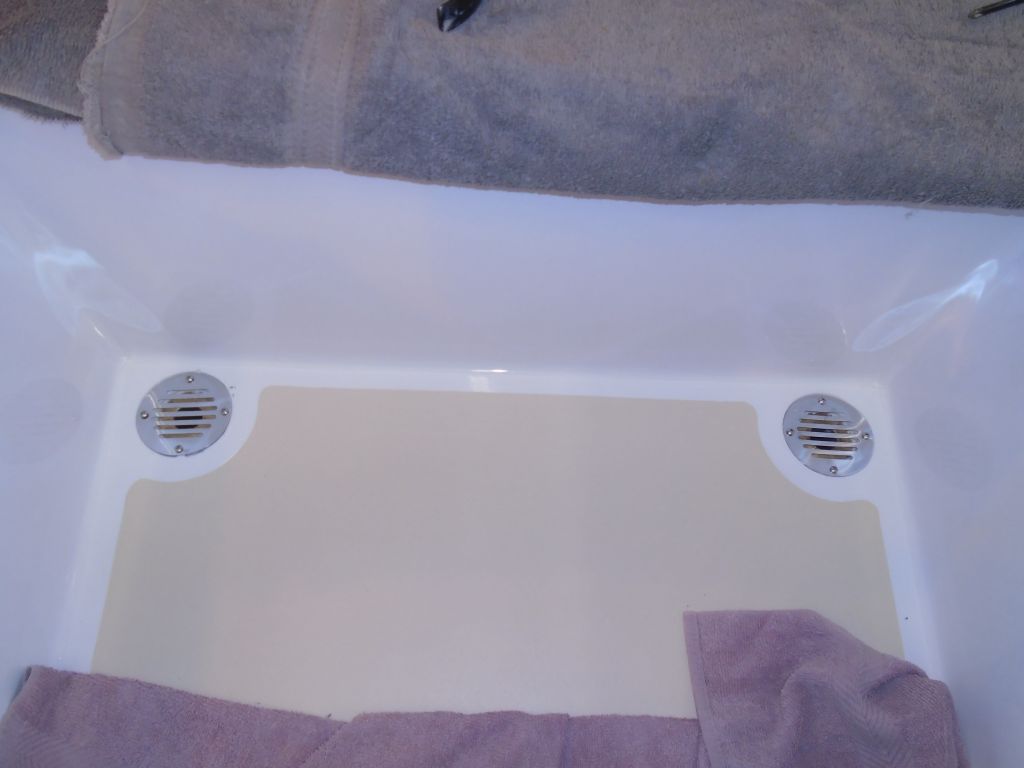
In the cockpit well, I installed a pair of new screens to protect the scuppers from debris.

hw6-121115

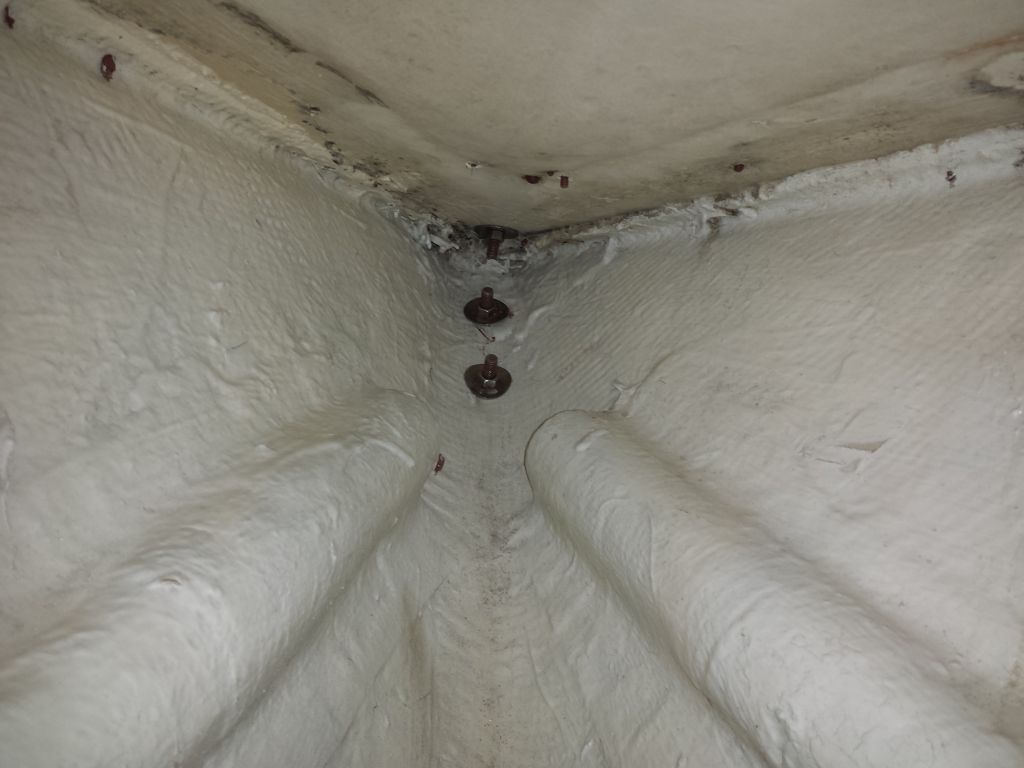
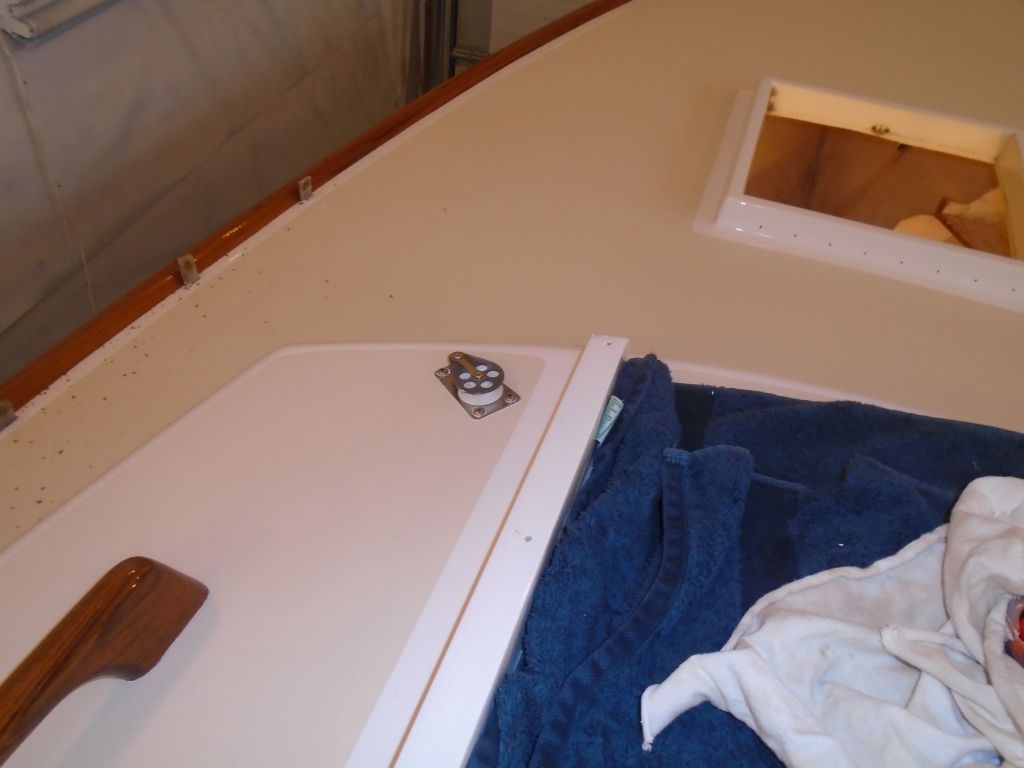
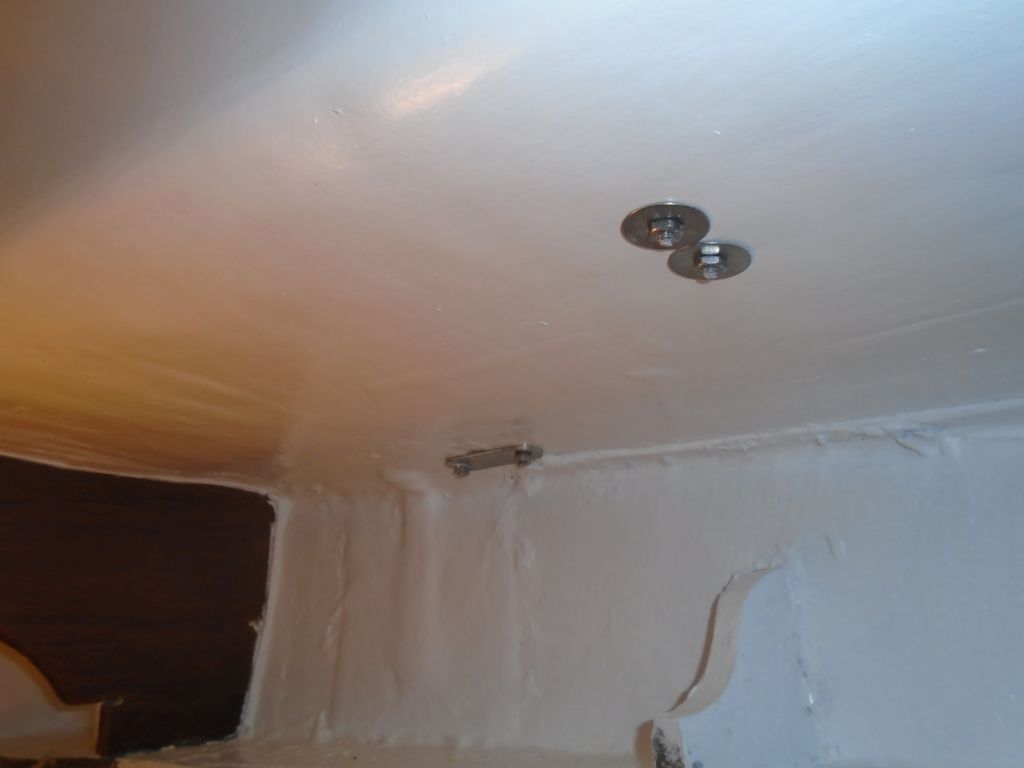
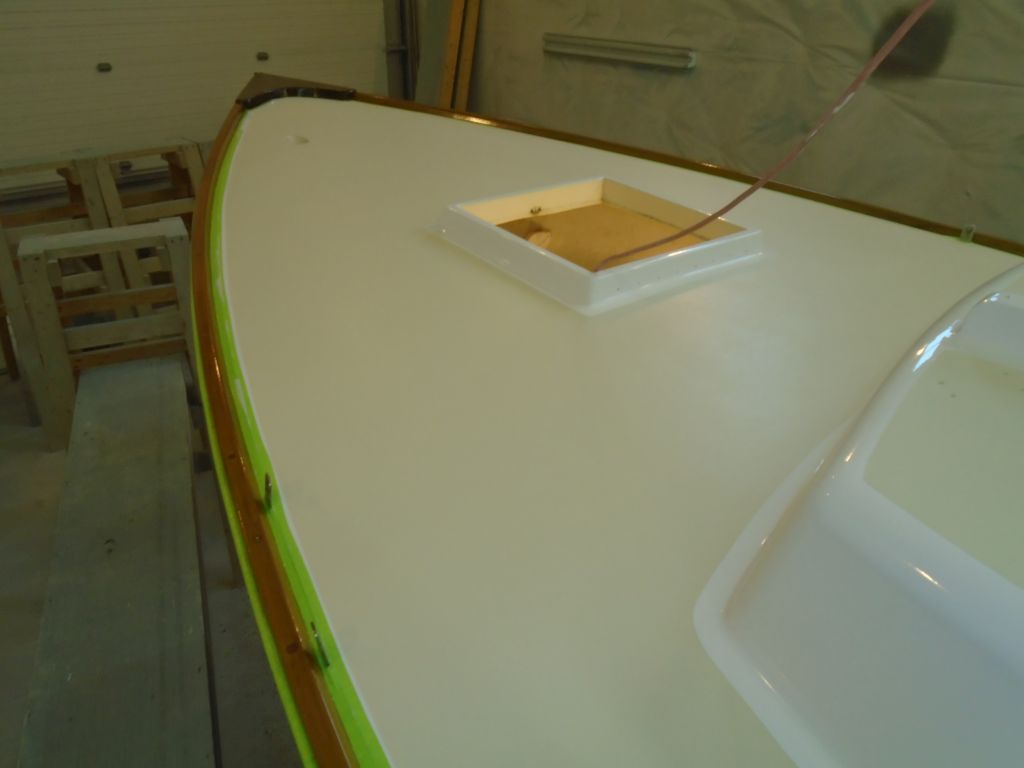
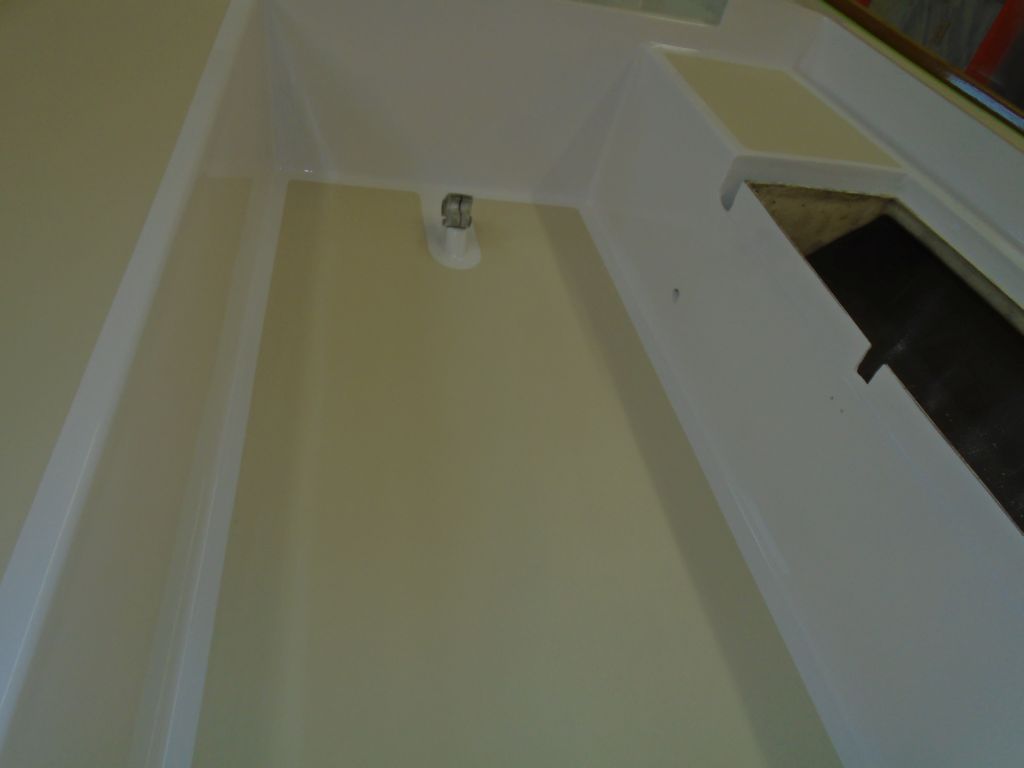
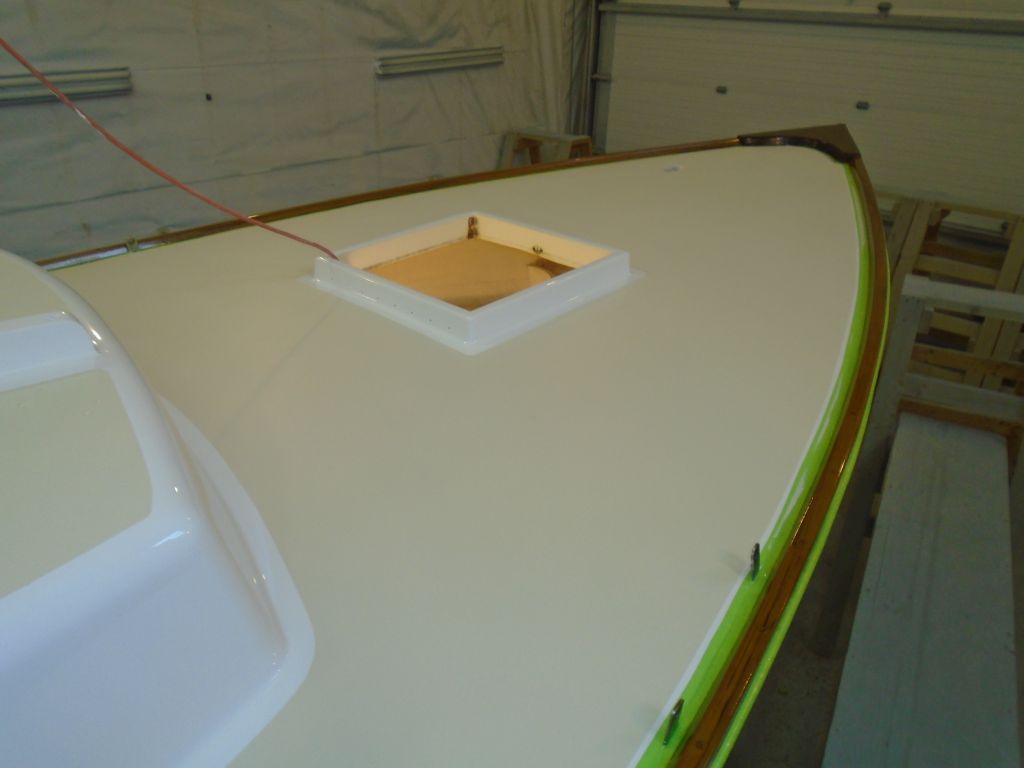
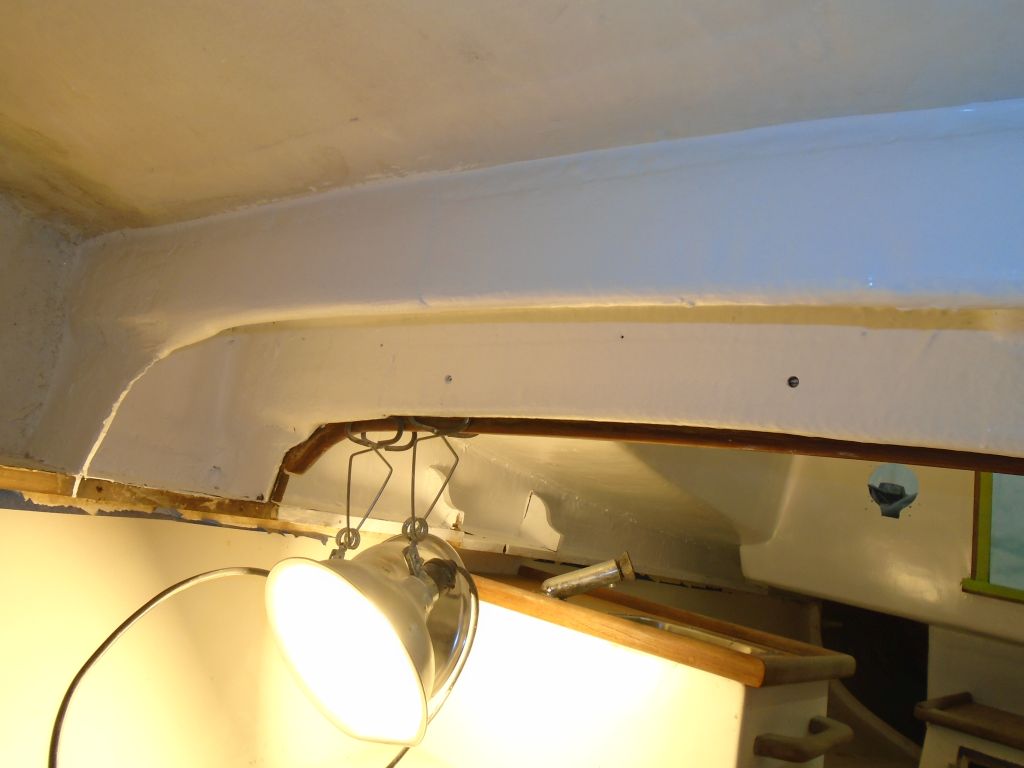
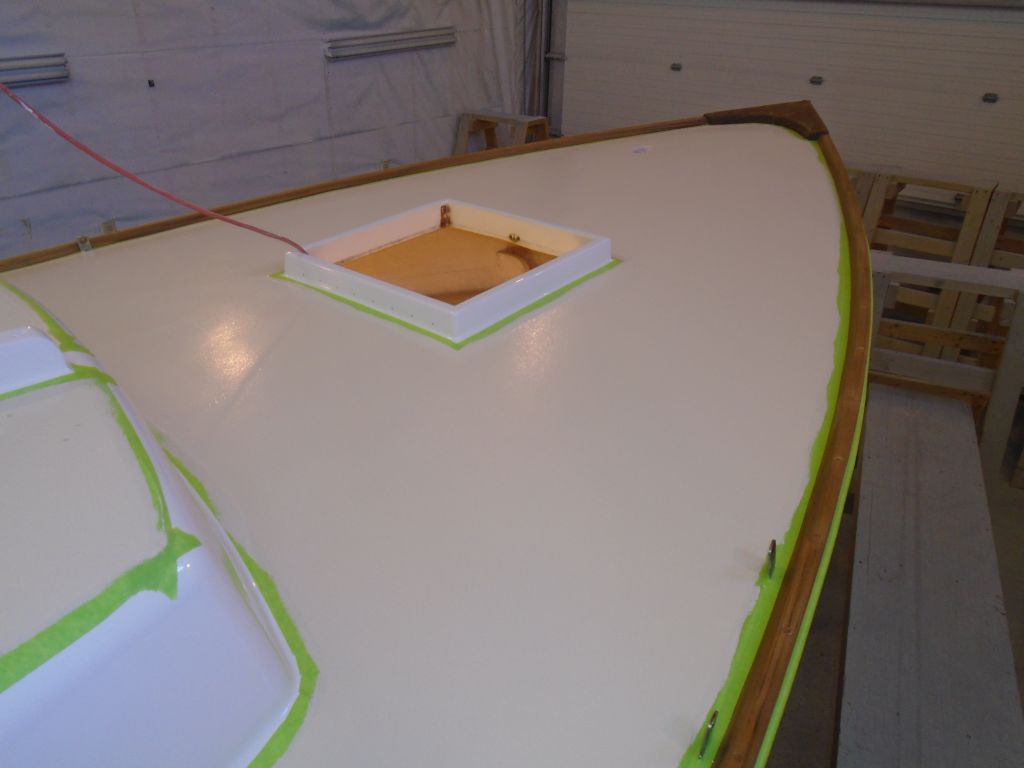
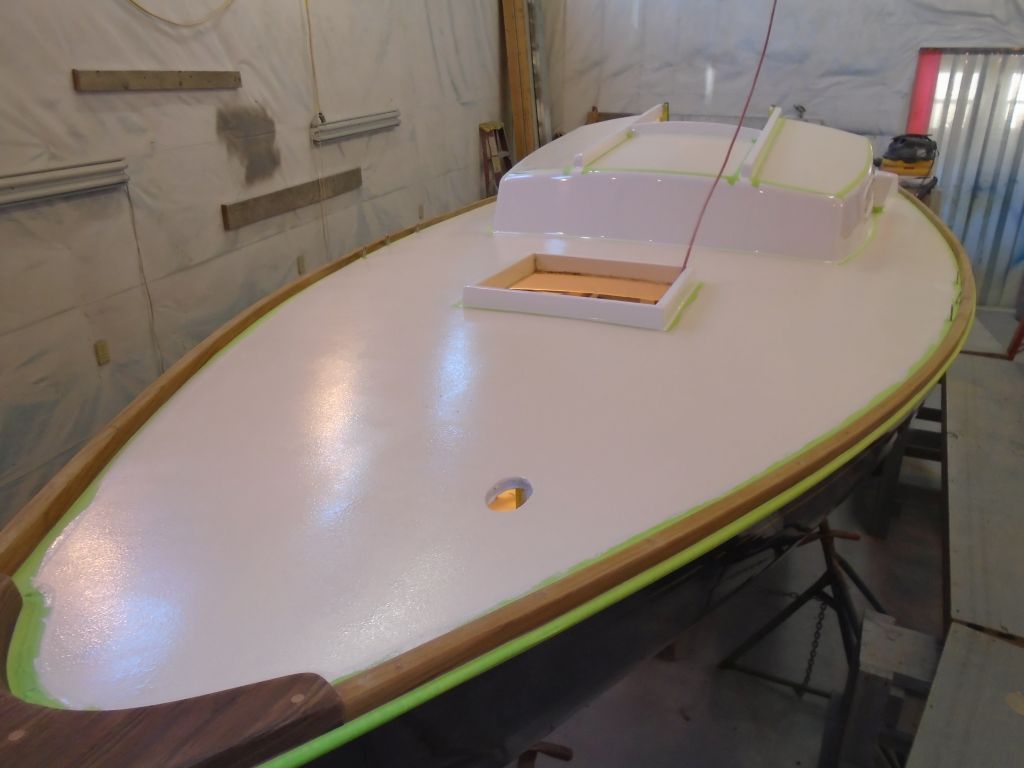
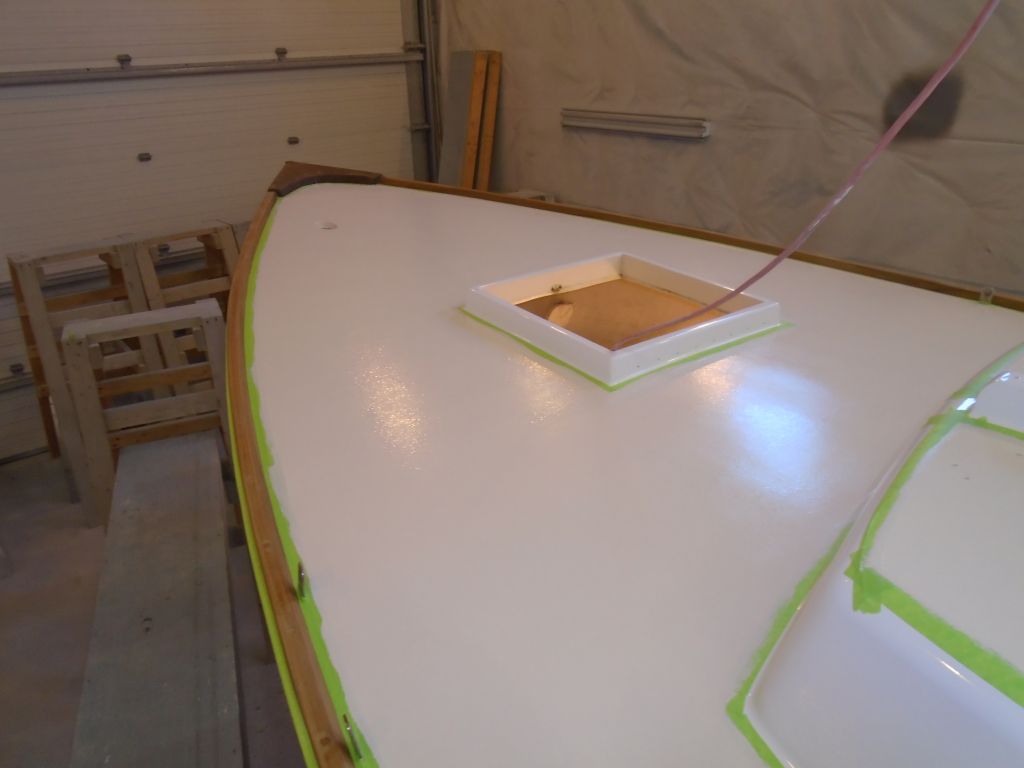
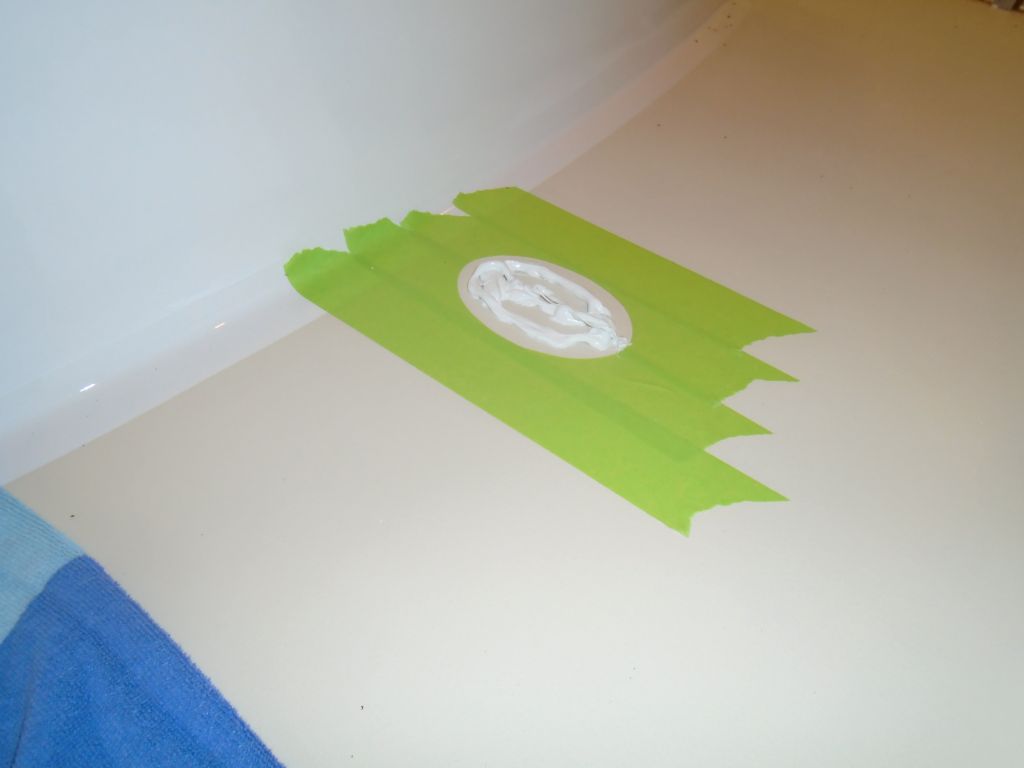
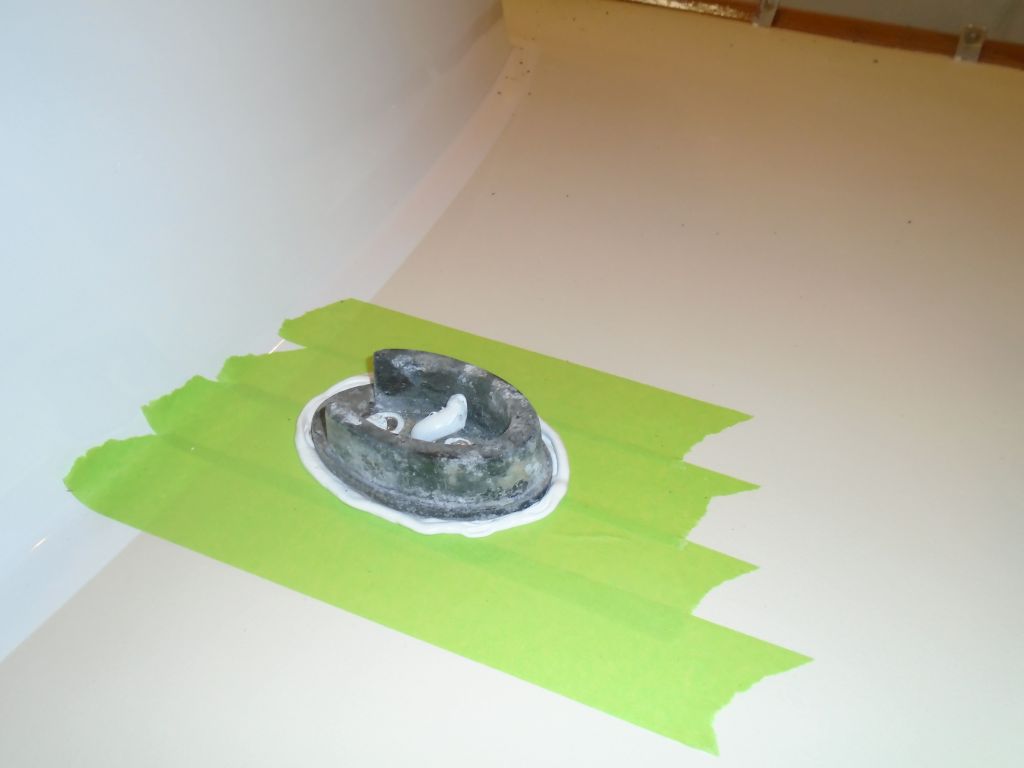
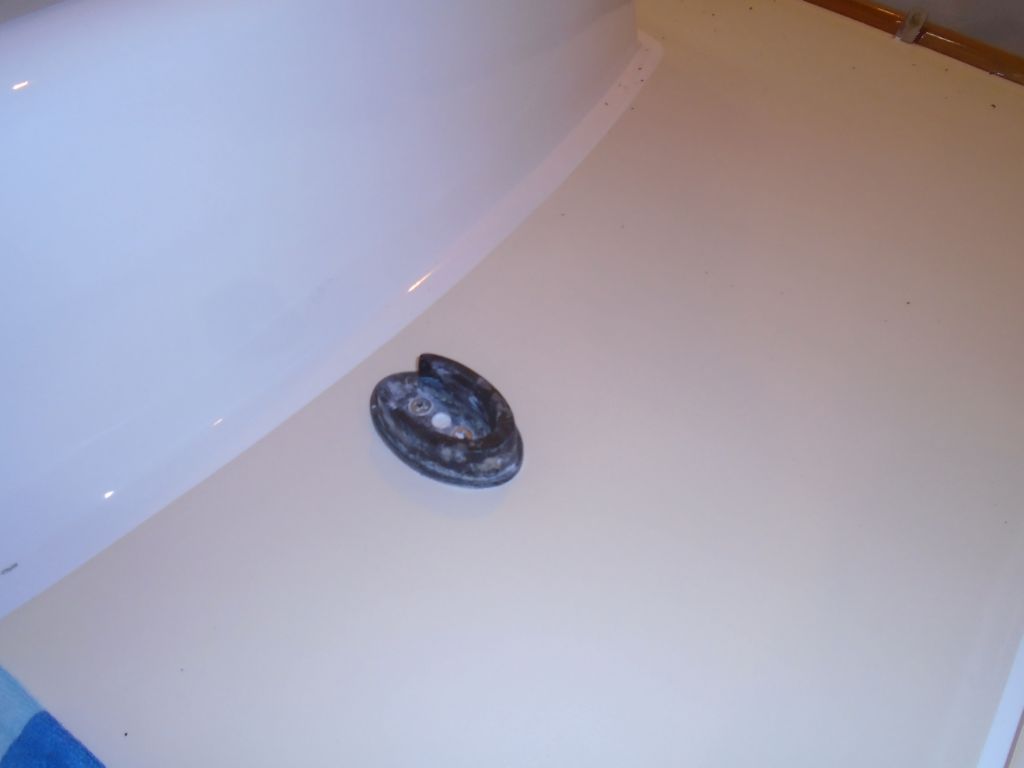
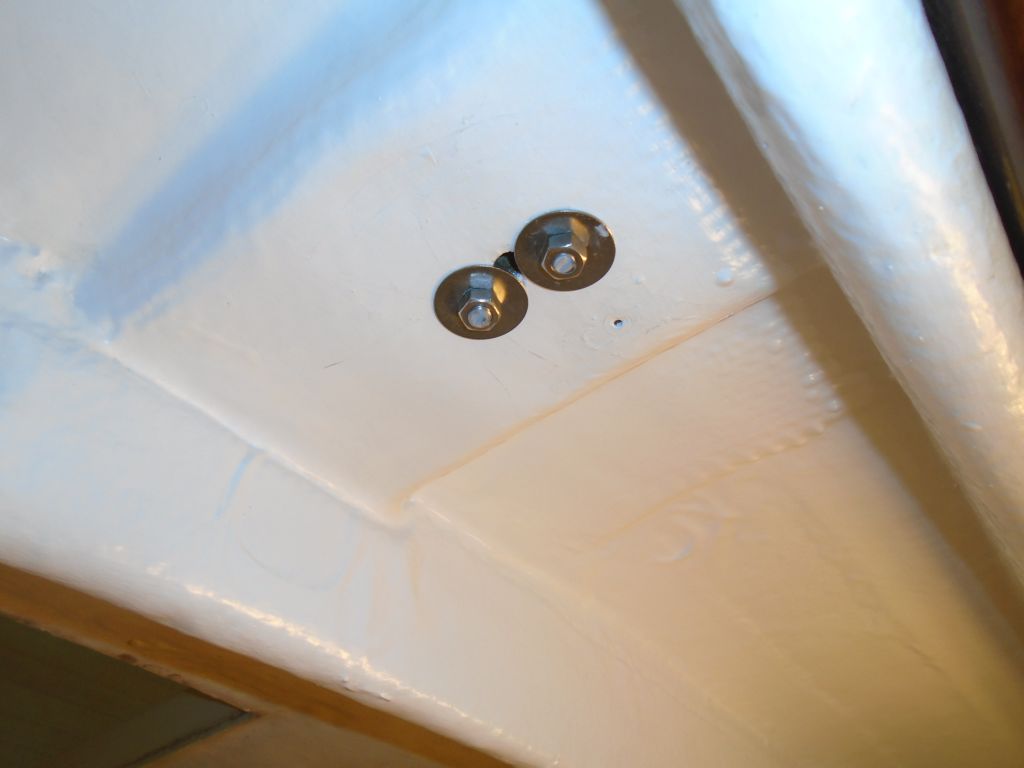
With the correct fasteners now on hand, I could finish up the mast step installation.

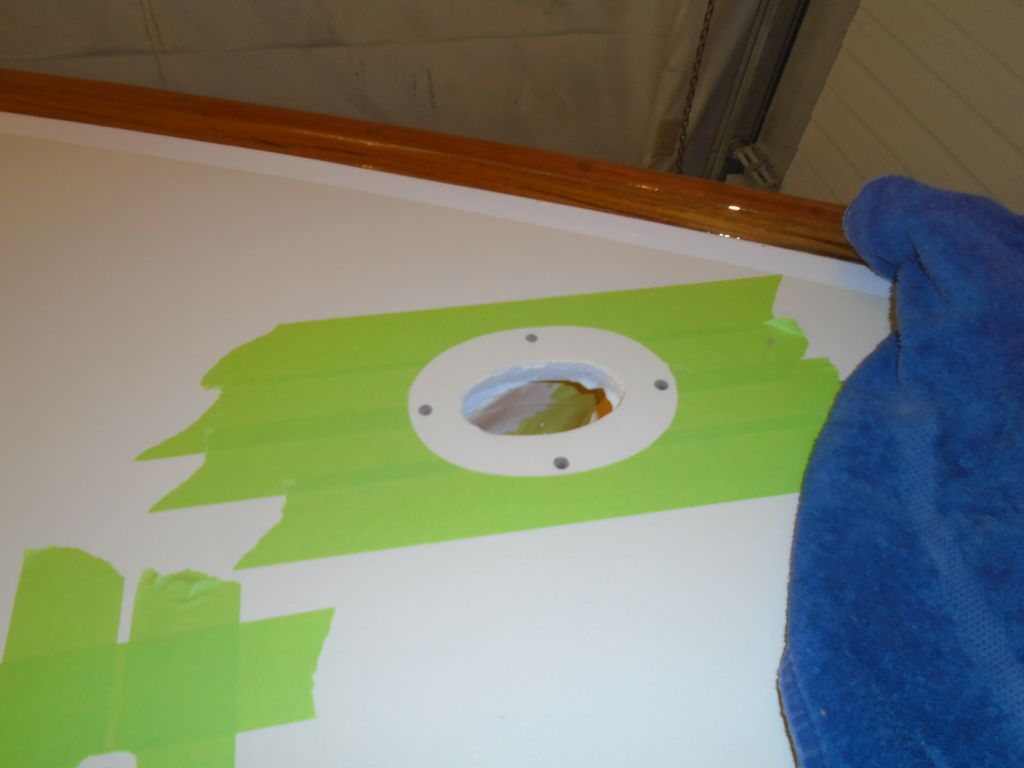
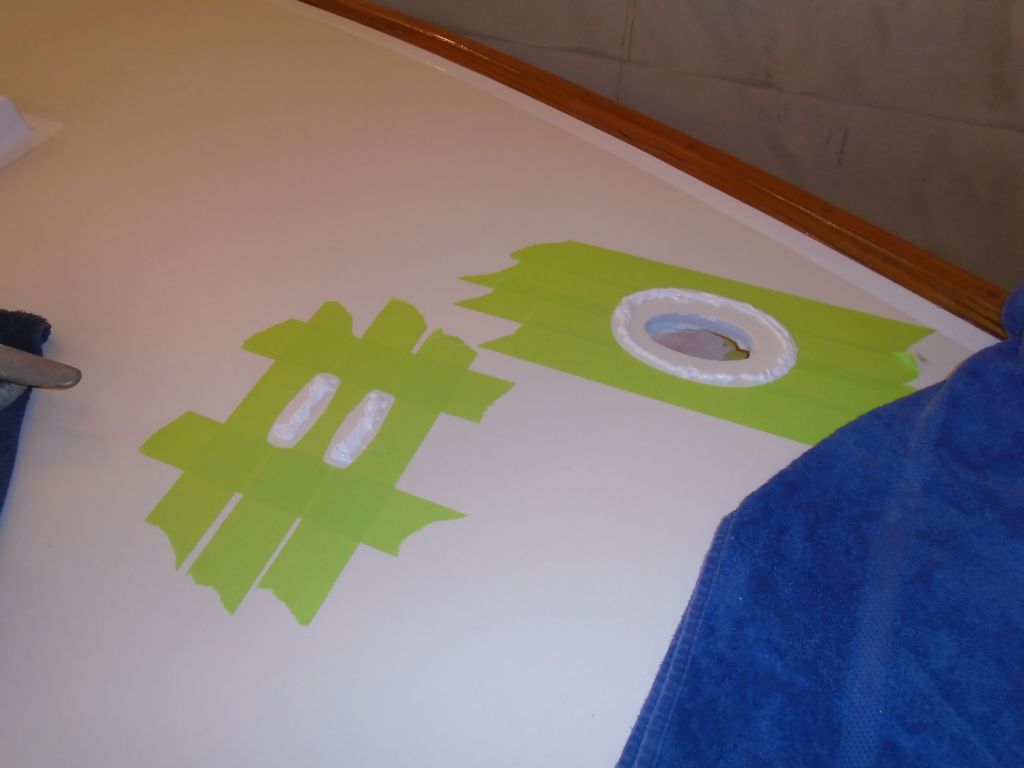
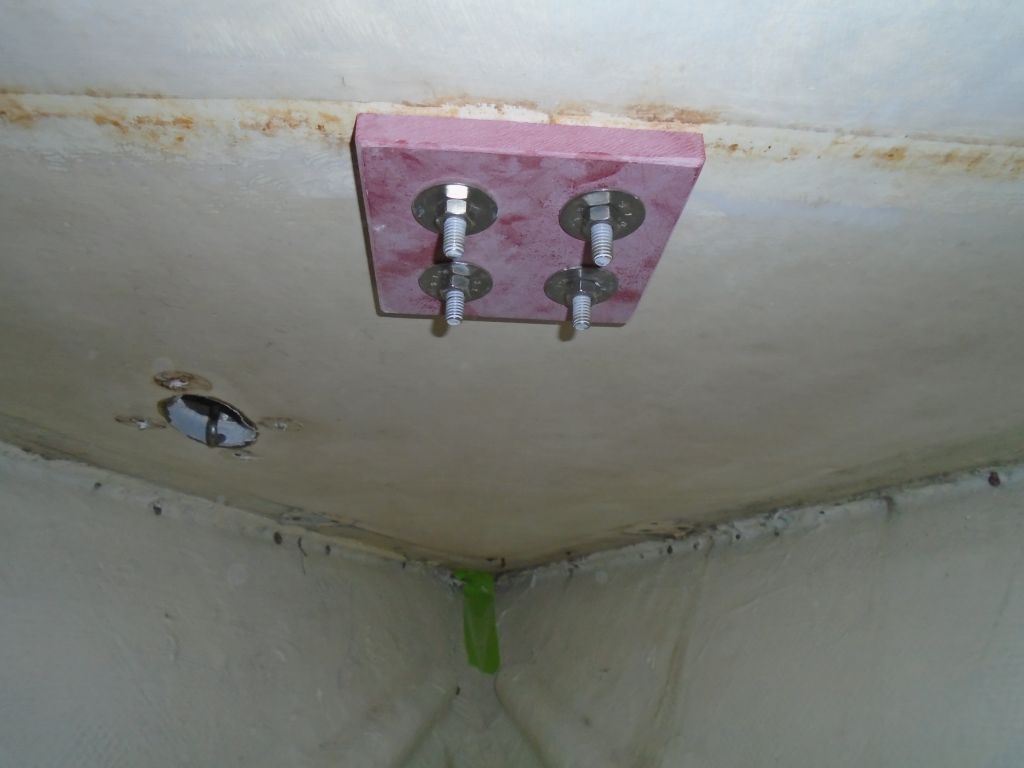
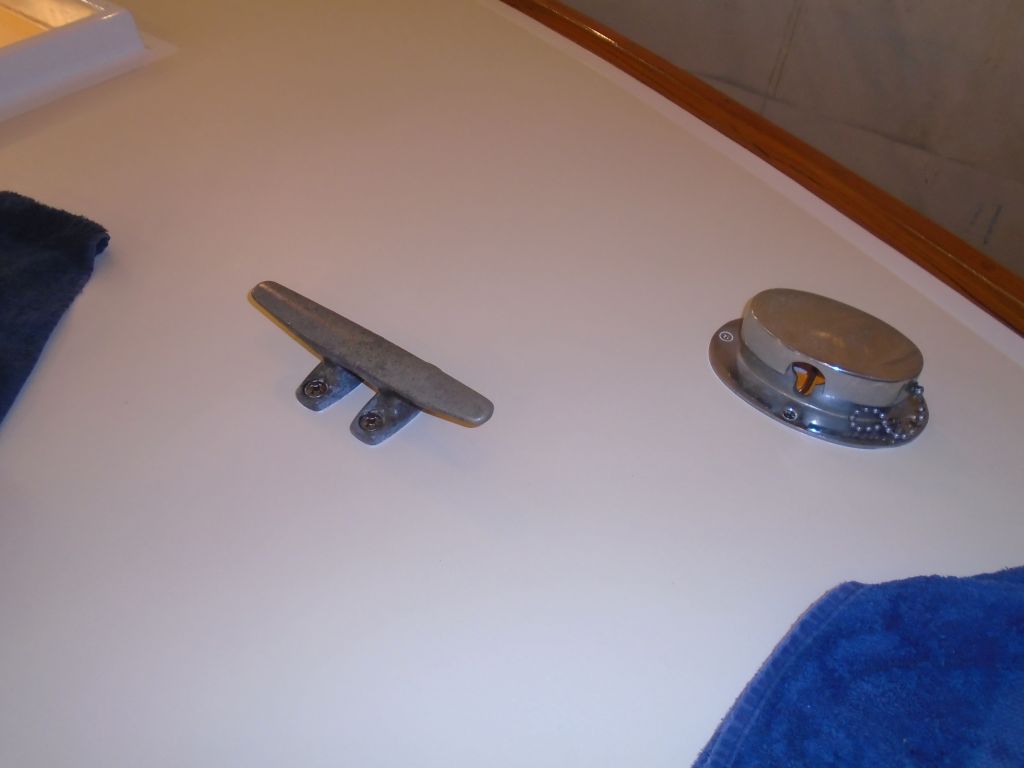
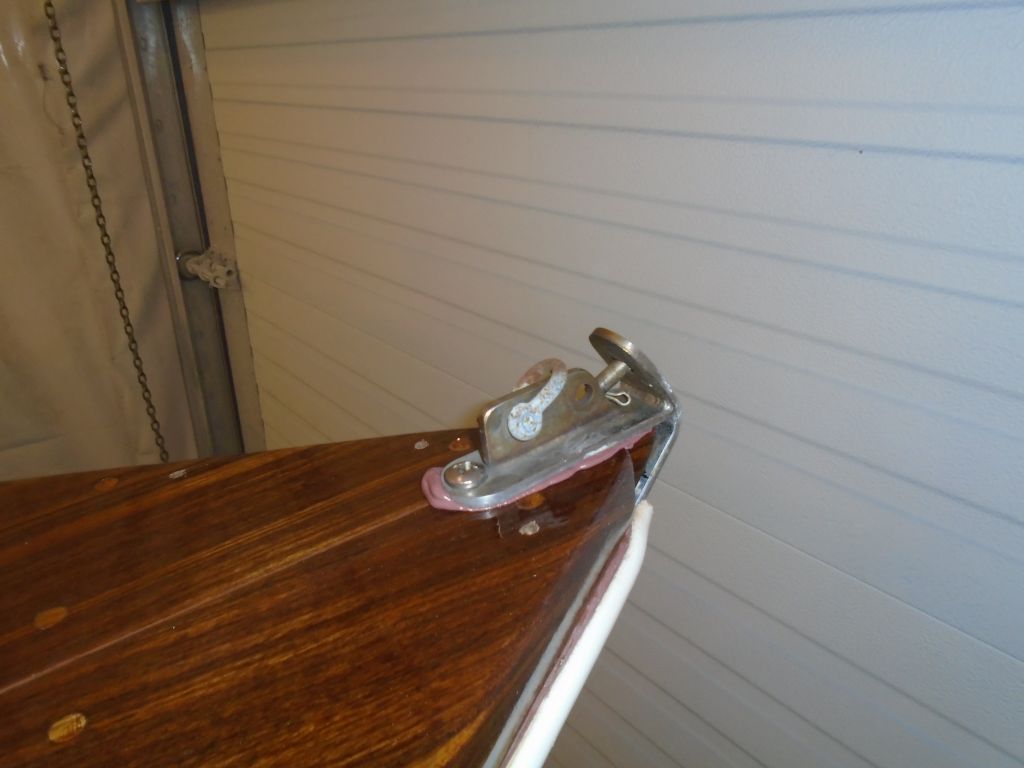
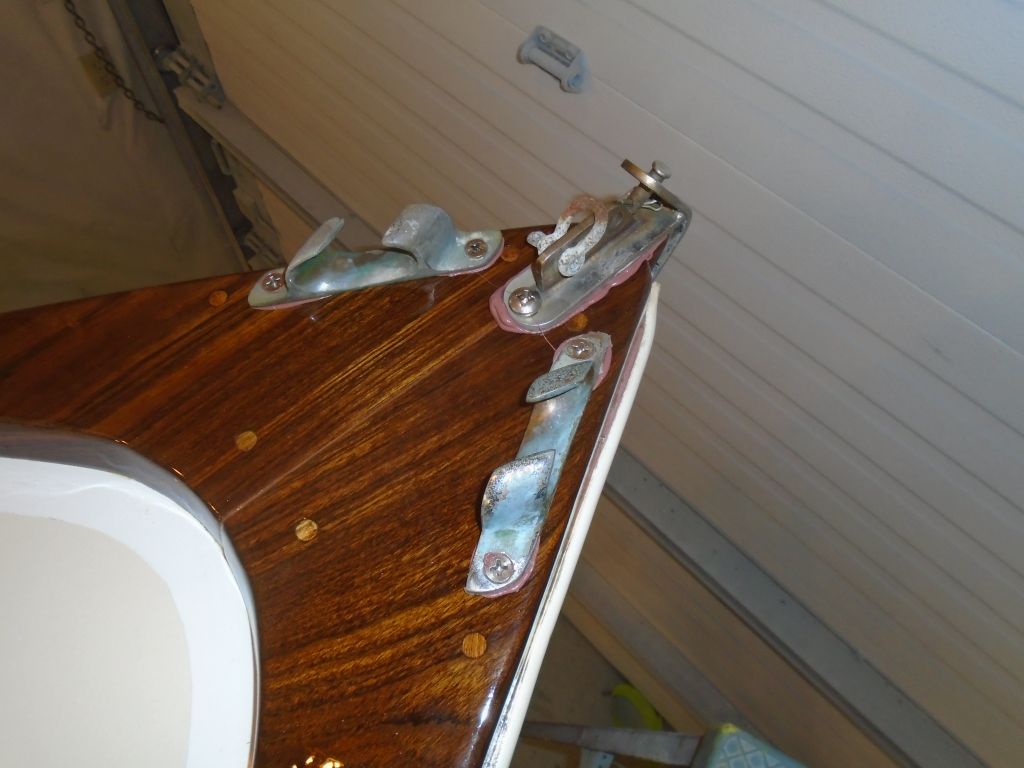
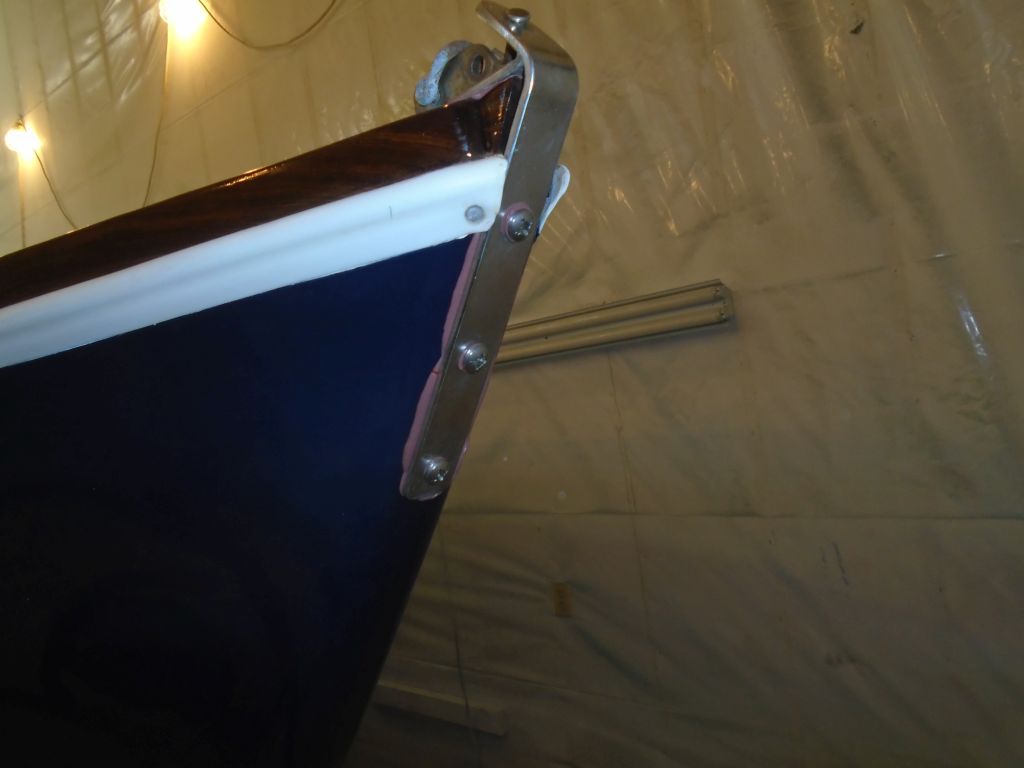
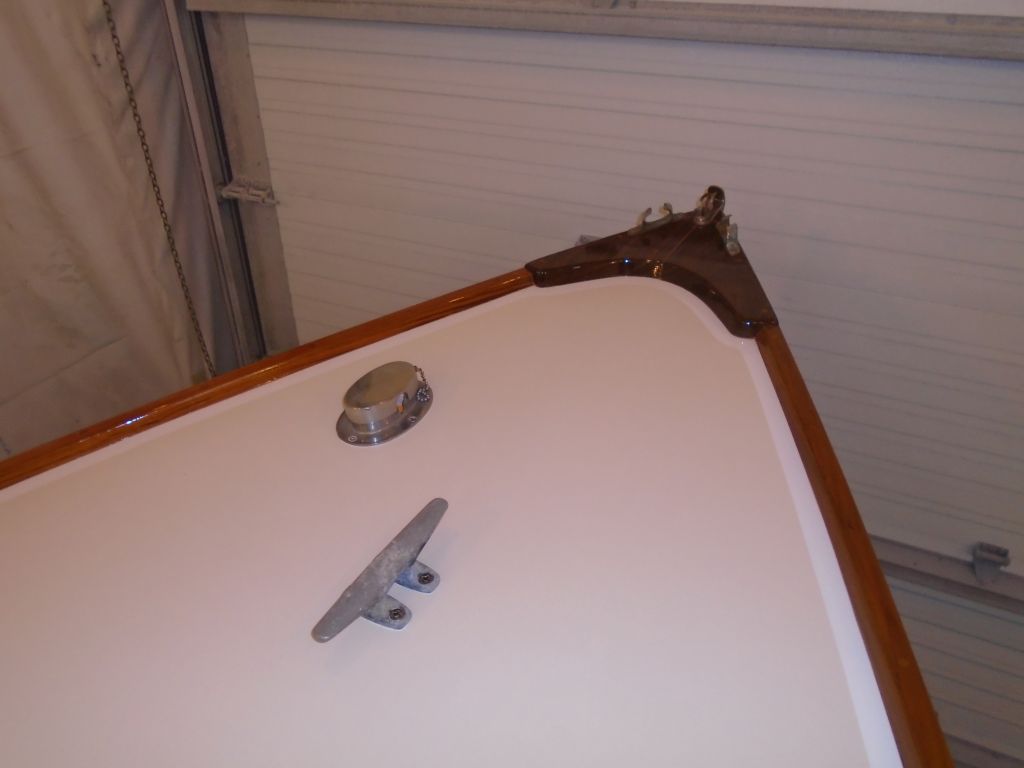
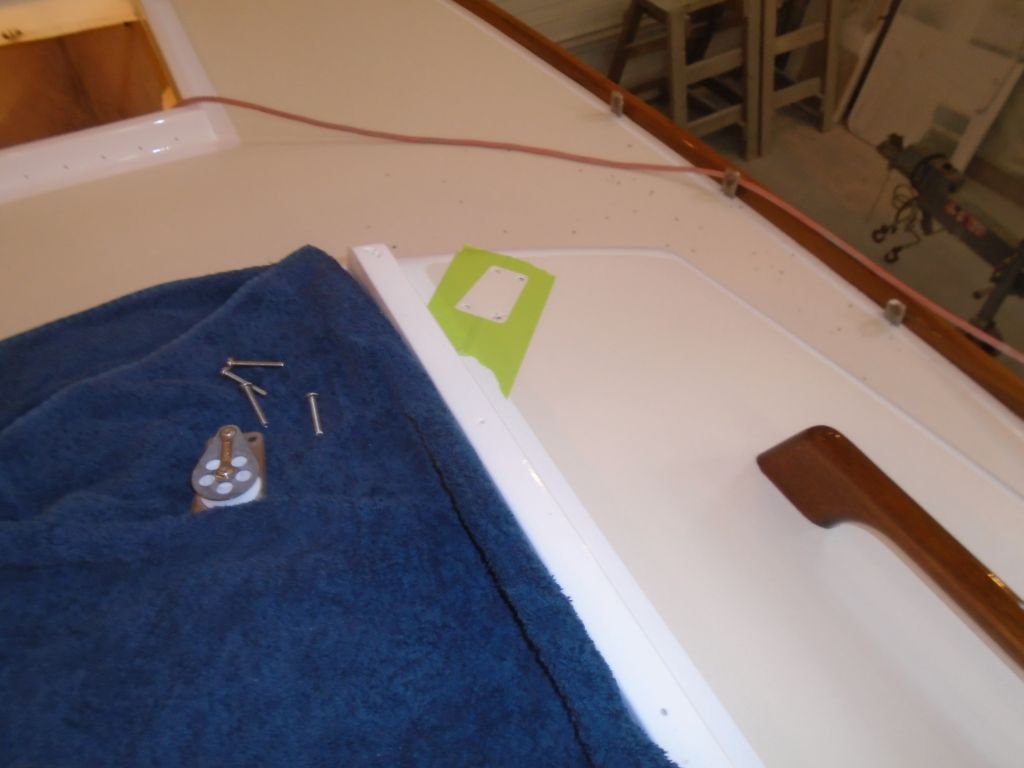
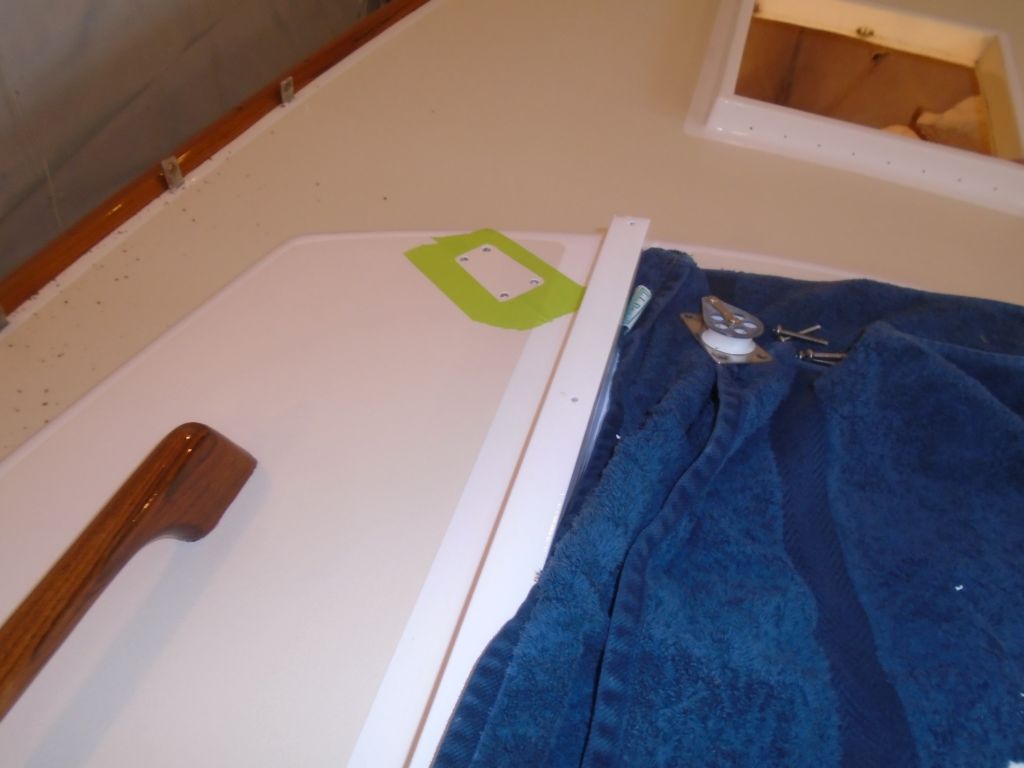
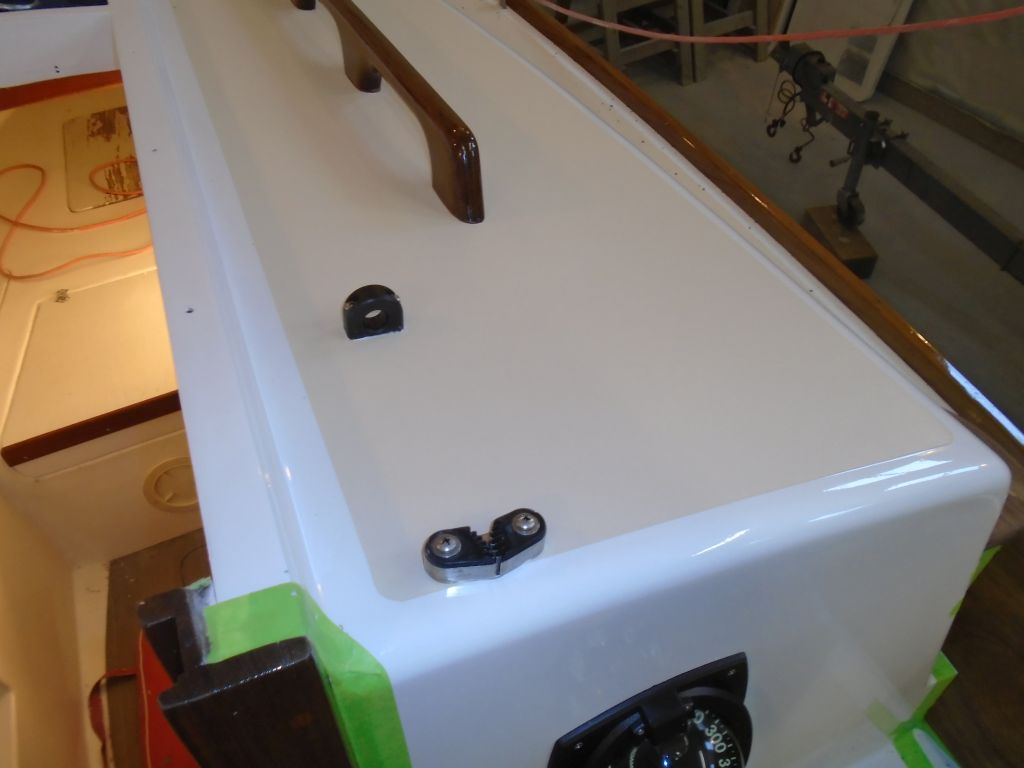
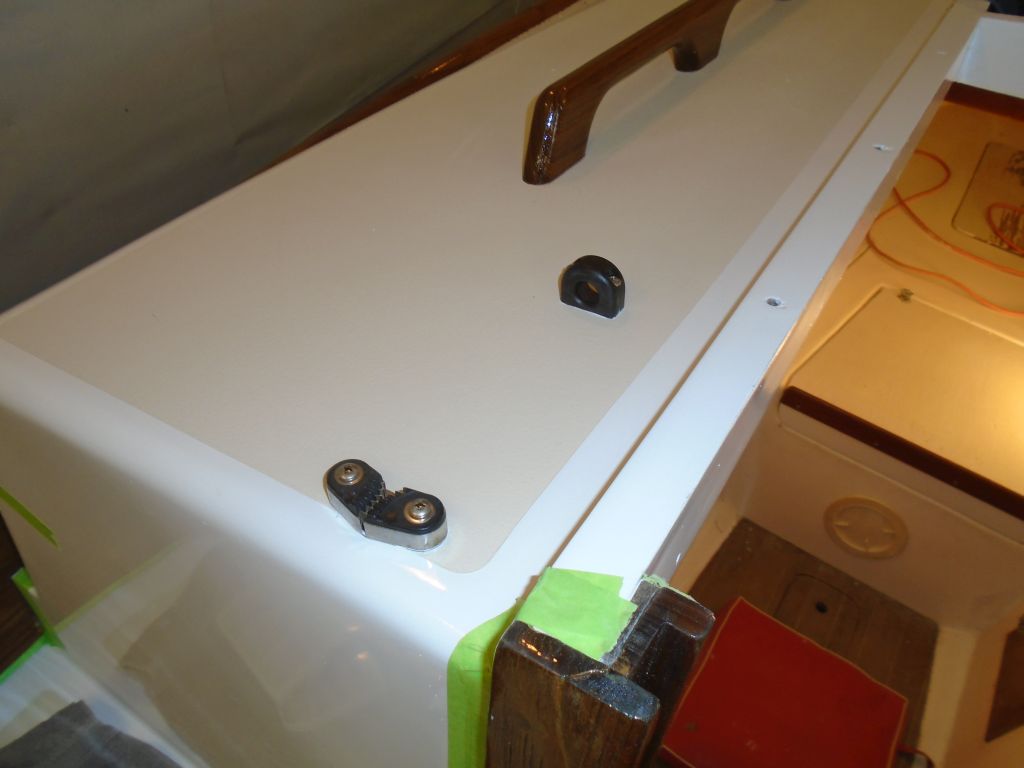
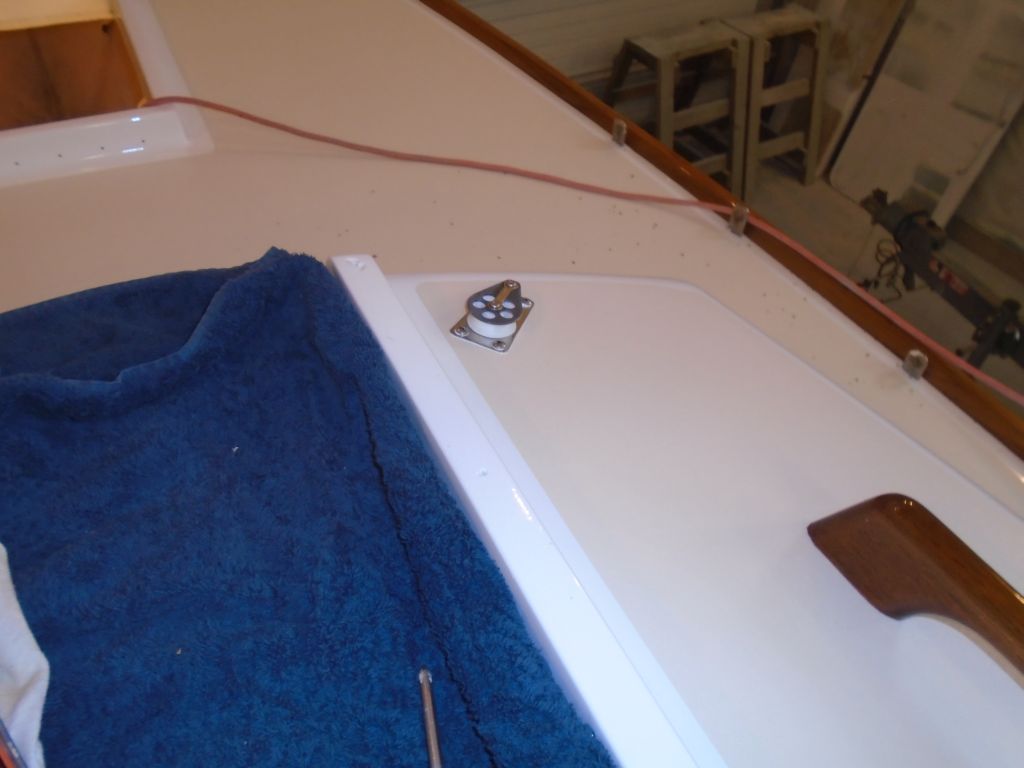
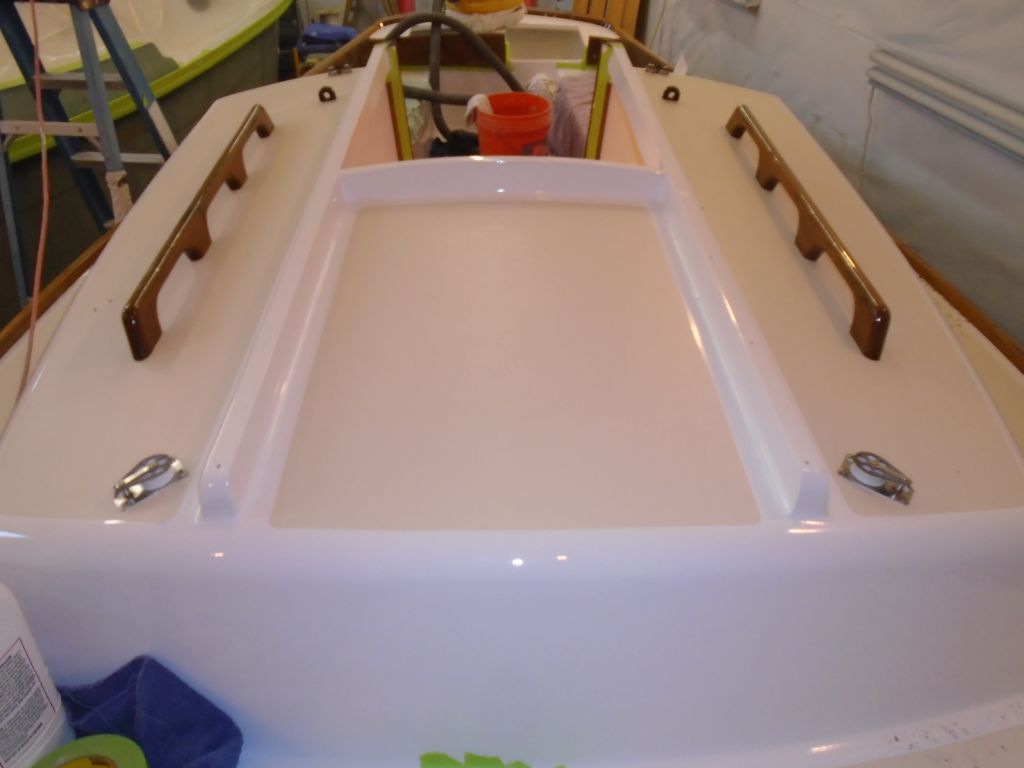
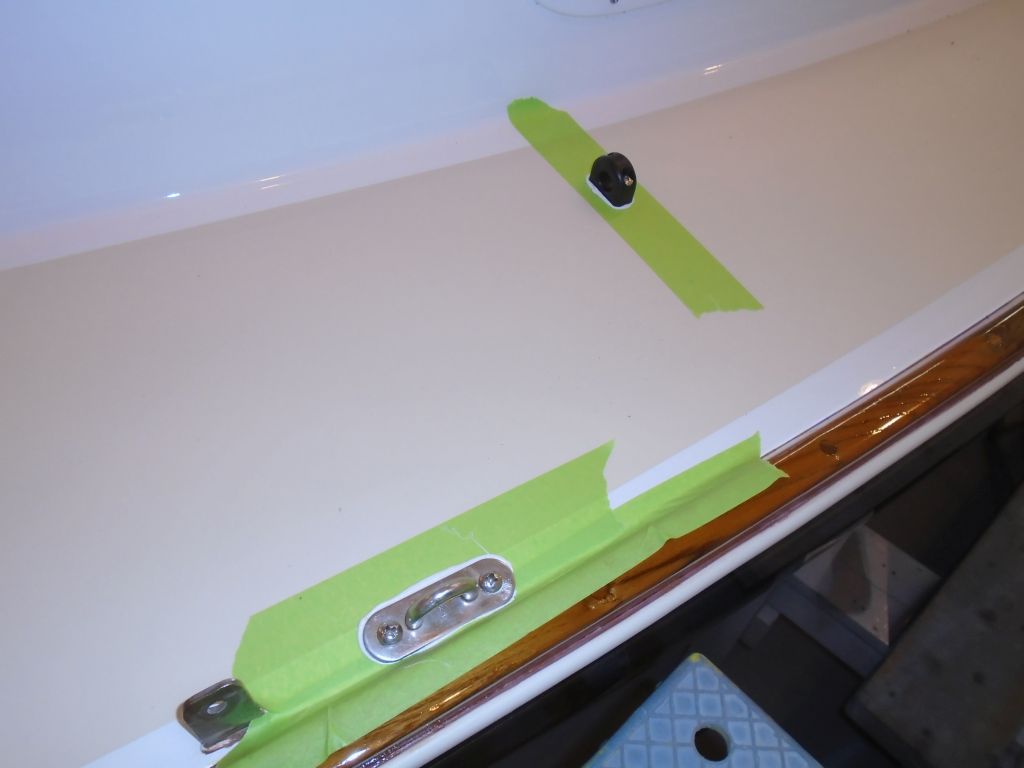
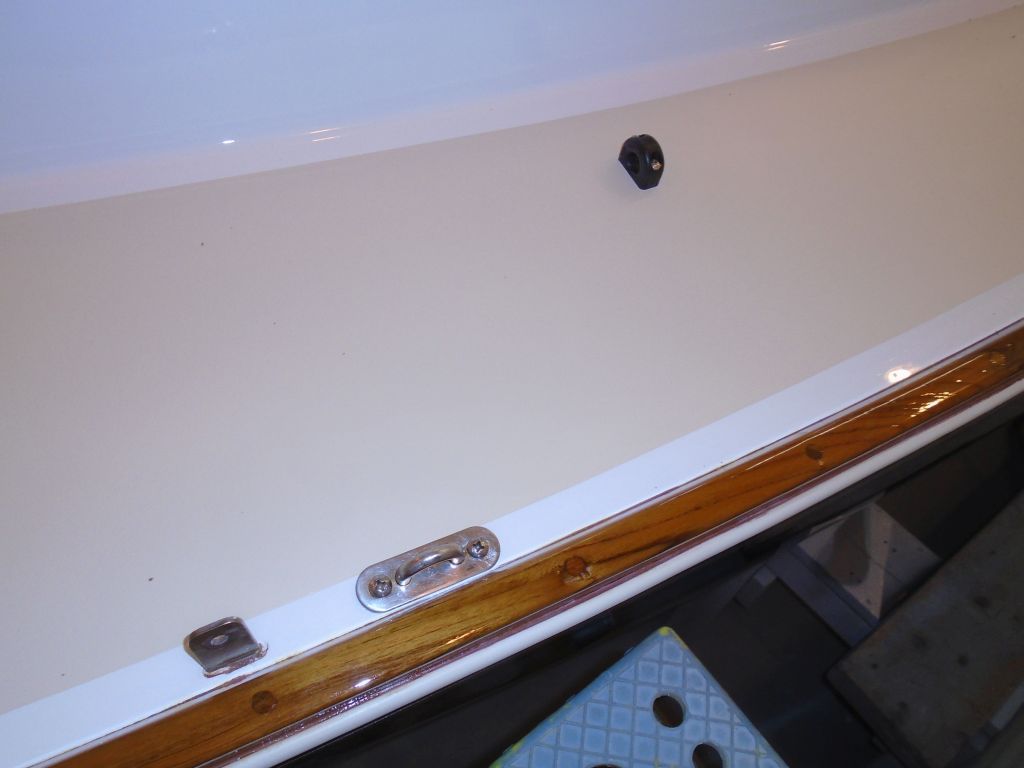
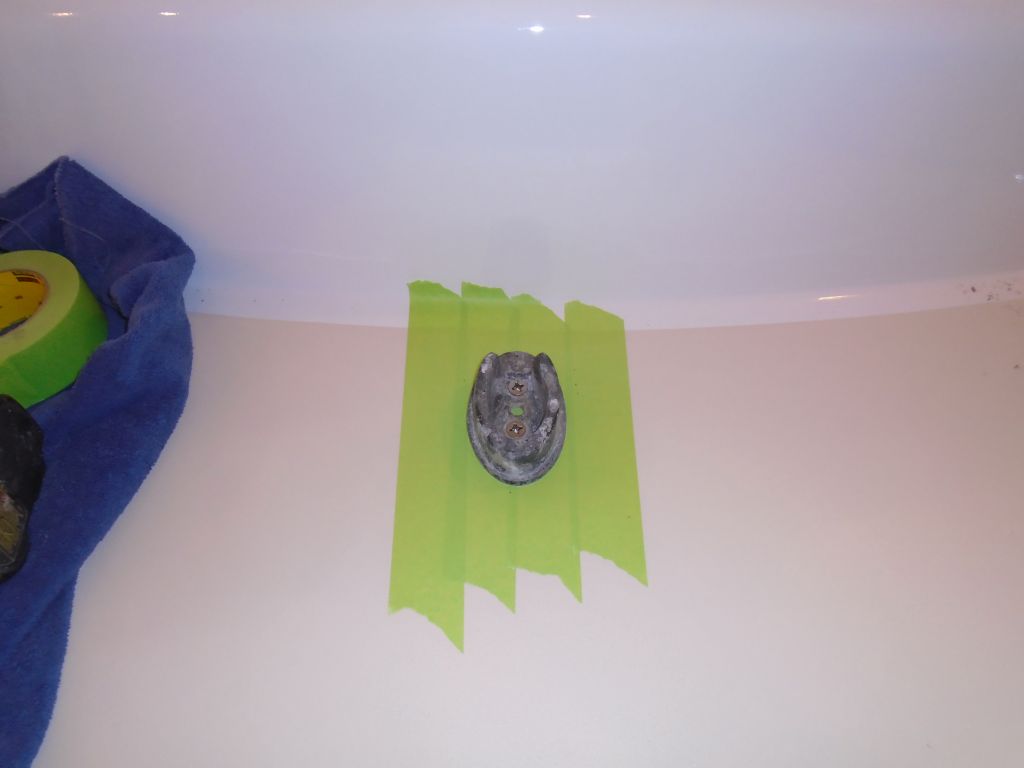
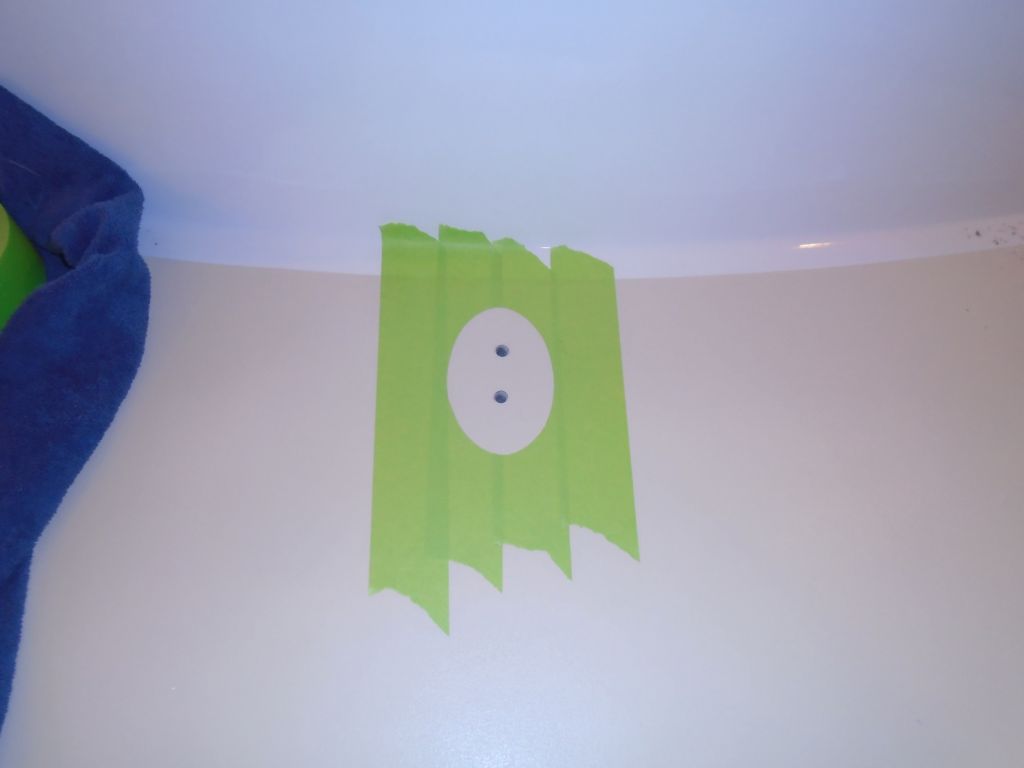
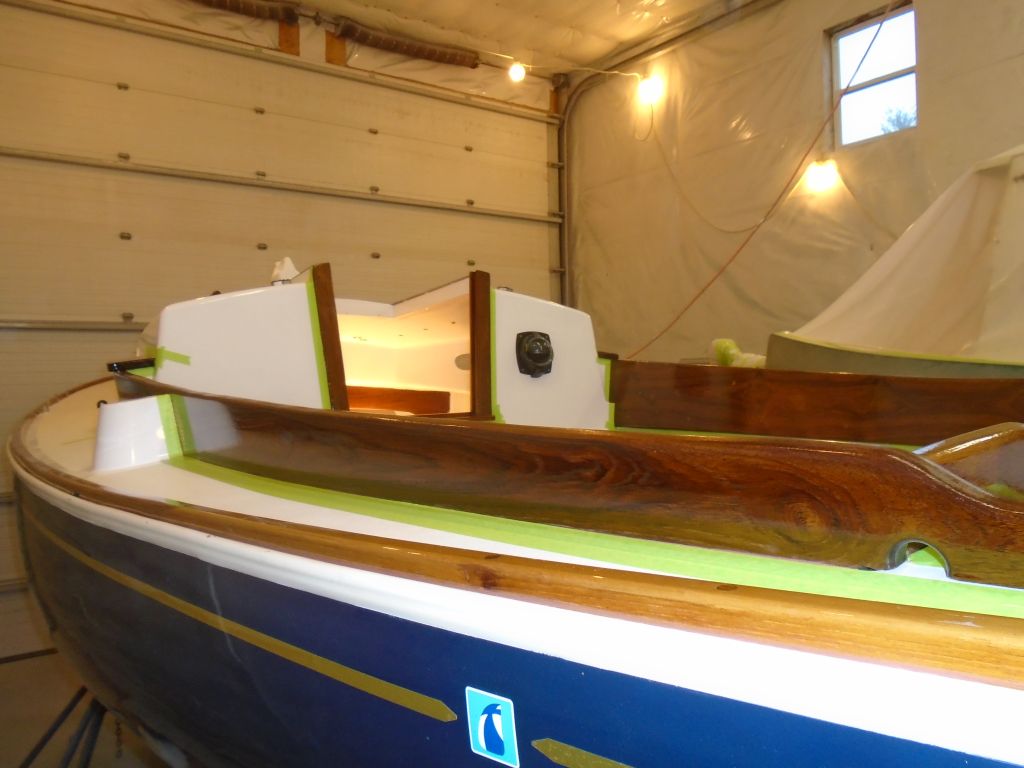
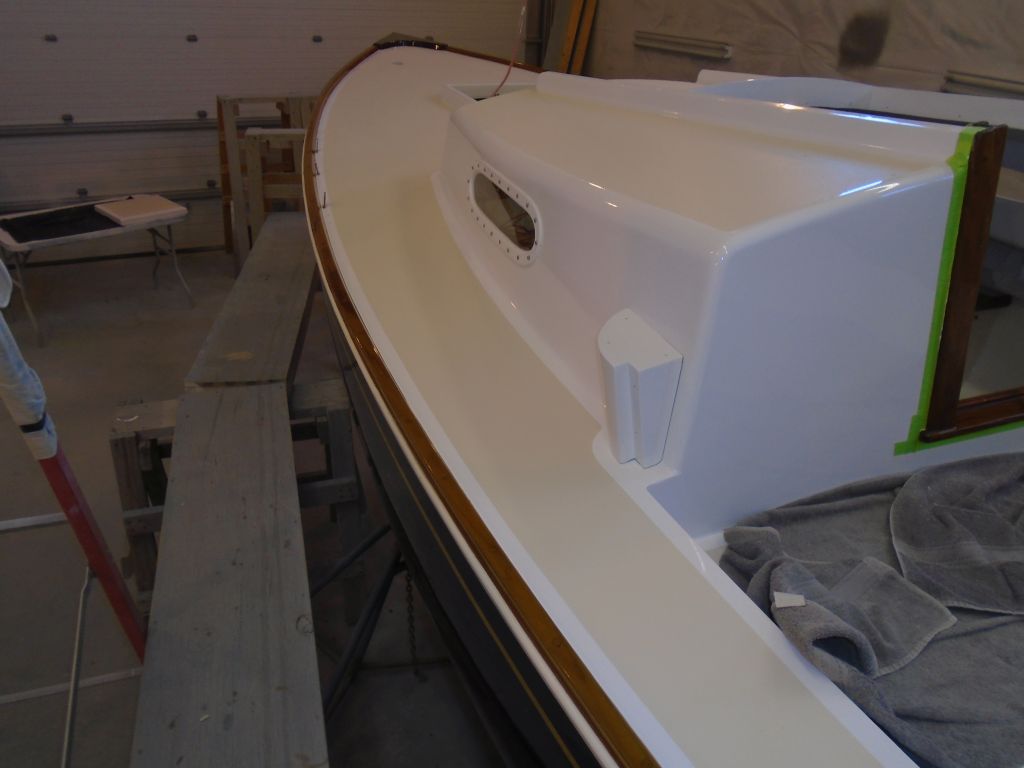
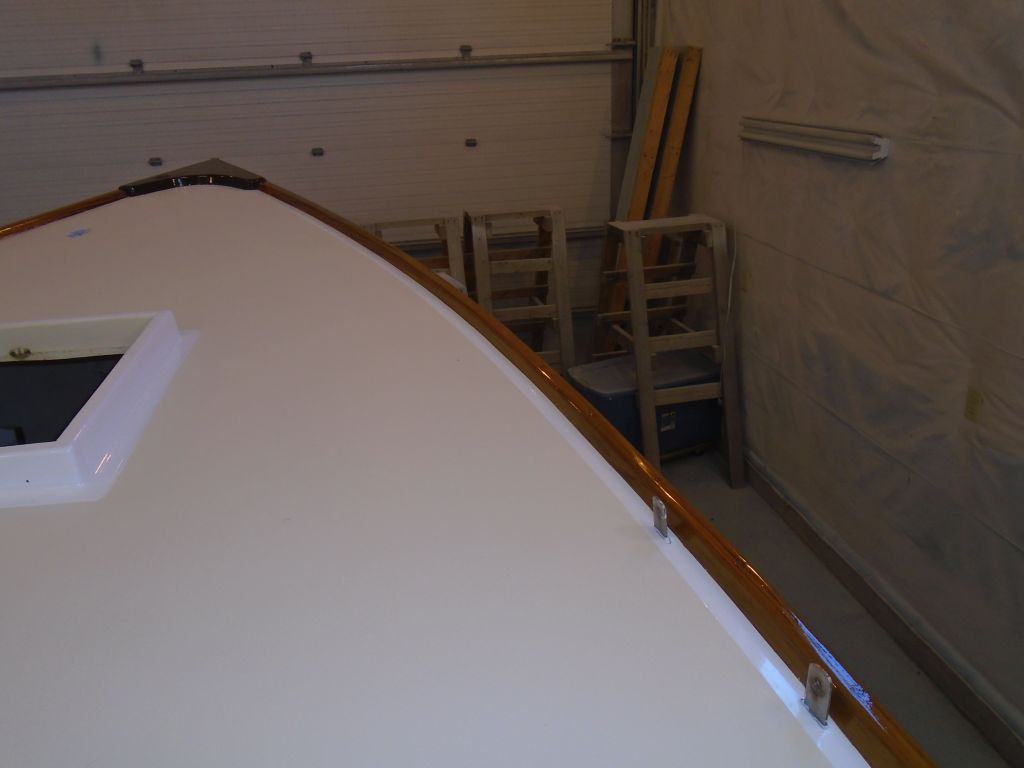
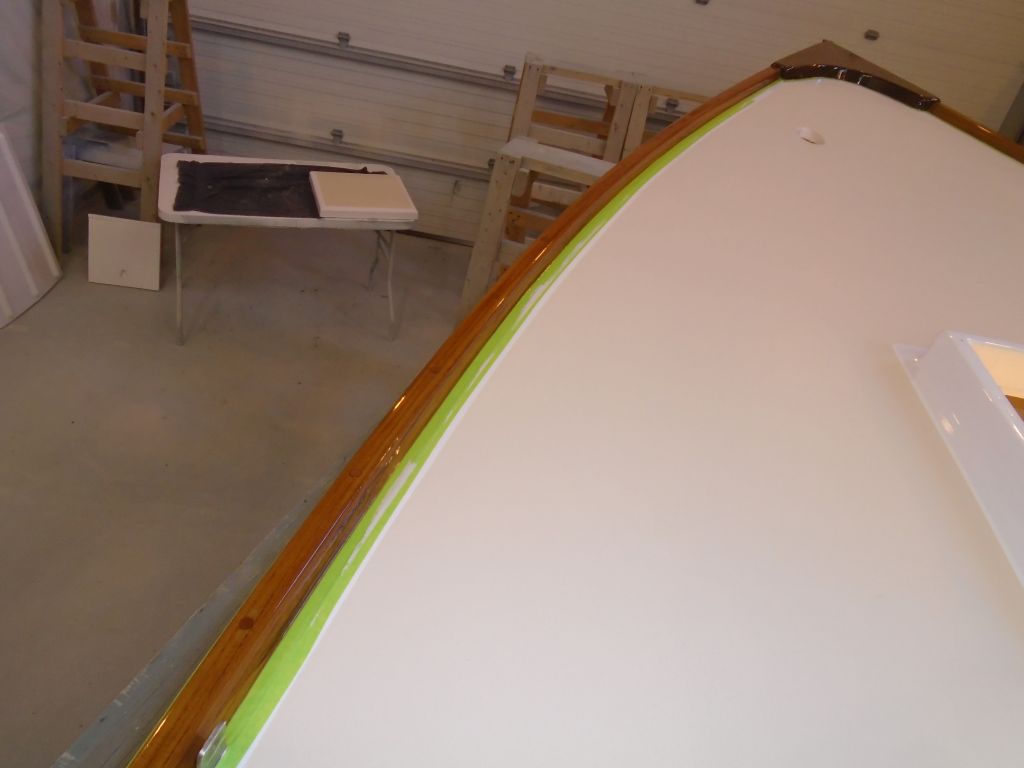
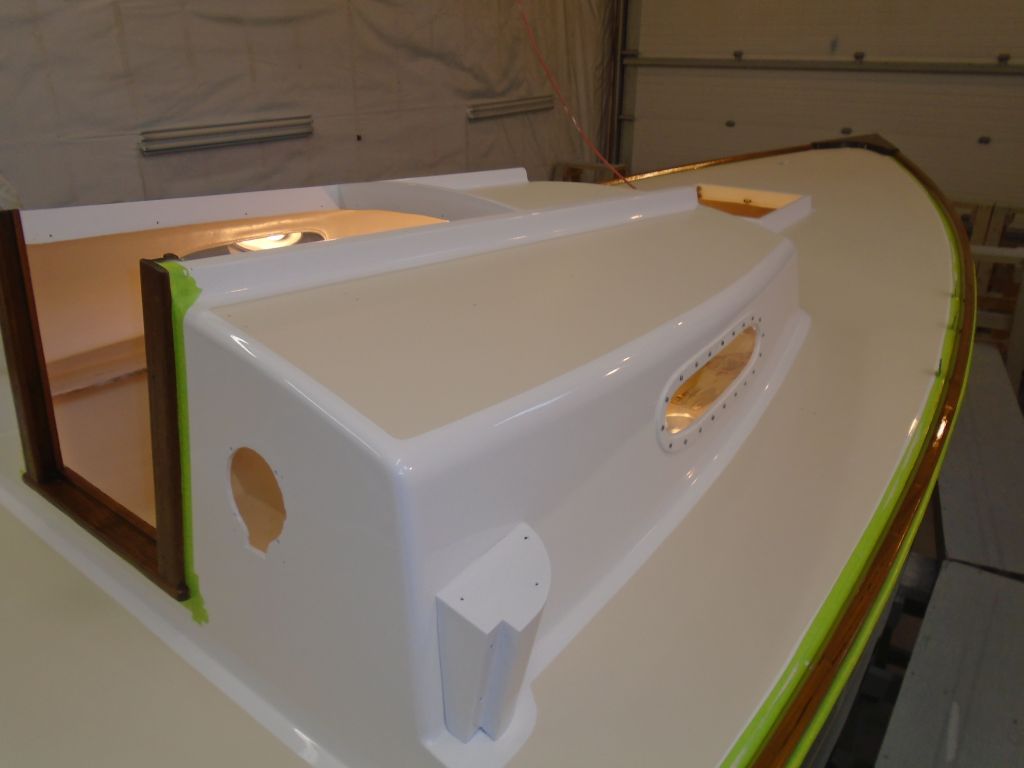
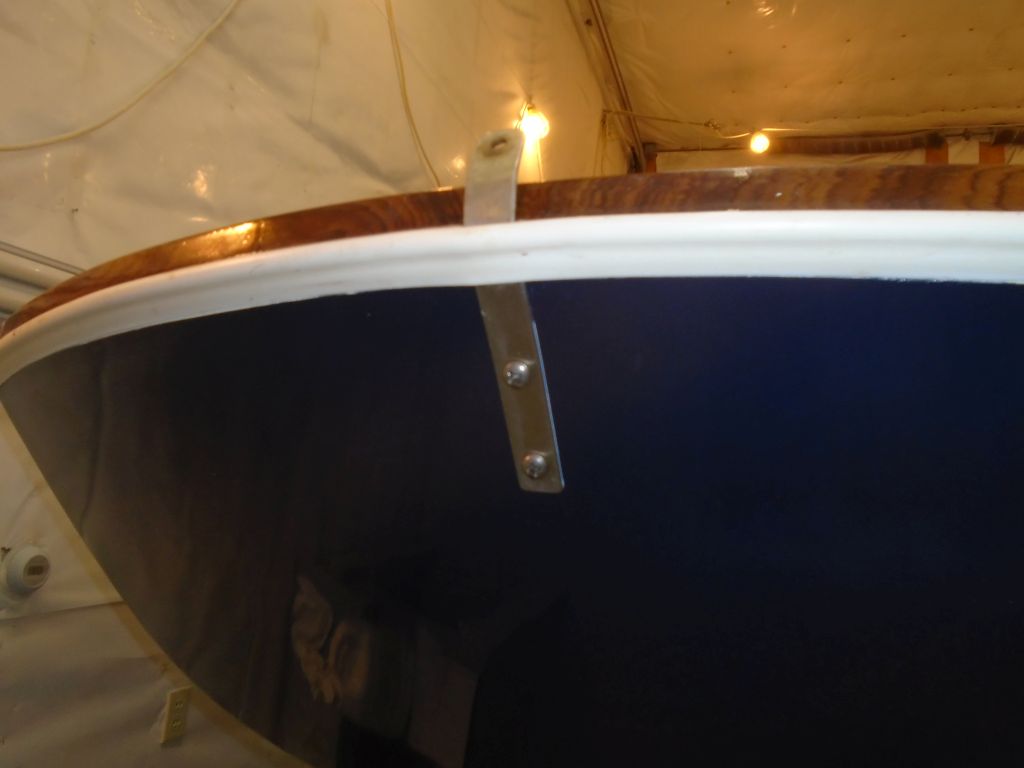
Finally, at the stern, I finished up the installations with the backstay chainplate, cleat and chock, and mainsheet hardware.

Total time billed on this job today:  5.75 hours

0600 Weather Report:
Foggy, 39°.   Forecast for the day:  fog, clouds, low 50s

Aventura 49

< Back to Aventura

Thursday

I spent the first part of the day lightly sanding the coamings, companionway, and loose pieces, then vacuuming and solvent washing the wood to prepare it for more varnish later in the day.

Next on my hardware list was the bow.  During deck work earlier in the project, I’d prepared the fastener holes for the bow cleat in the middle of the foredeck and marked the holes so they remained visible during painting, so to continue its installation I simply needed to drill and tap the holes in my habitual way, this time for 5/16″ machine screws.  Next door, I prepared the holes for the anchor chain hawsepipe as well, before installing both pieces with sealant and new fasteners.  I added a fiberglass backing plate and large washers to support and reinforce  the mooring cleat from underneath.

Next, I installed the stem fitting, which required three fasteners through the stem itself (the topmost of which was blind), plus a fastener through the top of the fitting and through the deck and stem toerail.  At the same time, I installed the bow chocks.

stem#-121015

I reassembled the hardware on the forward hatch, including piano hinge, latch, and support arm, then installed the hatch back in place.

At the stern, I reassembled the stainless trim and hinge around the lazarette hatch, and installed the hatch in the deck.

hardware19-121015

Finally, after final preparation and tacking off, I varnished the coamings and other woodwork.


Total time billed on this job today:  6 hours

0600 Weather Report:
40°, cloudy.  Forecast for the day:  Possible showers, mainly cloudy, near 50

Aventura 48

< Back to Aventura

Wednesday

I got things rolling by preparing the coamings for the beginning of their varnish sessions, which would be a daily event for the next week or so.  After paring away the final bungs from the coamings, I masked around the coamings as necessary, then lightly sanded them and cleaned to prepare for varnish, which I’d do late in the day.

The focus of the rest of the week was deck hardware.  I began on the cabin top, and installed the new handrails, which I’d pre-varnished on the bench.  I’d left the original holes in the deck, so I masked off the deck in way of the holes, then laid out the new rail to determine its position against the holes before aligning it and drilling pilotholes up from within.  With the rail temporarily in place, I traced around the bases so I could remove the tape in the bonding areas.

I installed the rails with a bed of brown sealant and #14 x 2″ screws from beneath.

I repeated the process with the port handrail.

The bulkhead compass had been devoid of fluid when I removed it early in the project, so at some point I refilled the compass (I was glad I didn’t have to do that every day for a living) and left it for a while to see if it leaked.   It didn’t seem to, so I reinstalled it in its original hole.

compass1-120915

Continuing on the cabin top, I prepared and installed various line control hardware for the halyards, reusing existing fastener holes and original hardware, except for the plastic bullseye fairleads, which I replaced with new that I had on hand.  The cabin top was uncored fiberglass, so there was no need for additional hole-preparation work.

Next, I installed padeyes and another set of bullseye fairleads on the sidedecks, reusing existing locations and hardware.  During deck work much earlier, I’d overbored and epoxy-filled the hole locations for the little fairleads int he middle of the deck, so now all I had to do was drill pilot holes, tap for machine screw threads, and install the hardware.  The padeyes went through the outer portion of the deck where there was no core.  I did the starboard side first, then repeated the process with the port side.

To reinstall the mast step, I first drilled a small pilot hole from beneath, where the old fastener holes were still visible, to help me locate the step on the deck.  With the single locating hole, I could adjust the step properly and drill the two mounting holes, which I tapped for 5/16″ machine screws.  I prepared the area for final installation, but found that the screws I had were too short, though I thought I’d determined the length correctly, so I had to order different ones.  I’d pick up this installation as soon as the new fasteners arrived.

I wanted to leave ample time for the varnish work, but I had enough time first to install the companionway rails.

companionway1-120915

After cleaning up from the deck hardware work, I applied a coat of varnish to the new cockpit coamings.

Total time billed on this job today:  7 hours

0600 Weather Report:
25°, clear.  Forecast for the day:  Mainly cloudy, 40°

Aventura 47

< Back to Aventura

Tuesday

With only a short day on hand, I didn’t stray far from some basic tasks suited to the time available.  I started by removing the excess bungs from the coamings, but I discovered that I’d forgotten to bung  a few holes where the coamings joined the return blocks, so I added bungs there.

Later, I continued the varnish work on the companionway and the loose trim pieces.

Total time billed on this job today:  1.5 Hours

0600 Weather Report:
25°, clear.  Forecast for the day:  Sunny, high around 40

Aventura 46

< Back to Aventura

Monday

Over the weekend, I finished up the varnish work on the toerails, and removed the masking tape.  I also dismantled the staging to prepare for some boat shuffling in the near  future, as the remaining work could be completed without the boat in the center of the shop, and I needed the room for another boat.

Meanwhile, I continued work on the coamings.  To prepare for installation, I laid on a strip of masking tape to aid in marking,  and laid out the fastener holes required along the bottom edges of the coamings.  Then, I milled 1/2″ counterbores for bungs, and 1/4″ pilot holes for the screws.    With the coaming in the boat, I pressed it into place with my jack, and drilled and tapped the sides of the cockpit coaming to accept the 1/4″ machine screw fasteners.  At the winch islands and coaming return blocks, I bored bung holes and screw holes for the fasteners there.

Now I removed the coamings, and milled little countersinks at each fastener location before vacuuming up the drill spoils and preparing for final installation.  I applied a bead of brown sealant along the top edge of the cockpit, and at all the screw locations, then reinstalled the coaming and secured all the screws before cleaning up the sealant squeezeout.  I used enough sealant to prevent nuisance water from seeping into the cockpit beneath the coamings, and to seal the screw holes, but hopefully  not so much that coaming removal would be impossible in the future should be become necessary.

With the starboard coaming complete, I repeated the process on the port coaming.

At the aft end of the cockpit, I went through the same basic steps to install the two pieces of coaming trim there, and wrapped up the installation by installing the coaming caps on the molded return blocks at the forward ends.

With that work complete, I repositioned the boat to the front corner of the shop, leaving room in the back for another small boat and opening the other shop bay for my next project.  This gave me a chance to see Aventura in the open for the first time, however briefly.

With the yard move complete, I got back to work and installed teak bungs in all the coaming holes.  To wrap up the day’s work, I varnished the various loose trim pieces again, and finished up my fastener order as needed for the deck hardware installation.

Total time billed on this job today:  7.75 Hours

0600 Weather Report:
22°, clear.  Forecast for the day:  Sunny, low 50s (!).

Aventura 45

< Back to Aventura

Saturday

Hoping to wrap up the toerail work, I pressed on with another coat of varnish, bringing the total to a minimum of 7, though actually the buildup was more like 9 on most parts of the rail.

Meanwhile, I lightly sanded and applied a second coat of varnish to the back sides (the sides that would eventually rest and be bedded against the fiberglass cockpit coaming).

varnish12-120515

I finished up the interior fiddles with a coat of rubbed-effect satin varnish.

varnish1-120515


Total time billed on this job today:  1.5 hours

0600 Weather Report:
Mostly clear, 30°.  Forecast for the day:  Partly cloudy but clearing, high around 49.

Aventura 44

< Back to Aventura

Friday

Before getting to work on other things, I took the opportunity to test-fit the cockpit coamings.  As expected, I was required to make minor adjustments to the coamings so they’d fit properly in their spaces.  I was able to bend the coamings in by hand for this fitting, so I didn’t set up my jacking system, and the process obviated photo-taking.  In the event, the adjustments were minor and easily effected, and I was glad I’d simply moved forward with final shaping and sanding of the pieces after building them.

In my habitual way, continued by lightly sanding the toerails and brightwork.  Then, later, after final preparations, I applied another coat of varnish.

The main coamings were complete, but now I had to replicate the two smaller pieces that spanned the after part of the cockpit, as well as a pair of caps to cover the tops of the molded coaming return blocks.  To start, I had to plane down a short piece of teak, one left over from and which excess length I’d cut off the original coaming board blanks before I’d dimensioned that stock.  I planed the short piece to the same thickness as the coamings, or about 7/8″.   With the original pieces at hand, I duplicated them as exactly as possible.  Then, I copied the coaming block caps, choosing to use thicker material here as well.  After final shaping and finish sanding, I applied a sealer coat of varnish to the coamings and all the other pieces.

Total time billed on this job today:  4 Hours

0600 Weather Report:
28°, clear.  Forecast for the day:  Sunny, low 40s.

Aventura 43

< Back to Aventura

Thursday

The nonskid was complete, so I removed all the masking tape from the painted areas, but leaving it in place around the toerails and other brightwork so I could continue work there.

I lightly sanded all the brightwork–toerails, companionway, handrails, fiddles, and other trim–and, after cleaning and tacking off, applied another coat of varnish to all.

To fill a bit of time before lunch, I began going through the deck hardware to catalog the fasteners required for its reinstallation, and to clean up the hardware as required before installing it.  I’d continue this process over the next day or two.

hw1-121315

Later, I built the new cockpit coamings, using the originals as guides to shape the new ones from a pair of teak boards.  To keep things moving, after cutting out the new coamings, I decided to press on and edge-mill and sand the coamings even though I’d not yet test-fit them since the new deck paint and varnish work prohibited access to the cockpit at the moment.   I had good confidence in their shape, and in any event any adjustments would be at the lower edge and wouldn’t affect the sanding much.


Total time billed on this job today:  5 hours

0600 Weather Report:
35°, light rain showers.  Forecast for the day:  Occasional showers, around 40.

Aventura 42

< Back to Aventura

Wednesday

Continuing work on the deck and toerails, I got started by lightly sanding and cleaning the toerails, companionway, and handrails to prepare for the next coat of varnish.  With that complete, I took the opportunity to apply a coat of paint to the two lazarette lockers (well, one locker and one outboard well, if you must).  I used white Bilgekote for these lockers.

Next, I applied a second coat of nonskid paint to all deck areas.

Then, I applied another coat of varnish to the toerails, companionway trim, and handrails.  (Actually, I did the companionway first, while I could still reach it before the second coat of nonskid, but I’m showing it here.)

I had a small pile of original woodwork that I planned to restore and reuse, including the companionway swashboards, some minor companionway trim, and the tiller.  This wood was heavily weathered, but in otherwise sound condition.

woodwork1-120215

I cleaned up all the woodwork, and stripped any remaining old finish (mainly on the tiller) with aggressive sanding as required, then working through the grits to smooth and clean the surfaces for new varnish.

woodwork2-120215

After solvent-washing the raw wood, I applied a sealer coat of varnish to all pieces.

One of the key aesthetic features of the simple interior was a pair of long, thin teak fiddles that formed the shelves on each side of the boat.  I’d removed these early on in the project to allow access for the paint work in the main cabin, and although I wasn’t doing much varnish work in the cabin, I couldn’t leave the fiddles as they were.  The old finish was in poor condition, and had lifted in many areas, so I chose to refinish these pieces.    Accordingly, I stripped the old finish from the boards and sanded them clean and smooth before applying a sealer coat of varnish.


Total time billed on this job today:  6 Hours

0600 Weather Report:
35°, light rain showers,  Forecast for the day:  showers, high around 40.

Aventura 41

< Back to Aventura

Monday

The interior paint was complete, so I removed the masking tape.  Sometime towards the end of the project, I’d clean up the remaining interior areas to finish the work list there.

After trimming the bungs from the new toerails, and lightly sanding all the new wood, I masked the wood to prepare for the varnish coats.  At the same time, I masked off the glossy deck areas so I could move forward with nonskid paint, now that the toerails were complete.   At the stem, where I’d created a wider band of the glossy white paint, I marked a new 1″ border–to match the others–according to the contours of the stem cap, and sanded the area within to prepare for paint.

After final preparations and cleanup, I applied a coat of nonskid paint, a custom mix of beige and white (50% each).

Then, I applied a coat of varnish to the toerails, and to the handrails in the varnish room.

Total time billed on this job today:  5.75 Hours

0600 Weather Report:
15°, clear.  Forecast for the day:  Sunny, high around 30.

Older posts Newer posts