|
|
~MENU~ |
| Home |
| The Concept |
| The Boat |
| Bringing Her Home |
|
Weekly Progress Log |
|
Daysailor Projects |
| The Boat Barn |
| Resources |
| Other Sites |
| Email Tim |
|
|
| Unbuilding: Interior Demolition (Page 3) | |||
|
The entire interior will be removed down to the bare hull. Whatever can be saved for another use will be, but there is limited material worth saving. |
Interior Demolition | ||
| Engine Removal | |||
| Parts Removal | |||
| Projects Menu | Deck Removal | ||
|
Update 1: 7 January 2003 | Update 2: 28 April 2003 | Update 3: 25 May 2003 | Update 4: 3 June 2003 |
|||
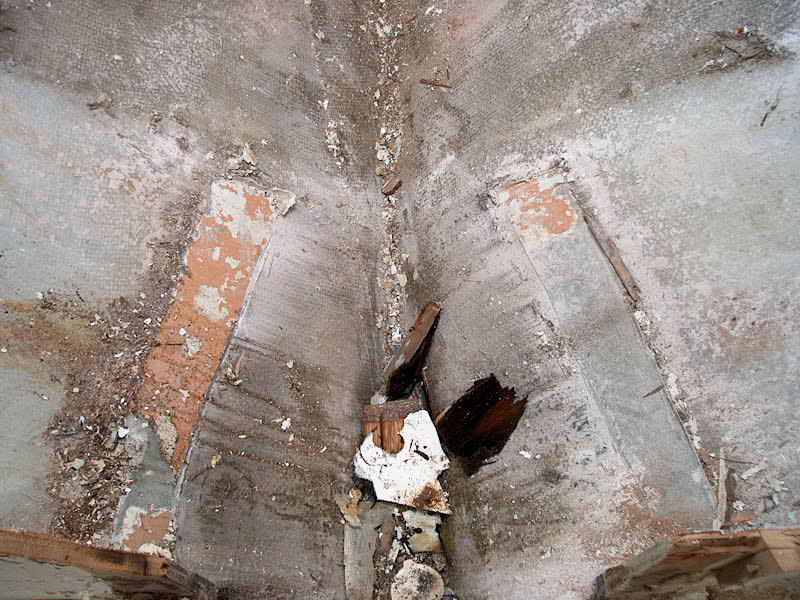
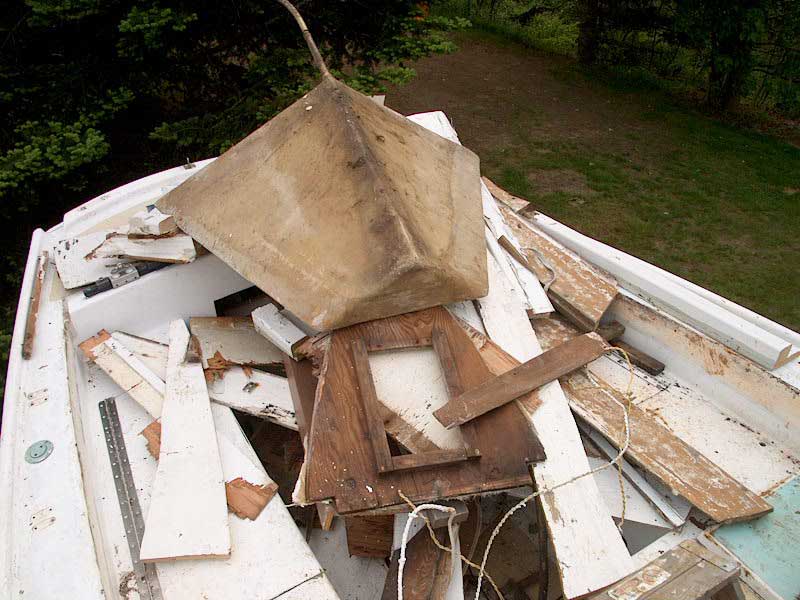
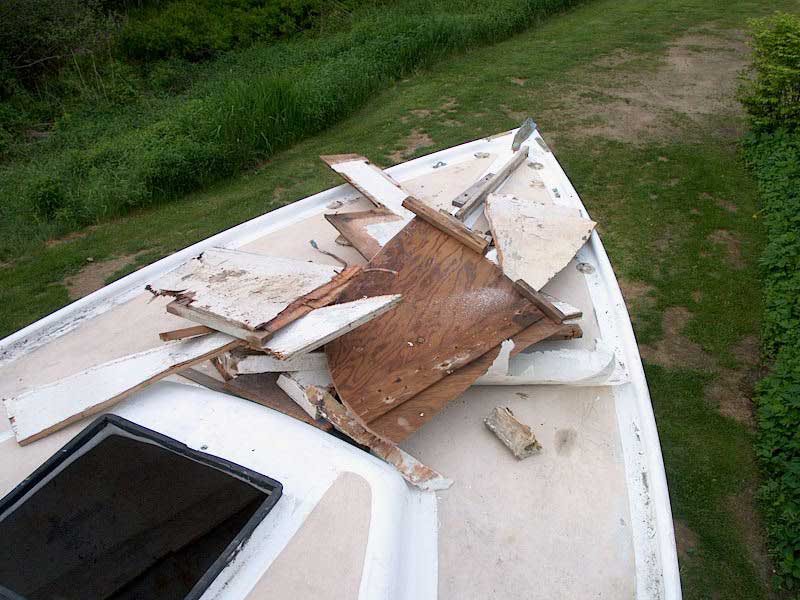
3 June 2003 With a new arsenal of industrial reciprocating saw blades from McMaster-Carr, I took advantage of a couple free hours in the afternoon to cut out more of the remaining interior structure. With the salon basically empty, I concentrated on the head and forward cabin. A few select cuts with the saw enabled me to quickly remove the bulk of the old plywood, which I tossed unceremoniously on the foredeck through the hatch, or out into the cockpit. Most of the plywood came out easily, but the incredibly thick tabbing on both top and bottom of the horizontal pieces against the hull proved to be too tough to deal with at this juncture, so, as in the salon, I cut the plywood inside the tabbing. I even tried my small angle grinder, which worked fairly well--if dustily--at cutting through the top layers of tabbing. Unfortunately, the tabbing beneath the bunks was simply too tough to pry or beat off the hull, so I abandoned this grinding tactic after doing one side. Later, I'll tackle the inevitable and cut out whatever remains. For the moment, it can wait. I removed the old fiberglass water tank; the only thing holding it in place was the surrounding cabinetry. I also removed the remaining portion of the cabin sole; as with the other sections, the weak tabbing ripped out fairly easily. |
|
|
|
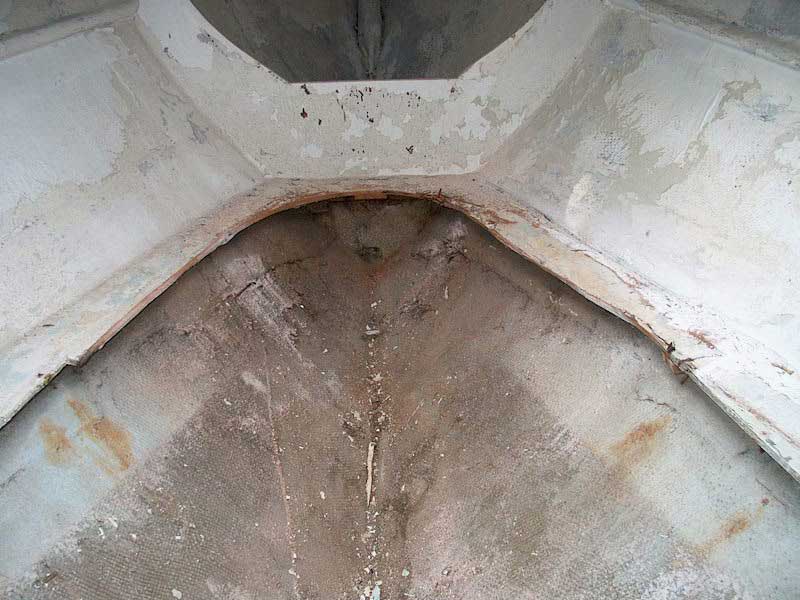
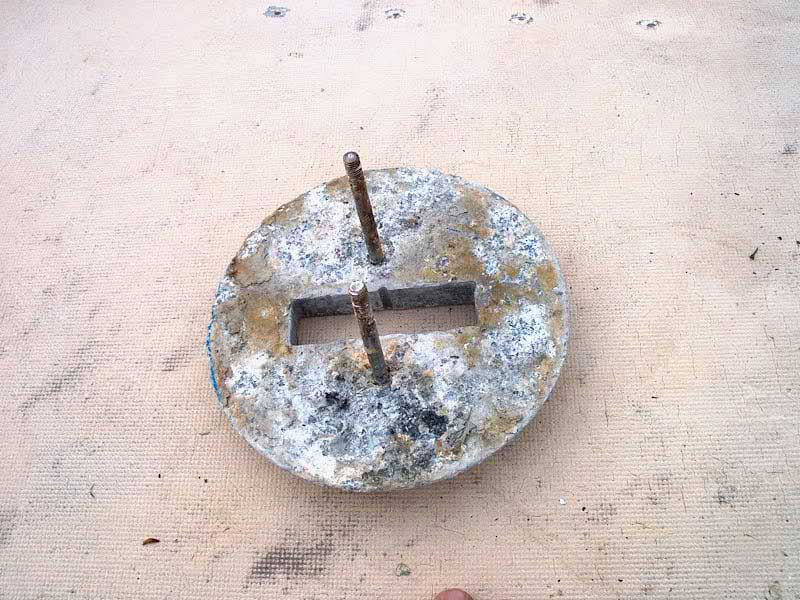
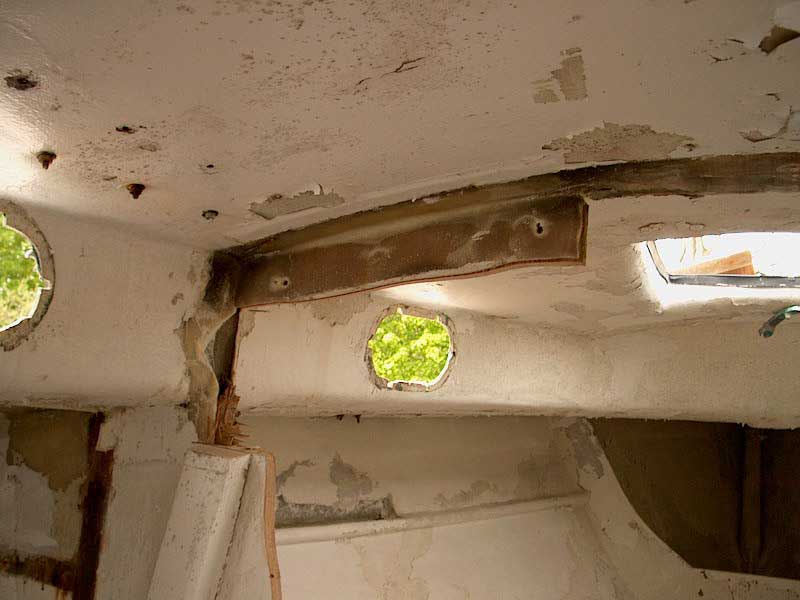
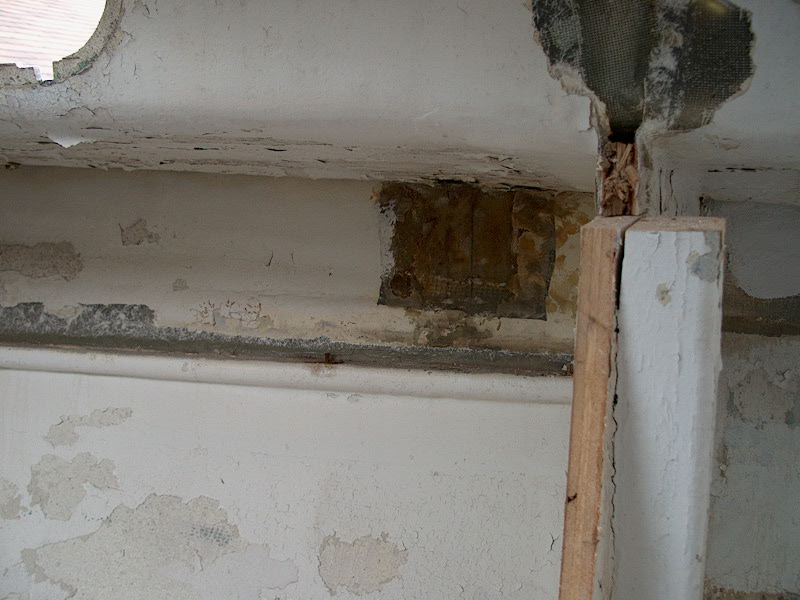
I left the forwardmost bulkhead--into the chainlocker--in place. It's in good condition, and will probably remain in place even as I begin new construction later. I cut through the tabbing at the top edge, however. I also removed the mast step; the nuts on the two through bolts holding it on came right off, but the bolts were of course frozen firmly in place in the aluminum step, so I pried it up from the top. As expected, the underside looked like wet concrete in consistency--falling apart. I removed the mast beam; its condition was as expected. |
|
|
|
|
|
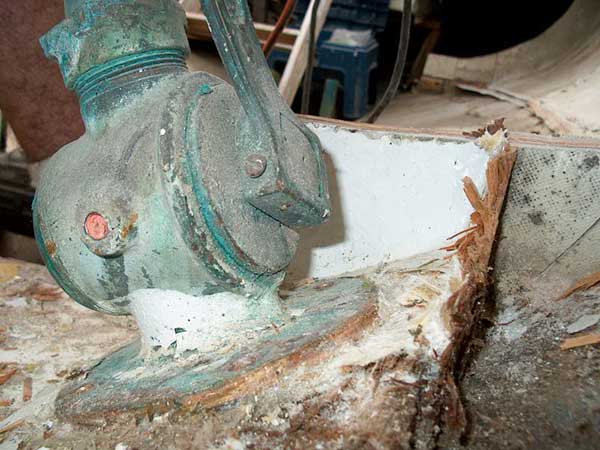
Next, I tackled the large head discharge seacock. Earlier, I had determined that there was no threaded through hull fitting externally; instead, there was simply one of the ubiquitous Pearson fiberglass tubes installed. Inside the boat, the seacock was secured to a fiberglass and wooden fairing block with four square-head lag screws (I had also previously determined that these had to be screws, not bolts, as no bolt heads were apparent on the outside). Before climbing onto the boat earlier, I had grabbed a selection of box end wrenches from the shop in order to tackle these lags, since earlier attempts to use some of the lame demolition-quality tools I kept in a plastic toolbox on board had ended in dismal failure. Imagining the size of the square bolt heads in my mind, I chose several wrenches beginning with 5/8", thinking the heads were at least that large. Of course, they ended up being 9/16", so I had to climb down for the proper size. The four lags came out easily once I chipped away some fiberglass and paint that was in the way. However, it turned out that the seacock was not free! Further investigation revealed that the fitting must have been set into a bed of wet fiberglass before bolting, meaning that it was firmly ensconced in position. Using a variety of chisels, screwdrivers, and other tools, I made an attempt to break it free--no dice. |
|
|
|
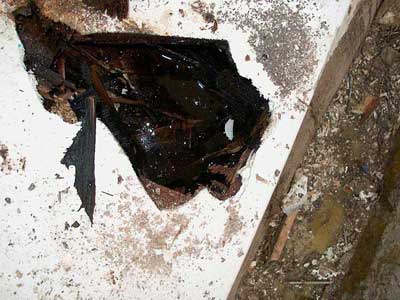
Since I had my small hand maul nearby, I beat a hole into the head platform to get an idea what was going on inside. I was expecting wet, rotten plywood, but what I didn't expect was to find that the cavity inside the platform was 2/3 filled with standing water! |
|
|
|
With that, I called it quits for the day. With the interior at this stage, it didn't make much sense to keep slaving away under the cover of the deck. Most subsequent interior demolition and preparation will occur once the deck is removed. |
|
|