
|
|
~MENU~ |
| Home |
| The Concept |
| The Boat |
| Bringing Her Home |
|
Weekly Progress Log |
|
Daysailor Projects |
| The Boat Barn |
| Resources |
| Other Sites |
| Email Tim |
|
|
| Unbuilding: Parts Removal | |||
|
The entire interior and wooden internal structure of the boat will be removed for this project. |
Interior Demolition | ||
| Engine Removal | |||
| Parts Removal | |||
| Projects Menu | Deck Removal | ||
|
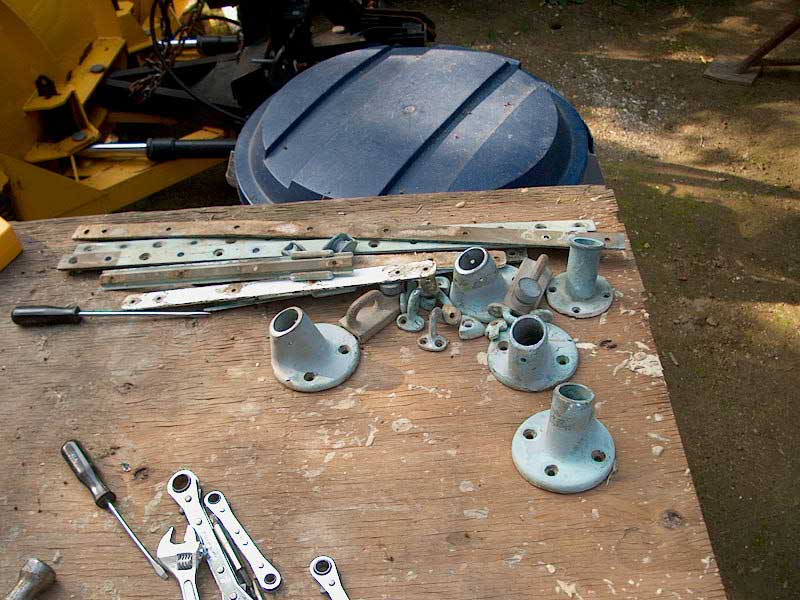
Rudder | Deck Hardware | Through Hulls/Seacocks | Stem Casting | Engine Beds |
|
Removing the rudder turned out to be easy. I got into it one afternoon when I was walking by and wandering about; the warped, twisted rudder caught my eye, and I decided then and there to remove it. I'd been eyeing it on and off for a while, and it looked like it would be pretty easy to undo the bolts--the only tricky part of rudder removal on a Triton, usually. First, I removed the four bolts holding the pair of pintles onto the rudder. These bolts were newer than original, and appeared to be modern stainless steel. They came out easily, and this allowed the rudder to partially drop, exposing the four bolts/lags/drift pins that secure the shaft to the rudder. In this case, the heads of these bolts were in good shape, and easily grabbed with a wrench (this was not the case with Glissando's rudder some years ago...). Therefore, it made removing the blade of the rudder extremely straight forward, as I could undo each of these lags in turn, easily allowing the rudder to slip down and eventually off the shaft completely. The shaft then essentially fell out of the boat as a separate unit. Next, I turned my attention to the gudgeons on the keel deadwood. The lower gudgeon was secured with three regular hex-head bolts--a newer than original configuration--and came off easily. However, the upper gudgeon was secured with what appeared to be the original peened bronze pins--no heads or nuts to grab. I ended up drilling them out, which was, of course, harder than it had to be. I set the rudder aside to keep as a pattern; the rudder itself is junk, as it is warped and twisted, and the rudder post had hidden a number of splits and cracks in the milled cove at the leading edge of the rudder. Later, I'll clean up the pintles and gudgeons and see what sort of condition the bronze is in. |
|
|
|
I removed the stainless steel half-oval molding that covers the hull-deck joint. It was secured with slotted screws on 6" centers, and the screws all came out with minimal fuss. Removing the molding exposed the seam between hull and deck, which became the ultimate cut line when I removed the deck a few weeks later. July 2, 2003
|
|
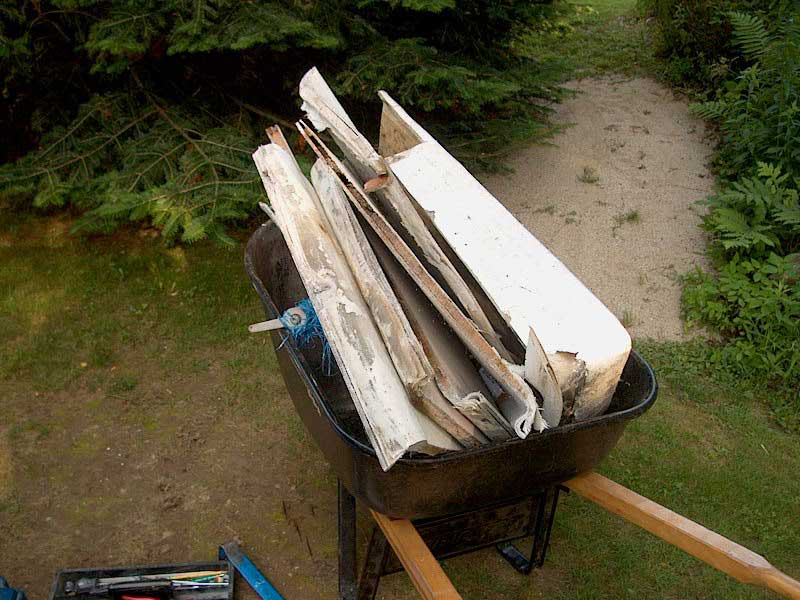
I have the world's best trash pickup, by the way...so far, they've taken everything I've ever set out--all the various bits of wood and fiberglass that I had thus far removed from the Daysailor (and also from past projects). They've also taken all the remnants of my old kitchen cabinets, construction debris, and even broken-up concrete from when I was building a bathroom on the lower level. To be as fair as possible, I try to distribute the large debris over a period of several weeks. To that end, it will take most of the summer to dispose of all the Daysailor deck and interior debris. |
|
|
|
|
|
|
|
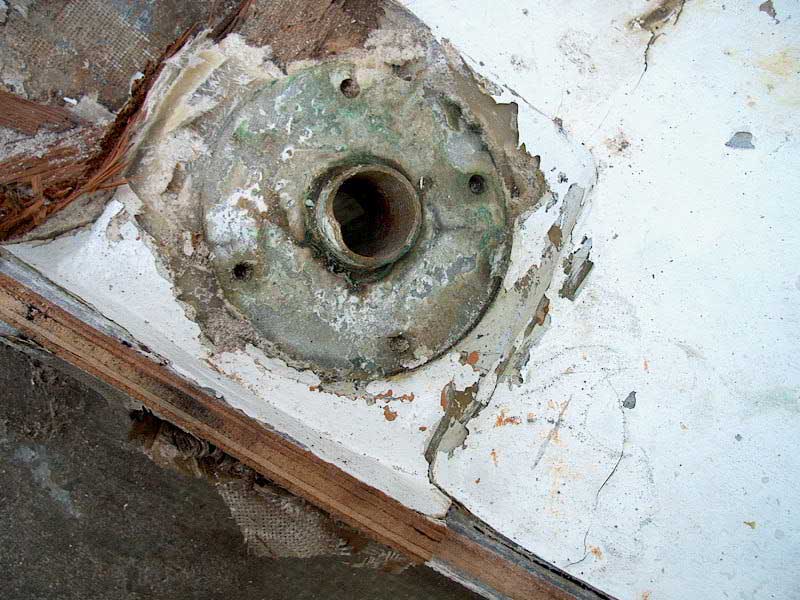
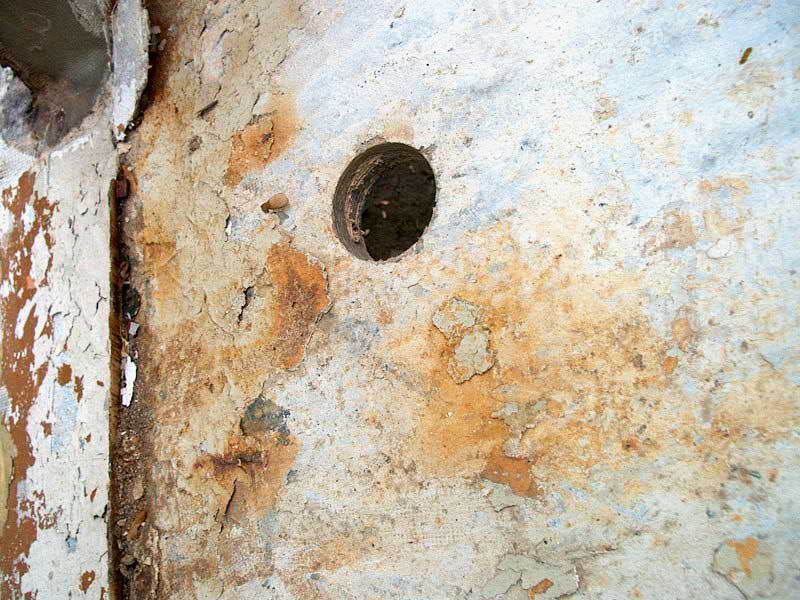
Bronze Stem Casting
The casting was held in place with three
long bronze bolts and one bronze lag screw. I had trouble getting
one of the bolts undone, but finally prevailed. Getting this
particular casting off with the deck in place would have proved virtually
impossible, I think, given the tight access to the nuts inside the chain
locker and the difficulty in extracting the bolts (which feature bugle
heads and slotted ends on the outside, making turning them
difficult). Anyway, I got it off. The wooden knee inside the
stem was in good condition, and will likely stay in place, in part because
removing it would be difficult. |
|
|
|
Engine Beds
|

 With
a new carbide-tipped heavy duty blade in my reciprocating saw, I made
short work of the tabbing securing the fiberglass engine foundation in
place. With all surrounding obstructions long since removed, this
was an easy job, though the thick fiberglass was slow to cut.
The amount of tabbing used to secure the engine beds is
ridiculous--something like 3/8" of heavily resin-rich mat. And
poorly installed, too--though it stuck well and worked for over 40 years,
but there was a decided lack of care and craftsmanship in its
execution.
With
a new carbide-tipped heavy duty blade in my reciprocating saw, I made
short work of the tabbing securing the fiberglass engine foundation in
place. With all surrounding obstructions long since removed, this
was an easy job, though the thick fiberglass was slow to cut.
The amount of tabbing used to secure the engine beds is
ridiculous--something like 3/8" of heavily resin-rich mat. And
poorly installed, too--though it stuck well and worked for over 40 years,
but there was a decided lack of care and craftsmanship in its
execution.