(page 3 of 8)

Lyra 56

Monday

Before getting going, I went through the hardware to be installed in the days ahead and noted any lapses in my fastener inventory so I could order what I needed for the specific hardware.  I also ordered some backing plate material that I’d need for some of the installations.

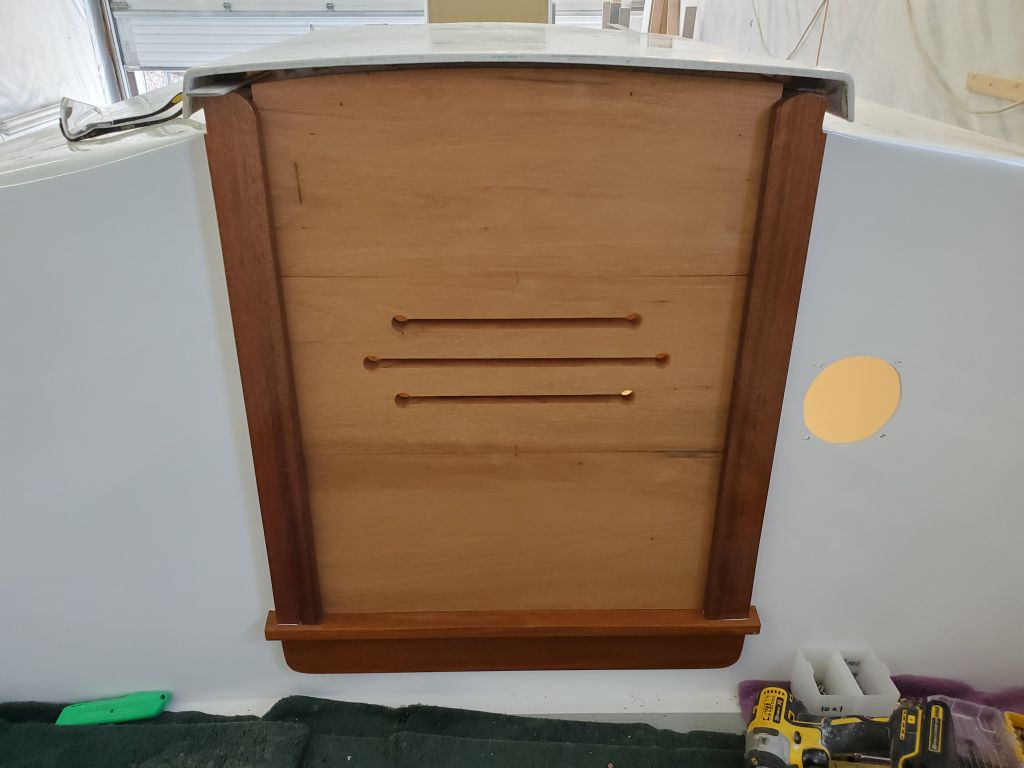
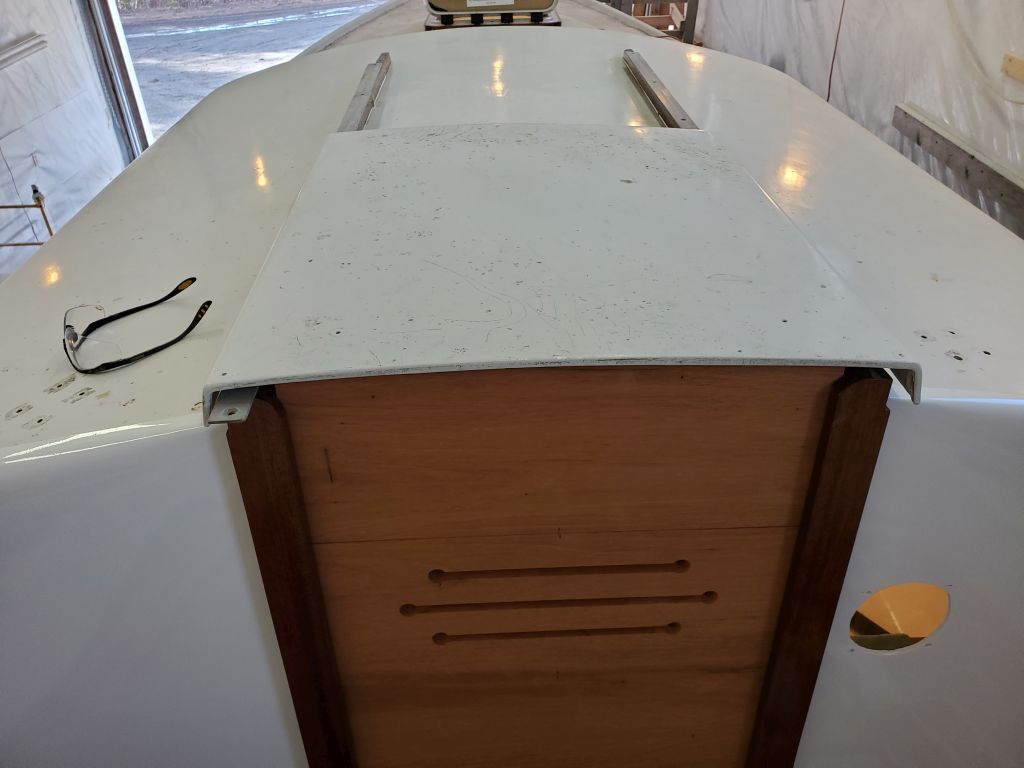
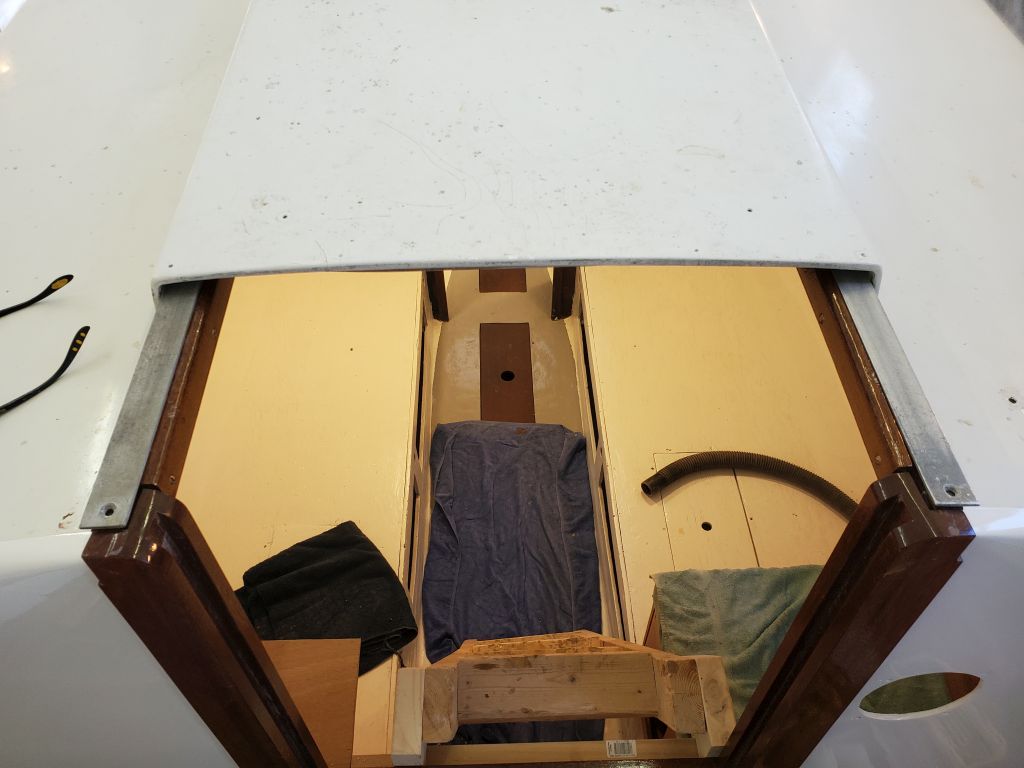
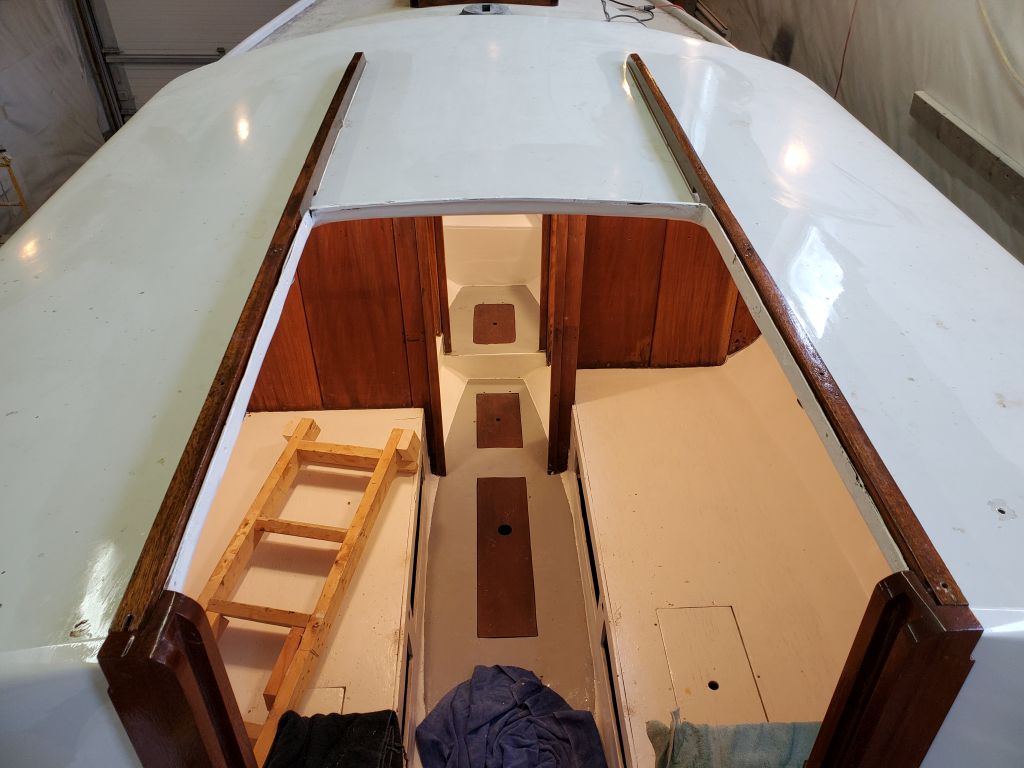
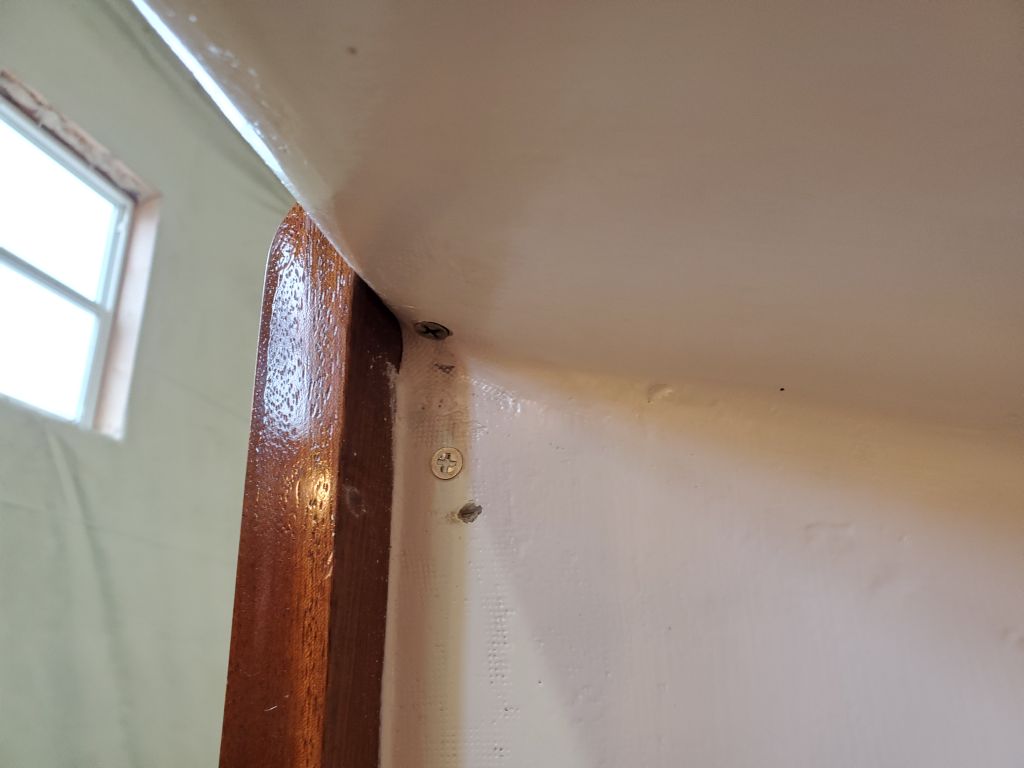
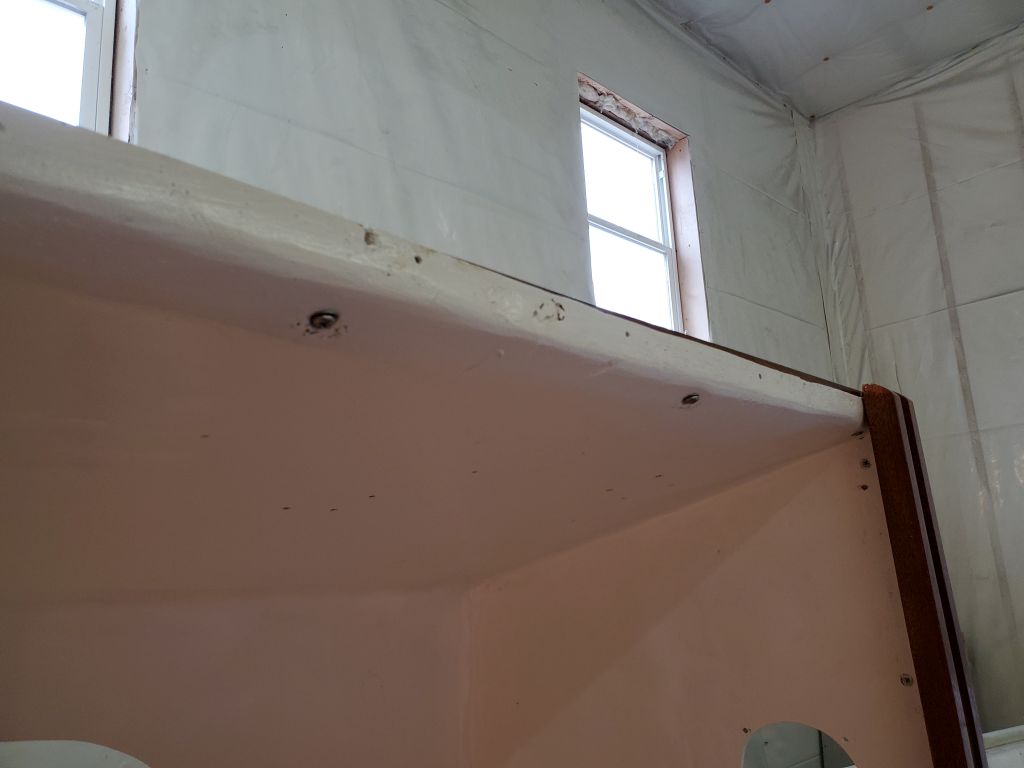
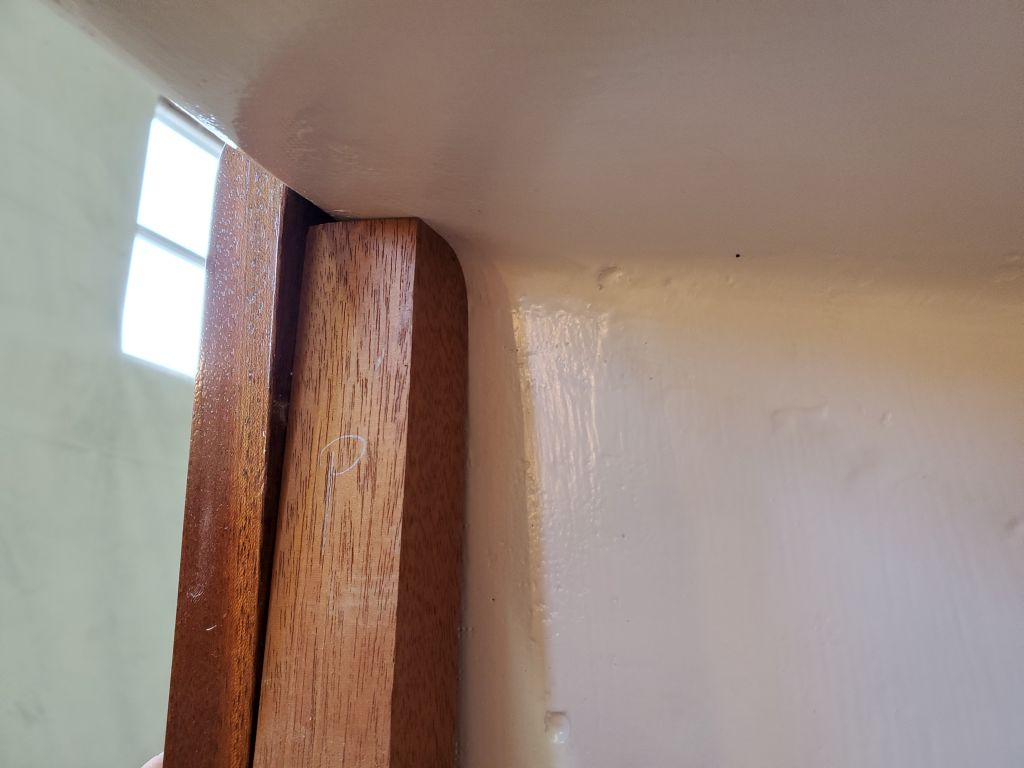
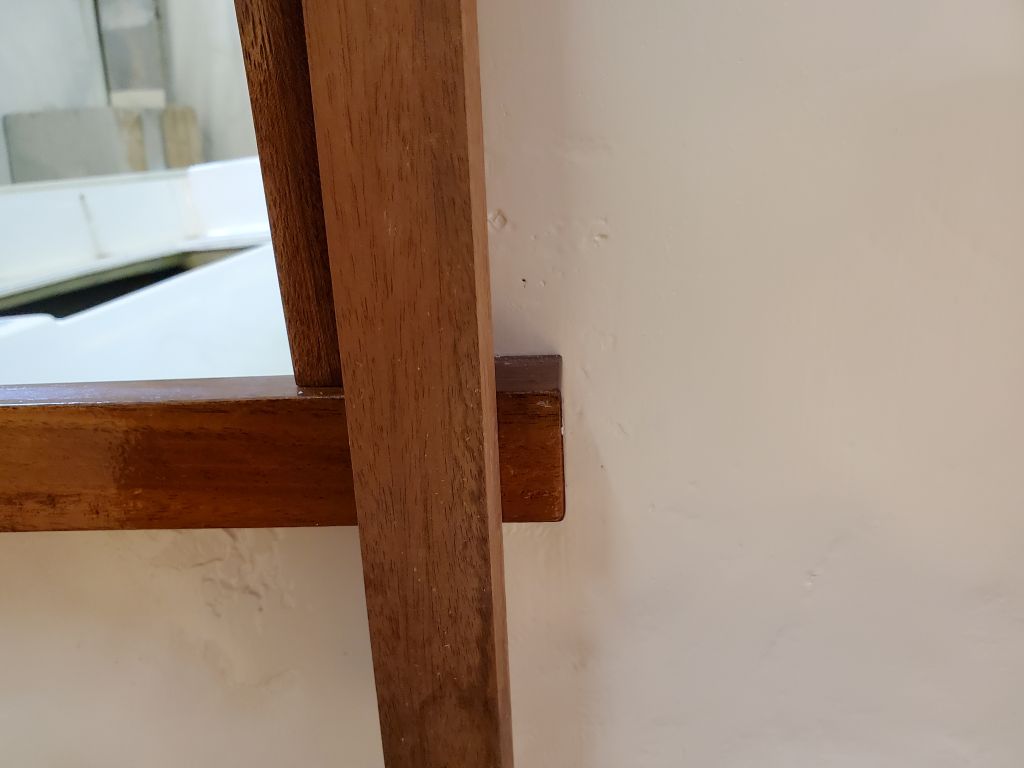
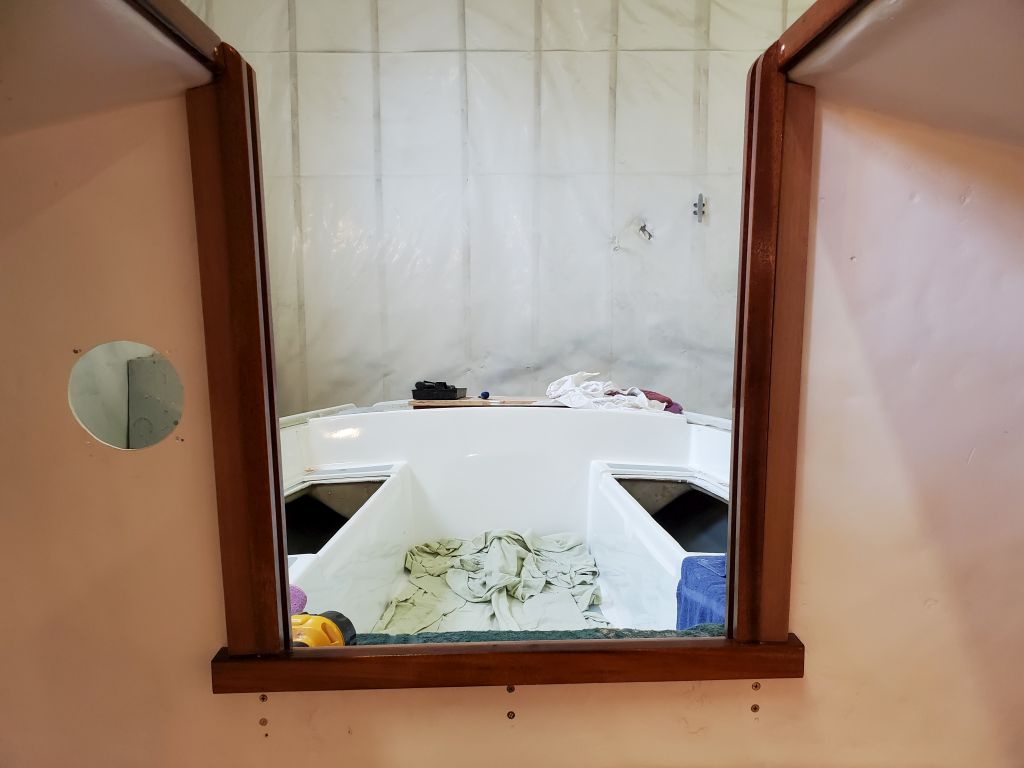
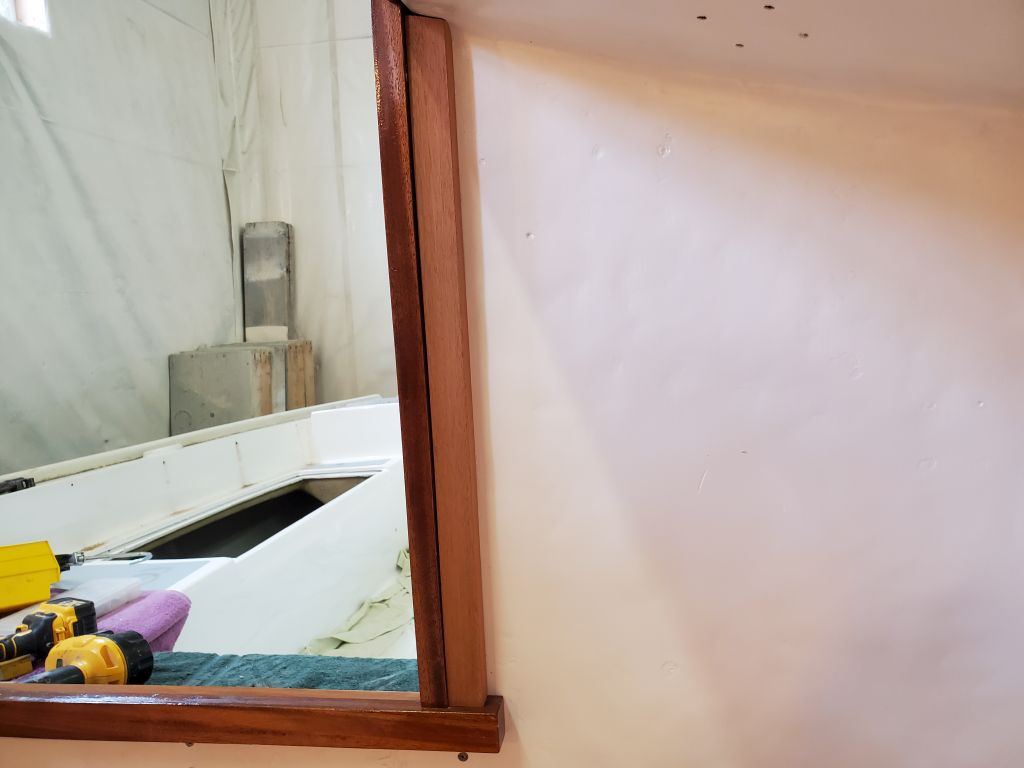
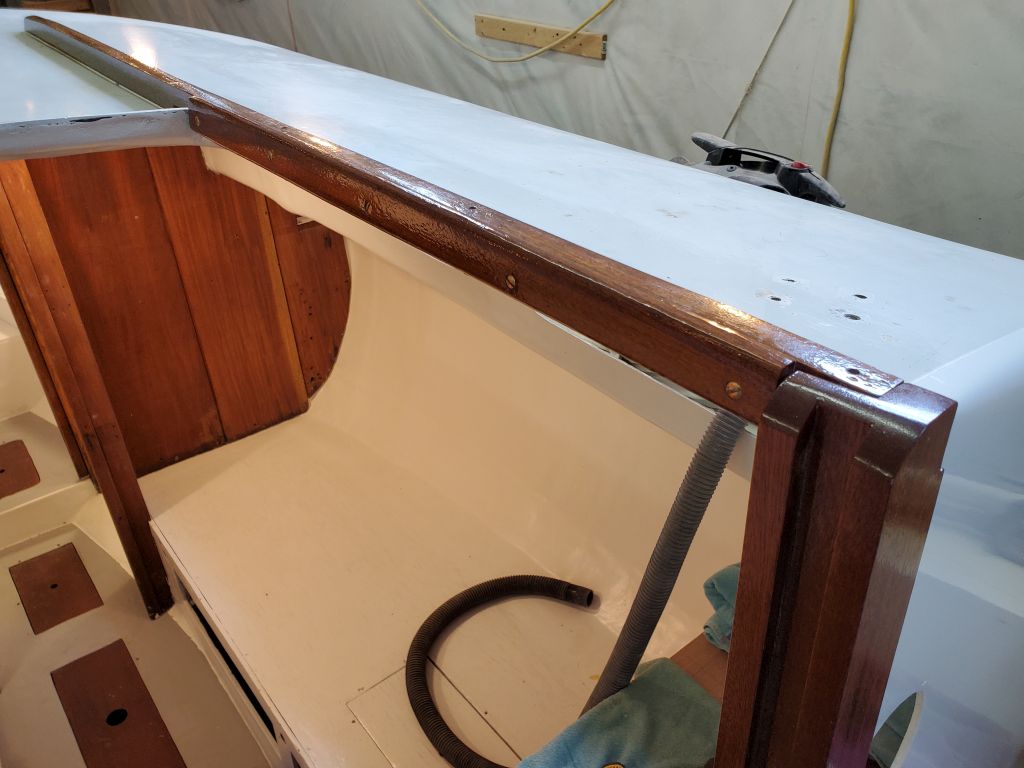
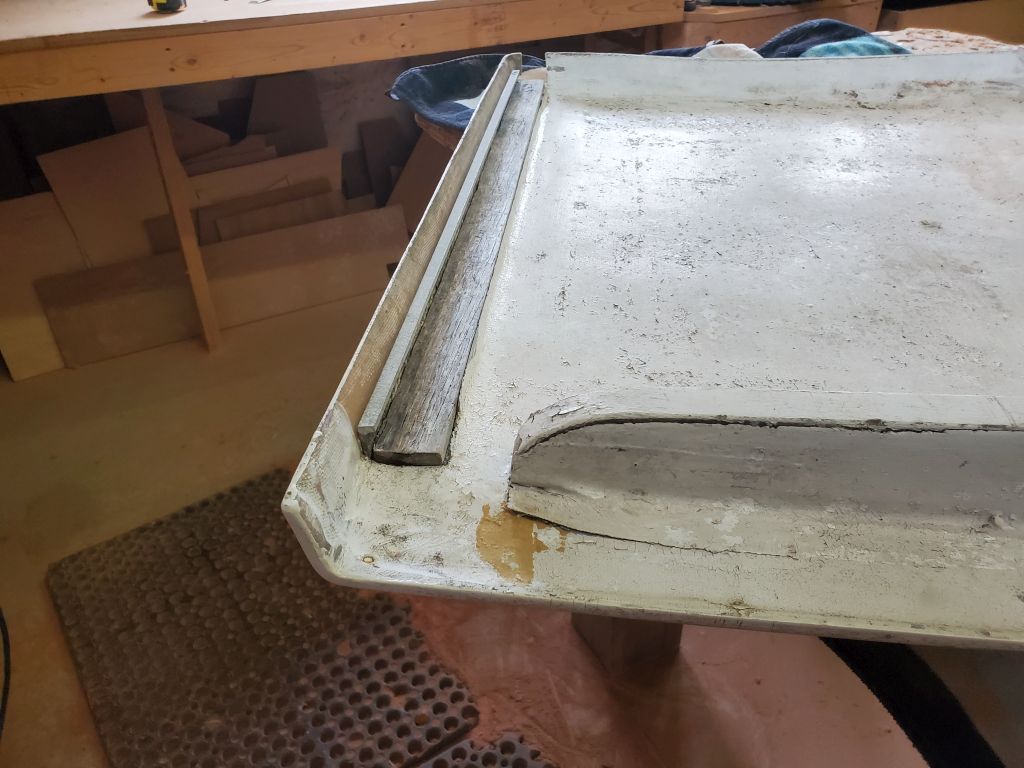
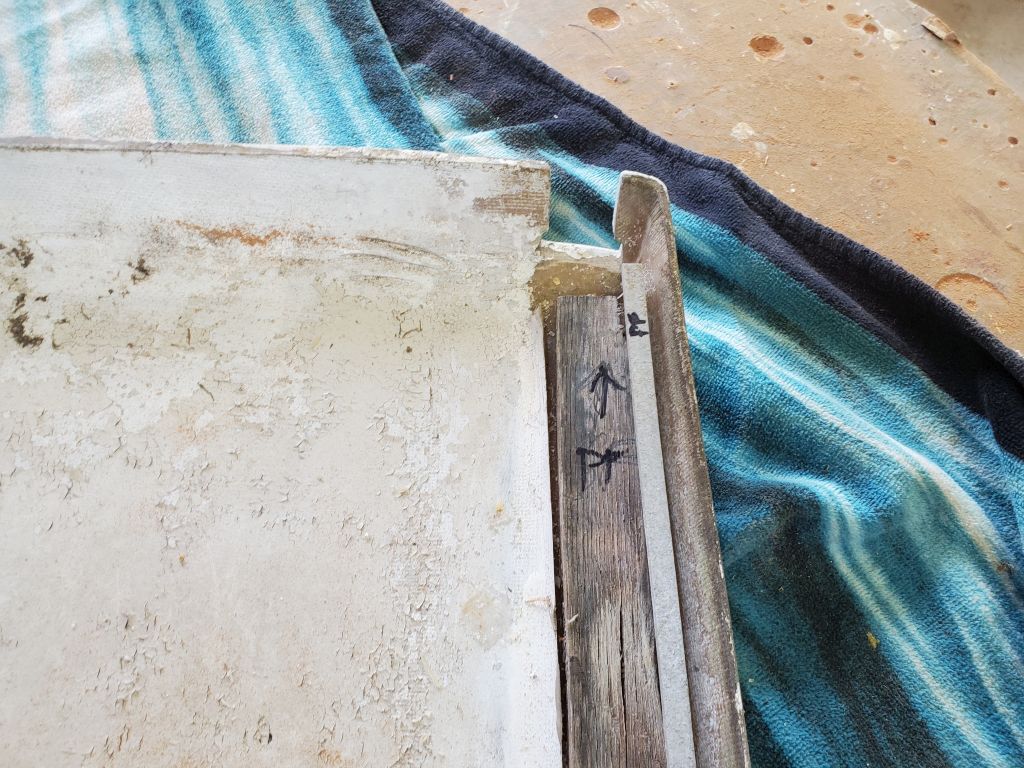
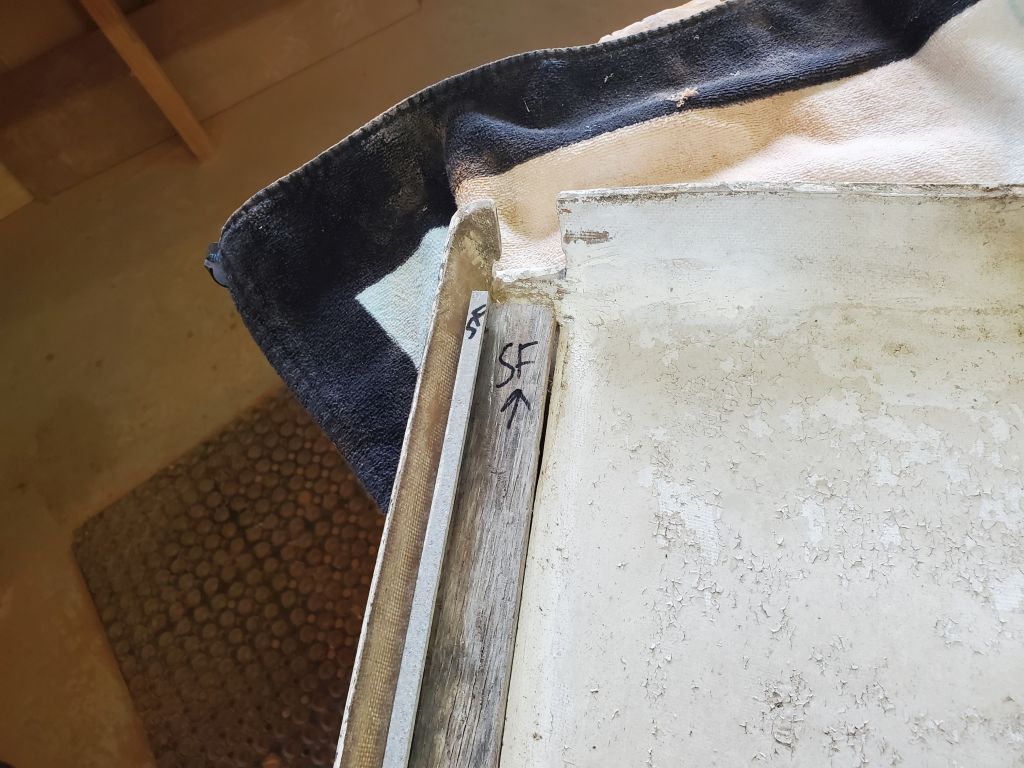
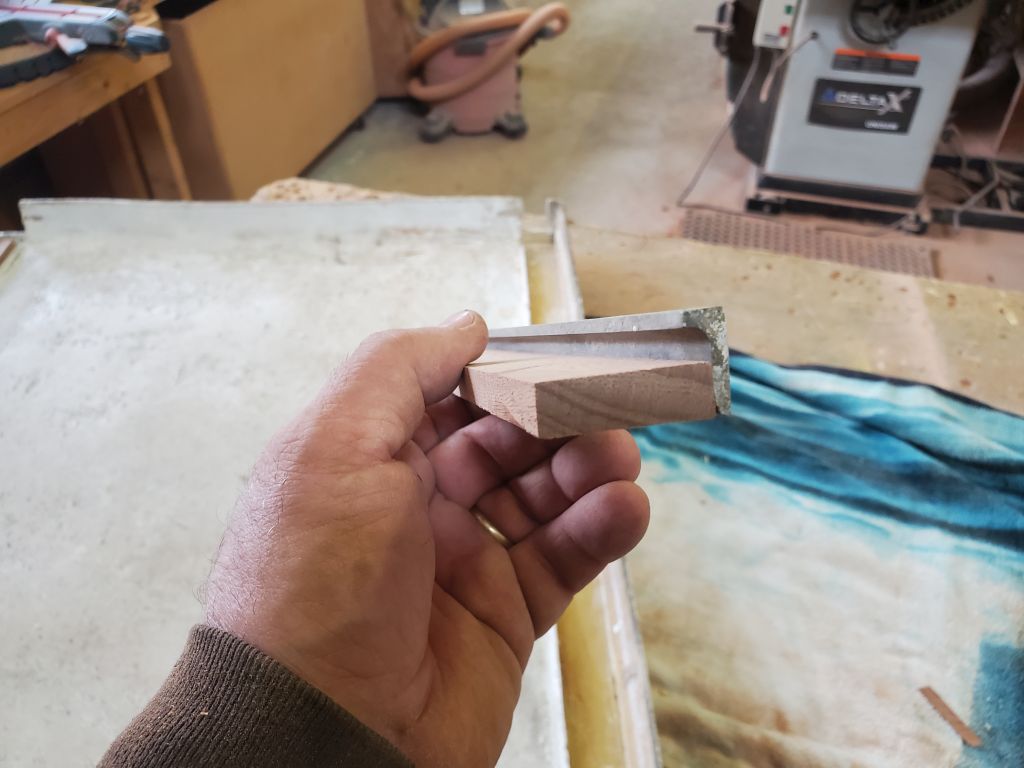
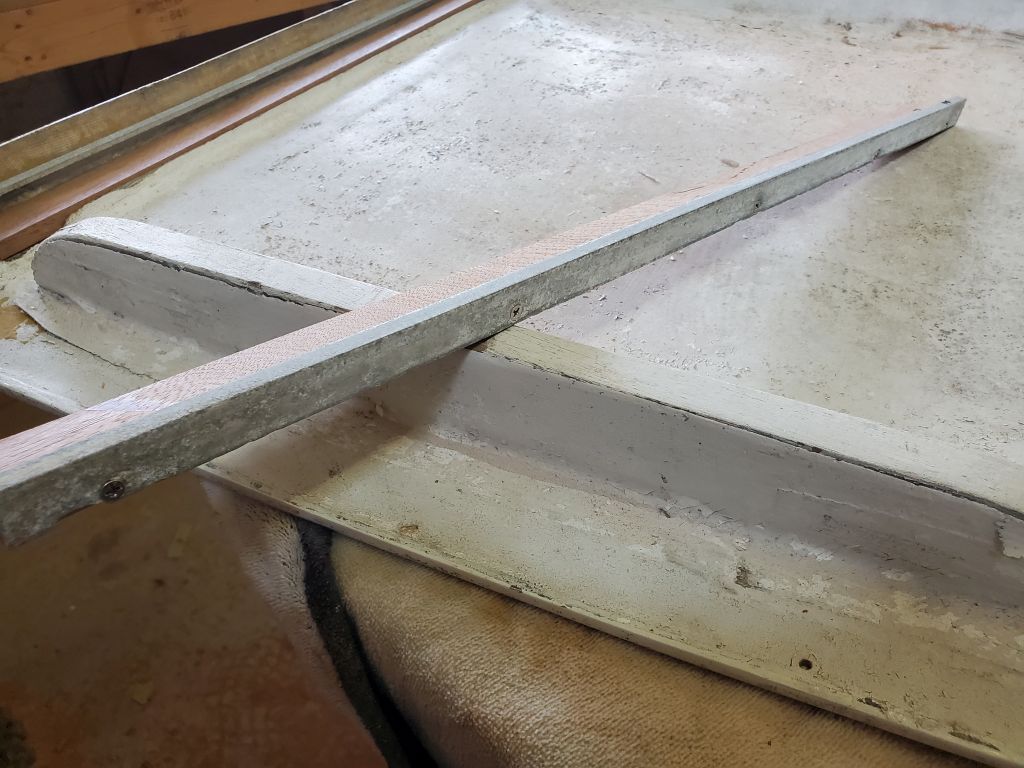
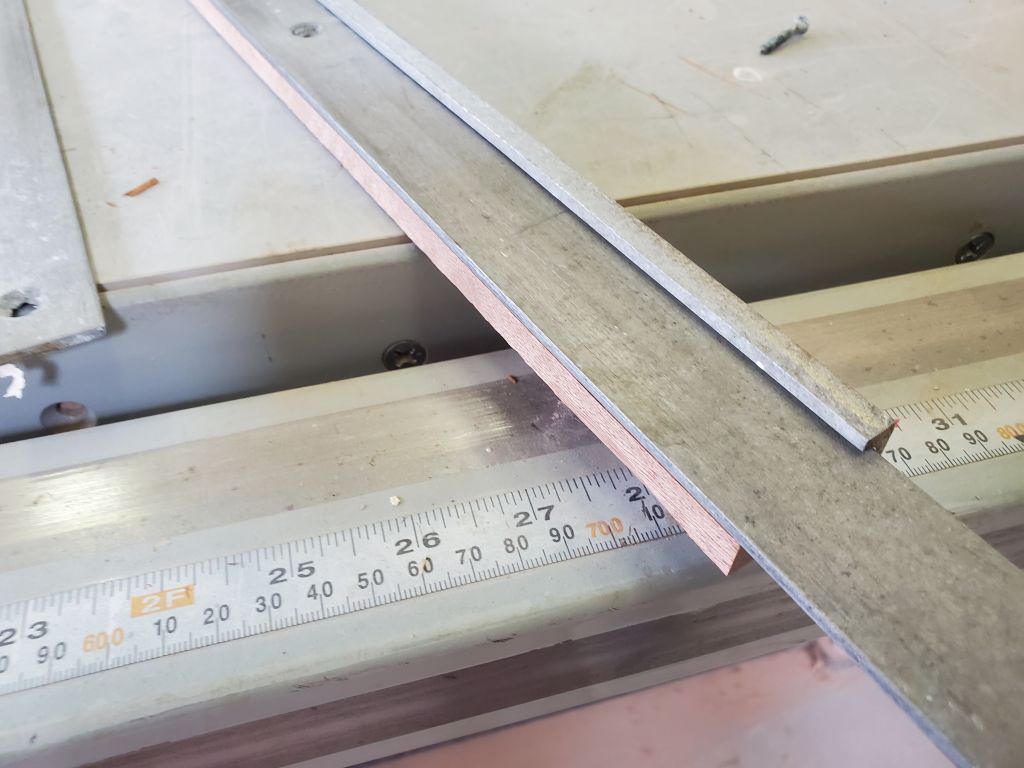
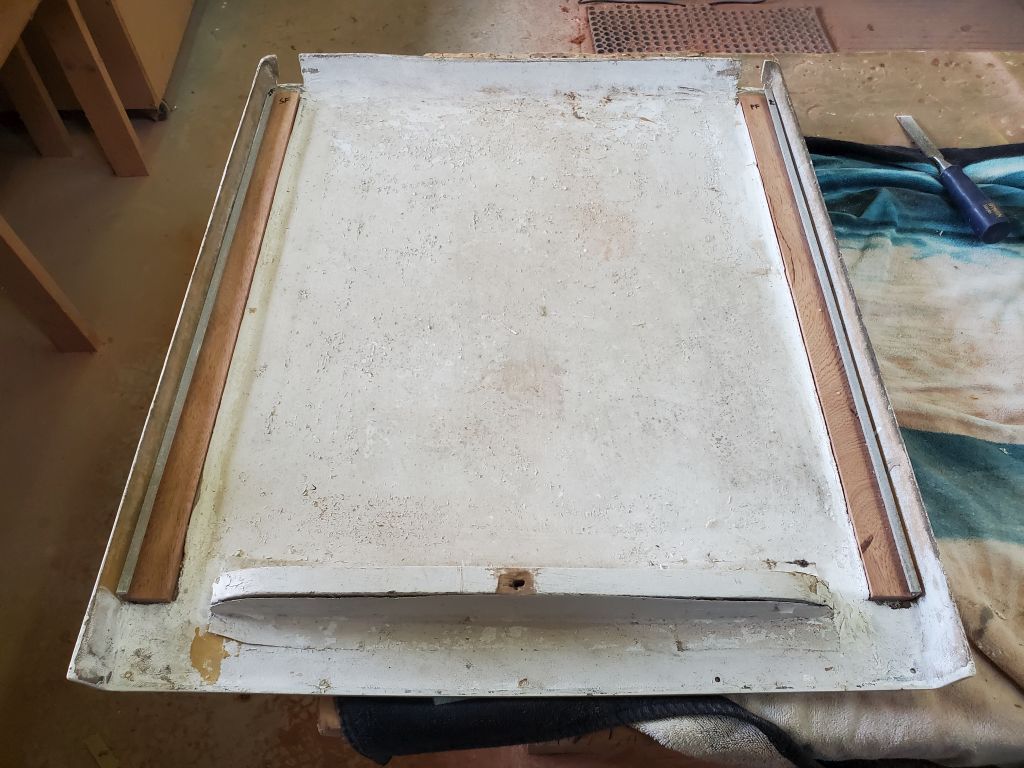
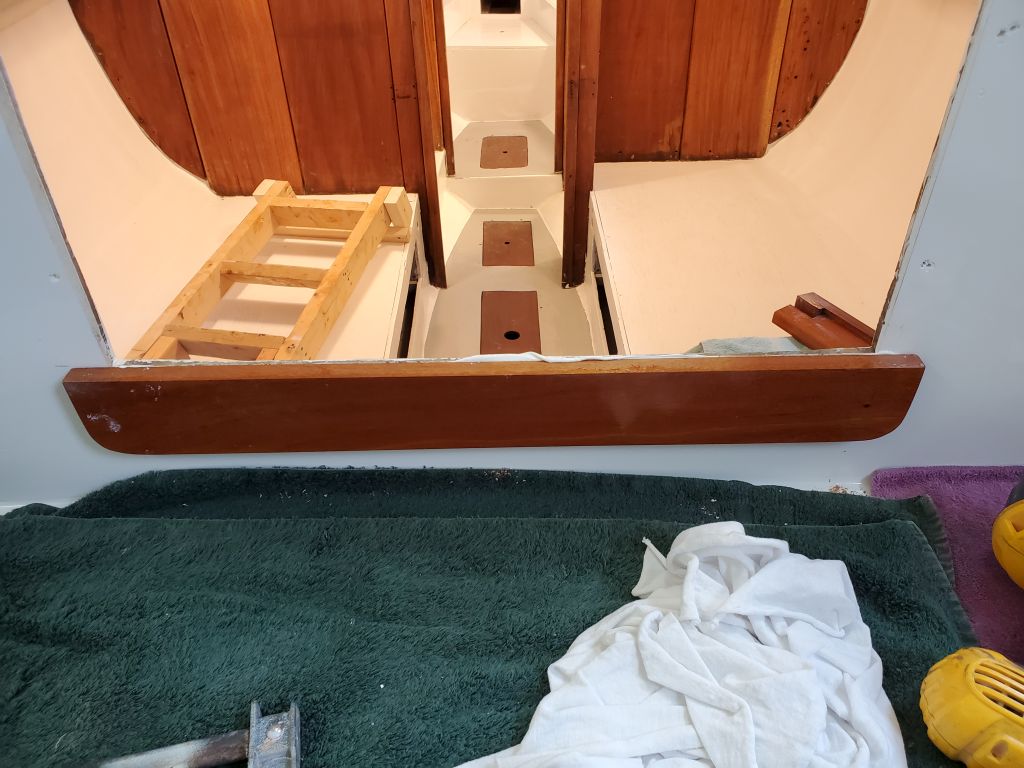
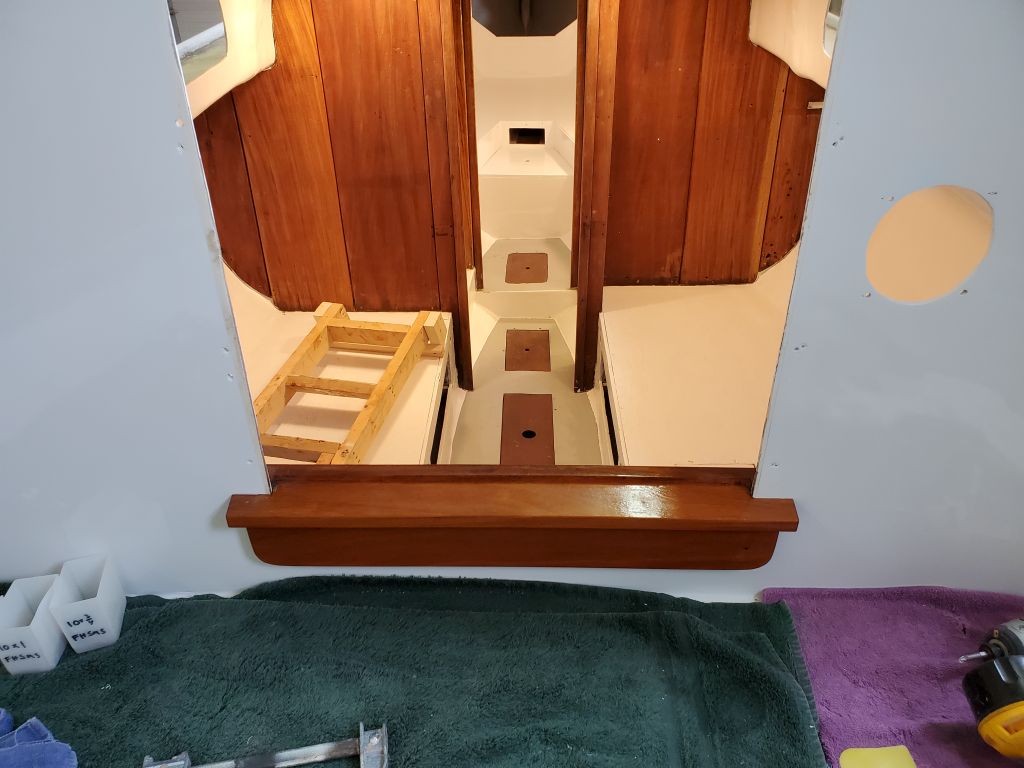
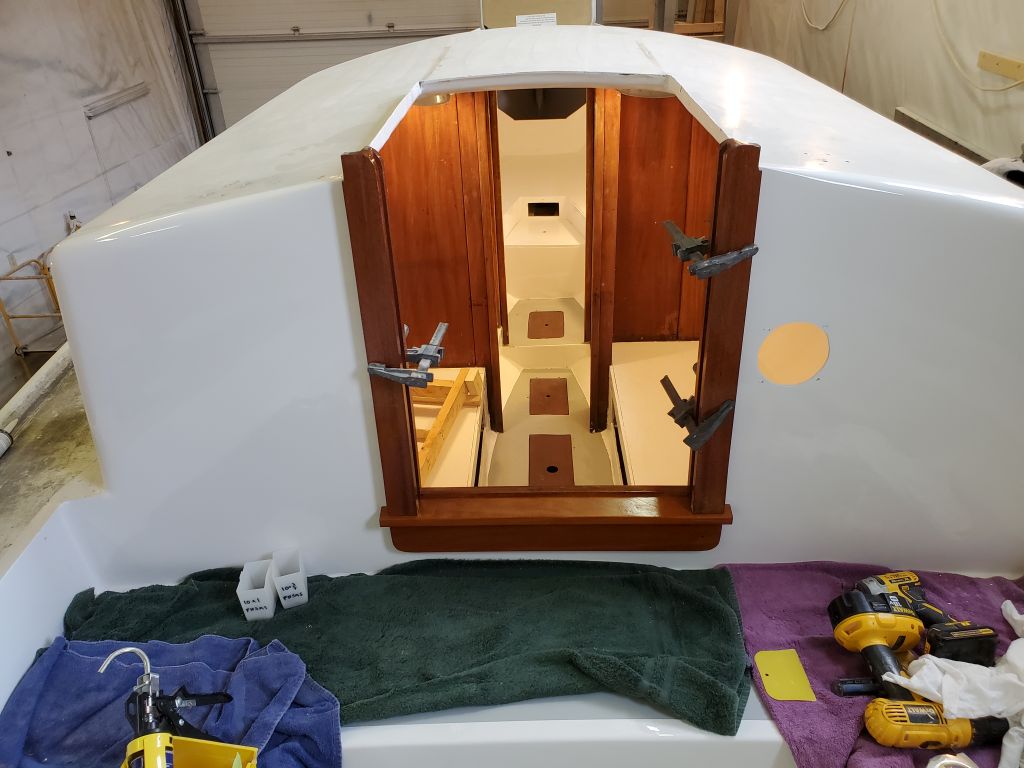
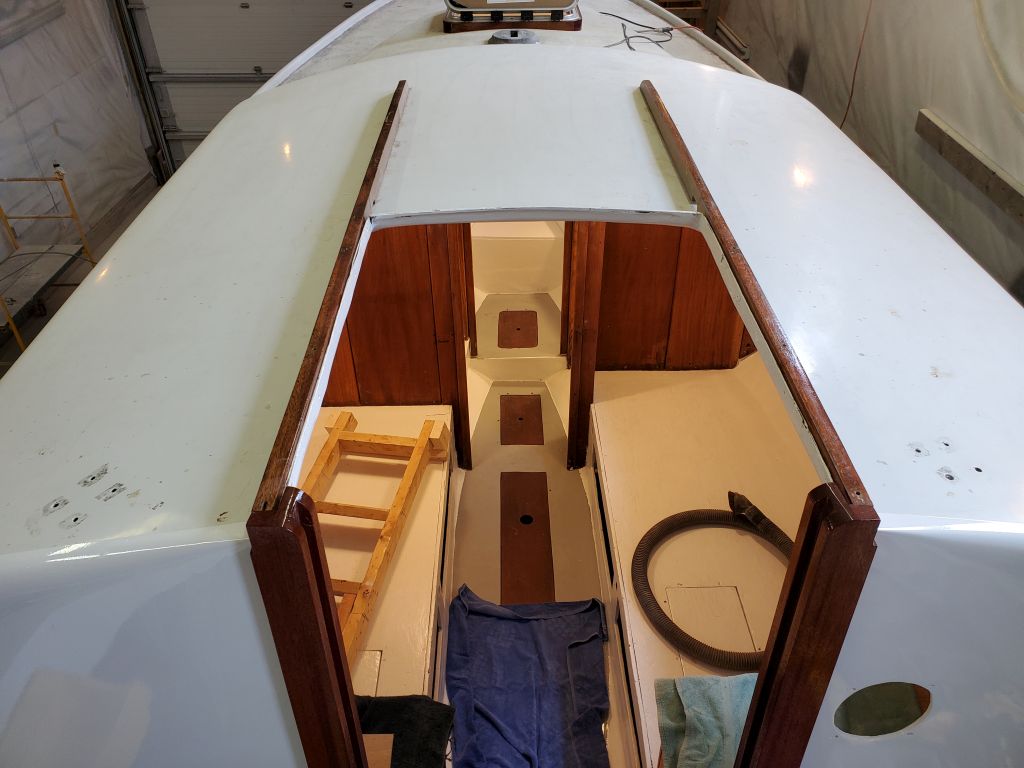
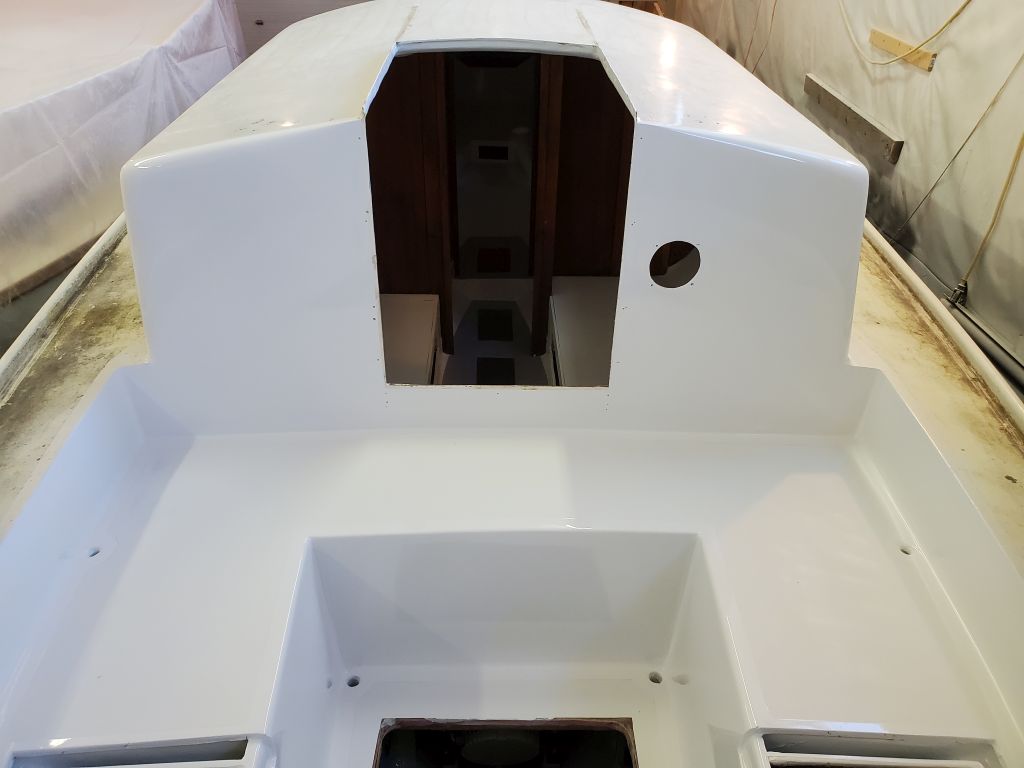
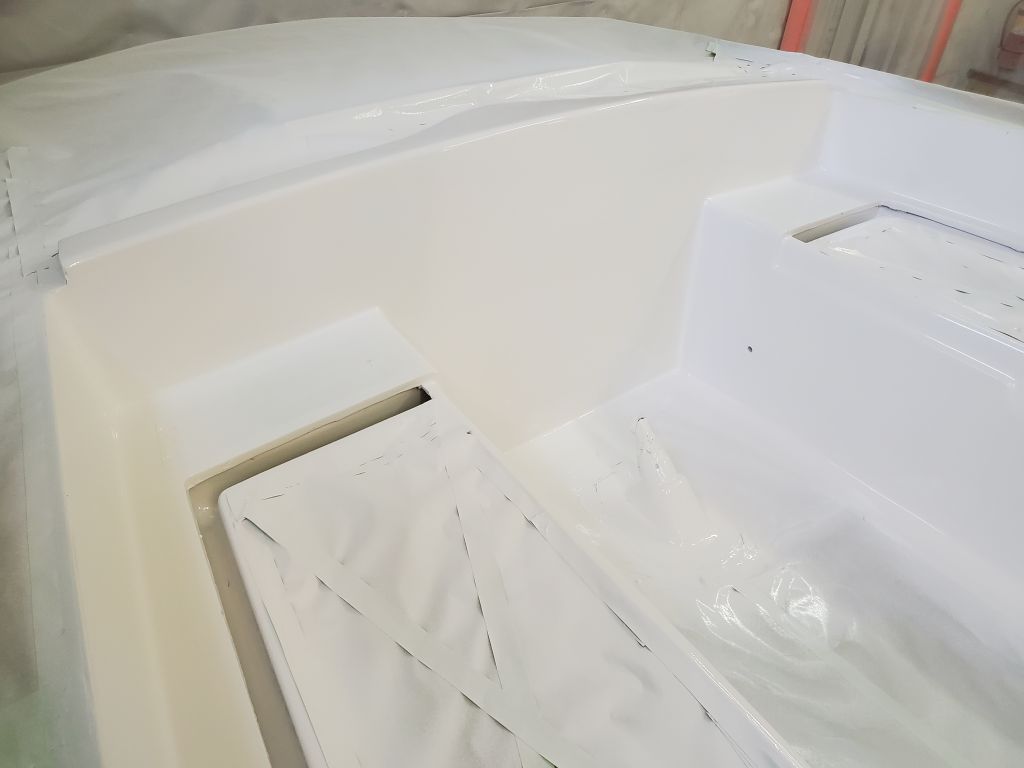
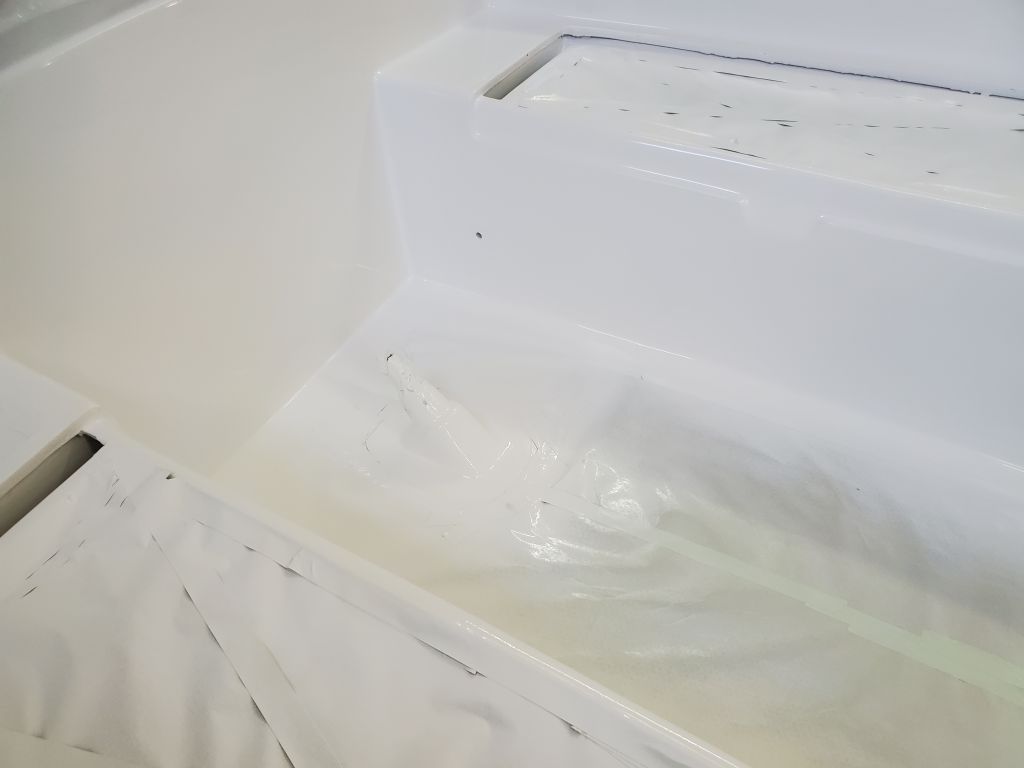
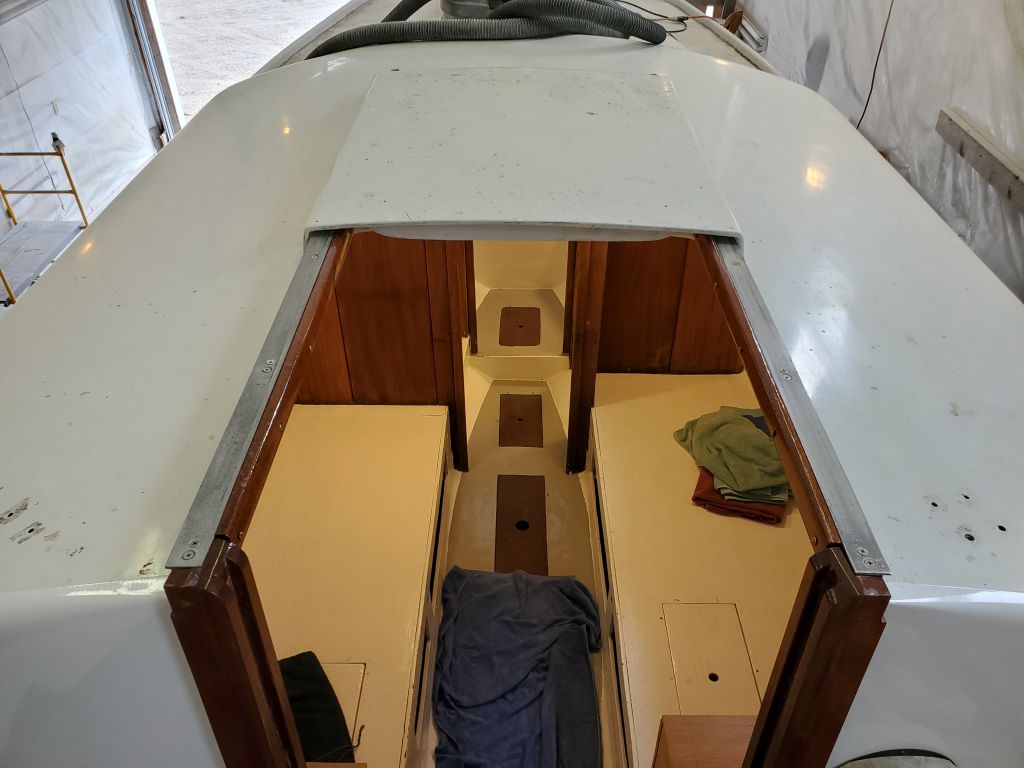
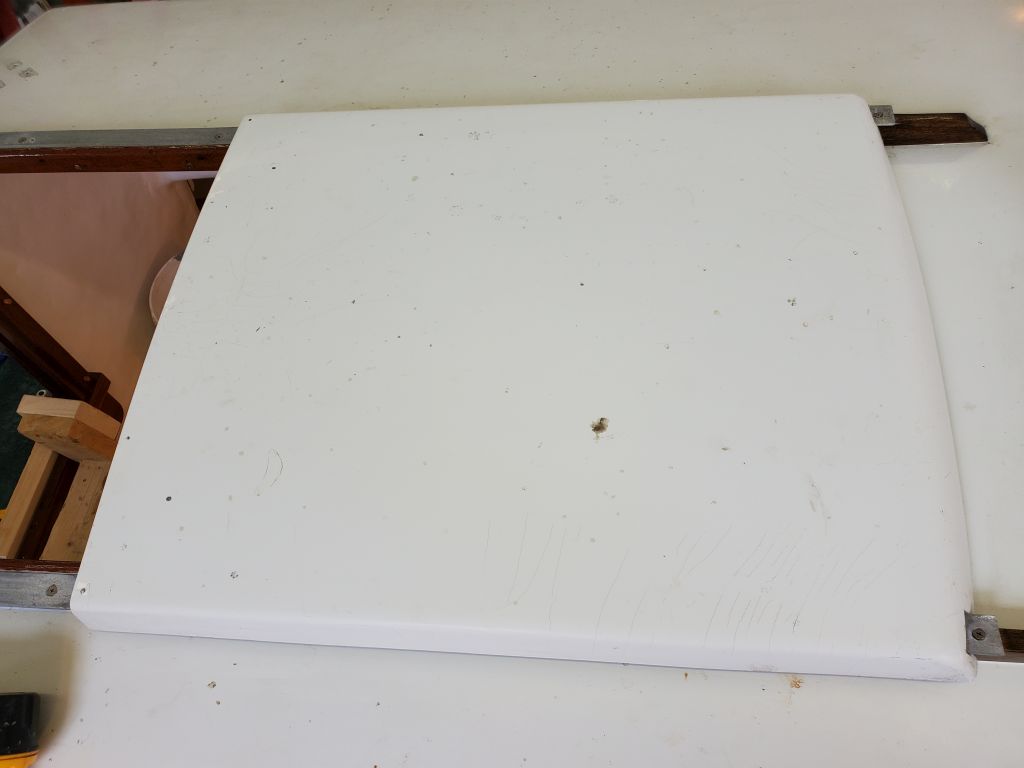
The companionway hatch was ready for final installation.  This was straightforward in concept, but I found that the reinstalled/rebuilt guide rails on the hatch rubbed the wooden supports near the forward end of the companionway opening when the hatch was operated, which required me to grind down a bit of the aluminum guides for better clearance.  Once the hatch slid more or less acceptably before final installation, I could proceed with installing the aluminum flat stock that the hatch slid over and around, completing the installation.

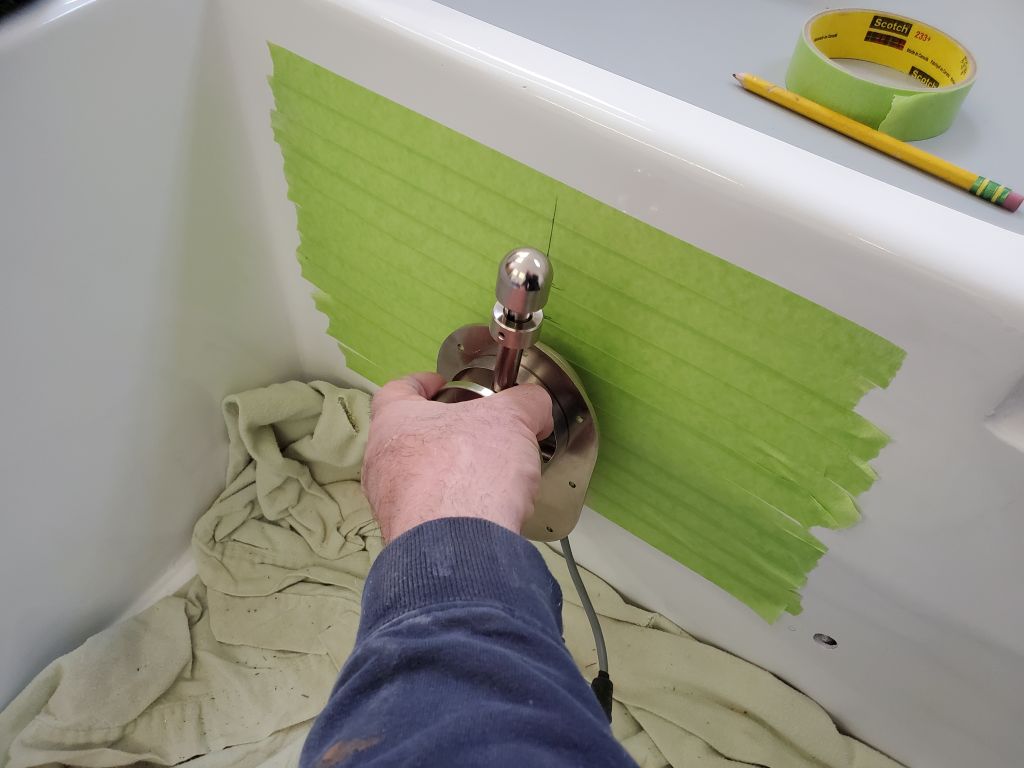
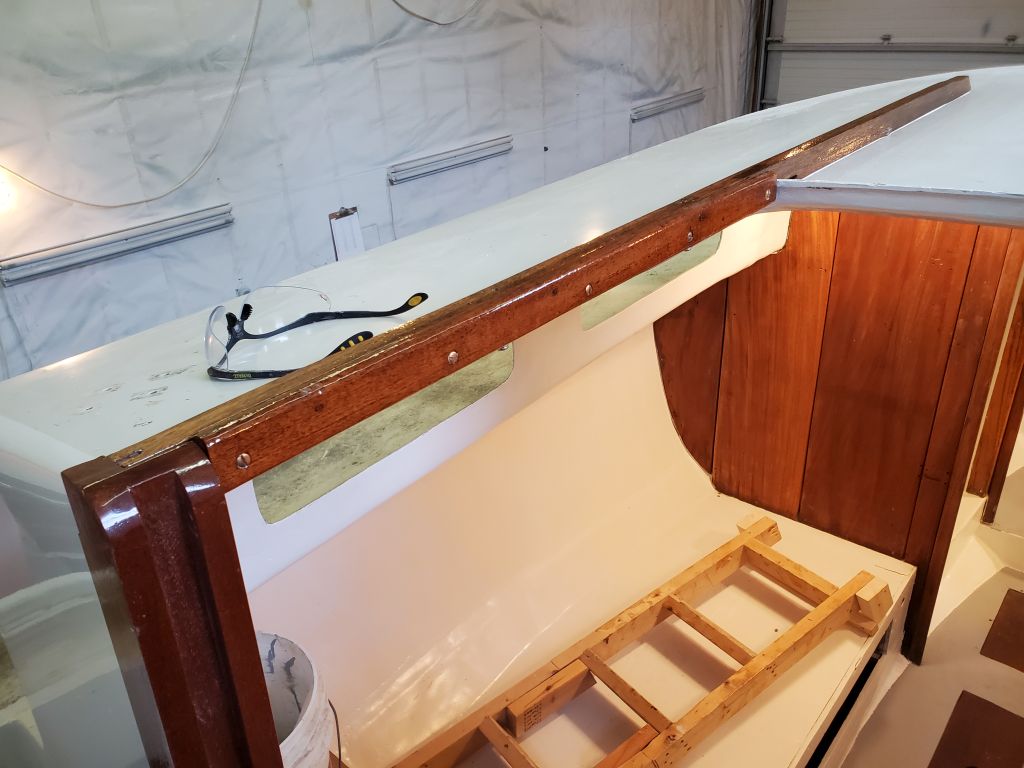
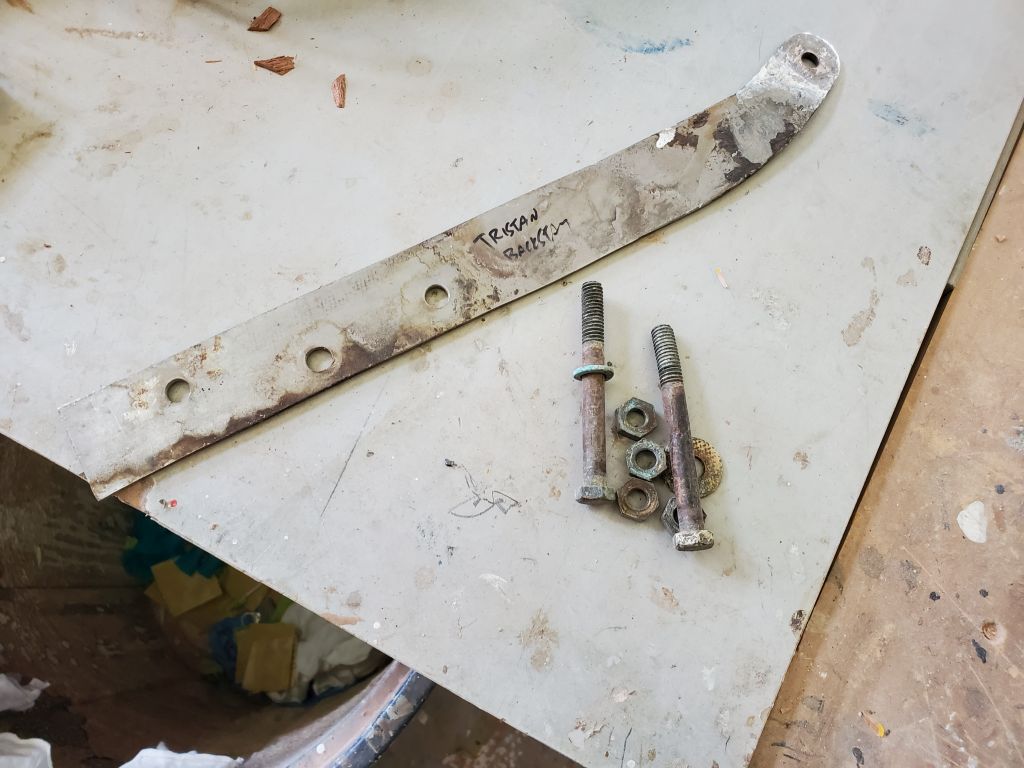
I began the hardware installation with the chainplates, with four new bronze chainplates that I’d replicated earlier plus an older, but sound, stainless steel plate for the backstay.  This chainplate required a quick cleanup but was in good condition; I didn’t have long-enough bolts on hand for this, so I ordered replacements to have on hand next time.

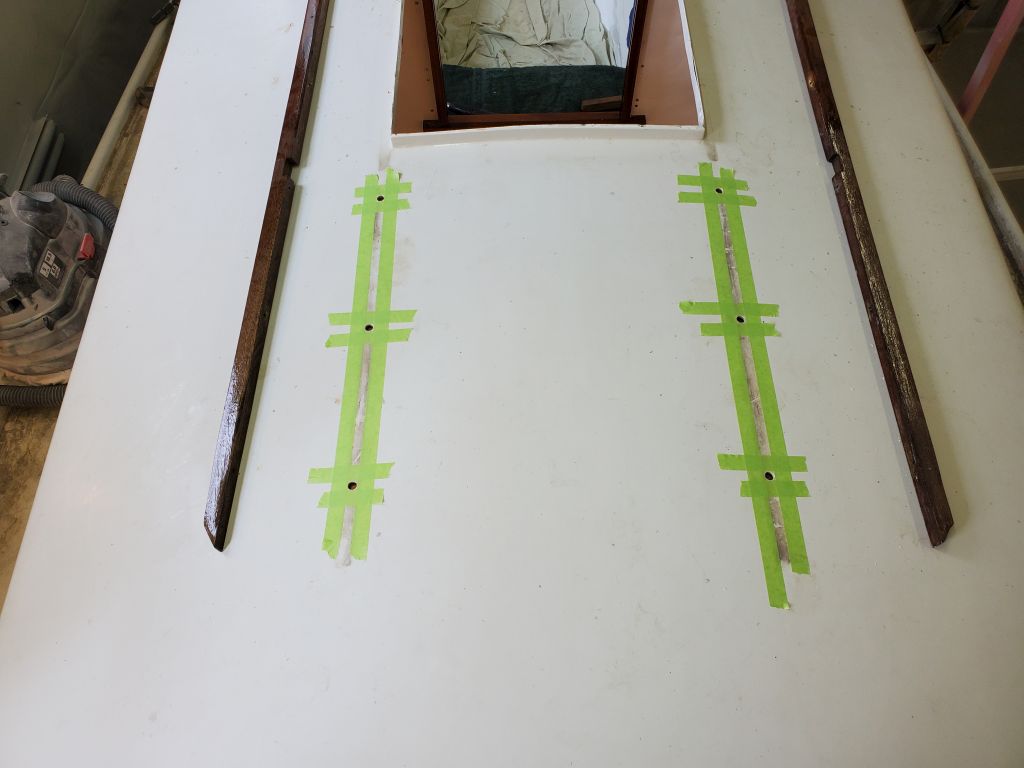
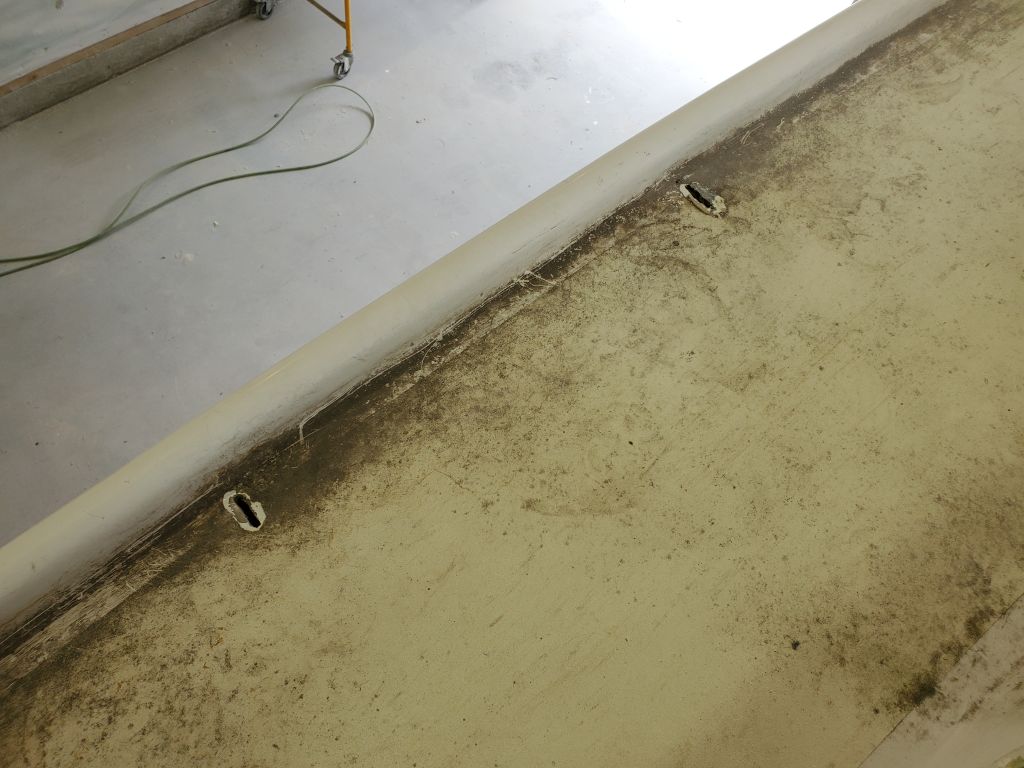
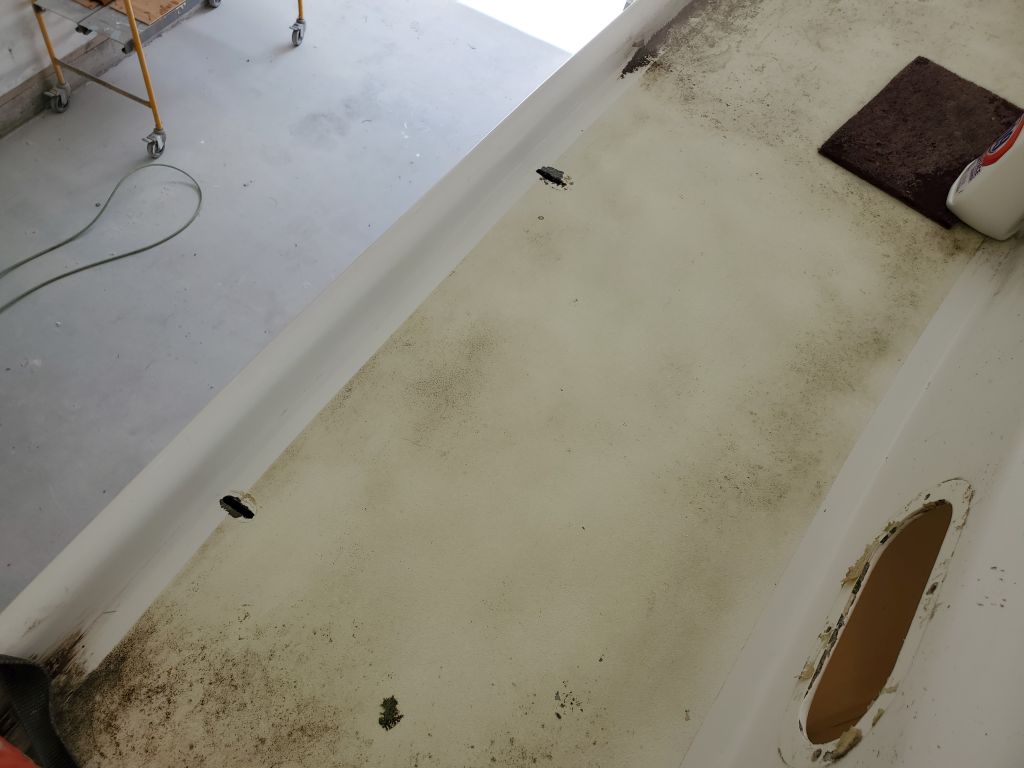
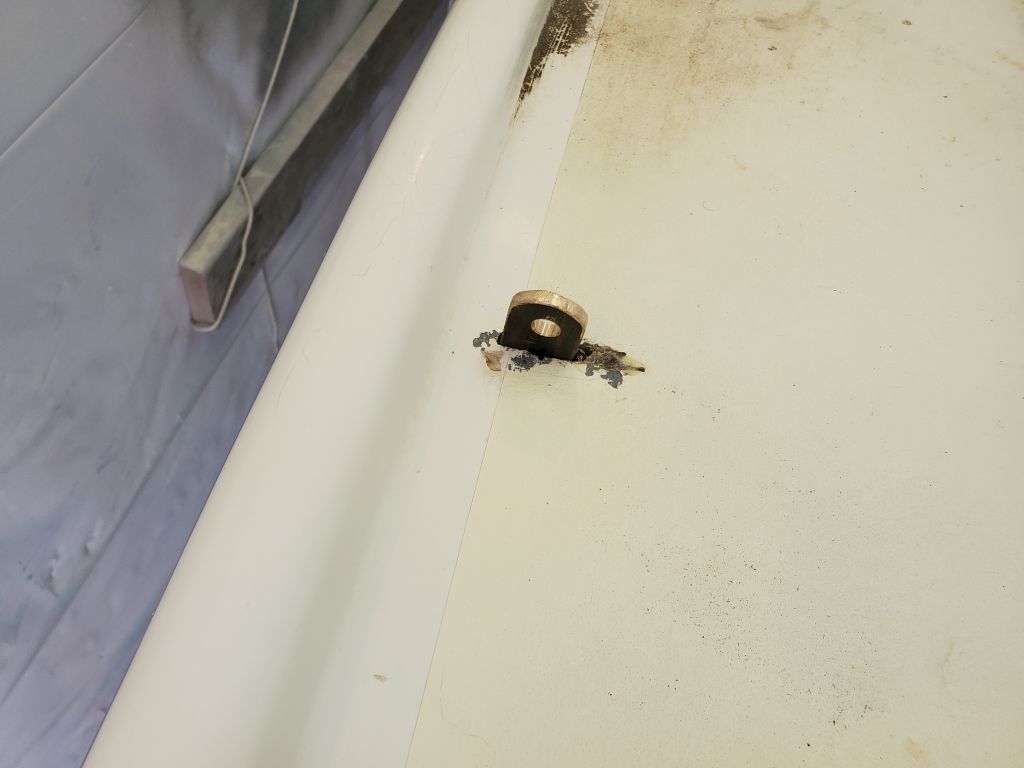
At the chainplate locations on the sidedeck, the existing slots required a bit of cleaning out and slight enlargement to handle the new, thicker chainplate stock.  This was quick with a drill bit to ream out the openings as needed.  To better prepare the deck for the installation, I had good luck cleaning up the well stuck-on dirt from 10 years of neglect with a Scotch-Brite pad (maroon) and 409:  The dirt dissolved with essentially no effort, leaving behind an imperfect but much better surface.

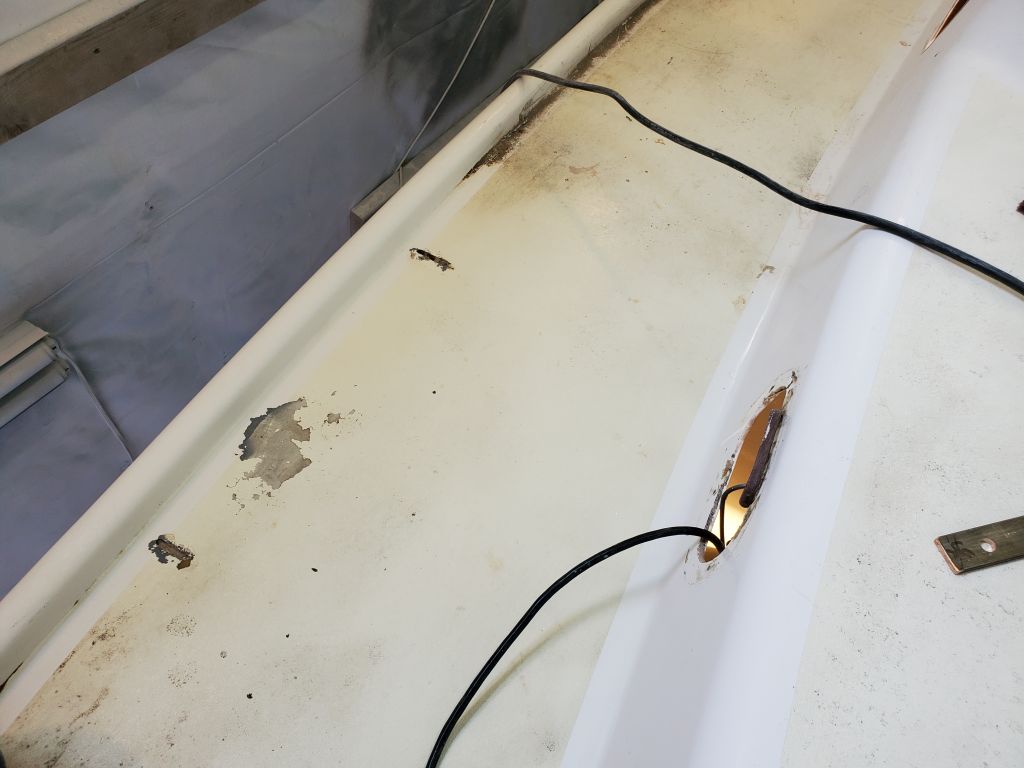
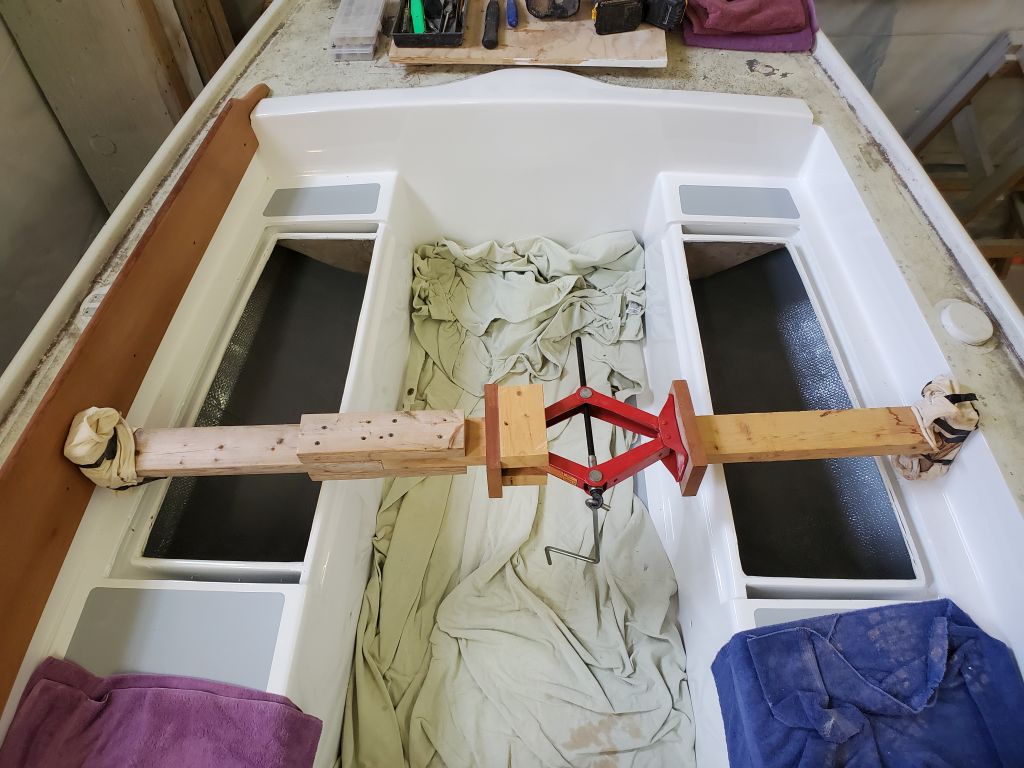
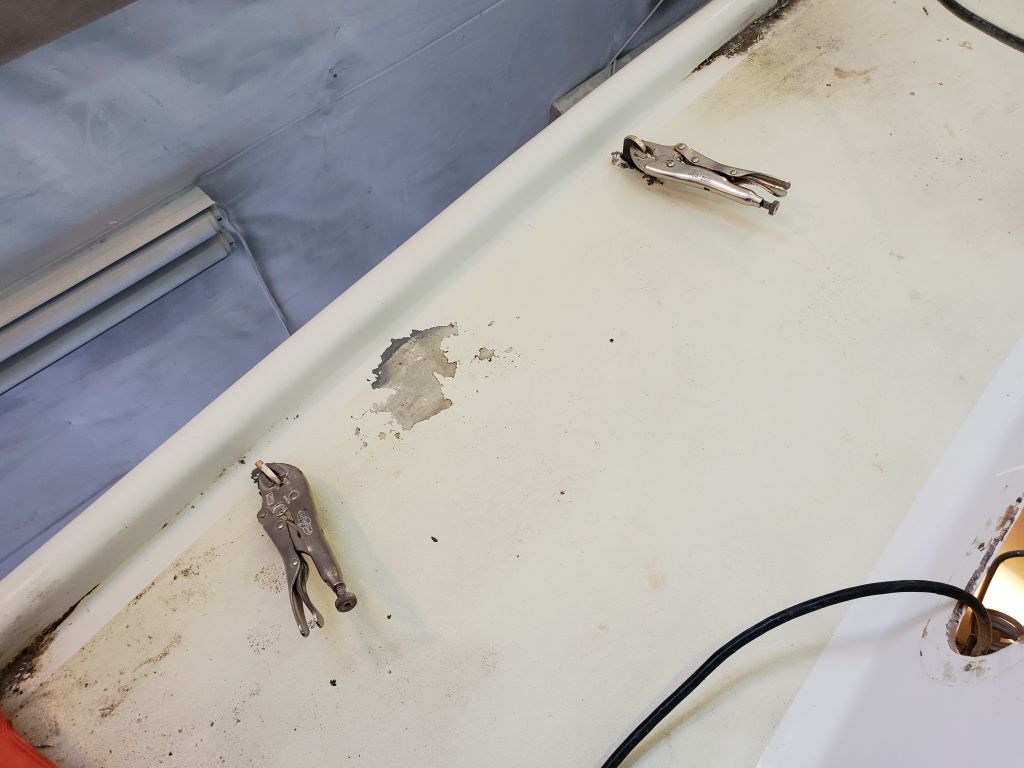
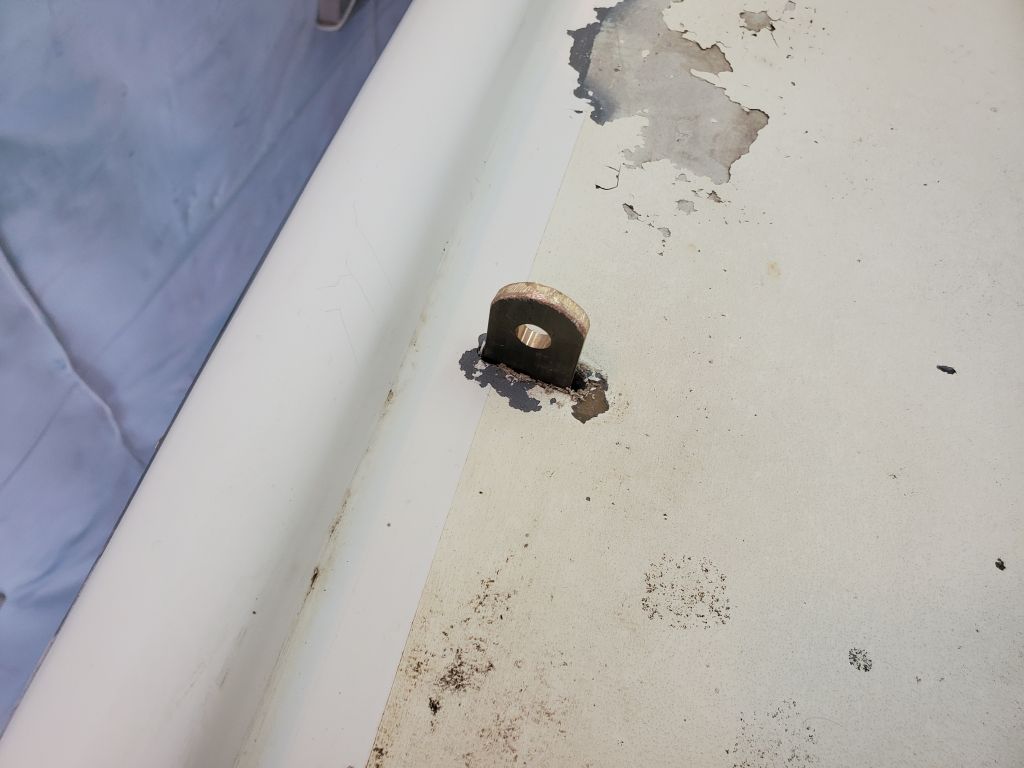
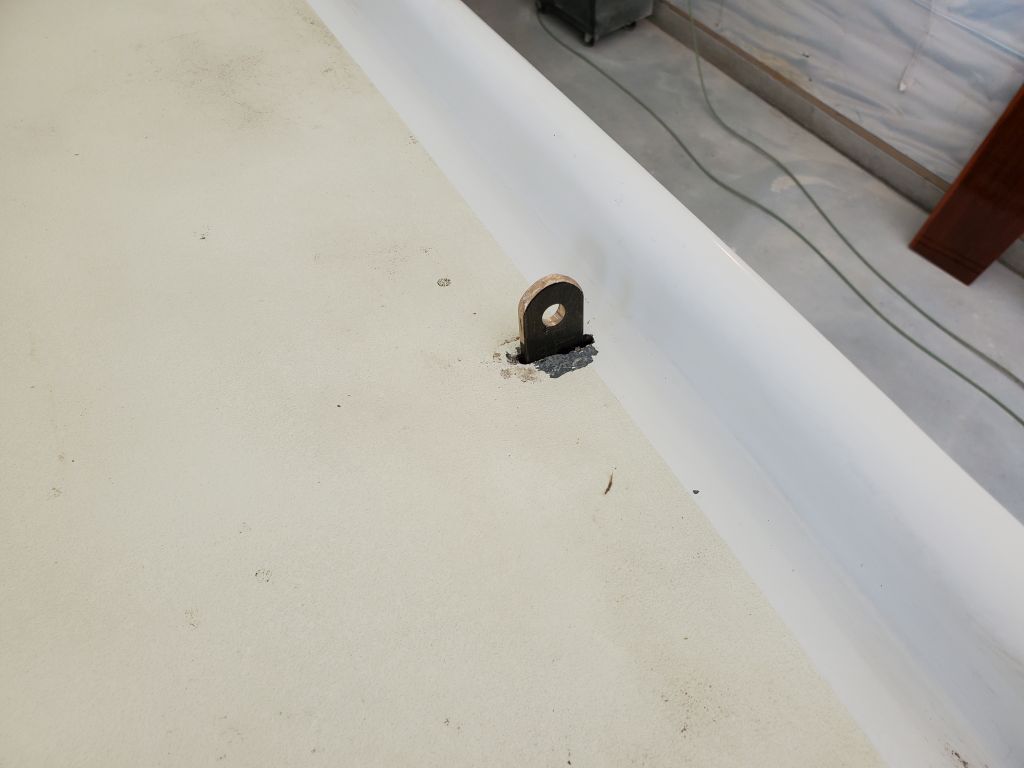
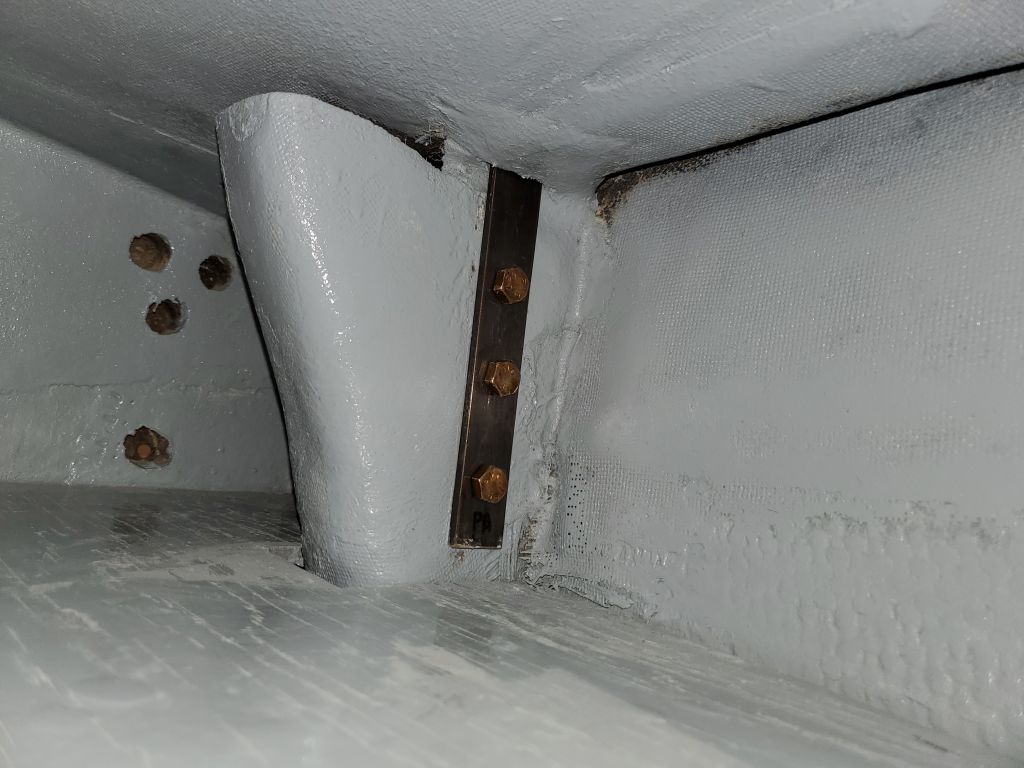
Thusly prepared, I slipped the new chainplates through the slots, clamping on some locking pliers so the chainplates couldn’t slide all the way through.

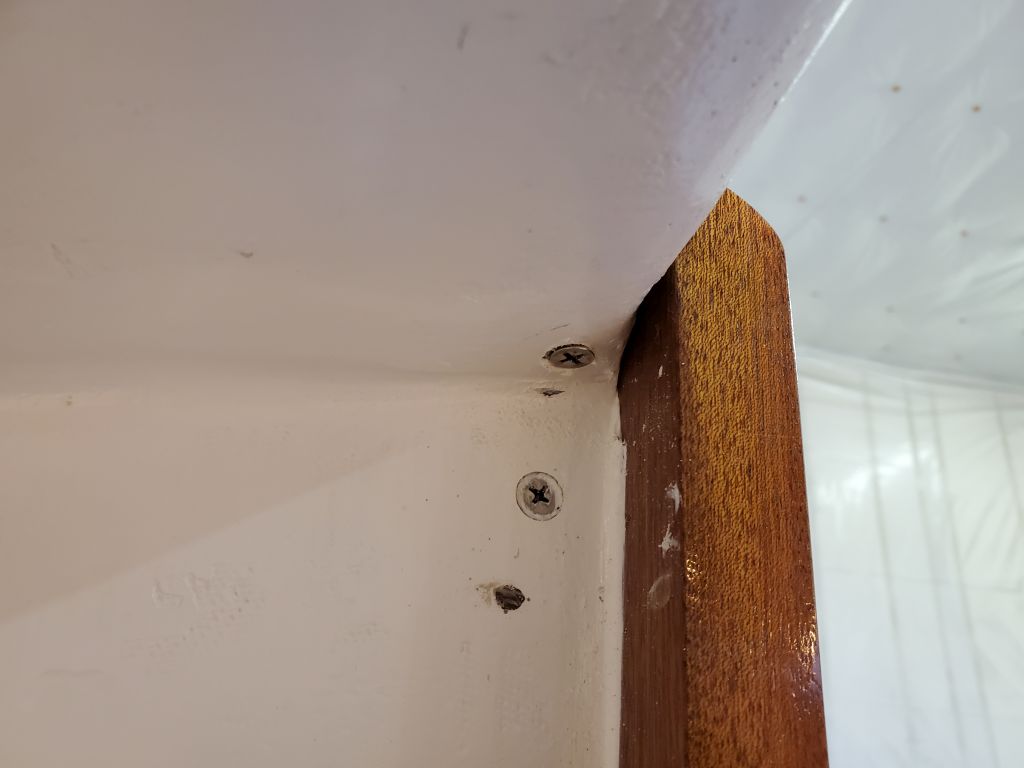
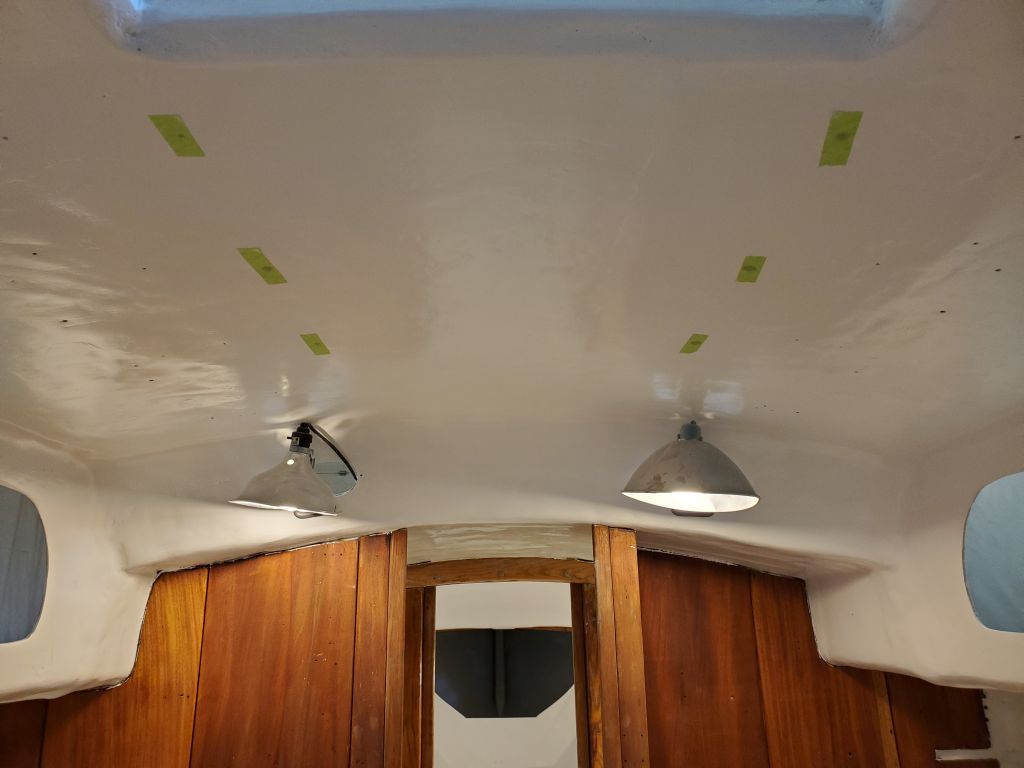
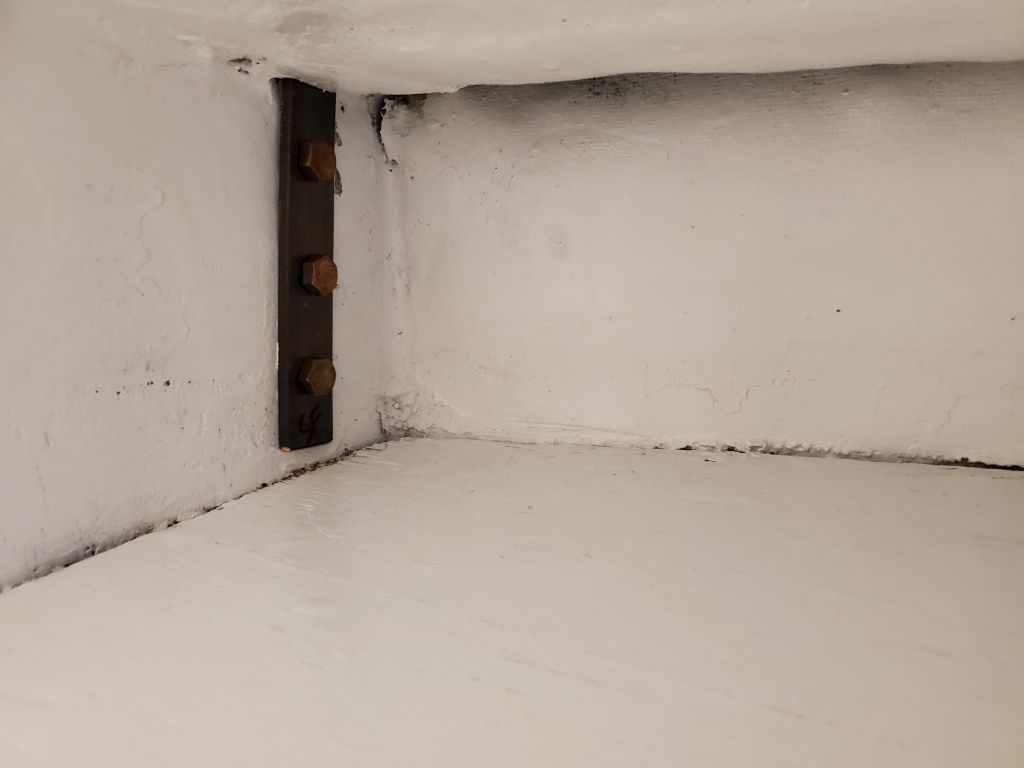
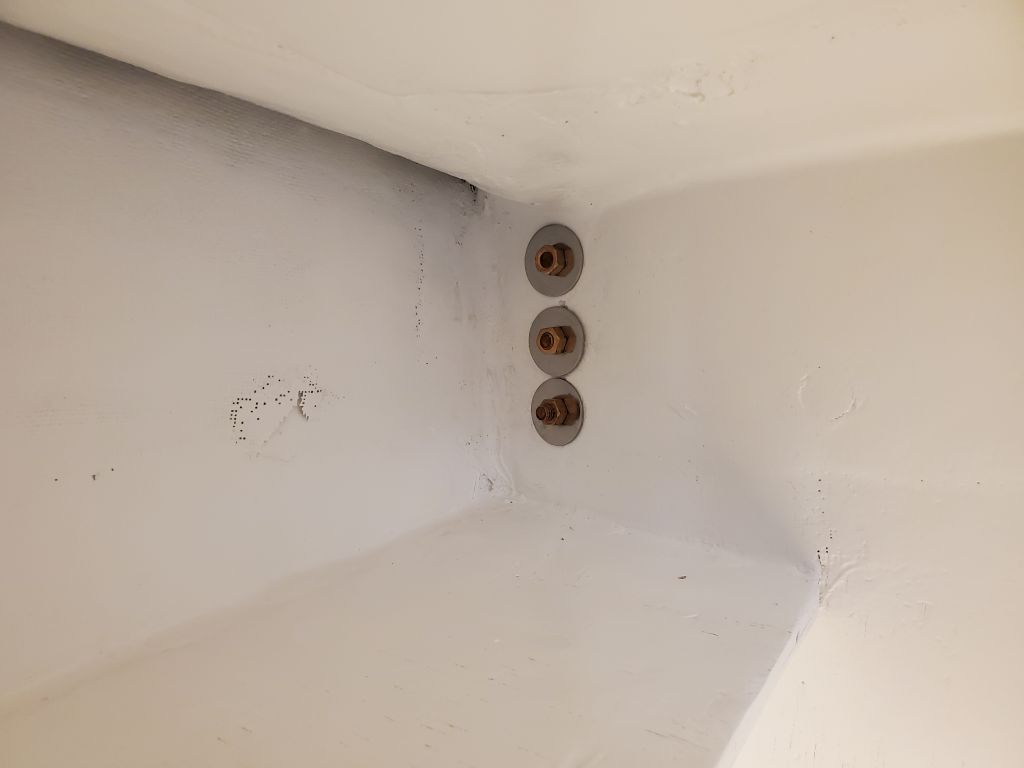
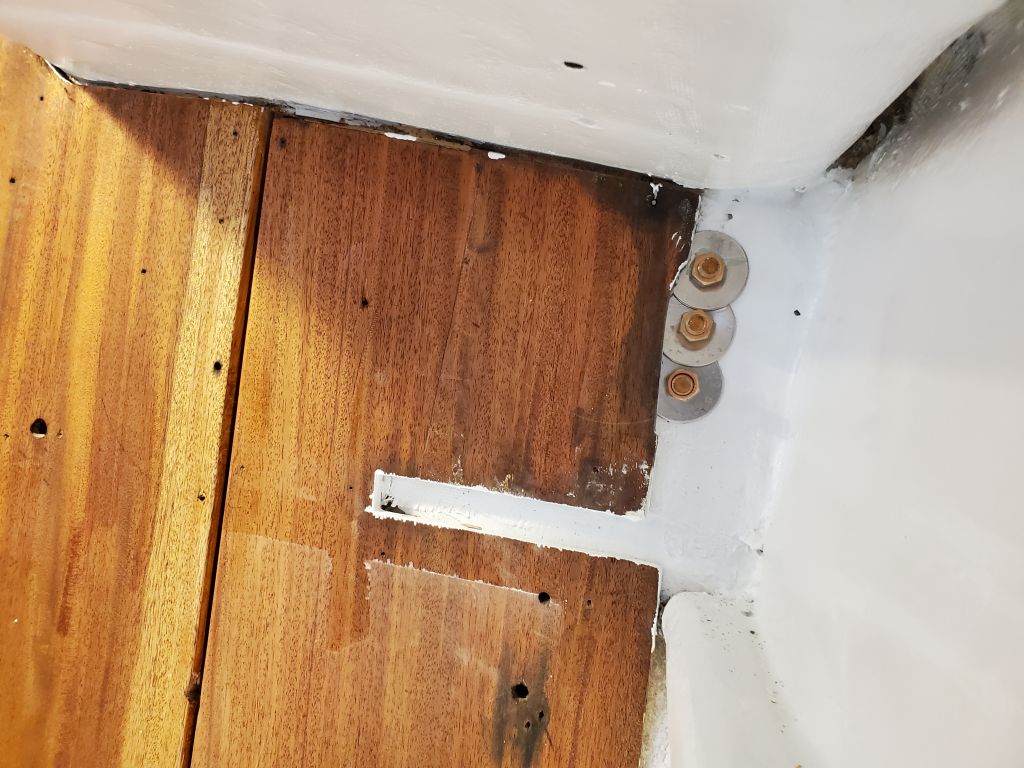
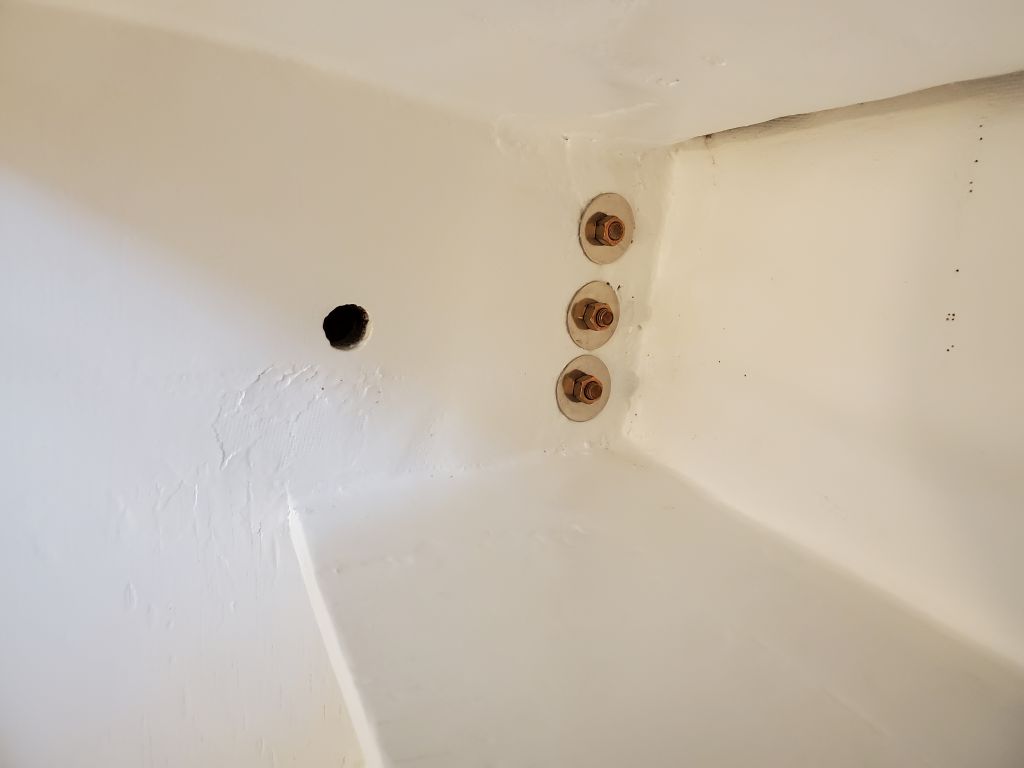
Down below, I bolted the chainplates in with new bronze fasteners and large SS fender washers, since I’ve never seen bronze fender washers.

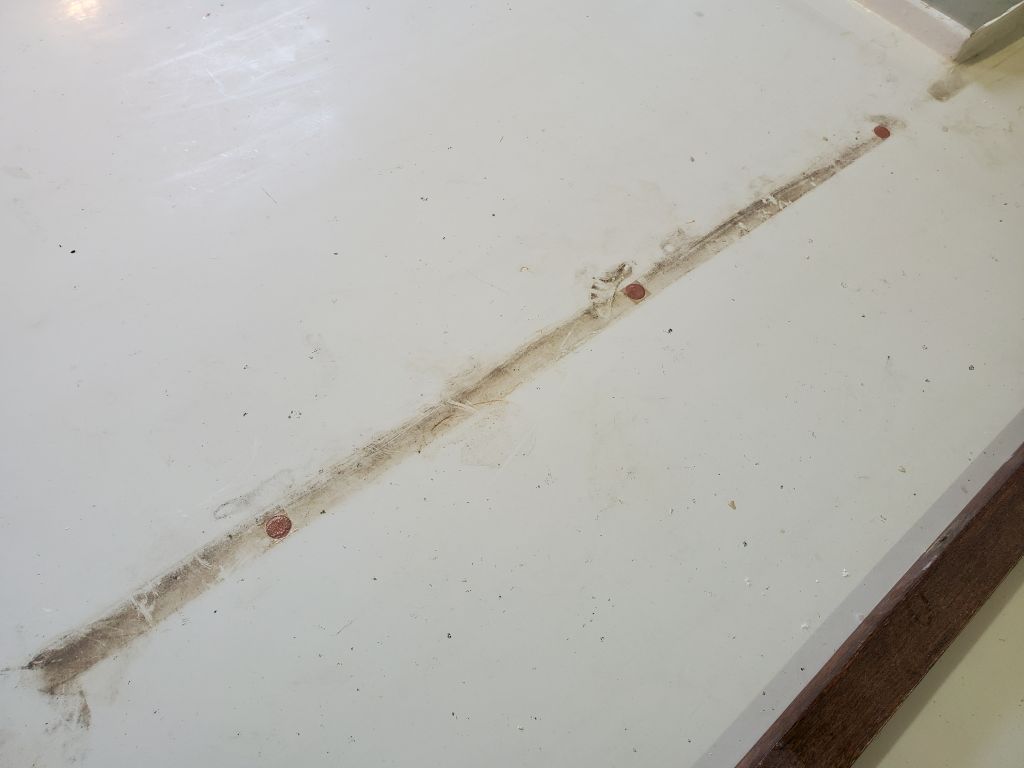
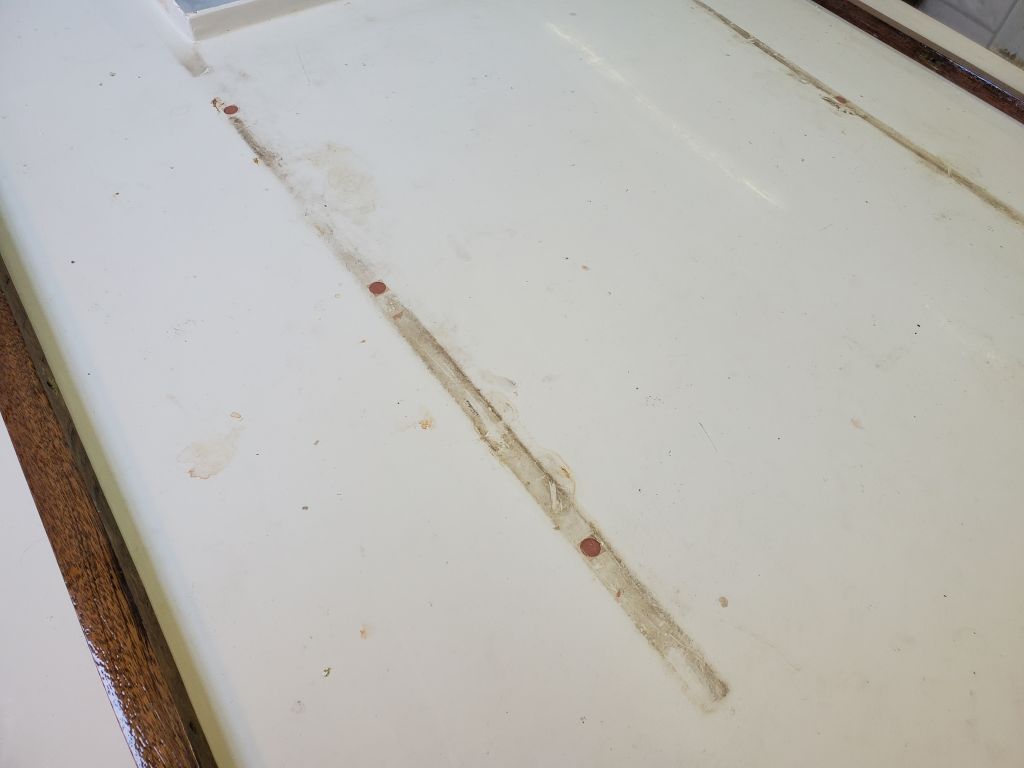
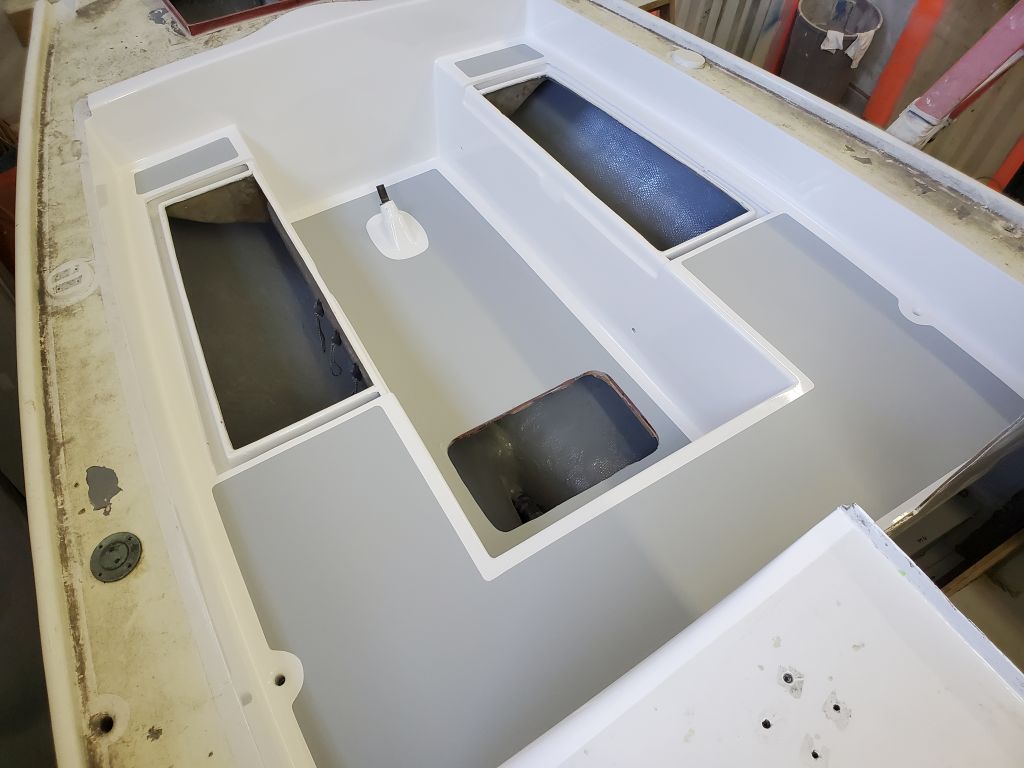
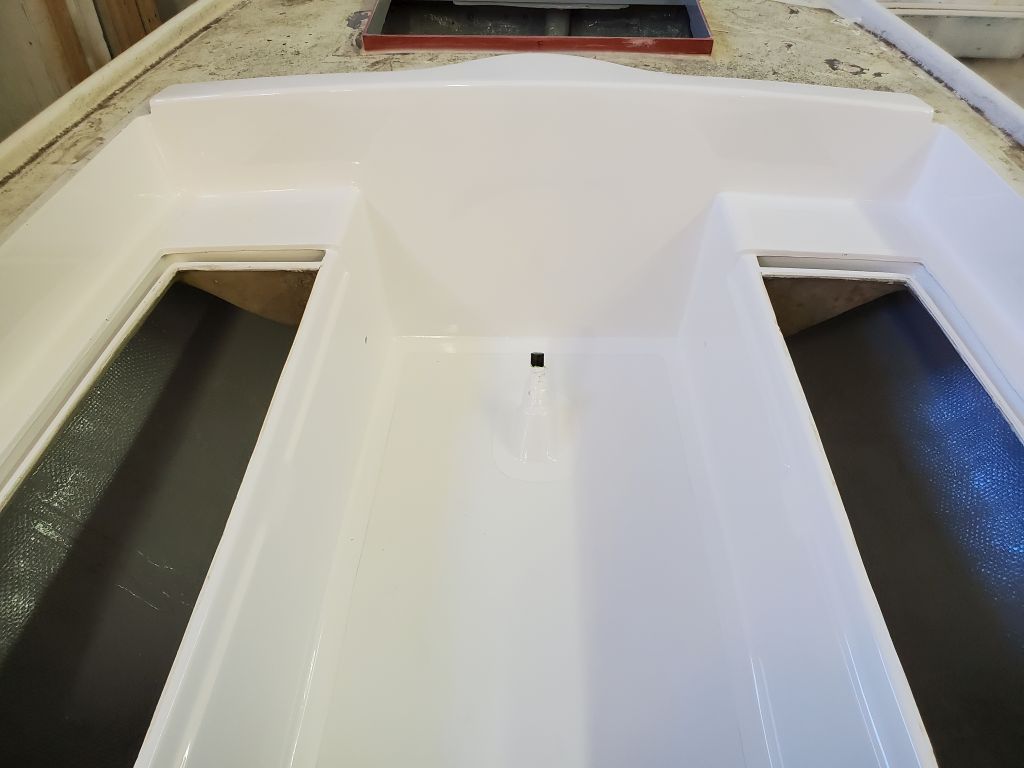
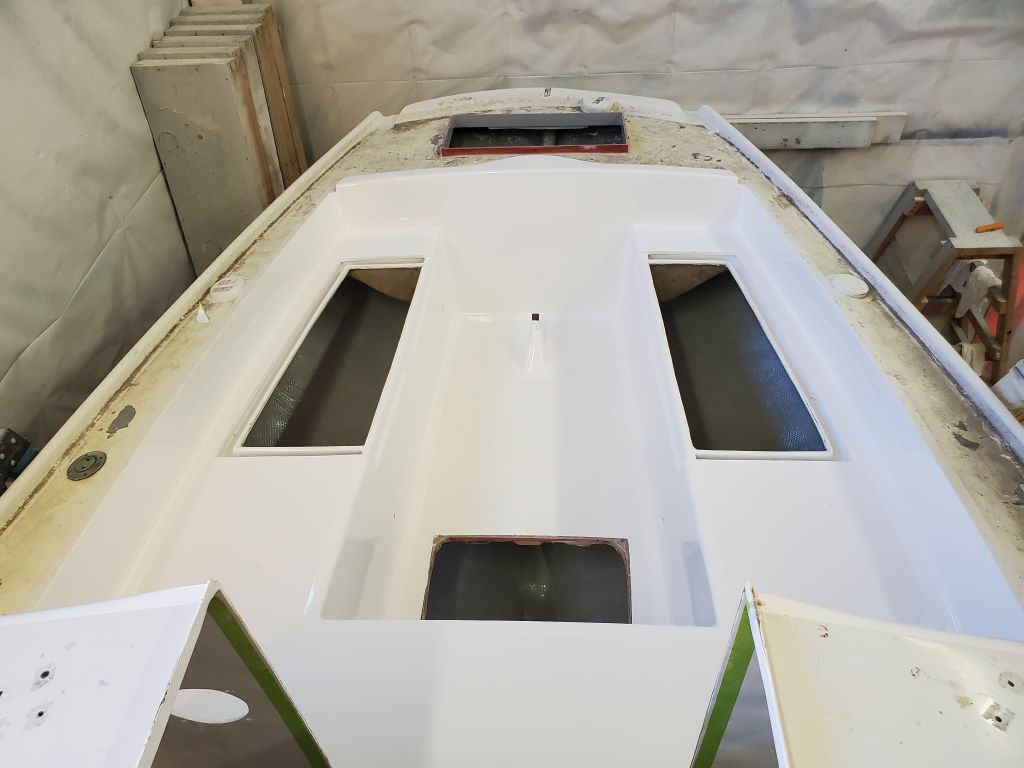
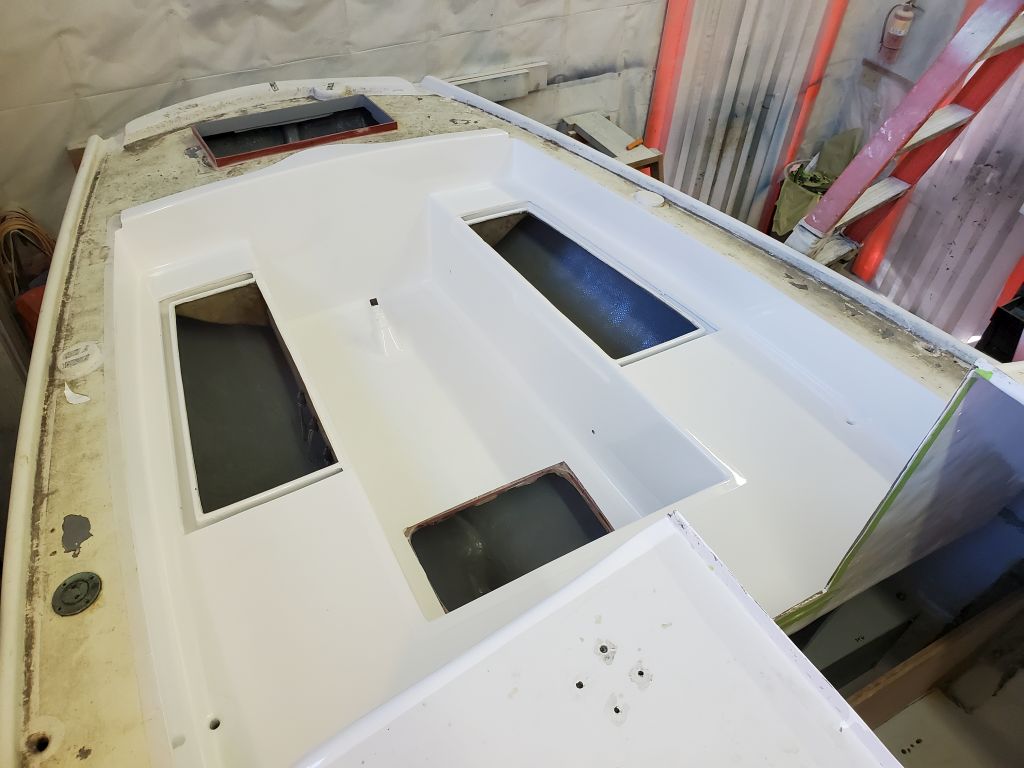
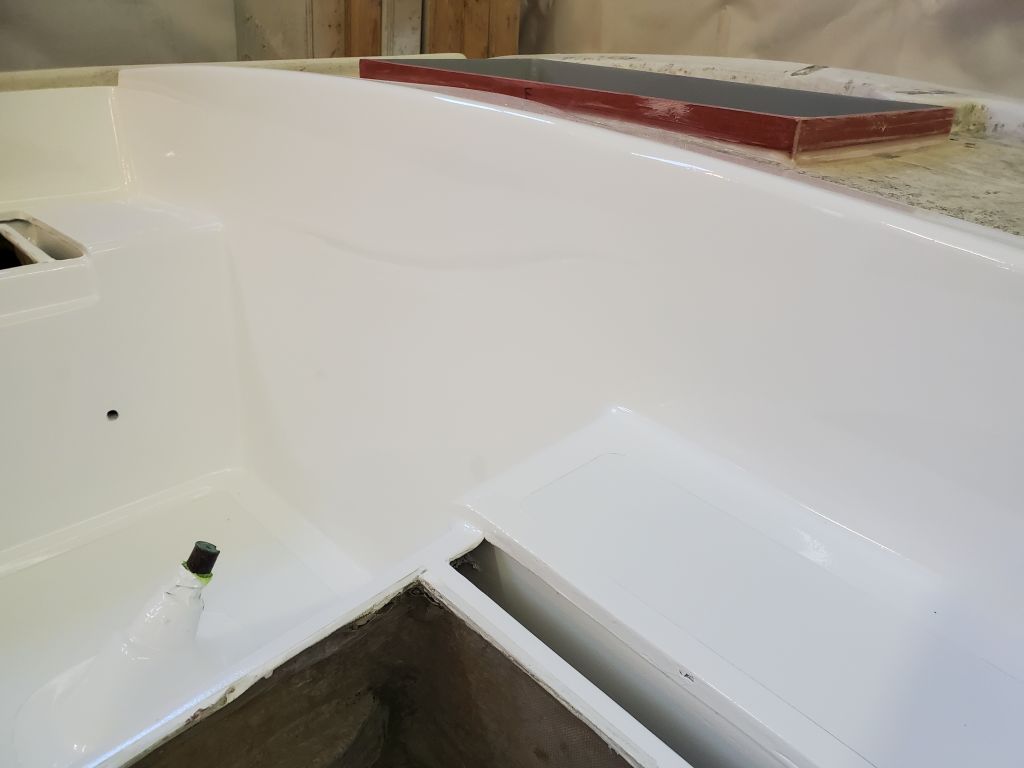
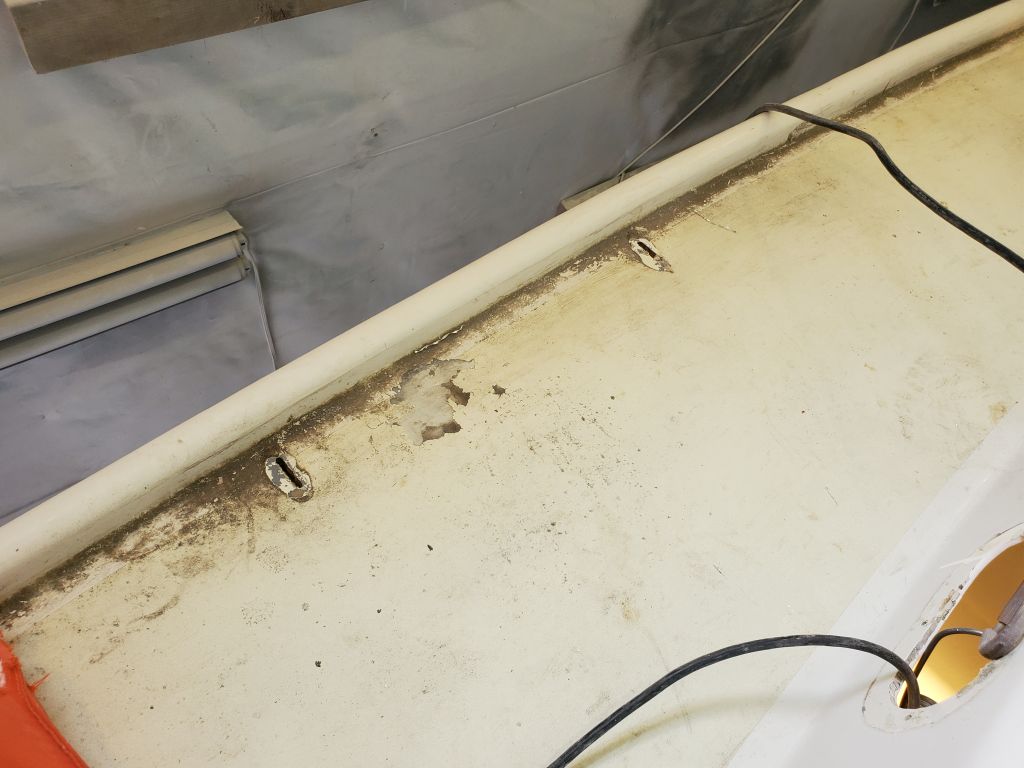
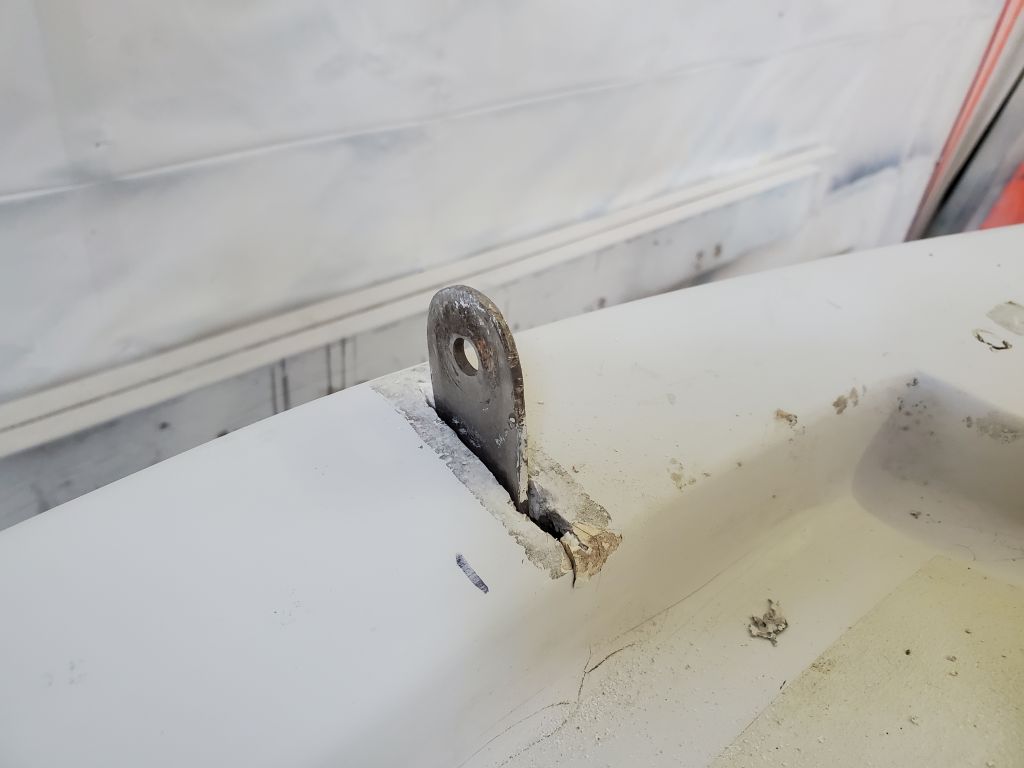
The slot for the backstay chainplate wouldn’t allow the chainplate through–too narrow–so I opened it up a bit as needed and slipped in the chainplate, which now awaited the correct fasteners once they arrived.  Meanwhile, I turned my scrubbing attentions to the poor poop deck, which was in dreadful cosmetic condition overall but at least looked a little better once cleaned up.  Cleaning this area took only a minute or two.

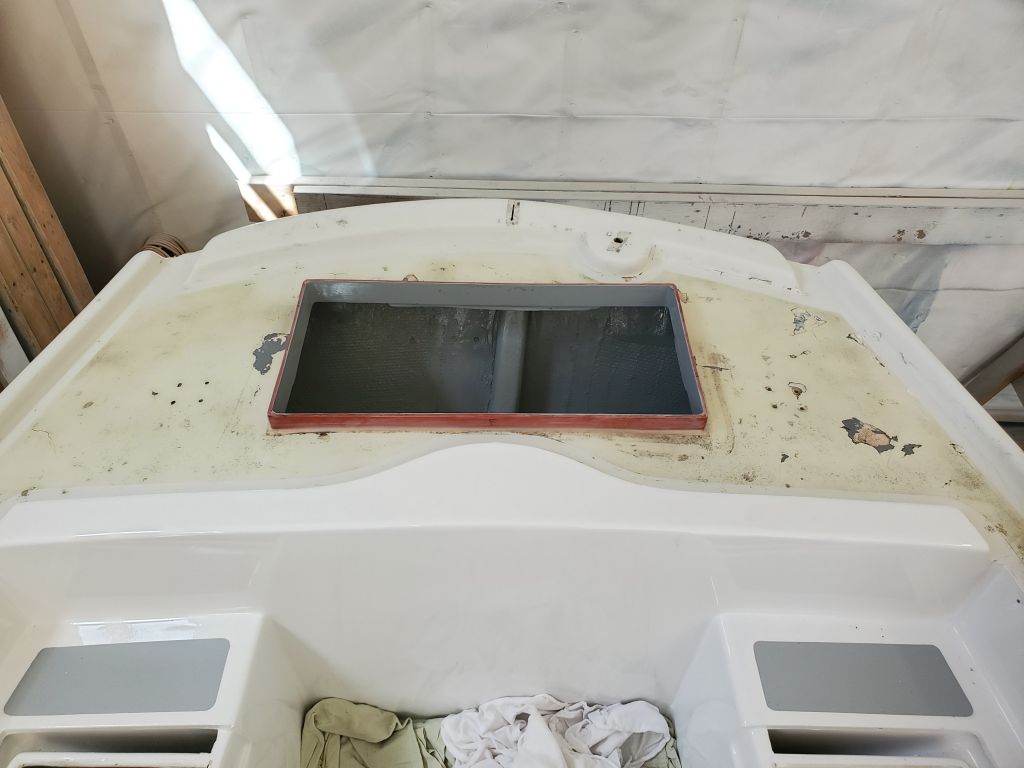
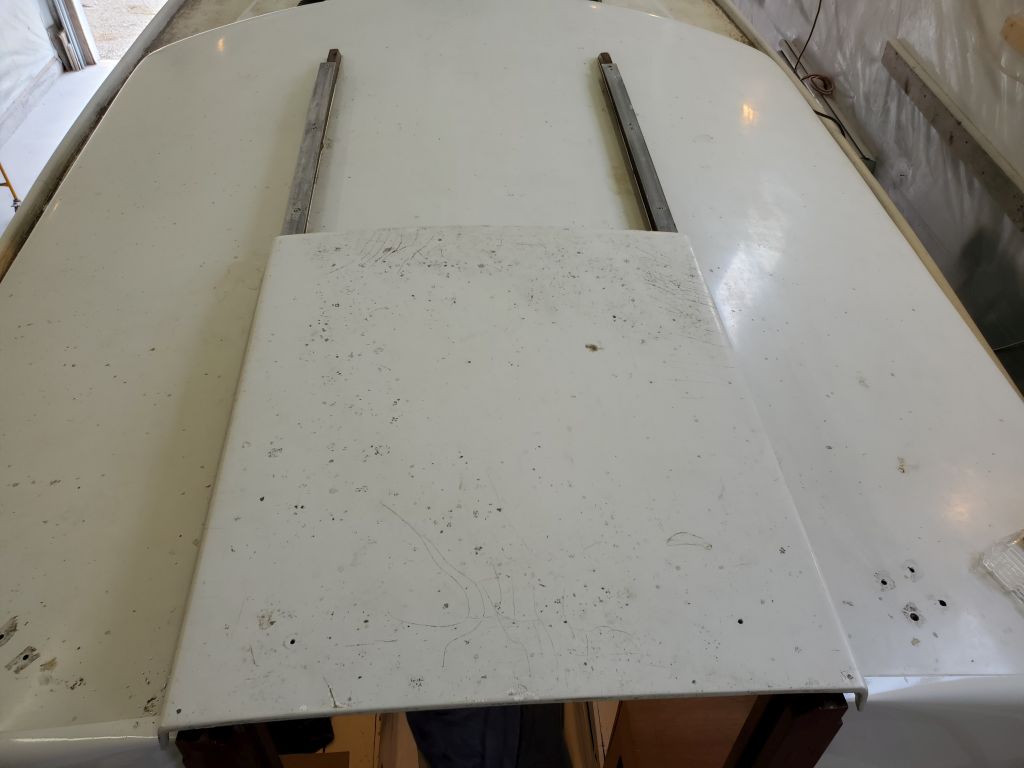
I also tried the new method on the top of the companionway hatch, which looked better afterwards despite the various sap and resin spots that weren’t going to go away till the whole deck was repainted sometime.

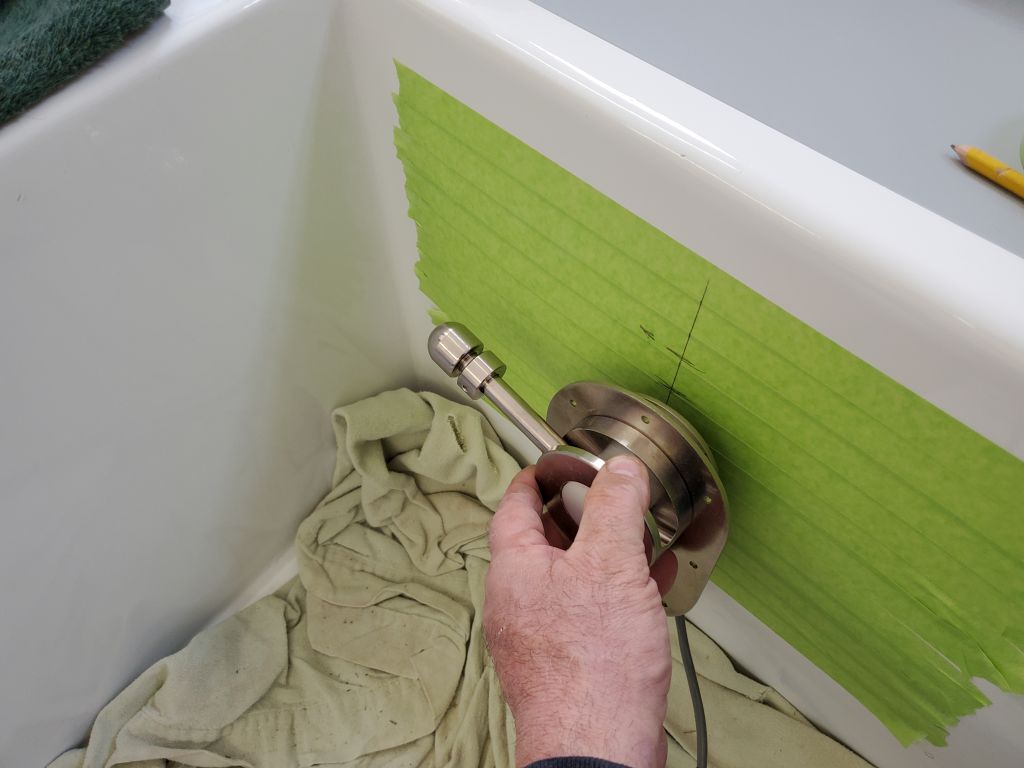
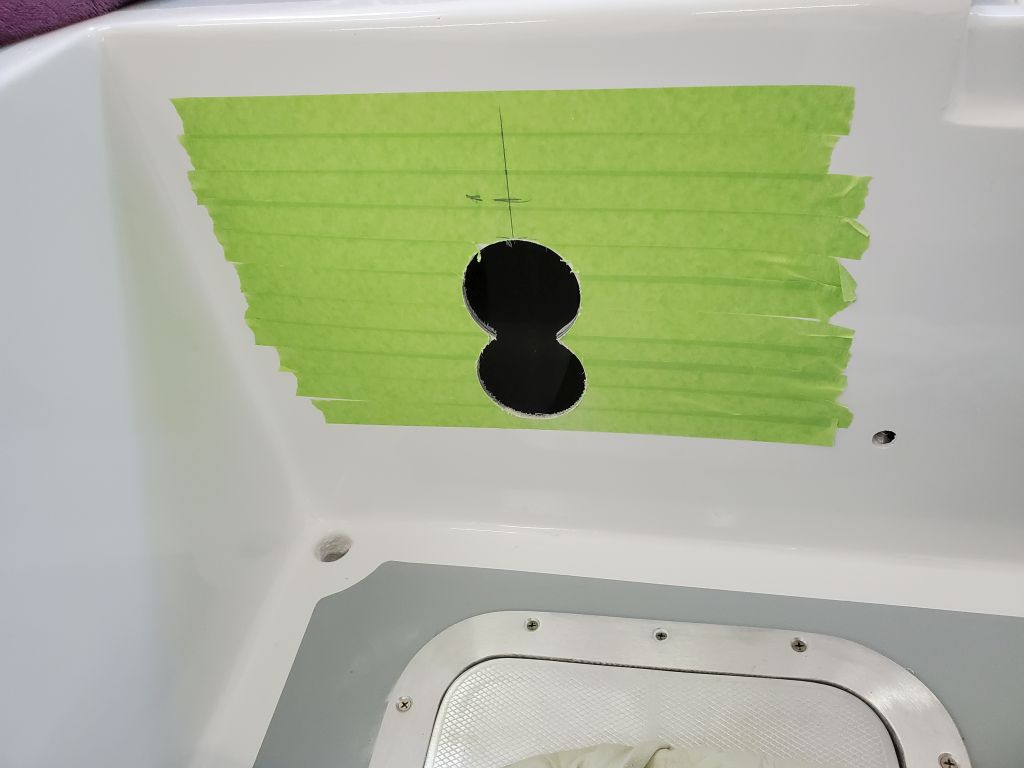
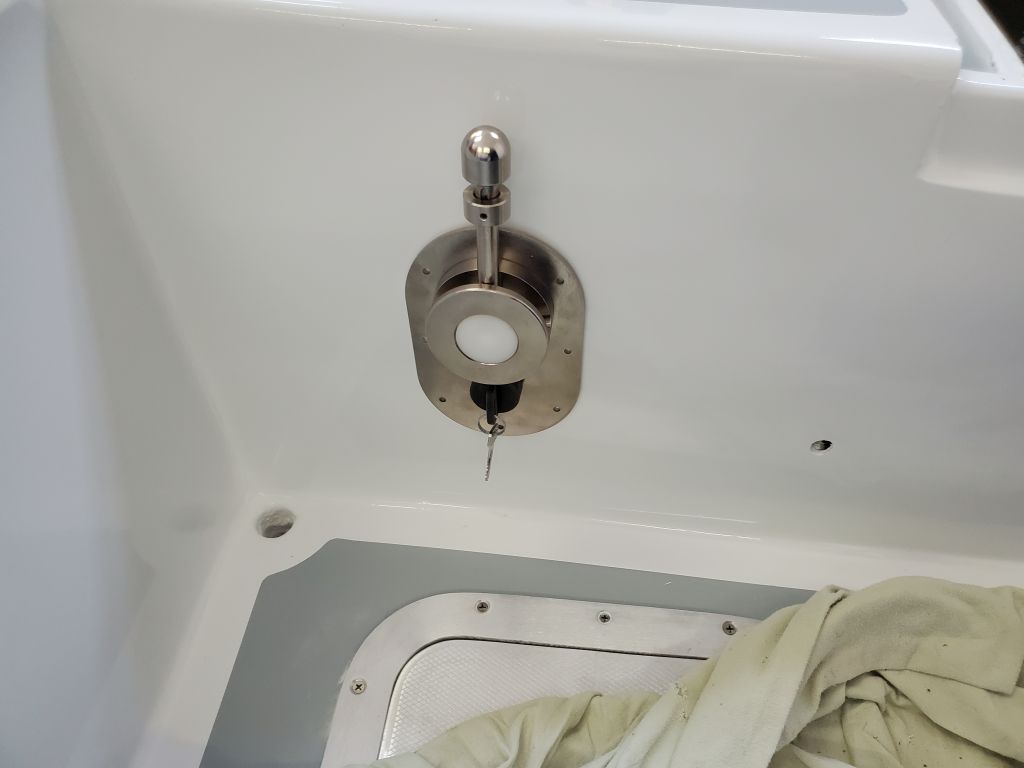
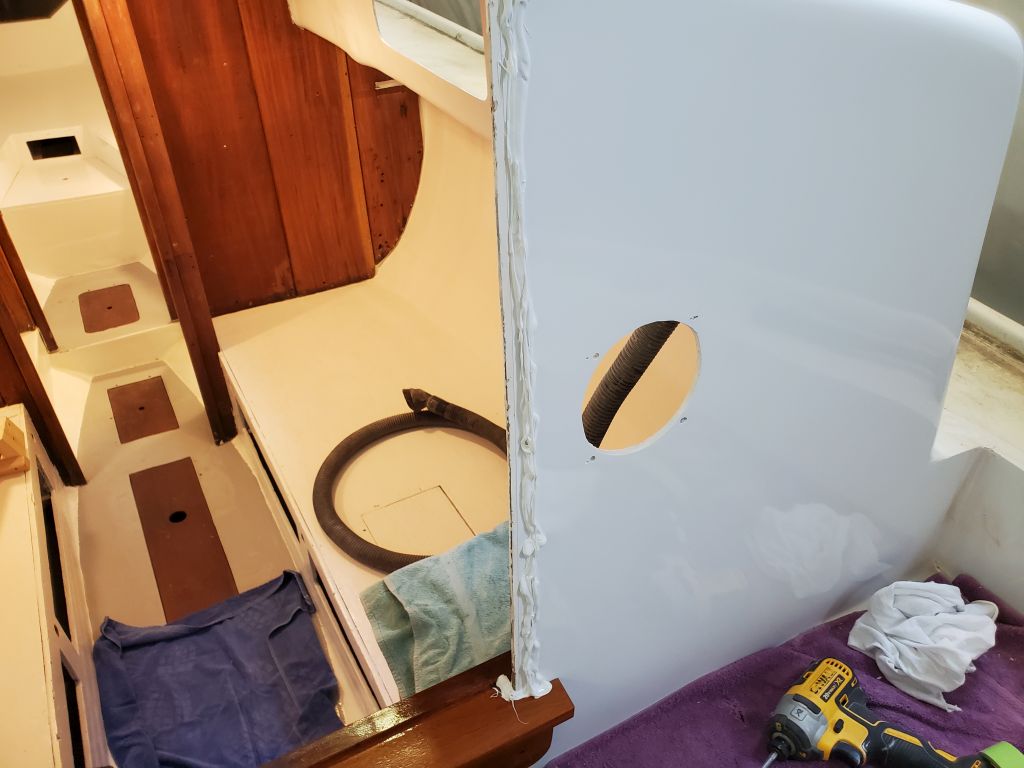
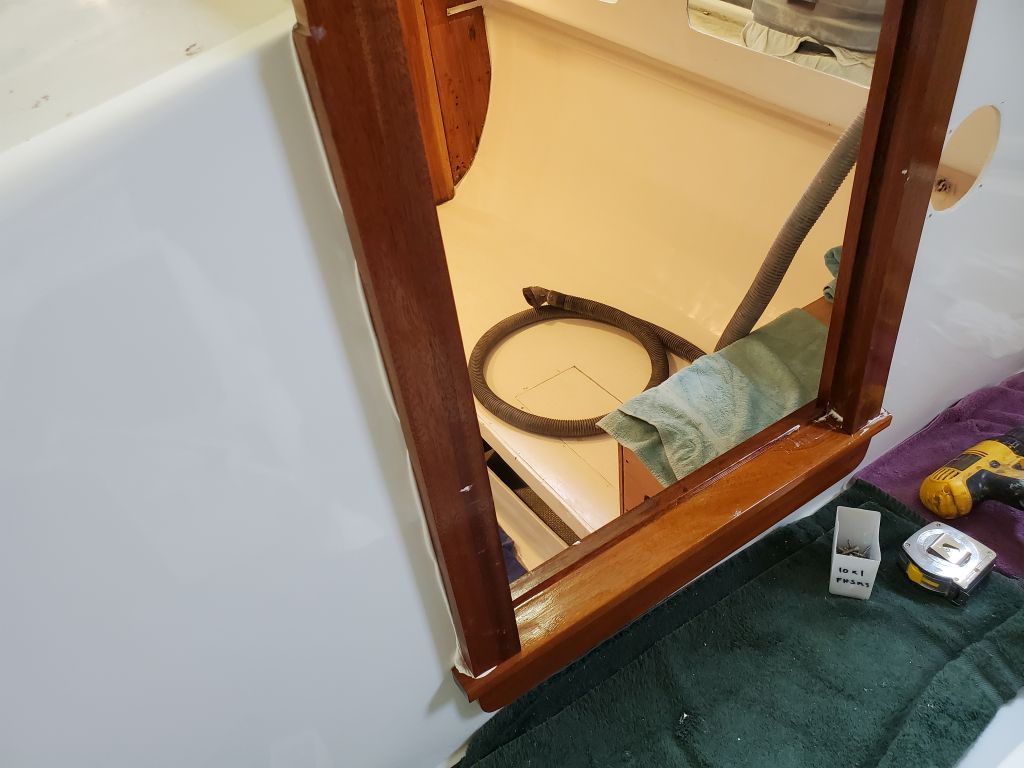
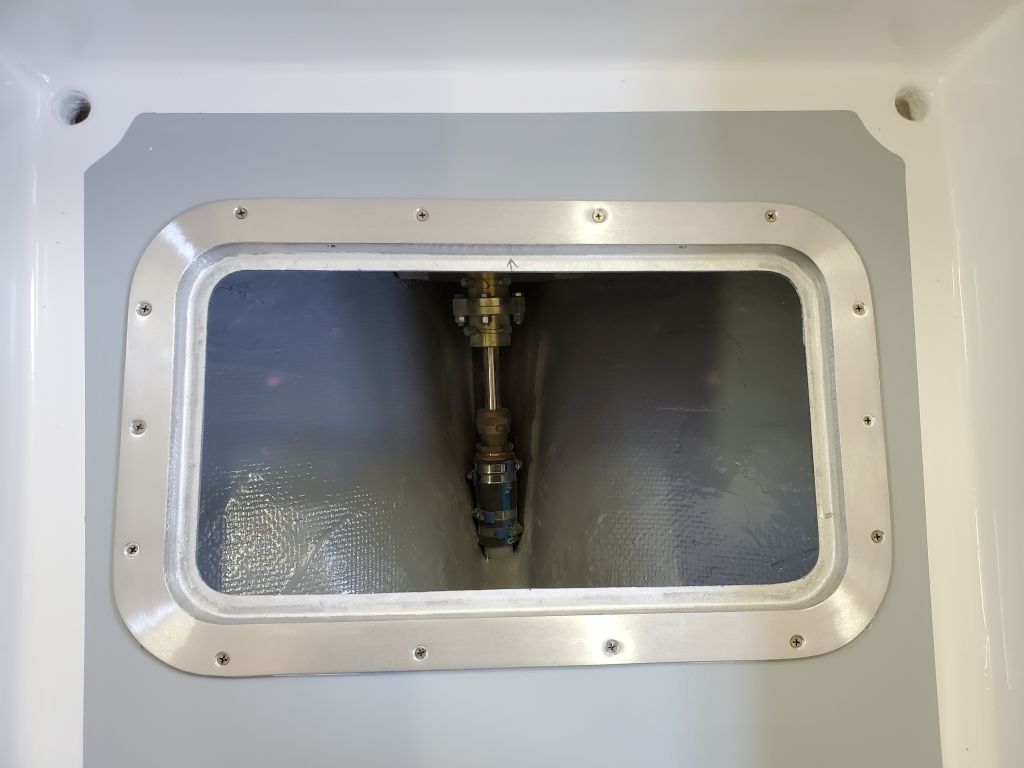
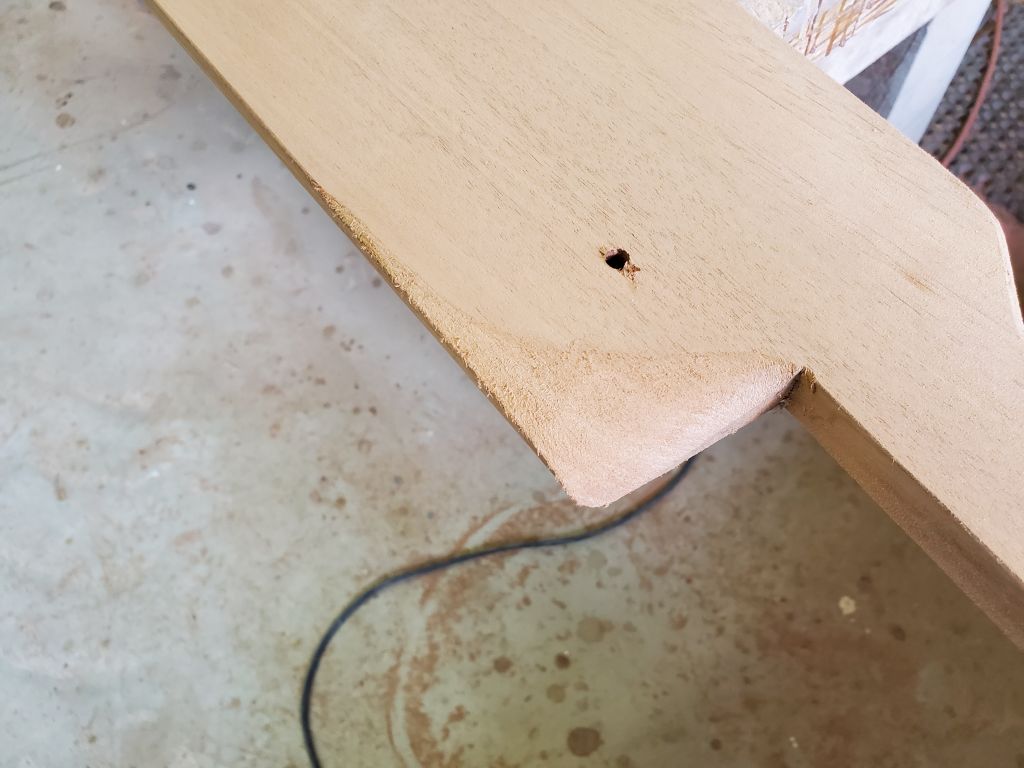
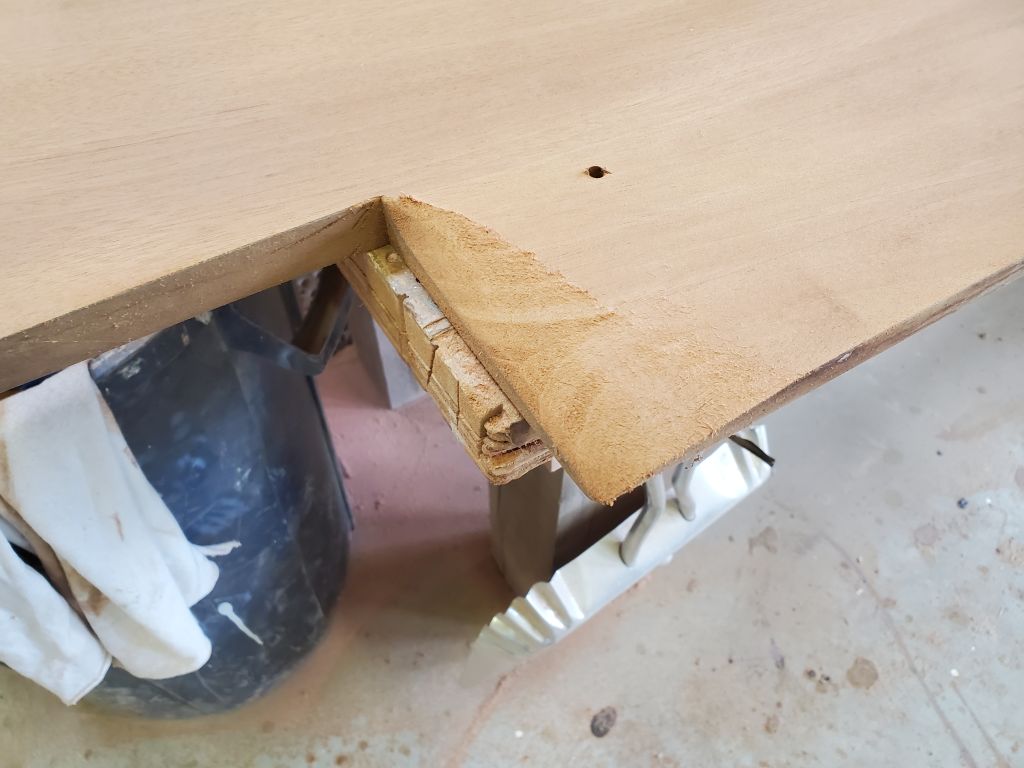
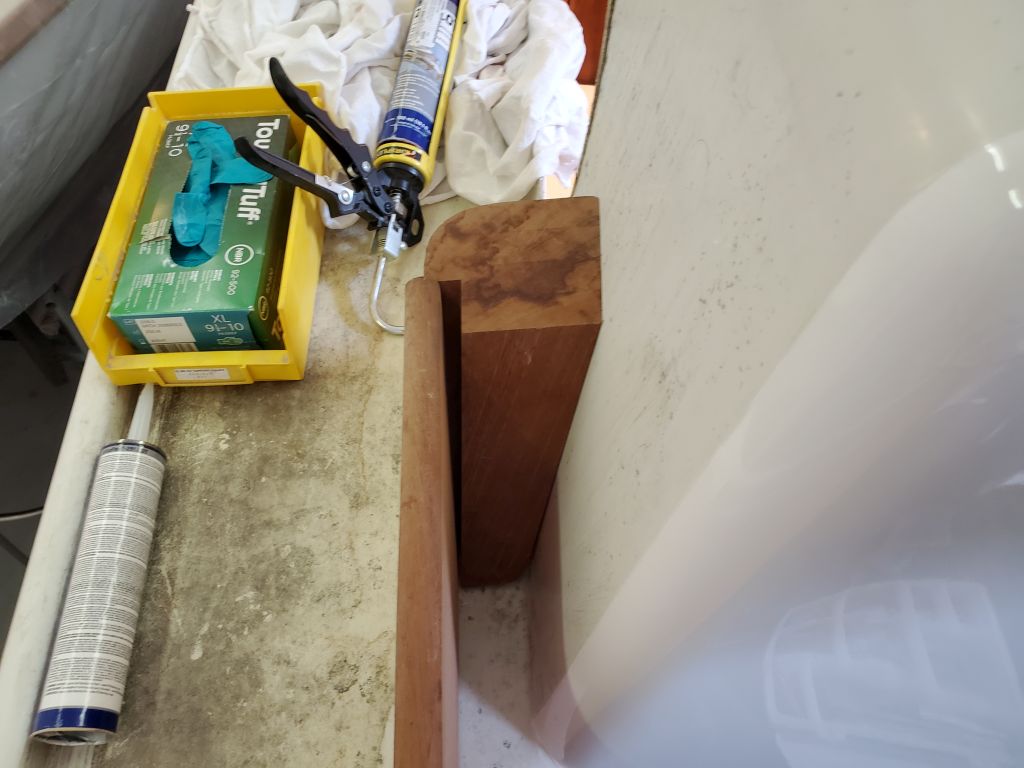
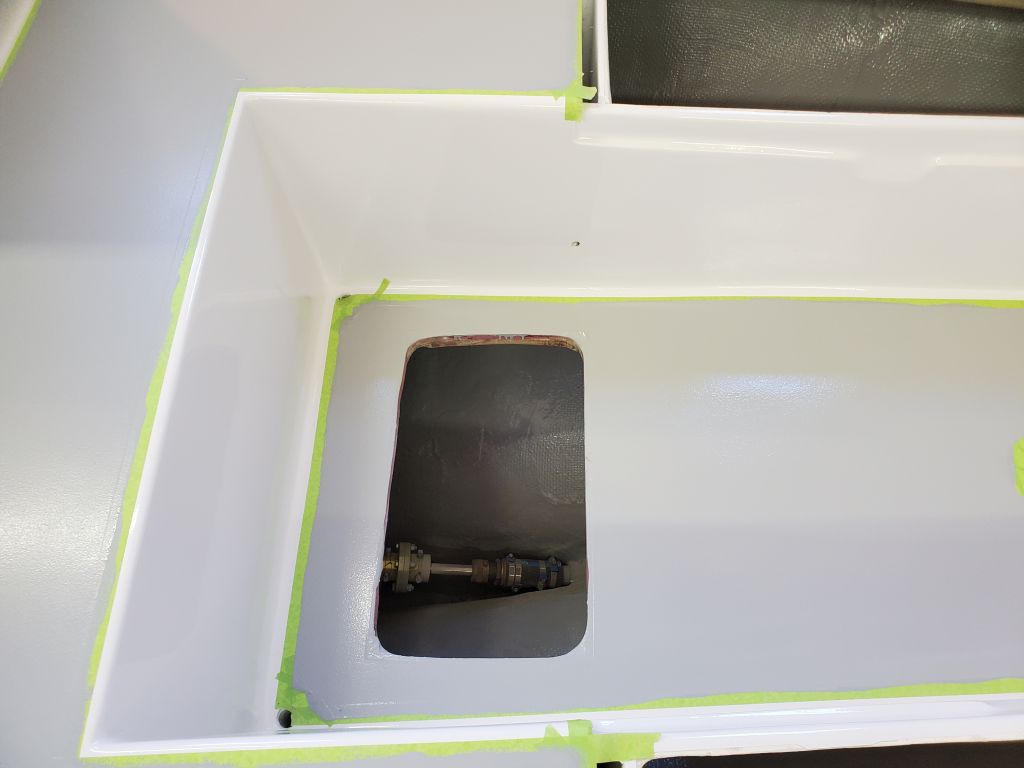
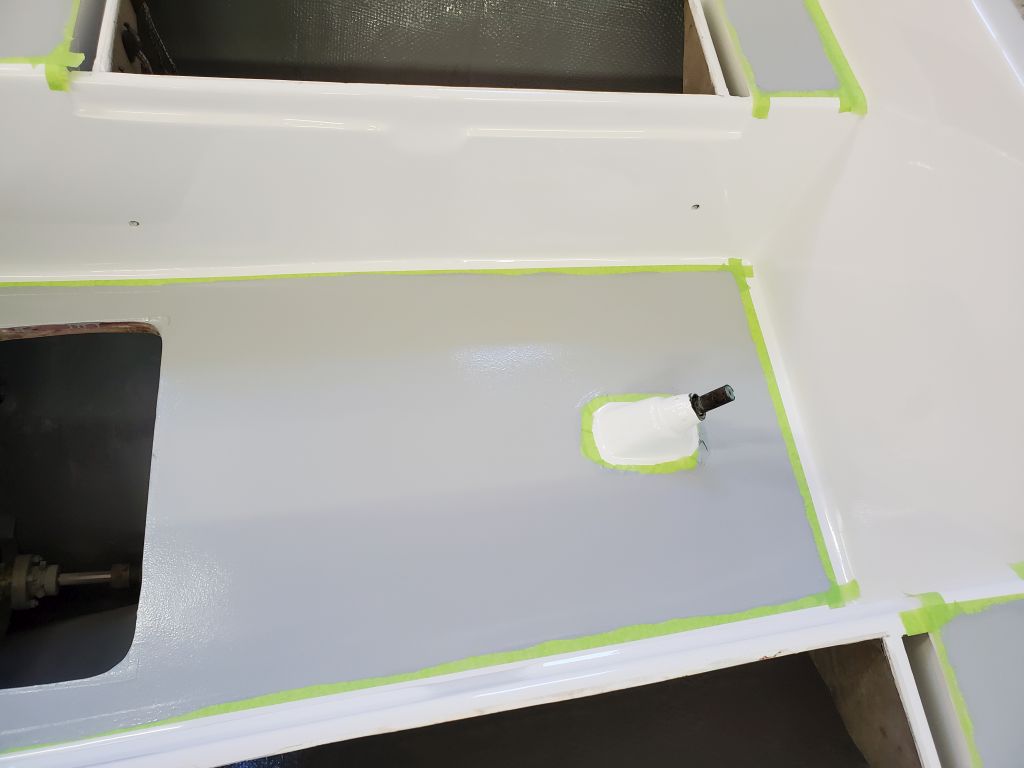
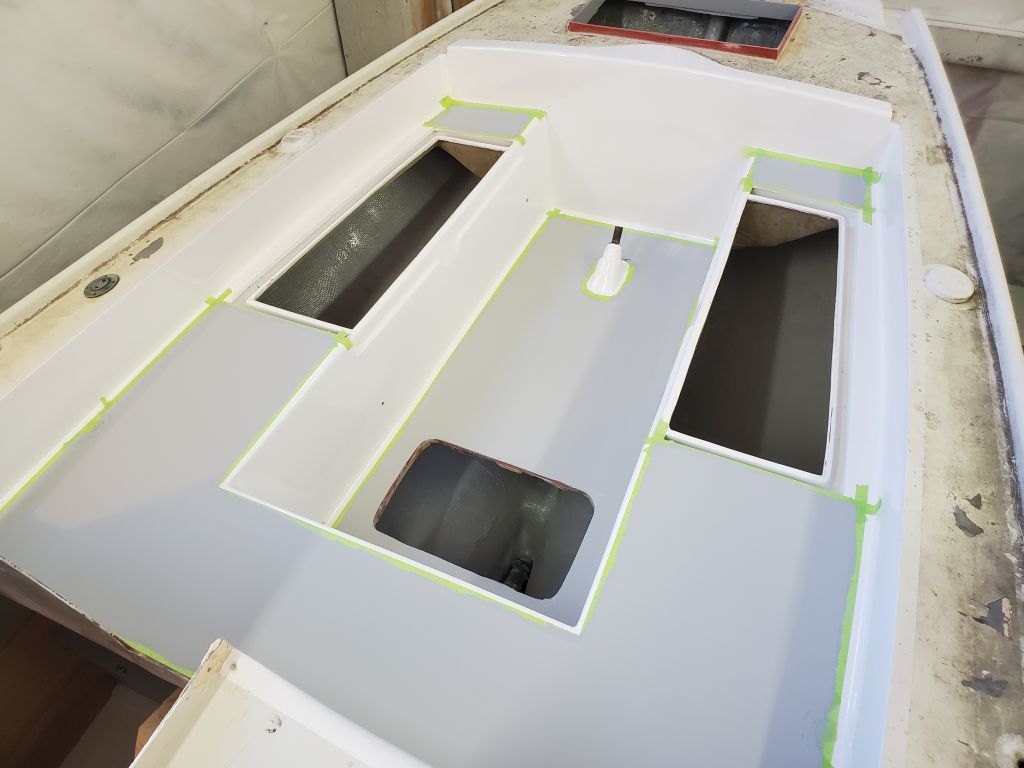
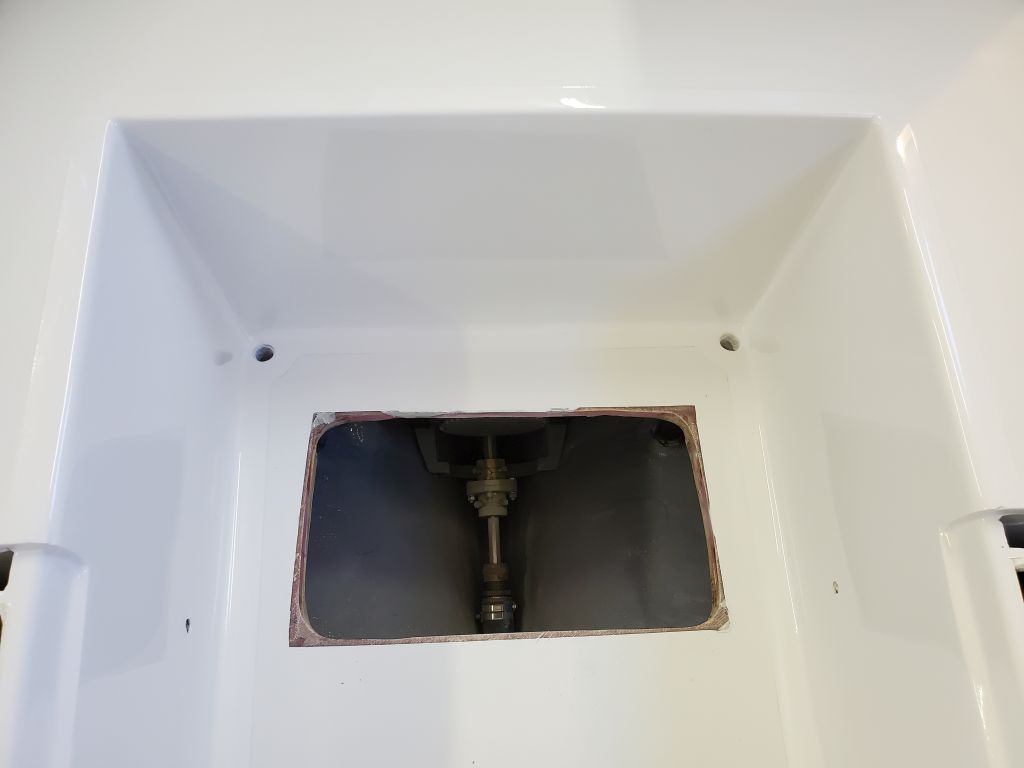
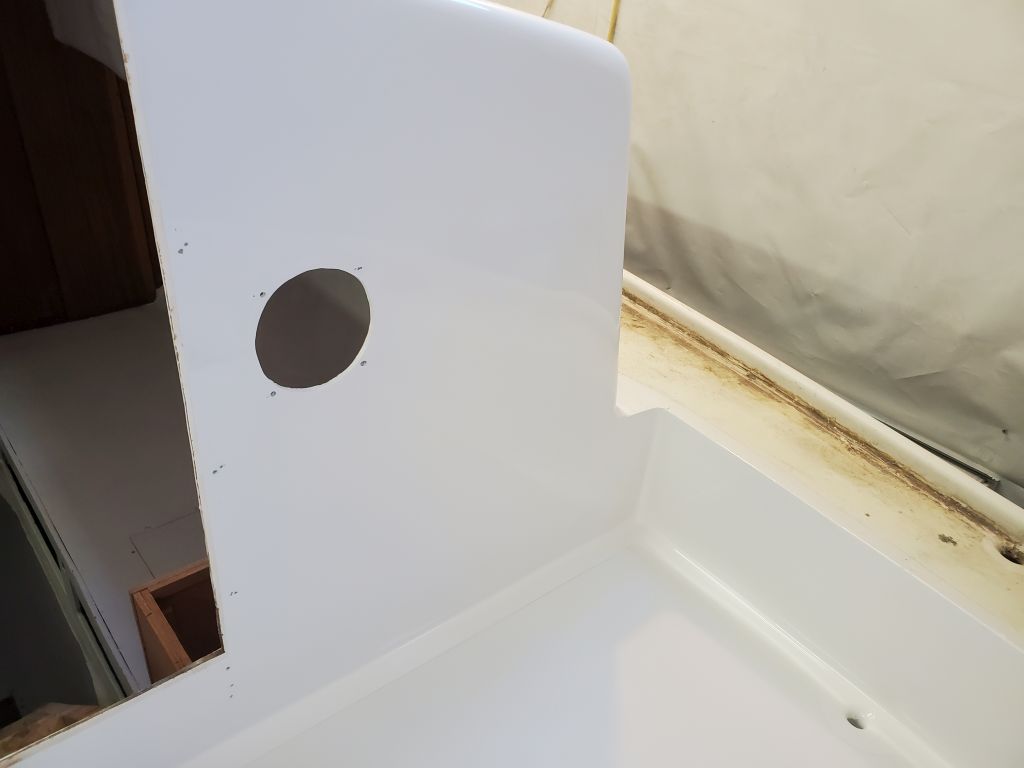
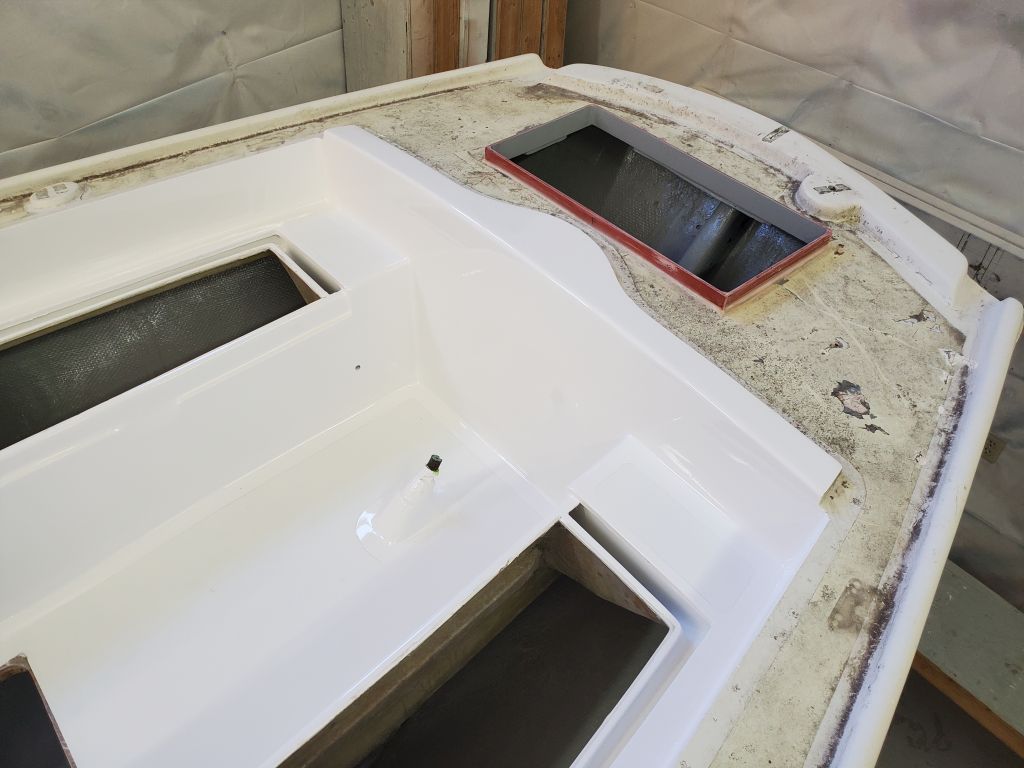
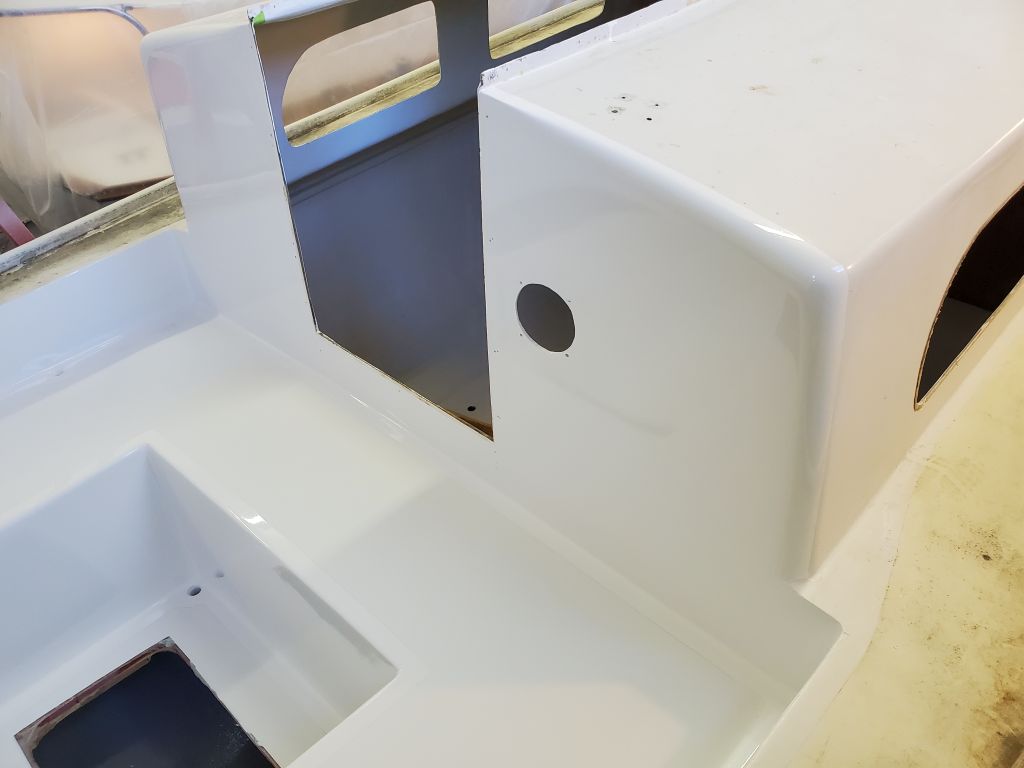
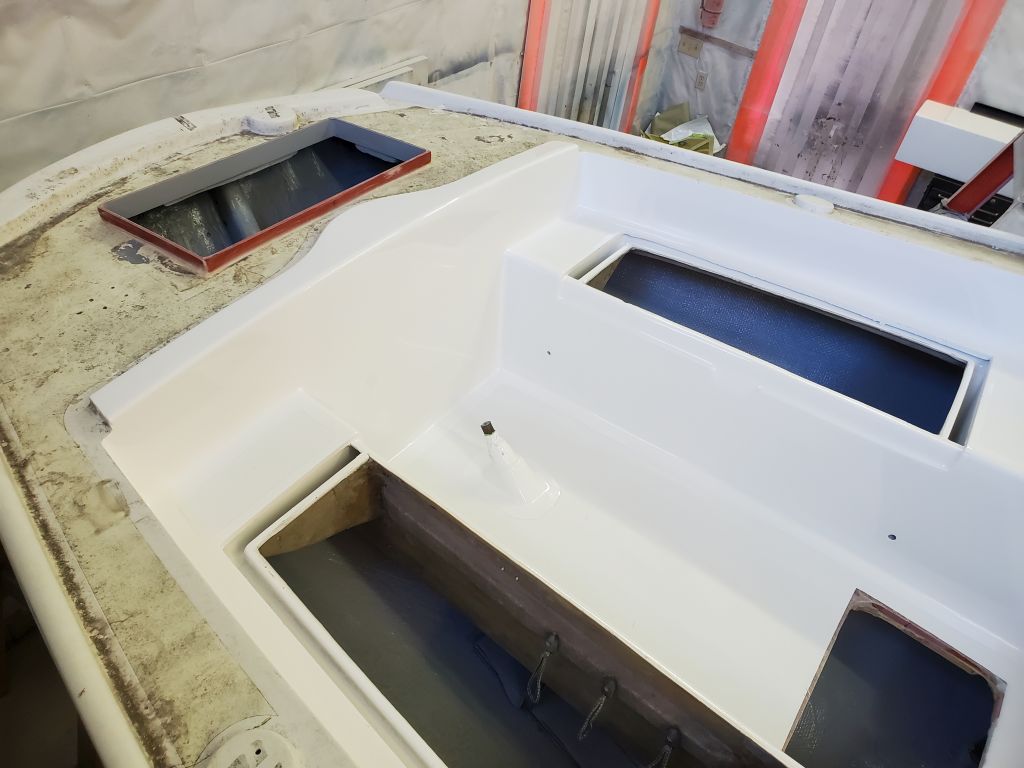
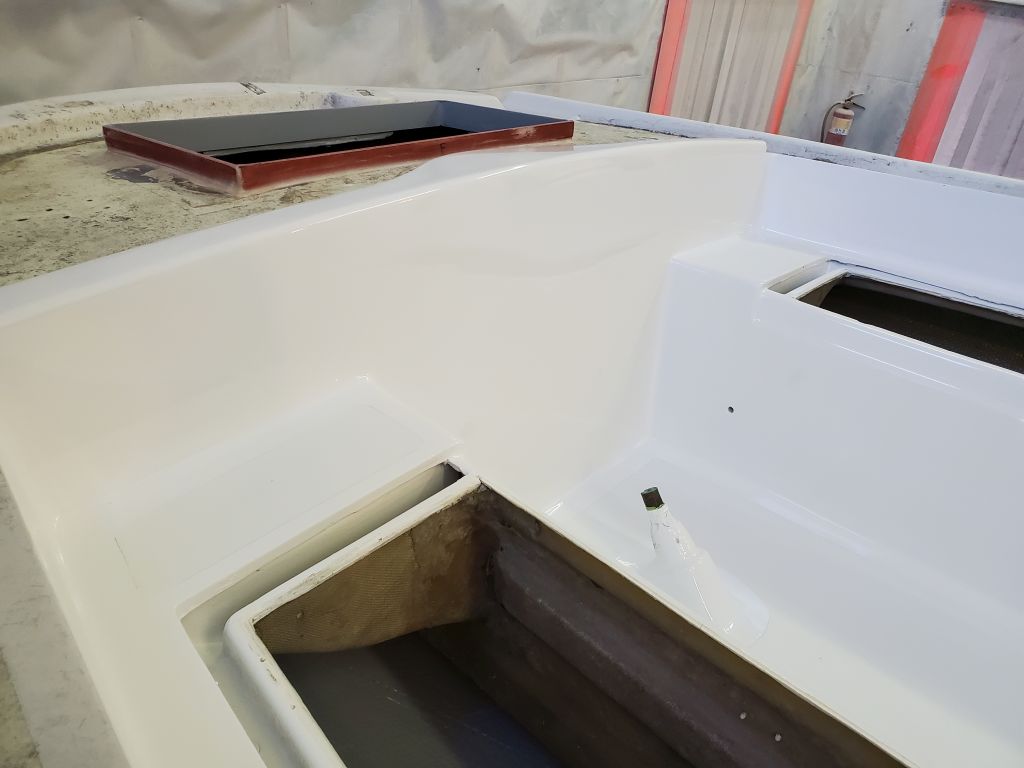
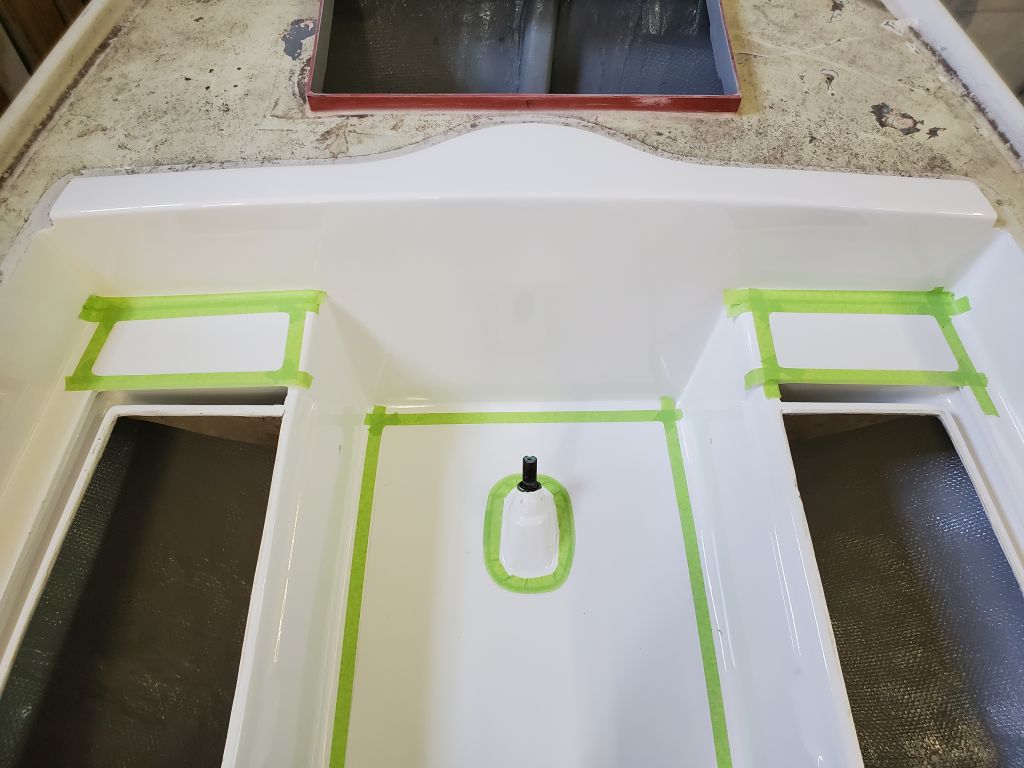
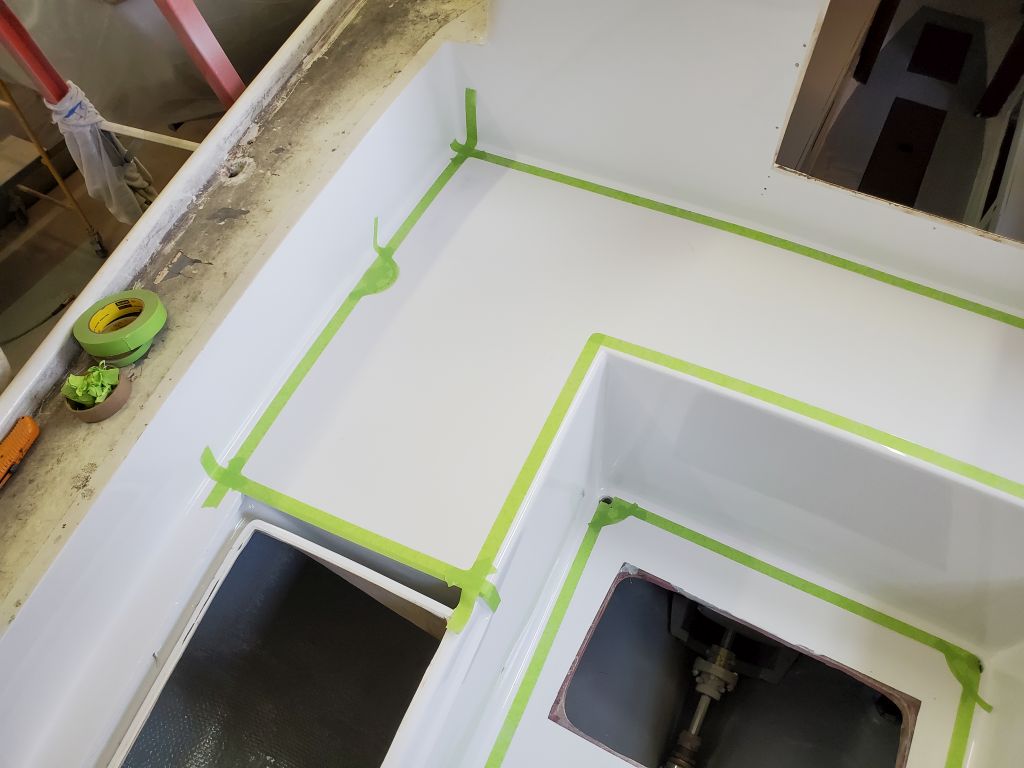
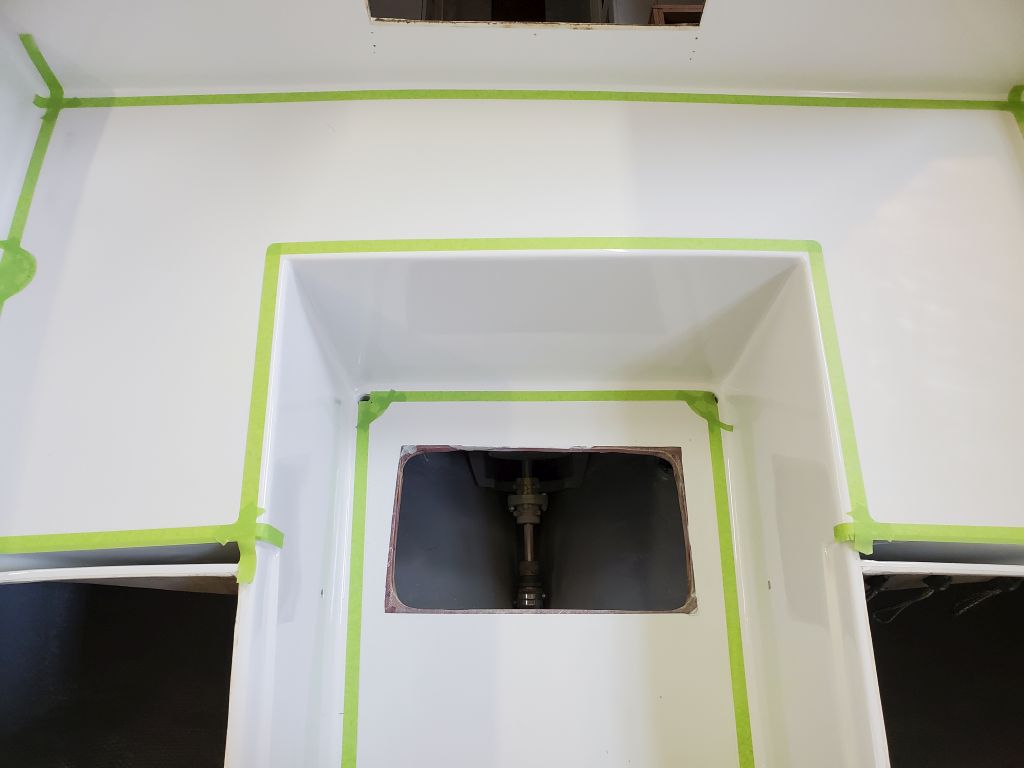
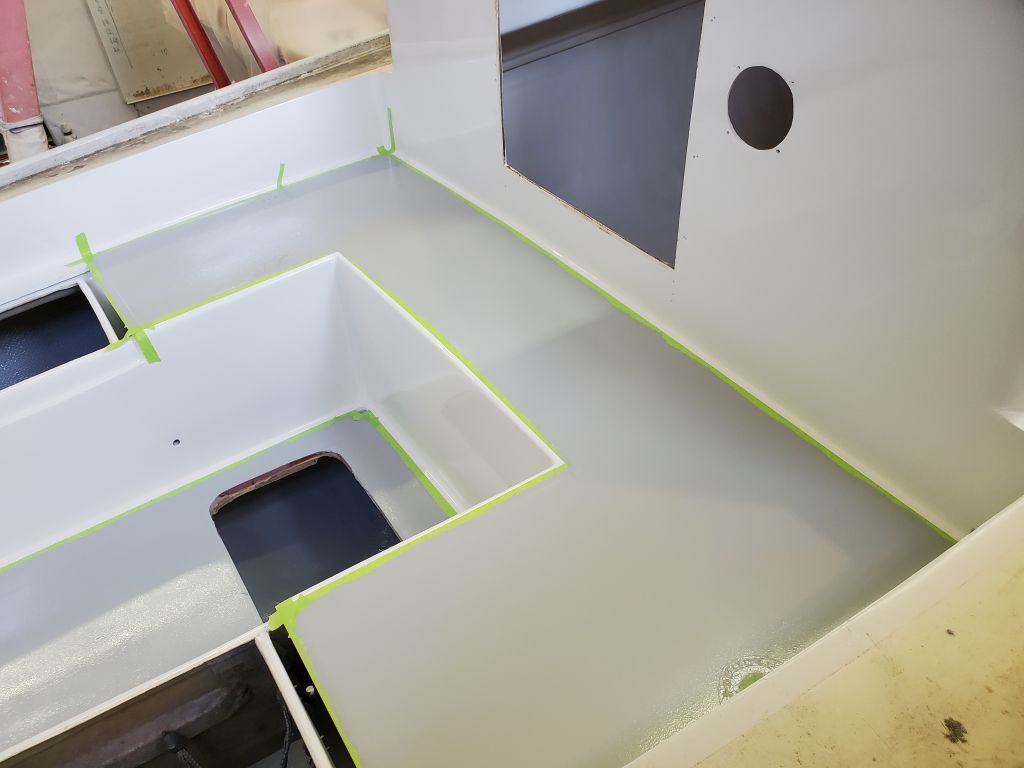
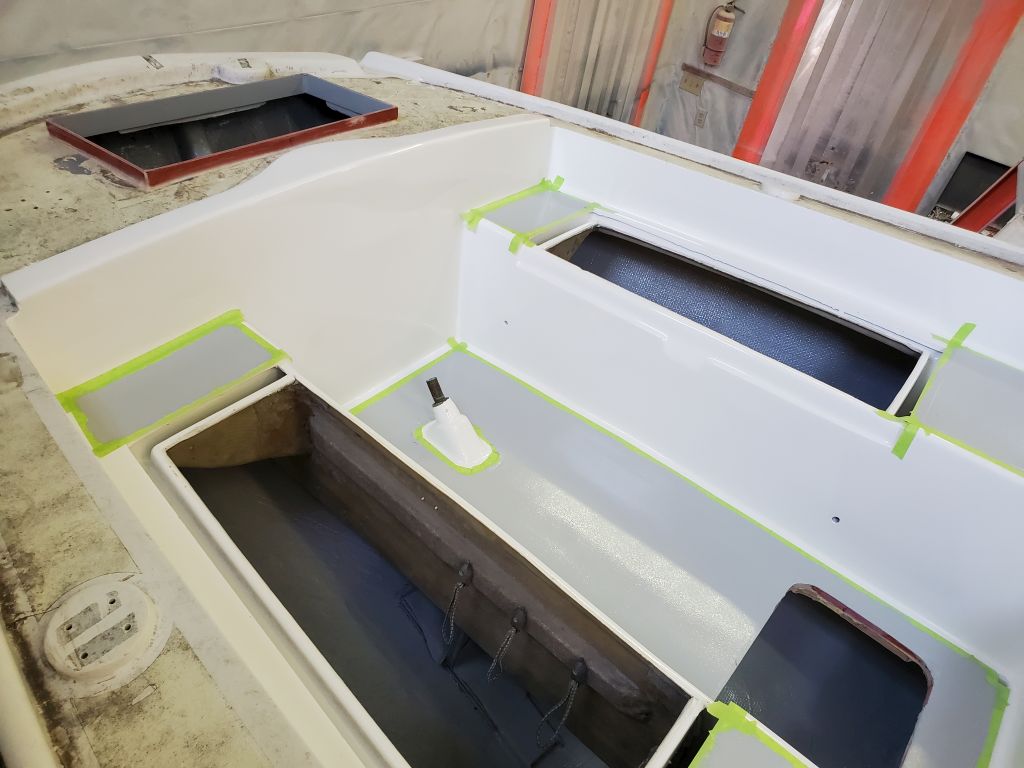
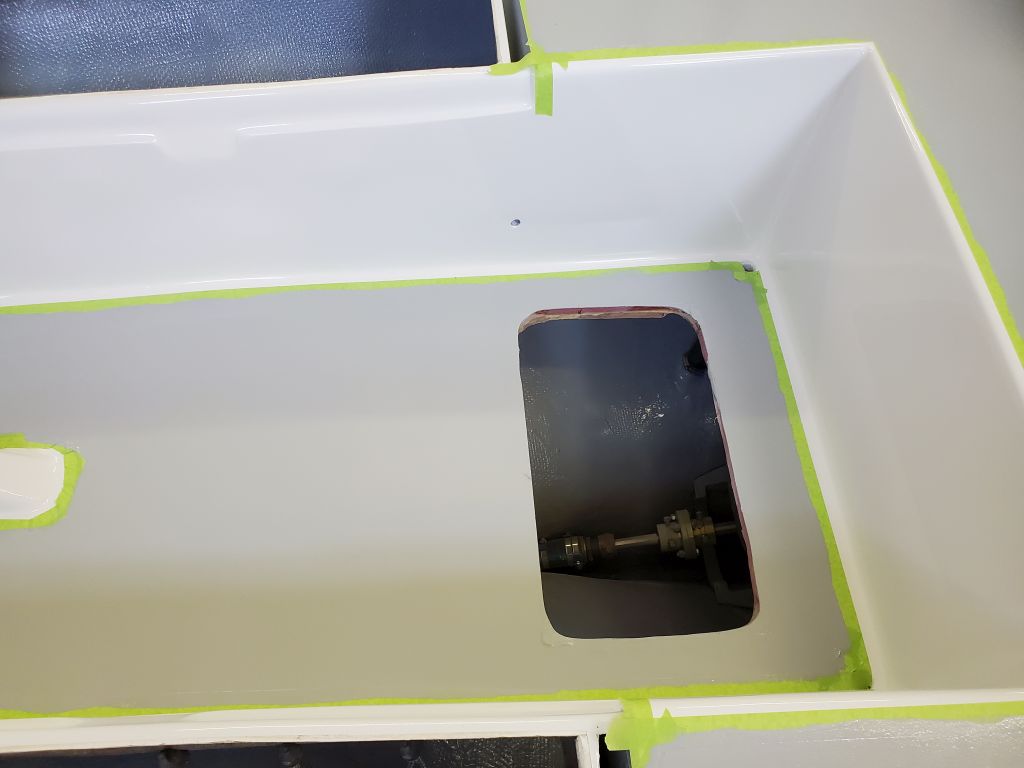
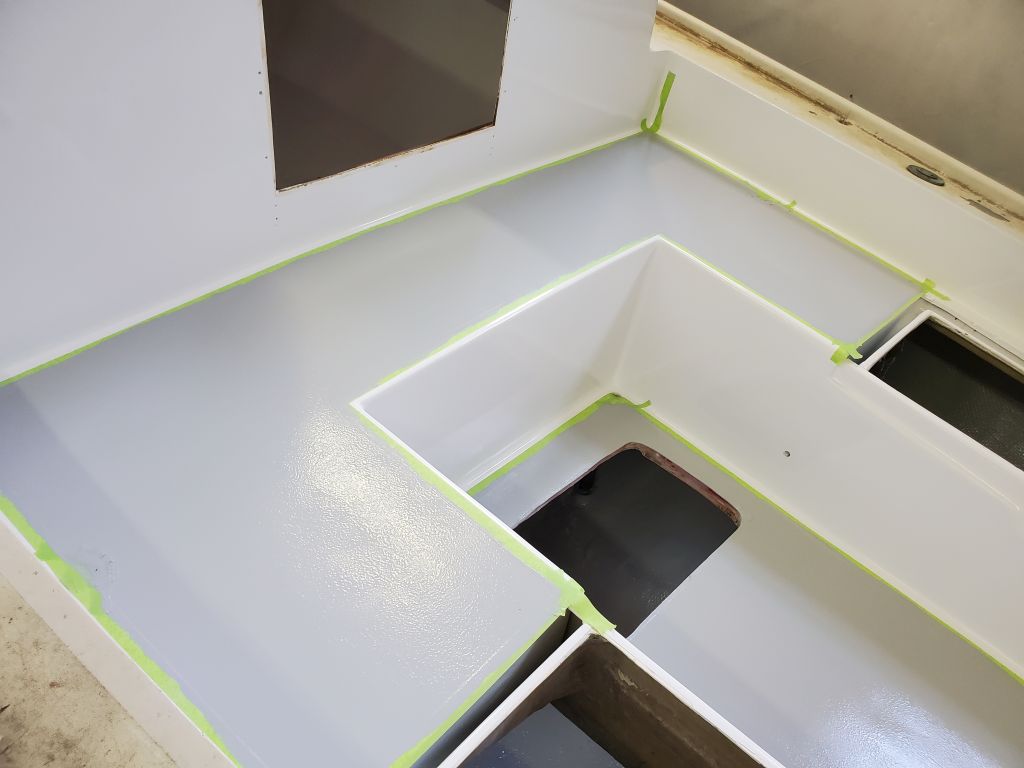
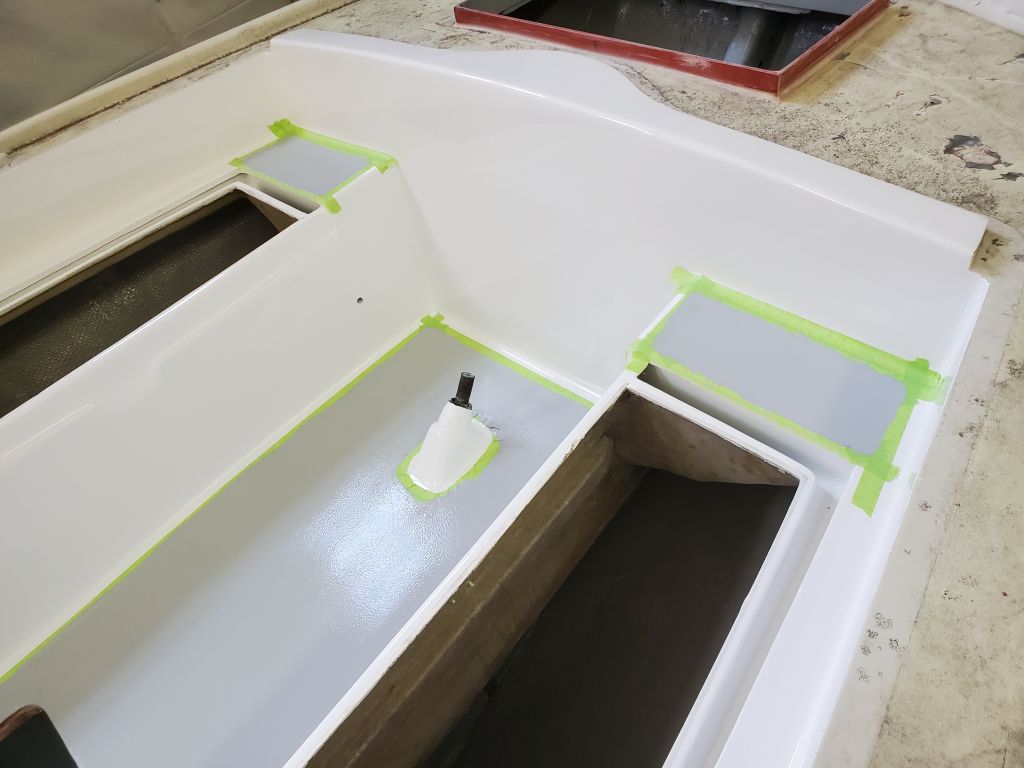
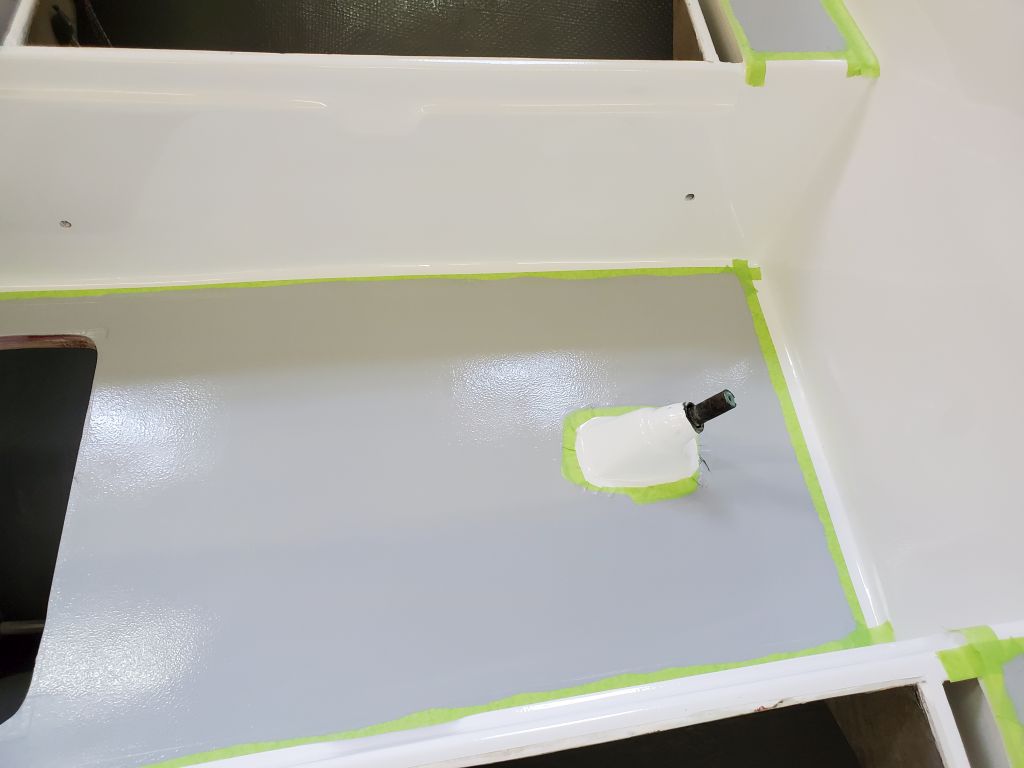
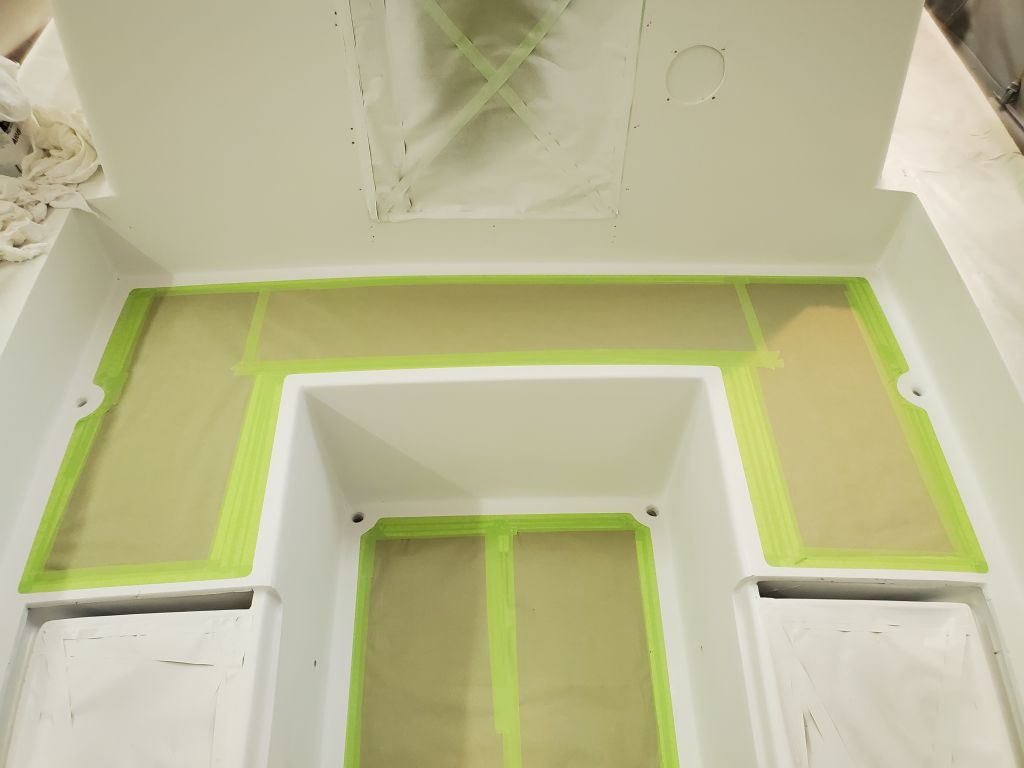
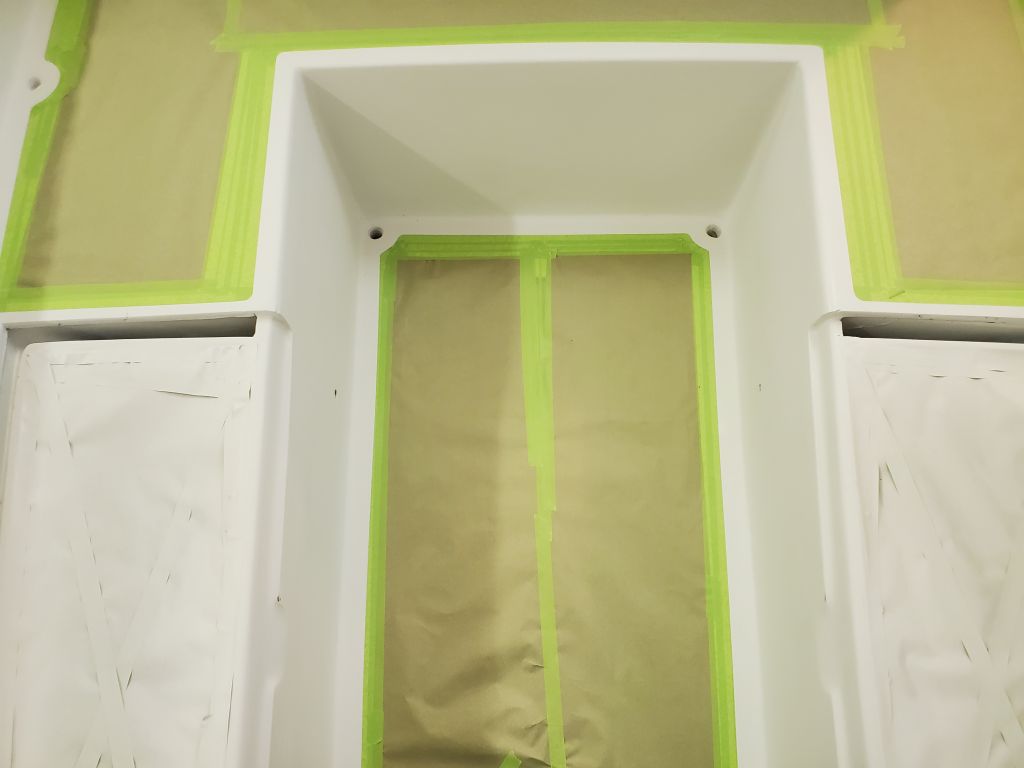
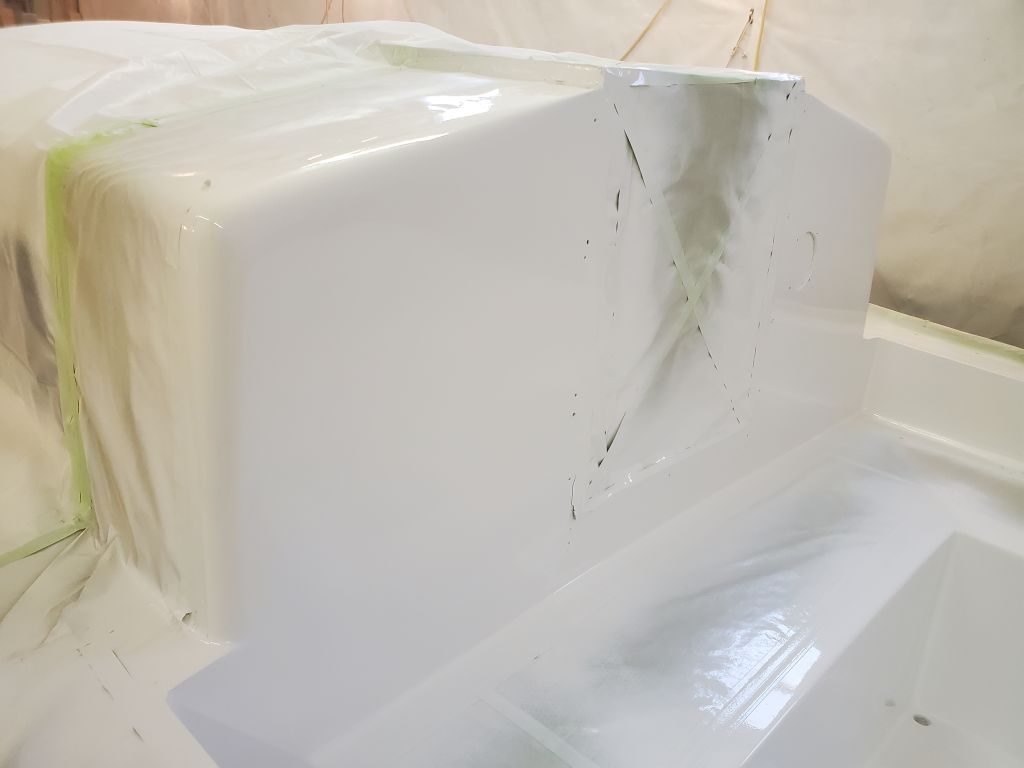
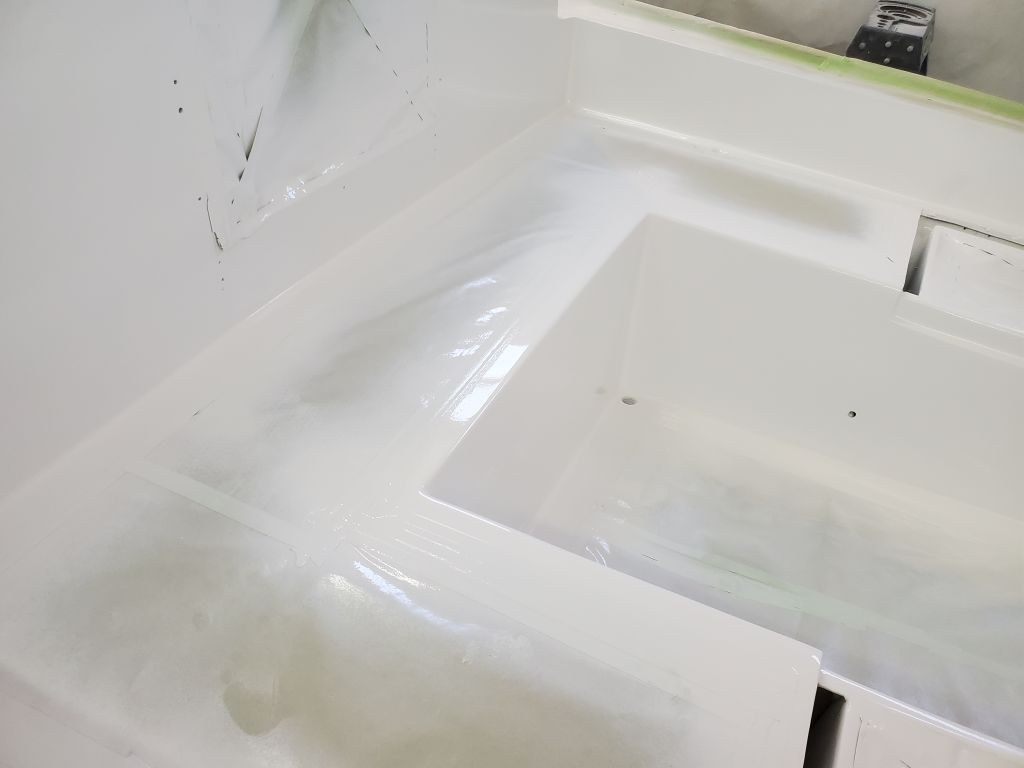
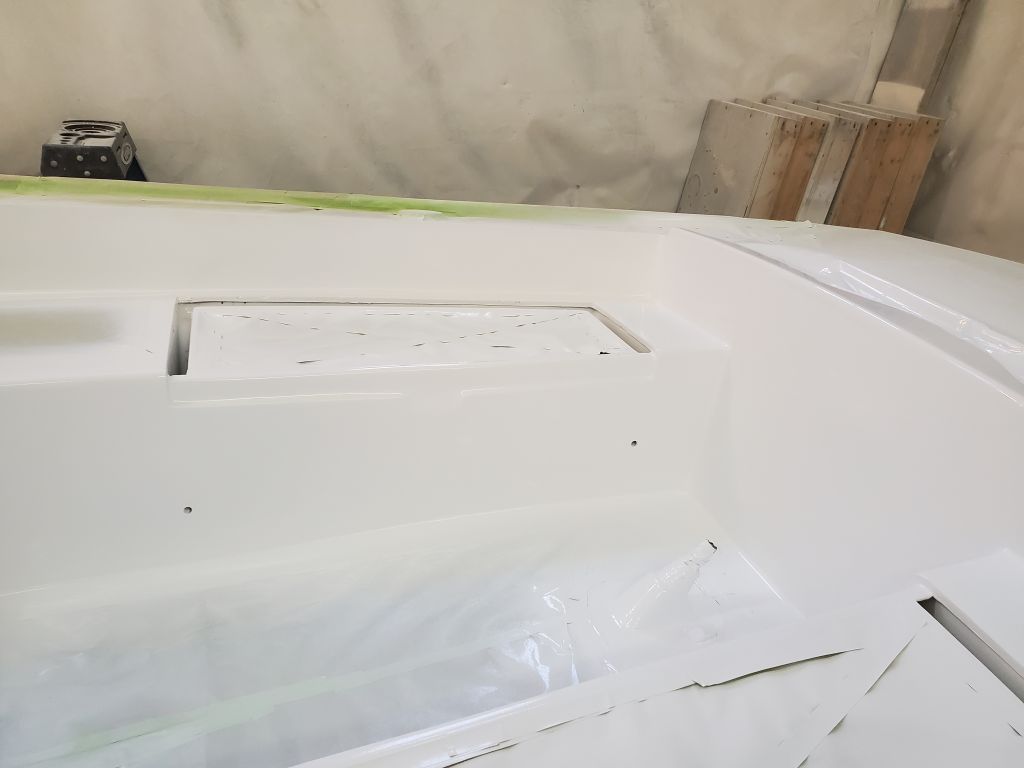
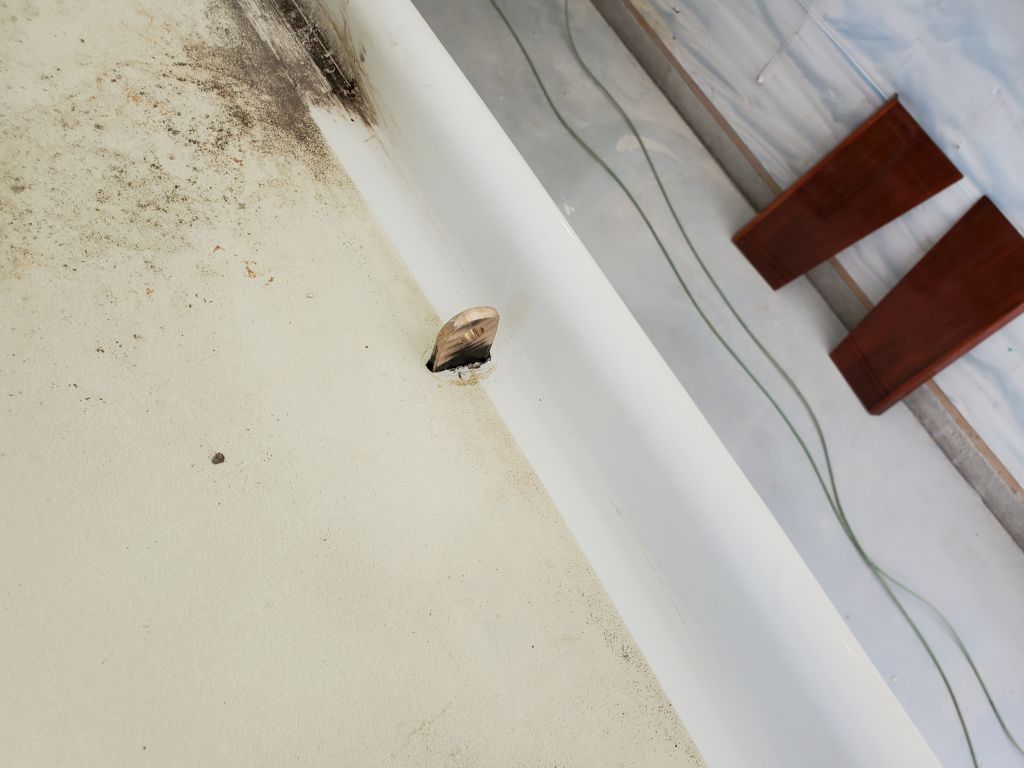
Opening the chainplate slot with a multitool led me, stream-of-consciousnesswise, to the old engine exhaust outlet in the counter, which I’d been meaning to cut off for ages and now, with the tool plugged in and on the go, I took care of it.  Afterwards, I applied some quickie acrylic fairing compound over the old opening, and also to refine the previous epoxy fill work on the four outboard mount bolt holes in the transom.  I had an old can of the current hull paint on hand, provided by the owner, and hoped that I could use enough of it to color in these areas for improved appearance till such time as the boat might be repainted in the future, at which time a more permanent and better repair could be completed on these basic hole patches.

The lightweight compound on the transom holes cured enough to allow light sanding late in the day, but the slightly thicker application on the exhaust needed a bit more time.  I’d get back to it next time I passed by.

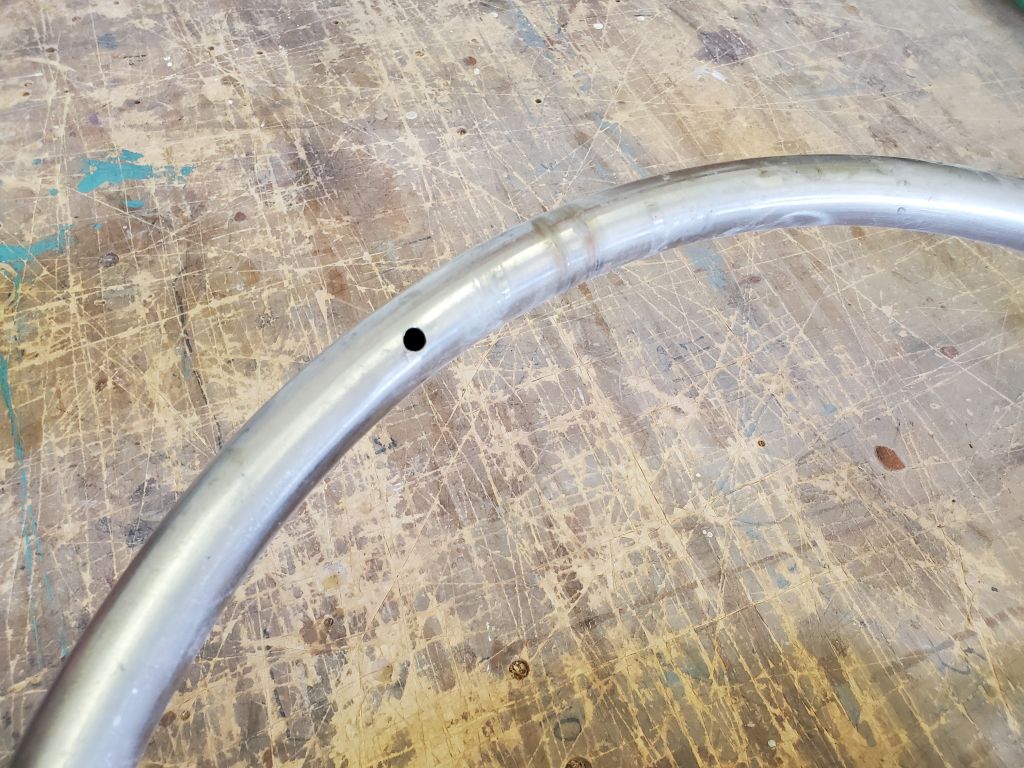
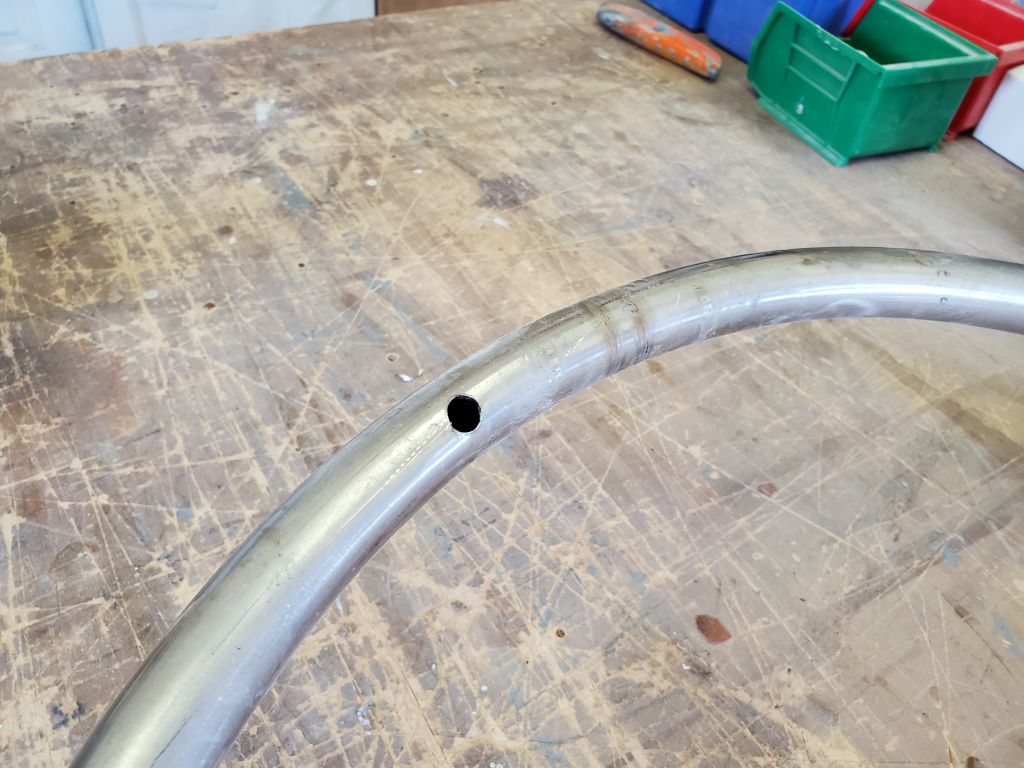
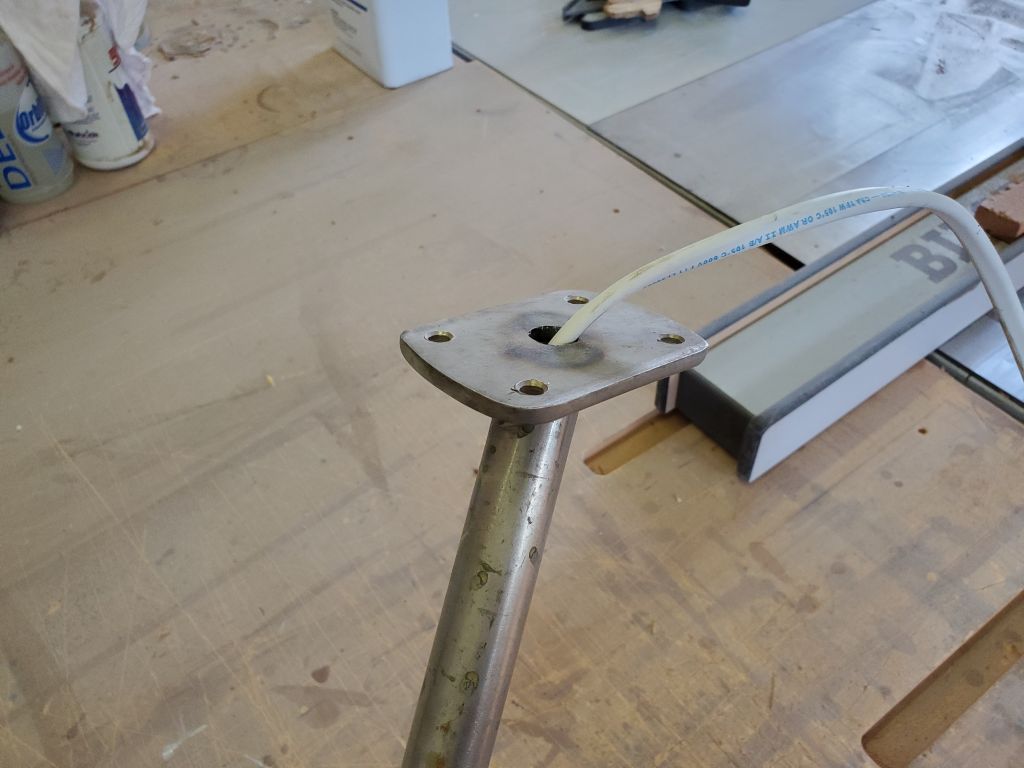
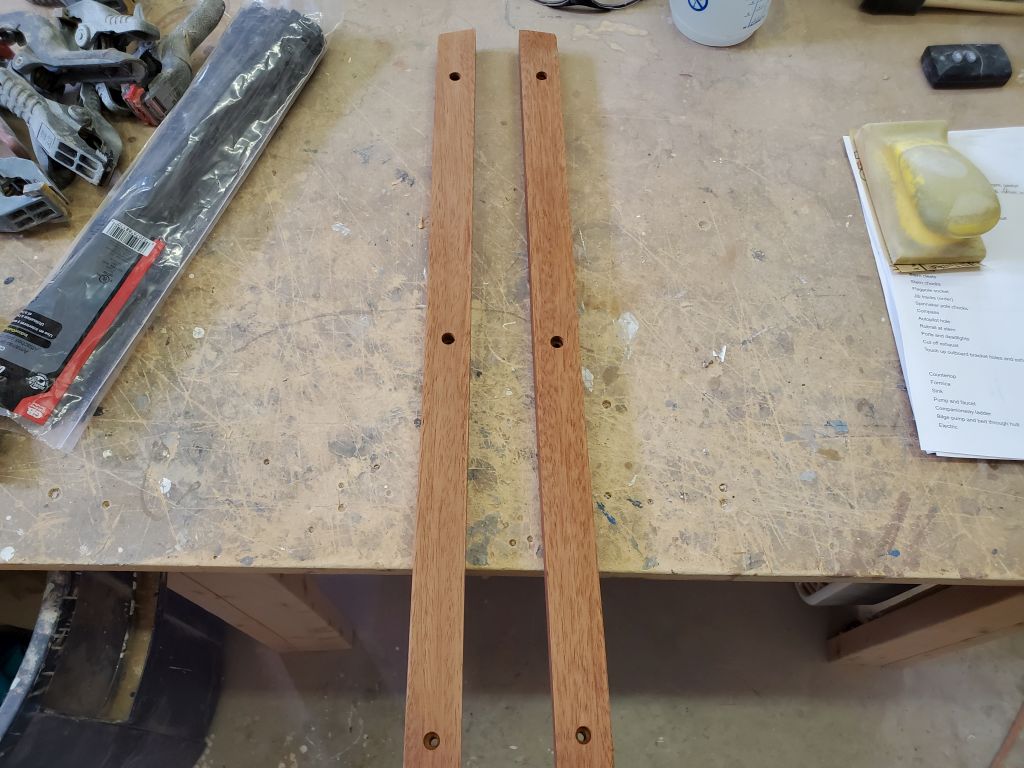
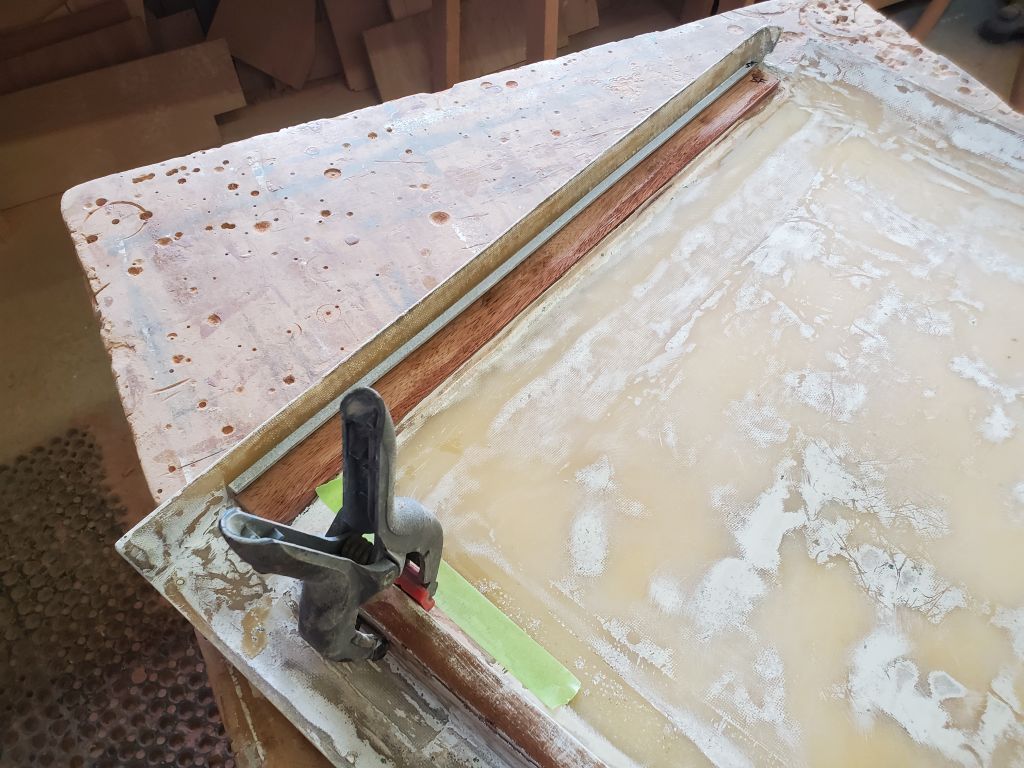
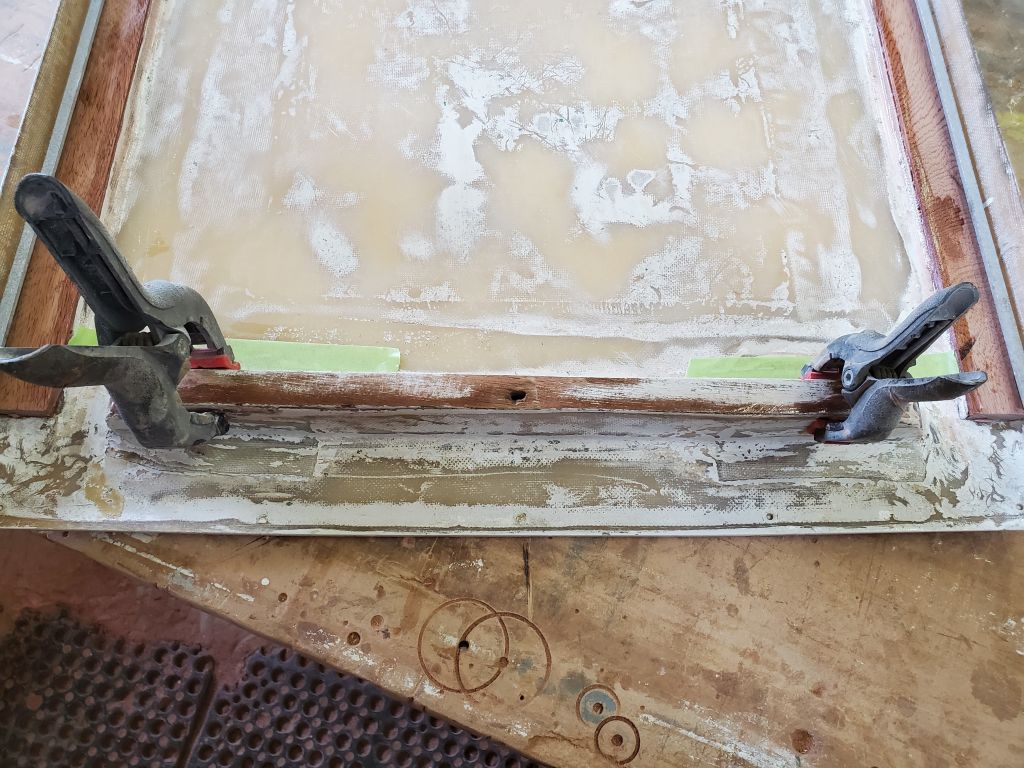
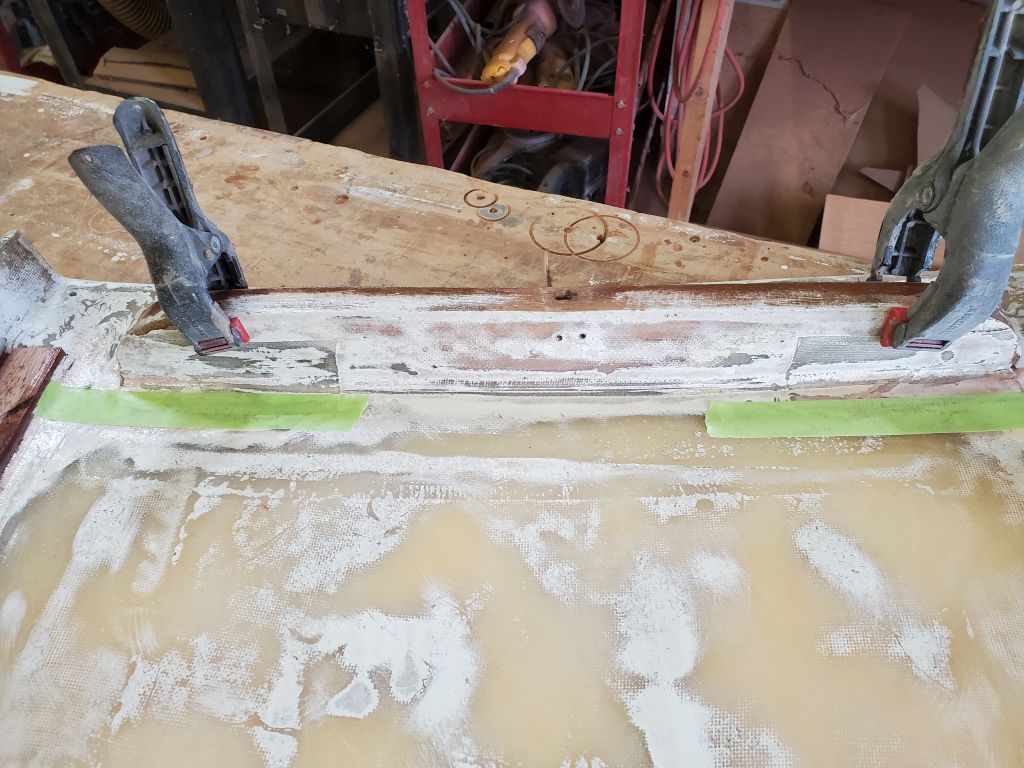
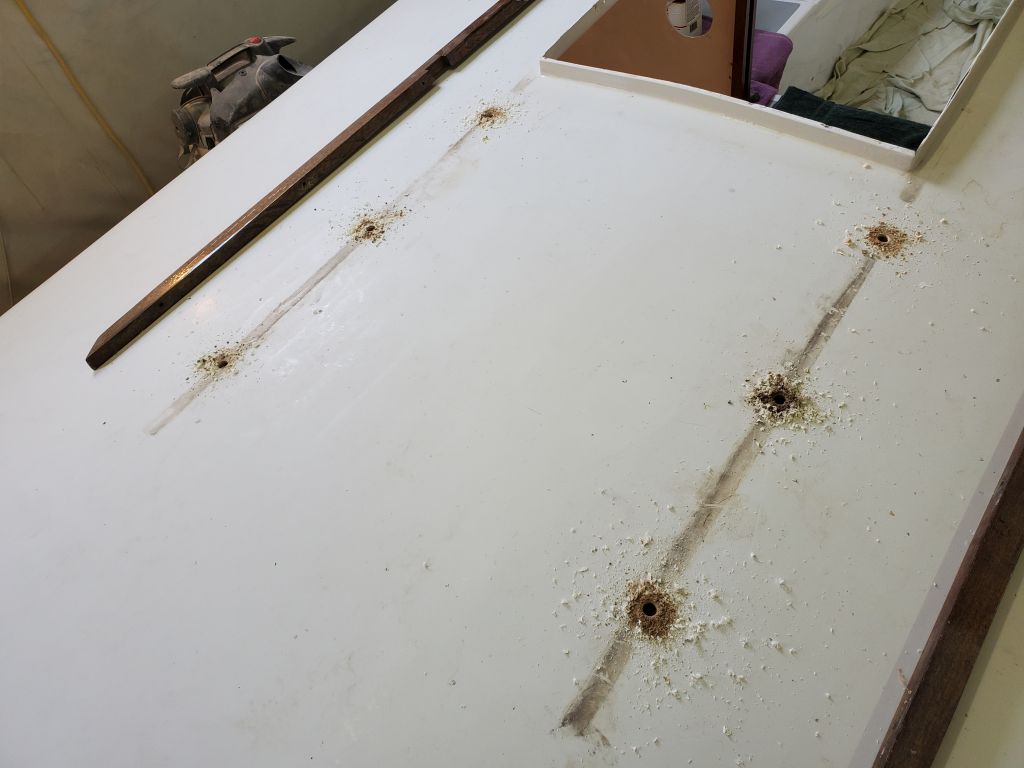
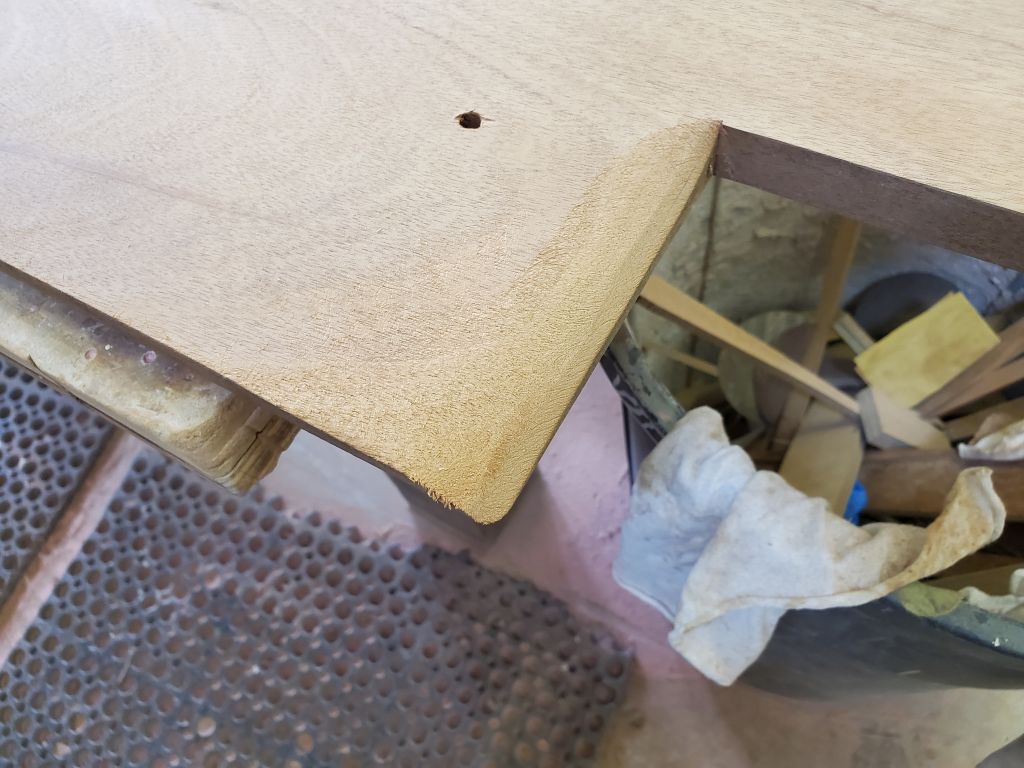
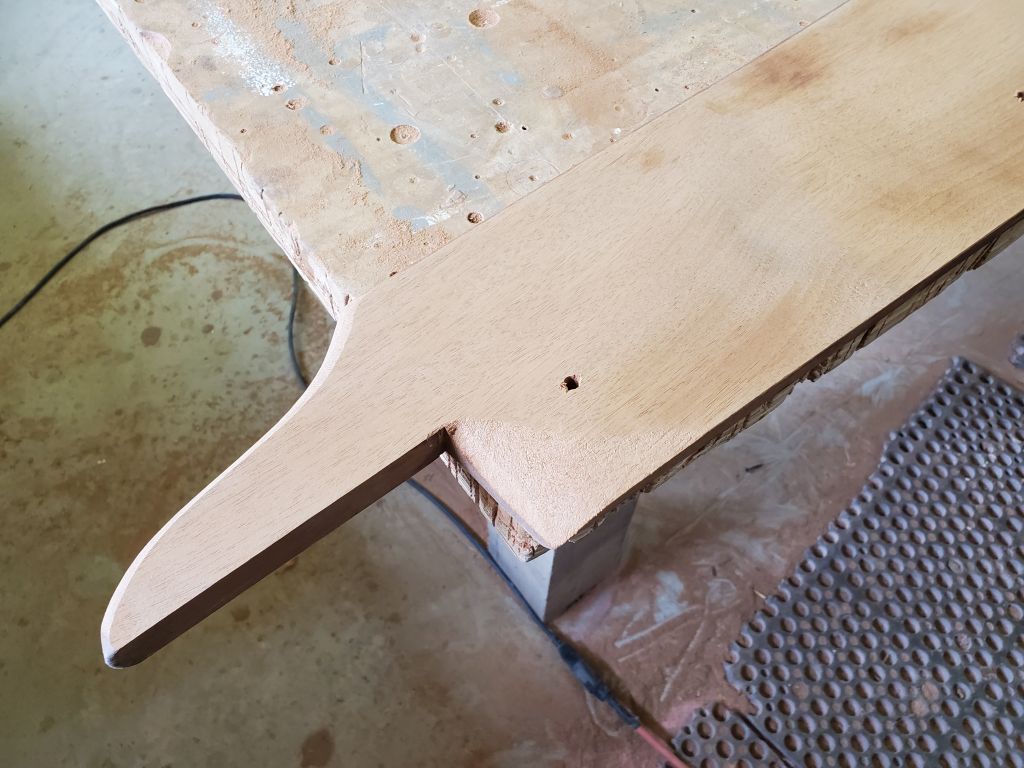
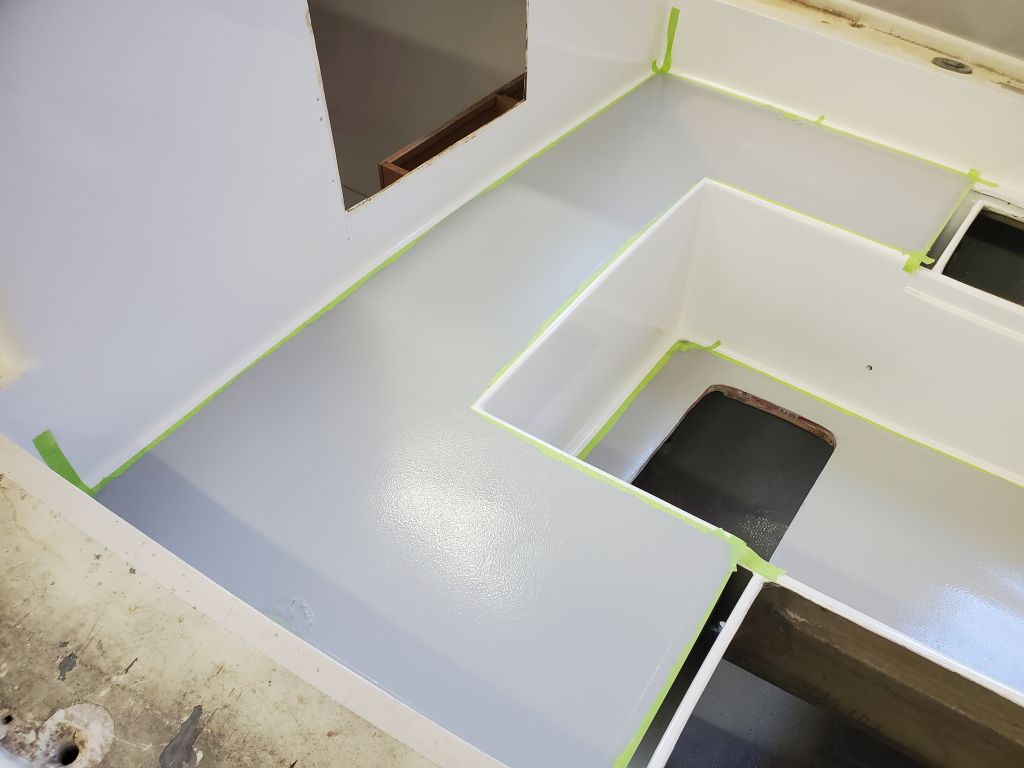
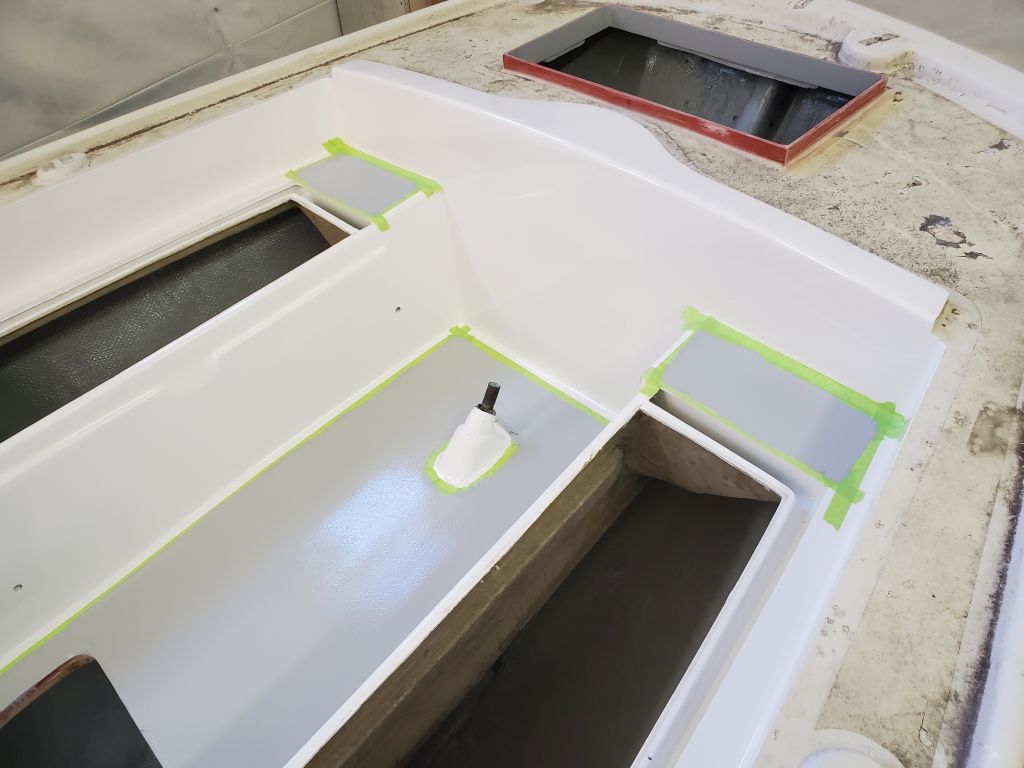
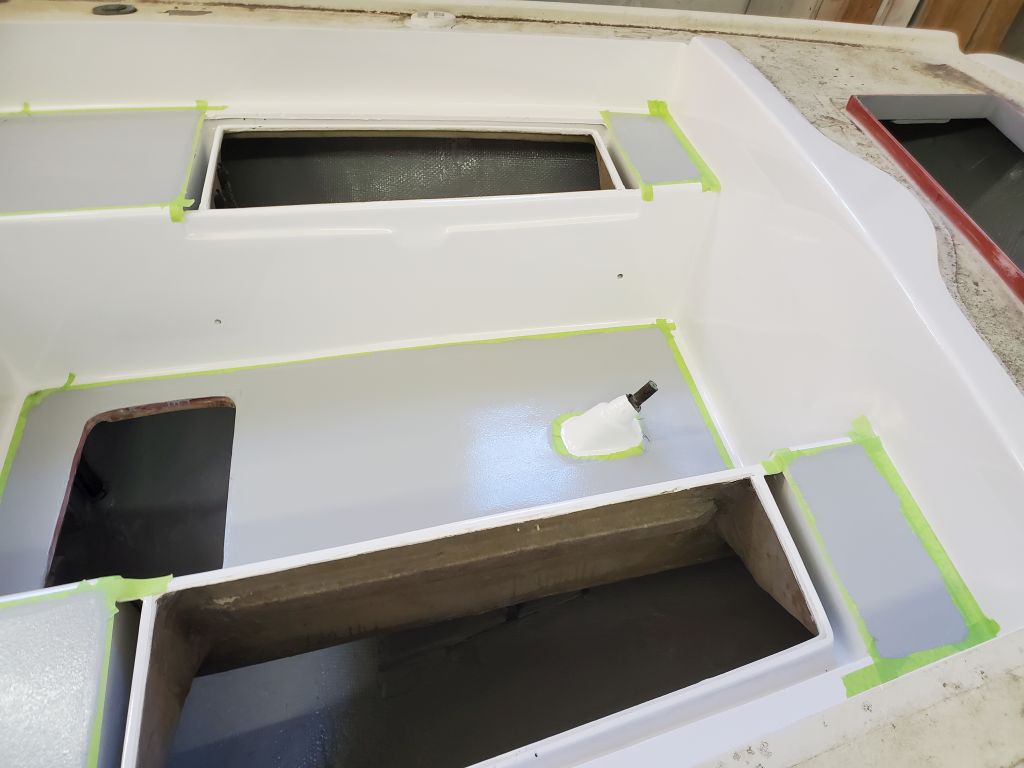
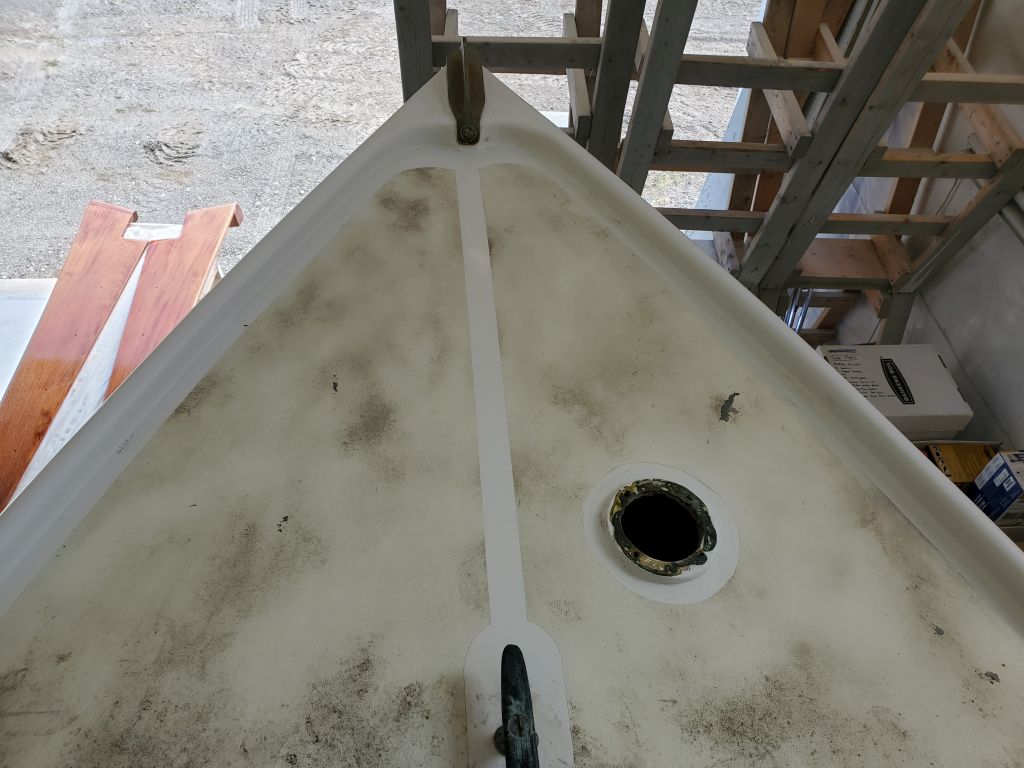
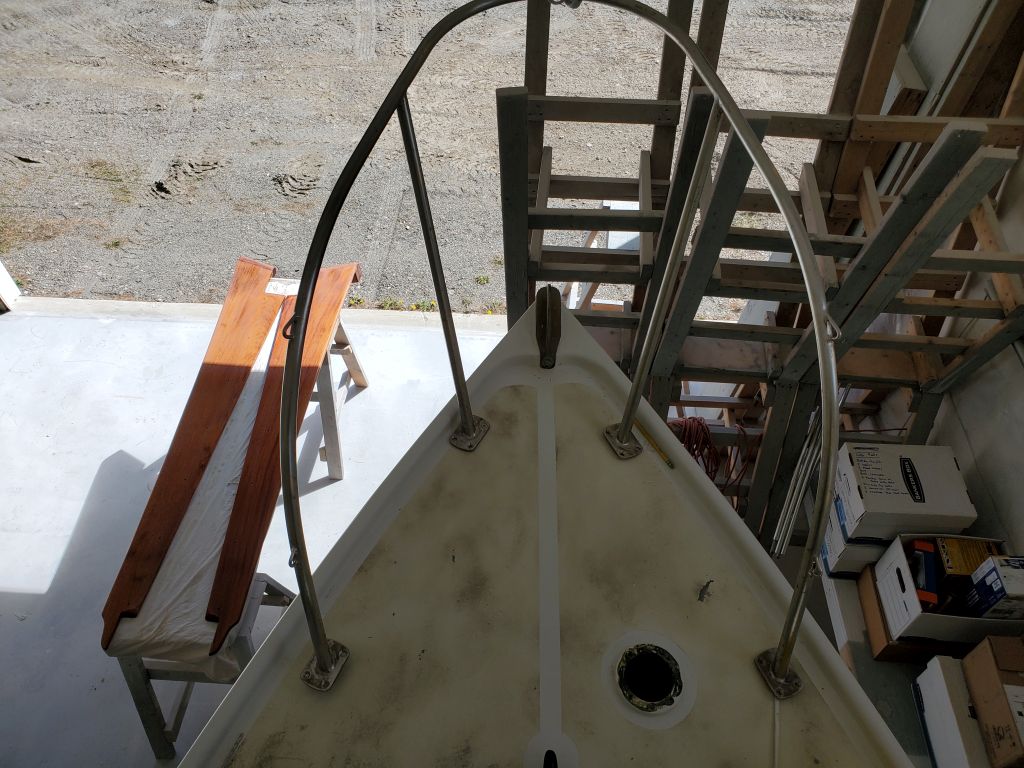
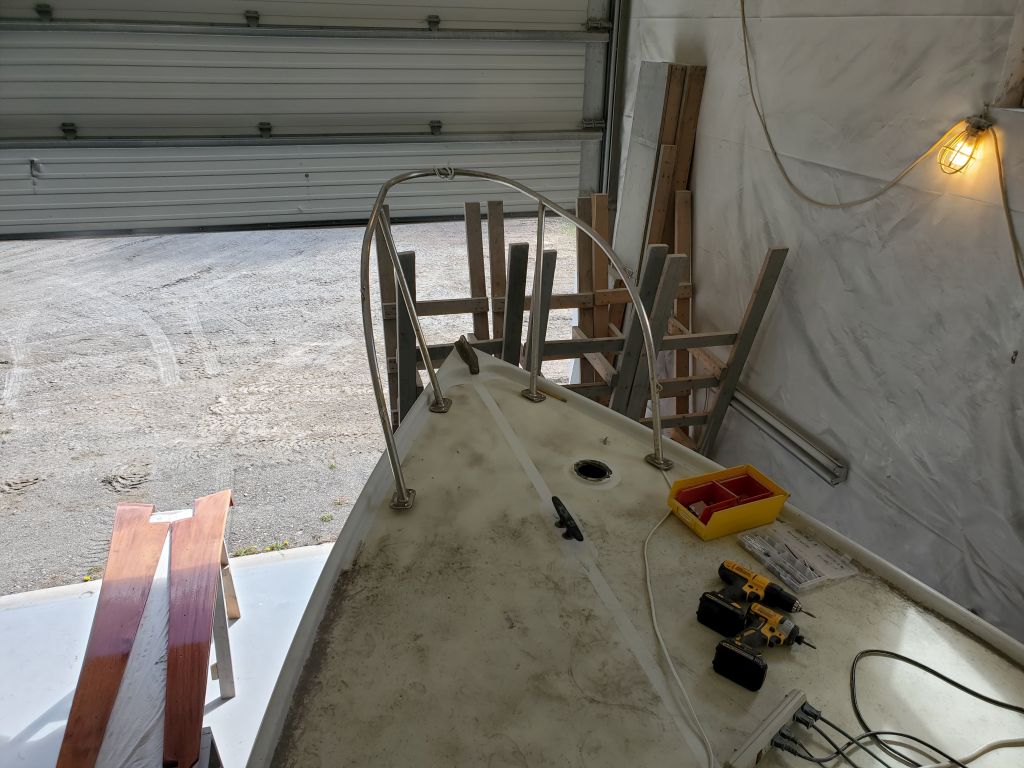
I wanted to start laying out the bow pulpit, though I wouldn’t have time to complete its installation this day since I soon needed to turn to sanding and varnishing in my daily way, but I could get the process started first by scrub-a-dubbing the foredeck in way of the pulpit mounting area (my goal was to have the deck clean enough to accept sealant where needed), then figuring out where the pulpit should land.  Since the pulpit wouldn’t stand upright on its own, once I figured the location I marked, drilled, and tapped one mounting hole for a 1/4-20 machine screw to tack it in place so I could eventually layout and mark the remaining fastener holes.  Knowledge of the work done on the boat previously, 10 or more years before, indicated that the main decks had been recored with Coosa board, so there would be no need to overbore and epoxy fill at most or all fastener locations.

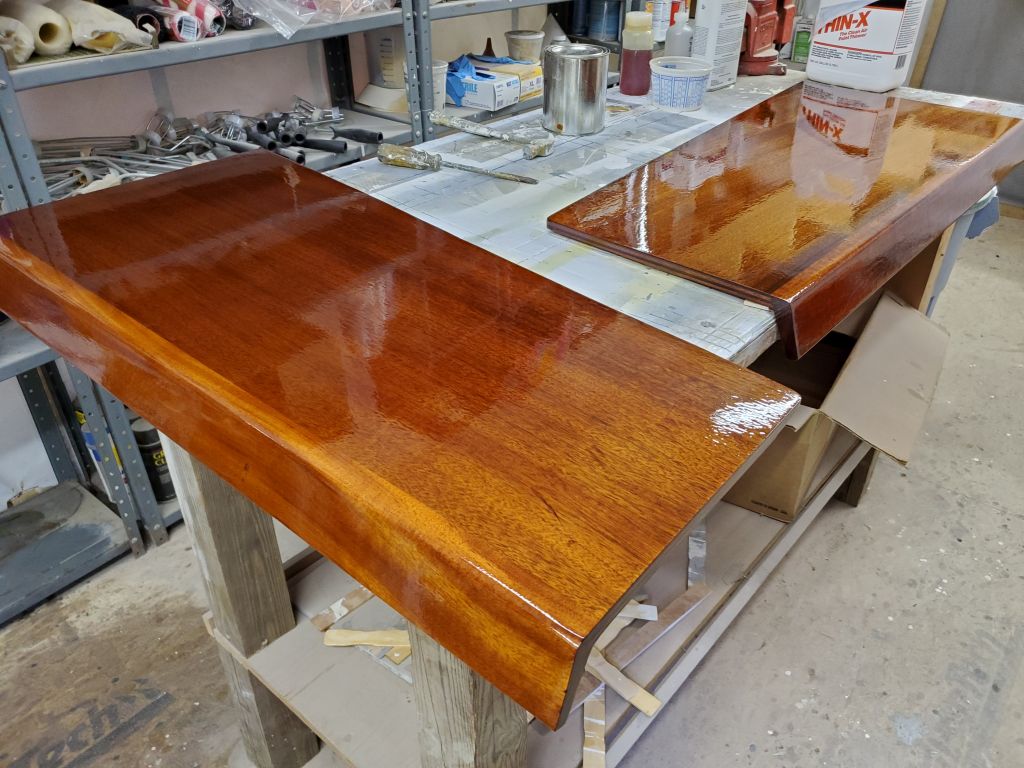
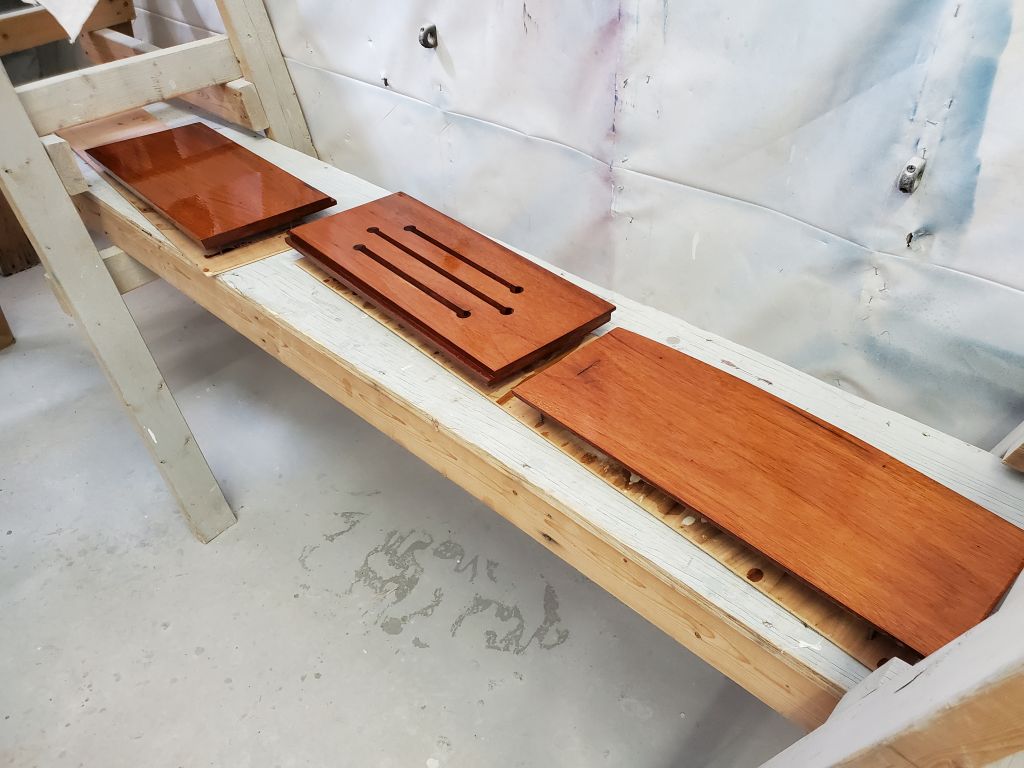
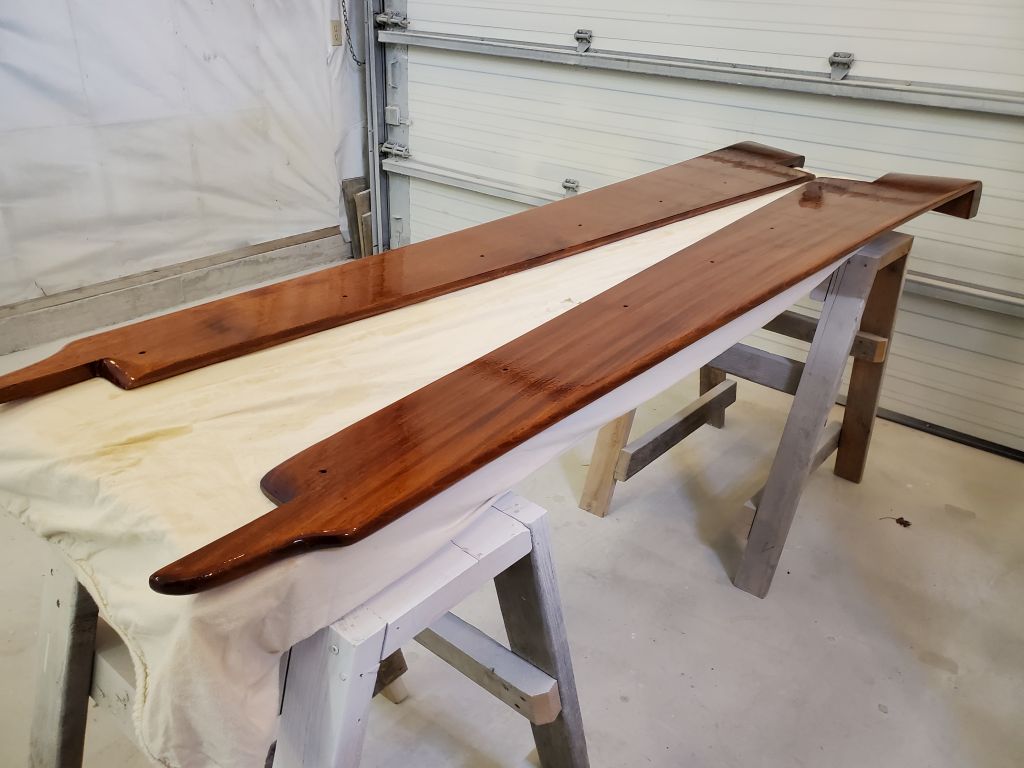
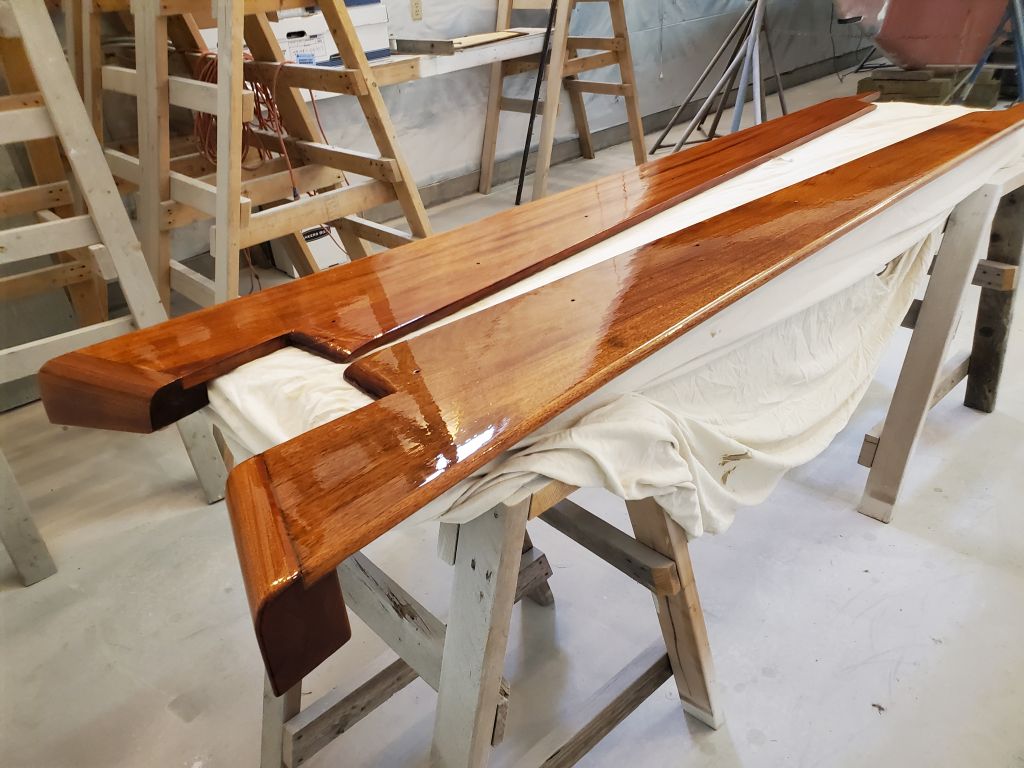
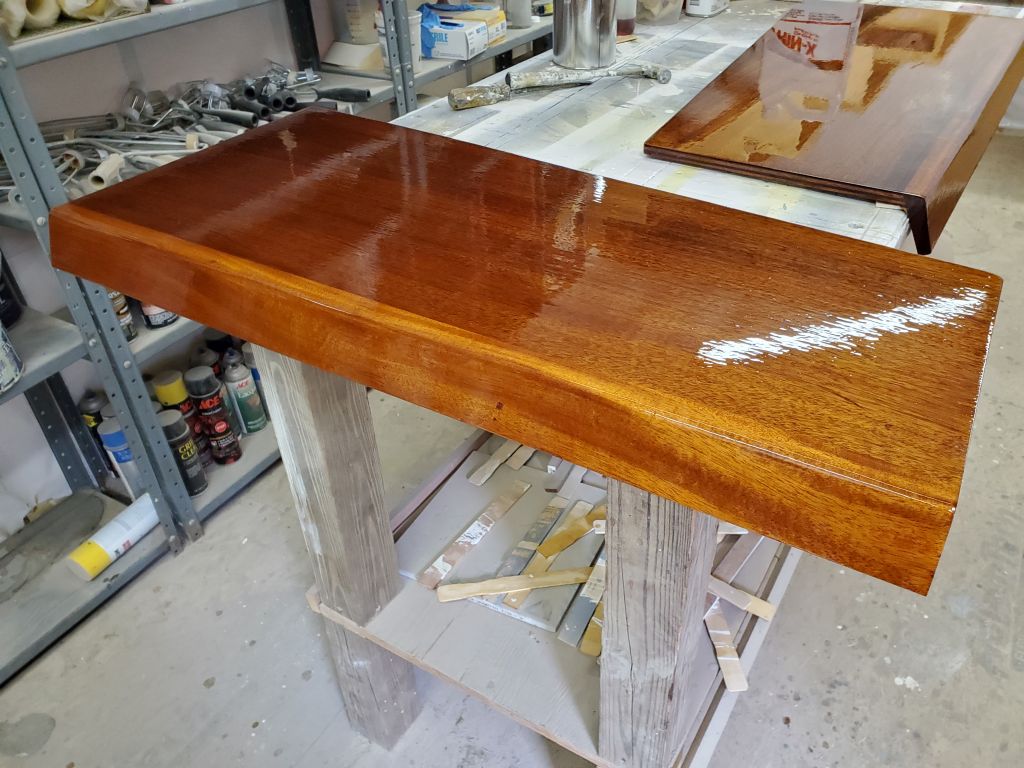
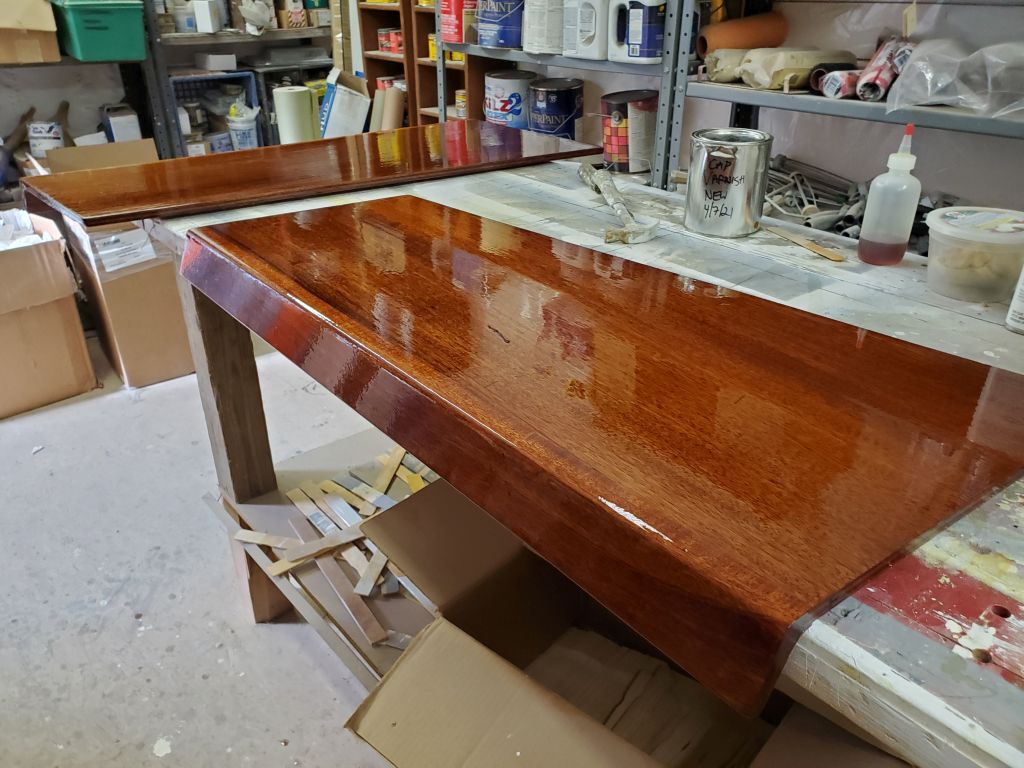
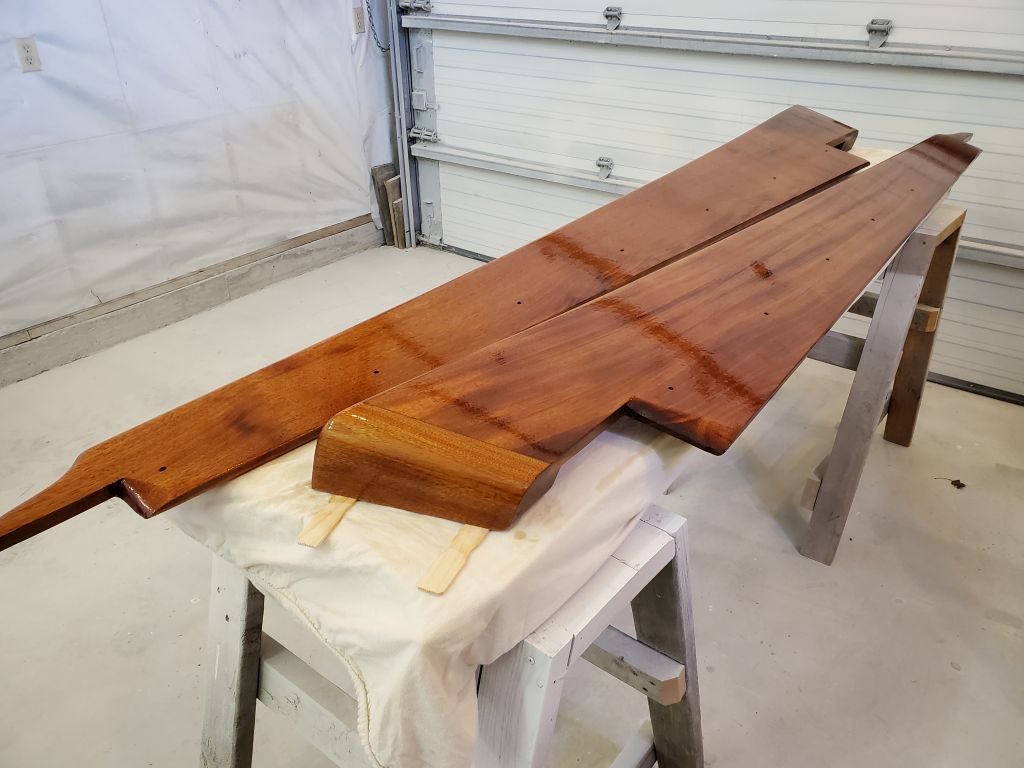
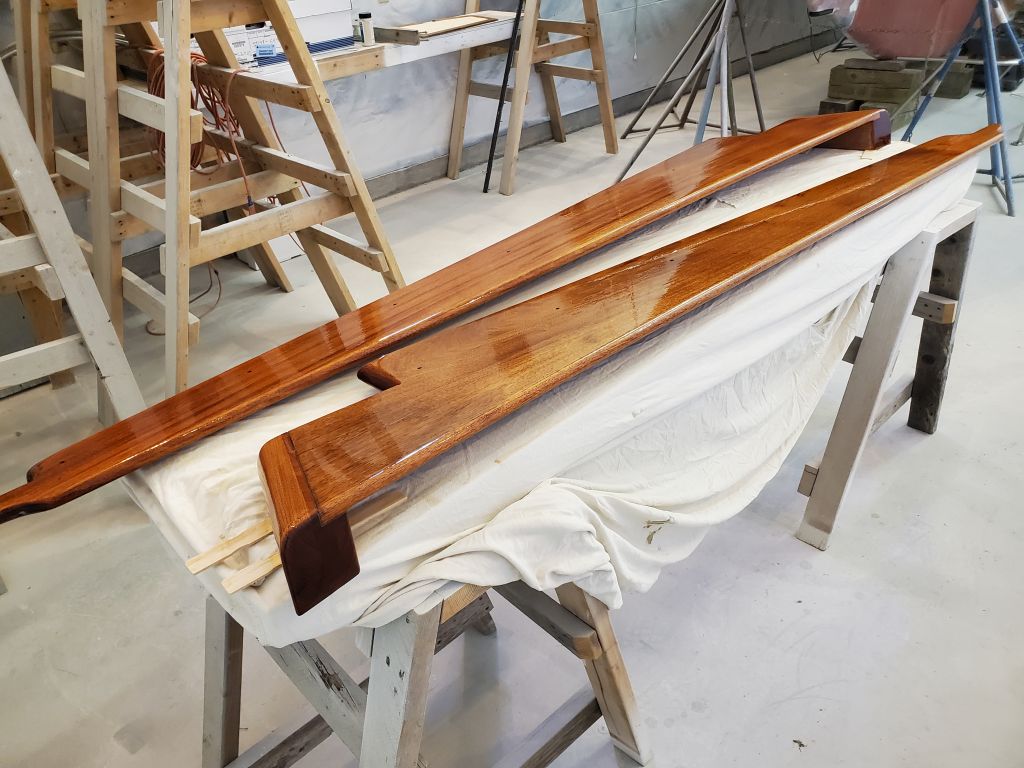
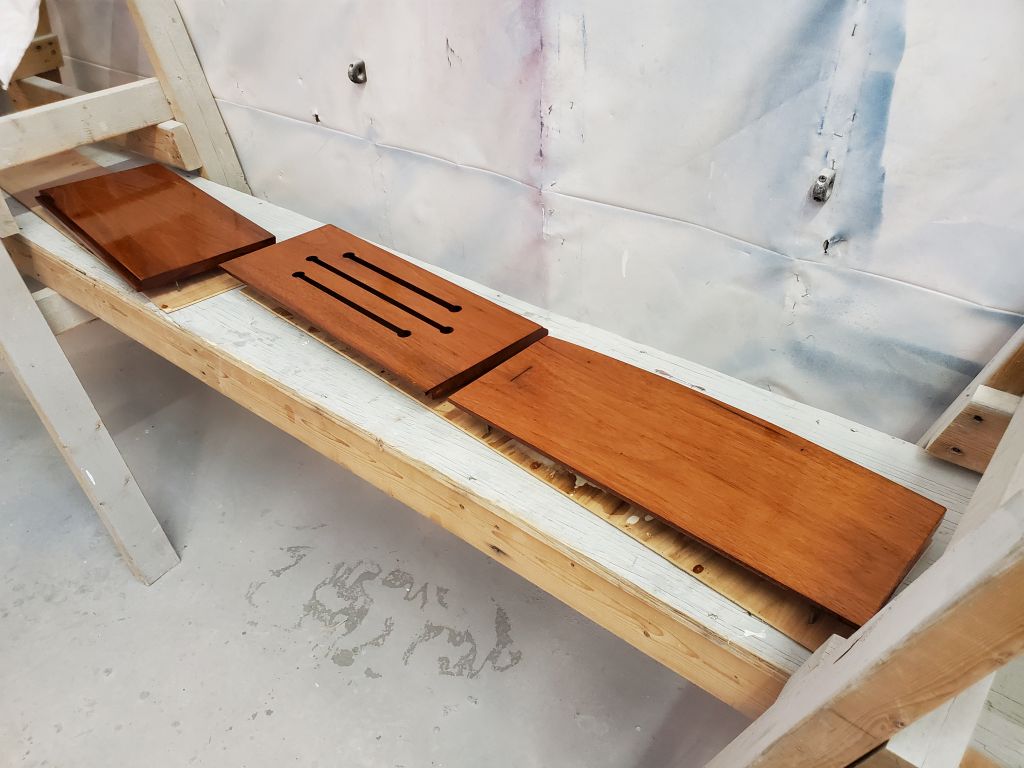
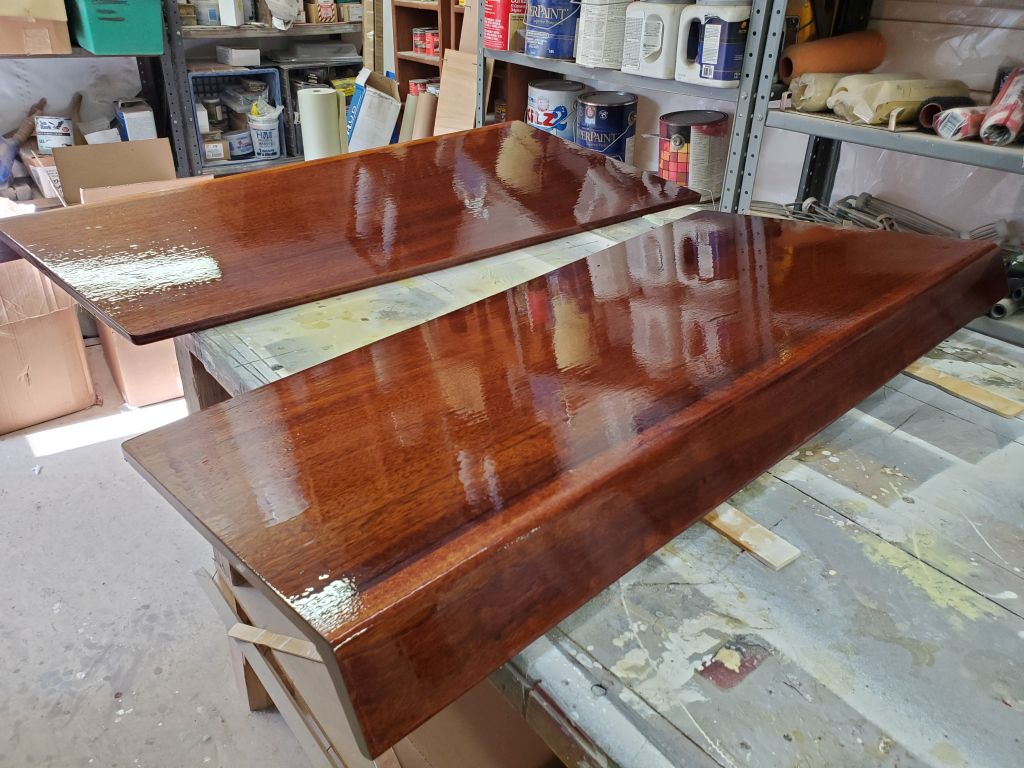
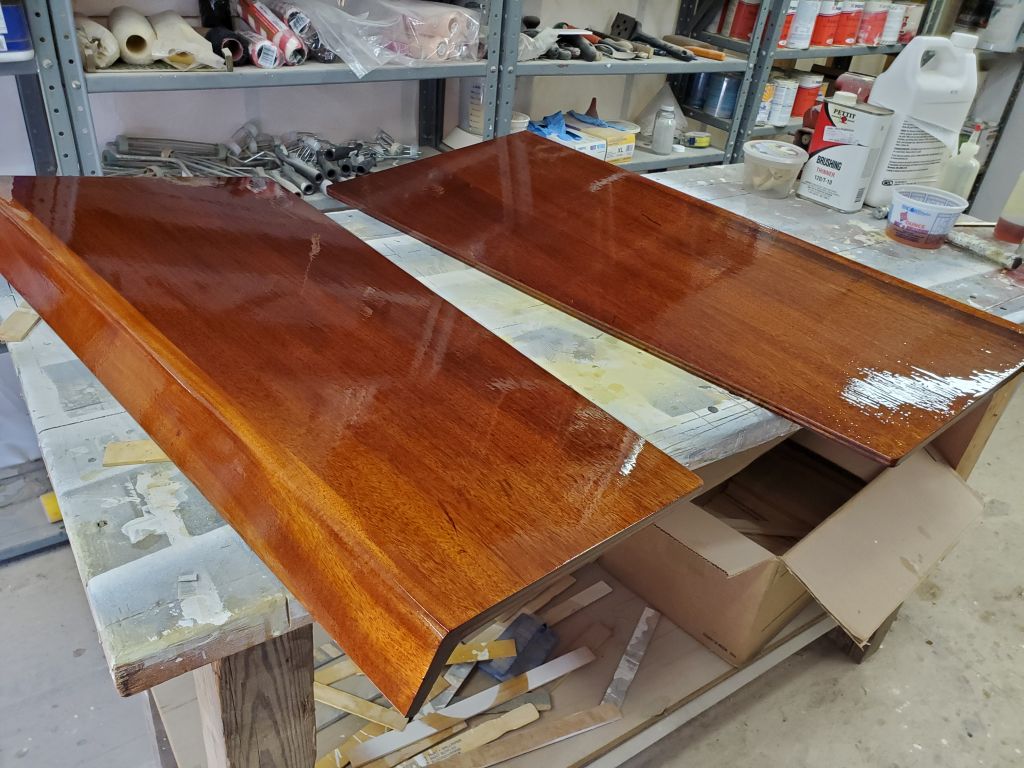
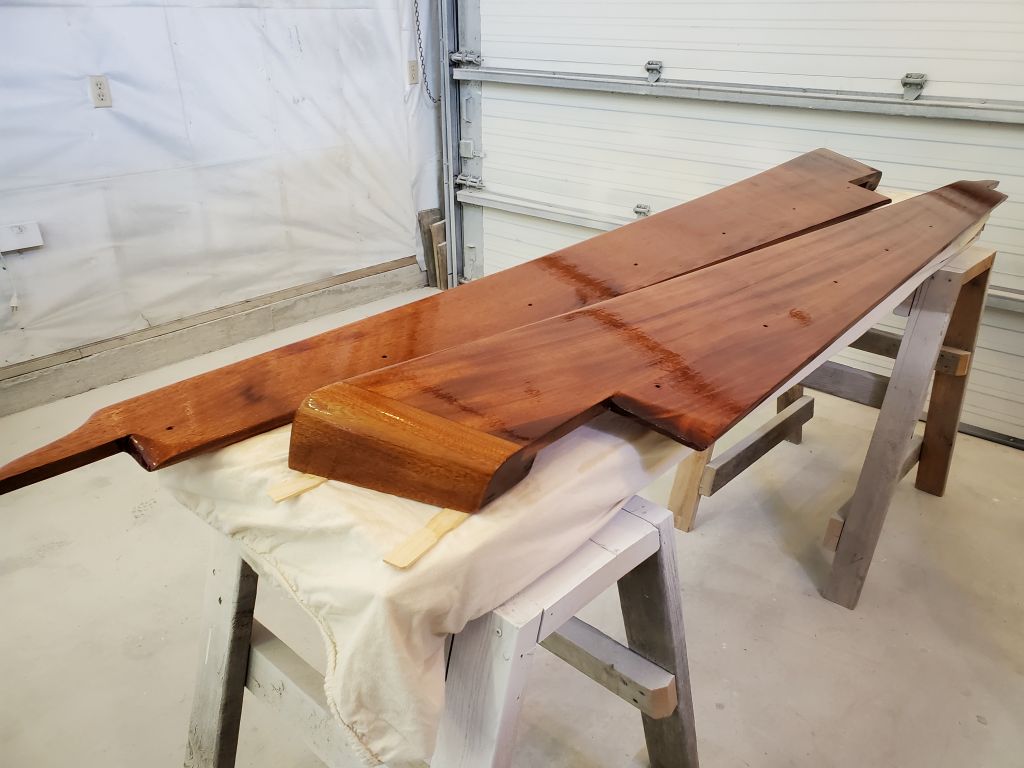
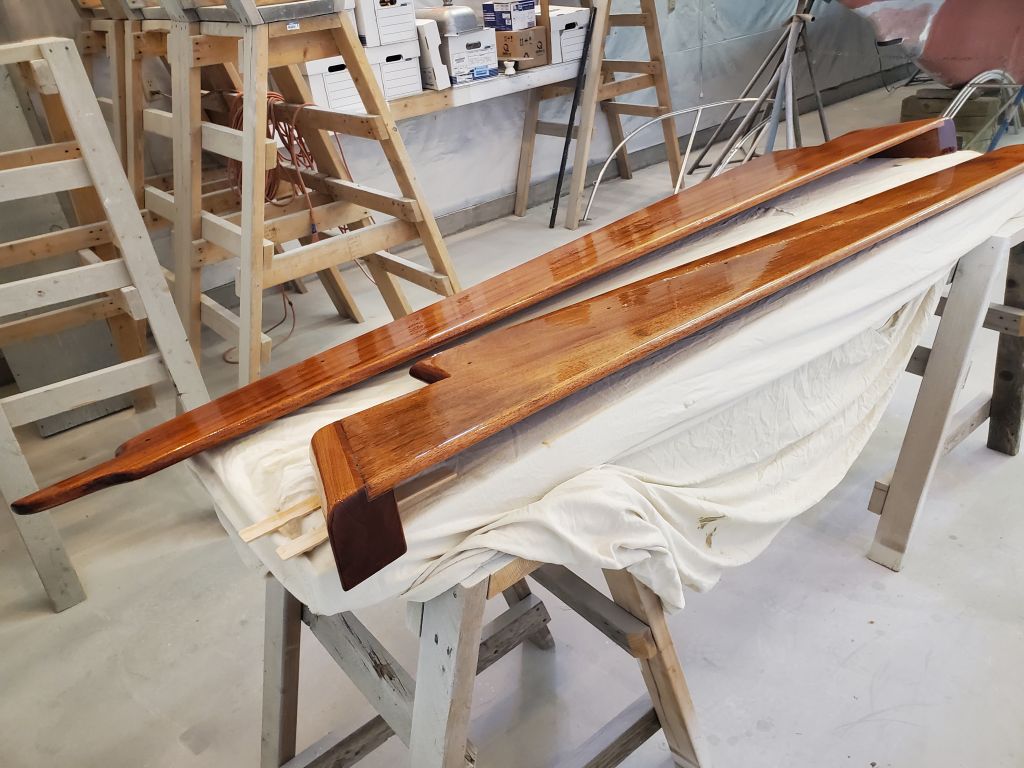
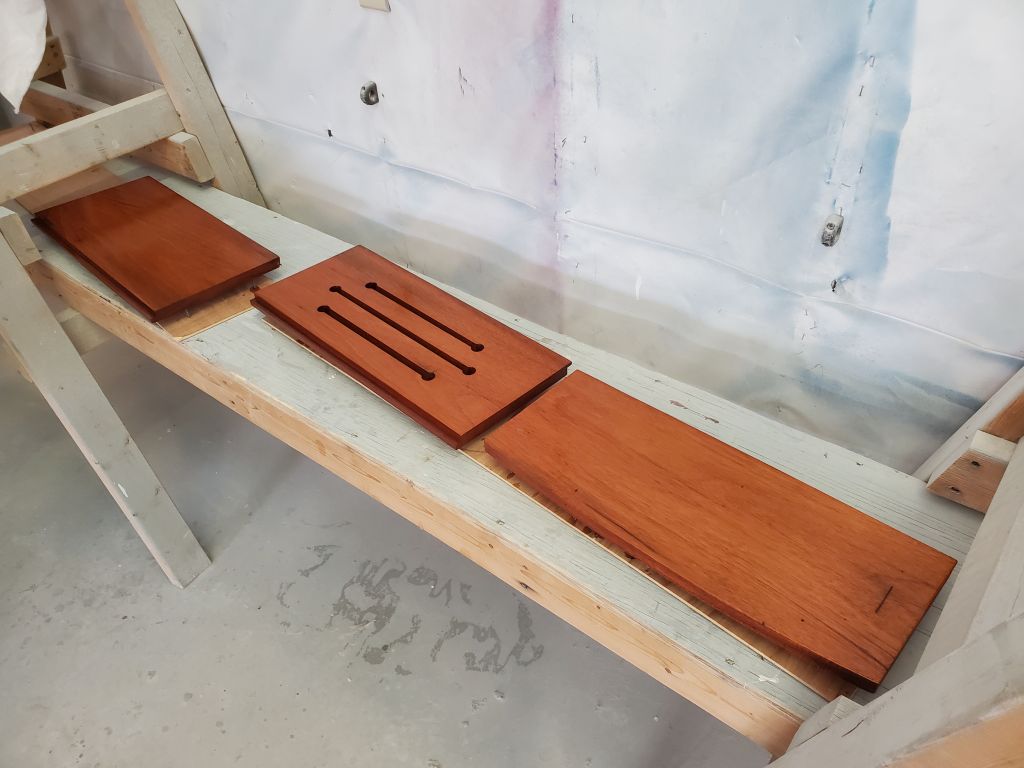
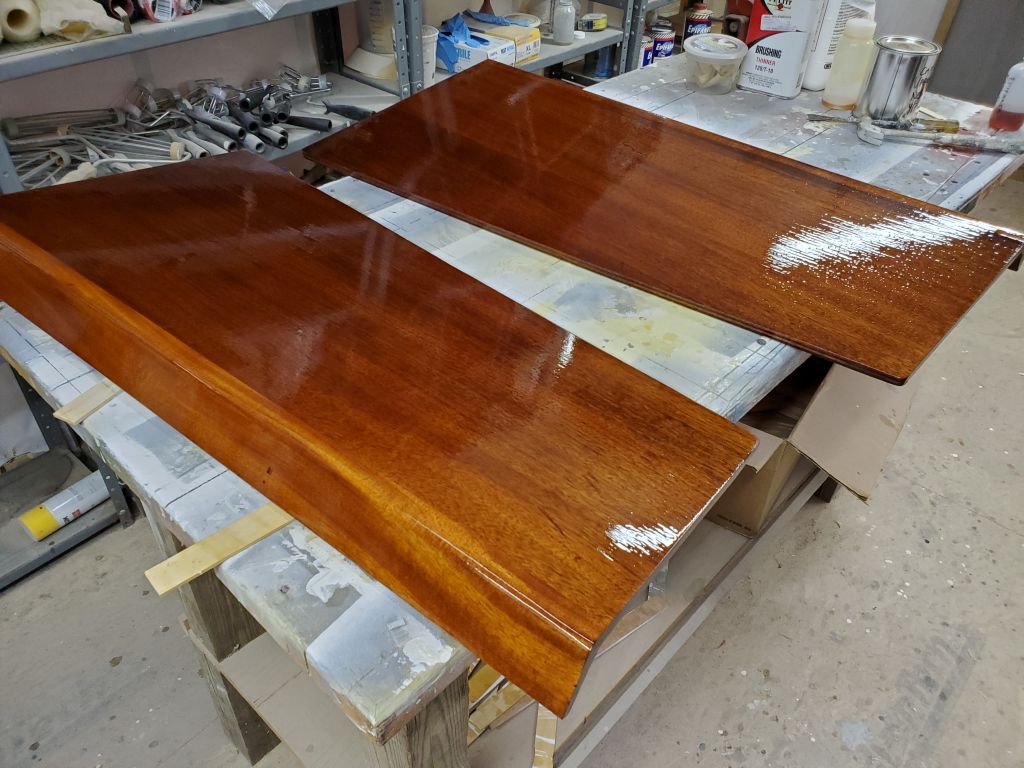
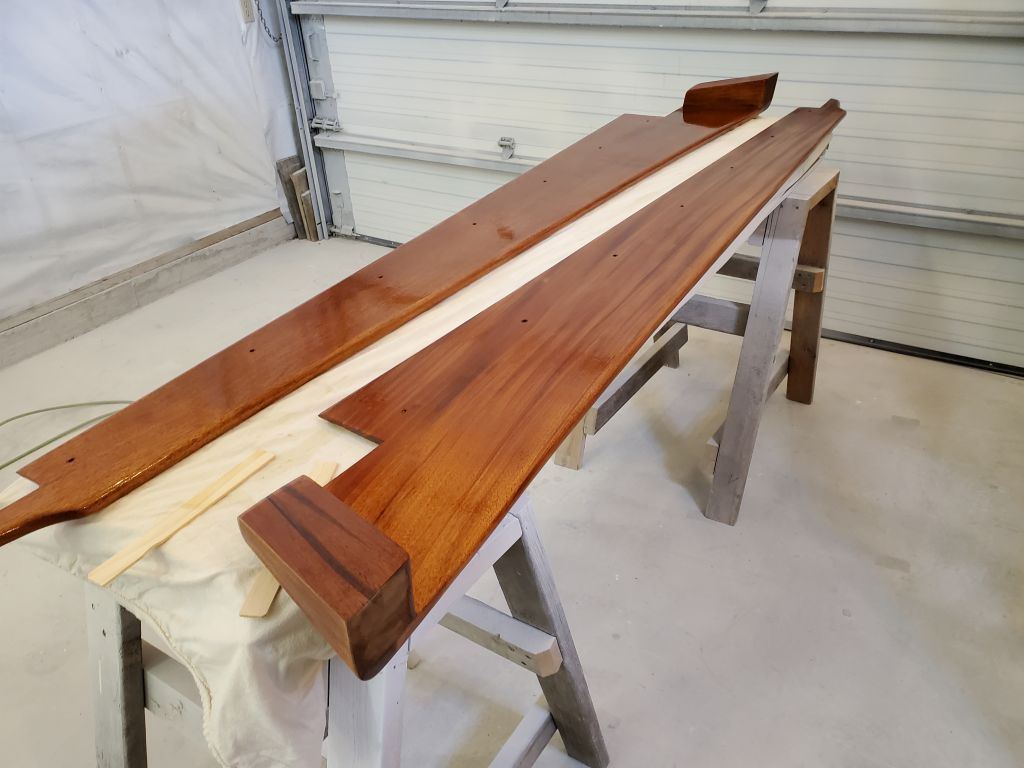
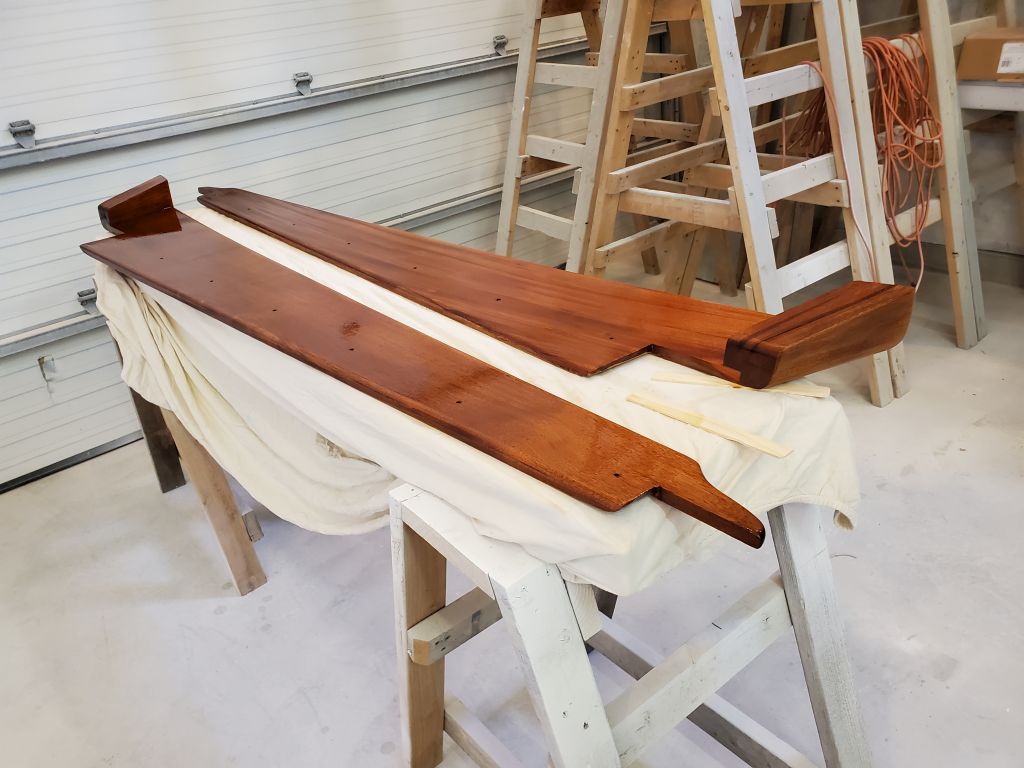
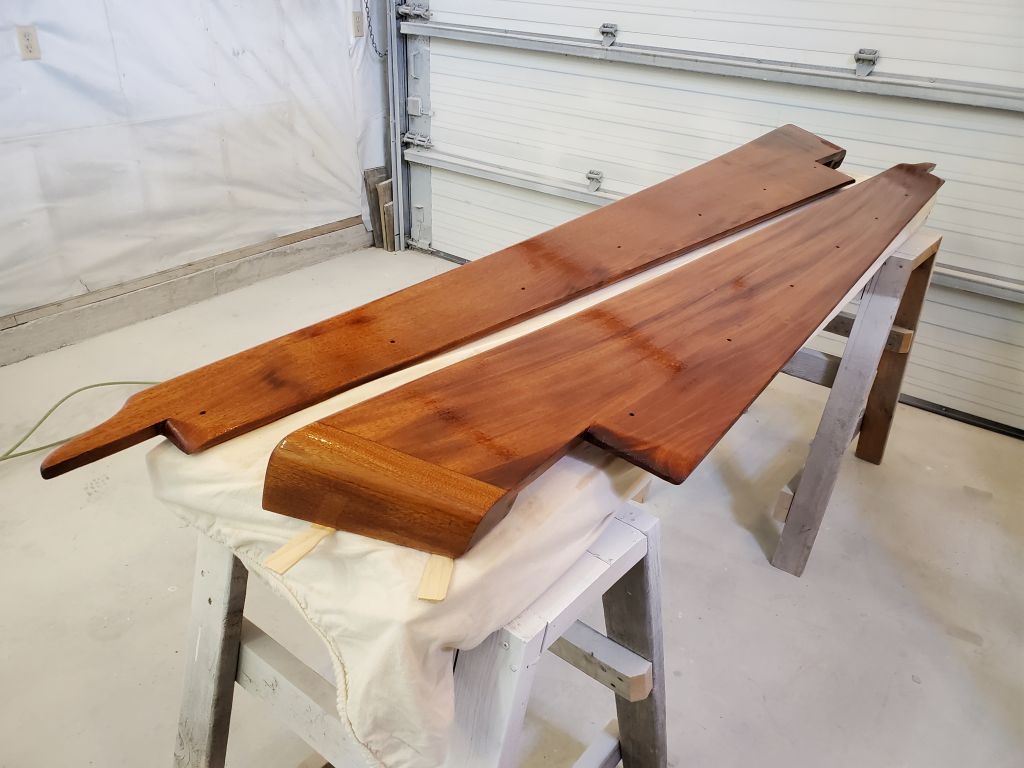
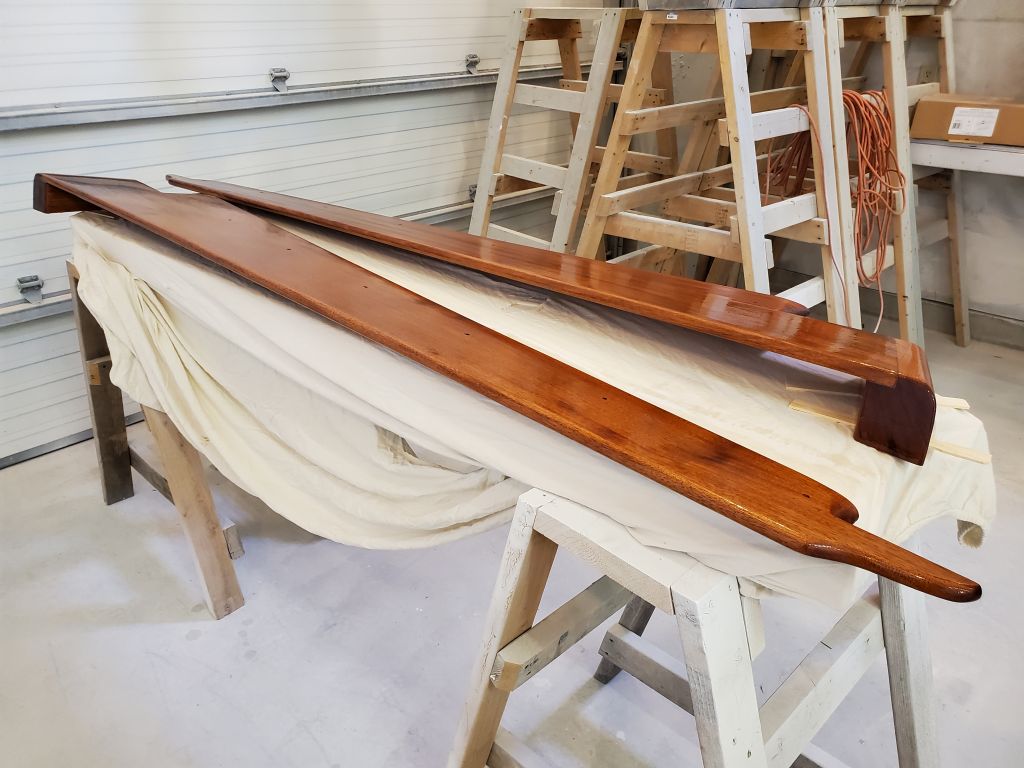
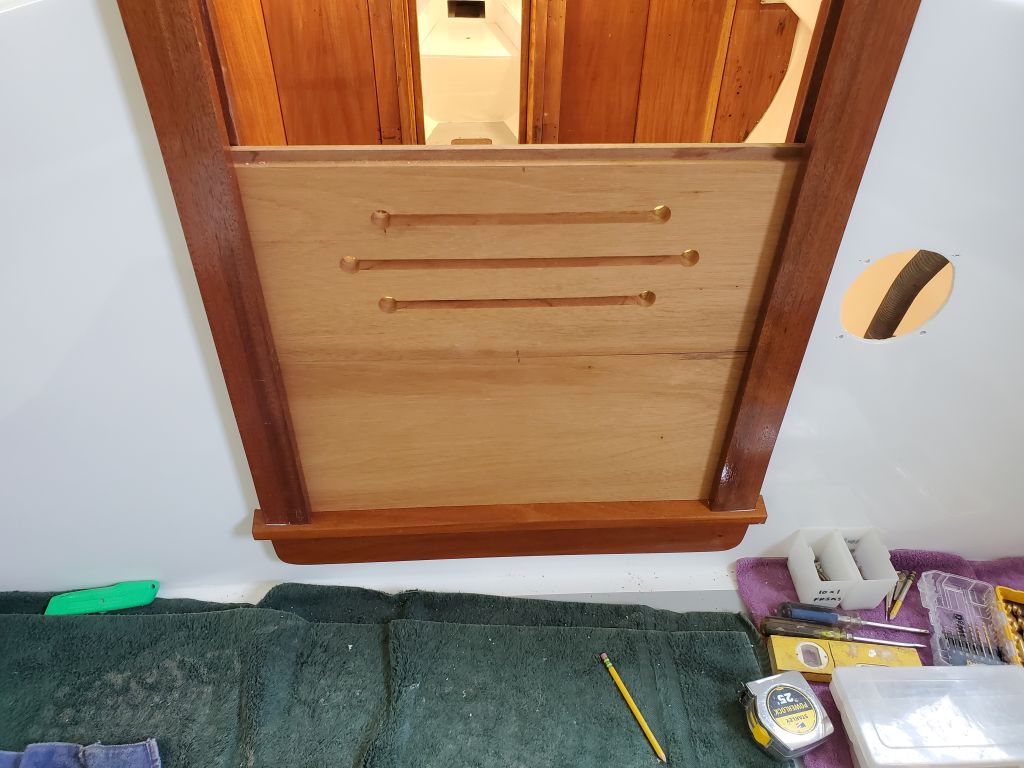
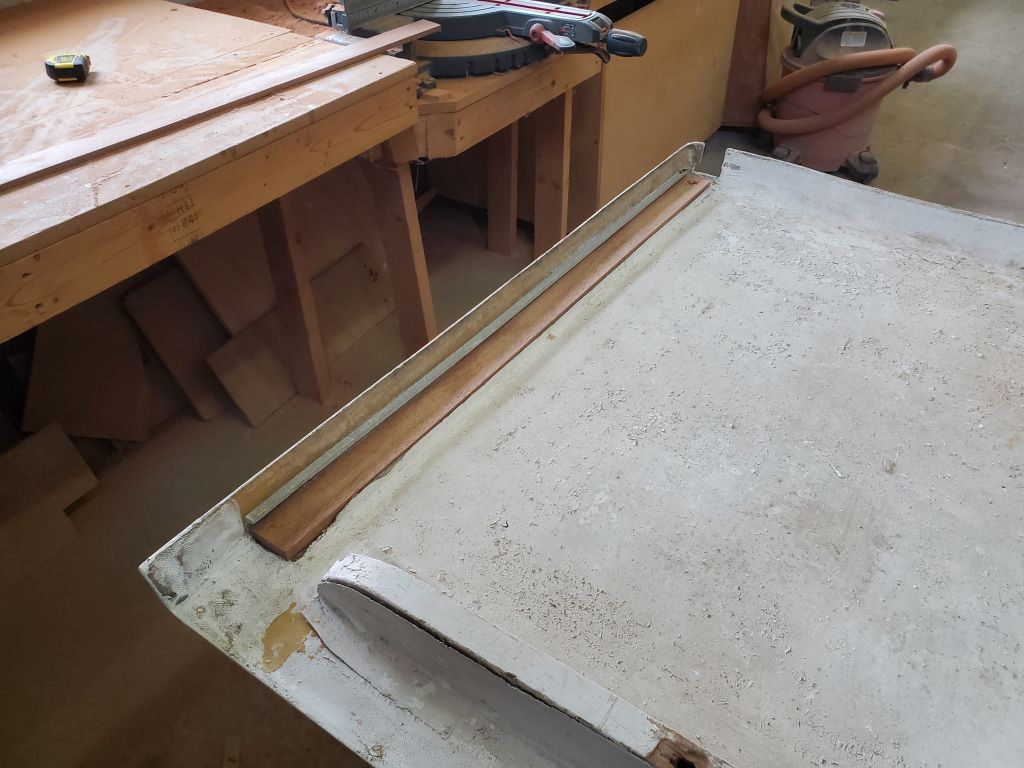
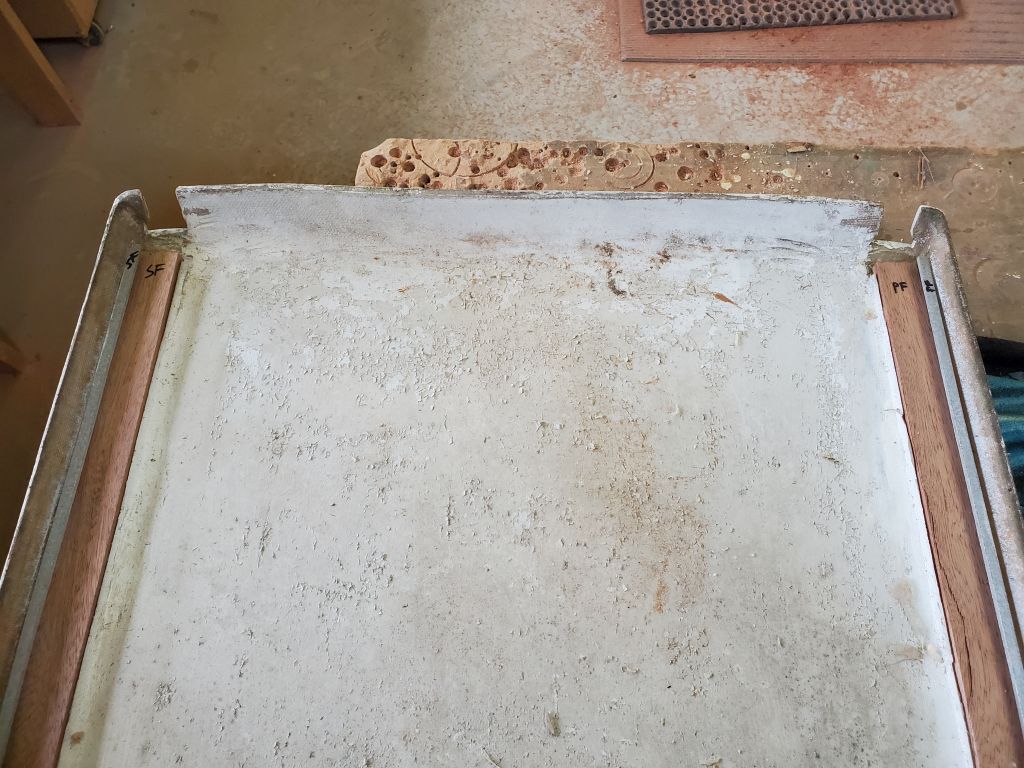
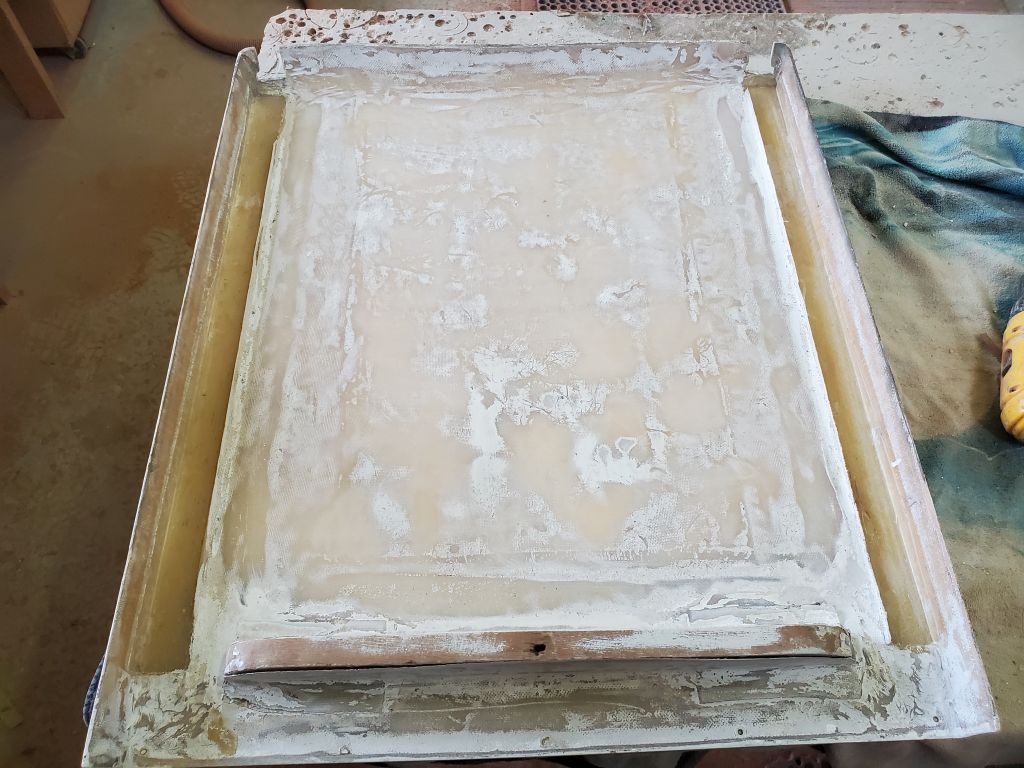
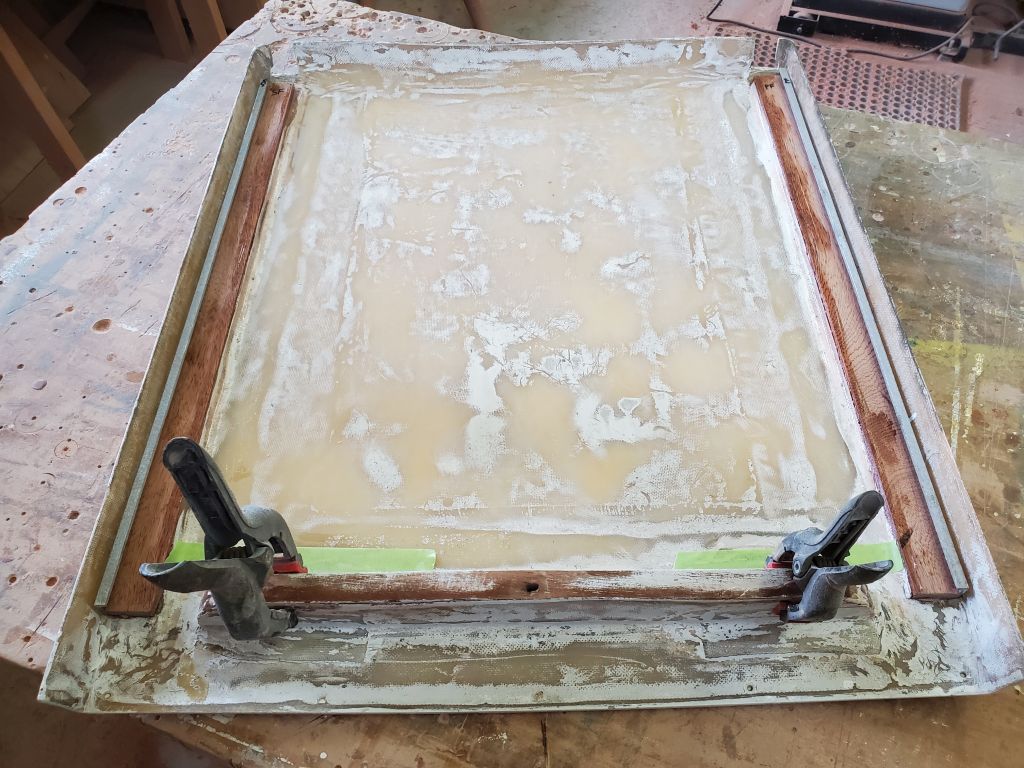
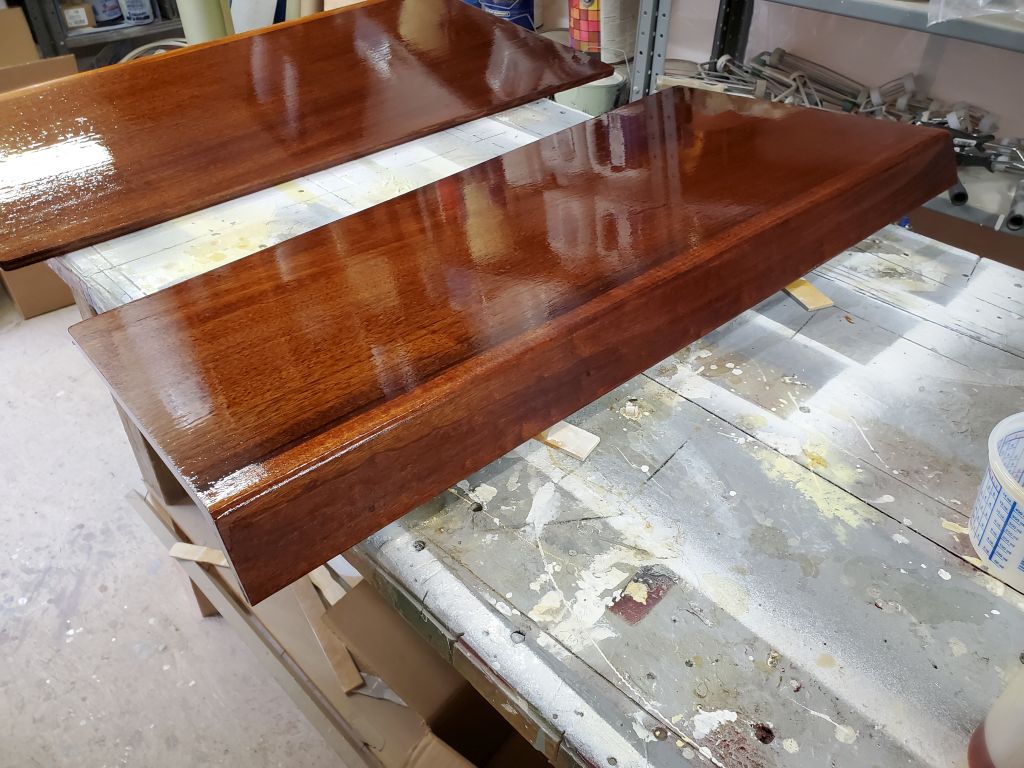
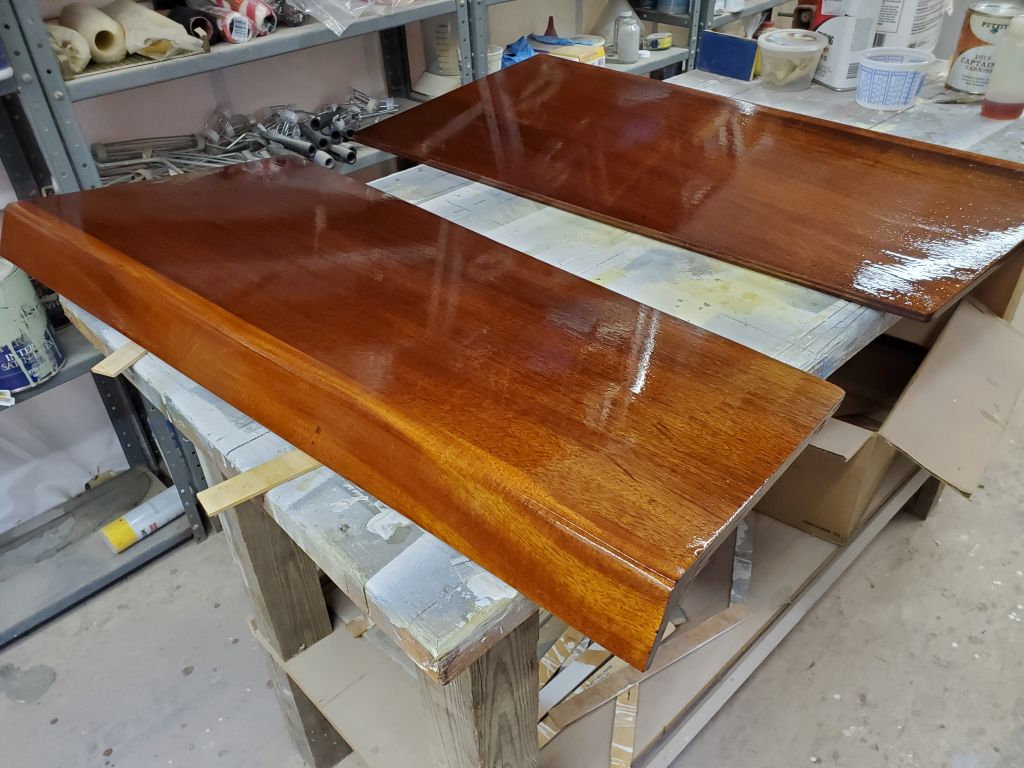
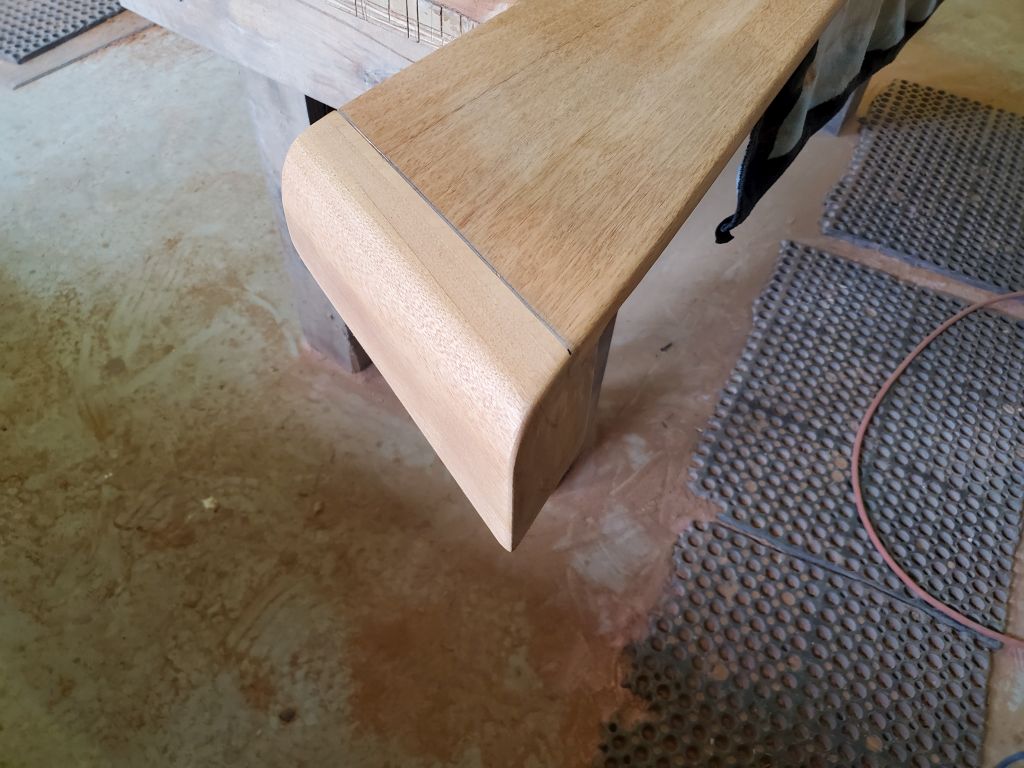
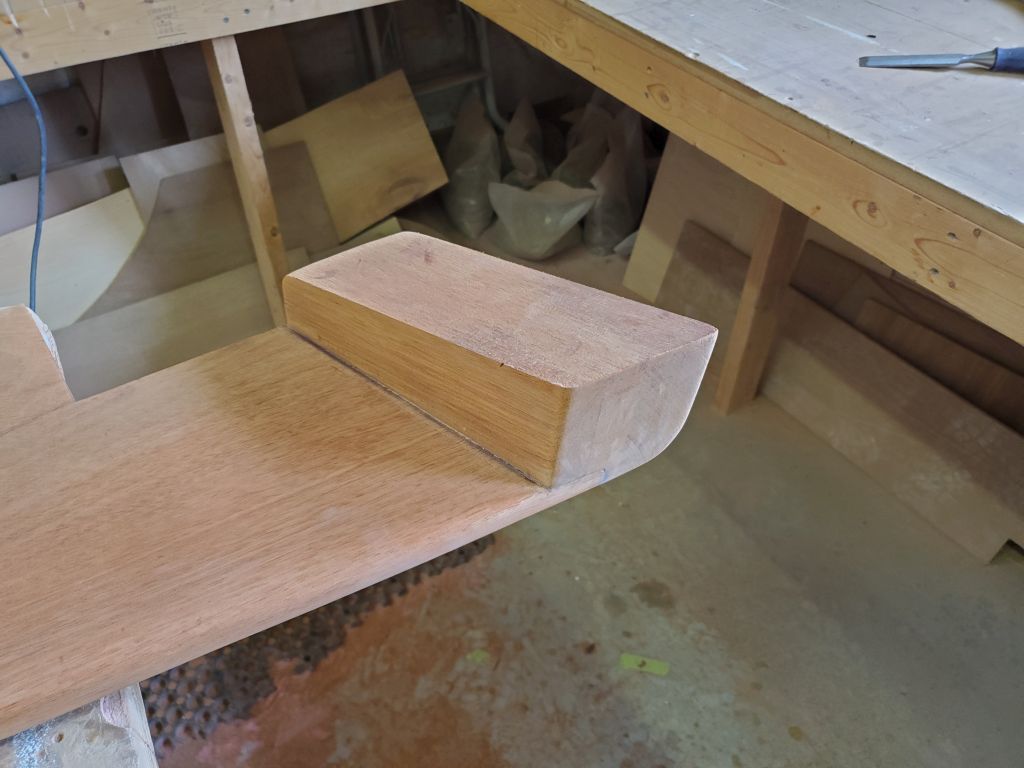
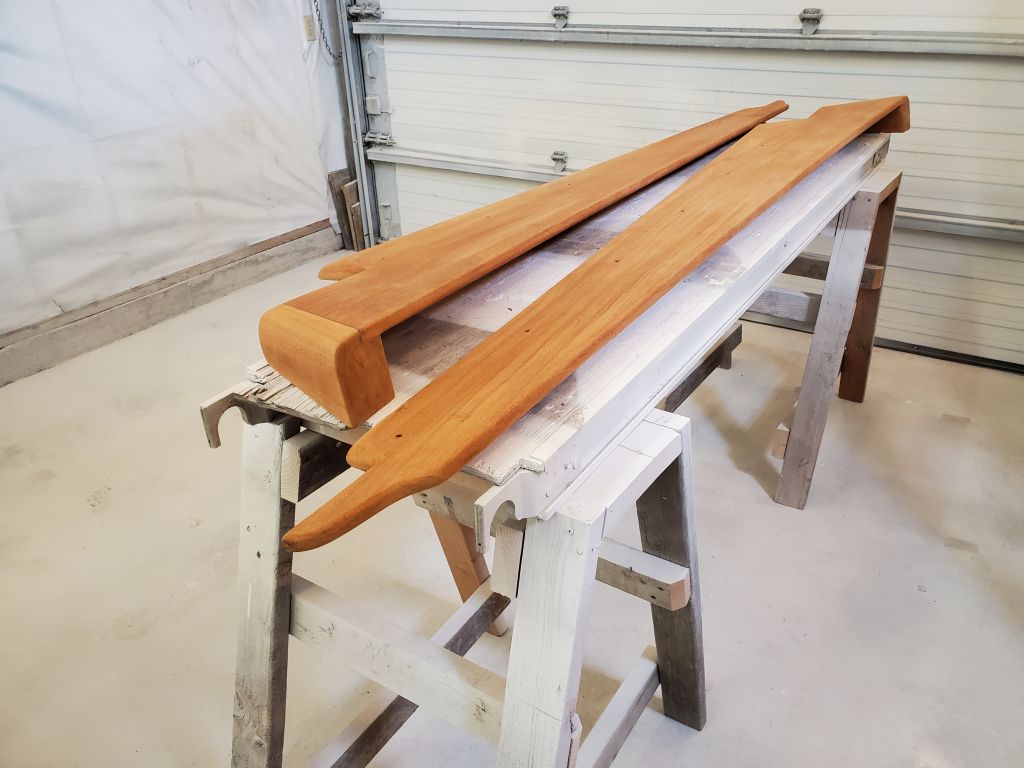
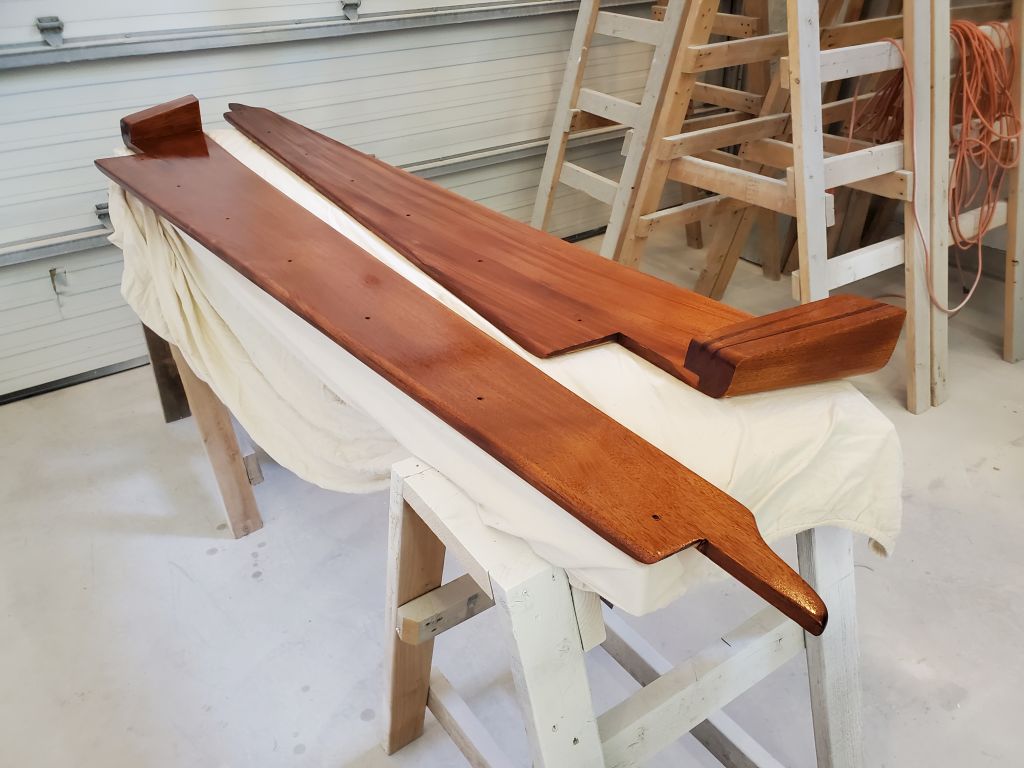
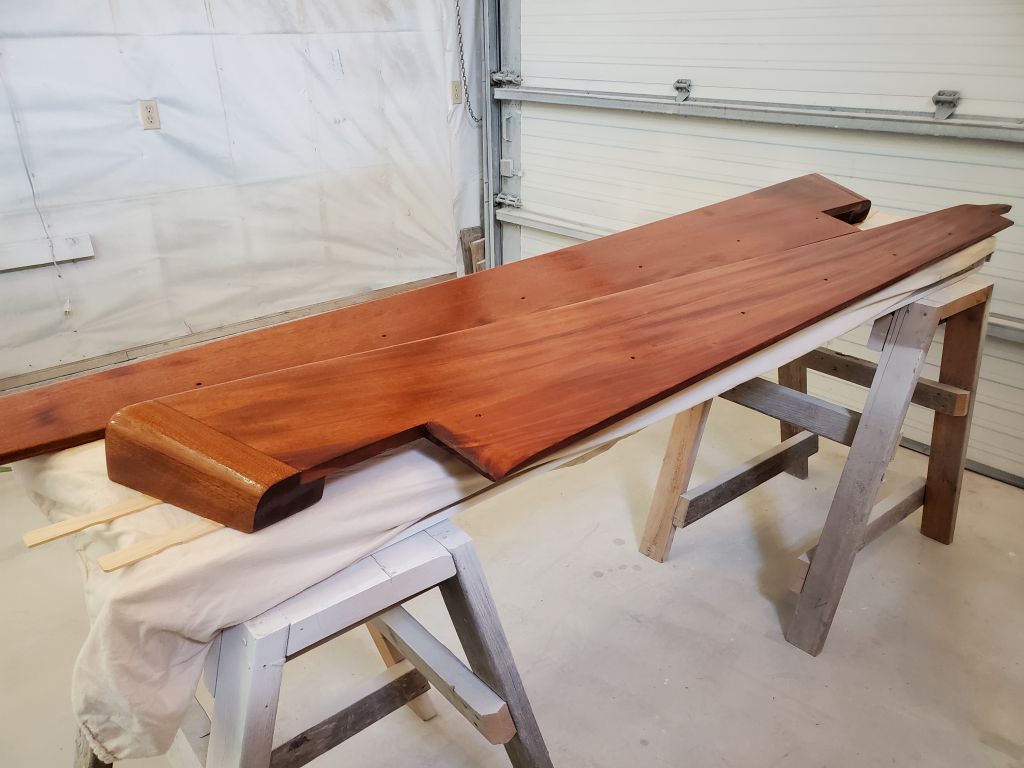
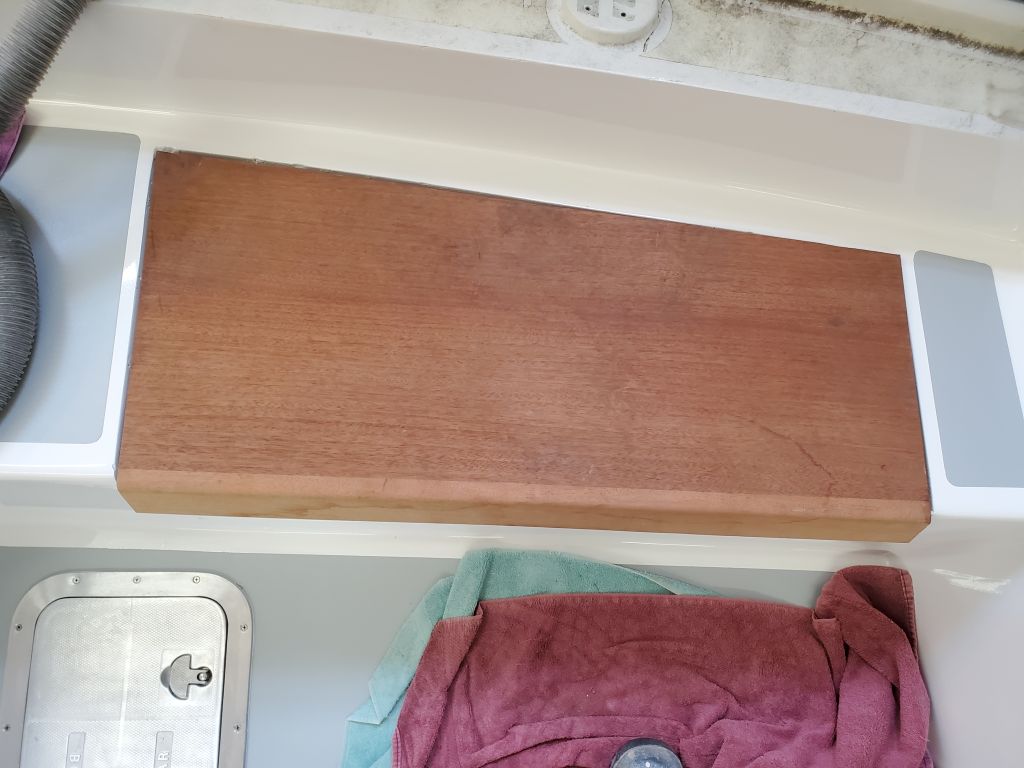
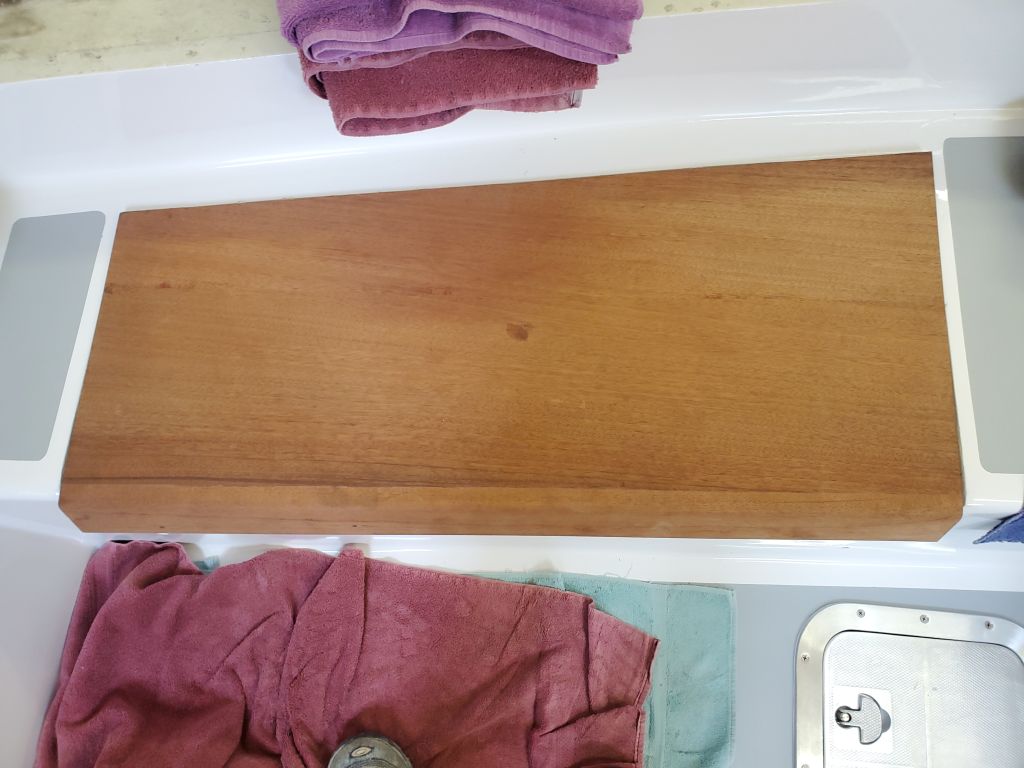
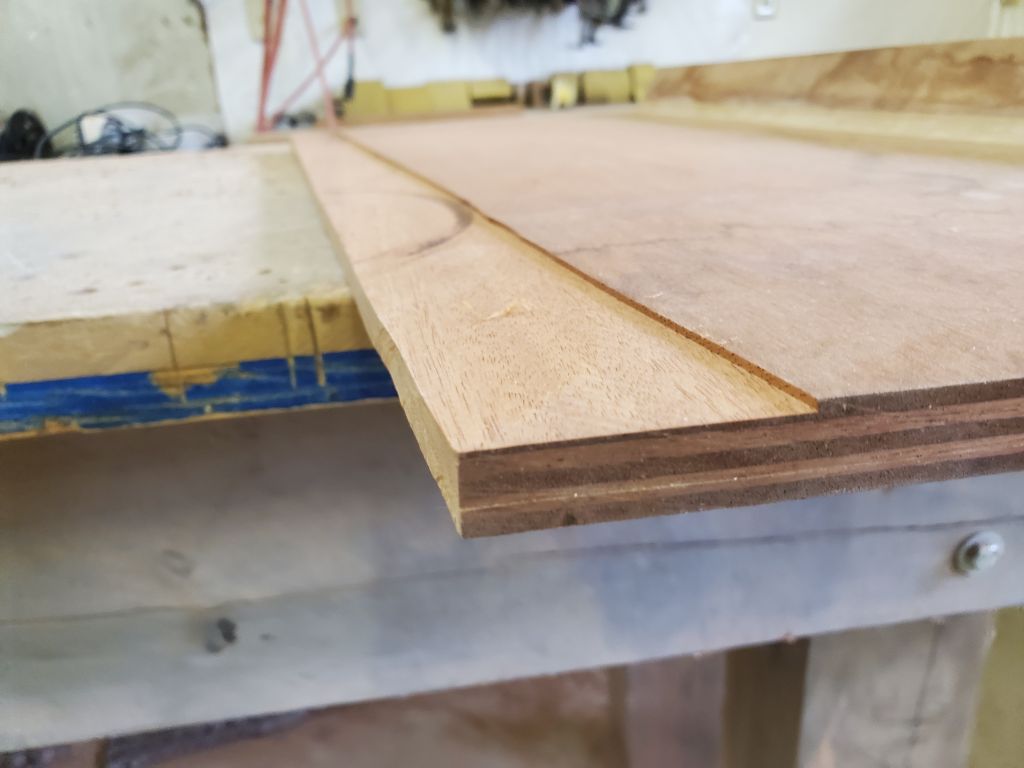
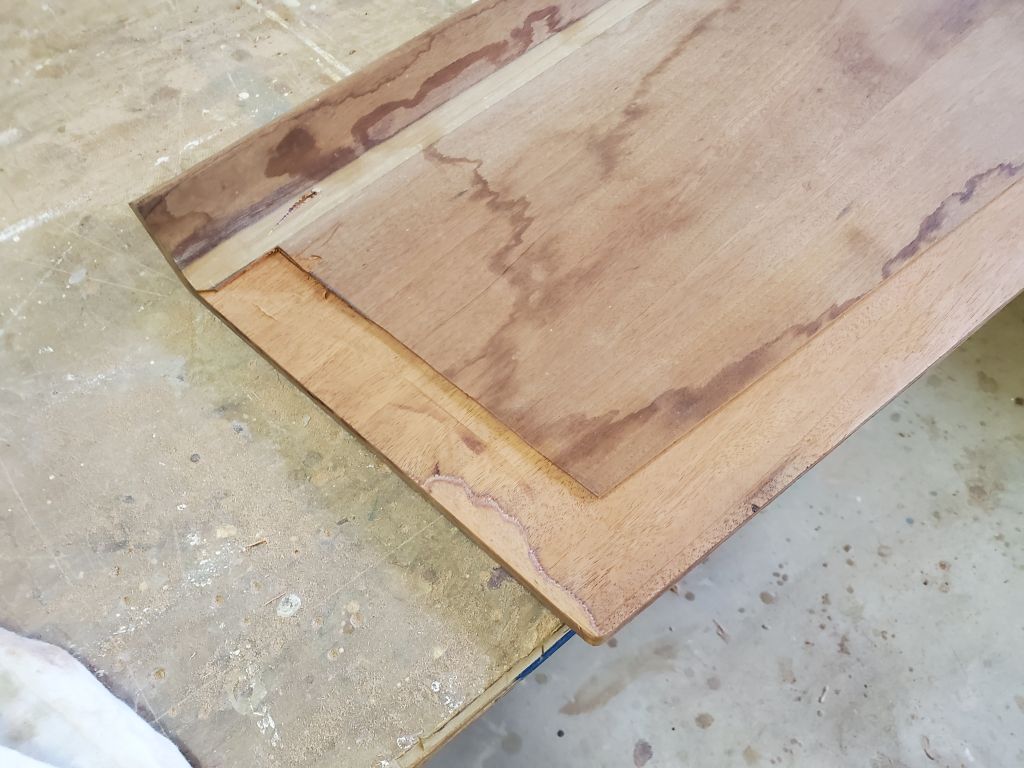
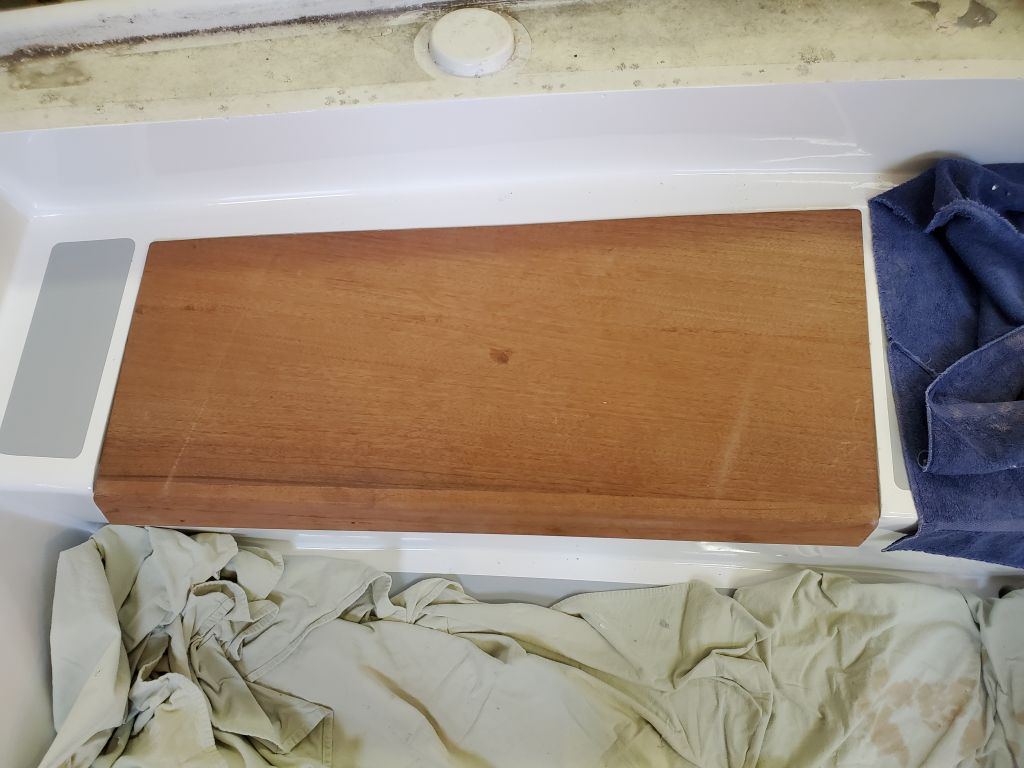
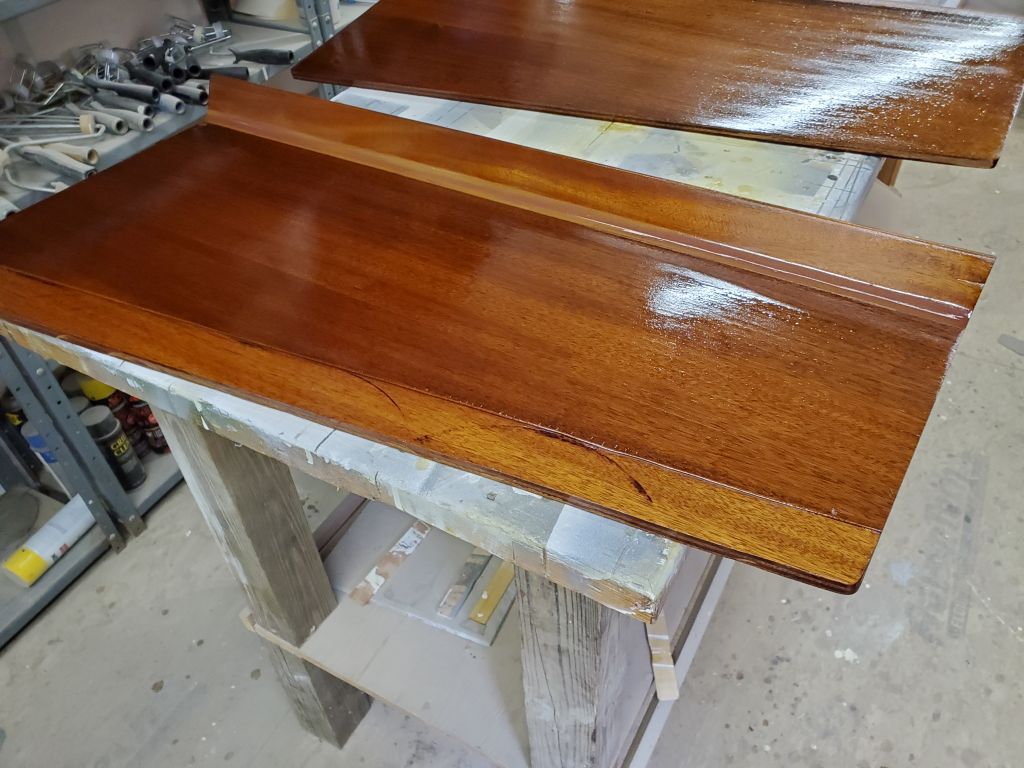
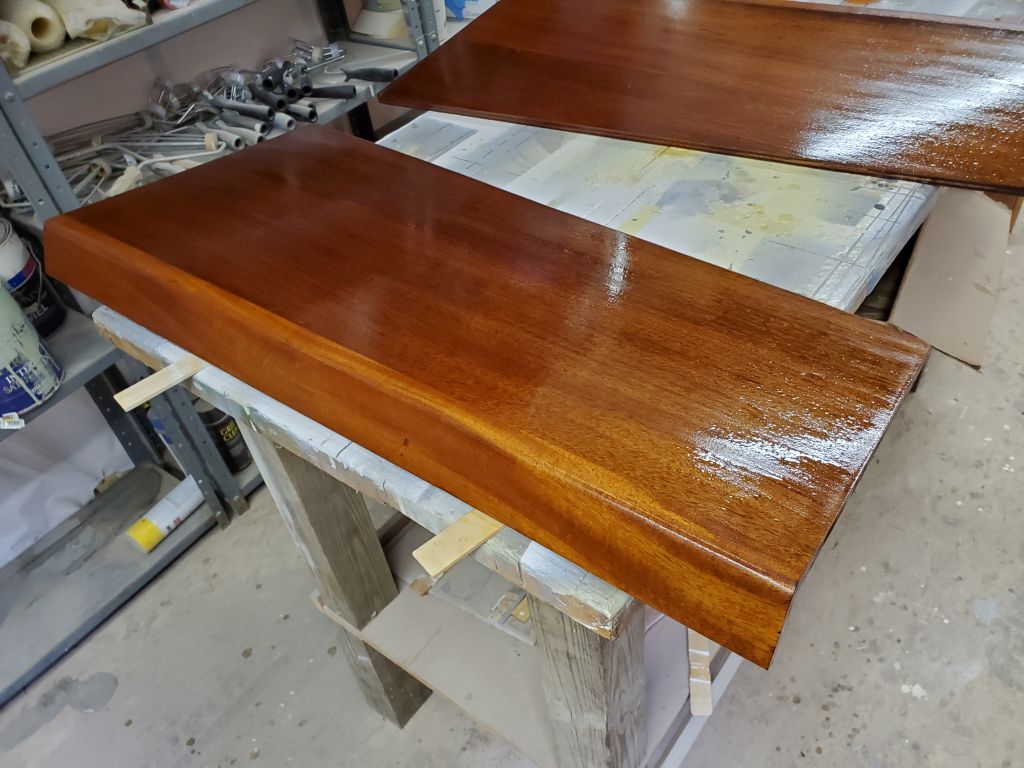
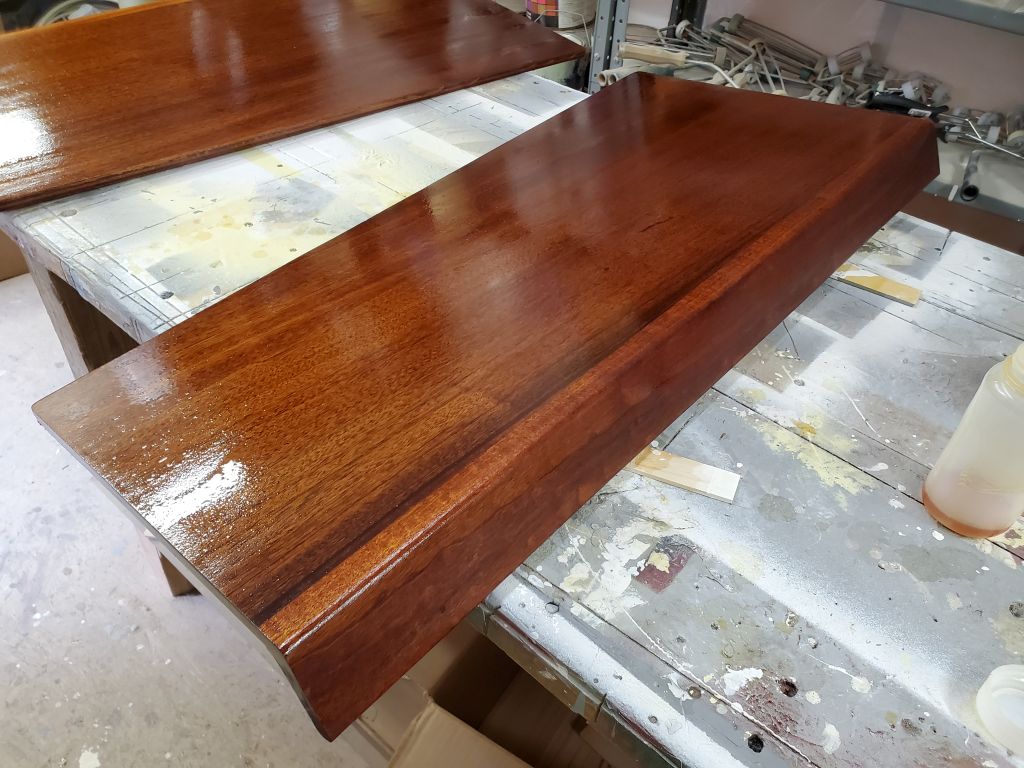
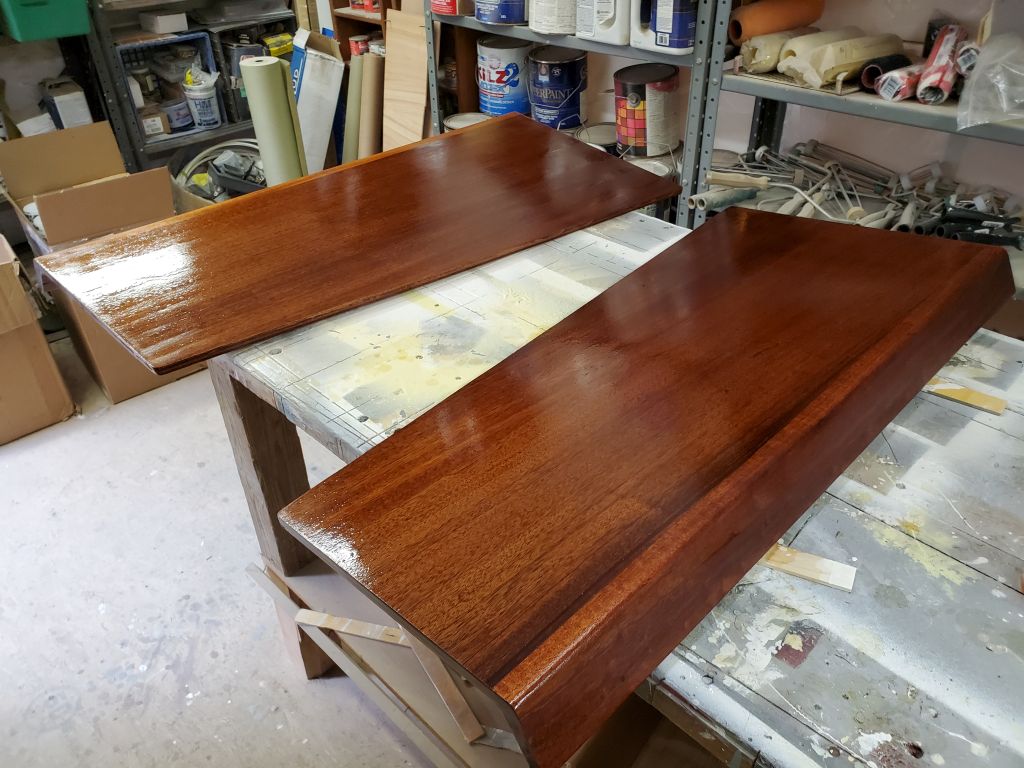
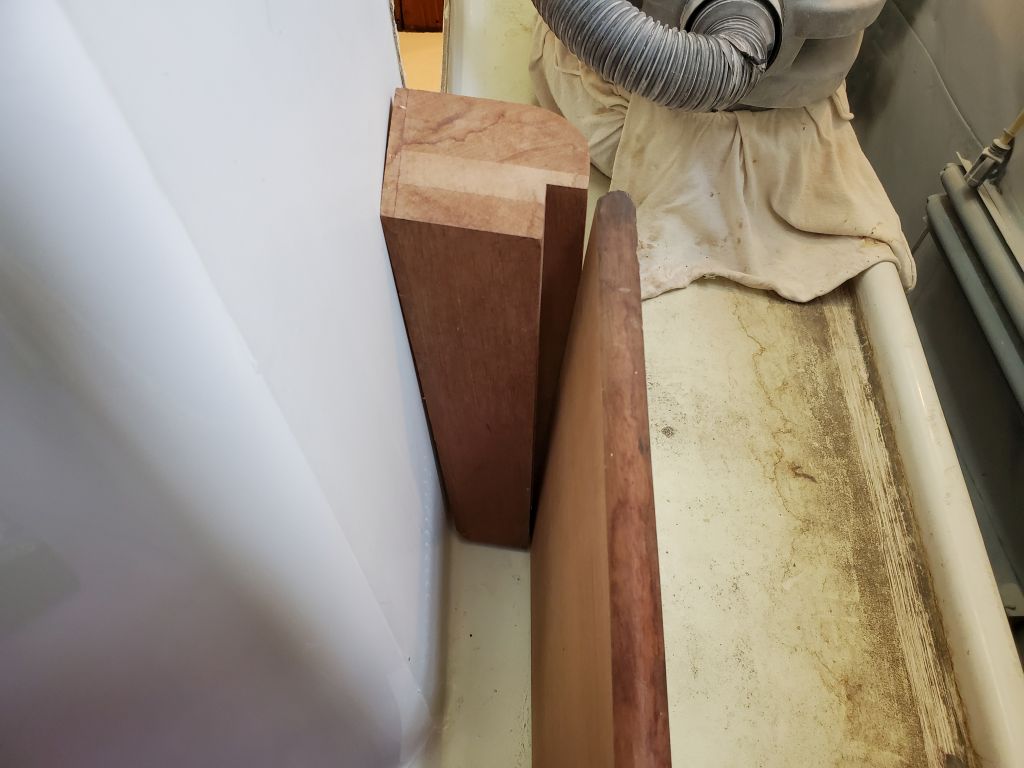
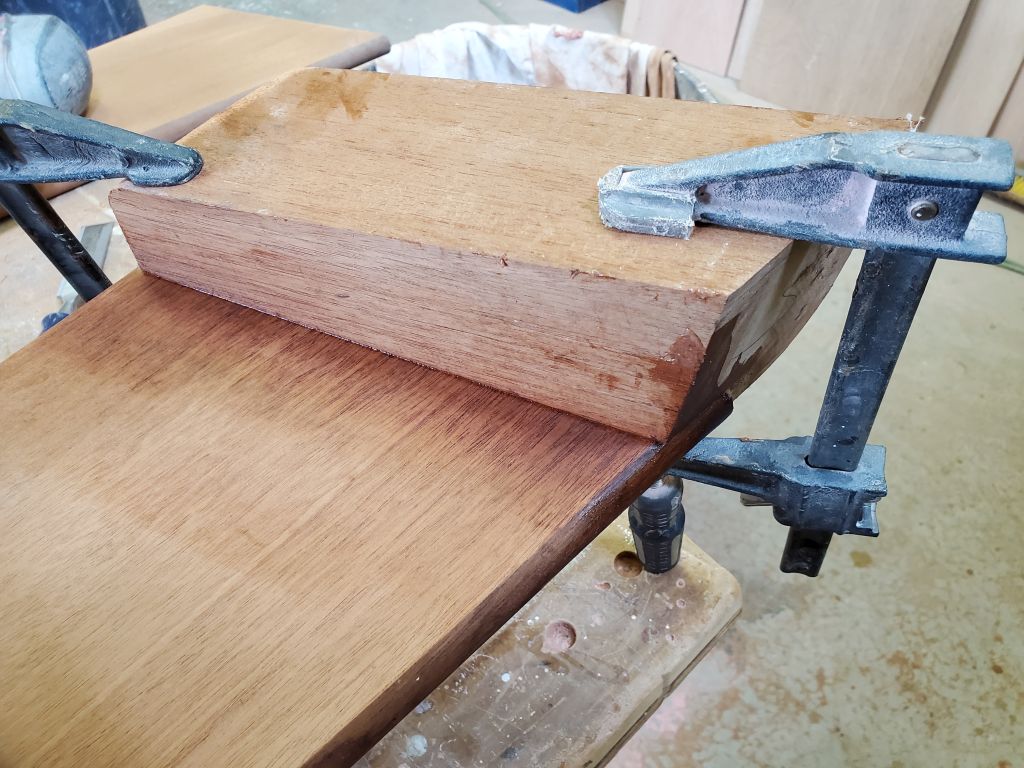
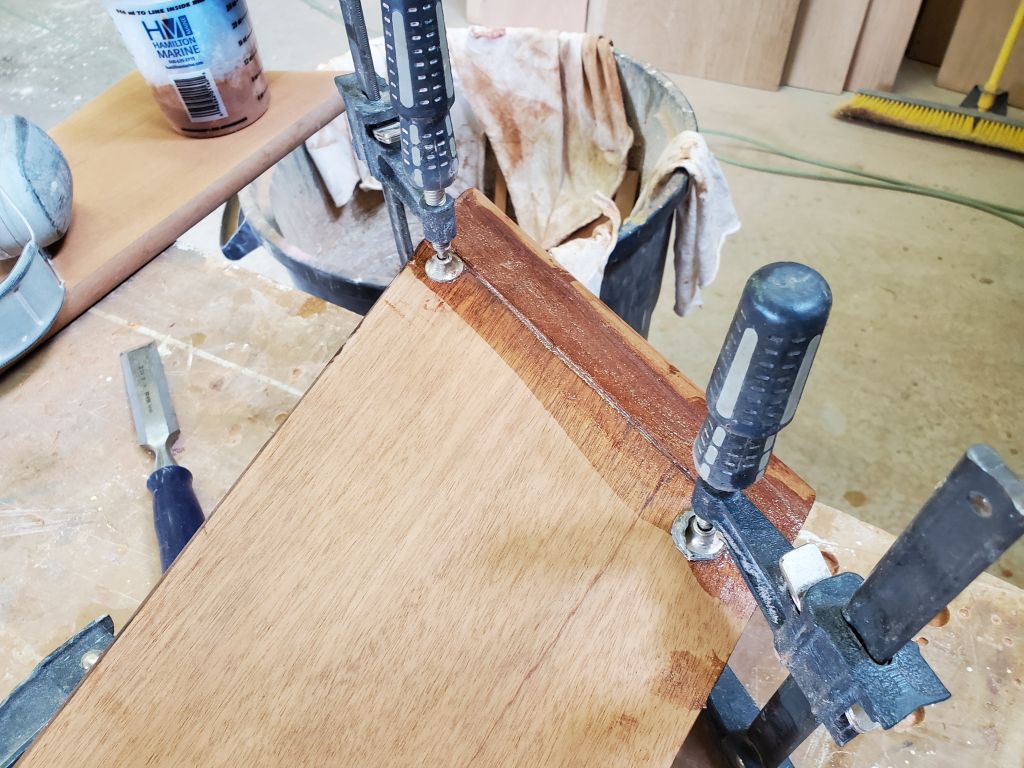
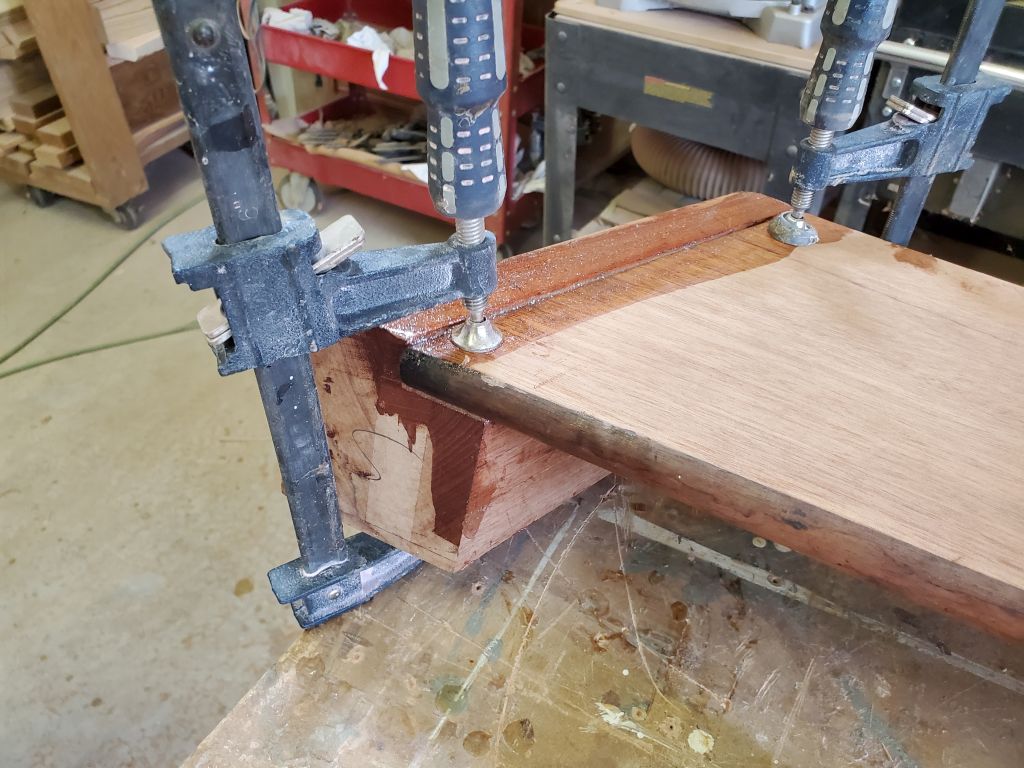
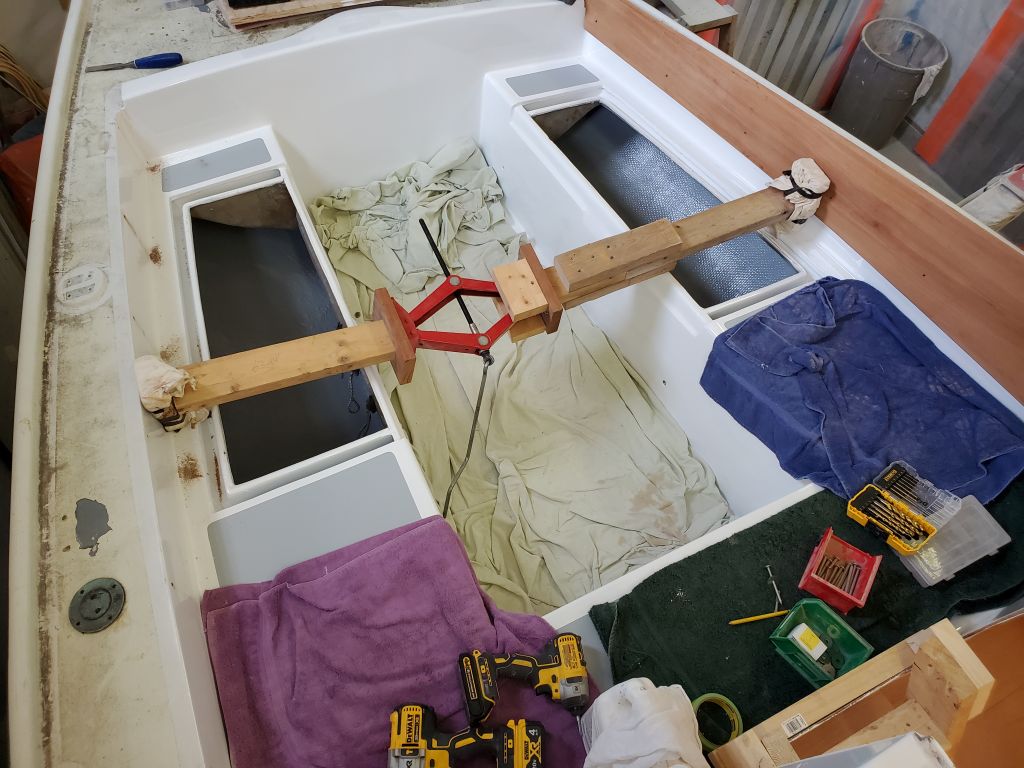
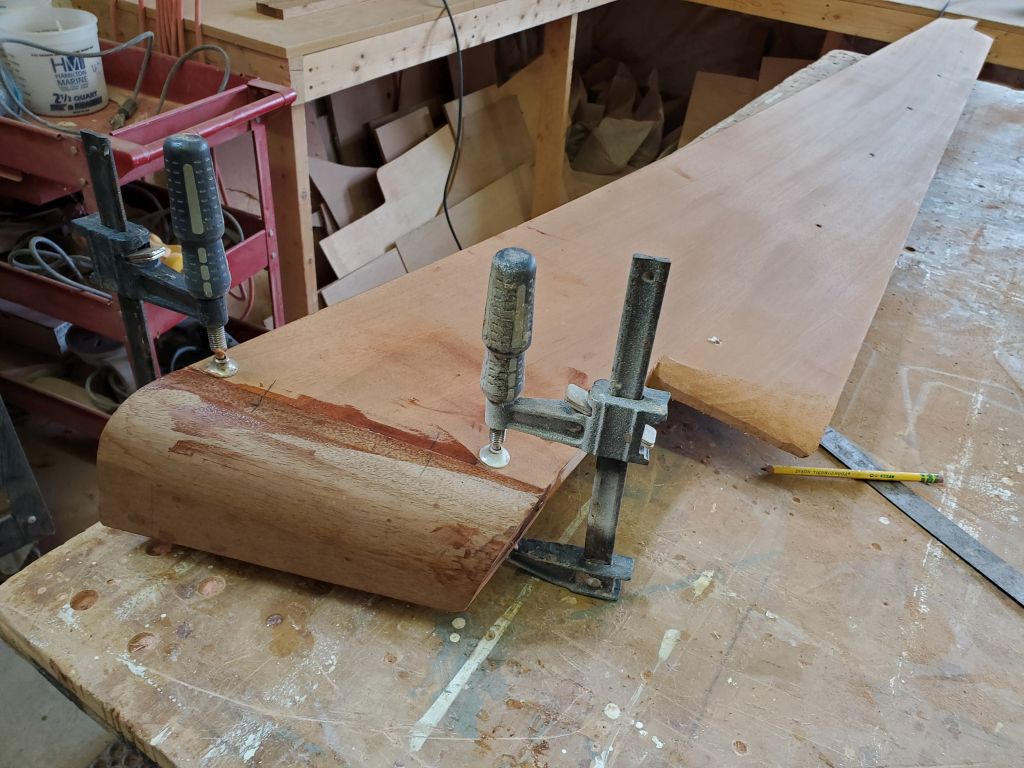
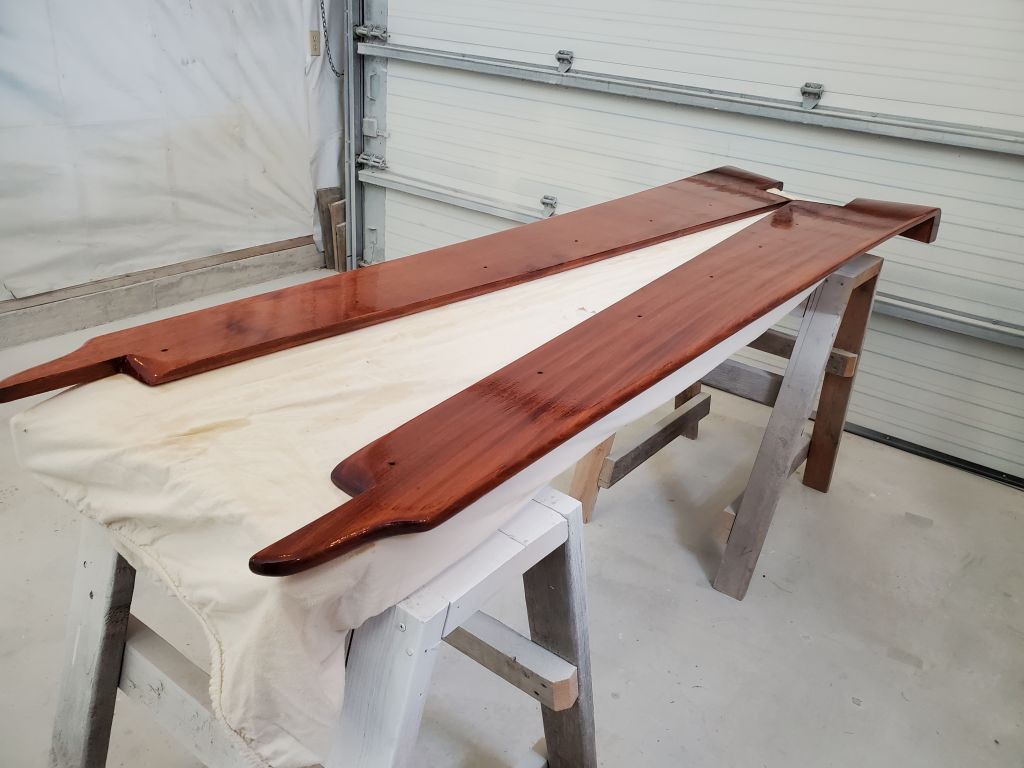
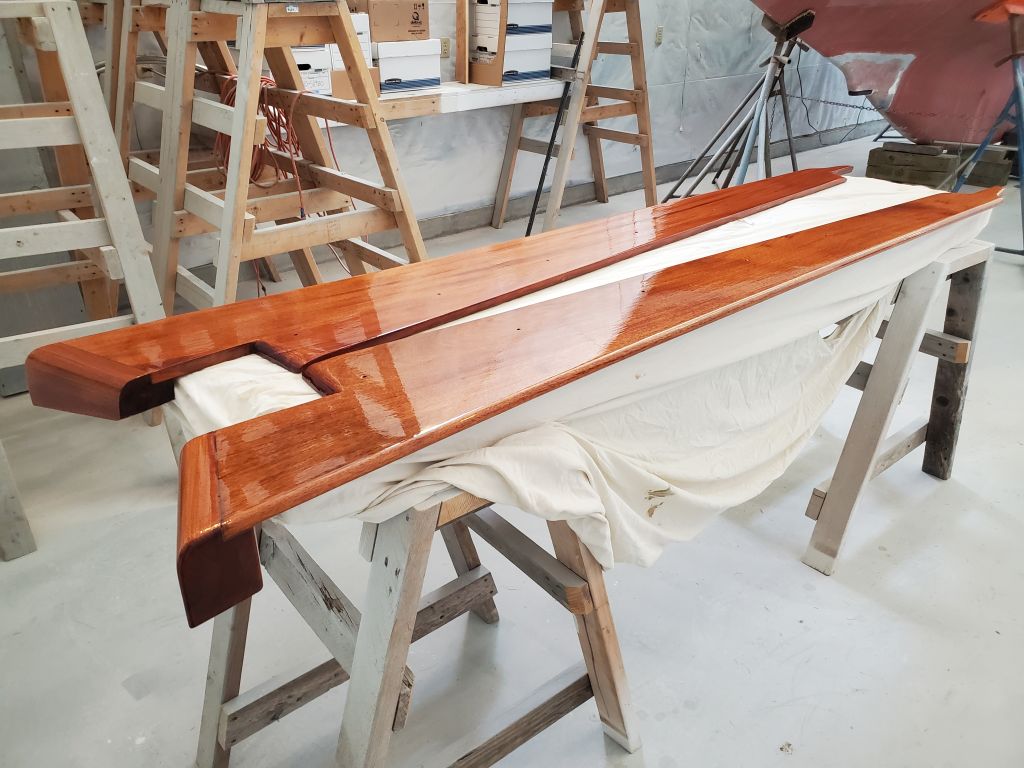
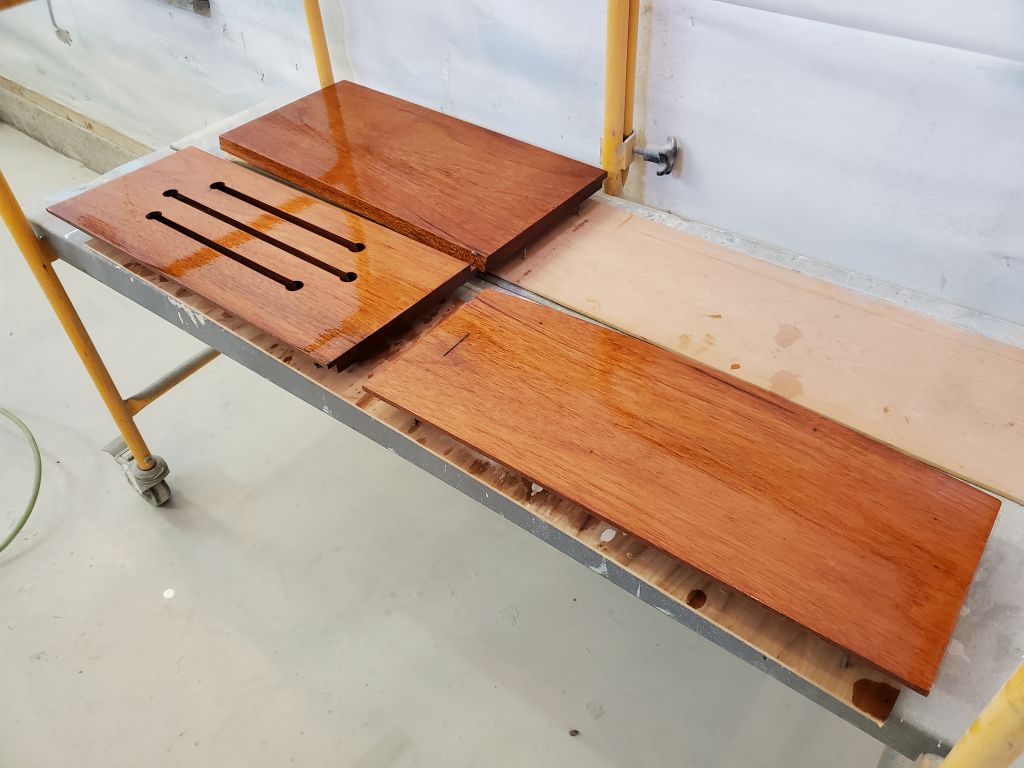
I’d get back to the pulpit next time, but now I had to get to my daily varnish work, somewhat reduced now that the cockpit locker lids had their sufficient first-season coating (6 coats).  I continued work on the coamings, which were now receiving their 6th coat on the current side, and the swashboards, now on their 4th coat on both sides.

Total time billed on this job today:  5.5 hours

0600 Weather Observation:  Overcast and fog, 45°.   Forecast for the day:   Eventual clearing and windy, 56°

Lyra 55

Saturday

Over the weekend I managed one additional coat of varnish on the cockpit locker lids (six, probably the final coat for now), on the cockpit coamings (five on this side), and swashboards (three on both sides).  I also applied a second coat of semi-gloss white enamel to the underside of the companionway hatch.

Total time billed on this job today:  1 hour

0600 Weather Observation:  Clear, 35°.   Forecast for the day:   Mostly sunny, 67°

Lyra 54

Friday

I continued work on the ongoing varnish, with another coat (5) on the locker lid tops, and the 4th coat on the first side of the coamings, and the second coat on the swashboards (both sides).  With the varnish done, I applied a coat of white enamel to the underside of the companionway hatch.

Total time billed on this job today:  1.25 hours

0600 Weather Observation:  Clear, 35°.   Forecast for the day:   Sunny, 65°

Lyra 53

Thursday

I began with the usual rounds of sanding and varnish on the ongoing pieces:  Cockpit locker lids (coat 4 on both sides) and cockpit coamings (coat 3 on the first side).

After some light sanding around the new epoxy work on the companionway sliding hatch, I test-fit it on the boat along with its guide rails so I could confirm and modify as needed the height and shape of the top swashboard.  I found that the board was OK as is and required no changes, so with that out of the way I could clean up, sand, and start varnishing these as well.

Meanwhile, after final preparations I applied a coat of primer to the underside of the companionway hatch.

Inside the boat, I installed the sealed pieces of companionway trim with screws, then bunged the screw holes late in the day.

Now I turned to the engine control, the final step required in the electric propulsion motor installation.  I did a little layout for the control at the owner’s chosen location, the forward end of the starboard cockpit well, and, satisfied with the position, cut the two holes required for its installation.  I marked, drilled, and tapped the 8 fasteners required to hold this in place, but for now didn’t install it in case I had to make any changes behind the control.

Leading the attached cable forward into the engine room, I connected it to the corresponding terminal at the front of the engine, along with the connector for the engine’s battery and control monitor.  The owner chose to leave this monitor loose for temporary mounting, hoping for a more technologically-recent upgrade sometime in the near future, apparently promised by the purveyor.  With this, I could energize the powerplant for a test.  Not unexpectedly, my initial test revealed that the engine control lever was backwards:  forward was reverse, and vise-versa, as the control was set up by default for port-side installation.

The fix for this was easy once I found it buried in the manual:  Just switch the two connectors, one with green wires, one with yellow,  on the front of the engine.  The third photo shows the original configuration; the 4th shows the modified connection.

Once I made the switch, the shaft turned the correct way:  clockwise for forward, counter-clockwise for reverse.  The test was successful in all ways.

I finished up the control installation by securing the wires as needed, and installed the control lever itself with machine screws, butyl sealant, and nuts behind.

Finishing up some nearby installations in the cockpit, I installed the compass back in its existing opening, and, nearby on the same bulkhead, an autopilot control unit.

To round out the day, I took a few minutes to run a length of 14/2 wire through the bow pulpit for a future bow light to be mounted.  There was already a smallish hole in the underside of the pulpit near centerline, which I enlarged slightly to accommodate the wires, then led them easily through and out the after end of the rail.  Now the pulpit would be ready for installation in the immediate future, along with other deck hardware, which would be my focus in the coming days.

Total time billed on this job today:  7 hours

0600 Weather Observation:  Mostly cloudy, 42°.   Forecast for the day:   Partly sunny, 60°

Lyra 52

Wednesday

I started the day with sanding and varnish work on the cockpit locker lids–coat 3 on both sides.

Continuing, I sanded and varnished the coamings–coat 2 on both sides.  I’d hoped to sneak out 3 or even 4 coats like this on both sides of the coamings at the same time, but flipping the coamings after doing the first side was proving too harmful to the varnish, so, alas, from here on I planned to work on only one side at a time, which would extend the process a bit but otherwise was of no matter.

Back on companionway duty, I installed the wooden support rails on the cabintop, drilling from within through the epoxy-filled holes I’d completed last time, then securing the rails with sealant and screws from beneath.

For the interior companionway trim, the owner had provided me with a shaped-and-varnished apron trim, and two dimensioned, but otherwise unfinished, lengths of mahogany for the side trim.  These side trims required angle cuts and some minor shaping at the top end in order to fit against the overhead, and cutting to length to fit above the companionway sill.  Once I’d completed those steps, I drilled counterbores for bungs and screws, sanded the pieces clean and smooth, and applied a coat of varnish to all sides, wanting the wood fully sealed before installation.  Meanwhile, I installed the interior apron with three holes in counterbored holes, which I’d fill with bungs later.

Finishing up the supplied trimwork, I installed two little pieces of varnished trim along the inside edges of the companionway opening in the overhead, using the bronze screws the owner supplied me along with the trim.

The mahogany swashboards for the companionway were raw mahogany, milled to height with their rabbetted overlaps and some vent slots, but left overlong and requiring additional fitting.  To start, the bottom board required a 12° angle cut on the bottom to match the angle on the sill, after which I snuck up on the final width required to fit properly in the slots in the companionway trim.  I found that the boards were just a bit too thick for a smooth fit, so I planed all three down to a finished thickness just more than 3/4″, which allowed the boards to fit properly.

Once I had the bottom board fitted, it was much quicker to trim the top two boards to the proper width and fit.  The top board would probably require a final cut at the top to match the companionway slide, but I wouldn’t know that till I’d fitted the hatch itself.

Naturally, then, my next task was the companionway slide itself.  This would require a bit of repair and cosmetic work before I could install it, starting with replacing the wooden runners that supported the aluminum L-shaped guides that would ultimately run along the track.  The original wood was badly rotted, and had come free from its original mountings on the hatch (just pressed into polyester resin at the hatch edges).  The aluminum guides were corroded, and the screws had failed, but were still structurally sound enough for continued use.  In these photos, I have the wooden runners and aluminum guides just resting in their proper places to illustrate, and to provide reference for when I reinstalled the pieces.

After dismantling what was left of the old guides, and removing the old corroded screws, I cleaned up the aluminum for reuse, then milled new mahogany (sipo) runners to match the old (1-1/4″ x 26″ x 5/16″), and reinstalled the l-shaped guides with new screws.  These brackets would hang over the aluminum rails (seen in the 4th photo) that would later be installed atop the wooden supports I’d installed on the cabintop.

With the new runners ready to go, I sanded the underside of the hatch to remove the flaking old paint and otherwise prepare all surfaces for new work:  refreshed paint and some minor epoxy repair work at the aft end.  Thusly prepared, I secured the new runners in place with epoxy, and glued back some of the loose tabbing around the wooden support at the aft end of the hatch, leaving this all to cure overnight.

With a little time left in the day, and no further work available on the companionway for now, I went ahead with the final installation of the new transducer.  With all the work related to the transducer and its new housing at the forward end of the keel, final installation was straightforward:  I masked off the transducer, applied lots of sealant, and pressed it into position, securing it from above with the supplied nut and plastic and rubber washers before cleaning up the sealant and tape from below.

Total time billed on this job today:  7 hours

0600 Weather Observation:  Mostly cloudy, 42°.   Forecast for the day:   Partly sunny, 52°

Lyra 51

Tuesday

First order of business:  Sand and varnish the cockpit locker lids (coat 2, both sides).

Next, I turned to the coamings, which had had sufficient clamp time after gluing the return blocks.  Now, I sanded smooth these joints as needed, then sanded the entire coamings through a few grits to clean up the wood and prepare them for varnish.

Afterwards, I set the coamings up on a table where I could do the varnish work over the coming days, and applied a sealer coat of varnish to both sides.  I planned and hoped to do as many coats as possible to both sides at once, which would cut down on the elapsed time frame, but at some point I’d no longer be able to flip the coamings and have them rest even on the small corner of the varnished side; but for the first few build coats at least, I didn’t see this as a problem.

Also prefabricated by previous persons unknown, a new set of companionway trim came along with the boat, all milled to shape and with at least a few coats of varnish already applied.  The trim looked good, but until I started to fit it I had no idea whether it would work as is, or require modifications.

Fortunately, all the pieces fit well when I test-fit things, so I got to work on installation, beginning with the sill.  I originally set the sill up level, which left a gap beneath on the starboard side since the cutout in the fiberglass apparently wasn’t level.  This didn’t pose any problem given how the various trim pieces interacted and were installed, but I soon found that if I kept the sill level, the apron trim beneath ended up looking odd, since the reveal between the bridgedeck and the bottom of the trim was uneven when the sill was level.  When I pushed the sill back down to the edge of the cutout in the fiberglass, the apron trim had a consistent reveal beneath.  Ultimately, I decided that the appearance mattered much more than being truly “level”, and the trim had to look right to the eye.  So I pressed on with final installation with the sill resting against the edge of the opening.

I installed the apron with screws through the back, from inside the boat, and sealant, then installed the sill over the top with more sealant.

Next, I installed the two side pieces of trim, which incorporated the external face trim and the slots for the swashboards.  These fit well and without issue.  As with the apron, I installed these trims with screws from inside the boat and sealant, leaving the clean outward appearance free of fasteners.  Additional trim on the inside of the boat would later cover the exposed screw heads there and finish off the interior appearance.

To finish off the exterior companionway trim, I laid out the long wooden rails that would ultimately support and guide the sliding hatch.  Using the old holes as a guide from inside the cabin, I drilled pilot holes through the deck (the deck sides of these holes had been filled during the exterior paintwork that occurred under previous ownership), then, with a 1/2″ bit, drilled out the top skin and core at the fastener locations so that I could mask off and fill these openings with a thickened epoxy mixture in the usual way to protect the core around the fasteners.  The core I removed from these six holes was generally sound and dry with no immediate issues noted.  I left the epoxy-filled holes to cure overnight so I could continue the rails’ installation next time.

Total time billed on this job today:  6.5 hours

0600 Weather Observation:  Cloudy, rain showers, 40°.   Forecast for the day:   Cloudy, rain showers possible, 51°

Lyra 50

Monday

After a few days away from the project,  I got back to work on the latest edition of a continually-revised work list, which started with a focus on making the boat watertight (i.e. hatches and ports) and deck hardware, these being deemed the most critical items as the project moved forward.

First on my list was the new cockpit hatch over shaft alley, which, now that the cockpit was fully painted, I wanted to install forthwith so I didn’t kill myself falling through the hole.  Masking around the hatch opening and over the adjacent deck, I put the hatch in place–the opening was already the proper size and otherwise fully prepared–and cut around the perimeter of the flange before removing the tape within.  This would protect the deck from sealant.  Next, I drilled and tapped the 14 fastener locations for #10-24 machine screws, and milled small countersinks at the top of each hole in my habitual way.  When I recored the cockpit sole, I’d installed solid fiberglass all around this opening, so the core was already isolated from the fastener holes.

Preparations complete, and after cleaning up the spoils, I applied abundant sealant and secured the hatch in place, cleaning up the excess and removing the tape thereafter.

Next on my agenda was the cockpit locker lid hatches.  Many years ago, under different ownership and before the boat was abandoned, someone had made up plywood hatch covers (the boat had, before that point, older plywood lids that had clearly been used as raw templates for the new), and my job now was to prepare these for final installation.  The plywood hatches–sapele plywood with solid mahogany trim–had been in safe storage all this time and, other than some water staining, were in good condition.

My initial test fit showed that the inside corners required a radius to better fit in the hatch openings, and, the outboard edges of the hatches stood proud of the adjacent decks by a bit and would require some modification to better fit over the gutter structure beneath.  The inboard edges, trimmed with mahogany, angled out and stood proud of the cockpit well, but that was the design and was what it was.  The owner and I had discussed tentatively the idea of, in the future, building proper fiberglass hatches here, but for now these would do with a modicum of work.

To remove 3/32″ or so from the underside of the outboard edges, and allow the plywood to sit lower over the gutter beneath, I used the table saw to trim down the plywood, the quickest and easiest way to remove the material cleanly as needed.

This worked well enough for the starboard side, which had sat fairly cleanly in its opening except for the outboard edge, but the port side still stood proud all around, so after the second test-fit I removed plywood from the underside along the two sides as well, using again the table saw and, to finish the cuts near the inboard trim, a chisel.  After this, the lid lay more properly on its supporting gutters and more or less flush enough with the adjacent seats, like its counterpart to starboard.

I ordered piano hinges to secure these hatches in place, then sanded and cleaned up both sides of the lids before applying a sealer coat of varnish to all surfaces, the first of several I’d apply before installing these permanently.

Next, I turned to the cockpit coamings.  Like the hatches, a new set of raw mahogany coamings had been milled up sometime in the distant past, exact copies of the originals, then set aside when the boat was abandoned.  Now I needed to test-fit the coamings and the included–but separate–coaming blocks at the forward ends before I could proceed with final finishing and ultimately installation.

Having installed a few sets of new coamings on sisterships over the years, I knew the back sides of the coamings would require some relief in order to fit in the corners of the cockpit at each end, so I started by removing material from these areas on both coamings.  This would never be seen once the coamings were installed.

Starting with the starboard side, I test-fit the coaming, using my hastily-built-long-ago-and-still-functional-though-imperfect coaming installation press.  I found the fit was a bit tight on this side, so I cut back the overhangs at each end a bit to allow the coaming to fit as needed.  At the forward end, the coaming block–or return, if you like–was actually (and fortunately) a good fit, and though in this state the coaming board didn’t conjoin the block fully, it clearly would once the two were attached and in the final installation.

Satisfied with the test fit, I drilled all the screw holes into the fiberglass behind, then removed the coaming to the workbench, where I installed the coaming block to the coaming board with an epoxy mixture, clamping it in place securely.  I added some wood dust for color, and because the coaming block was a bit proud of the coaming itself, there’d be some sanding and cleanup later, but that was expected and OK.

Next, I repeated the dry-fit process to port, finding that this board fit more easily than its counterpart.

Down on the bench once more, I glued the port coaming block in place like I’d done with the starboard side, finishing just before I had to leave the shop for an appointment.

Total time billed on this job today:  4.75 hours

0600 Weather Observation:  Cloudy, rain and snow showers, 35°.   Forecast for the day:   Rain and snow showers likely, 47°

Lyra 49

Tuesday

In a short work session, I applied a second coat of gray nonskid to the cockpit areas.

Late in the day, the paint had cured enough that I could remove all the masking tape, completing the cockpit paint work.

Total time billed on this job today:  0.5 hours

0600 Weather Observation:  Clear, 25°.   Forecast for the day:   Sunny, 50°

Lyra 48

Monday

With the topcoats complete and amply cured, I began by removing all the masking tape, paper, and plastic from the cockpit and the rest of the boat.

Next, I masked over the fresh paint in the cockpit, following the layout I’d made during my earlier masking rounds but this time to protect the new paint from the nonskid to go in the field areas.

After final cleanup and preparations, I applied the first of two coats of light gray nonskid paint to these areas, leaving it to cure during the day while I worked on other projects.

Total time billed on this job today:  2.5 hours

0600 Weather Observation:  Partly cloudy, 35°.   Forecast for the day:   Sunny, windy, 43°


Lyra 47

Friday

Now that the primer had had sufficient cure time overnight to allow additional masking, I started by laying out and masking the eventual nonskid areas in the cockpit, covering them to prevent overspray from the gloss topcoat.  I marked off my habitual 1-1/2″ wide borders around the cockpit seats and sole, then masked to the lines, rounding all the corners, and covered the field areas with paper and tape as needed.

With the masking complete, I cleaned the cockpit once more, this time with the special wipe-down solvent to remove lingering dust and contaminants from the surface, and tacked off thereafter before applying three sprayed coats of snow white gloss topcoat to the cockpit well, seating areas, and cabin bulkheads.

Total time billed on this job today:  3 hours

0600 Weather Observation:  45°, foggy.  Forecast for the day:   Fog and rain,  56°

Older posts Newer posts