(page 2 of 6)

Lyra Phase 2-45

Monday

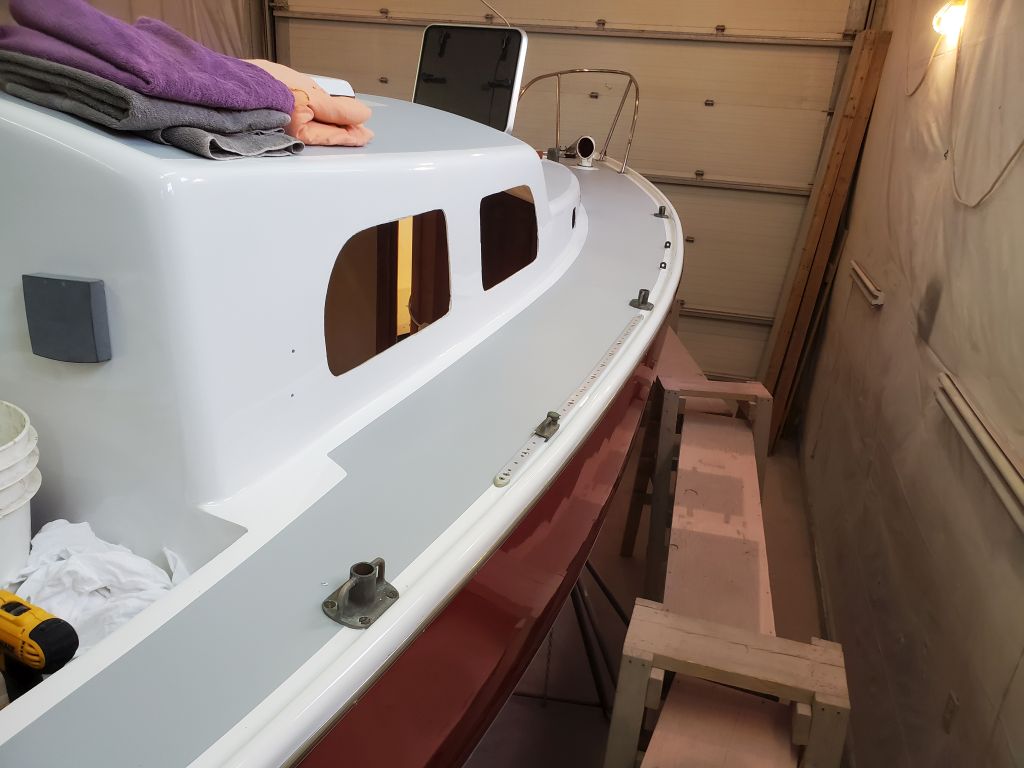
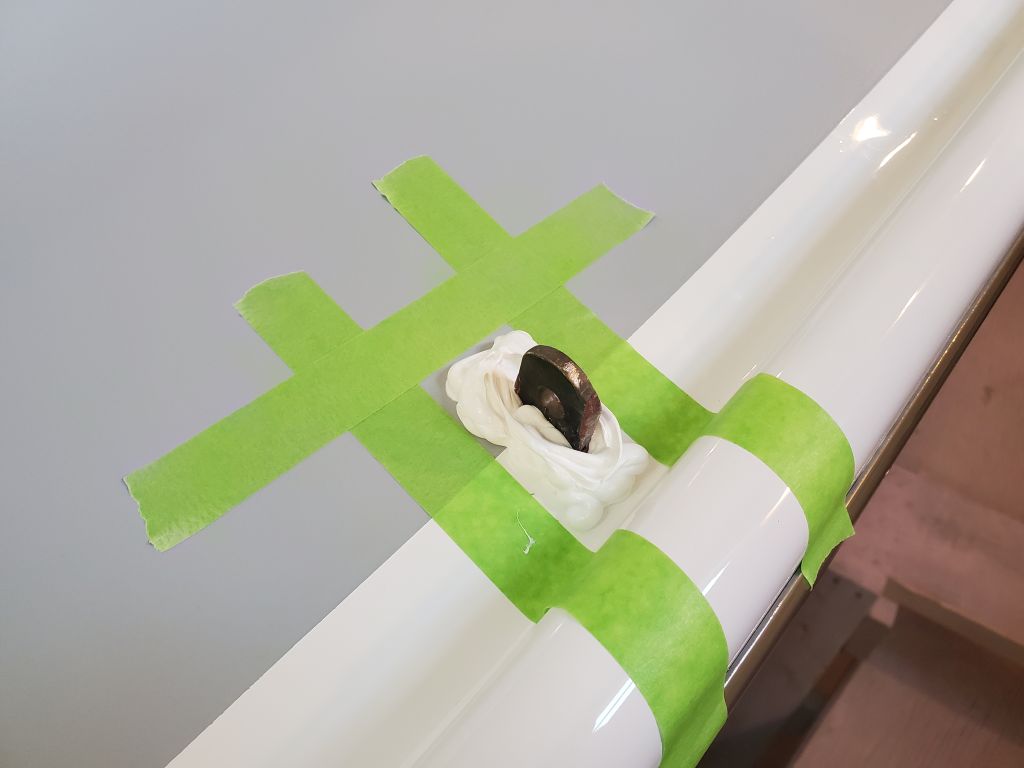
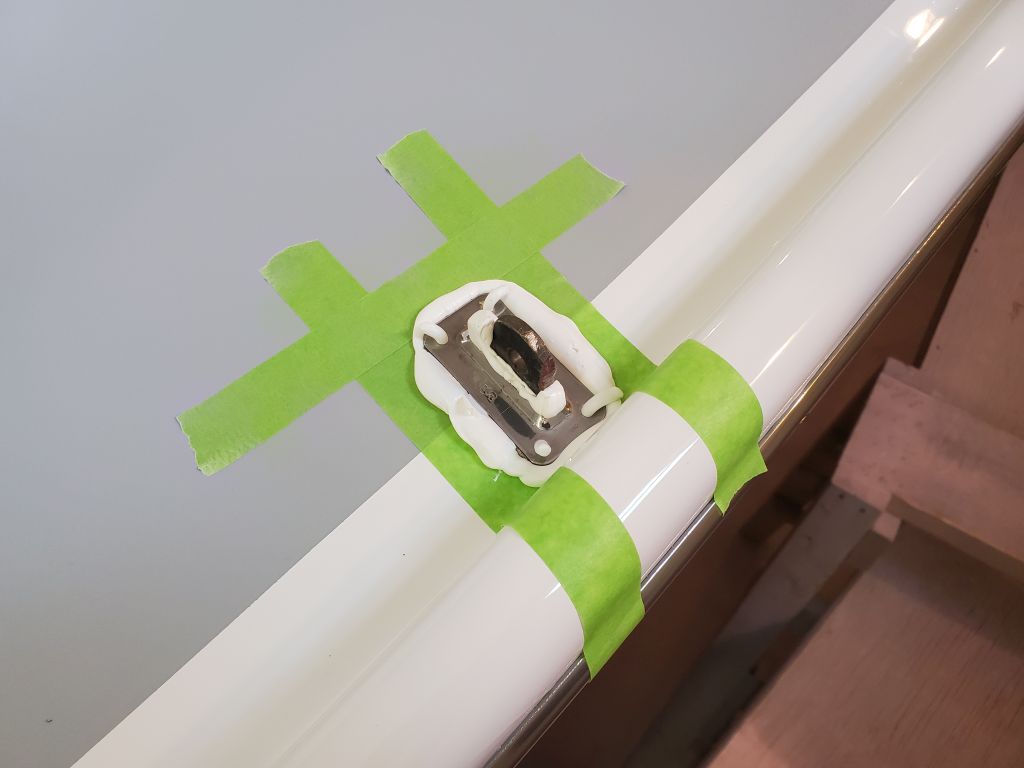
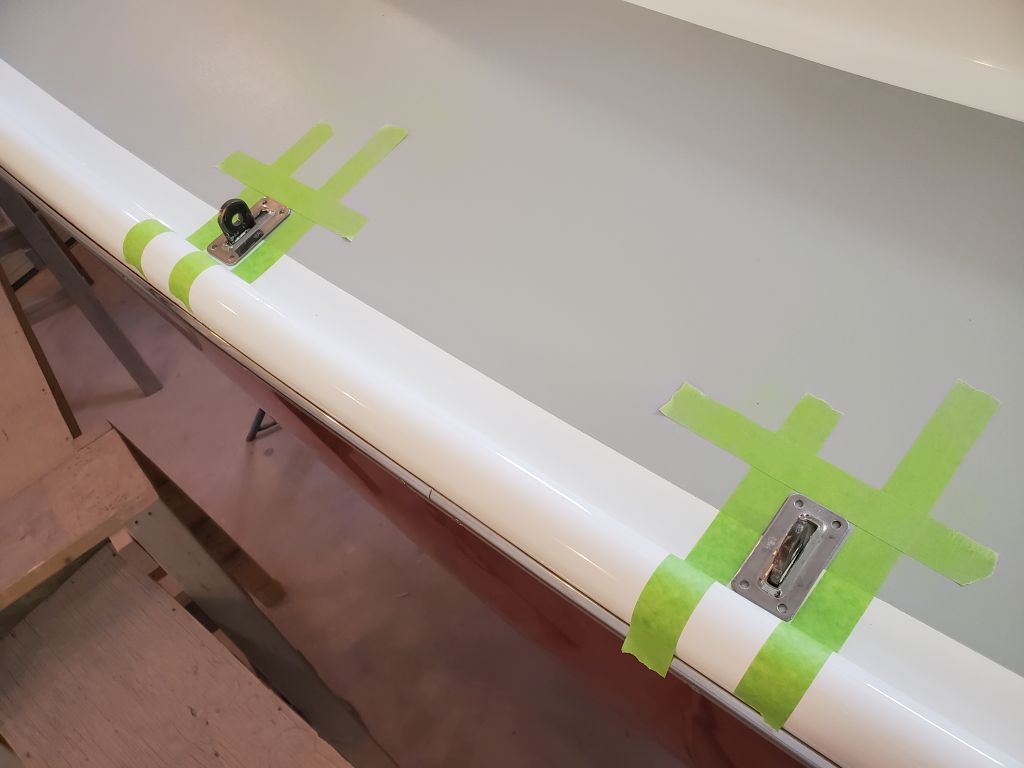
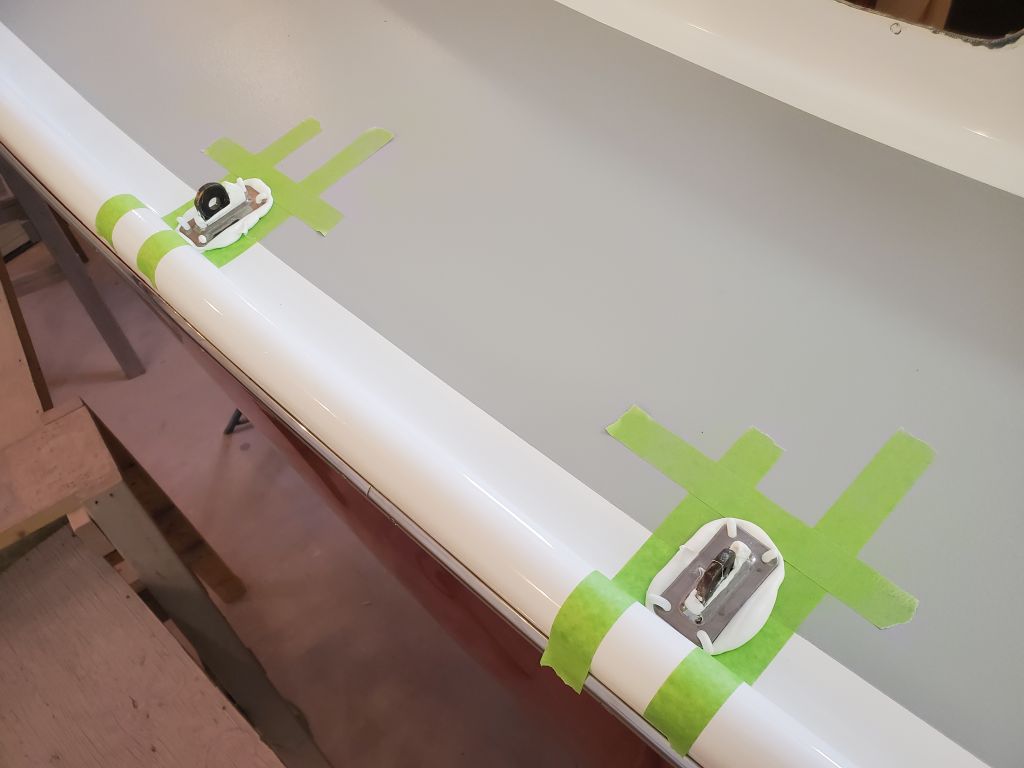
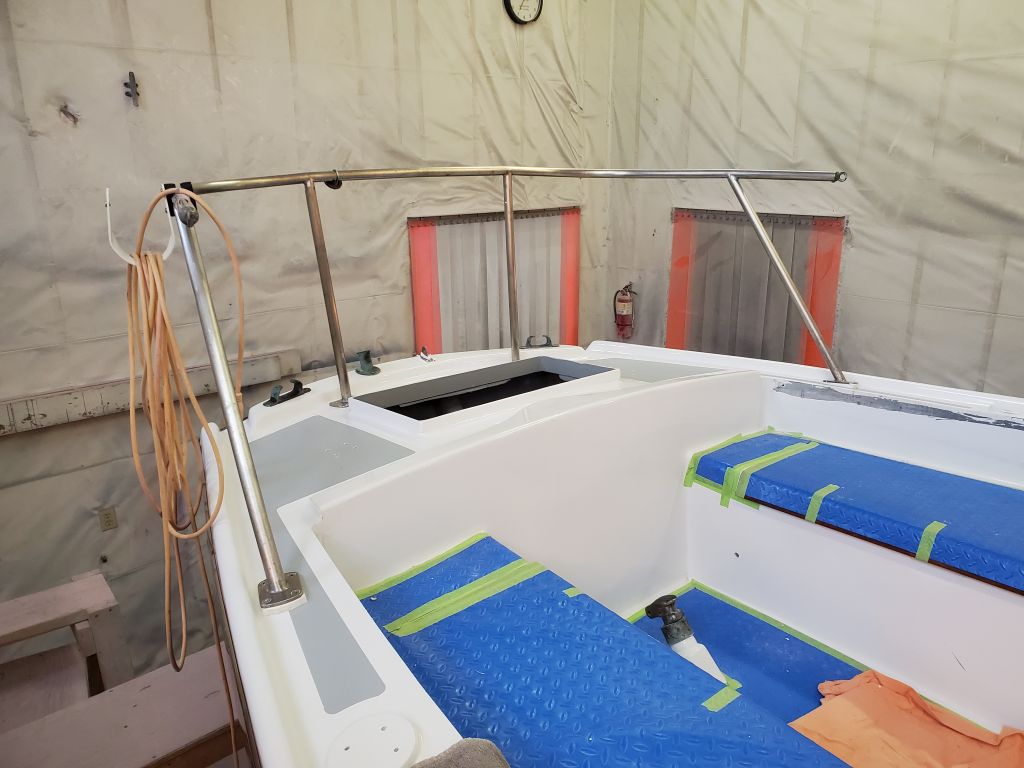
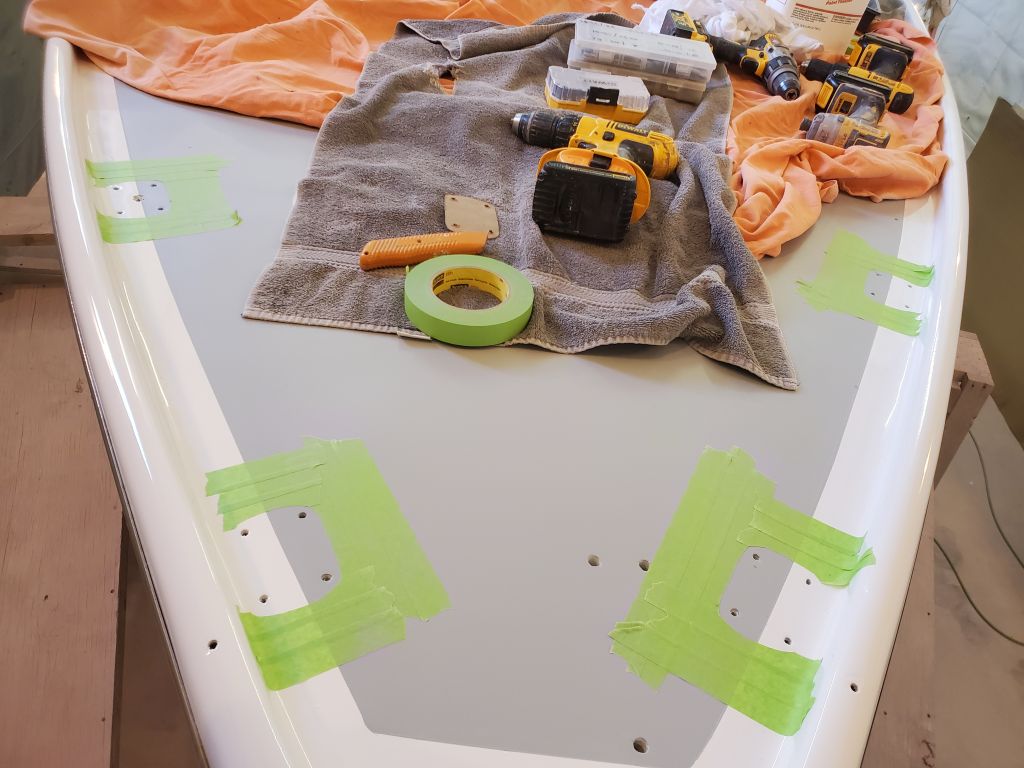
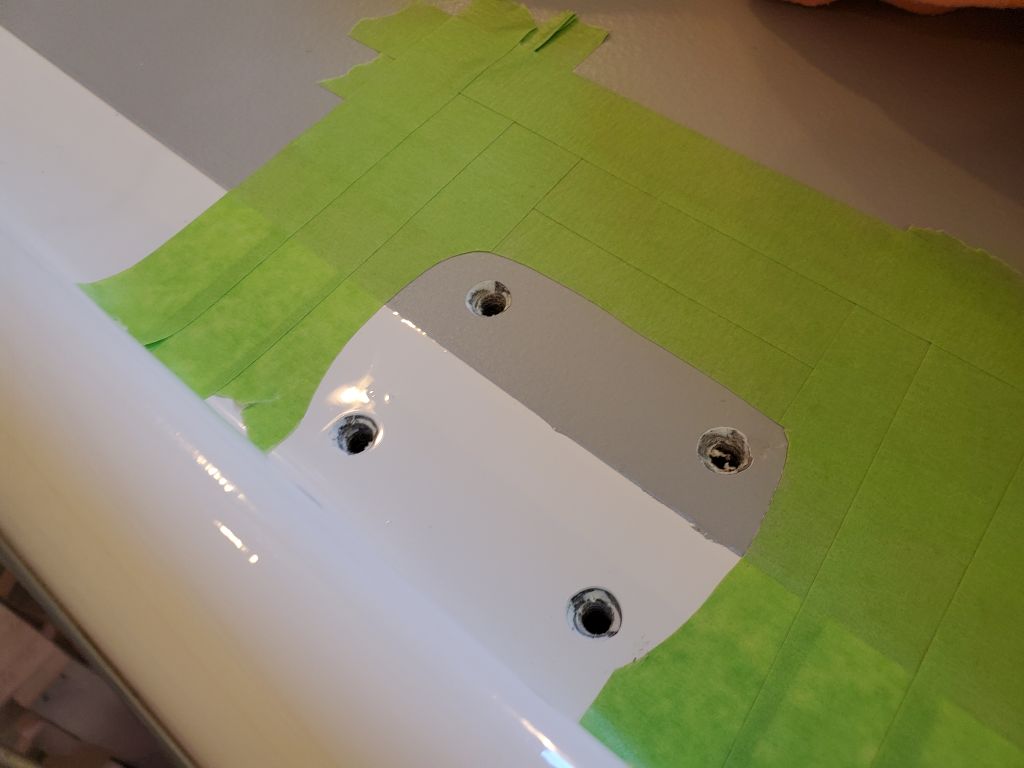
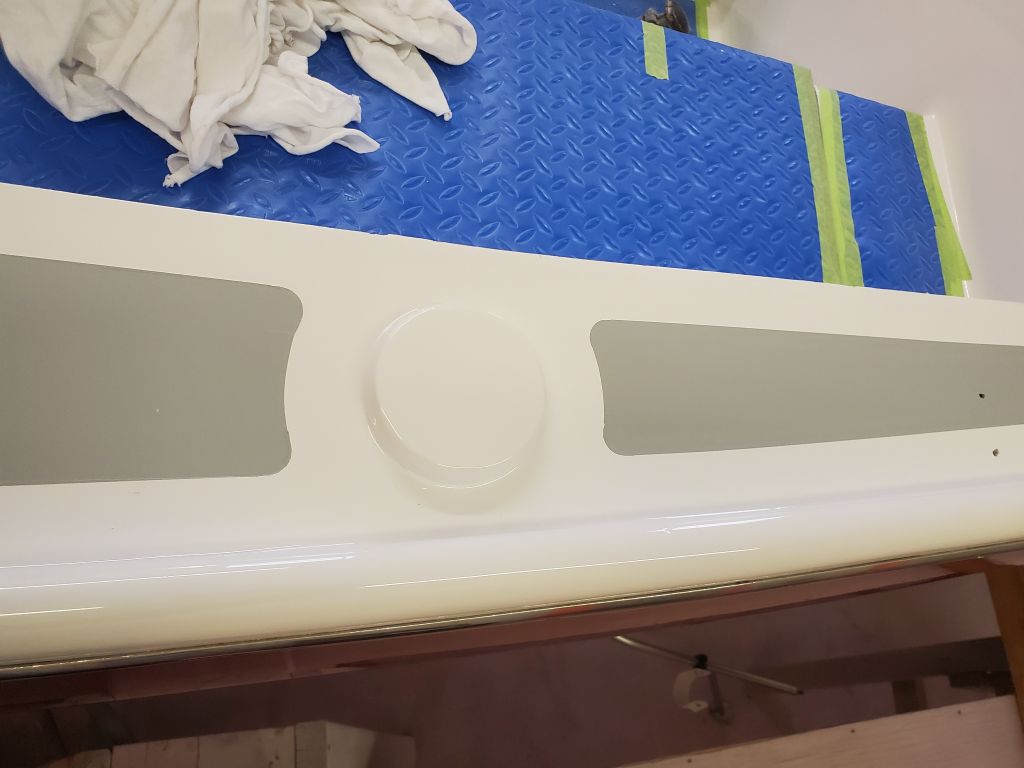
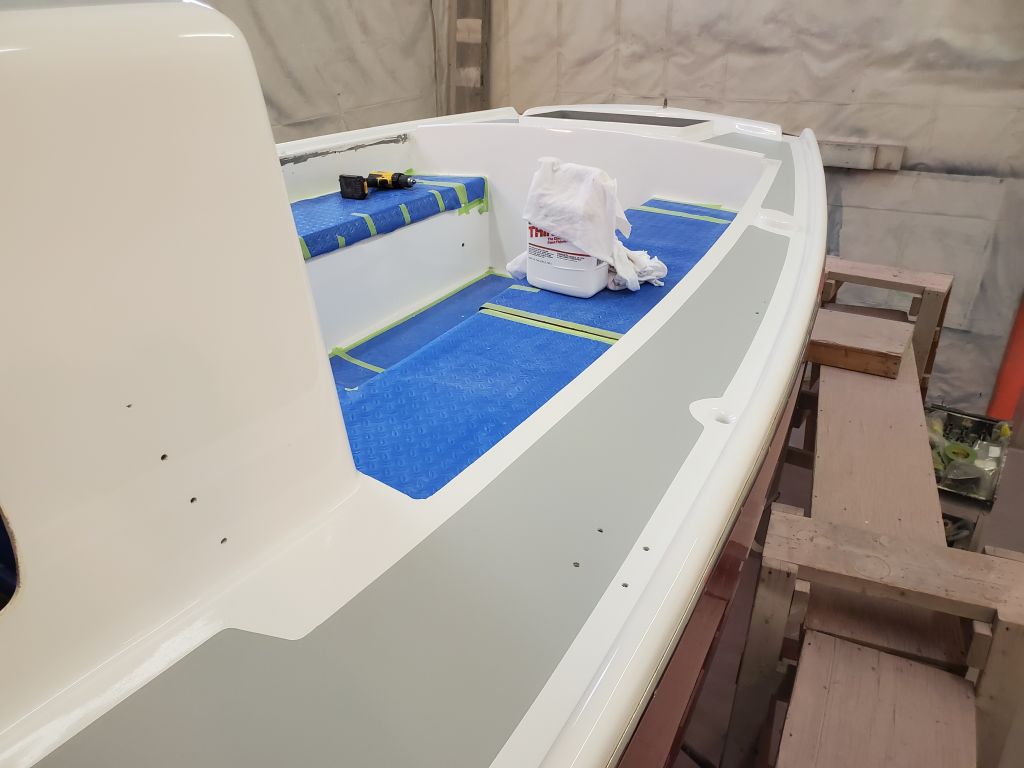
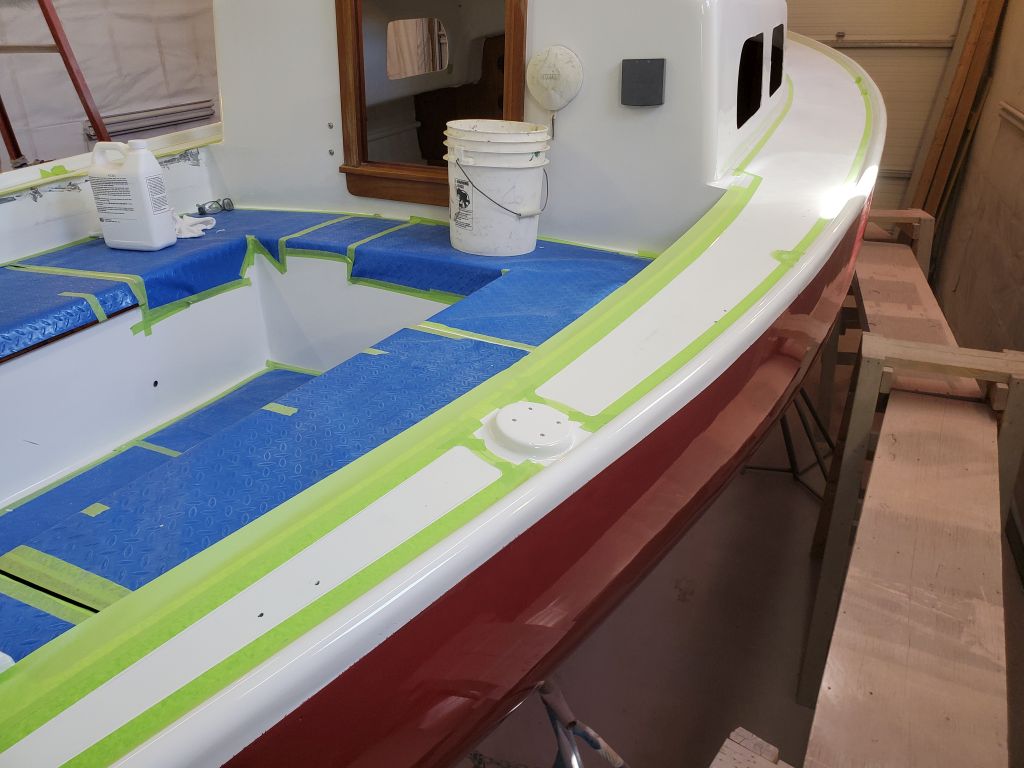
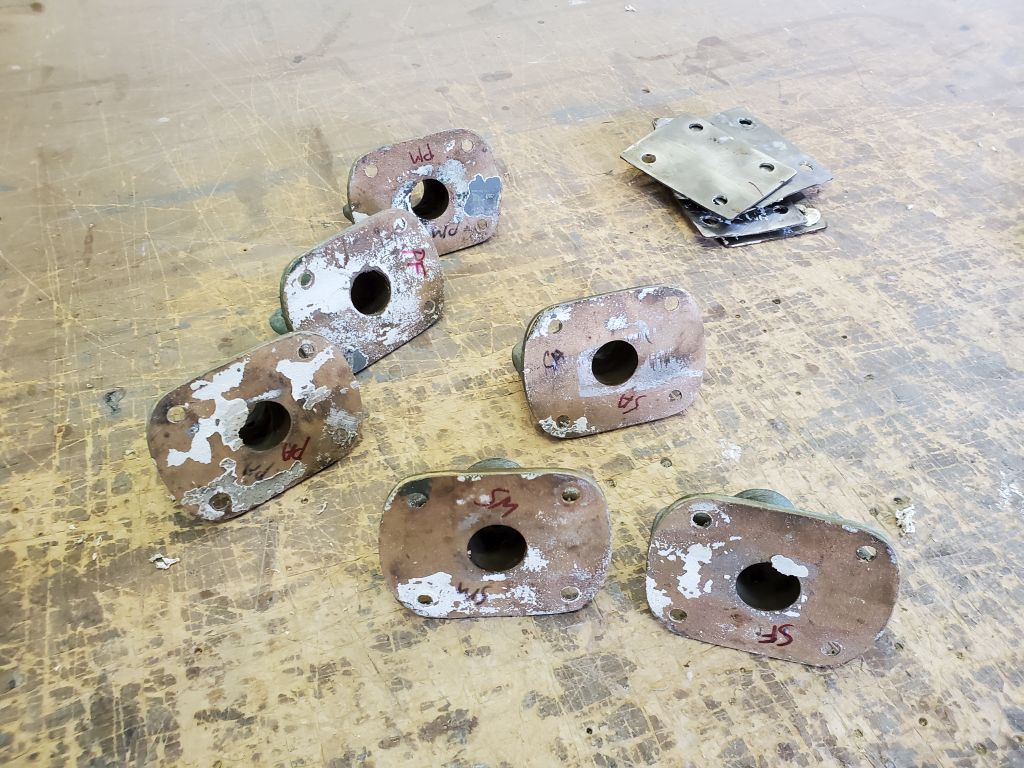
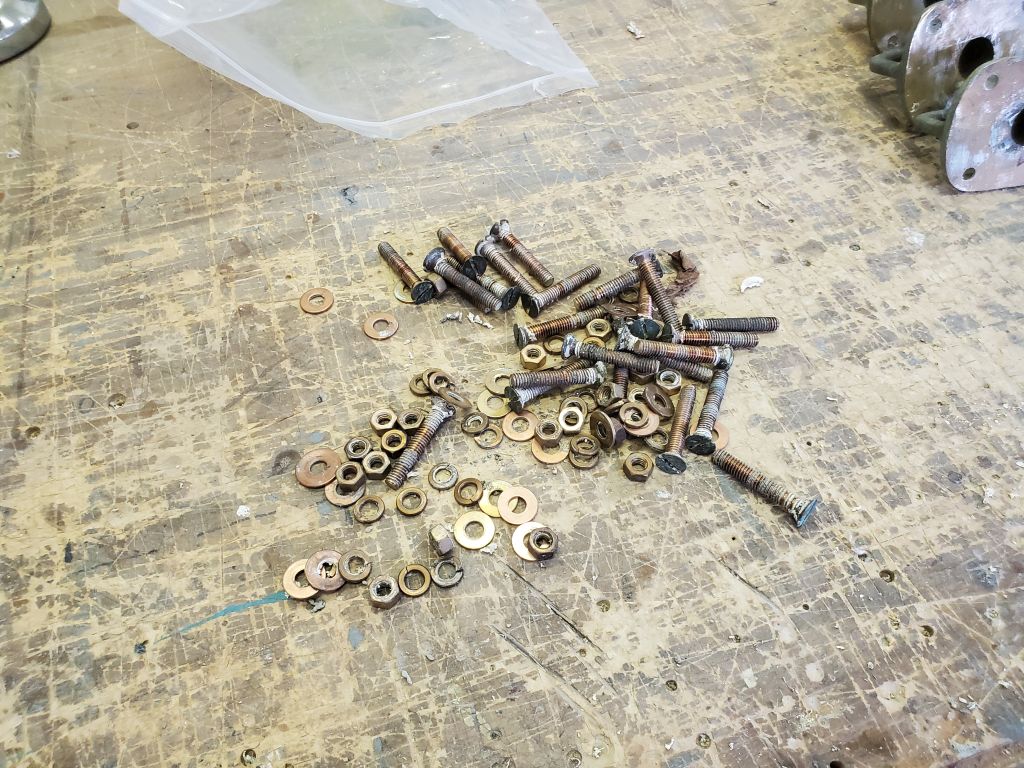
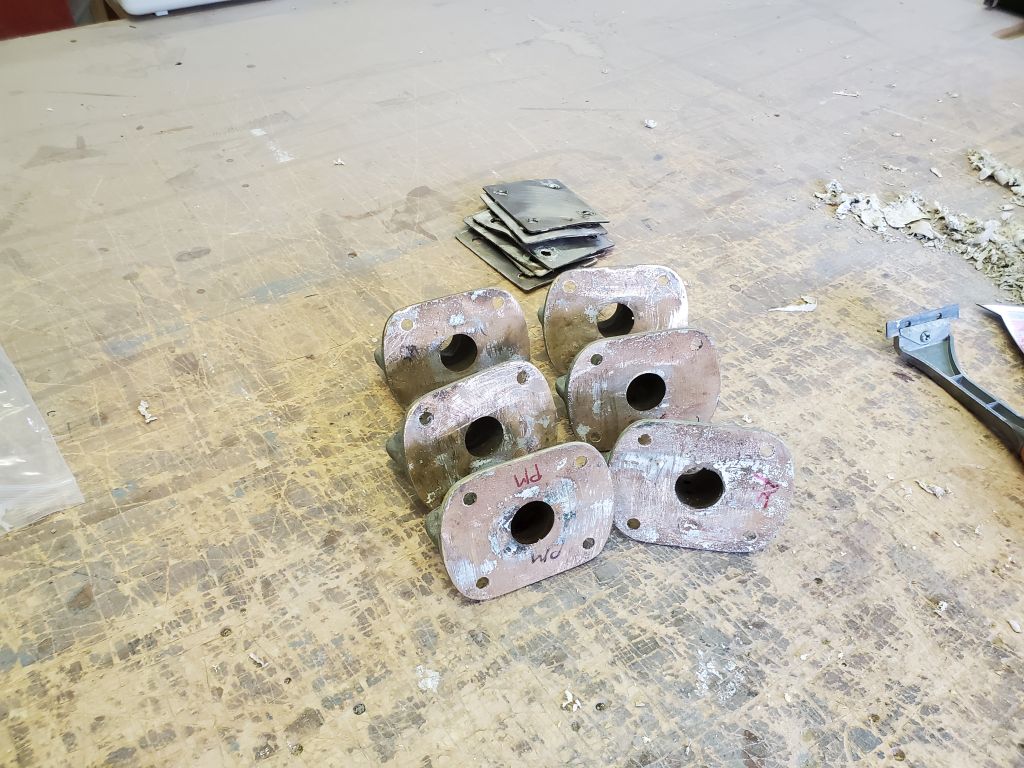
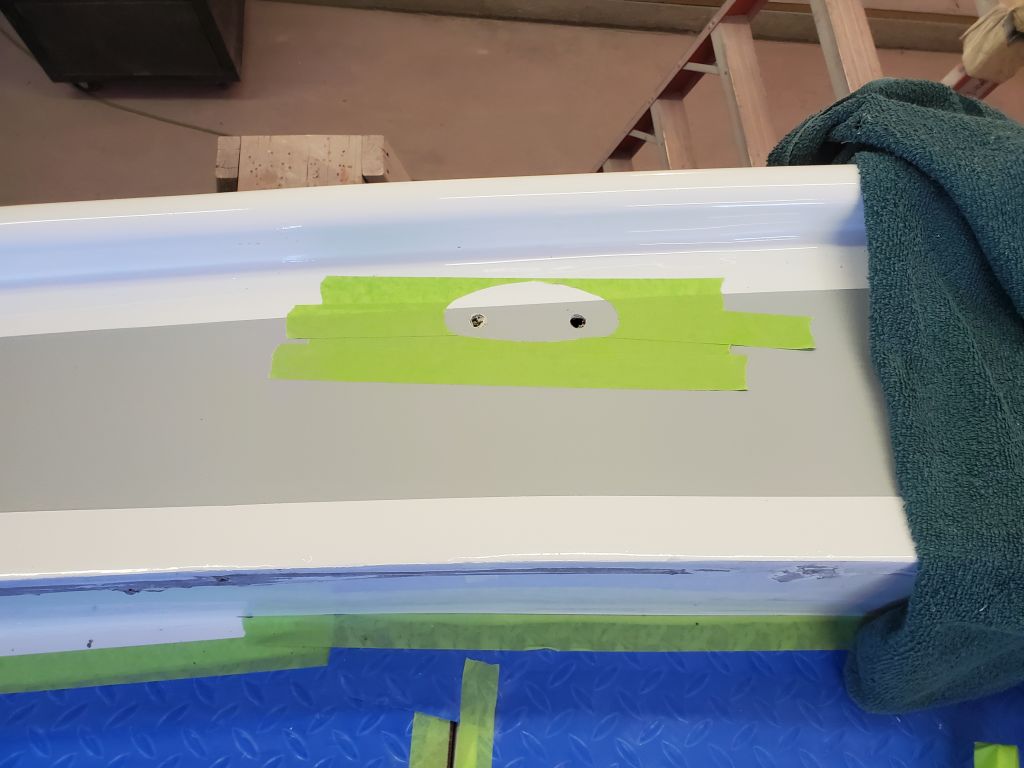
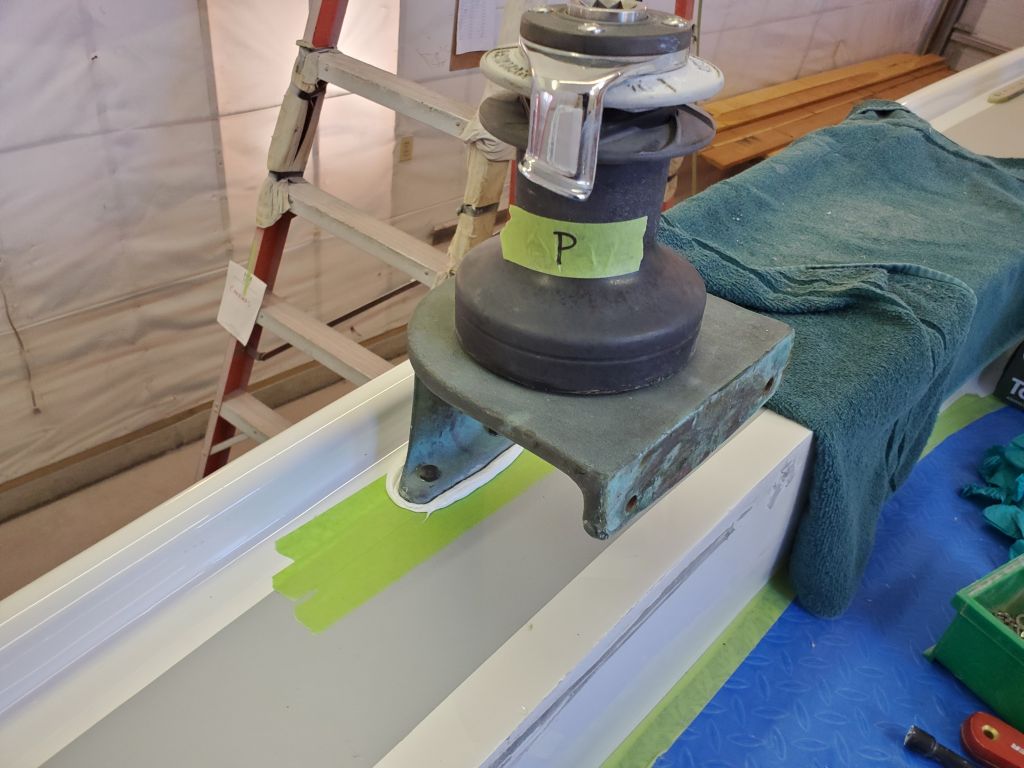
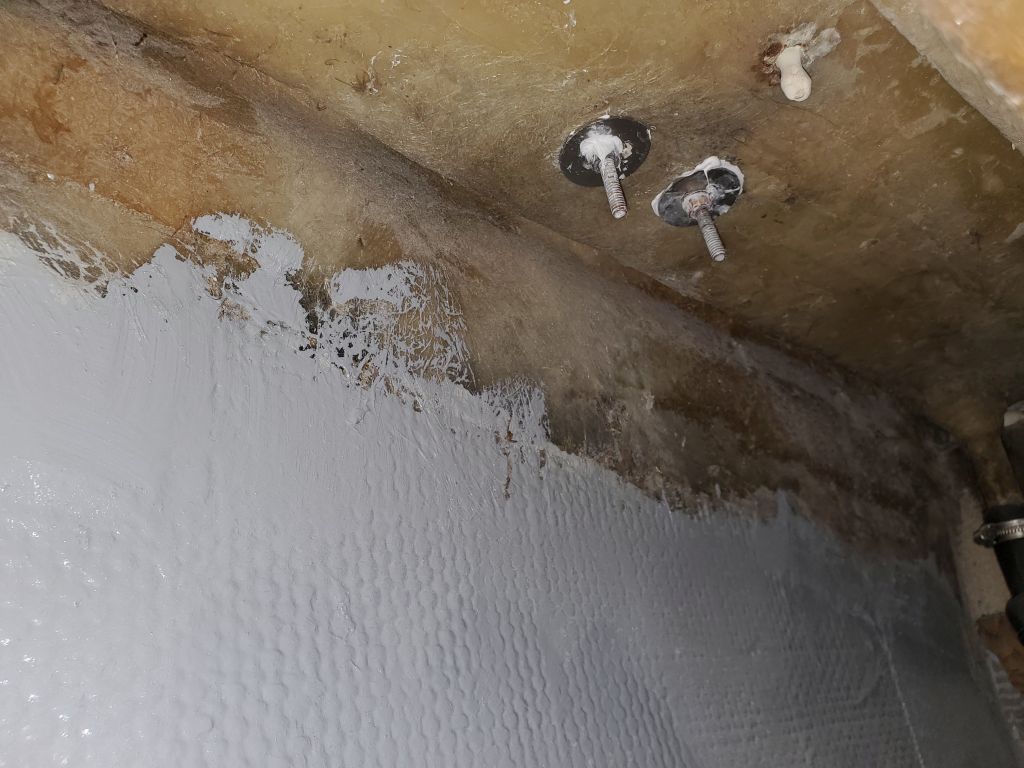
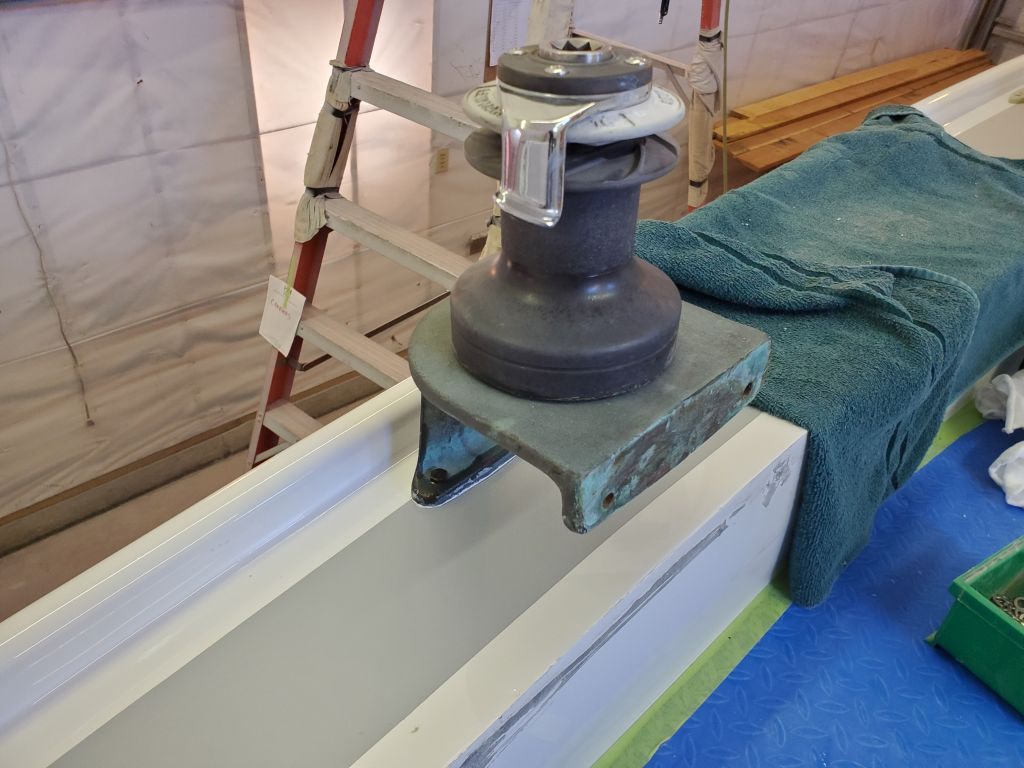
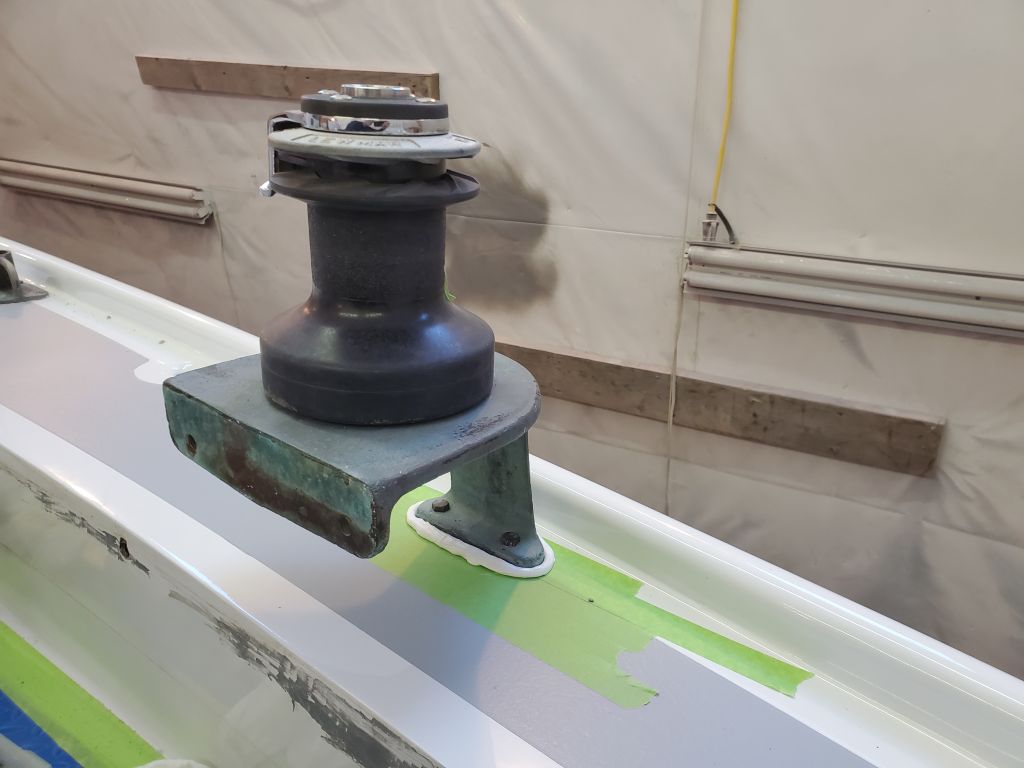
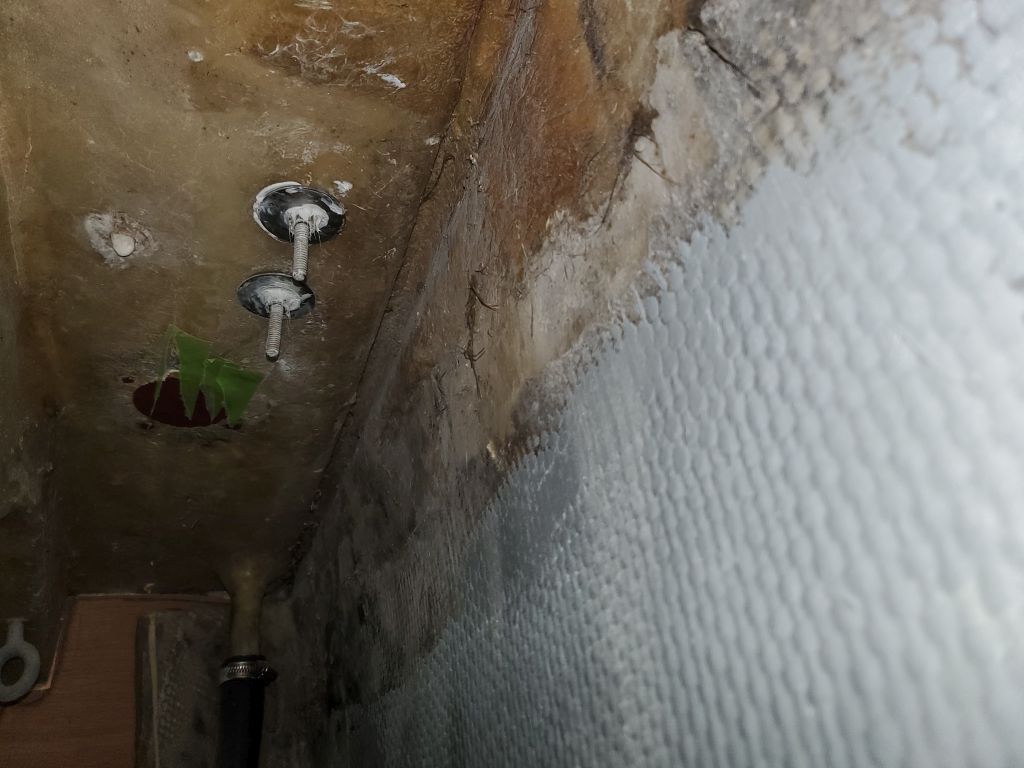
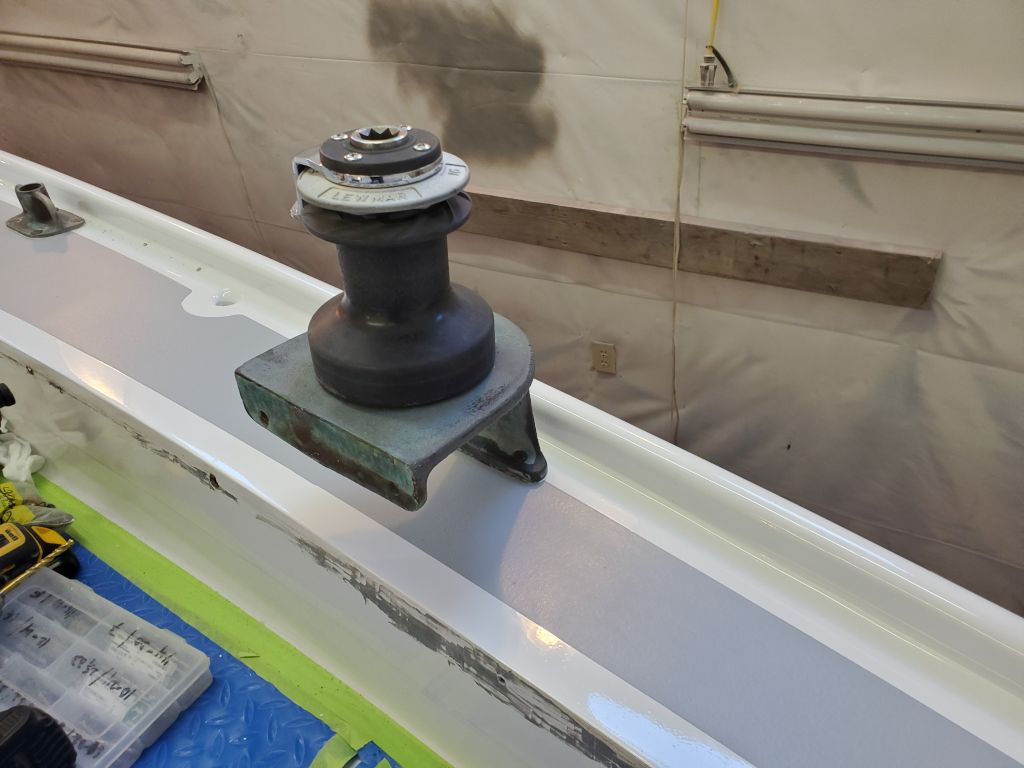
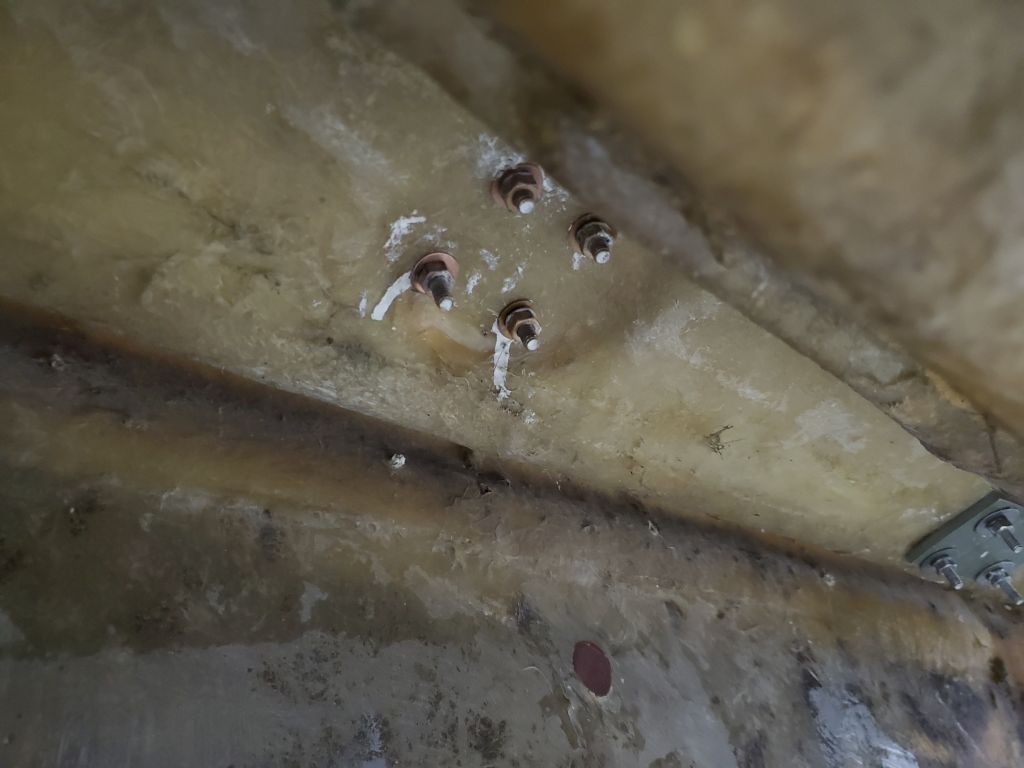
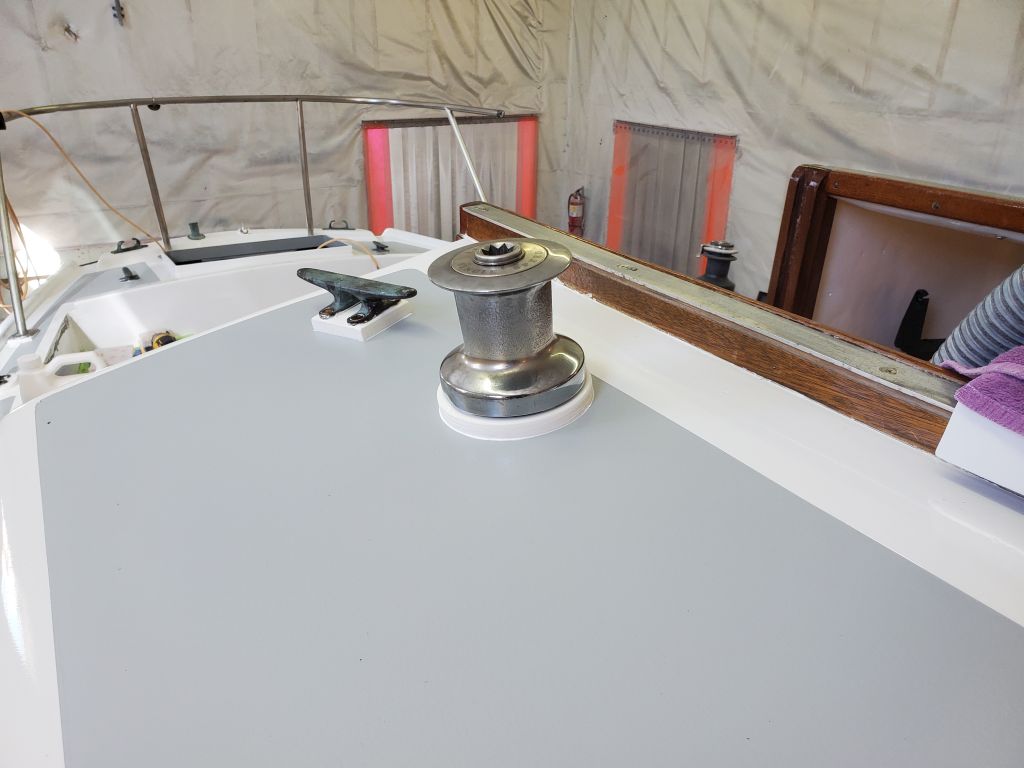
I spent the day working on the remaining deck hardware, starting with the winch bases.

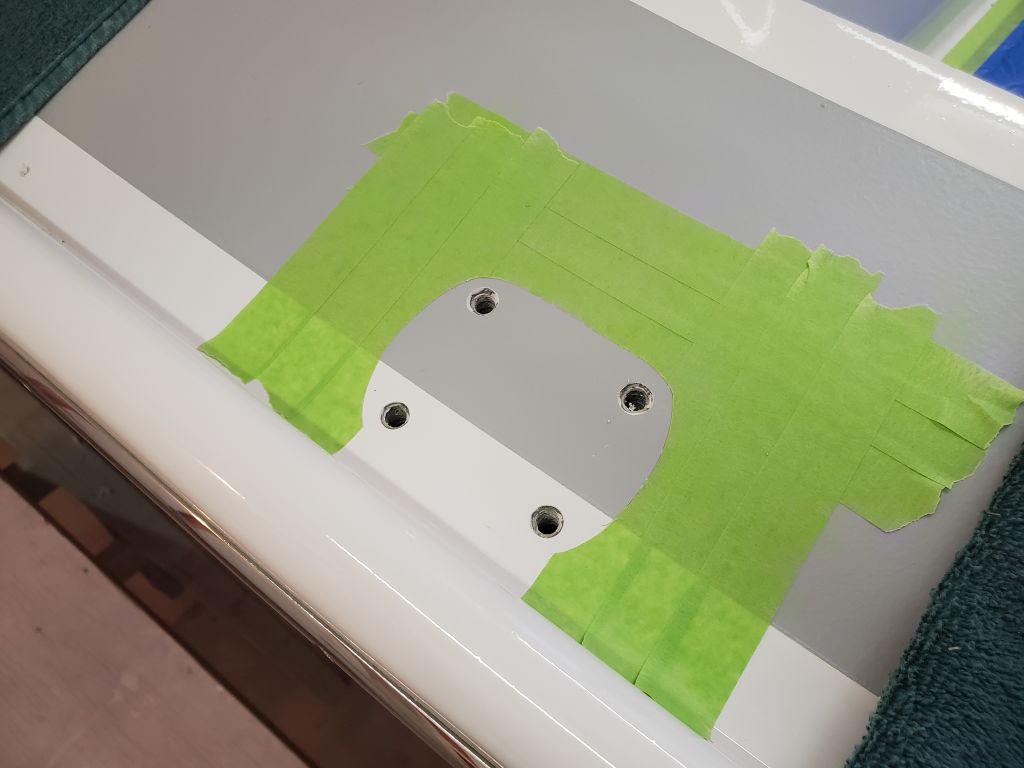
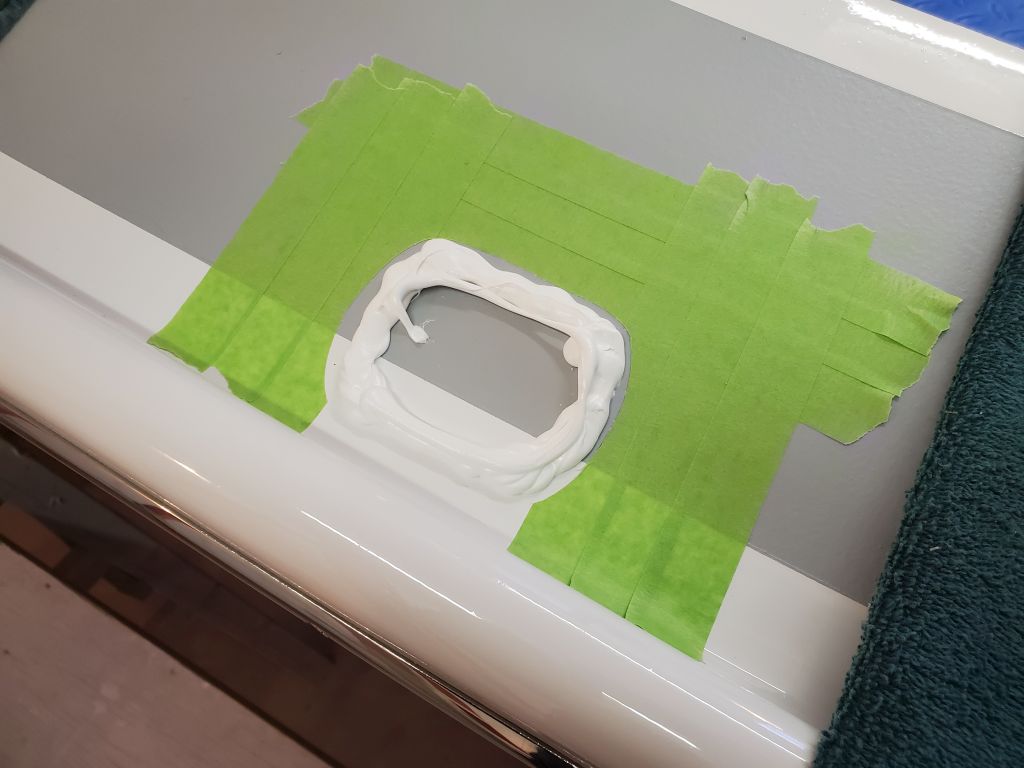
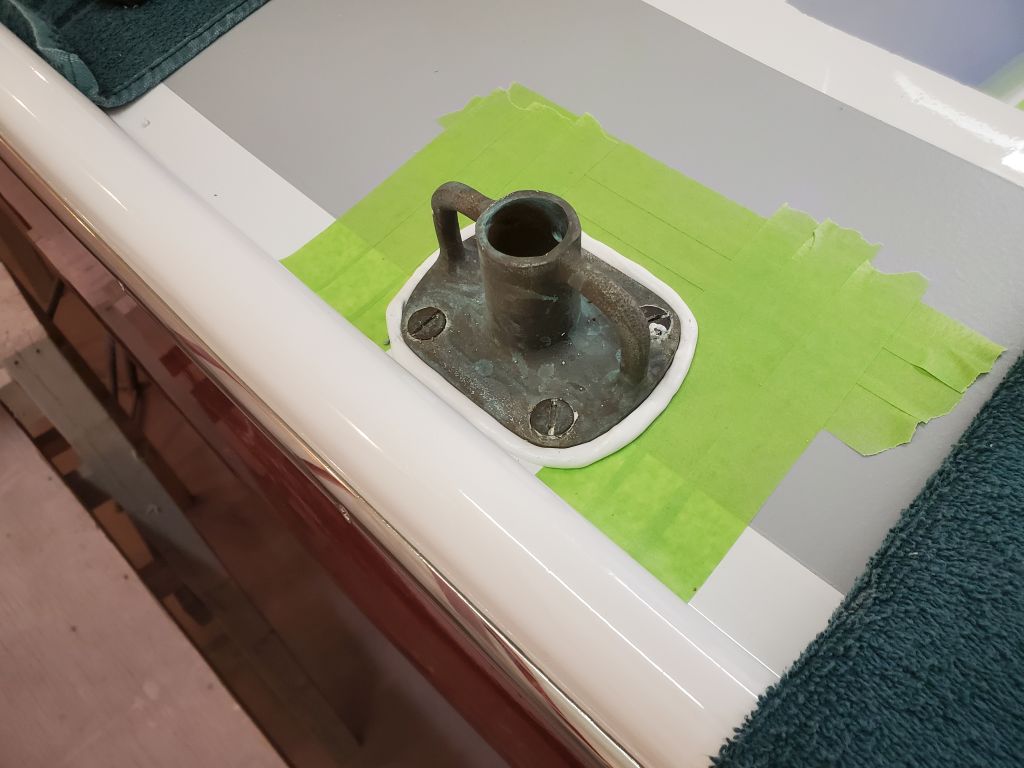
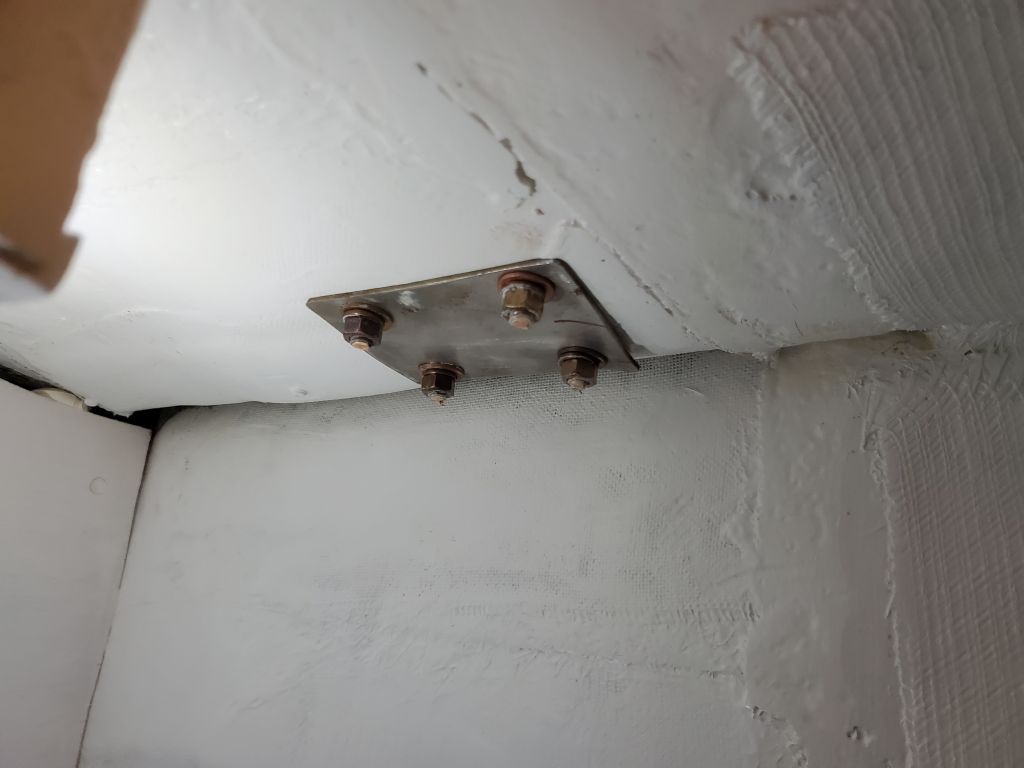
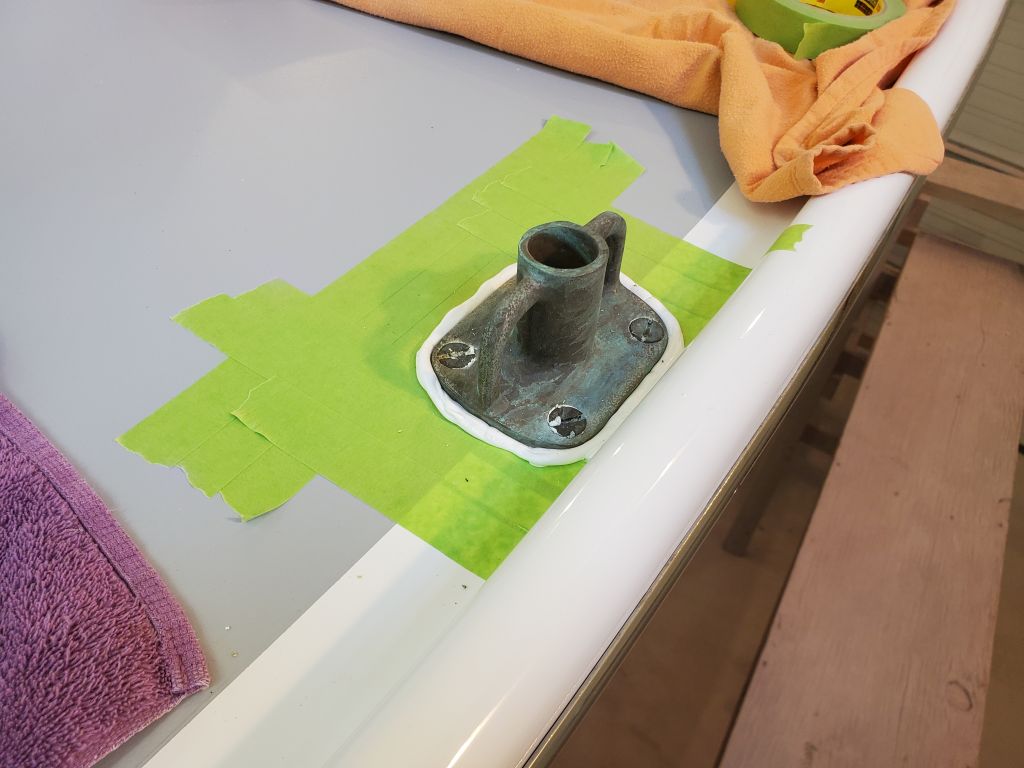
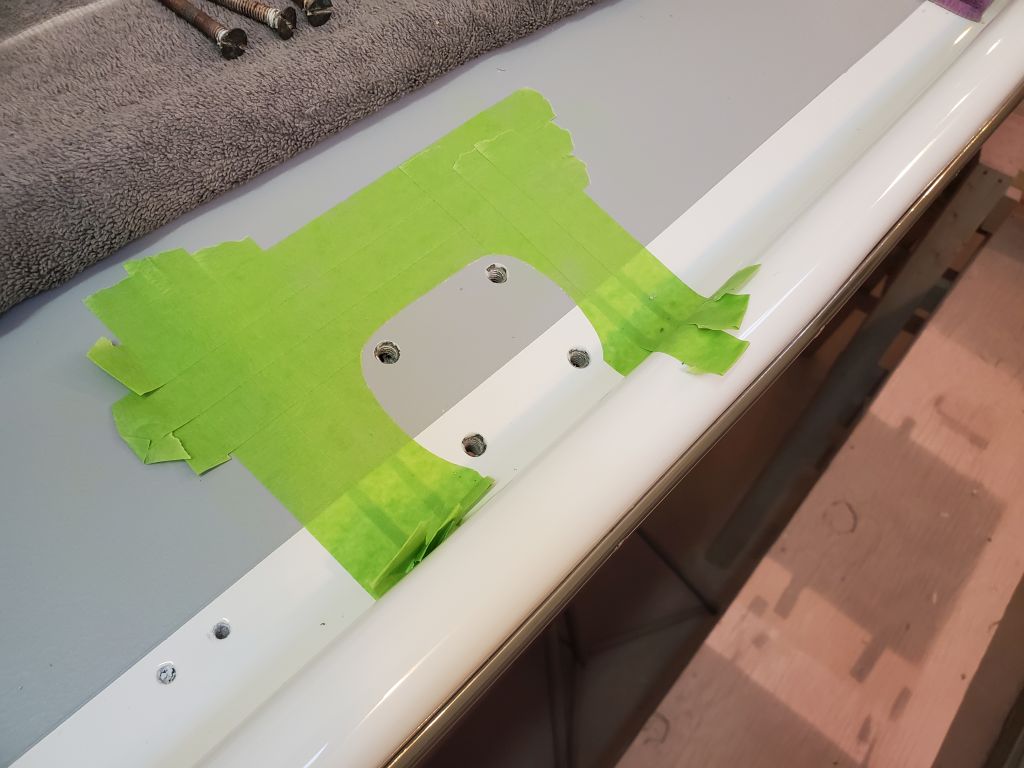
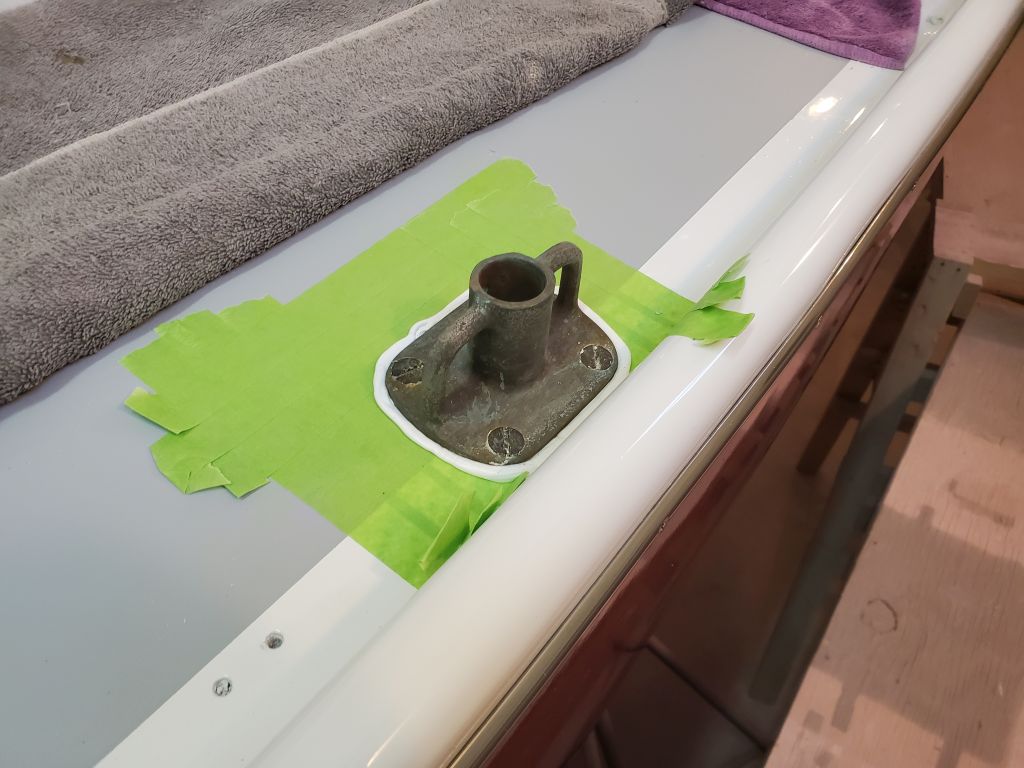
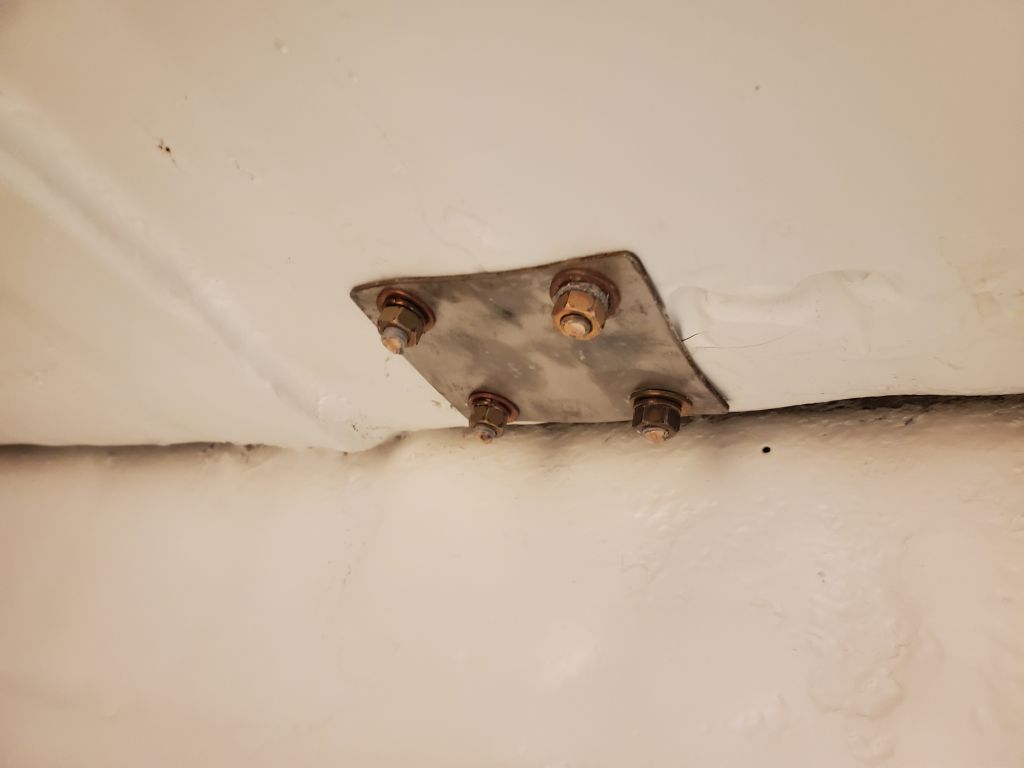
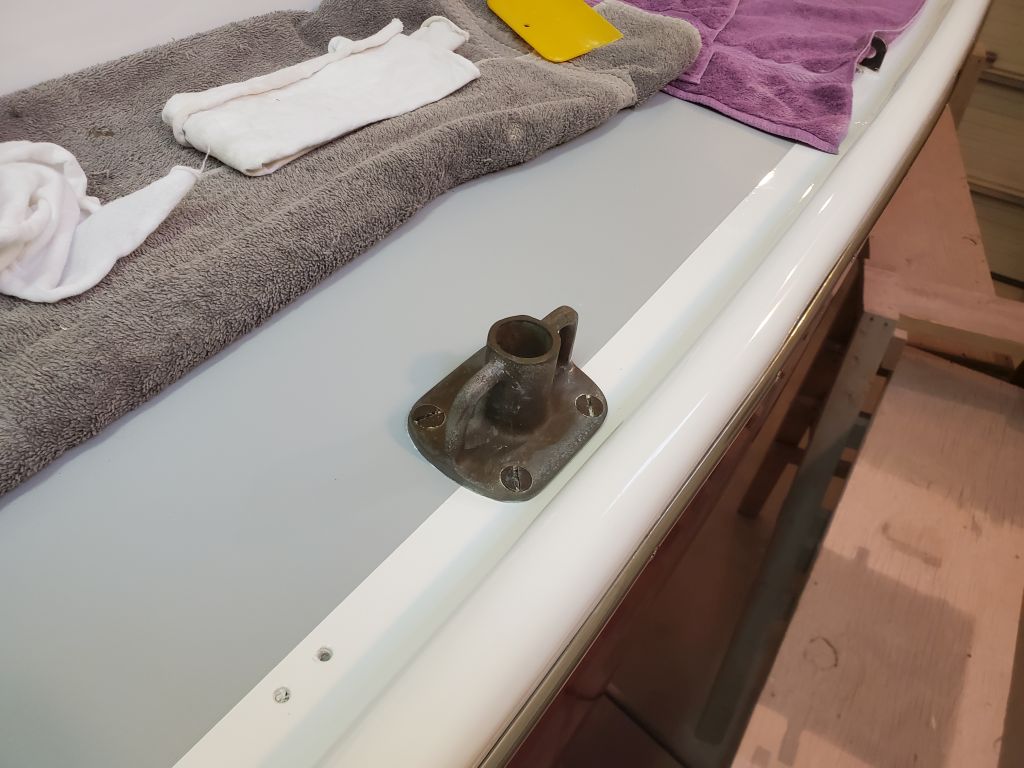
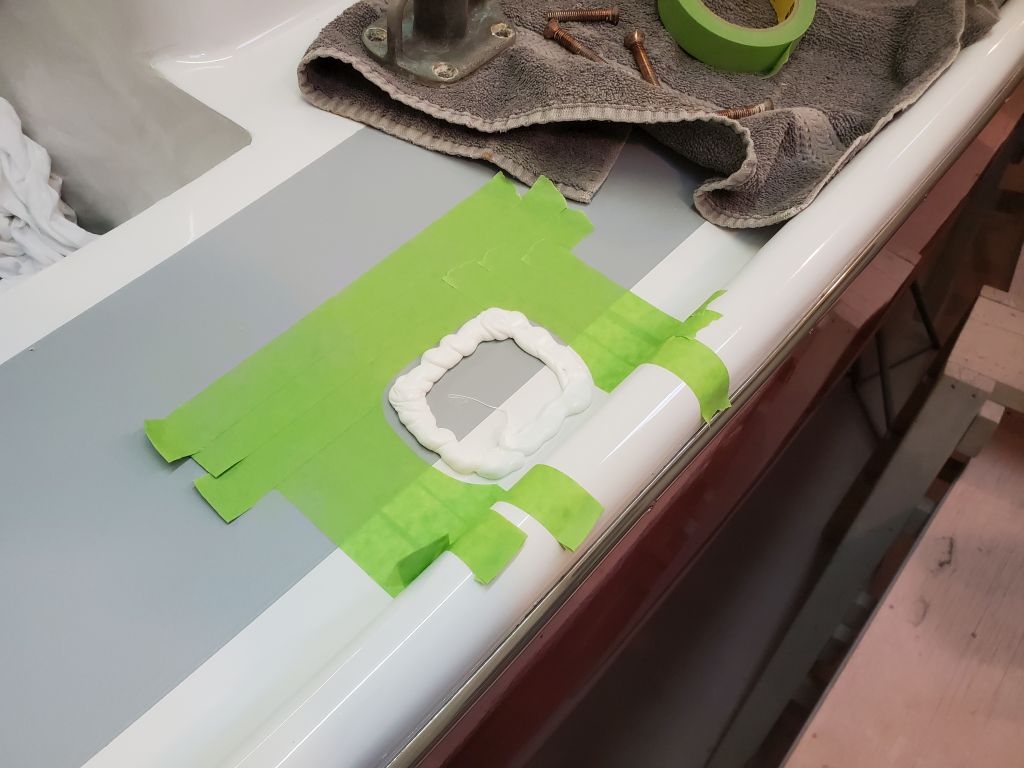
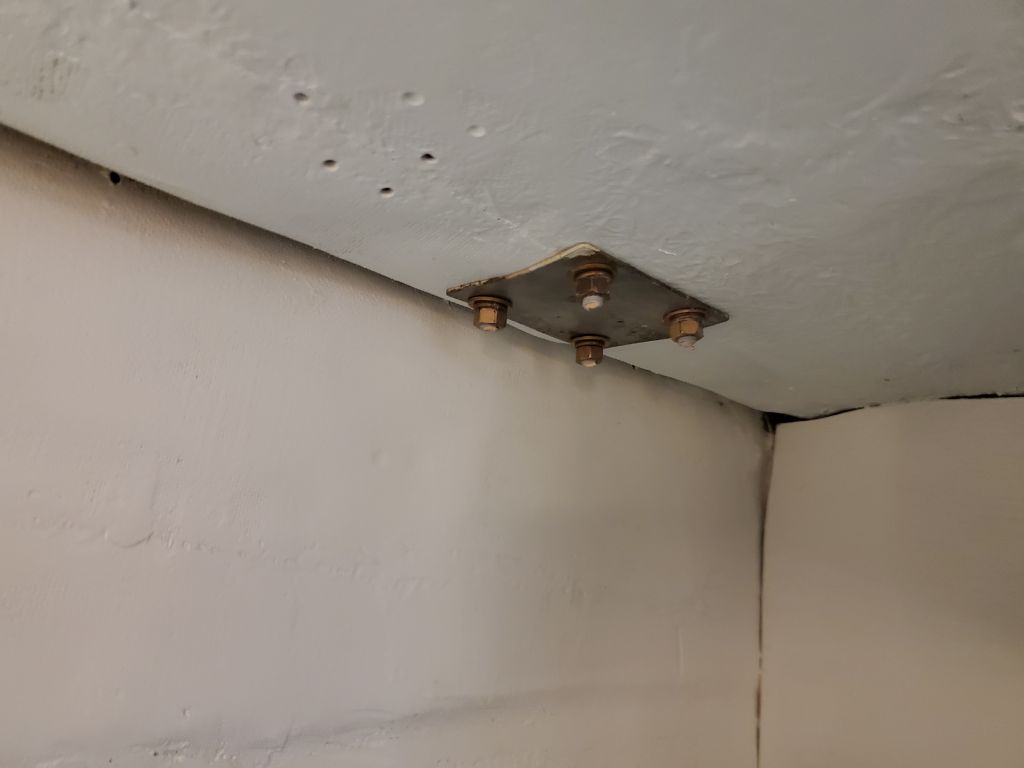
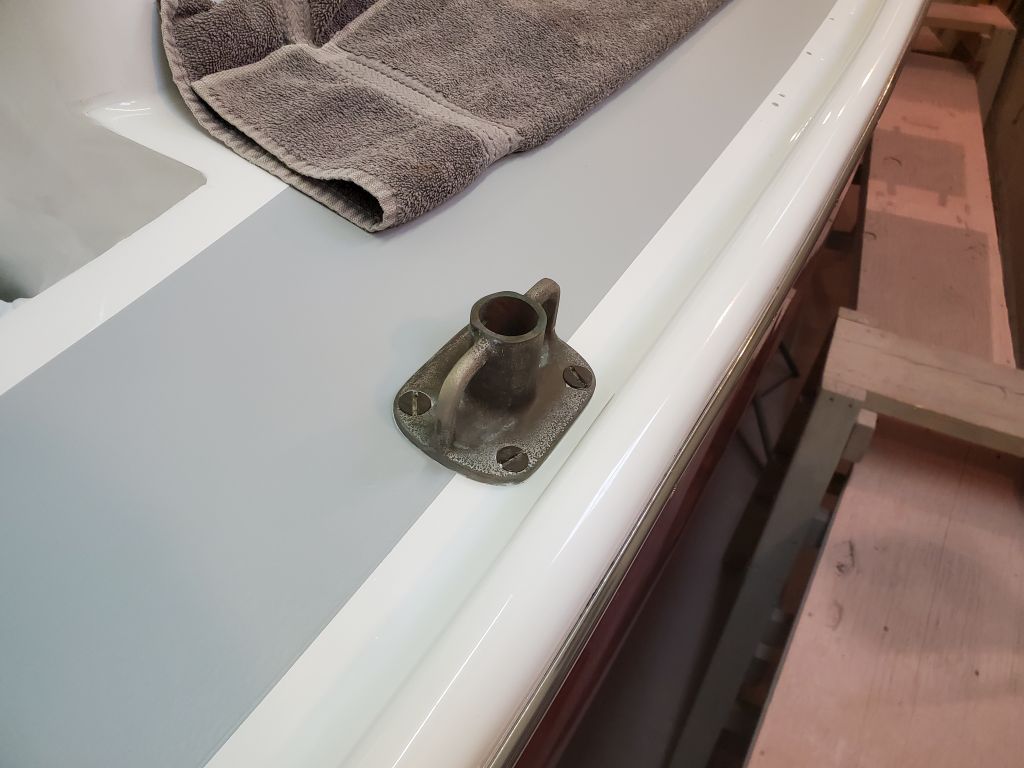
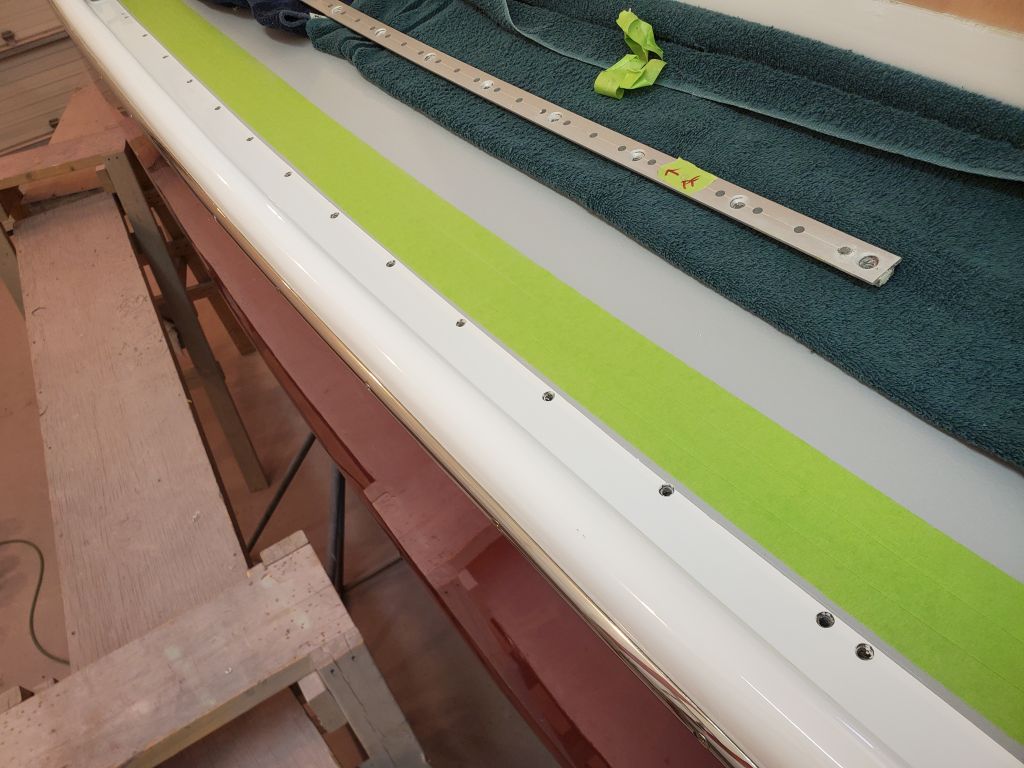
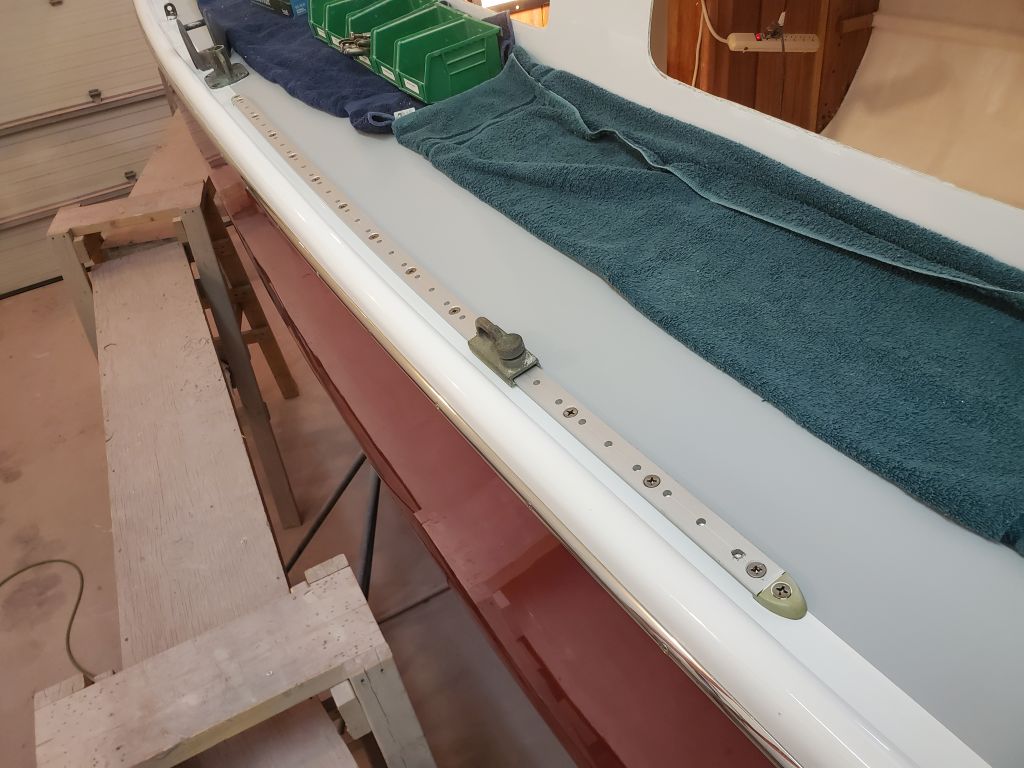
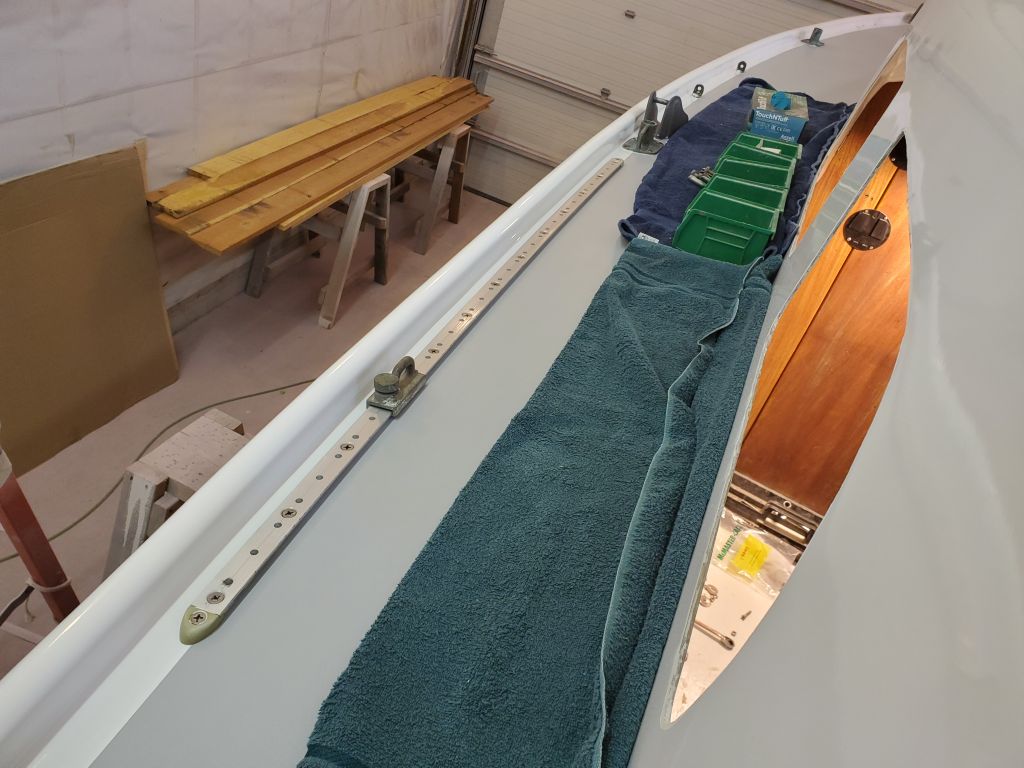
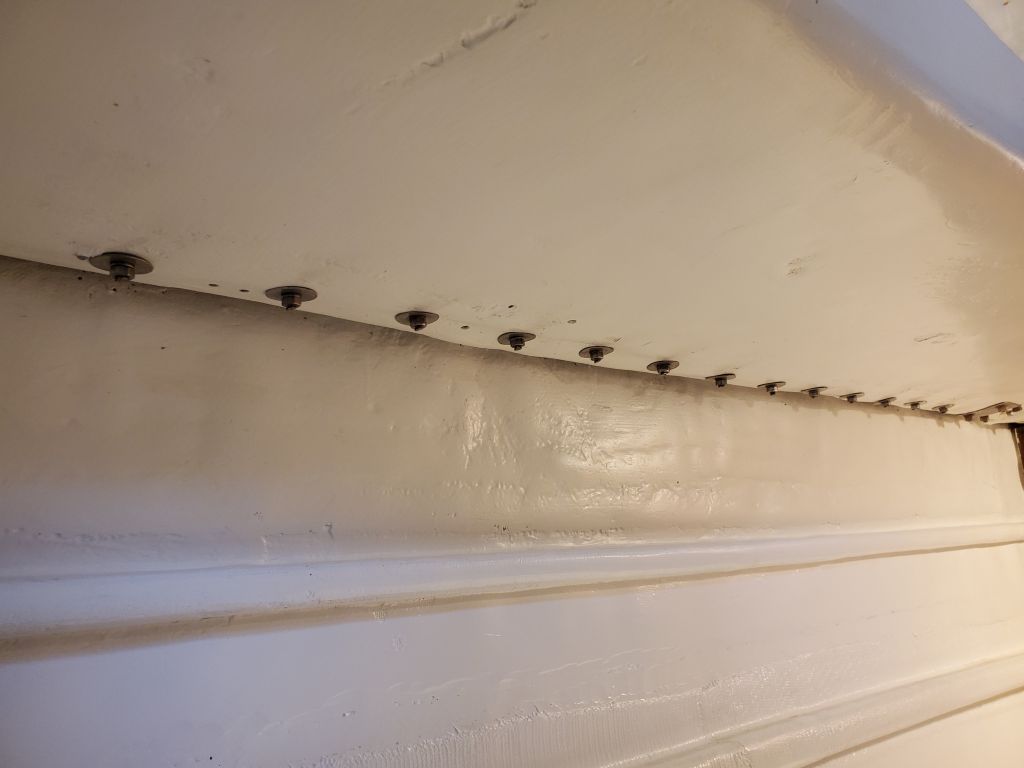
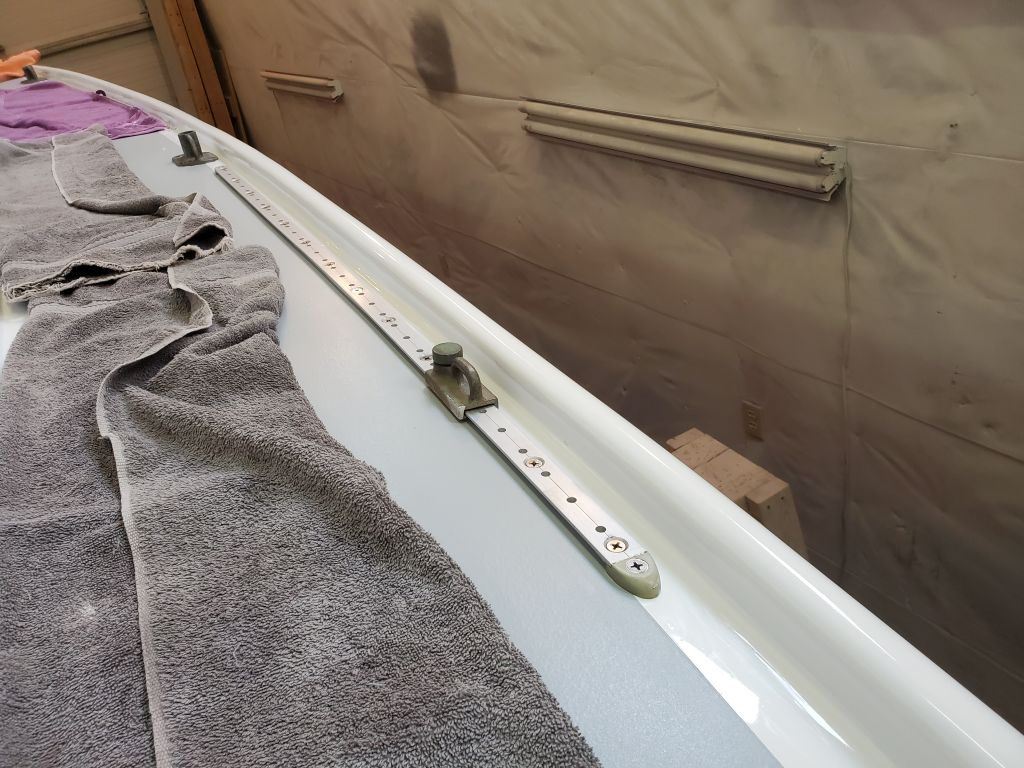
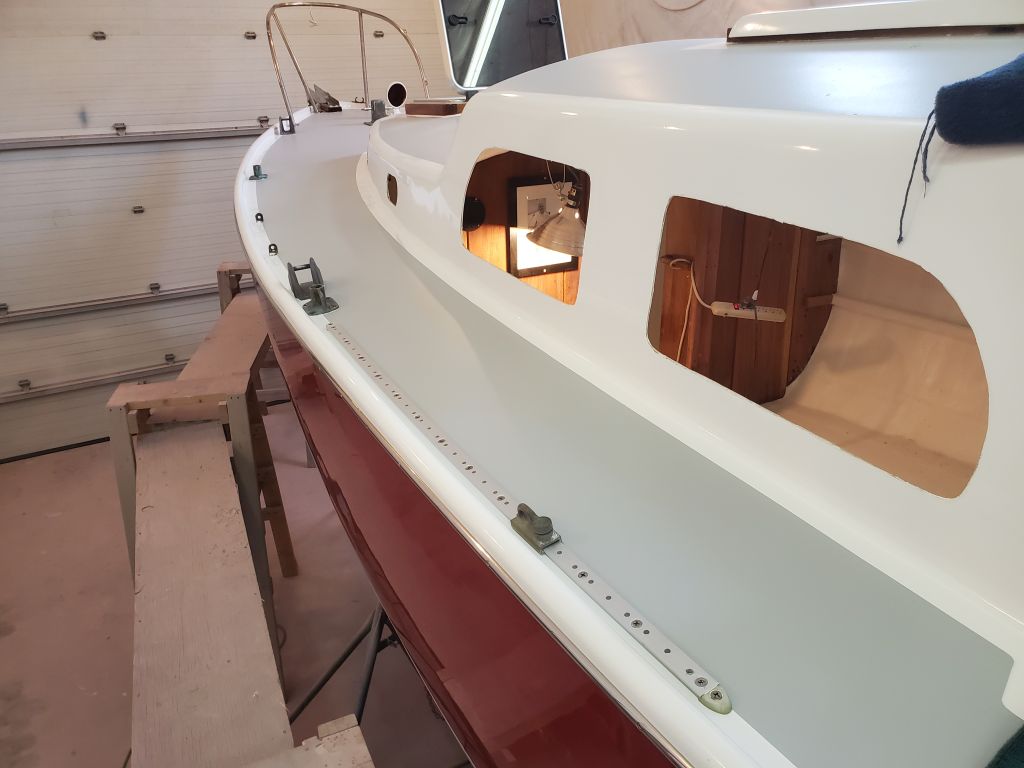
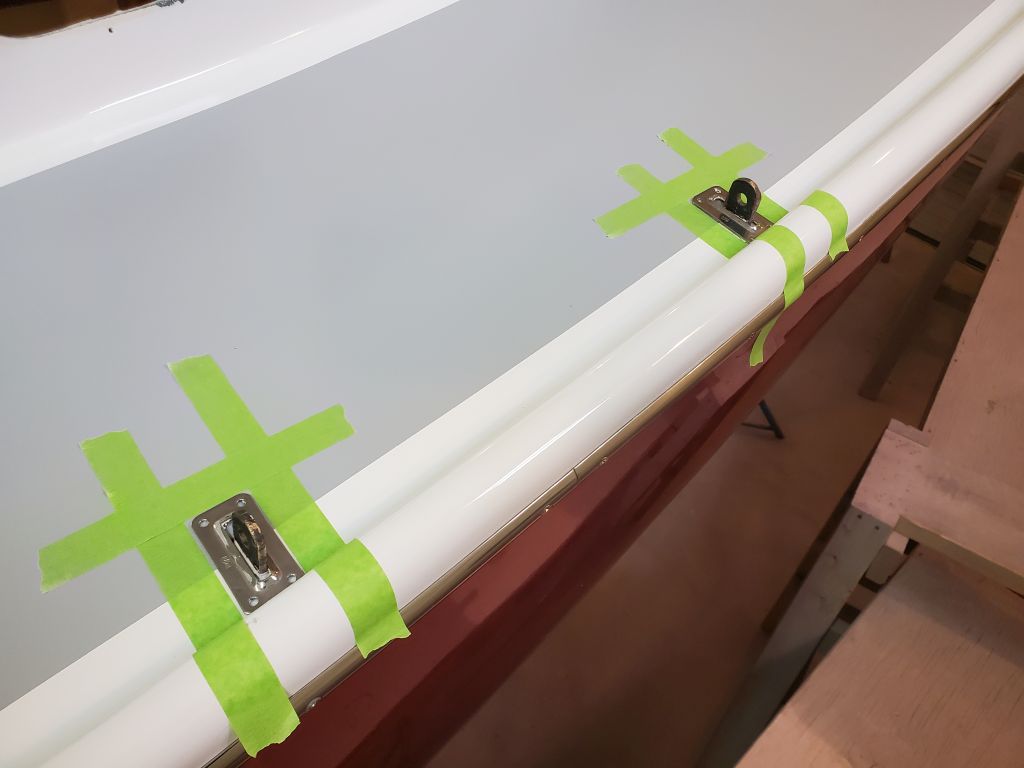
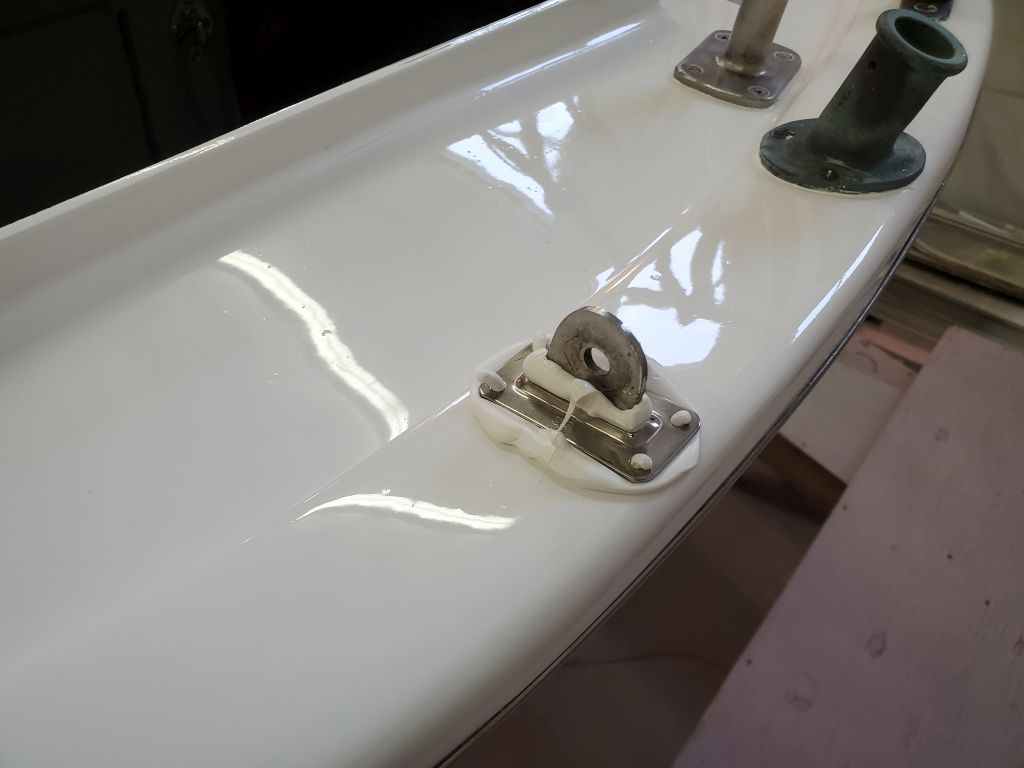
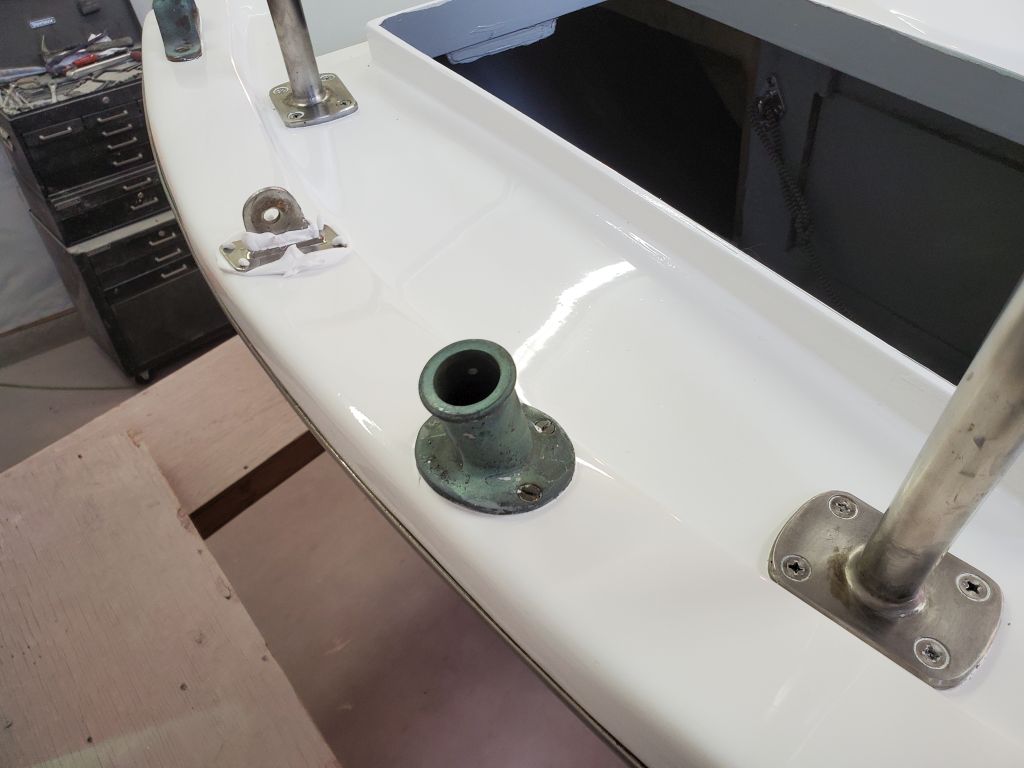
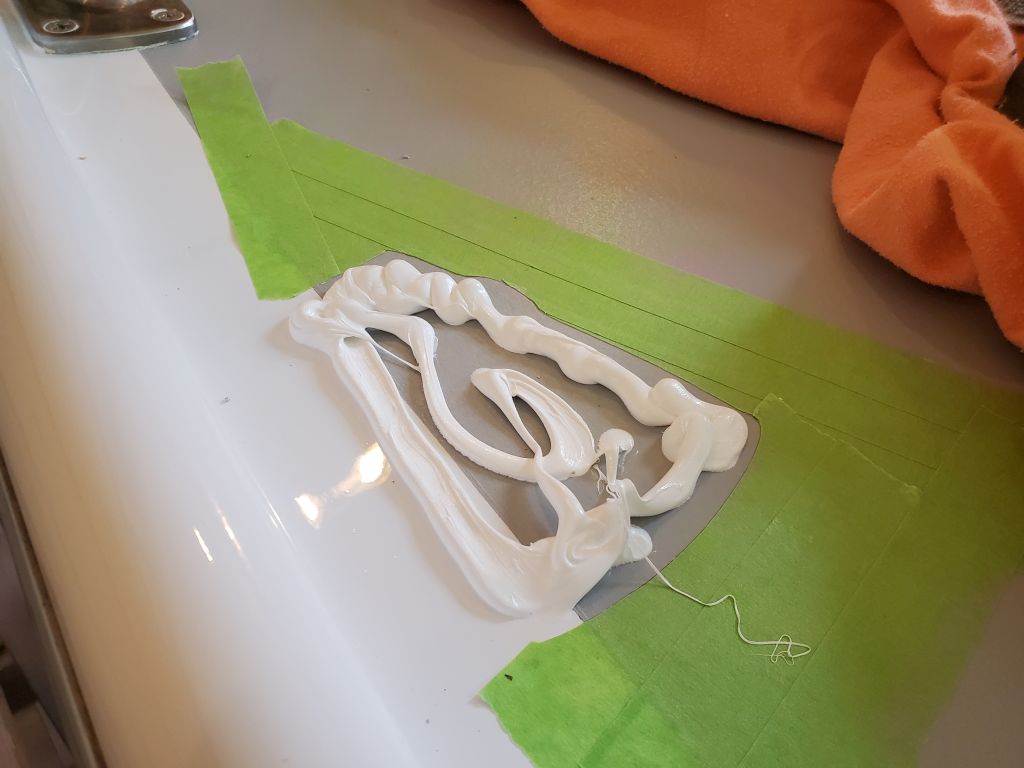
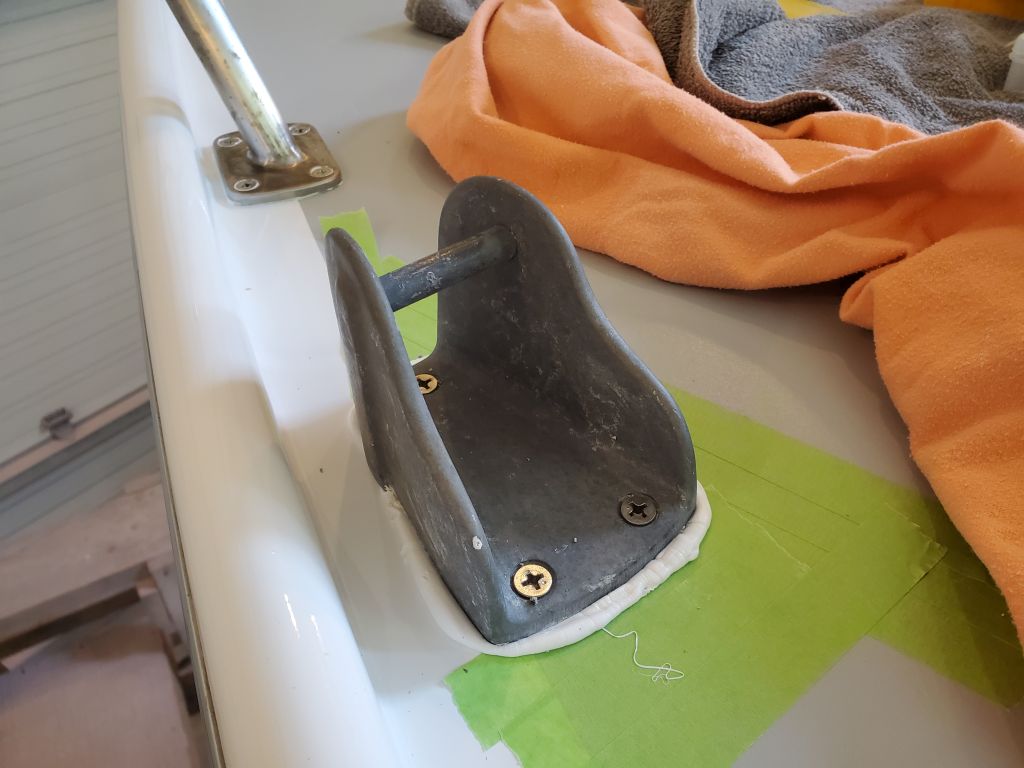
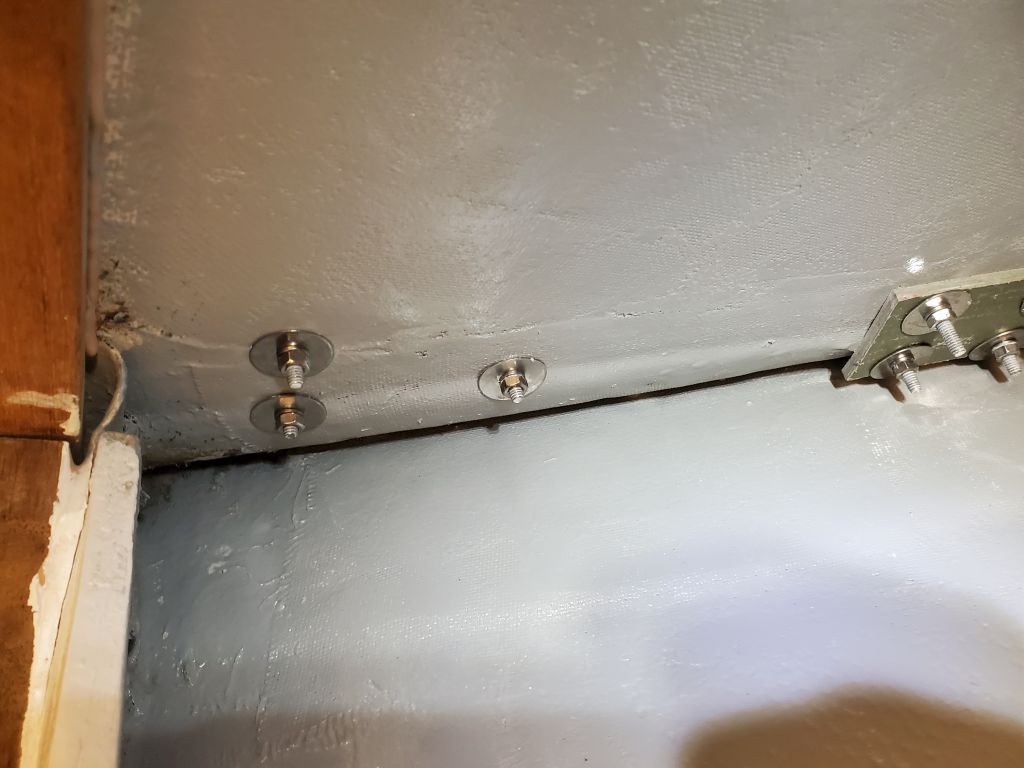
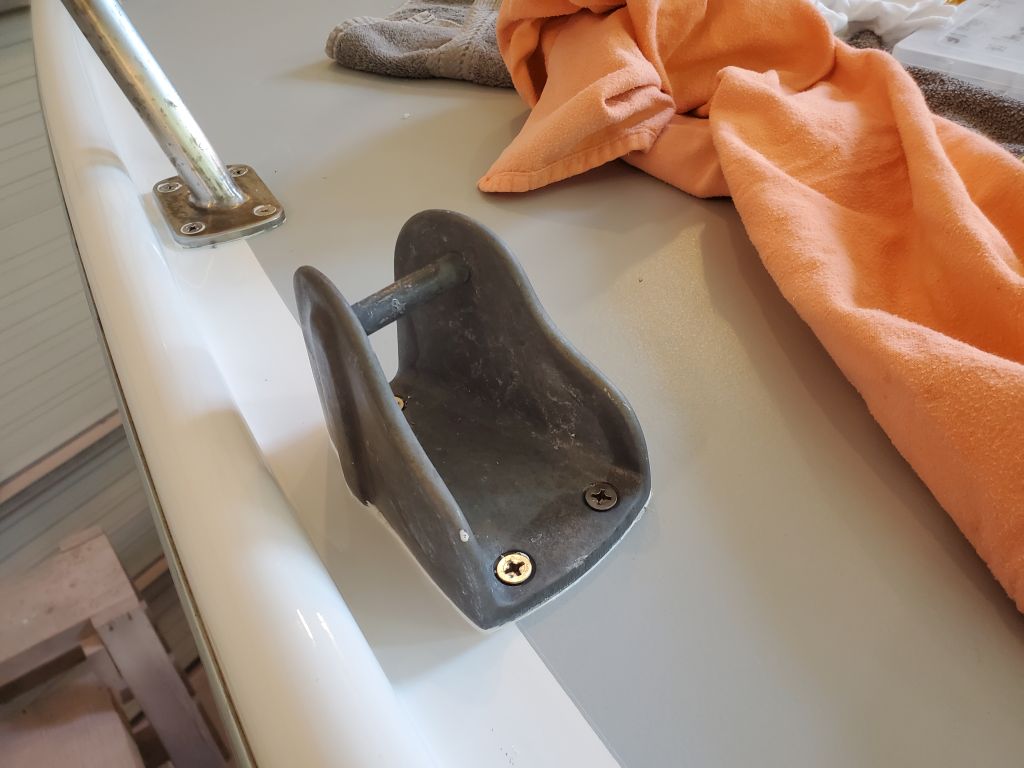
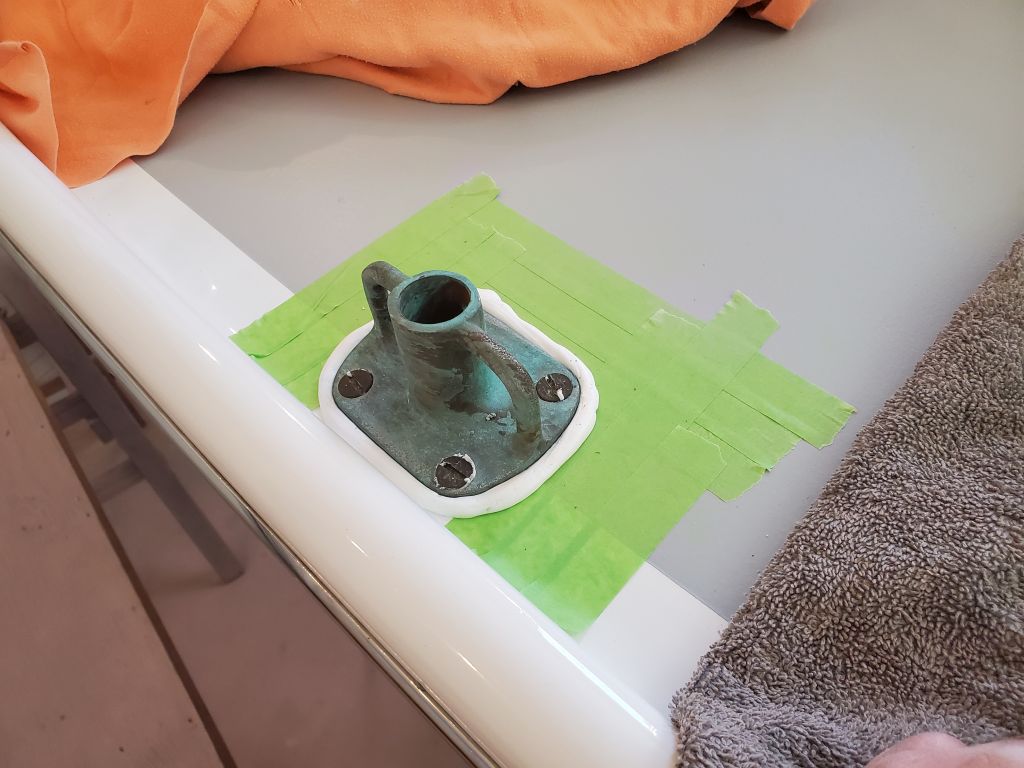
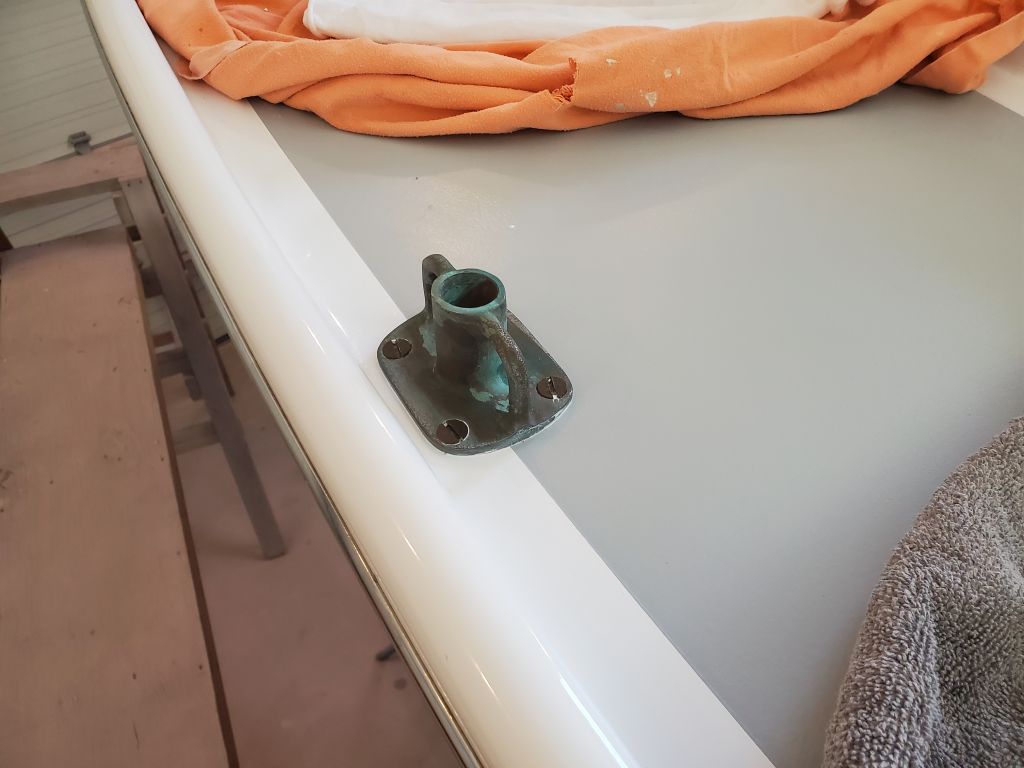
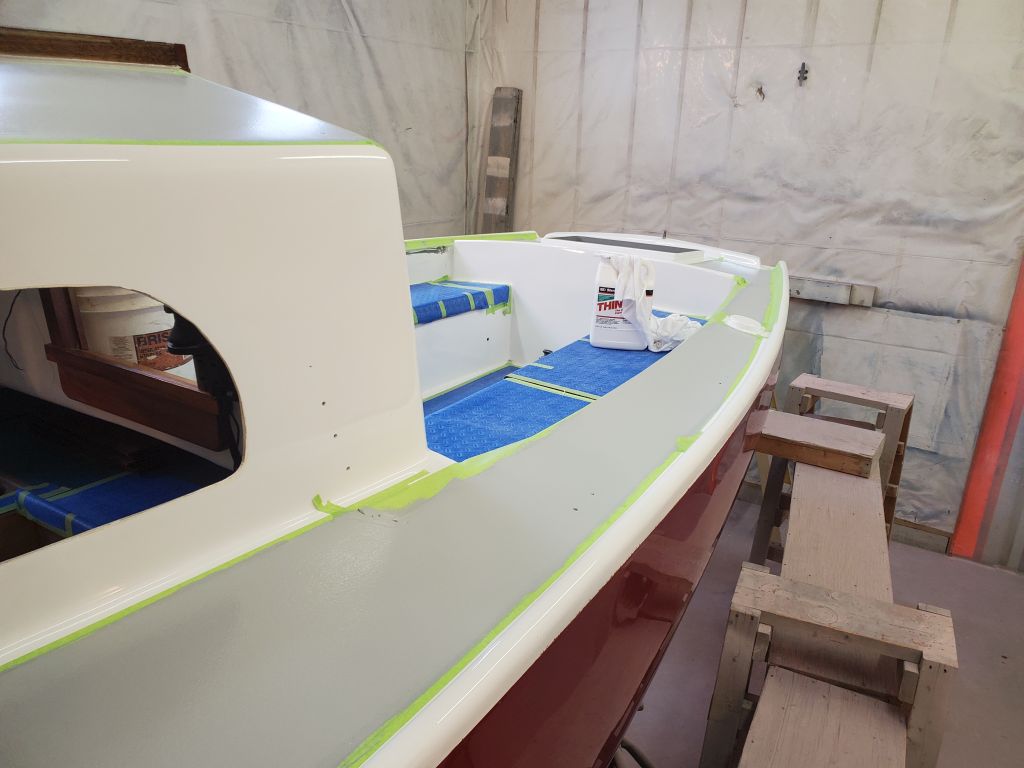
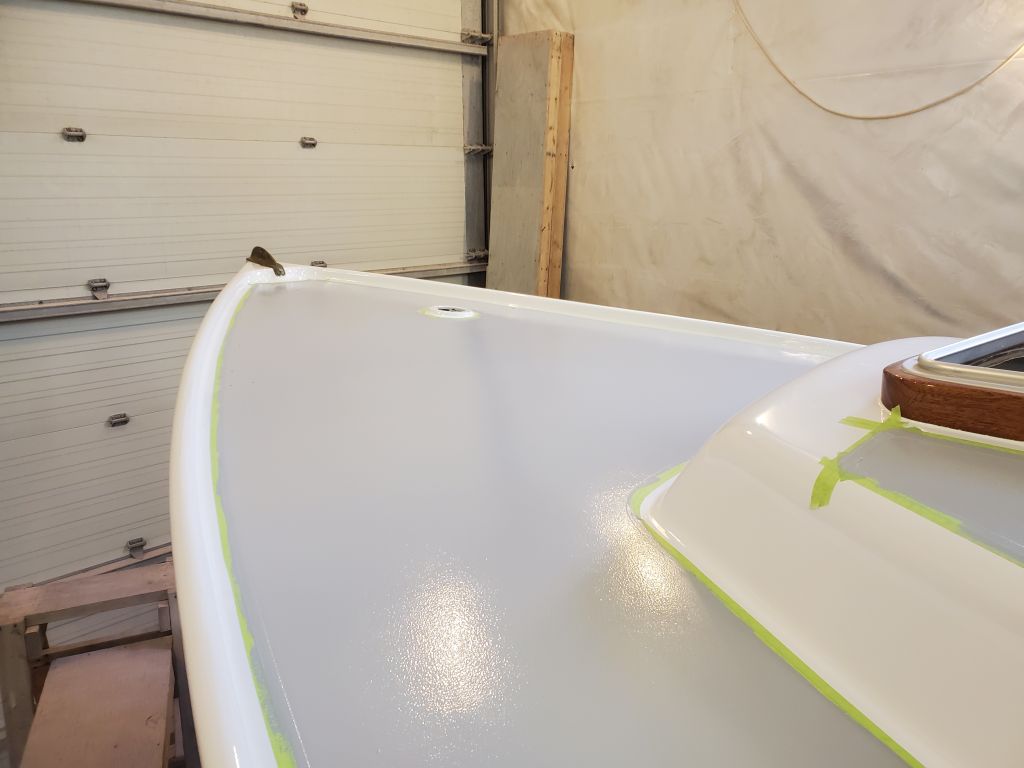
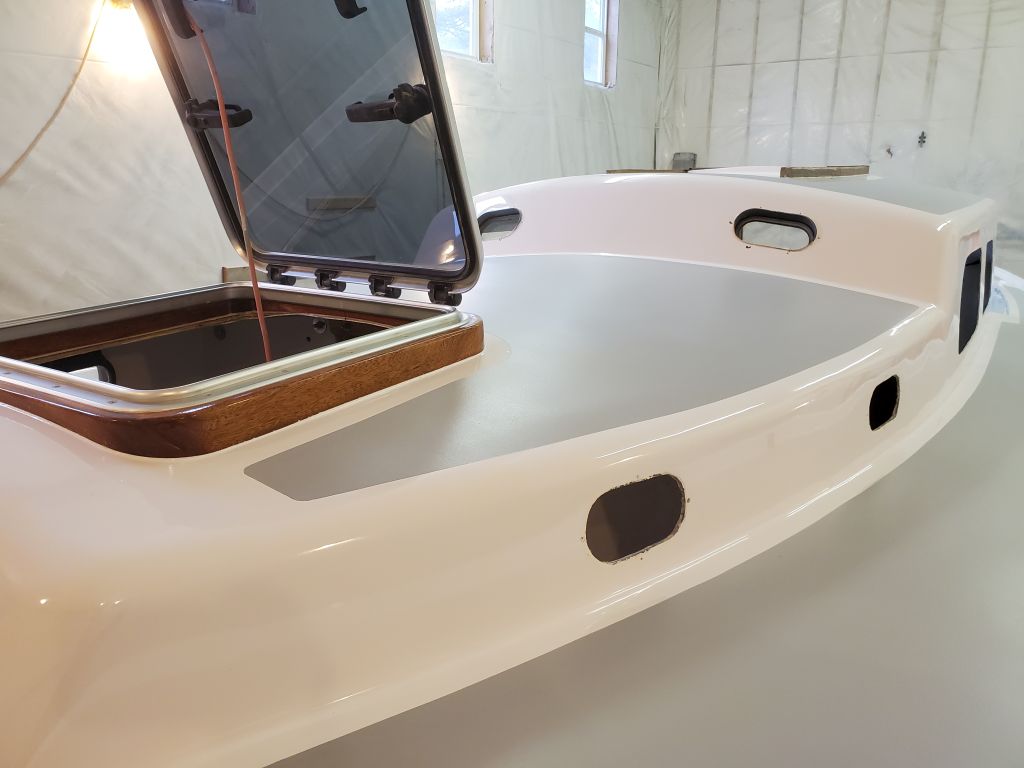
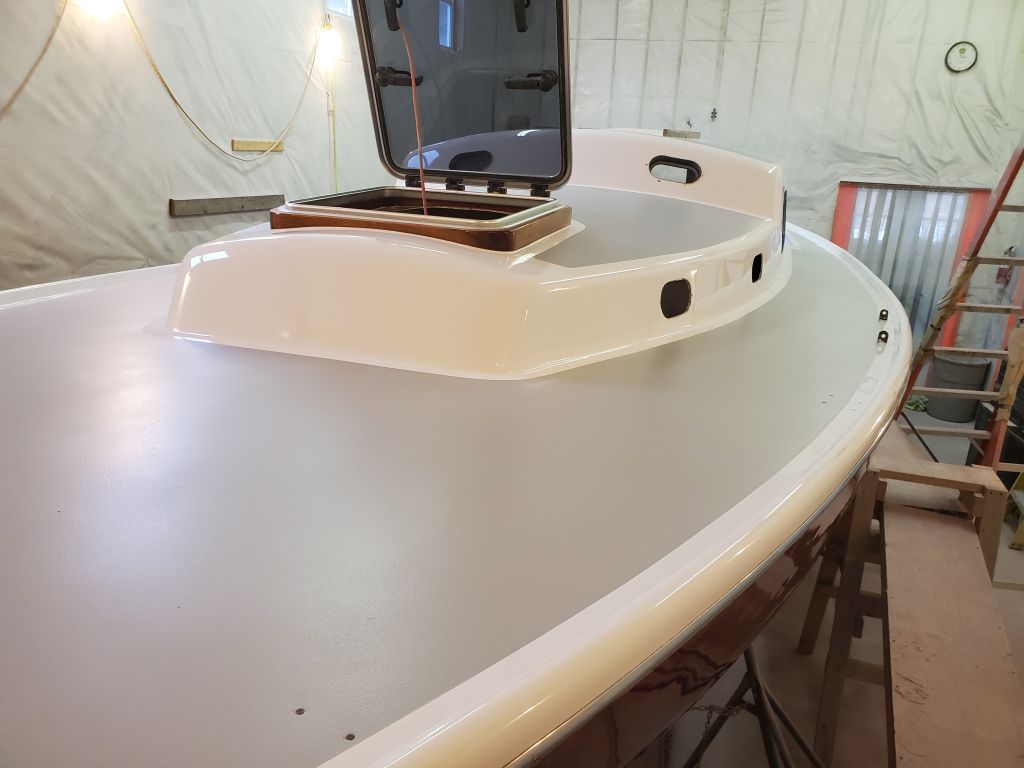
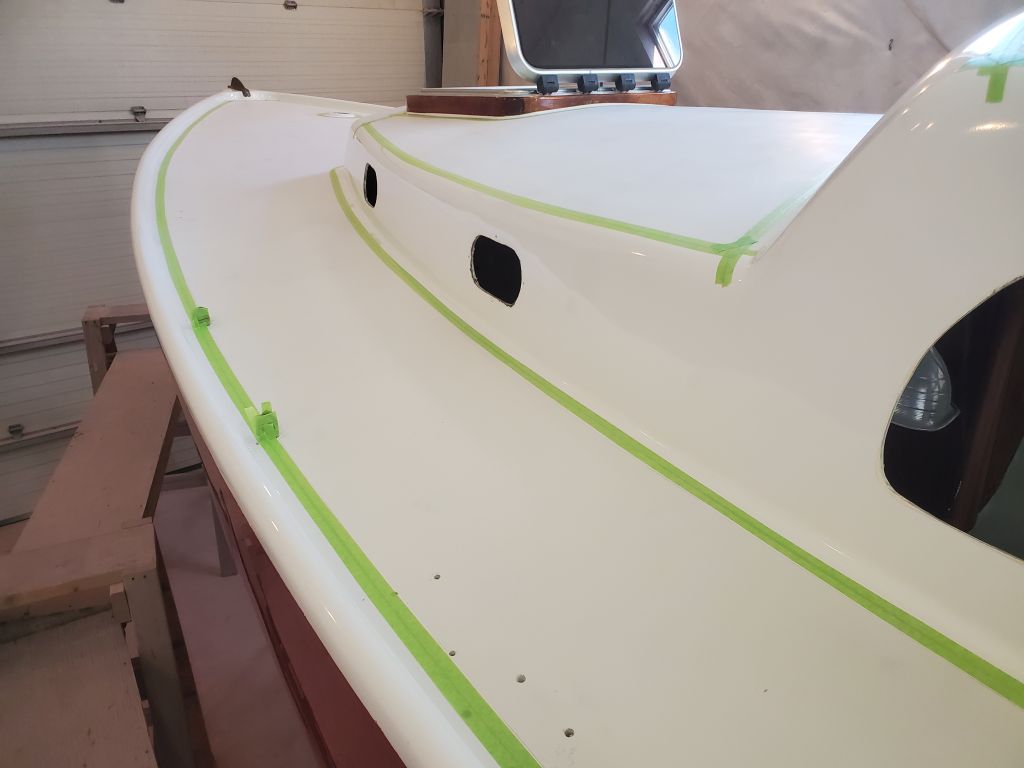
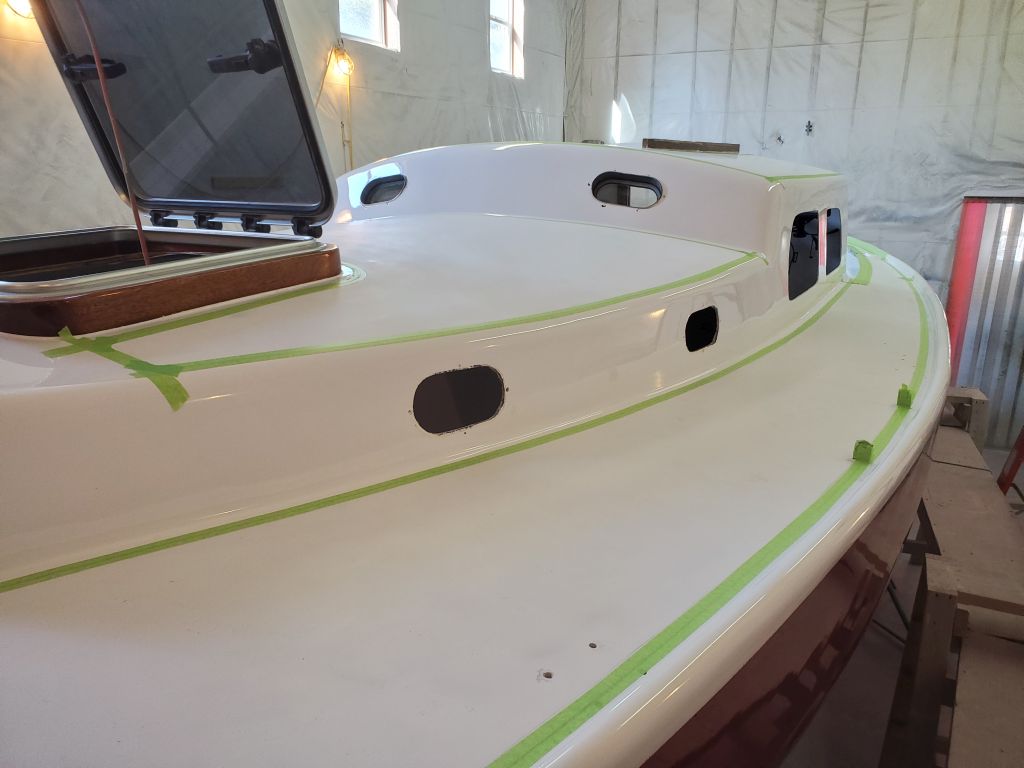
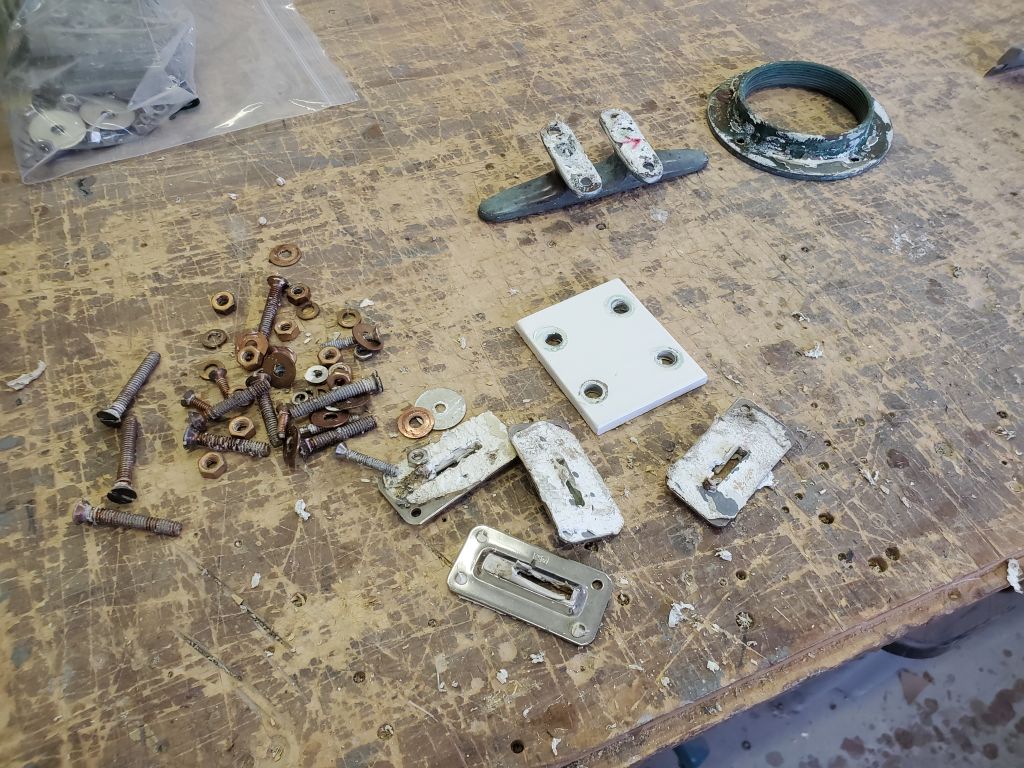
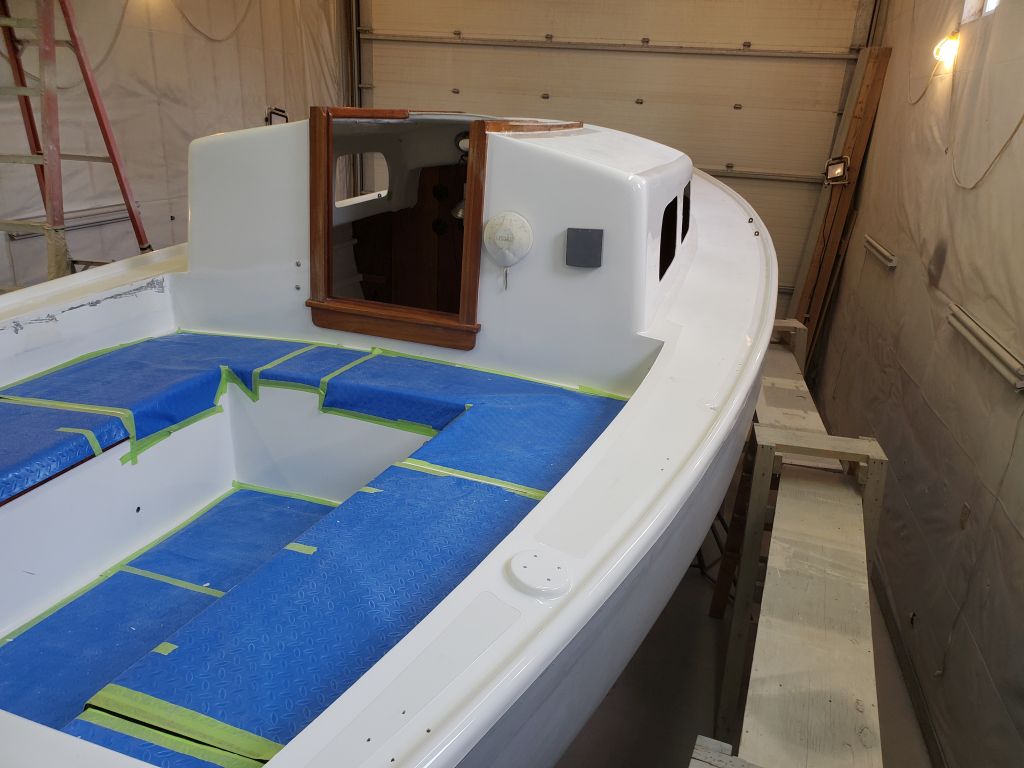
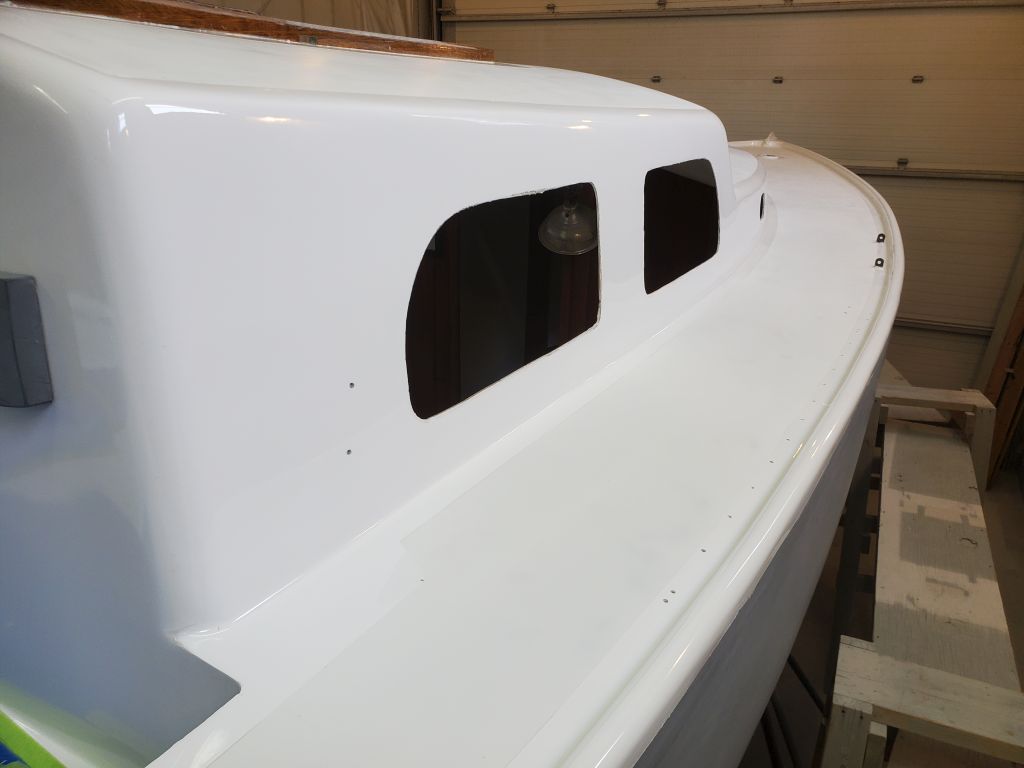
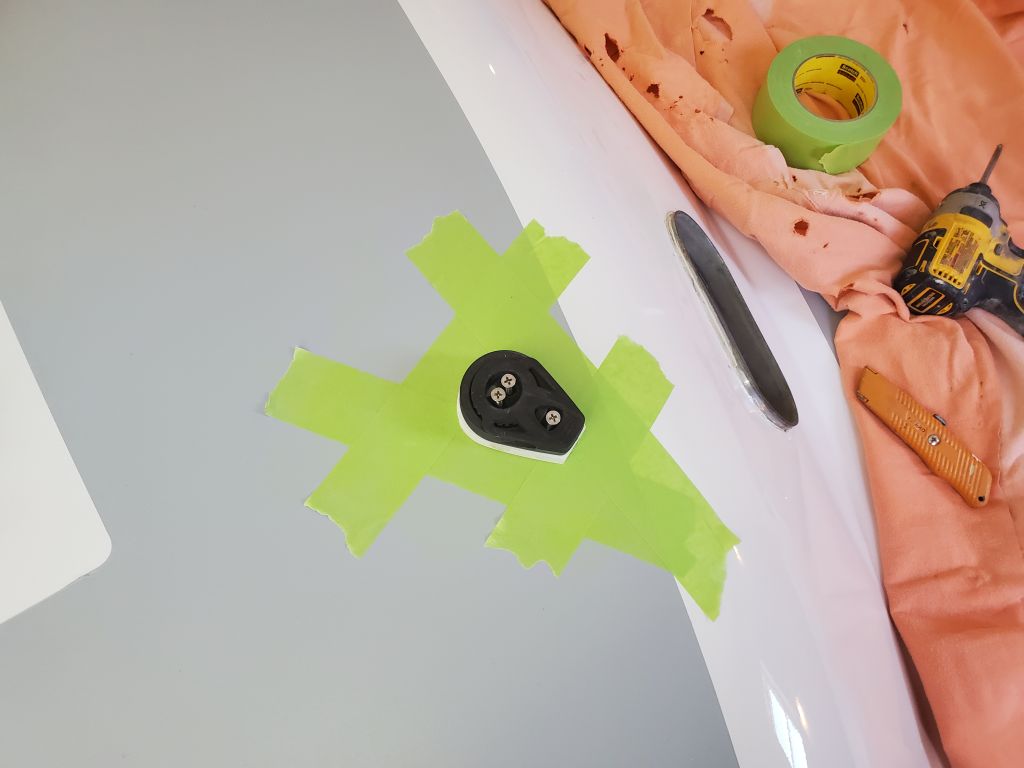
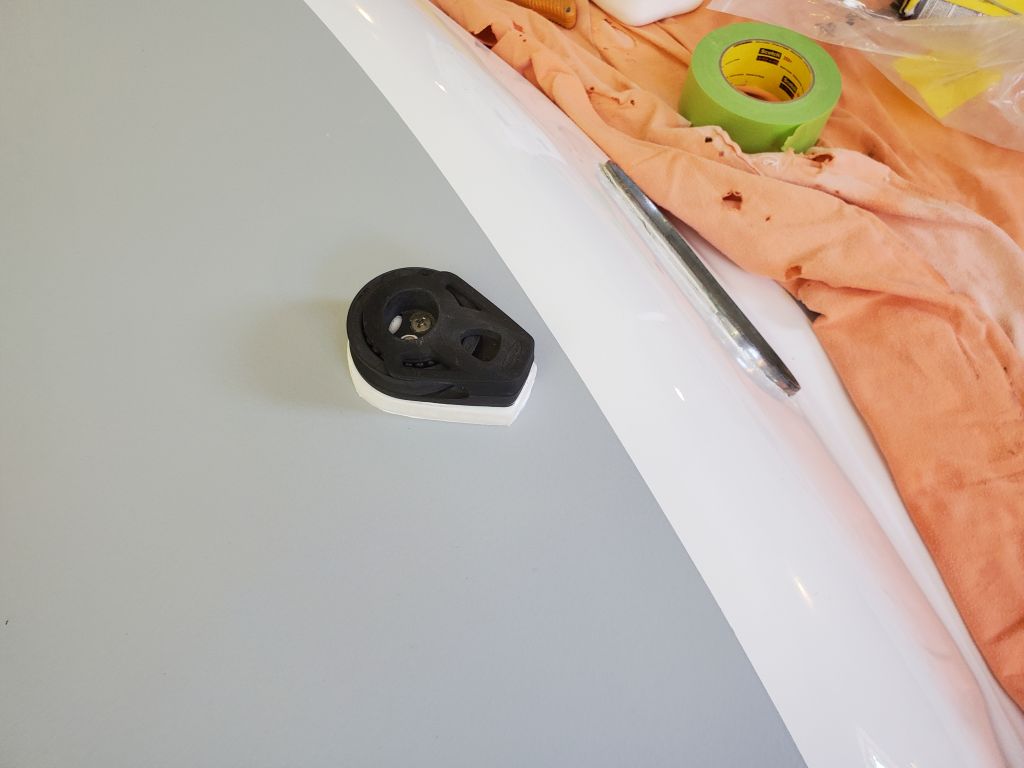
I continued with the furler cleat, located to starboard on the small molded riser on the sidedeck outboard of the coamings.

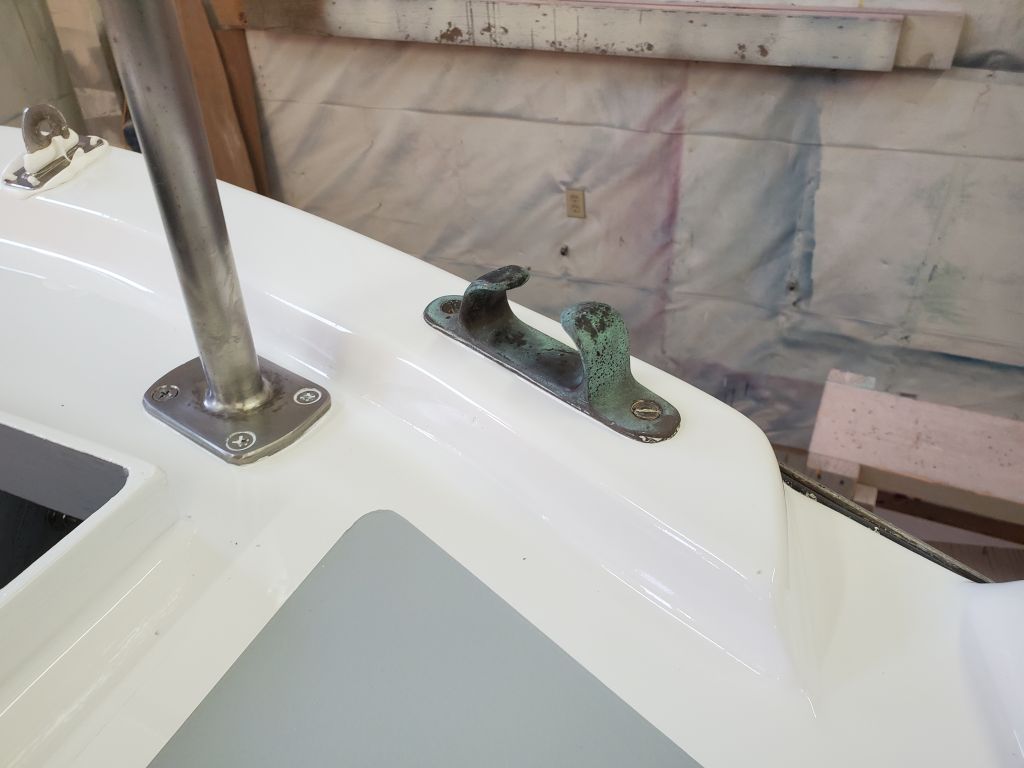
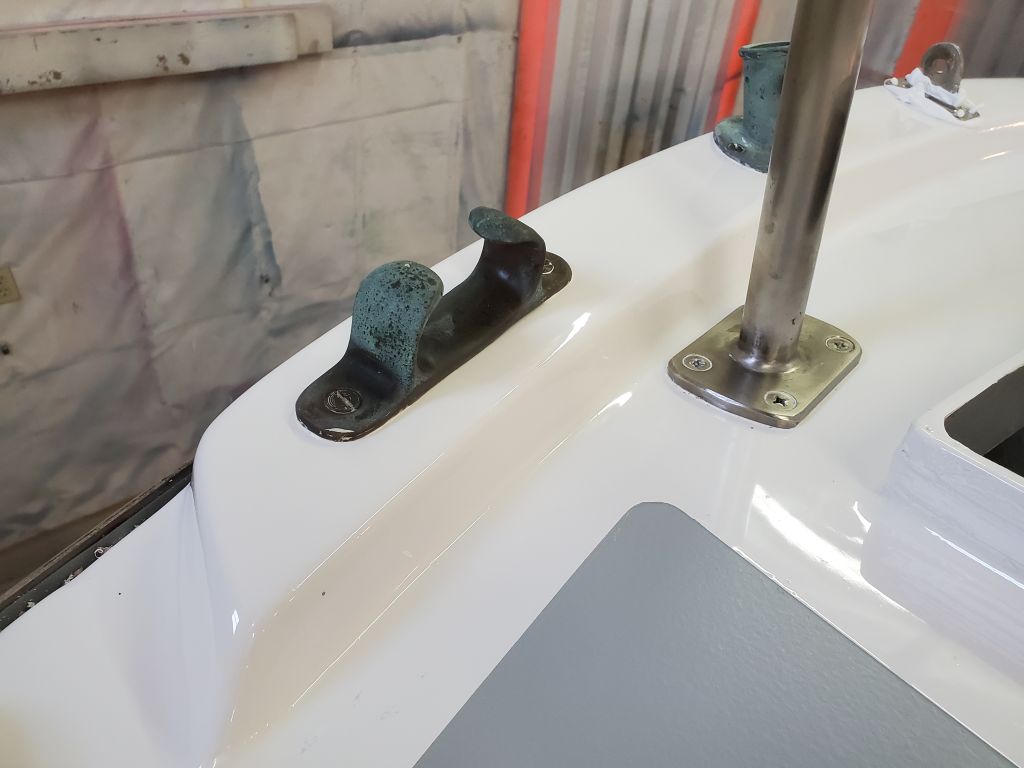
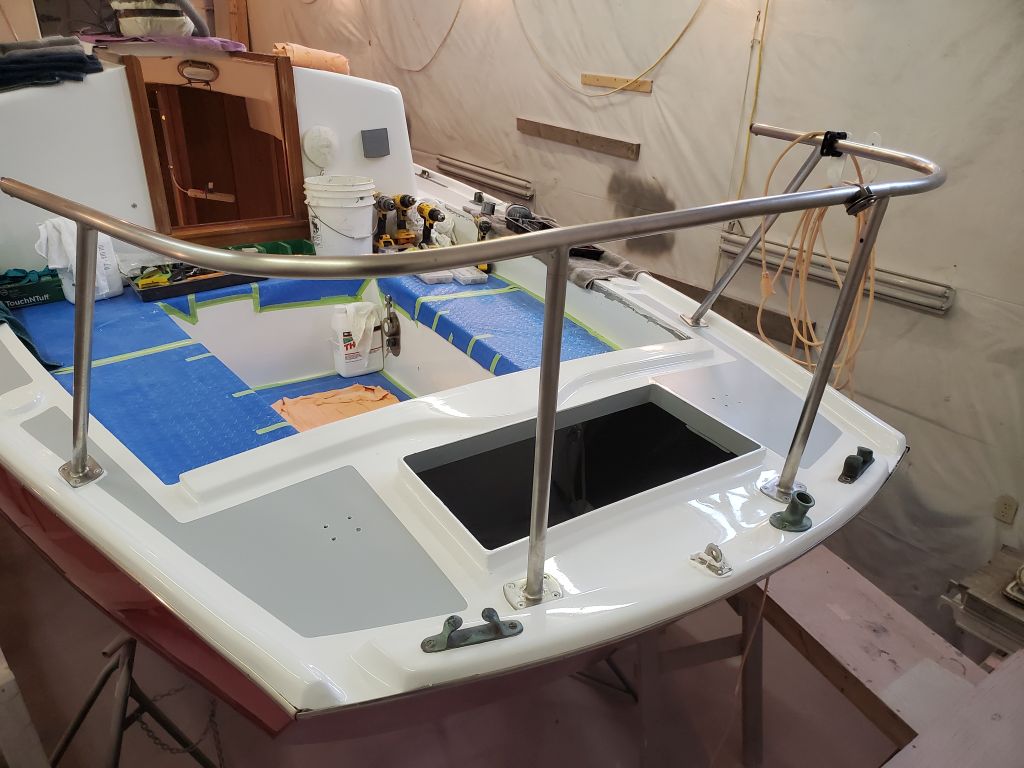
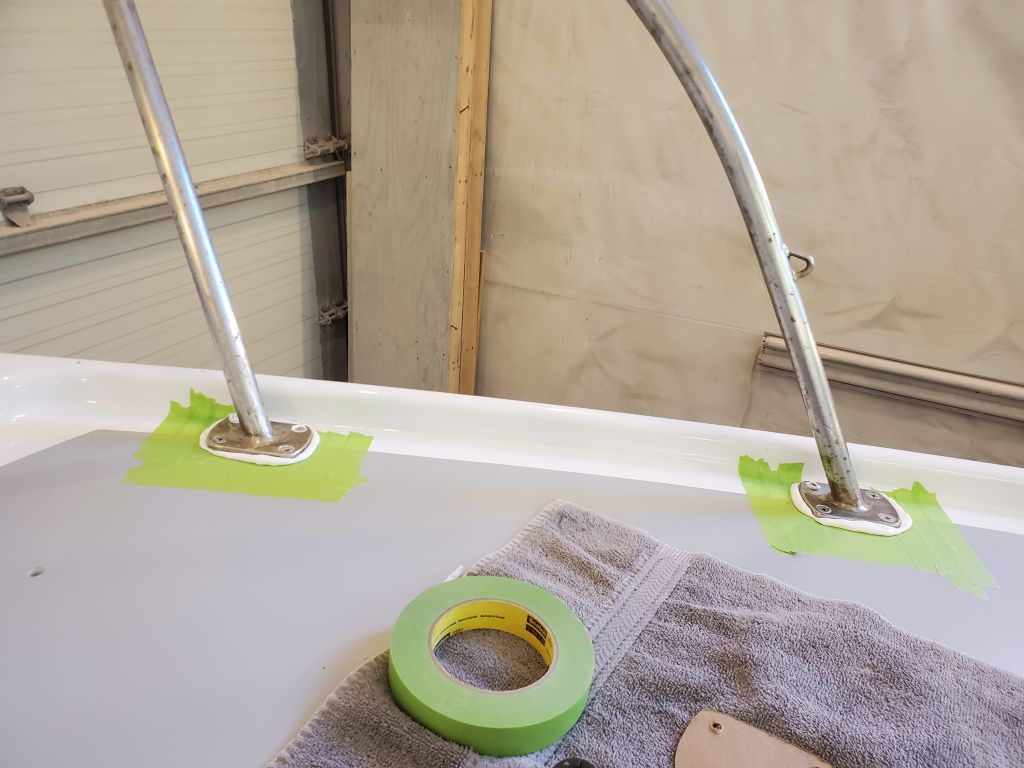
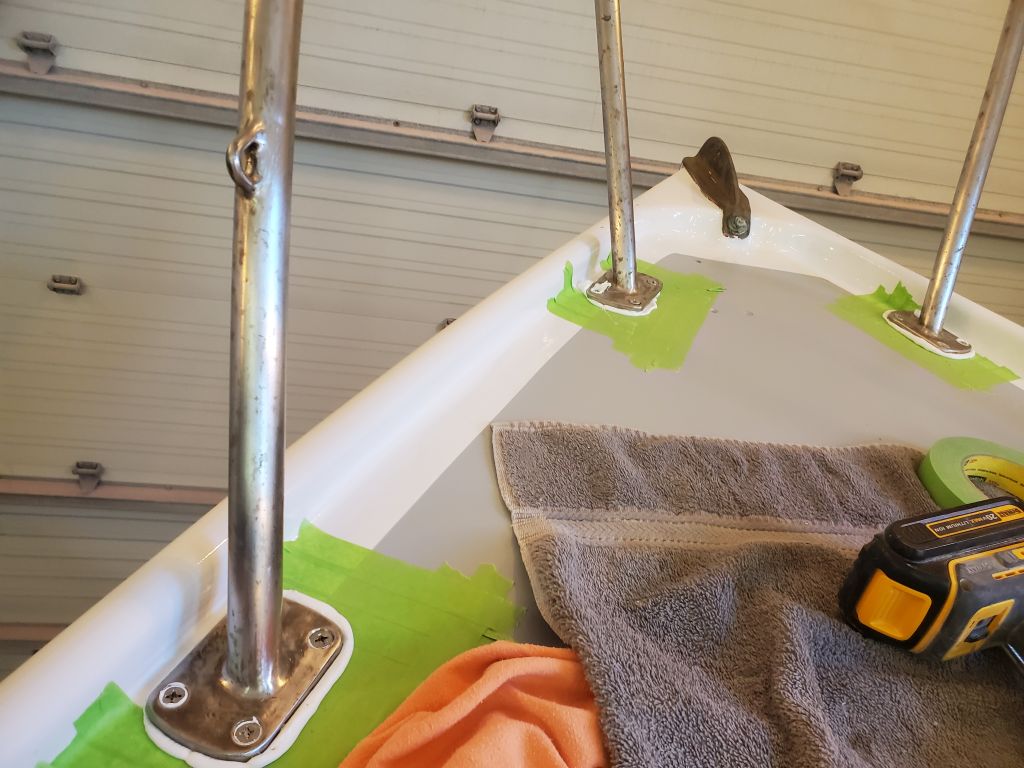
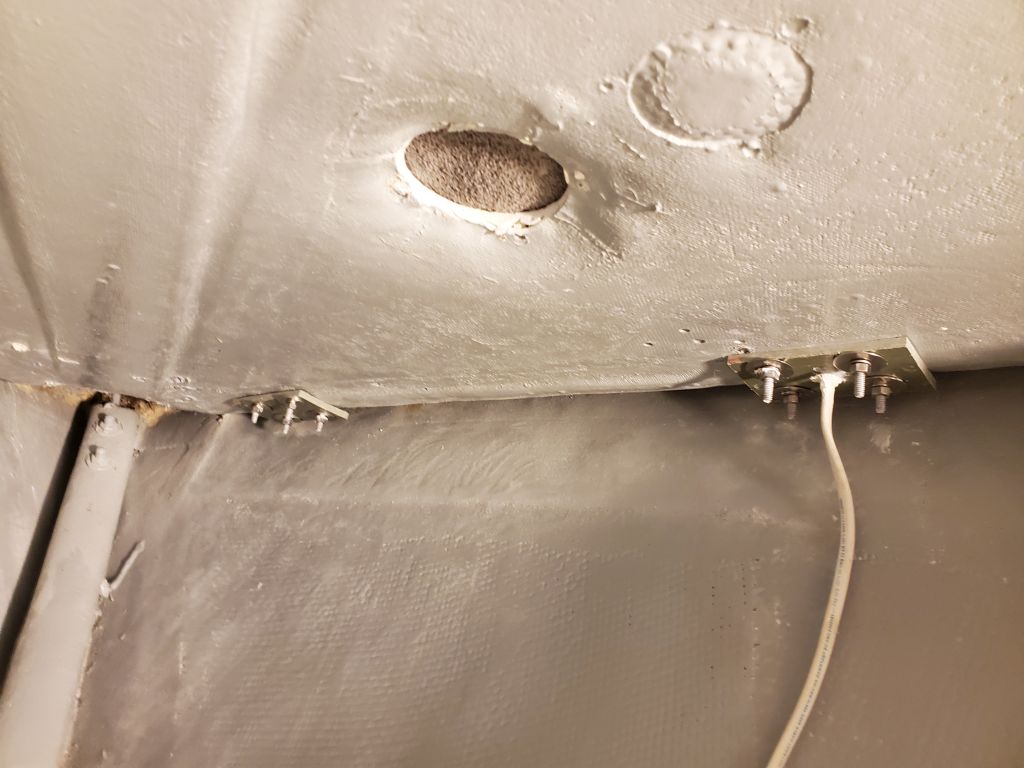
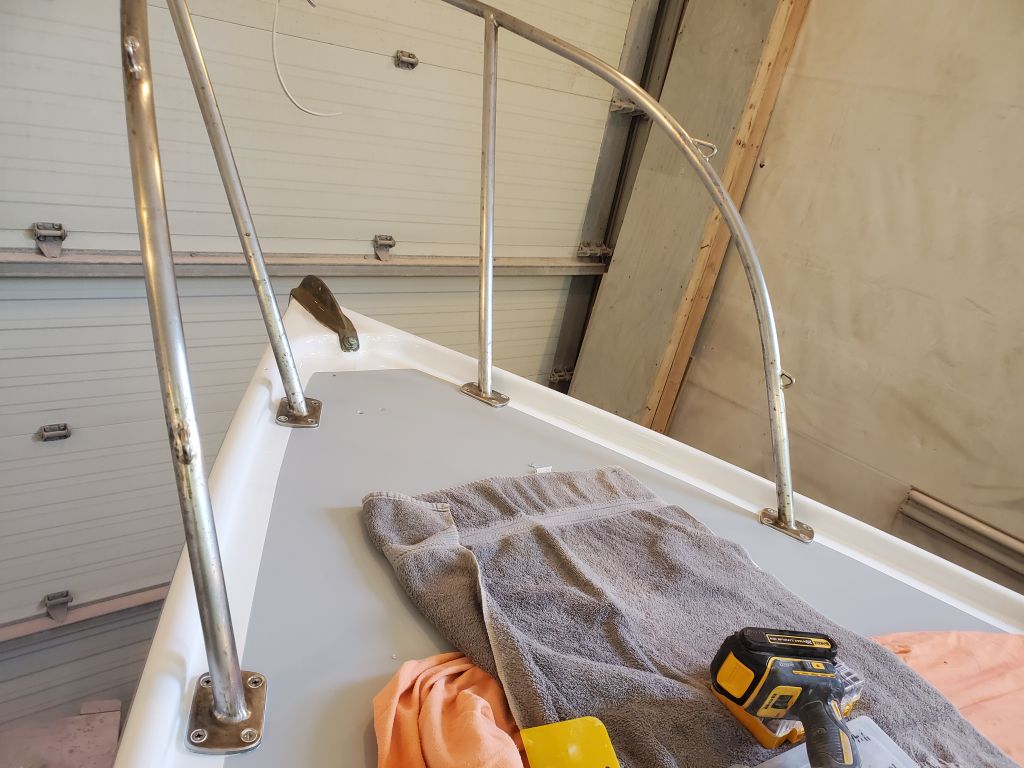
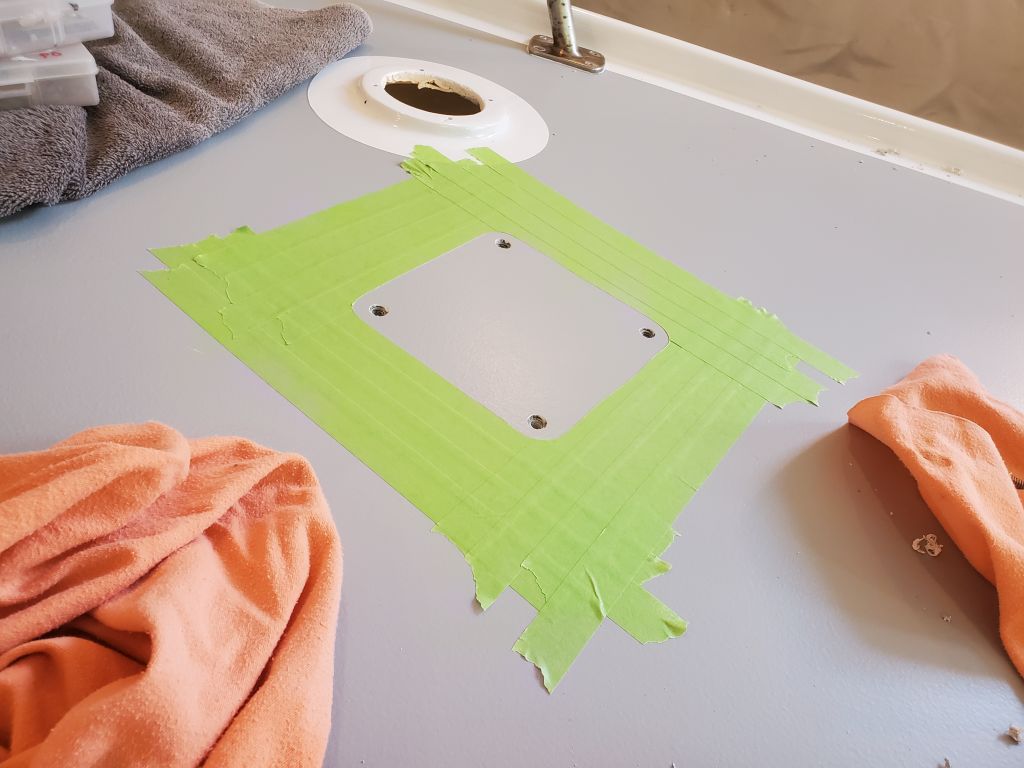
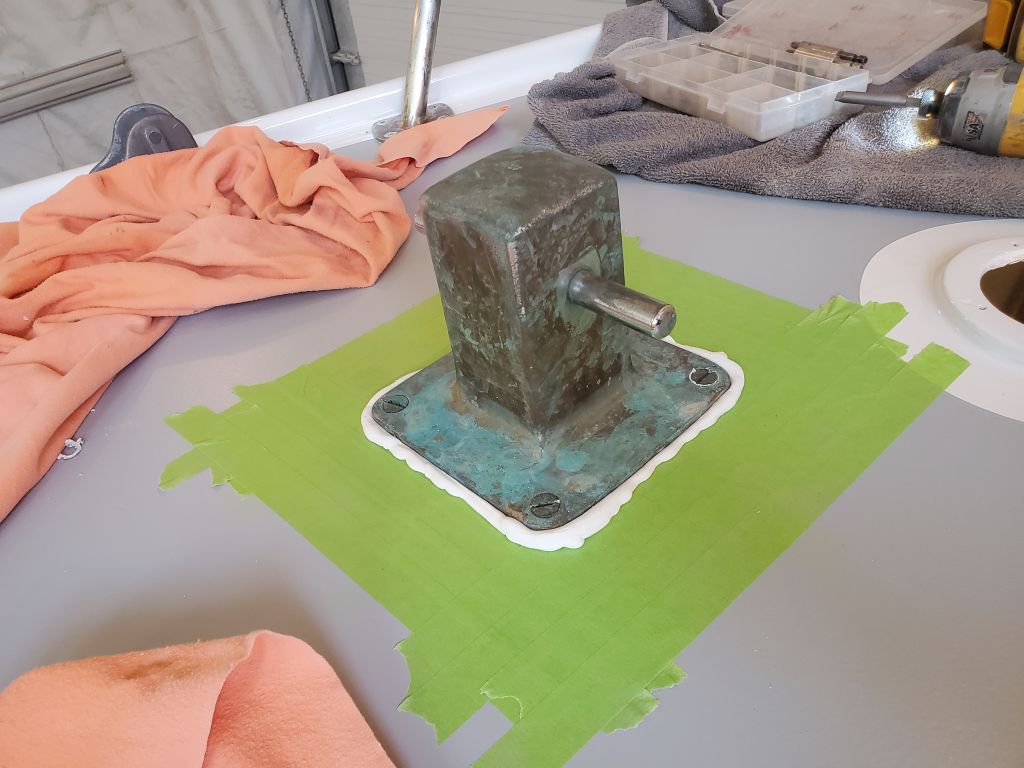
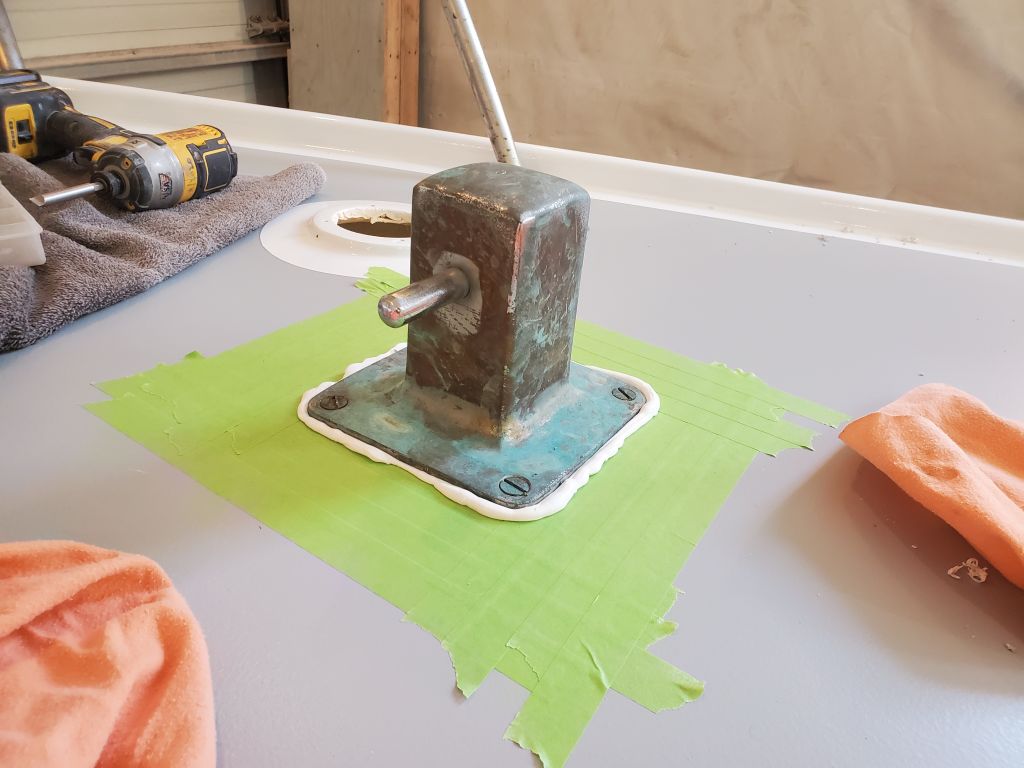
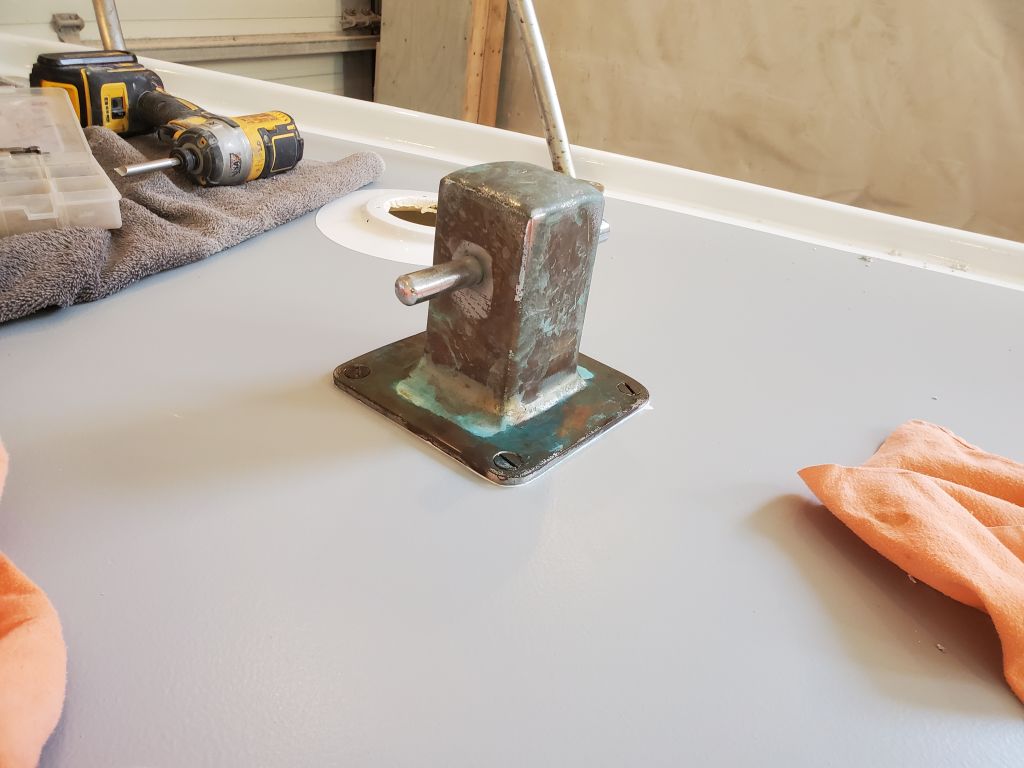
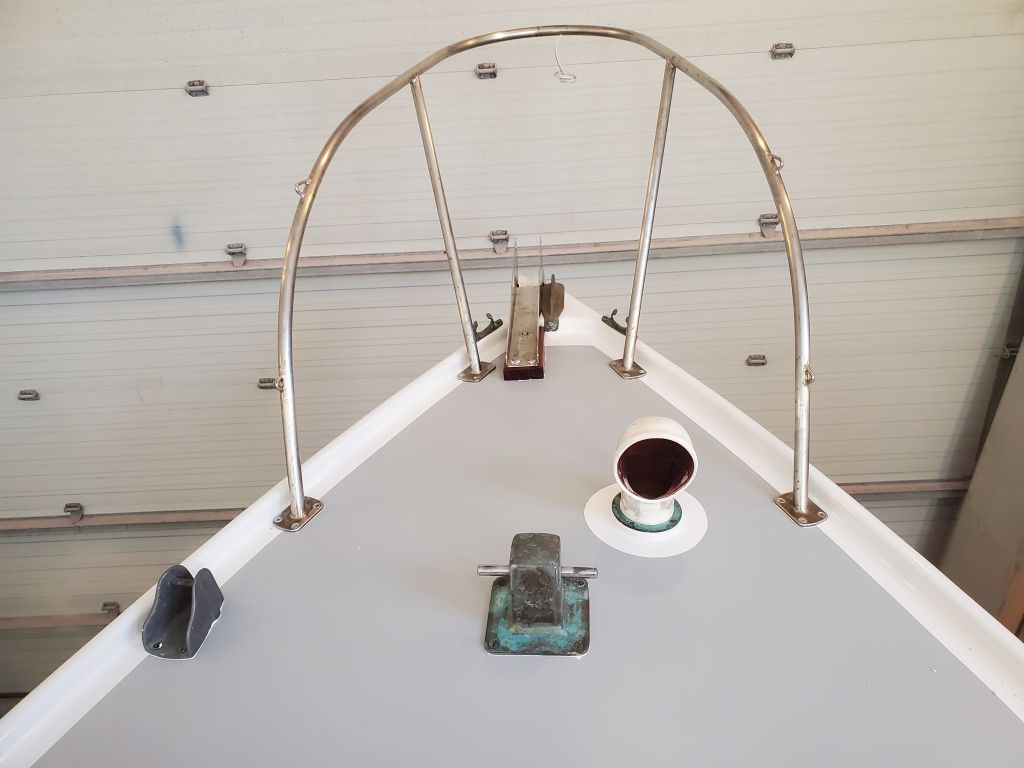
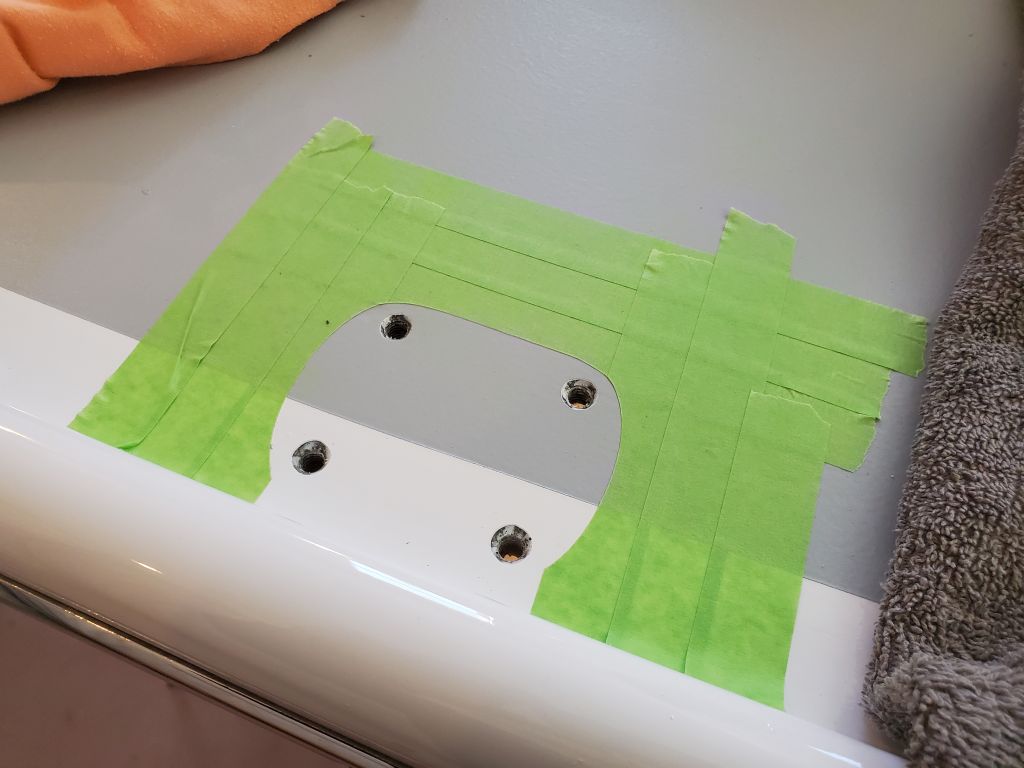
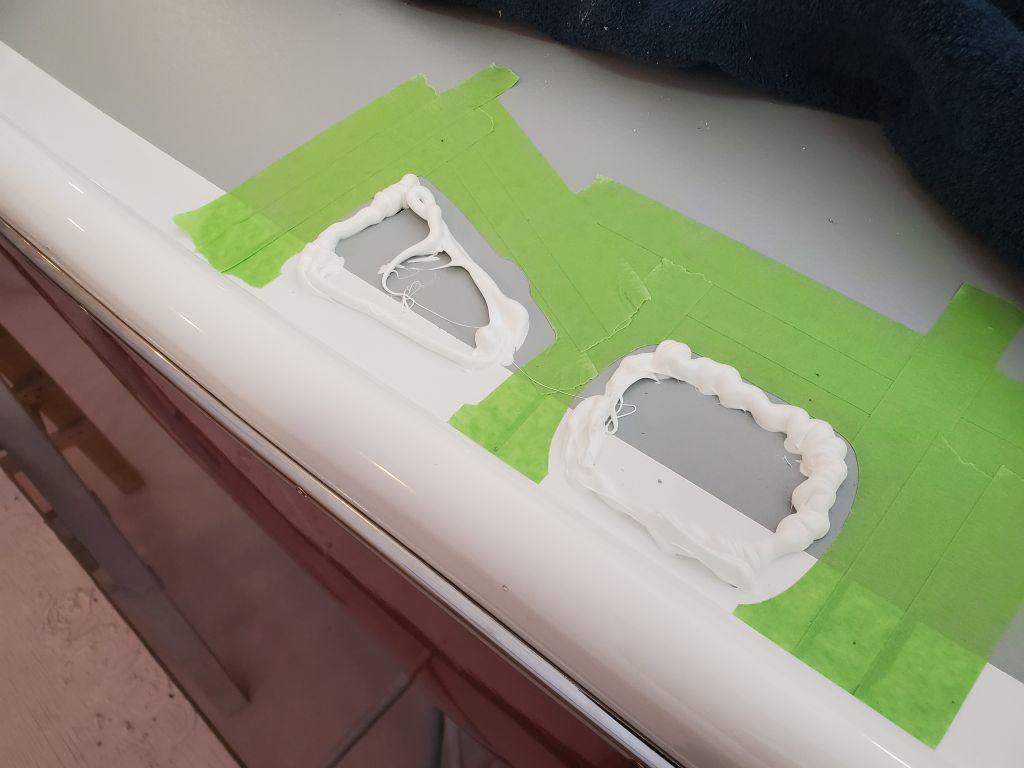
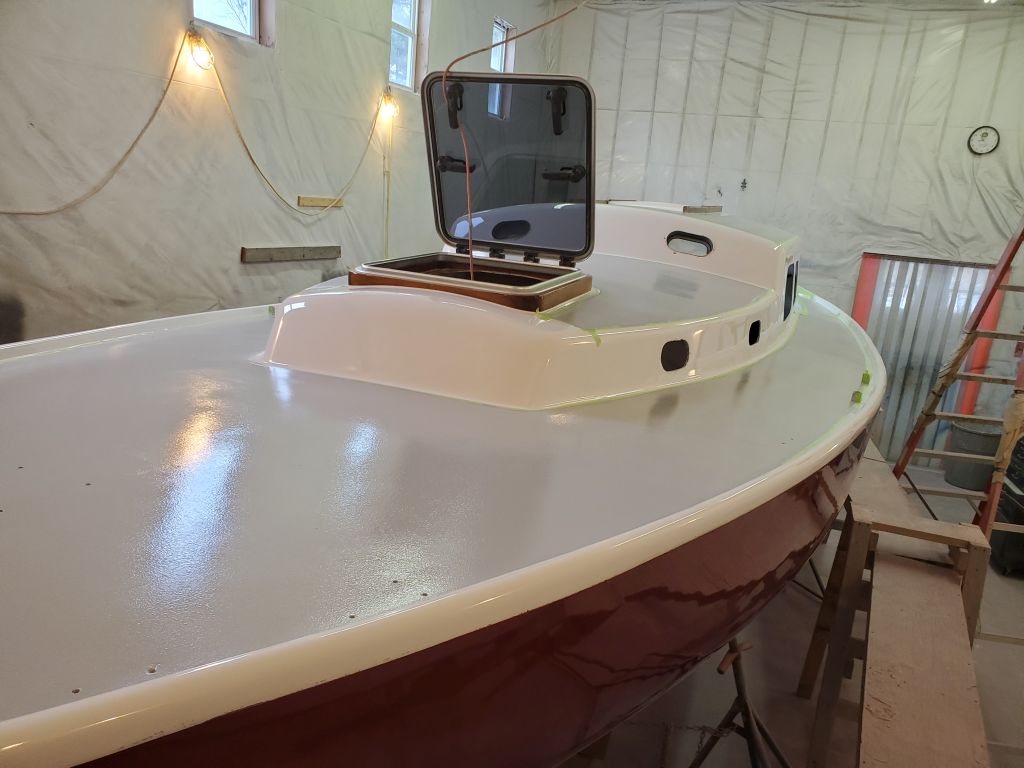
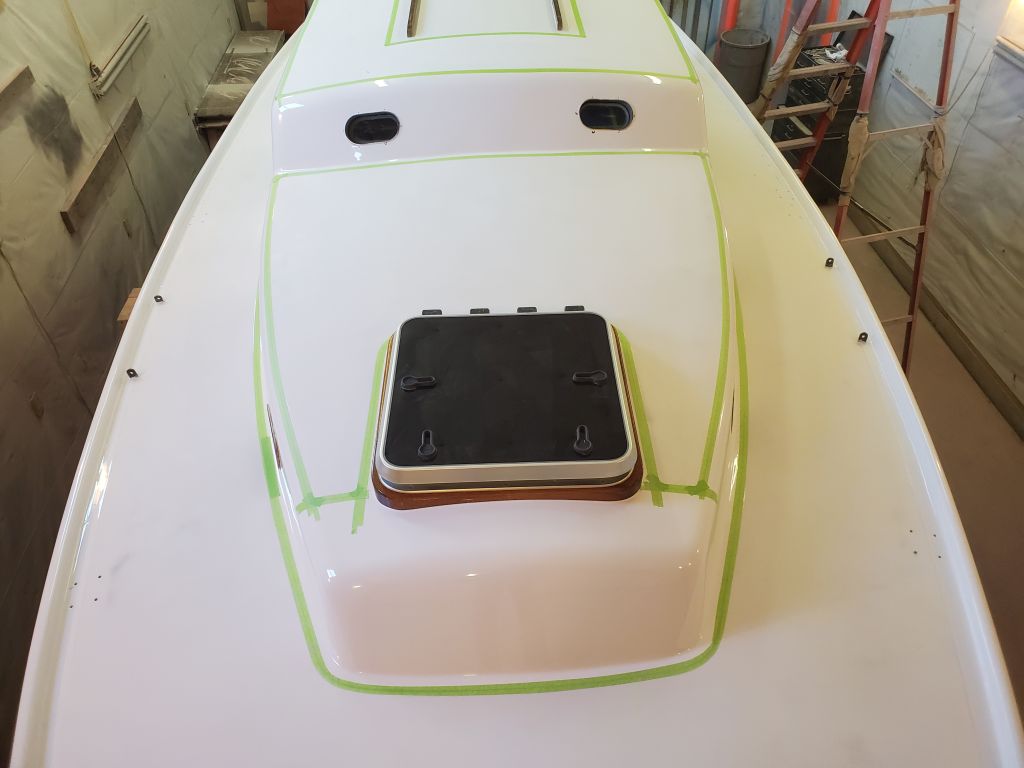
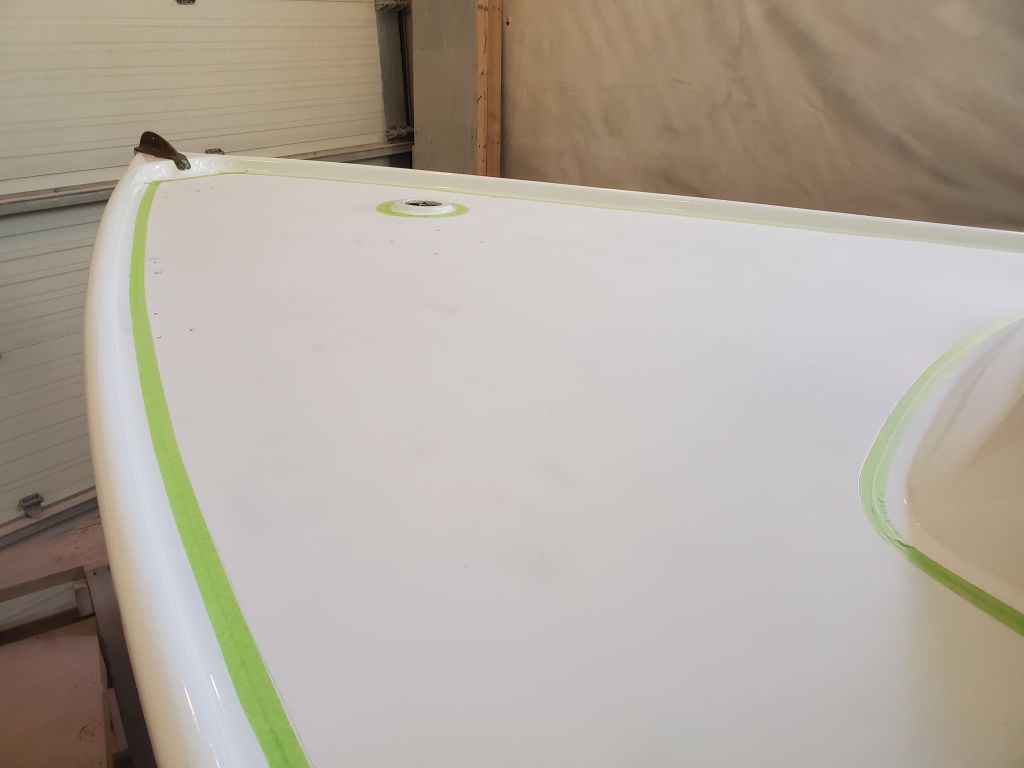
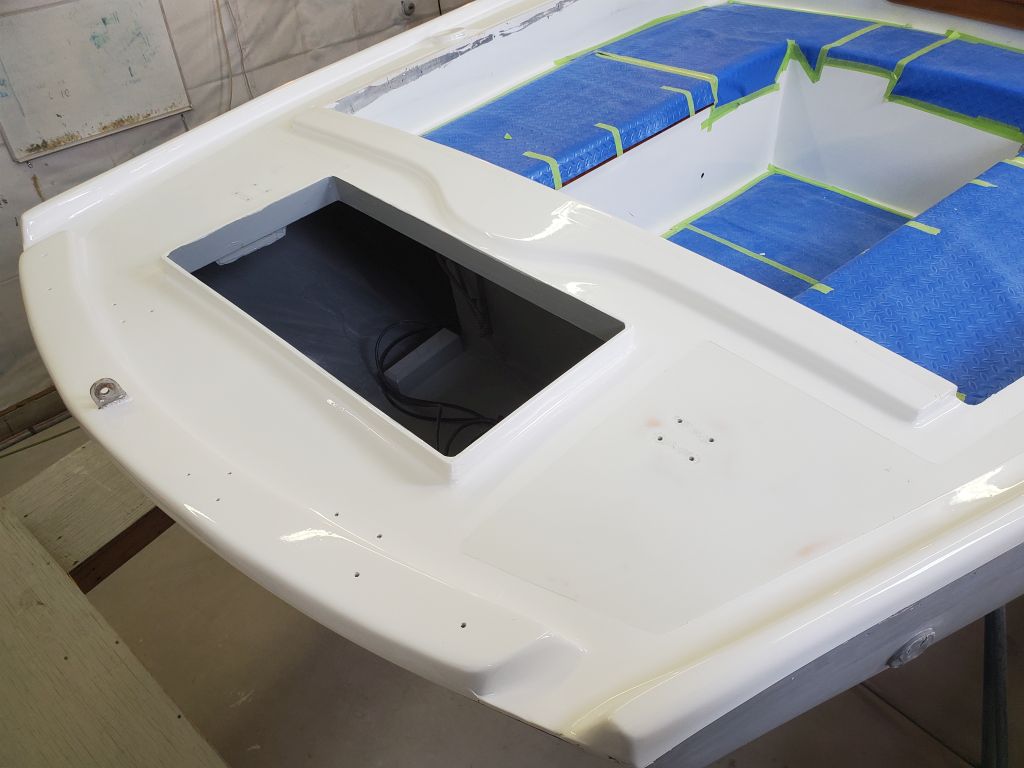
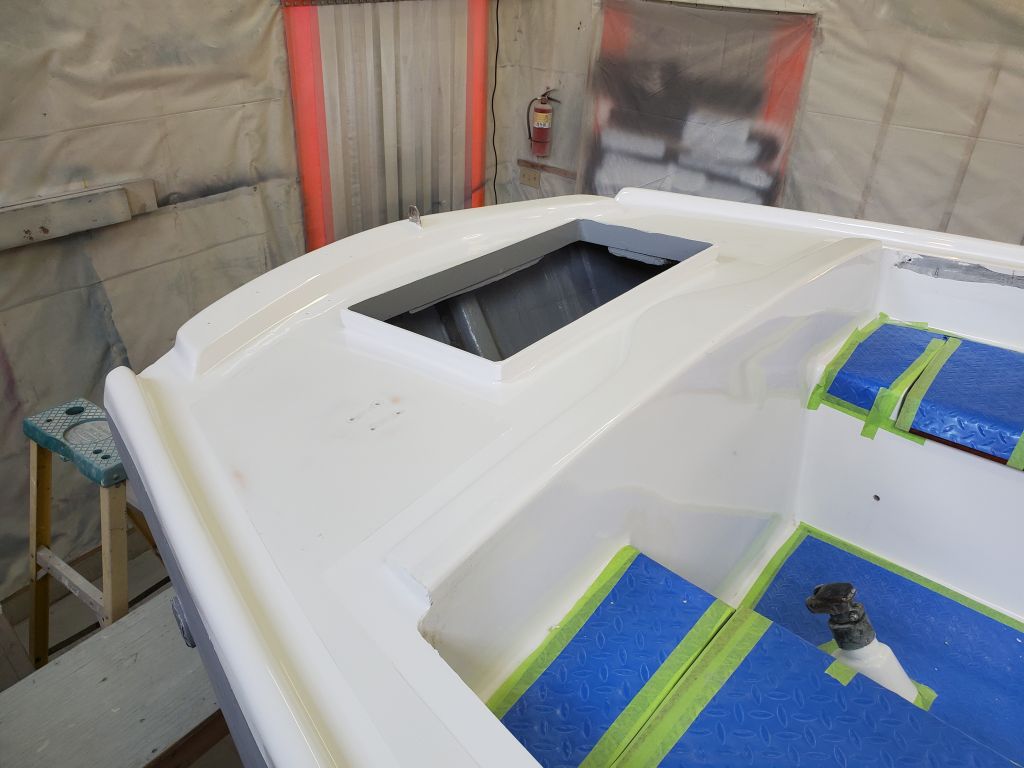
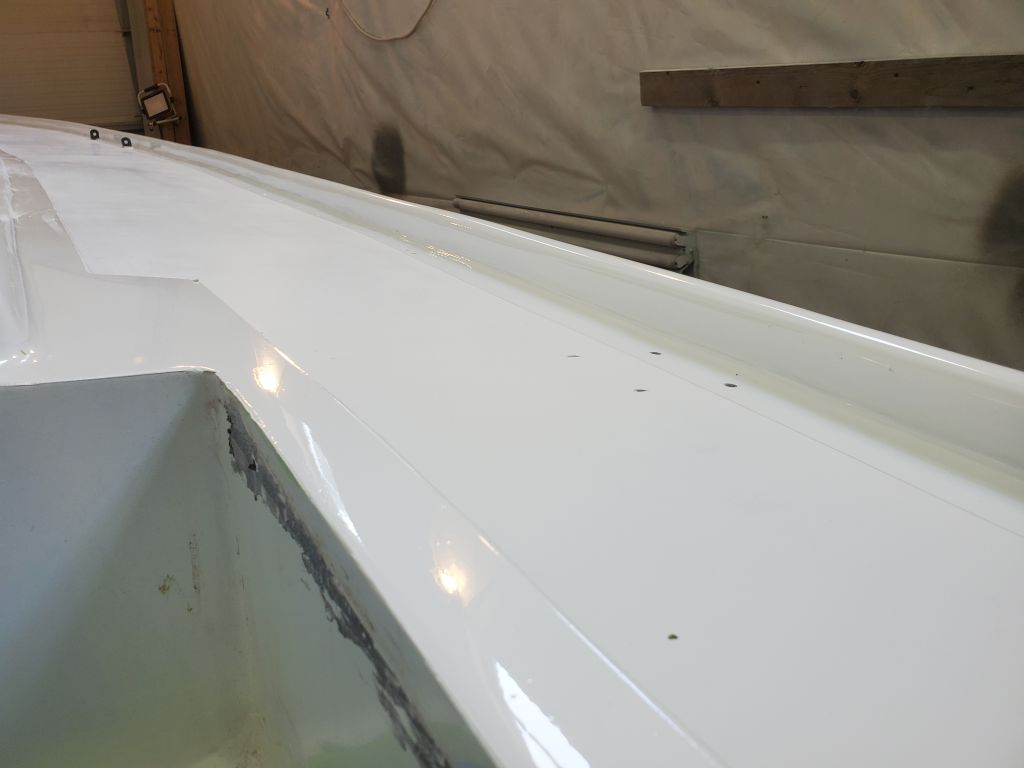
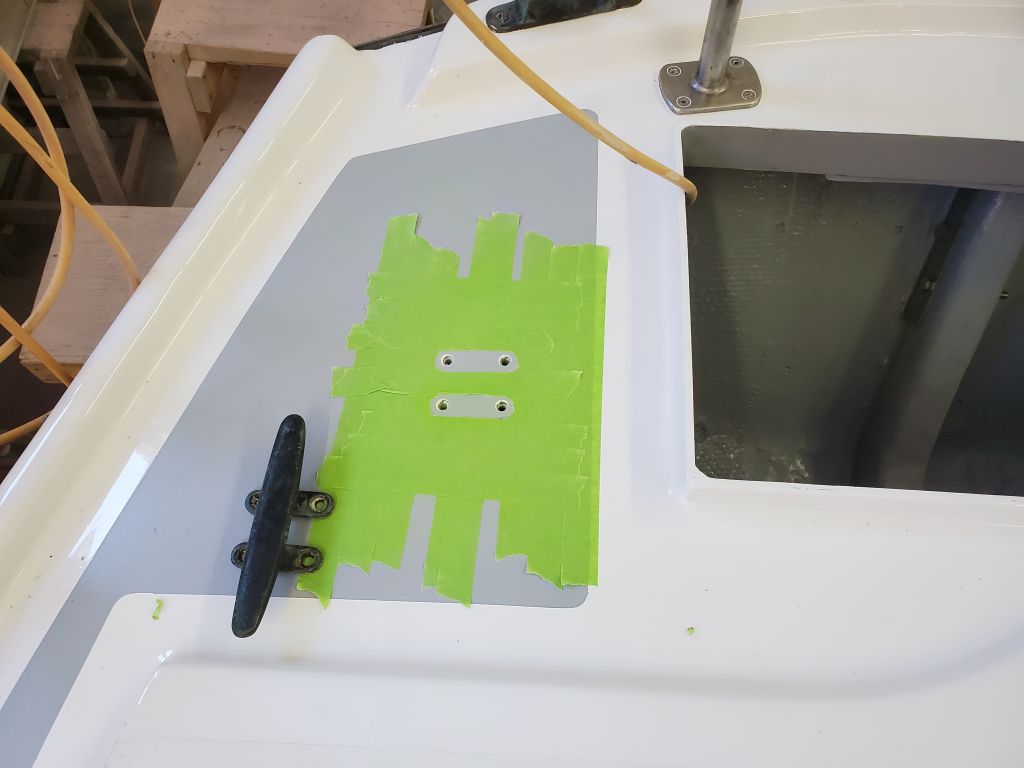
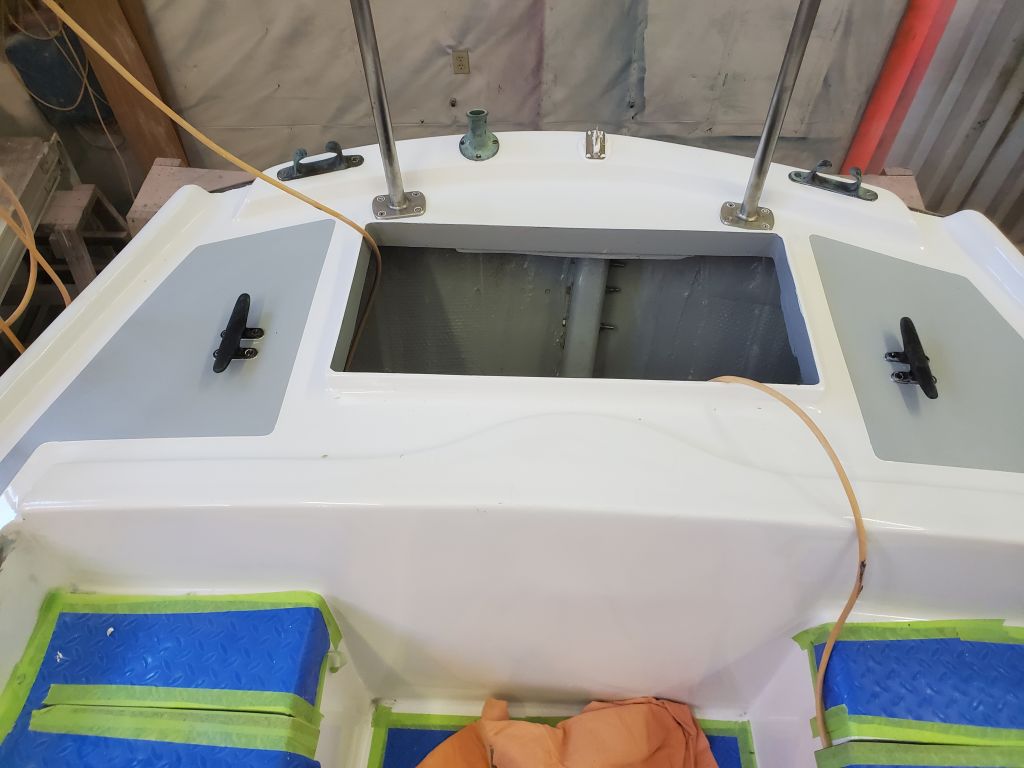
Next:  The two mooring cleats on the poop deck.

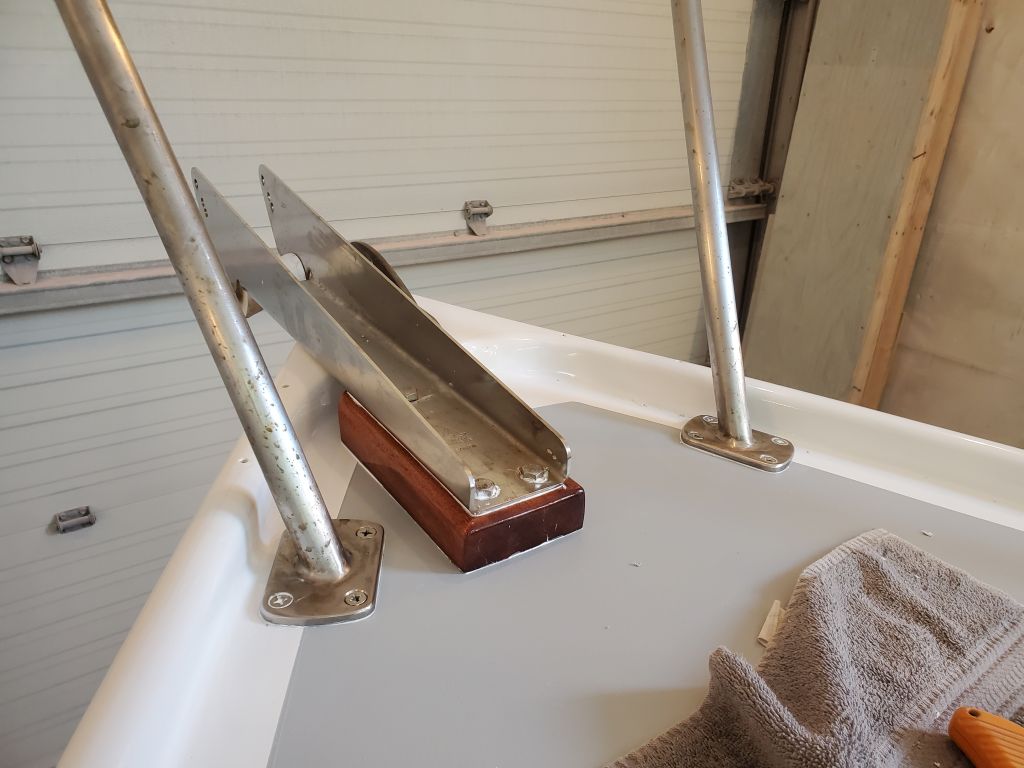
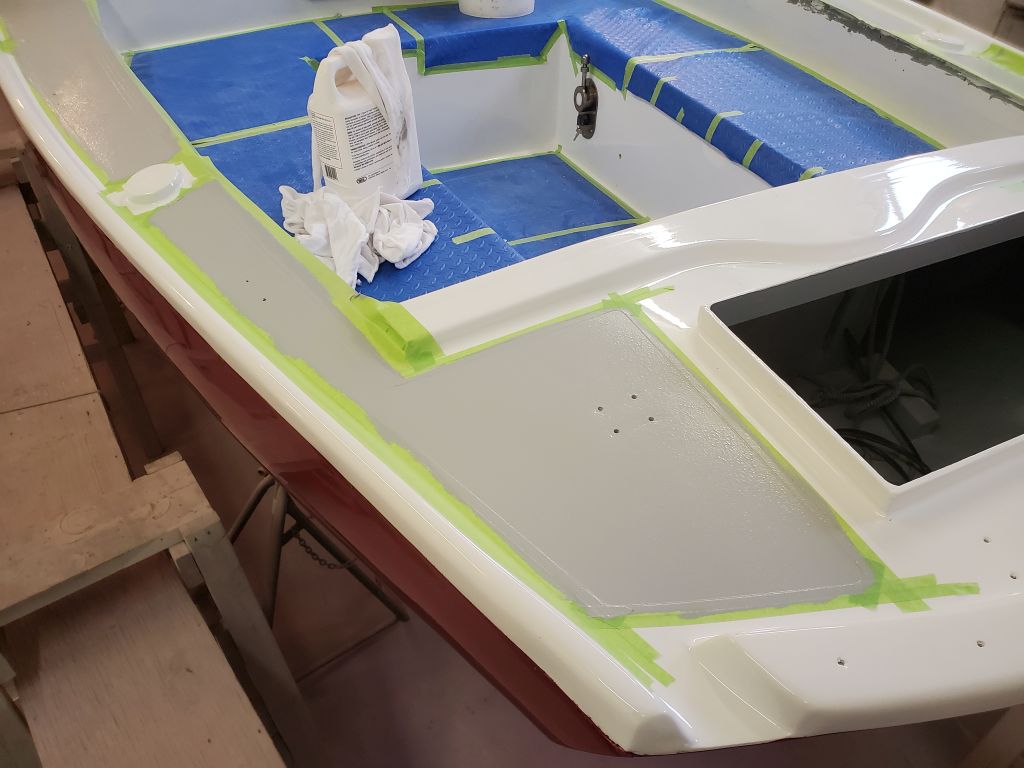
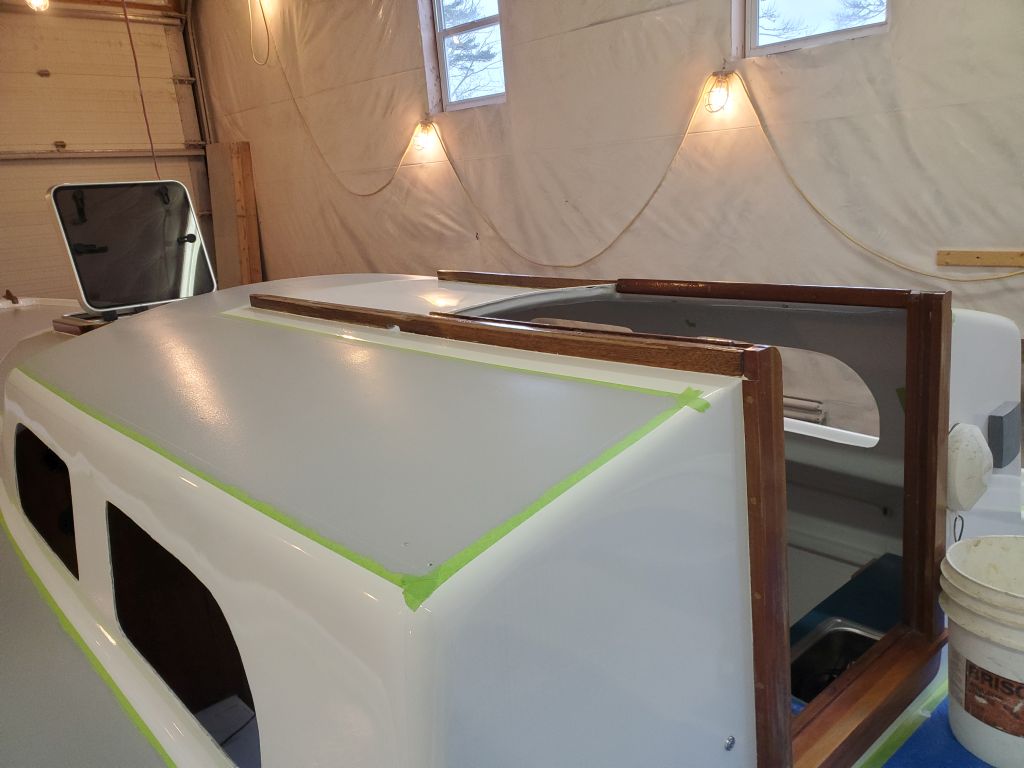
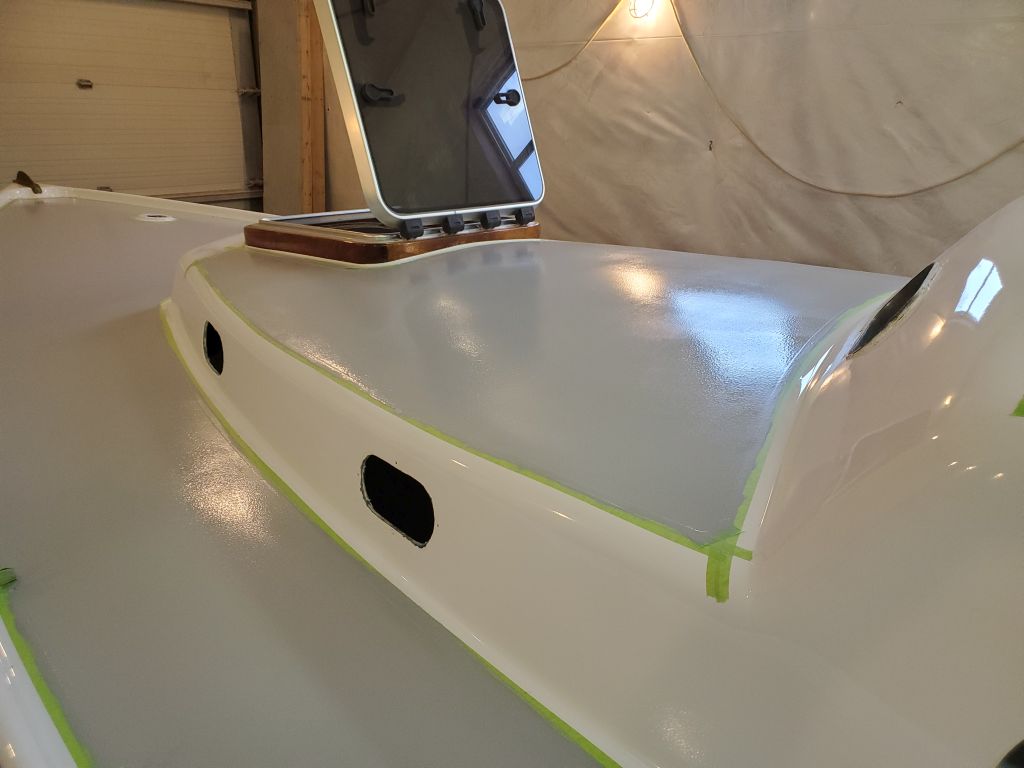
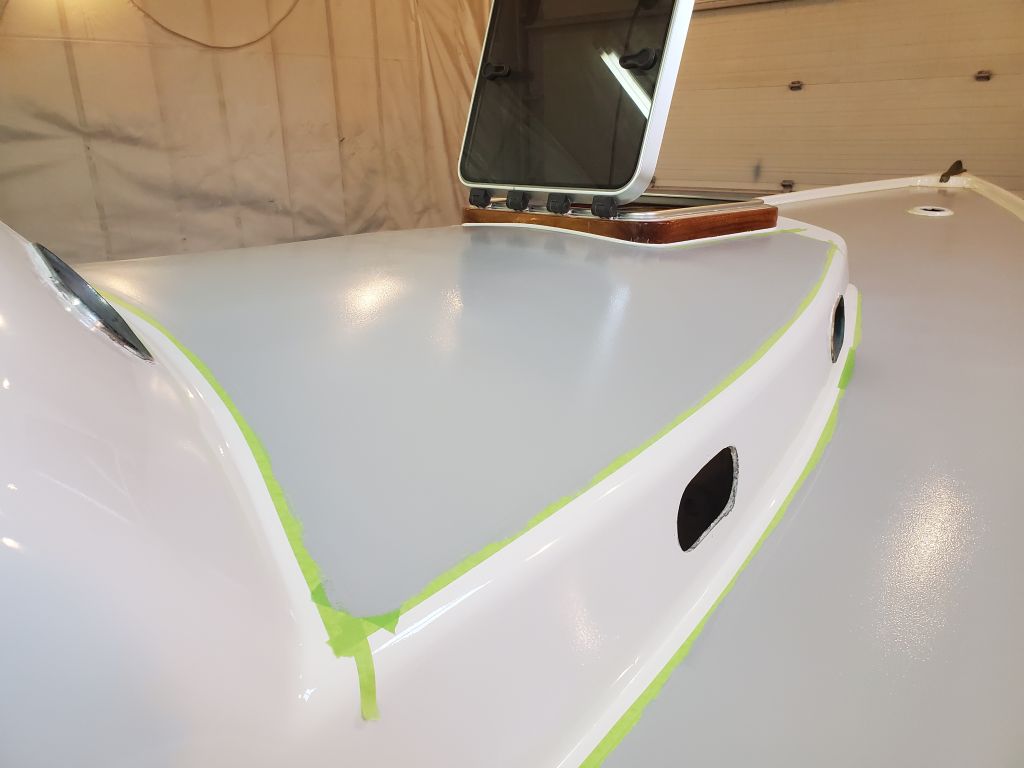
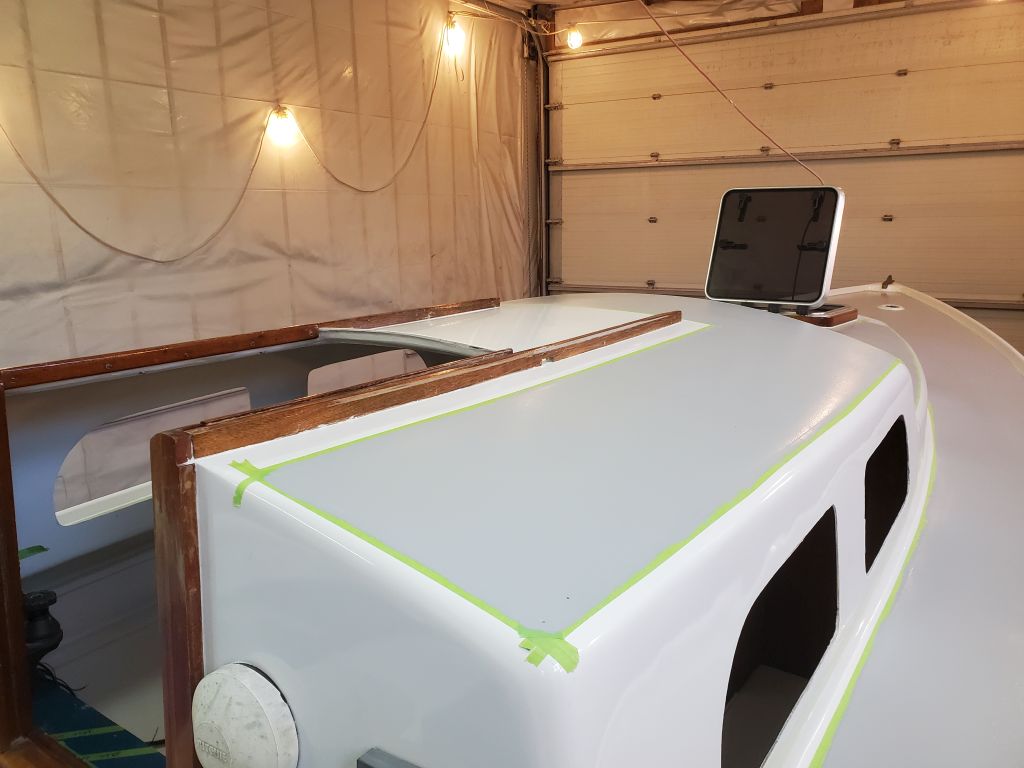
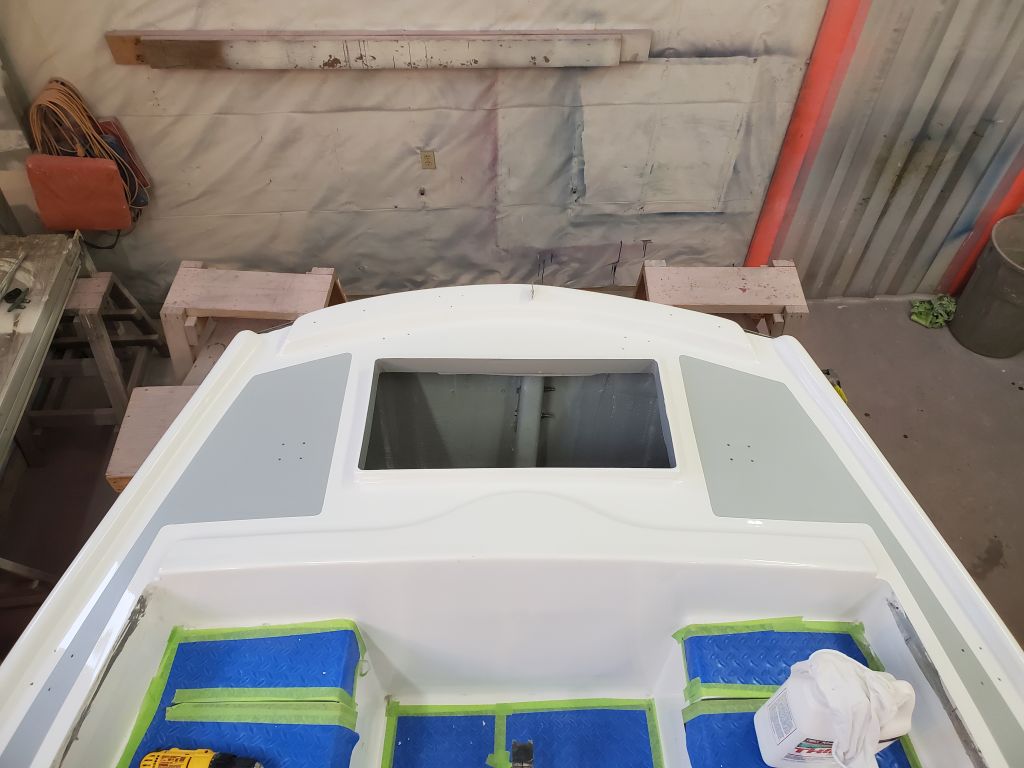
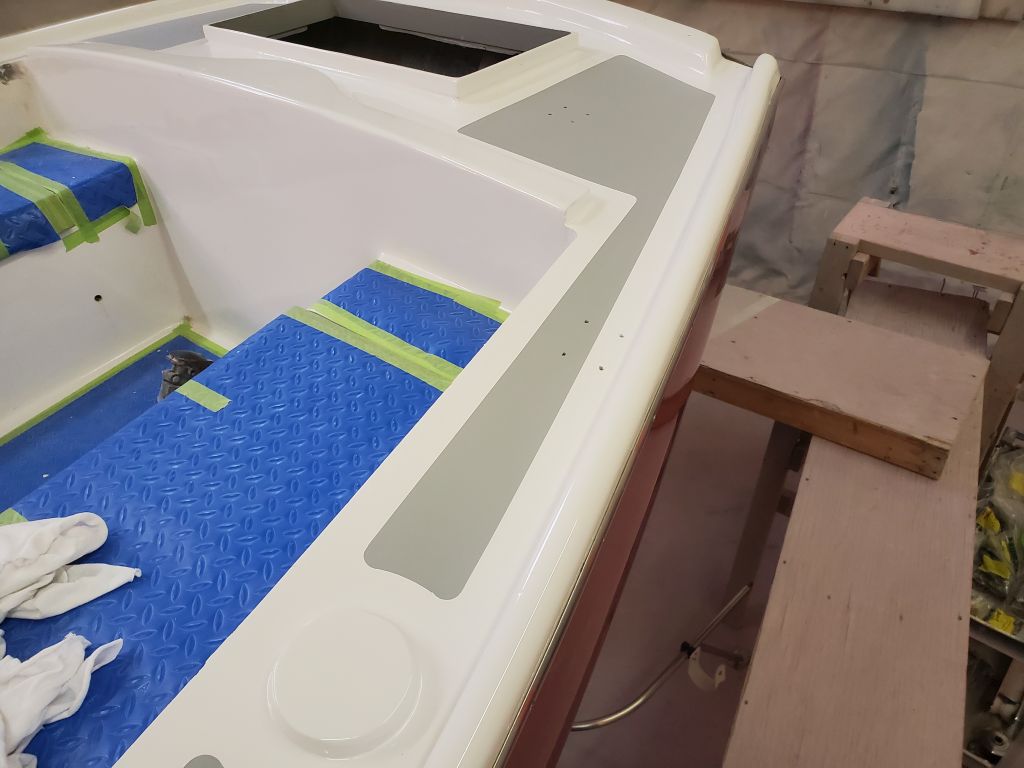
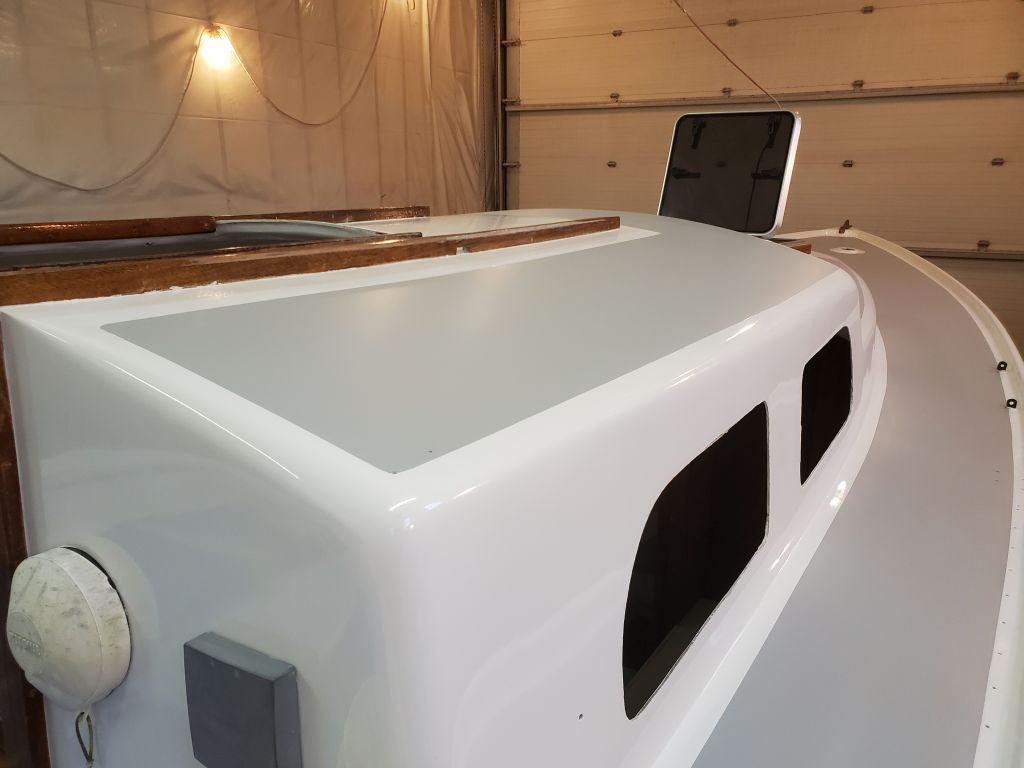
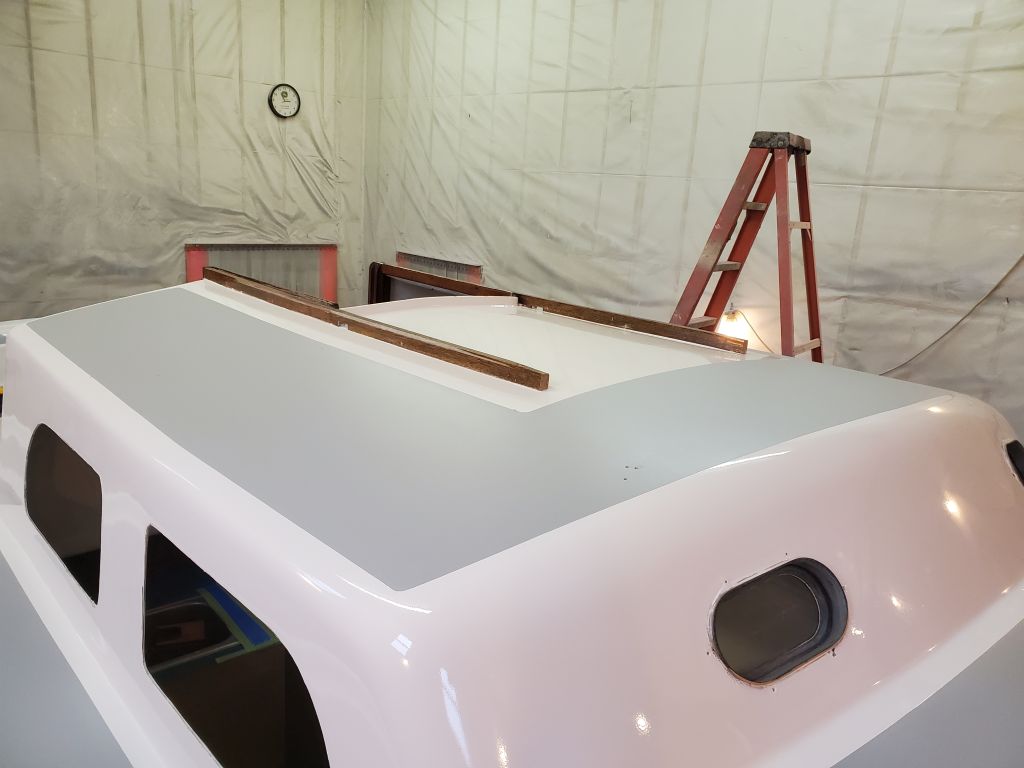
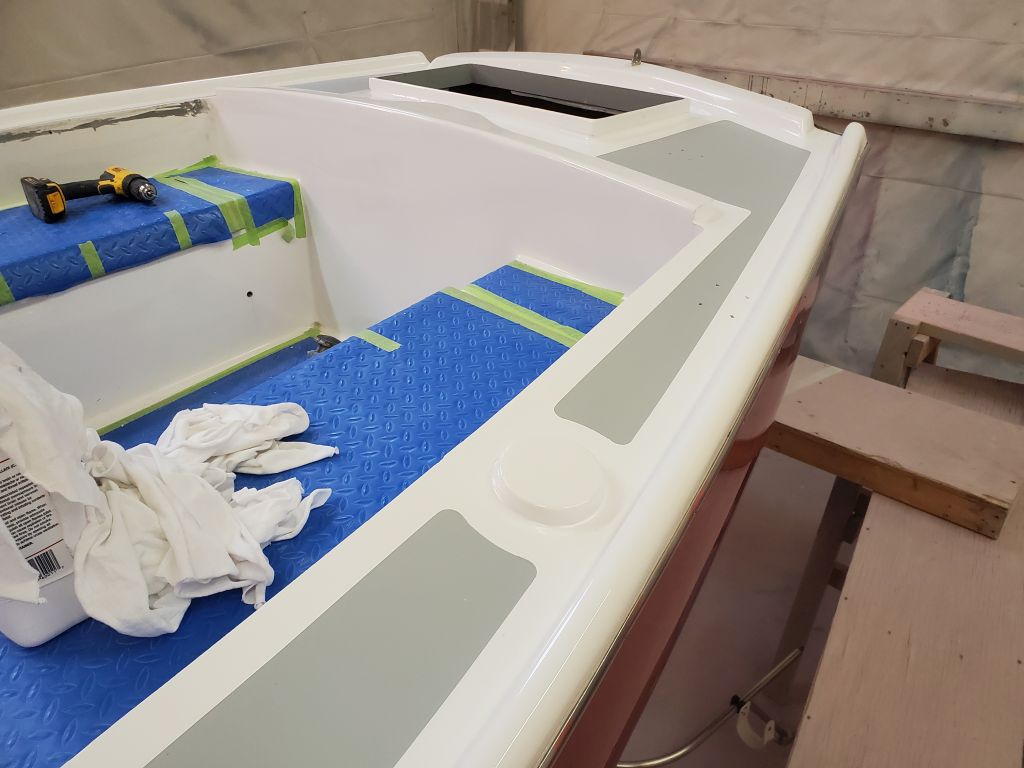
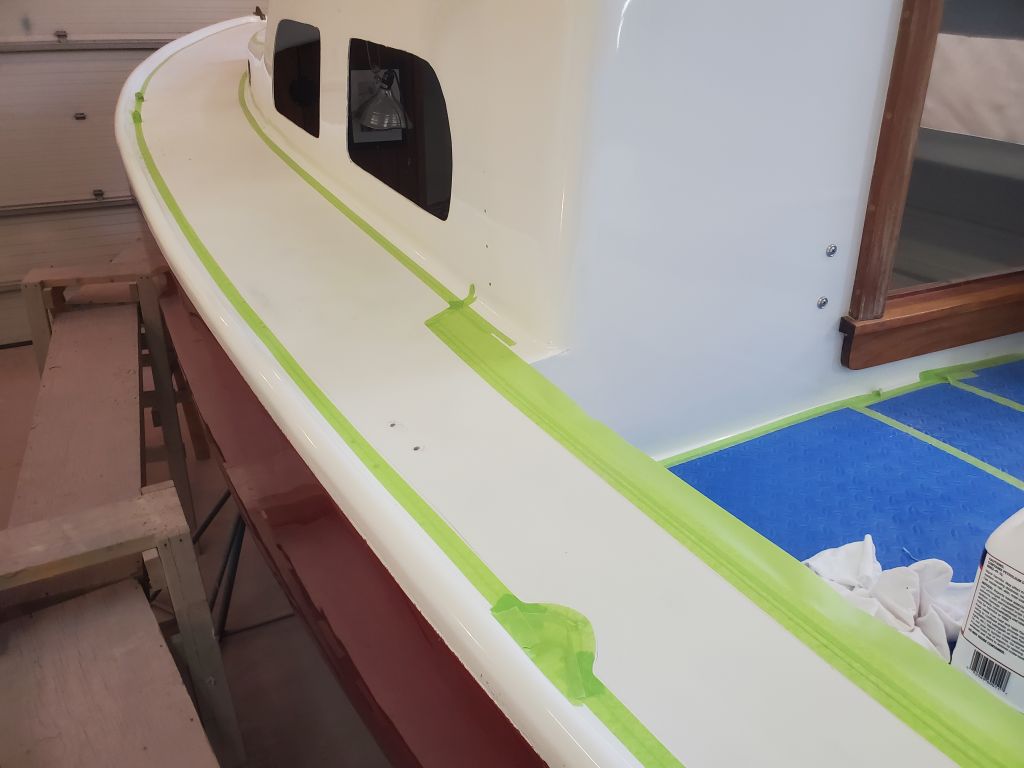
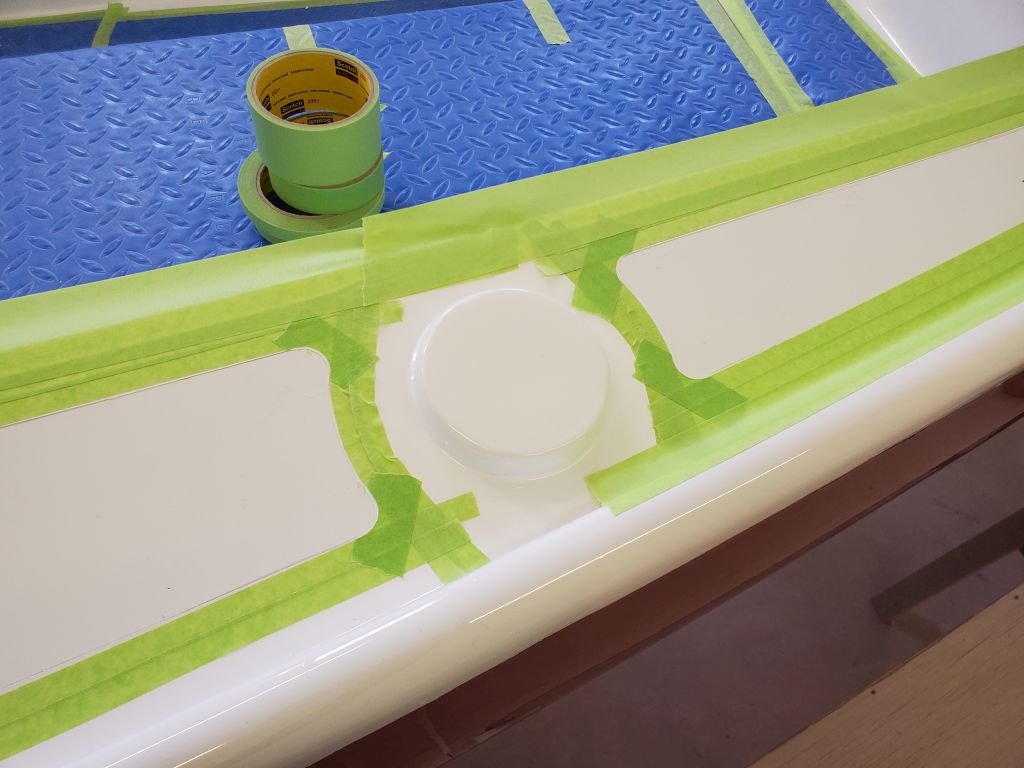
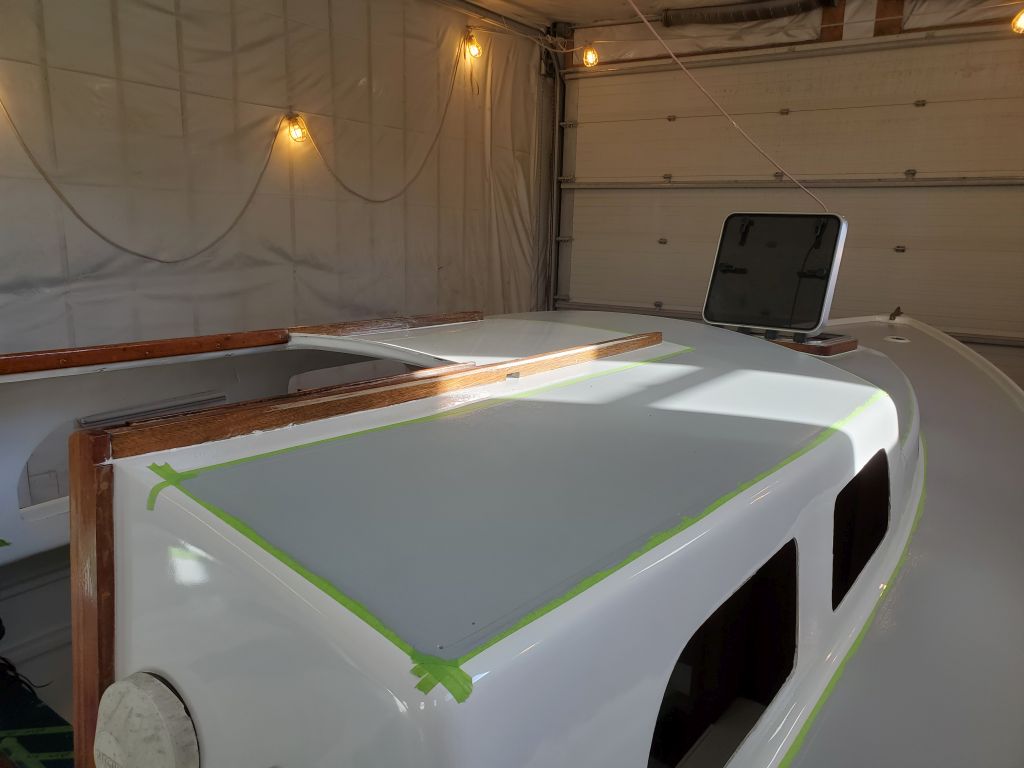
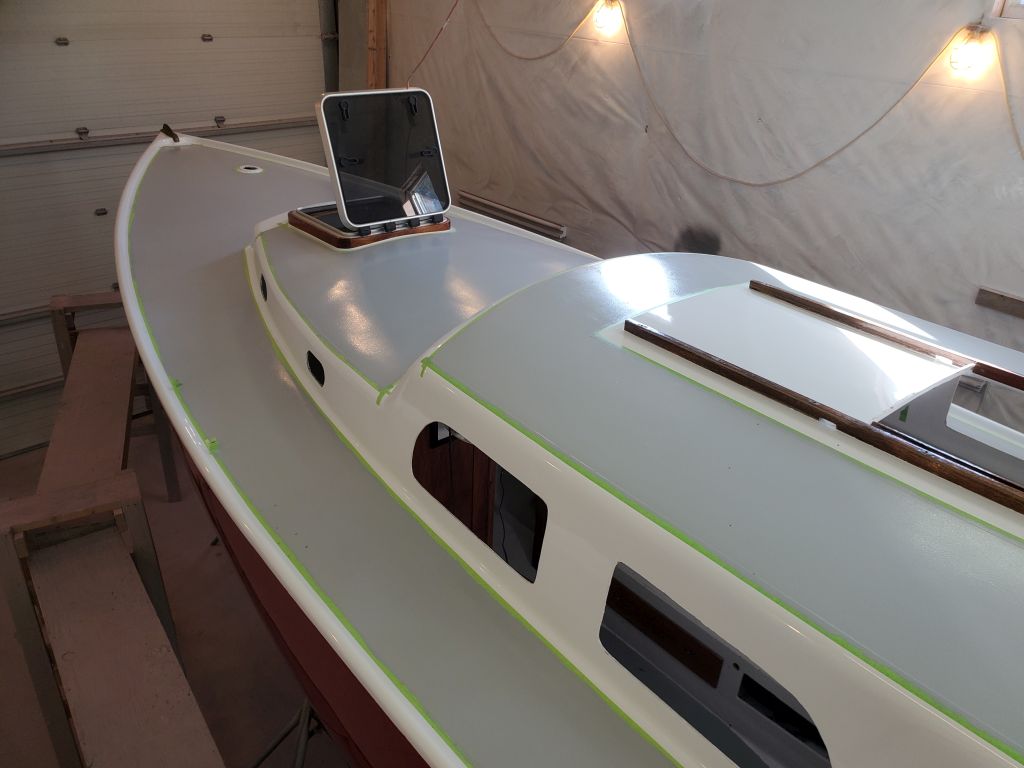
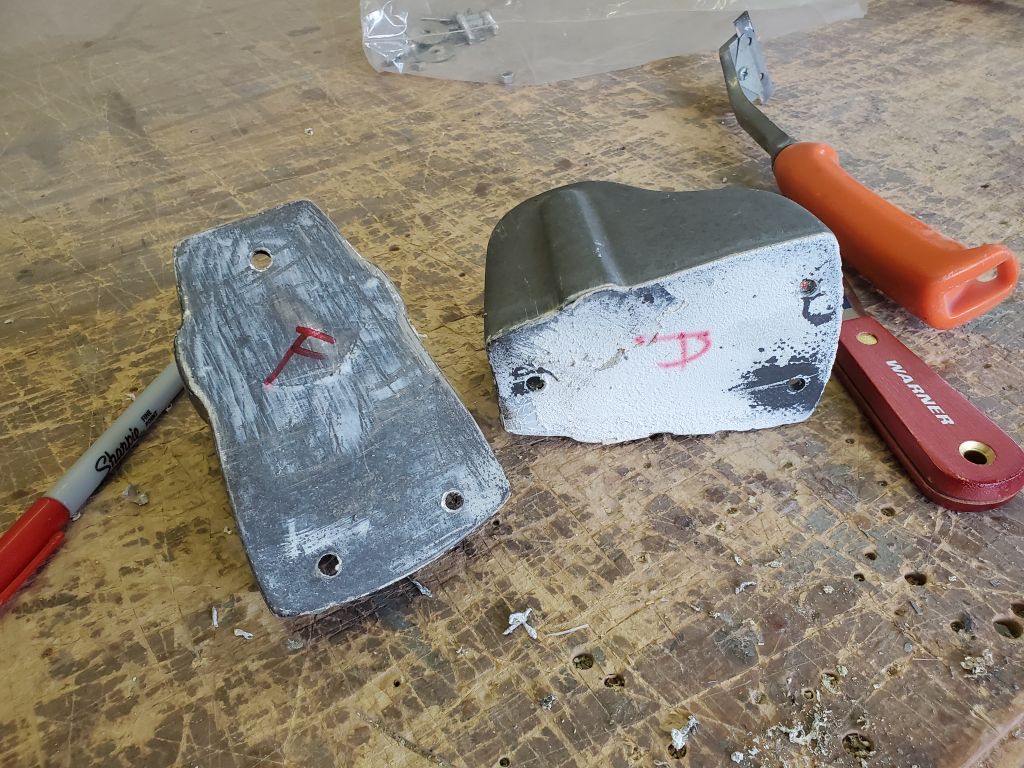
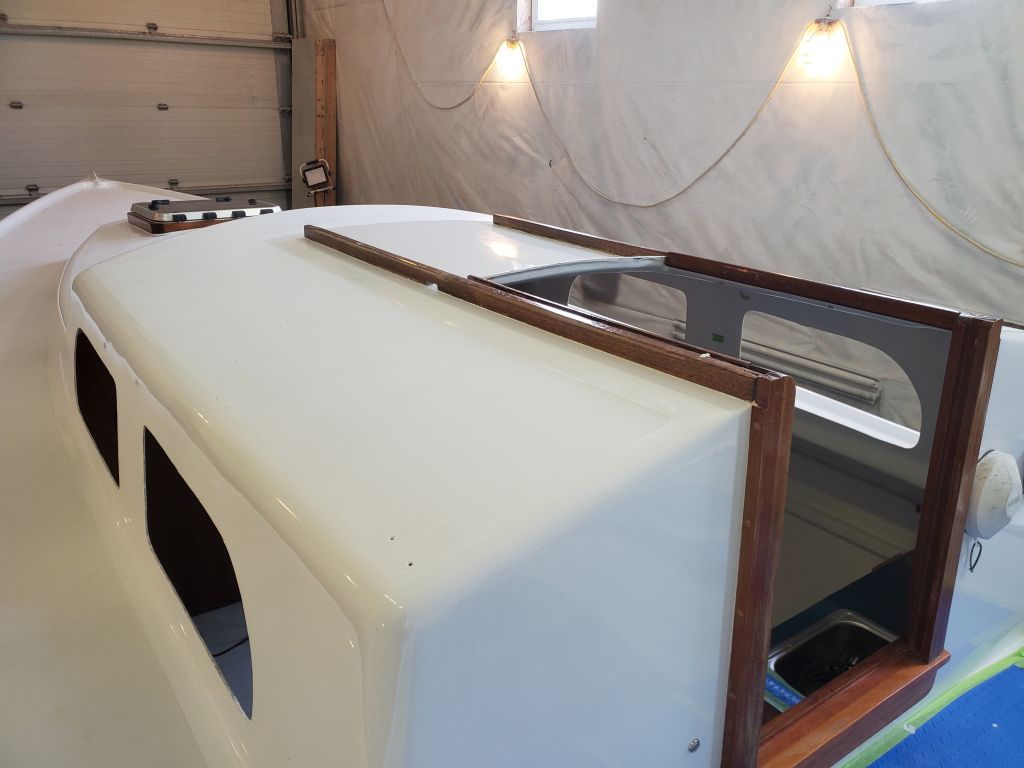
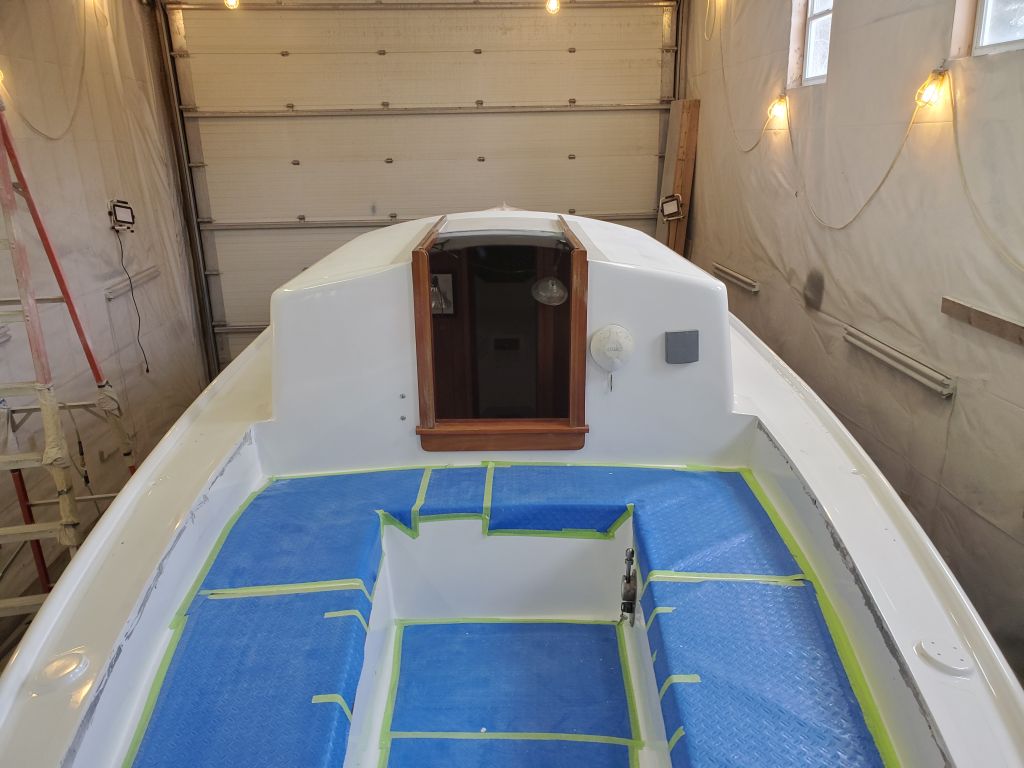
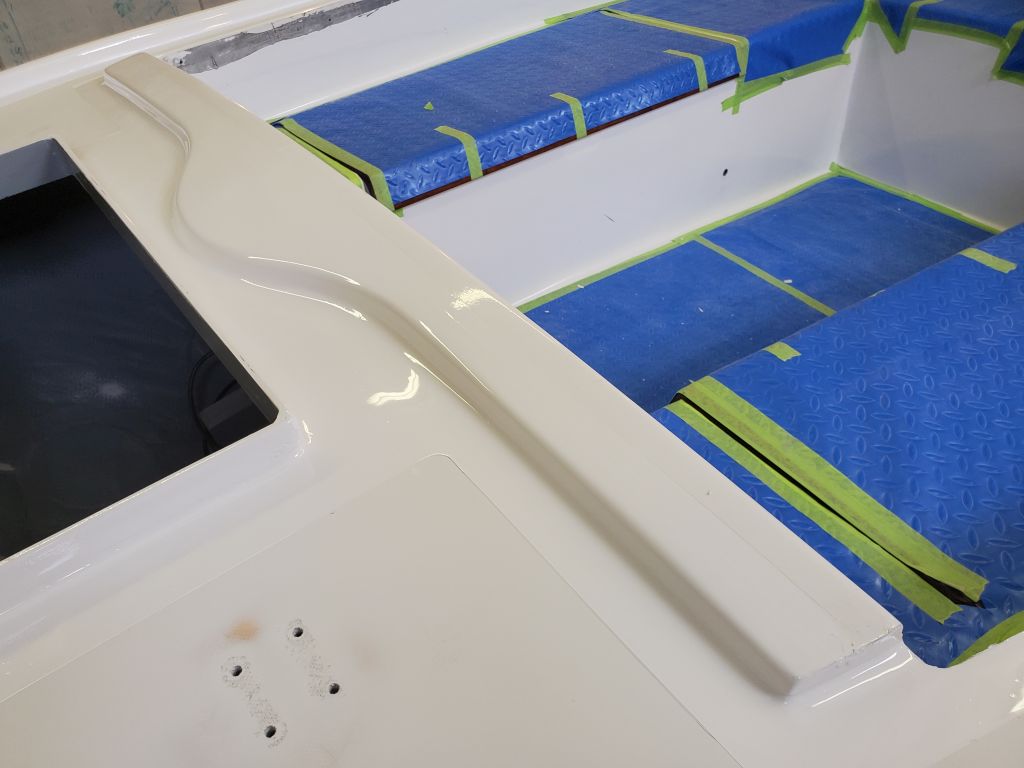
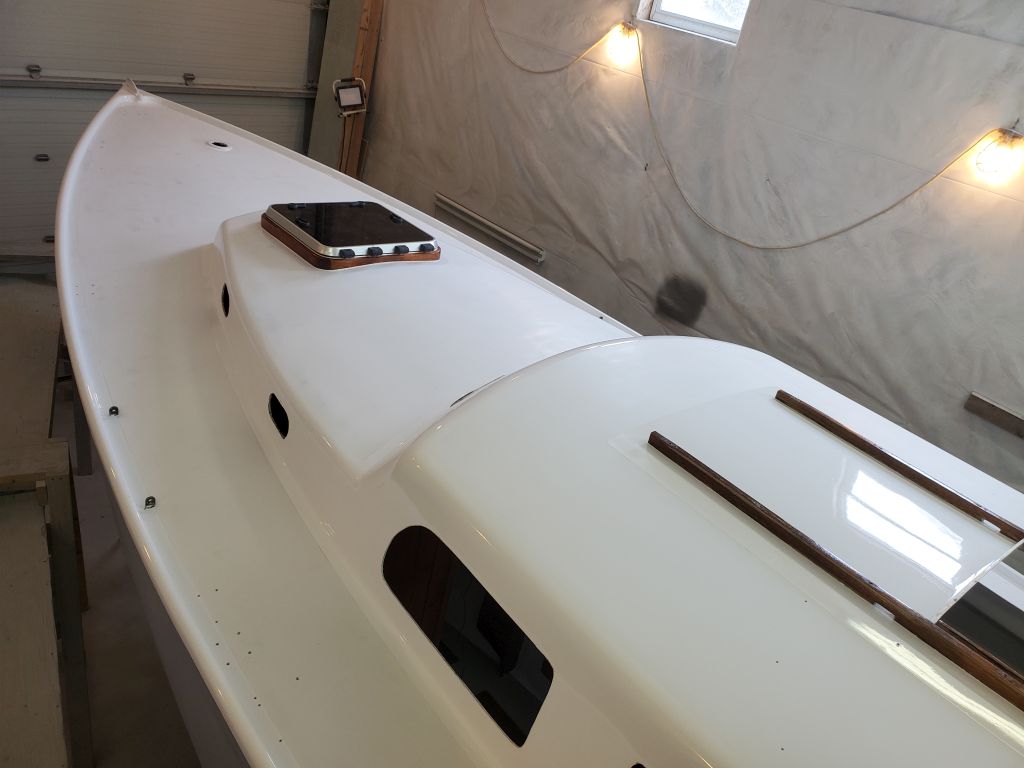
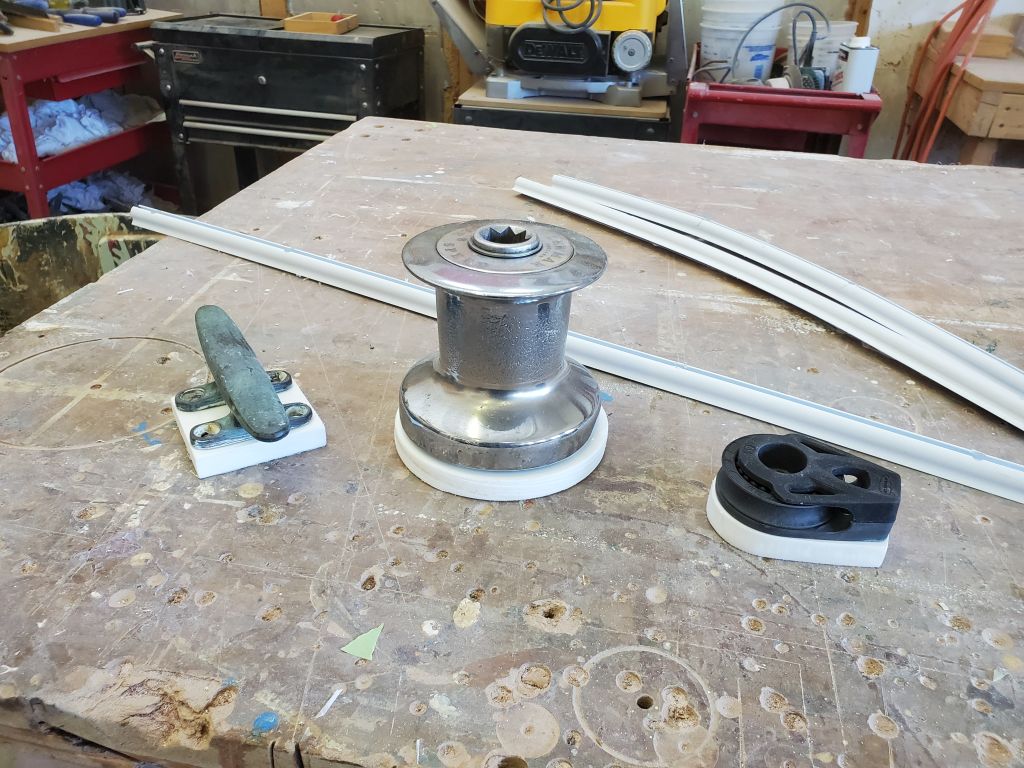
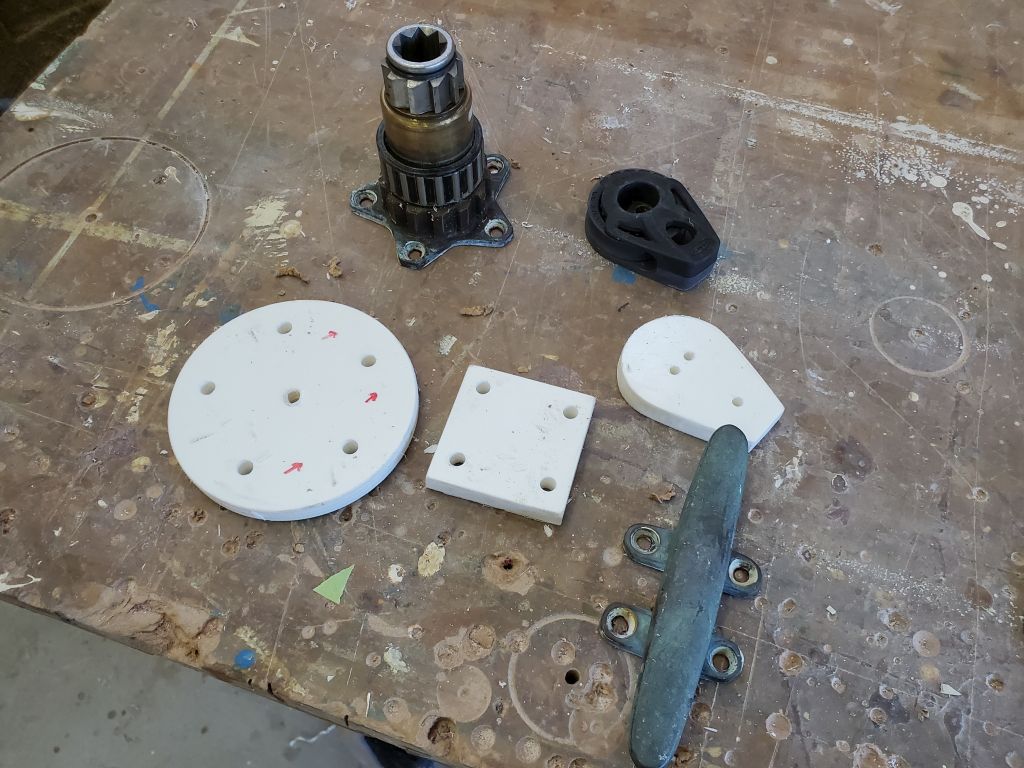
The main halyard led aft from the mast to a winch on the cabin top to starboard of the companionway, and would pass through an opening in the new dodger.  Because the dodger used a track to secure the forward end, the line slot would be some distance above the deck, roughly equivalent to the top of the plastic track.  To ensure that the line cleared the track as needed, I built HDPE risers for the forward turning block, winch, and cleat, raising each about as high as the top of the dodger track.

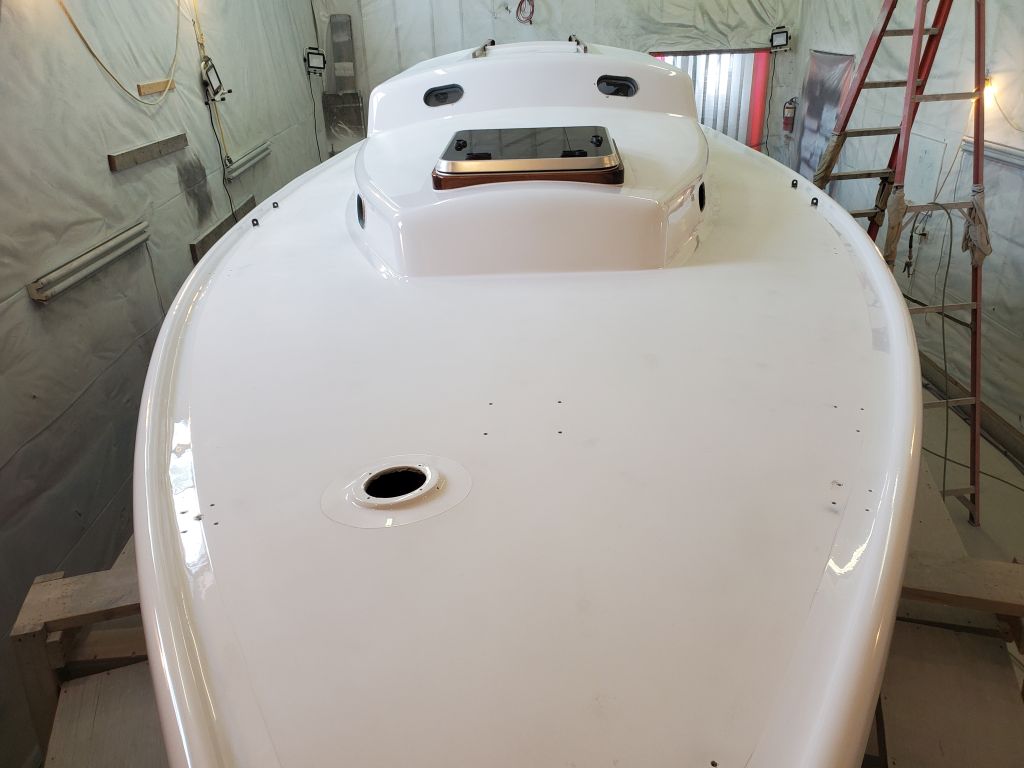
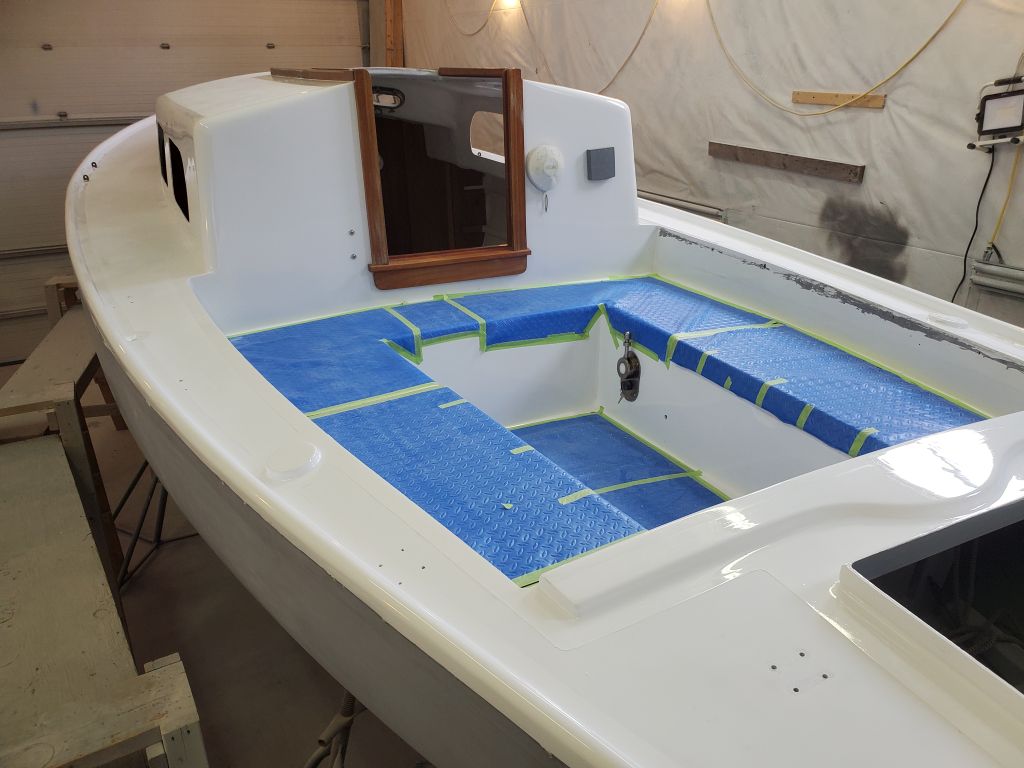
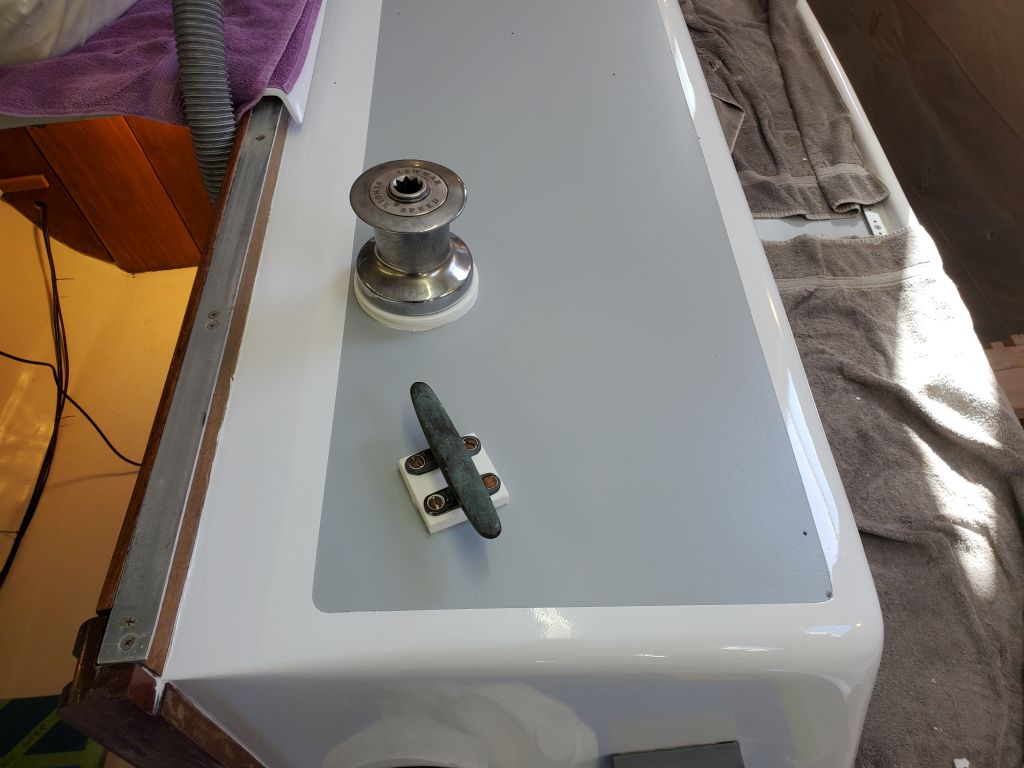
Afterwards, I installed the halyard hardware  on its new risers.

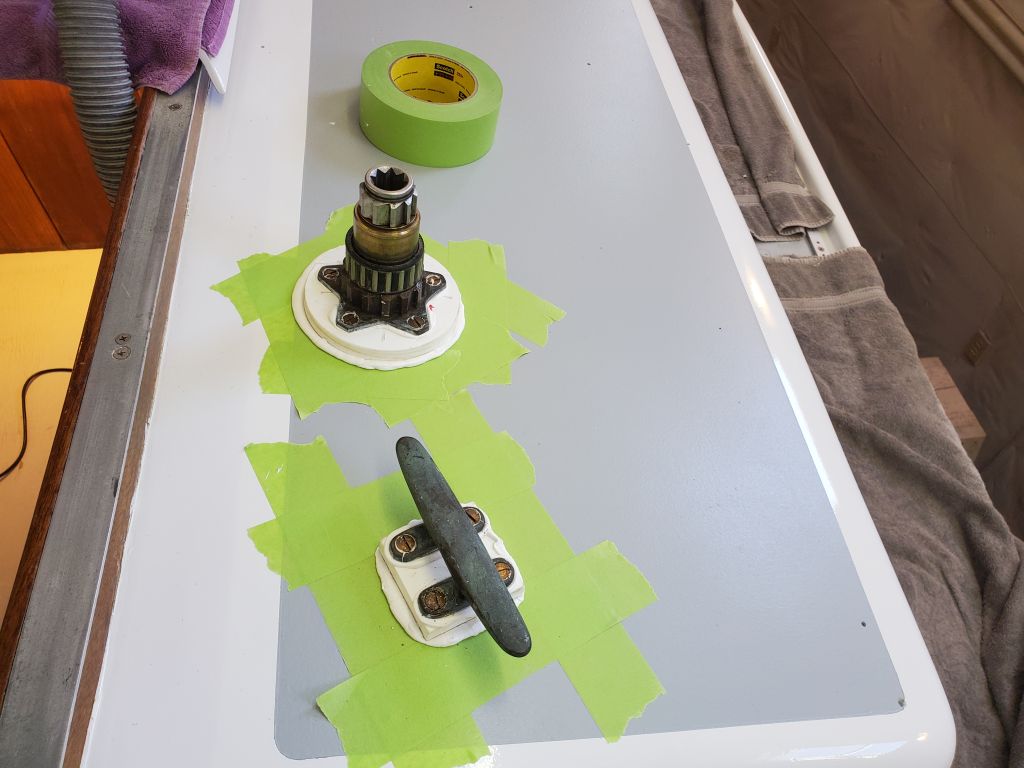
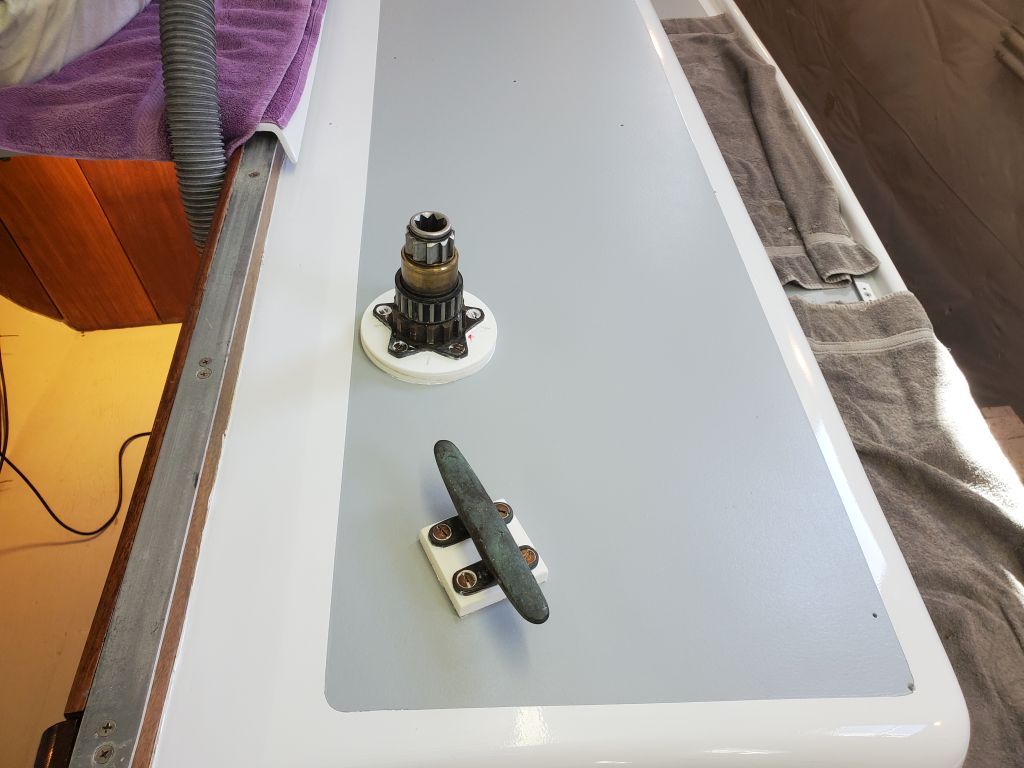
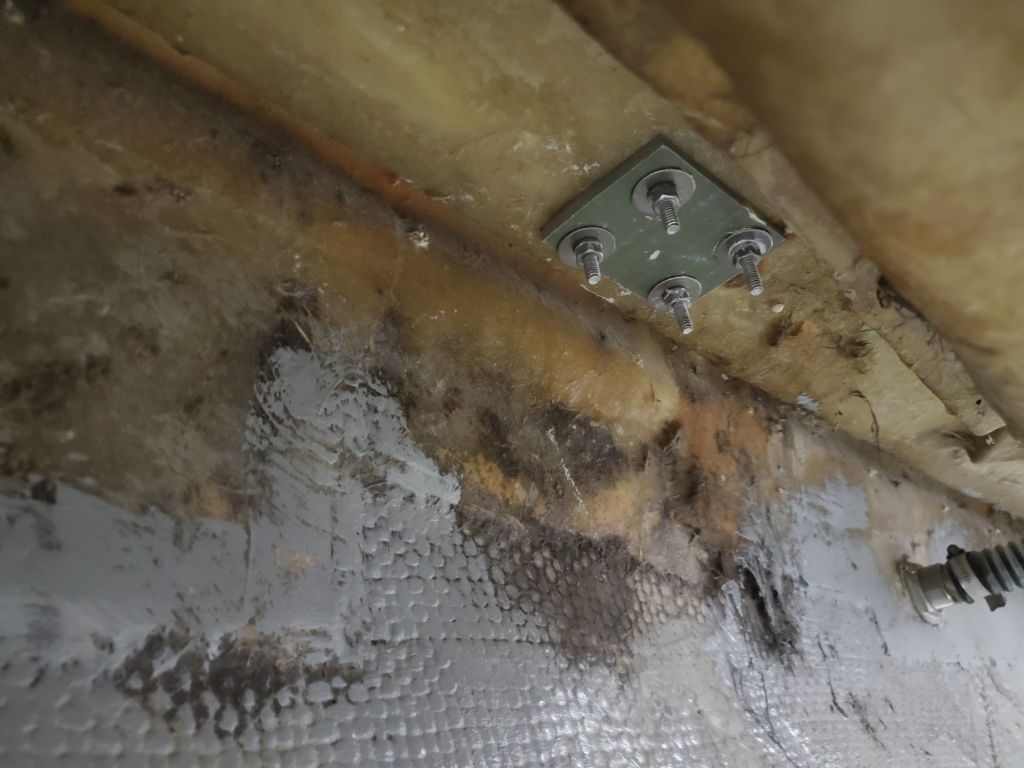
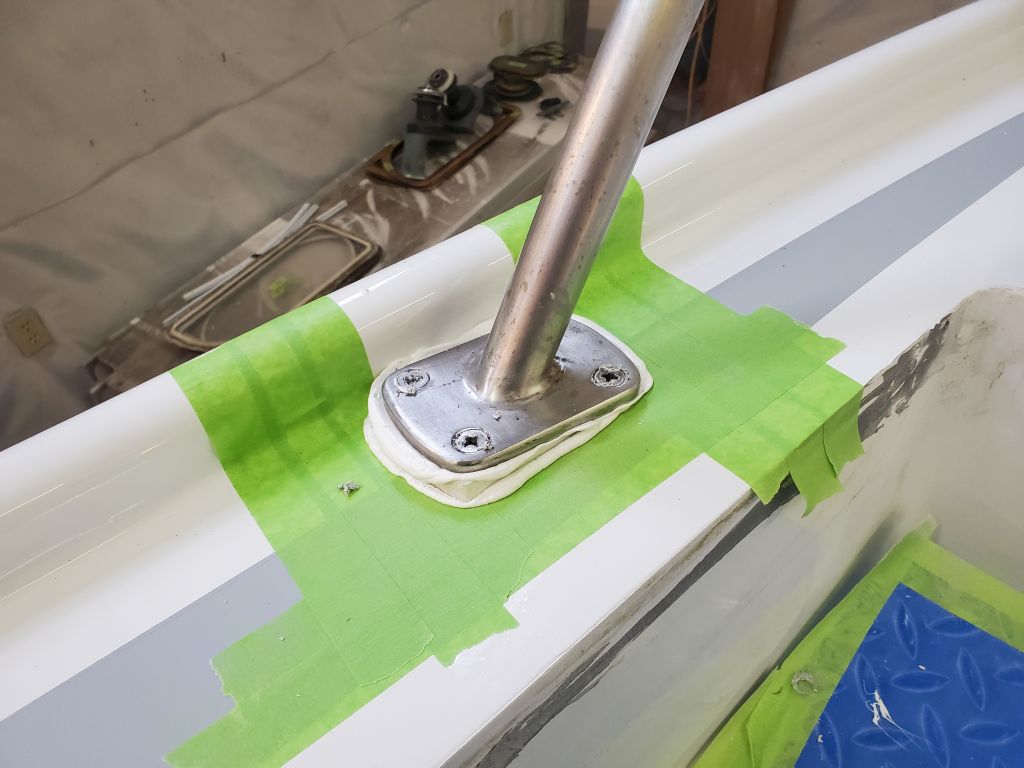
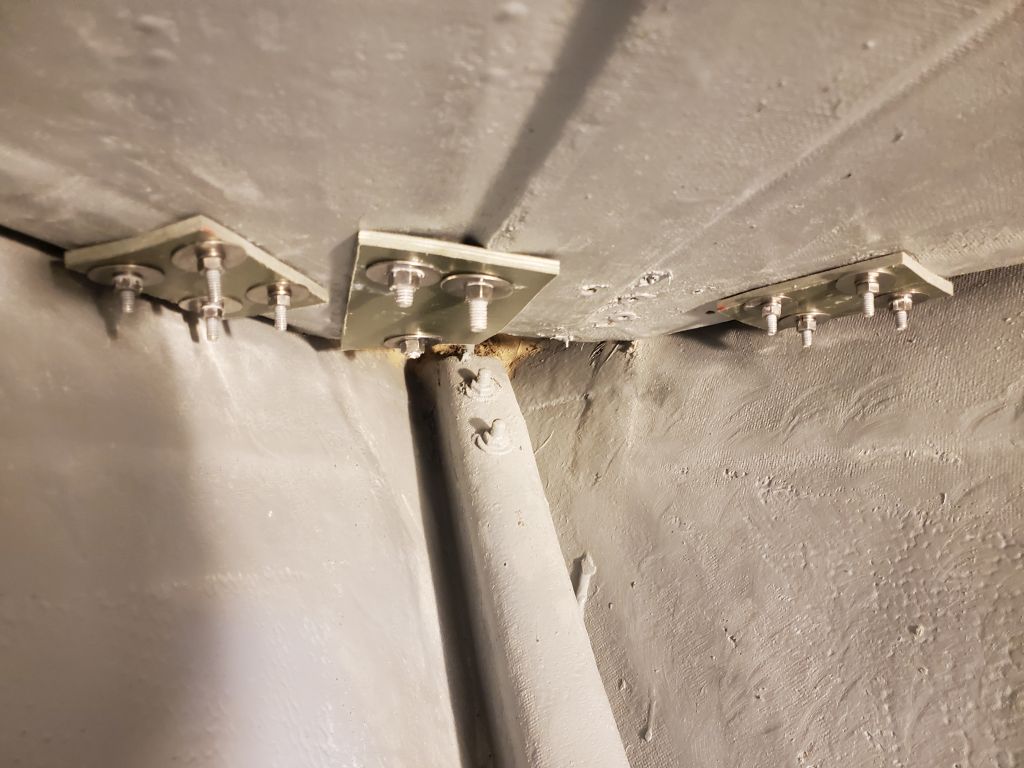
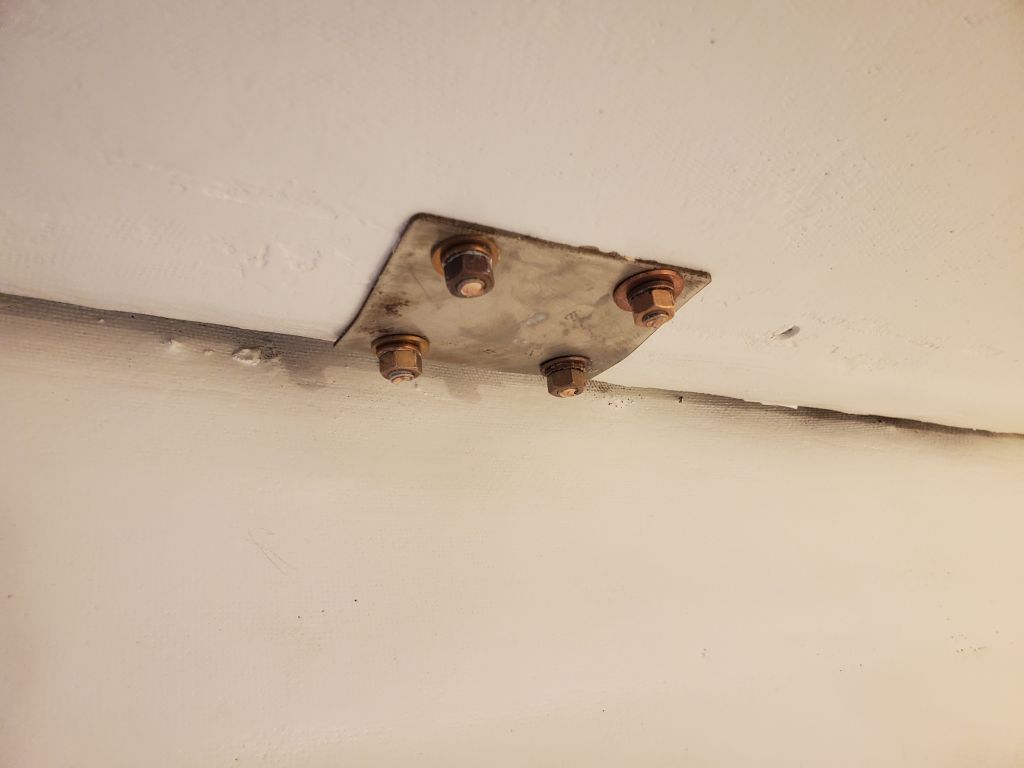
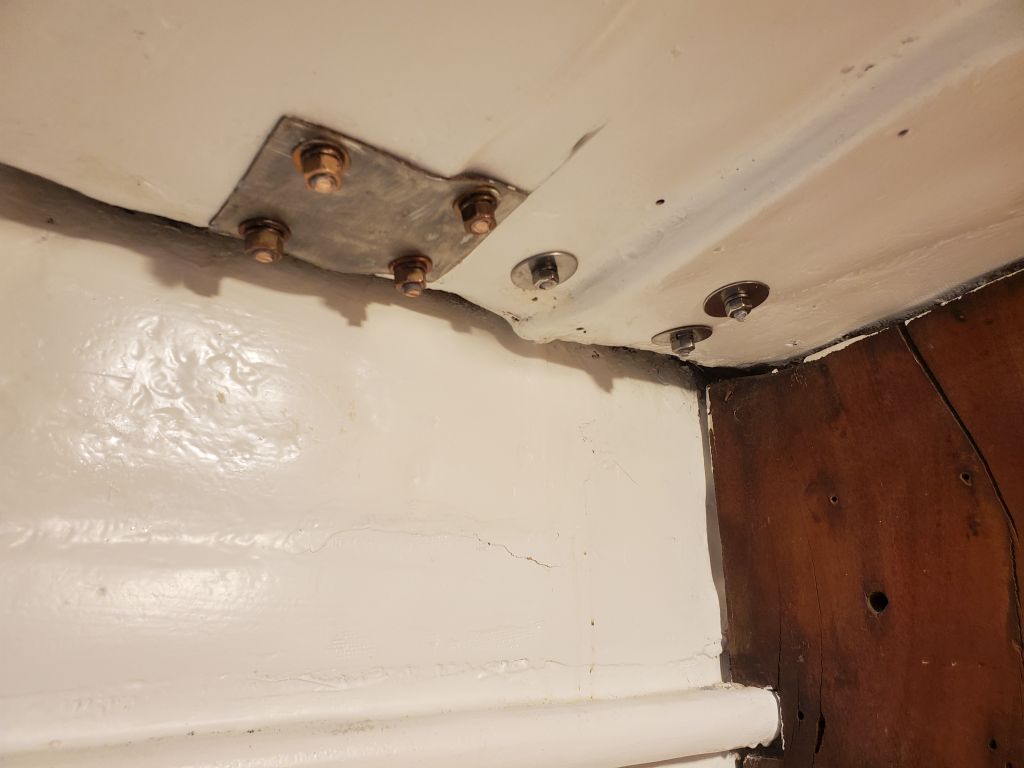
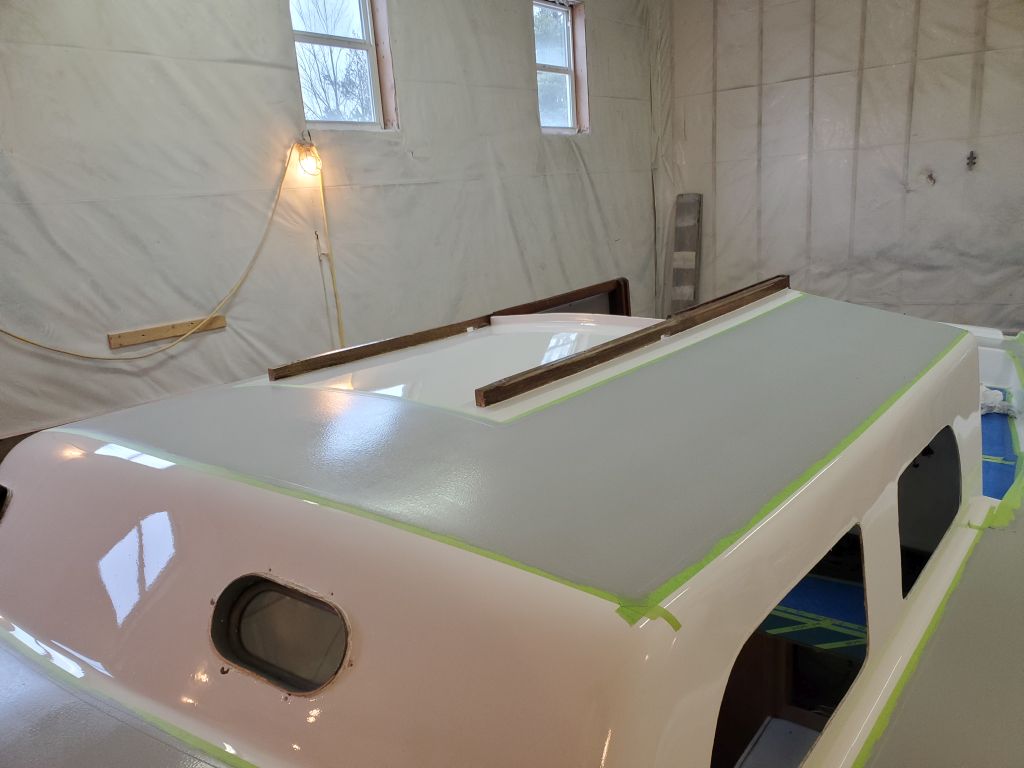
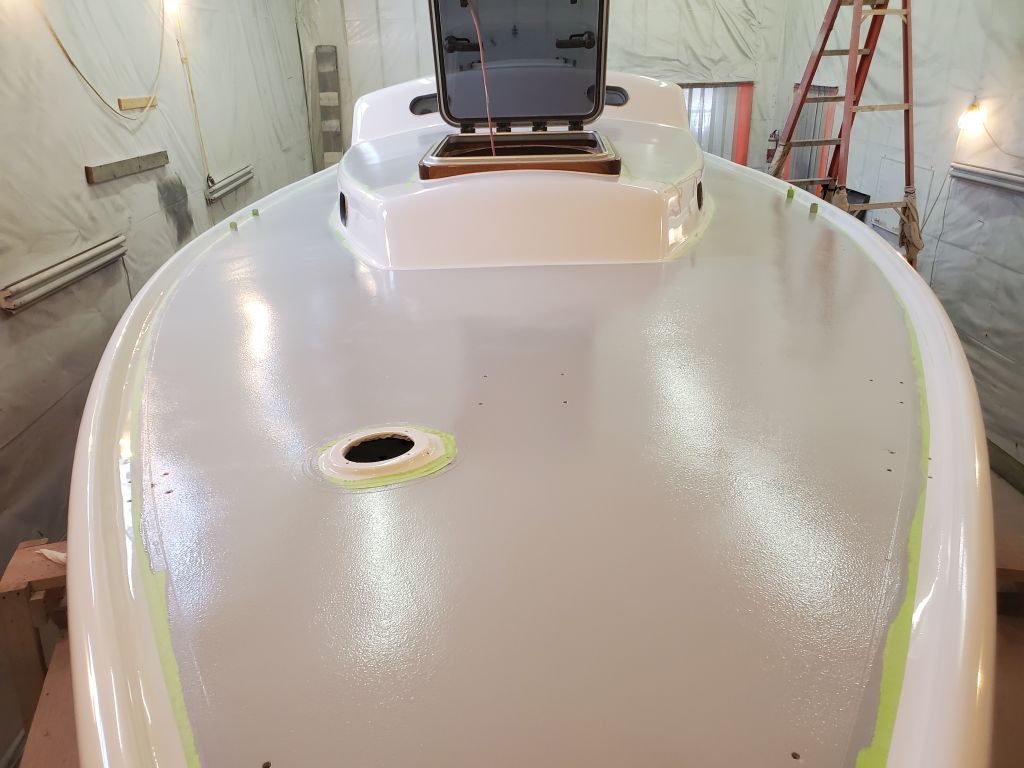
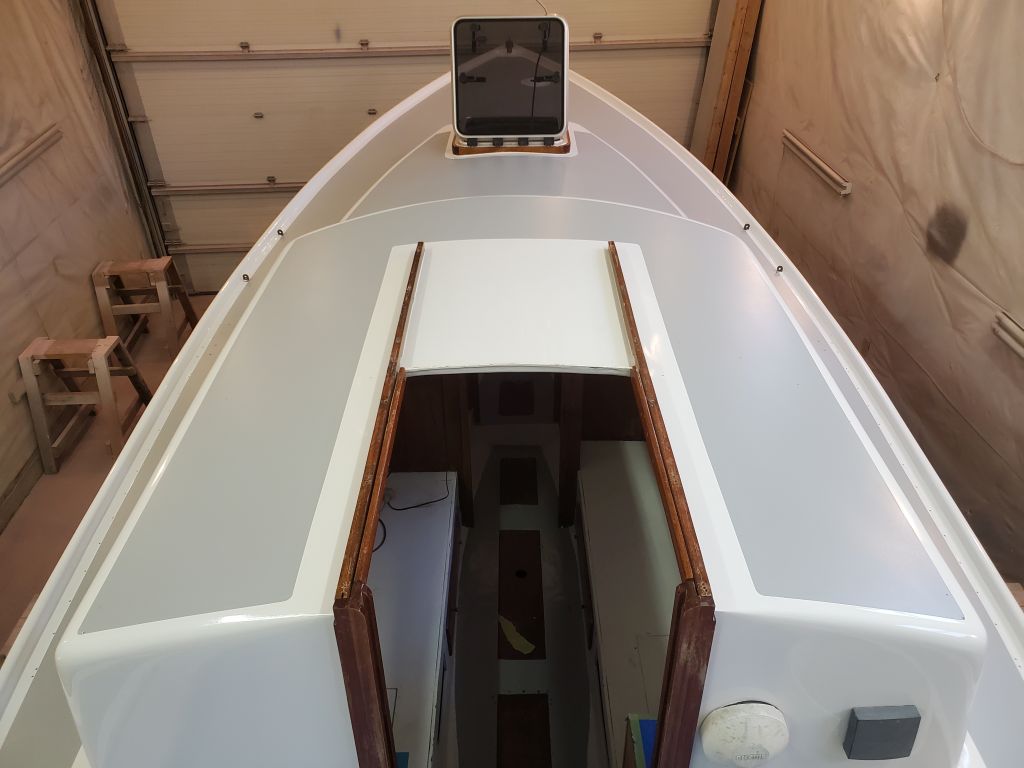
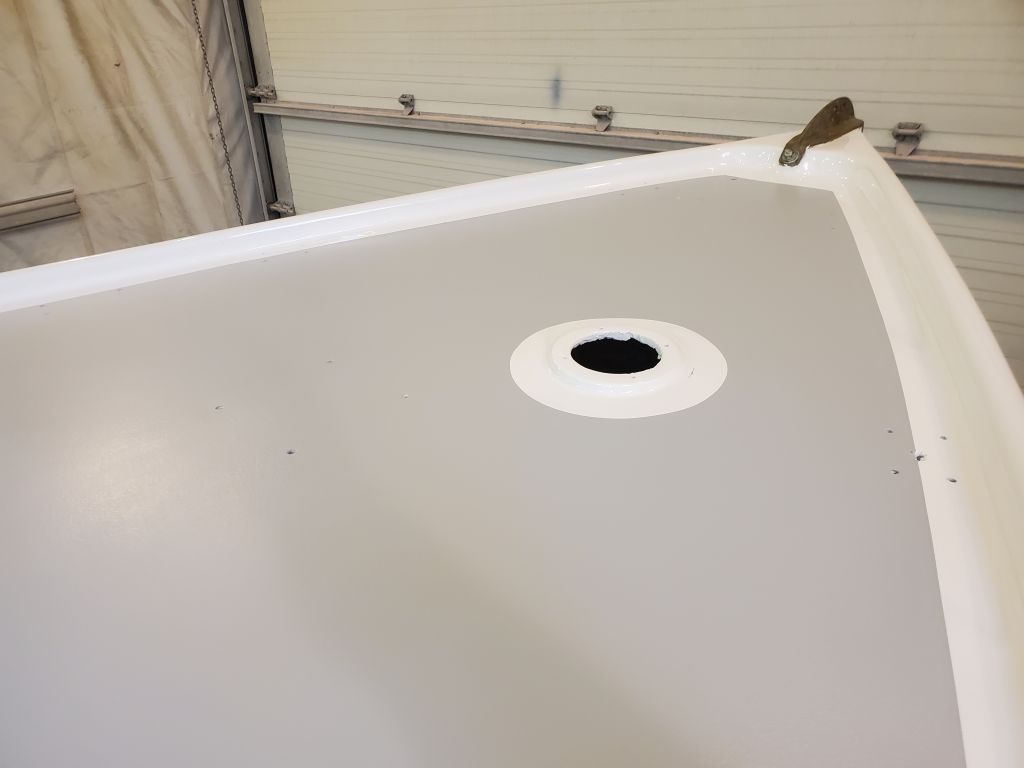
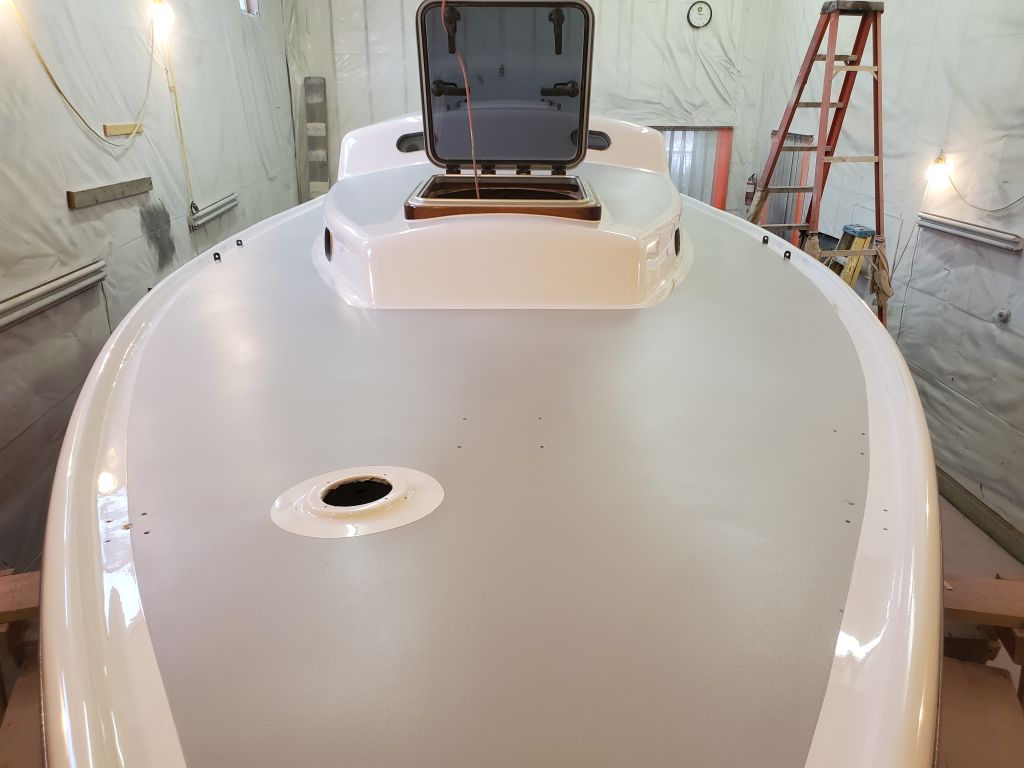
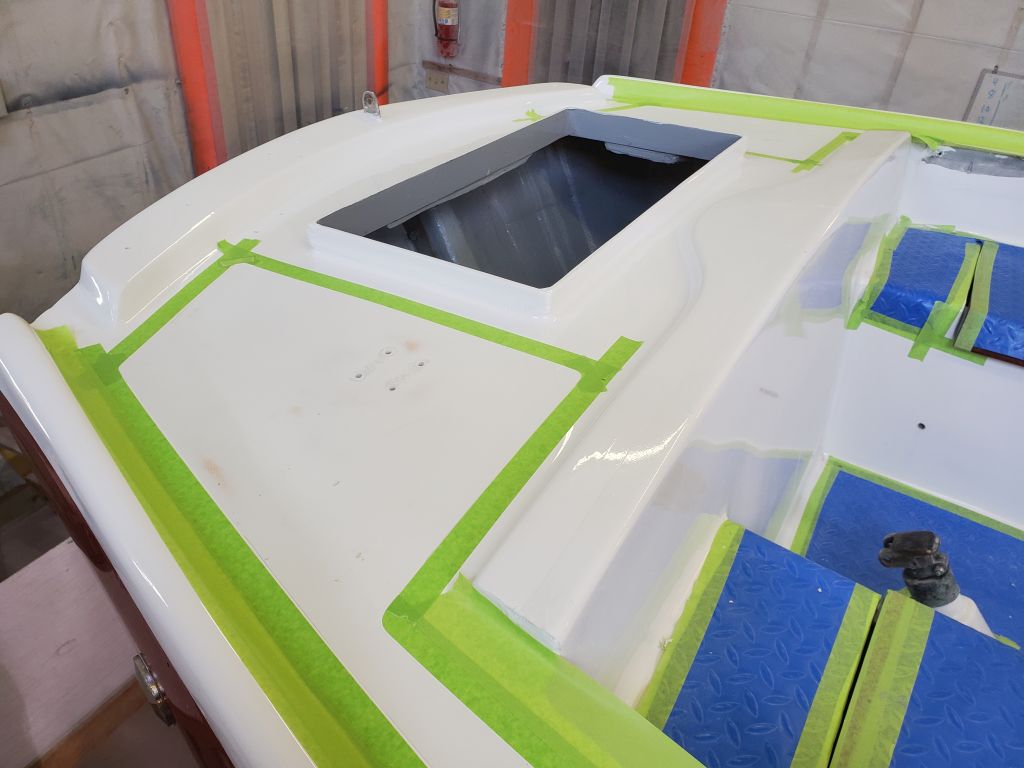
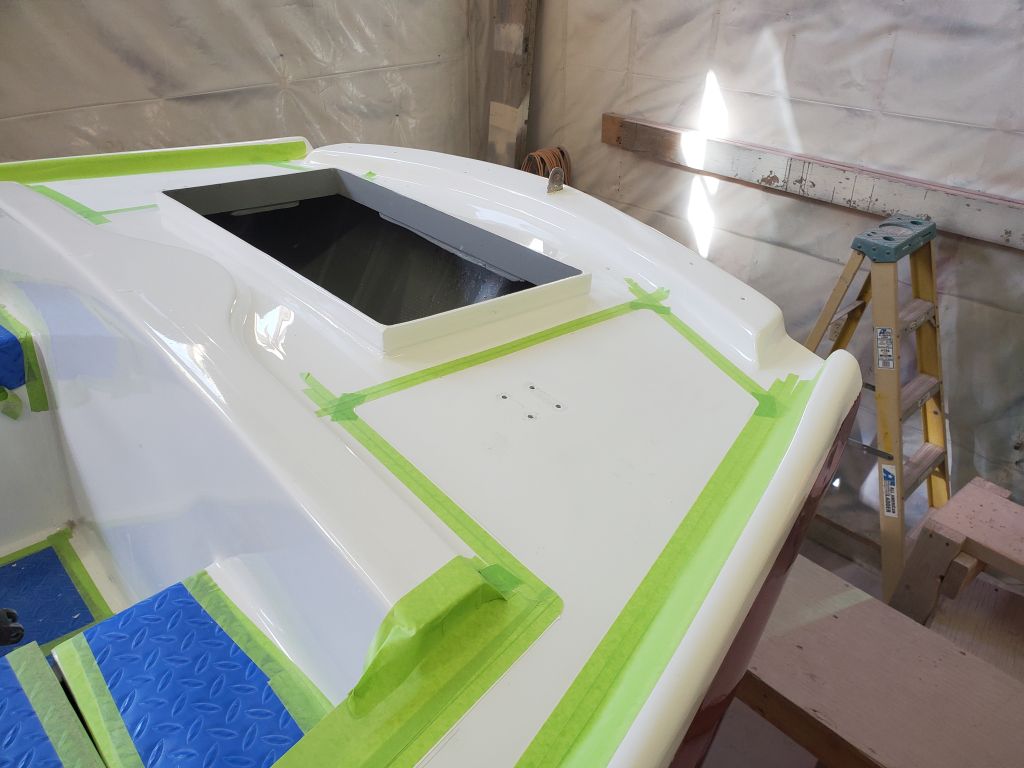
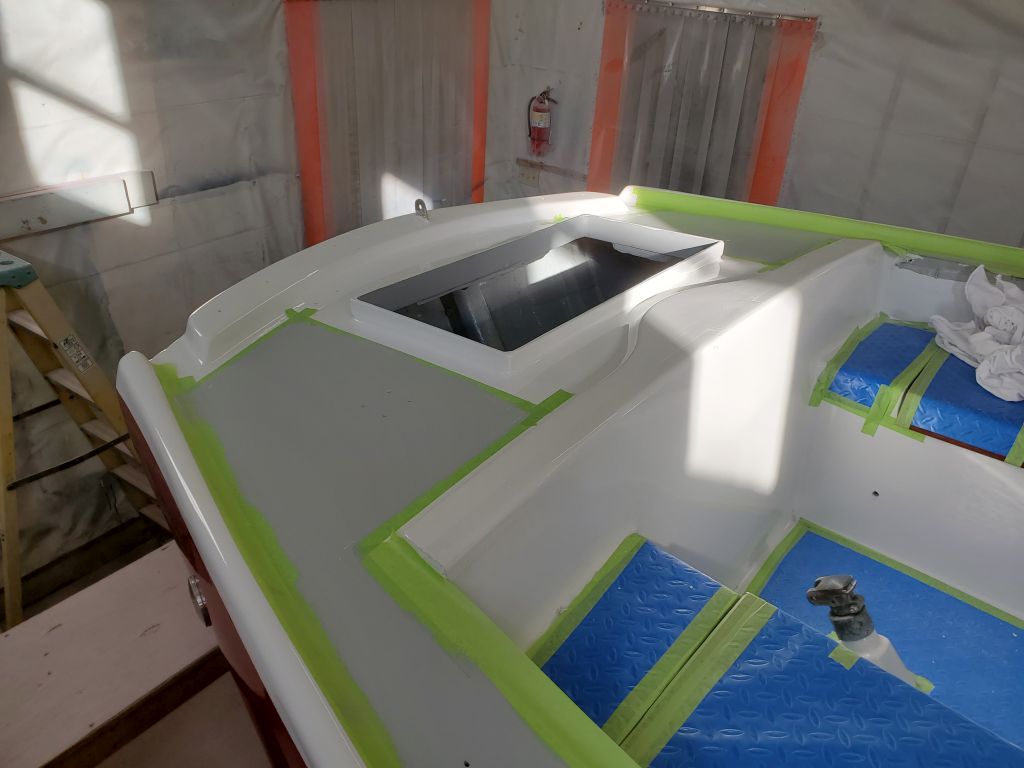
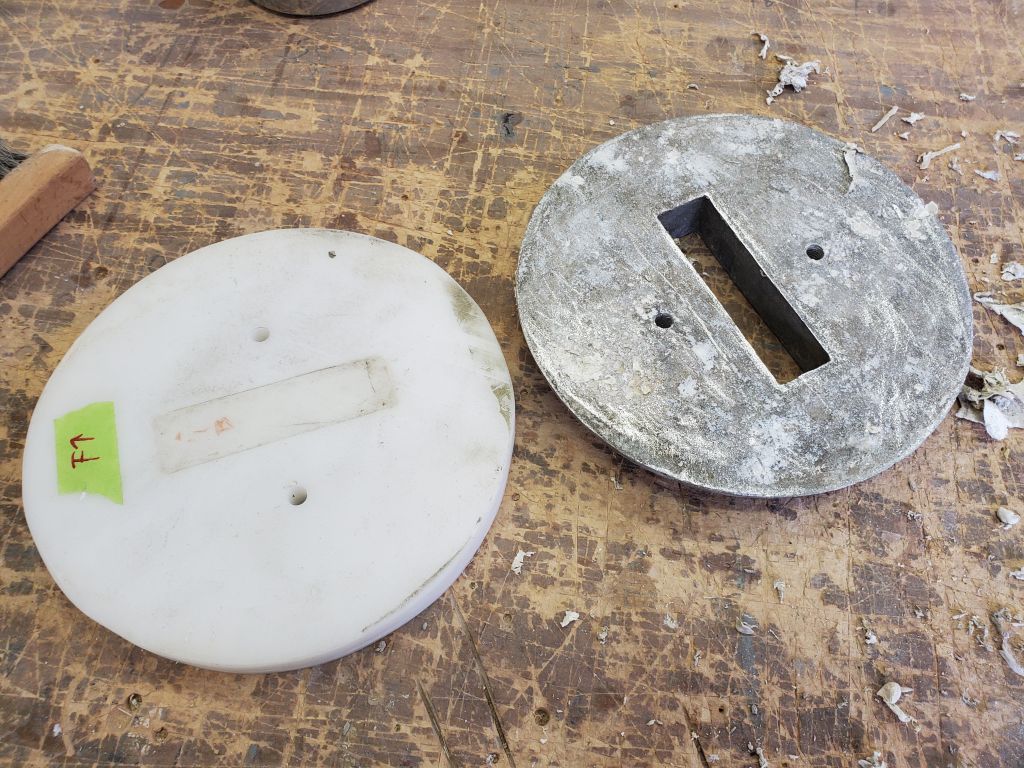
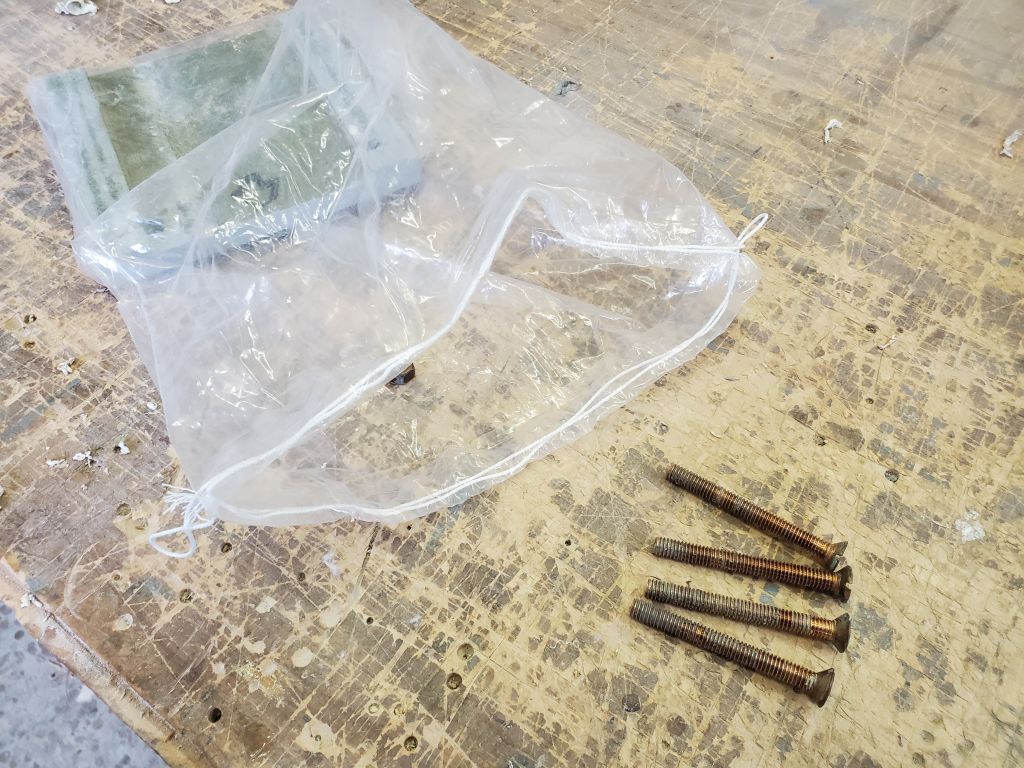
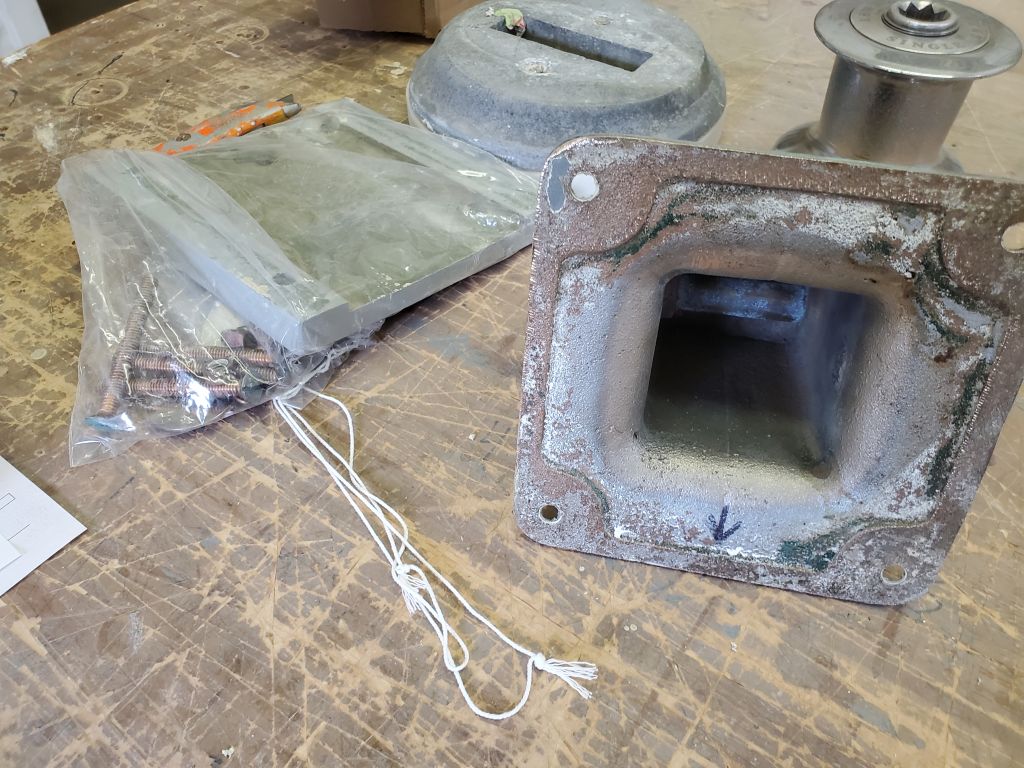
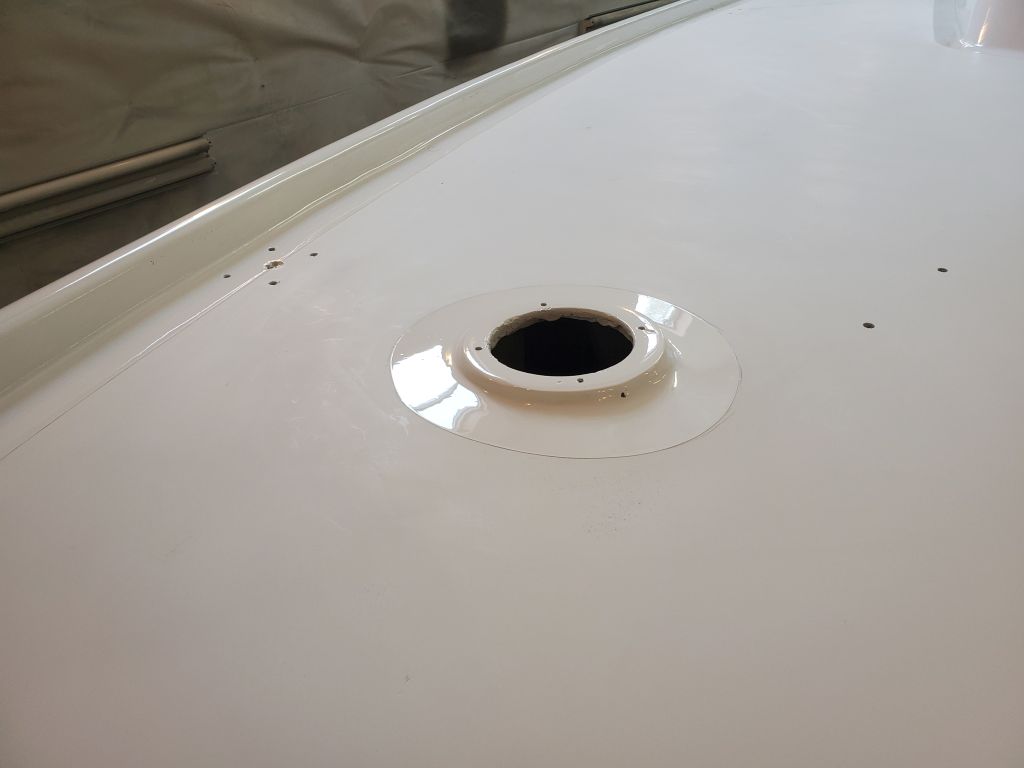
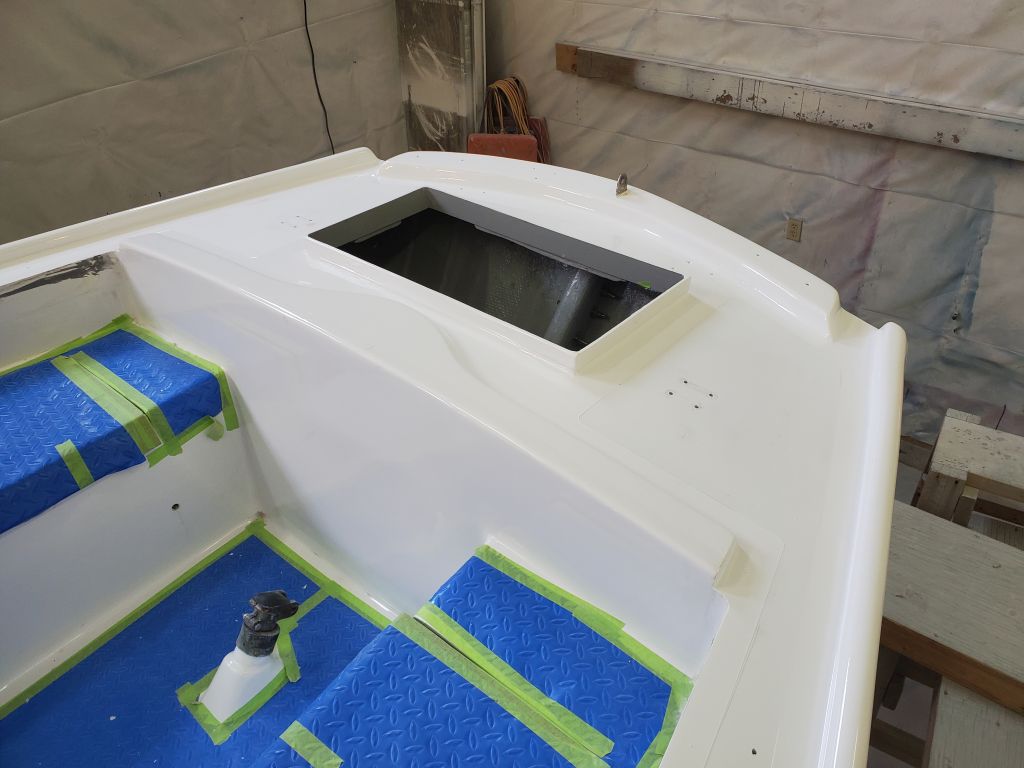
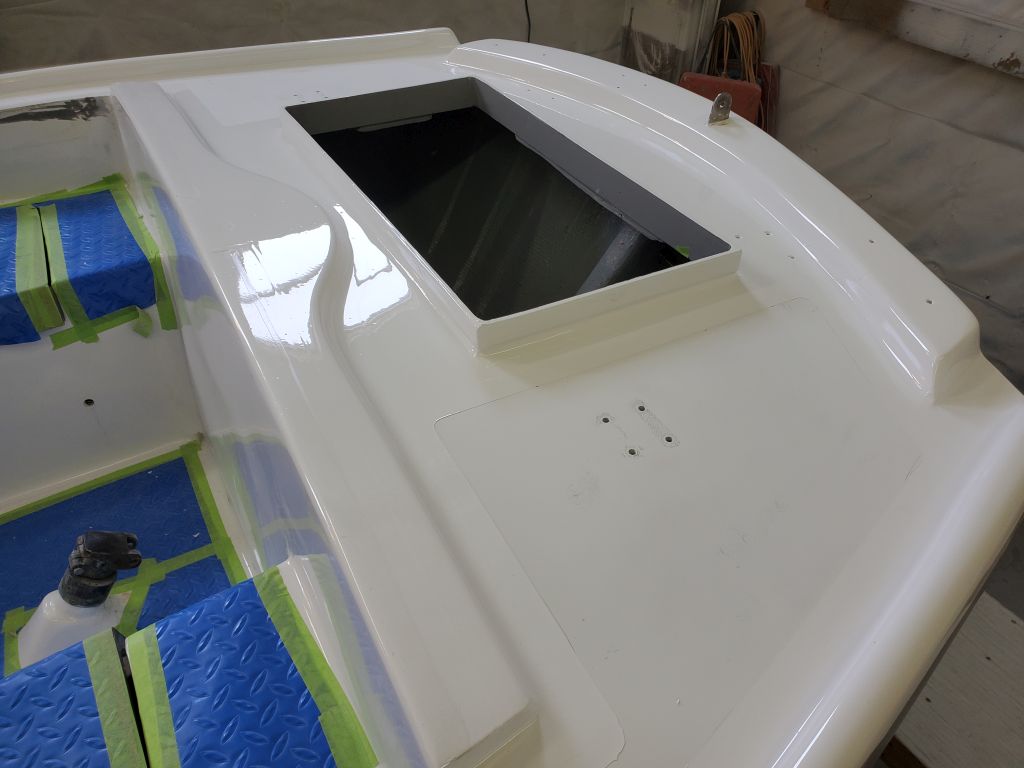
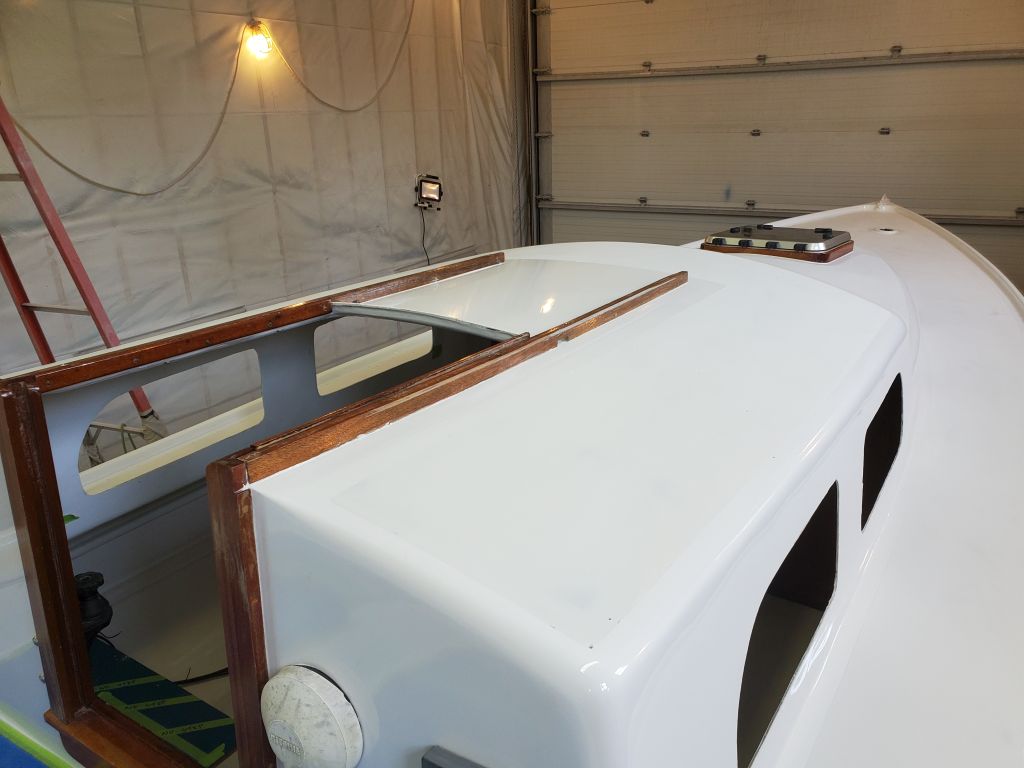
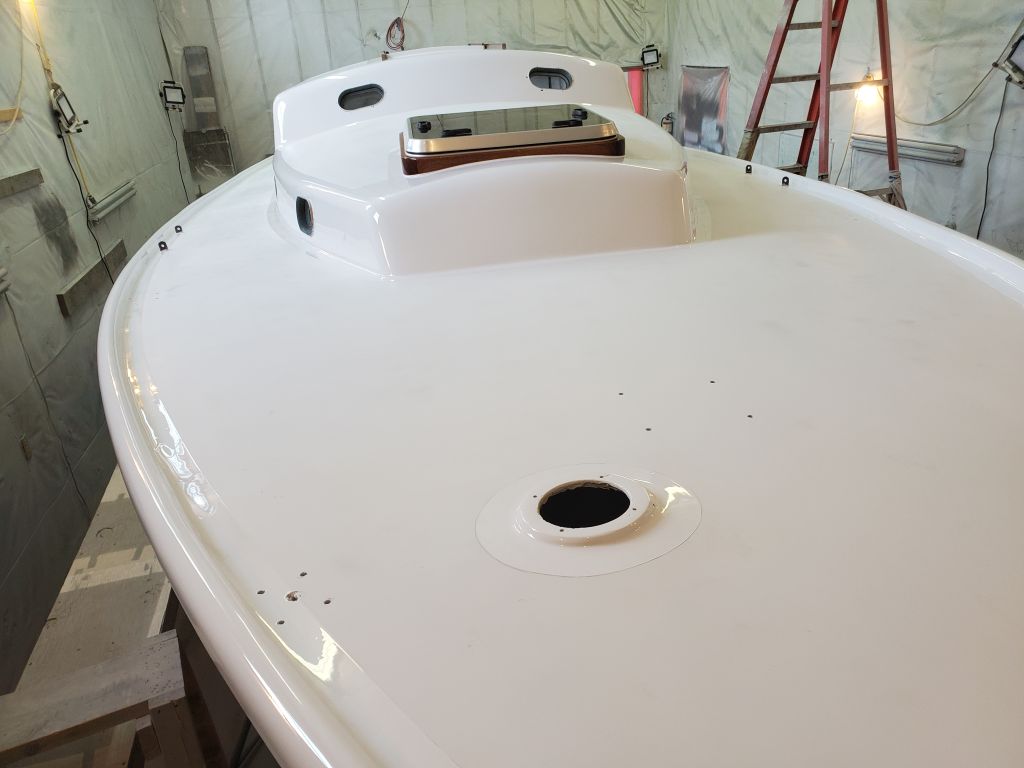
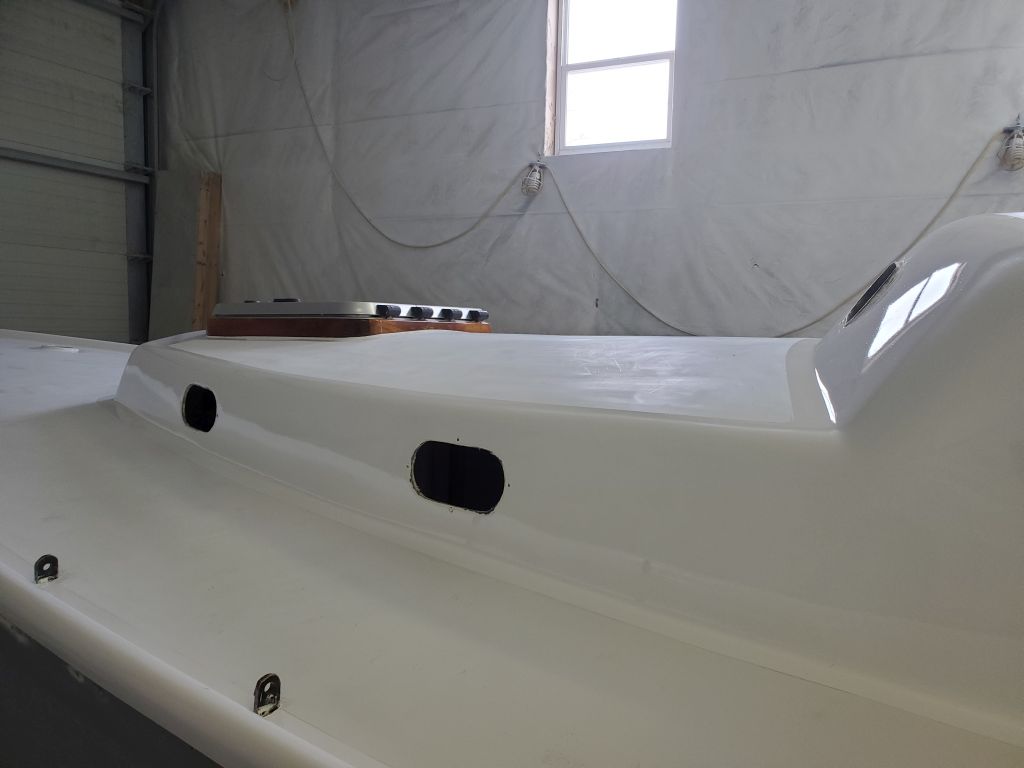
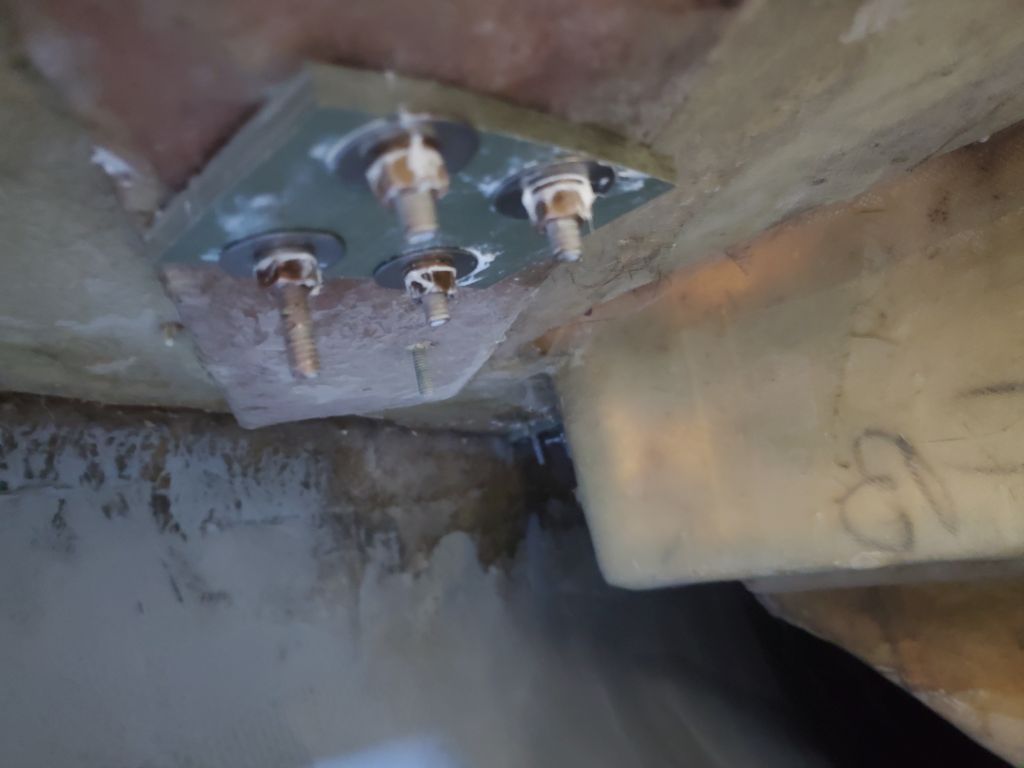
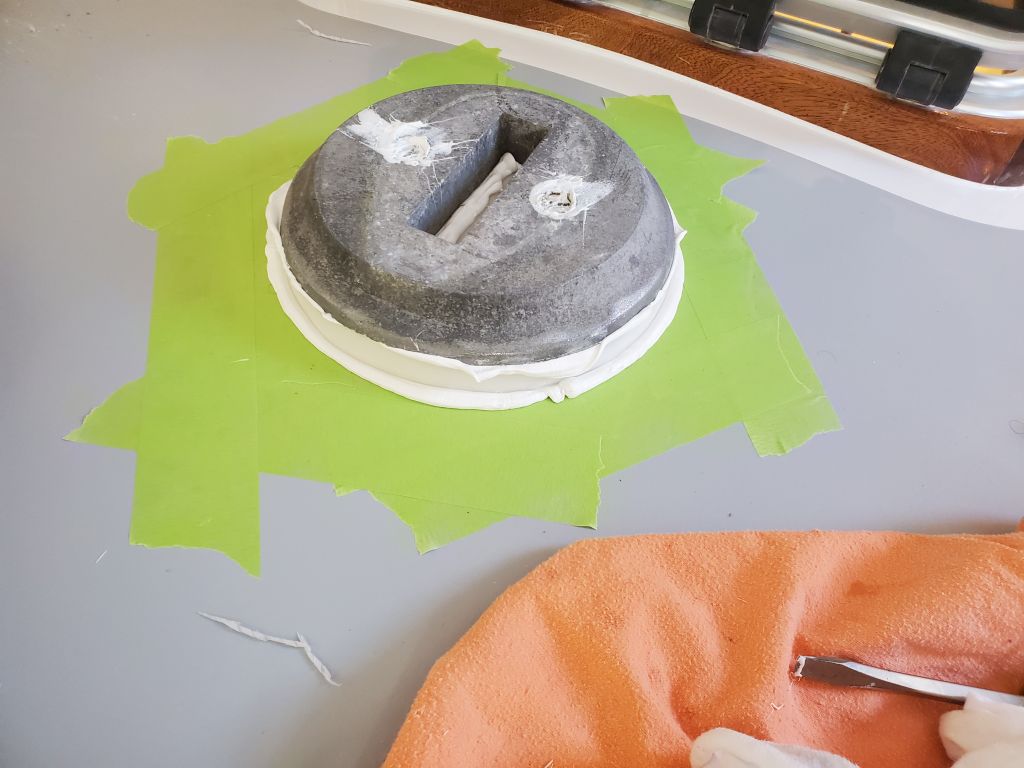
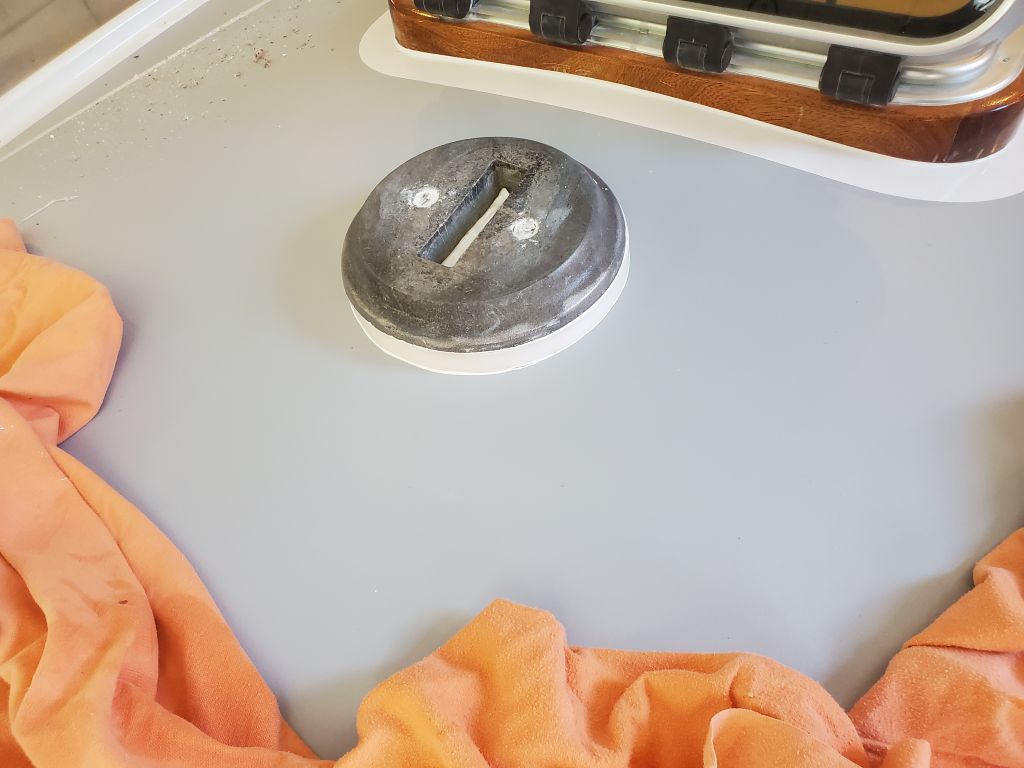
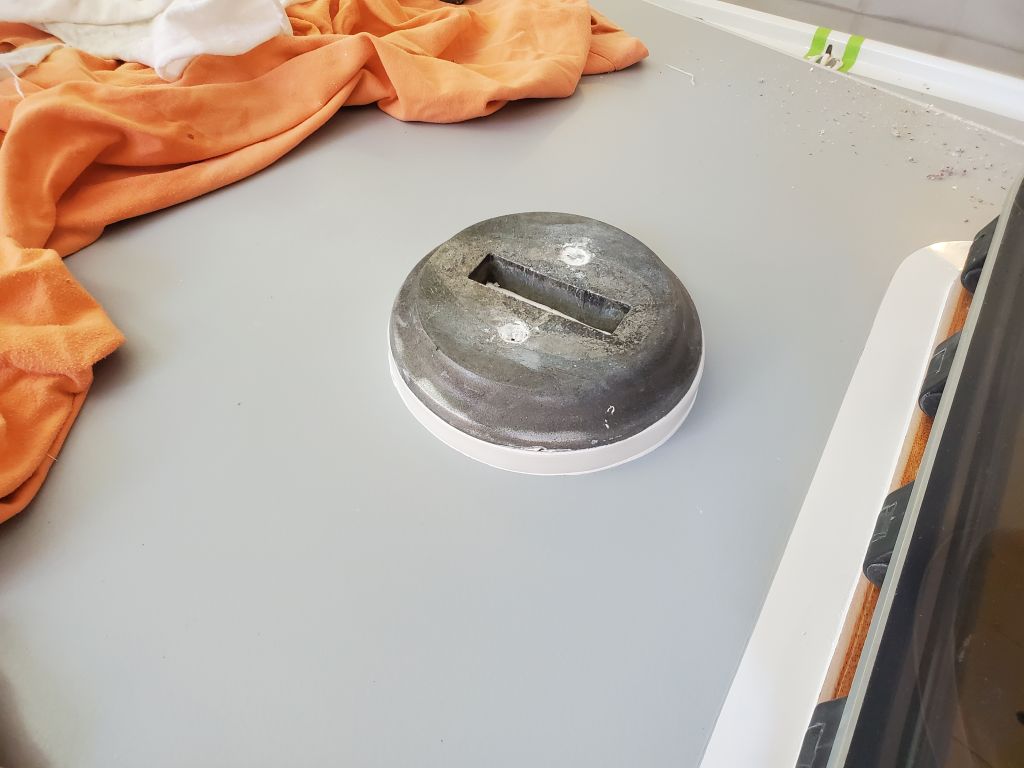
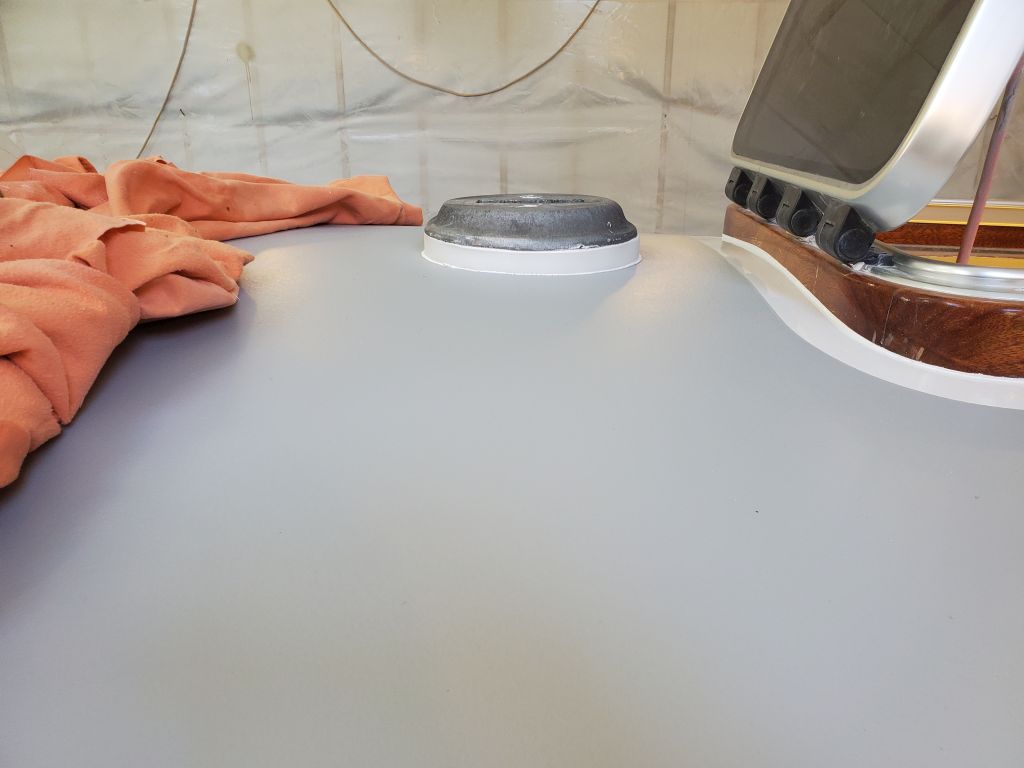
To reinstall the mast step, I began by drilling up through the holes in the mast beam below, then finished preparations above deck and reinstalled the step on its existing riser, which the owner had installed previously to make up for cutting an equivalent amount off the base of the mast to remove corrosion.  The rebuilt deck was perhaps marginally thicker than the semi-original deck before, and I found I had to increase the depth of one of the recesses in the mast beam below to allow me to thread on the nuts and washers, but once I got that worked out the installation proceeded without further incident.

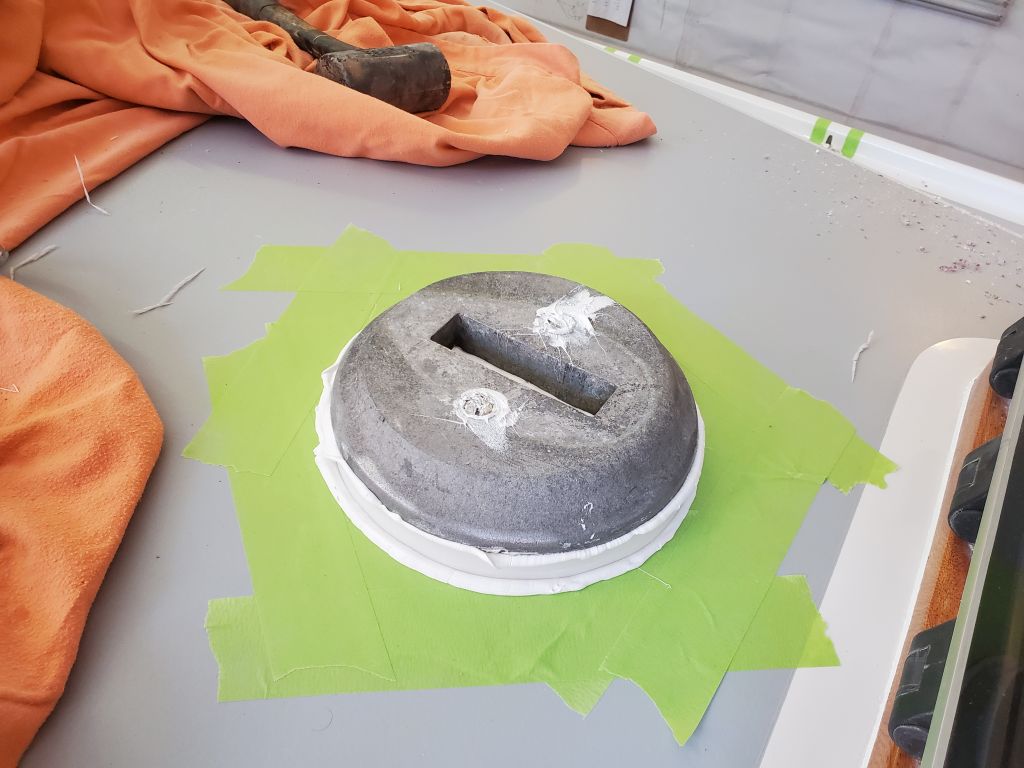
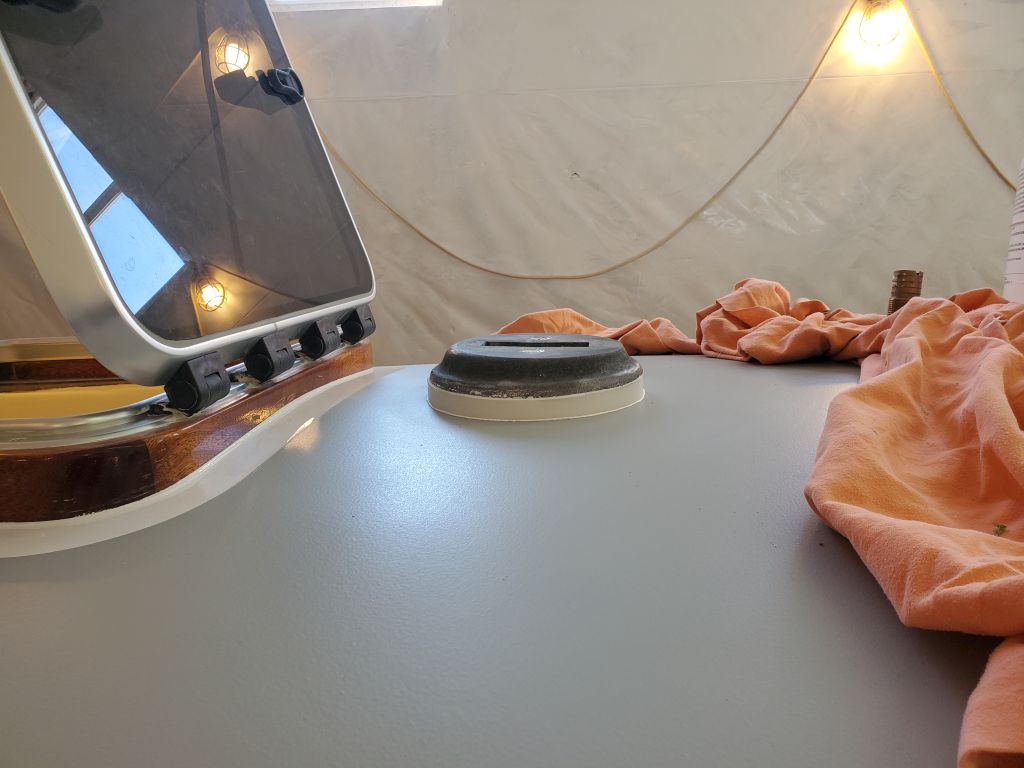
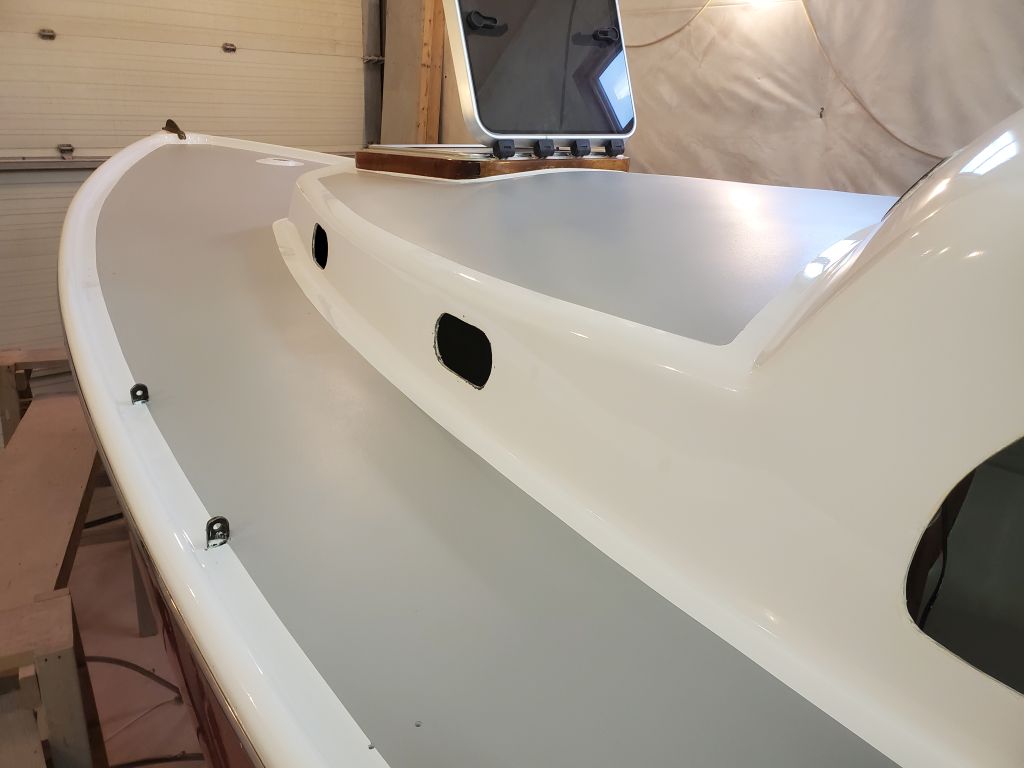
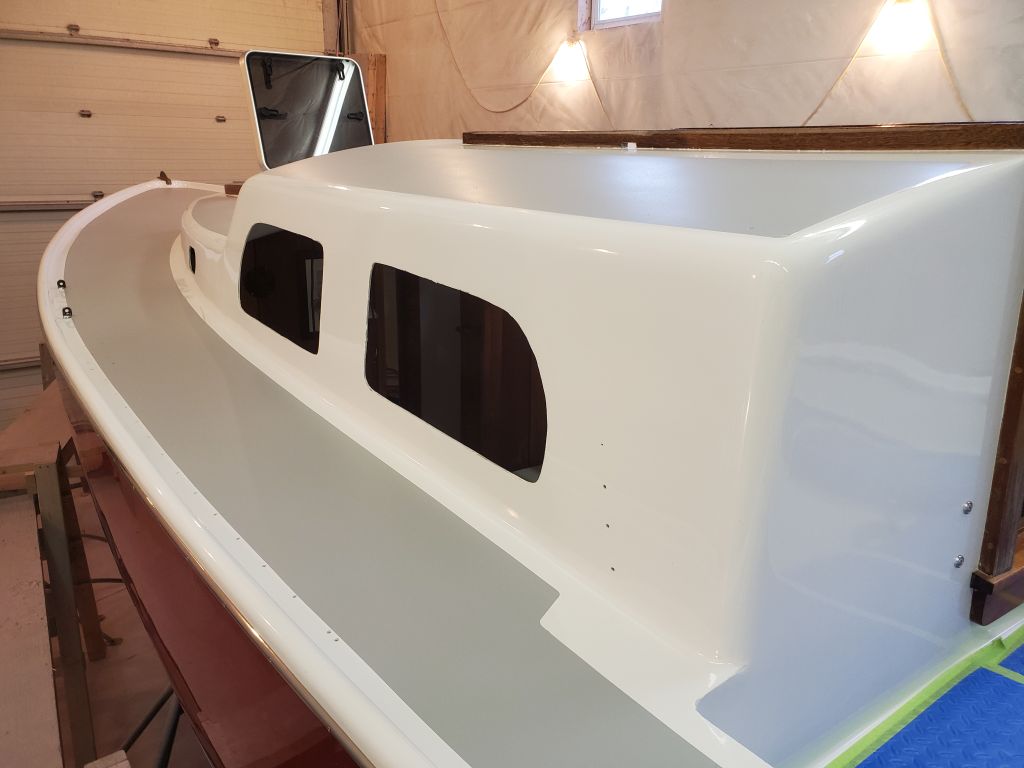
I almost had time to reinstall the wiring conduit through the deck near the mast step, but I needed to double-check its original position before drilling the new hole, and didn’t want to hurry the task, especially after the mast step took so much longer to install than I’d originally anticipated.  So I’d finish that final piece of hardware next time before moving onto the ports.

Total time billed on this job today:   7 hours

0600 Weather Observation:  8°, clear.  Forecast for the day:  Sunny, 20°

Lyra Phase 2-44

Friday

I continued deck hardware installation with the remaining stanchion bases:  First the final (aftermost) base to port, then the three bases to starboard.  As before, I cleaned up the threads in each hole with the tap, and bored the old sealant out of the existing countersinks at each fastener location before installing new sealant and the bases with backing plates beneath, then cutting off the excess fastener length and cleaning up the sealant squeeze-out.

Next, I installed the genoa tracks on each side.  This completed the hardware on the sidedecks forward of the cockpit.

Next, I turned to the stern pulpit, starting with the after two bases; I wrapped the forward bases in rags to prevent them from damaging the paint while they were on the loose.  With the two after bases secured through the deck with their backing plates (oops, no pictures of those installations), I continued with the two forward bases, which incorporated little wedges beneath to accommodate the camber of the sidedecks.

Before the end of the day, and the week, I had enough time to install the stern chocks and flagpole socket, and also installed the chainplate deck covers at each of the 5 locations (backstay and two side locations).  These cover plates relied entirely on the sealant to secure them, and I applied “bo-koo” sealant around each chainplate not only to ensure a good and full seal all around, but also to well-secure the cover plates.  I left the substantial excess to cure over the weekend before I’d clean it up.

Total time billed on this job today:  6.25 hours

0600 Weather Observation:  16°, overcast.  Forecast for the day:  Snow, 4-8″ predicted, 20°

Lyra Phase 2-43

Thursday

After a day away from the project to give the fresh nonskid enough cure time, it was time to begin deck hardware reinstallation.  After getting set up with tools, towels and such to protect the decks, and all the rest, I started, as usual, at the bow with the bow pulpit.     Since all the hardware had been newly laid out and installed during phase one, then removed again early in this phase of the project, all the holes were in place (most needed a quick cleanup with the tap to ensure there was no paint in the holes), so the reinstallation effort was as streamlined as it could be.  To help me lay out the masking tape to protect the deck during bedding and installation, I made a little cardboard template of the bow pulpit base shape, which I used as an analog to trace around to prepare all the mounting locations; this was easier than manipulating the pulpit and semi-installing it to achieve the same purpose.  Installing the pulpit using the same one year-old fasteners was straightforward and uneventful enough, complicated only (as usual) by the tough access to the forwardmost holes from beneath.

Continuing in the area, I installed the forward whisker pole mount, the anchor roller and its riser, the mooring bitt, and the cowl vent in turn.  For all the hardware, I masked off and traced the hardware bases on the tape, cut out the tape from the footprint, cleaned up the fastener holes, and installed with plenty of new sealant and the recently-removed fasteners, cleaning up the excess sealant and tape thereafter.

With the bow section done, I continued on down the port side, eventually installing two of the stanchion bases and the after whisker pole mount before the end of the day.

Total time billed on this job today:  6.5 hours

0600 Weather Observation:  16°, clear.  Forecast for the day:  Sunny, 27°

Lyra Phase 2-42

Tuesday

First thing, I applied the second coat of gray nonskid to the decks.

Most of my “known” work list revolved around the deck and reinstalling hardware, and obviously this would have to wait till the paint had cured sufficiently, so in the meantime I reinstalled the rubrail on the hull.  I used butyl tape sealant on the back side of the hollow half-oval trim pieces, and reinstalled all the sections around the boat.  I had to redrill several of the screw holes that had gotten filled during the various hull and deck work.

A few bits of hardware still needed their undersides scraped of old sealant, including the jib tracks and bow and stern pulpits.  I forgot to take a picture of the stern pulpit before I cleaned the bases.

Late in the day, the nonskid had dried enough that I could remove all the masking tape.

Finally, I reinstalled the companionway hatch rails and sliding hatch.

Total time billed on this job today:  5.5 hours

0600 Weather Observation:  33°, mainly cloudy.  Forecast for the day:  Mostly cloudy, chance of showers and drizzle, 41°

Lyra Phase 2-41

Monday

As I got started removing the tape from below the boottop, with the rest of the boat still fully wrapped and covered, I couldn’t pass up the contemporaneous opportunity to quickly and lightly scuff over the bottom with an abrasive pad to remove the light, dry remnants of a season’s marine growth, taking all of 10 minutes.  Even this basic hand process kicked up ample bottom paint dust (ugh), so having everything above the waterline covered meant that none ended up on the fresh work.

Now I could continue removing all the tape, plastic, and paper from the rest of the boat.  I set the staging back to deck height, and otherwise reclaimed the shop in the name of all that is normal.  It’s always nice to see the boat fully revealed after a long painting session.  The red bottom looked horrible with the new topsides, but I’d have to live with it for right now.  Woe is me.

Following the lines of the gloss paint borders around the deck, I remasked the deck to prepare for nonskid application.

After final preparations, I applied the first of two coats of light gray nonskid, the same mixture I’d used during phase 1 in the refinished cockpit.

Total time billed on this job today:  6.5 hours

0600 Weather Observation:  28°, mainly cloudy.  Forecast for the day:  Sunny, 47°

Lyra Phase 2-40

Saturday

With sufficient cure time now, I masked off the topsides above the boottop, beginning with a layer of vinyl solvent-resistant fine line tape that I applied right at the edge of the new topsides paint, then covered as completely as possible with a layer of regular masking tape, as the vinyl tends to shed paint and cause drips and weird semi-cured flakes of paint during removal.  With the top of the new stripe completely masked, I covered the rest of the hull with plastic, tape, and paper adjacent to the working area.  Afterwards, I cleaned the primered bootop section one final time.

I applied 4 coats of snow white gloss LPU to the boottop to complete the major paint work.  I ended up with four coats since I convinced myself I saw shadows in one place through the third coat (this ended up being a trick of the lighting and shadows in the shop), so since I had enough paint leftover I played it safe with the 4th coat.

Total time billed on this job today:  4.5 hours

0600 Weather Observation:  8°, mostly clear.  Forecast for the day:  Sunny, with increasing clouds and snow showers likely late in the day, 31°

Lyra Phase 2-39

Friday

The new hull paint cured overnight and was looking pretty good.  I took some additional photos of it as is now that I could spend more time in the shop inspecting the job.

Next, I removed the masking from the lower edge, exposing the boottop area still in gray primer.  The topsides paint was too fresh to mask over, so I’d have to wait a bit longer before I could mask and prepare to spray the boottop.

To make some use of an otherwise idle day while I waited for the paint to cure, I collected all the deck hardware, ports, and deadlights and cleaned off old sealant from the bases and, as needed, some of the fasteners I’d be reusing, preparing everything for reinstallation in the near future.  Never a favorite task, it was nevertheless made more palatable by filling a void when there was nothing else I could do to move the project forward:  A good use of time for a chore that must be done.

Total time billed on this job today:  3 hours

0600 Weather Observation:  50°, rain.   Forecast for the day:  Rain ending, windy, temperature dropping

Lyra Phase 2-38

Thursday

With over 40 hours’ cure time on the white deck paint, it was now well into the “safe” zone for overtaping, so to begin I masked off the toerails just above the hull/deck joint, following the line to which I’d brought the white deck paint earlier.  With one row of tape in place, I followed with a second, then spread plastic sheeting over the entire deck and, after cutting off the excess, masked it thoroughly in place all around, with plenty of extra tape to ensure there were no voids or seams or missed areas.

Next, I tacked off the hull, then mixed up the paint needed for the job and applied three coats of “wine red” gloss topcoat, as called by this paint system (versus the better-known name “claret” by the other paint system) to the hull over the next few hours’ elapsed time:  a stunning transformation.  Note that the paint appears lighter (i.e. more red/less maroon) before it’s fully cured, and with the harsh shop lighting in place.

This video shows the first coat, which by design is a light coat to help the second and third coats stick, but nevertheless it provides quite a contrast with the gray primer as it is applied.

Total time billed on this job today:  4.25 hours

0600 Weather Observation:  44°, partly cloudy.   Forecast for the day:  Cloudy, windy, rain overnight, 53°

Lyra Phase 2-37

Wednesday

With the deck paint complete, I spent the first part of the day removing all the masking from the deck areas.

To prepare for the hull paint, I couldn’t mask over the fresh deck paint yet and would have to wait another day, but in the meantime there was plenty to keep me busy, starting with laying out and masking the boottop.  I chose 2-1/4″ for the visual height of the new stripe, and to create the end reference marks required I used a square and level to mark the new point stem and stern 2-1/4″ above the waterline (i.e. top of the bottom paint), which I’d marked and masked earlier in the process.

With these two points, I could set up my horizontal beams fore and aft at the correct height, after which I used my string theory to mark the top of the new stripe on both sides of the boat, using the same techniques I always do.  Then, before removing the cross beams, I made a new mark on the stem 1″ above, as I planned to sheer (raise)the boottop through the bow sections later, a step required to make the stripe look right.

With the clutter out of the way, I masked the new line, following my pencil ticks and fairing by eye.  The top edge of the tape represented the top edge of the boottop, and the area above would be covered with the hull paint.

Once I had the line taped to my marks, I measured back from the stem (at the waterline) approximately 1/3 the length of the waterline; in this case, 8′ back looked right to me, and starting from this mark I struck a new tape line by eye forward to the tick mark 1″ above at the stem, creating a new, higher line with a slight sweep that would not be noticeable in and of itself, but would make the boottop look right when complete.

Then I covered the area beneath the tape with masking paper to complete the job.

To round out the day, I set up the staging at hull height, switching out four of the taller supports for some shorter ones amidships to make it easier to walk around, then set up lighting as needed to highlight the hull, and finished up with a final solvent-wash of the topsides.  All that remained before I could spray the hull was to cover the decks, which I’d finish next time.

Total time billed on this job today:   7 hours

0600 Weather Observation:  10°, clear.   Forecast for the day:  Increasing clouds, 38°

Lyra Phase 2-36

Tuesday

After final preparations, I applied three coats of glossy snow white LPU topcoat to the deck areas, beginning with three coats on the coachroof, specifically the companionway and vertical transition between the two sections of the coachroof; then on all the remaining deck areas, including the toerails and channels, cabin trunk, poop deck, and companionway sliding hatch.

Total time billed on this job today:  5.25 hours

0600 Weather Observation:  5°, fair.   Forecast for the day:  Increasing clouds, 22°

Older posts Newer posts