(page 1 of 6)

Lyra Phase 2-55

With departure originally scheduled for the day before, but postponed, I’d previously prepared the boat for travel, removing my temporary braces beneath the interior handrails, securing the lazarette hatch and companionway, and whatever else was needed.

Now, she headed back to her owner’s home so he could work on a few things to get her ready for the season ahead.

Back to Lyra

Lyra Phase 2-54

To complete the handrails’ installation, I began with a dry fit on both sides, which ensured that I could pull the rails properly together without issue, and also gave me the chance to finalize the placement of the aftermost bases in the interior, which would be epoxied to the overhead.  In those two spots, I removed the paint within the bases’ footprints to give a better bonding surface.

Then, loosening the four screws as needed, but without removing them, I created enough slack to allow me to pull the exterior rails up an inch or so from the deck, leaving room beneath for sealant.

With sealant applied heavily, and after applying some thickened epoxy adhesive to the interior aft bases, I pushed the top rails down, then carefully tightened all the screws, sequentially as needed, to pull up the lower rails tightly.  I needed some simple braces beneath the aft bases on the inside to keep them properly positioned and pressed into the adhesive.

Afterwards, I cleaned up the excess sealant above, and the epoxy below, and removed the masking tape, then installed 1/2″ teak bungs in the fastener holes above.  Later in the day, once the glue had set, I removed the excess bungs to complete the installation.

Lyra was scheduled to depart the next day, headed back to her owner’s home so he could work on a few projects before launch date, so to wrap up the project I removed the protective sheathing I’d installed in the cockpit, and otherwise cleaned up the boat as needed to prepare for departure, including cleaning out the excess sealant from the slot in the mast step, which I’d meant to do some time ago.


Lyra Phase 2-53

The owner asked that I take care of a few small jobs for him, now that launching time and the season was fast approaching.  The first, and largest, of these jobs was to install handrails inside and outside the coachroof.  Earlier in the week, I began the process by laying out the rails as needed (the outside rail was shorter than the inside because of the dodger–more on this as we go), drilling pilotholes from inside the boat using the old handrail holes as a guide (since they more or less aligned with the new rails), then overboring the holes from above to remove the top skin and core and filling the holes with epoxy in the usual way.

Now, a few days later and with the epoxy cured, I continued the installation process.  The inside and outside rails would oppose each other directly, except for the extra length of the interior handrail (one extra opening), which we decided to try epoxying to the overhead versus a blind screw through to the outside.  Because I chose to use the old hole locations (I probably shouldn’t have), I had to play around a bit with the two exterior rails to line them up properly with the holes, and symmetrically from side to side, then mark and drill the rails from inside the boat, a more difficult and time-consuming process than it would have been had I been starting afresh (hindsight:  always start afresh).

I could just reach the aft end of the rail from the companionway on the top side, and also just reach it from underneath at the same time, so in this way I could predrill the first hole and drive in a small, temporary screw to hold it.  With the aft end thus pinned, I aligned the rail where it needed to be (according to marks I’d made earlier) and used a sandbag to hold down the forward end so I could predrill and install another temporary screw there from inside.  Then I could drill and mark the final two mounts from inside, before repeating the whole process on the second rail.

With the exterior rails marked for the screw holes, next I took all the rails down to the bench and drilled pilot holes all the way through to the top, then drilled 1/2″ holes partway through the rails from the top to accept the screw heads and bungs before finishing the pilotholes with a larger drill, large enough for the screw shanks.  Aligning the interior rails with the exterior, I drilled pilot holes into each base for the fixing screws.

Back on deck, I finished off the holes through the coachroof with a larger bit and milled countersinks at each location before masking off all around to prepare for final installation.  I tried a dry fit of the two rail pairs, but discovered that my pilot holes were just a bit small:  they were binding the screws so I couldn’t pull the two rails tightly together.  So I enlarged all the pilot holes till the screws passed through without friction, then finished up work on the rails for now by trimming the masking tape on deck where I’d marked it around the rail bases (and also on the aftermost base in the cabin, which would be epoxied), and masked the rails themselves to protect them against staining from the sealant during installation.  It was growing late-ish and I decided to finish the installation another time, choosing instead to work on the other minor projects on my list during the remainder of the afternoon.

The first of these projects was to install, in a location the owner selected, a 110V shore power plug, which he could use at a shoreside facility and also to connect the portable generator to charge his electric motor battery bank.  The installation was straightforward, and I installed a length of 12/3 cable to the fitting before installation so the owner could lead it forward to where he planned to install the main AC panel later.

Finally, I installed a pair of cable glands through the poop deck, near the pulpit bases on each side where indicated by the owner, for him to use for solar panel wiring and GPS antenna.  These had stainless covers that I didn’t install now since the owner would have to unscrew the plastic caps to finish his wiring later.

With no more plans to work inside the lazarette, I secured the wooden hatch that the owner built with some line tied across, since at the moment it was only loosely fit.

Lyra Phase 2-52

Monday

Jason was back to finish up the final dodger installation, having completed the final details over the weekend.

The last step for me, at least under current job scope, was to move the jack stands and finish painting beneath them, as well as painting over the three patched through hulls.

Total time billed on this job today:  1 hour

0600 Weather Observation:  19°, clear.  Forecast for the day:  Sunny, 44°

Lyra Phase 2-51

Thursday-Friday

After sanding the fairing compound over the patched transducer holes, I found that I hadn’t quite gotten the final shape in one go-round–there were a few low spots still evident.  So I applied more fairing compound as needed to complete the task, leaving it overnight before sanding once more to complete the repairs.

After curing overnight, I could lightly sand a final time to complete the patches.  I’d give these a coat of paint in the near future when I moved the jackstands to take care of those areas as well.

At the radar through-deck wiring fitting, I added a plastic washer to help trim out the deck hole from beneath.  (The owner planned to paint the new head overhead himself later.)

Total time billed on this job today:  .75 hours (over two days)

0600 Weather Observation:  26°, mainly clear.  Forecast for the day:  Partly sunny, 46°

Lyra Phase 2-50

Wednesday

I sanded the new fiberglass patches over three transducer locations, sanding the new work smooth and flush with the adjacent hull.  Inside the boat, I lightly scuffed the patchwork only to remove hard or sharp edges.  Then, I troweled on a layer of epoxy fairing compound on the exterior patches, which were all close to their final contours.

Next, it was time for the first, not-quite-final dodger installation.   Because Jason’s shop was so close by, he chose to leave various aspects of the final fitting incomplete since it was so straightforward and quick to come back another time; this gave him more leeway in ensuring the best possible fit in some of the tough areas, particularly the transition from the cabin trunk to the protruding coamings.

After permanently installing the deck track to support the leading edge of the dodger, the canvas–90% complete–could be fitted on the frame and tracks, after which Jason worked out the positioning for the strapeyes to secure the dodger wings and, with little temporary grommets, secured the wings as needed before moving on to the snaps required along the cabin trunk and at the forward coaming corners.  This gave him the information he needed to work out the final steps for the sharp transition at the coamings.  He also double-checked the alignment of the opening required on the starboard side to allow passage of the main halyard through the front of the dodger and made a tiny adjustment to his patterned mark by eye, sighting from the winch forward to the turning block (the outboard of thee two tiny white marks on the canvas is the center of the new hole).

Allowing for the final fitting details and a few small areas requiring finish work, the dodger looked excellent and would be a fine addition to the looks and utility of the boat.  Final fitting should be within a few days.

Taking care of the final item on my punch list, I installed the two plywood shelves in the cabin that the owner had dry-fit earlier.  These shelves, which rested on a support I’d laid out and installed during phase 1, would eventually form the basis for the remaining cabinet work in the cabin.  To install them, I began by coating the faying surfaces with regular epoxy, then installed the shelves in a bed of thickened epoxy adhesive on the hull supports and wooden cleats the owner had installed on the bulkheads; I added a wooden cleat to support the aft end of the port shelf where it conjoined the existing galley countertop overhang.  I clamped the shelf at the ends and added weights in the center to ensure it stayed in place on the supports (though no pressure was needed since the shelving fit nicely on the supports).  Where the plywood met the hull, I created a small fillet (not shown here is the masking tape I’d applied just above shelf level before installation, to give me a clean line for the fillet).

Total time billed on this job today:  2 hours

0600 Weather Observation:  22°, high overcast.  Forecast for the day:  Mostly cloudy, chance of snow in the evening, 36°

Lyra Phase 2-49

Tuesday

Continuing the patching of the old transducer locations, I began by masking over the openings from inside, then, outside, filling the round holes through the hull with a thickened and strengthened epoxy mixture.  While I gave that a bit of time to set up enough to continue, I cut rounds of fiberglass to create the patches:  Two outside, one inside.  Later in the morning, once the epoxy plugs had set up sufficiently, I wet out and installed the fiberglass on both sides to complete the main part of the repairs.

Next, I installed the new vinyl for the name, hailport, and registration numbers.  The owner selected a gold leaf vinyl with white outline for the name and port, and white vinyl for the state numbers.

I was waiting for delivery of the correct screws to secure the sea hood, but in the meantime I finished up the dry fit and preparations, first by redrilling from below the two screw holes I’d used all along for alignment.  For the remaining fastener locations, I could just drill through the center of the epoxy-filled plugs at each location from above, before temporarily installing the sea hood with the pair of aftermost screws.  Then, I drilled up into the wooden sides from below, just enough to make a mark as I wanted to be sure the holes were centered or otherwise properly placed.

Removing the sea hood again, I finished drilling the pilot holes in the wood, and took a moment to drive a screw in and out of each hole to prepare fore the final installation and ensure I had no troubles installing the screws from beneath.  Later in the afternoon, once my screws arrived (#10 x 1-3/4″ flat head tapping screws), I installed the sea hood in a bed of brown sealant, keeping the sealant away from the drain openings.  I cleaned up the excess sealant, then installed the dodger frame and mounting bases in their pre-marked holes leftover from the initial fitting in December.

Final dodger work lay soon ahead.

Total time billed on this job today:  4  hours

0600 Weather Observation:  35°, clear and windy.  Forecast for the day:  Sunny, 36°

Lyra Phase 2-48

Monday

After an errand to pick up the newly-varnished coamings and sea hood from the owner’s home, I got to work on their installation, beginning with the coamings.  This was straightforward and quick, as these had been installed previously and it was a relatively simple matter of applying sealant (butyl tape) and screwing the coamings into position.

With the sea hood repositioned on the coachroof, and secured temporarily with the two screws that I’d installed a couple months before when the dodger was being patterned, I masked around the edges to mark the position and, later, to protect against excess sealant during installation.  I also marked the sea hood scupper locations with pieces of tape for future reference.  Then, I removed the hood again so I could prepare the fastener locations in the deck.

Using a narrower strip of tape to simulate the thickness of the sea hood, I marked in the center of the marked area for various screw holes all around the perimeter:  four on each side (spaced away from the drain locations), and four along the forward edge.   Since the coachroof was cored, I needed to overbore, remove the core, and epoxy-fill each fastener location first, so I drilled a small pilot hole through the top skin only, followed by a 5/8″ Forstner bit to remove the top skin and core from around each fastener location, leaving the bottom skin intact.  Though I’d inspected the coachroof two different times over the course of this project and wasn’t expecting any issues, I was still happy to see clean, bright core spoils at each hole location.

After cleaning up the spoils and preparing all the holes, I filled the voids with a thickened epoxy mixture and left it to cure before continuing with the final sea hood installation another time.

Meanwhile, the owner had given me a few additional small tasks to take care of, starting with removing three obsolete and abandoned transducers (one depth, two speed) from the hull.  One older bronze speed unit was located on the starboard side, accessible from within through a drawer opening in the settee, and the other pair (plastic/nylon) was located on the opposite side.

As usual, I first tried to remove these in the logical way:  from inside, by removing the threaded fixing rings, i.e. the opposite of how they were installed in the first place.  This almost never works, at least not in any sort of practical or useful timeframe, and now was no exception.   It never makes sense to me to waste time fighting recalcitrant fittings with a wrench in an impossible location when in a few short minutes I can cut the whole fitting out from the outside, but it’s always worth trying first.

Having quickly abandoned the notion of unthreading these fittings, I moved outside and used a grinder and cutoff wheel to remove the pair of plastic fittings on the port side in about the same number of seconds:  I only like plastic through hulls and  transducers when I have to remove them from someone’s boat; otherwise I don’t think they’re worthy.  But they are easy to cut through and remove, and from this perspective they’re wonderful.

The single bronze speedo unit on the starboard side was a bit more time-consuming to remove, but not much.  Being bronze, of course it took a bit more work to cut free; also, this was a flush-fitting (more or less), without a large mushroom head but with the flange mostly recessed into the hull, but in only a few minutes it was out as well.

Next, I prepared the openings for patching by grinding away paint and gelcoat around each hole, preparing for a flush repair on the exterior with a dished, tapered opening, and a simpler surface patch over the hole on the inside, which only required that I remove the paint and old sealant from around the holes.  I also reamed out the holes themselves to remove old sealant.  I cleaned up from the work and prepared the holes for patchwork, but I wouldn’t do that till another day as I was running out of time at the moment.

While I was making a mess, I also sanded away the paint from the top edges of the shelf supports I’d built during phase 1 on each side of the saloon; the owner had cut some plywood shelving to fit and asked me to install them.  I’d finish up that small job another time as well.

The owner also asked that I install a through-deck connector fitting for his mast-mounted radar.  He already had the fitting on board, and it was a simple installation:  drill a hole through the deck large enough for the fitting, and install it with two screws from above.  The fitting came with a mounting gasket, and the design of the flange base didn’t allow room for anything in the way of real sealant, but I added some butyl tape to the portion running through the deck and to the screws when I installed them from above.  (The deck here was solid fiberglass.) The thickness of the deck exceeded the threaded length of the fitting available for the included metal trim/fixing ring, but there was still room for the plastic nut and the included cap; I thought I might look for a washer that would better cover the edges of the drilled hole on the inside and gussy things up, but I didn’t have anything this large on hand so this would wait till later.

Total time billed on this job today:   4 hours

0600 Weather Observation:  44°, clear.  Forecast for the day:  Rain in the afternoon, 44°

Lyra Phase 2-47

Wednesday

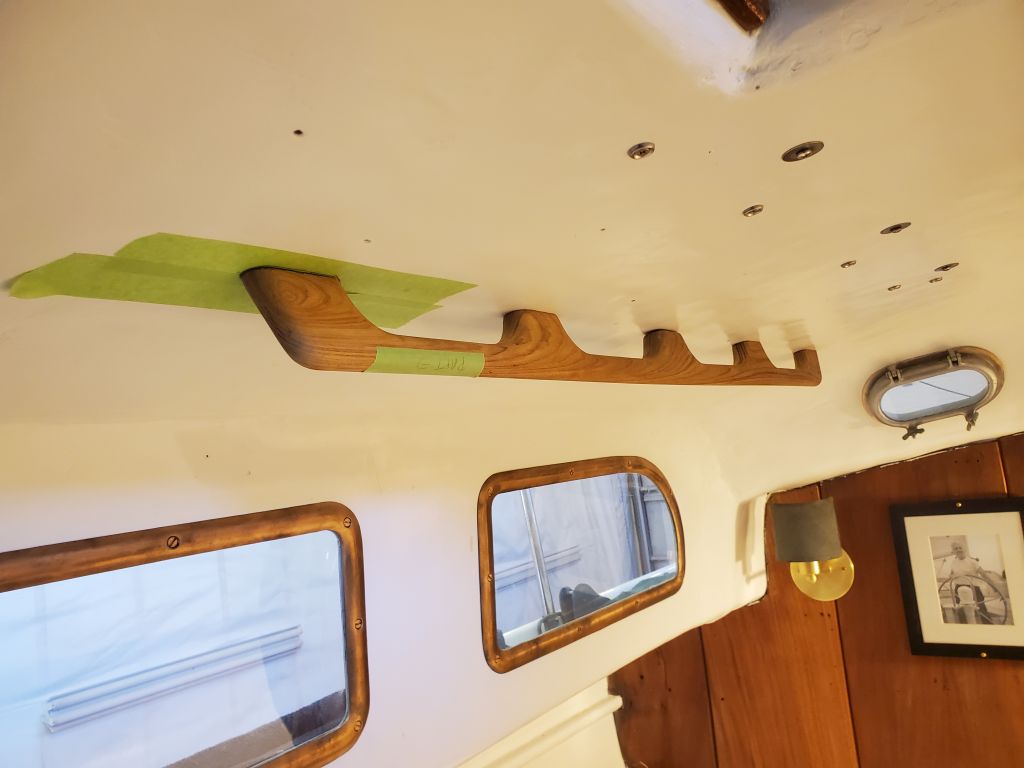
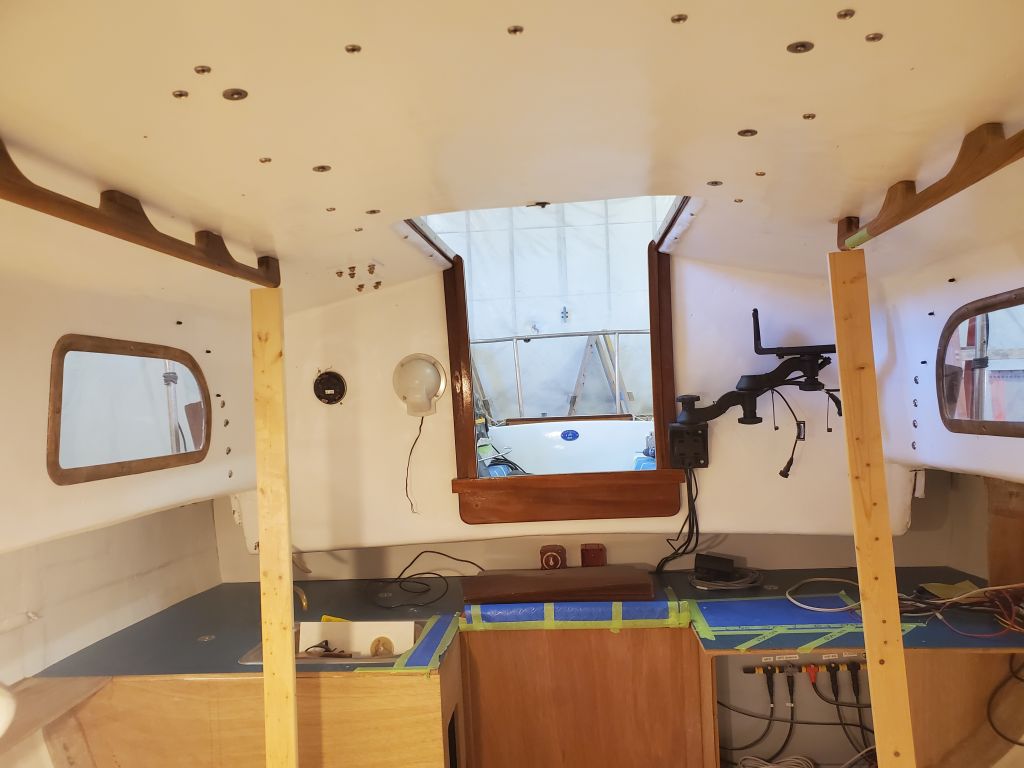
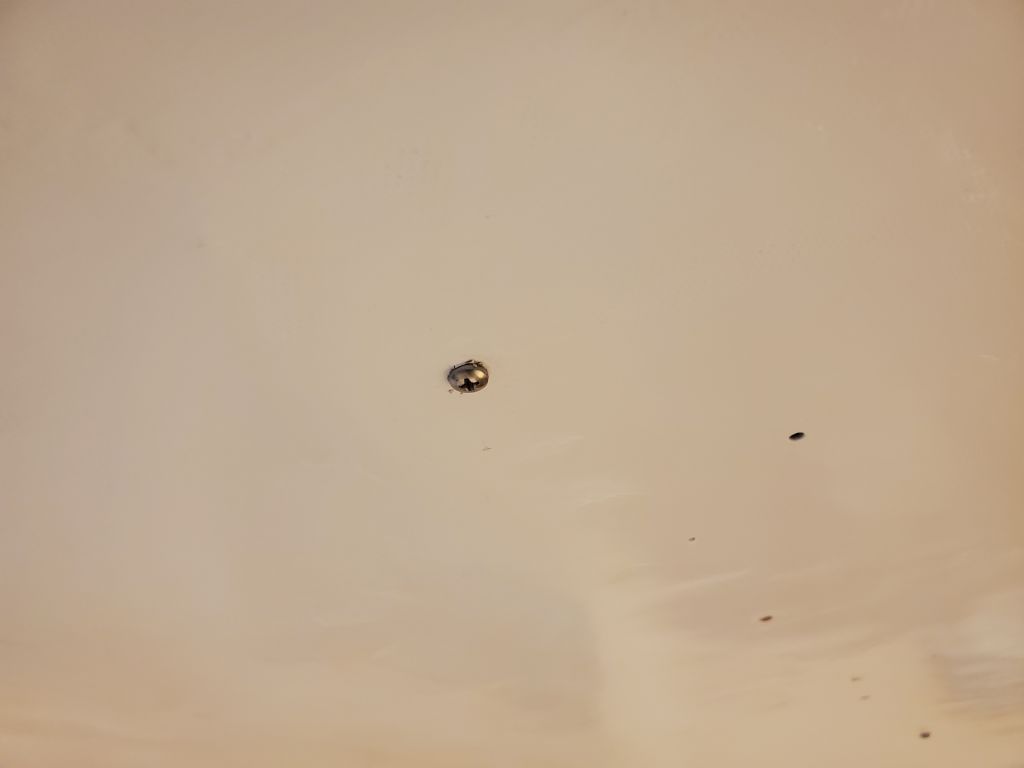
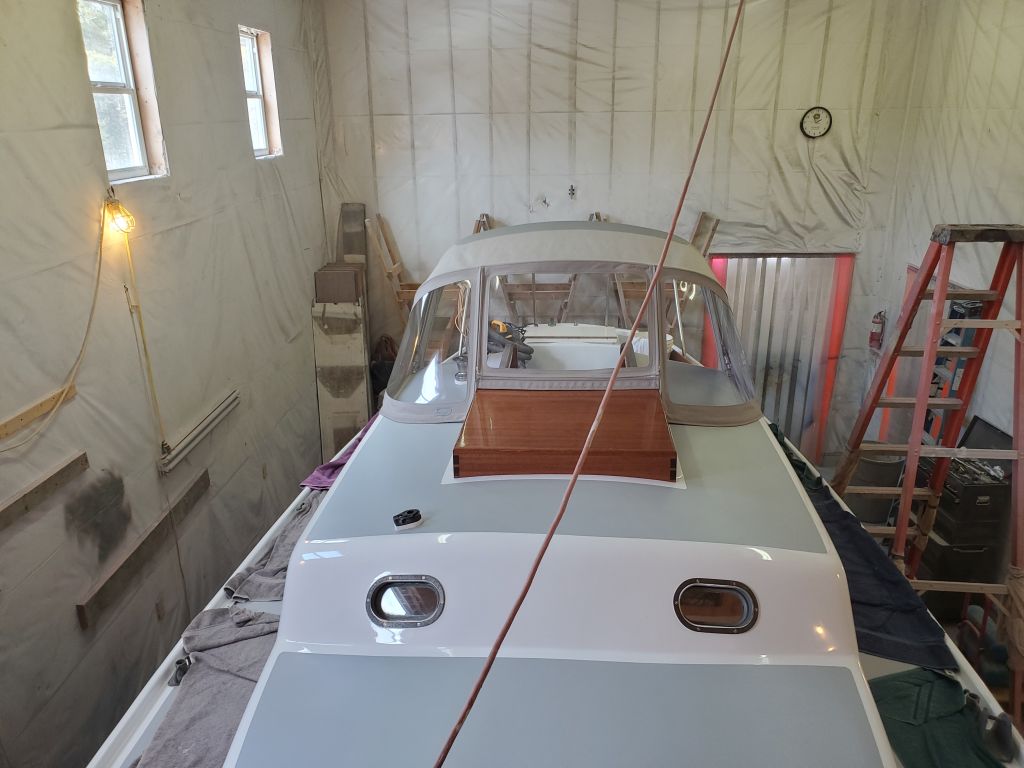
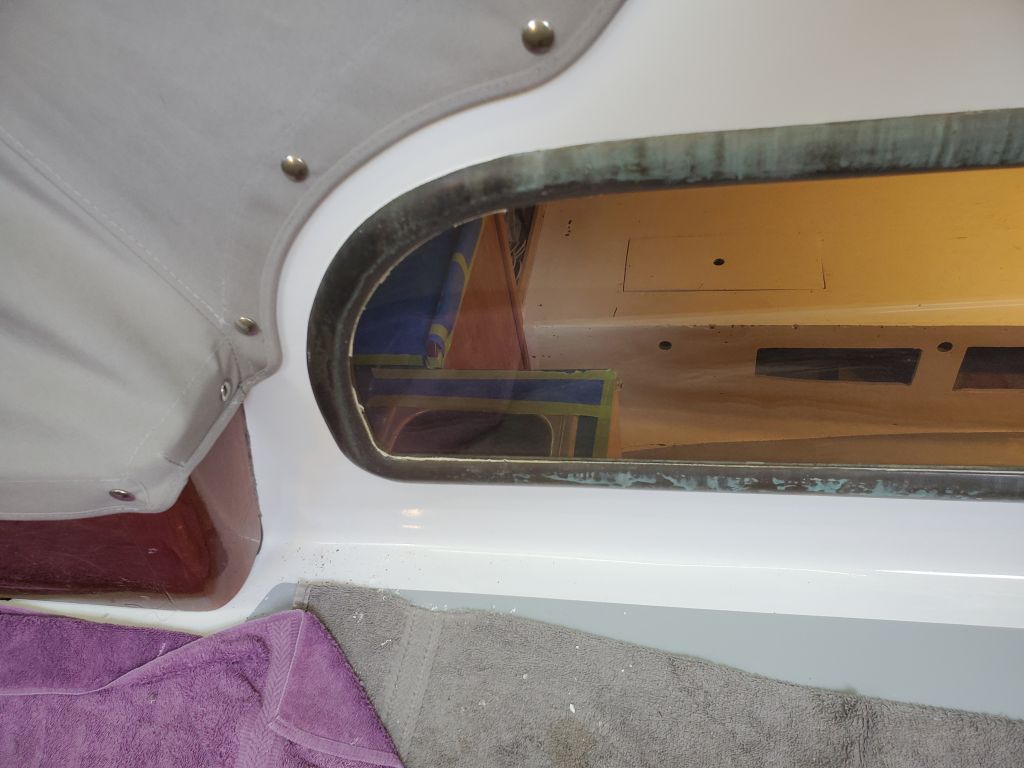
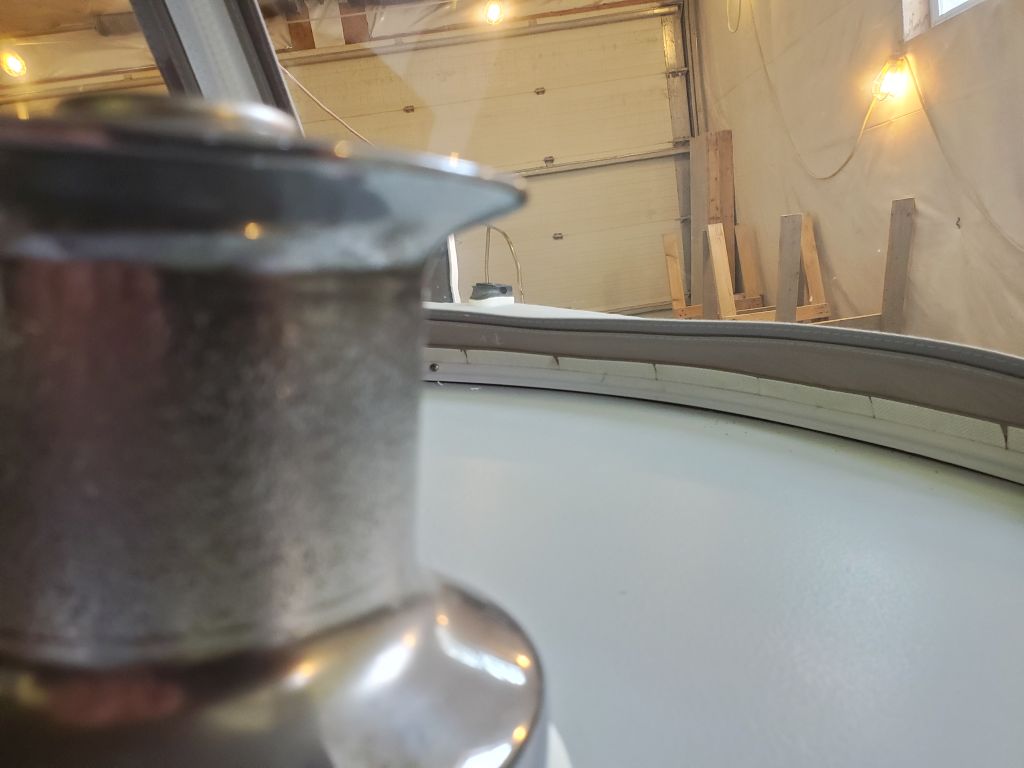
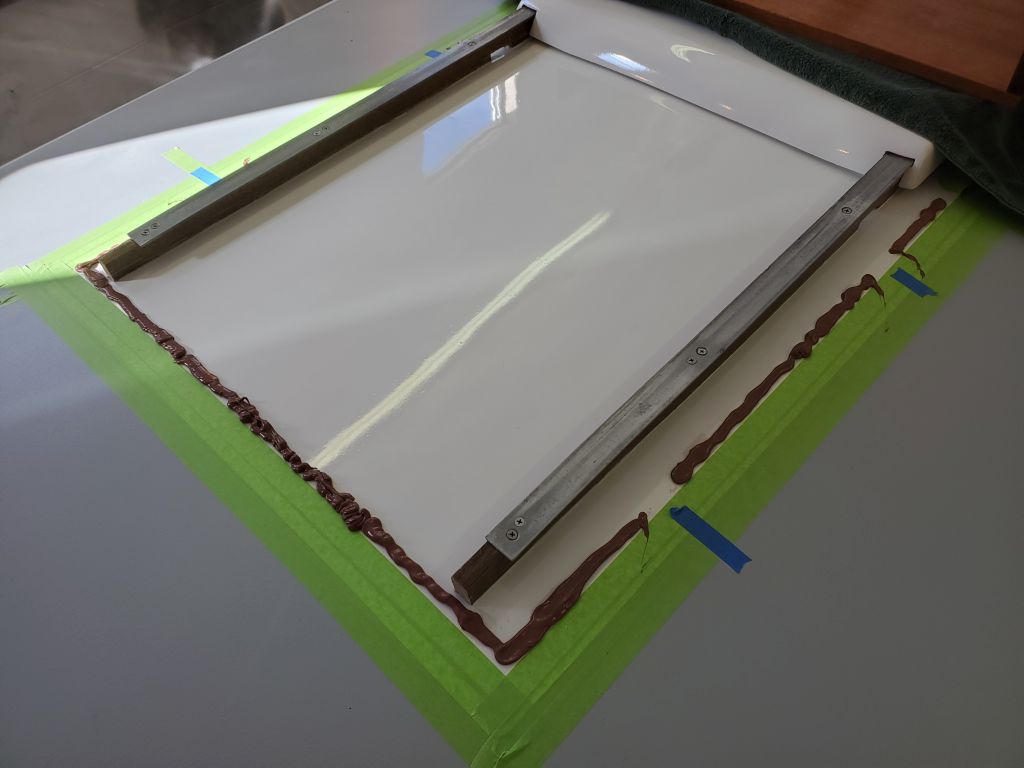
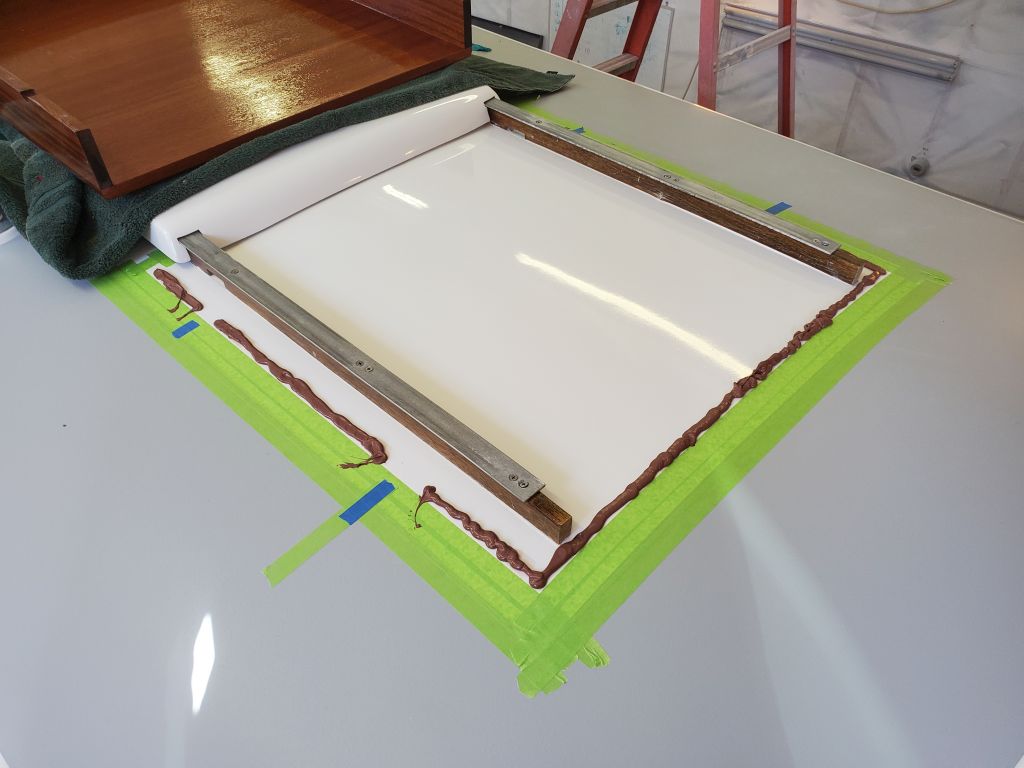
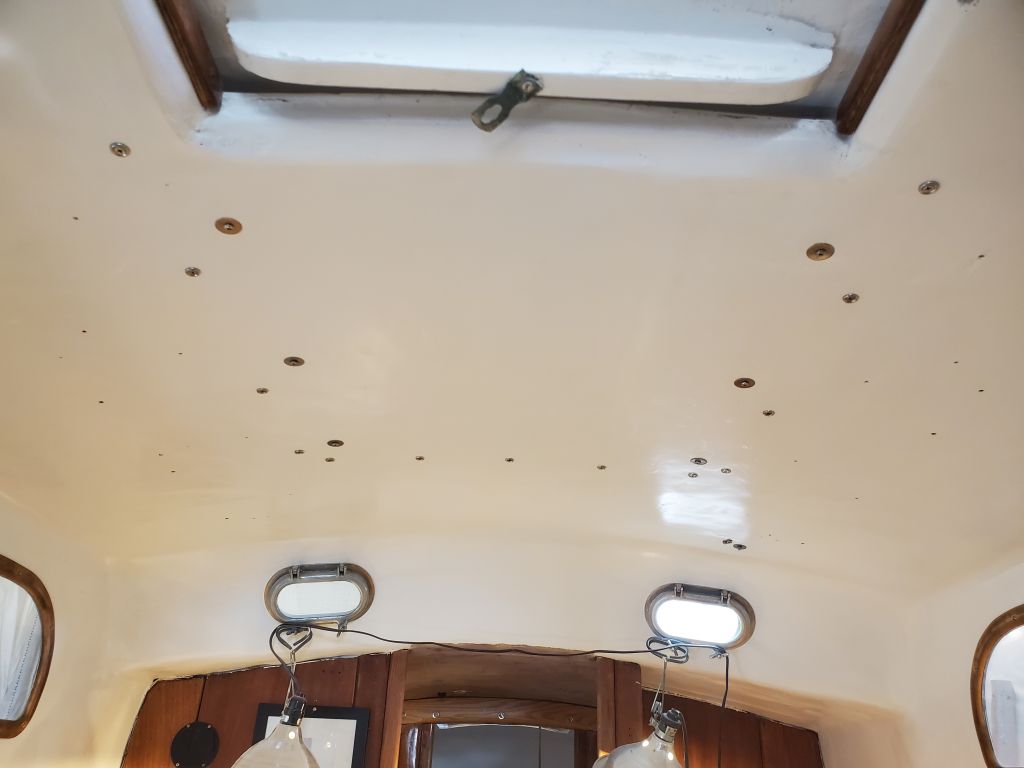
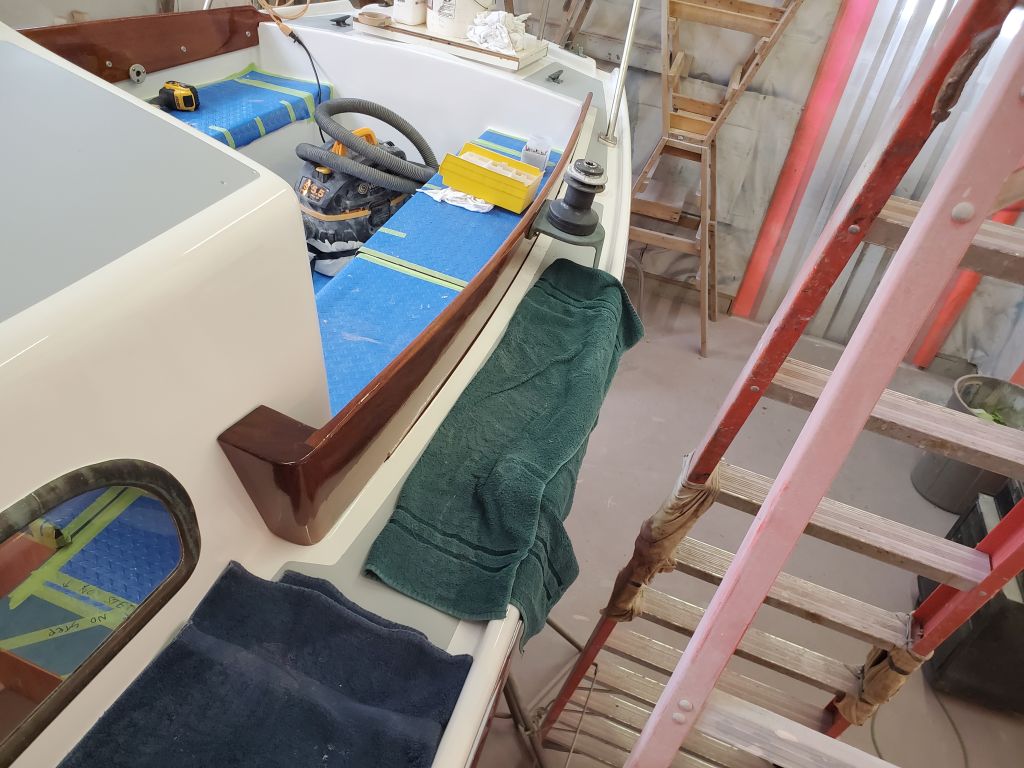
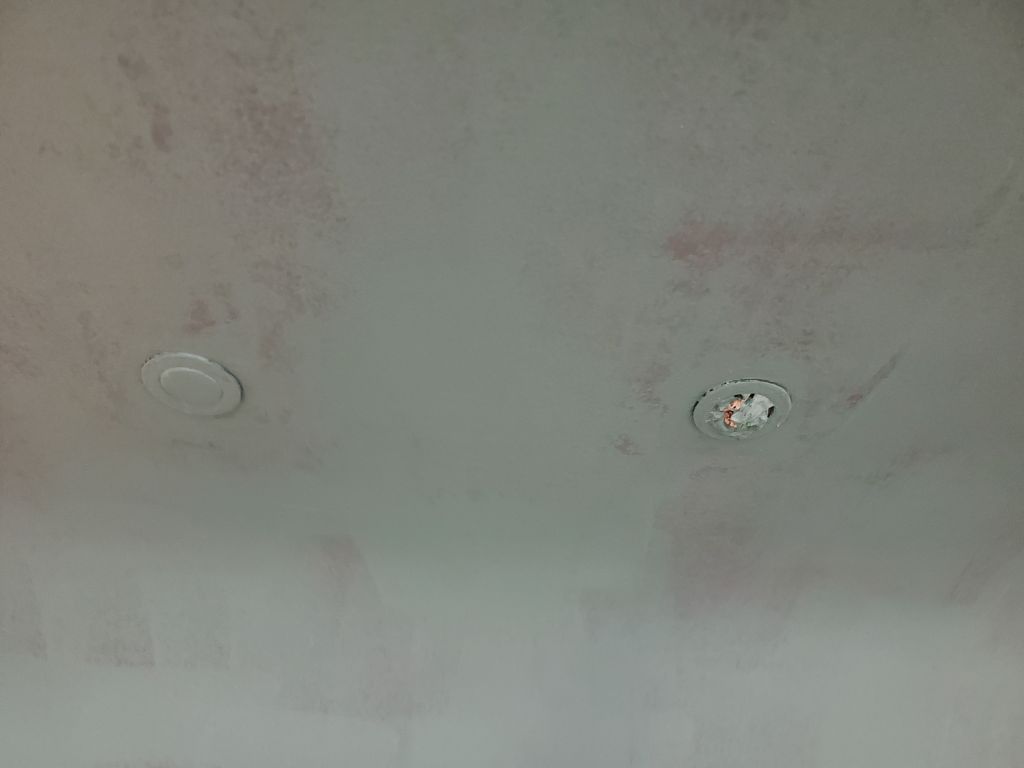
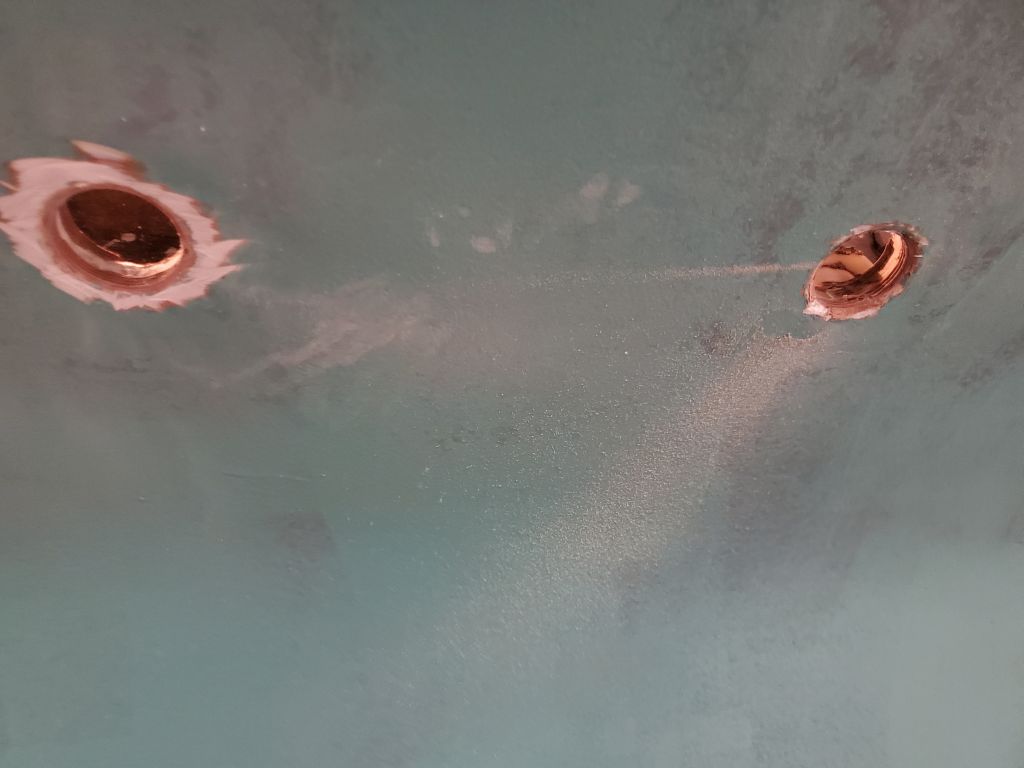
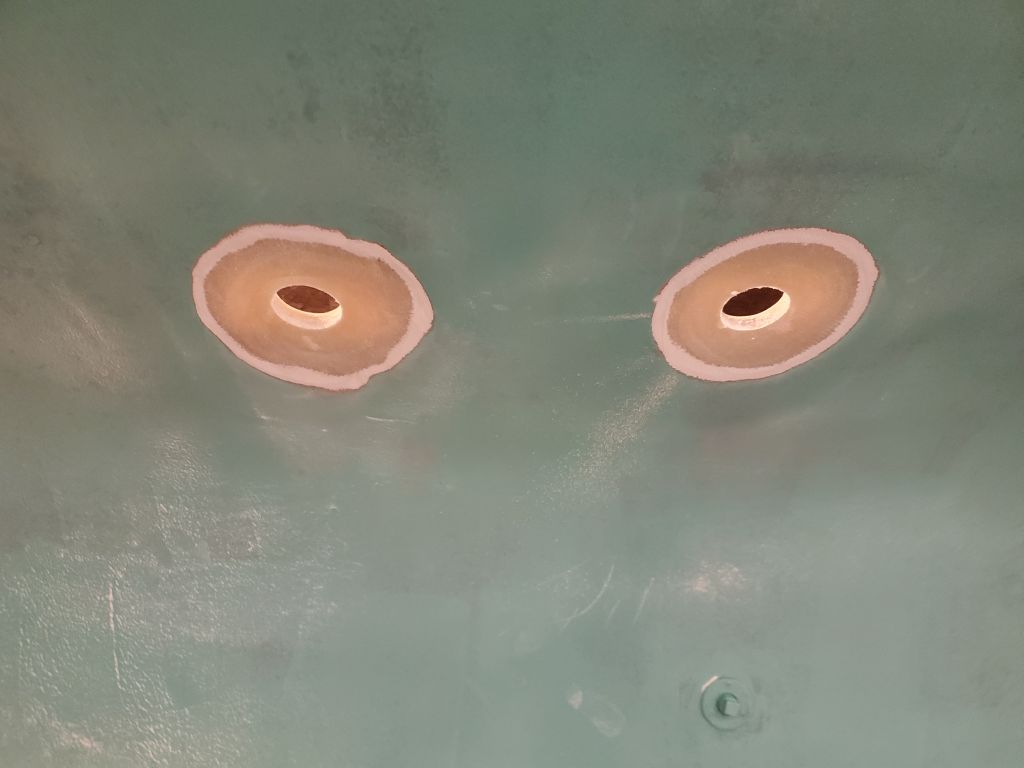
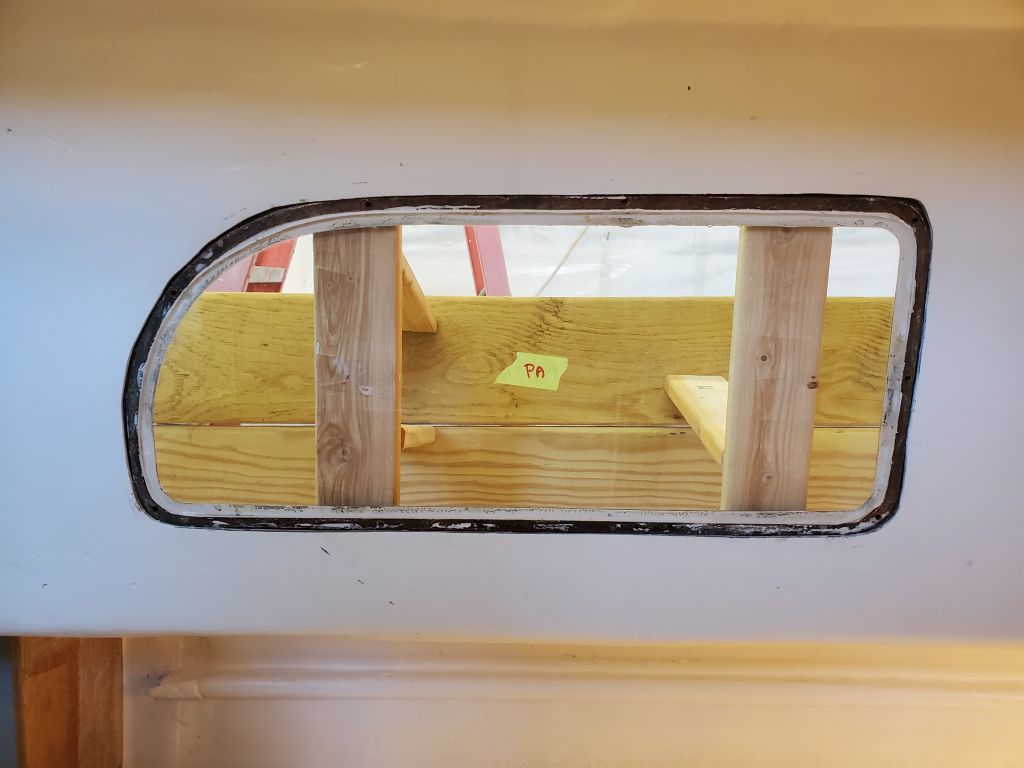
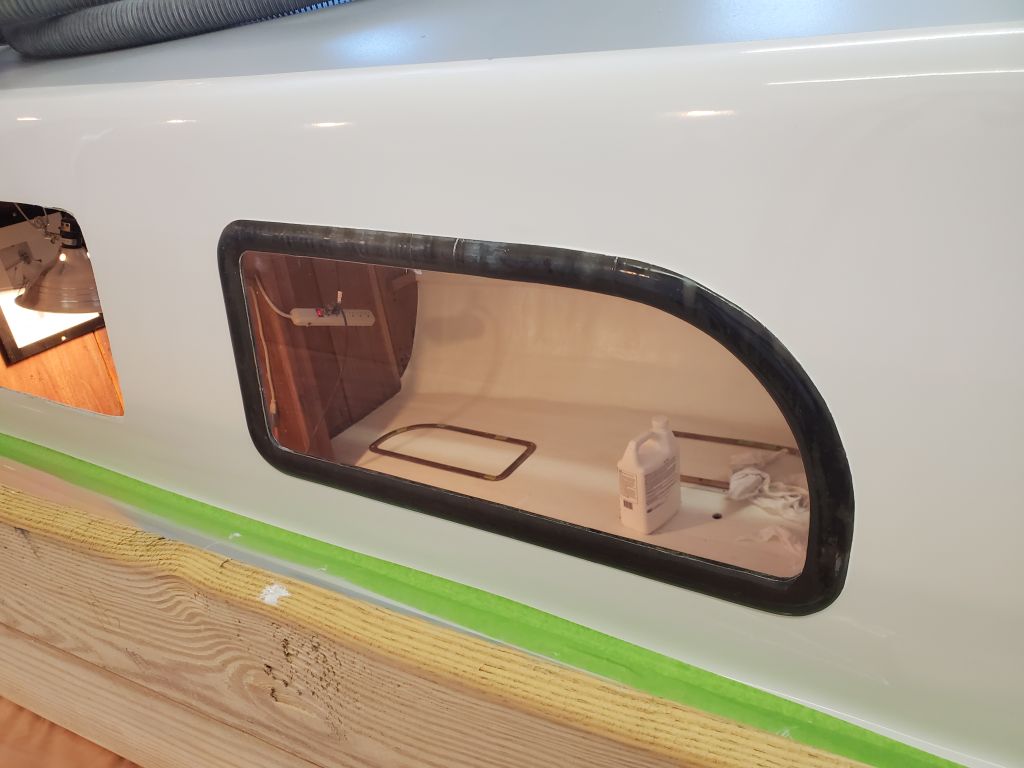
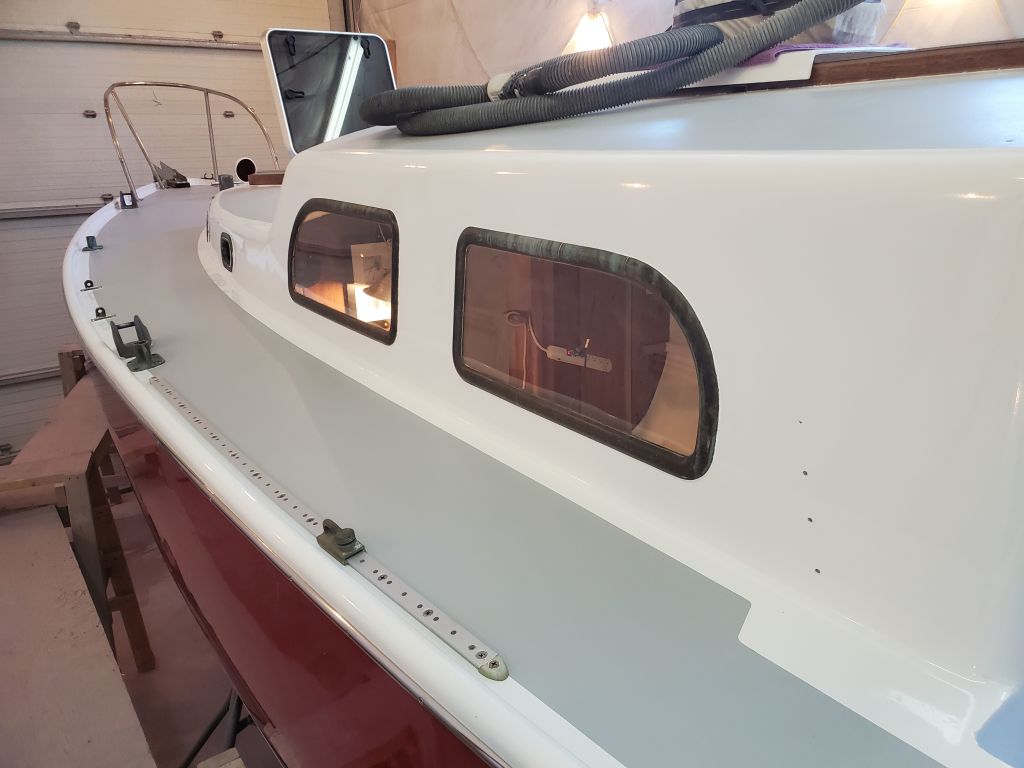
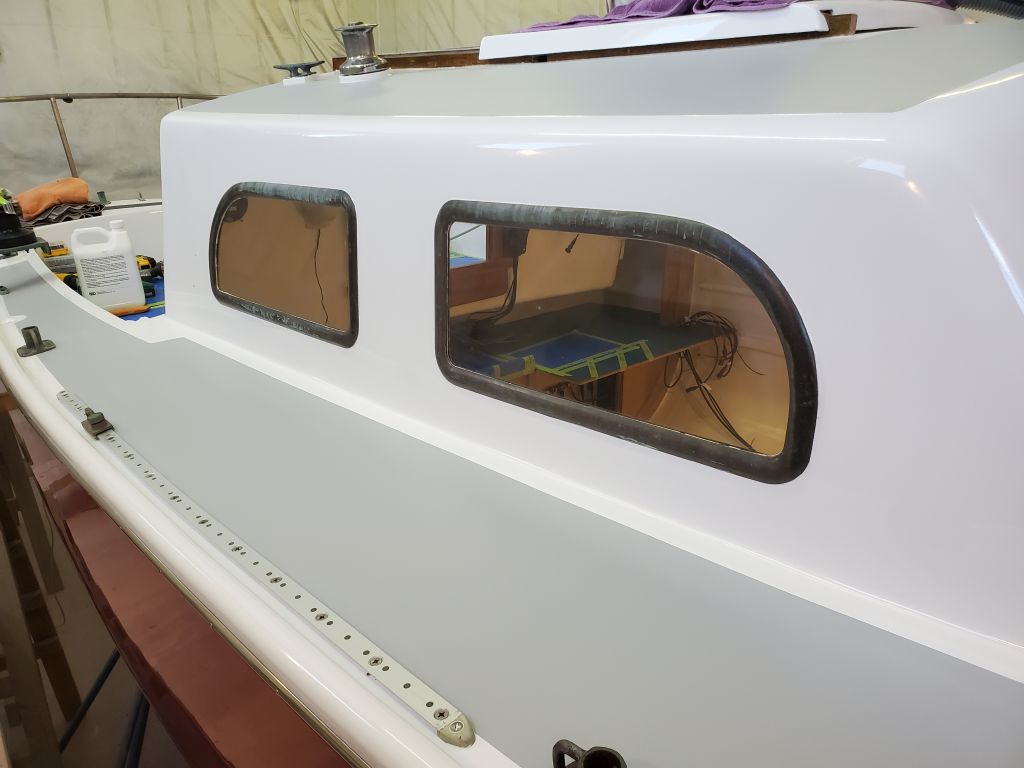
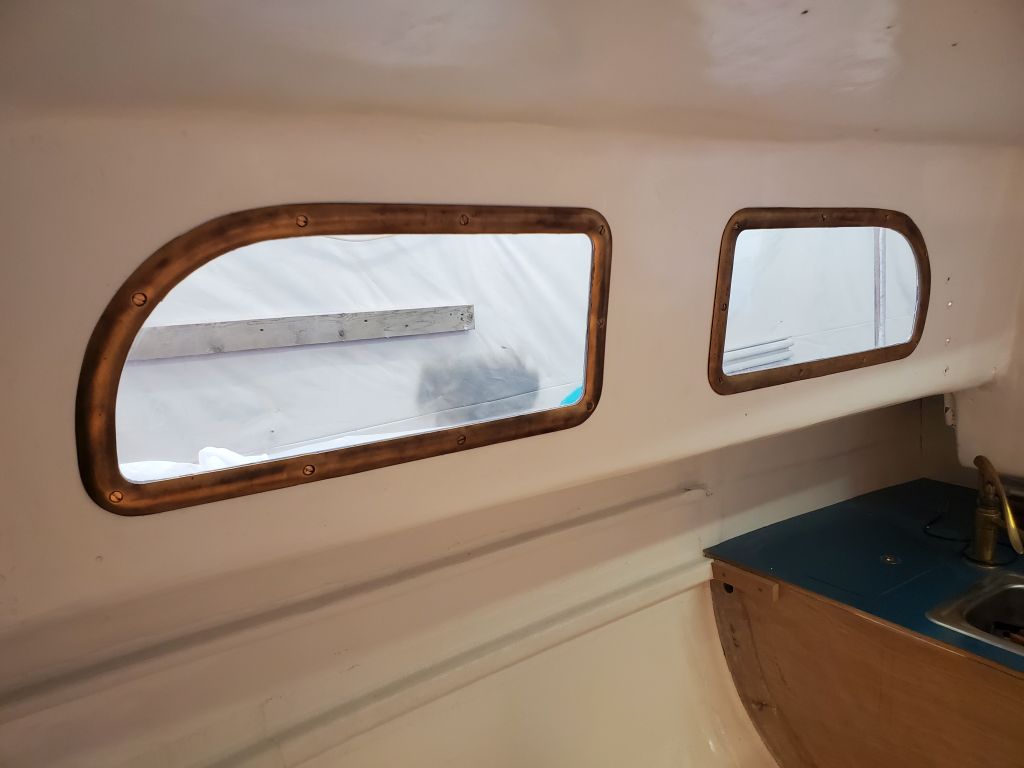
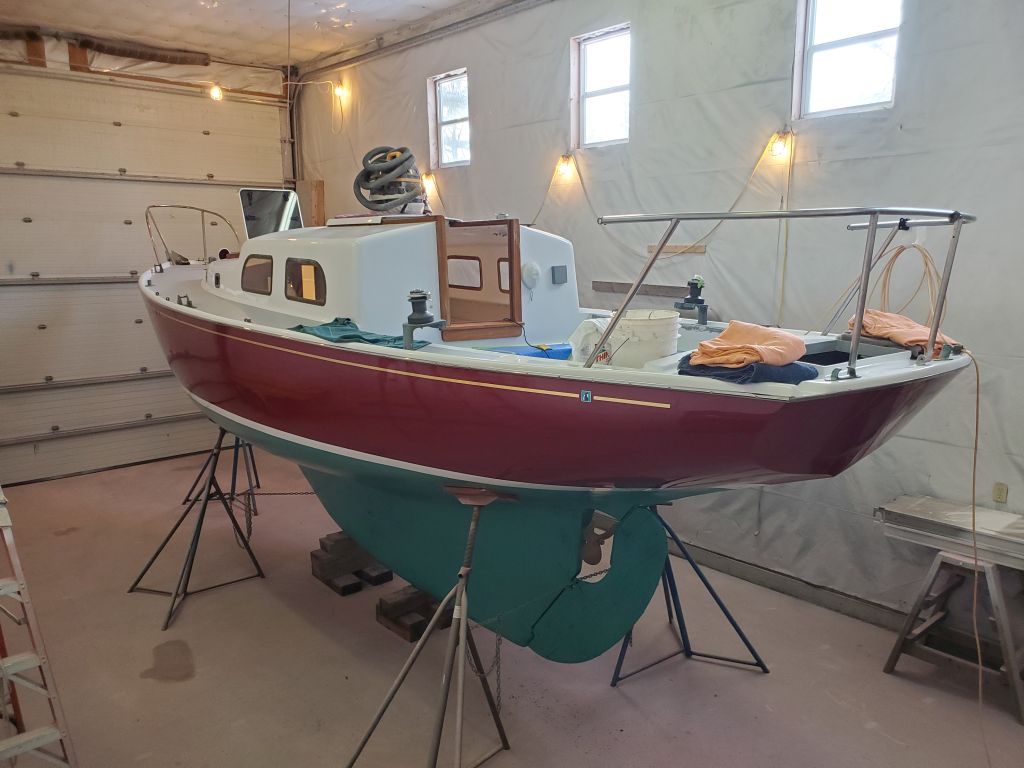
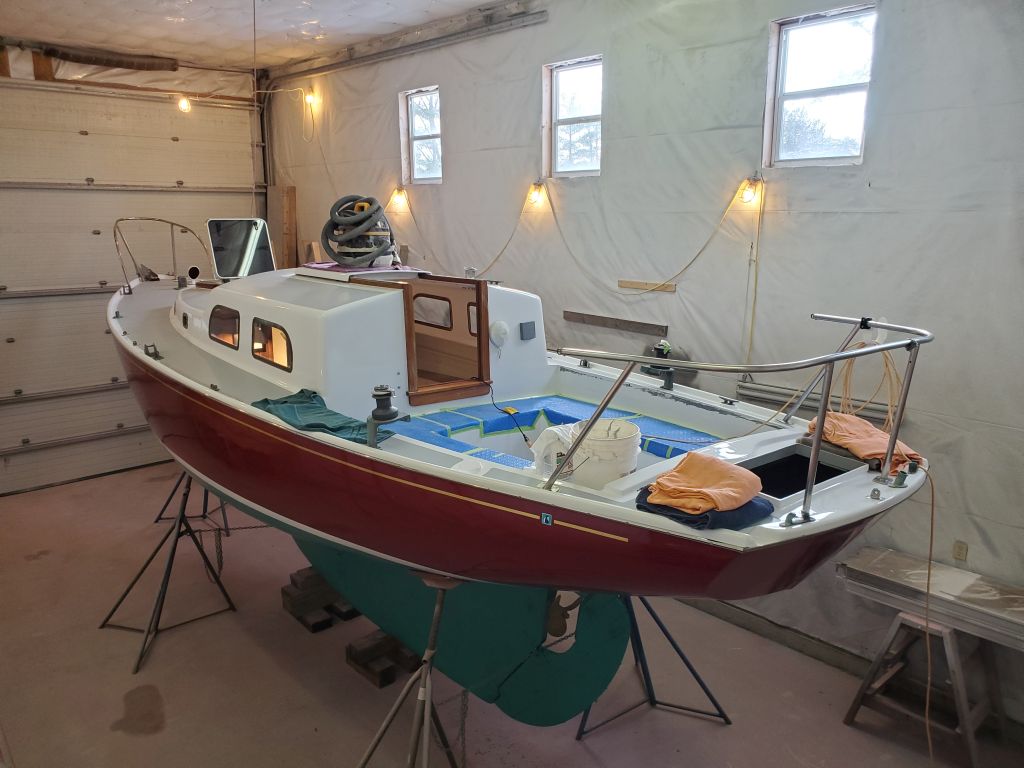
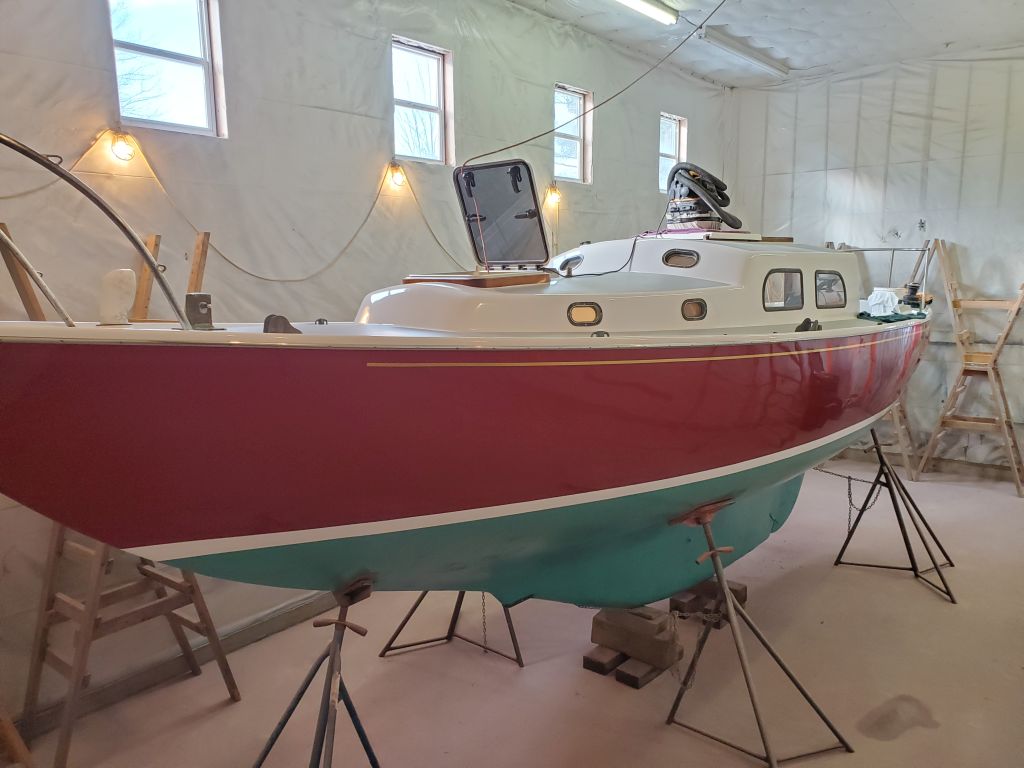
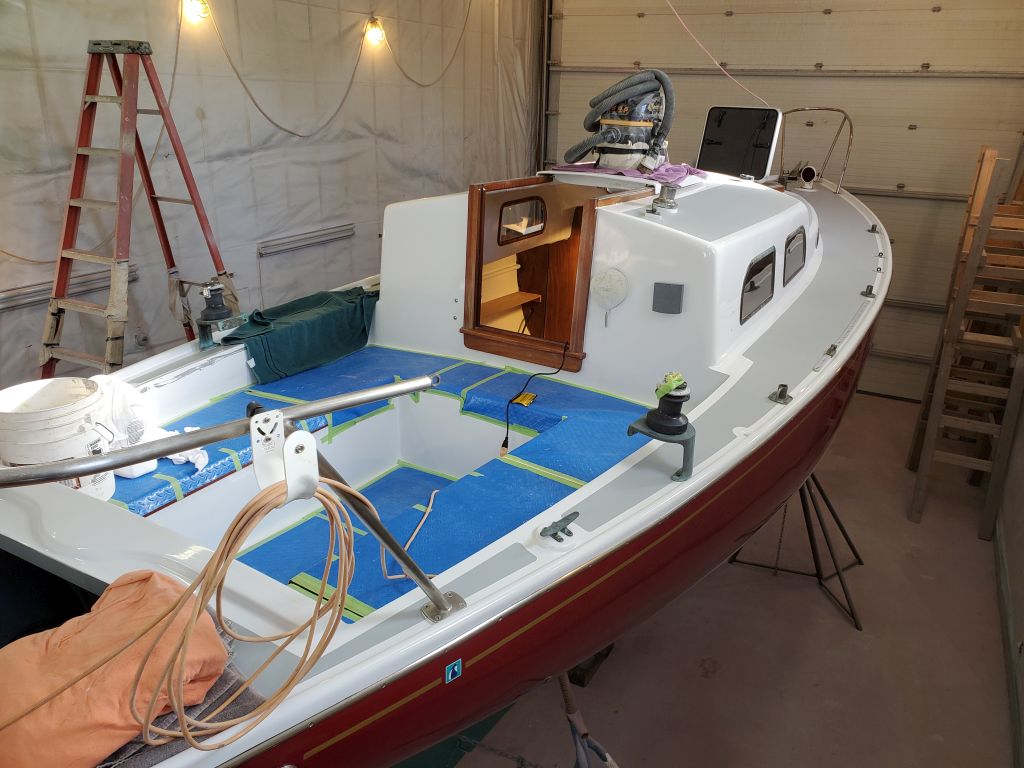
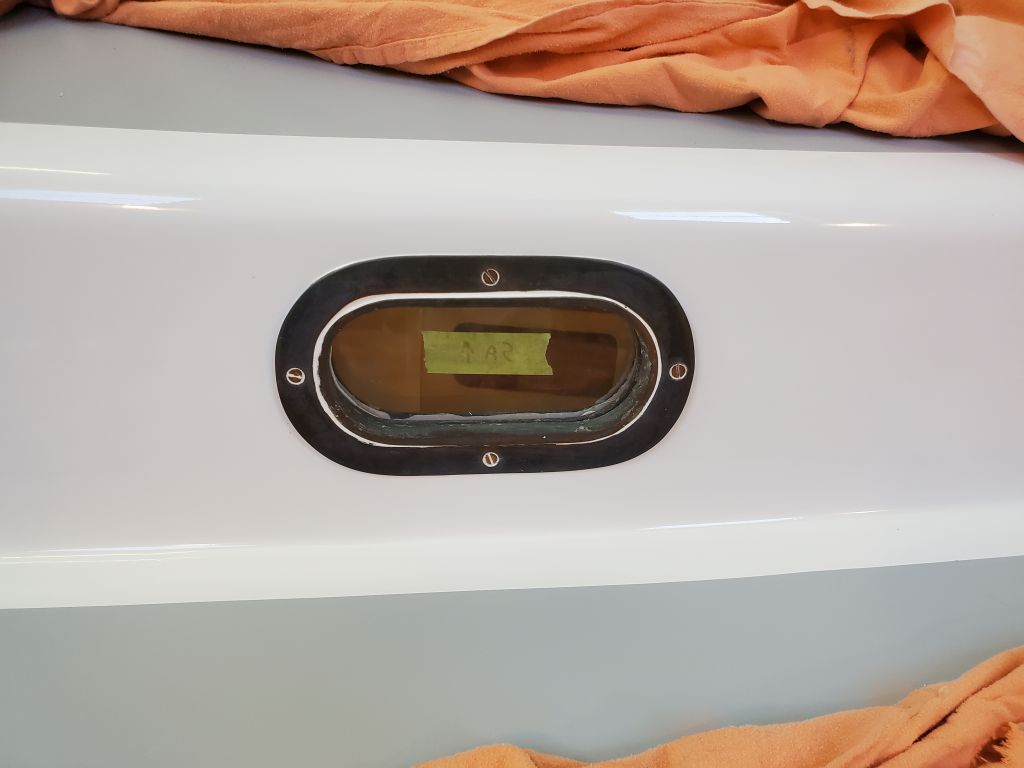
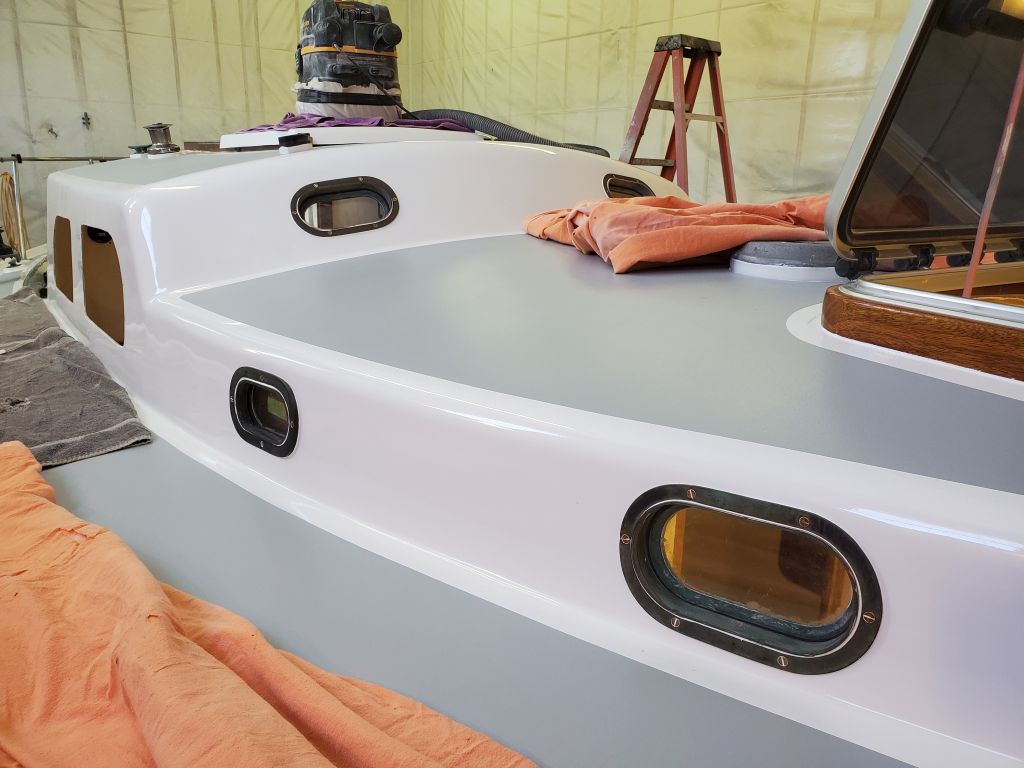
The first–and last, sort of–order of business was to install the four deadlights in the main cabin.  Over many years of installing this sort of unit, I’d become decent at finding ways to make it easier and successful, as well as ways to do the task by myself, but for all that I never went into the chore expecting ease and tranquility.

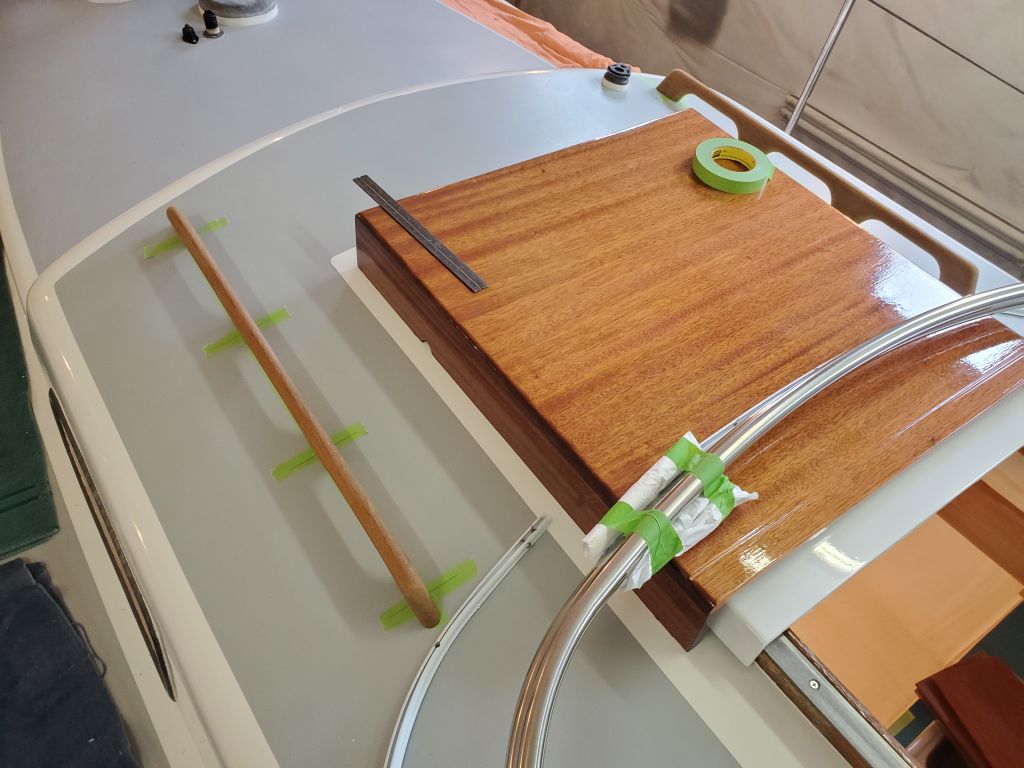
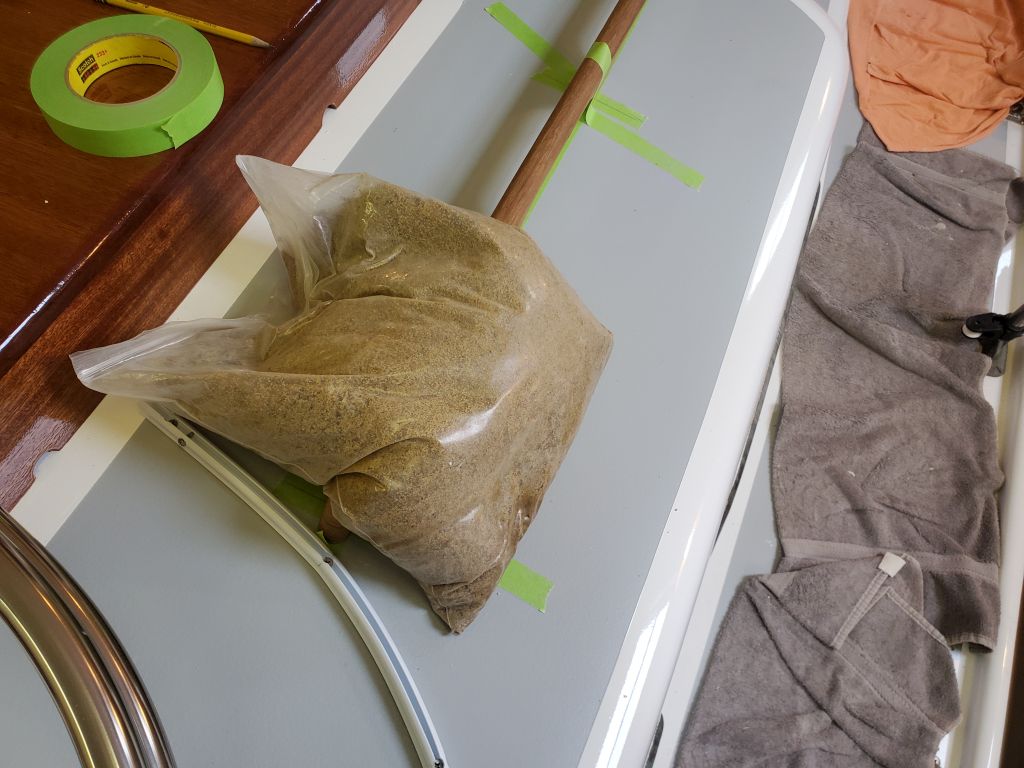
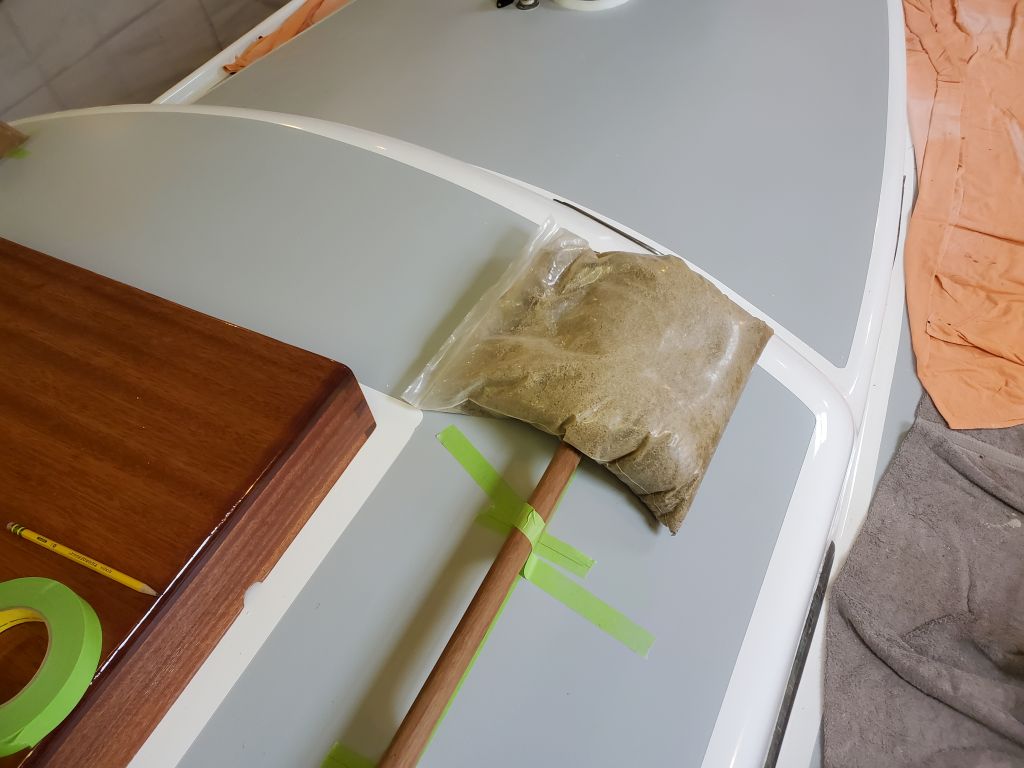
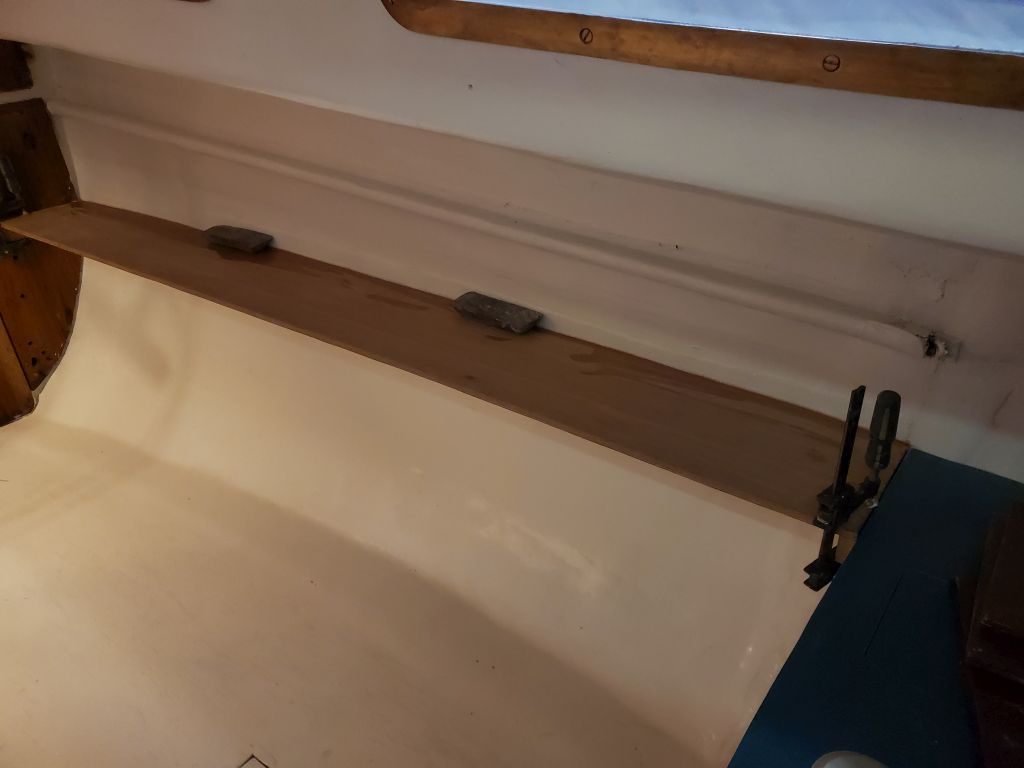
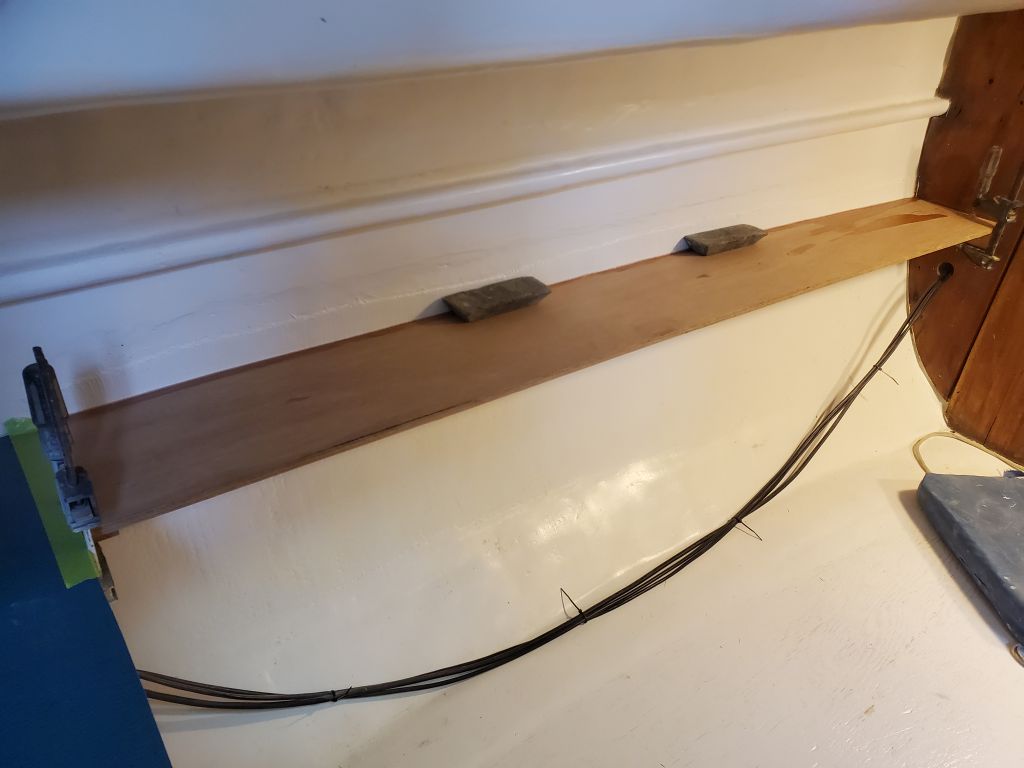
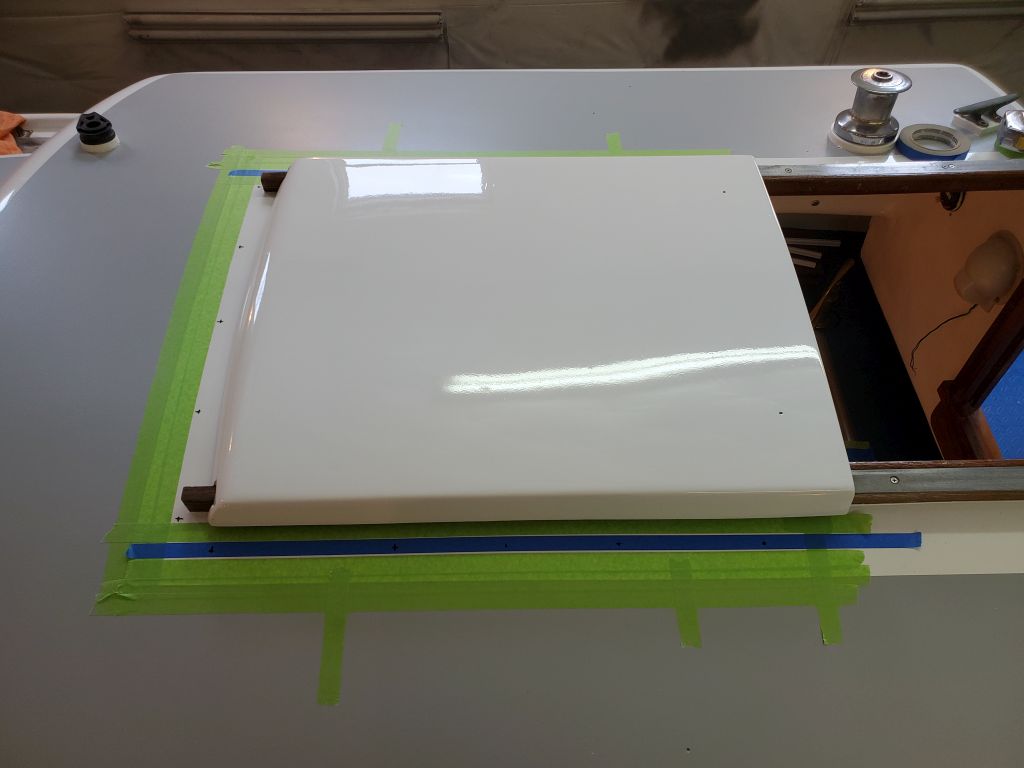
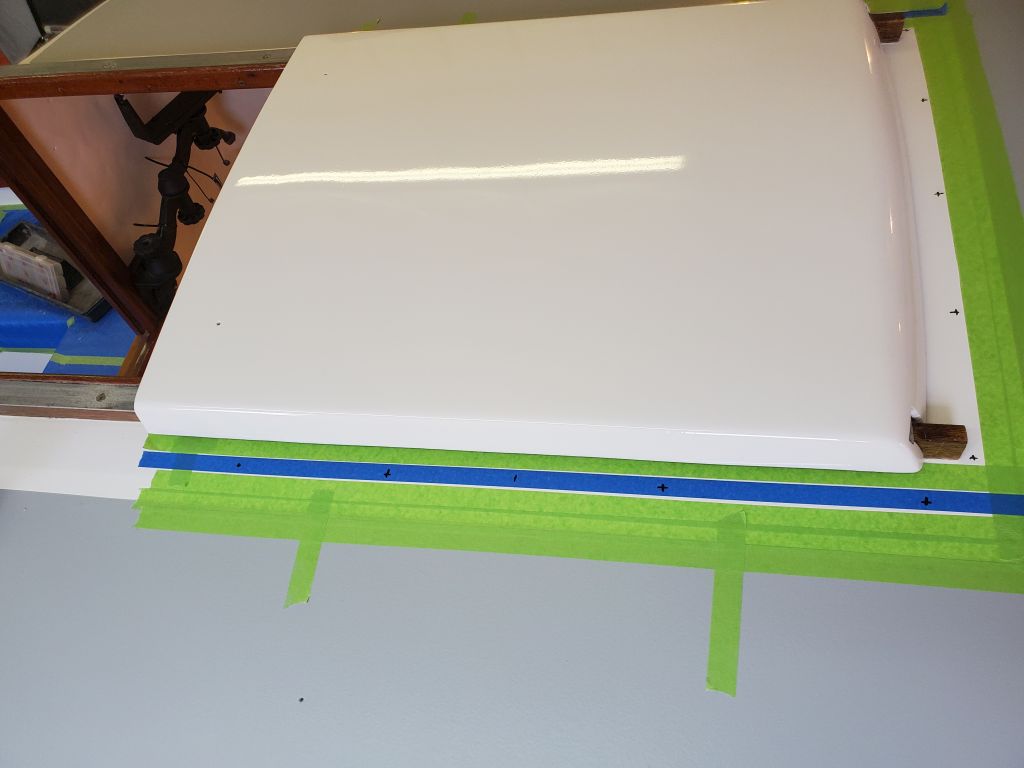
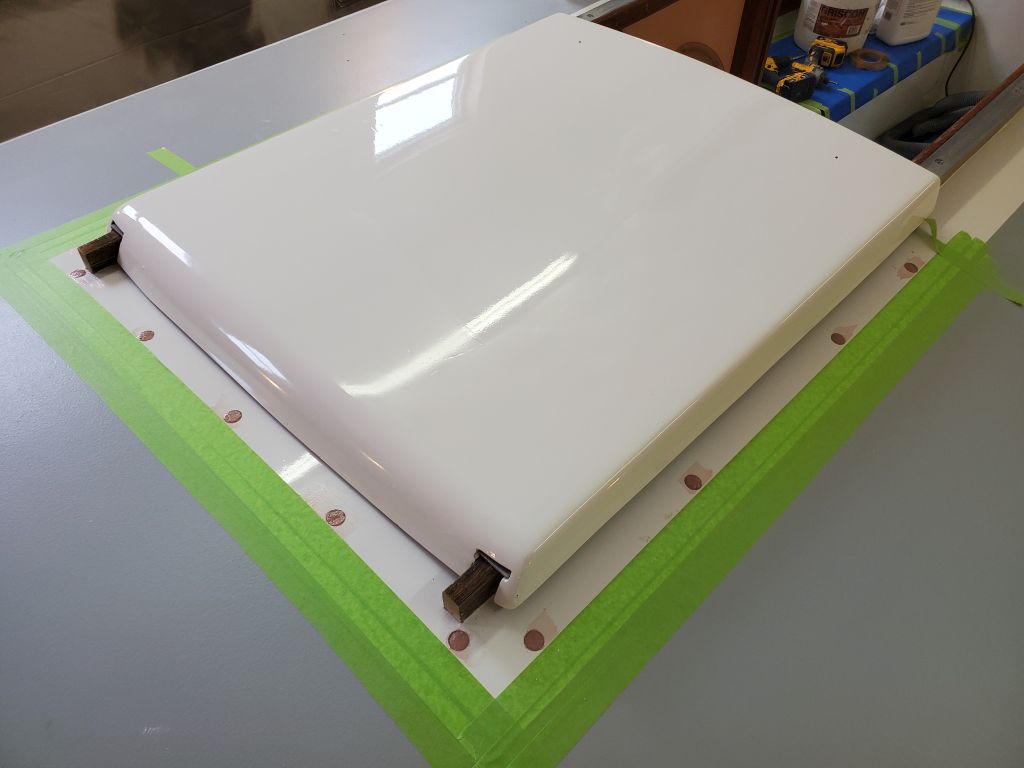
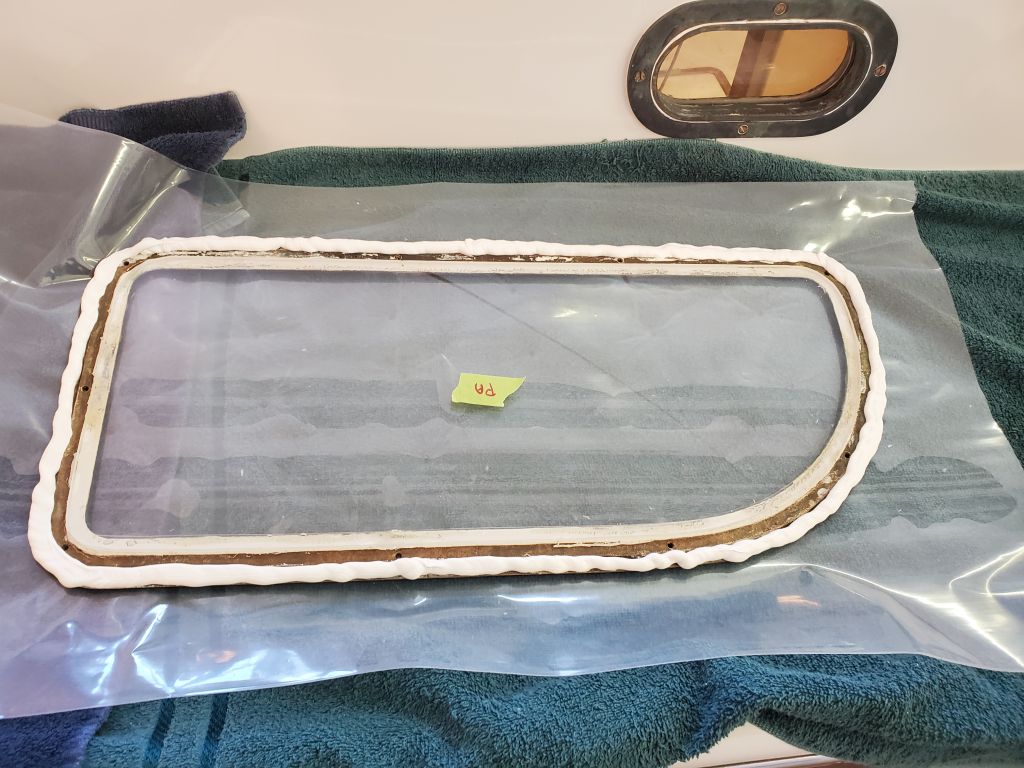
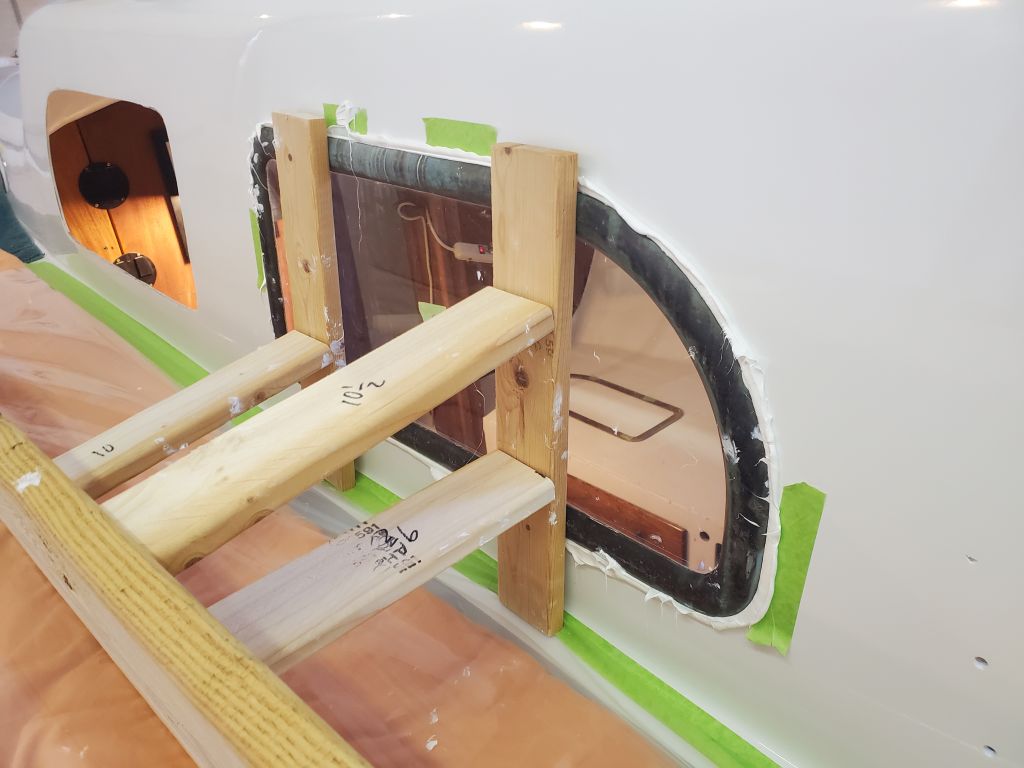
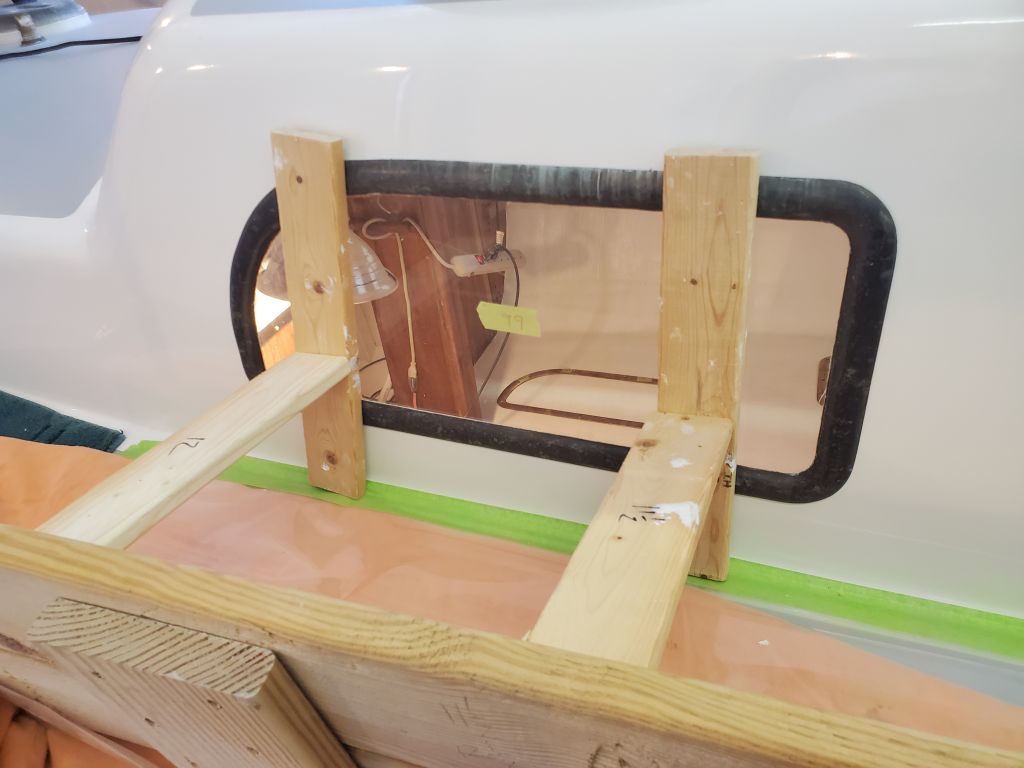
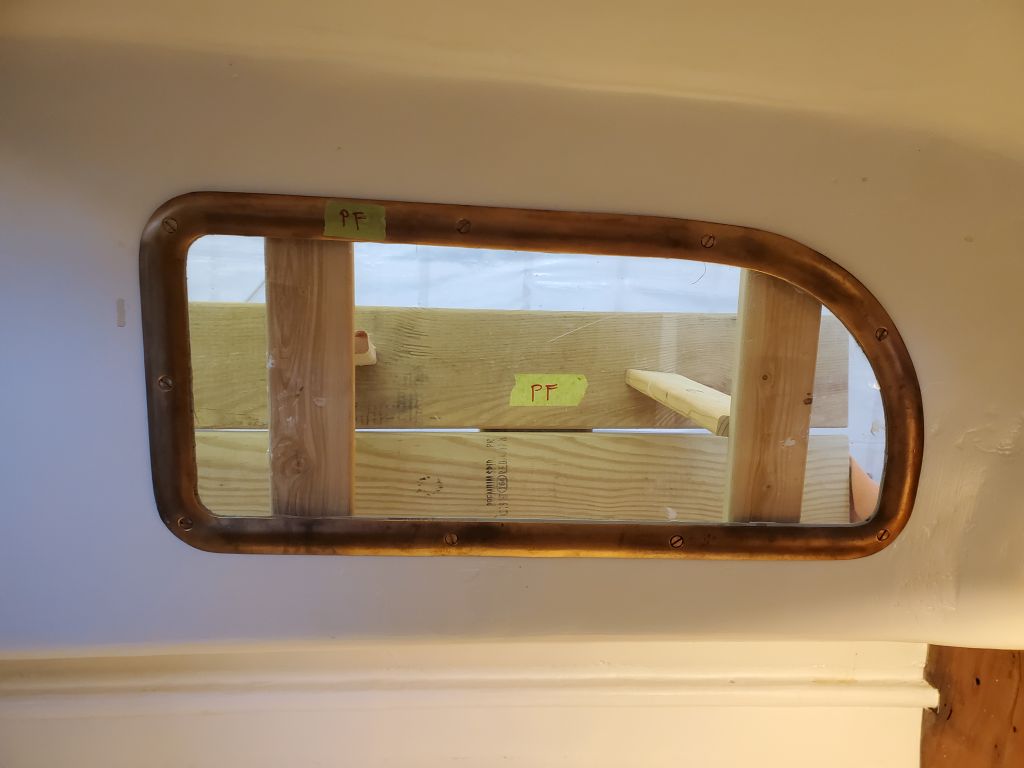
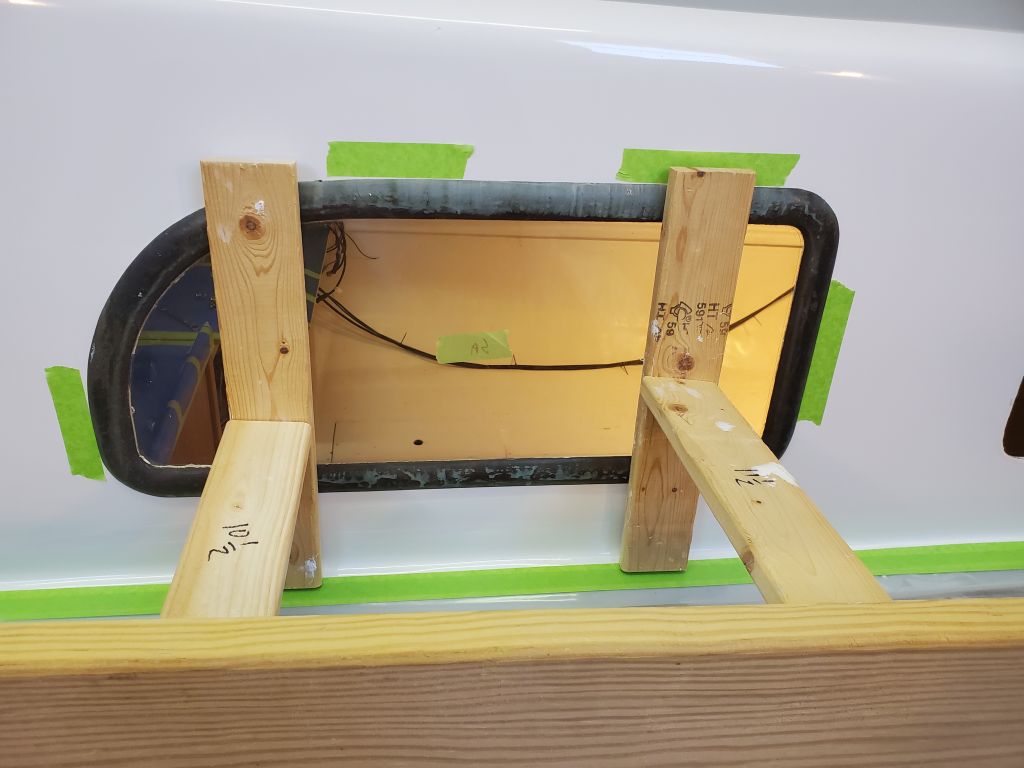
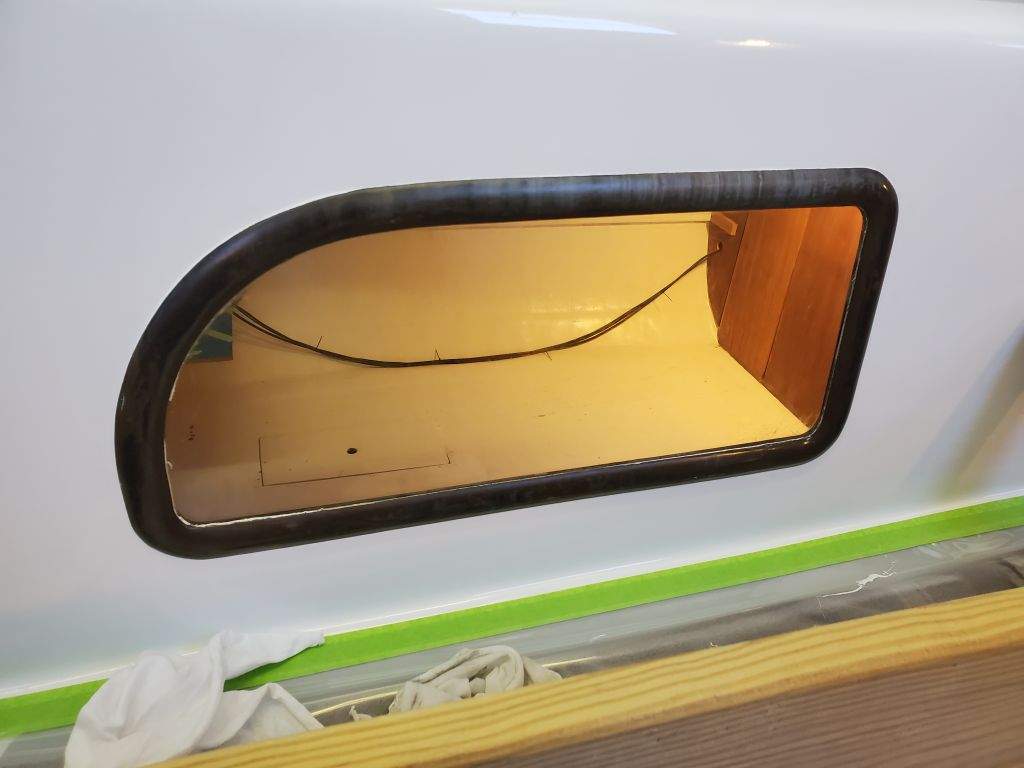
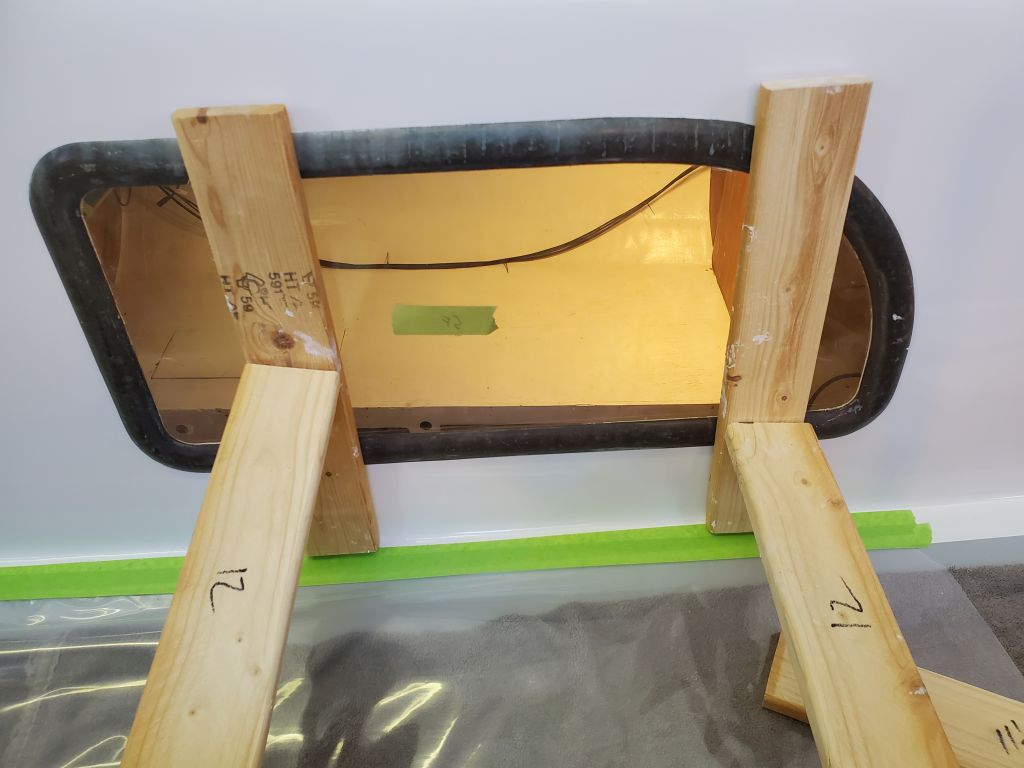
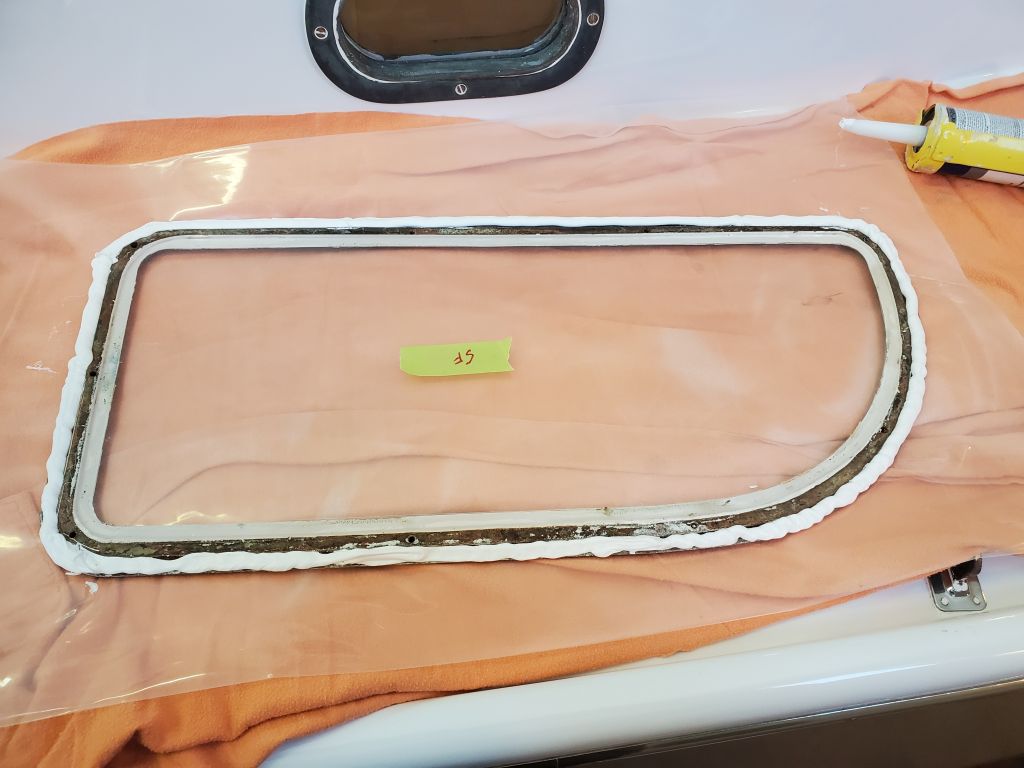
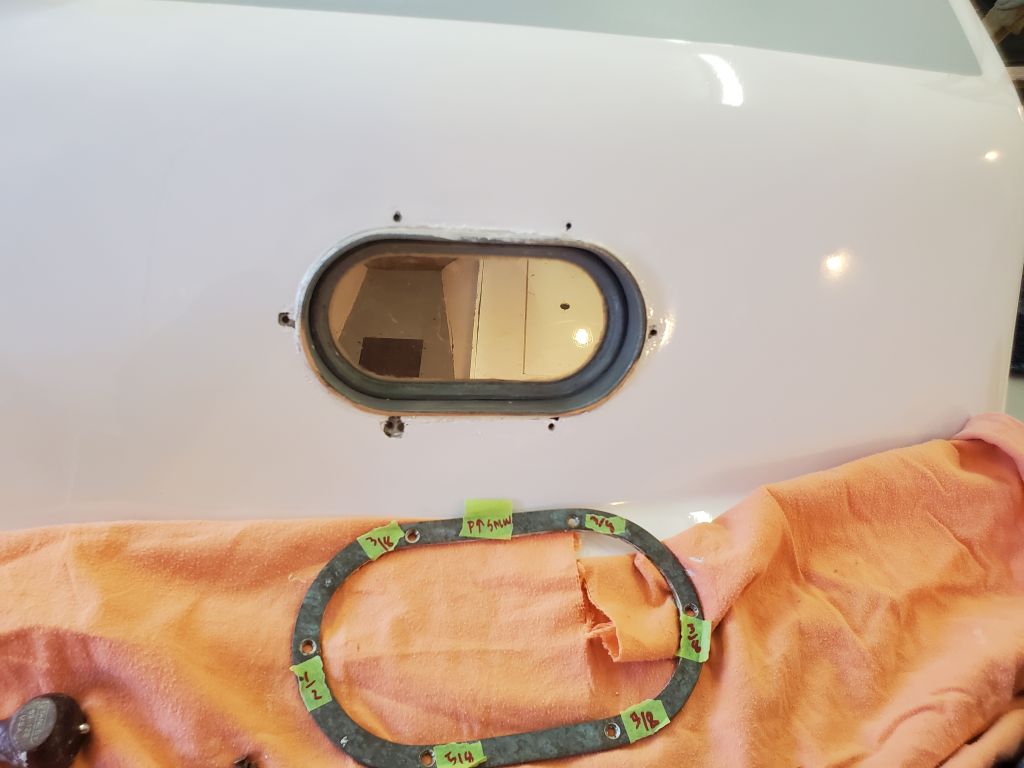
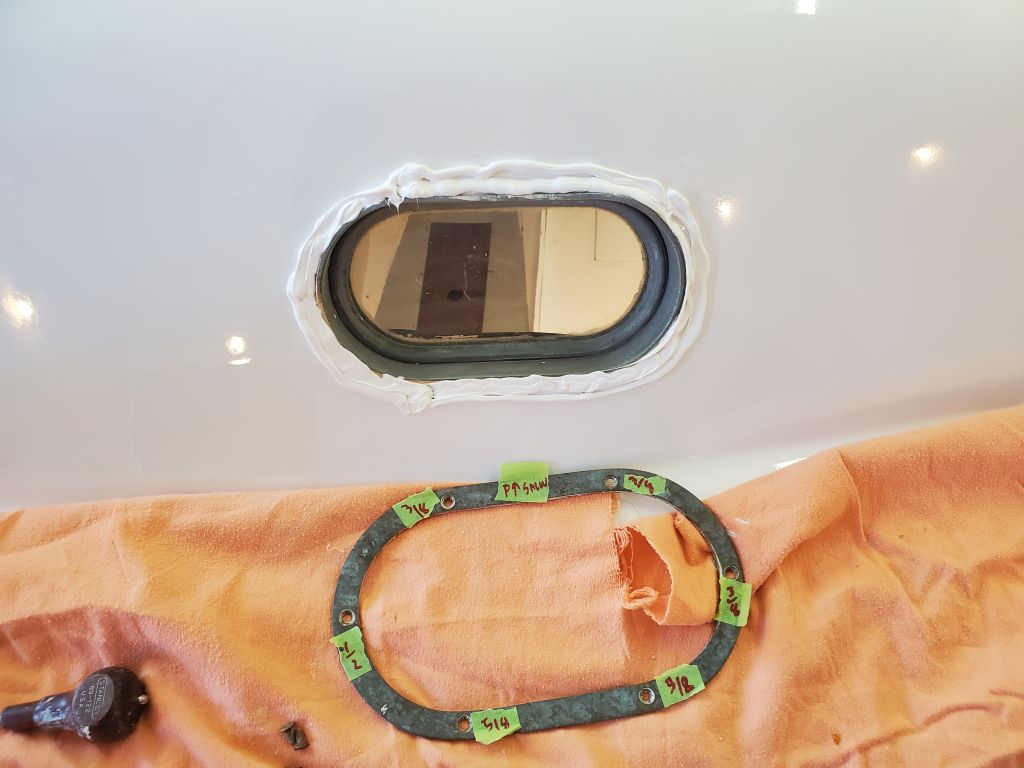
I’d first installed these lights about a year before, during phase 1 of this project, and at time devised a means of bracing the units in place from a board supported by the two nearby stanchions, and a series of different-length wooden braces.  I’d saved the various pieces of my bracing system, and now I got set up on the port side to begin the installation, beginning with some plastic and soft cloths taped over the deck for protection, and a couple old stanchion tubes I had around.  I even had a list of the brace lengths I’d used the last time, to make it easier to setup each frame’s installation.  When I removed these frames early during this phase of the project, I did not remove the one year-old acrylic lenses, as there was no reason to, so the frames were all ready to go (I’d cleaned off the old sealant earlier).

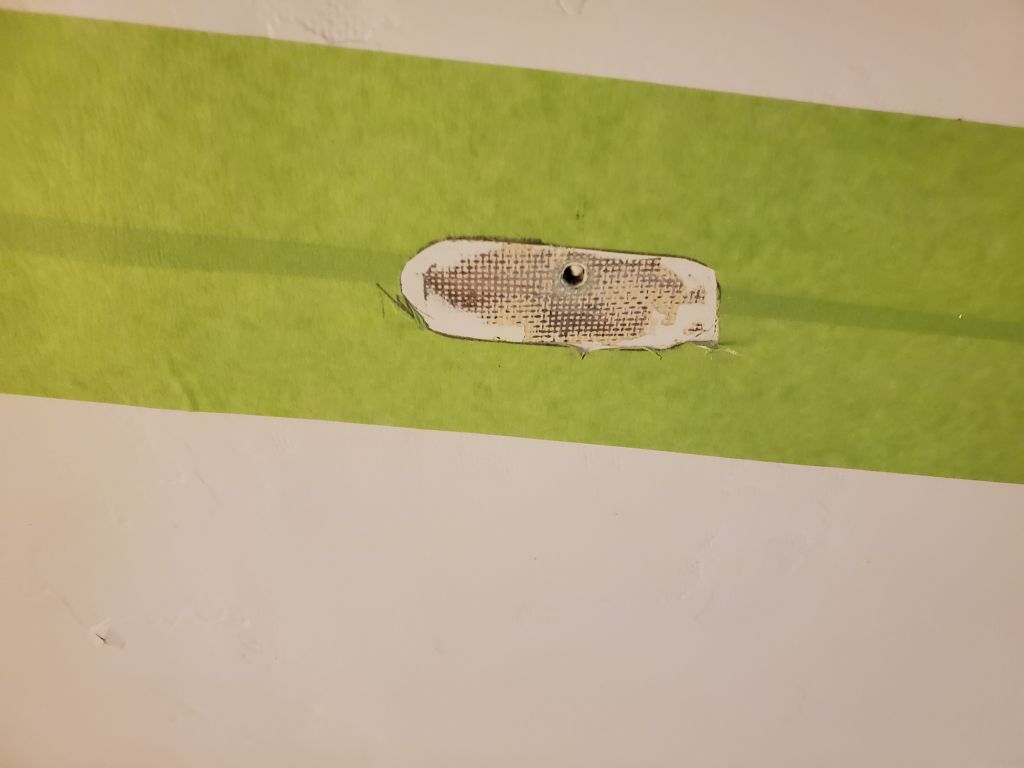
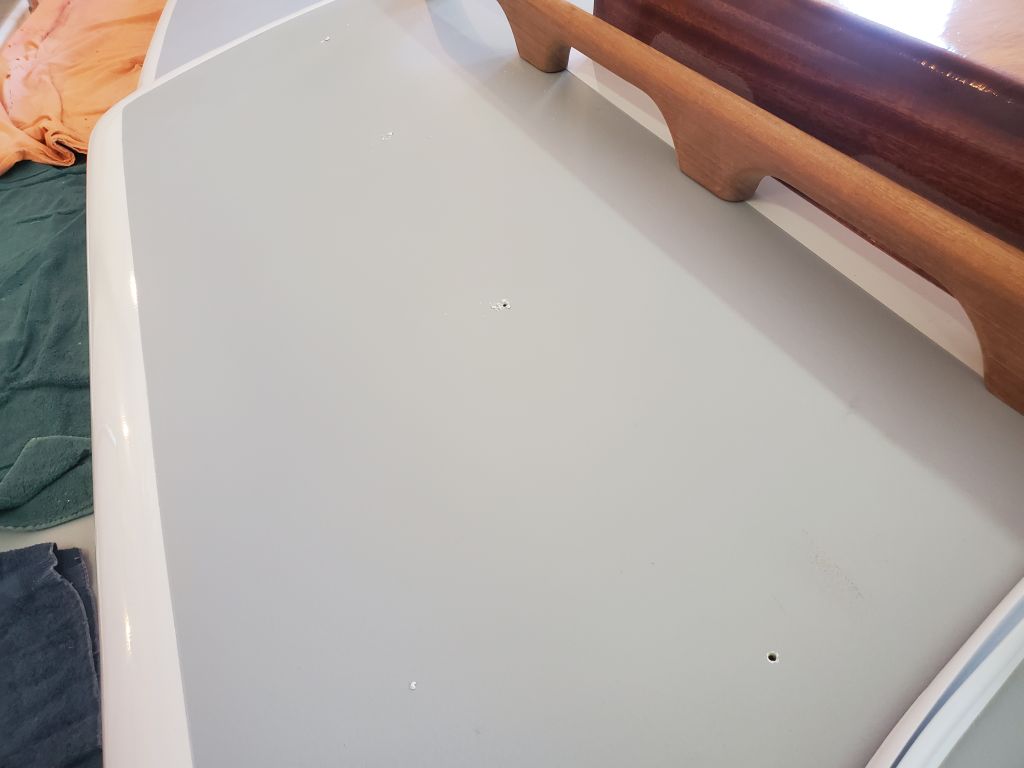
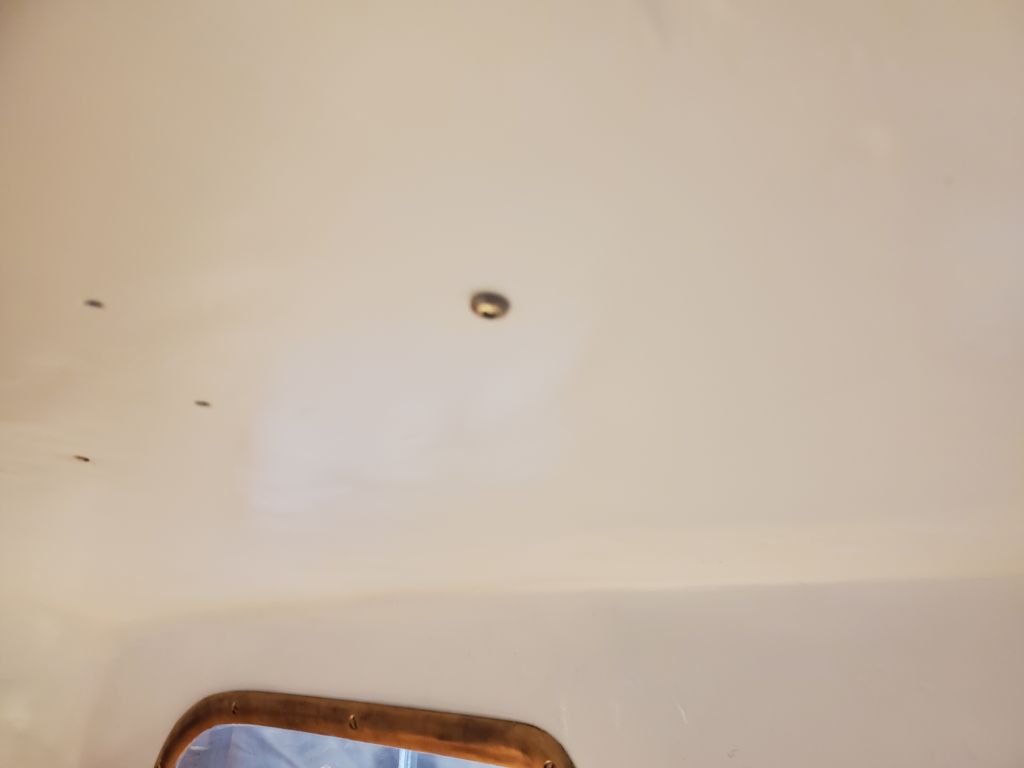
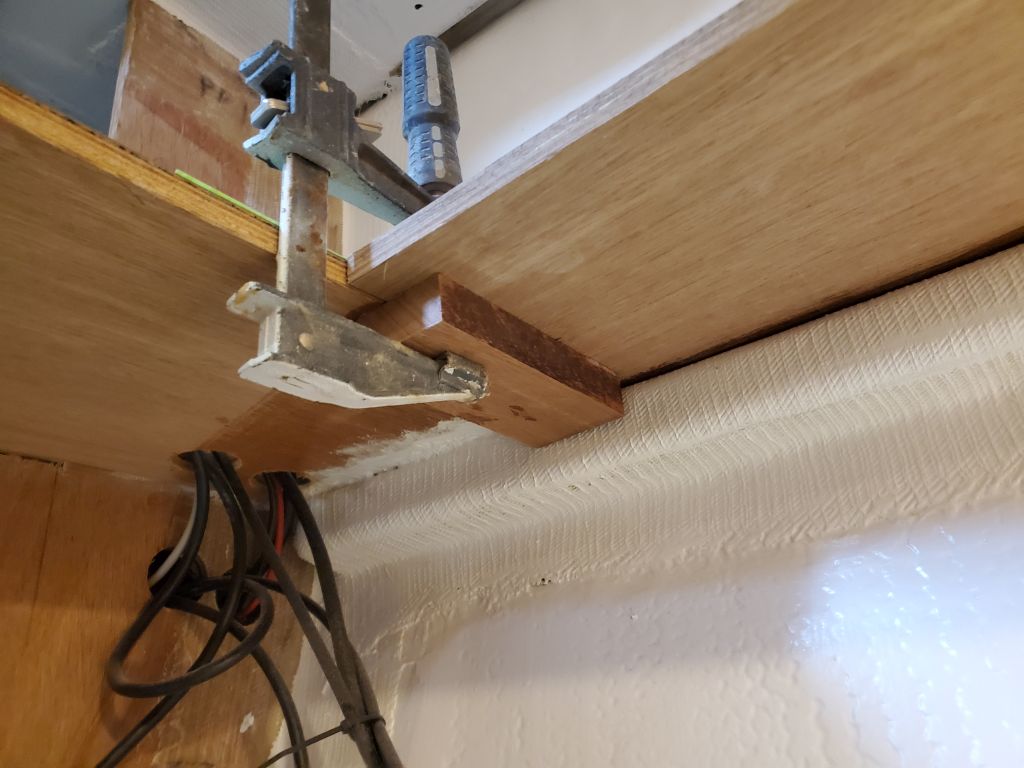
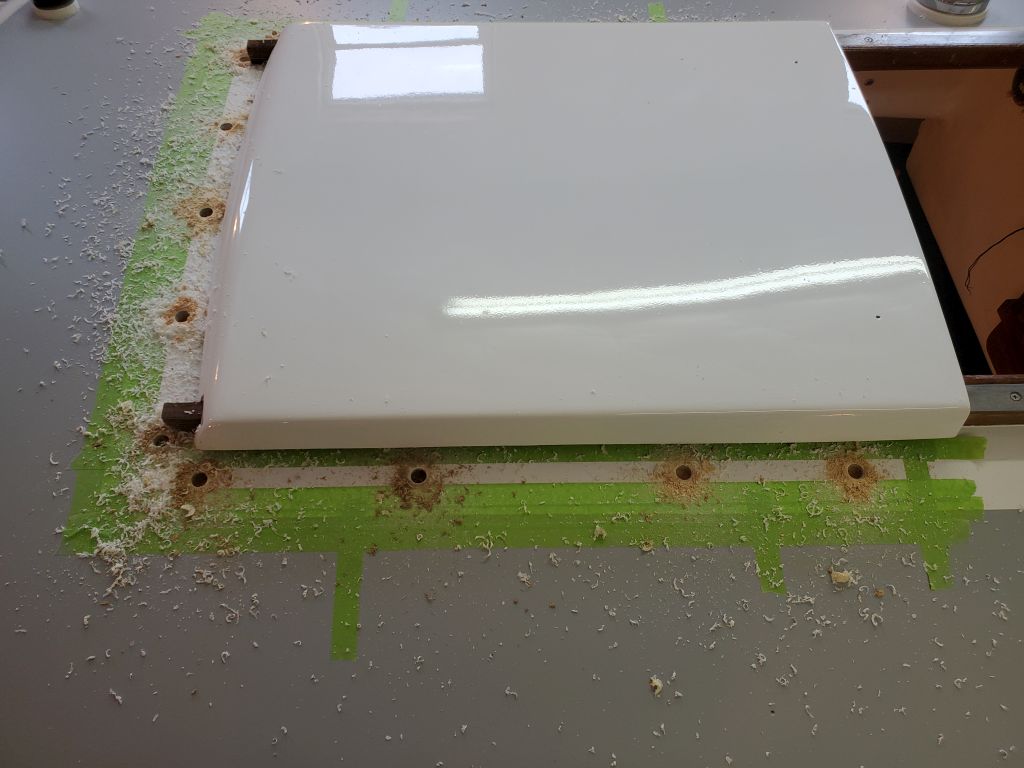
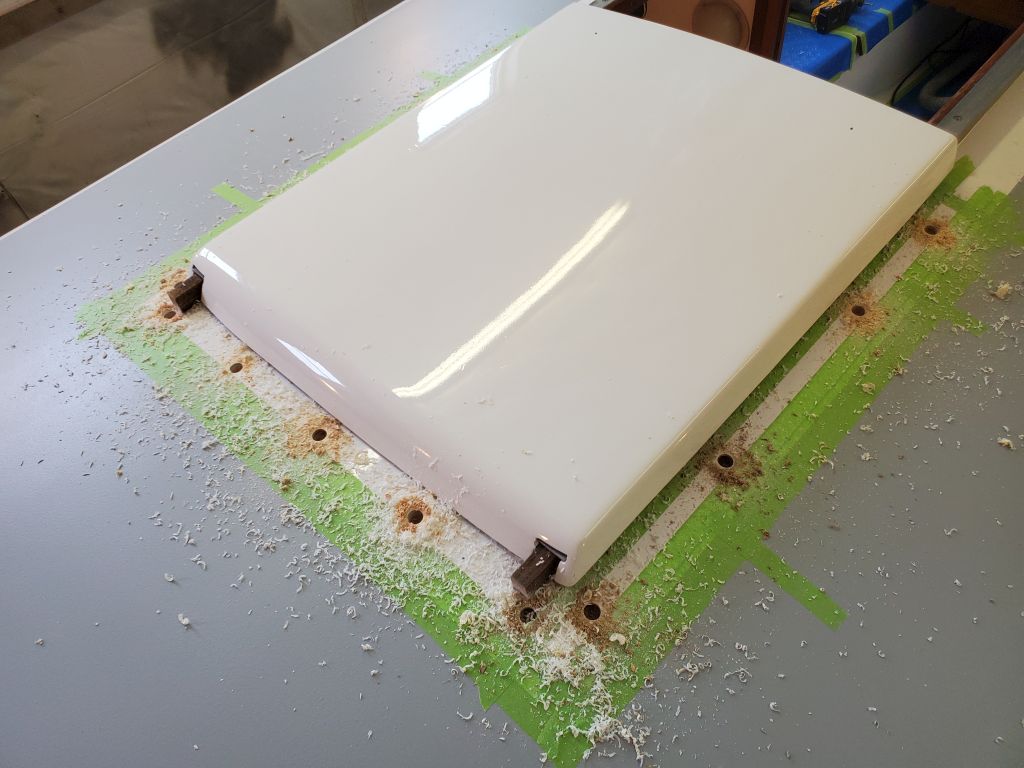
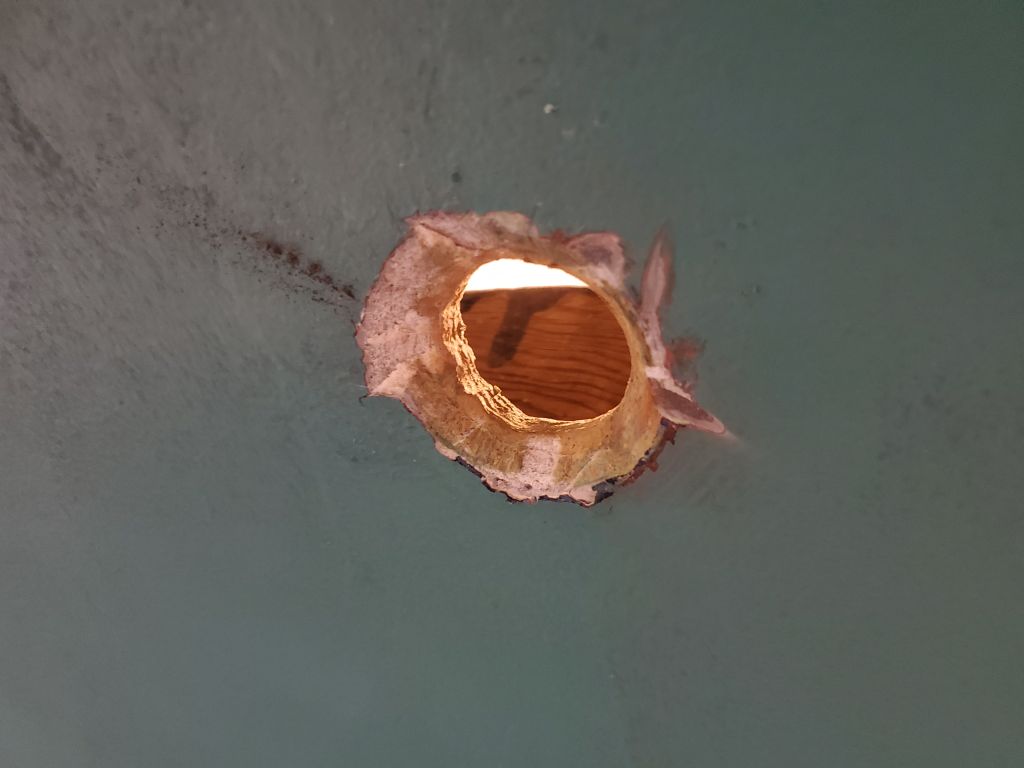
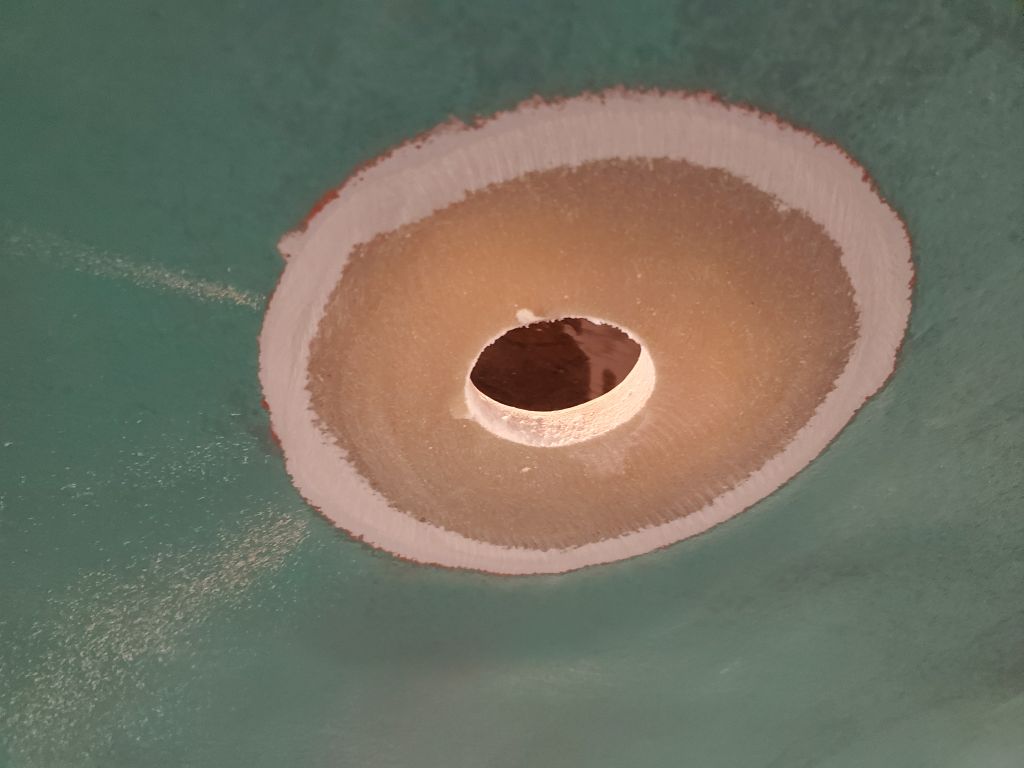
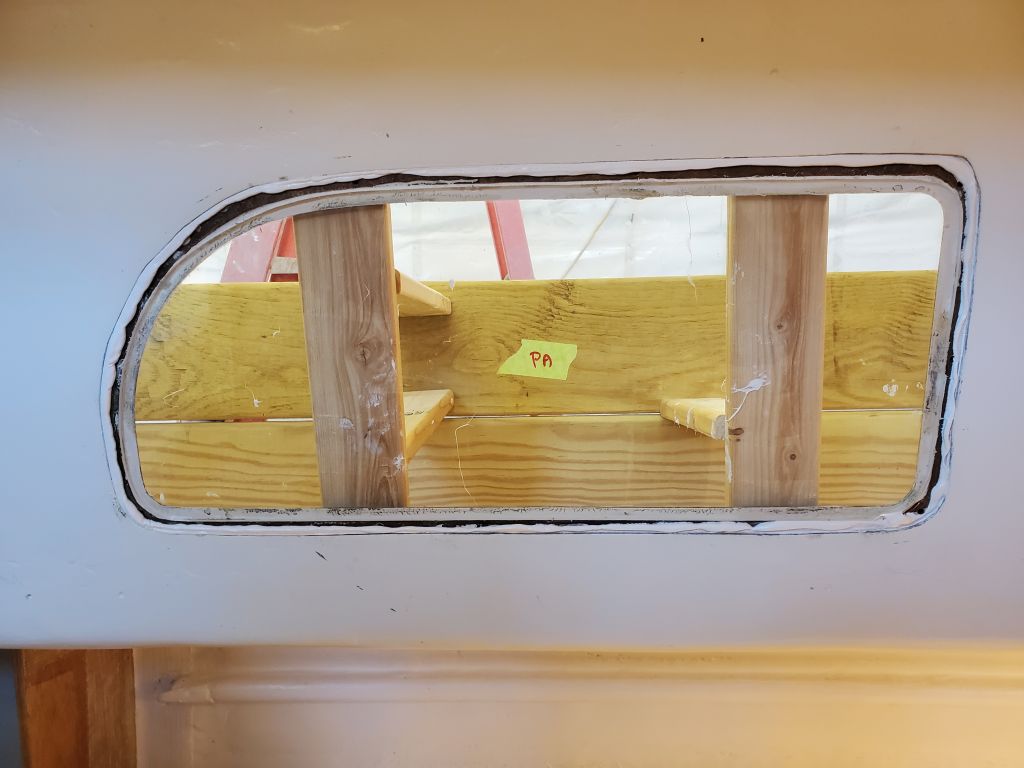
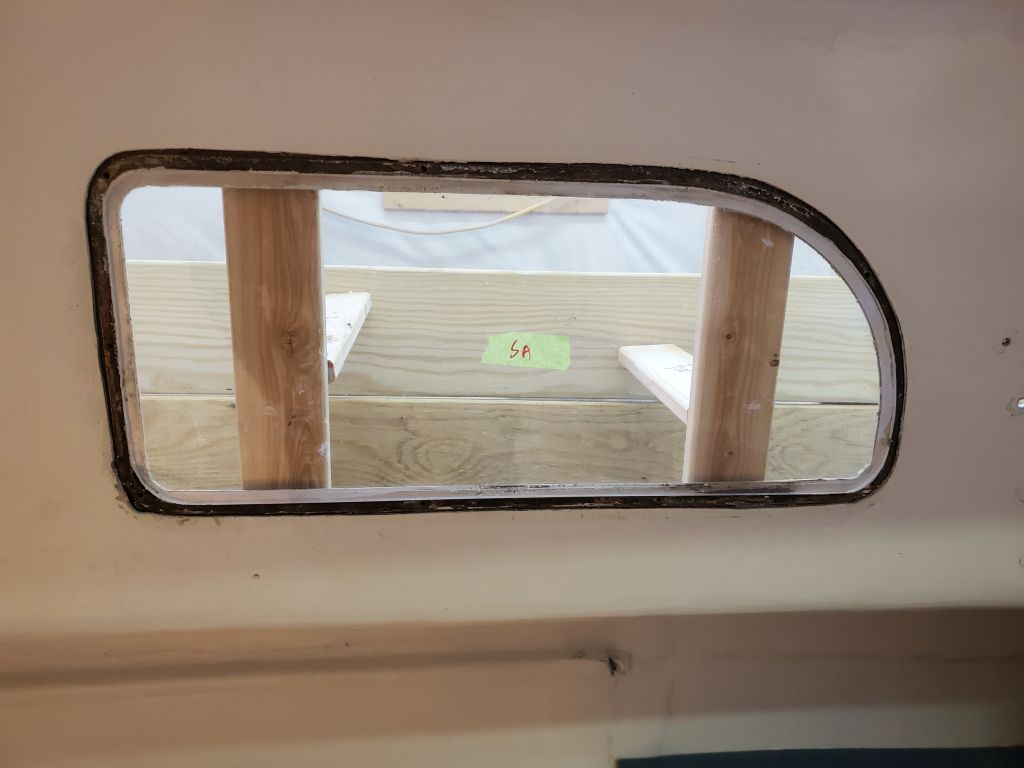
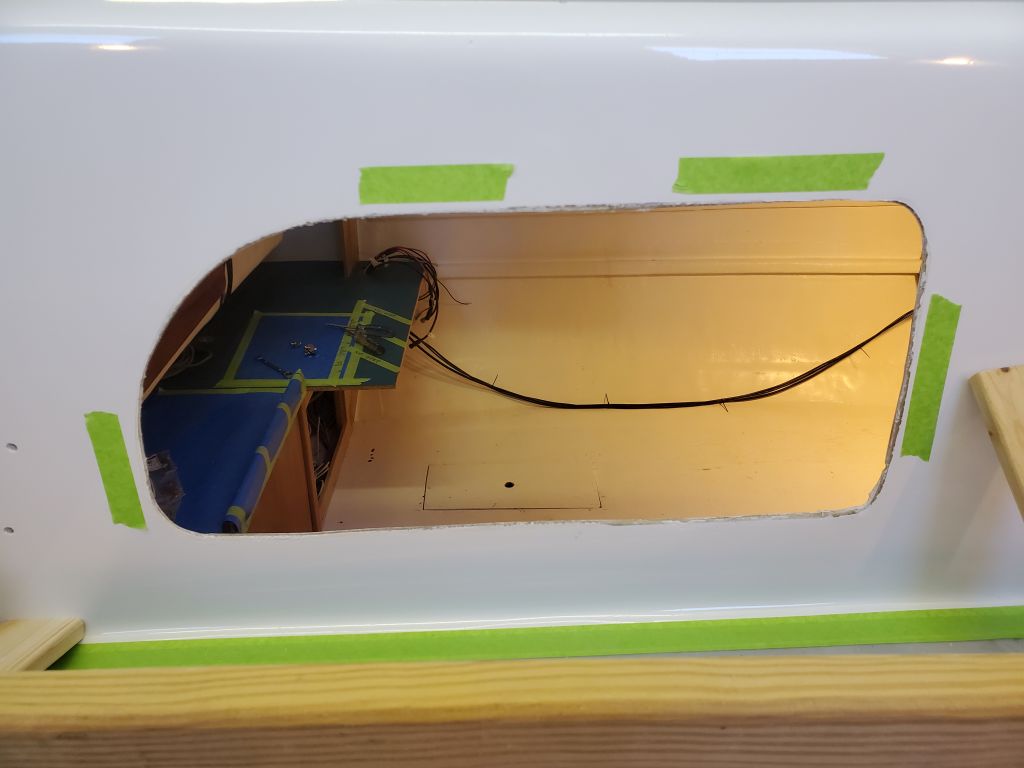
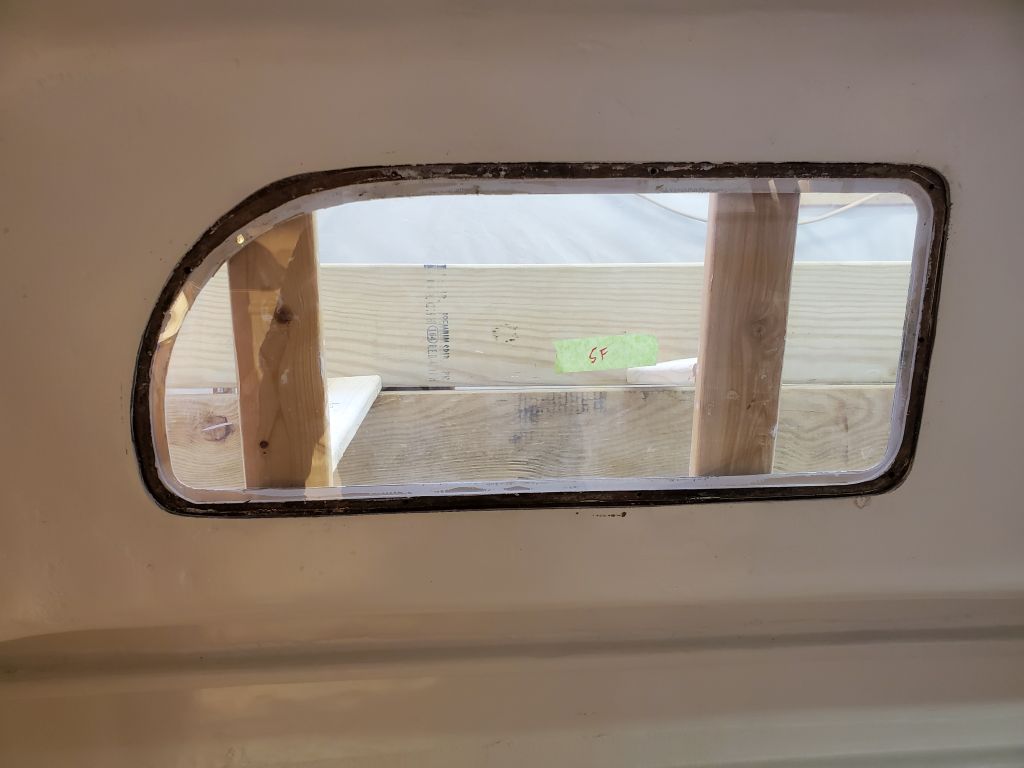
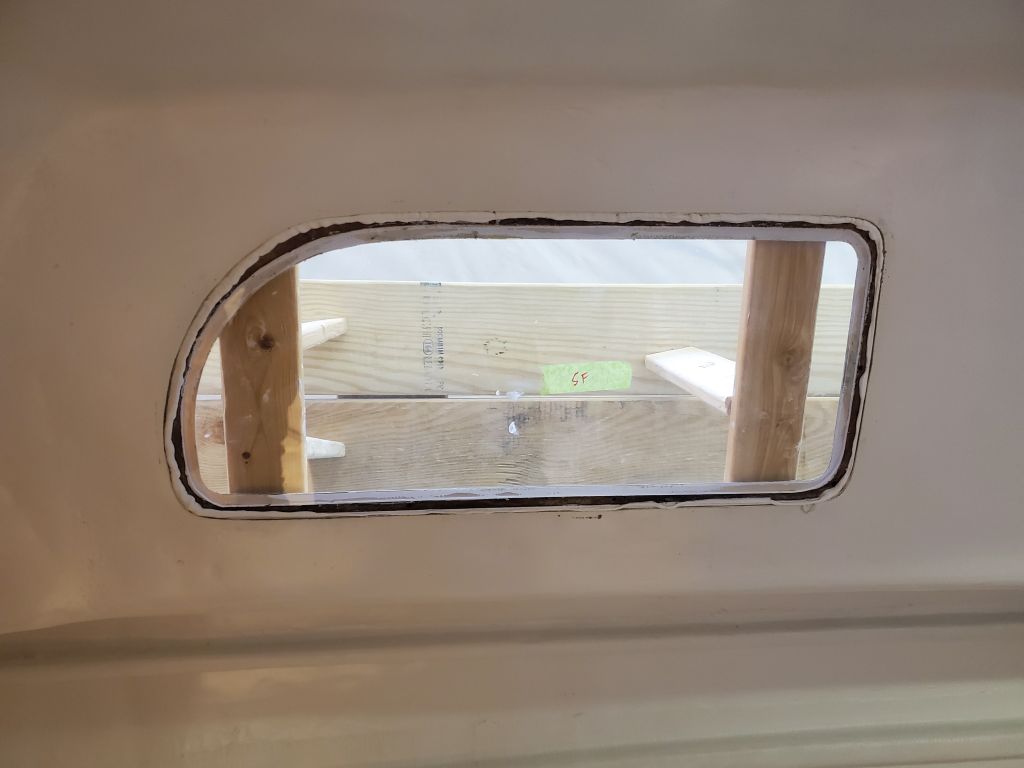
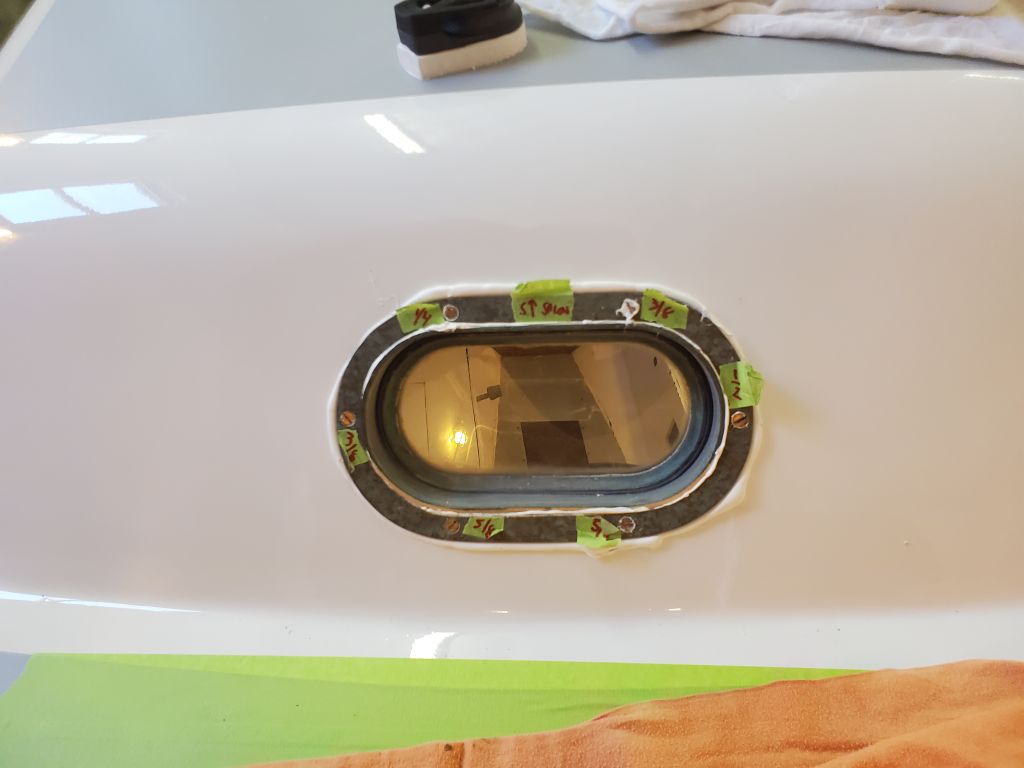
For the first frame–port aft–I began by dry-fitting and bracing the frame from the outside, then went in the boat to check the alignment.  These frames had very little overlap on the outside, and the positioning was critical to ensure the maximum overlap while ensuring the inner part of the frame fit correctly within the opening.

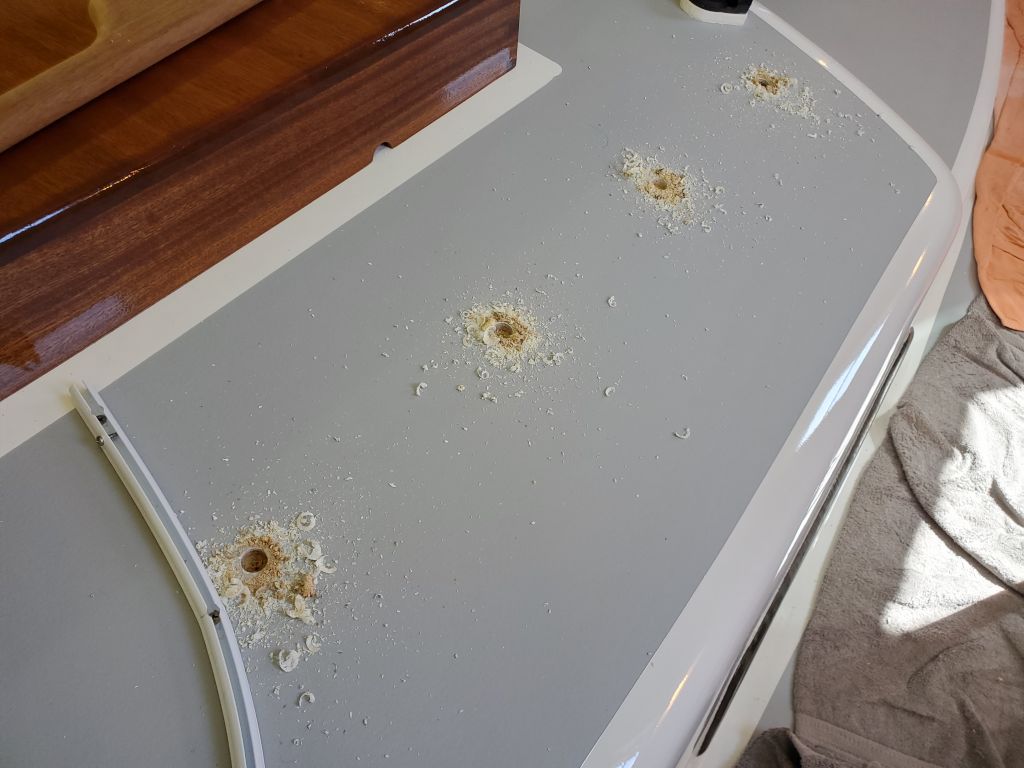
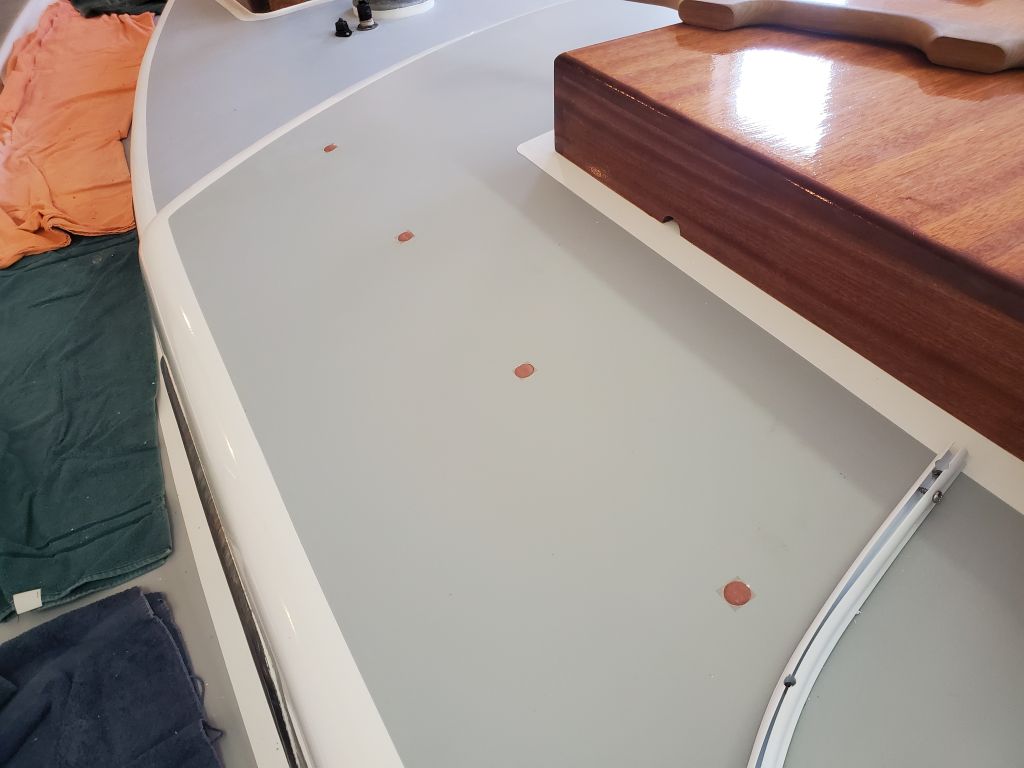
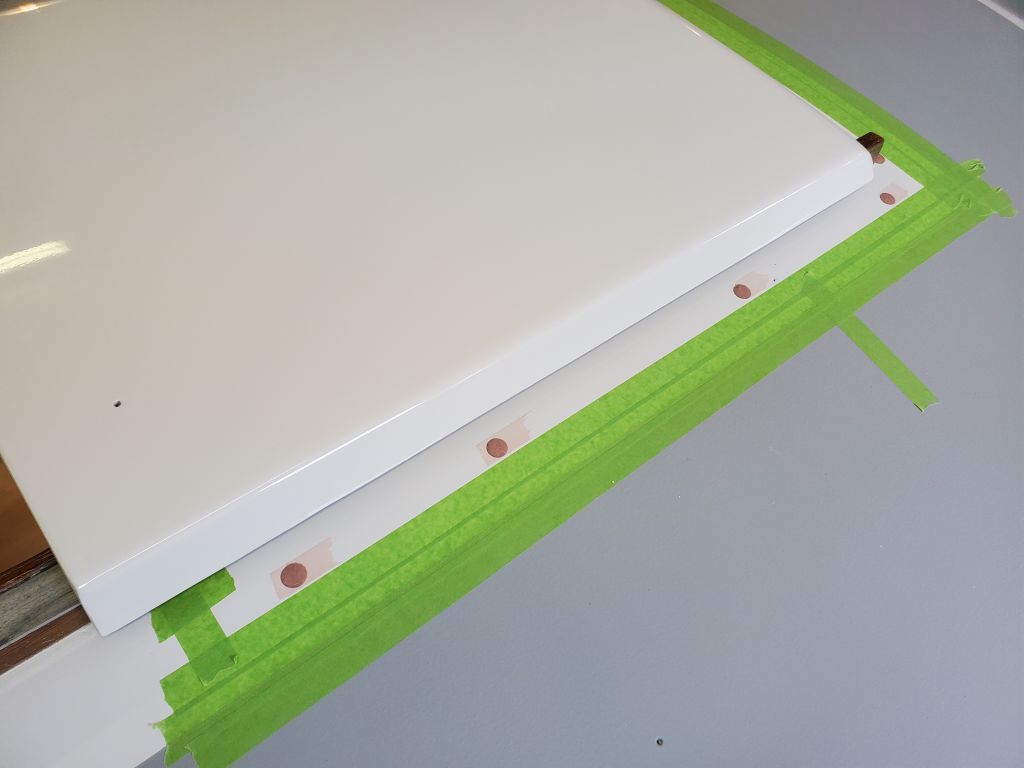
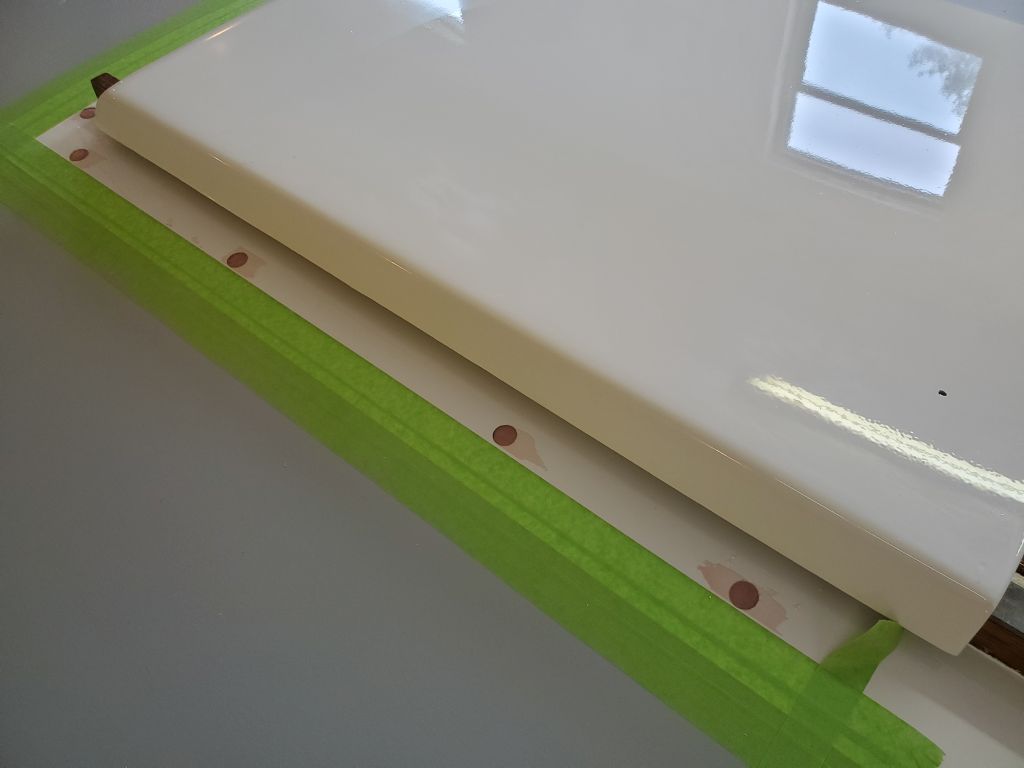
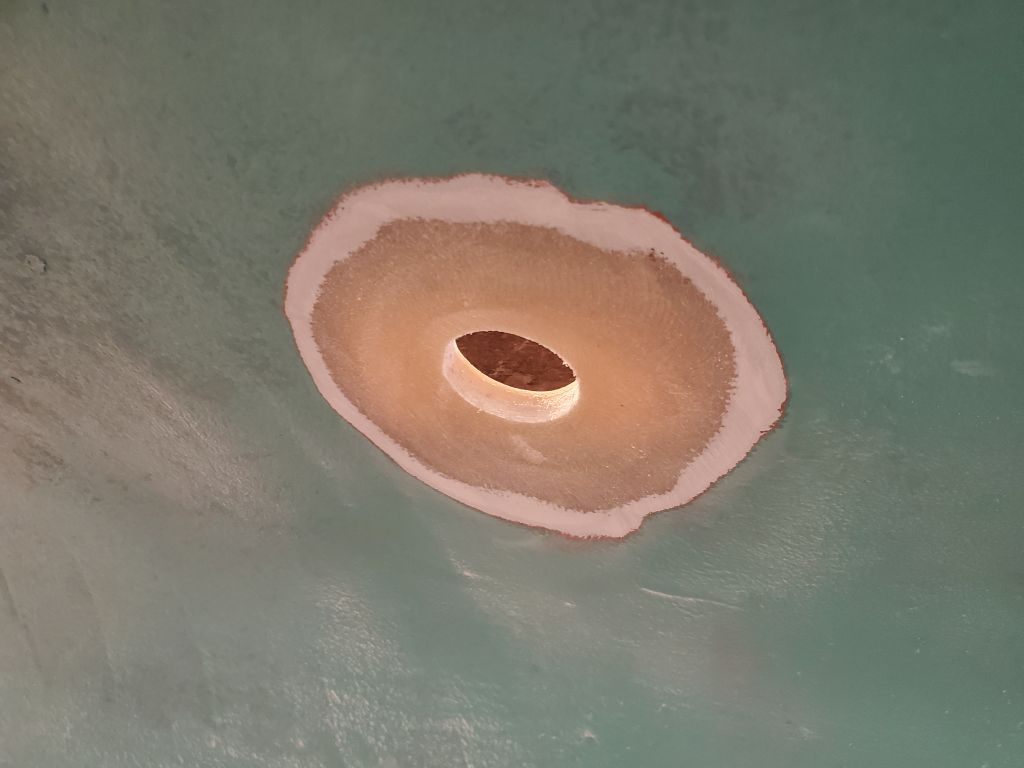
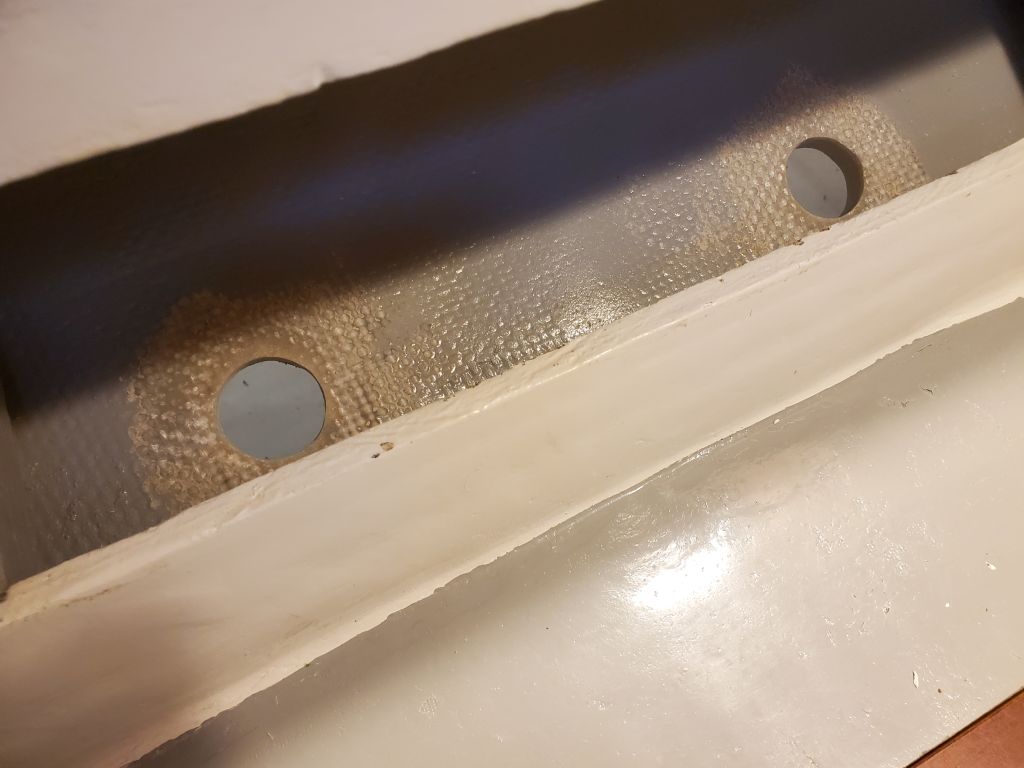
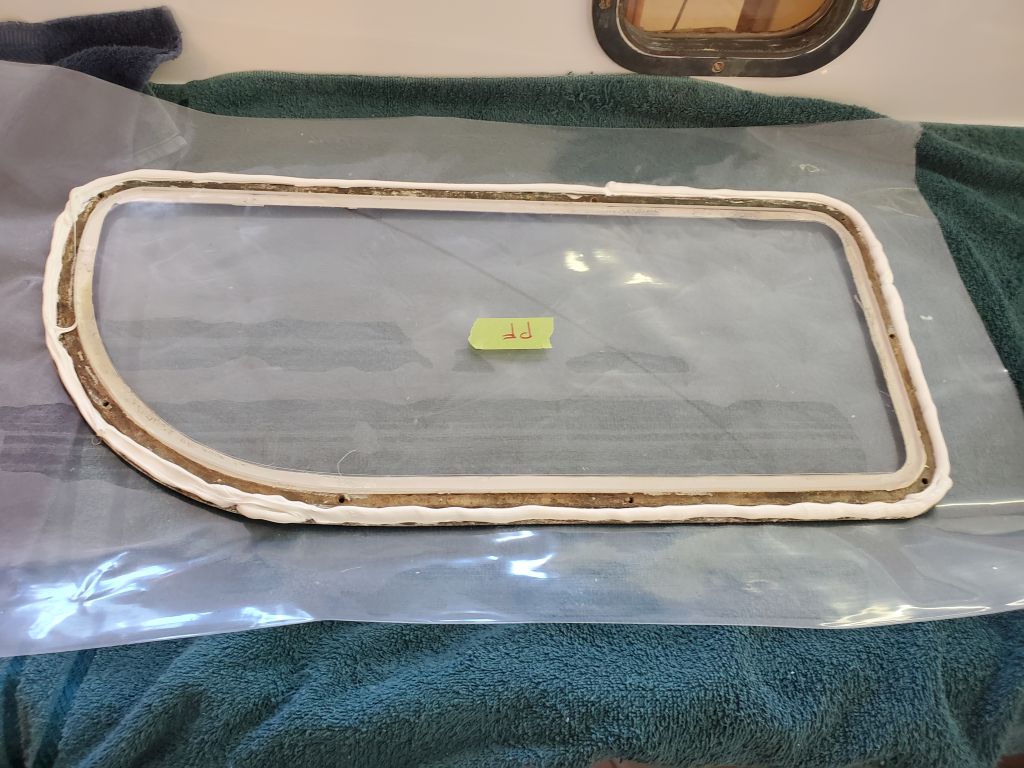
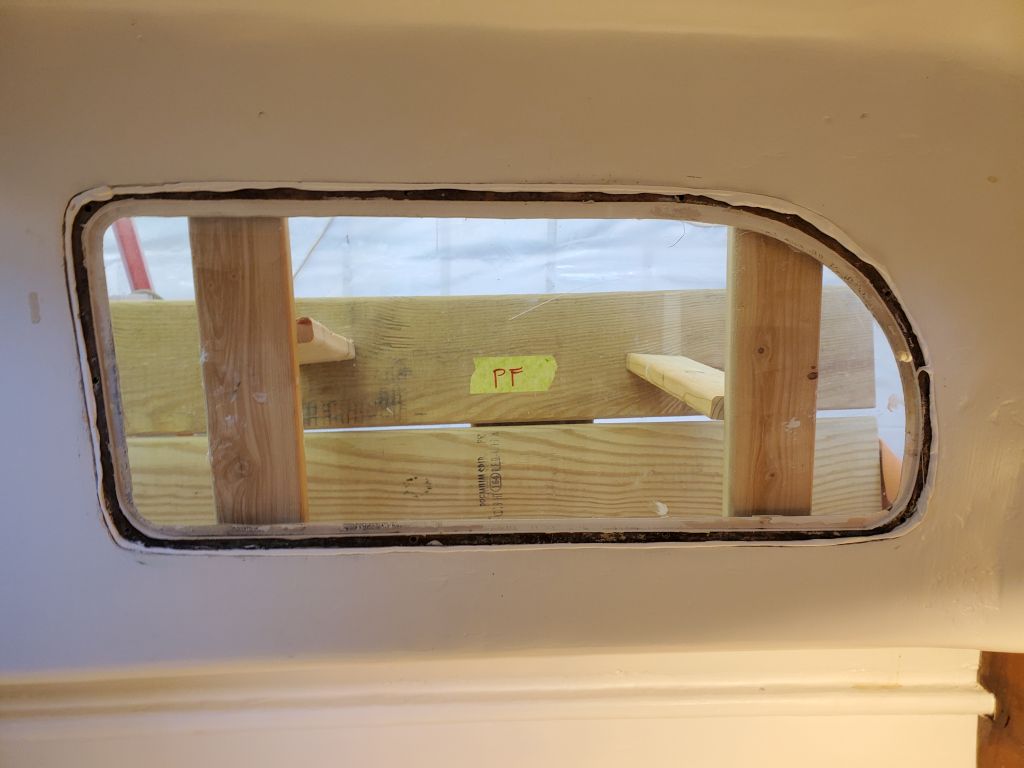
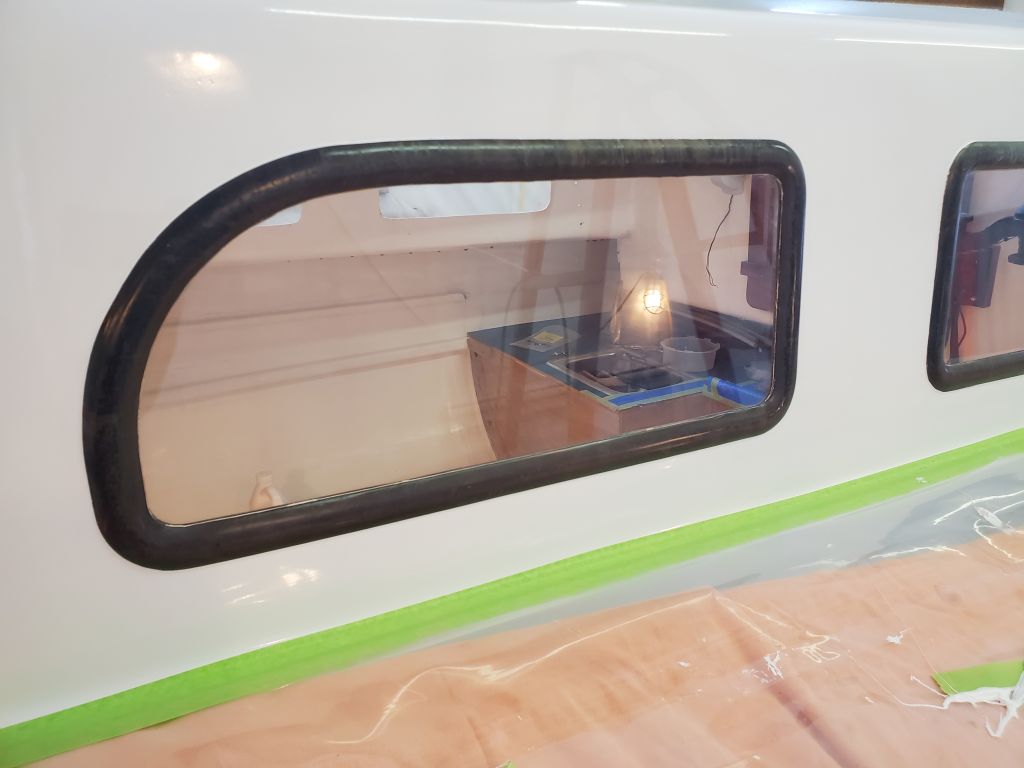
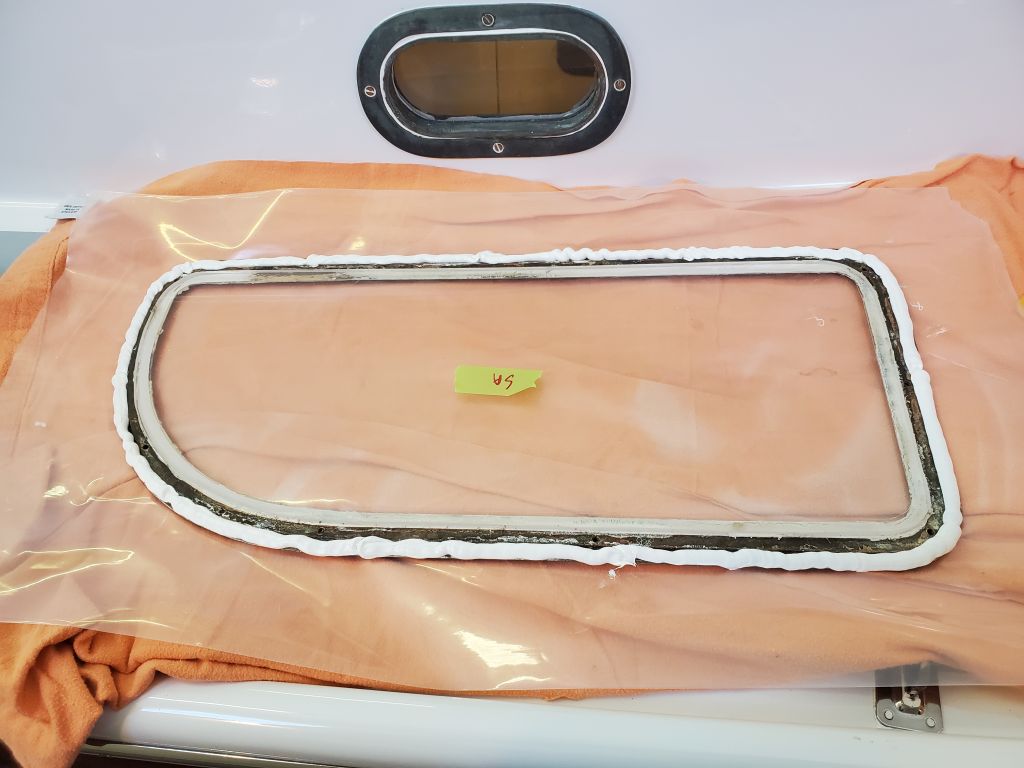
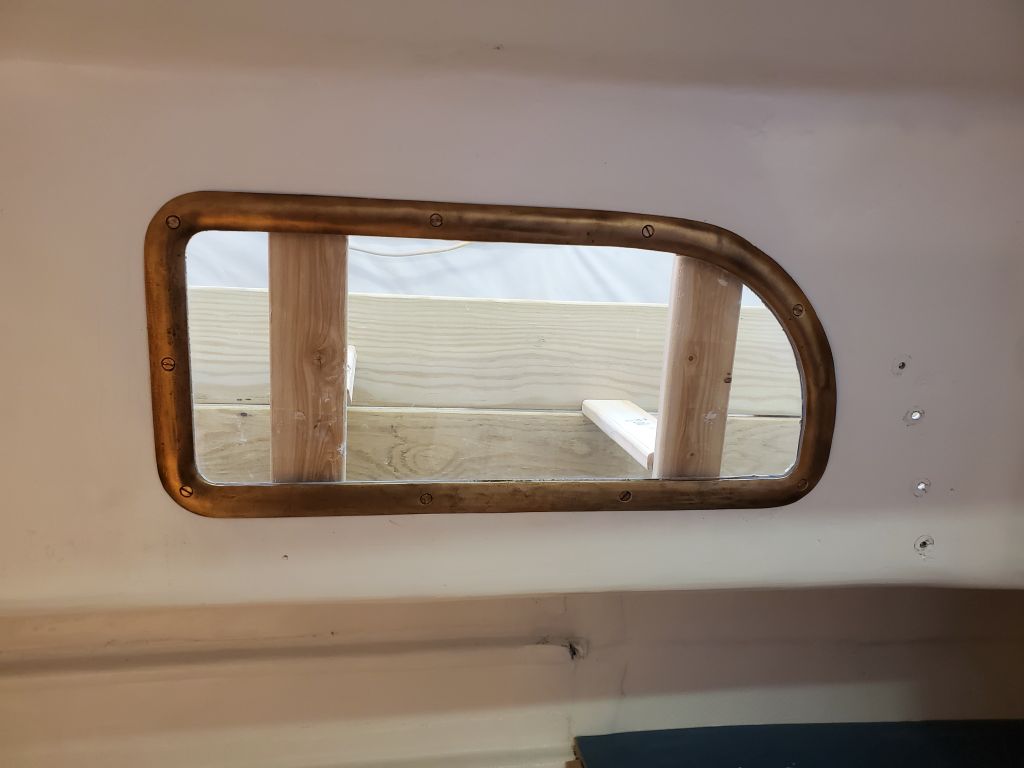
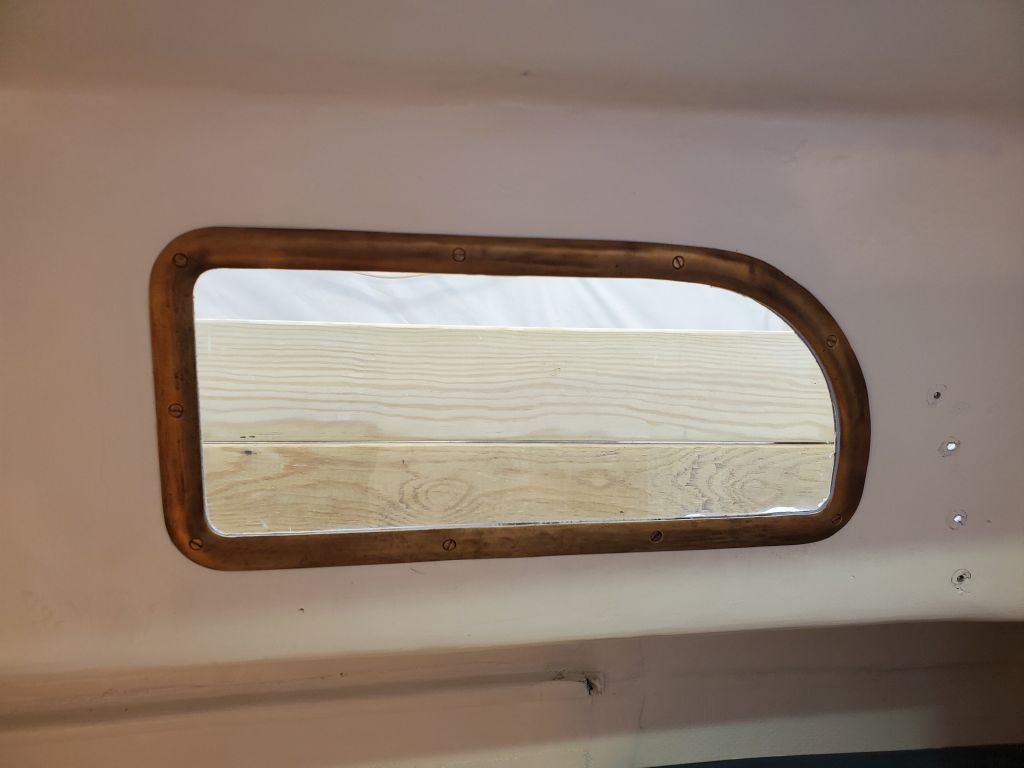
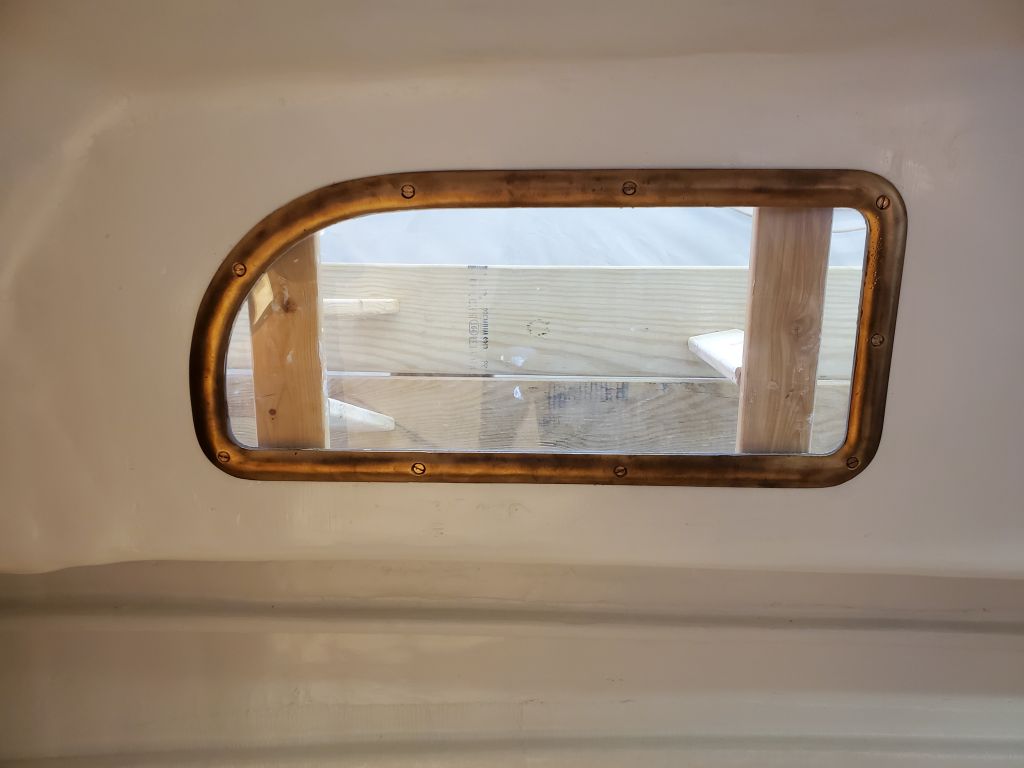
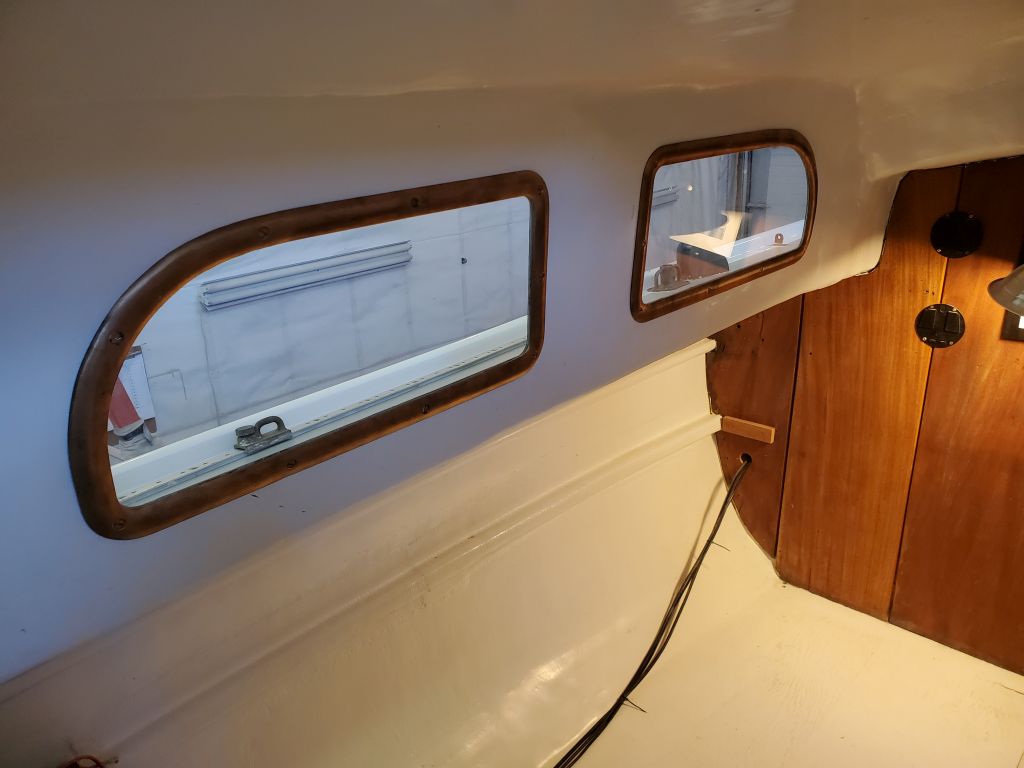
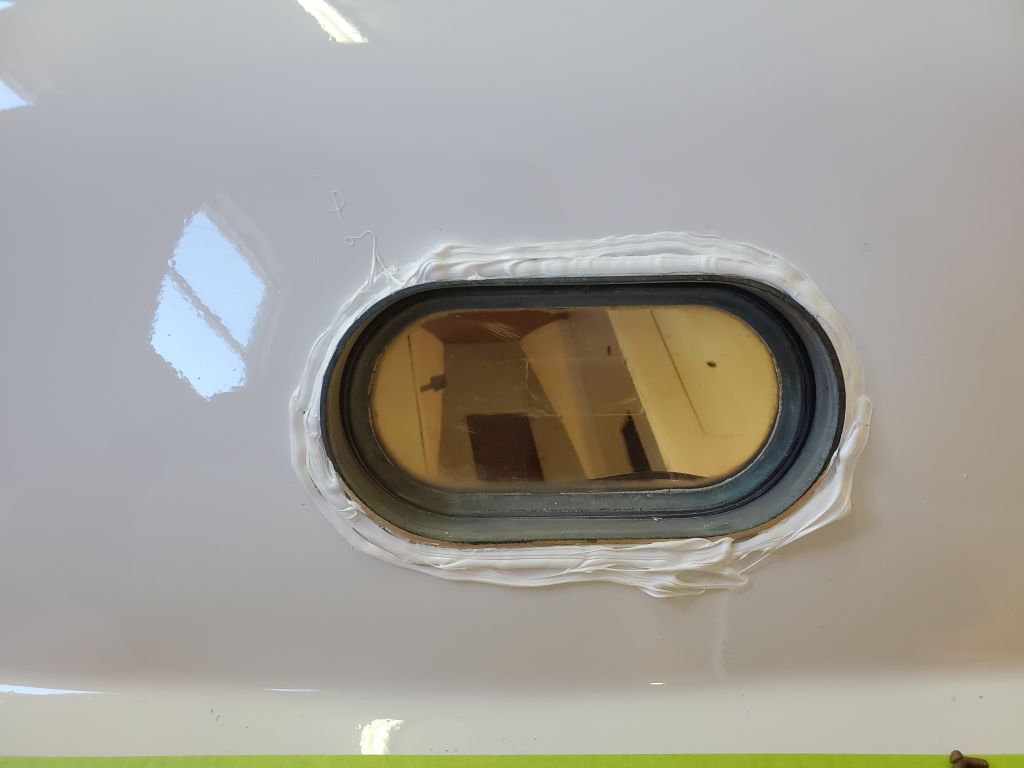
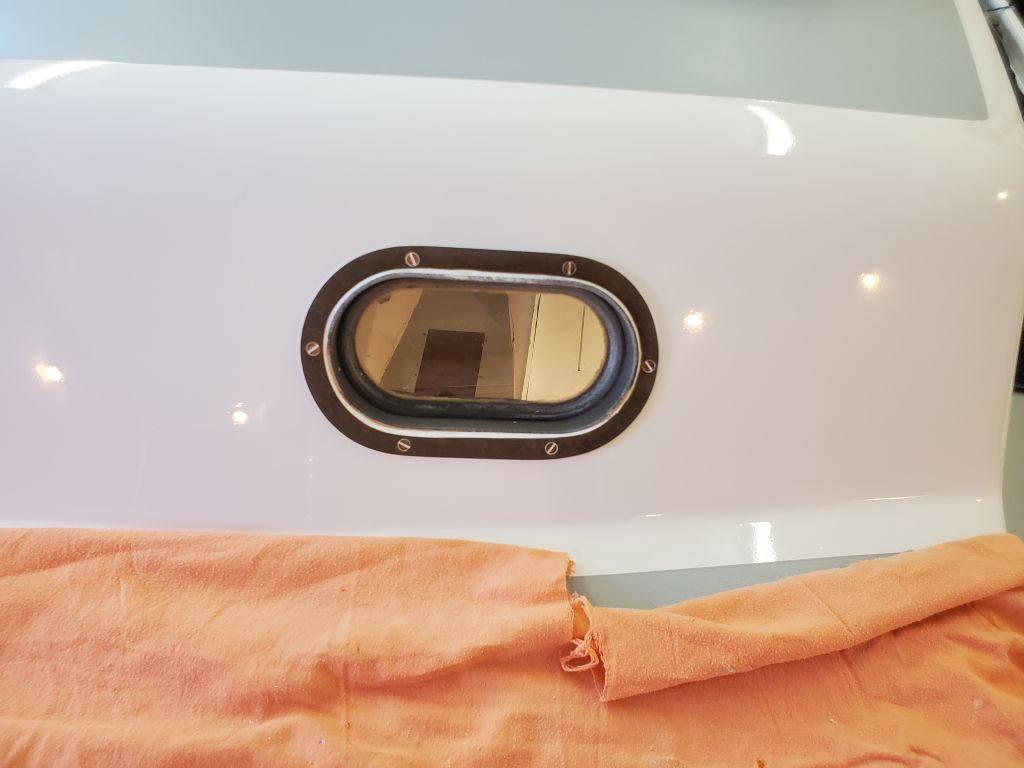
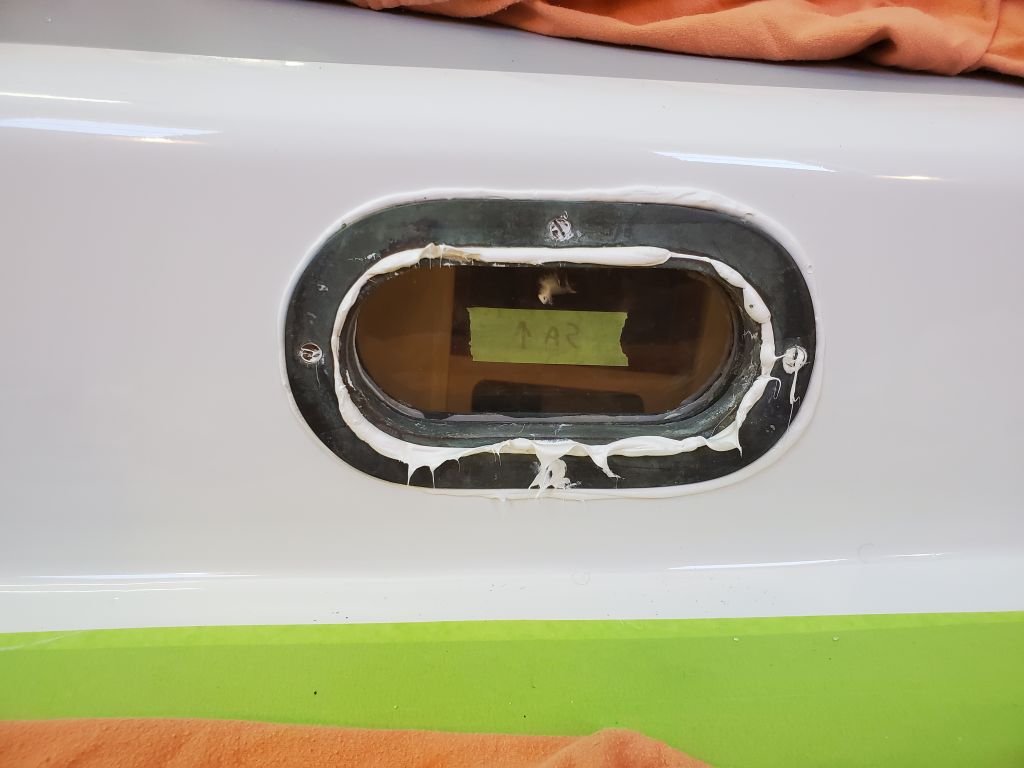
With the positioning set, I added some tape marks on the outside to help me align the frame when I installed it with sealant, then removed the frame and applied the sealant before doing the final installation.  (I was a little aggressive with the amount of sealant on the first one, and toned down the amount for the remaining three, while still being lavish.) With the frame positioned outside and braced–they tend to slip around when bracing if one is not careful–I returned to the cabin to install the inner frame.  I’d marked and noted the screw lengths upon removal earlier, and initially I had some minor hiccups getting started since it seemed the frame had moved slightly from where it needed to be.  With that corrected, I eventually got all the screws started without major incident, and drove them all home.  It may sound odd, but there are few greater and more satisfying sensations than feeling these screws grab the blind threads milled into the outer frame, then pulling the frames tightly together.  Supreme pleasure, because it’s never a guarantee.

Though there’d been initial frustration that gave me concerns for the rest of the morning, for now the first frame was in, and I went back outside to remove the bracing and clean up the excess sealant.

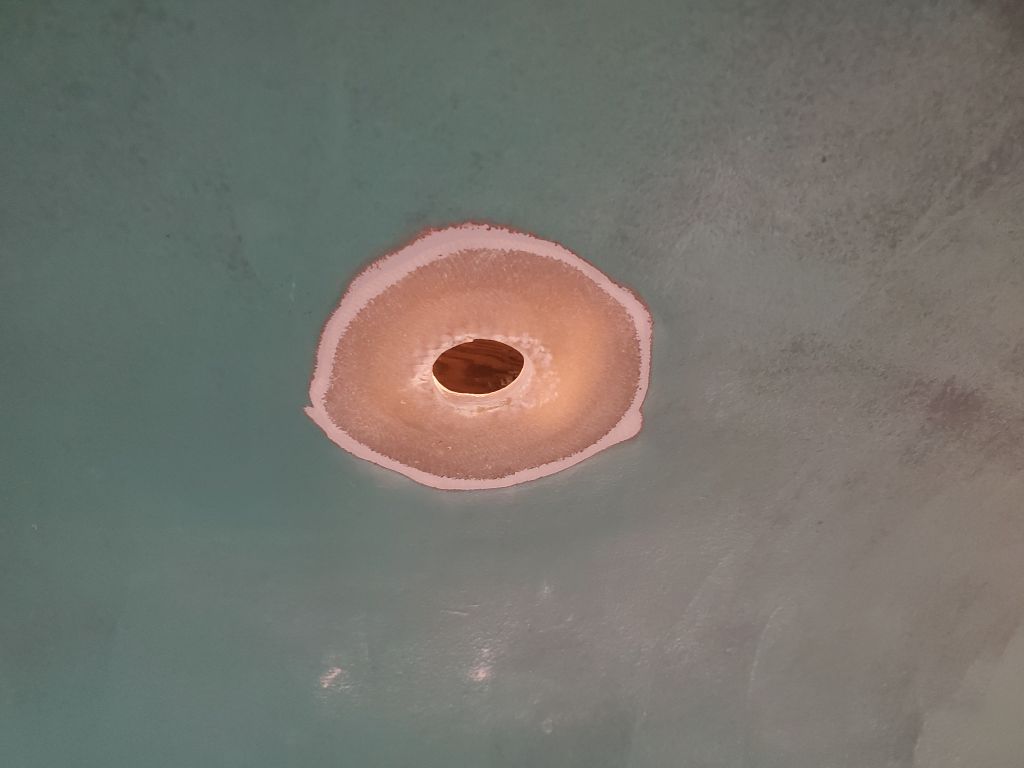
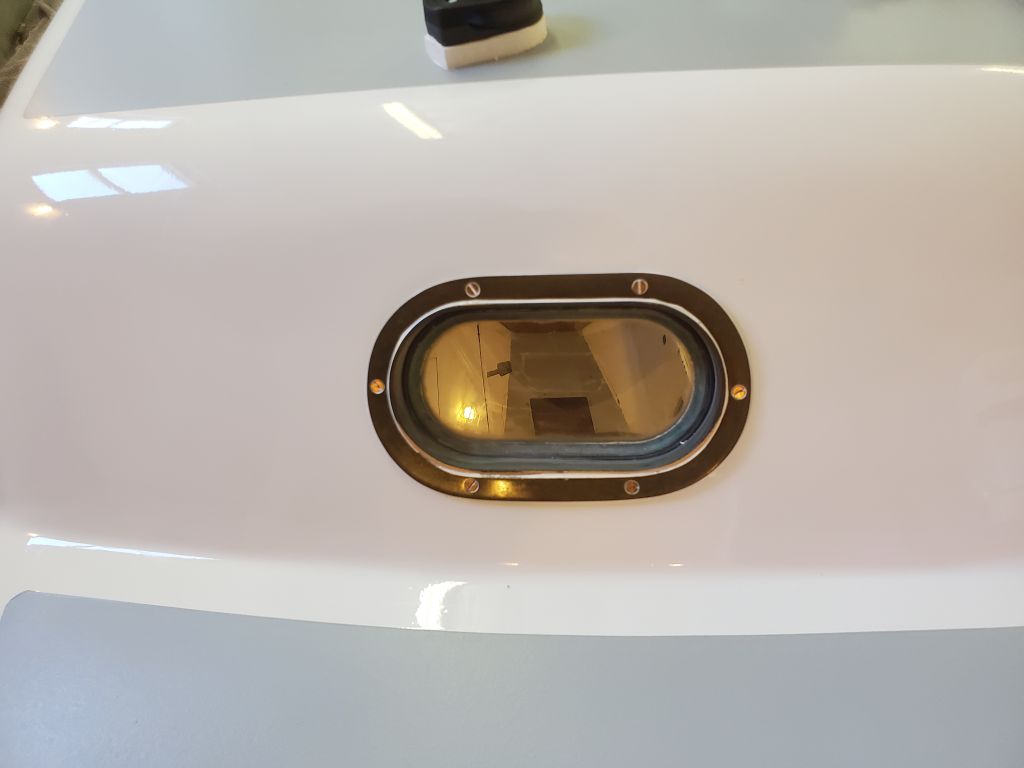
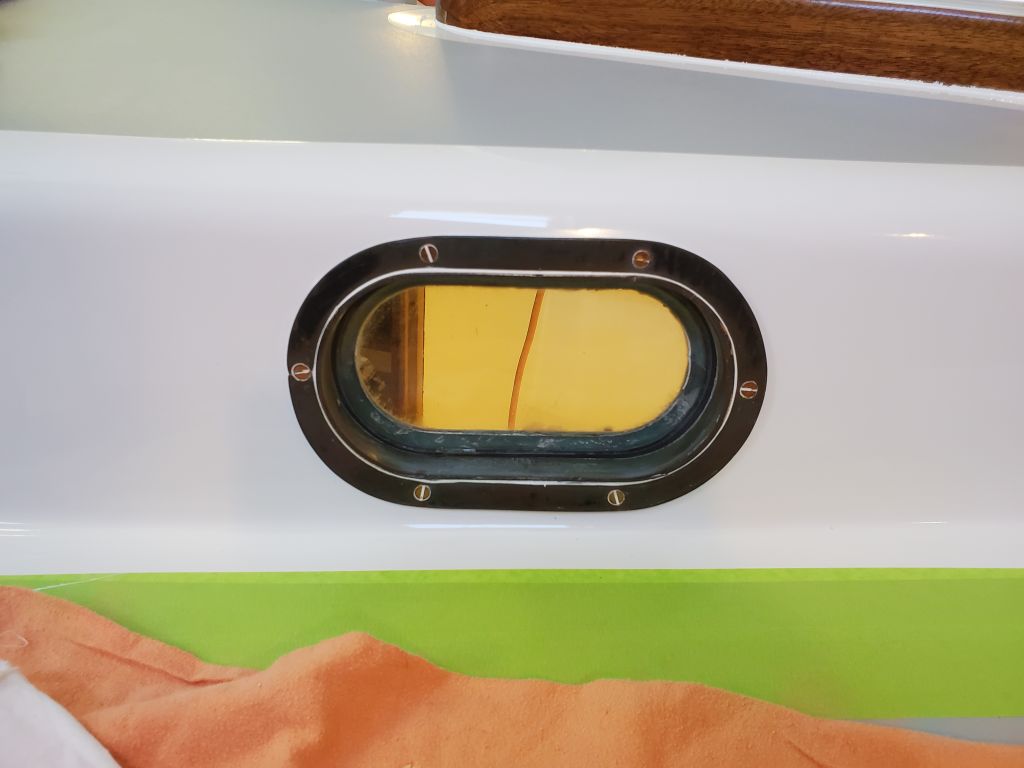
I repeated the process with the port forward frame.  This time, the installation proceeded without incident.  Each screw grabbing and pulling tightly produced additional euphoria.

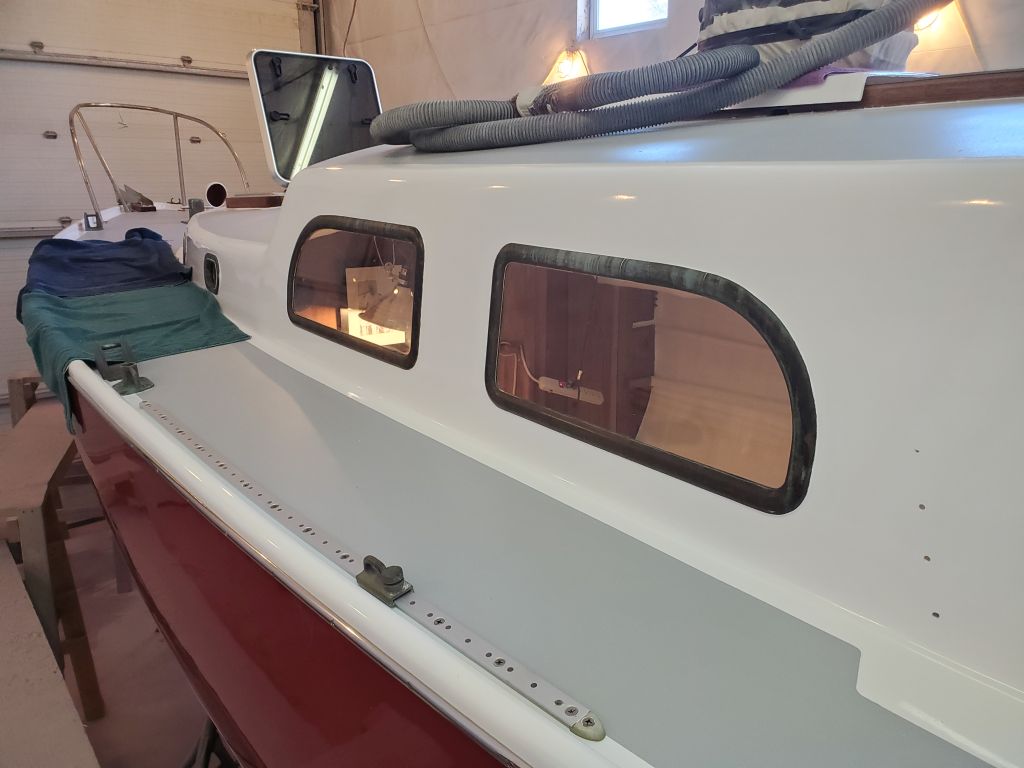
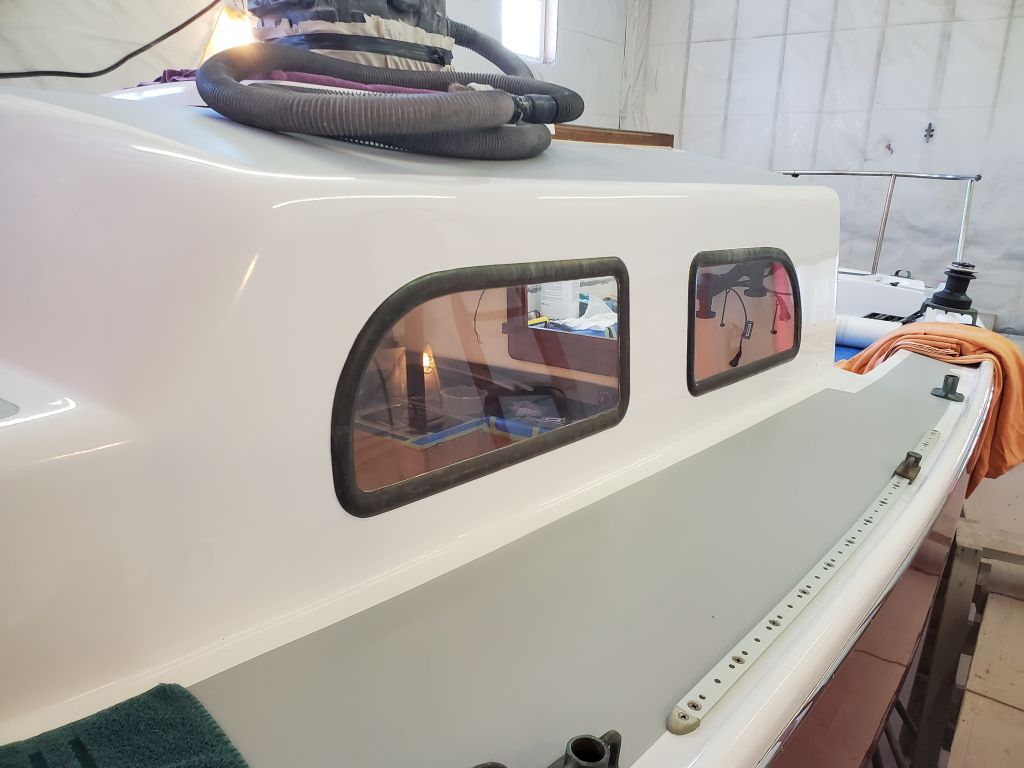
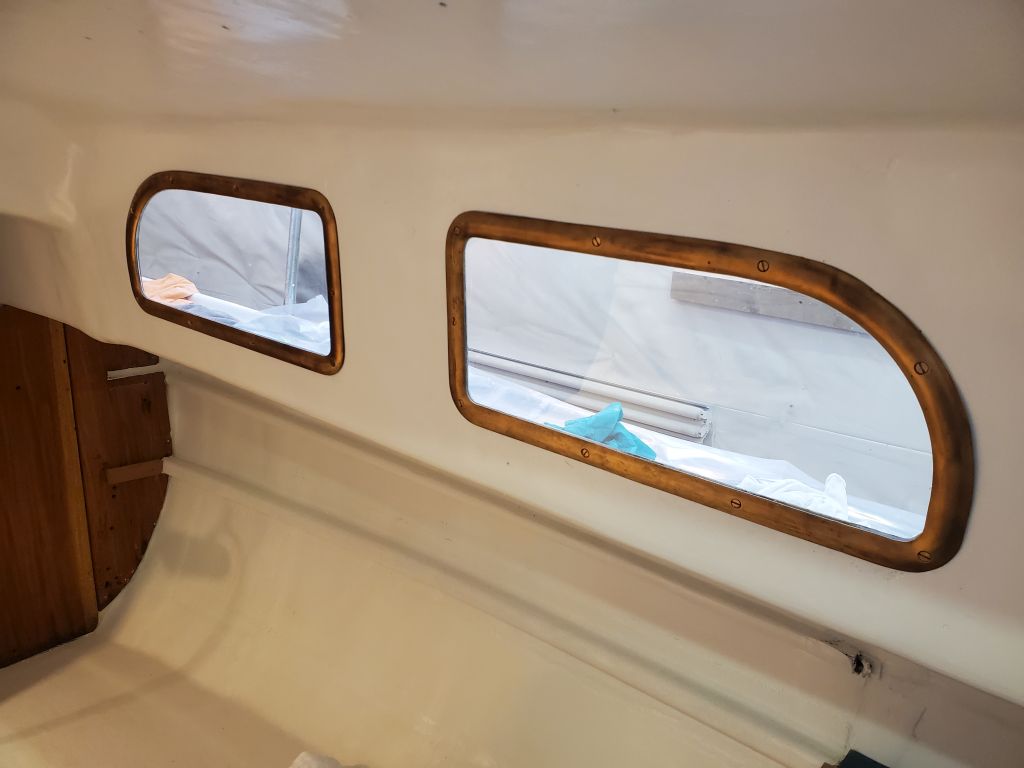
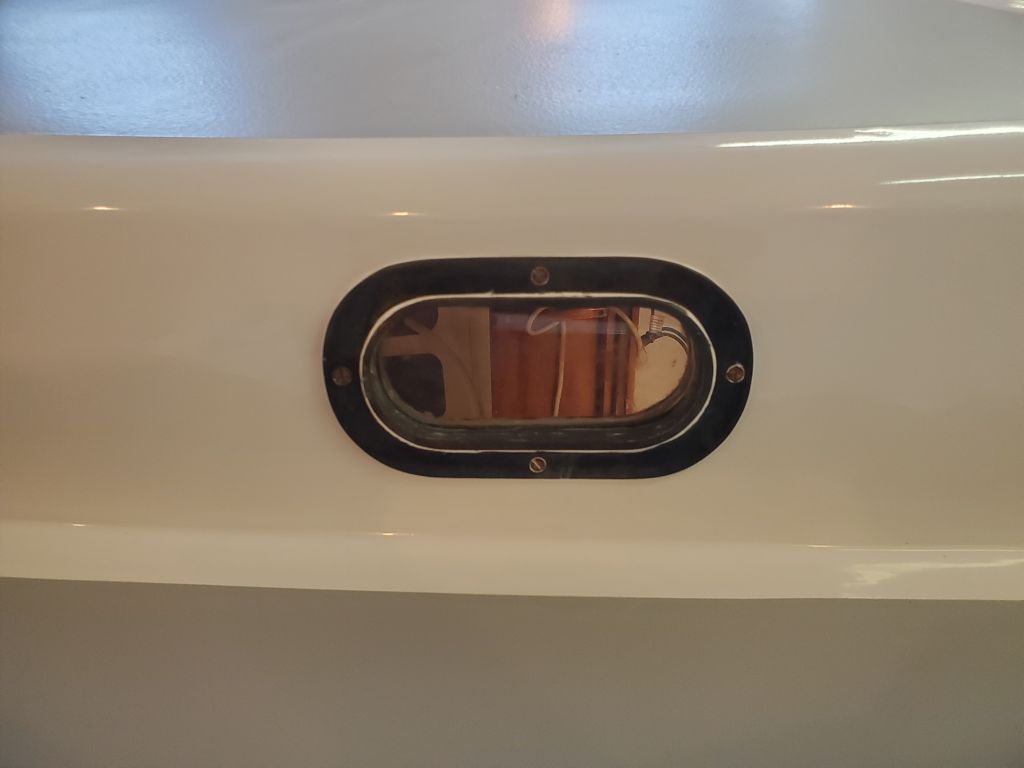
With the port side complete, I moved my operation over to starboard and began with the after frame.  Here, oddly, I found that I actually needed different screws than the lengths I’d noted on the frame during removal, but they all grabbed and pulled and did that beautiful thing they do, without issue.

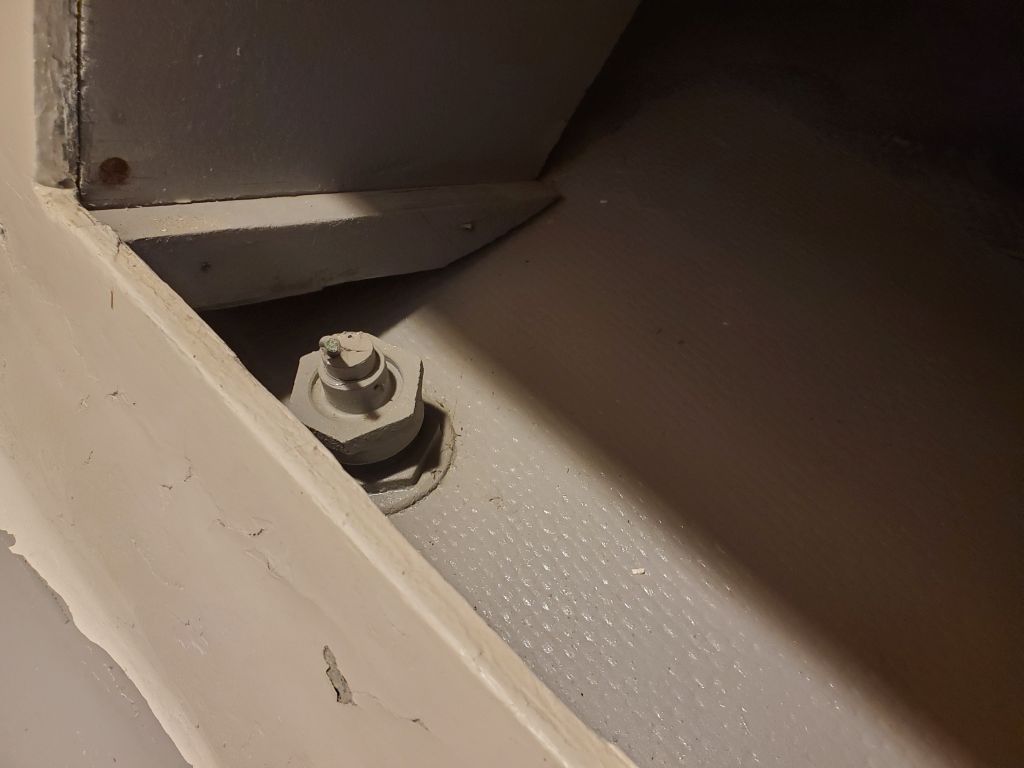
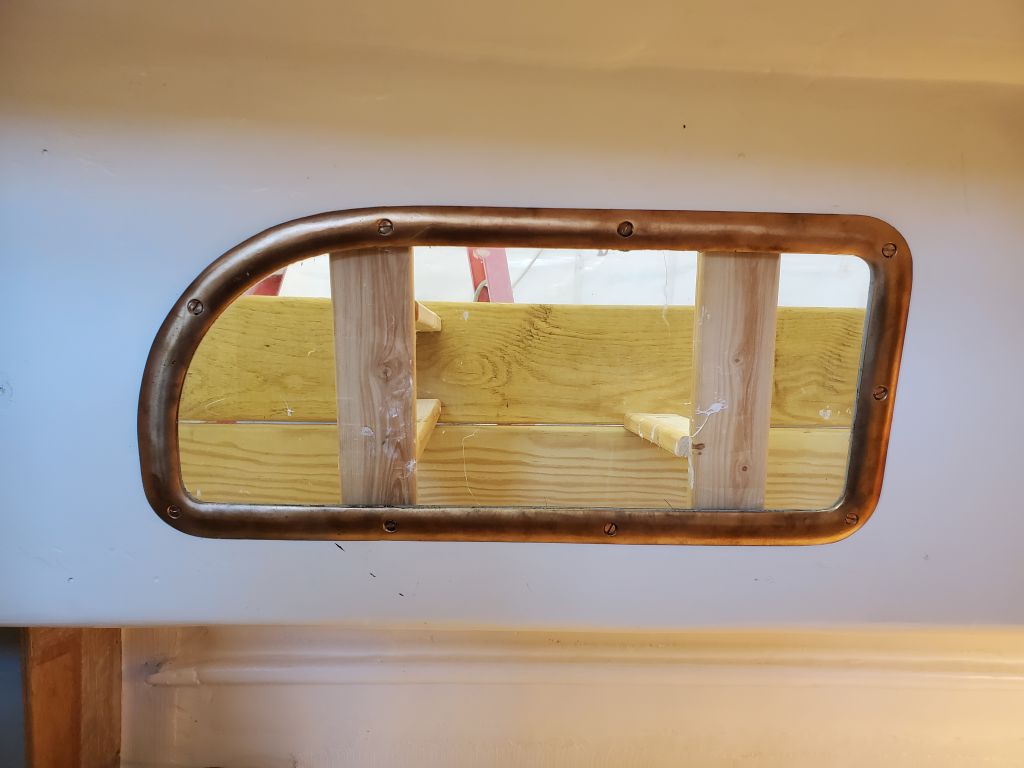
I finished up with the starboard forward frame.  During my first installation in phase 1, this one had given me trouble, and I’d ended up using two “temporary” long machine screws with nut and washer on the inside to hold the frame in (bottoming out the screw in the tapped hole in the frame, then tightening the nut from inside against the washer, allows the frame to be pulled in when, for whatever reason, one of the regular screws just won’t bite).  Now, I didn’t even need these as a helper–all the bronze machine screws worked the first time around.  Far be it from me to complain.

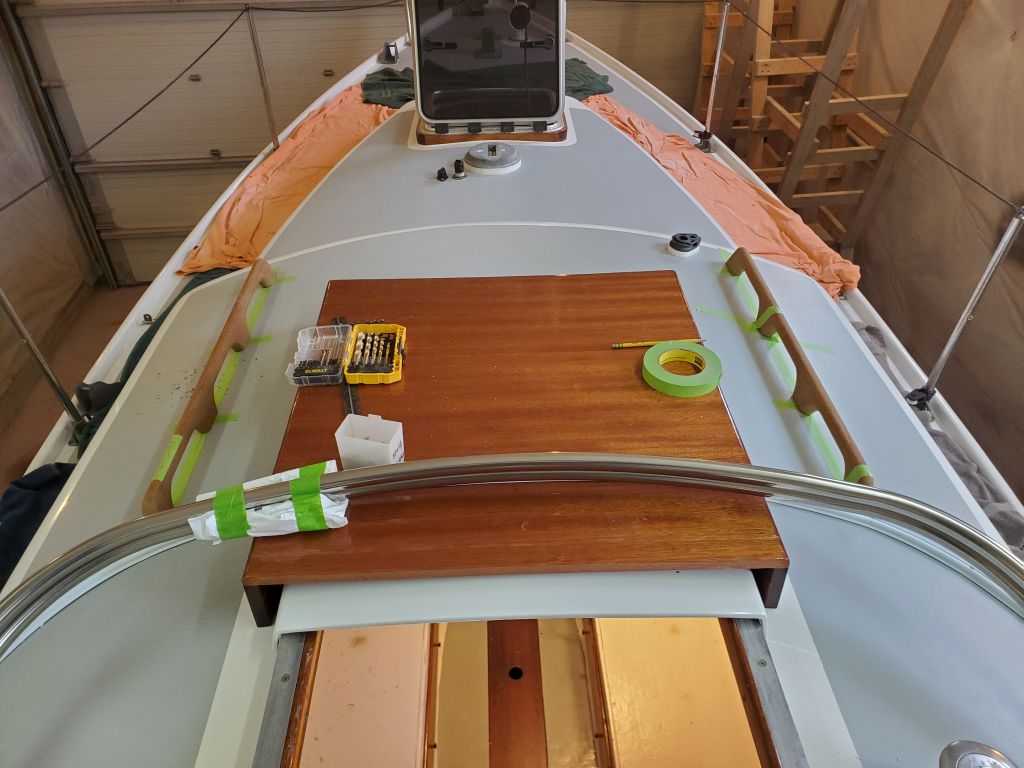
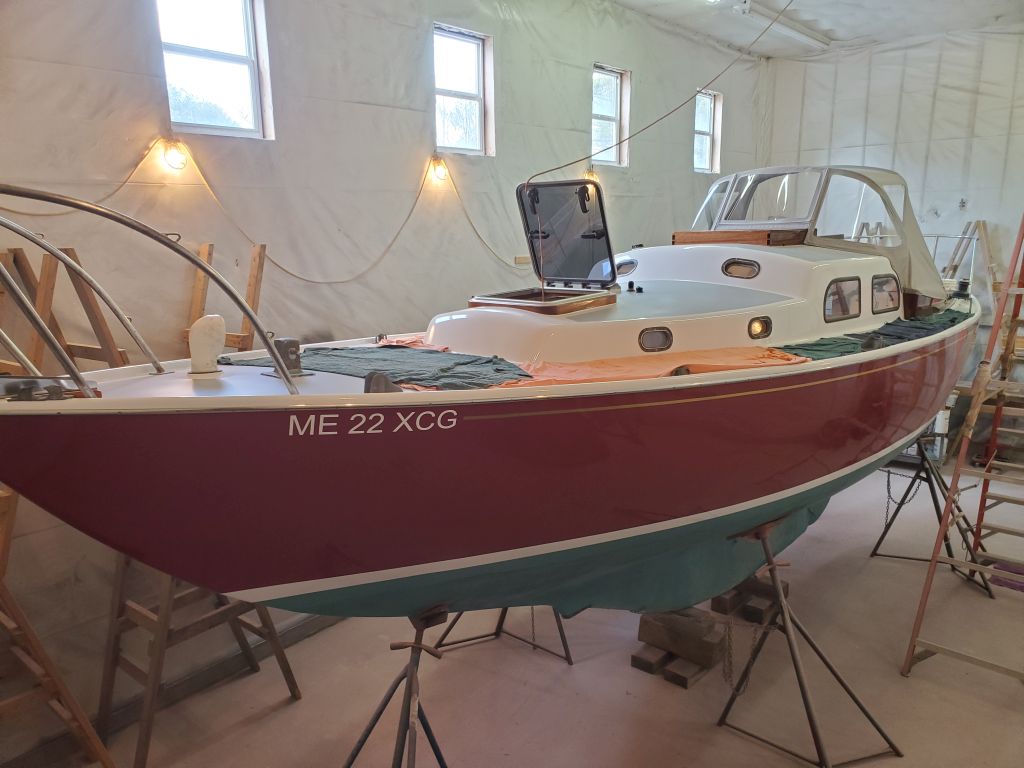
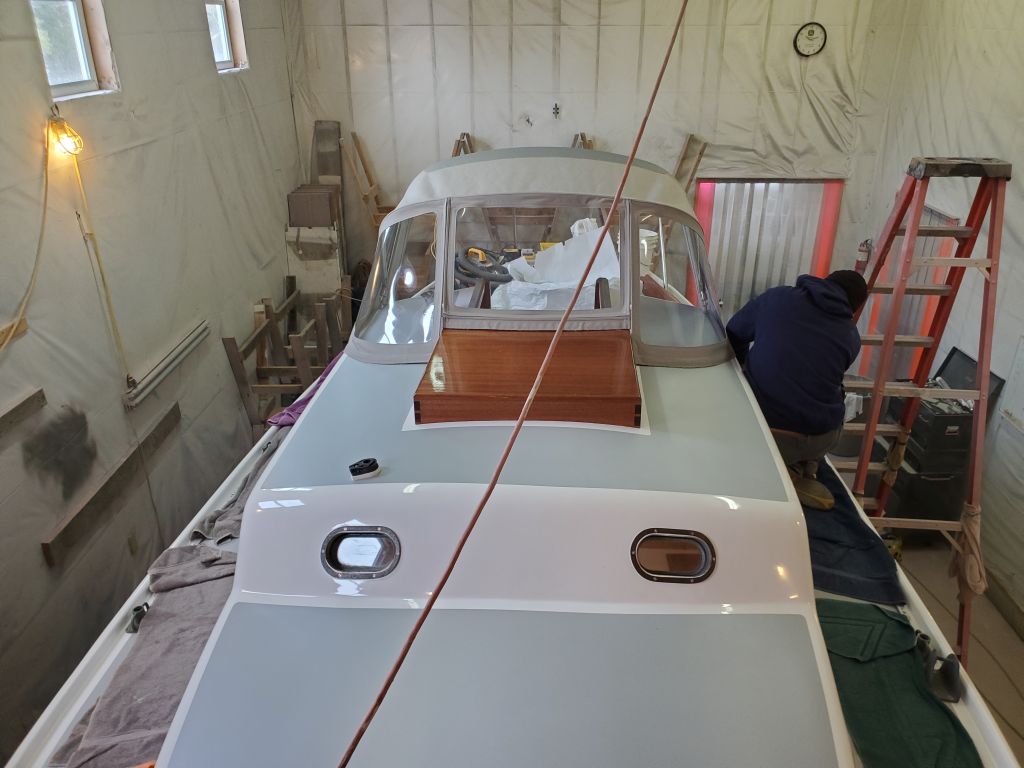
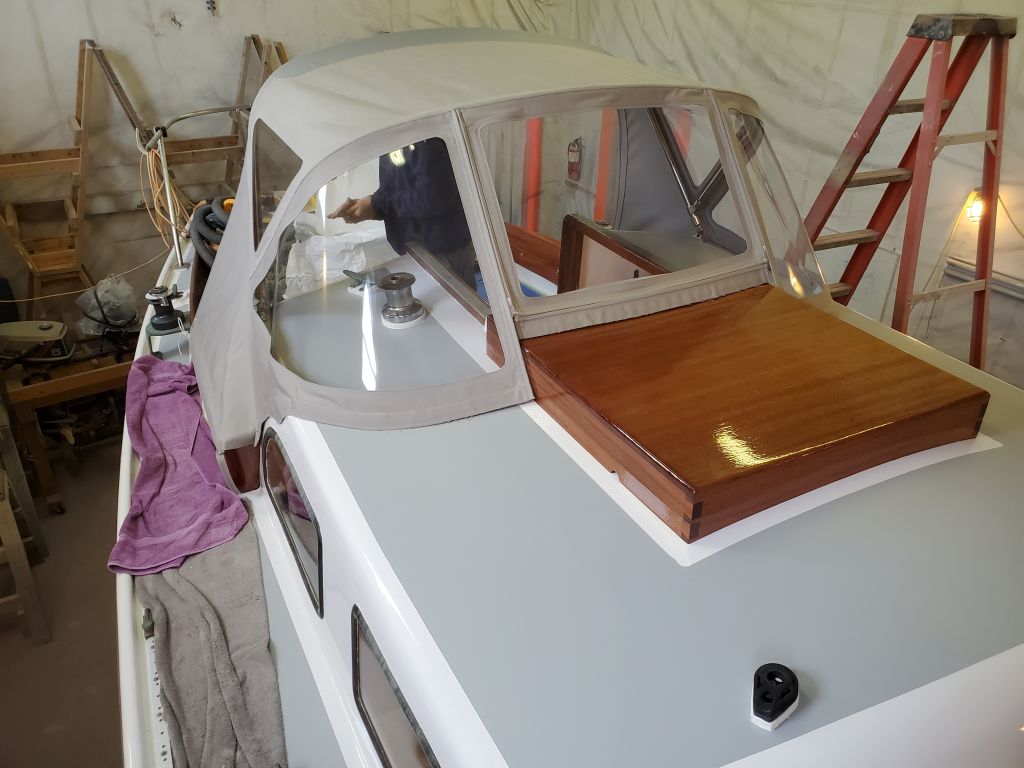
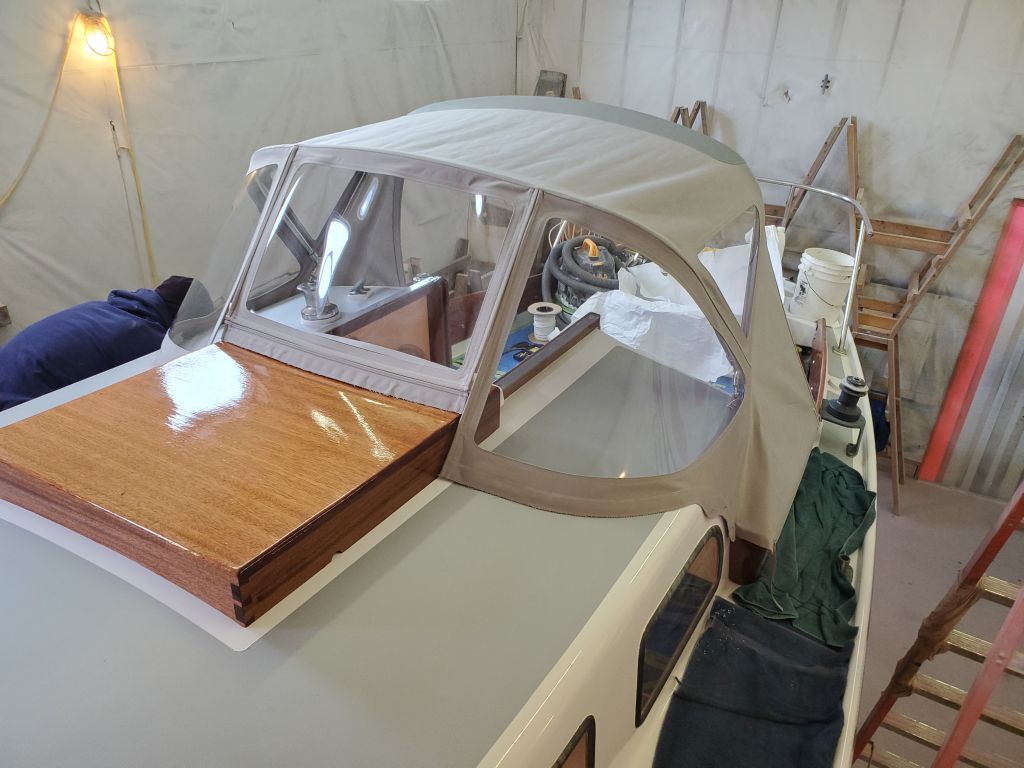
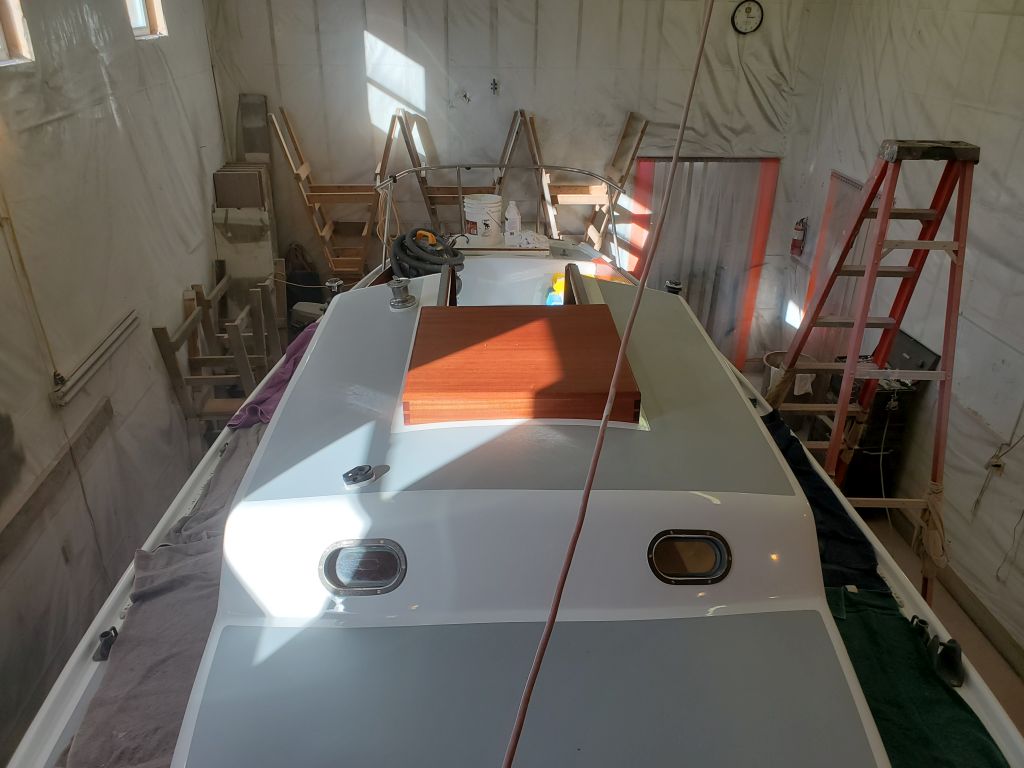
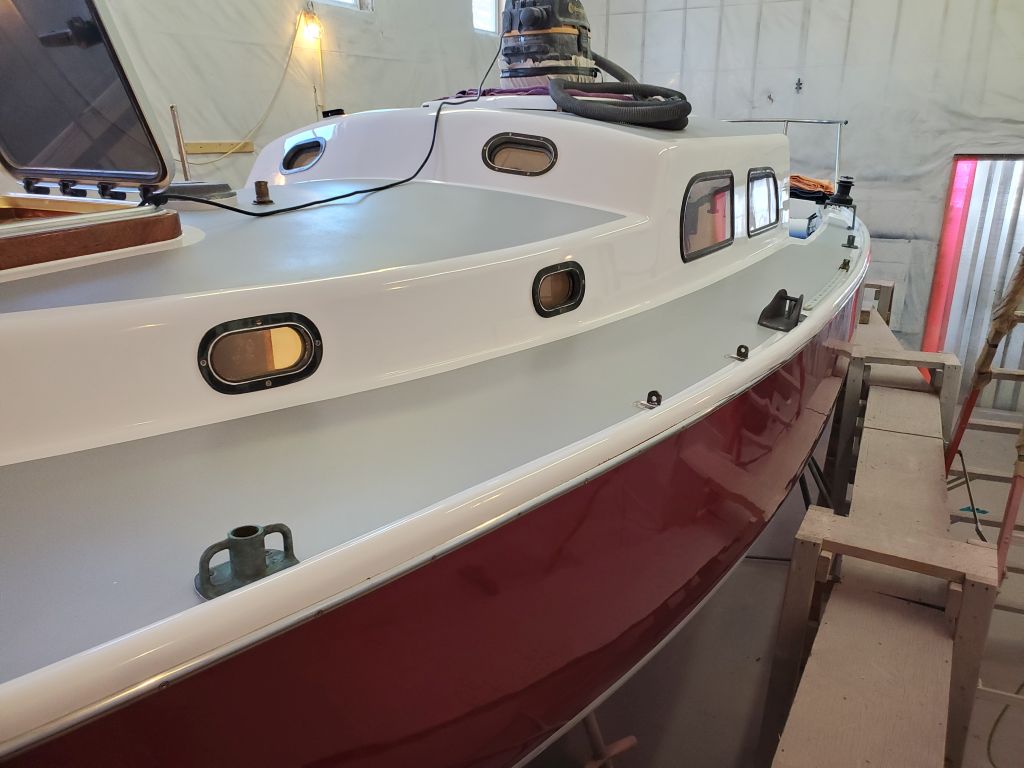
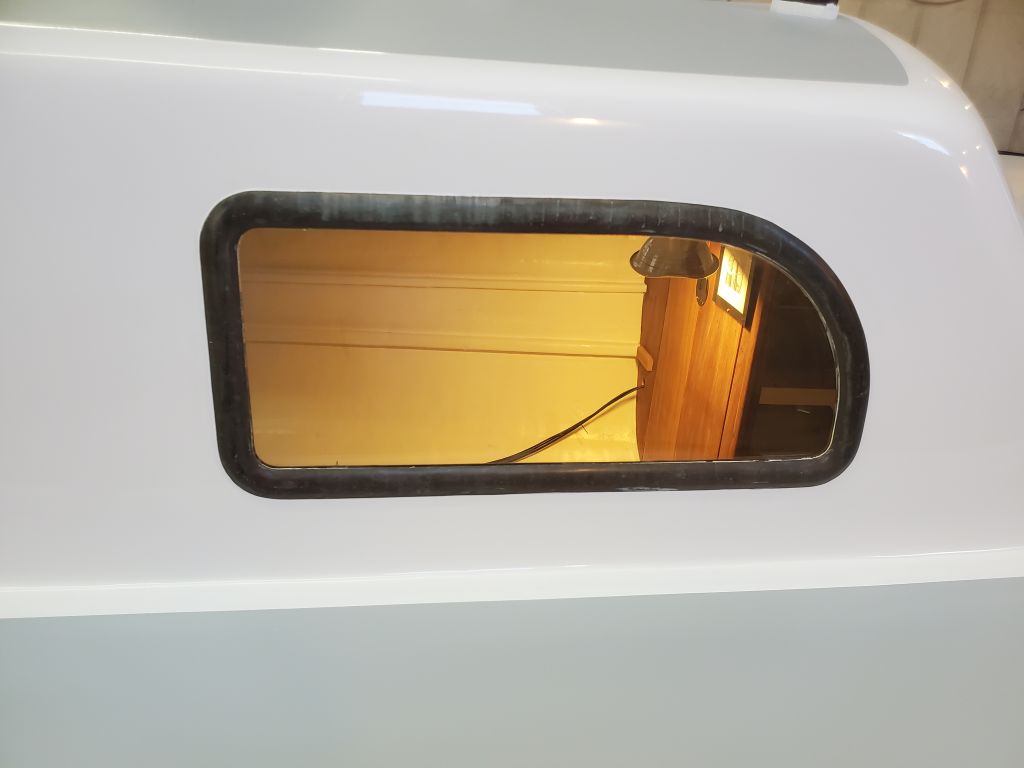
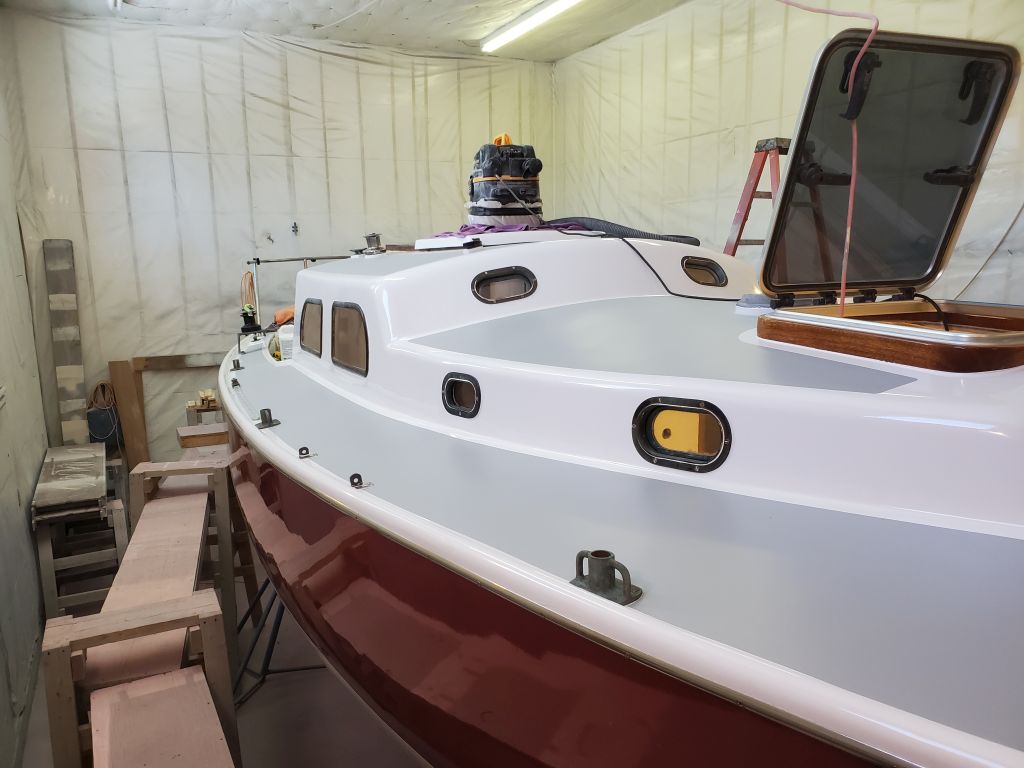
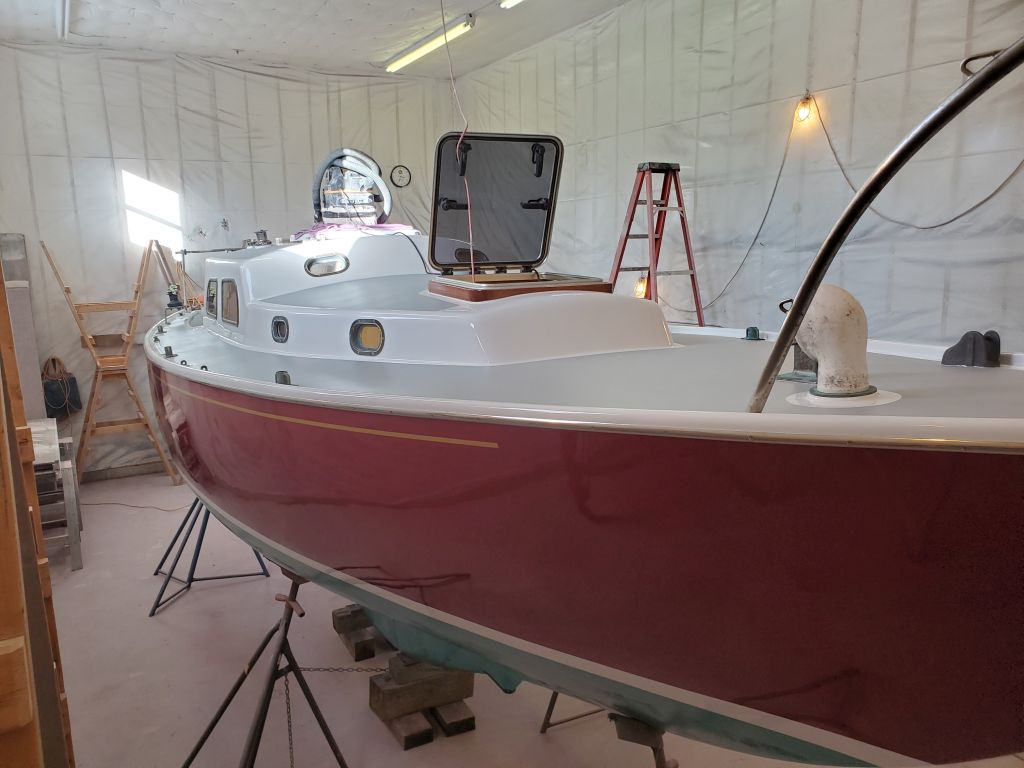
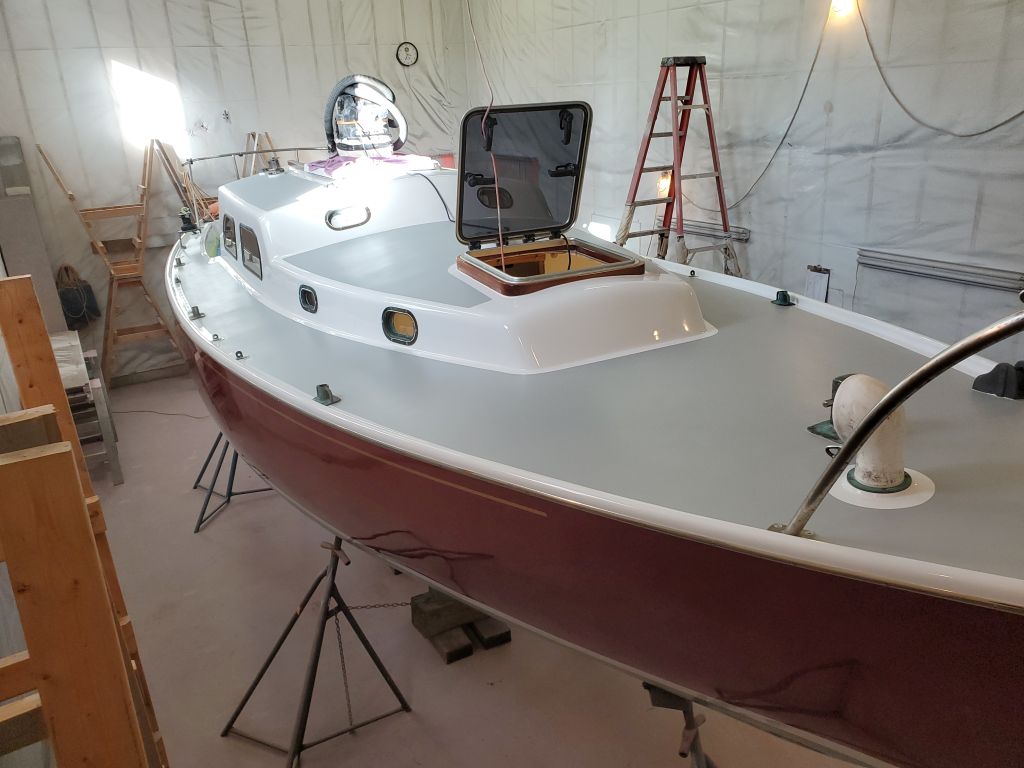
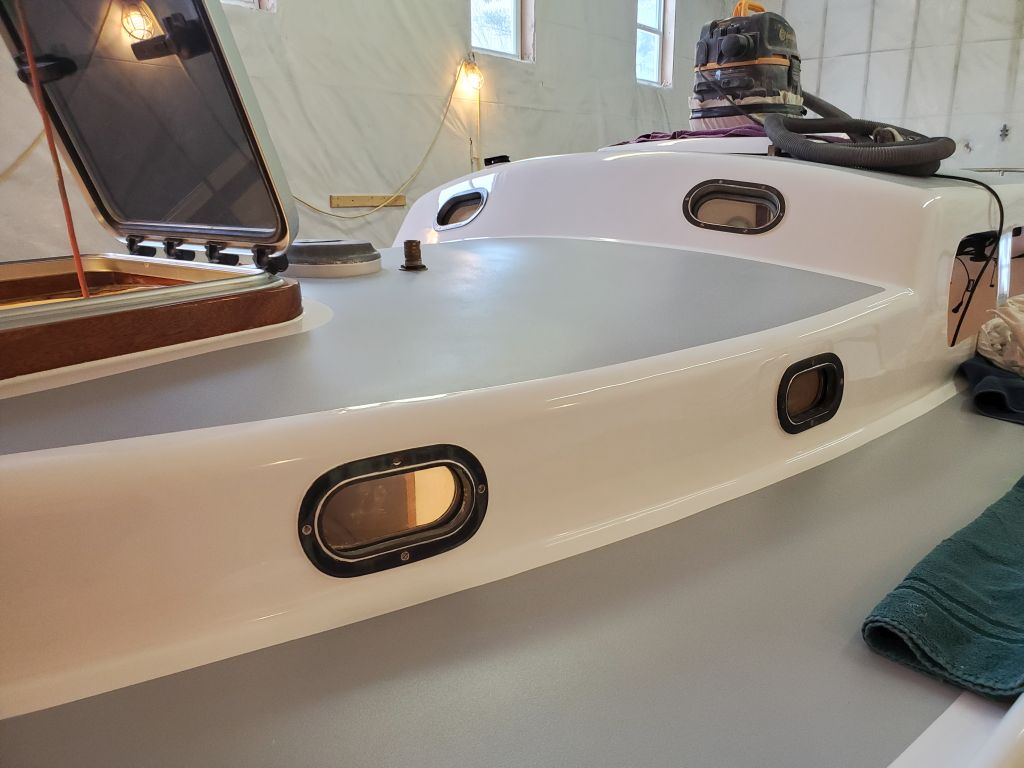
This was a great task to mark as completed, and was also the final hardware-related installation, which is always noteworthy and, in this case, finally completed the cosmetic appearance of the deck to bring things all together.

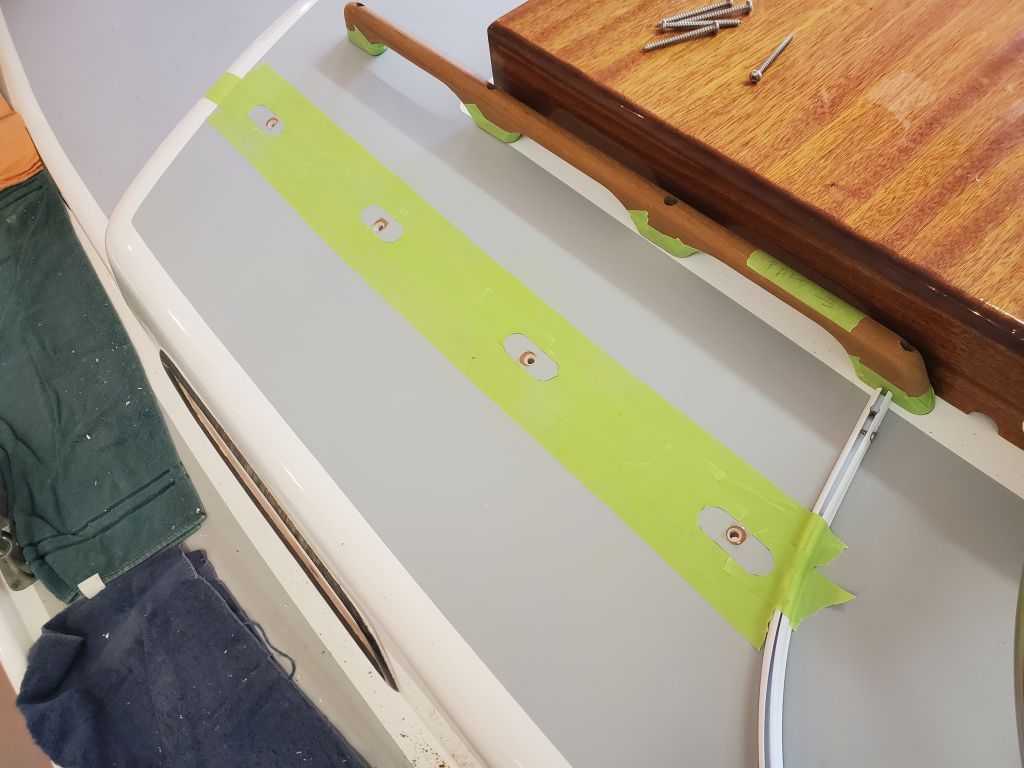
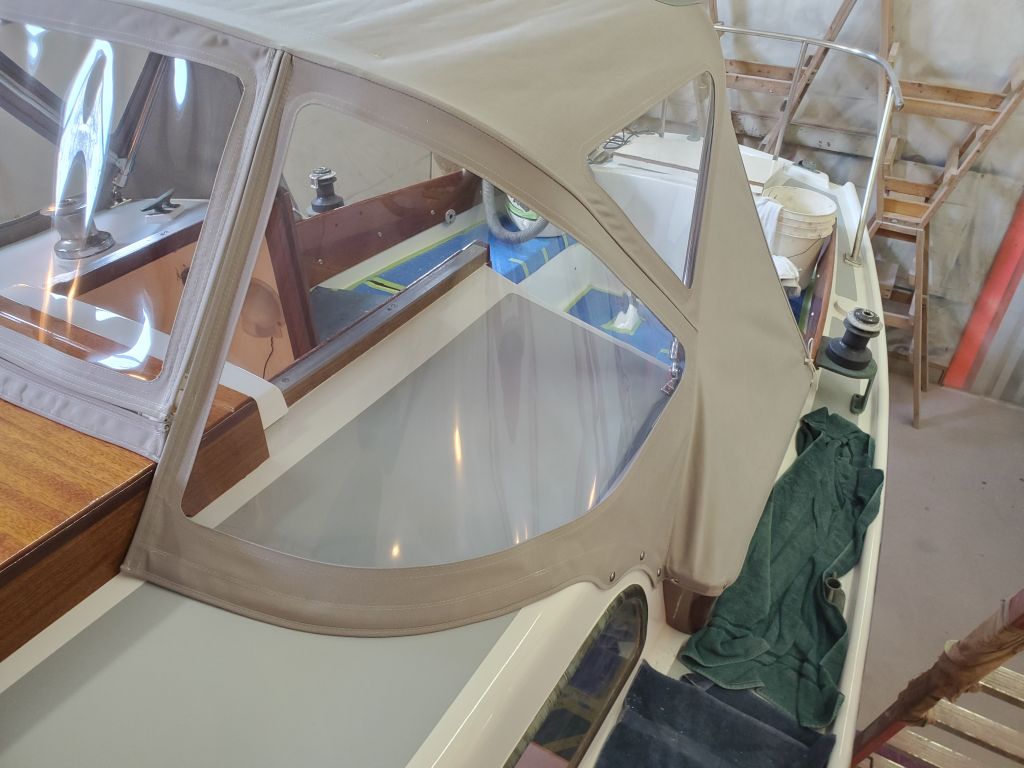
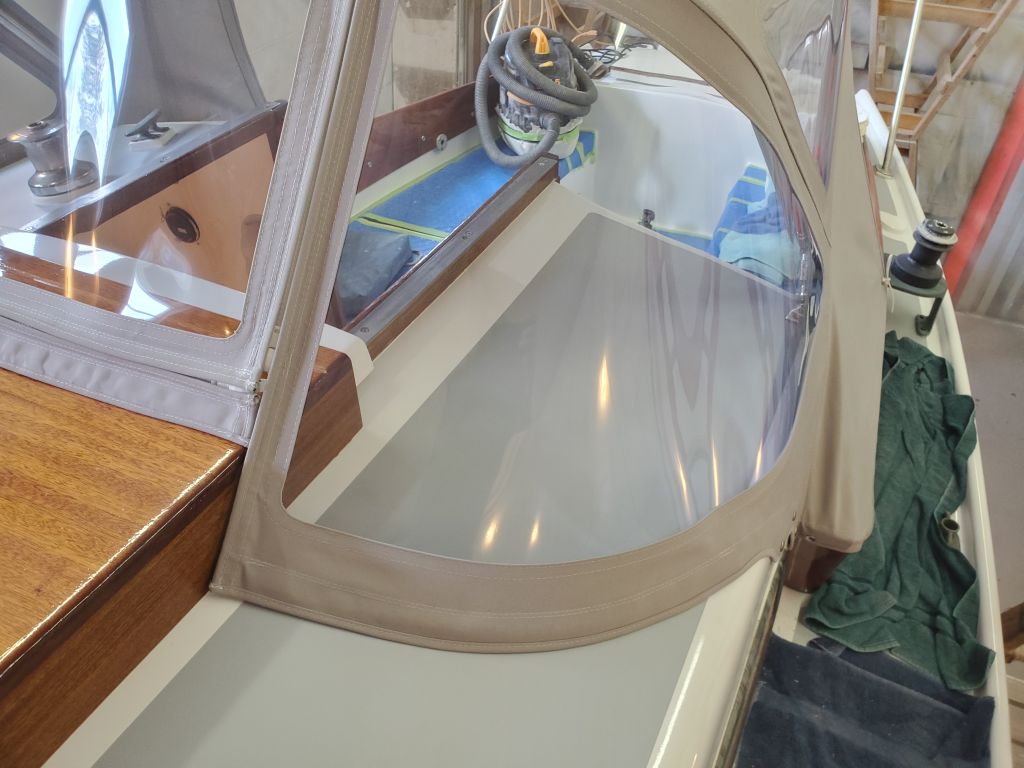
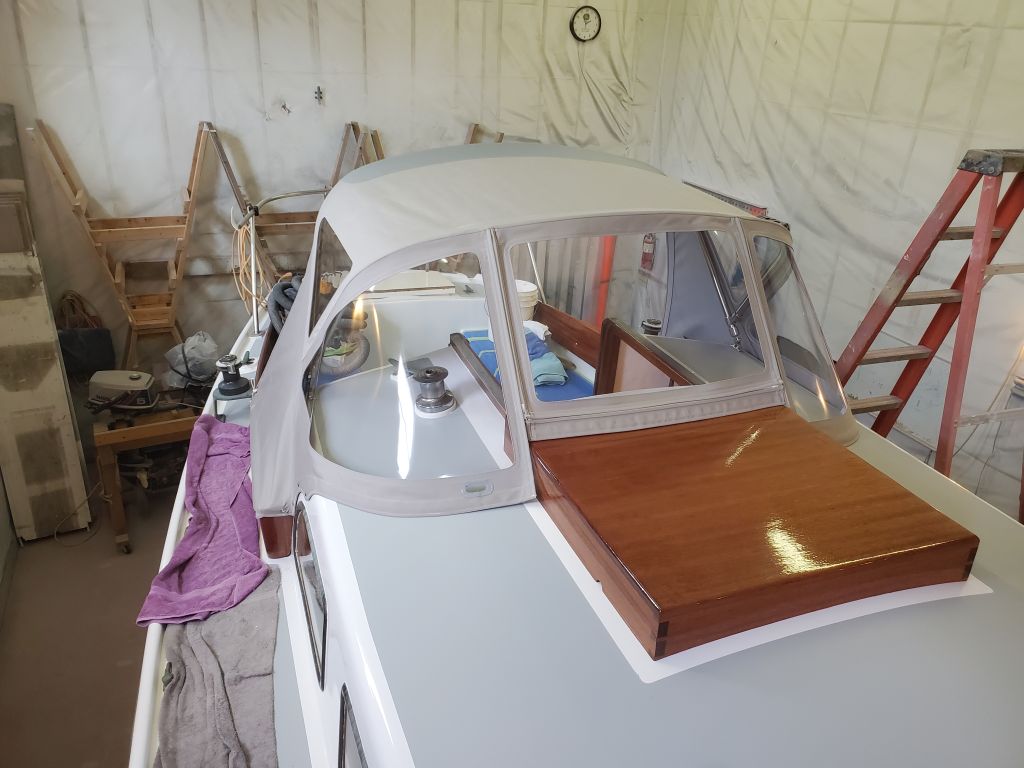
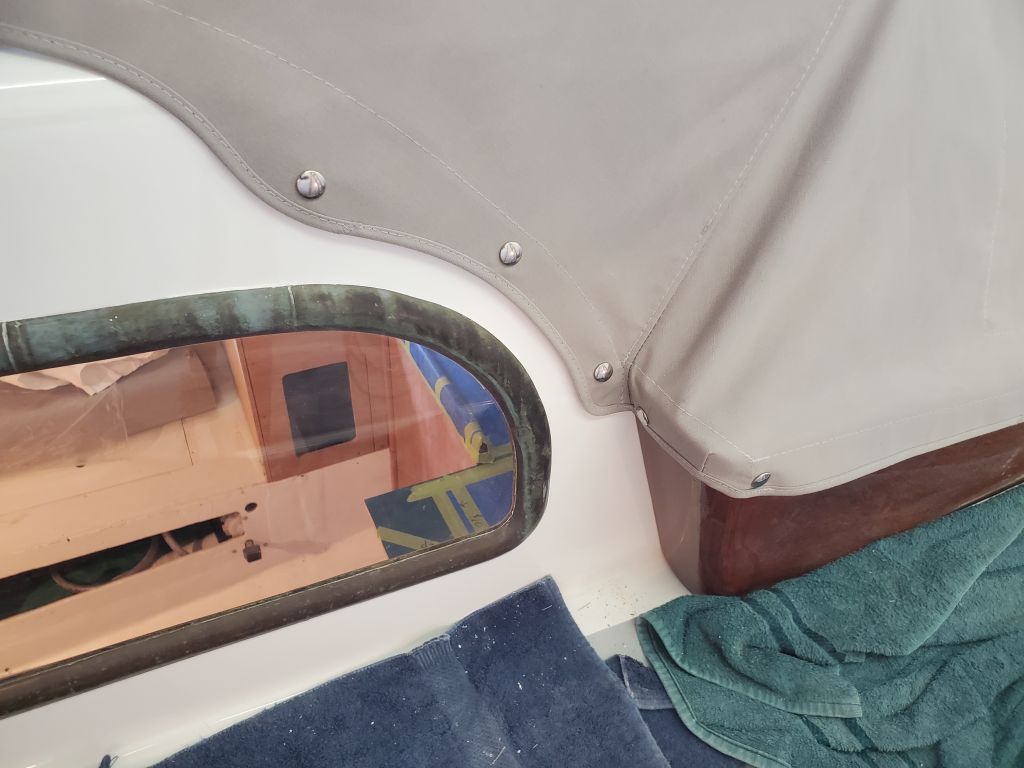
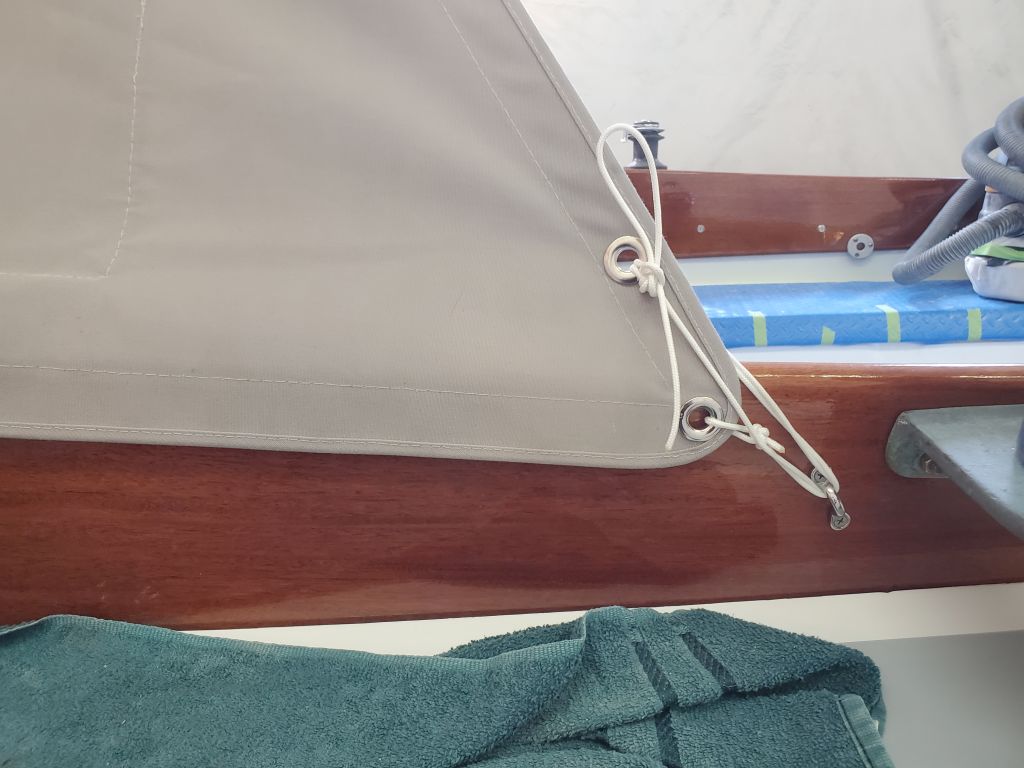
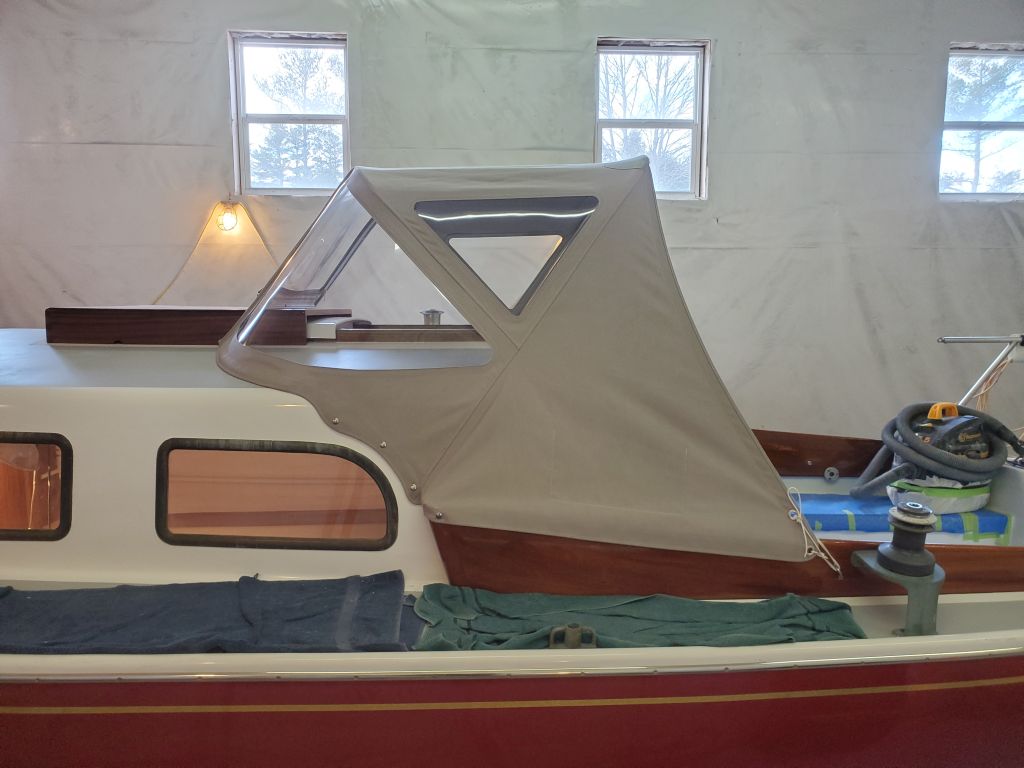
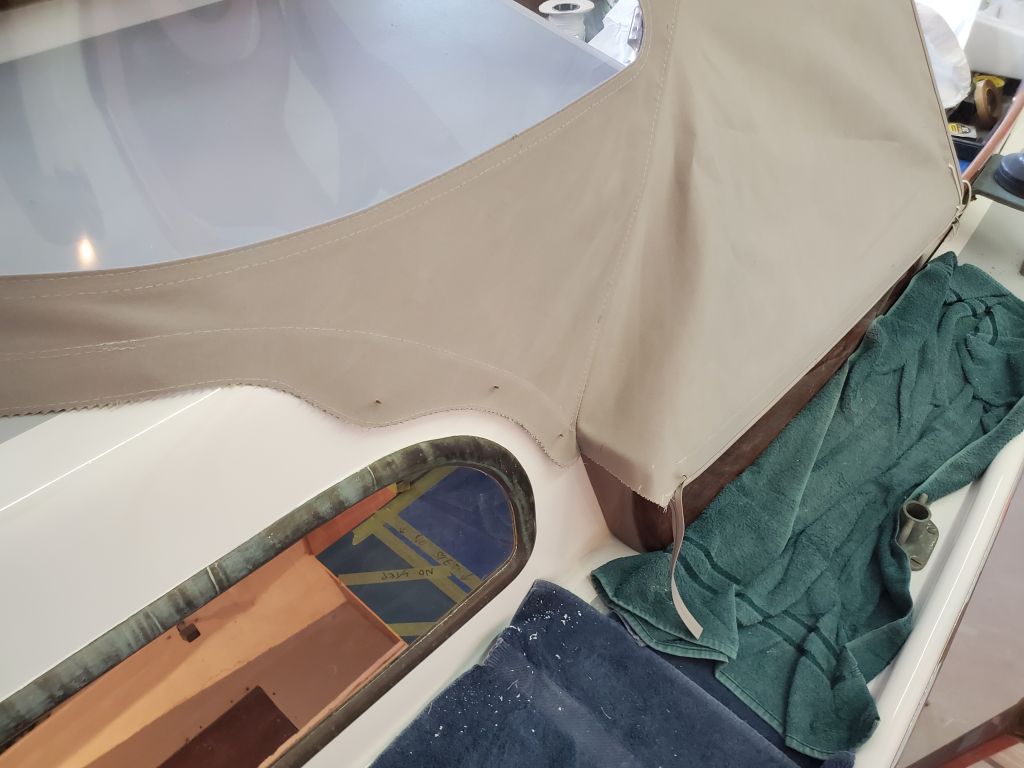
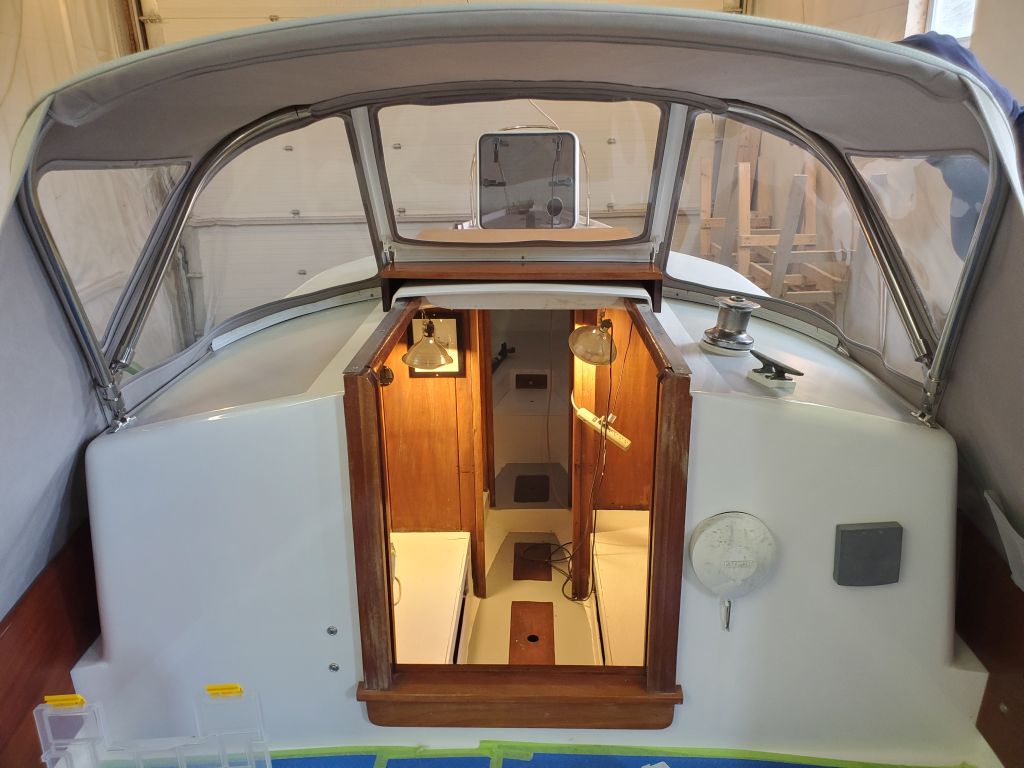
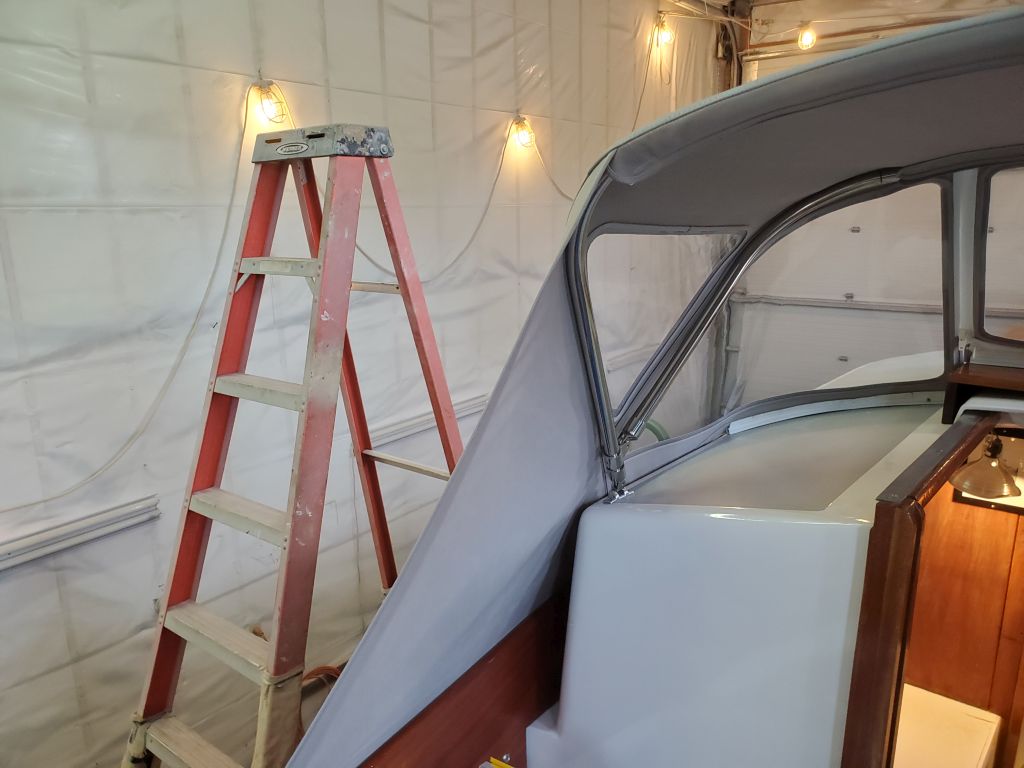
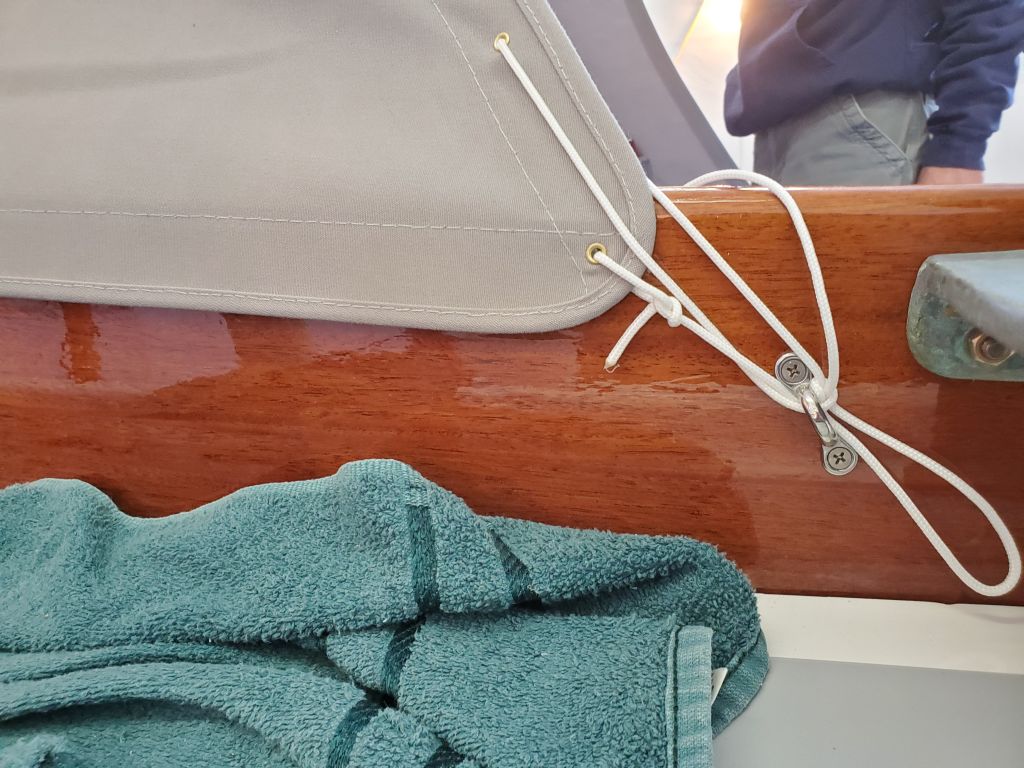
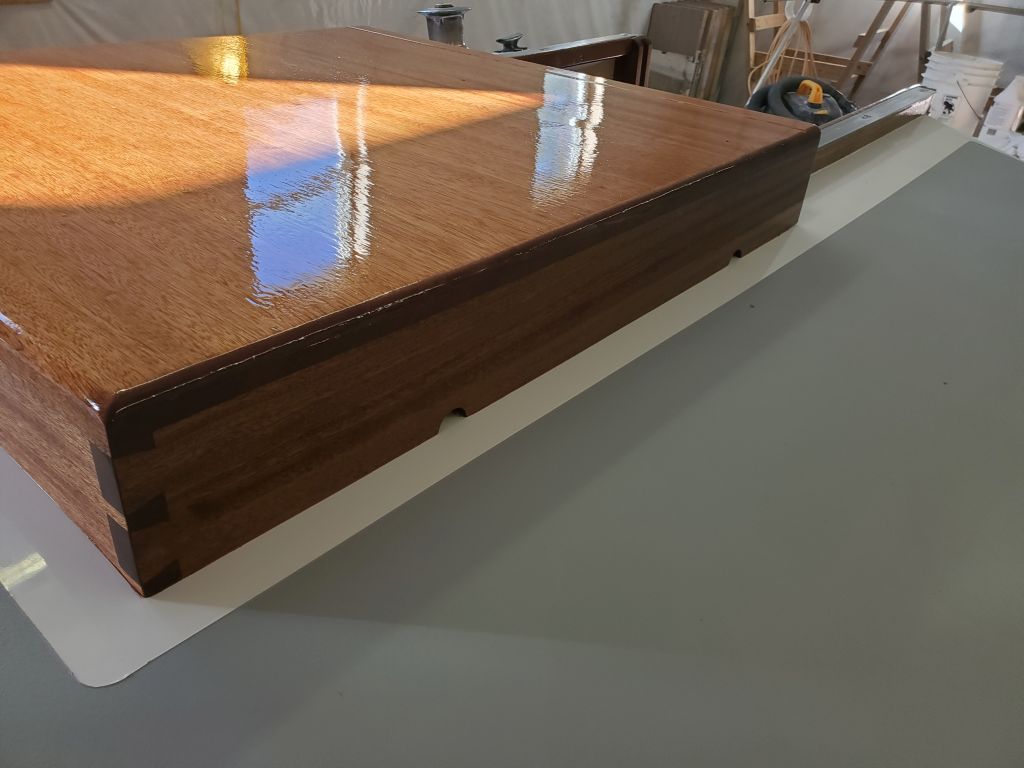
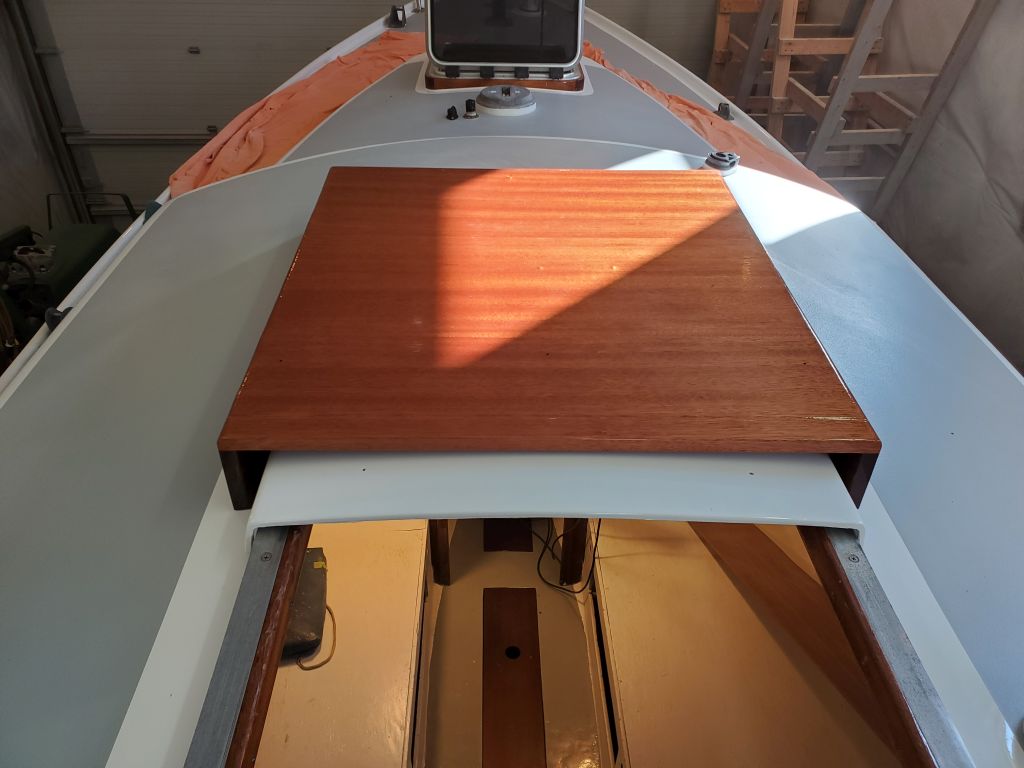
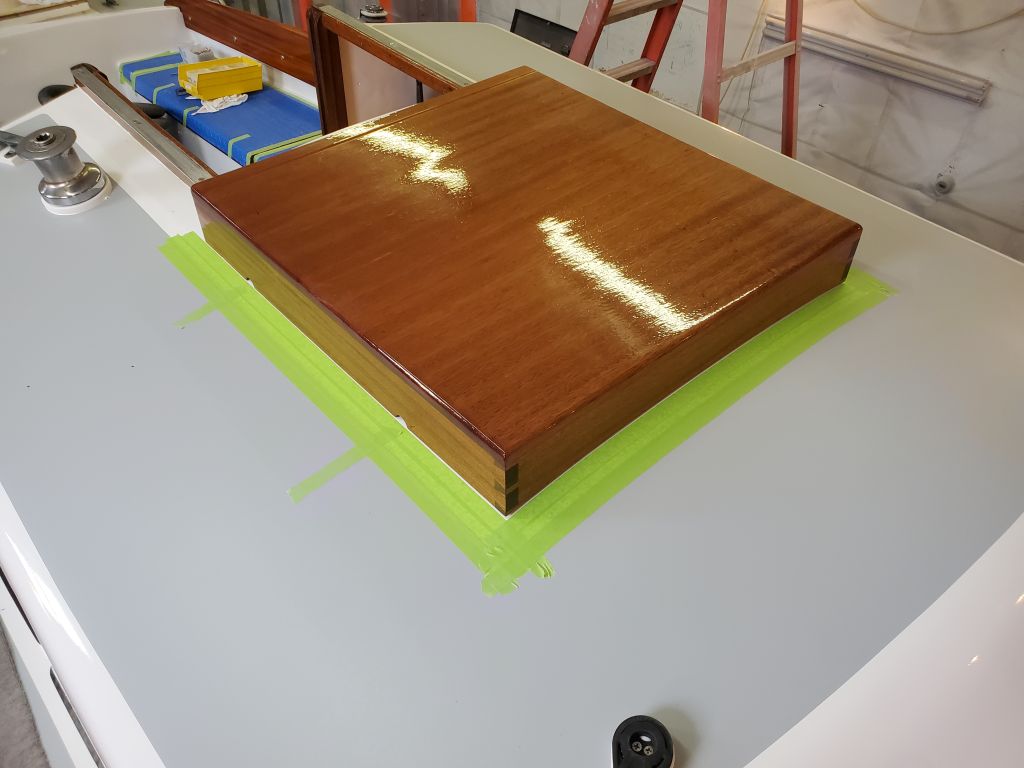
Oh, there was still some deck work ahead:  installing the sea hood and coamings once I got them back, freshly varnished, from the owner, who’d been working on them over the past weeks.  And then the new dodger could have its final fitting and installation.   This would all happen soon.

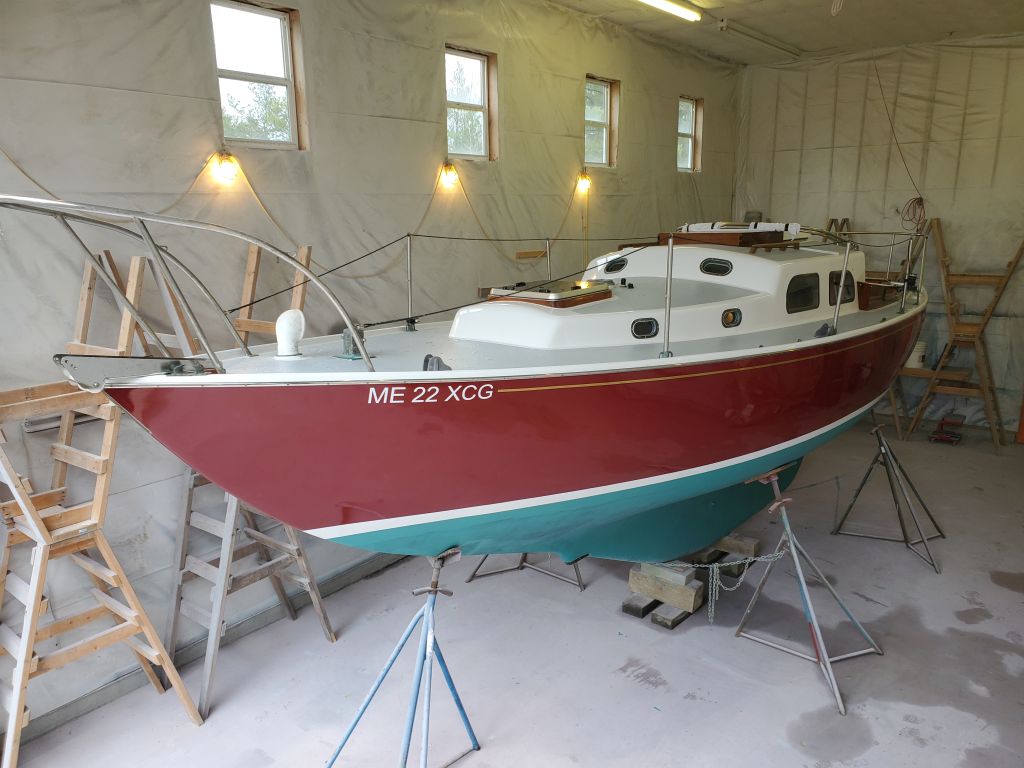
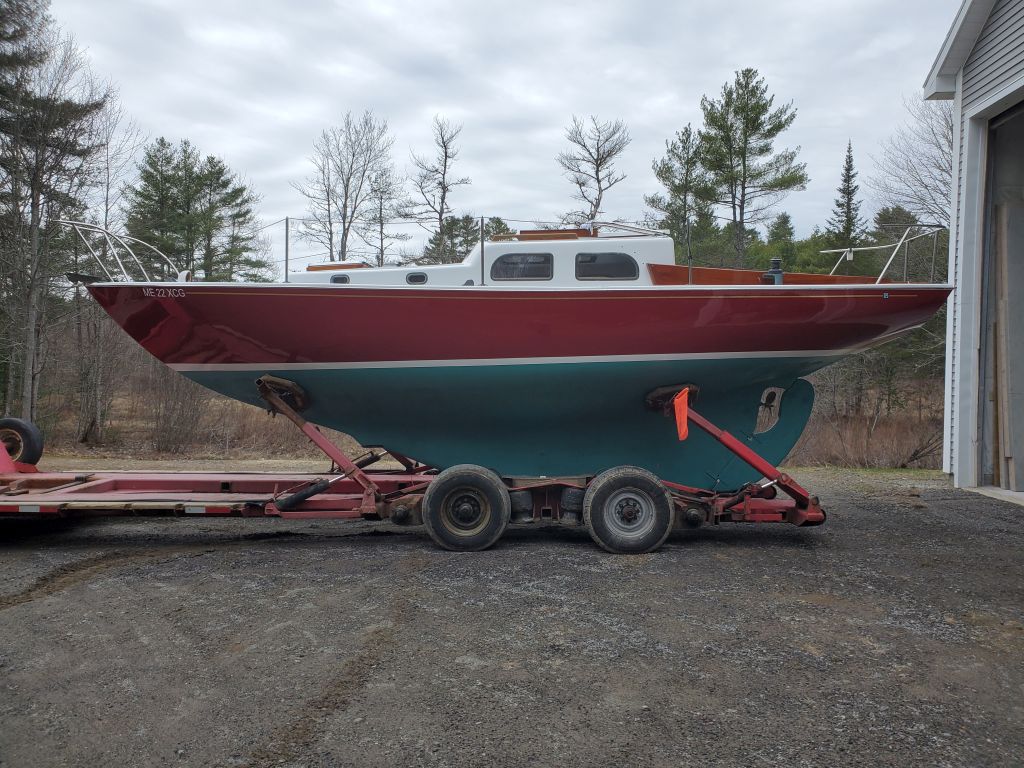
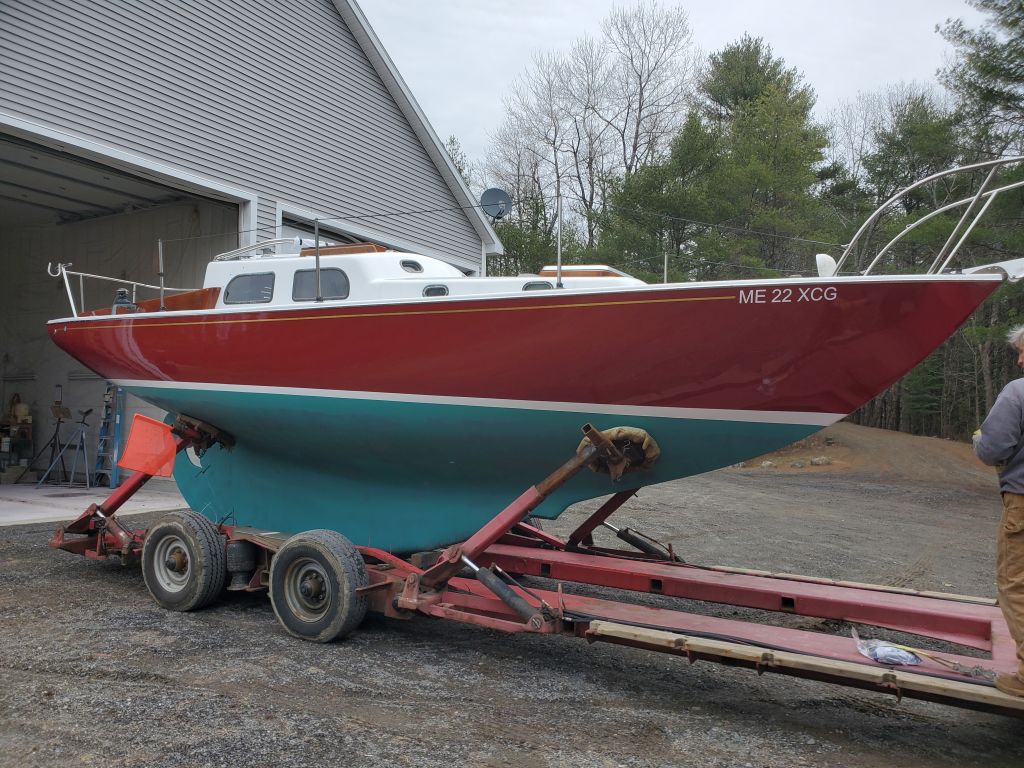
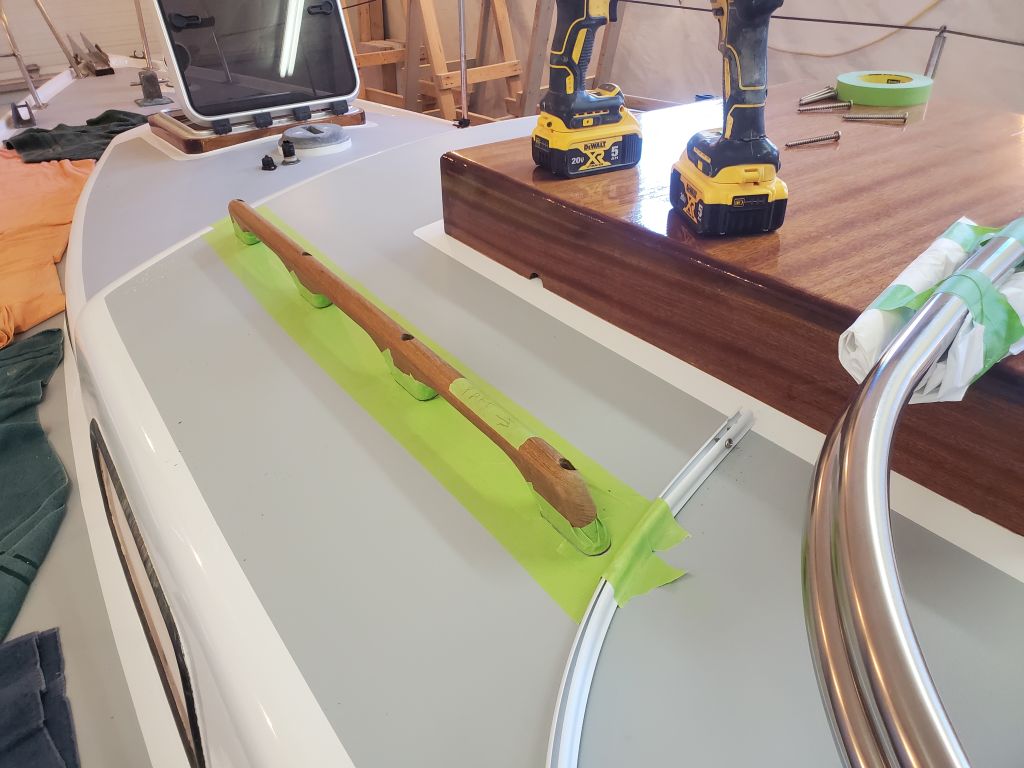
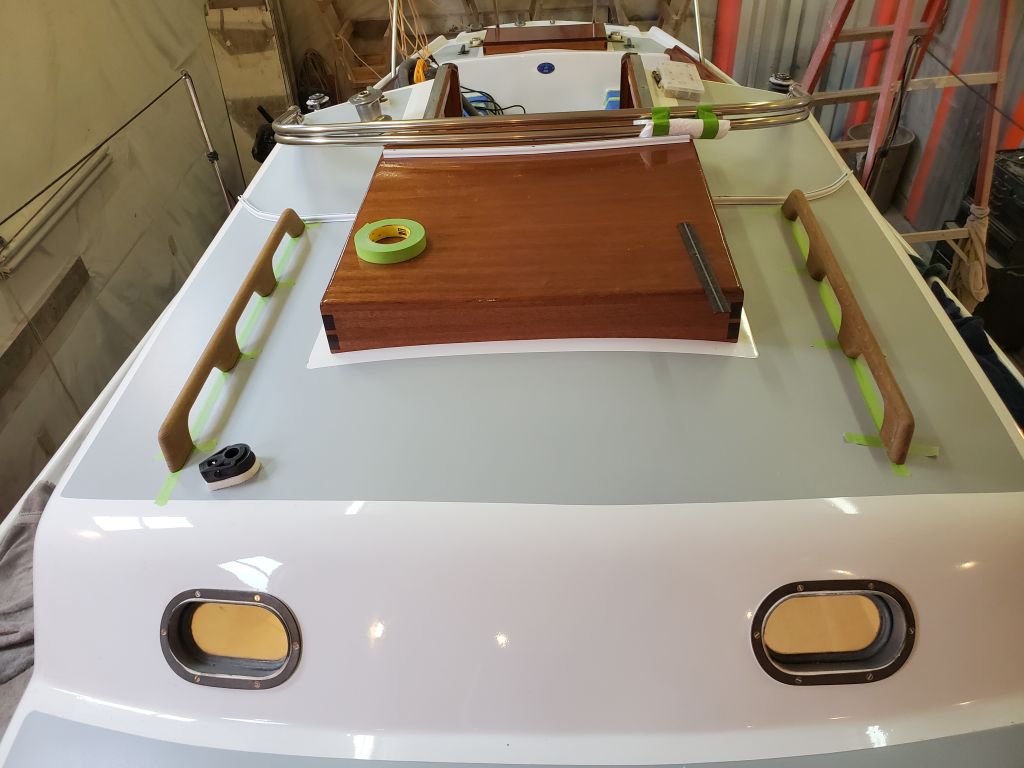
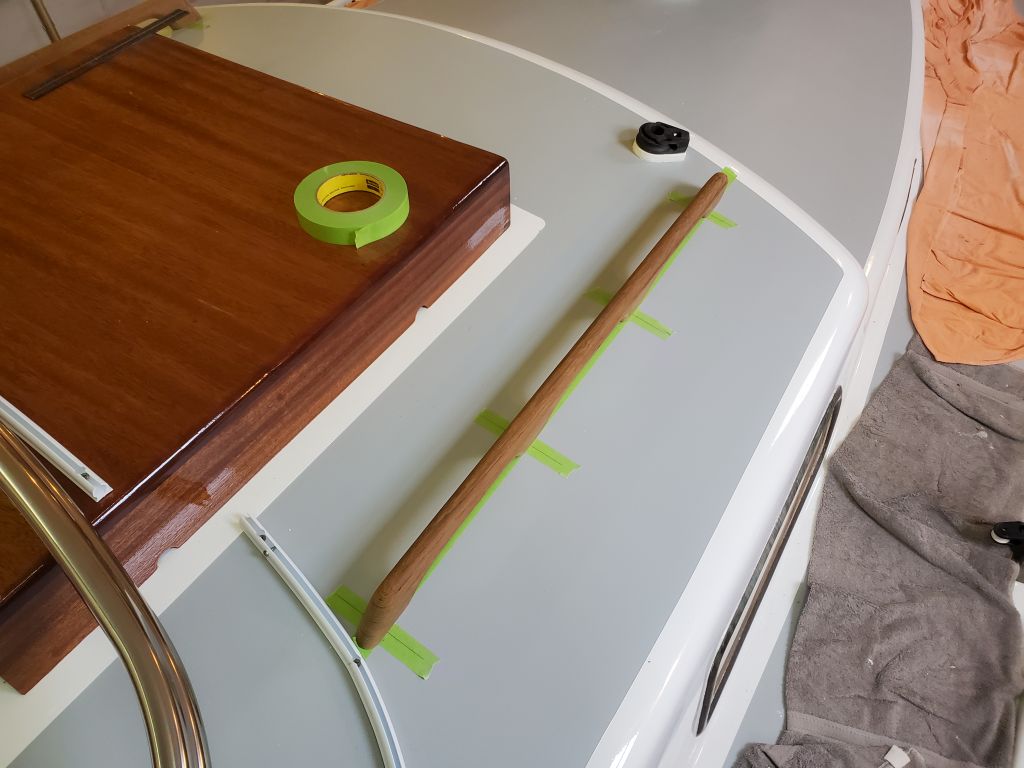
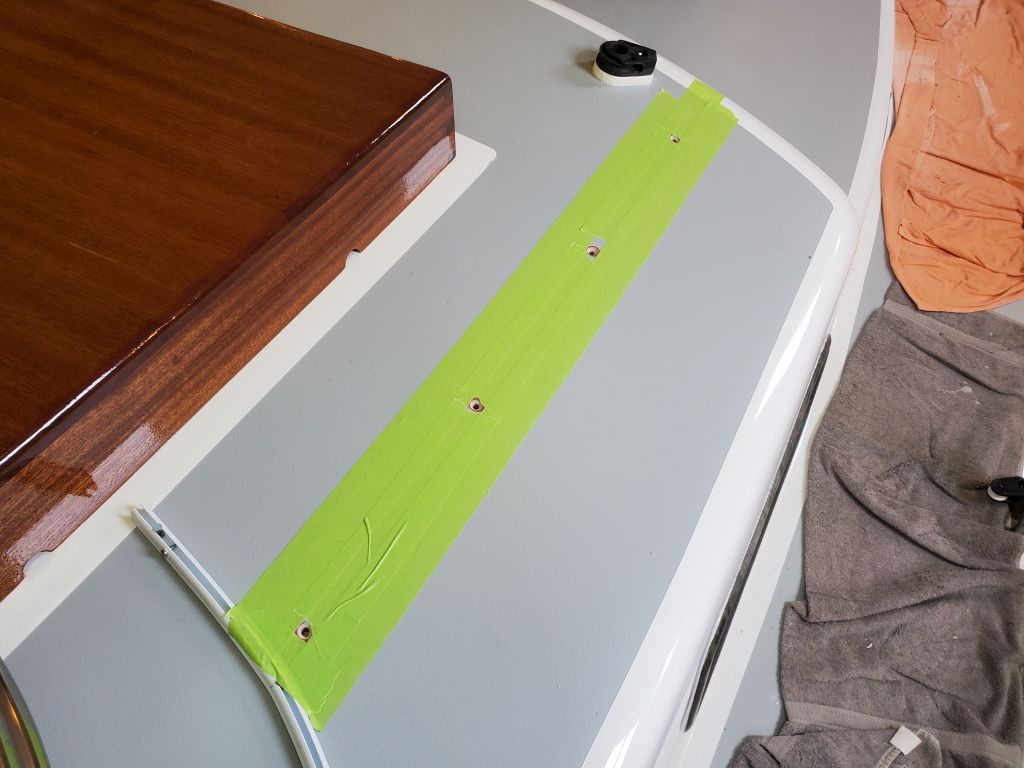
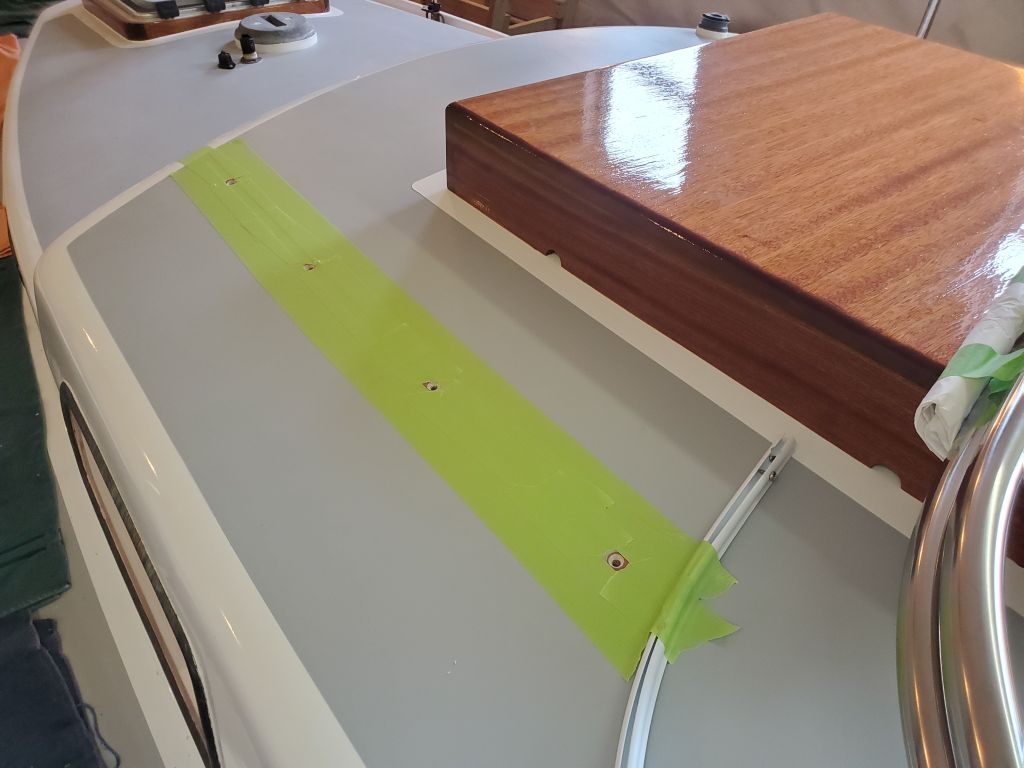
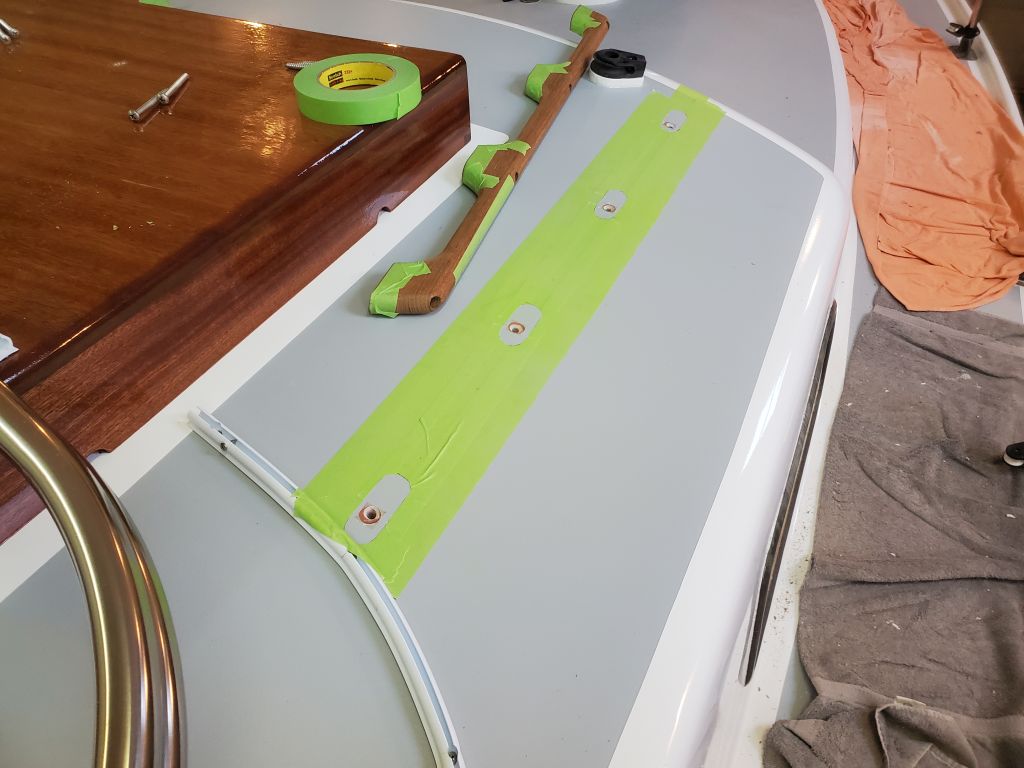
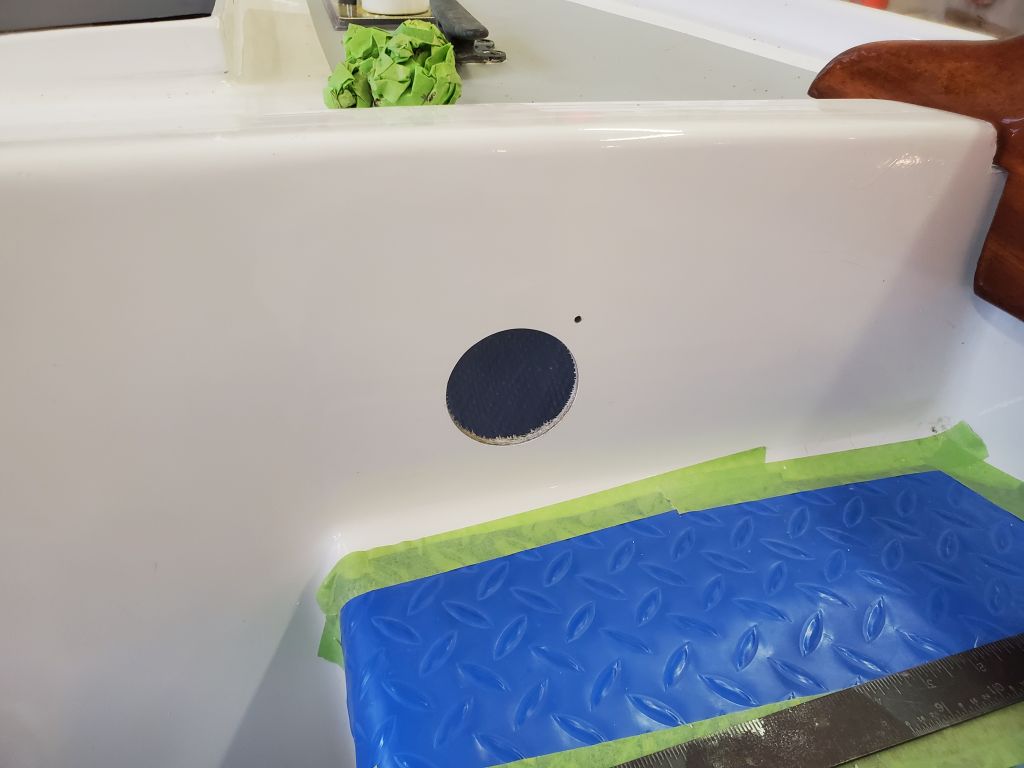
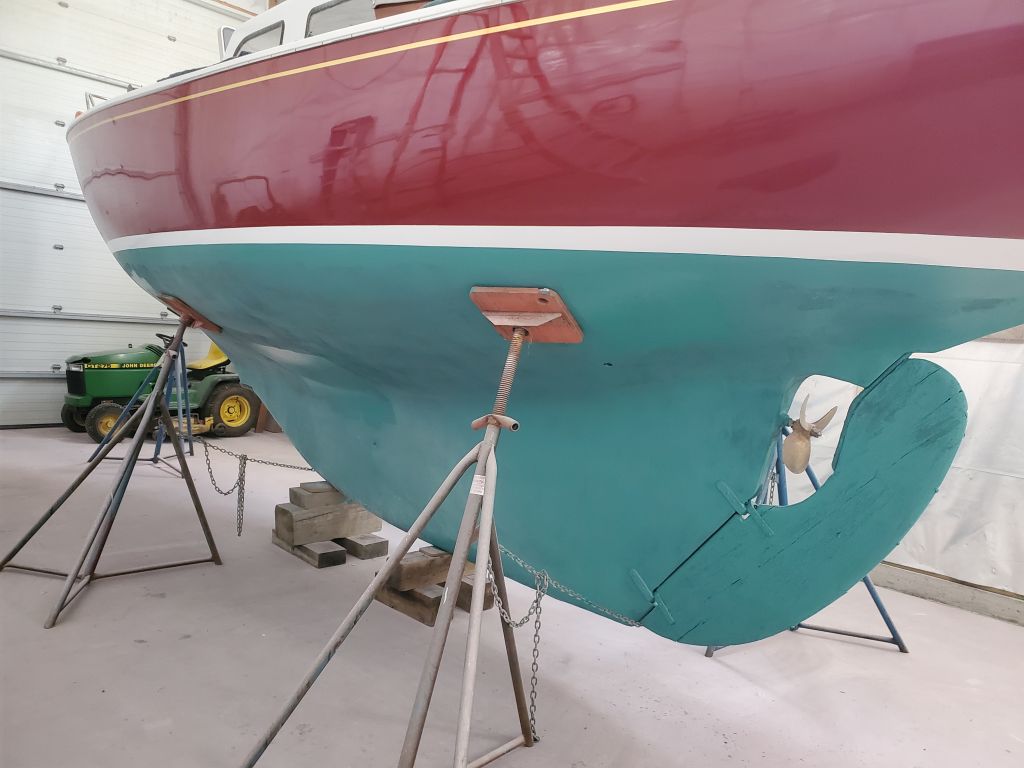
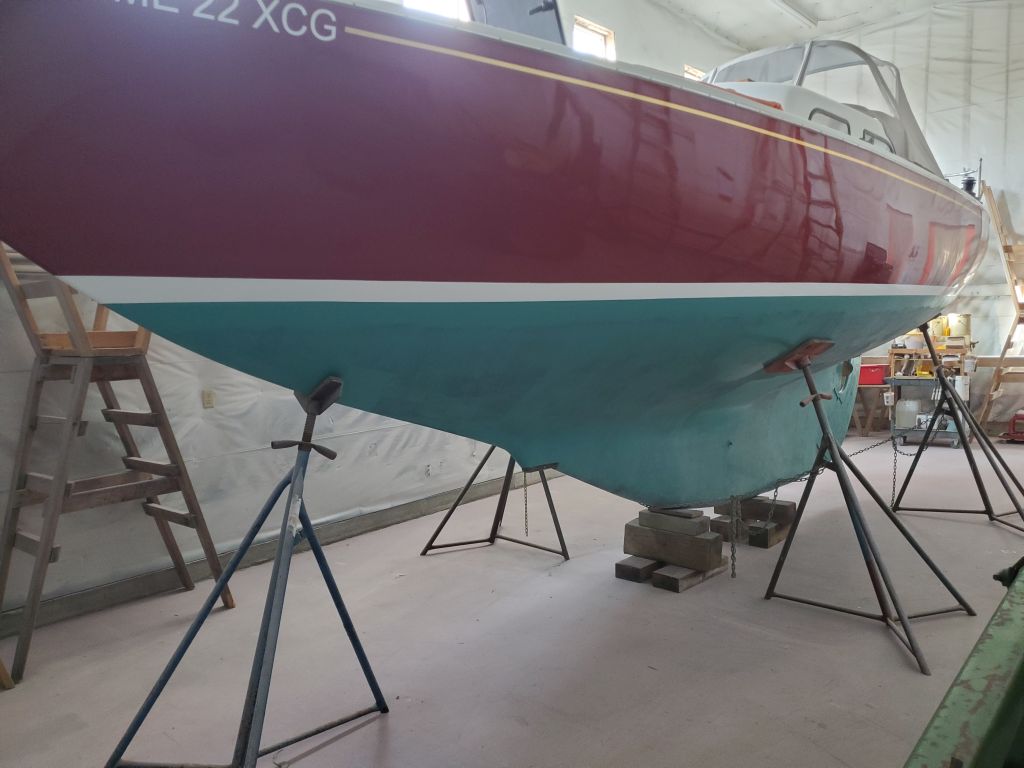
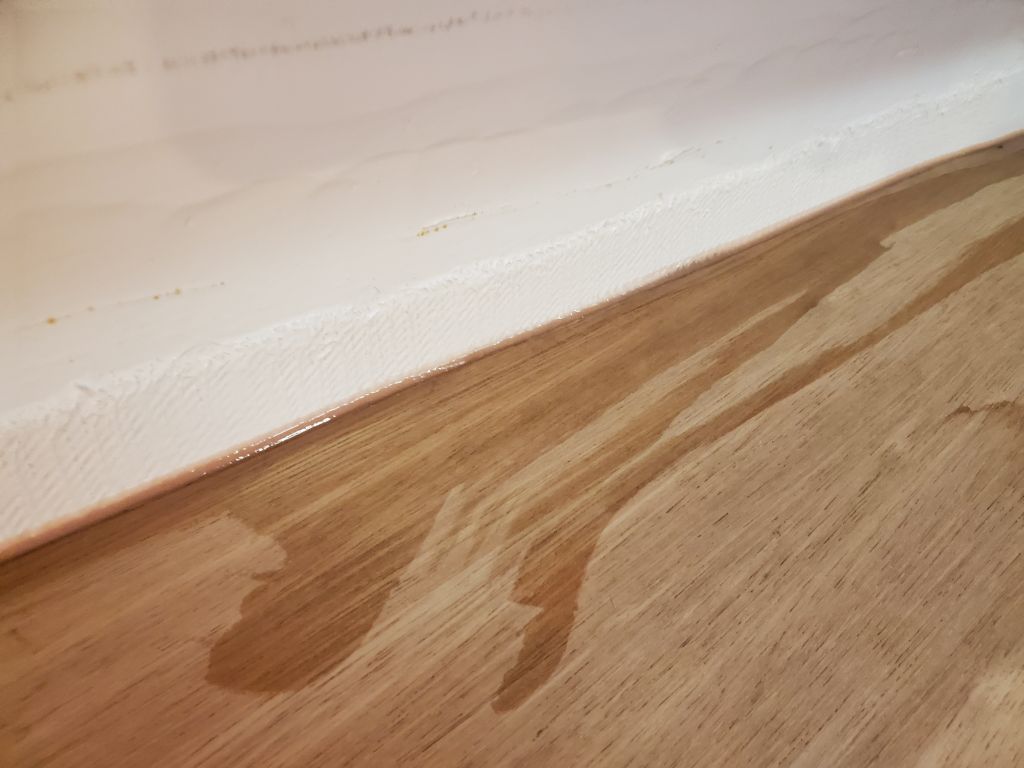
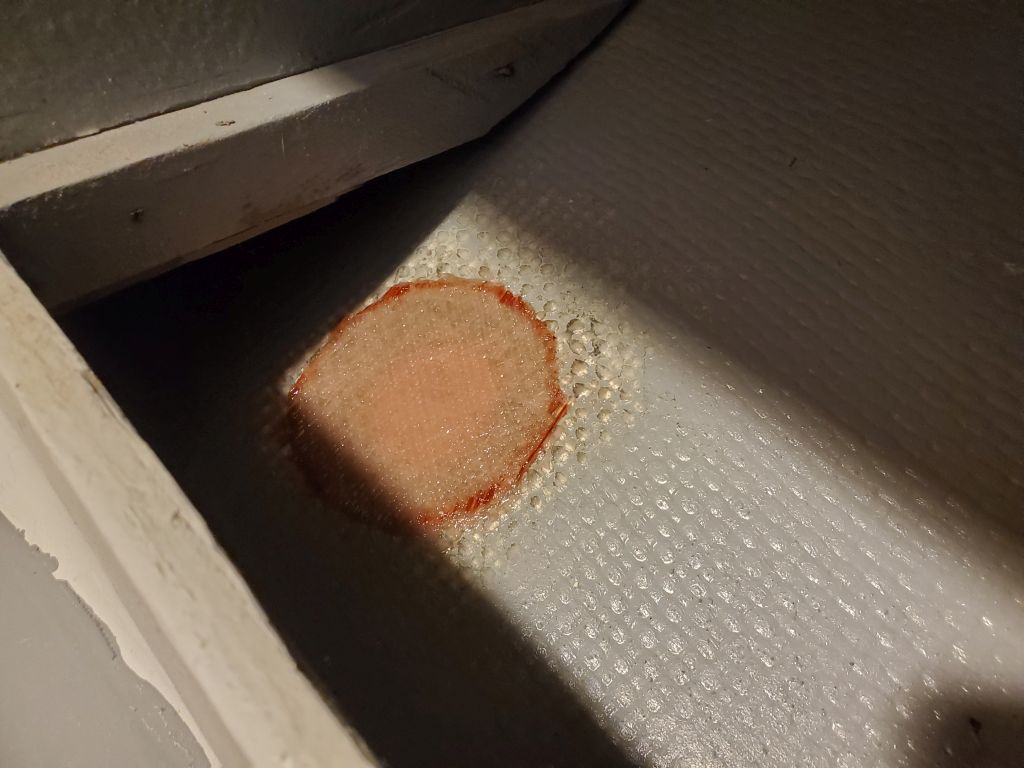
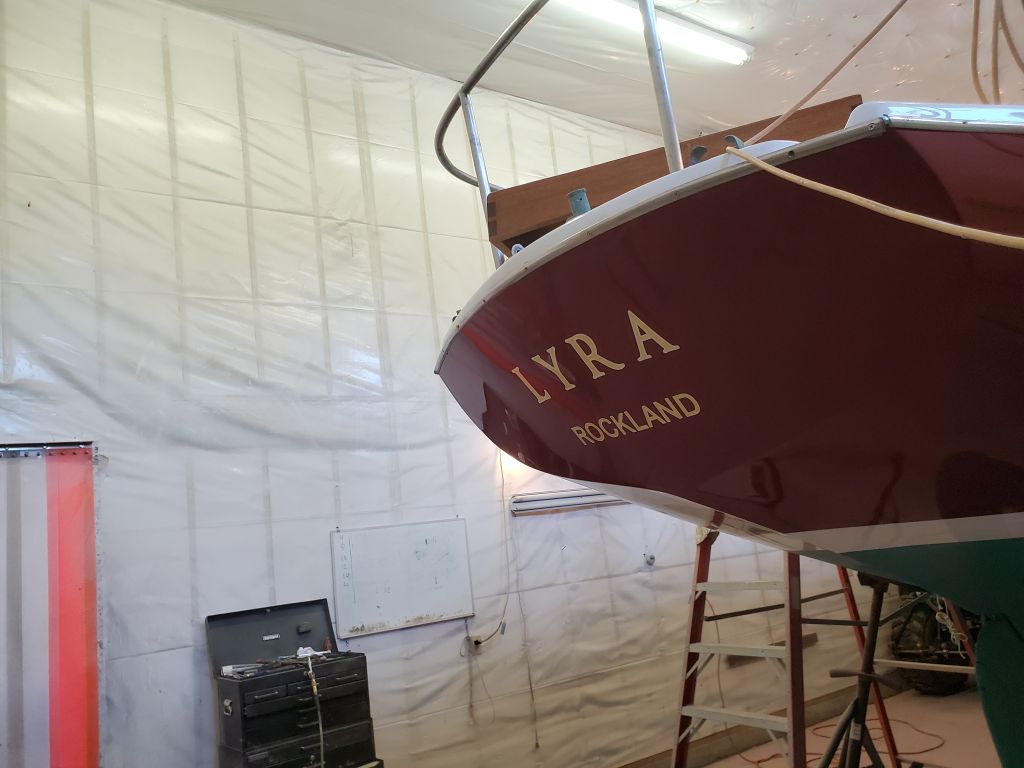
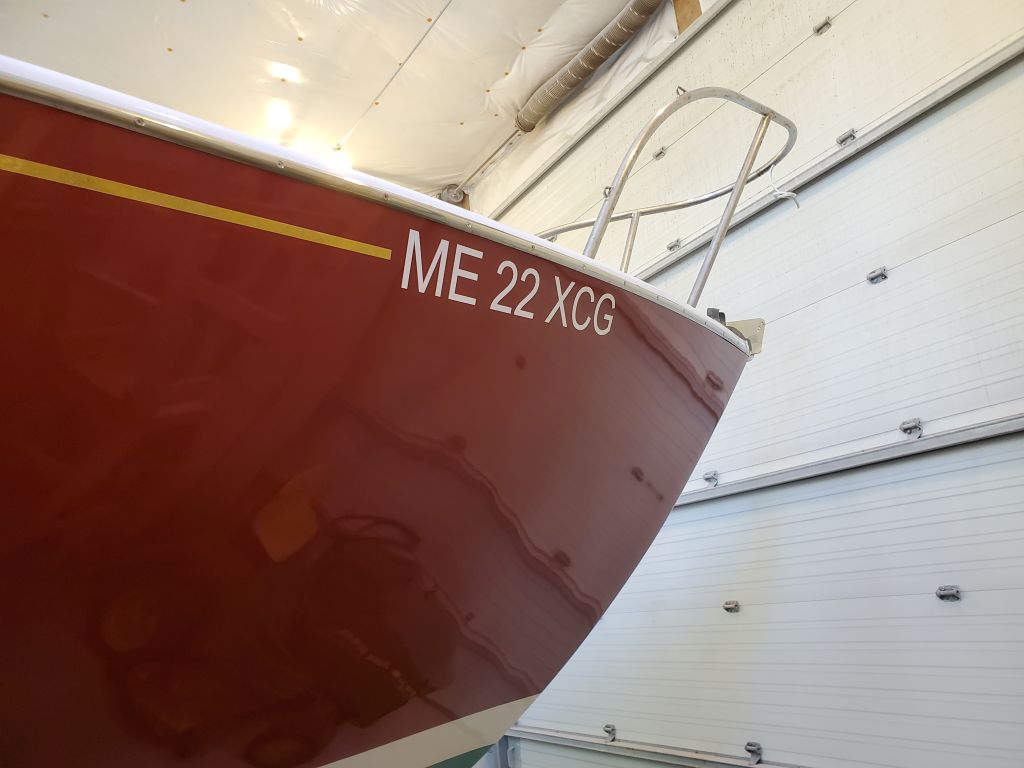
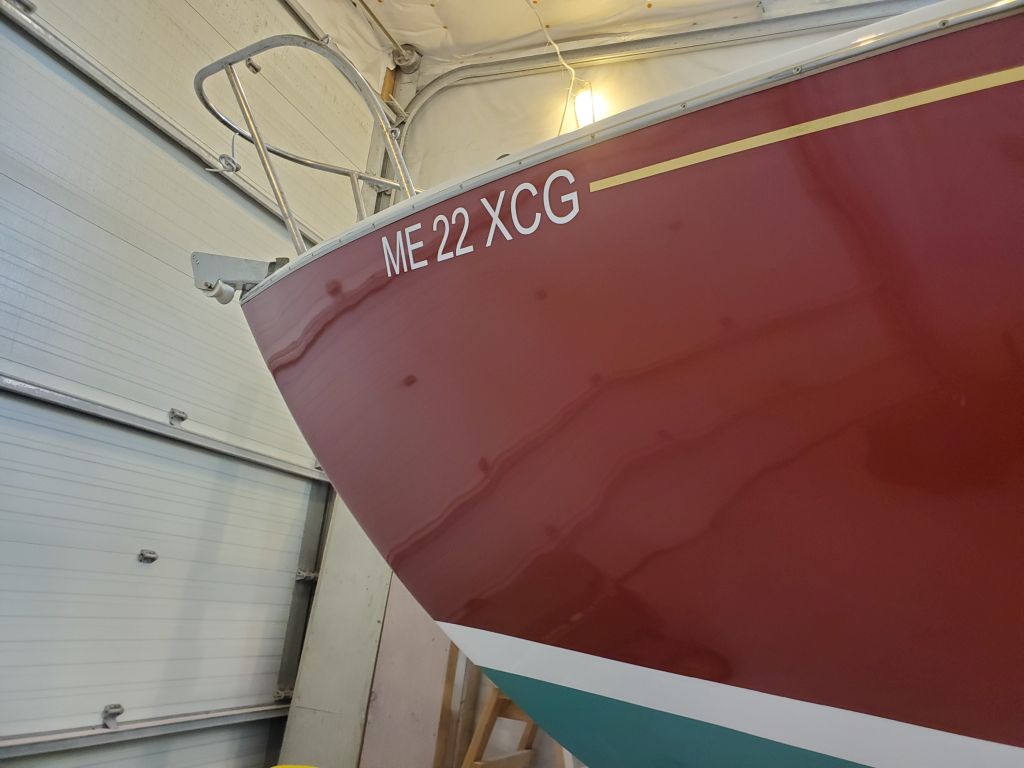
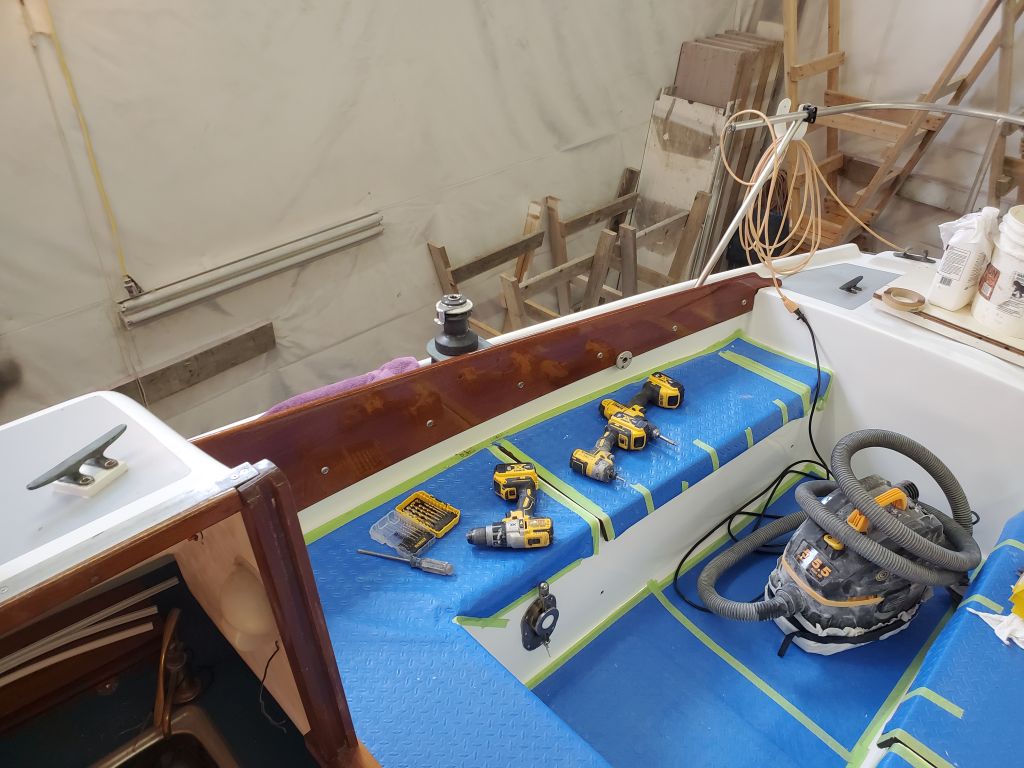
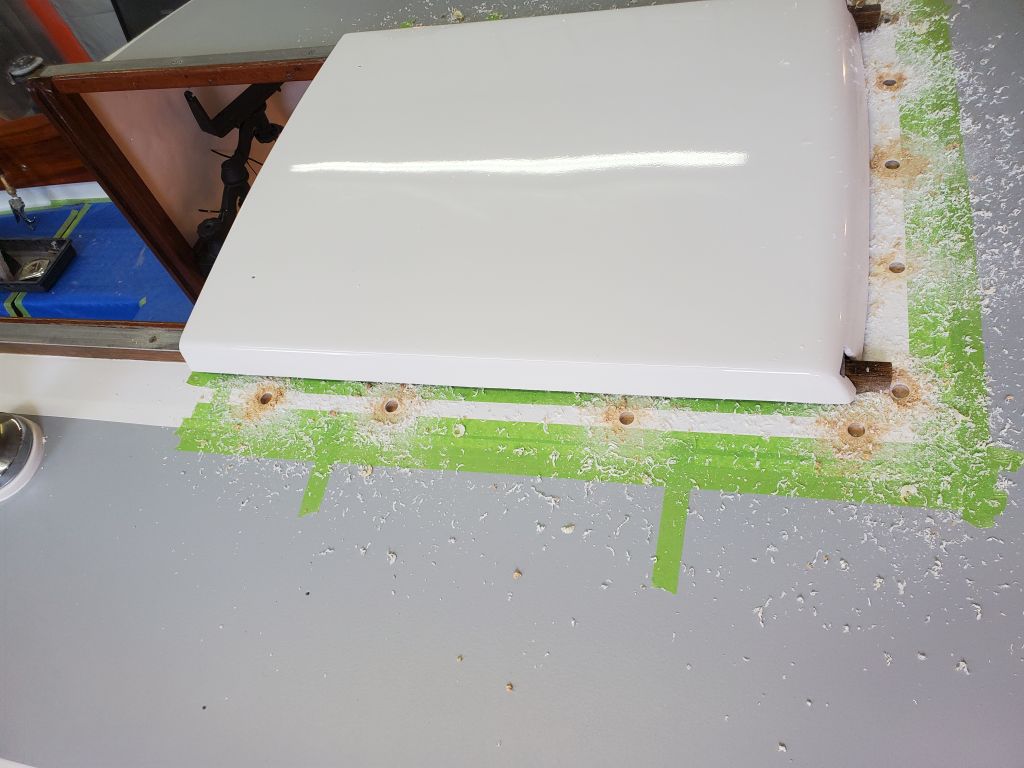
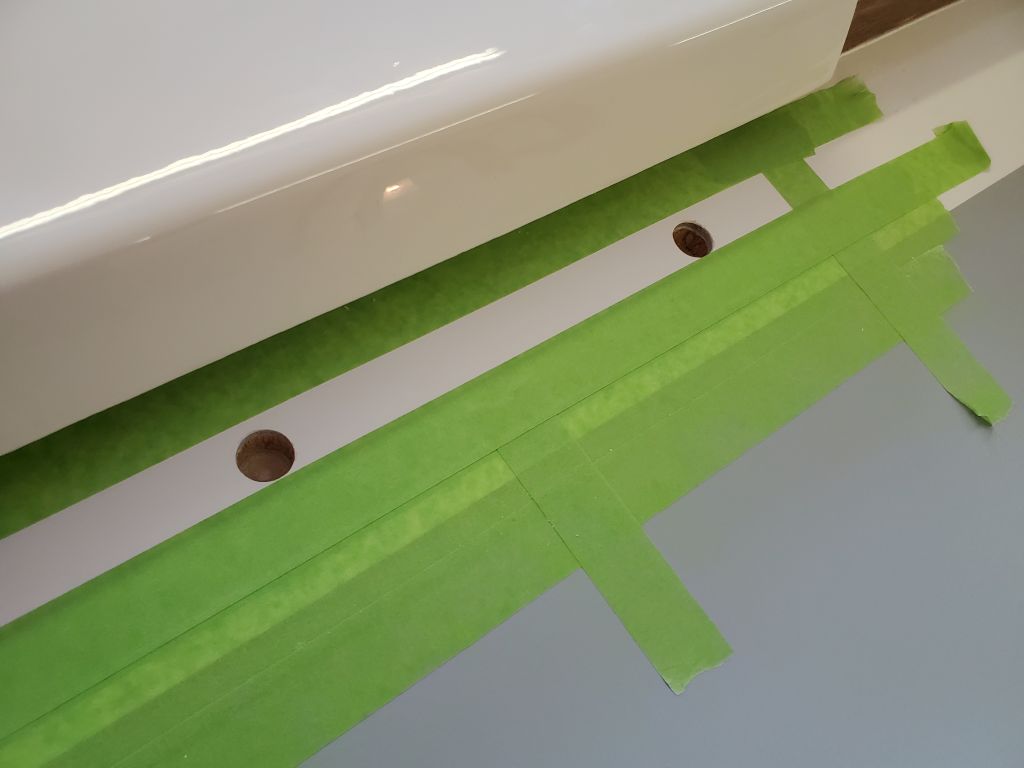
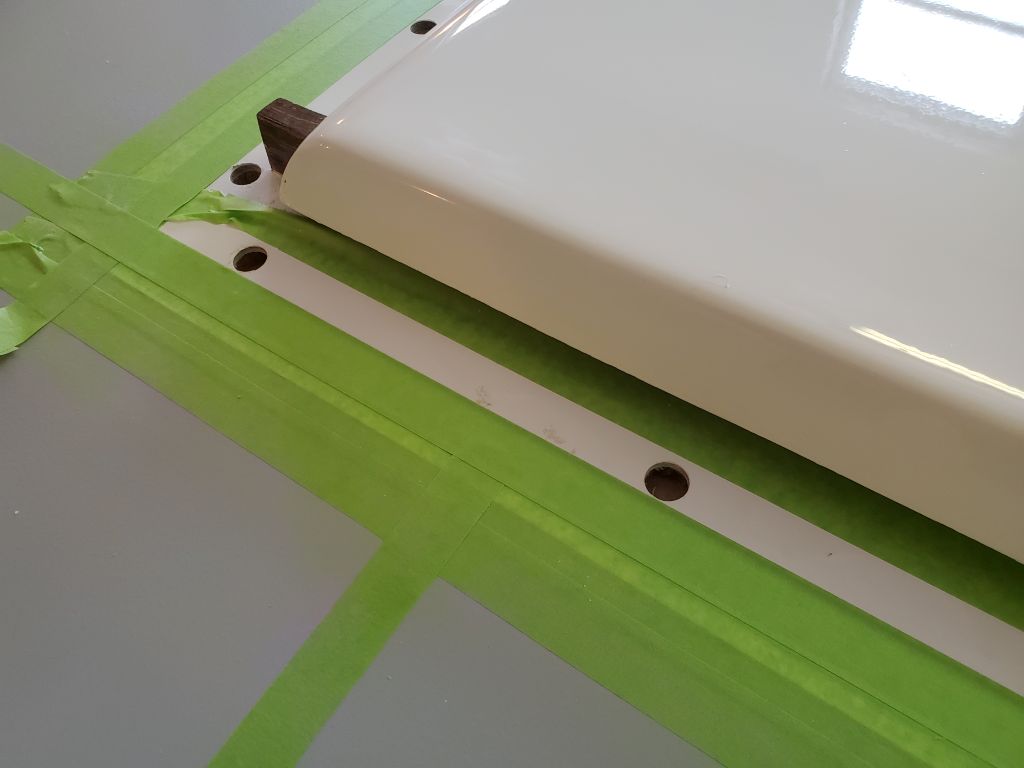
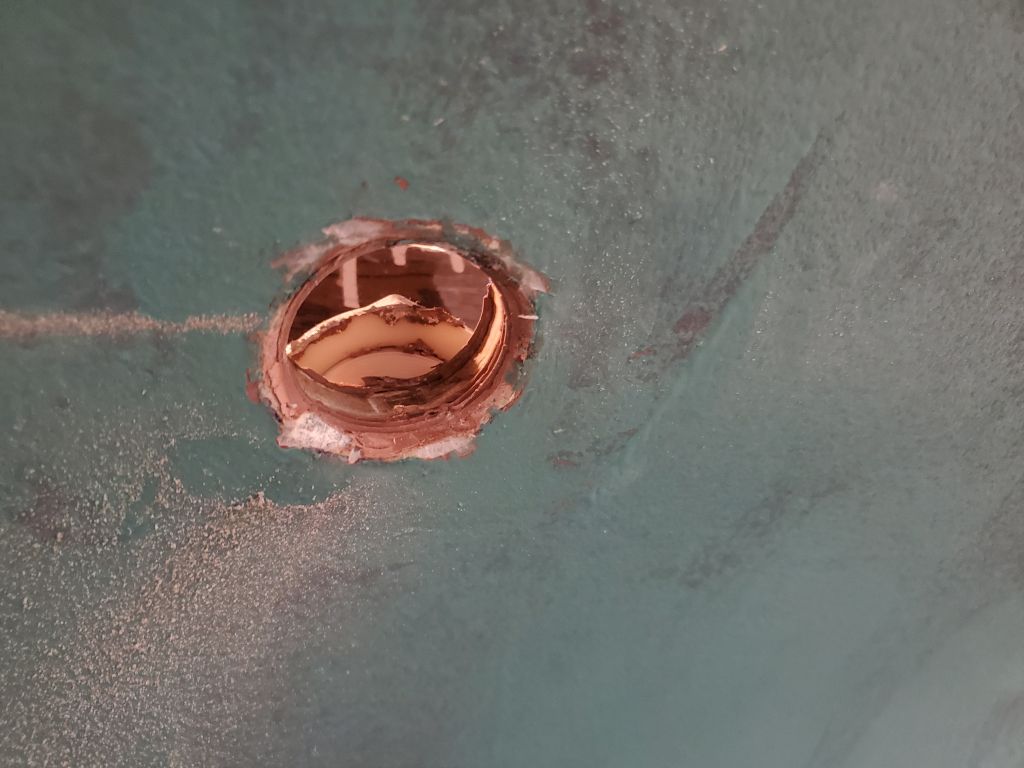
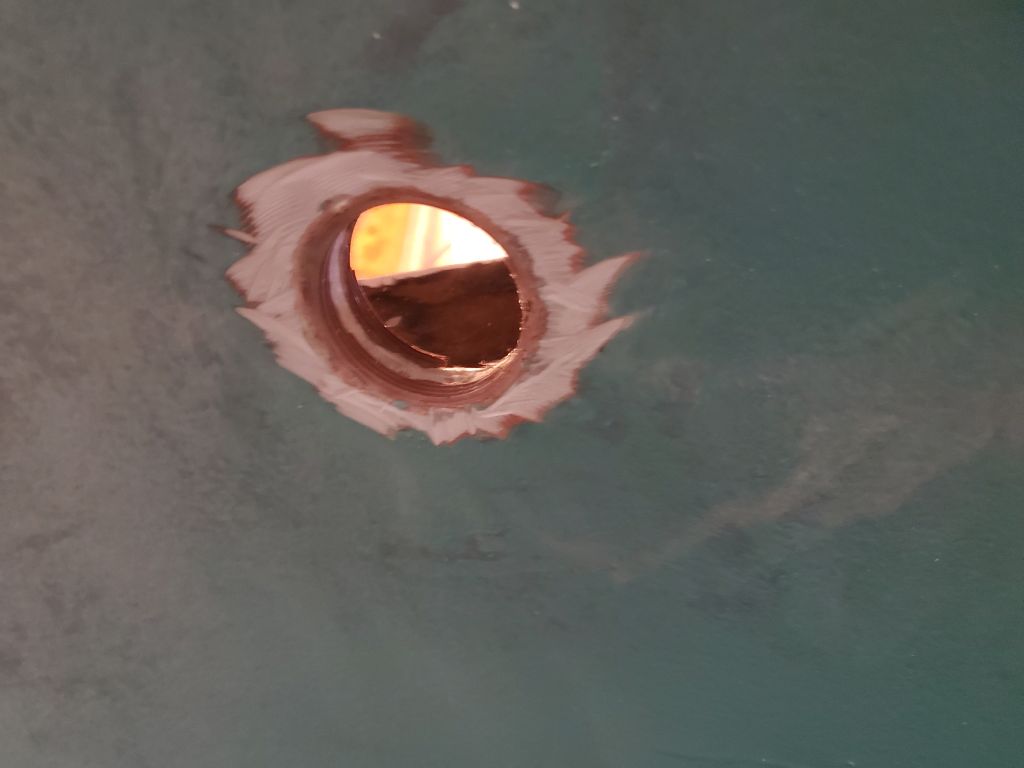
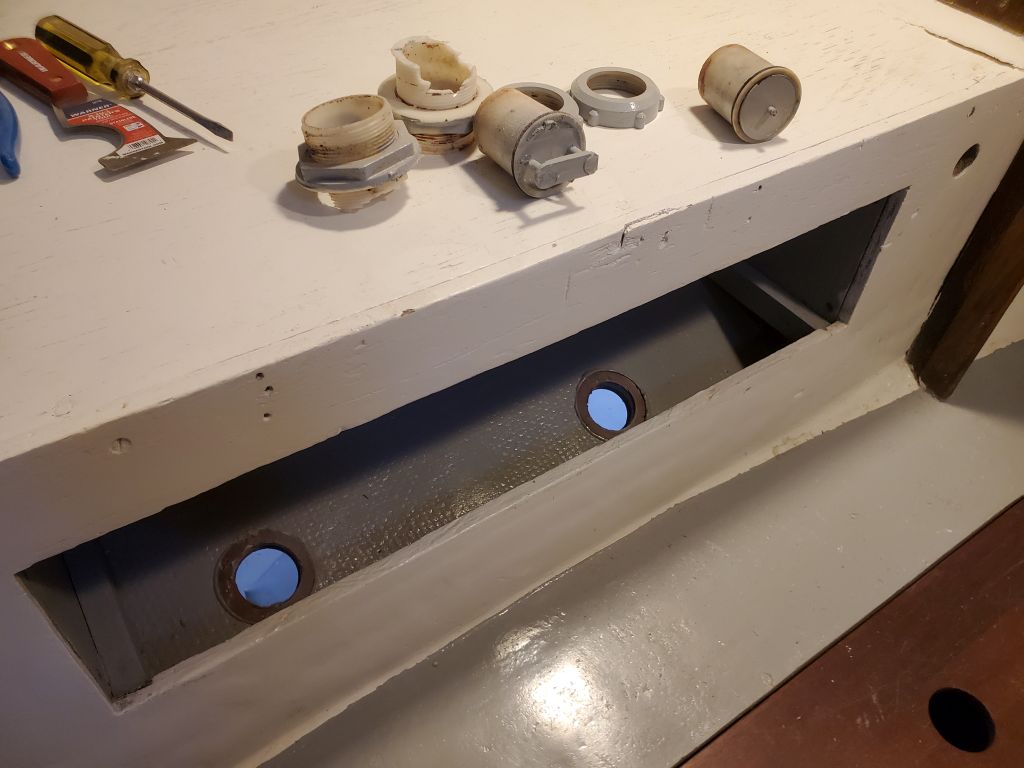
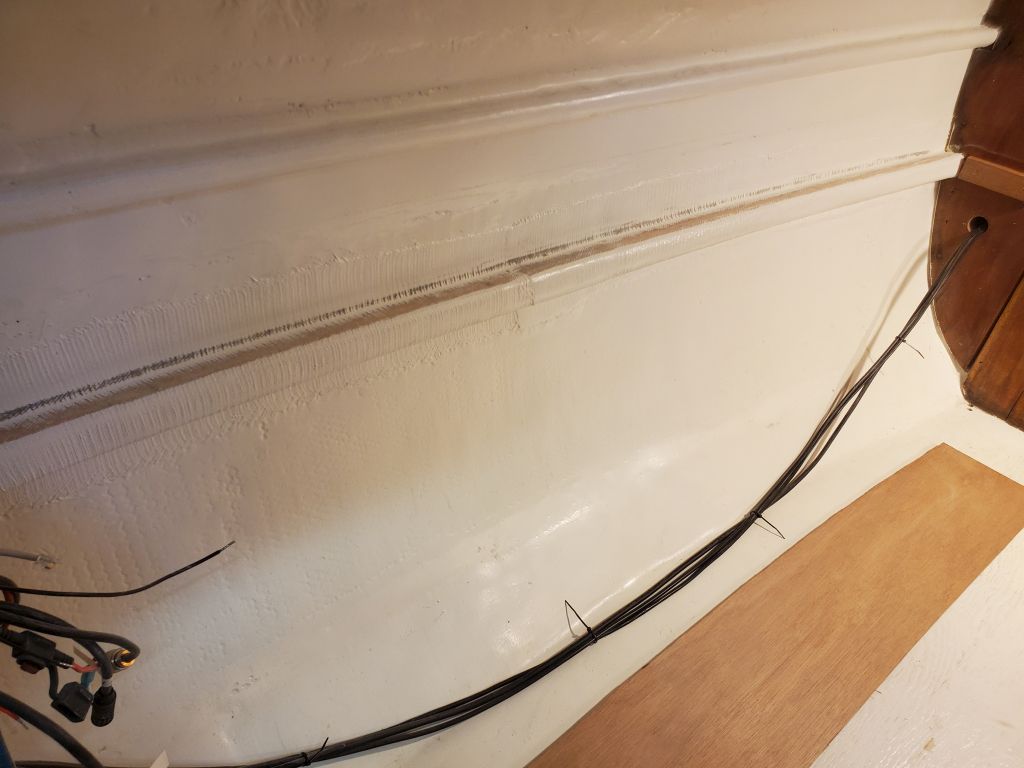
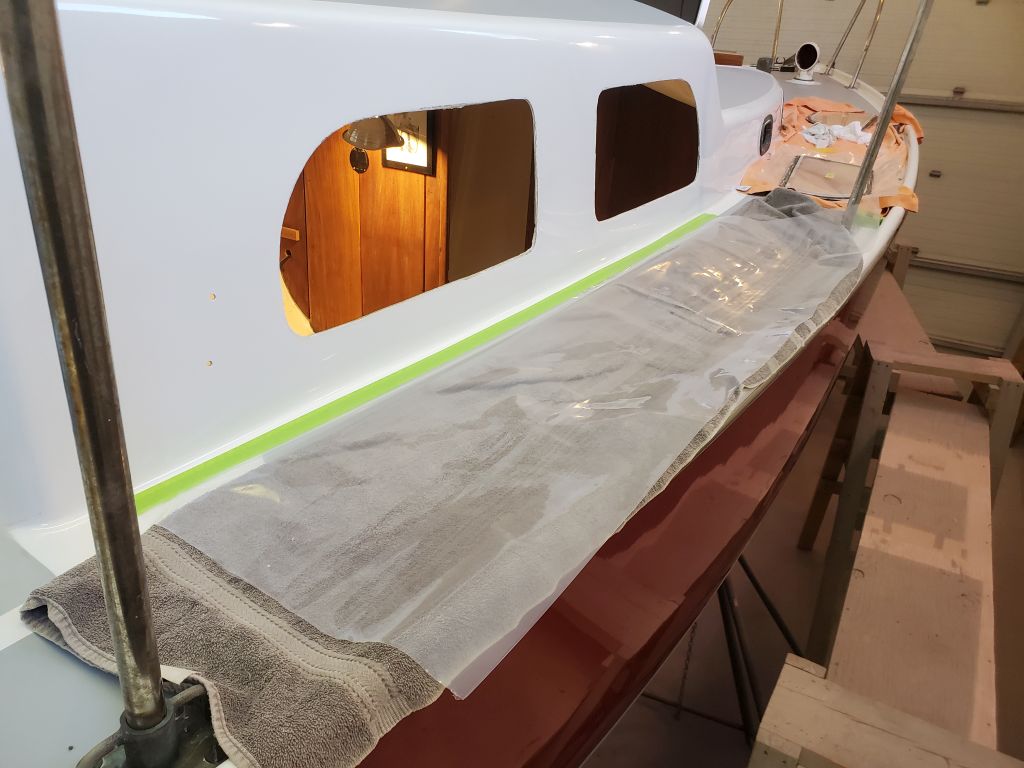
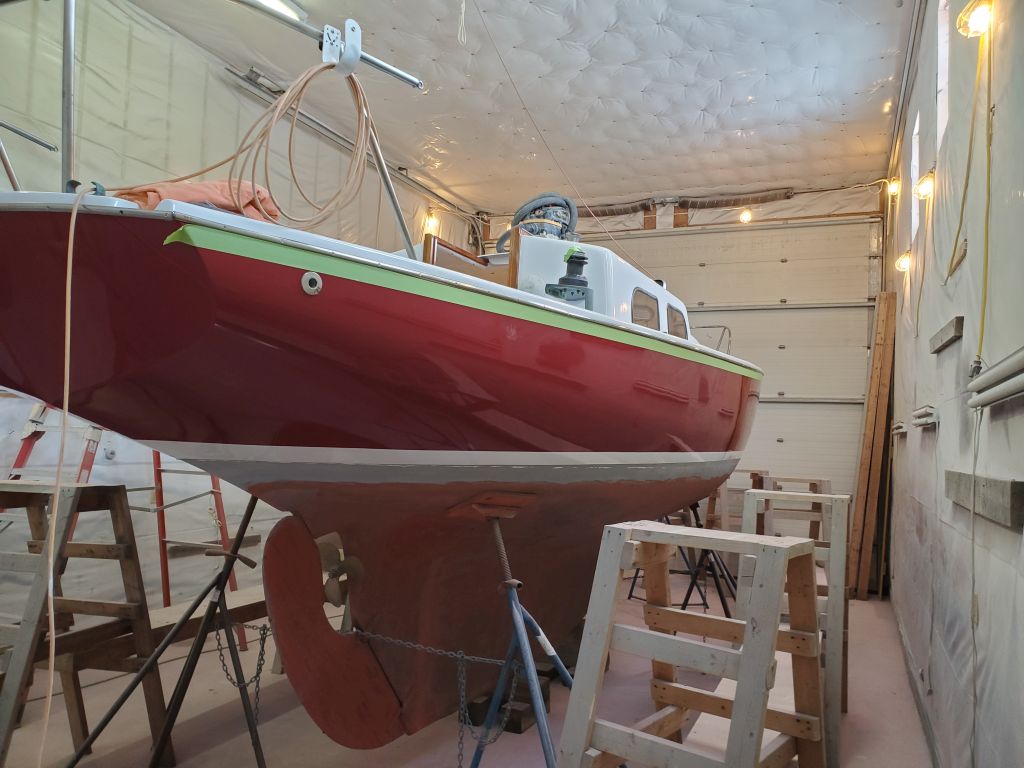
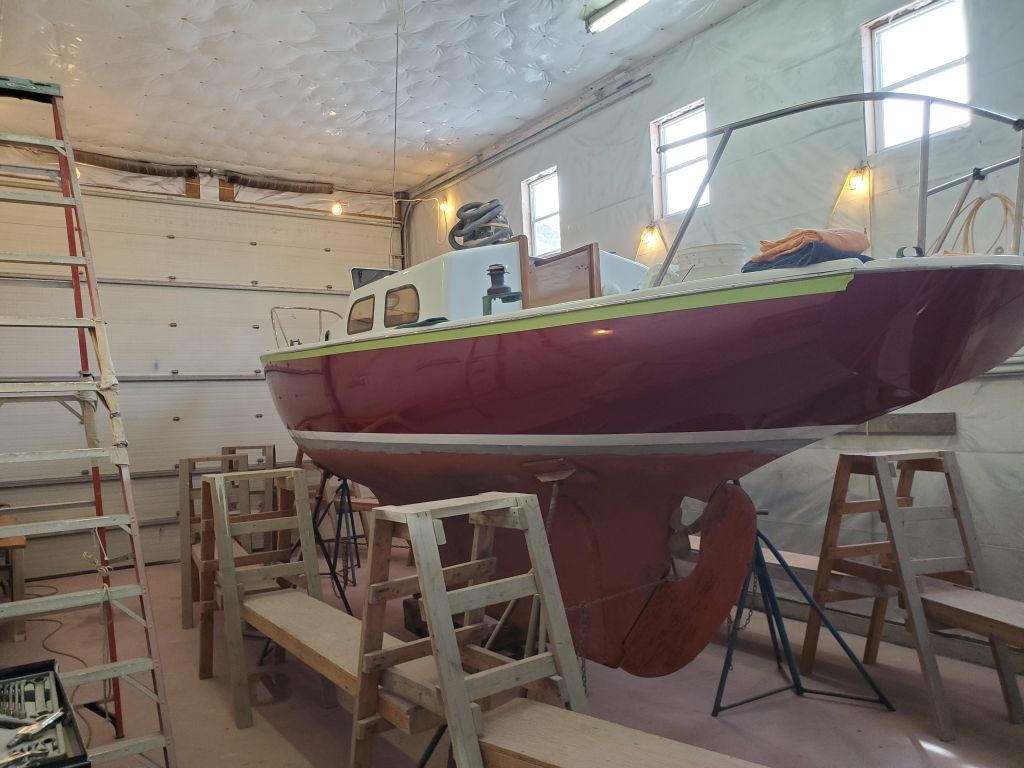
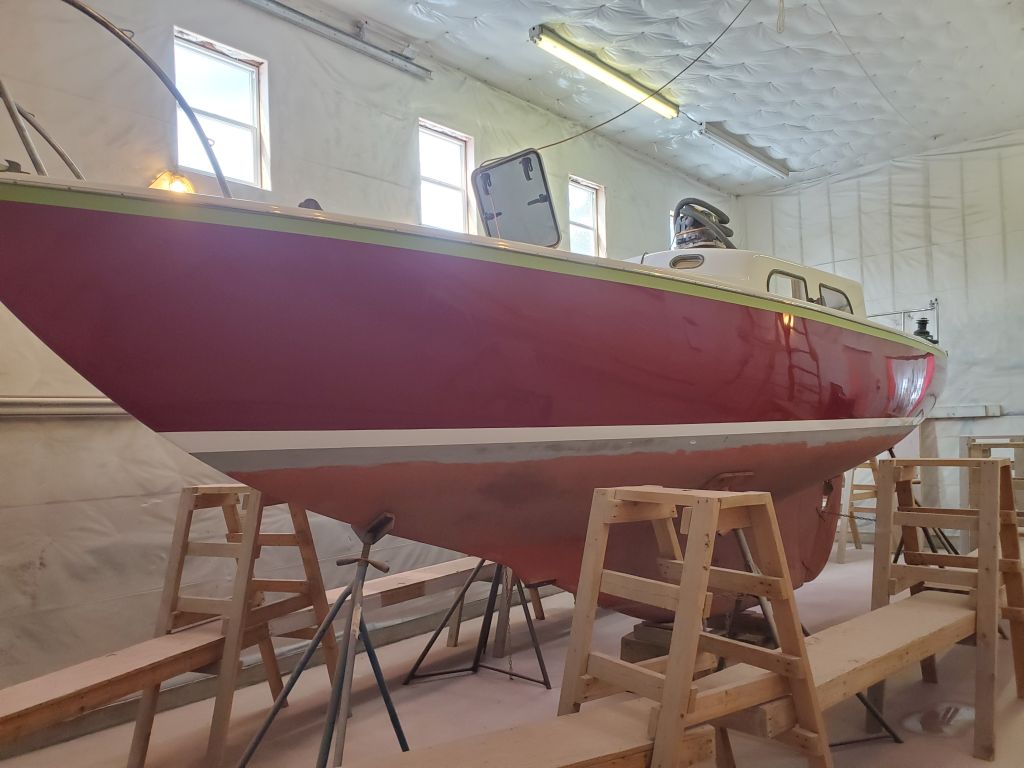
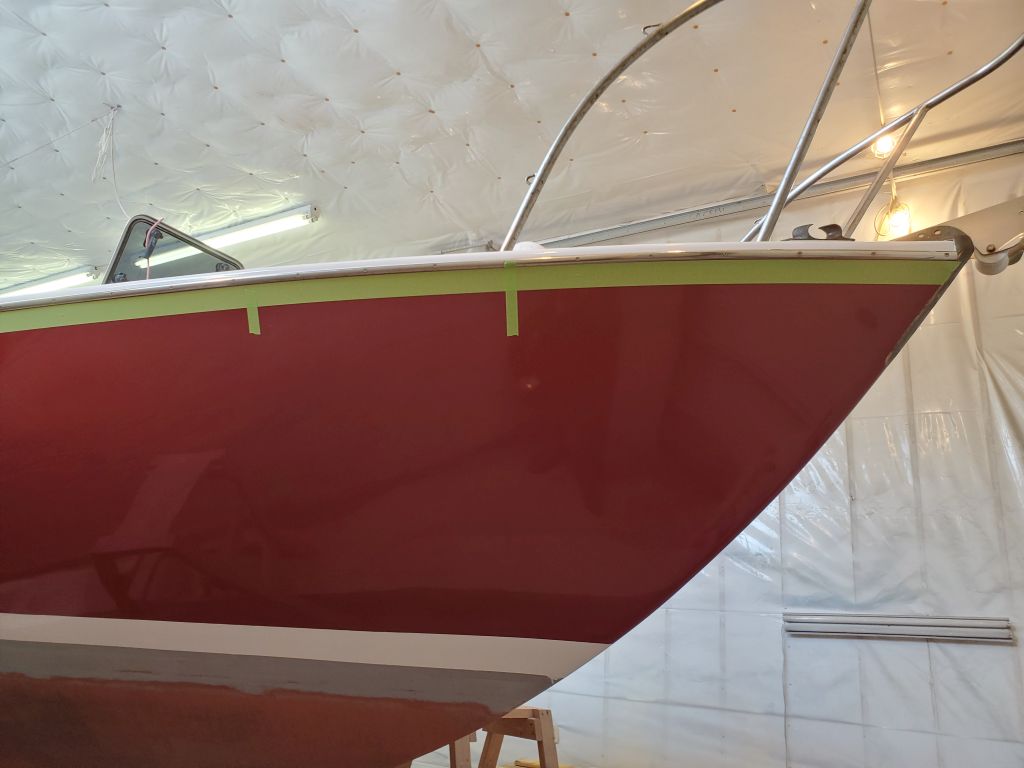
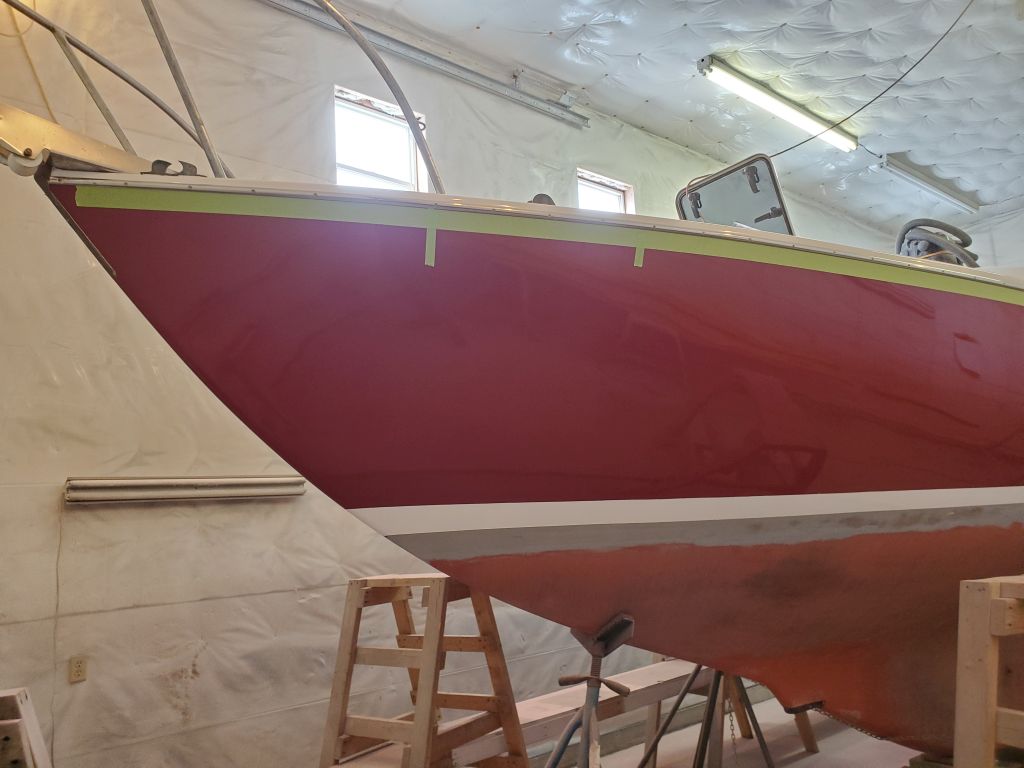
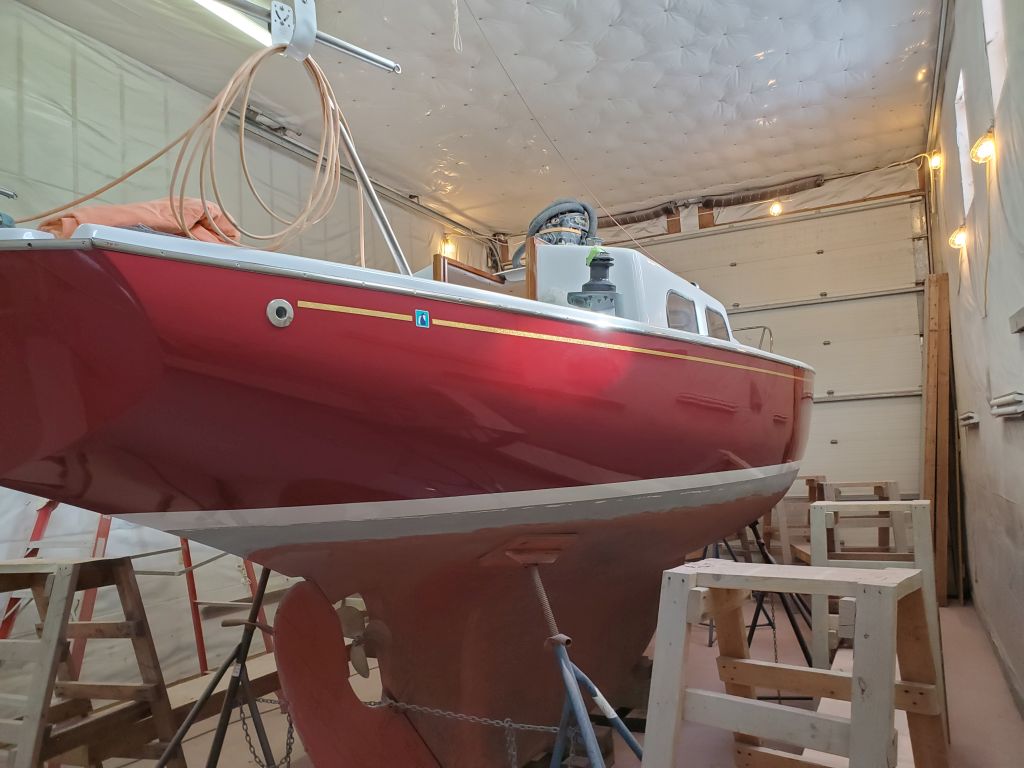
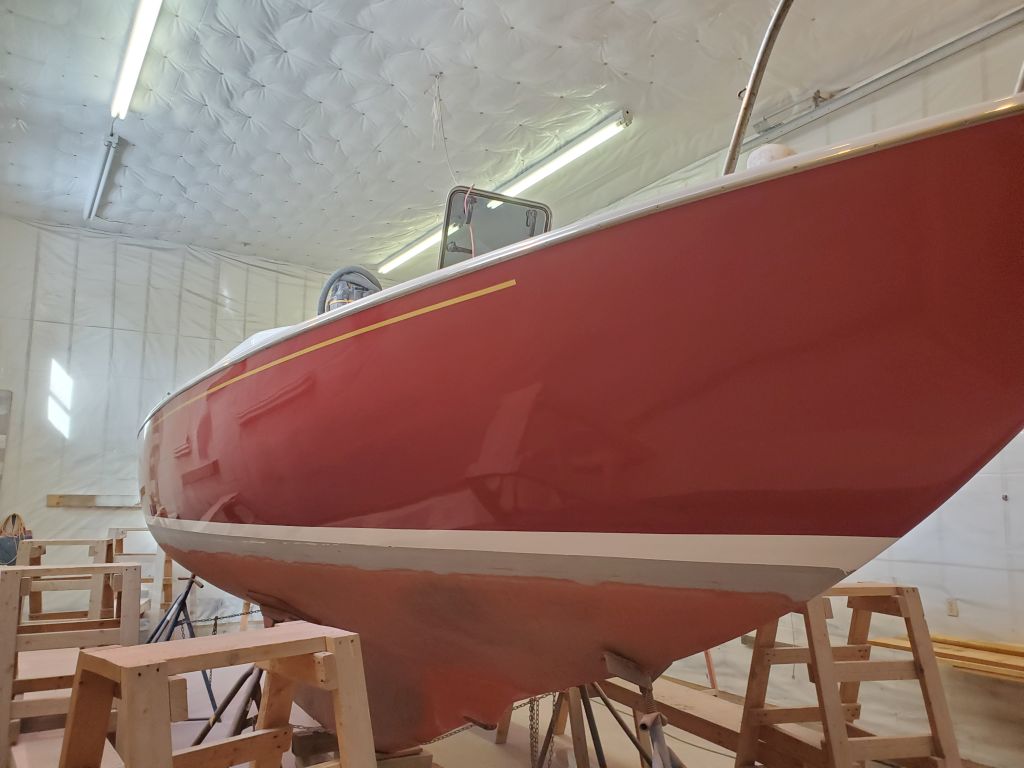
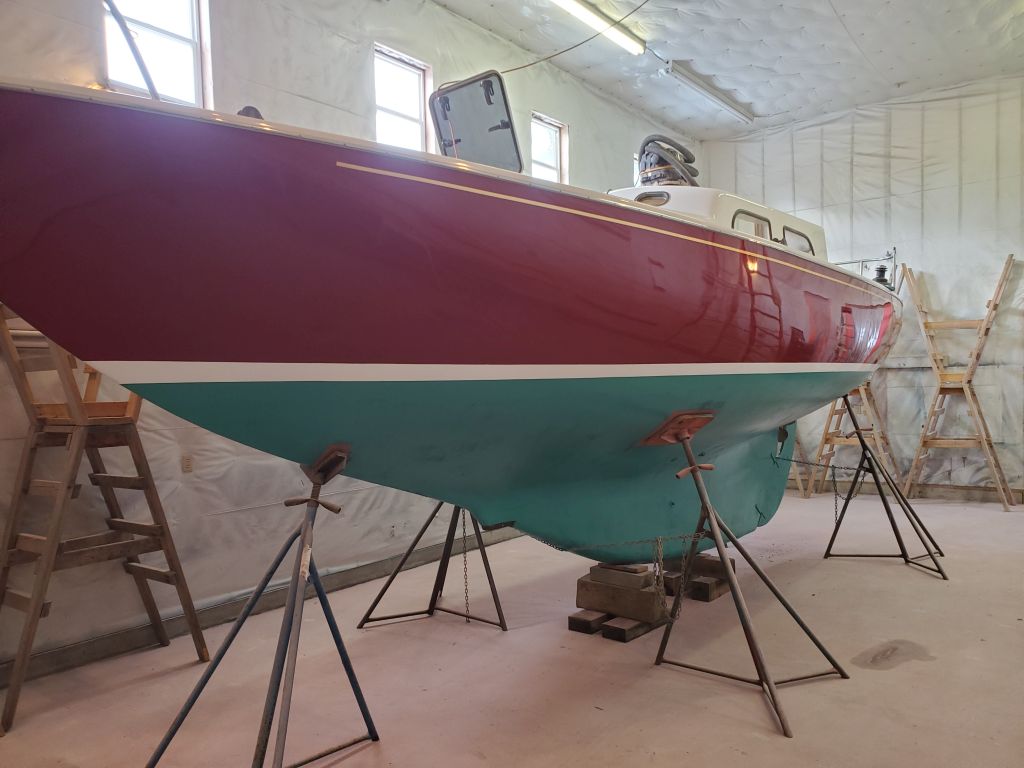
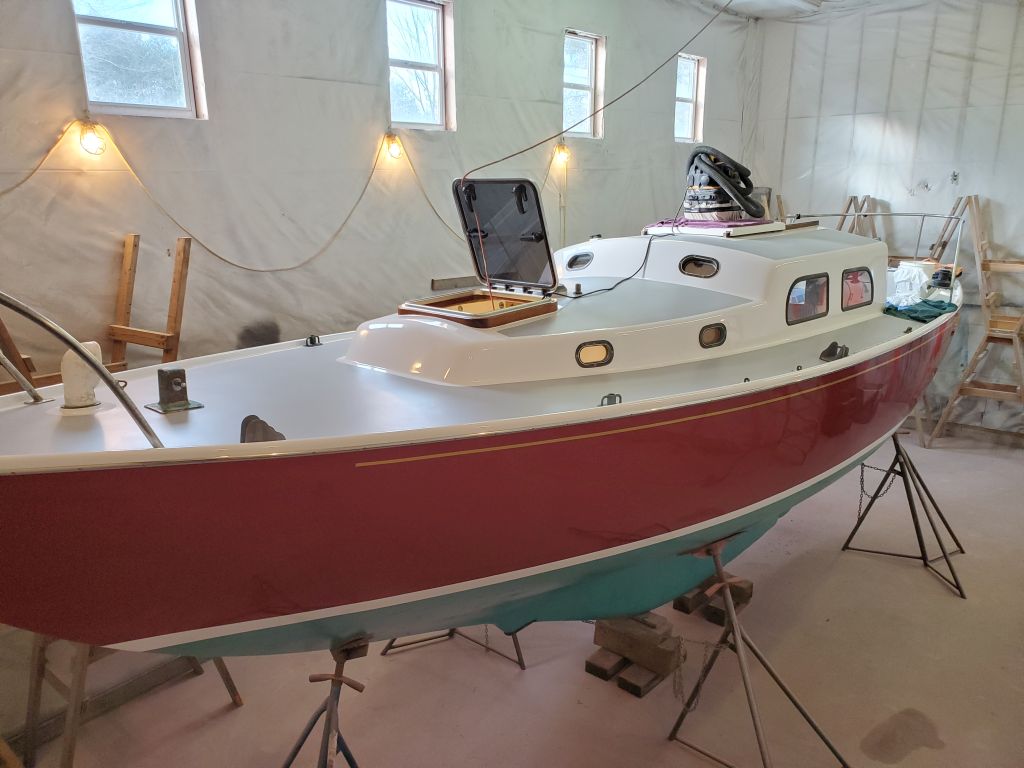
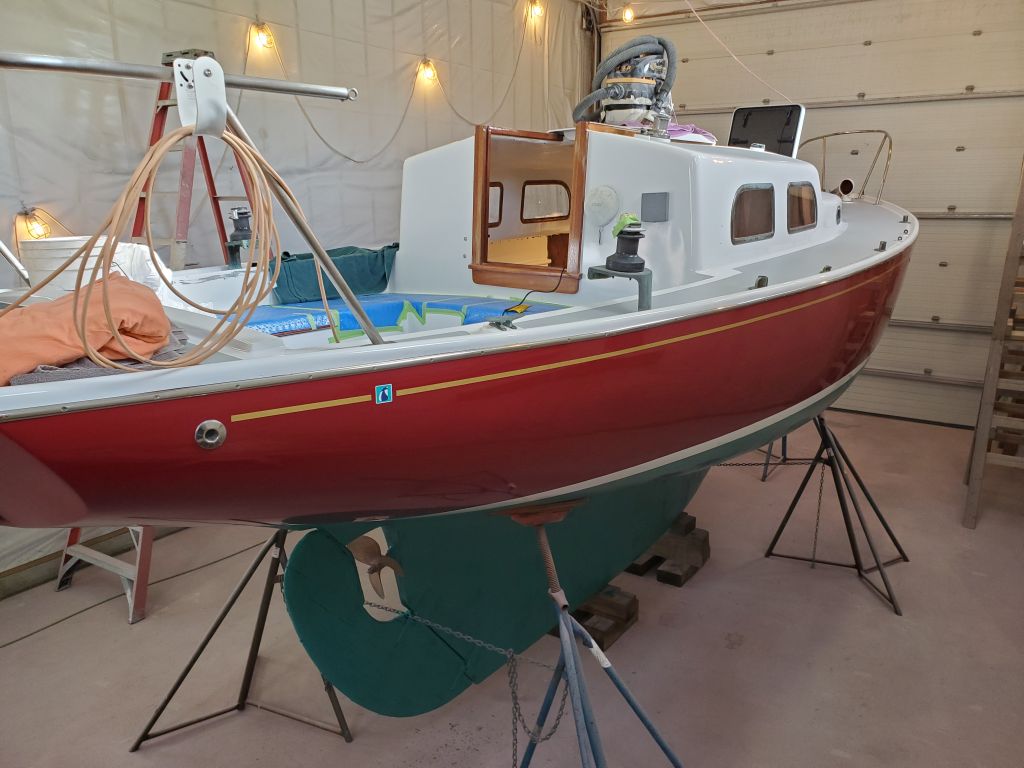
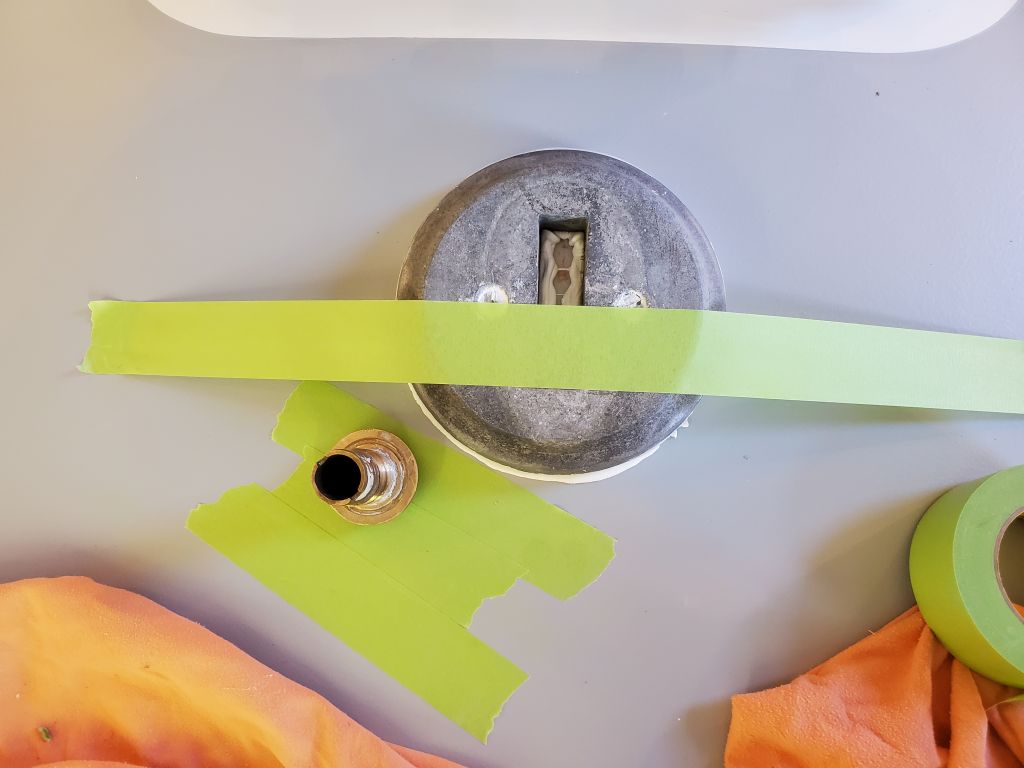
For now, I could clean up the interior and deck as needed, remove excess tools, and get ready for a couple small jobs on the hull, beginning with a new cove stripe.  The owner chose gold leaf vinyl for the stripe, a classic and classy look.  With the staging now lowered to hull height, I installed 2″ masking tape below the rubrail on both sides, fairing the line by eye as needed.  The bottom edge of this tape would give me the guideline for the vinyl cove stripe beneath.  I used additional strips of tape to mark the ends of the stripe.  At the aft end, I started with 12″ forward of the transom, my usual positioning, but on the starboard side this interfered with the bilge pump outlet, so I moved the aft end forward just a touch to 14″ from the transom, measured along the bottom of the masking tape.  I added a 2-2/1″ interruption 12″ forward, for a small logo.

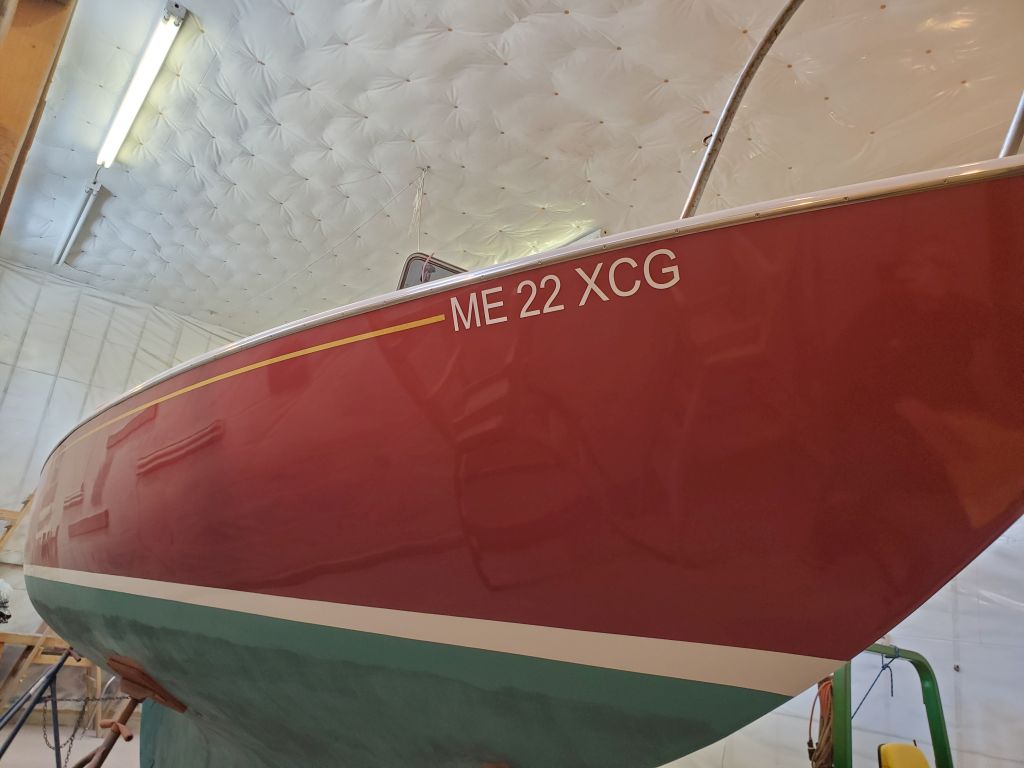
At the forward end, I began with where I wanted the new registration numbers to go.  I like these a bit aft of the stem, and in this case the aft leg of the pulpit looked about right, or the 7th screw in the rubrail.  I measured back 22-1/2″ from there (the length of the numbers plus one inch), and marked the forward termination of the cove stripe.  I’ve found that having masking tape not only marking, but covering, the termination points makes it easier to install the vinyl, right over the tape, and then cut it off exactly where it needs to be.

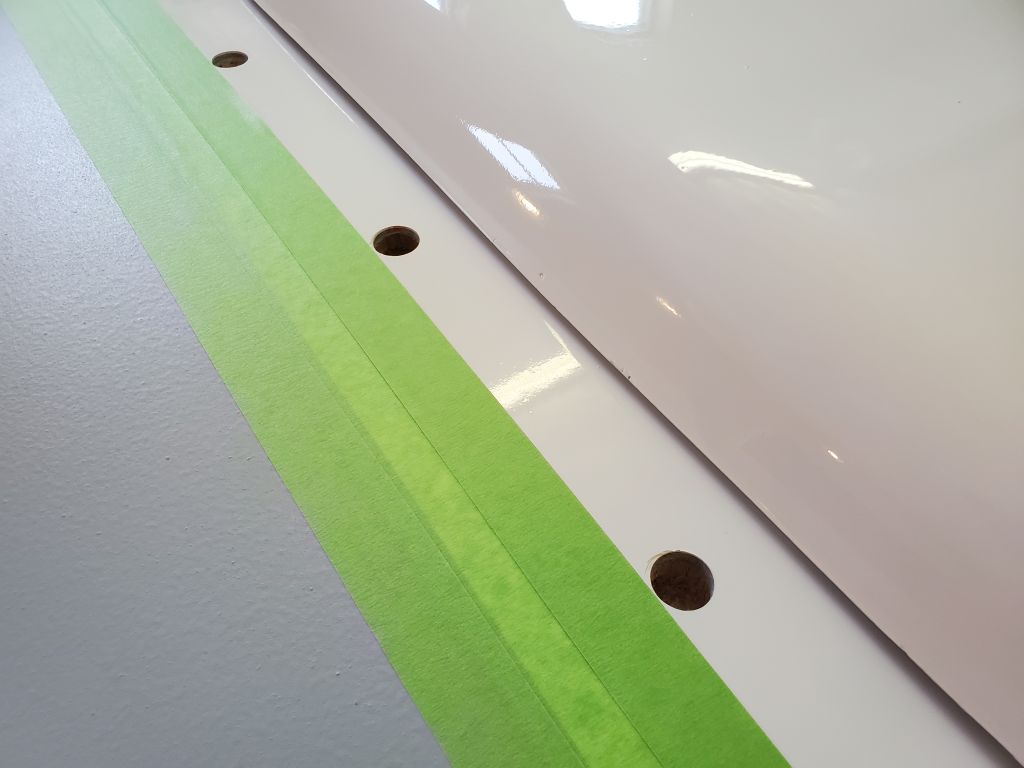
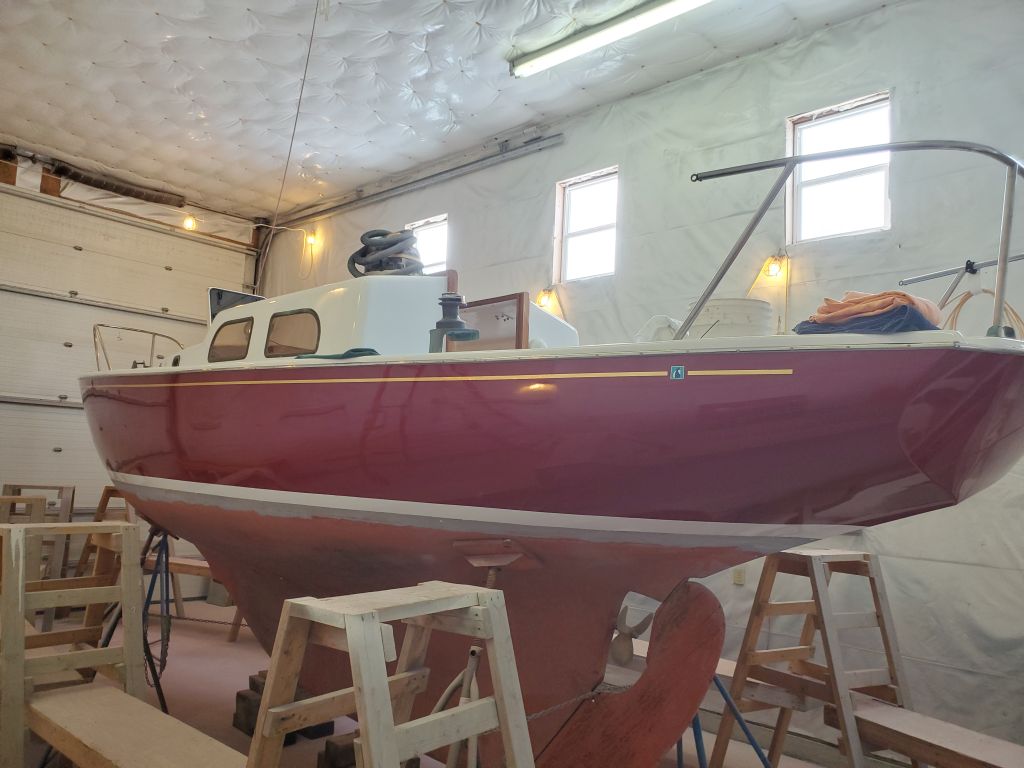
With the layout complete, I installed 1/2″ gold leaf vinyl tape on both sides to complete the stripe.

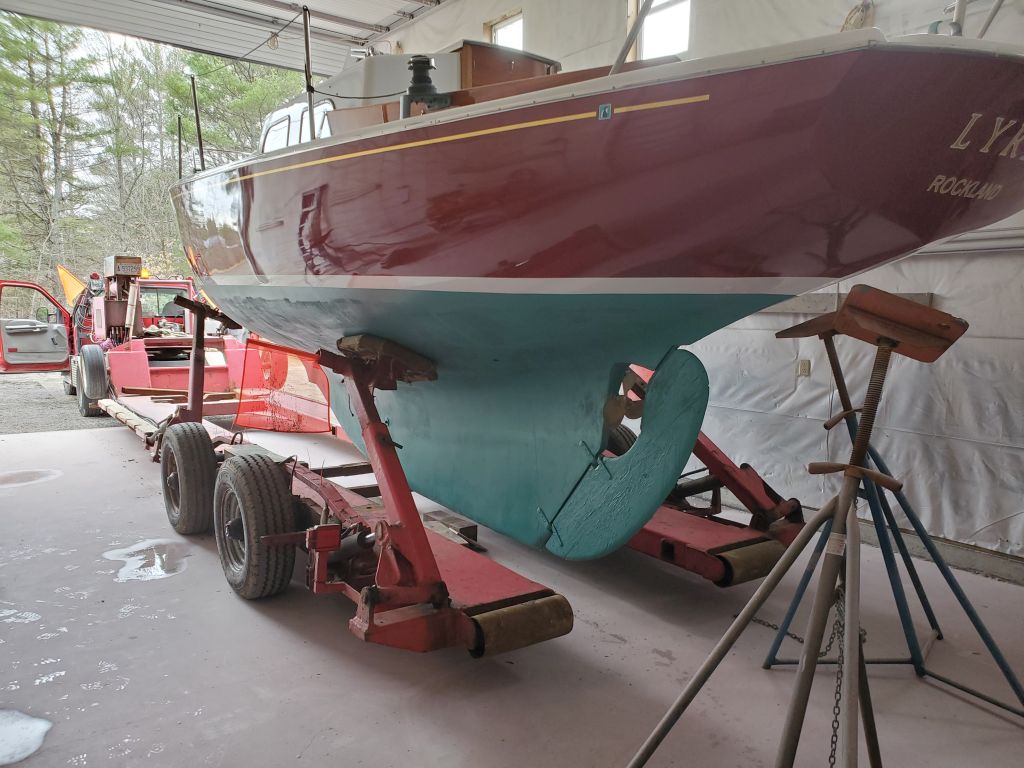
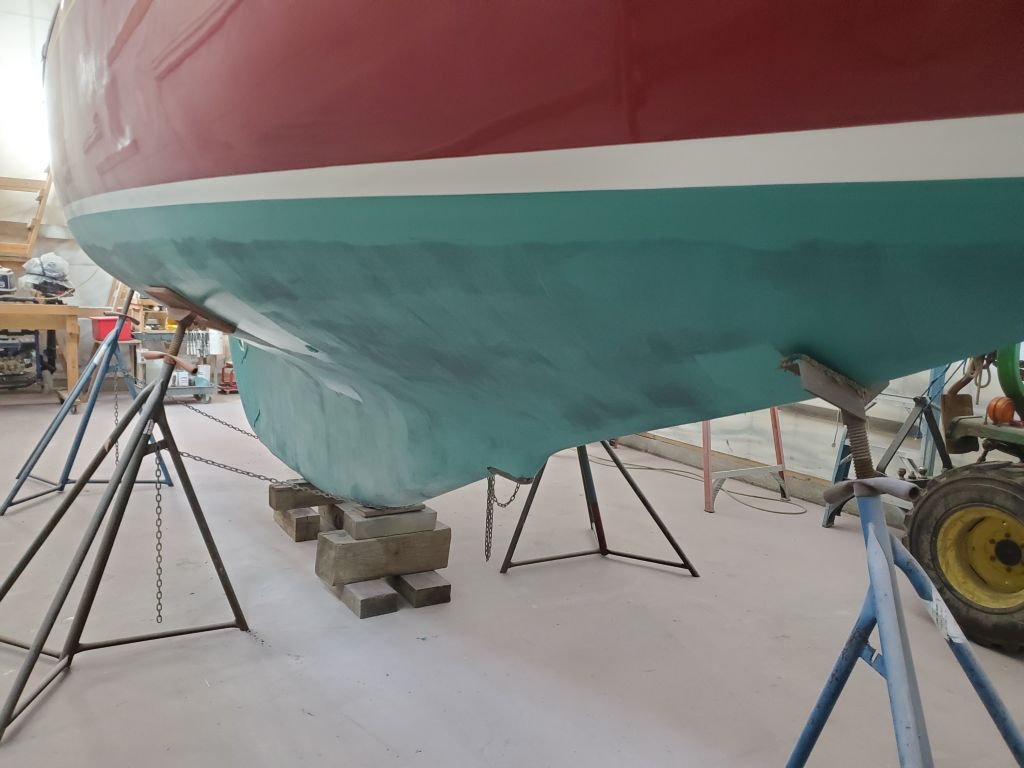
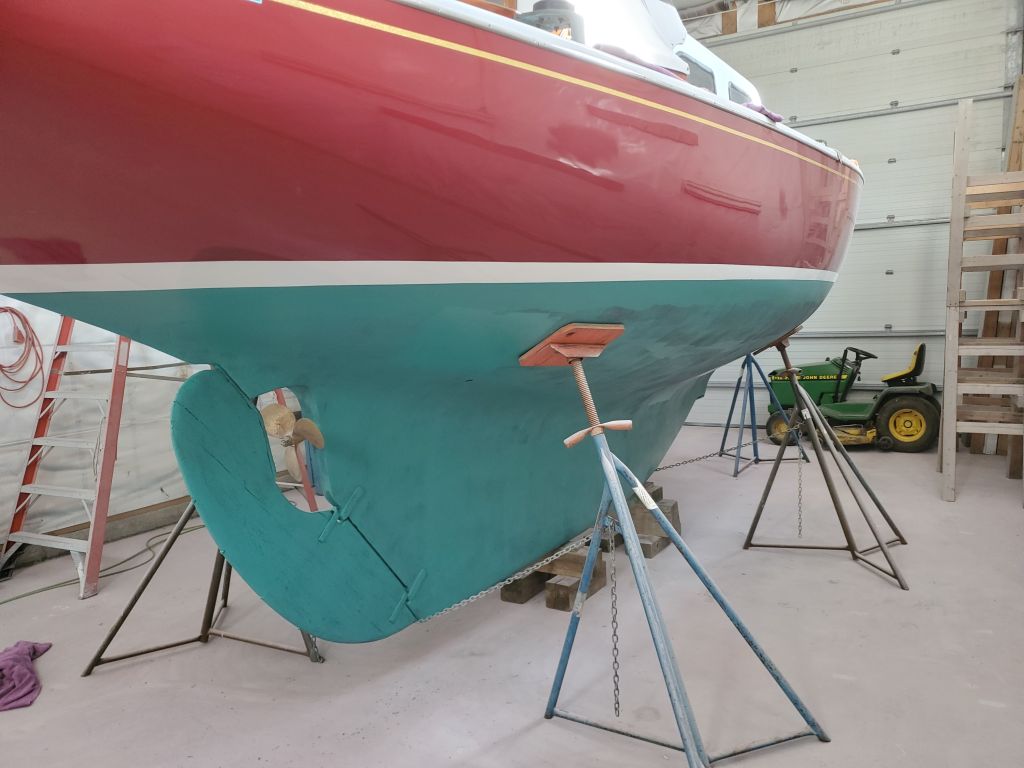
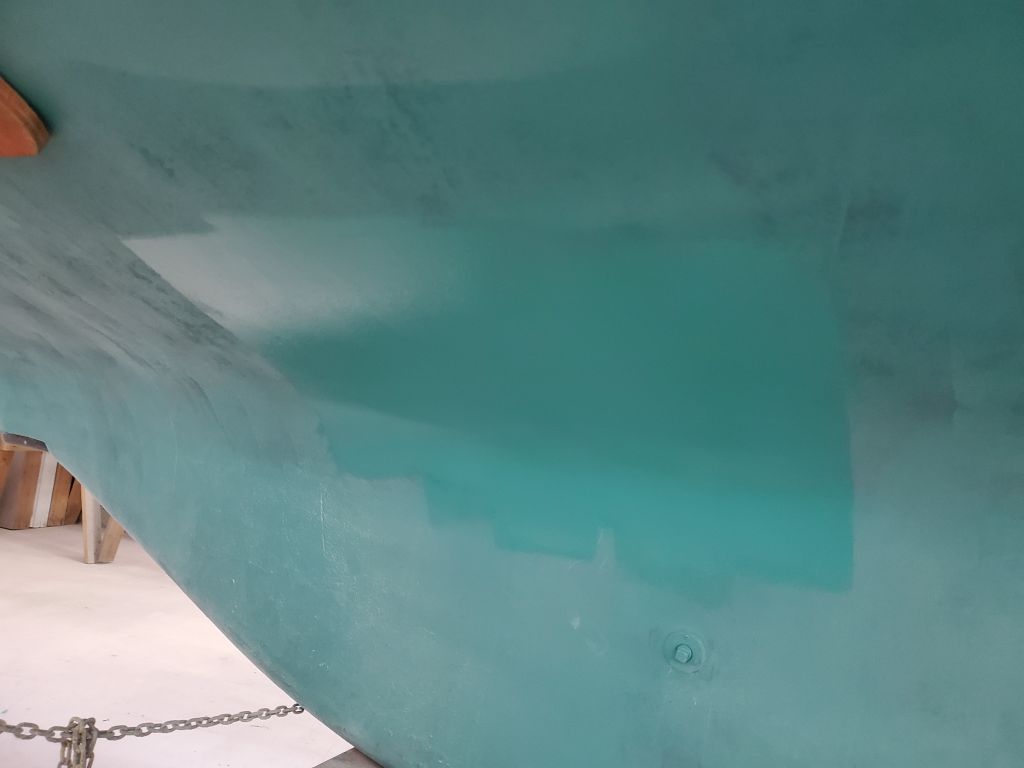
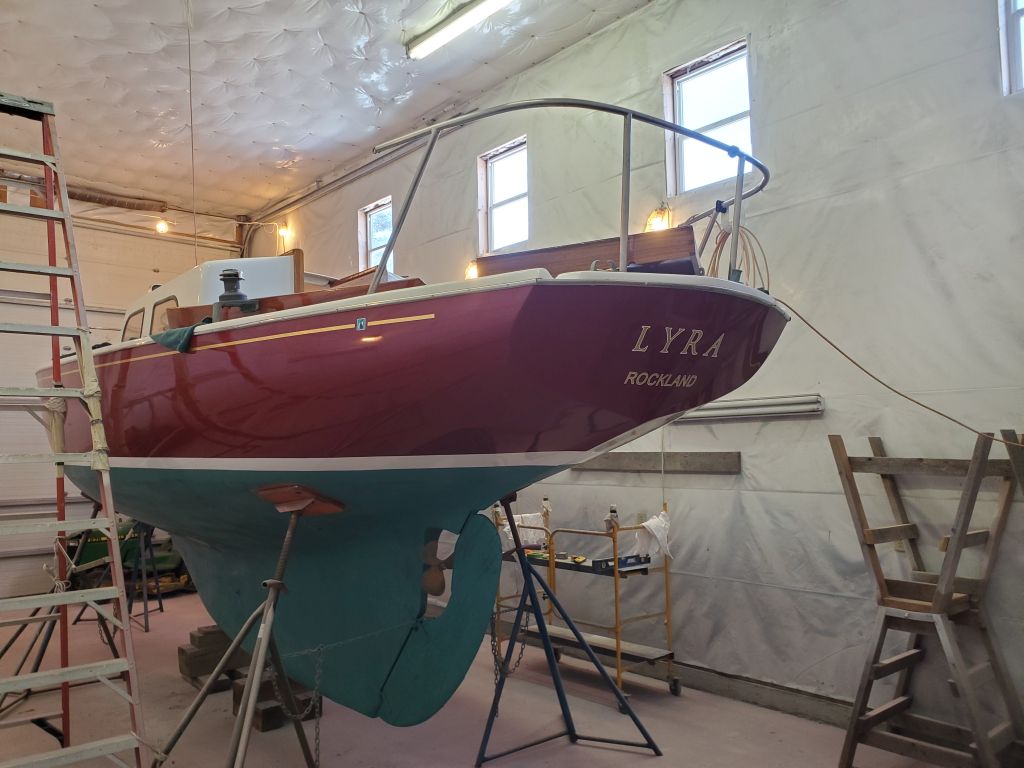
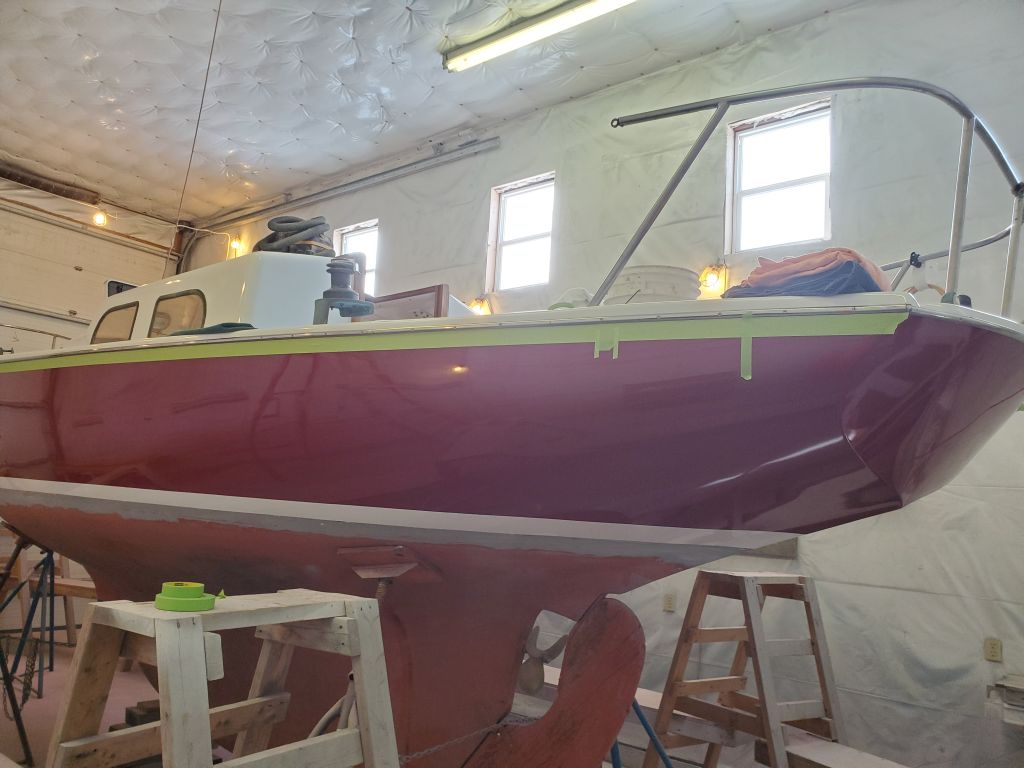
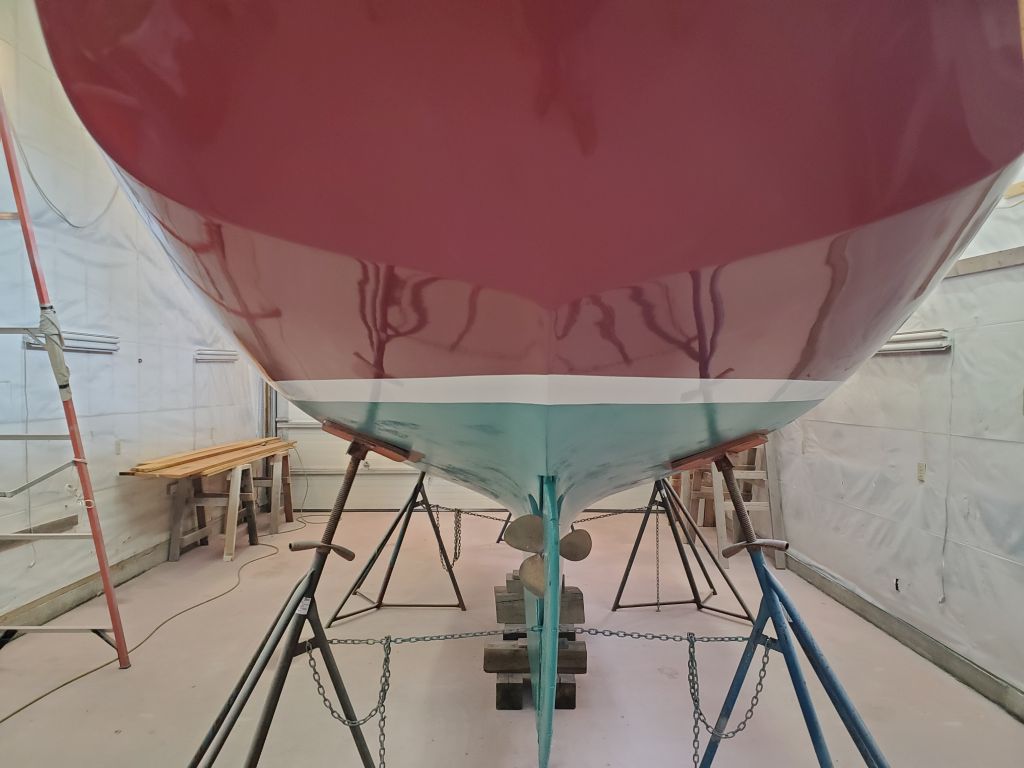
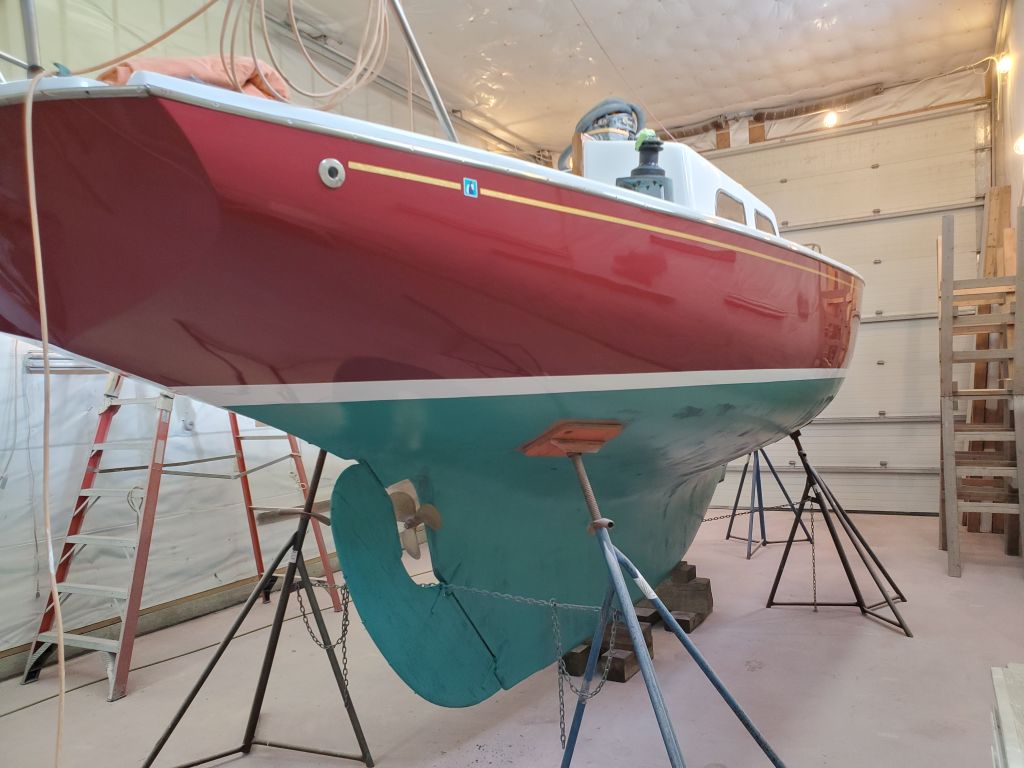
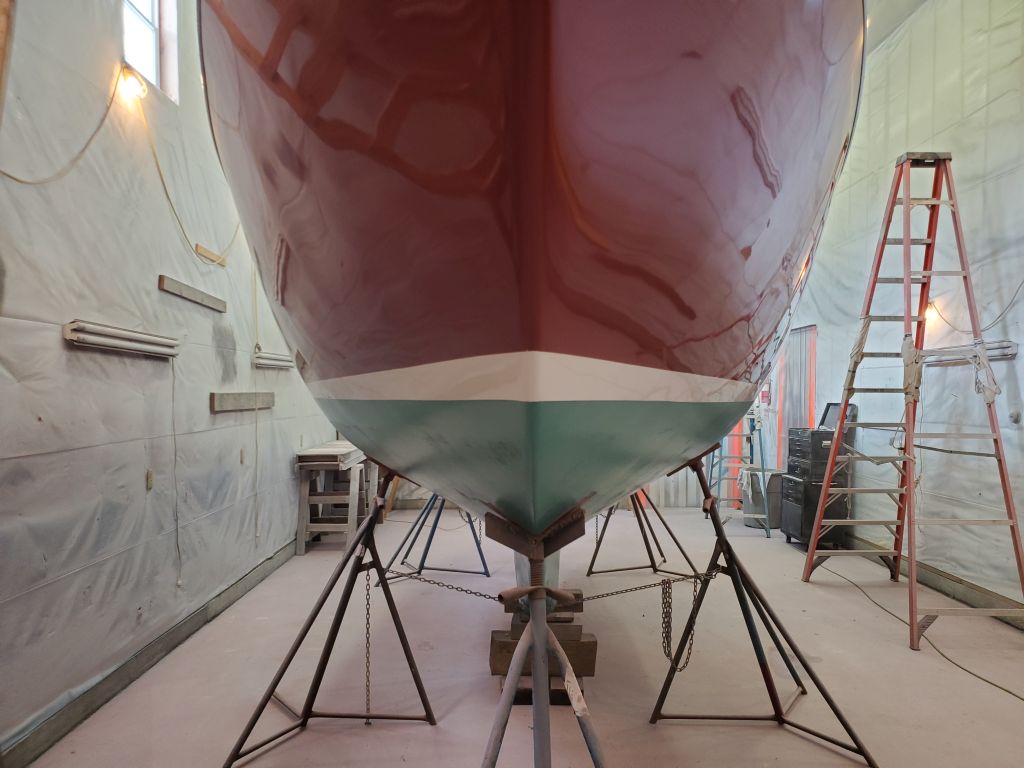
Now I could completely dismantle the staging and, with the way clear, I masked off and painted the bottom with the owner’s choice of green paint.

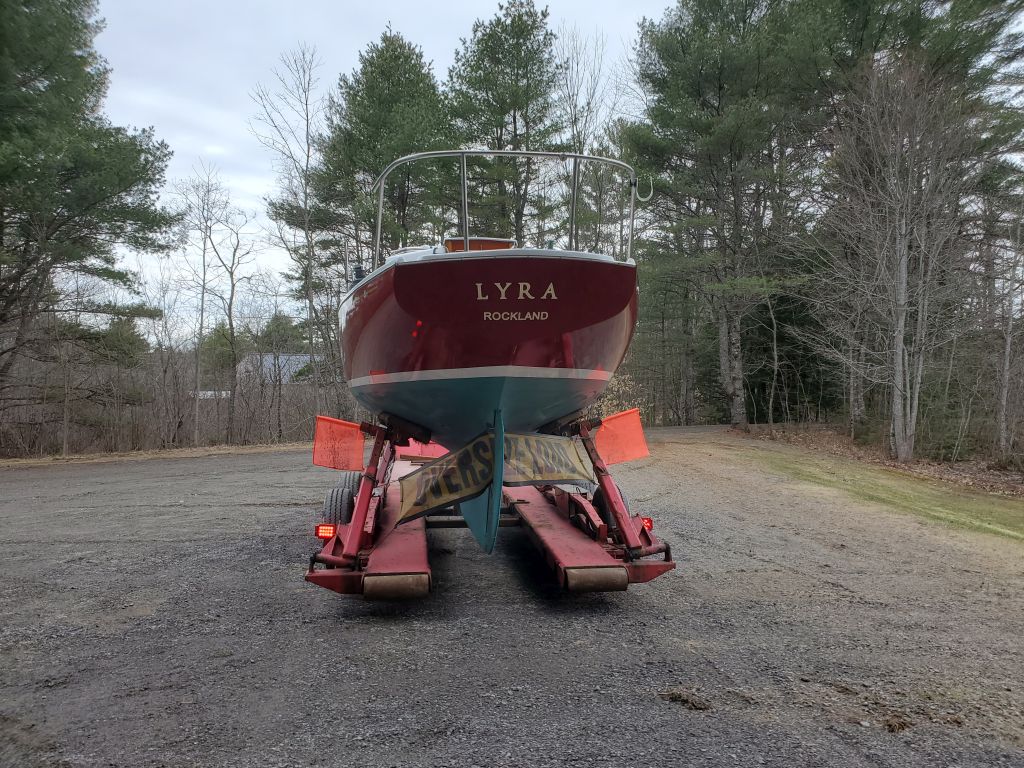
Still ahead:  finishing the dodger, and installing the name and registration, among other possible, undefined things.

Total time billed on this job today:   4 hours (6.5 total)

0600 Weather Observation:  27°, clear, 3″ snow down overnight.  Forecast for the day:  Increasing clouds, 37°

Lyra Phase 2-46

Tuesday

After taking some measurements and consulting older photos of the boat before the project, I located the fitting for the mast wiring conduit and drilled a small pilot hole through the deck to confirm its position below.  Satisfied, I drilled the larger hole required for the fitting, then installed it with sealant.  The mast step base had continued to ooze some sealant after I’d cleaned it up, so I took a moment to trim away the now-cured excess.

Next, I turned to the small opening ports, beginning with the pair in the forward side of the raised cabin trunk.  These just needed their trim rings reinstalled, as I’d seen no cause to remove the port bodies themselves for this project.  After cleaning up all the screw holes as needed, I reinstalled the trim rings with plenty of sealant and new bronze screws, which I chose because it was easier than trying to clean up the old sealant from the tiny screws I’d removed.

Next, I installed the trim ring on the starboard forward port in the v-berth, the last of the better “new” style ports, and continued with the starboard head port, one of the old-style and which, in this case (along with both its counterparts to port) I had fully removed at the beginning of the project.  This style of port was time-consuming to install since I found I had to start with longer screws to grab the port body through the trim ring, then change them to shorter ones as necessary to prevent the thread from penetrating into the gasket groove on the inside of the port.

With the starboard side complete, I installed the two ports on the port side.

Meanwhile, I cleaned up the remaining chainplate covers, and got ready for the deadlight installation, which would be next. For now, with an appointment in the afternoon, my work was done for the day.

Total time billed on this job today:   5 hours

0600 Weather Observation:  -5°, clear.  Forecast for the day:  Mostly sunny, then snow showers, 31°

Older posts