(page 4 of 7)

Holby 38

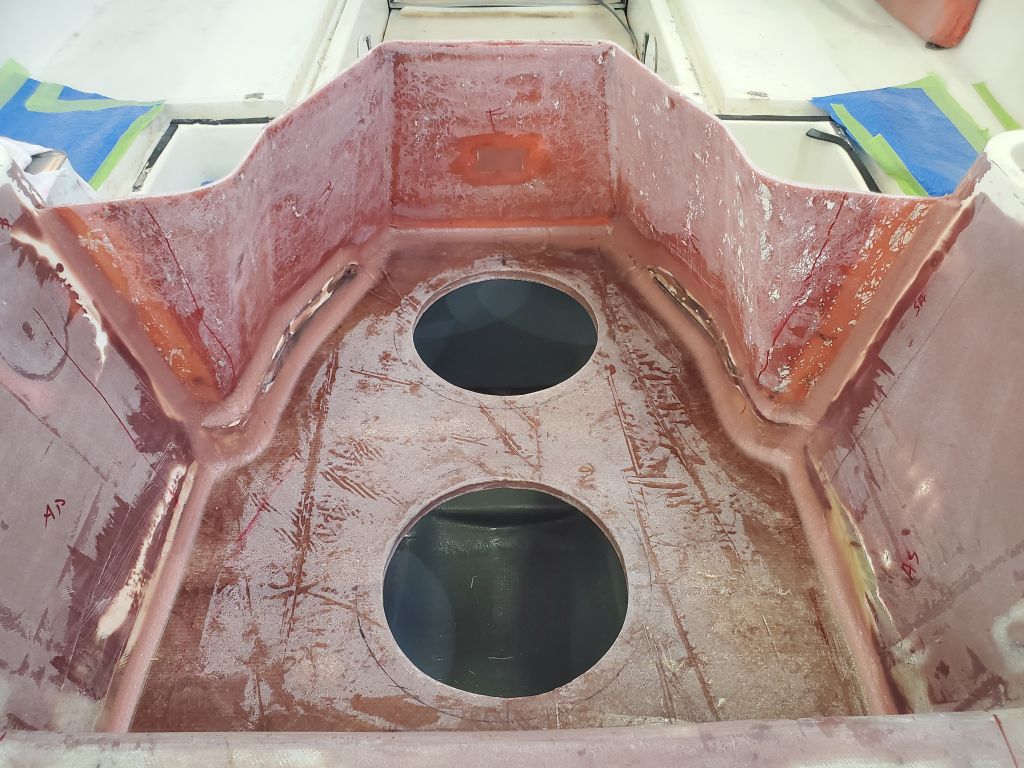
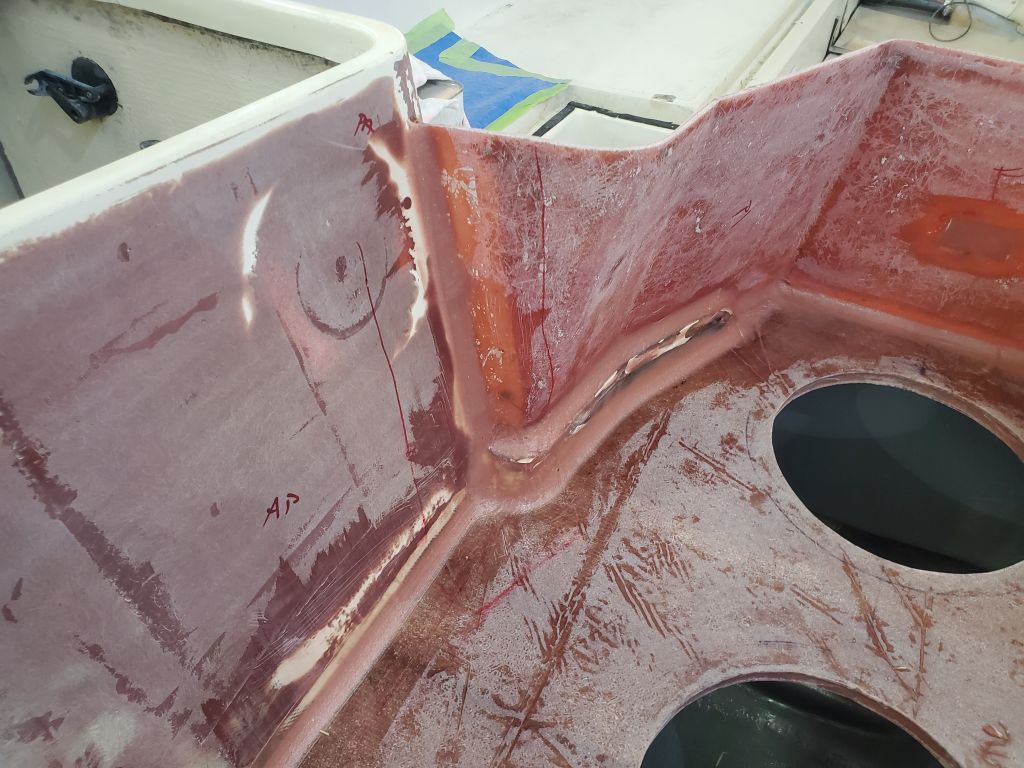
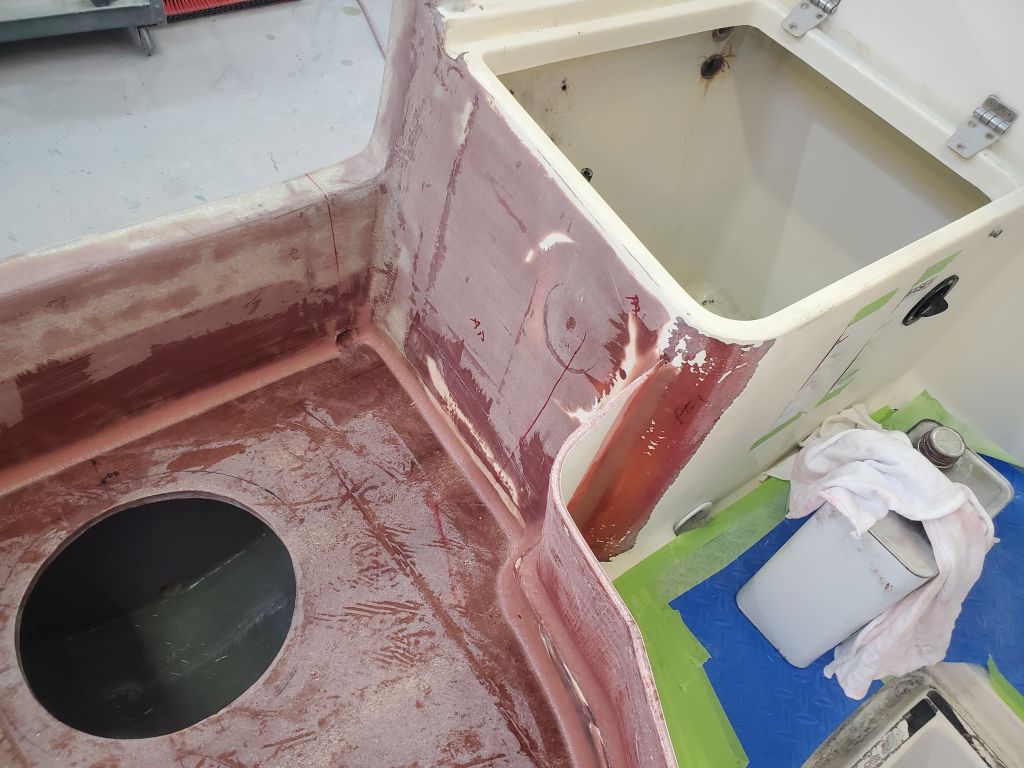
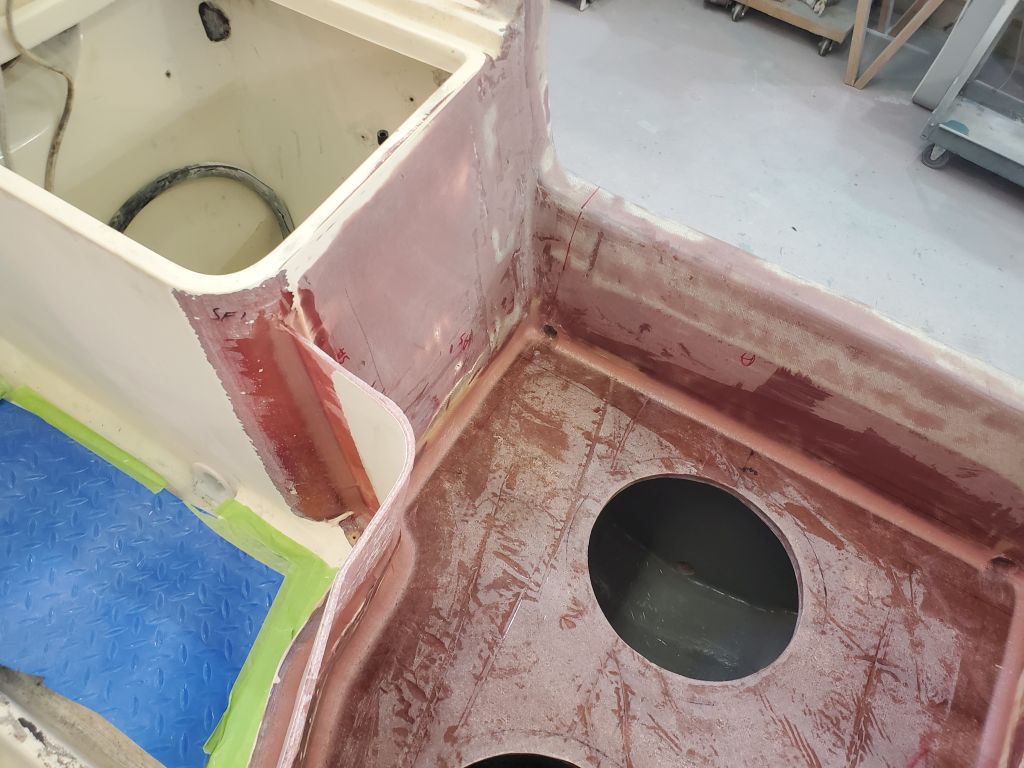
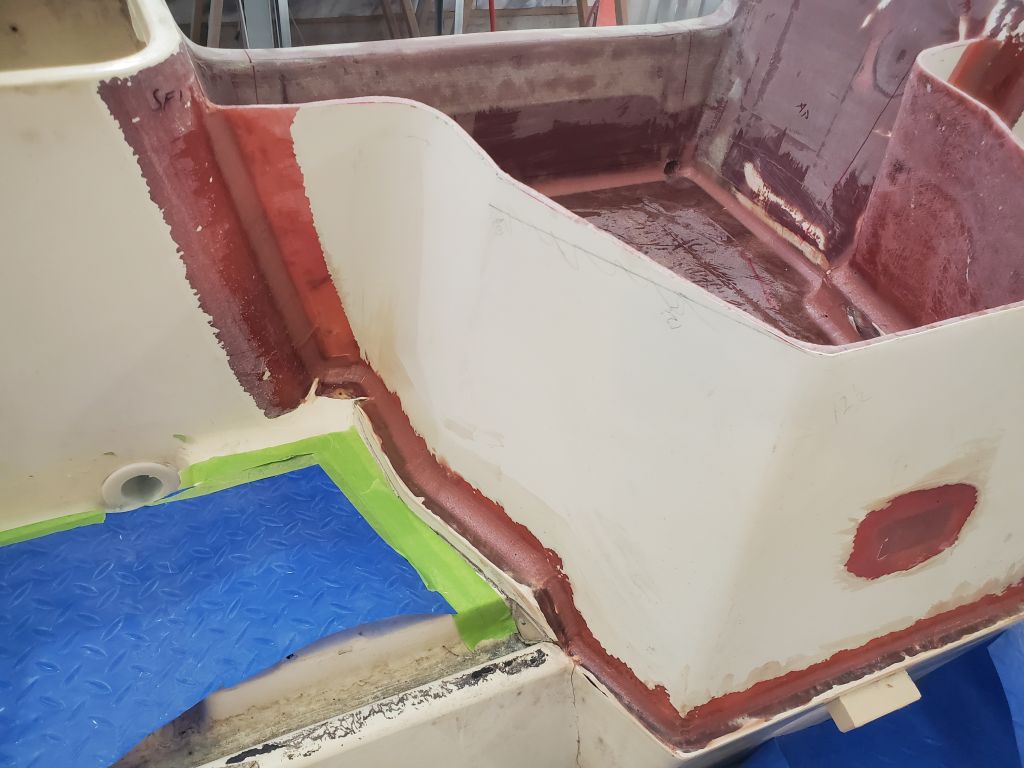
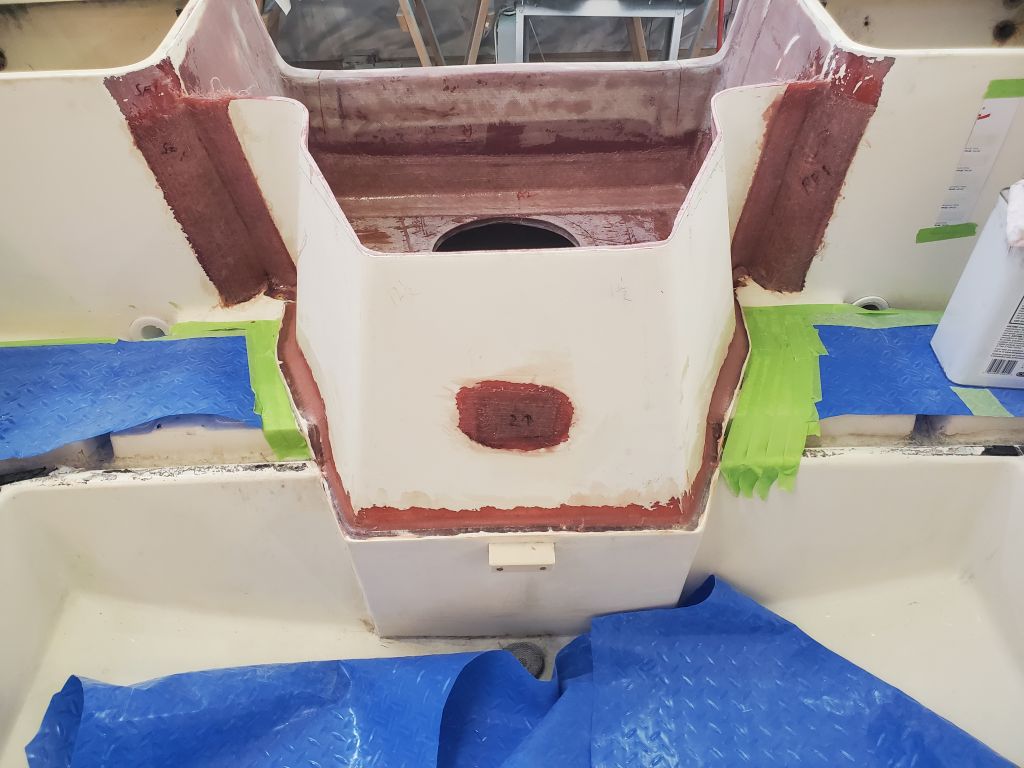
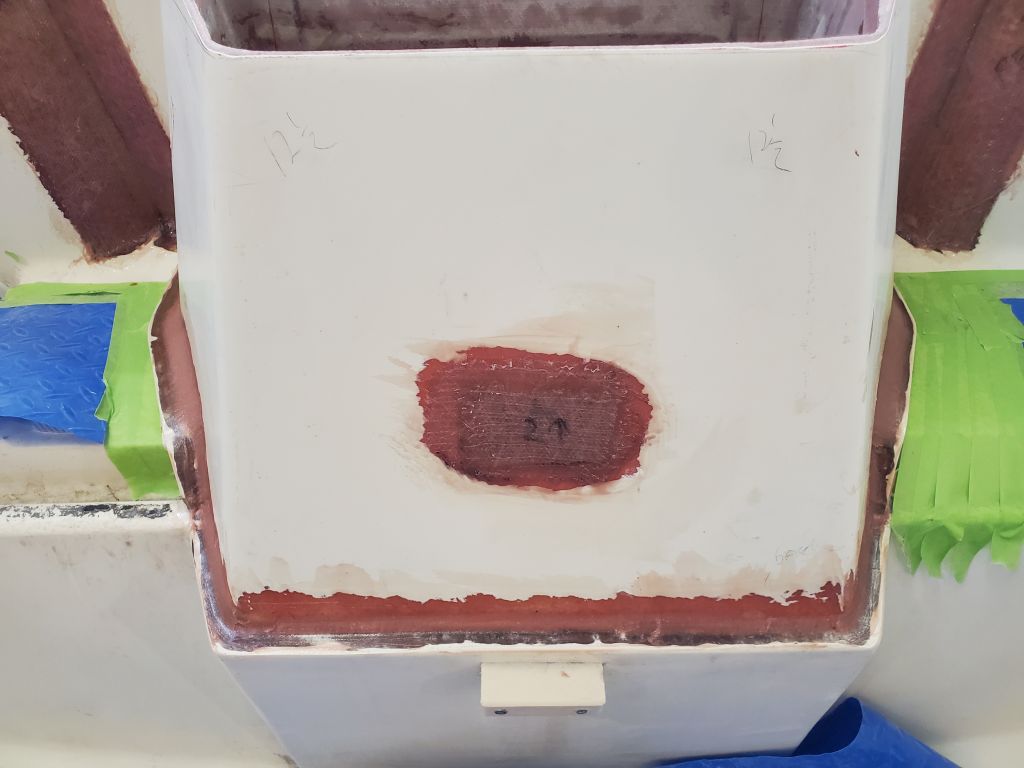
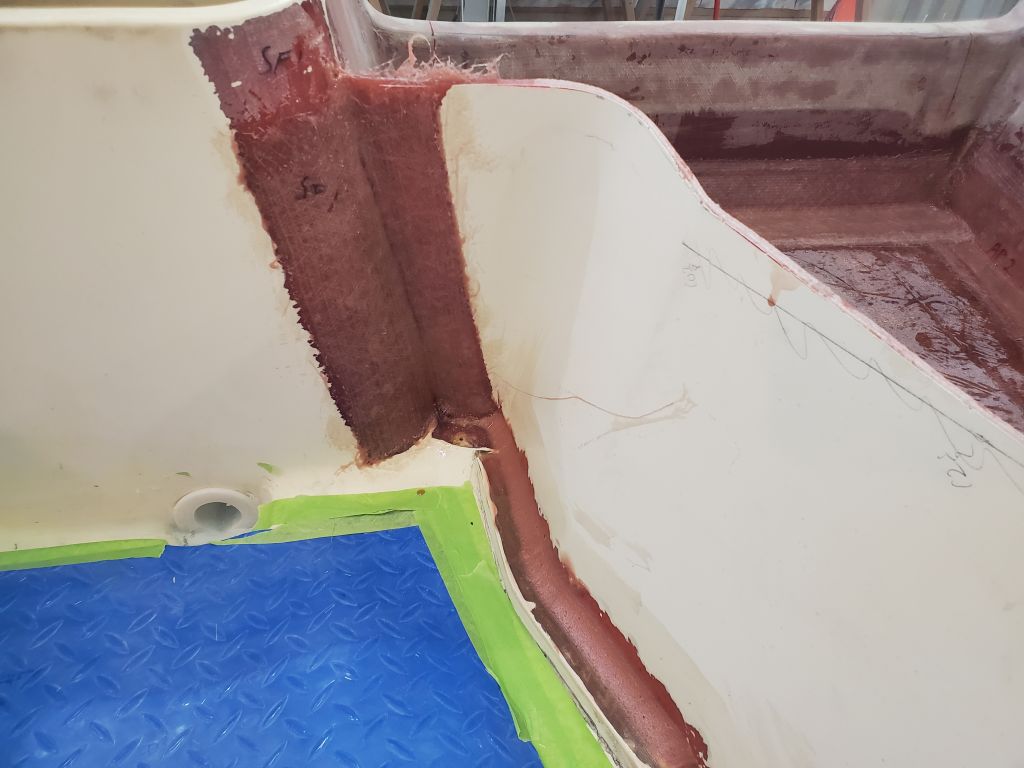
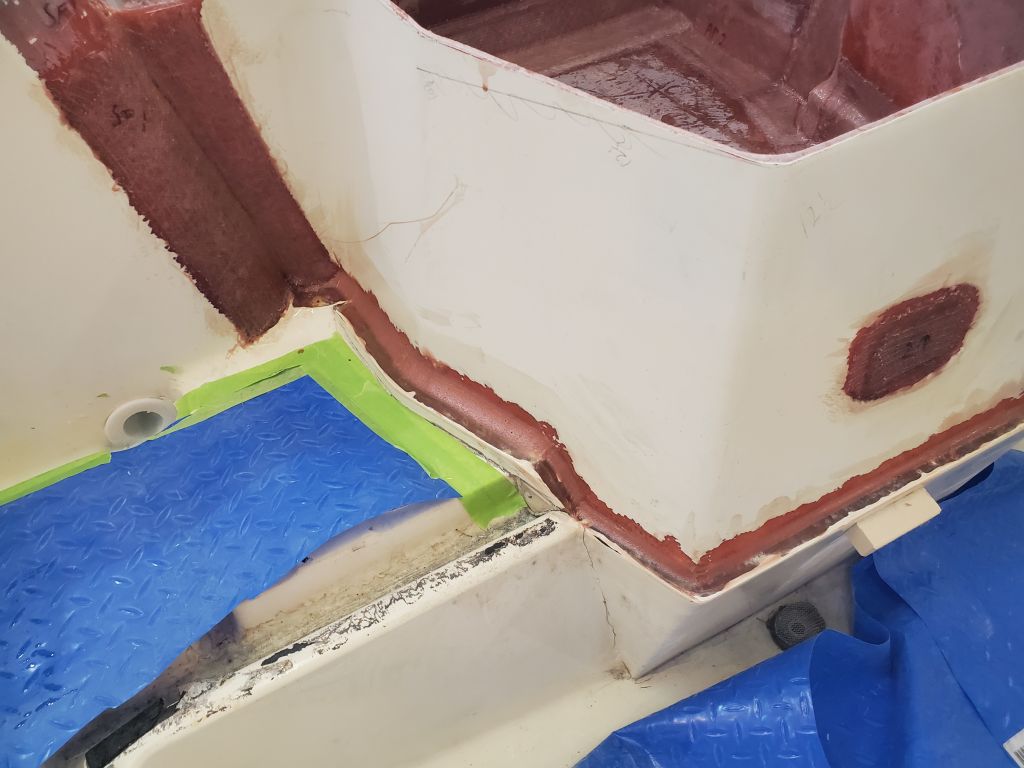
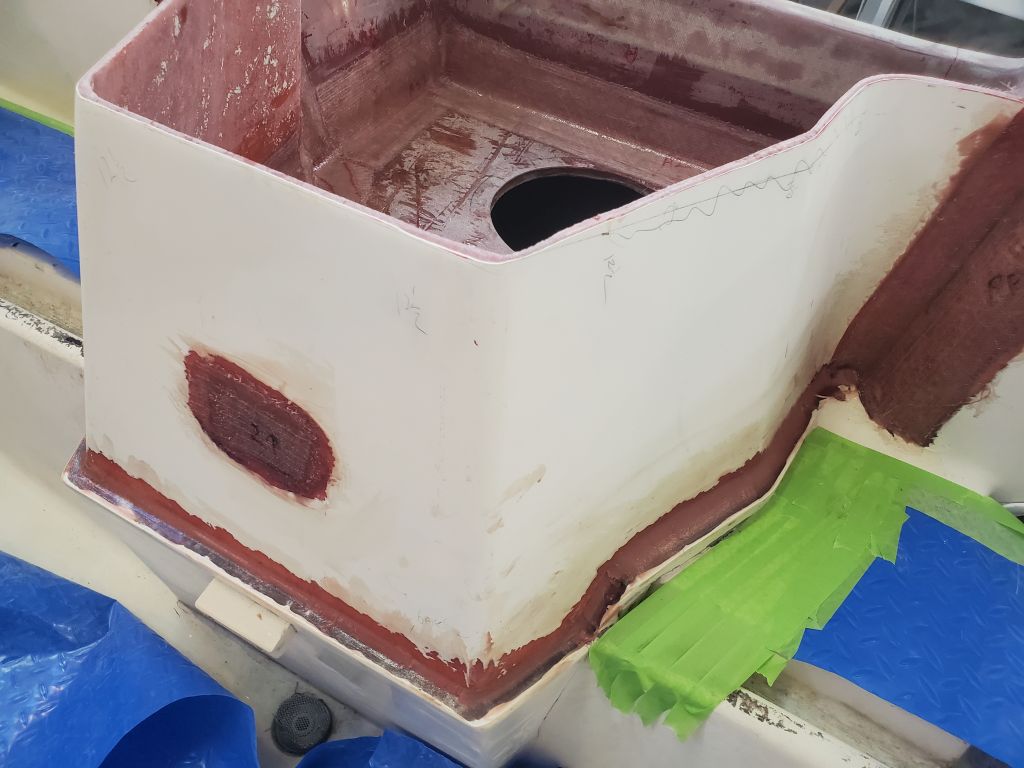
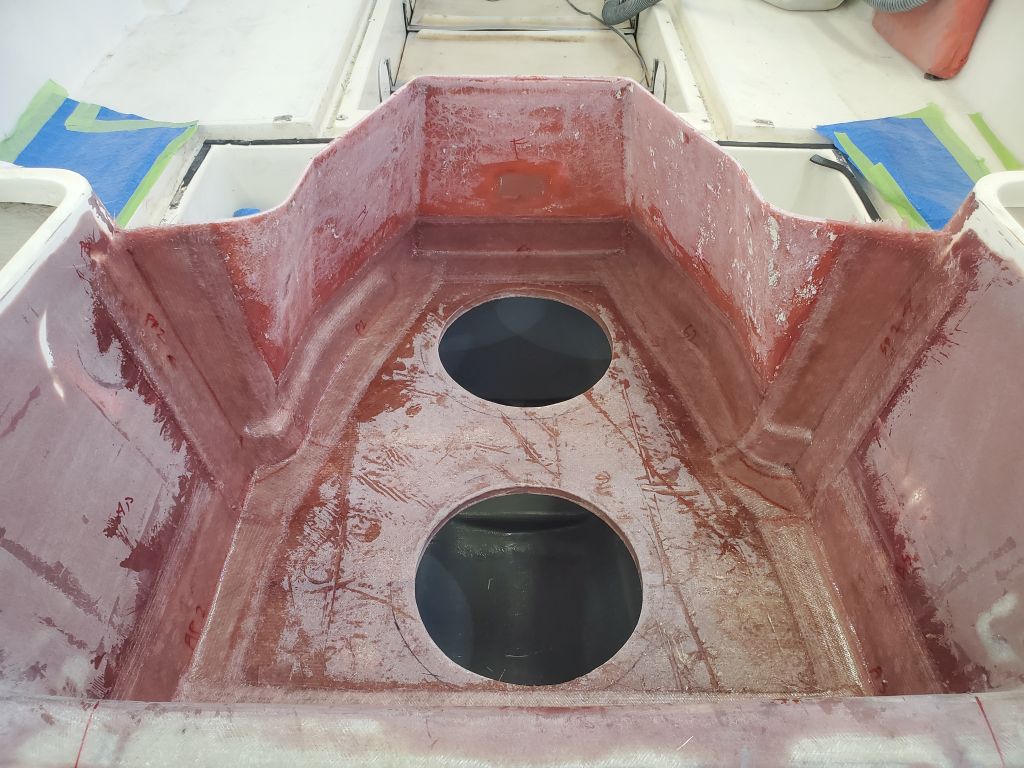
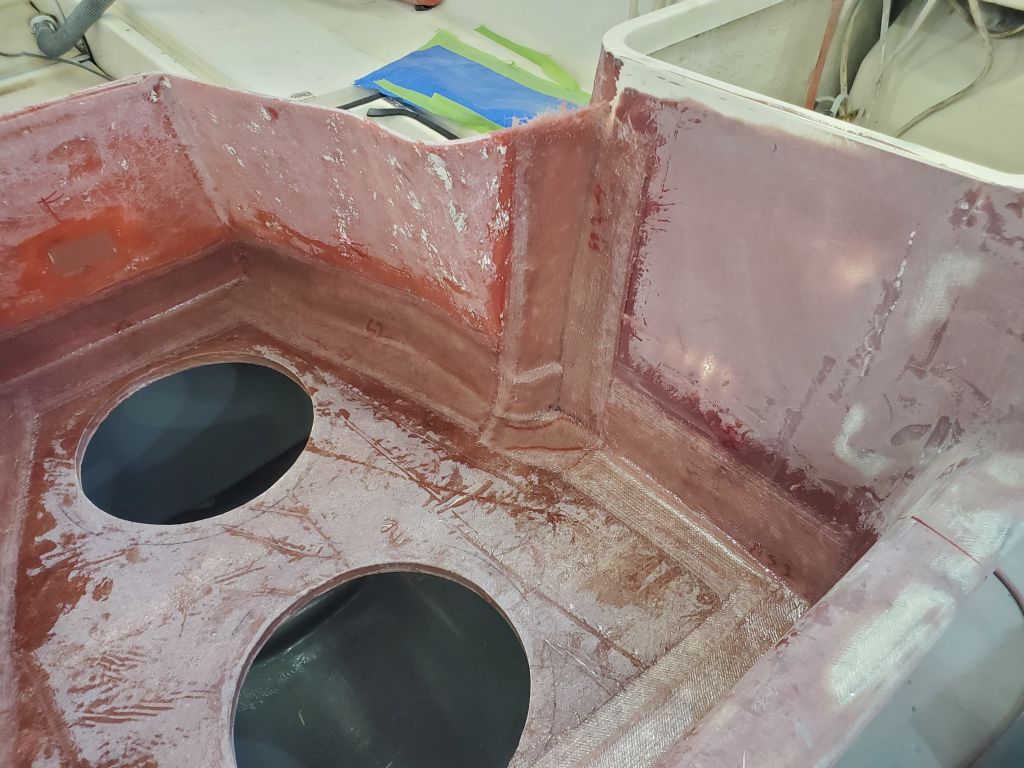
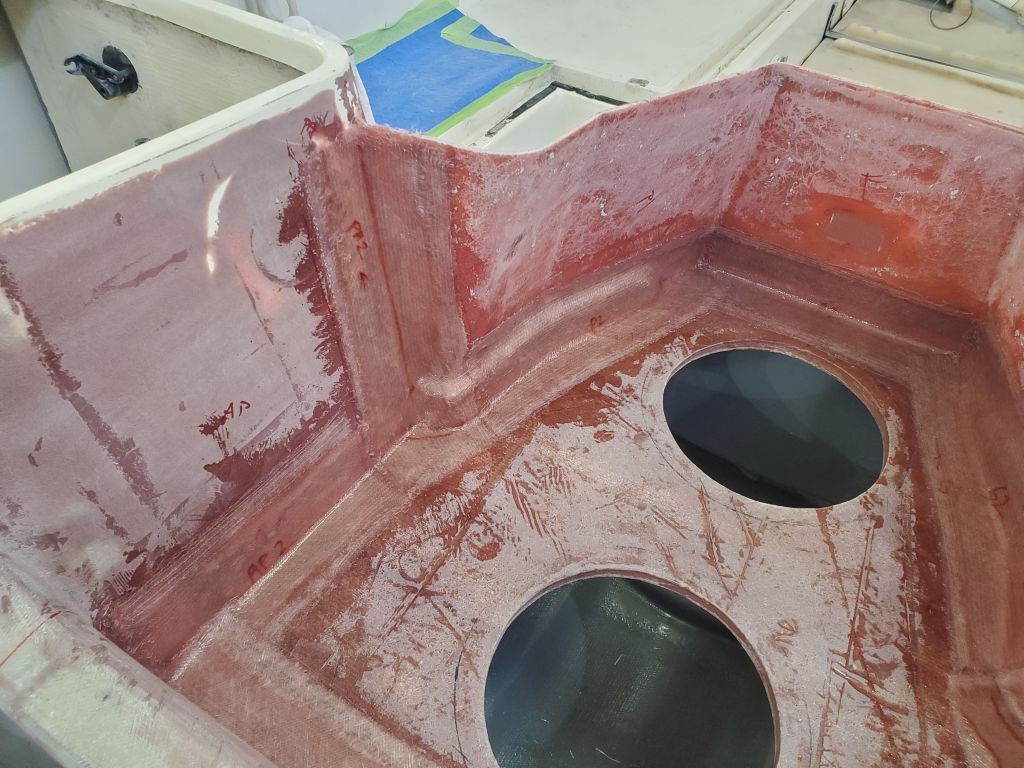
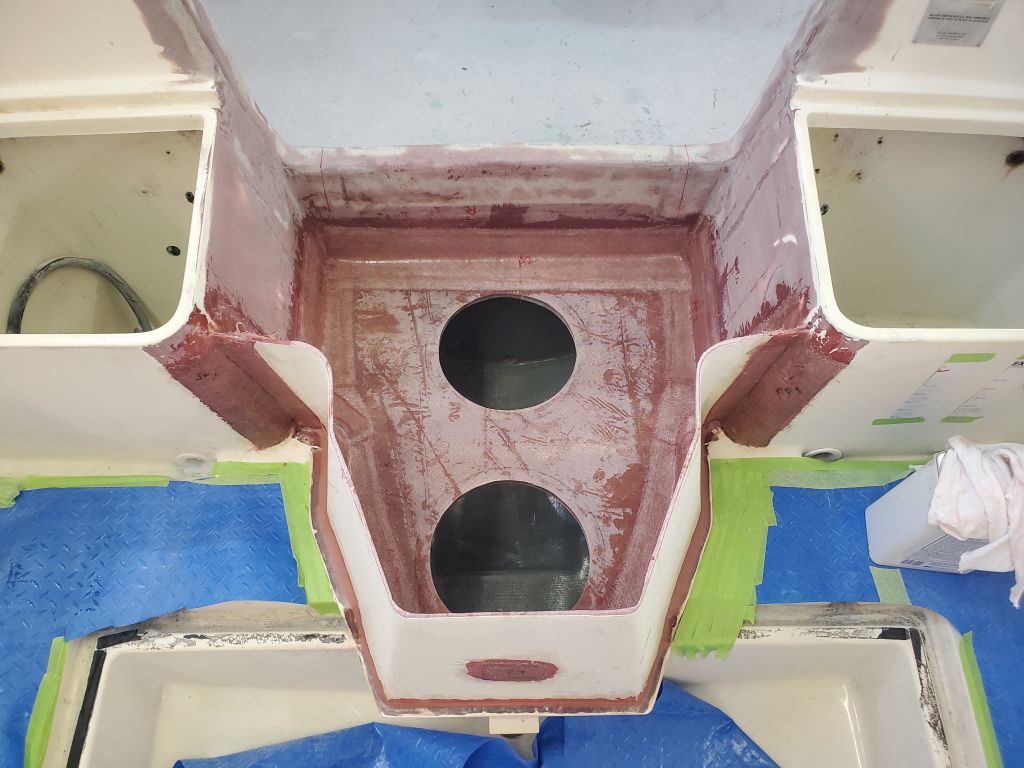
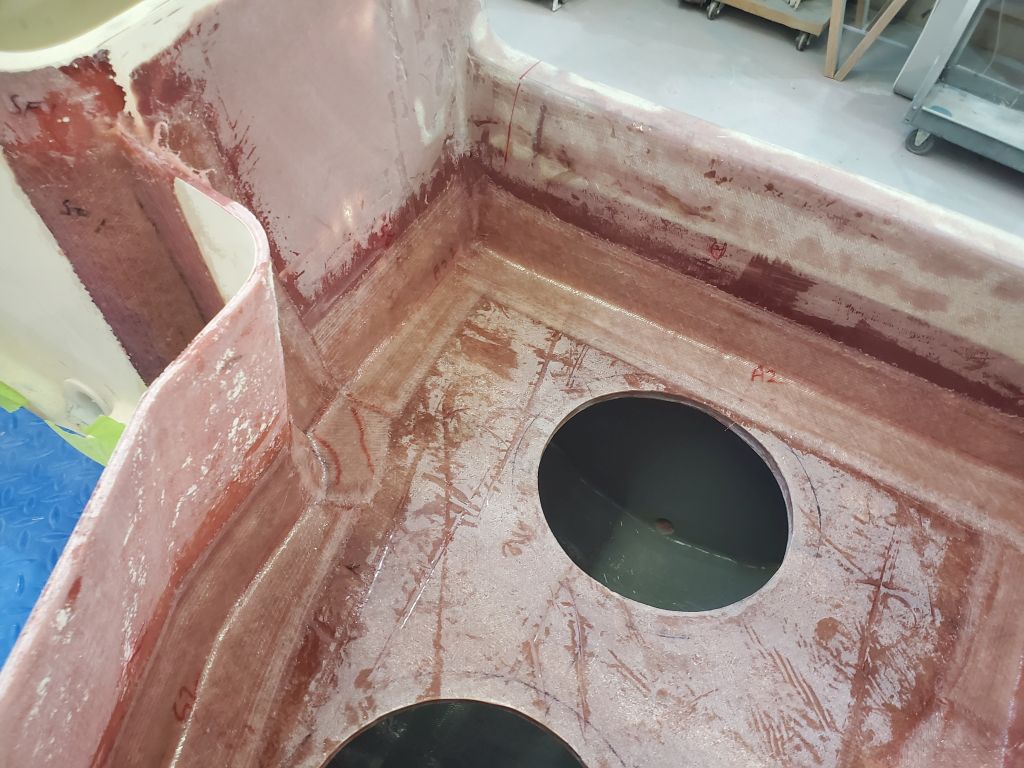
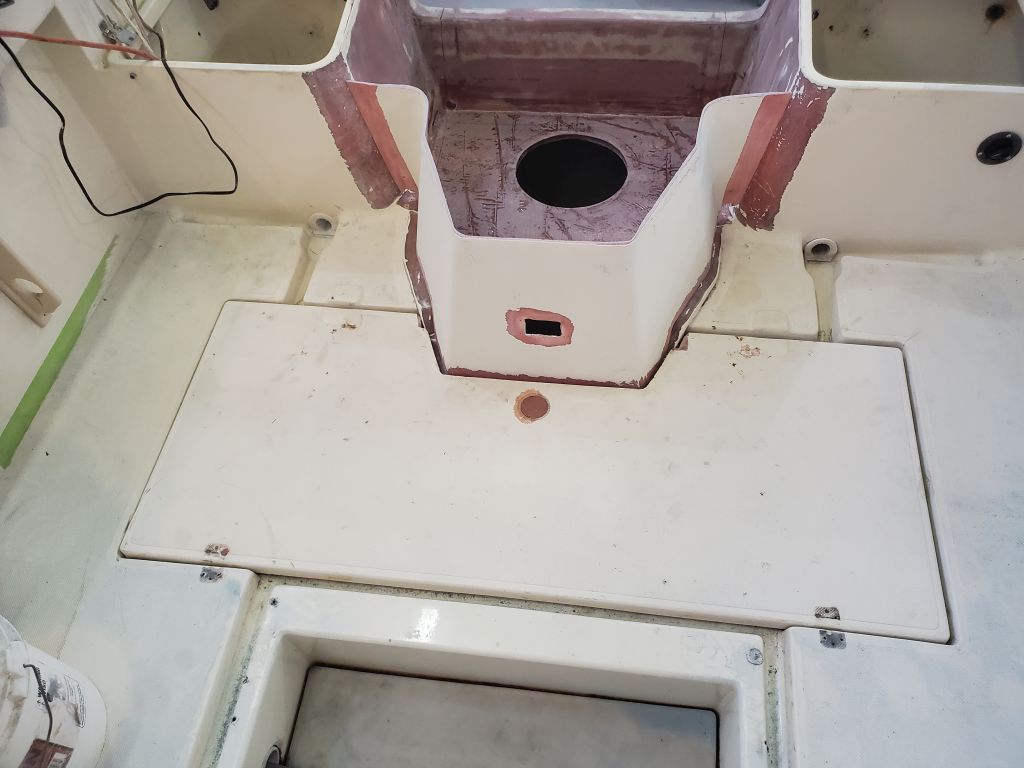
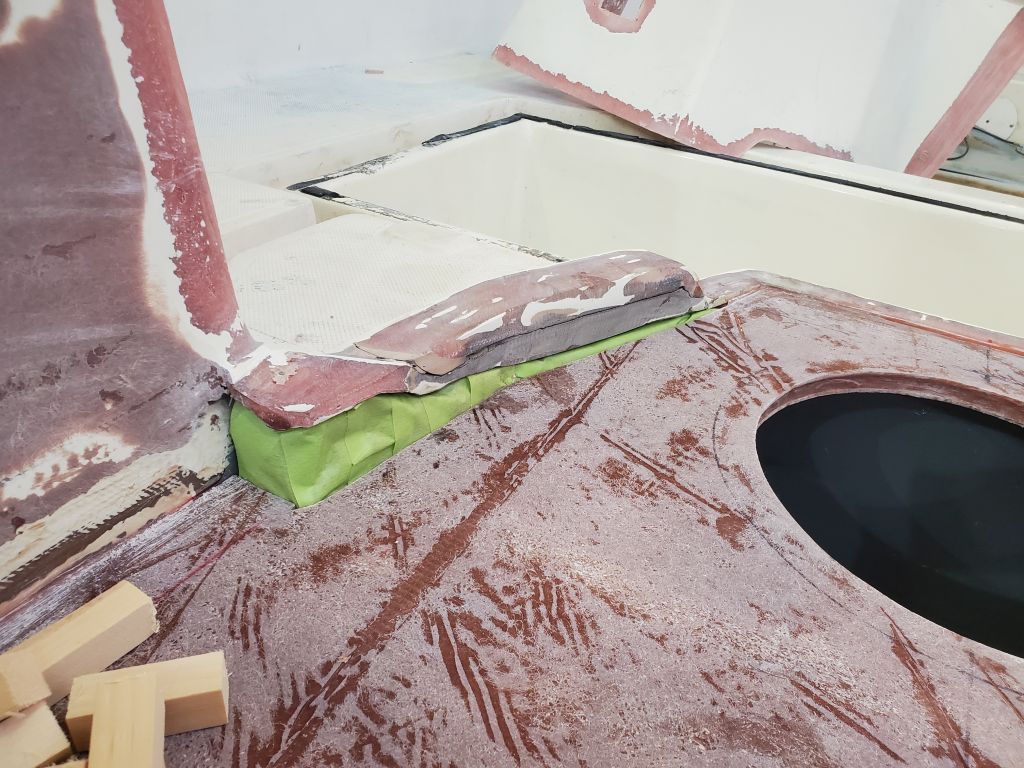
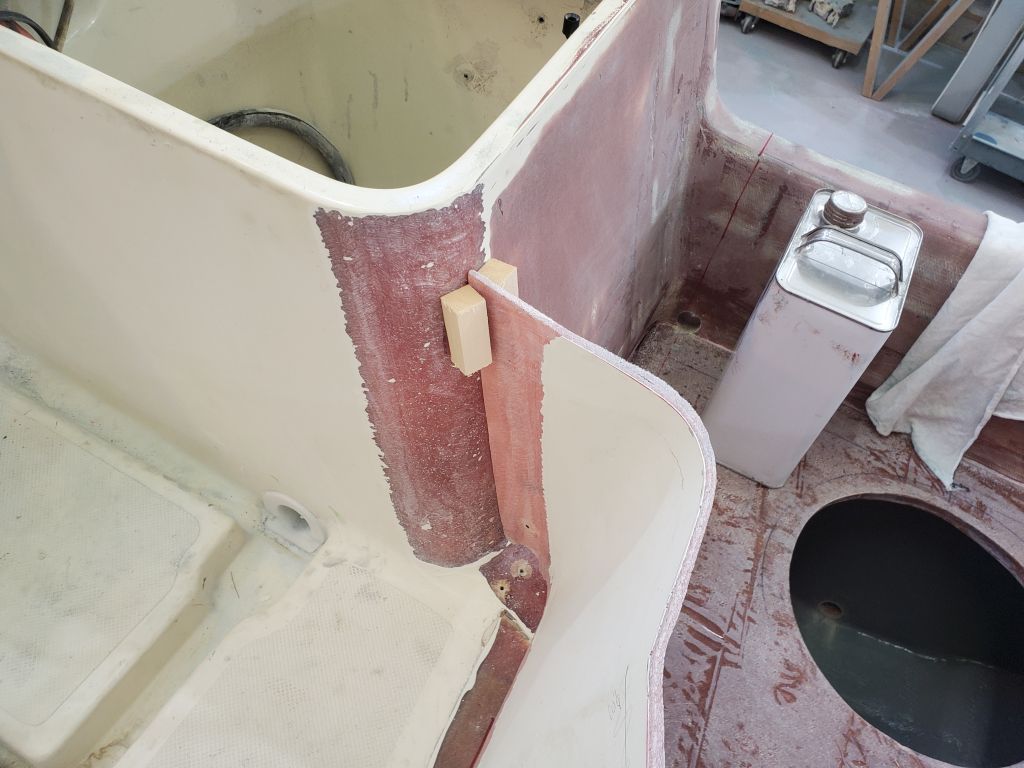
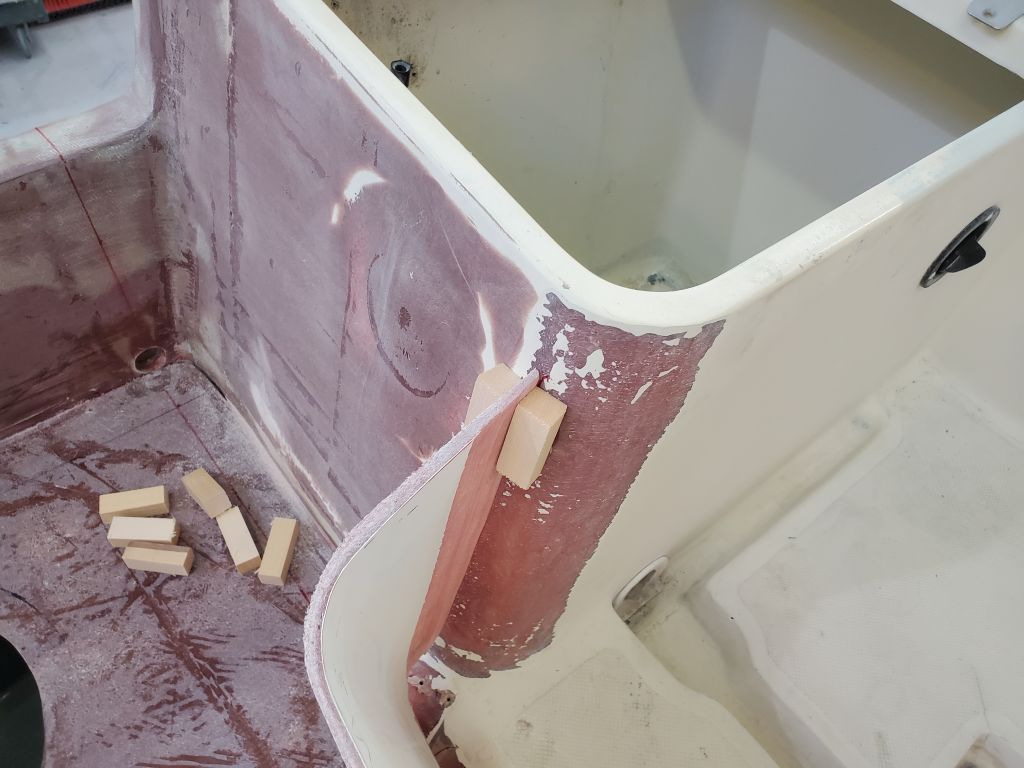
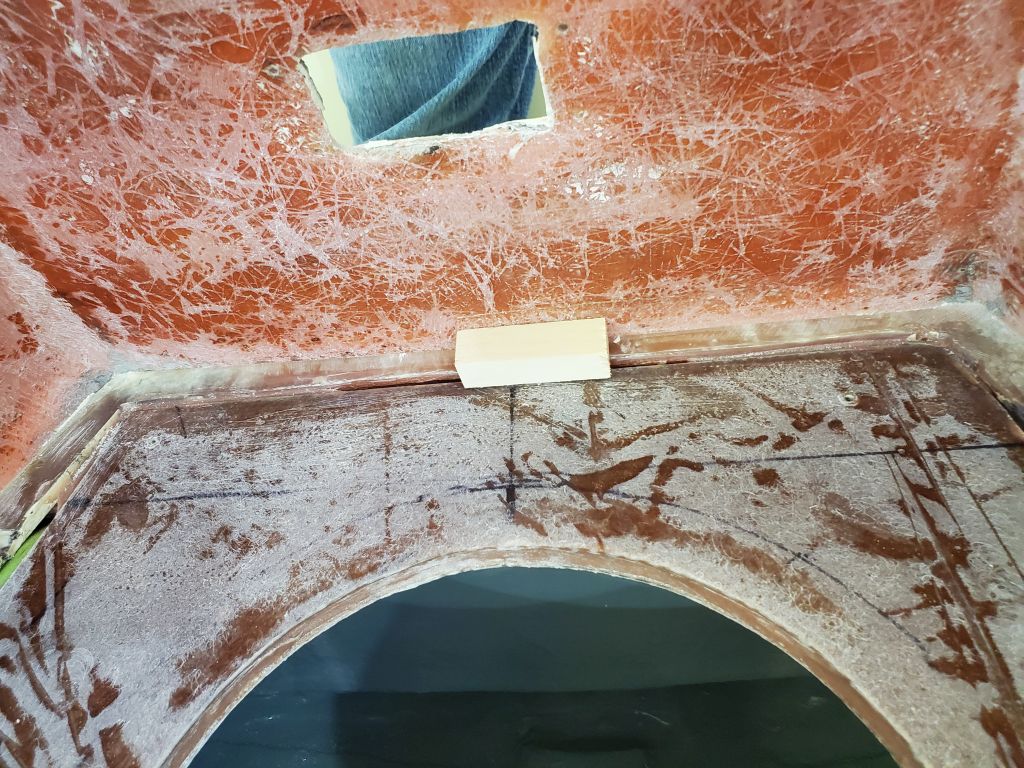
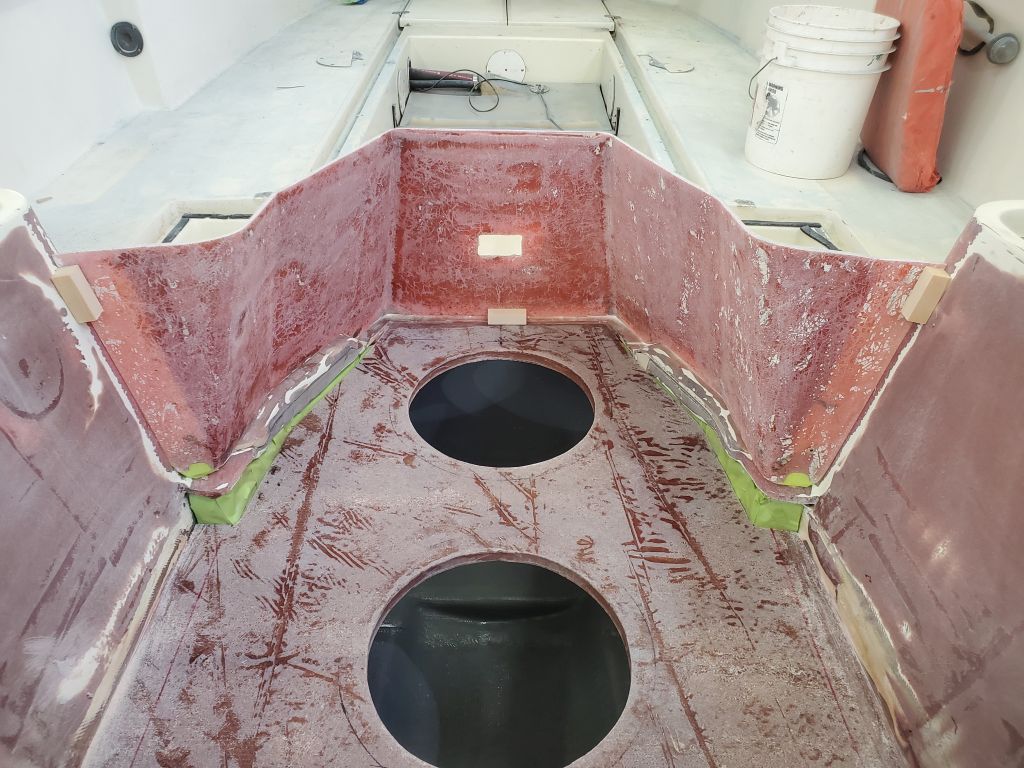
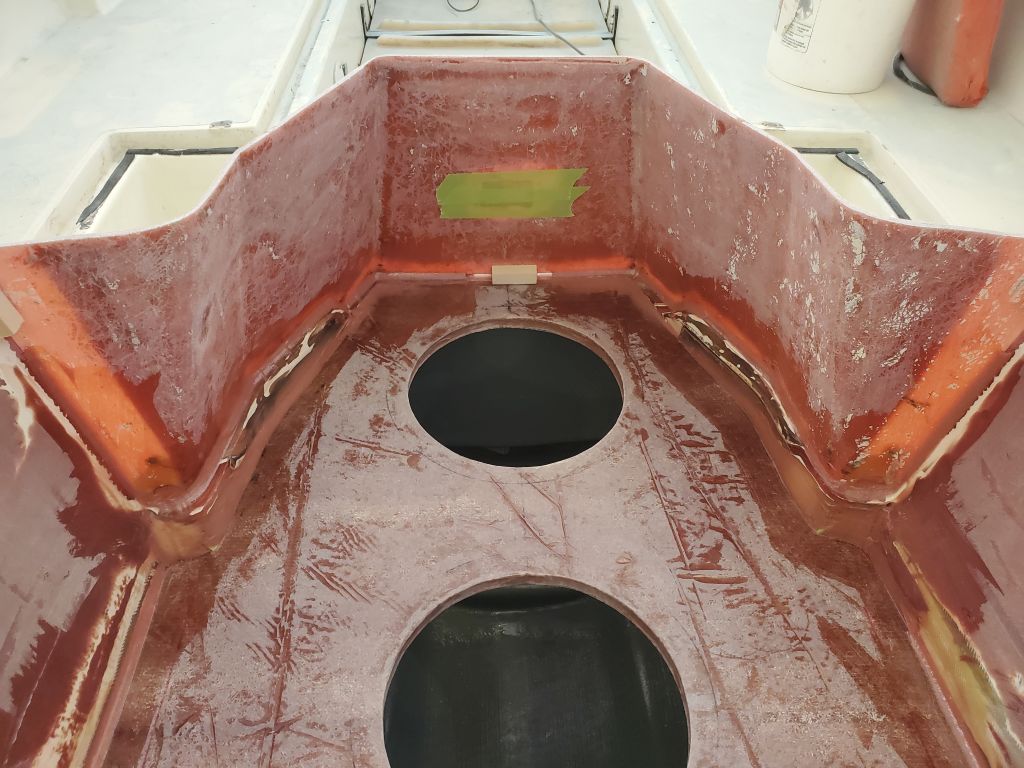
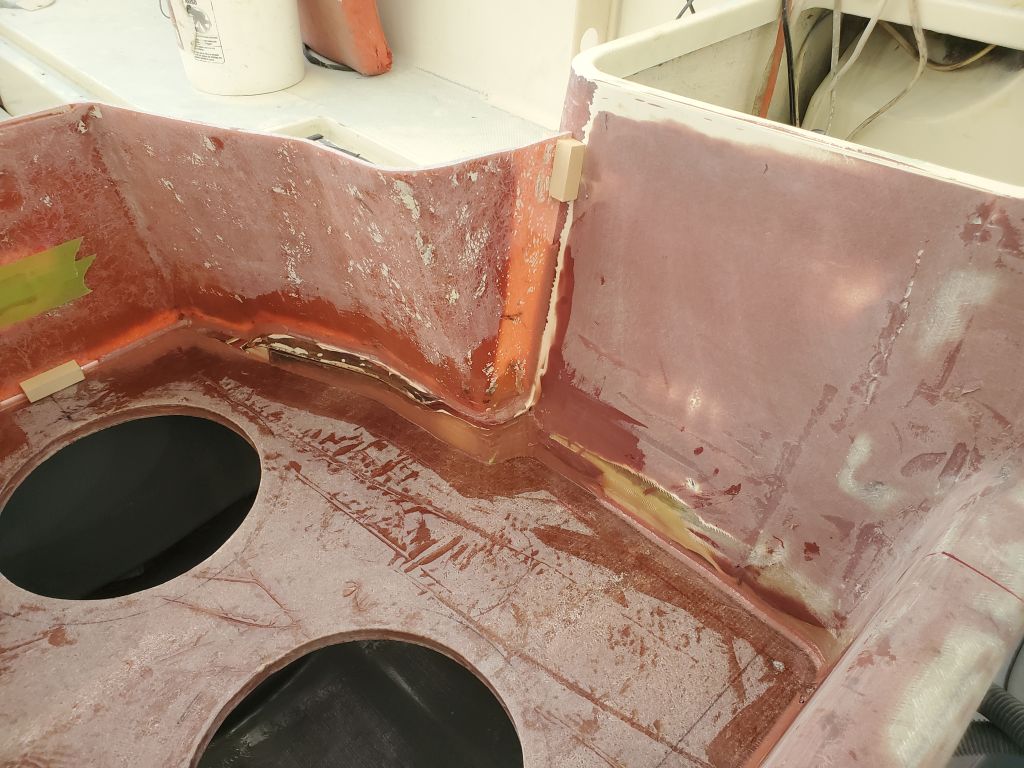
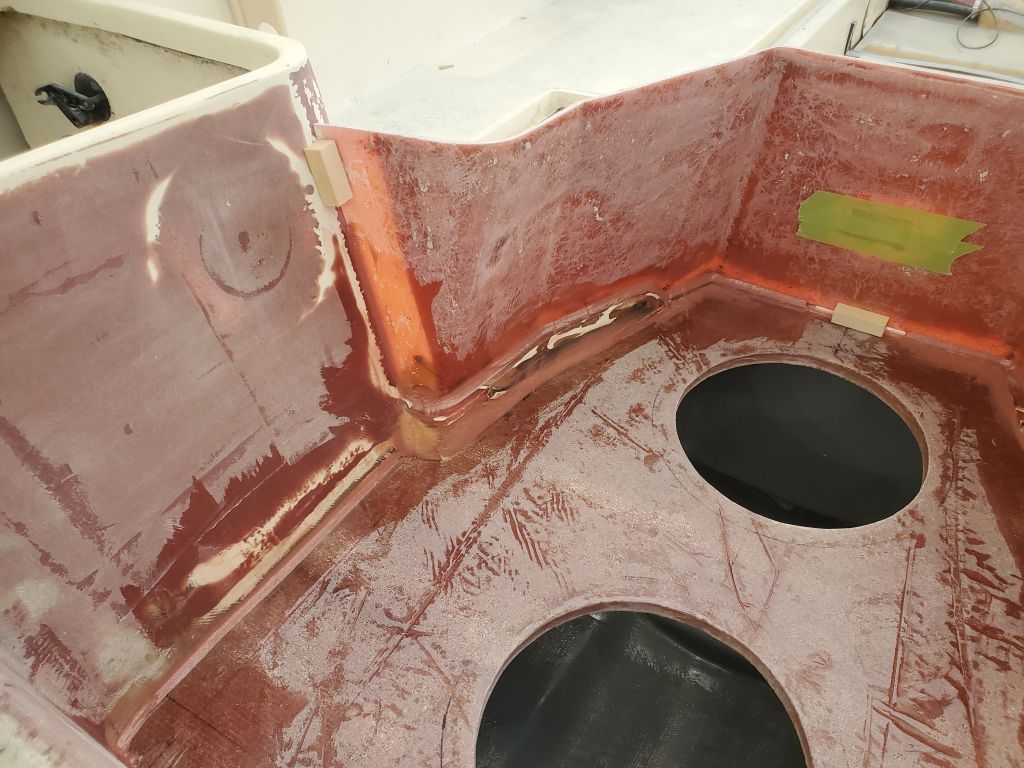
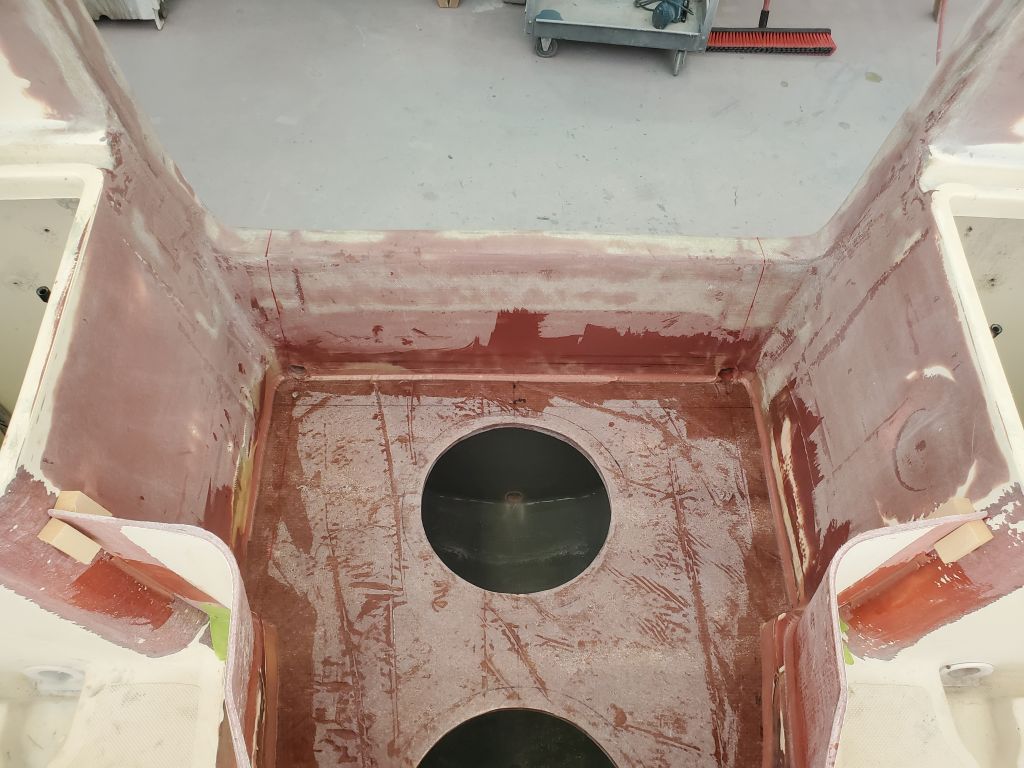
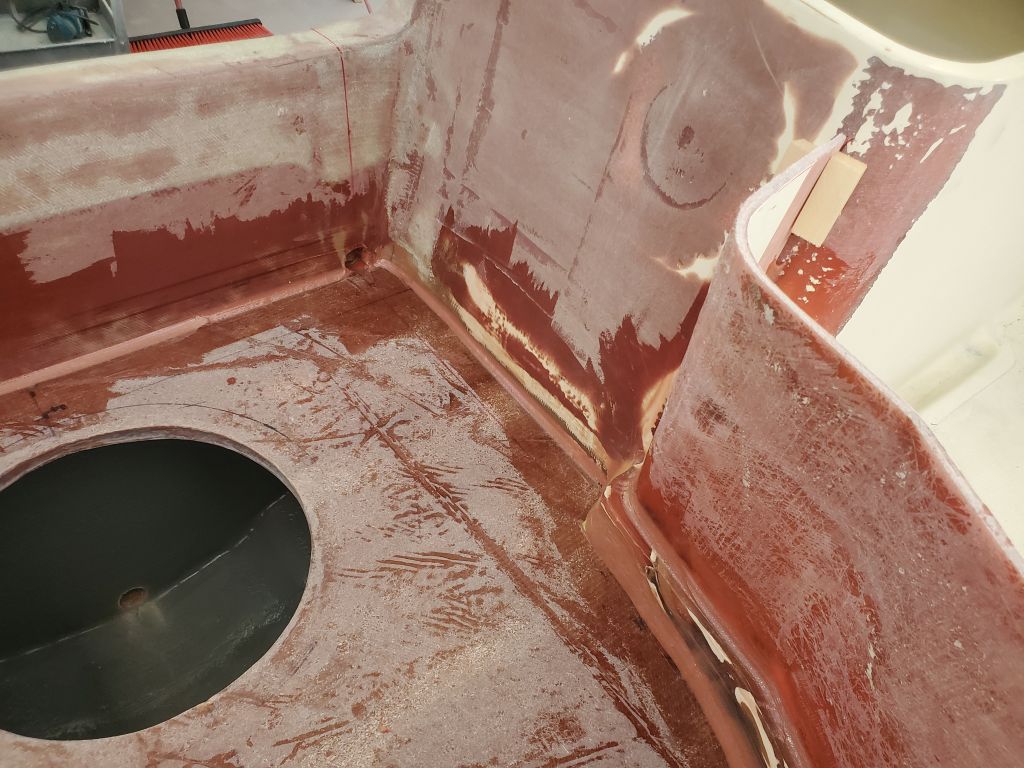
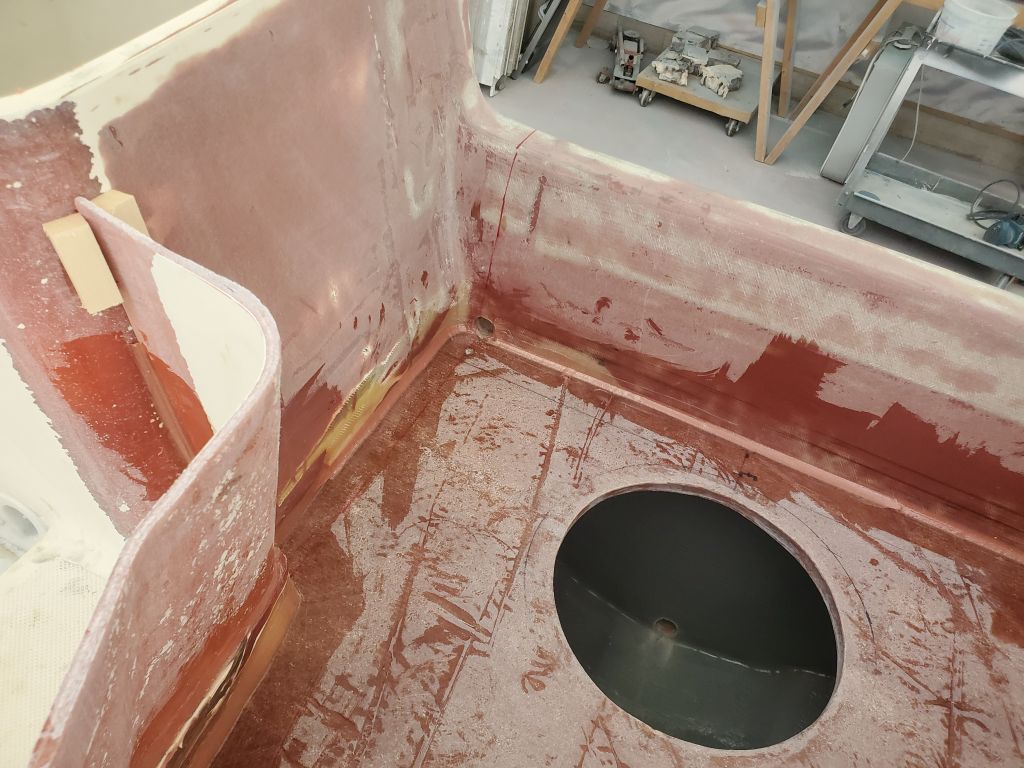
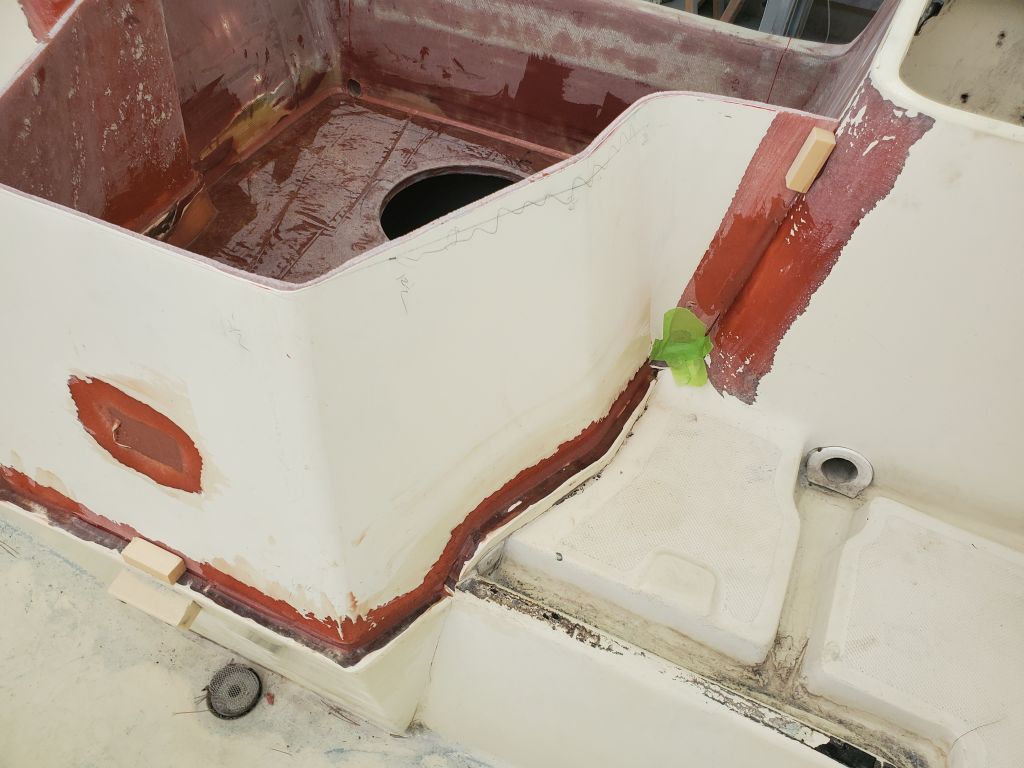
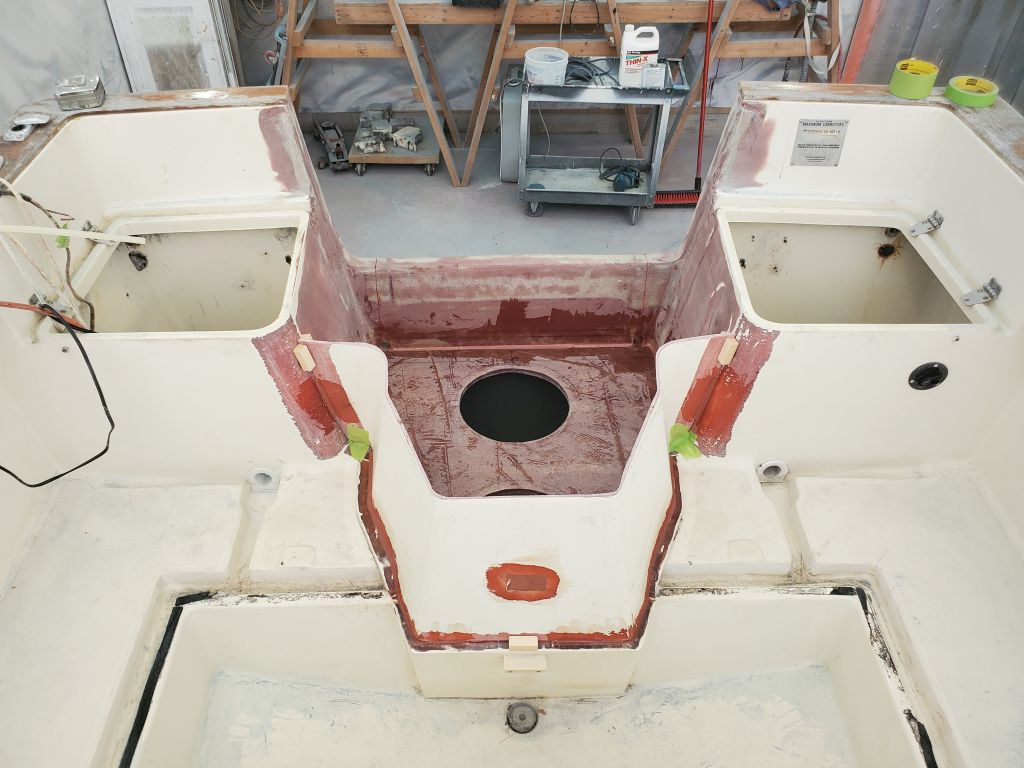
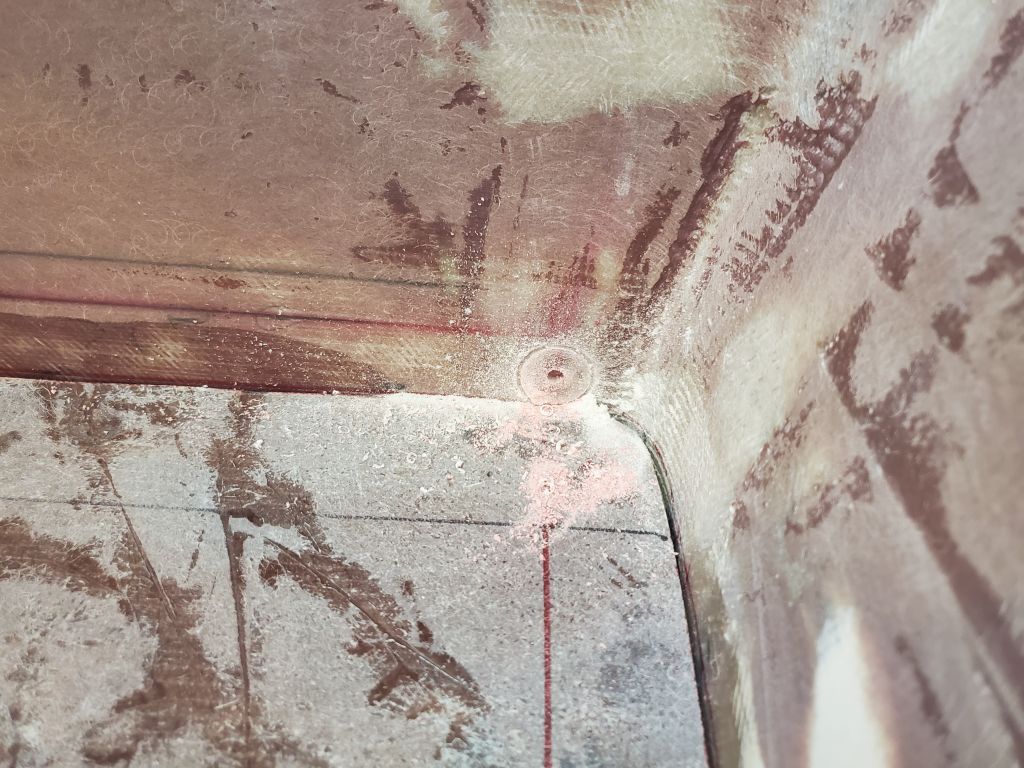
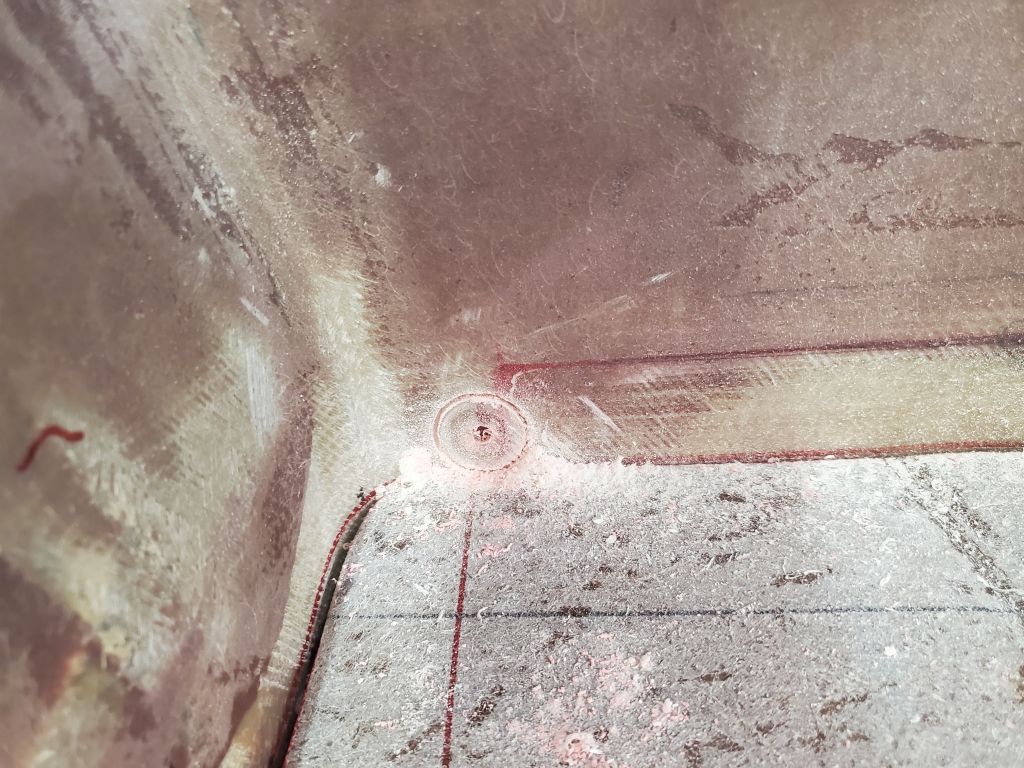
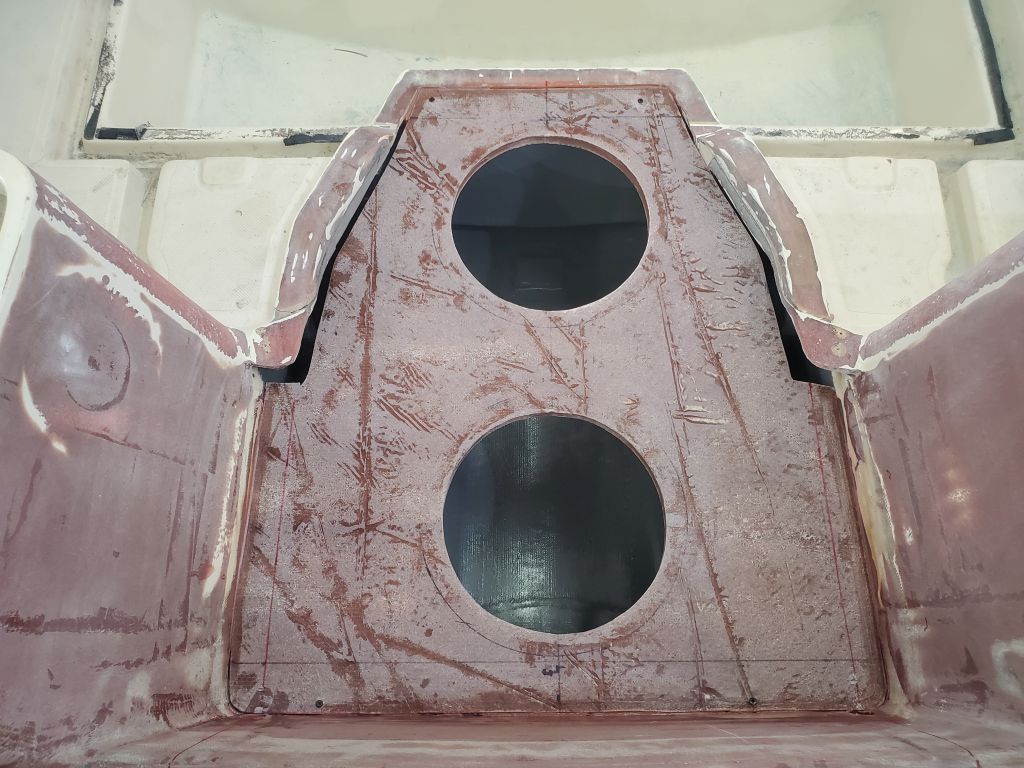
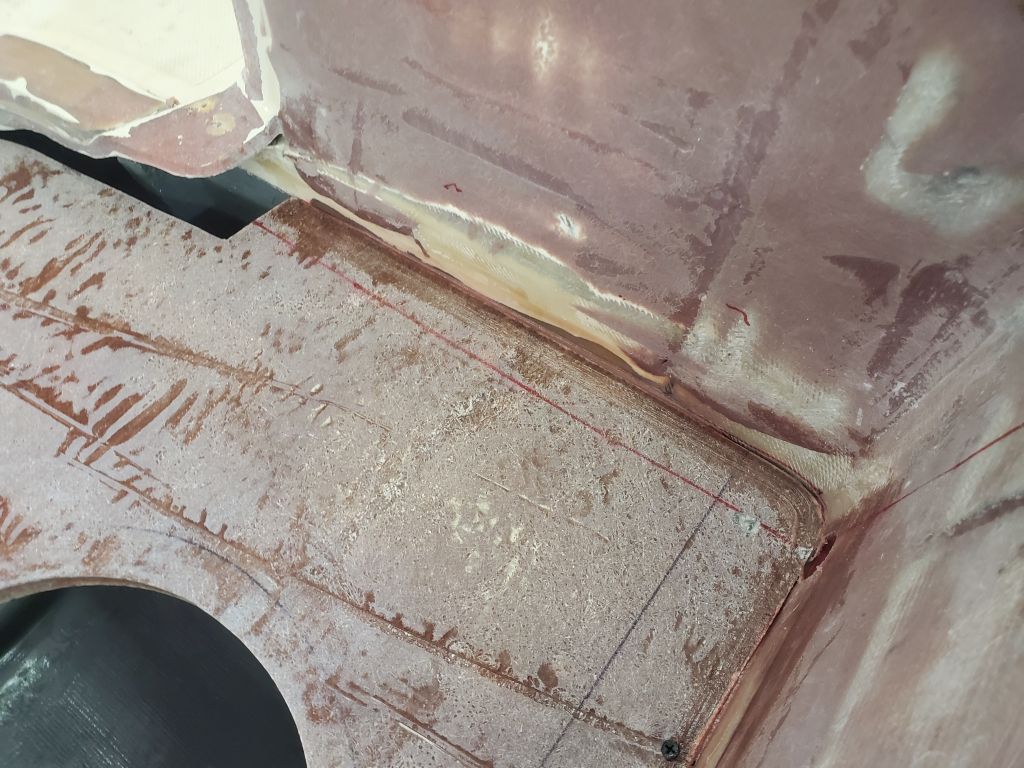
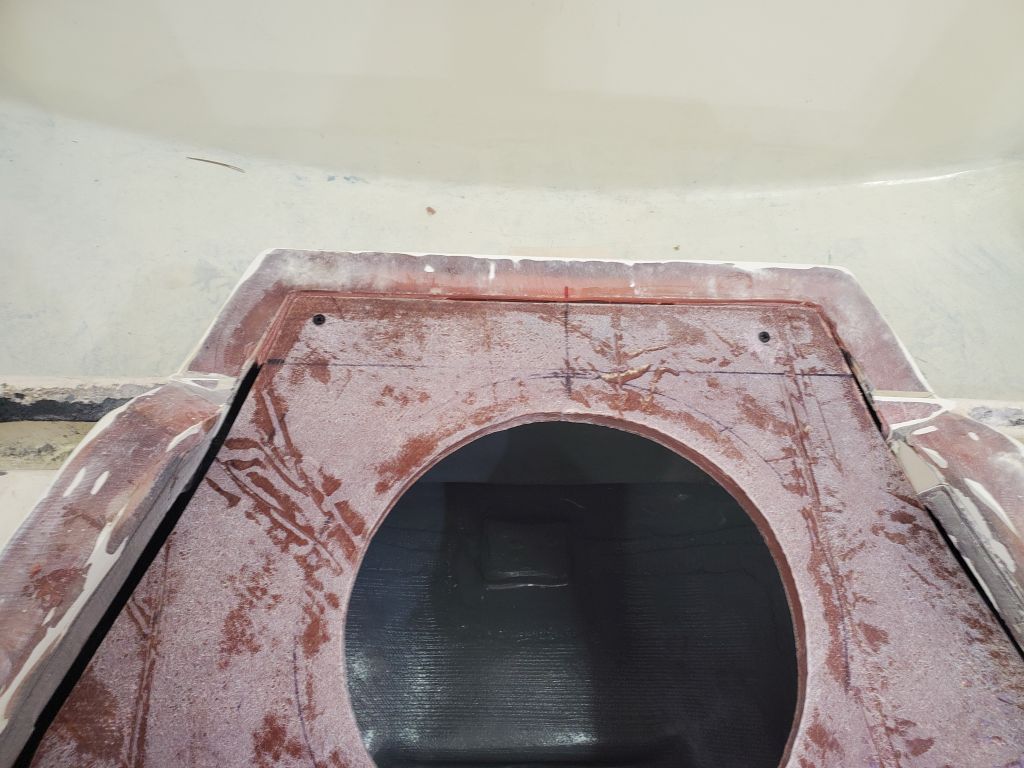
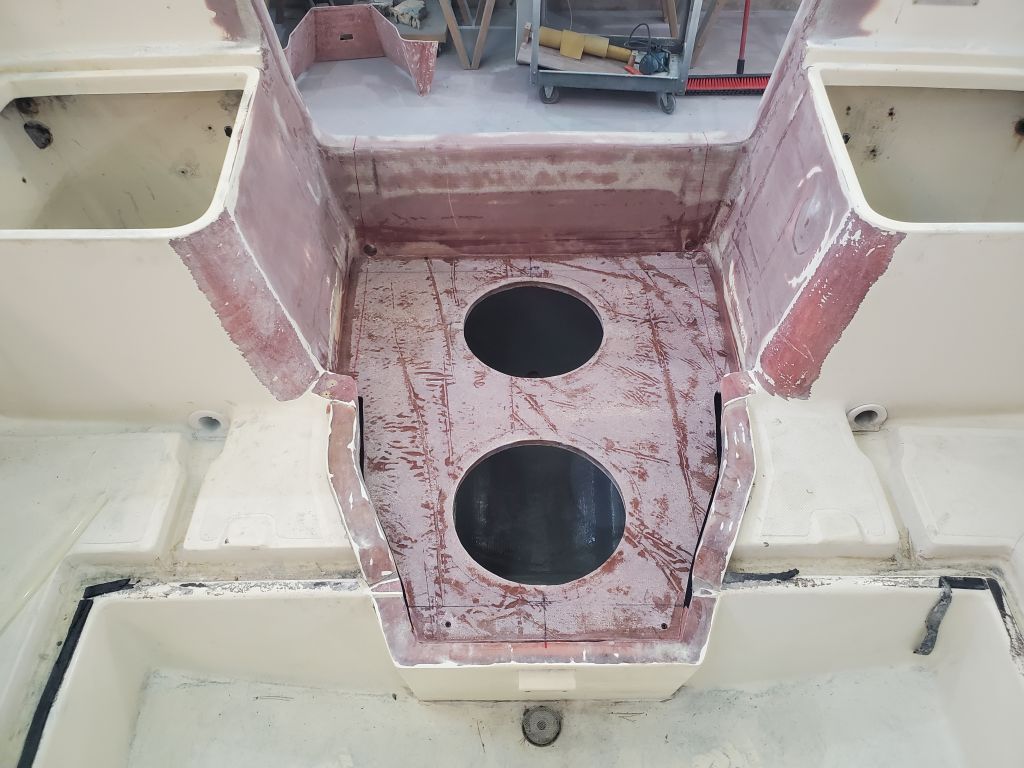
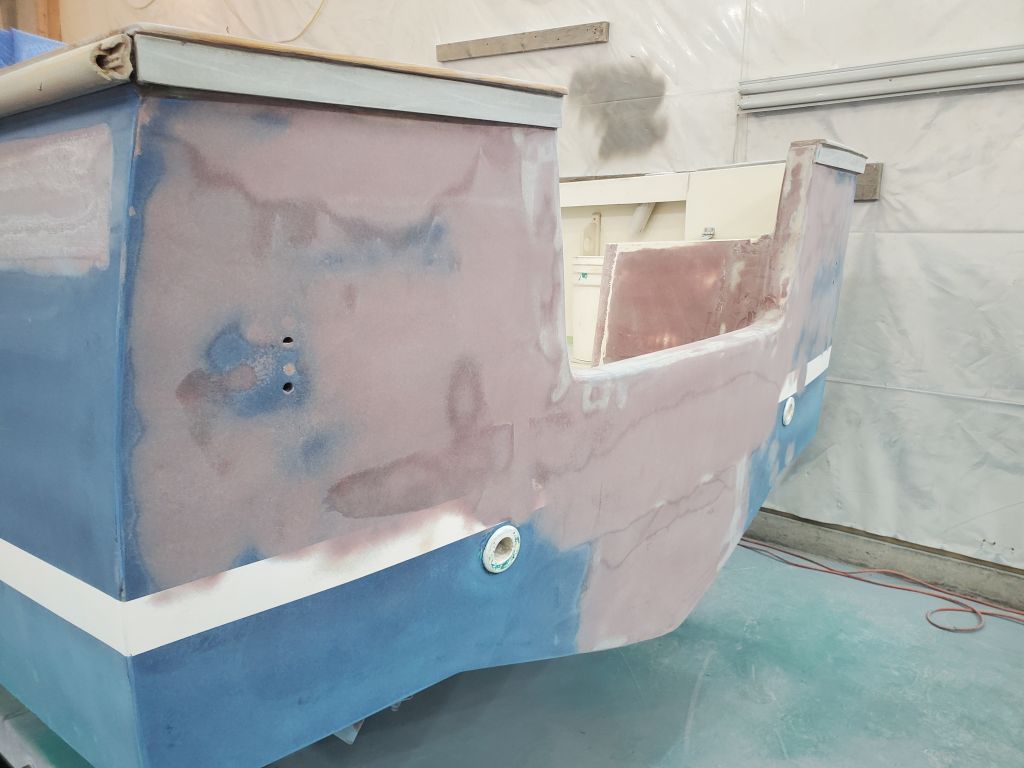
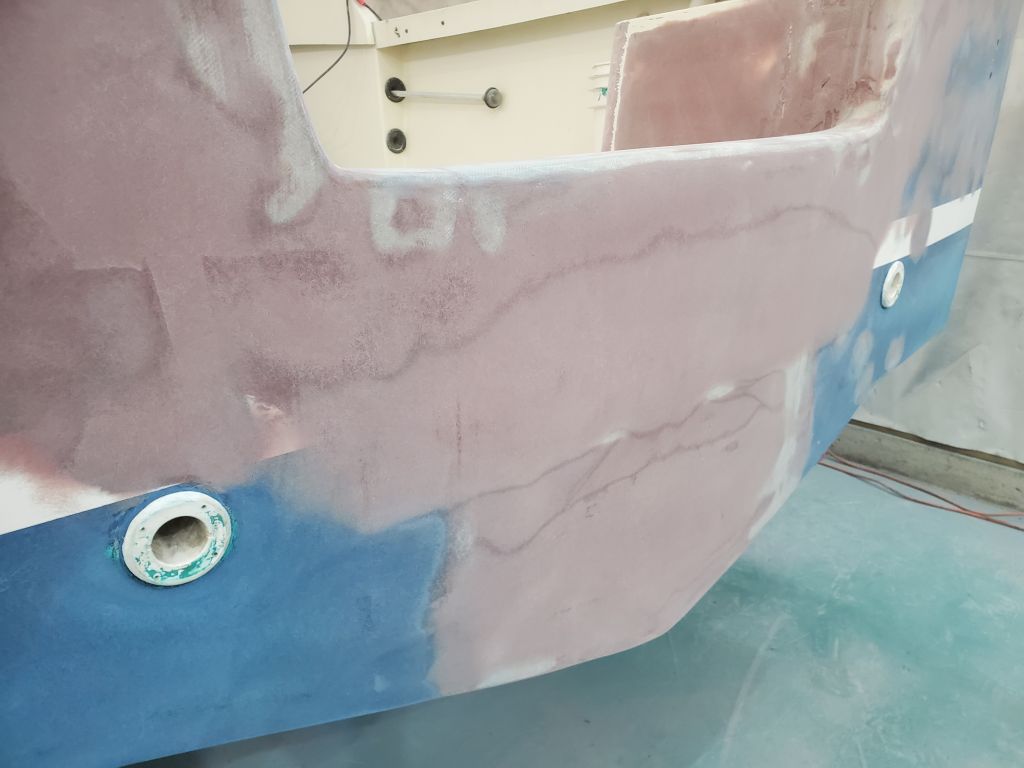
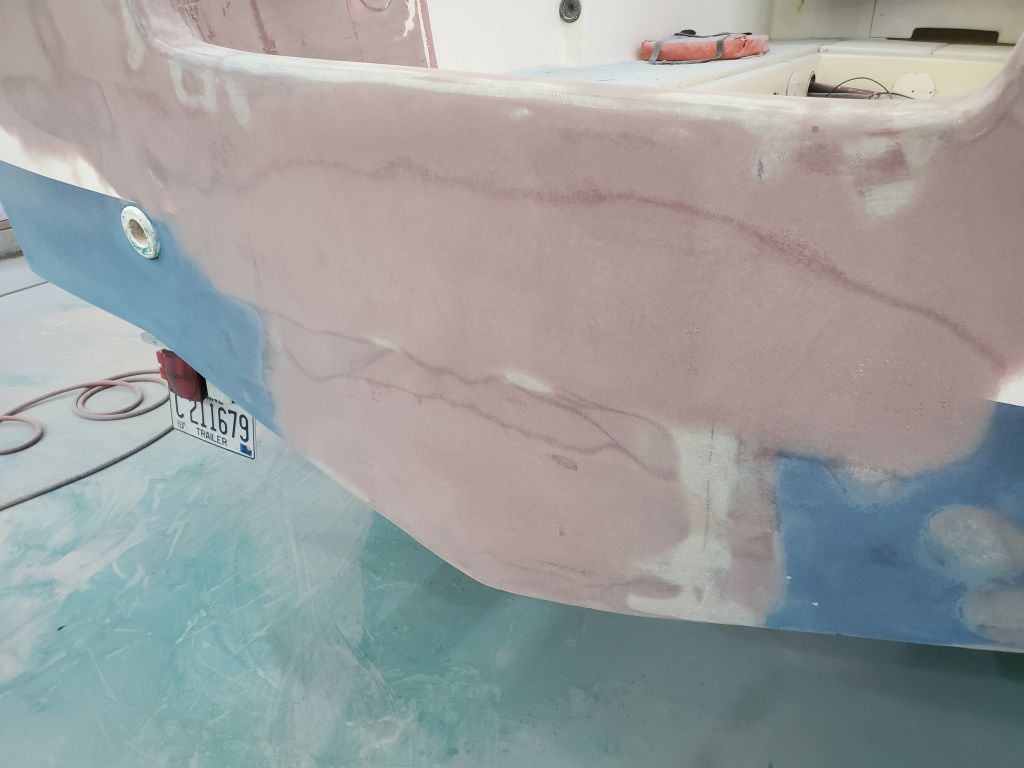
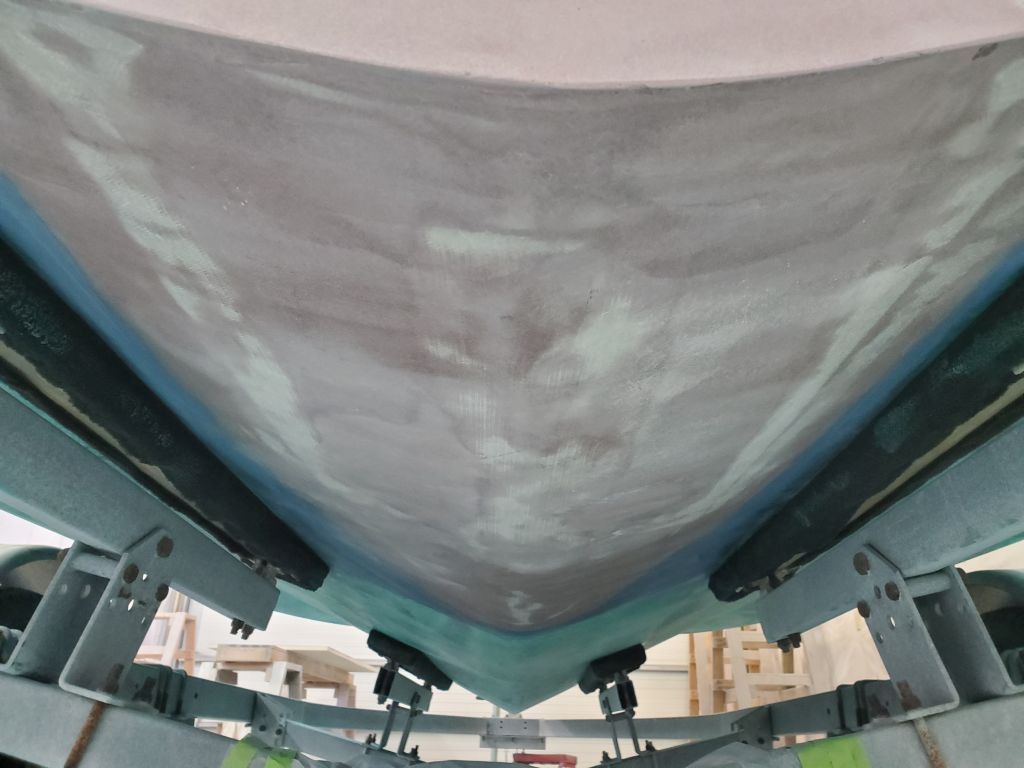
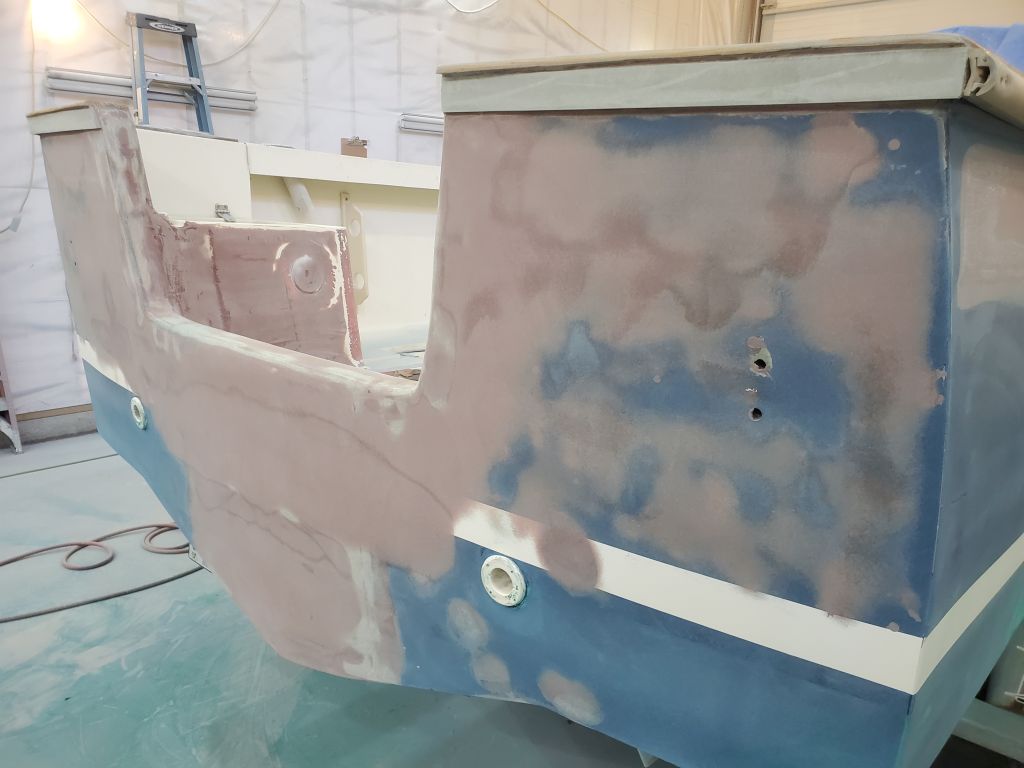
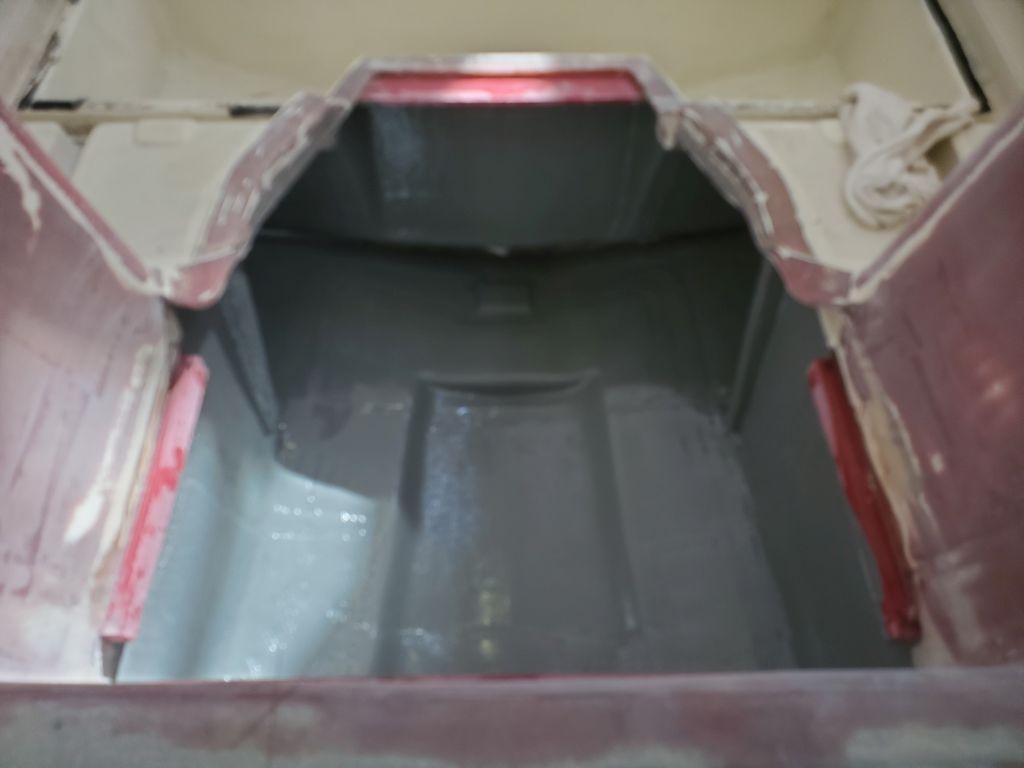
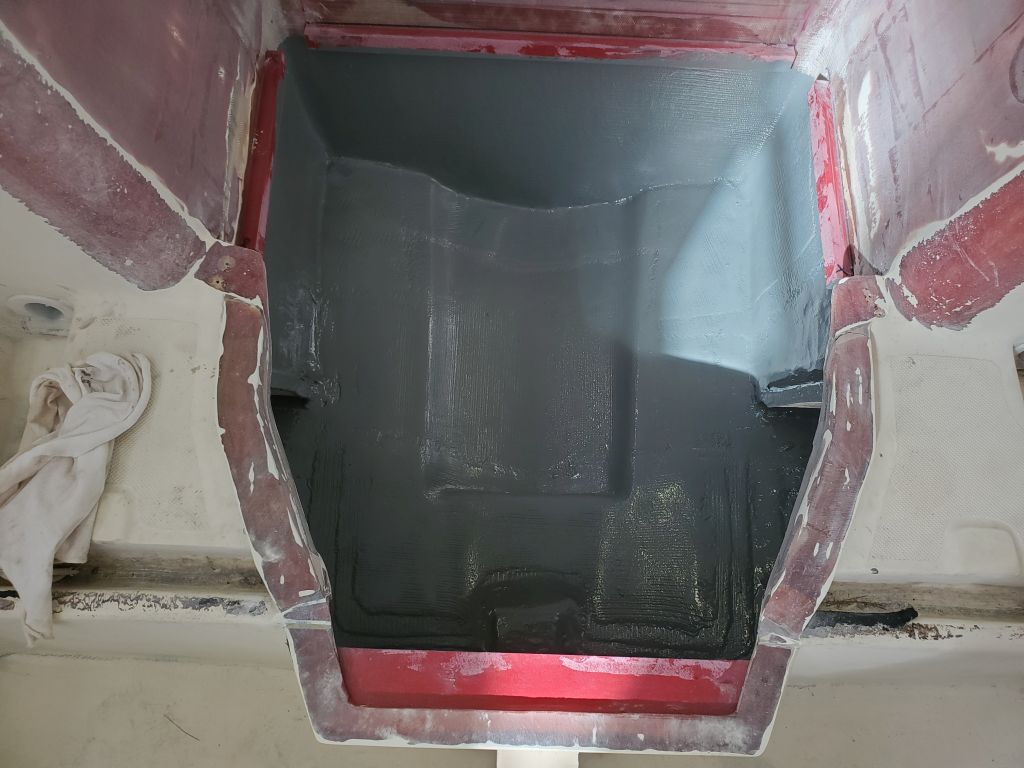
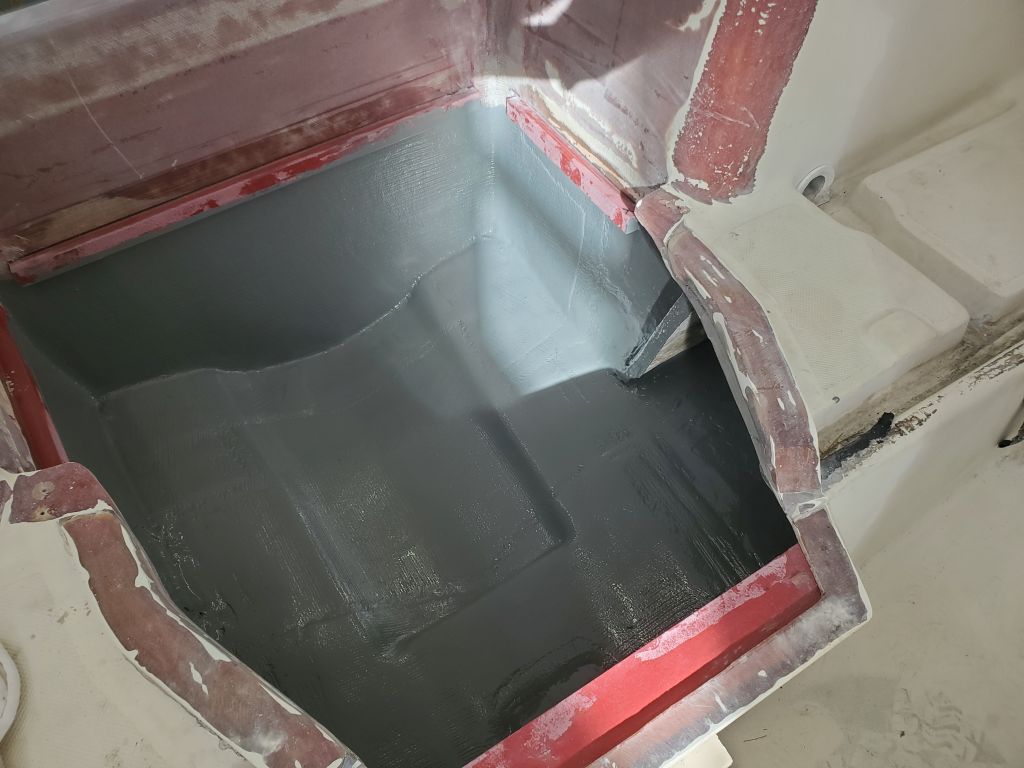
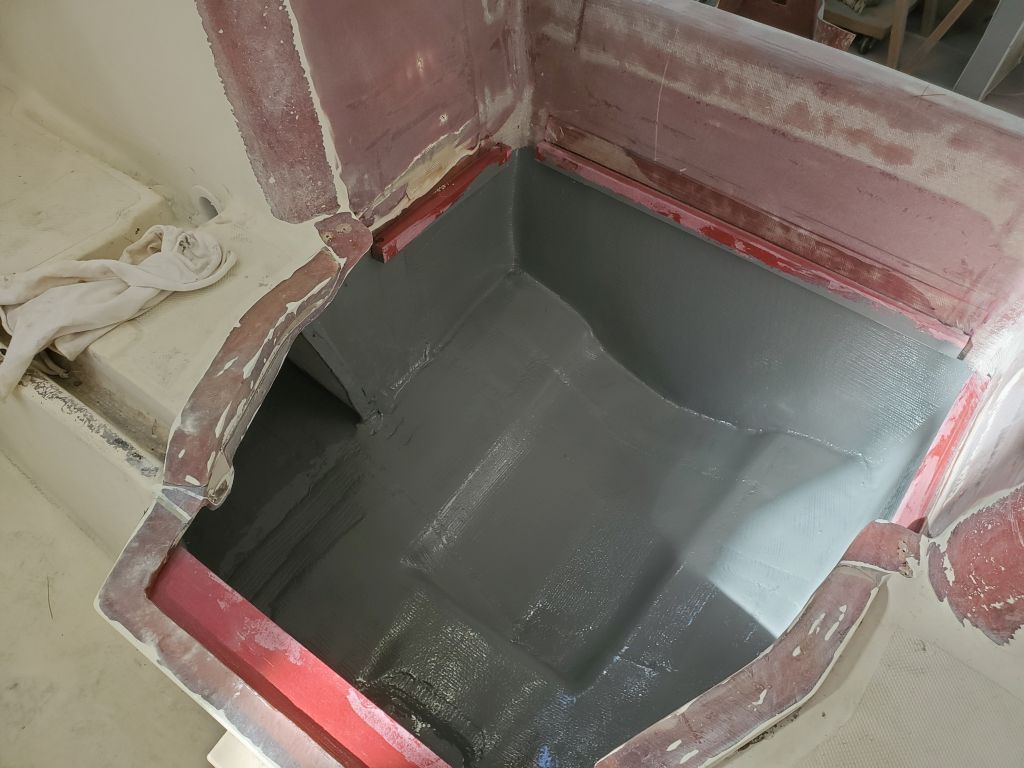
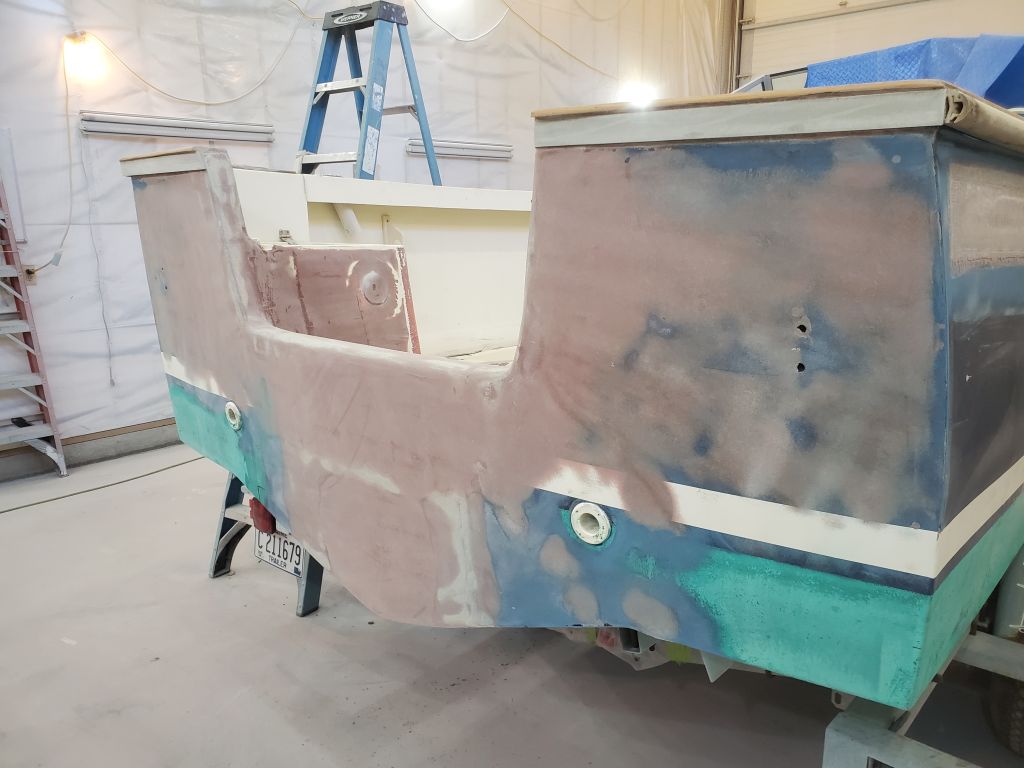
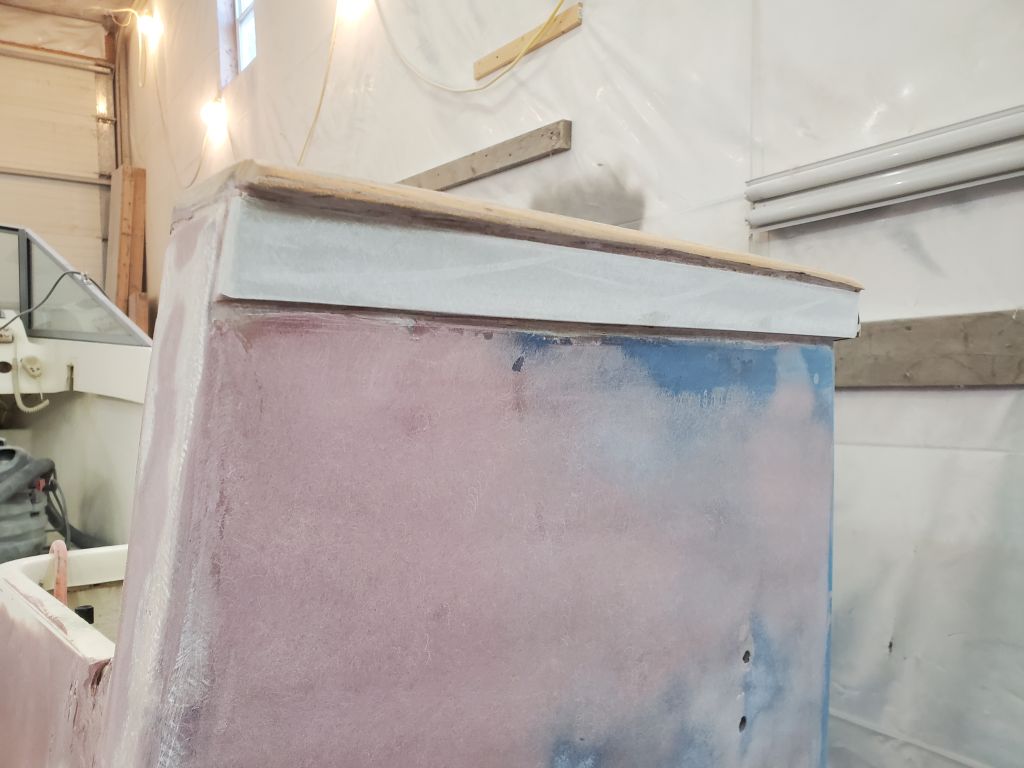
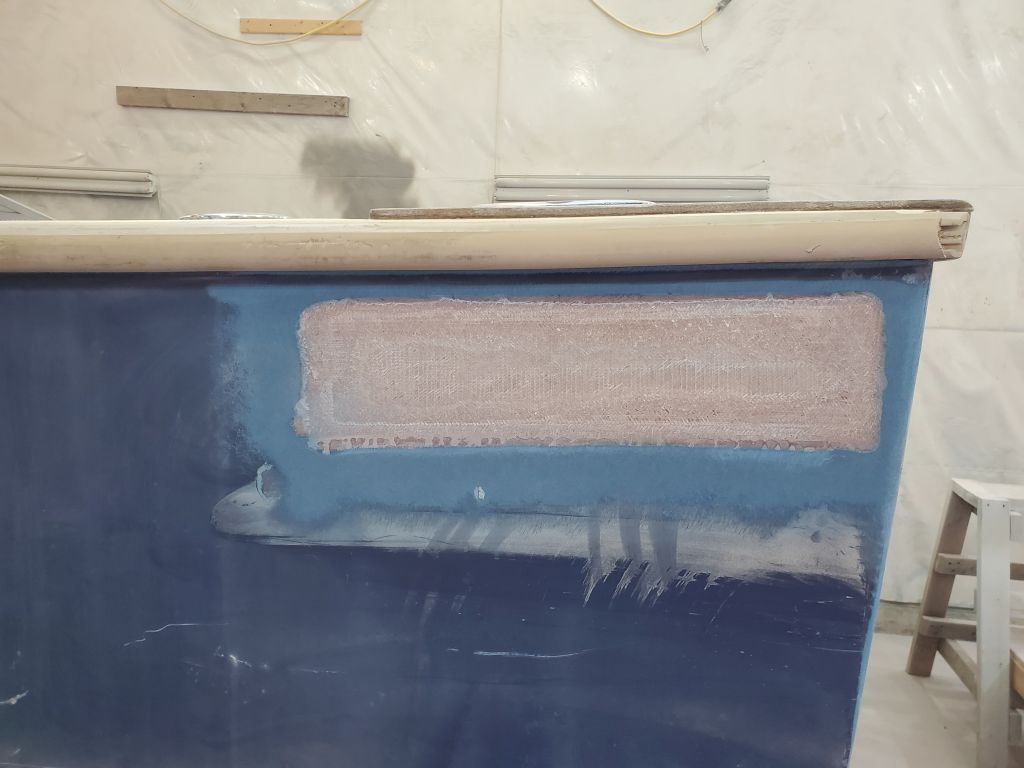
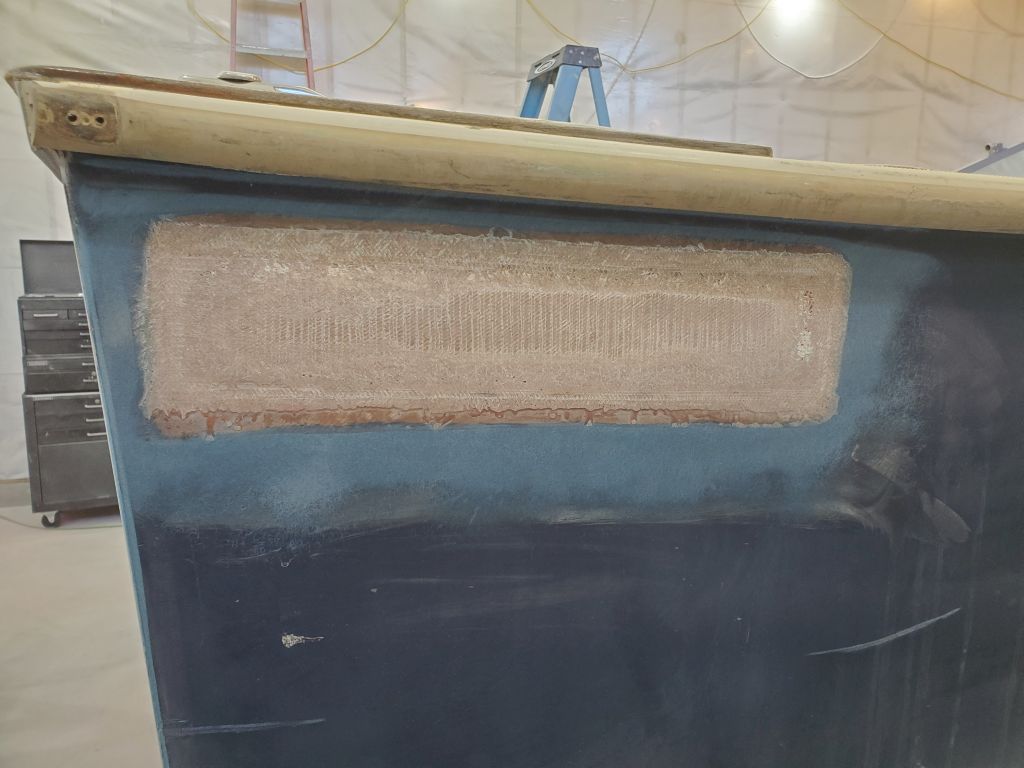
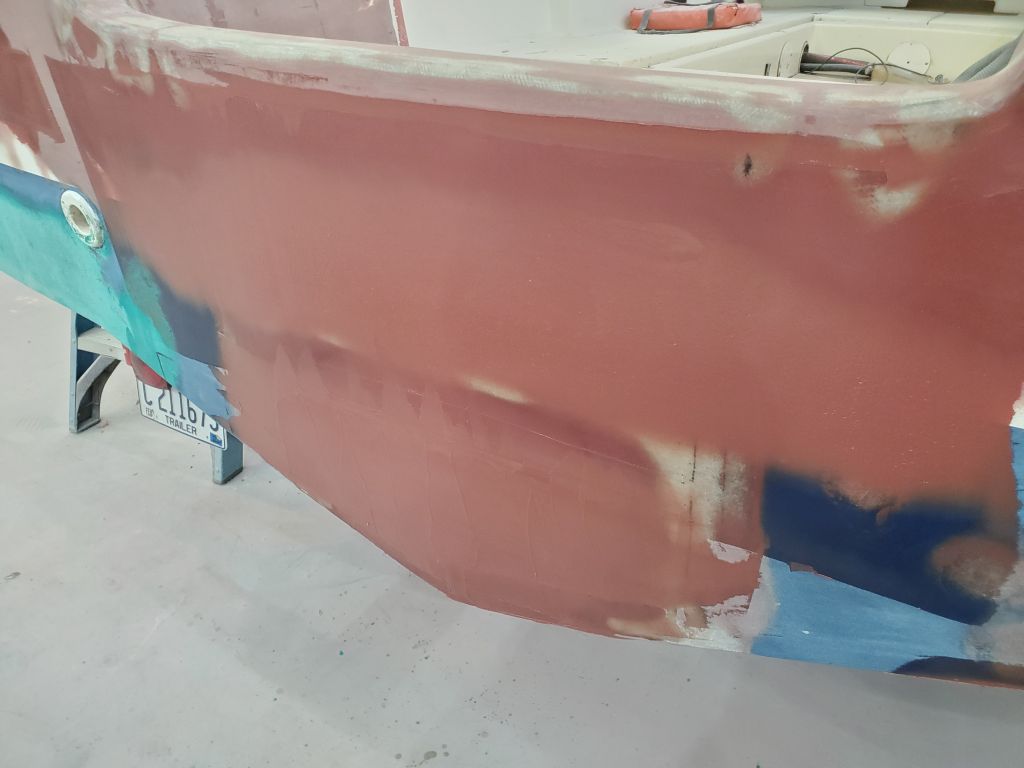
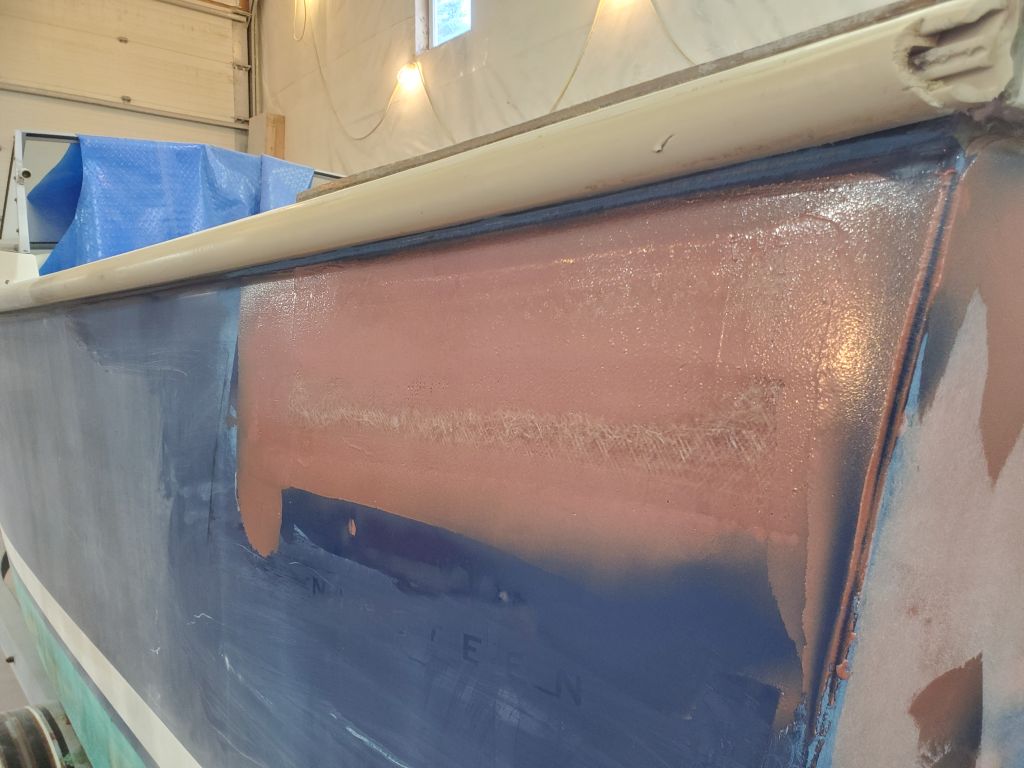
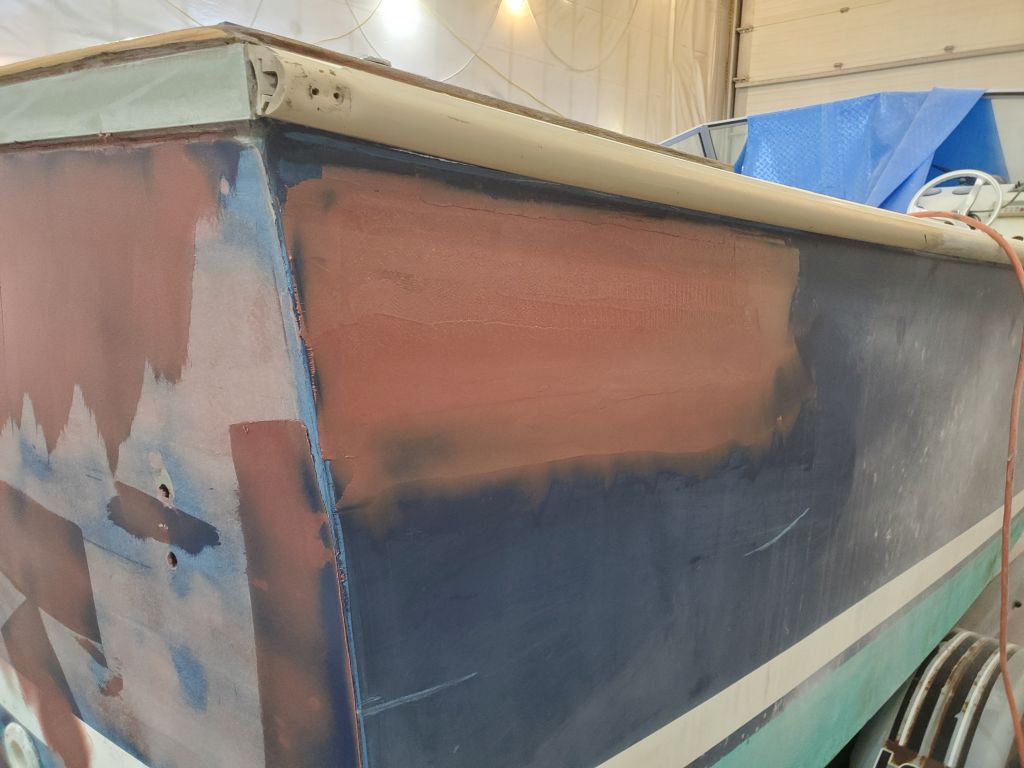
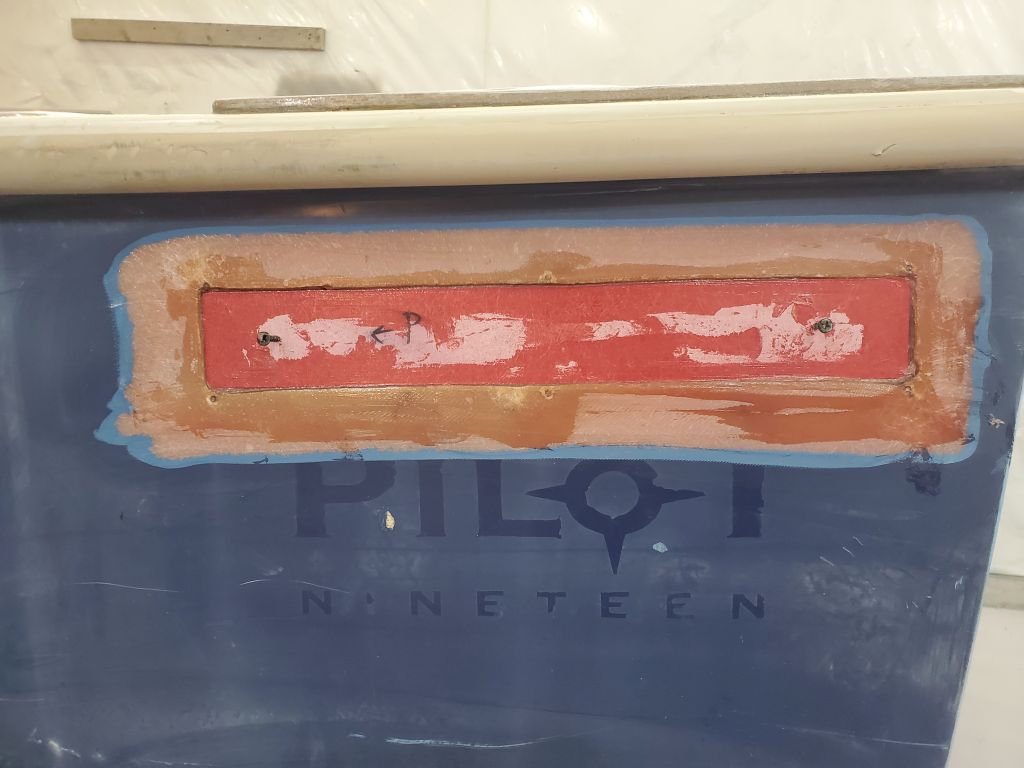
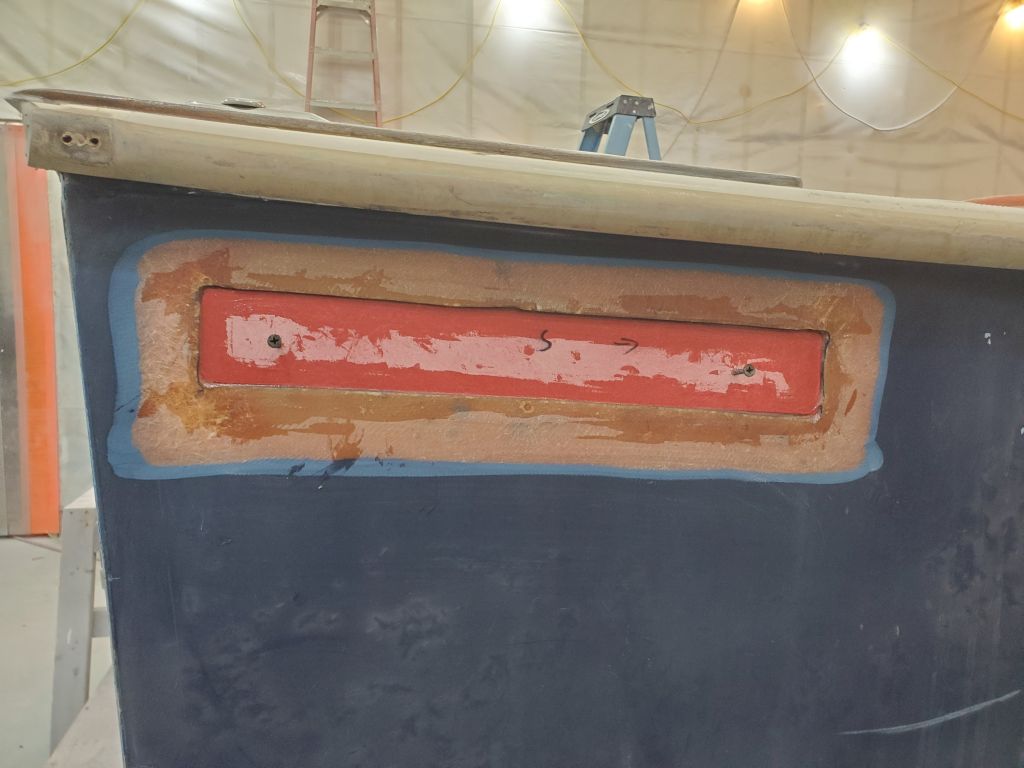
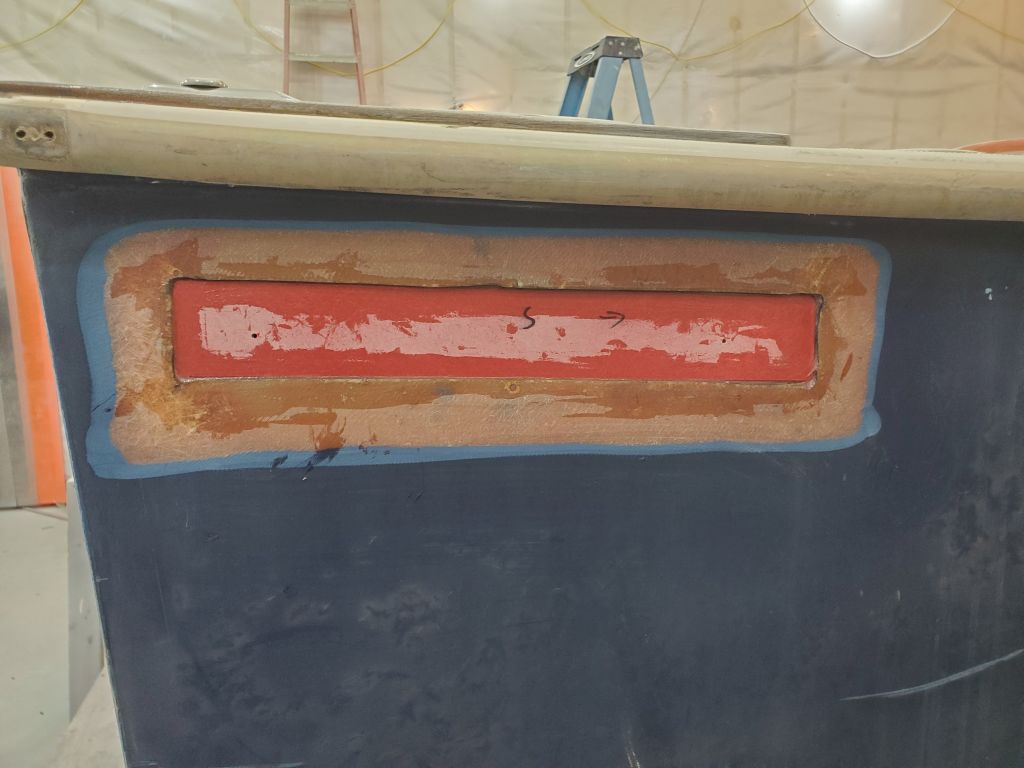
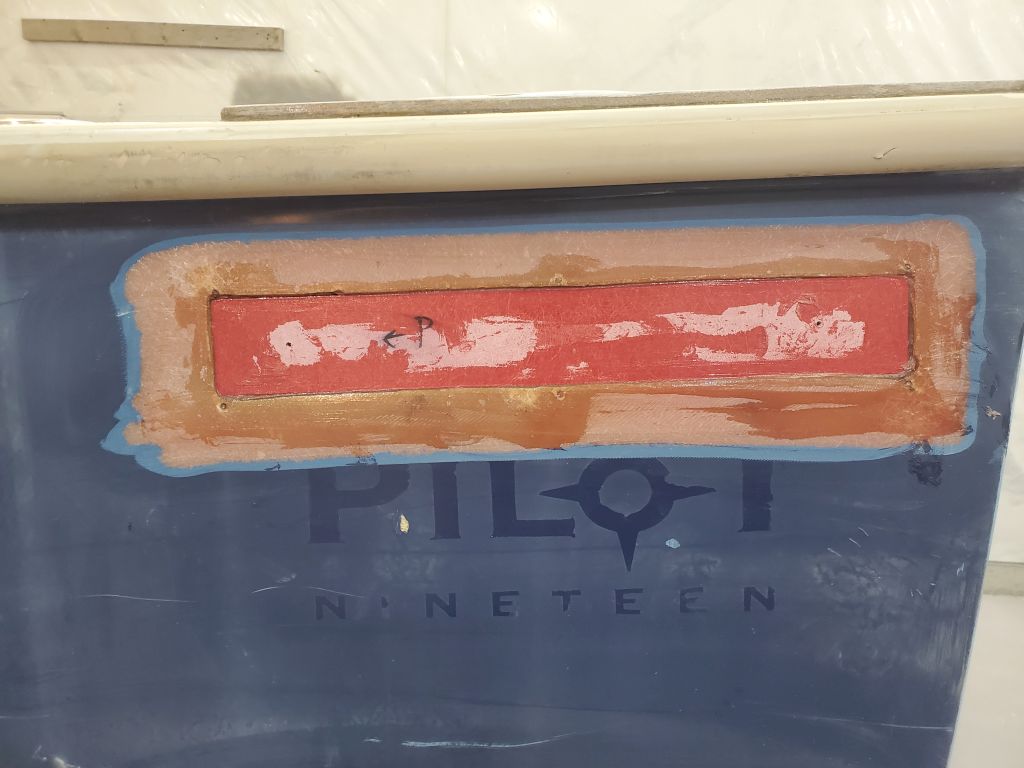
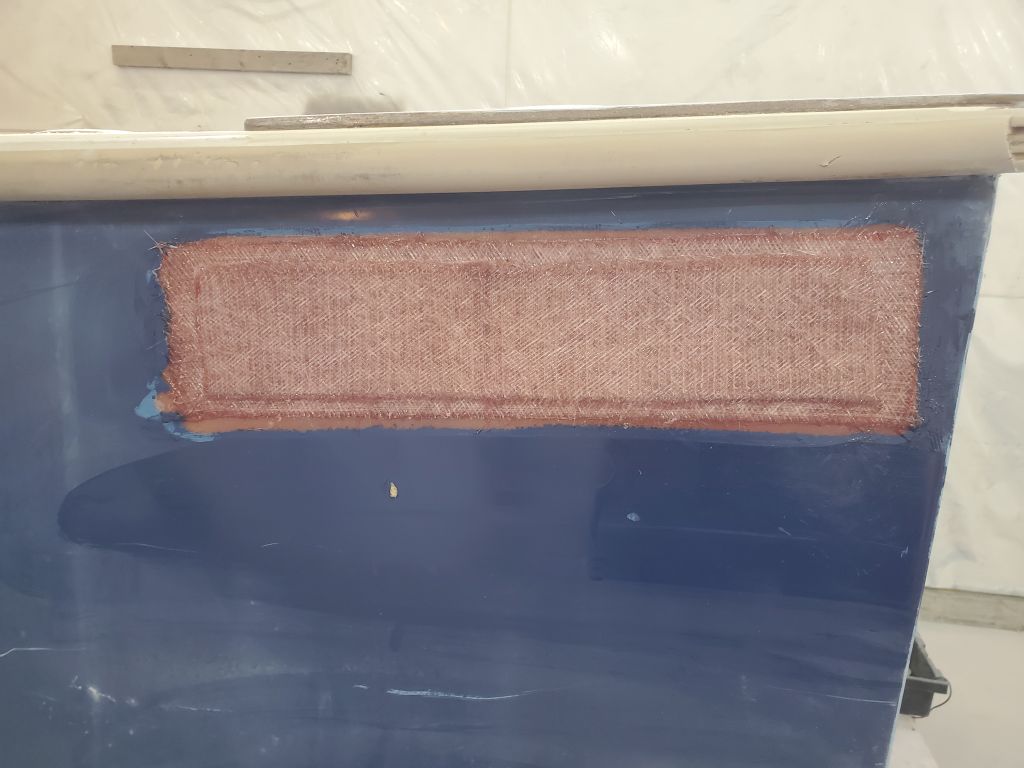
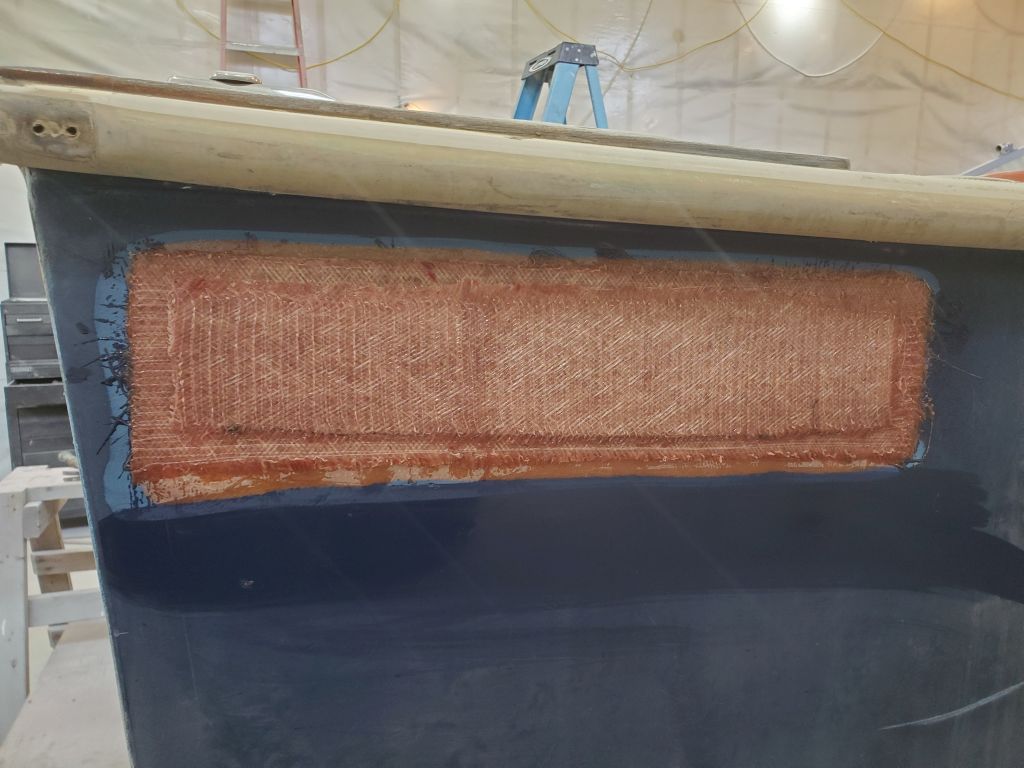
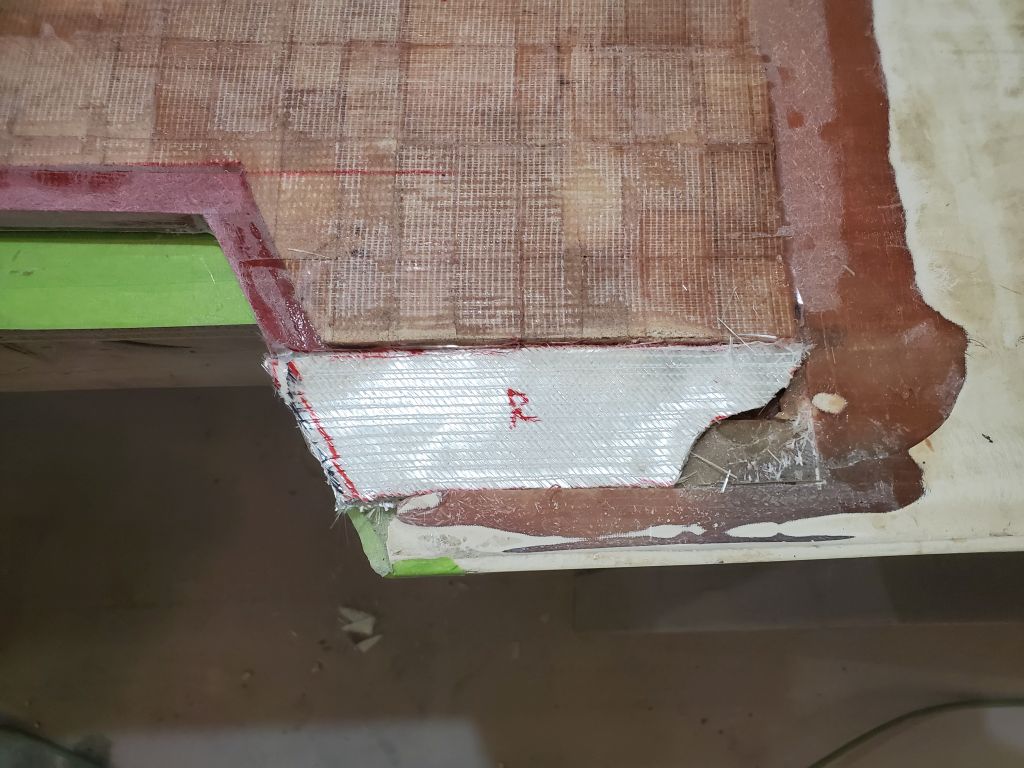
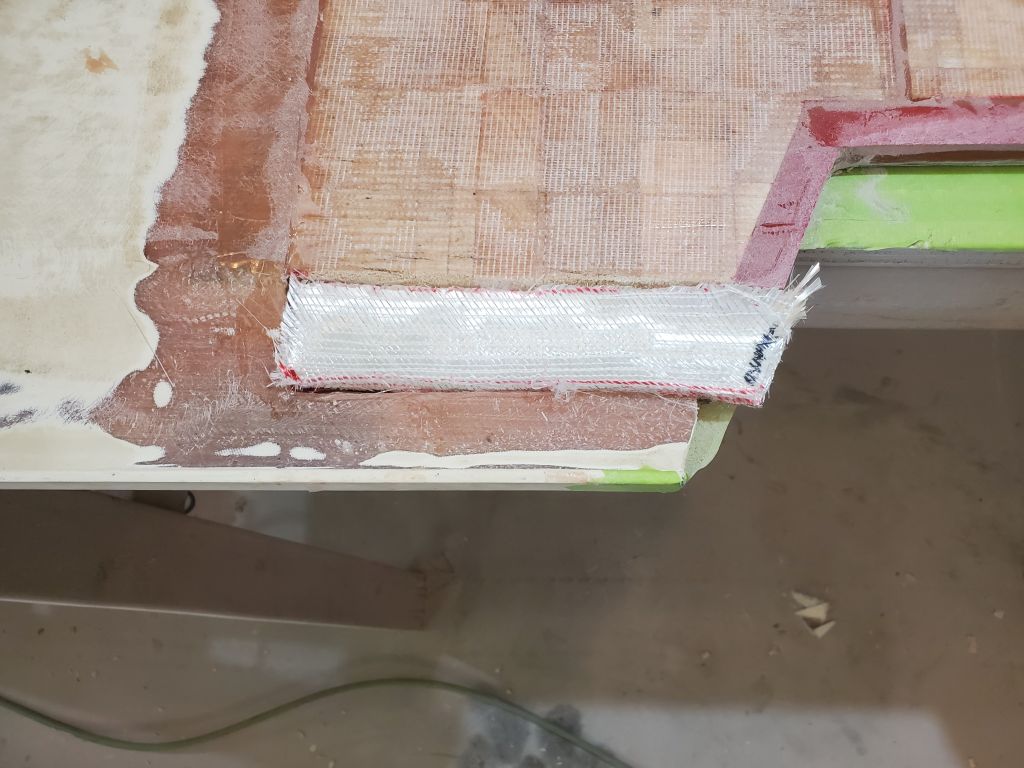
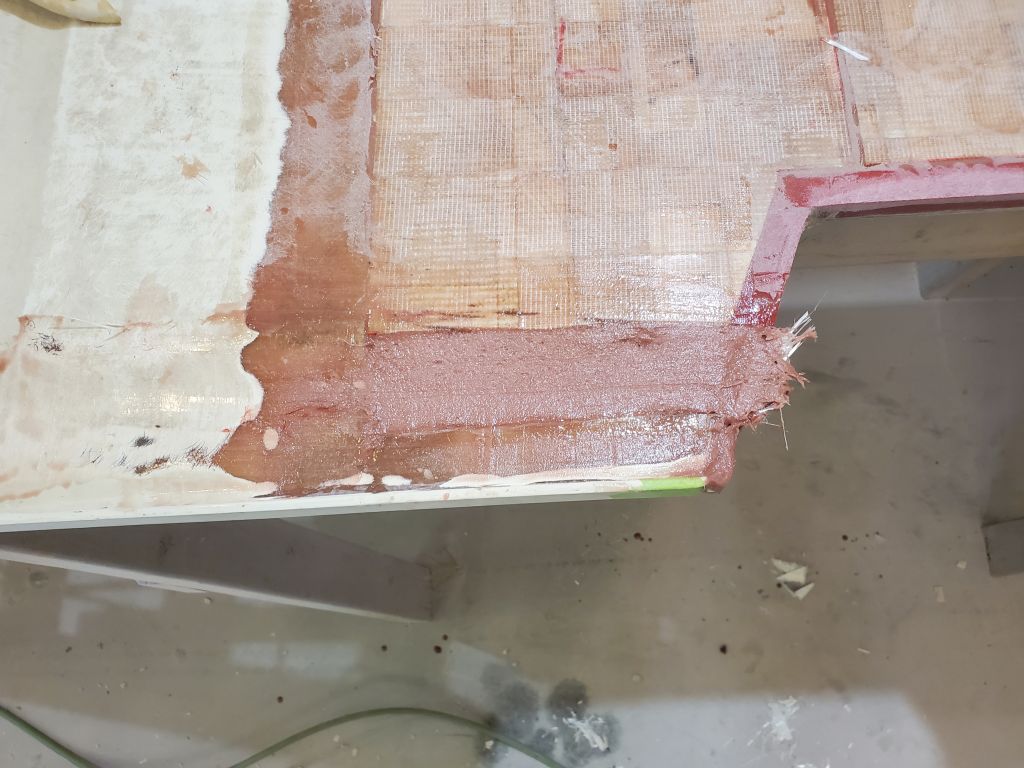
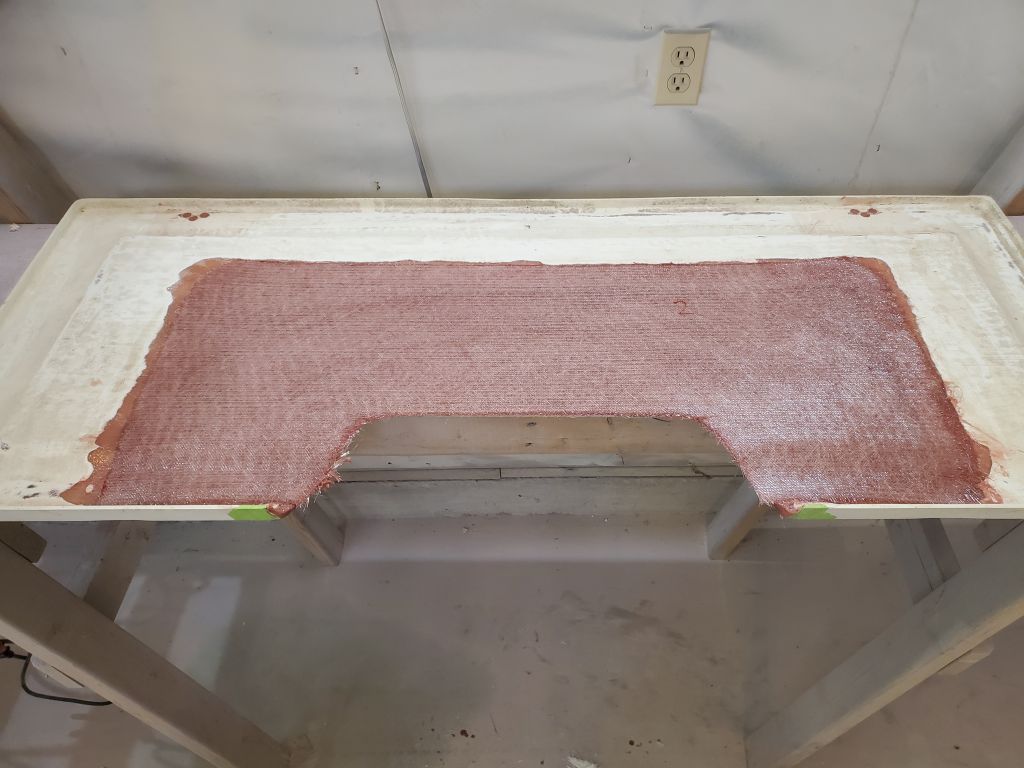
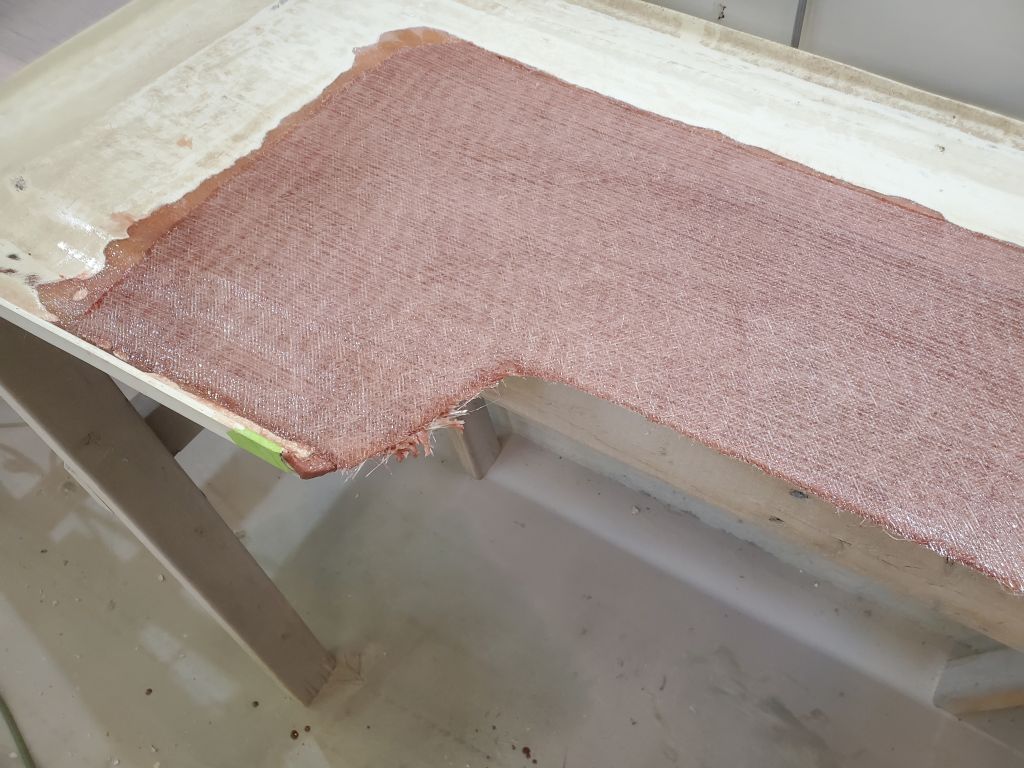
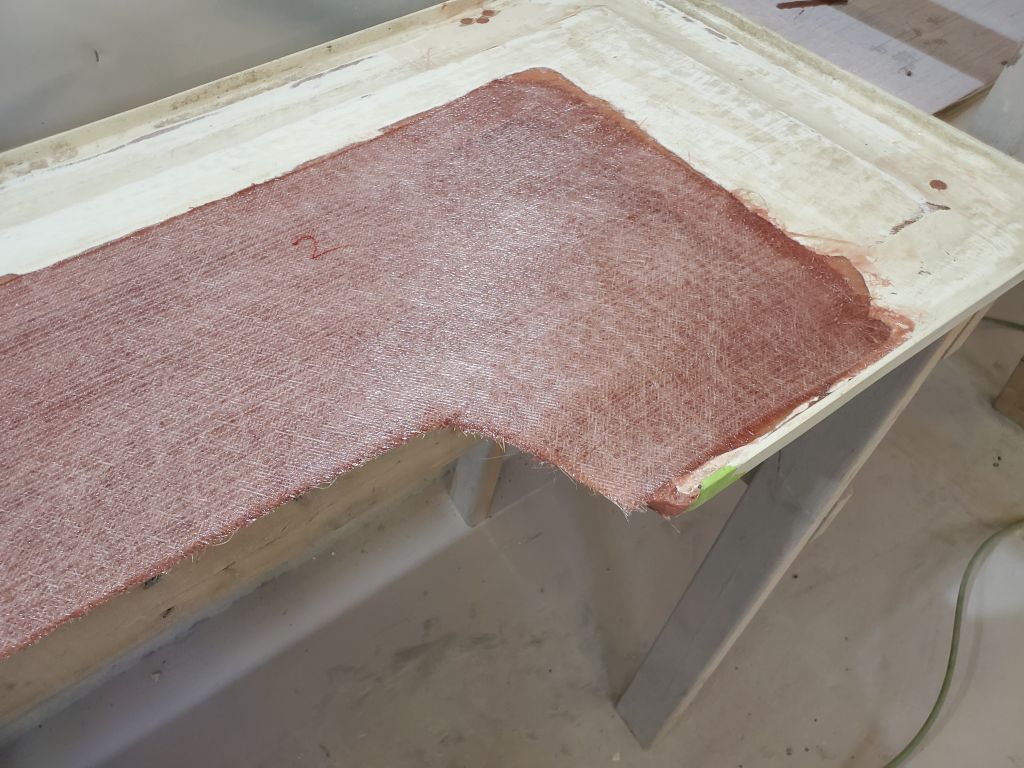
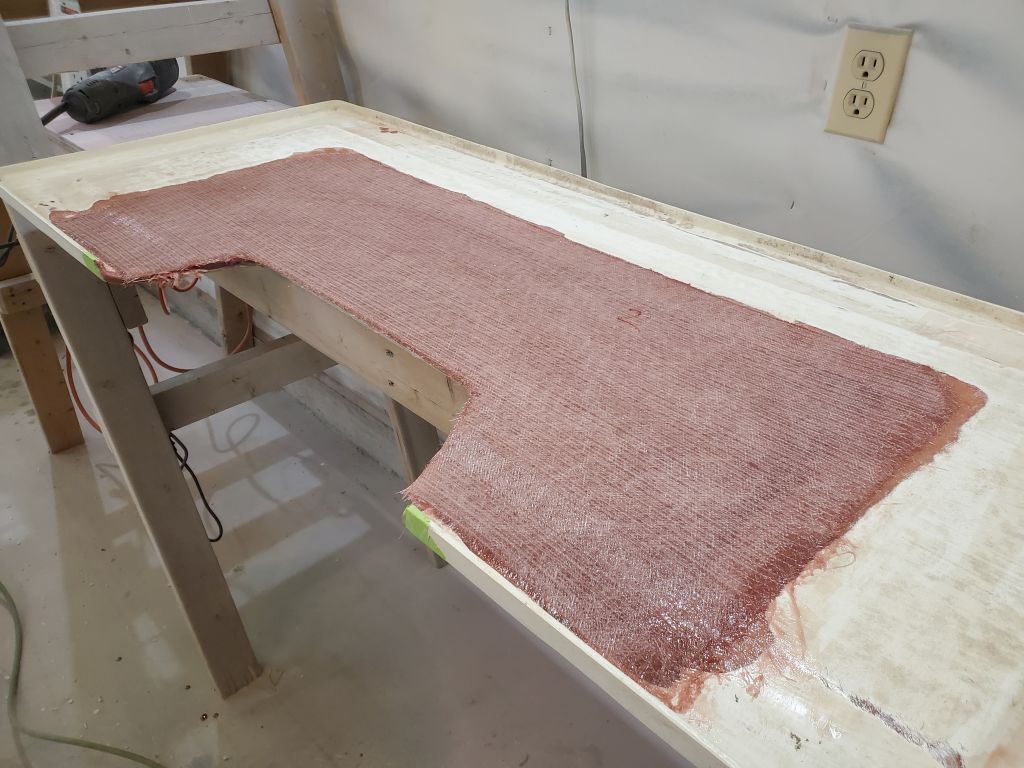
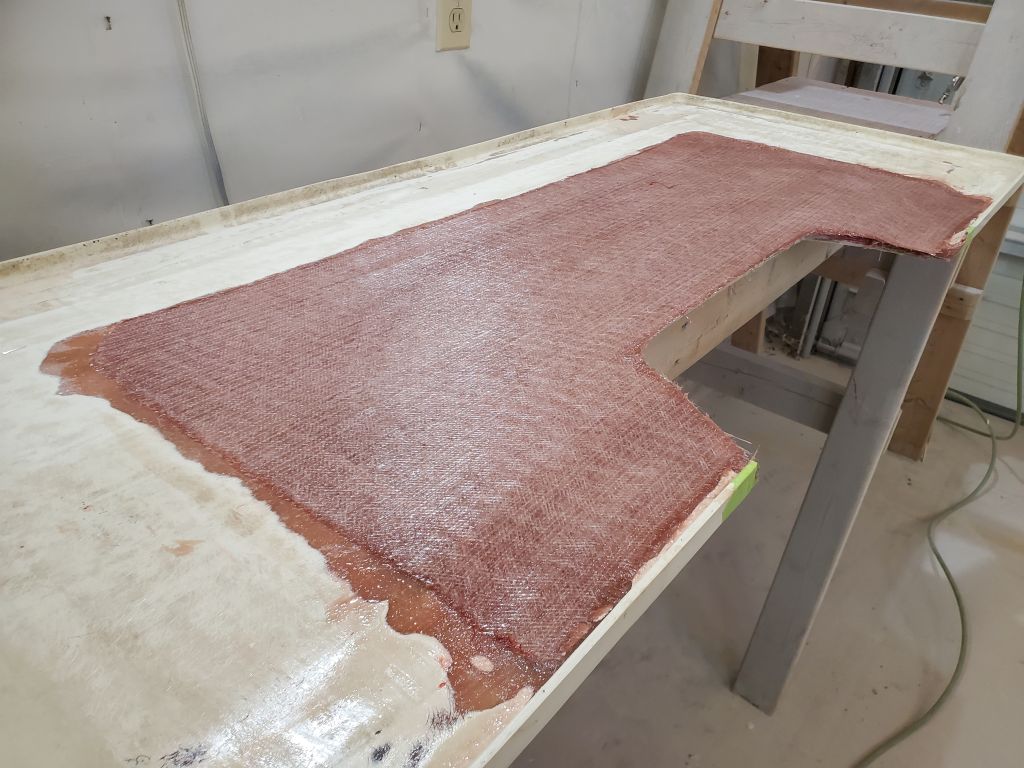
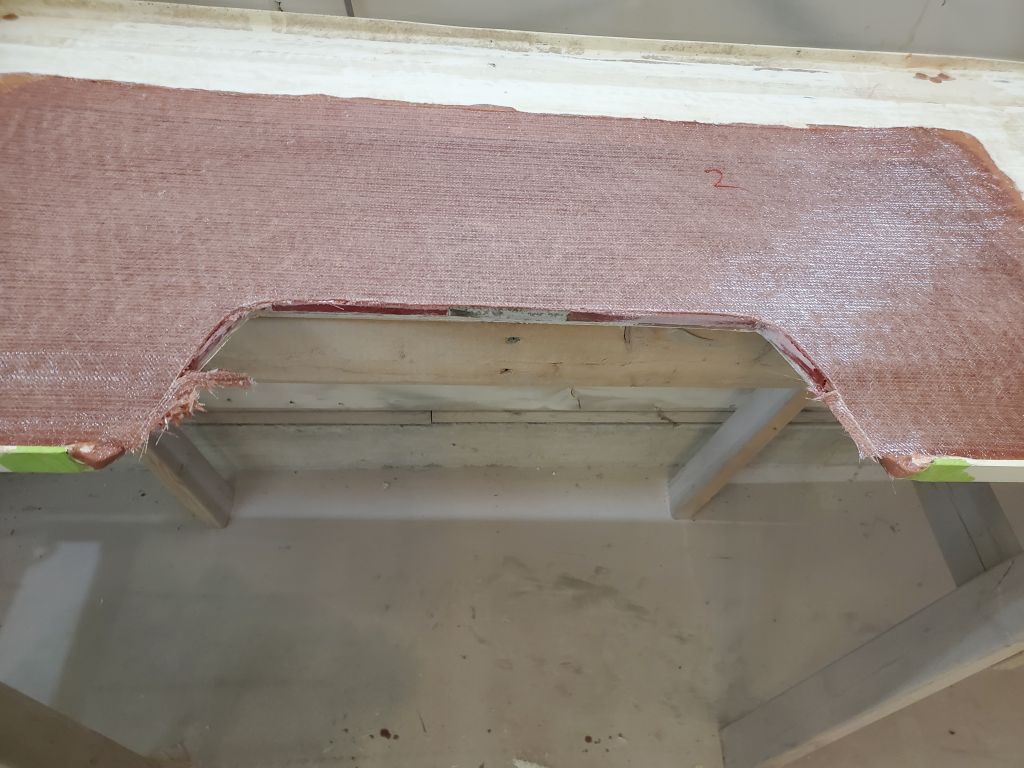
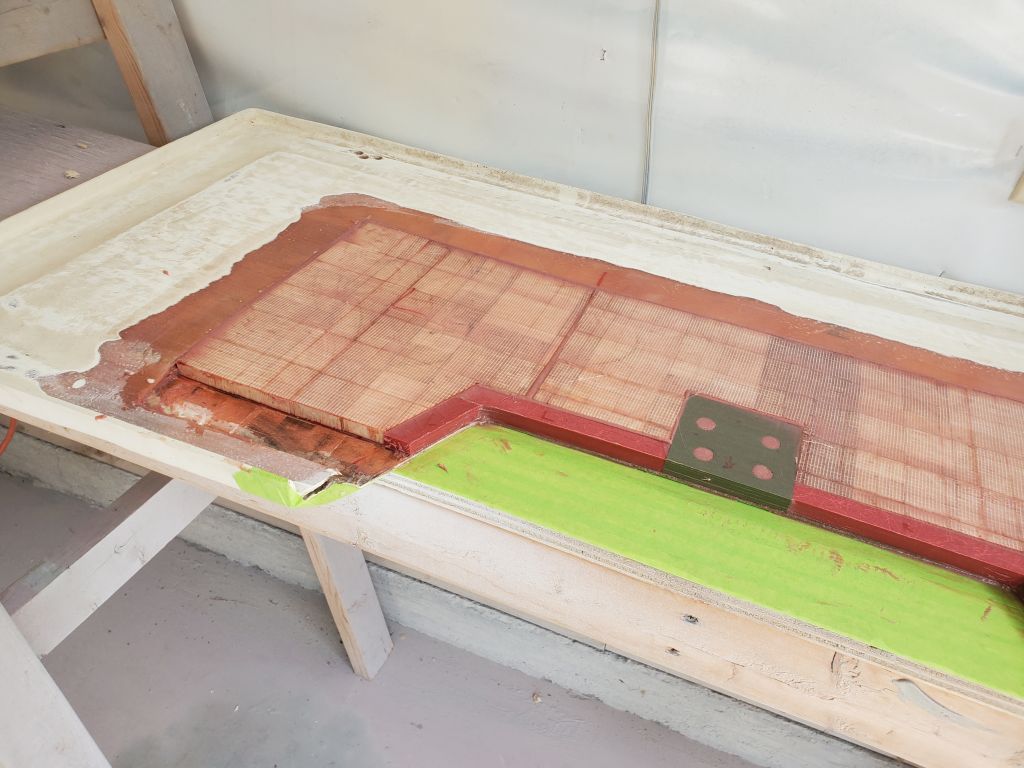
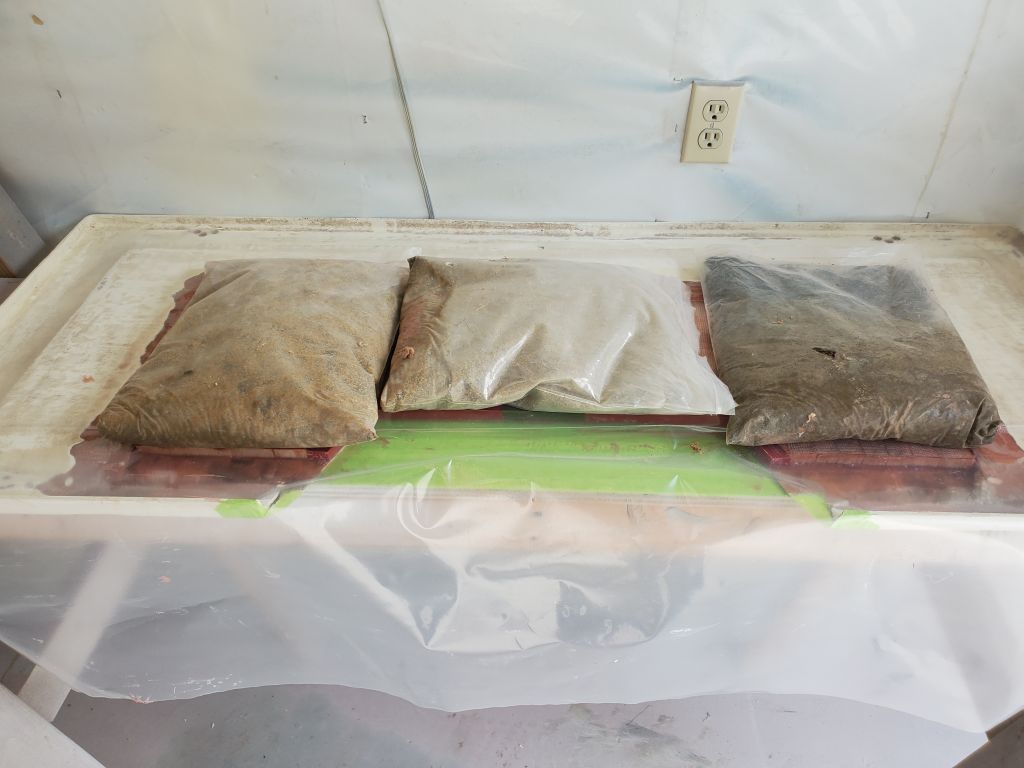
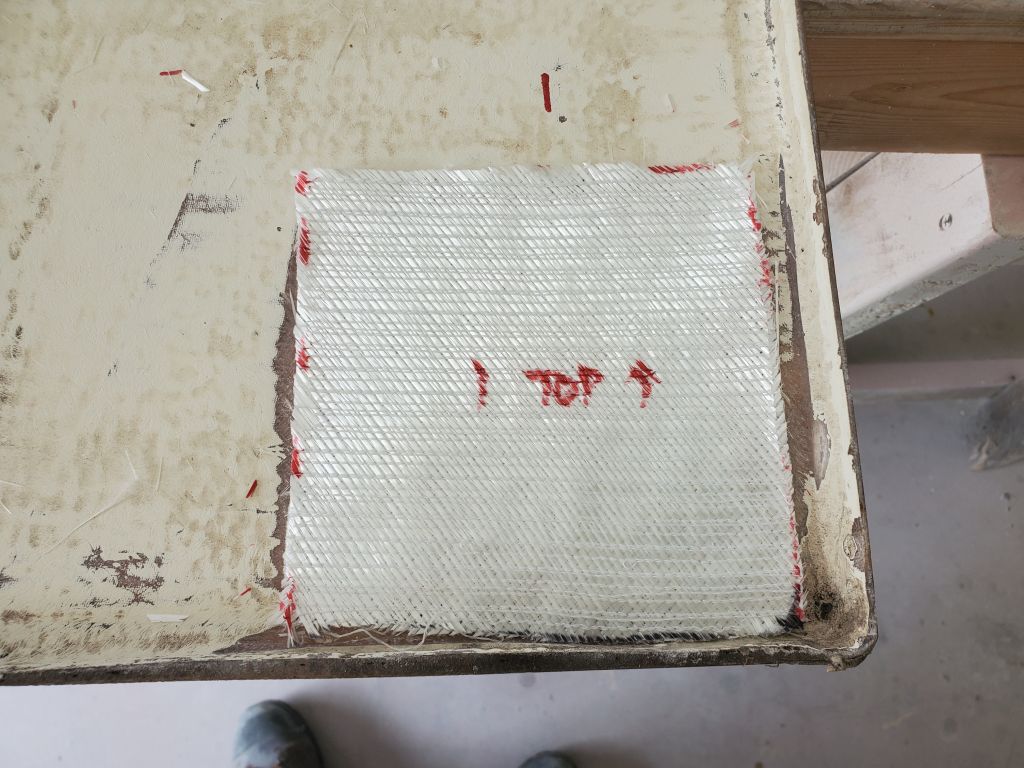
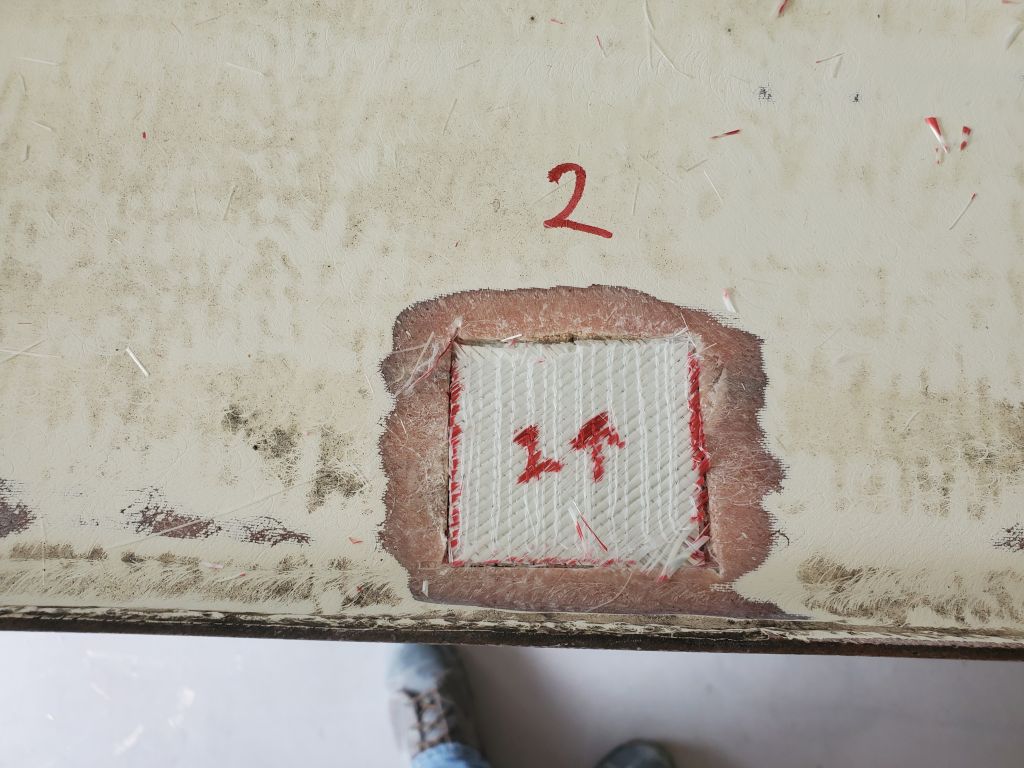
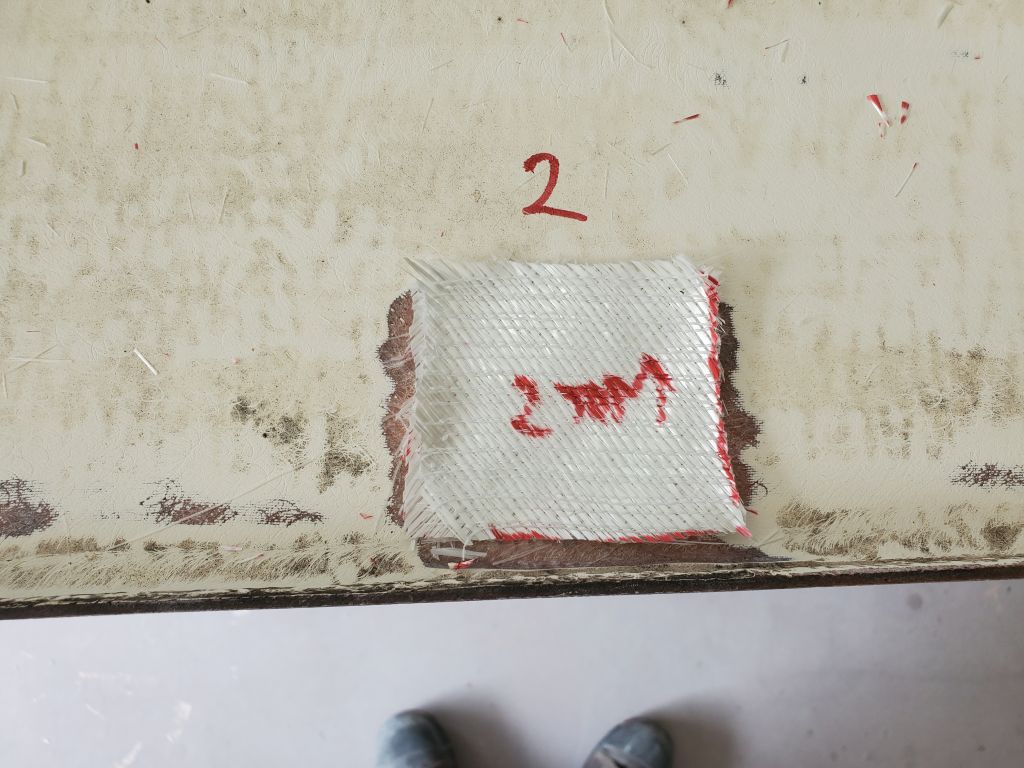
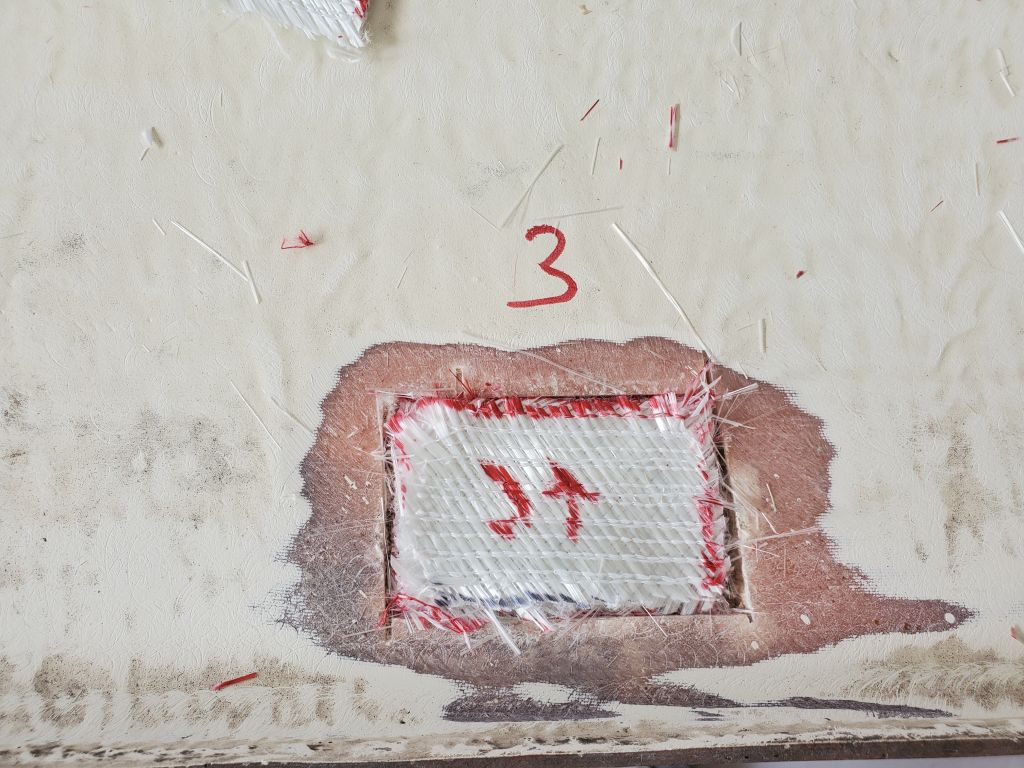
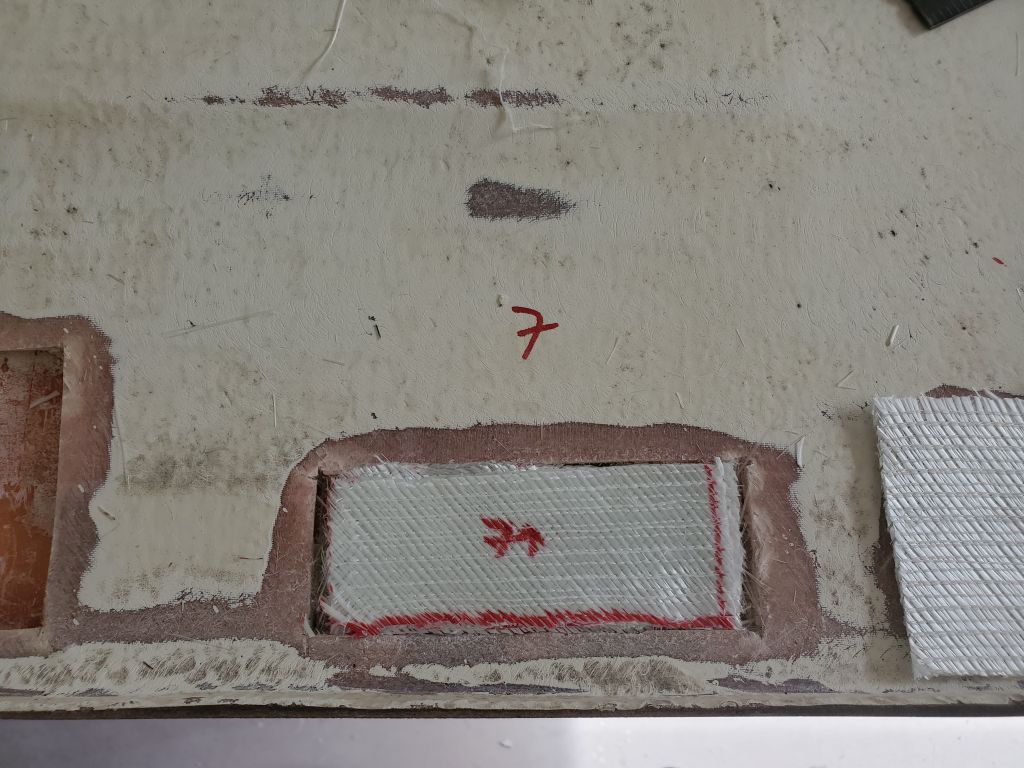
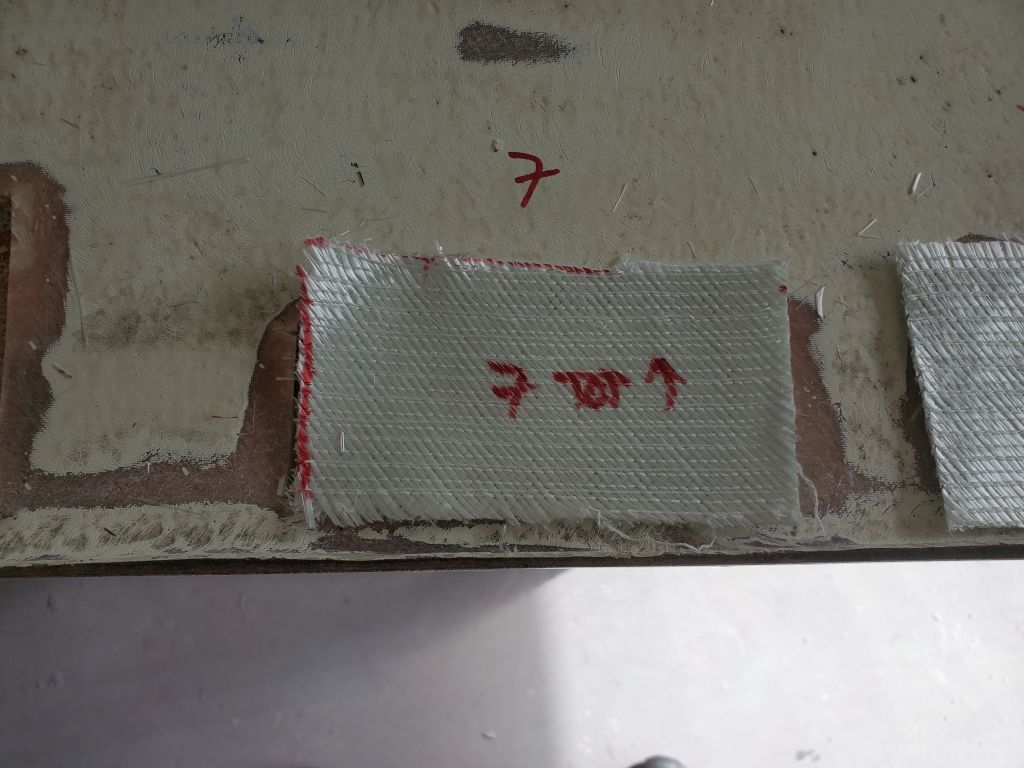
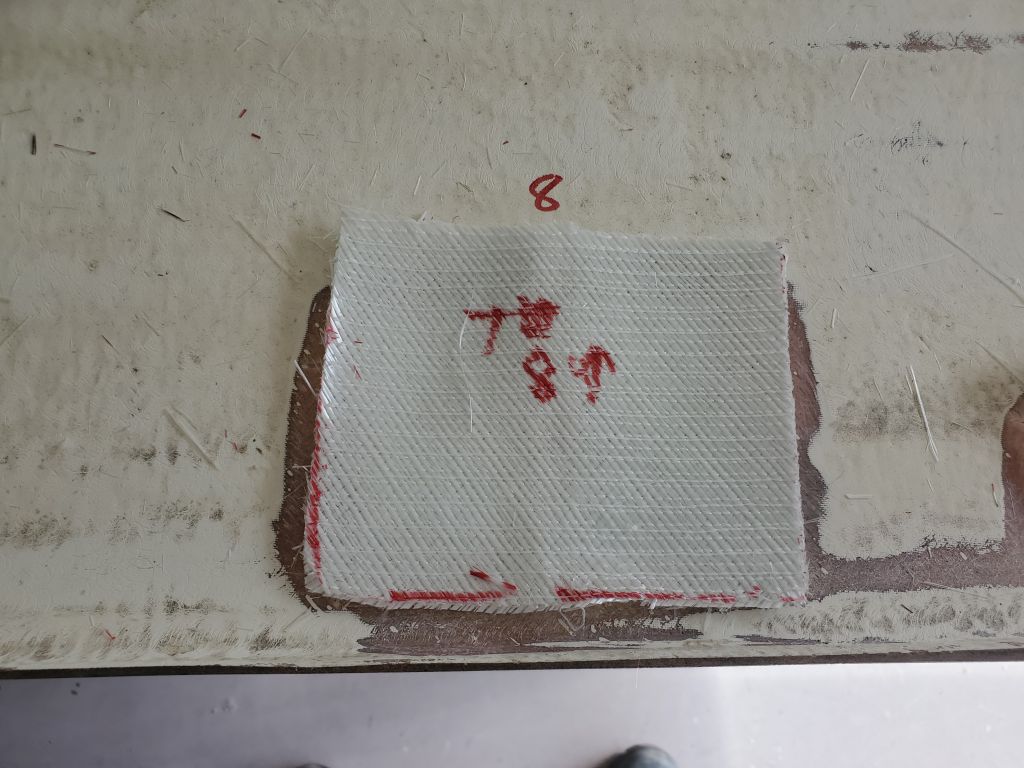
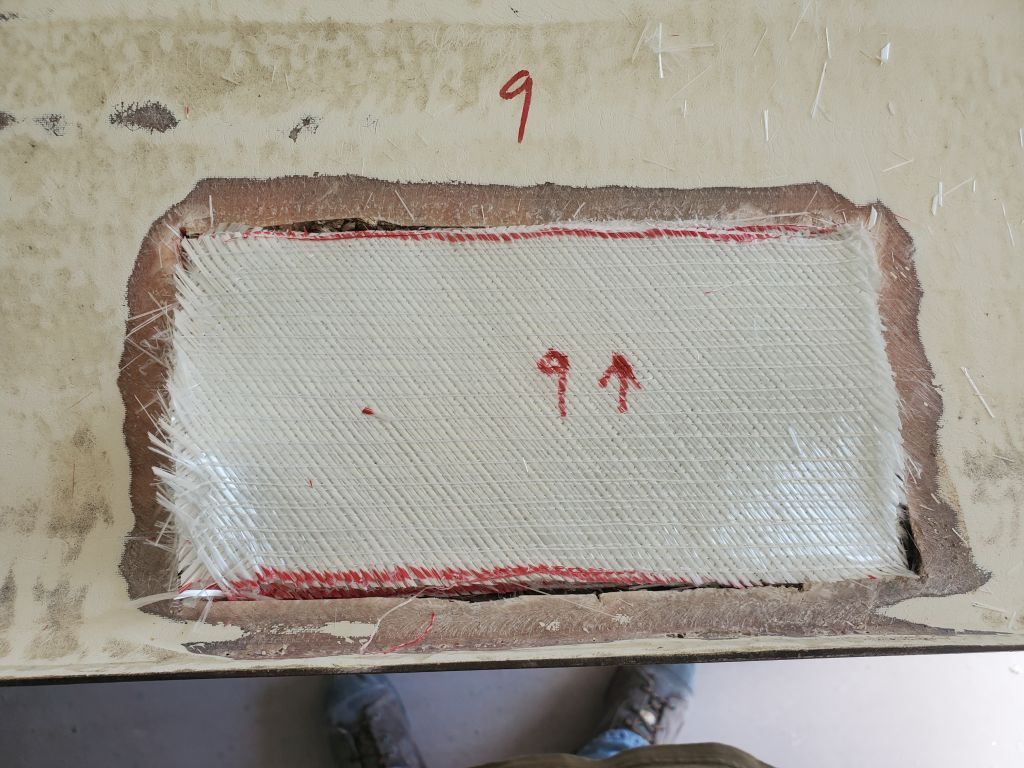
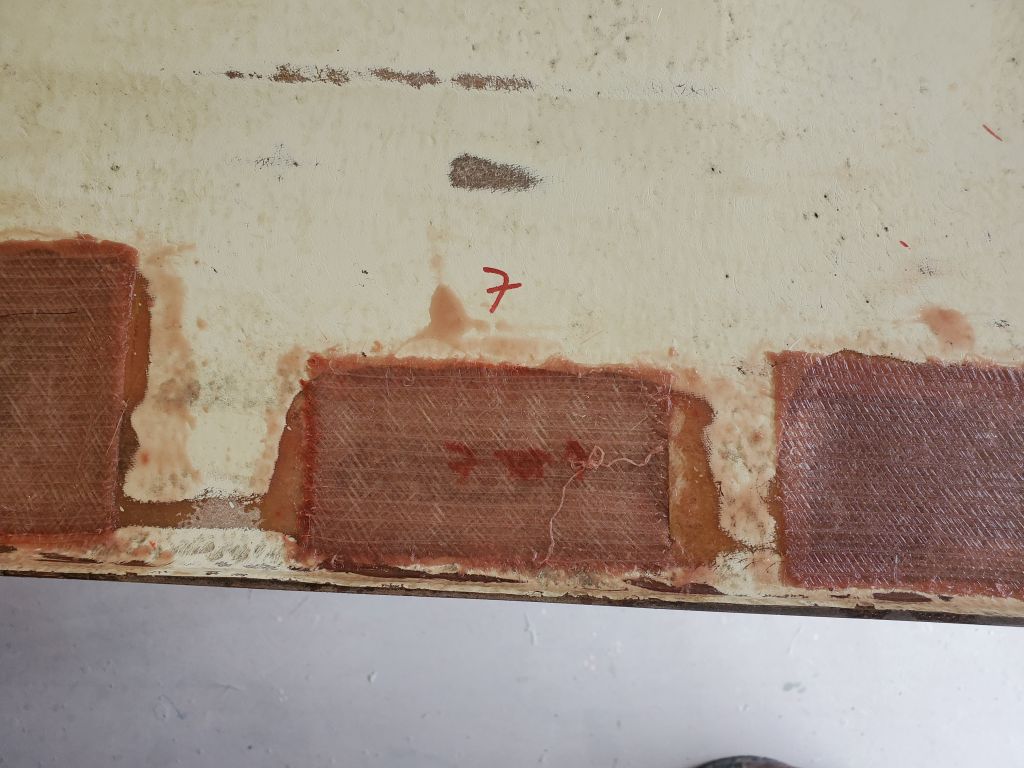
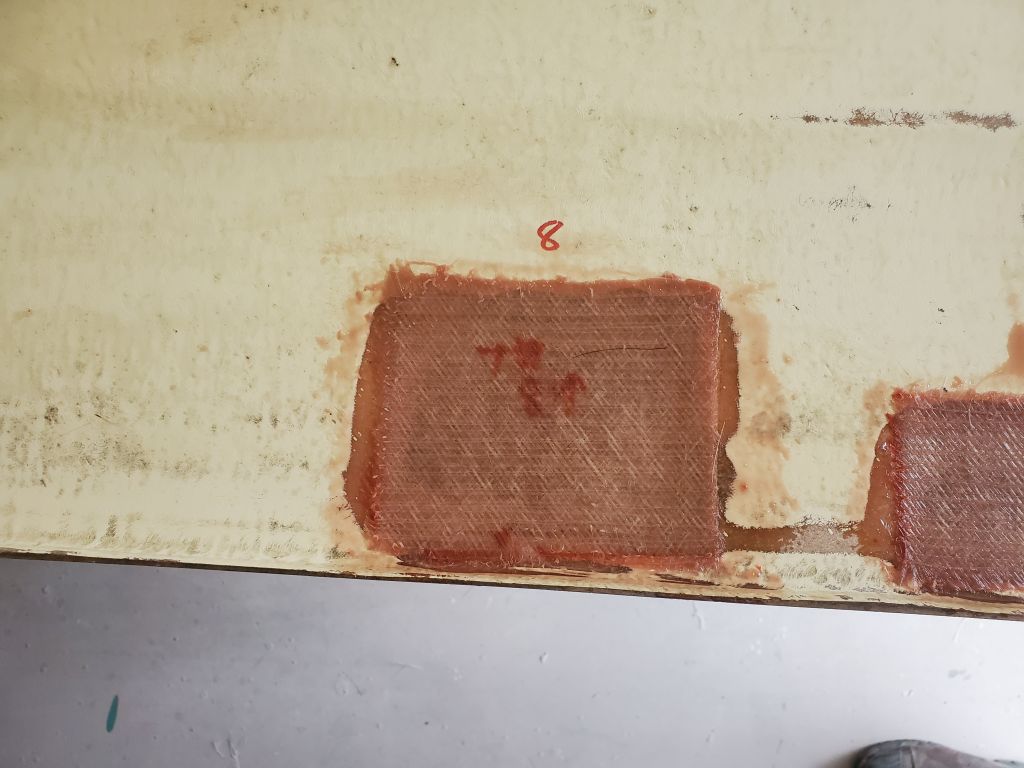
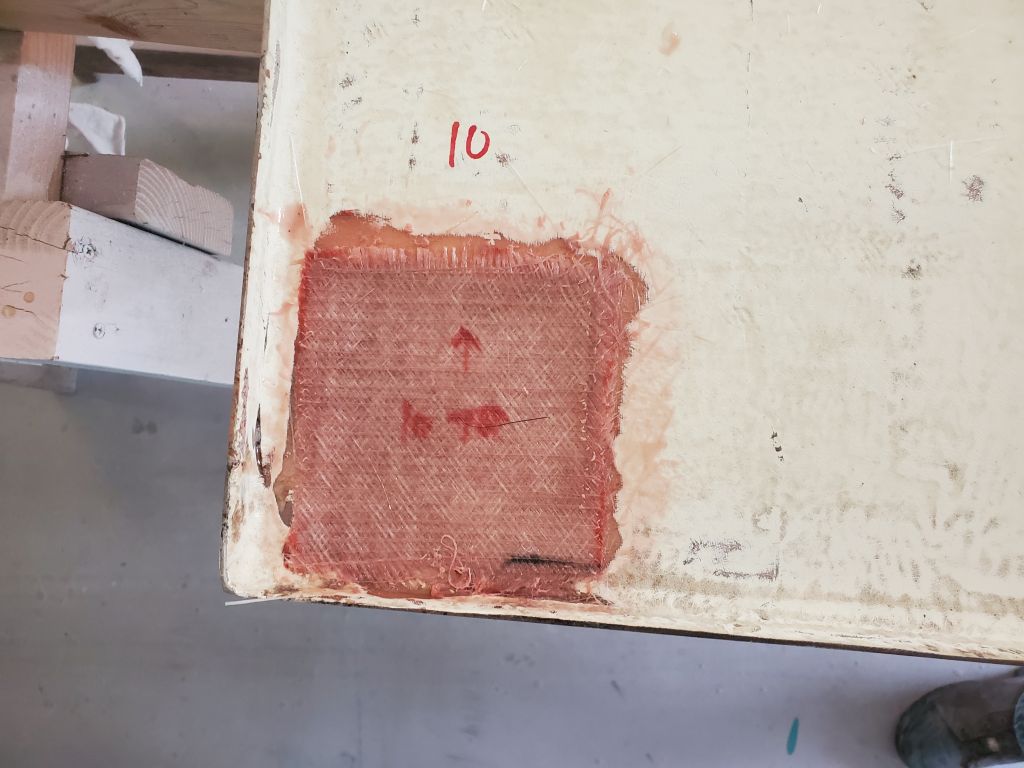
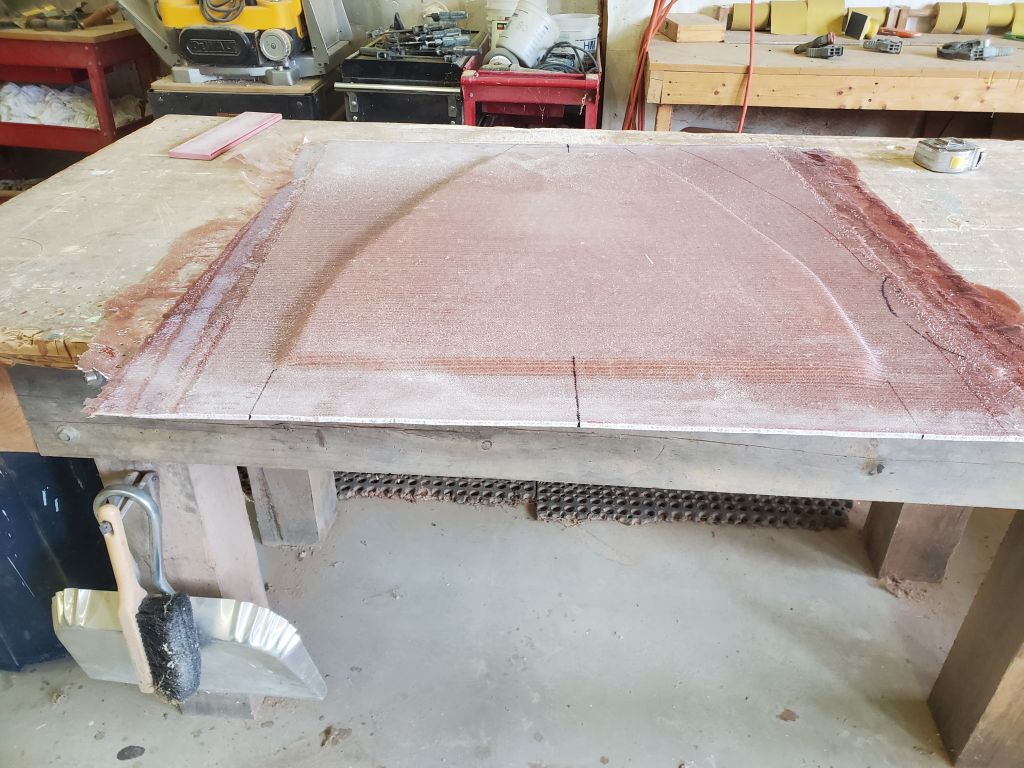
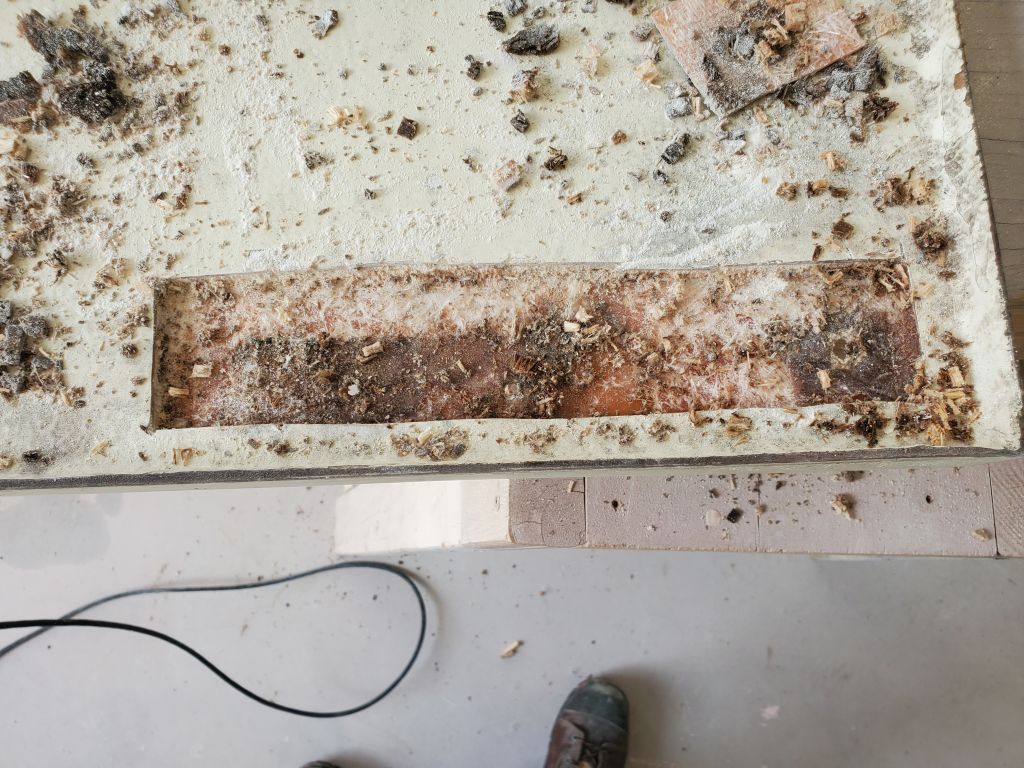
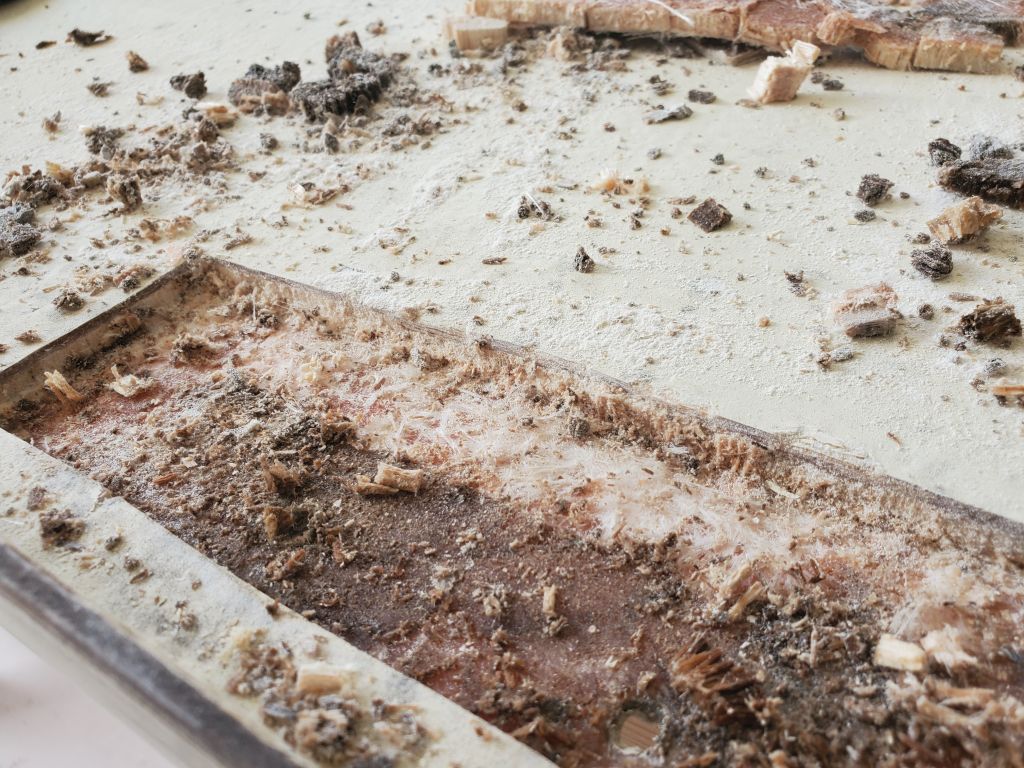
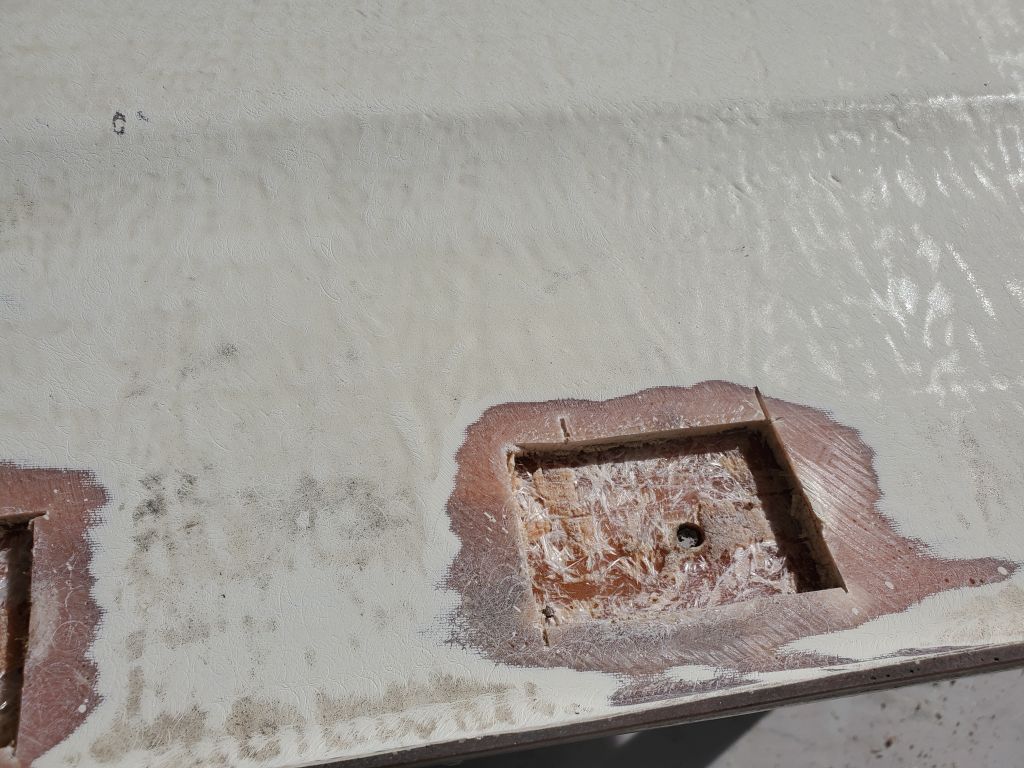
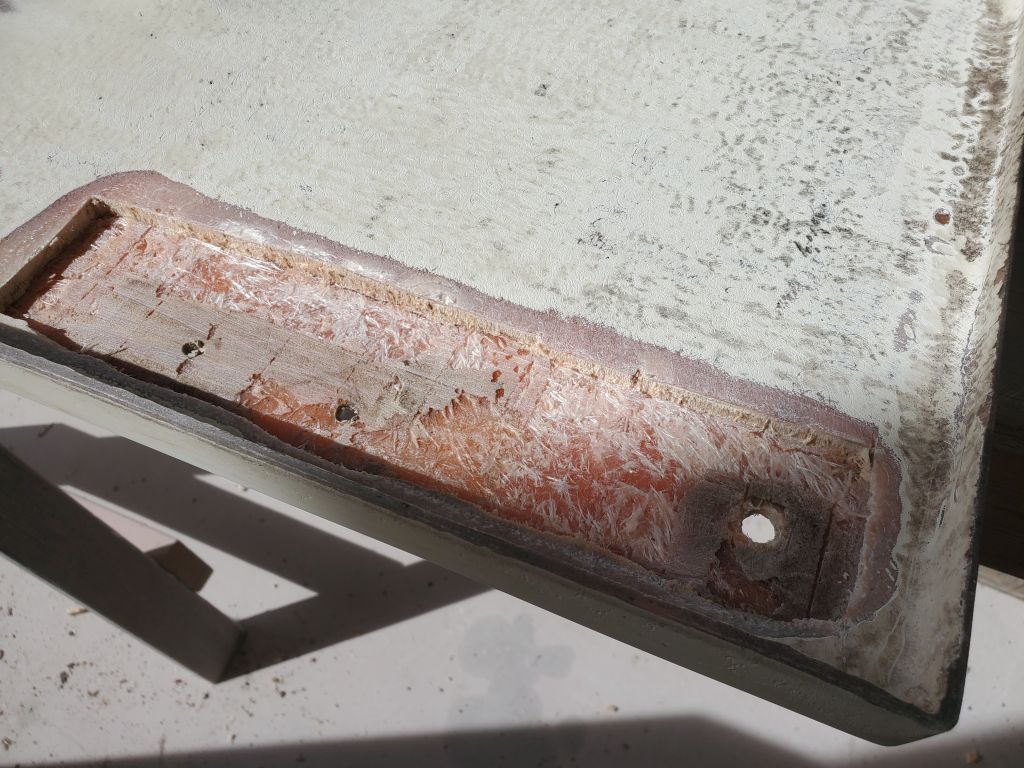
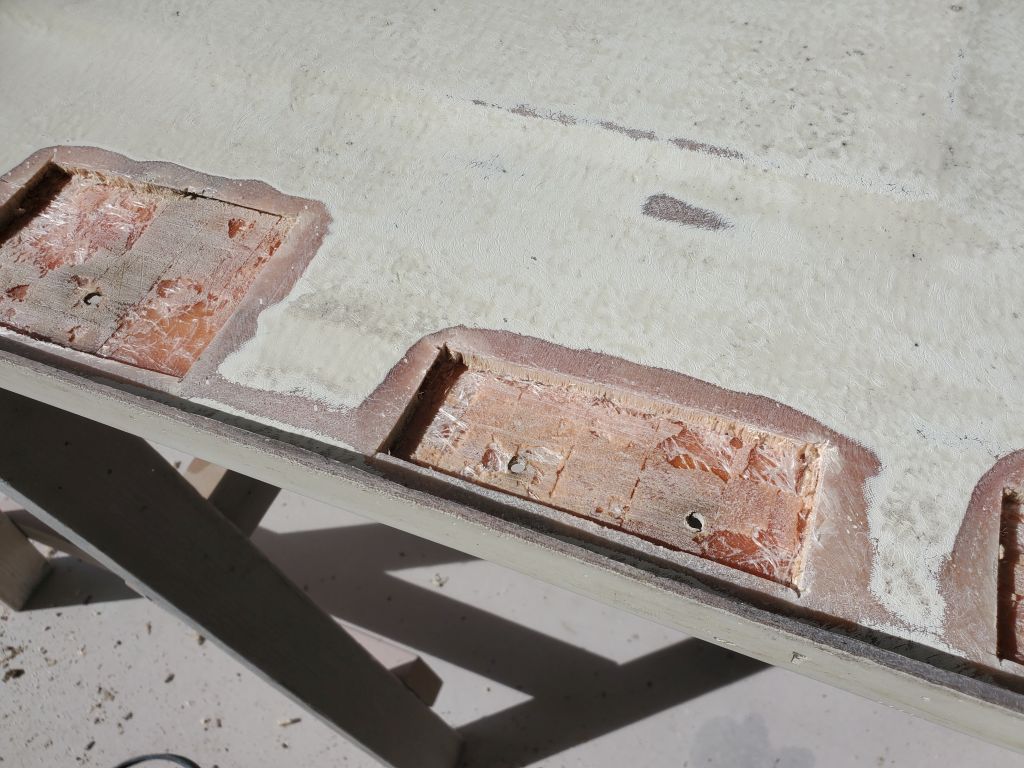
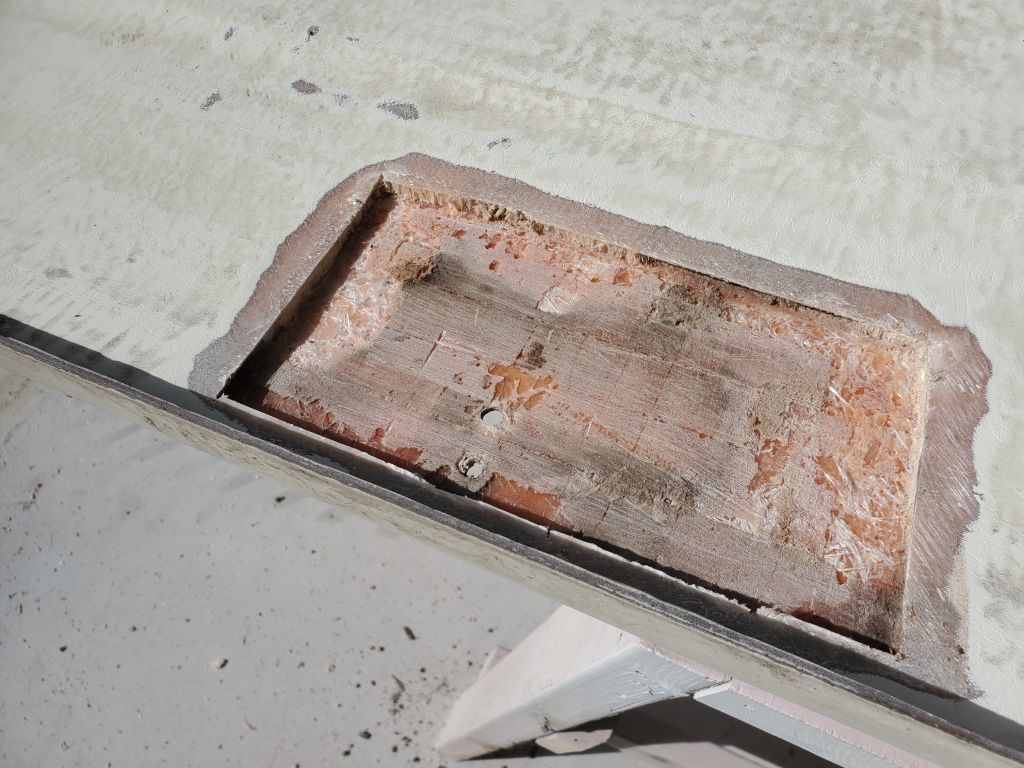
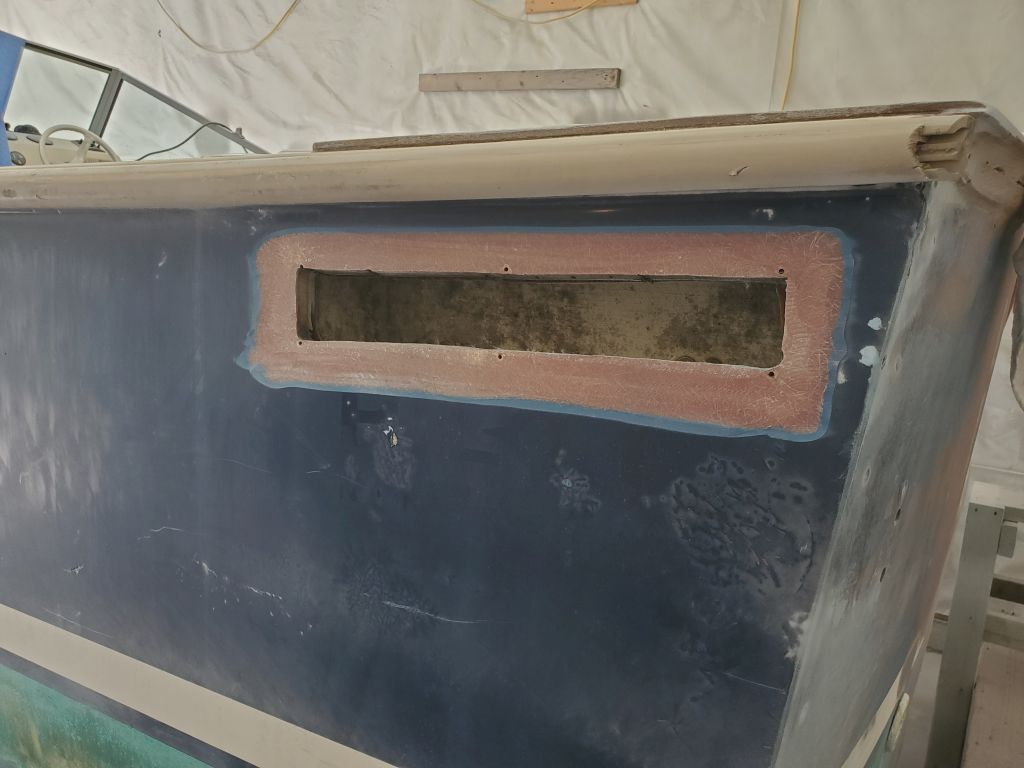
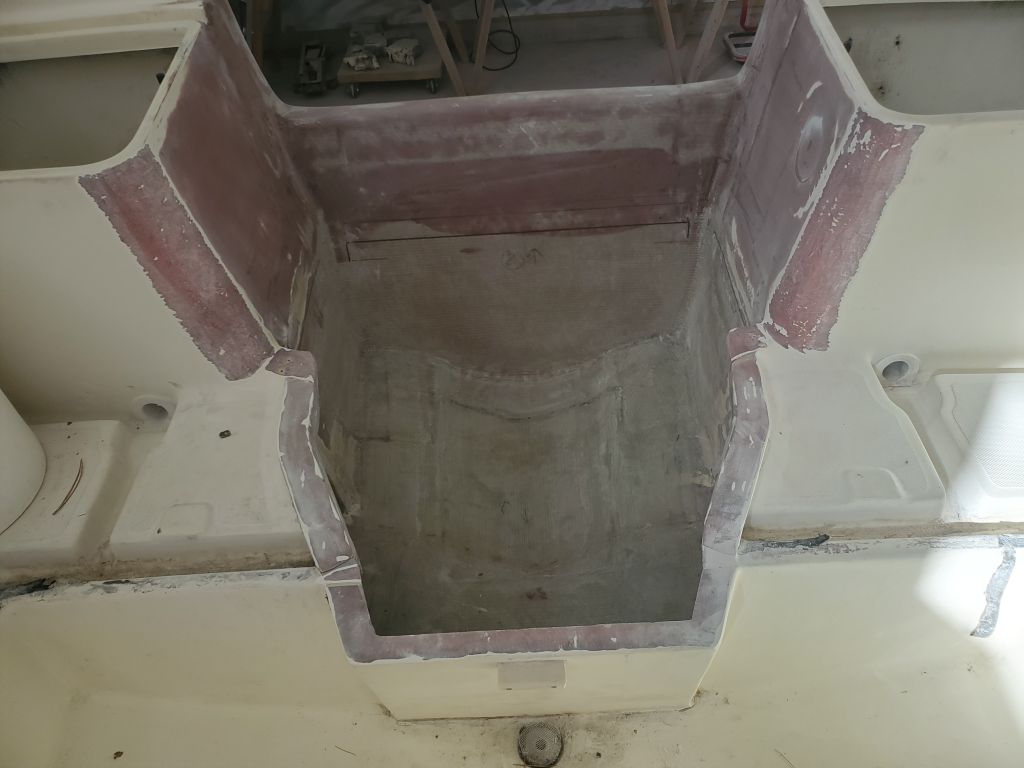
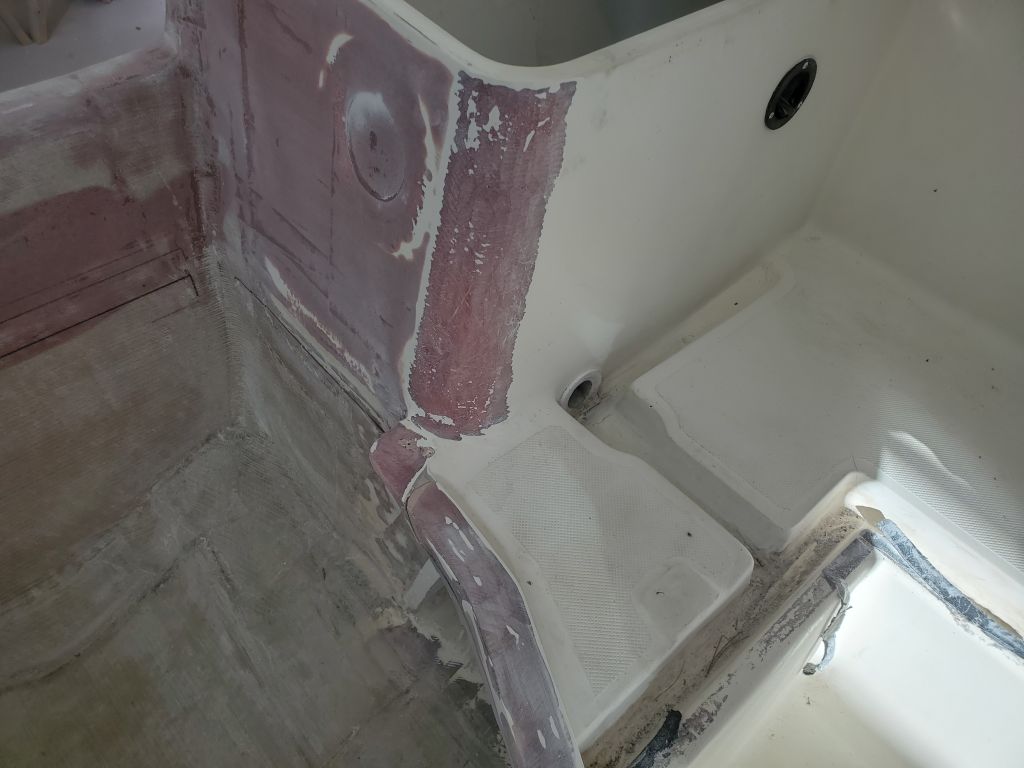
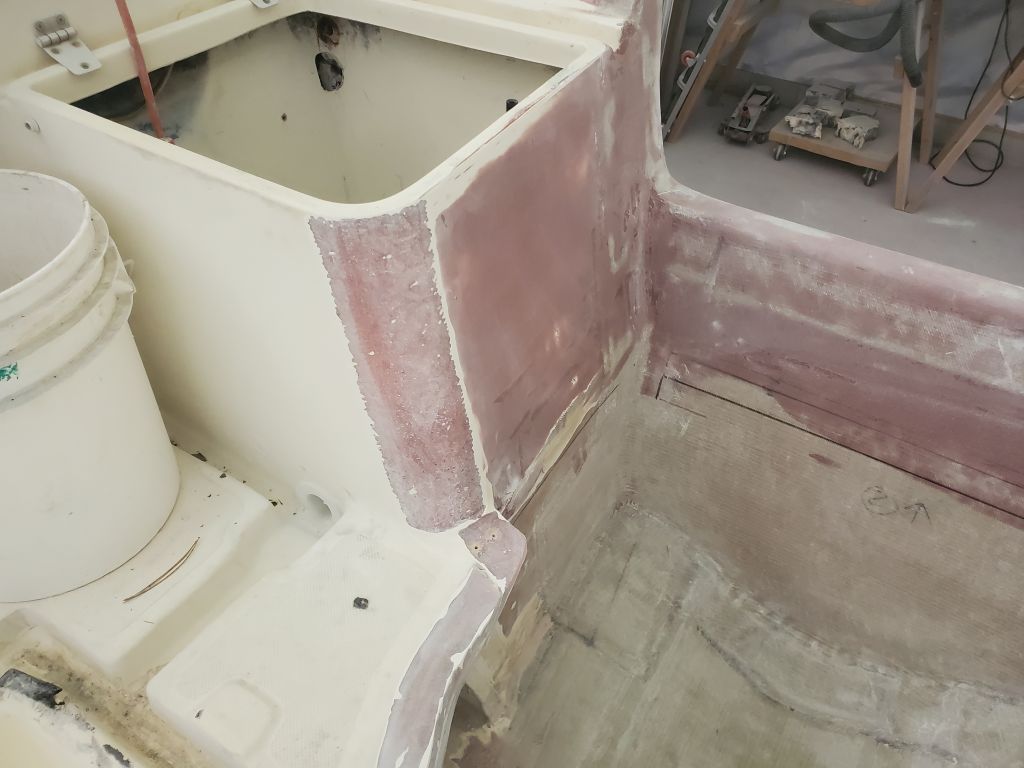
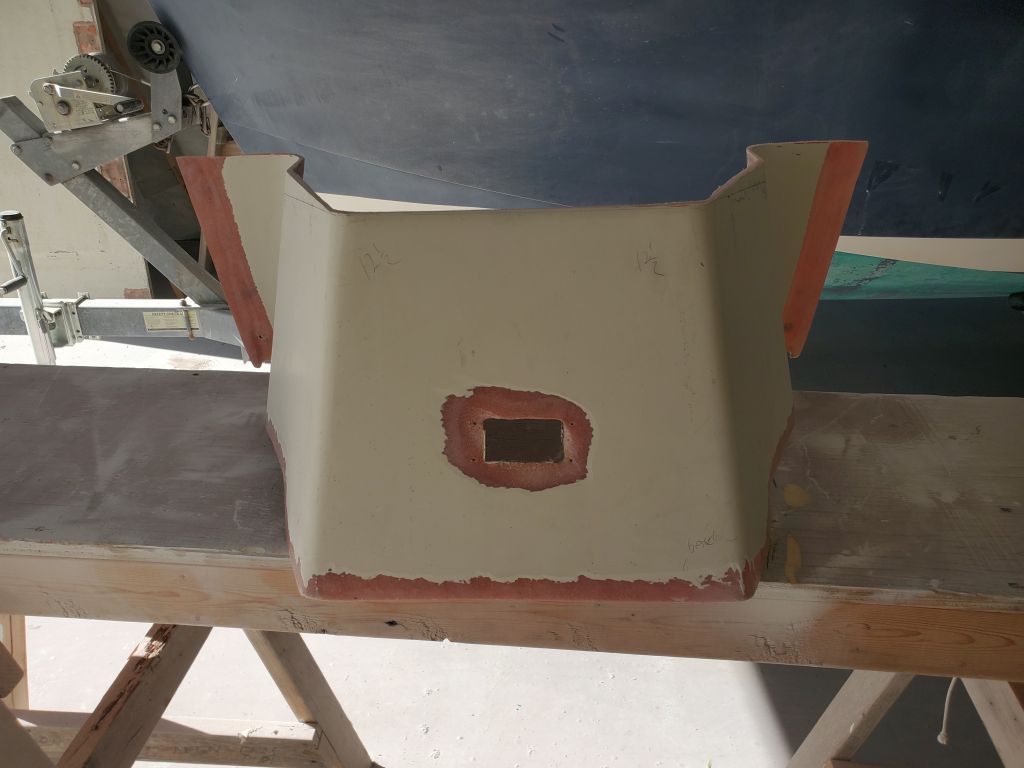
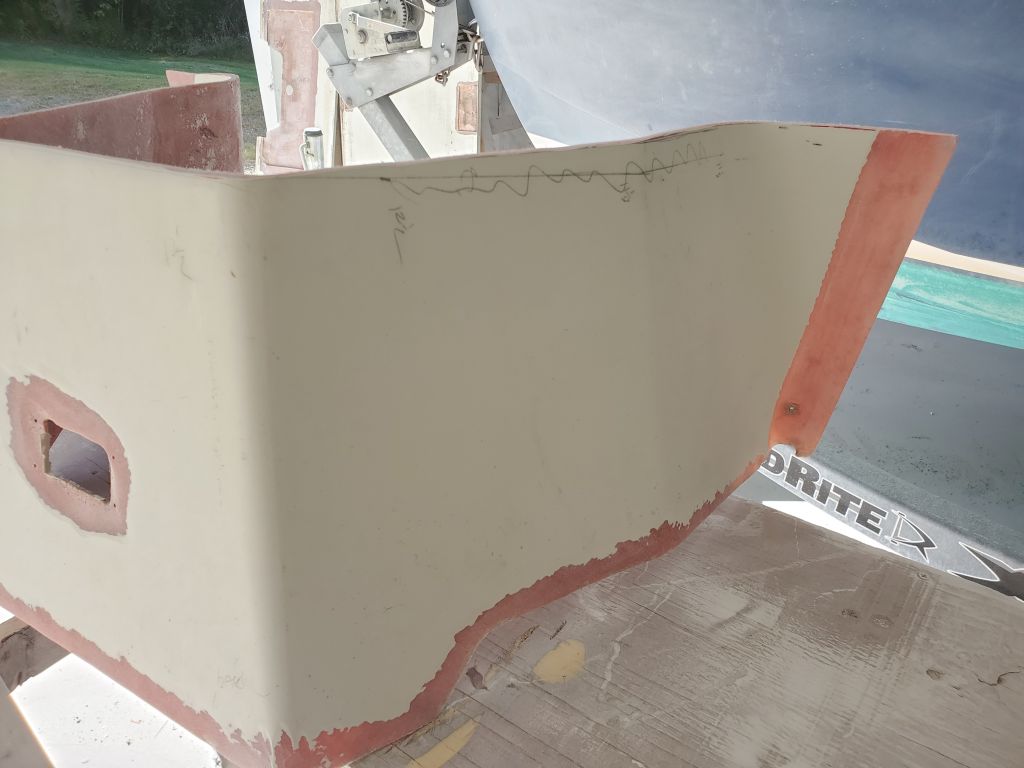
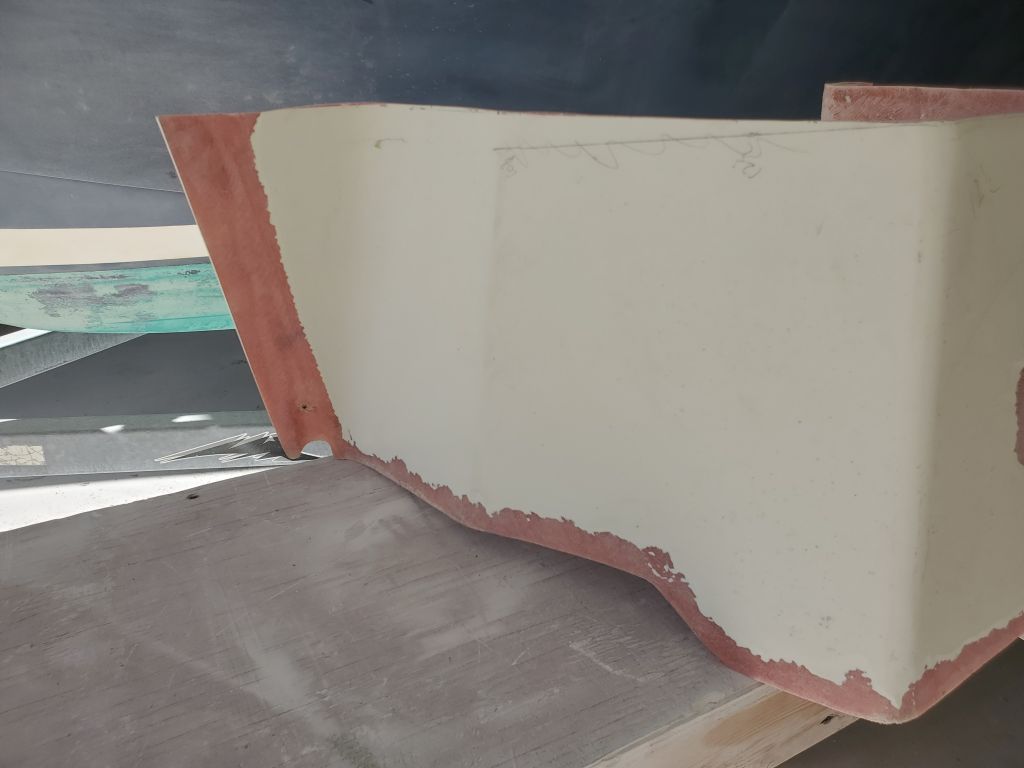
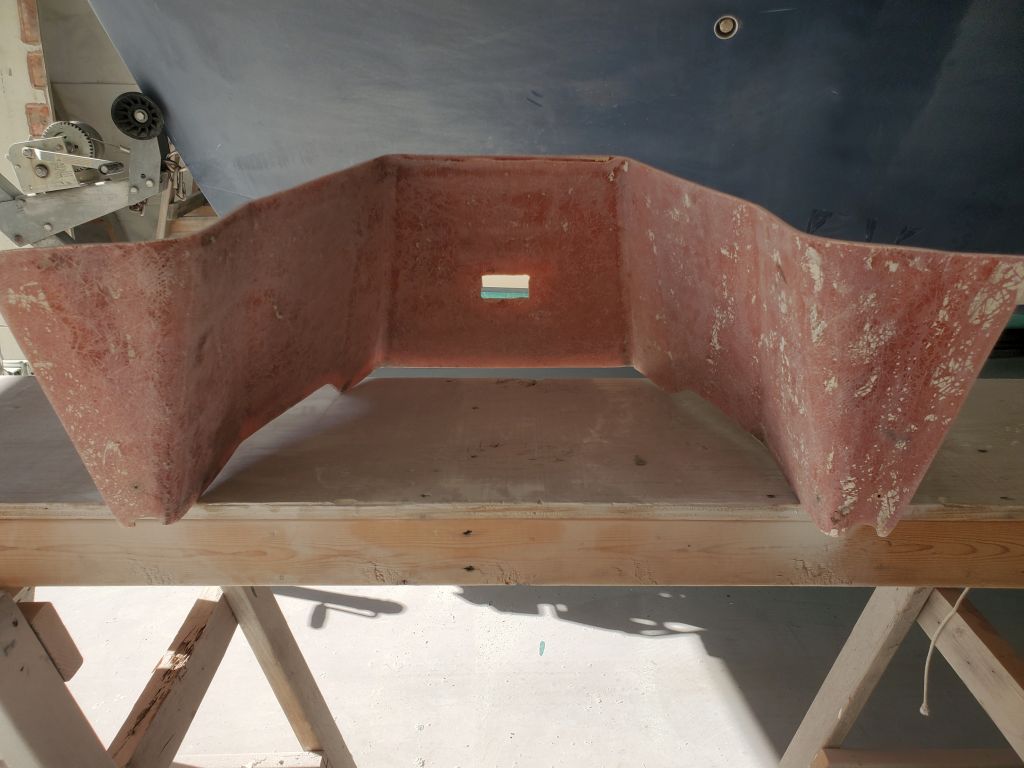
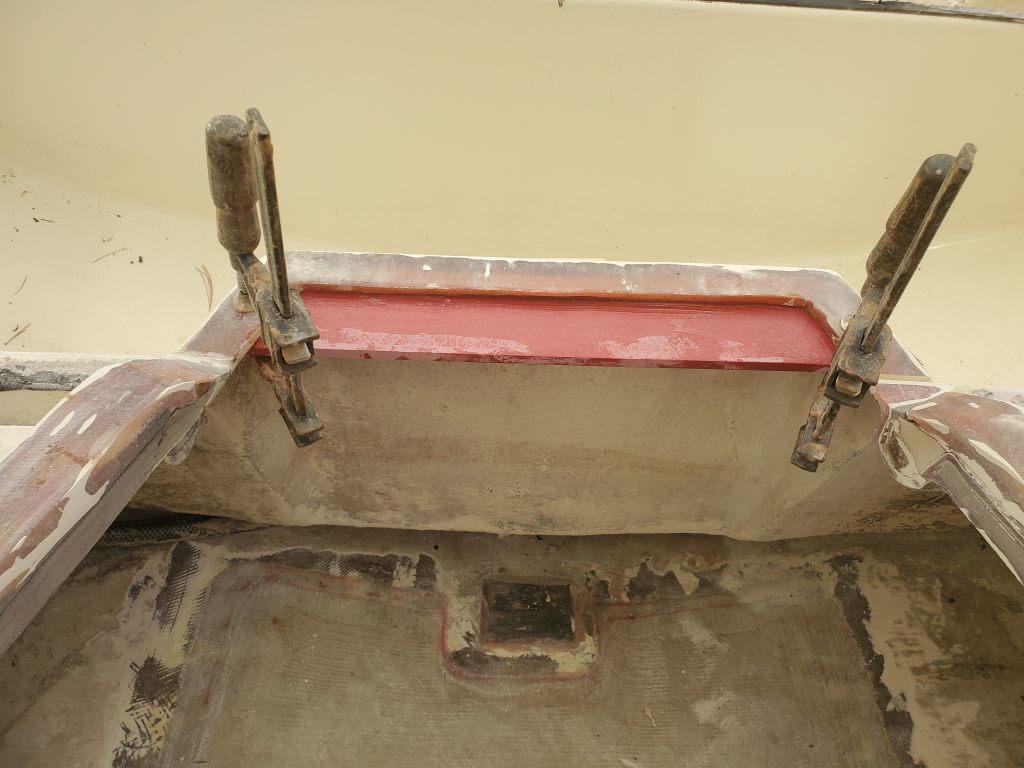
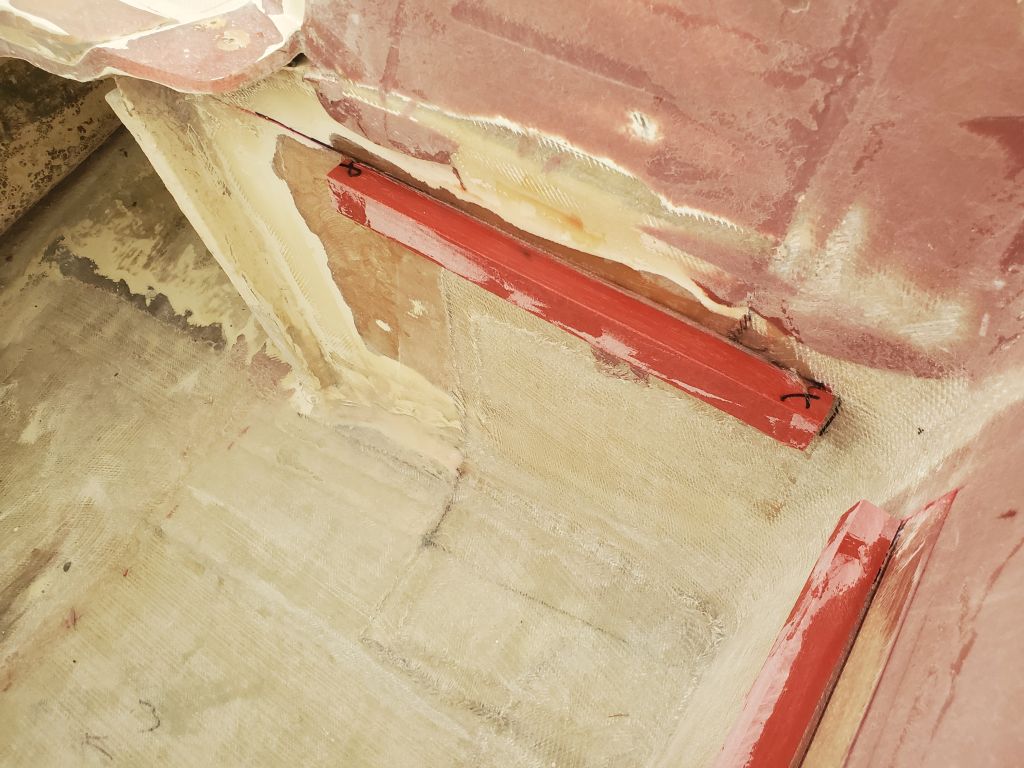
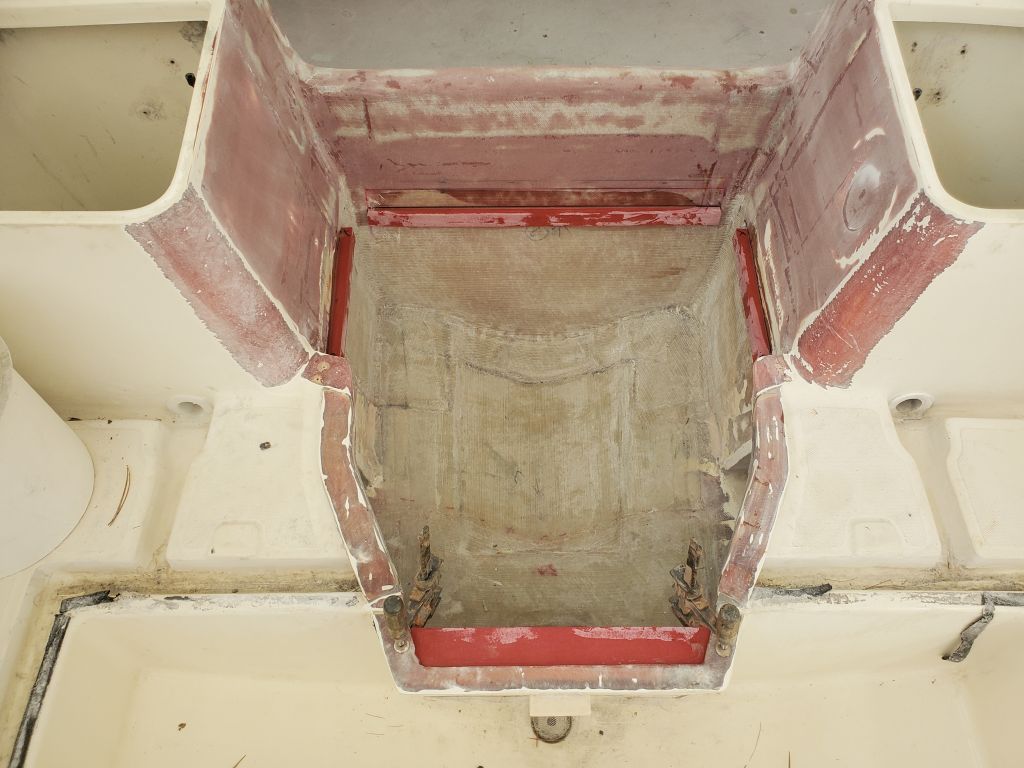
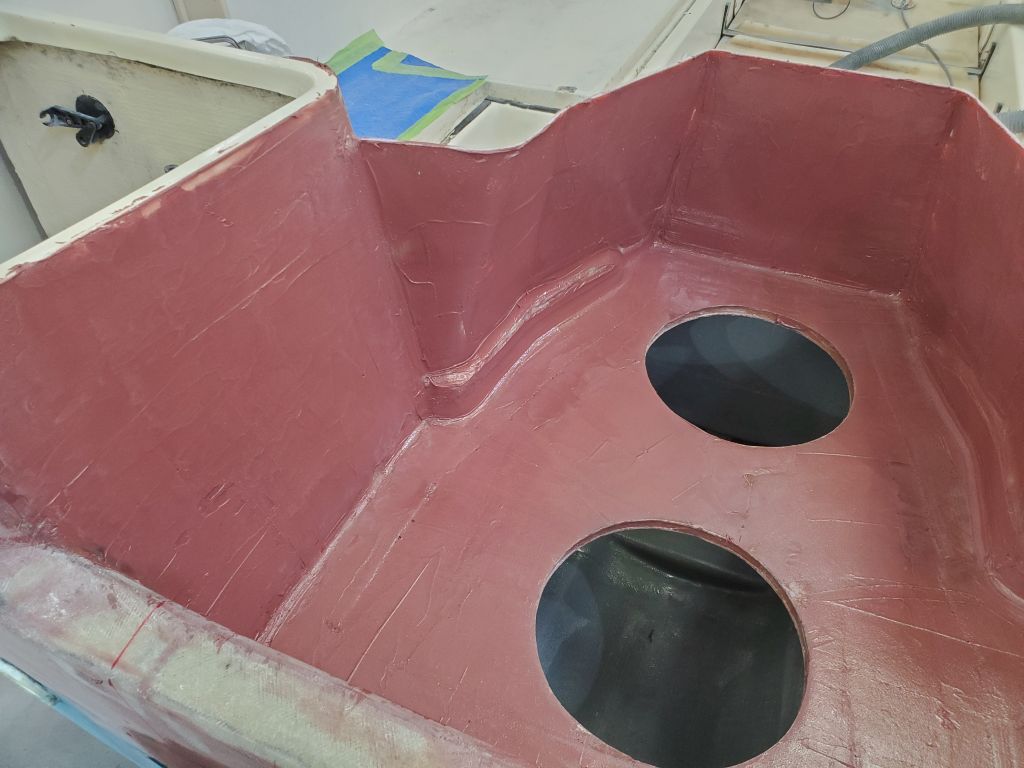
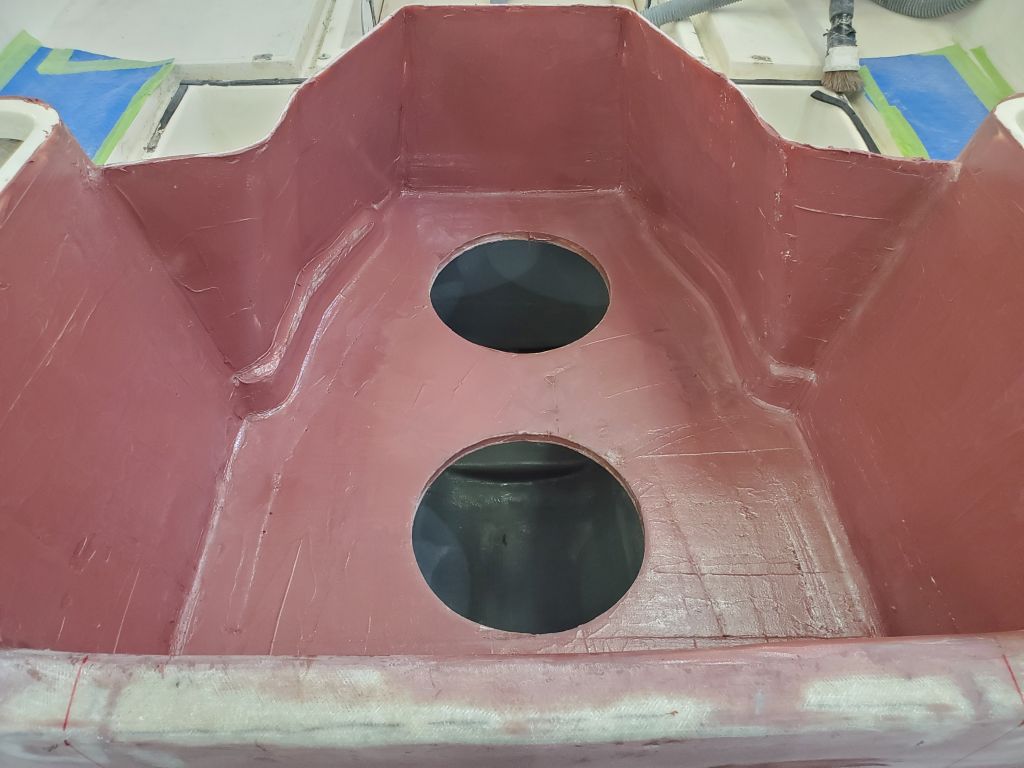
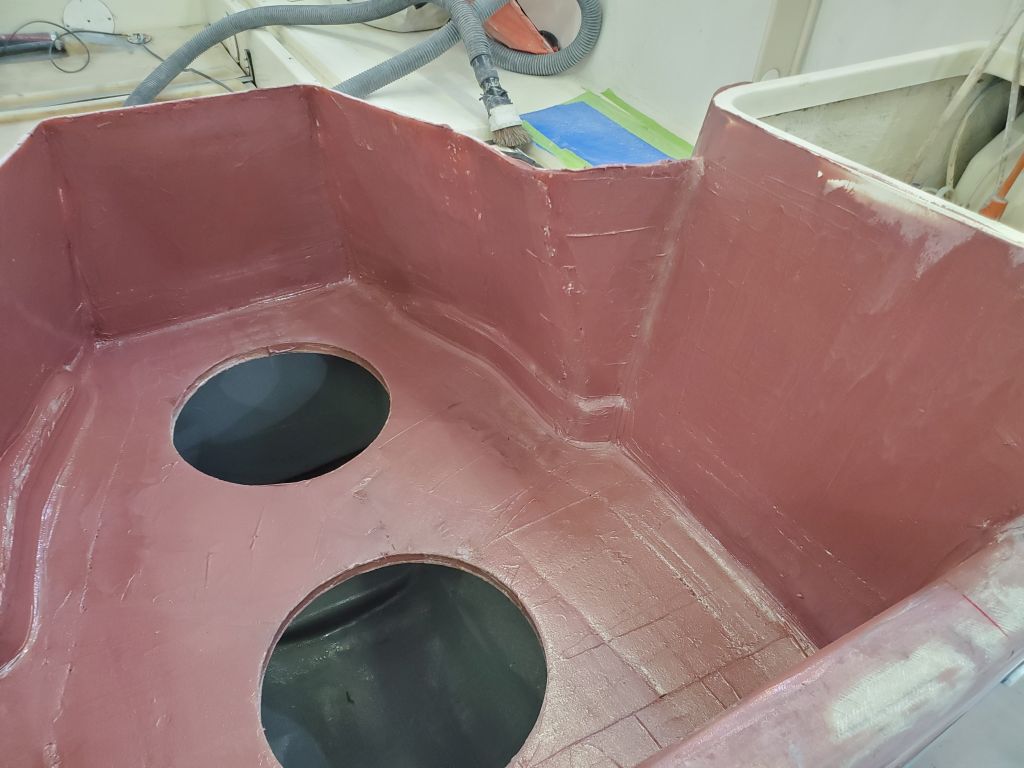
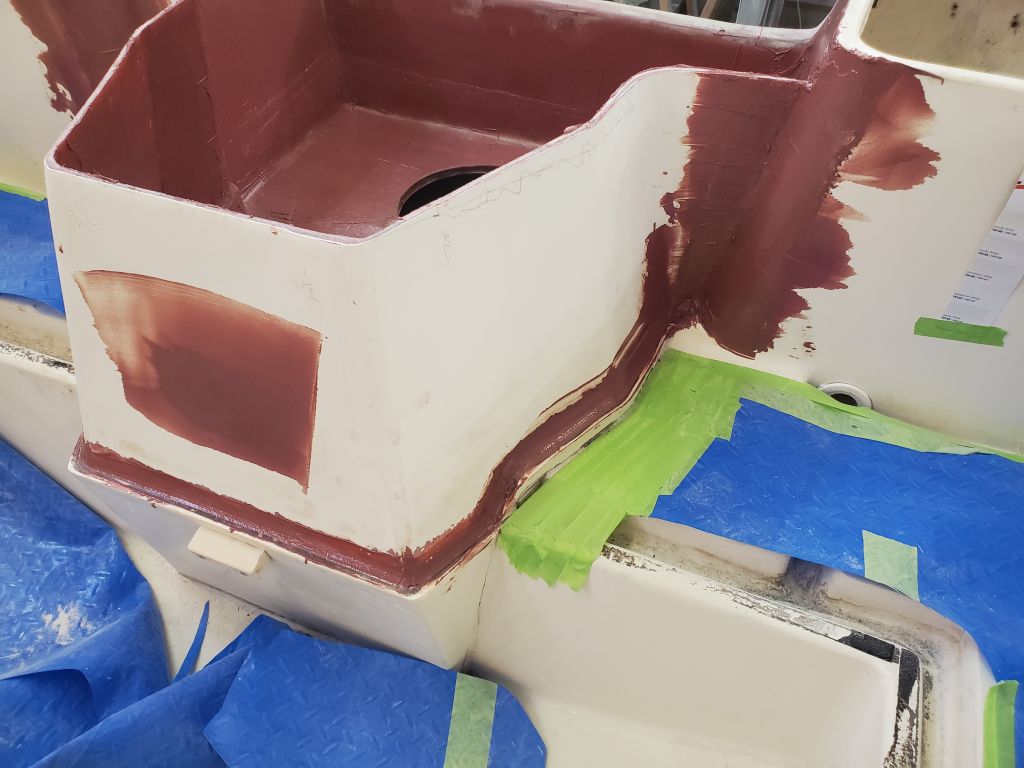
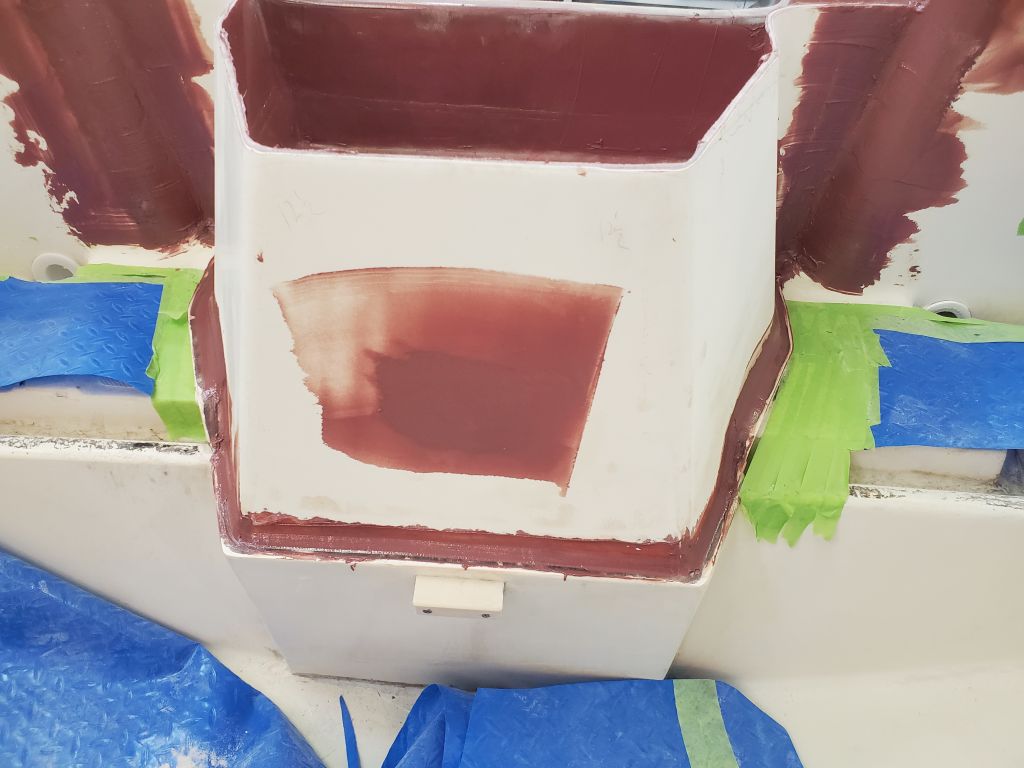
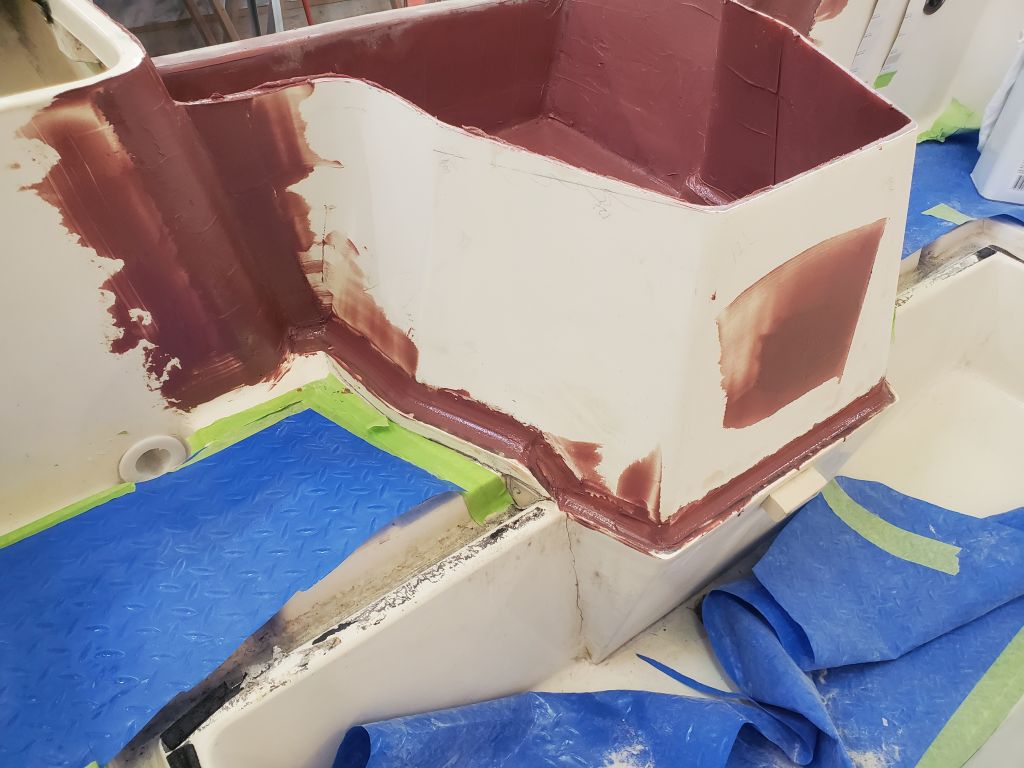
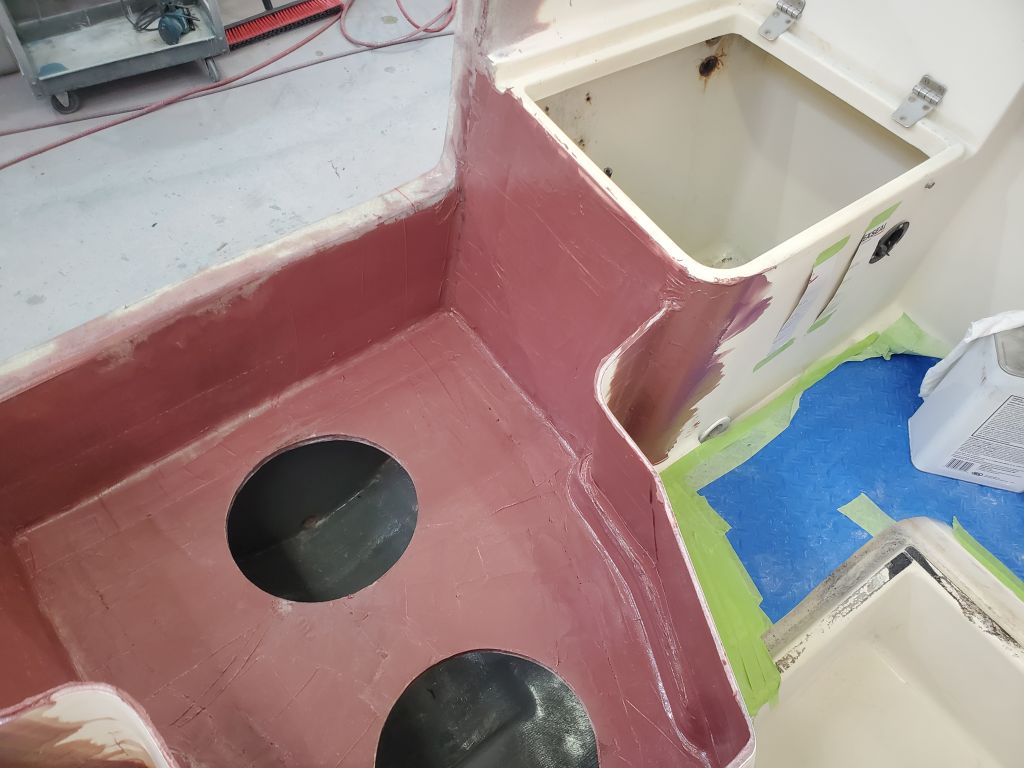
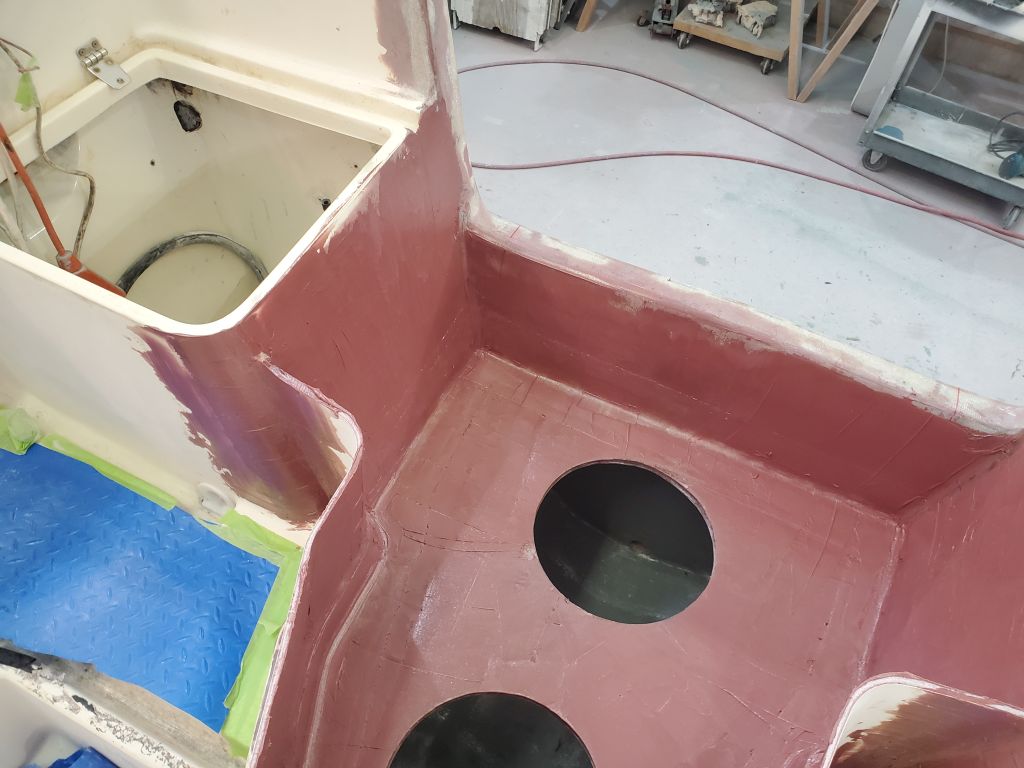
I started the day with a light sanding of all the new tabbing and related work in the outboard well.

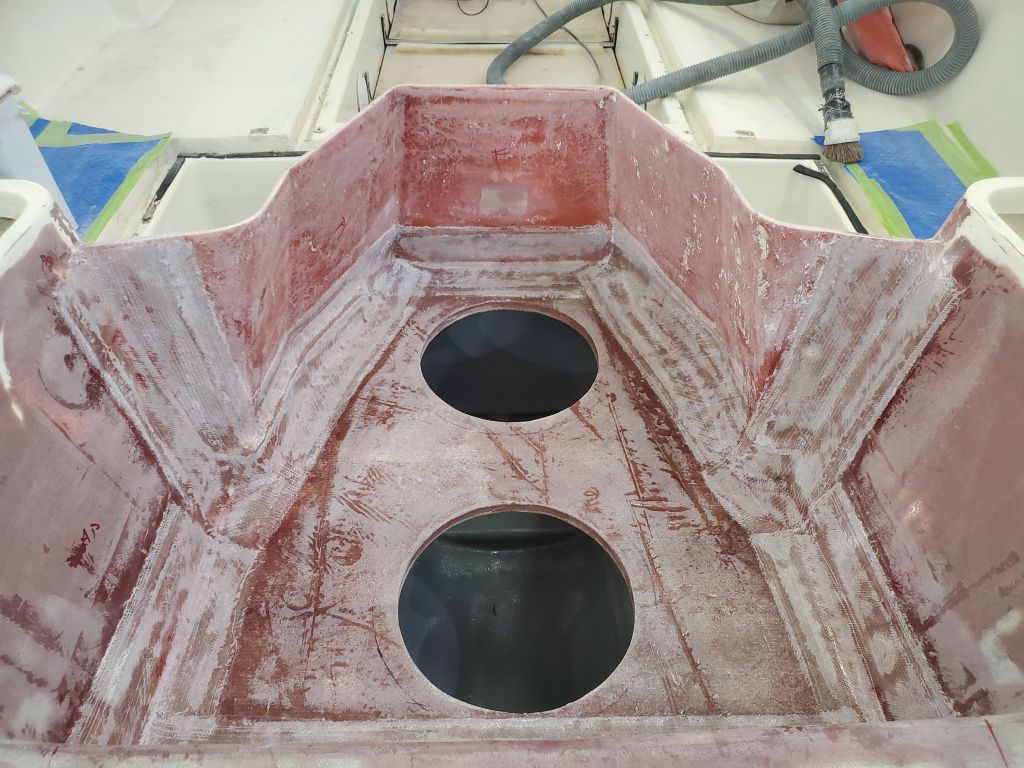
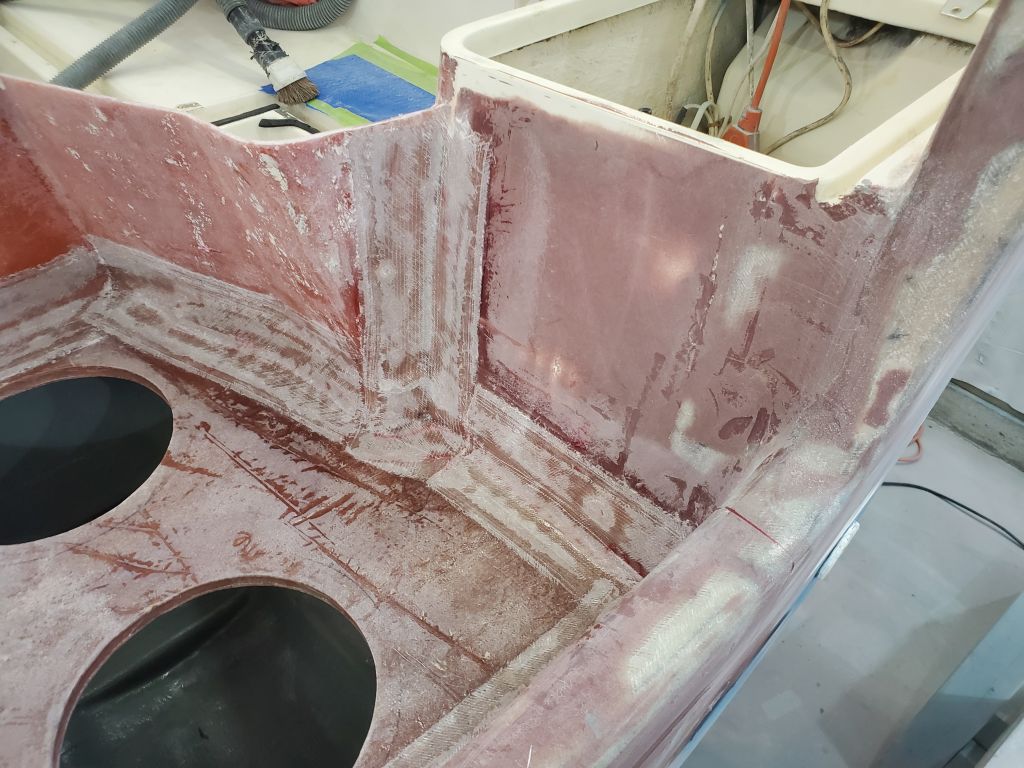
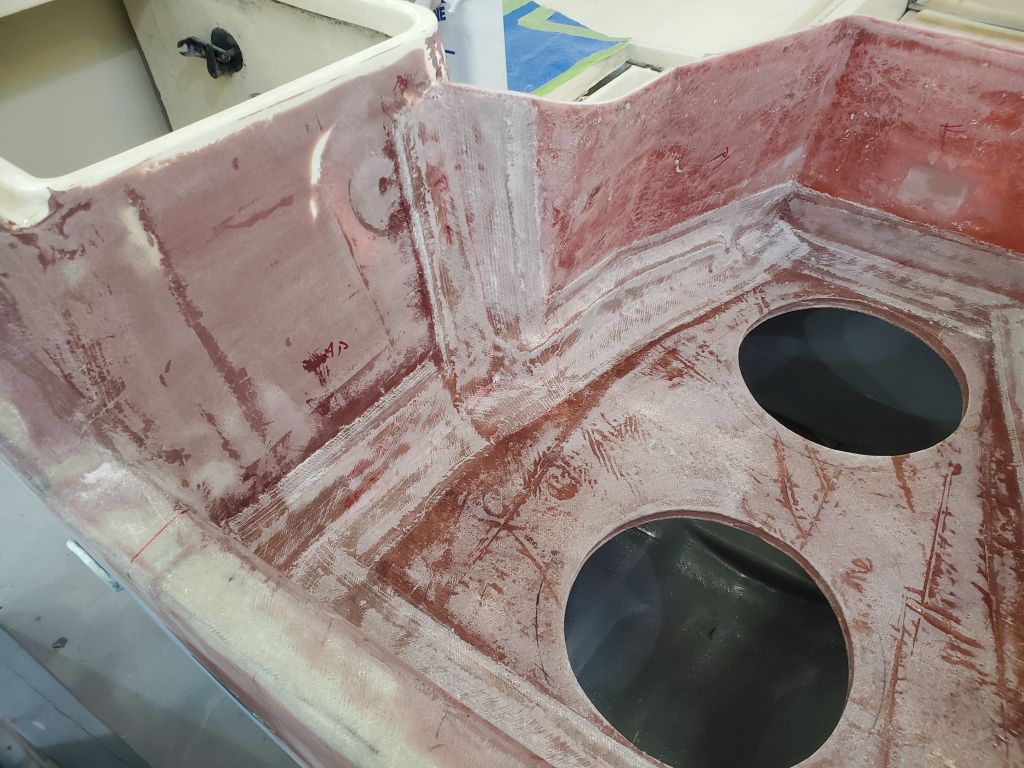
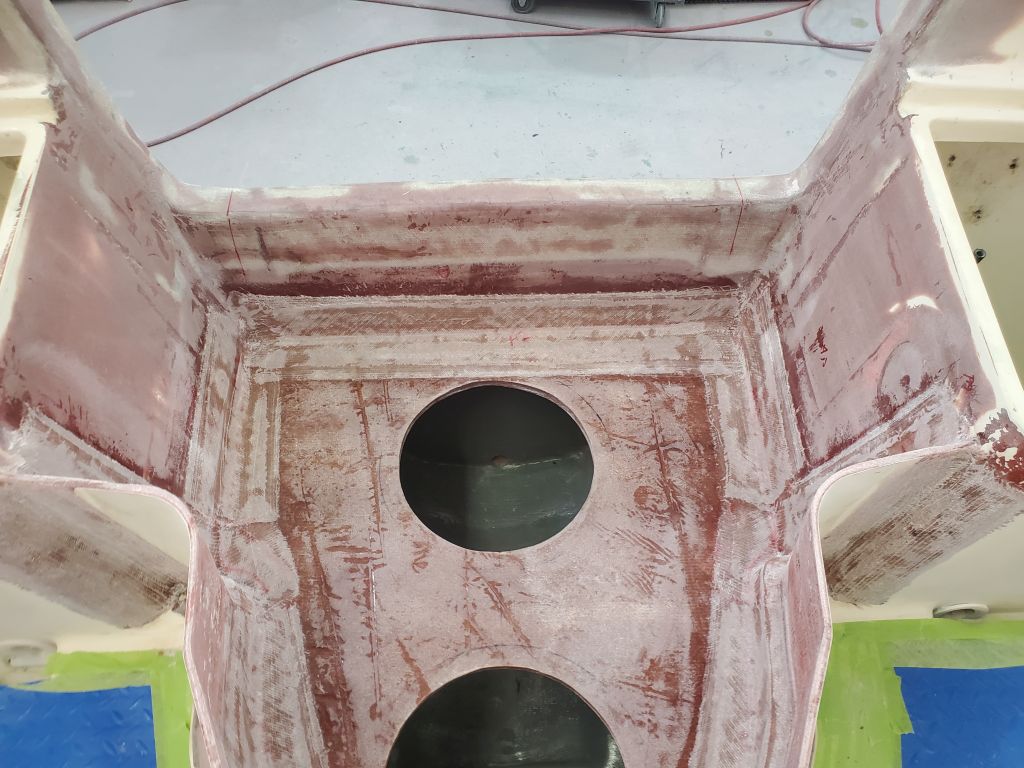
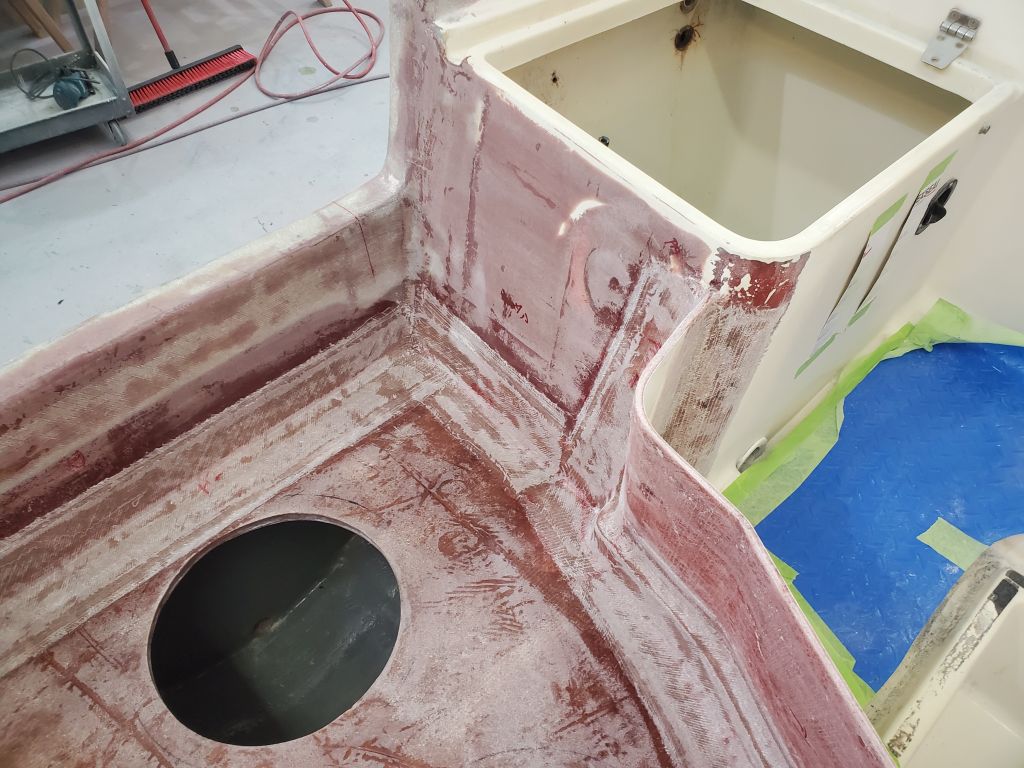
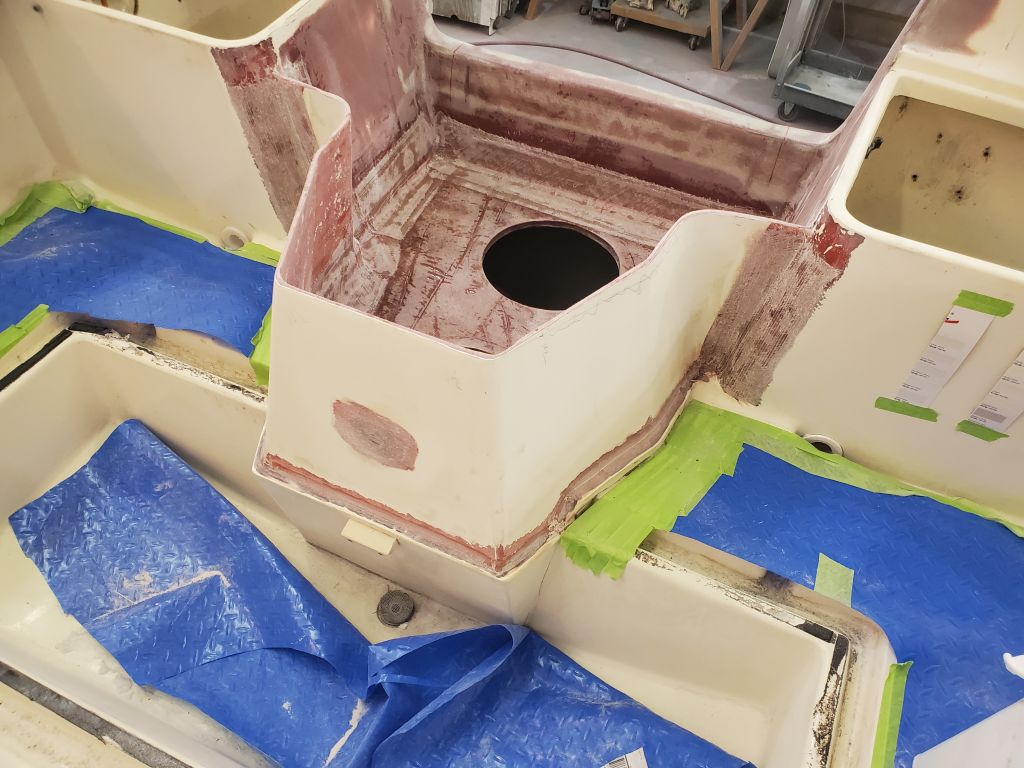
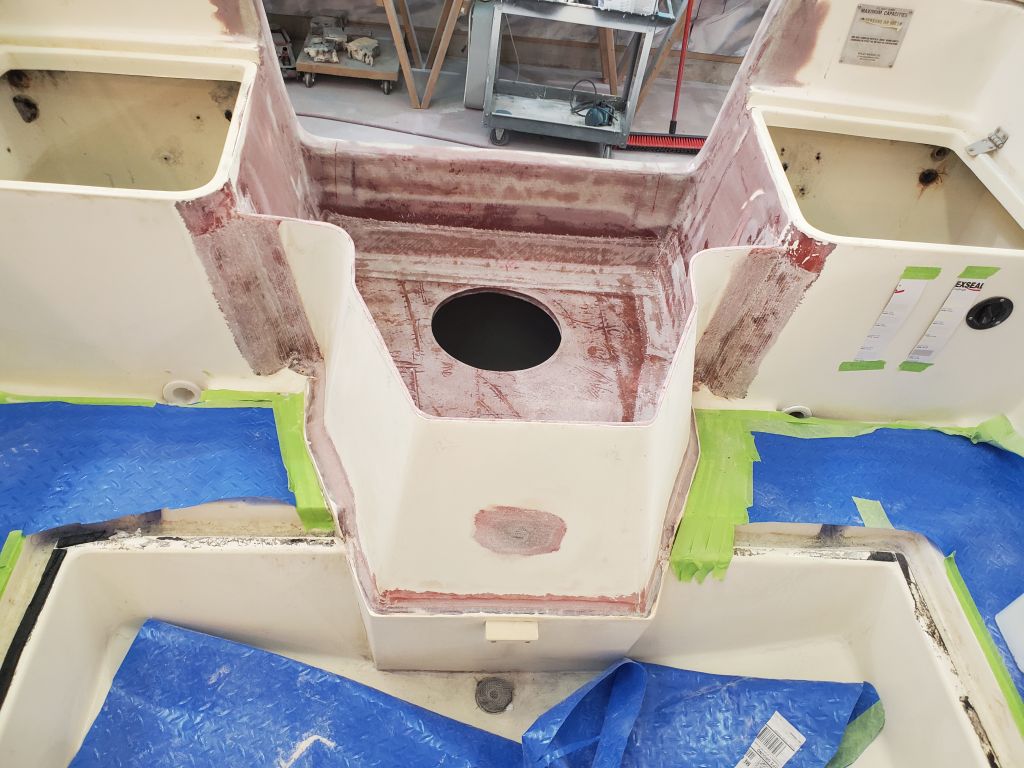
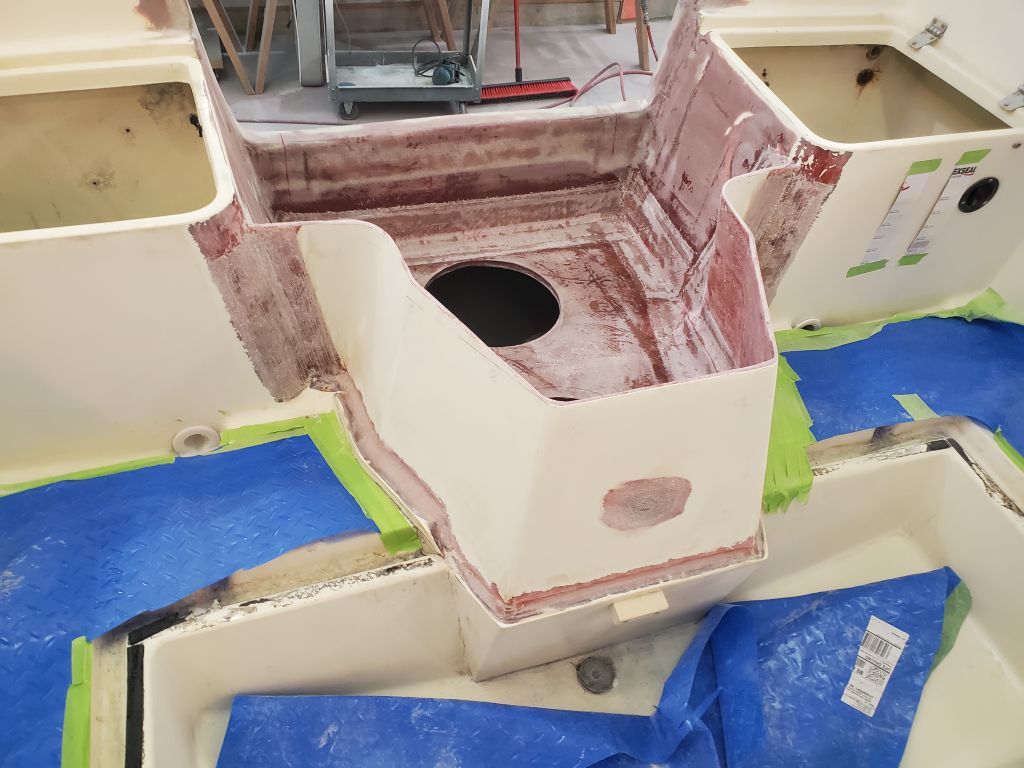
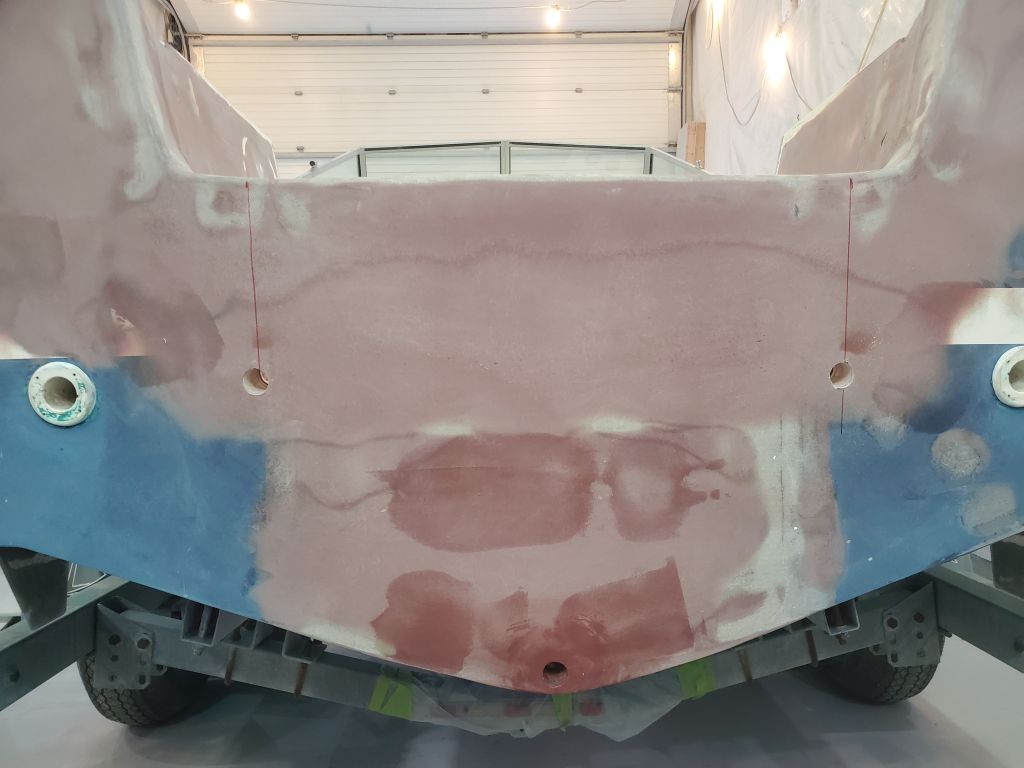
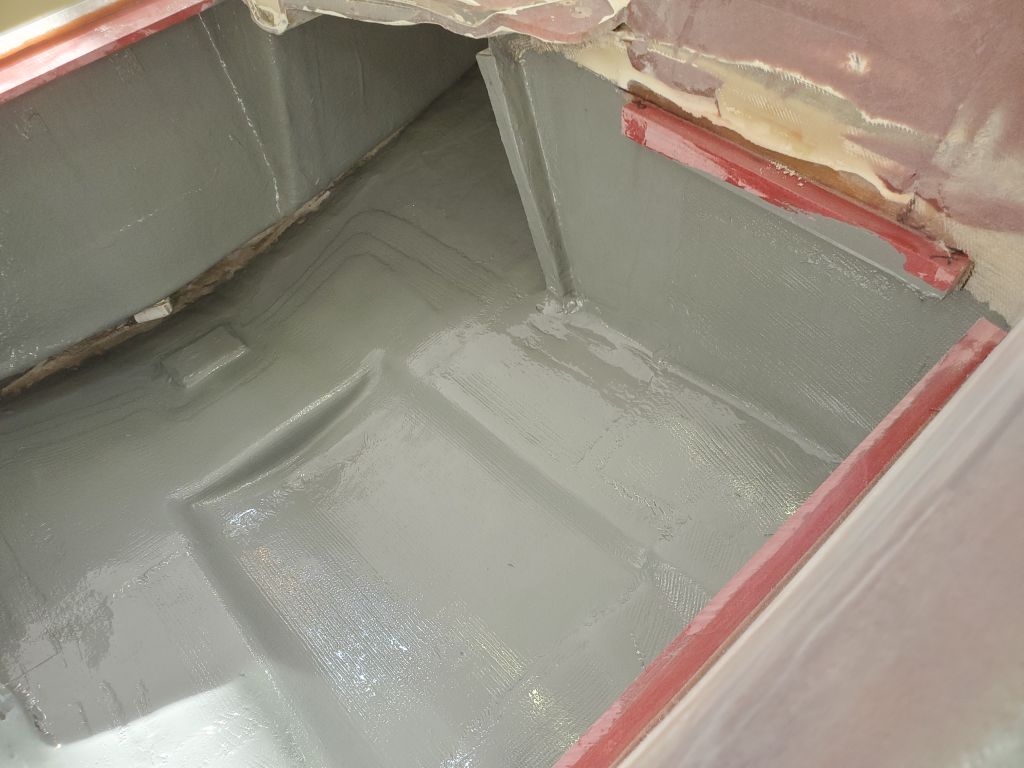
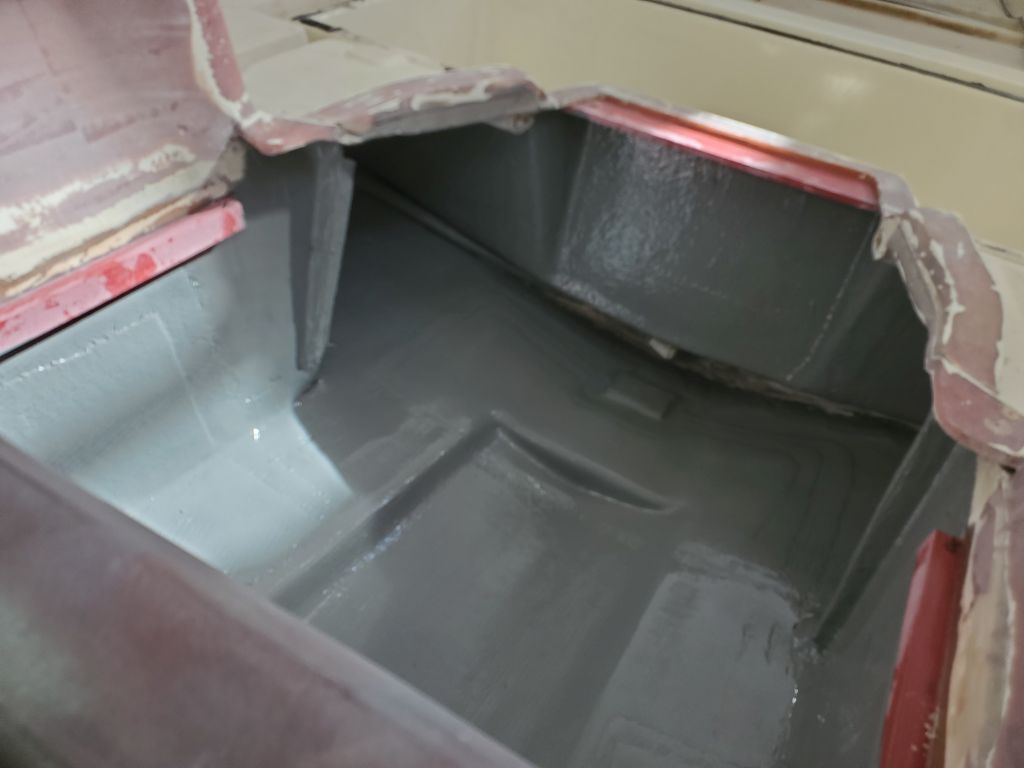
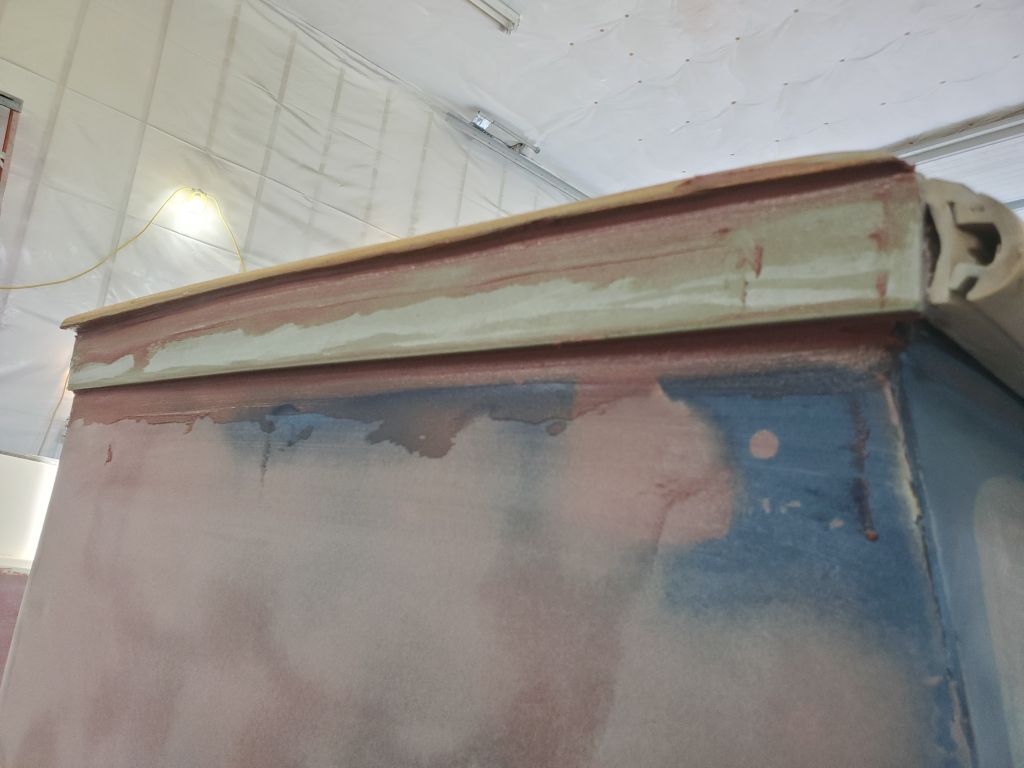
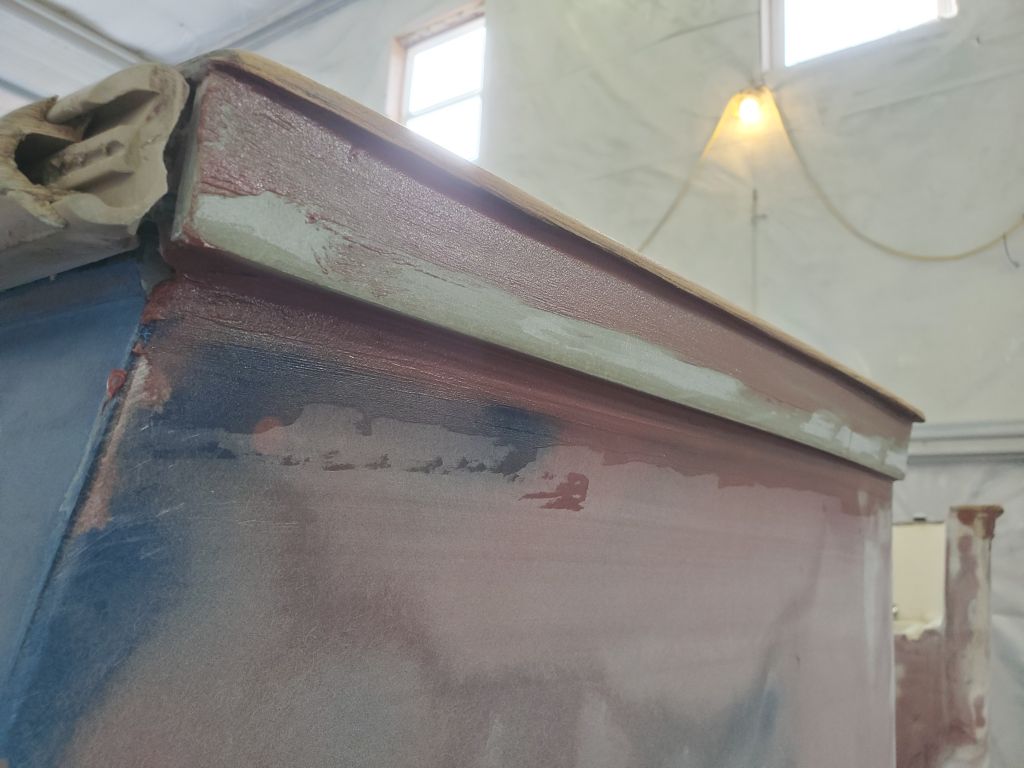
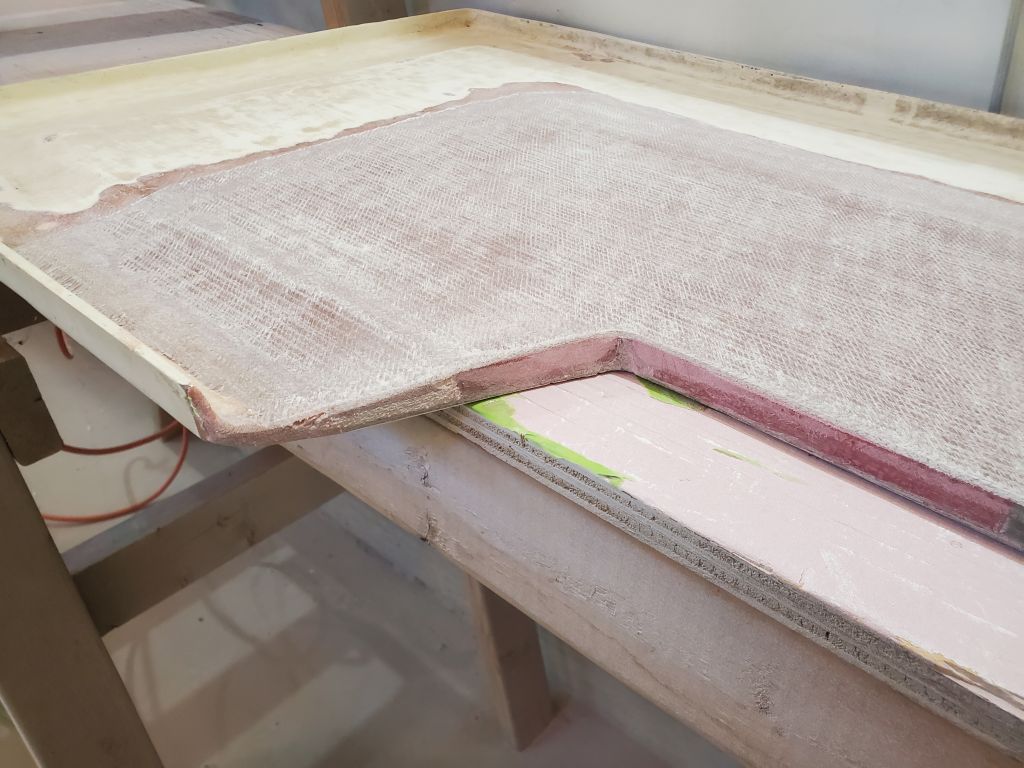
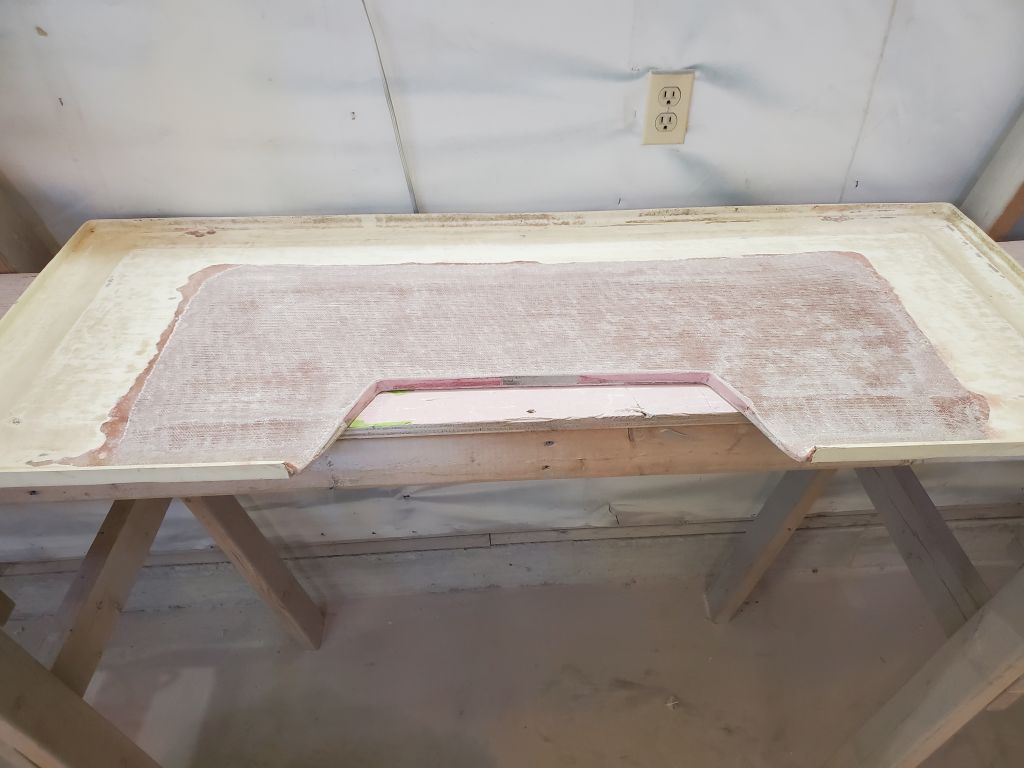
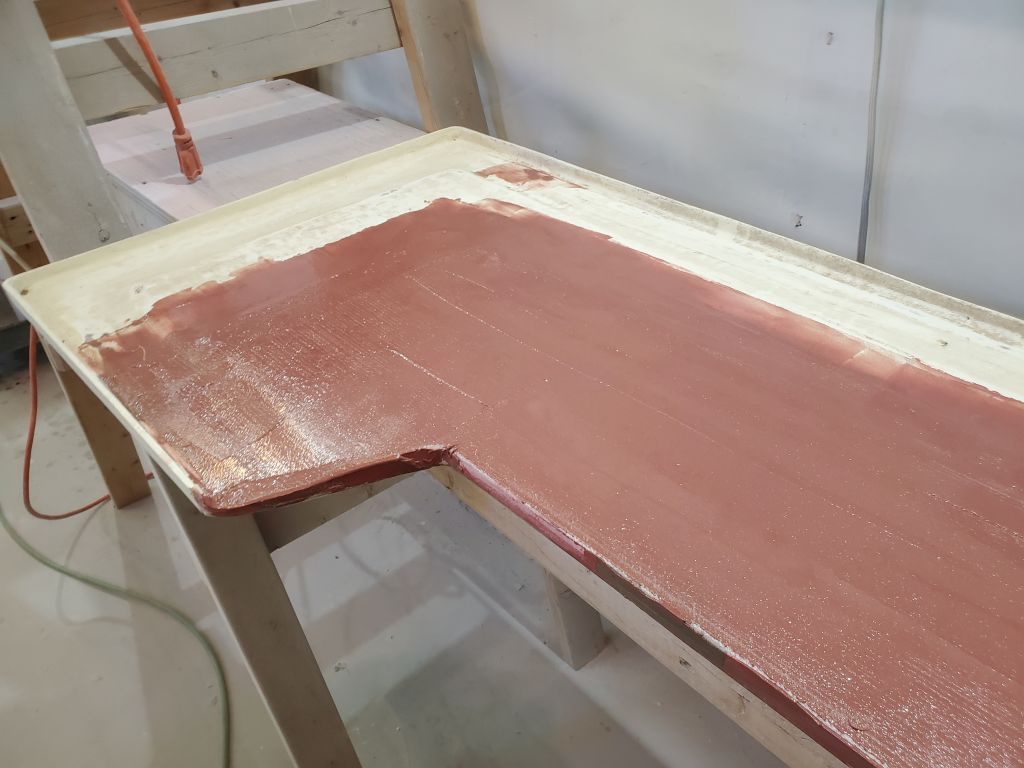
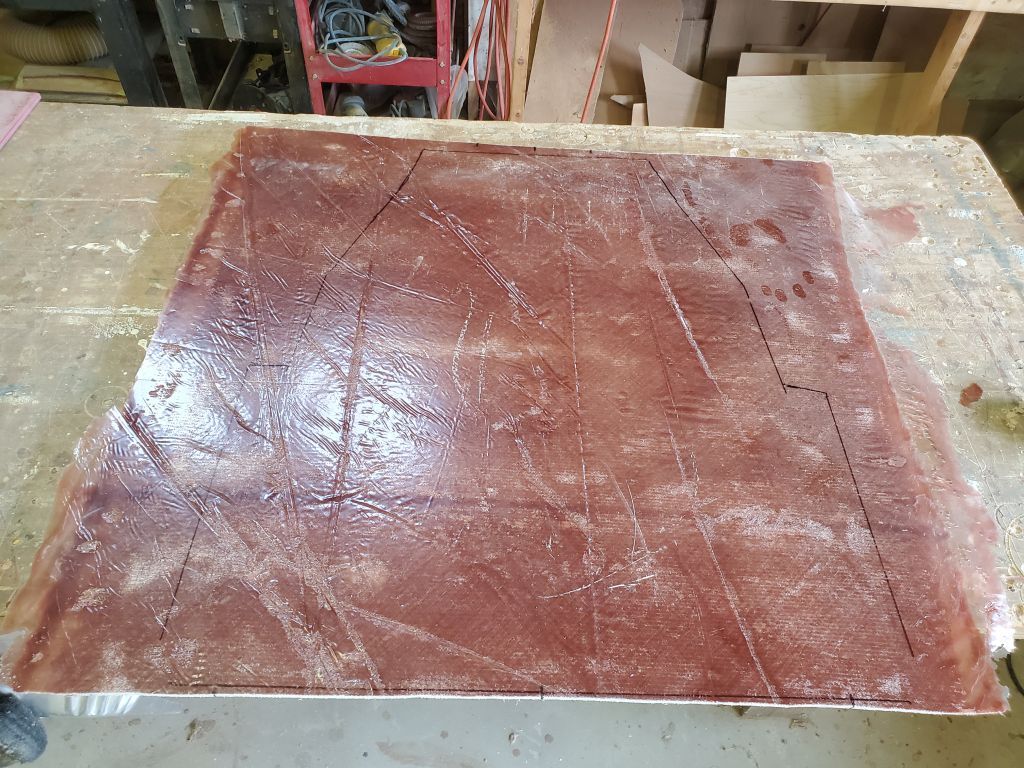
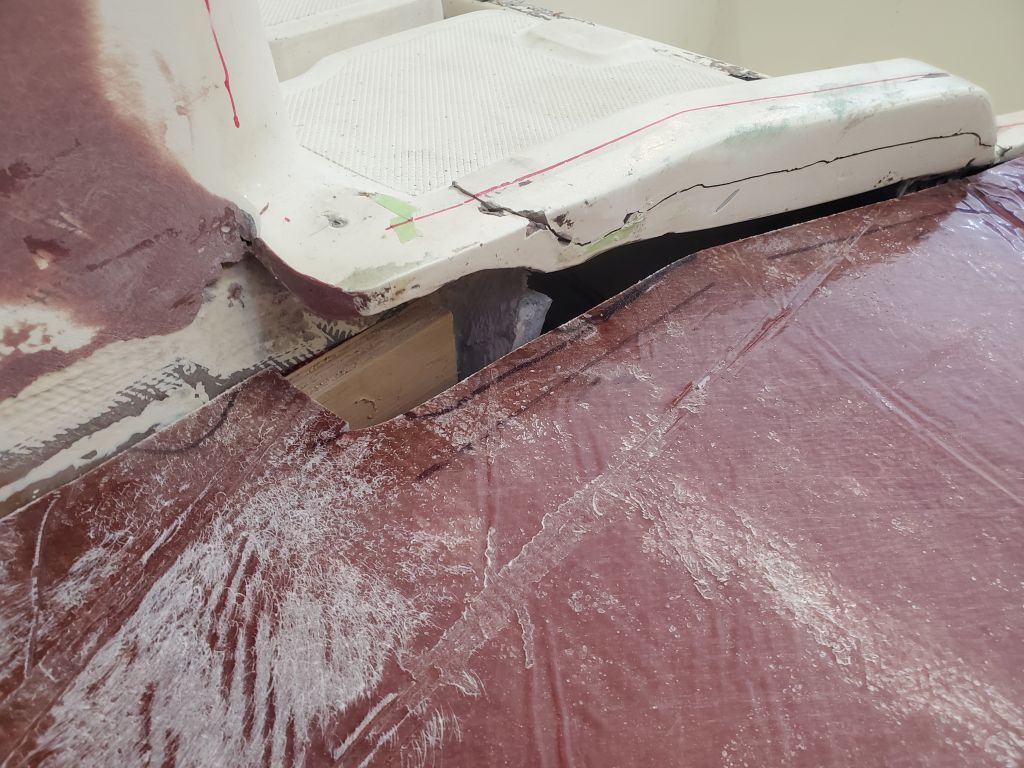
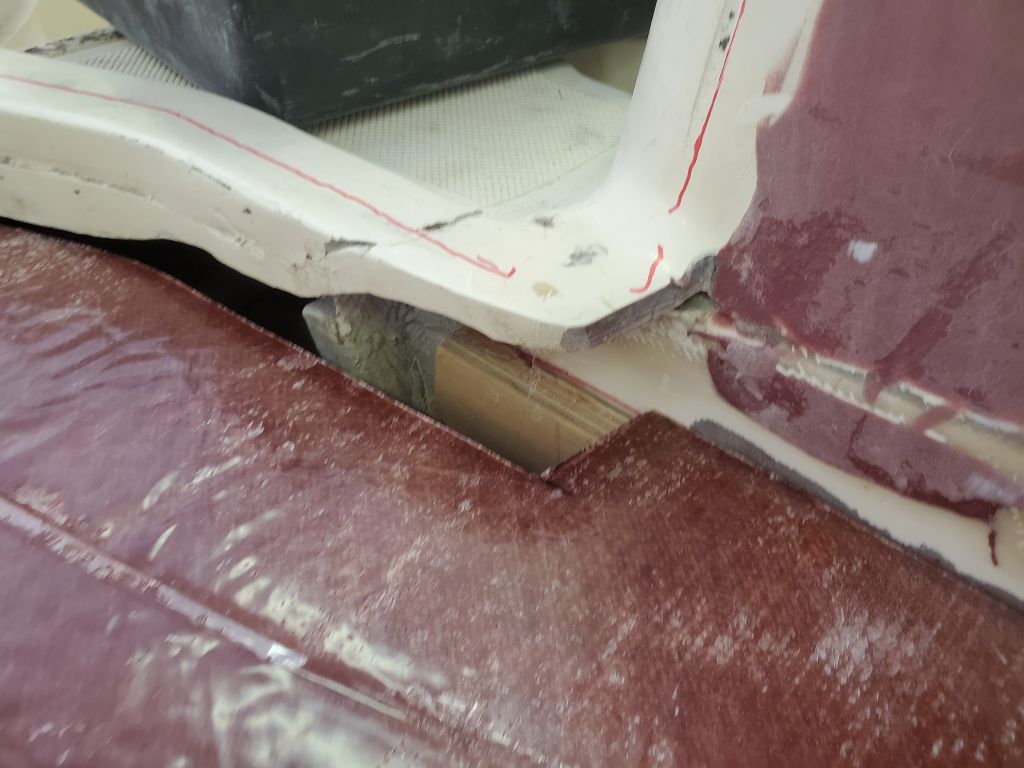
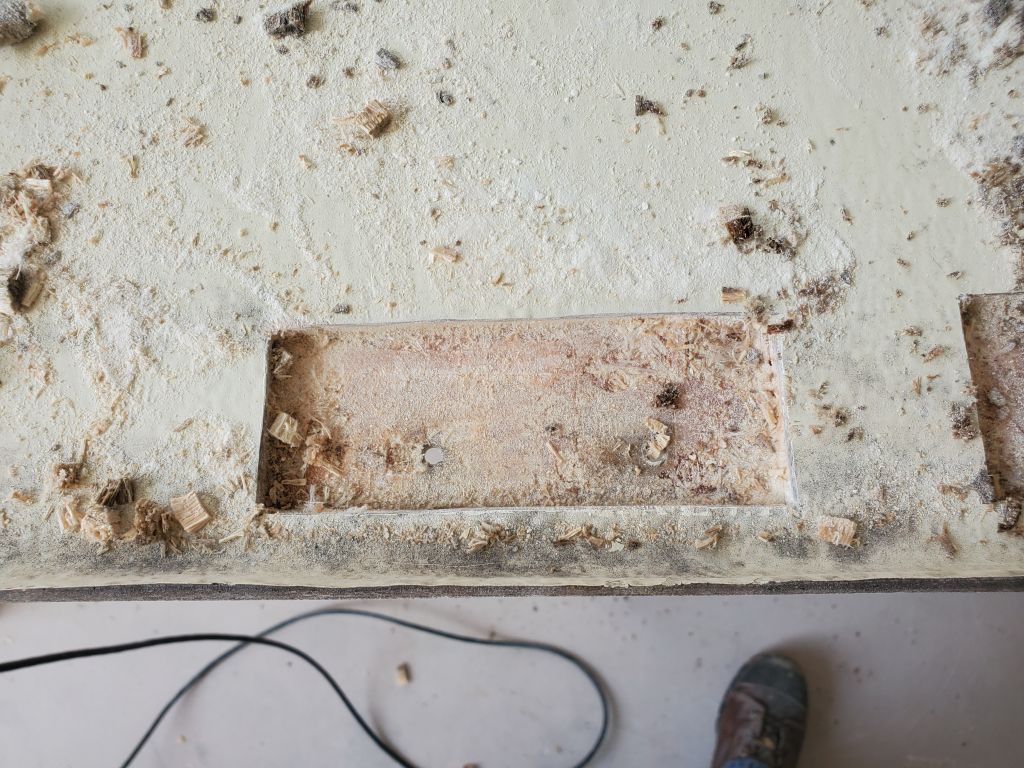
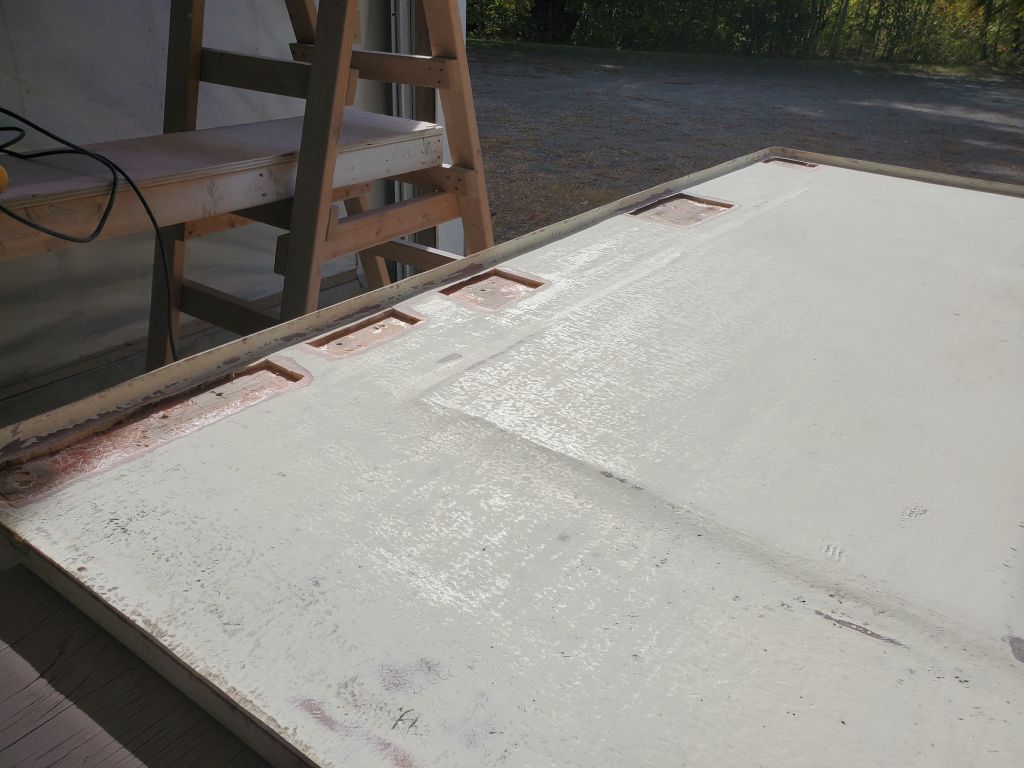
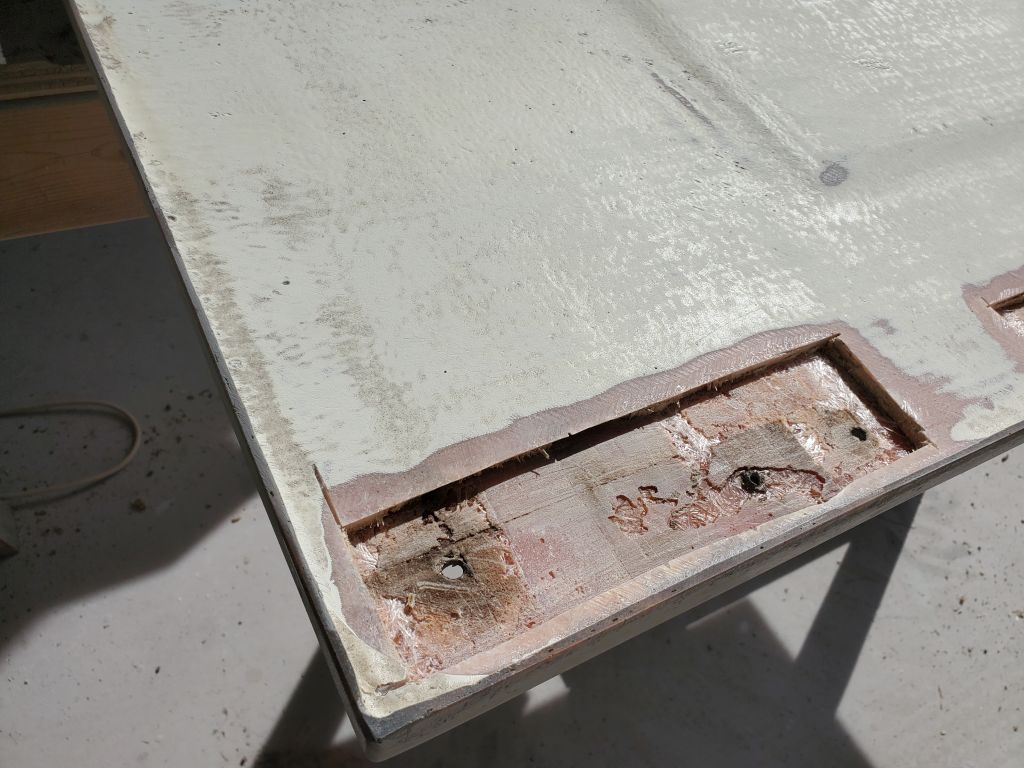
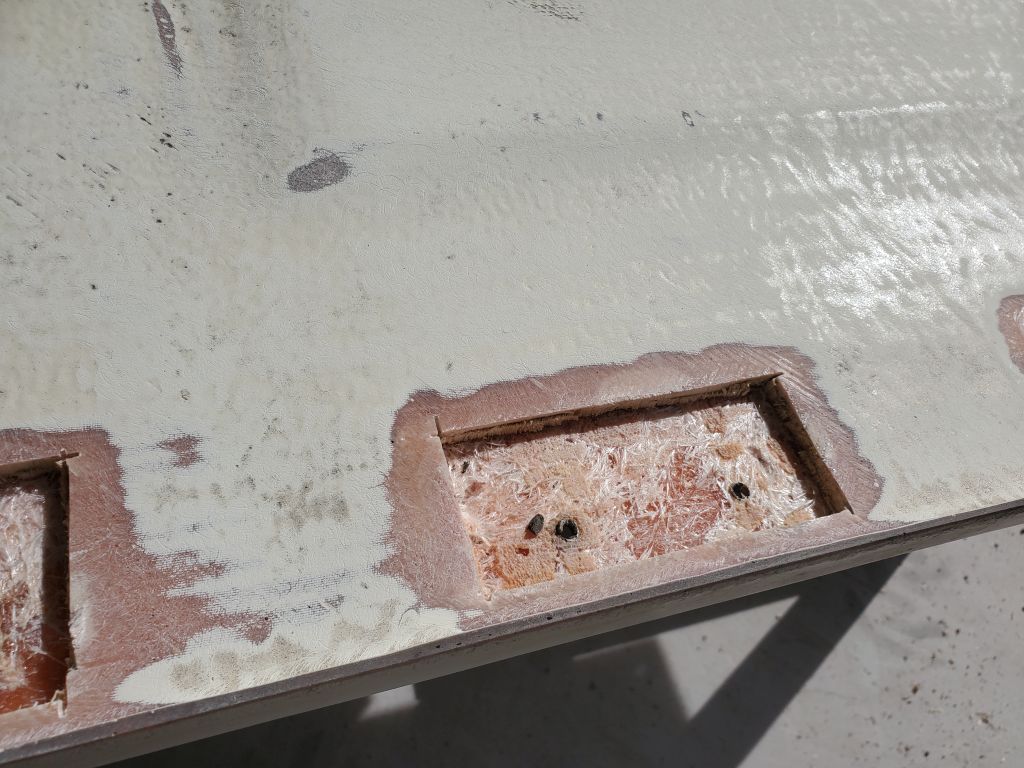
After cleaning up and final preparations, I applied a coat of epoxy fairing filler as needed over the entire area, working to fill the weave of the cloth (and existing laminate on the back side of the bulkhead) and begin to smooth in the various transitions between tabbing and adjacent areas.

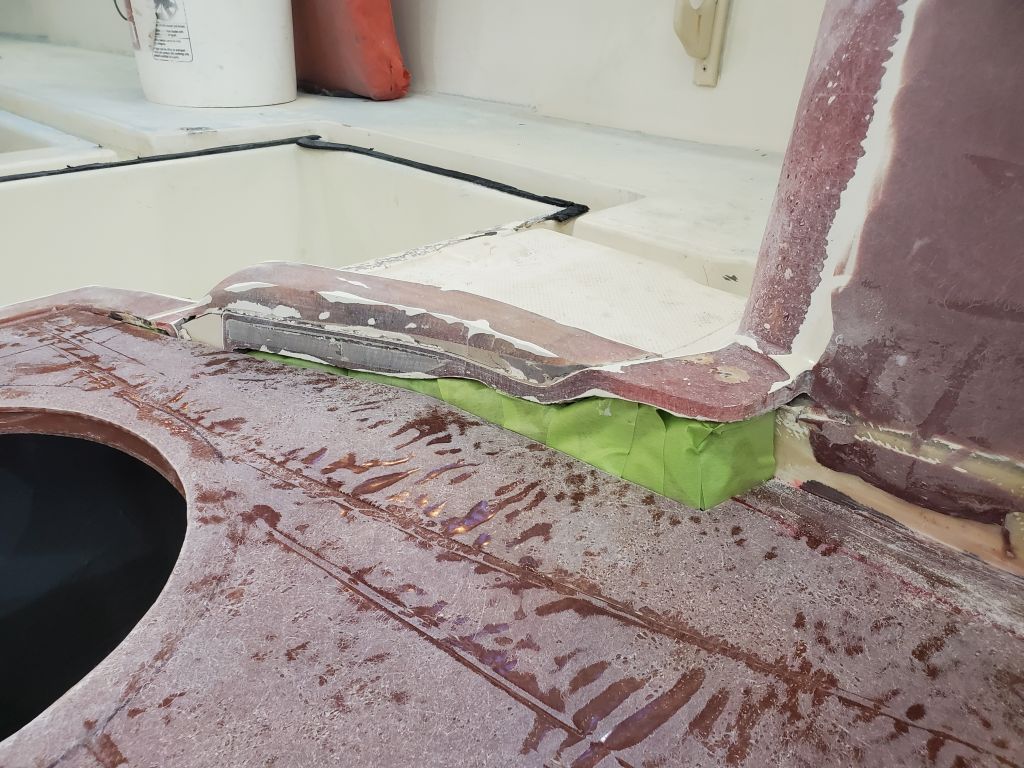
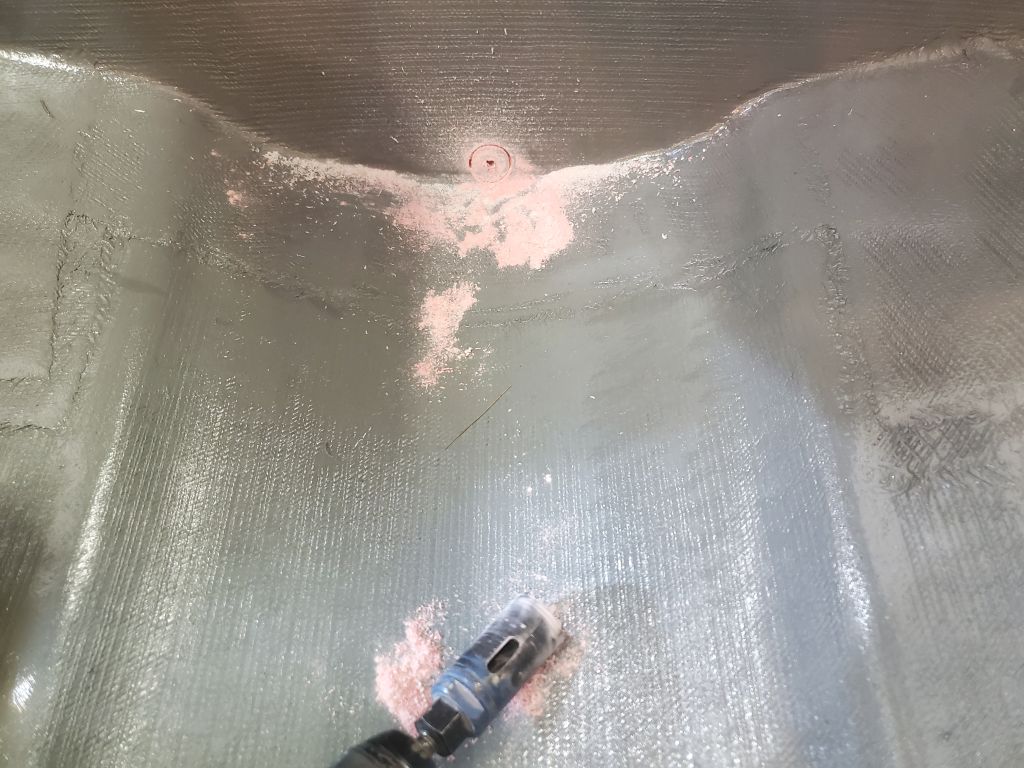
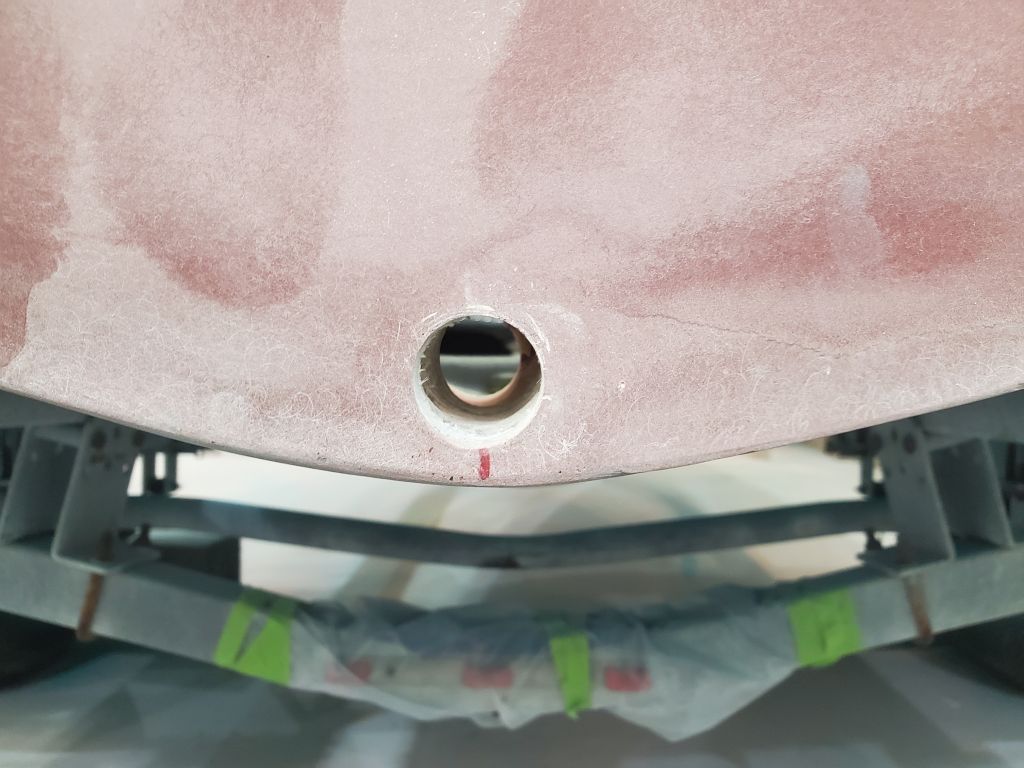
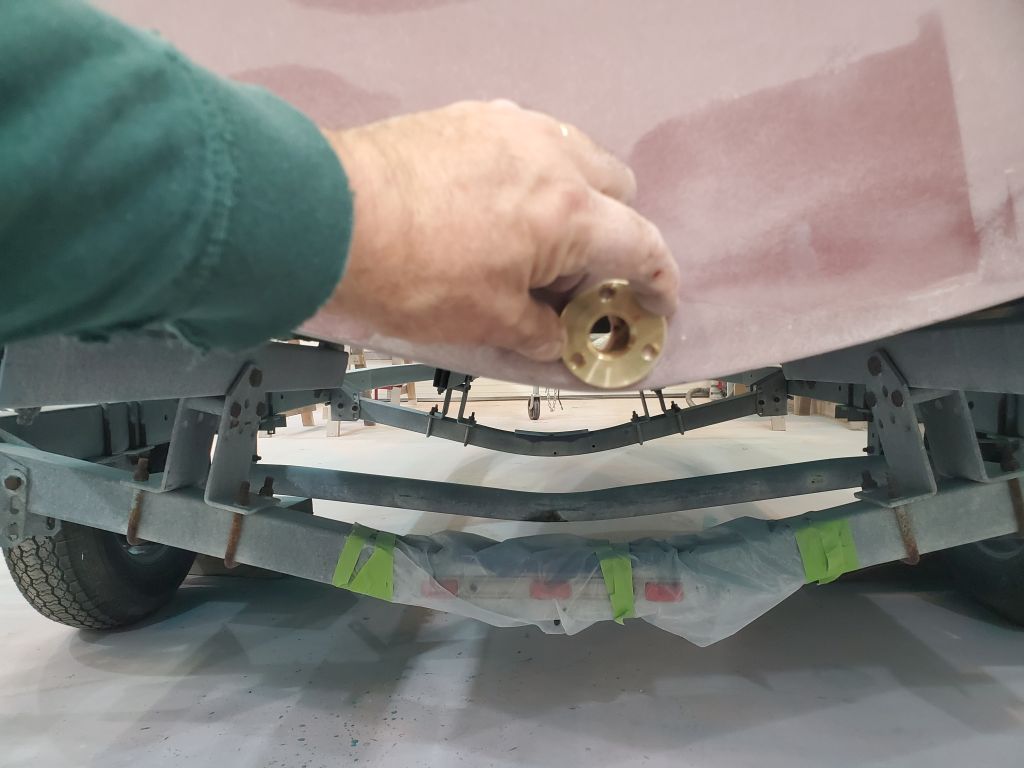
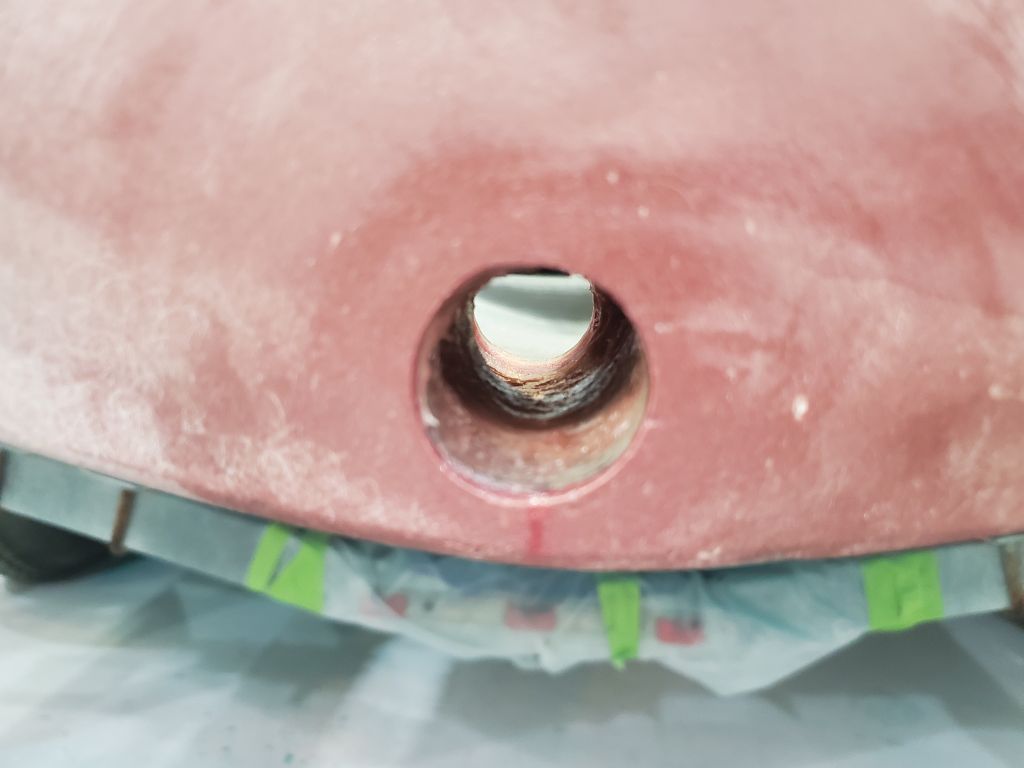
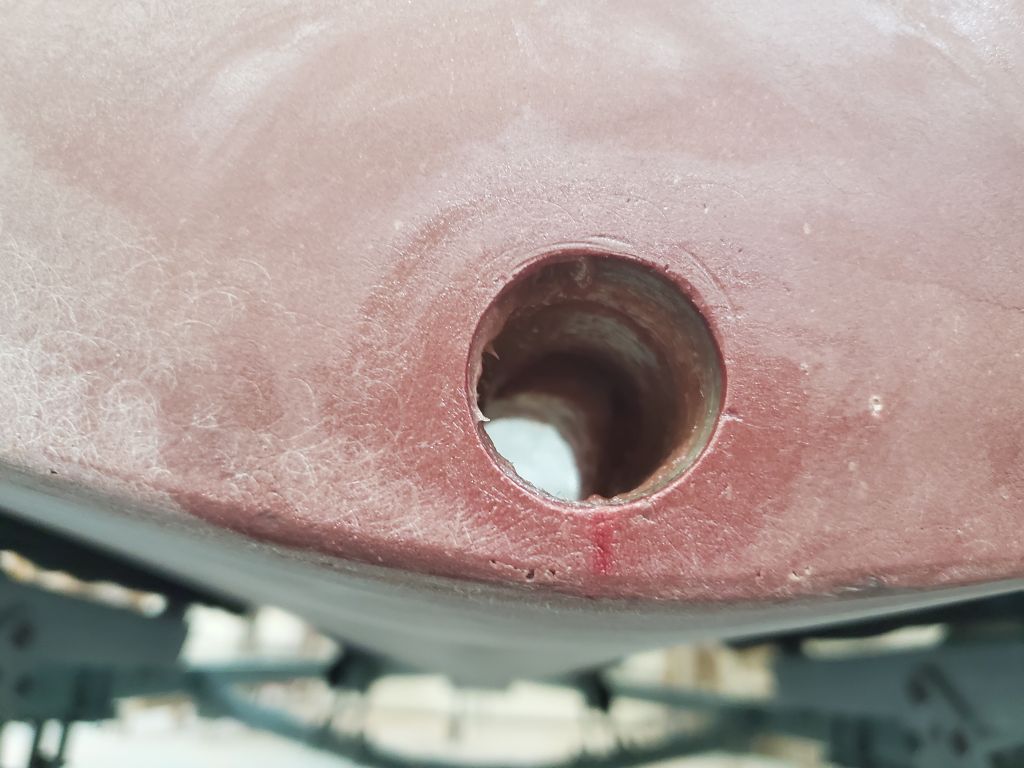
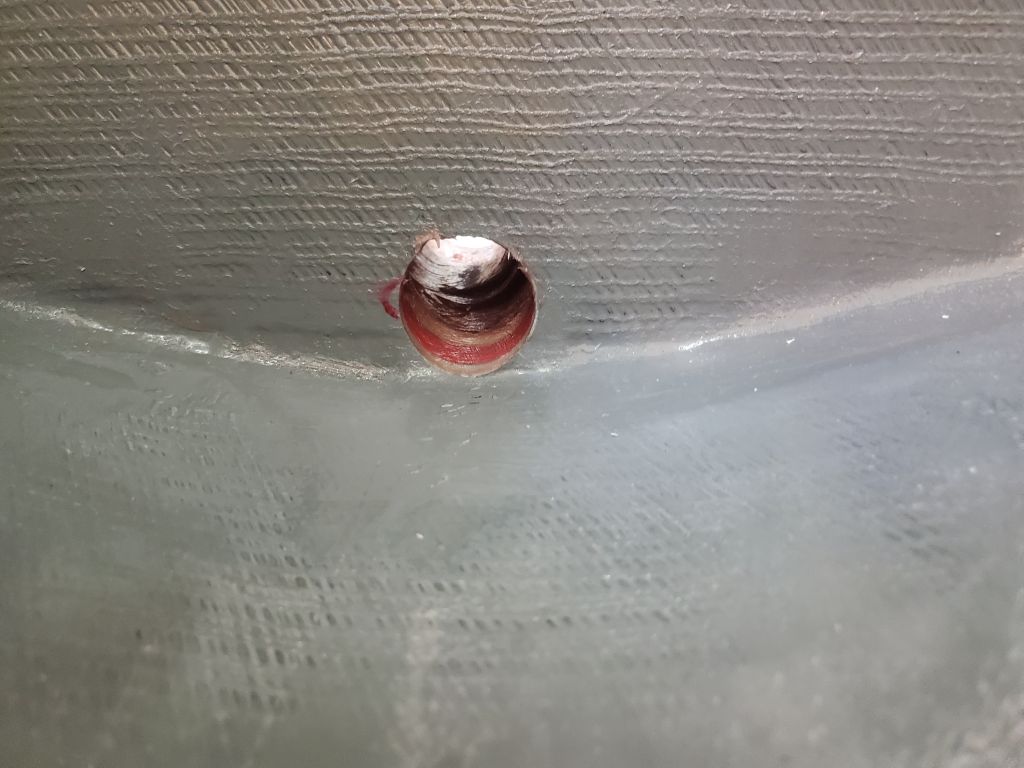
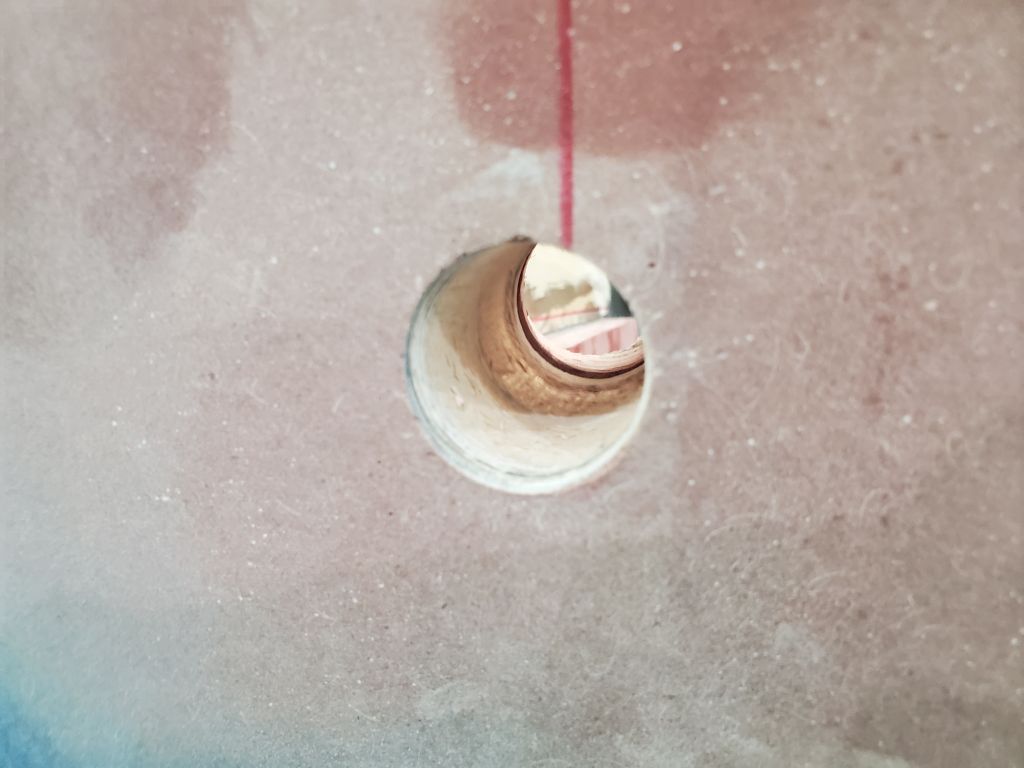
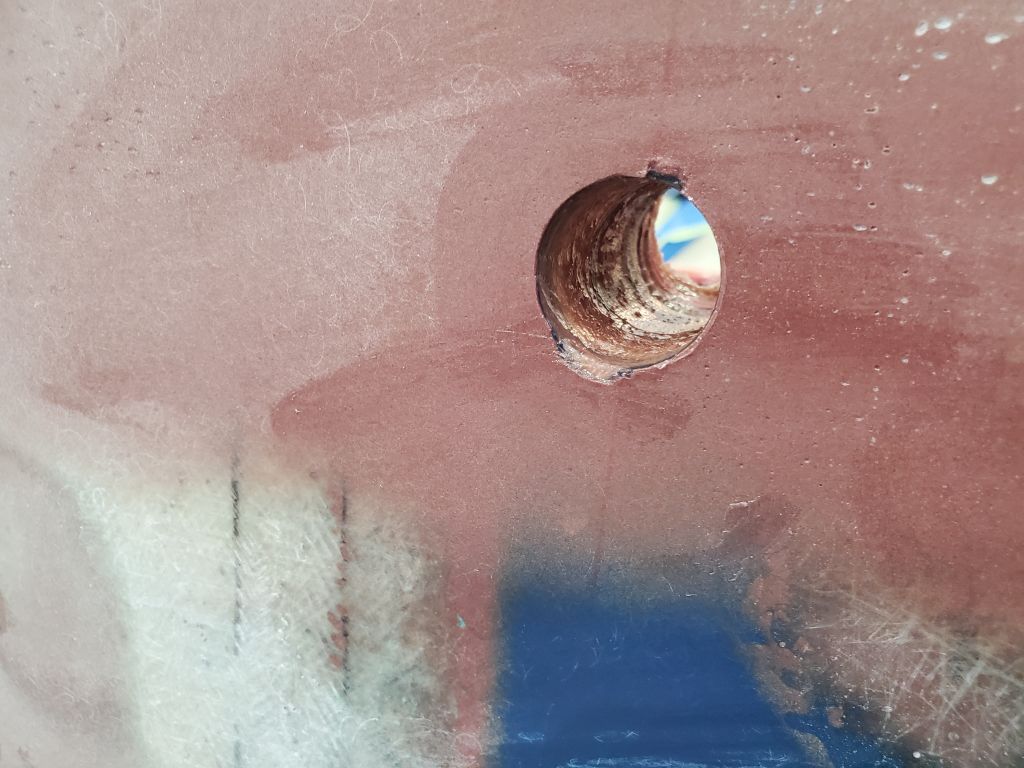
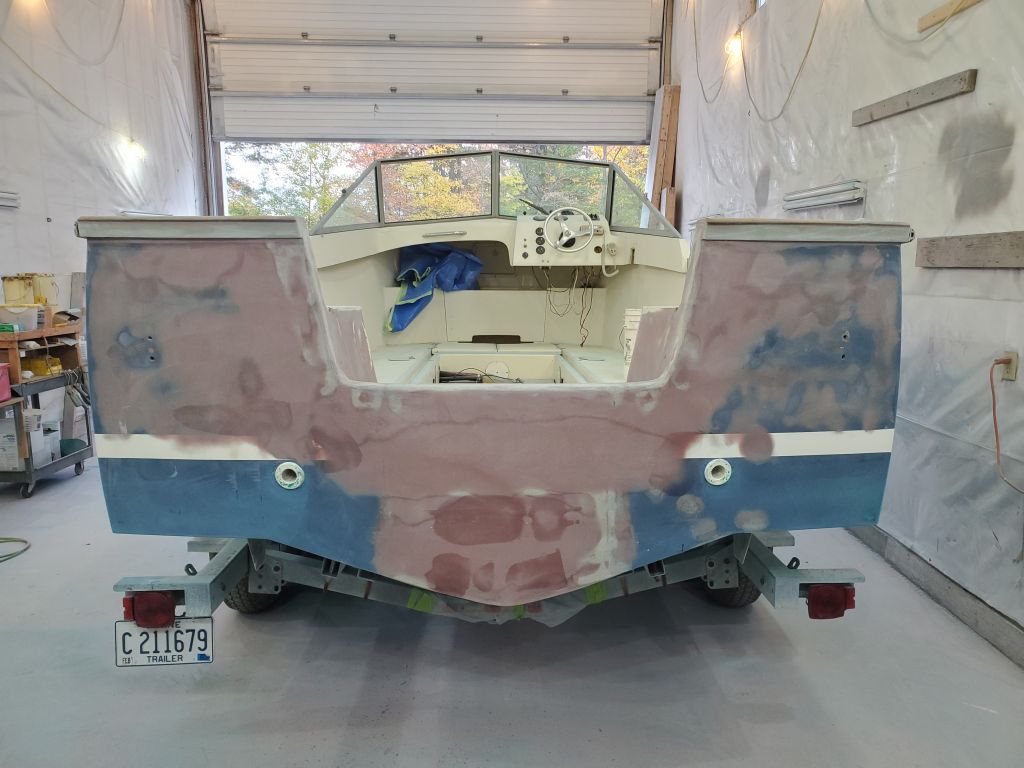
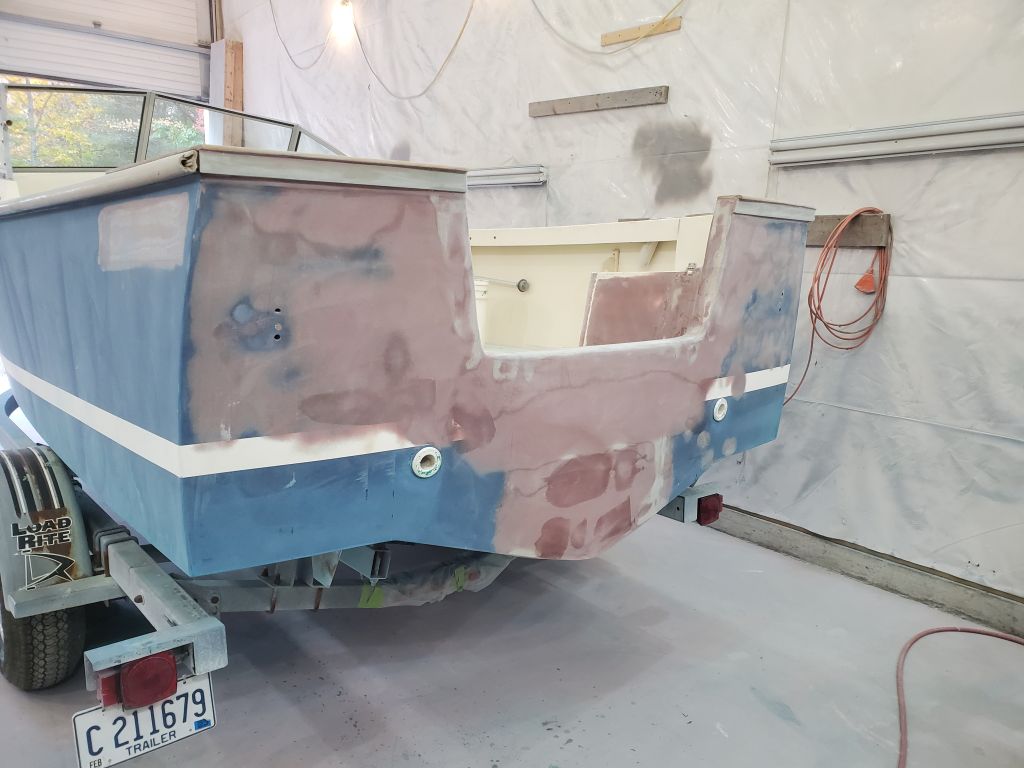
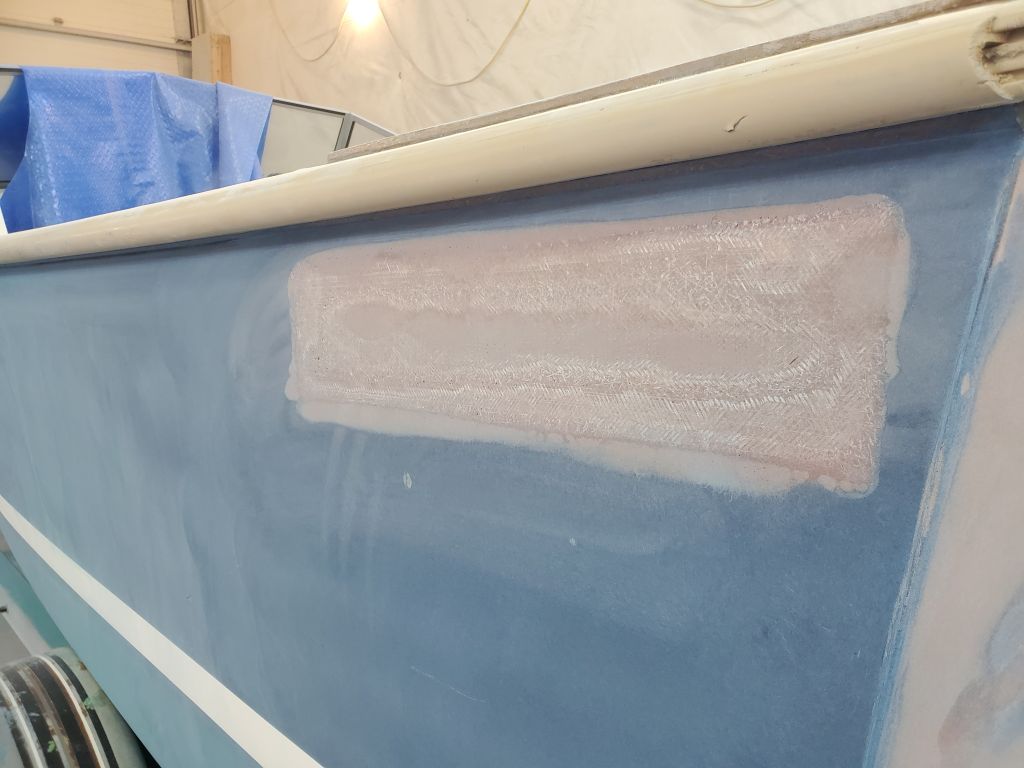
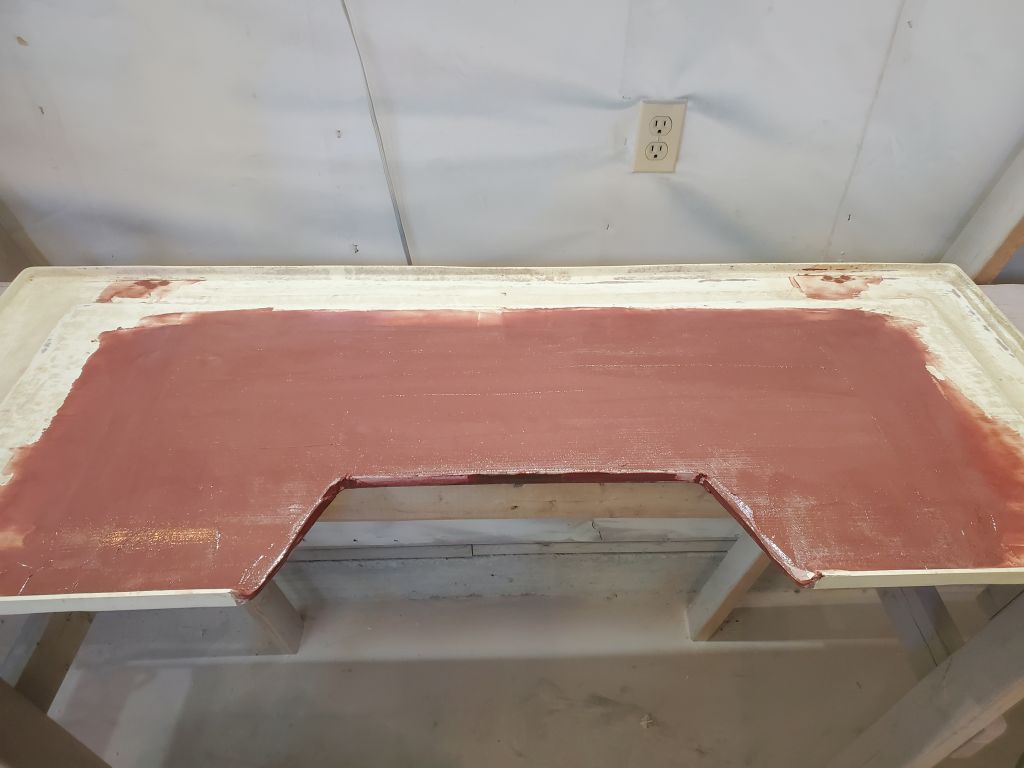
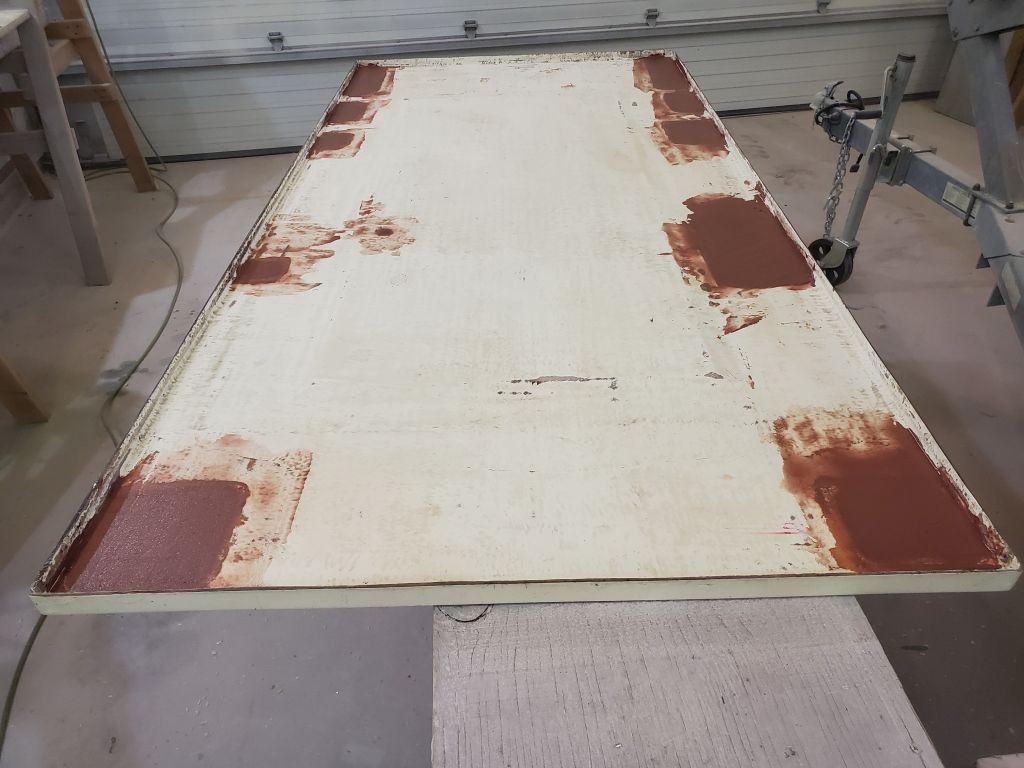
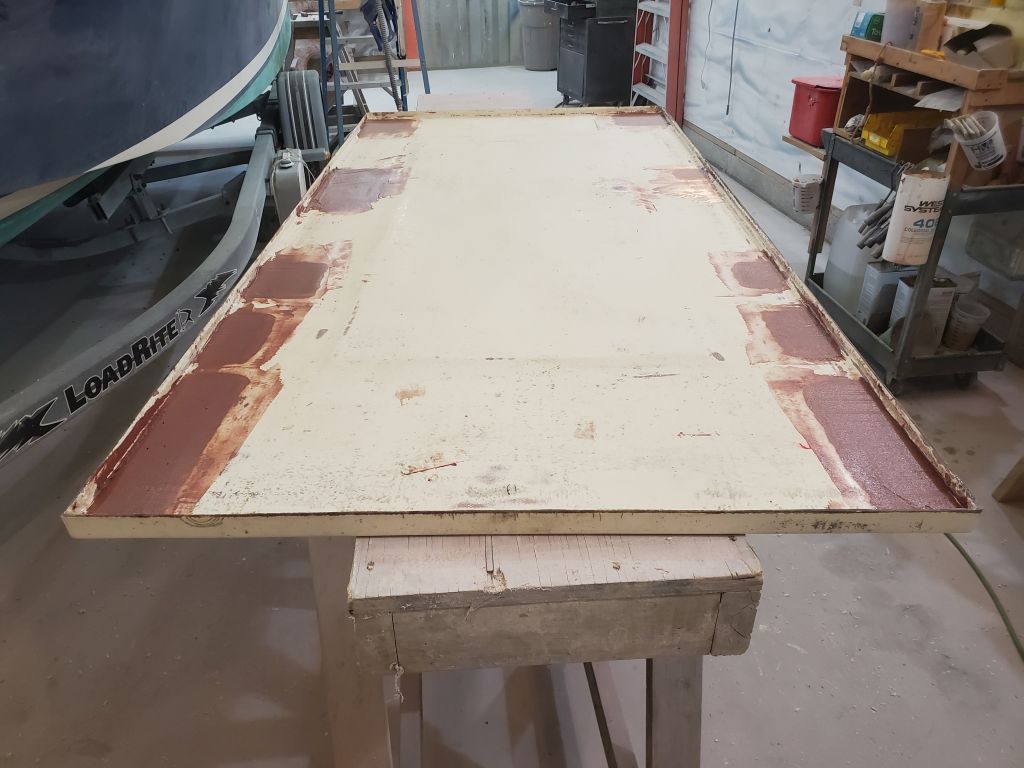
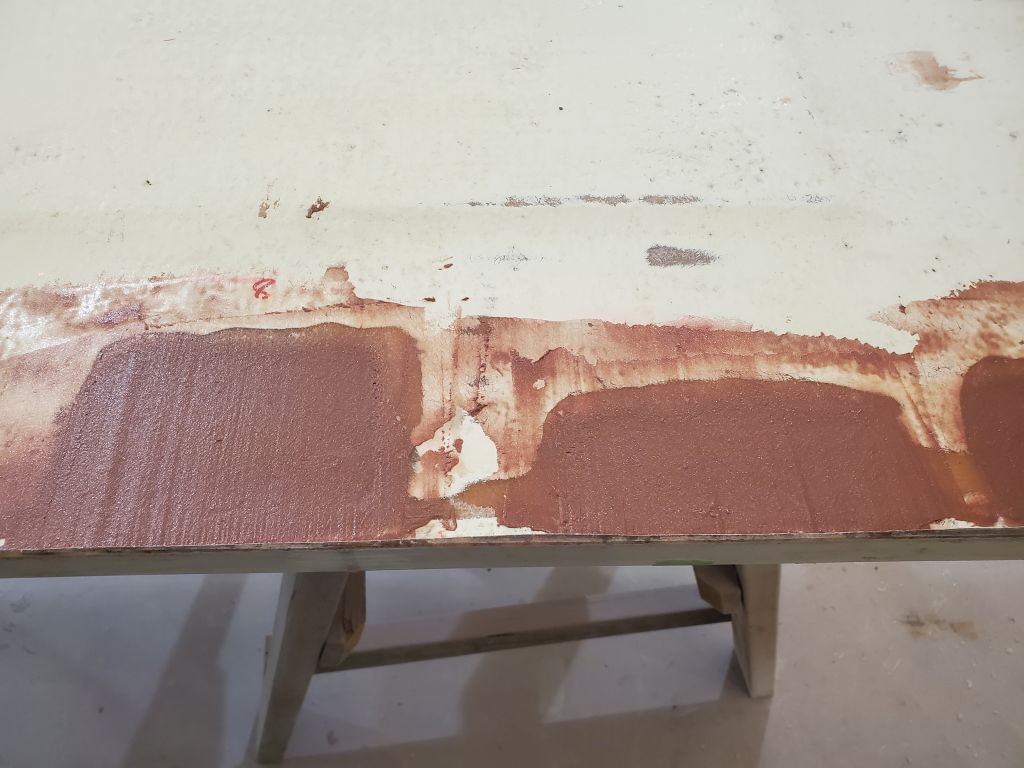
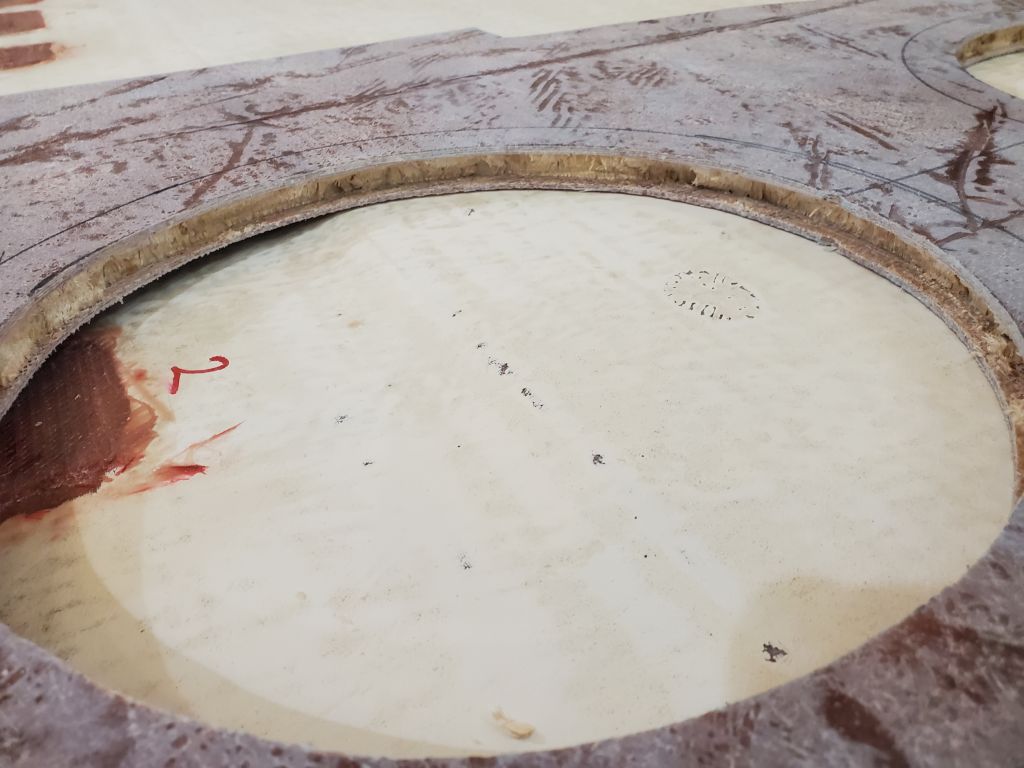
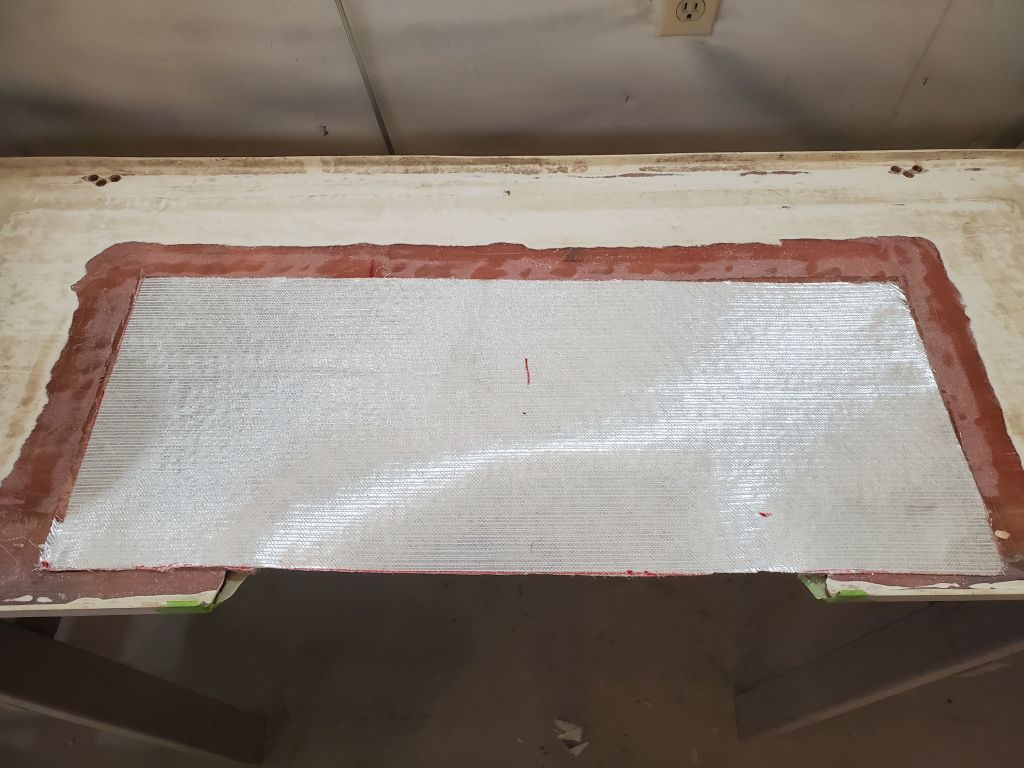
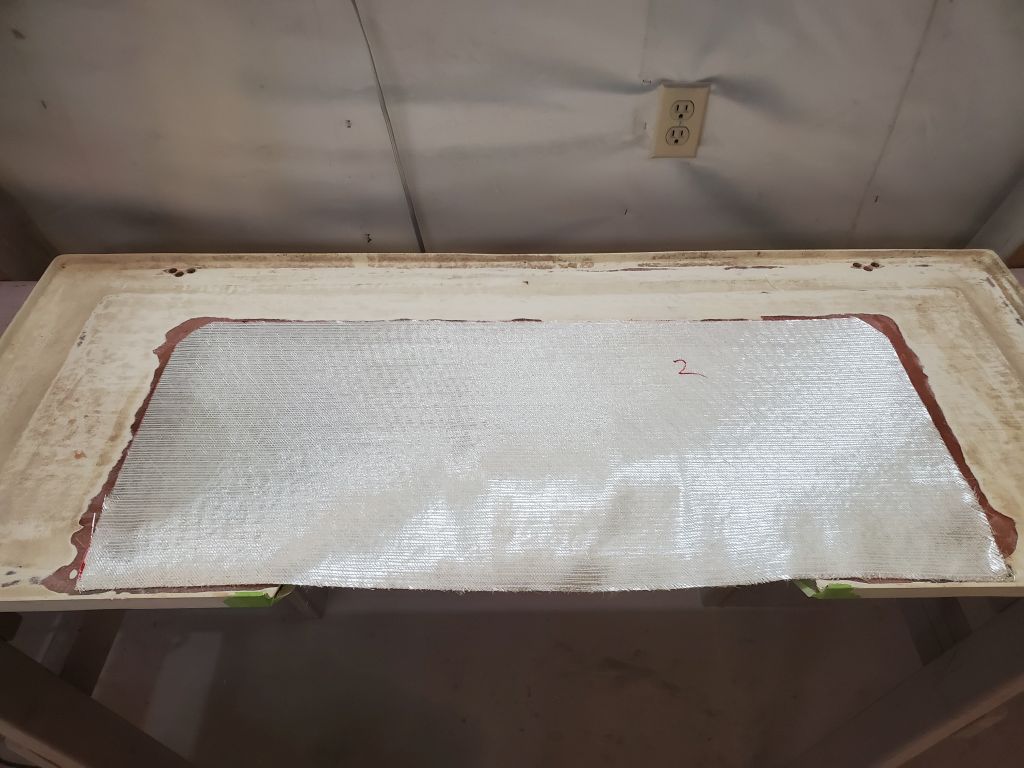
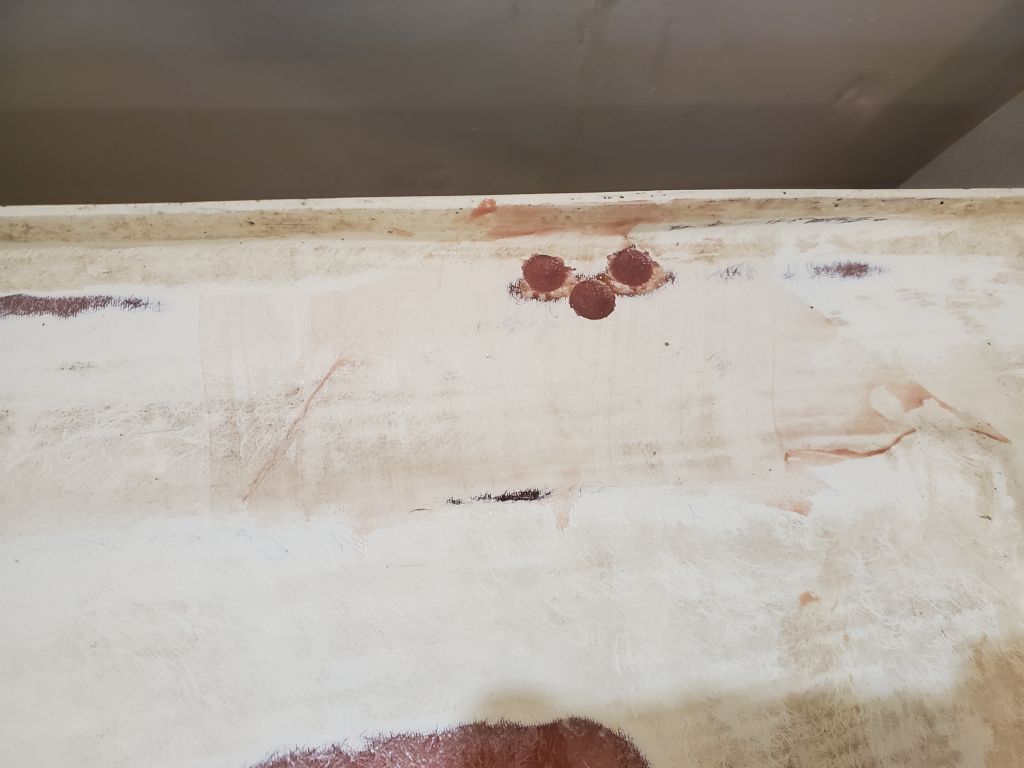
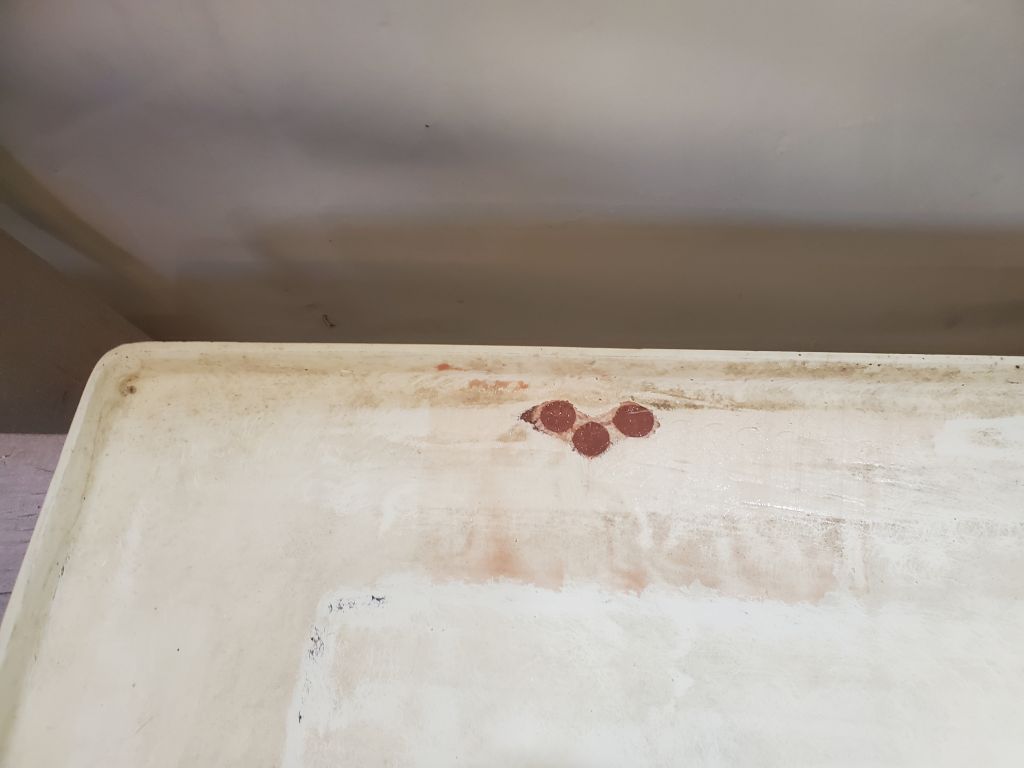
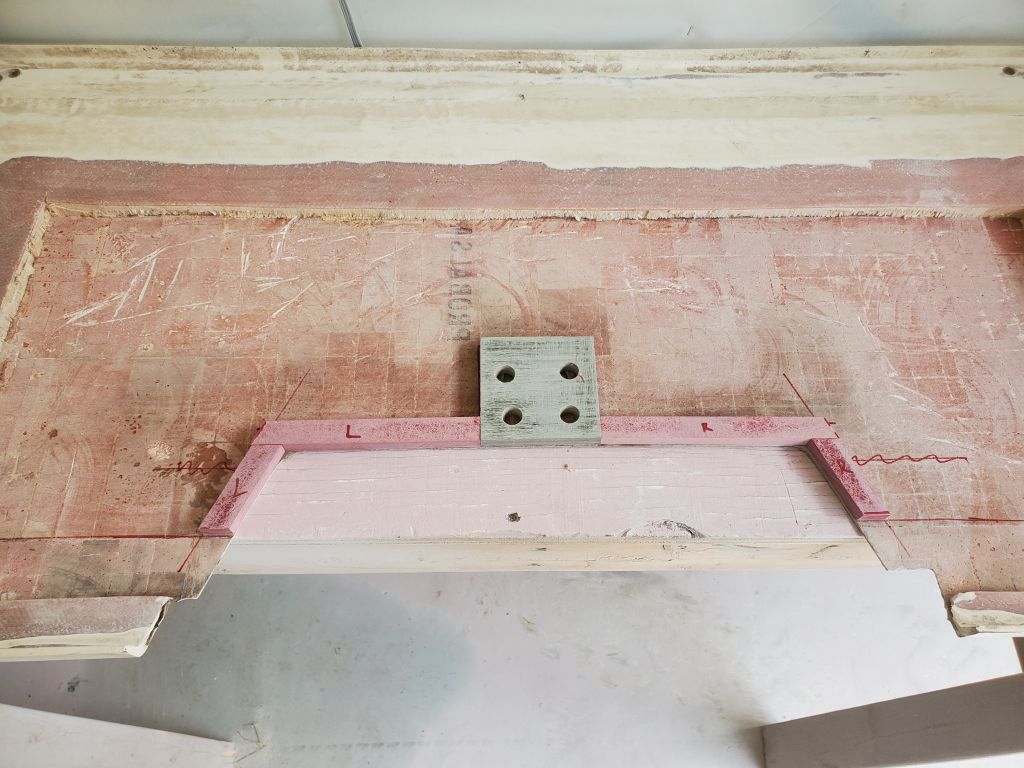
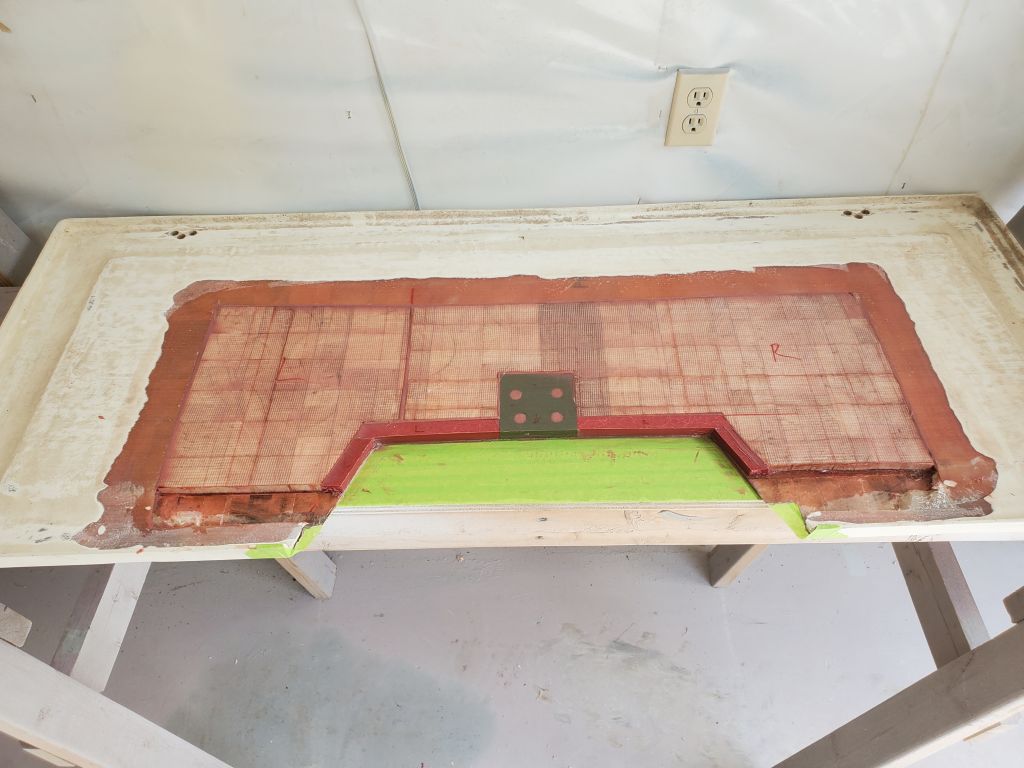
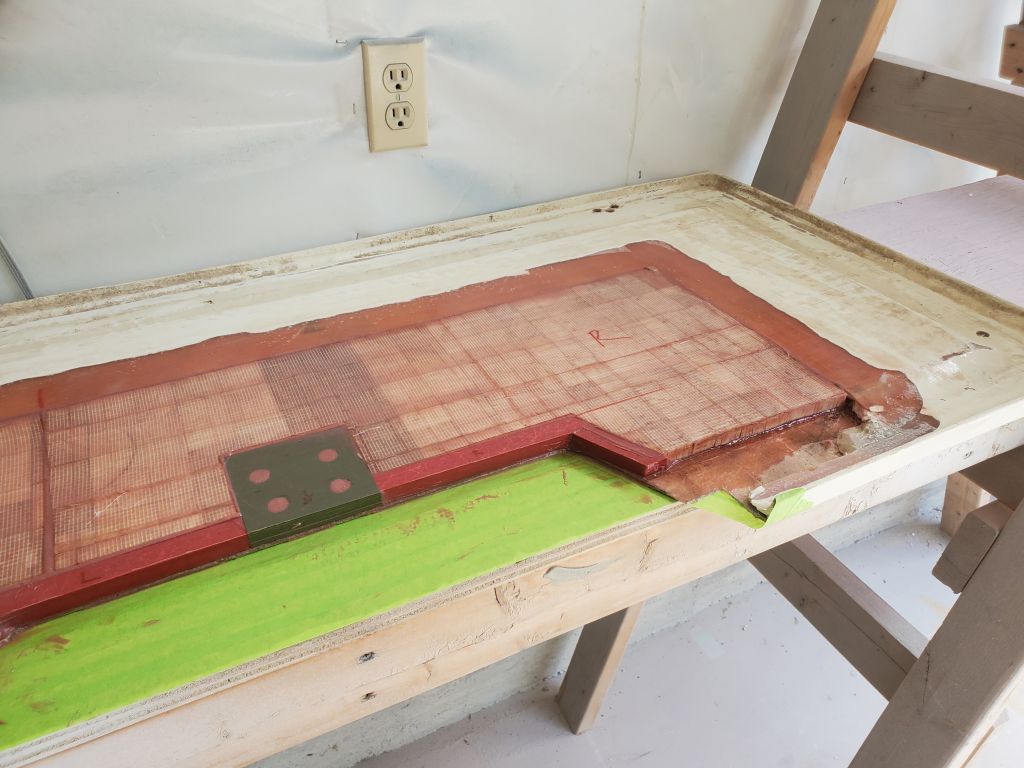
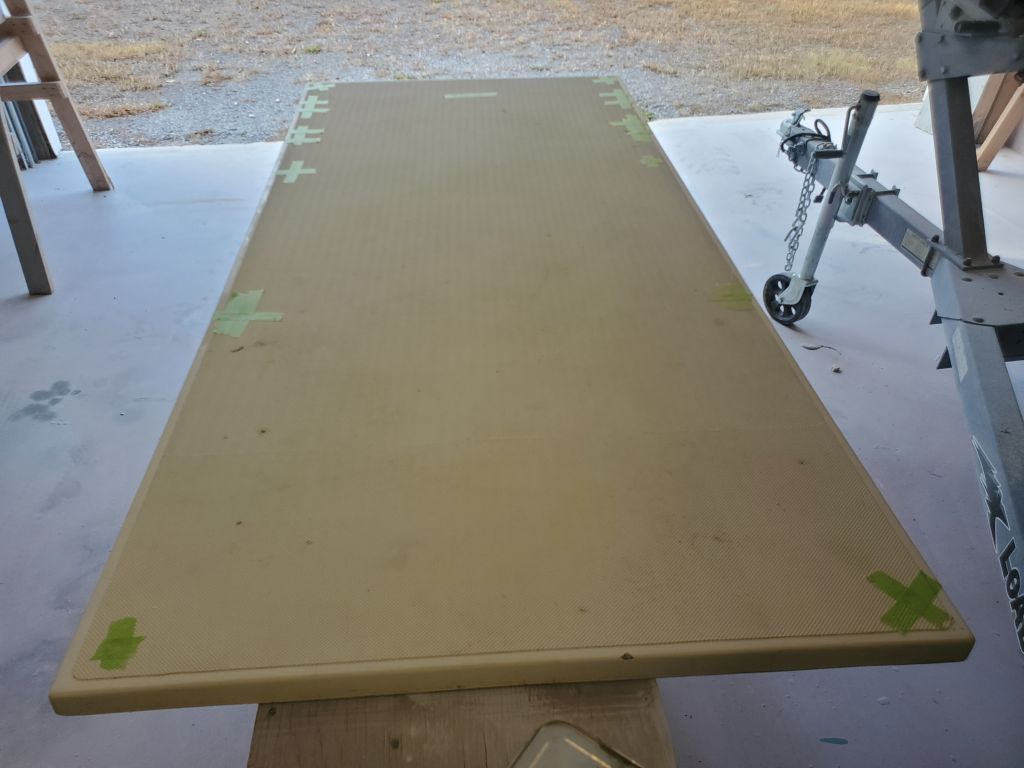
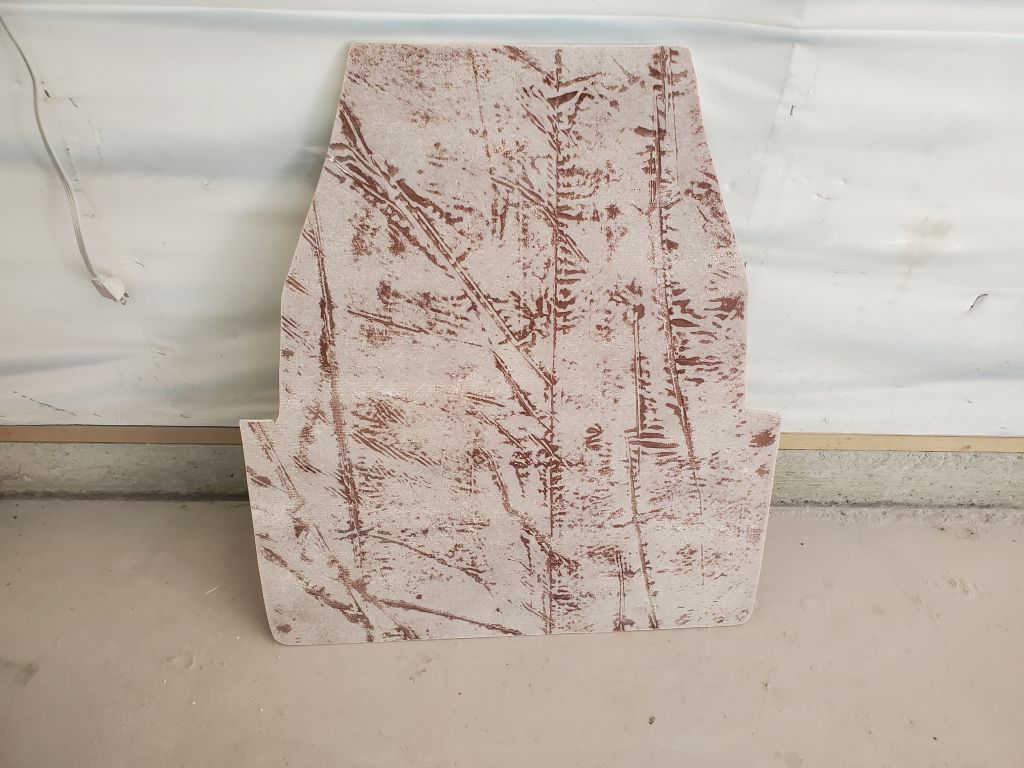
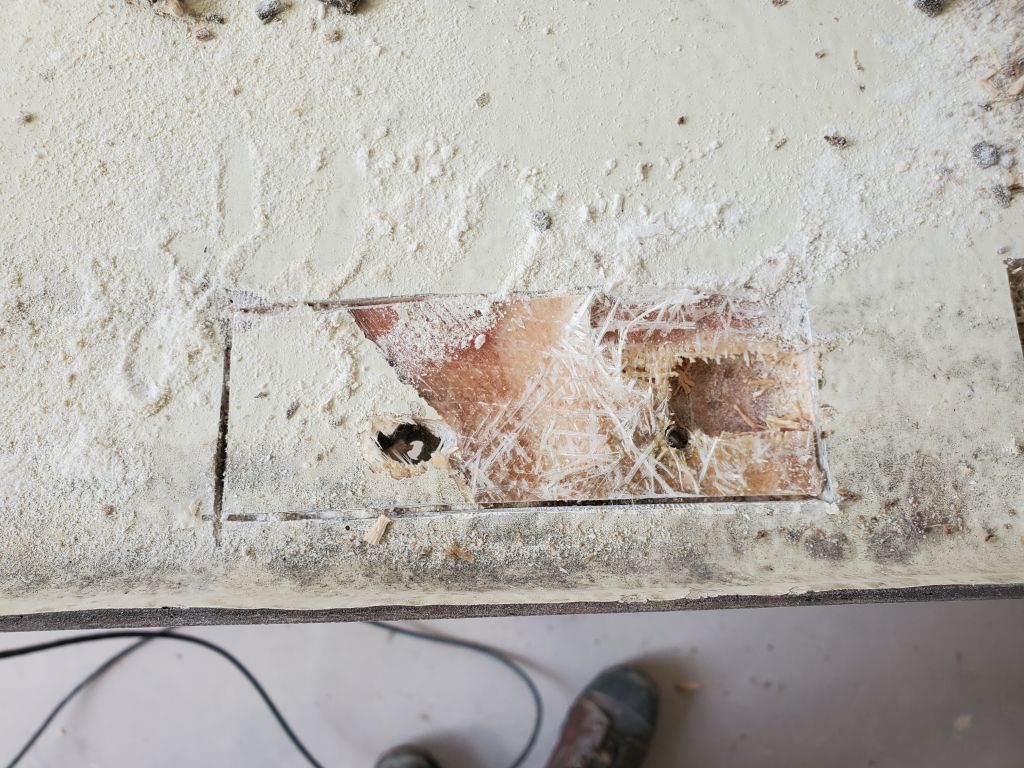
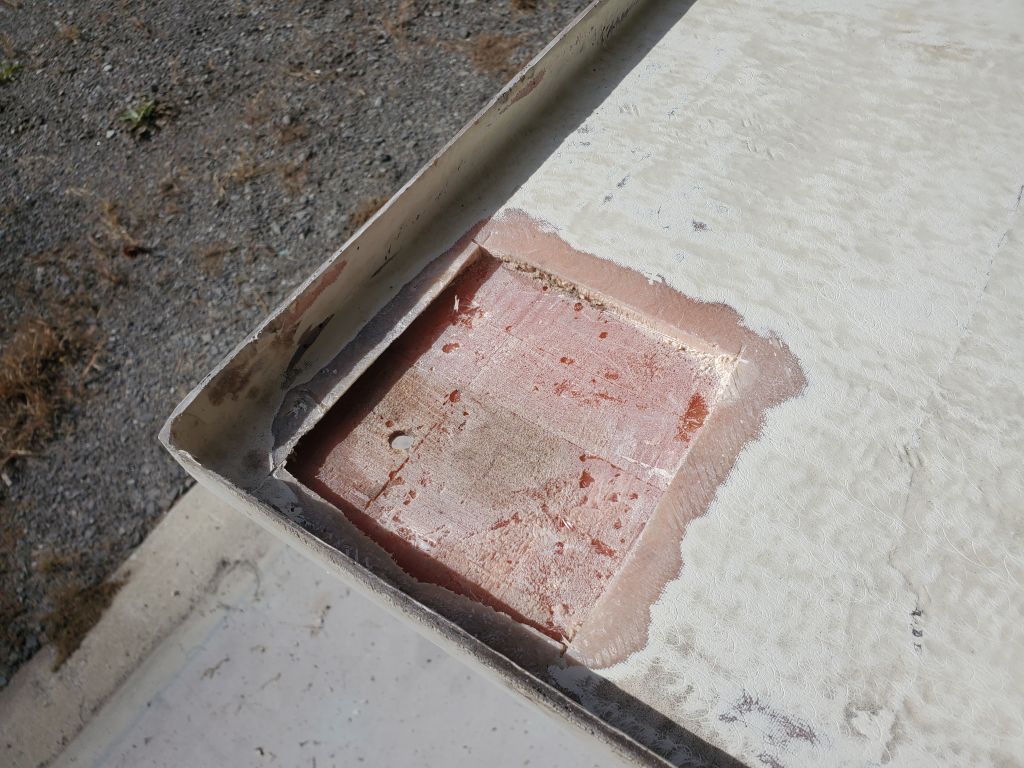
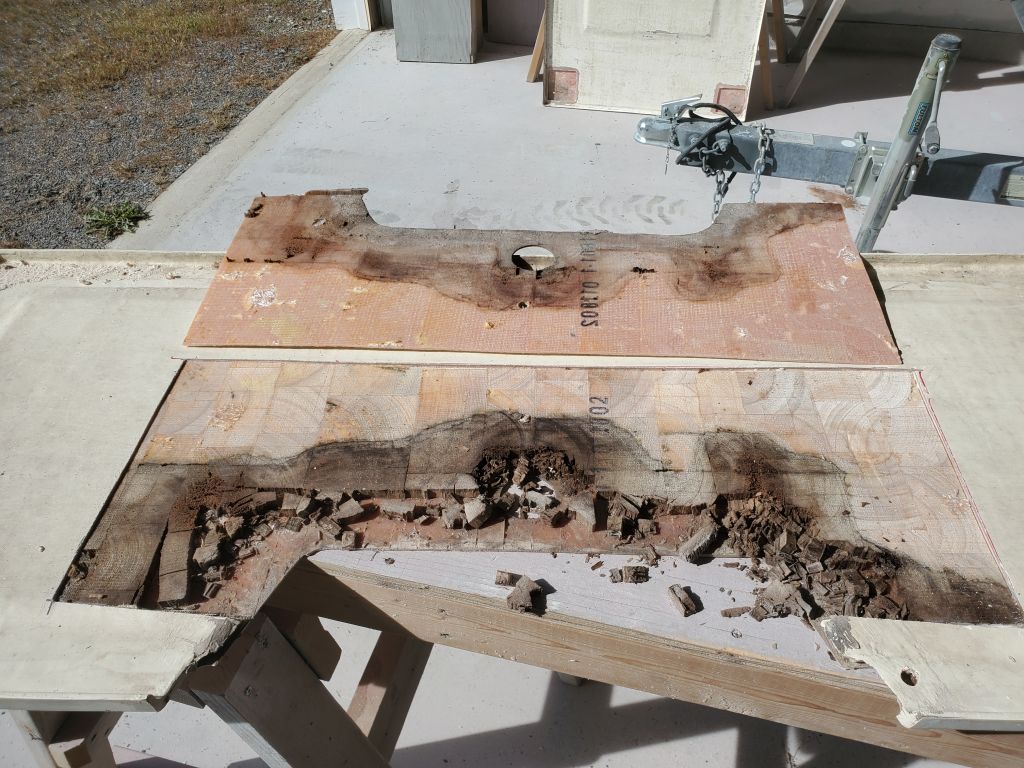
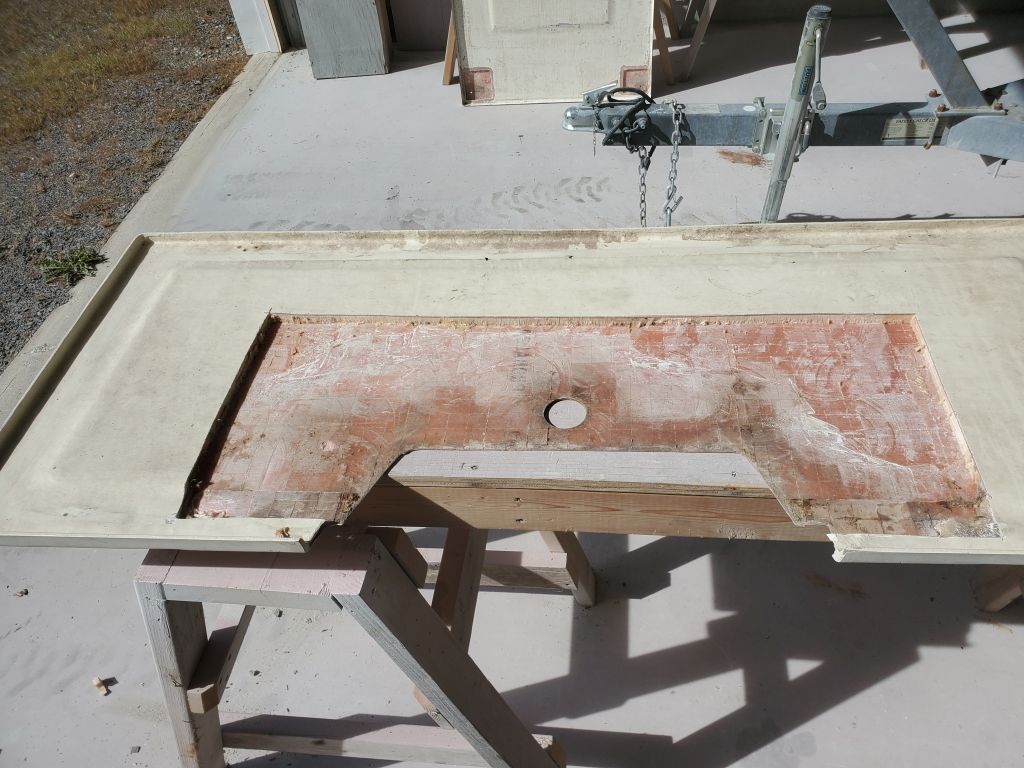
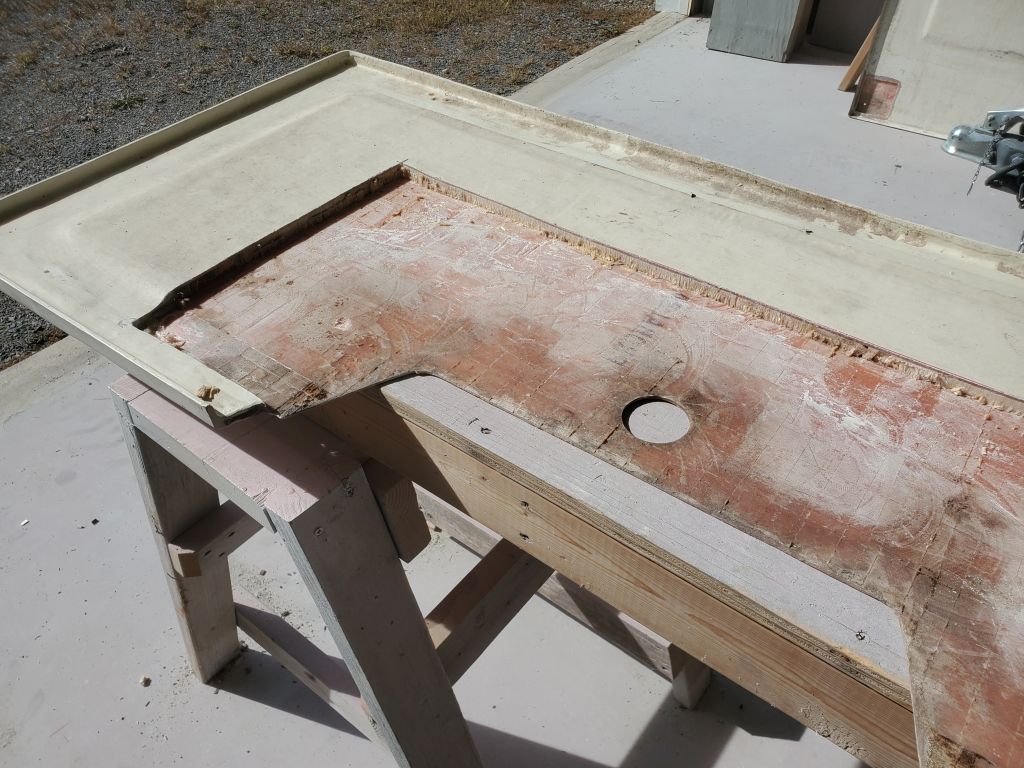
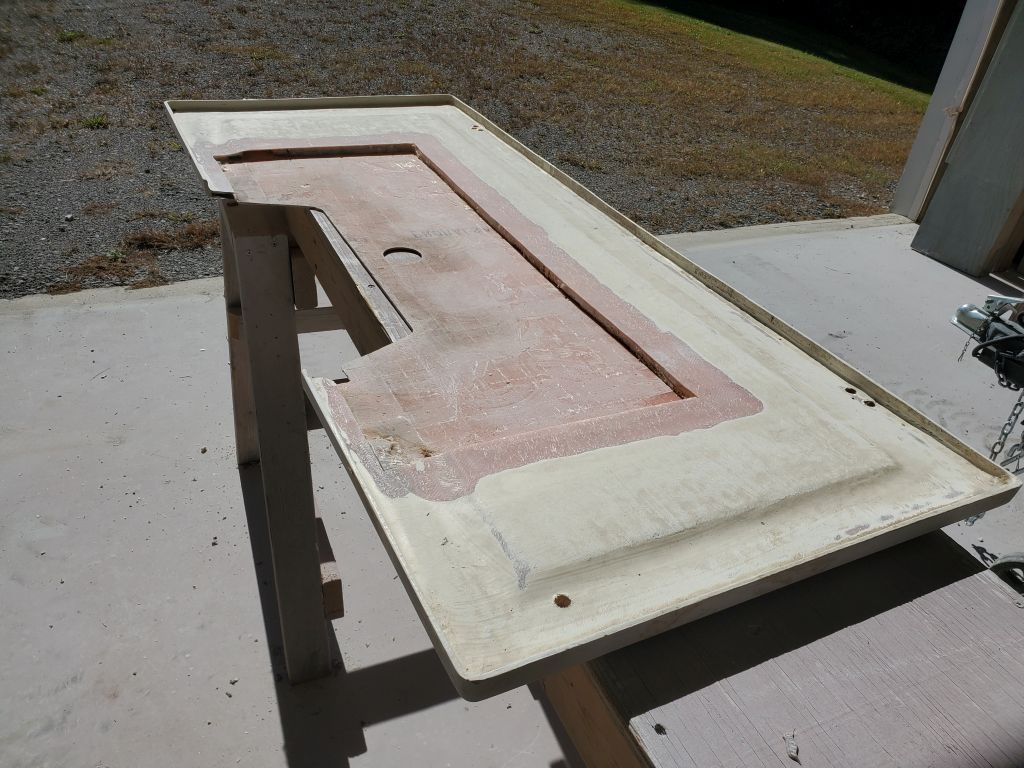
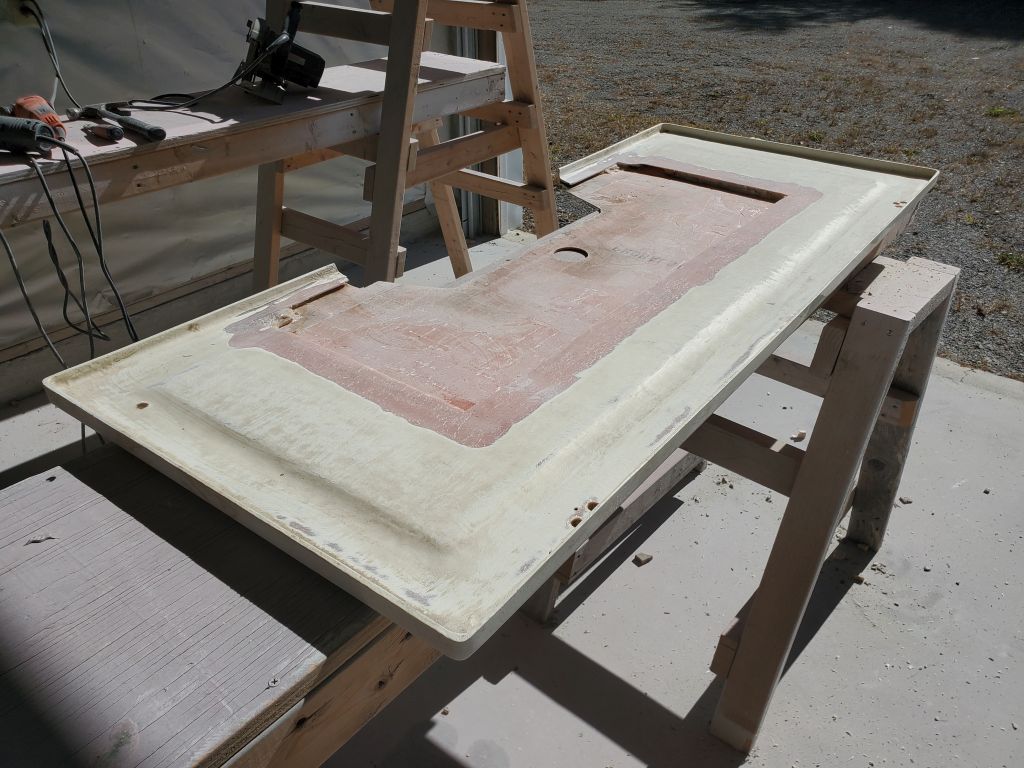
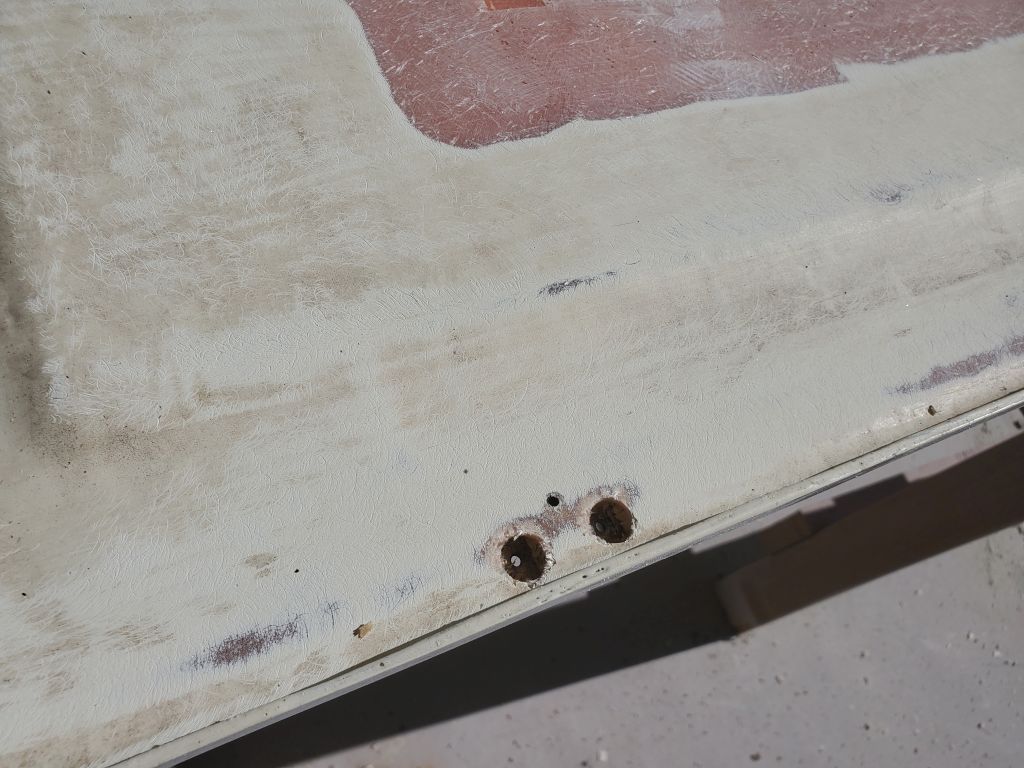
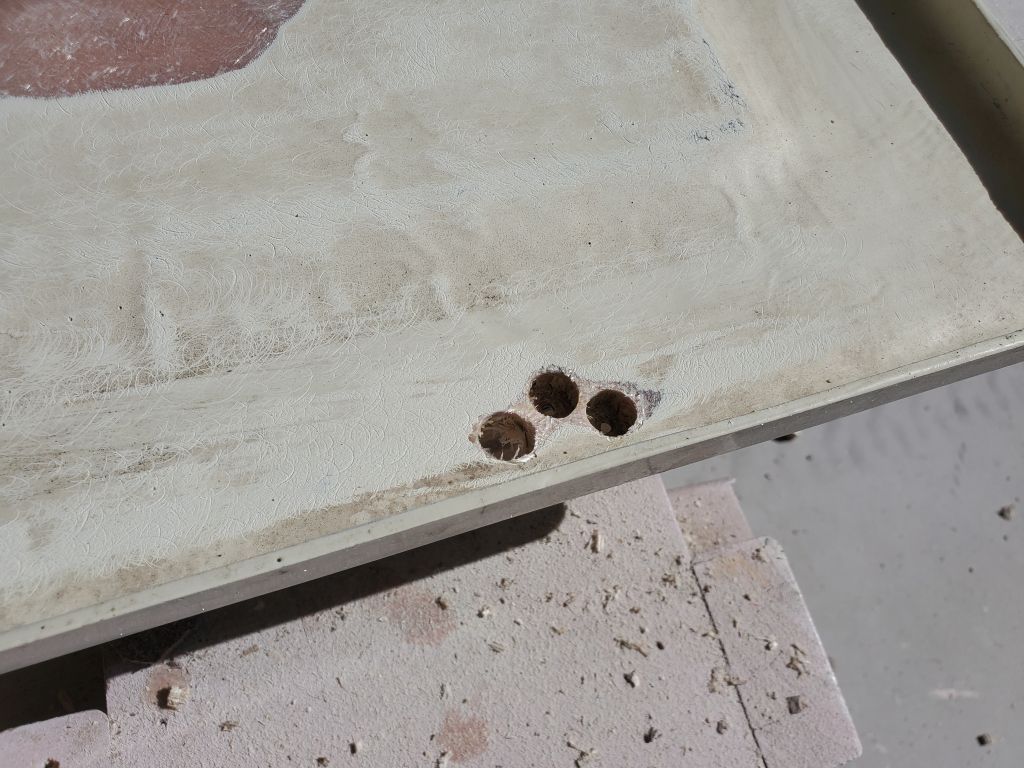
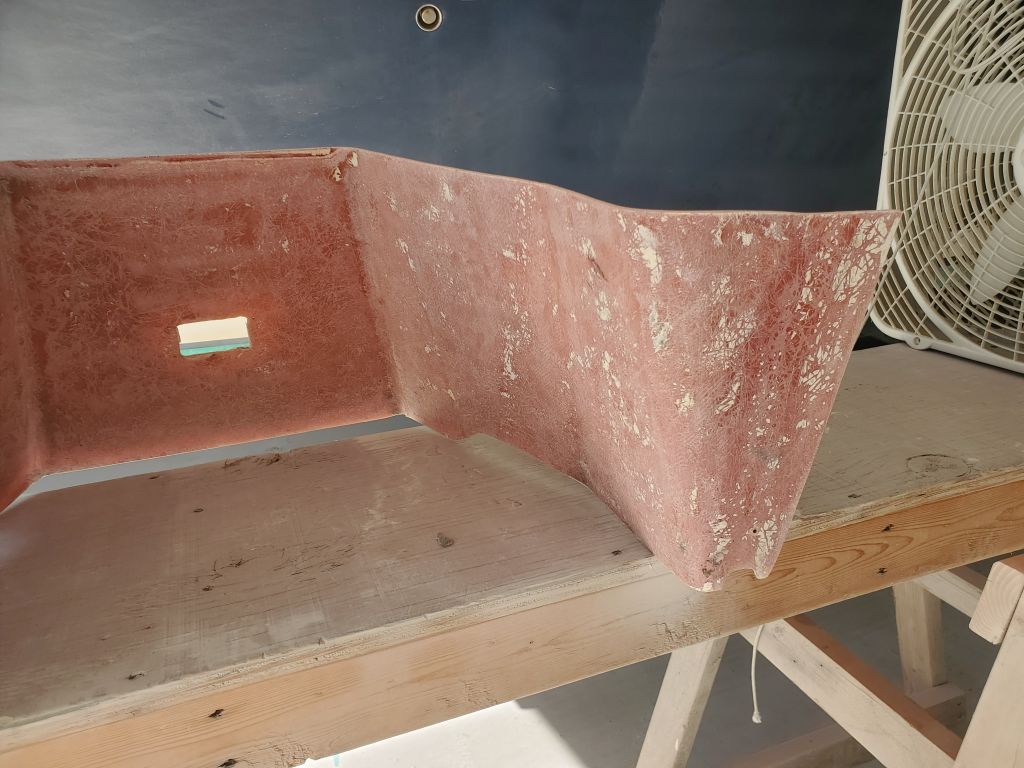
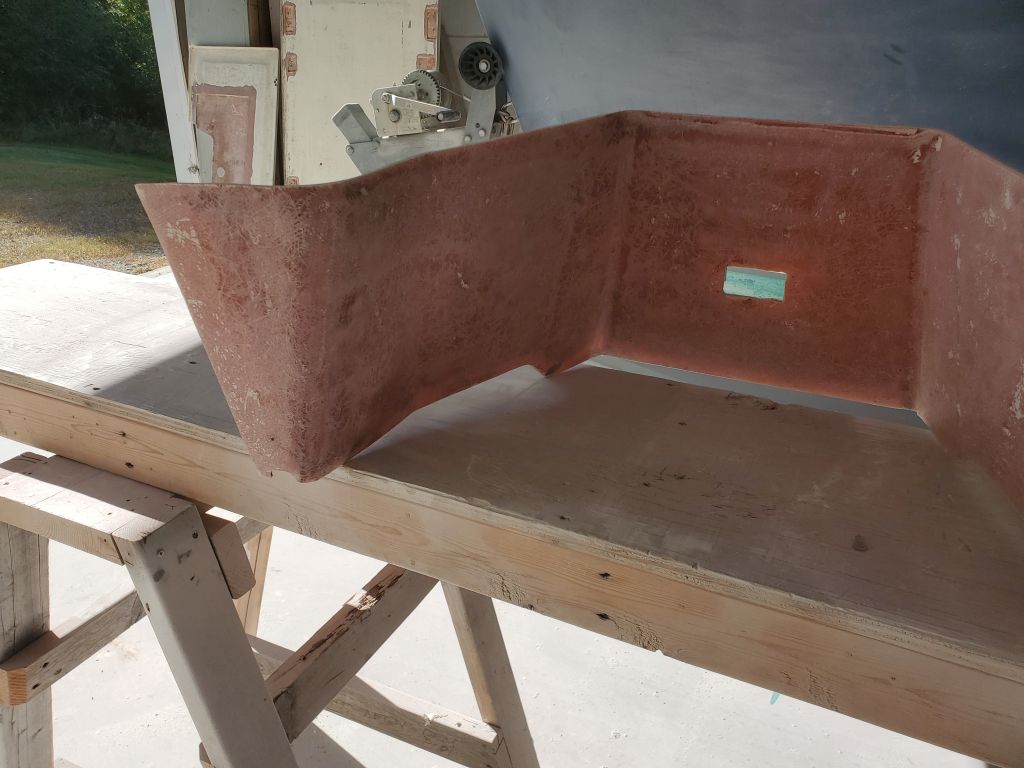
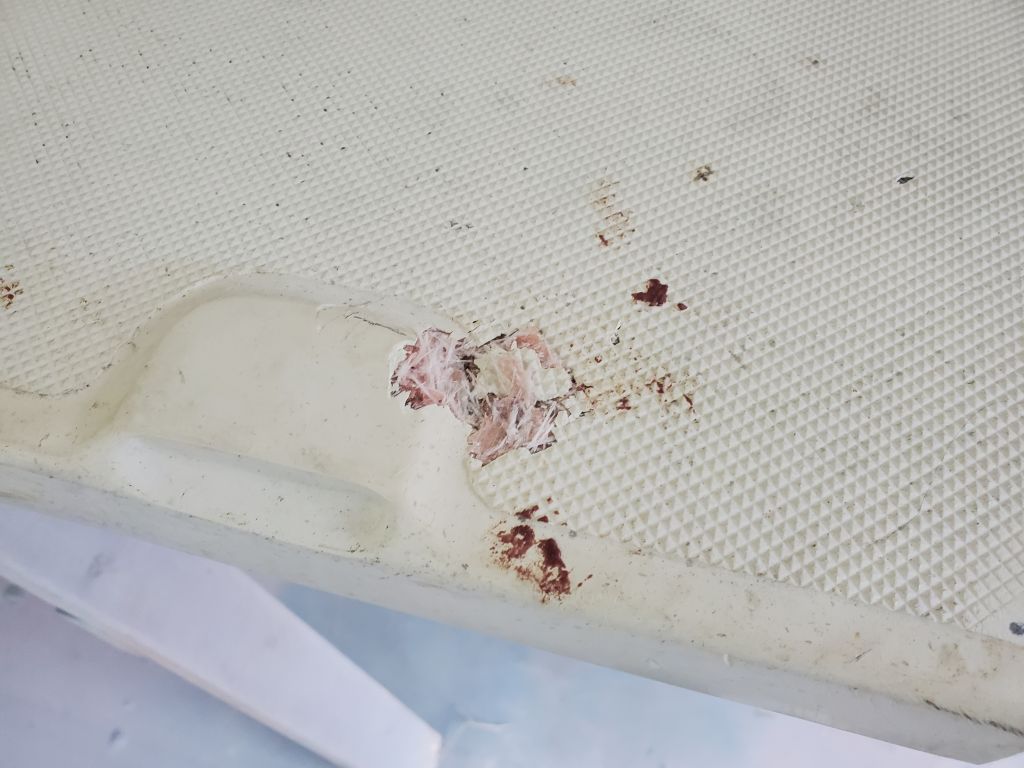
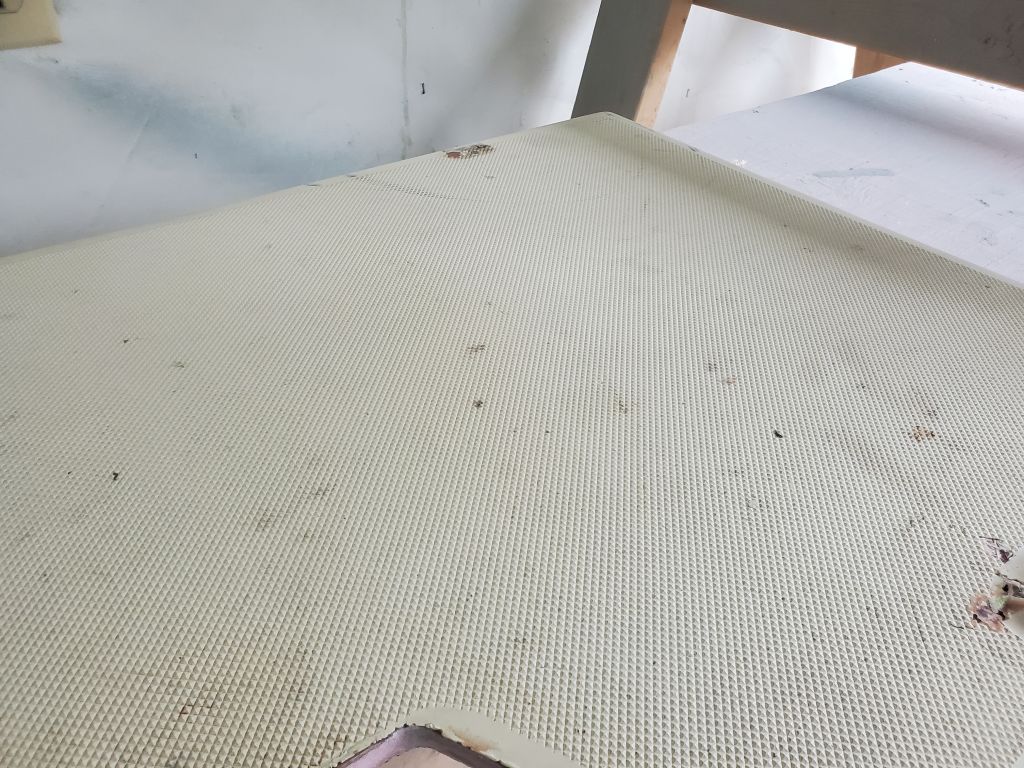
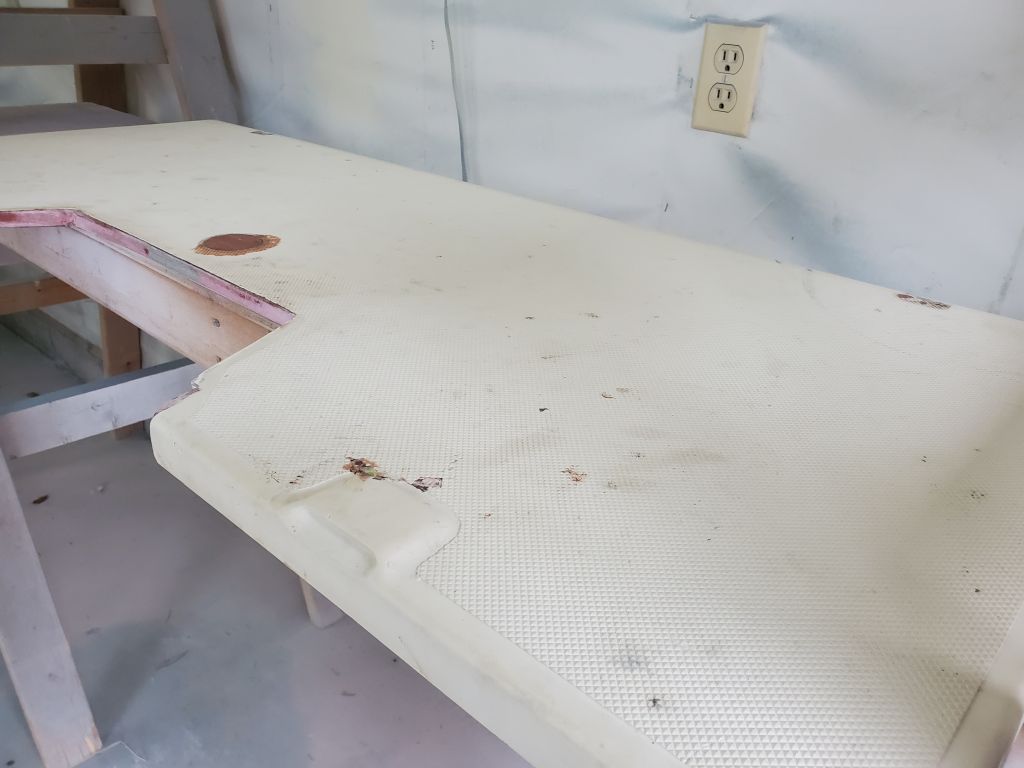
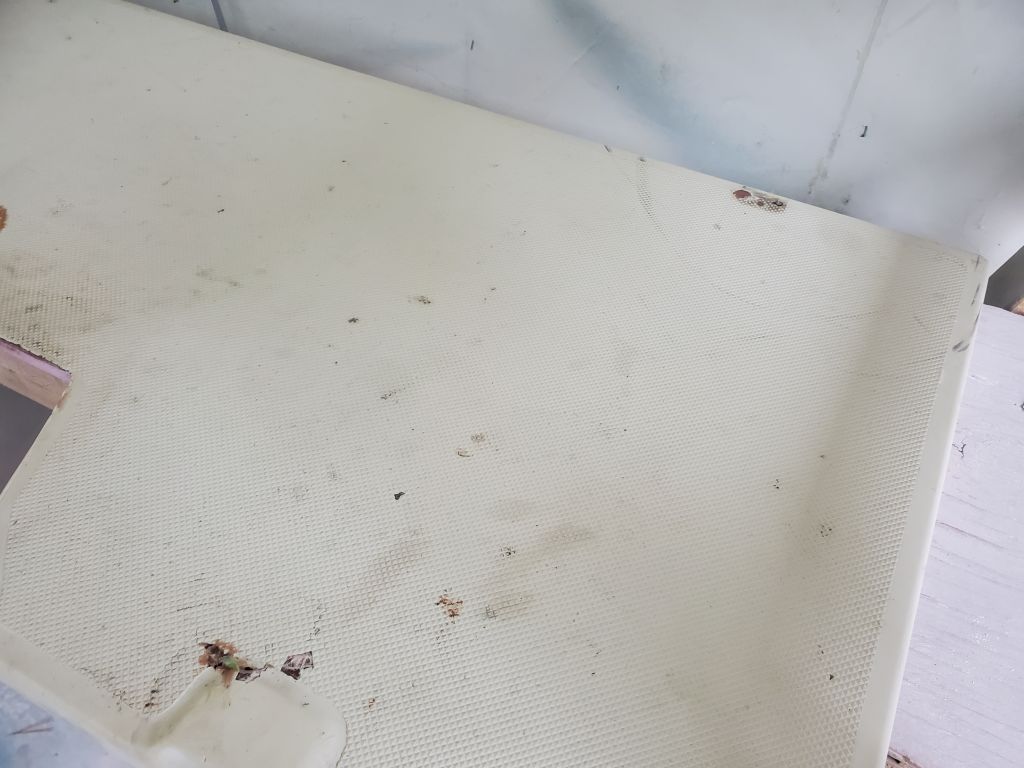
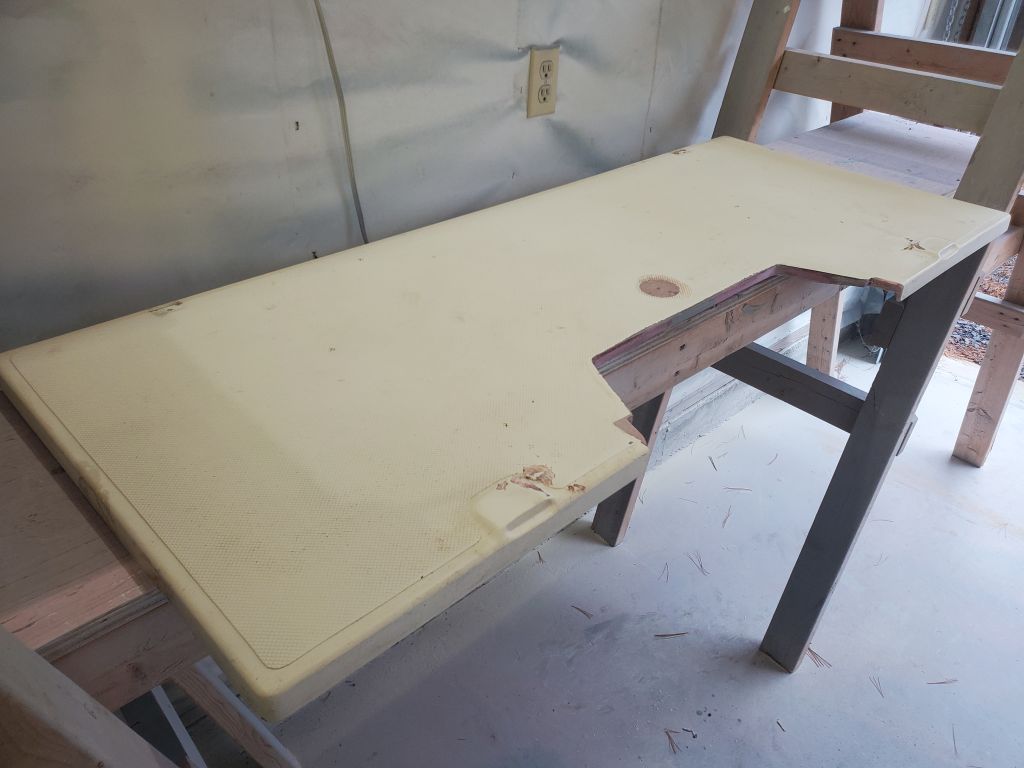
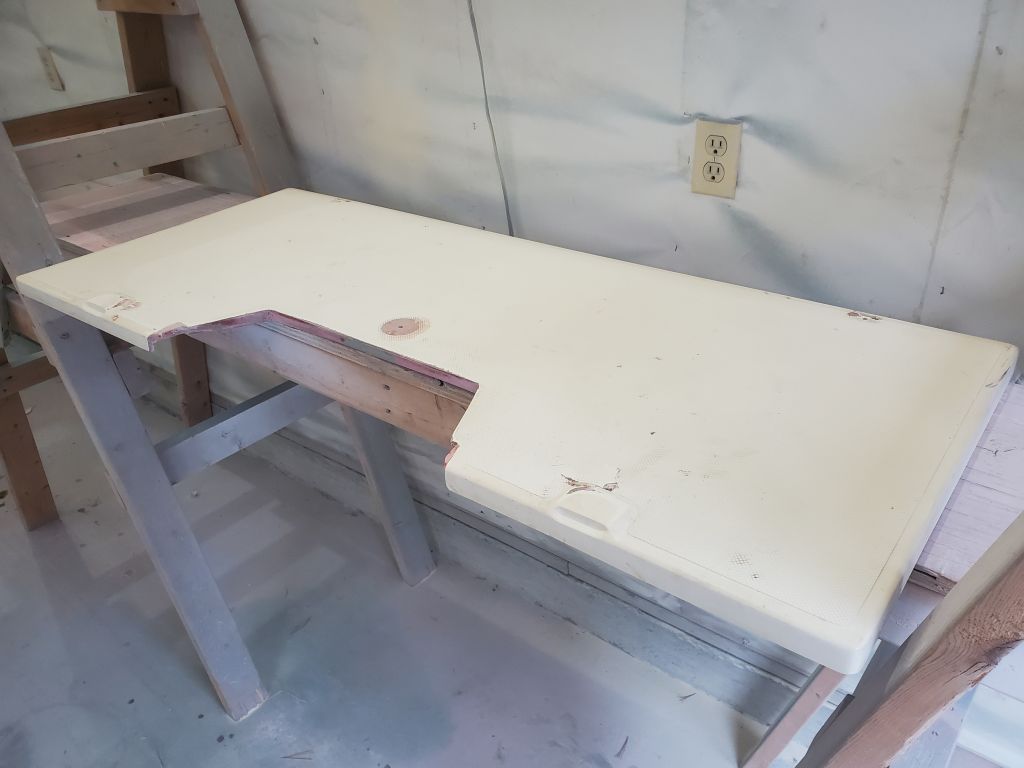
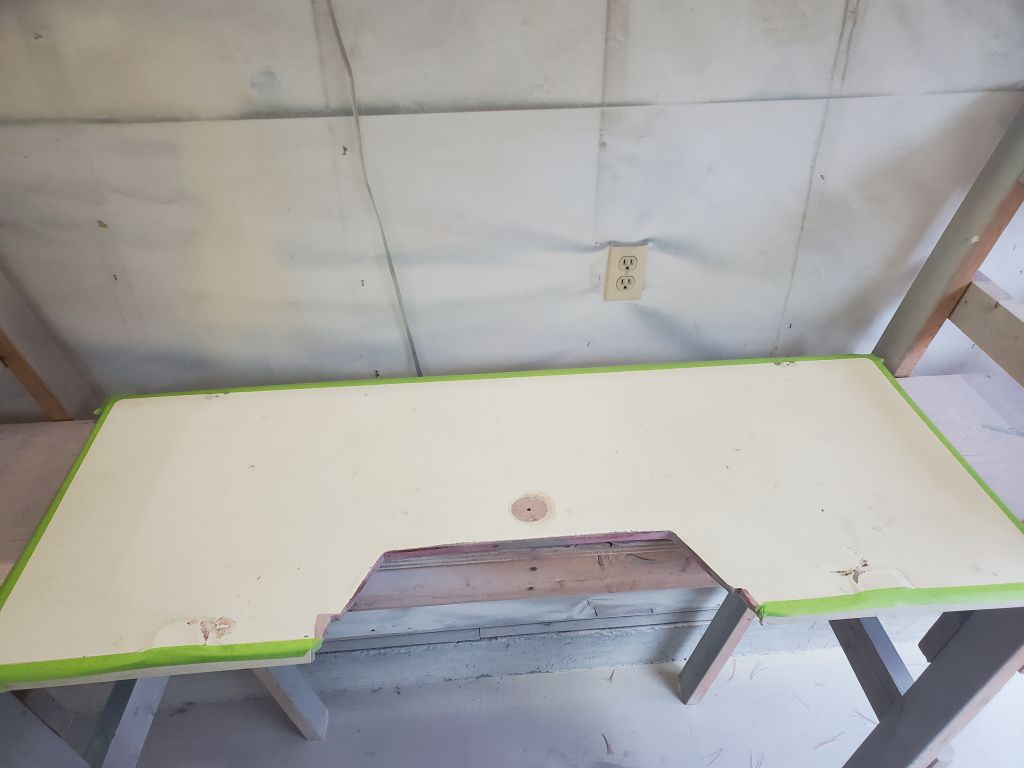
The livewell hatch was a little rough looking on its visible side, with wear and stains and a minor boo-boo or two from the recoring work, so after consultation with the owner we decided that it made sense to repaint this hatch along with the new work at the outboard well and stern of the boat.  So to prepare, I first drilled a pilot hole through the center of the currently-filled latch location, so I could easily relocate it later, then lightly sanded the nonskid surface, stopping well short of attempting to remove the molded pattern as I decided to leave the raised nonskid area in keeping with the surrounding deck surfaces; I sanded only to prepare for skim-coating and filling the existing pattern, which I did next after masking off the area.  I removed the tape immediately thereafter to maintain the sharp edge around the existing raised nonskid area.

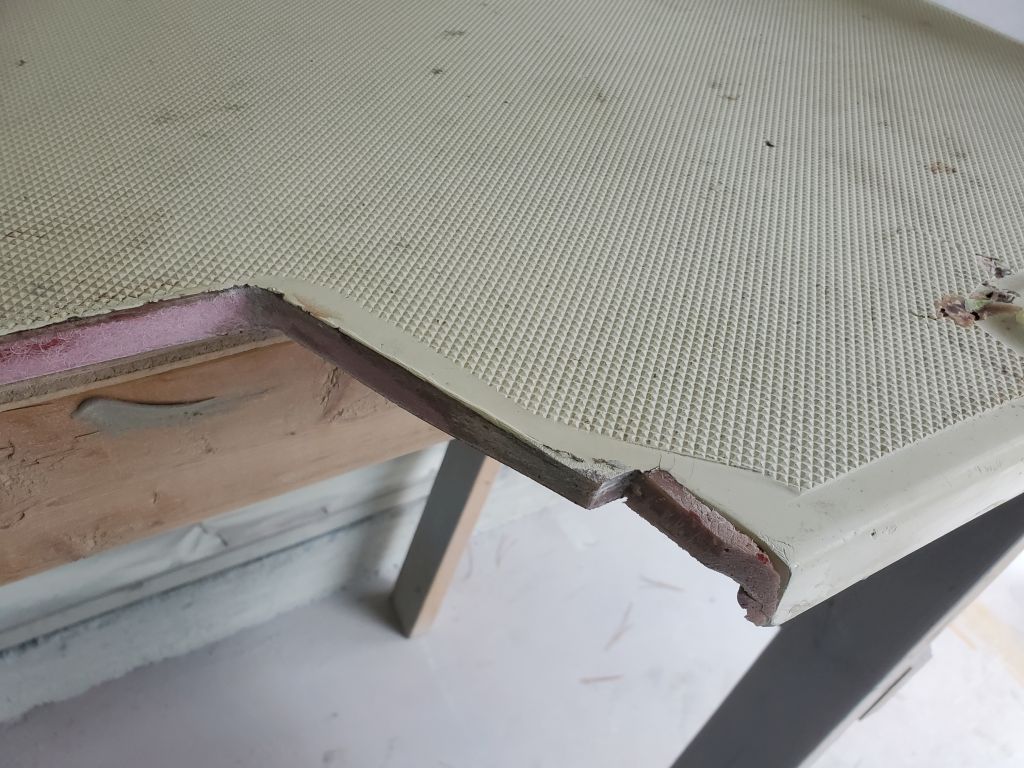
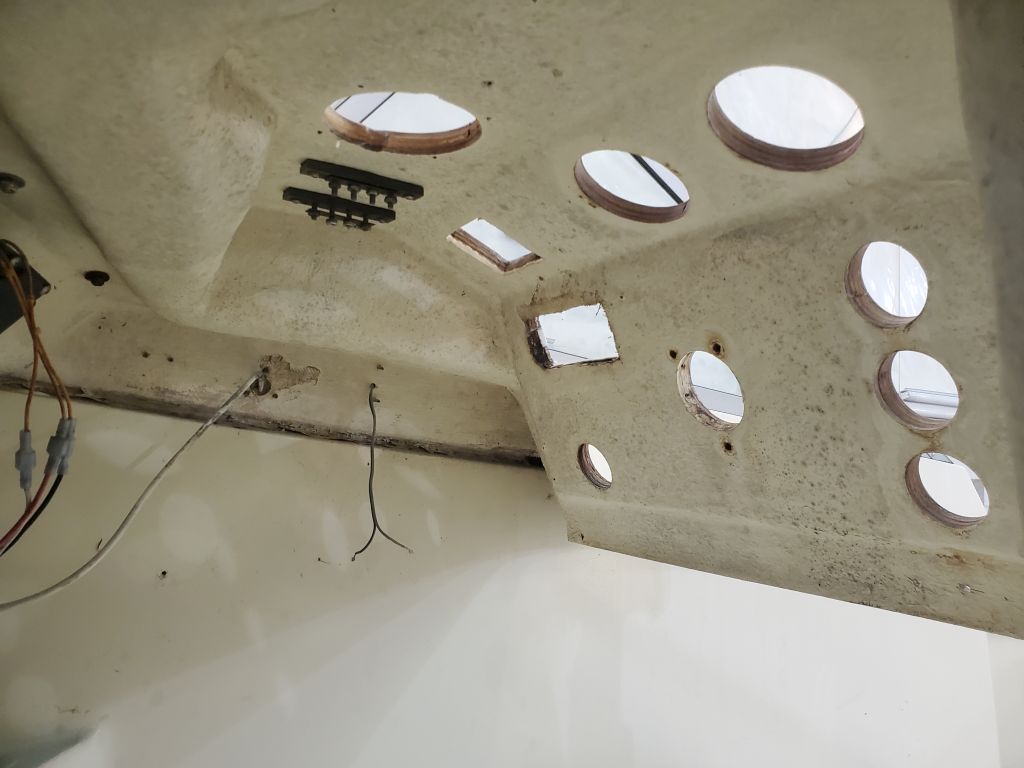
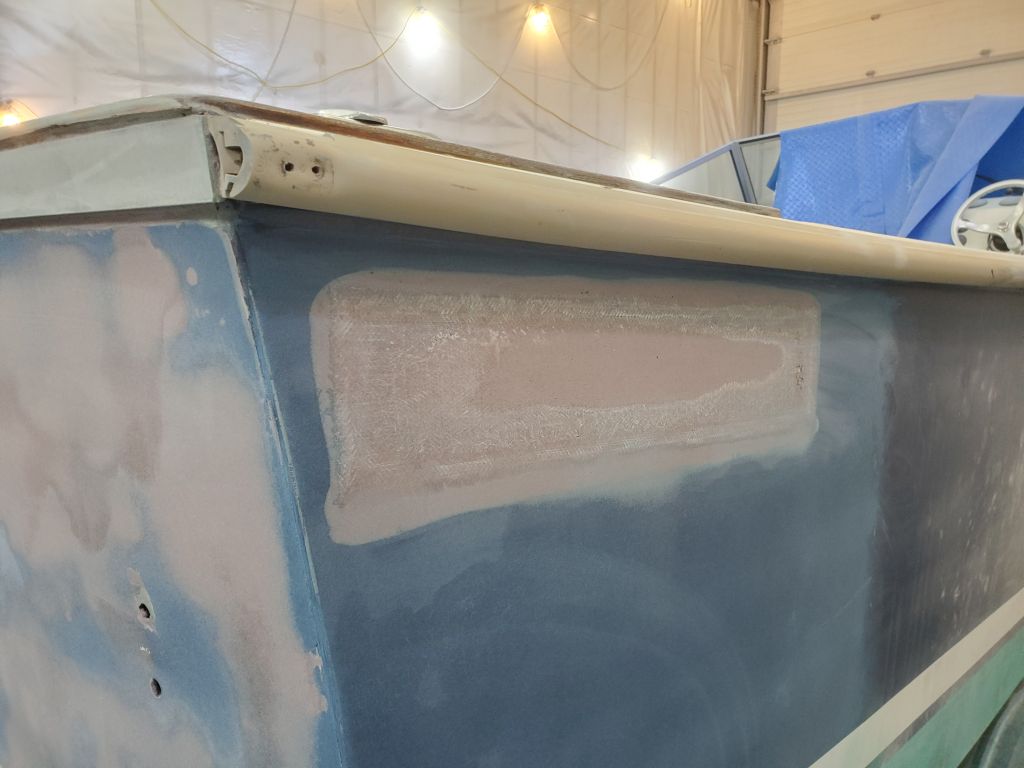
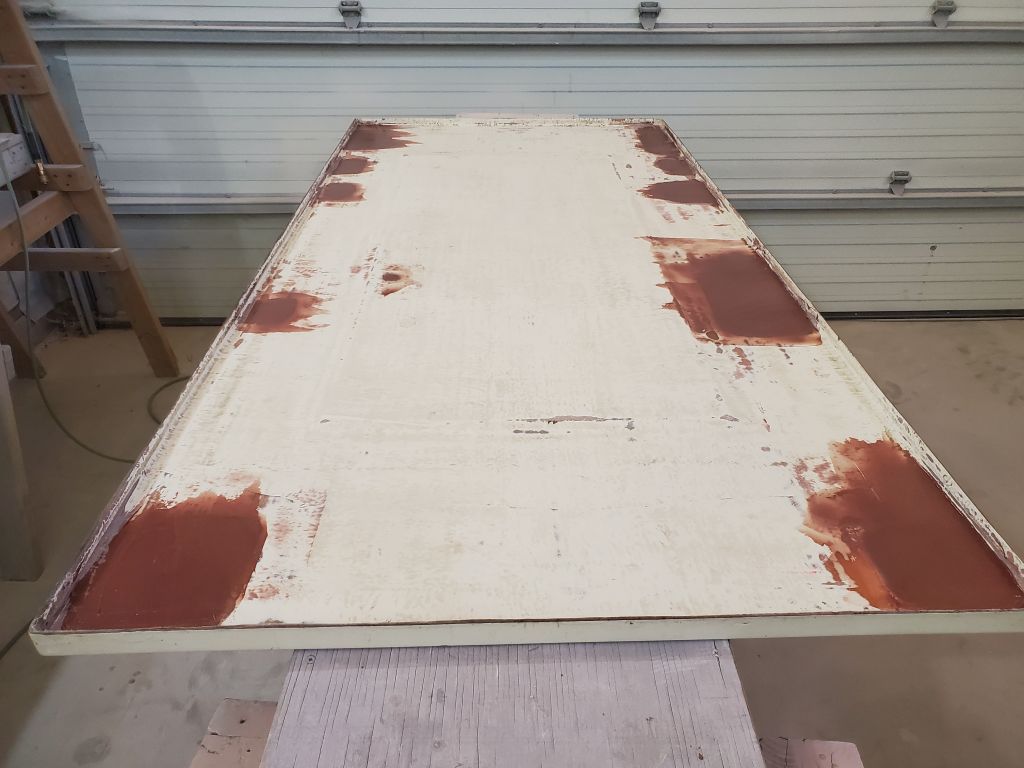
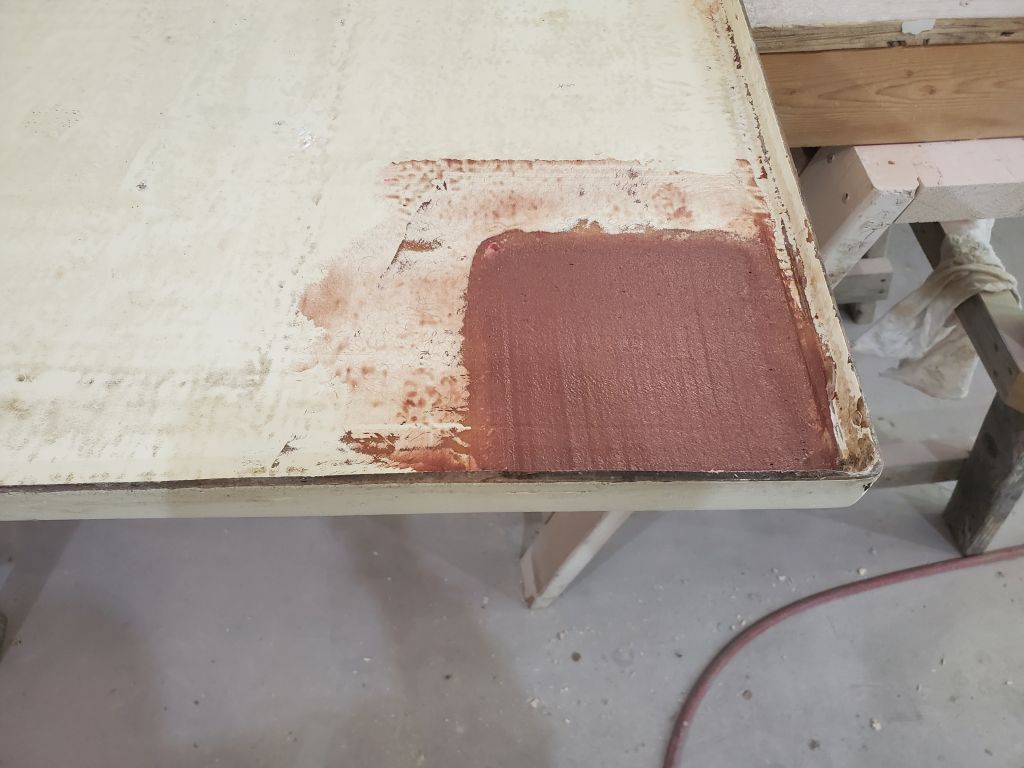
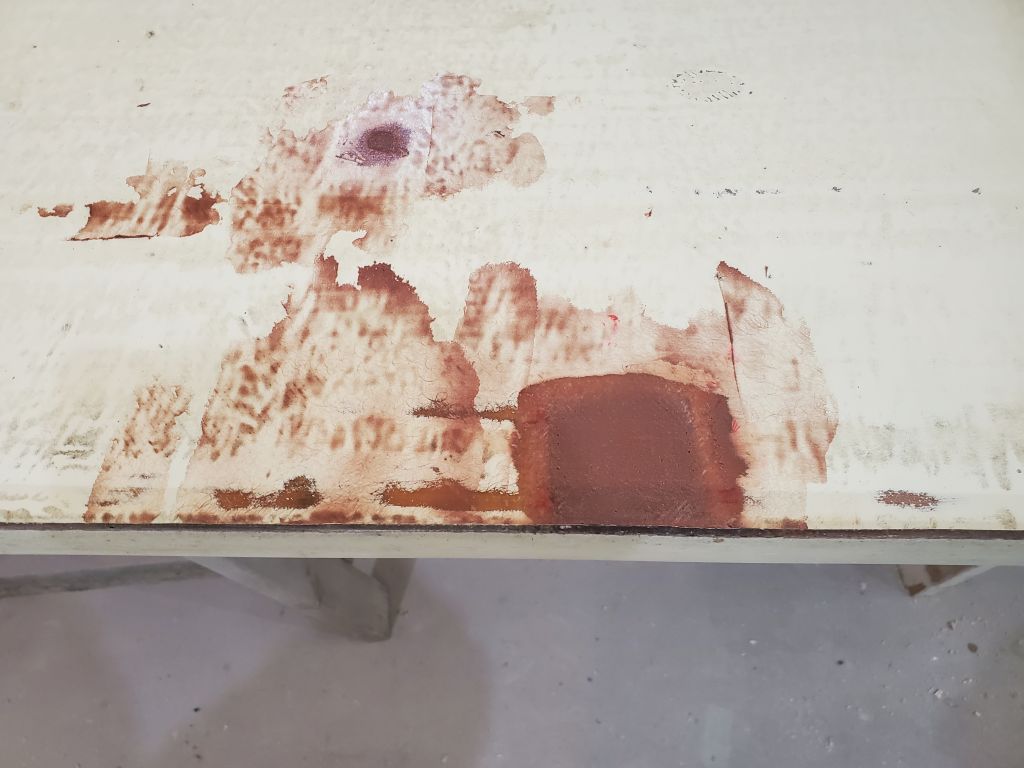
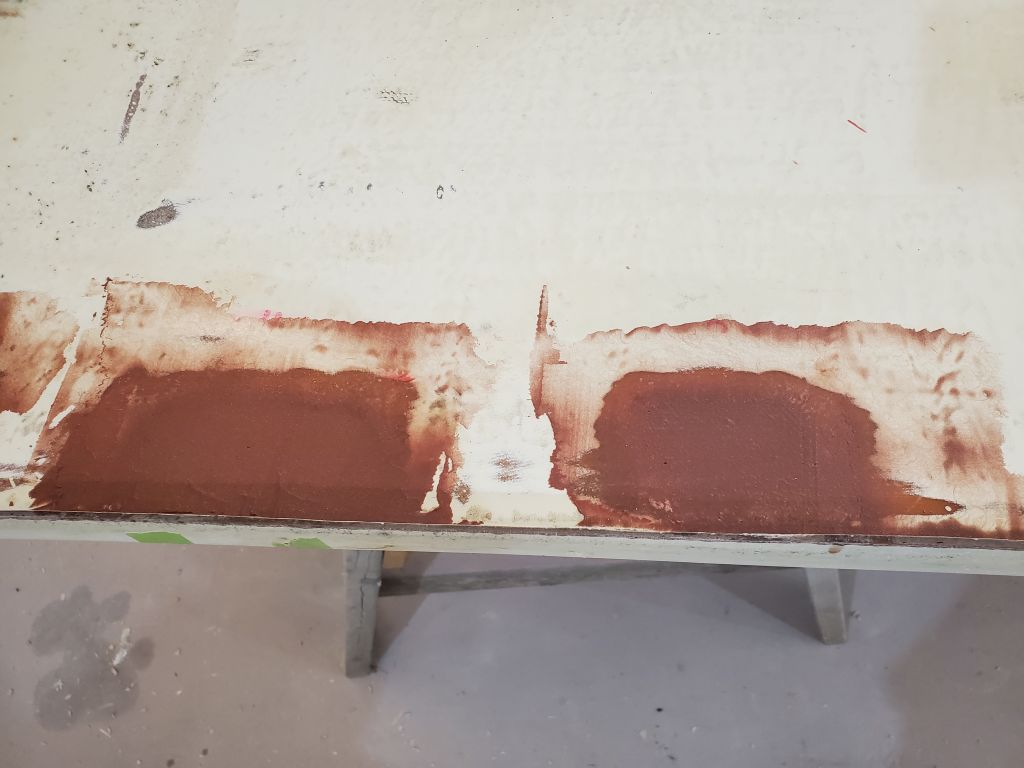
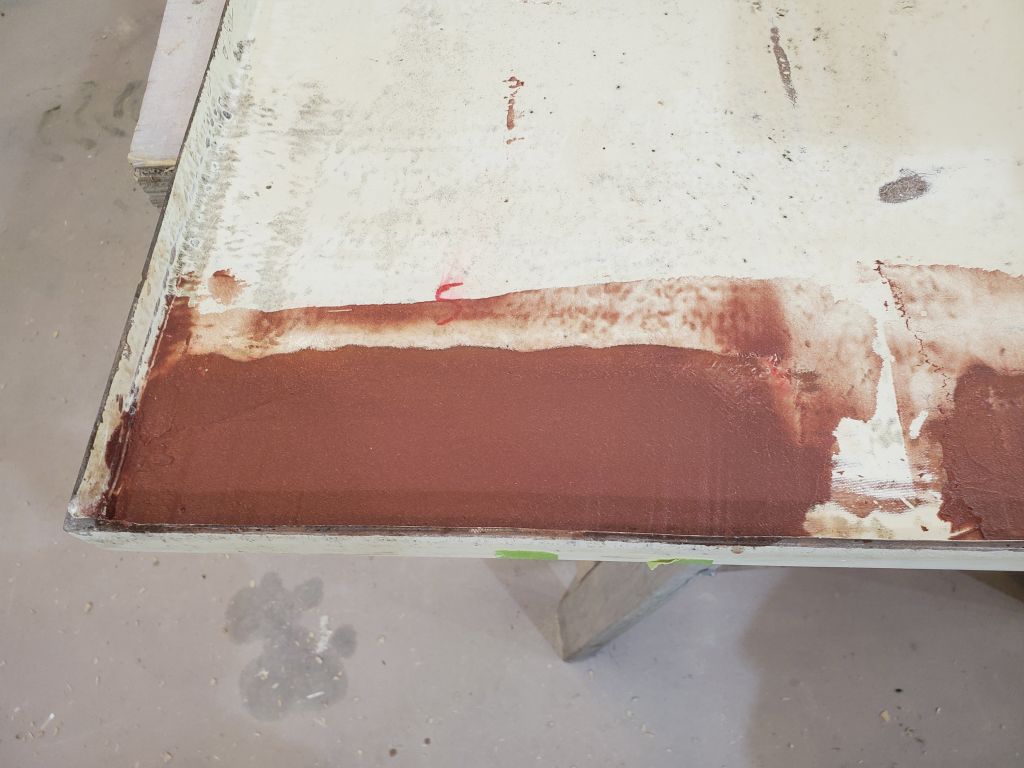
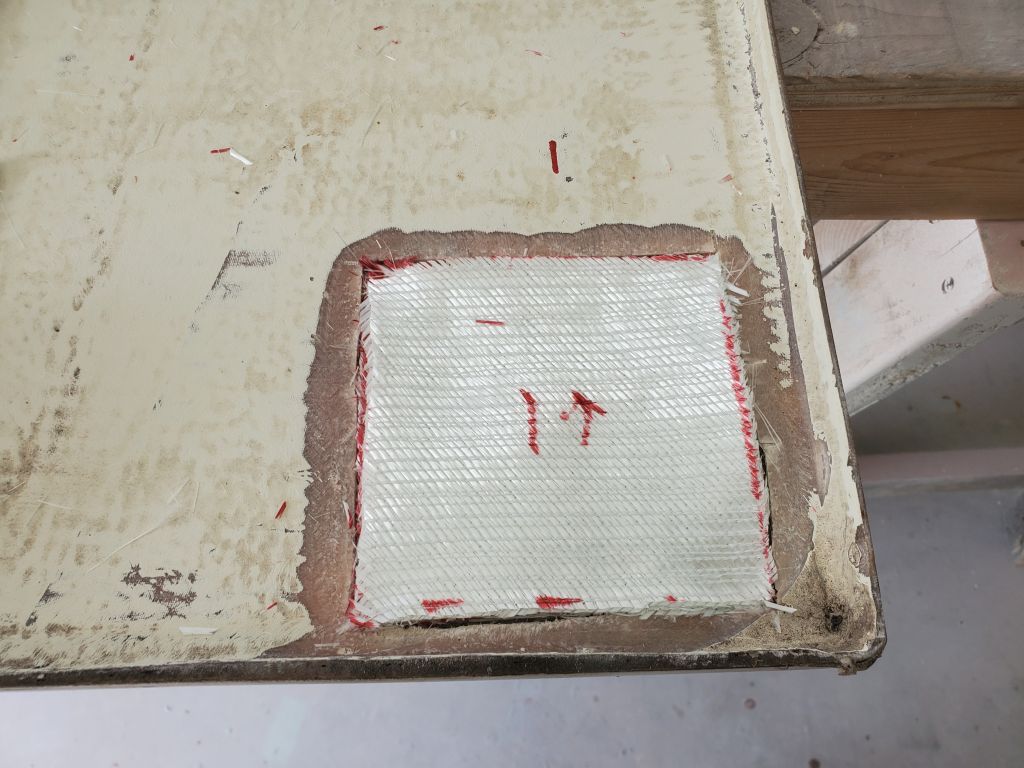
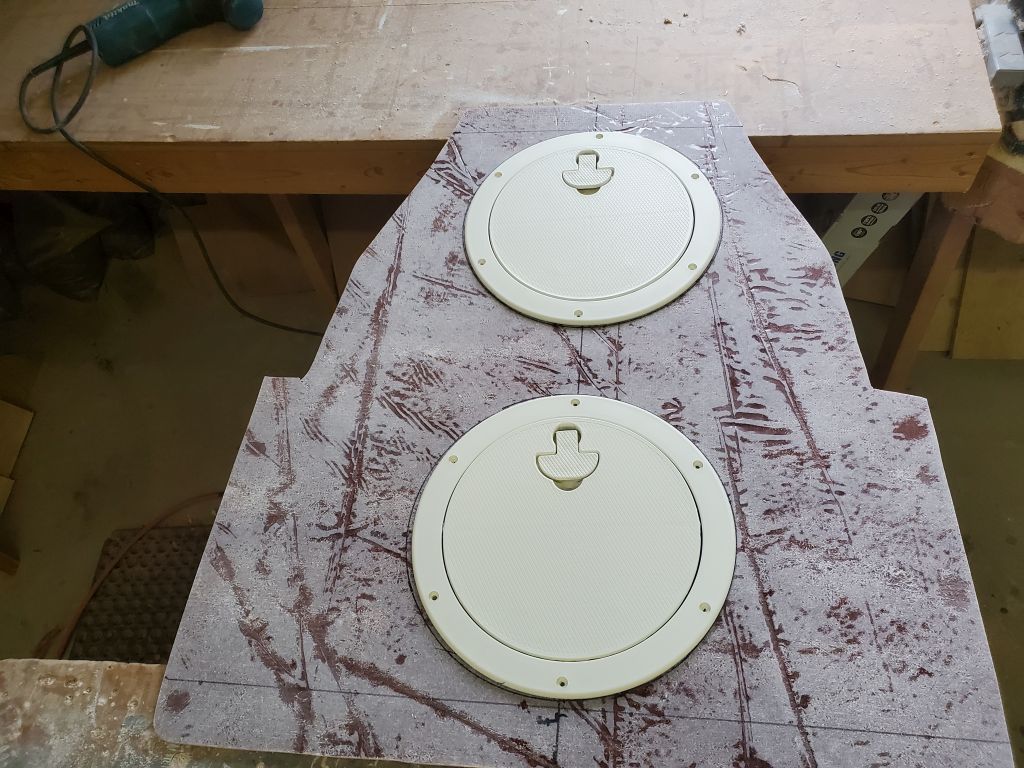
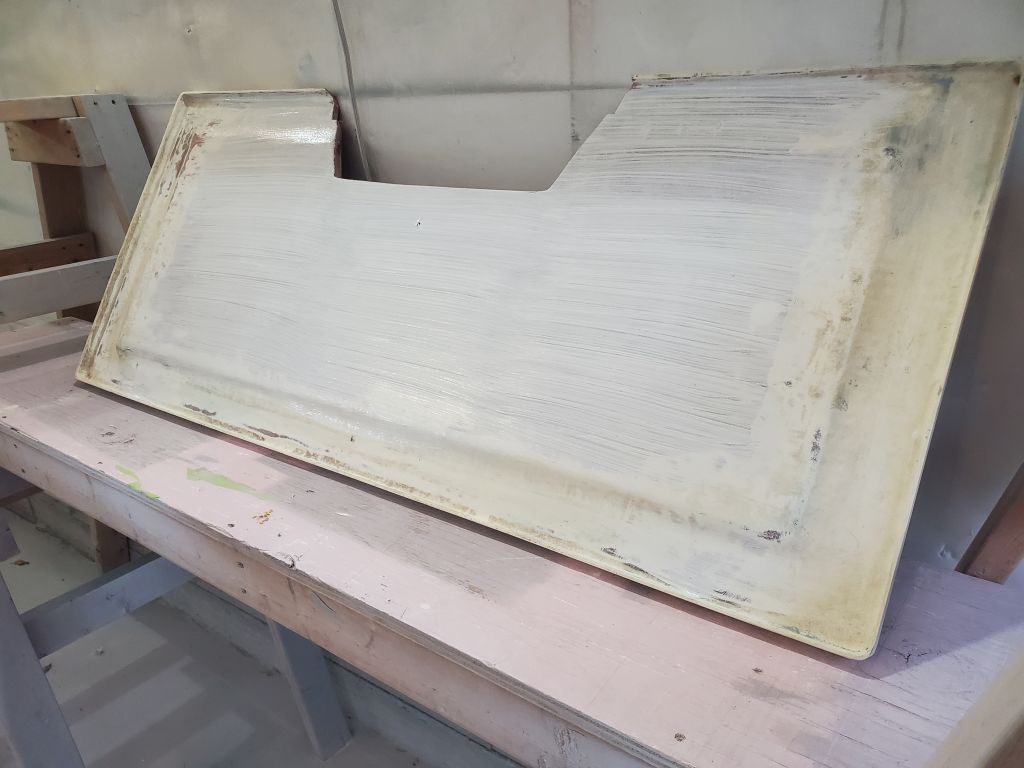
To prepare the undersides of both hatch covers for painting, I applied a coat of two-part epoxy primer to the repairs I’d completed, which would ensure the final coating would cure properly over the fresh epoxy.

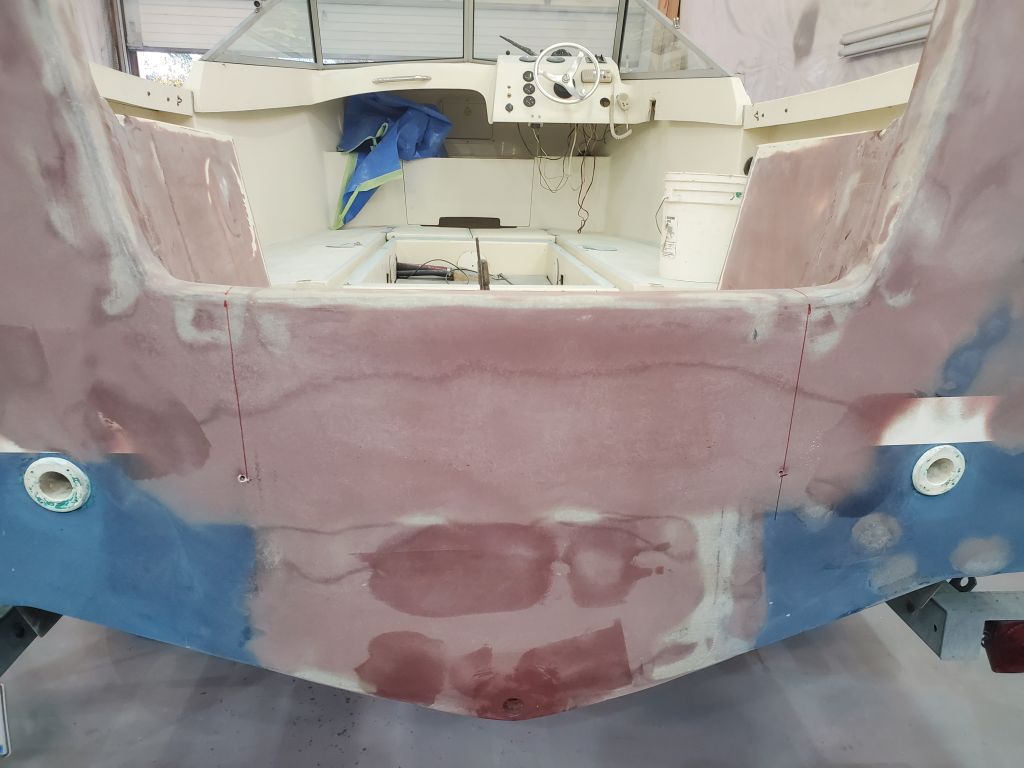
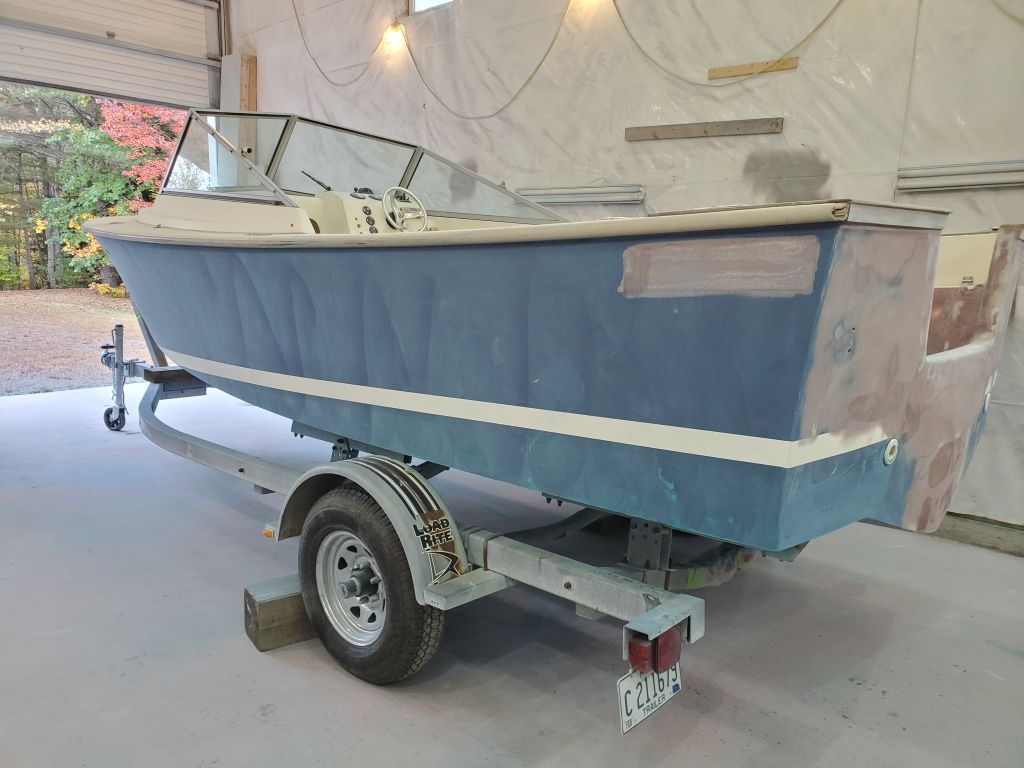
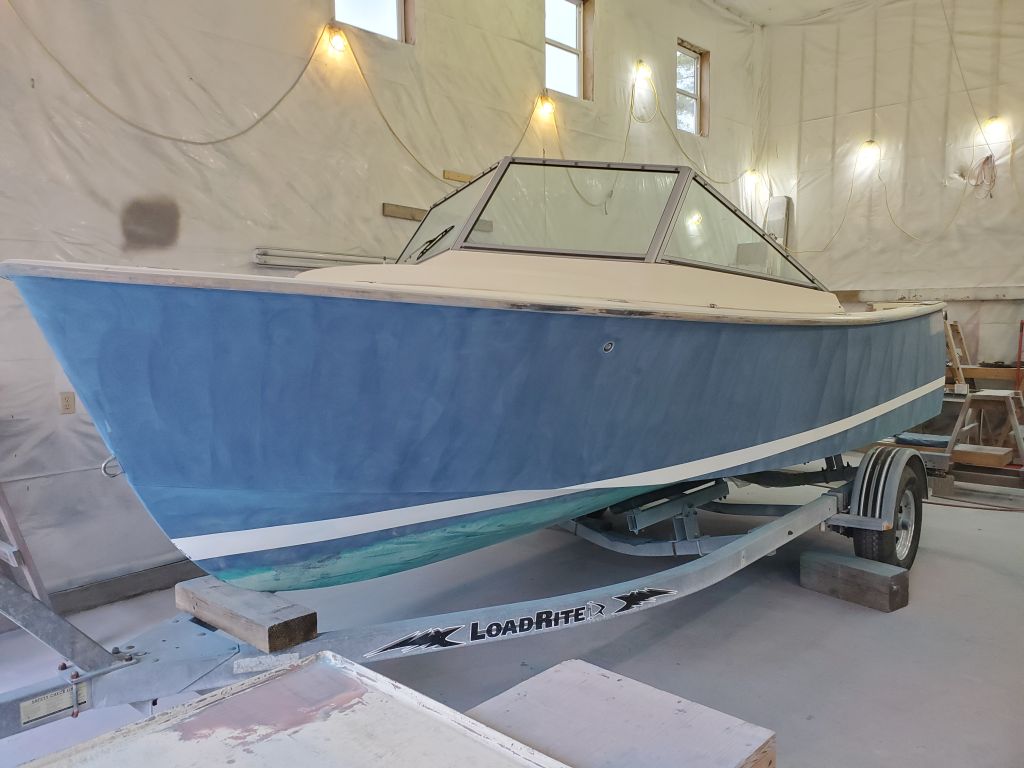
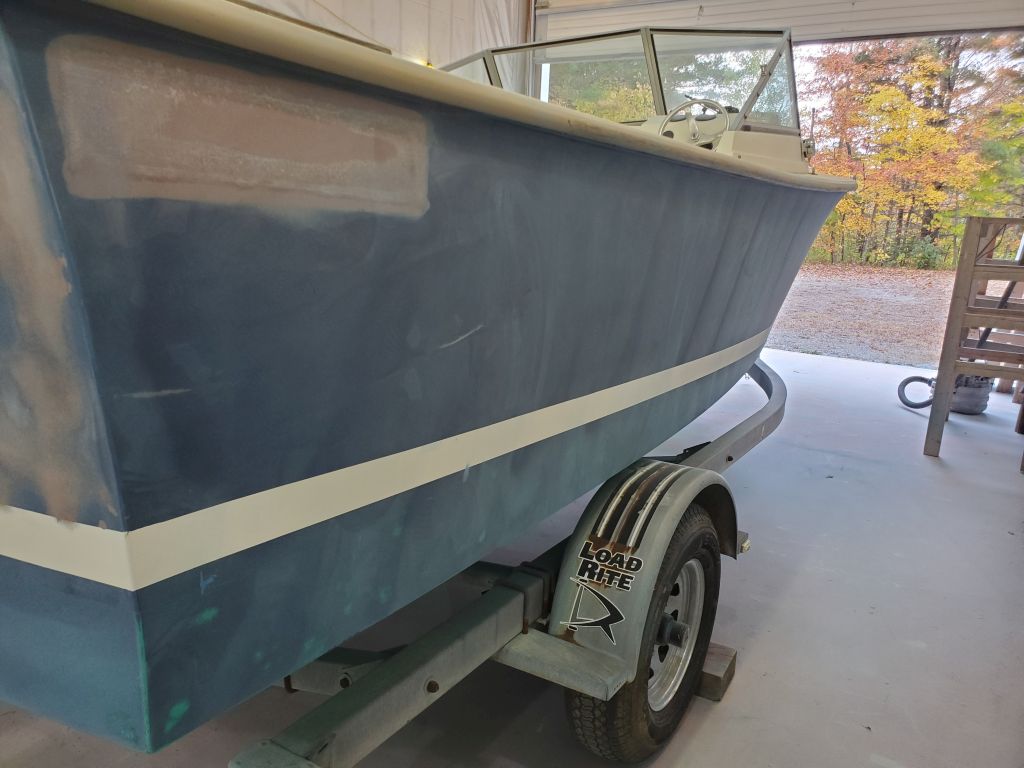
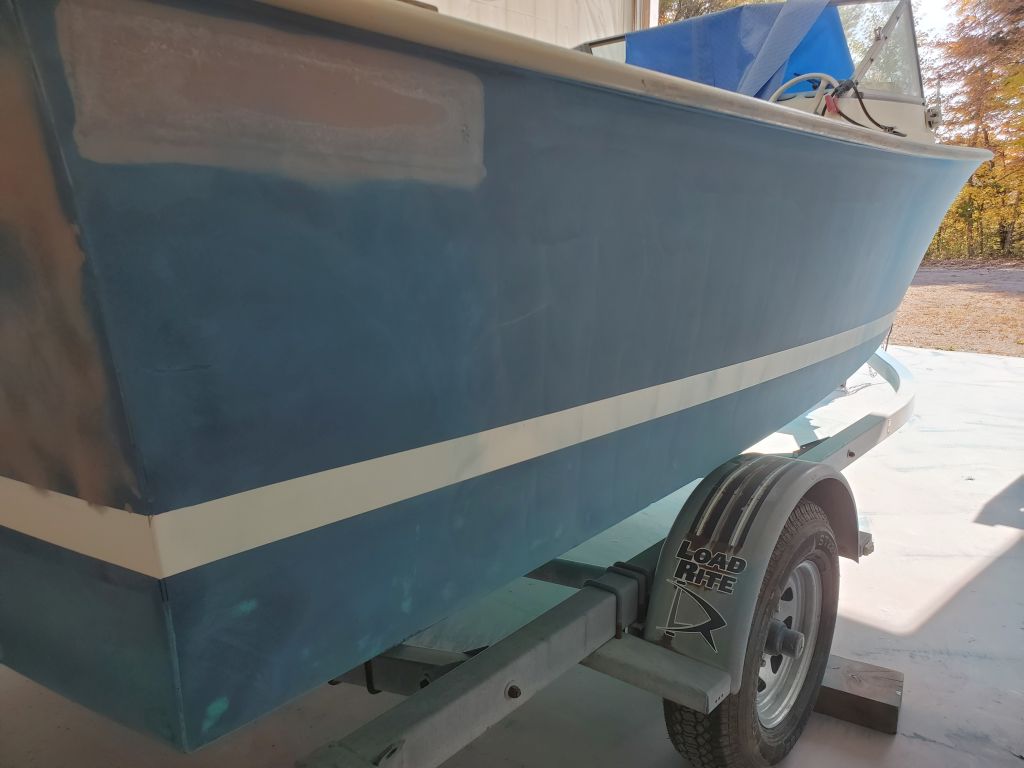
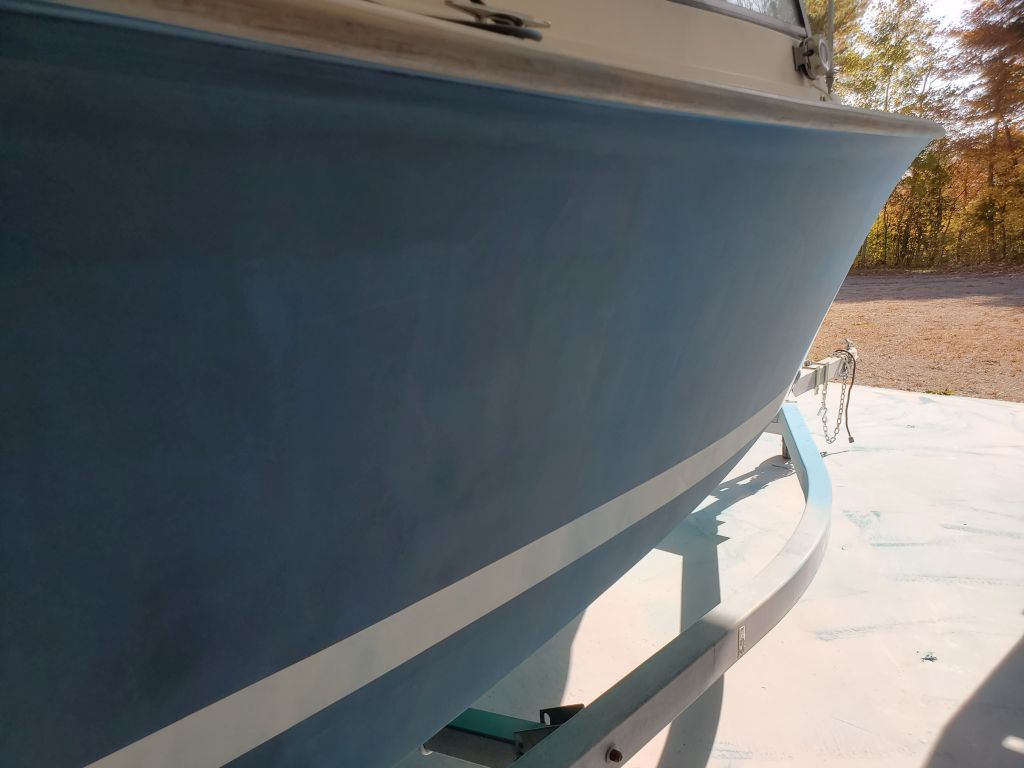
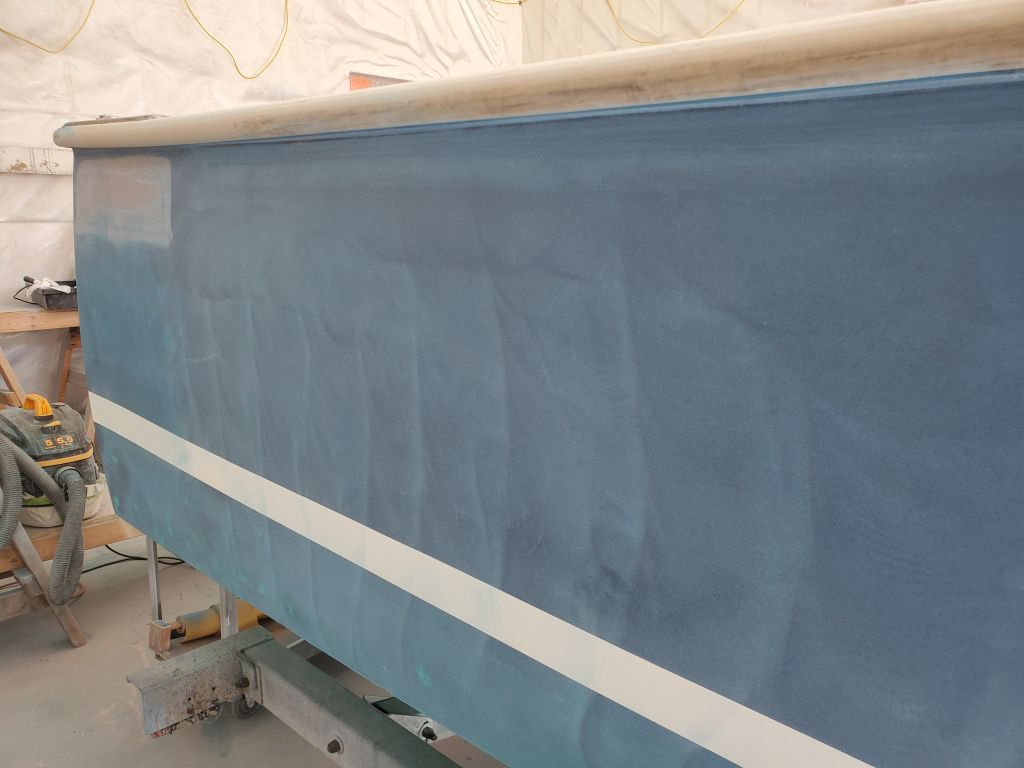
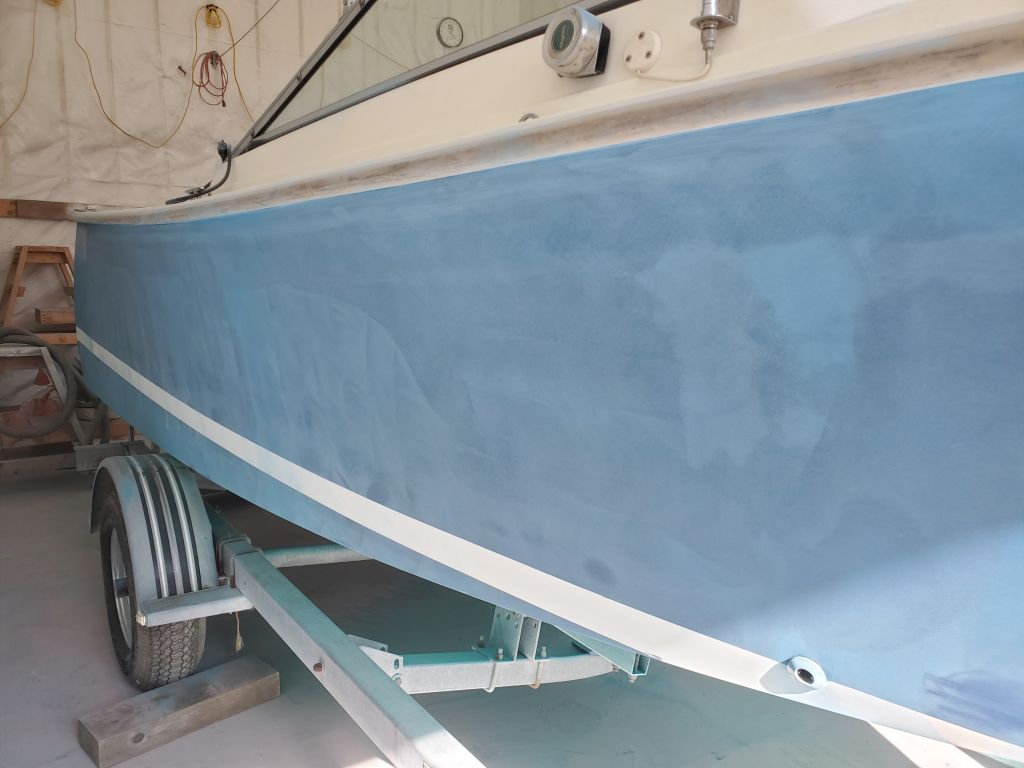
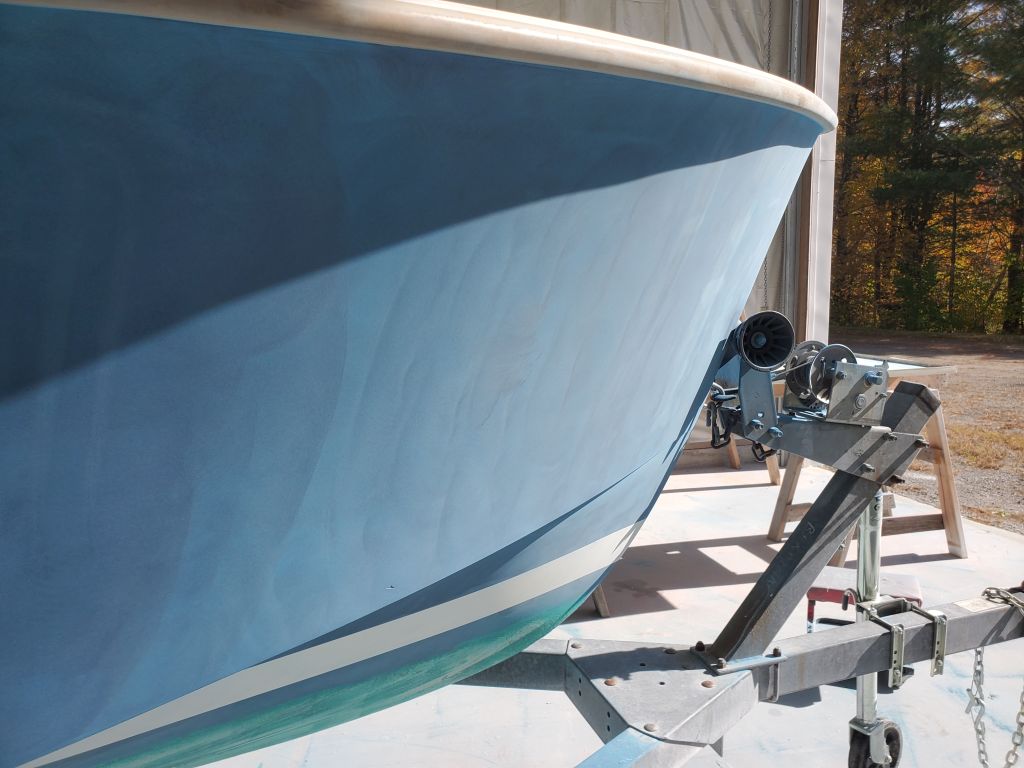
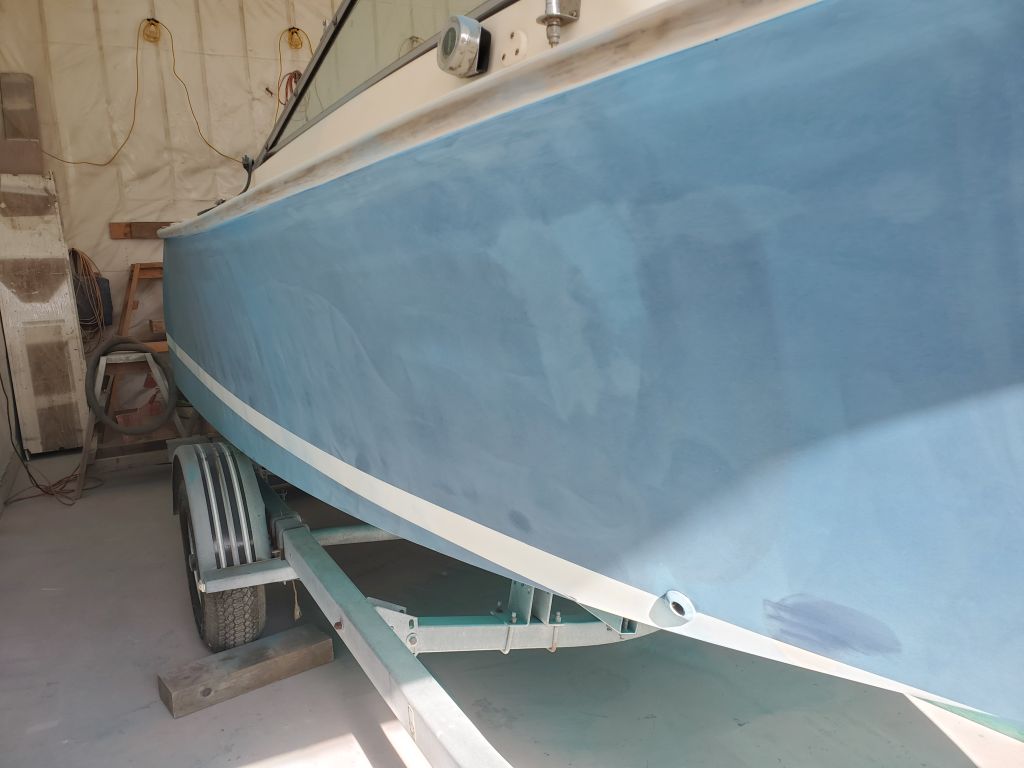
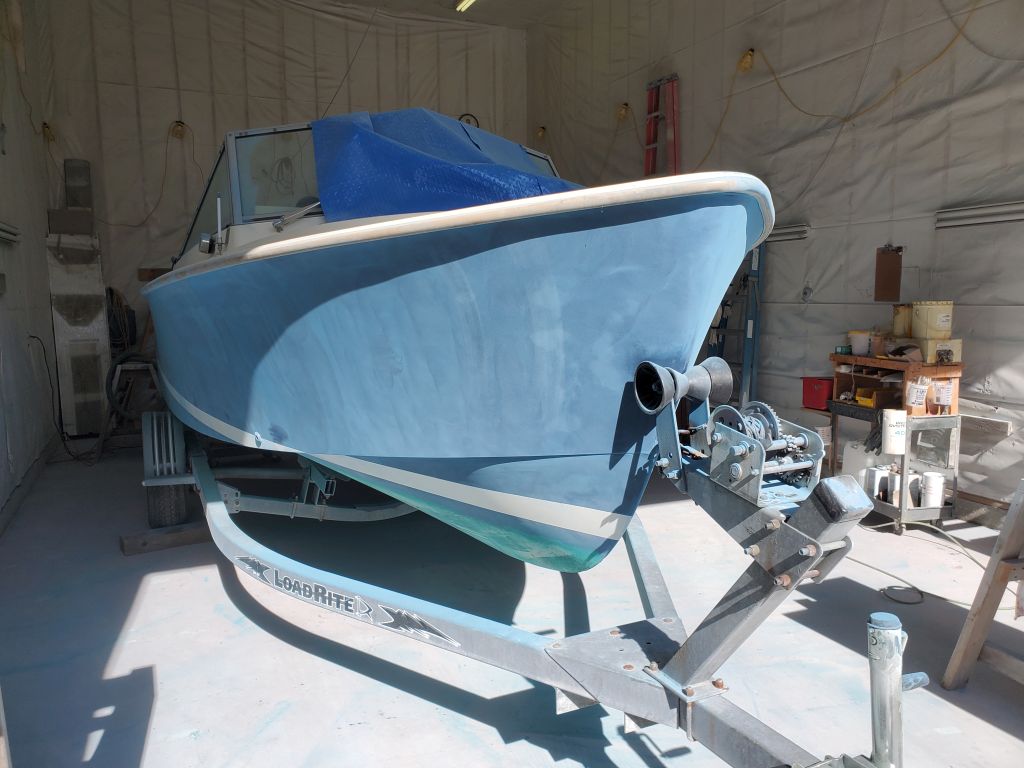
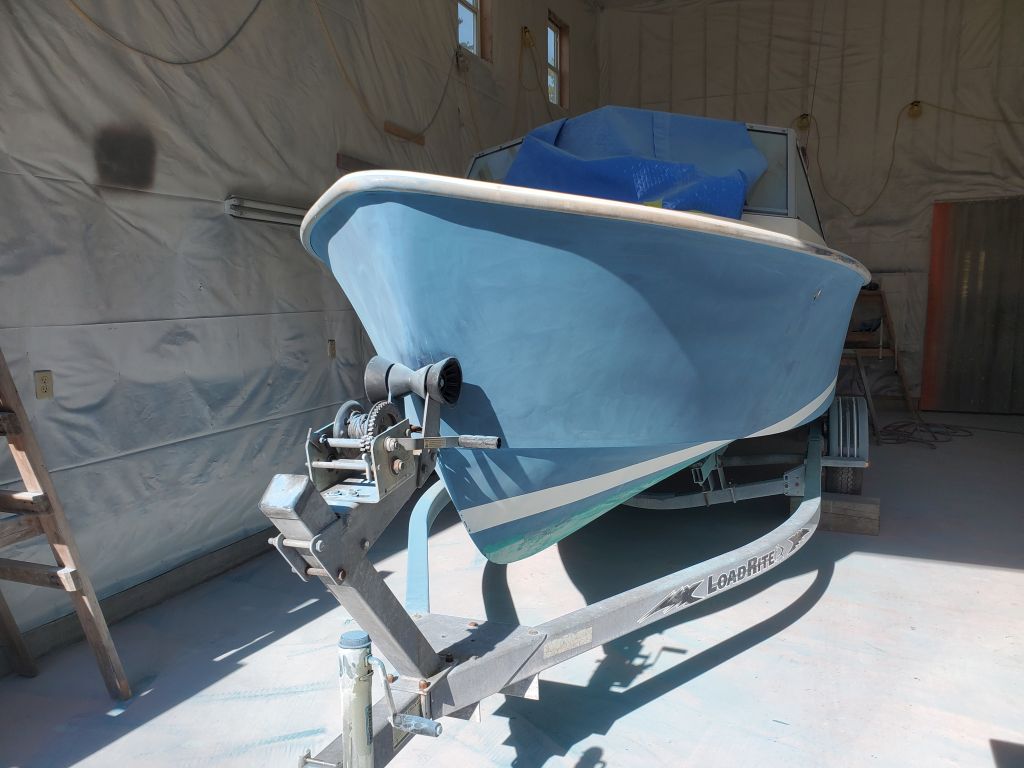
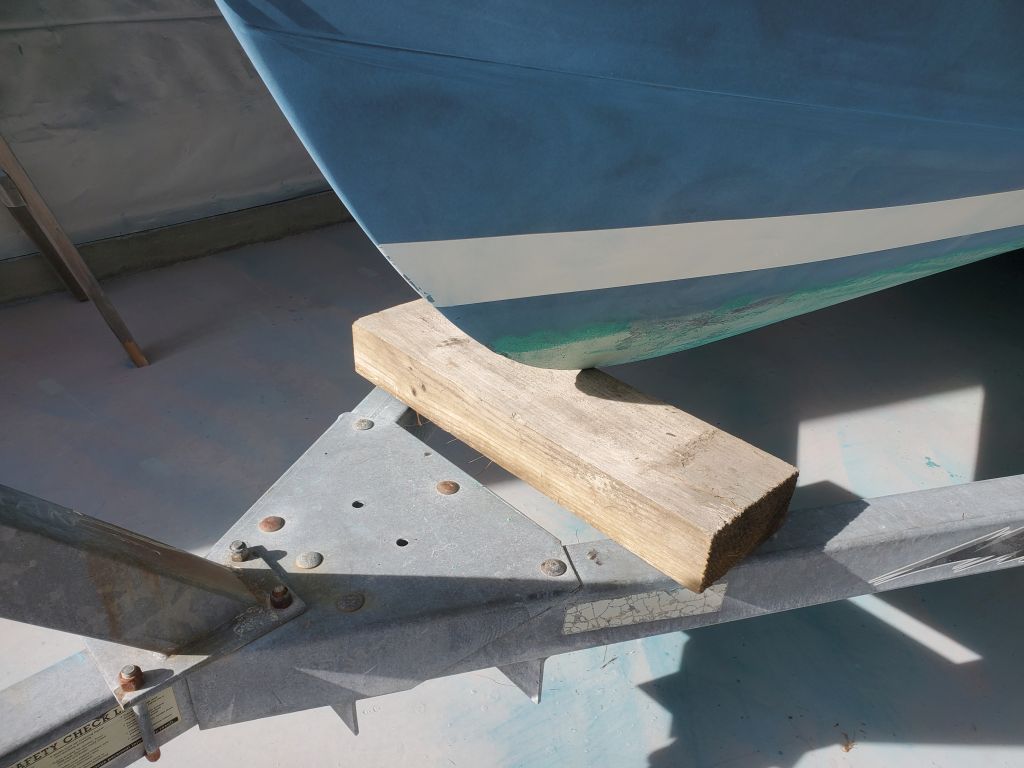
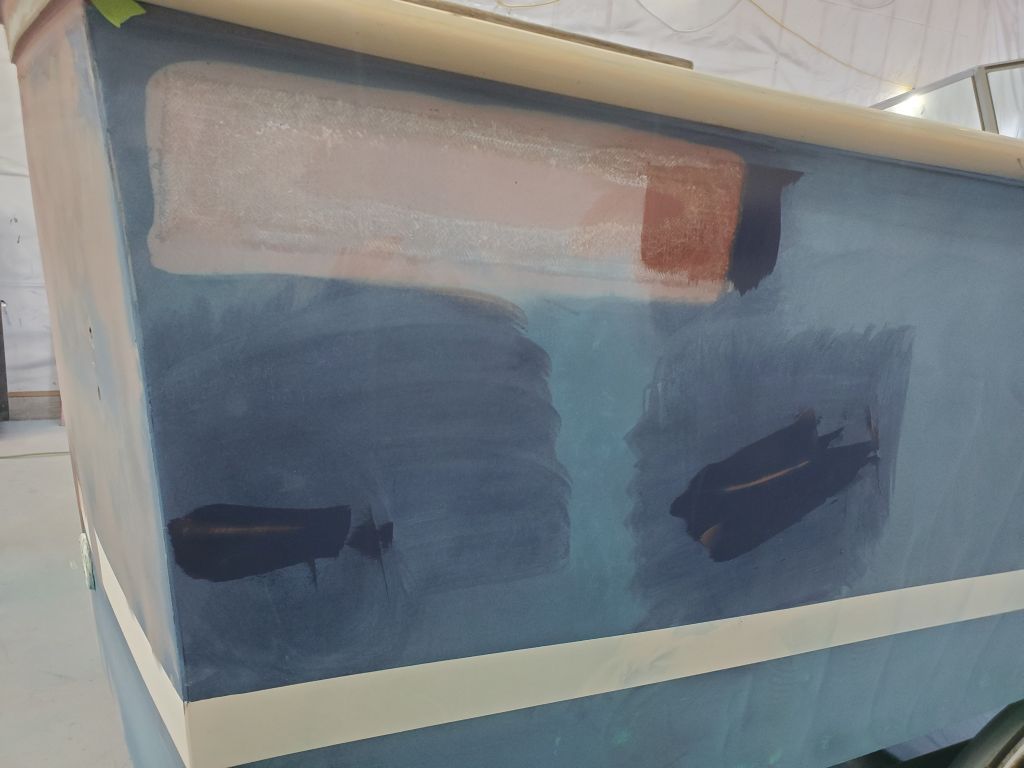
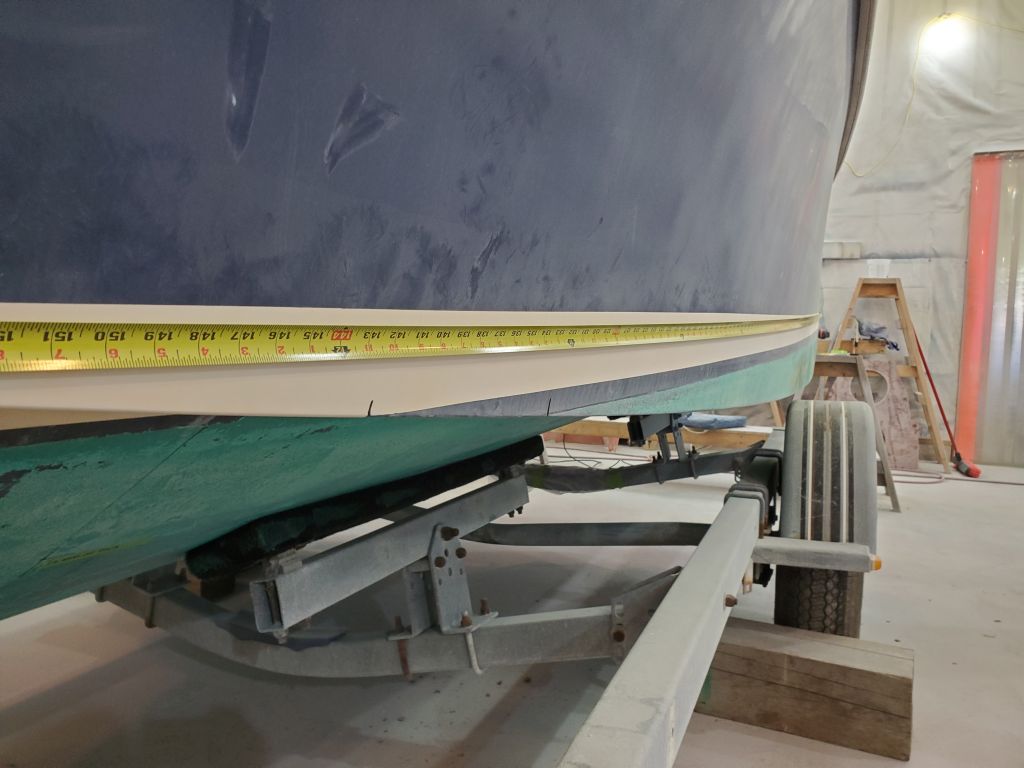
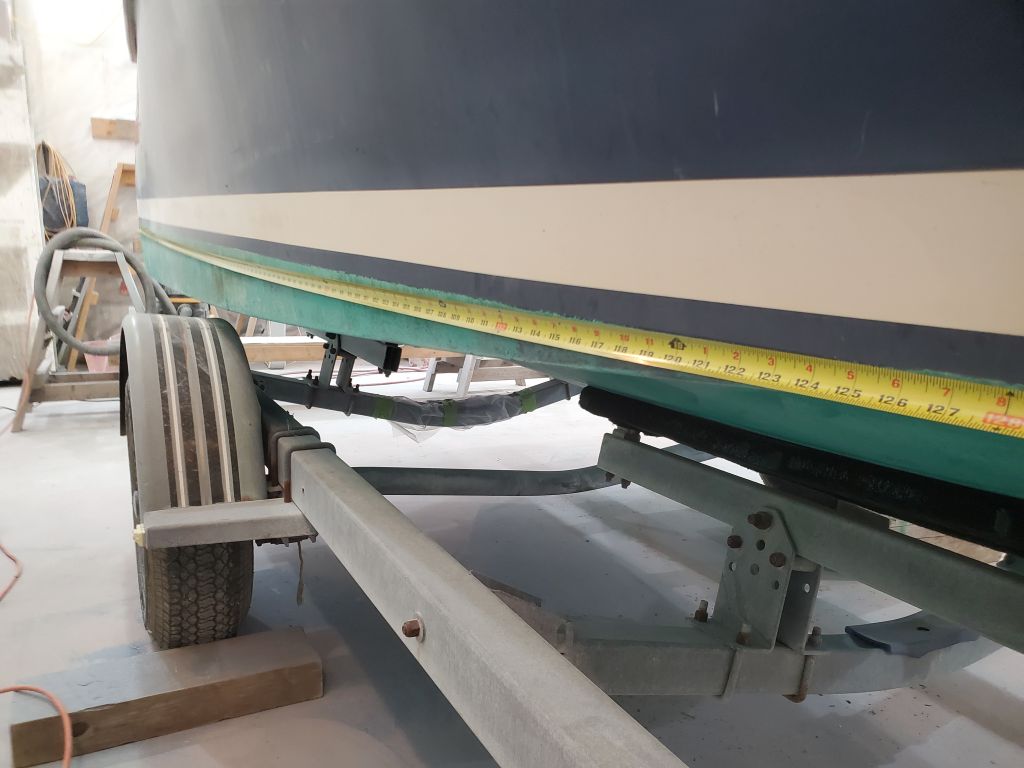
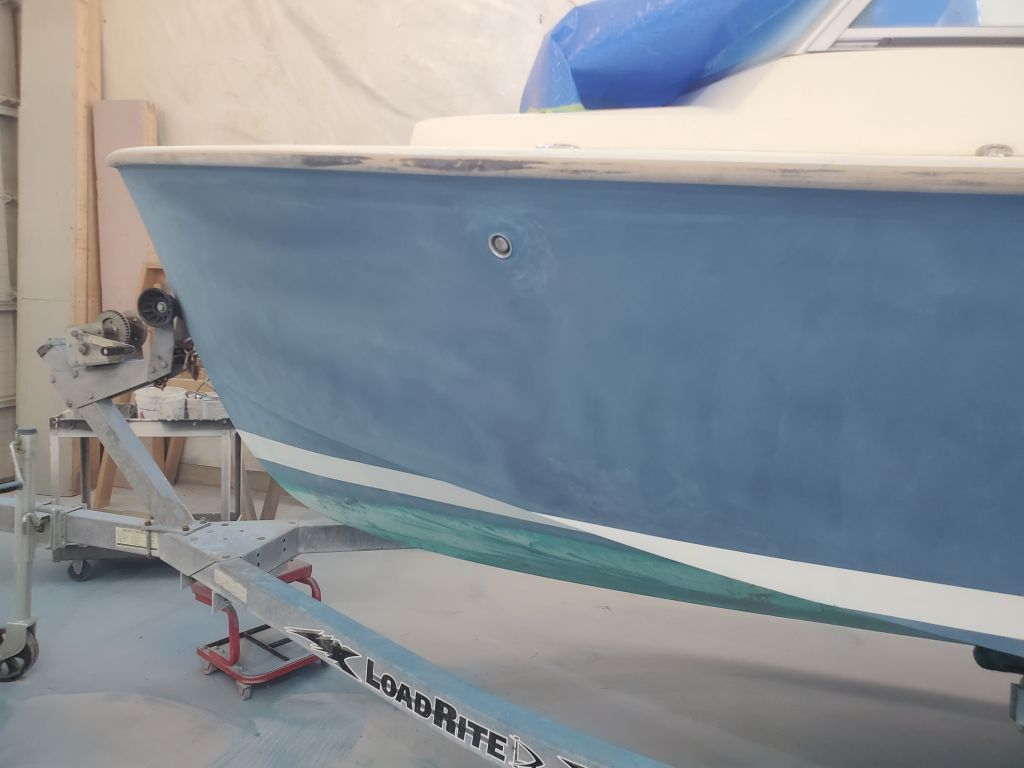
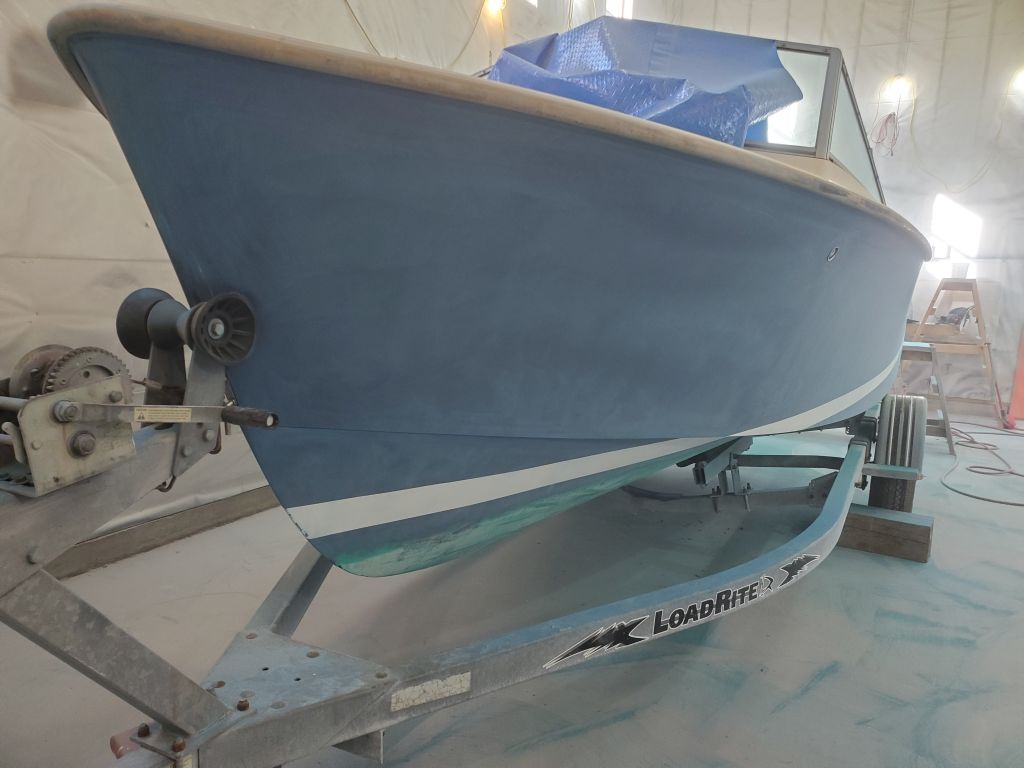
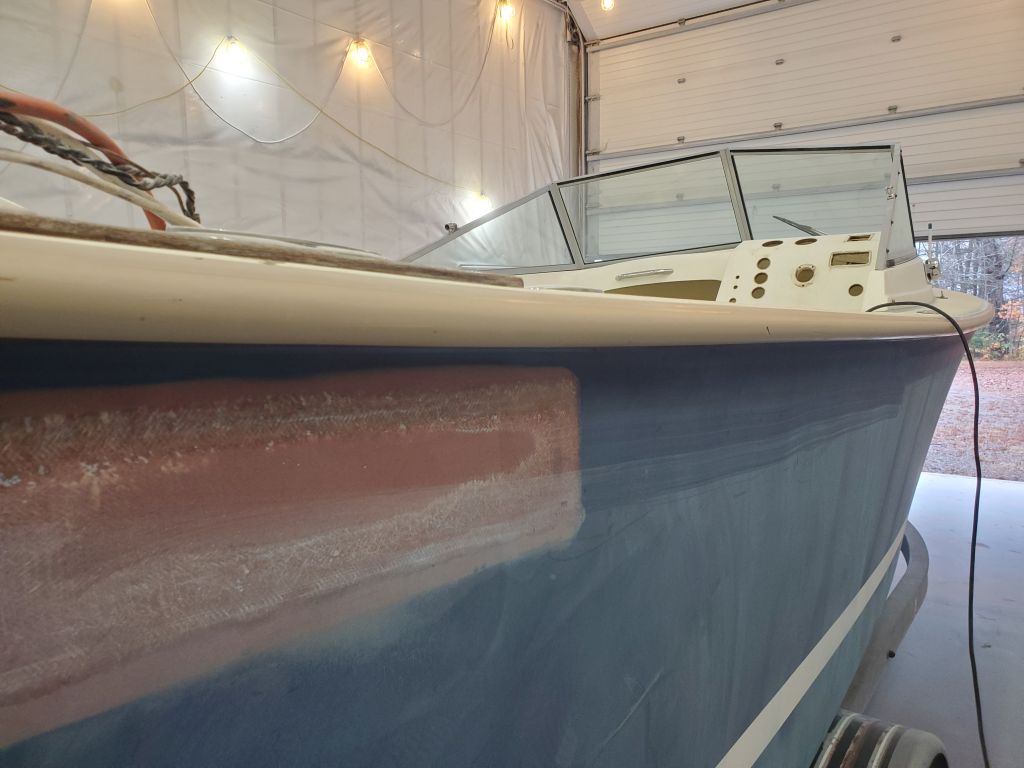
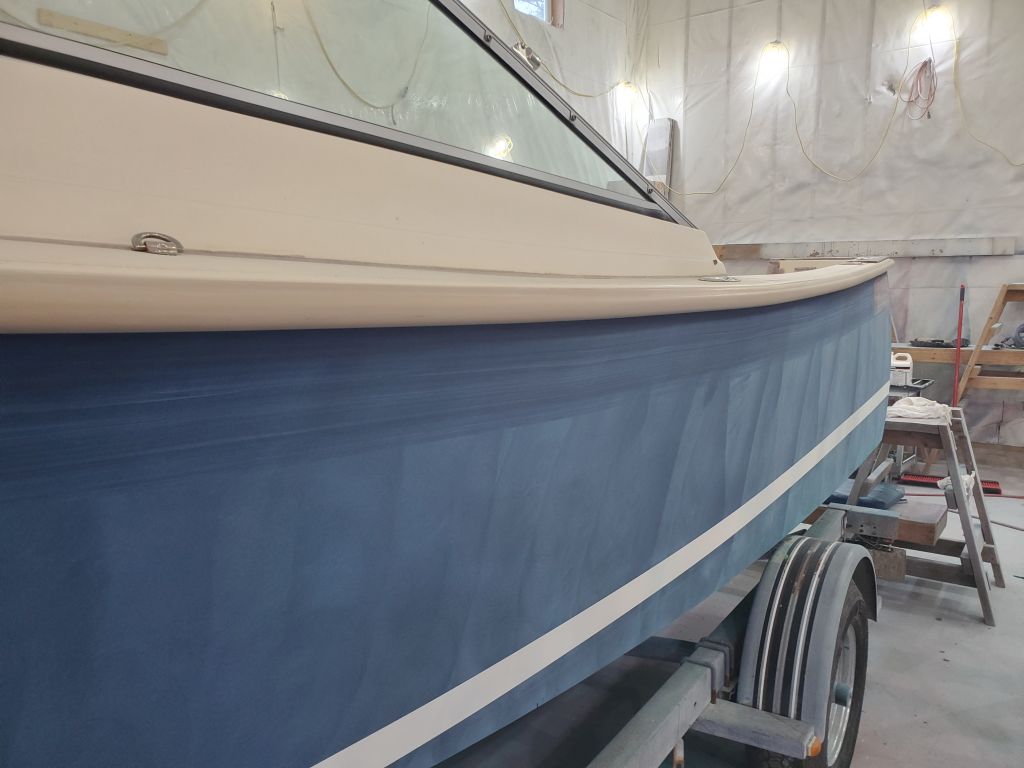
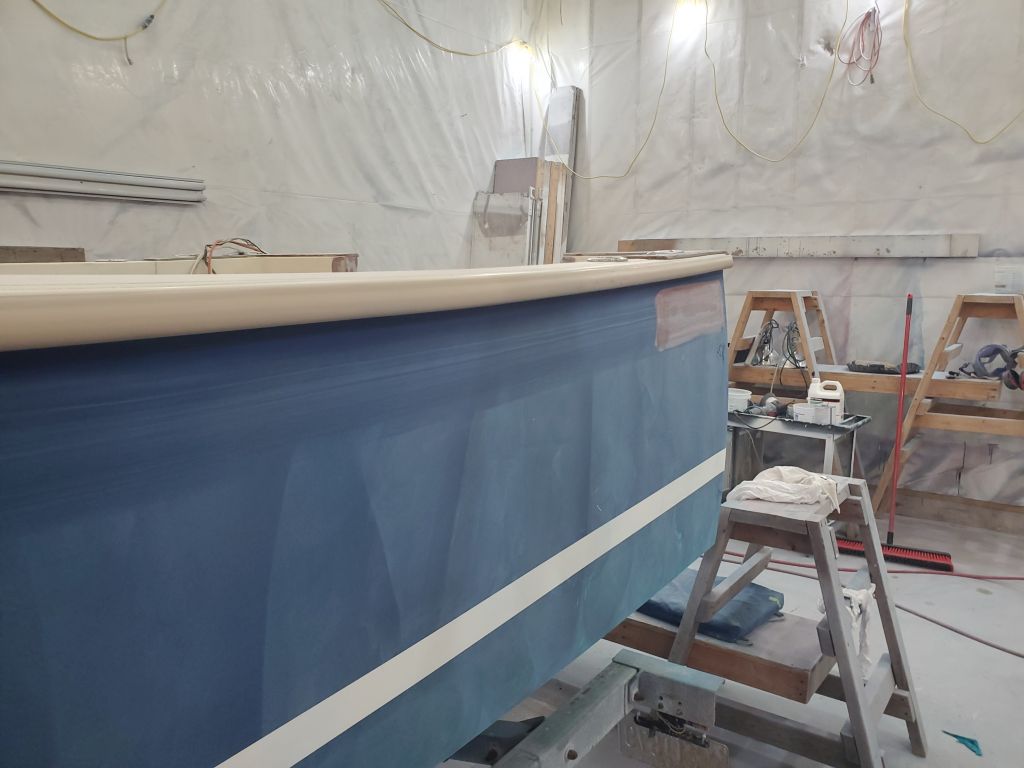
In other works, I addressed the existing vinyl rubrail surrounding the boat, which was scuffed and stained from use.

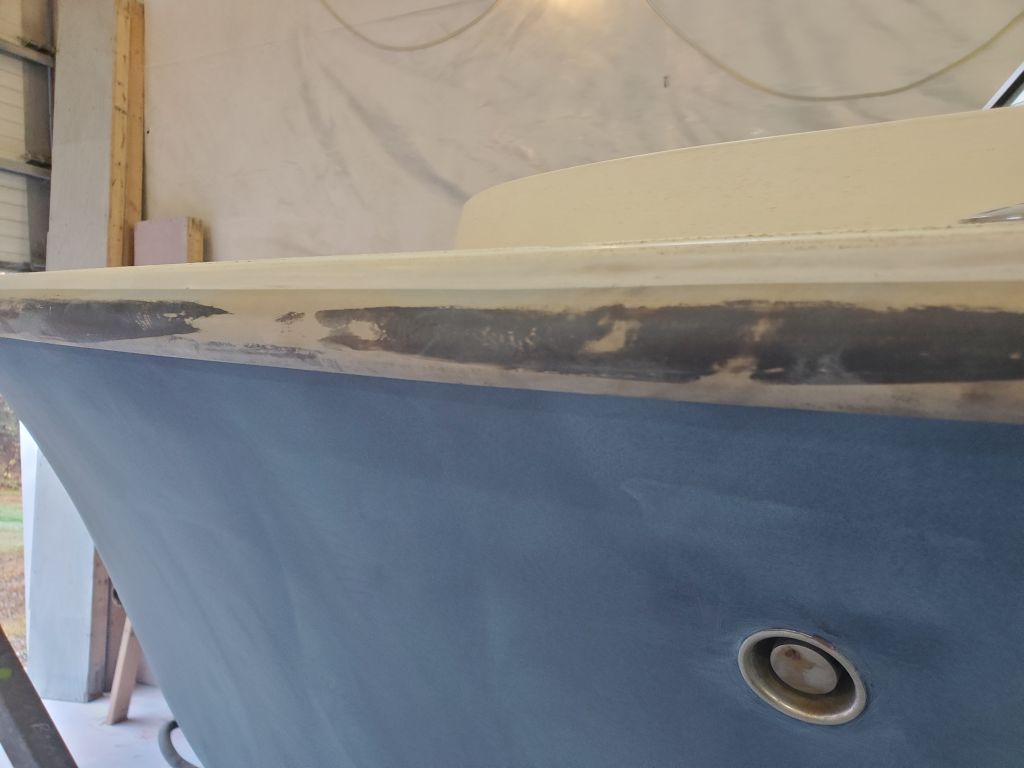
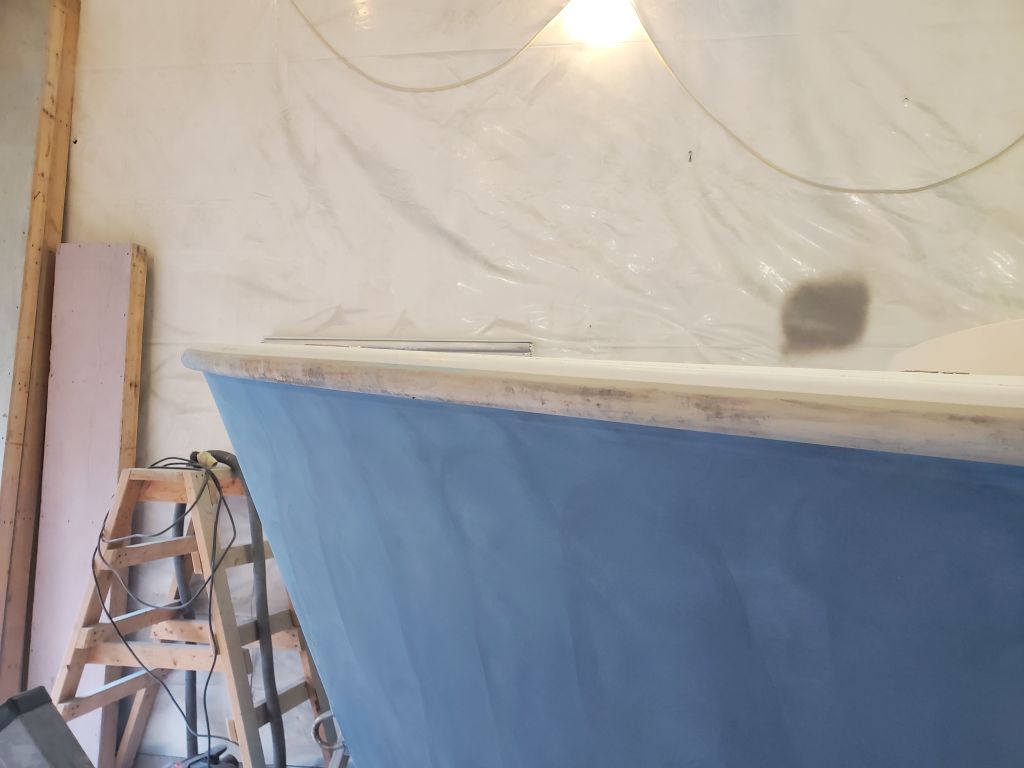
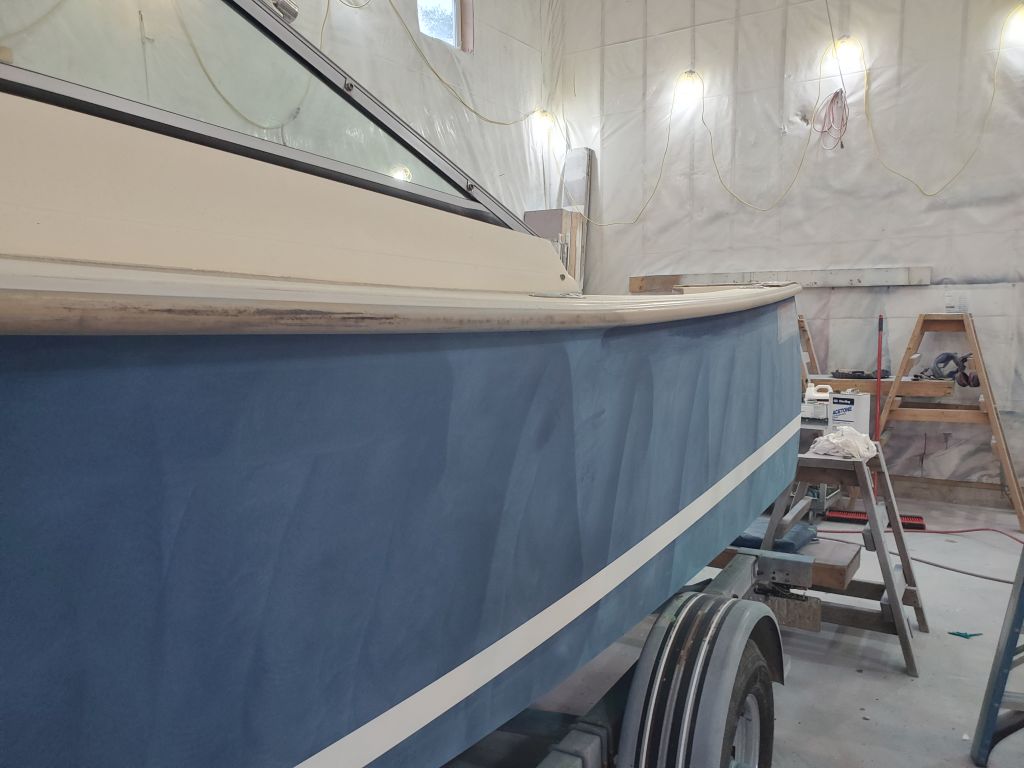
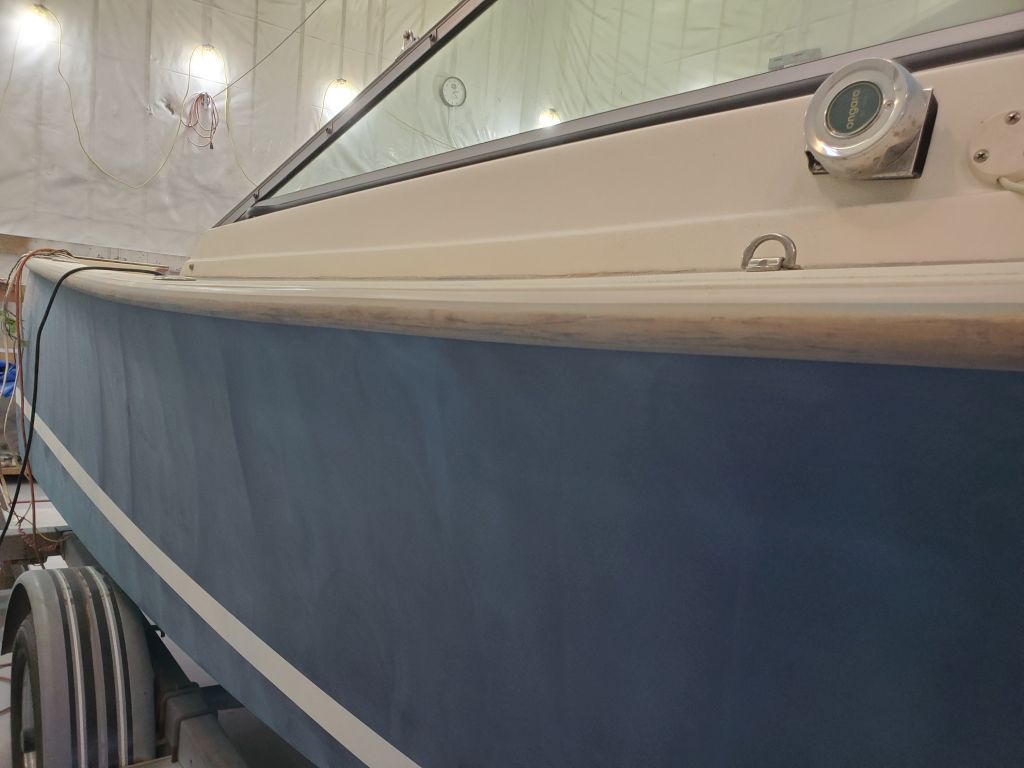
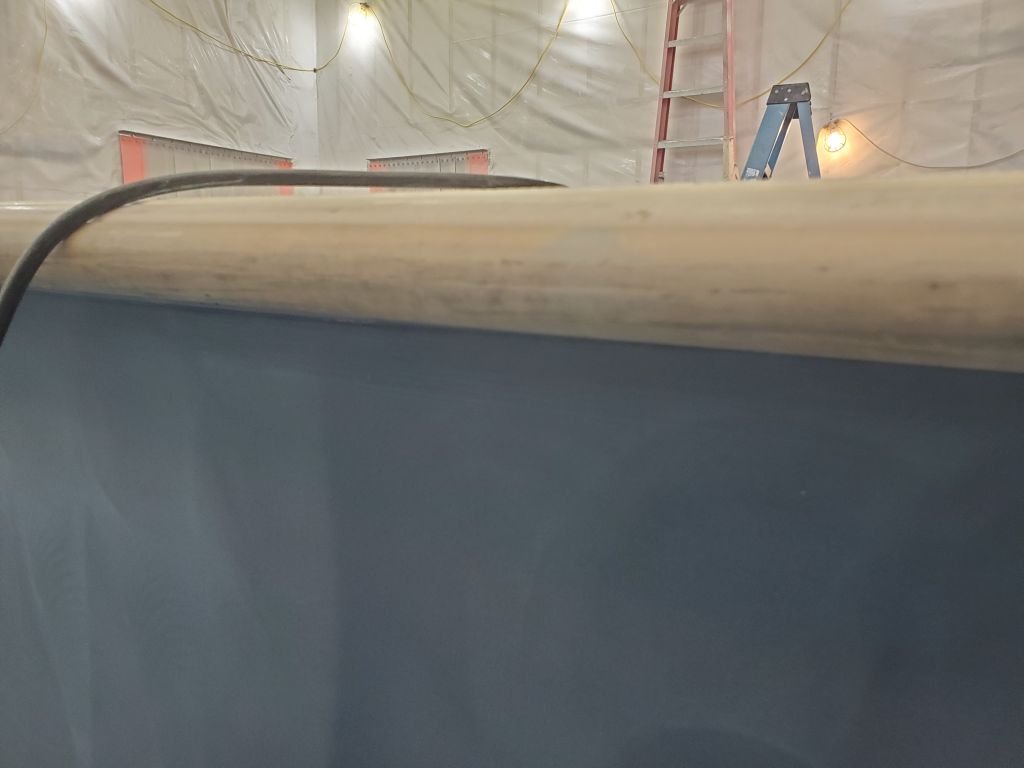
Earlier, I’d determined in a test area that the rail would clean up easily with solvent, so now I cleaned the entire rail accordingly.

Thuth endeth the day.

Holby 37

I prepared the outboard well and bulkhead for the next steps, removing the glue blocks, water-washing the epoxy, and lightly sanding the pre-fillets as needed.  Afterwards, I laid out and measured or cut fiberglass tabbing for all areas as required.

With that done, I applied new, larger, final fillets to both sides of the bulkhead and around the perimeter of the well deck.  I left the epoxy to partially cure while I finished up cutting the tabbing as needed.

Once the epoxy fillets had cured past the mushy state, I wet out and installed the tabbing, starting at the forward end, from the cockpit.  Here, I only used a single layer at the edges where the bulkhead met the existing structure, to avoid excess fairing in the most visible cosmetic area; the aft-facing side of the bulkhead is where all the actual structure, in the form of extra fiberglass, would be.  Around the forward three sides of the bulkhead, I applied no fiberglass as there wasn’t enough room on the narrow ledge to make it worthwhile; again, the structural component would be on the back side.  I installed two layers over the opening that had once held a handhold for the original engine box.

On the other side, I applied two layers of tabbing to all the seams and around the aft edge of the outboard deck, securing the bulkhead assembly and the deck to each other and to the adjacent areas of the boat as applicable.  This entire structure would also greatly reinforce the transom against its new-found outboard-related stresses.   I left the new fiberglass to fully cure; later I’d fair in all this new work to create a cosmetically-pleasing well.

Holby 36

Before moving forward with installing the repurposed engine box/splashwell bulkhead, I checked the fit of the lazarette hatch, which was originally cut out to fit around the engine room opening.  There had been some “custom” notches at the outer reaches of the original cutout that I’d filled with epoxy during my core rebuild, and now I wanted to see if I had to make additional relief cuts for the hatch to fit.  As expected, I did need to cut back these areas a small amount to fit around the molding on which the engine room hatch (now the splashwell bulkhead) rested, and after a couple backs-and-forths, the hatch fit as needed.  I set it aside for now.

There were sizeable gaps between the outboard well deck and the moldings on each side, which I now covered from beneath with tape to provide a basic backing and mold to limit the amount of epoxy required to span the gaps.  These areas would eventually be covered in tabbing.  I solvent-washed all bonding and adjacent areas.  Then, I set the bulkhead in its proper position–it fit naturally best in one place, which happened to be the “right” place–and used small glue blocks to secure the piece from moving during initial installation.

With thickened epoxy, I filled the minimal areas backed by the green tape, and created fillets on both sides and all accessible areas to bond the bulkhead in place, staying away from the glue blocks.  There’d be additional filleting and shaping to come, but for now these formed a basis for future work and would, when cured, secure the bulkhead in place.  I left the epoxy to cure and spent the remainder of the day preparing an order for painting supplies that I’d need in the near future.

Holby 35

Before I could start installing and finishing the new outboard splashwell on the inside of the boat, I wanted to prepare the main bilge (garboard) drain and the splashwell drains.  Using the typical bronze transom-mounted drain fitting, I marked the inside of the boat where the center of the hole should be and, after confirming its position would work on the exterior as well, started drilling from inside a hole large enough for the bronze body of the drain.  With the basic hole placement determined, and a center hole from the pilot, I used a 1/4″ bit to drill all the way through to the outside, where I finished up the hole.  Afterwards, I sealed the inside of the new hole with a thickened epoxy mixture and left it to cure.  The transom is roughly 3″ thick overall, and in this area, which was all-new construction during this project, consisted of various layers of fiberglass, prefab fiberglass, and foam core.

I temporarily installed the outboard well deck, securing it with temporary screws to ensure it was held tightly in place and in the proper position, then made some measurements and reference marks to place the drain openings, one per side near the edges of the deck.  I transferred the marks to the outside of the transom to determine how straight I made the initial pilot holes through the thick transom, with the bottom edges of the 1″ holes flush with the top of the deck.  The pilot holes ended up close to the marks I’d made on the transom, so I continued and drilled out the rest of the holes from there.  Here, in the original transom structure, were two layers of balsa core, with laminate between and on either side, plus the new fiberglass panel and additional laminate on the interior.

These drains would eventually be lined with the usual brass flanged liners, which accept those ubiquitous 1″ rubber plugs if desired.  For now, as with the garboard drain, I treated the insides of the holes–slightly oversized–with a thickened epoxy mixture to seal off the exposed interior structures.

Now I could move on with the installation of the new deck.  After final preparations, I secured the new deck with epoxy adhesive to the fiberglass cleats I’d installed for this purpose, securing it with four temporary screws to hold it tightly.  This step would hold the deck securely once cured, after which I’d finish off the installation with tabbing along with the splashwell bulkhead in the coming days.

The helm console was full of now-obsolete gauges, switches, and riff-raff leftover from past installations.  The owner’s new outboard would come with its own controls and gauges, and the owner had a new GPS plotter we hoped to incorporate into the dash, so for now all the old stuff needed to be removed to clear the way for repairing or covering the console somehow to give it a fresh and clean look for the new installations to come.

I removed everything for now, disposing of the gauges and related wiring but saving the helm, compass, and other things at least for now while we worked out the new plan.

Holby 34

In a short work day, I sanded as needed the minor epoxy repairs on the hull, then sanded the entire hull once more with 120 grit paper on my 6″ sander, the final round of sanding required for now other than some minor detail and touch-up work.

The next focus would be on completing the installation and fairing/finish work on the new outboard splashwell.  I planned to get started on that in a few days, immediately upon my return from some unrelated business over the next few days.

Holby 33

My day began, as it so often does, behind the sander controls.  Working now mainly with finer grits as the various surfaces approached final contours, I began with the transom and hull sections, cleaning up the most recent round of fairing material, as well as at the now-patched engine room vent openings.  This round of sanding brought things nearly to completion other than some minor inconsistencies here and there.

I also sanded the undersides of the livewell hatch and fuel tank hatch, smoothing the latest–and last–round of epoxy filler there, but it seems I never took a picture, perhaps because my sander started blowing up near the end.    I finished the last small epoxy patch on the fuel tank hatch by hand and, after cleaning up from the morning’s round of sanding, apparently never got back for photos.

(An aside:  With my discovery, earlier this year, of the apparent discontinuation of my favorite major sanding tool, the Porter Cable 7345 (previously known as various other model names that I can’t recall),  which tool I  have been using various versions of since the tool was first marketed in 1990 and can’t imagine working without despite its poor track record of longevity in more recent times–earlier this year I scoured the internet and bought enough of a supply to keep me in sanders for as long as I might need them–or so I thought.  These sanders tend to fail in various inconvenient, if non-permanent ways, so it’s been my policy for years to always have a new spare on hand so as never to lose working time.  I have a couple older ones on hand still awaiting inspection and repair, but it’s always easier to grab a new one.

So it was to my great dismay that earlier this fall, just a few days ago in fact, one of the new ones that I’d started using only in the spring began vibrating dramatically for no immediately apparent reason.  I set it aside and opened a new sander, which, after all of a day’s use, began to vibrate in the same (or worse) alarming manner as I finished up the hatches.  A bit of digging into the problem revealed that the screw securing the eccentric housing to the shaft had loosened on both of these tools, nearly right out of the box. I tightened the screws and both sanders seemed to work properly again. So the good news is I don’t have to retire just yet, as my sanders still work.  The bad news is I can’t justify retiring yet because my sanders still work.  But I’ll clearly have to check and tighten those screws right out of the box from now on, and probably regularly through normal use of the tool.)

Continuing, I turned back to the starboard side of the hull and sanded the gelcoat, as before, with 60-80 grits on my 6″ orbital finishing sander that I like for broad surfaces requiring little in the way of material removal.  I also worked the tool and grits over the new vent patches and the entire transom.

Later, I removed the winch and bow support assembly from the trailer to expose the middle portion of the stem, which would require a bit of sanding to bring it to the same state as the rest of the hull.  I found the boat was a little bouncy on the trailer afterwards, so I chocked in a block beneath the bow to hold her steady.

After some additional cleanup and preparations, I applied a coat of gray Bilgekote to the after portions of the bilge, beneath the new deck level.  This would allow me to soon move forward with final installation of the outboard splashwell.  The camera didn’t like the bright sunlight streaming in and hitting a corner of the bilge area, so a couple of these photos are out of focus.

Afterwards, I went around the hull and touched up with epoxy the few small scrapes, dings, and scratches that existed in the original gelcoat, and formed a couple fillets around the new trim pieces at the top edges of the transom.

Holby 32

I began with my usual rounds of sanding the previous day’s work, starting with the livewell and fuel tank hatches.

I continued at the transom and engine room vent opening patches.

After cleaning up from the sanding work, I applied additional fairing compound to the transom, focusing on those areas where I’d identified low spots, as well as some minor touch-up to the new laminate on the bottom of the hull in way of the jet drive opening.  Then I applied a layer of fairing compound to the new vent patches.

To smooth the new laminate on the bottom of the livewell hatch for consistent appearance, I troweled on a skim coat of fairing compound, and used up some leftovers on the base of the fuel tank hatch to further smooth the patches there.

During the spring work session, I’d already measured and noted the waterline and boottop positions at stem and stern, but now, before I got into preparing the hull for primer and paint, I decided to take some additional measurements to help position these lines at the transition between canoe hull and hard chine near the bow.  I used a flexible straightedge held roughly vertically from the points where the two edges of the boottop met the hard chine, and marked a line and a measurement on the bottom well below the waterline where I could count on the marks remaining for now.  These marks would help me locate the striping at this major transitional point later.  Because the ruler I used is an old typesetter’s rule, where the markings begin about 1/4″ in from the end of the rule, I noted that the marks were from the “end of Pica” to ensure I recreated them properly later (Pica being the typeset marked on the ruler).

I also measured from the transom corner forward to the edge of the bottom paint and both sides of the boottop on each side, another critical measurement that would help easily recreate these lines later.  I noted that the top of the boottop ran right through the centerline of a through hull on the starboard side, and recorded my marks with great care and legibility on some notepaper.  (As long as I know what the notes mean they’ll do the job.)

The hull was original factory gelcoat and, other than significant oxidation and fading, was generally in good condition, with only a few minor scrape marks that might require some filling later.  So for the relatively minor surface preparation I chose my 6″ orbital sander and worked through 60-80 grits on the port side of the hull, scuffing the gelcoat consistently and smoothing the surface.  Later, after any filling work, I’d go over the whole thing again with 120 grit, the final grit before primer.  I sanded a bit down into the antifouling paint to ensure a clean tape line when I restruck the waterline, and, on the chines, went ahead and removed all the old, dry paint as it came off with ease and the area was small.  I stayed a bit away from the vent patch on the port quarter for now so as not to oversand that area while working on the additional rounds of fairing required.

At the stem, I’d have to remove the bow support and roller later in order to complete the sanding, and for clear access during painting.  This brought me to the end of the day,  and I’d continue with the starboard side next time.

Holby 31

I began by lightly sanding as needed the newly-cored livewell hatch, and the patched fuel tank hatch.  After cleaning up, I applied a light coating of fairing compound to the repairs on the fuel tank hatch, mainly to ensure the repairs were smooth and flush and that the hatch would rest properly on the stringers when reinstalled.

At the obsolete engine room vent openings on the stern quarters, I cut and fitted 3/8″ thick fiberglass panels to fill the void, and installed these in thickened epoxy adhesive, leaving then just 1/8″ in from the surface to allow for additional laminate over the top later.  To help position the panels, I installed temporary screws that gave me handholds to pull or push the fiberglass in the opening, where I used a scrap of 1/8″ thick fiberglass as a spacer for final positioning.  Later, I removed the screws, and much later in the day, once the adhesive had cured sufficiently, I cut and installed four layers of 179 material to finish the patch:  Two inside the opening to bring it flush with the adjacent areas, then two more extending over the prepared area of the hull to tie it all together.

While I had a pot of thickened epoxy underway, I filled the edges of the round cutouts in the cored outboard well deck panel, which I’d previously reamed out to provide space and help isolate the core from the opening.

Turning to the livewell hatch repair, I cut five layers of fiberglass to fill the voids remaining outside of the cored area, as well as two larger layers to cover the core and finish the repair:  One that fit over the cored area only, and a second, larger piece to extend over the adjacent panel and tie the repair together.  Afterwards, I wet out and installed the five layers in the voids and finished off with some thickened epoxy to smoothly transition between the adjacent core and the fiberglass, mimicking the shape of the original panel, before installing the final two layers over the top.  I filled the small bored-out holes at the hinge fastener locations, and later in the day cut off the overhanging green fiberglass from the opening (I’d let the fiberglass run a bit wild over the edge) to limit future sanding.

Back at the transom, I worked to finish off the top edges beneath the overhanging teak caprail.  The original wood-clad transom had featured additional teak trim here, glued to the wood above, and I’d removed the bulk of this during the original rounds of work, but now I needed to clean up the rest and determine a plan for finishing it off.  I used a chisel to clean away the remaining wood and provide a flat surface on the hull and the underside of the teak above.  This left a slight protruding edge where the deck molding met the hull.

I milled 1/4″ thick by 1-1/2″ wide fiberglass strips to fit the area, running them from the edge of the vinyl rubrails on the side out into the transom opening.  I secured these in a bed of thickened epoxy, holding them tightly with clamps, and filled the small voids at the top edge and beneath with the epoxy squeezeout, eventually working towards a seamless molded appearance.  I let the new trim run wild at the inboard edges, into the transom cutout, for later trimming.

Finally, I applied another round of epoxy fairing compound over the transom as needed, focusing on the new work at the cutout and at the jet drive opening but also skimming over the rest of the transom to continue smoothing in the old fastener holes and minor repairs leftover from the original wooden transom.

Holby 30

I prepared the livewell hatch for new coring by first masking over any screw holes on the top, visible side of the panel.  Afterwards, I cut pieces of 1/2″ solid fiberglass sheeting as needed to provide a solid glass edge to the cutout in the hatch, as well as around the latching mechanism.  I didn’t have a lot of 1/2″ material on hand so I repurposed a piece that was just the right size, but had four holes drilled from some past attempt as a backing plate; most of this section would later be drilled out for the 2″ hole required for the latch, and in any event I’d just fill the existing holes with epoxy during installation.

With the borders and solid areas determined, I cut 1/2″ balsa core to fit the remainder.  The open areas near the aft end of the hatch (bottom edge of the last phot0) would eventually be filled with solid fiberglass to create the proper thickness and taper into the cored area as elsewhere on the part.

After final preparations and cleanup, I installed the new core and fiberglass edges in thickened epoxy adhesive, then added weights to hold the core tightly into the adhesive while it cured.

After masking over the screw holes from the top side of the large fuel tank hatch, I cut fiberglass to fit all 10 of the generally-rectangular voids I’d opened on the underside:  five layers of 1708 to fill the voids flush, then a slightly larger layer to overlap the previously-prepared areas of the adjacent panel.

After cleaning and preparing all areas, I started with some thickened epoxy and filled the existing screwholes and any small voids around the edges (particularly the outer edge) where I’d reamed out the old core.  Then I wet out and installed all 60 pieces of cloth to fill and repair all 10 voids.

To provide access beneath the new outboard well, I chose two large round access hatches.  I selected these rather than rectangular versions because they fit the narrow space well, and I thought they’d give better access overall, and because the lids were completely removable for better access; the plastic rectangular hatches have lids that only hinge open, and in this confined space would generally end up being in the way.  Now I marked an actual centerline on the deck panel (while installed in the boat), and after some additional layout positioned the two hatches near each end of the deck and made the round cutouts as needed.    Later, next time I was working with epoxy,  I’d ream out the core from the new openings and replace it with solid epoxy to prevent water ingress, but for now I was pleased with the access these openings would provide to the bilge beneath, for the bilge pump, hoses, or electrical needs going forward.


Holby 29

The new sandwich assembly for the outboard well deck was ready for final shaping.  After “unmolding” the part and exposing the flat, if slightly textured from the molding medium (i.e. plastic sheeting), I roughed out the position of the template on the bottom side of the piece, making some reference marks, then used those marks to position the template properly on the top face of the part so I could cut out the shape as required.  I fine-tuned the piece as needed till it fit appropriately in the opening on the boat, resting on the temporary wooden cleats.  The large gaps at the corners of the bowed forward sections would be filled and tabbed over later as part of the final installation; I didn’t extend the flat panel into these areas as doing so would have prohibited installation of the panel in the space.

Later, I lightly sanded both sides of the new panel, focusing on the top surface to remove the smooth, shiny texture and prepare it for additional work before and during installation.  The level, placed flat on the underpinnings of the main deck forward of the cutout, shows roughly the angled pitch of the new panel towards the transom, with approximately 3/4″ – 1″ of pitch over the three-foot length of the panel.  Final installation of the panel would happen soon, but not before I wrapped up some work in and around the area soon to be covered over.

Meanwhile, I picked up again on the fuel tank hatch, turning to the second side, where I opened up the bottom skin as needed around the fastener locations to expose and remove wet or damaged core back to sound material at each spot.

Afterwards, I ground small tapered areas around each repair, cleaned up the exposed laminate, and lightly sanded the gelcoated underside of the hatch to prepare for rebuilding and refinishing.

I cut open the underside of the livewell hatch, choosing an initial cut area that I thought seemed large enough to encompass all the damage.  Later, I slightly expanded the cut on the ends to access all of the wet and blackened core at the perimeter.  After removing all the core in the exposed area, I prepared the surface for new core and fiberglass in the usual way, including boring out the underside of the hinge screw holes to eliminate future core worries there once the hatch was reinstalled.

While I had the sanding tools going, I prepared  for patching the now-obsolete engine vent openings on each side of the hull near the transom, and prepared as needed the forward end of the engine room opening for  the eventual installation of the new splashwell bulkhead and deck, removing the temporary wooden cleats after marking their top edges for reference.  I also scraped out the remaining sound insulation and adhesive from the fiberglass engine room cover/splashwell, and sanded the inside and other surfaces to prepare for installation.

After cleaning up, I made new fiberglass cleats from prefabricated fiberglass panels and installed them with epoxy adhesive in the engine room along the sides, transom, and at the forward end, replacing the wooden versions I’d used for the mockup and templating.


Older posts Newer posts