(page 3 of 5)

Danusia 26

< Back to Danusia

Tuesday

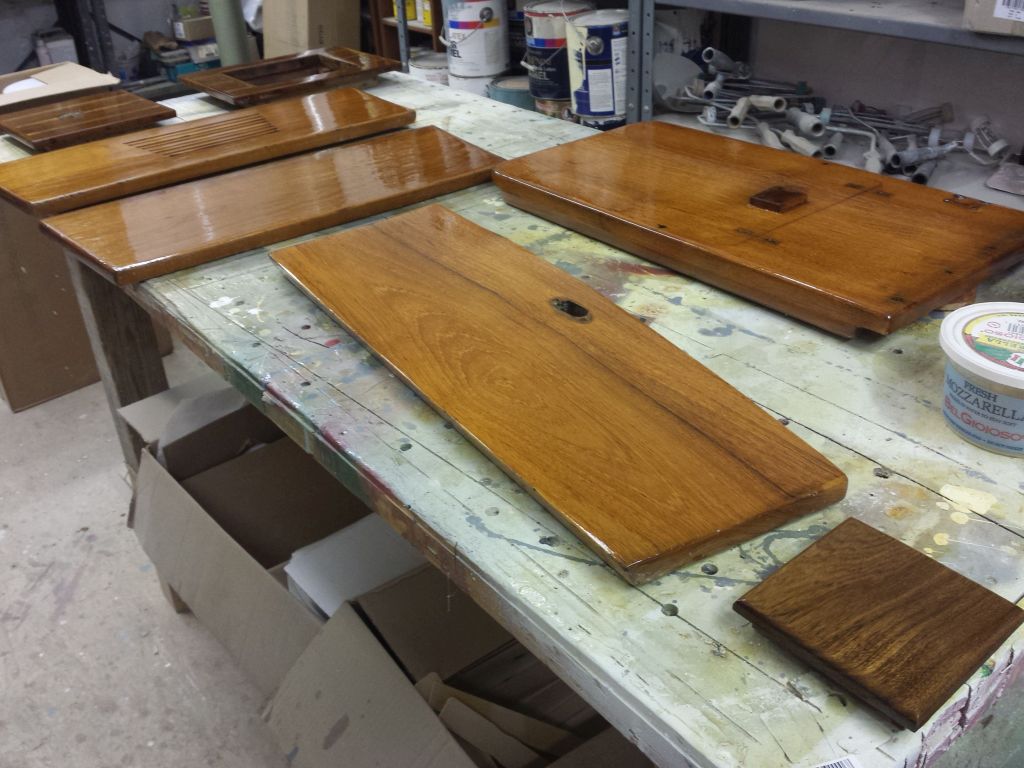
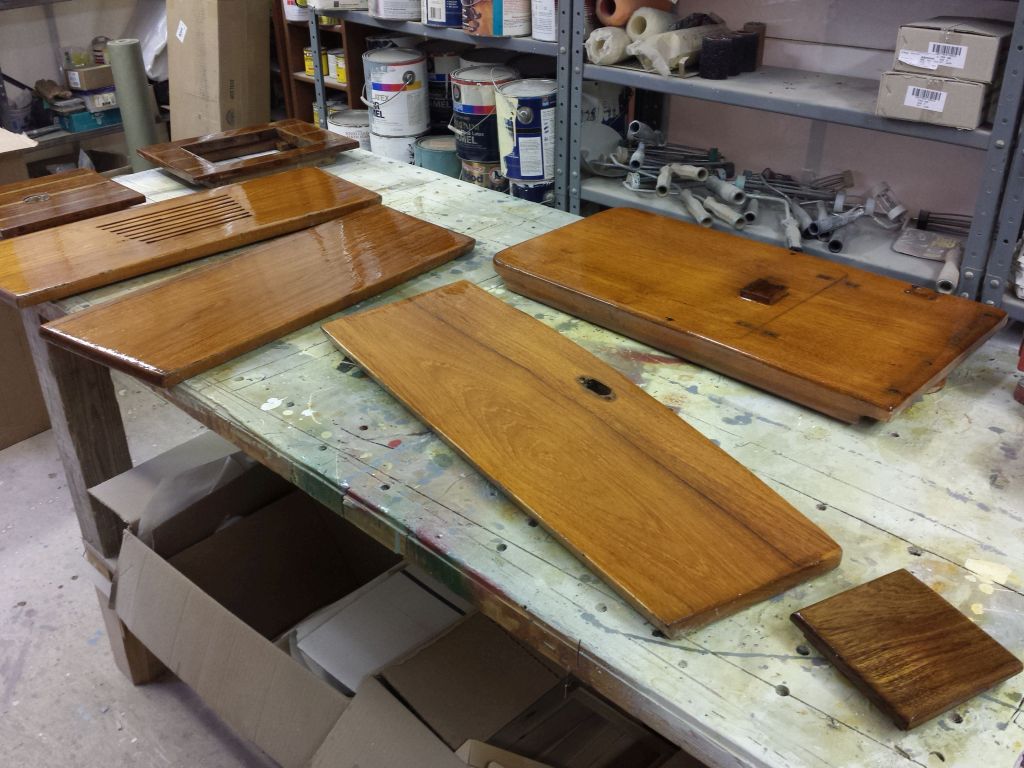
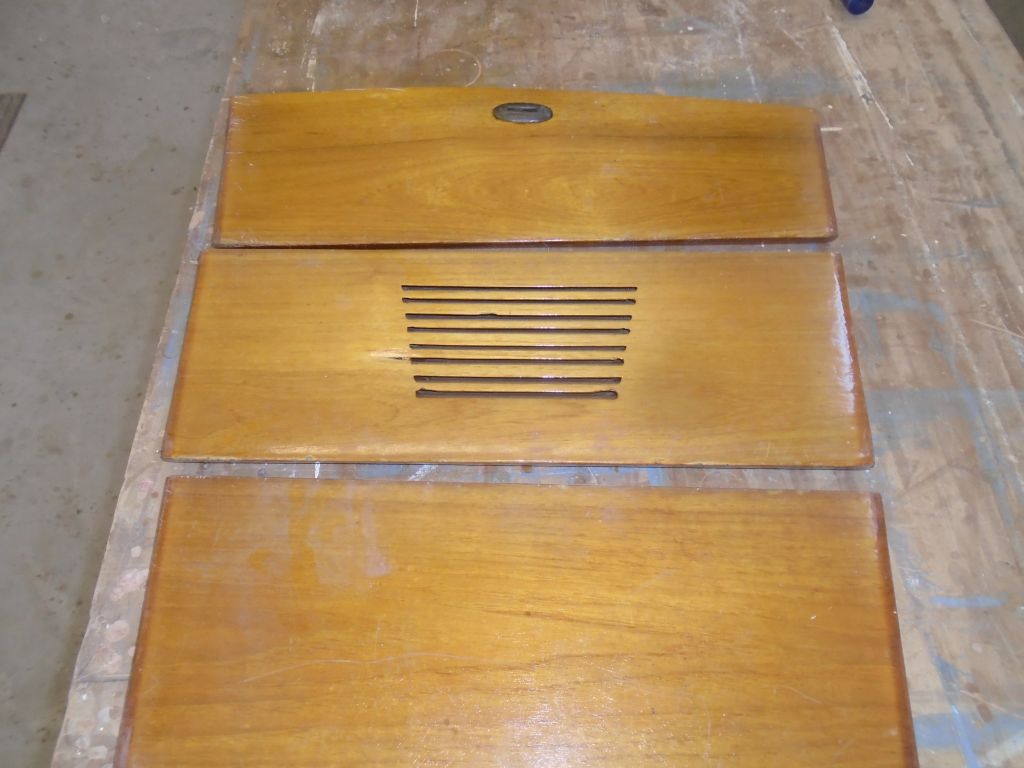
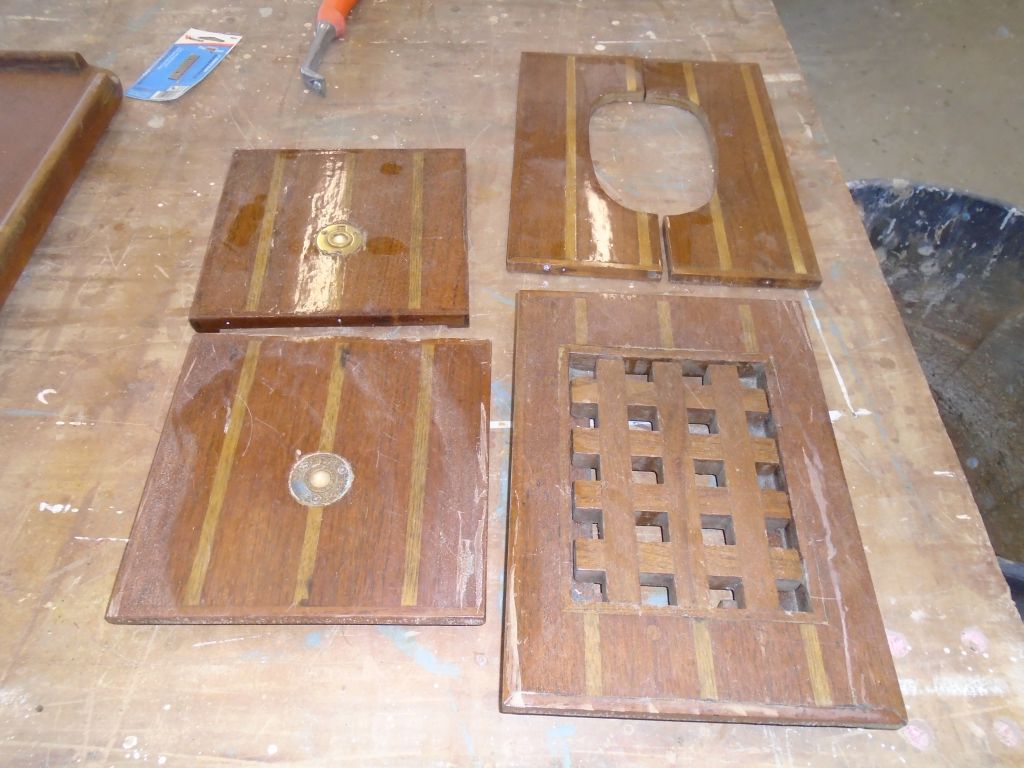
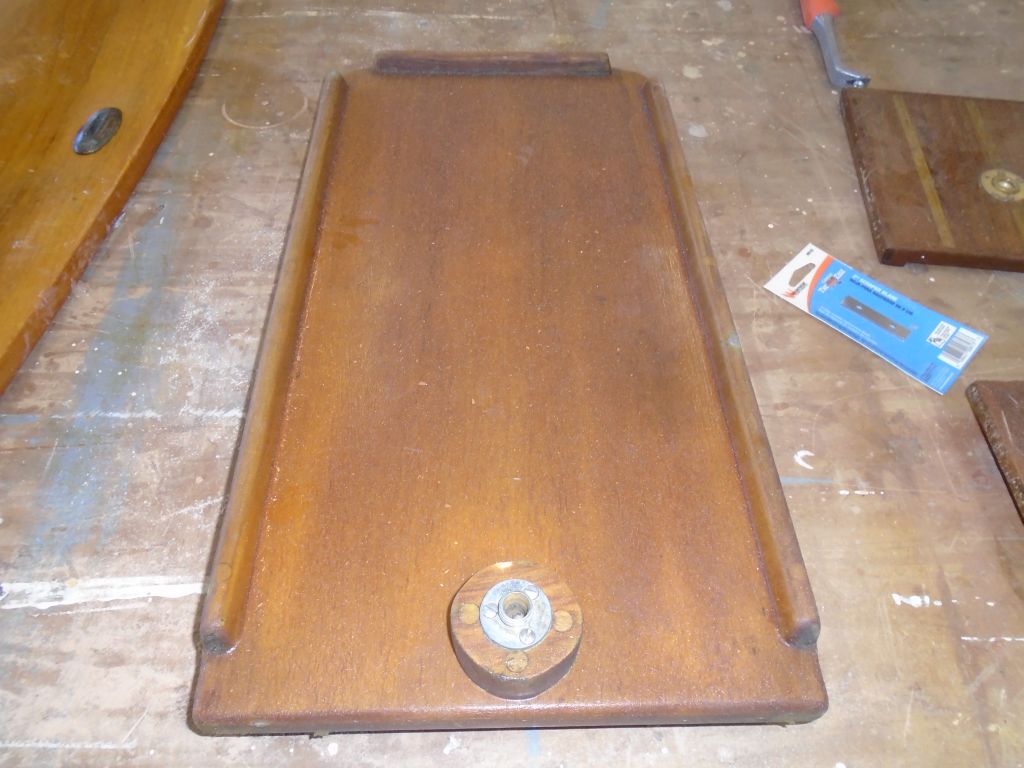
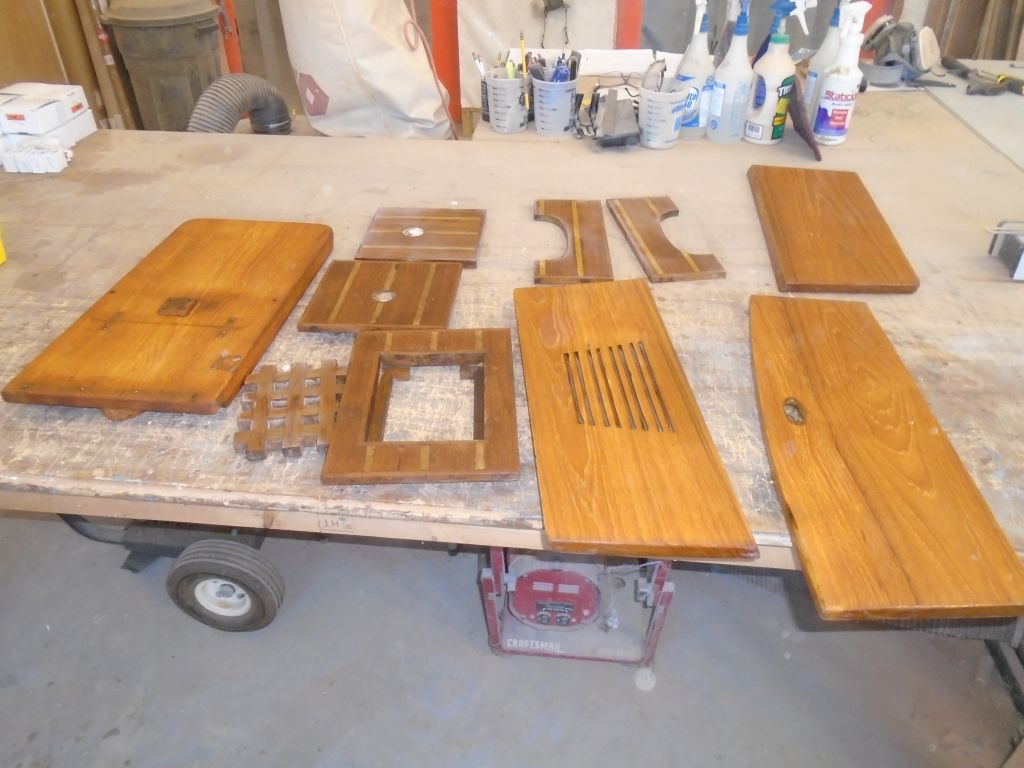
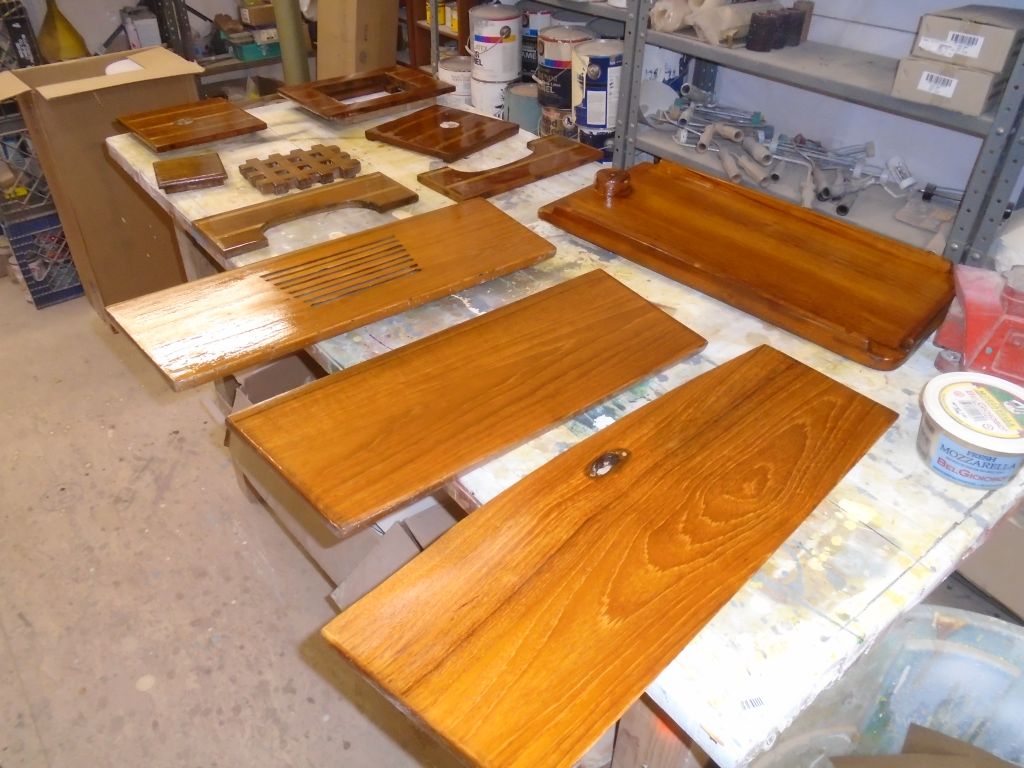
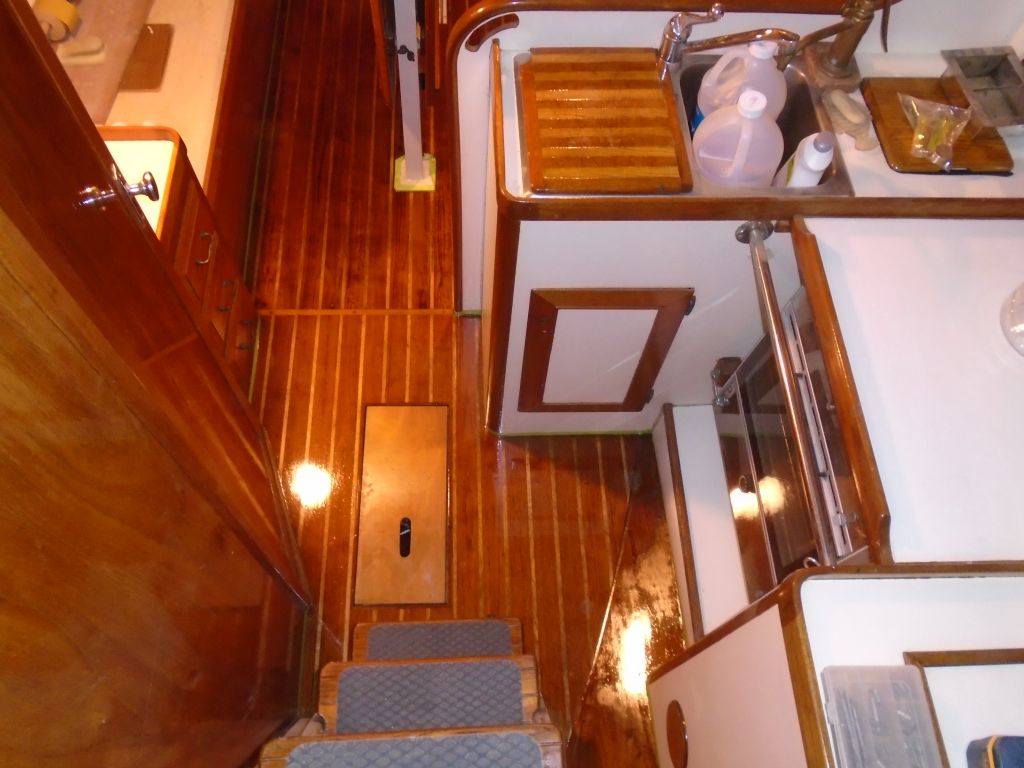
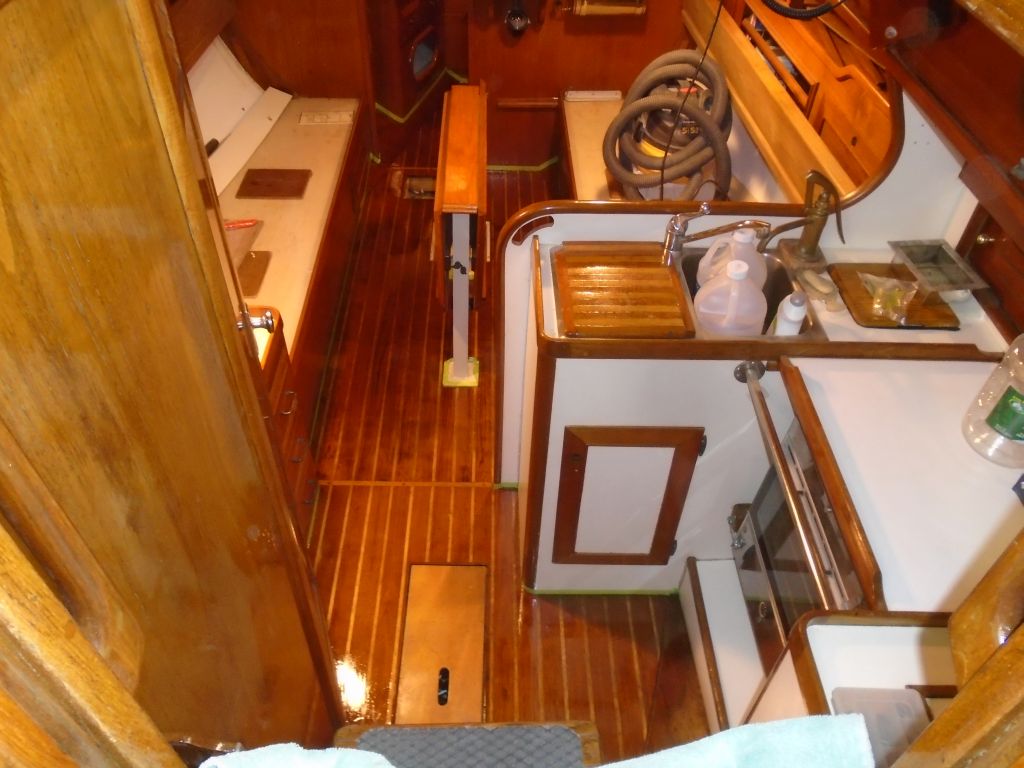
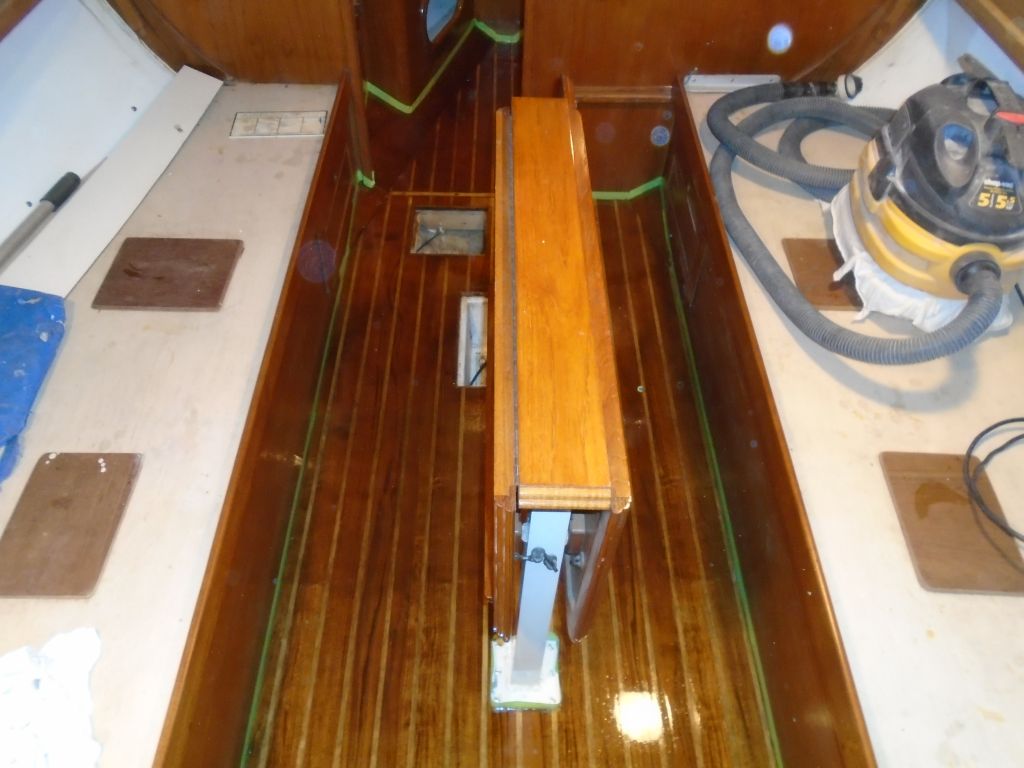
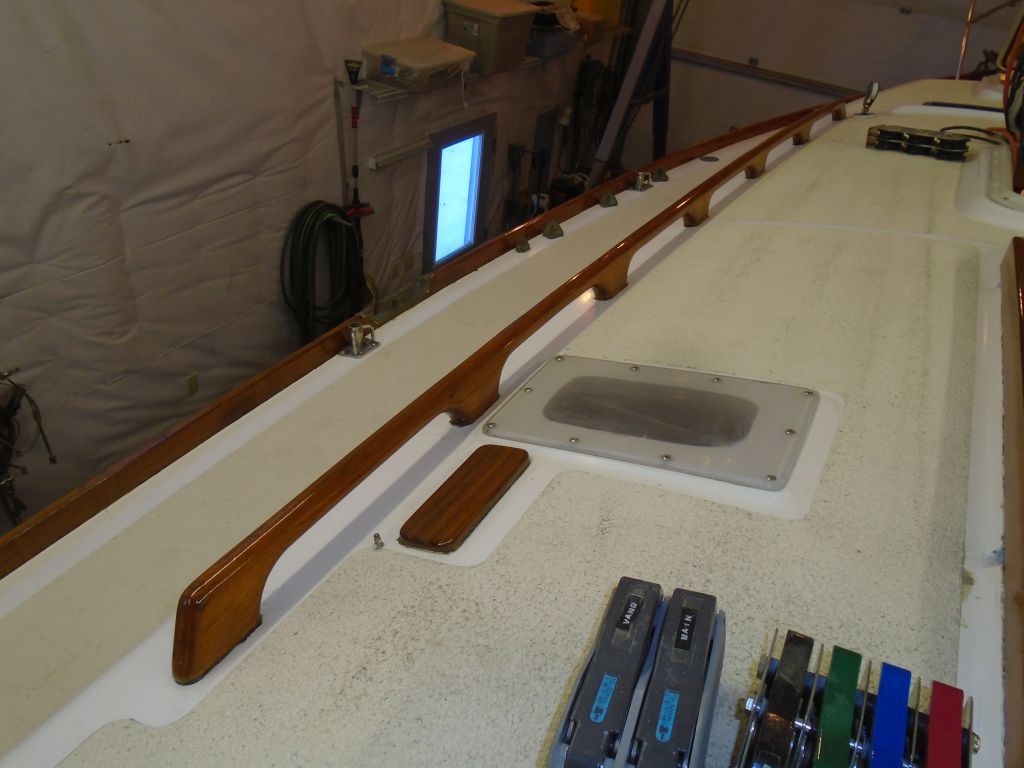
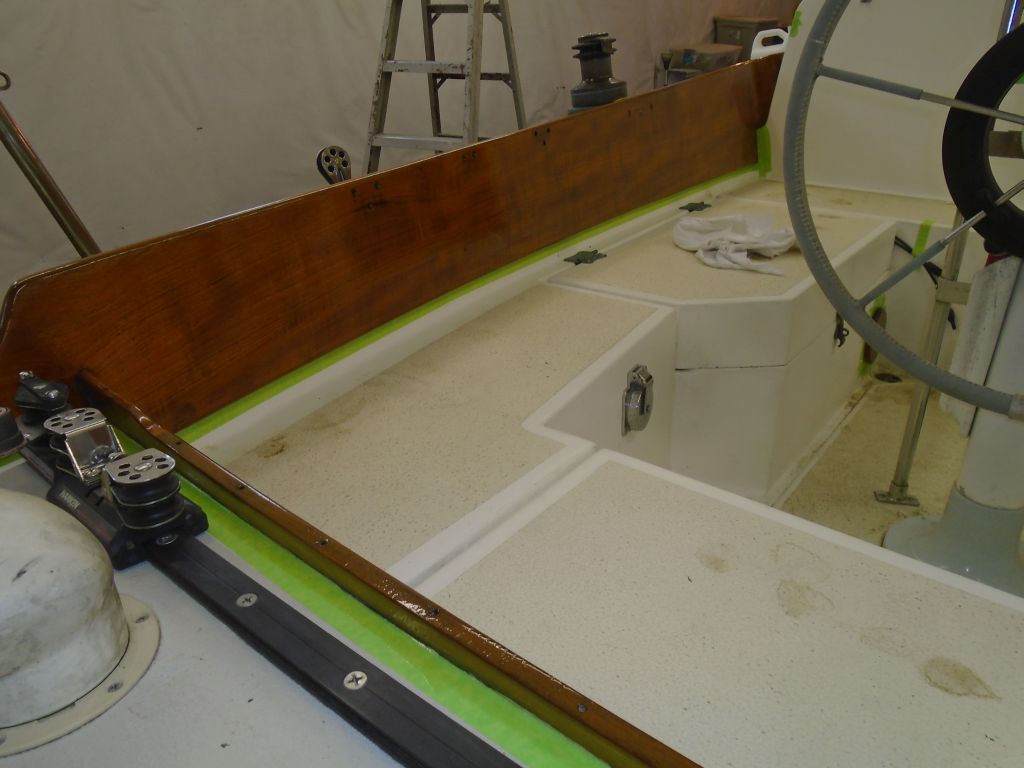
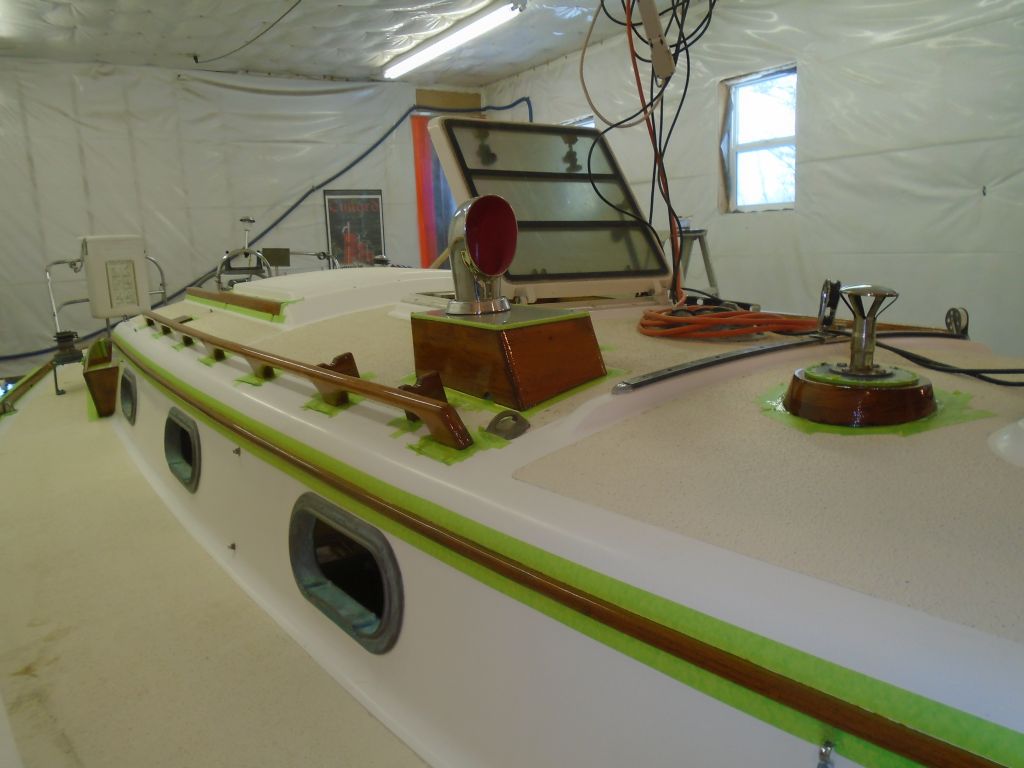
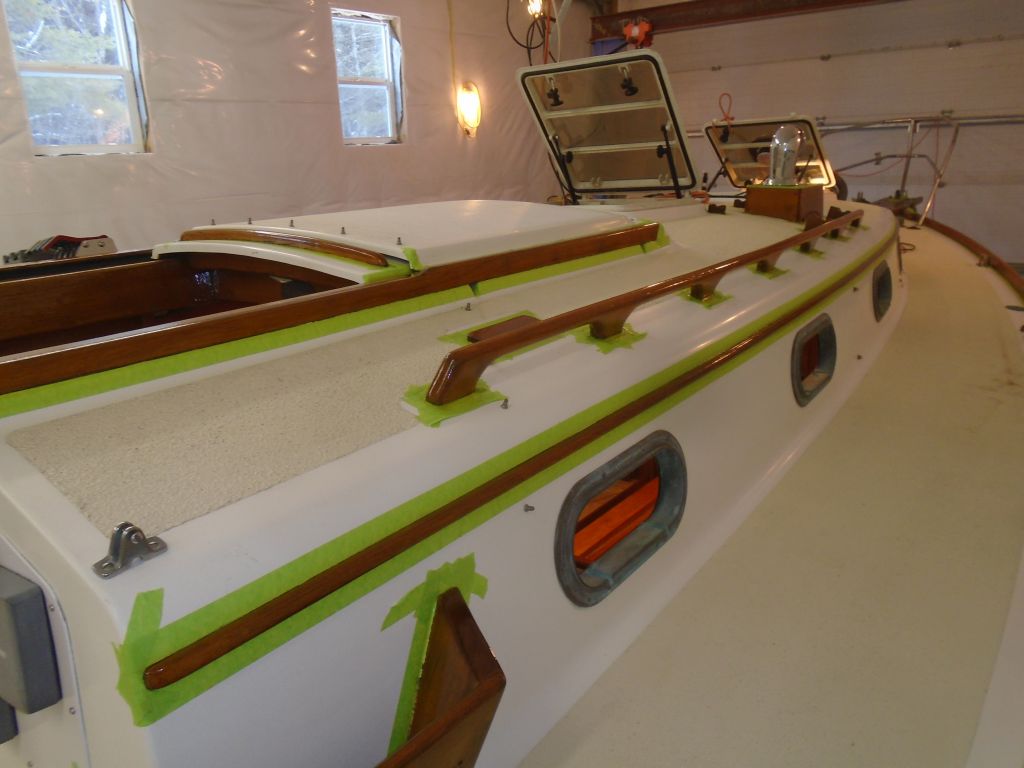
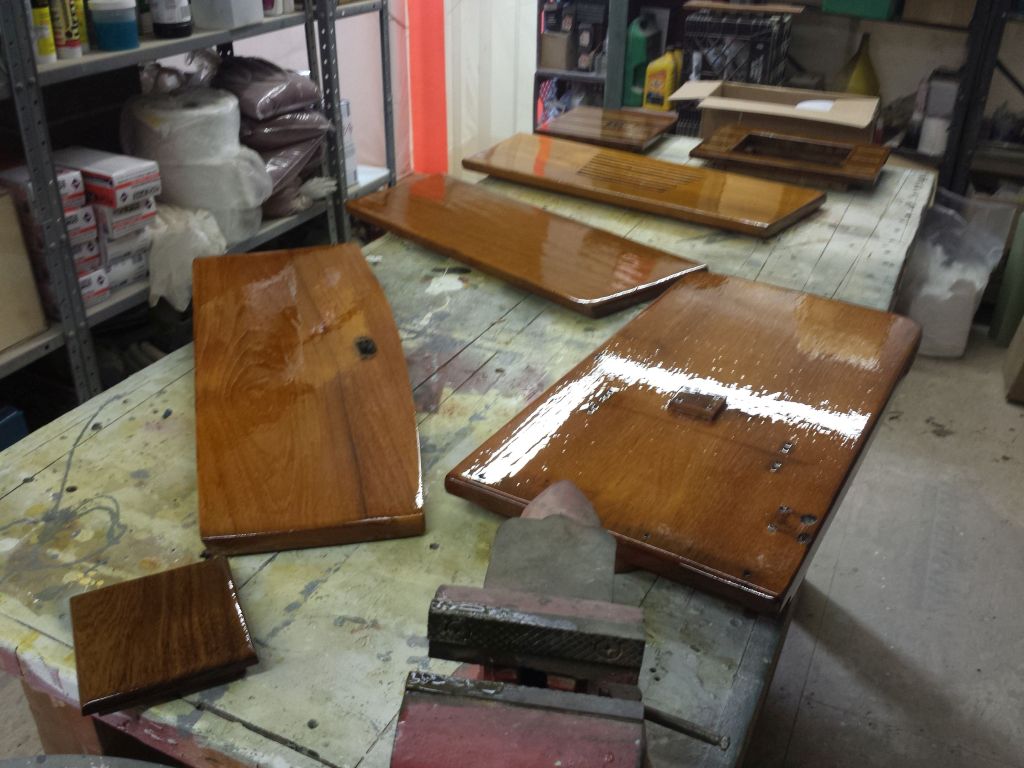
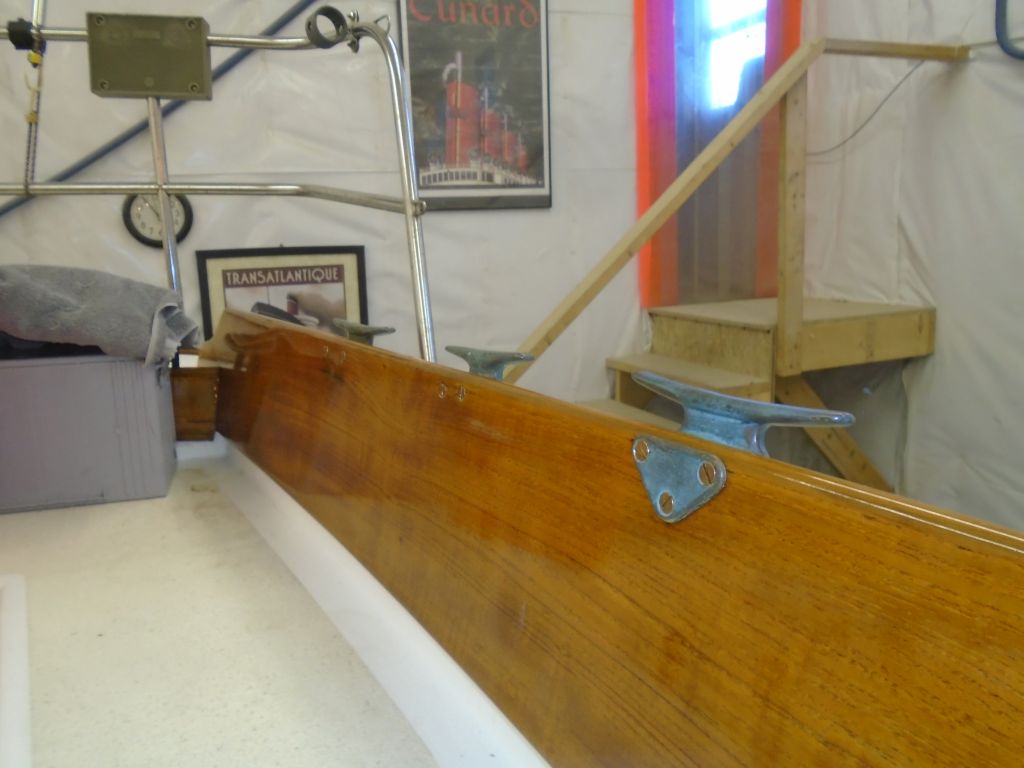
I began the day as per usual with sanding and varnish for the loose hatches (4th coat).

varnish1-20216

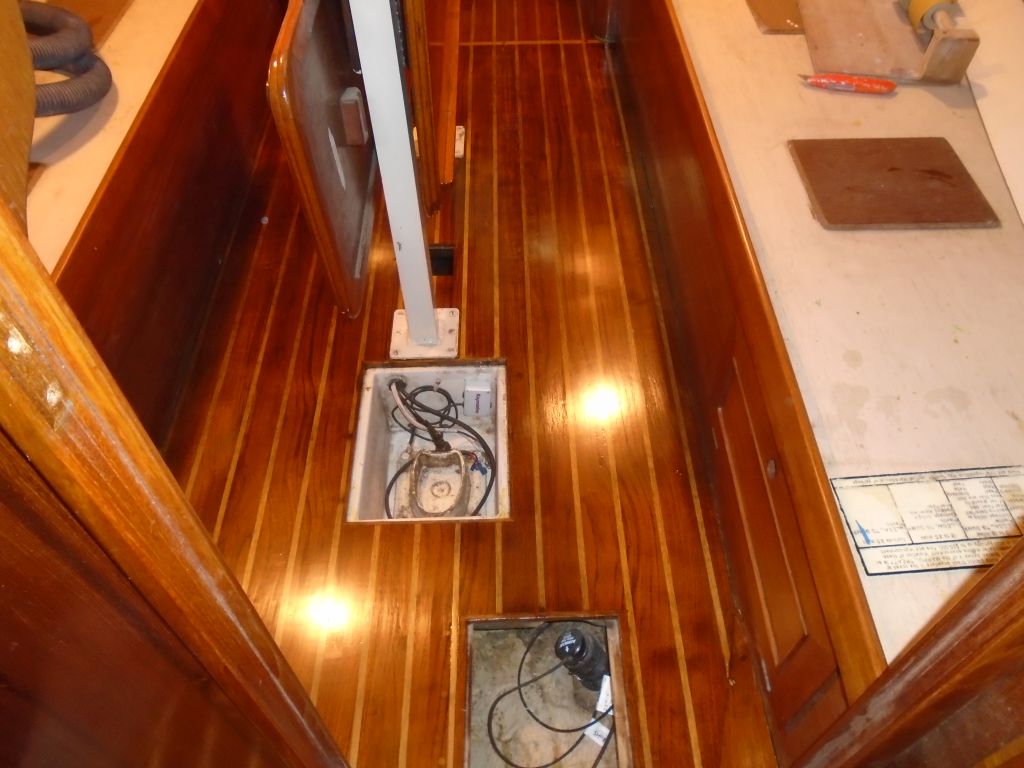
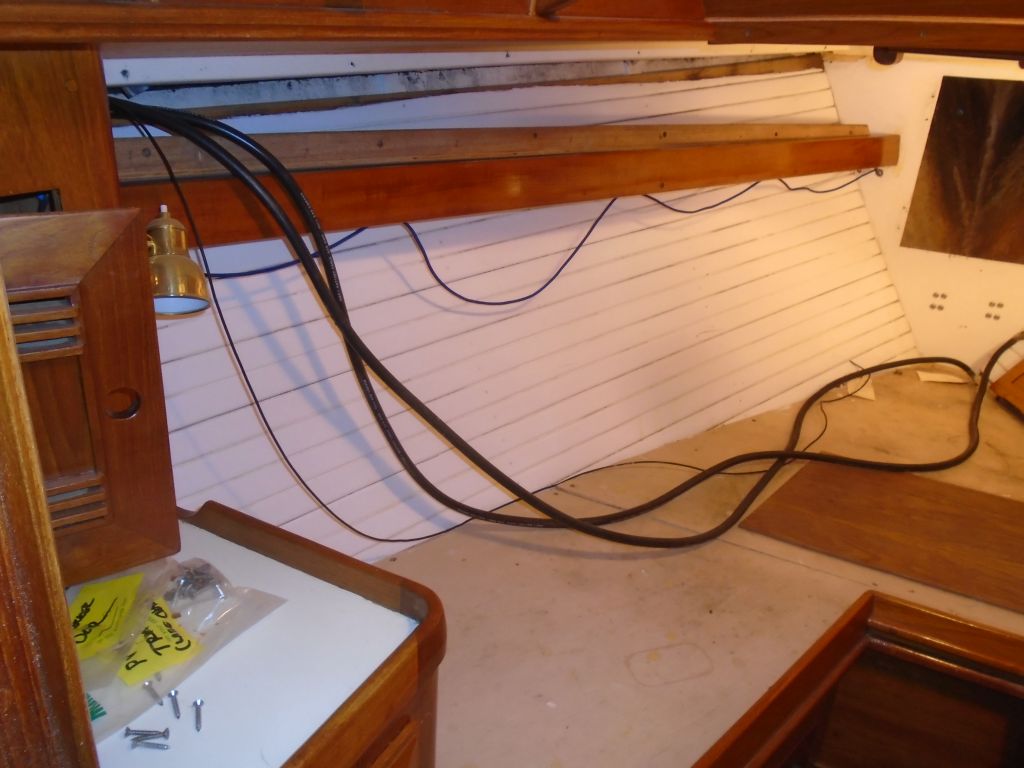
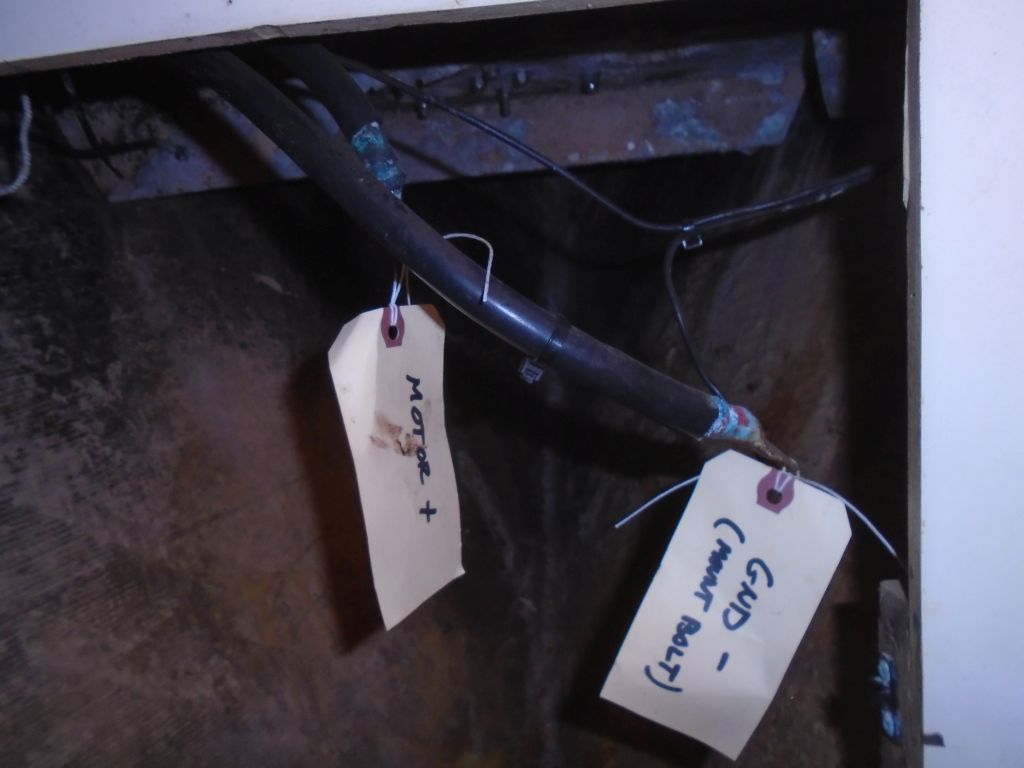
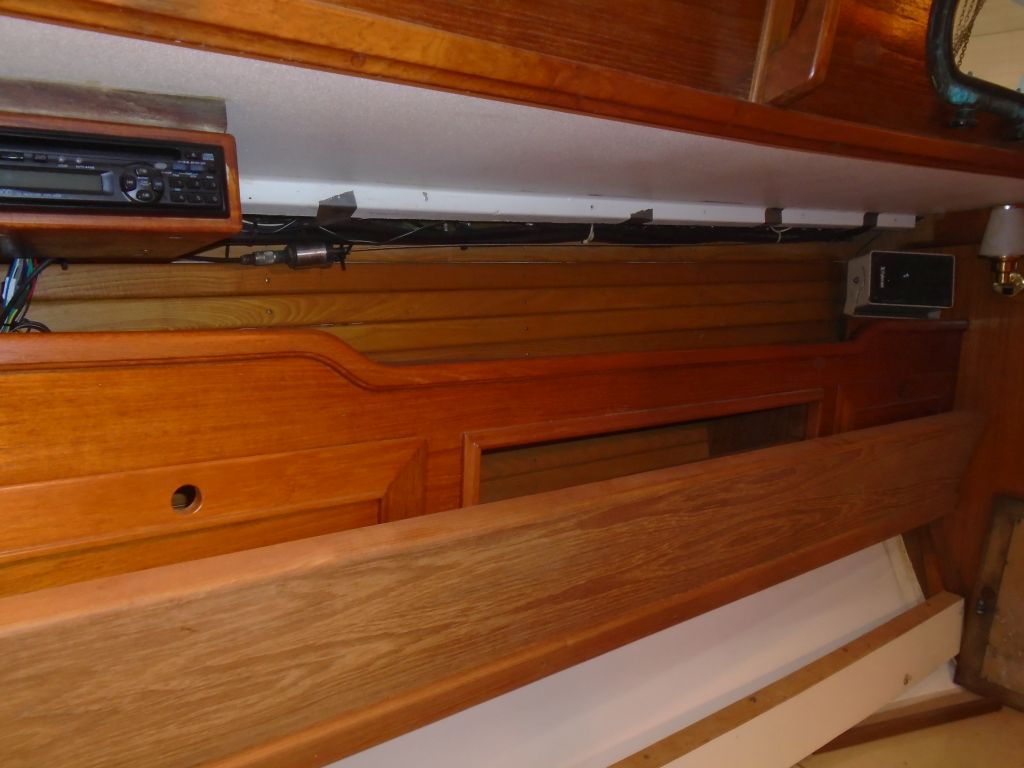
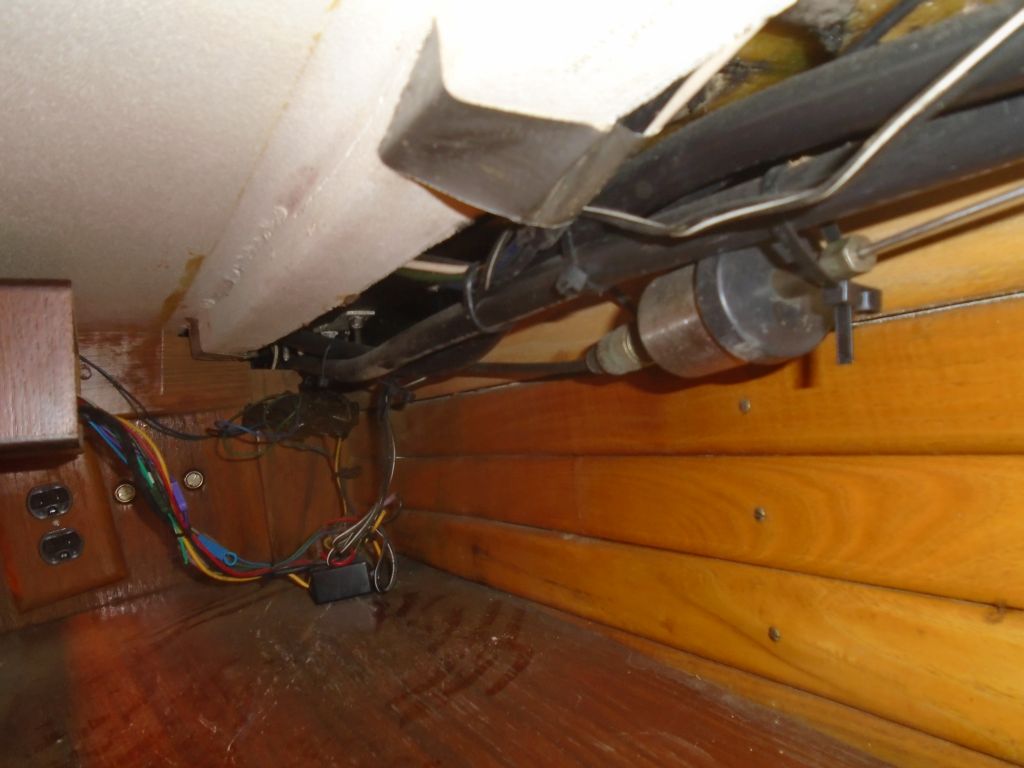
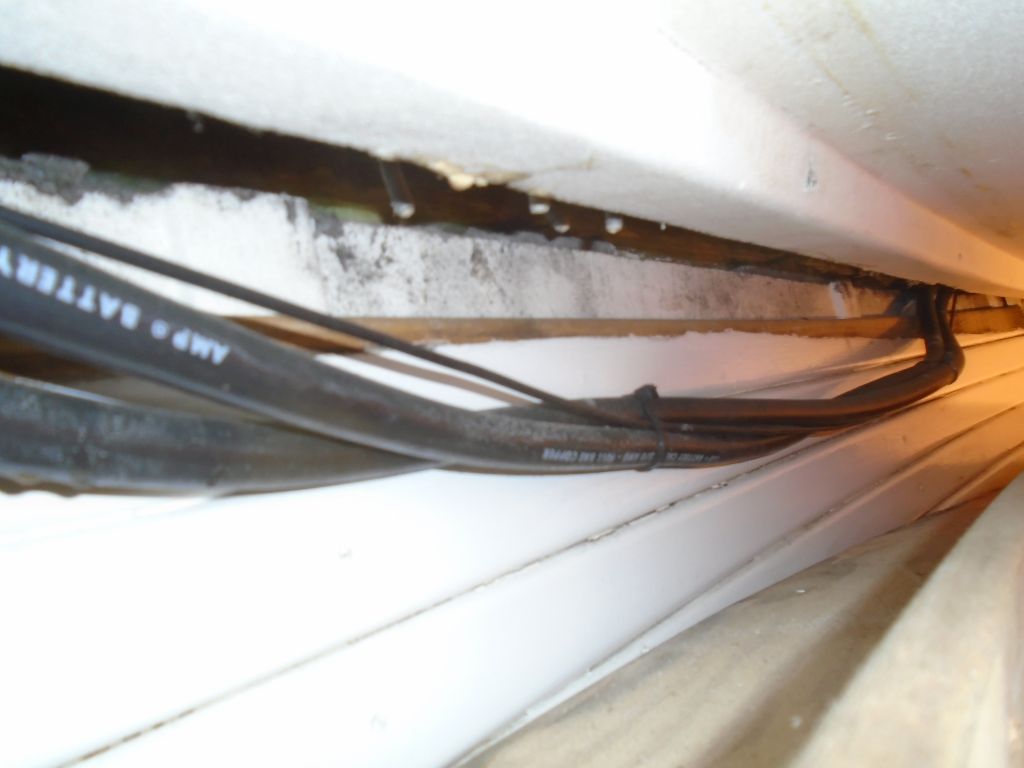
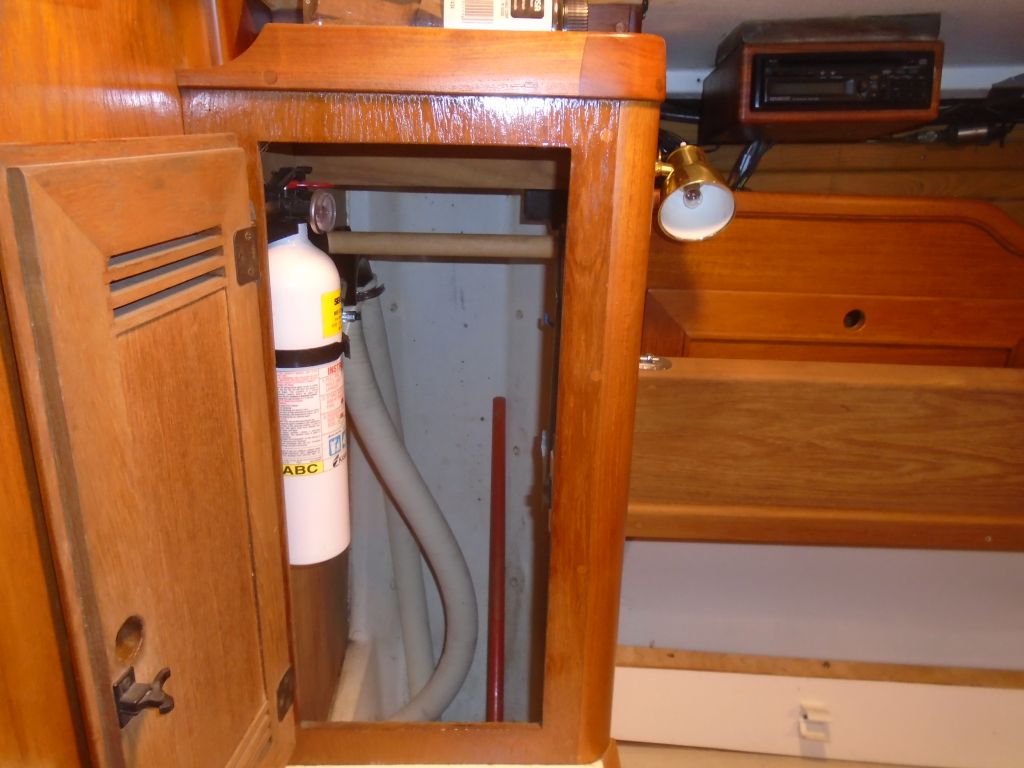
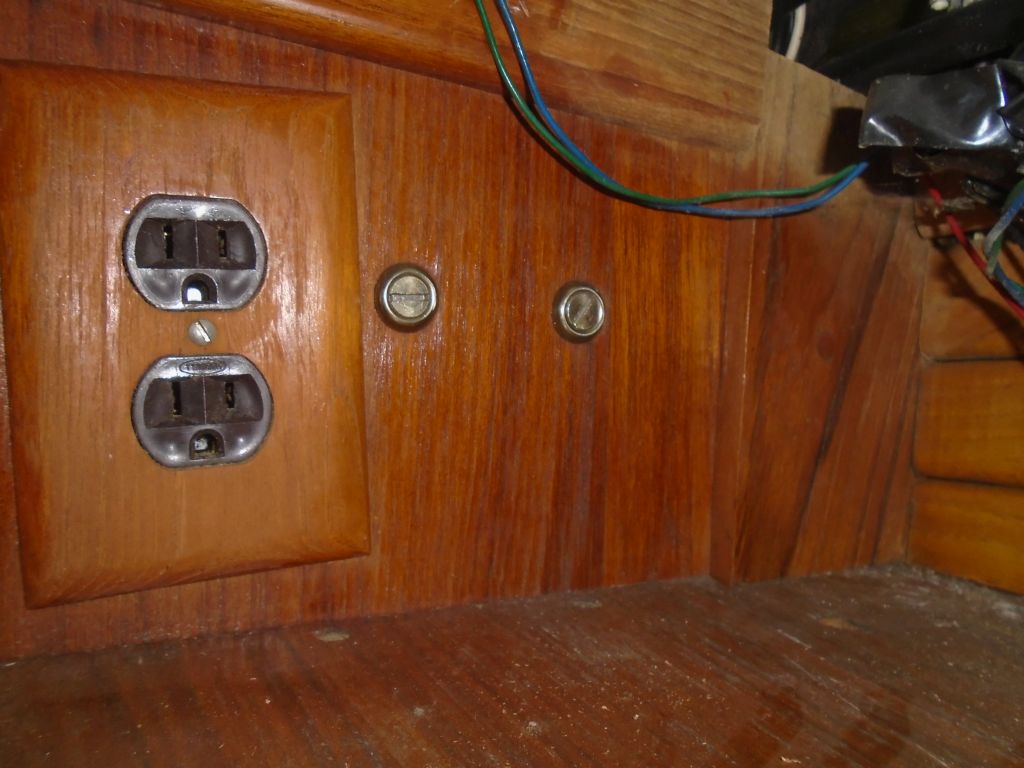
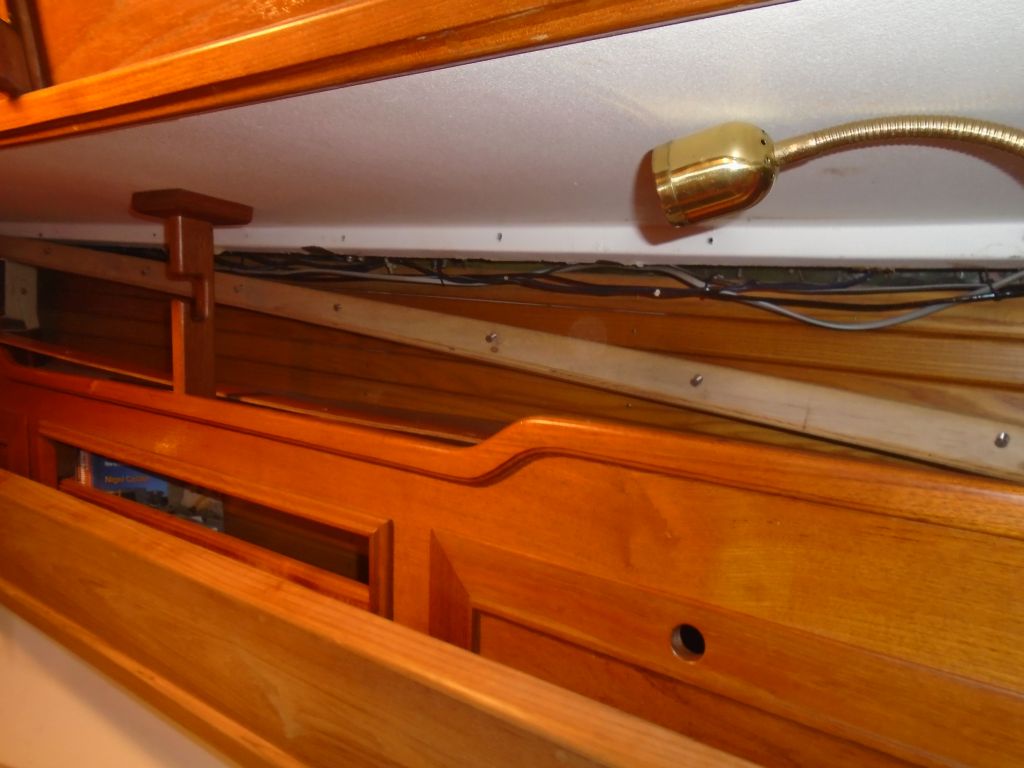
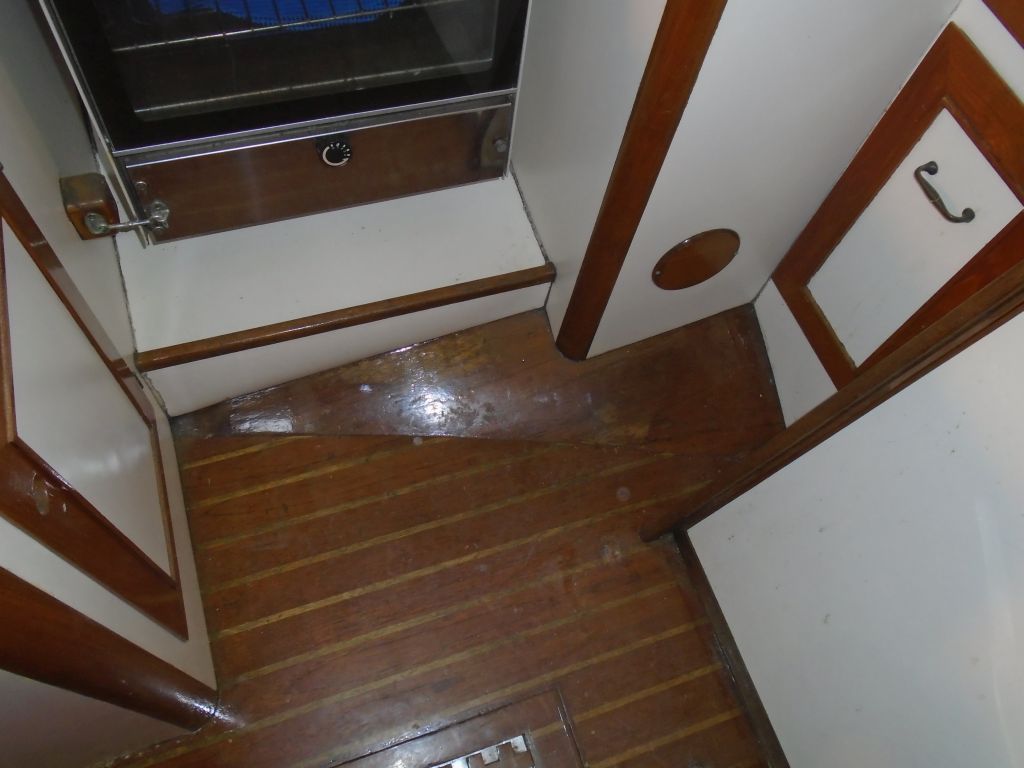
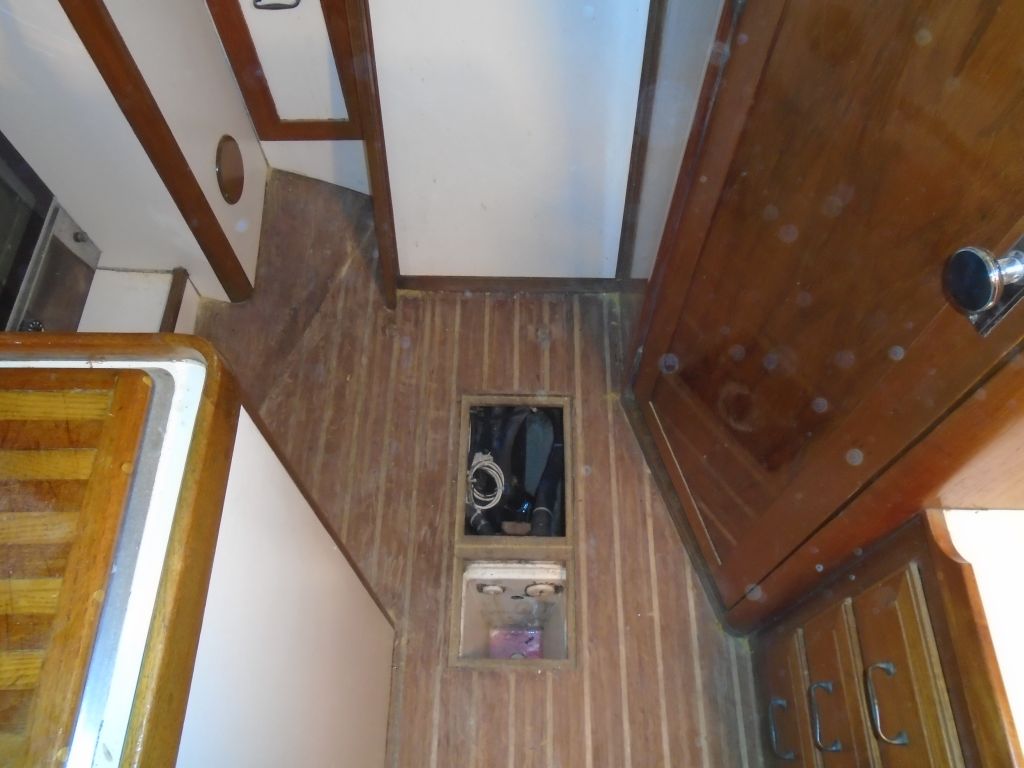
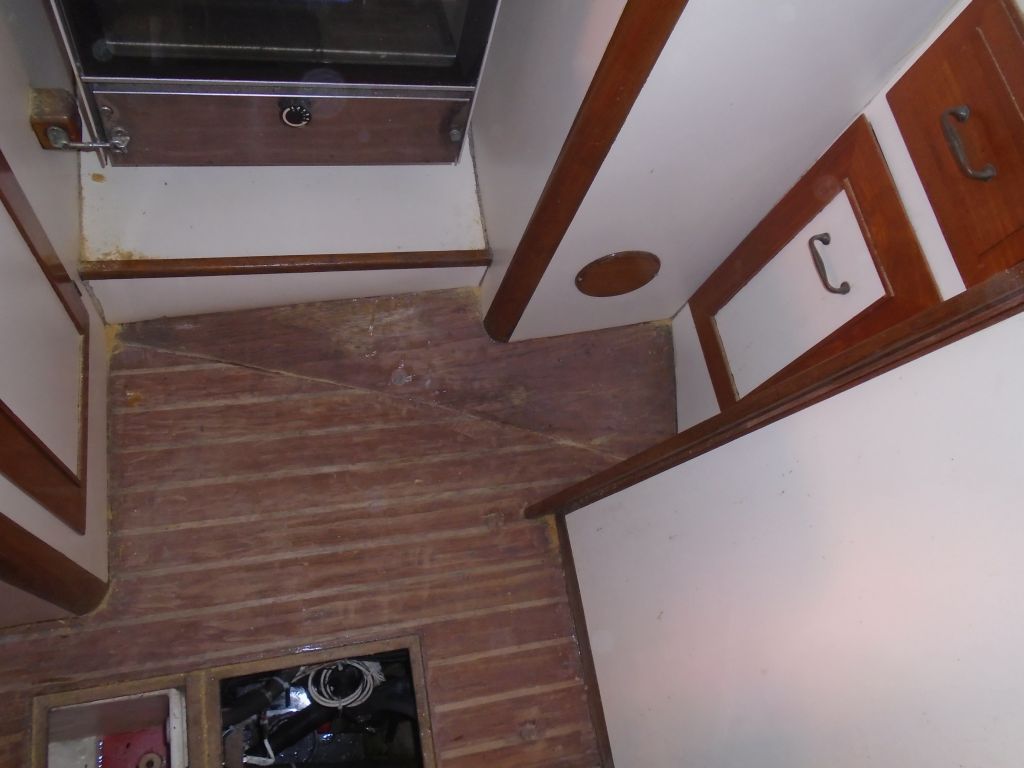
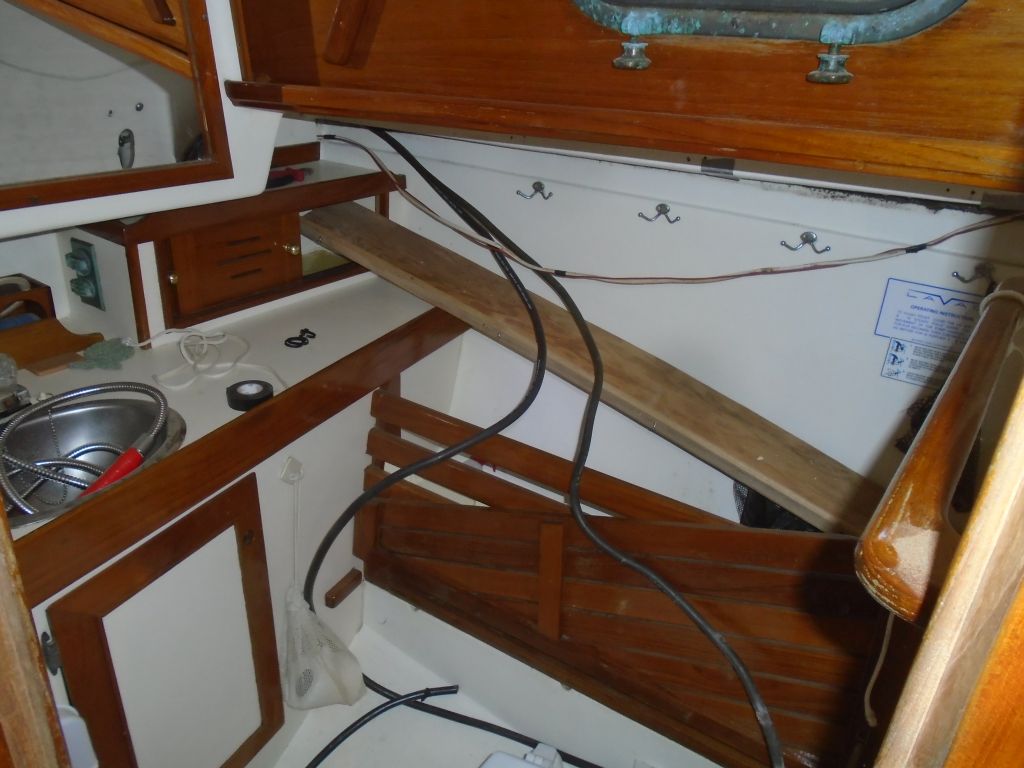
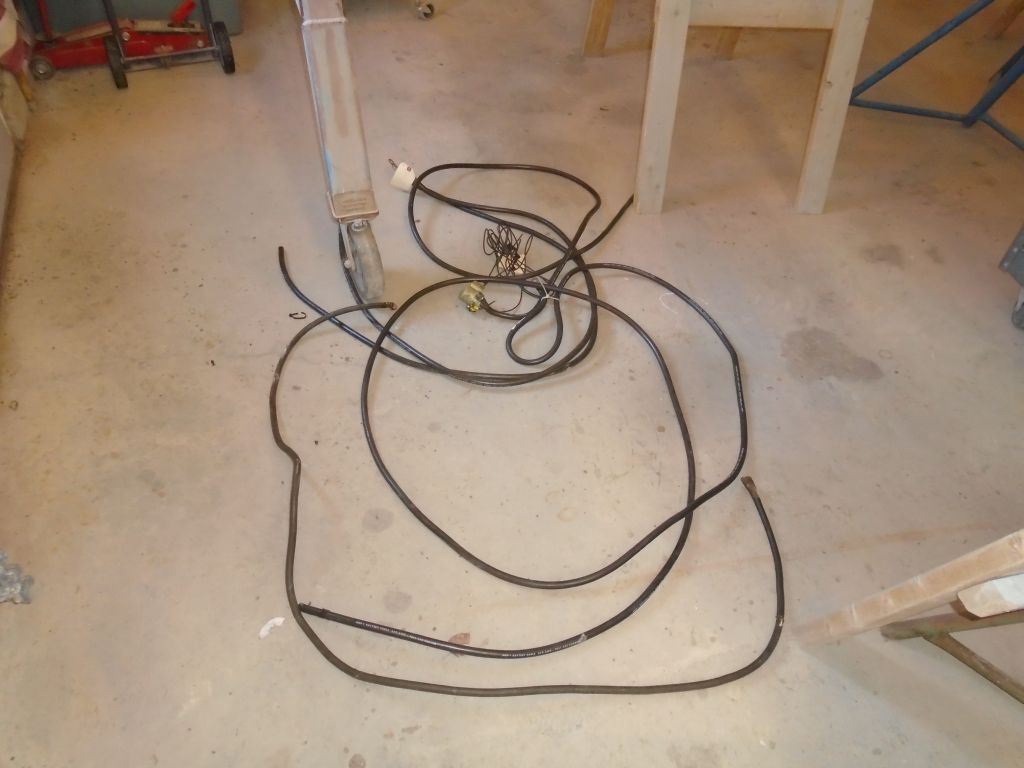
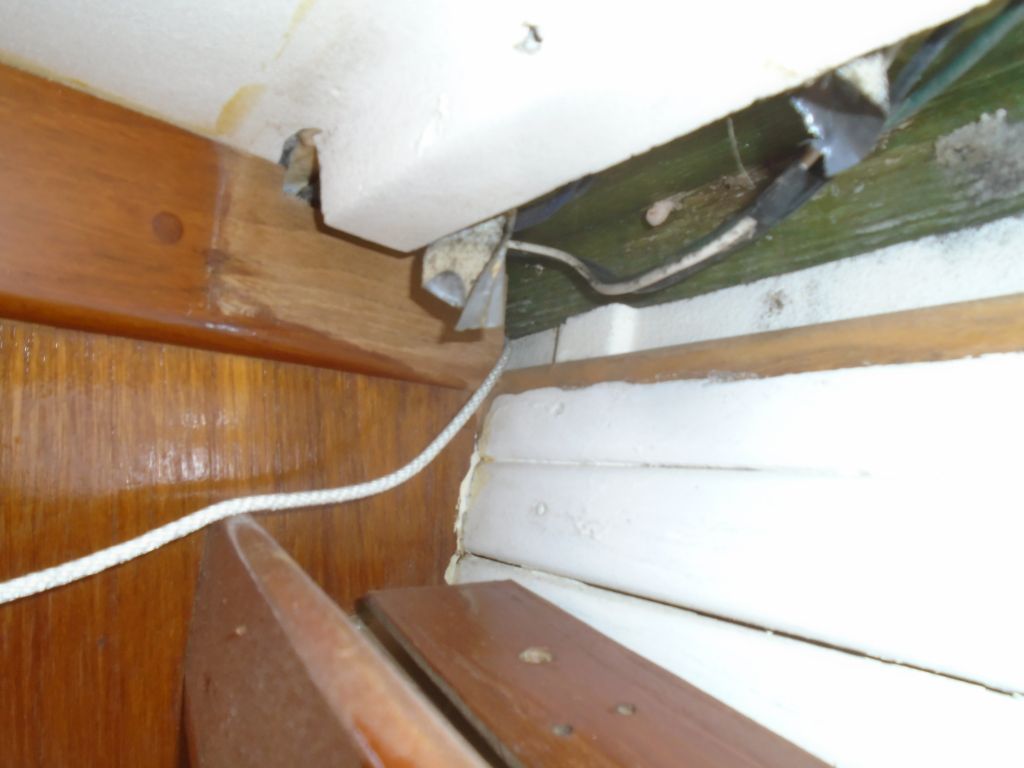
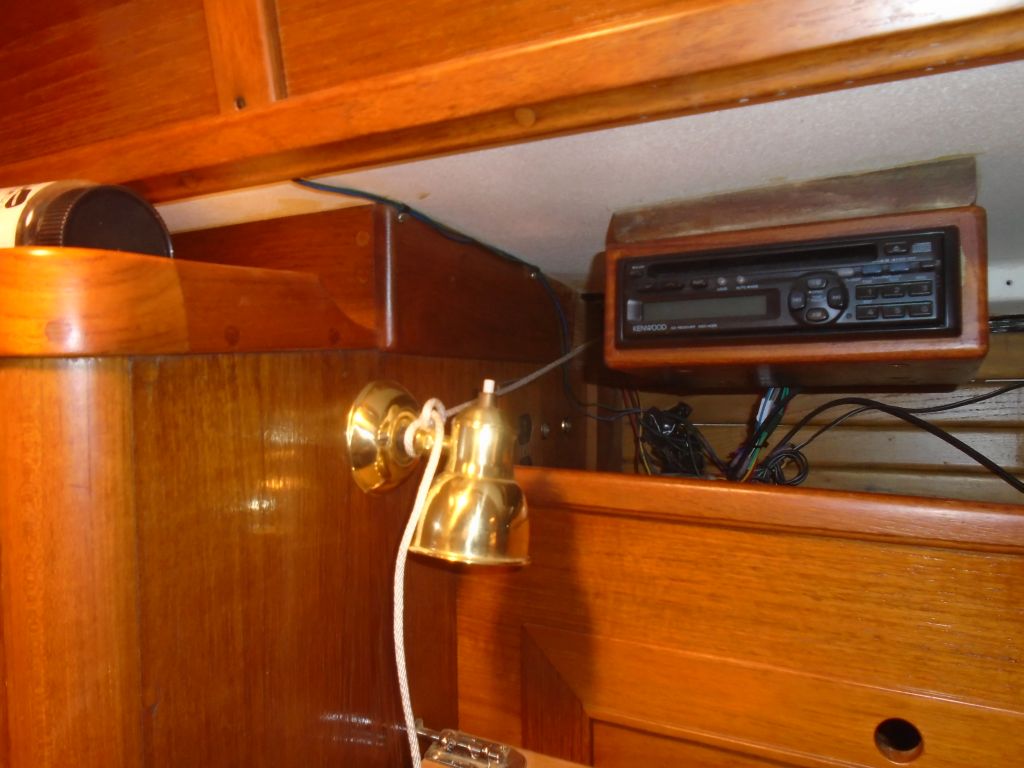
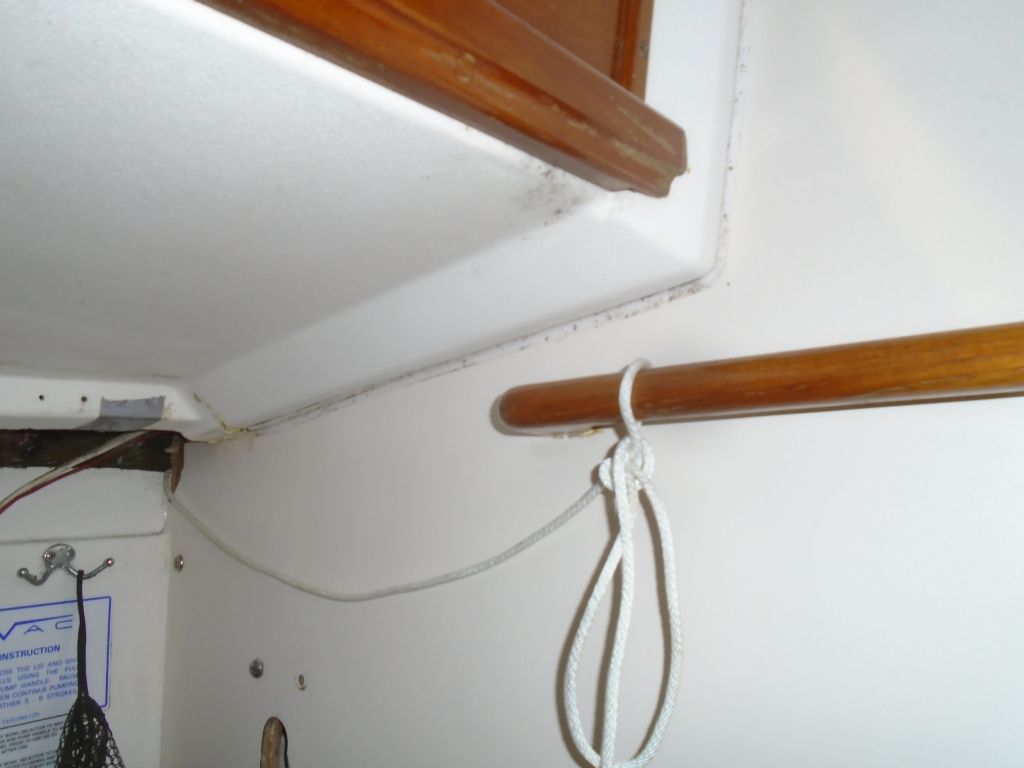
I continued–and completed–the removal of the old windlass cable, including the solenoid in the hanging locker and another small control wire that went with it.  For ease of removal, I’d planned to cut the cable into smaller sections, but my old cutters weren’t up to the job, so after struggling with one set of cuts I pulled the rest of the cable out whole.  Overall the cable had been in fair condition, but new cable would be better and of higher quality, as the original cable was not tinned and was less flexible than the good marine cable.  At a few places where the cable disappeared behind lockers, I pulled through a length of messenger line to make installing the new cable that much easier.

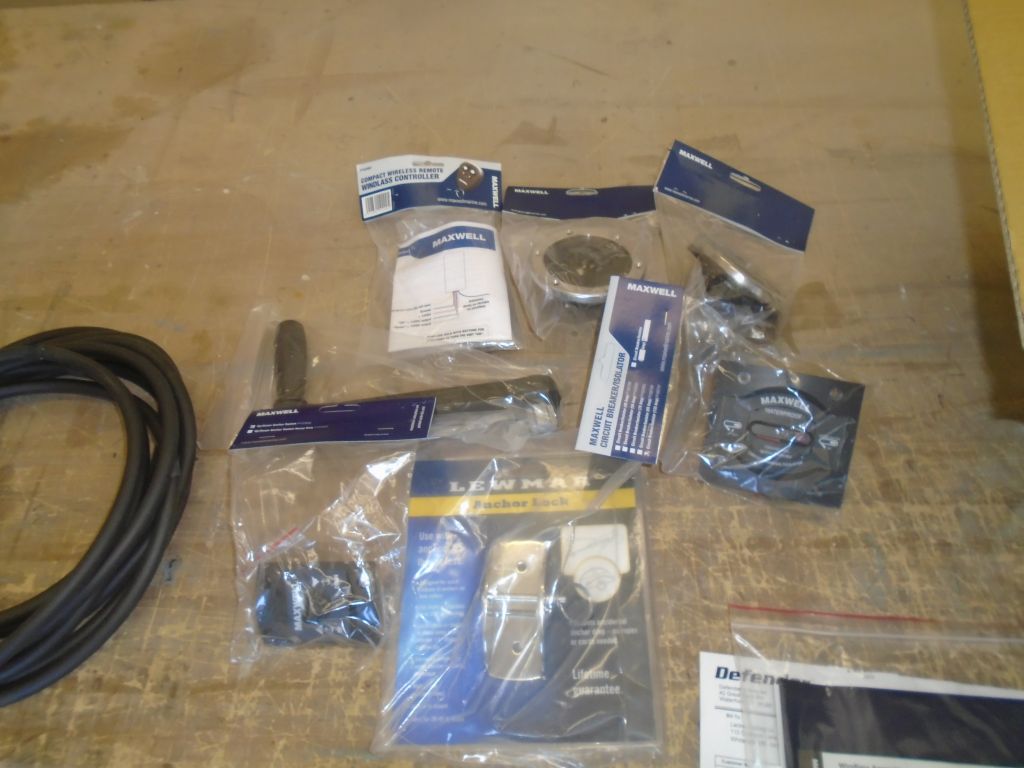
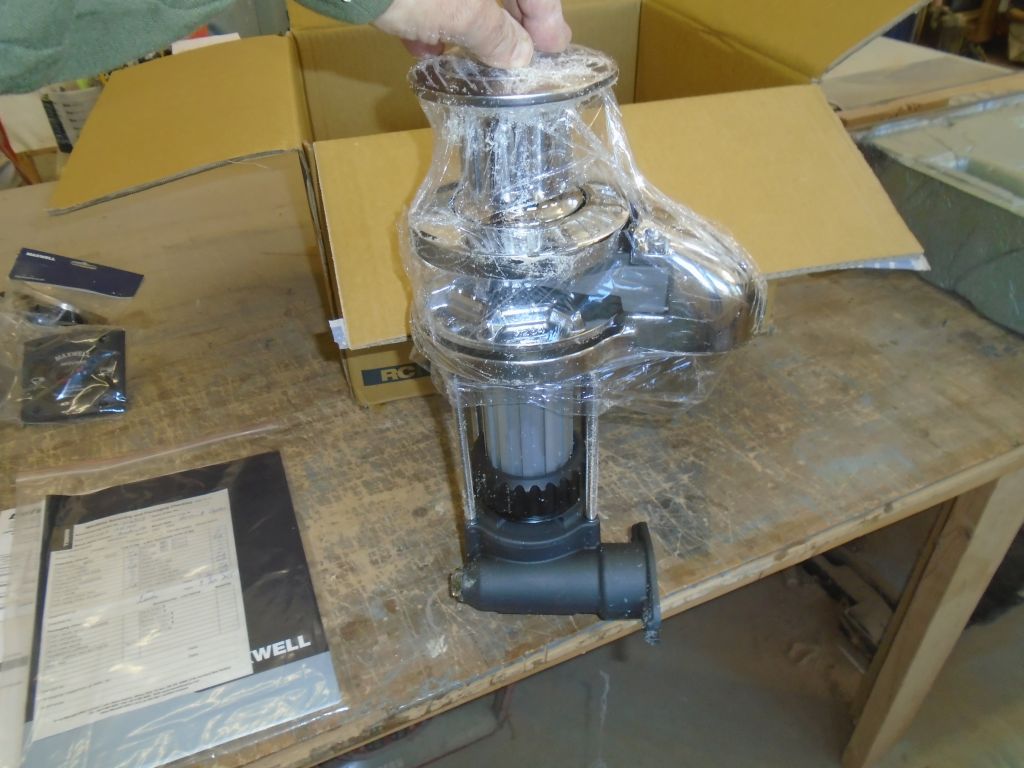
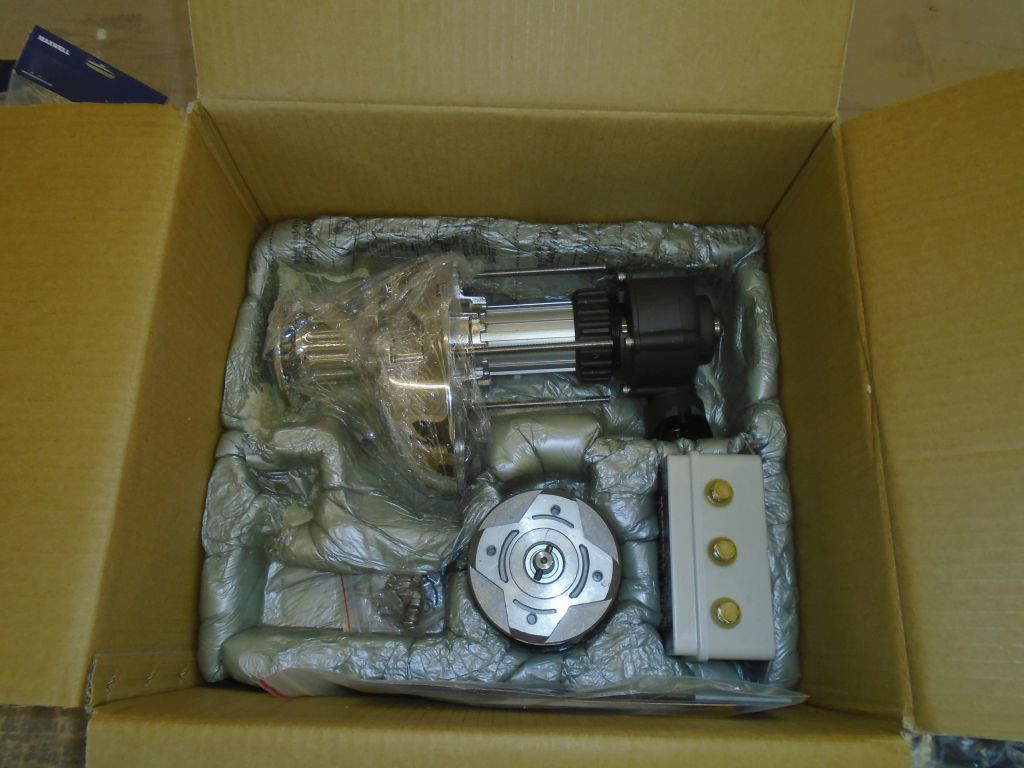
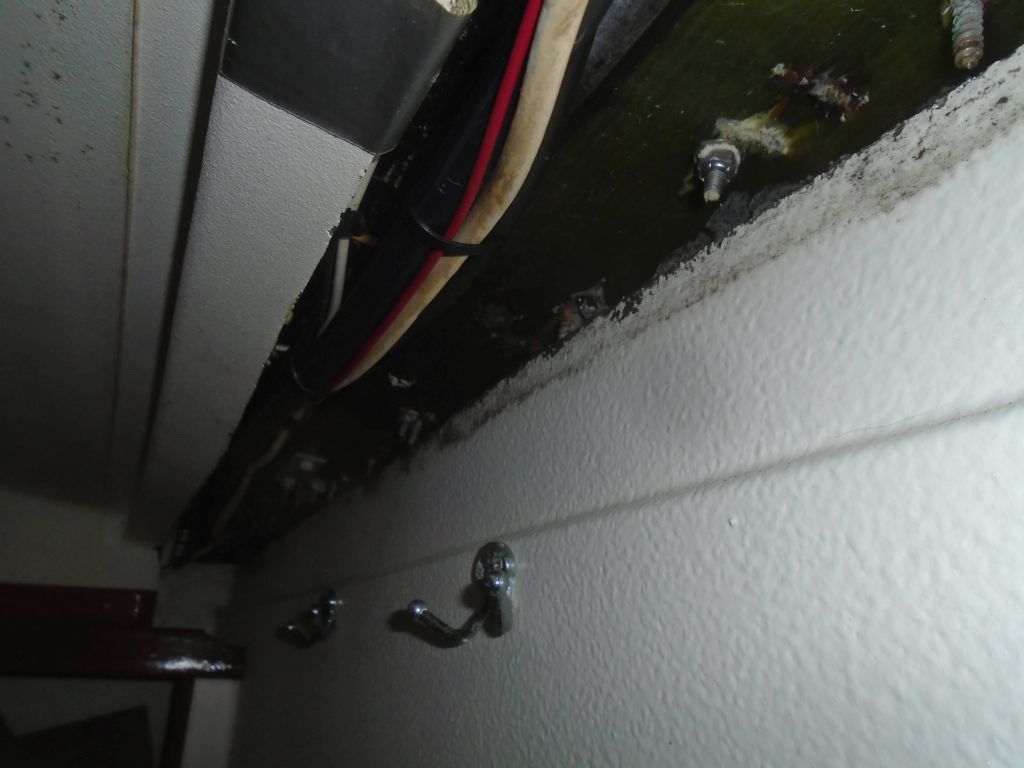
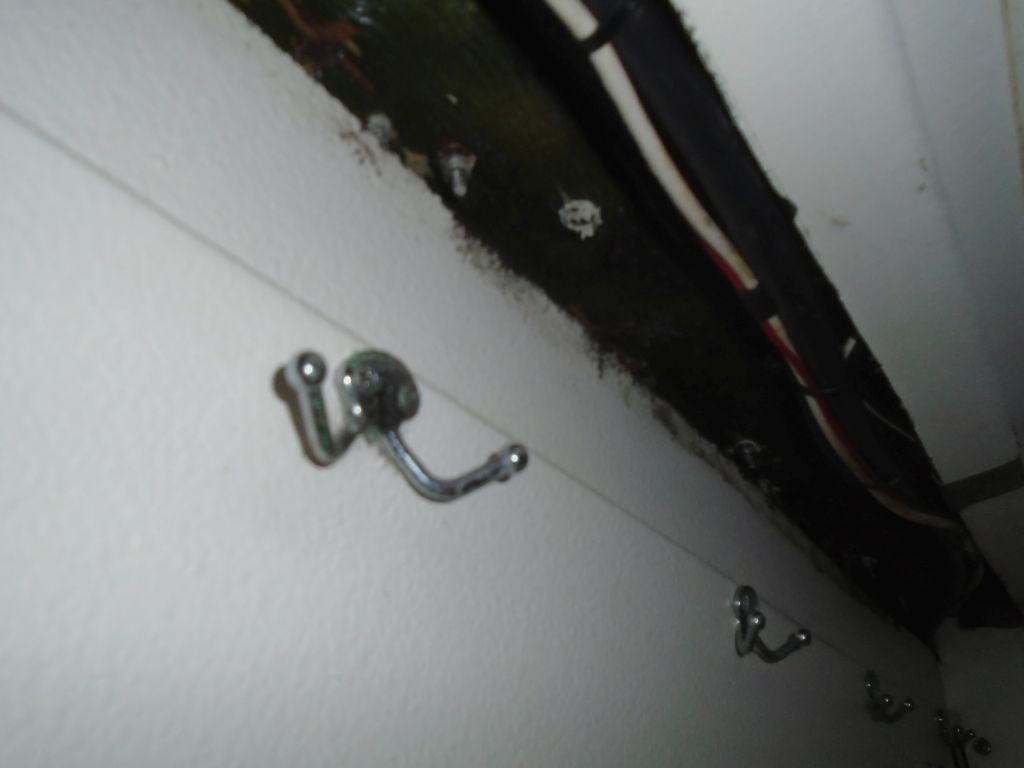
Afterwards, I removed some old wire ties and mounts from the chainlocker, and removed the original foot switch to make way for the new pair that I’d be installing along with the new windlass.  I finalized the order for installation materials and cable for the new windlass, so that would be along soon so I could continue the initial parts of the installation then.

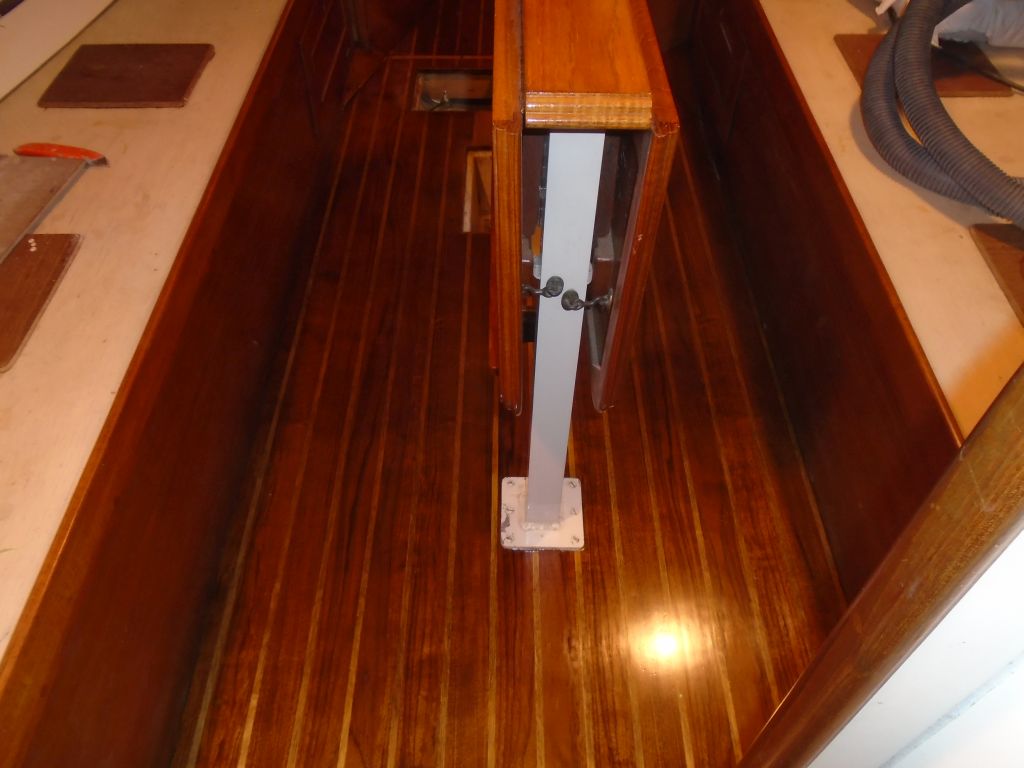
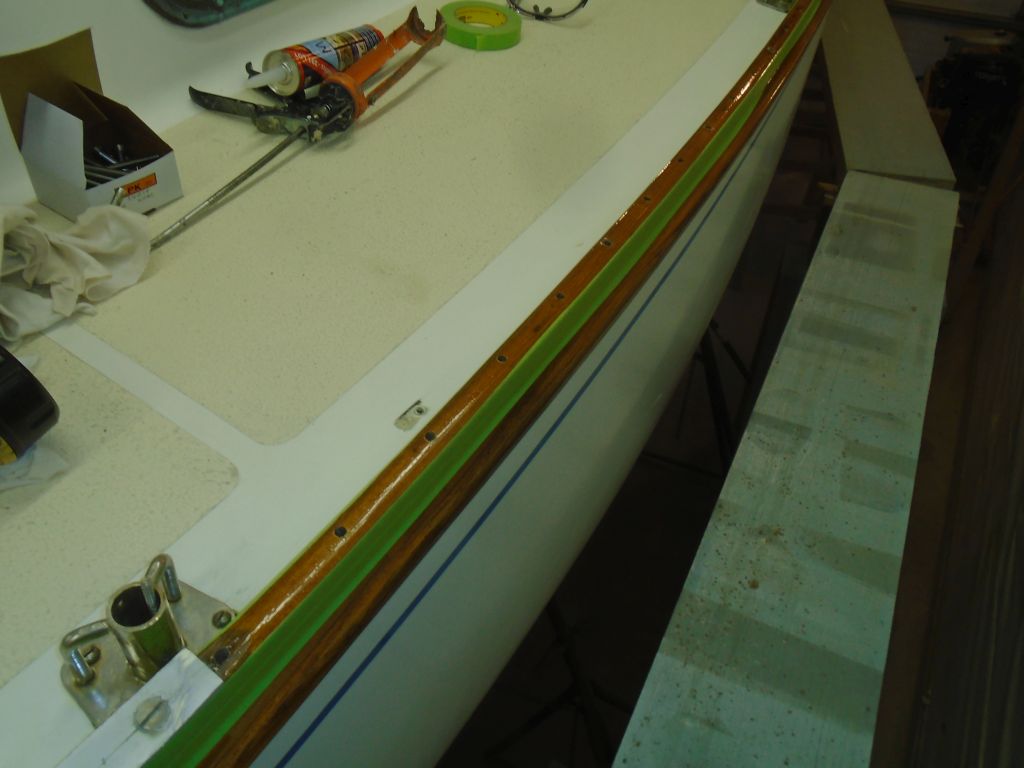
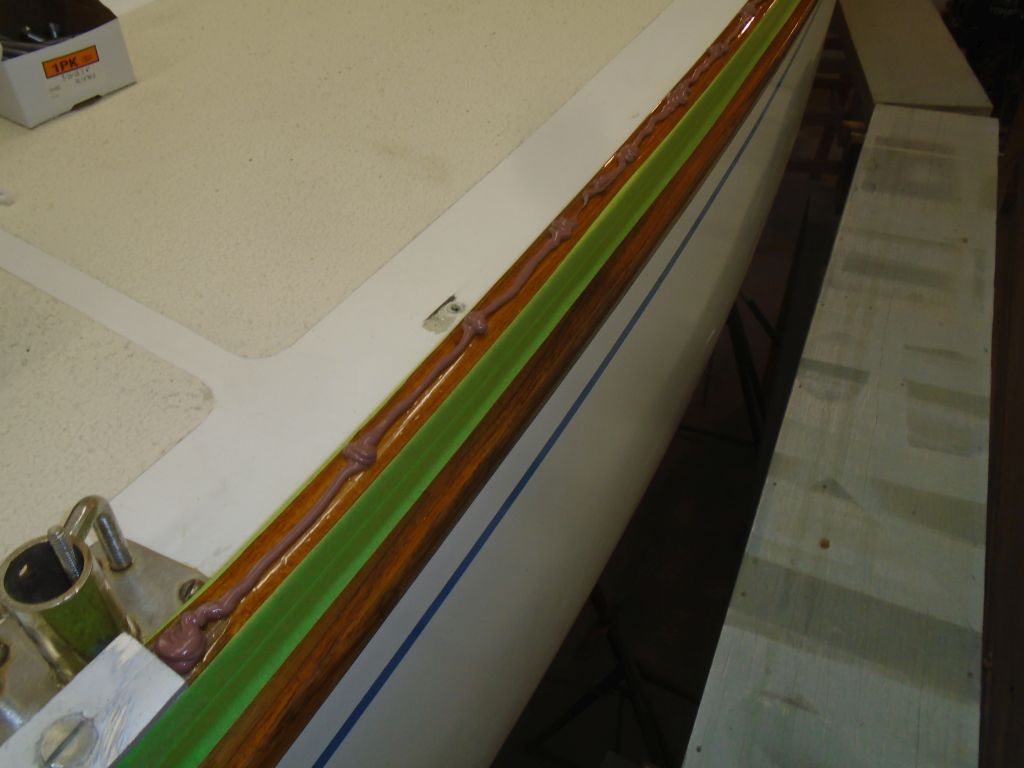
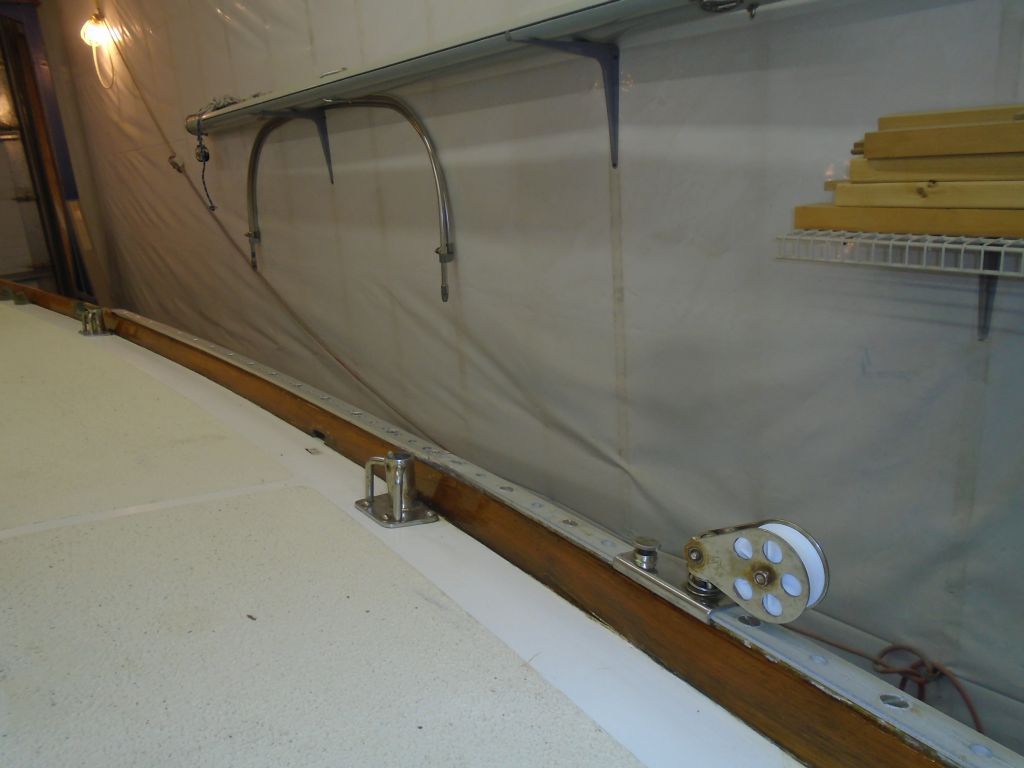
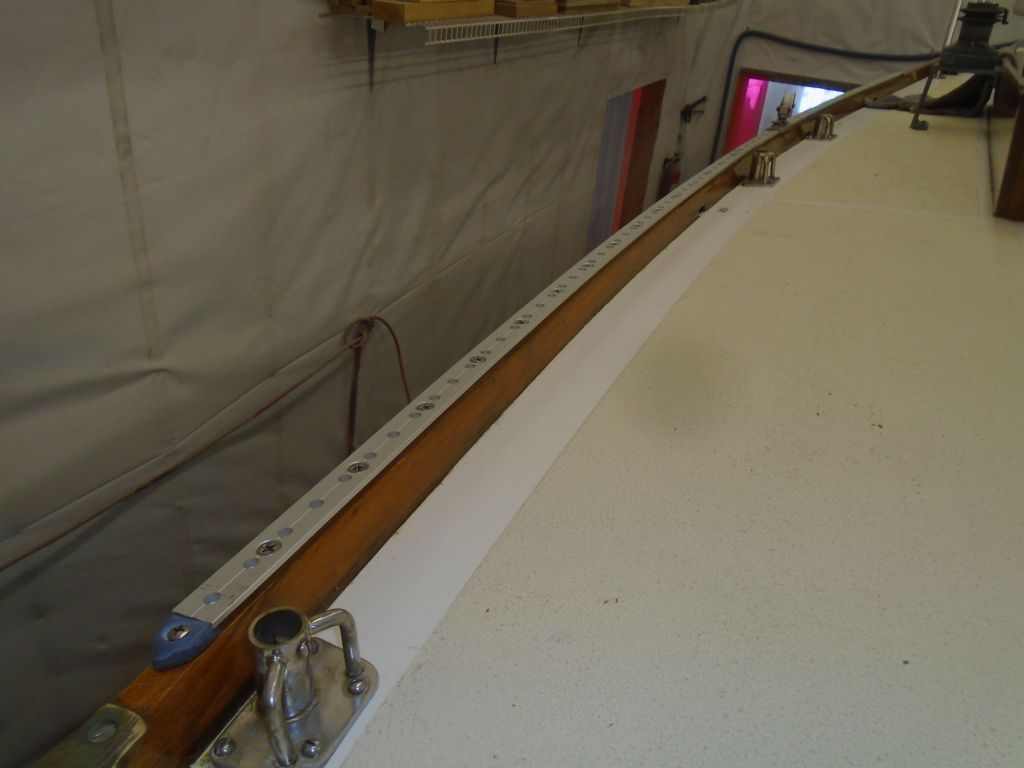
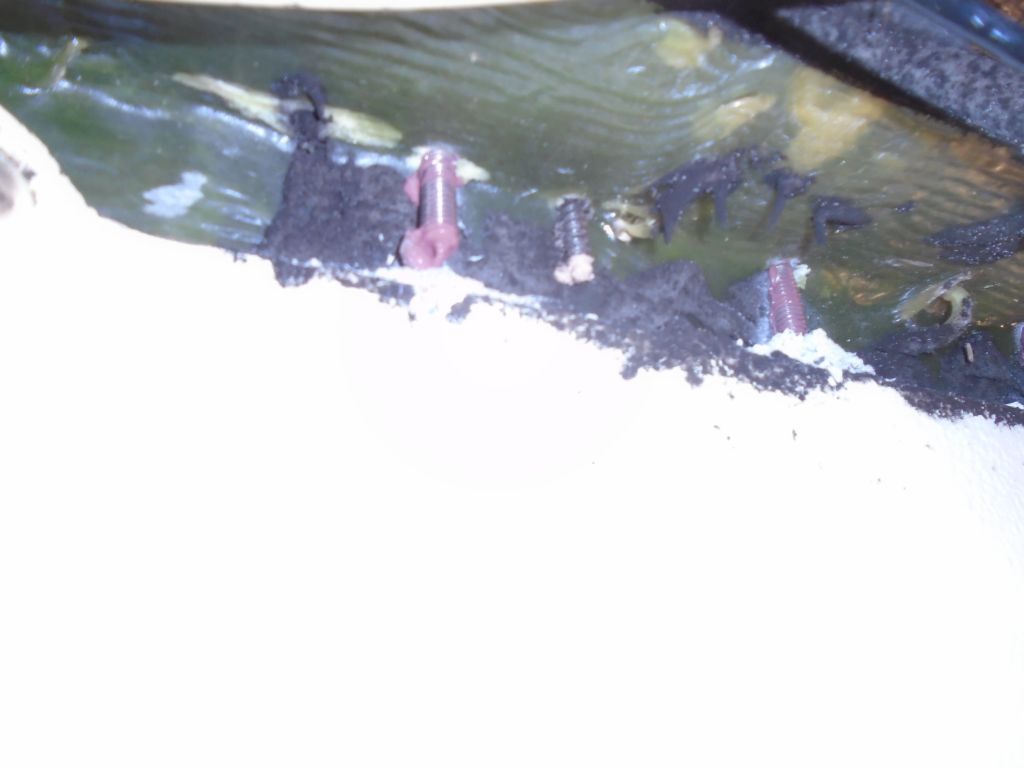
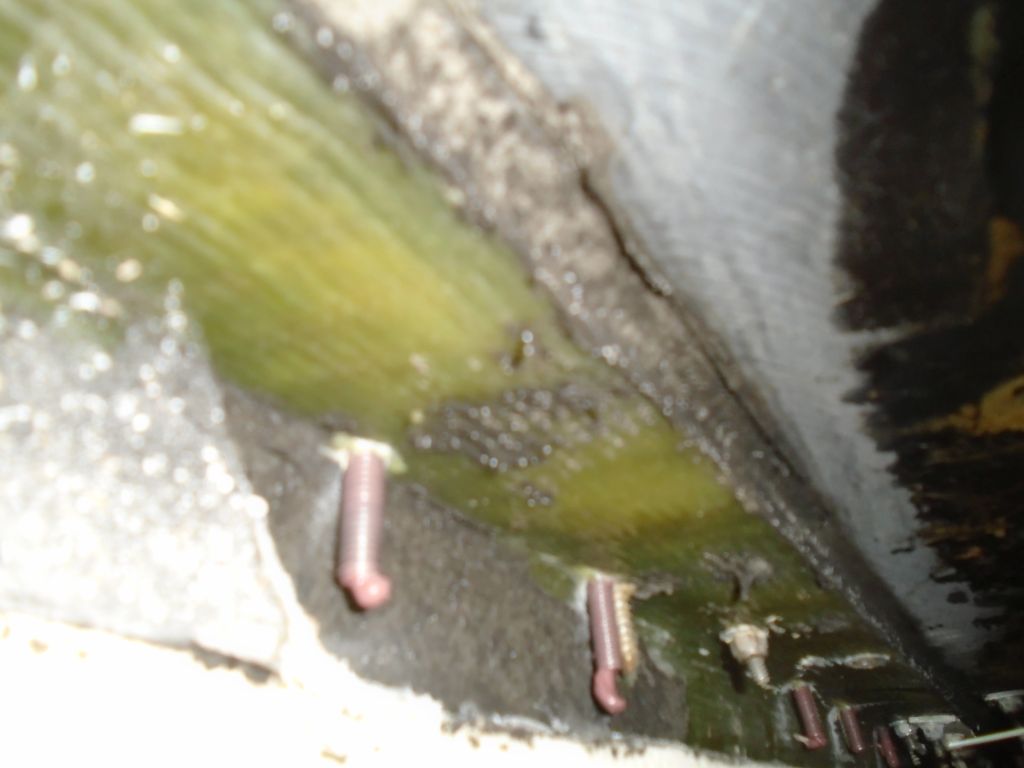
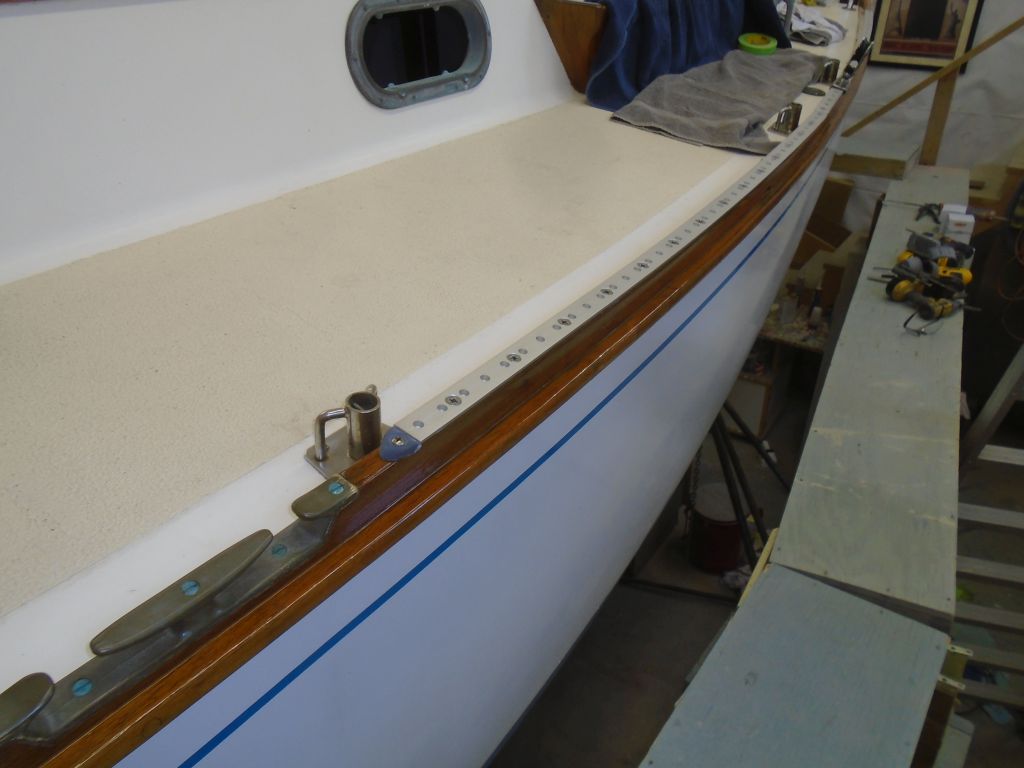
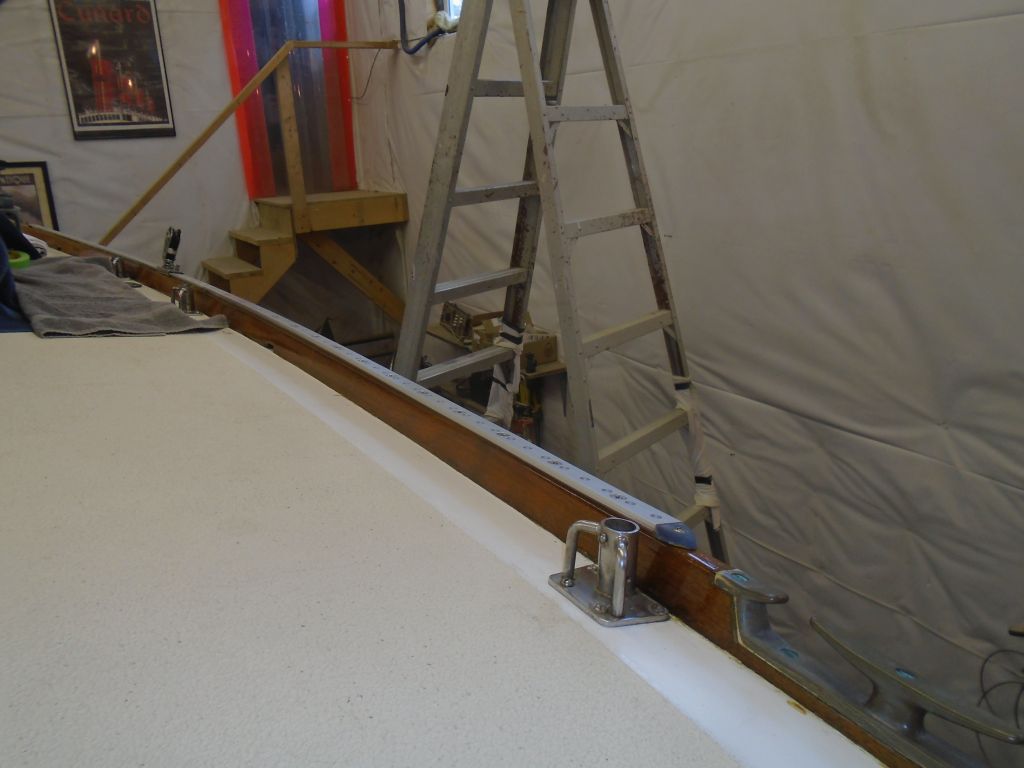
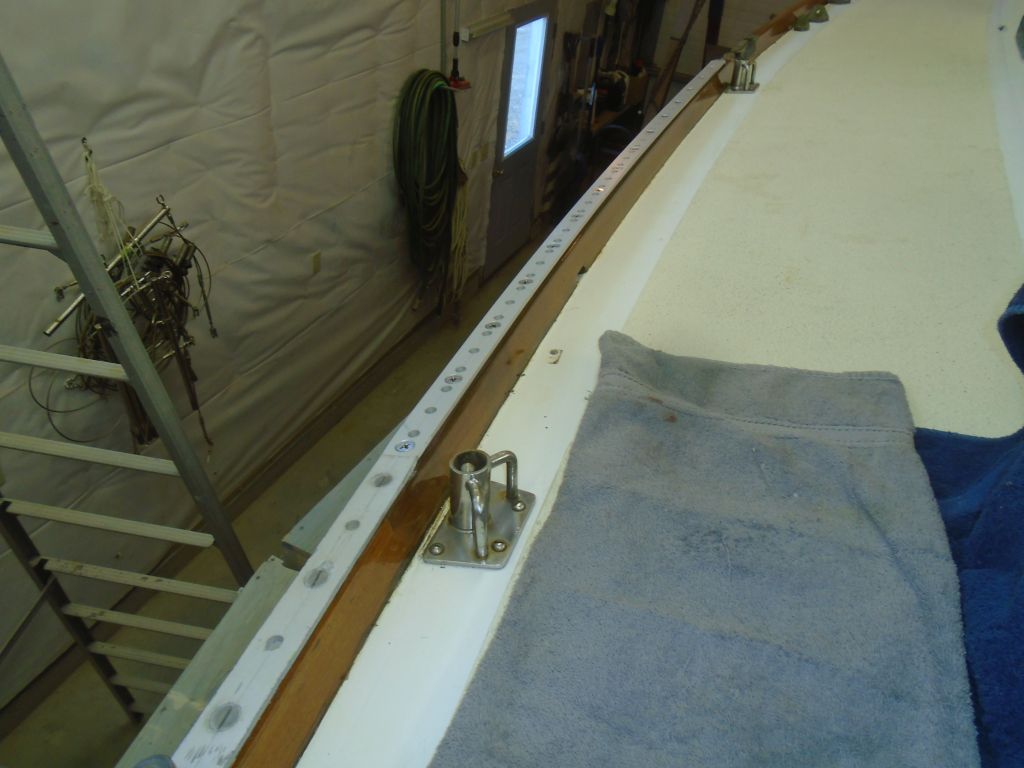
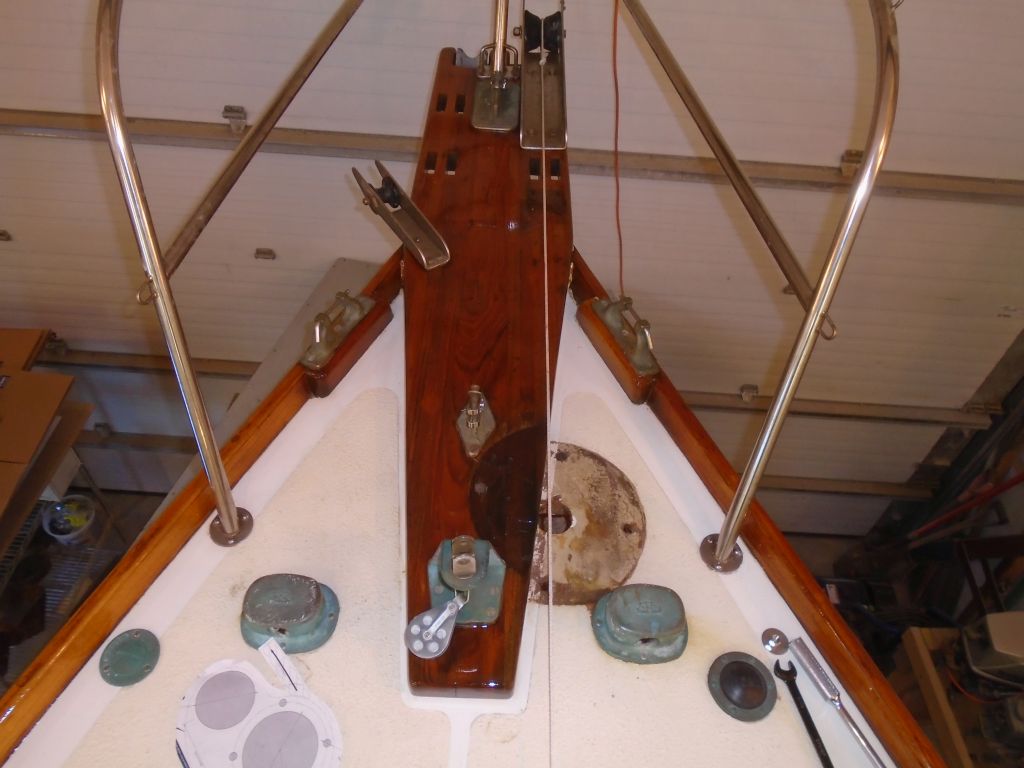
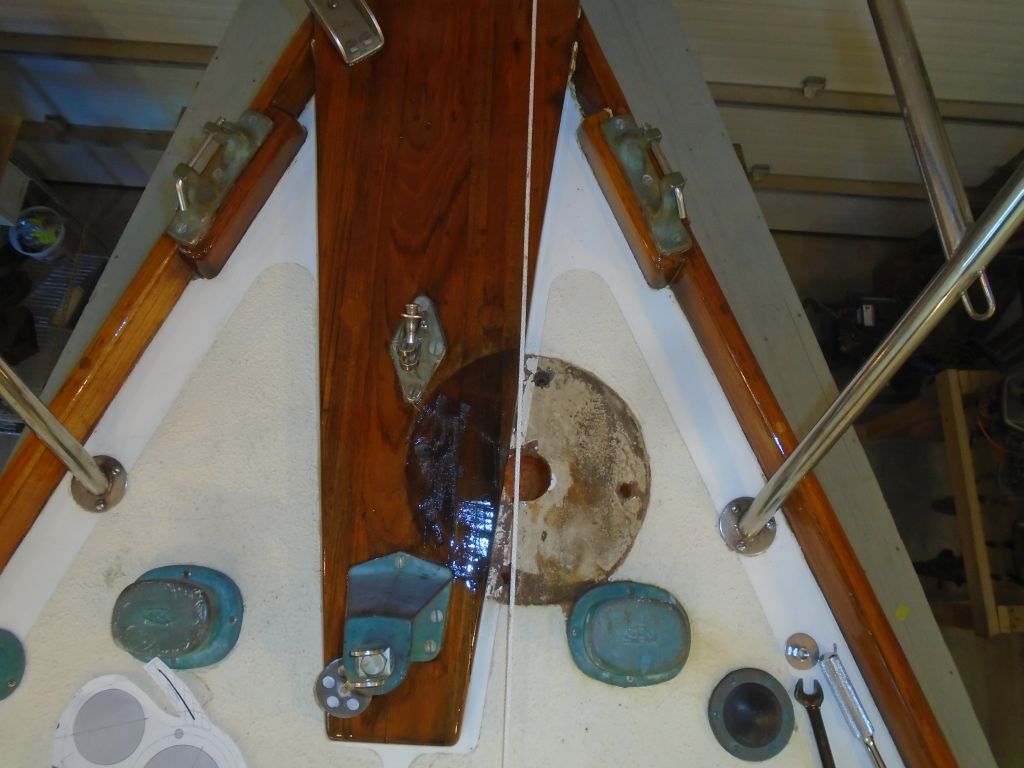
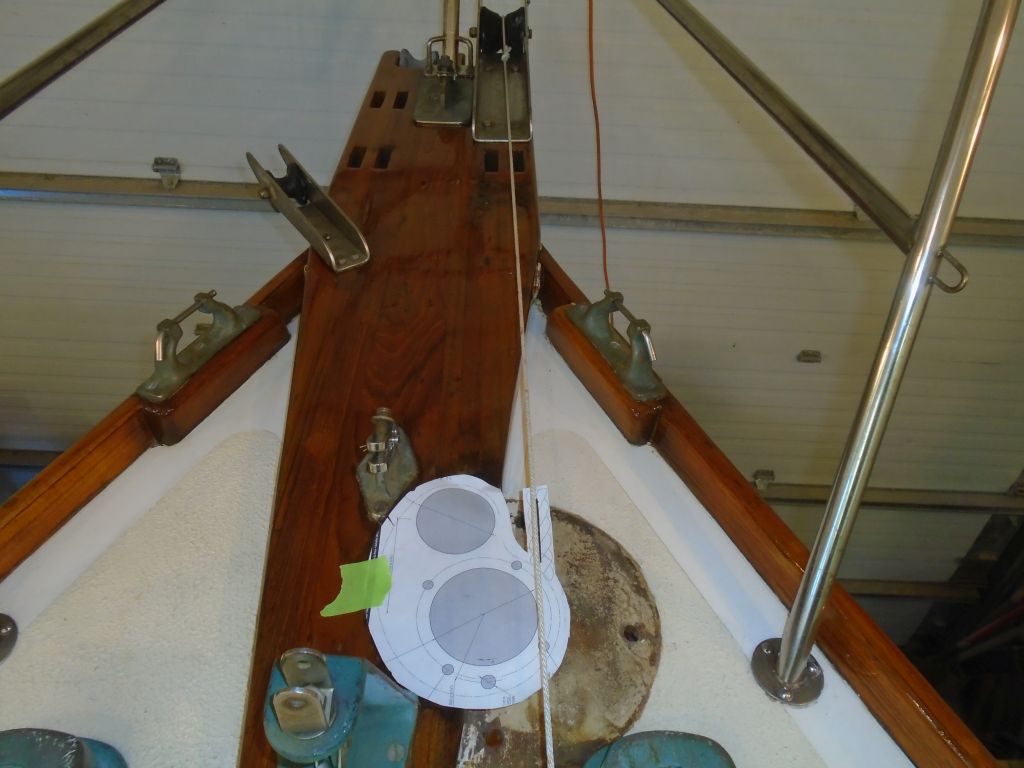
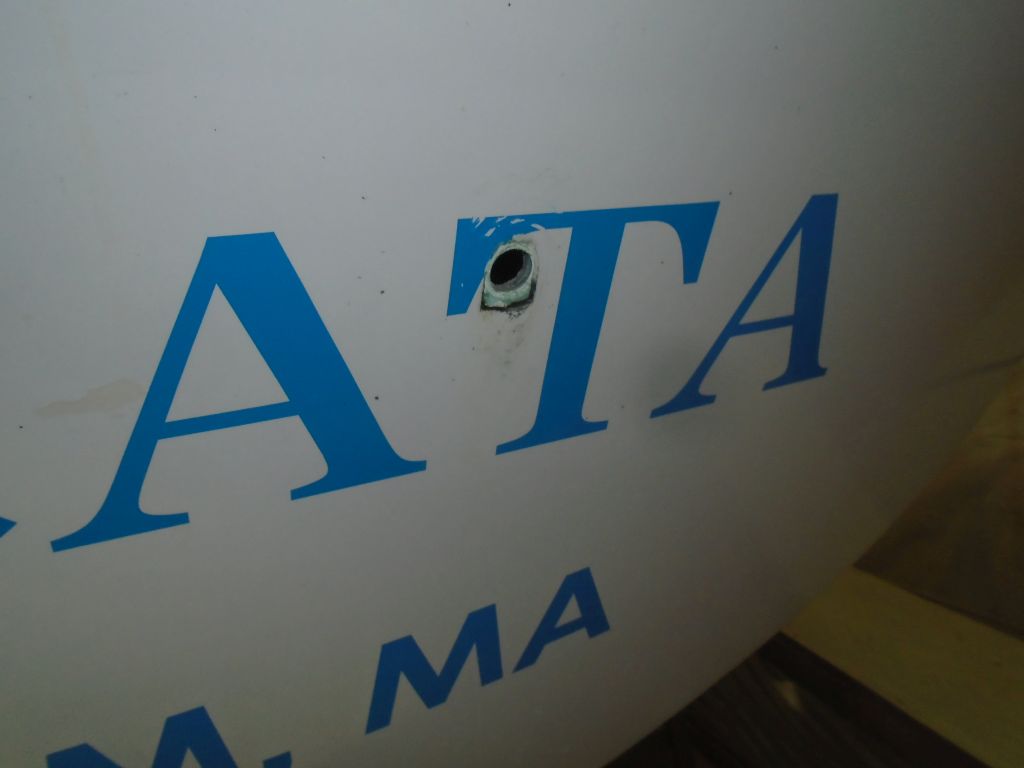
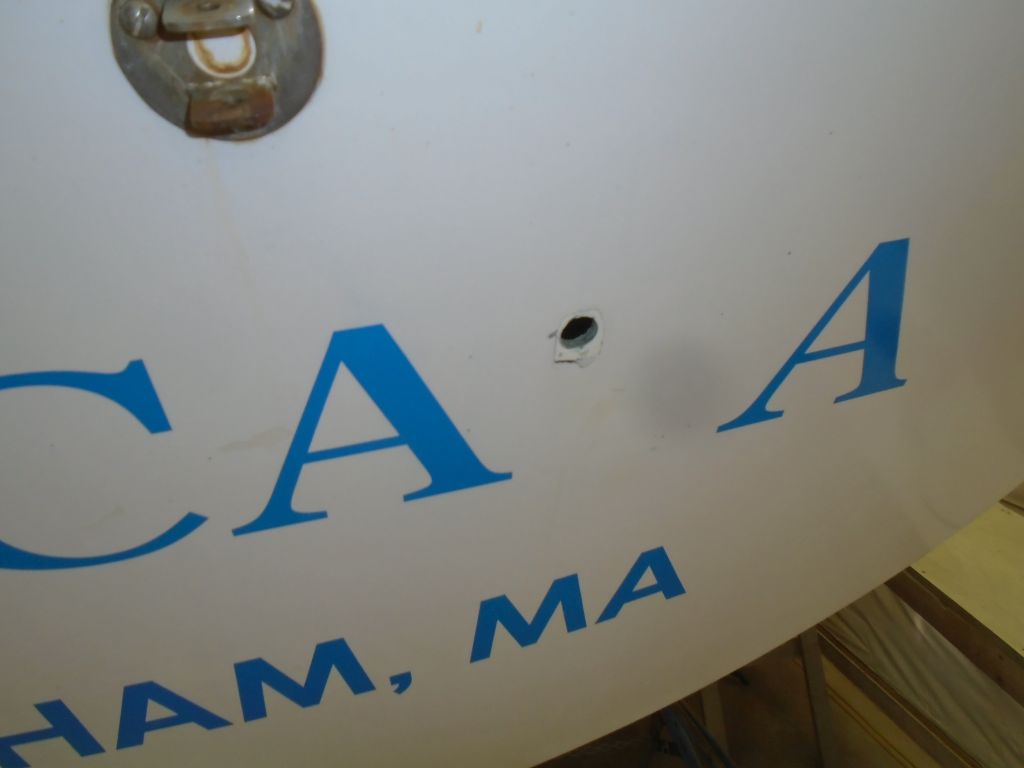
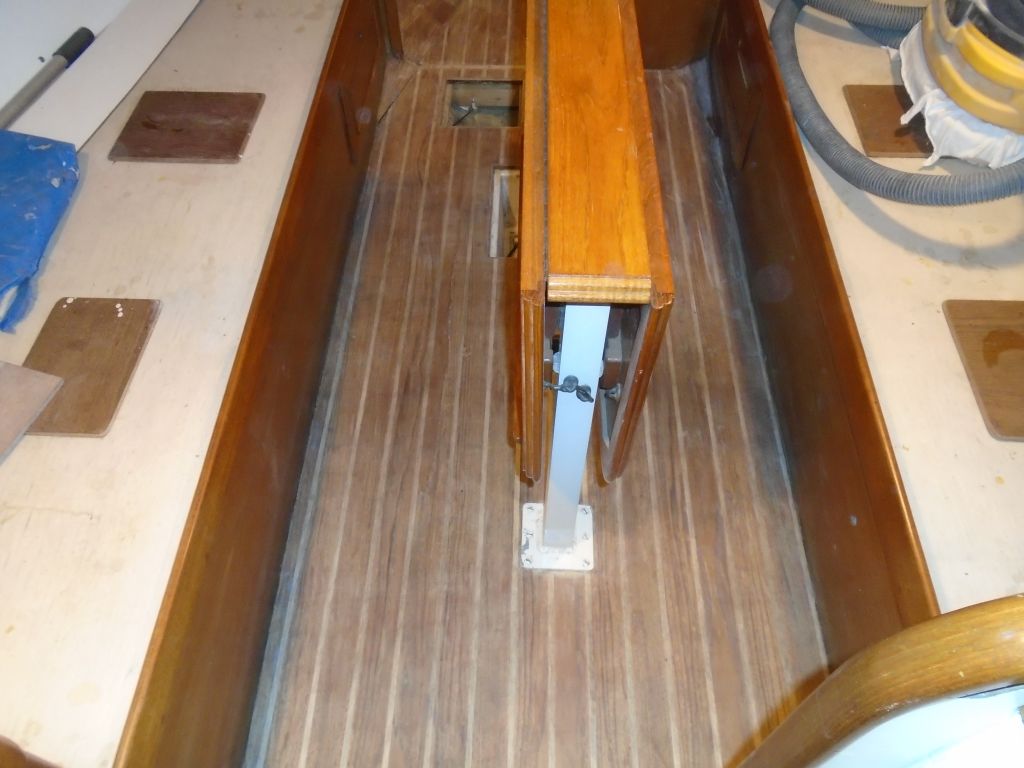
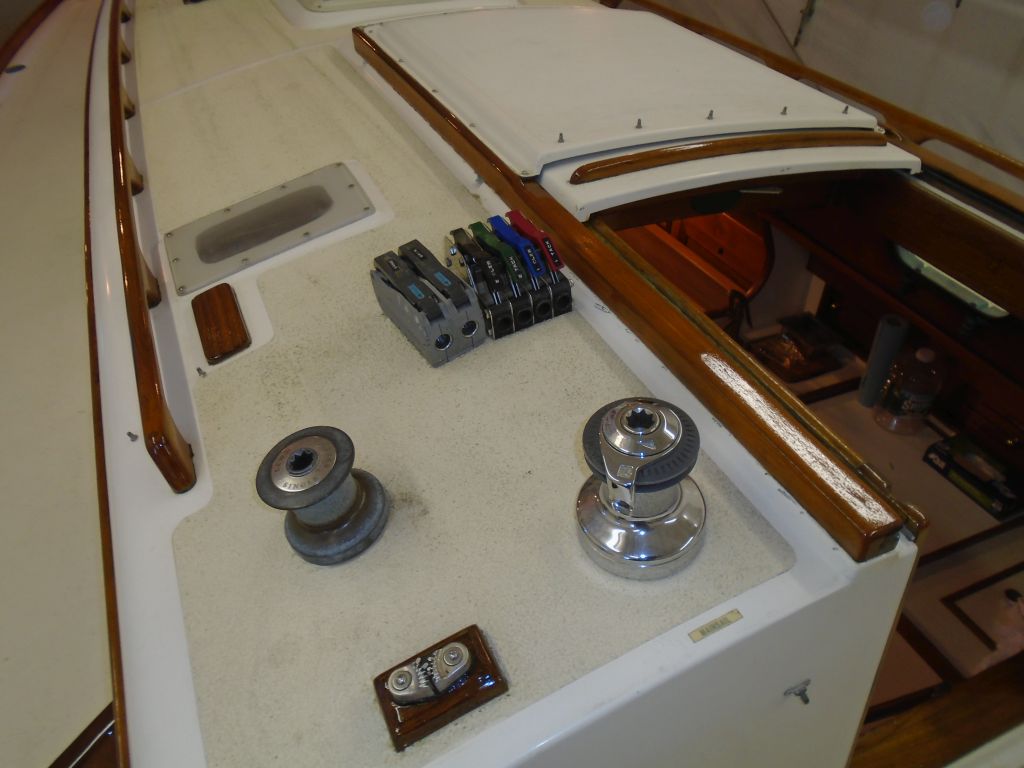
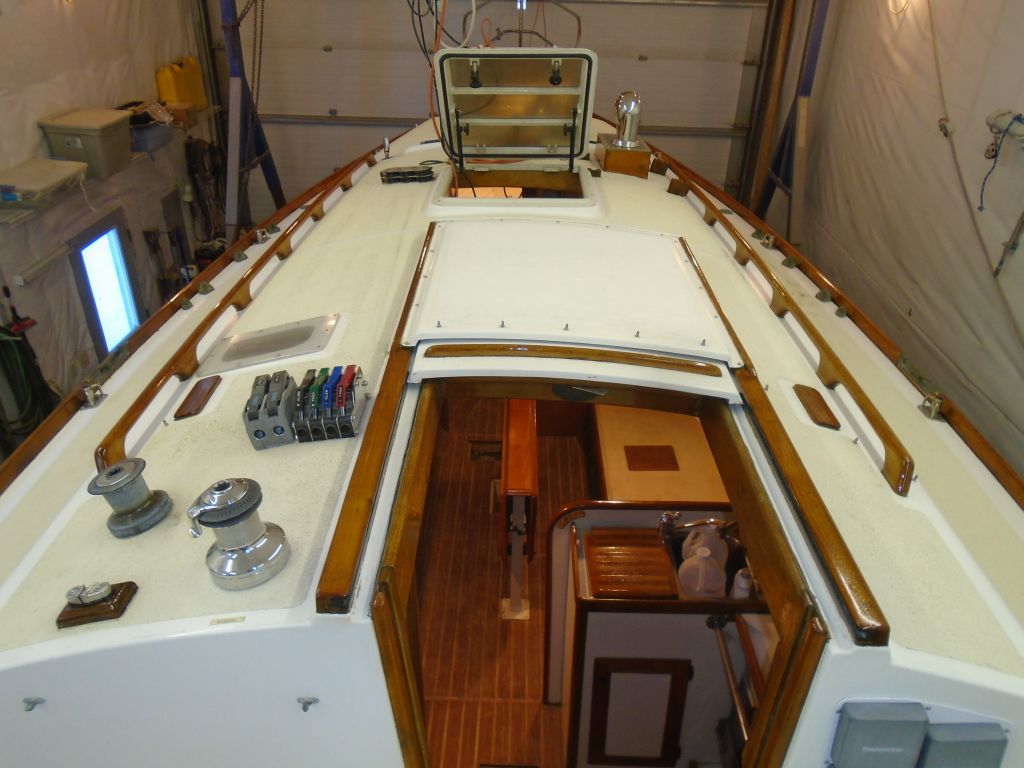
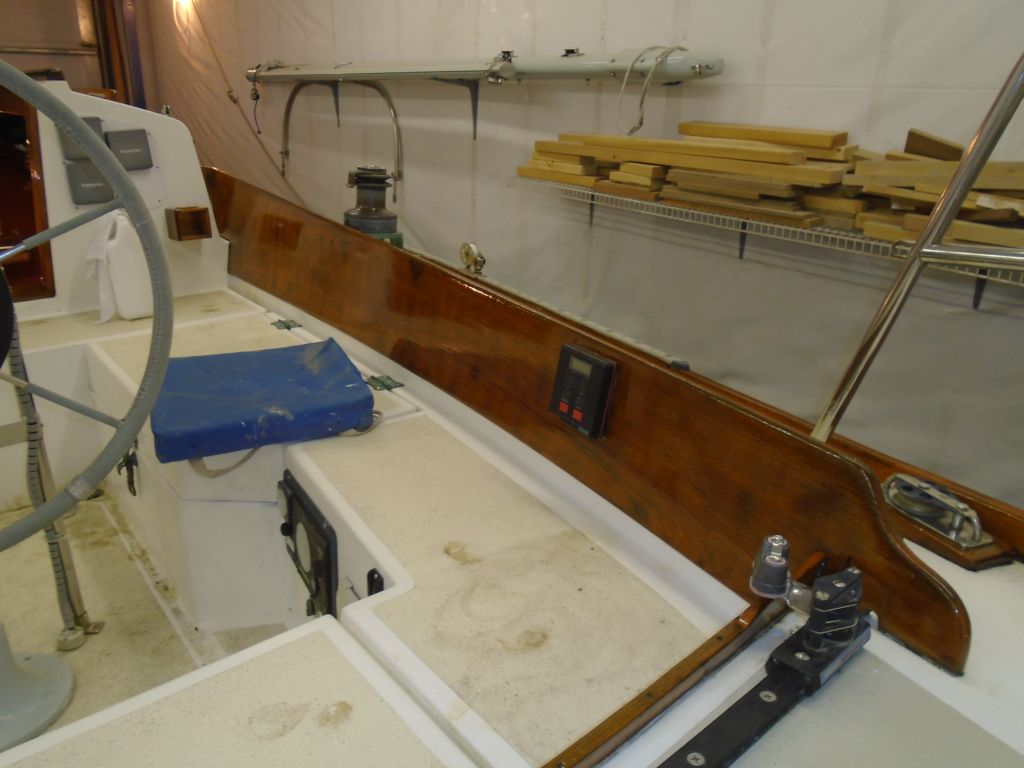
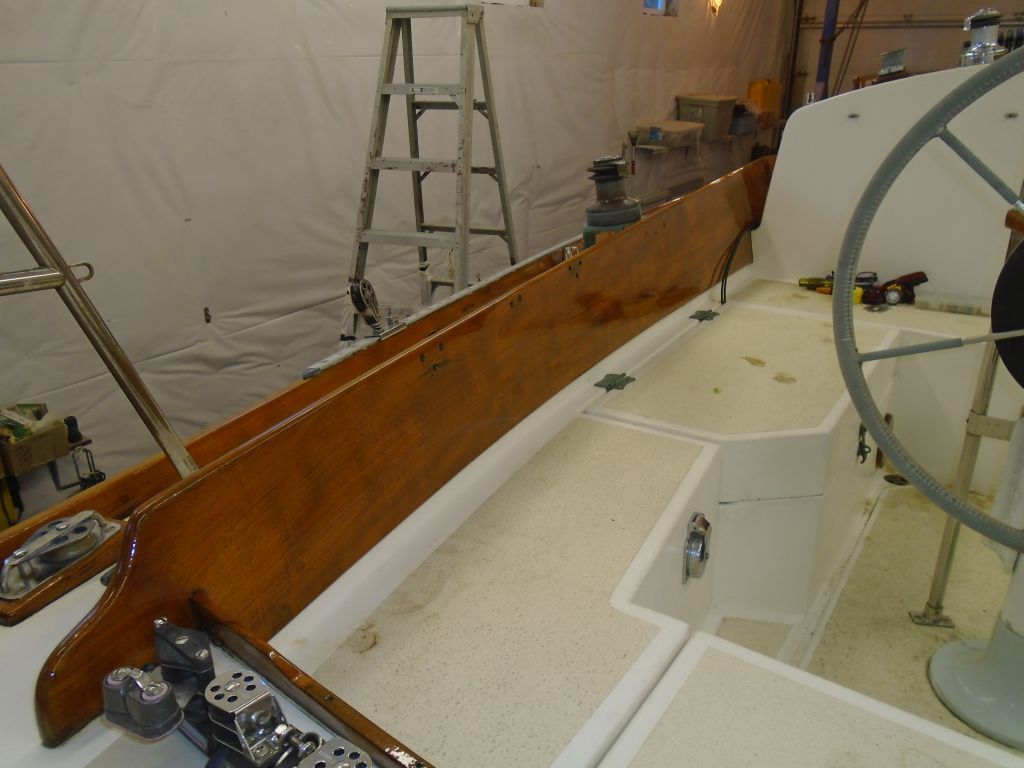
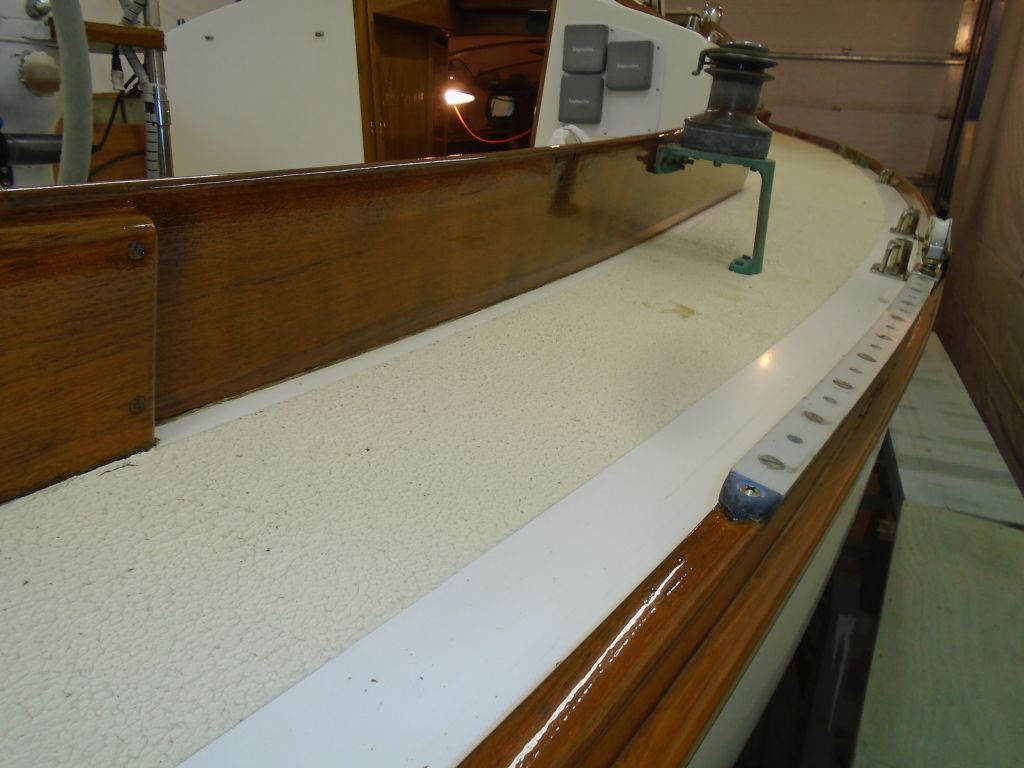
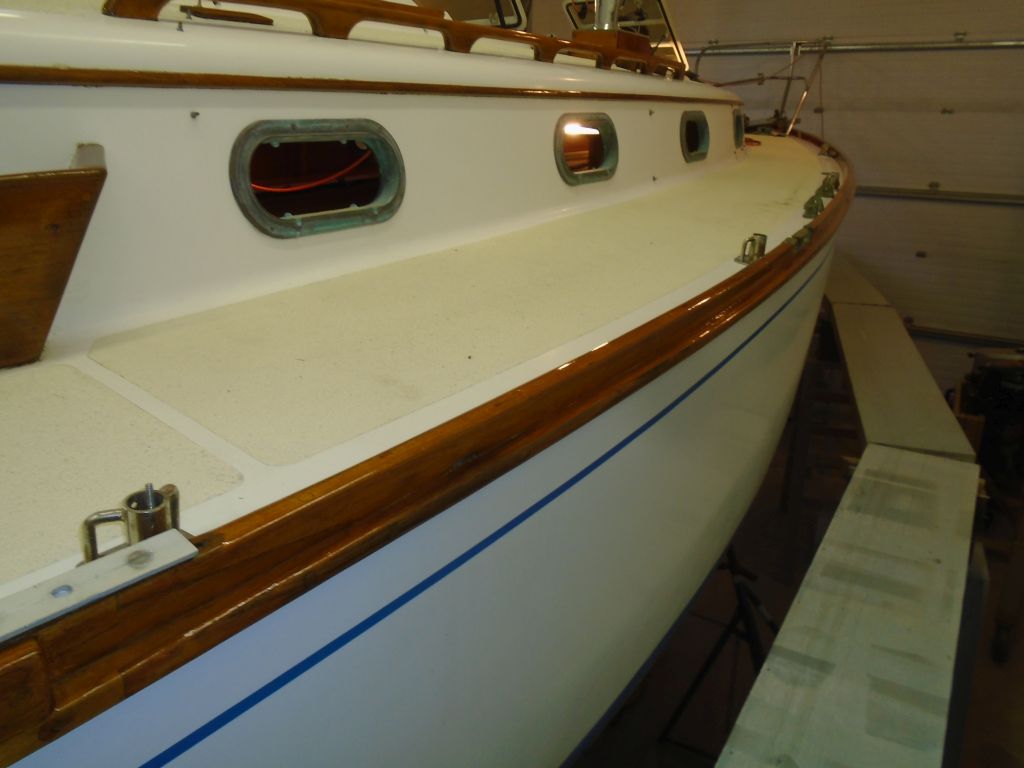
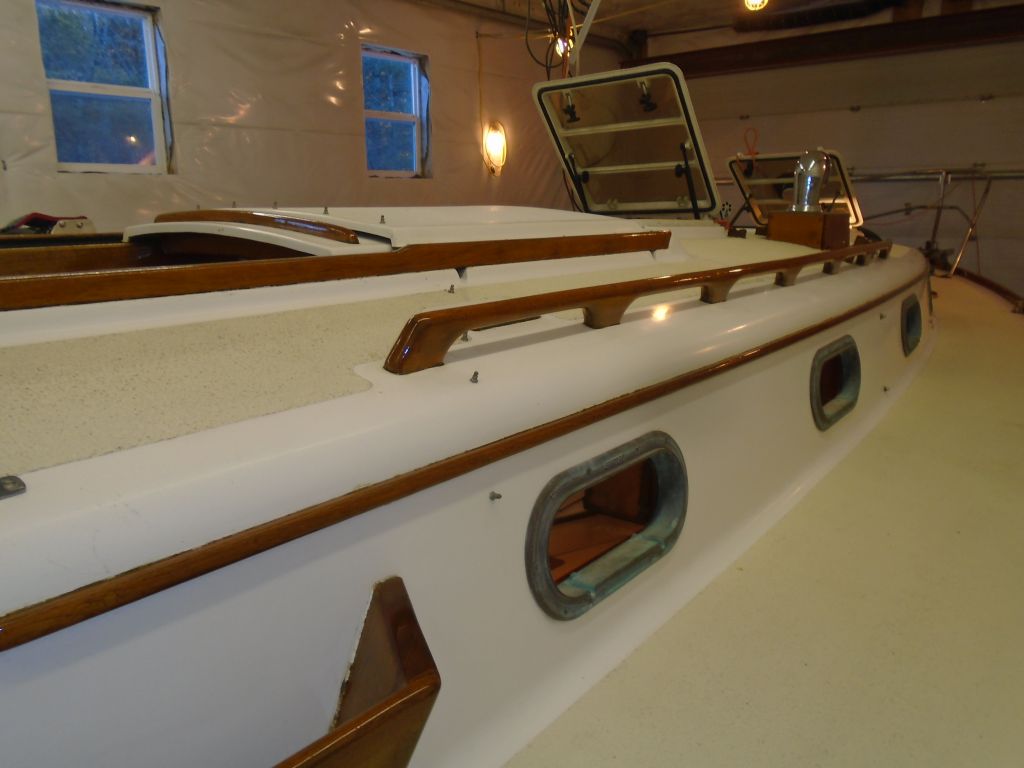
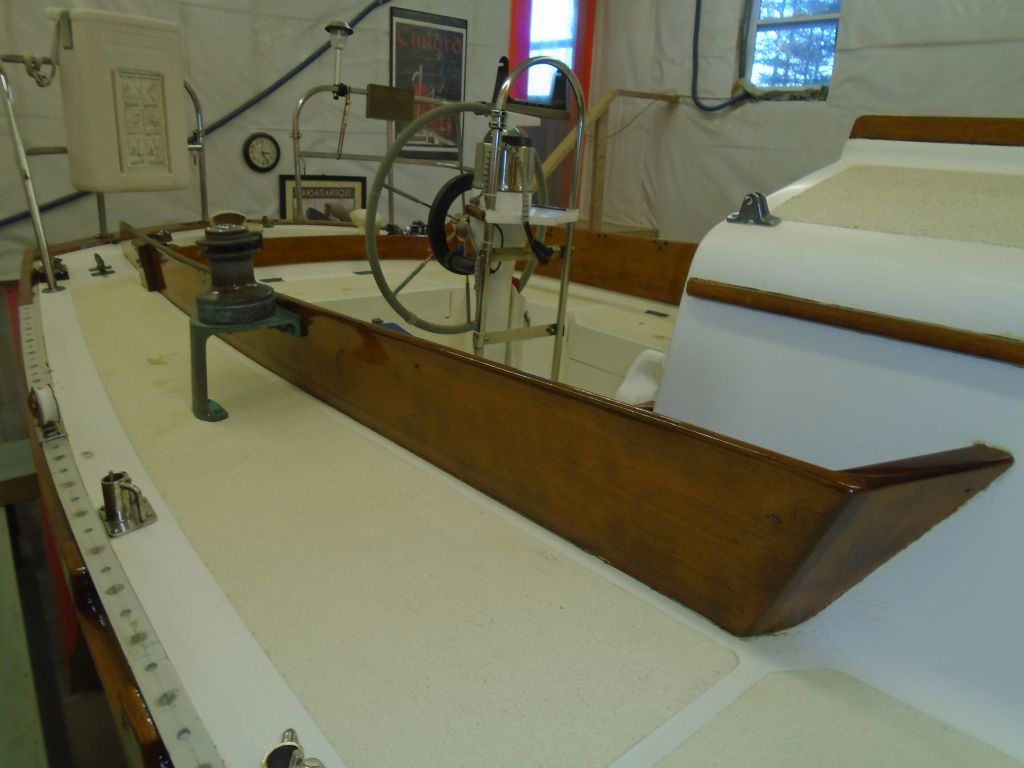
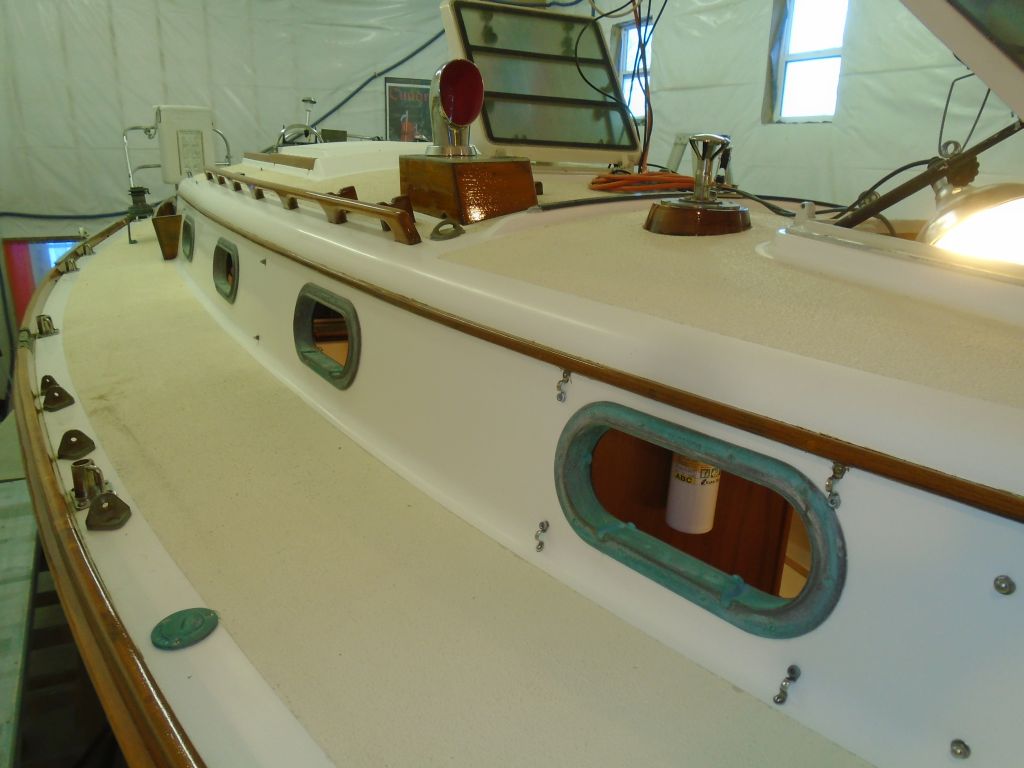
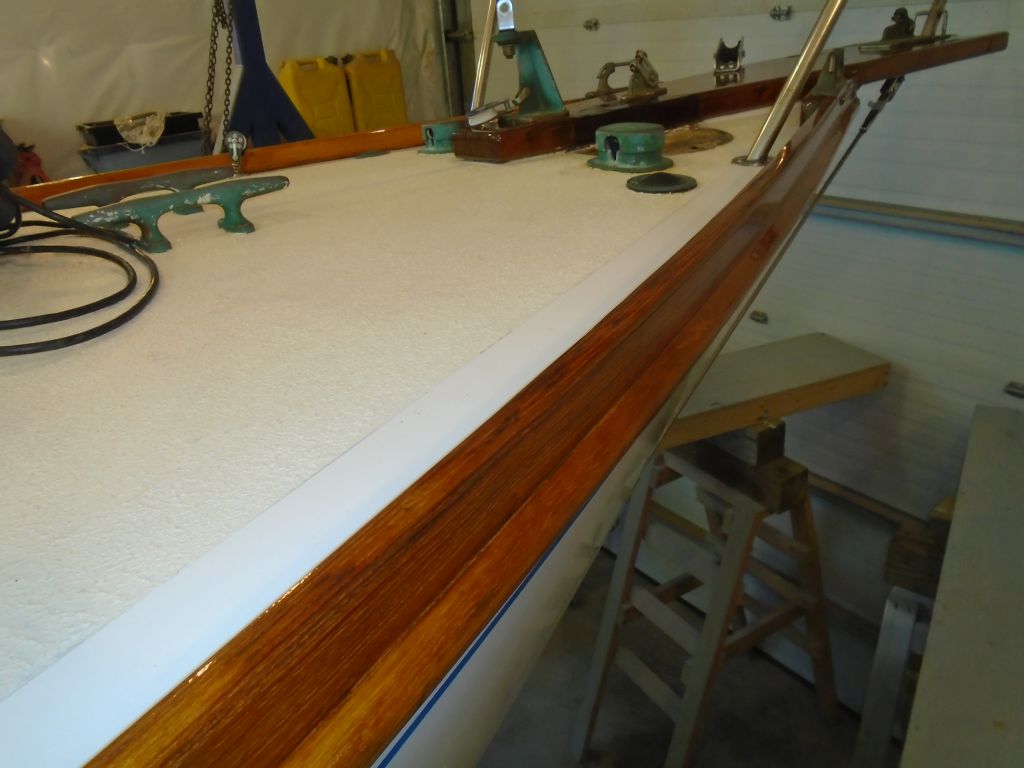
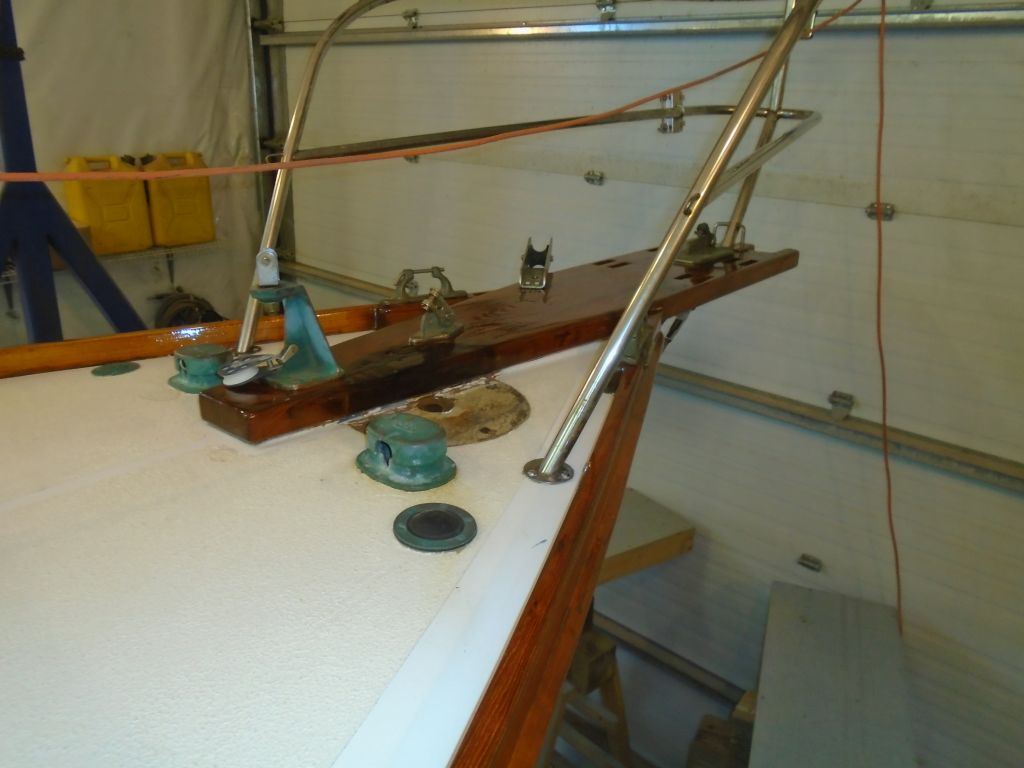
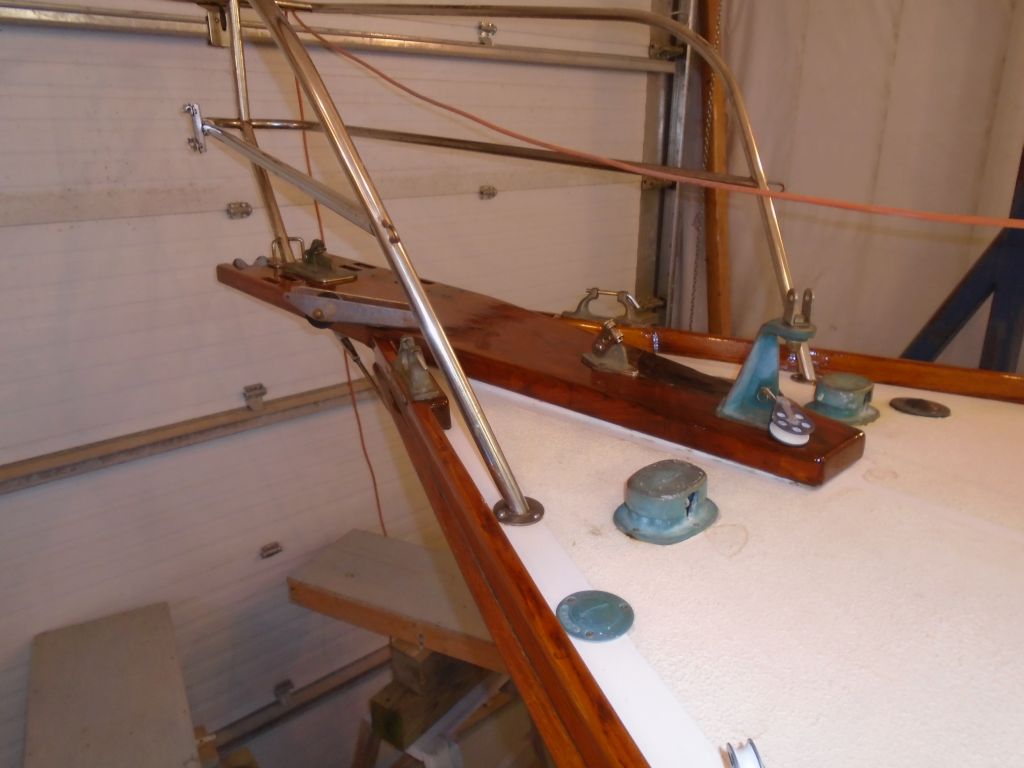
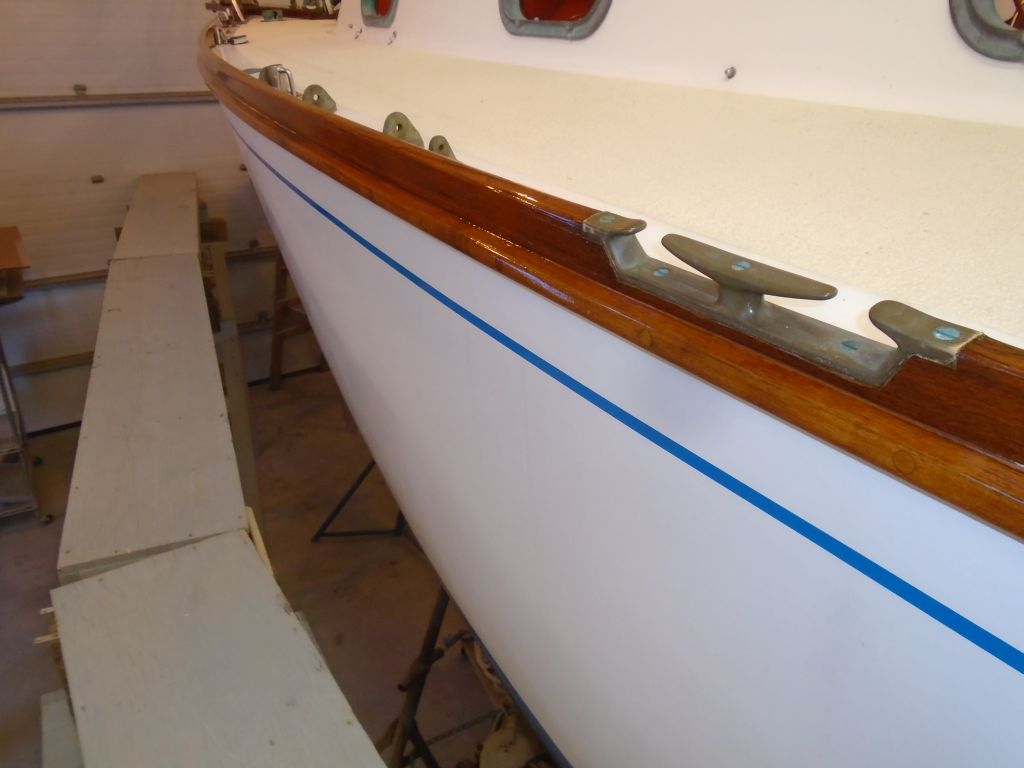
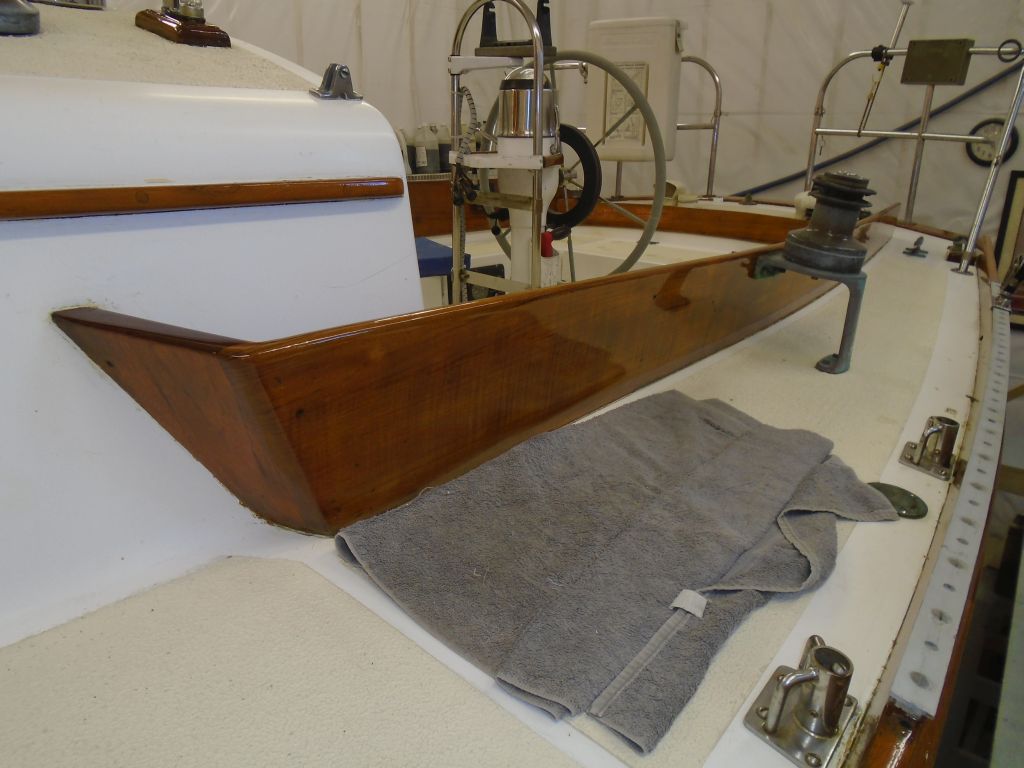
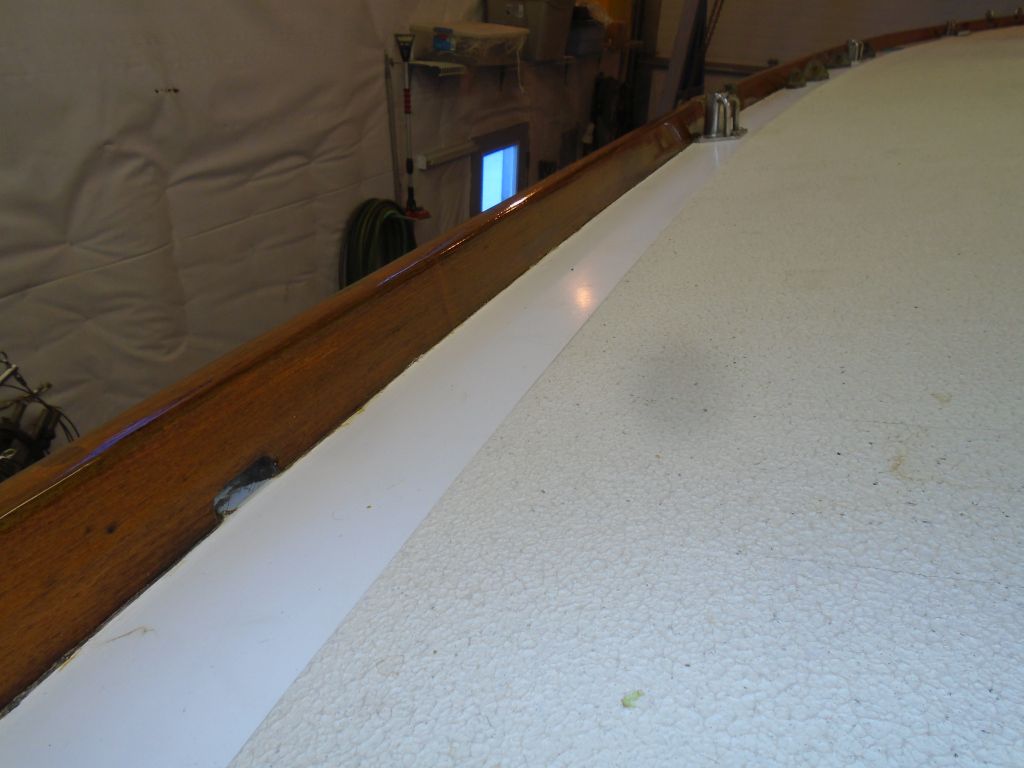
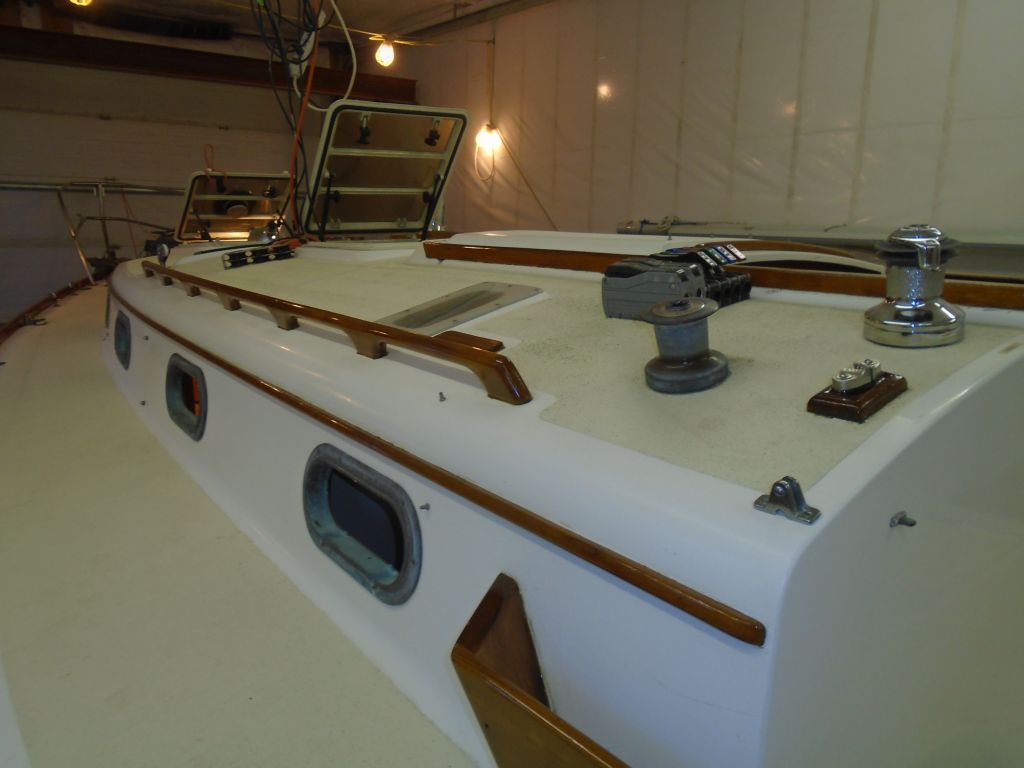
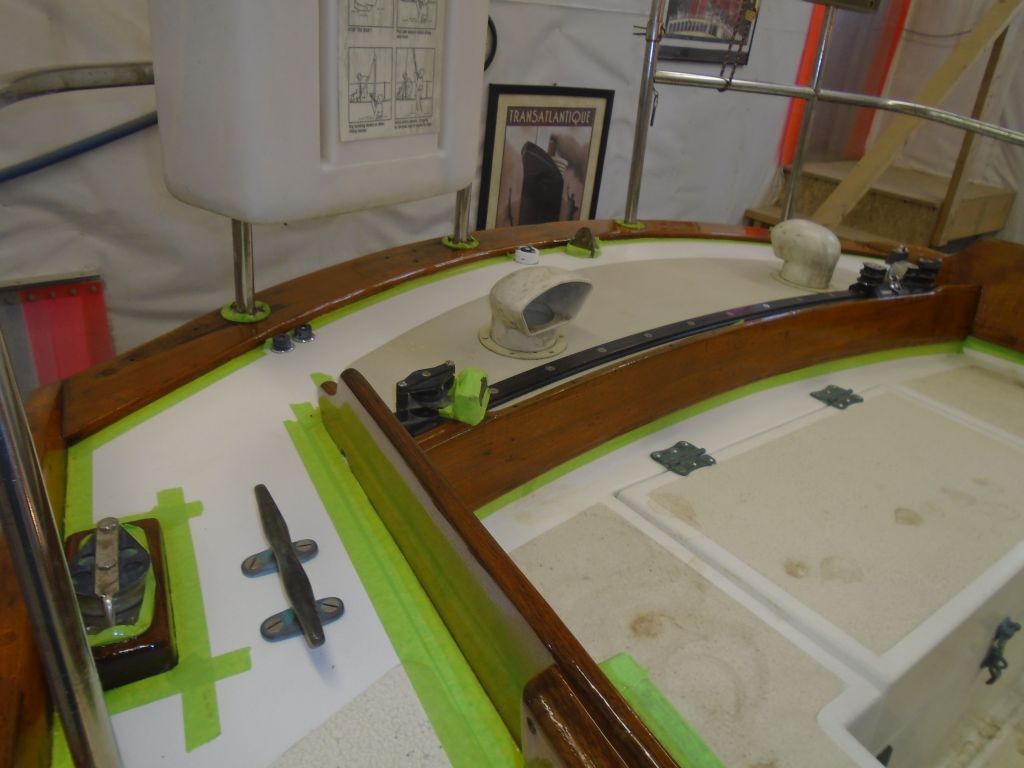
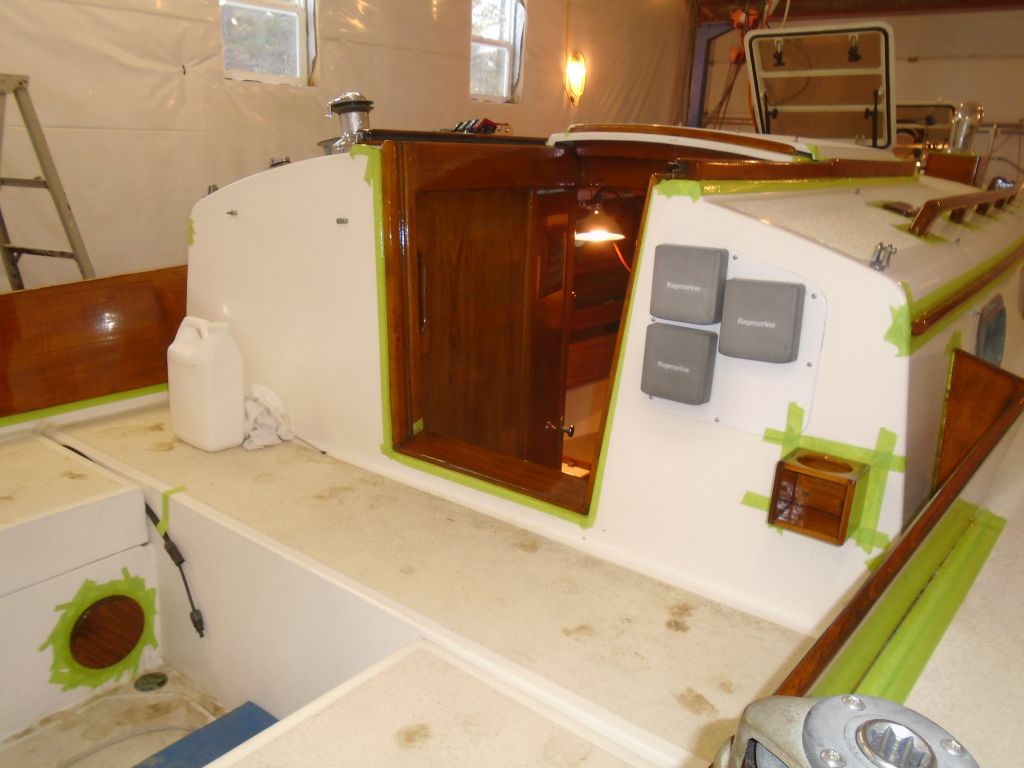
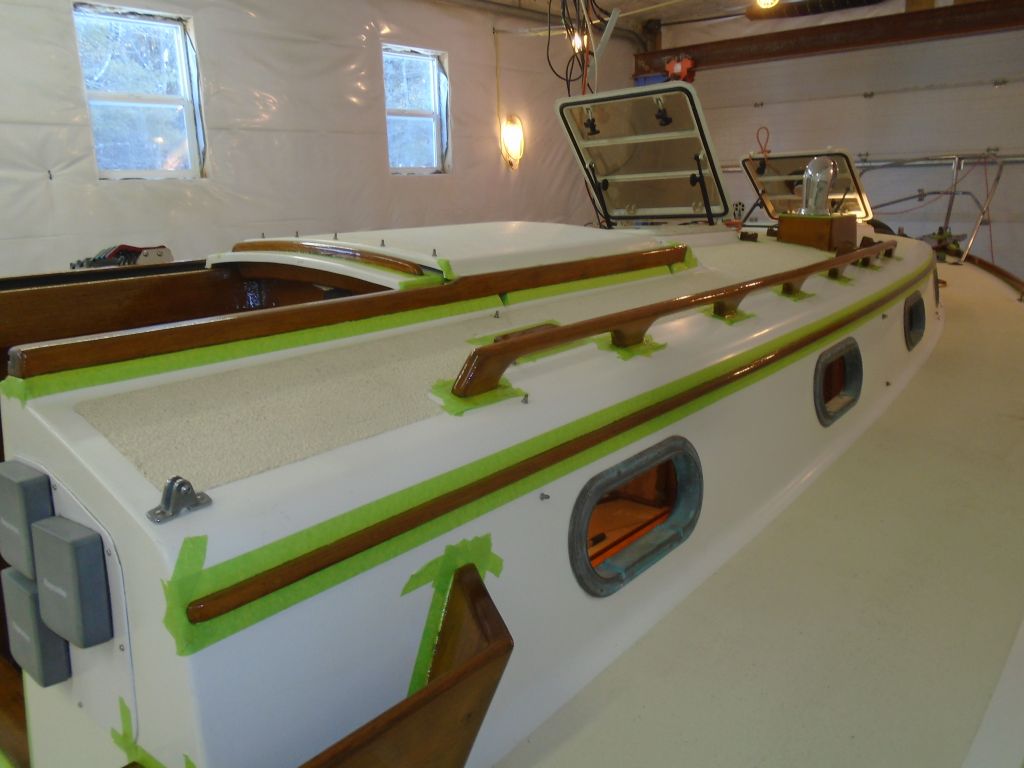
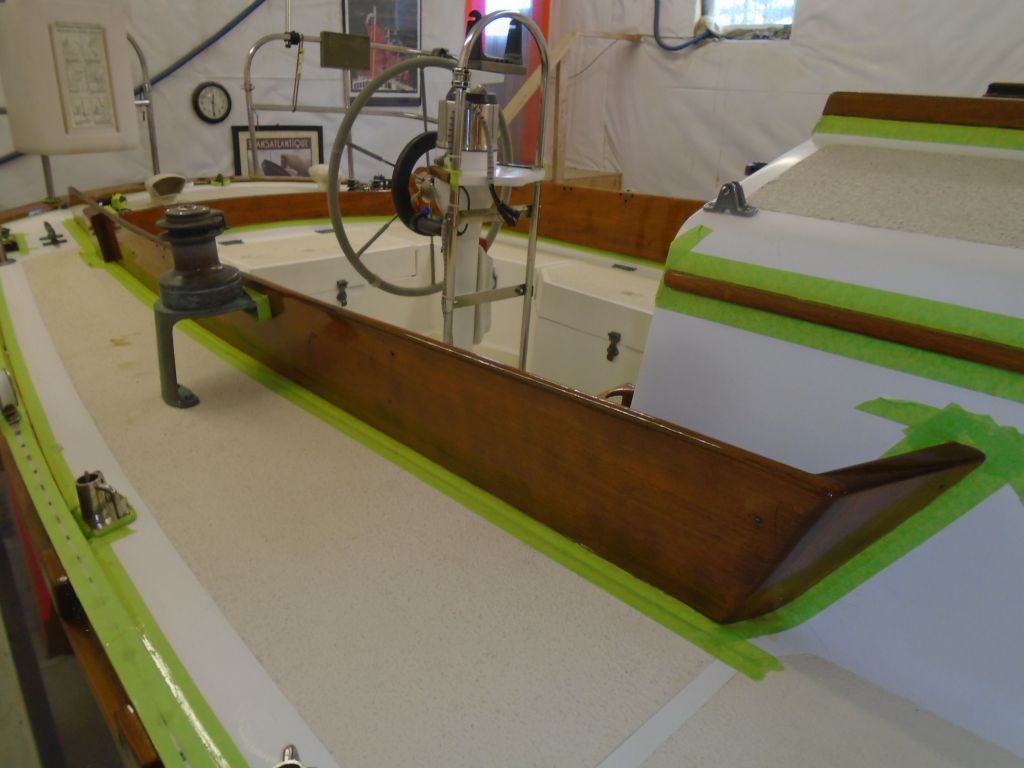
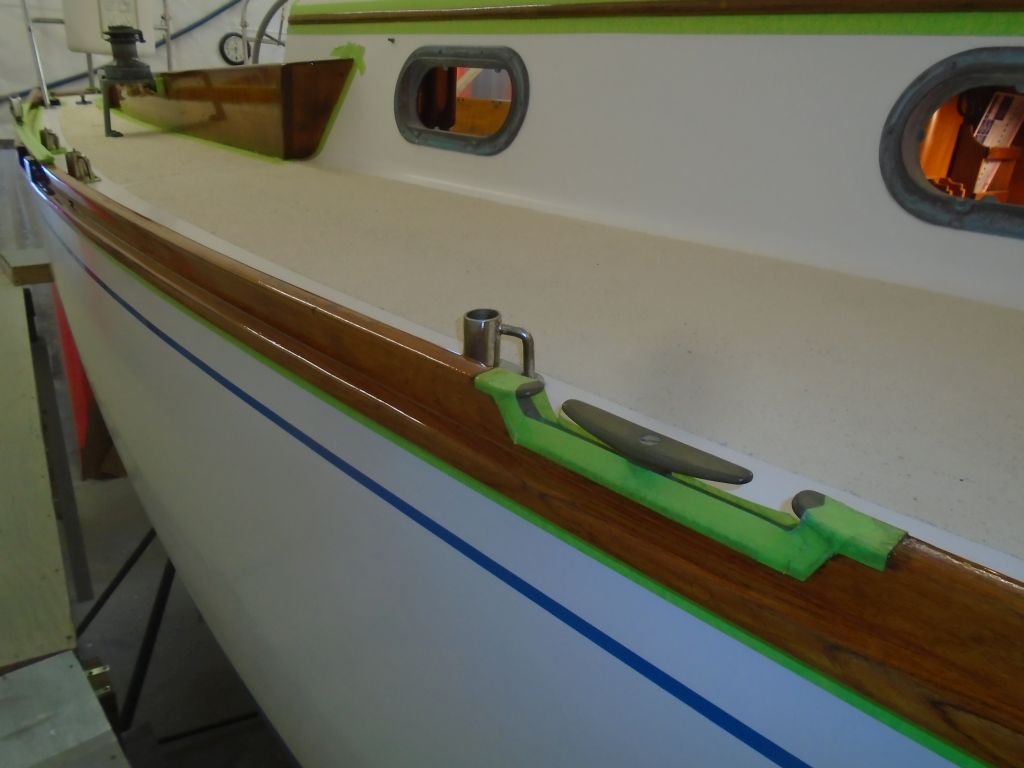
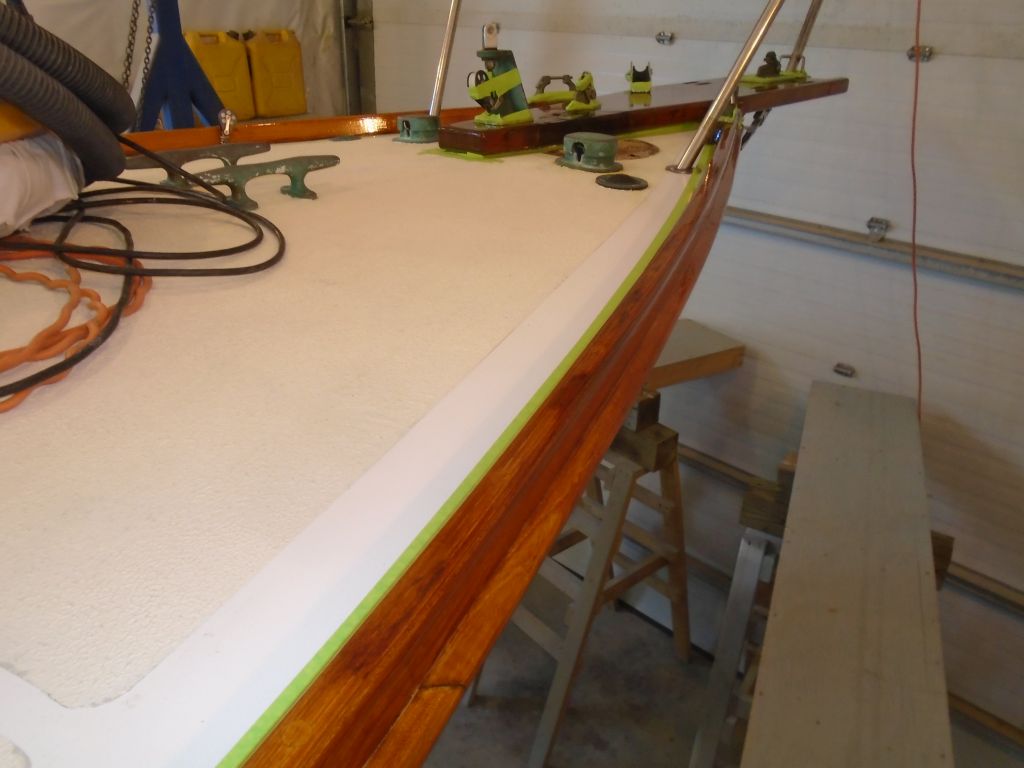
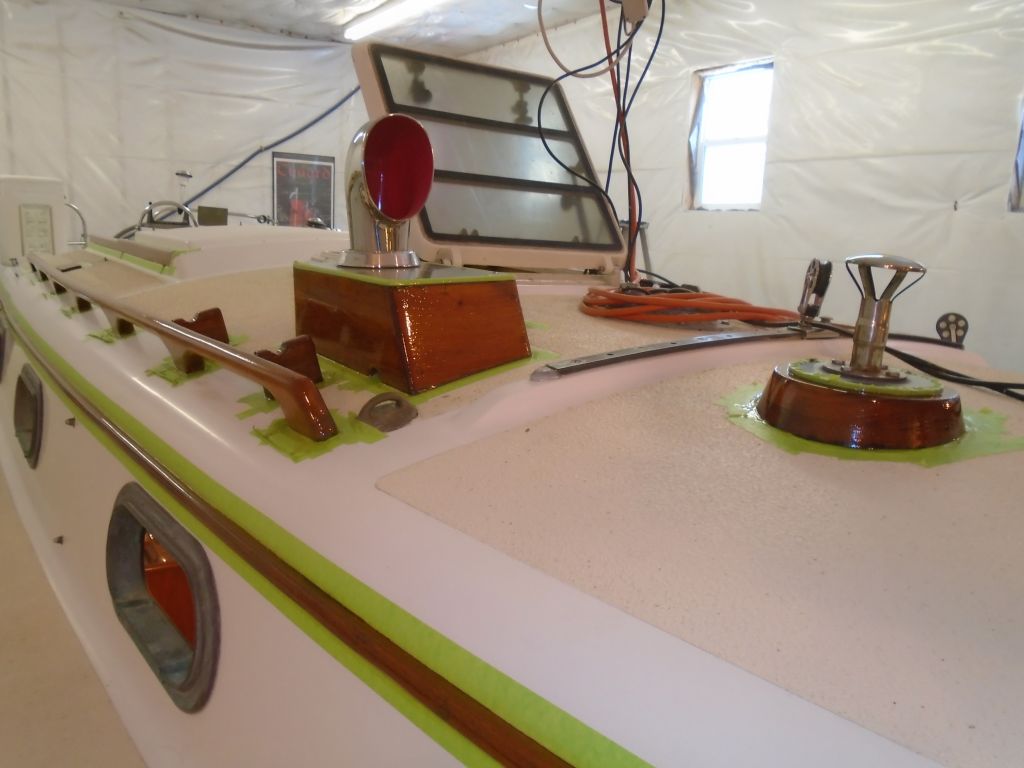
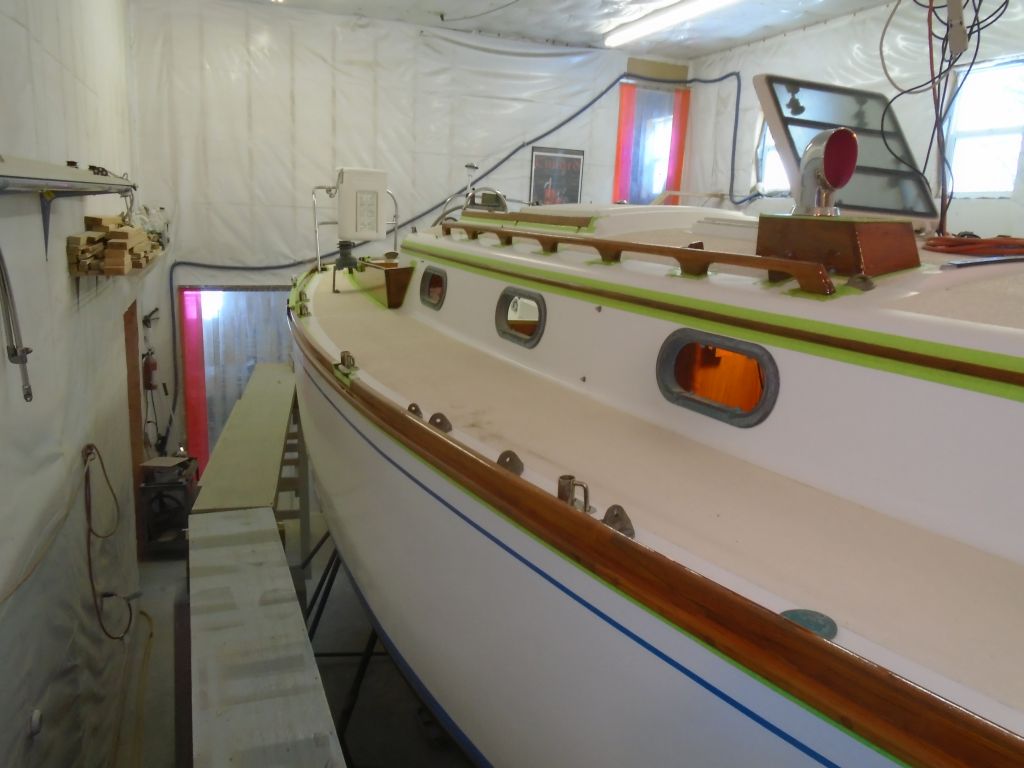
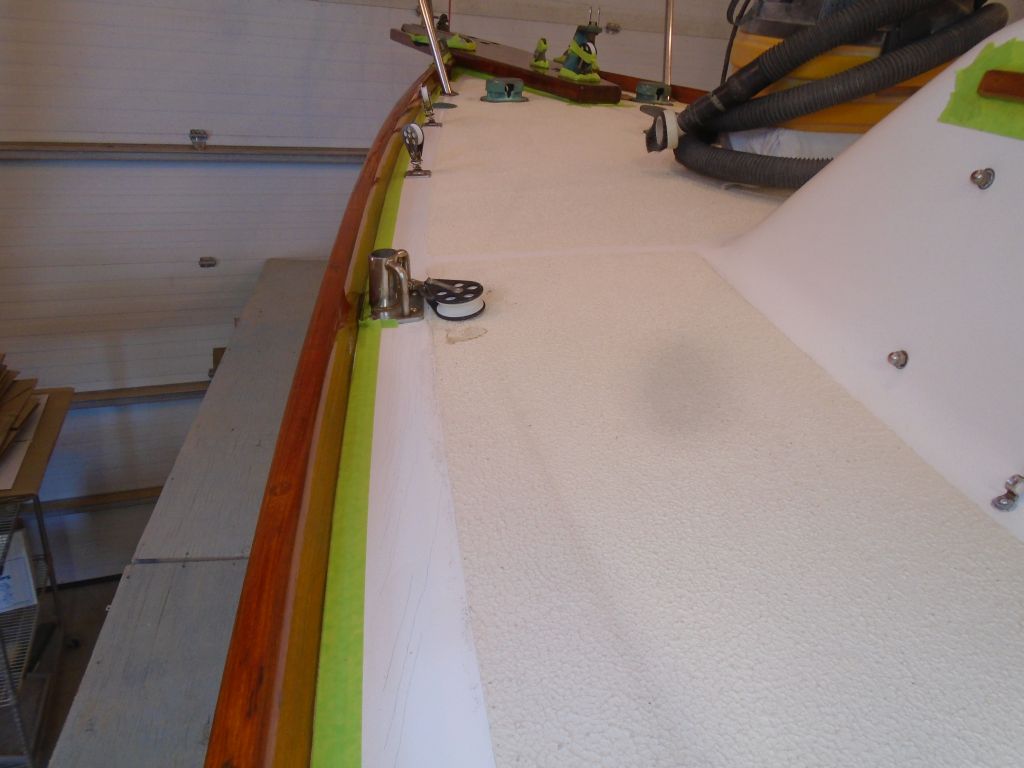
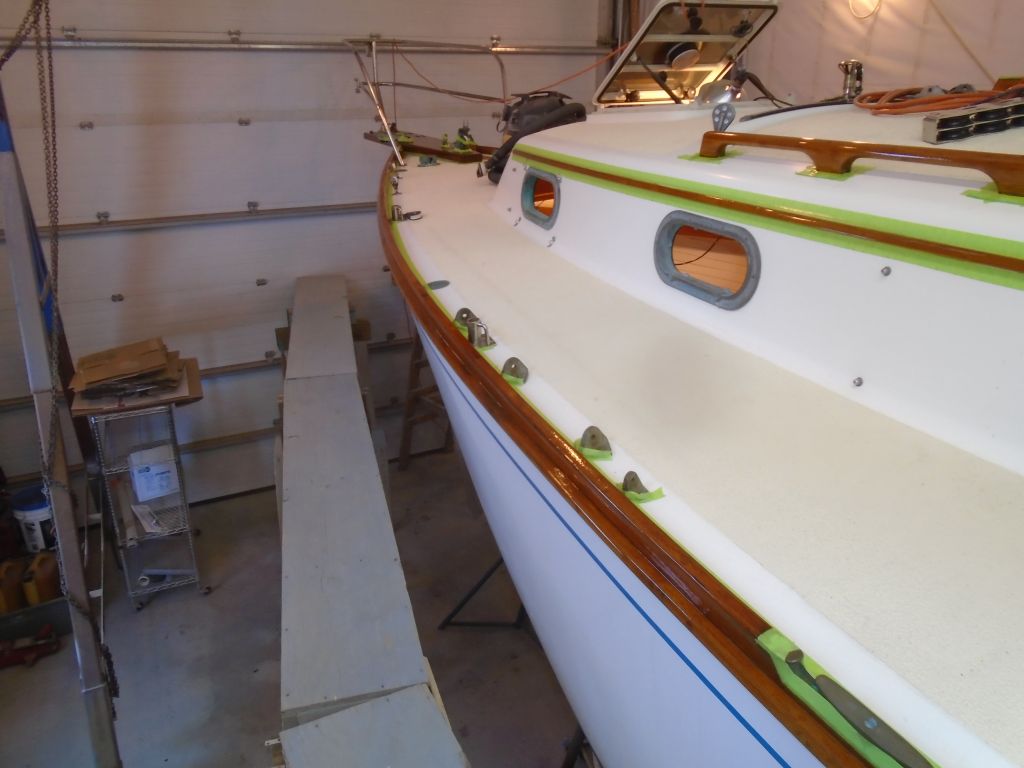
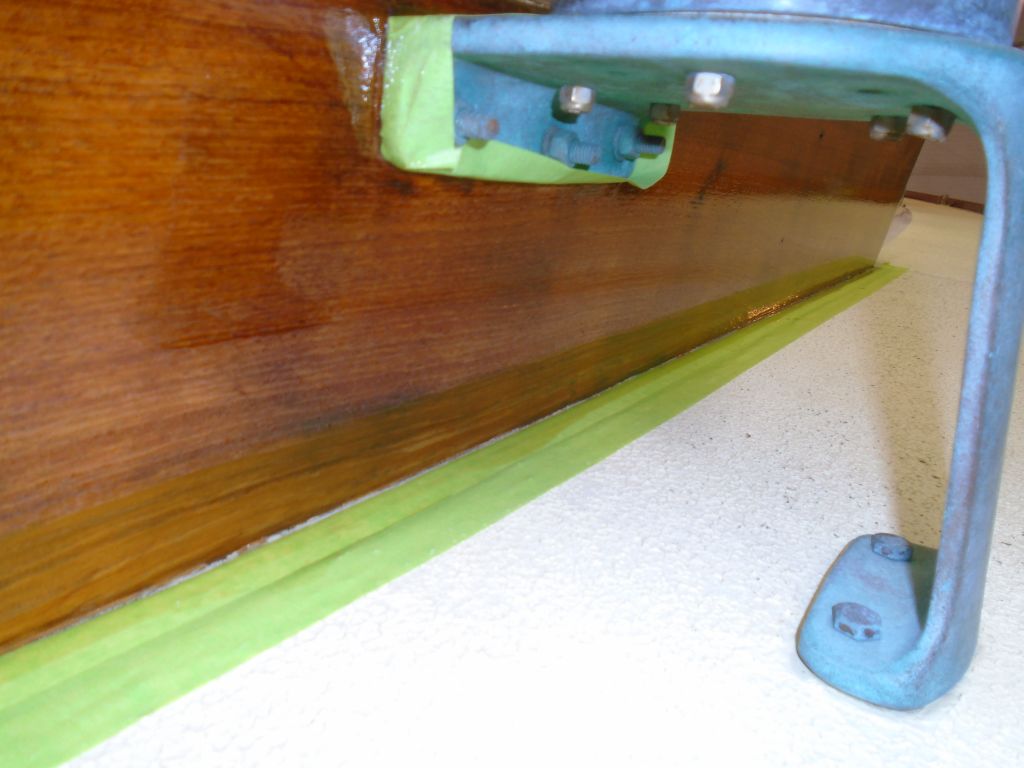
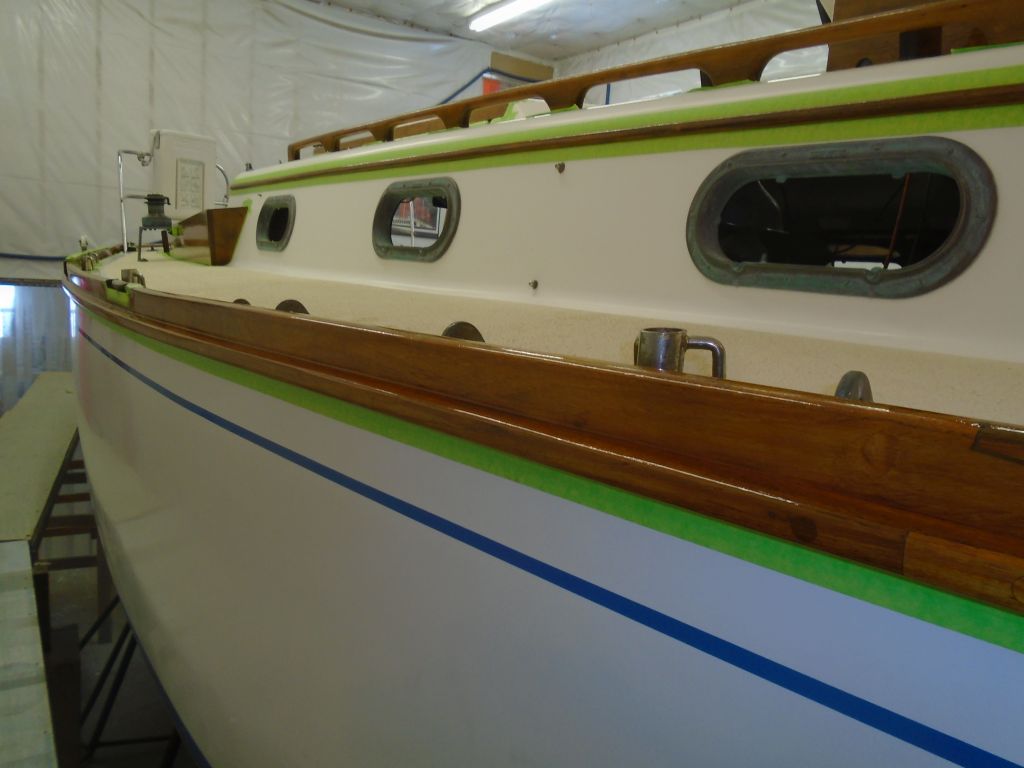
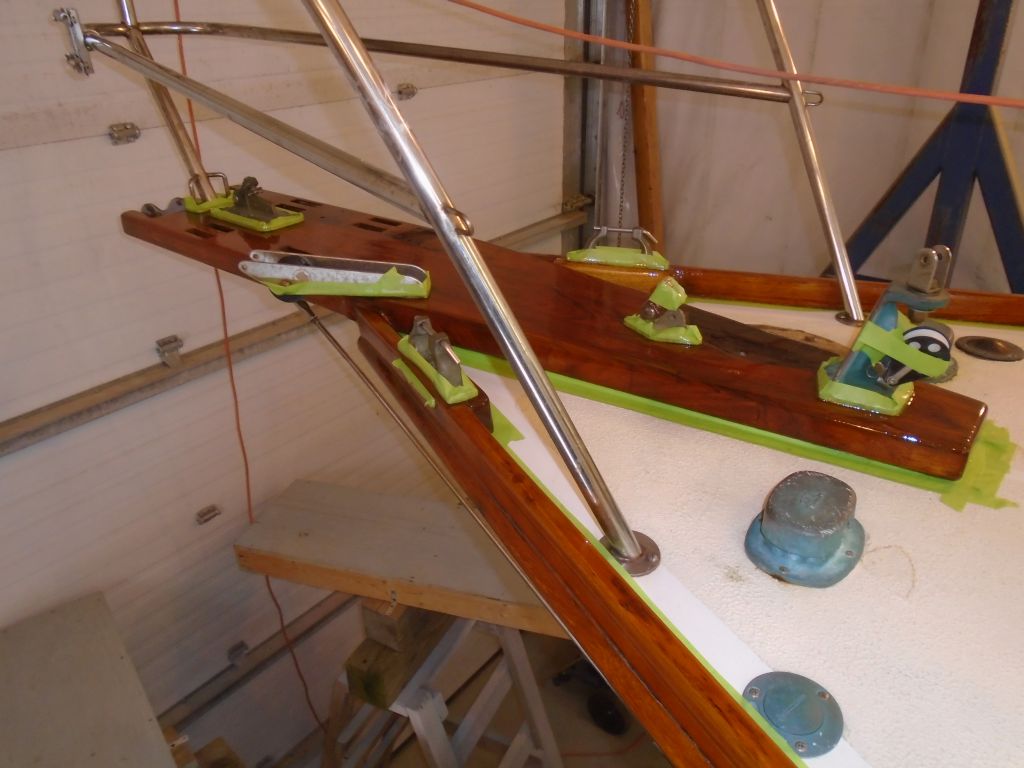
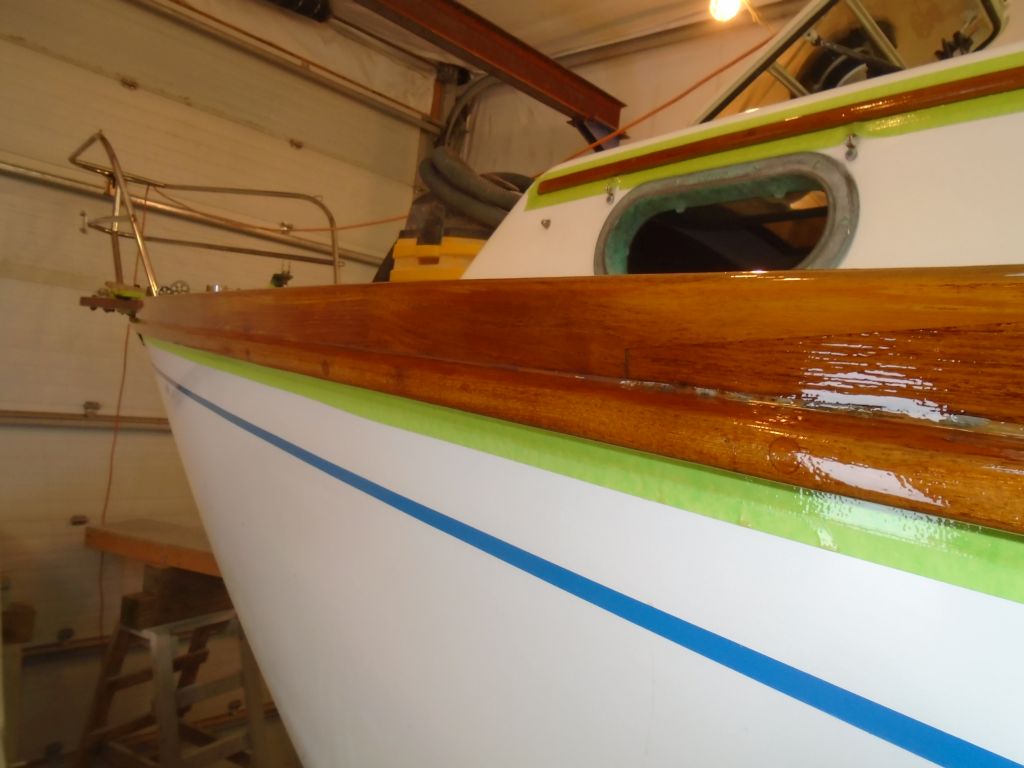
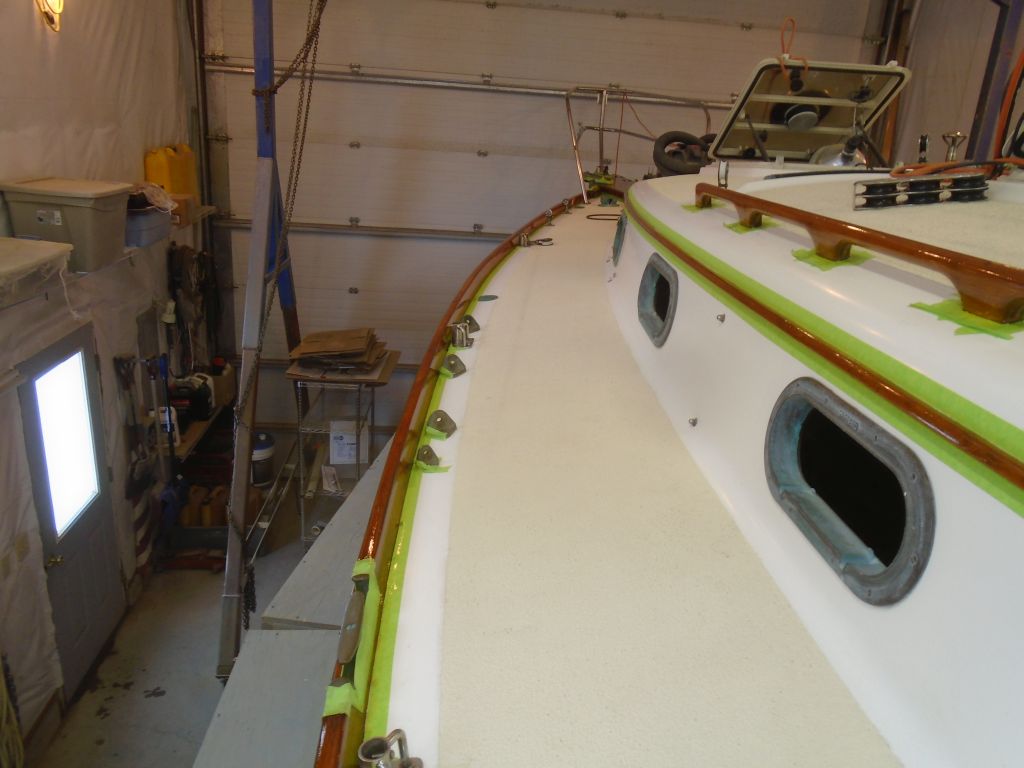
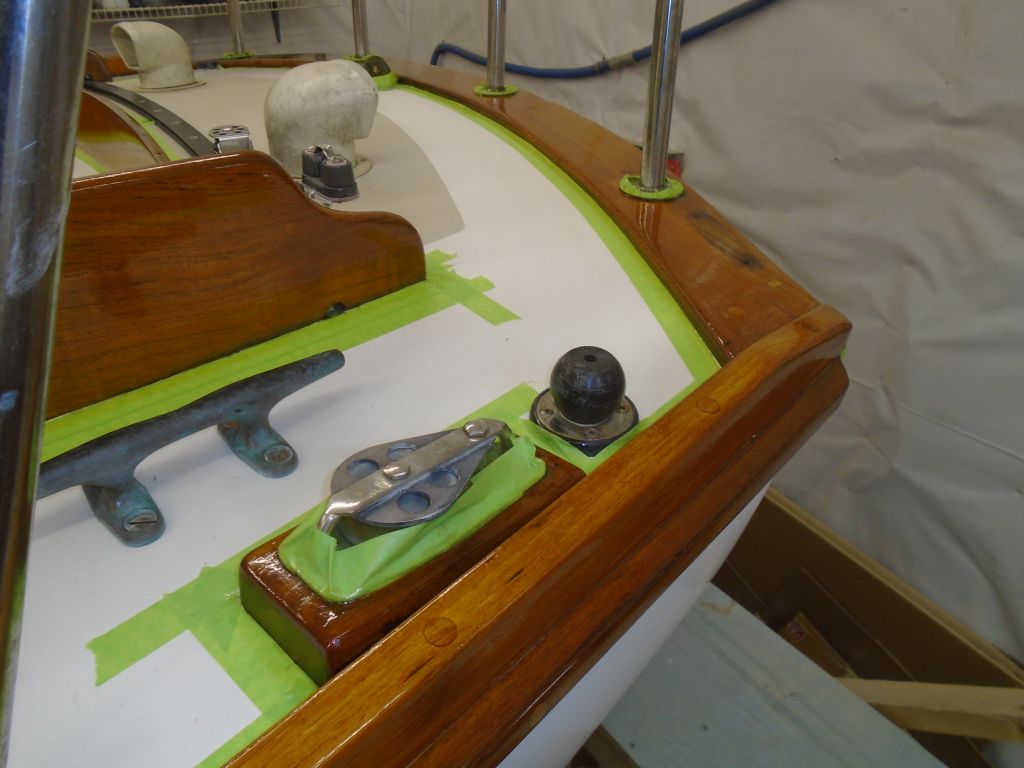
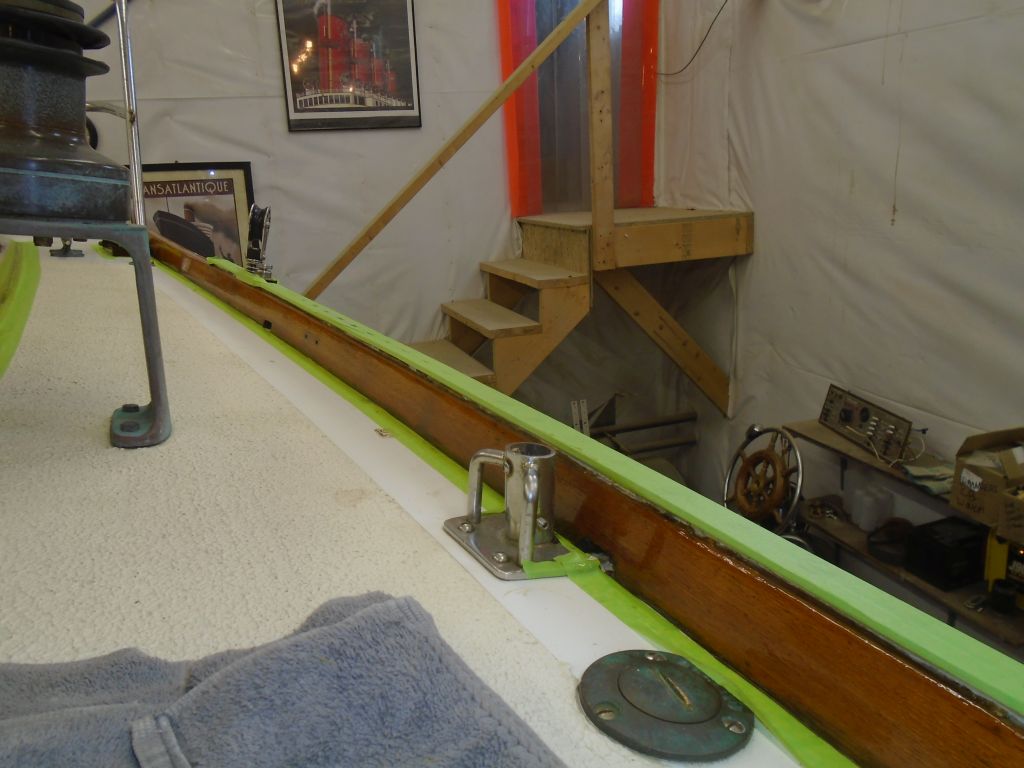
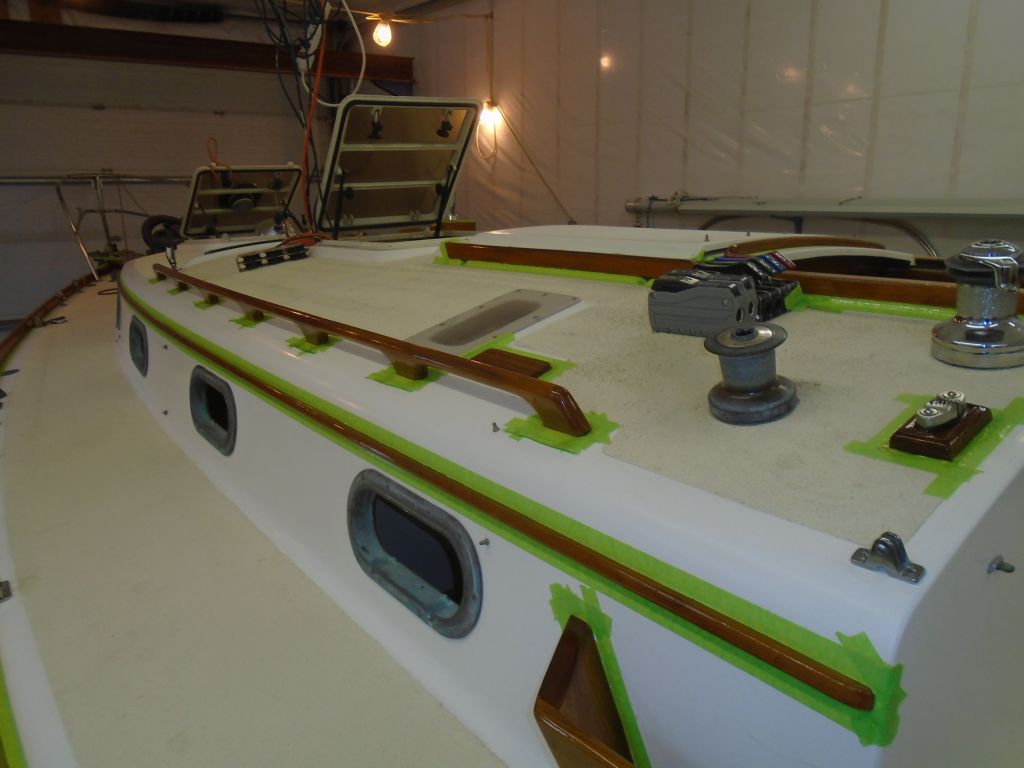
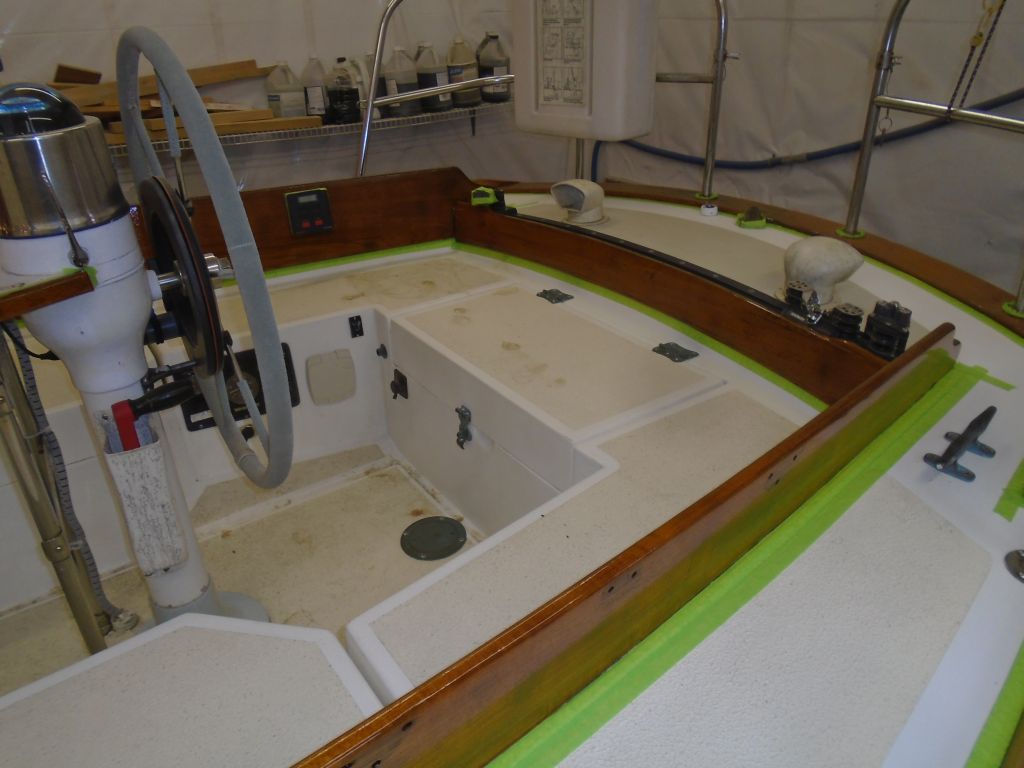
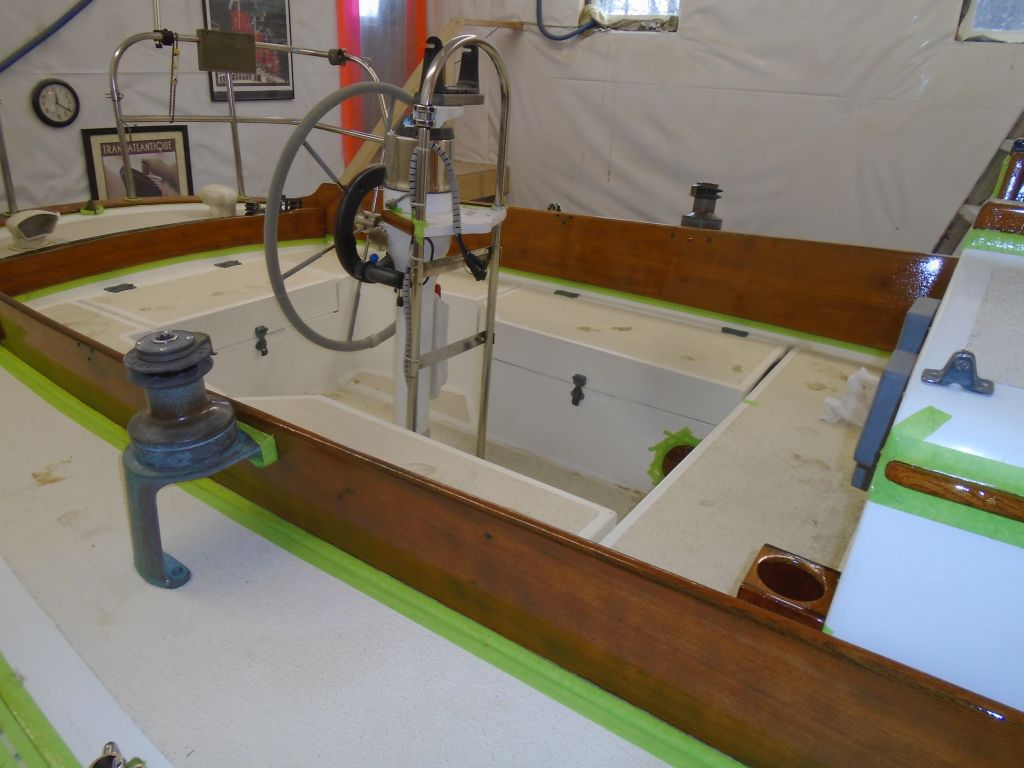
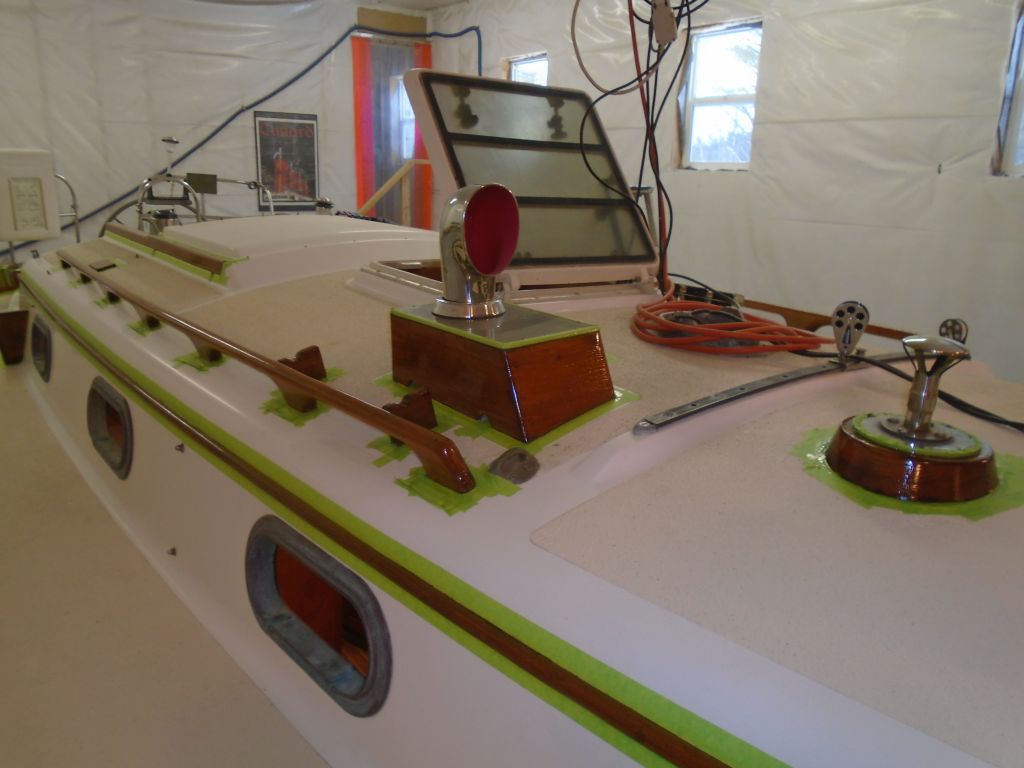
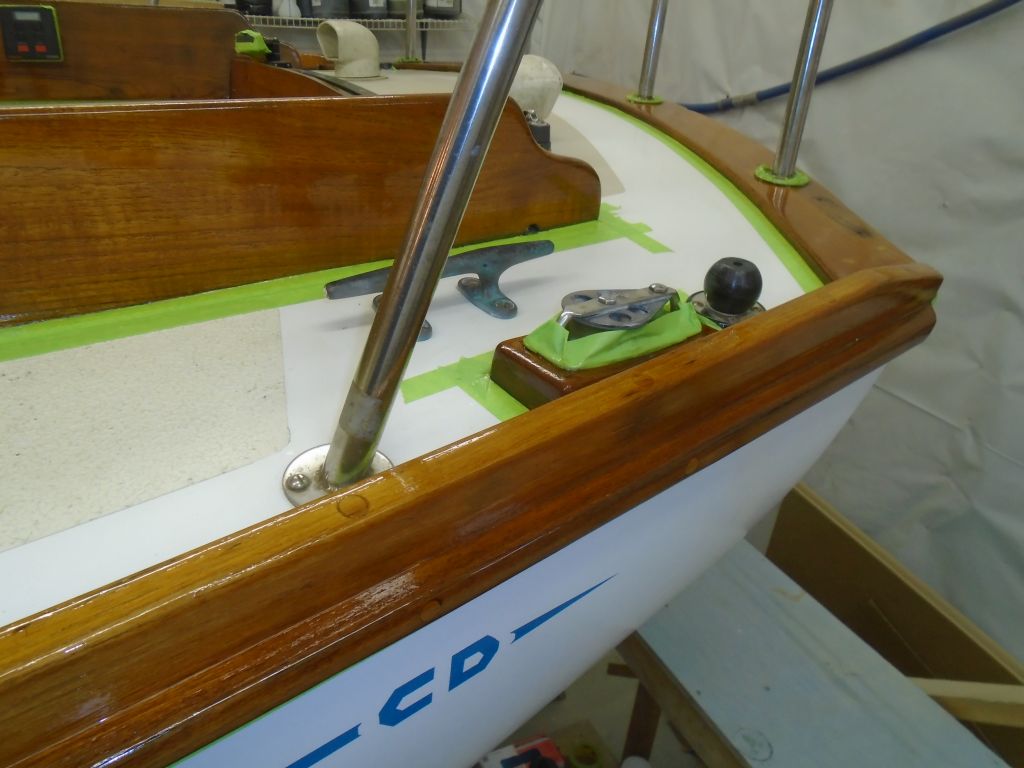
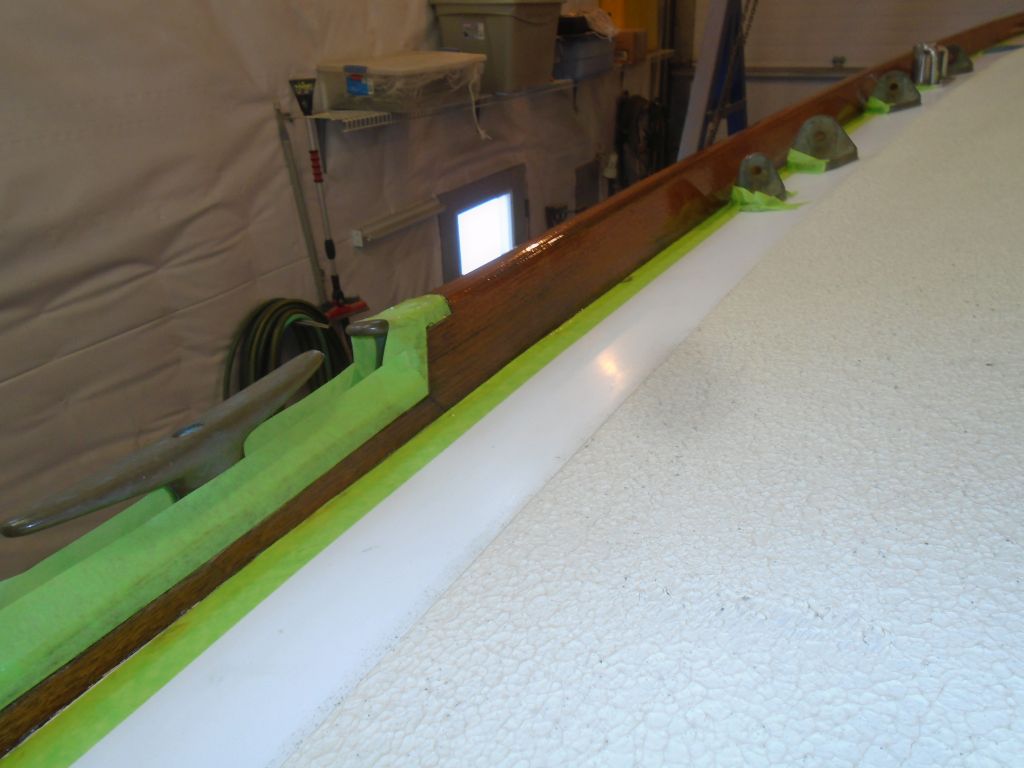
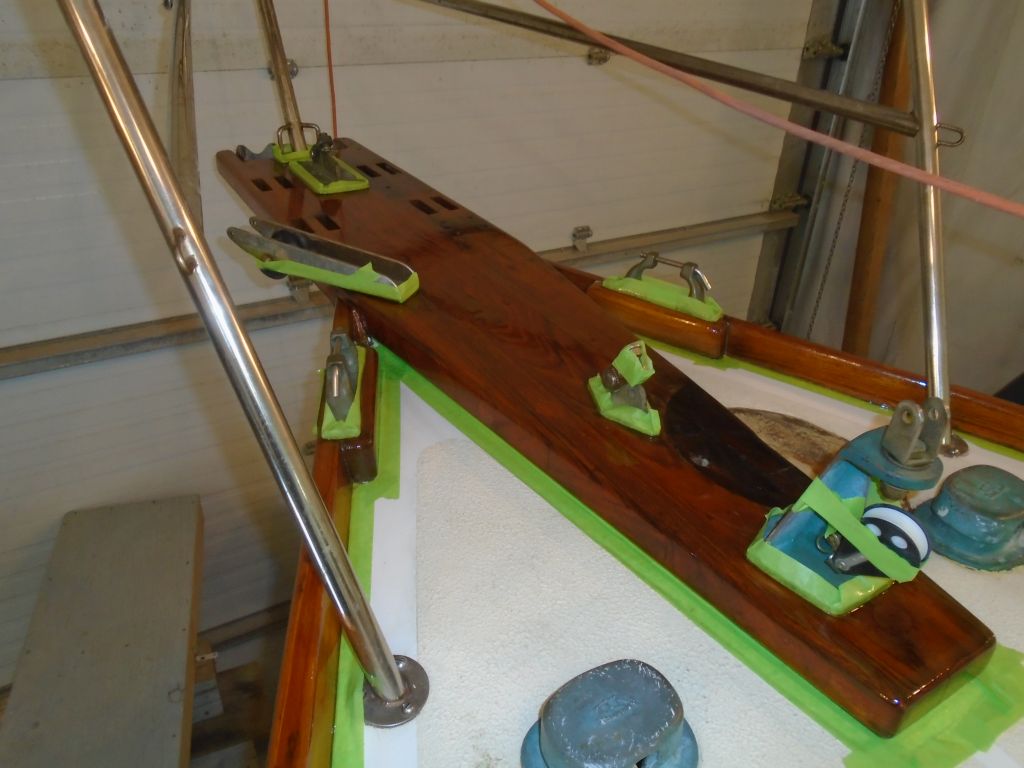
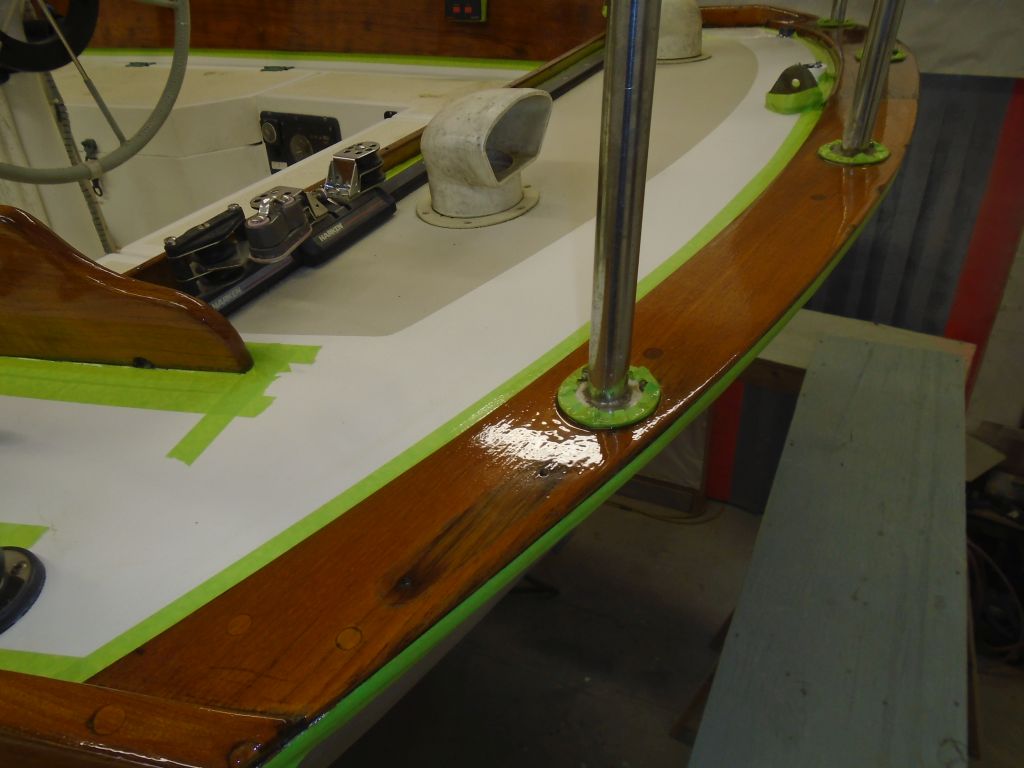
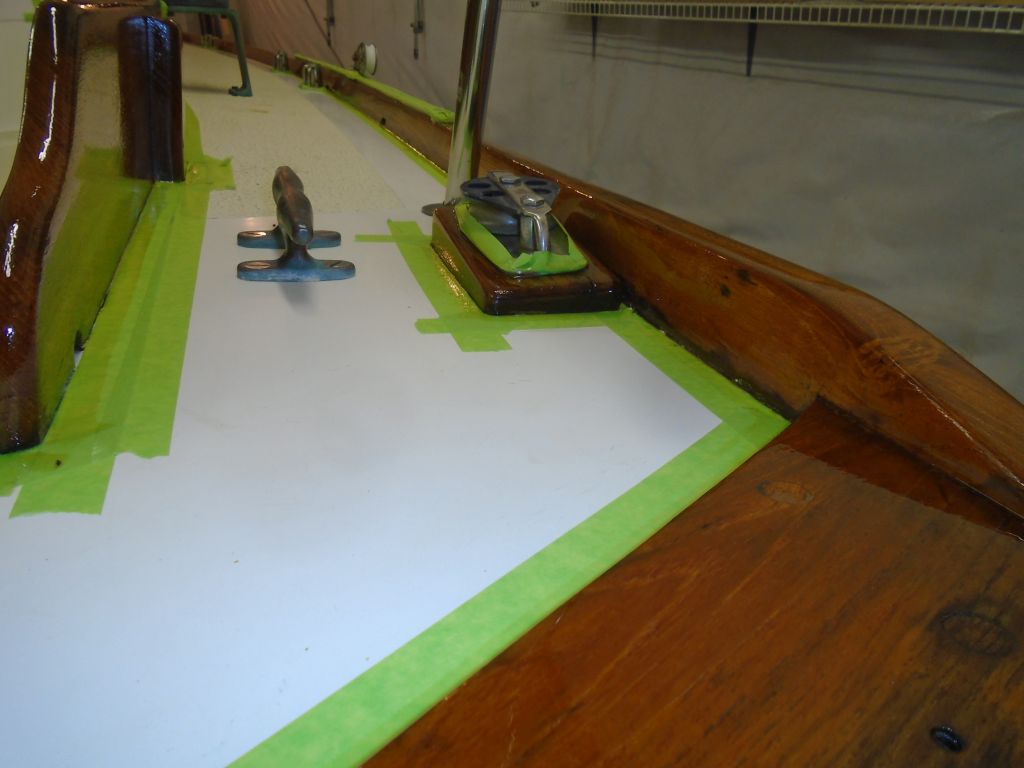
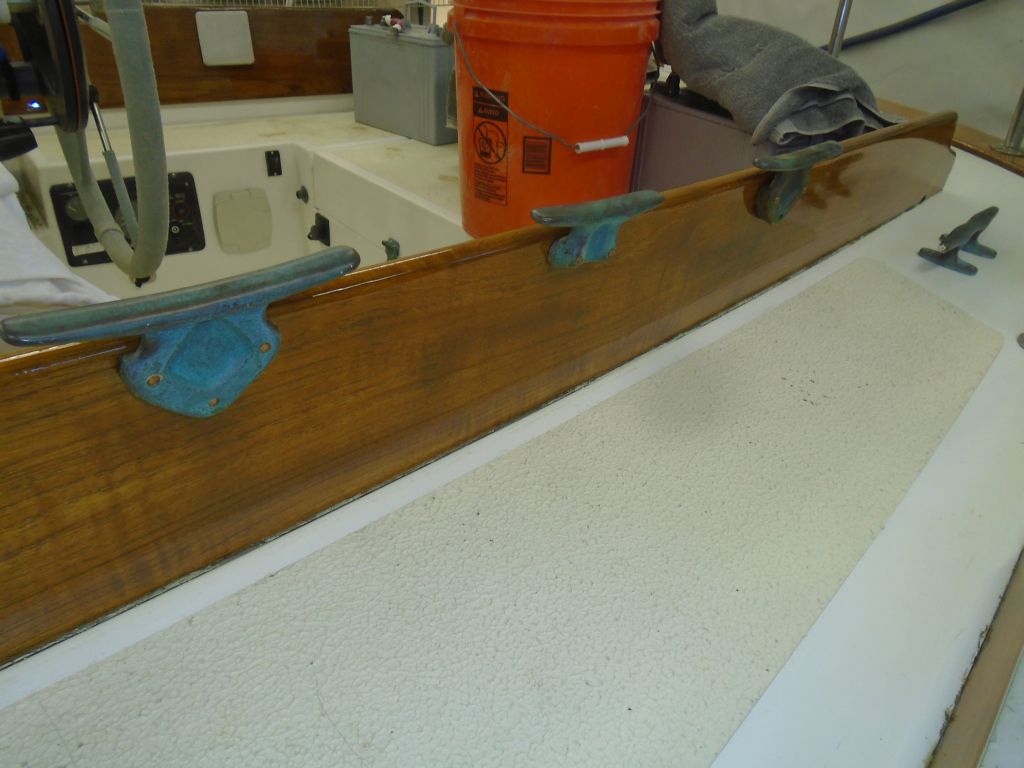
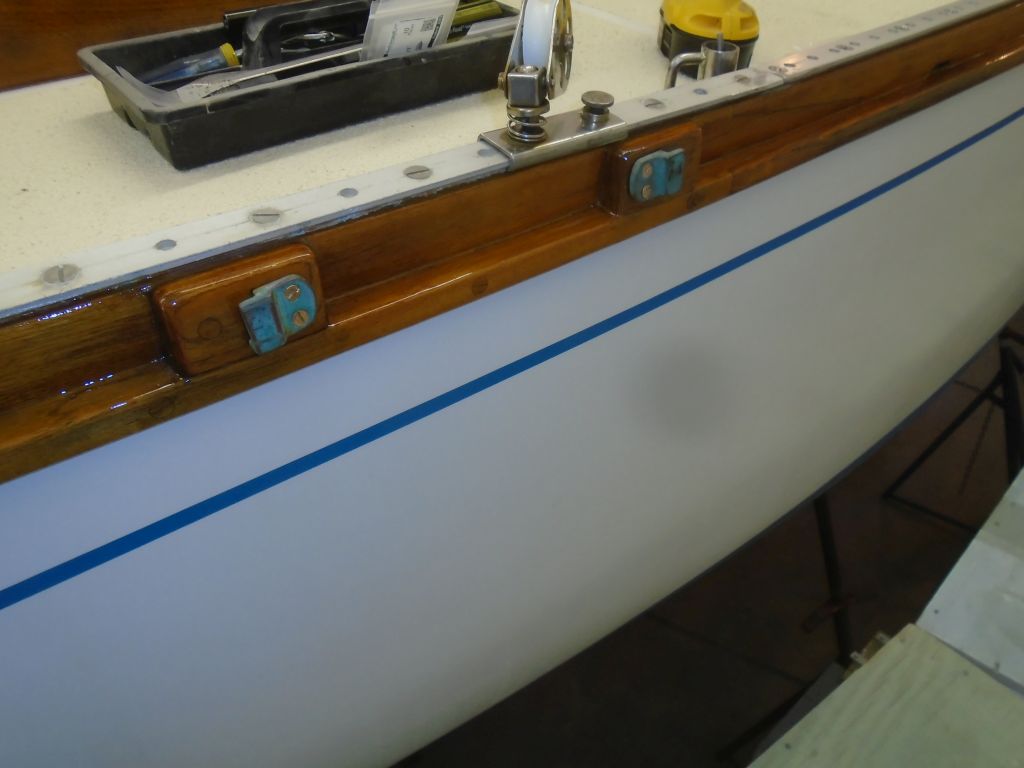
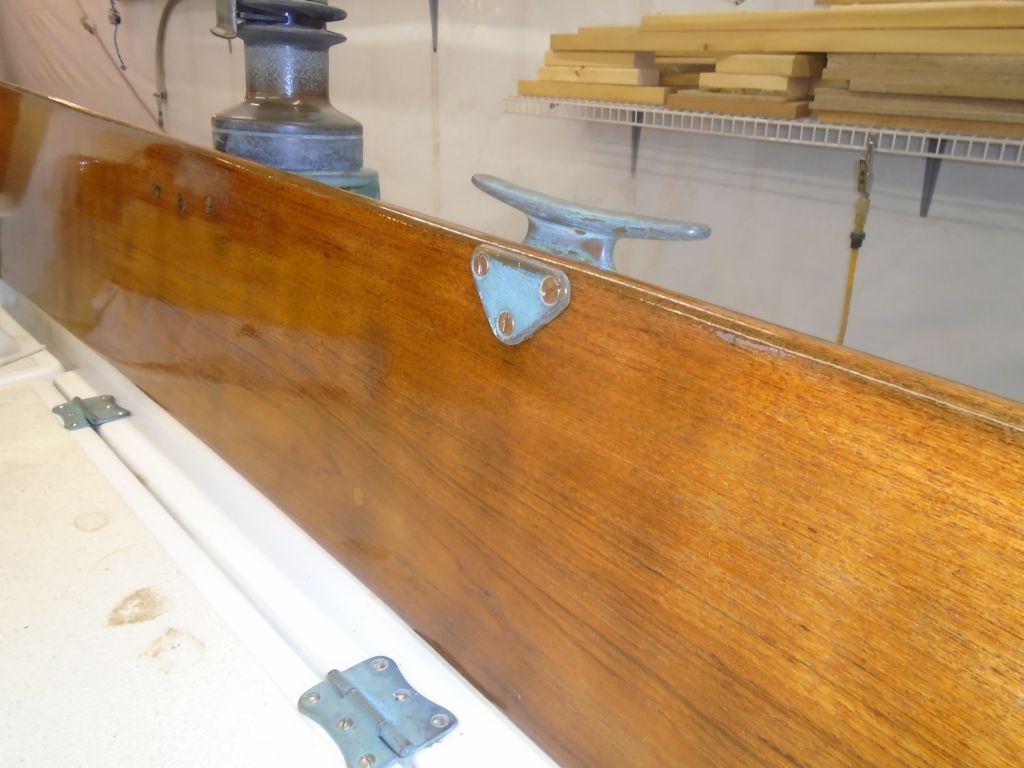
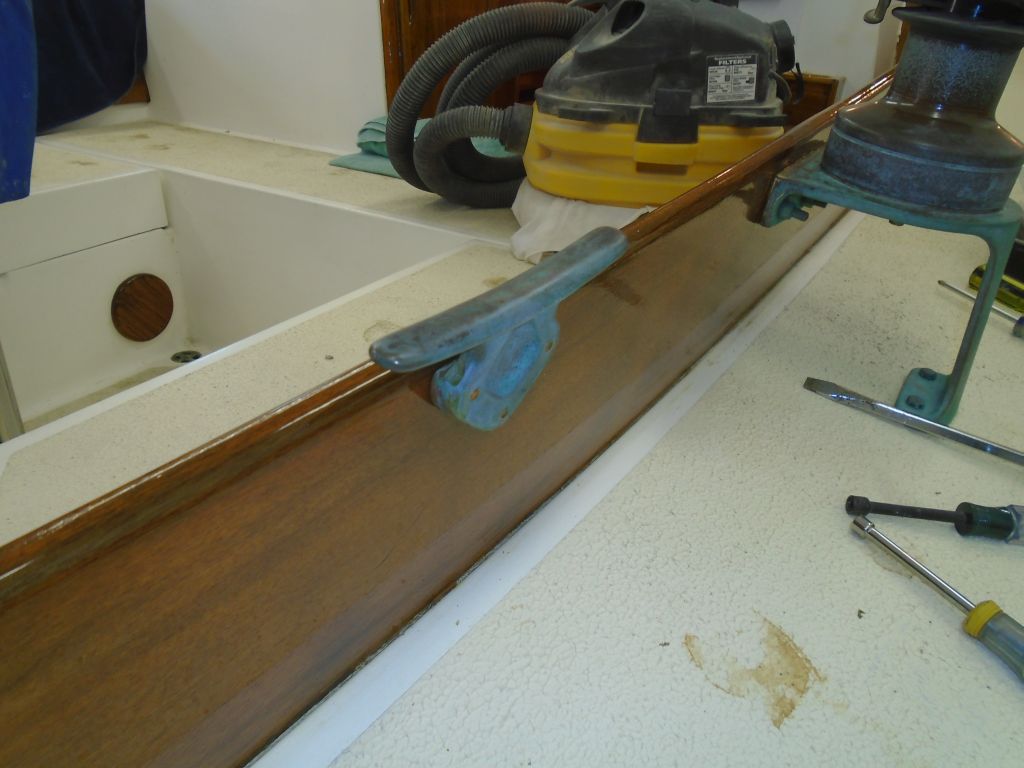
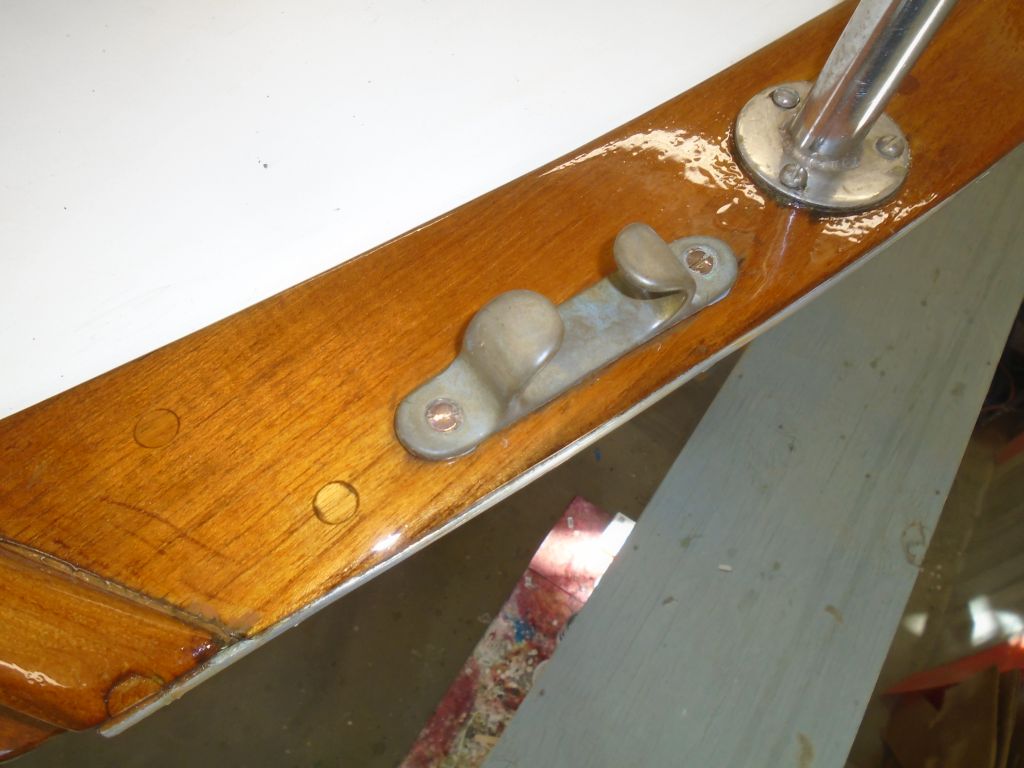
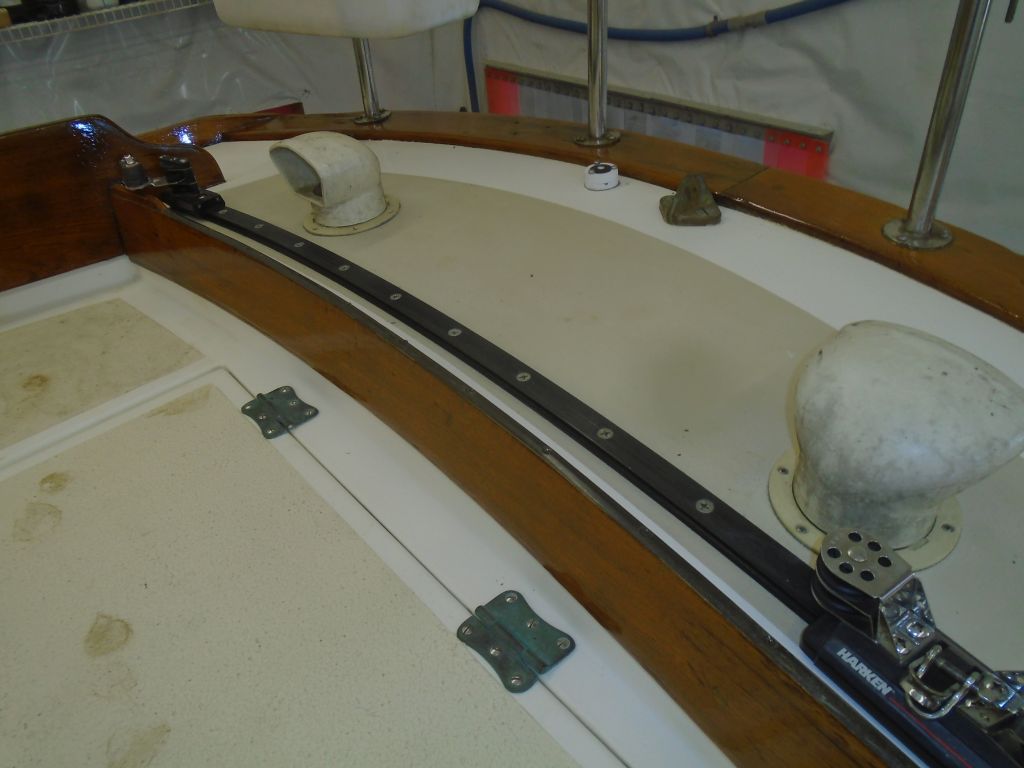
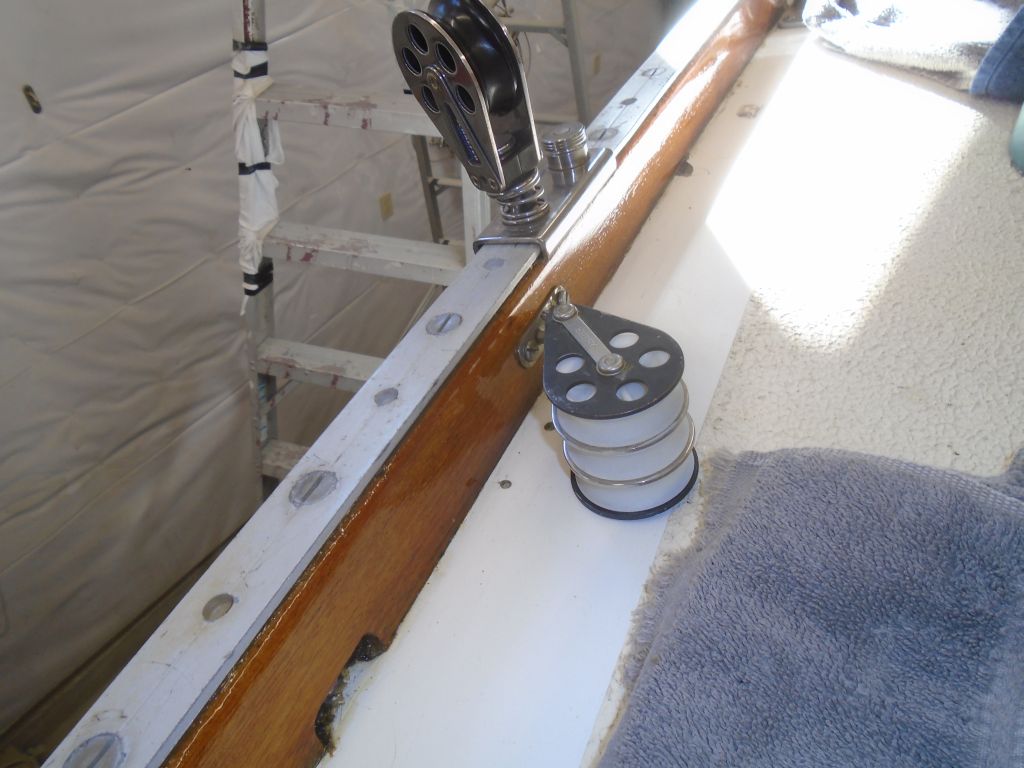
Next, I reinstalled the various bits of hardware I’d removed for the exterior varnish project, using mainly new (and mostly bronze) fasteners to replace the originals.

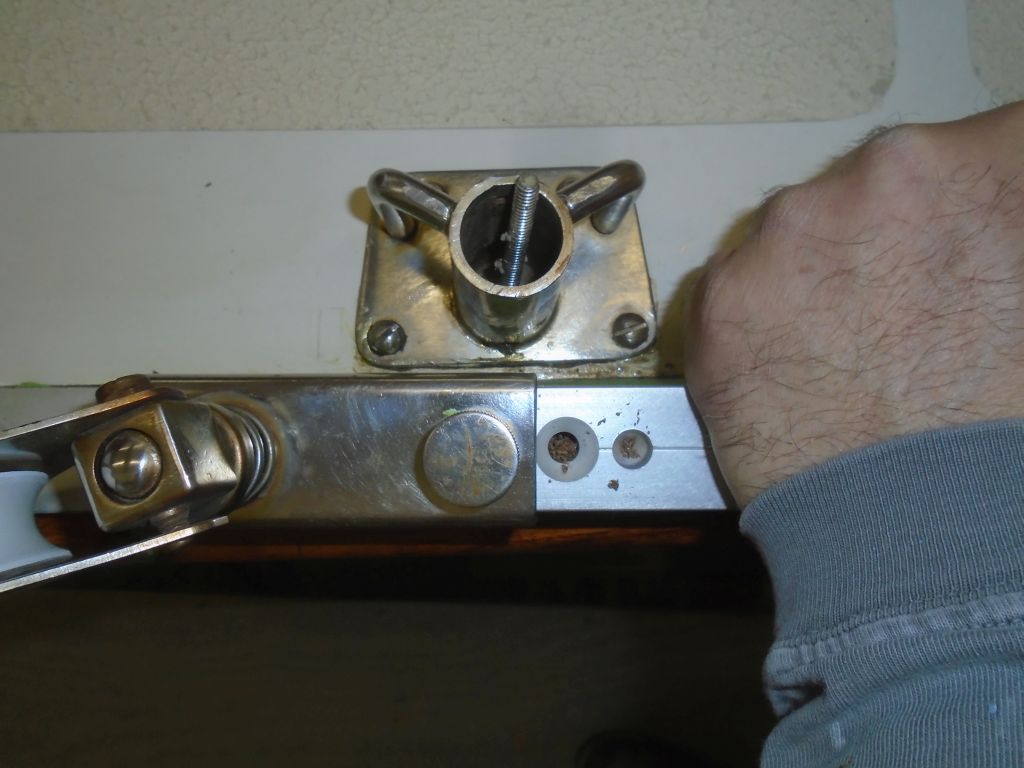
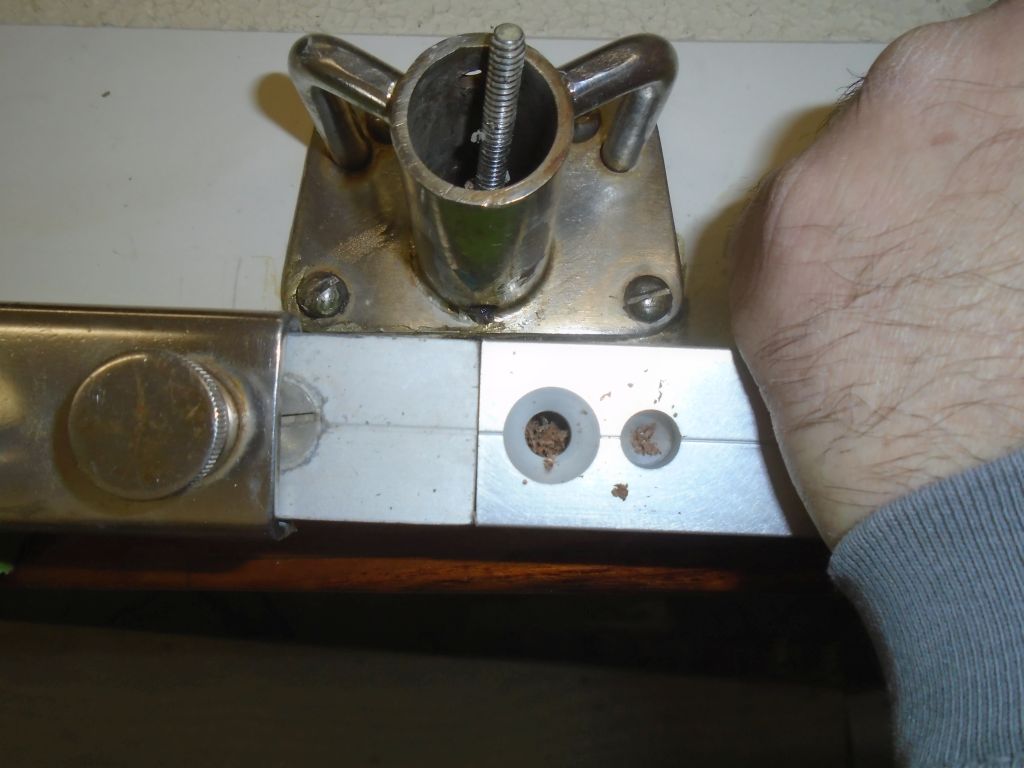
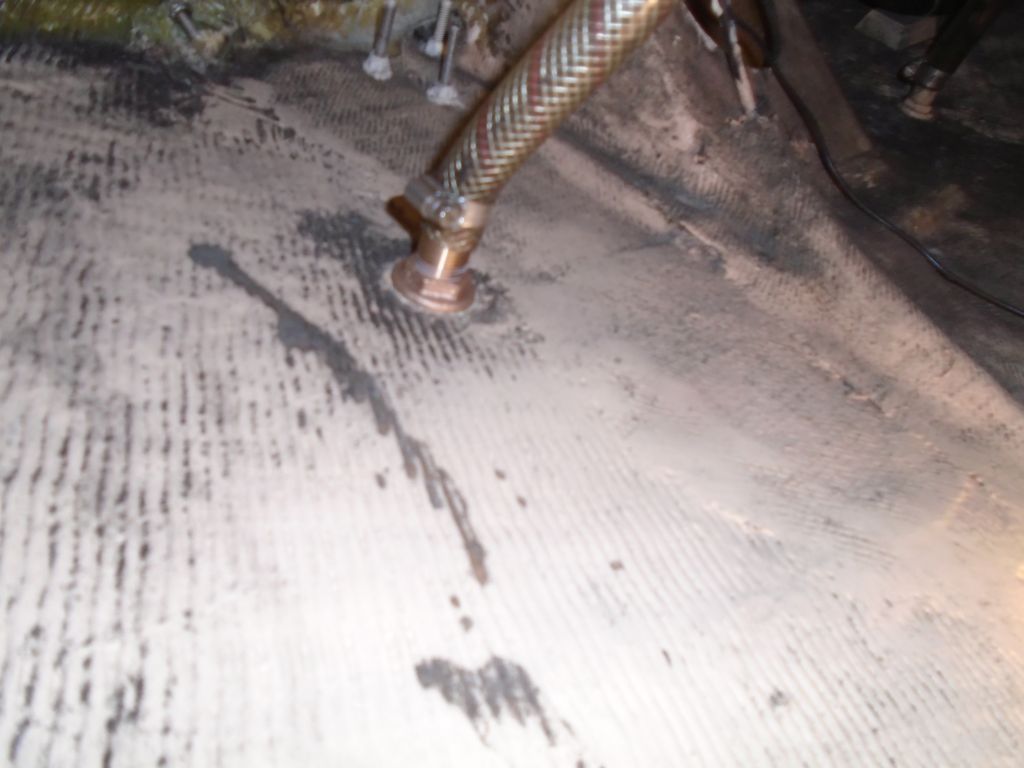
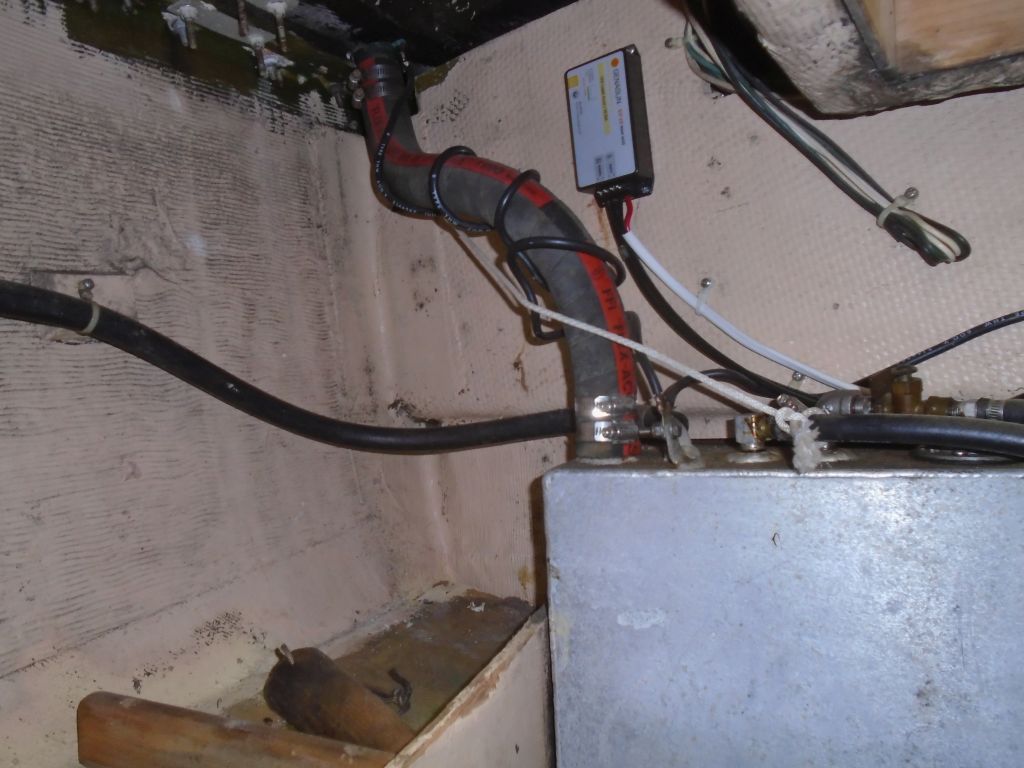
During a session of what he’d hoped would be routine stuffing box maintenance, the owner discovered that the stuffing box hose was in less-than-ideal condition, with rusty clamps and a suspect appearance.    Coupled with the fact that the old packing deep in the nut was highly compressed and impossible to move,  he decided, with my input, that we should go ahead and replace the stuffing box hose, which would also allow repacking of the existing packing box down on the bench since replacing the hose would require removal of the propeller shaft.  This job had been on and off the theoretical work list a couple times so far, but now it was clear the path that was required.

shaft3-20216

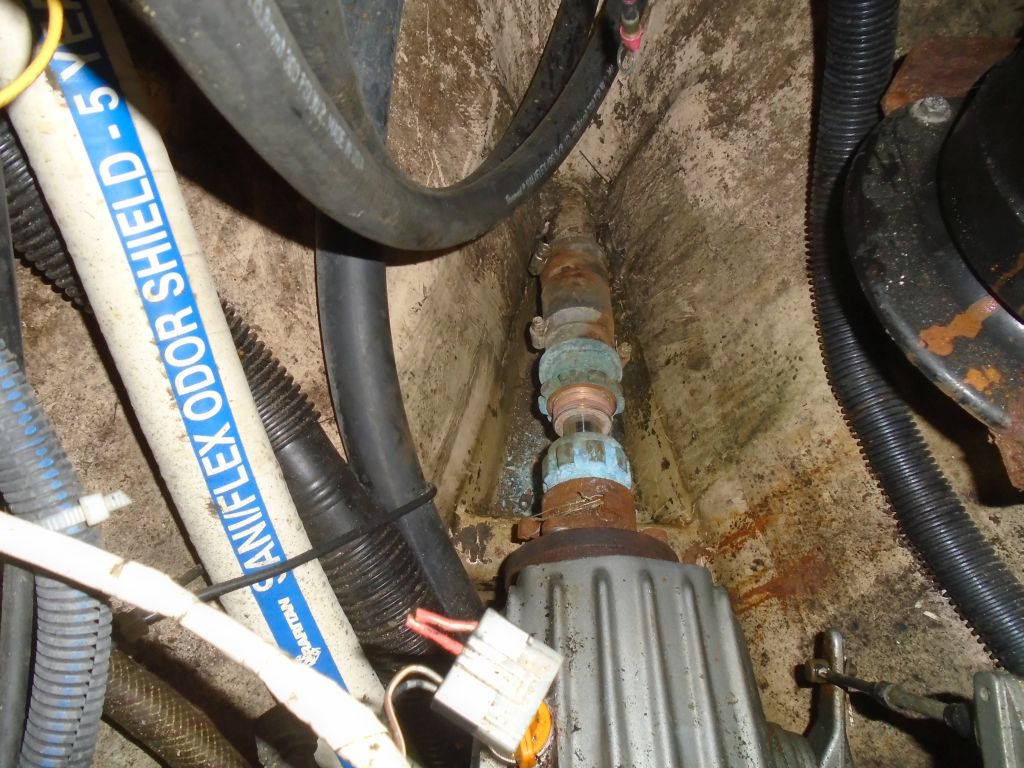
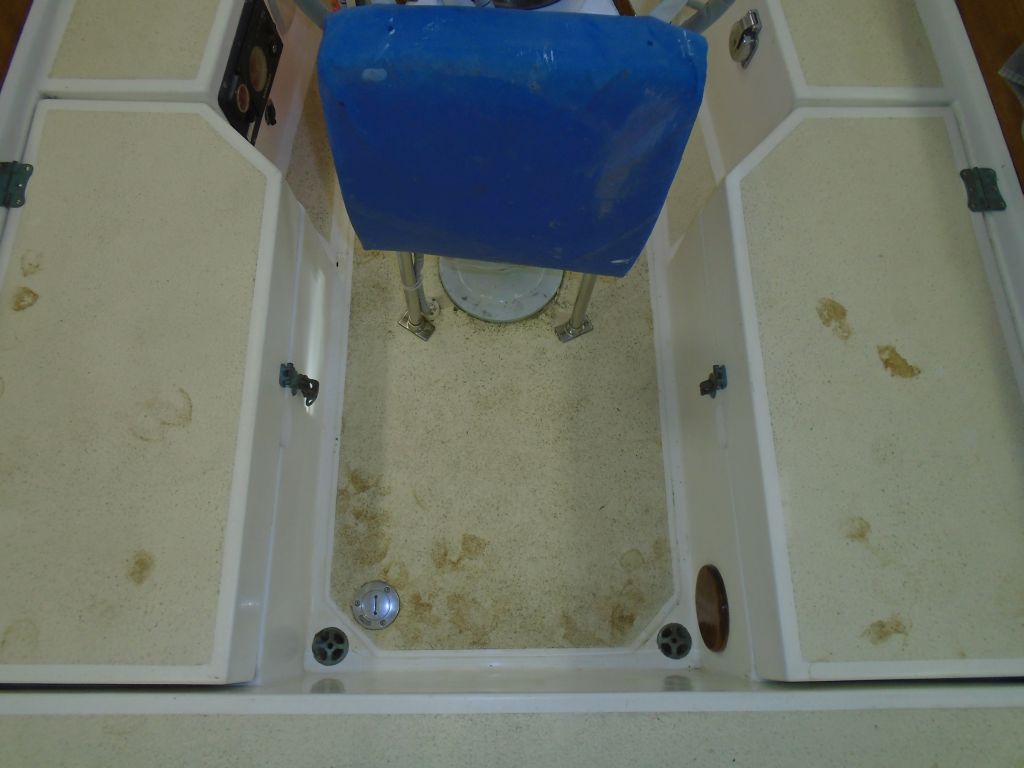
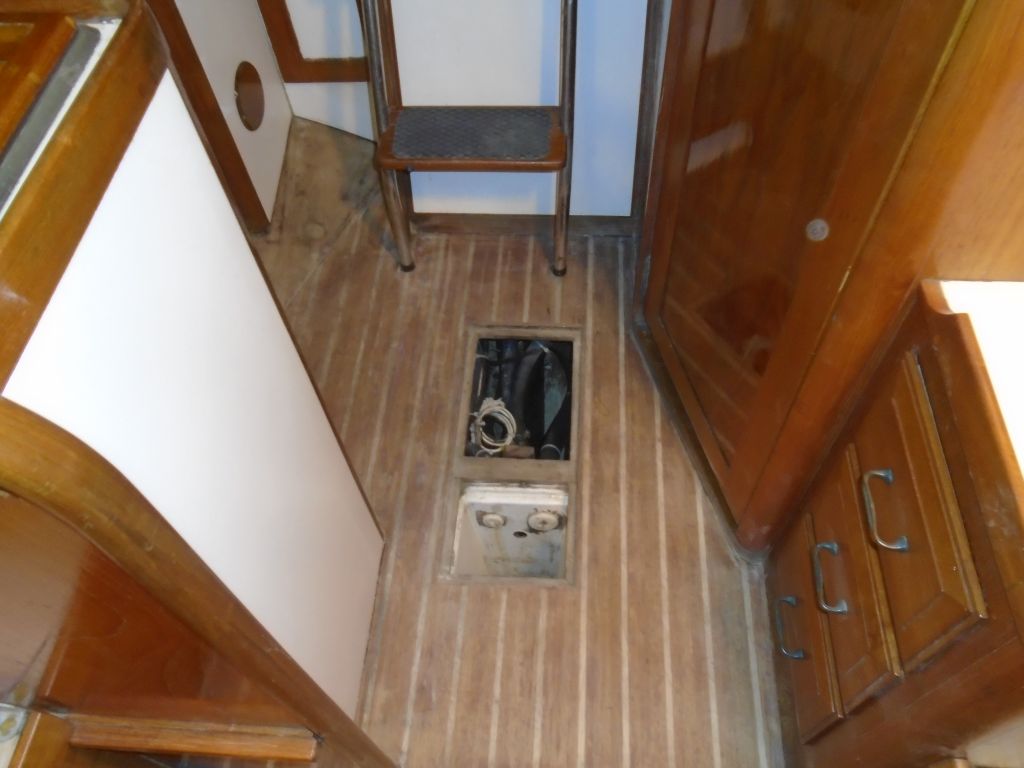
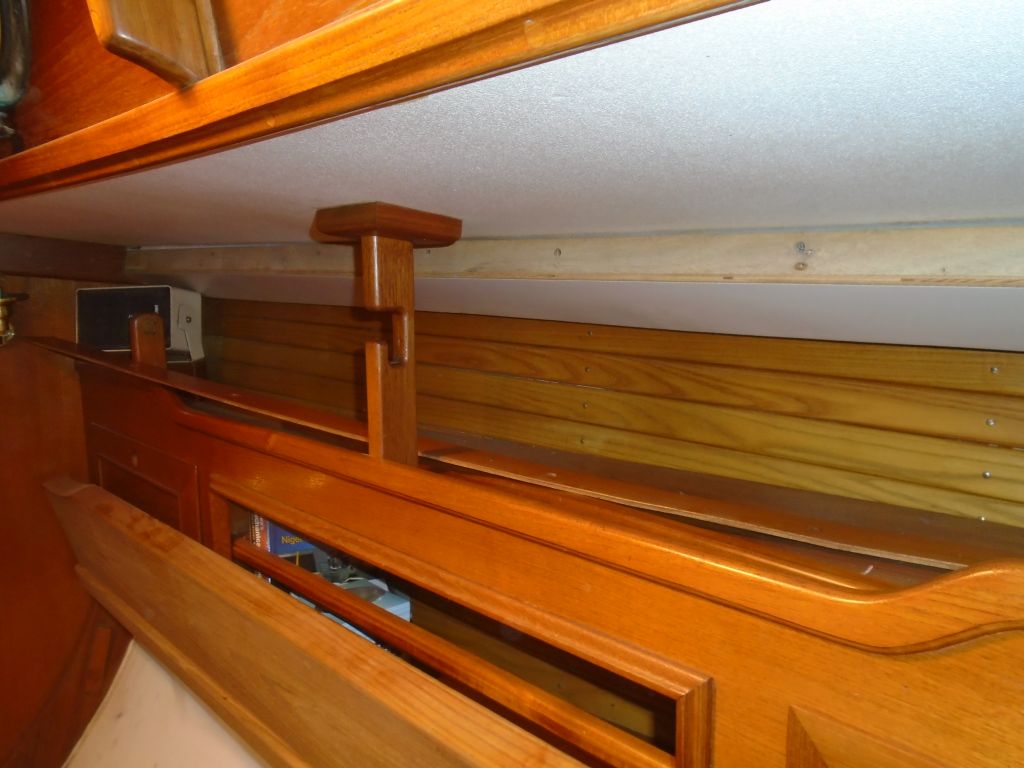
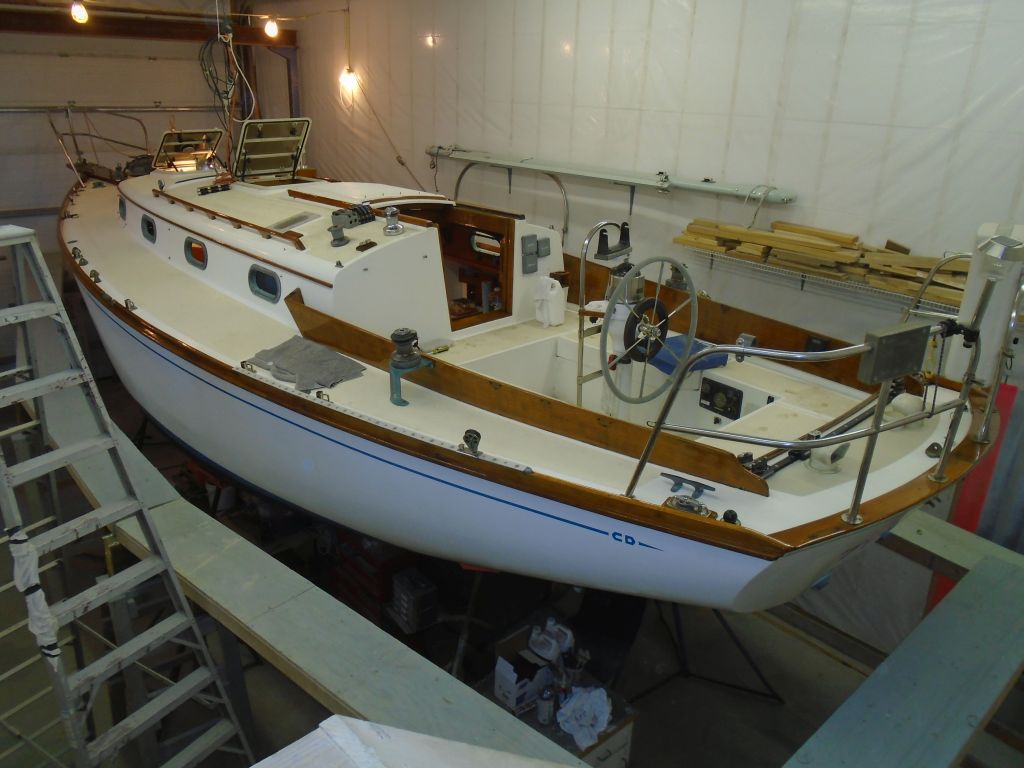
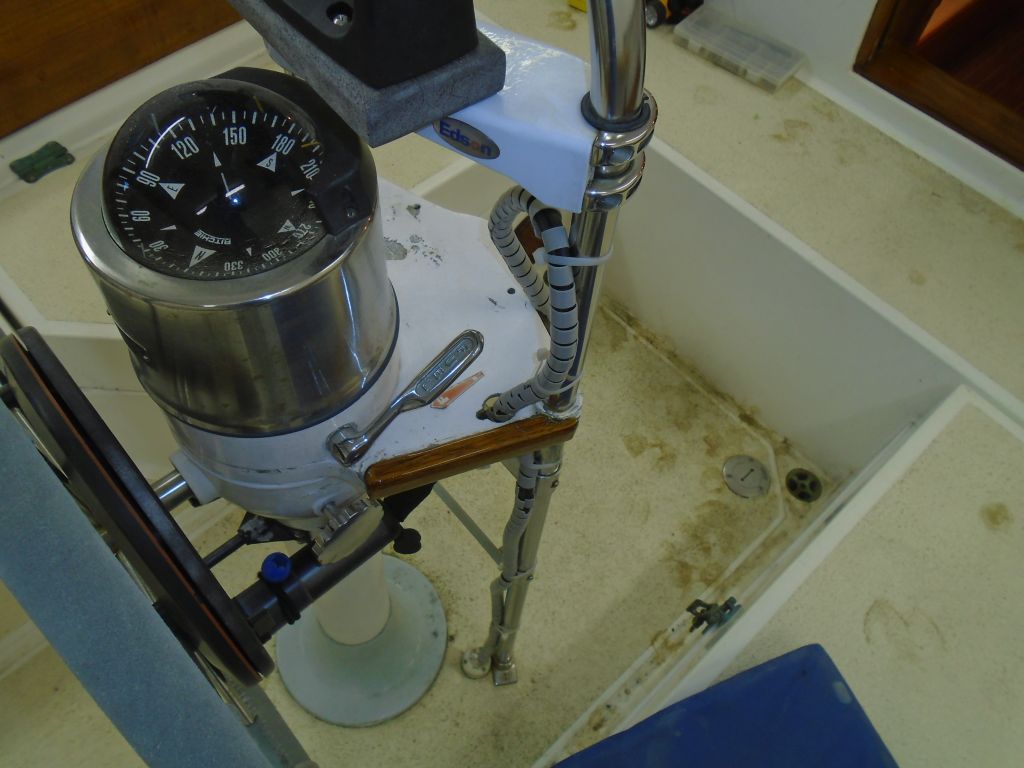
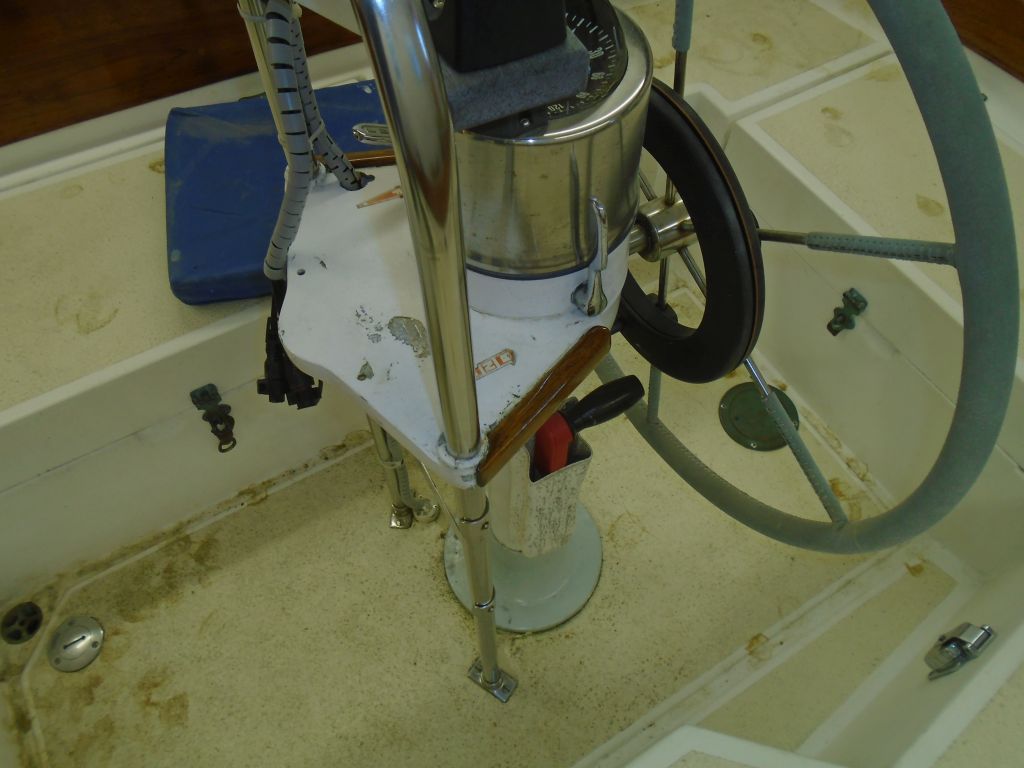
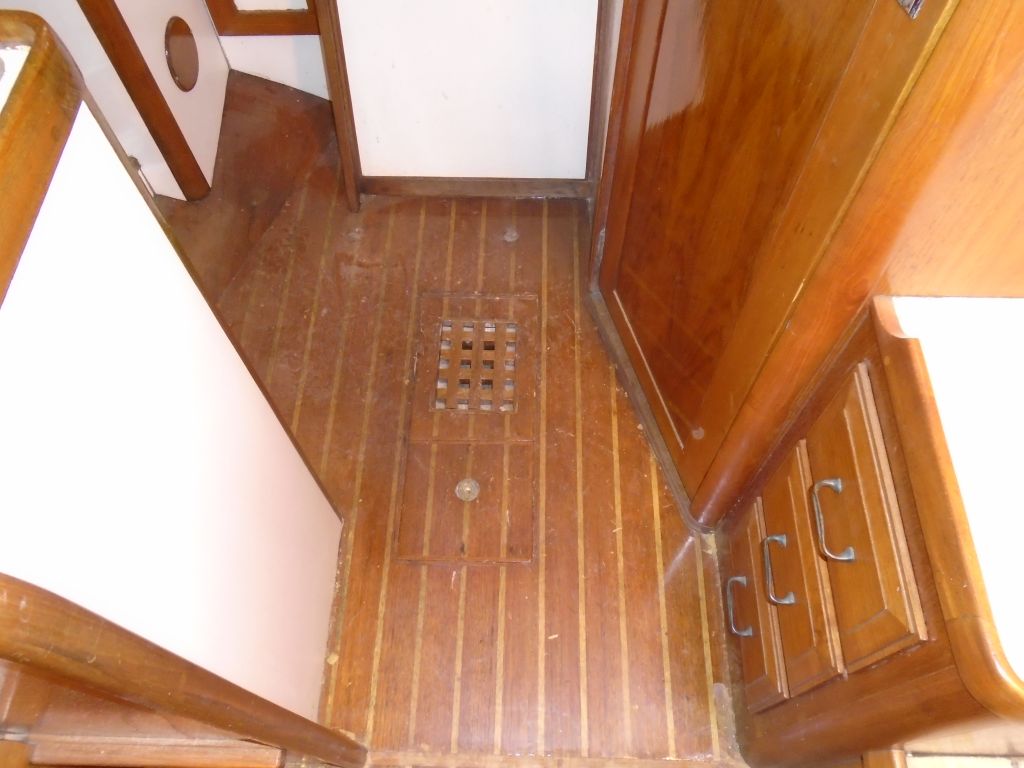
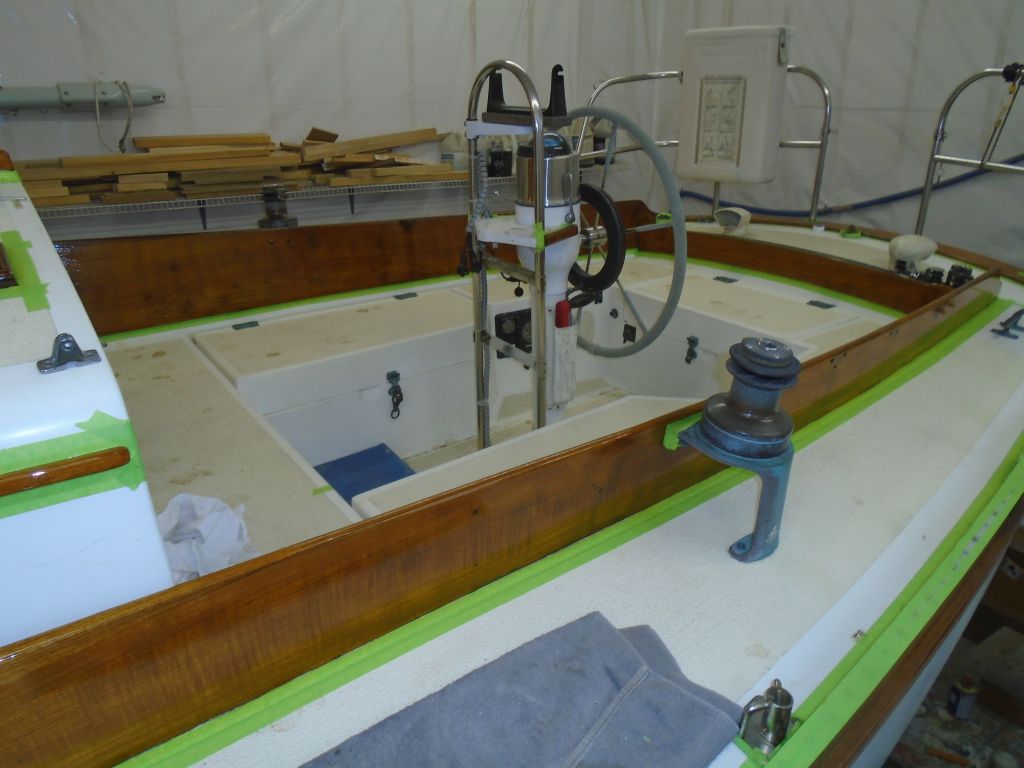
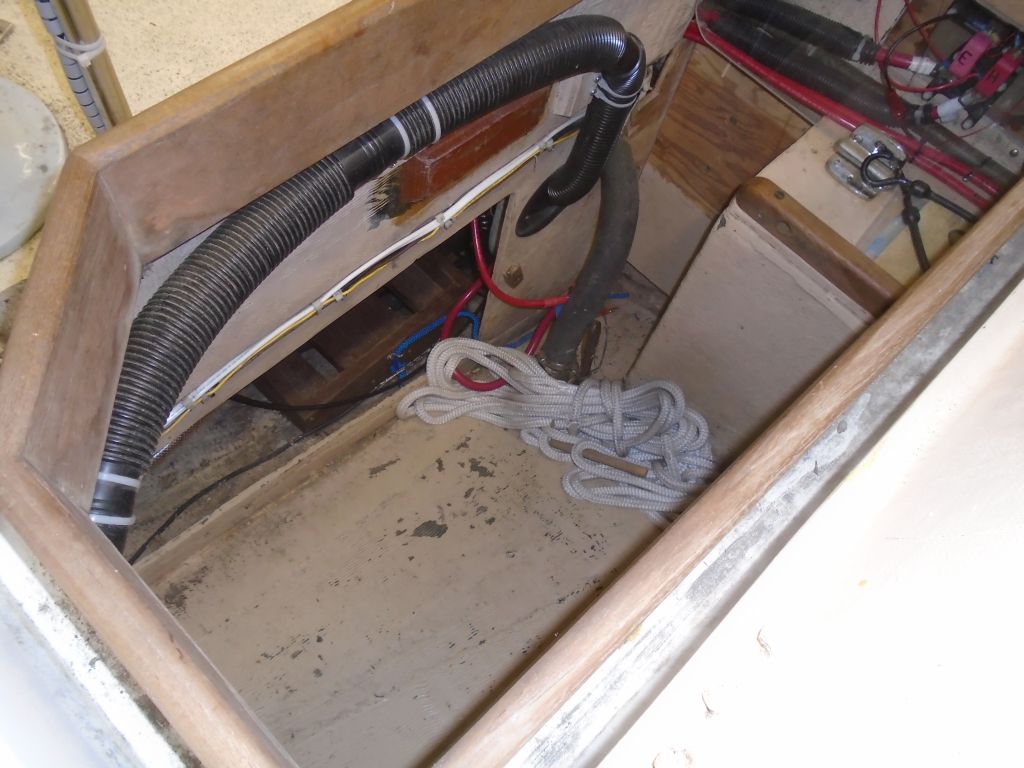
Access to this area, other than the convenient way I could hold a camera from the engine room to photograph the shaft and stuffing box above, was limited to a tight crawl space beneath the cockpit, which required the flexibility (and size) of a gymnast.  Permanent cabinets around the engine room prohibited access from there, and while I’d already been in both cockpit lockers a few times during earlier stages of the project, I was pessimistic about the prospects of gaining realistic access to the shaft myself.

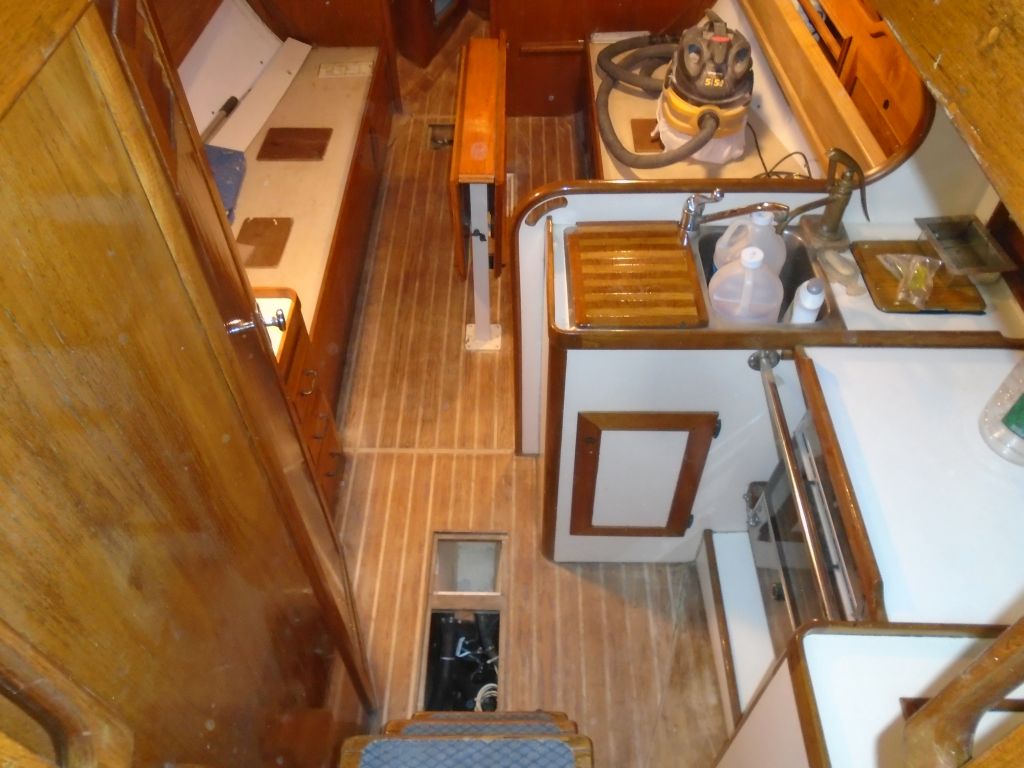
Nonetheless, I determined to try.  Access into the cockpit locker was pretty good, but maneuvering space within was quite limited by the placement of two bulkheads and a large seacock, and once there, while I thought that theoretically I could get myself into the cozy space on top of the battery shelf, which was required in order to see–and work on–the shaft and coupling,  ultimately I decided that it’d be more efficient and prudent to call upon a helper to work in the space, so I made arrangements for a few days hence and in the meantime planned to collect the new materials required so we could complete the job on one sitting.

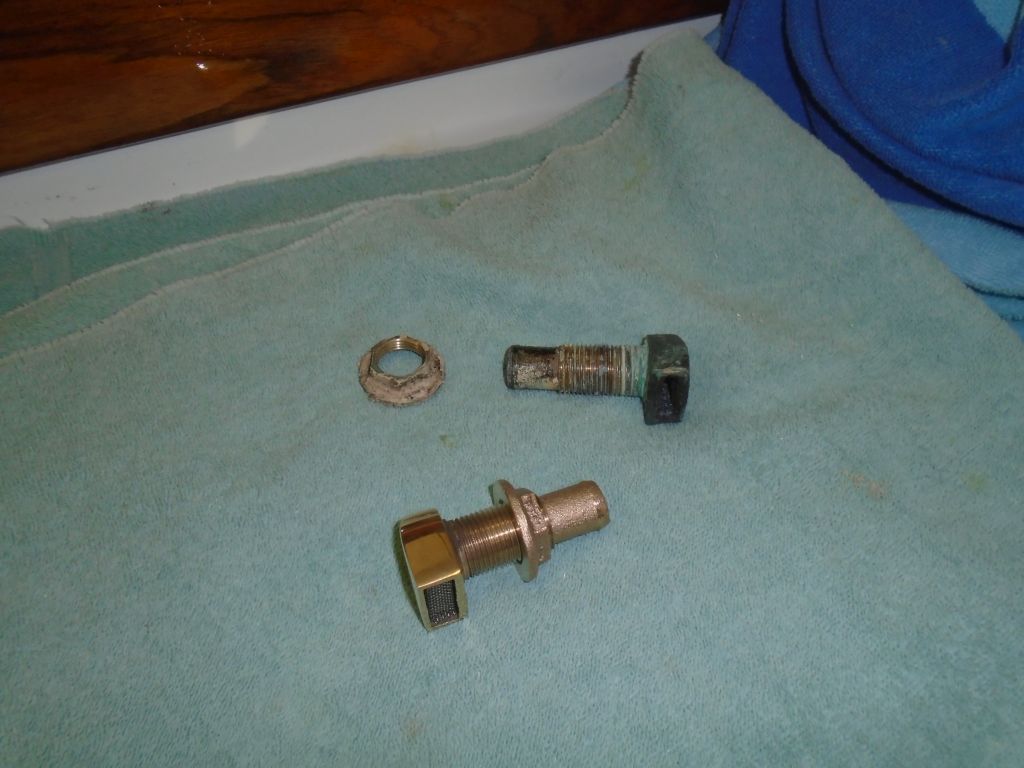
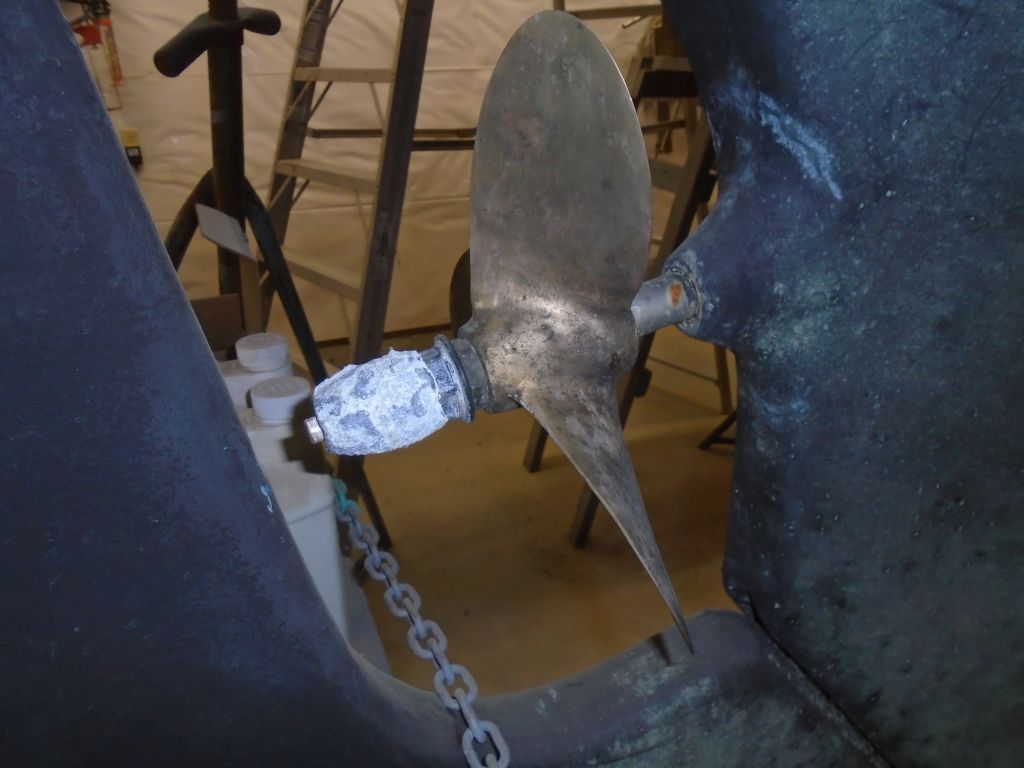
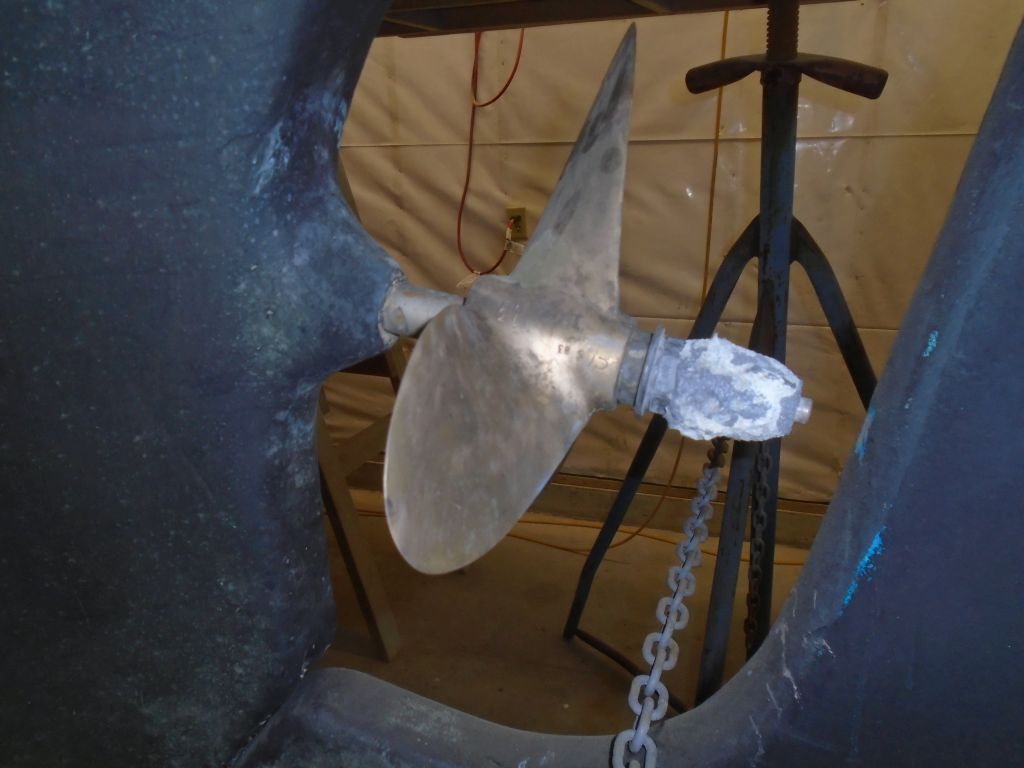
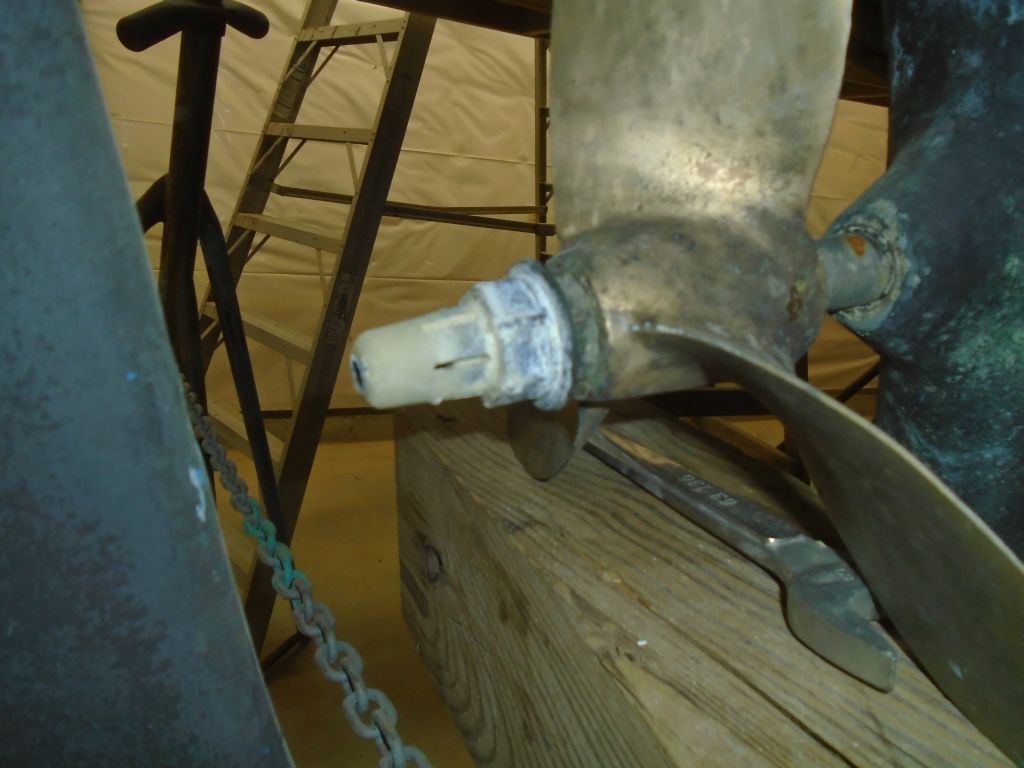
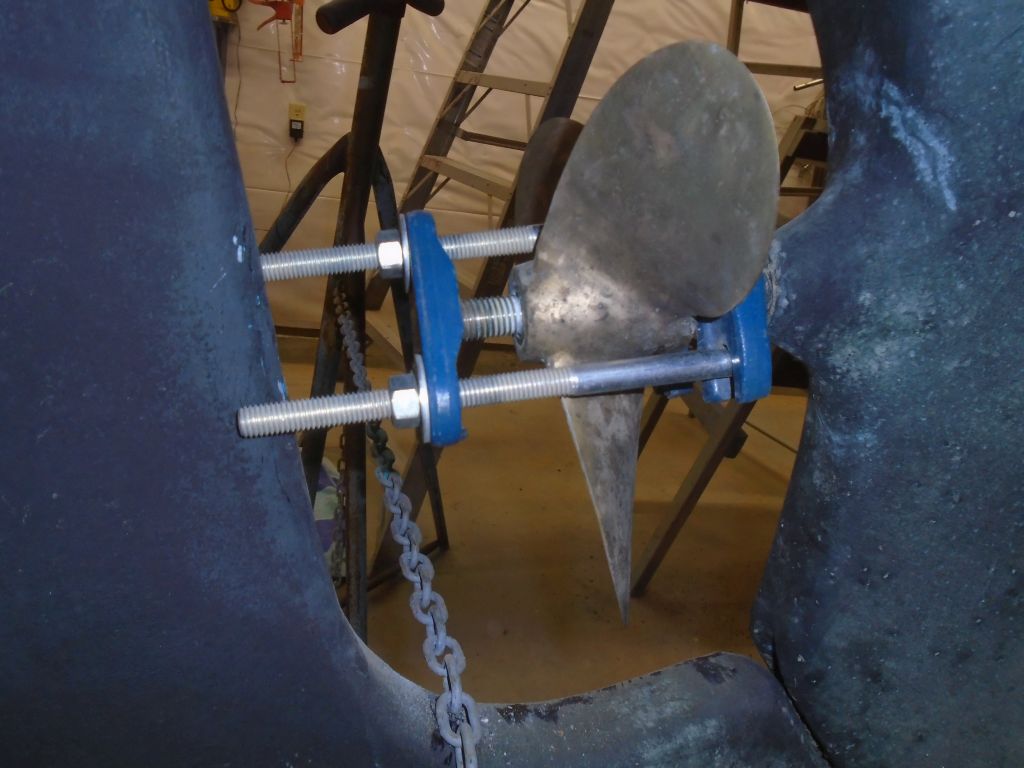
To mollify myself, I went ahead and removed the propeller so that the shaft would be free to move aft as required for the rest of the job.  The shaft zinc, nuts, and propeller came off without drama nor issue.


Total time billed on this job today:  5 hours

0600 Weather Report:
35°, mostly cloudy.  Forecast for the day:  clearing, colder, high around 38


Danusia 25

< Back to Danusia

Monday

Continuing the varnish work on the loose hatches, I sanded, cleaned, and applied the third coat of gloss finish to all pieces.

varnish1-20116

The cabin sole was looking good, and I declared it complete, so I went ahead and removed the masking tape.

Earlier, I’d built a simple teak cover for a square hole in the cabin sole beneath the table.  Now was my first opportunity to test-fit the piece (shown here in newly-sanded varnish prep form).  If fit as expected, so I continued the varnish work on the new piece.

Next, I worked on the  genoa track extensions.  There was just under 5′ of space available between the mid-rail chocks and the existing tracks, and I left a little room for the end stops, eventually choosing to cut the new 72″ track sections to just over 59″ long for each side.

Taking care to align the new track end with the old, I dry-fit the new tracks on the toerail leading forward.  Despite extra care at the beginning end, I found that as the track bent into position, the end became slightly misaligned when all was said and done.  This was exacerbated by the fact that the ends of the original track sections were not necessarily pointing in the ideal direction to mate with a new section, but with a little fine-tuning of the seam between the two it was no problem to slide the lead car across the joint.  For each fastener location, I drilled and tapped the fiberglass deck and hull flange for machine screw threads, with a slightly larger pilot hole through the teak toerail.  Before installation, I masked off the newly-varnished surfaces on either side to protect the finish.

I removed the track and cleaned up the spoils, then installed sealant and secured the track in place, cleaning up excess sealant once the track was tightly secured.  I found that the position of the toerail so far outboard meant that the fasteners did not leave room for nuts and washers in most cases, with the screw threads often partially spun into the edge of the hull laminate.  There was nothing I could do about this, and while I’d intended (and certainly hoped) to install washers and nuts, it was not to be.  Fortunately the machine screws were threaded through a thick inward hull flange as well as the solid deck edge, and with their close fastener spacing and numerous screws I was confident the threads would hold nicely.

I repeated the dry-fit and installation process on the port side.

With the track extensions complete, I moved on to some smaller jobs to round out the day, beginning with what I thought would be a real quickie:  replace a non-functional hook latch “securing” the gimbaled stove with a proper slide bolt that would actually prevent the stove from swinging.  The existing hook didn’t hold the stove in a proper fixed, horizontal, position, and also allowed a couple inches’ movement.  This photo, taken at an earlier time in the project, shows the original latch.

stove4-20116

This seemingly simple project self-extended through various means, from requiring several tools that weren’t handy on board (each discovered singly and at the most inconvenient moment possible), and eventually requiring removal of the bottom section of the stove to remove–and then install new–nuts and washers on the fasteners, since the micro-thin sheet metal was unworthy of holding screws on its own.  Of course removal turned into an event of its own, as the whole hinge mechanism sort of self-destructed into several component pieces that required laborious reassembly.  In the end, I managed to get it all together, and the new slide bolt fulfilled all requirements nicely.

Finally, I began the process of unfastening and removing the old windlass power cables, which I’d be replacing with new.  I went through parts of the boat, clipping old wire ties and generally freeing the old cables, and before the end of the day freed the forwardmost ends from the chainlocker and into the forward cabin.  I’d continue the process next time.


Total time billed on this job today:  8.25 hours

0600 Weather Report:
35°, partly cloudy.  Forecast for the day:  clouds and sun, maybe a shower, highs in the mid 50s

Danusia 24

< Back to Danusia

Thursday

After a morning away from the shop at an appointment, I returned to the cabin sole, and went through my process of sanding, cleaning, and another coat of the satin varnish.

Meanwhile, I continued the varnish work on the loose hatches and companionway:  coat #2.

varnish1-12816

The new windlass and its related equipment was now on hand, and I temporarily unpacked the box to check it out.

Total time billed on this job today:  2.5 hours

0600 Weather Report:
15°, clear.  Forecast for the day:

Danusia 23

< Back to Danusia

Monday

Over the weekend, I continued the buildup of gloss varnish base coats on the cabin sole, one coat per day.

Saturday (3rd coat):

Sunday (4th coat):

With sufficient base varnish in place, after sanding and cleaning once more, I switched to a satin varnish for the final coats.  I’d hoped one coat would finish up the job, as it sometimes does, but it looked like I’d need another coat to wrap things up.

cabinsole1-12516

Meanwhile, I worked on the bench to strip and sand the various loose hatches, including cabin sole hatches and the companionway swashboards.  With a heat gun and scraper, I removed the old finish from the pieces, and sanded them smooth and clean before solvent-washing the bare wood and applying a sealer coat of varnish, the first of many.


Total time billed on this job today:  6.75 hours

0600 Weather Report:
10°, clear.  Forecast for the day:  sunny, highs around 32.

Danusia 22

< Back to Danusia

Friday

Preparing ahead for another coat of varnish later in the day, I began the day by lightly sanding the cabin sole, then vacuumed and cleaned it.    Afterwards, amongst some miscellany and sundry tasks, I worked in the cockpit well and around the cockpit locker gutters to clean up and polish the remaining gelcoat there, which I’d not done during my earlier polishing stage.

I had a meeting on the boat with the owner, and we discussed the new windlass possibilities and other upcoming tasks.  Later, I used a template of the chosen windlass (Maxwell RC10-8 with capstan) to work out some of the layout details on the bow.  Even this relatively small (footprint-wise) windlass created some challenges with the proximity of the staysail boom and inner forestay hardware, which limited where any windlass could be mounted on this boat.

To help with the layout, I reinstalled the anchor roller on the starboard side of the bow platform (I had only three new bolts of the right length on hand, but that was enough for now and I’d install the final one later).  With a length of line, this gave me the ideal line on which the windlass should be aligned.  However, the nearby hardware prohibited the windlass from mounting in the ideal location:  the hardware forced it further outboard to starboard, so the direct line to the anchor roller ended up more inboard than it would be in a perfect situation.  That little narrow tail on the right side of the paper template represents the desired patch of the anchor chain and line entering the gypsy.

By angling the windlass template slightly towards the centerline, with a corresponding redirection of the anchor line from the roller, I could make the alignment work.  This didn’t move the anchor line/chain far enough towards the side of the roller to create any clearance or other issues, and the windlass itself could essentially be angled in any direction as long as it aligned properly with the chain.  So despite the unexpectedly tight installation area, it looked like the windlass would work just fine here, but without a lot of wiggle room in its installation.  The new windlass footprint would completely hide the stained and damaged area on the wooden platform where the original windlass had been,  and I’d build a new extension to starboard to support the new windlass as needed, while also dealing with the old holes and deck area beneath the old windlass’s footprint.

The new angle–as well as the updated function of the windlass–did mean that an existing anchor pin, which I’d removed from the platform for varnishing, would not work, as the design of that particular piece of hardware would not allow the chain to run through it.  With a combination chain/rope rode, all that would be needed was some way to secure the anchor when in the stored position, while still allowing the rode to pass through freely on its new trajectory, and this hardware was readily available.

At the end of the day, after final preparations, I applied a second coat of varnish to the cabin sole.


Total time billed on this job today:  6.5 hours

0600 Weather Report:
0°, clear.  Forecast for the day:  Sunny, 27°

Danusia 21

< Back to Danusia

Thursday

I began the day with the waste vent, first removing the old fitting, which fortunately came off without too much difficulty as the access was tough.    Since the boat’s name was being changed as part of this project, I went ahead and removed one of the old letters that would interfere with the new vent’s installation (I’d remove the remaining letters a little later).

With the old vent out and the area cleaned up, I installed the new vent fitting in a bed of sealant, protecting the polished bronze finish with tape during installation.  Inside, I connected the existing hose with a new clamp, completing the job after I reinstalled the cowl vent on deck.

Next, I returned to the cabin sole project, and after getting set up with tools and breathing equipment,  I sanded the newly-stripped surface to smooth it and prepare for new varnish.

This job went more quickly than I’d anticipated, a happy thing as it allowed me ample time to clean up from the sanding, mask off the sole,  solvent wash, and apply a sealer coat of varnish.  I’d not expected to be varnishing this day, so I was pleased with the advance.  To help give me somewhere to stand as I varnished myself into the aft corners, I installed a temporary plywood hatch over the bilge access in the galley (the actual hatches were down in the shop awaiting stripping and their own varnish).


Total time billed on this job today:  7 hours

0600 Weather Report:
10°, clear.  Forecast for the day:  Sunny, 28°


Danusia 20

< Back to Danusia

Wednesday

With several factors affecting the decision on the windlass–whether to replace or postpone–I wanted to look more closely at the existing power cable runs to ensure that the wires were worthy of being reused.  Finding the unkempt and disconnected ends in the port cockpit locker a while back had made it seem prudent to inspect the entire length before committing to using them, or determining whether they should be replaced.  Regardless of the condition of the main runs, the aft end would require some attention and extensions, and the existing ends in the chainlocker, while generally serviceable, were limited in length and whether they’d be able to properly reach a new windlass configuration remained up in the air for the moment.


During earlier portions of the project, I’d already removed some trim and cover panels in the forward cabin and head, which gave me access to the wiring in those spaces.  Now I removed the cover panels along the port side of the saloon to expose the final length of the cables for inspection.  I didn’t see any issues with the cabling through these runs.

Checking the cable in a short span that ran through a locker at the aft end of the port settee, I discovered–unexpectedly–the solenoid control switch for the old windlass.  I suppose it was mounted here with the idea that it was a safe, dry spot for the unit, though typically one finds them mounted near the windlass motor to limit wire runs from the solenoid to the control switches.  Any new windlass would require a different solenoid control anyway, and the access to this unit would be challenging thanks to the tightness of the locker and especially because of the protruding electrical box that blocked direct access–visual and otherwise–to the solenoid.  But all that was something that could be dealt with as required.

So the core wiring looked acceptable, though not without caveats.  The ends would require work, and the cable would need to be conjoined in the center where the solenoid currently was.

Meanwhile, I removed another access panel on the starboard side, this time to give me access to the underside of the toerails.  The reason I needed this was to add extra lengths of genoa track to the toerail above, to extend the existing tracks forward.  The owner reported that the position of the existing  tracks was too far aft to properly lead the headsail he was using–I think the position of the tracks envisioned a very high-clew yankee-type sail–so in the near future I’d be adding lengths and bolting them through the toerail.   I’d extend the tracks up to just aft of the mid-rail chocks, which would give nearly five extra feet of length for better sail control.  I had the tracks on hand but would wait to give the new varnish work plenty of cure time before installing them.

I spent the bulk of the day removing the masking tape from the exterior brightwork, which I was calling complete with my habitual six base coats.    I thought it was a vast improvement over the initial appearance.

With the largest single project now behind me, I could start focusing on the laundry list of other tasks planned for this boat, most of which I’d been thinking about and considering behind the scenes throughout the past days.  The new genoa tracks were one of these projects, and another was to inspect–and, if necessary, deal with–the deck around a bronze inspection port over the rudder post in the cockpit.  There were a few cracks running through the deck emanating from the inspection port, and the owner wanted me to check whether there were any issues within.

I didn’t have a tool on hand to fit the holes in the deck plate (there was probably one on board the boat), but I had no trouble opening the nicely-greased bronze threads with a pair of Philips screwdrivers.  My initial inspection didn’t find anything of particular concern–the core seemed OK where accessible, and the deck sound– but if needed or desired I could remove the deck plate for core-edge protection and rebedding.

deckplate1-12016

An old bronze vent on the transom, servicing the waste tank, was heavily corroded, and the owner requested replacement.  To gain better access, I removed one of the cowl vents on the poop deck, and with a new vent already on hand I’d take care of the replacement presently.

Total time billed on this job today:  5.75 hours

0600 Weather Report:
20°, clear.  Forecast for the day:  Sunny and windy, highs in the 20s

Danusia 19

< Back to Danusia

Tuesday

With  a relatively short day available, I focused on the exterior varnish work once more, going through my normal routine before applying the sixth coat to all areas.

Total time billed on this job today:  5.5 hours

0600 Weather Report:
Clear, windy, 8°.  Forecast for the day:  Sun and clouds, windy, high in the mid teens.

Danusia 18

< Back to Danusia

Monday

During the day, I went through the now-habitual routine of sanding, cleaning, and varnishing the exterior teak, this the fifth coat on all surfaces.

I spent some time  looking into options for the anchor windlass, an ongoing process with various choices available.  The limited deck space on the bow, thanks to the hardware for the inner forestay and staysail boom, and I quickly eliminated horizontal windlasses as being too large to fit in the available space, so I concentrated on various vertical windlass offerings, educating myself to the (too many) models available.  The decision on the new windlass might be tabled for now, but in any event it was important to learn about the options now.  More on this topic to come soon.

Total time billed on this job today:  6.5 hours

0600 Weather Report:
20°, cloudy, snow shower.  Forecast for the day:  Occasional snow snowers and light snow, up to an inch or so, high in the 20s

Danusia 17

< Back to Danusia

Friday

After my  usual round of light sanding, vacuuming, and cleaning the exterior woodwork, I turned to the final section of the cabin sole, at the aft end in the galley.  Reserving the small hatches (along with several other small pieces from other parts of the cabin) for later attention down on the bench, I stripped the old varnish from this last section, completing the raw stripping task.  The next step would be to sand the surface, but I’d await that till I completed the exterior varnish work.

Afterwards, I applied the fourth coat of varnish to the exterior teak, which was now starting to look pretty good.

Total time billed on this job today:  5.5 hours

0600 Weather Report:
-2°, Clear.  Forecast for the day:  Sun, then becoming cloudy, highs near 30

Older posts Newer posts