(page 4 of 5)

Danusia 16

< Back to Danusia

Thursday

As usual, I began the day by sanding the brightwork with 320 grit paper, then cleaned up the wood and surrounding decks to prepare for the next coat of varnish later in the day.

Meanwhile, I continued work on the cabin sole.  This time, I stripped the largest section, located in the main cabin.

Afterwards, I applied the third coat of varnish to the exterior brightwork.

Total time billed on this job today:  6.75 hours

0600 Weather Report;
Partly cloudy.  Forecast for the day:  Partly sunny, highs in the 20s

Danusia 15

< Back to Danusia

Wednesday

After cleaning up some overnight snow, I got to work on the brightwork, and sanded all the new varnish lightly to prepare for the next coat.  Afterwards, I vacuumed and solvent-washed as needed.

This all took a little longer than I’d hoped, and with the need to set aside a couple hours at the end of the day for the next coat of varnish, my time for other tasks on board was limited.  I decided to work on the cabin sole, dividing the work up over the next few days as time allowed.  The existing sole was heavily varnished, and in several places the varnish had lifted, creating a yellowish appearance.  The remaining areas were in fair condition but well worn, and it was time to strip the sole and start fresh.

Starting in the forward cabin, I used a heat gun and scraper to remove the old finish from the sole.  The finish itself wasn’t that difficult to remove, but access was tight in this area.  I removed the folding doors to allow better access to the aft corner of the space.

I’d continue with the cabin sole work as time allowed over the next few days, but now it was time to start the next coat of varnish on the exterior teak, which wrapped up the day’s work.

Total time billed on this job today:  6.25 hours

0600 Weather Report:
8″ of snow overnight, 25°.  Forecast for the day:  clearing,  windy, highs in the 20s

Danusia 14

< Back to Danusia

Tuesday

After finishing up the last of the masking, and other final preparations, I applied a sealer coat of varnish to all the newly-bare wood.  With an afternoon commitment, and not knowing how long the varnish work would take, I started earlier than later to ensure completion and to better gauge future days’ varnishing timing.

Total time billed on this job today:  3 hours

0600 Weather Report:
10°, clear.  Forecast for the day:  Increasing clouds, snow by evening, high around 30

Danusia 13

< Back to Danusia

Monday

To begin, I finished up the final bits of sanding and prep, taking care of a few tight hand spots and the anchor platform.

Afterwards, I cleaned up the boat and shop, and vacuumed and solvent-washed the deck and trim as necessary to prepare for the day’s main focus, which was to start masking off the newly-bare trim for varnishing.  By the end of the day, I’d  completed most of the masking, with just a little remaining to complete next time.

Total time billed on this job today:  6.5 hours

0600 Weather Report:
34°, partly cloudy.  Forecast for the day:  growing colder, mainly sunny.

Danusia 12

< Back to Danusia

Friday

During the day, I finished up most of the remaining sanding work, starting with the starboard eyebrow trim and coaming, then working around the taffrail before moving on deck to hand-sand the handrails and various coachroof trim.  Later, I sanded the cockpit coamings and surrounding trim, leaving only the hard-to-reach pockets at the forward ends of the coamings for later attention–my hands couldn’t face any more just then.  I’d also have to finish up the anchor platform, which I’d not yet touched.  But the bulk of the prep was complete, for which I was grateful.

Total time billed on this job today:  5.75 hours

0600 Weather Report:
10°, clear.  Forecast for the day:  Sun, then increasing clouds, high in the low 30s

Danusia 11

< Back to Danusia

Thursday

Now that all the old finish was stripped, it was time to sand the raw wood to remove any final vestiges of old finish and smooth the wood to prepare for the new coating.  Starting on the port side, I sanded the toerail, eyebrow, and outboard coaming through the grits as required to clean up the wood and brighten any weathered spots.  Because of the small size and various profiles involved, most of this work was by hand, though I could use a palm sander on the coaming.

I continued the work on the starboard side, completing the toerail sanding before the end of the day.

Total time billed on this job today:  6.25 hours

0600 Weather Report:
5°, clear.  Forecast for the day:  Sunny, high in the 30s

Danusia 10

< Back to Danusia

Wednesday

Picking up where I left off, I continued stripping the brightwork on the port side, finishing up the outboard side of the coaming and the eyebrow trim and handrail on the cabin.

I moved my operation from the staging to the deck itself so I could continue with the remaining brightwork on the cabin top and inside the cockpit.  As with all the other wood, this woodwork was in basically good condition beneath old and weathered layers of Cetol.

During the rest of the day, I removed the old finish from these remaining areas, completing the raw stripping work on deck.  A few removable pieces, such as the swashboards and cockpit table, remained to be done, but I could do those on the bench anytime.

Total time billed on this job today:  7.5 hours

0600 Weather Report:
0°, clear.  Forecast for the day:  Sunny, temperature rising to the low 30s

Danusia 9

< Back to Danusia

Tuesday

Before getting back to the brightwork, I decided to finish up the garboard drain installation.  To begin, I dry-fit the bronze assembly and drilled and tapped the hull for four #10 machine screws that would secure the fitting.

After cleaning up the bonding surface, I installed the fitting with 5200 sealant.  I left the plug out and placed it, along with its wrench, in the boat for safekeeping.

I continued work on the starboard side of the boat, and stripped everything else I could reach from the staging, including the outboard side of the cockpit coaming and cabintop handrail, and then worked around the taffrail.

I continued my way up the port side, starting with woodwork that was in more or less the same condition as the starboard side.

By the end of the day, I’d stripped the port toerail and rubrail, along with the remaining half of the bow platform.

Total time billed on this job today:  7 Hours

0600 Weather Report:
0°, clear.  Forecast for the day:  sunny, high around 20

Danusia 8

< Back to Danusia

Monday

After a morning appointment away from the shop, I prepared to begin stripping the old finish from the exterior brightwork.  The original finish, an opaque, heavily-colored coating called Cetol, had been well-maintained over most of the boat’s life and, despite a few recent coatings failures, had well-protected the original woodwork beneath, but it was time to start over and remove all the old finish before recoating.  For now, I focused on the starboard side.

Where possible, I removed fittings that were in the way, such as the anchor roller and stop and assorted screwed-on installations.  I didn’t attempt to remove anything that was through-bolted.   Then, with a scraper and heat gun, I started at the starboard bow platform and removed the old finish from the platform, and eventually worked my way aft along the entire toerail and rubrail to strip the finish to the bare wood.  I also had time to strip the eyebrow trim before the end of the day.

I’d continue with other parts of the boat in the days ahead.


Total time billed on this job today:  5 hours

0600 Weather Report:
20°, clear.  Forecast for the day:  Mainly clear, highs in the 20s but falling

Danusia 7

< Back to Danusia

Wednesday

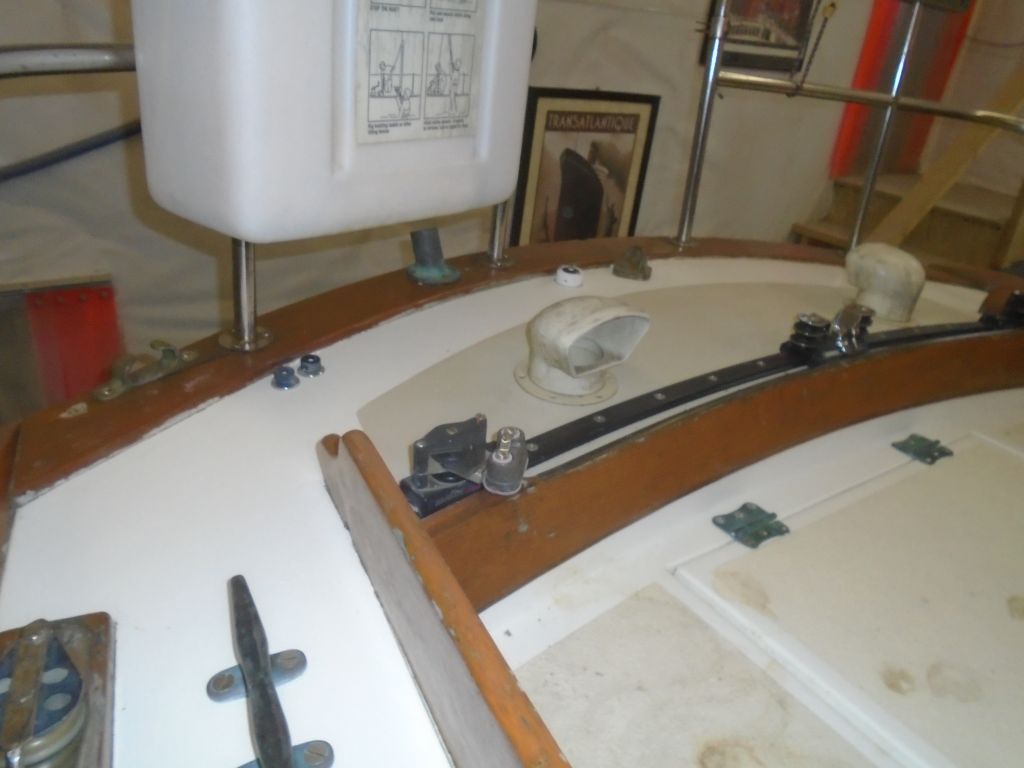
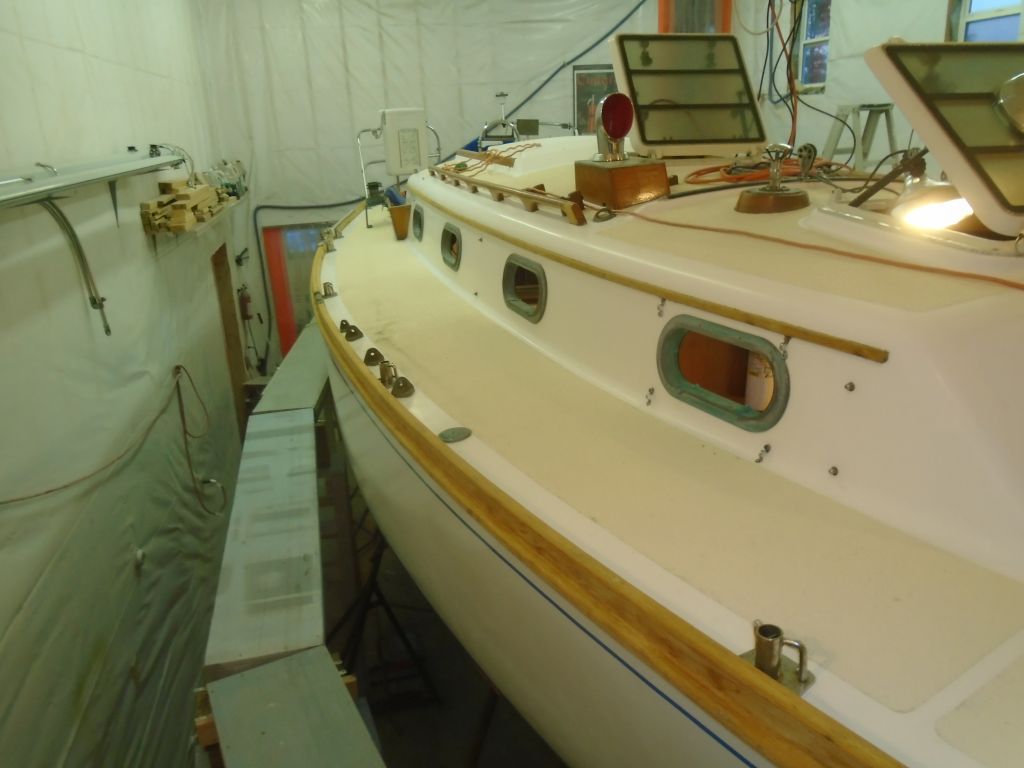
With new saw blades on hand, I felt I needed to conquer the windlass before Christmas break, as I hated to leave things unresolved.  I wanted that windlass out.  At this point, I almost didn’t care how it got out–as long as it did.  I couldn’t stand seeing it there, sneering at me and pretending it was just so superior.

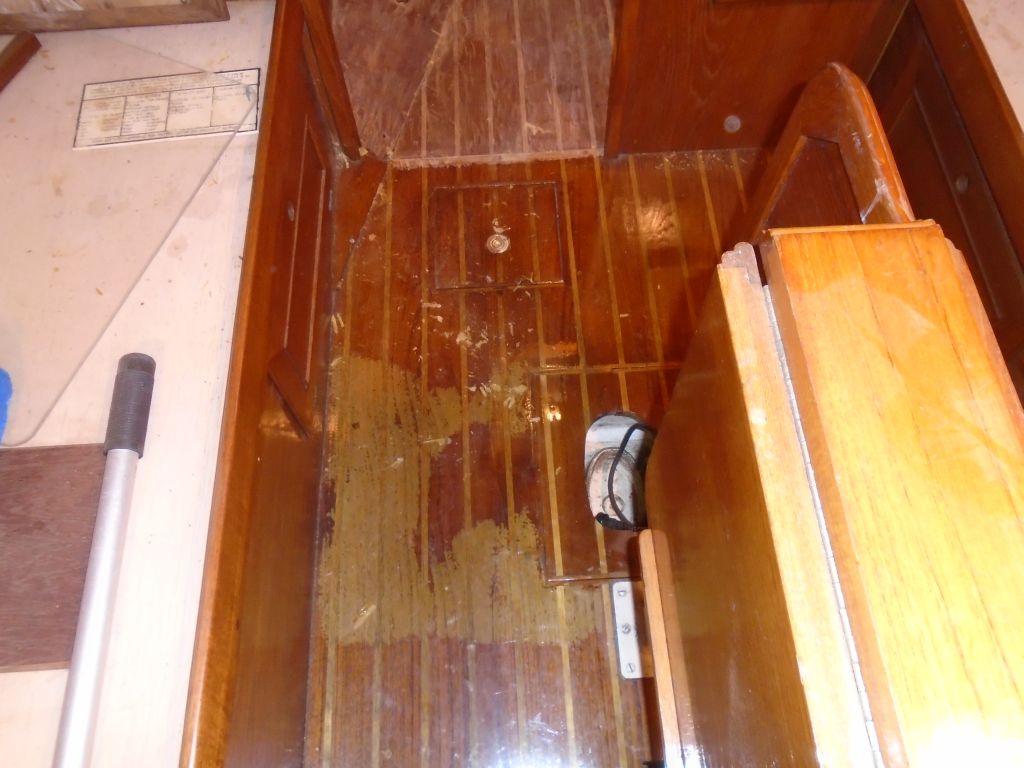
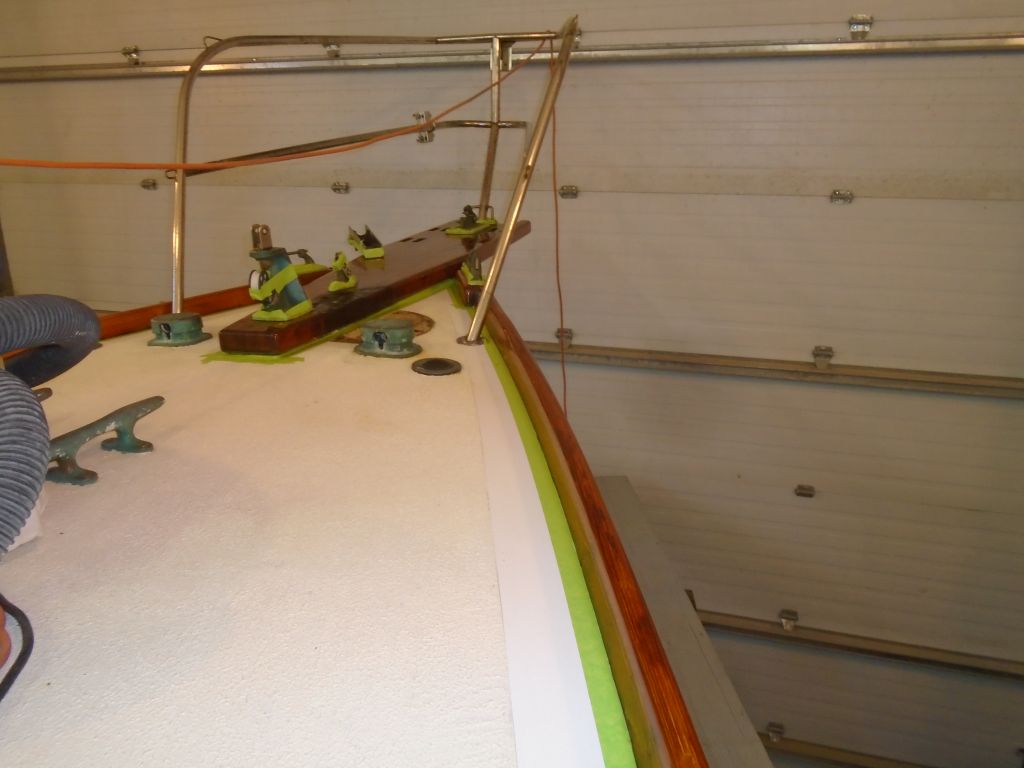
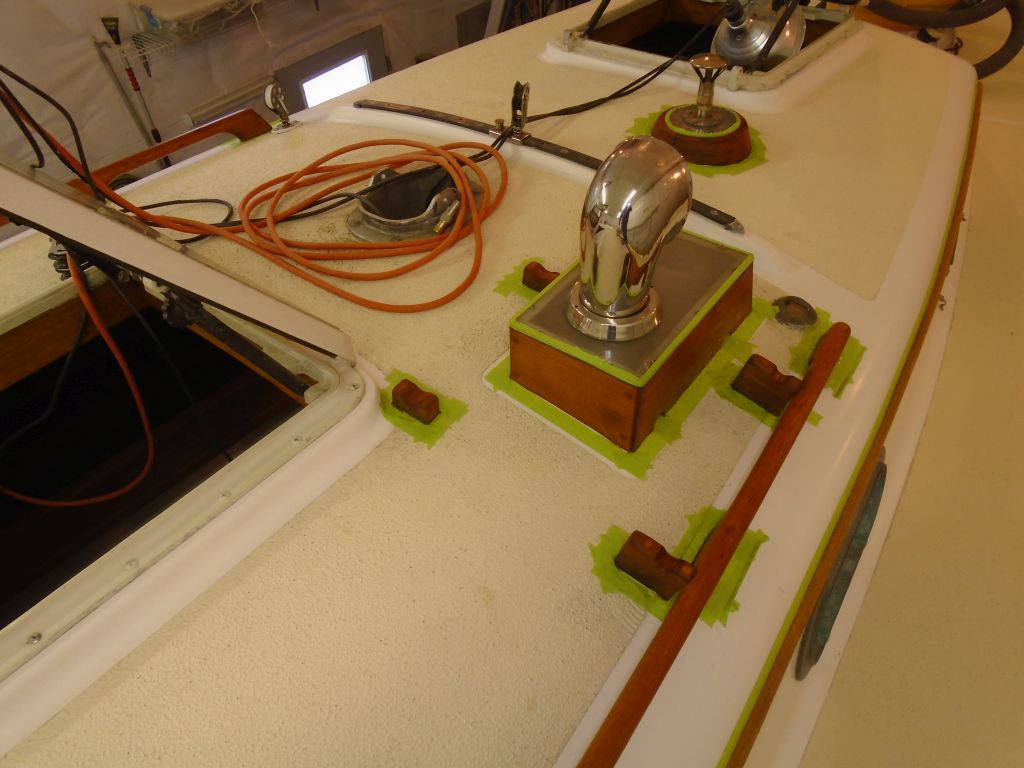
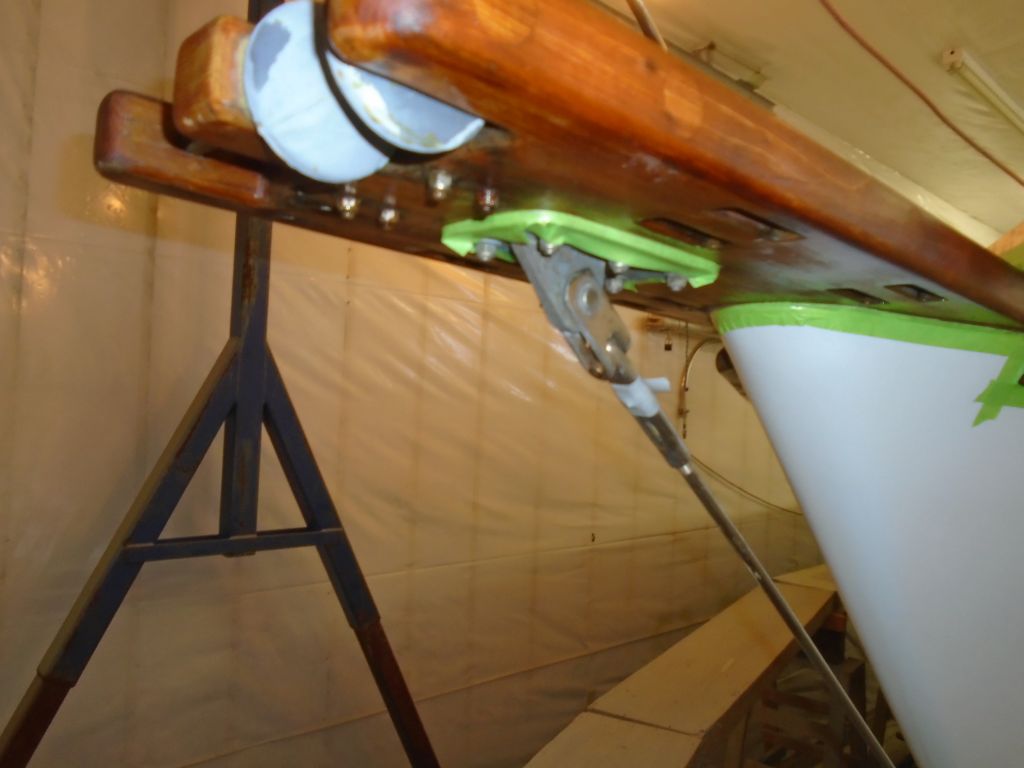
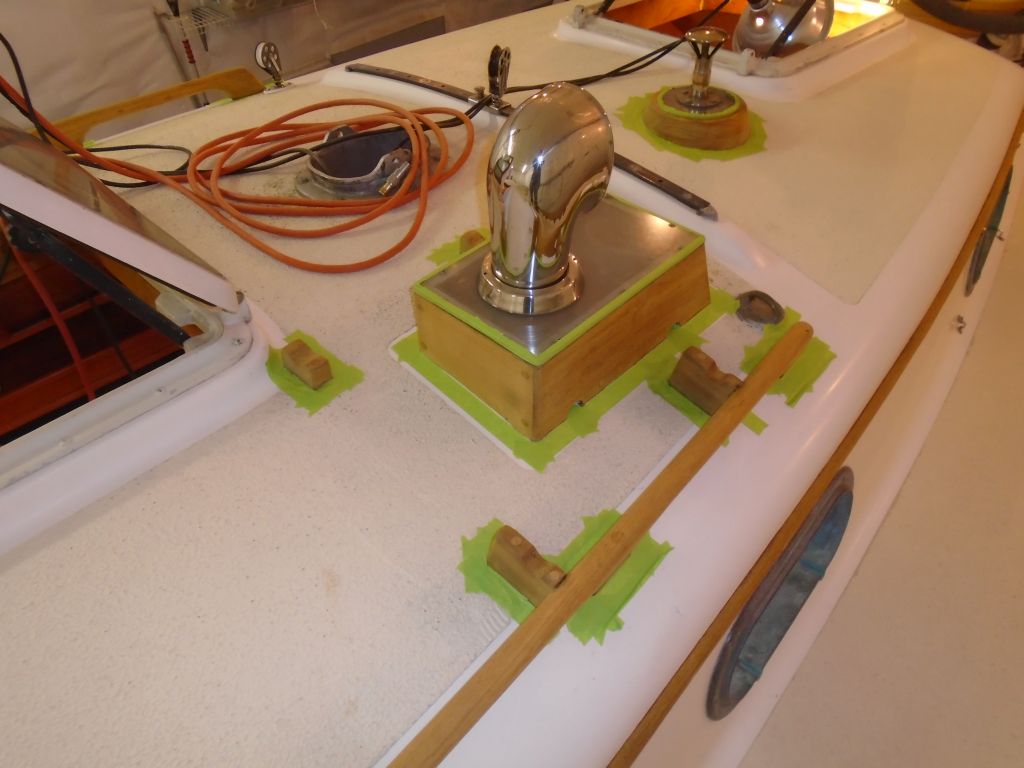
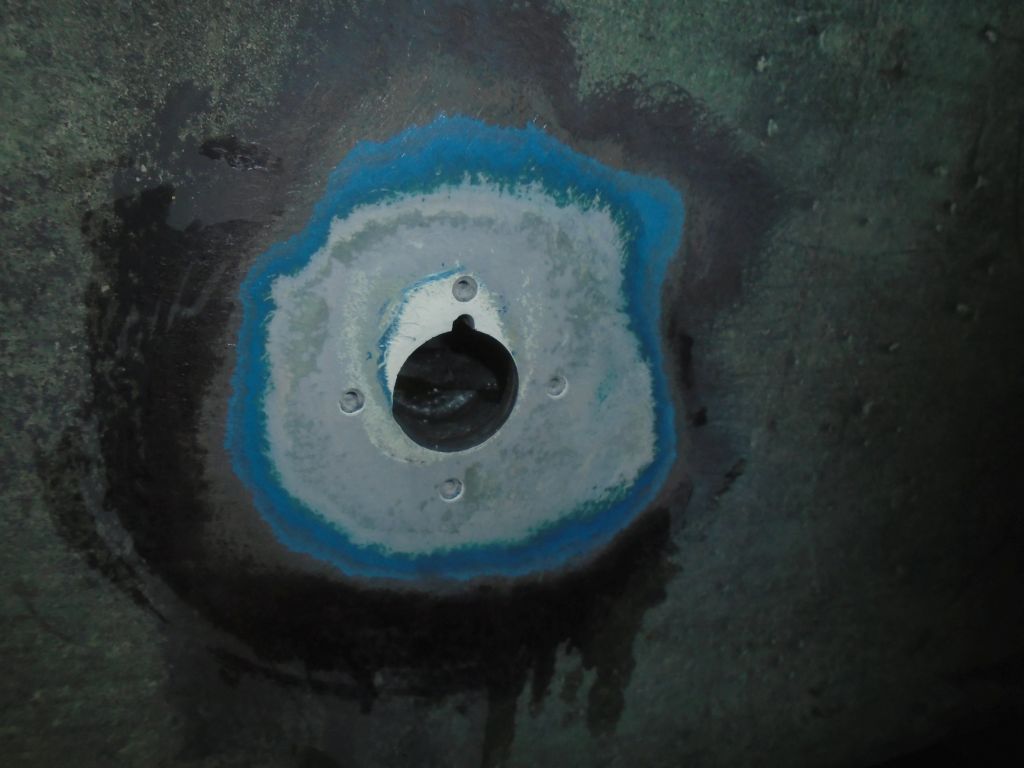
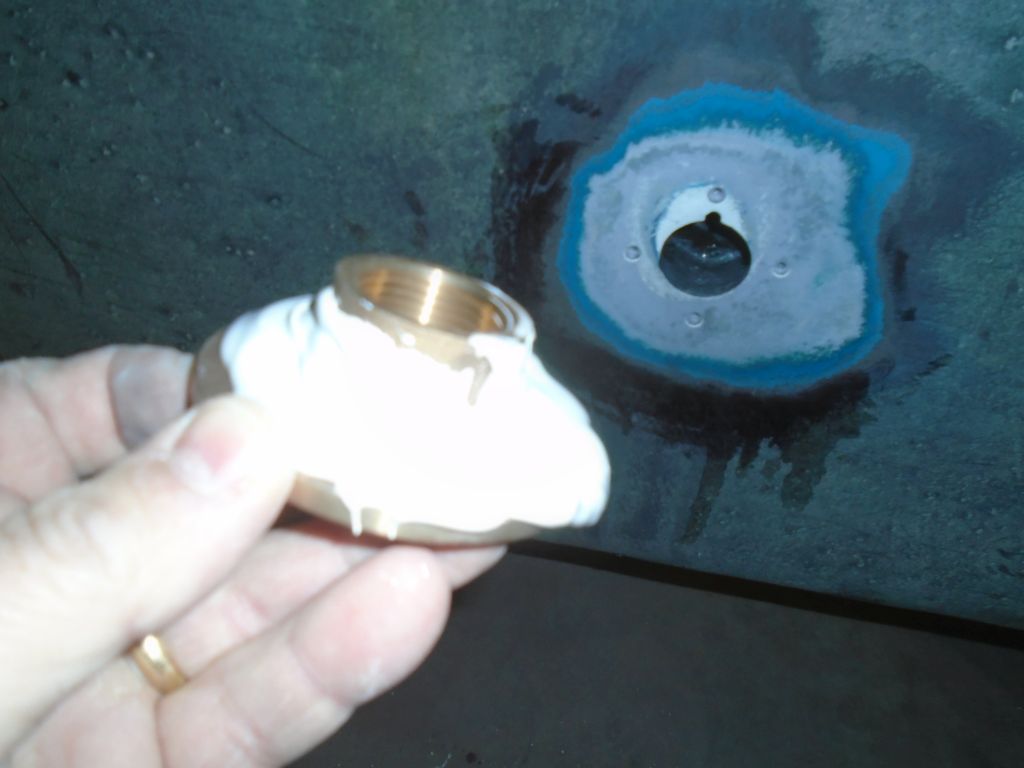
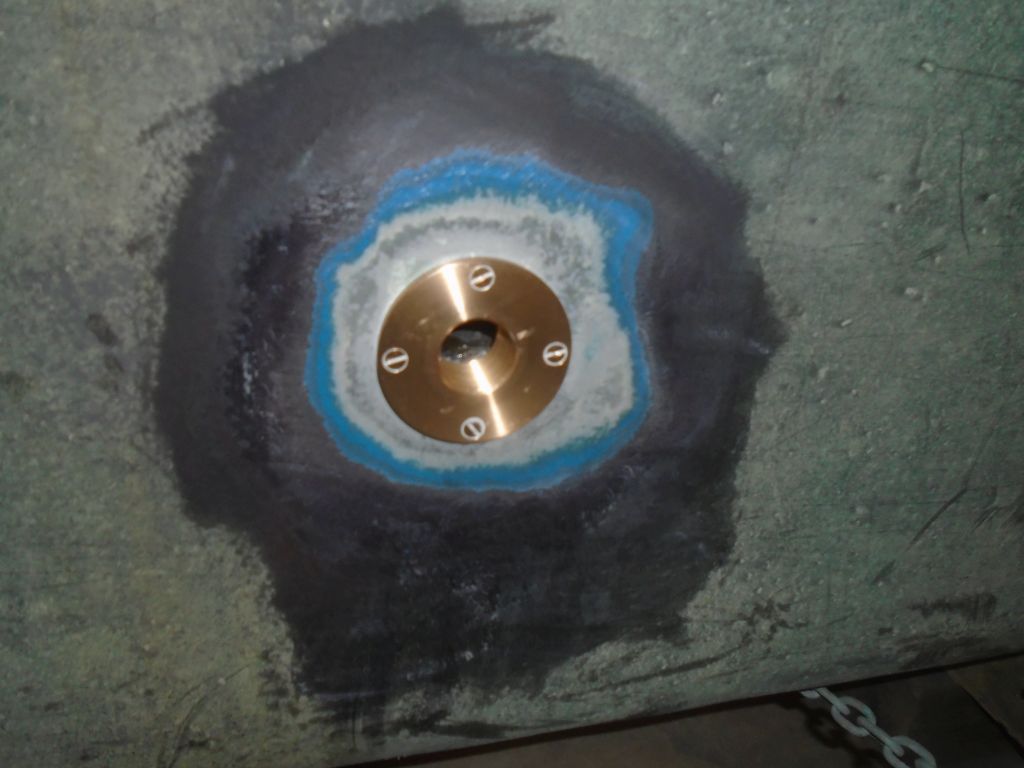
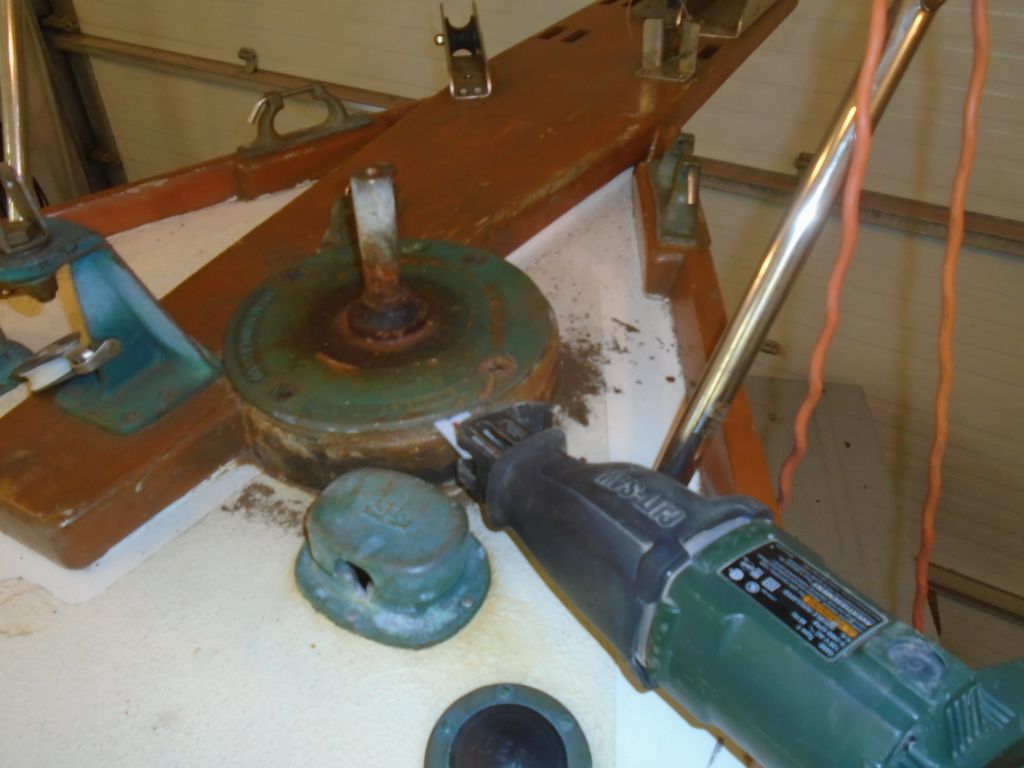
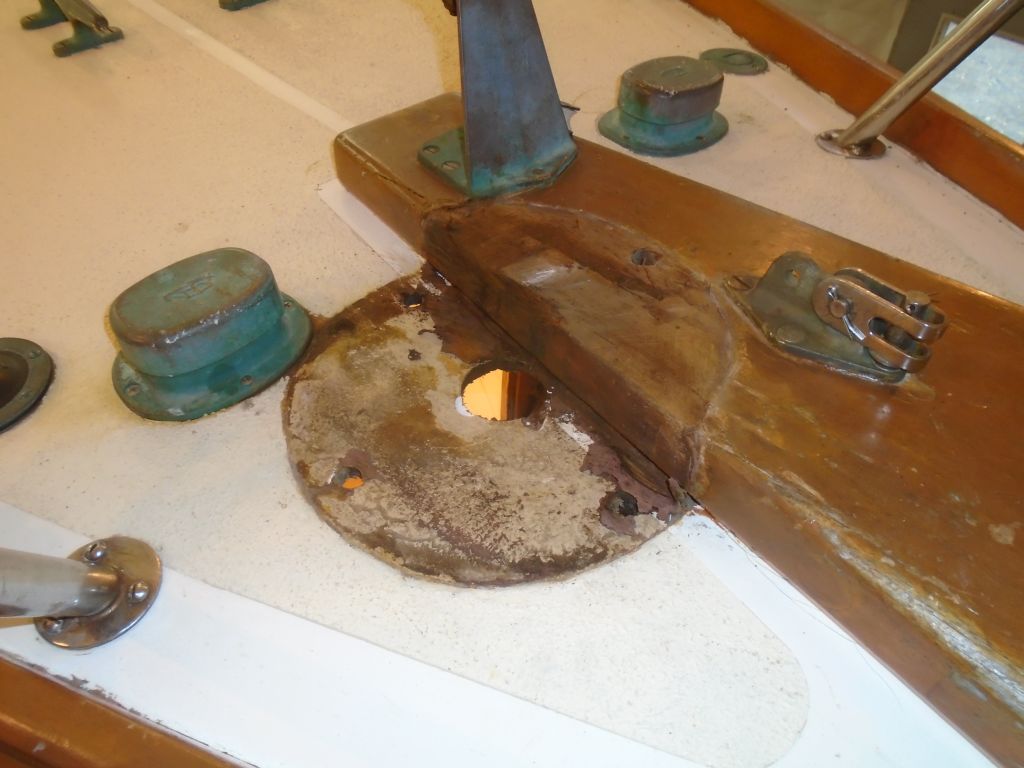
First, I tried–in a laughingly brief way–to use a length of pipe to bang on the steel part of the shaft housing surrounding the bronze turning shaft.  This was so utterly ineffective (exacerbated by that cove shape the housing had ended up), and I quickly turned to the saw, fitting it beneath the bronze deck plate where I’d already reamed out the sealant earlier.  This was really the only practical access to cut the windlass into pieces, as space belowdecks was simply too tight and basically inaccessible where the shaft was.  If this didn’t work from on deck, I wasn’t sure what I’d do.

windlassout1-122315

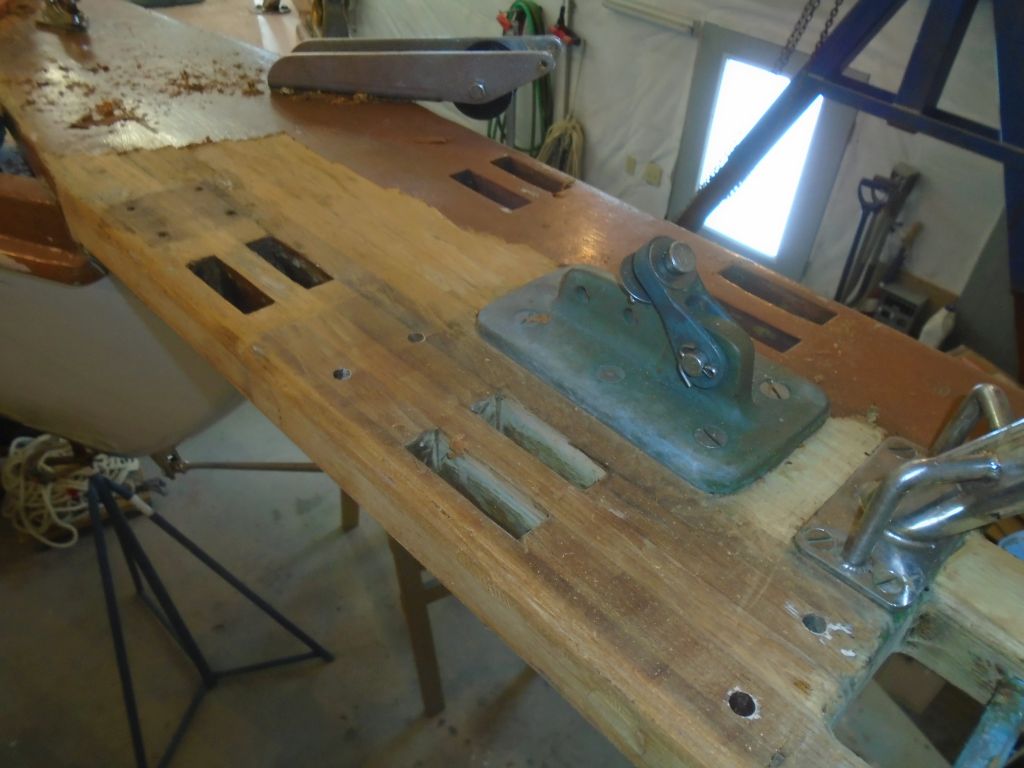
I found it worked for me to stand on the staging next to the boat and hold the saw along the aft side of the shaft–this gave me the best leverage.  It took about 30 minutes and two saw blades to make it through.  At first it was impossible to tell whether I was making progress or not, as I couldn’t really see into the narrow slot, and certainly the cutting progress was not something one could measure by eye or feel.  I think the first blade must have dulled quickly on old sealant or wood, as once I’d changed to the new blade after a time the progress seemed quicker.  In any event, eventually I completed the cut, freeing the deck plate.  Success!  Or so I thought.

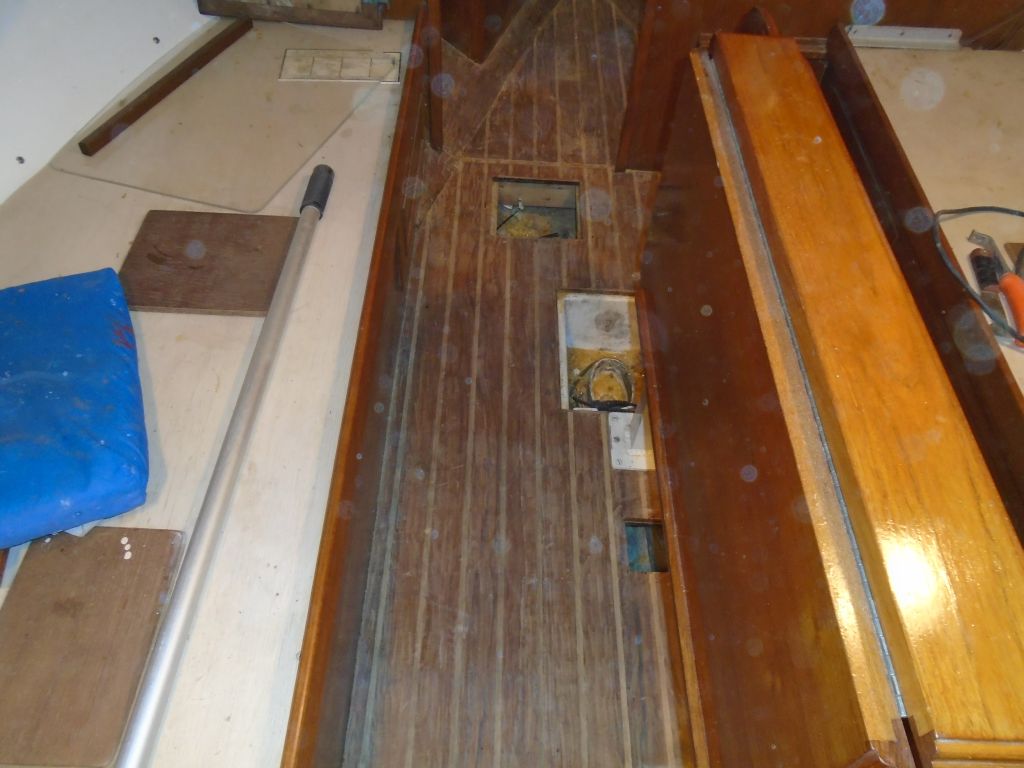
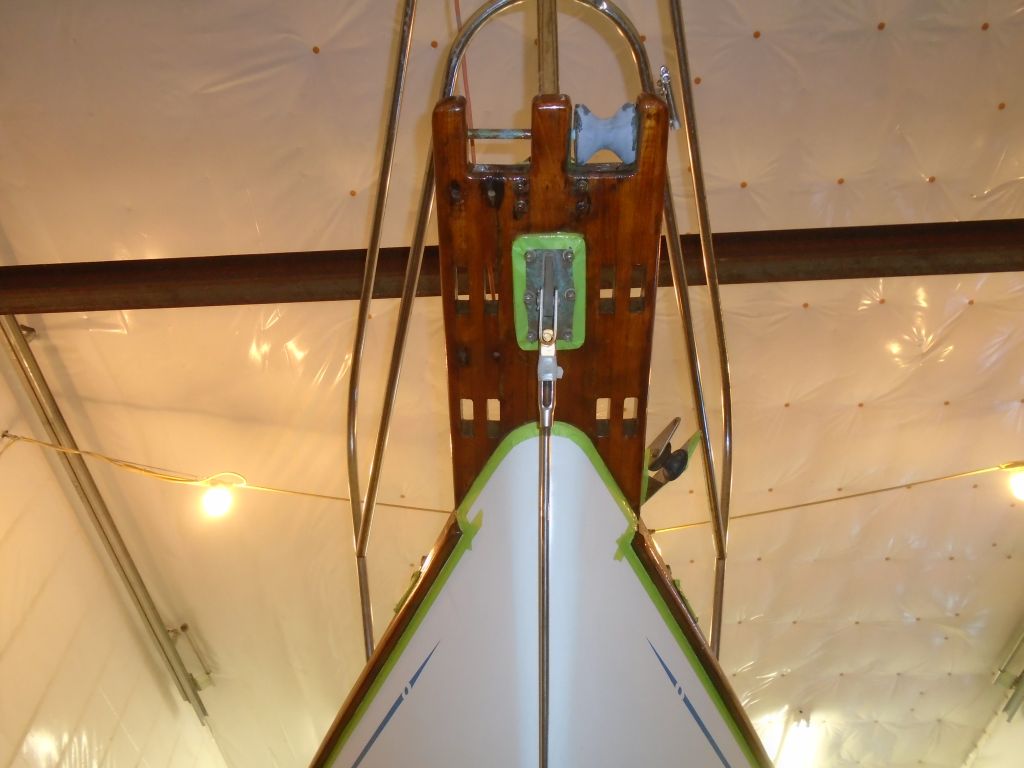
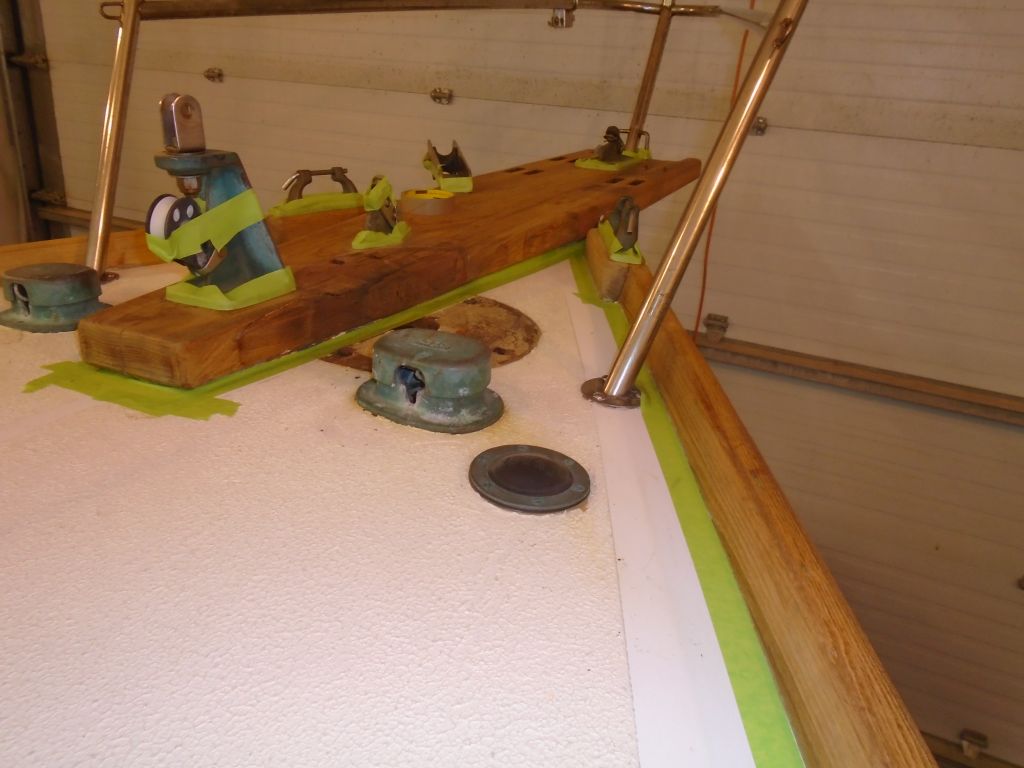
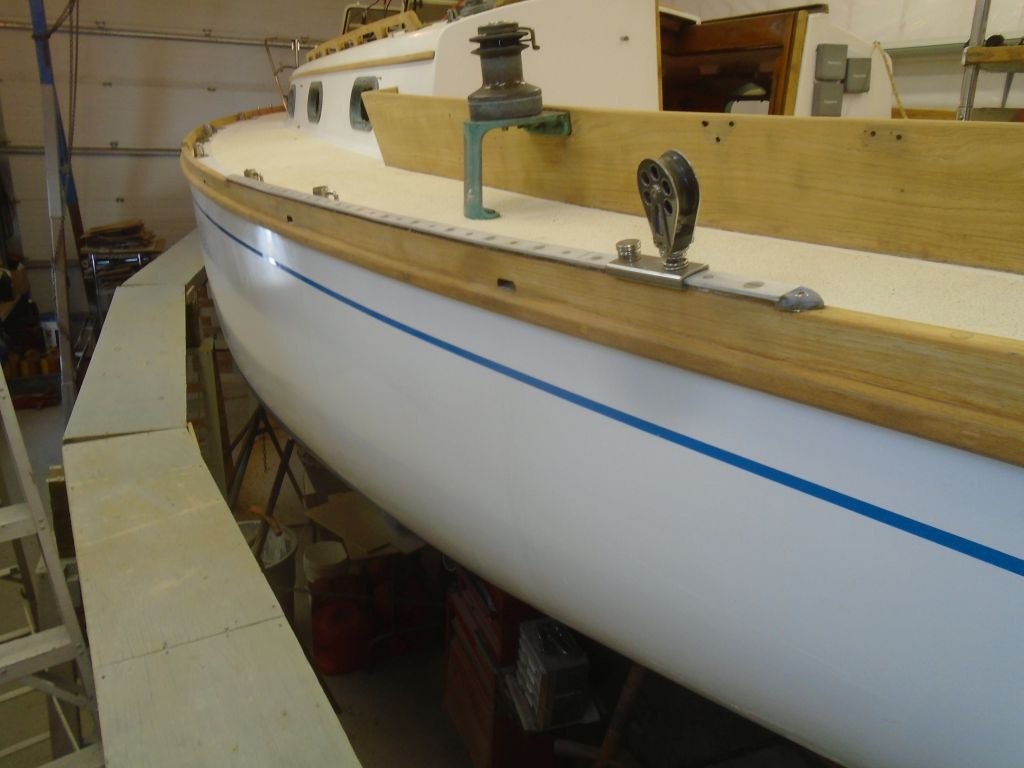
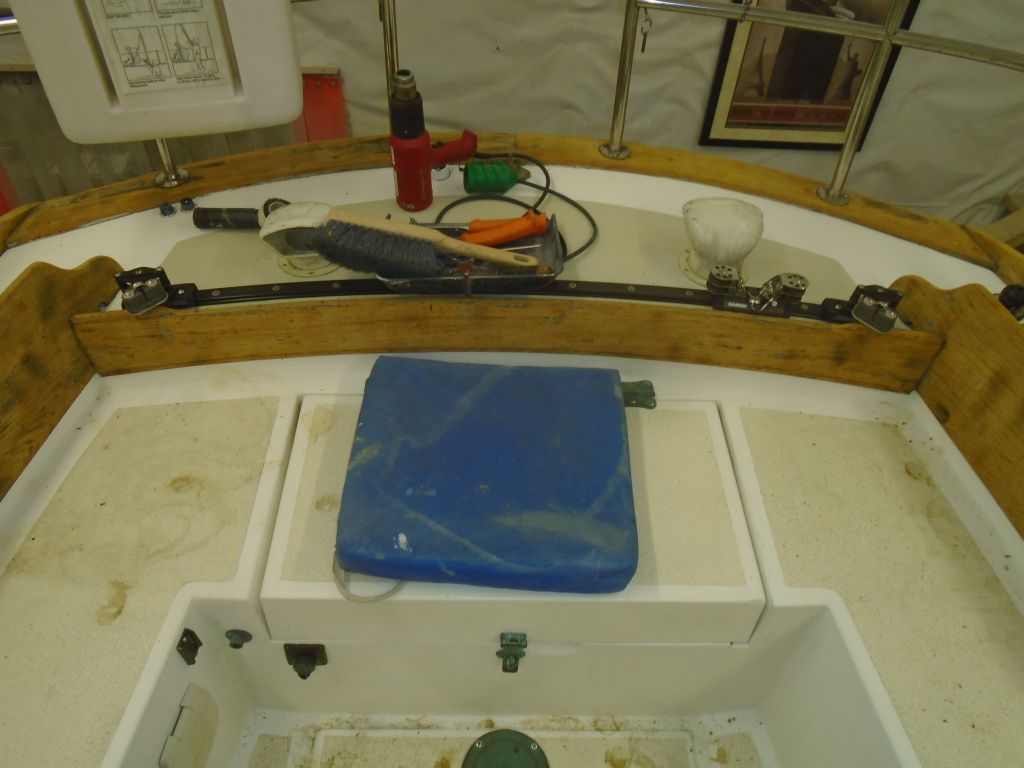
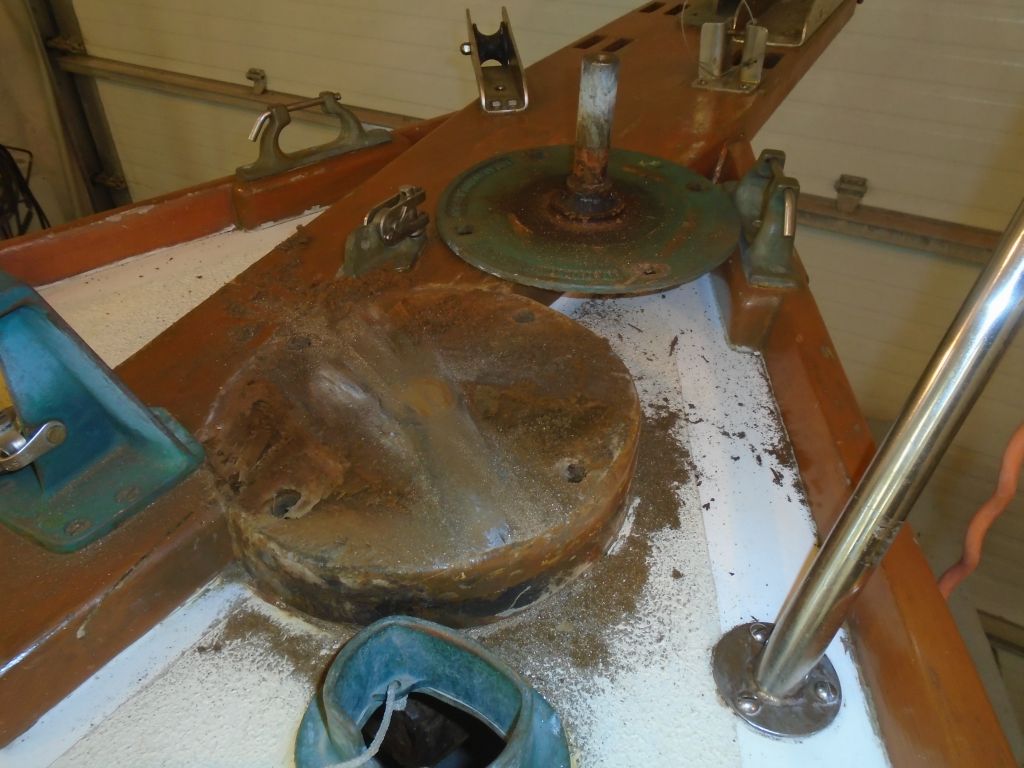
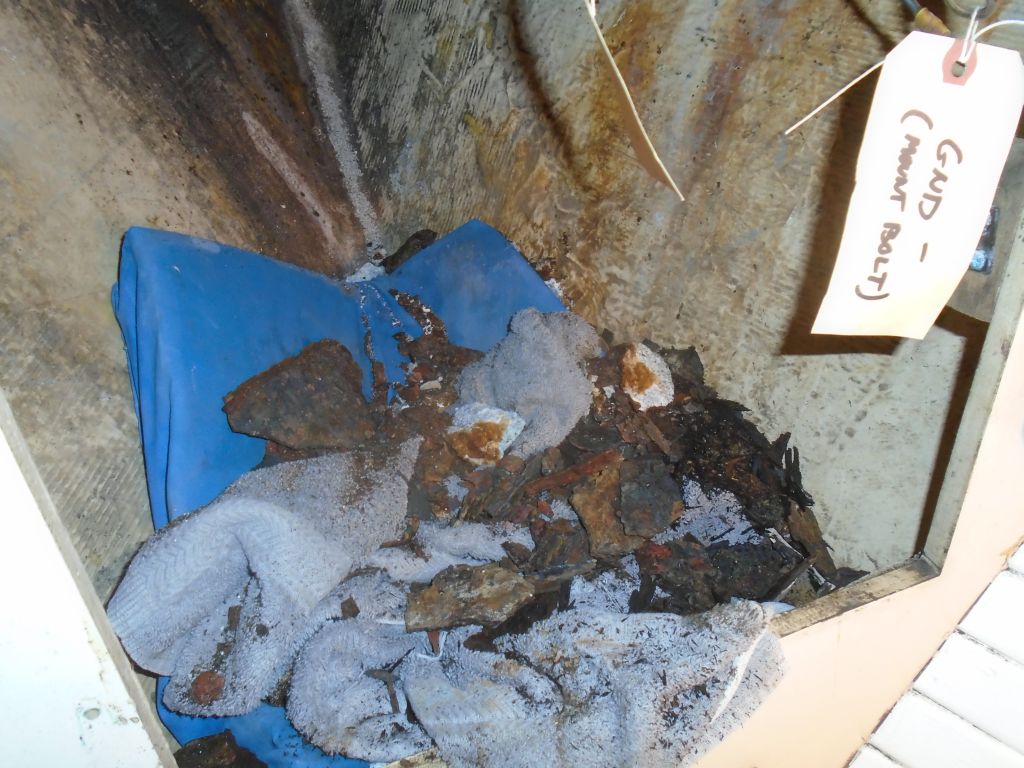
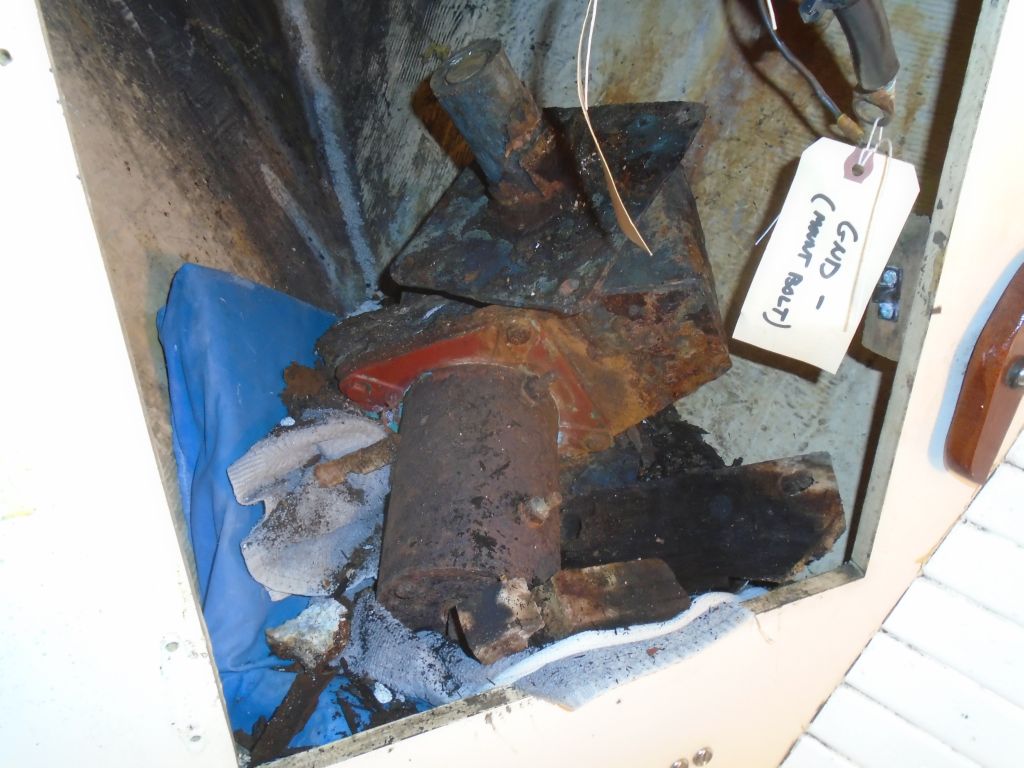
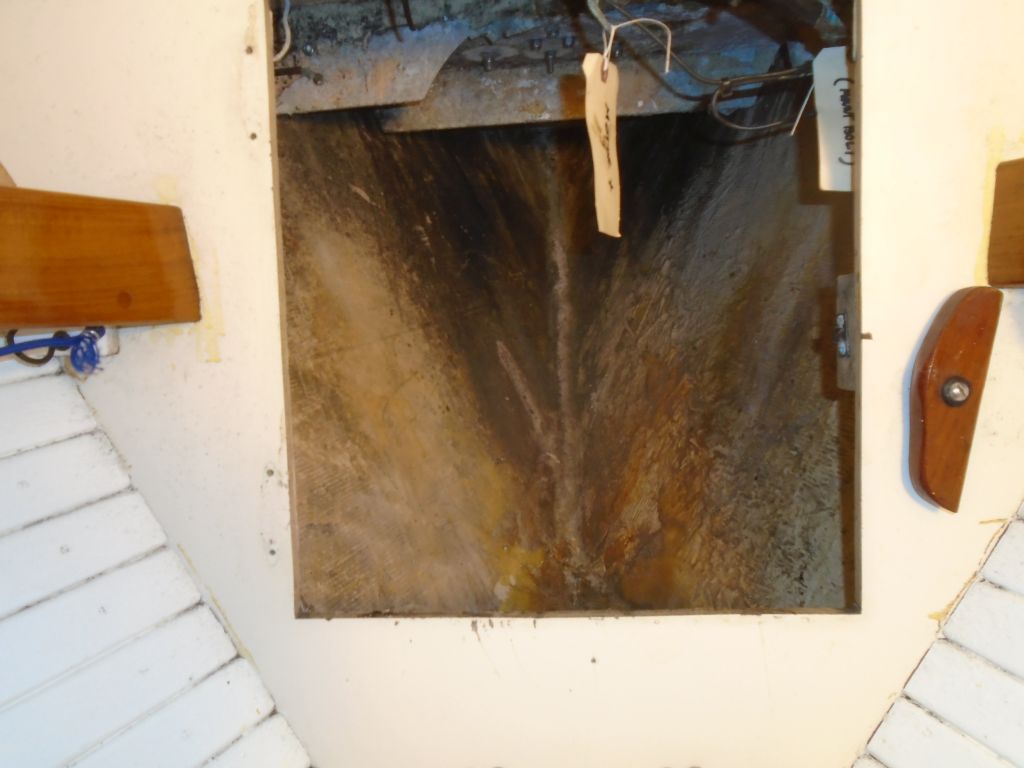
I’d kind of expected that once I’d made the cut, I’d hear the windlass drop out below.  Planning ahead for this, I’d lined the chainlocker with an old cushion and towel to soften the blow, but the shaft and housing held tightly in the wooden deck riser with no sign of movement whatever.  After checking things out below, I returned to the foredeck and, using a small hand-held sledge, I pounded the top of the shaft, both with my length of pipe (limited or no success at first), and then without,  It took surprisingly brutal effort to budge the thing at all, and at first all I heard was more chunks of thick, flaky rust crumbling off the windlass, but after a number of severe hits I saw progress, as the shaft started plunging through the wood.  Finally, at length, the windlass gearbox and motor came free and fell the short distance onto the pillows.

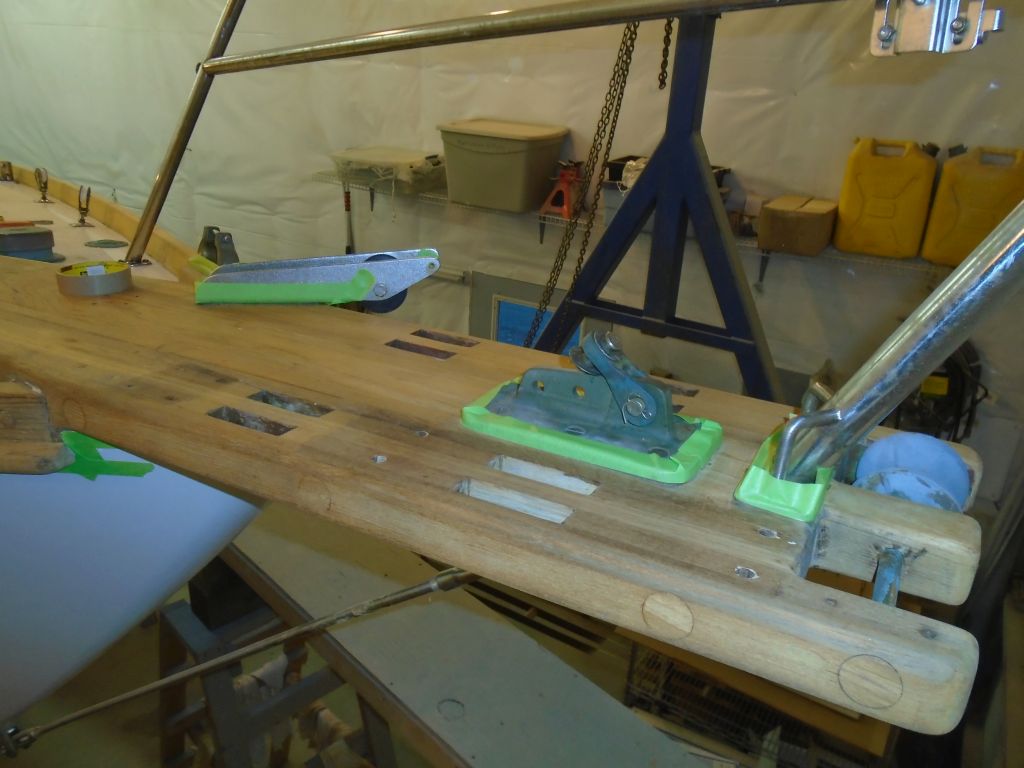
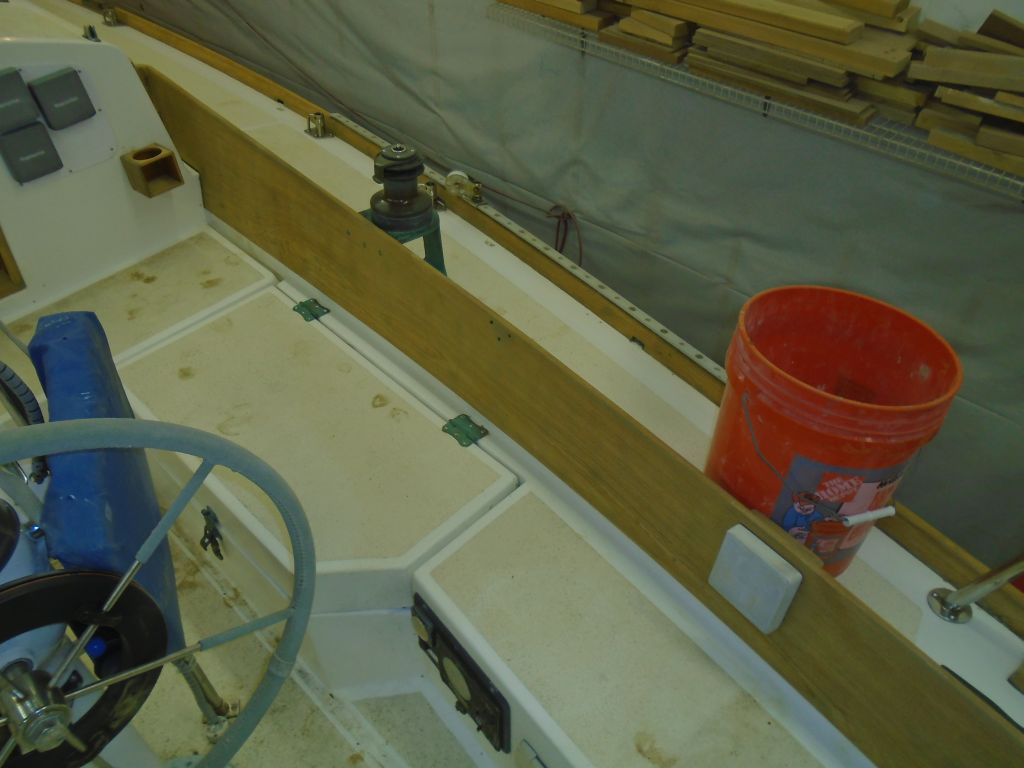
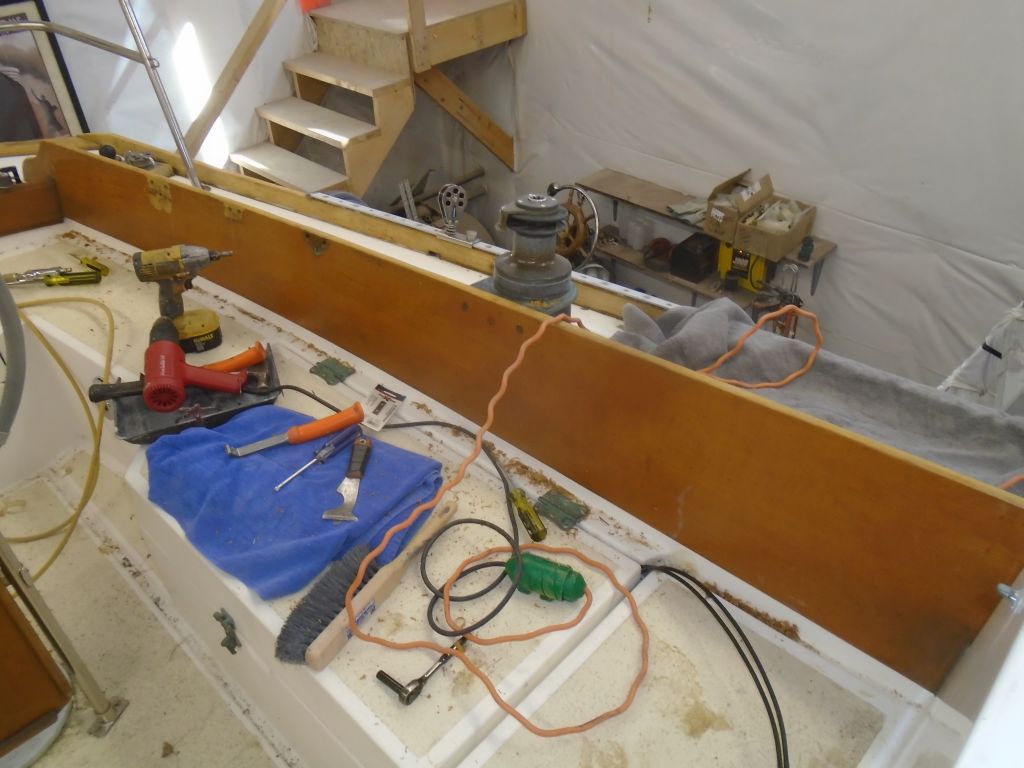
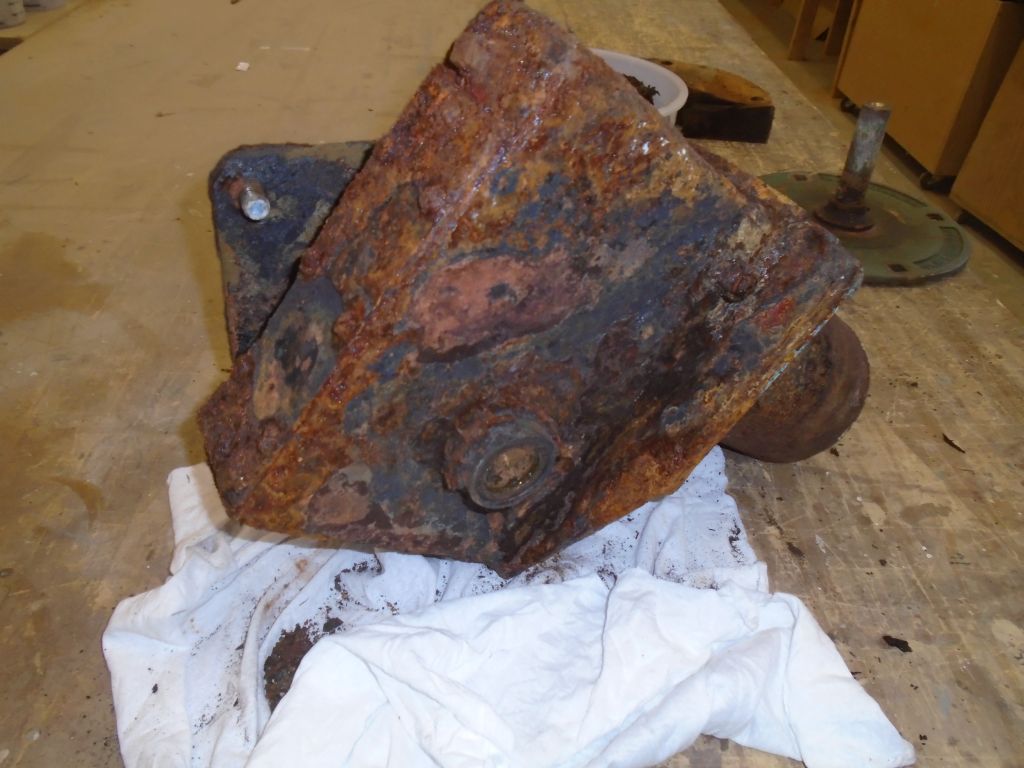
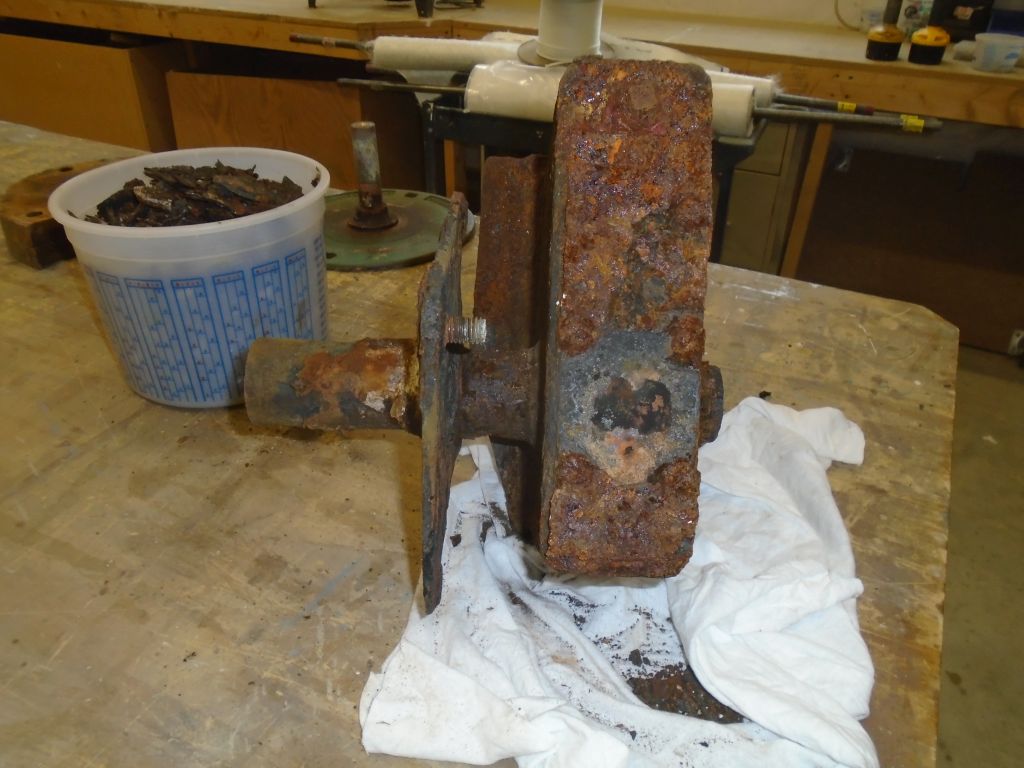
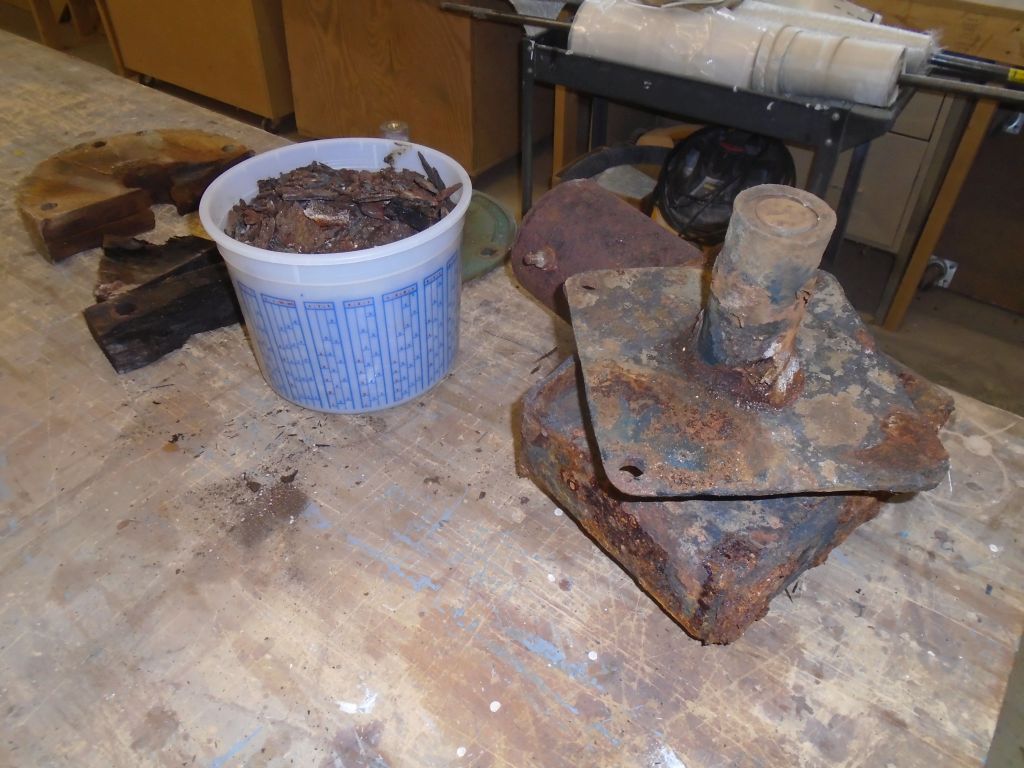
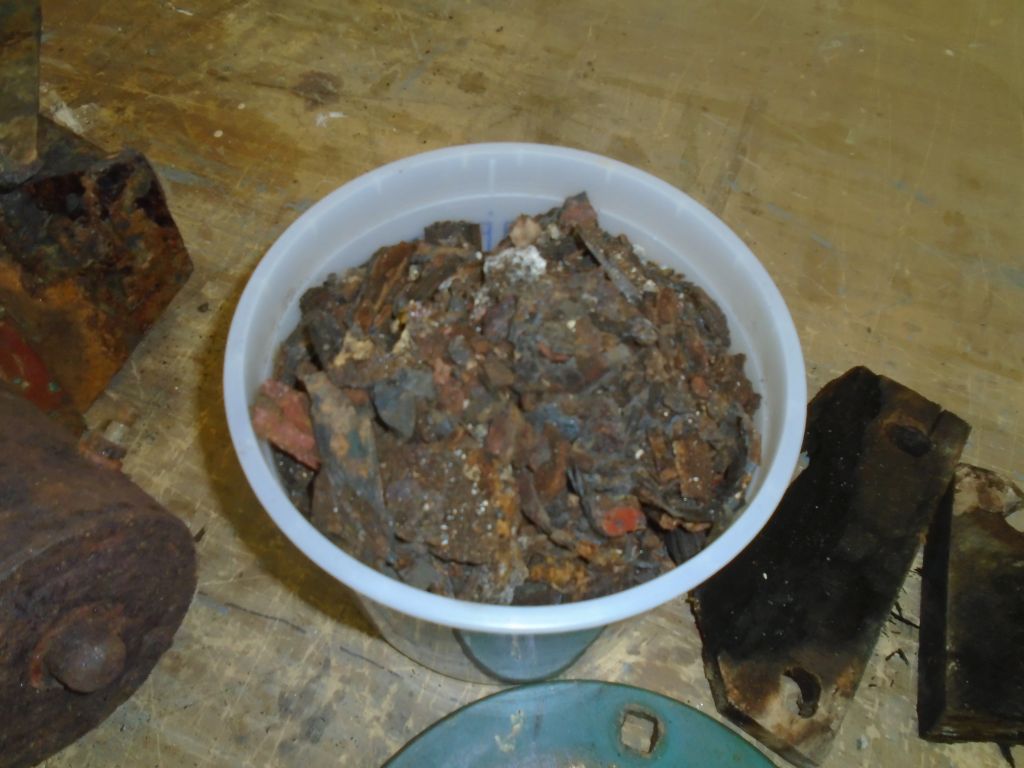
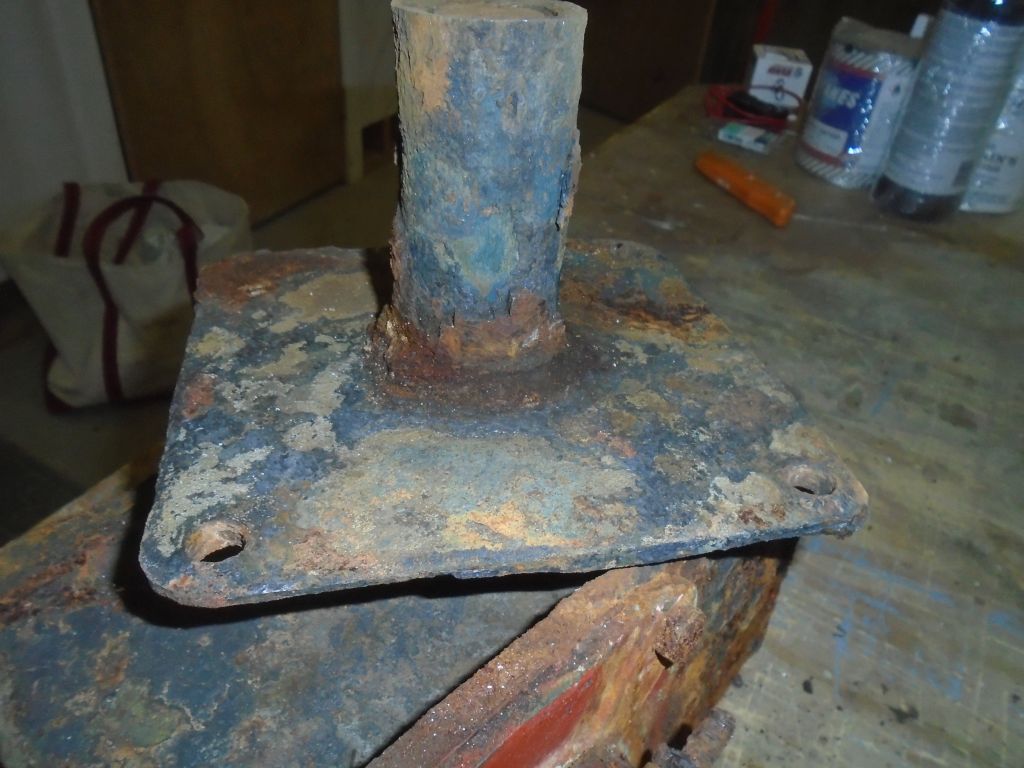
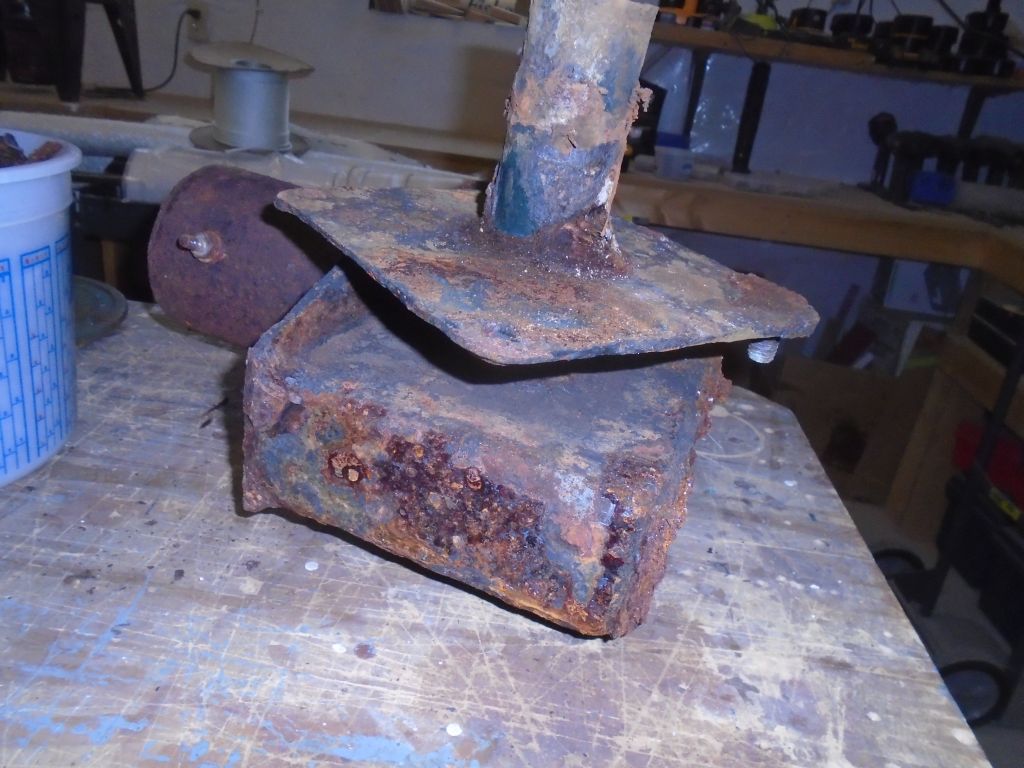
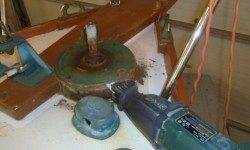
Even though I’d removed–by corrosive attrition and as a byproduct only–probably 10 pounds of rust (a full 5 quart bucketful) from the windlass housing during the removal process, what remained of the windlass and motor was extremely heavy.  I was so glad to get it out of there and down to the bench with all its component pieces (except the capstan drum, which I forgot to include in my still life photos below),  What a piece of junk this thing turned out to be.  What all this plain steel was doing in a windlass was beyond me.  A real shame, as I know the working components were all bronze and stoutly built.  To shroud such fine mechanicals in this steel case was obviously a poor choice.

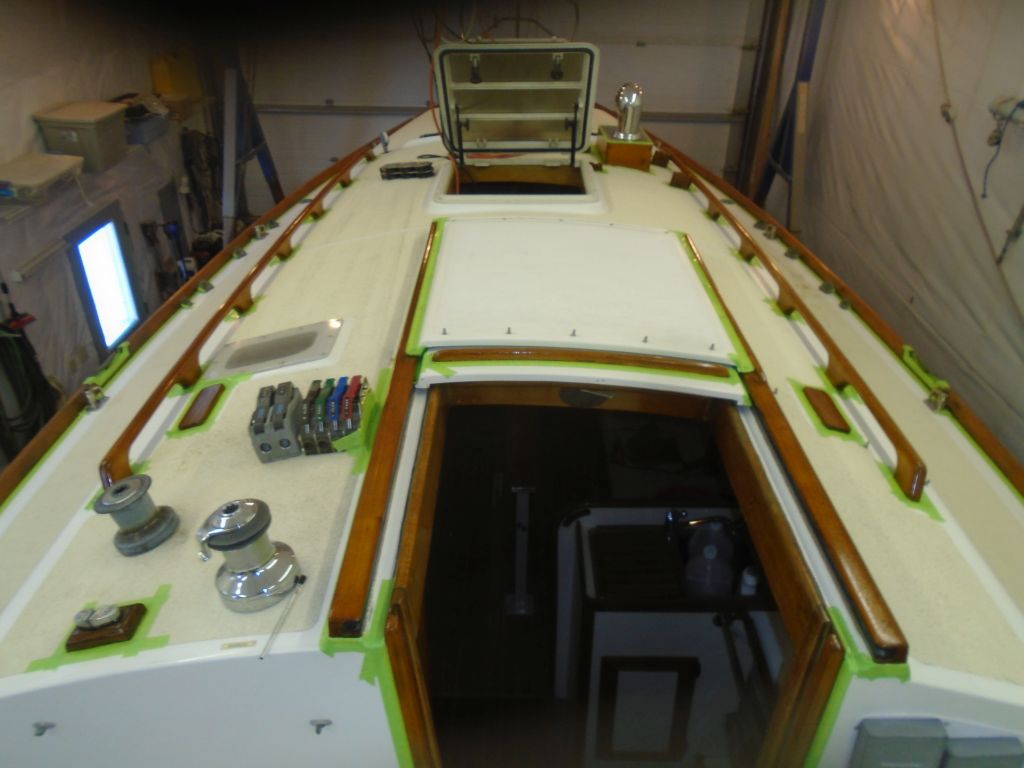
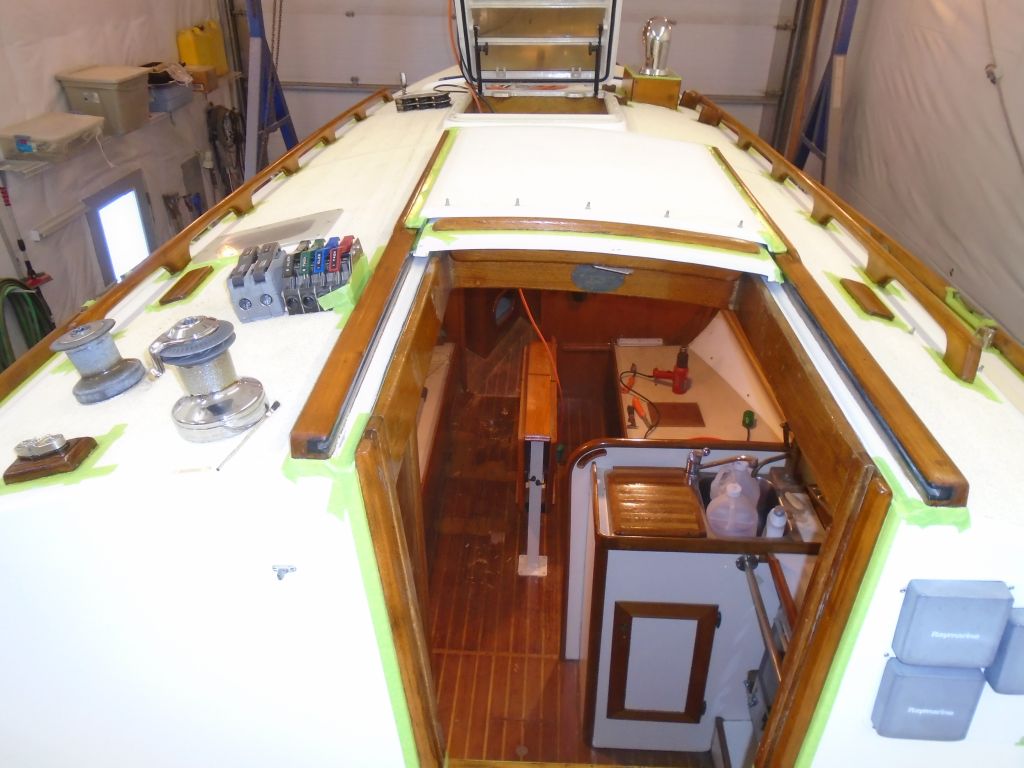
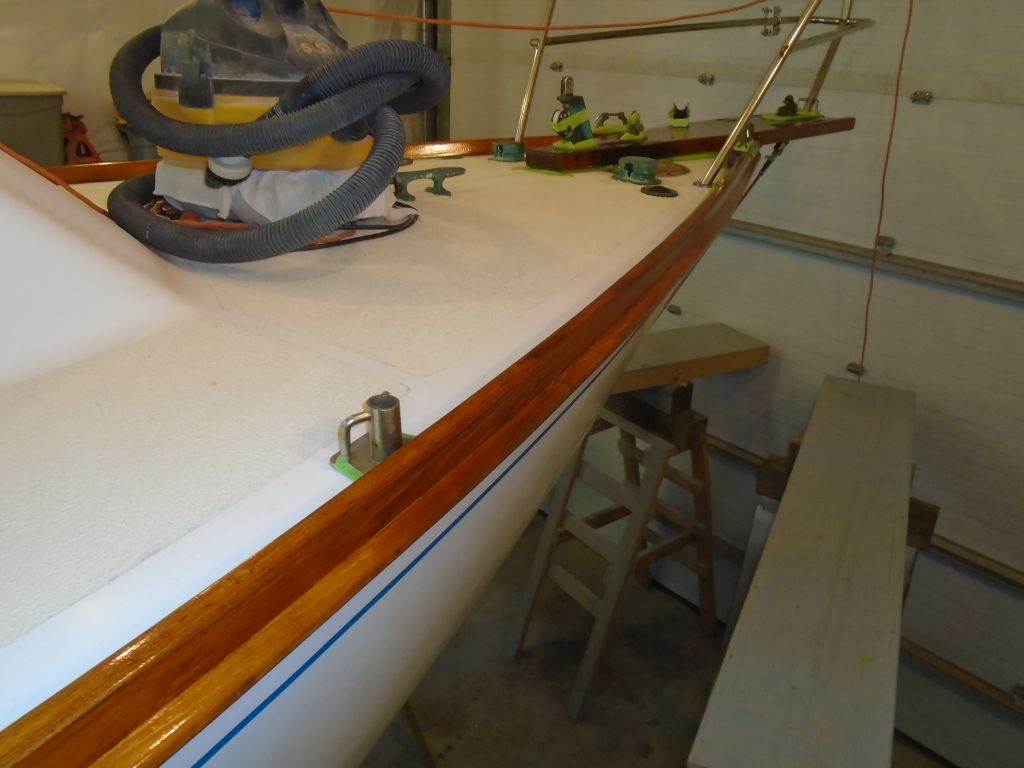
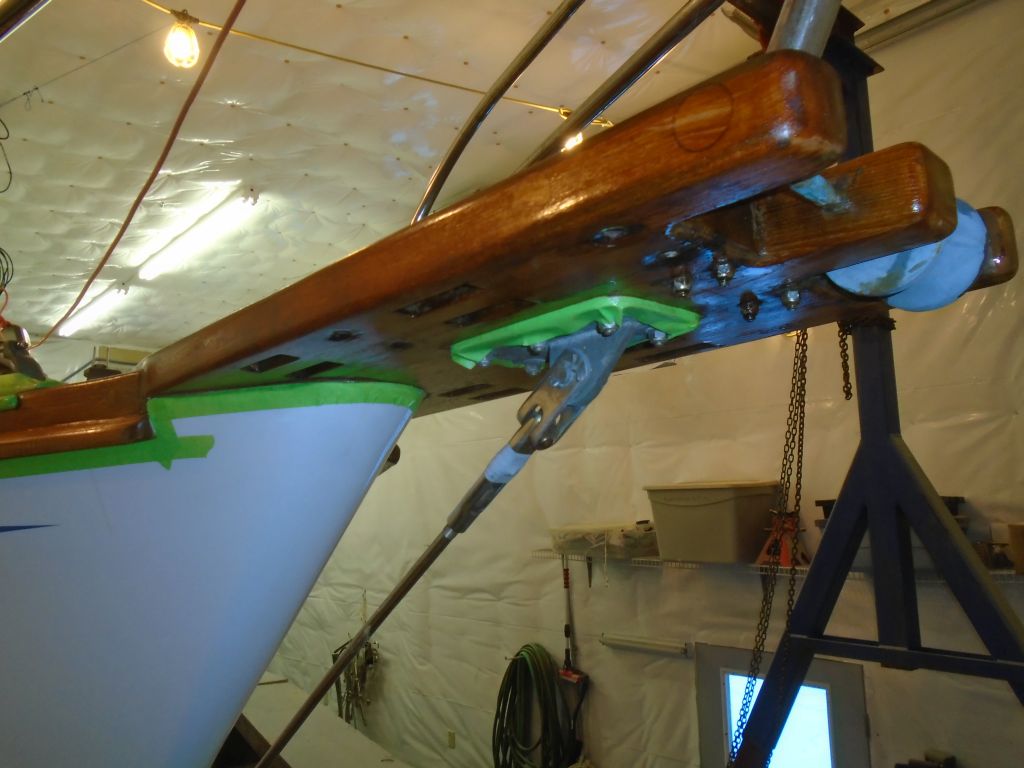
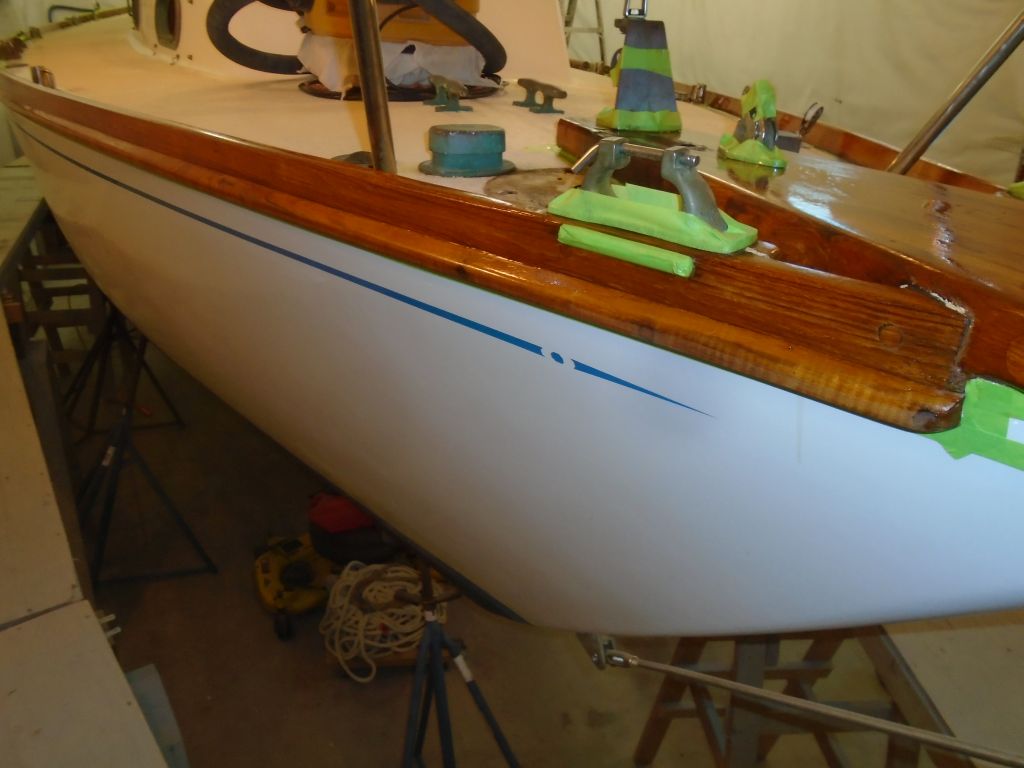
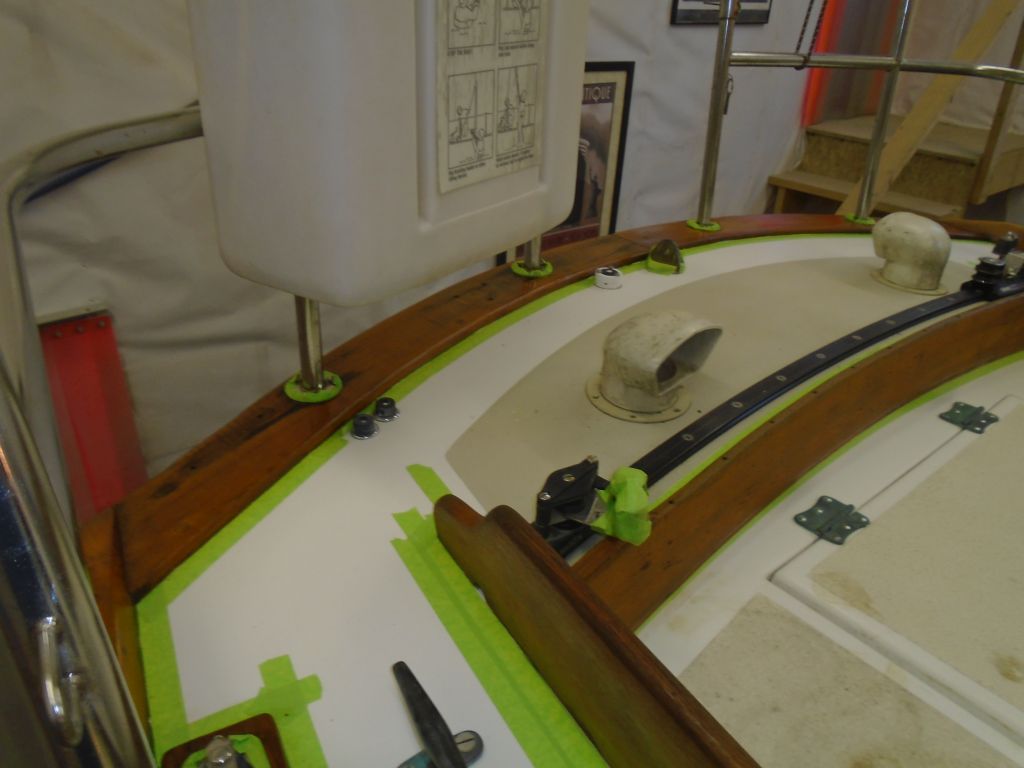
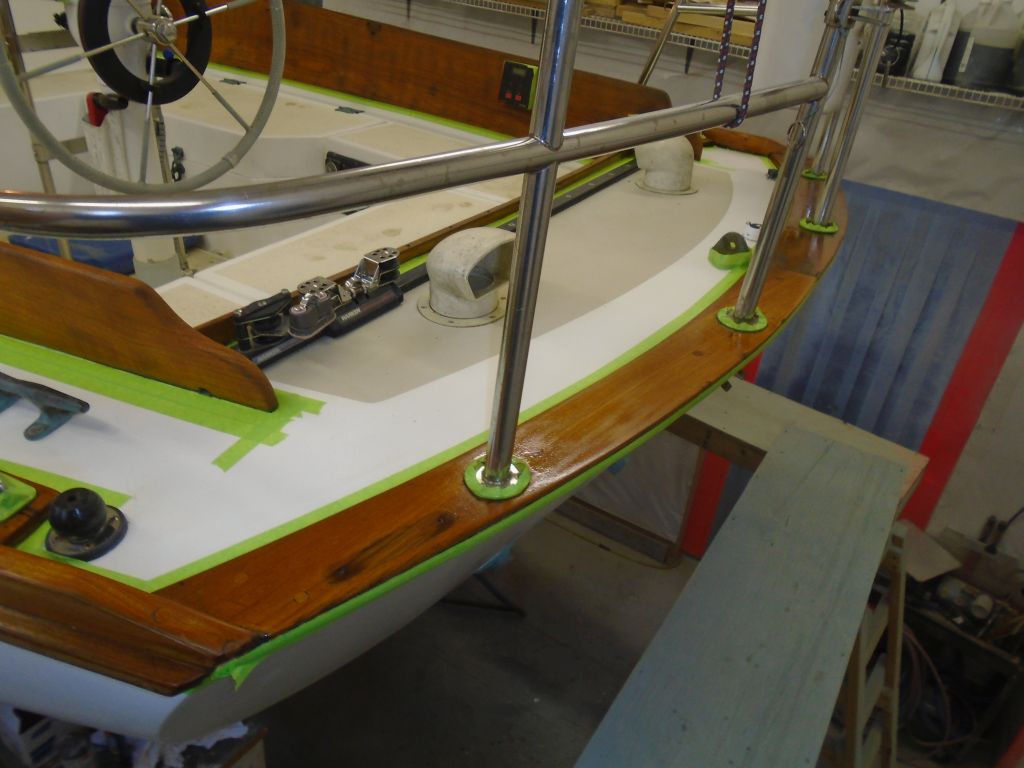
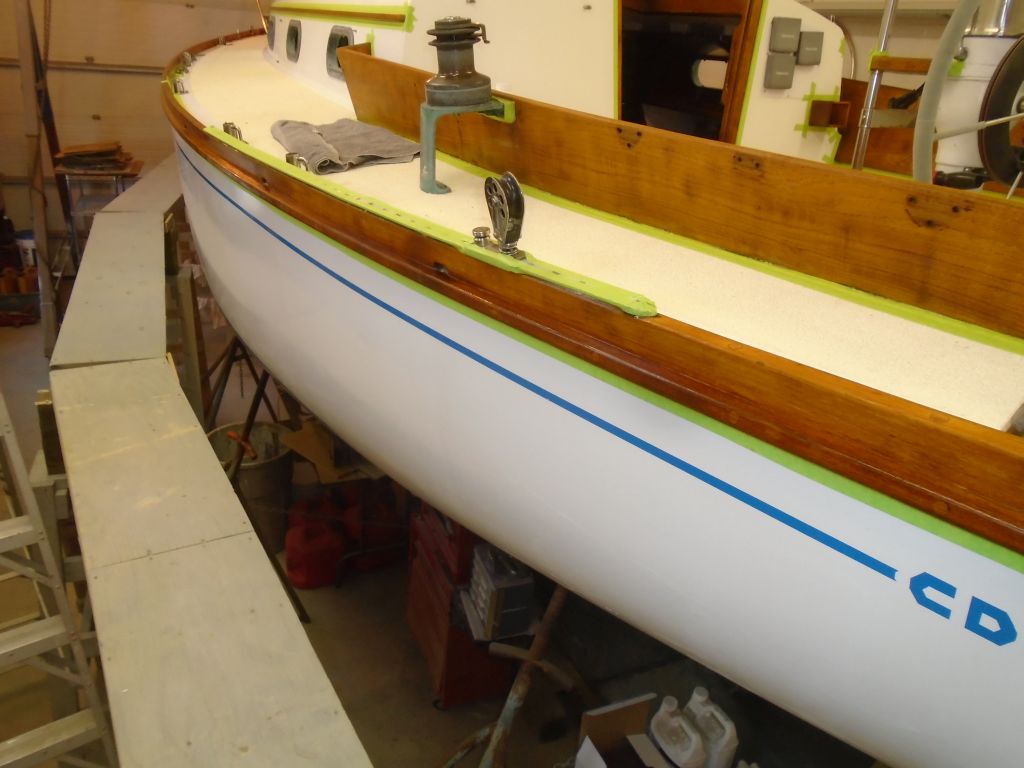
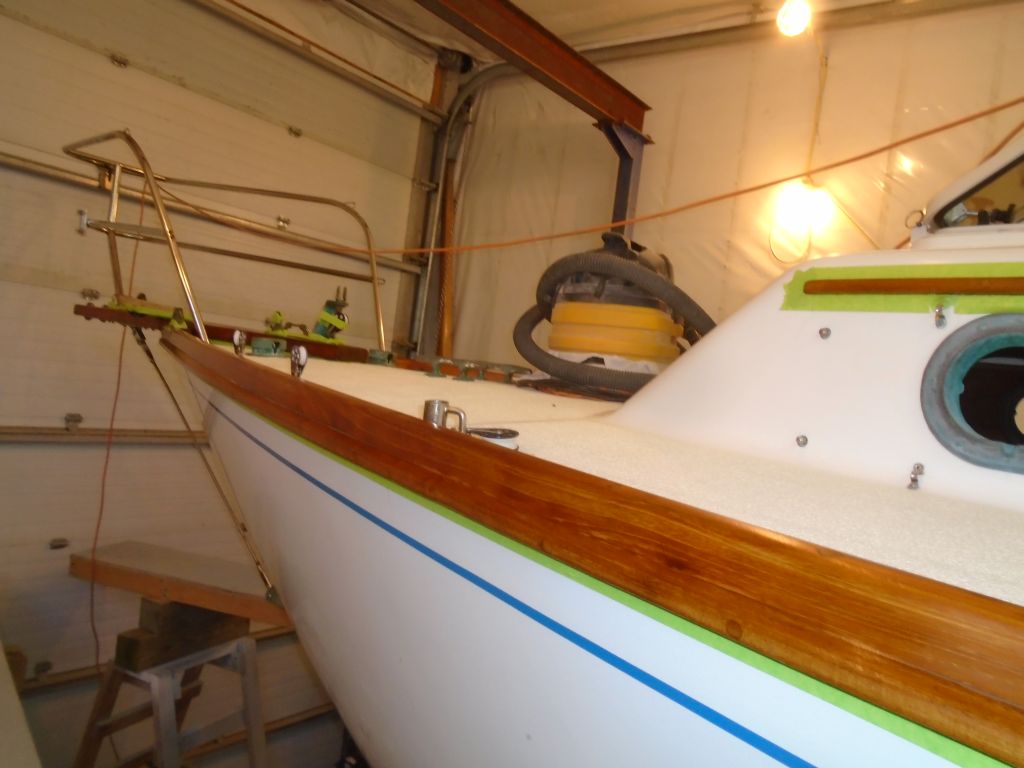
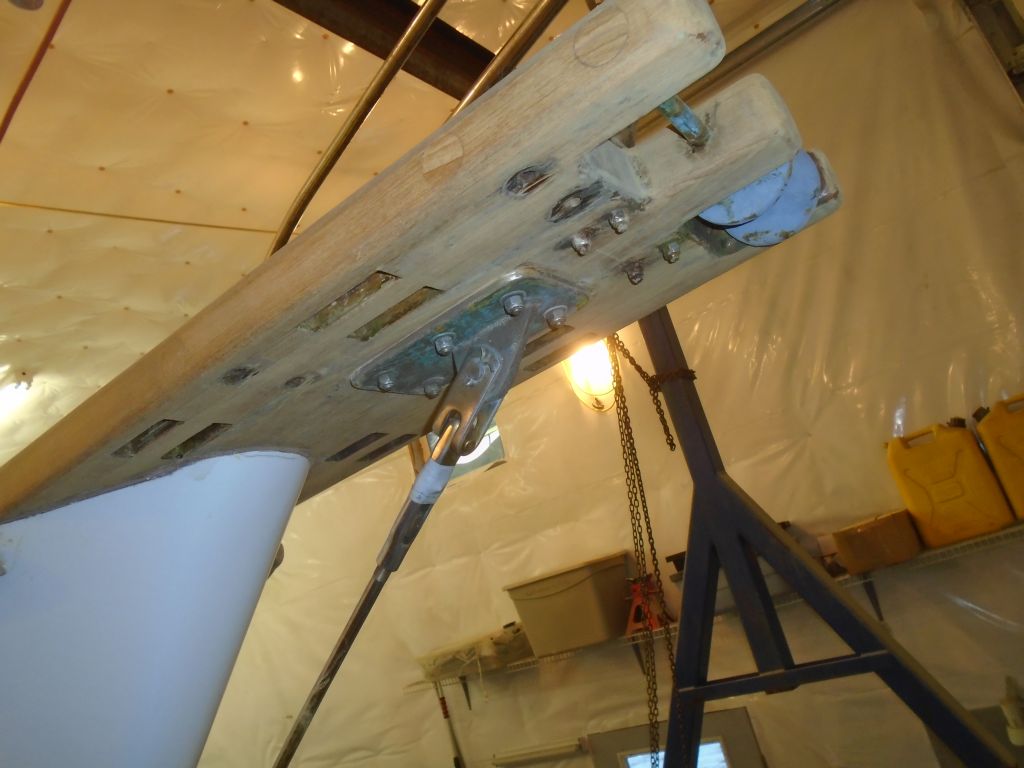
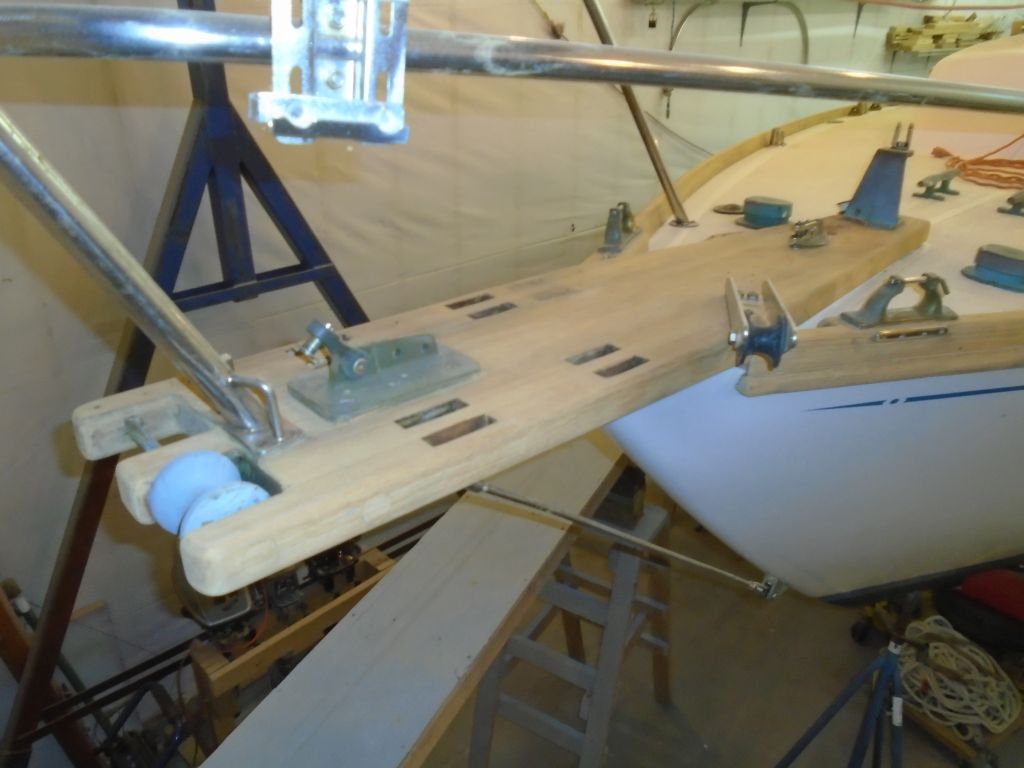
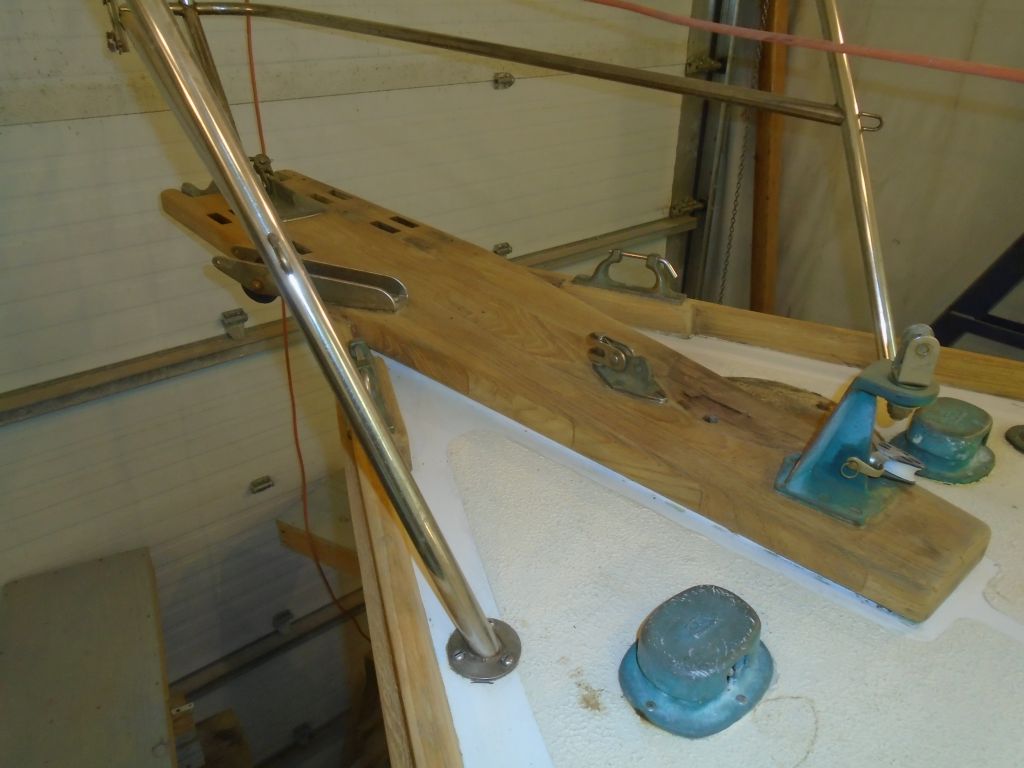
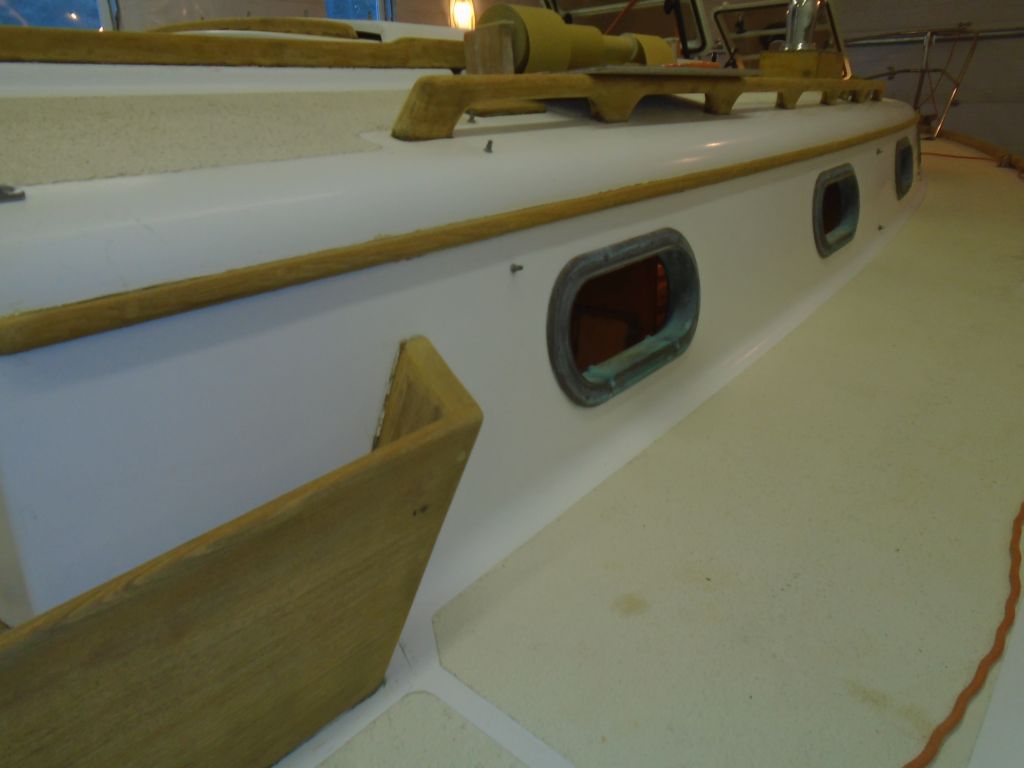
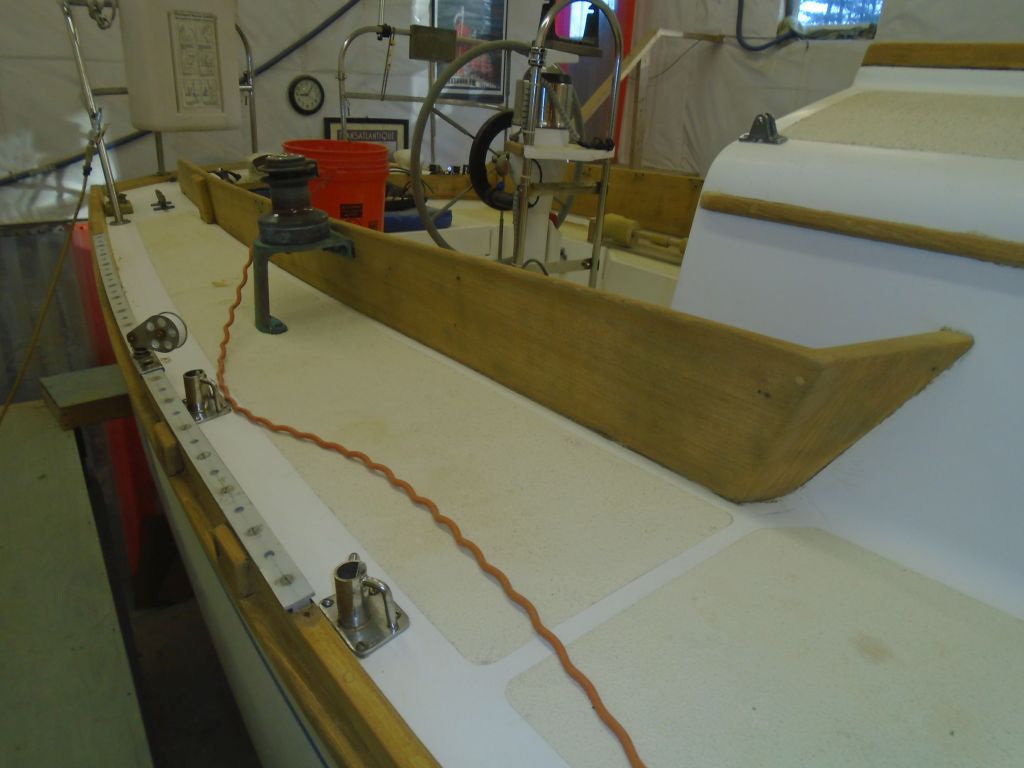
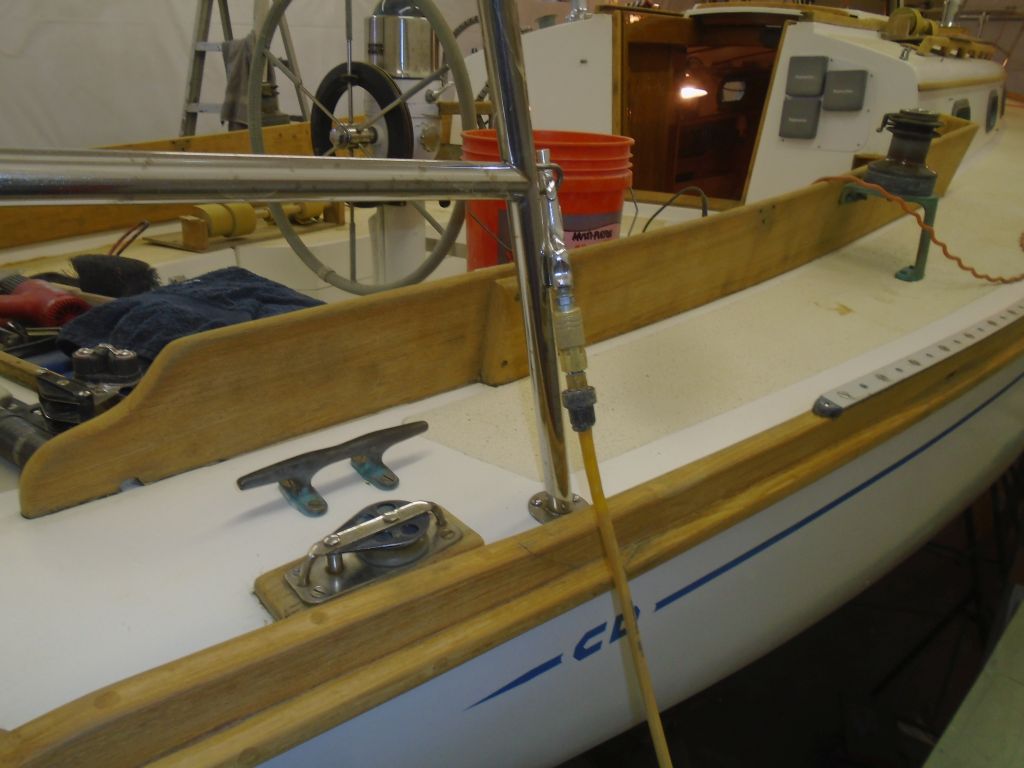
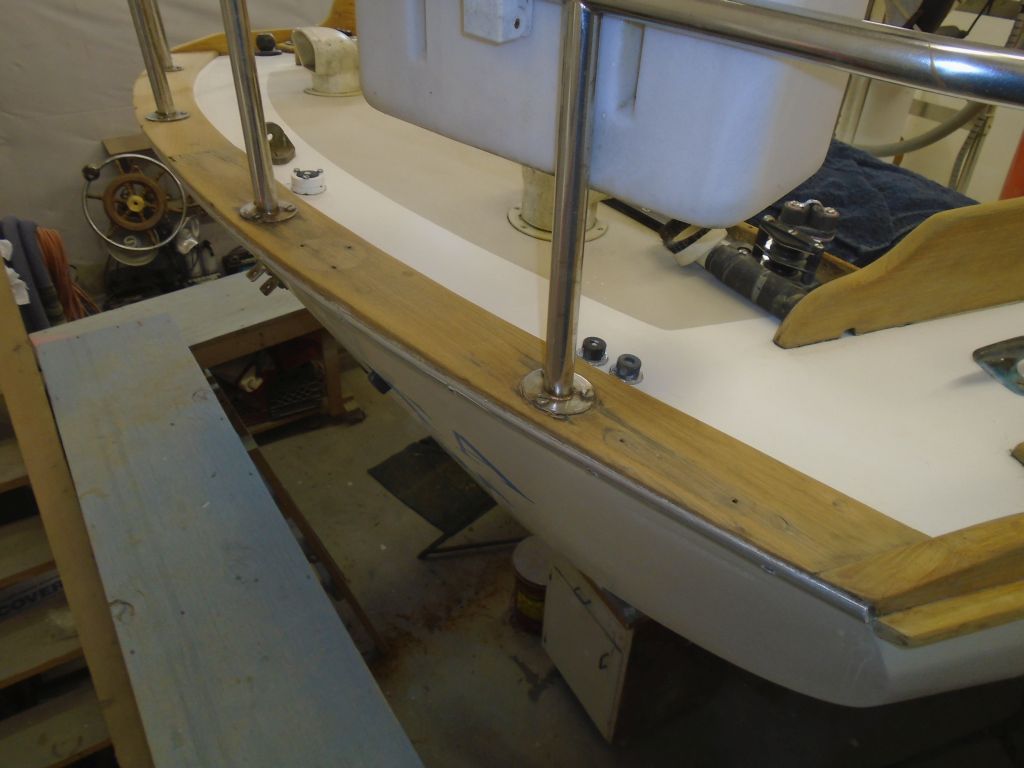
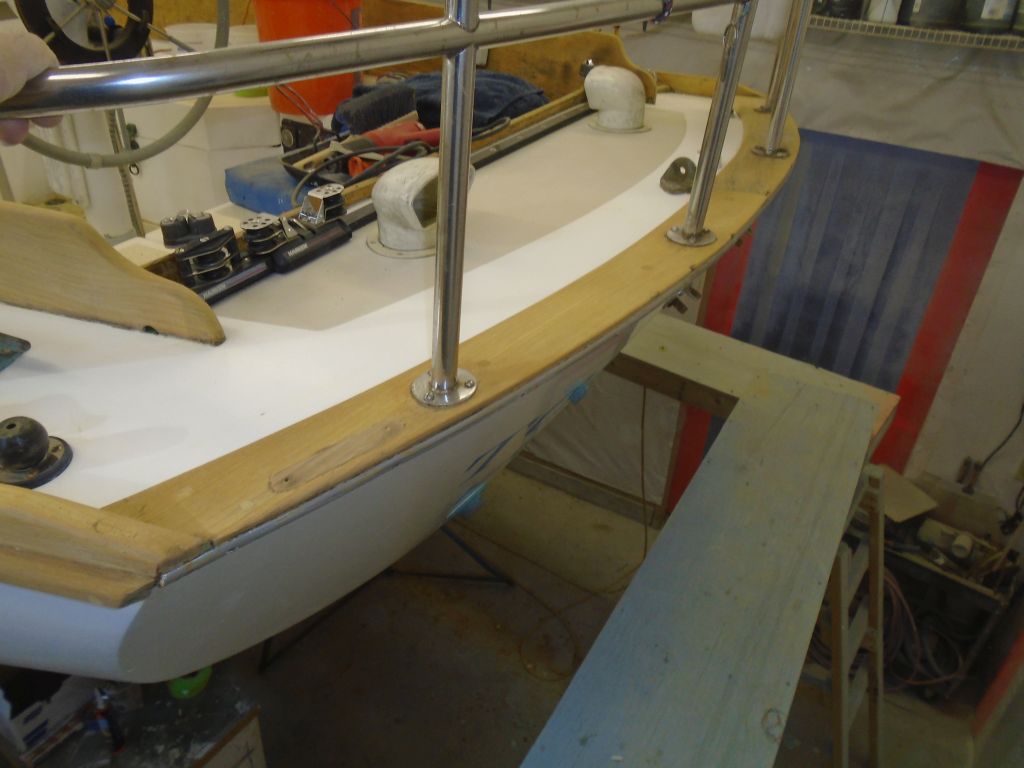
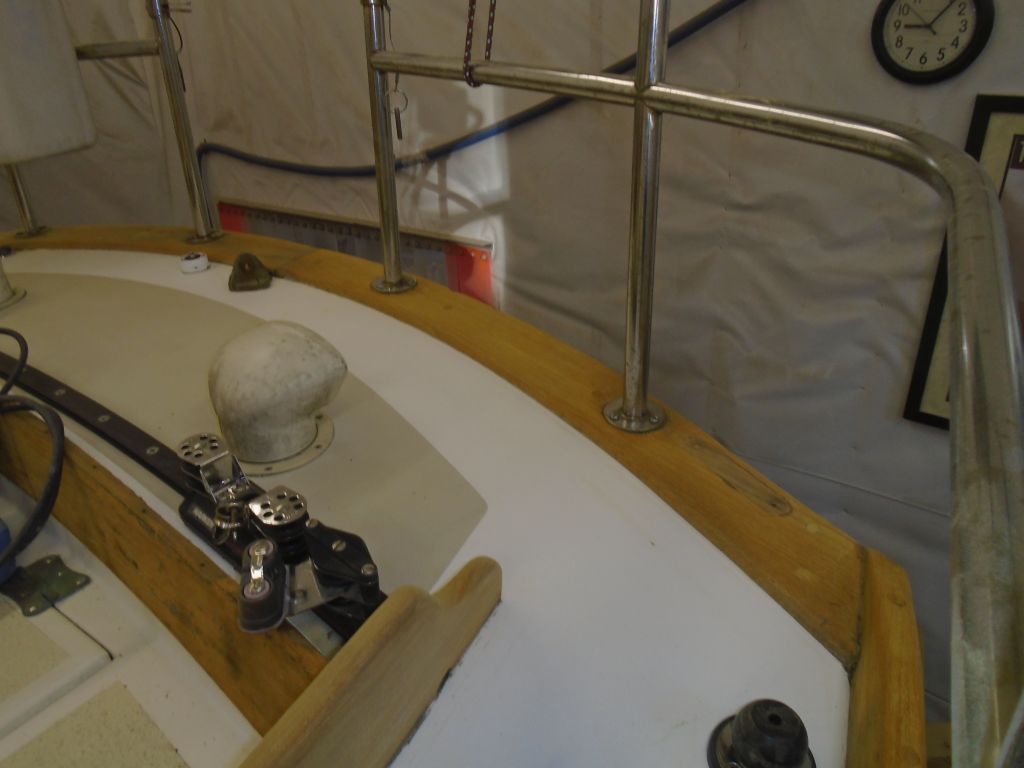
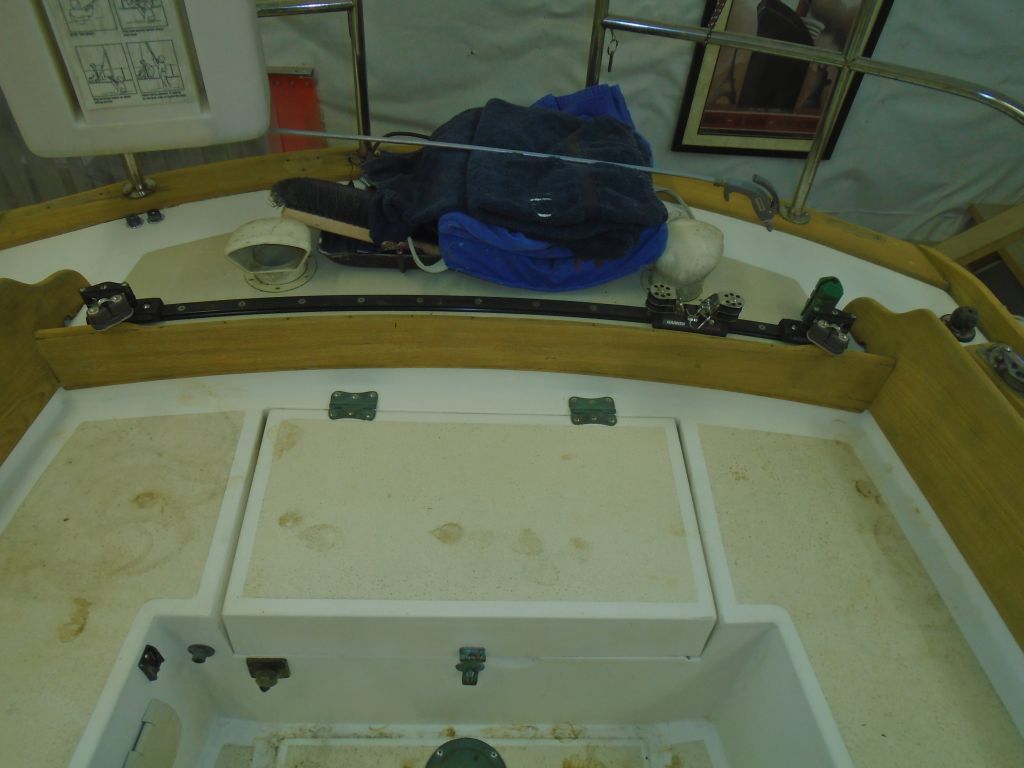
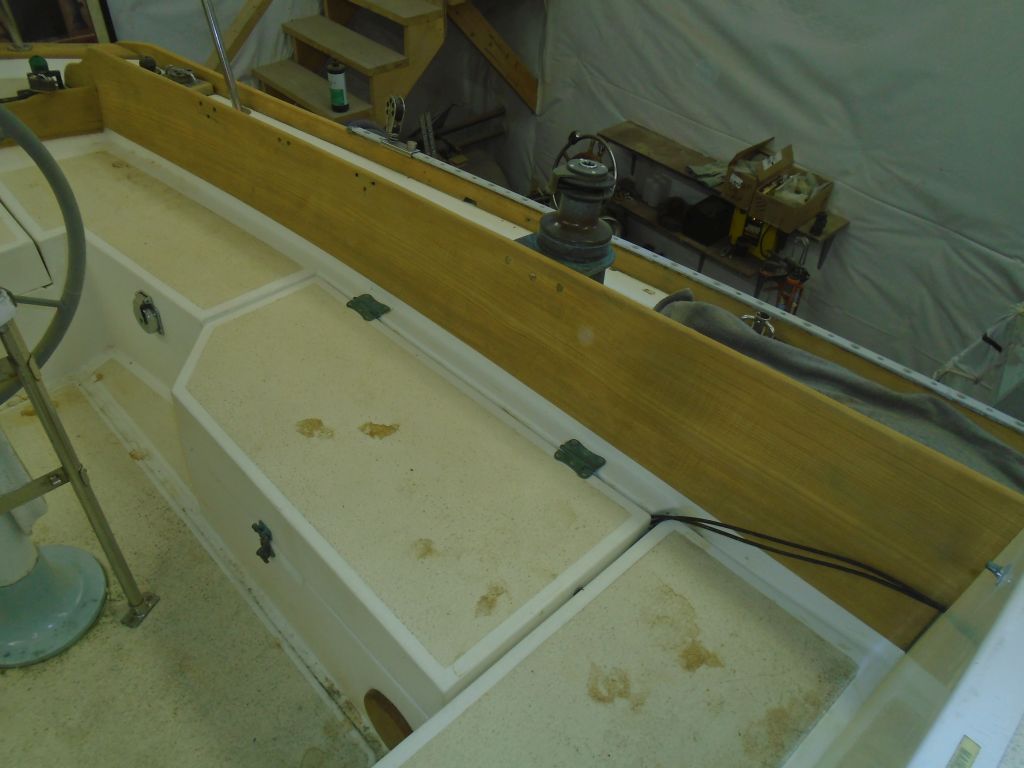
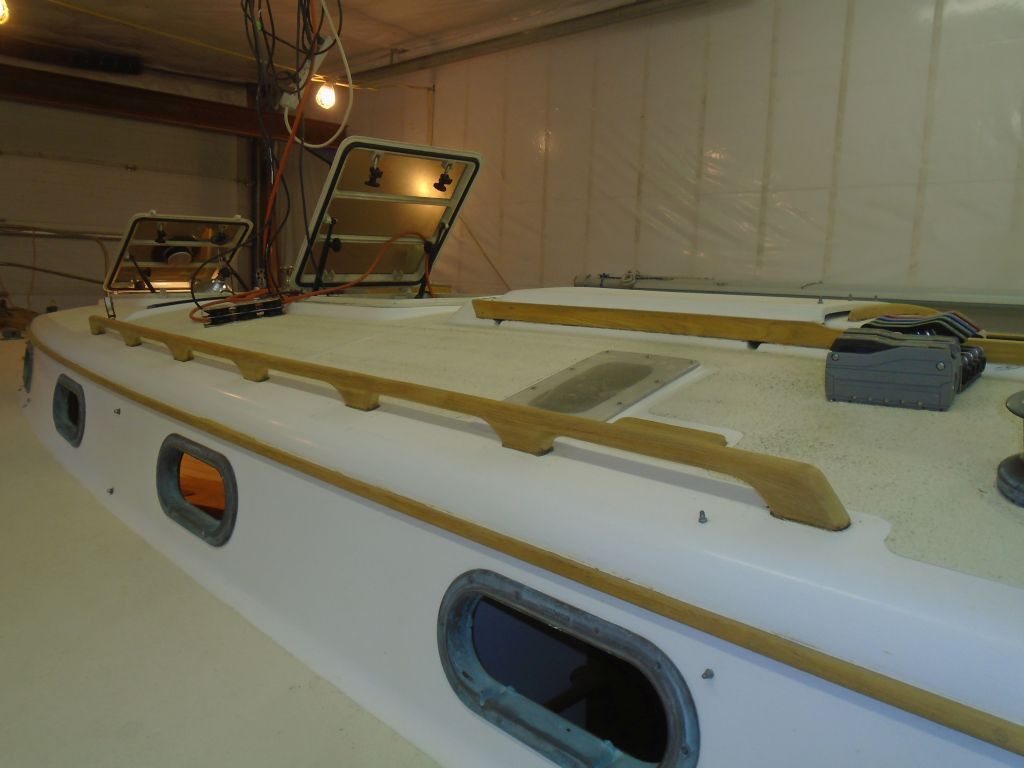
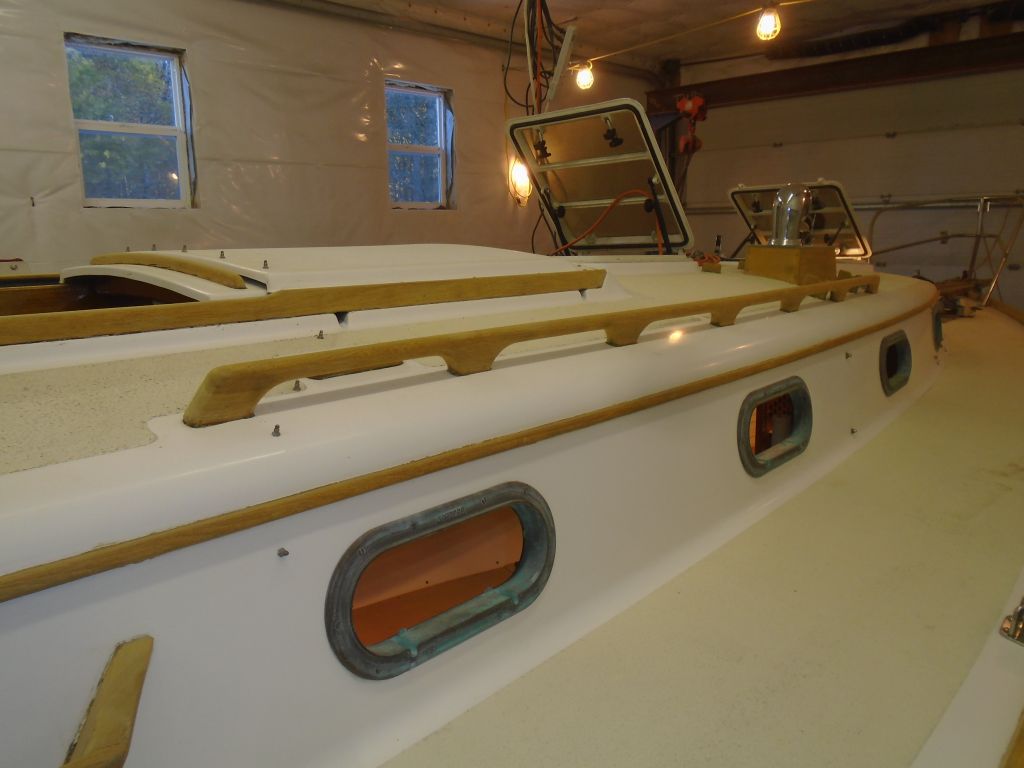
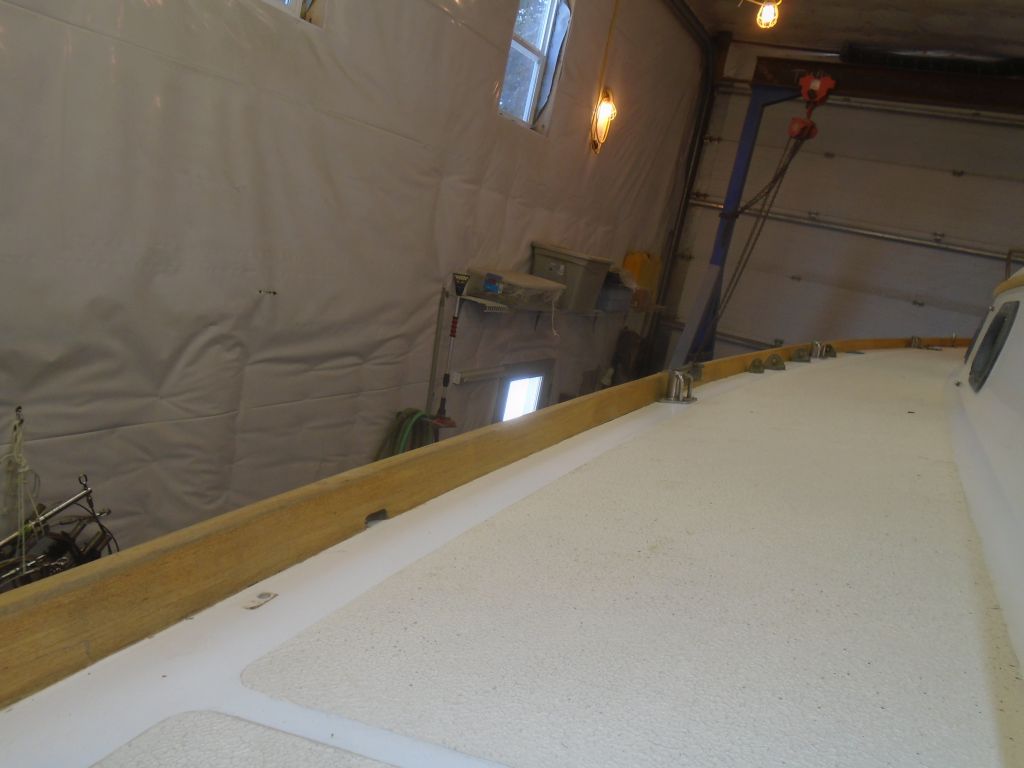
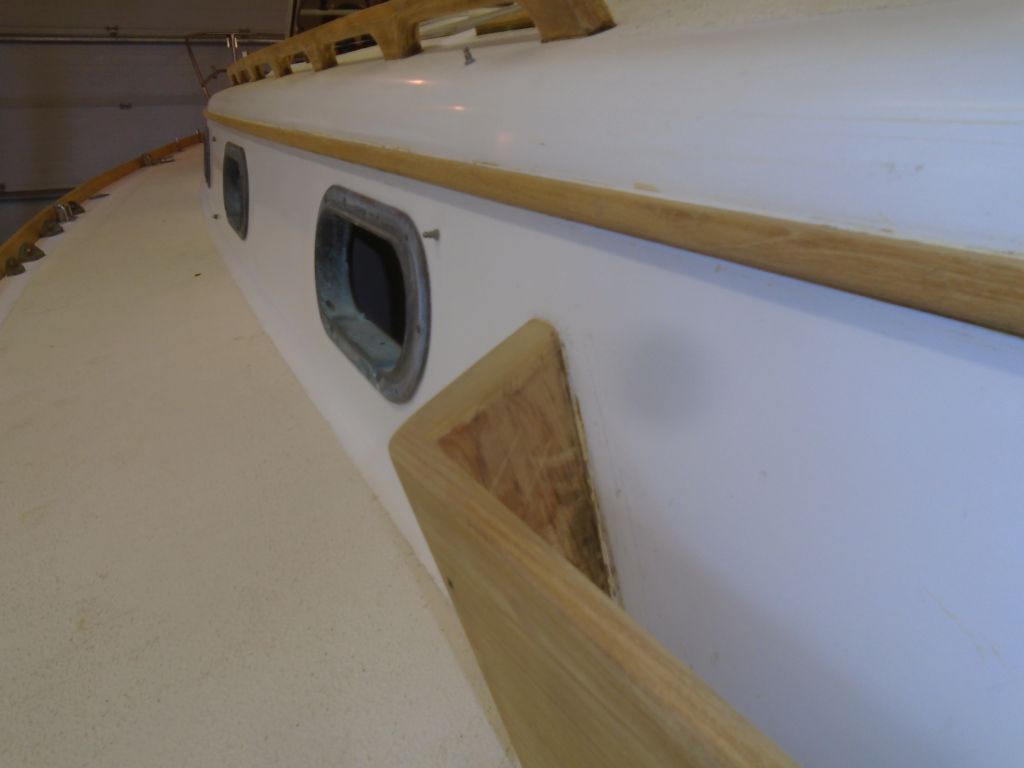
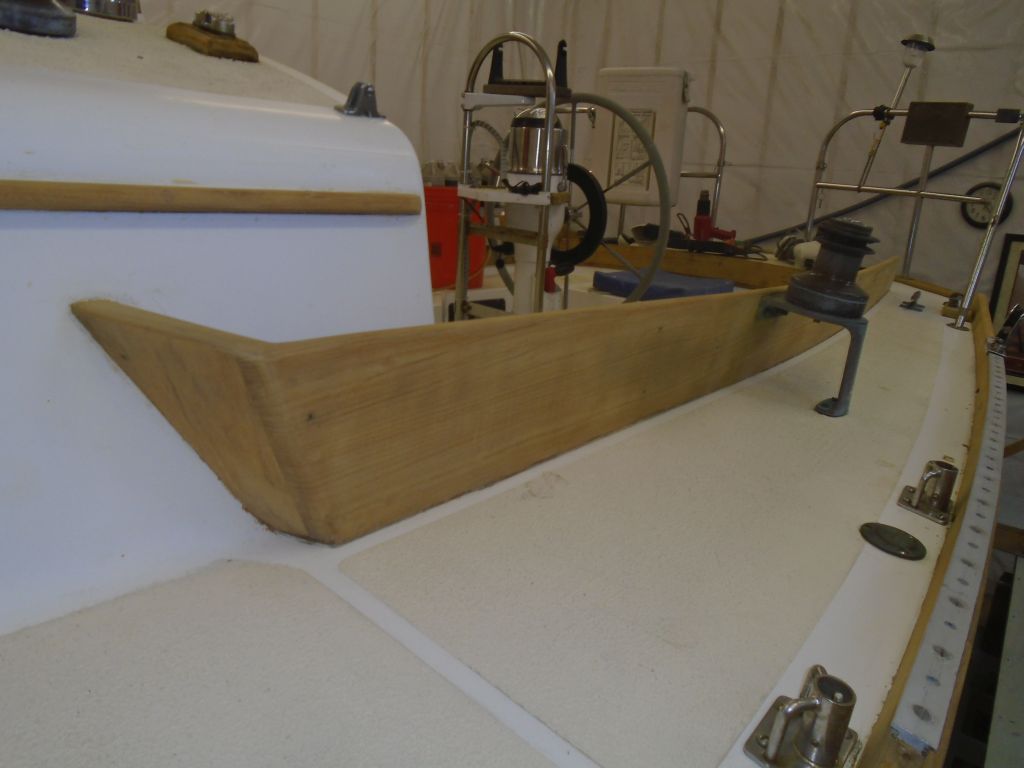
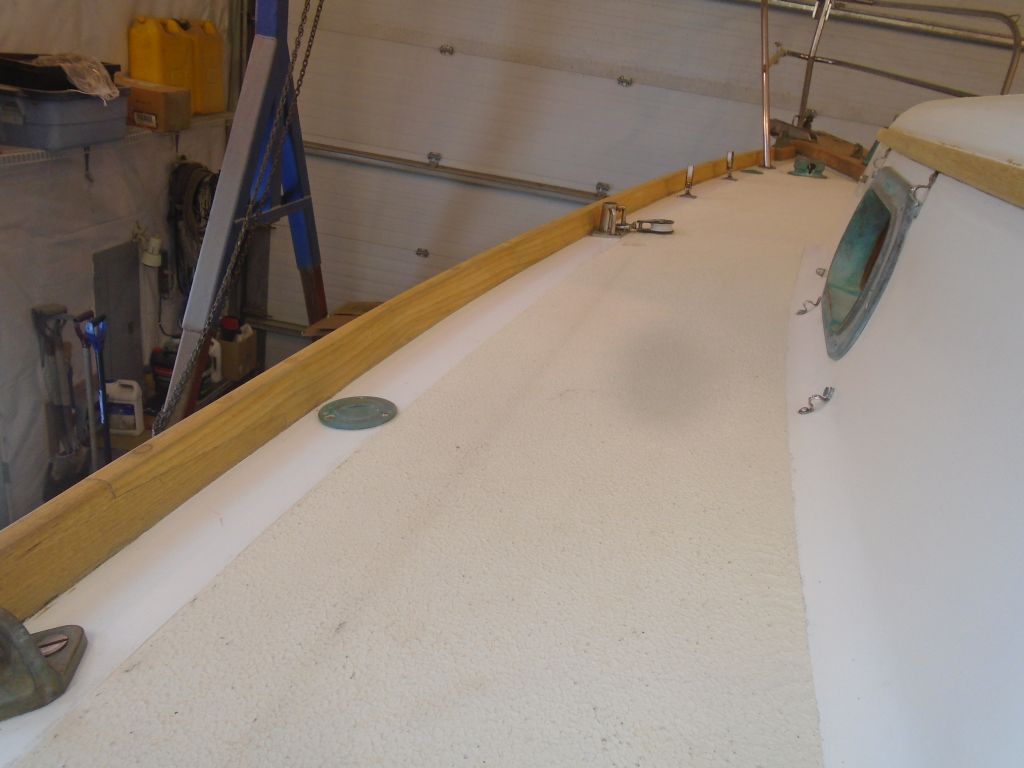
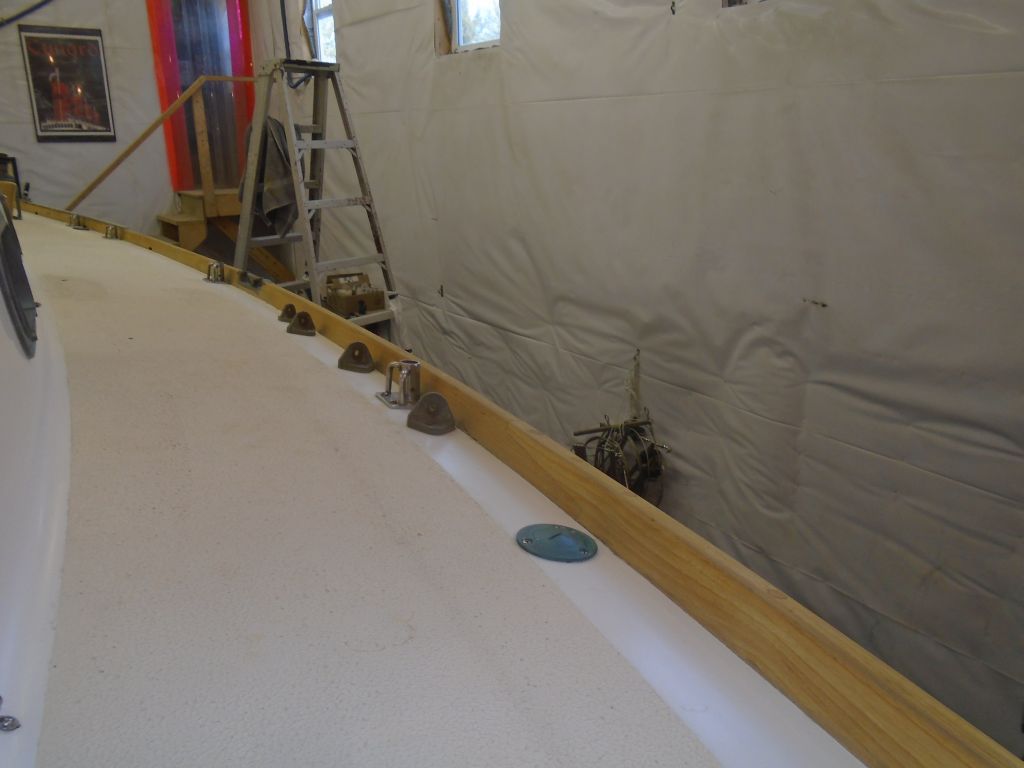
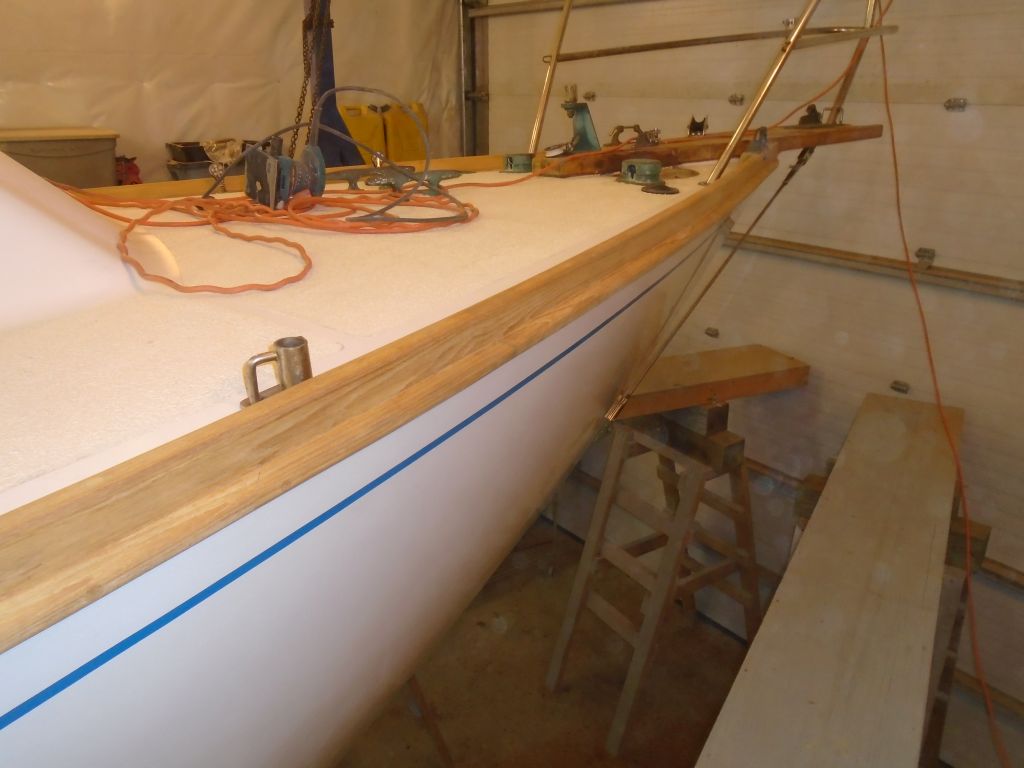
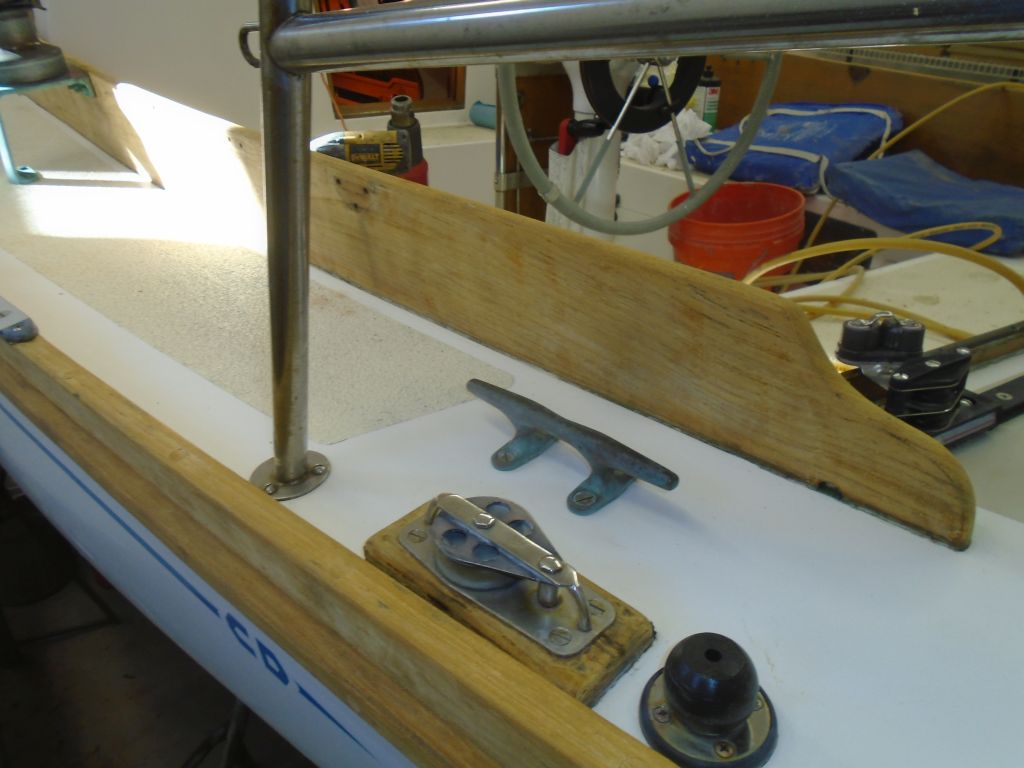
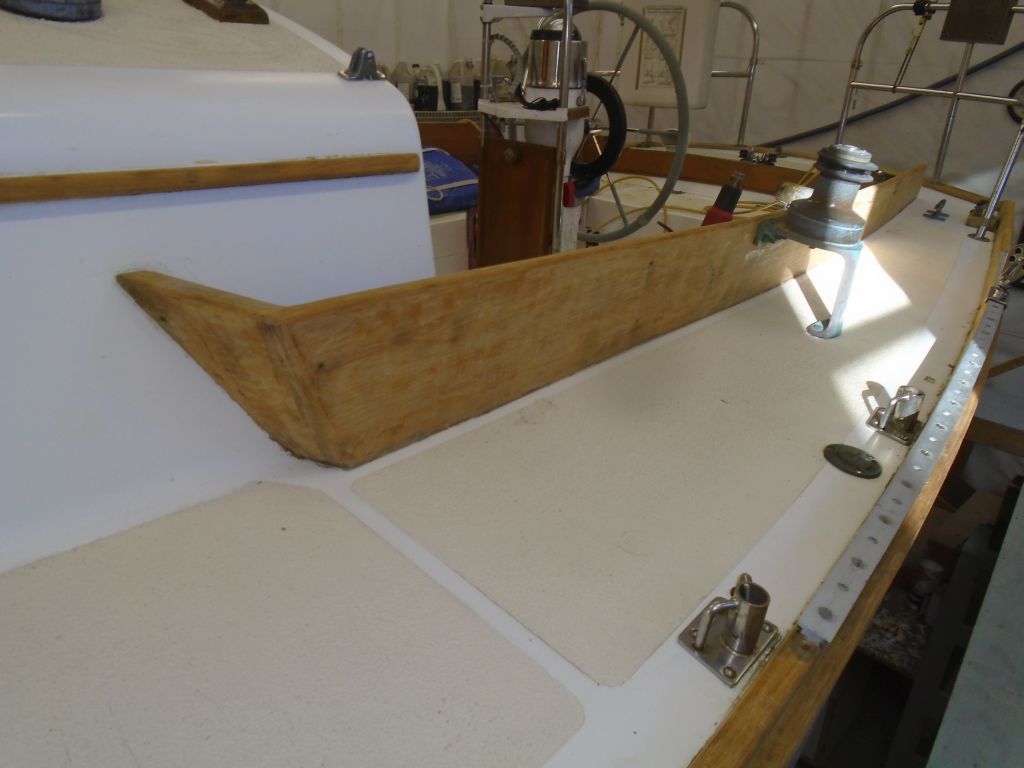
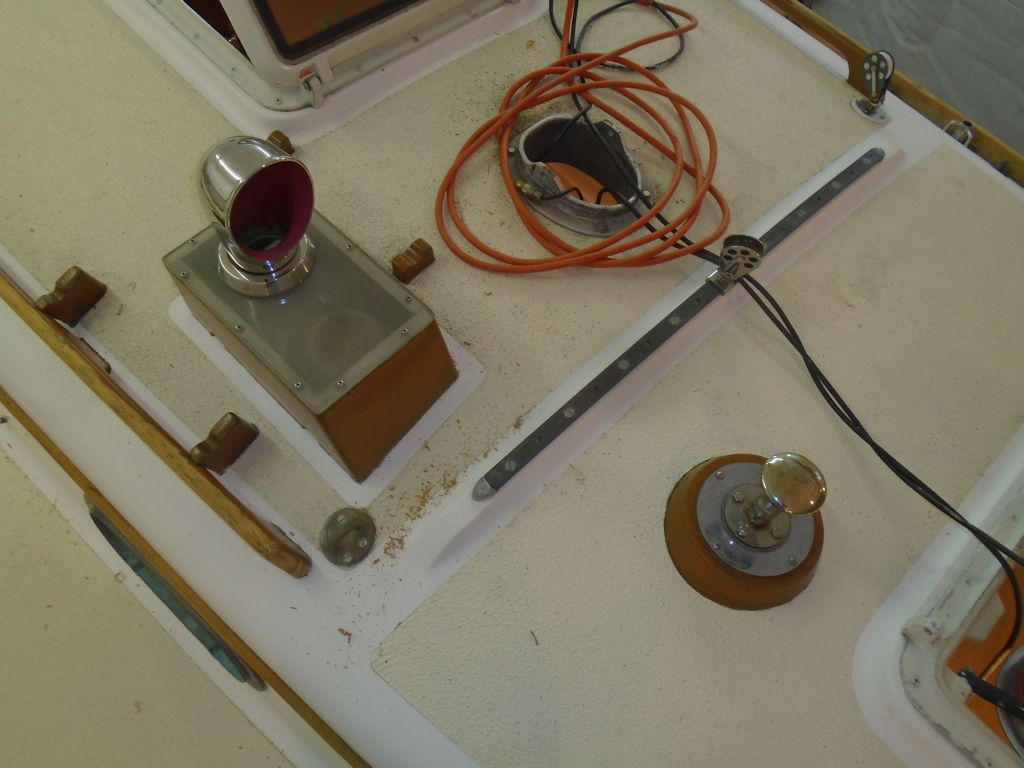
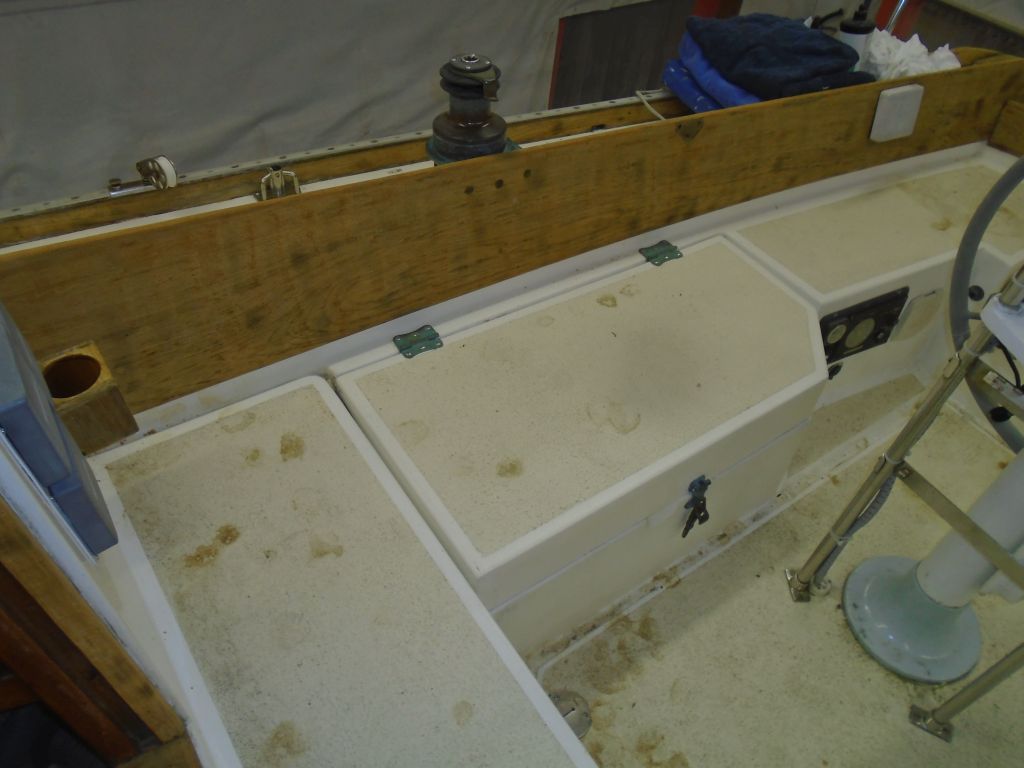
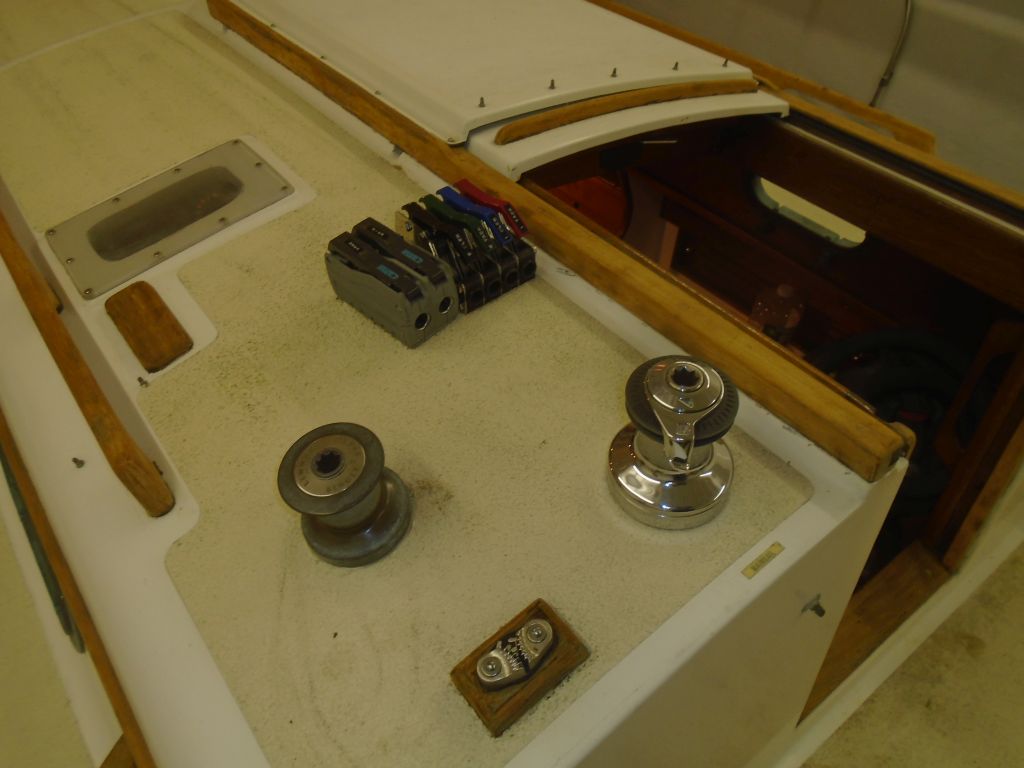
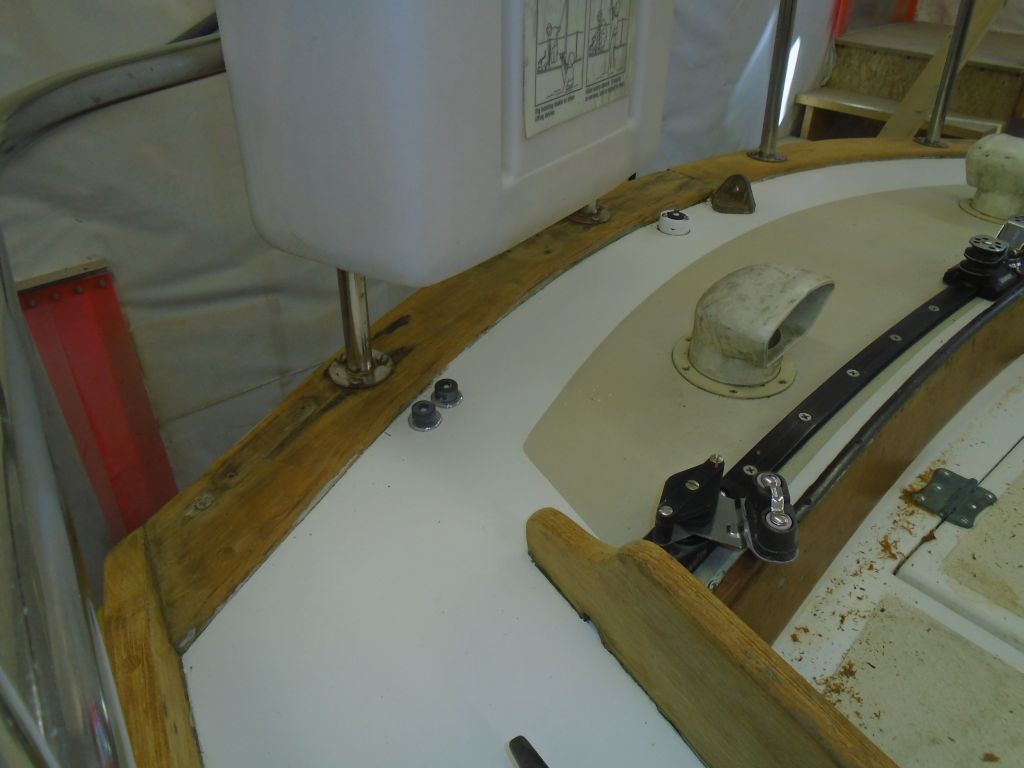
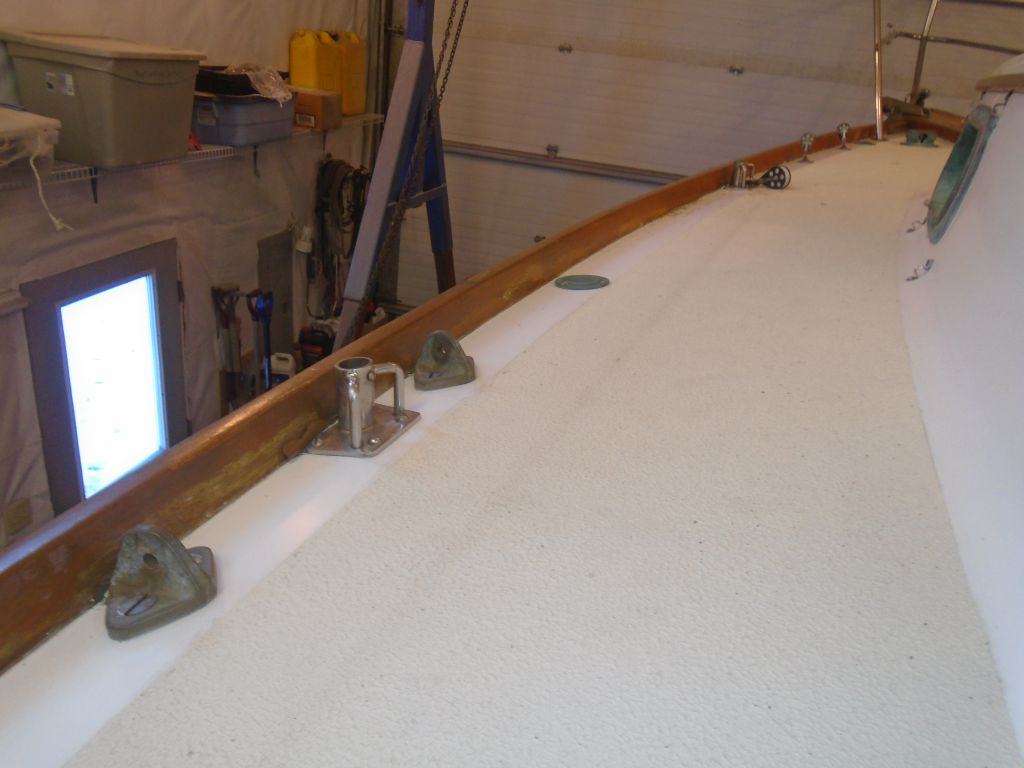
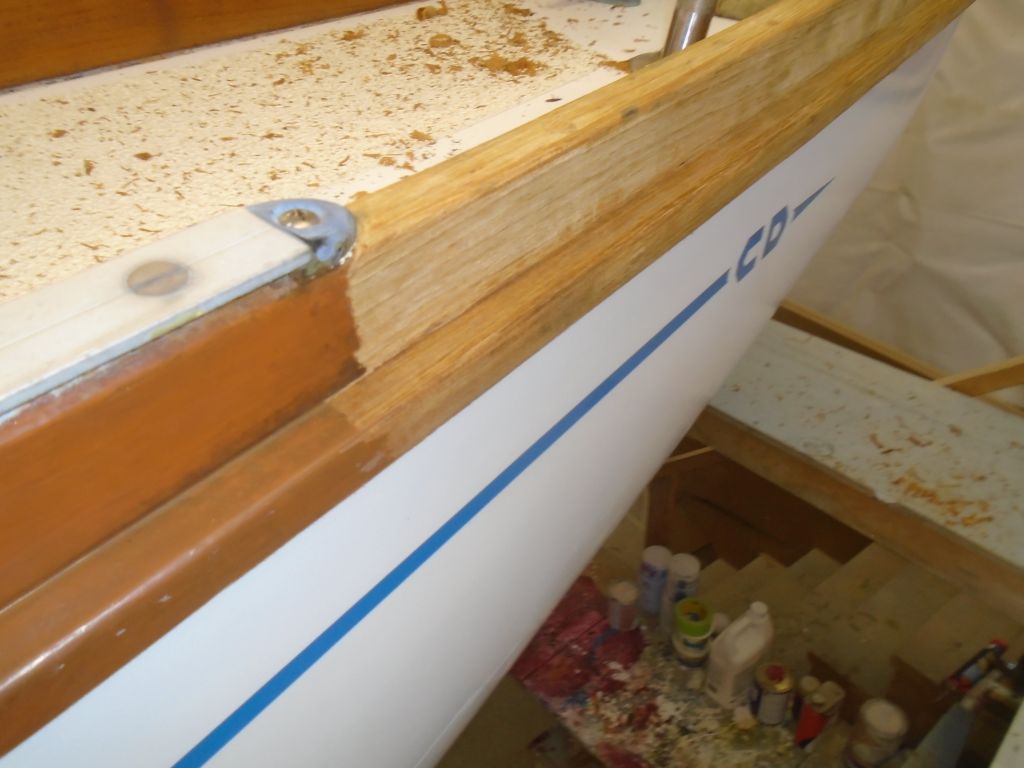
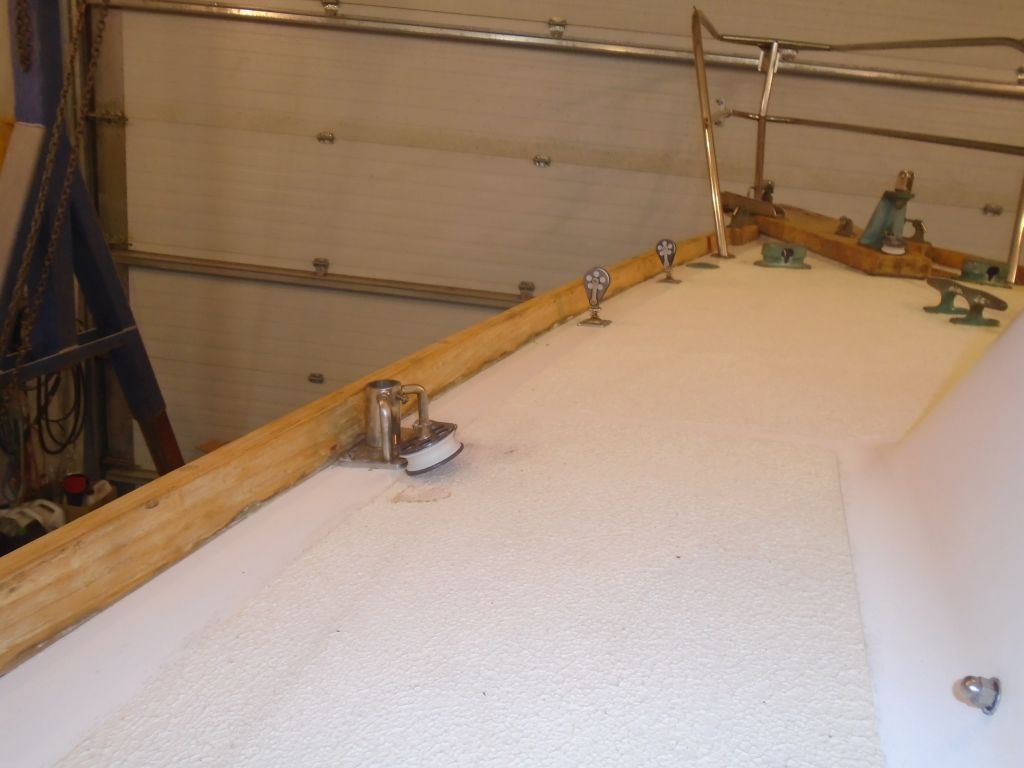
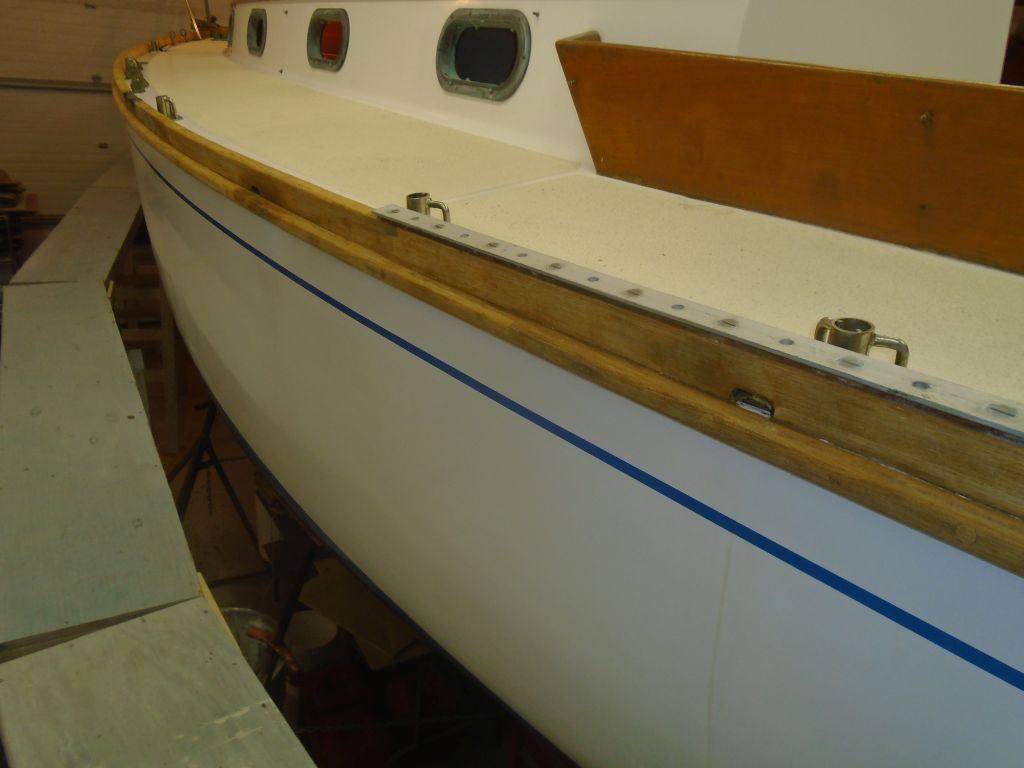
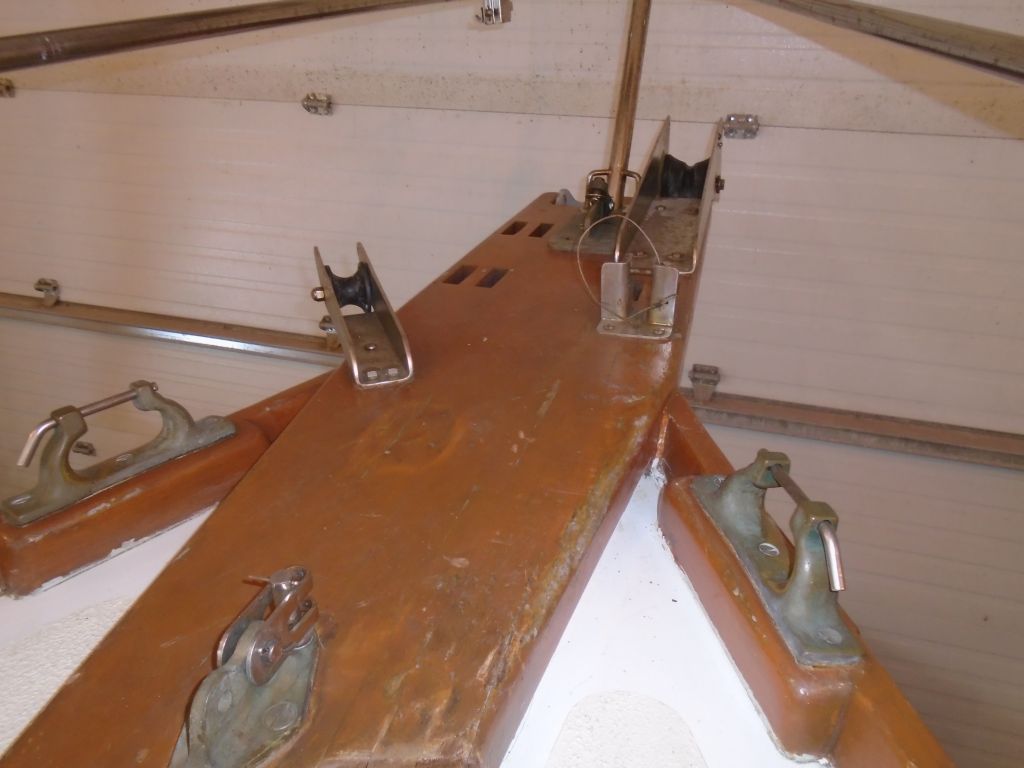
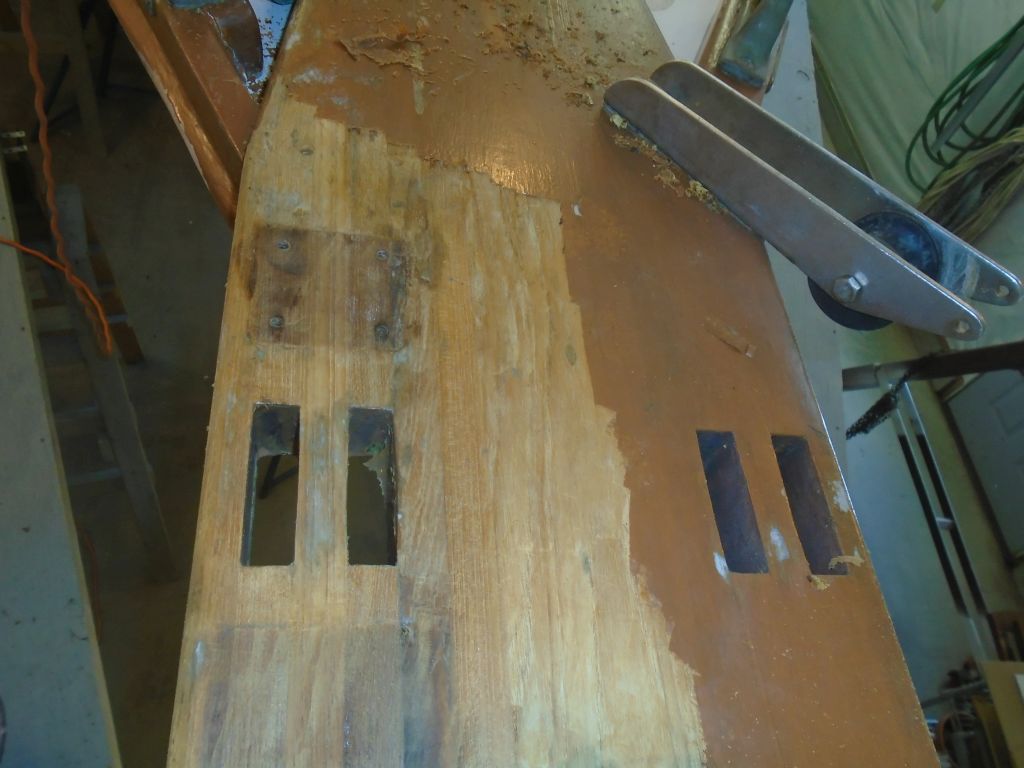
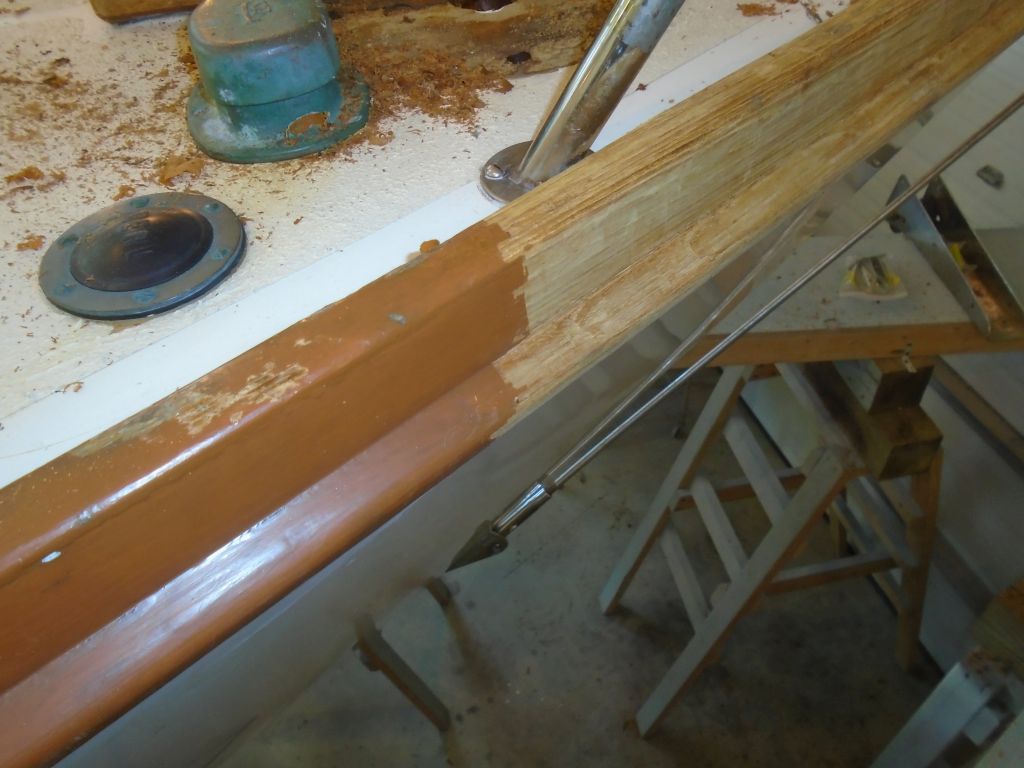
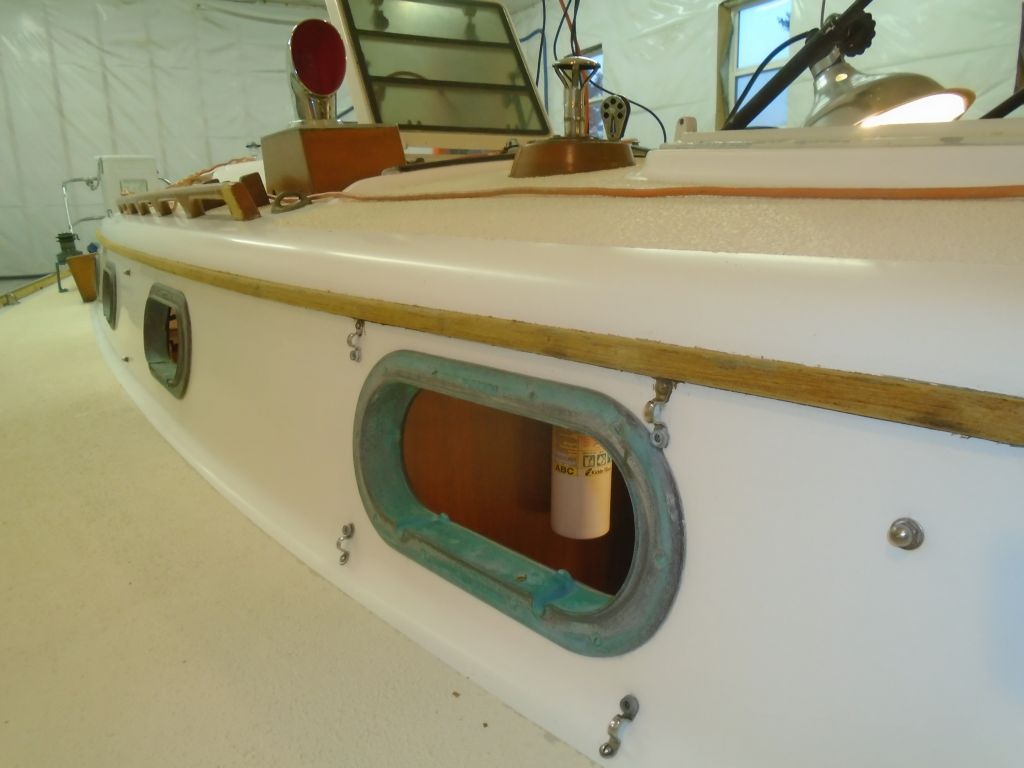
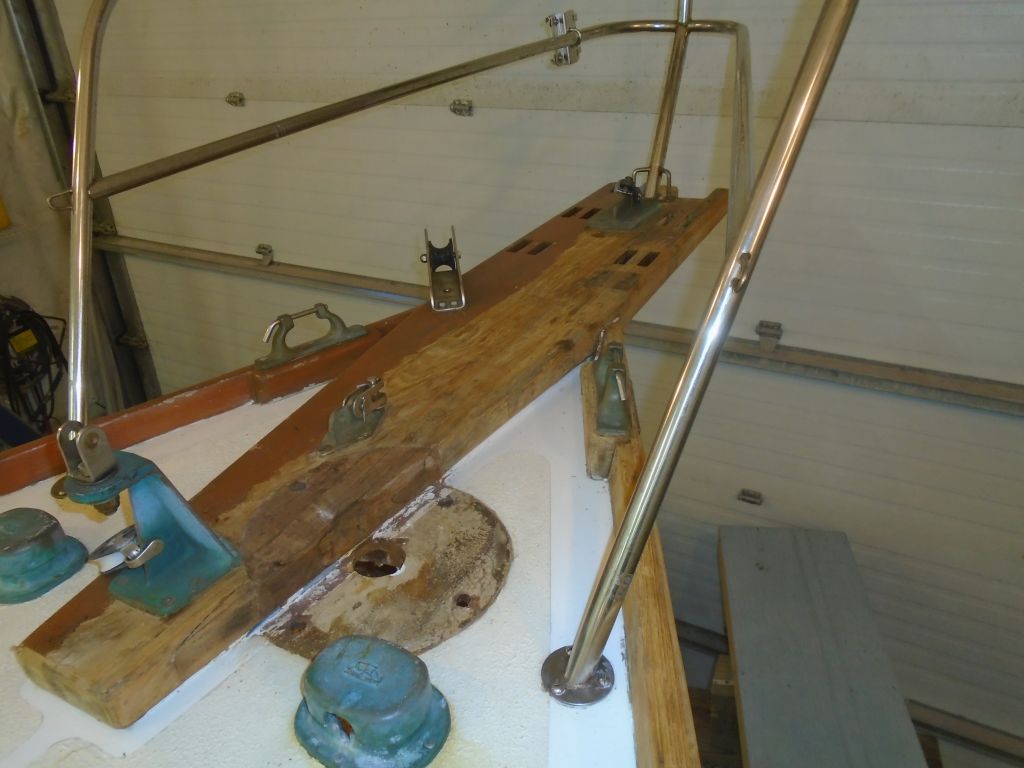
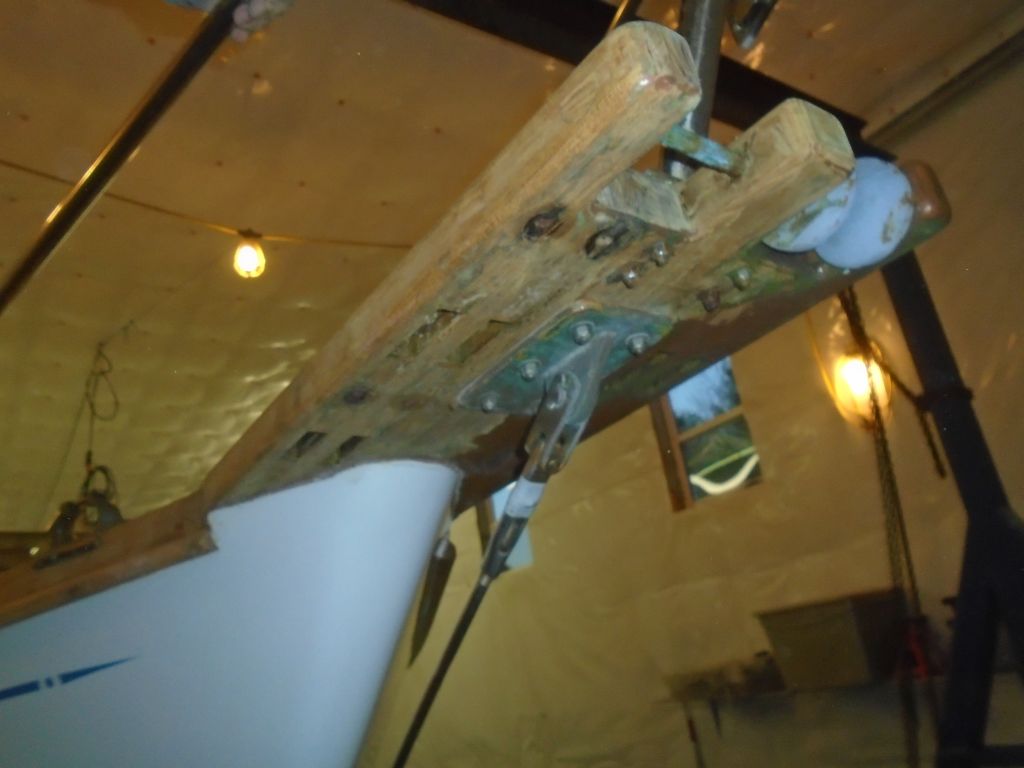
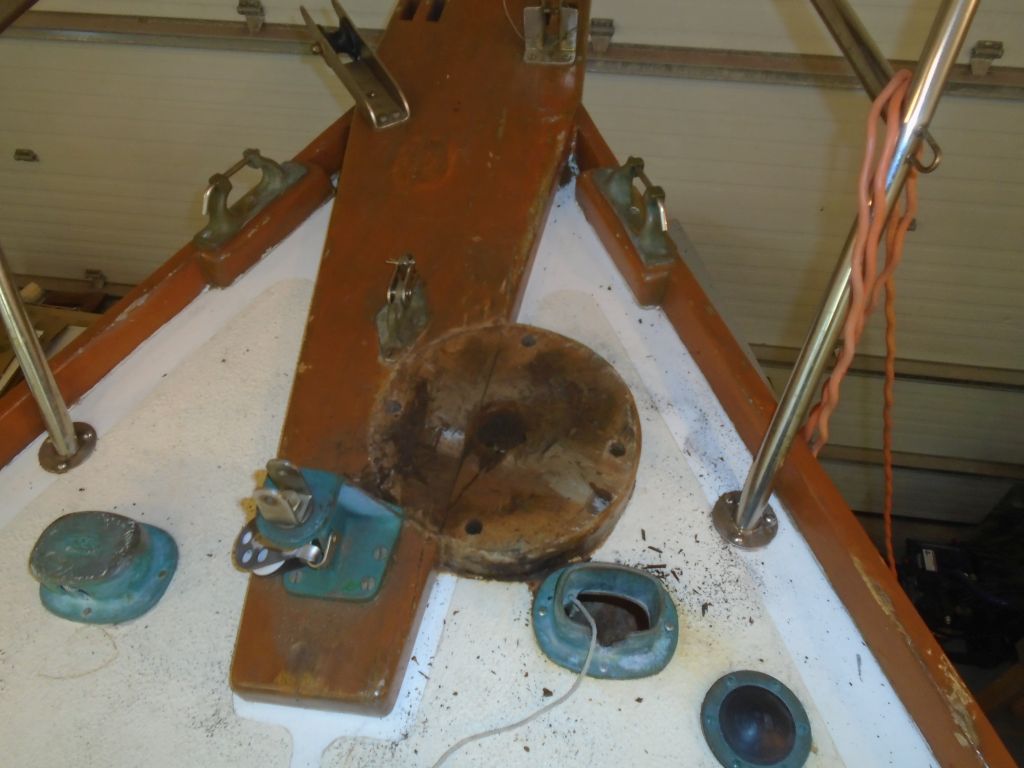
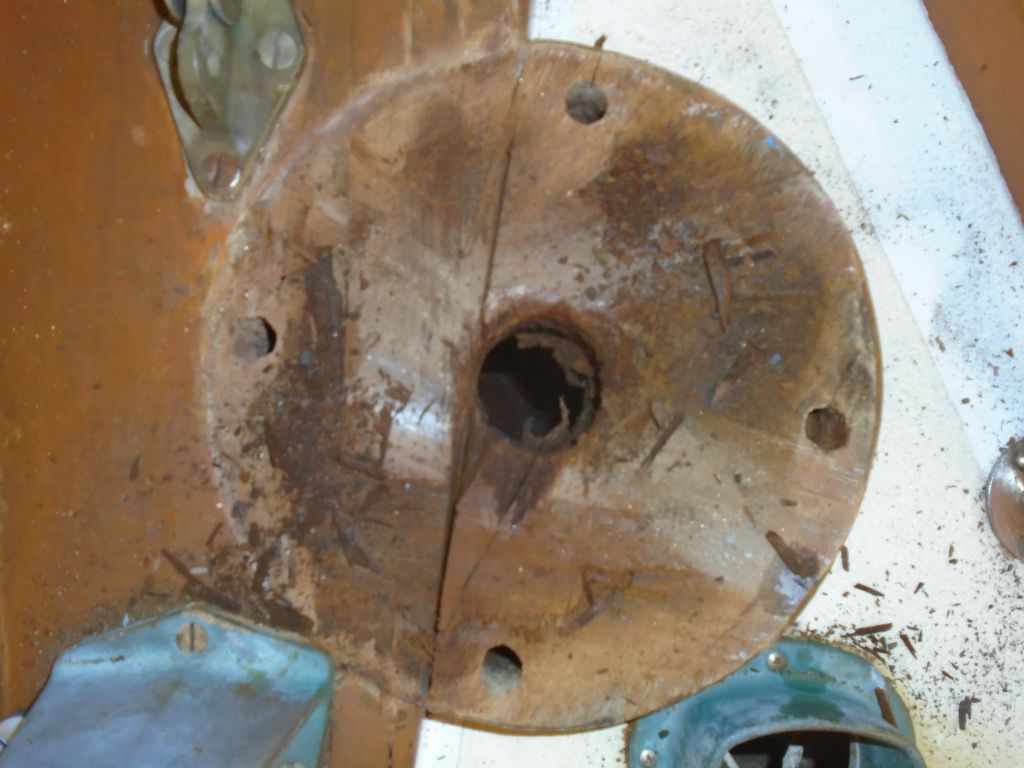
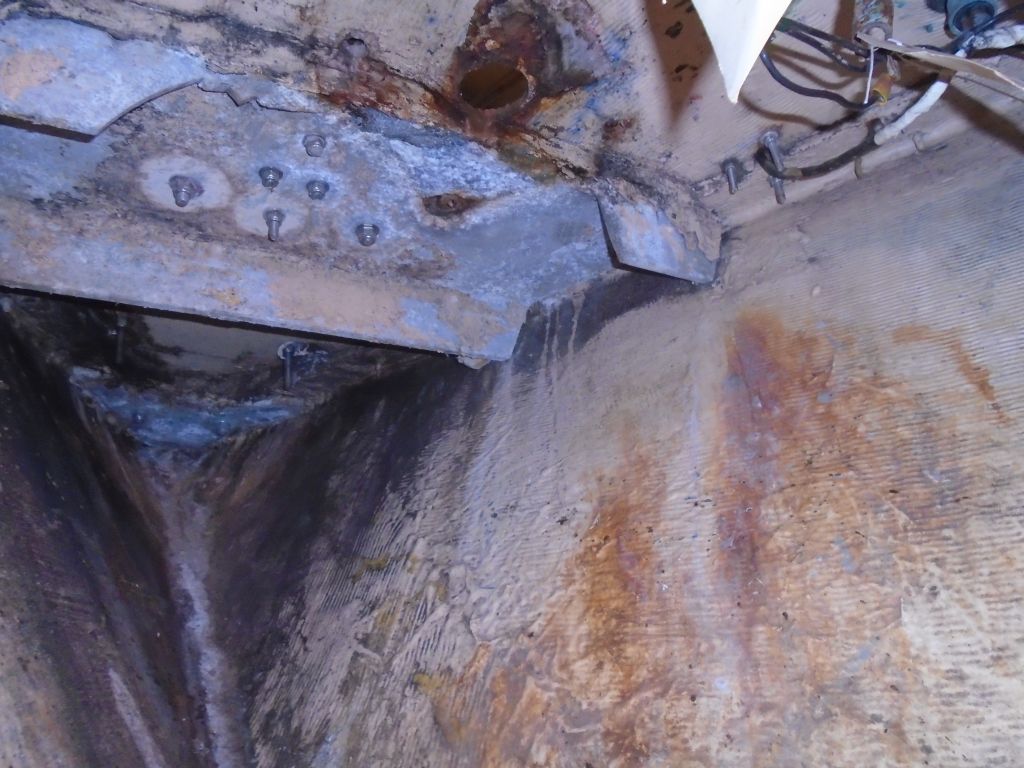
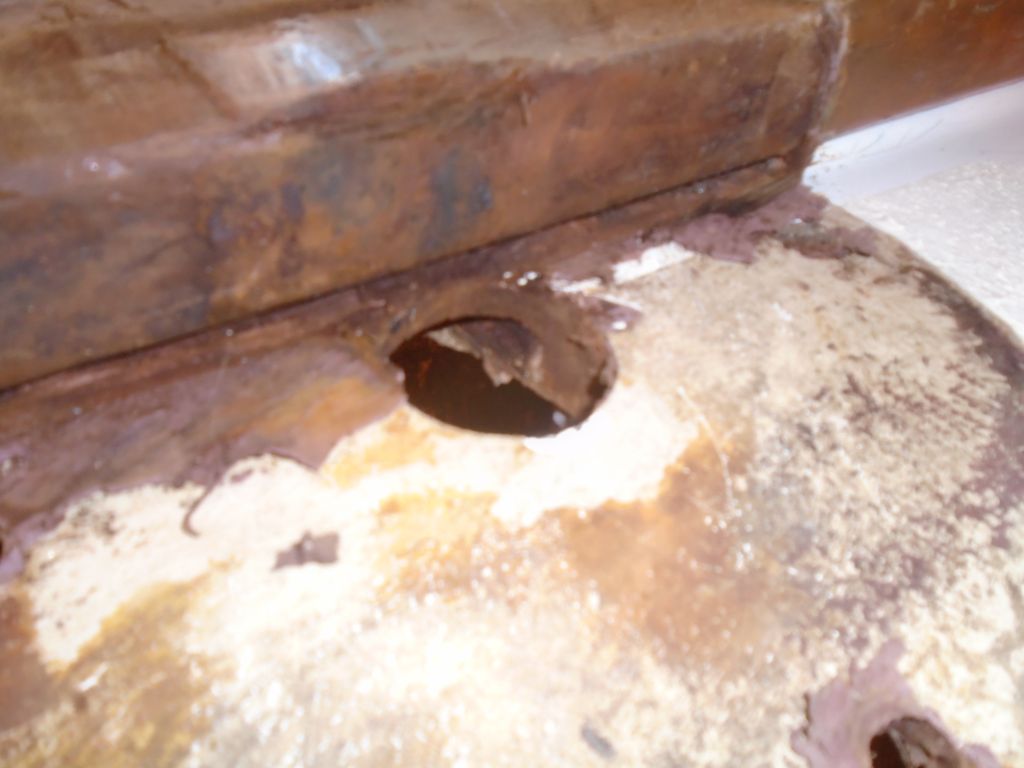
With the windlass finally out of the way, I cleaned up the deck and chainlocker as needed, including removing the semi-circular deck riser adjacent to the bowsprit, as the removal had damaged this easily-replaceable piece.  The good news in all of this was that the deck in this area was core-free, just a solid 1/2″ or so laminate.  Briefly inspecting things from beneath, it seemed this might have been a planned omission at the time of construction specifically to allow for a windlass installation on this side.  But at least the large through-deck hole had not allowed any damage to the decks, which couldn’t be said for the windlass itself.

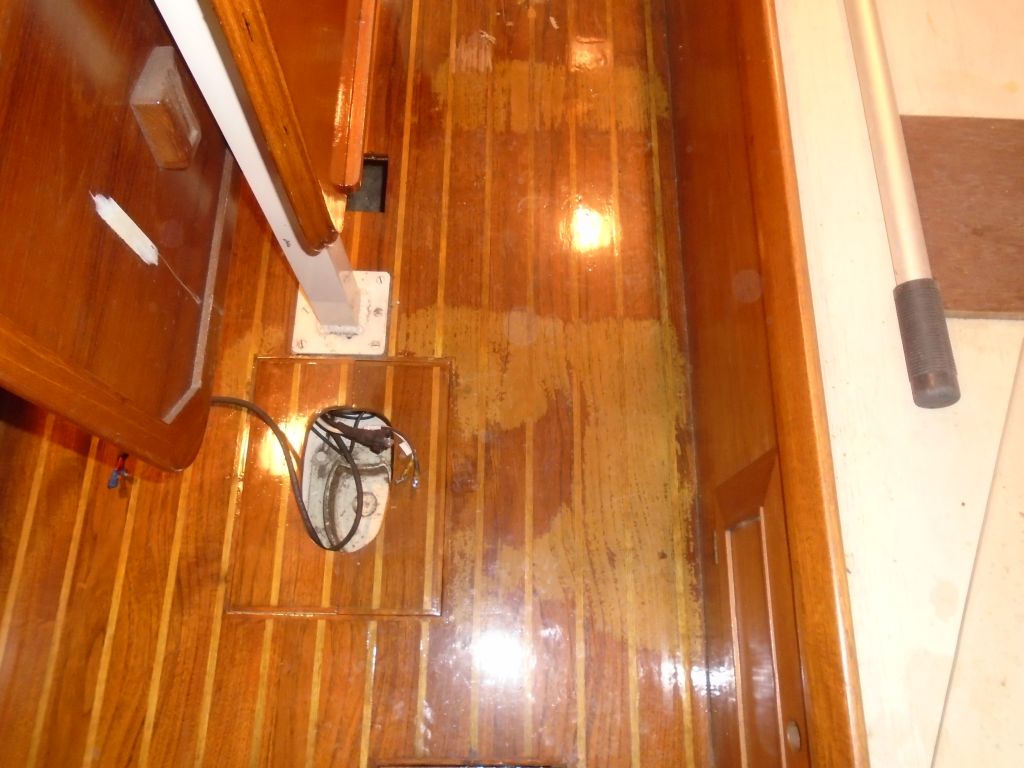
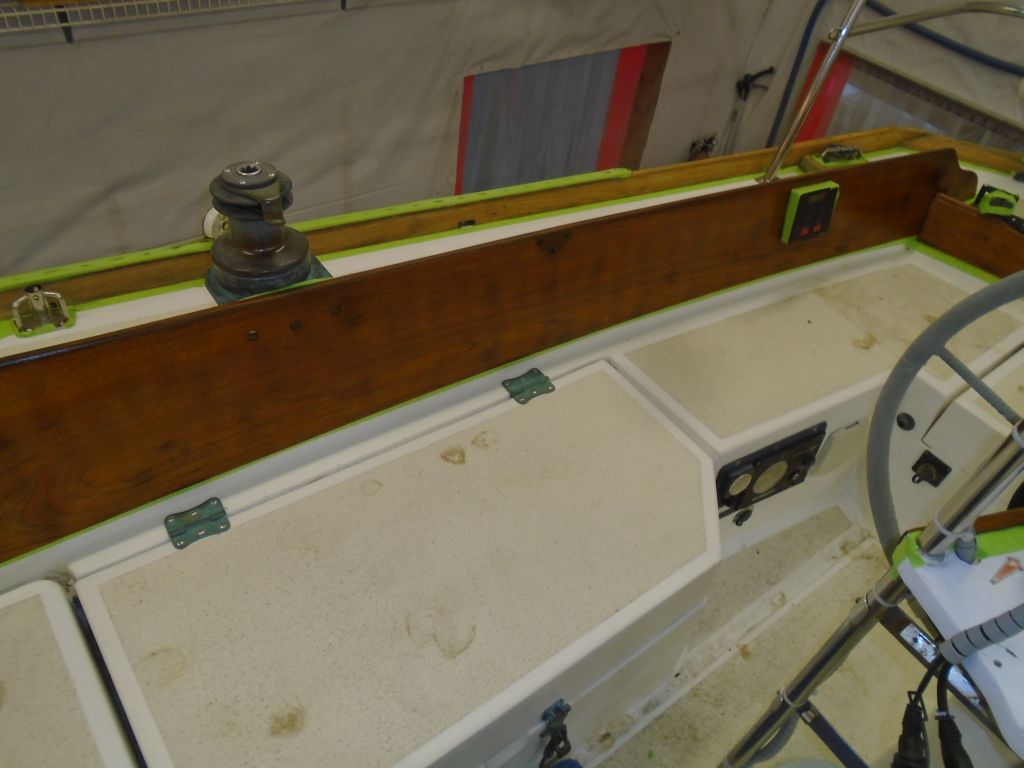
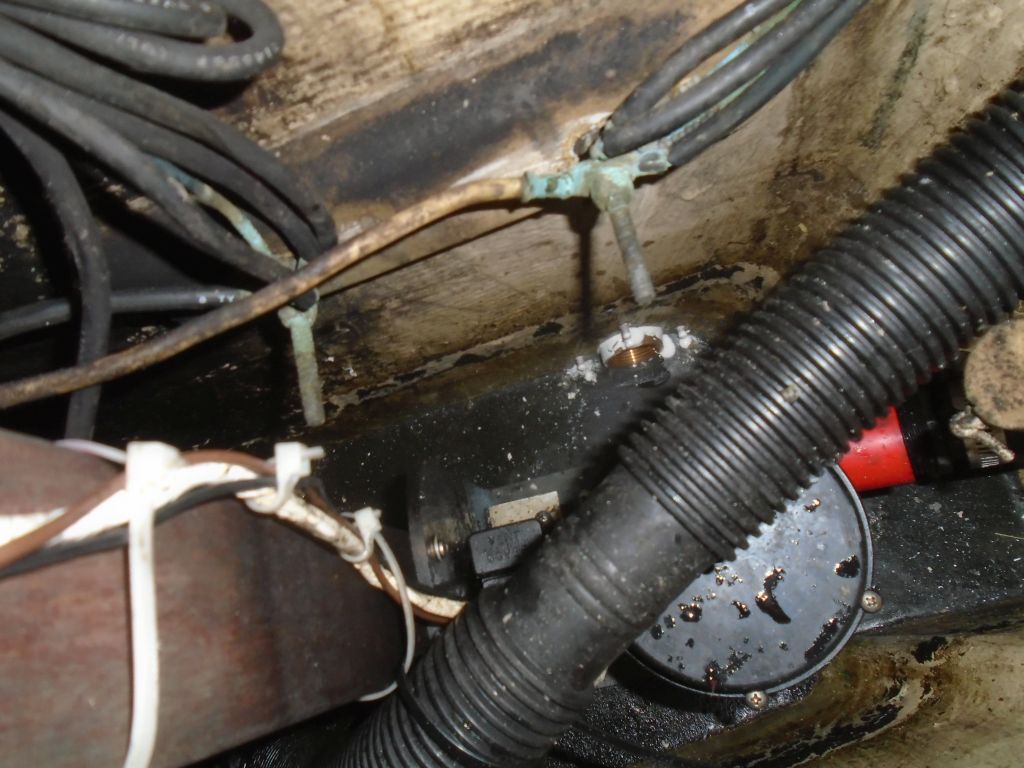
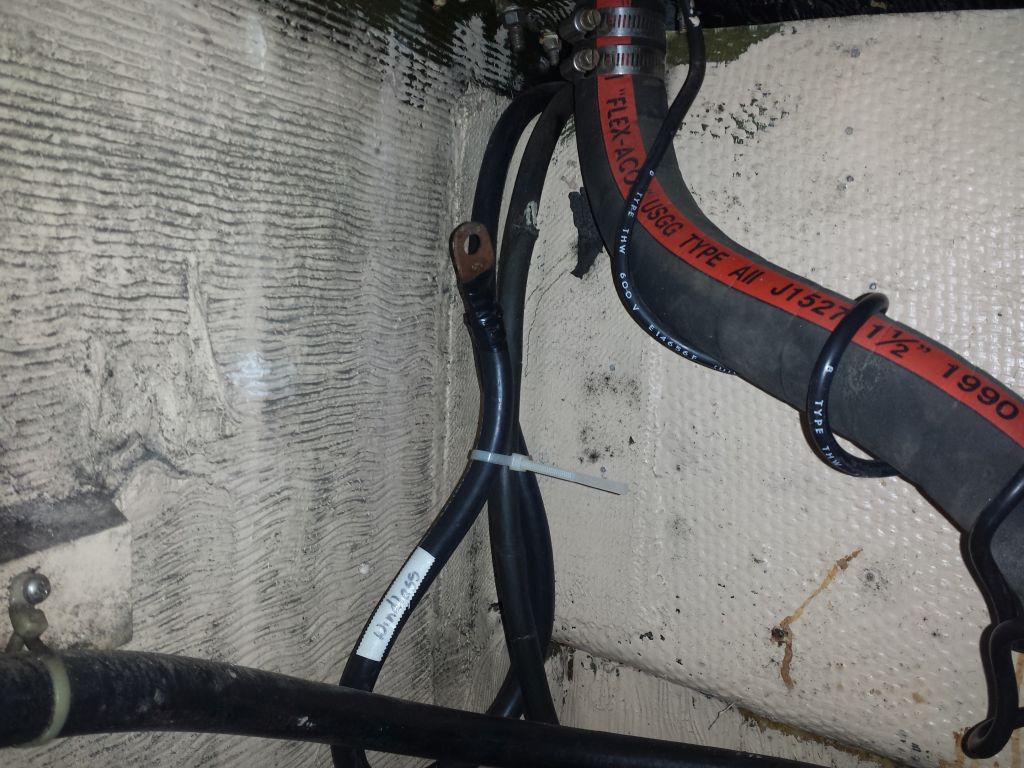
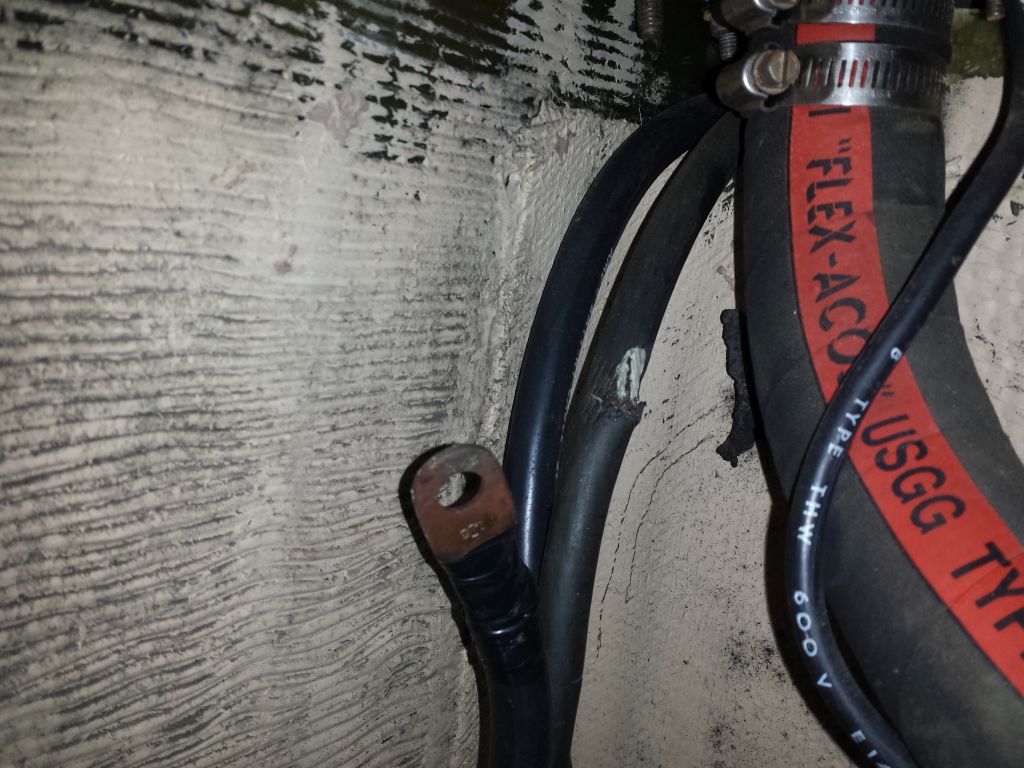
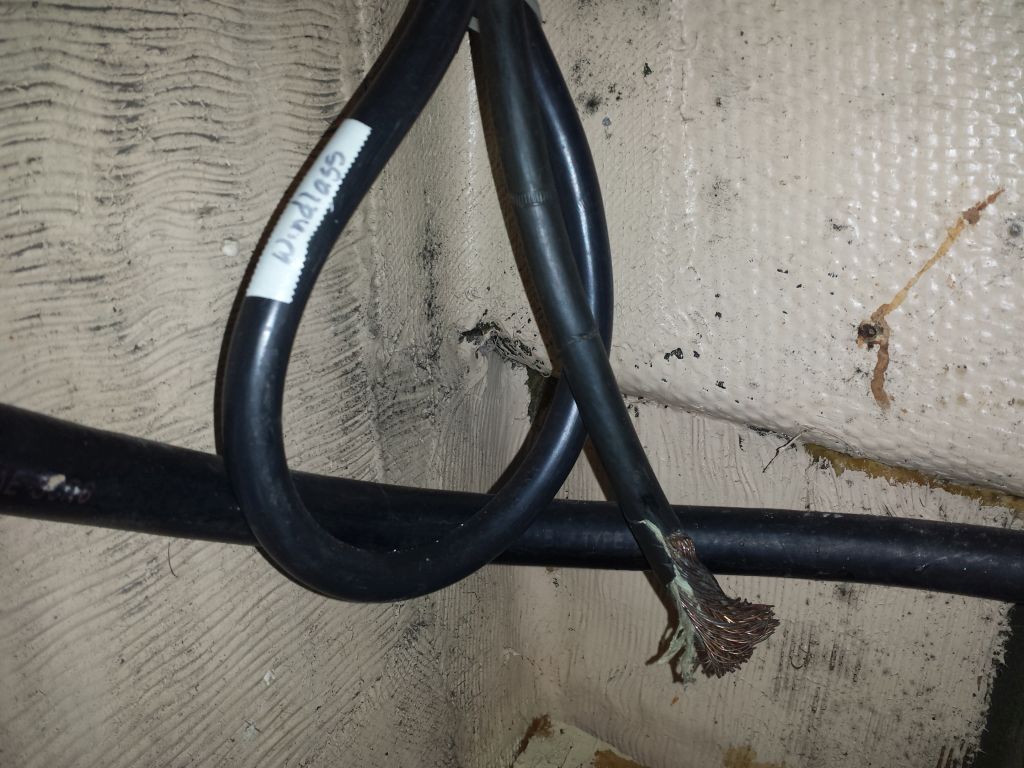
During some work in the port cockpit locker a little earlier, I’d noticed the other ends of the large windlass cables hanging out of the wire chase on that side.  Besides being too short to reach a battery, the cable ends weren’t looking too great, and one of the cables had a cut in the insulation that would obviate the last foot or so of that cable.  So whatever happened from here in terms of windlass replacement, there’d unfortunately be more wiring work to complete.


Total time billed on this job today:  1.5 hours

0600 Weather  Report:
Fog, clouds, 35°.  Forecast for the day:  clouds, rain coming overnight, high in the low 40s

Older posts Newer posts