

December 21, 2015
Danusia 5
Monday
Over the weekend, I continued treating the windlass shaft housing with penetrating oil. Whatever the next attempt at removal entailed, it’d require additional force and additional materials, especially as the likelihood grew that I’d end up cutting the shaft to release the above- and below-decks components from each other so I could finally effect a total removal, which was required no matter what. So while I awaited saw blades, I took a break from the windlass to focus on some of the other jobs on the boat.
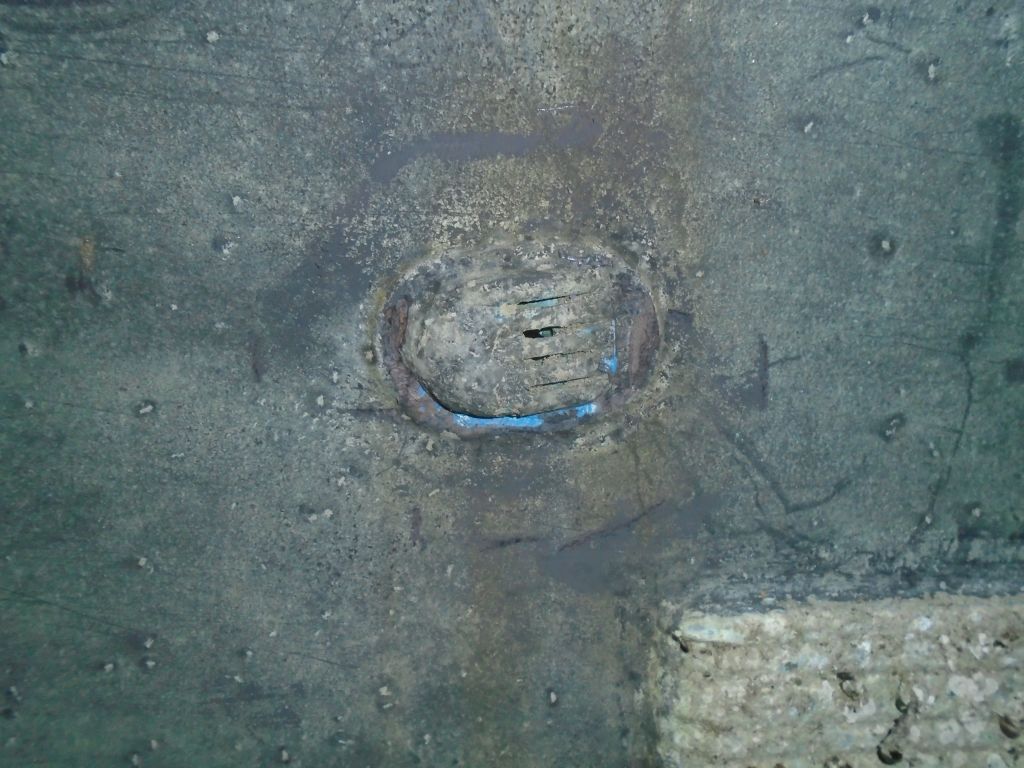
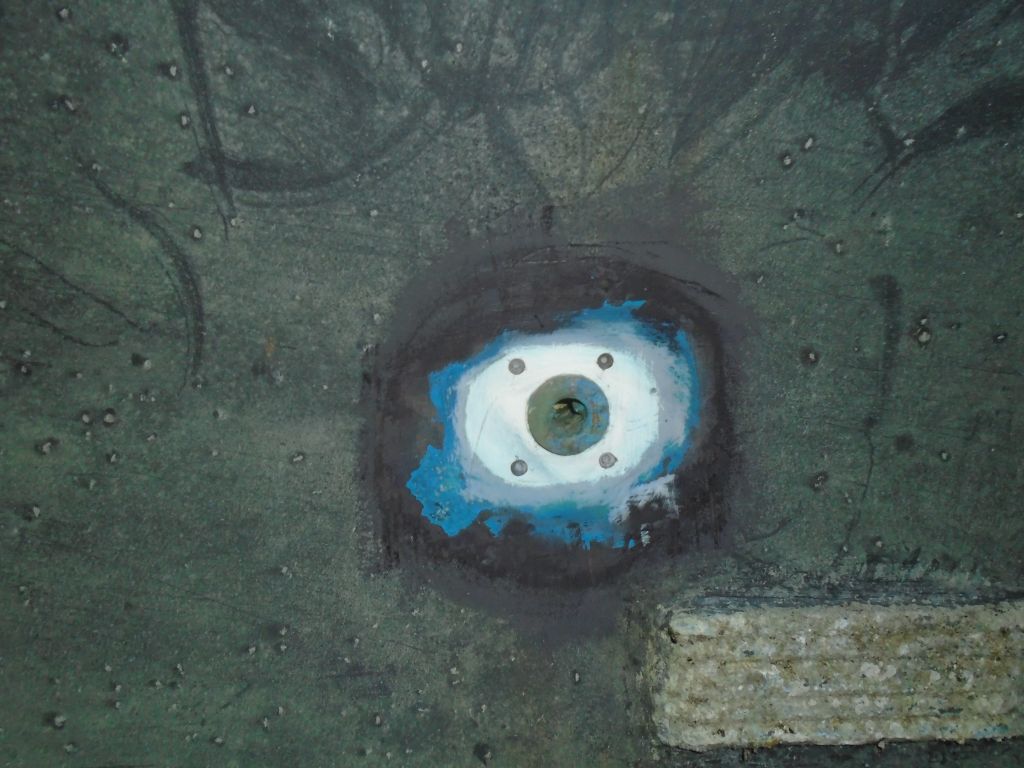
I started with the external strainer over the engine intake, down in the keel near the turn of the bilge. The owner was rightfully wary of this external “scoop” strainer, and with a good internal sea strainer he requested I remove the strainer to leave the through hull unprotected, which gibed with my own opinion. During a meeting at the boat a few days earlier, we’d determined that the strainer was not an integral part of the through hull the way they sometimes are, so removal looked straightforward.
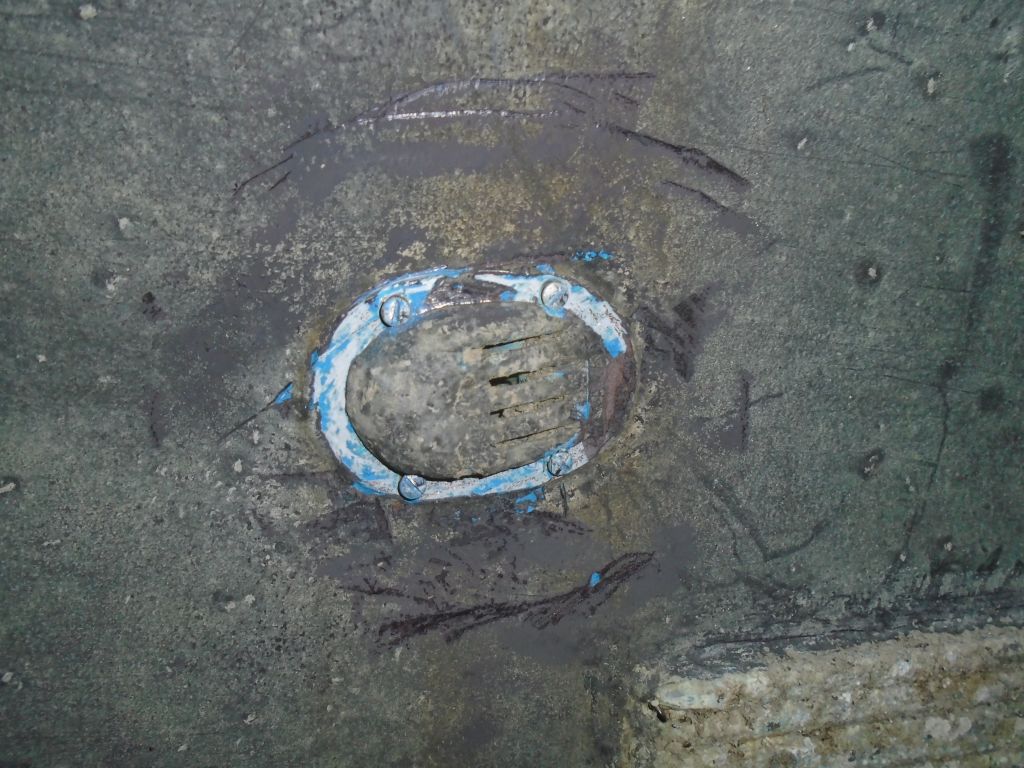
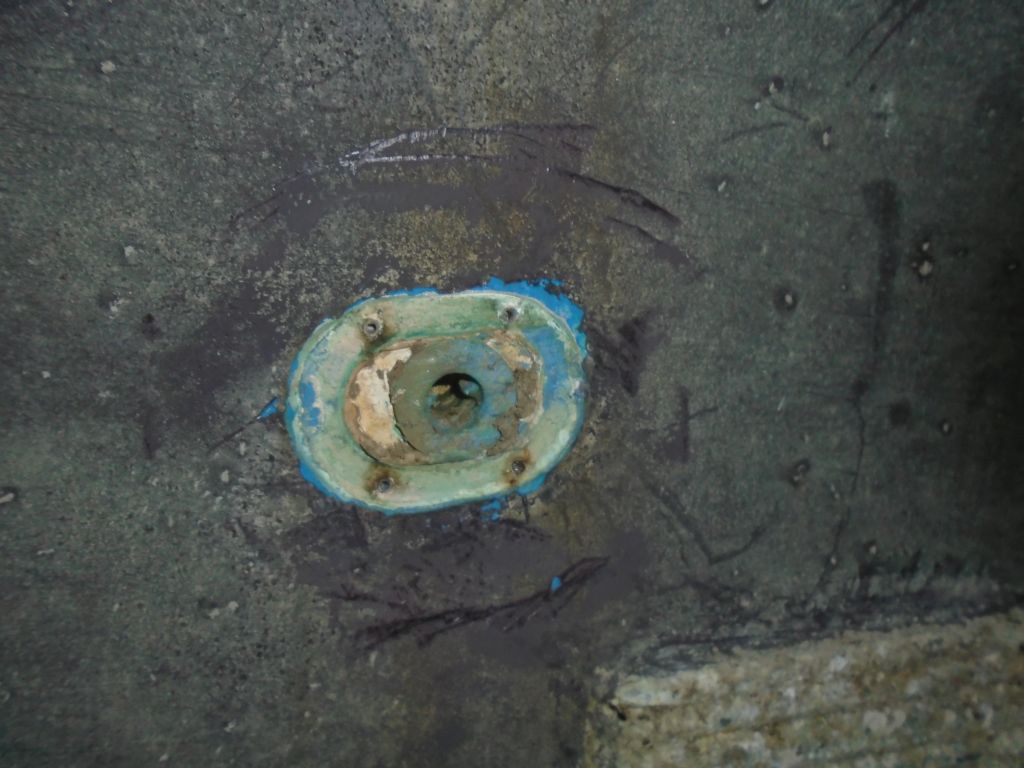
And so it turned out to be. After removing layers of paint and barrier coat from the fitting and exposing the fixing screws, I could remove the strainer easily, after which I cleaned the hull of old sealant, slightly feathered in the edges of the surrounding bottom paint and barrier coat, and prepared the four screw holes for repair by milling small countersinks at each location. Afterwards, I applied some epoxy fill material.

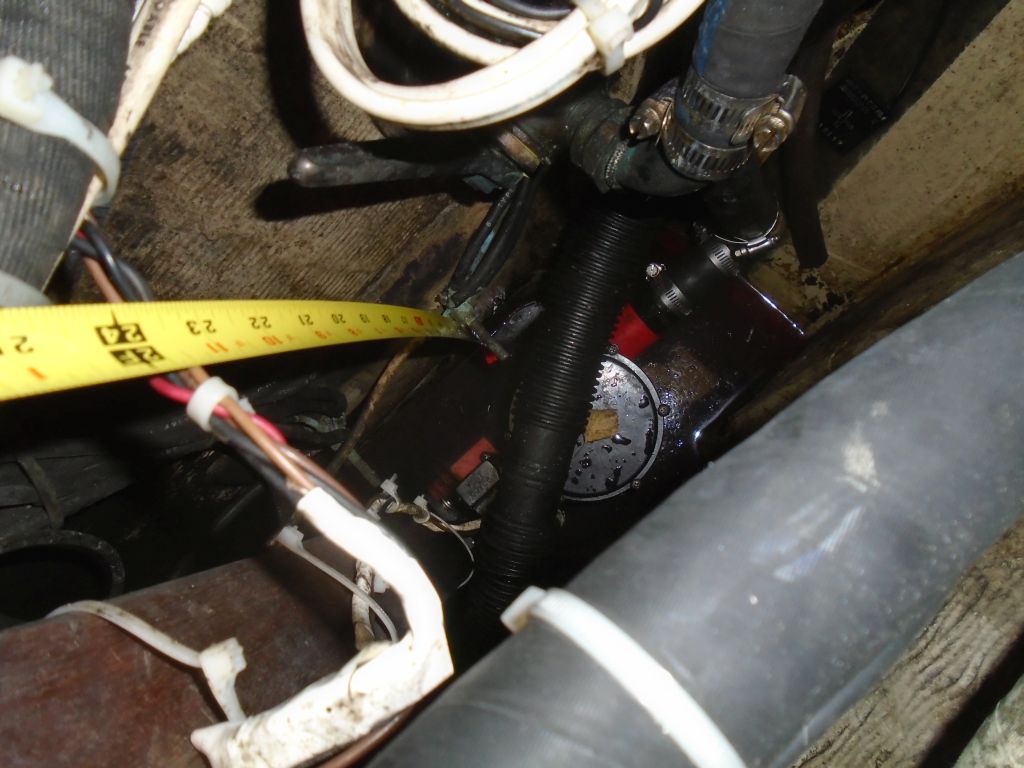
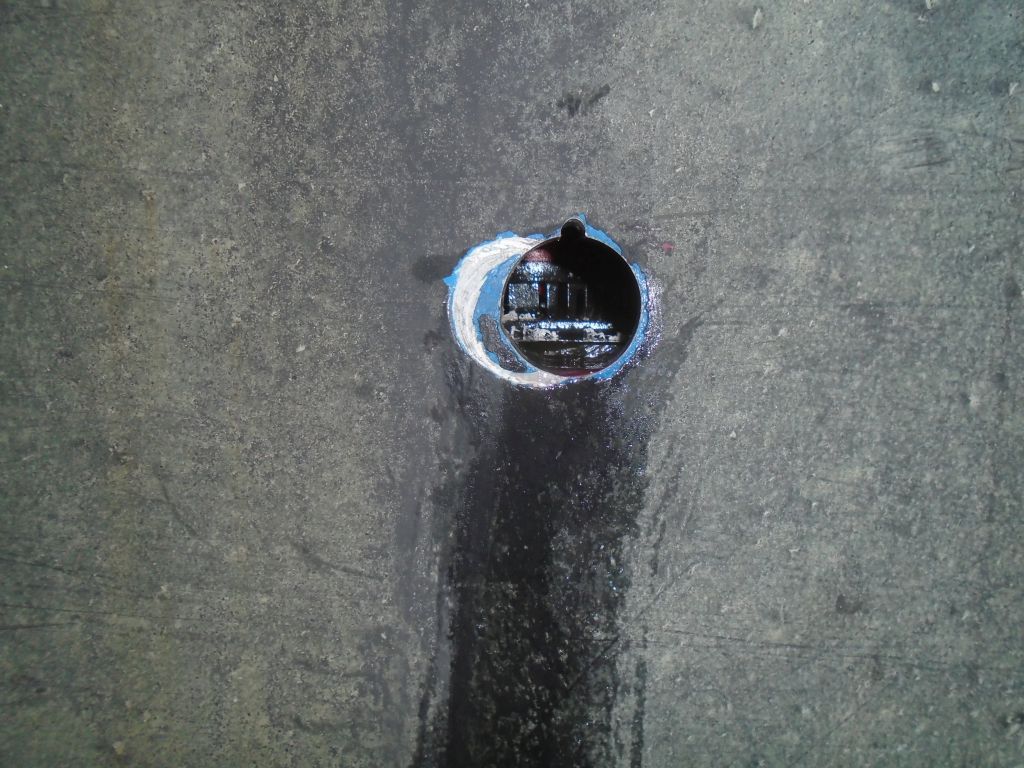
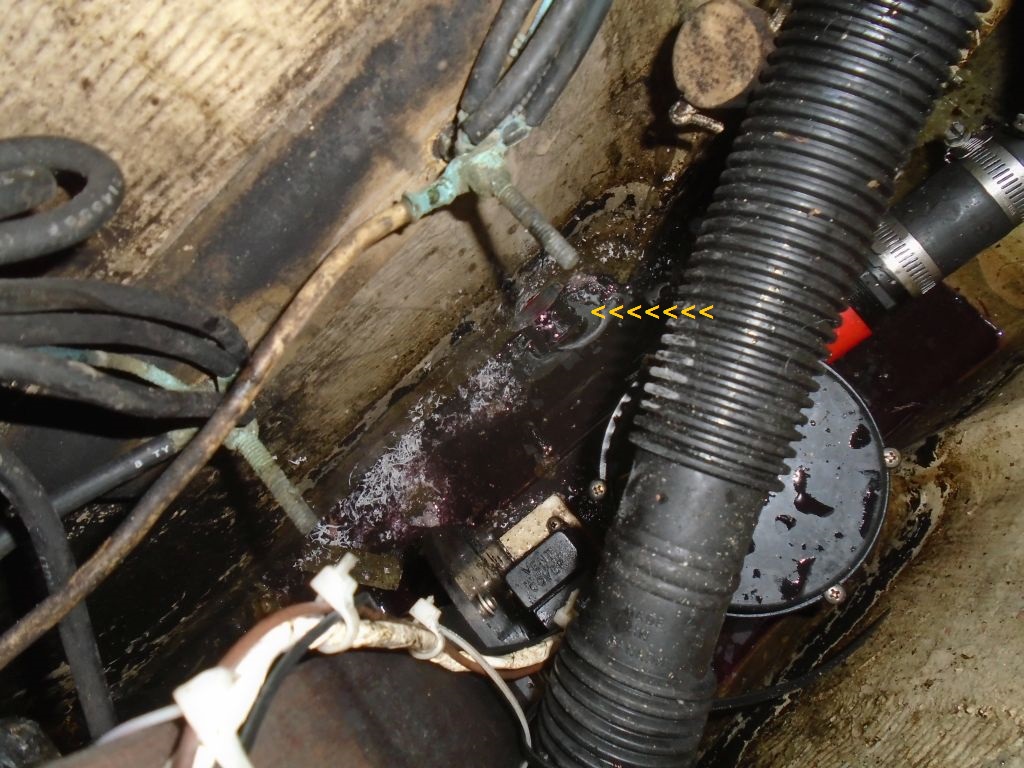
While in this neck of the woods, I scoped out the bilge to determine where to mount a new garboard drain. From inside the boat, through a small access hatch directly above the deepest portion of the bilge sump, I looked for obstructions and reference points I could use from outside, and measured down from the bolts securing a grounding plate that happened to be located right above the best location for the new drain. This made it pretty easy to recreate the location from outside, after which I drilled a 1/2″ test hole to drain the remaining liquid from the bilge (mostly antifreeze) and ensure that the location was where I wanted it.


Then, I could drill the 1-1/2″ hole (with key slot at the top) required for the new bronze drain fitting, which I didn’t yet have on hand but would order and install soon.

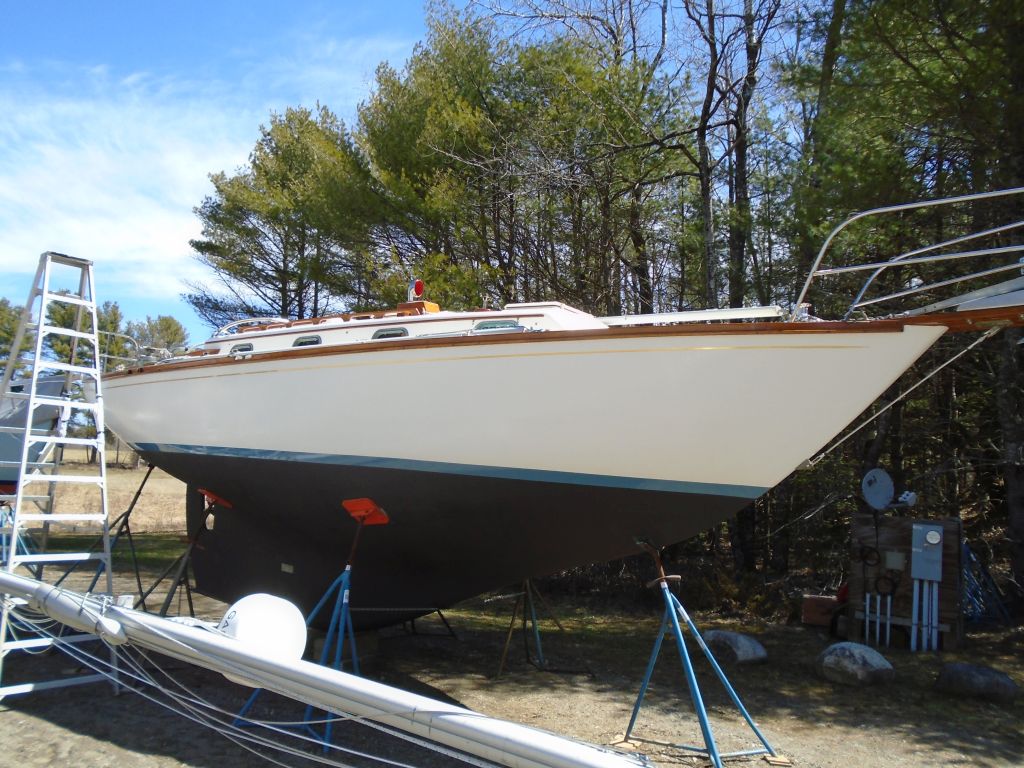
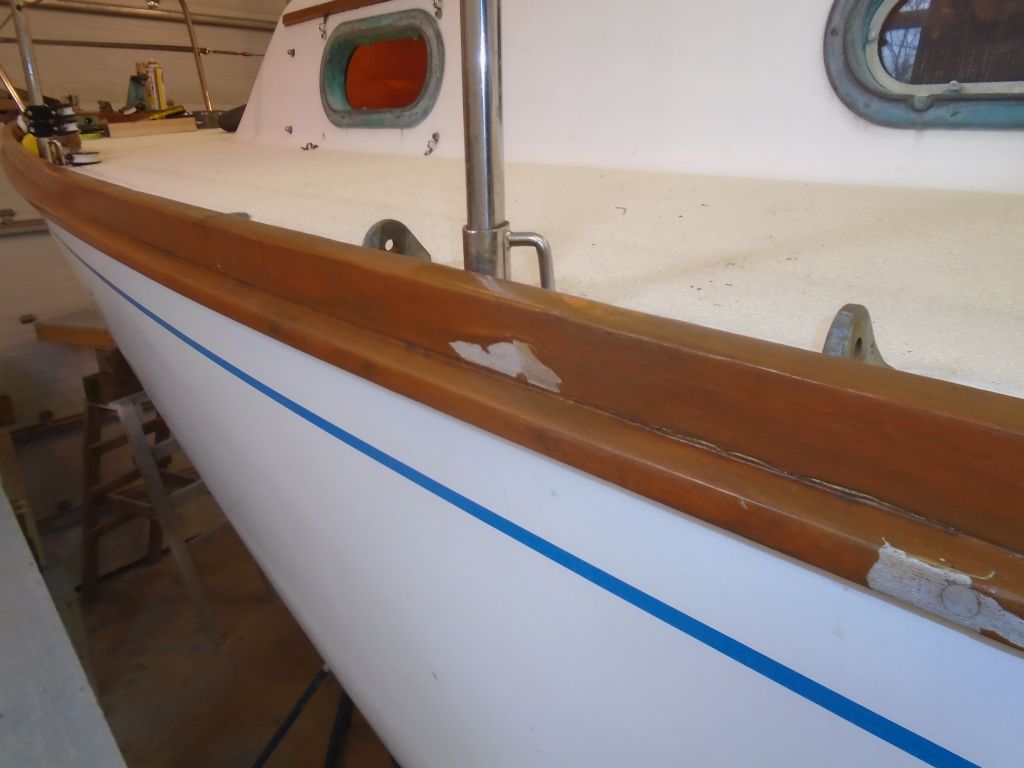
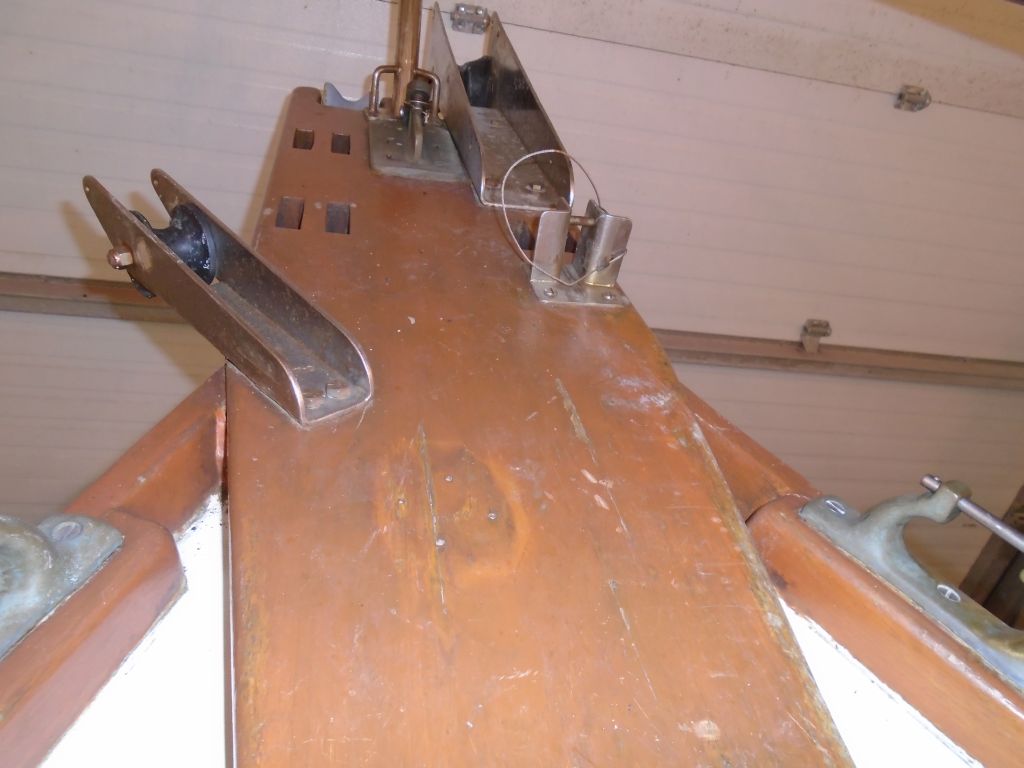
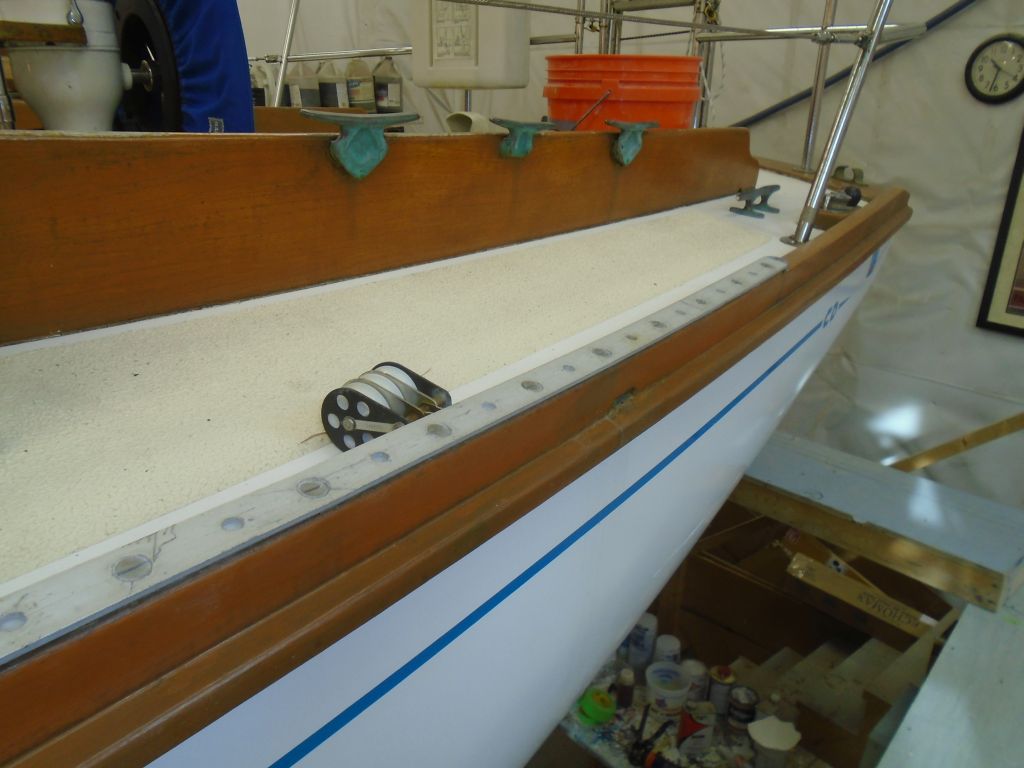
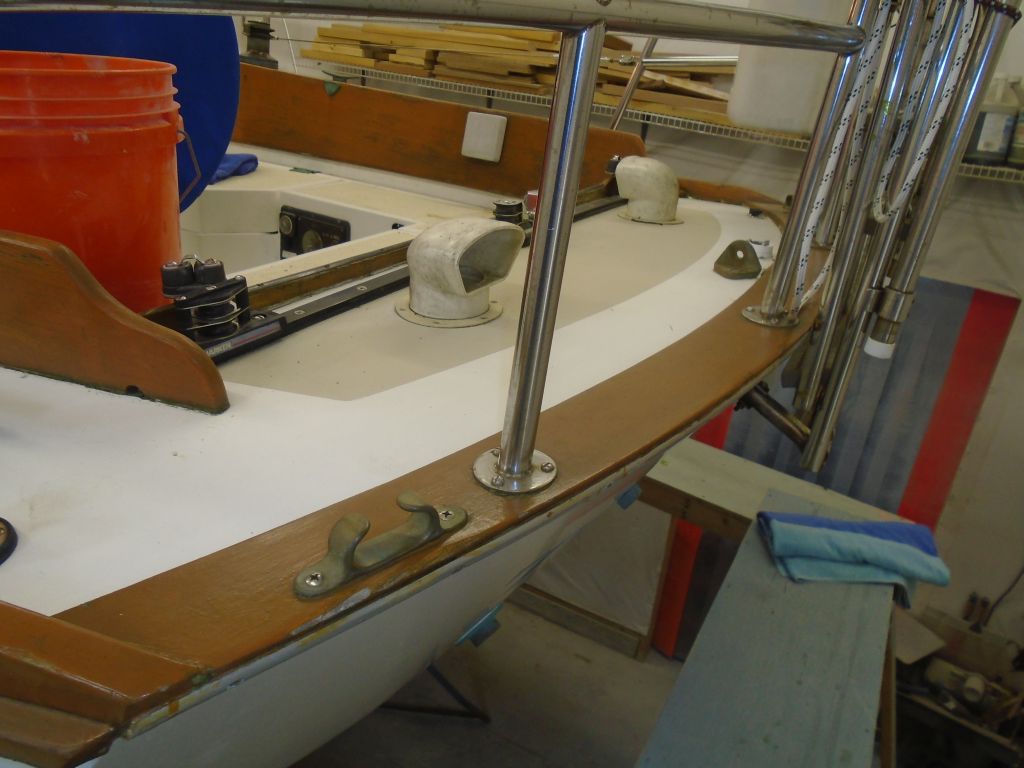
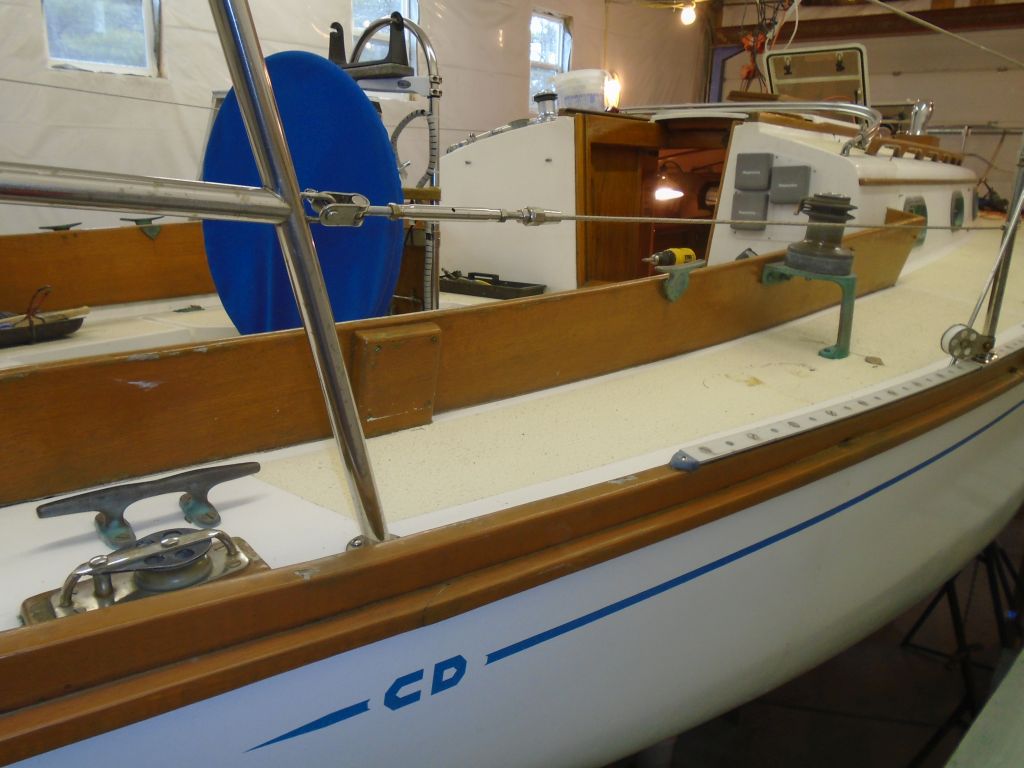
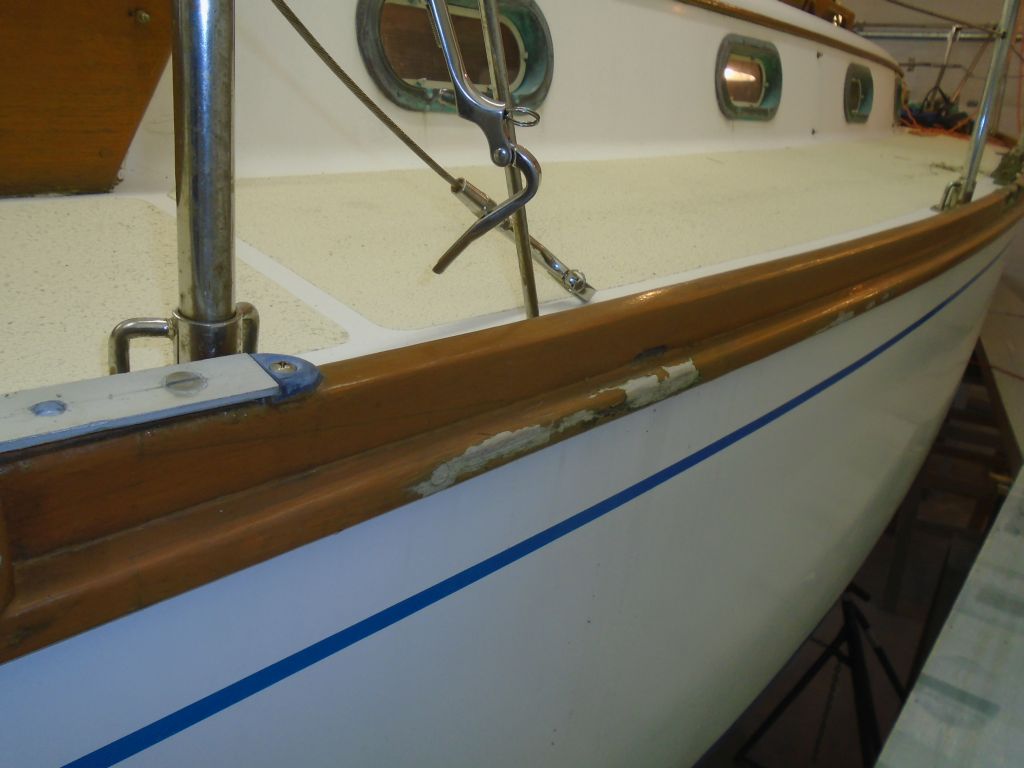
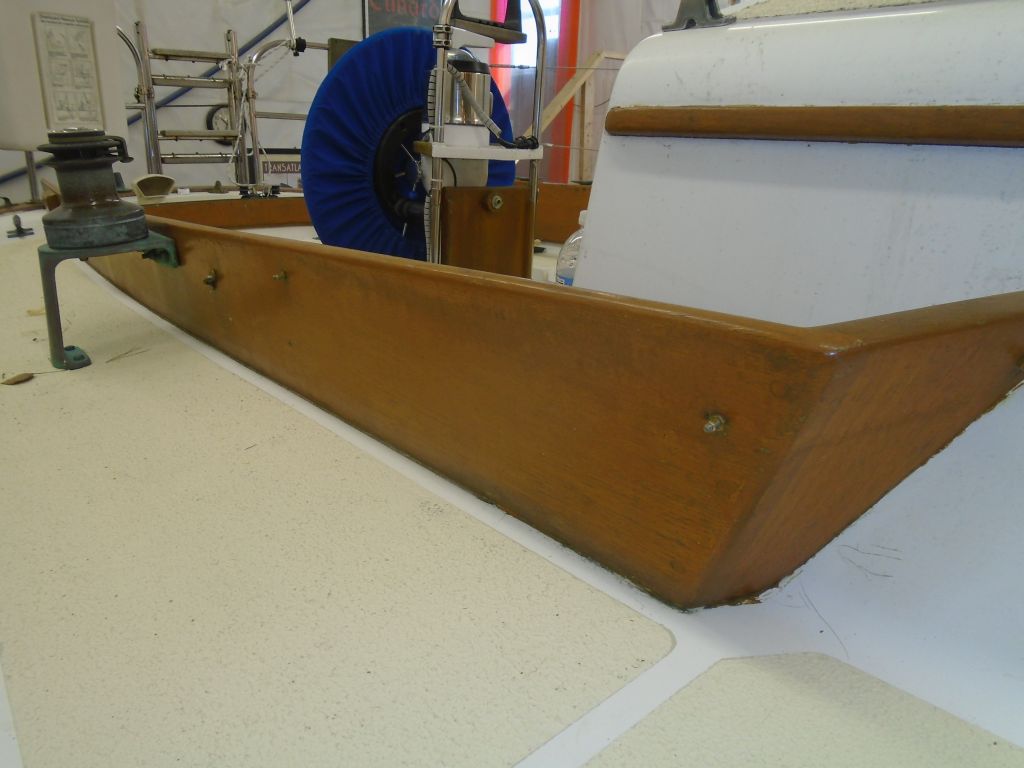
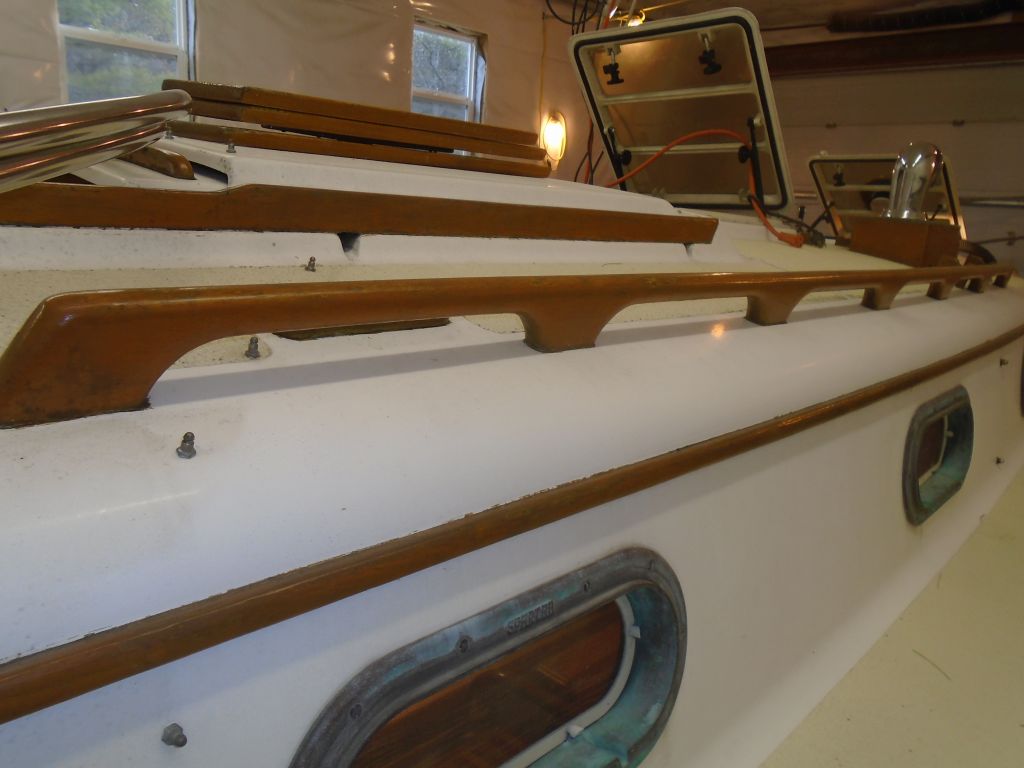
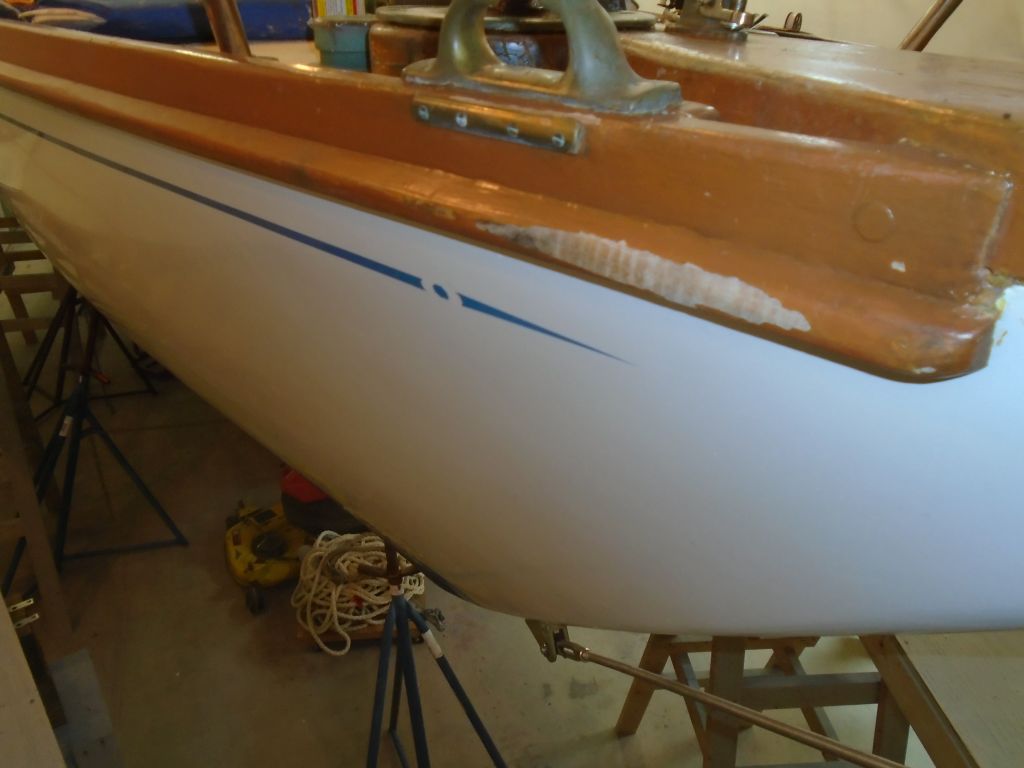
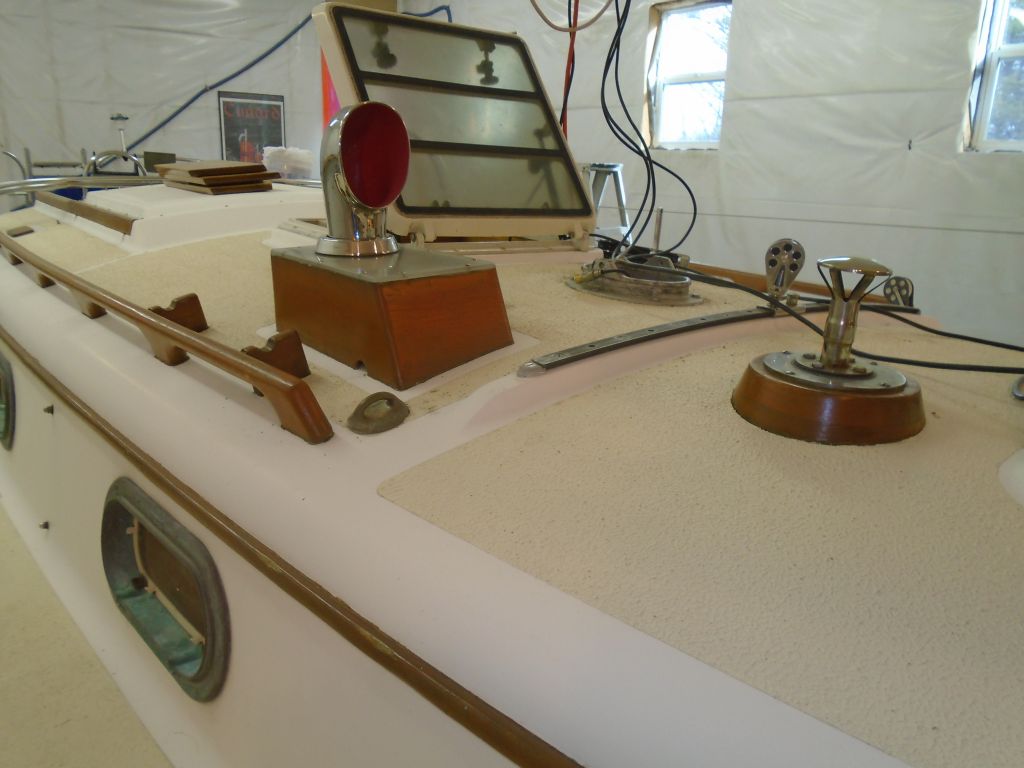
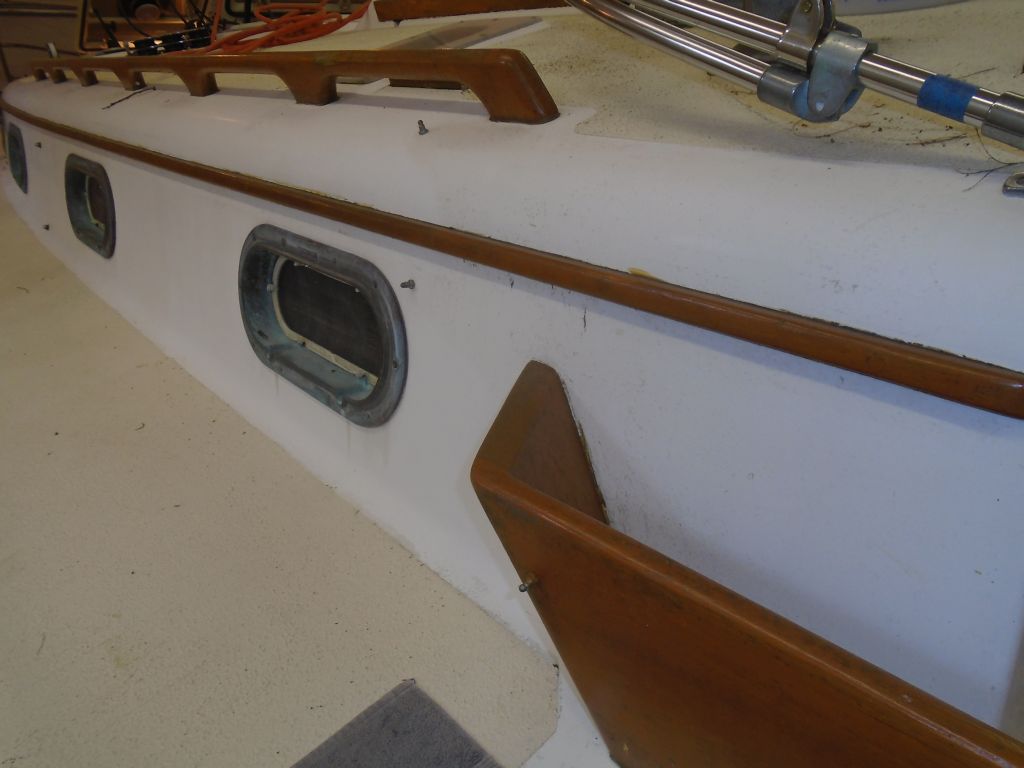
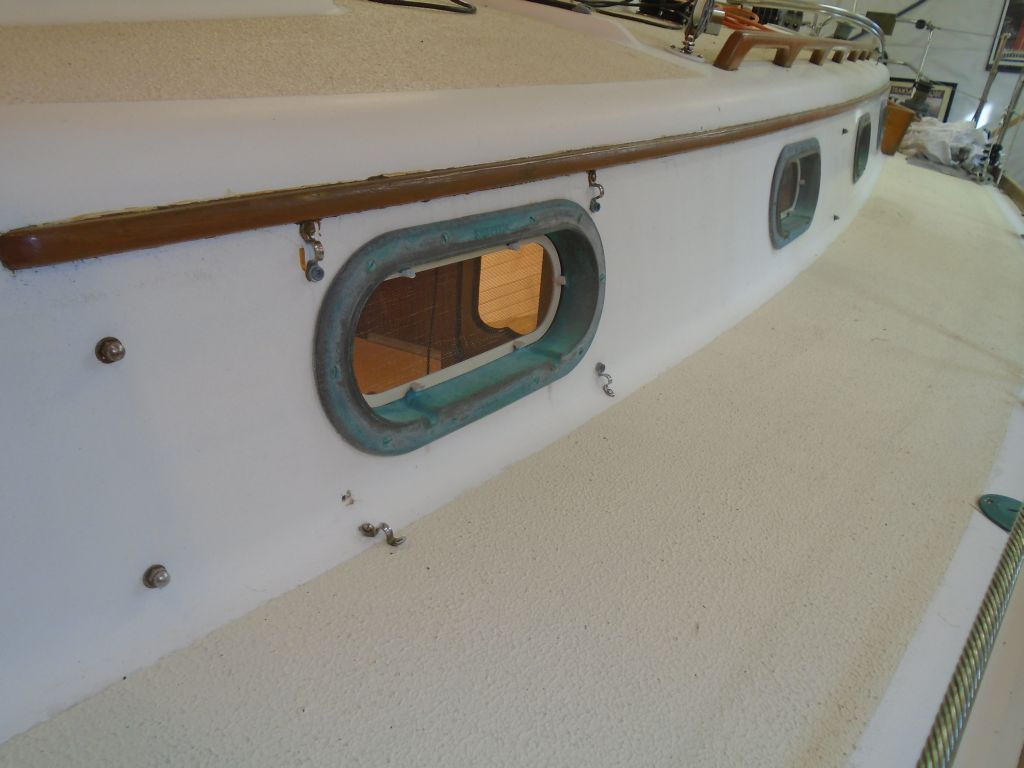
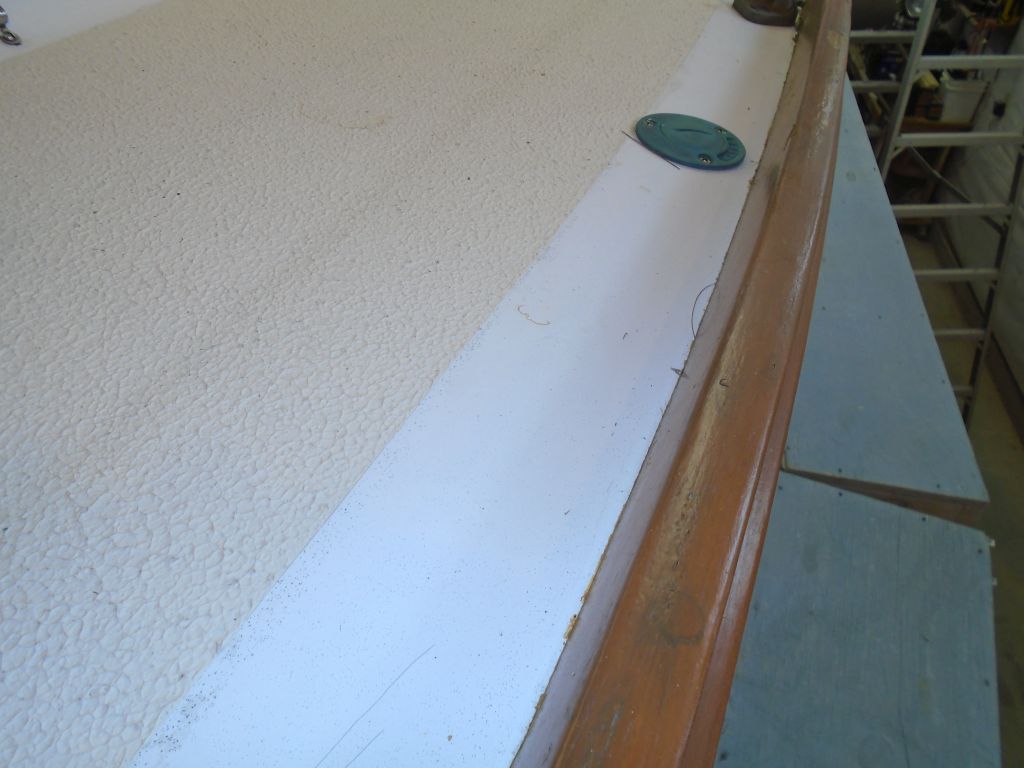
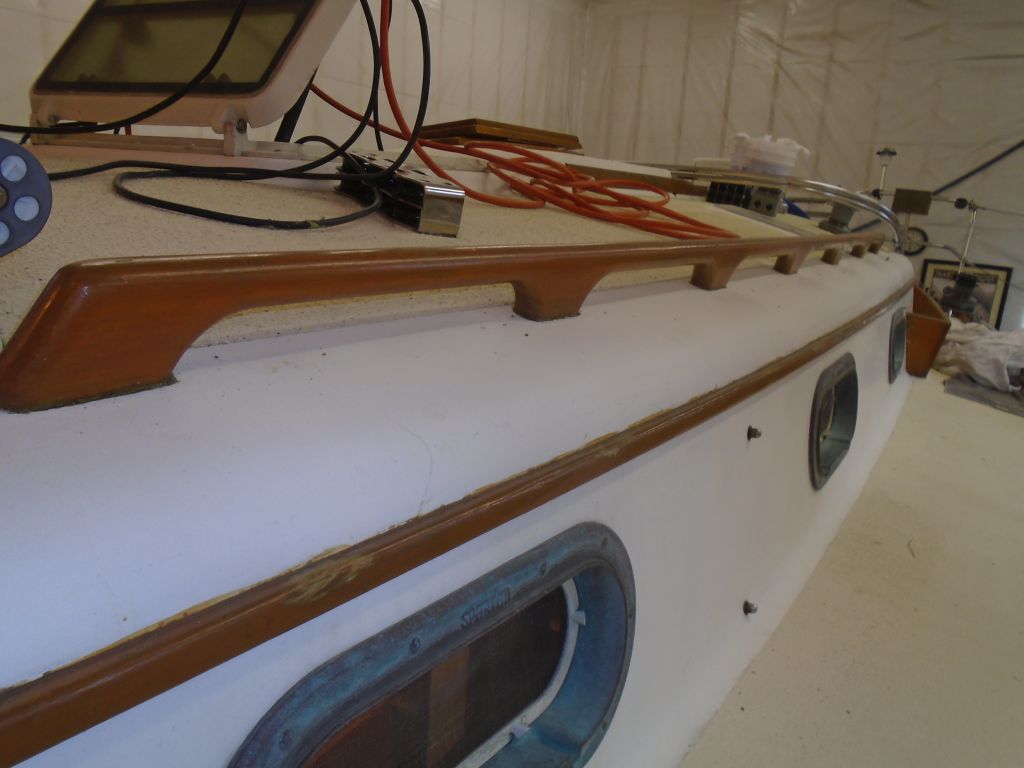
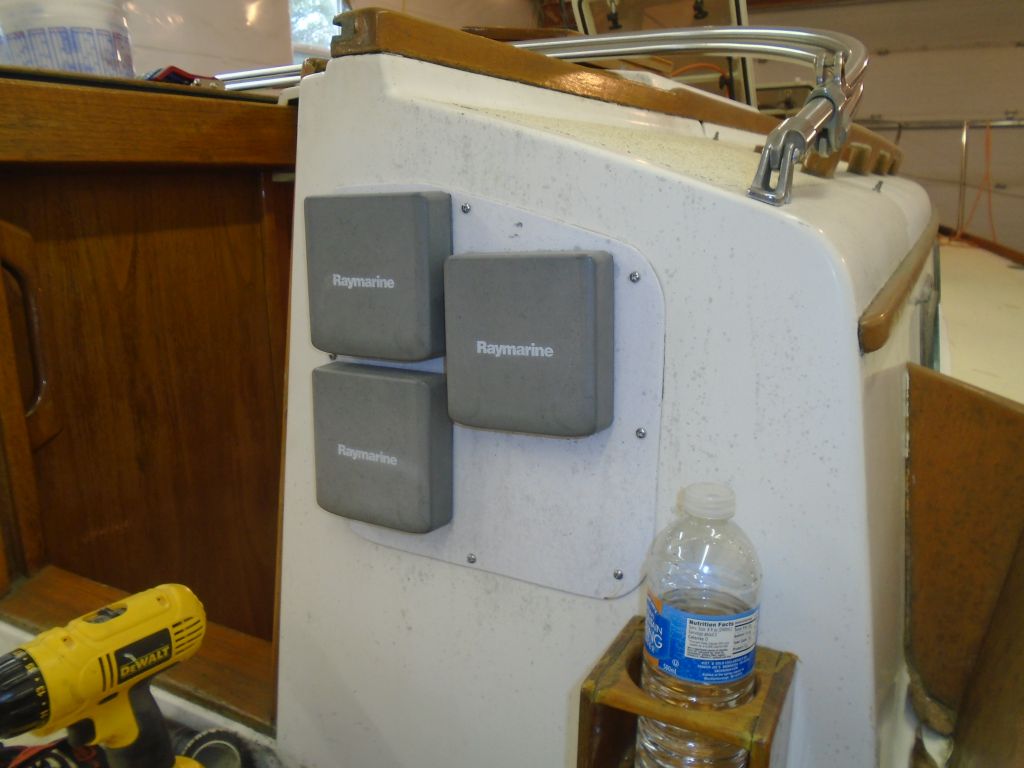
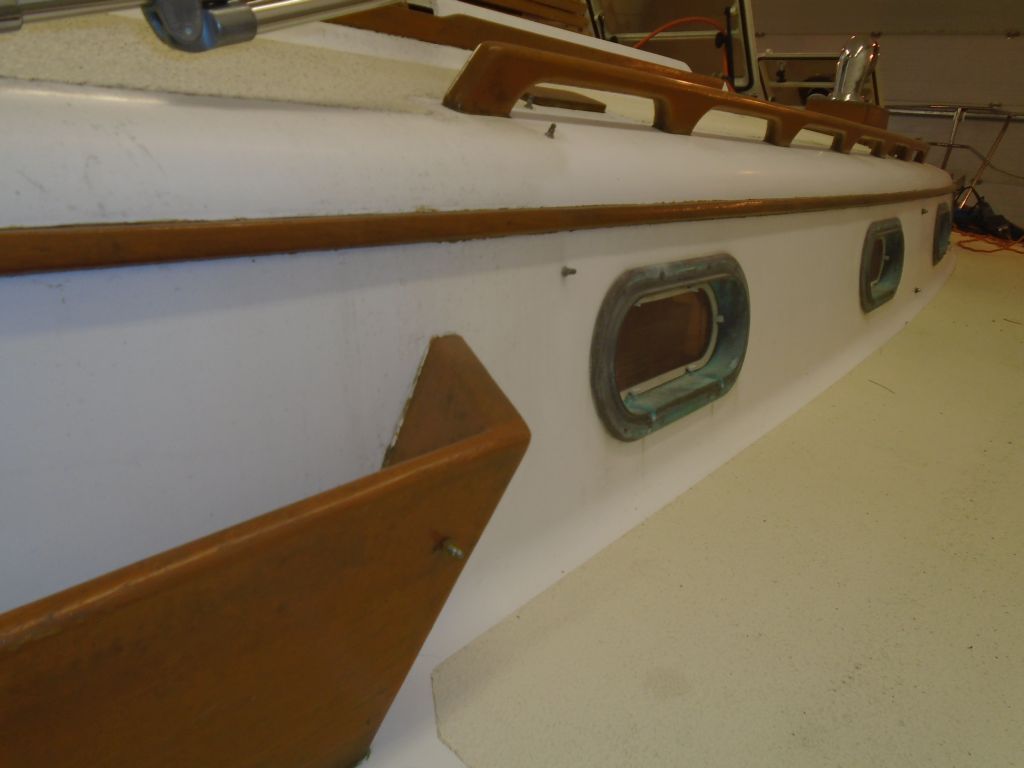
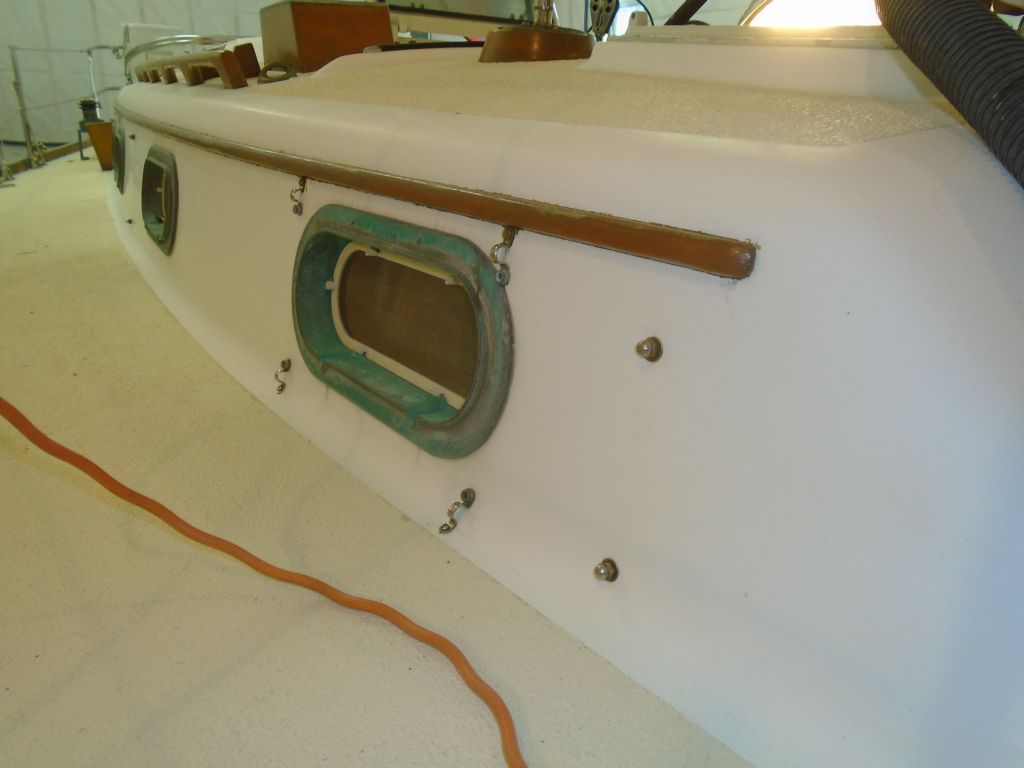
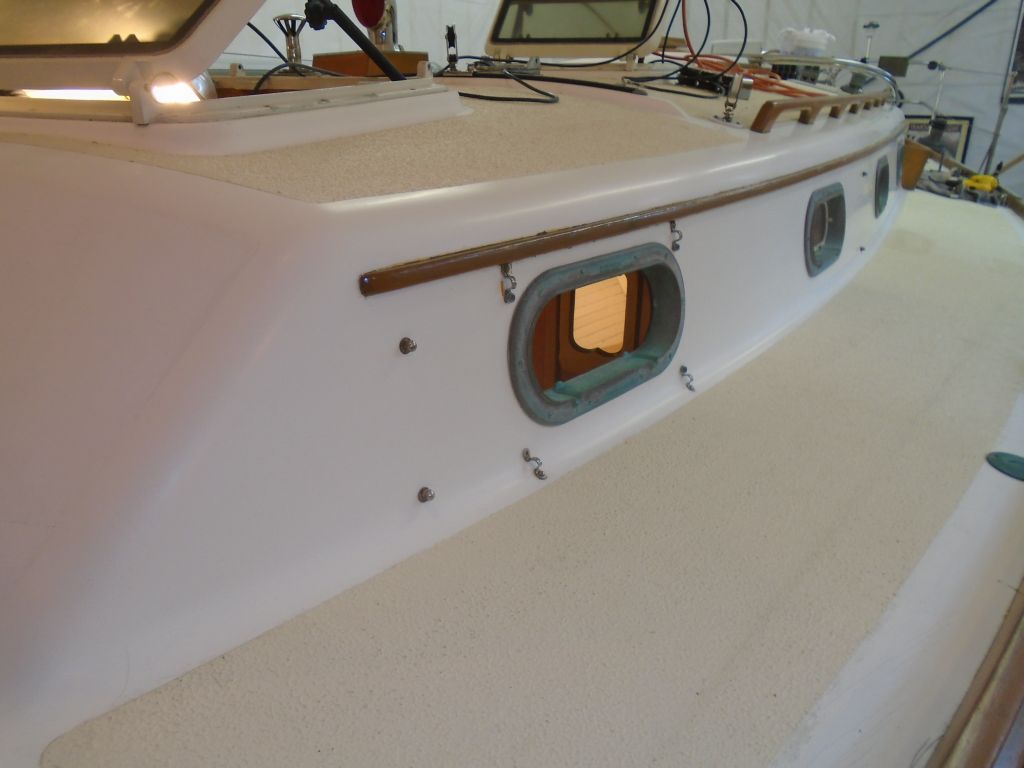
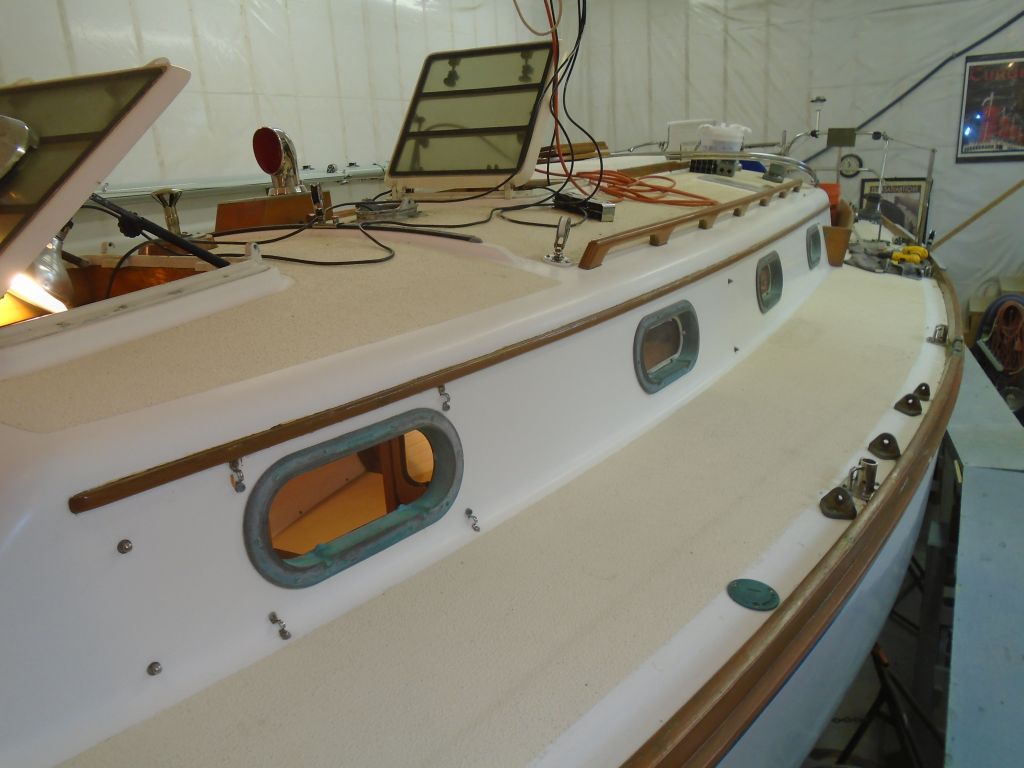
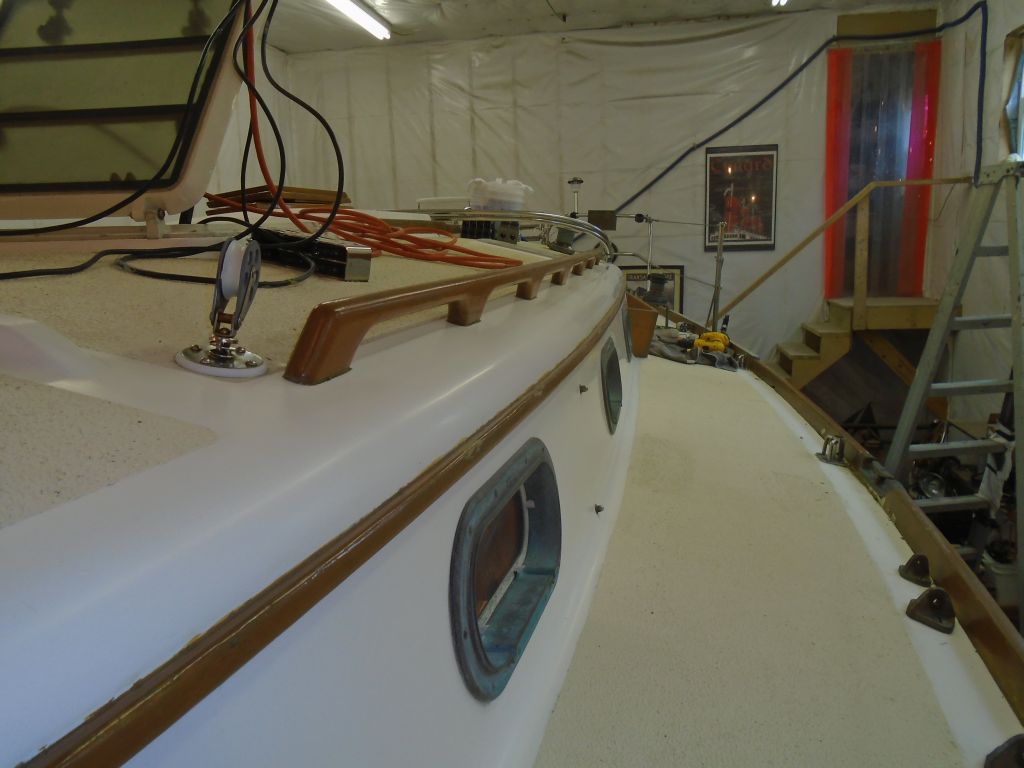
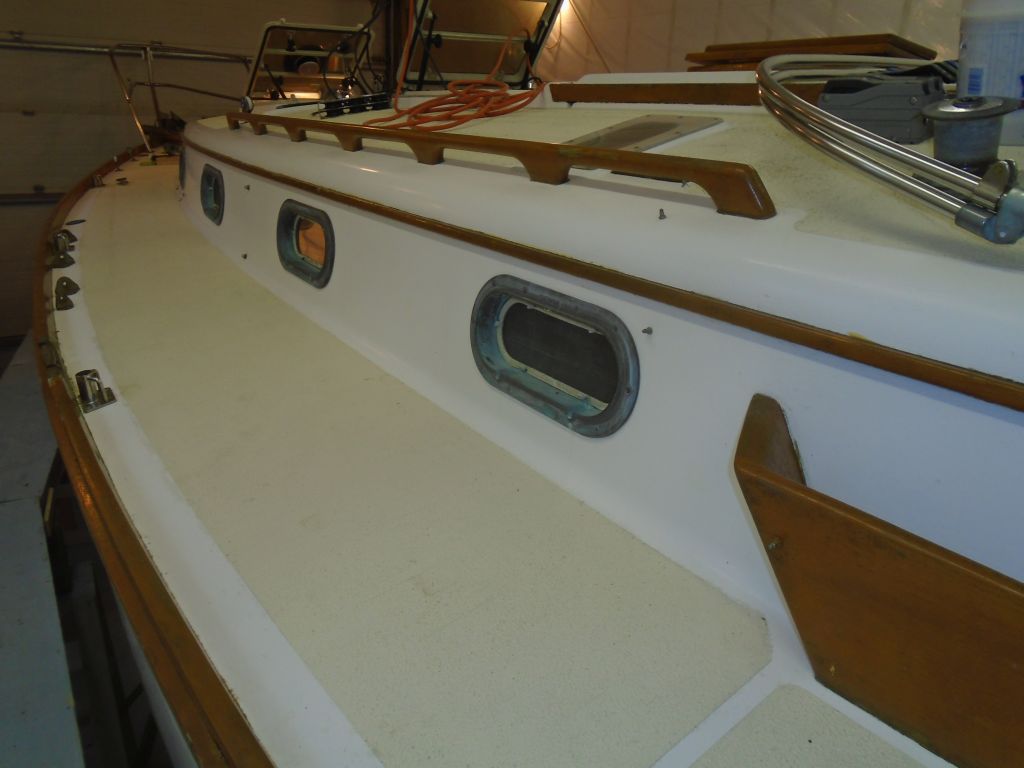
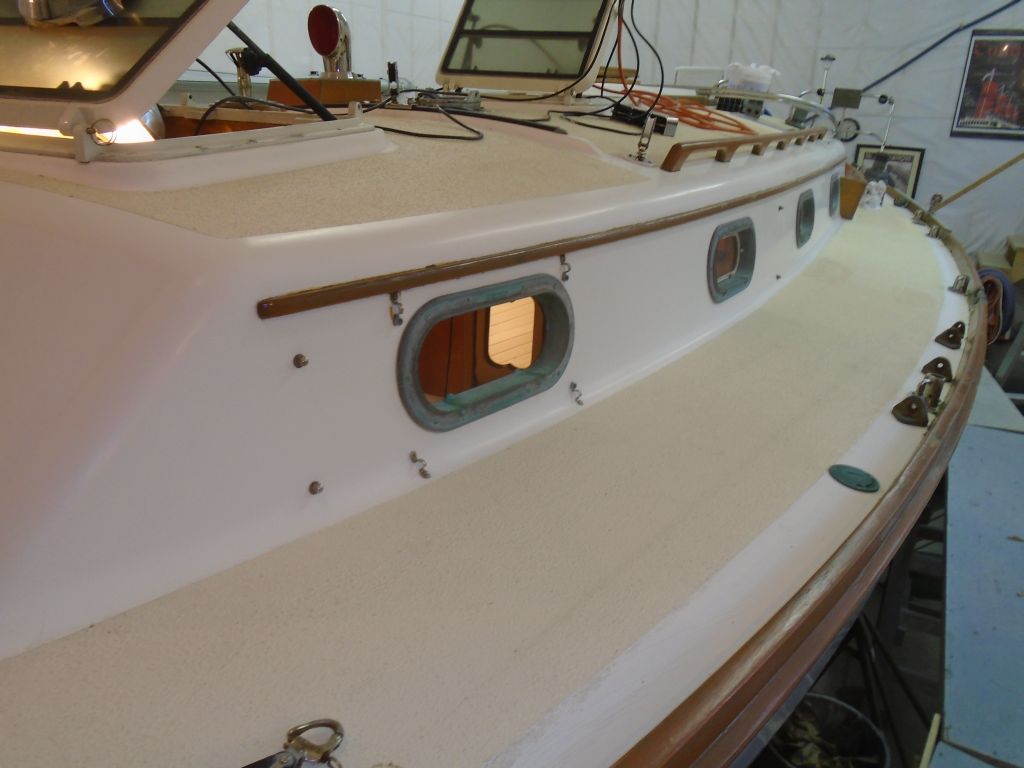
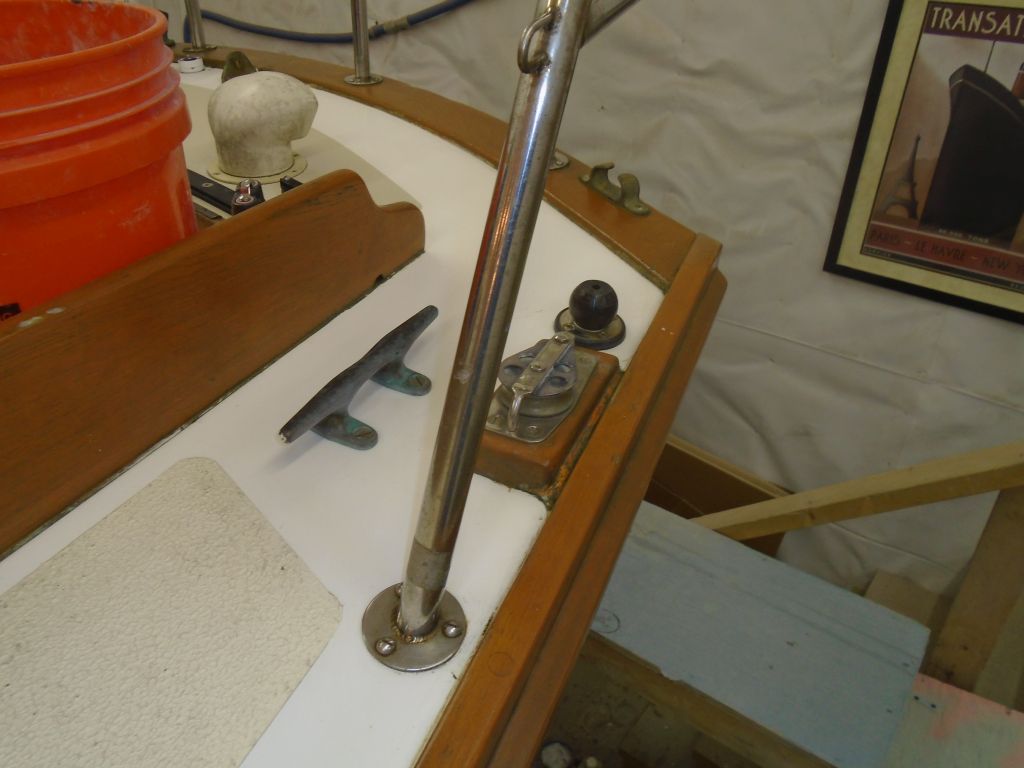
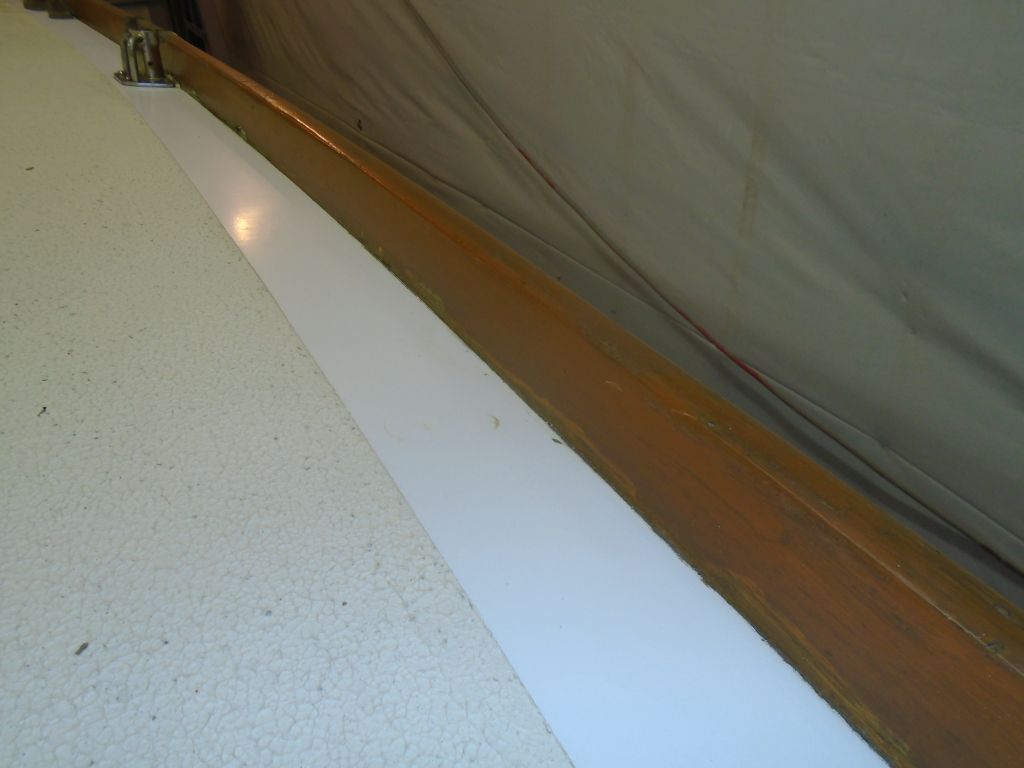
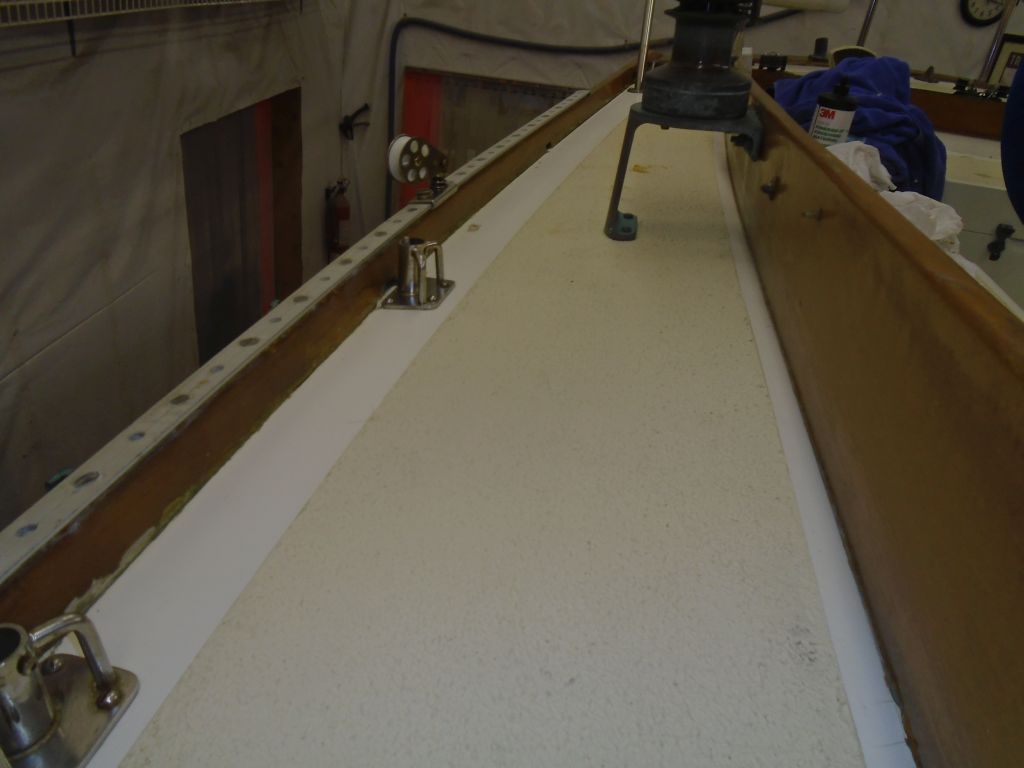
The largest single job on the work list for Danusia was the exterior brightwork, which required stripping and refinishing. The existing Cetol finish was tired overall and failing completely in many areas, and the owner wished to upgrade to varnish. With significant woodwork on deck, this would effect a dramatic improvement to the overall appearance of the boat. These photos show the general condition of some of the brightwork at the start of the job.


Before beginning down that road, however, I thought it’d be best to first work on the cleanup and polishing of the gelcoat on deck, another job on the project list. By doing this first, I could avoid worrying about damaging new varnish work with abrasive polishes, and any residue I might get on the woodwork now would be removed during the stripping and sanding process ahead. The gelcoat, which appeared to be original (though the nonskid had been redone at some point), was in generally good condition for its age, approximately 30 years, and I thought it would clean up fairly well all things considered. At the moment, it was dirty and oxidized.
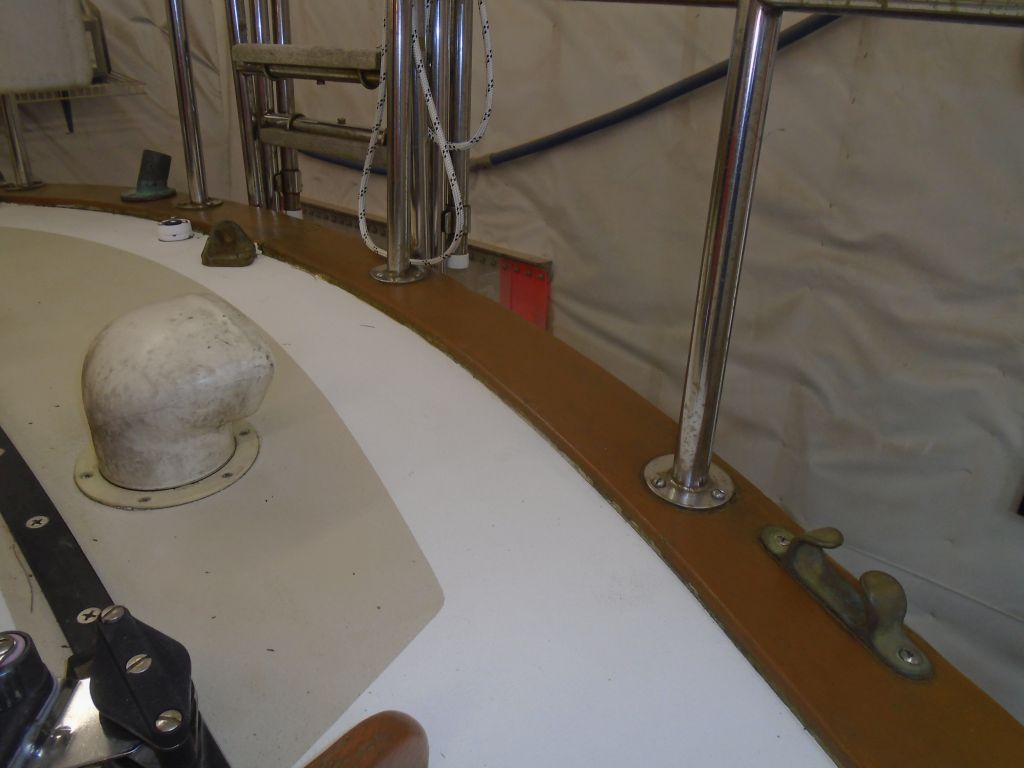

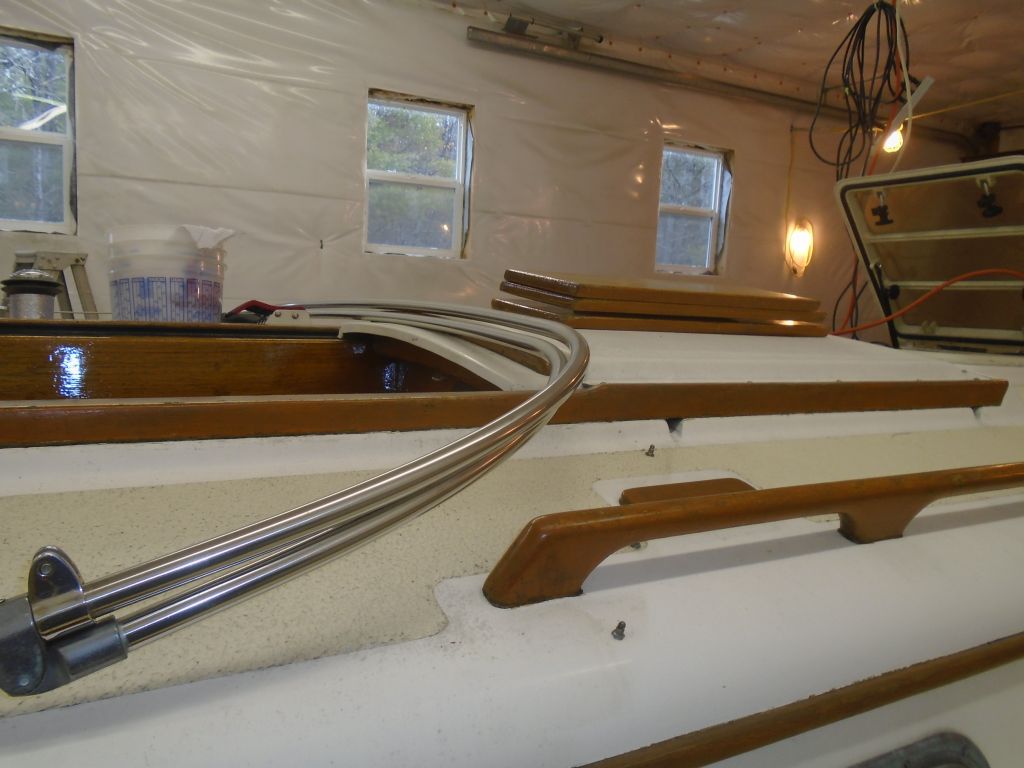
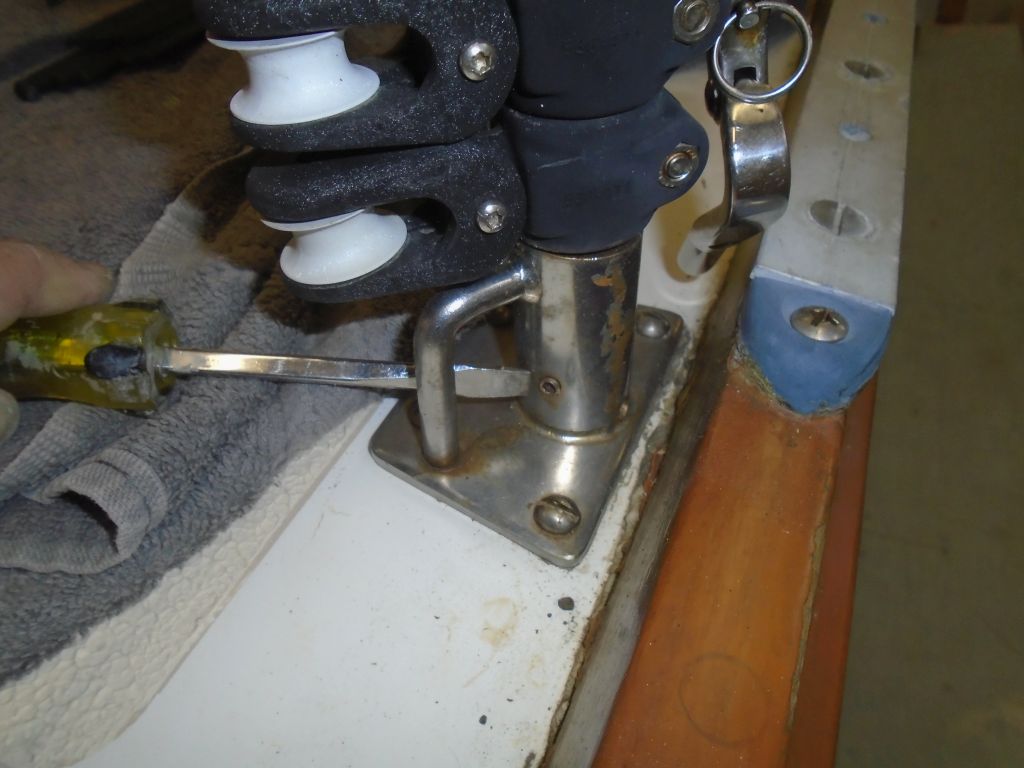
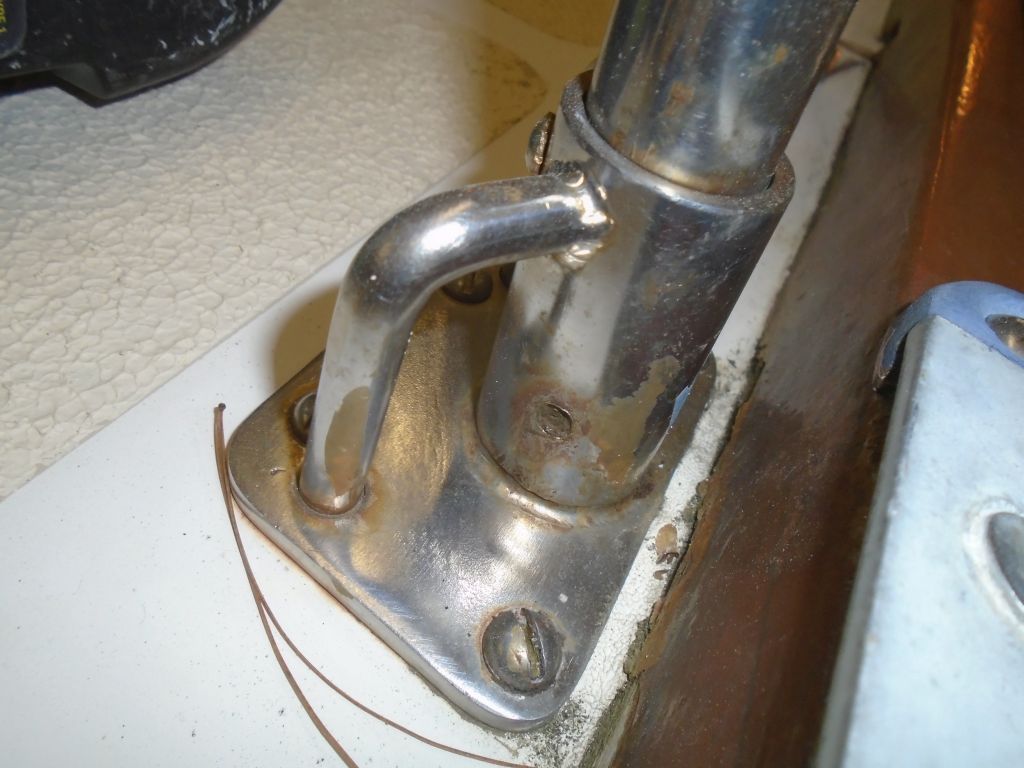
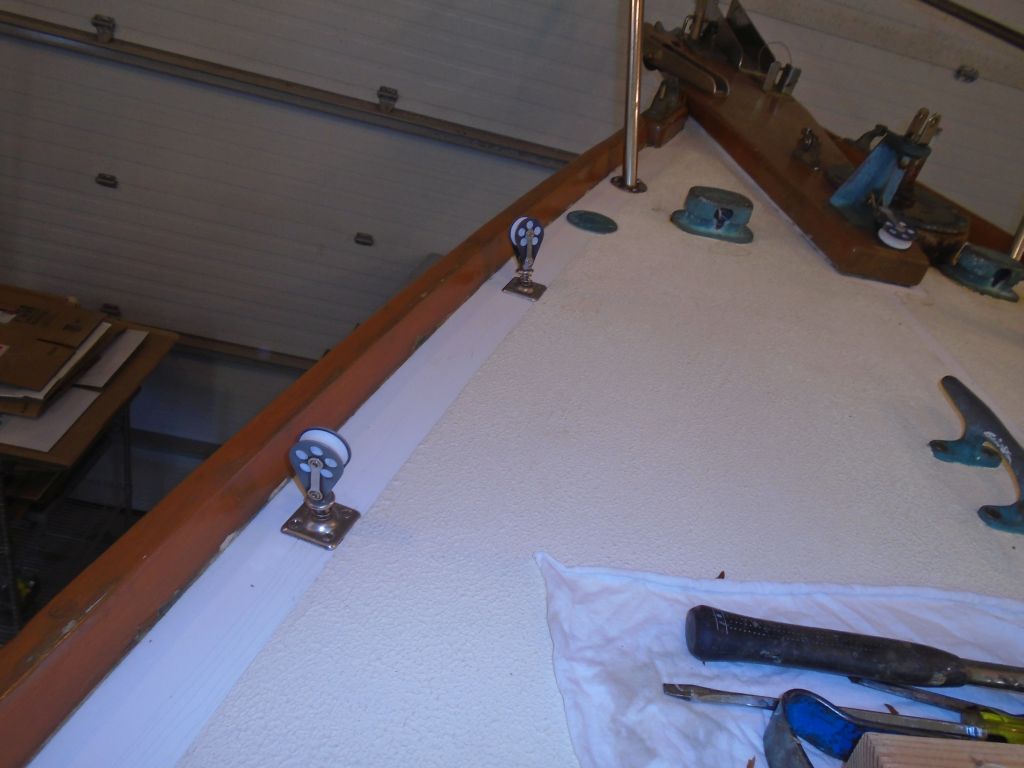
Starting randomly on the port side, I prepared to clean up and polish the gelcoat on the cabin trunk and deck areas. I soon found that the lifelines were inconveniently in the way, and since removing the stanchions was something that was going to happen at some point anyway to allow me to add or redo stanchion tube fasteners and set screws (and also to make way for a new winter cover), I went ahead and did it now, first on the port side and later to starboard. While the stanchion bases included one screw opening for a fixing screw into the stanchion, which secured the stanchions well, many of them were wobbly in the bases, a condition the owner didn’t care for, and adding set screws would tighten them and prevent this from happening. I was prepared to drill and tap the bases for new set screws, but as I began the removal I noticed that all the bases already had a place for a set screw, though in most cases there was no fastener in place.

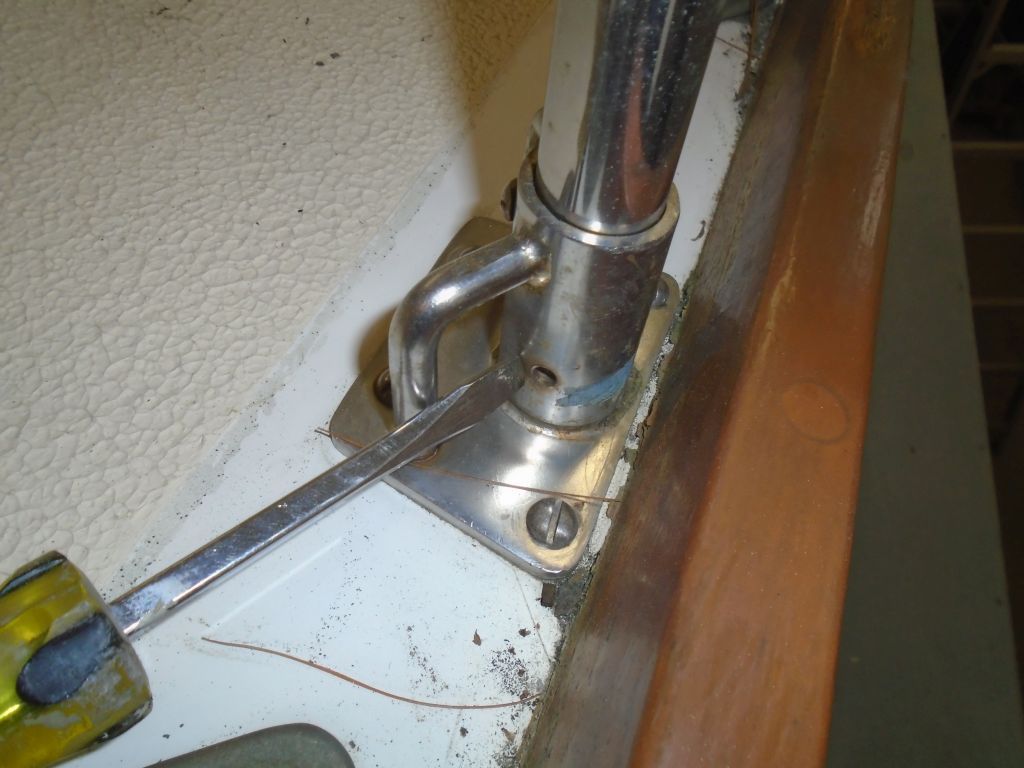

This was good news since it would save the challenge of creating these holes from scratch later. So without further delay, I removed the stanchions and lifelines, and got back to work on the gelcoat polishing on the port side, and eventually moved around the transom towards the starboard, where I’d continue next time. The old gelcoat looked much better afterwards, clean and with some shine and much improved, though the gelcoat was growing thin and showing its overall age and would never look brand new again.

Total time billed on this job today: 5.75 hours
0600 Weather Report:
30°, mostly clear. Forecast for the day: clouds and sun, breezy, around 40