Wednesday
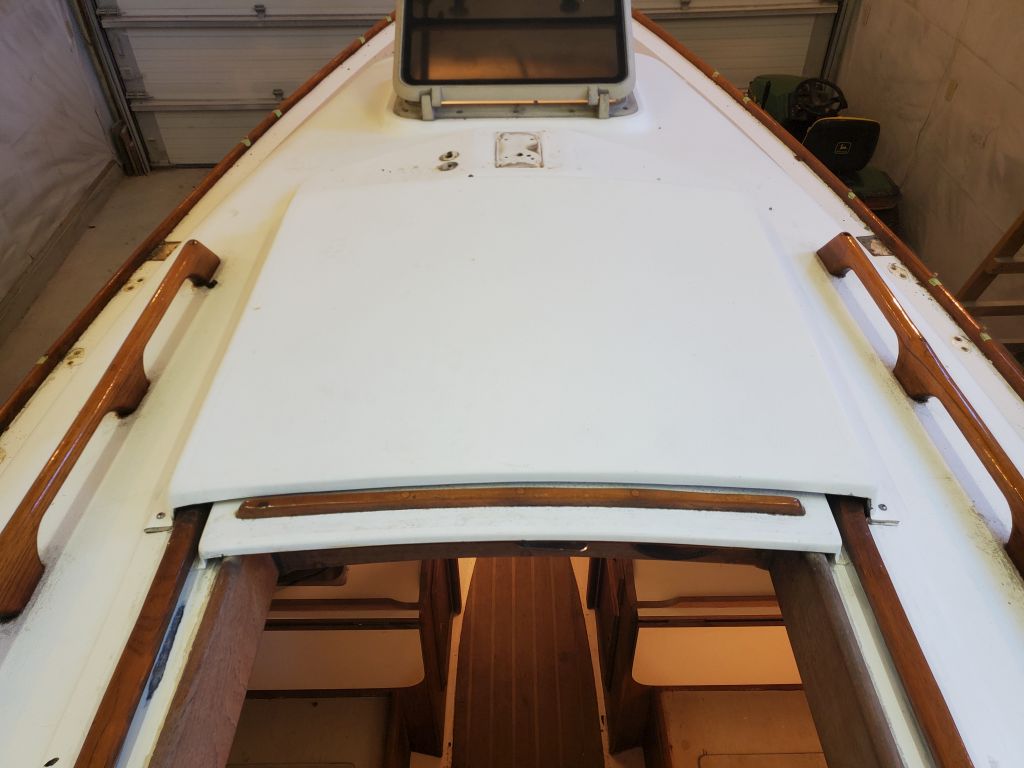
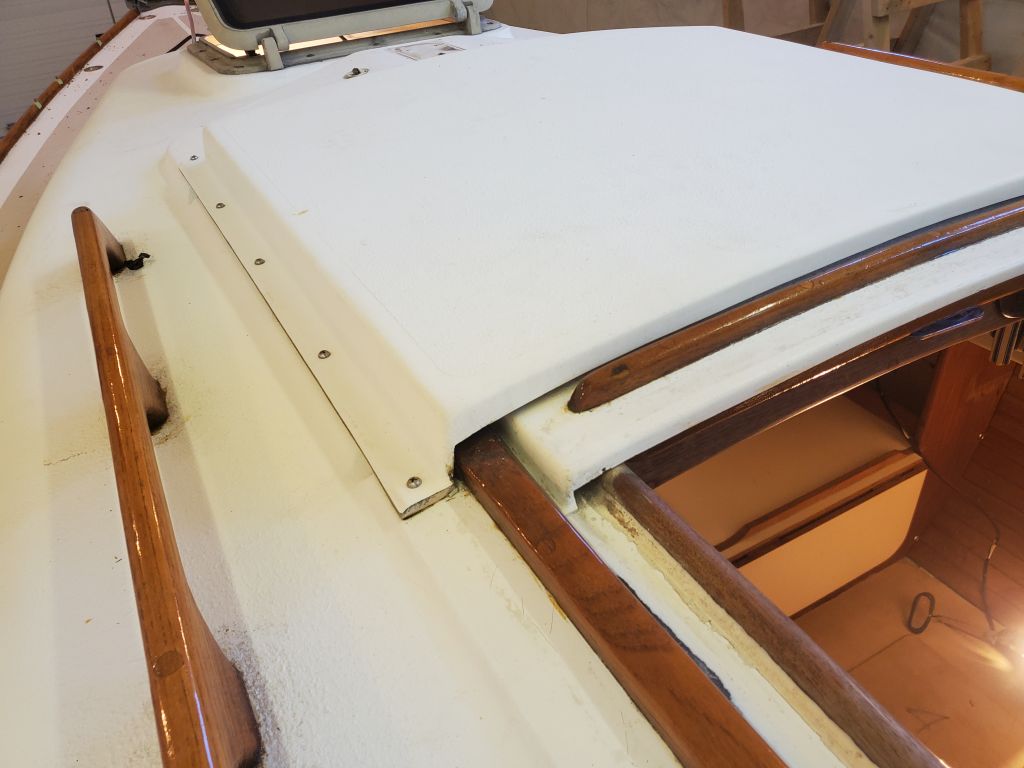
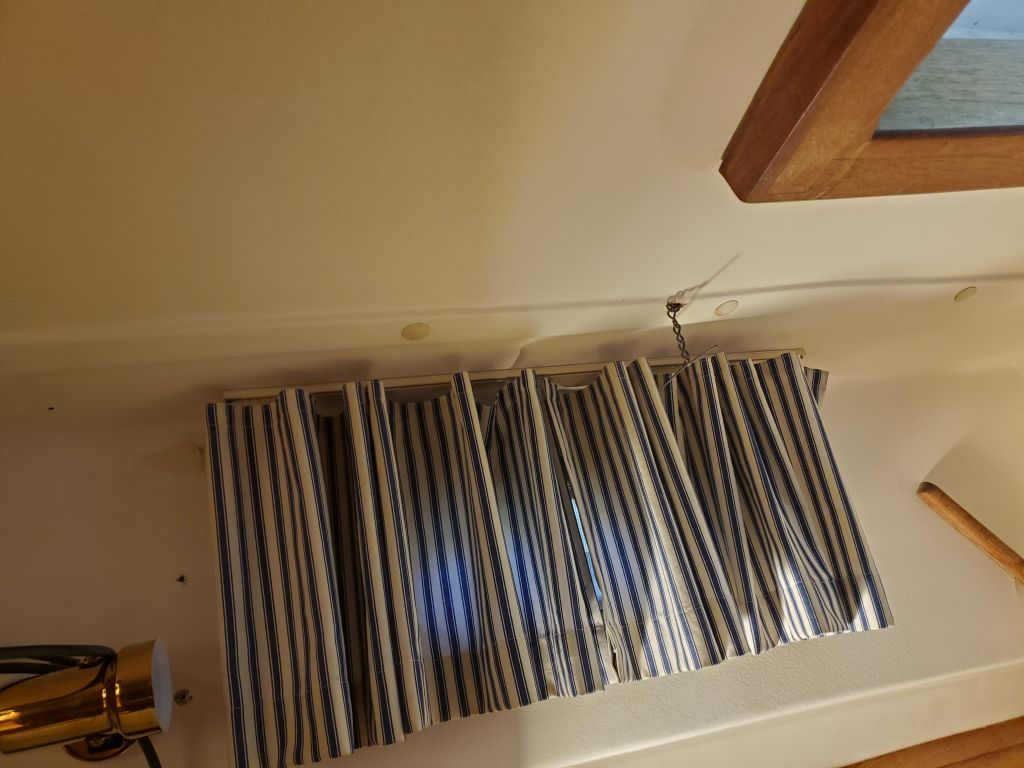
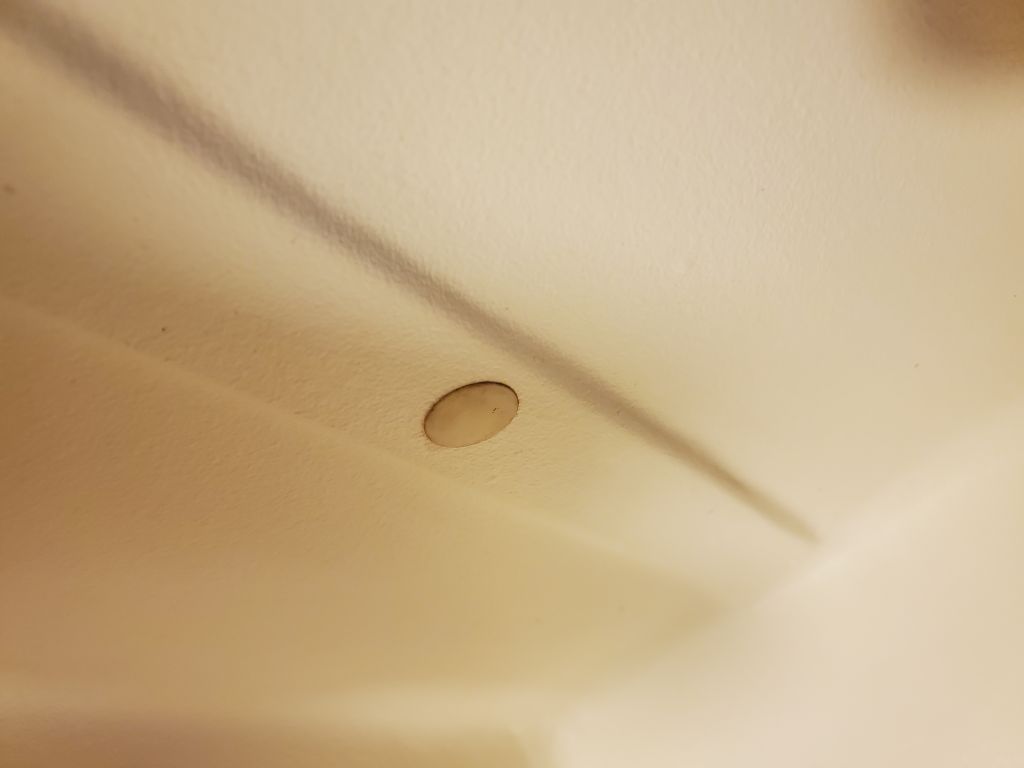
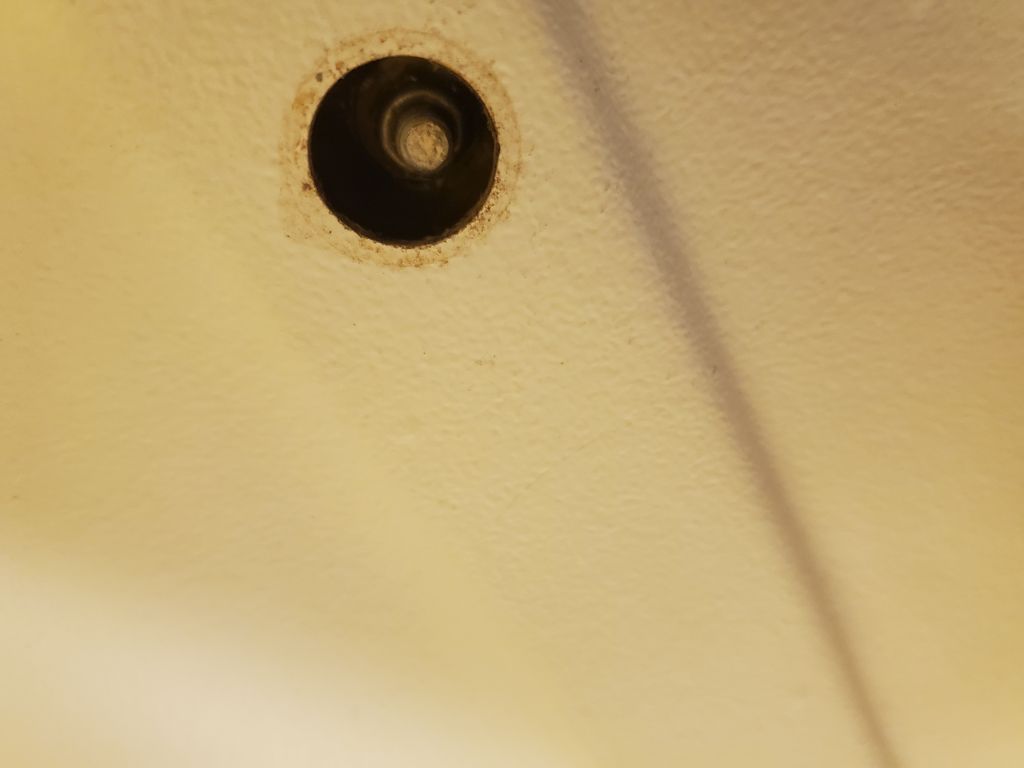
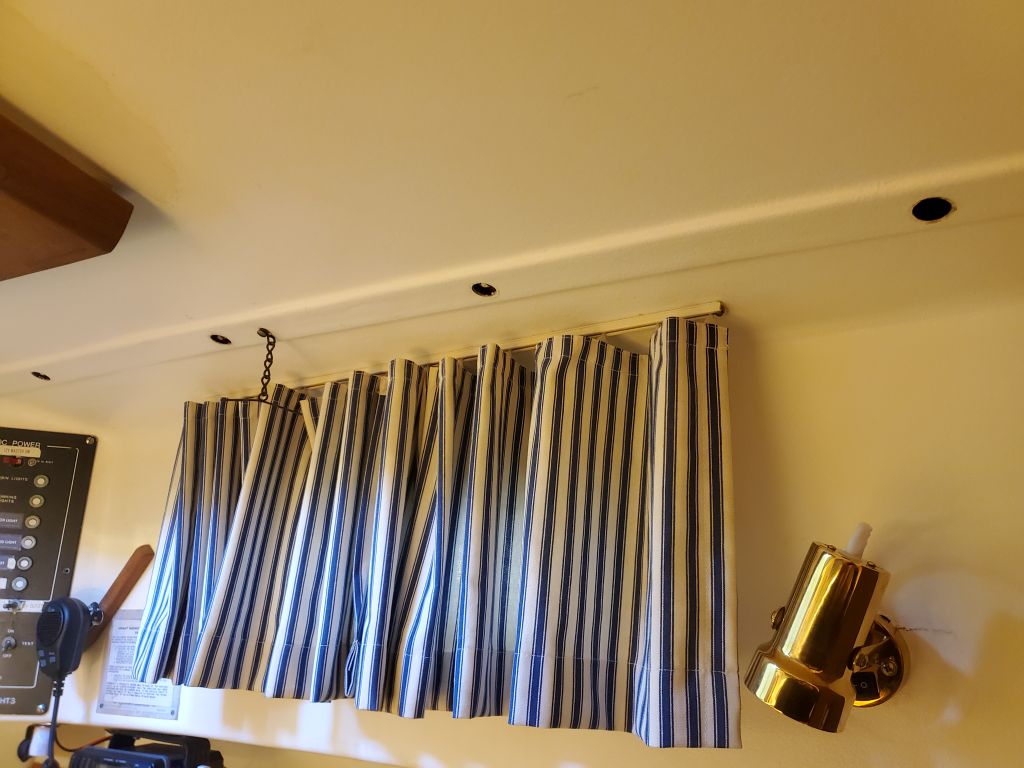
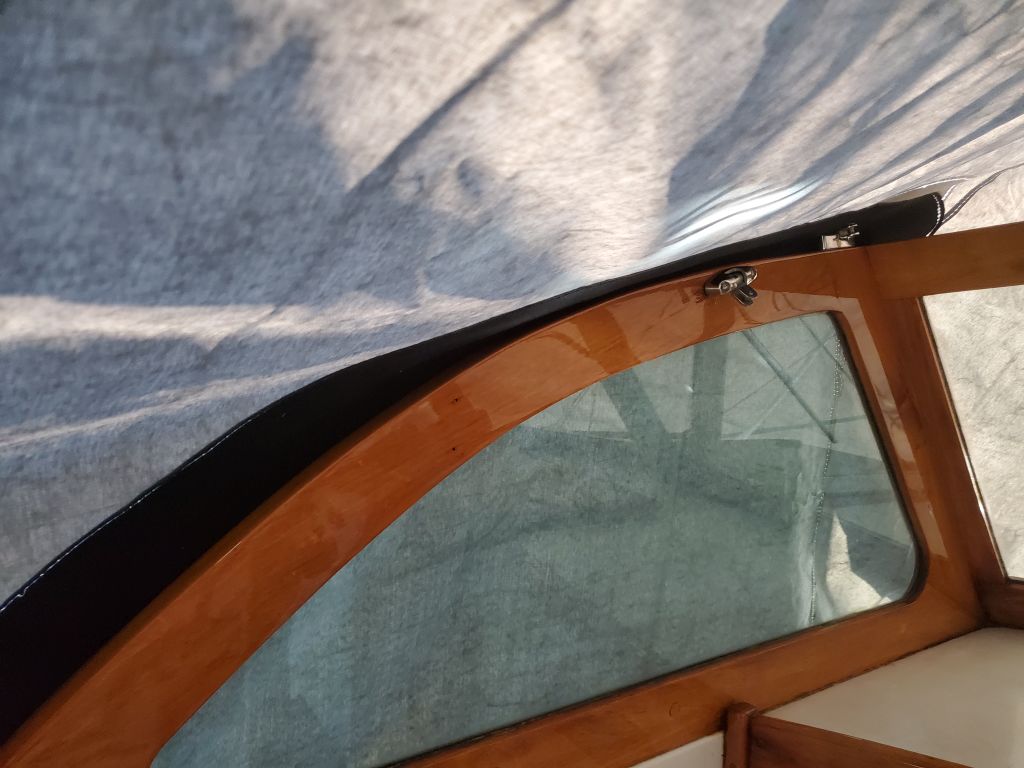
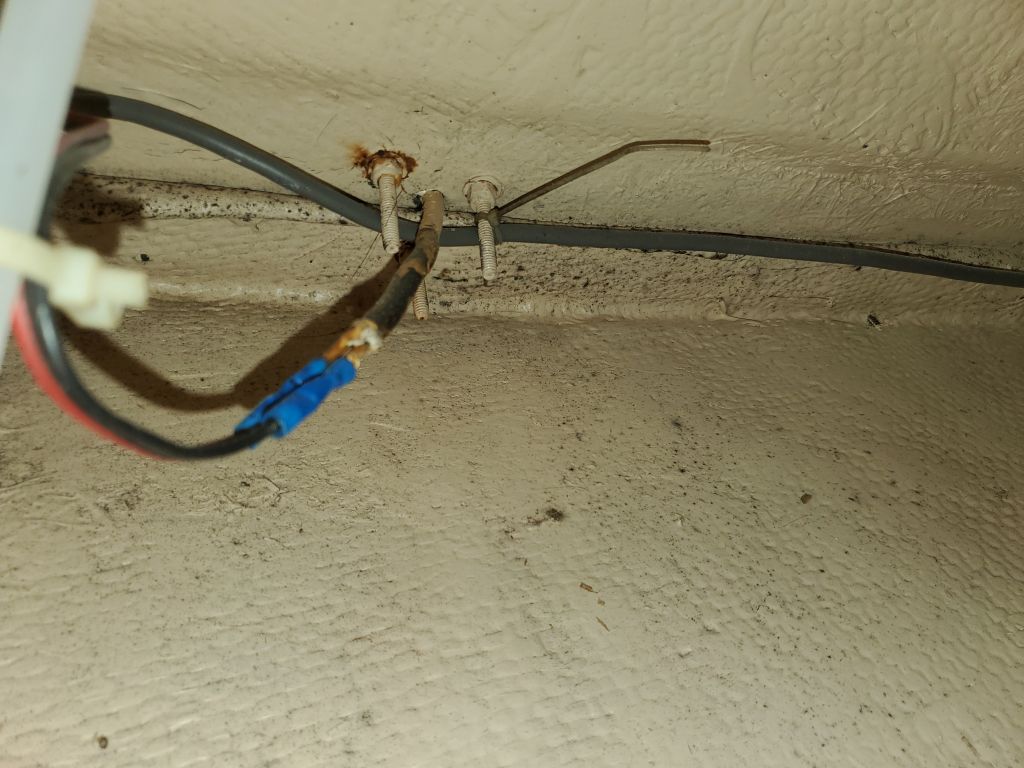
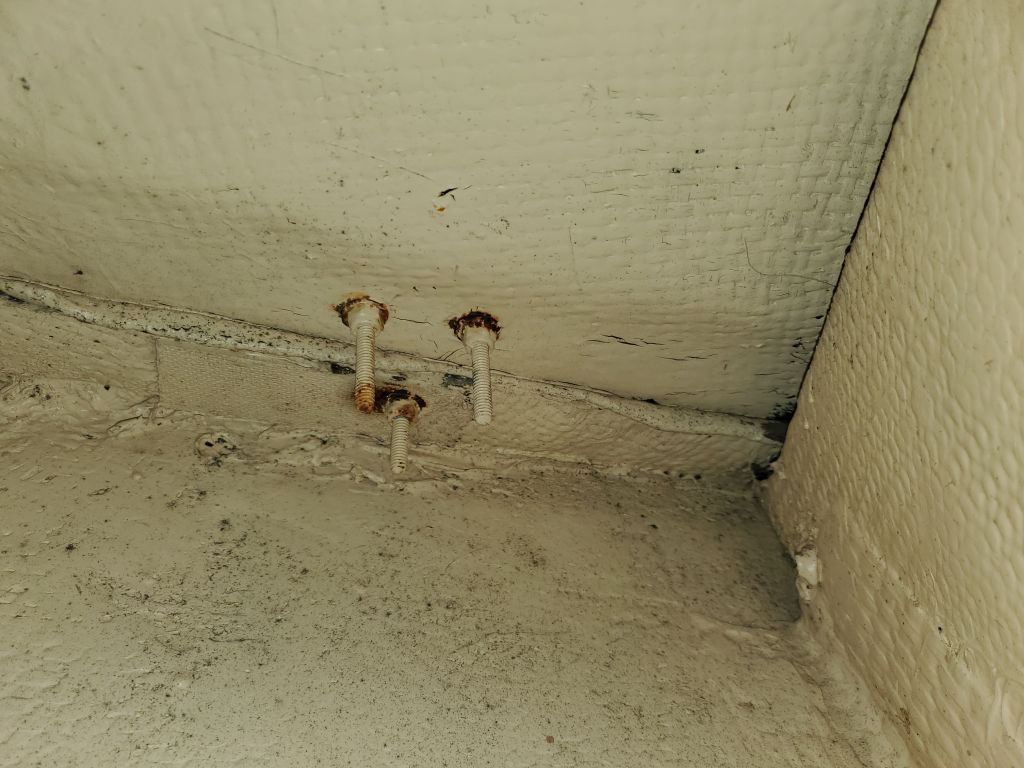
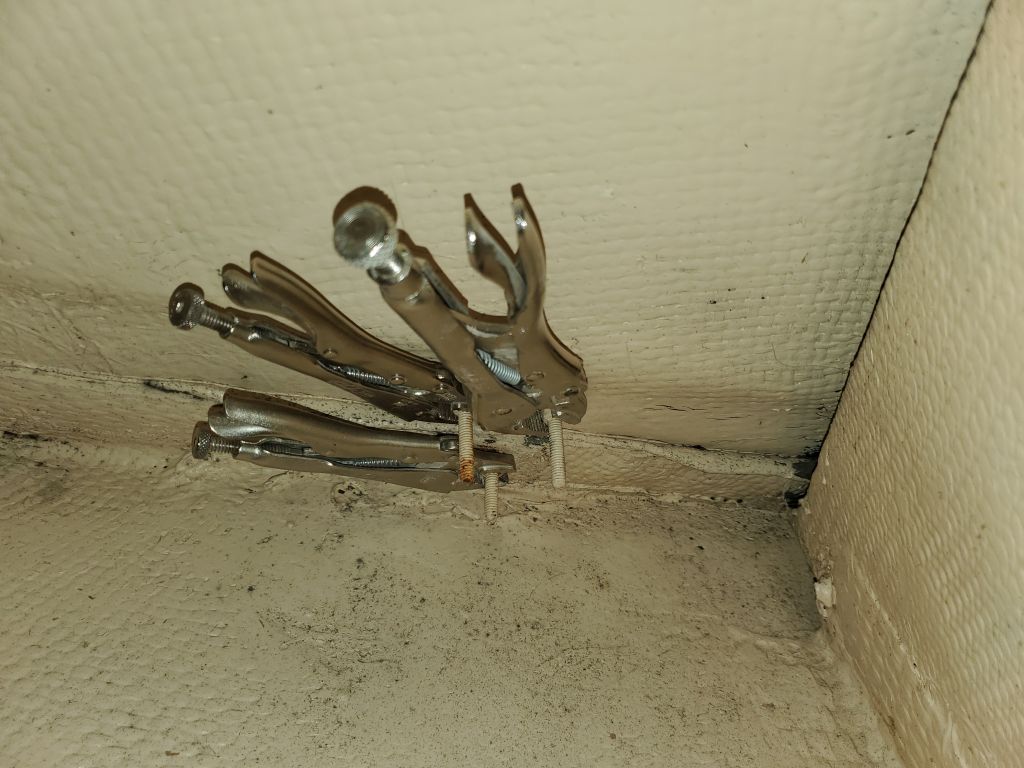
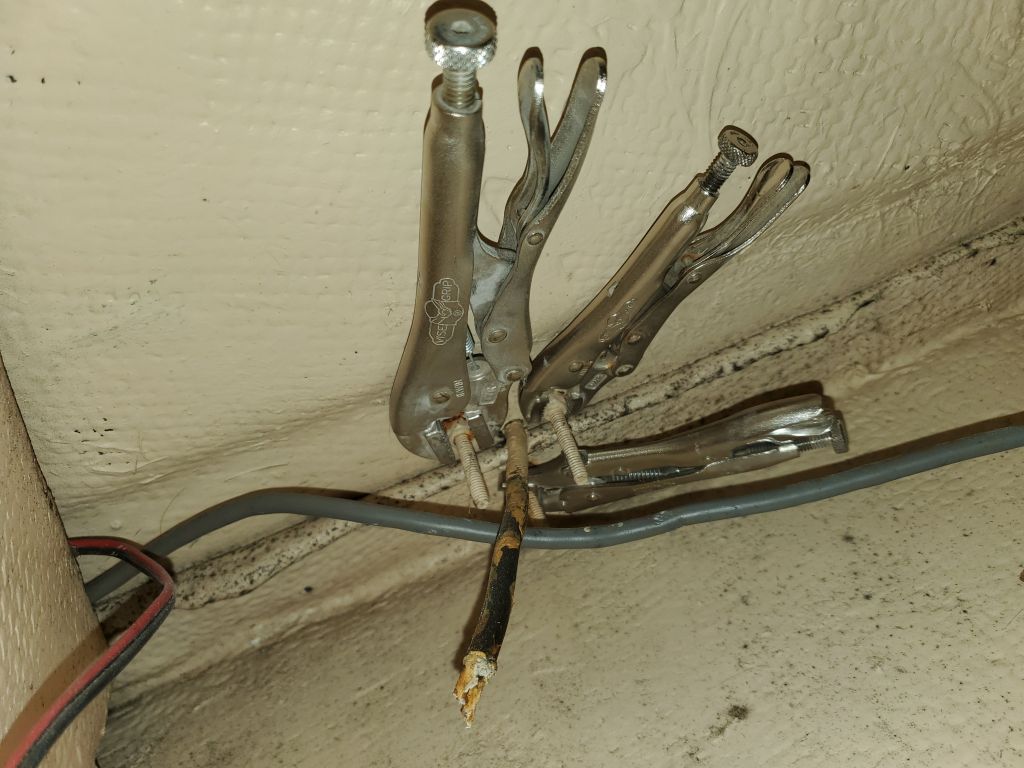
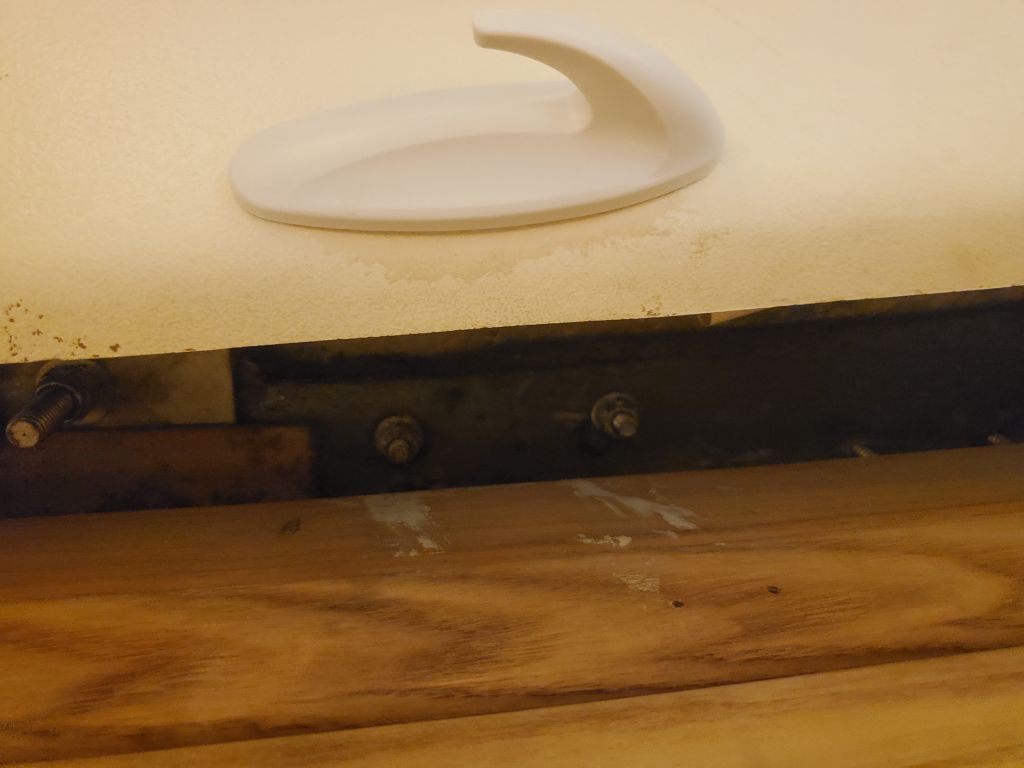
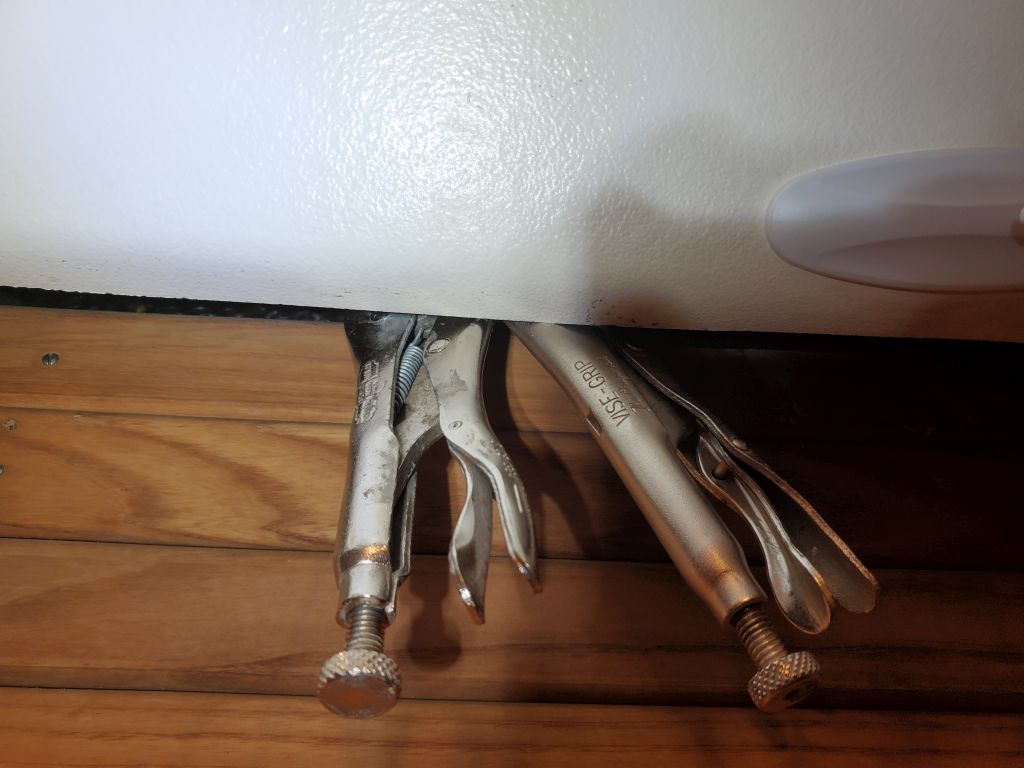
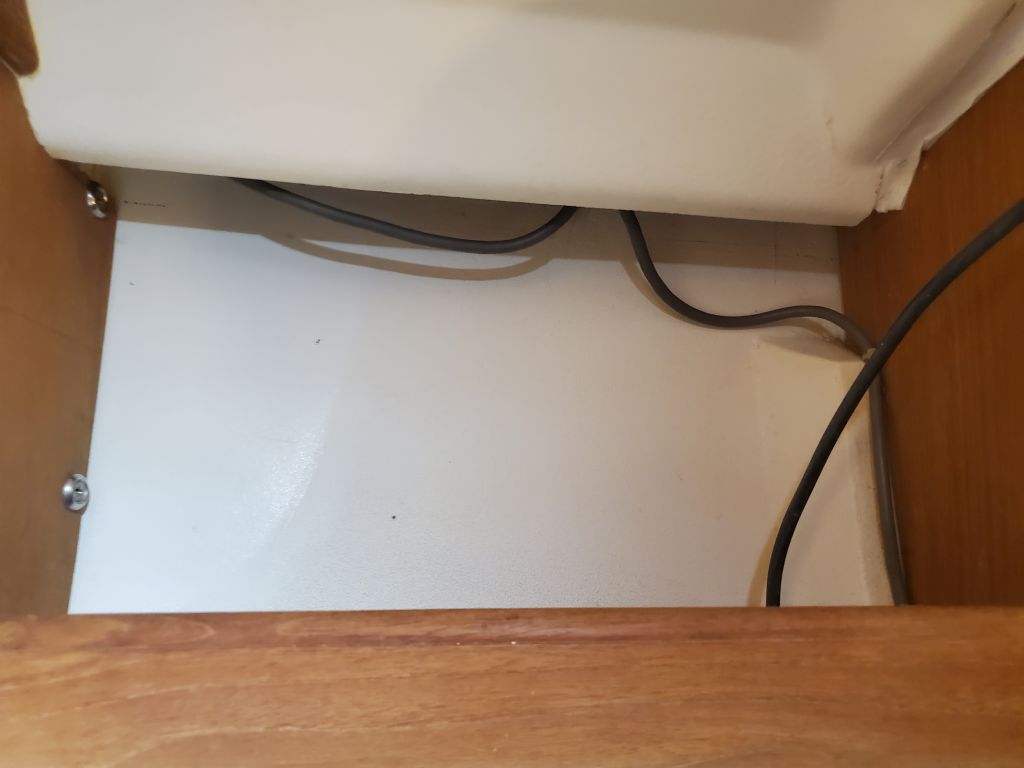
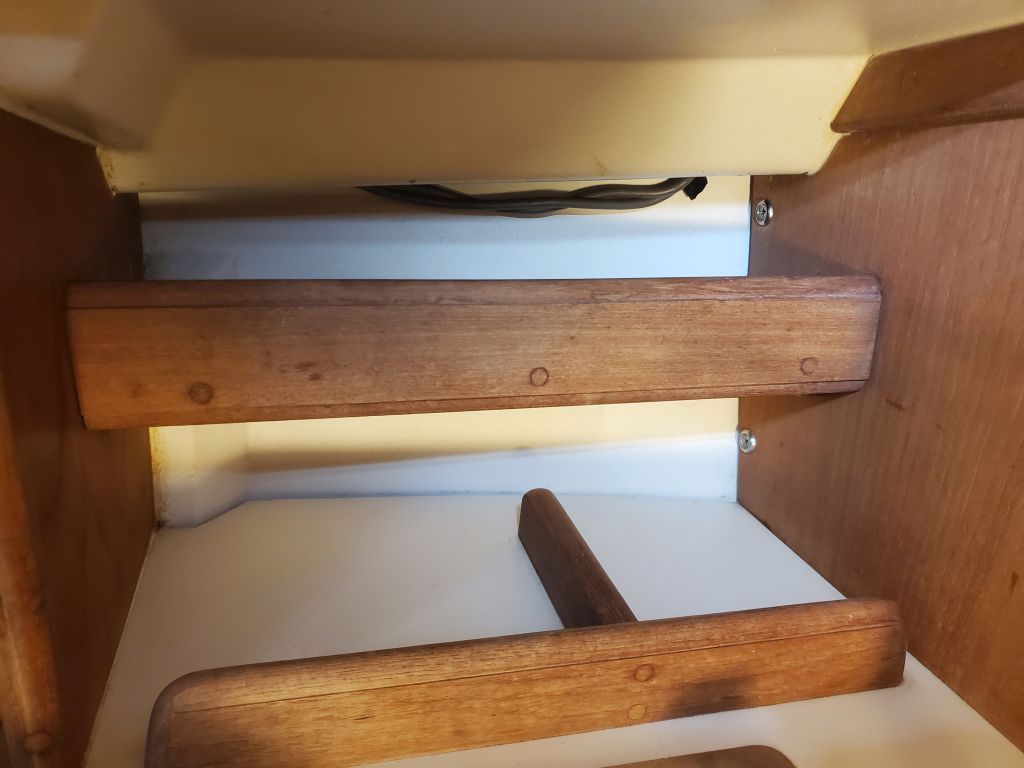
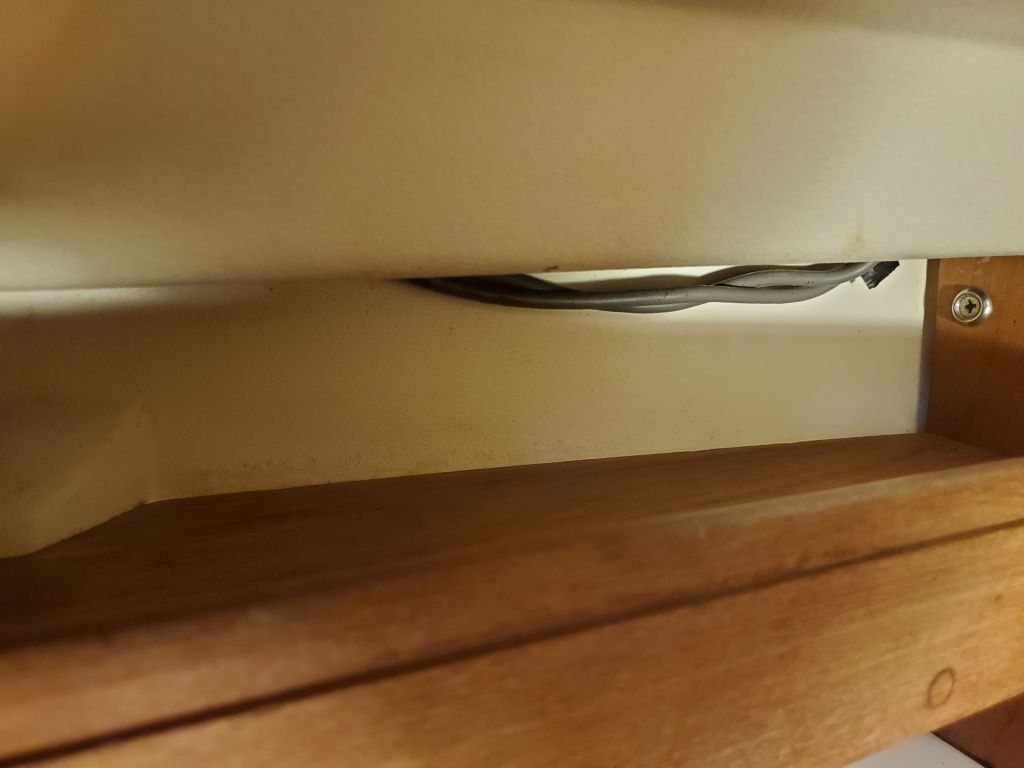
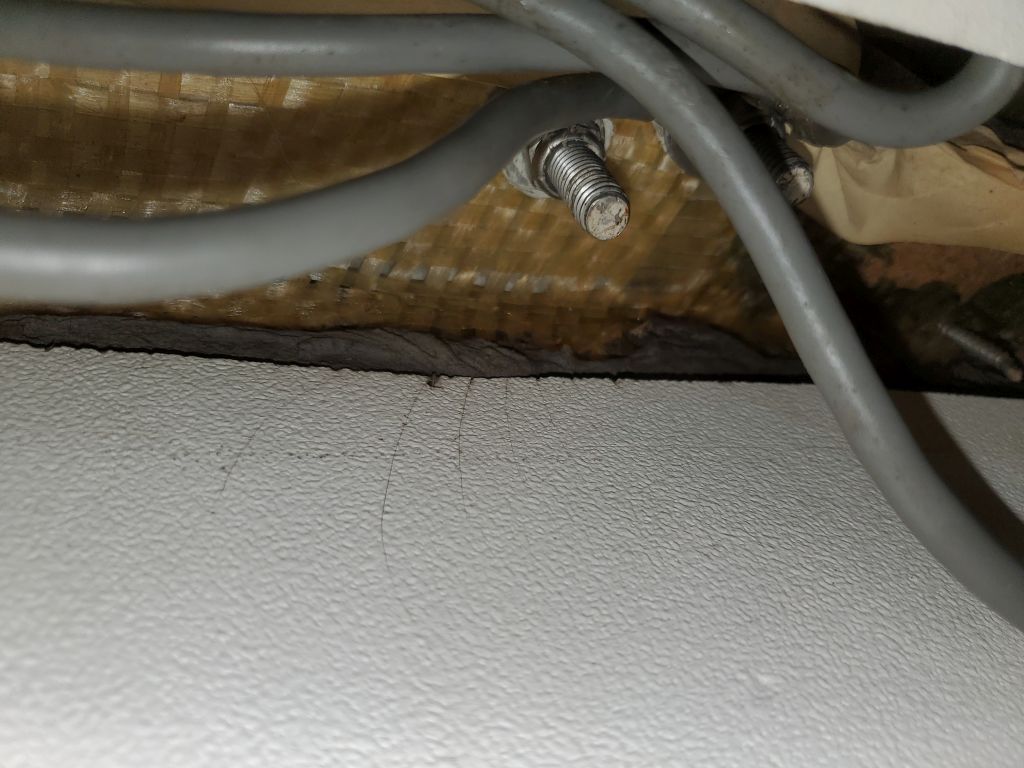
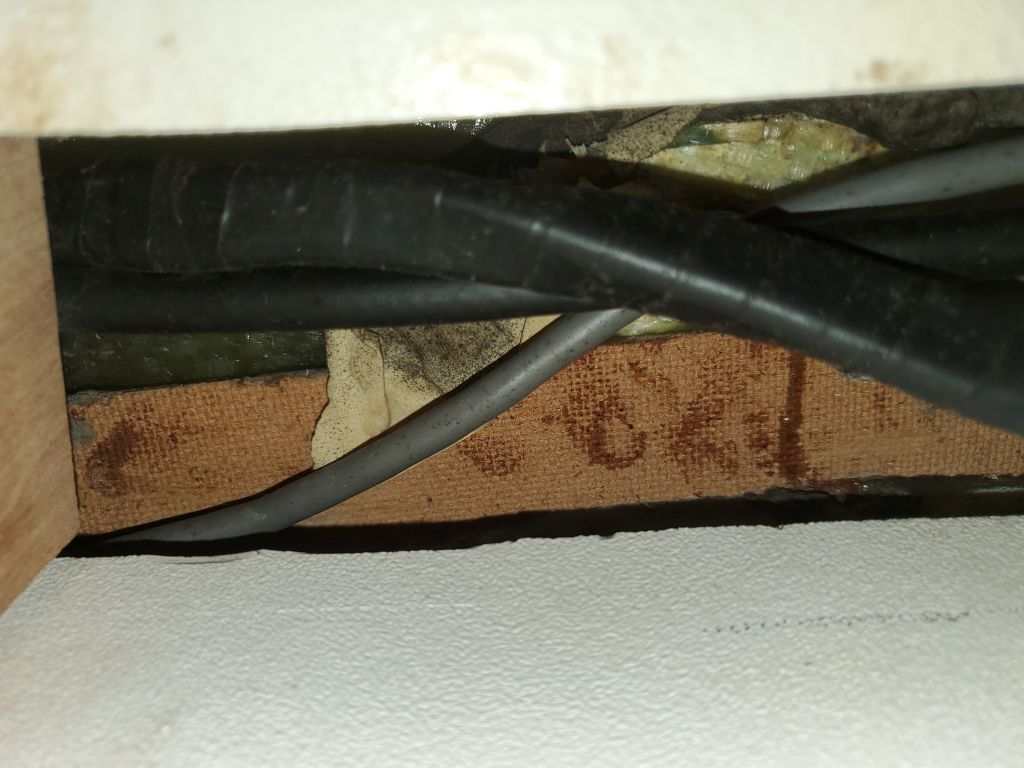
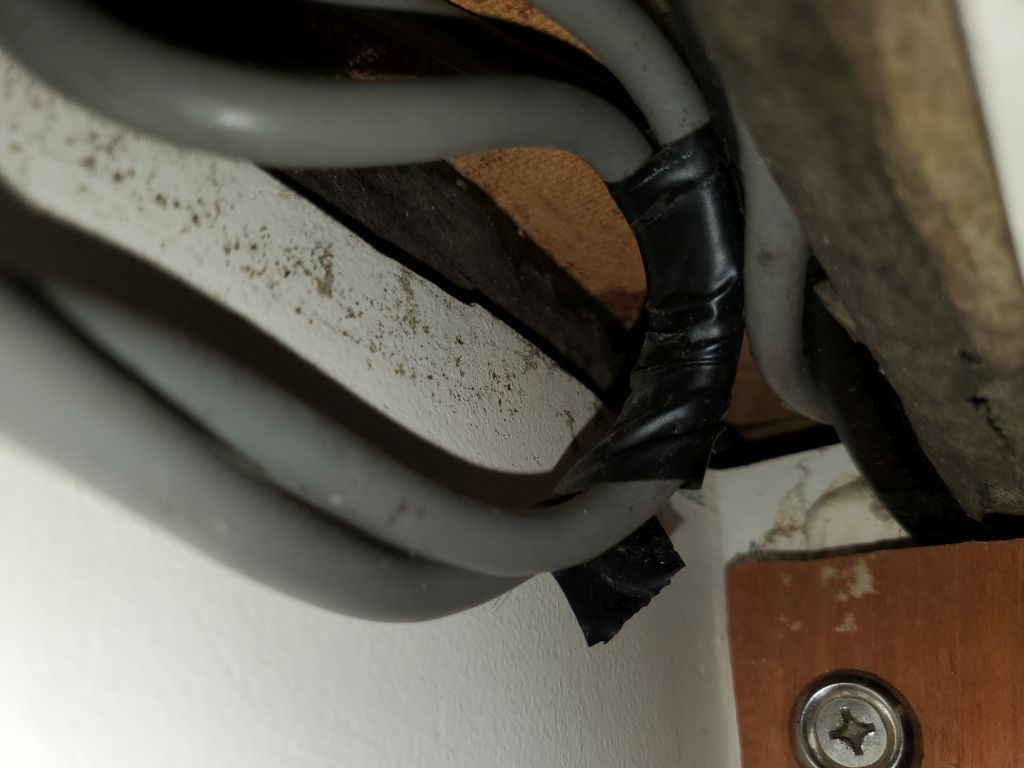
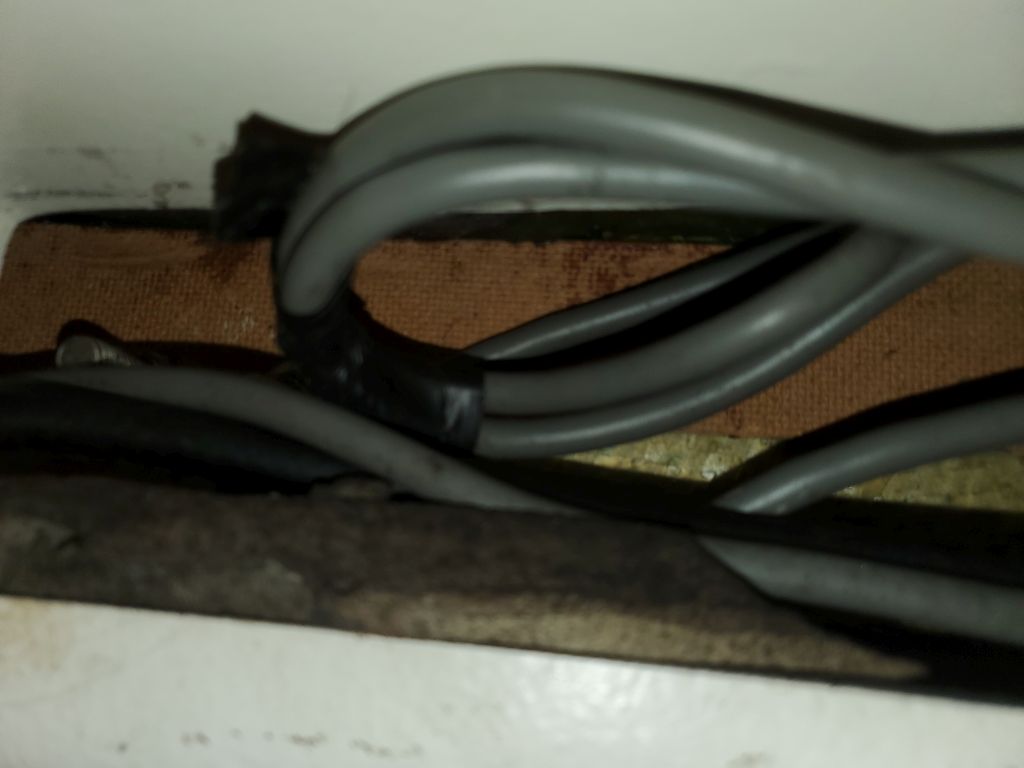
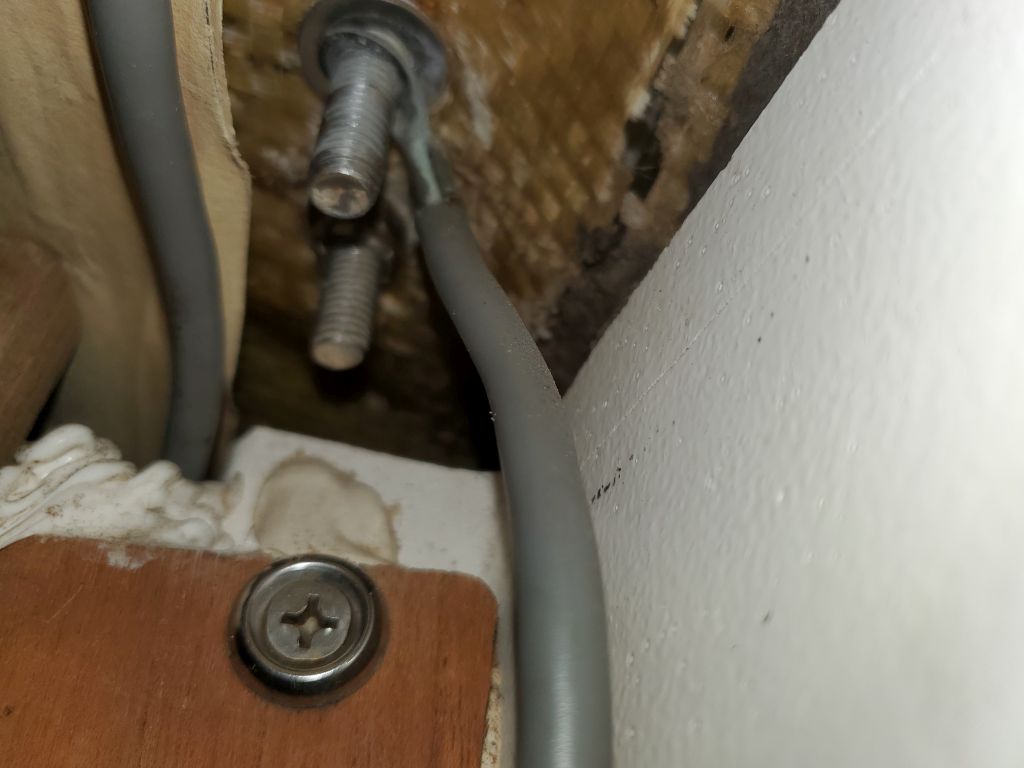
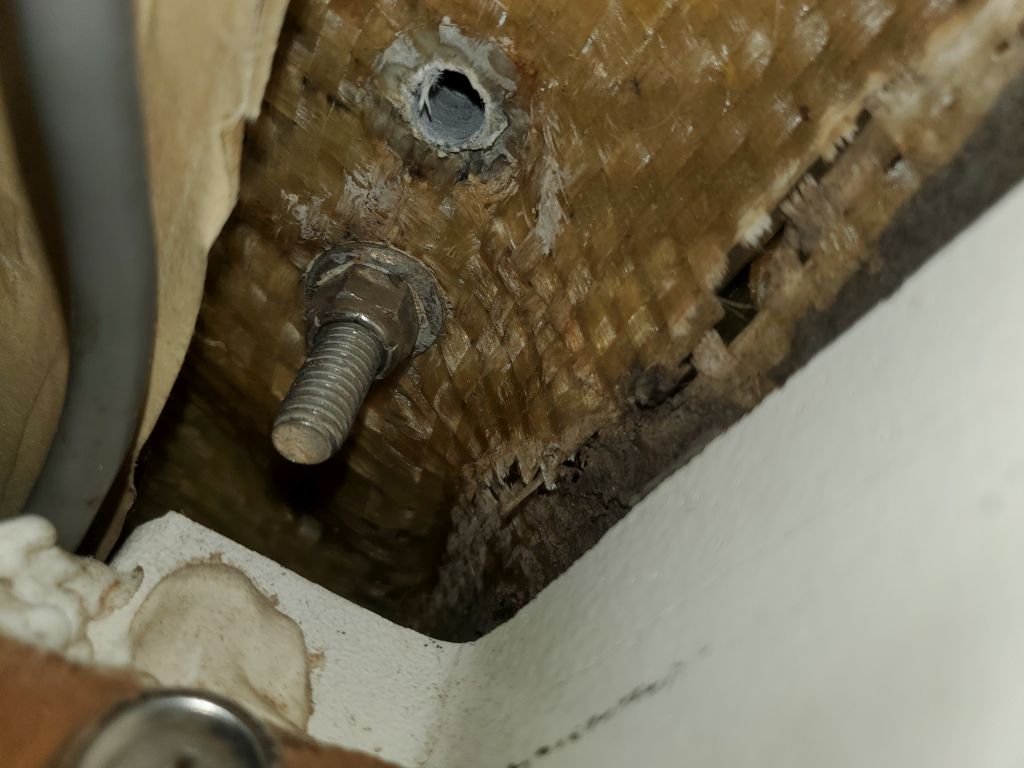
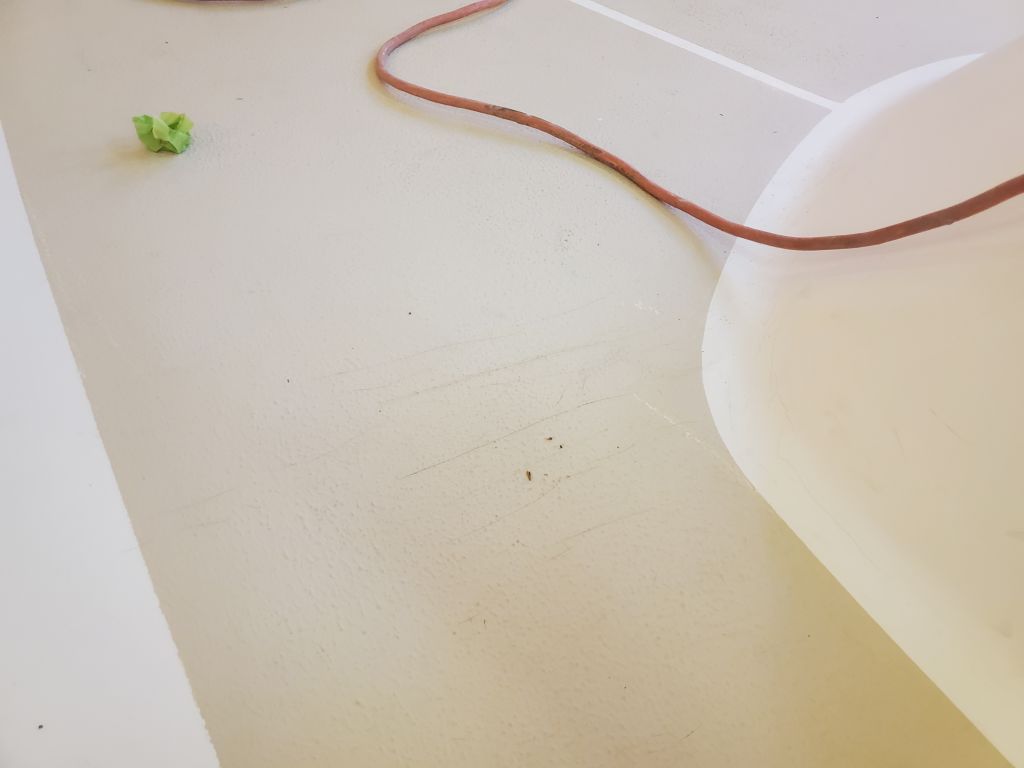
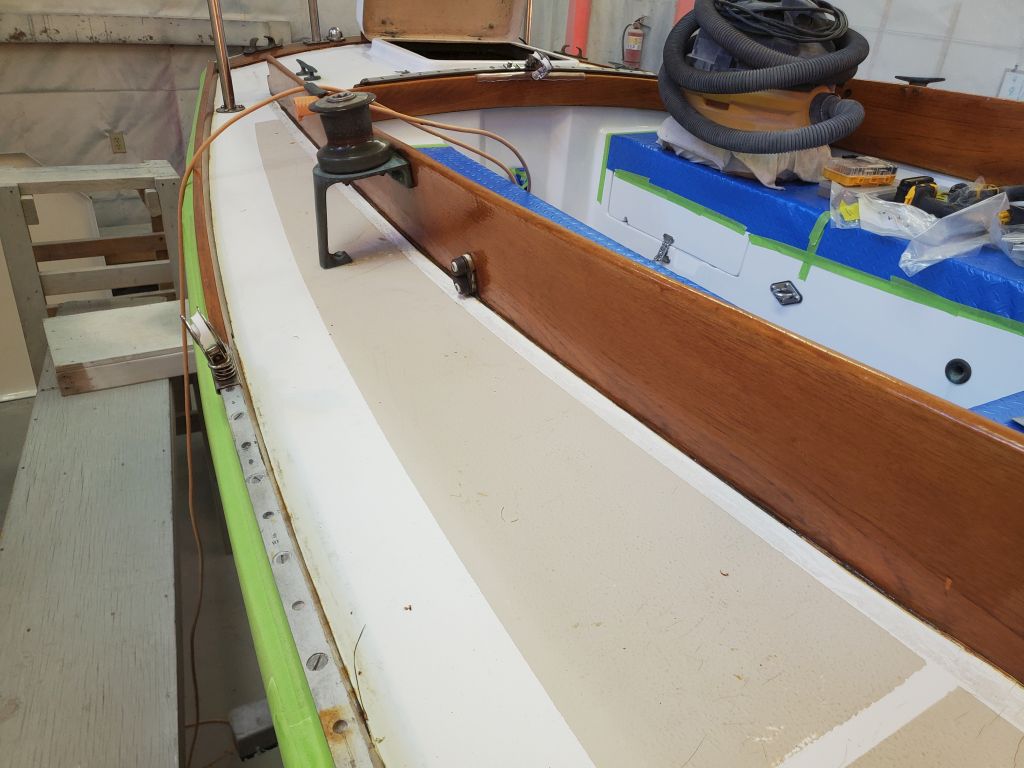
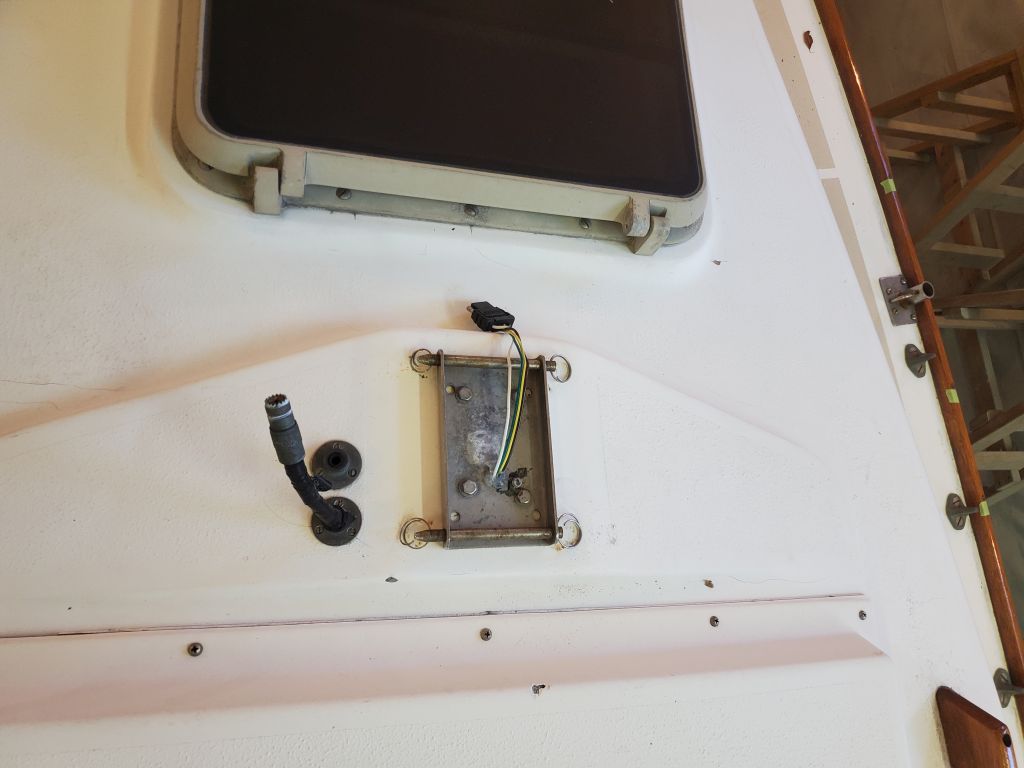
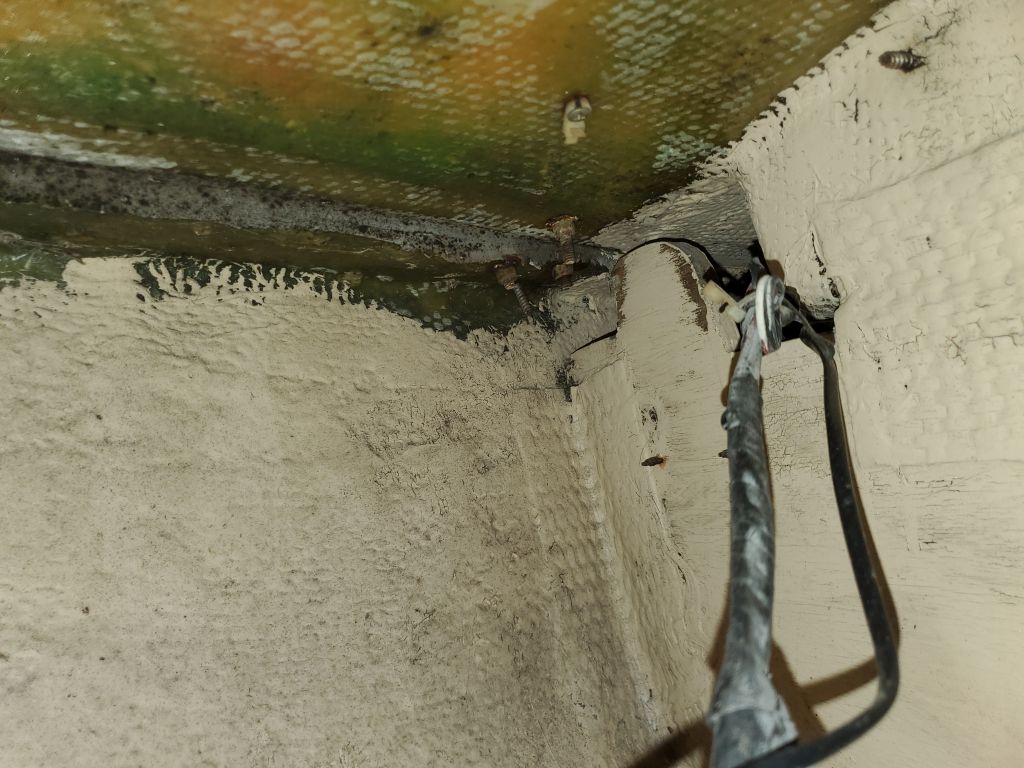
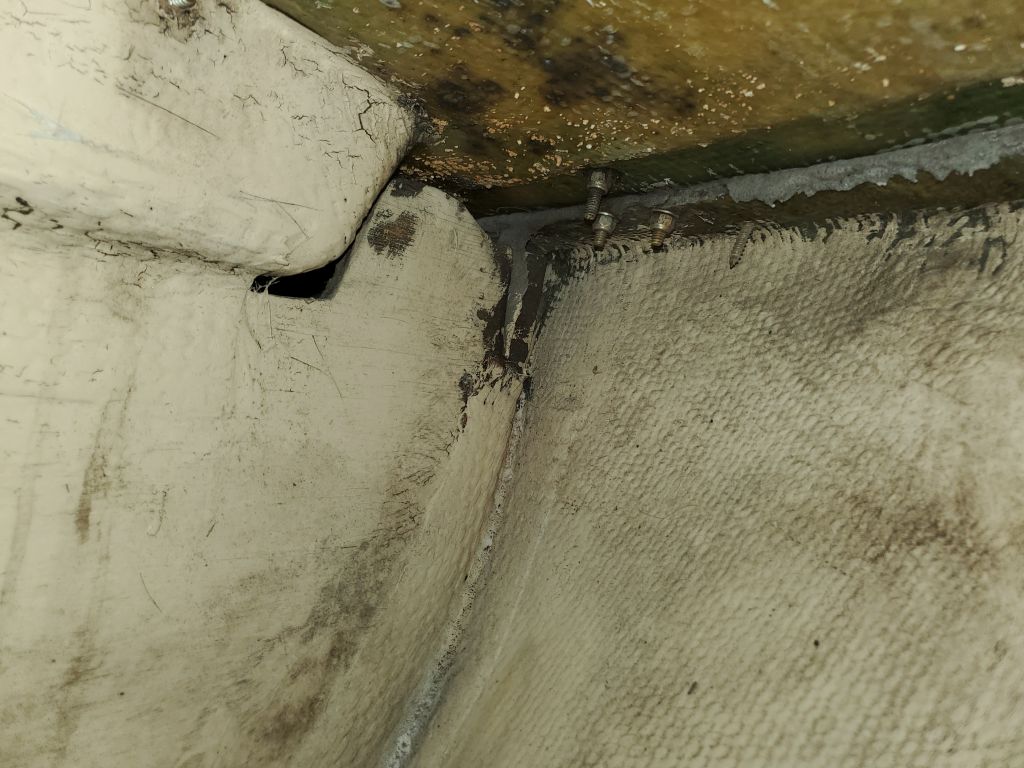
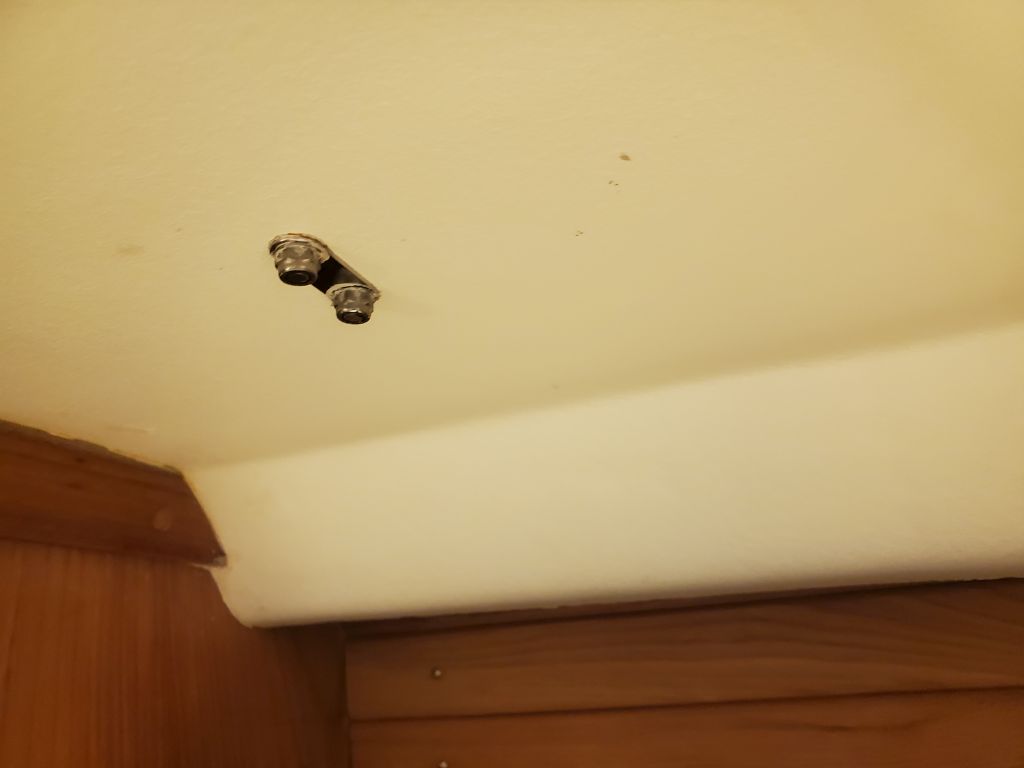
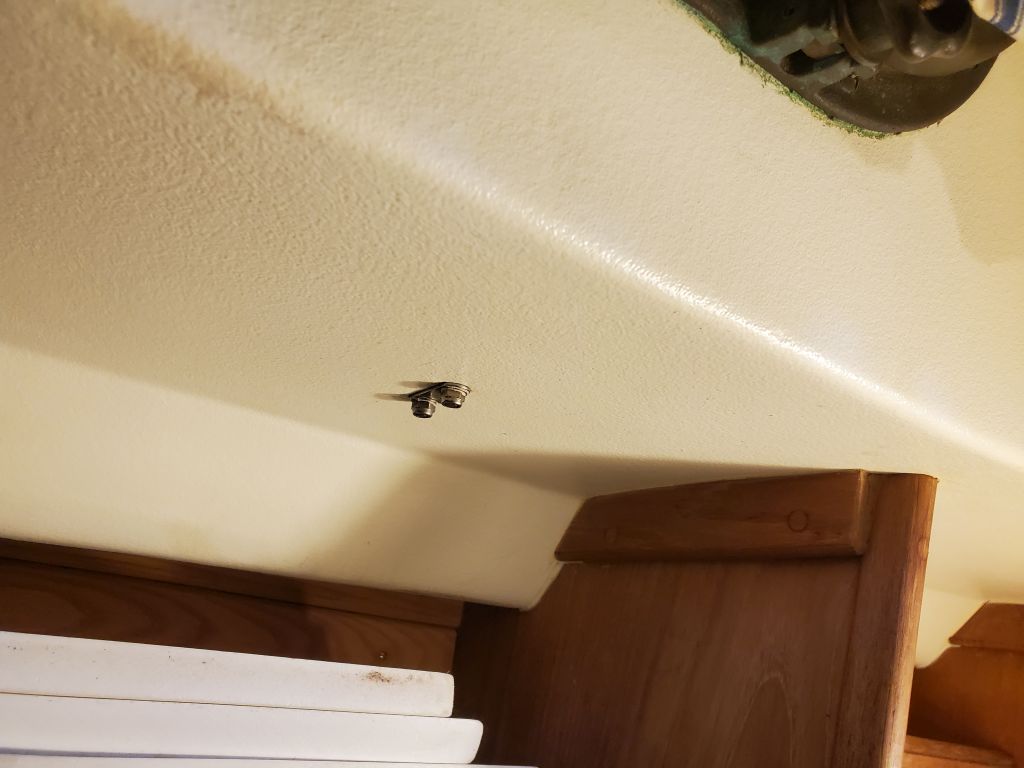
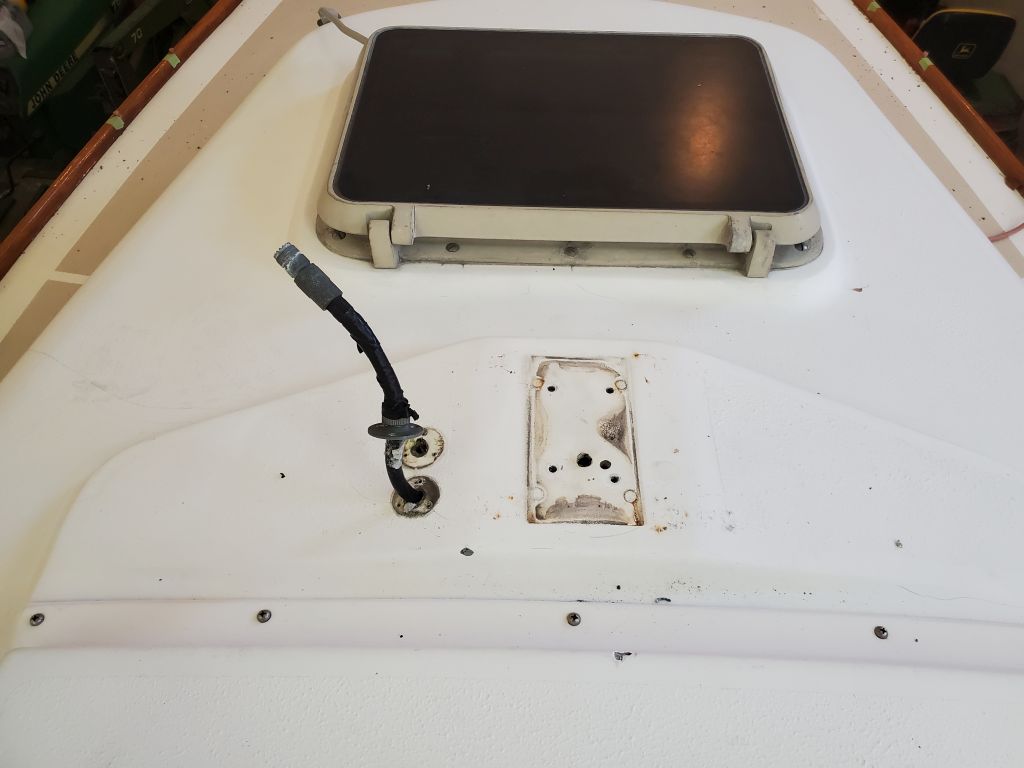
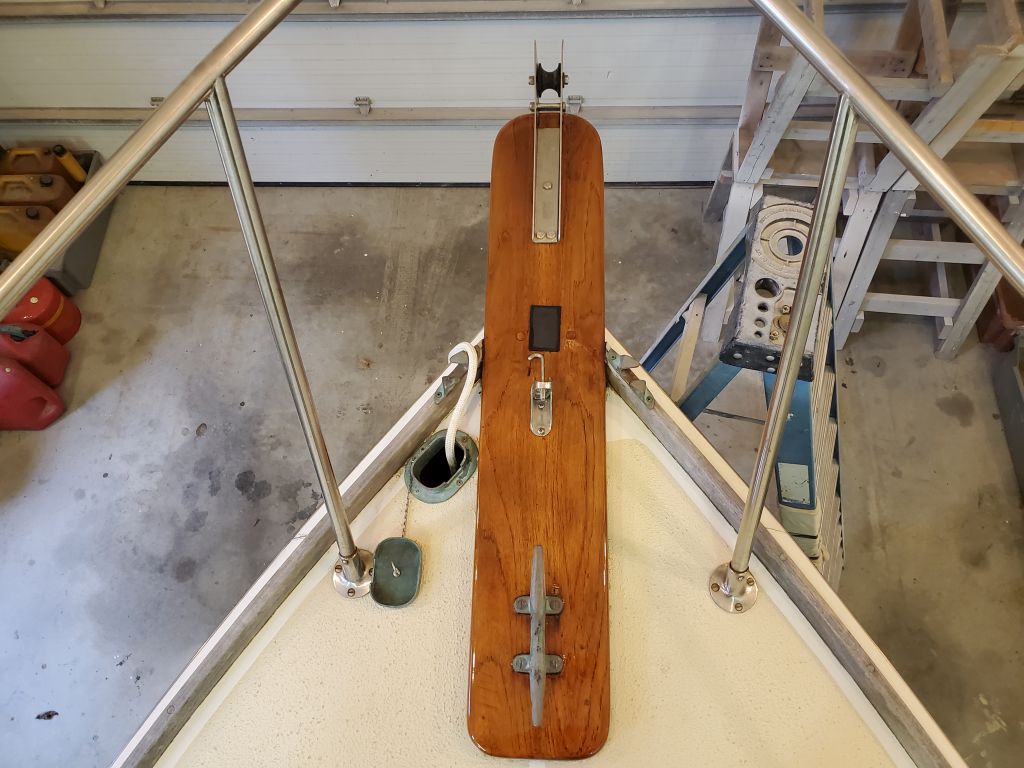
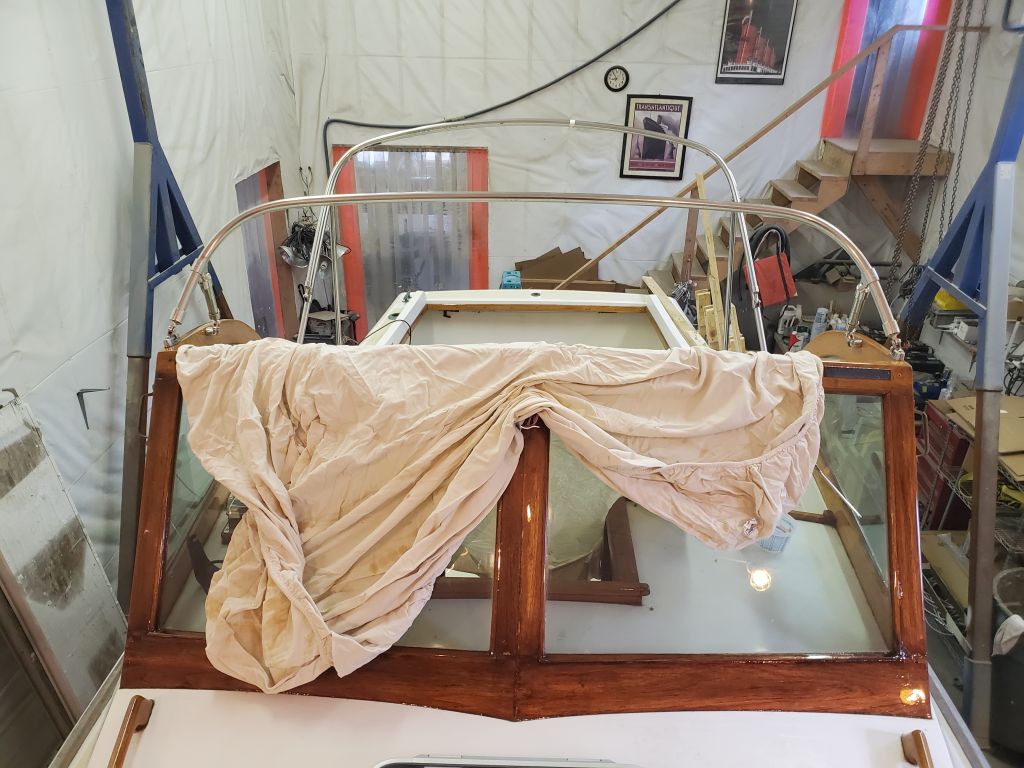
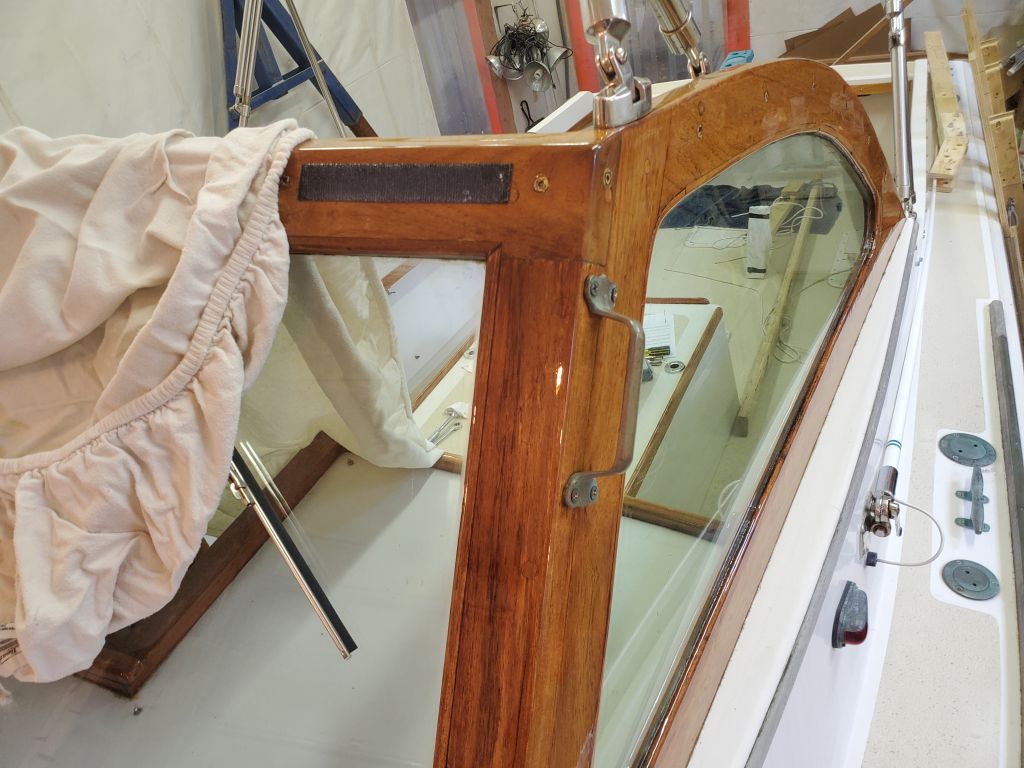
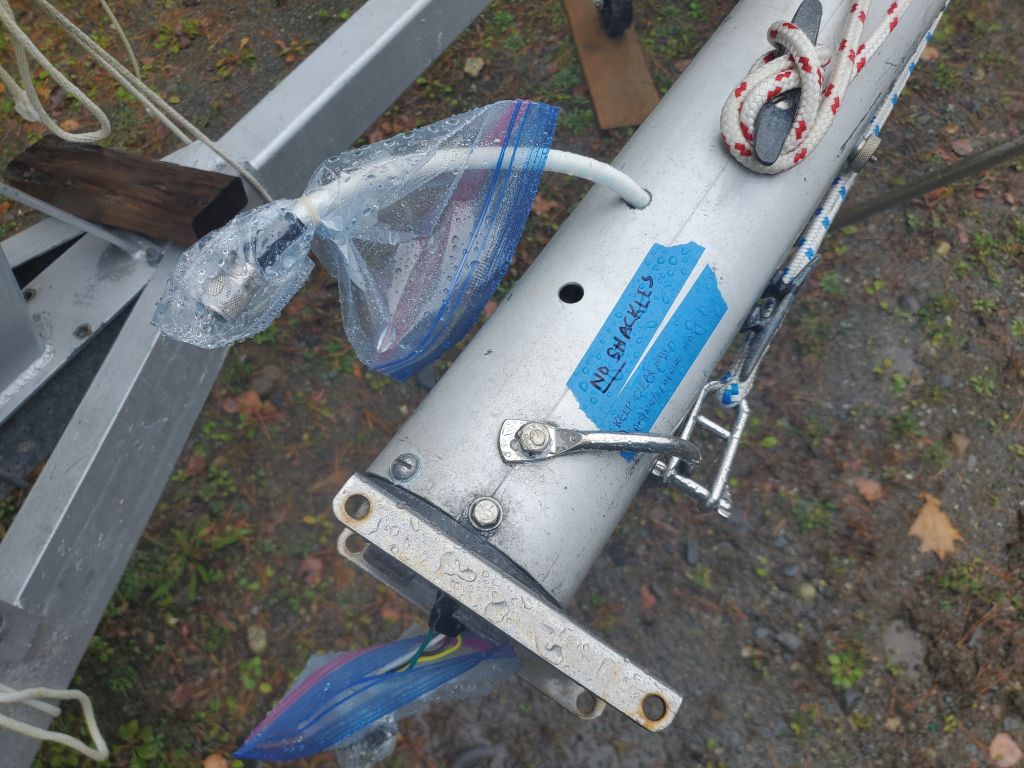
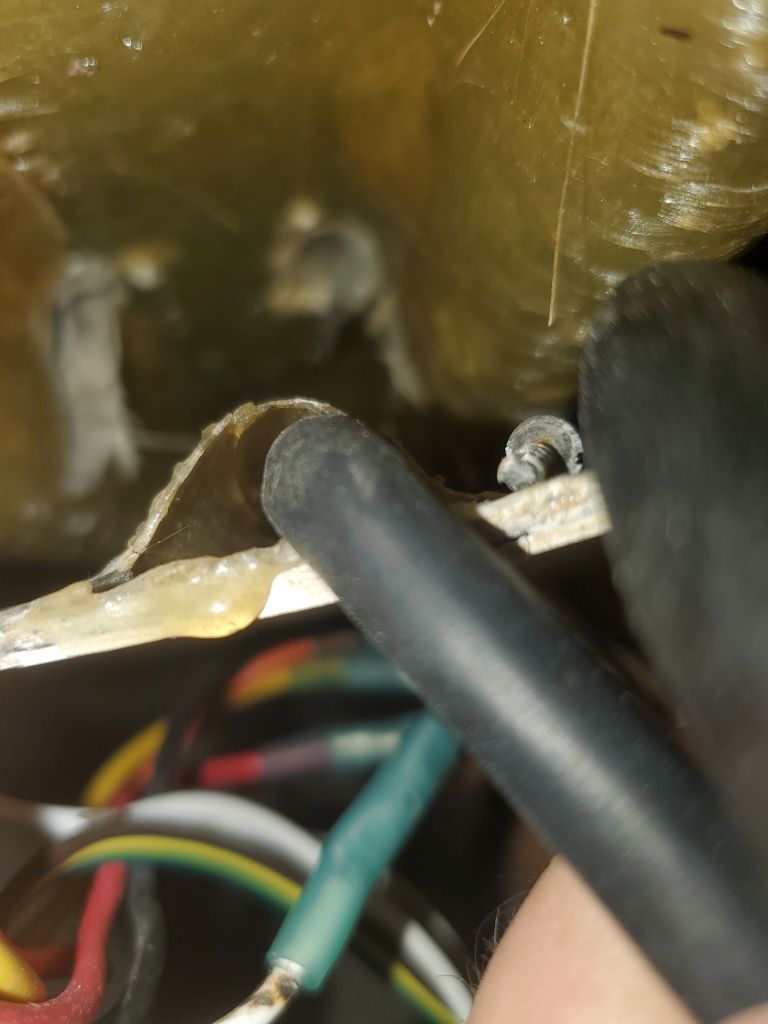
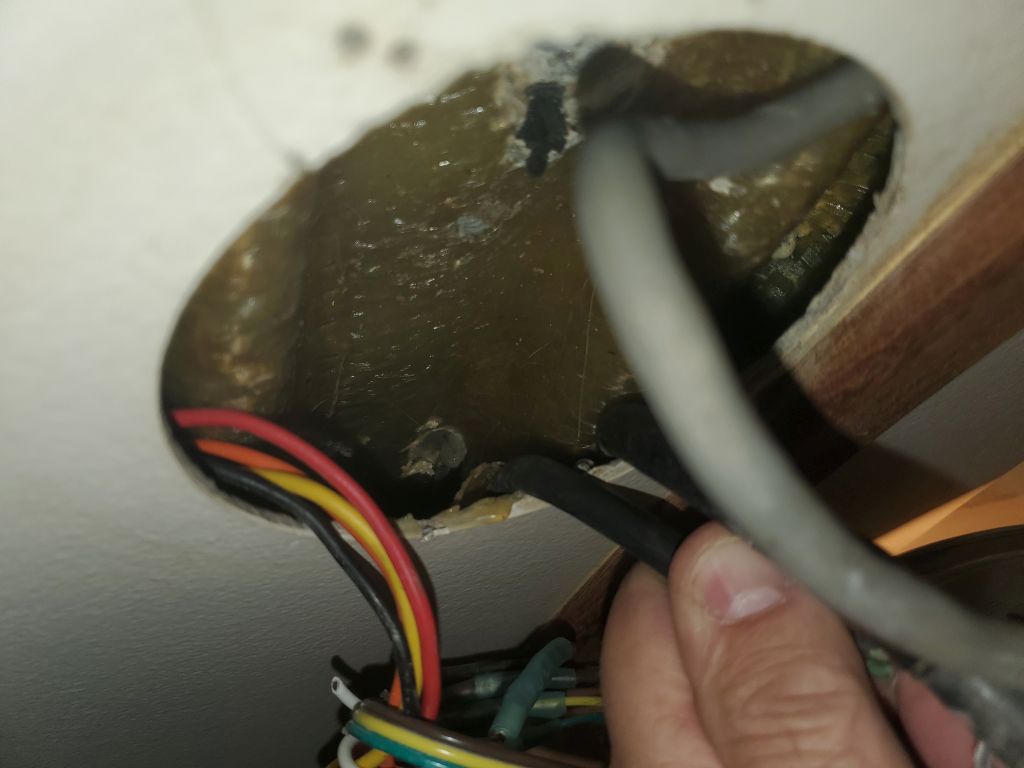
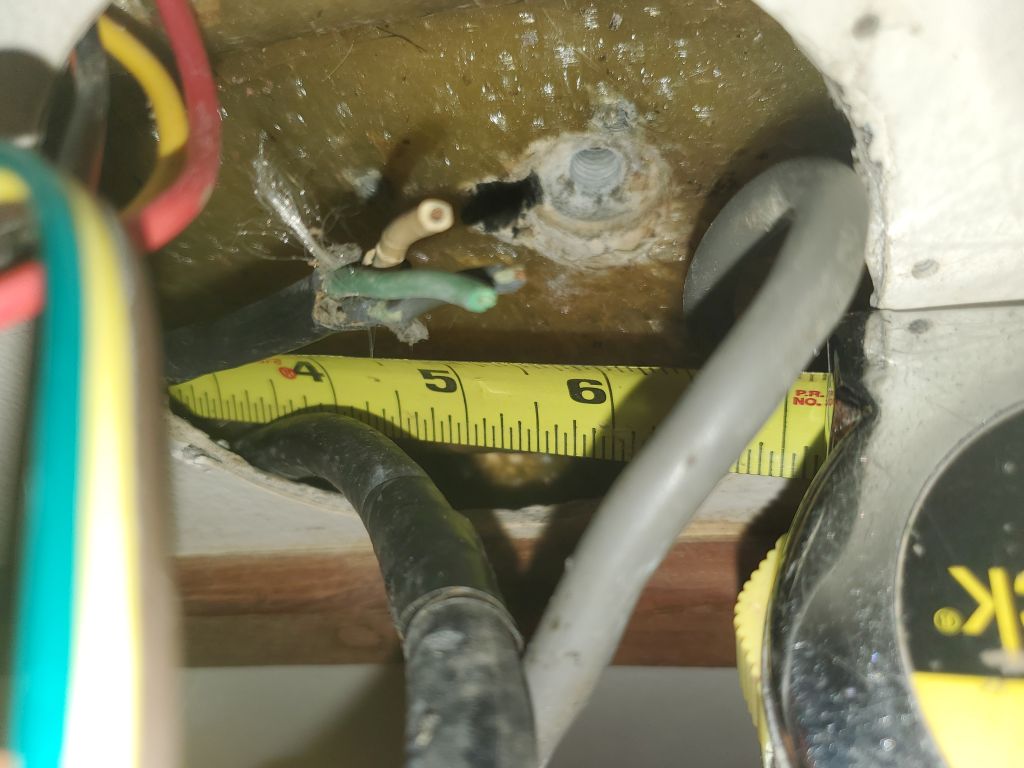
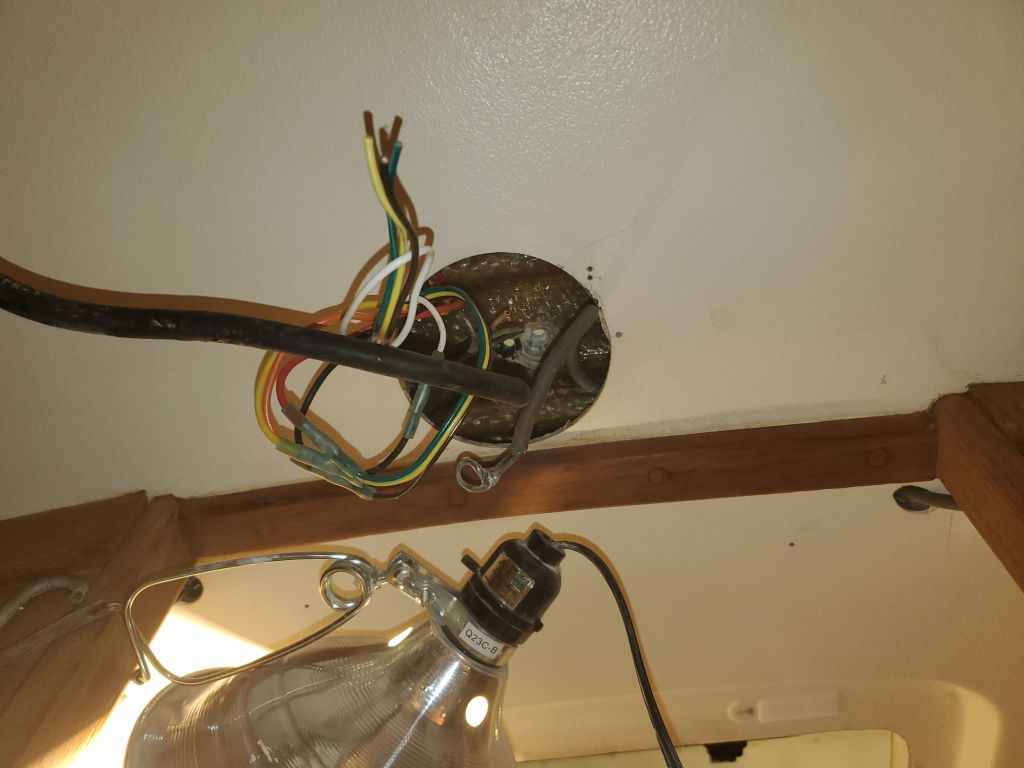
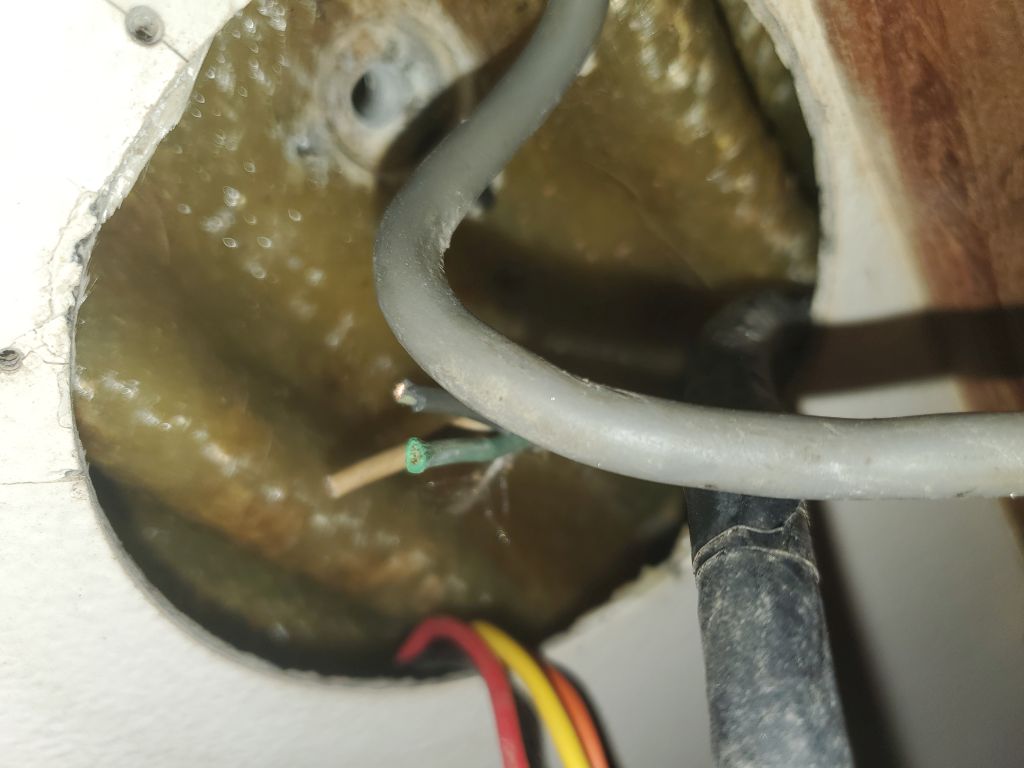
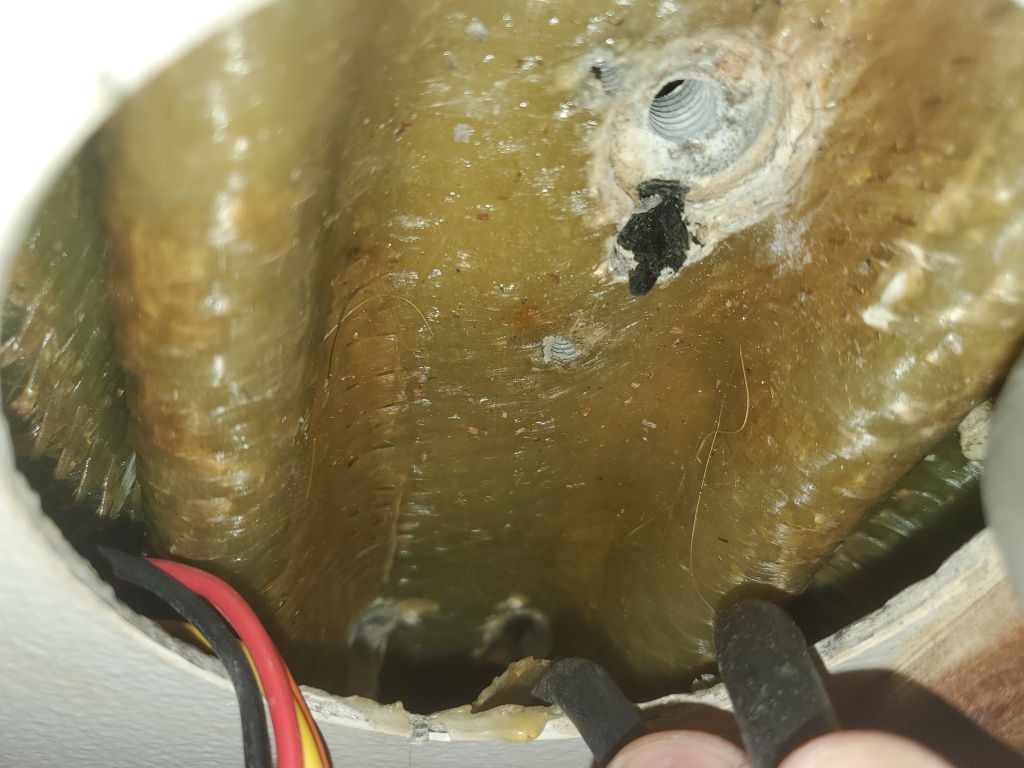
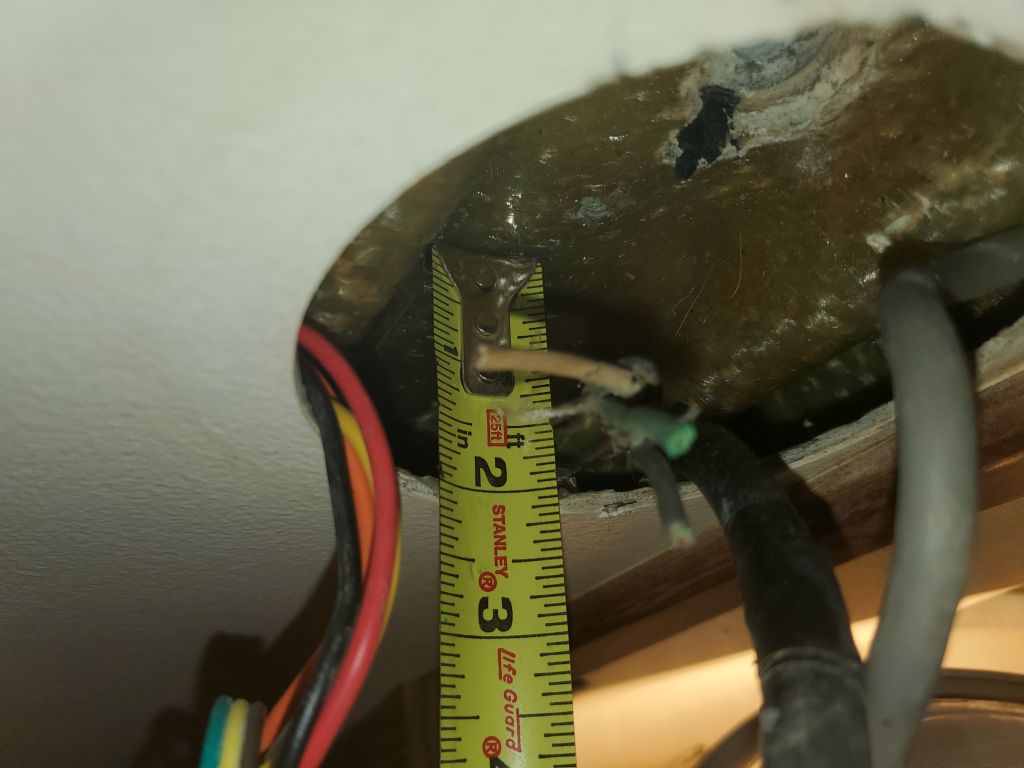
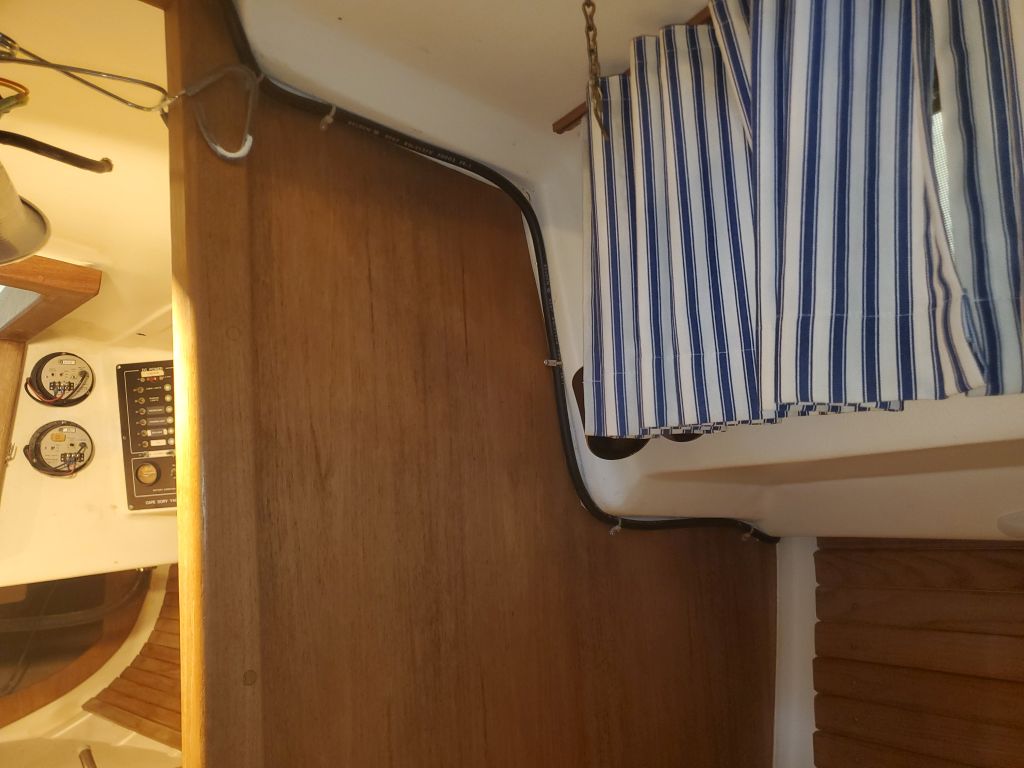
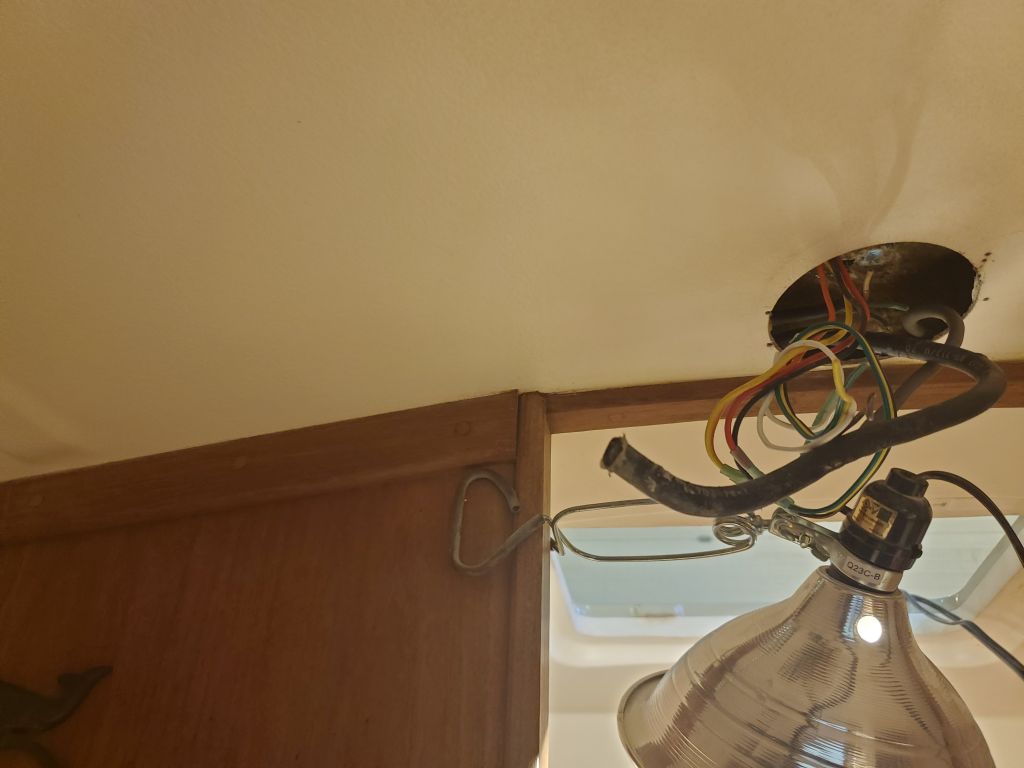
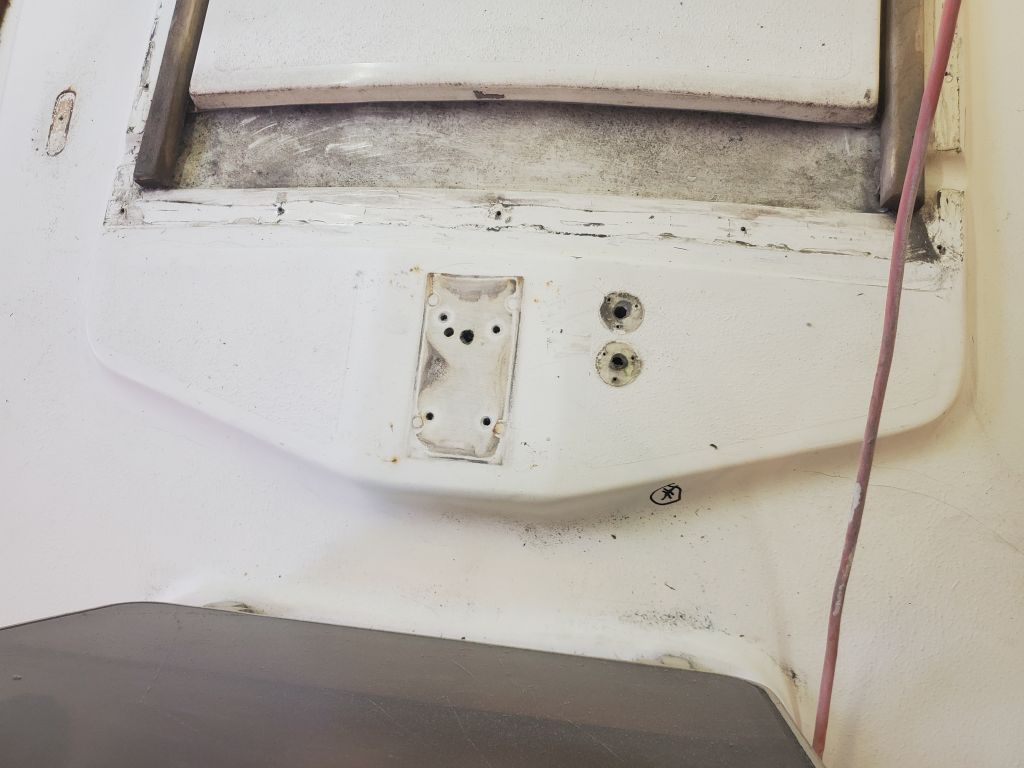
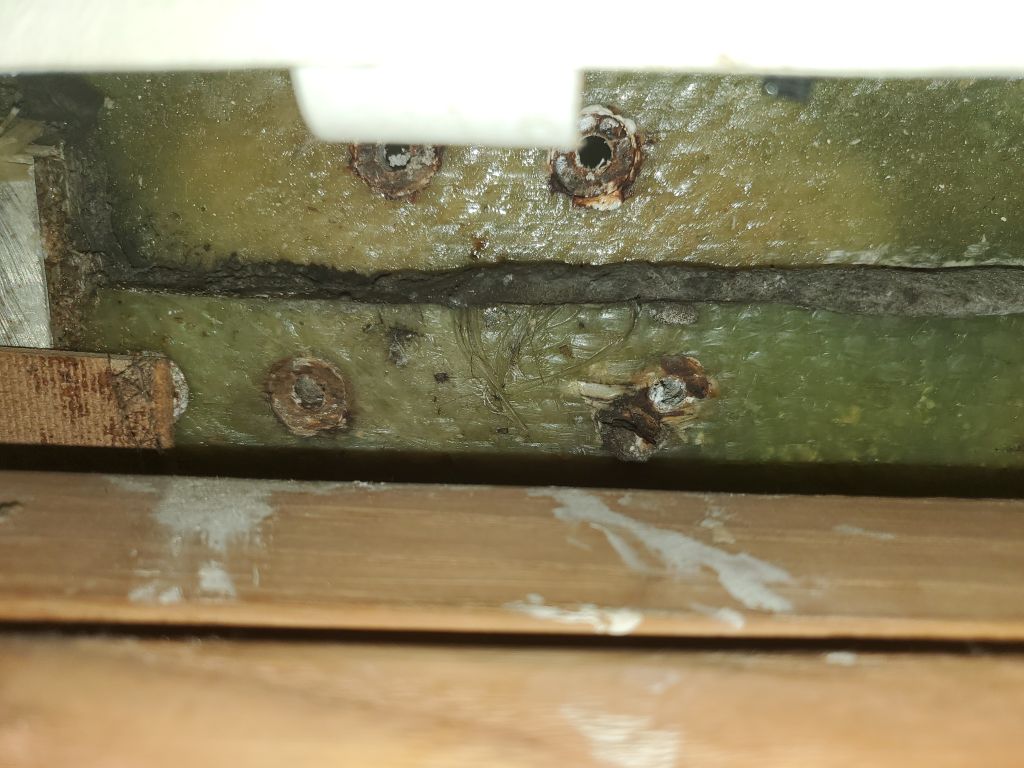
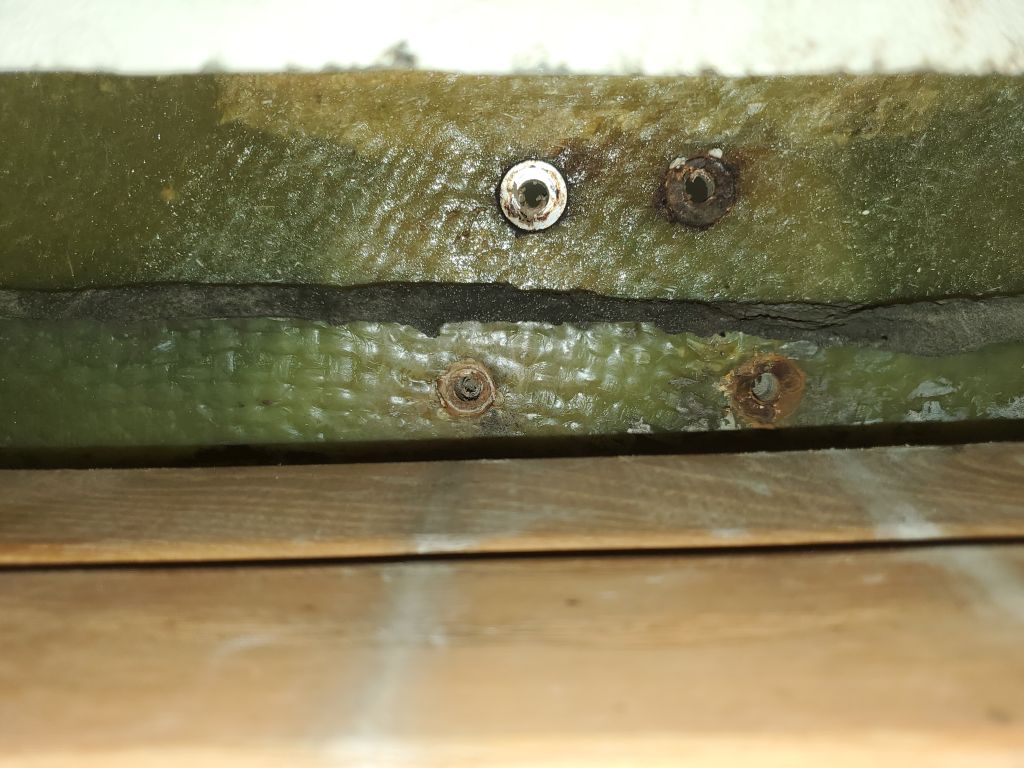
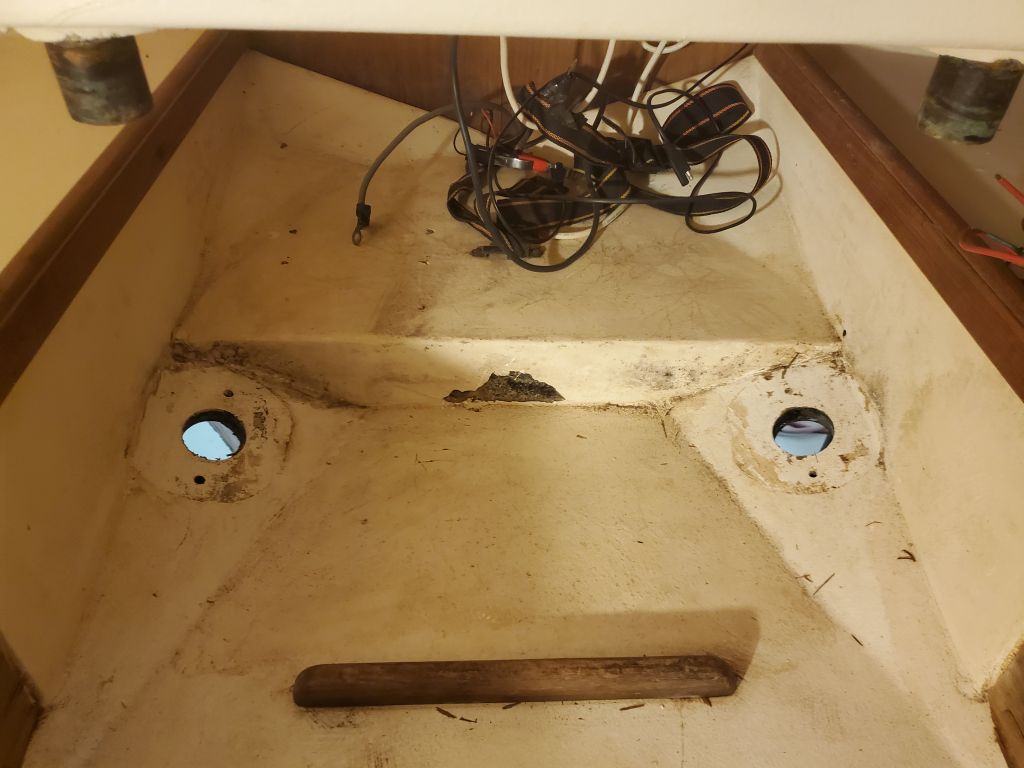
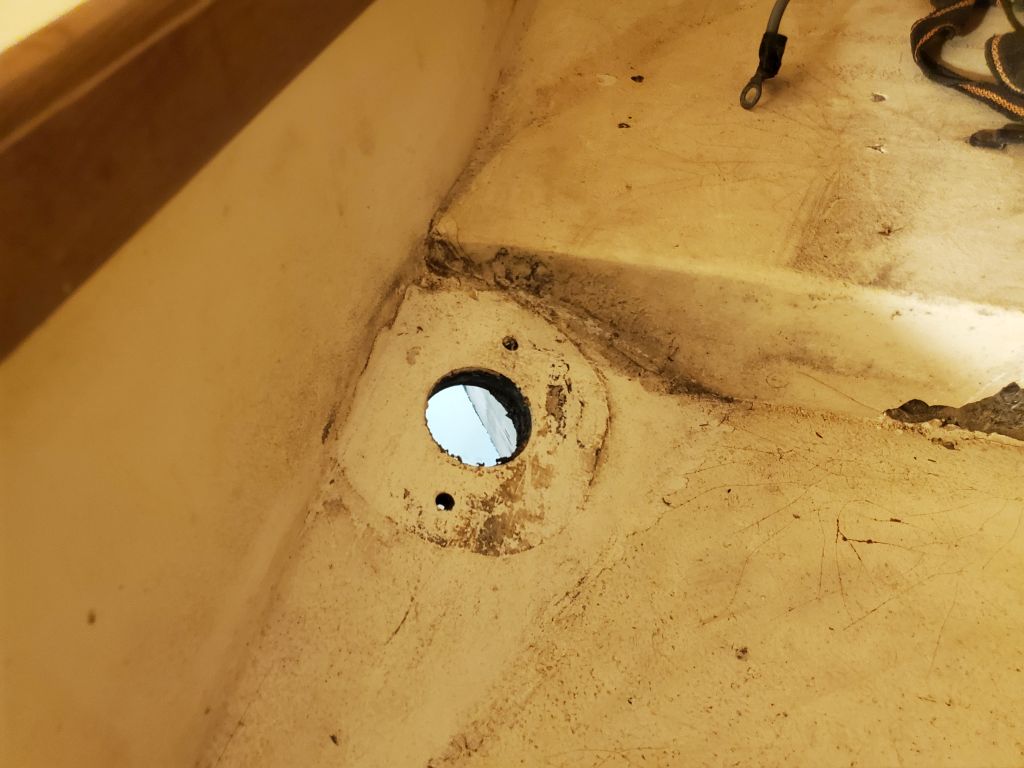
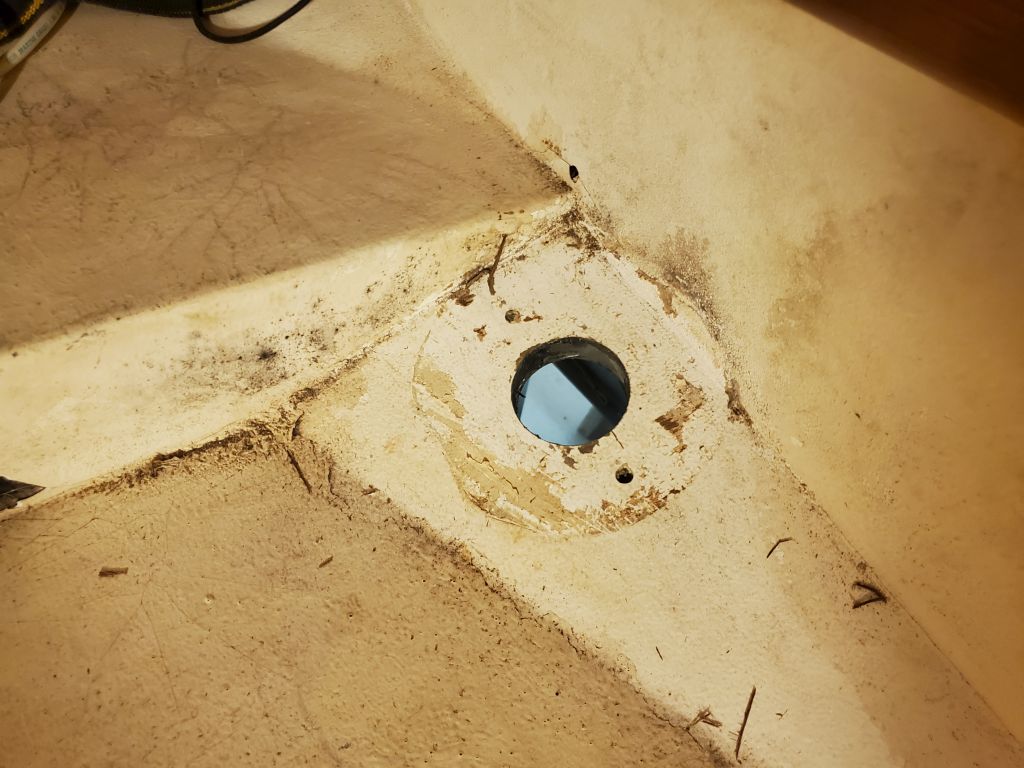
I spent the first part of the day largely on semi-extended planning and related discussions with the owner, starting with details about how best to reroute (or not) the mast wiring through the deck. I sent off various detailed photos showing the exact situation between the deck and cabin liner, where the old wires had run, and we batted around various ideas for an improved setup when the time came. I won’t go into great detail again here, as the owner and I covered all this in detail during the day, but these photos show the existing mast wiring access hole (too small) and existing wiring located within the narrow channel beneath the deck formed by two glassed-in transverse “beams” that reinforce the deck beneath the mast step.


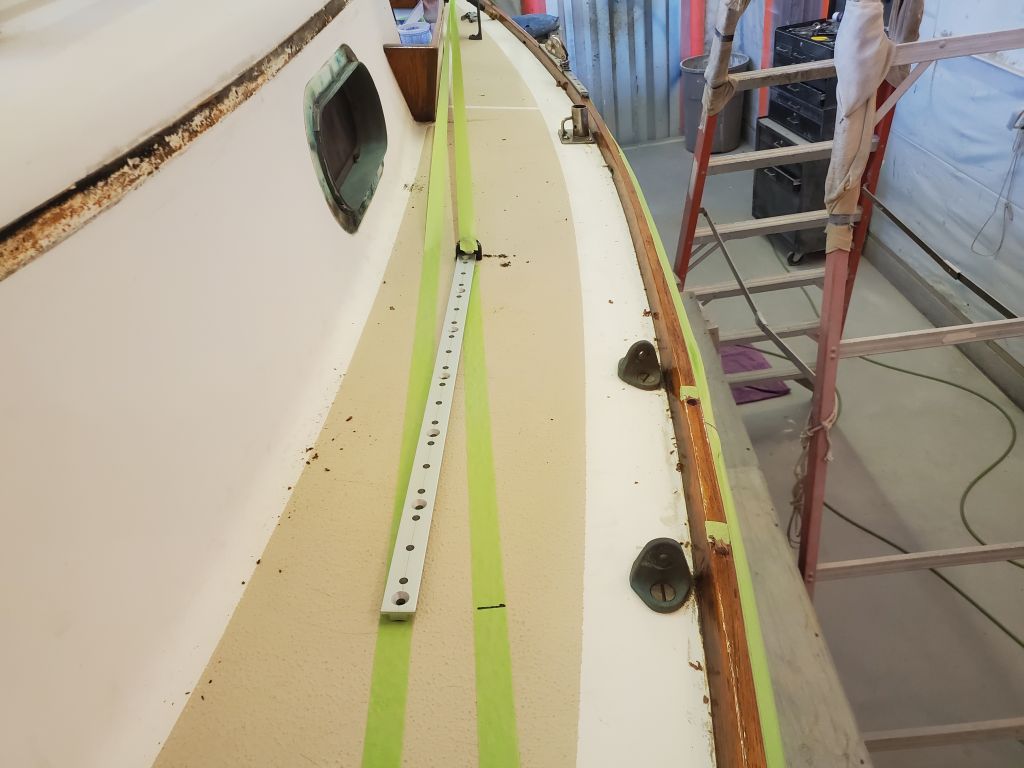
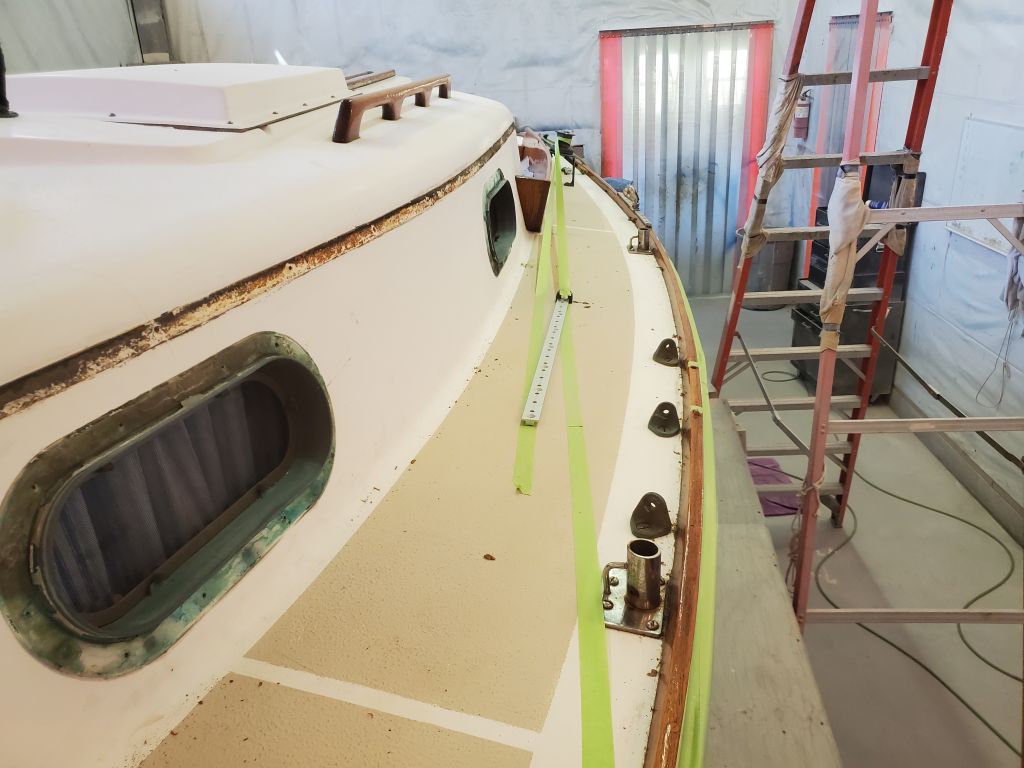
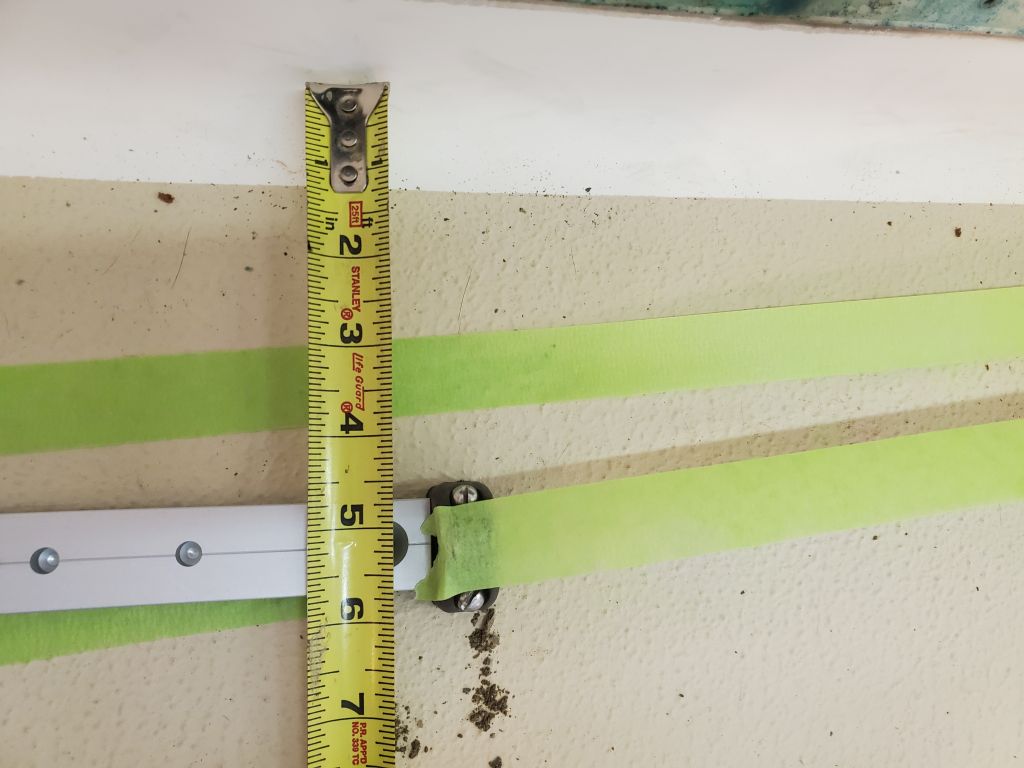
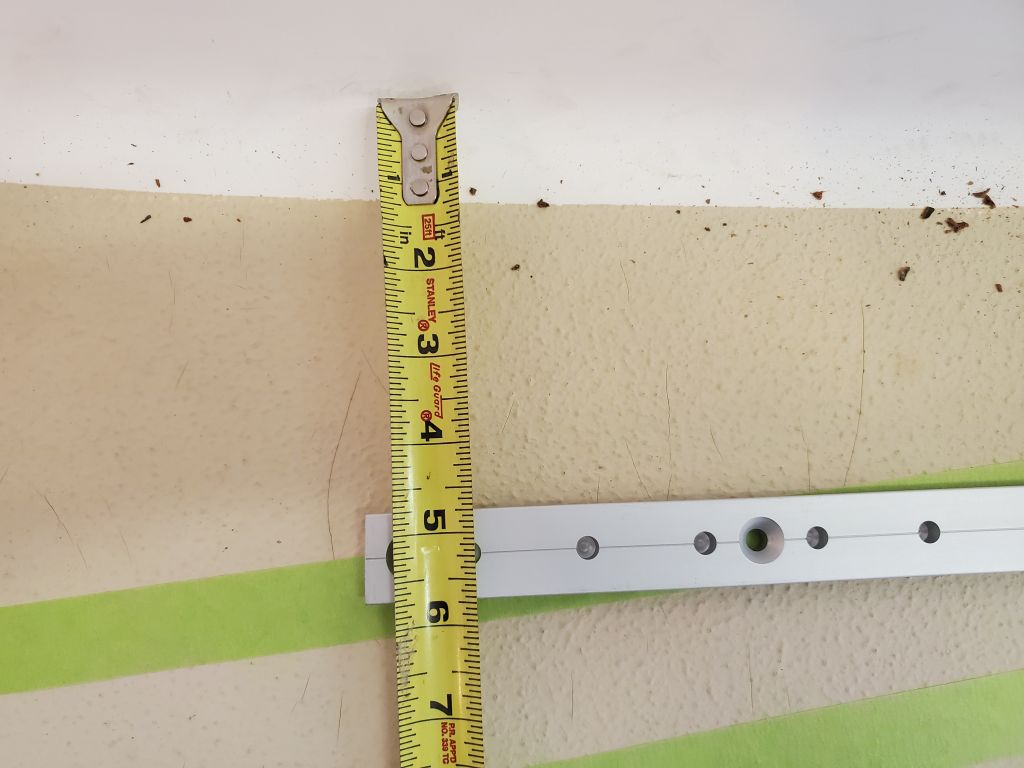
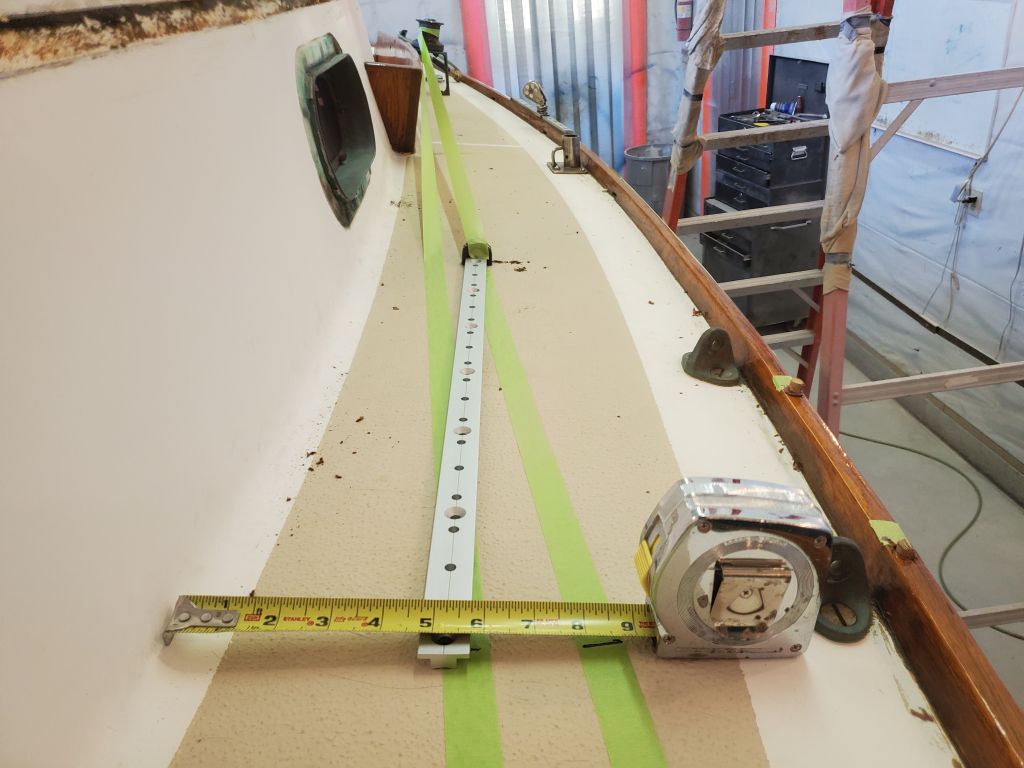
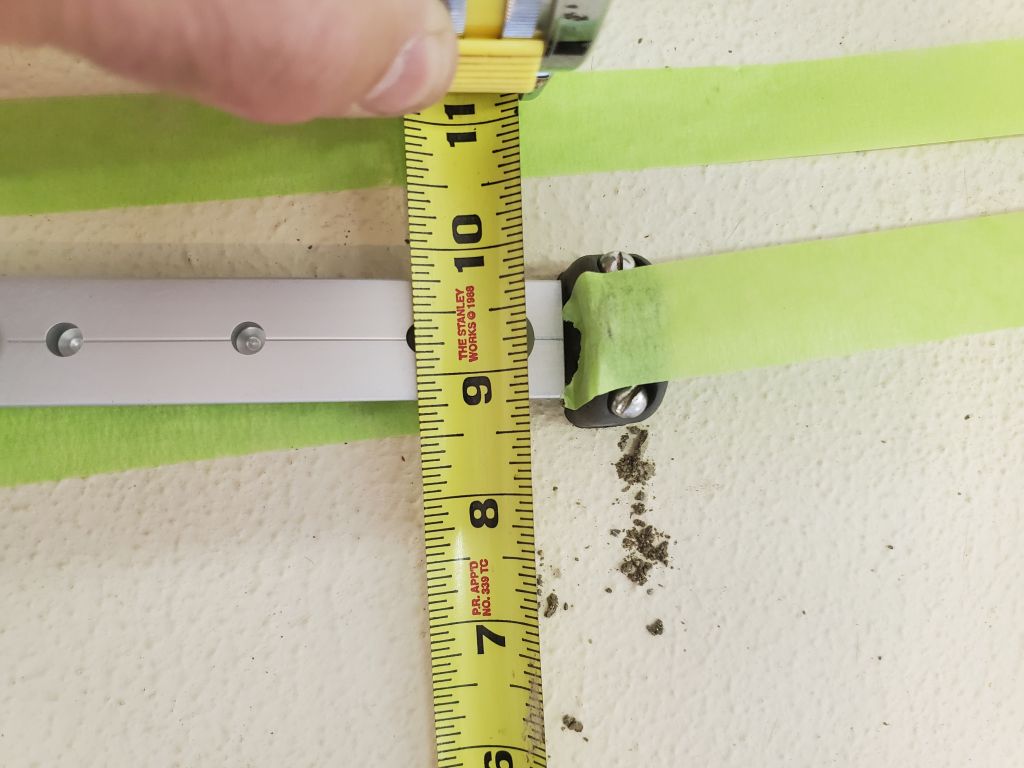
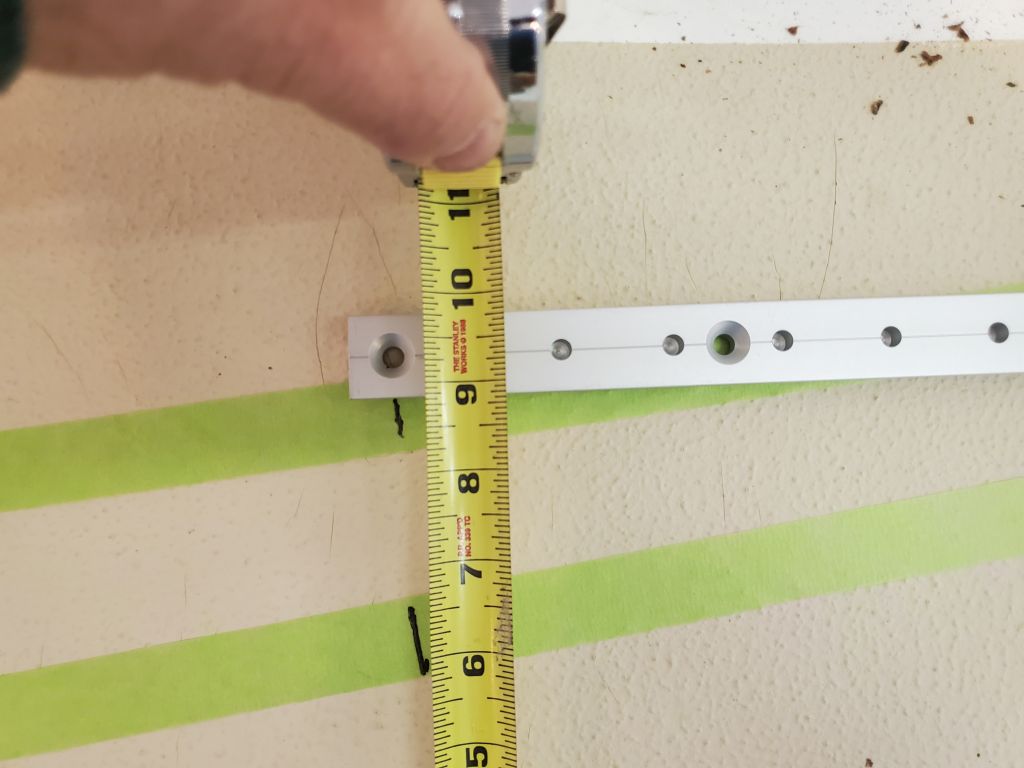
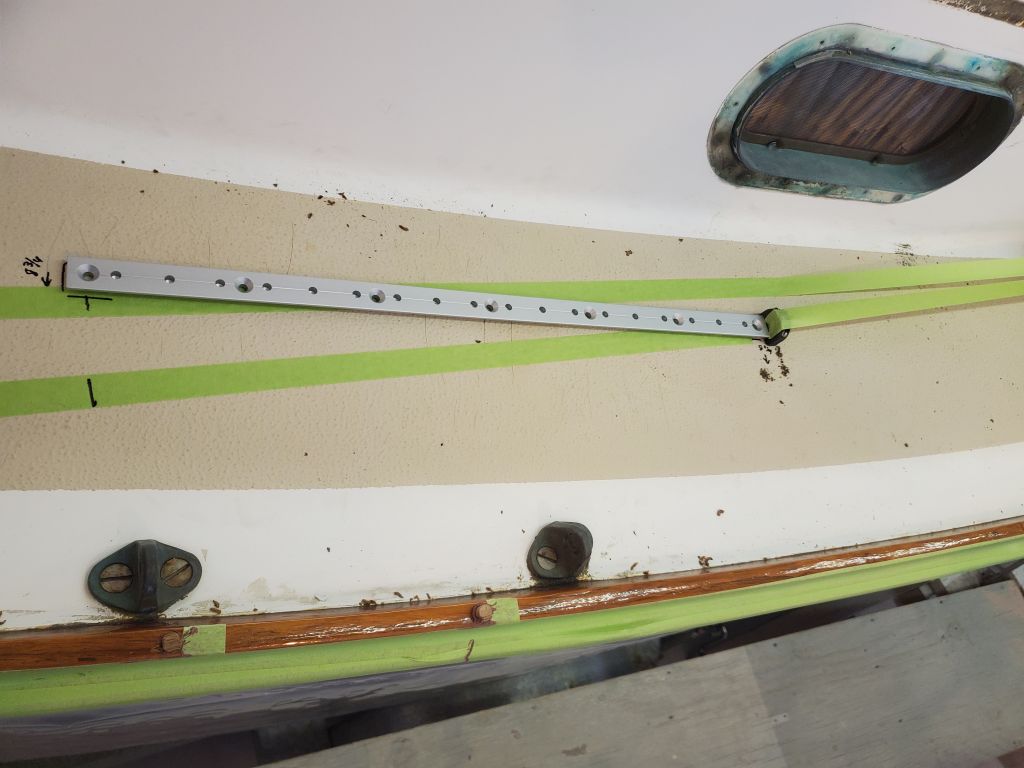
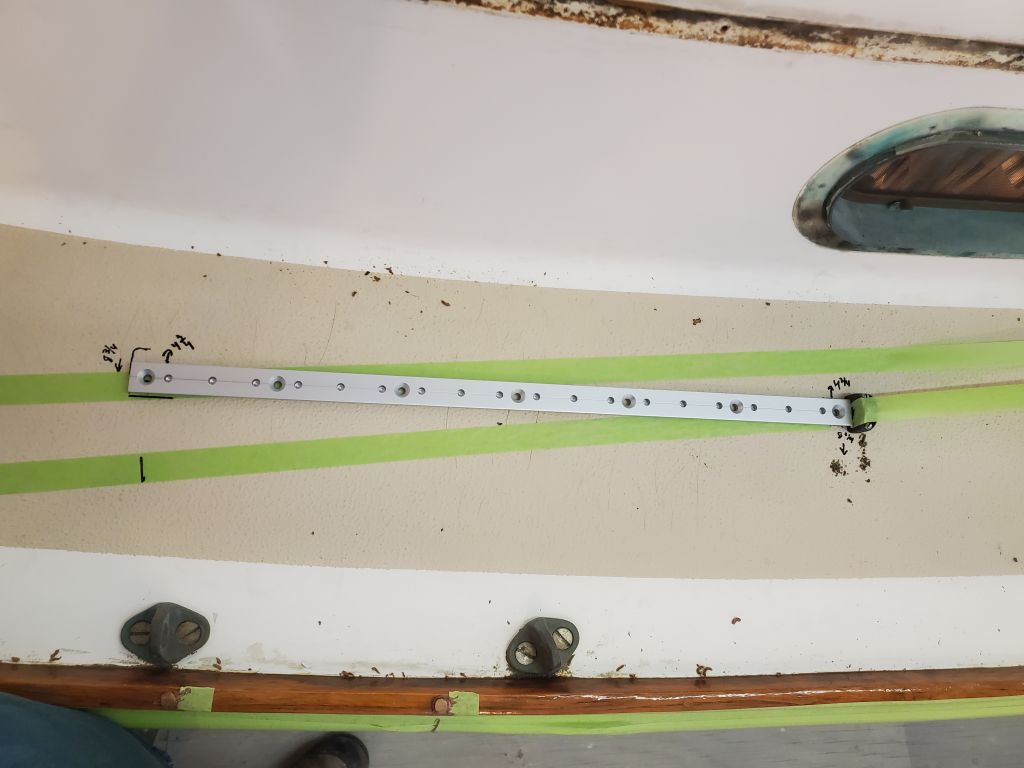
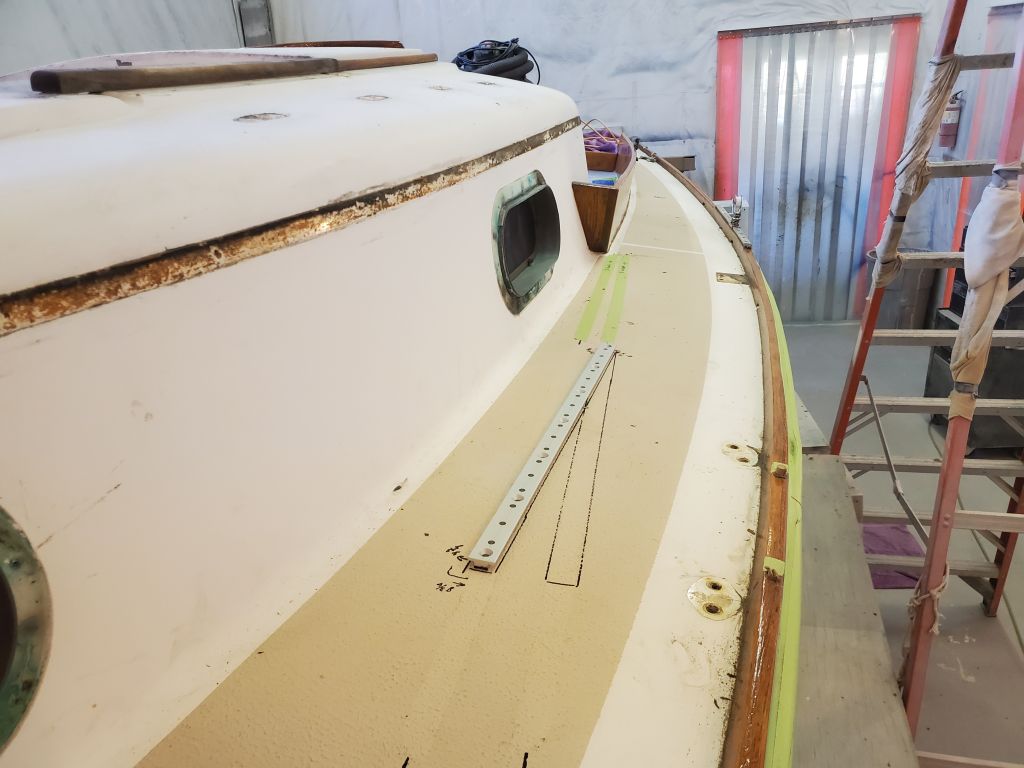
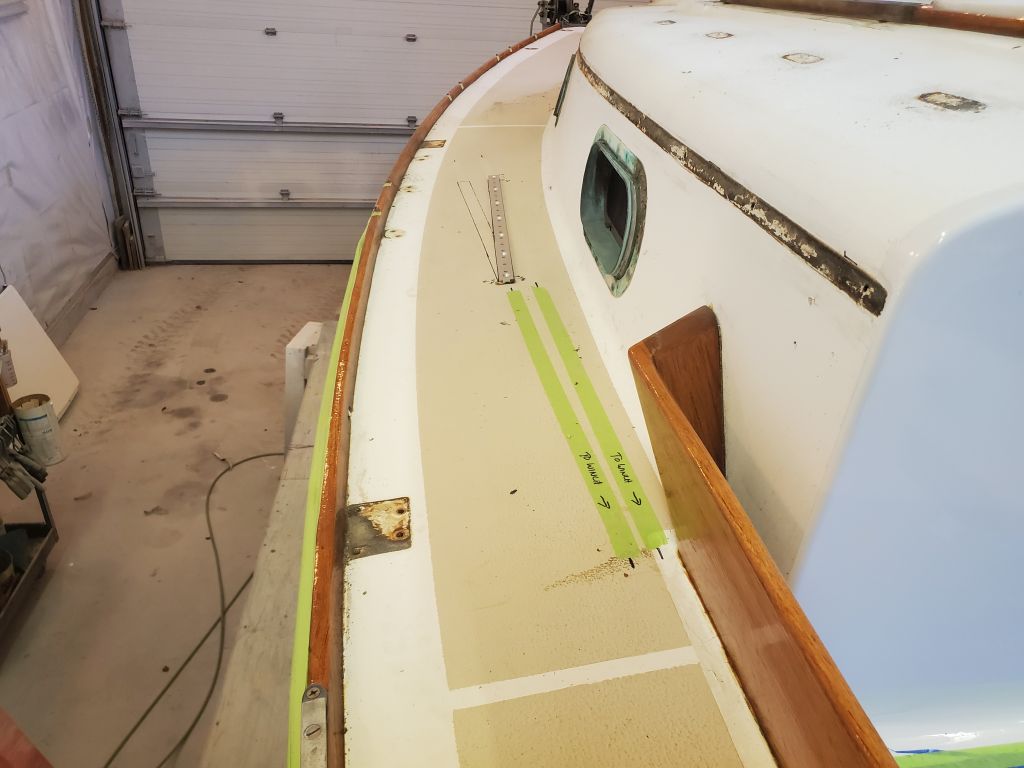
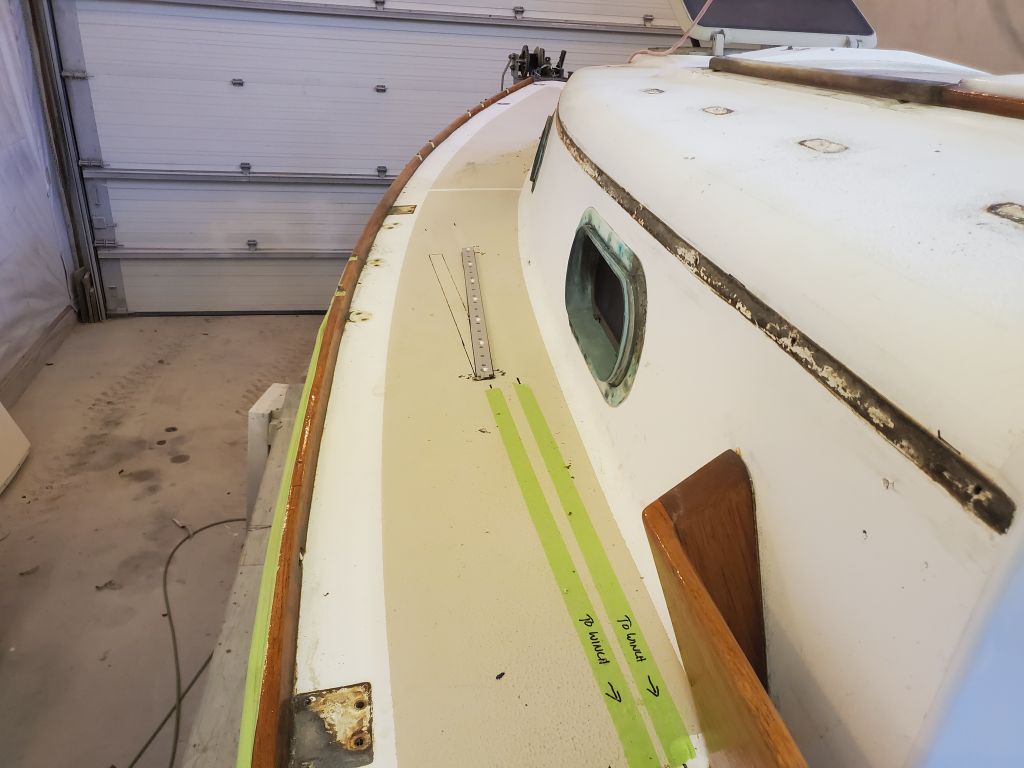
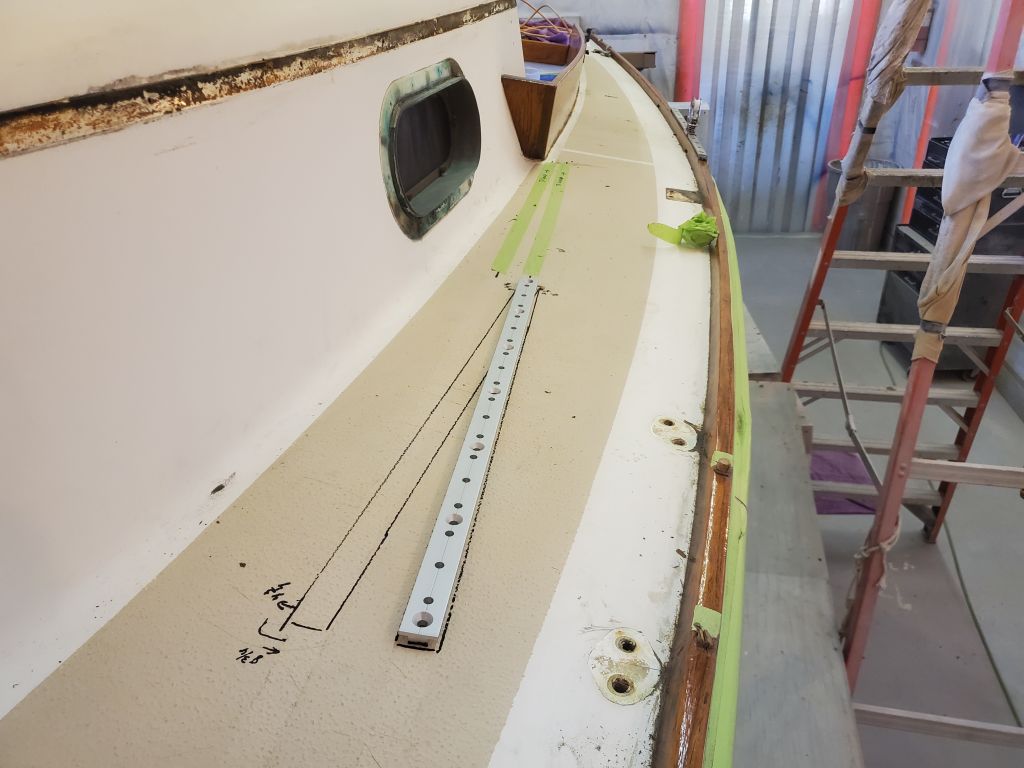
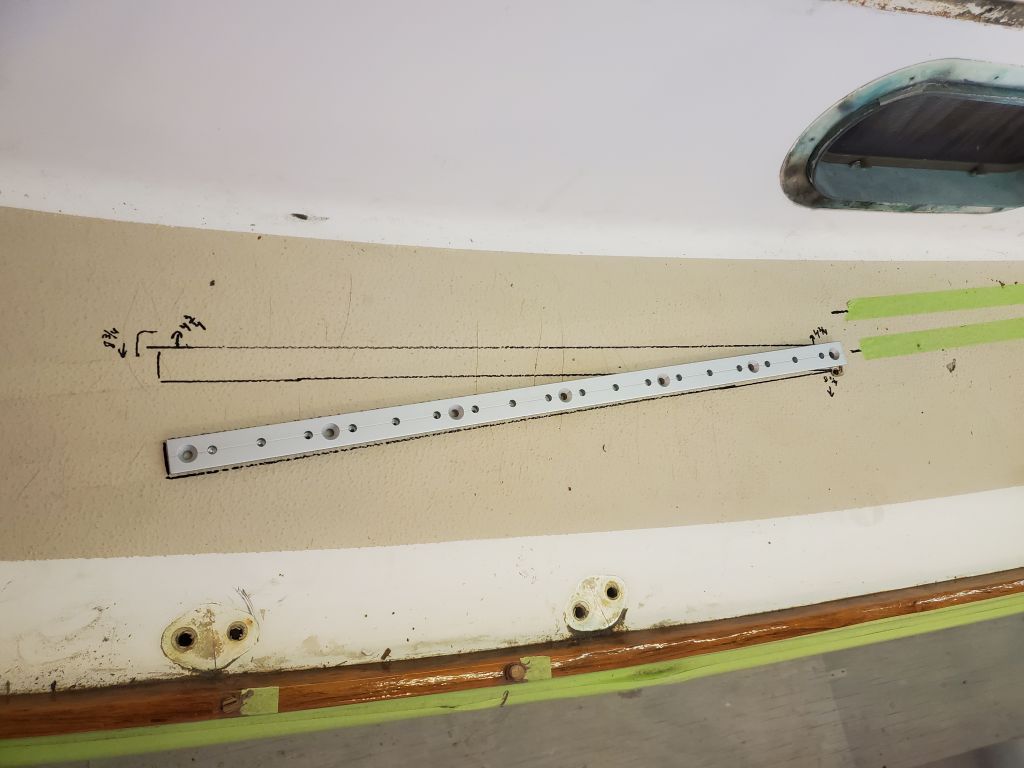
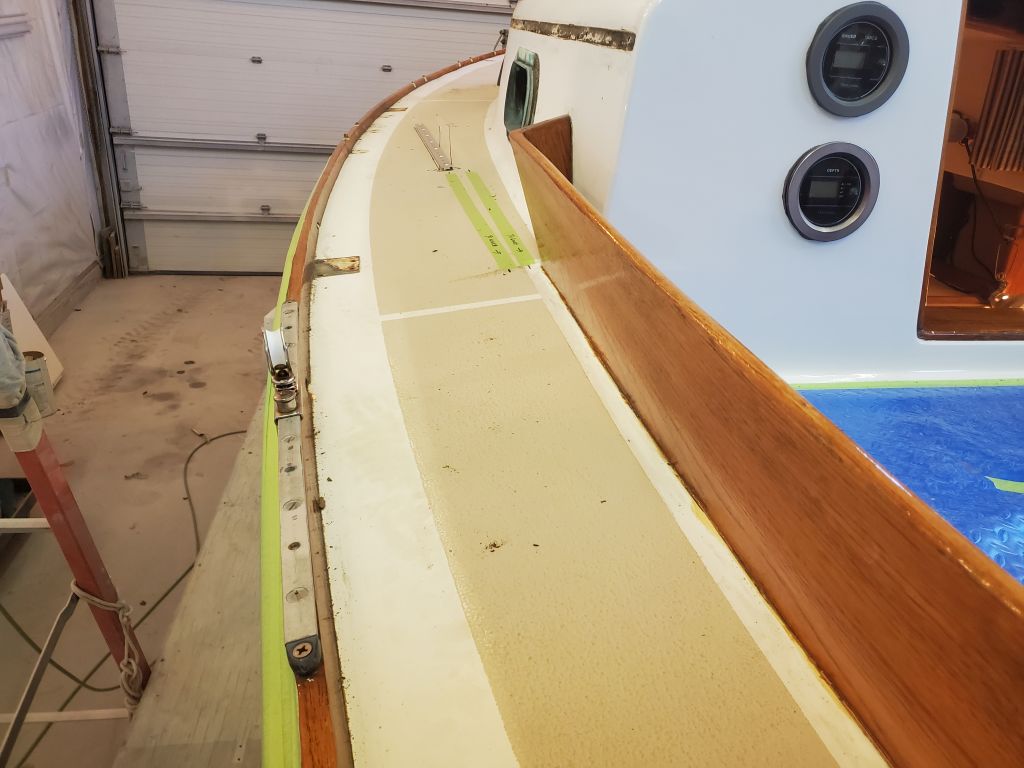
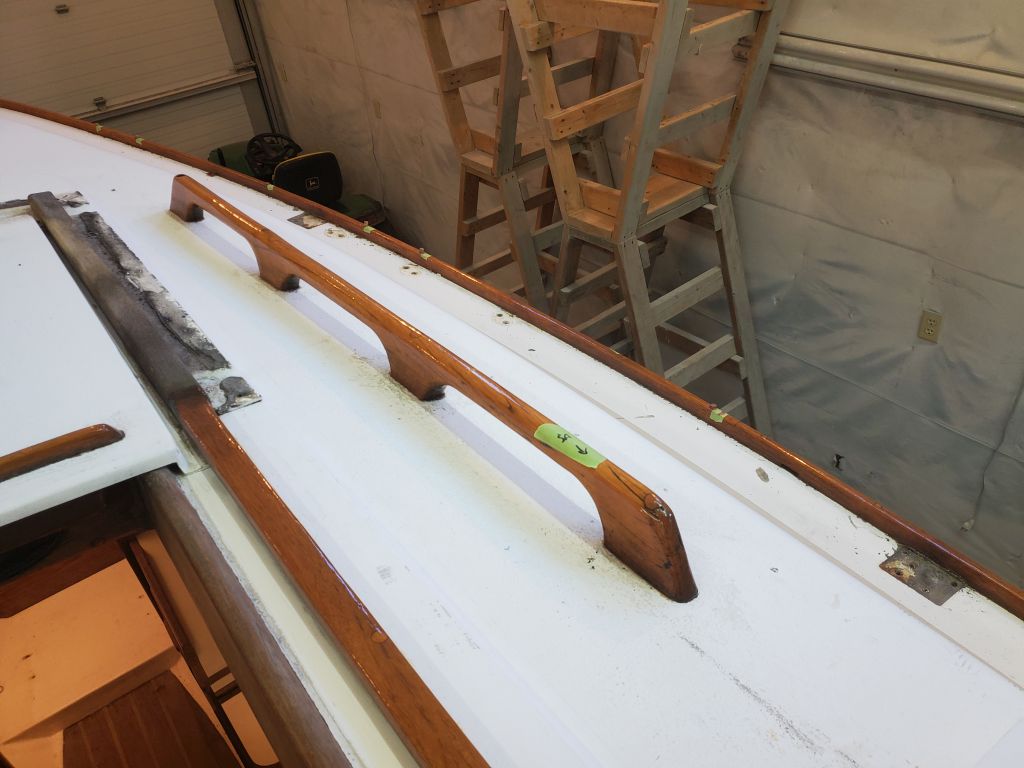
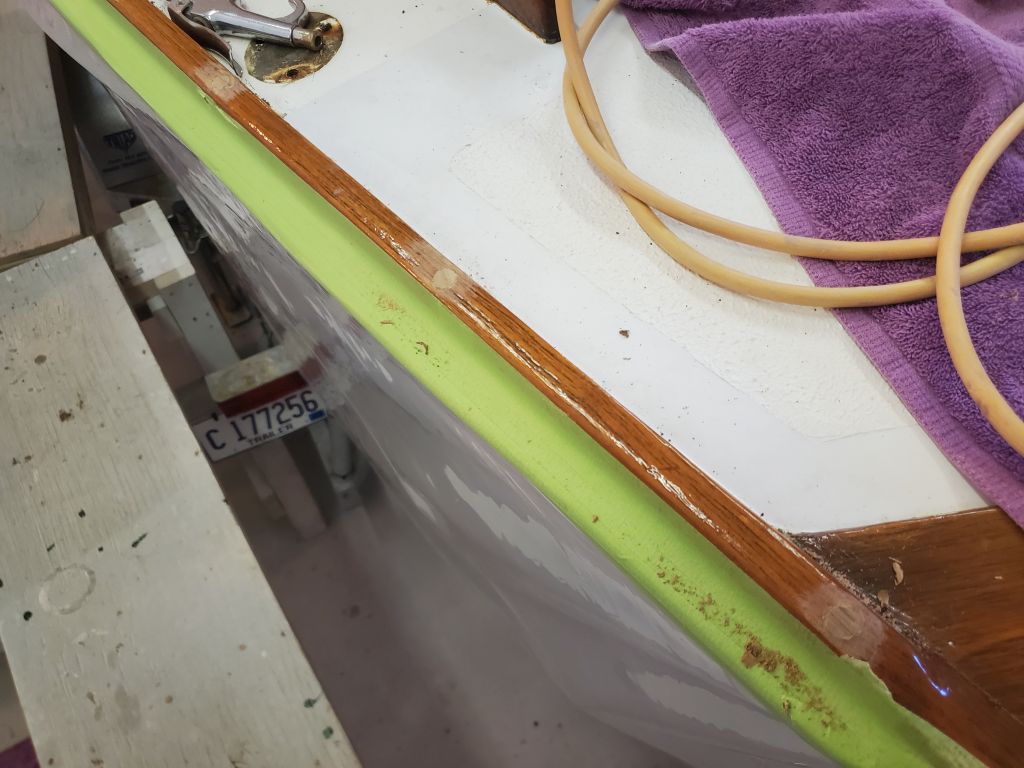
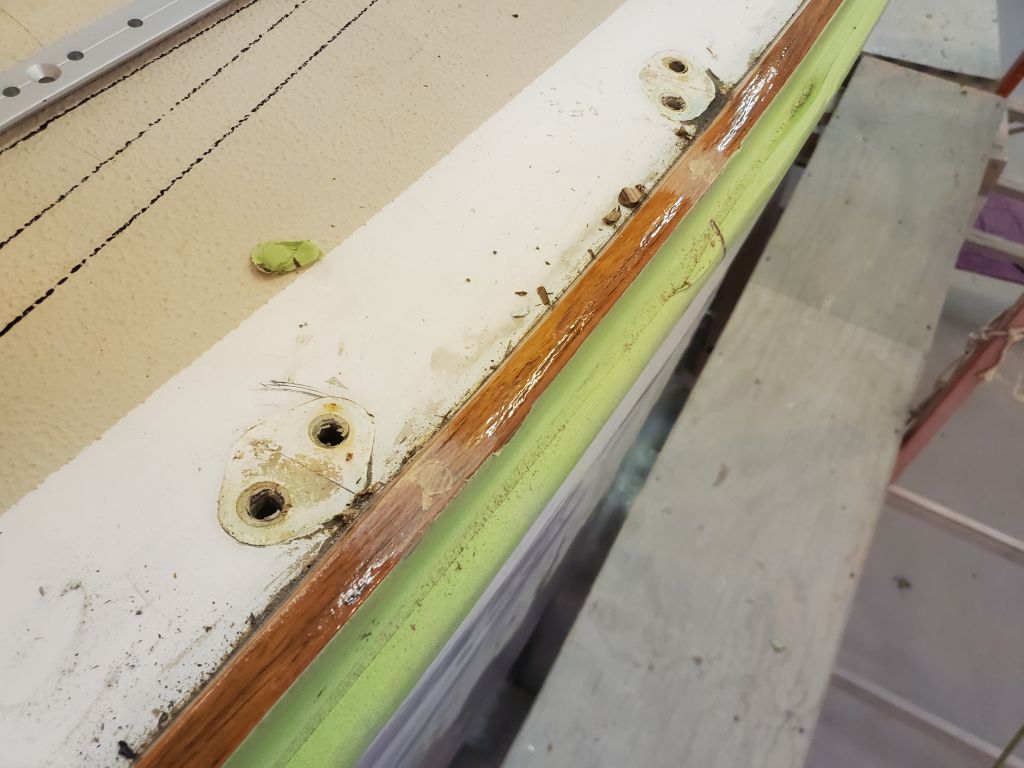
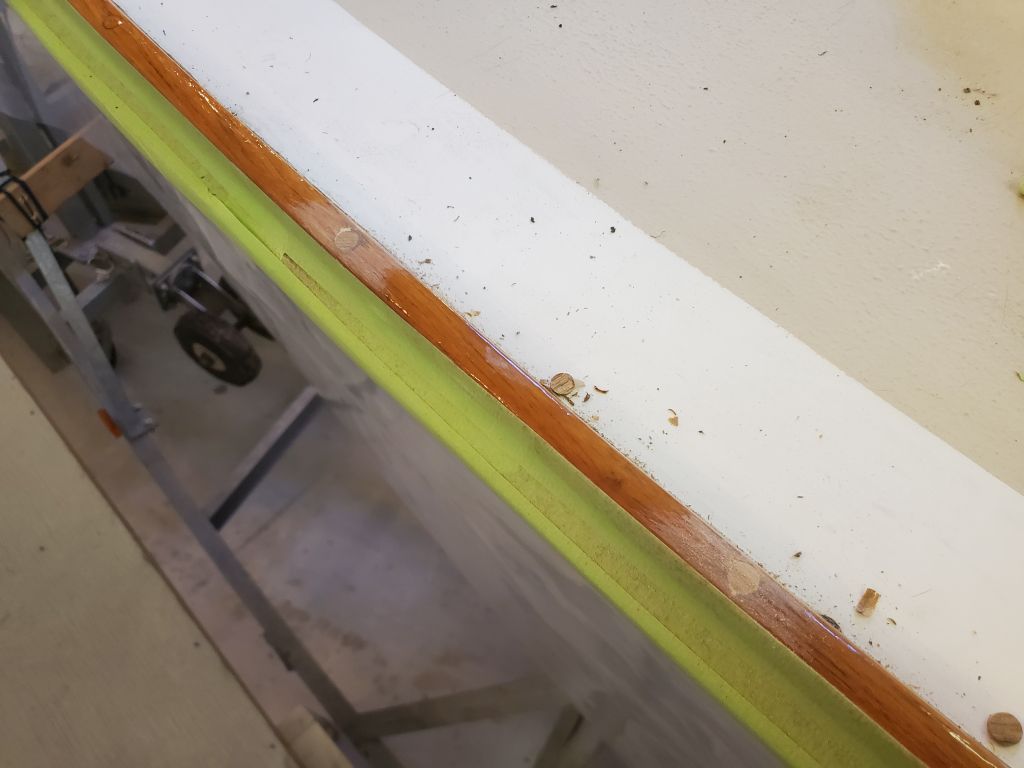
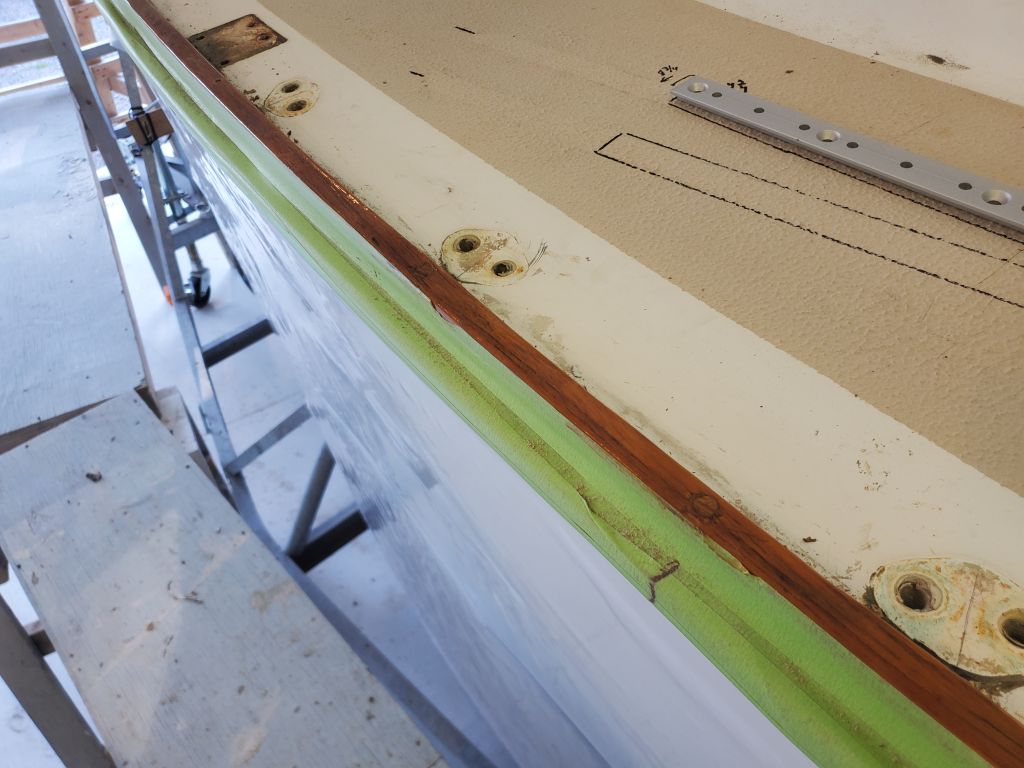
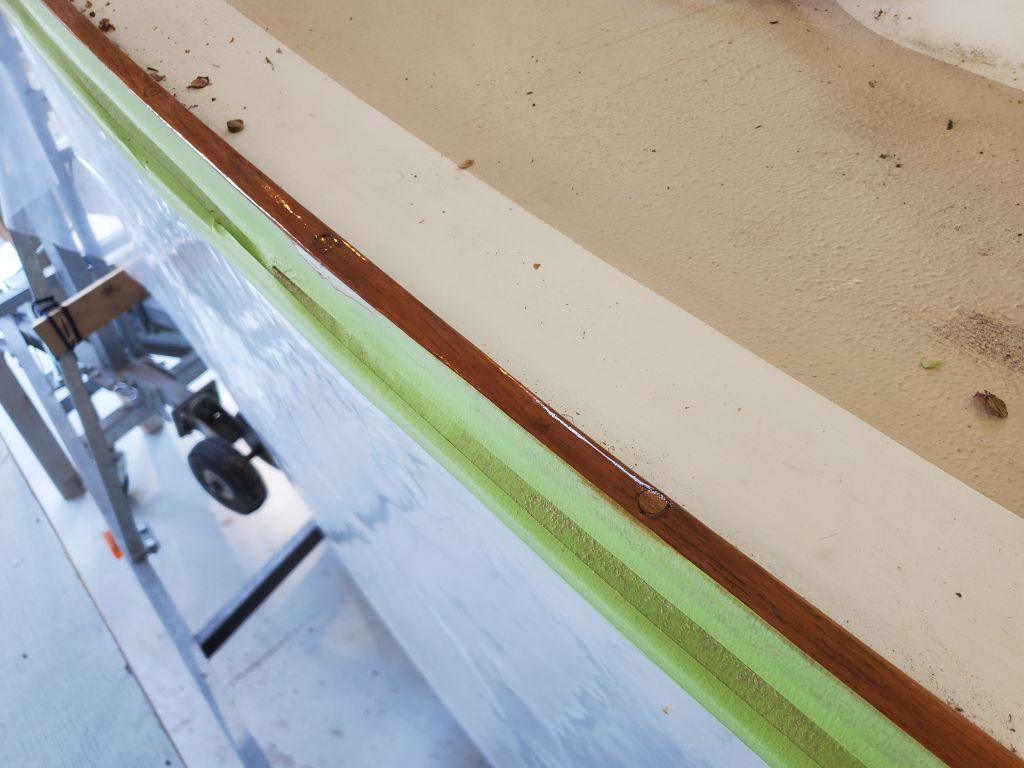
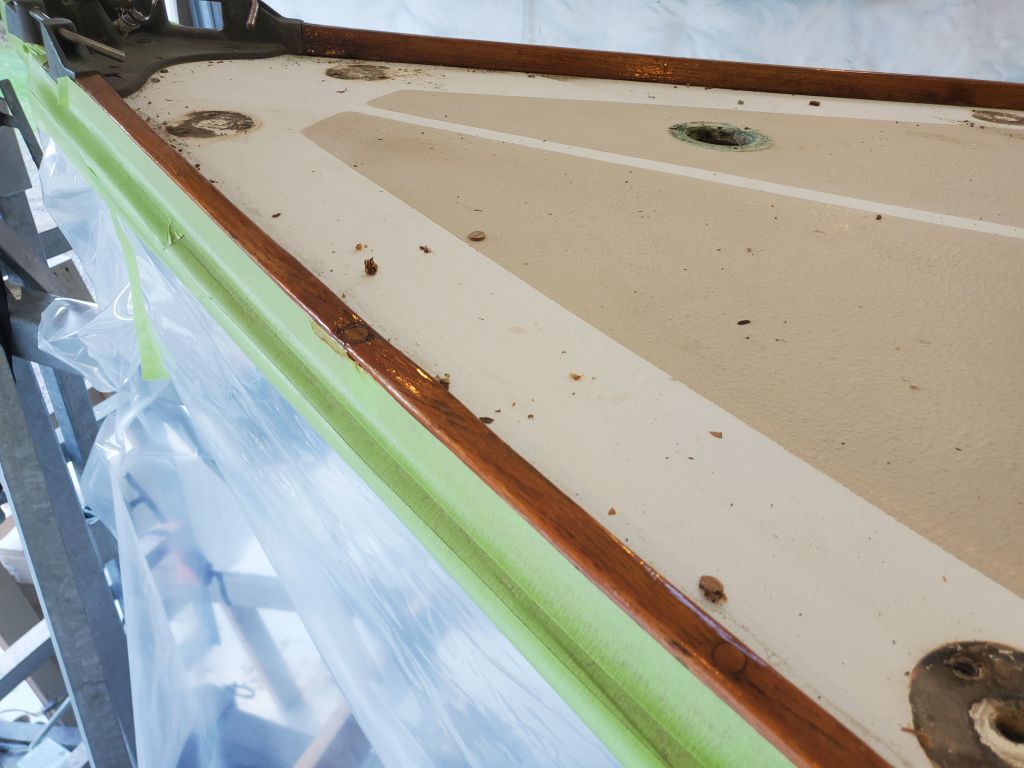
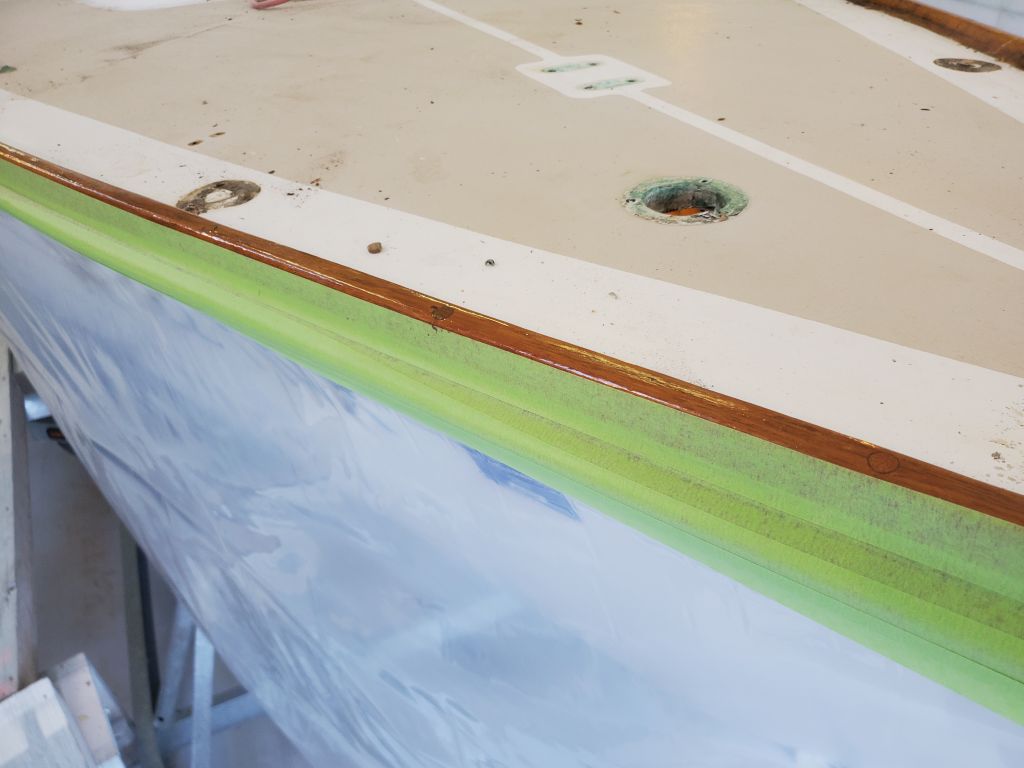
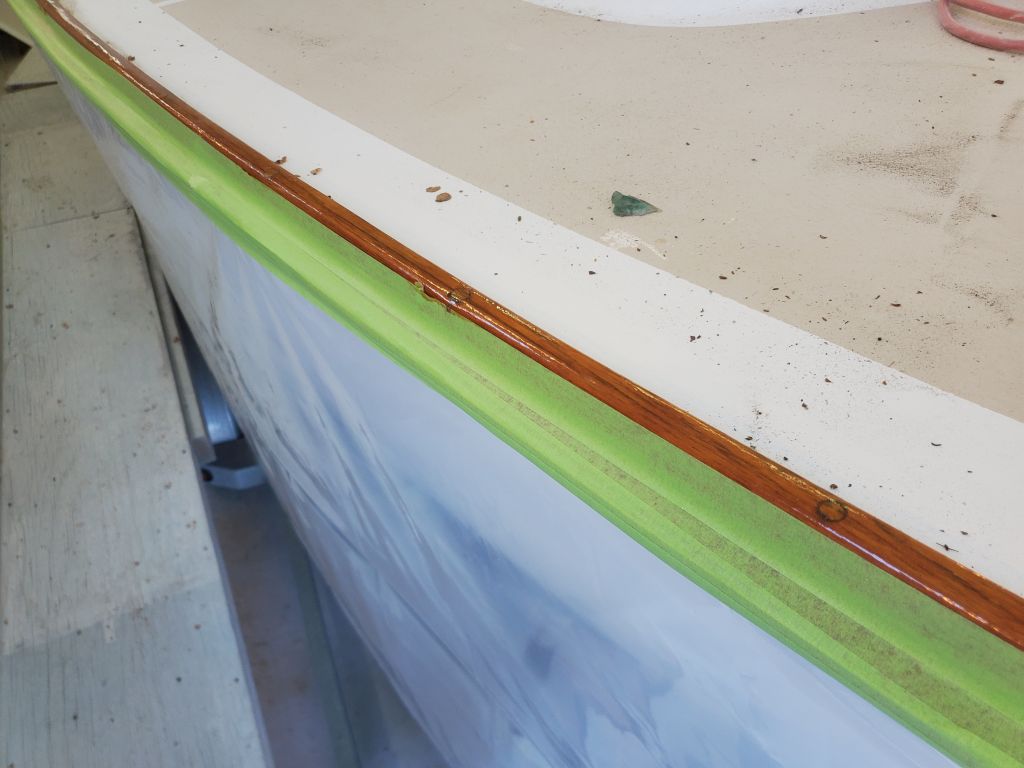
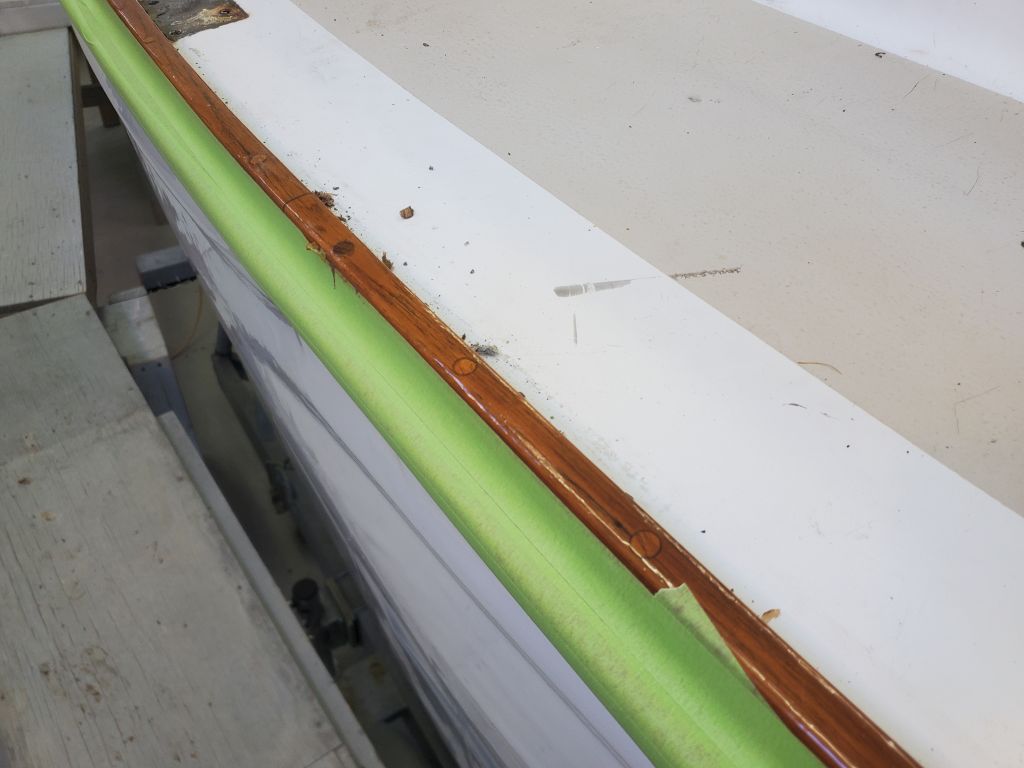
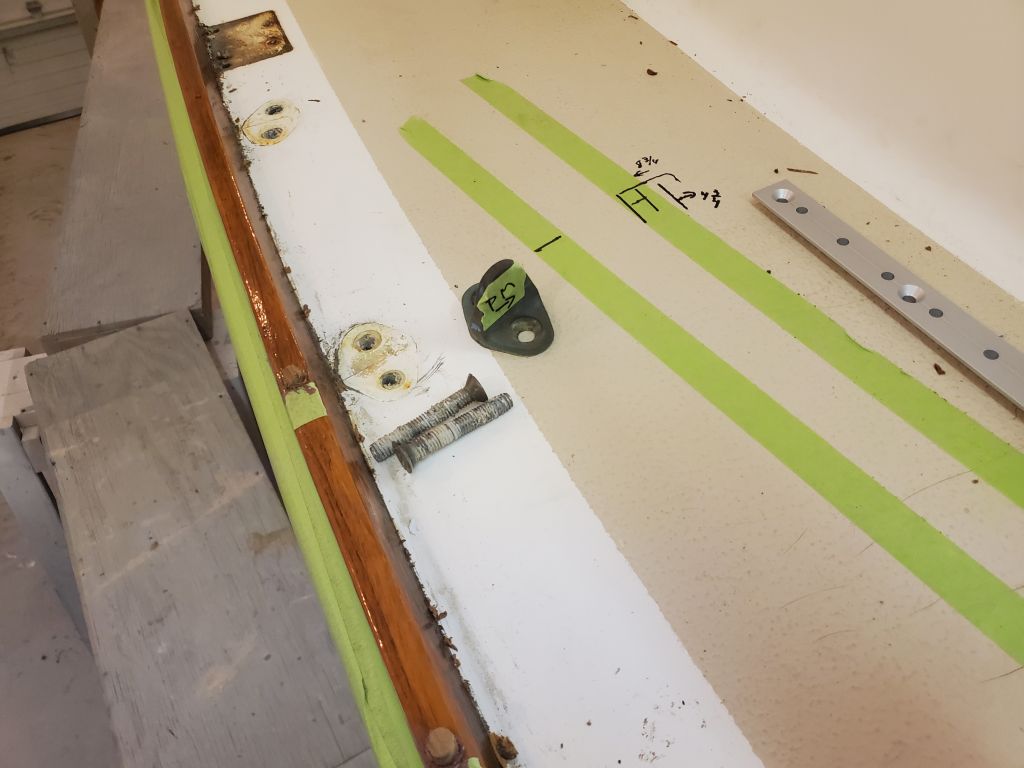
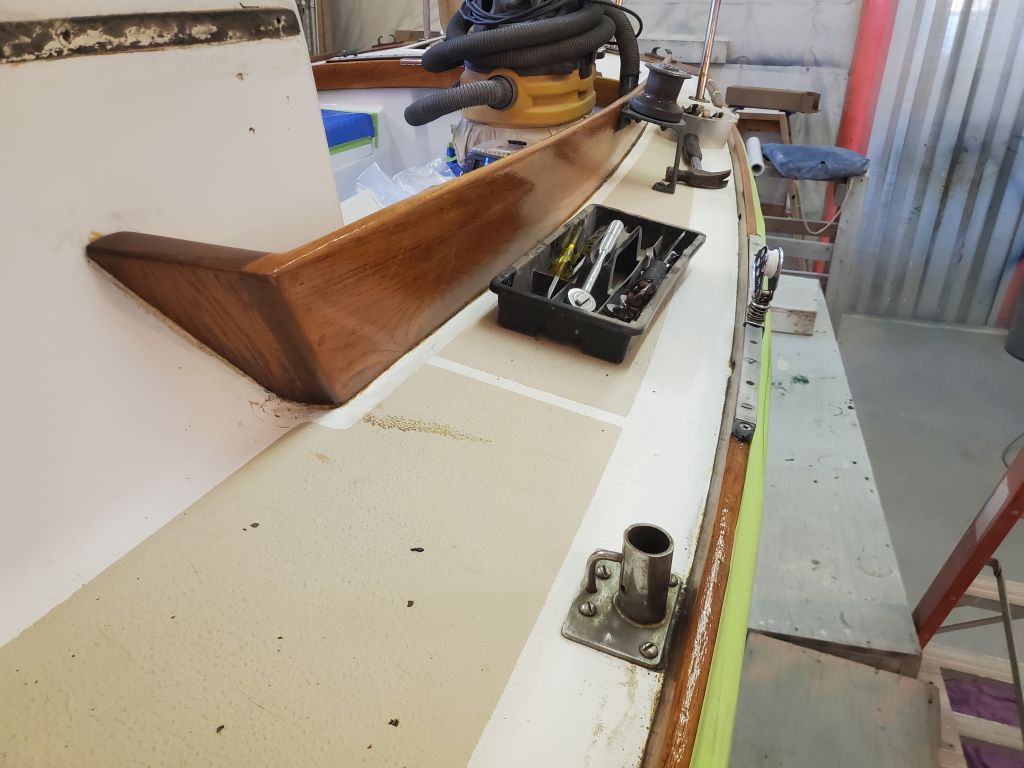
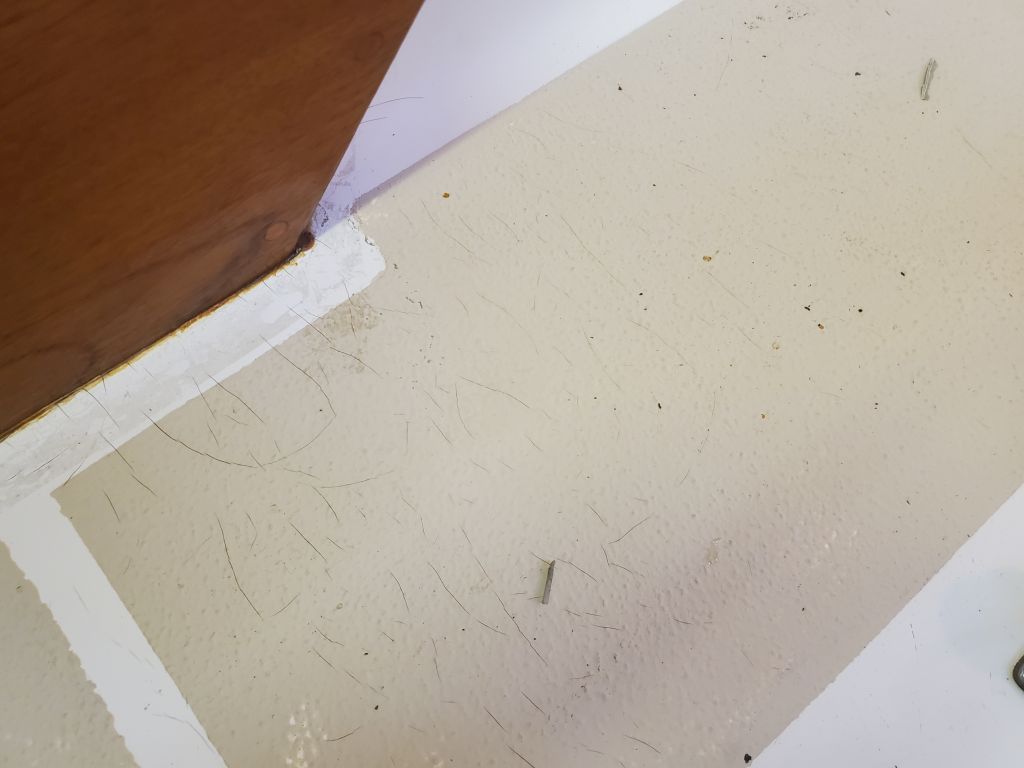
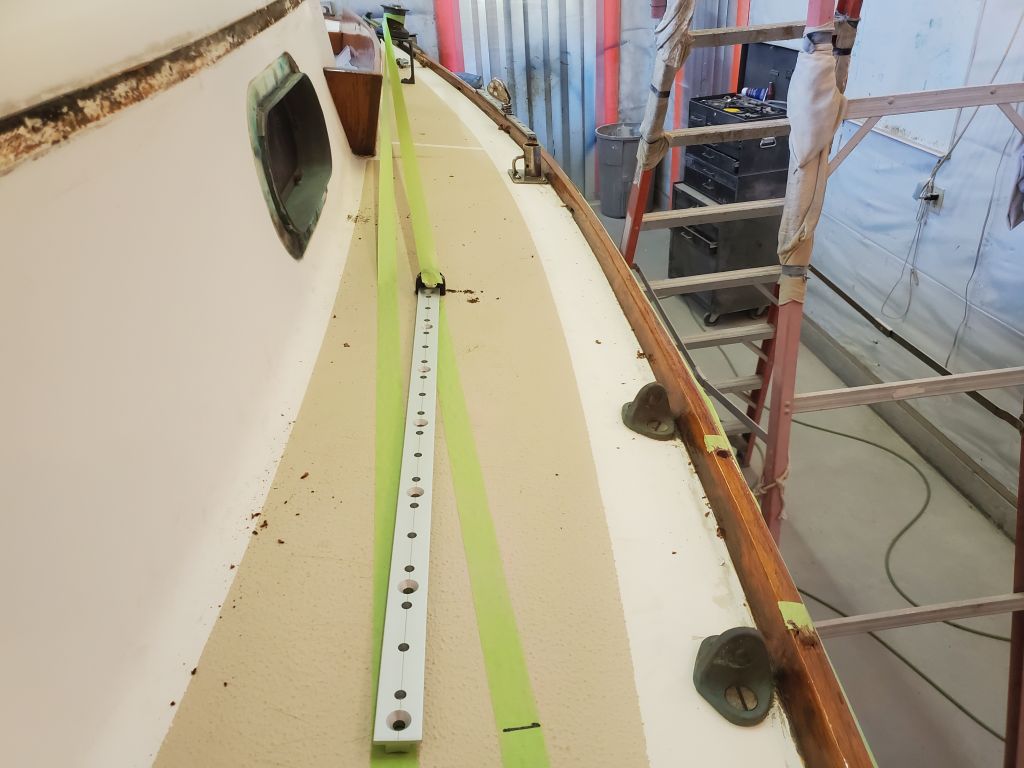
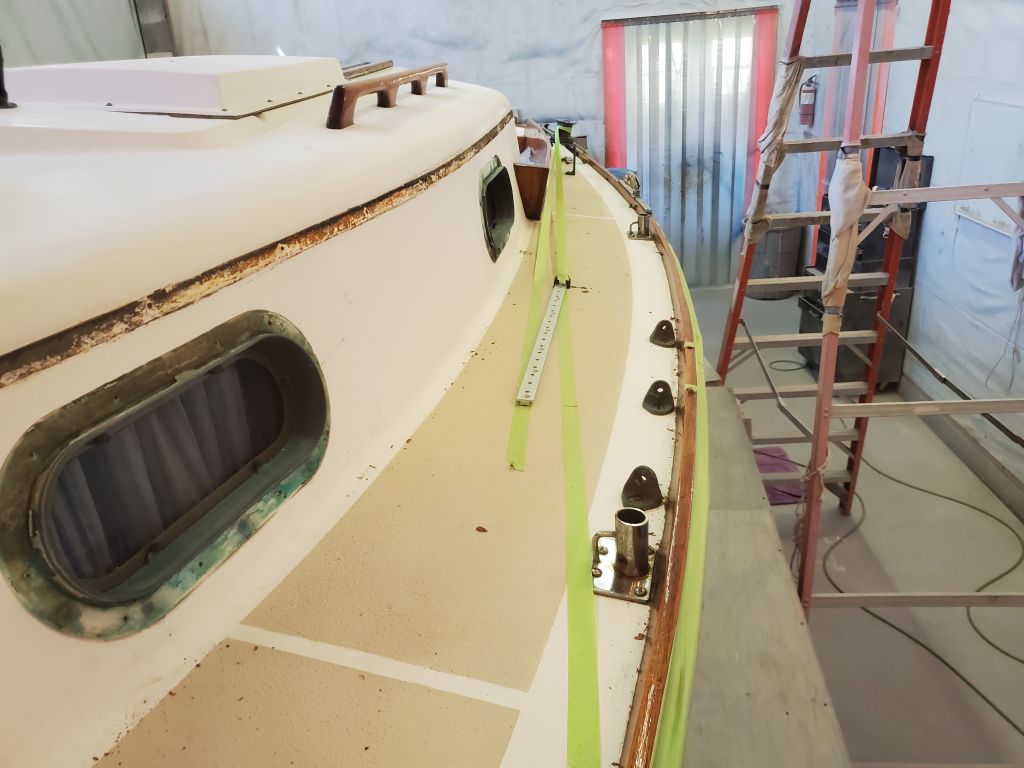
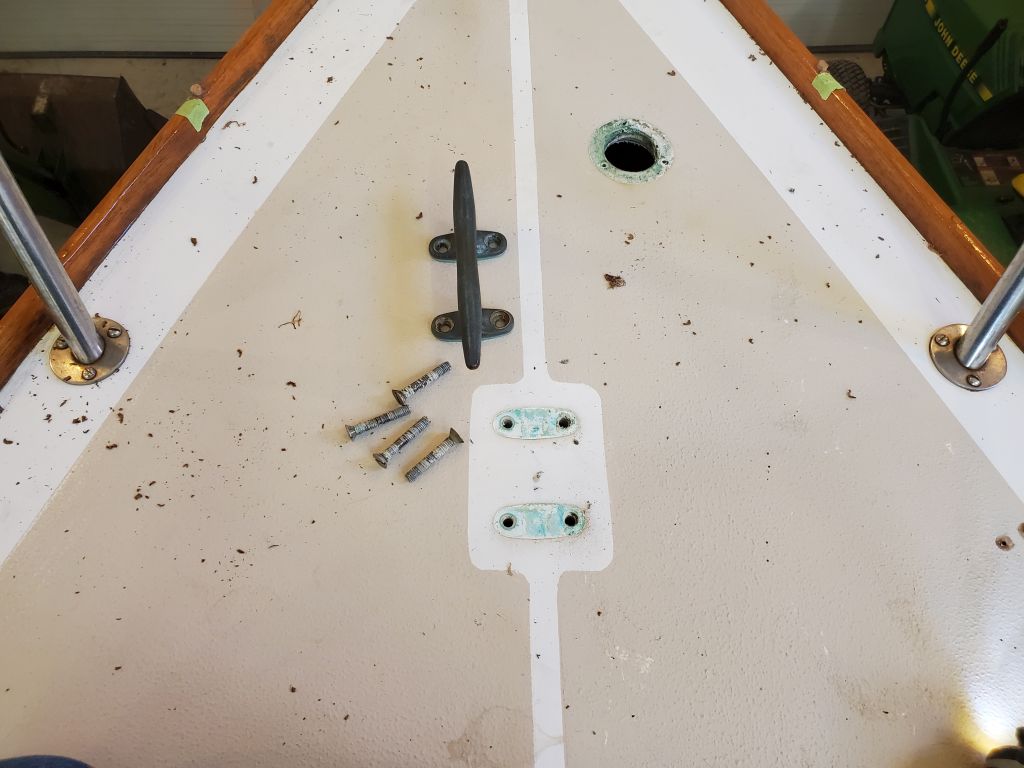
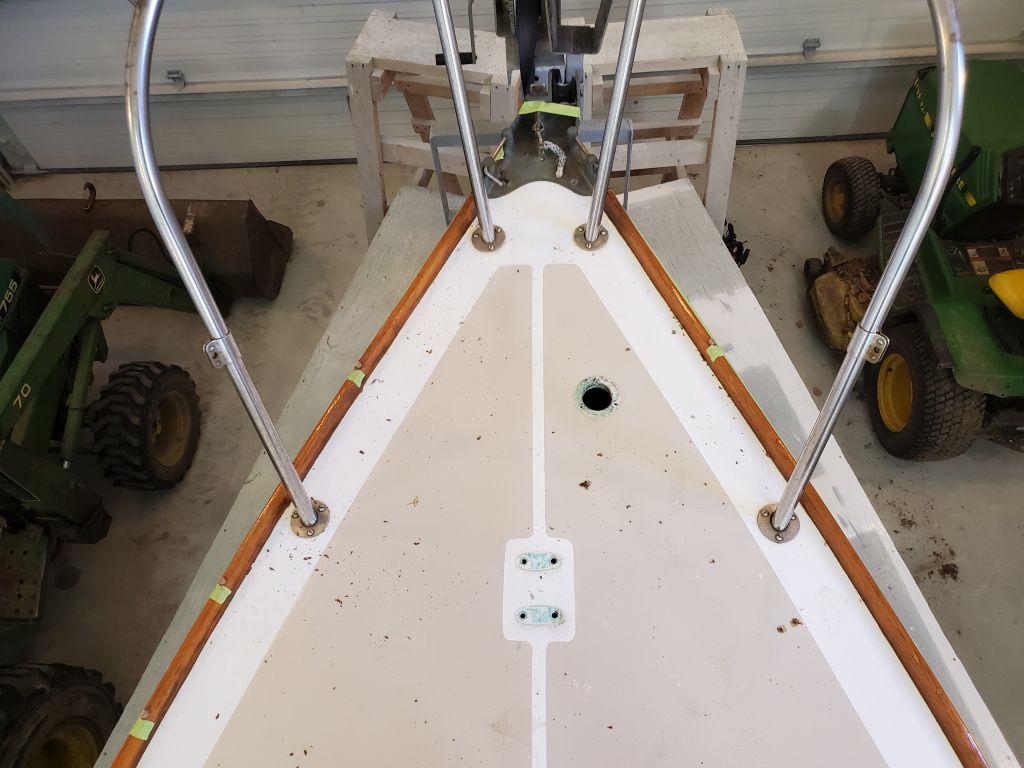
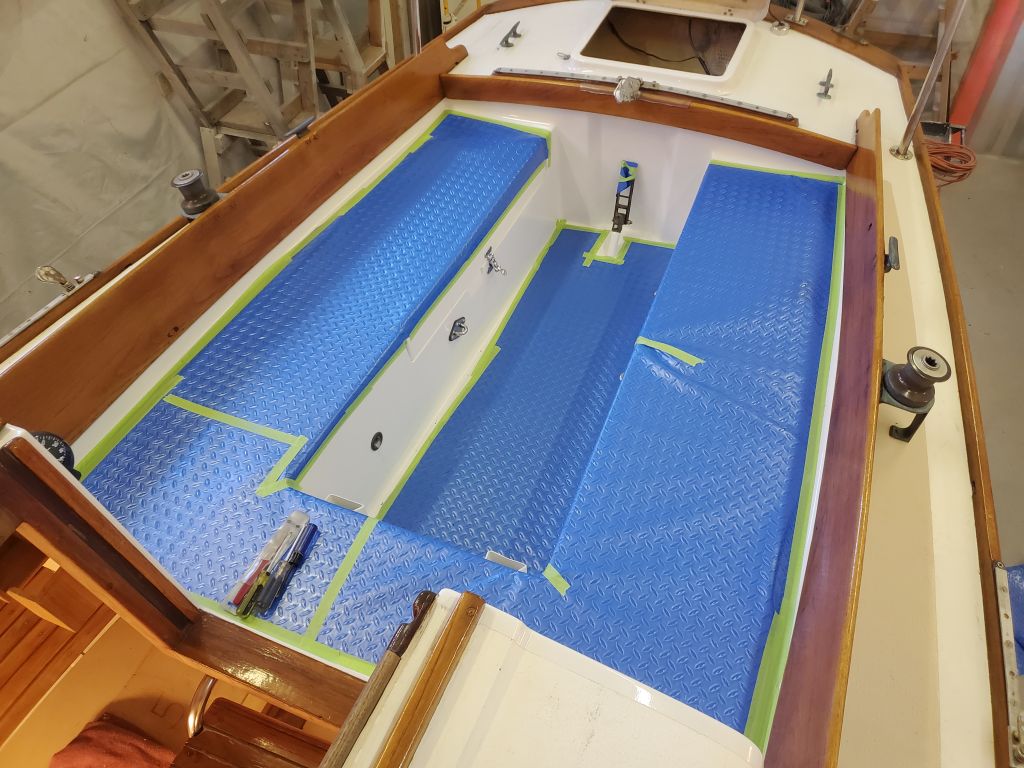
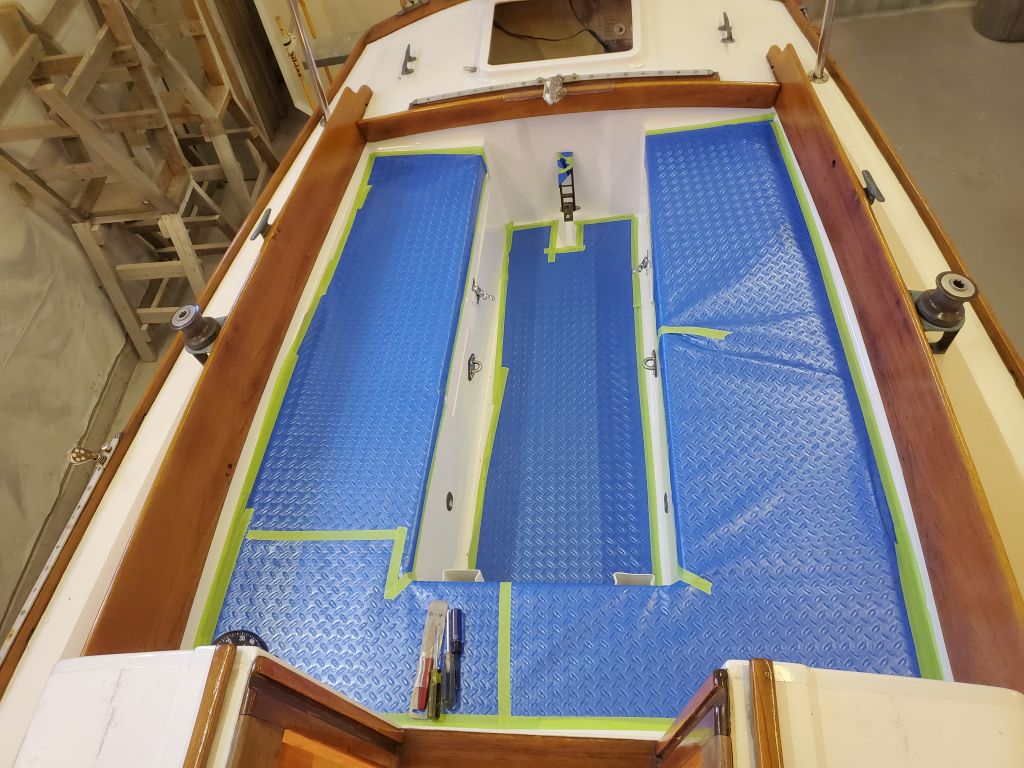
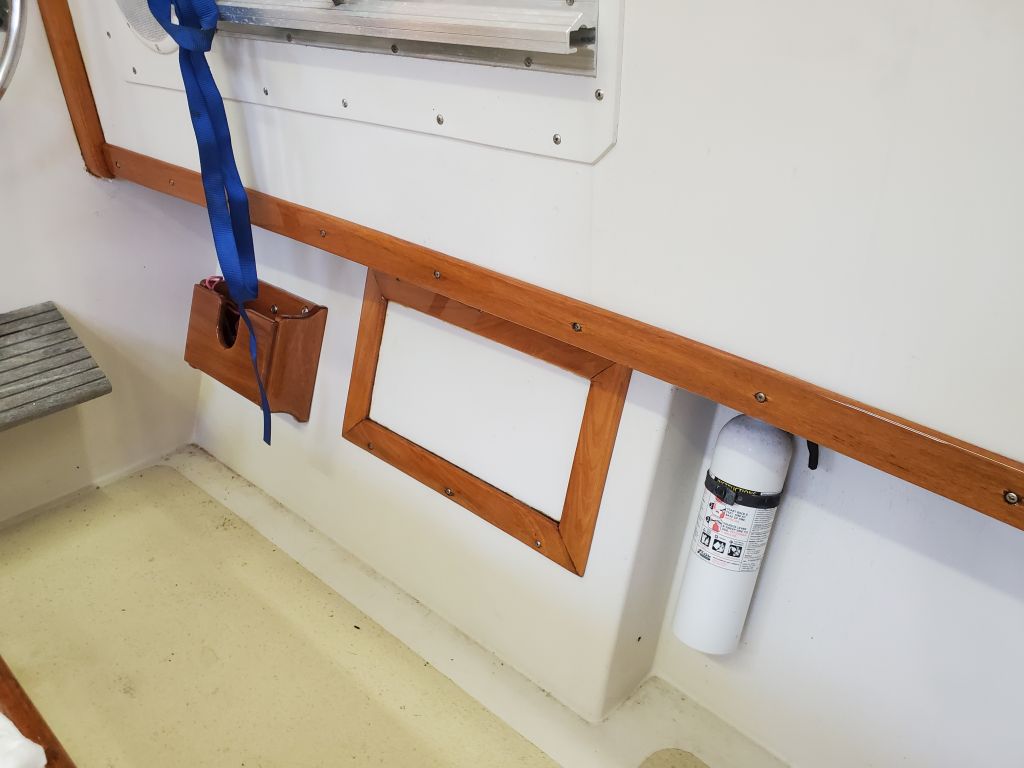
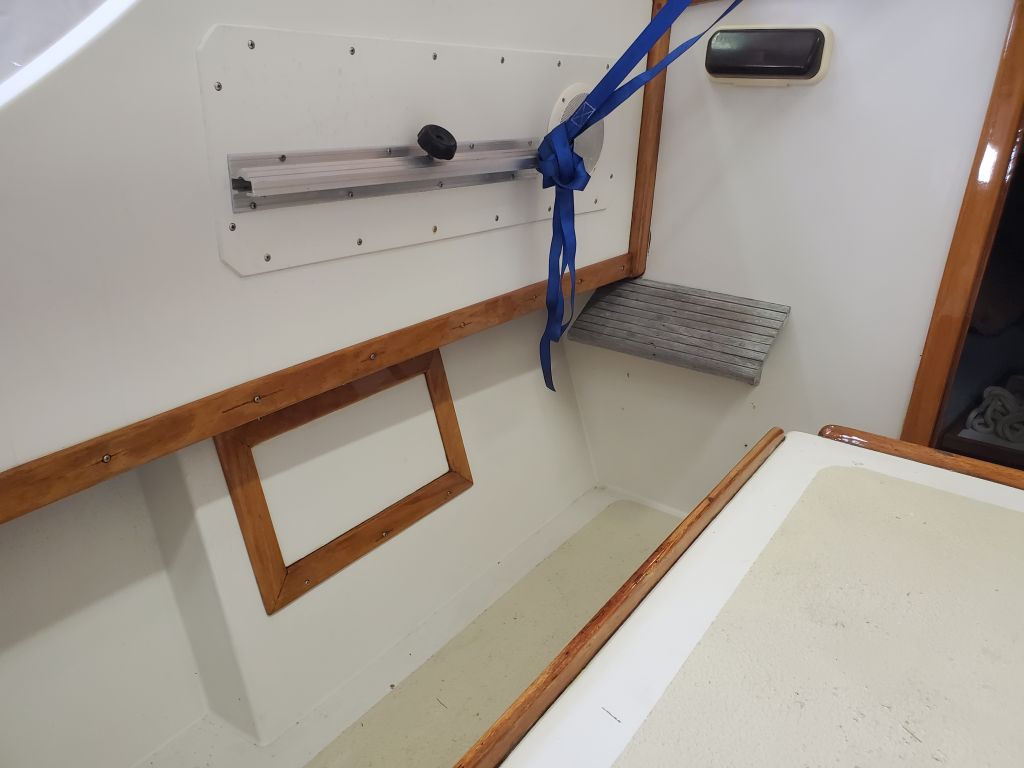
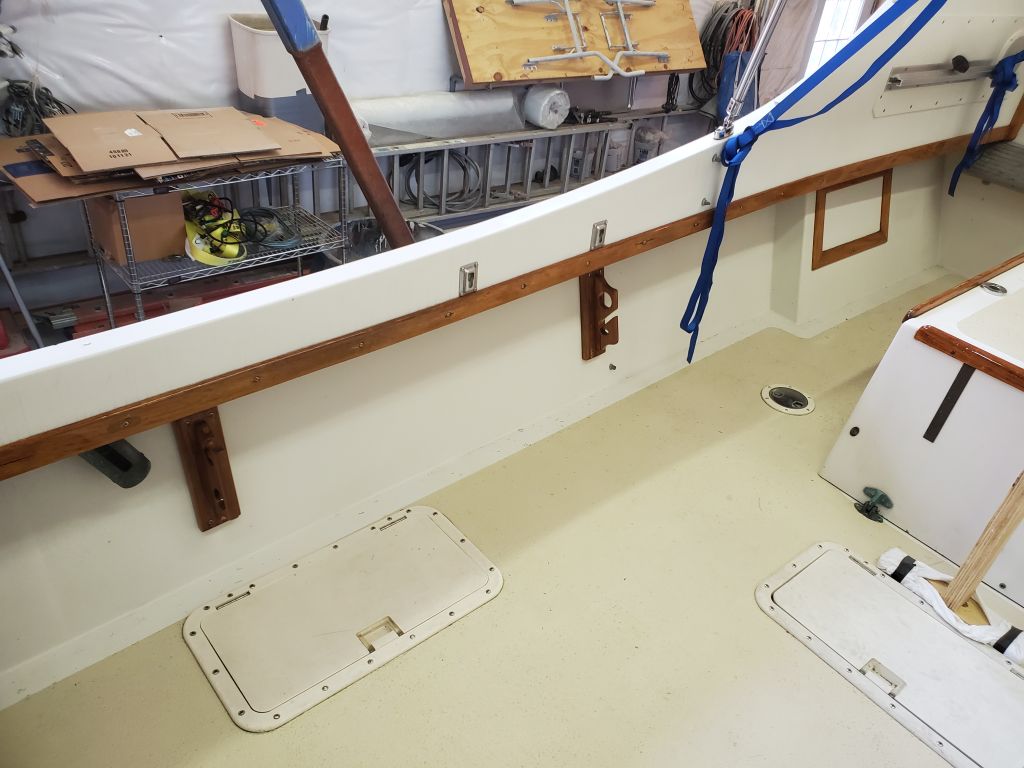
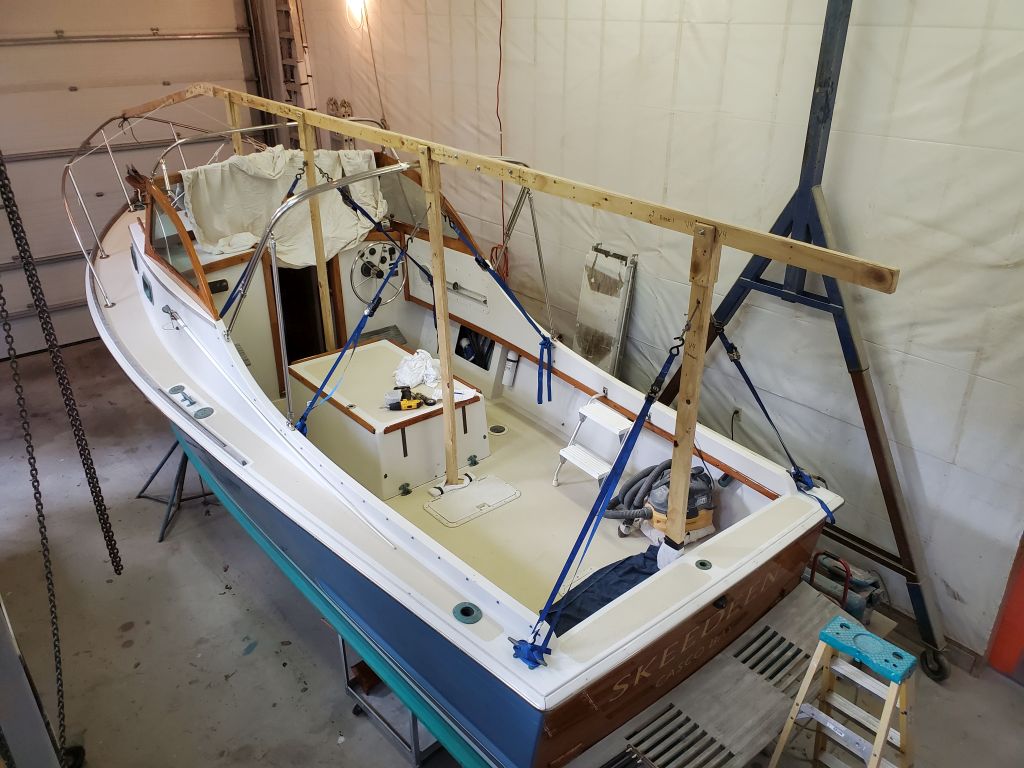
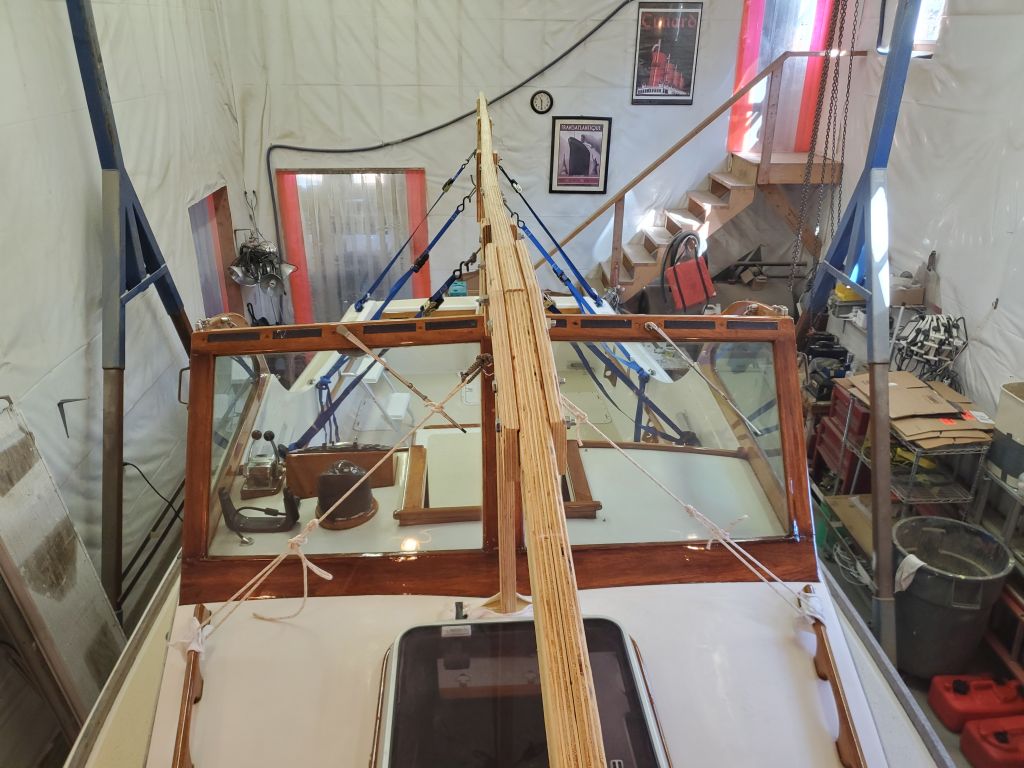
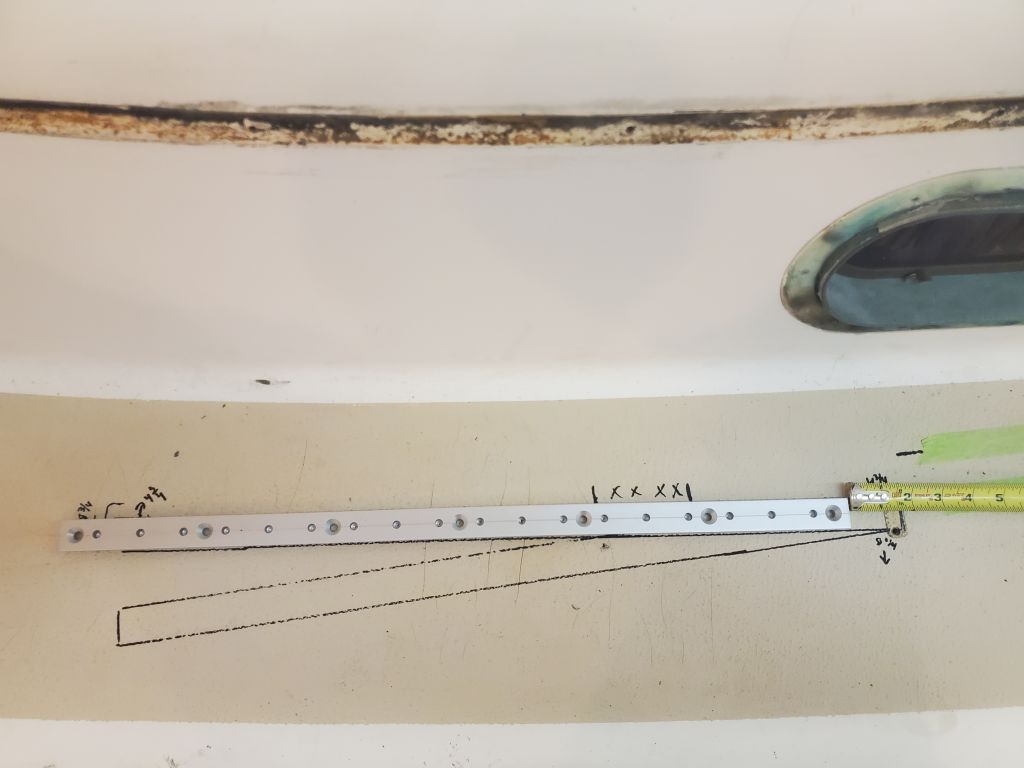
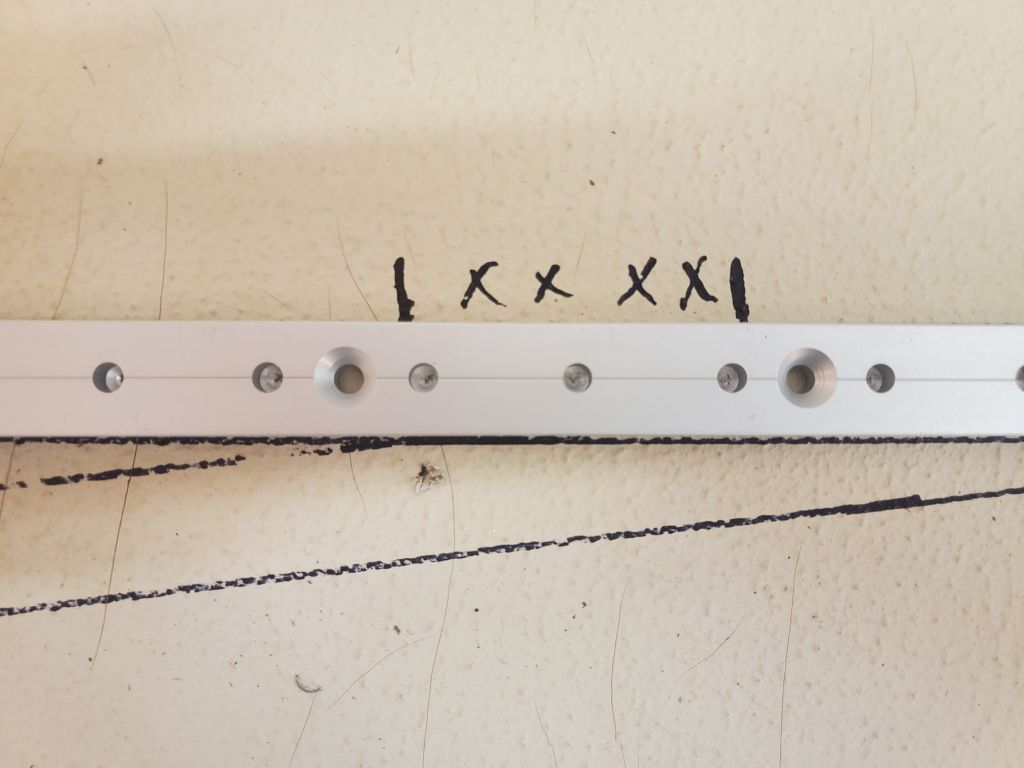
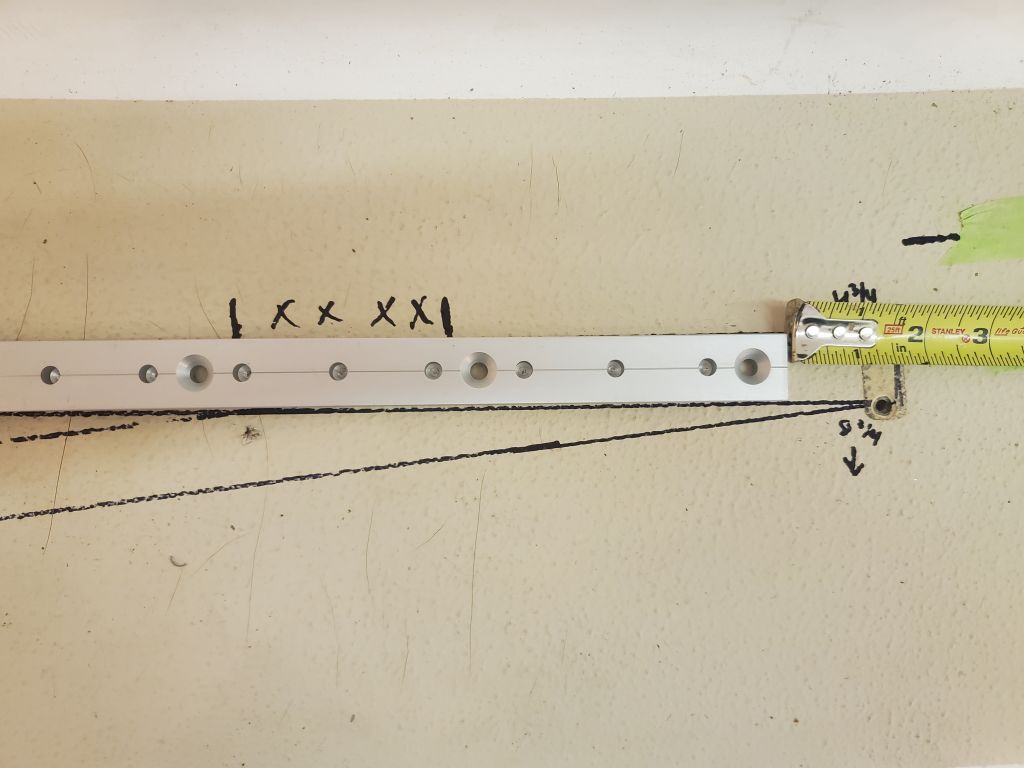
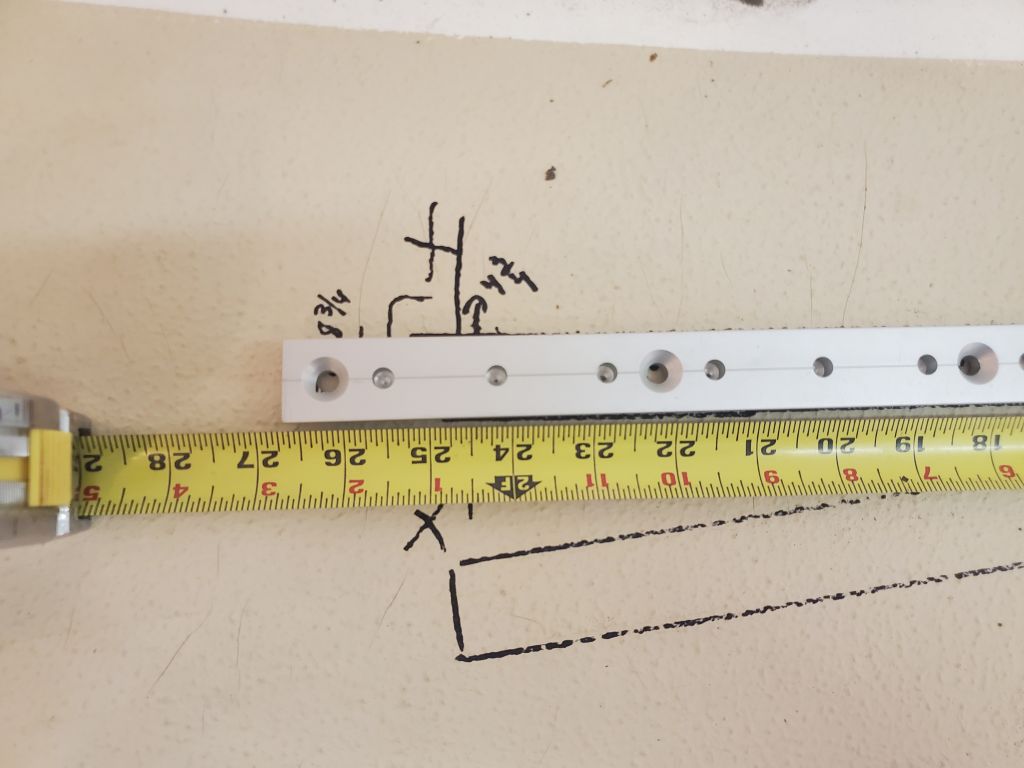
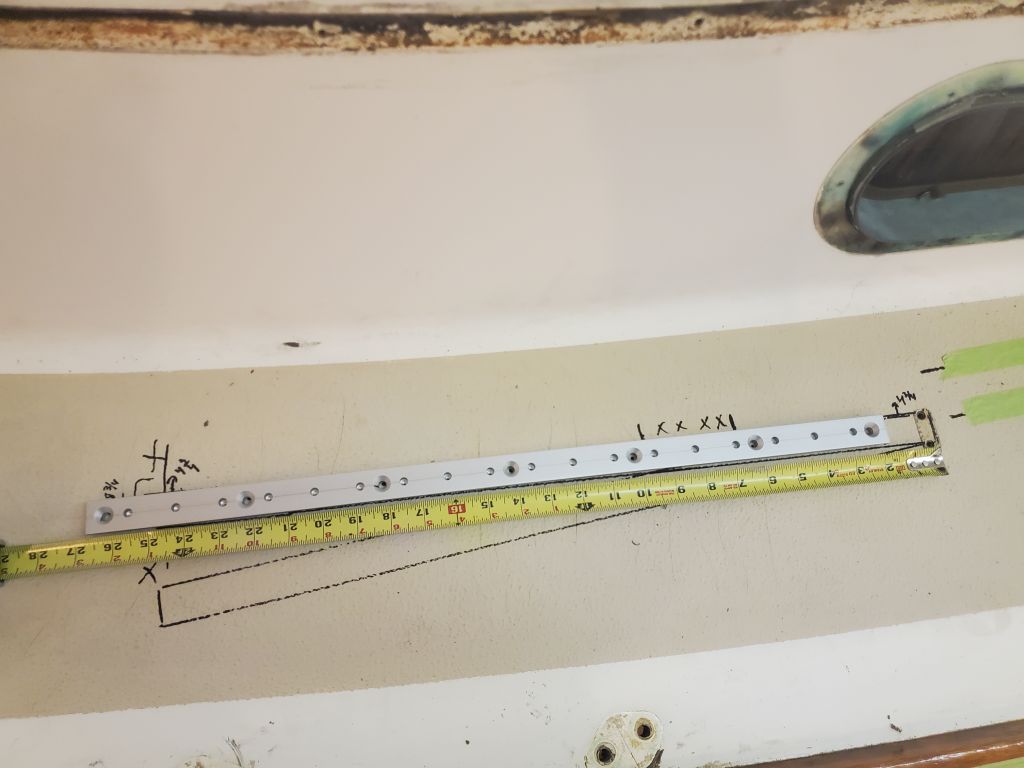
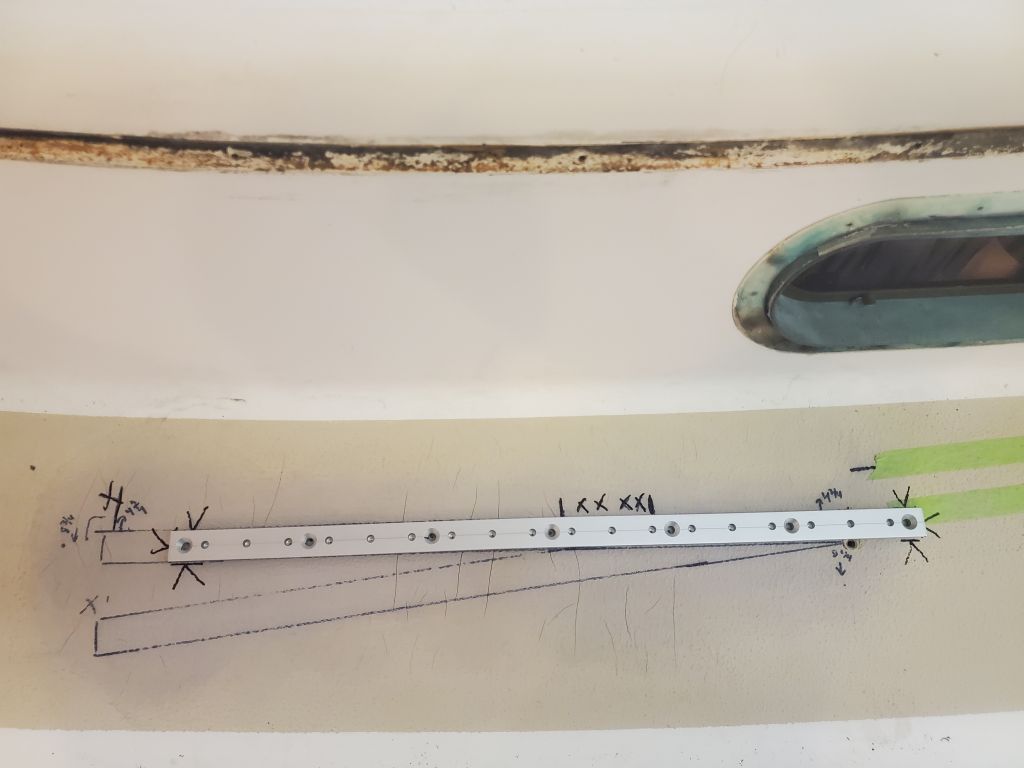
Regarding the new jib track location, we decided on the inboard, parallel-with-the-cabin-trunk location, as anticipated. Before finalizing the position and preparing mounting holes, I made some measurements belowdecks to see how the tracks related to any obstructions like bulkheads. Naturally there were a couple impediments to the placement of the track exactly where we wanted: the small bulkhead at the aft end of the galley, and the main bulkhead forward. By transferring measurements taken below to the sidedecks, I determined that the fastener hole spacing on the track required me to move the track somewhat in order for the fasteners to miss these bulkheads. Moving the track aft about an inch and a half cleared the galley bulkhead and kept the forward end well clear of the main bulkhead, but extended the track further aft than the owner wanted, since adjustment room forward of the old fairlead was much more important since he’d identified through use that the sail required a more forward lead position. Moving the track forward about 2″ also cleared the galley bulkhead, but then the forward end interfered with the main bulkhead. Clearing that particular bulkhead would have required a substantial move further forward, if this even worked–but that was a non-starter anyway.
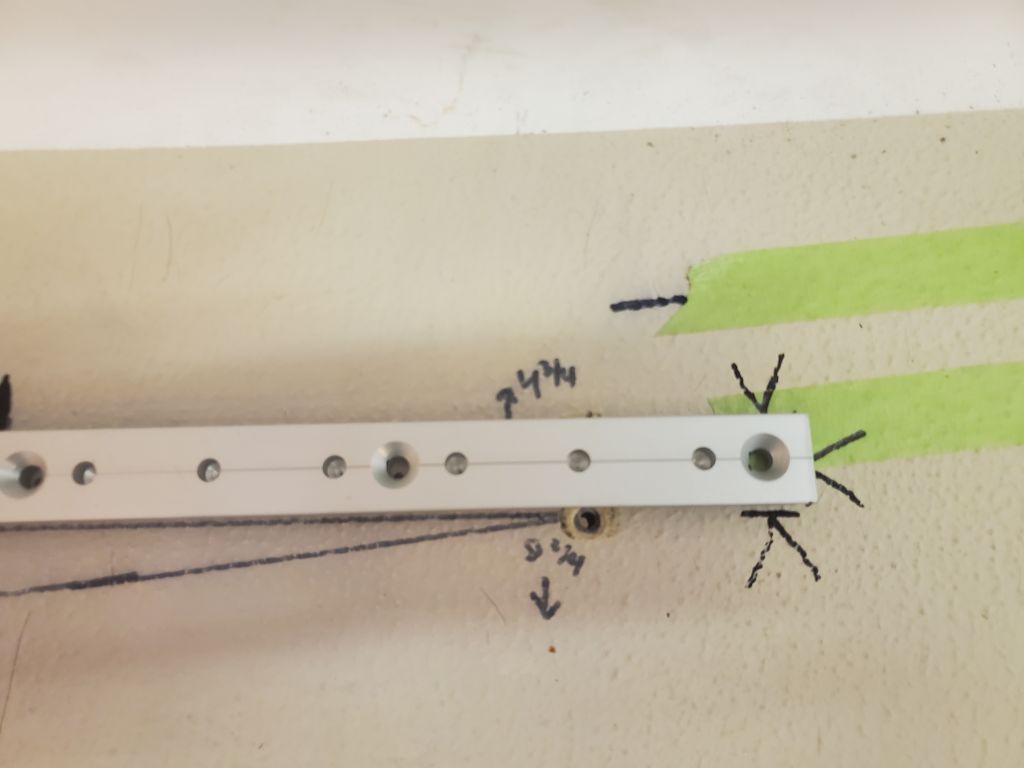
After discussing a few options, we decided to effectively move the track aft about 1/2″ from its “ideal” position (i.e. the aft end of the track aligned with the original fairlead position), which ensured that all the fasteners but one would clear the bulkheads below in a pleasing and effective way; one fastener in the center part of the track would land over the galley bulkhead, and for this I planned to use a shorter machine screw tapped into the deck structure, counting on all the other fasteners in the short track to take the load of the sheet. After all, the working jib had been sheeted to a plastic bullseye secured with two #10 bolts for 40 years, so this seemed a reasonable compromise.
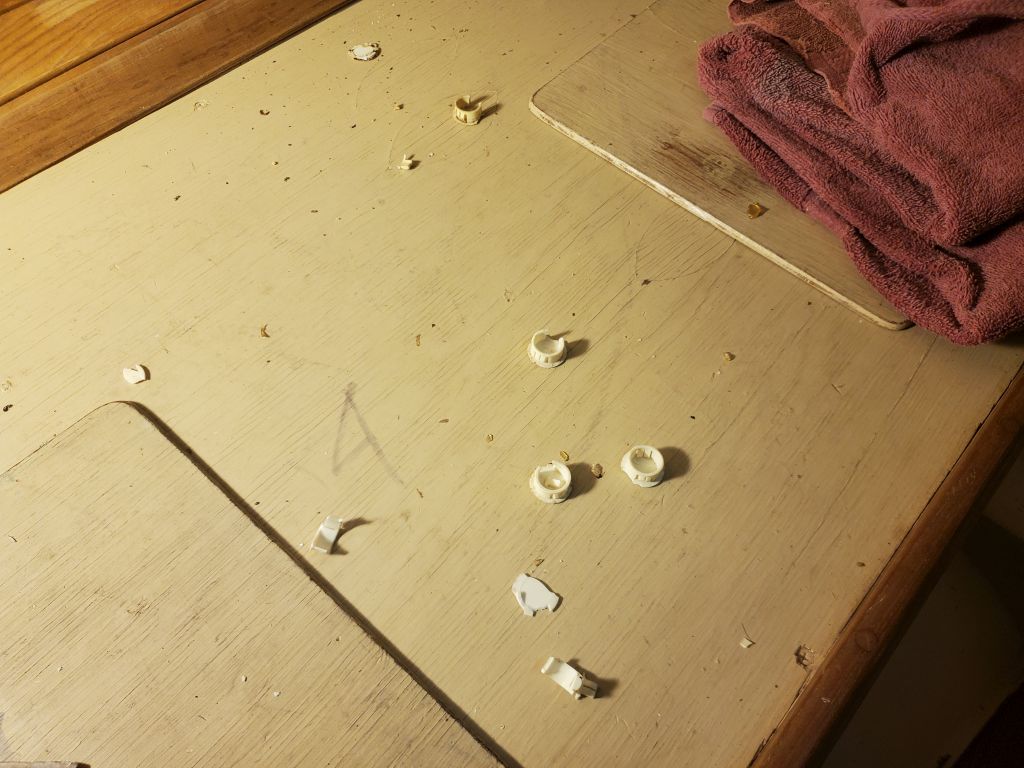
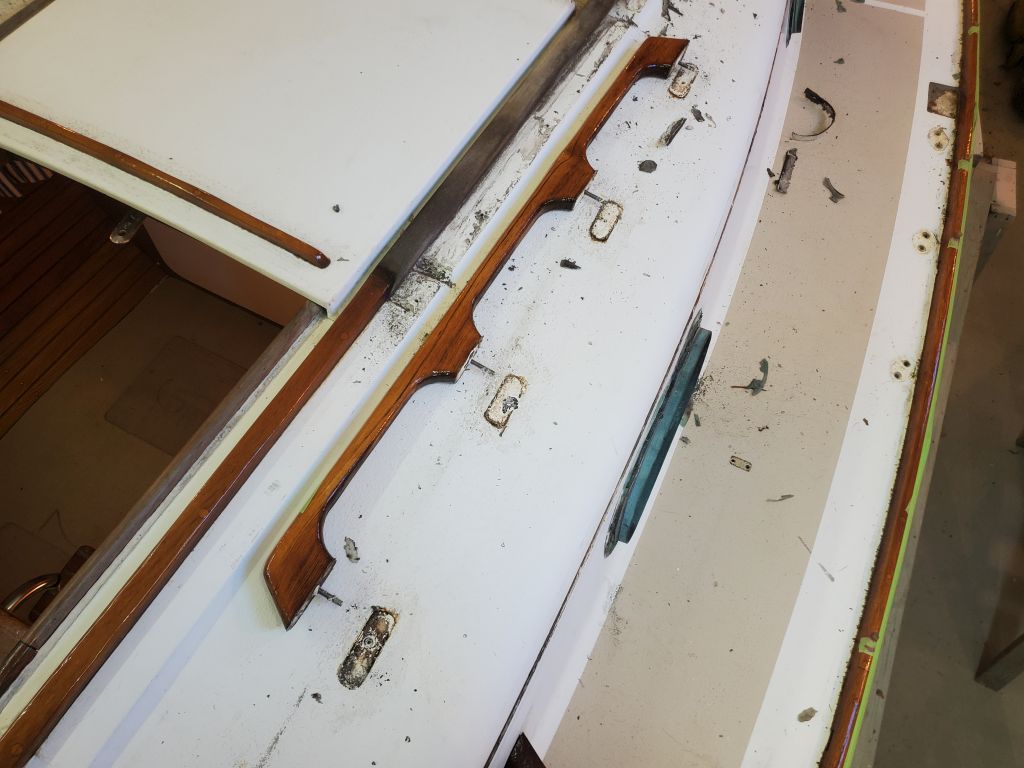
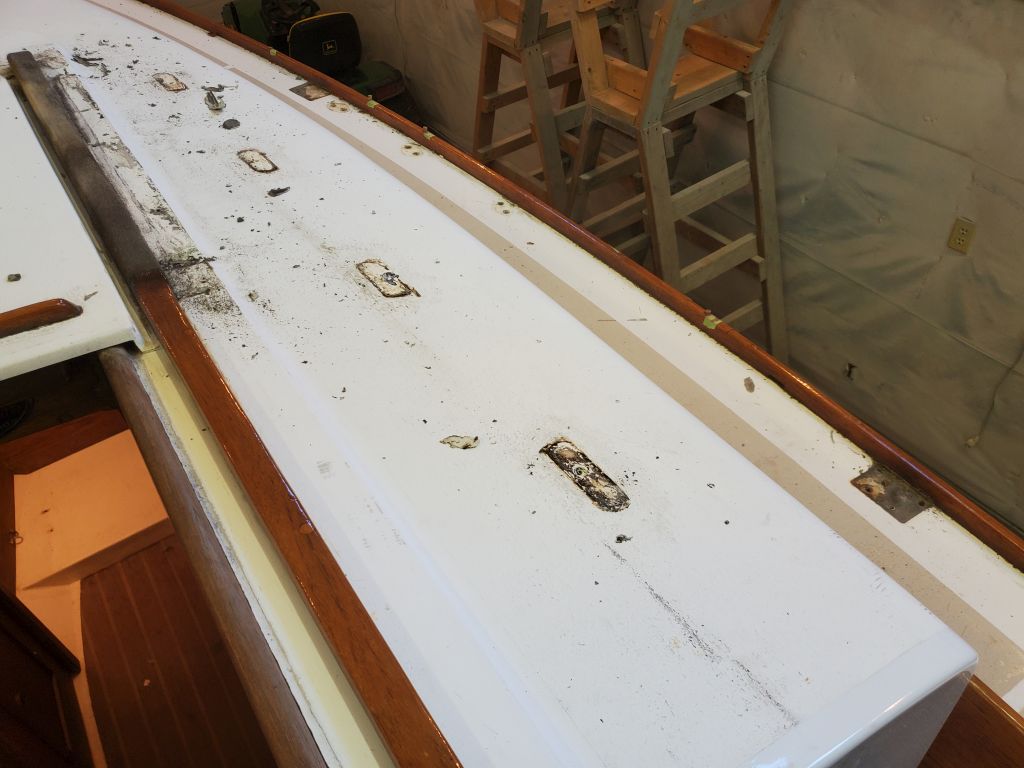
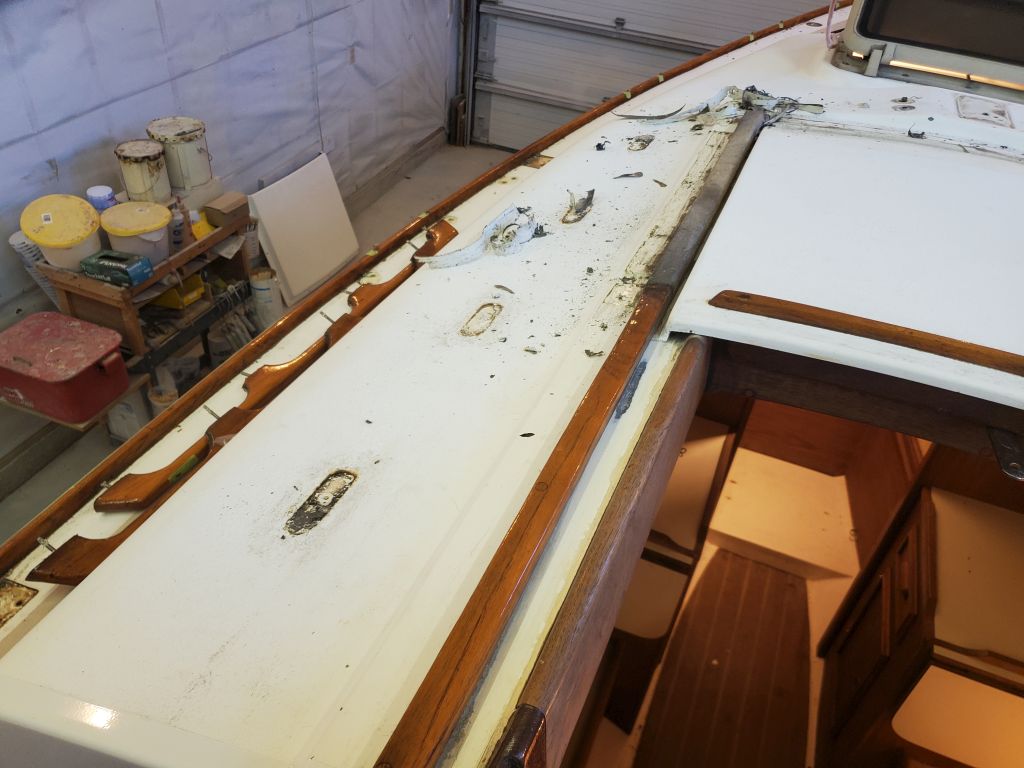
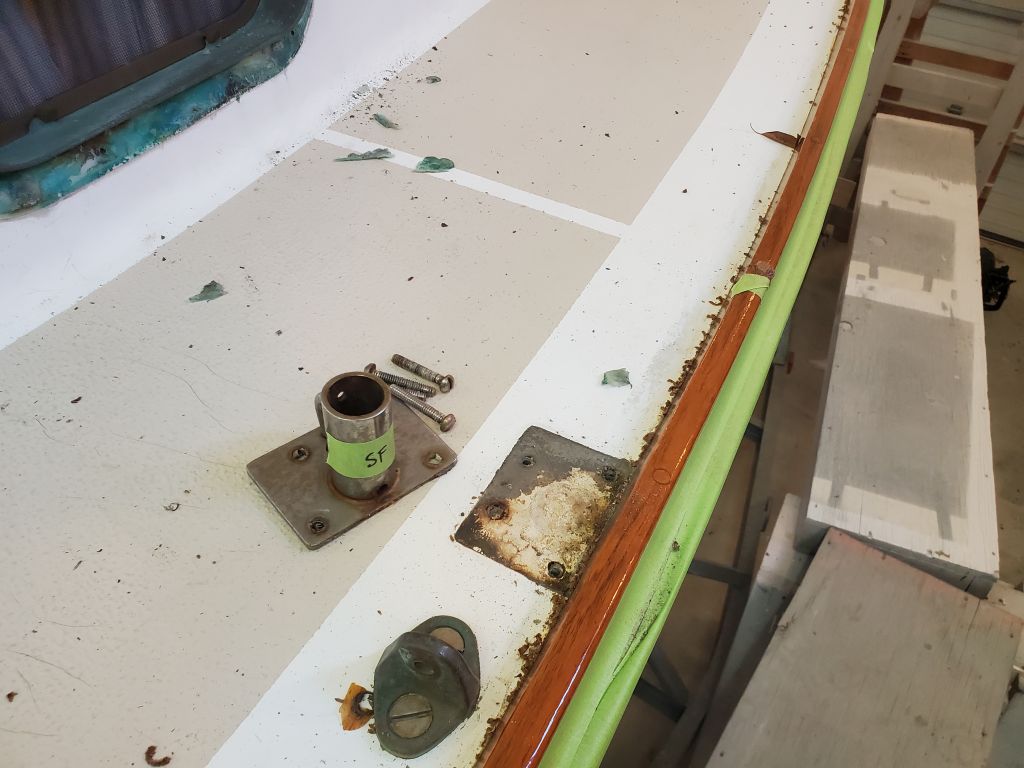
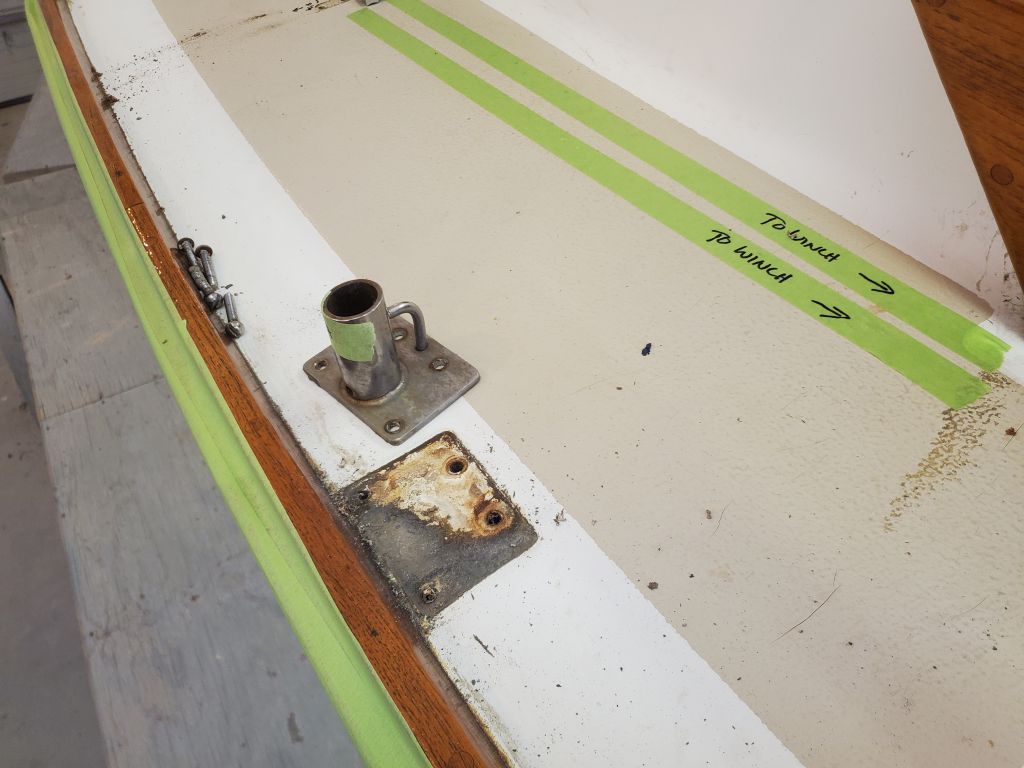
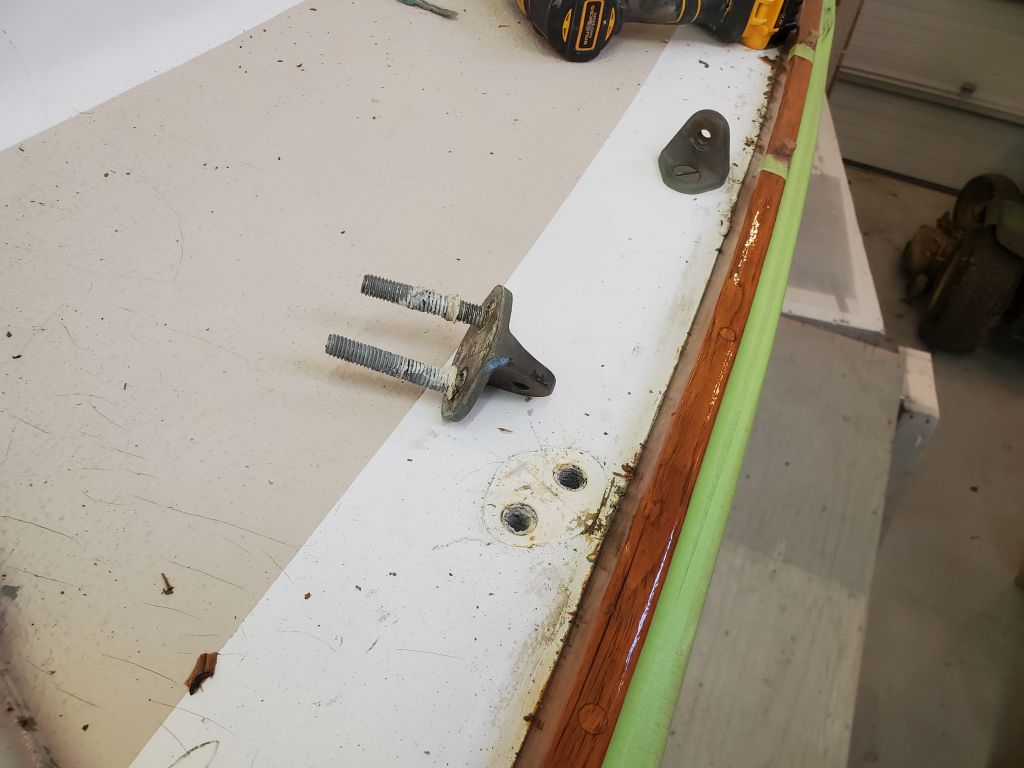
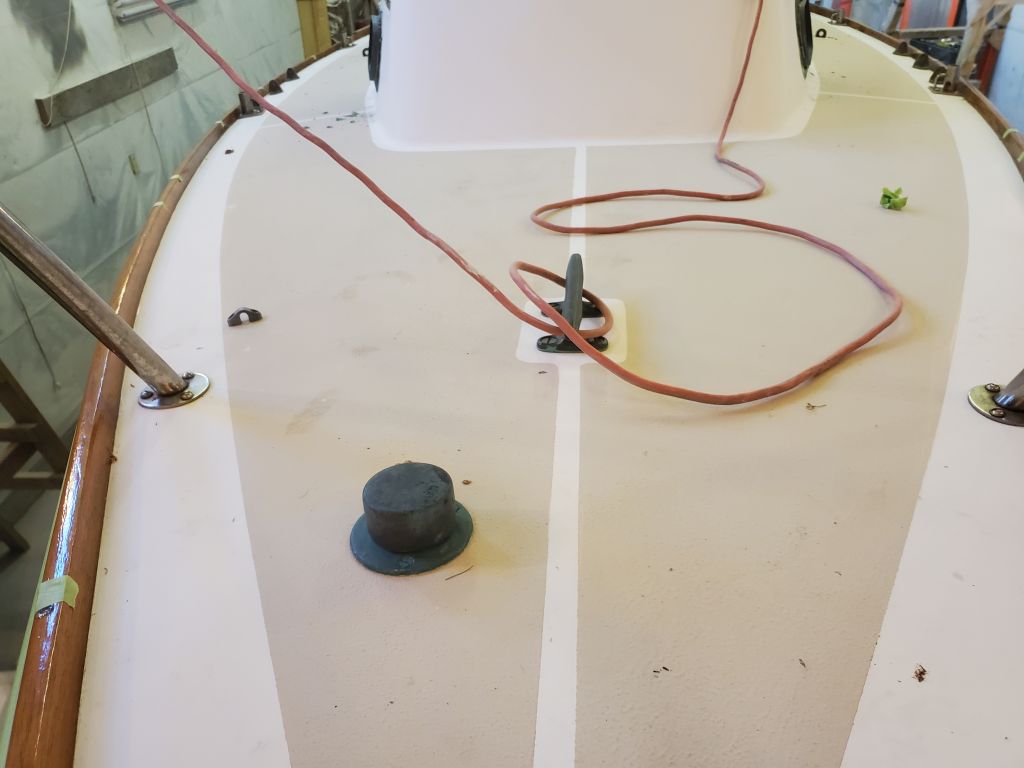
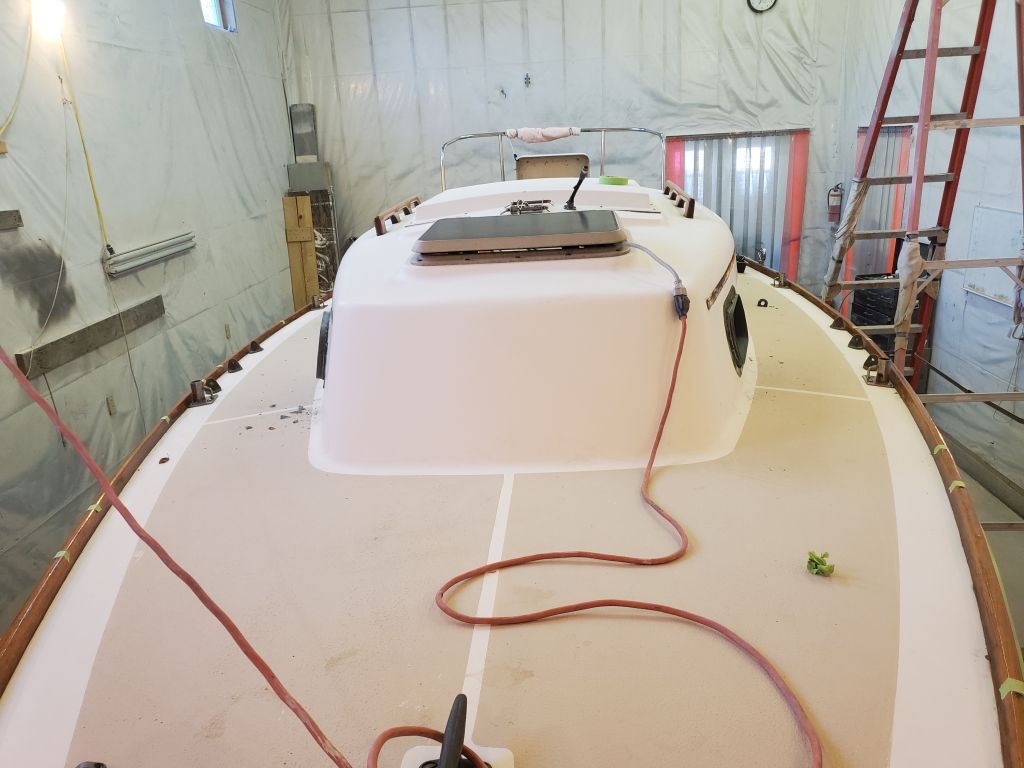
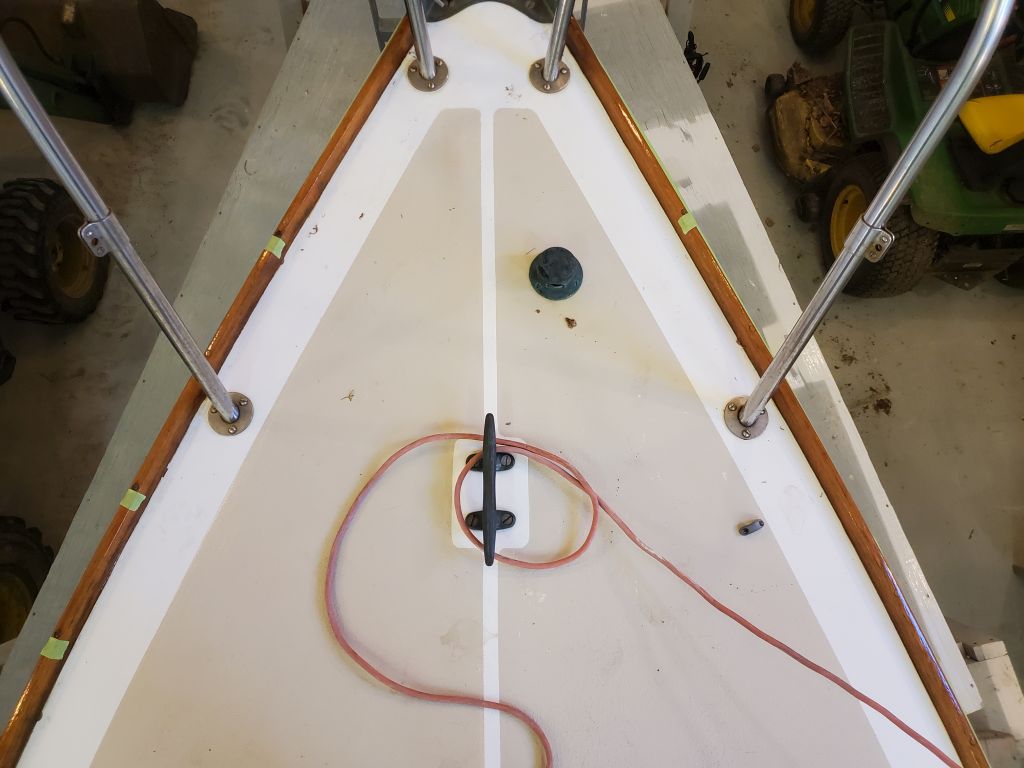
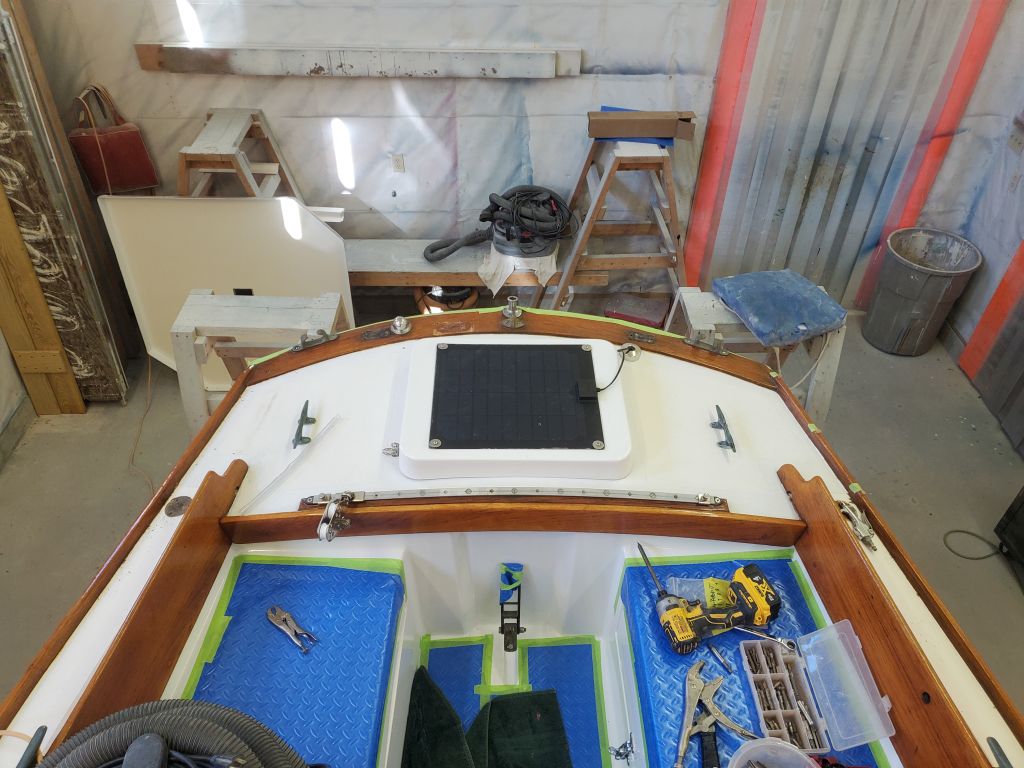
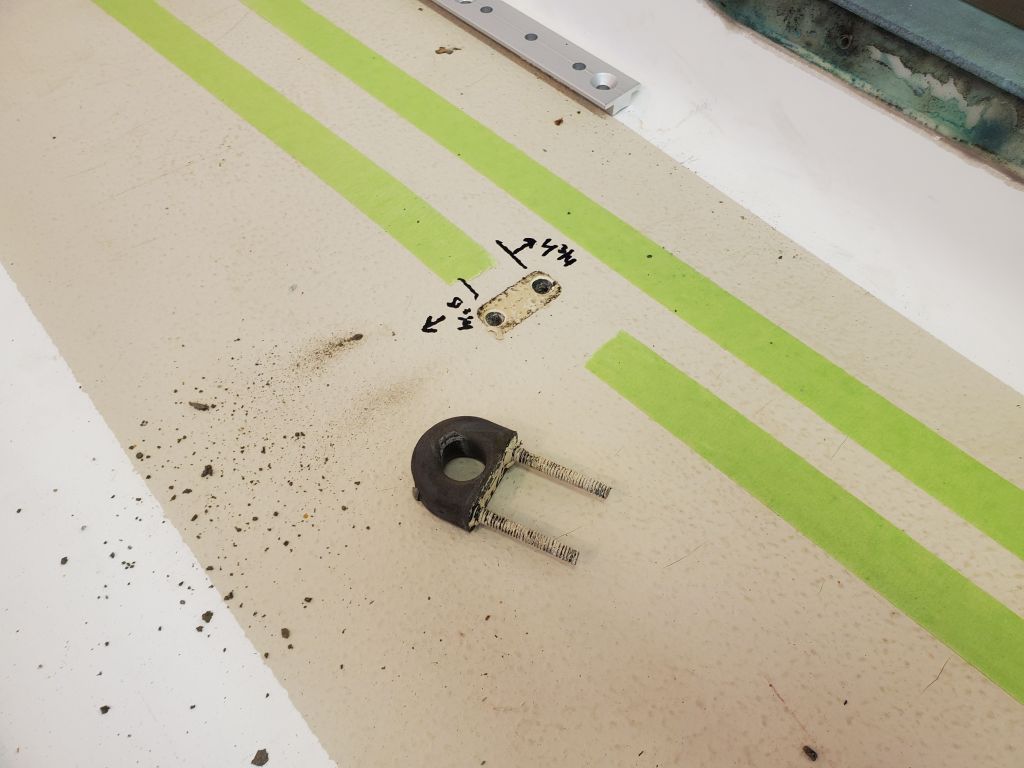
I’d confirm the measurements on the starboard side before fully committing, but it was good to have this placement figured out. These photos simply show some of the initial layout, with the obstructions marked with x-marks. All this black marker would be soon sanded off as I began the surface prep for the deck refinishing.


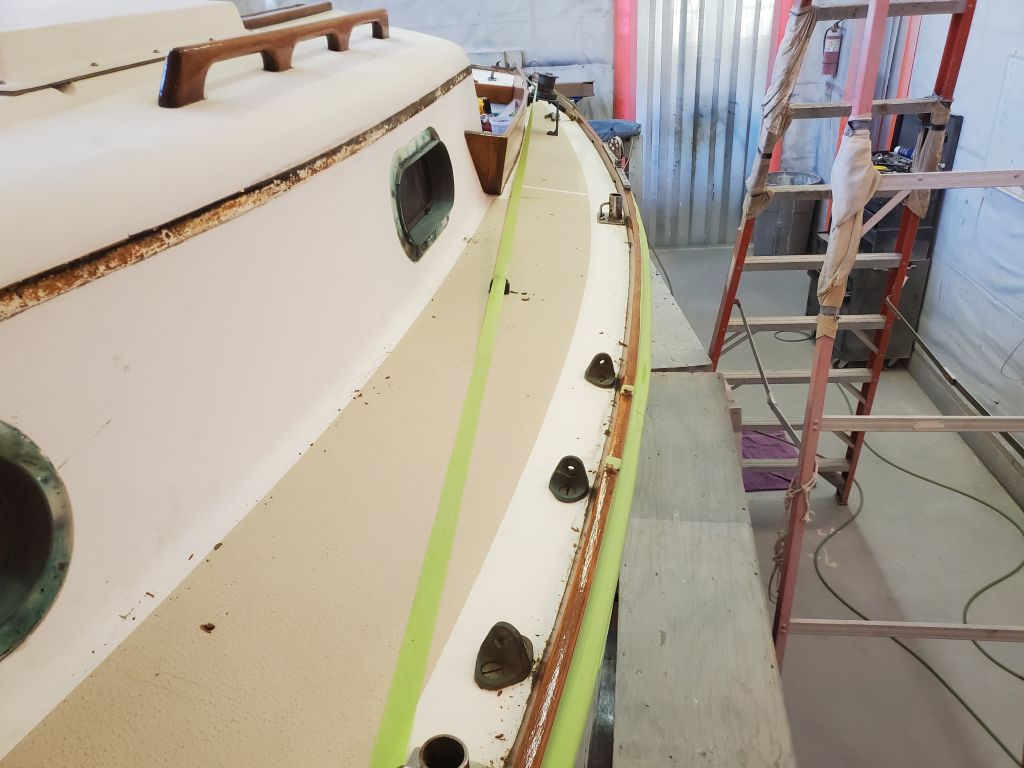
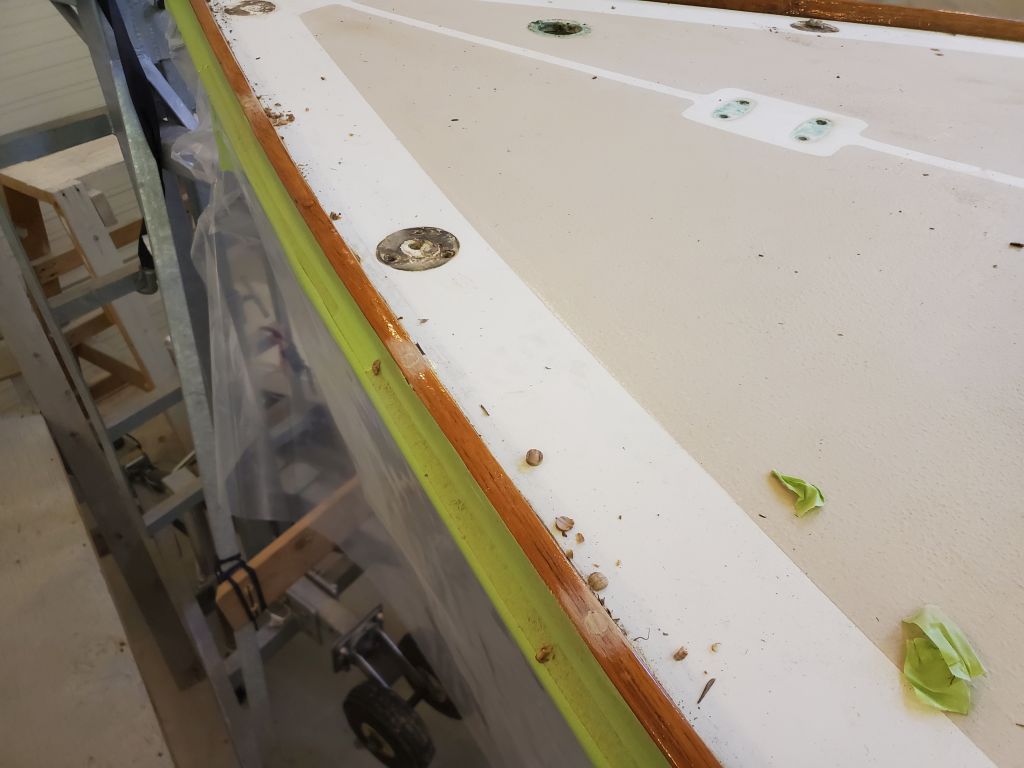
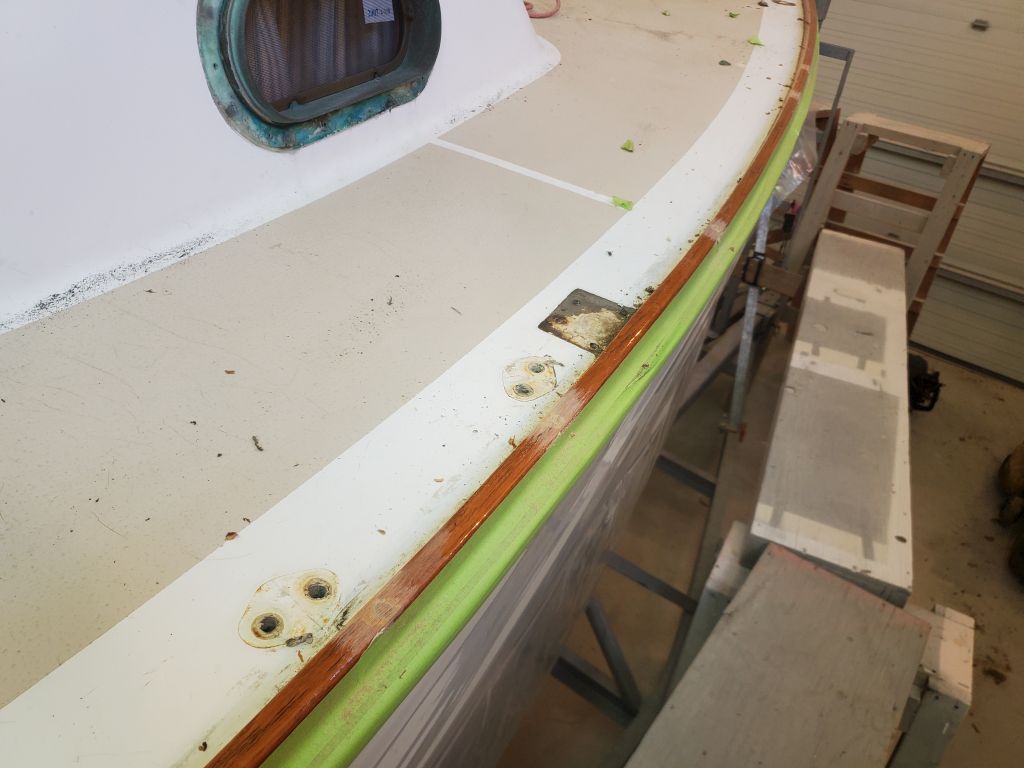
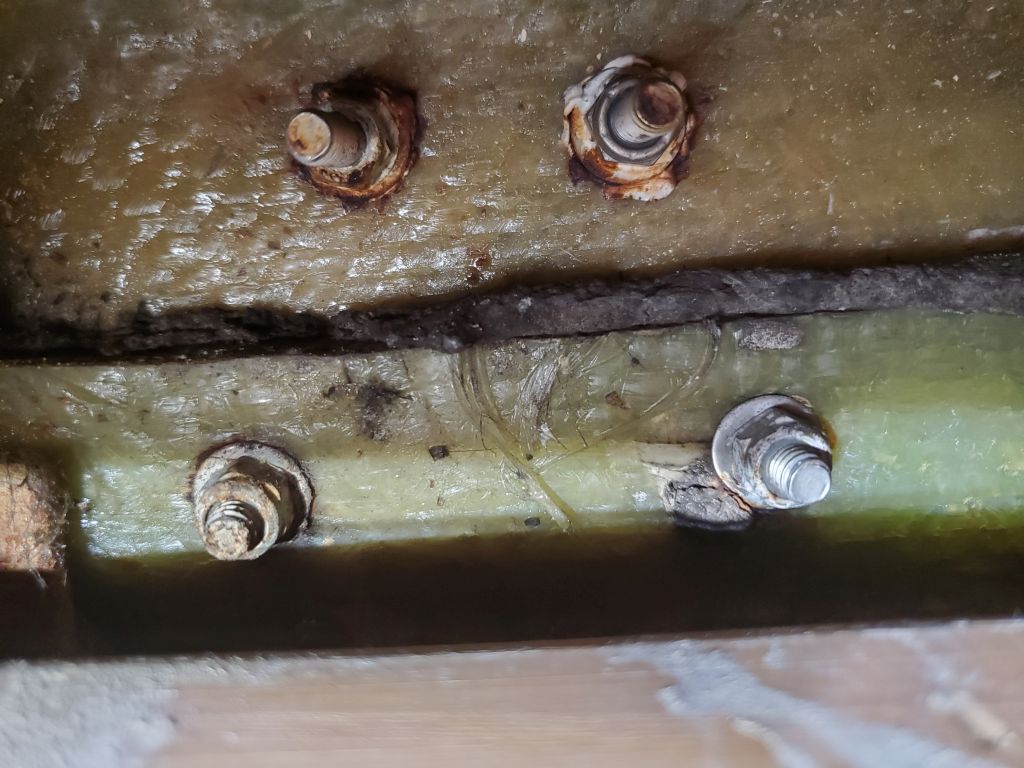
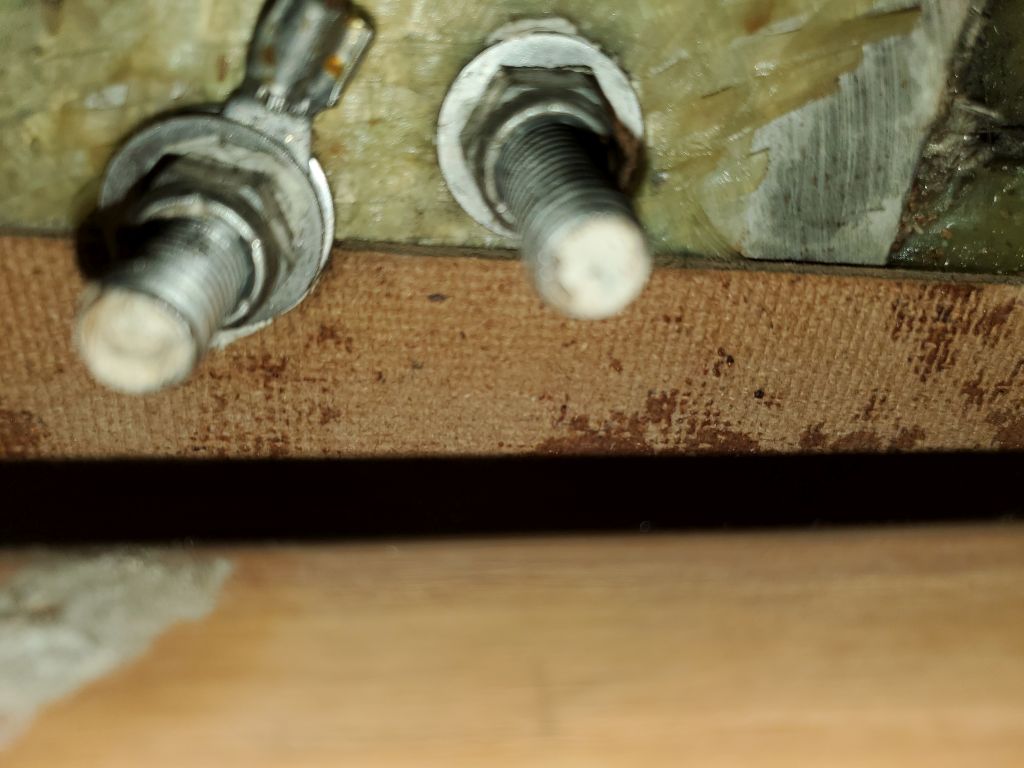
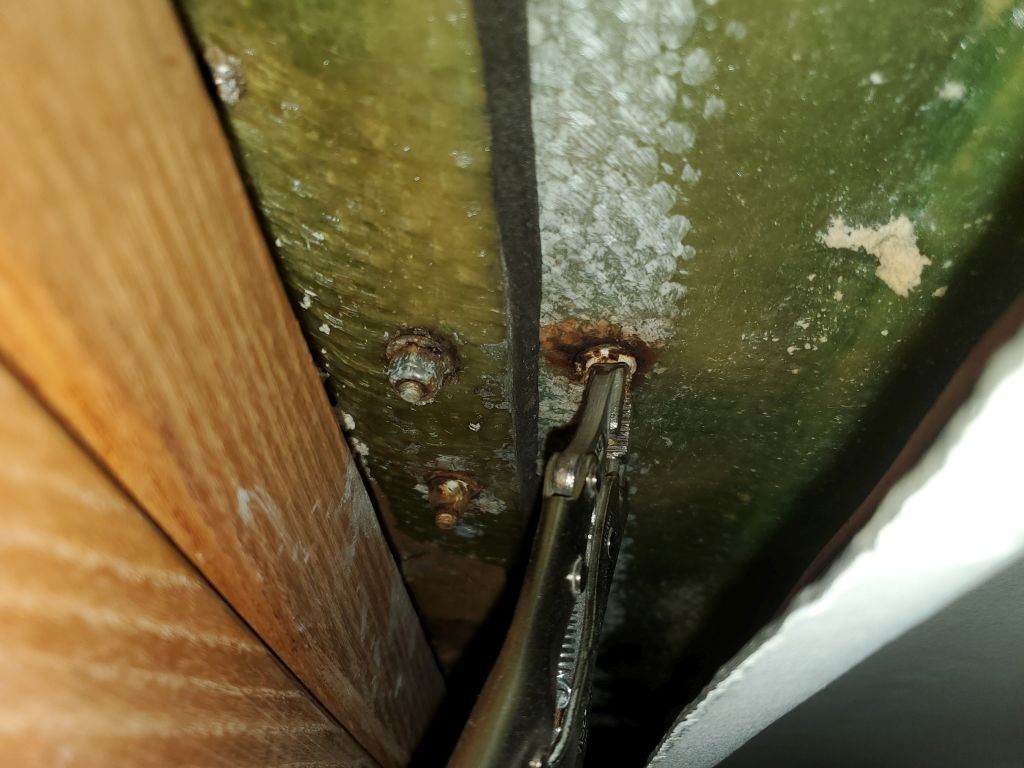
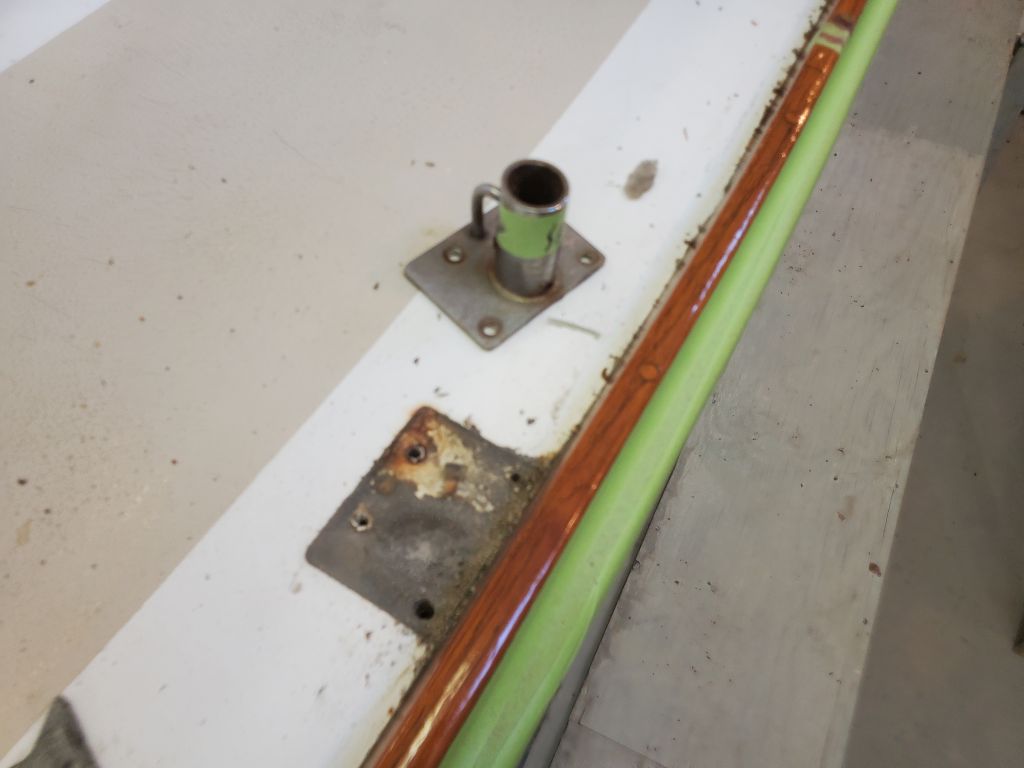
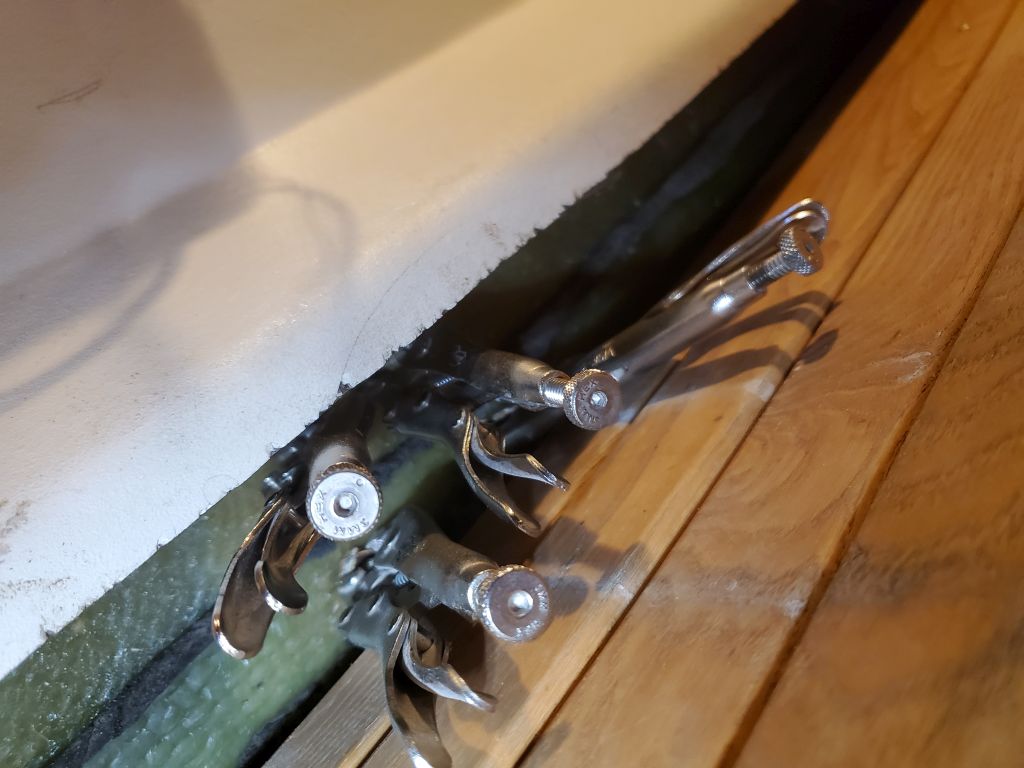
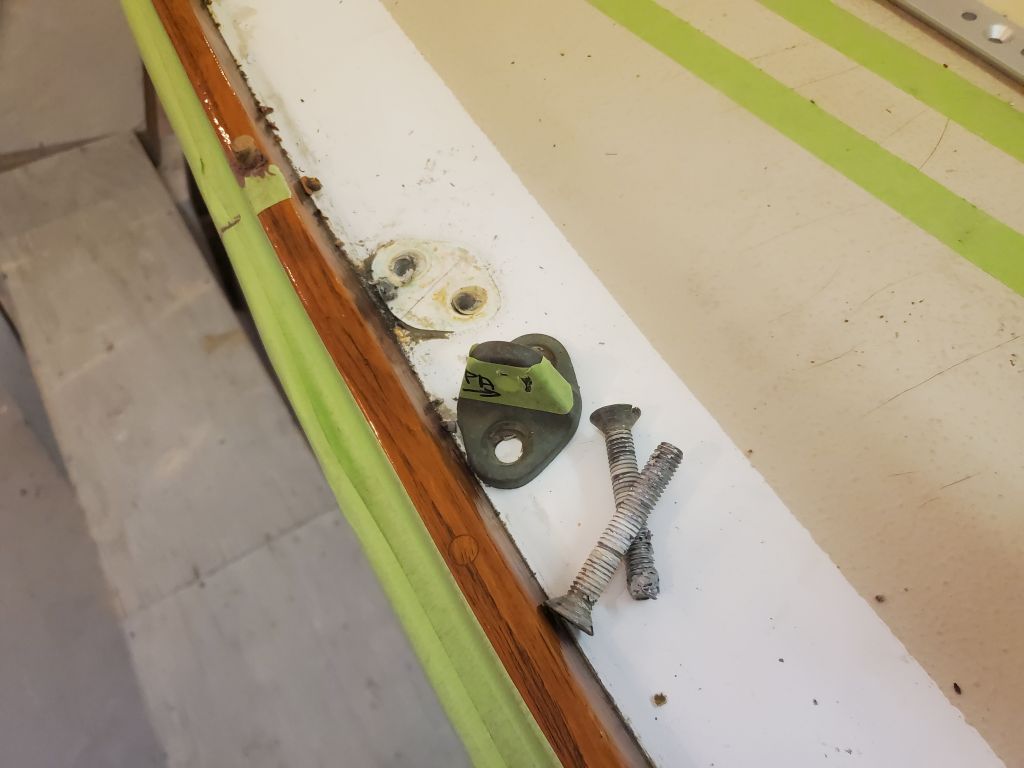
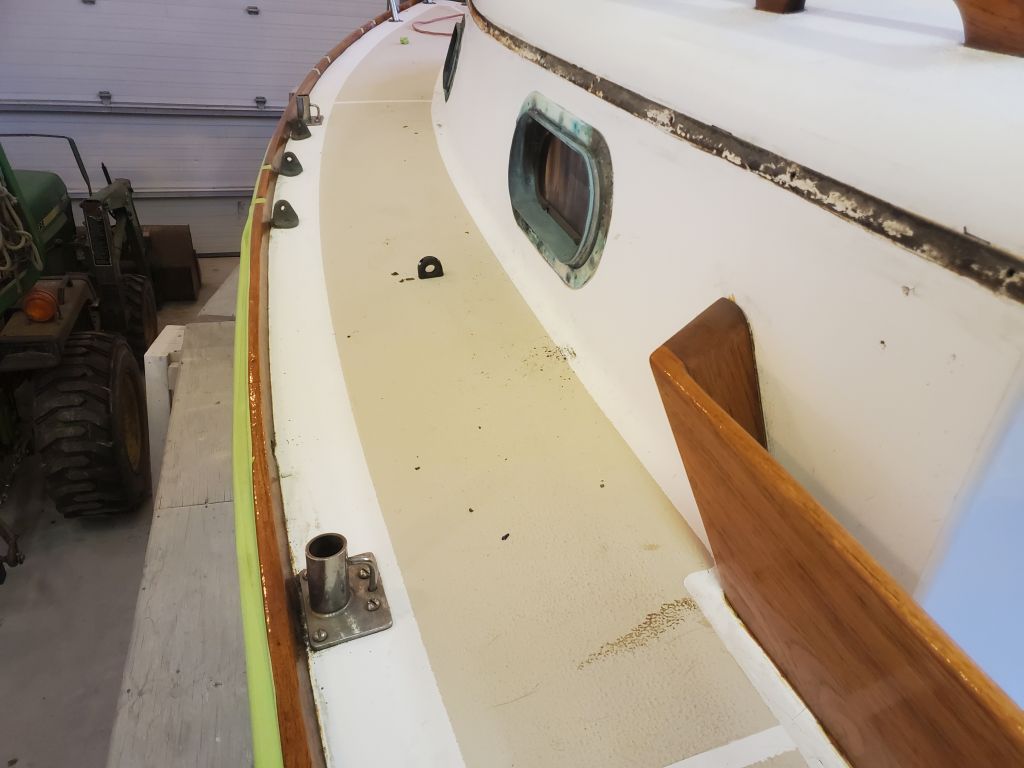
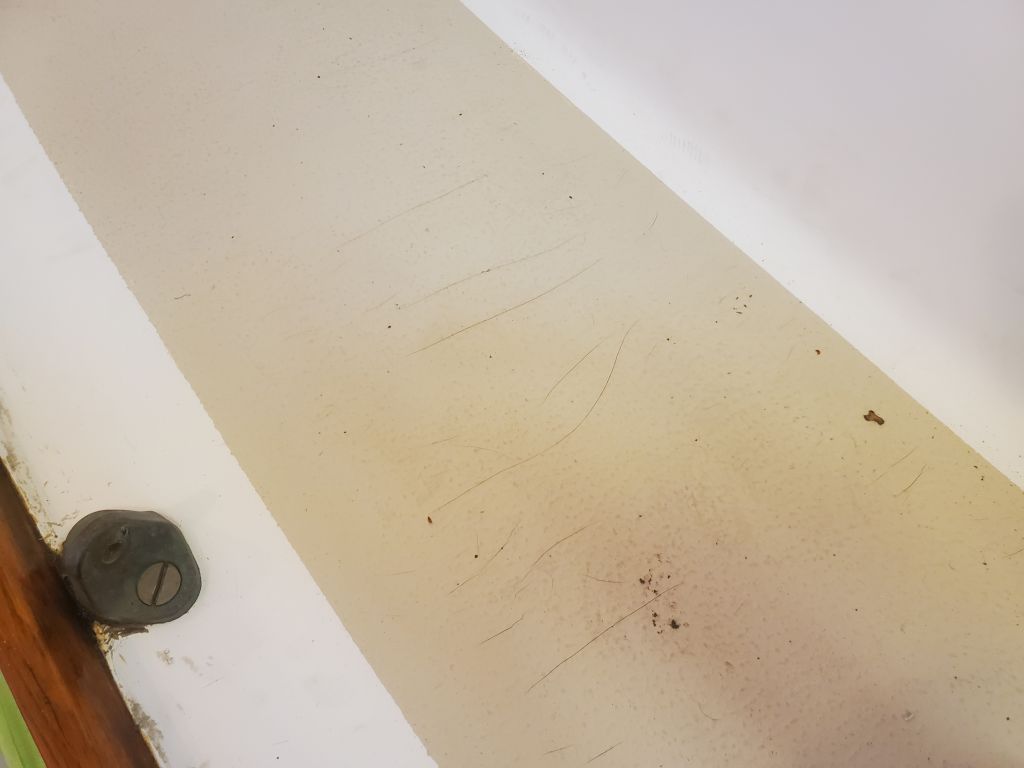
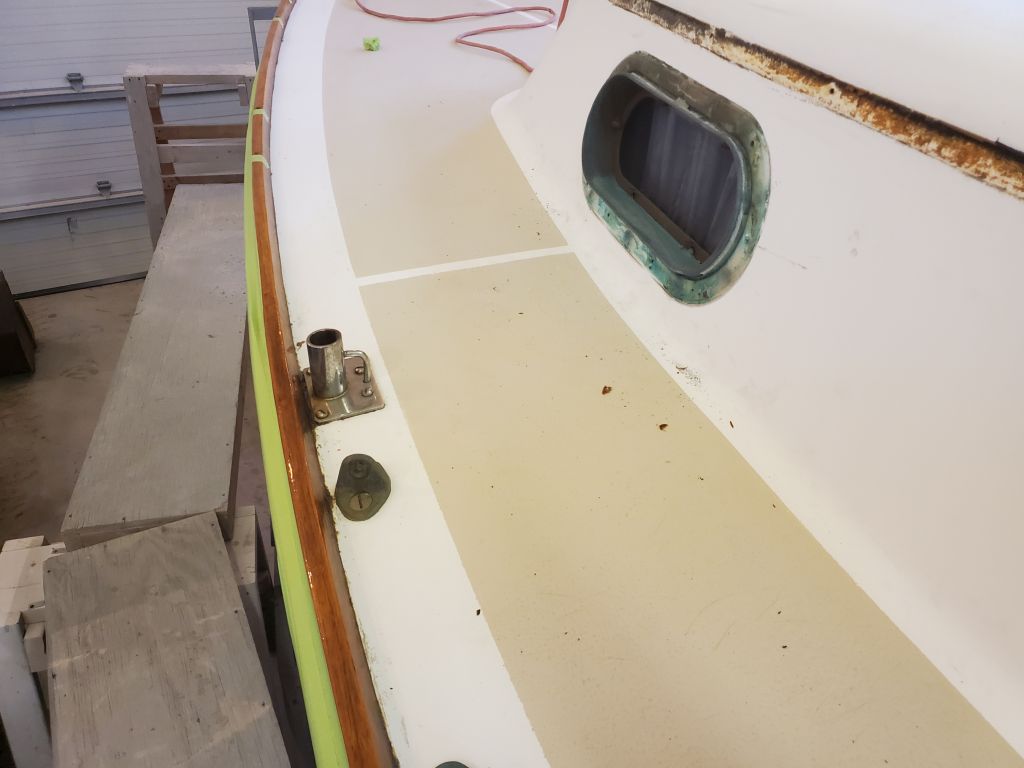
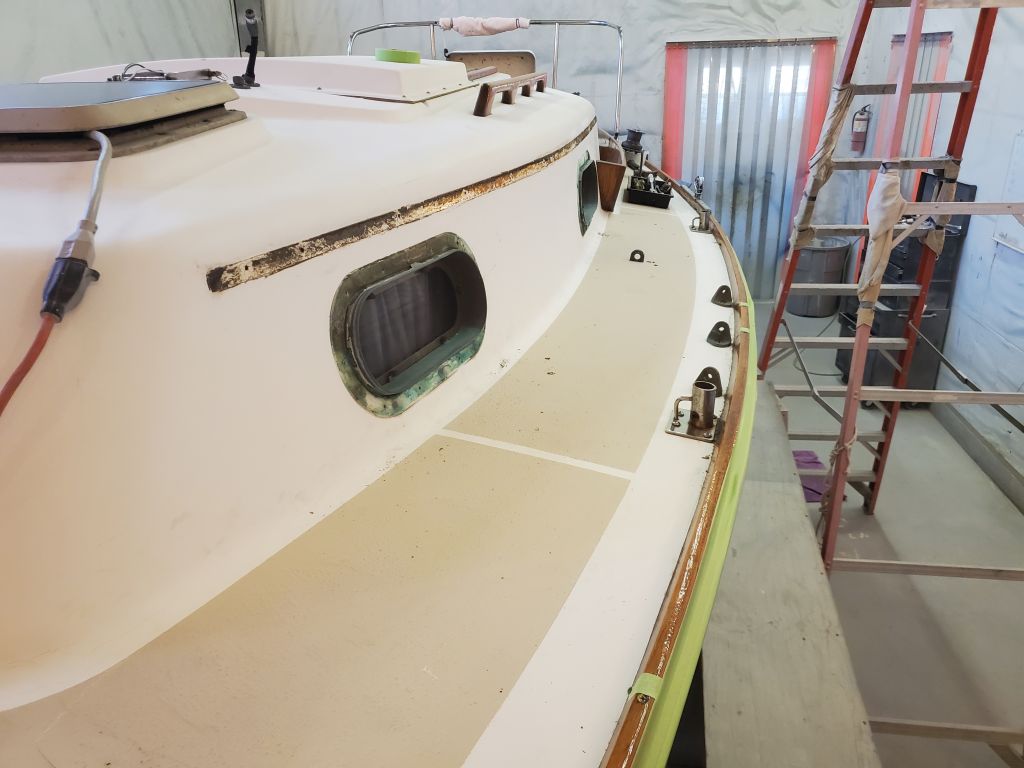
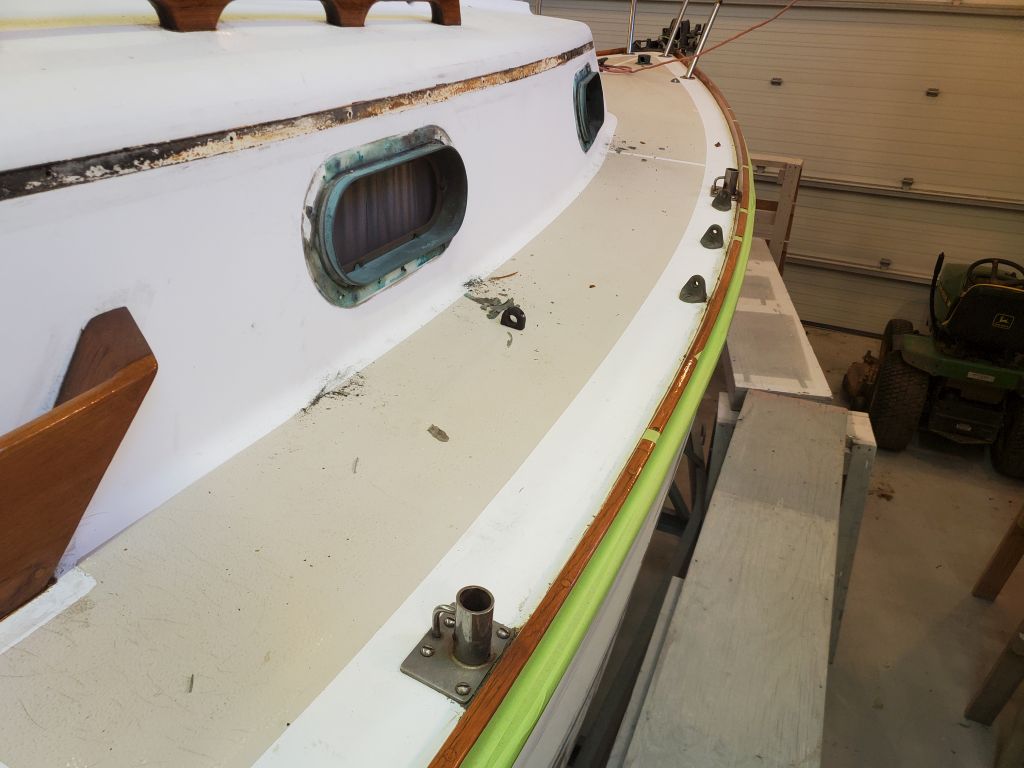
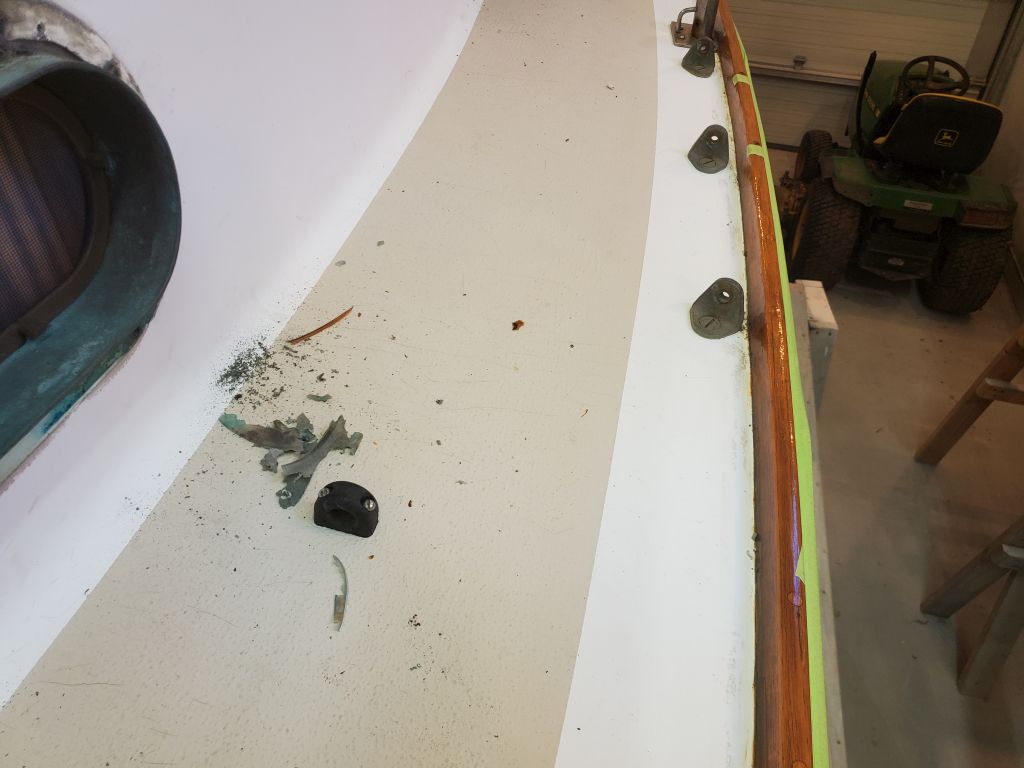
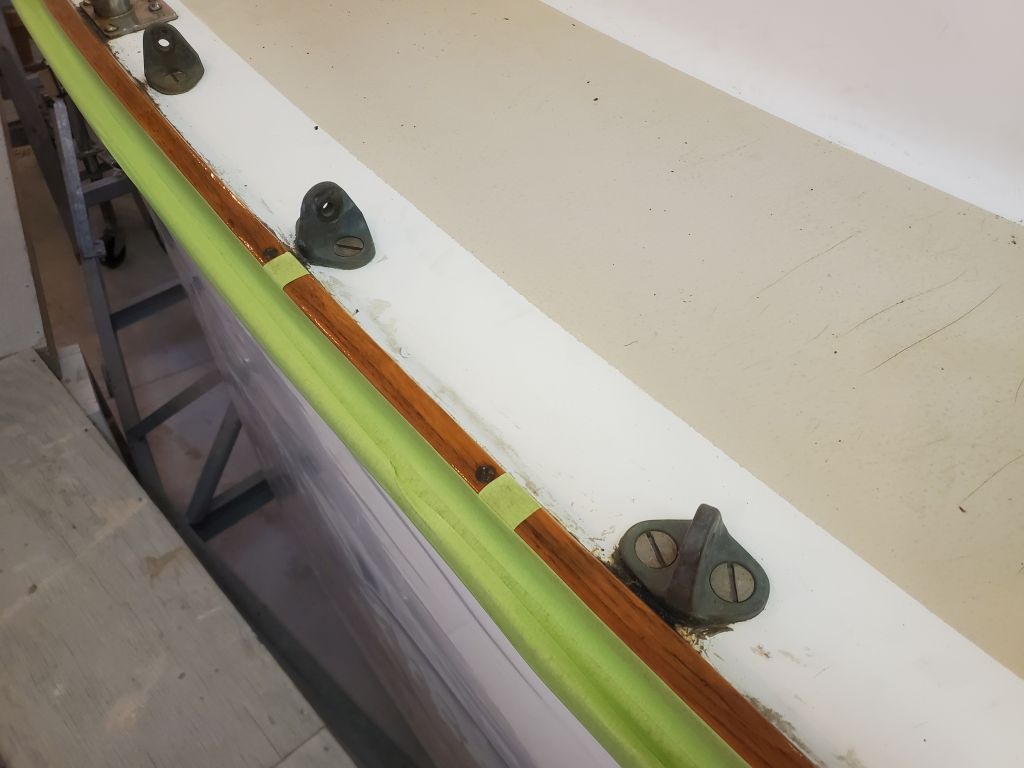
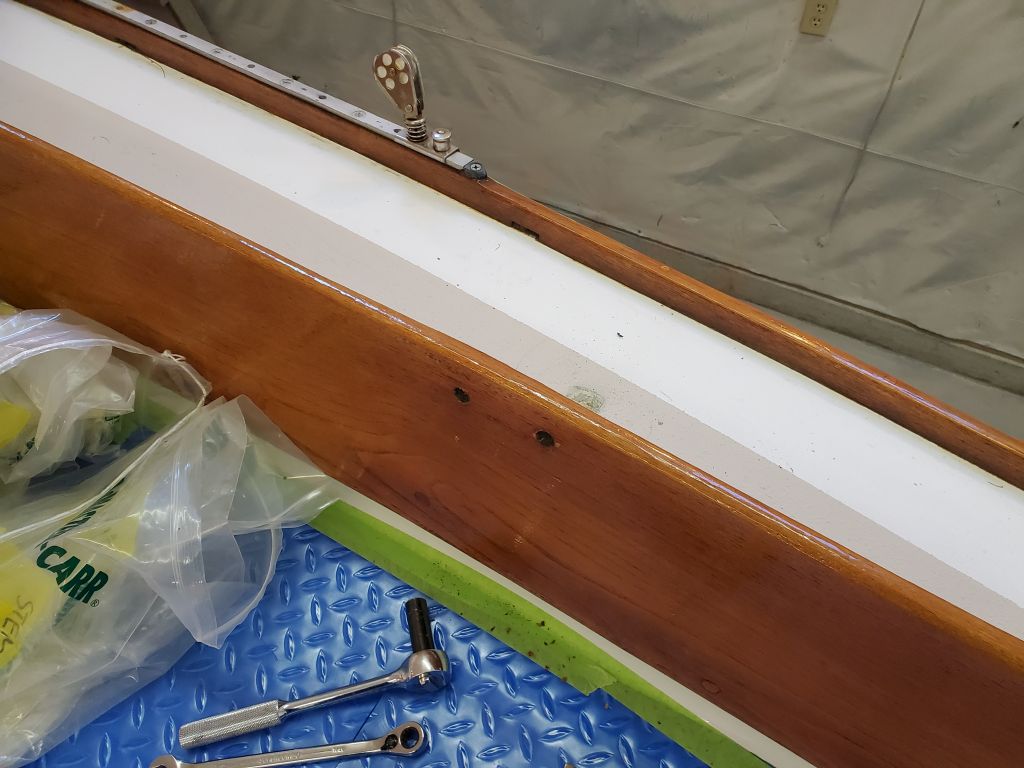
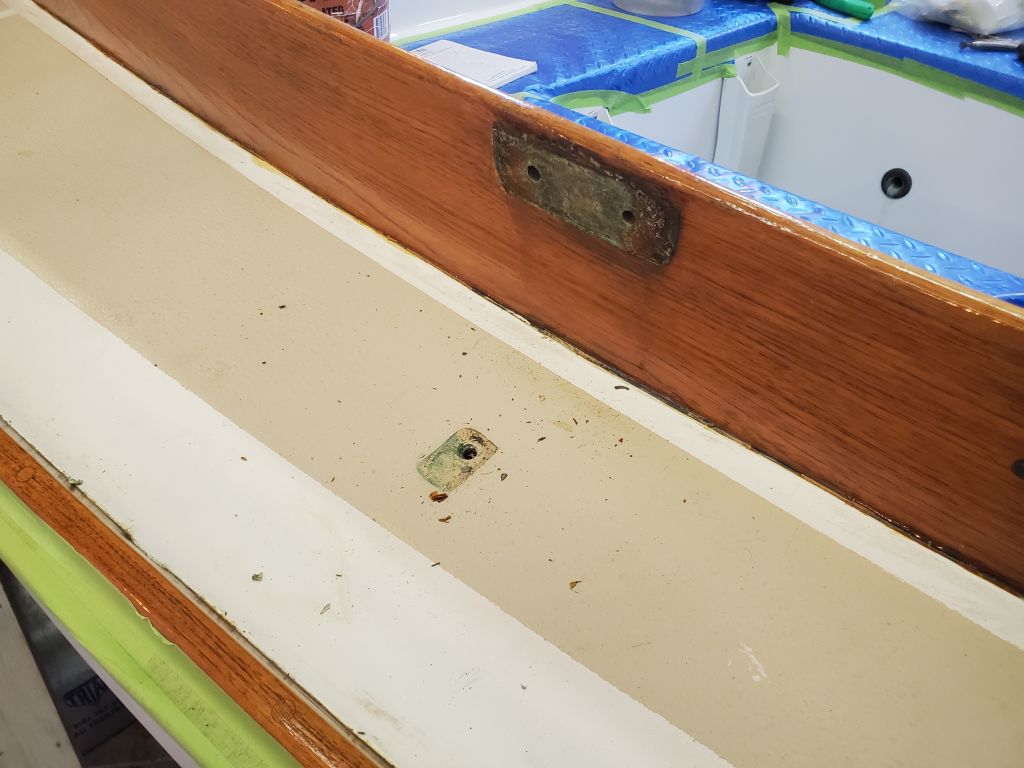
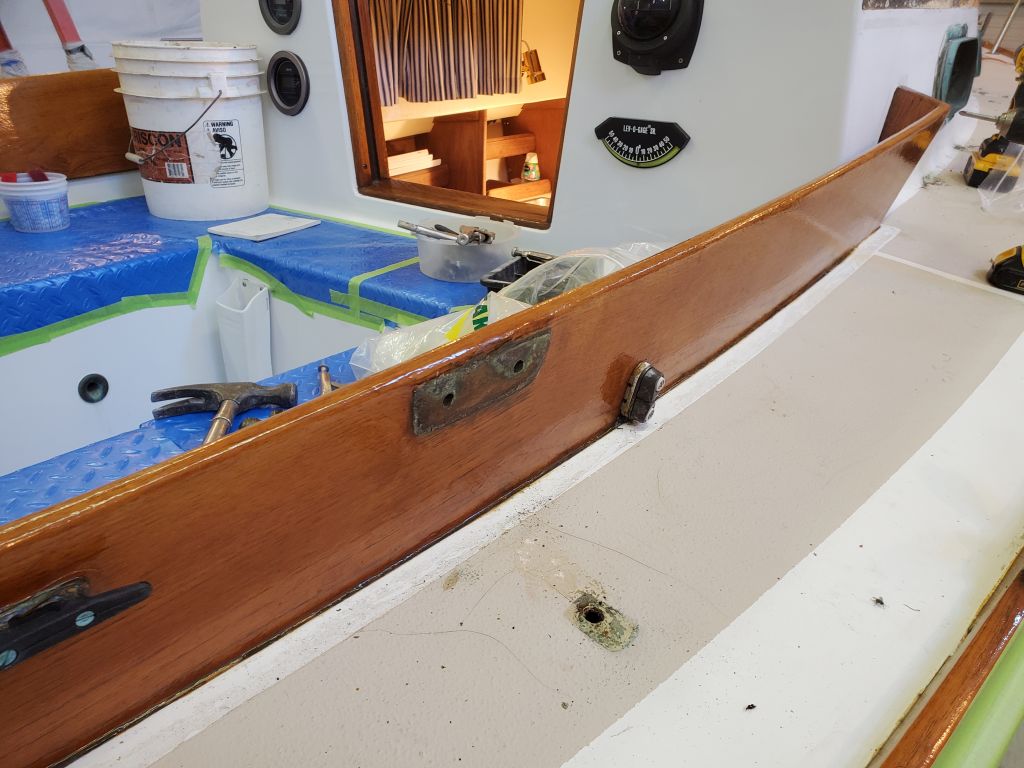
I also investigated for the owner the condition of the chainplate backing plates, which fortunately on this boat appeared to be stainless steel bar (CDs are notorious for using mild steel backing plates for the chainplates). What I could see of the metal was in good condition, through the various bolt holes (with camera only–no direct visual access) and at one place at the port forward end.

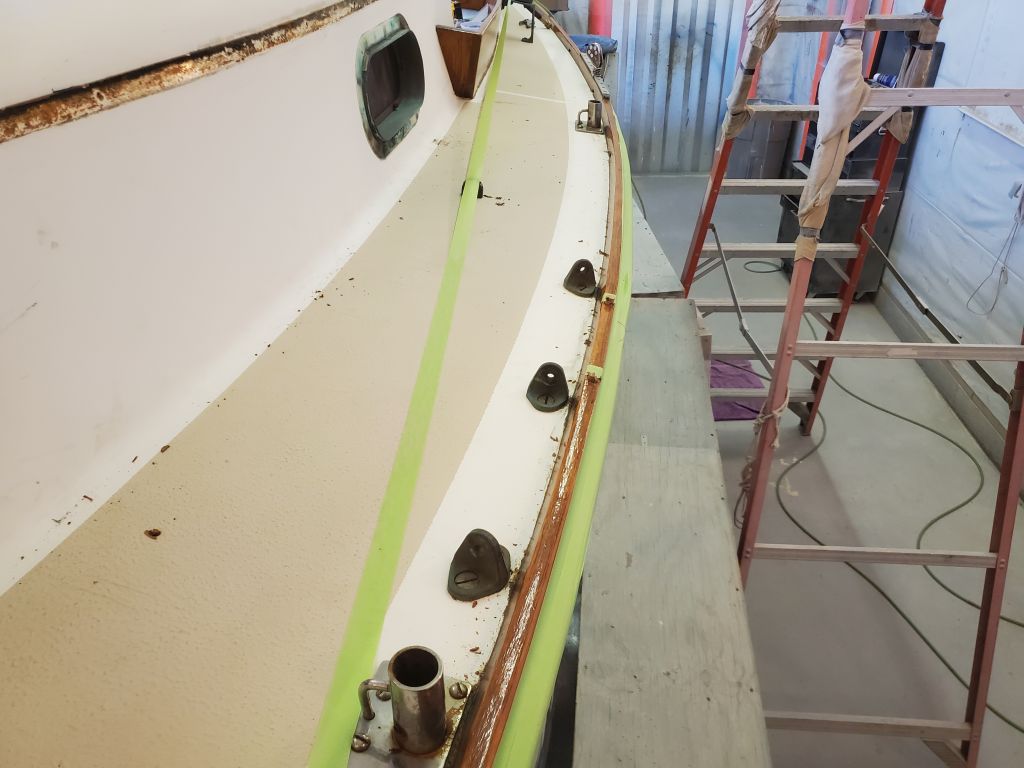
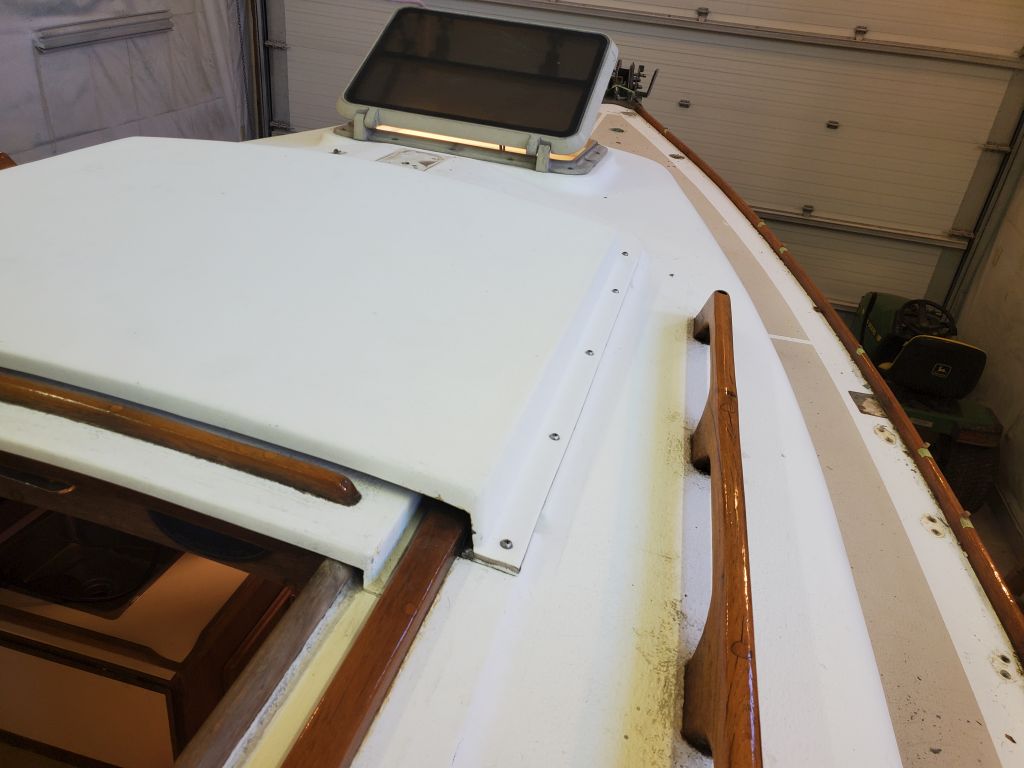
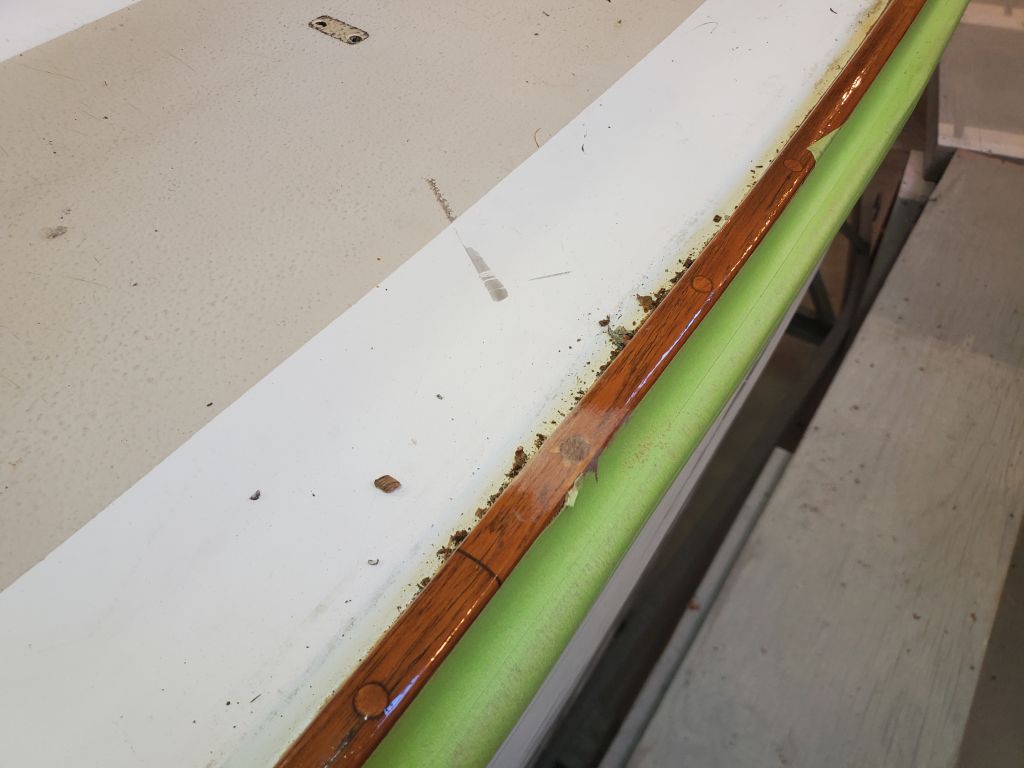
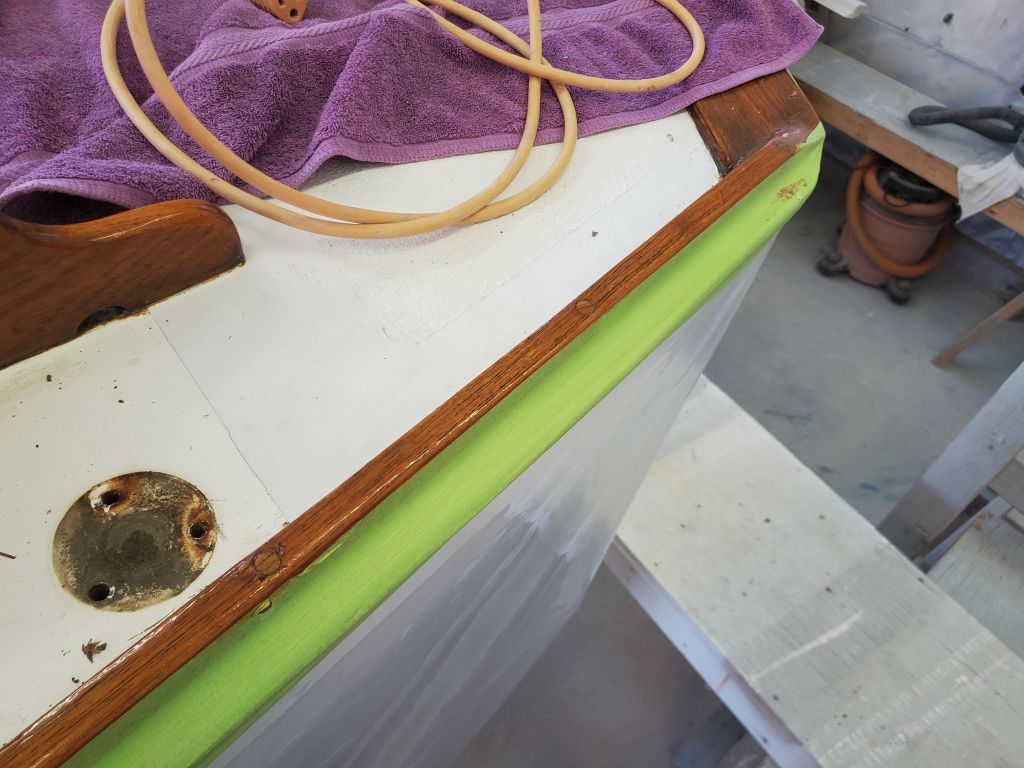
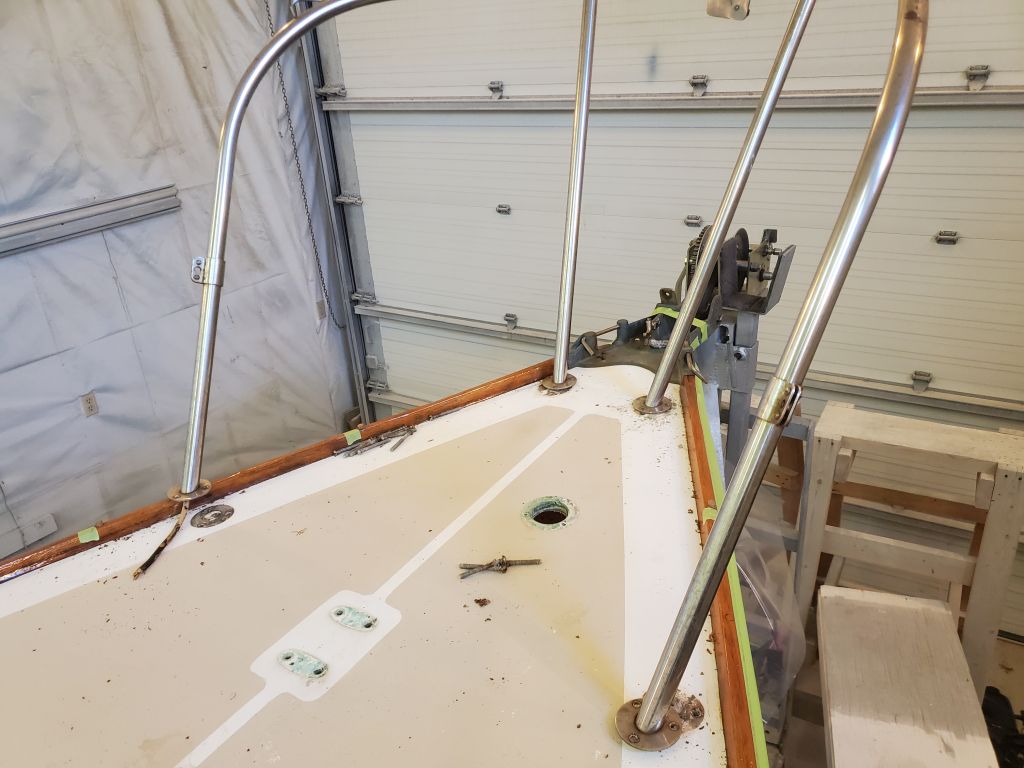
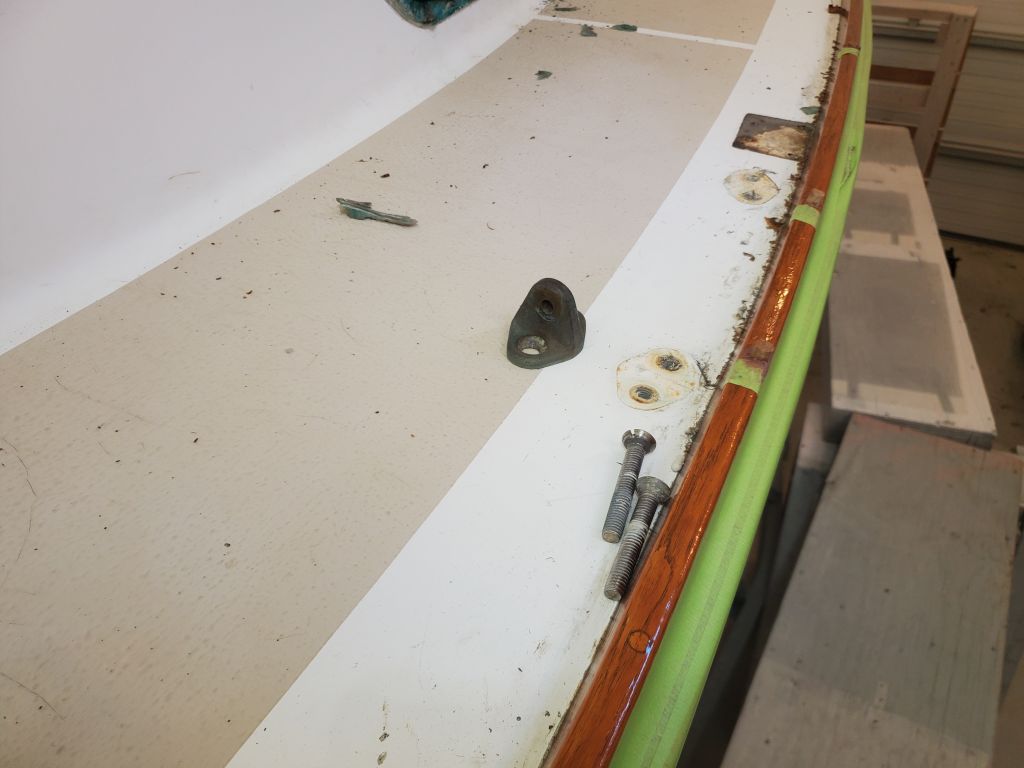
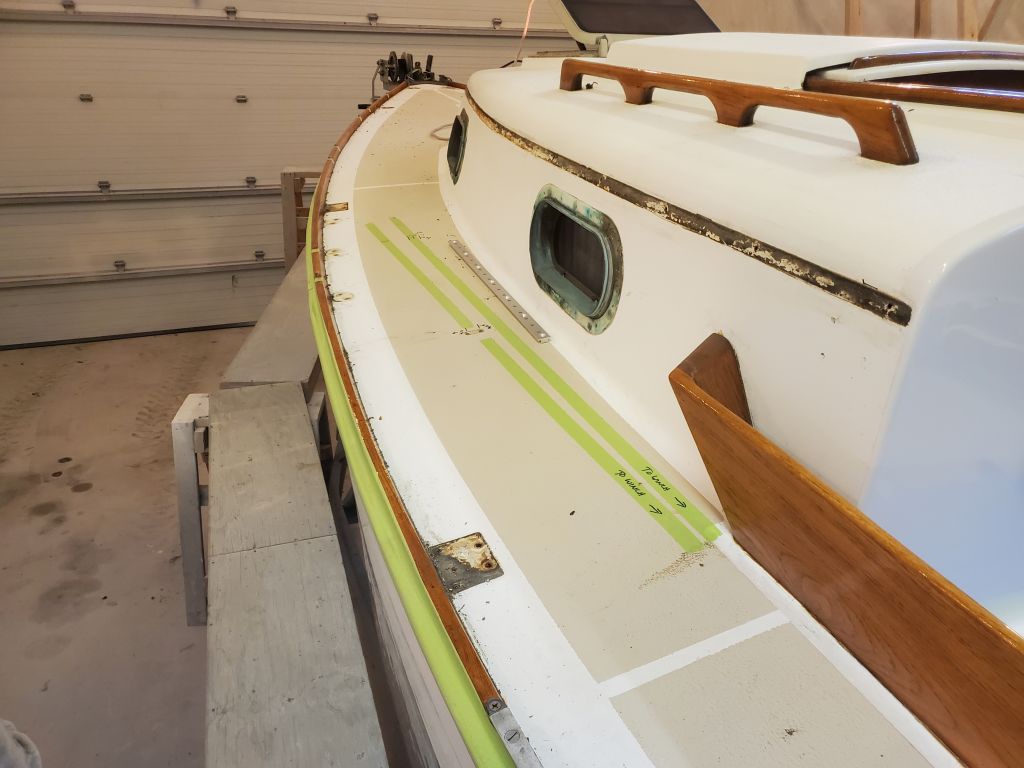
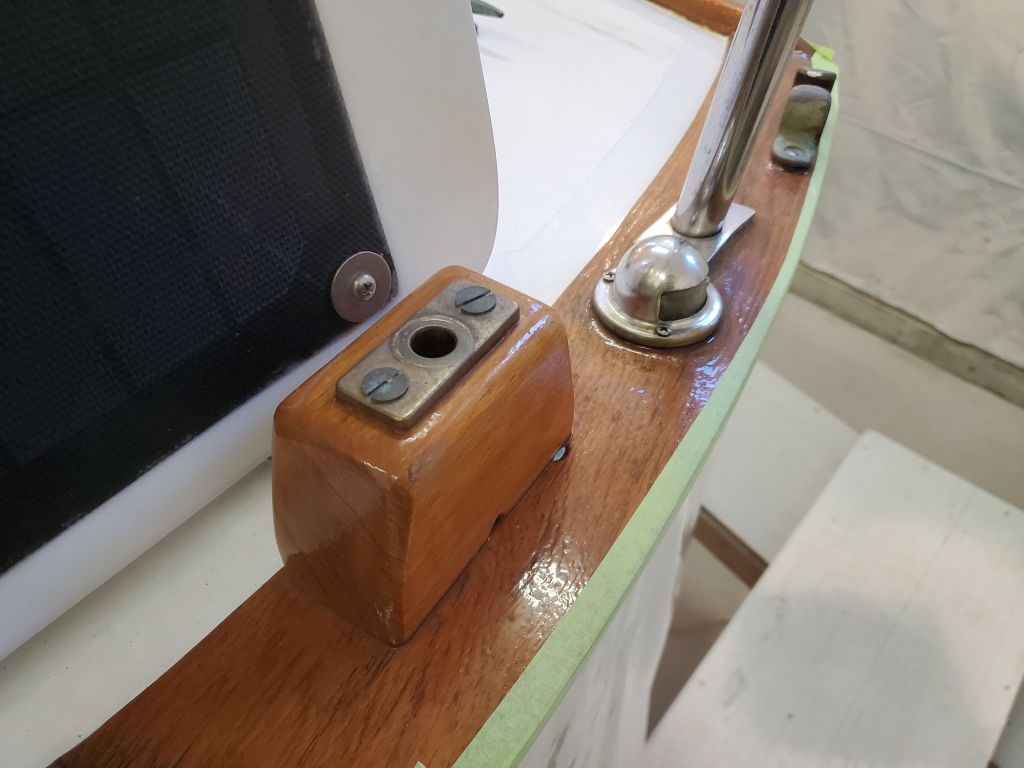
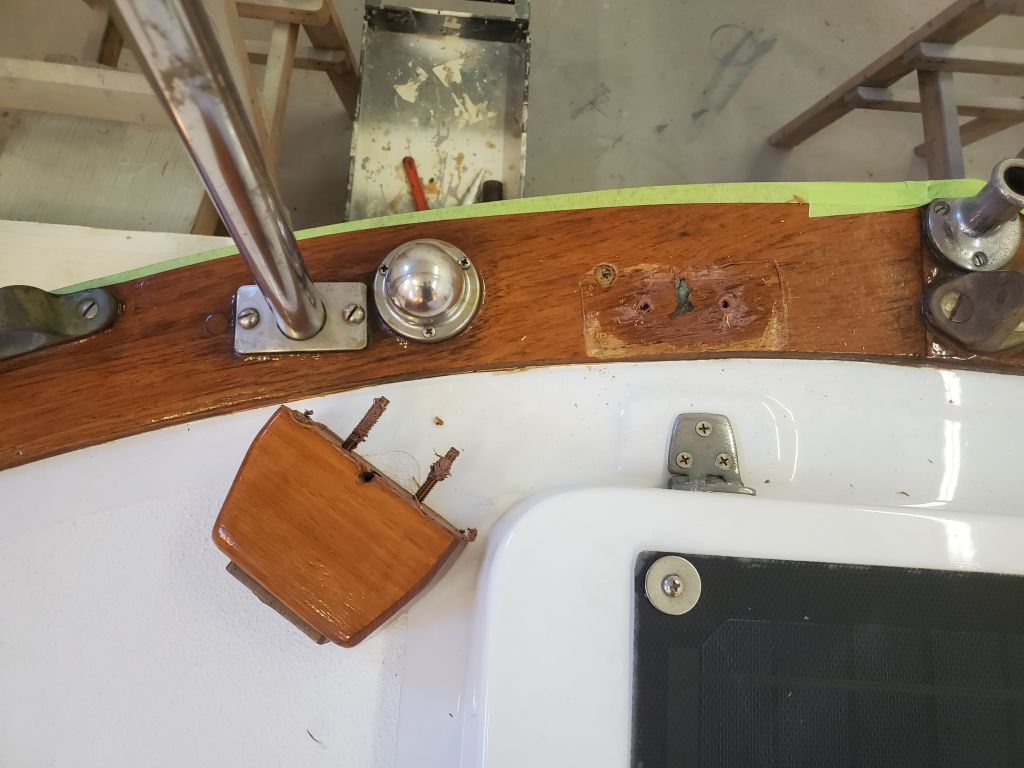
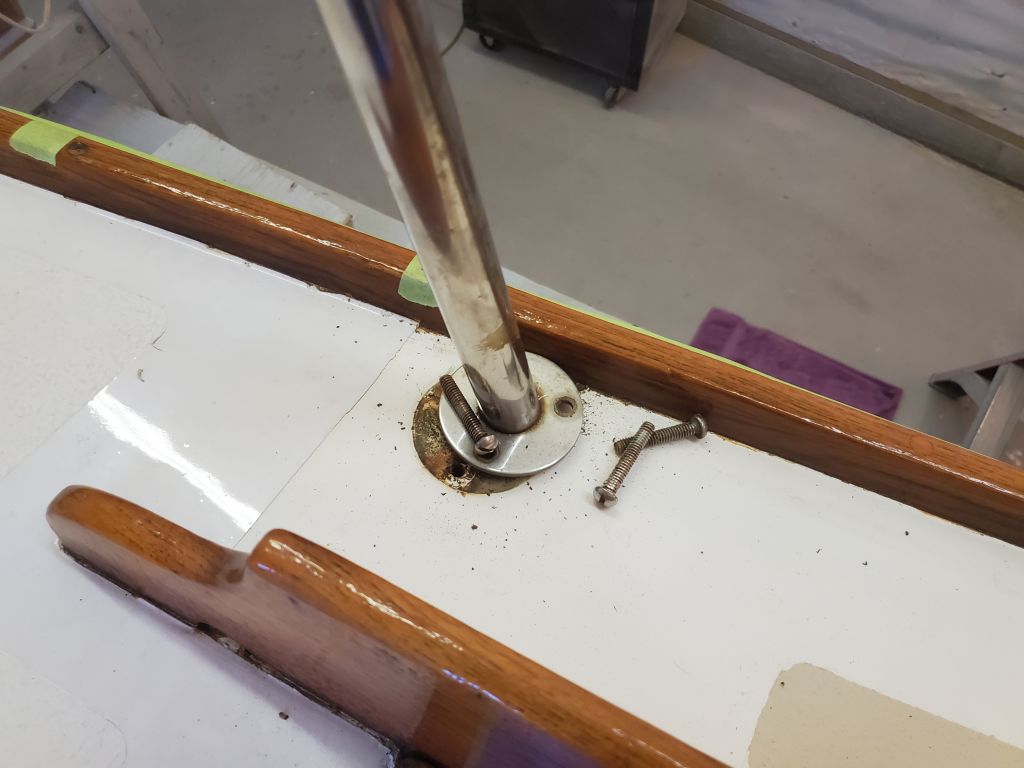
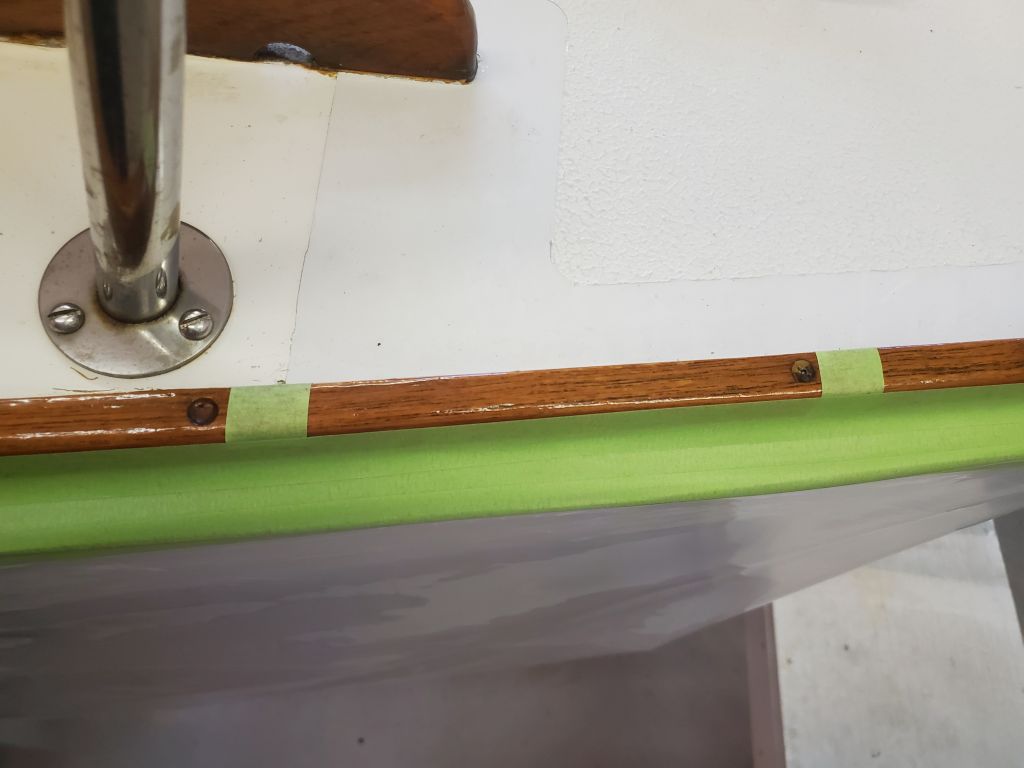
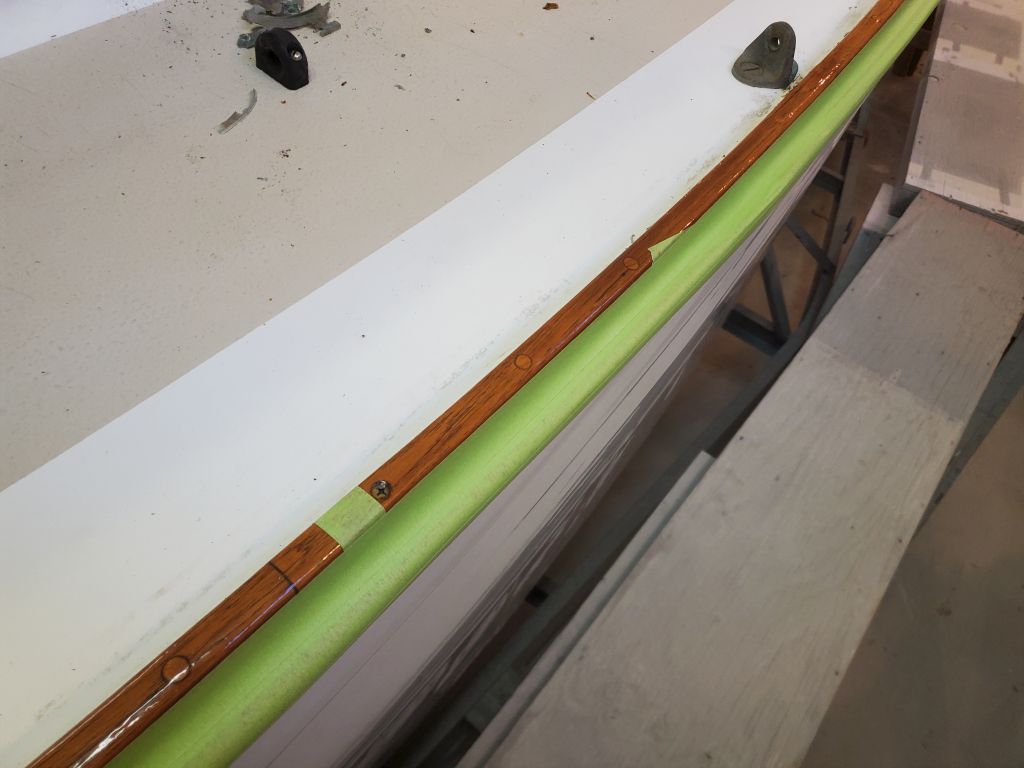
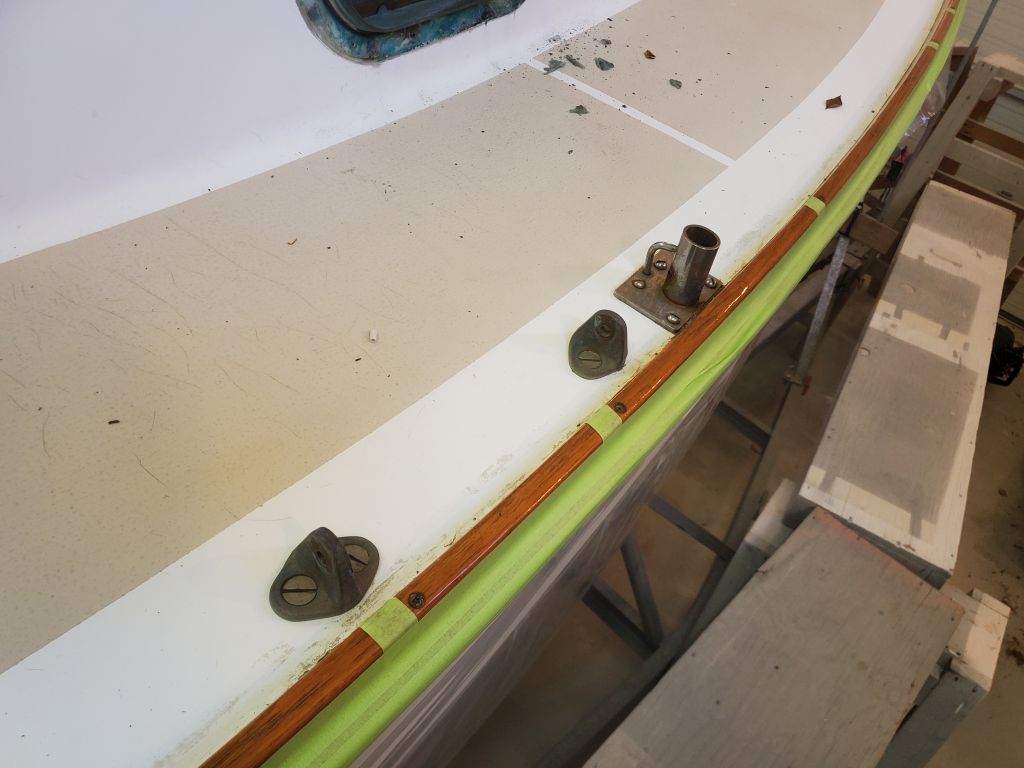
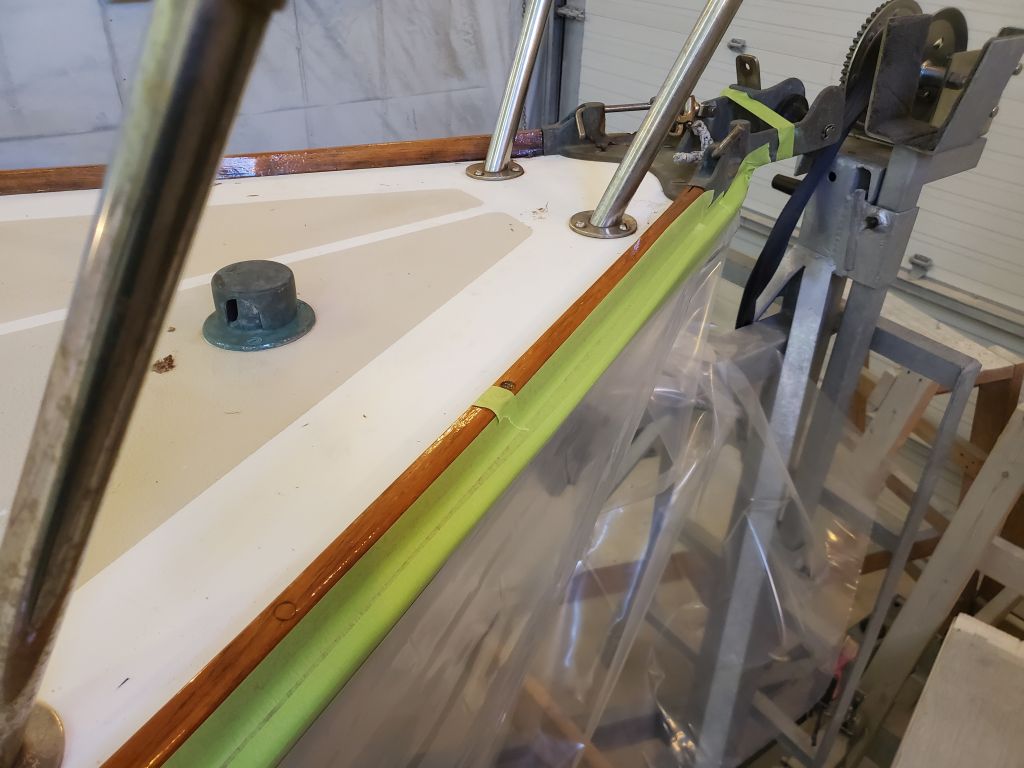
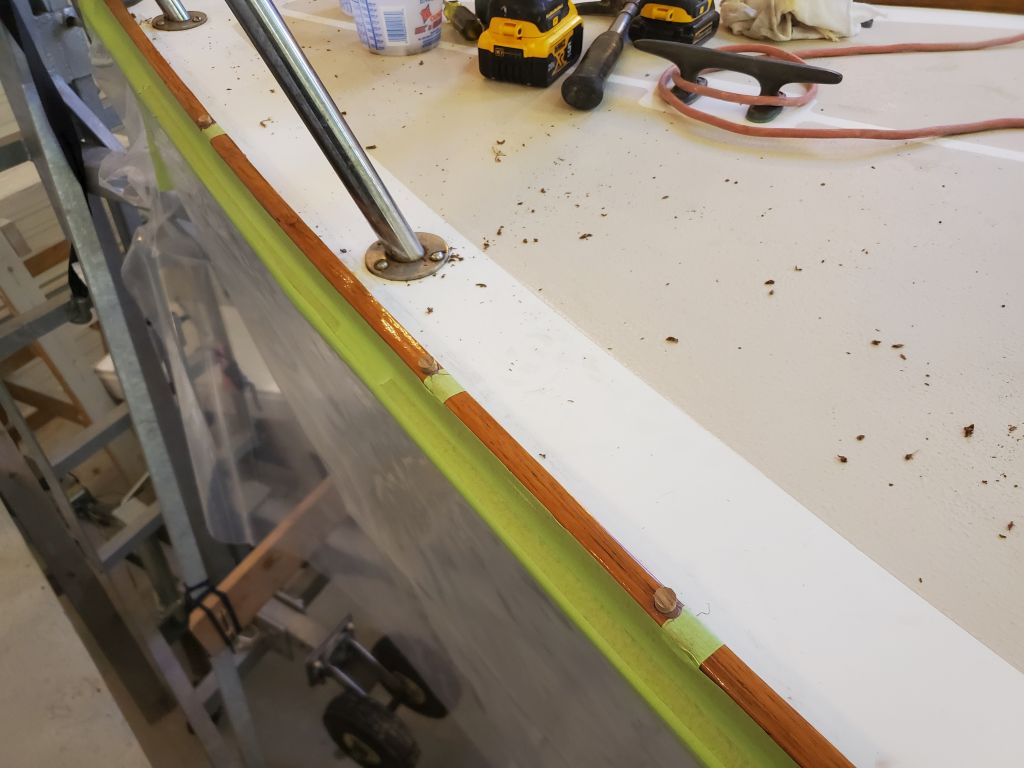
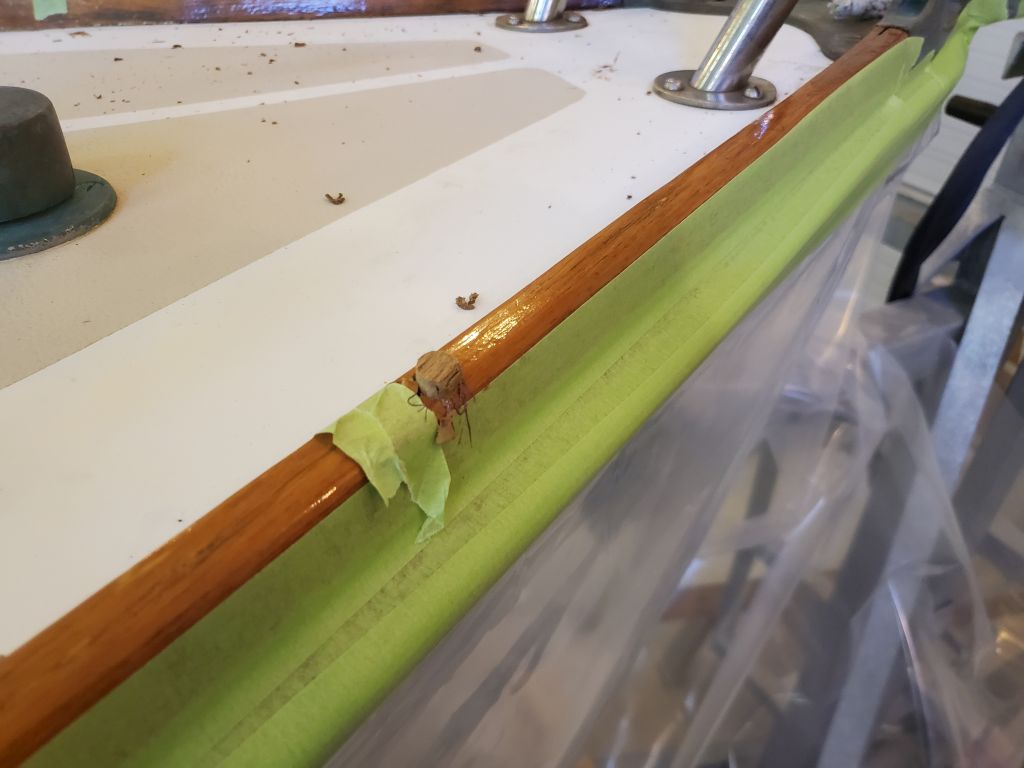
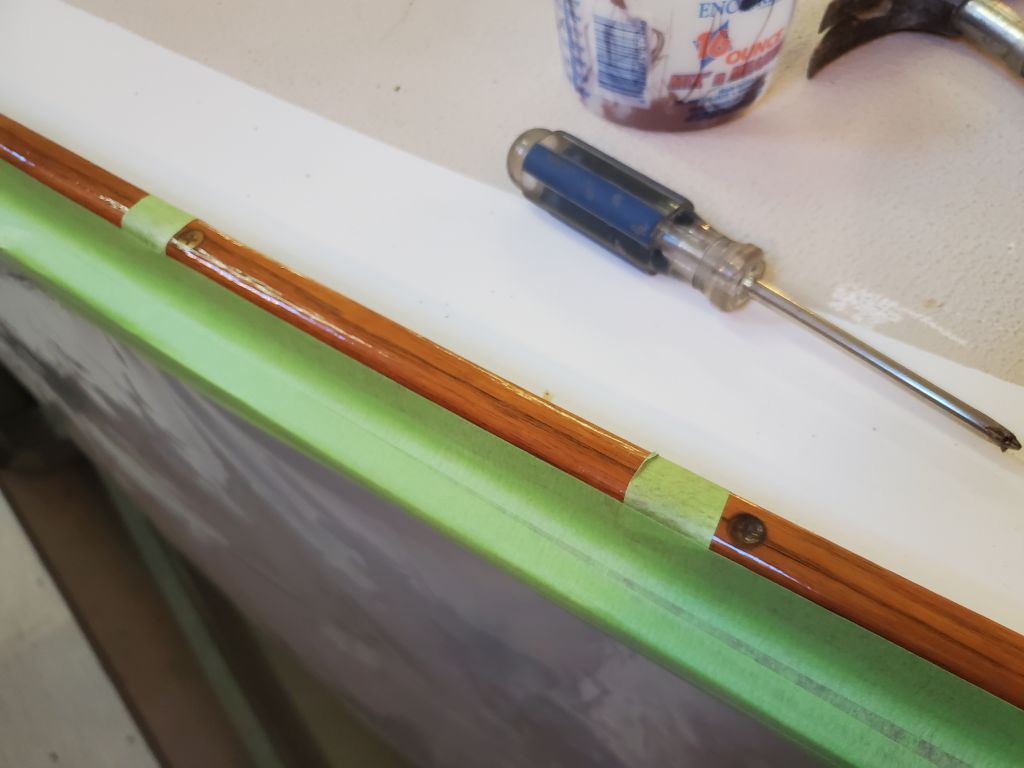
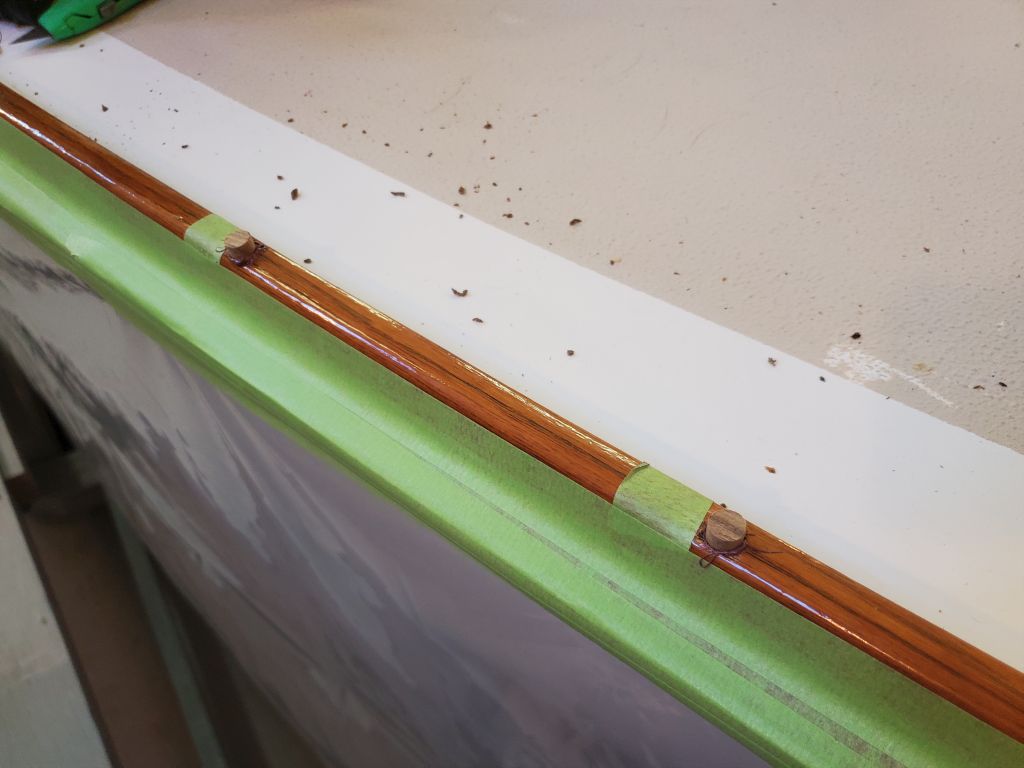
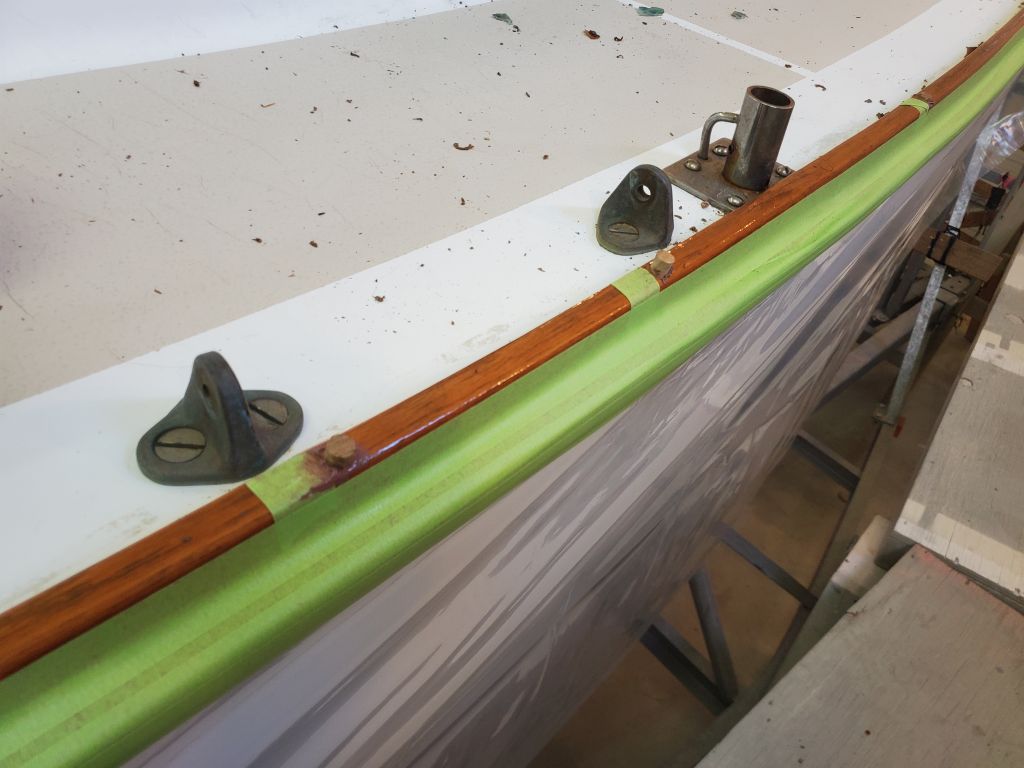
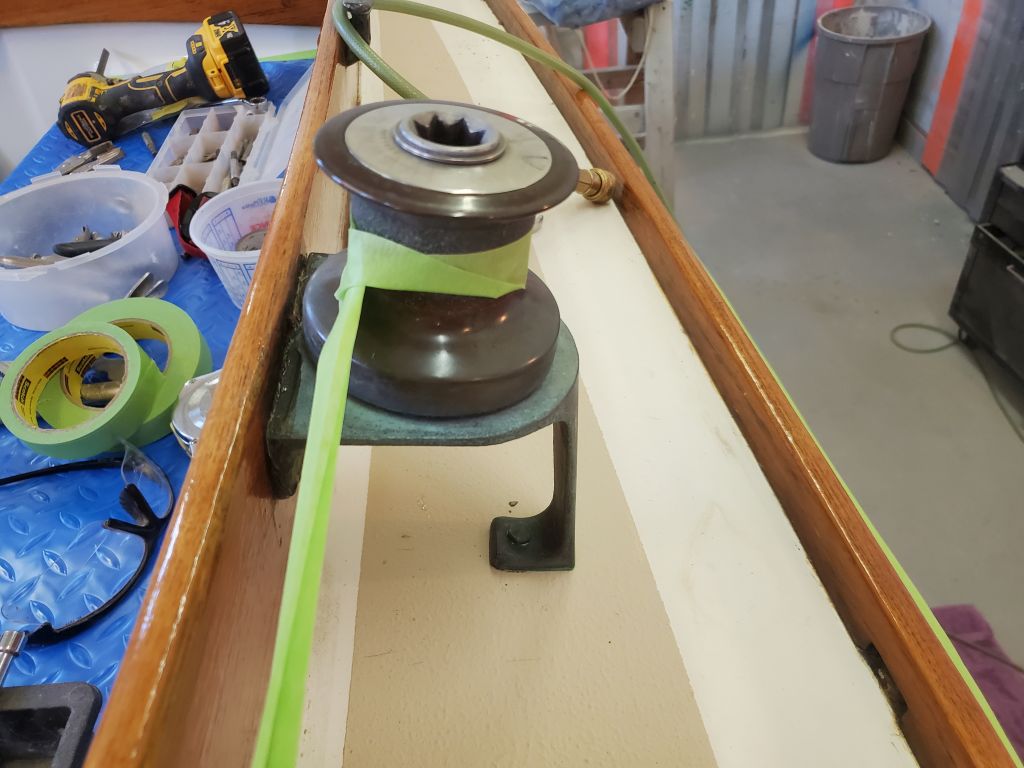
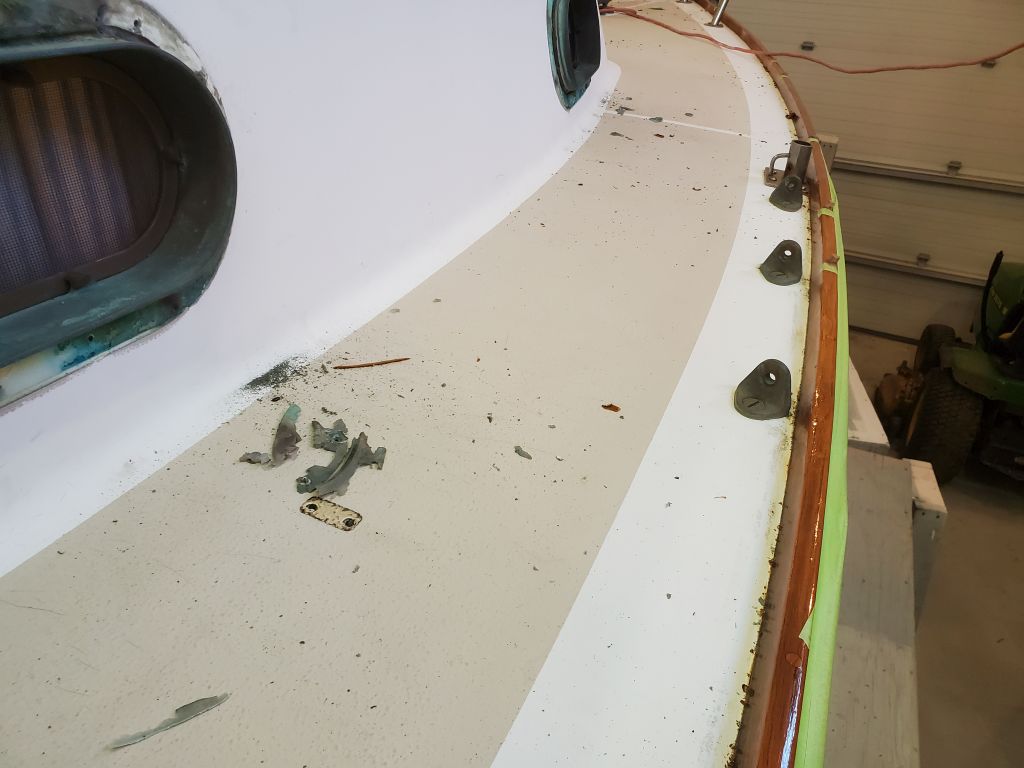
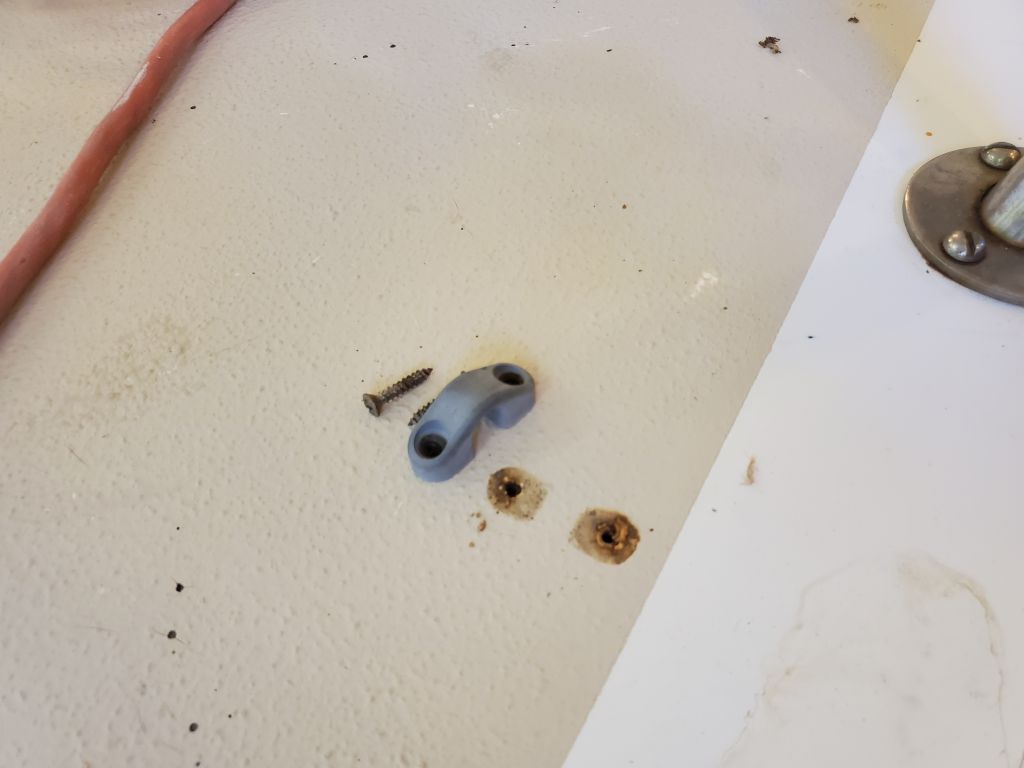
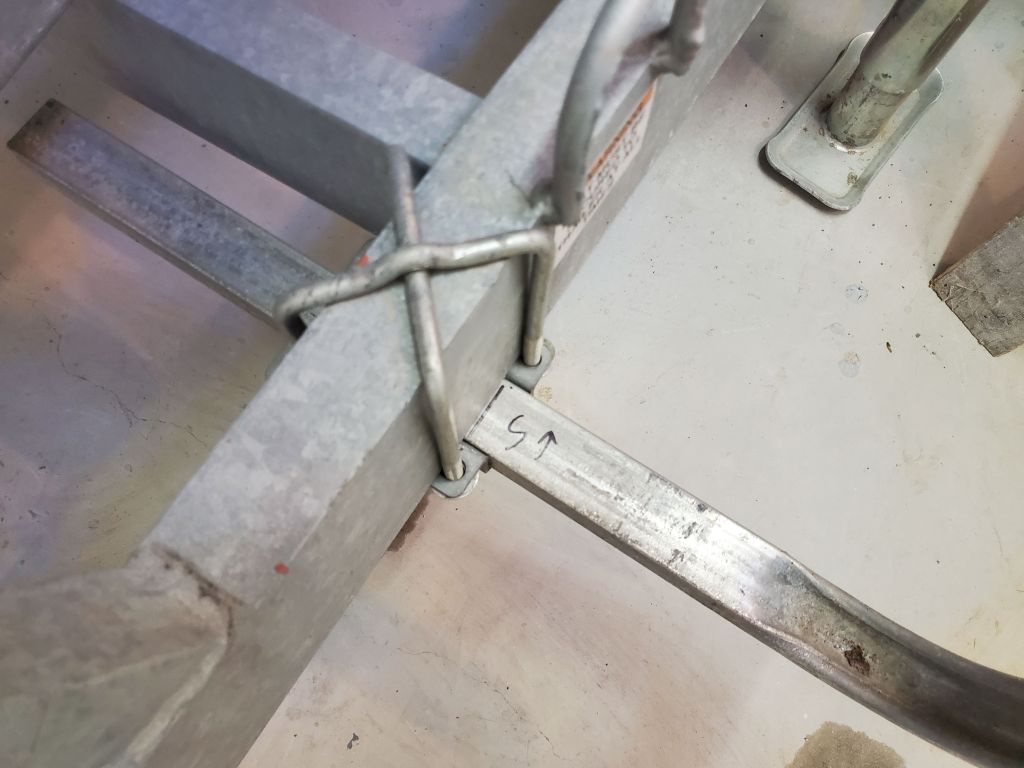
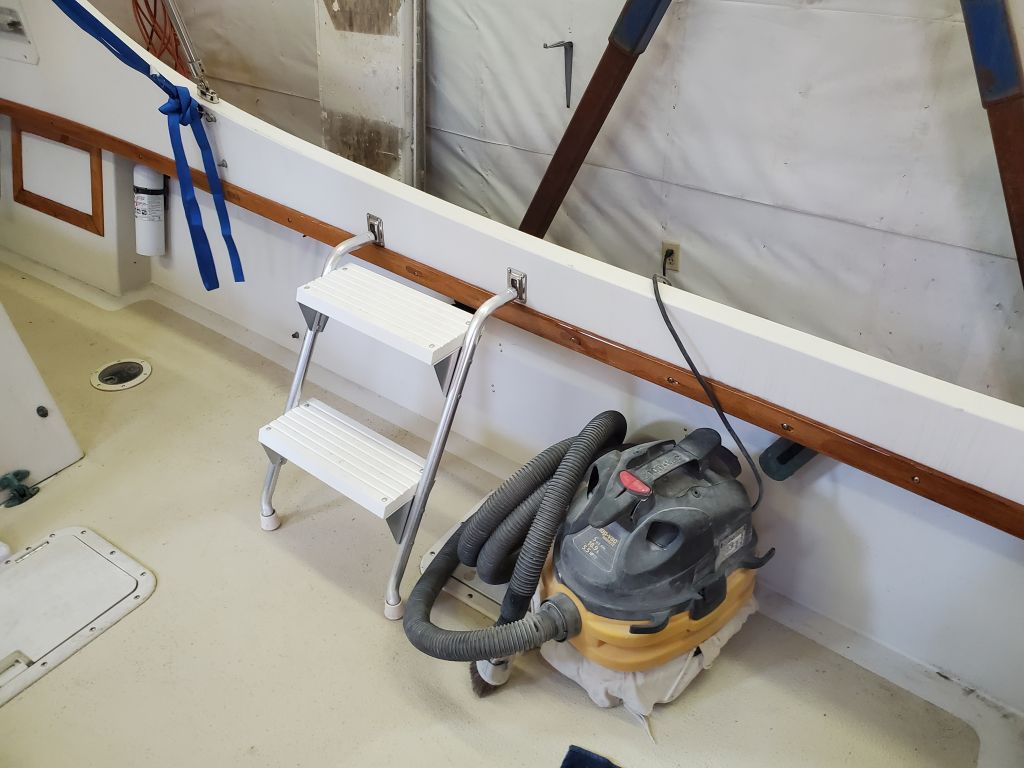
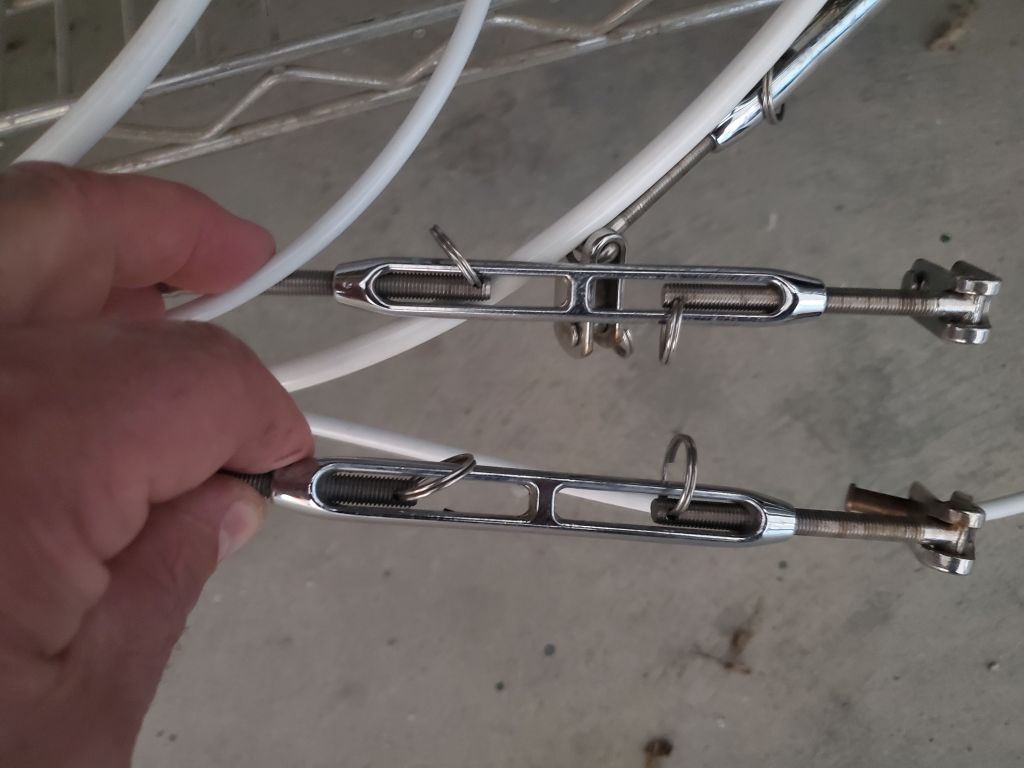
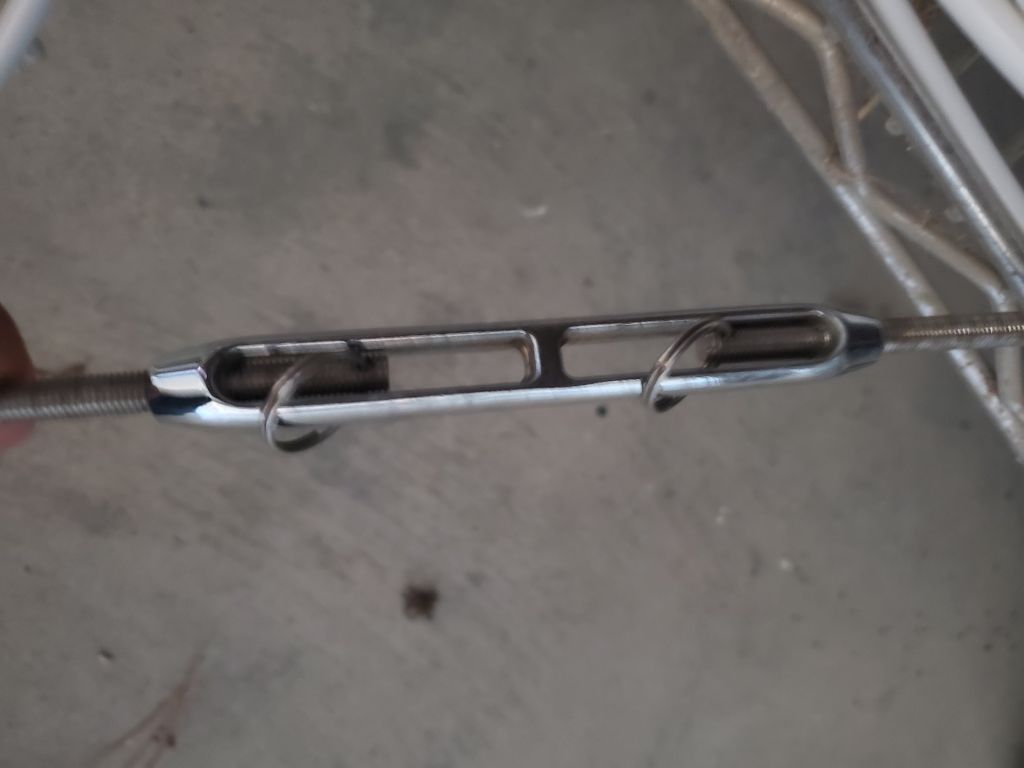
Similarly, I took a closer look at the stanchion base locations, as the owner wanted to move them all inboard just a bit to allow more clearance with the toerails and free passage of water, debris, etc. This would be possible, though the inward movement would be slightly limited by the desire/need to keep the outer pair of fastener holes in the inward molded deck flange. We also discussed moving forward slightly the after pair of bases, to help tighten a maxed-out thread on the opening gates on each side. This also seemed possible, as the lifeline turnbuckles at the forward end had enough remaining adjustment room to take up a small (perhaps 1/2″) move forward.
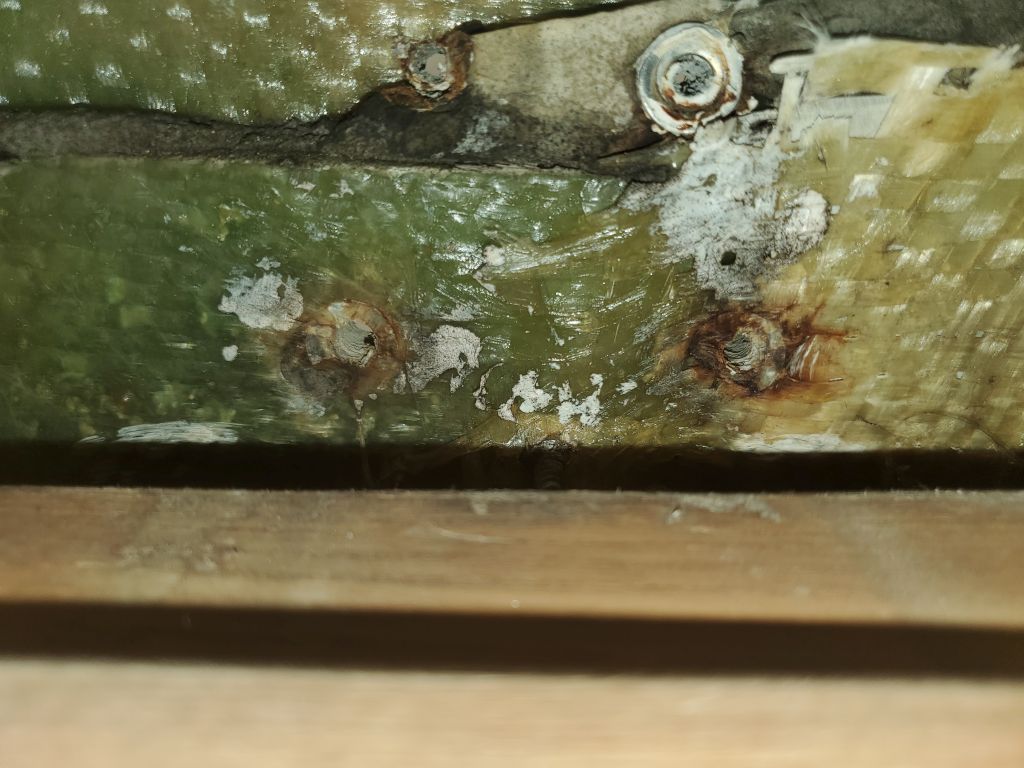

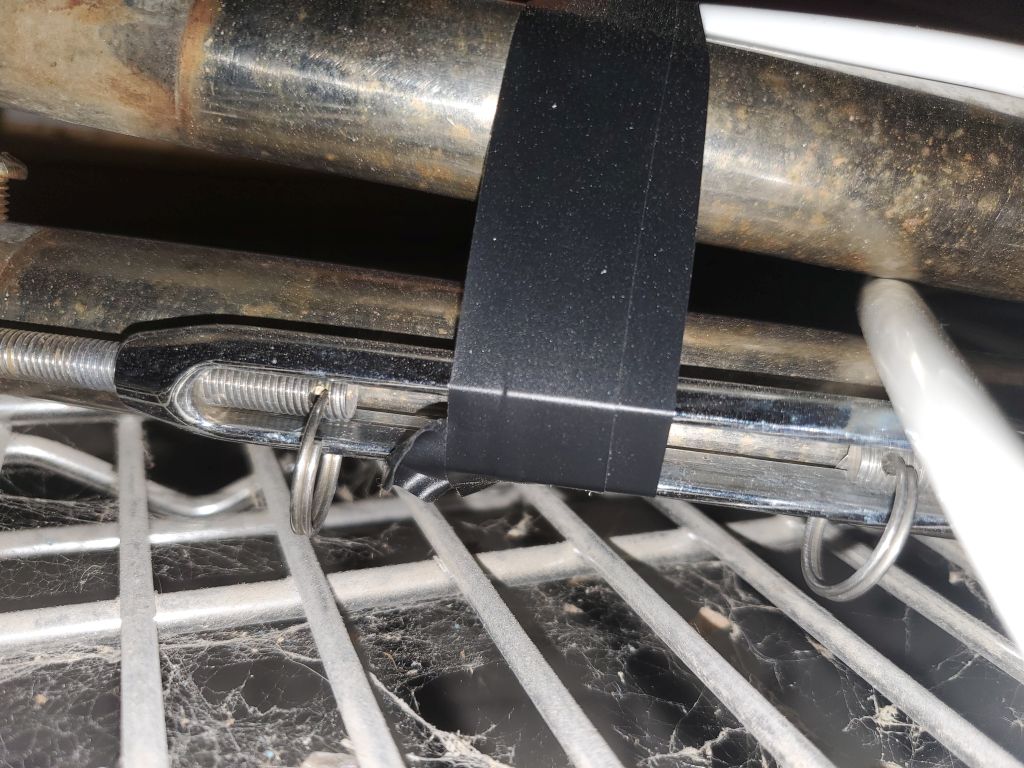
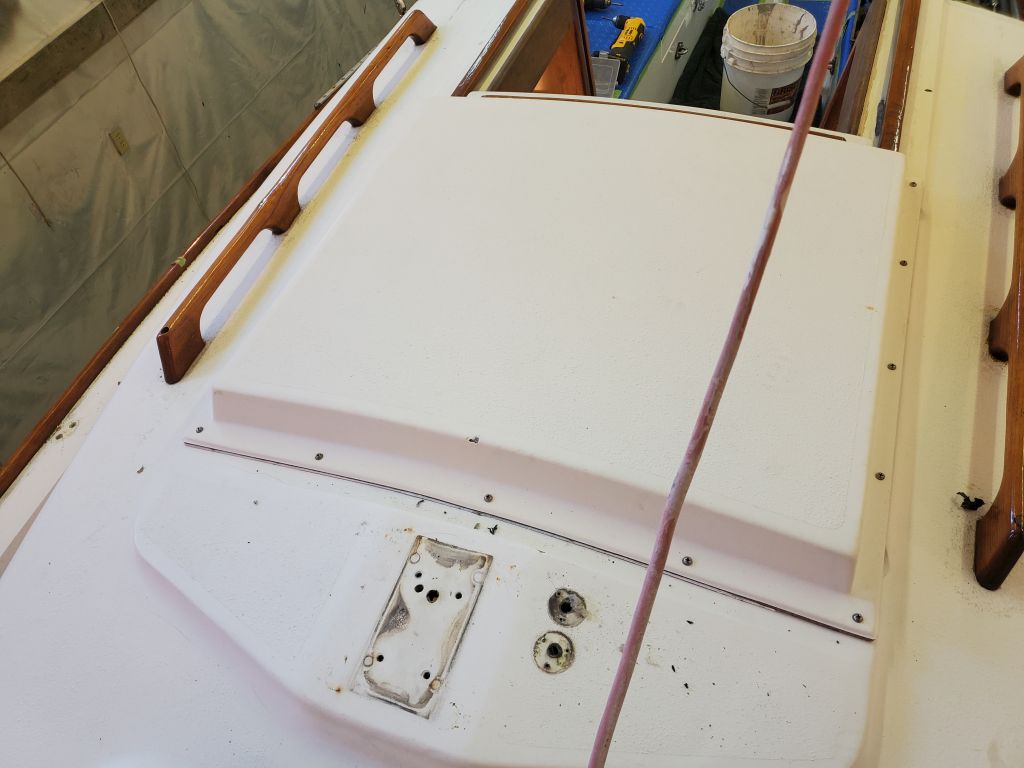
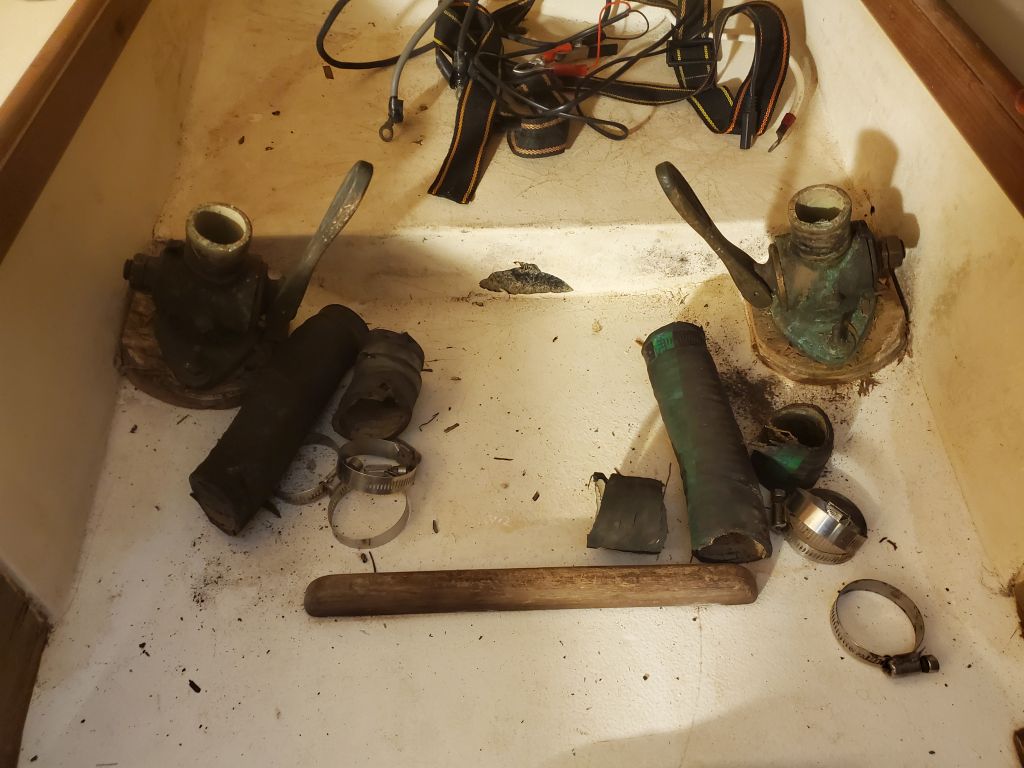
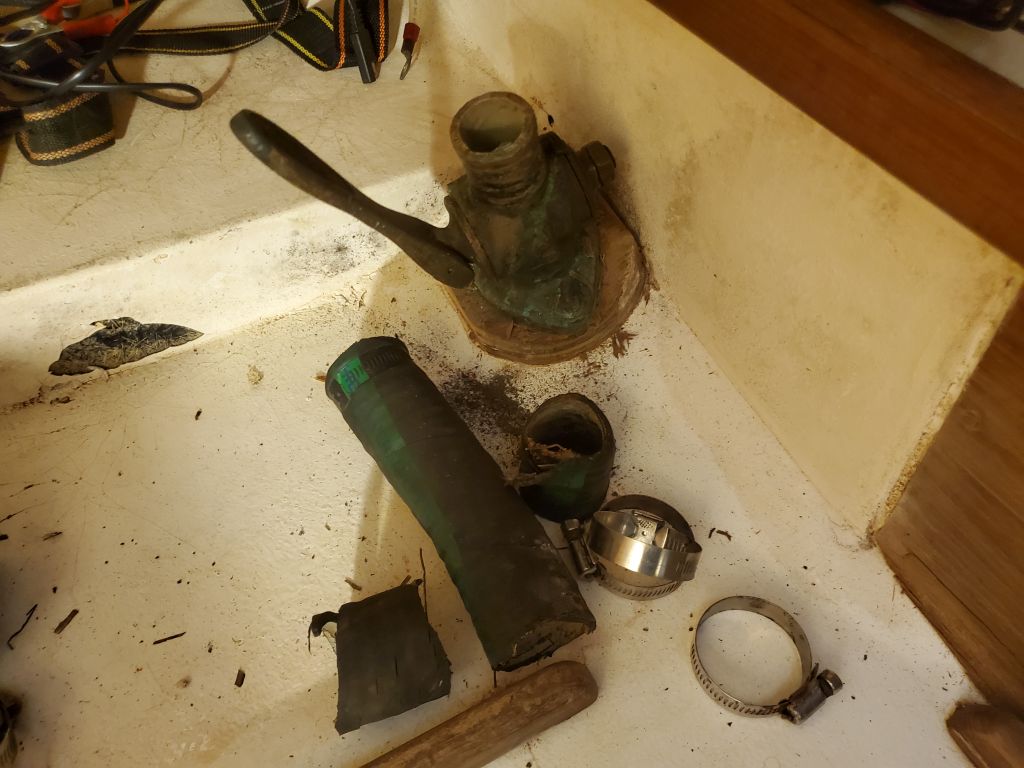
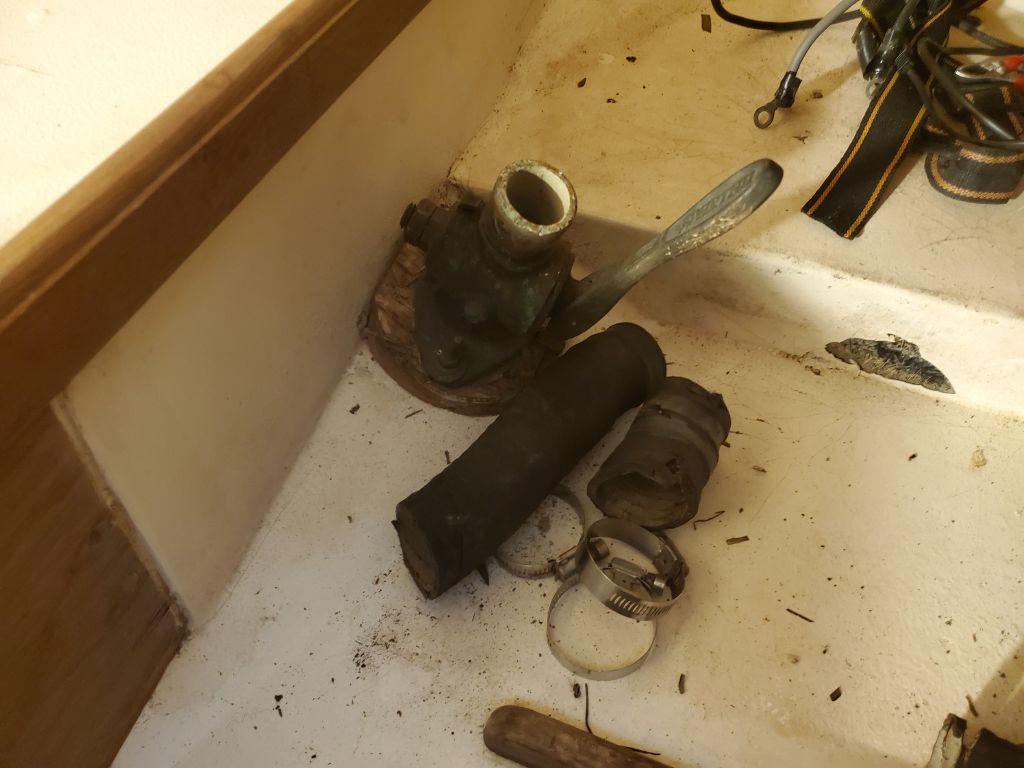
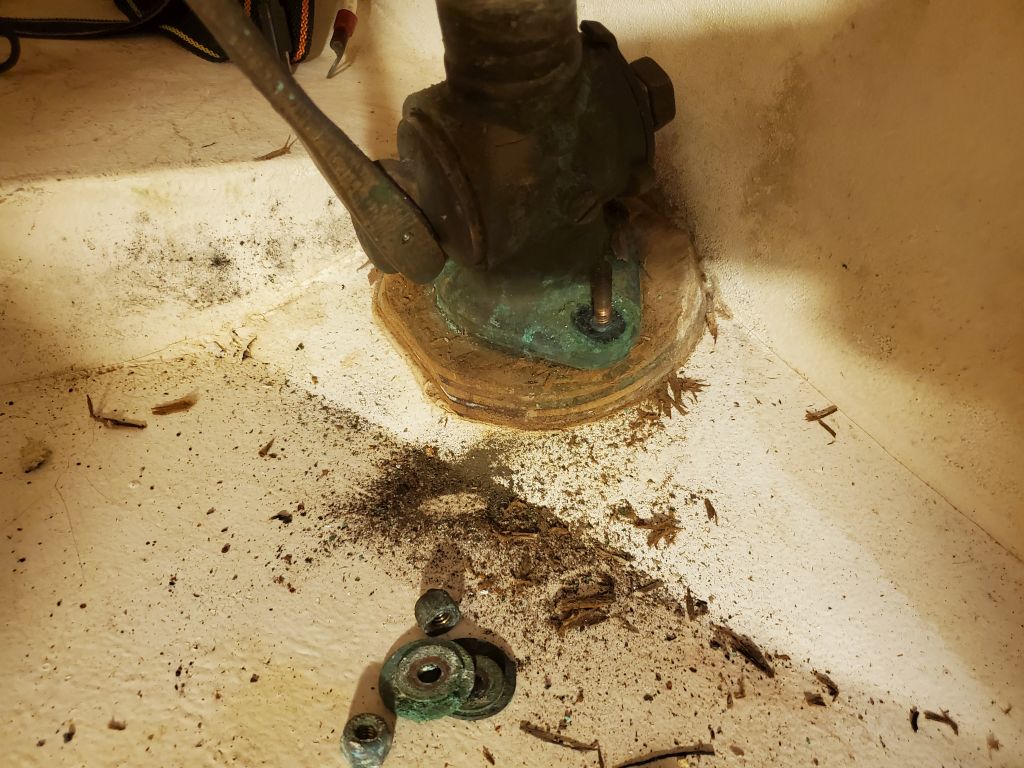
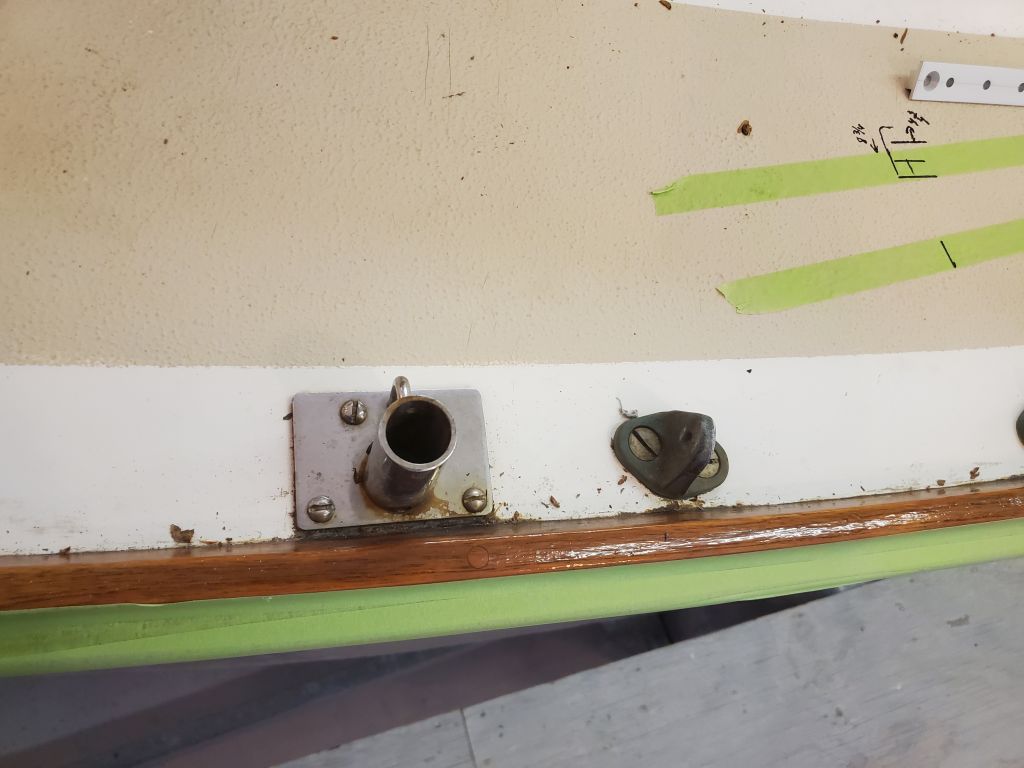
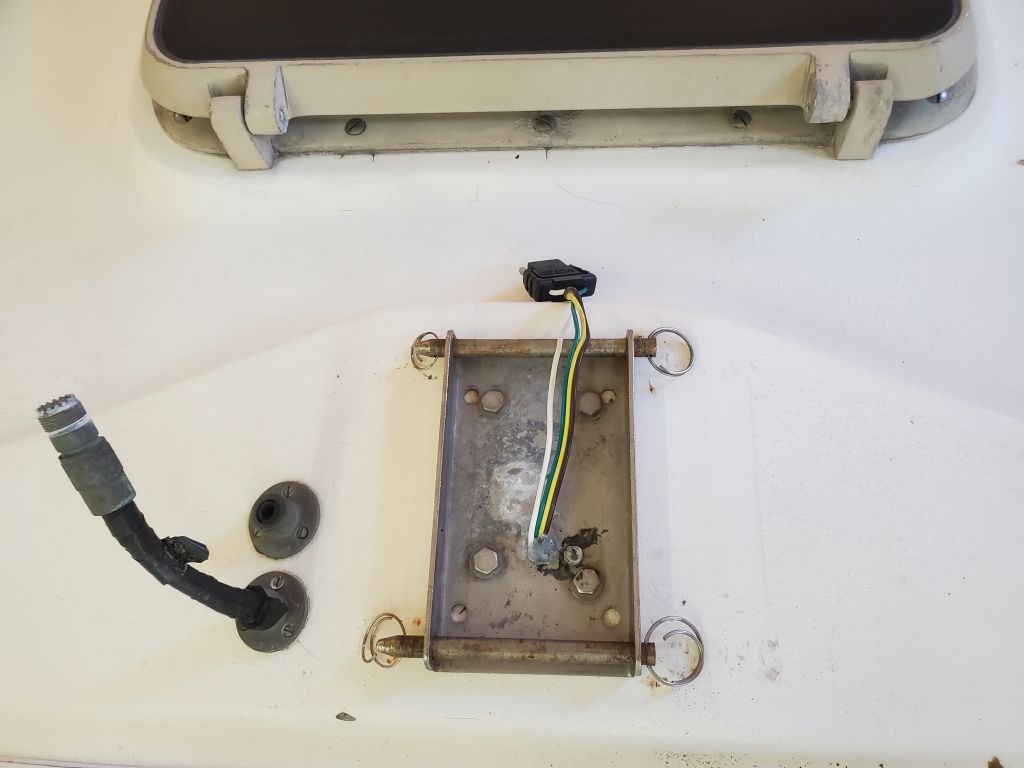
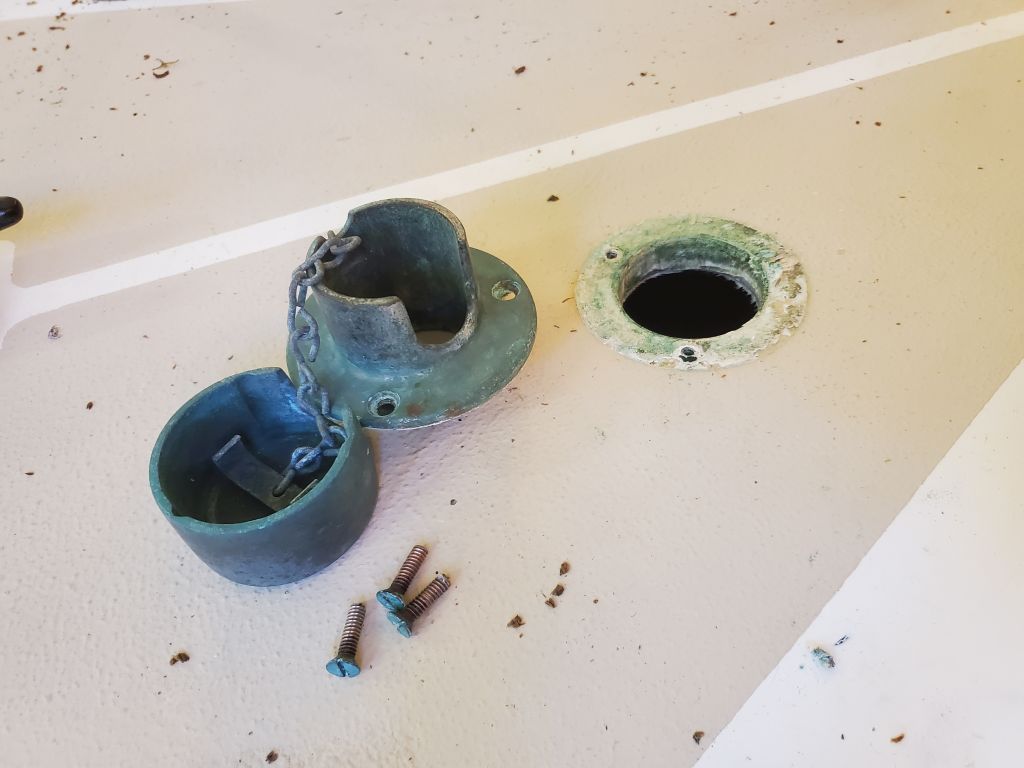
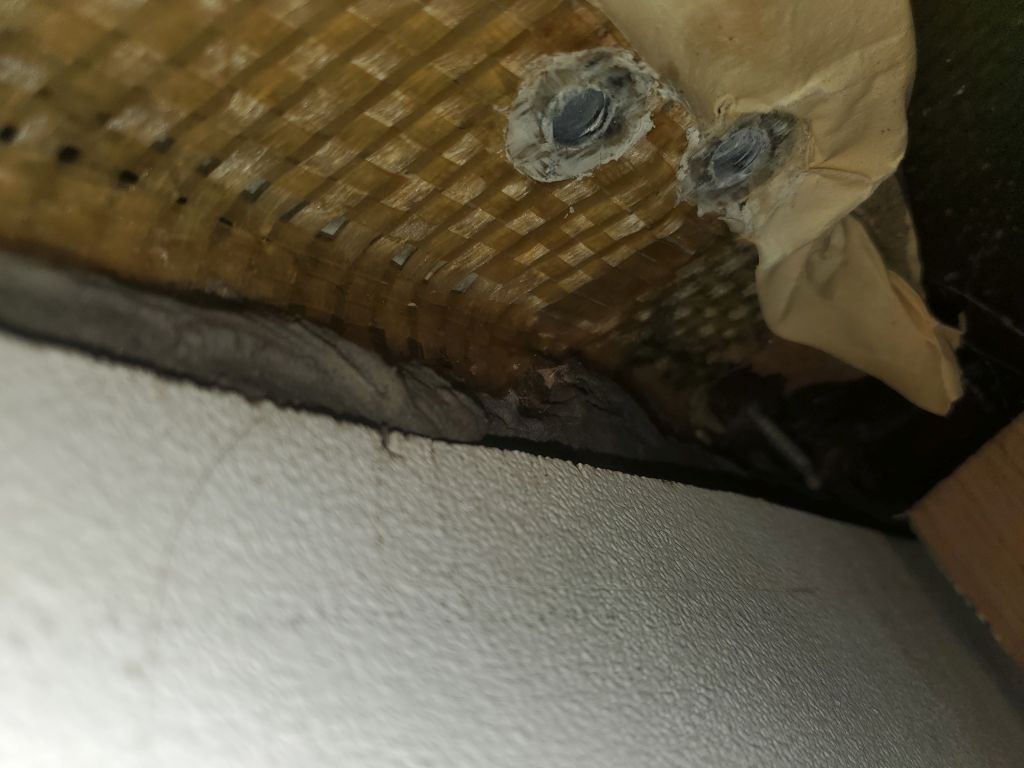
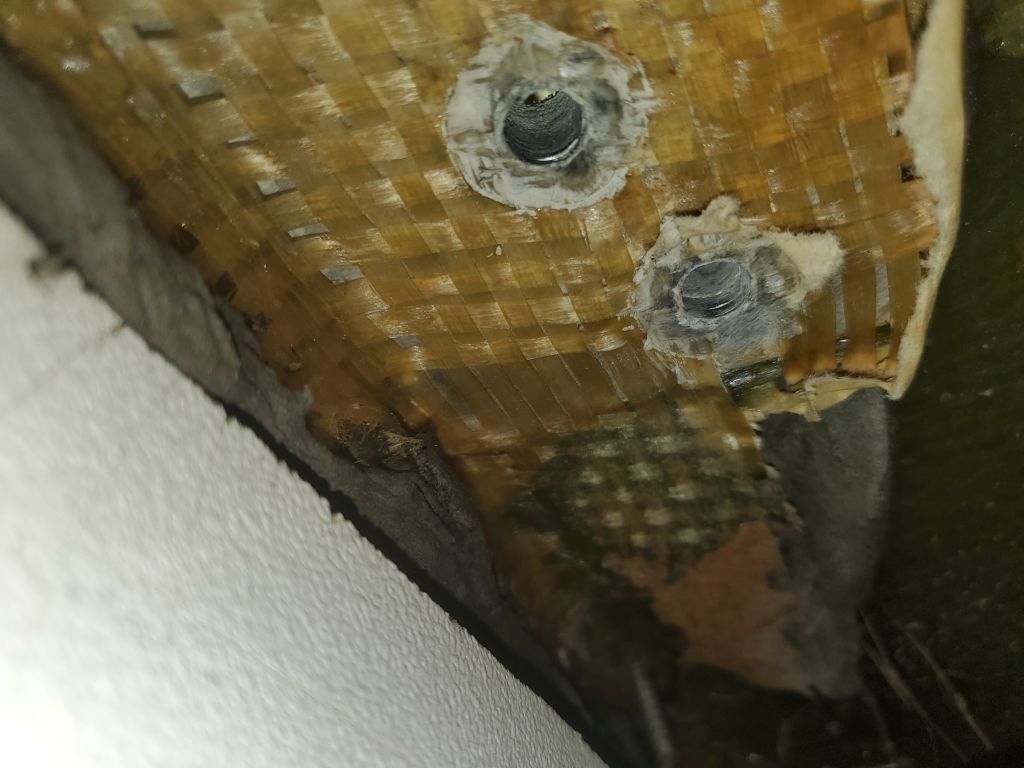
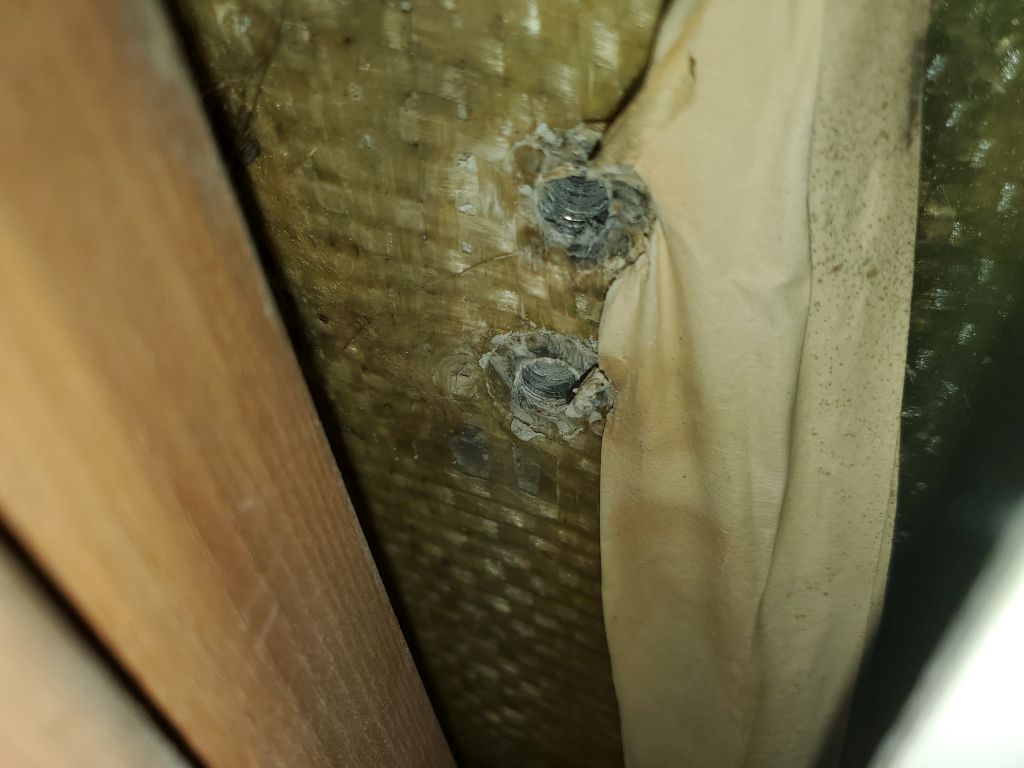
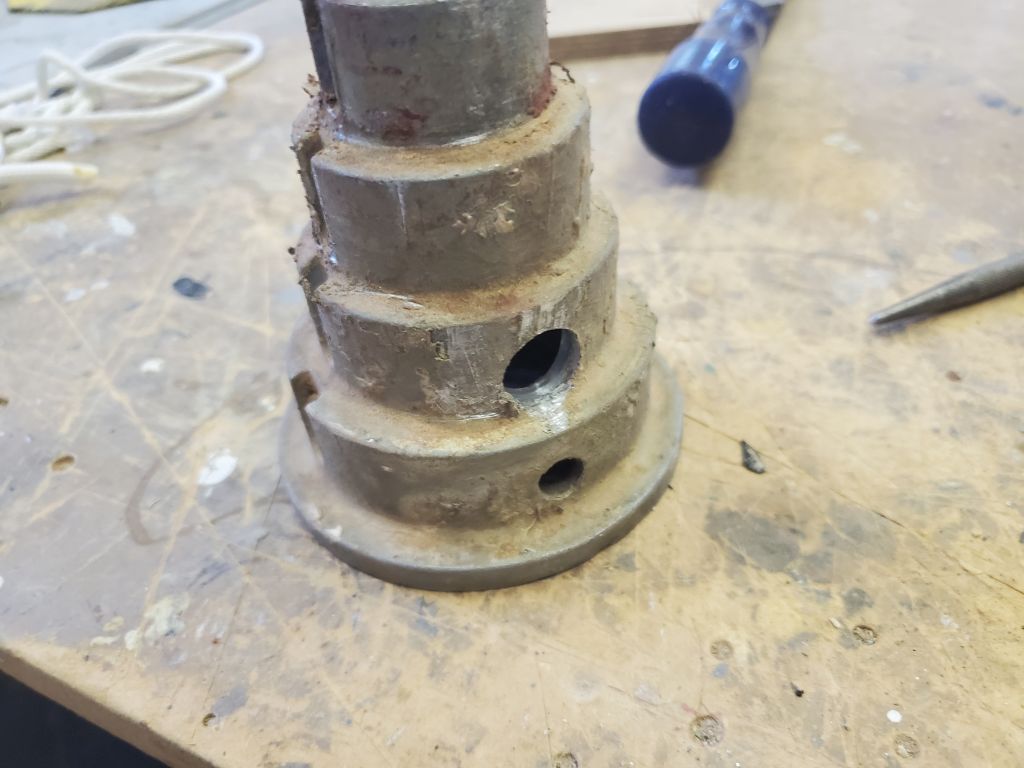
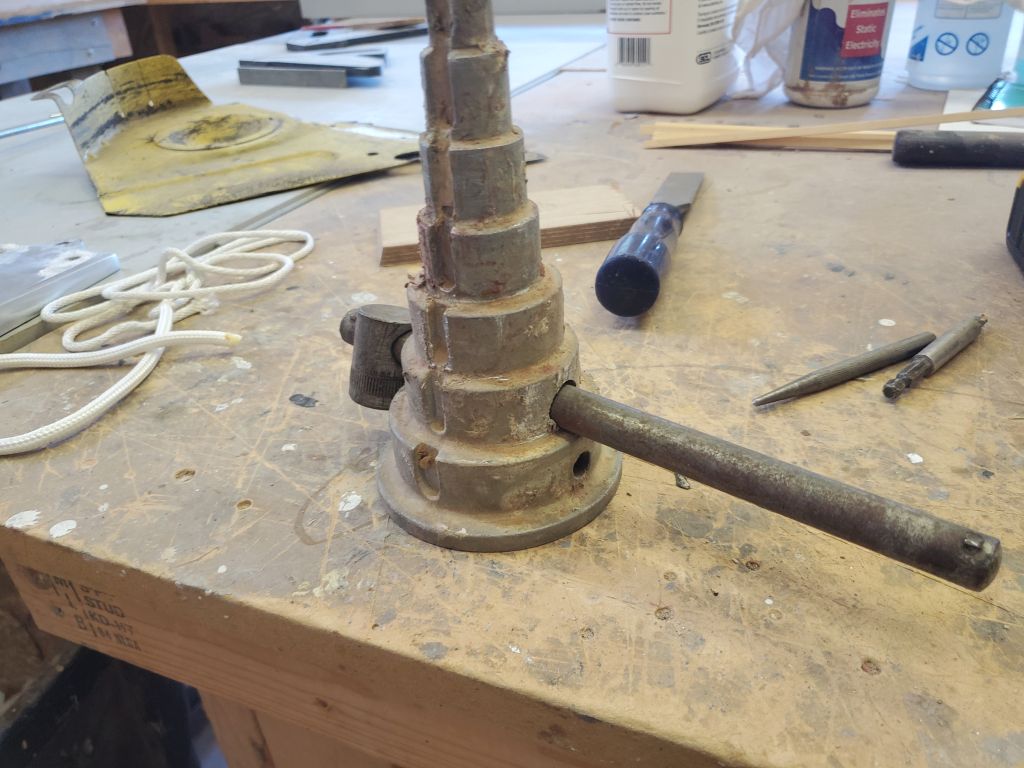
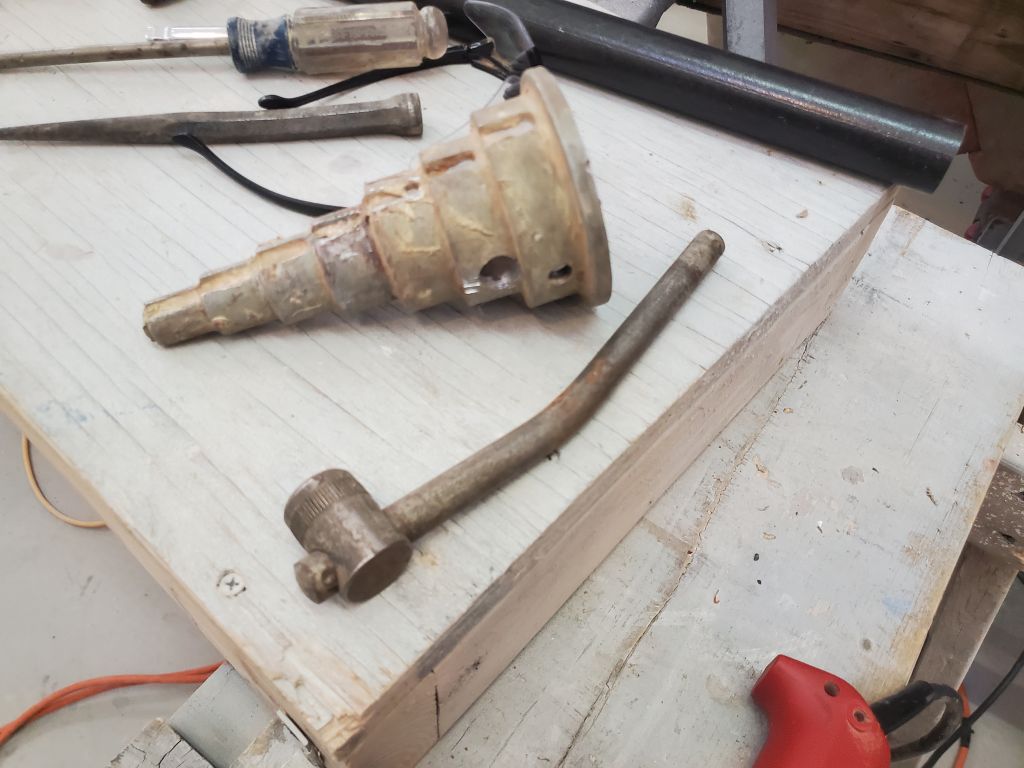
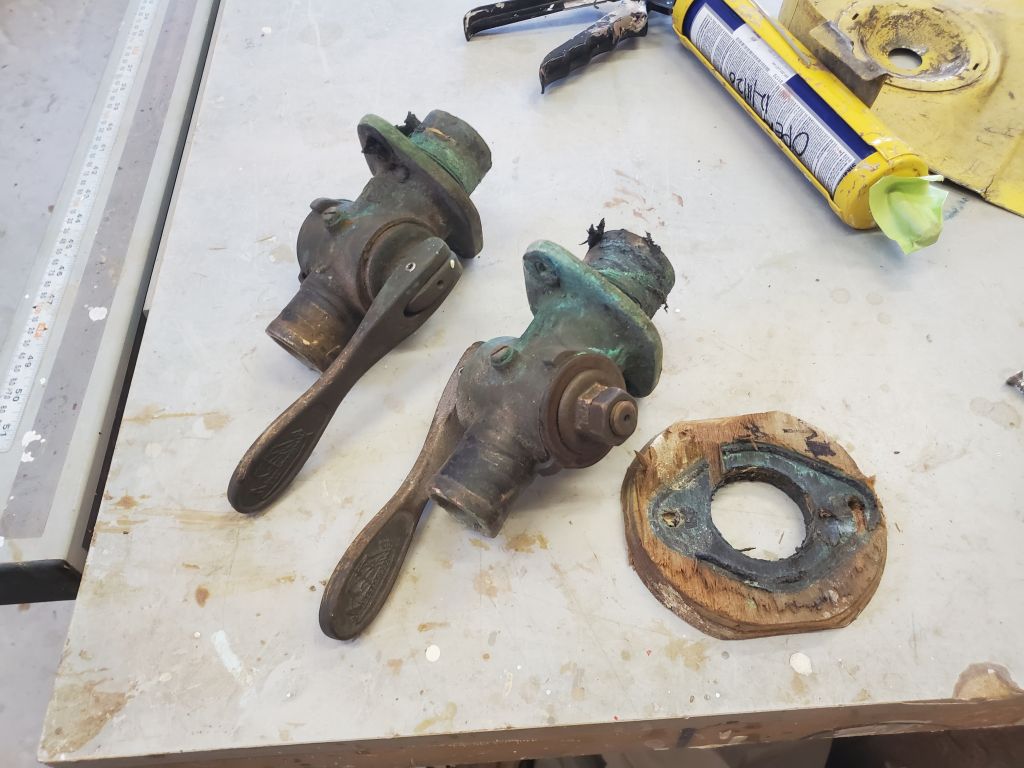
I really wanted the scupper seacocks and through hulls out of the boat before I started work on the decks, as this was hanging over my head and to date I’d had only frustration in my removal attempts. Hoping to save and reuse all the hardware, I’d been taking it slow and (for me) patiently. Now, armed with a length of pipe that I picked up for leverage, I made a minor modification to my old step tool that did fit the tabs inside these through hulls, but which so far I’d not been able to use effectively as there was not enough moment arm. Normally, a screwdriver inserted through the holes in the bottom of the tool was more than sufficient for new fittings’ installation, but it wasn’t enough to break free these old threads and whatever sealant. To help with this, I drilled a new, larger hole above to accept a 1/2″ diameter socket extension-type thing that I had on hand, and which looked strong enough to do the job. It also happened to fit inside the 3′ pipe I’d picked up.
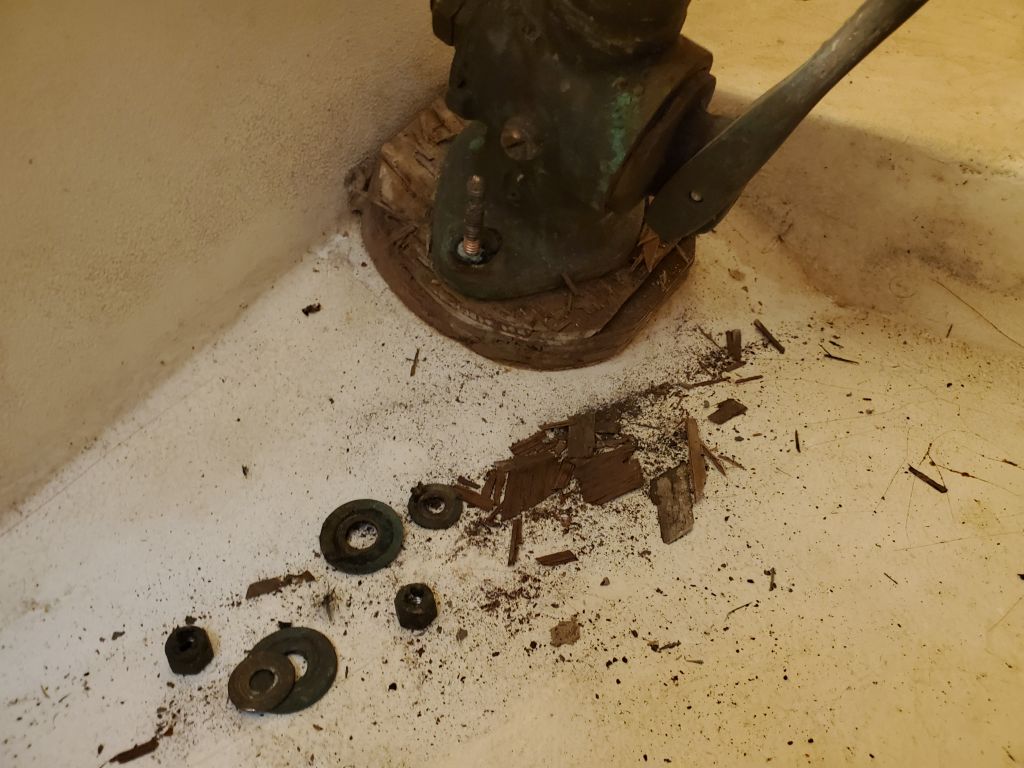
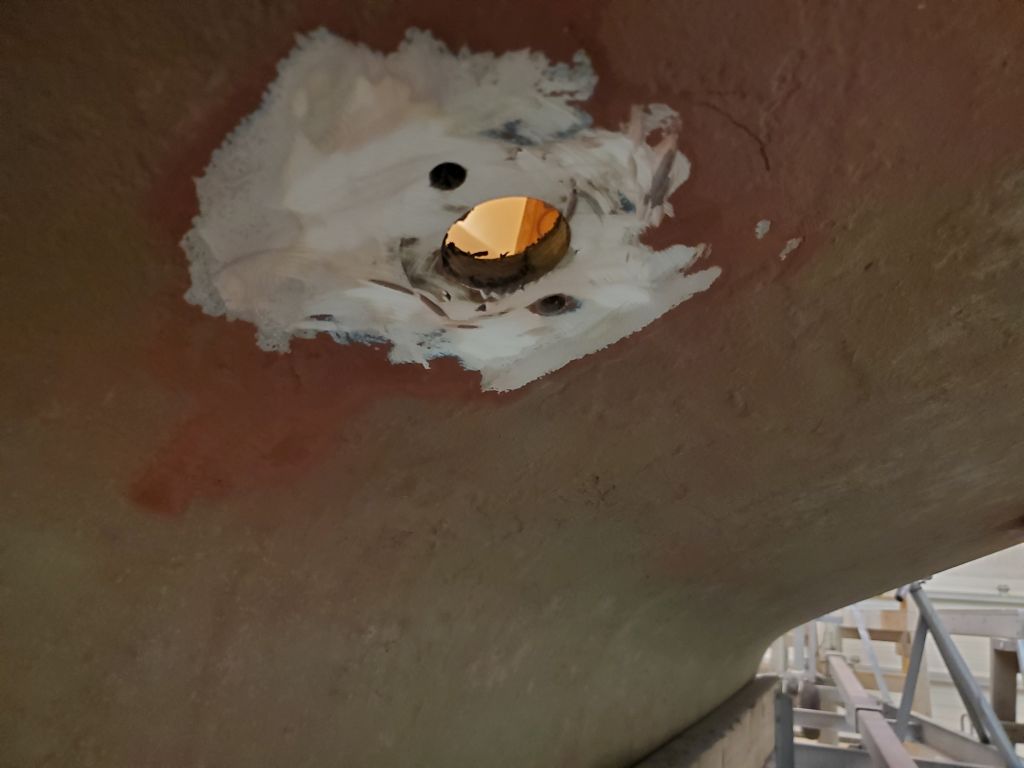
With the rig set up in one of the fittings, I applied some heat to hopefully loosen things up. At first, this seemed to work, as I saw the mushroom head move when I applied pressure. But then it stopped, and further pressure only bent the 1/2″ rod I’d put through the tool. Inside the boat, I discovered that my turning had bent the fixing bolts securing the seacock flange, and that the whole seacock had turned in the process. Not helpful. And this now seemed increasingly stupid, and the time spent was starting to seem inefficient.
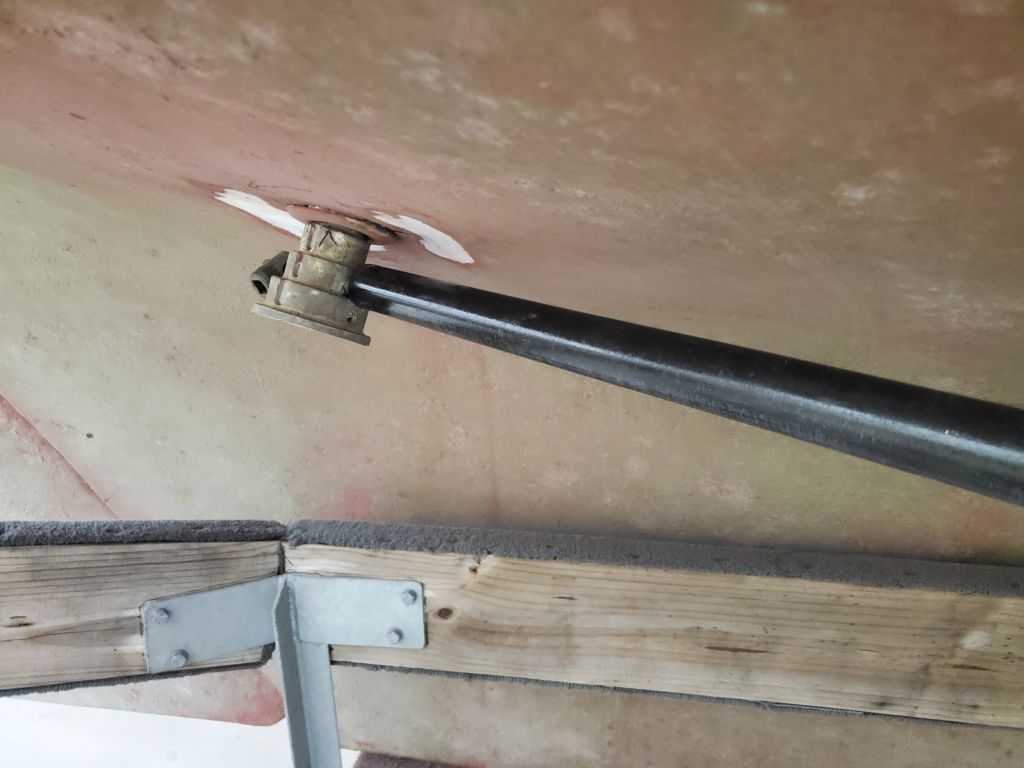
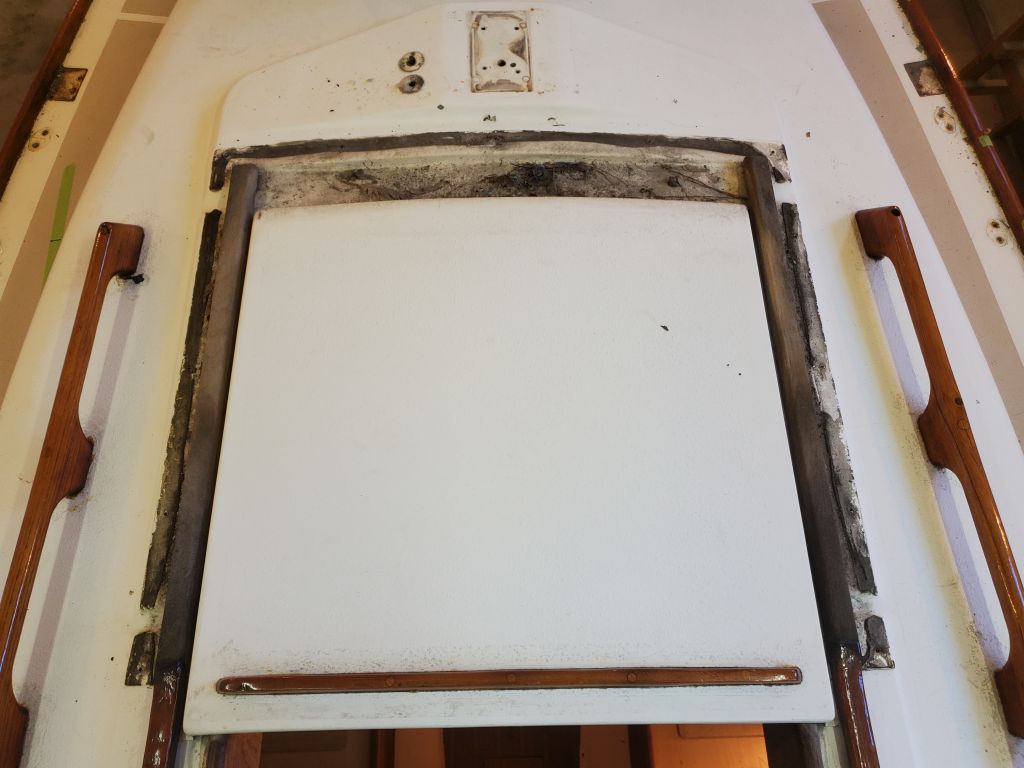
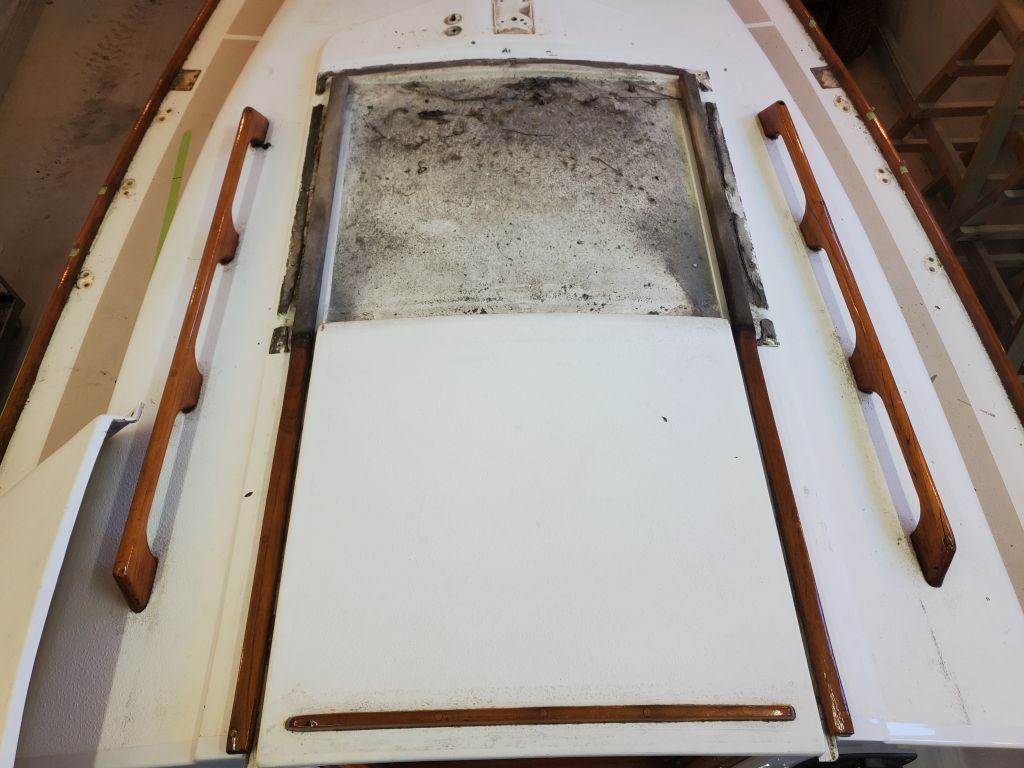
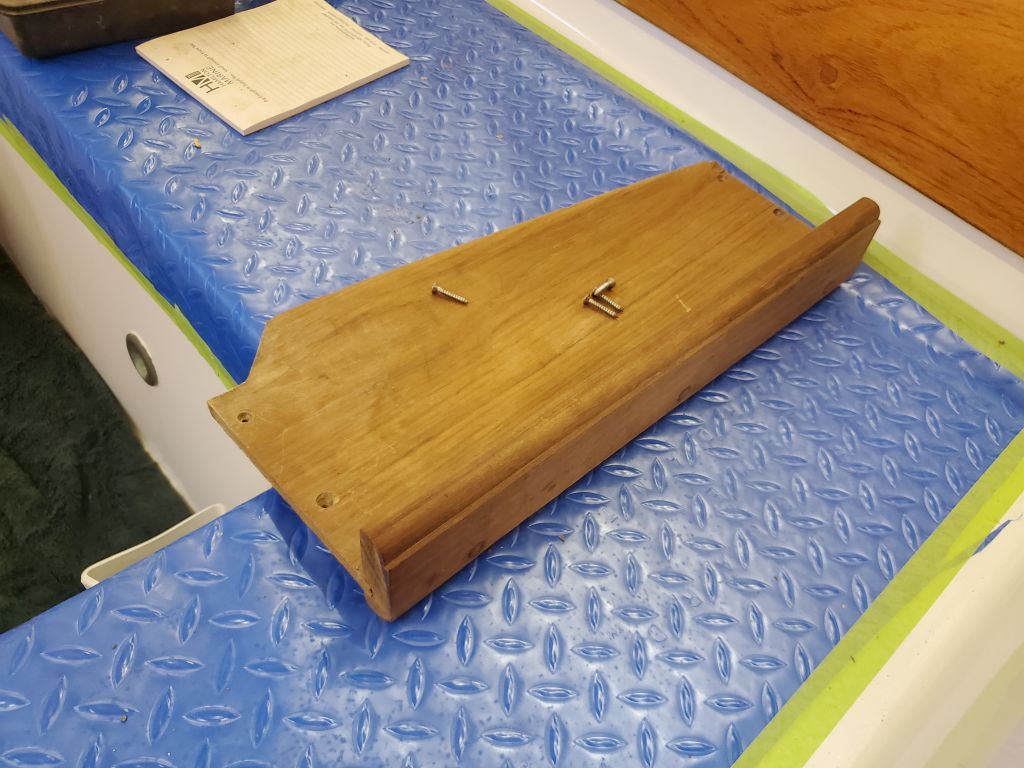
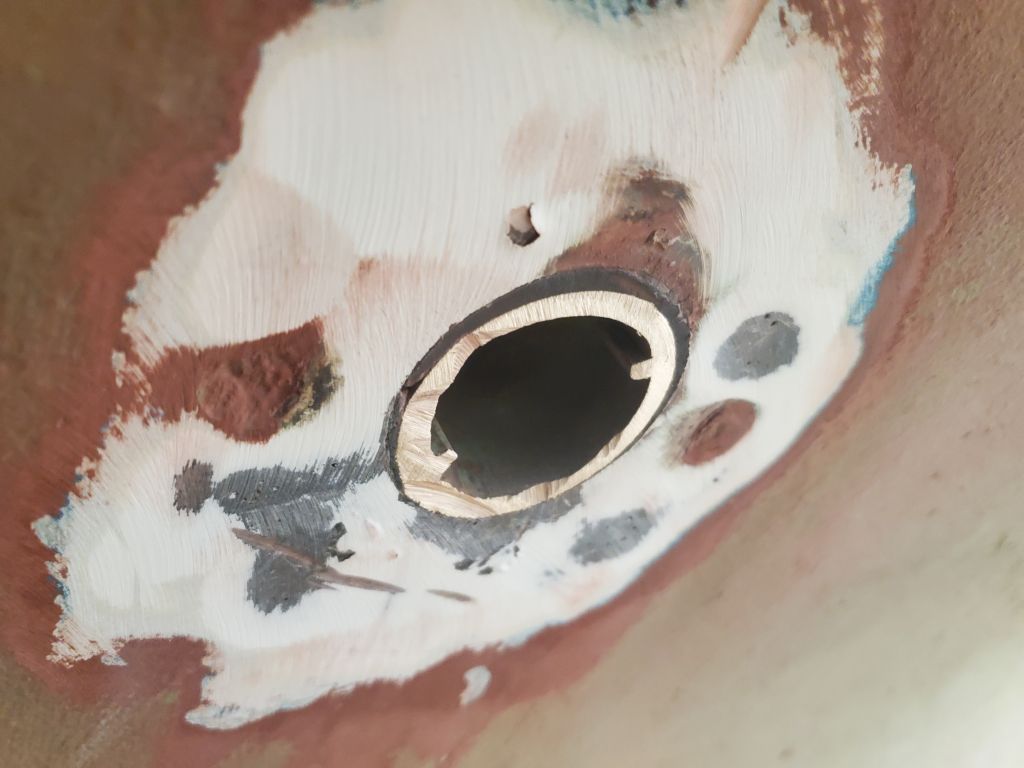
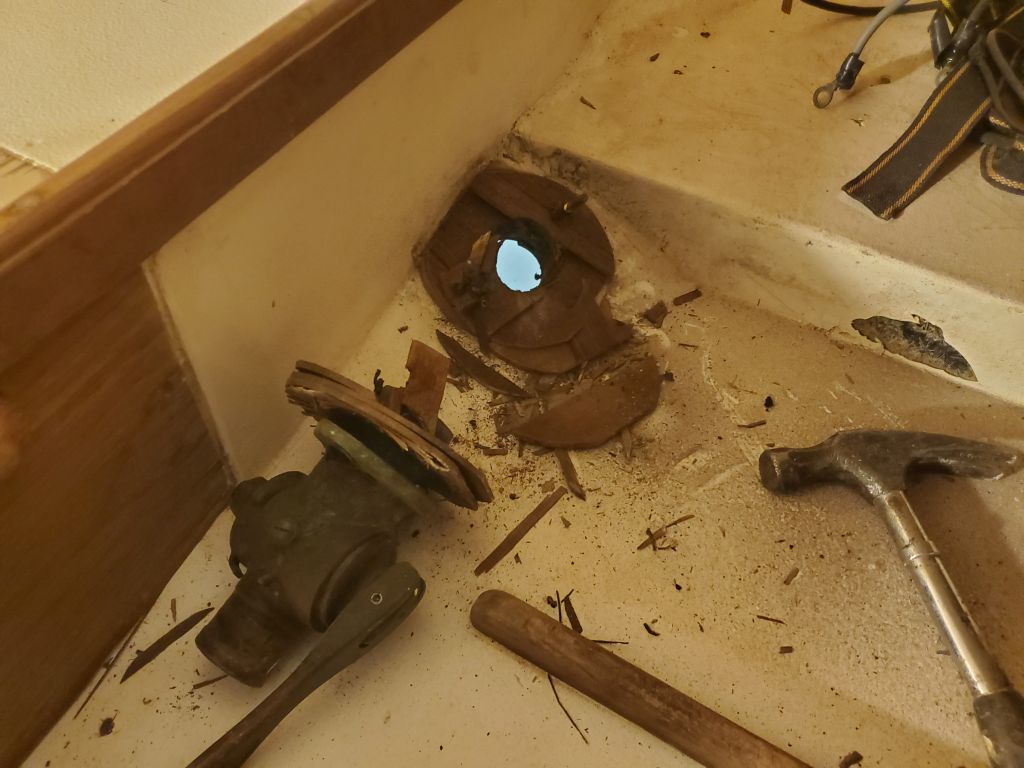
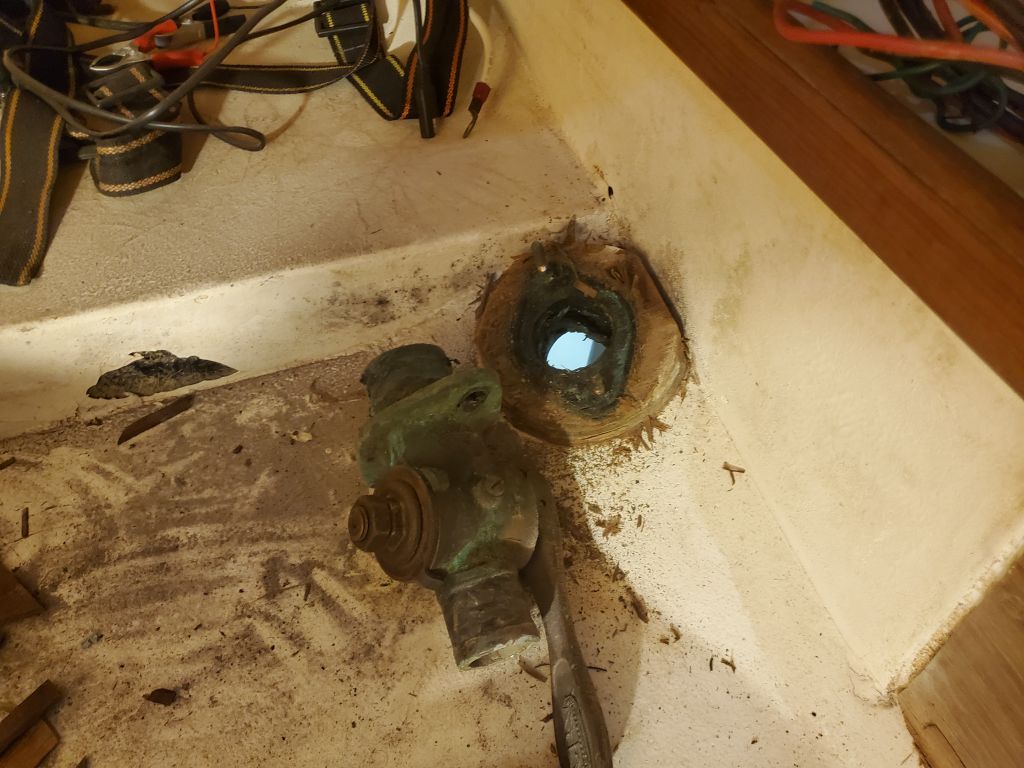
I figured if I could get the valves out of the boat, I’d be able to remove the threaded through hulls more easily, and given the modest cost of new mushroom fittings versus the cost of labor, I made the decision to stop wasting my time and quickly ground off the mushroom heads so I could pull out the valves (and remaining stems) from the inside. Easy peasy. Afterwards, I removed the remains of the plywood backing blocks, the replacement of which was the point of this exercise. The original plywood was essentially sound, though did easily fall apart into its various laminations with little effort. Now I could focus on making the new backing plates and removing the old through hull stems from the valves, and things would be ready for new installation soon.


Total time billed on this job today: 5.25 hours
0600 Weather Observation: 44°, light rain. Forecast for the day: Showers, then clearing late, 54°