

November 16, 2020
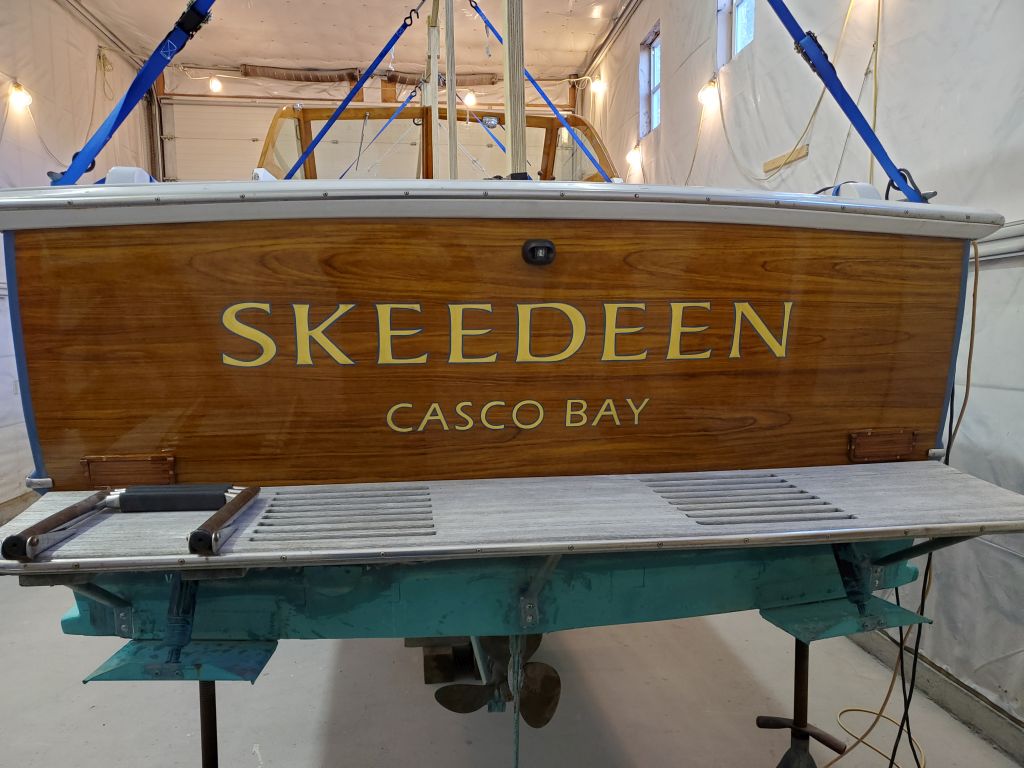
Skeedeen Phase 6-36
Monday
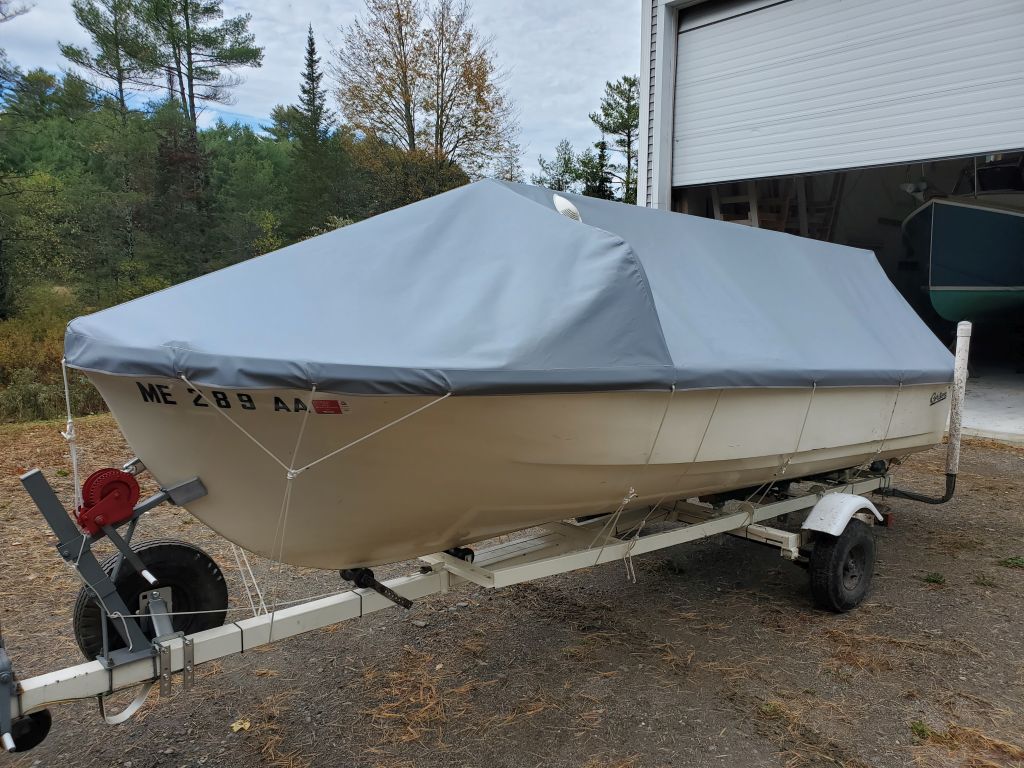
For the long-term benefit, and also to protect the new paint from damage from standard tarps, the owner ordered a custom, fitted winter cover for the boat this season, and to begin the process my first step was to build a solid, simple, and hopefully easily-reusable frame for the cover. Once that was done, the contractor could come in for measurements and fitting.
I’d been unhappy using dimensional lumber for frames over the years, as the lumber tended to twist and warp out of shape, causing installation and other problems. Finding ways to join pieces of lumber and connecting them easily, strongly, and in a removable/reassemble-able way also had caused issues, largely because the wood would swell around bolts and make removal or installation difficult, sort of at odds with the entire premise.
On a small frame I built earlier in the year for a small boat of my own, I tried flush T-nuts as a way to secure braces and joints in a 2×4 frame, hoping that the threaded inserts would make installing and disassembling the frame easy, but found that the wood was too unstable and soft, which allowed the barbed nuts to spin within the lumber, and ultimately I had to replace them with through bolts–exactly what I’d been trying to avoid. This was a disappointment since this small frame was intended as a sort of test bed for Skeedeen’s frame, but ultimately it served its purpose, both as a frame and as a learning experience.

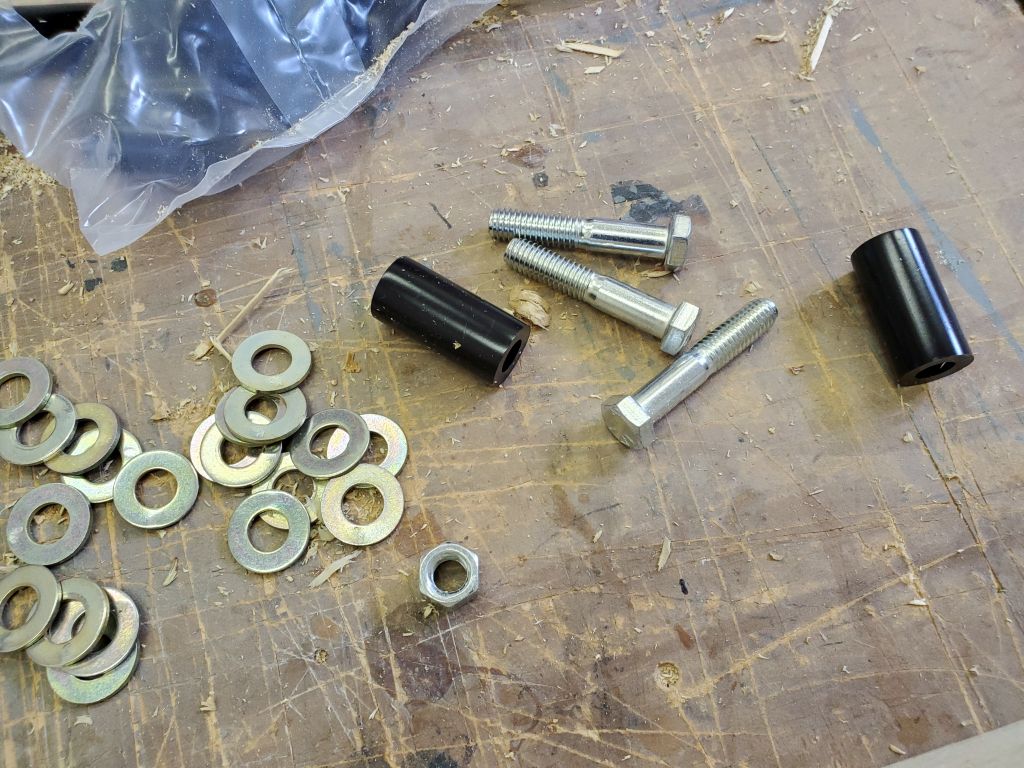
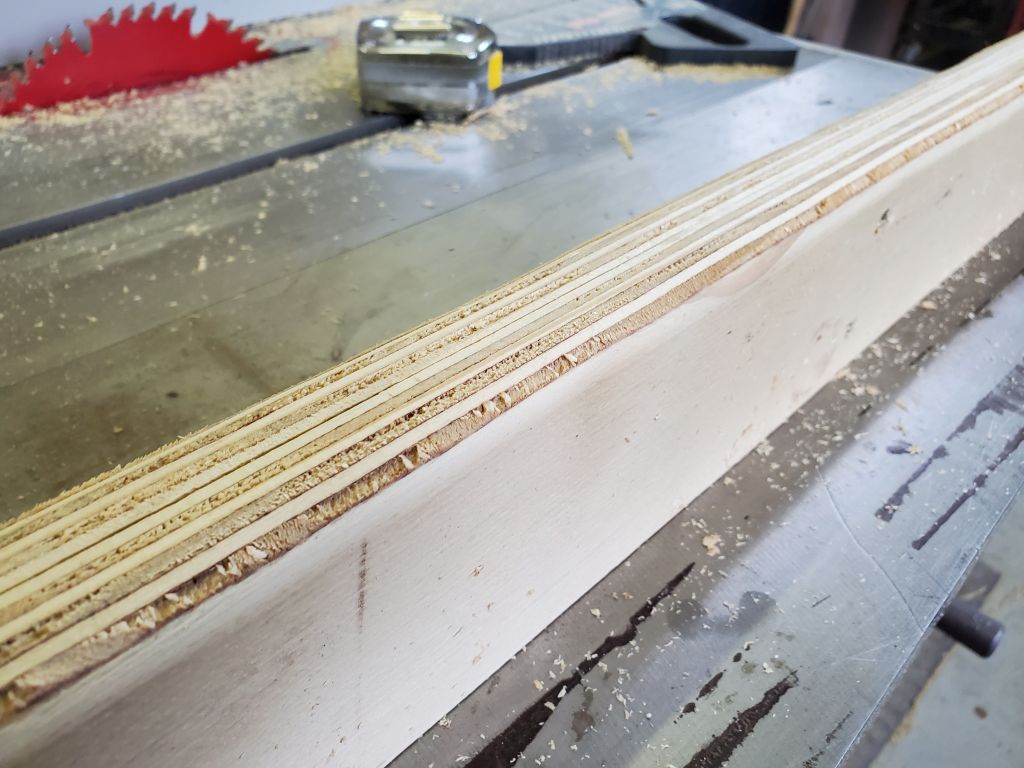
Ultimately, for Skeedeen I decided to build a frame from two layers of laminated plywood, which I hoped would help avoid the moisture and warping problems associated with the framing lumber. This method would also allow simple, flush joints between lengths of the ridgepole. To help deal with the wood swelling around the fasteners, which always made removal (in particular) and installation more difficult than it should be, I found some LDPE spacers (3/4″ diameter and 1-1/2″ long with a 3/8″ hole) that I hoped would work.
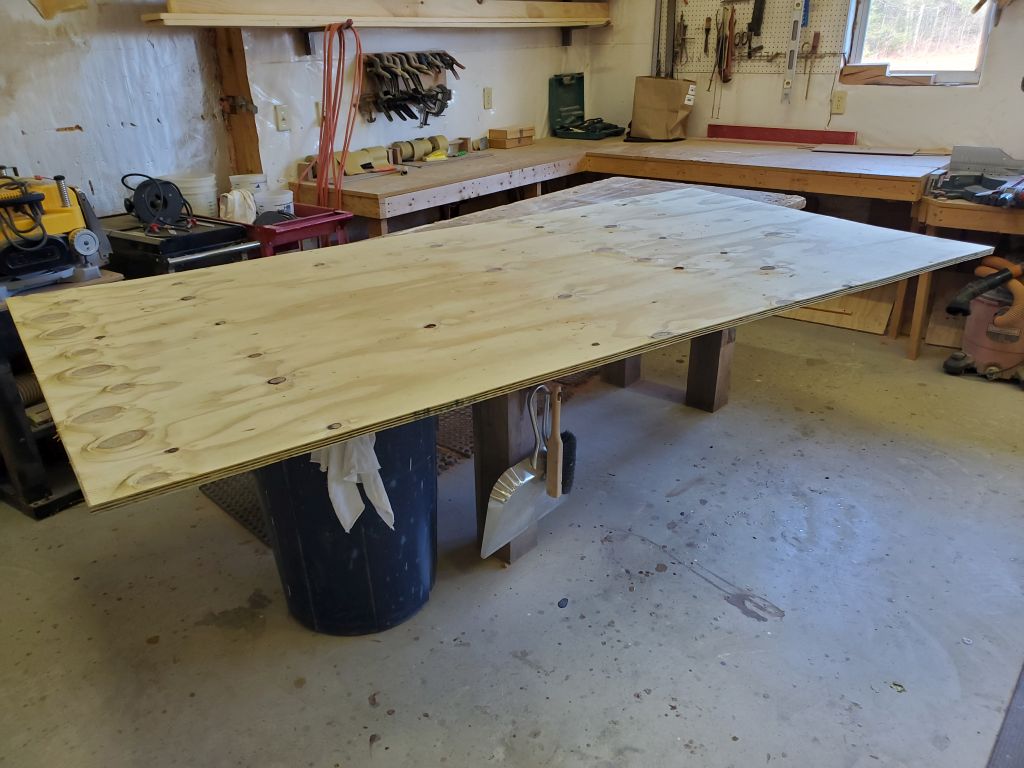
I chose 3/4″ pressure-treated plywood for the job, less because I thought the treatment was required and more because I felt the glue would hold up better over time. (I had a sheet of this flat on the ground and half buried outside my shop for 15 years, and when I removed it to throw away this past summer it was completely sound, if waterlogged: I could have still used it if I’d wanted.) So, armed with a supply of plywood for the job, I began by milling the sheet into 3″ wide strips, from which I’d build all the frame pieces.
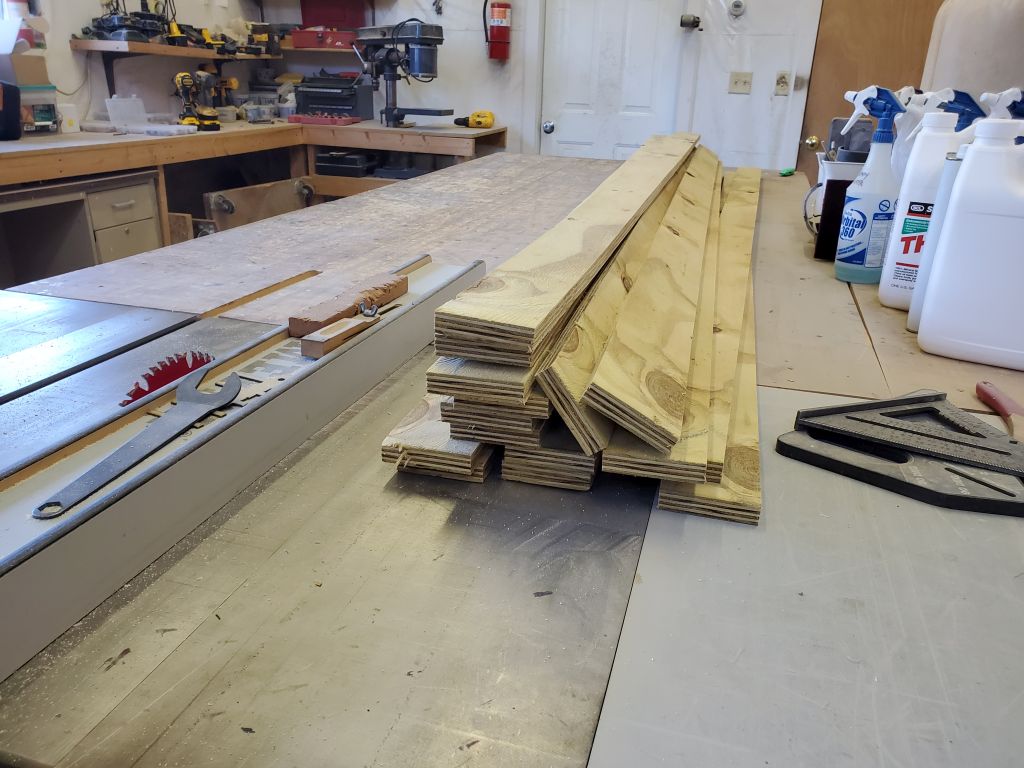
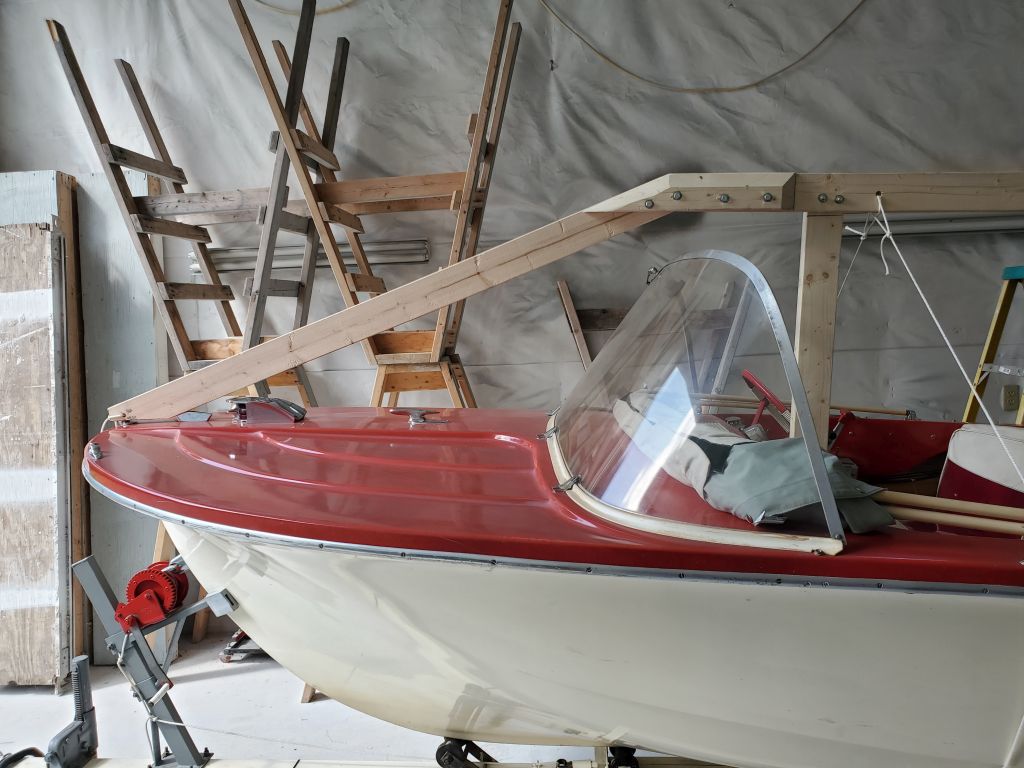
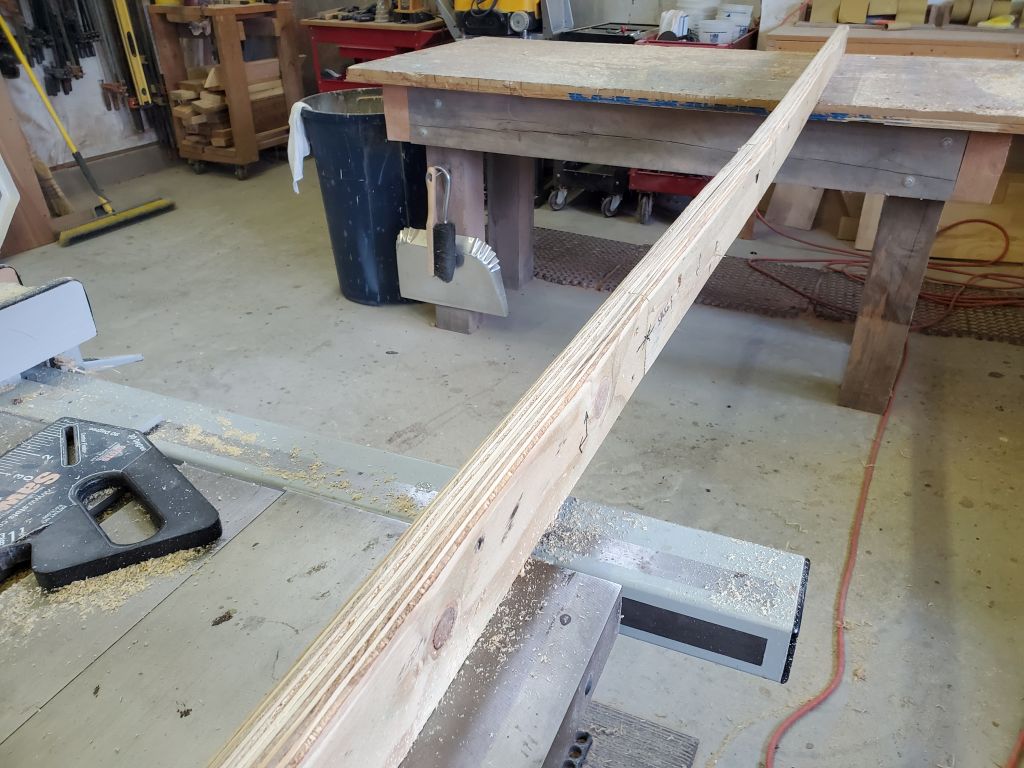
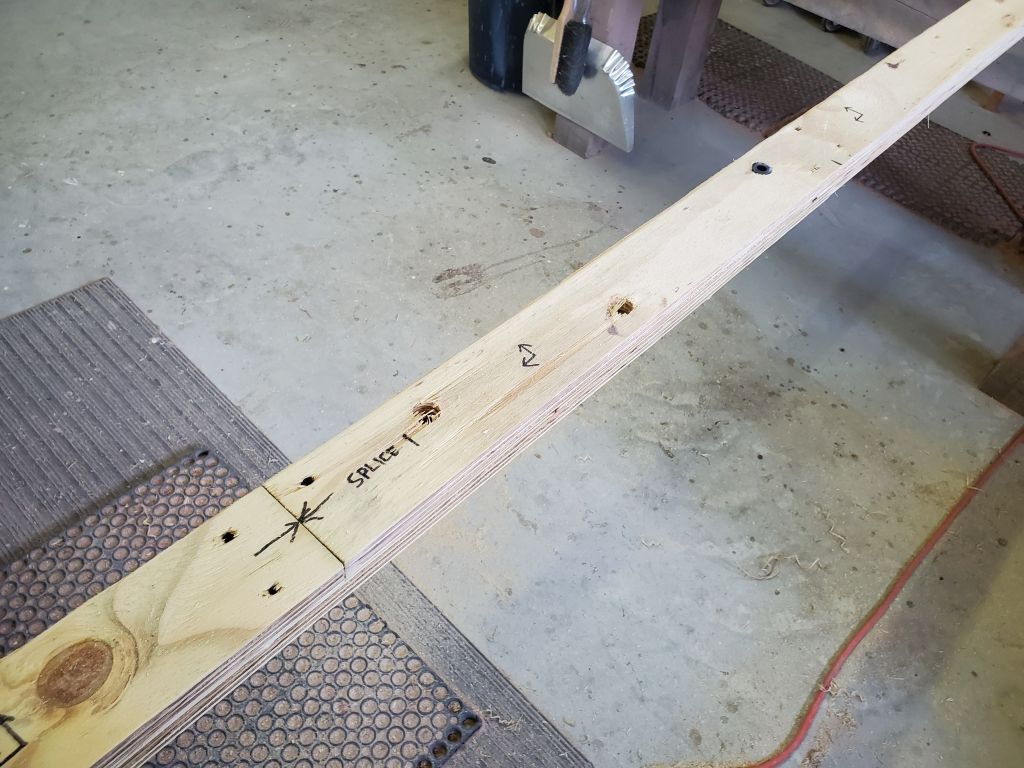
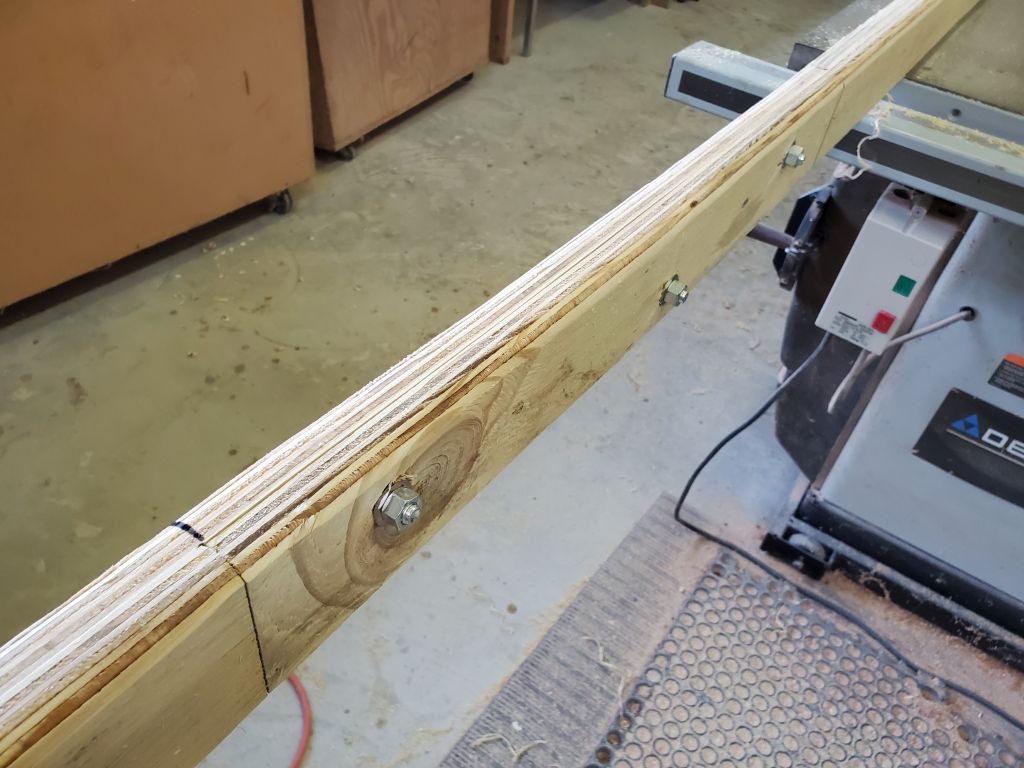
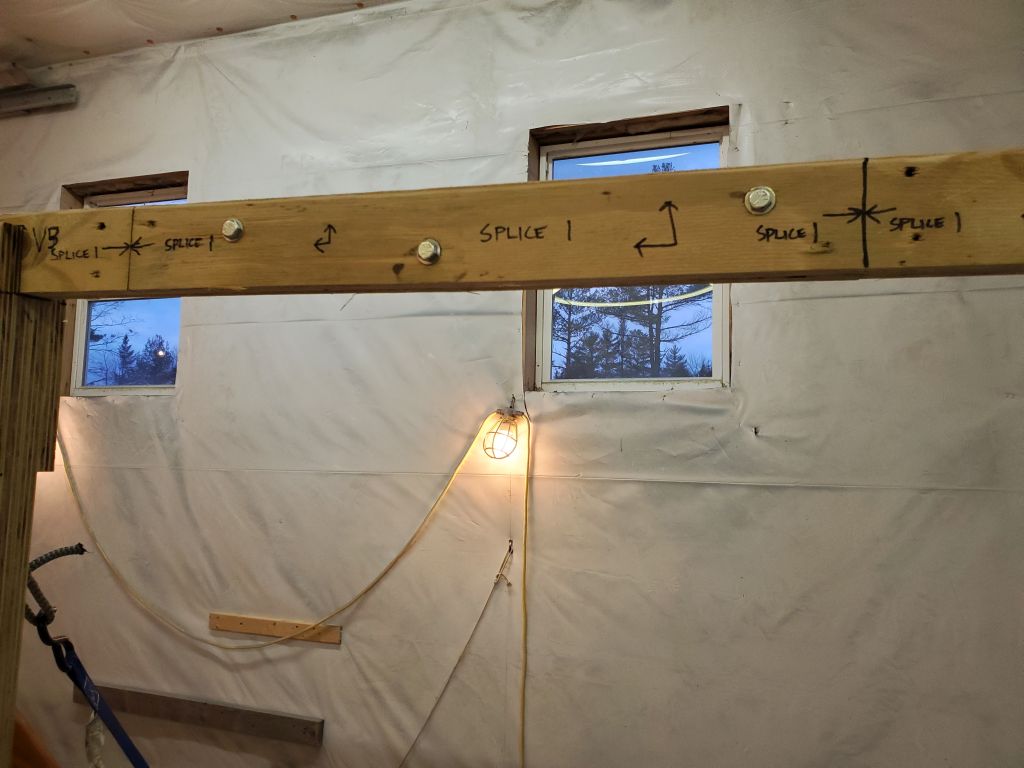
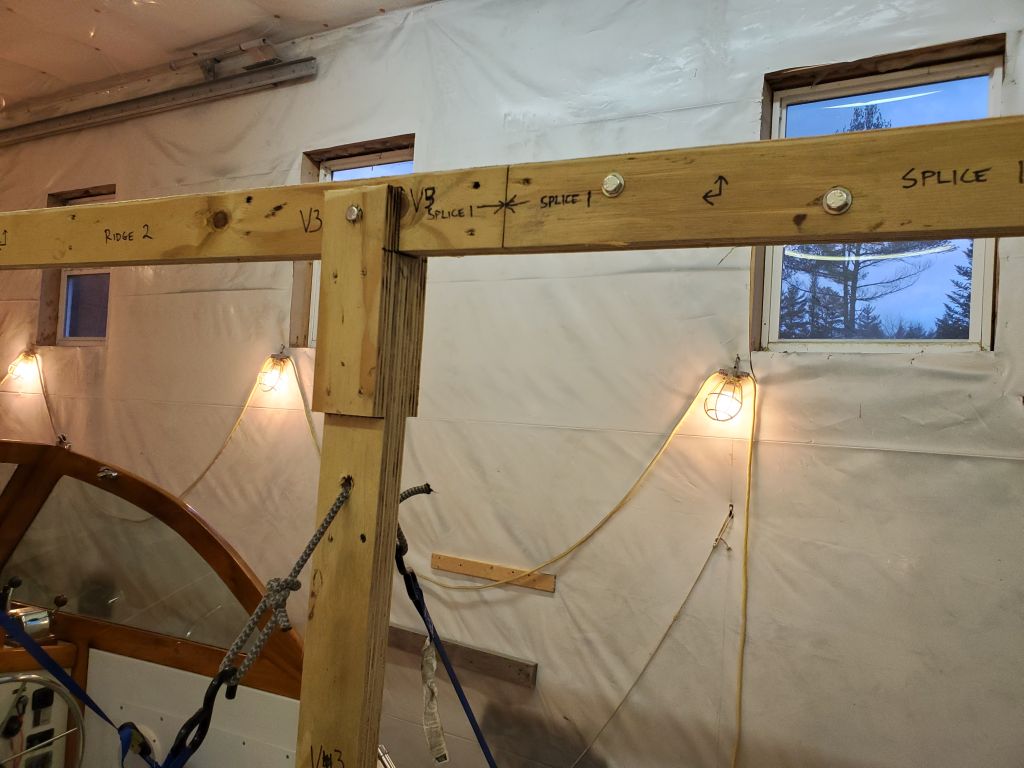
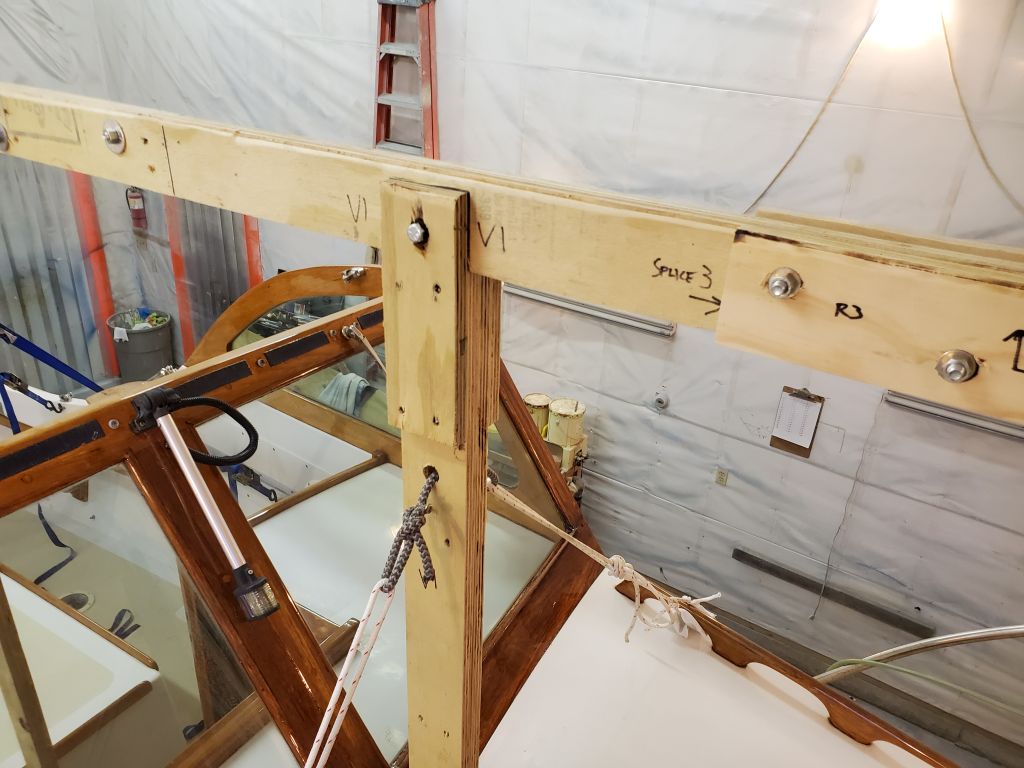
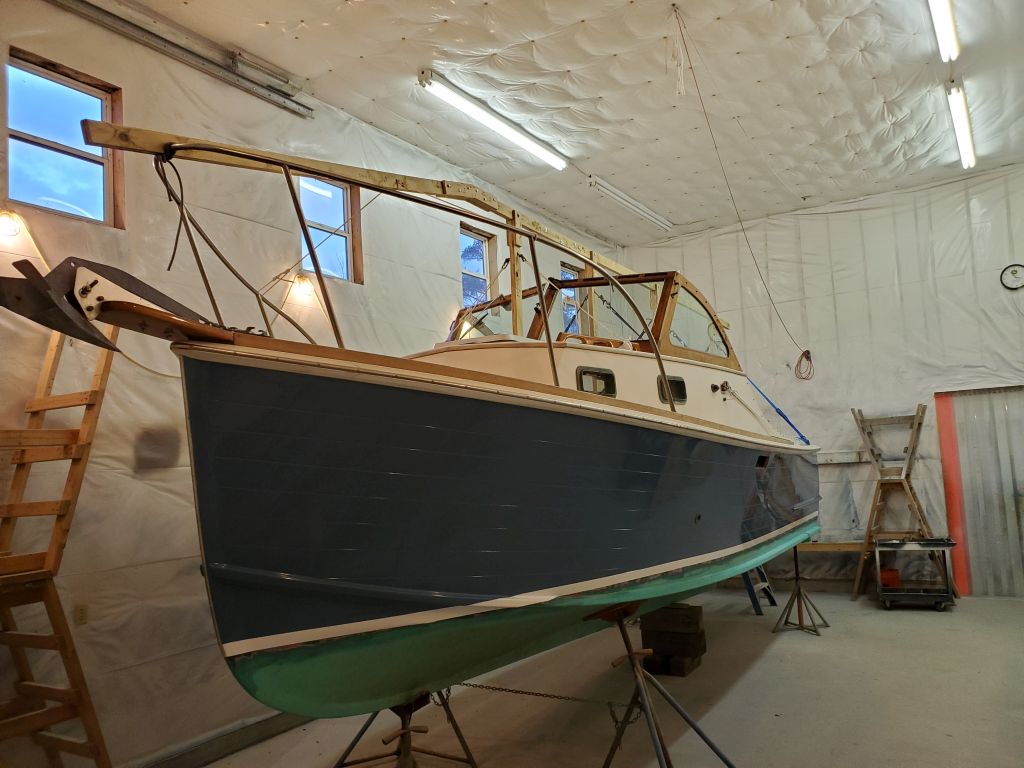
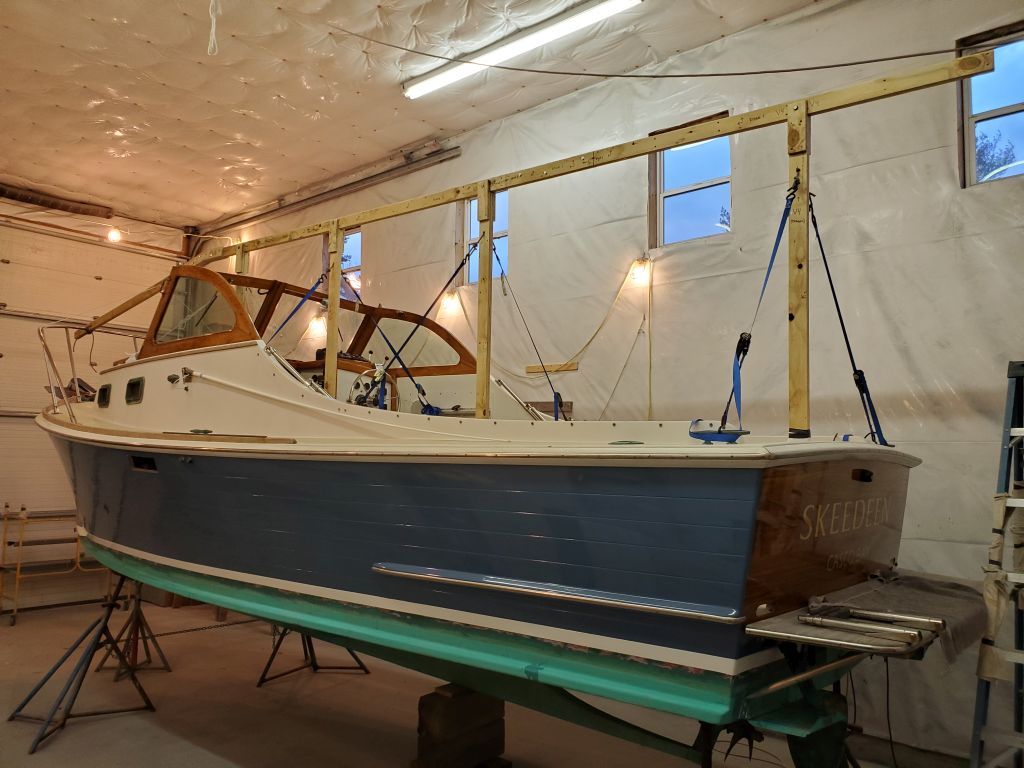
With some general measurements for the length of the main part of the ridgepole, I assembled three lengths of my raw material–two layers of the plywood glued and screwed together. At the butt joints, I staggered the ends to create a removable, flush joint that I could bolt together. With the first three sections secured together on the bench, I rounded over the top edges with a router and 1/2″ bit to ease the corners for the cover. At each of the two butt joints, I secured the ridge with three bolts, using the plastic spacers through the wood.
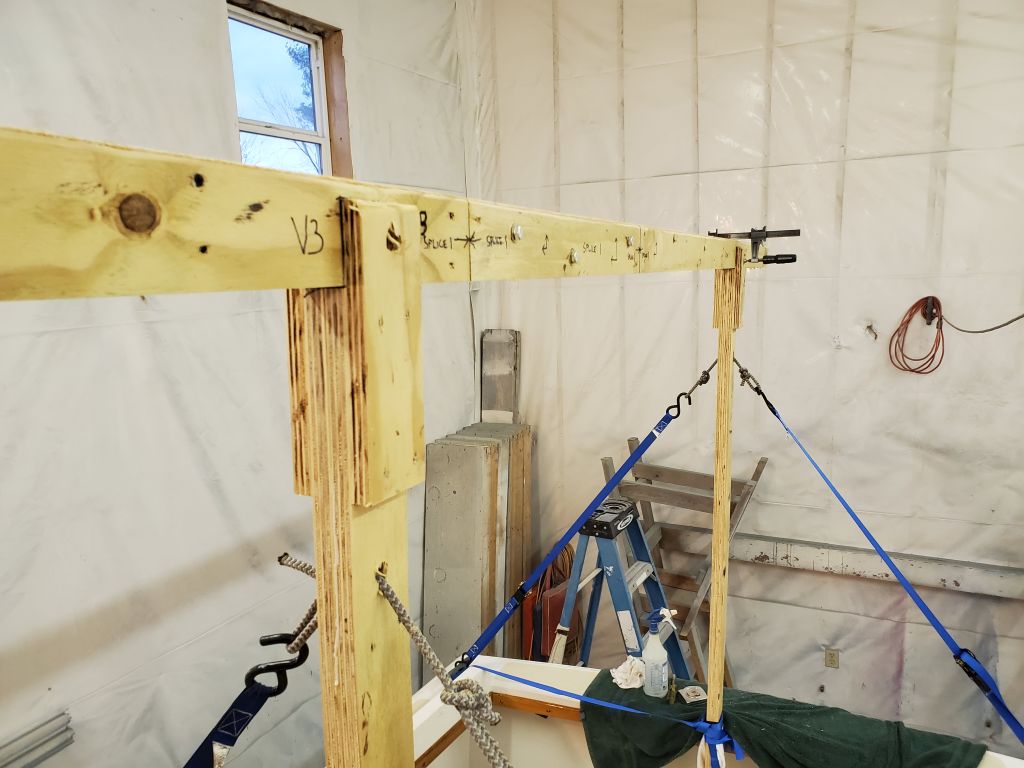
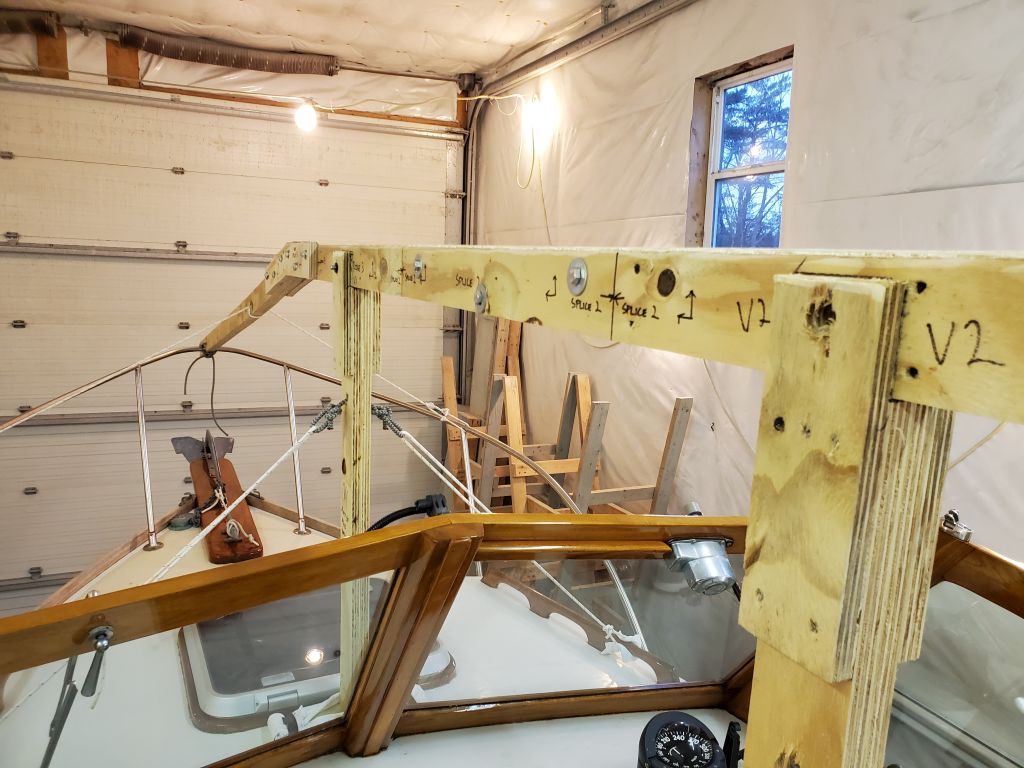
Even though the bimini frame would be lowered for the cover, to ensure ample angle and snow-shedding capability, for now I left it in place so I could use it to help get the framing set up, and also to establish the height of the ridge. I used this measurement to build three vertical supports in the cockpit, and a shorter one forward of the windshield to support the ridge. I secured the verticals with ratchet straps and line as needed to stabilize the whole frame. At the top of each vertical, I created a simple pocked with a pair of plywood pieces, which cradled the ridgepole within and accepted a single bolt to secure things there.

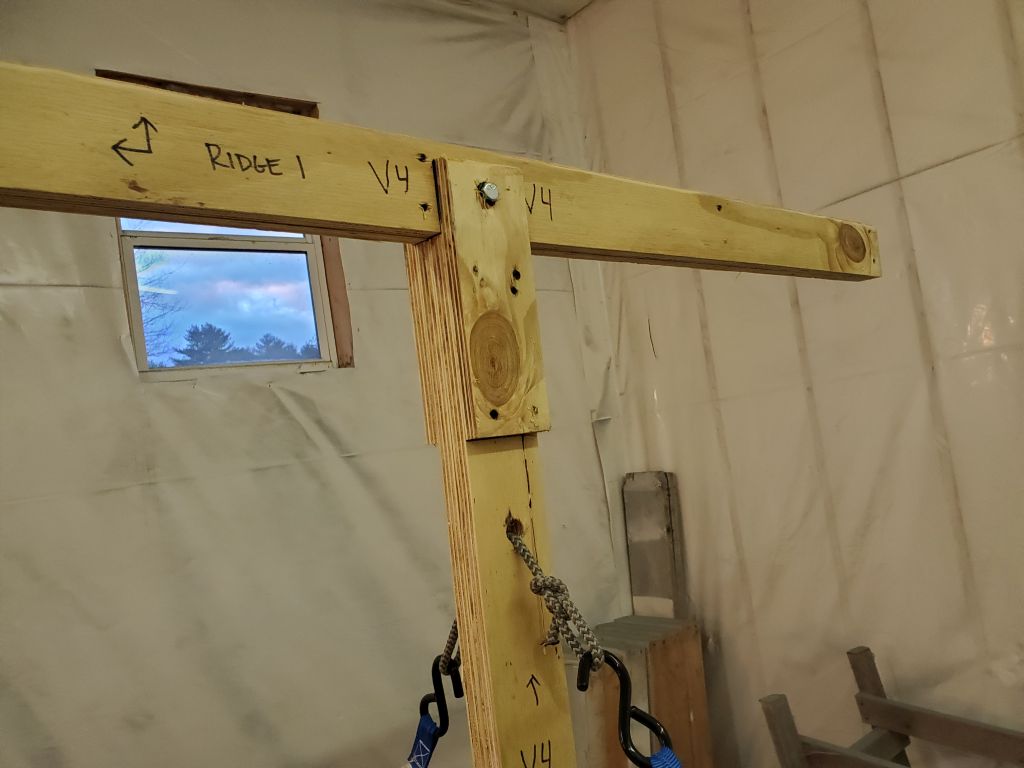
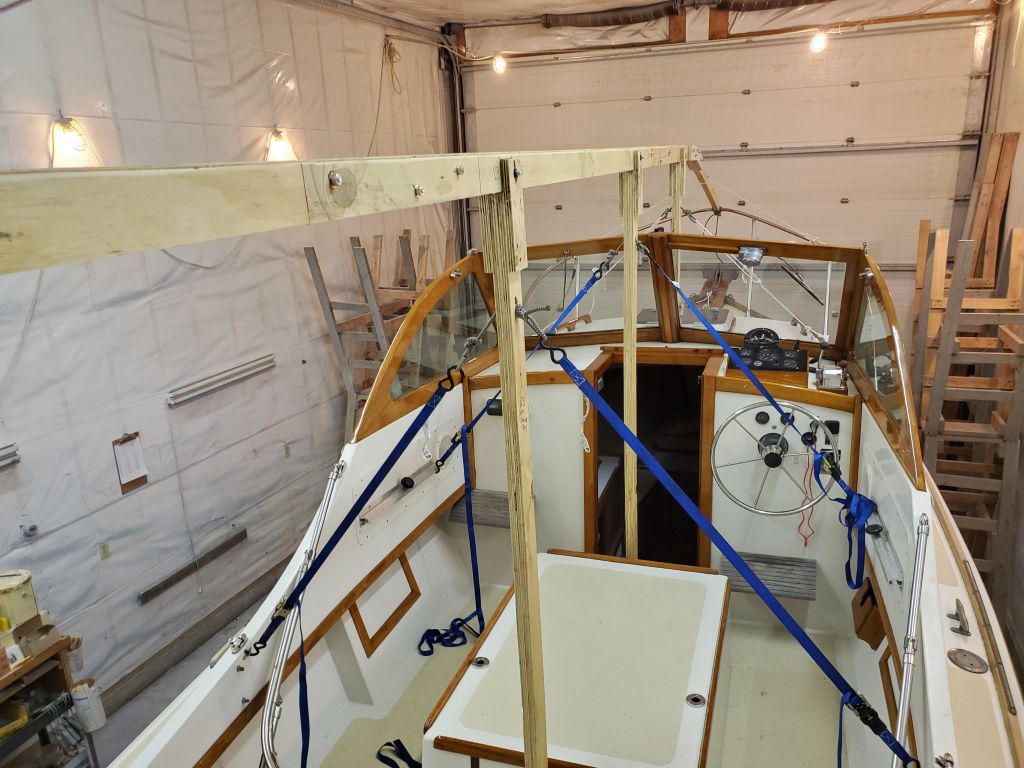
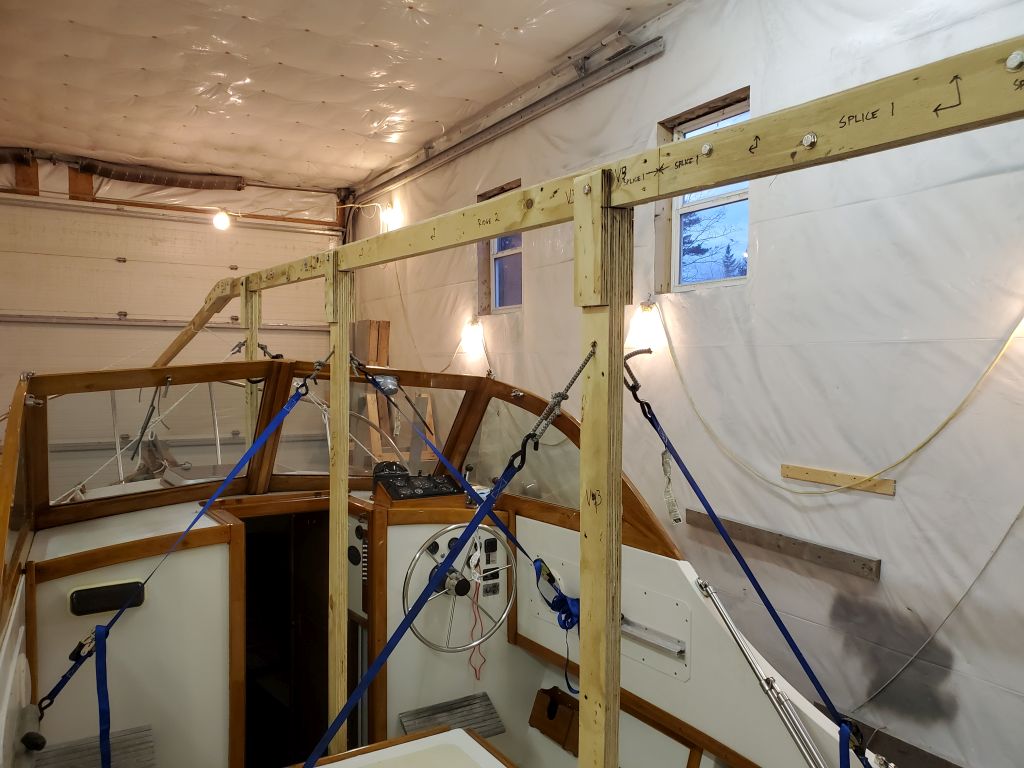
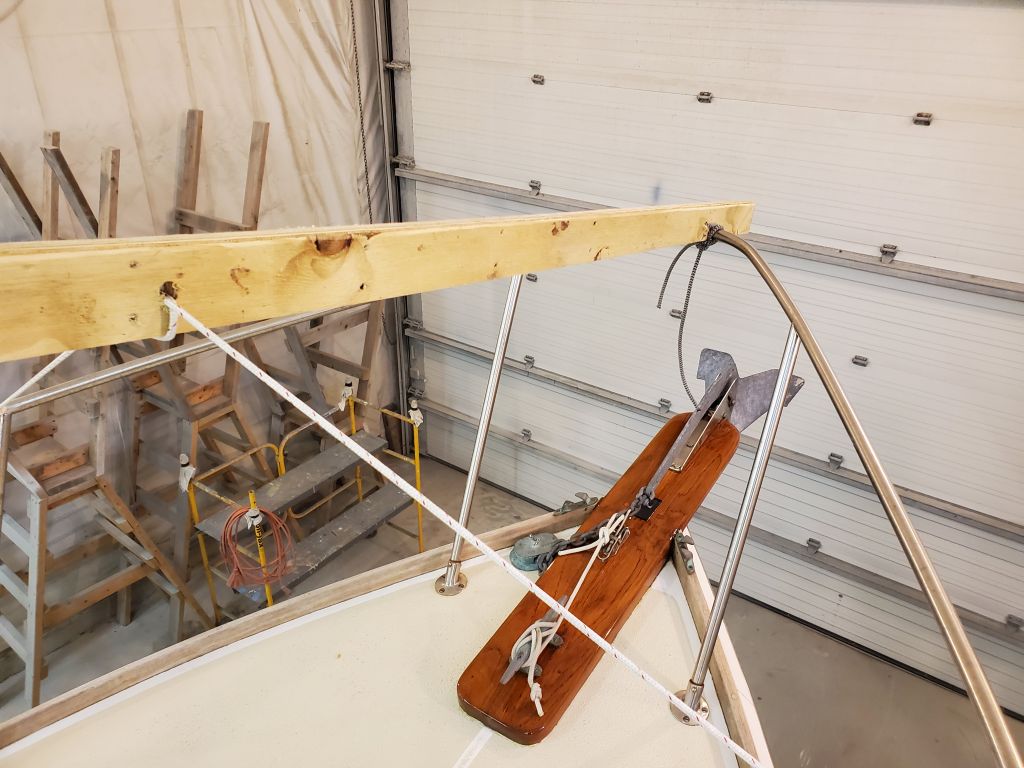
To finish off the forward end of the frame, I ran a final piece of ridge to the top of the pulpit, where I notched the frame accordingly, and built two angled braces to support the joint where the downward-angled piece met the horizontal ridge aft.


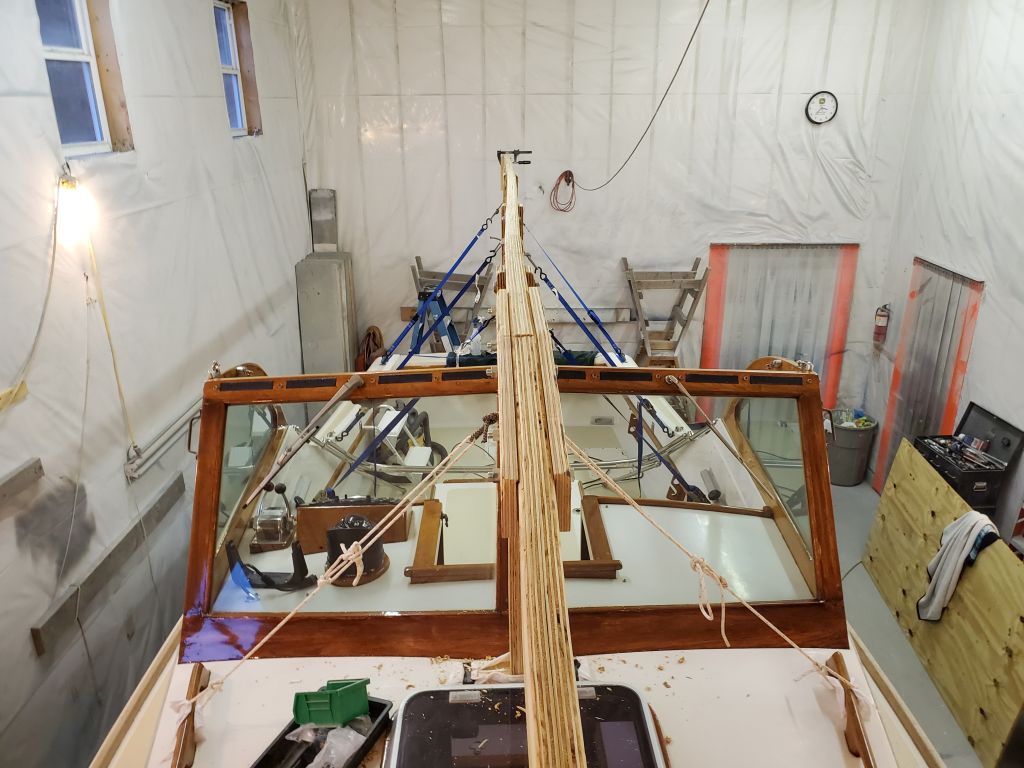
With the design of the vertical supports essentially self-supporting, I hoped that future installations and removals would be straightforward enough, whether the ridge was installed piecemeal or in one pre-assembled section (as I did). The initial construction, including sourcing the materials, took the whole day, but I thought that annual installation of the frame should only take about an hour thanks to its simple design.

Next: The cover.
Total time billed on this job today: 7.5 hours
0600 Weather Observation: 40°, partly cloudy. Forecast for the day: Sun and clouds, 50°