Wednesday
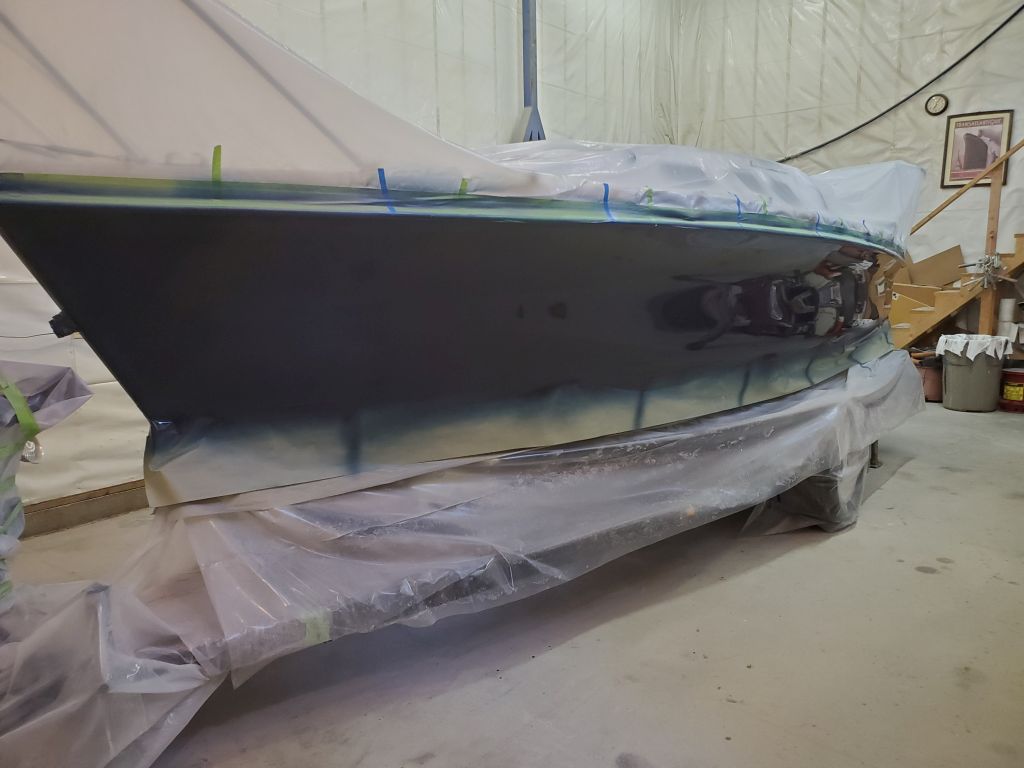
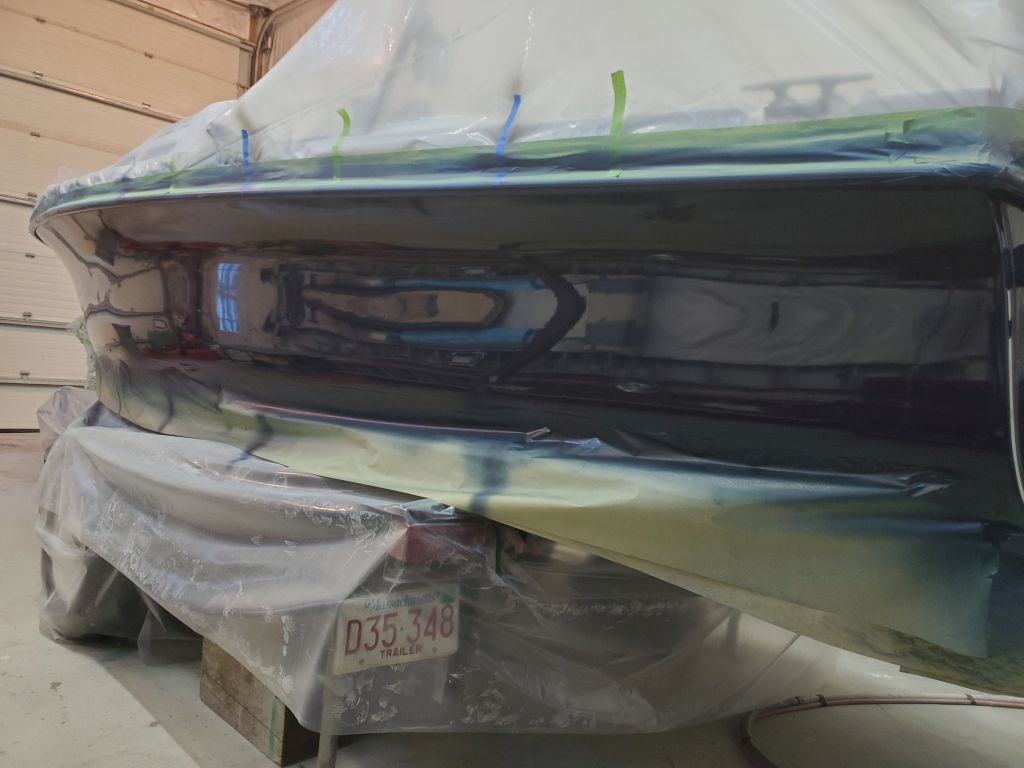
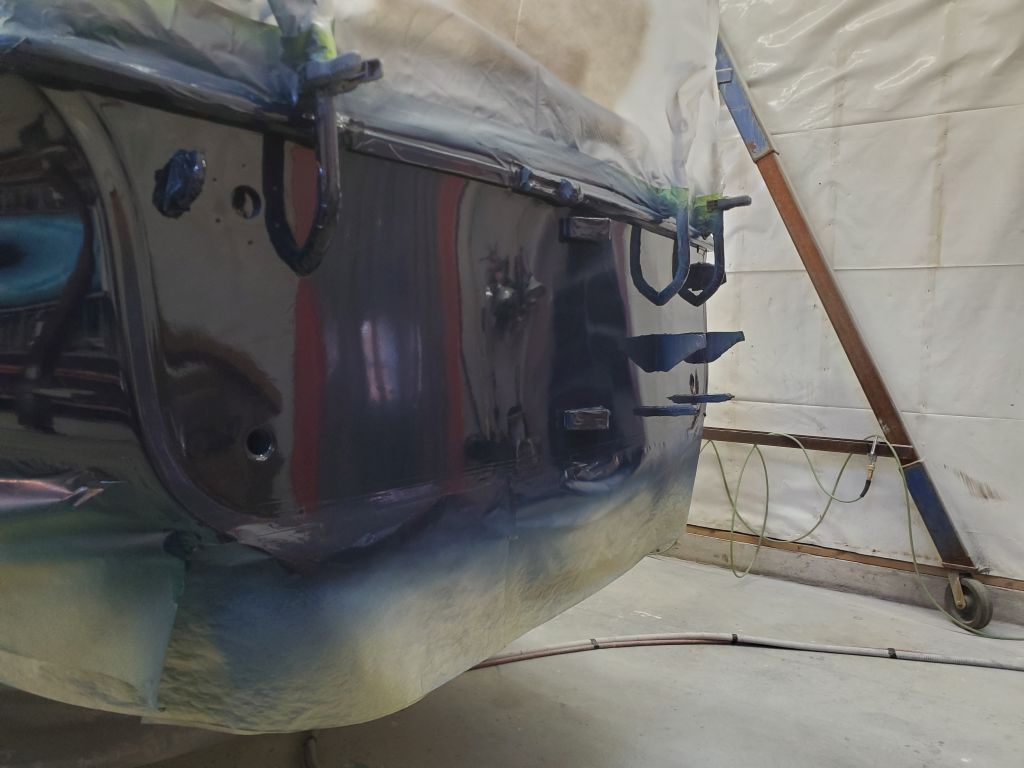
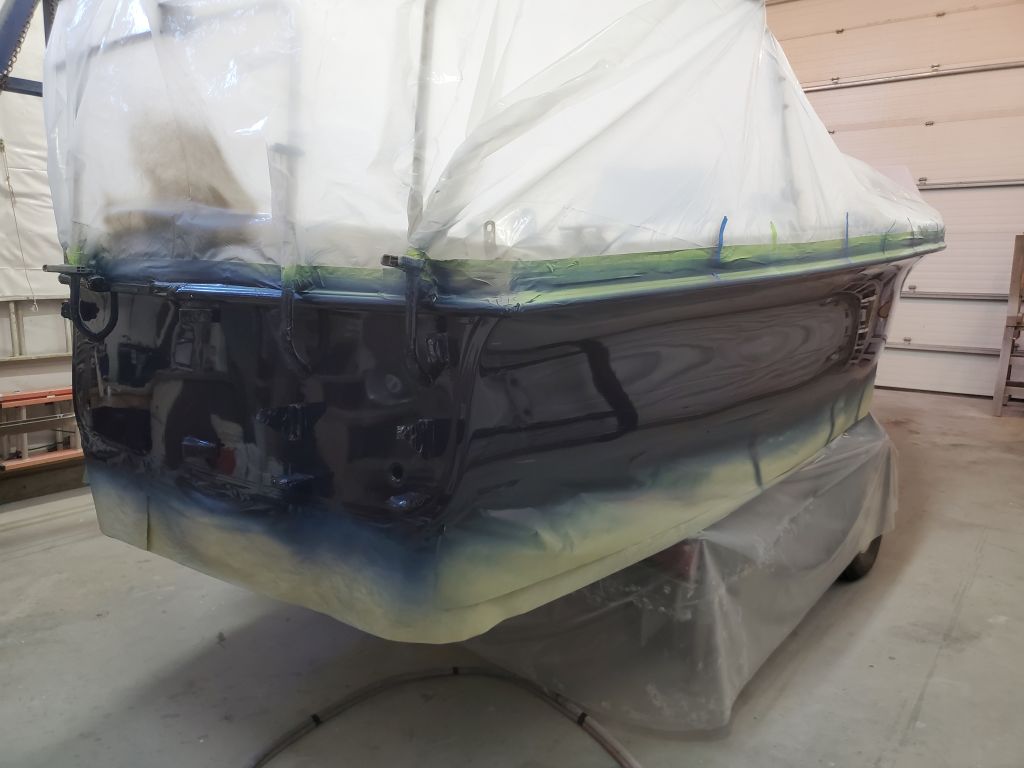
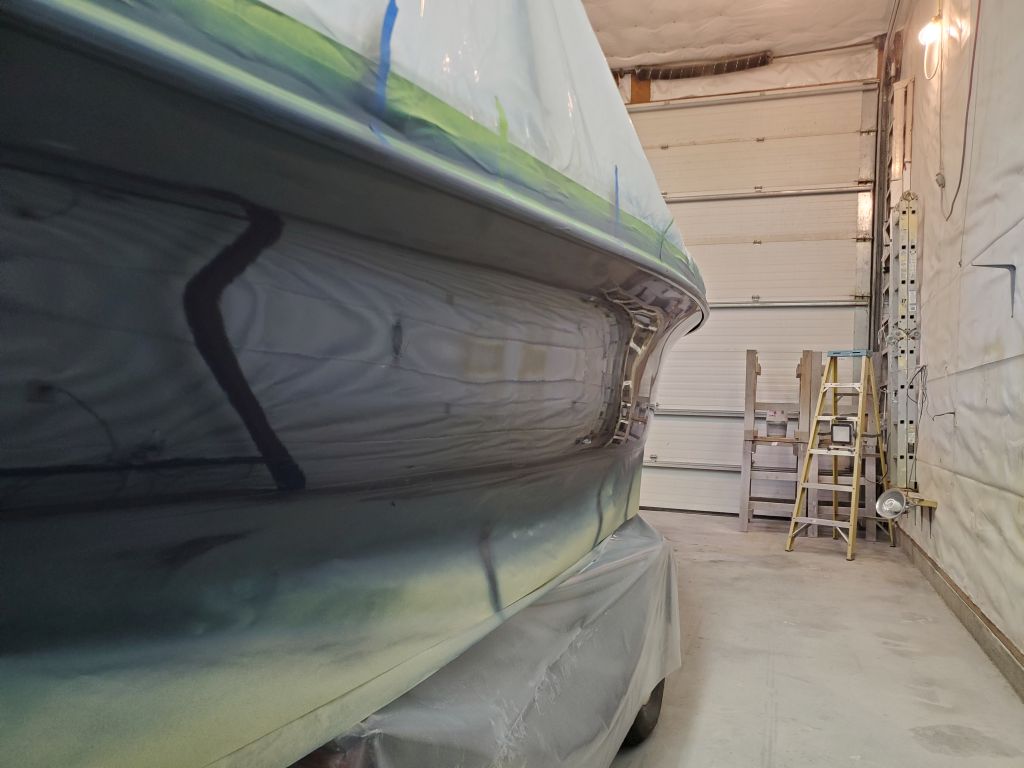
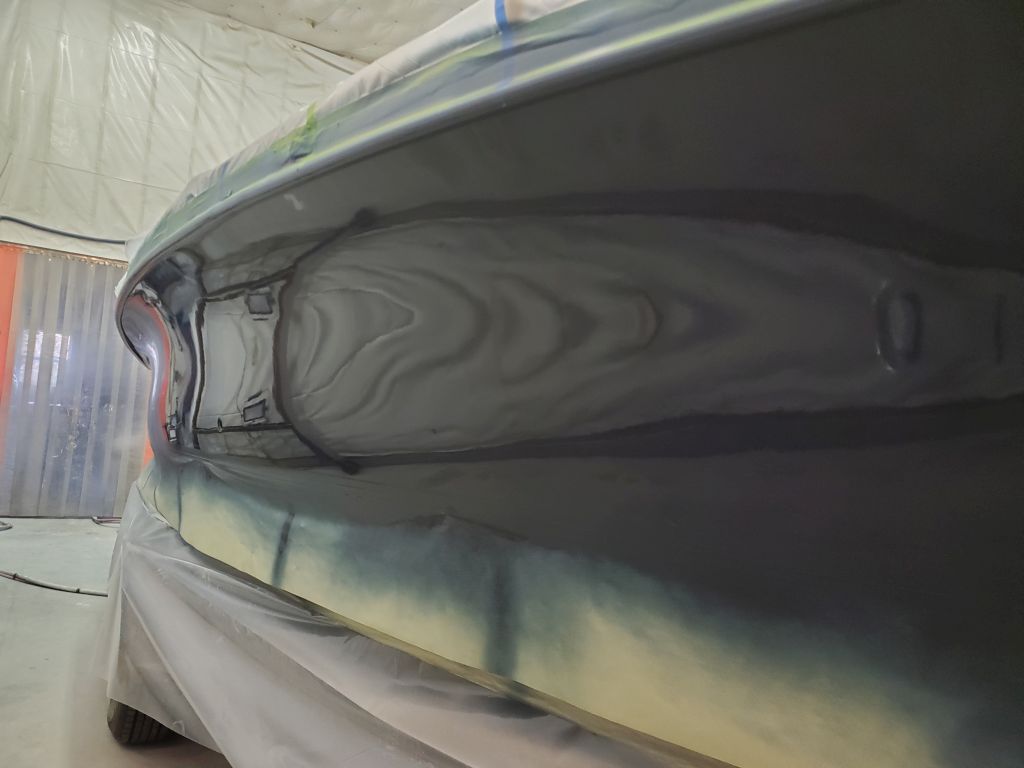
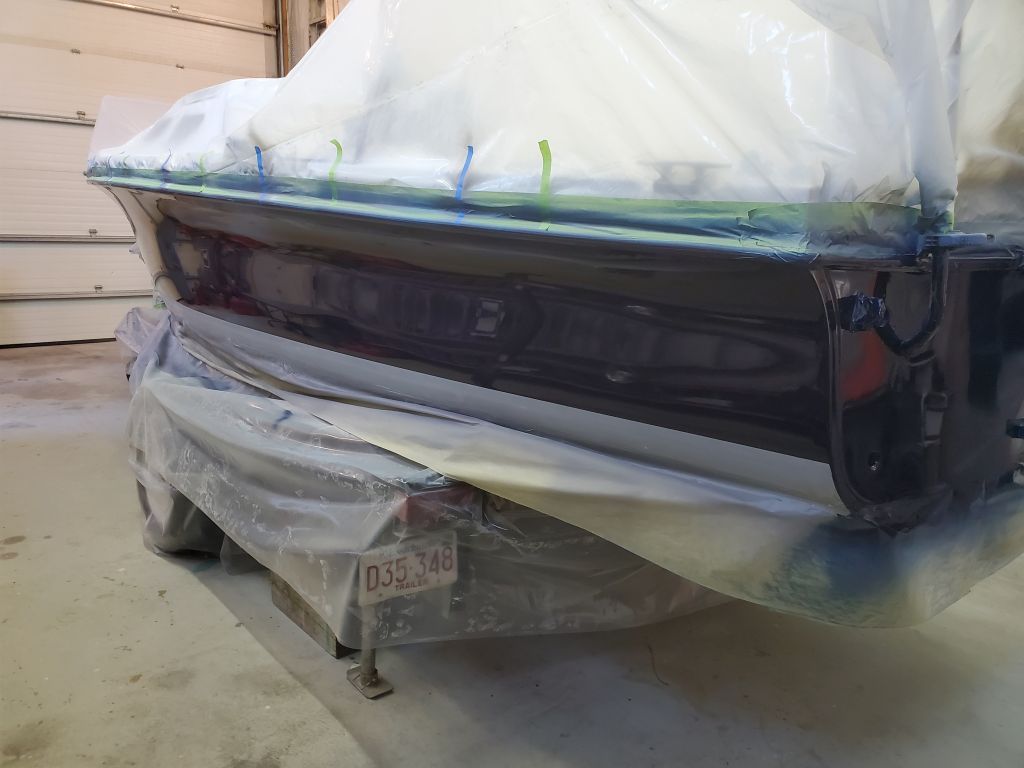
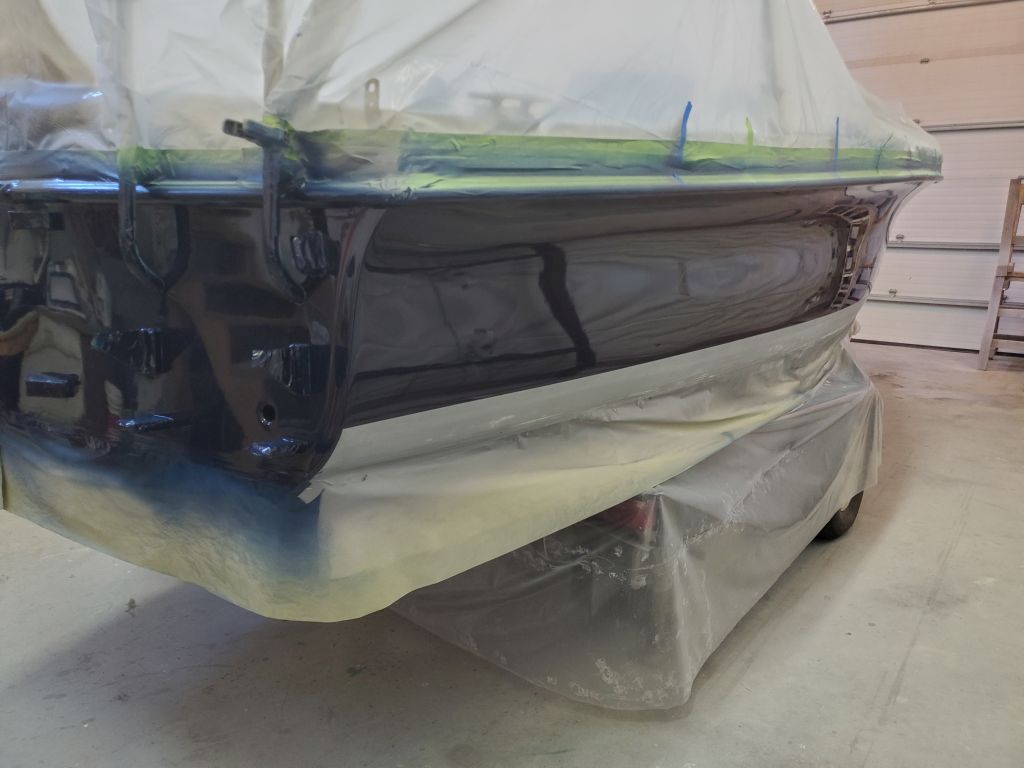
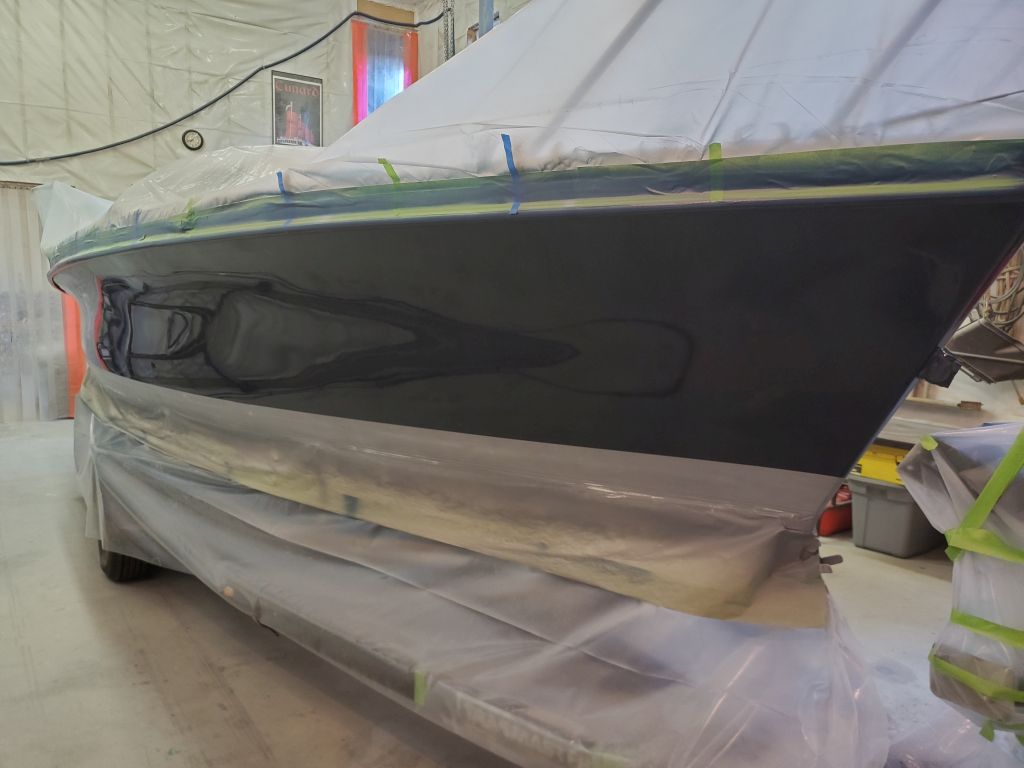
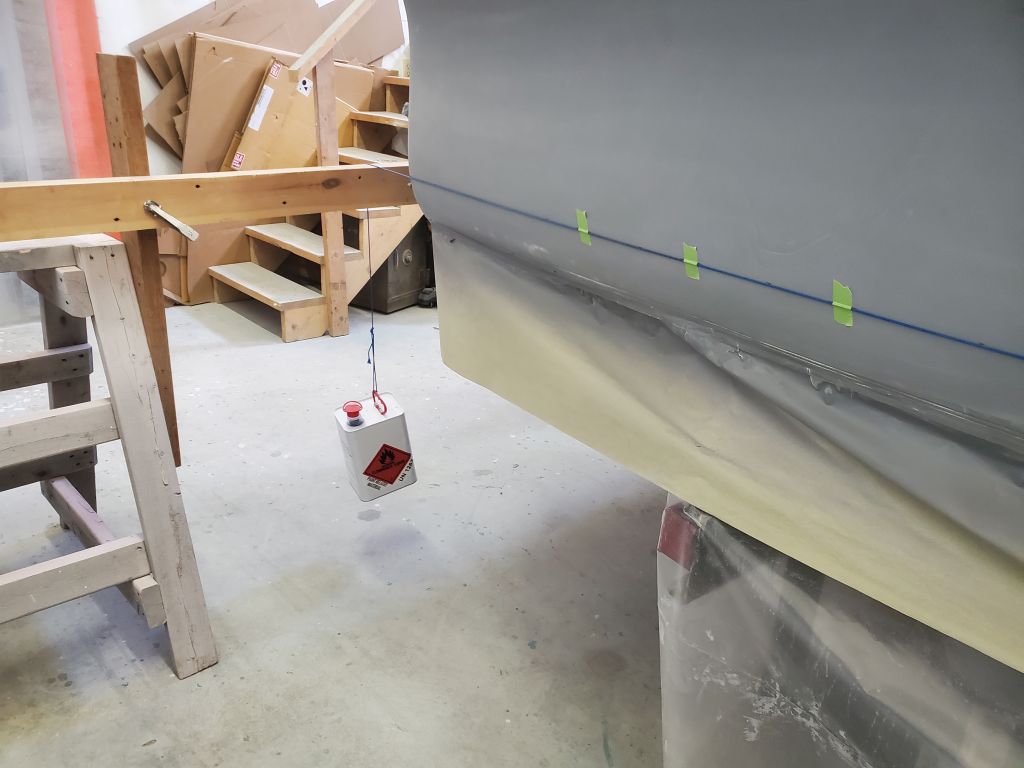
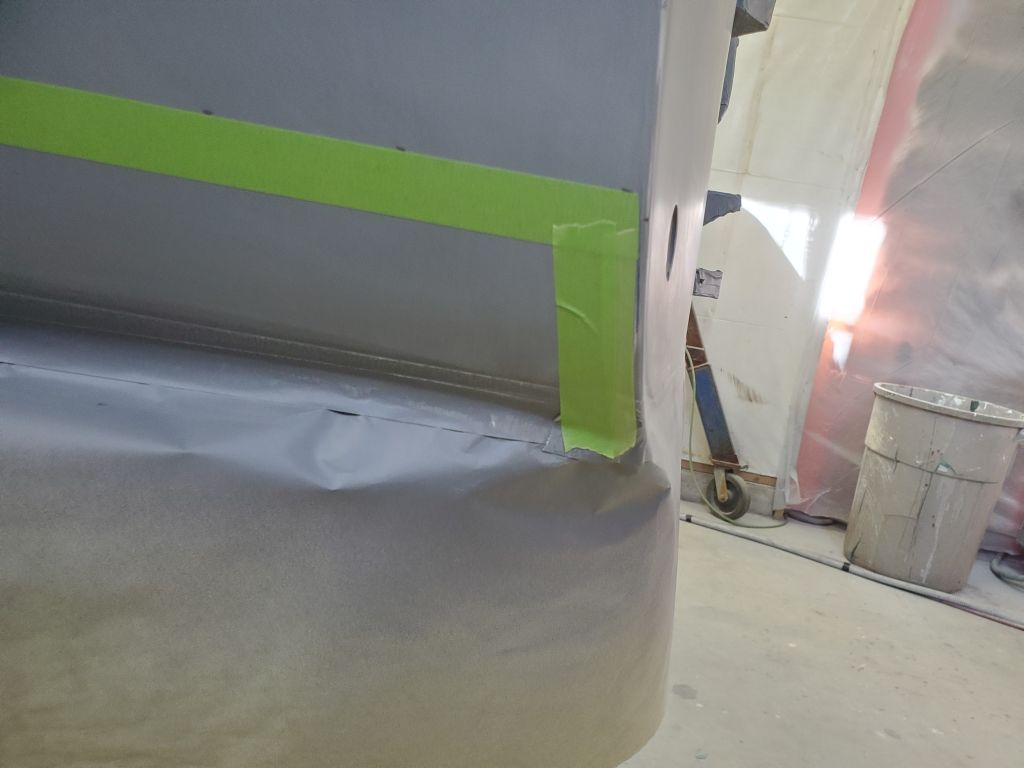
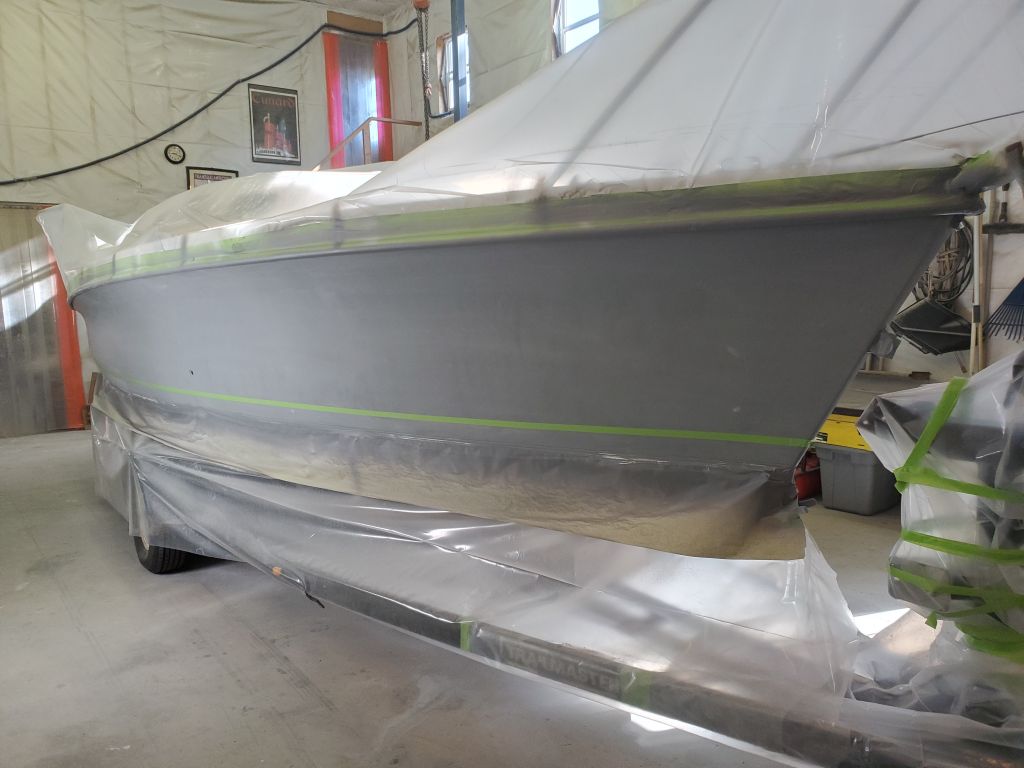
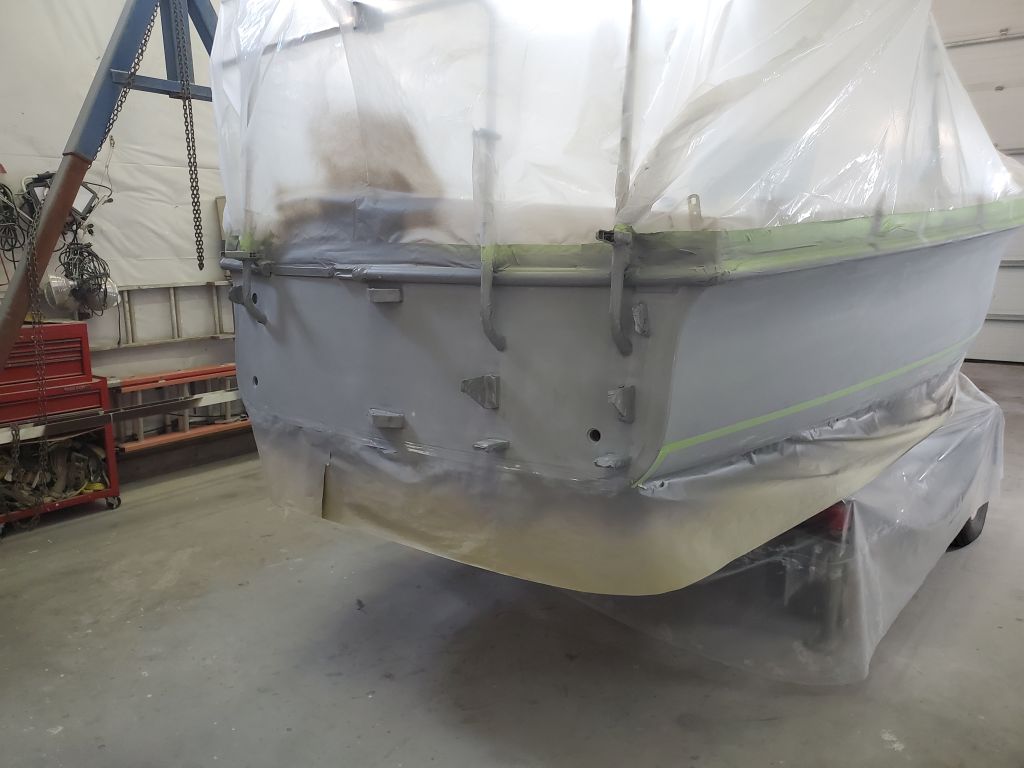
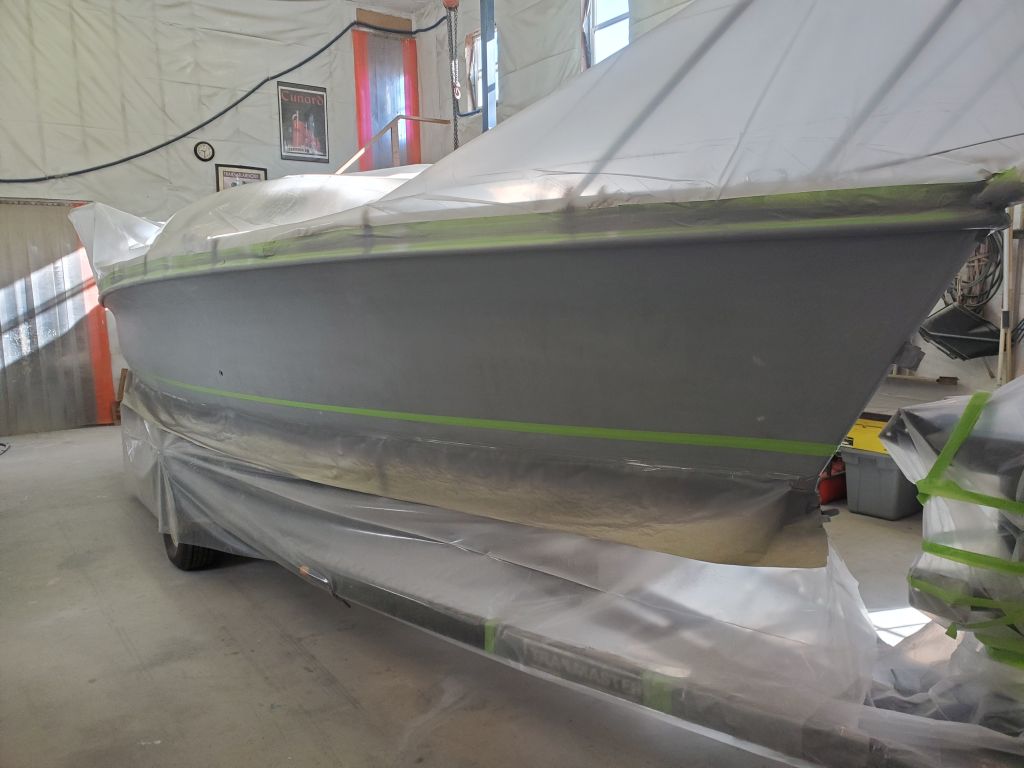
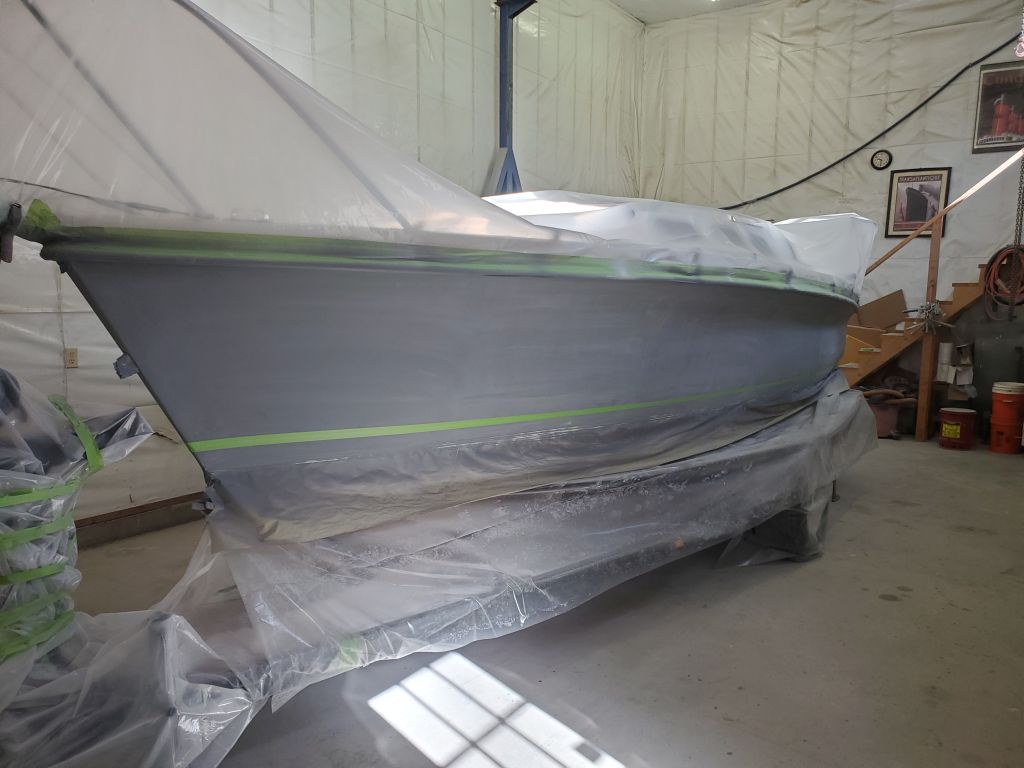
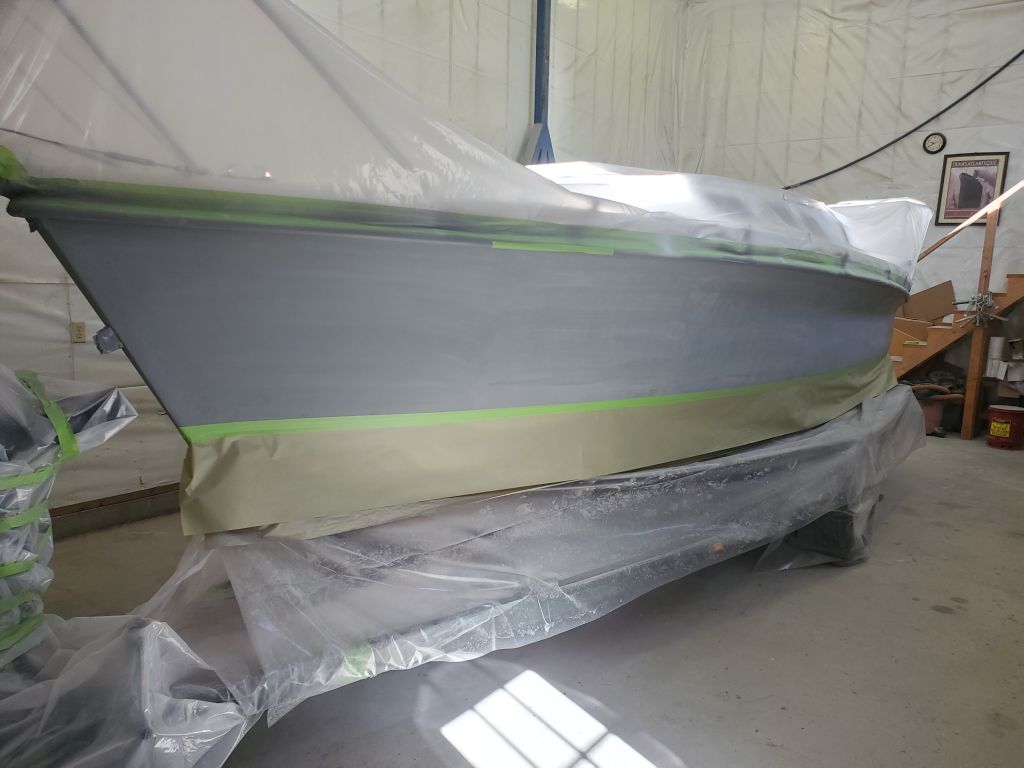
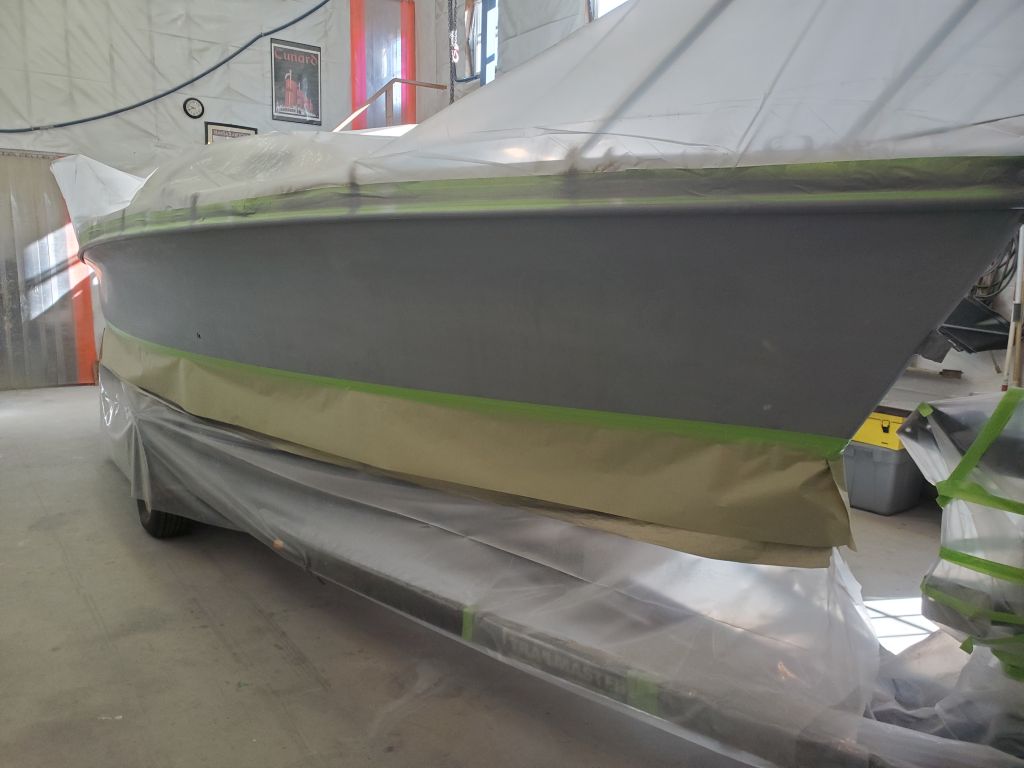
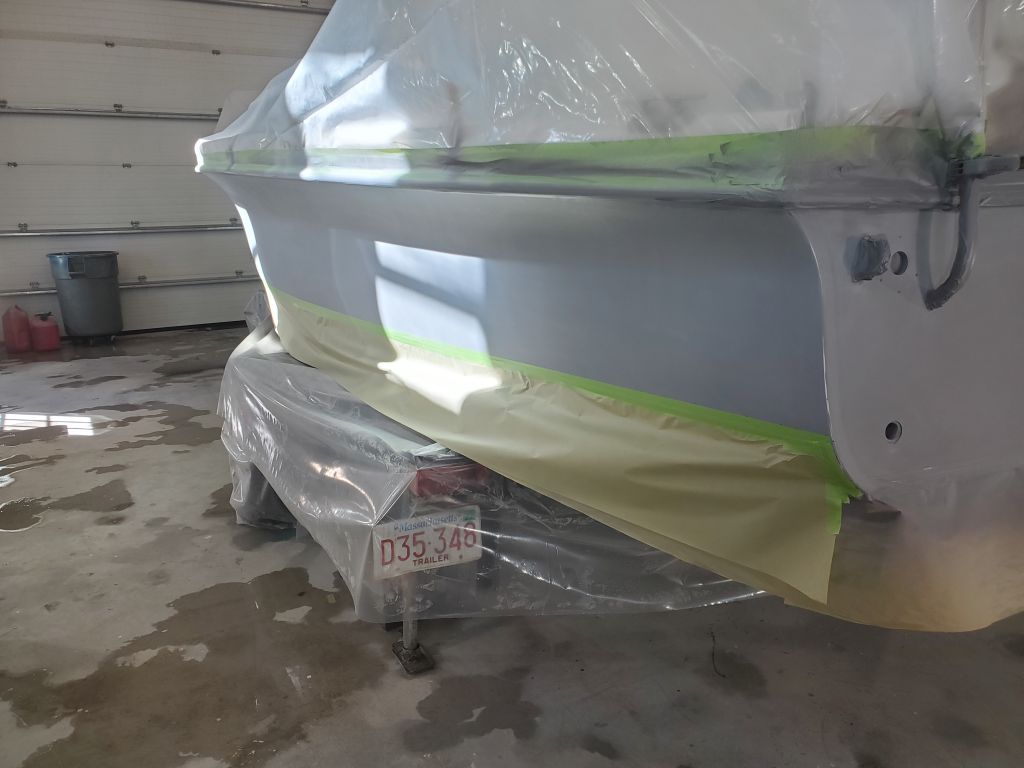
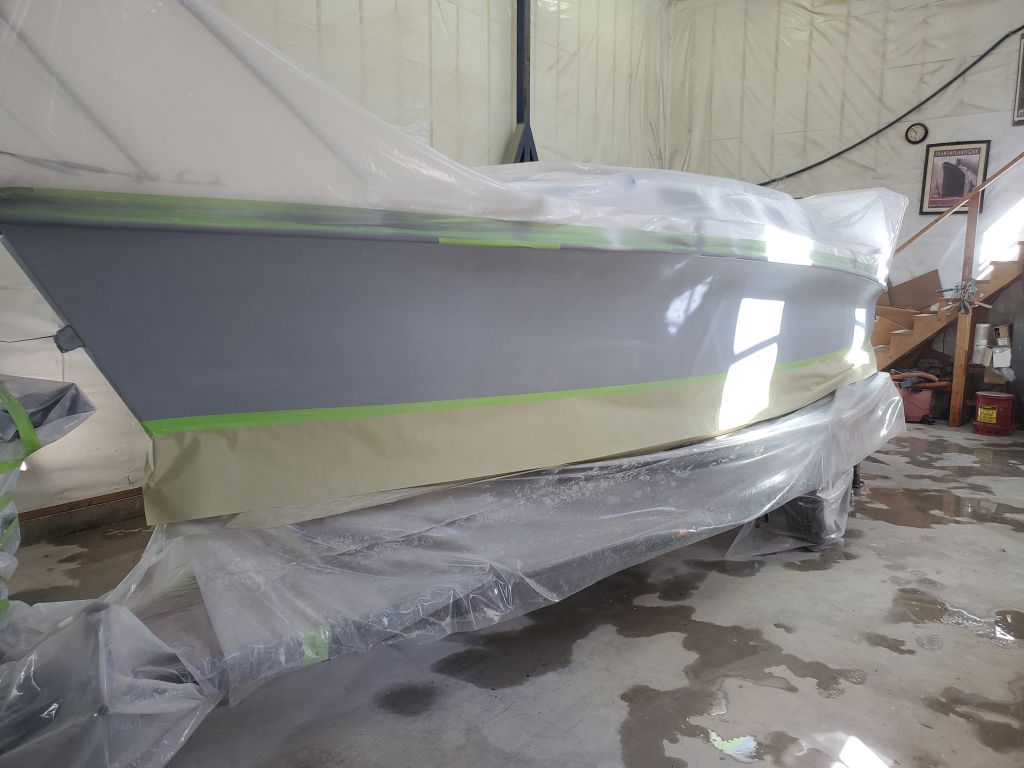
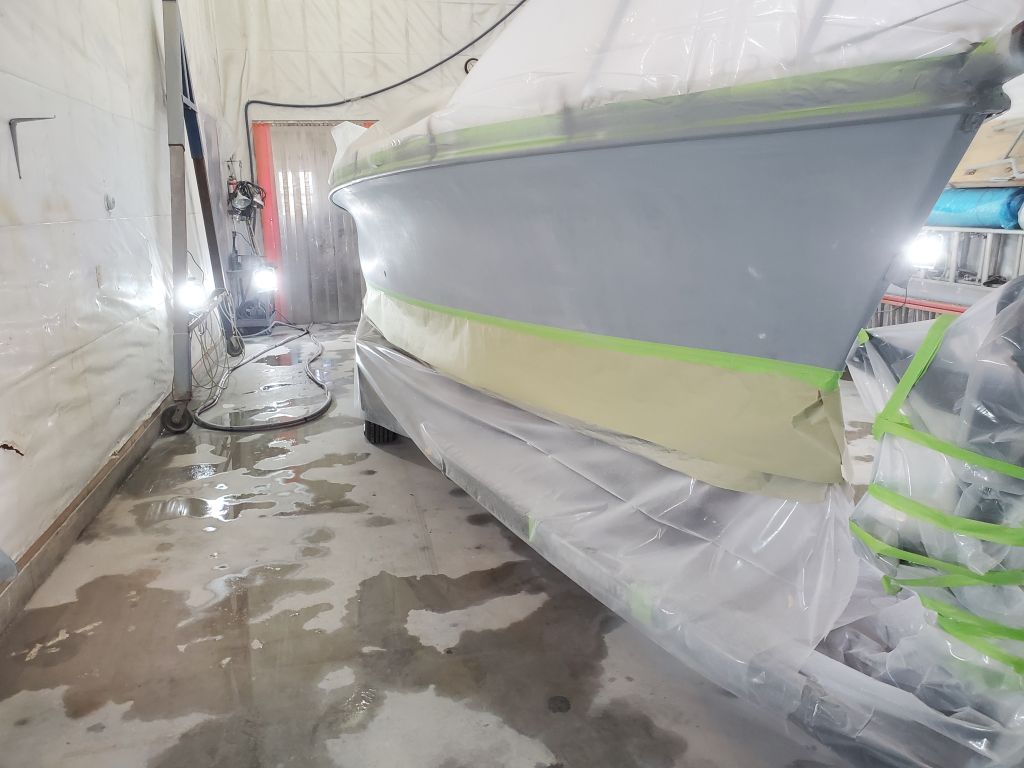
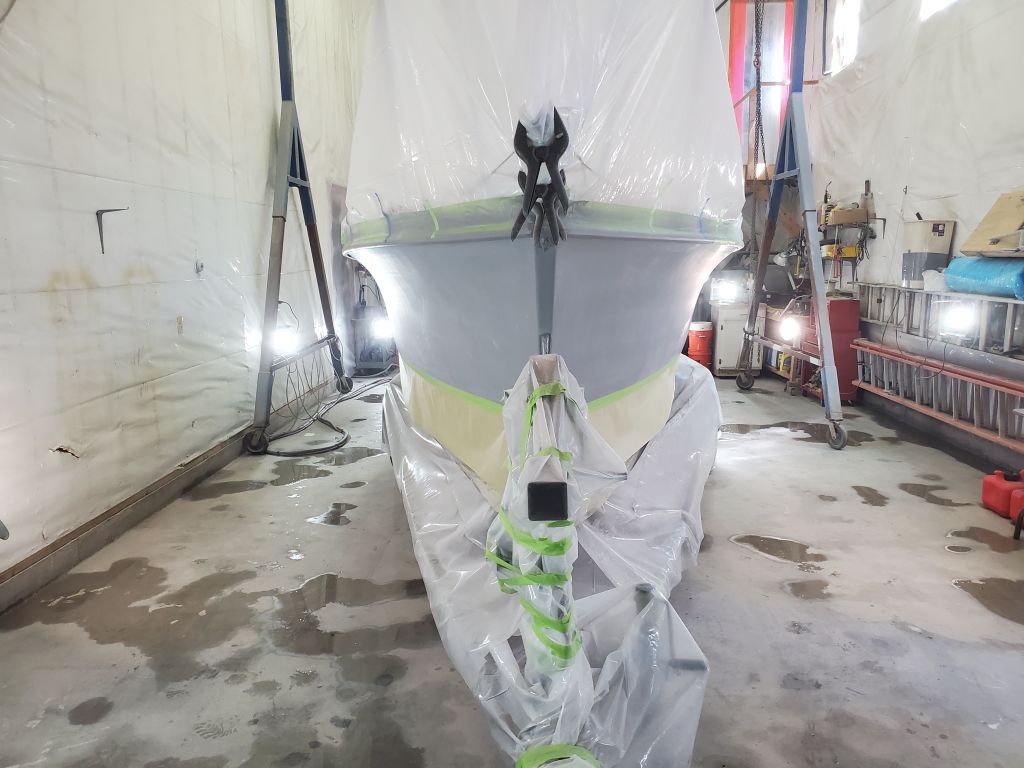
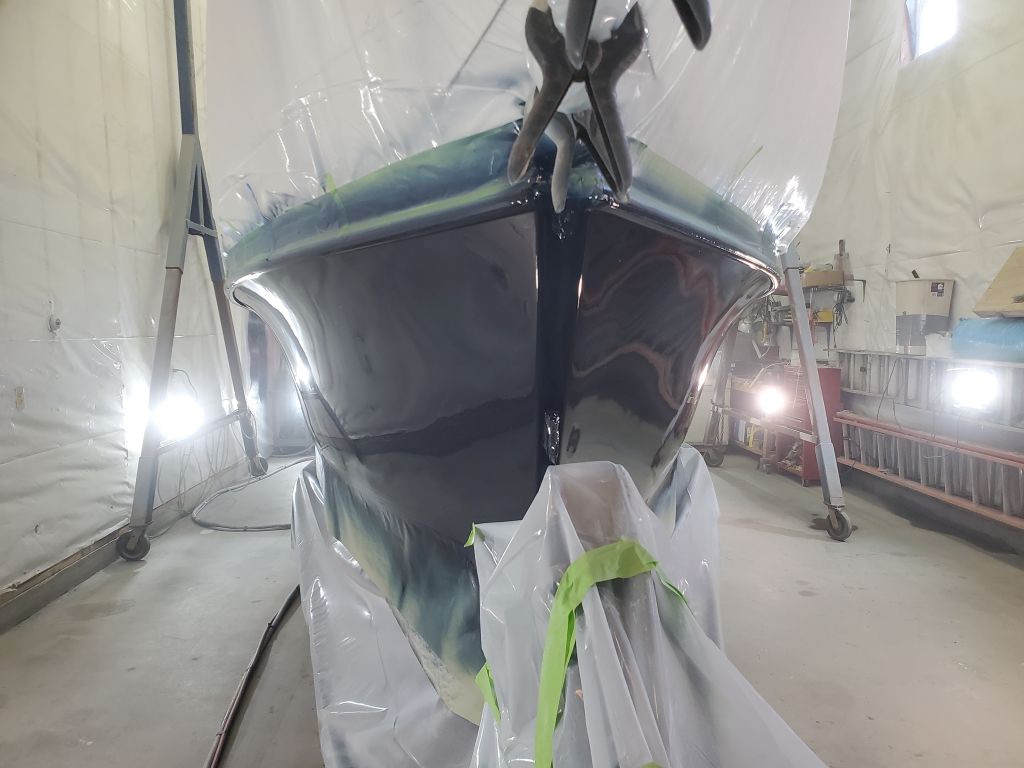
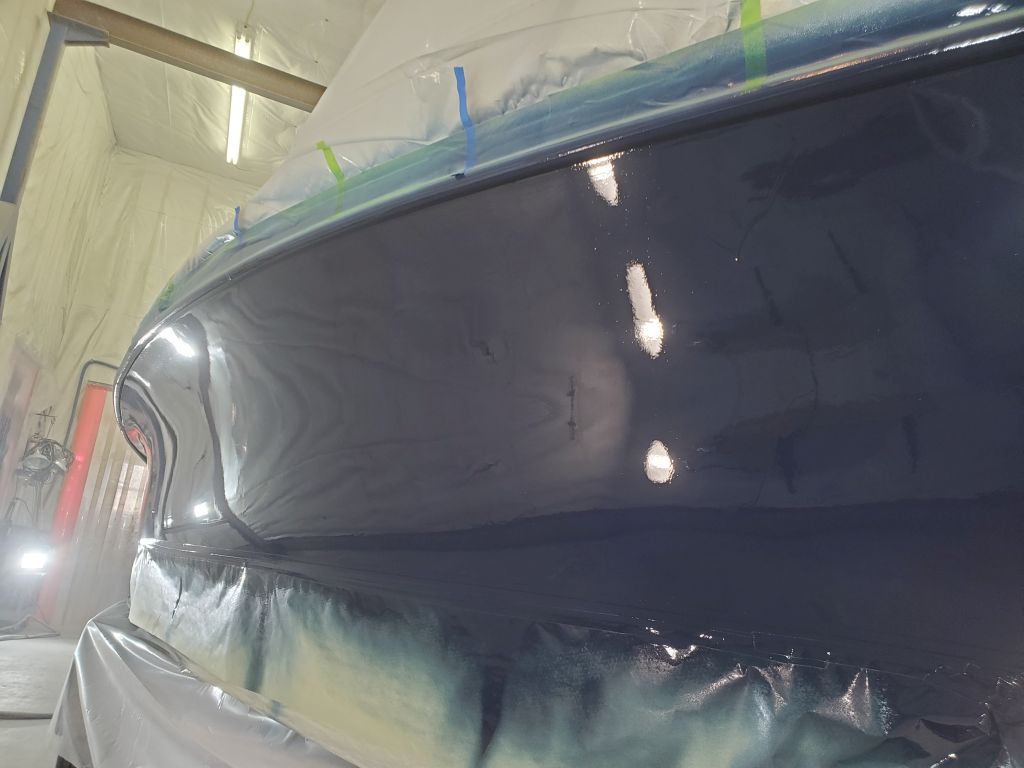
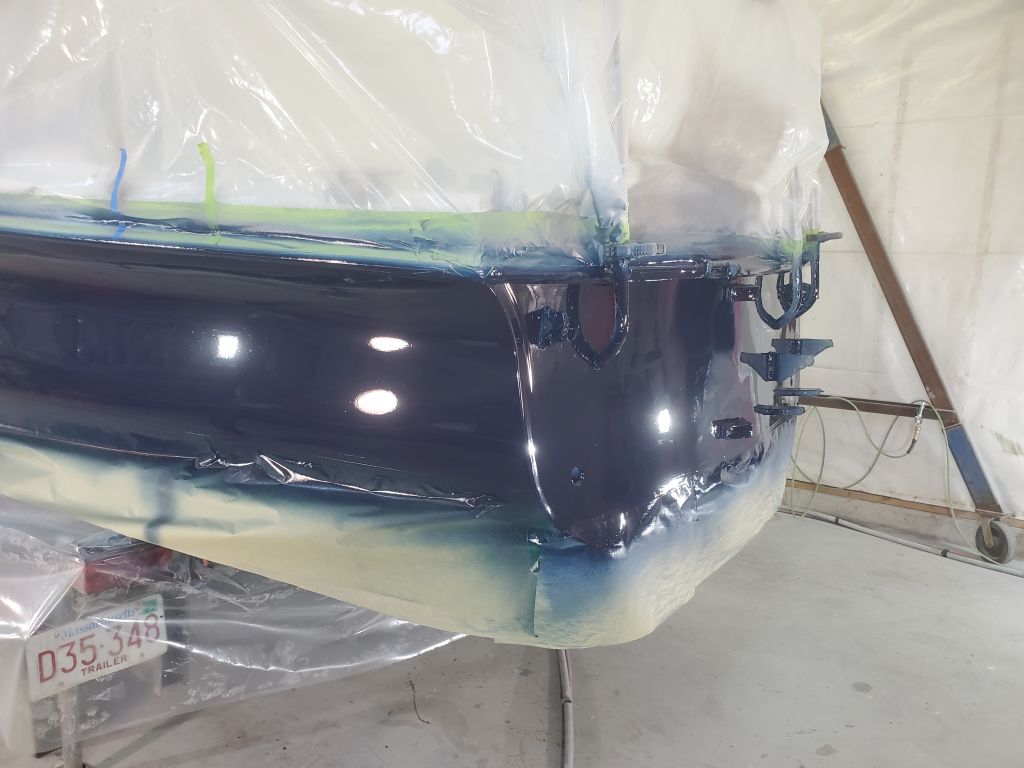
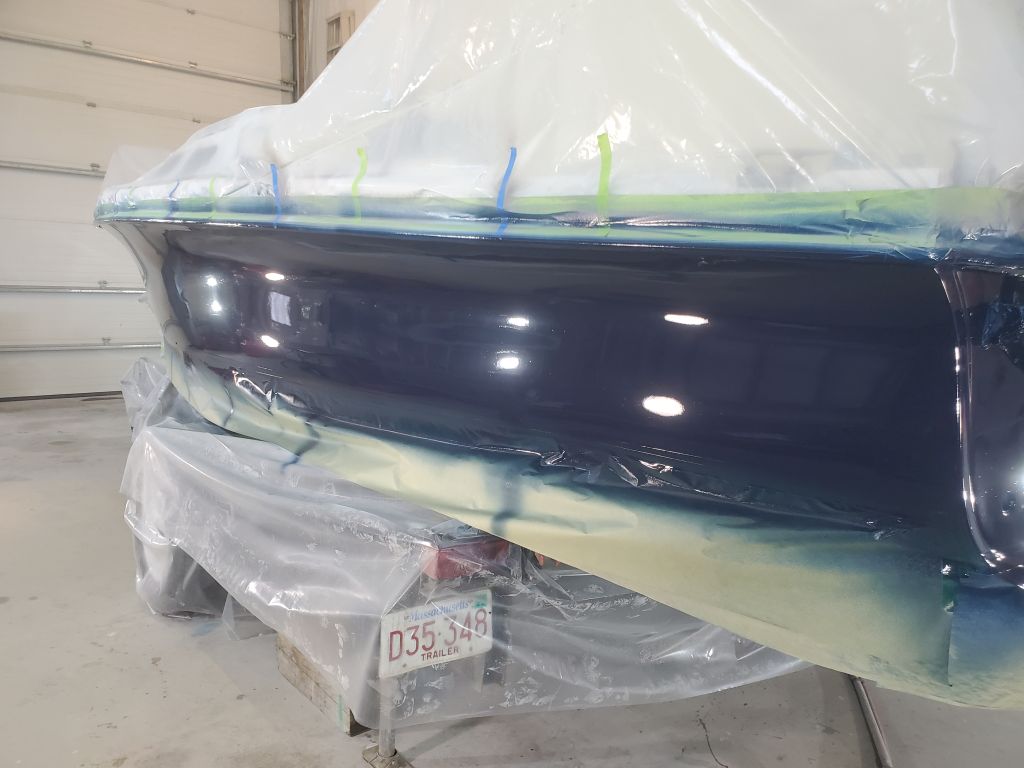
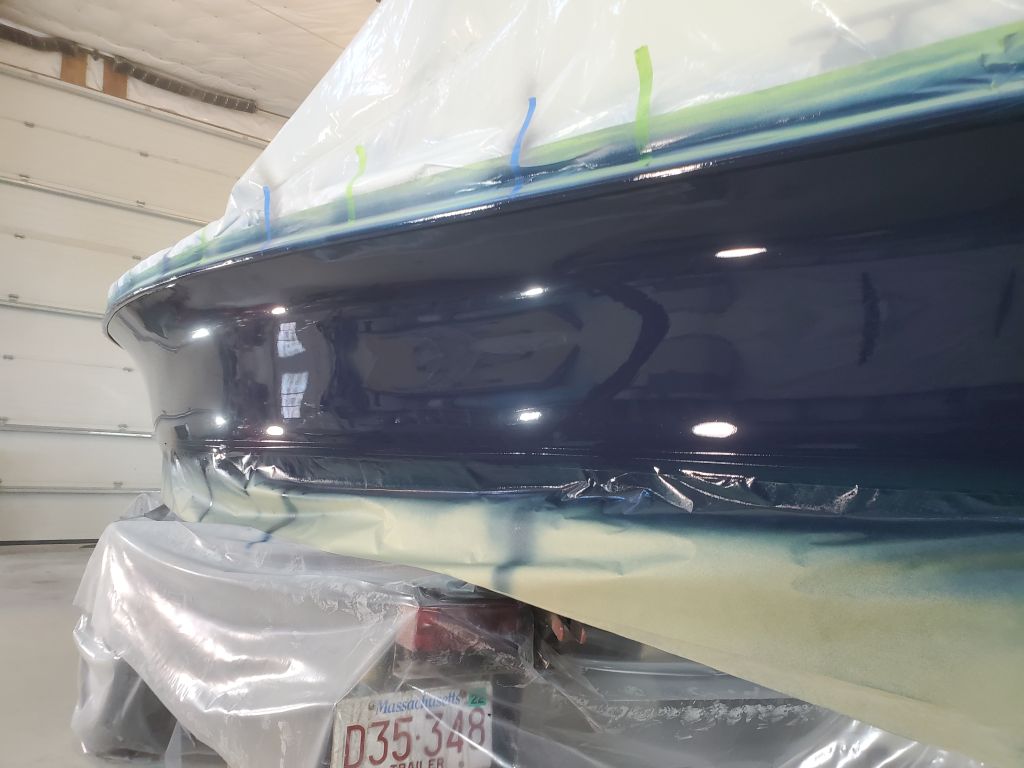
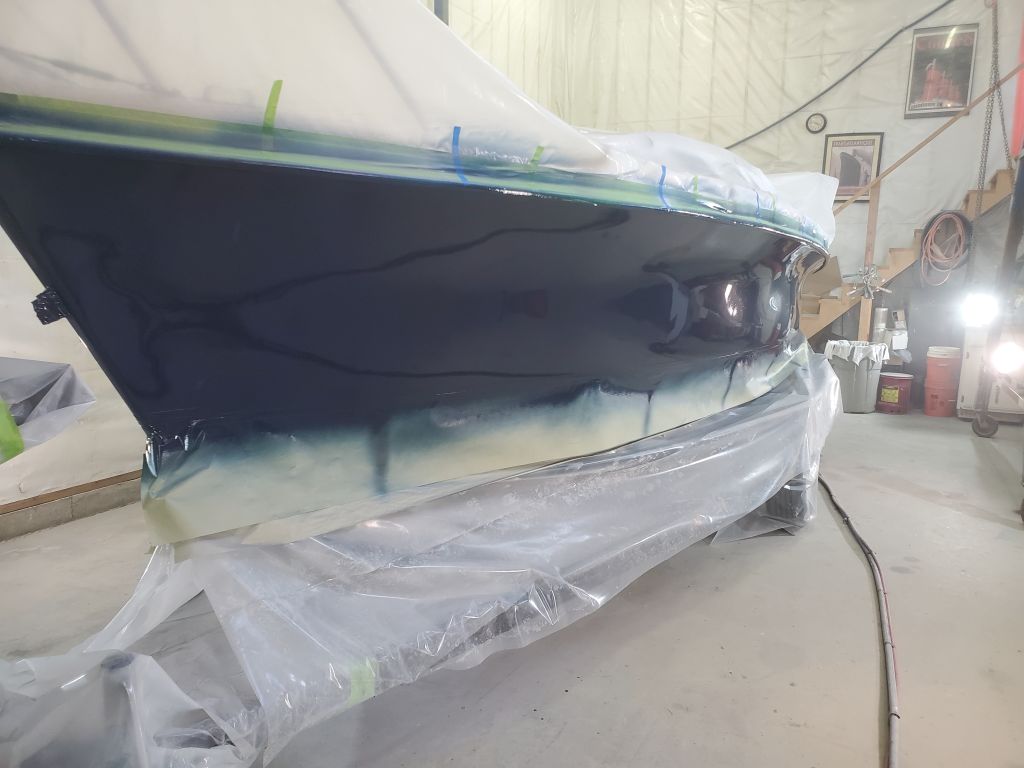
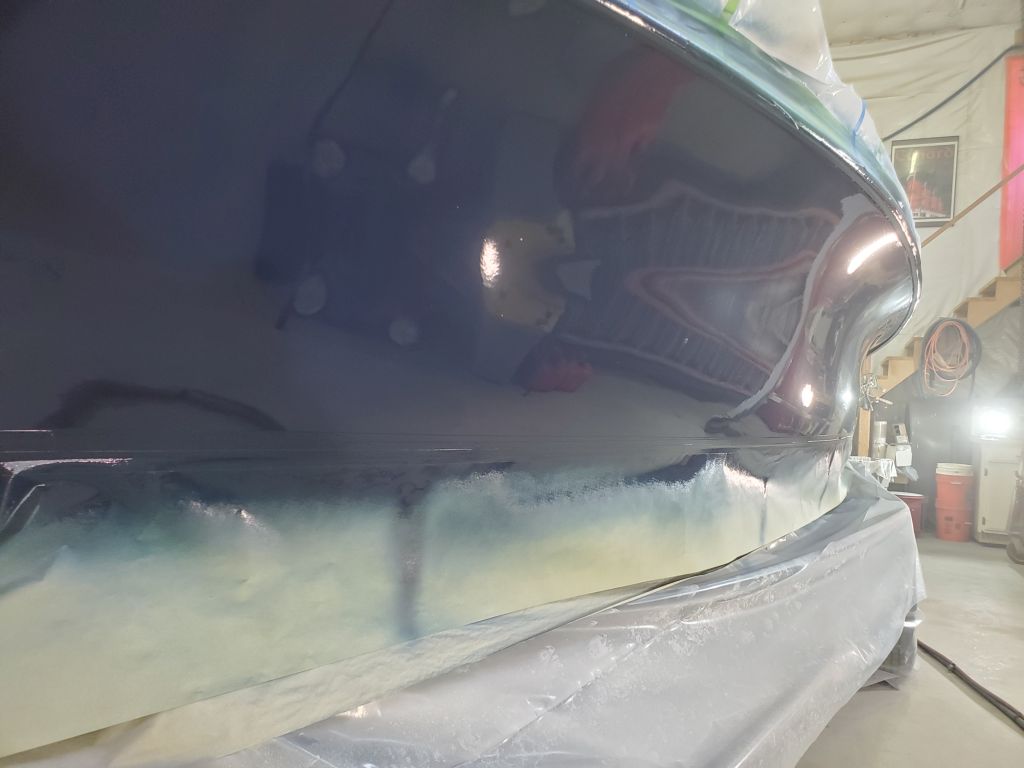
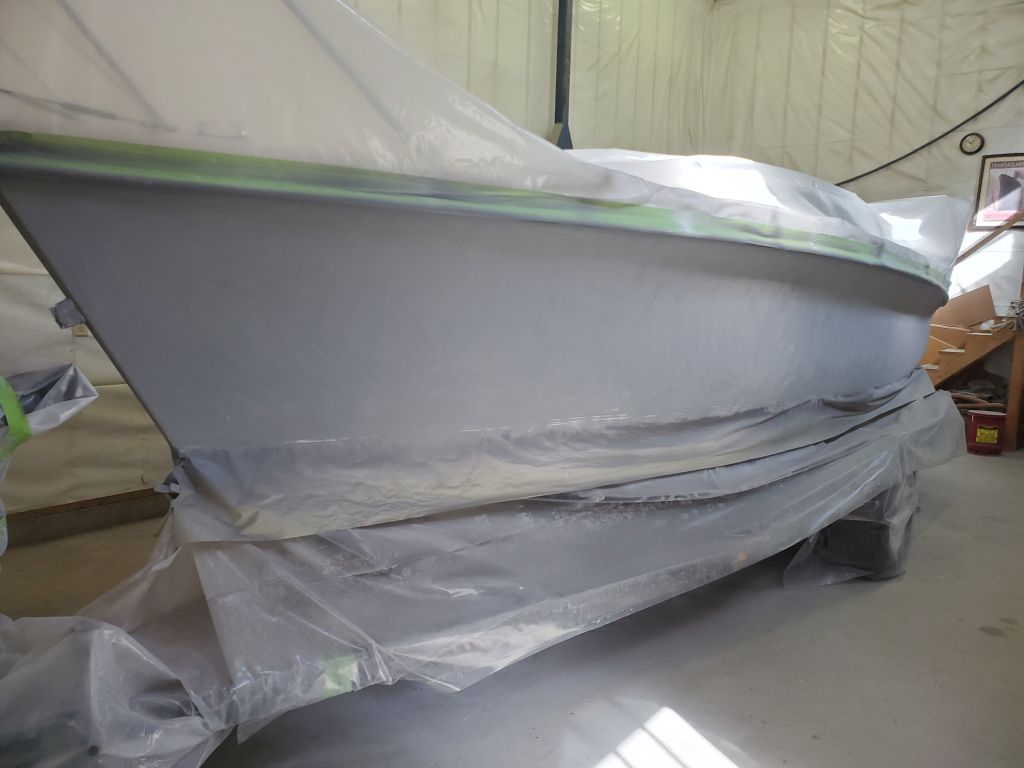
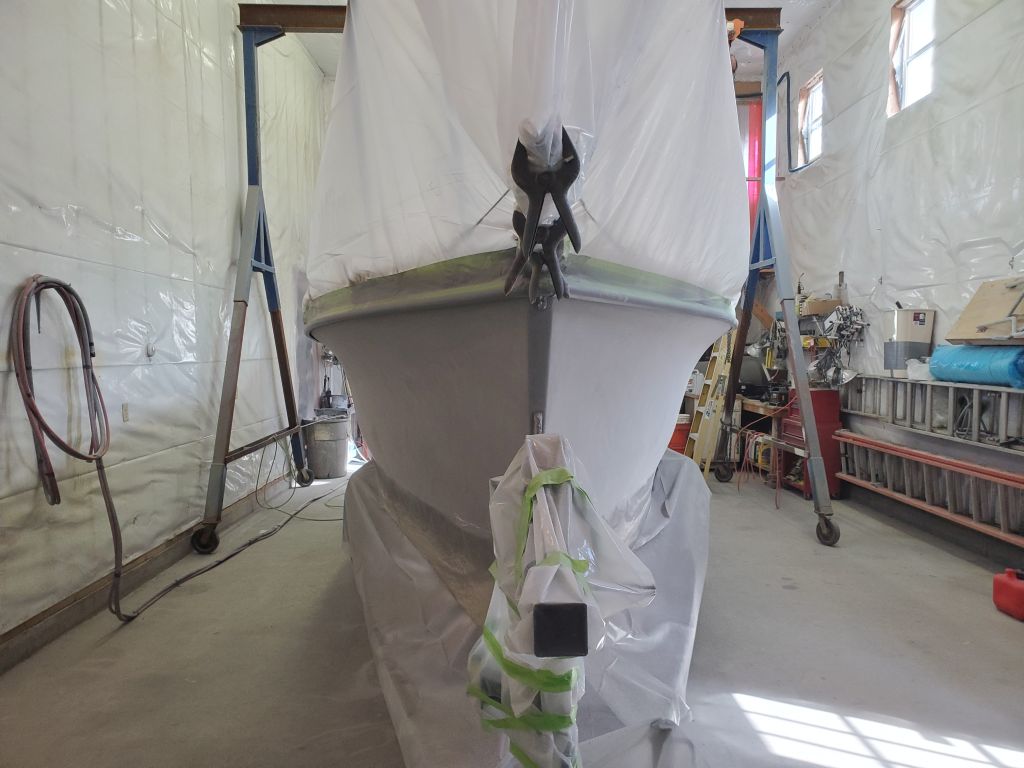
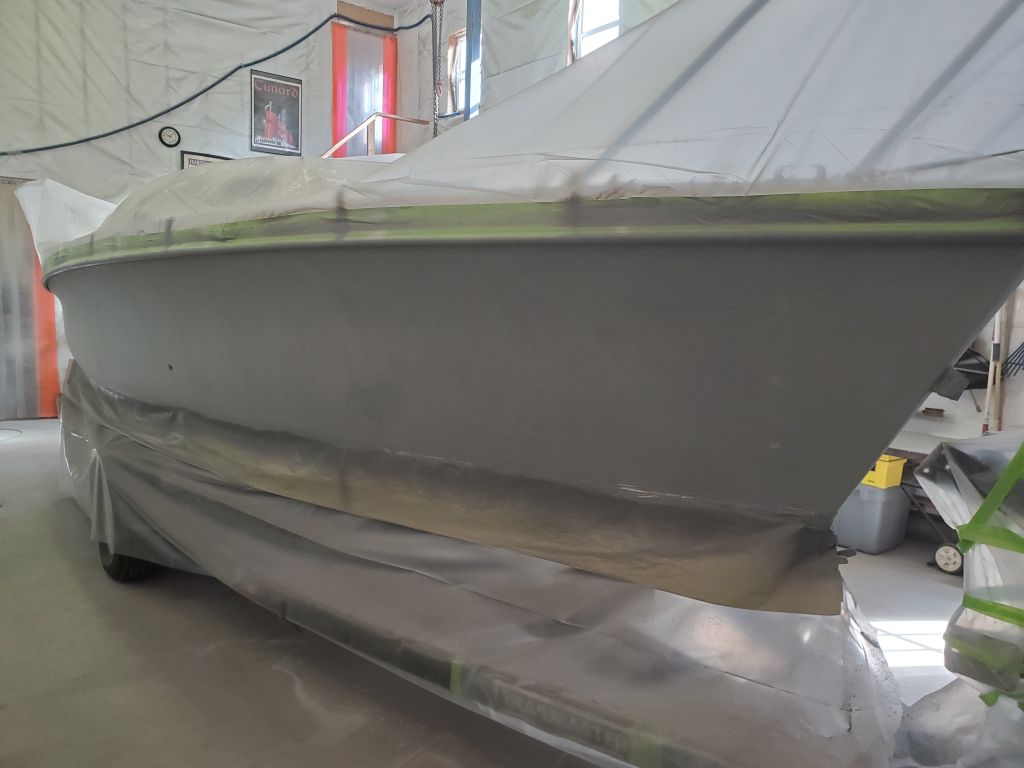
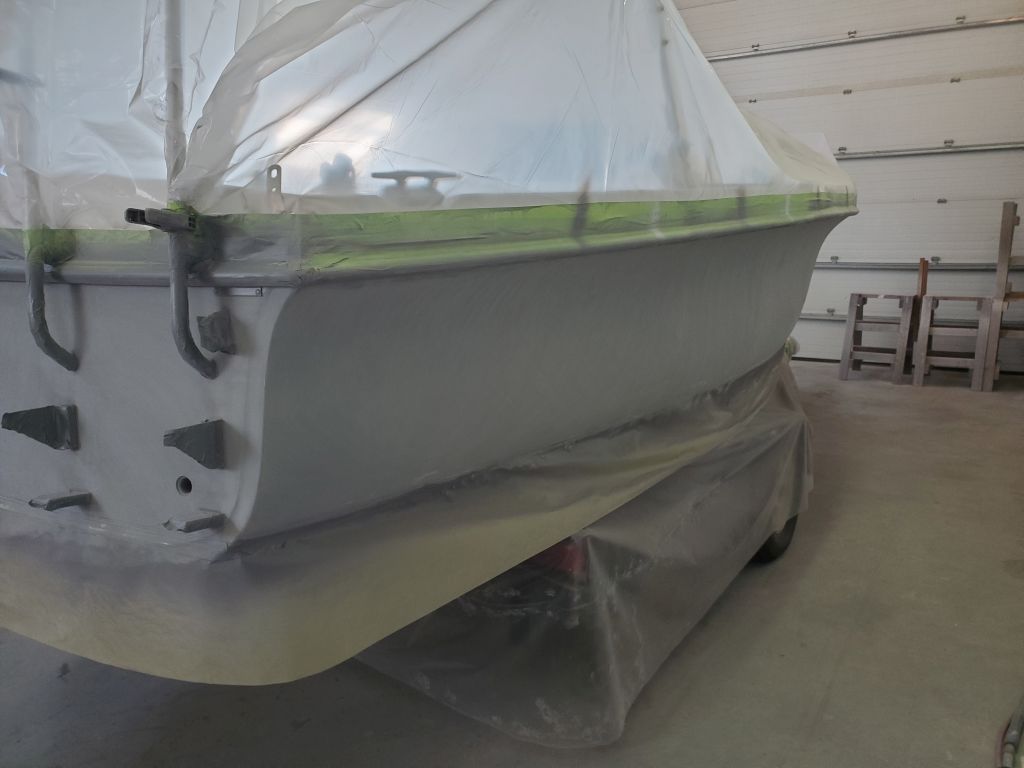
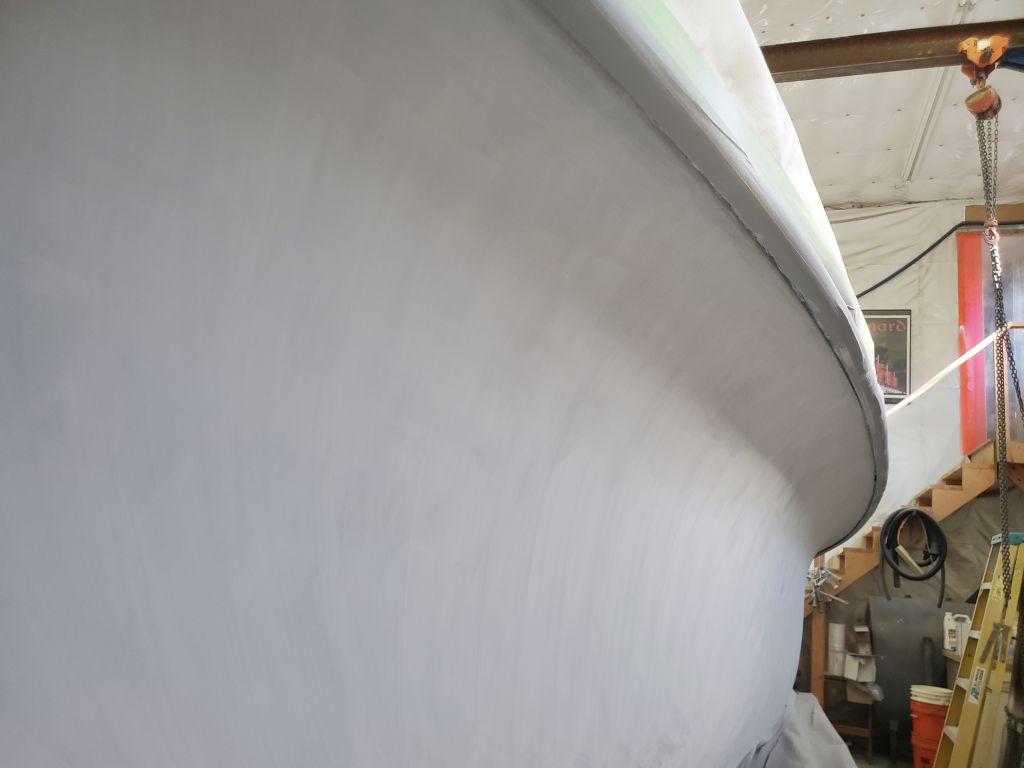
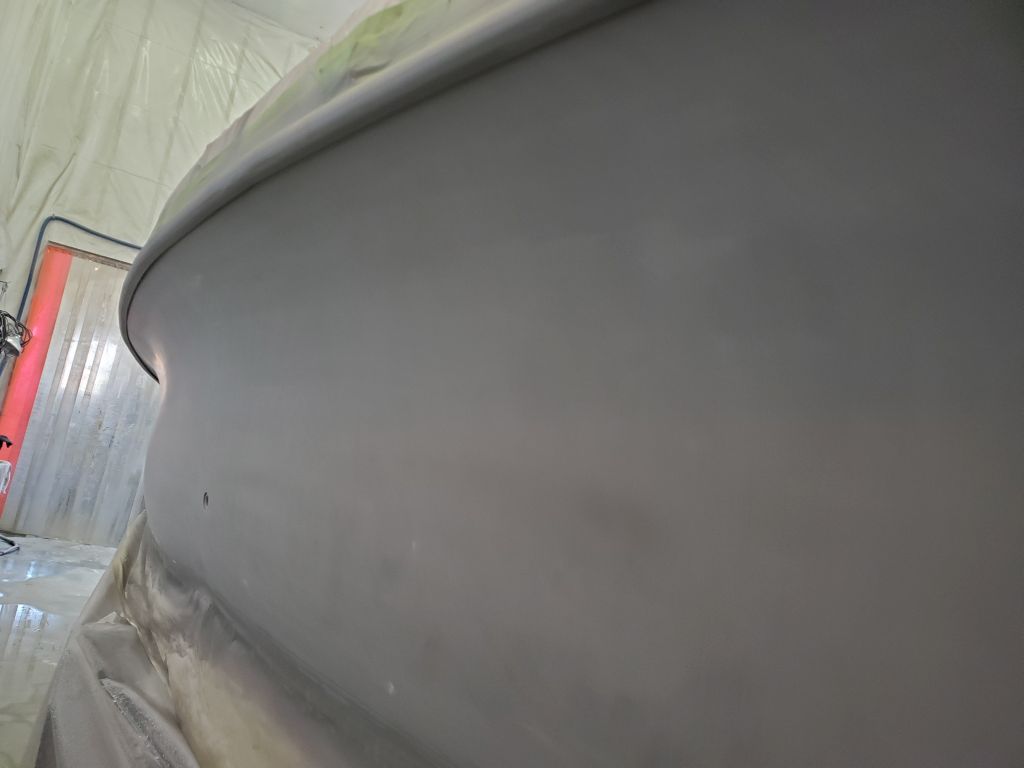
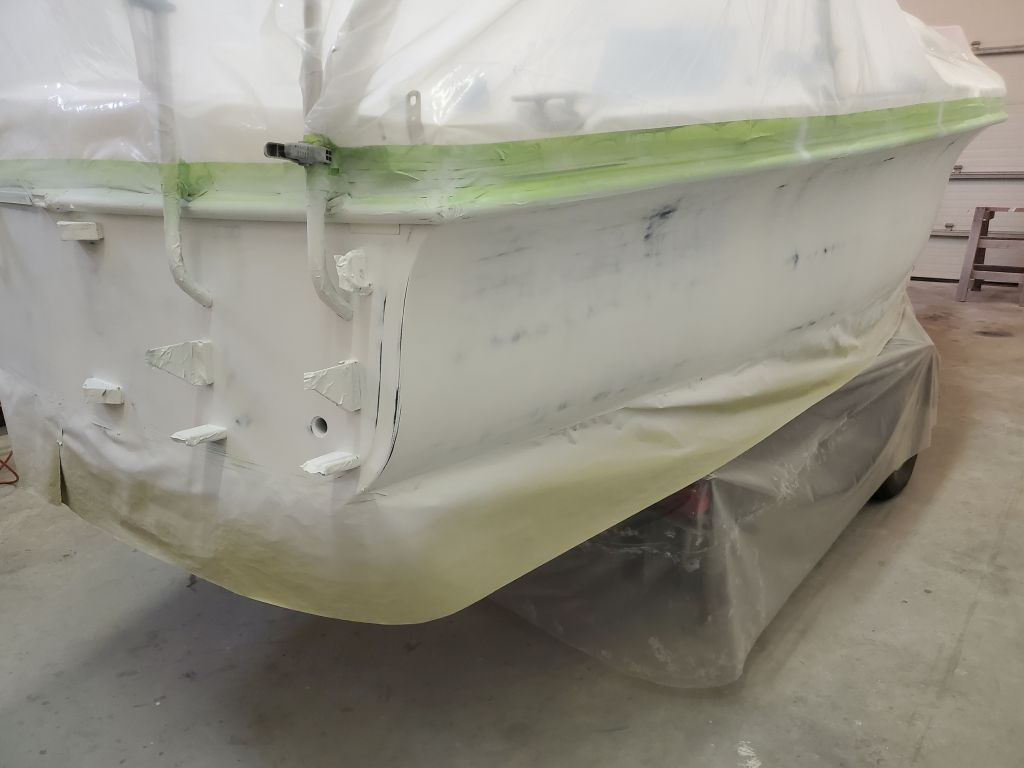
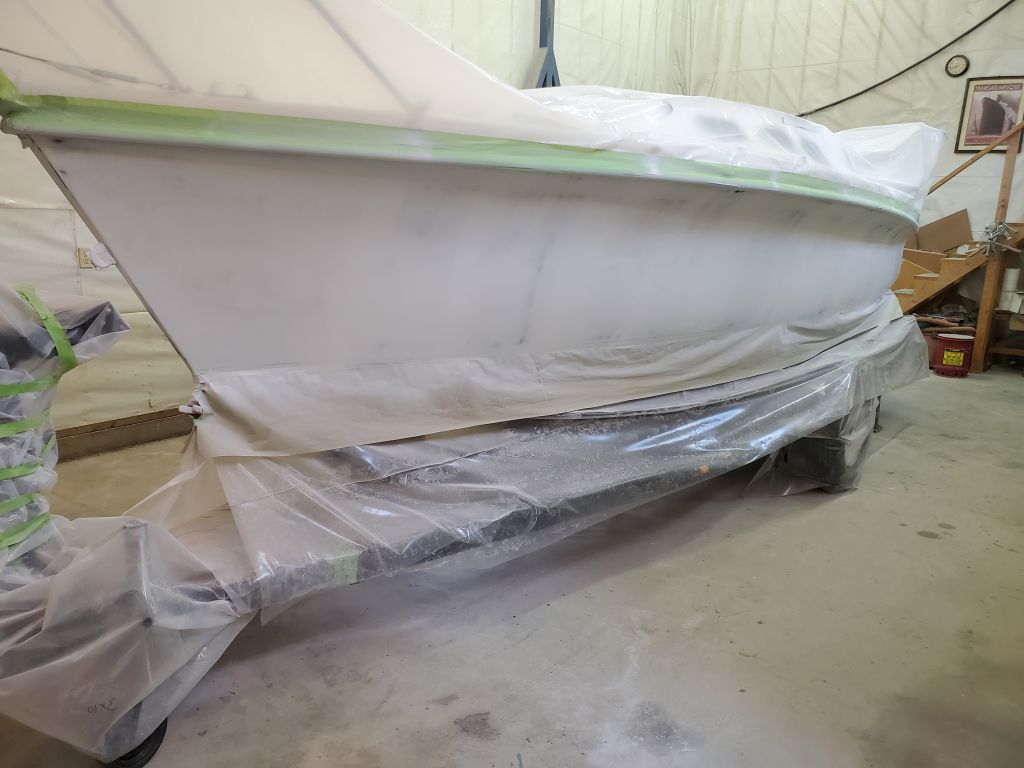
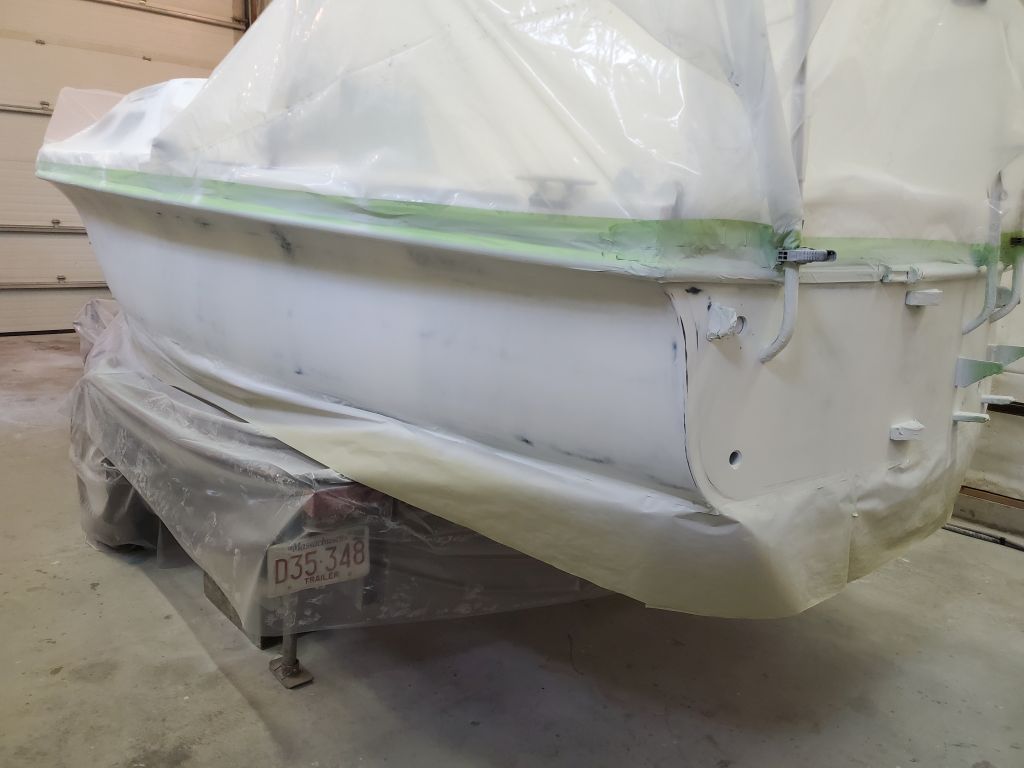
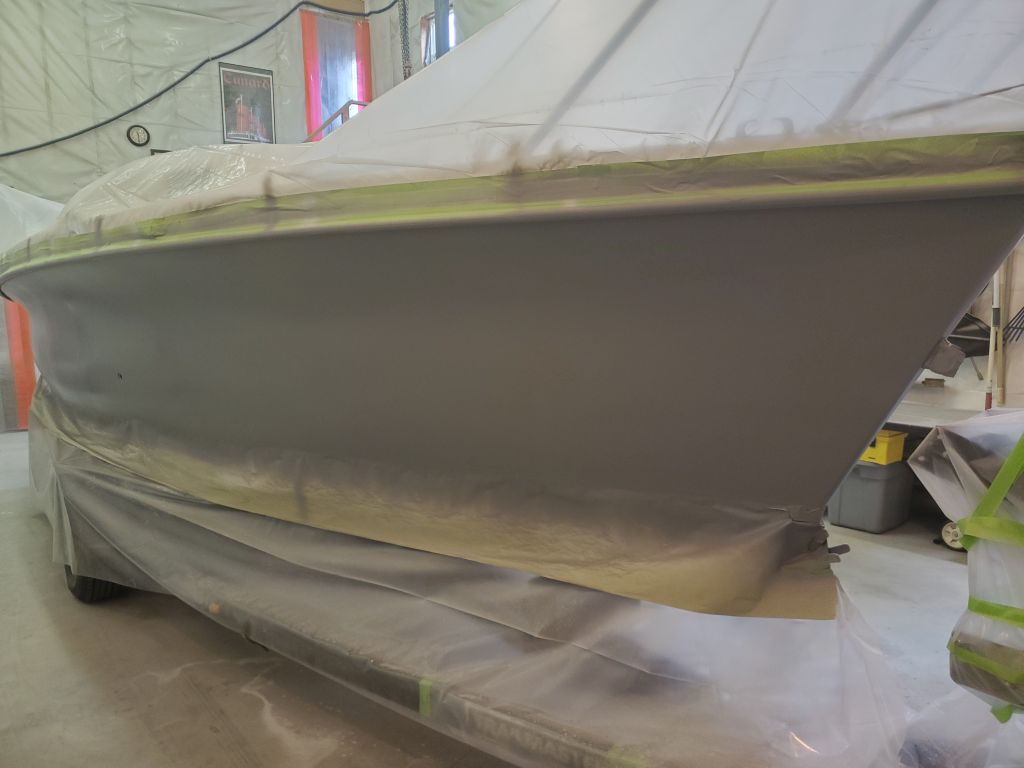
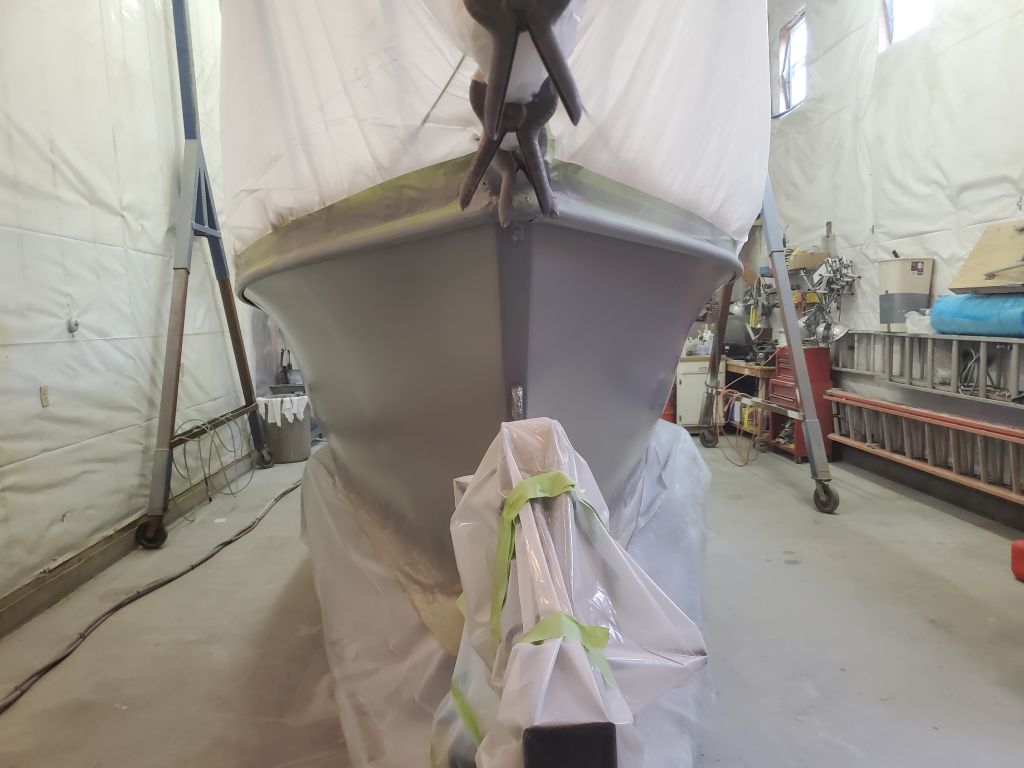
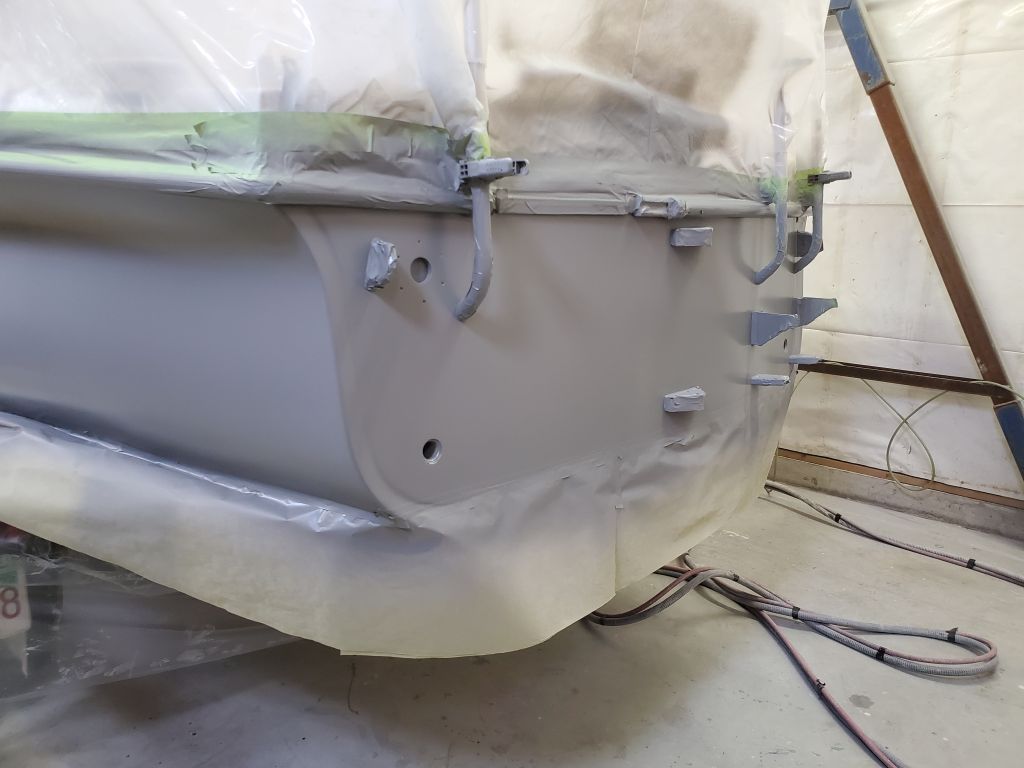
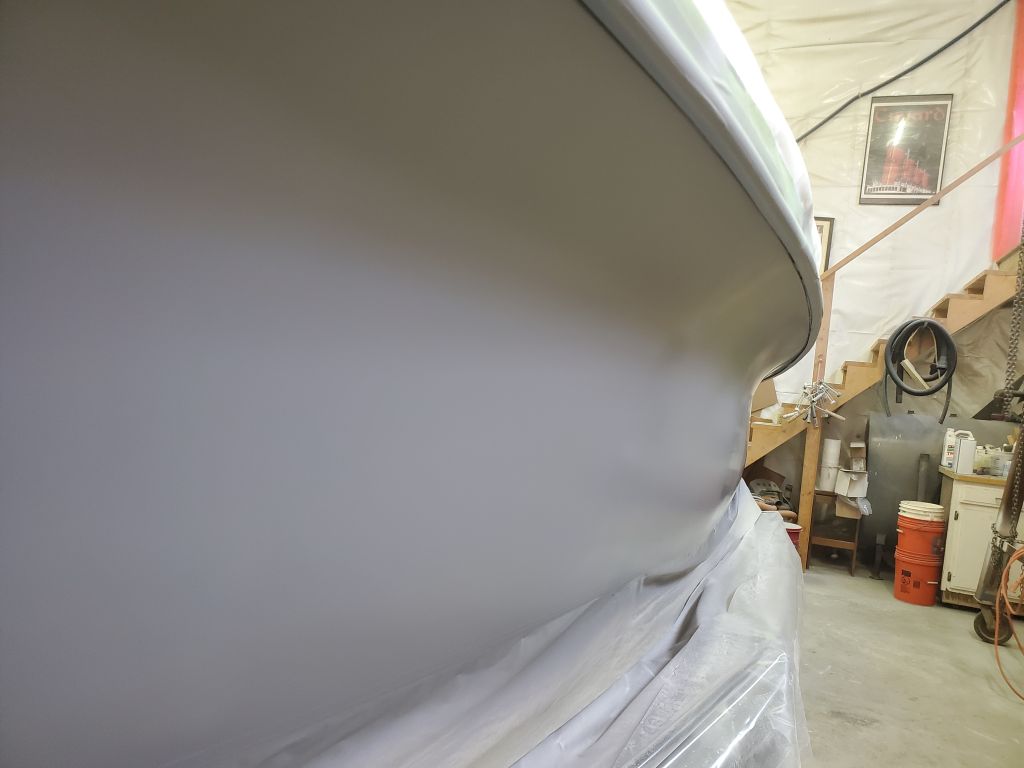
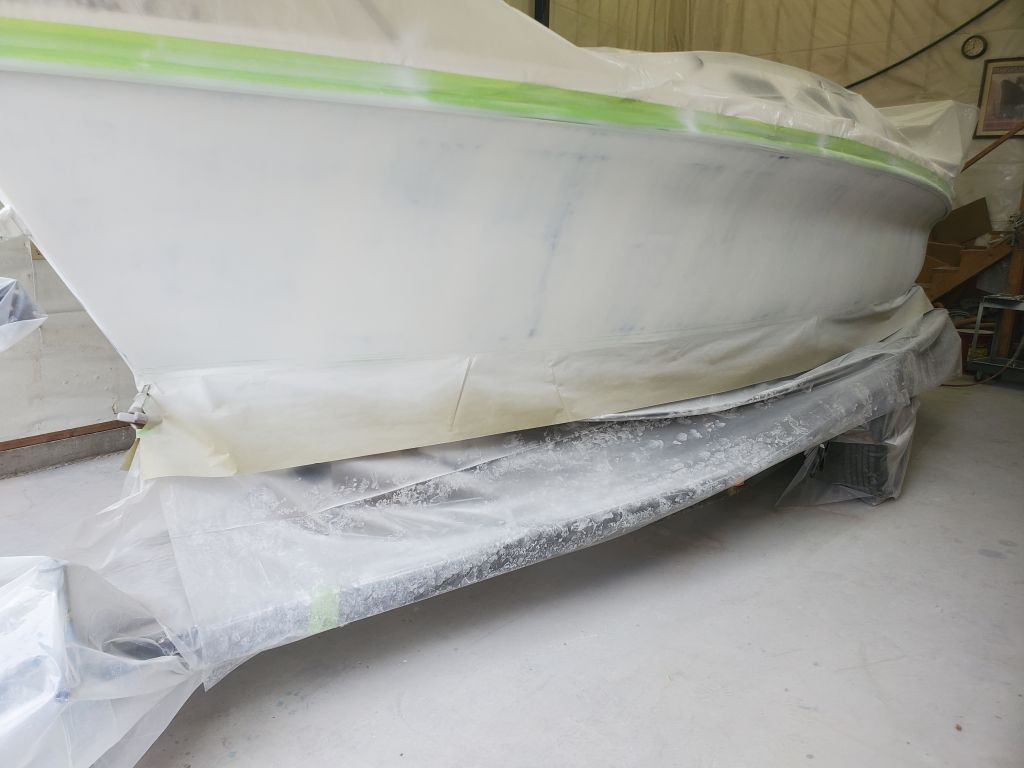
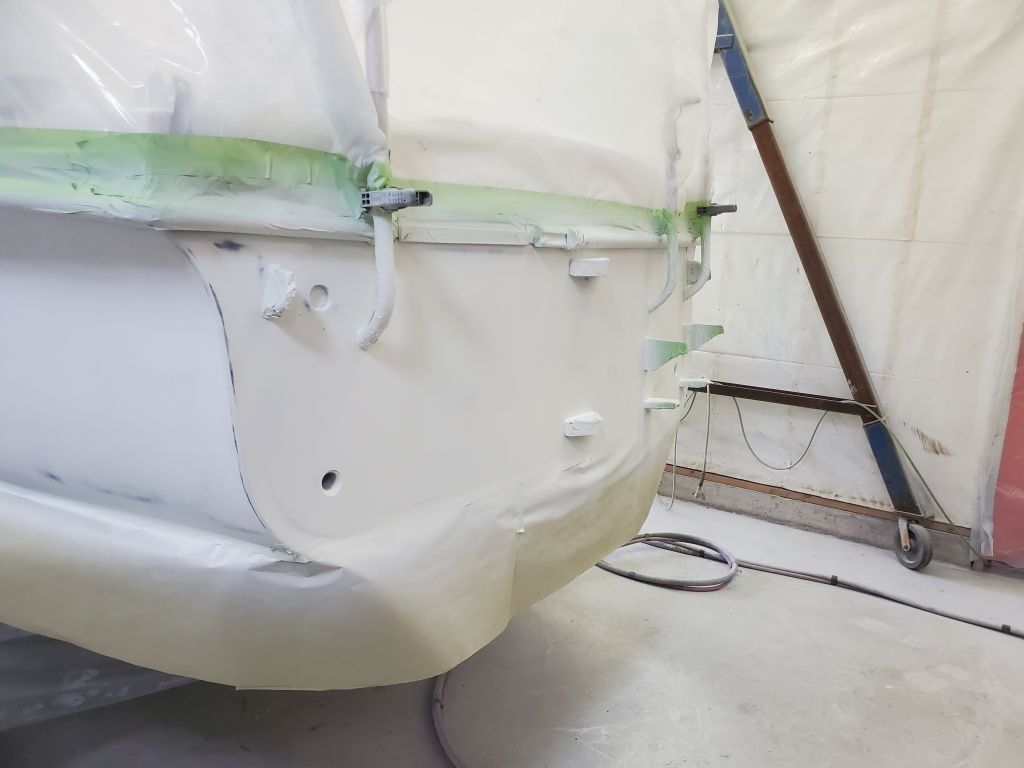
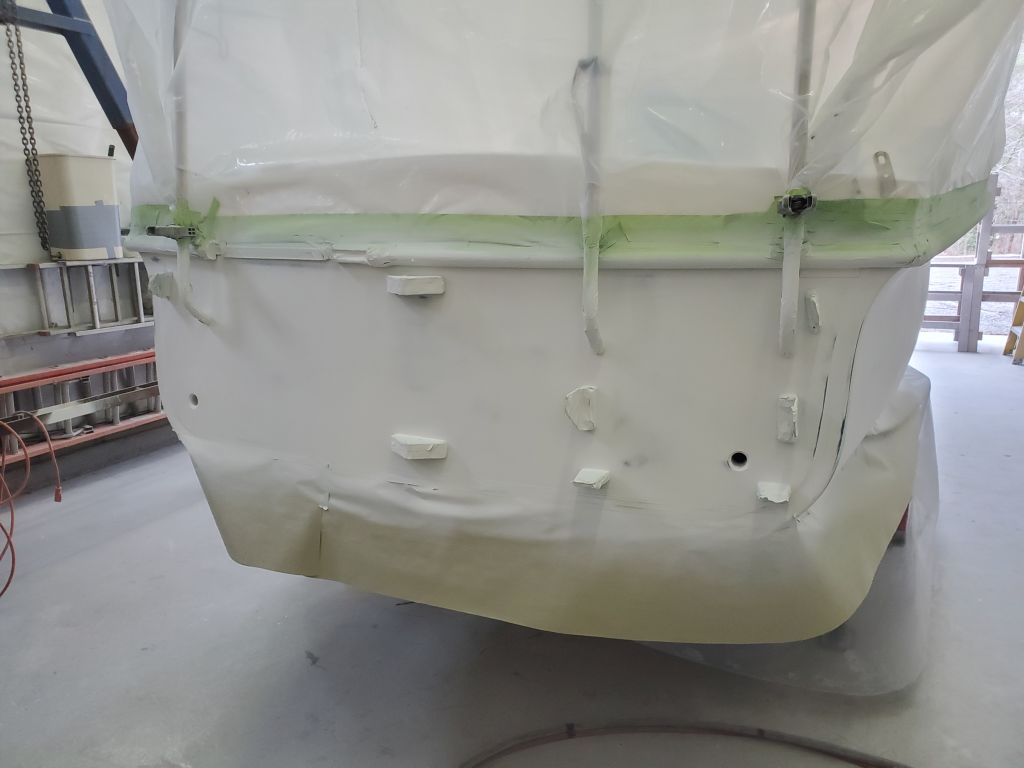
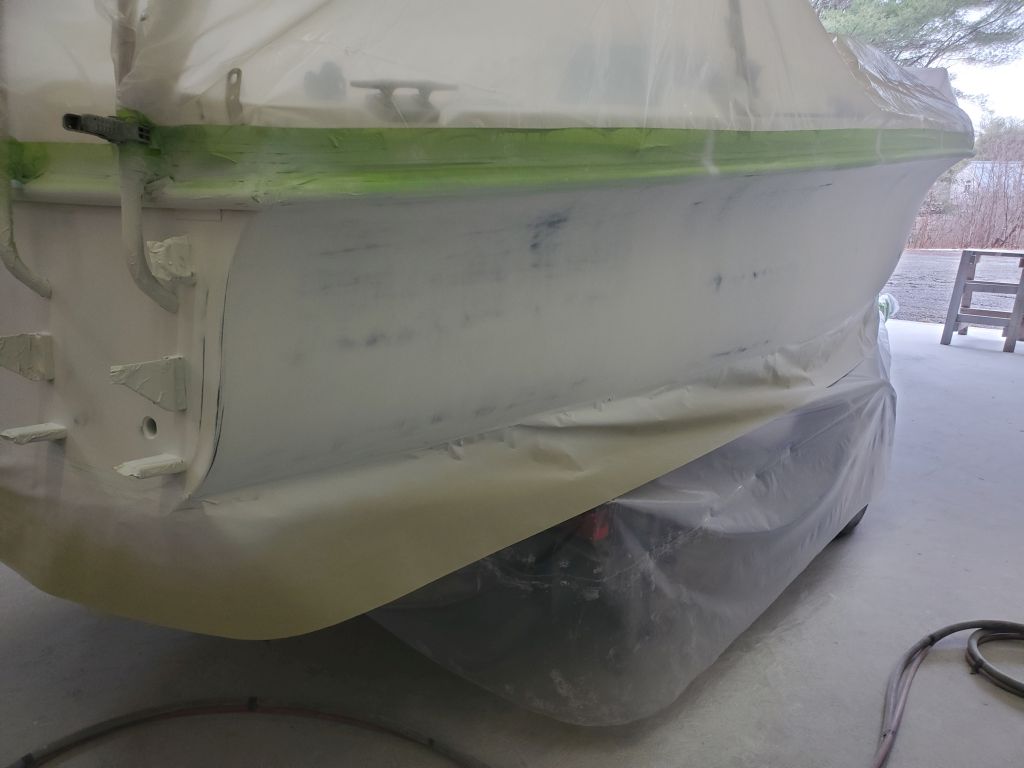
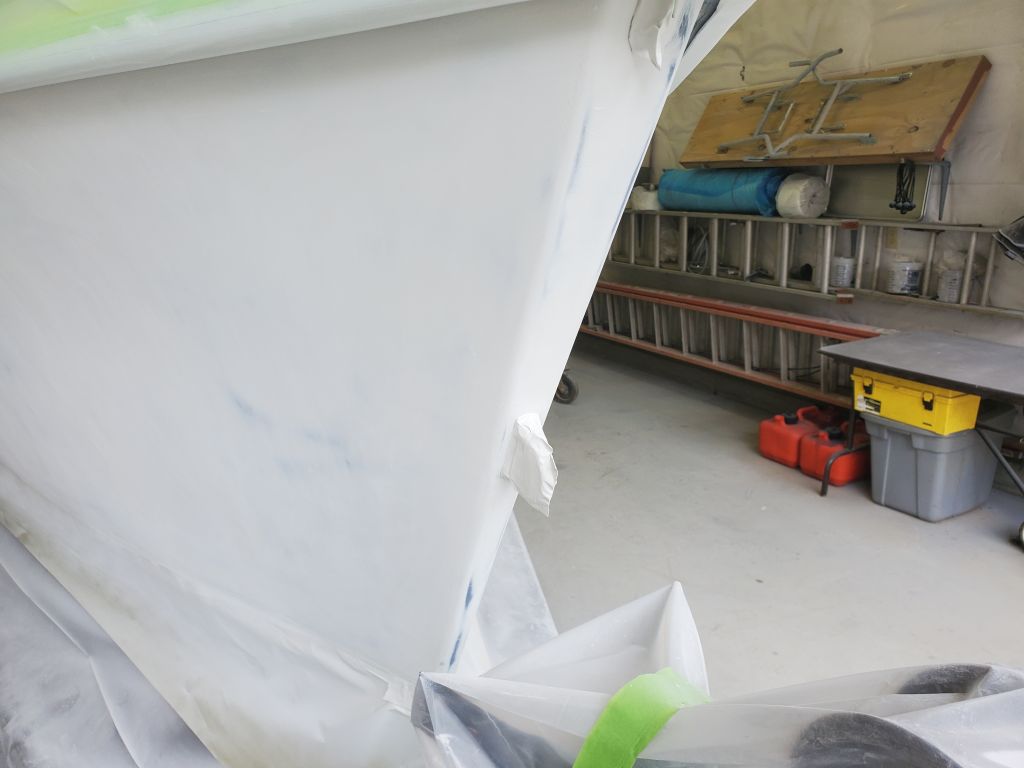
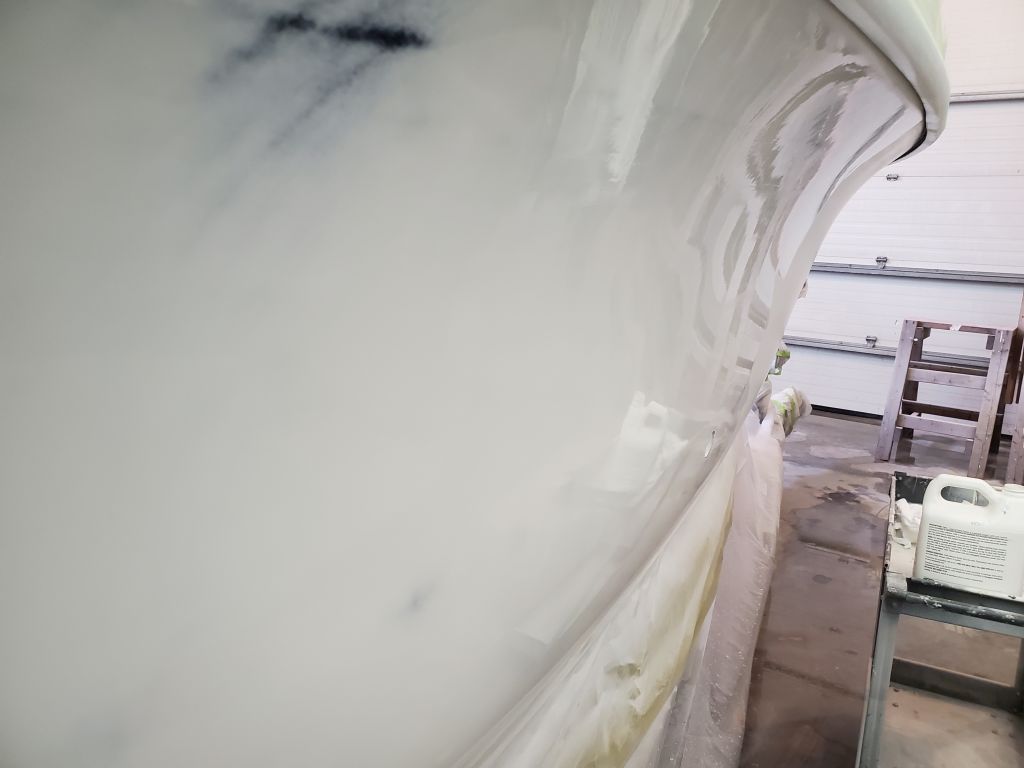
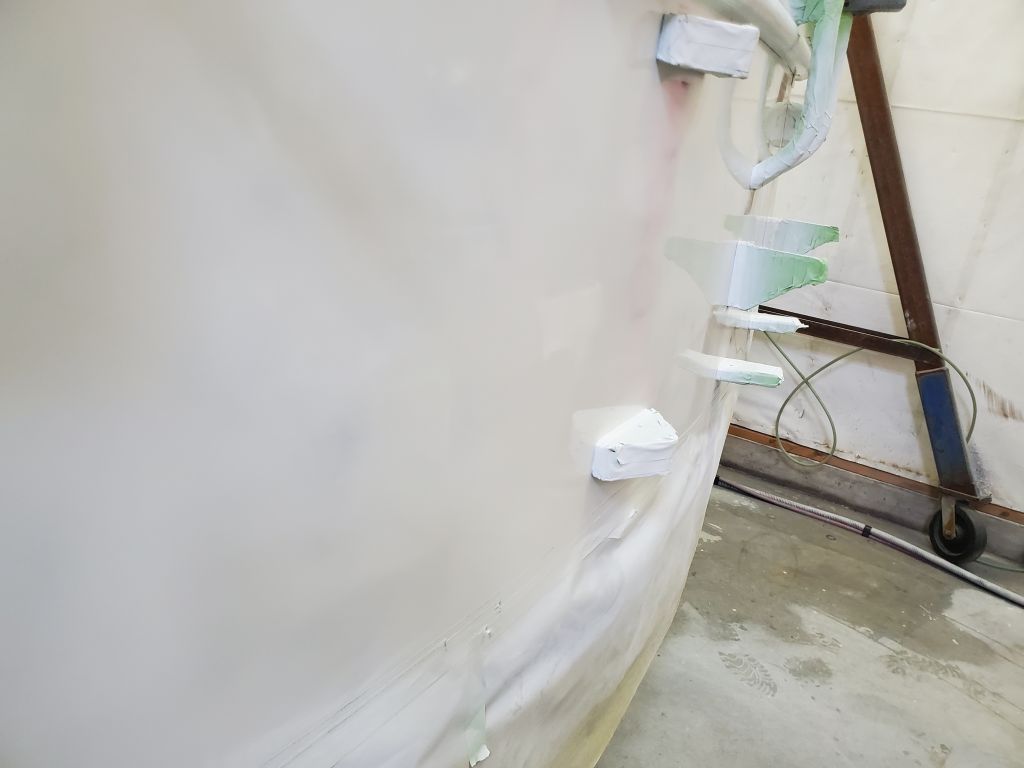
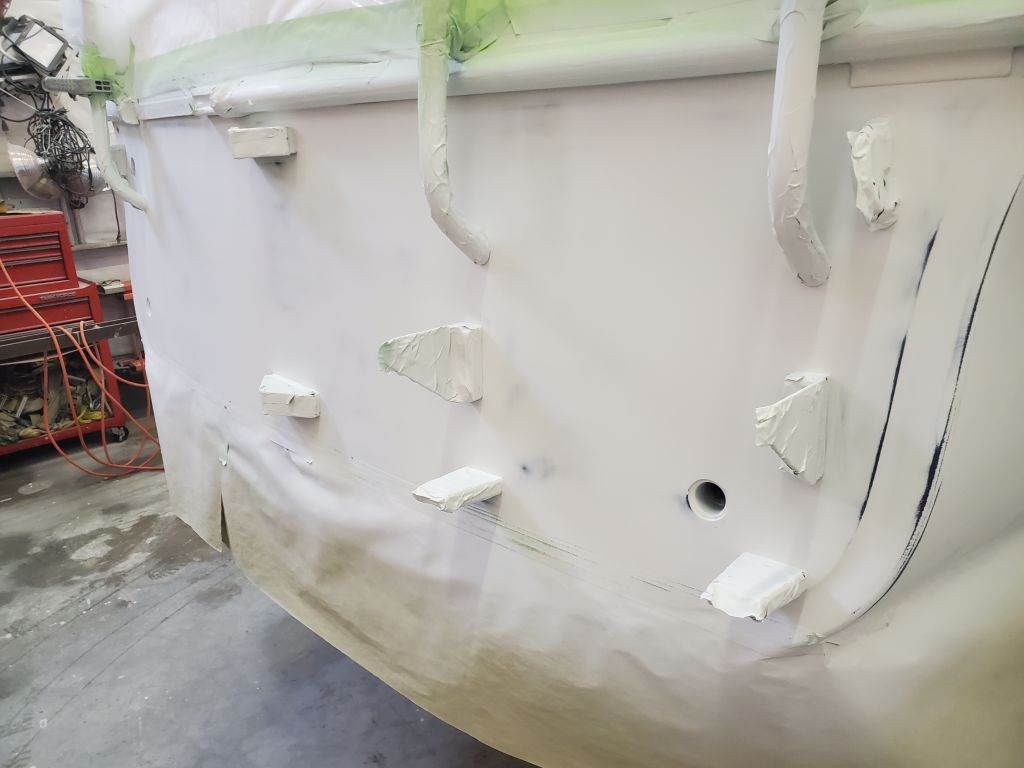
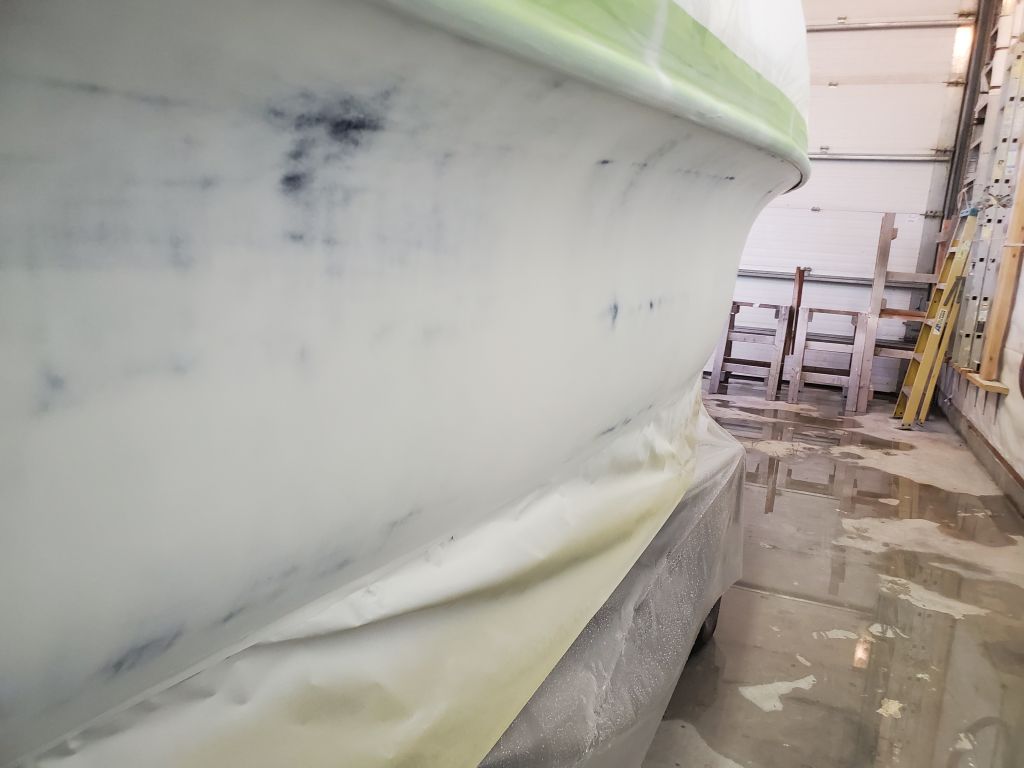
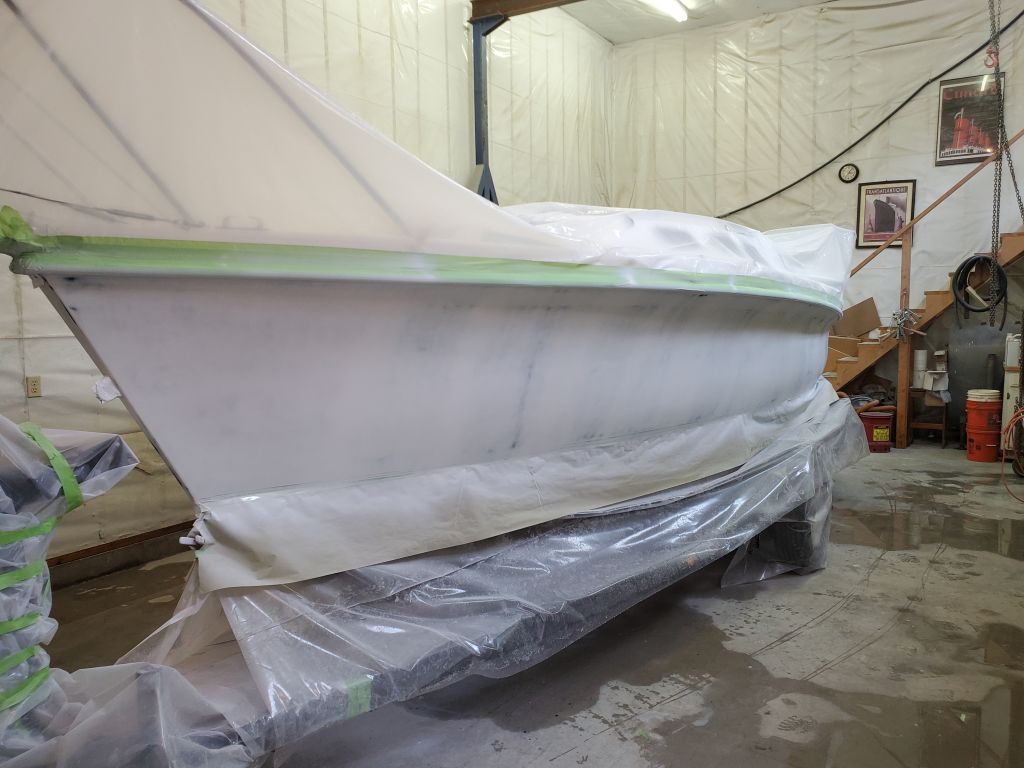
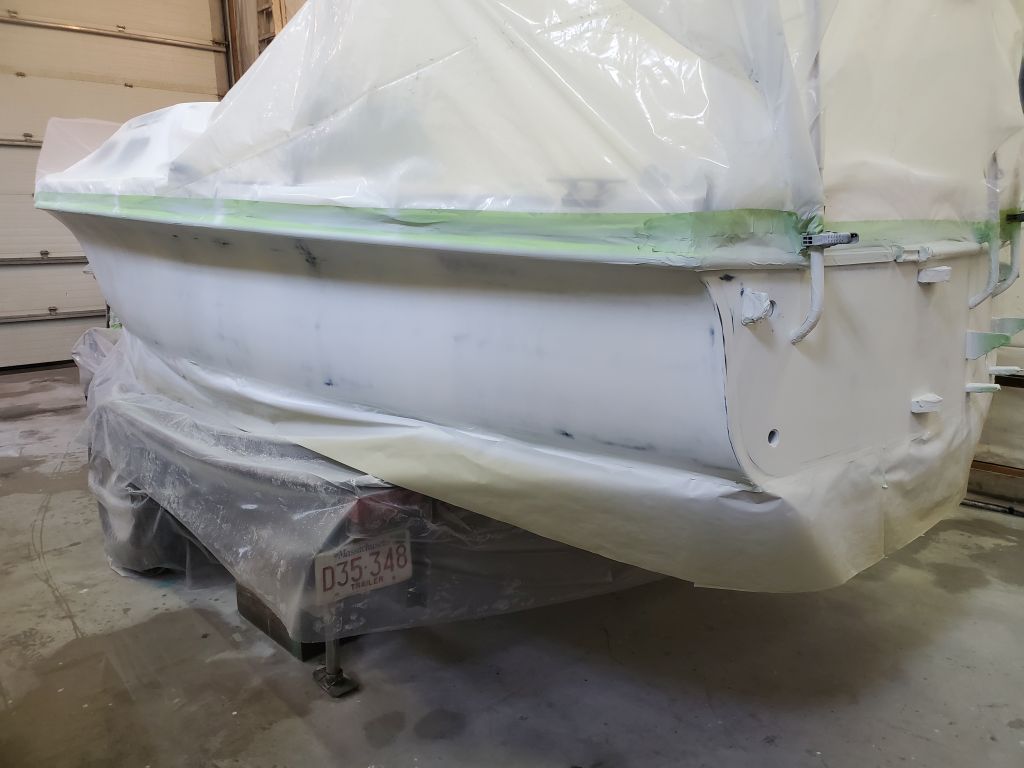
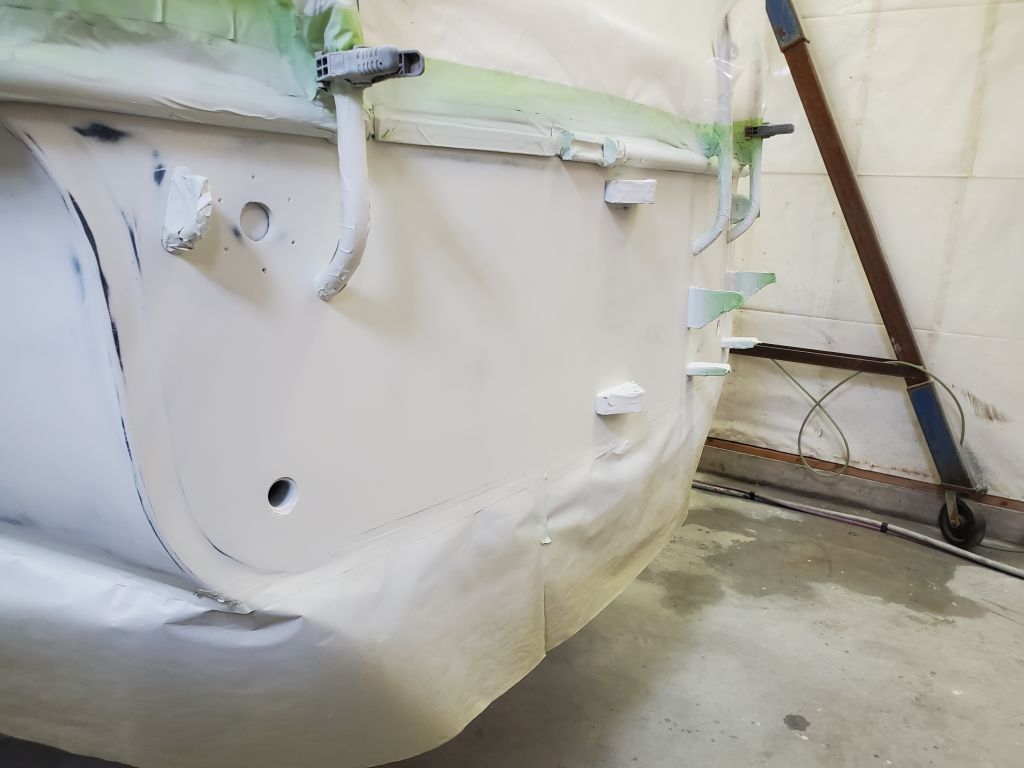
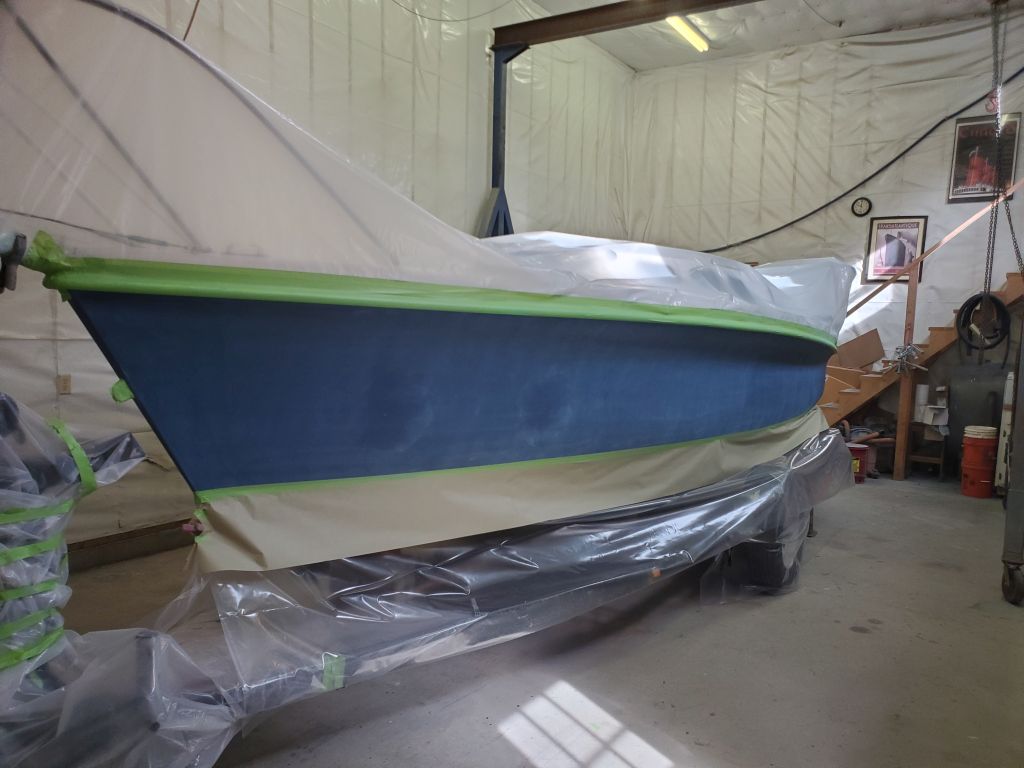
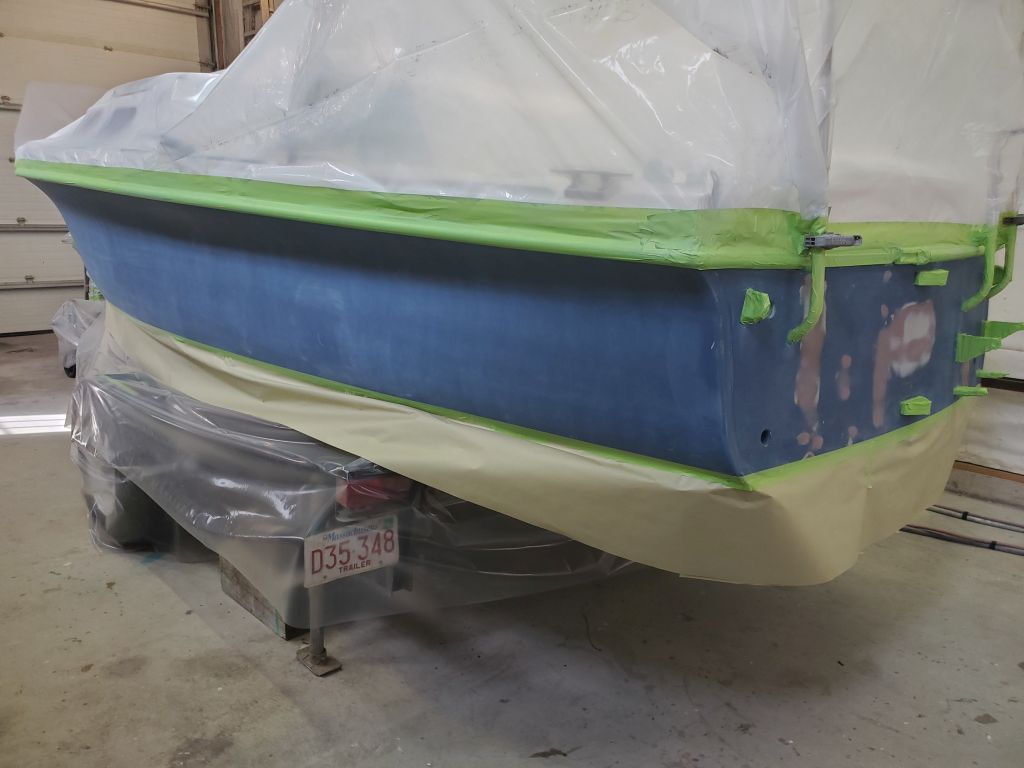
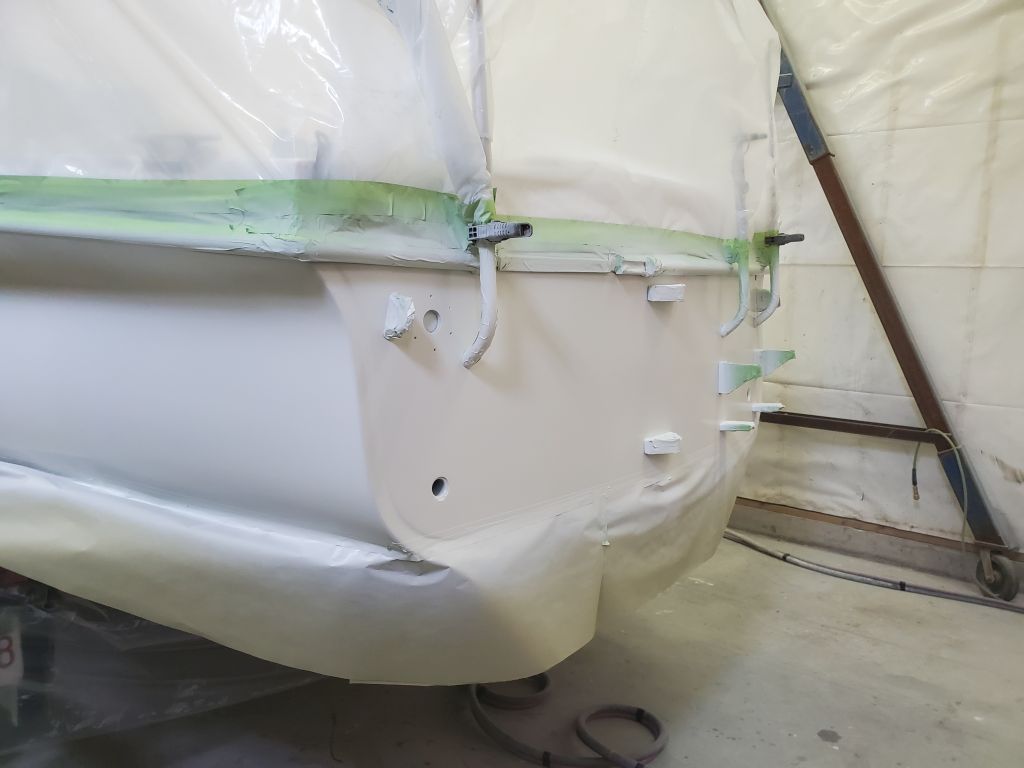
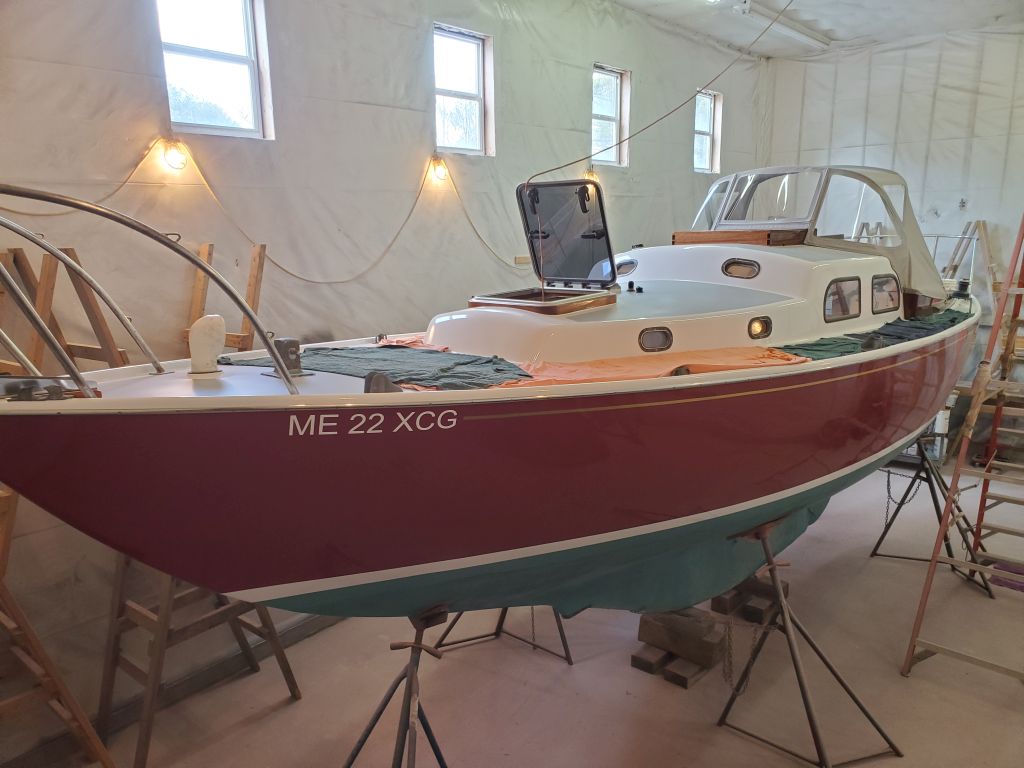
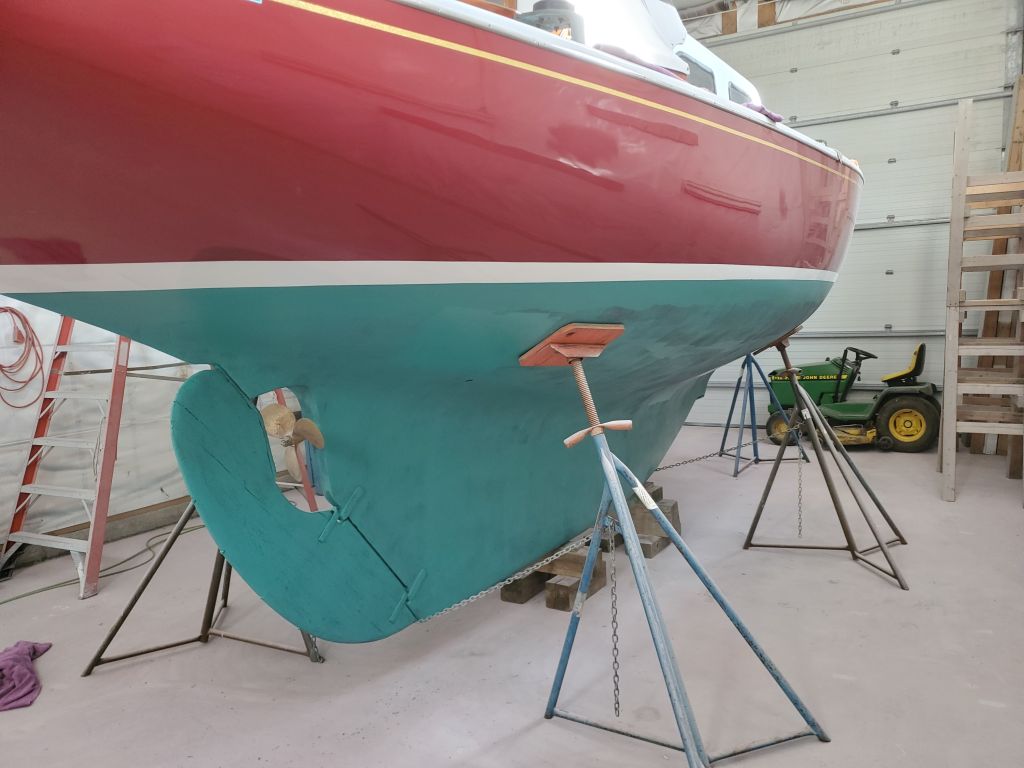
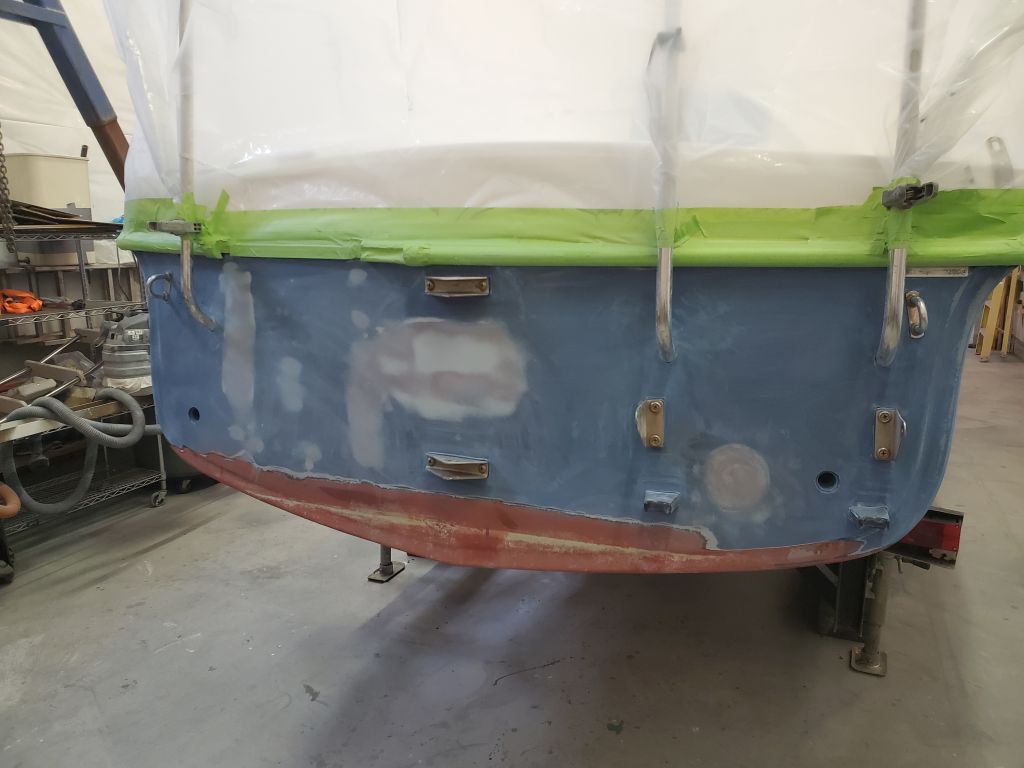
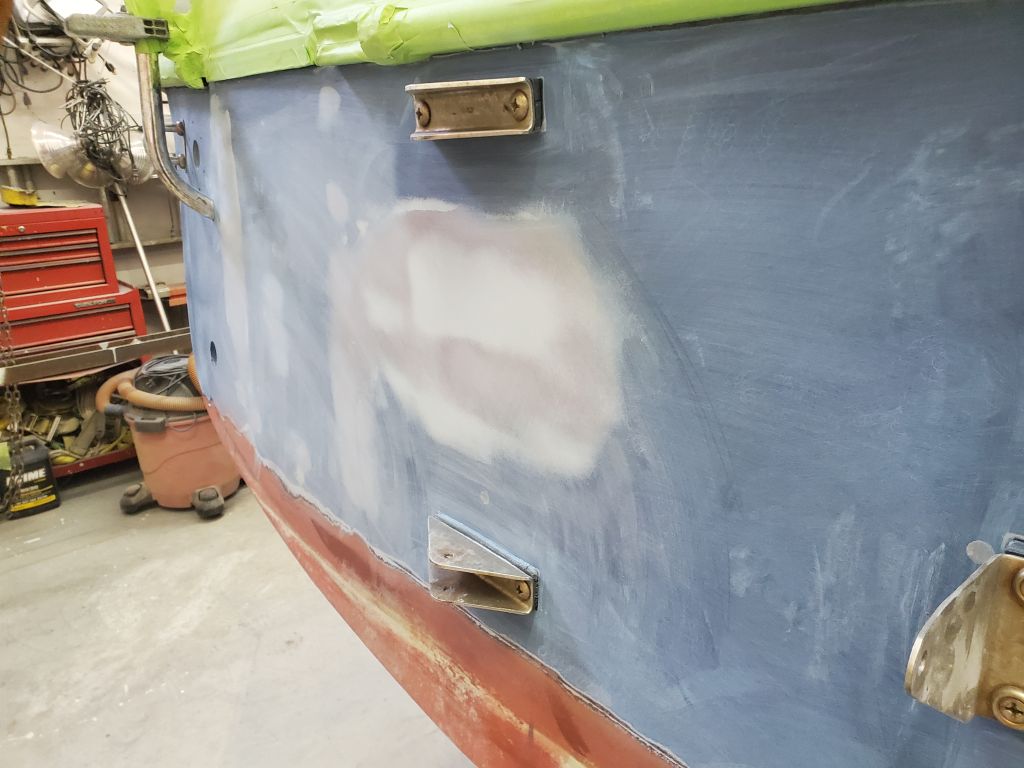
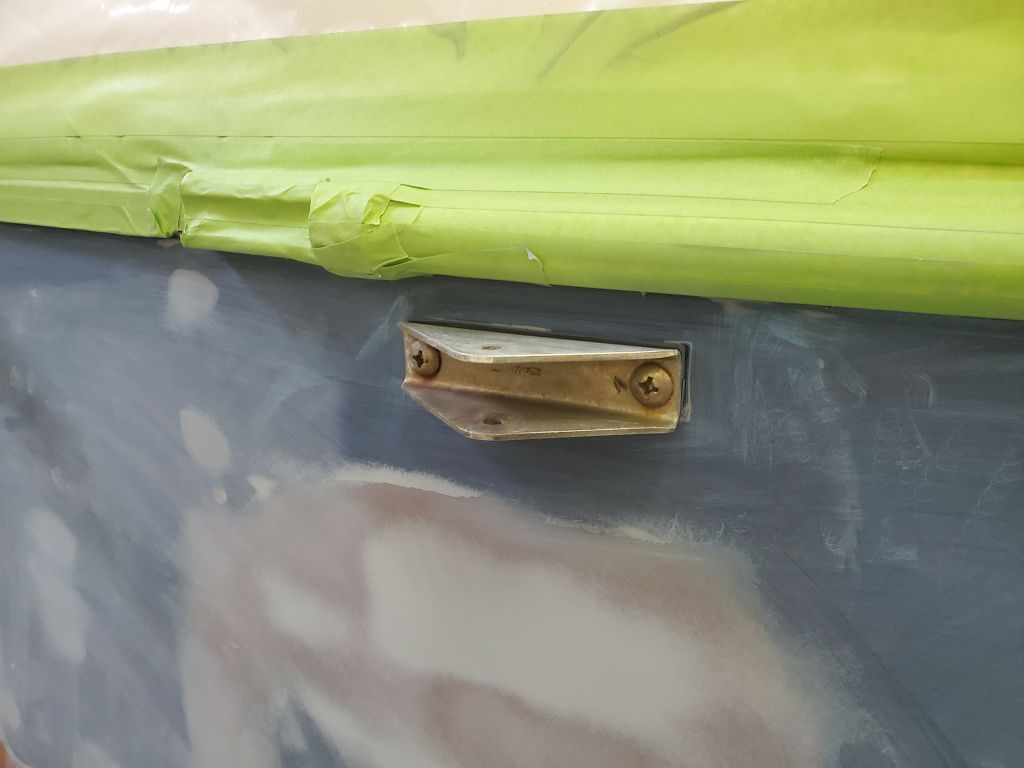
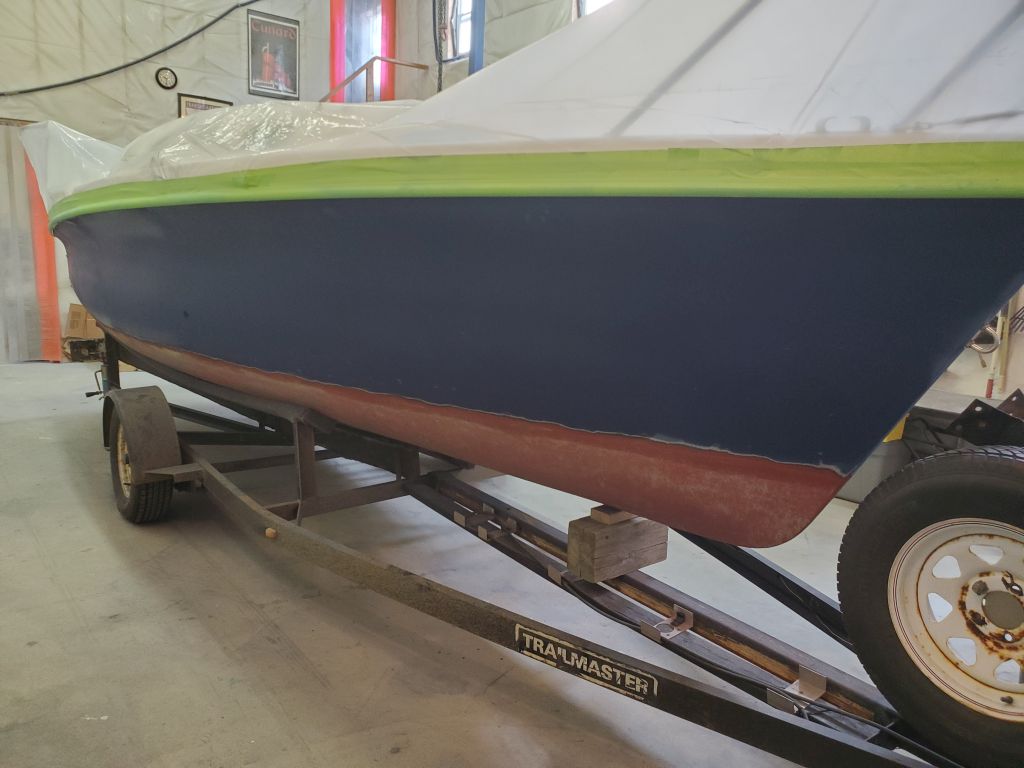
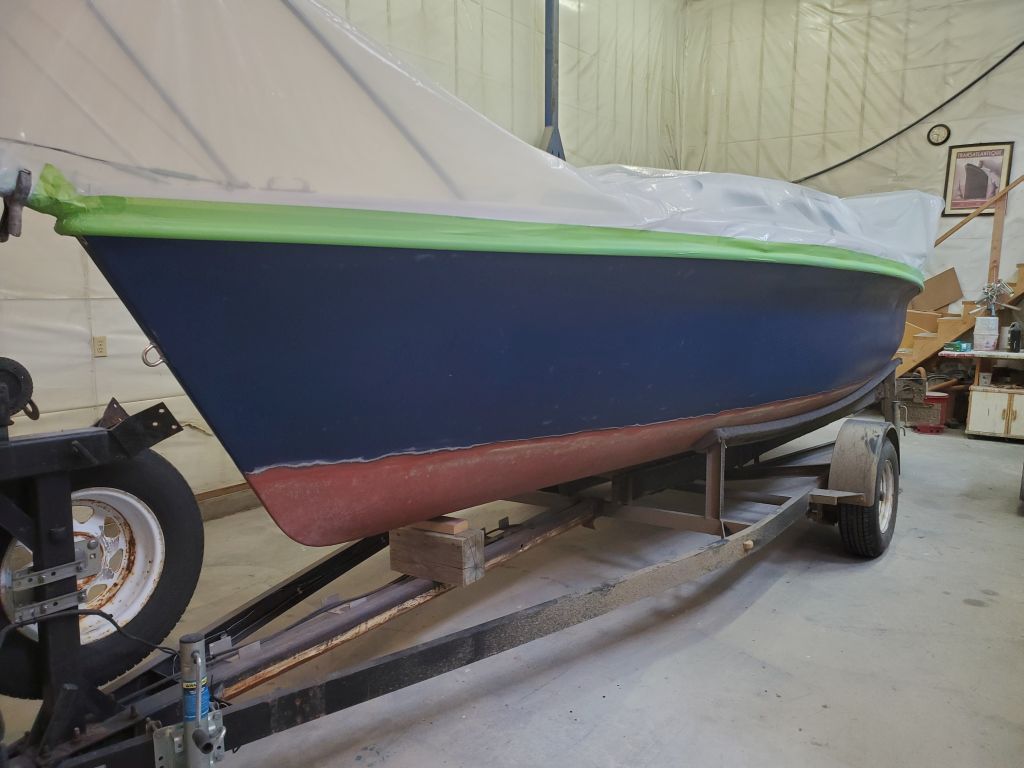
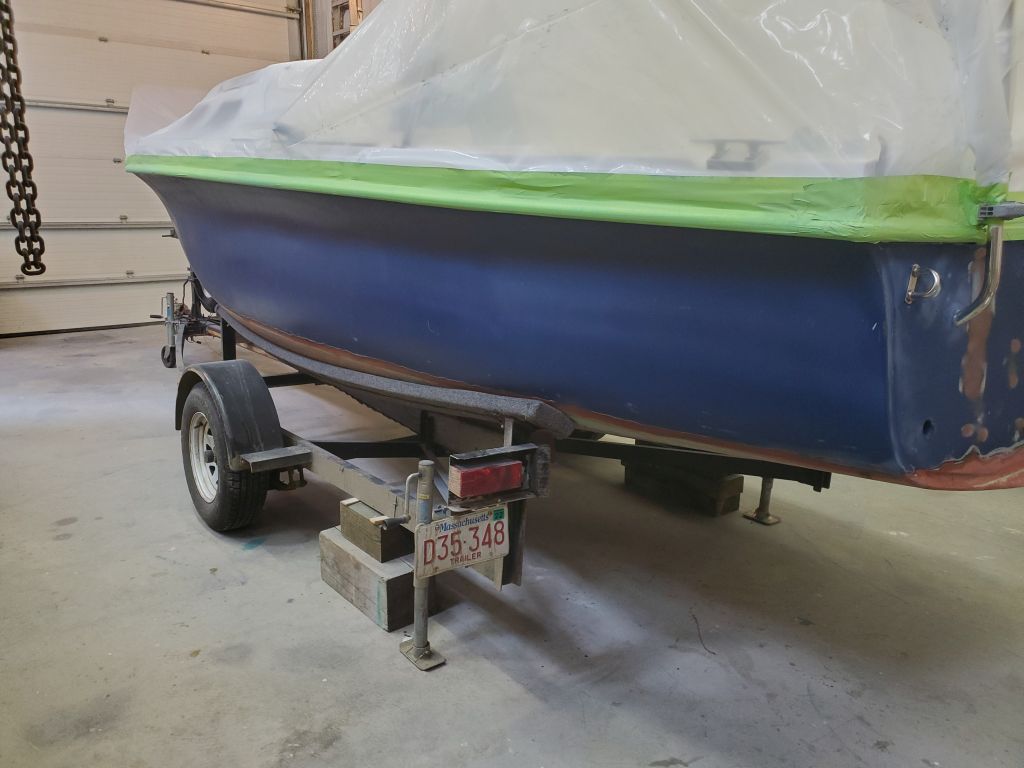
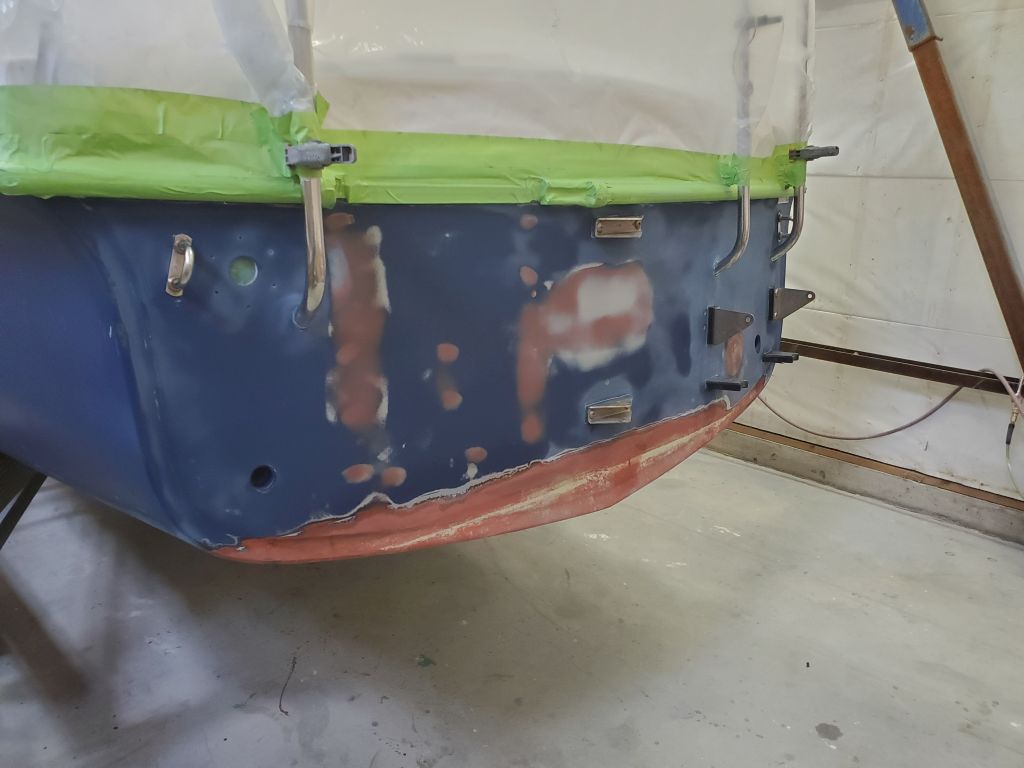
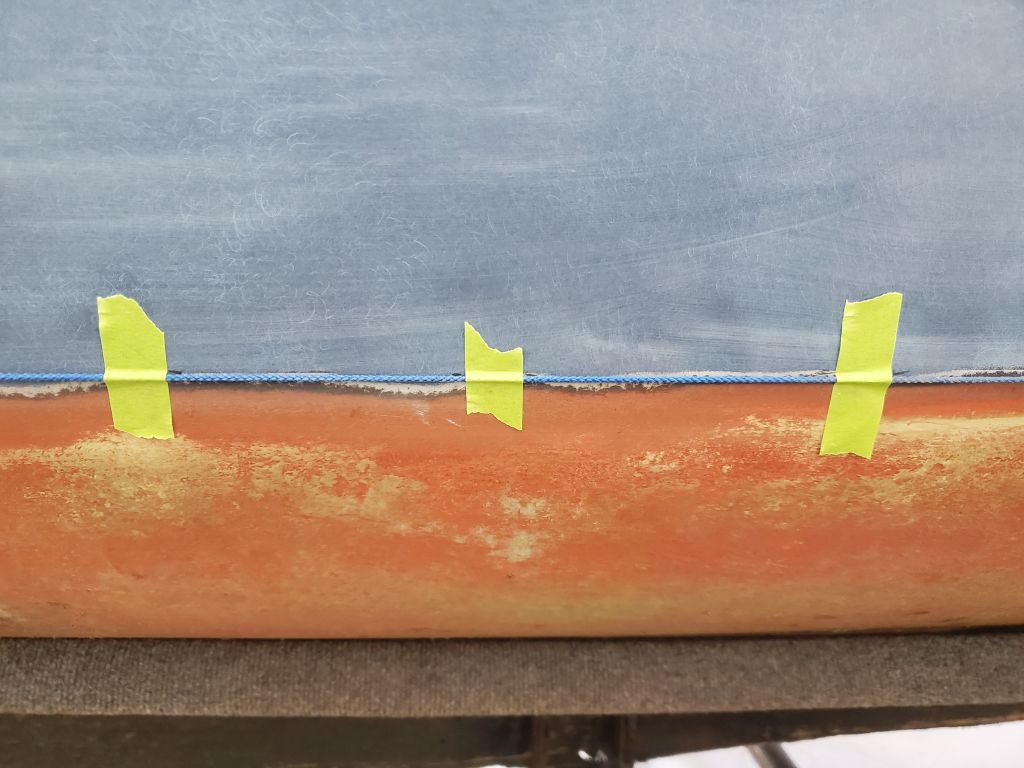
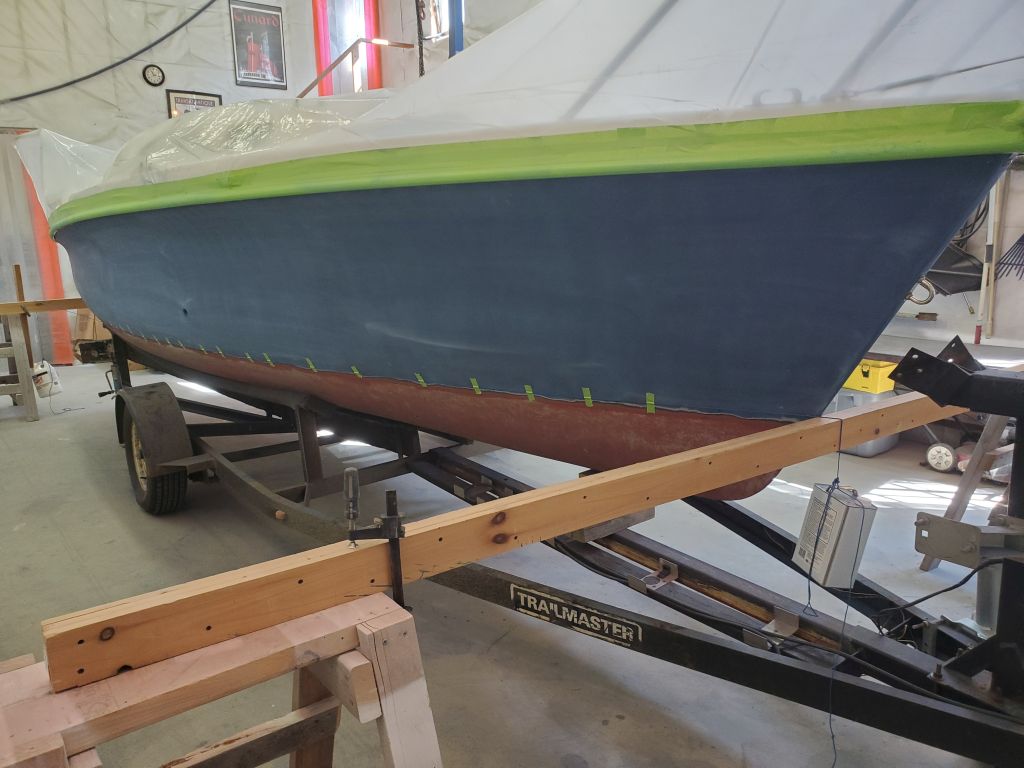
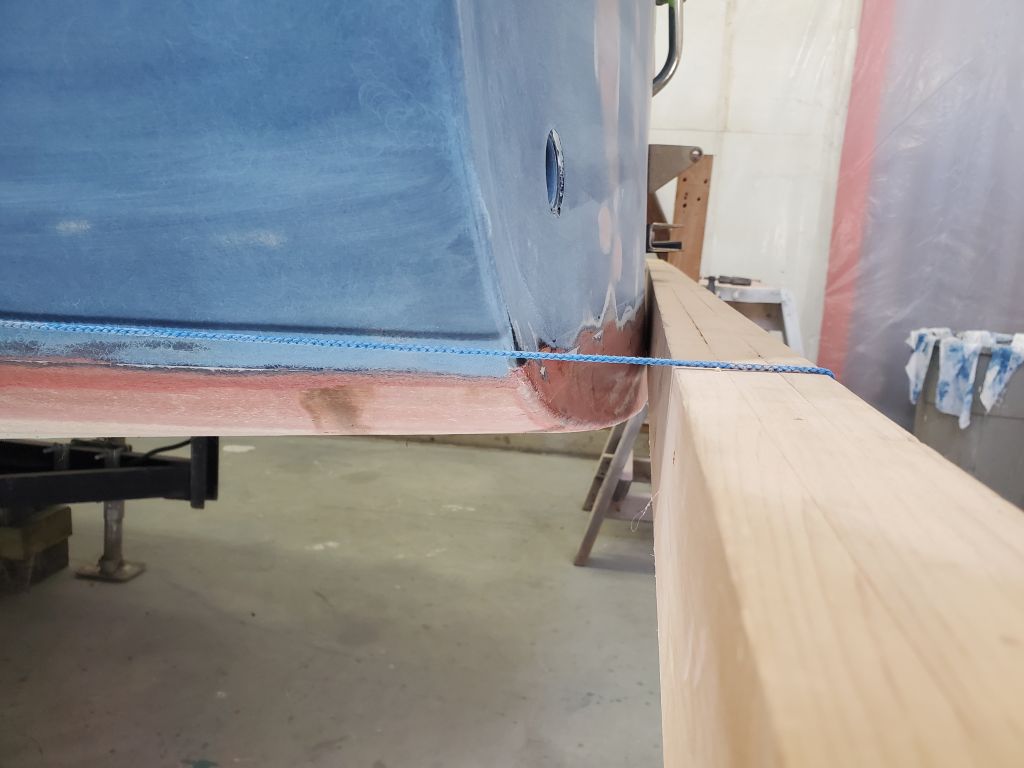
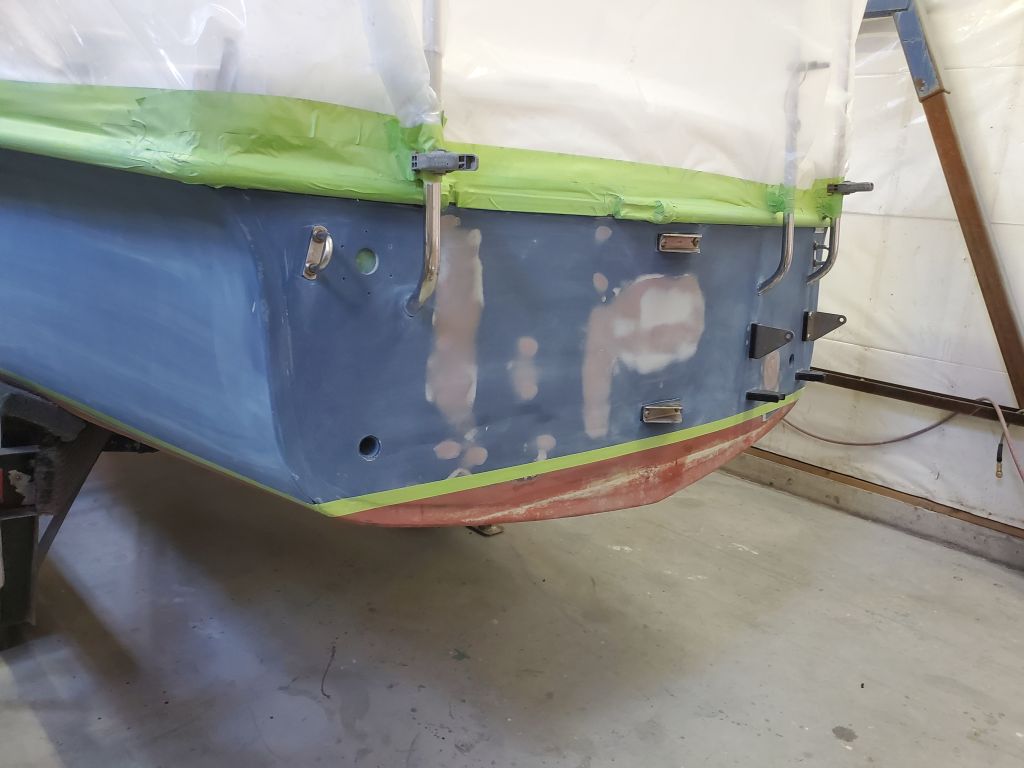
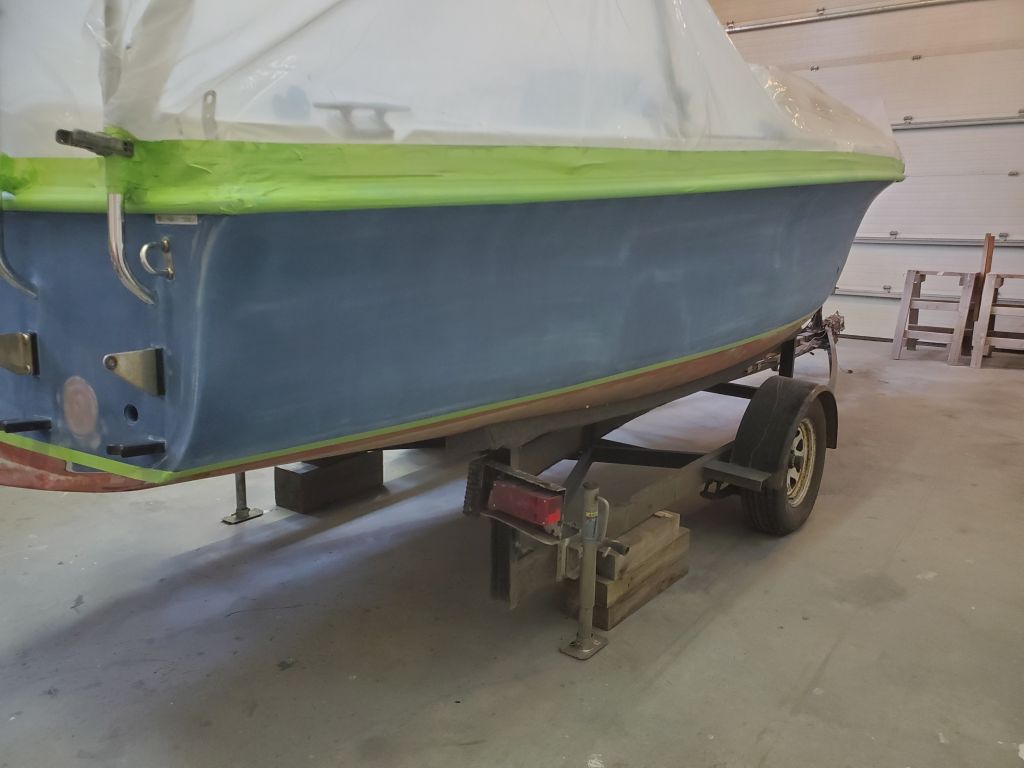
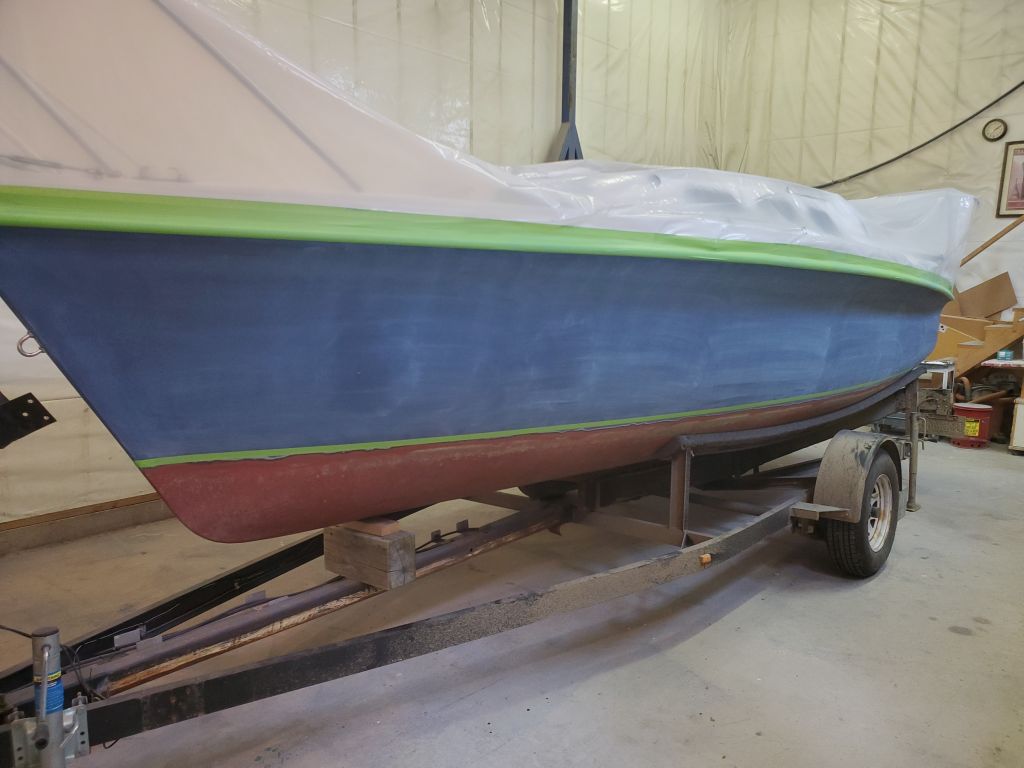
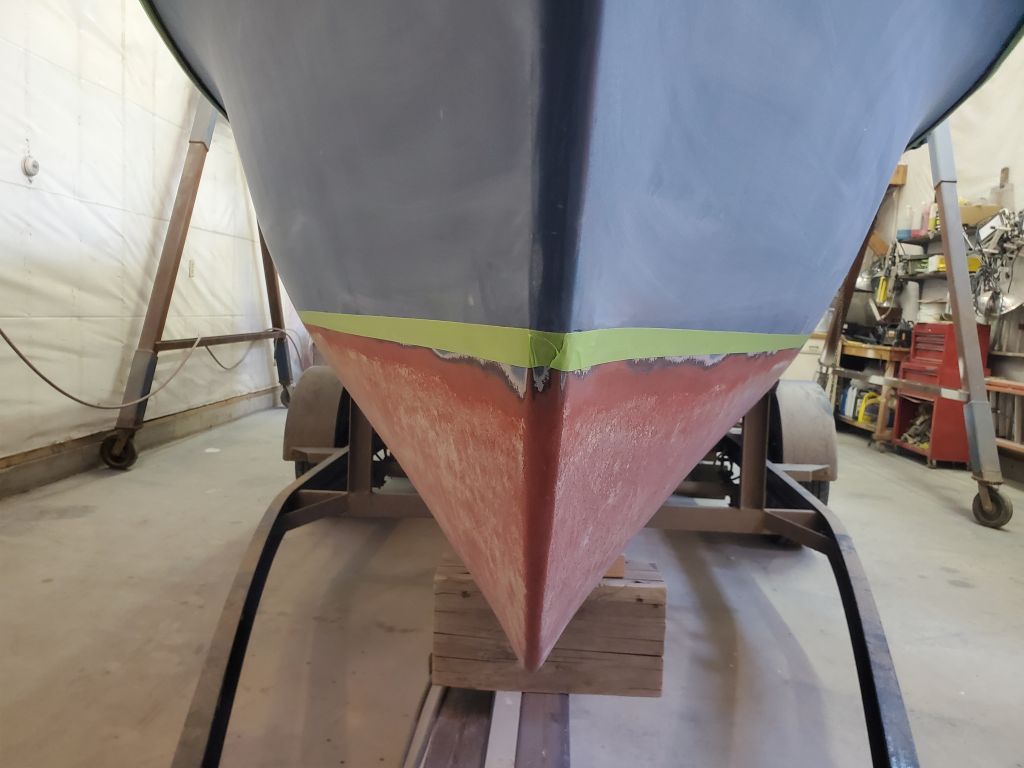
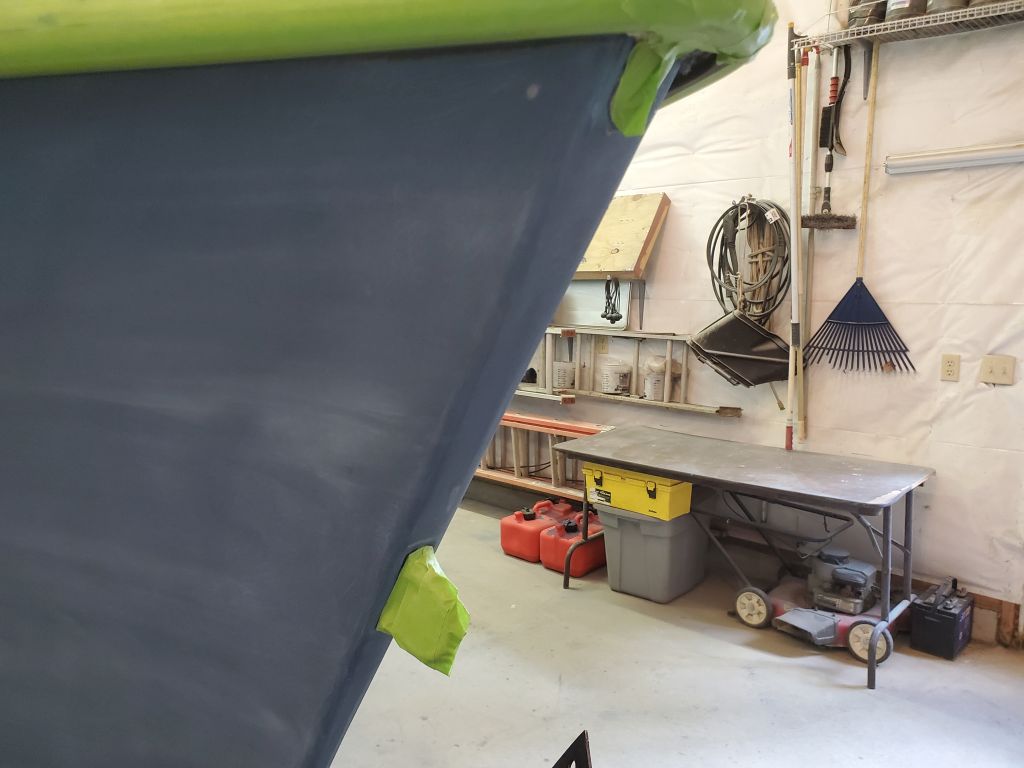
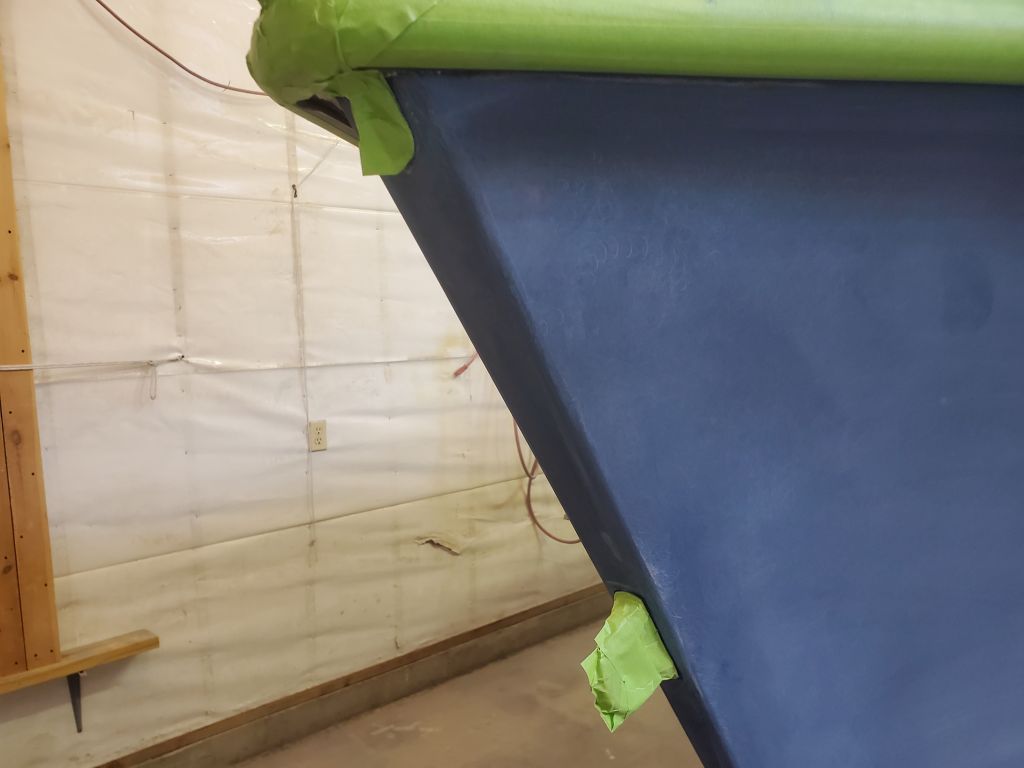
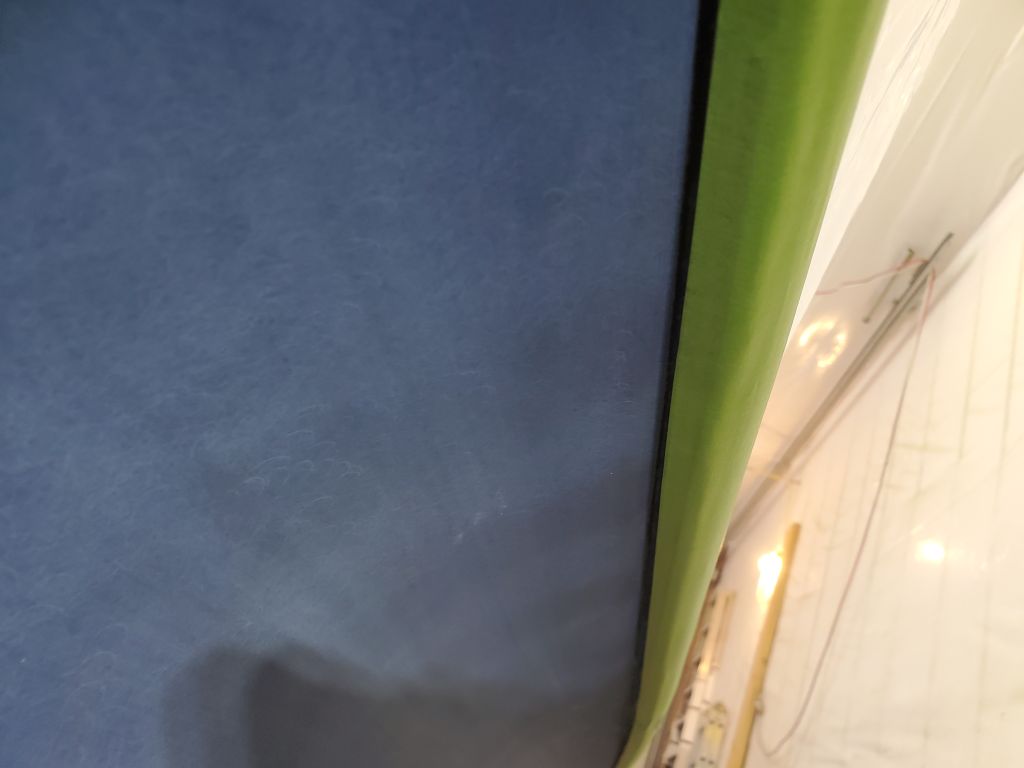
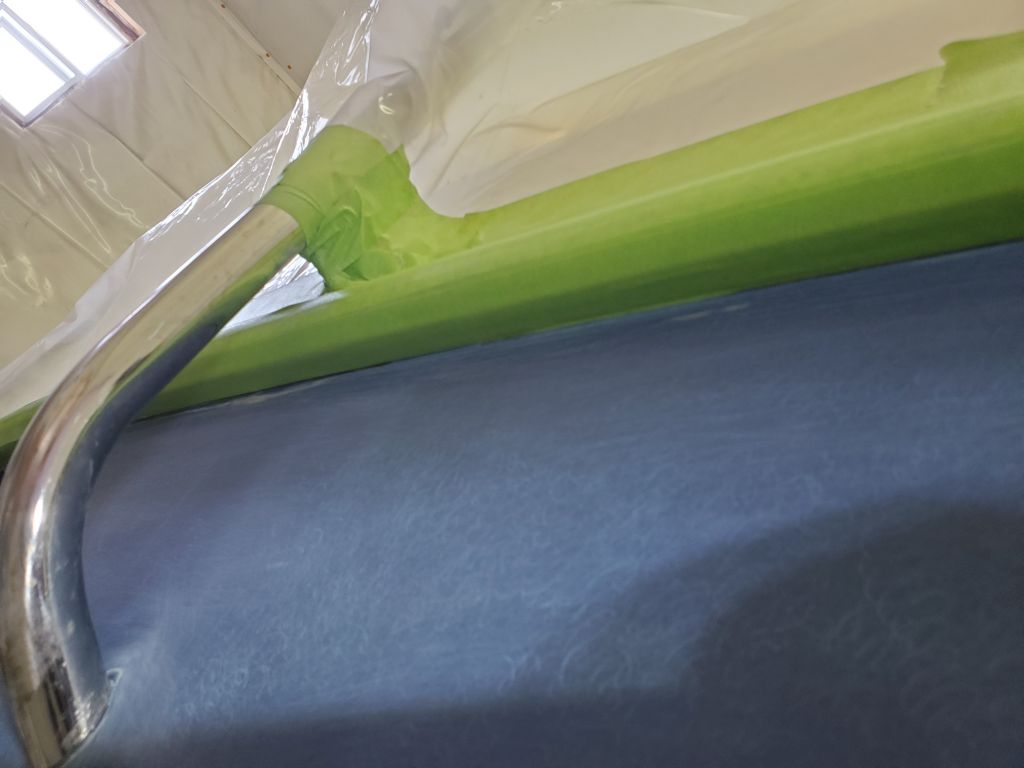
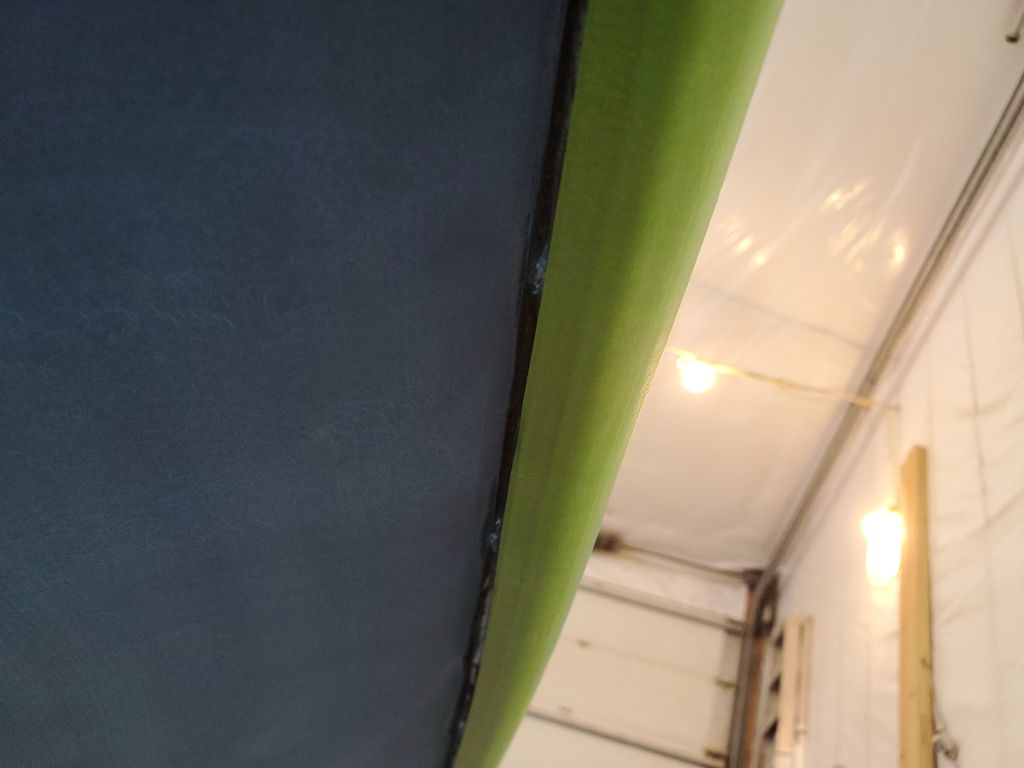
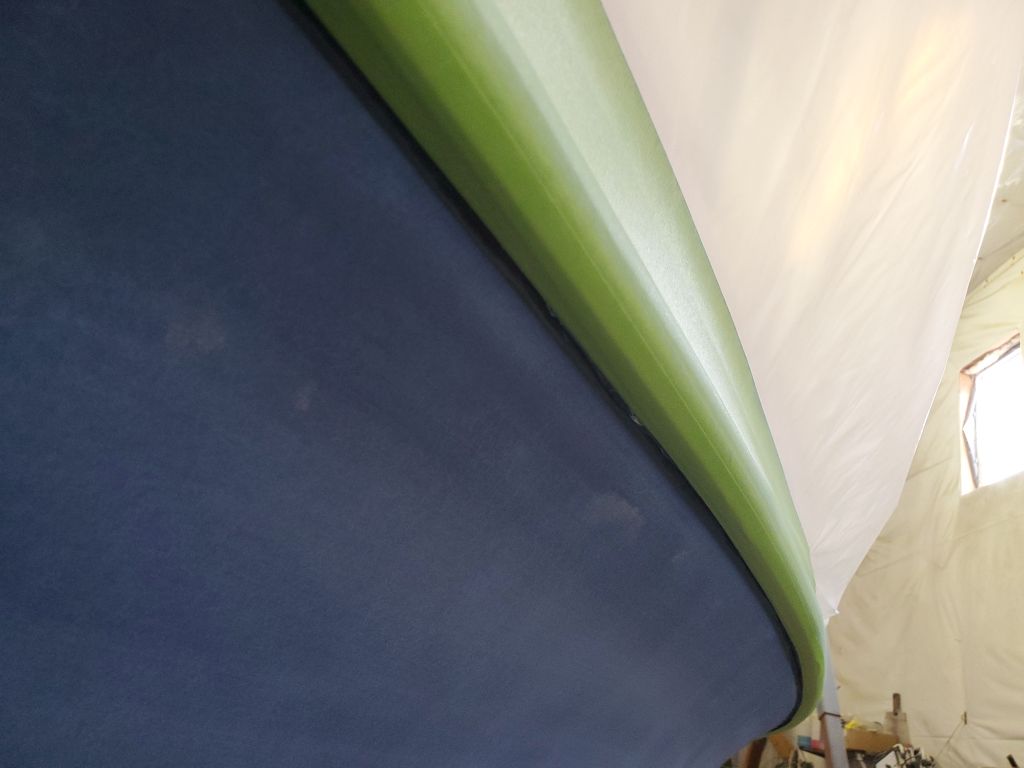
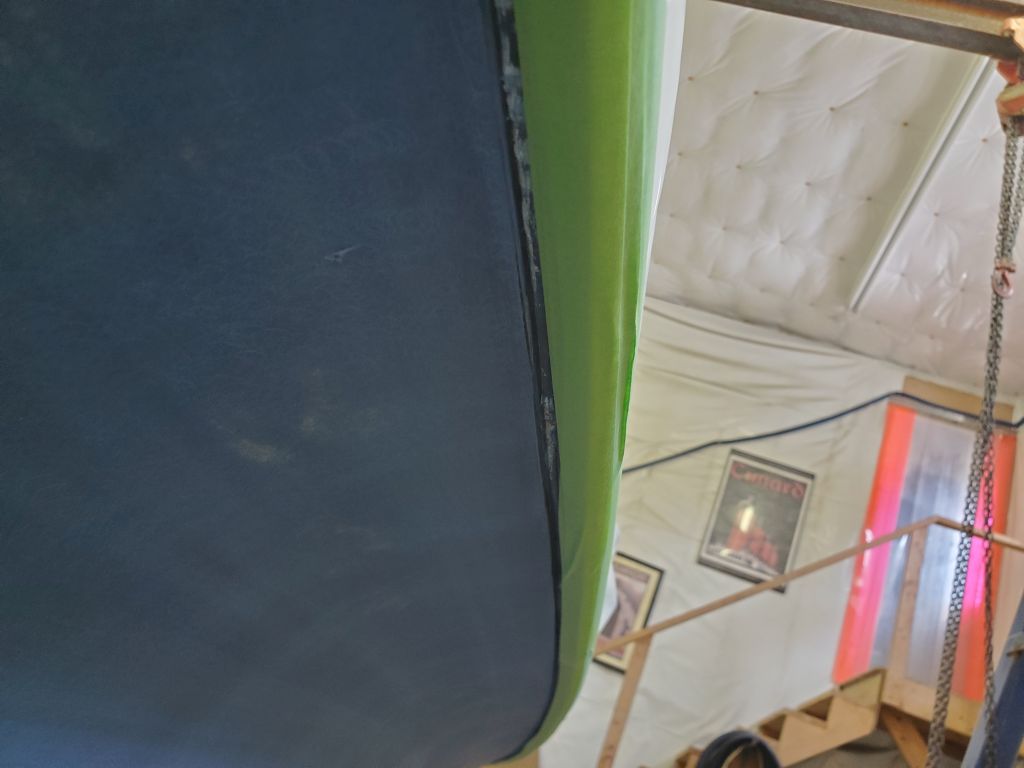
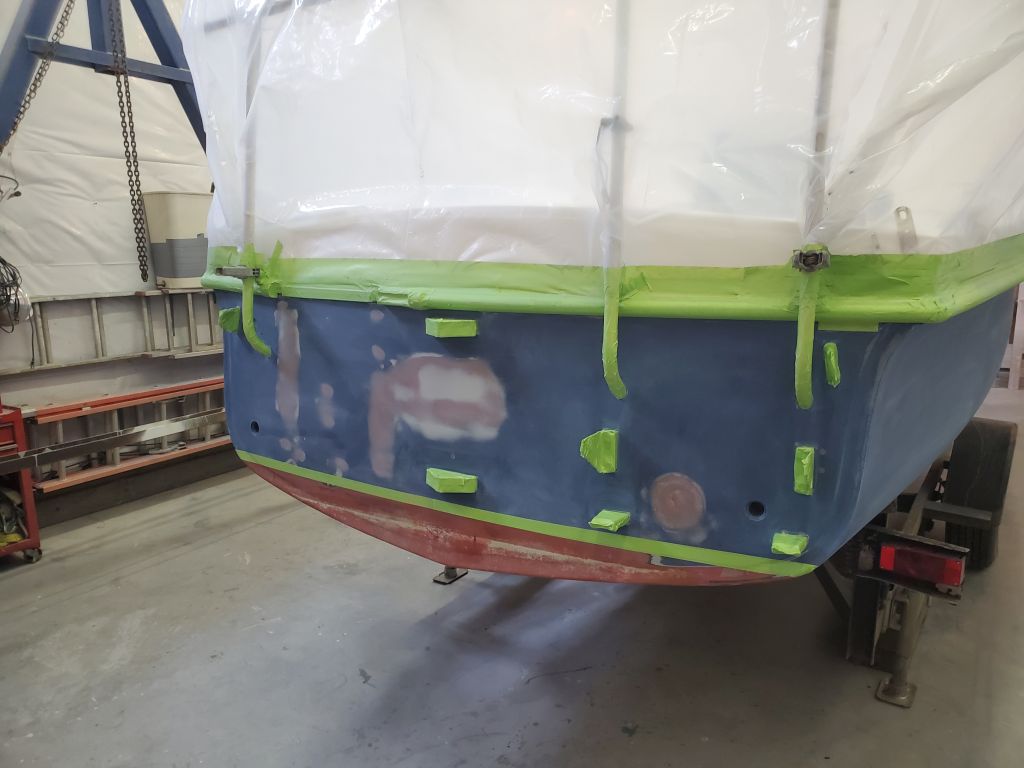
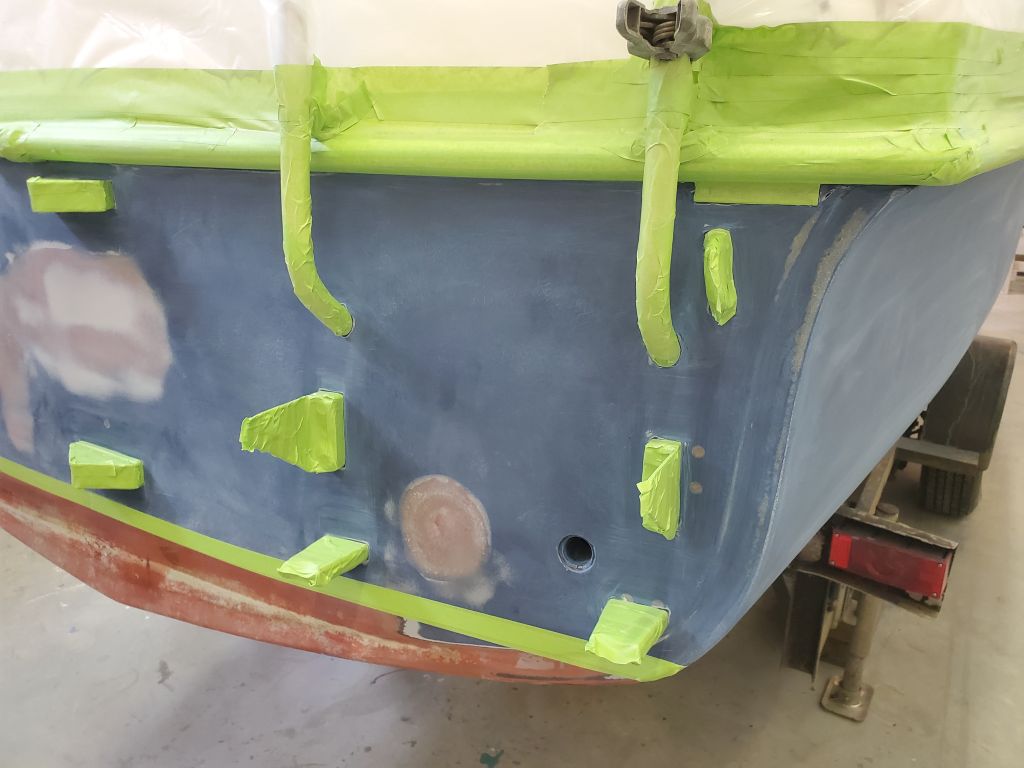
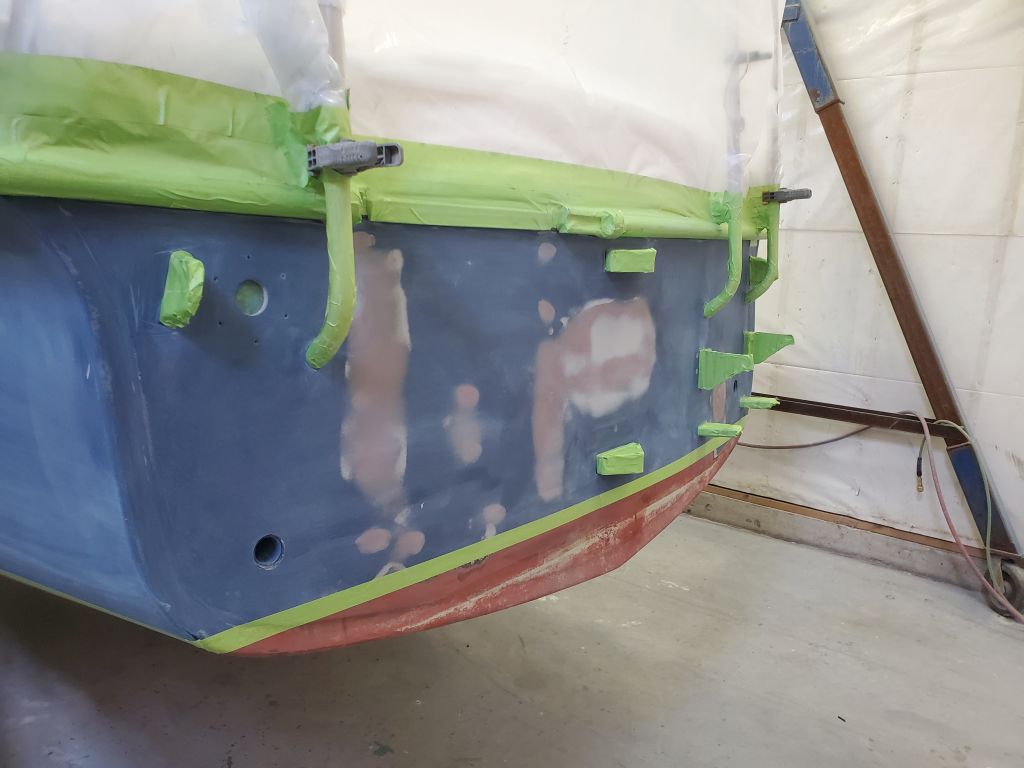
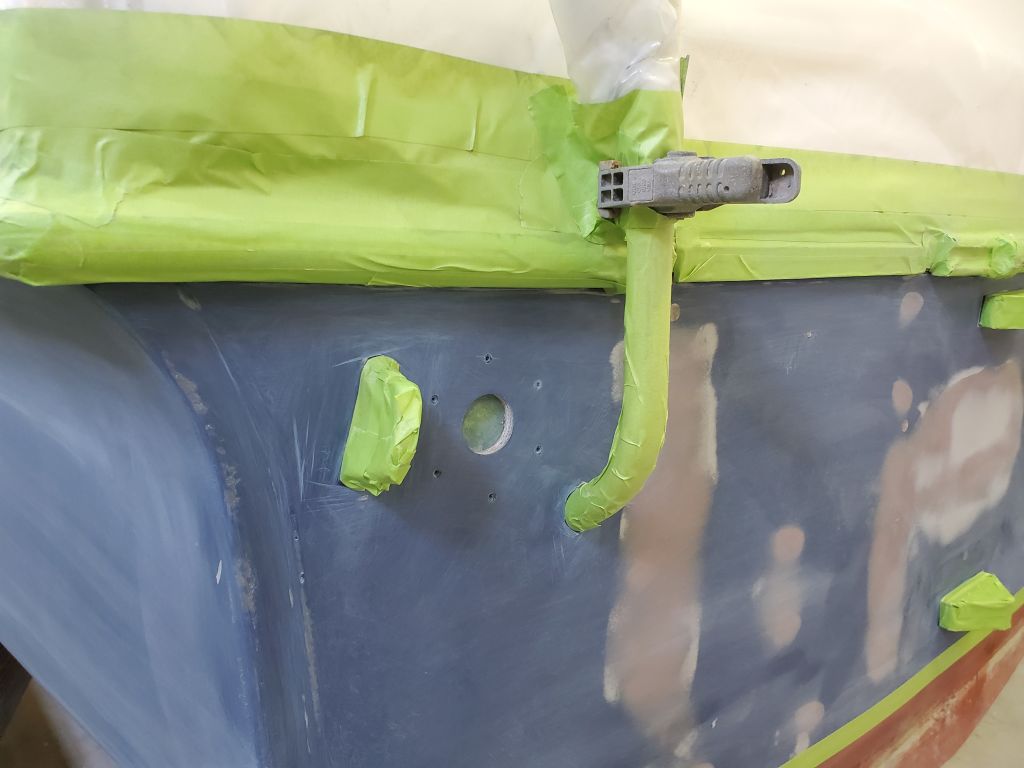
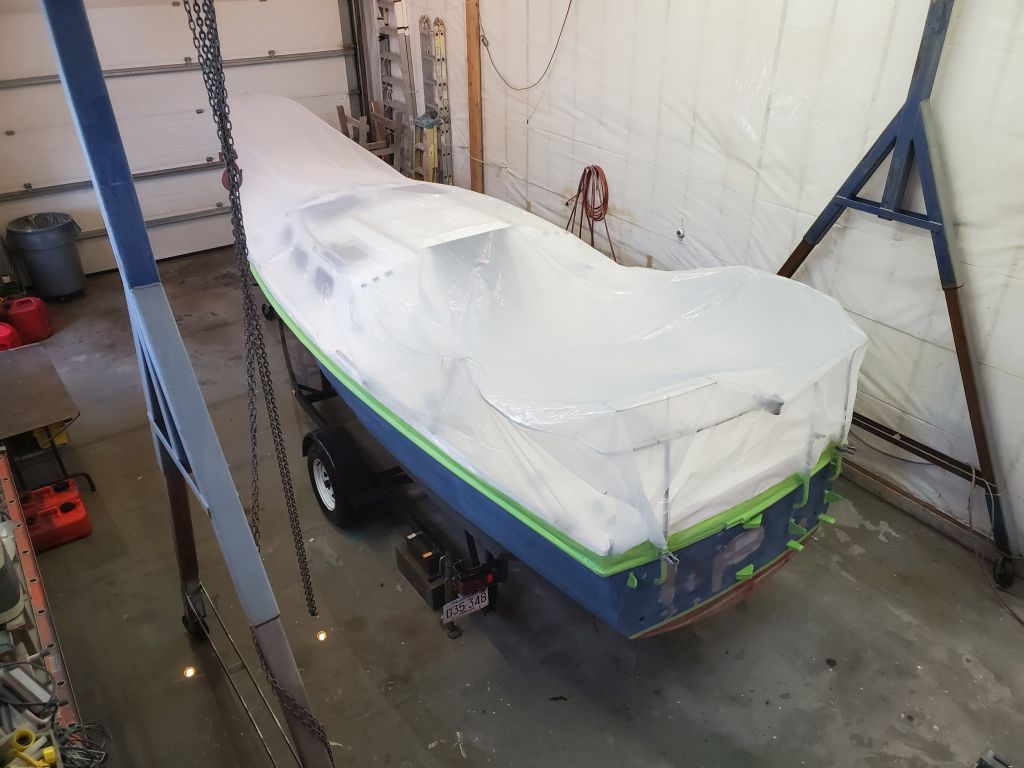
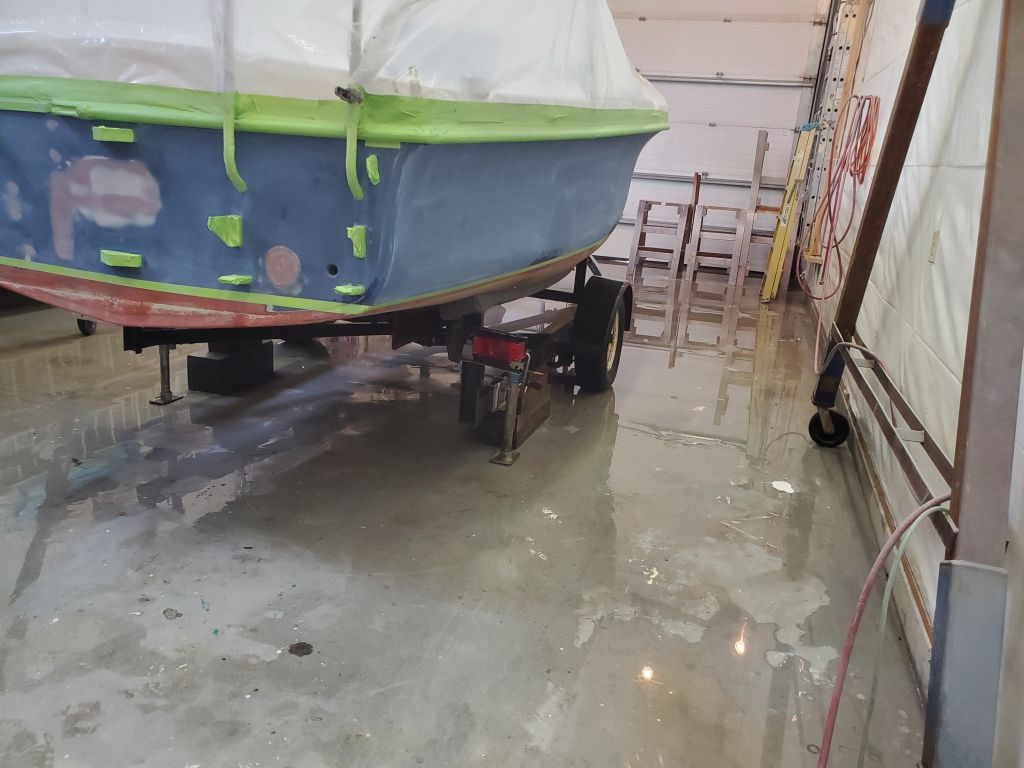
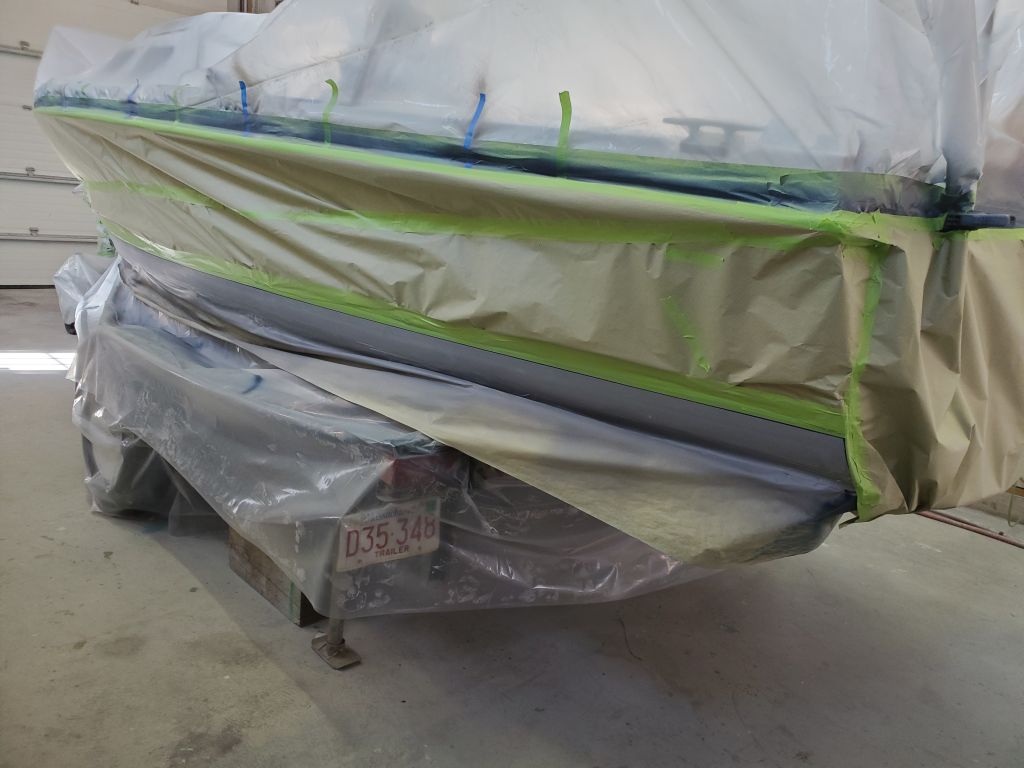
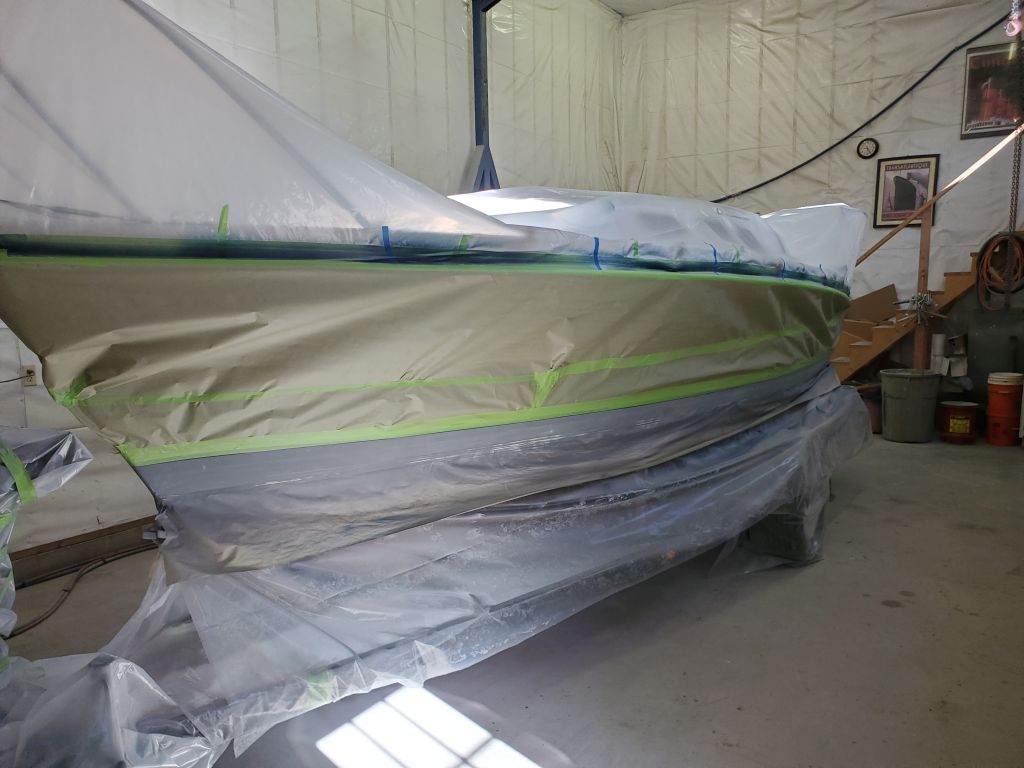
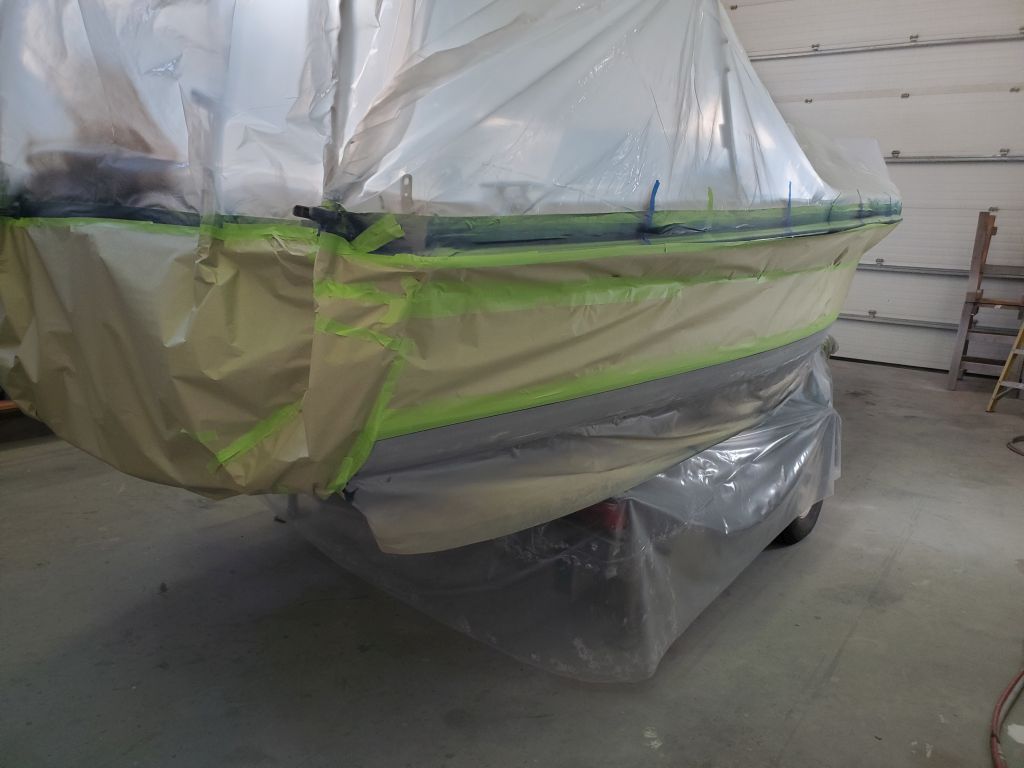
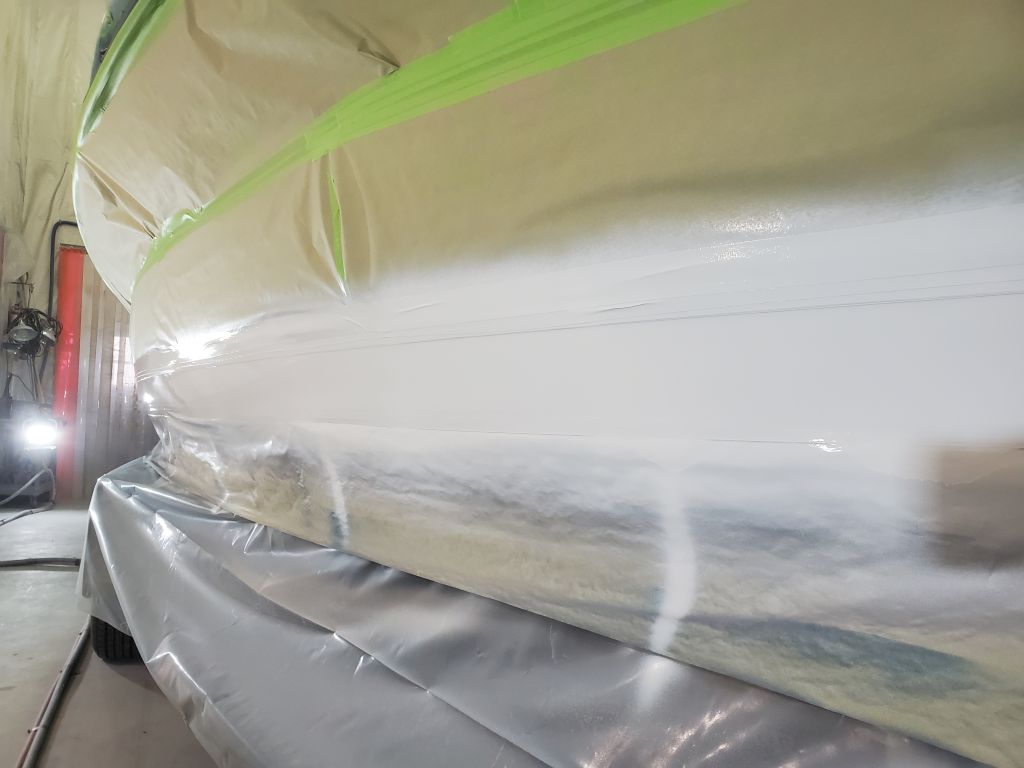
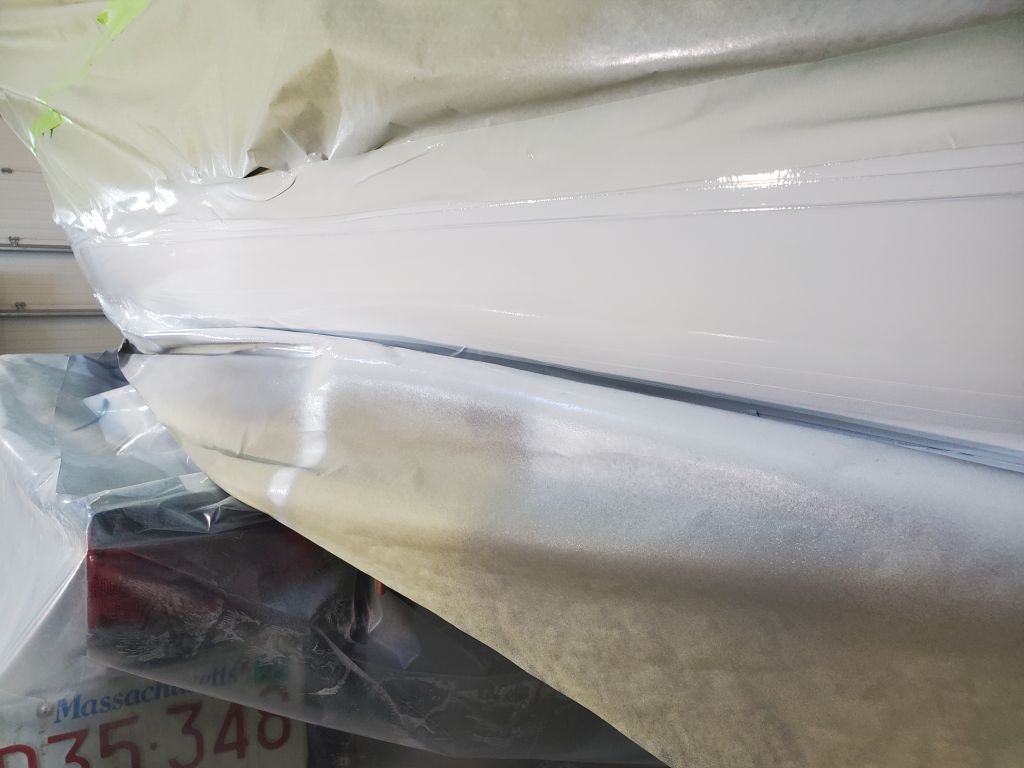
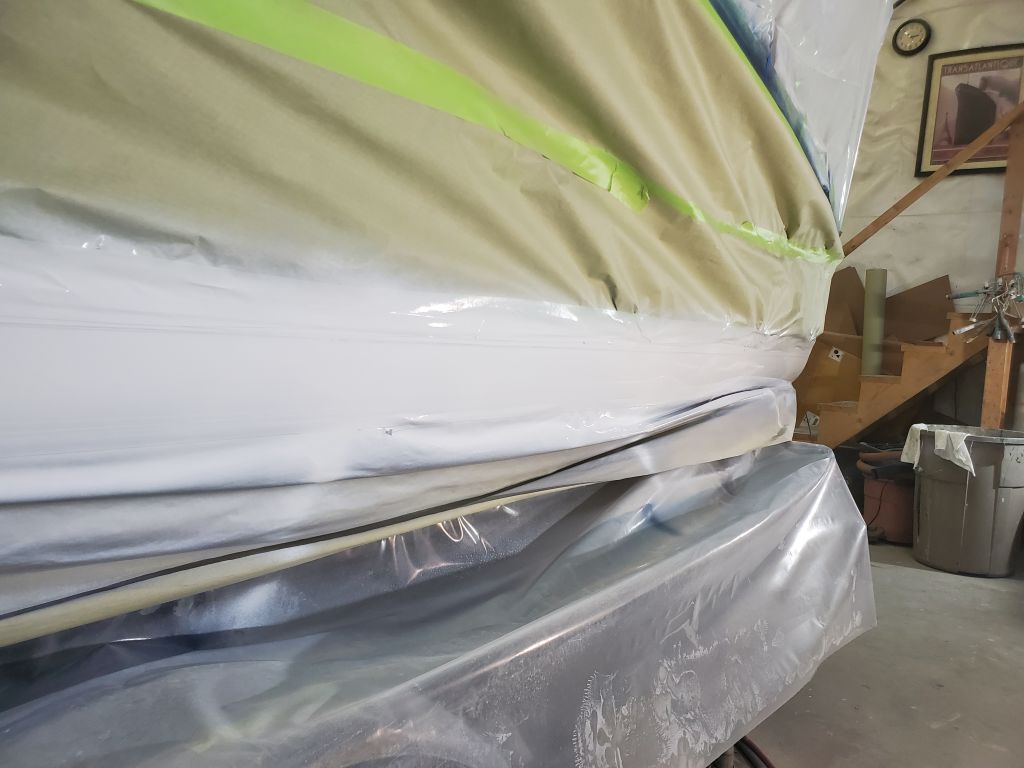
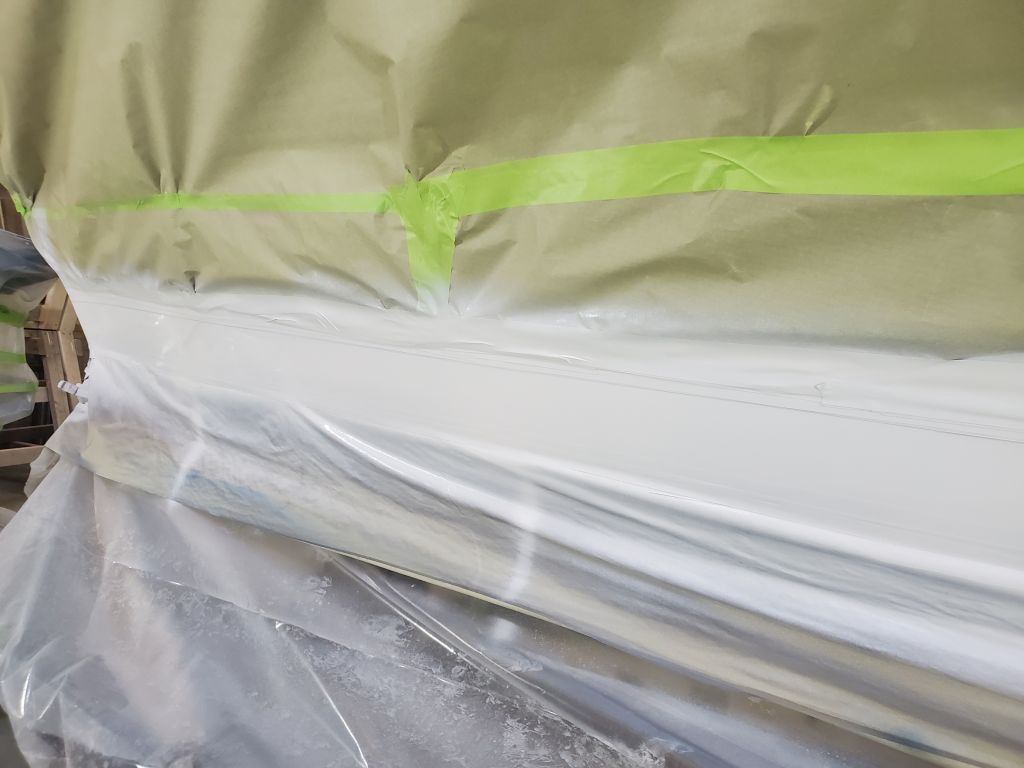
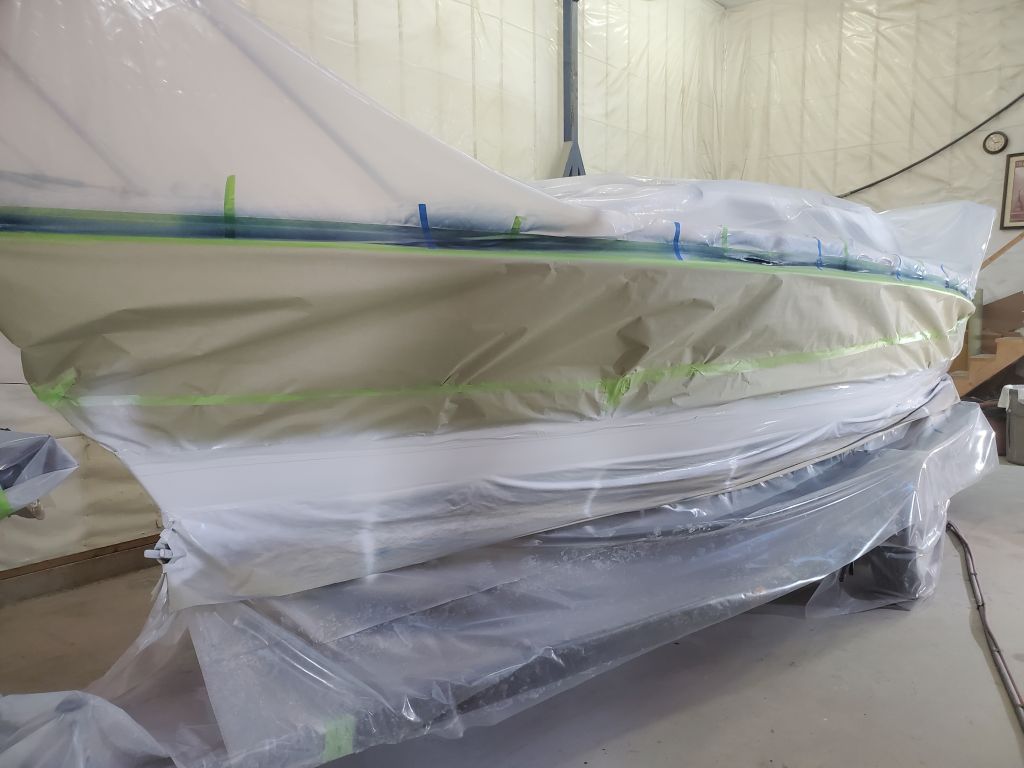
Now that the hull paint had had sufficient cure time, I could begin the final prep for the boottop, starting with a layer of vinyl fine-line tape at the top edge of the stripe, which I then covered with a layer of regular masking tape.
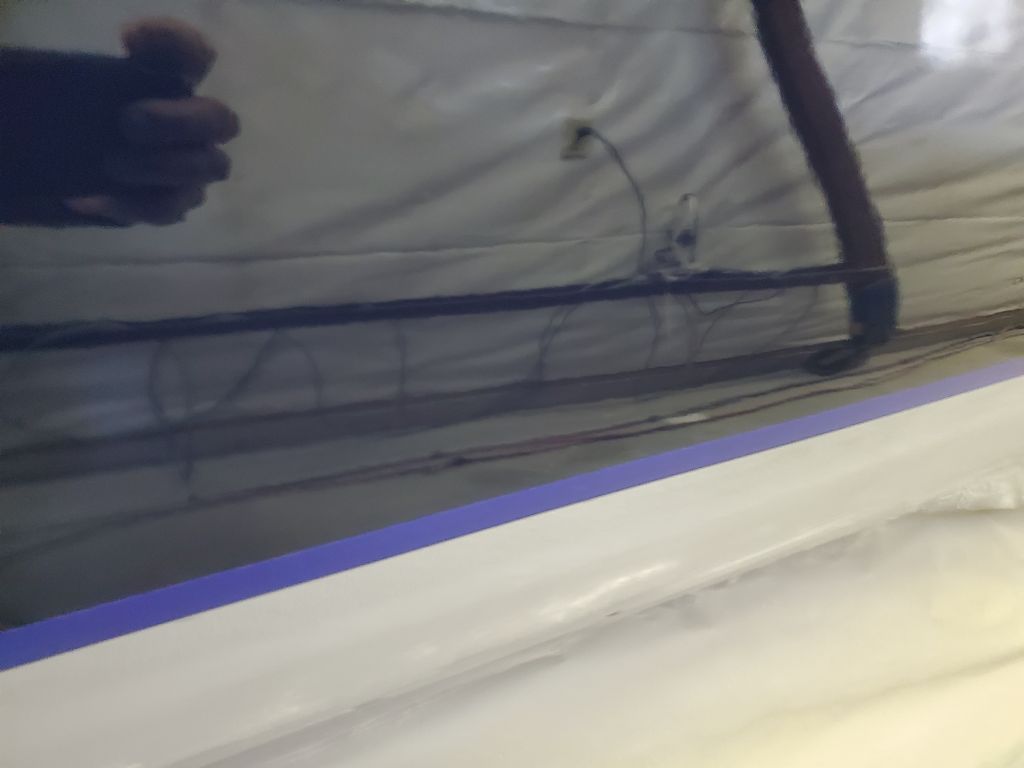

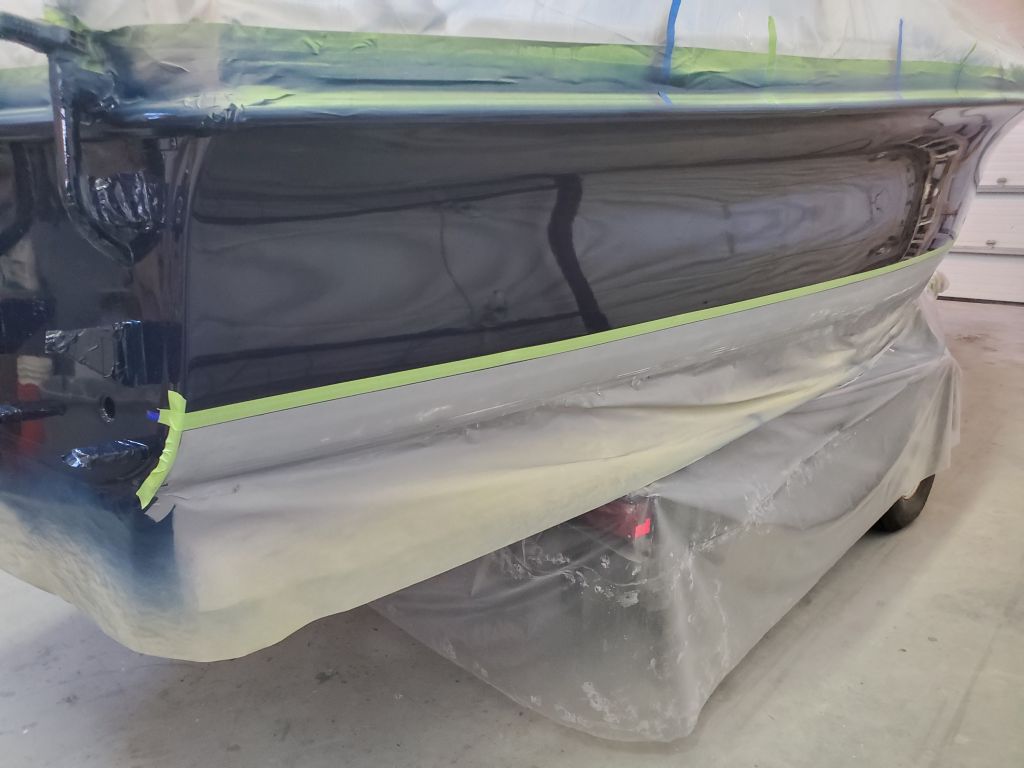
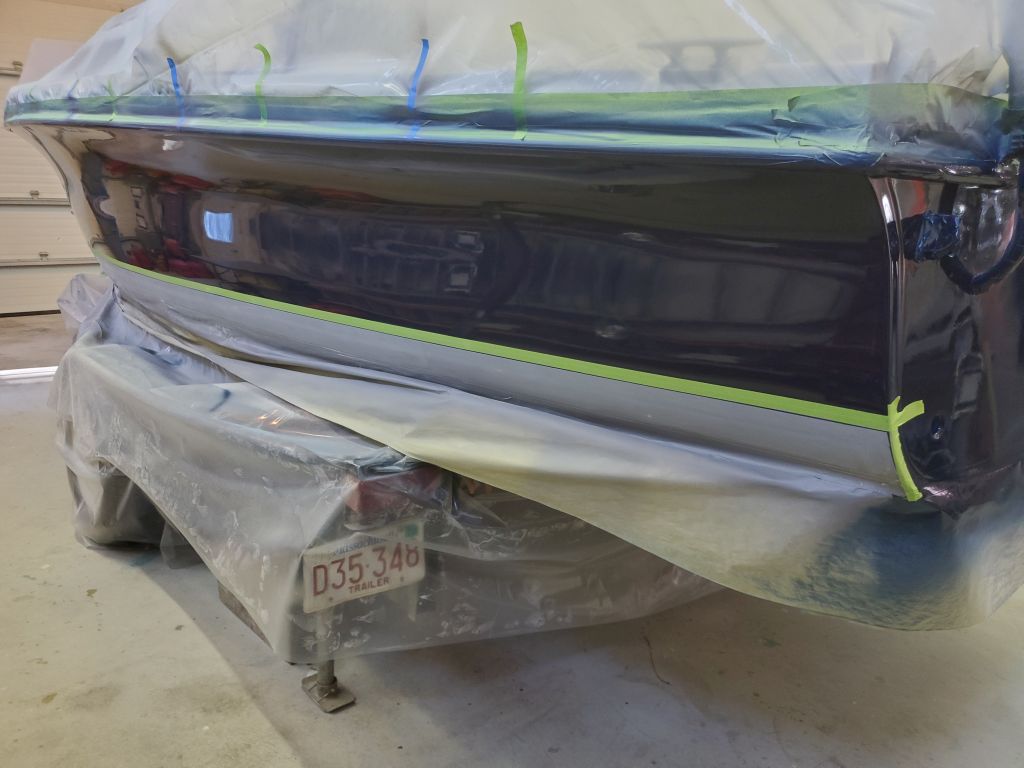
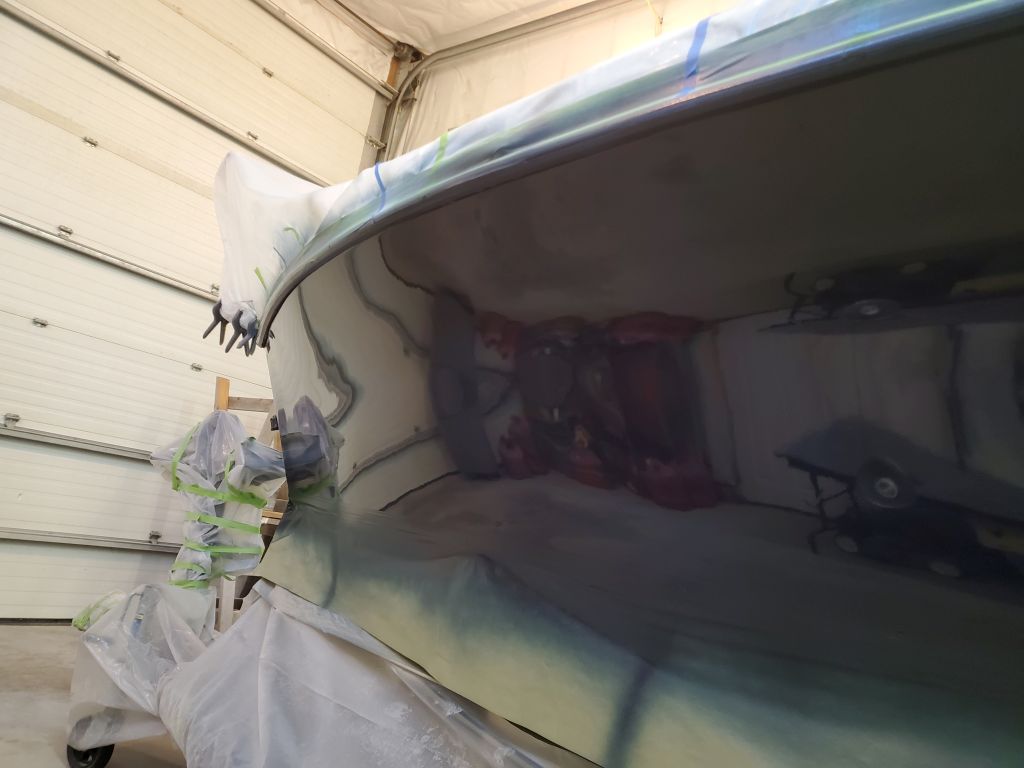
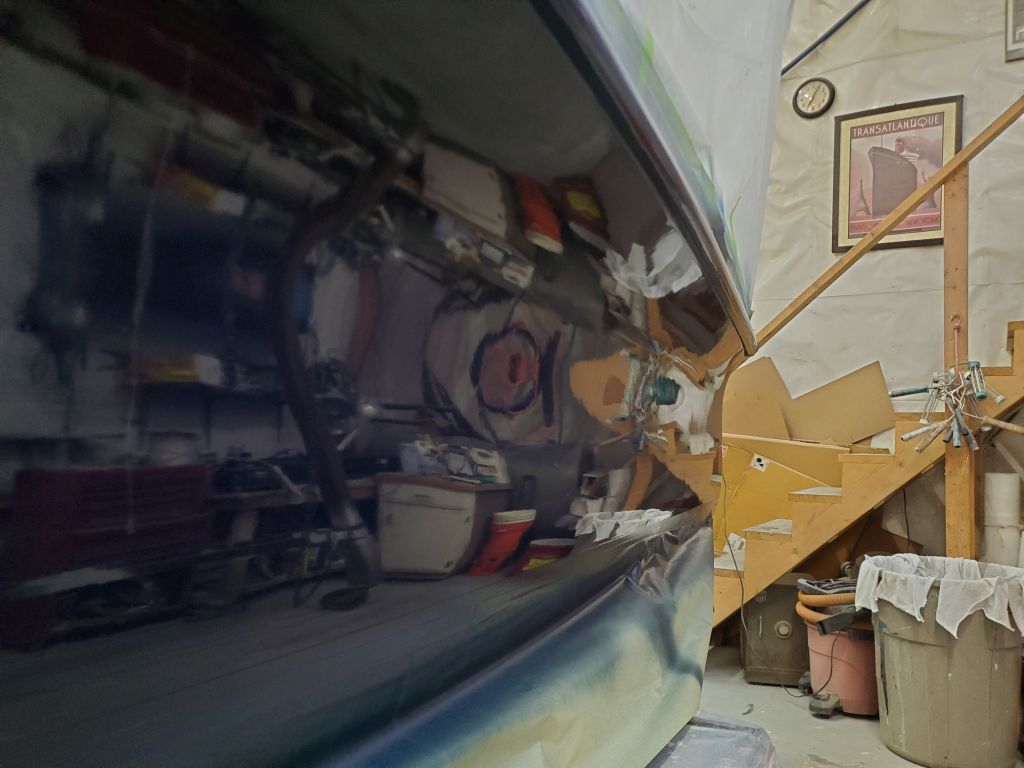
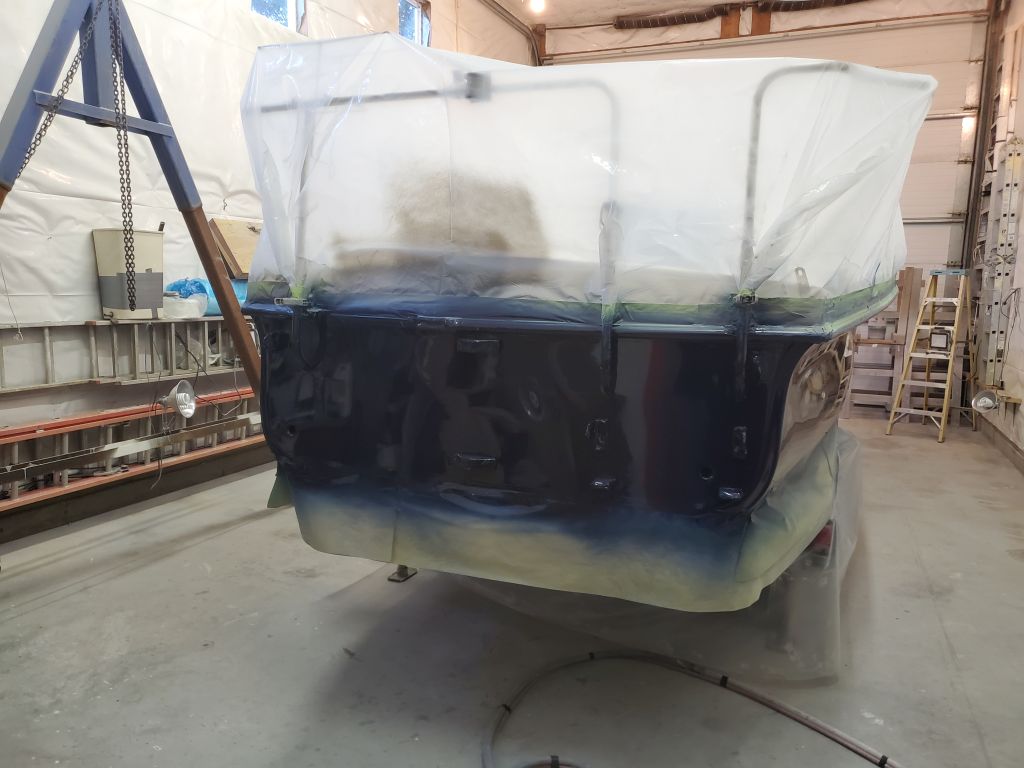
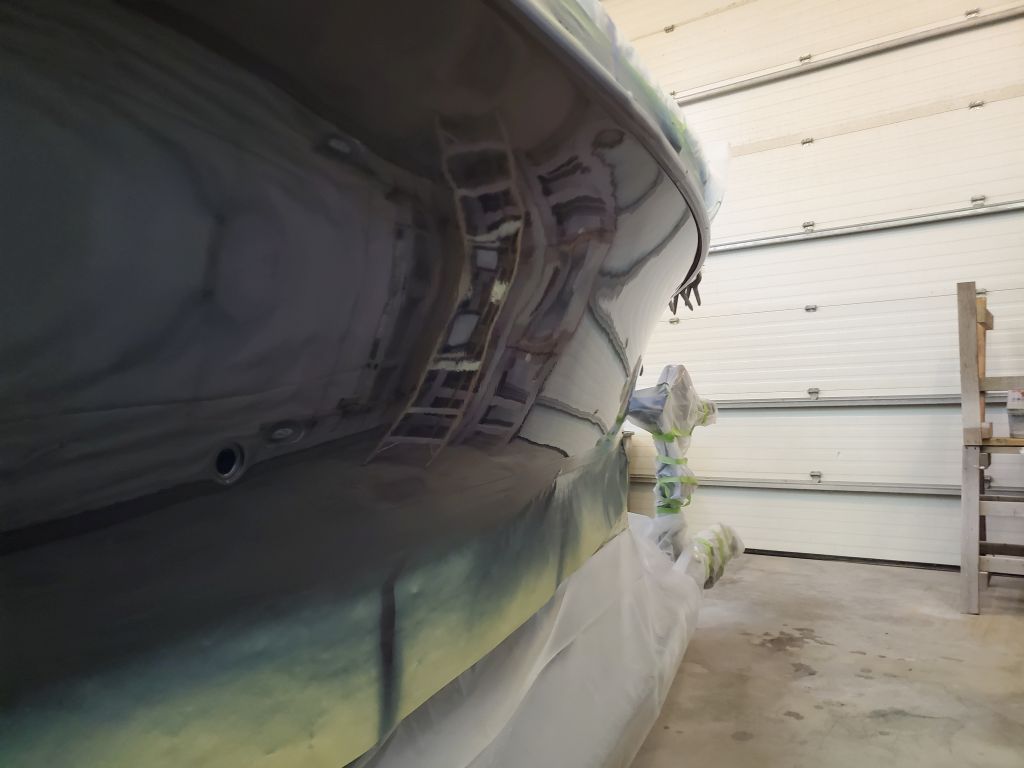
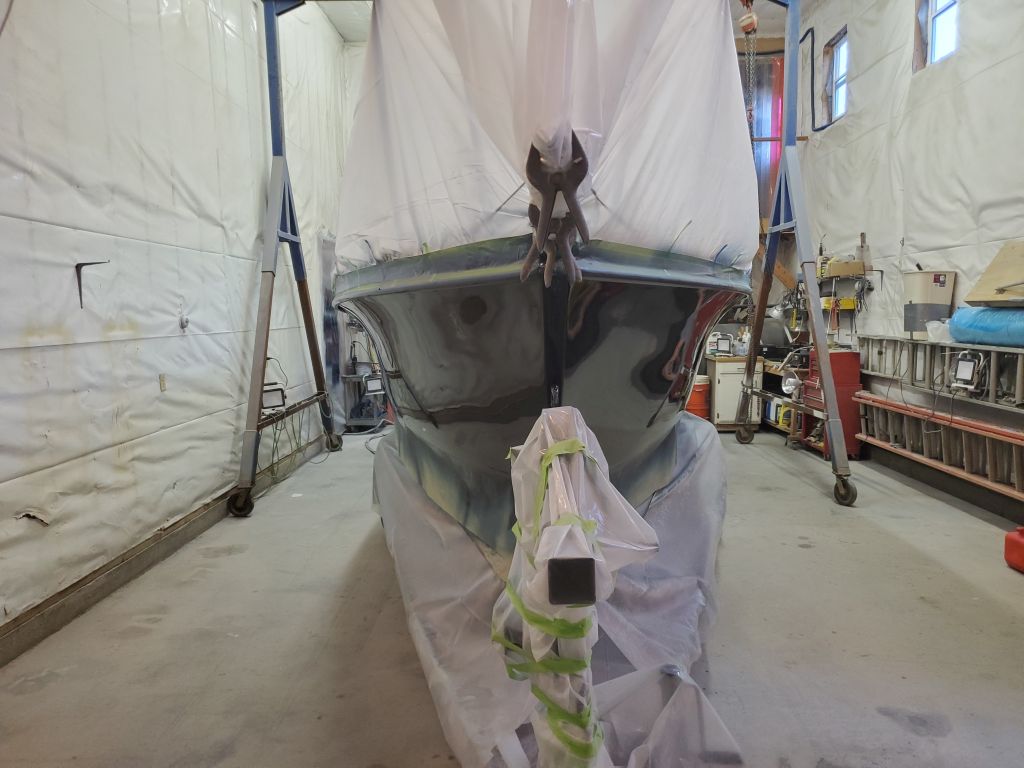
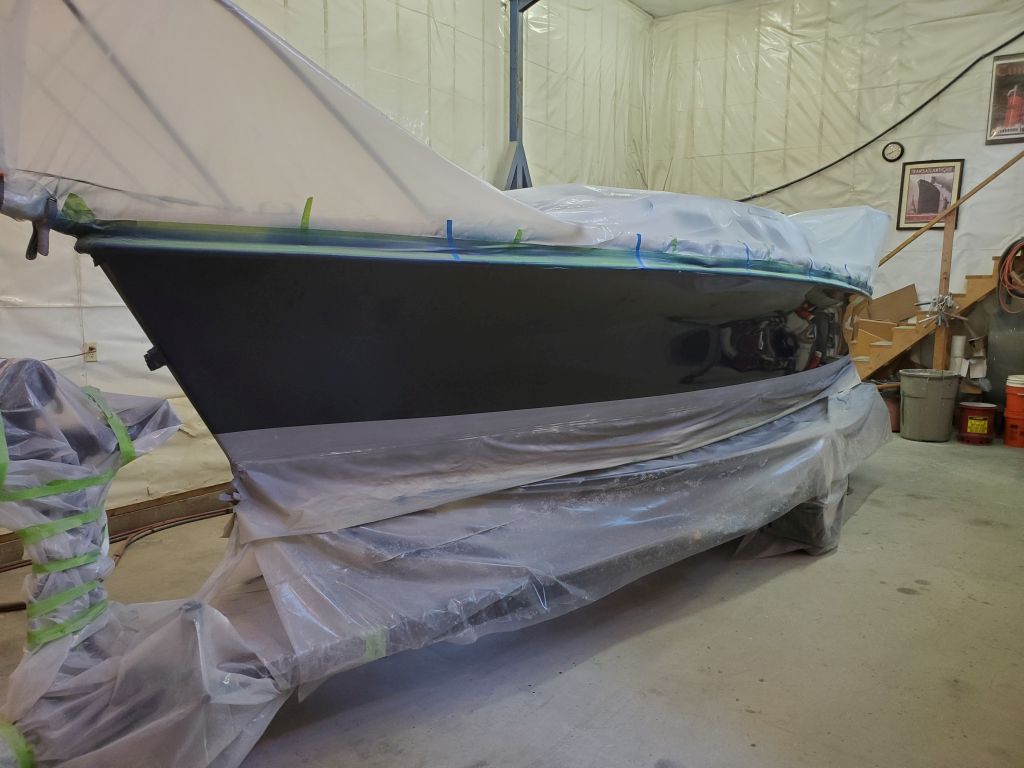
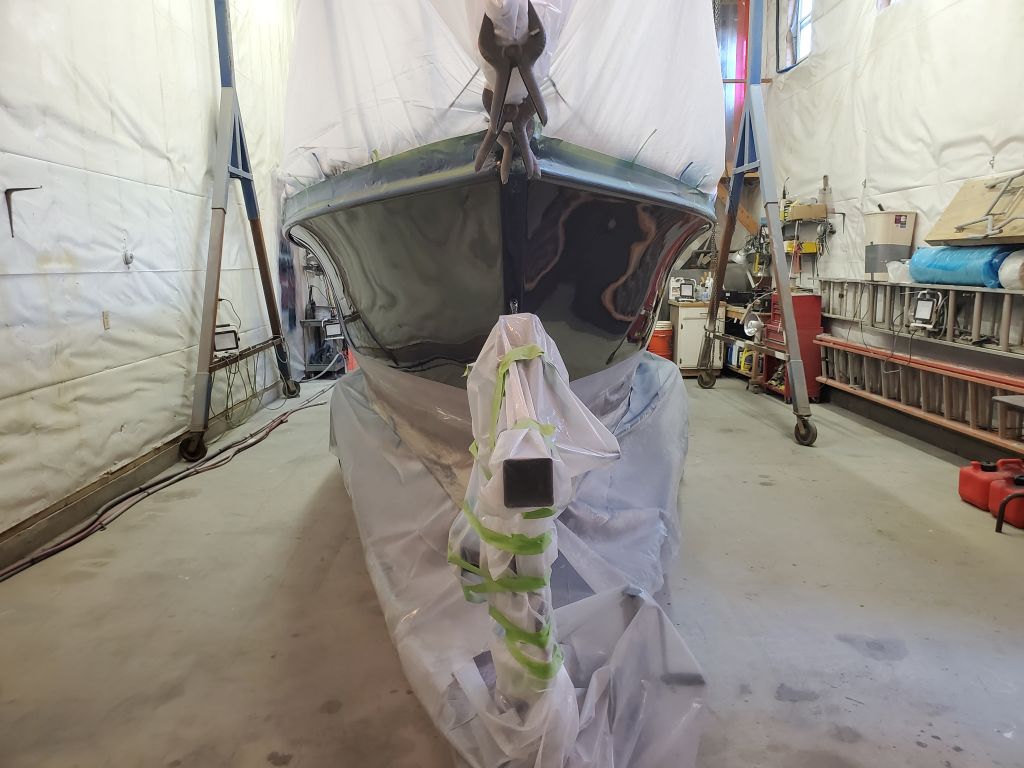
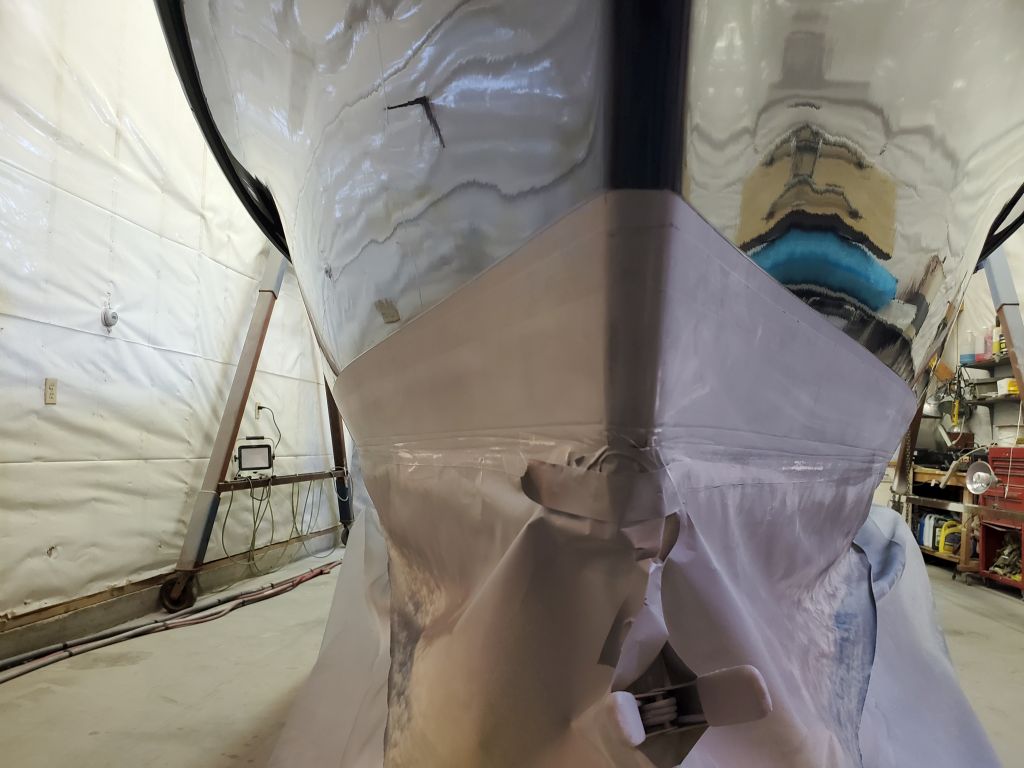
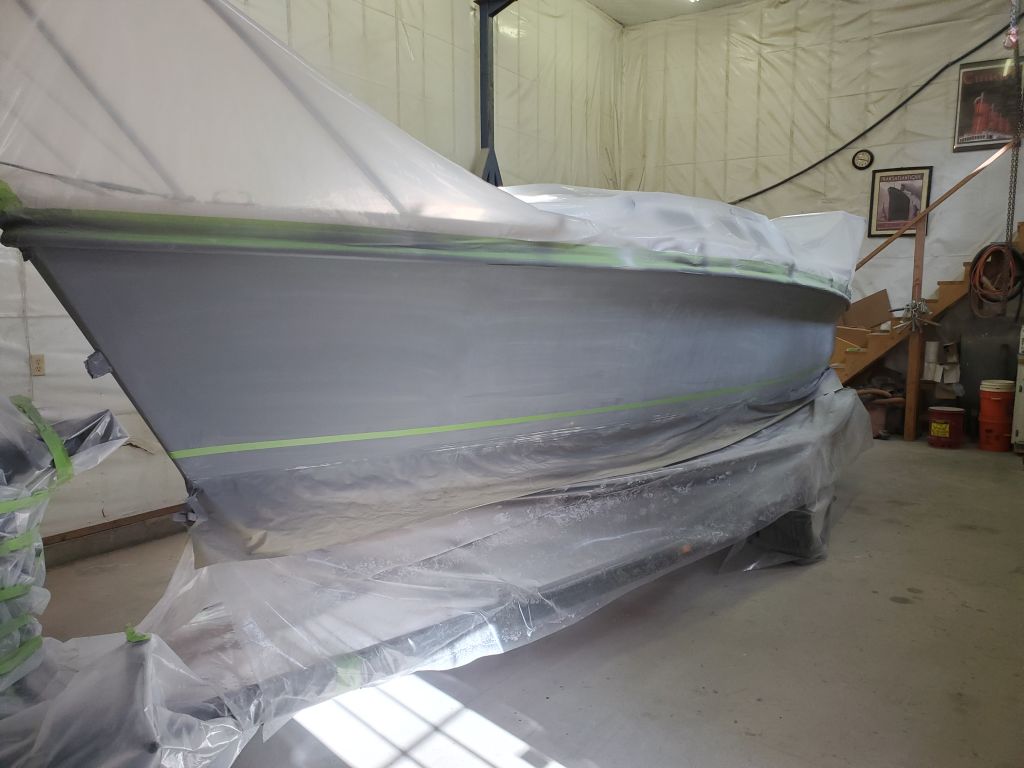
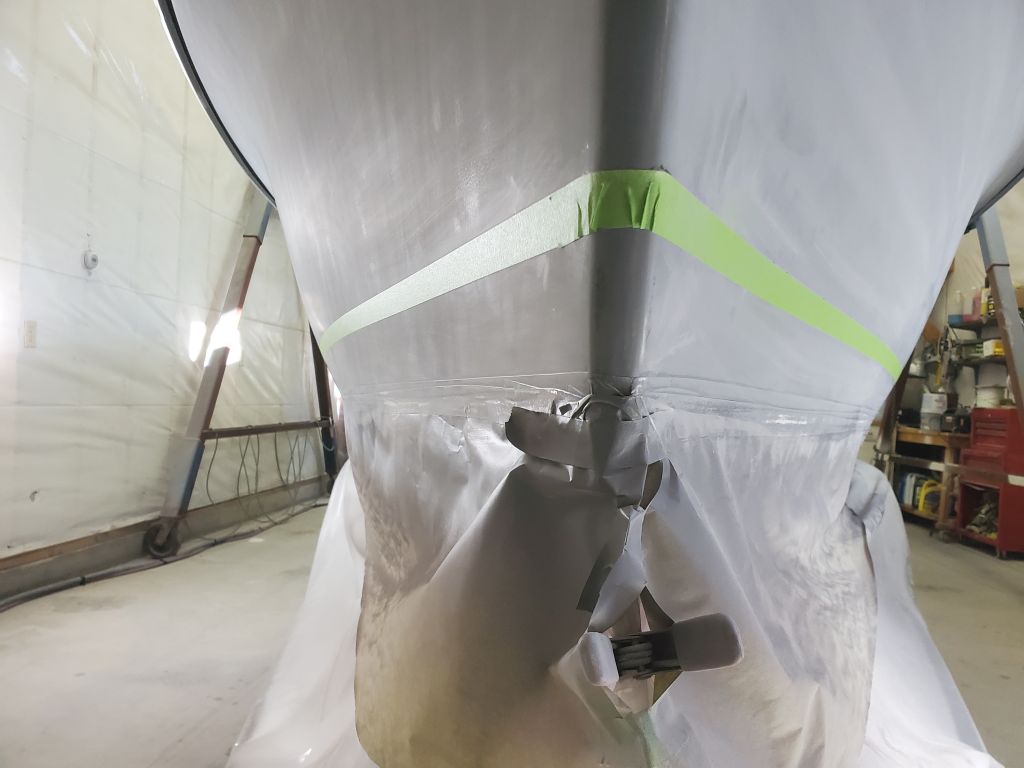
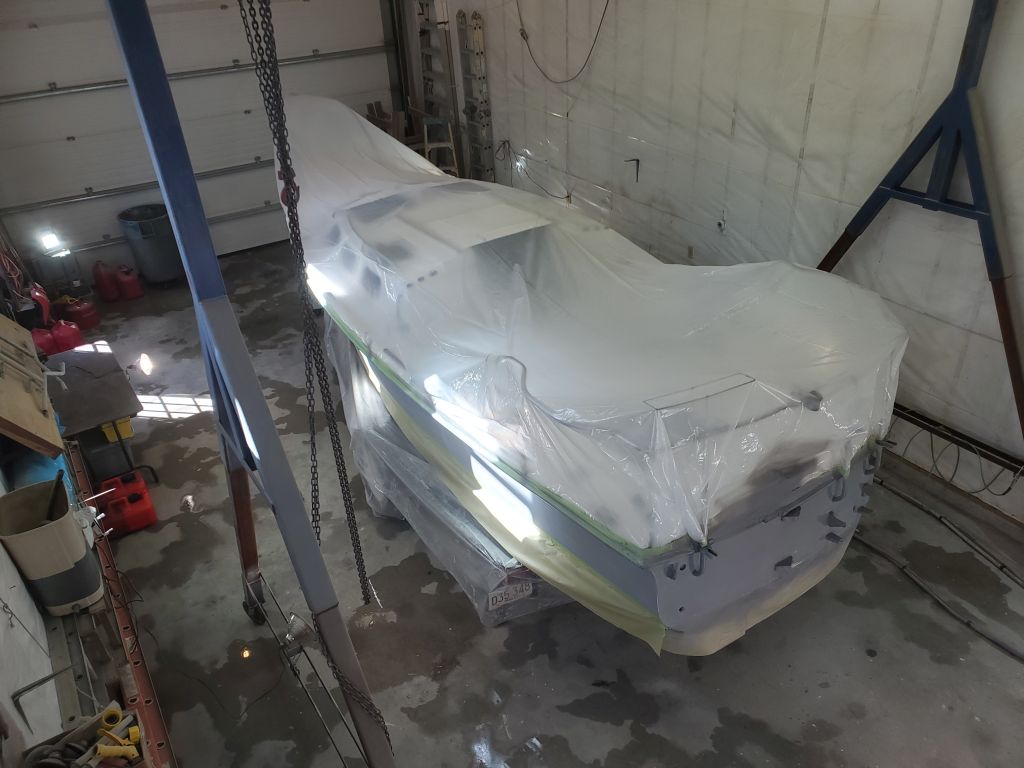
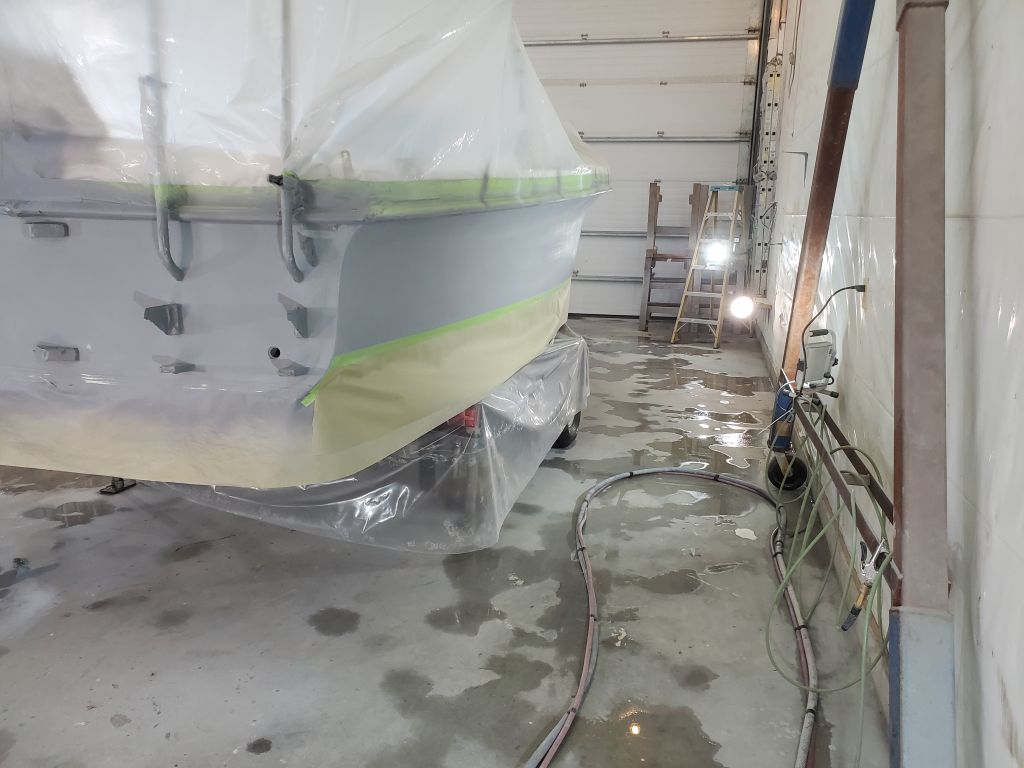
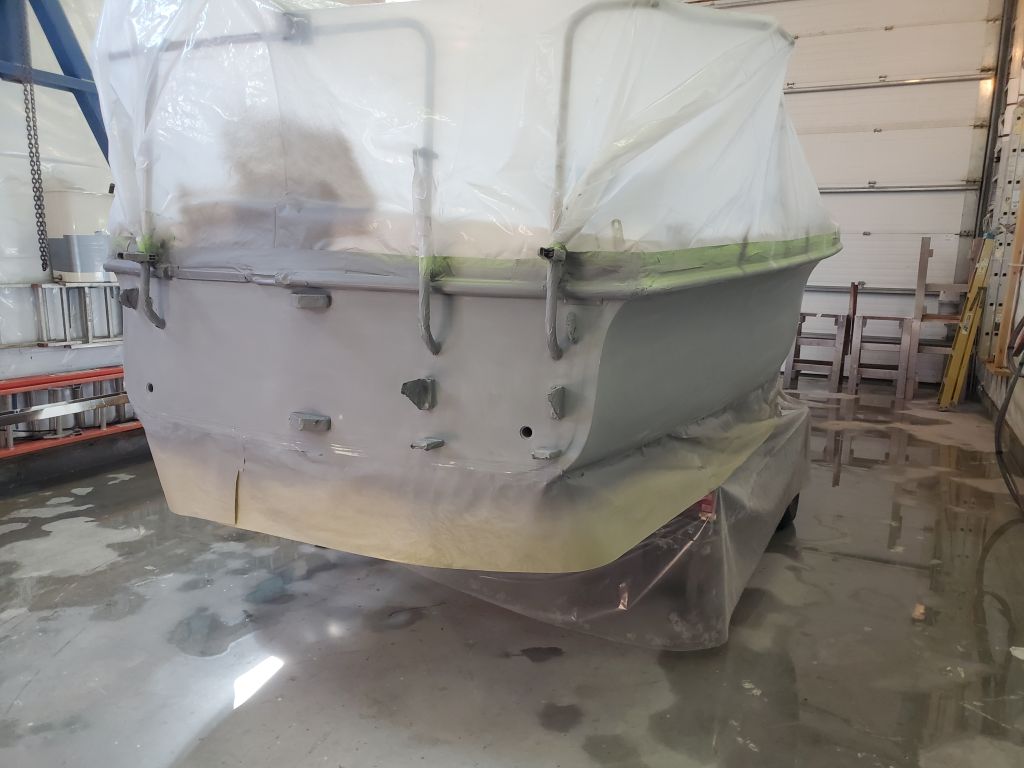
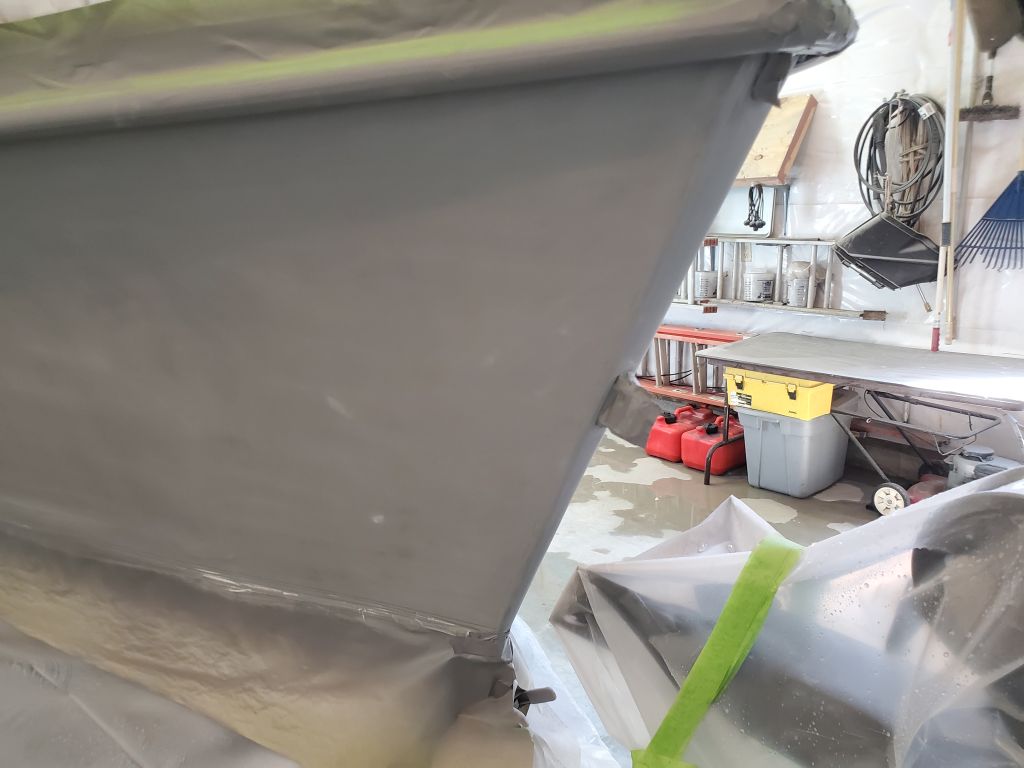
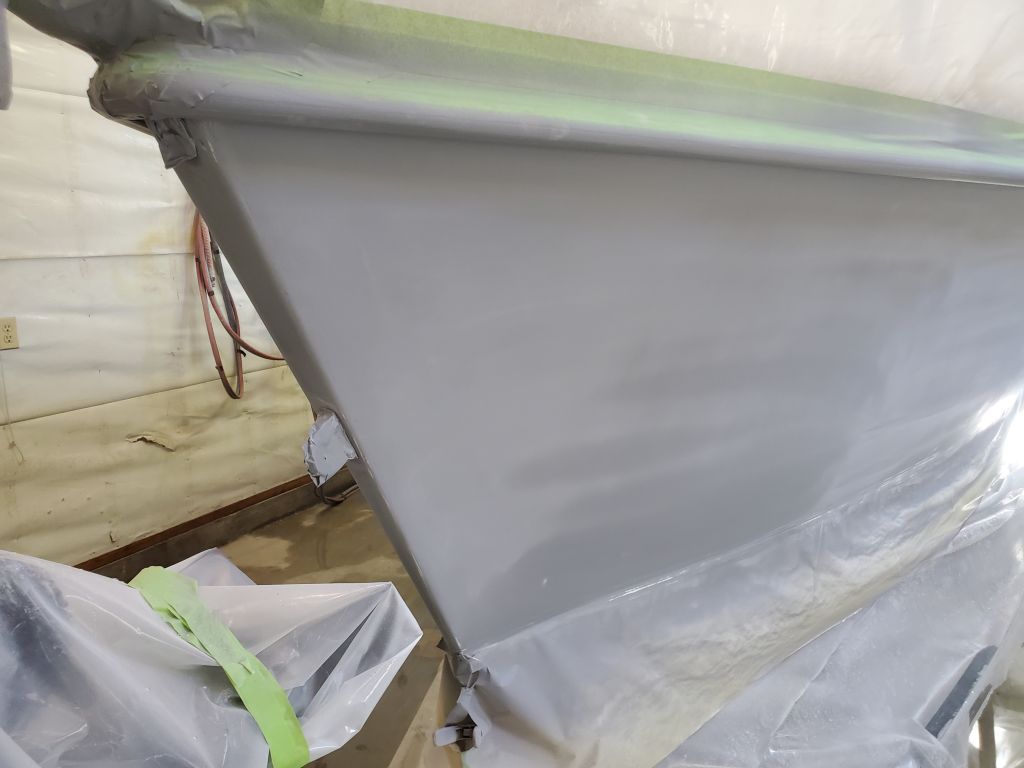
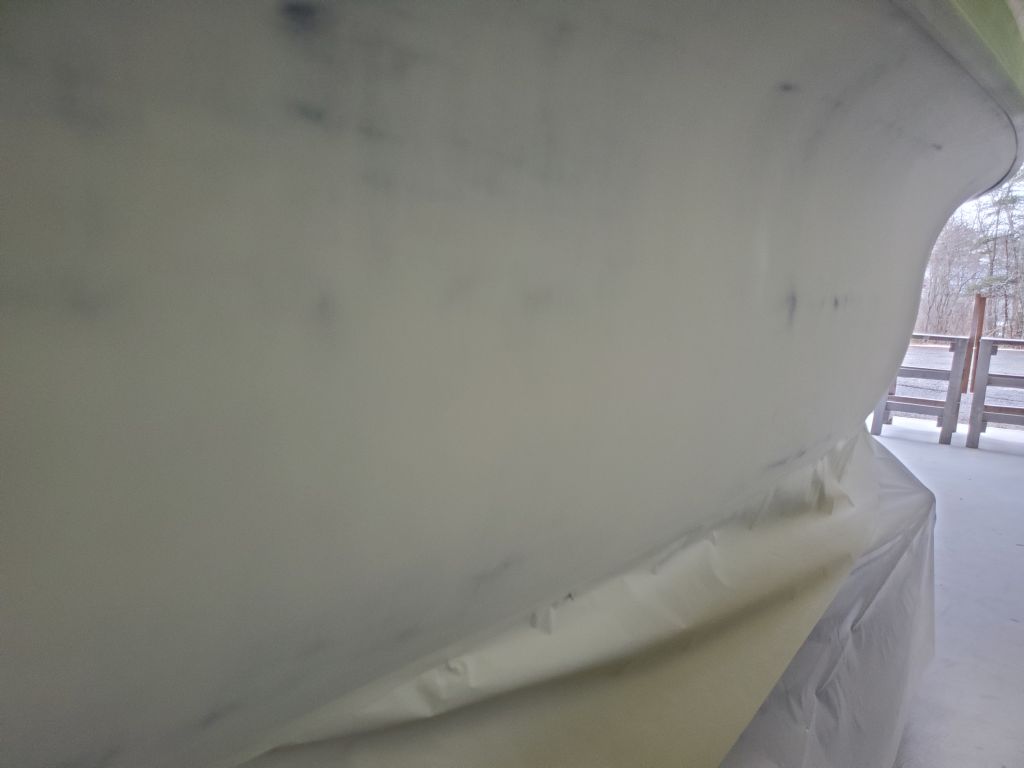
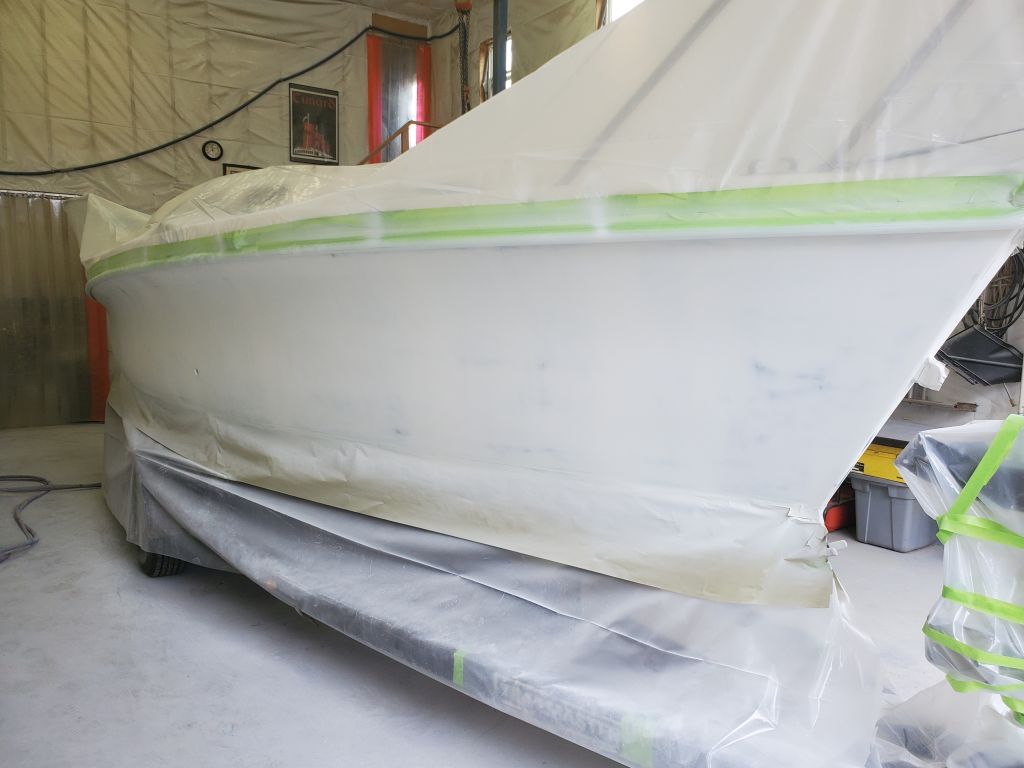
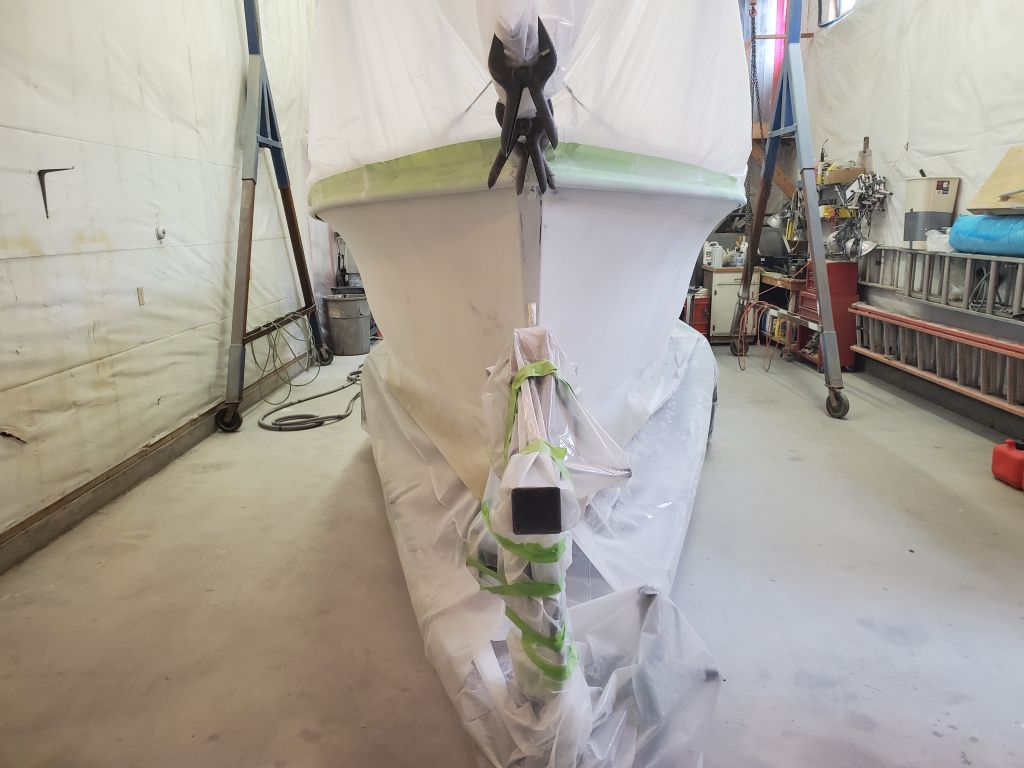
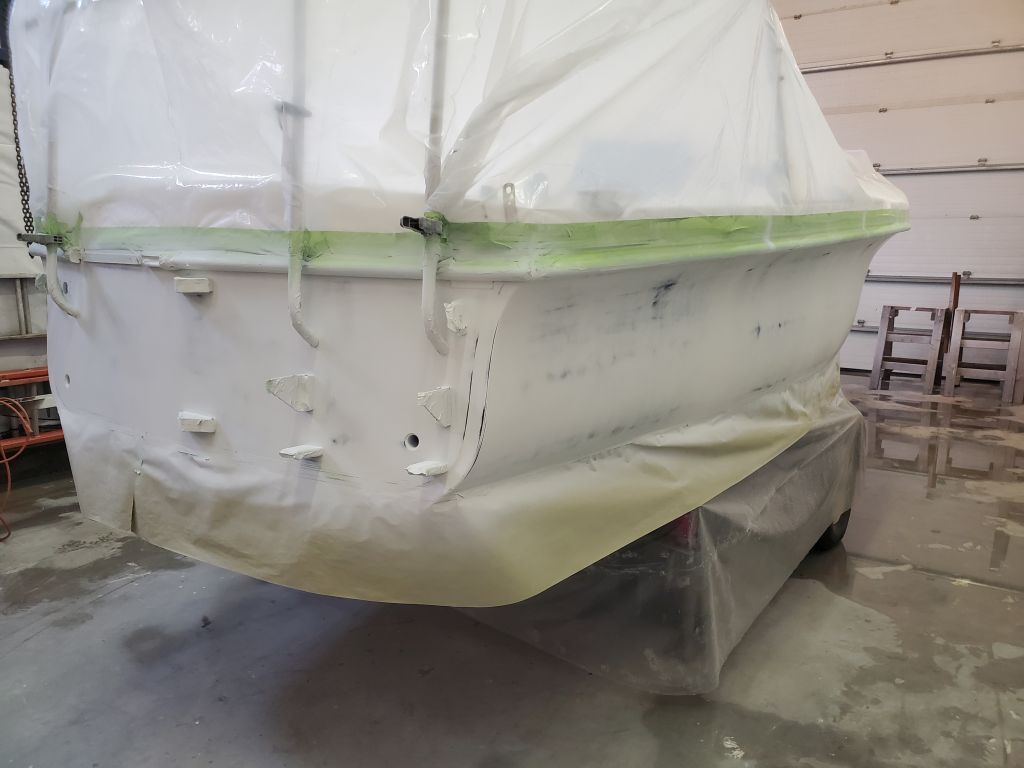
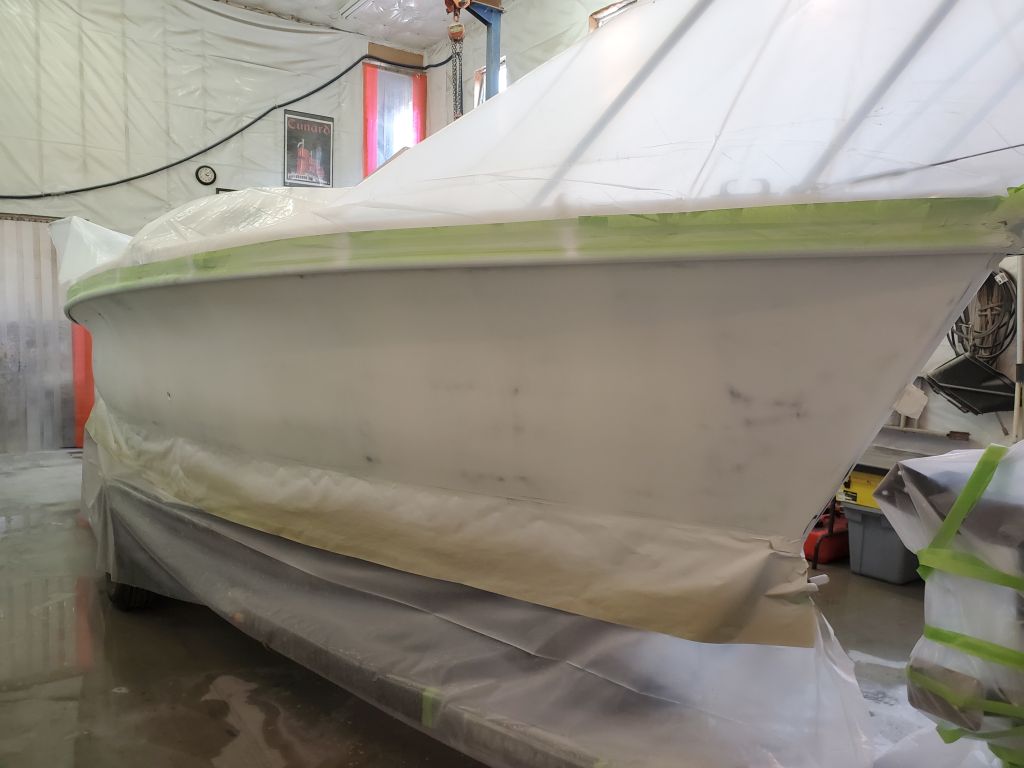
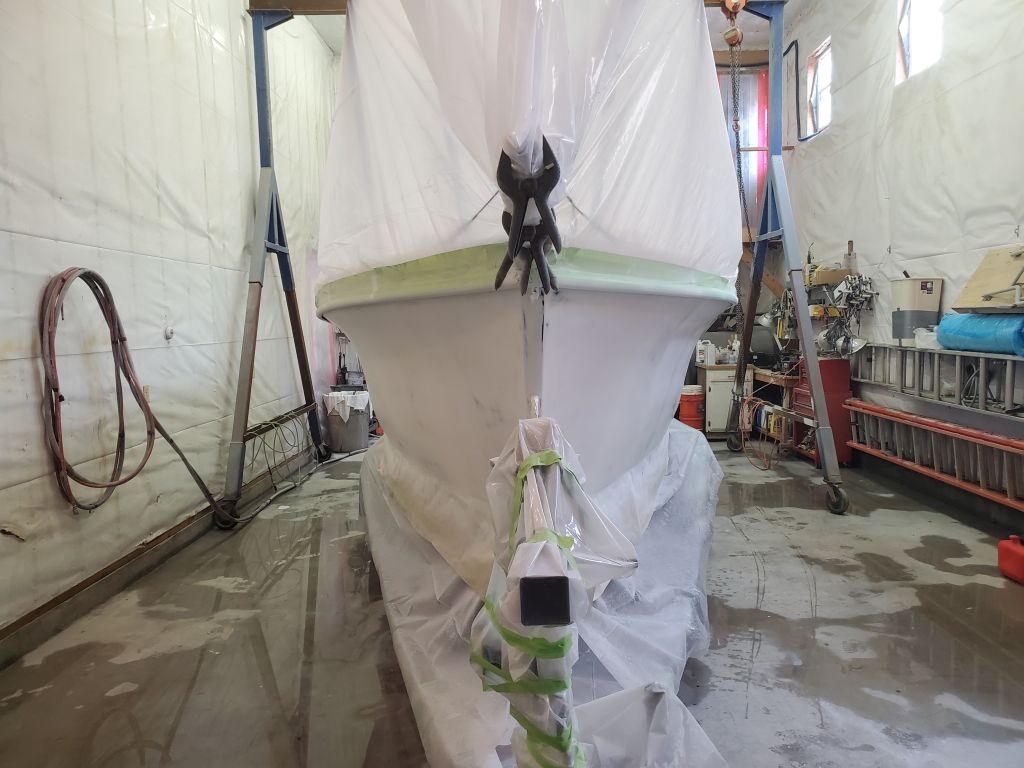
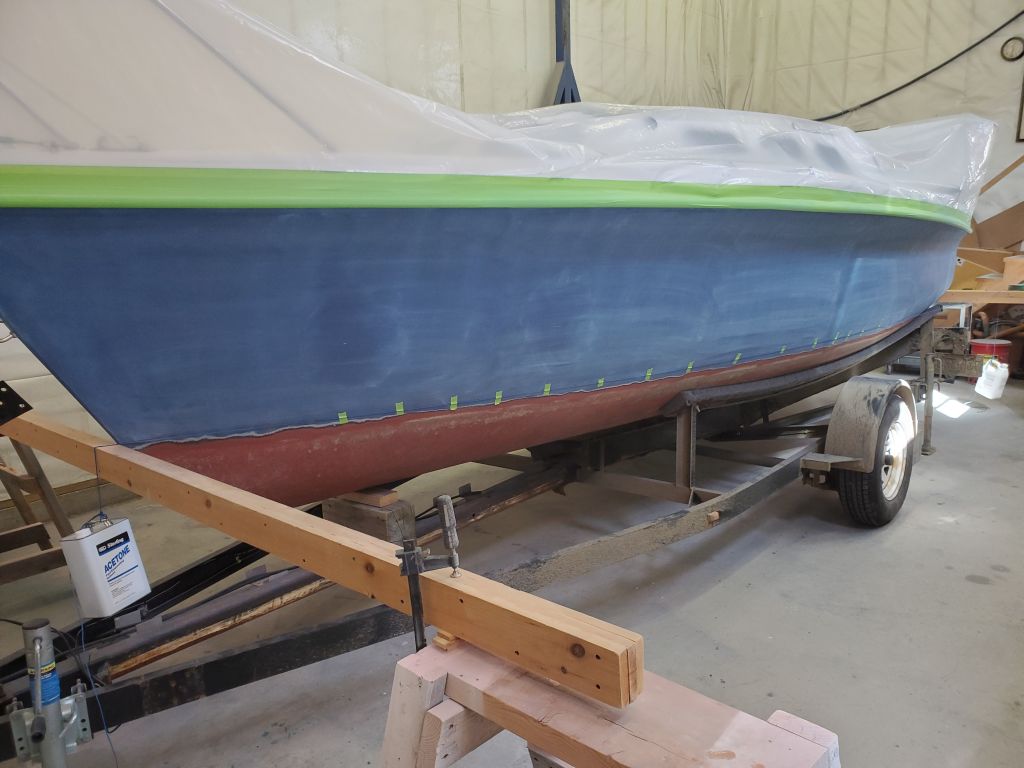
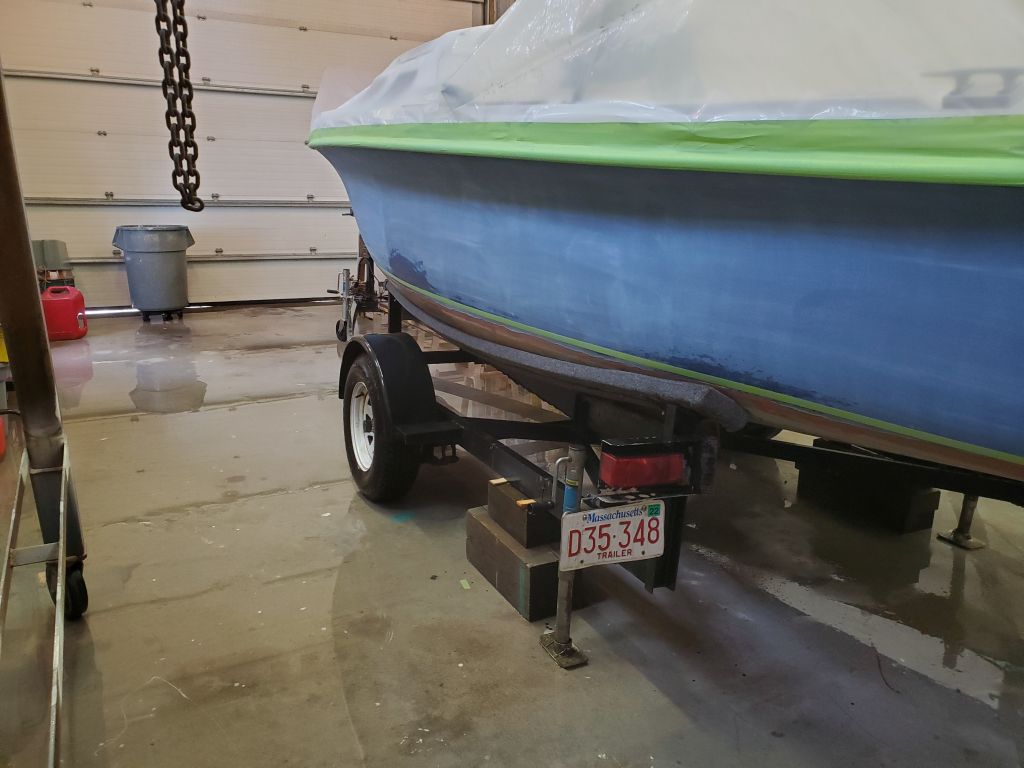
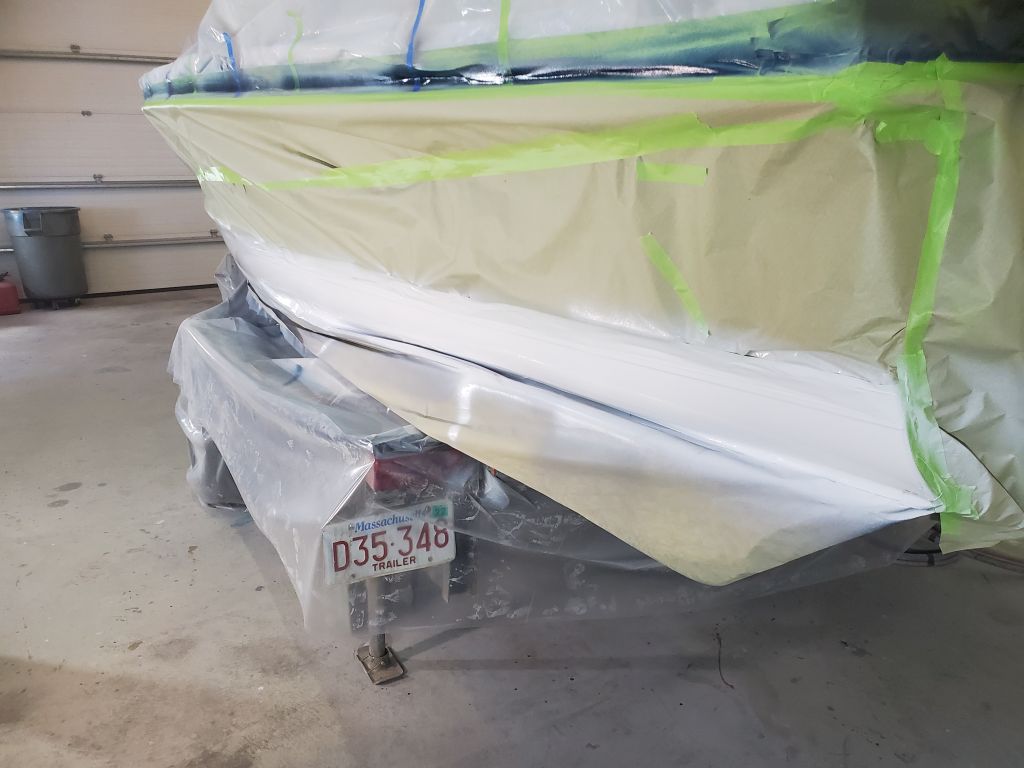
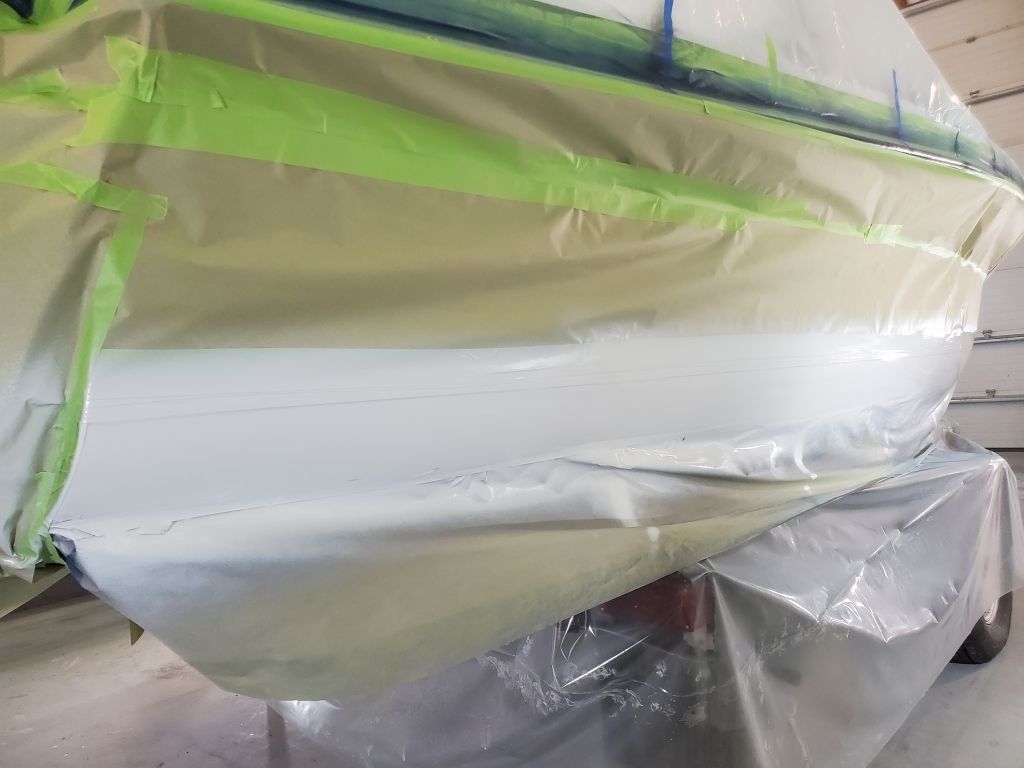
I thought I’d try using all paper to cover the hull above the stripe, as I hate using so much plastic film all the time. The end result looked terrible and was frustrating to install, but did its job to cover the hull. The flared shape of this hull made the installation more difficult than it might have been, but this would have been an issue with plastic film too.

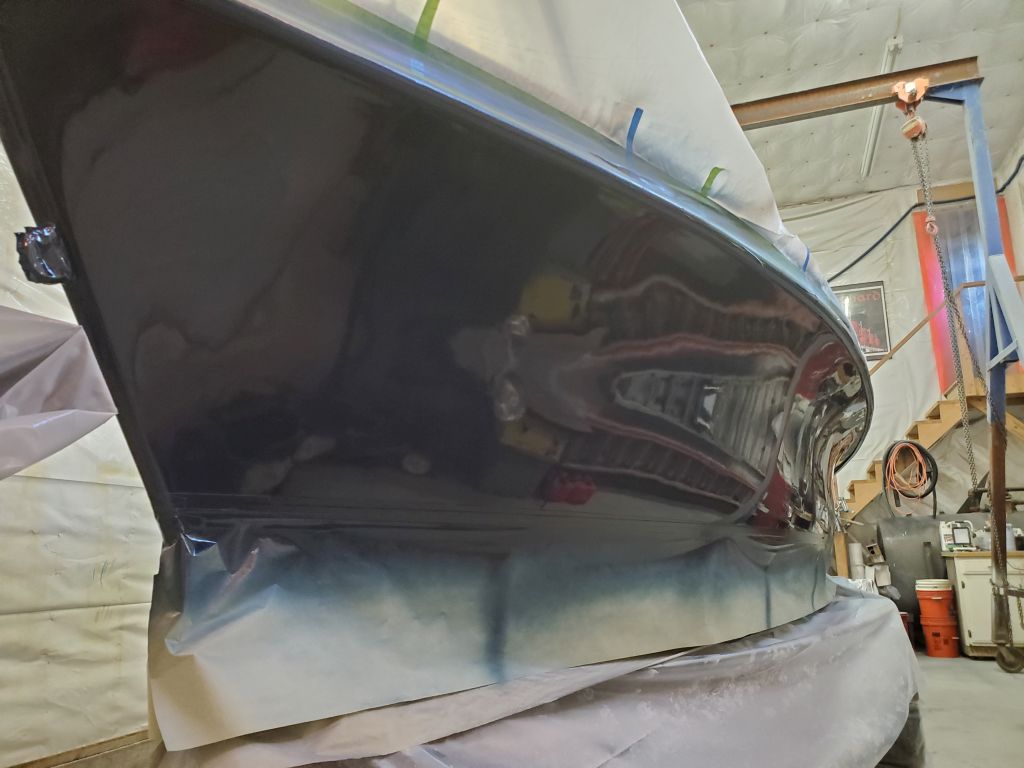
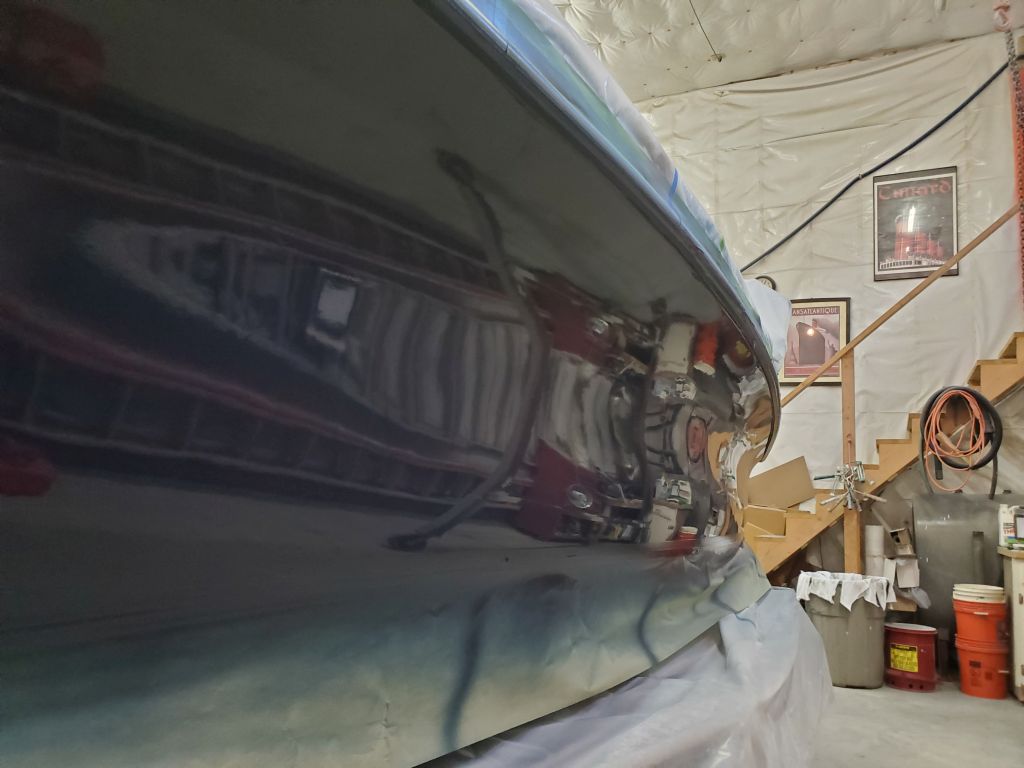
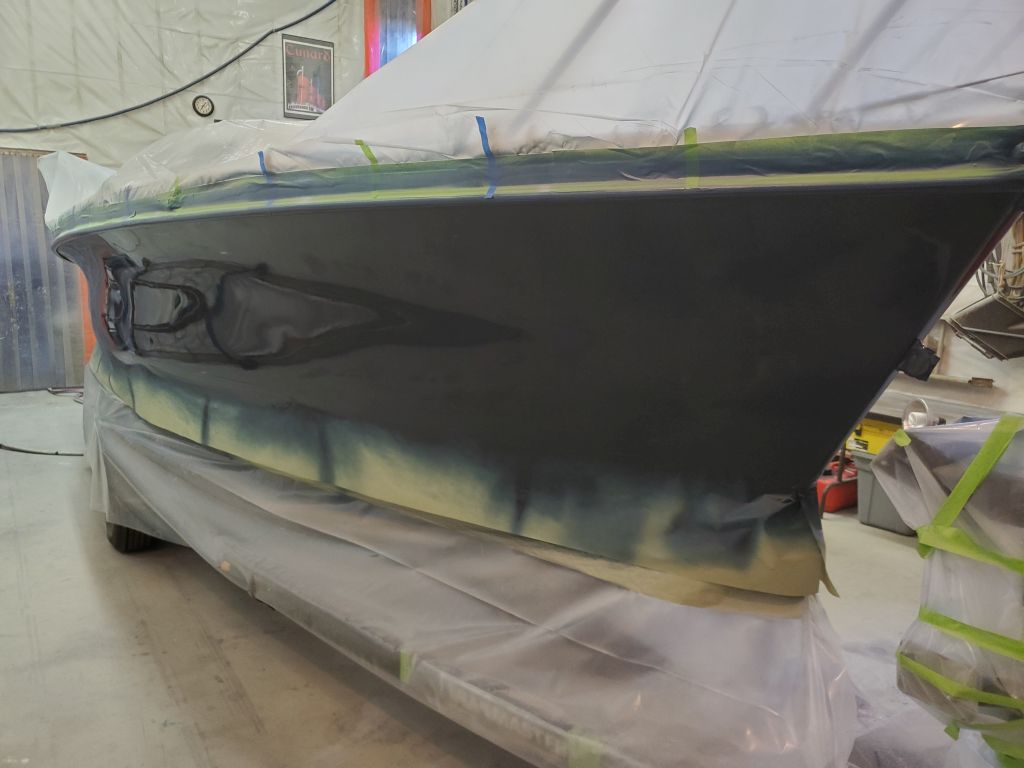
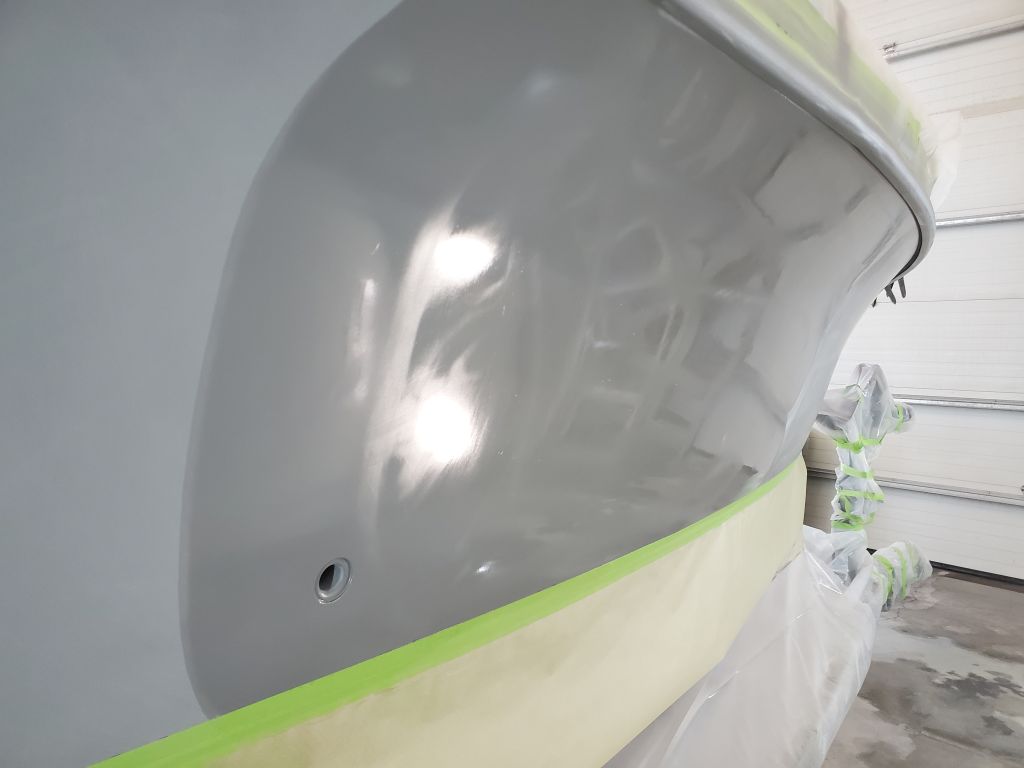
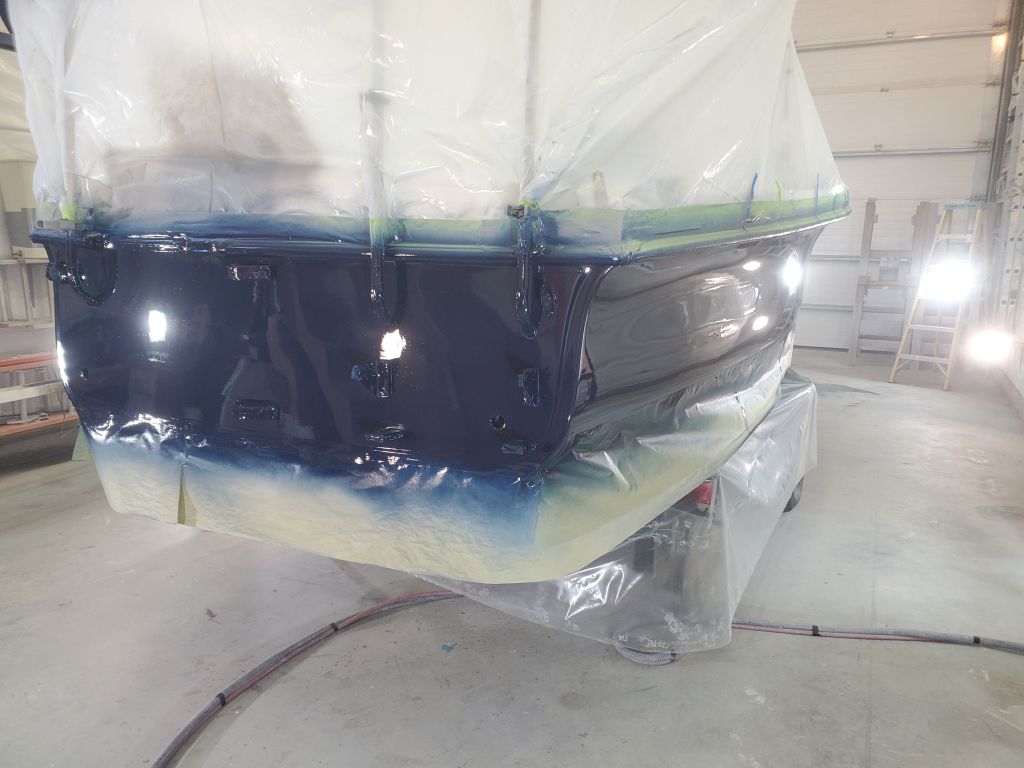
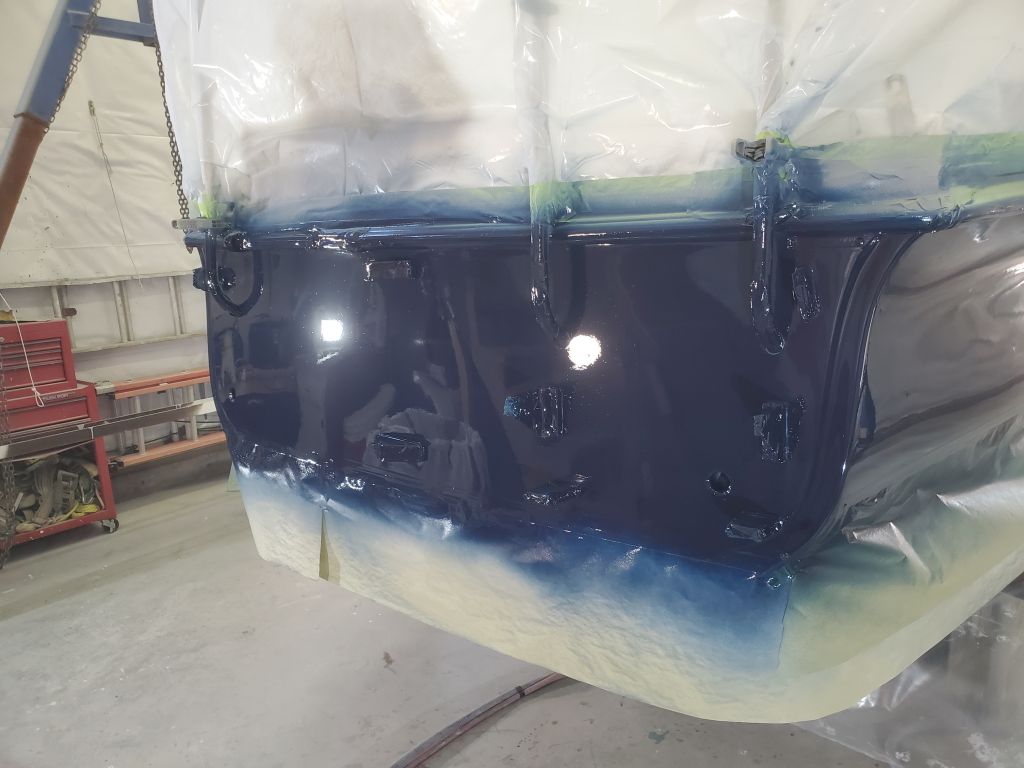
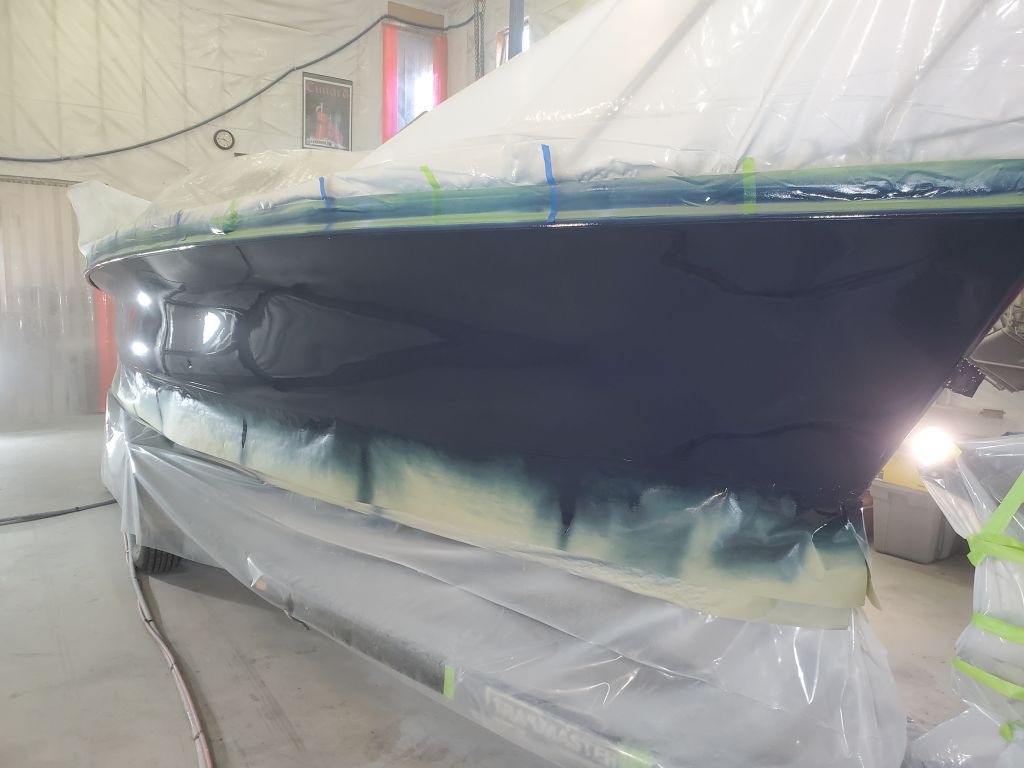
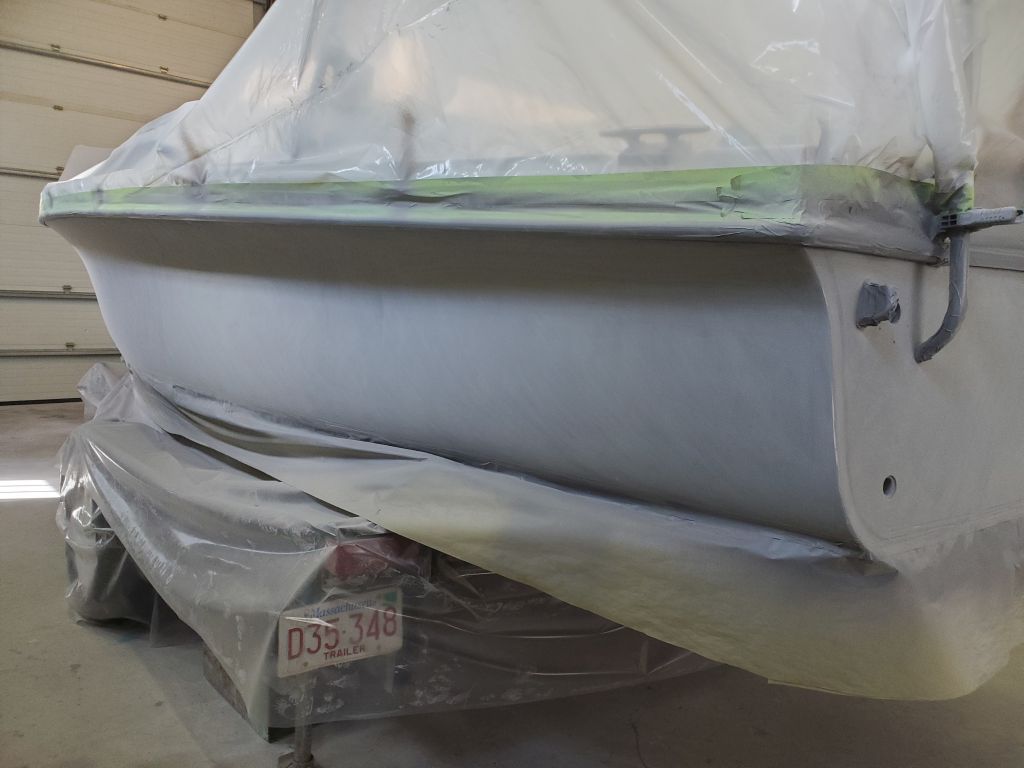
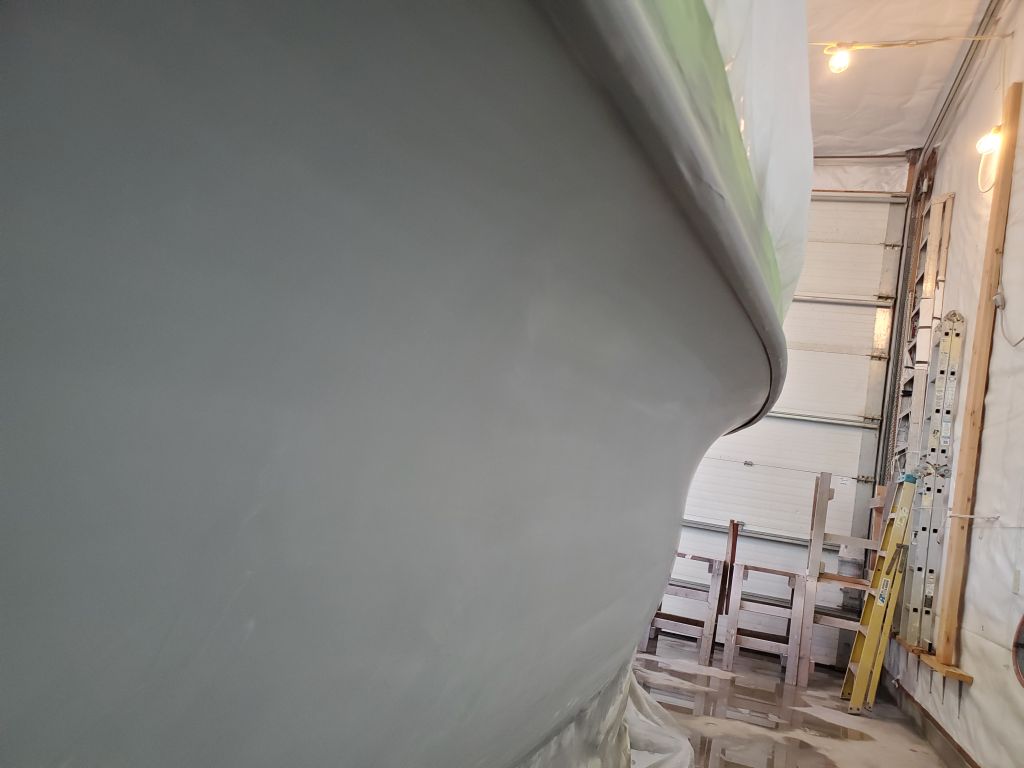
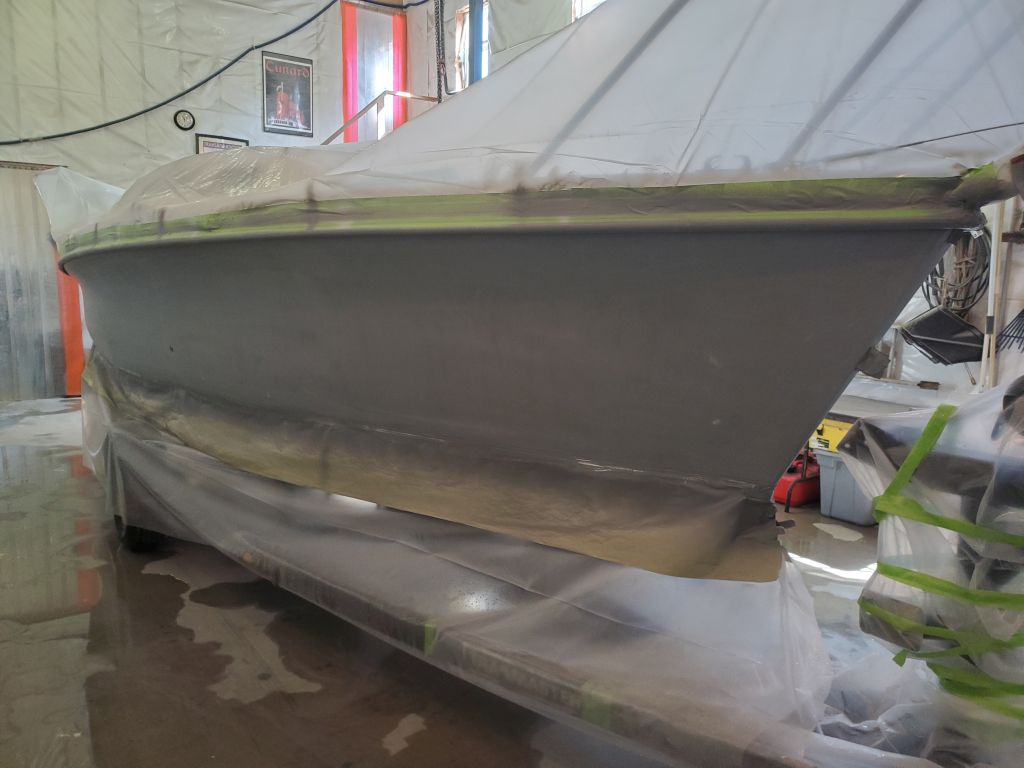
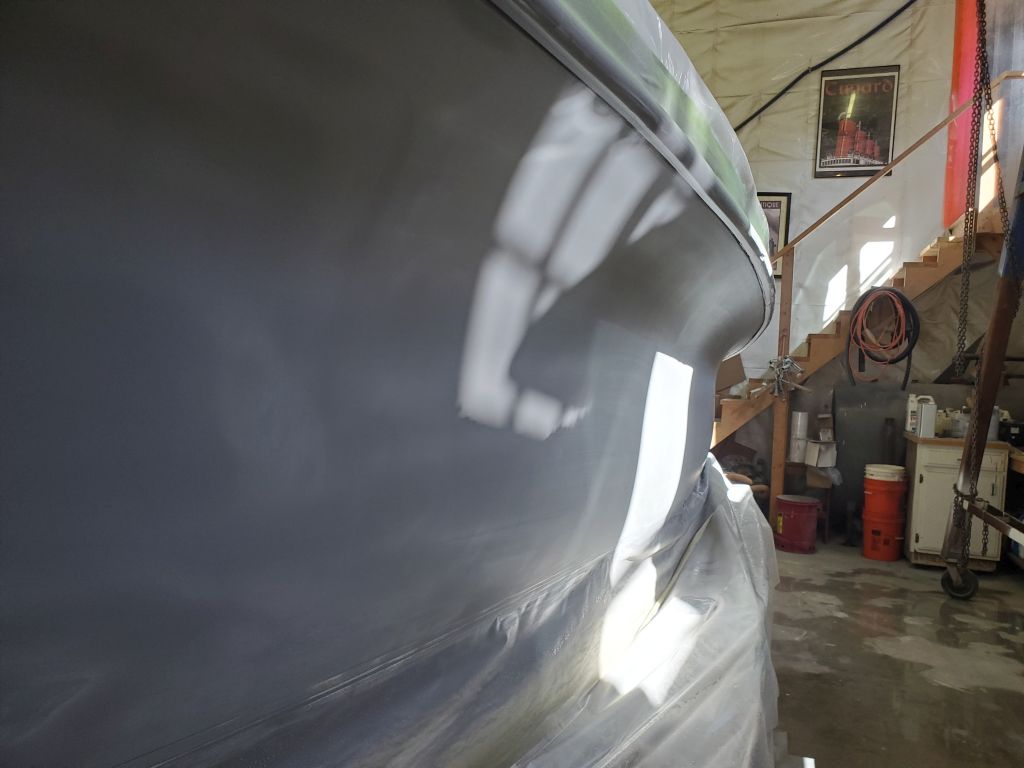
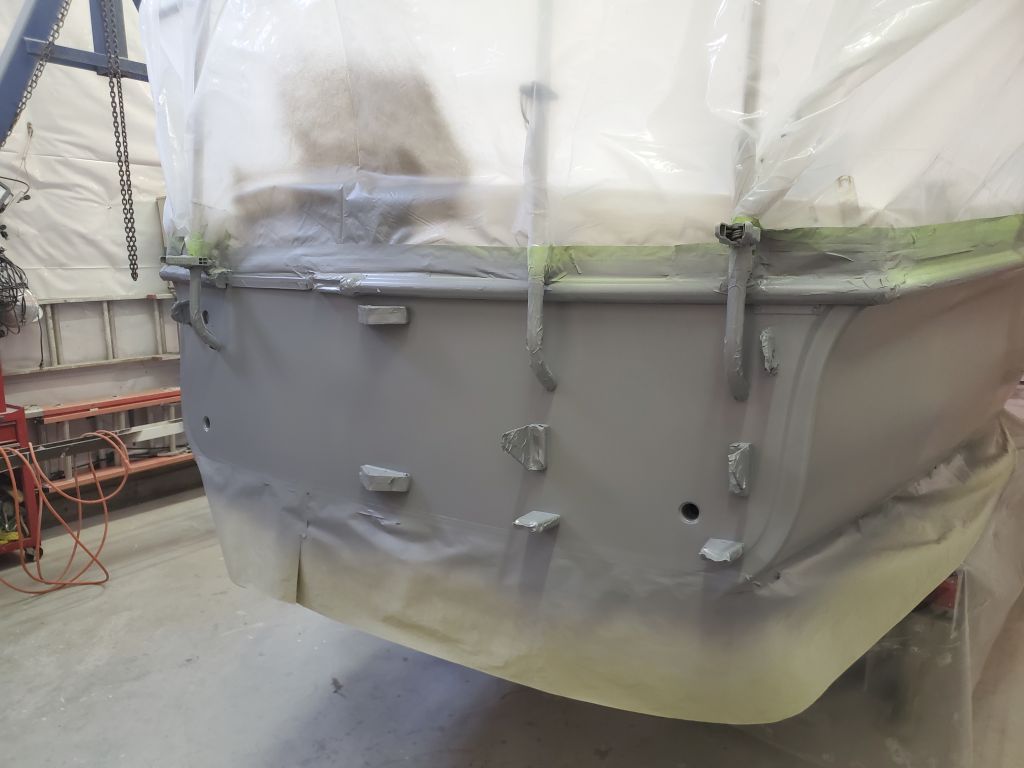
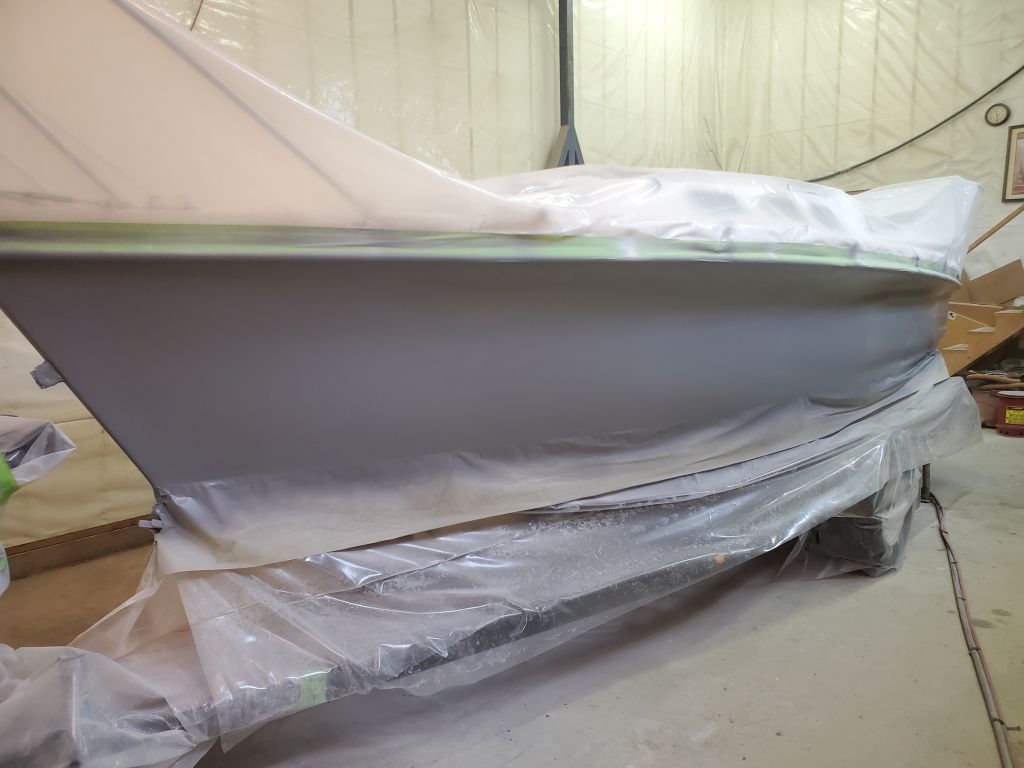
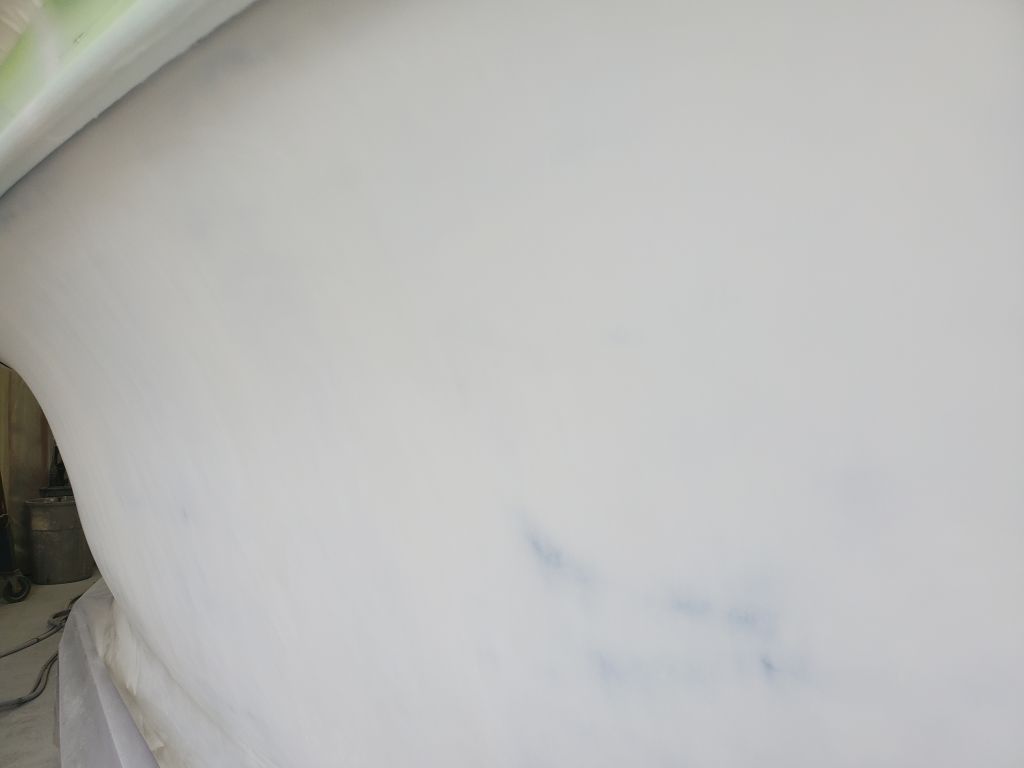
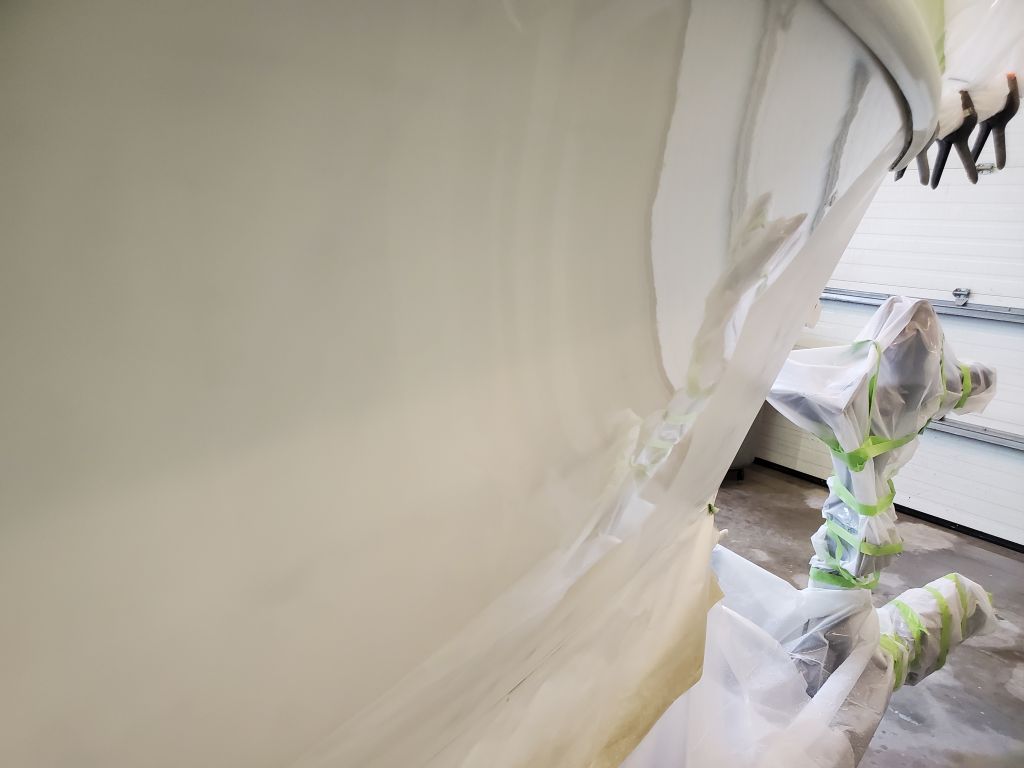
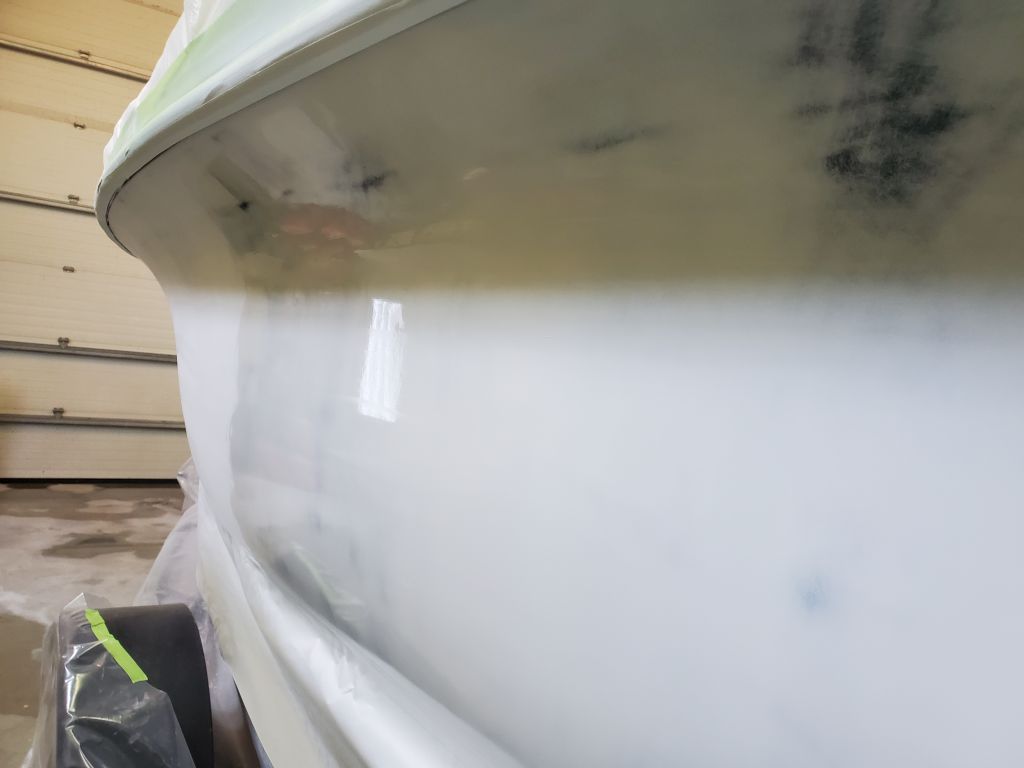
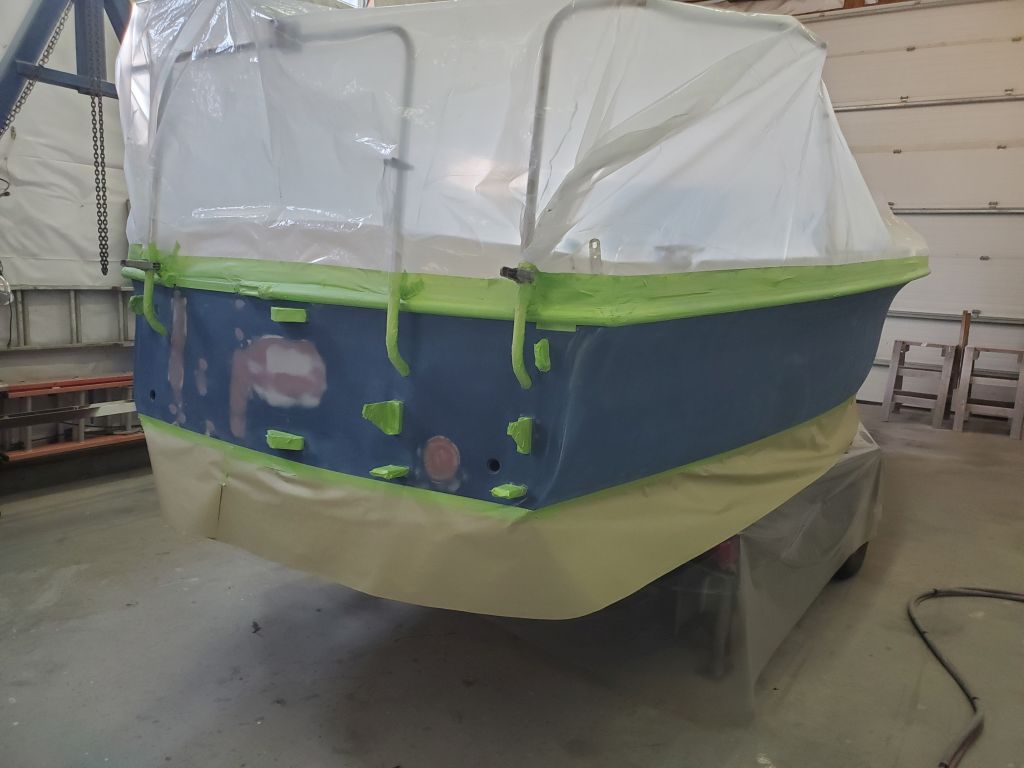
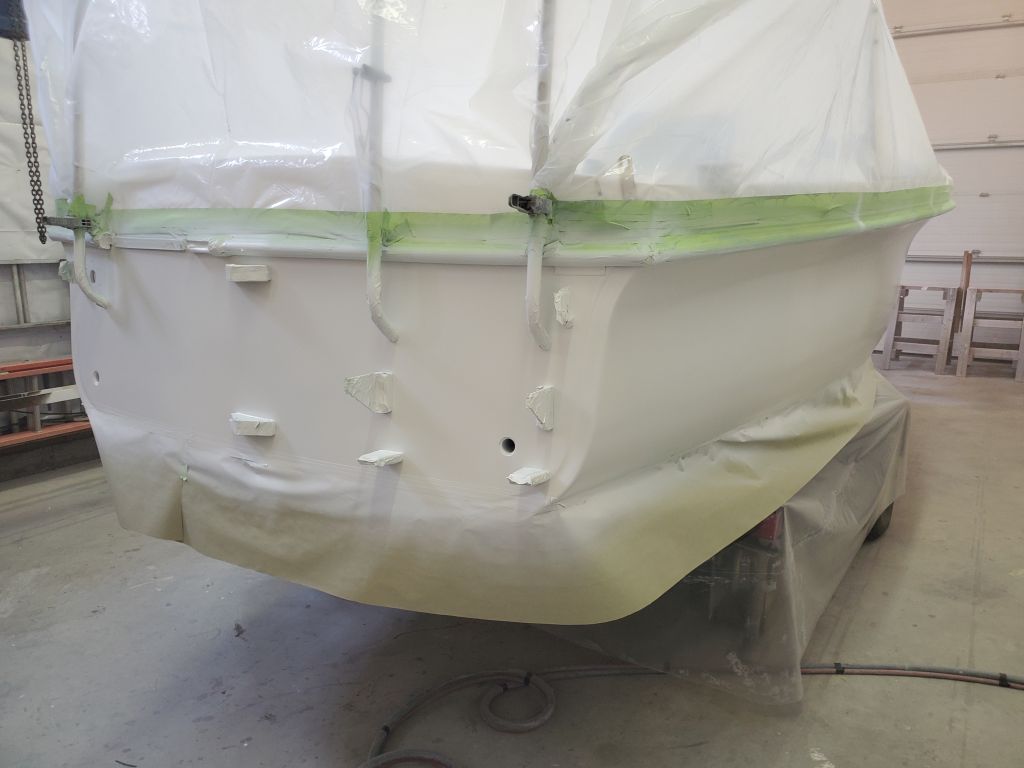
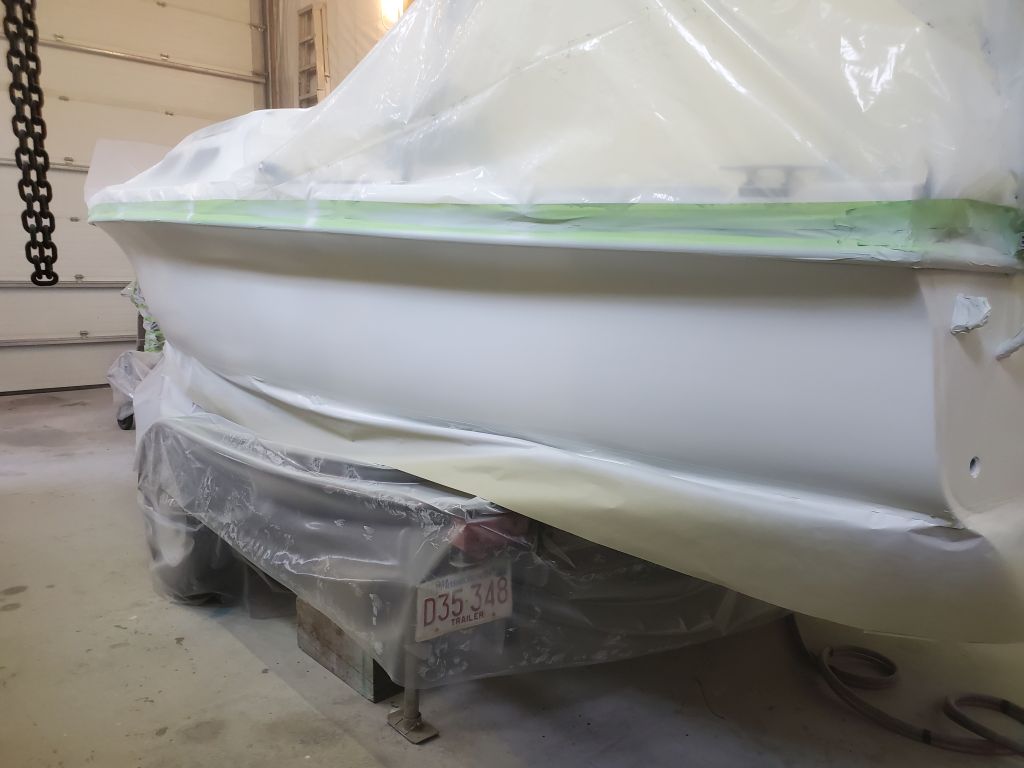
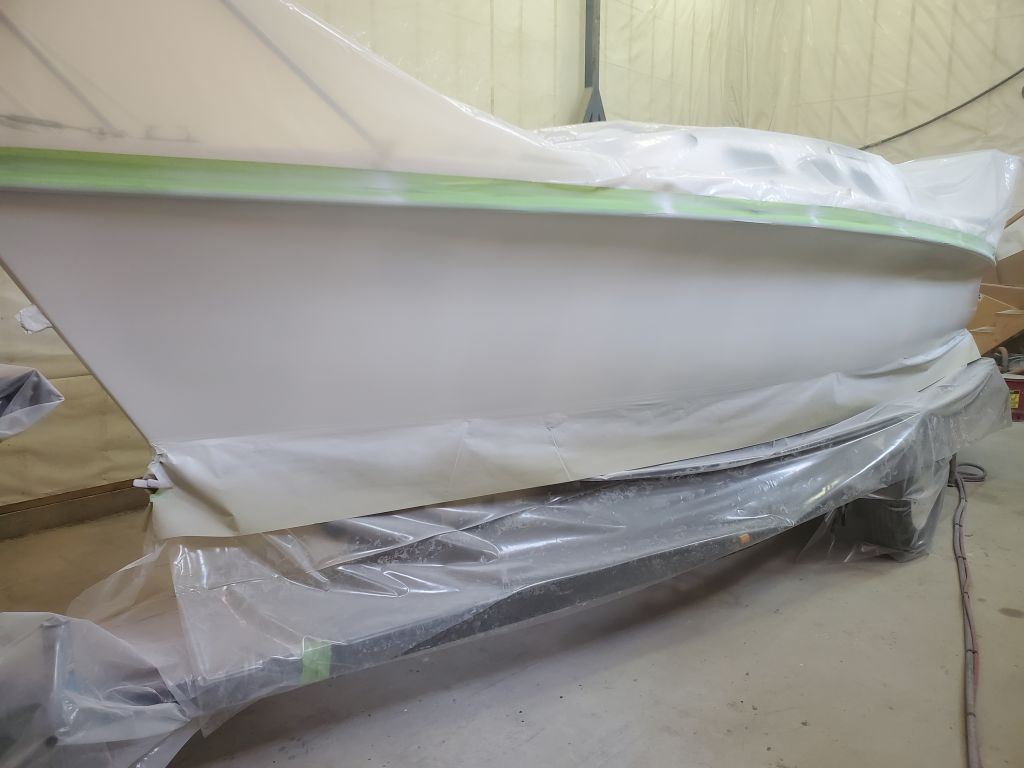
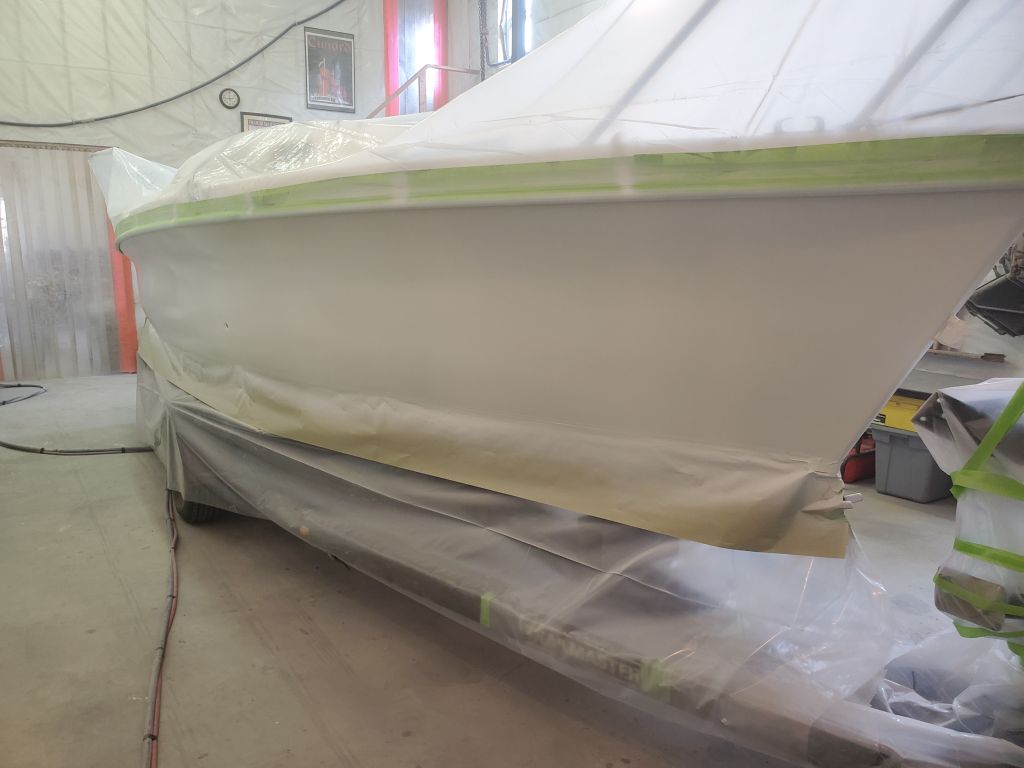
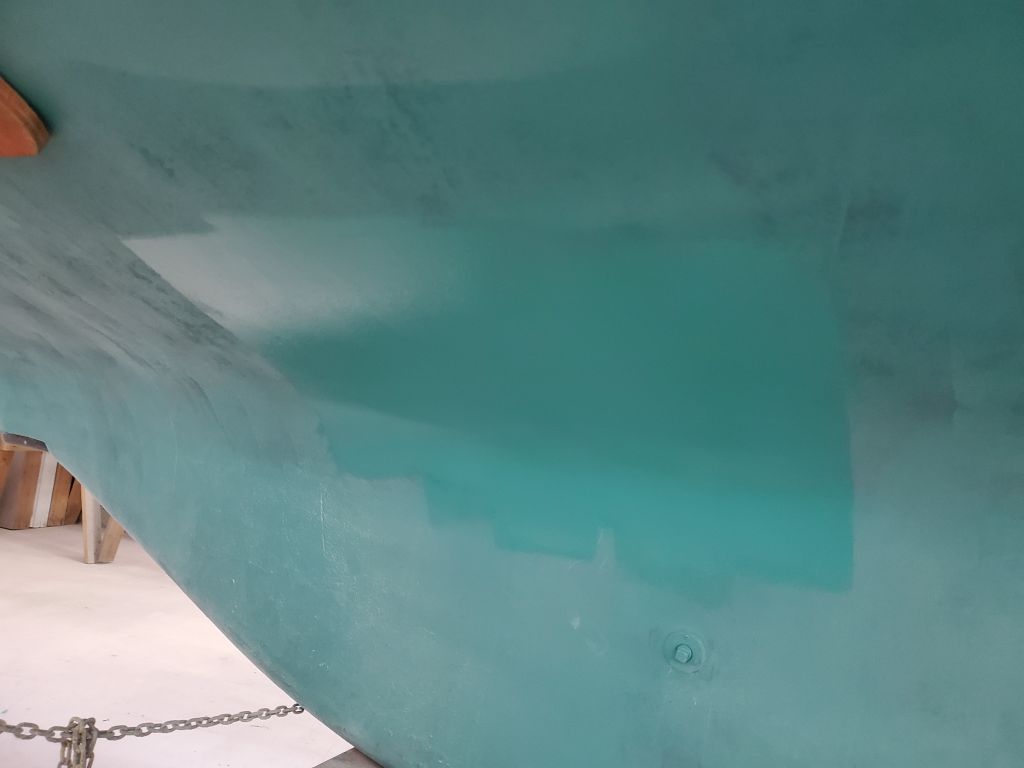
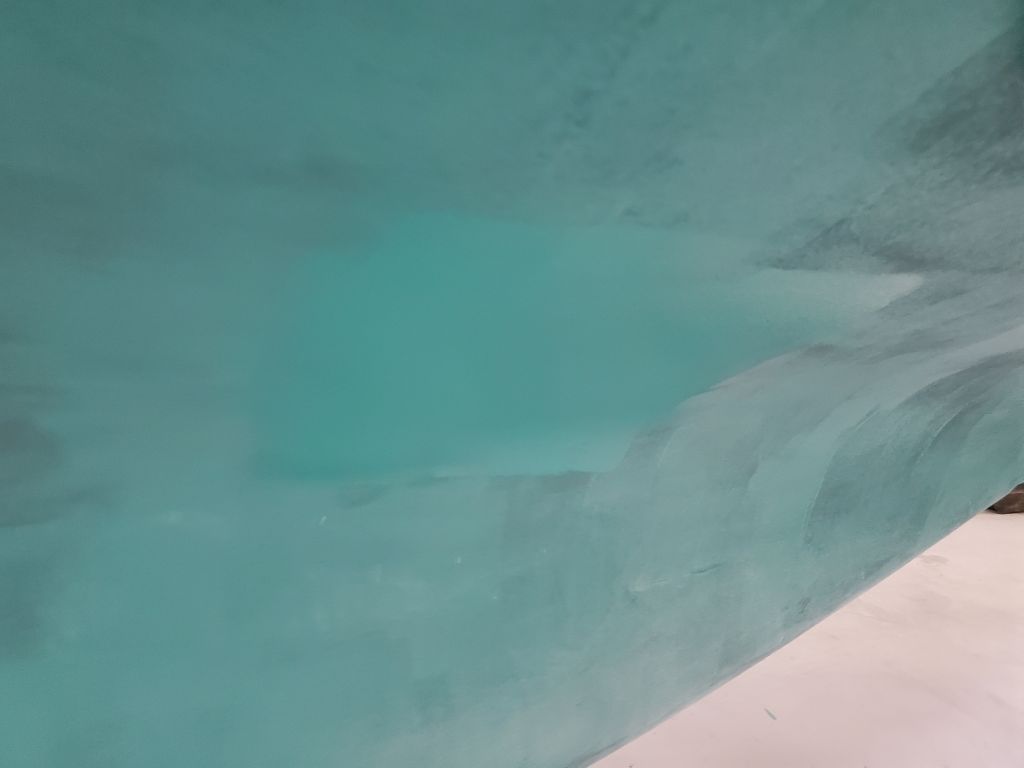
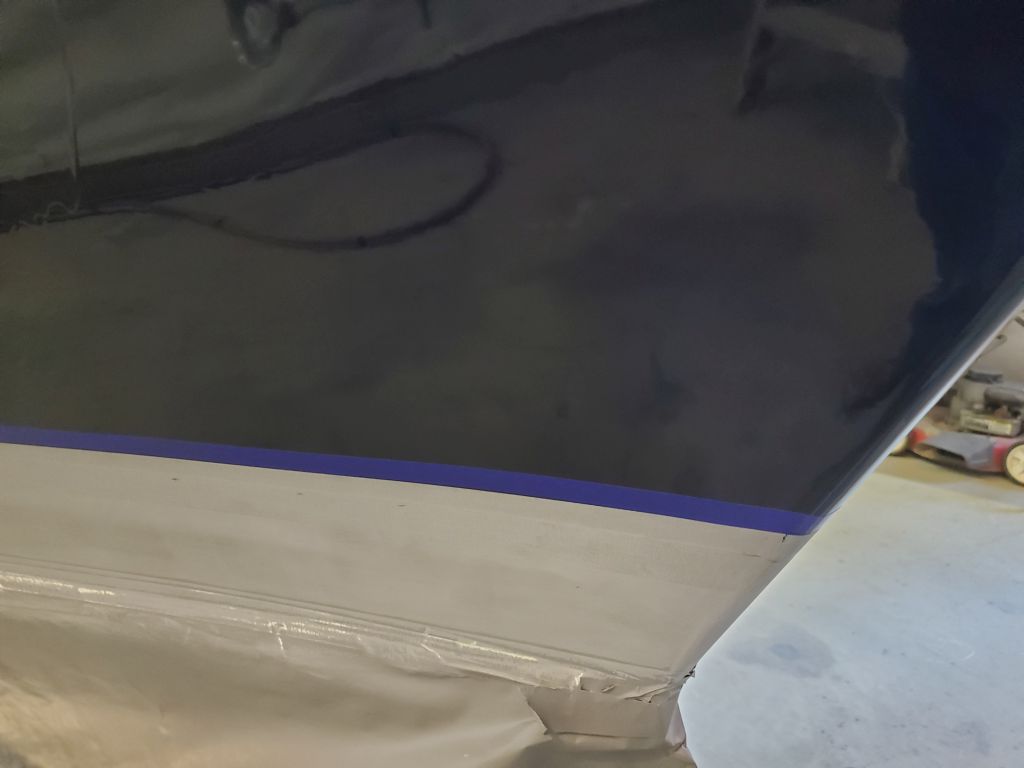
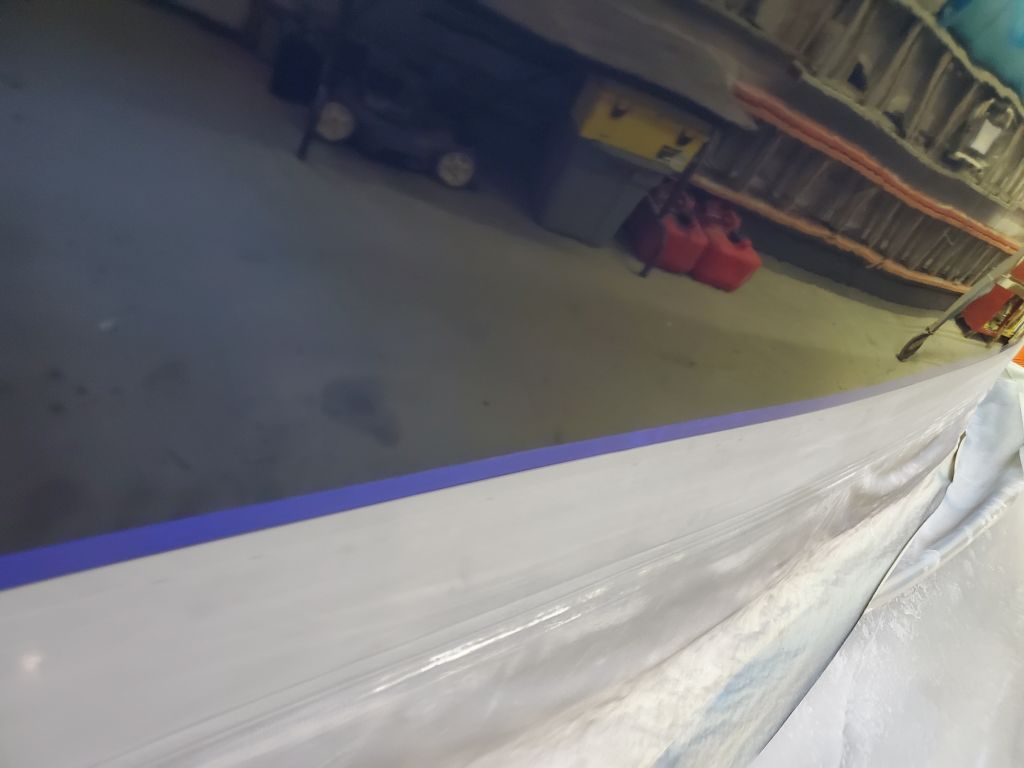
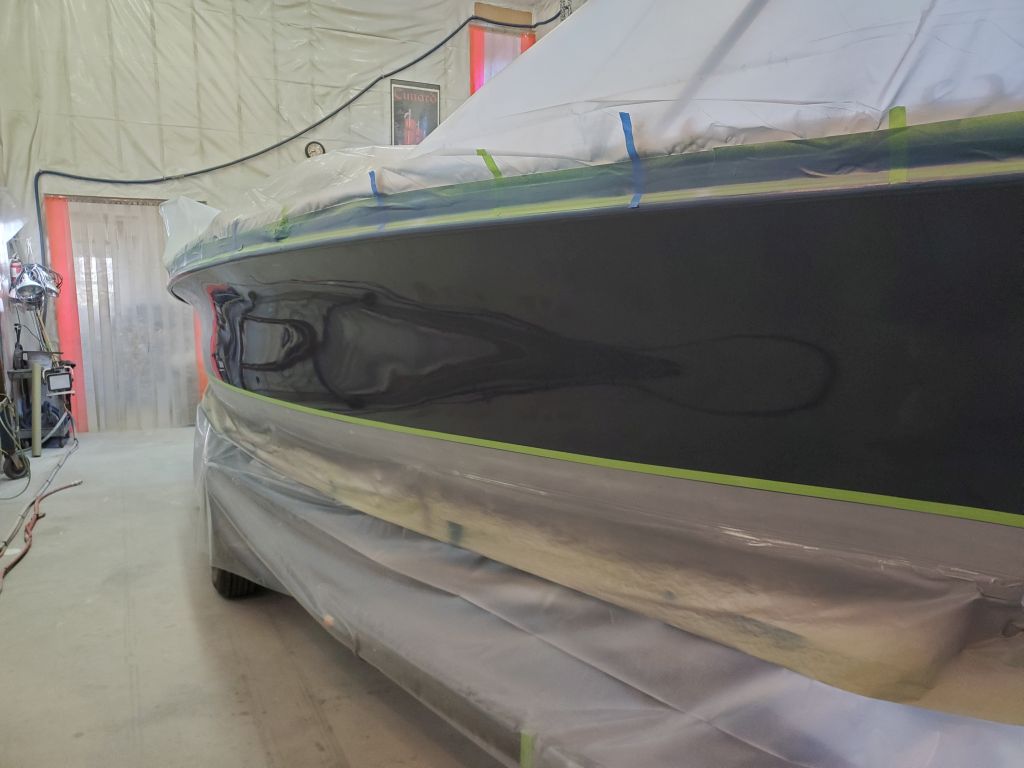
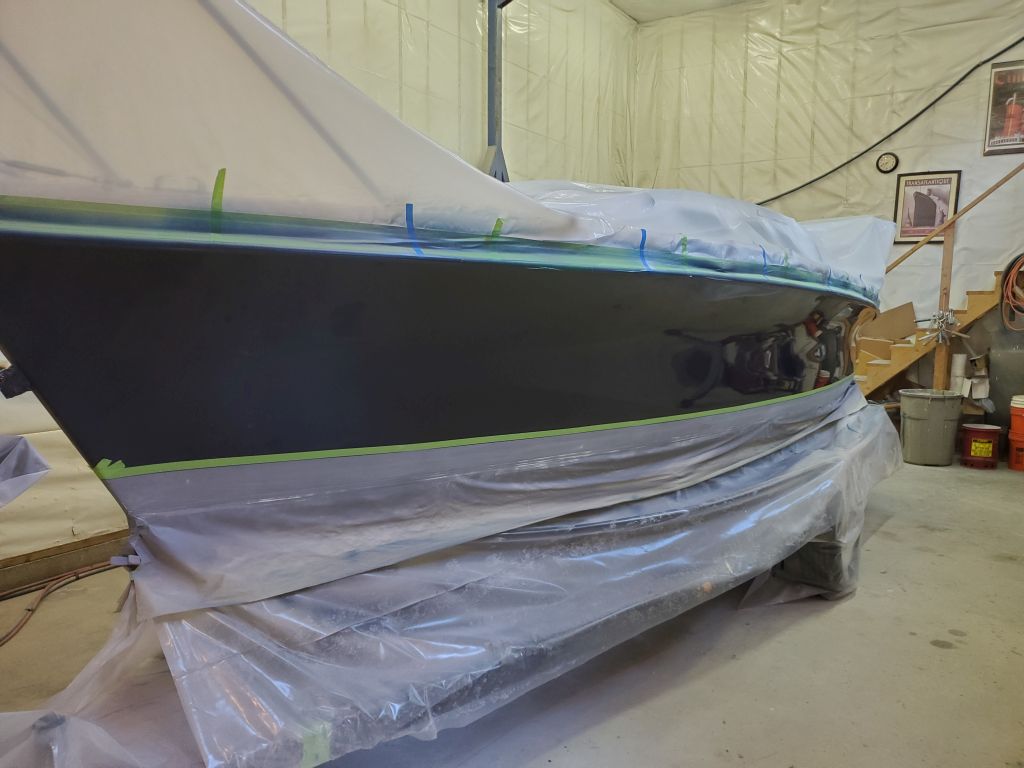
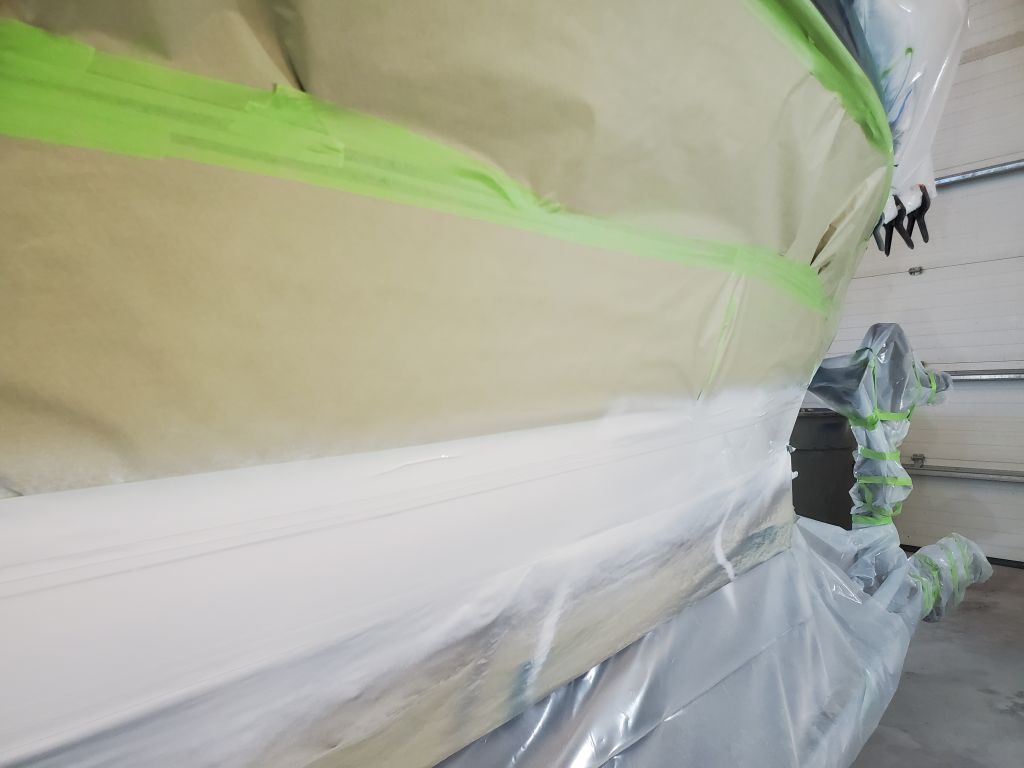
After a final cleaning and other final prep, I applied three coats of snow white gloss topcoat to the boottop, leaving it to cure overnight.

Total time billed on this job today: 4.75 hours
0600 Weather Observation: 26°, clear. Forecast for the day: Sunny, 47°.