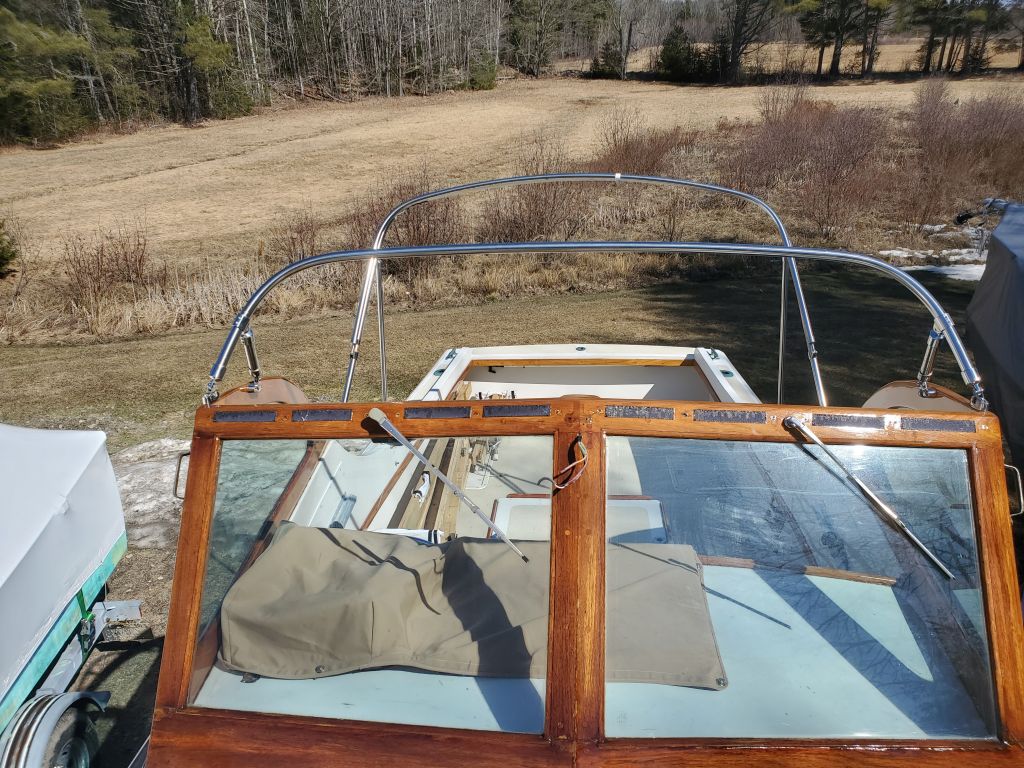
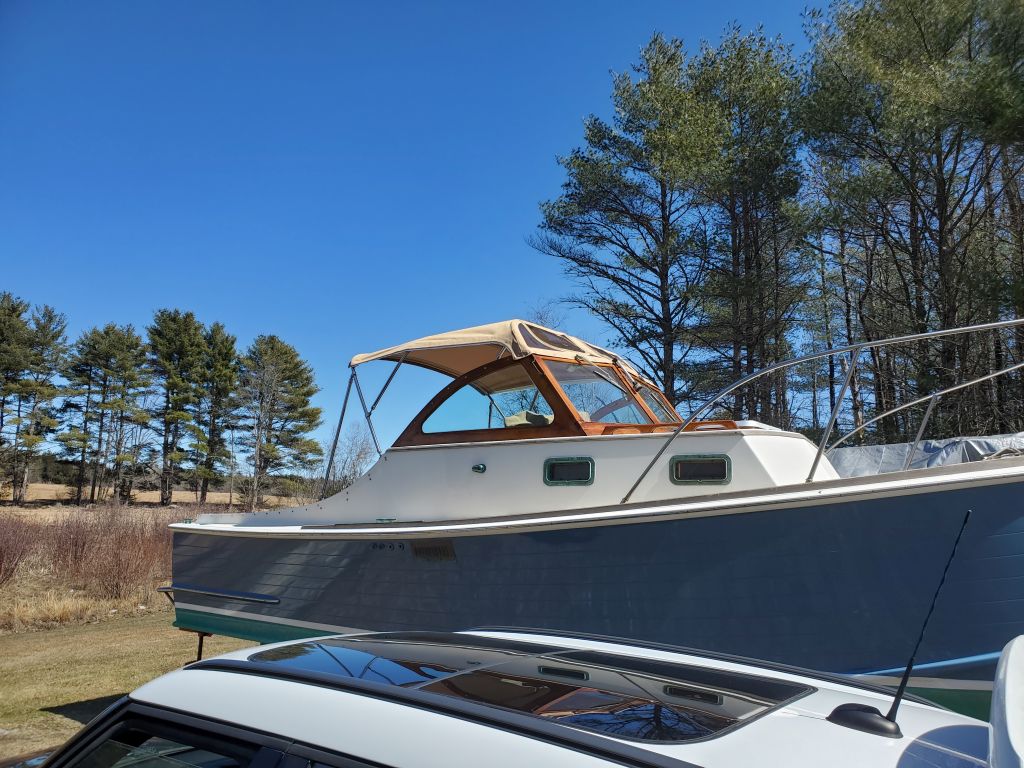
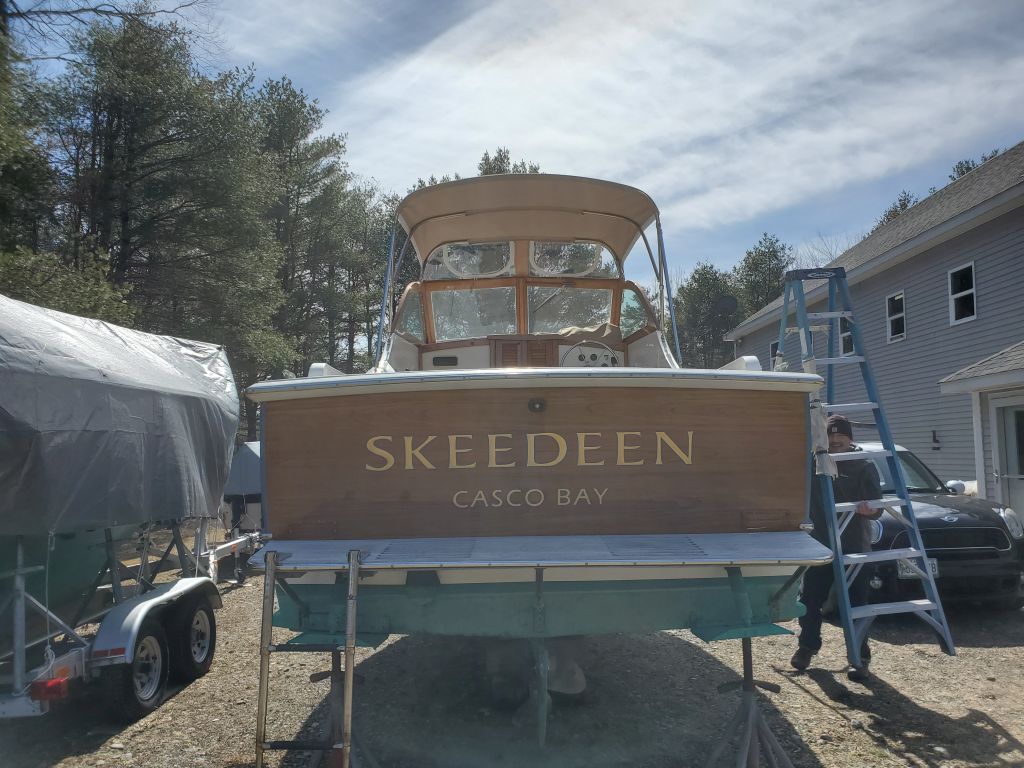
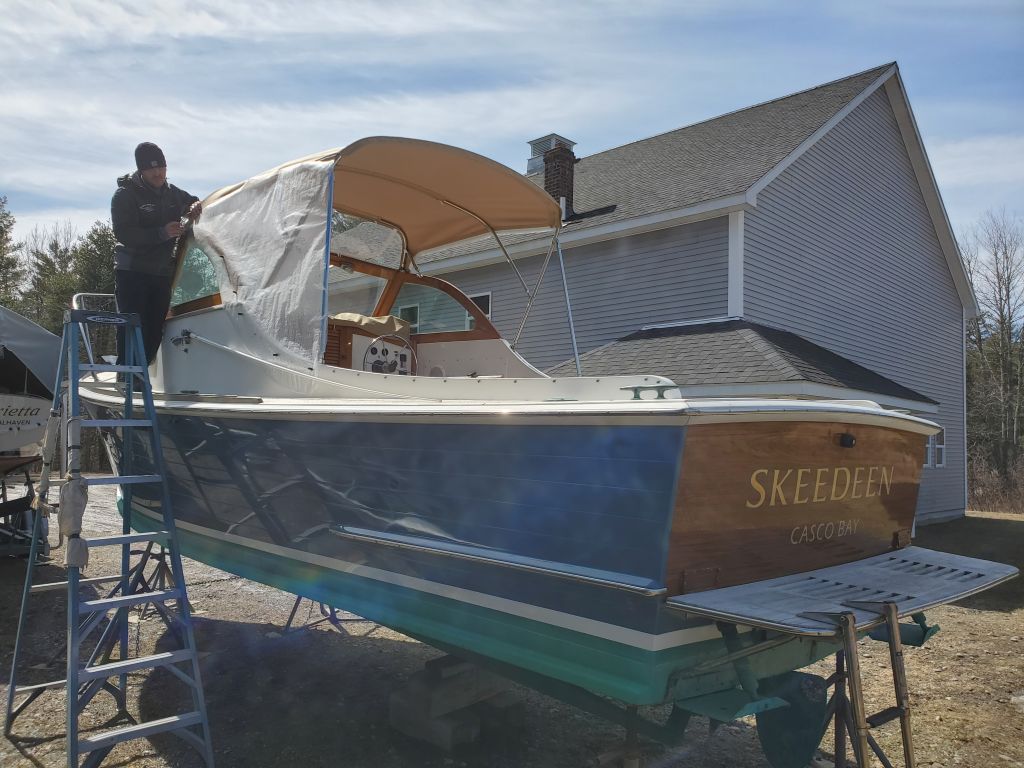
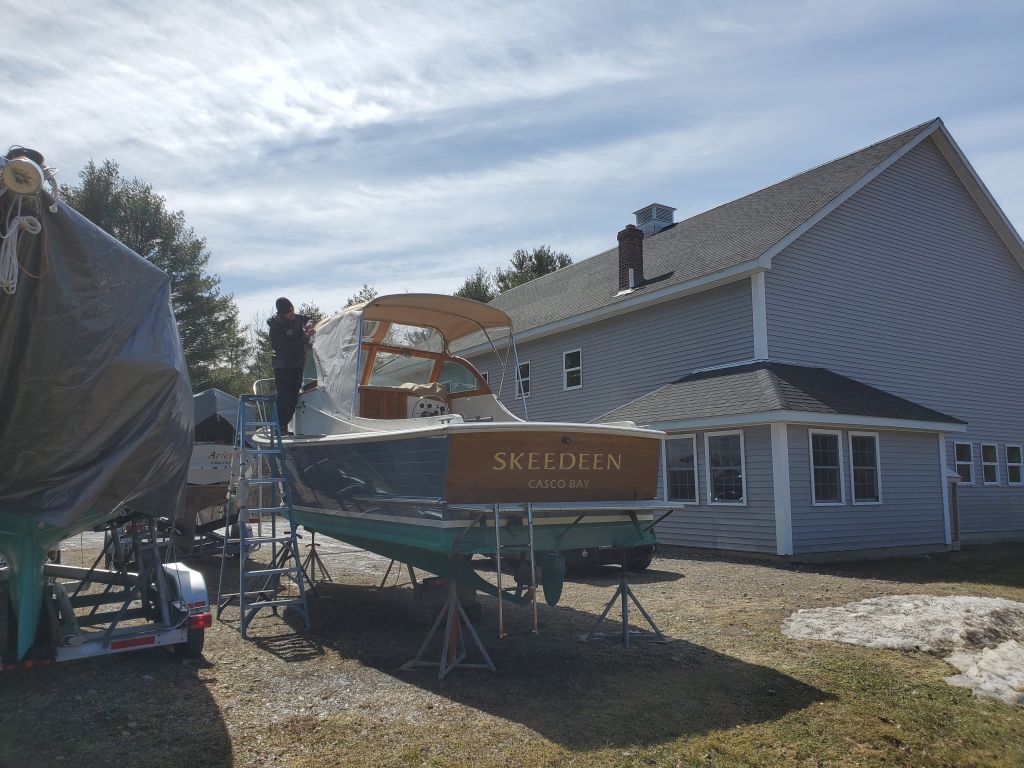
With better weather hopefully on the horizon and a need to finish up the new canvas work, the owner asked that I uncover the boat and remove the frame, after which I set up the bimini bows to be ready for Jason to fit the top (which was complete) and pattern the side curtains.
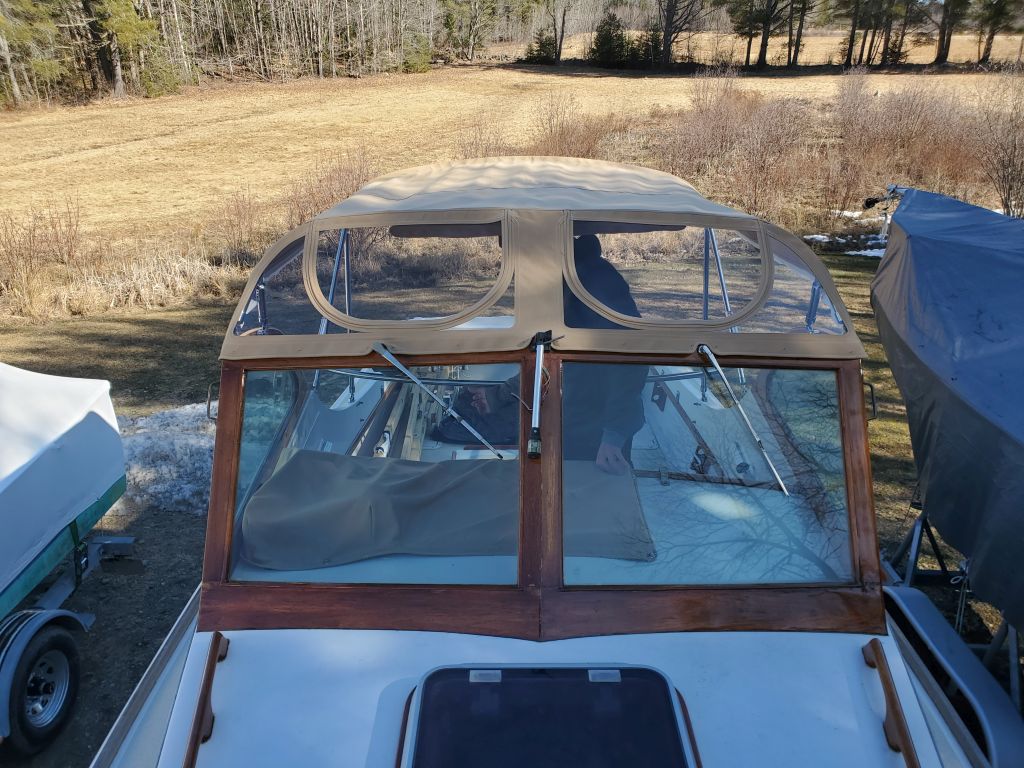
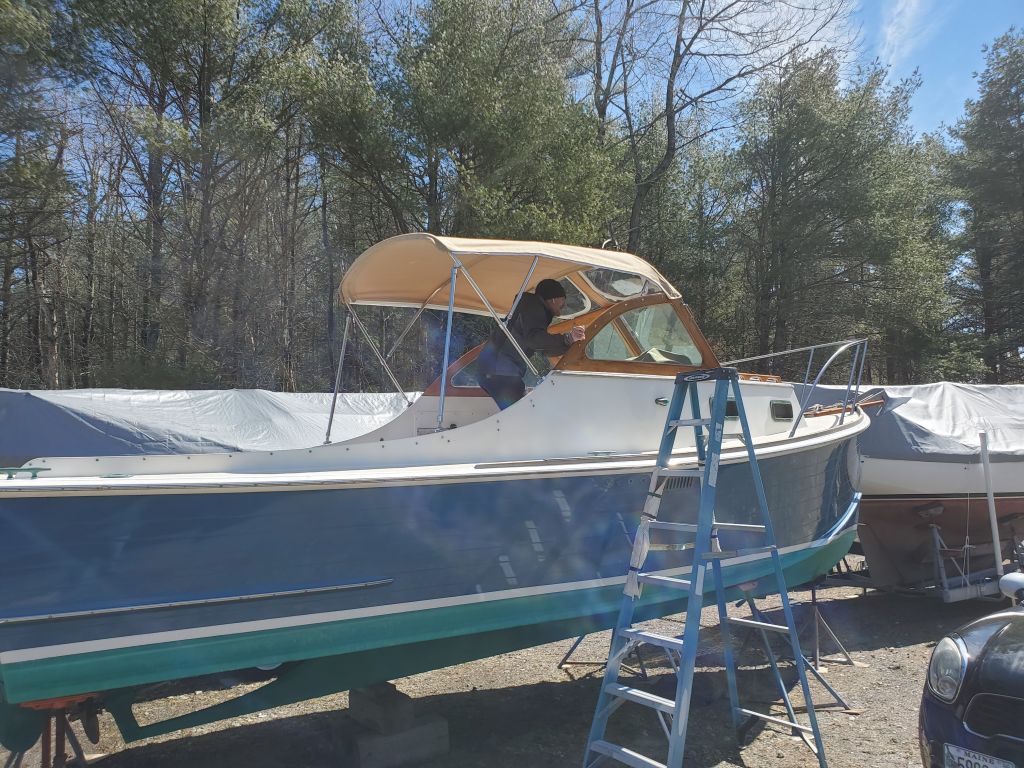
A day or two later, with decent weather, Jason arrived to fit the top and make some final sewing alterations to complete the support pockets, the center one of which he’d left unsewn to ensure the fit was correct. Then, later that day and with the top fully sewn, he returned to pattern the two side curtains, which he’d build during the rest of the week.
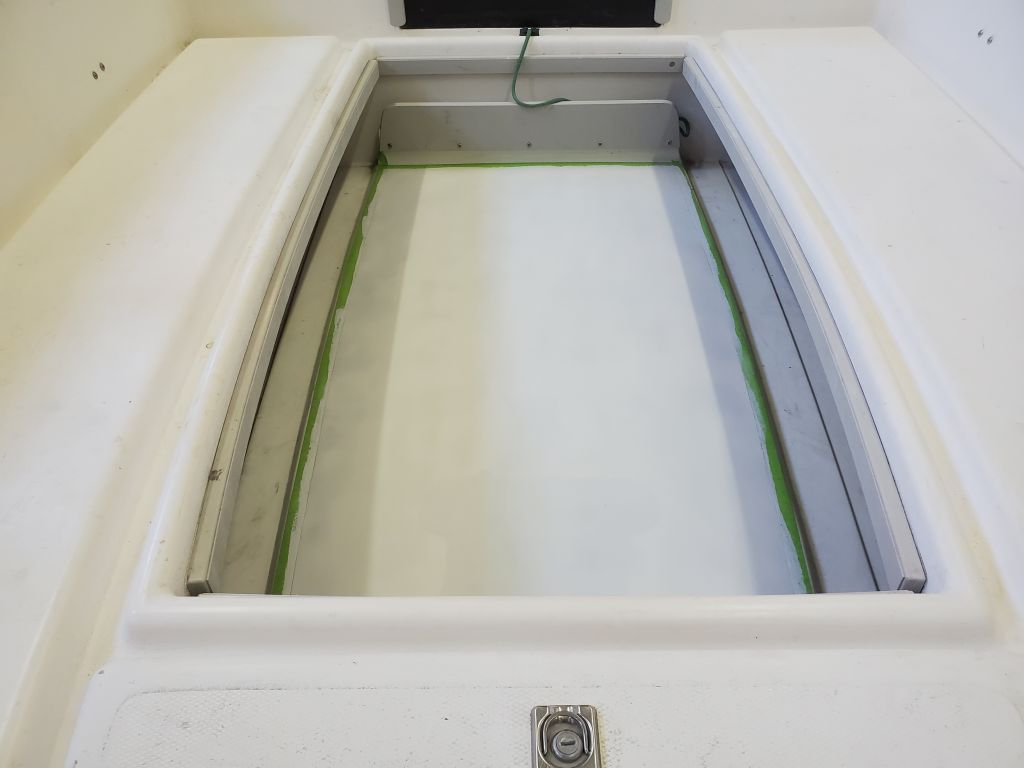
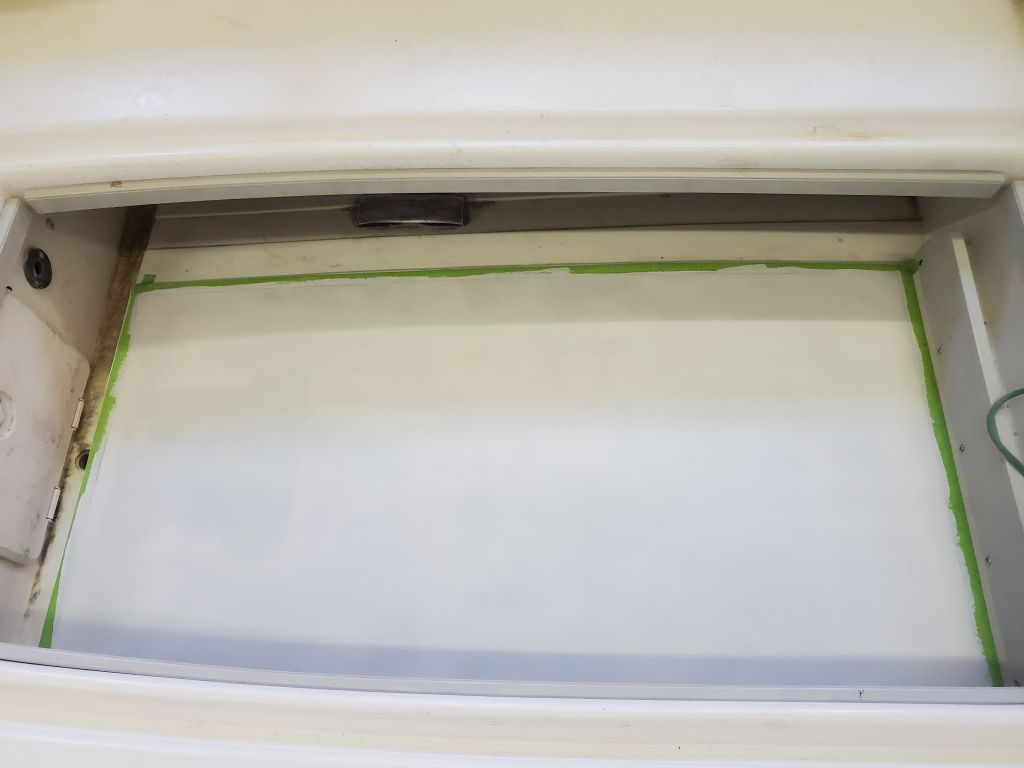
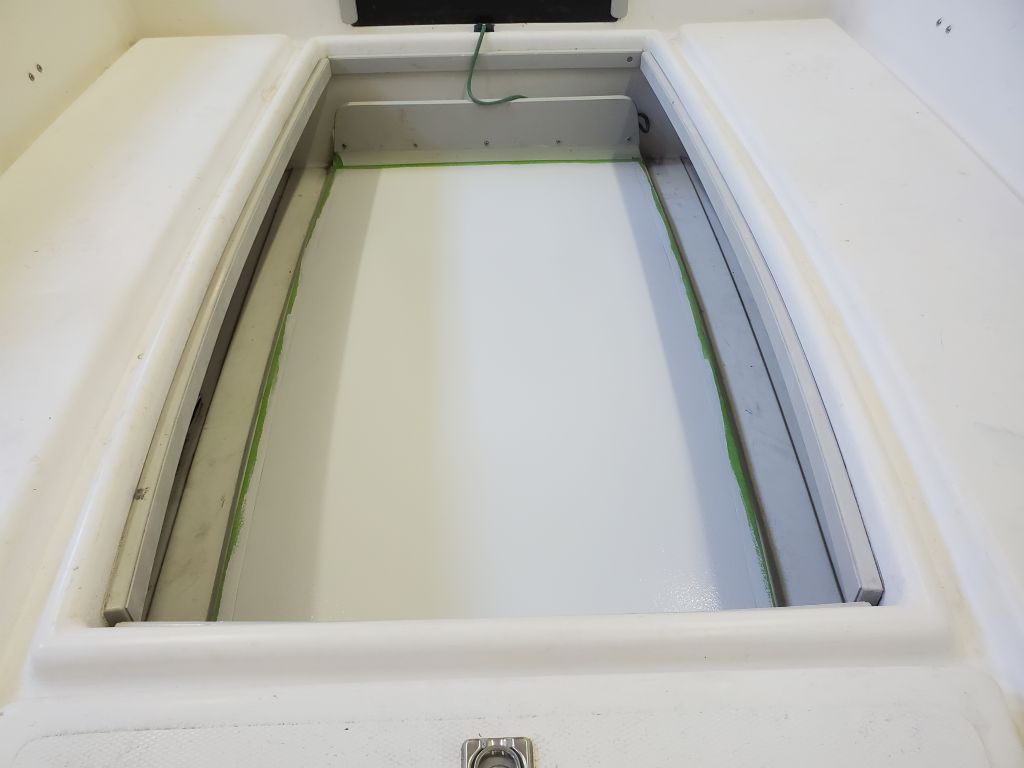
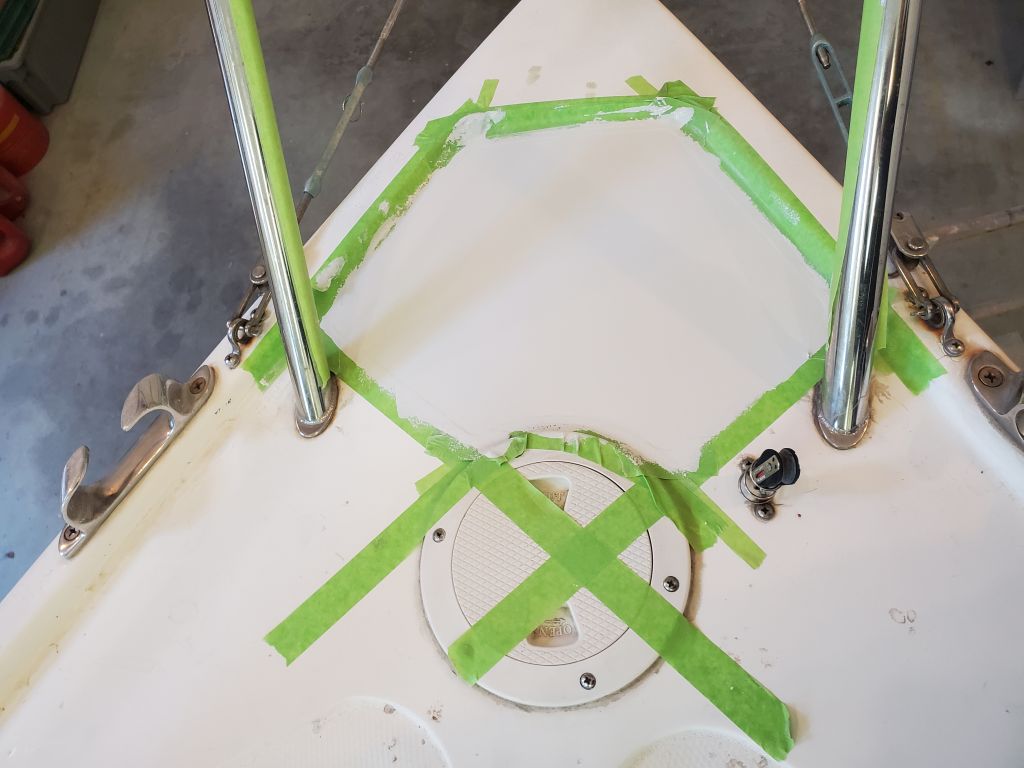
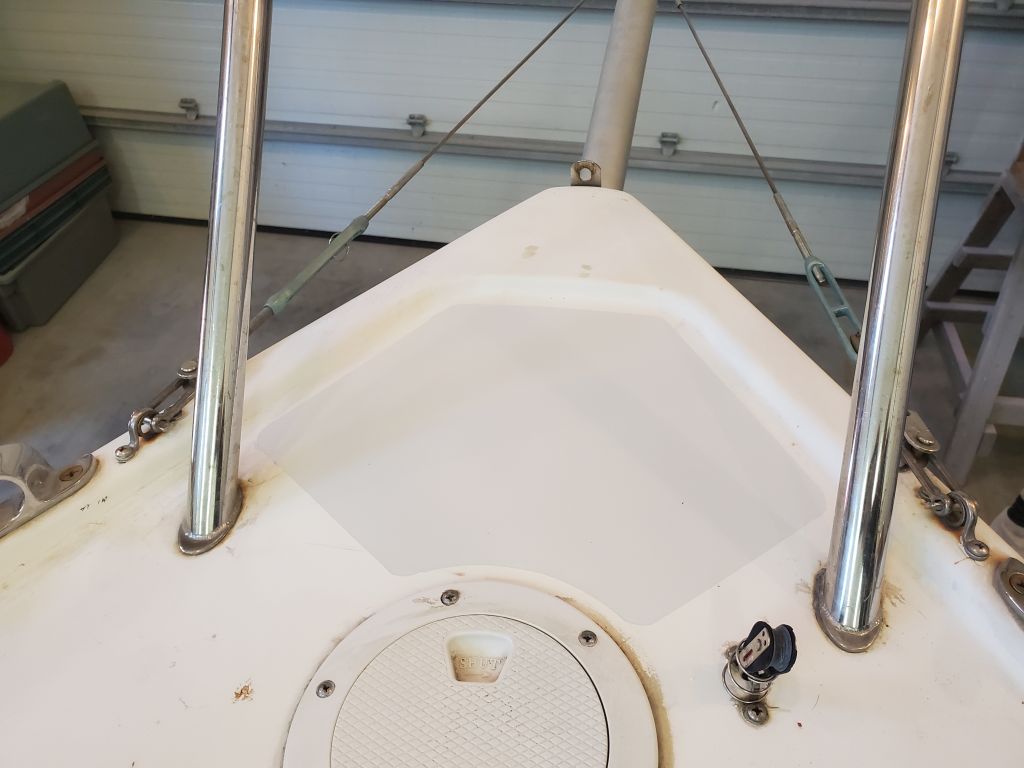
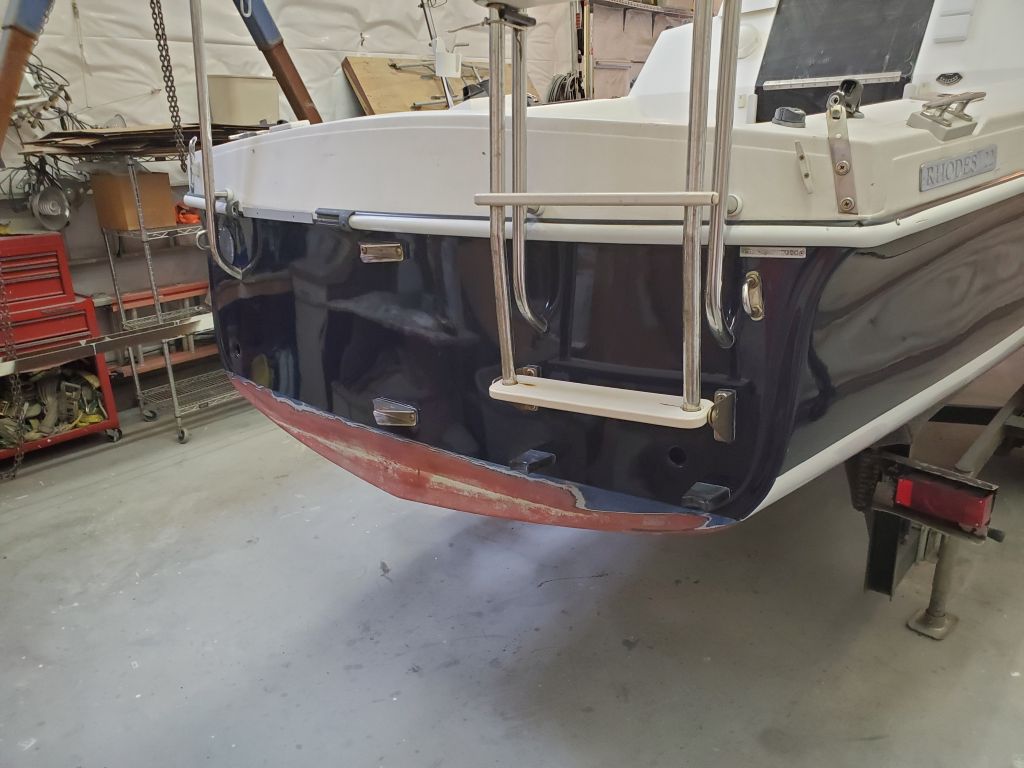
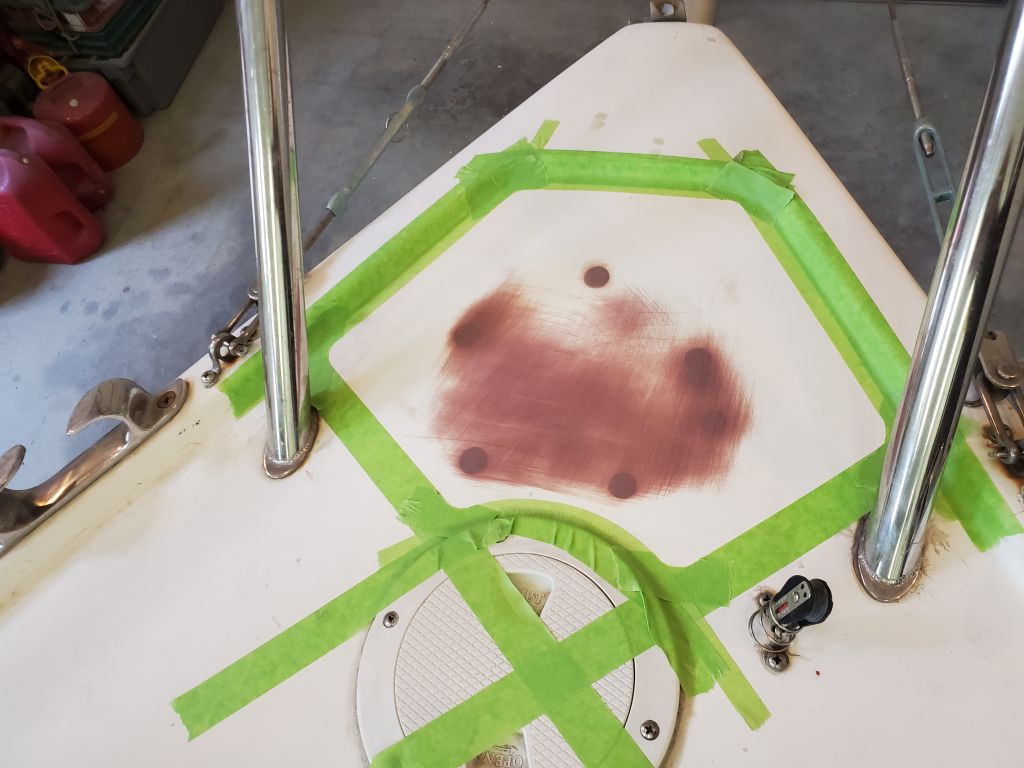
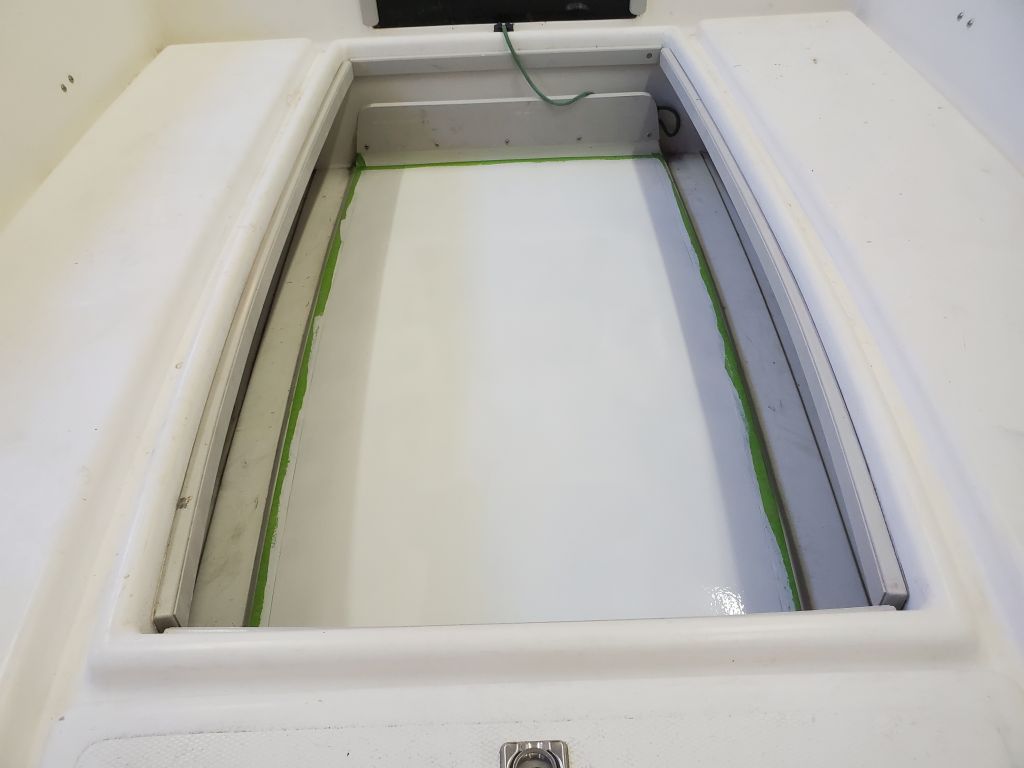
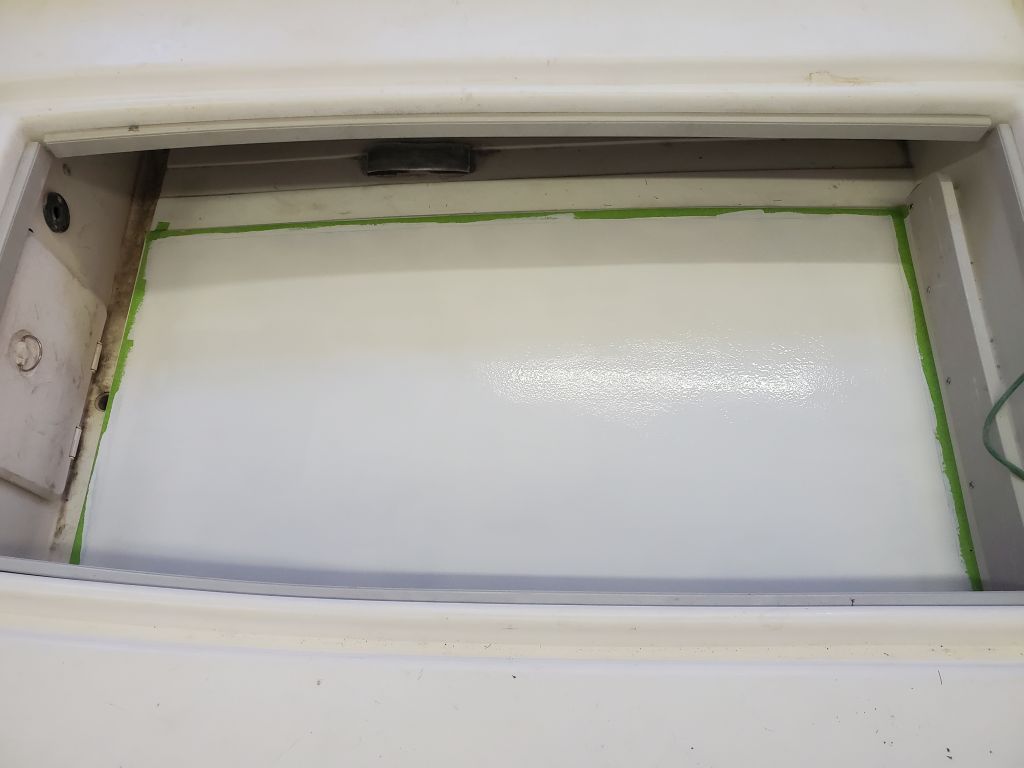
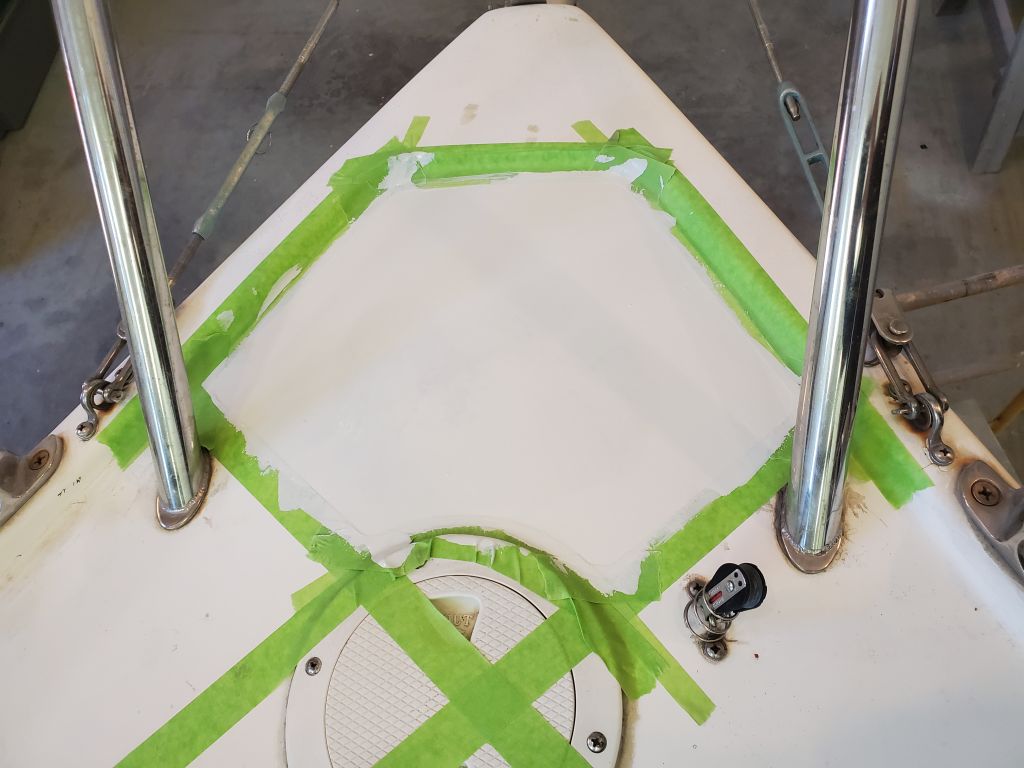
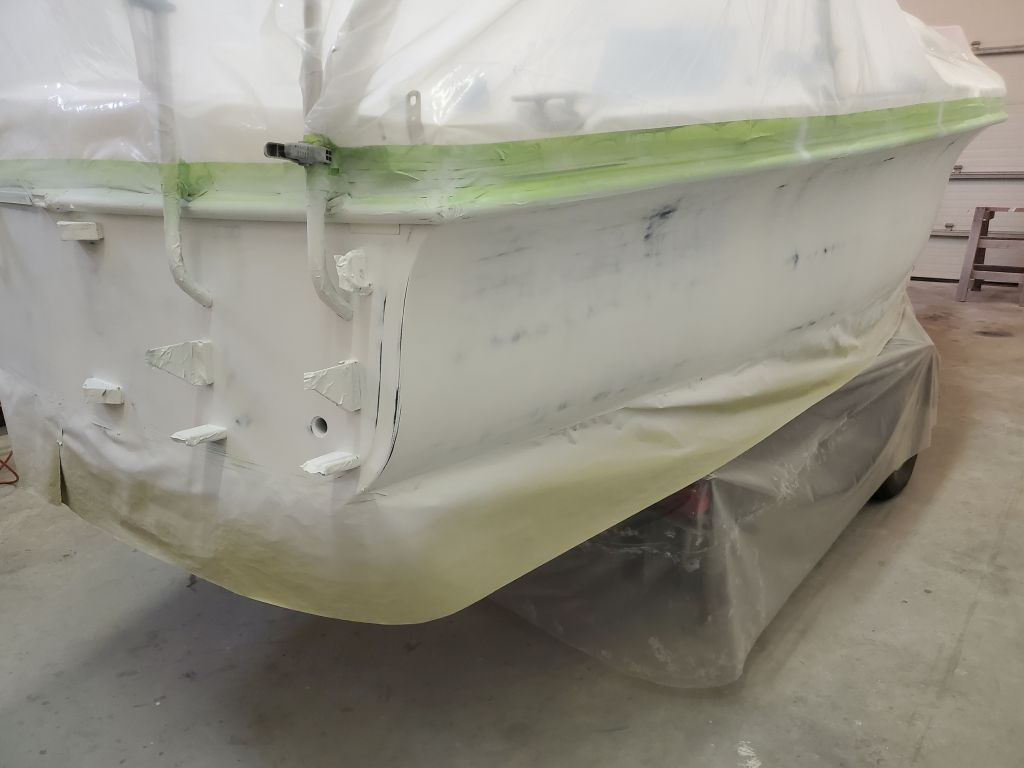
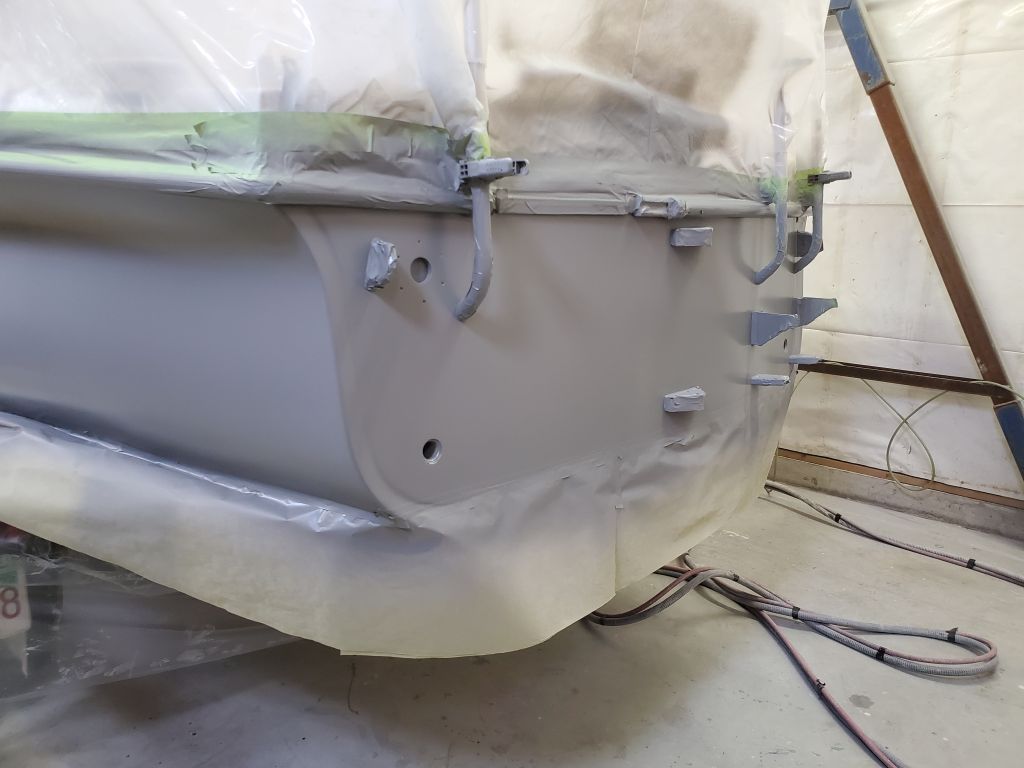
After sanding the primer on the cockpit sole and small bow repair, I finished these projects with two coats of white nonskid paint over the course of the day. I chose the nonskid for the bow repair as well since any patch would be highlighted in its difference, and the extra small patch of nonskid forward fit in with the overall scheme of the boat.
In between this and other, unrelated, tasks, I touched up the bottom paint over the saildrive patch, and along the waterline as needed. This completed the work for this project.
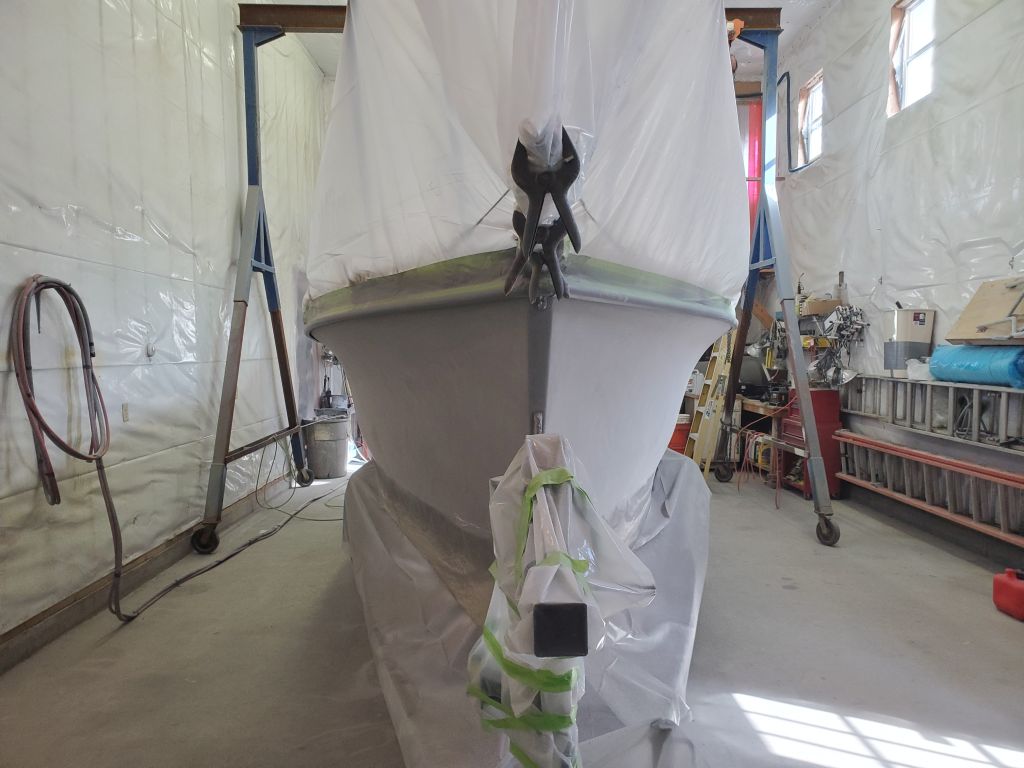
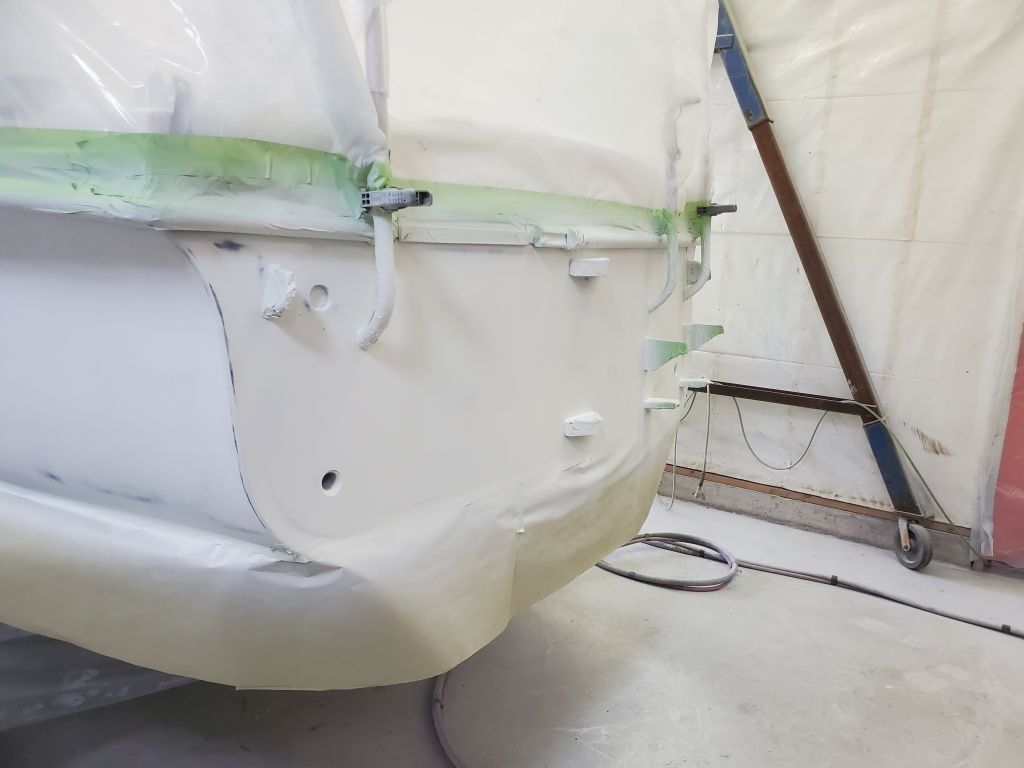
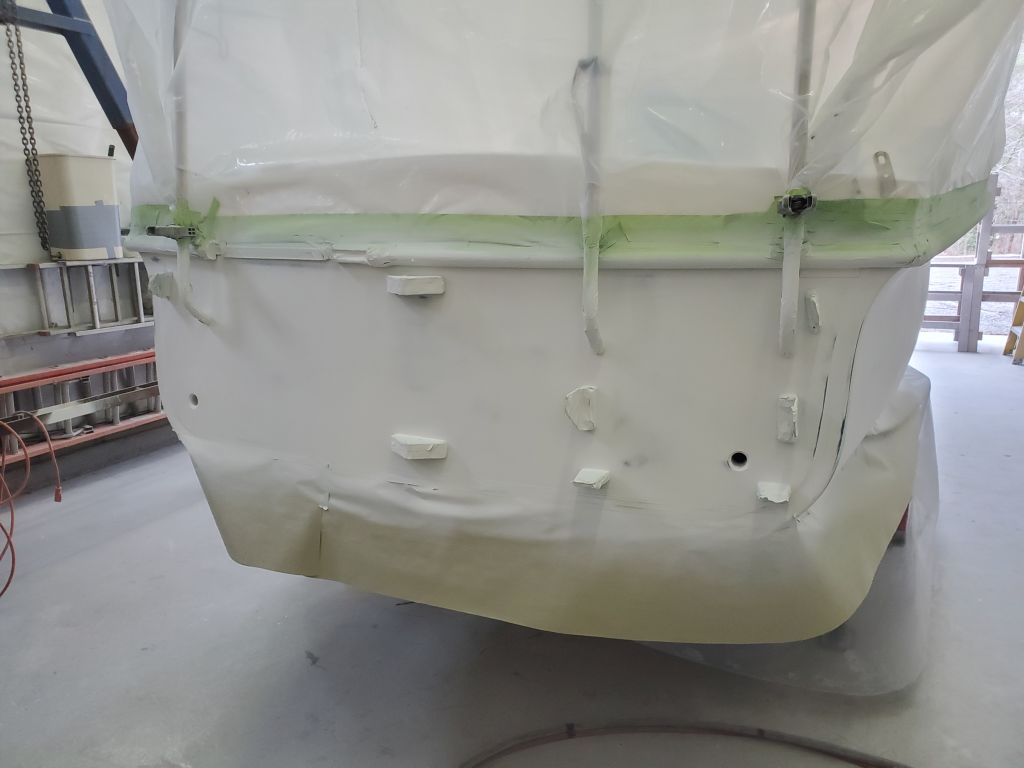
After a day away on other business, I got to to work removing all the masking from the boat, now that the spraying was complete.
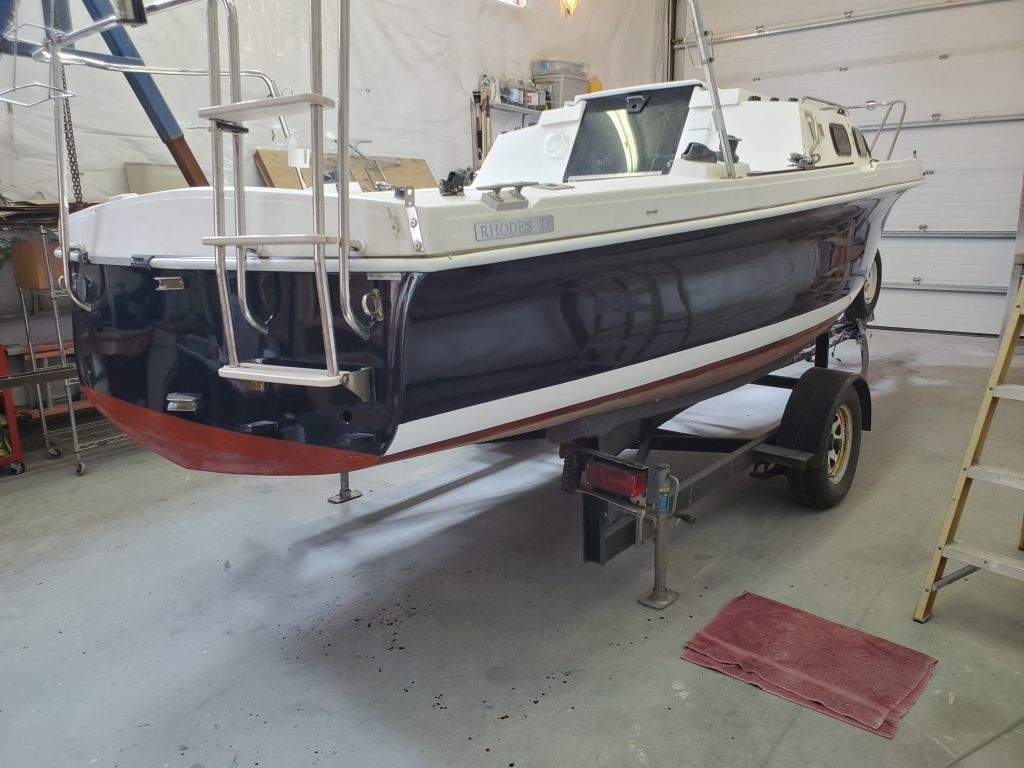
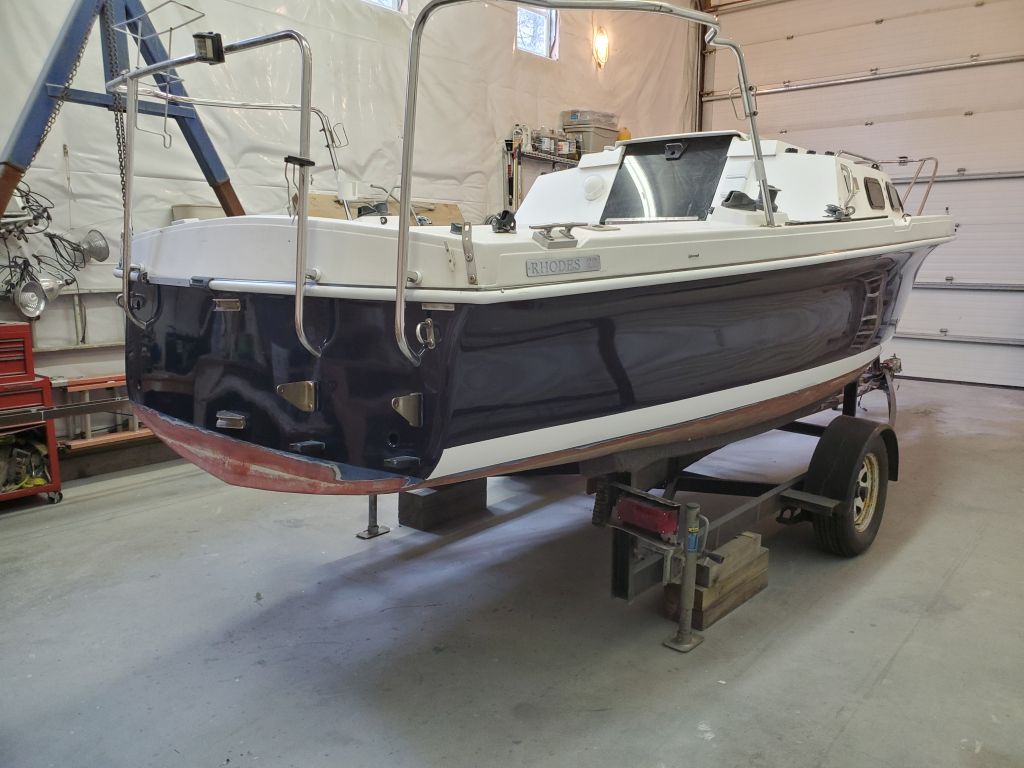
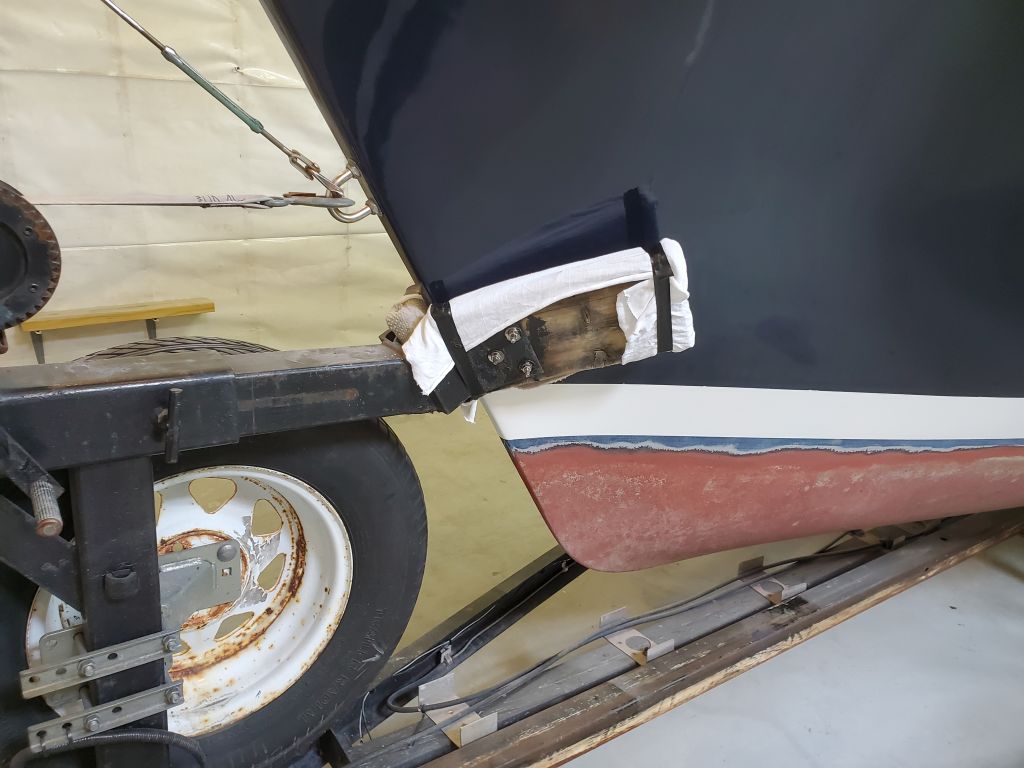
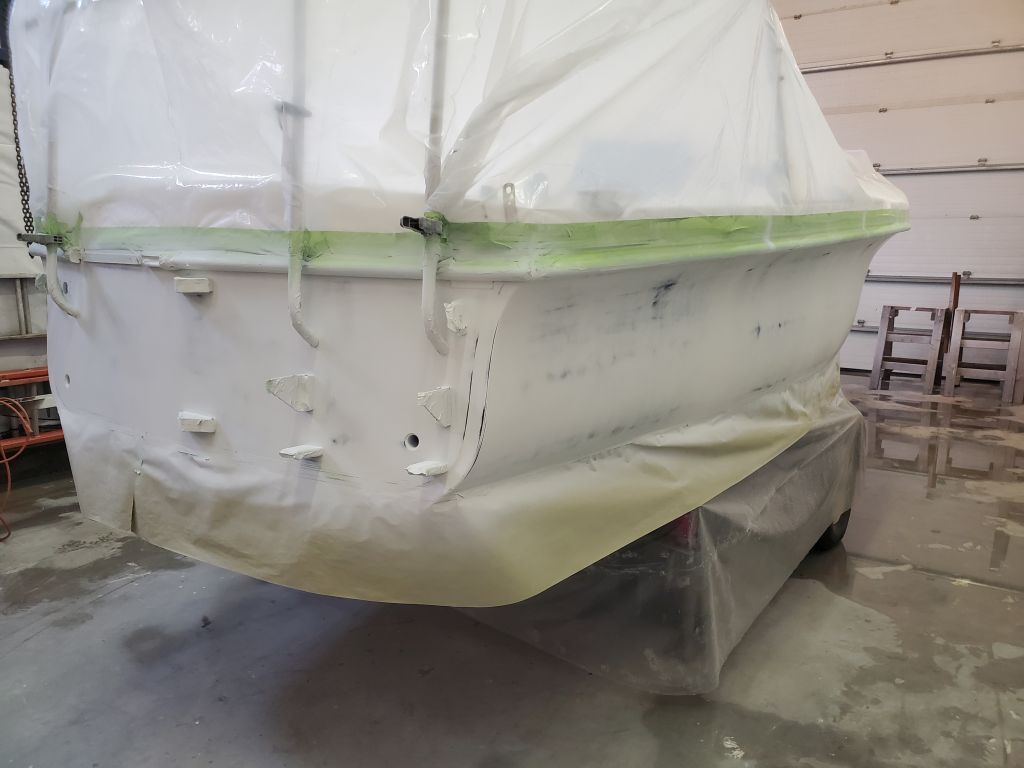
Afterwards, I reassembled the spare tire and bow support, and the boarding ladder at the transom.
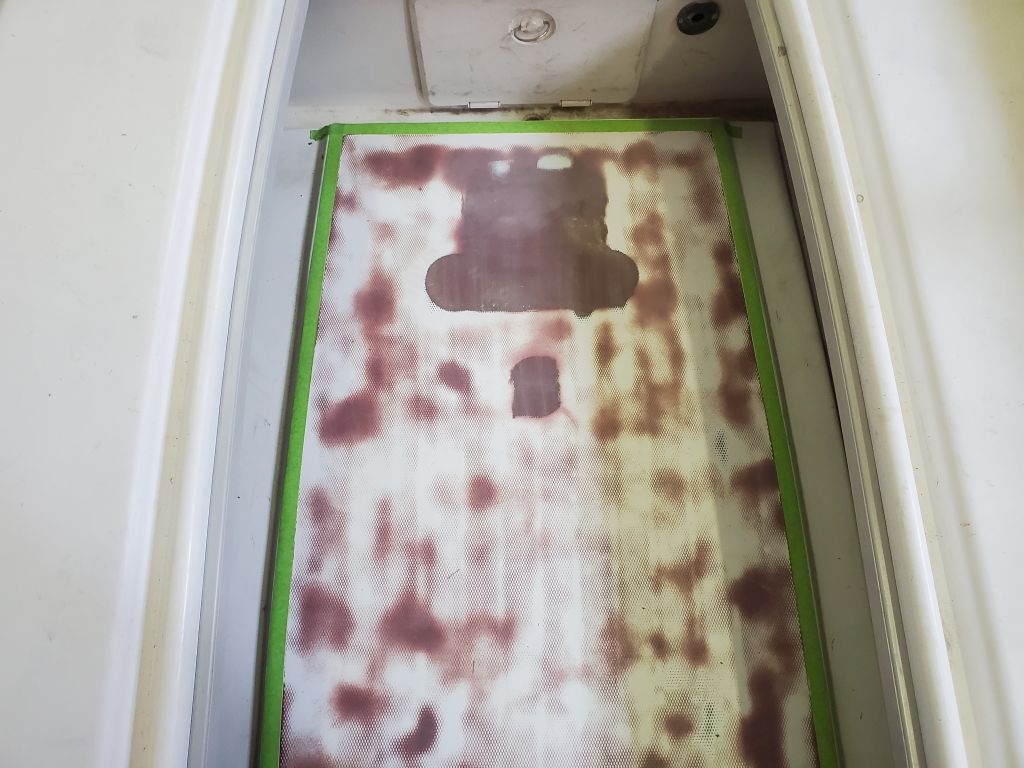
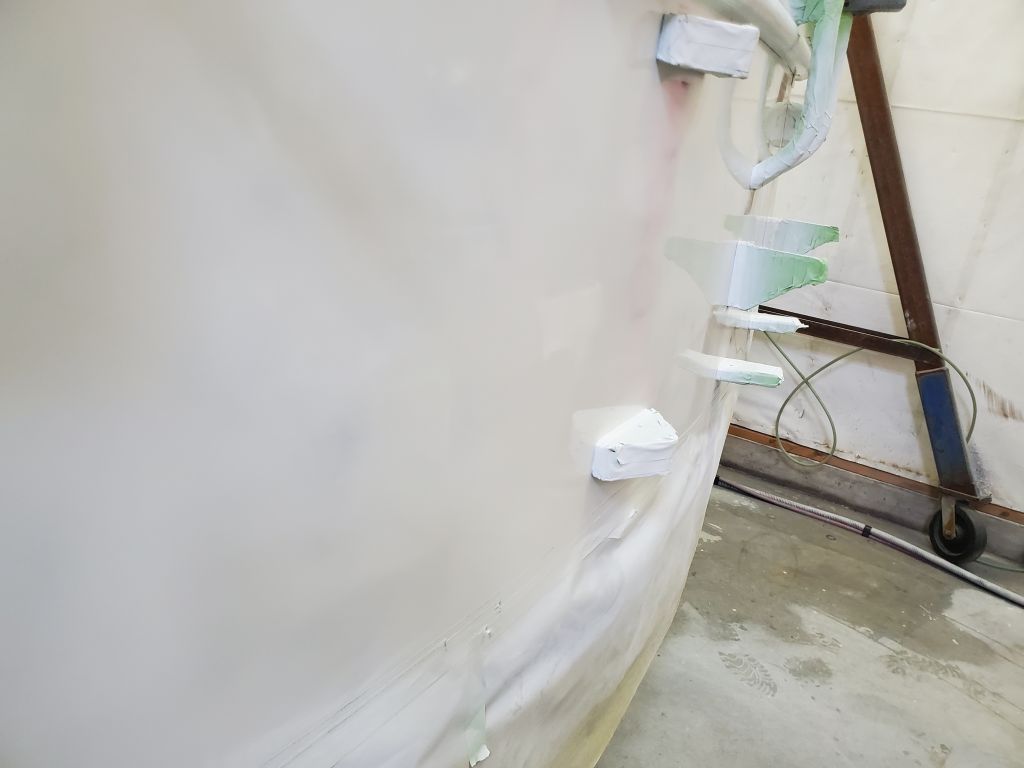
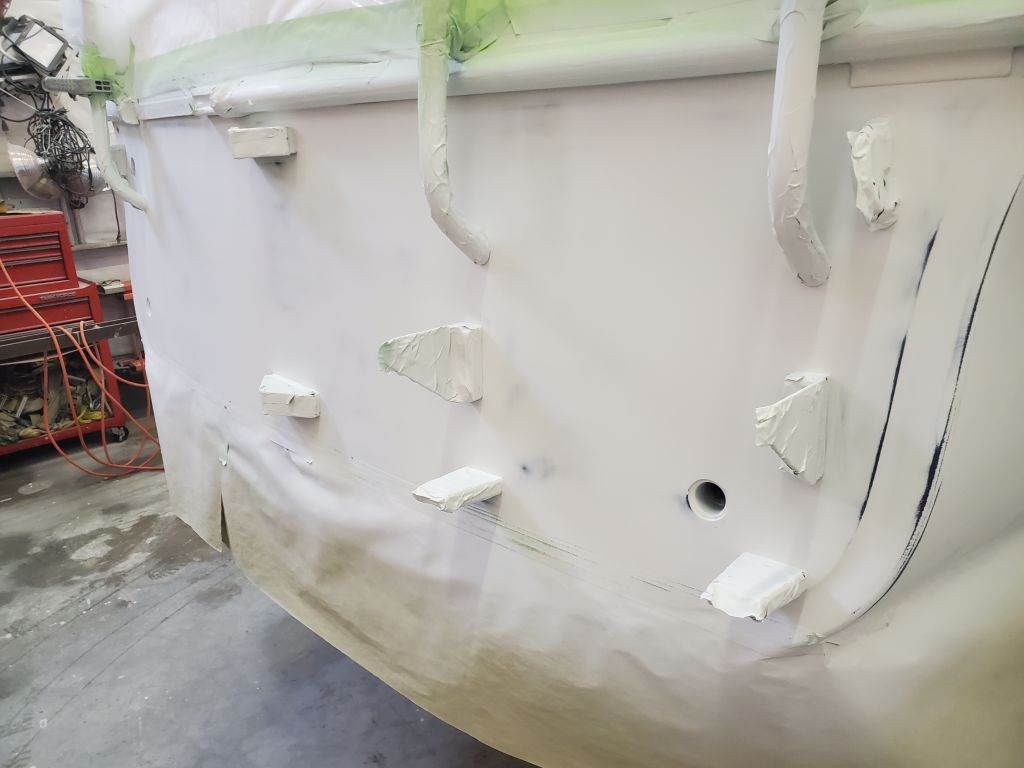
Now I could get back to work on completing the repairs in the cockpit and stem, which I’d brought through the fairing stages but still required primer and paint. After final preparations and masking, I applied two coats of primer to the cockpit sole and stem area before the end of the day.
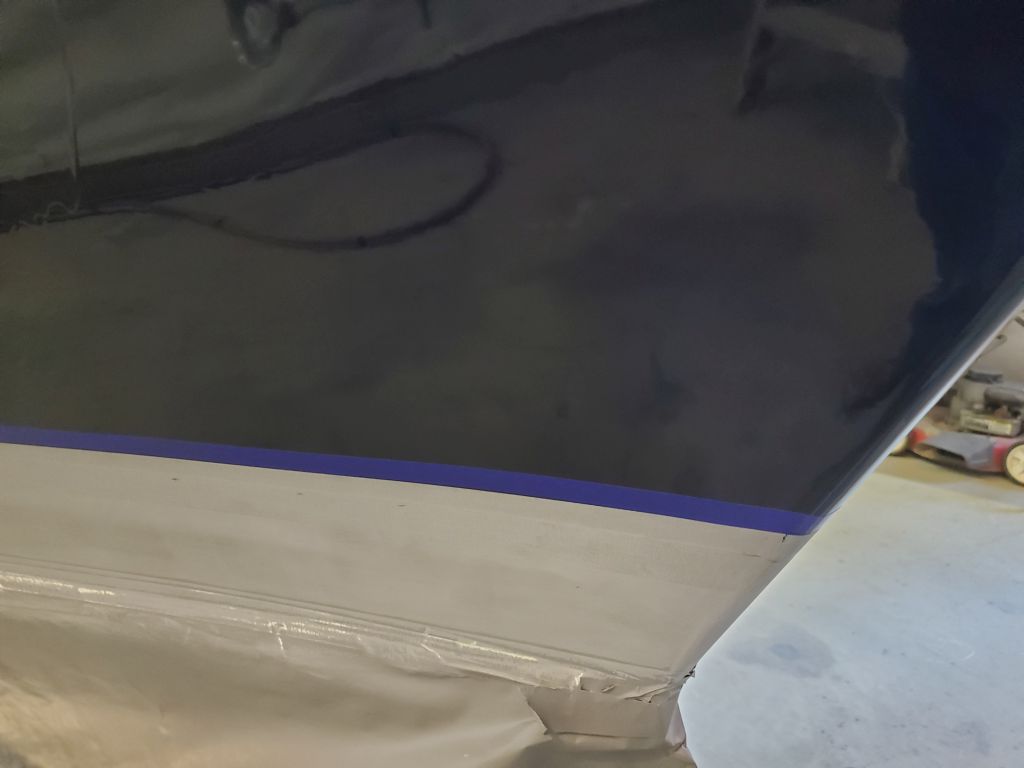
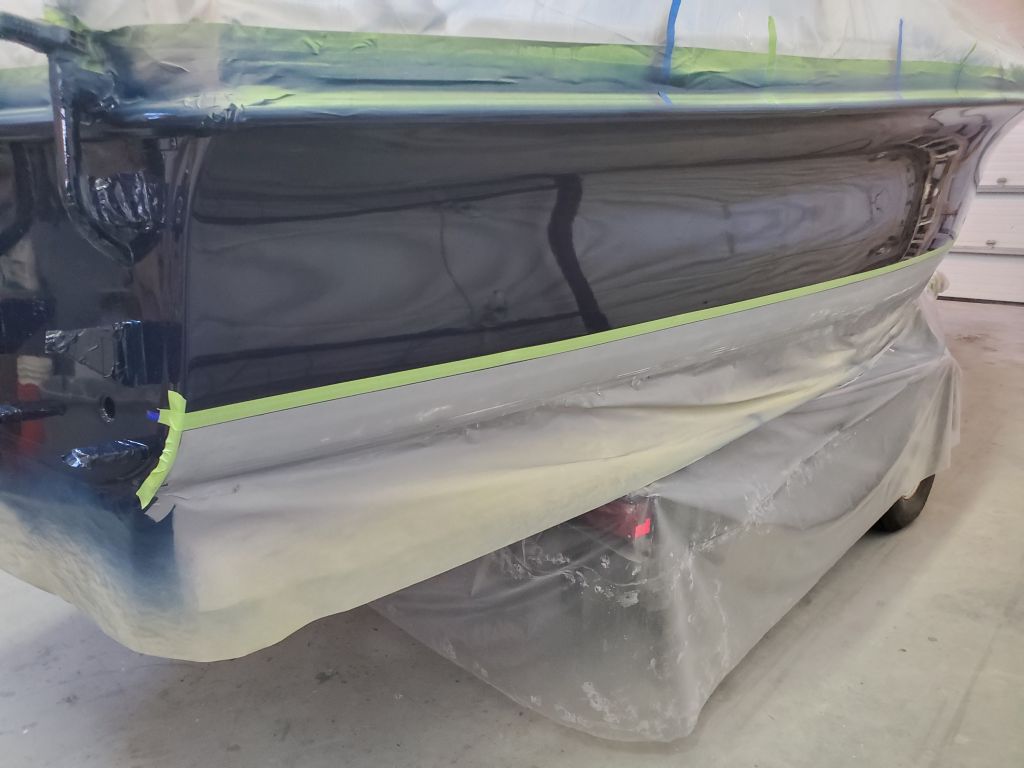
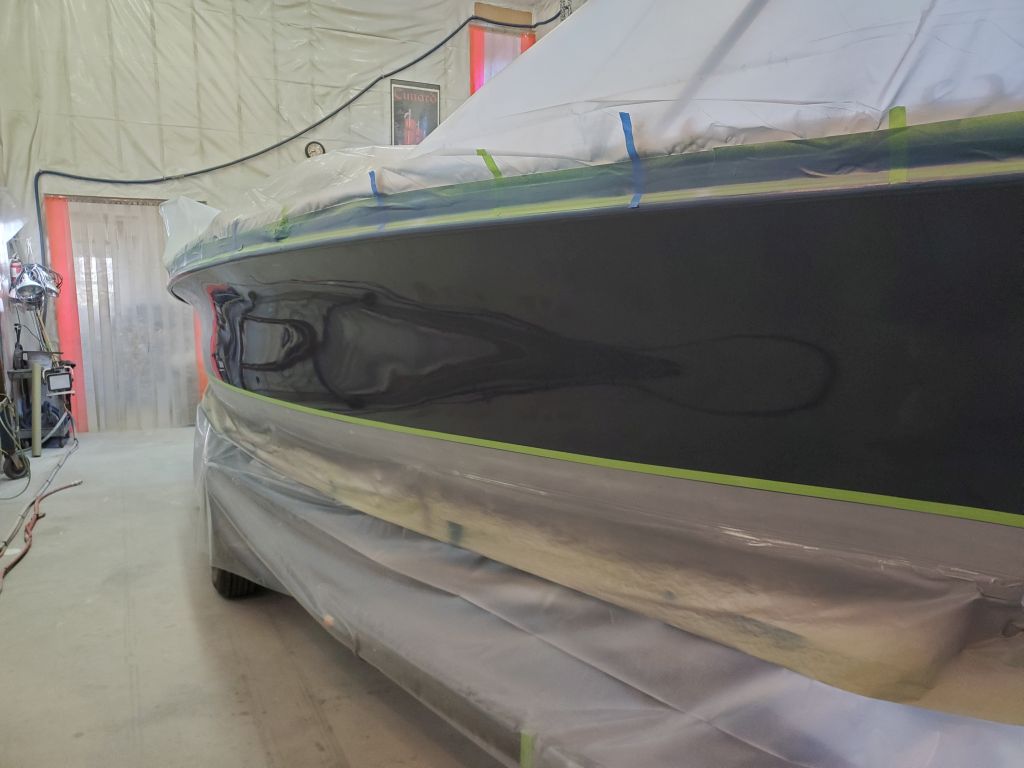
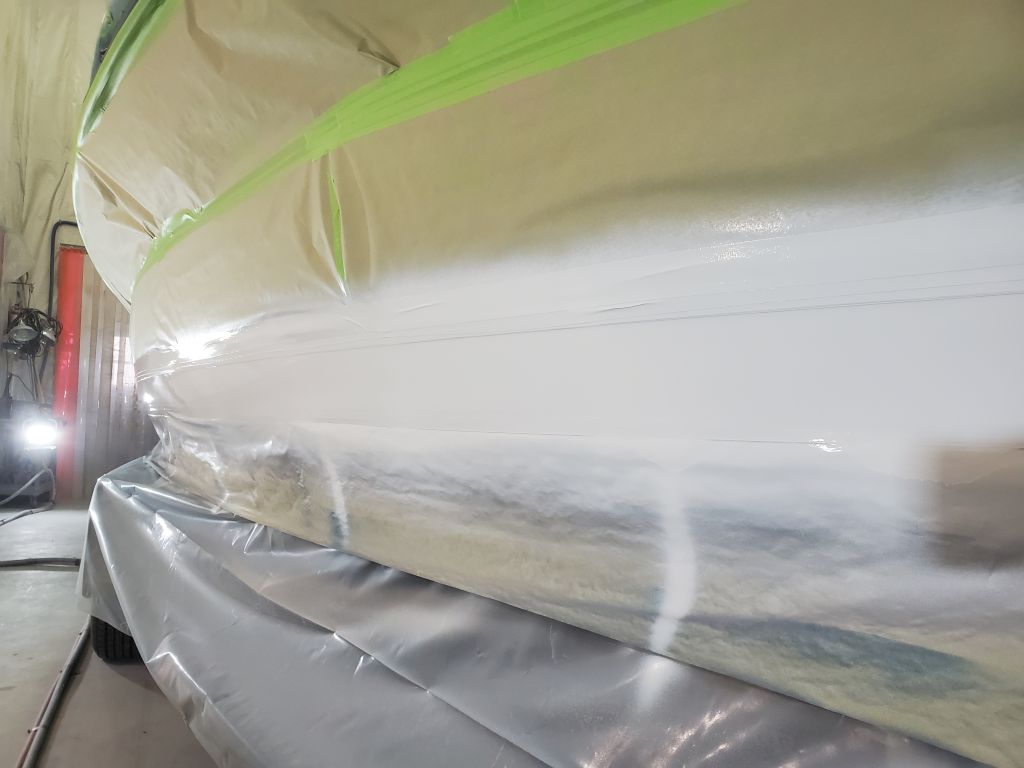
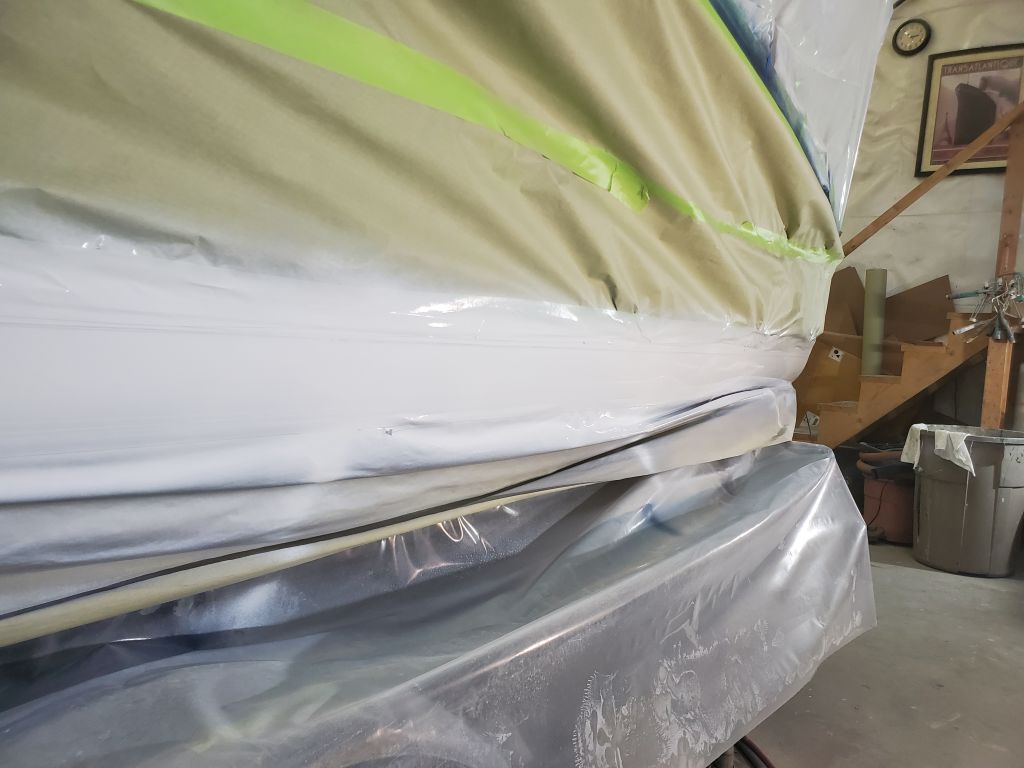
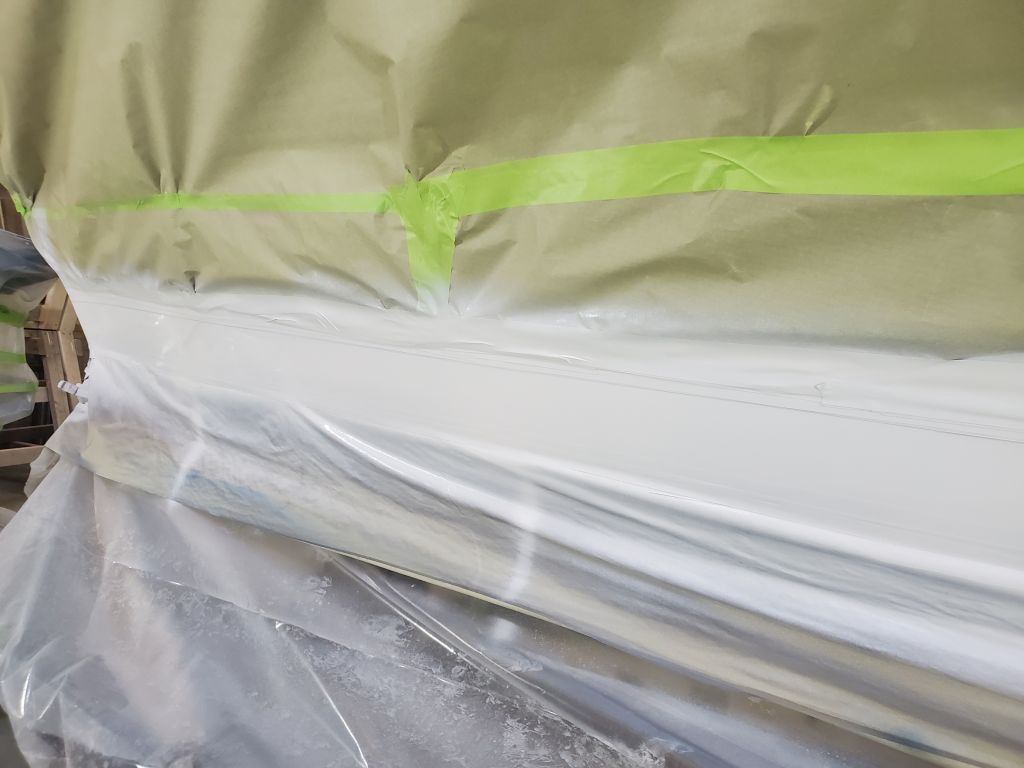
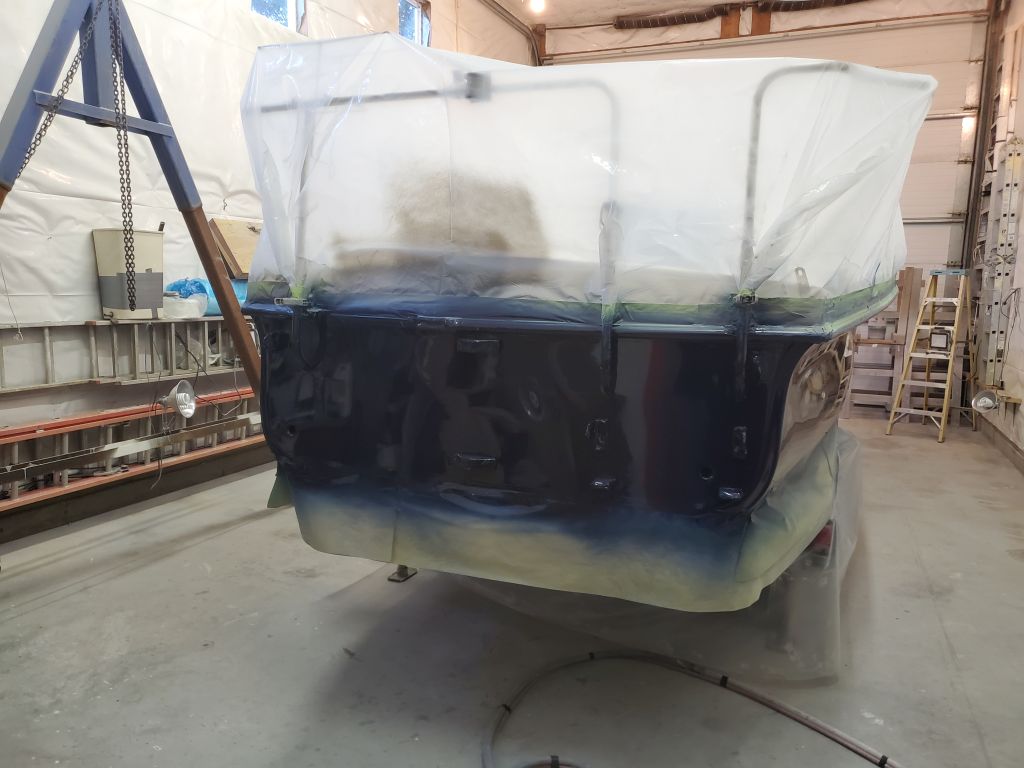
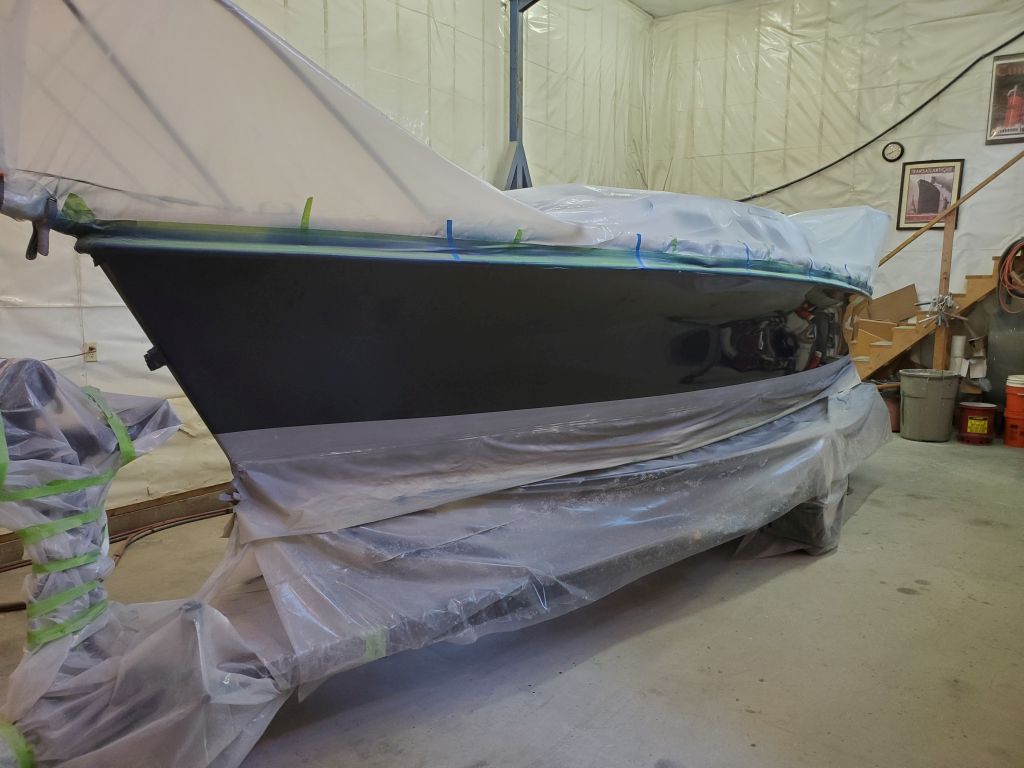
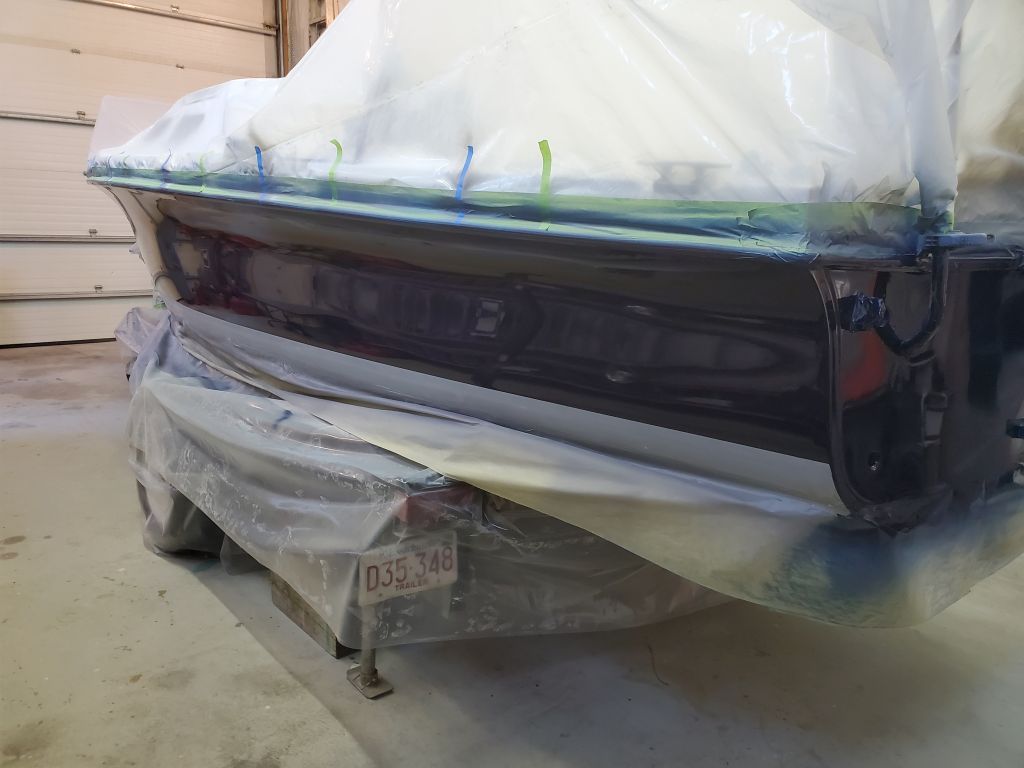
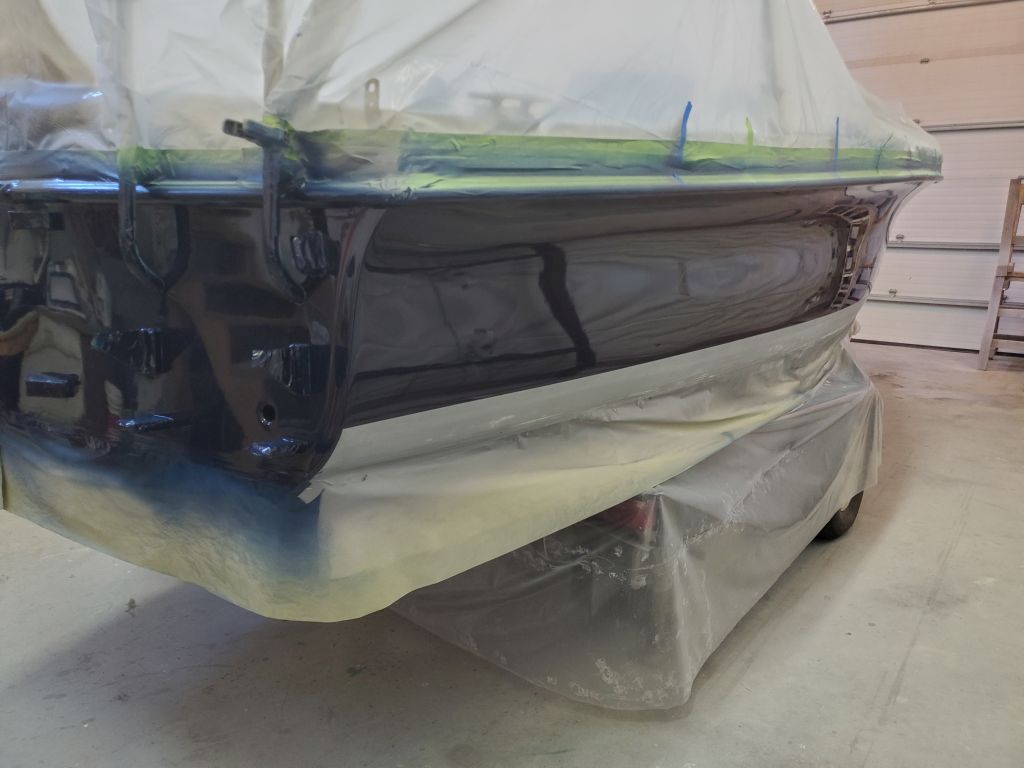
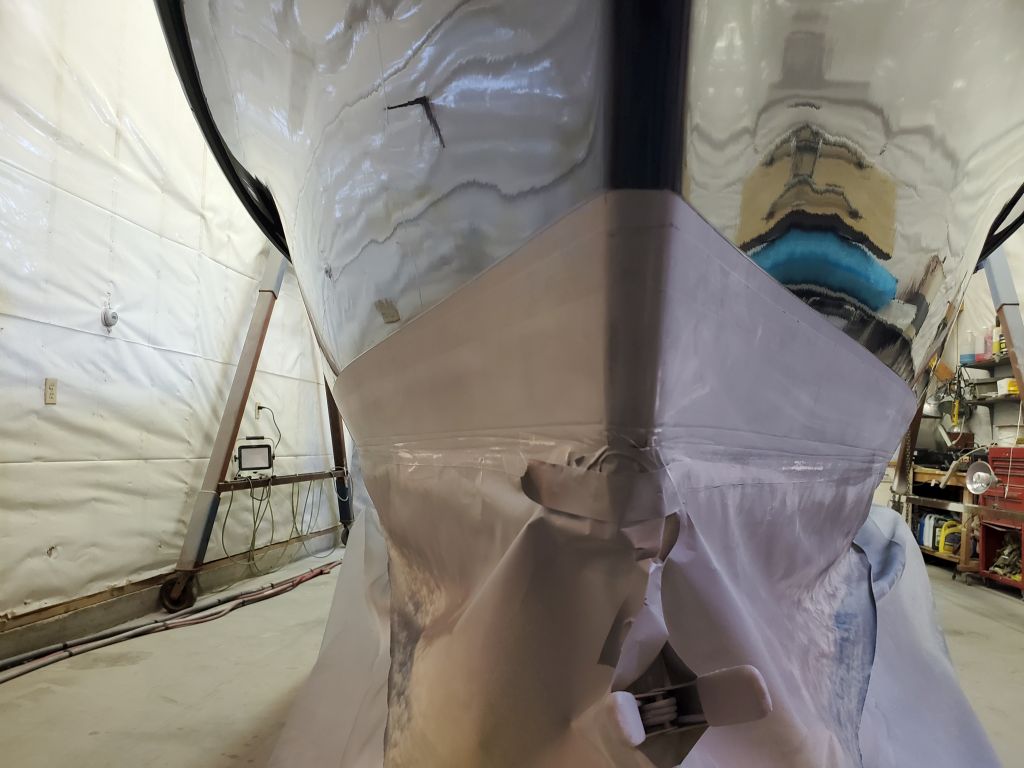
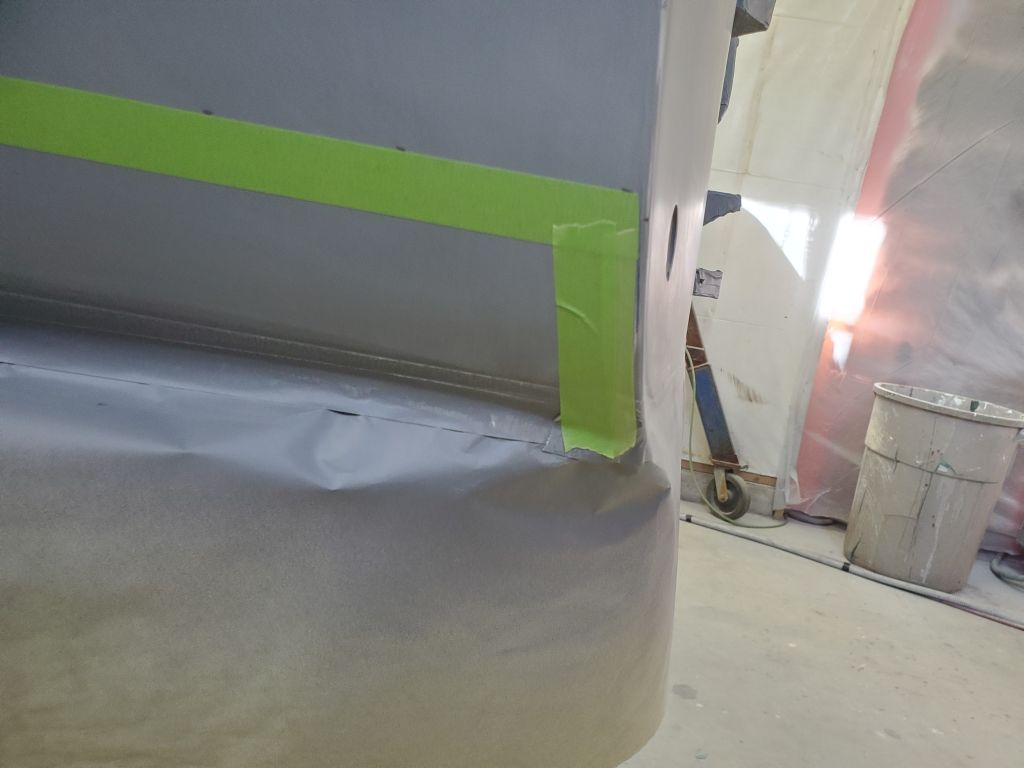
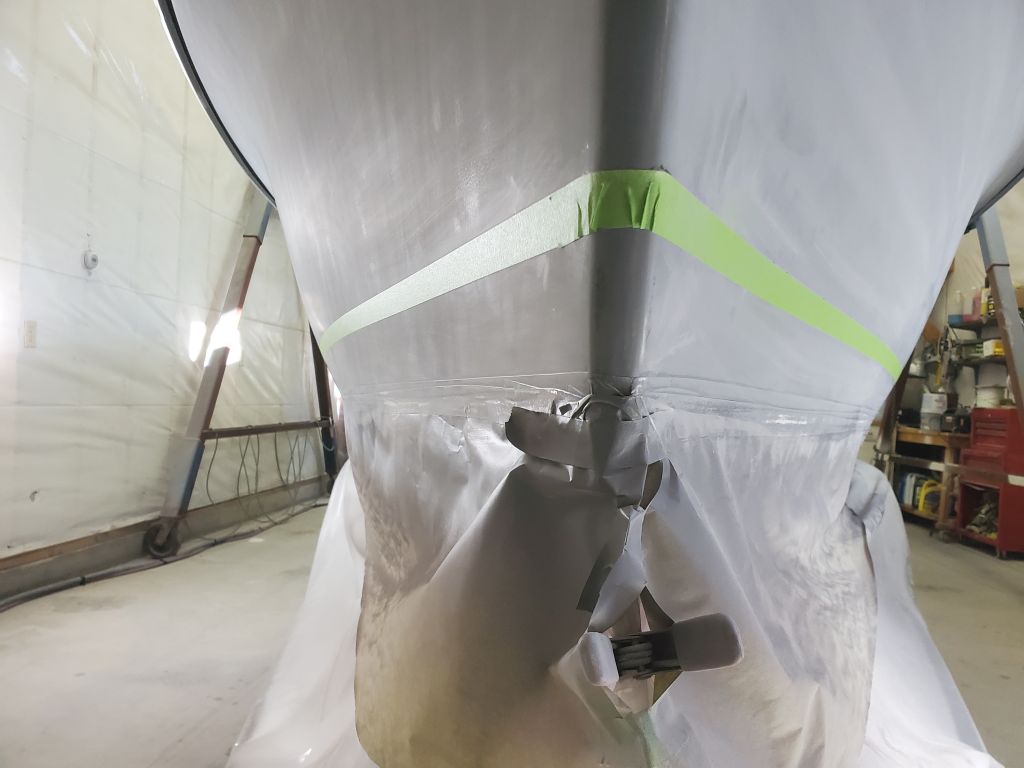
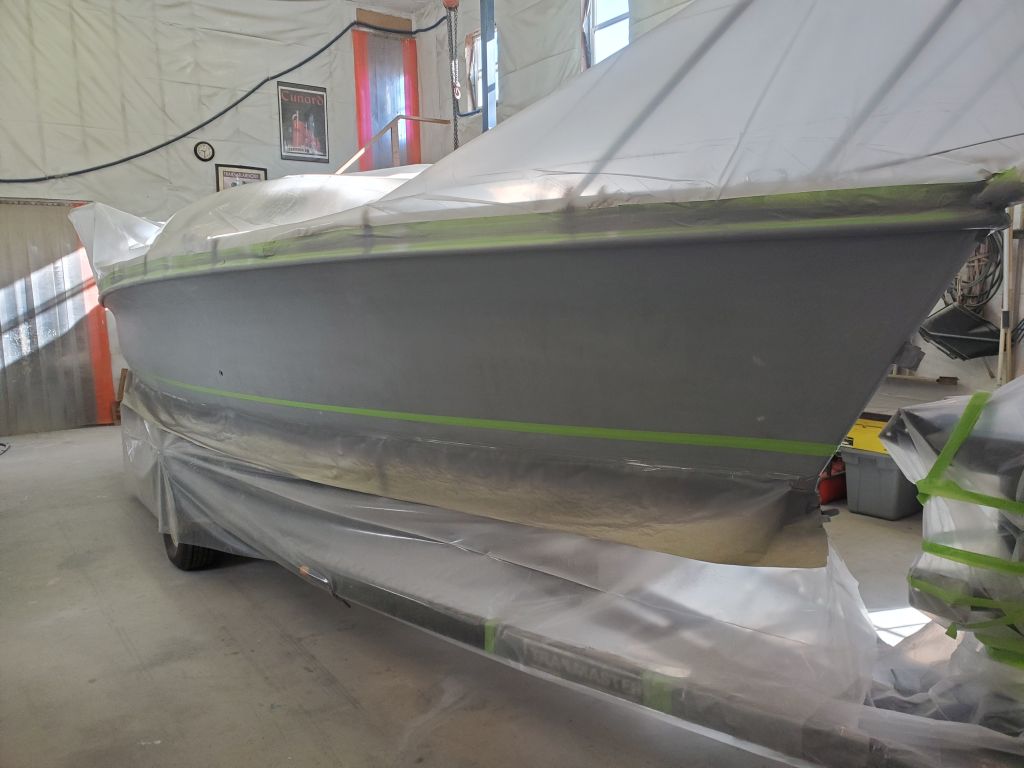
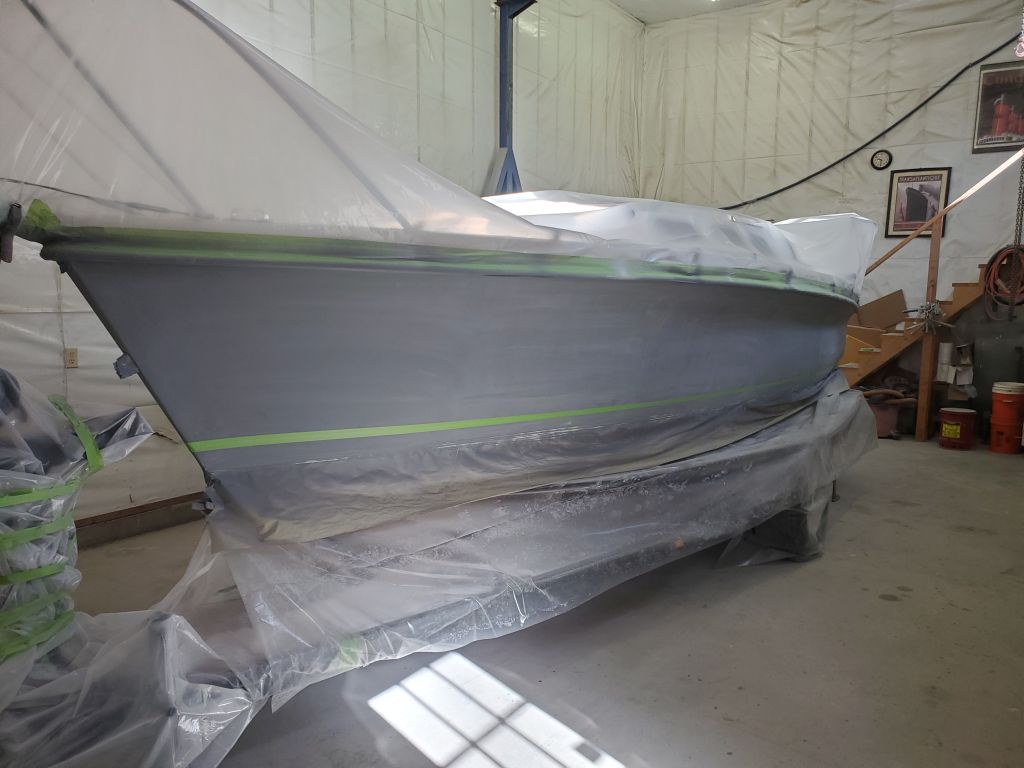
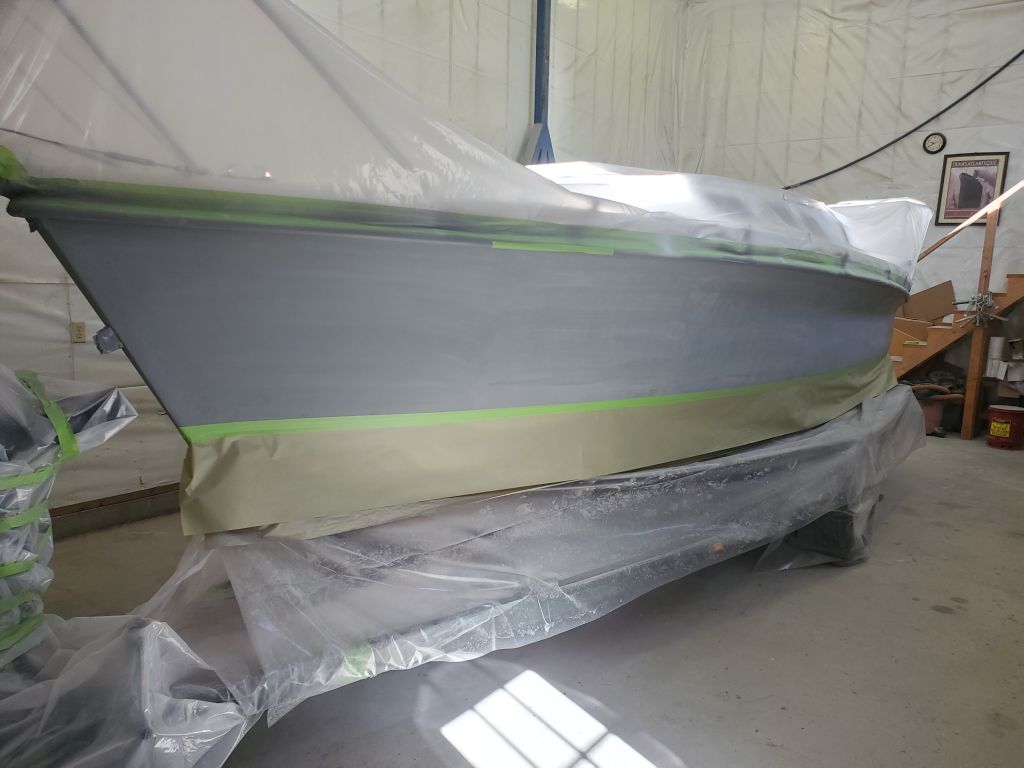
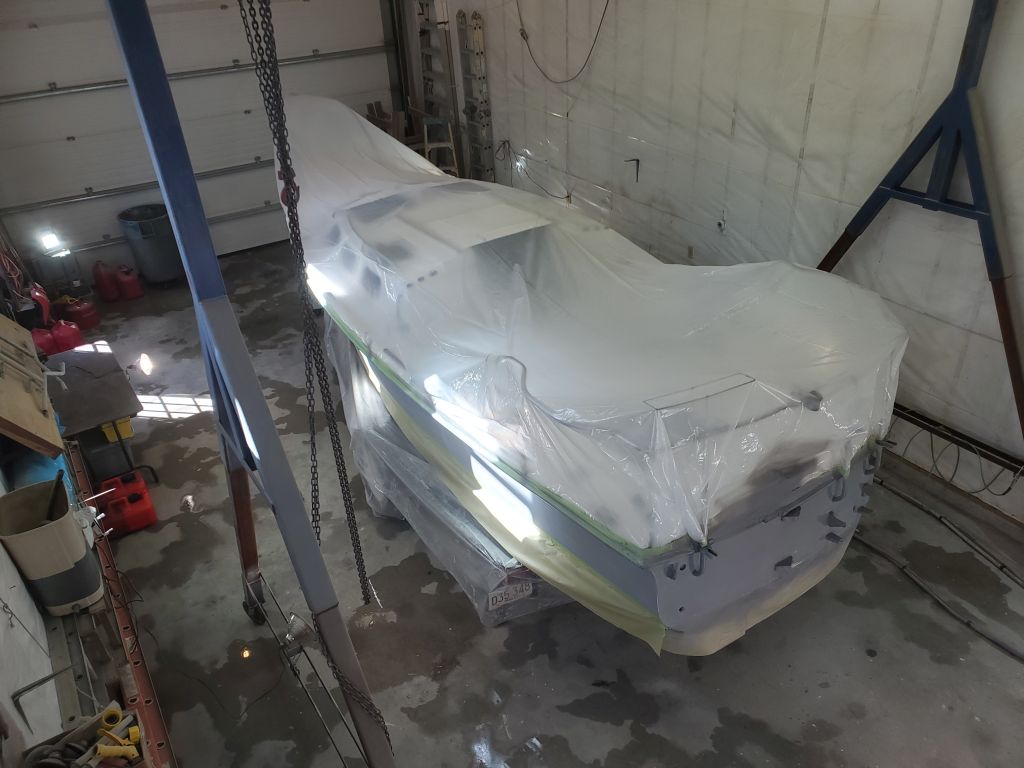
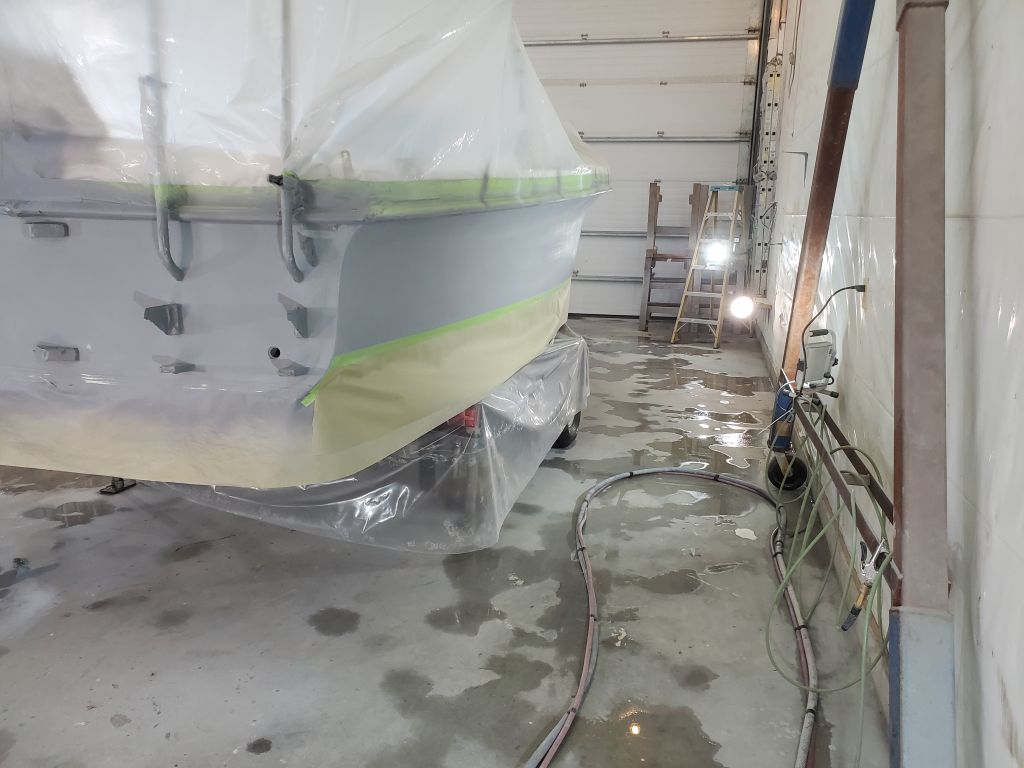
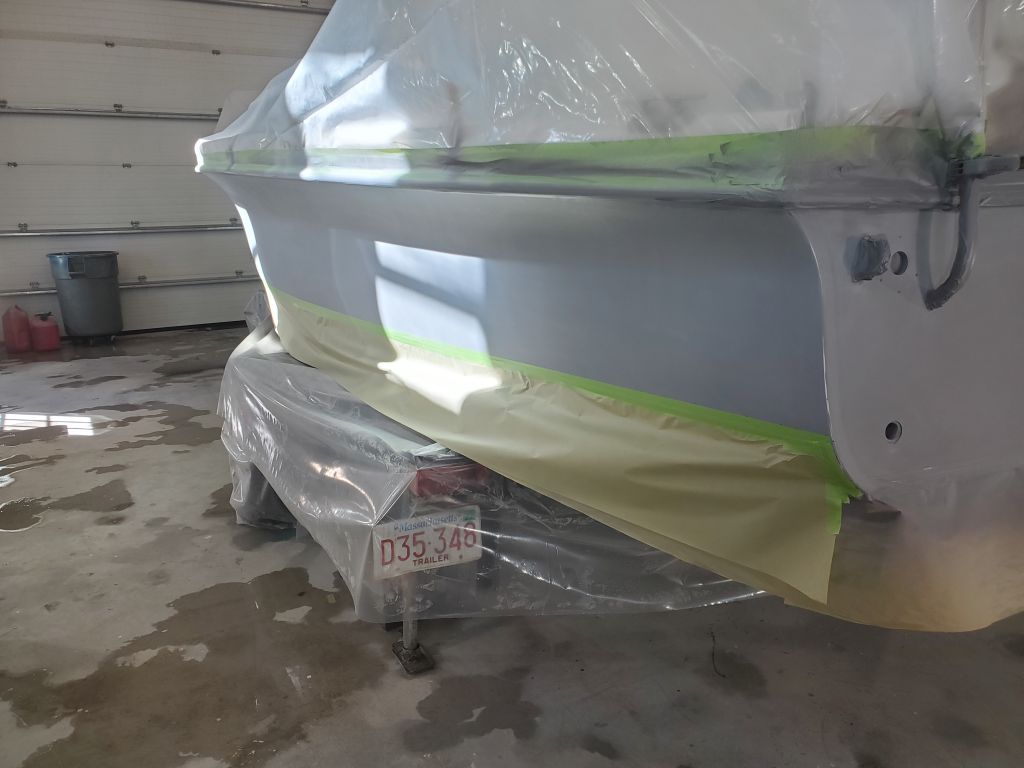
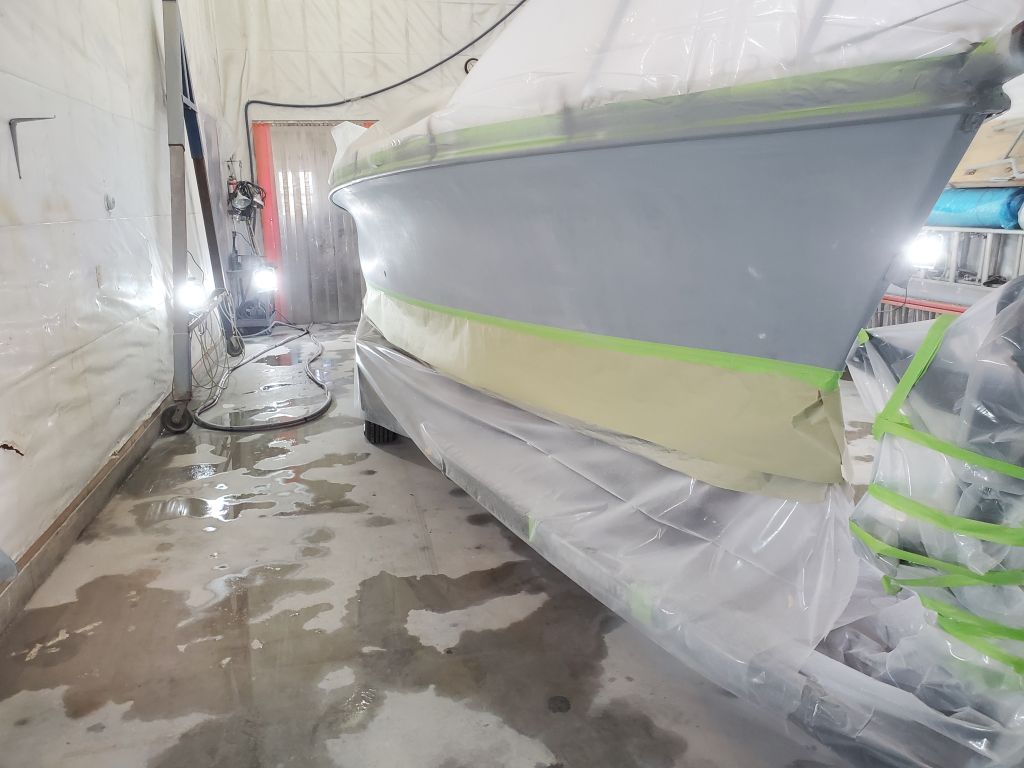
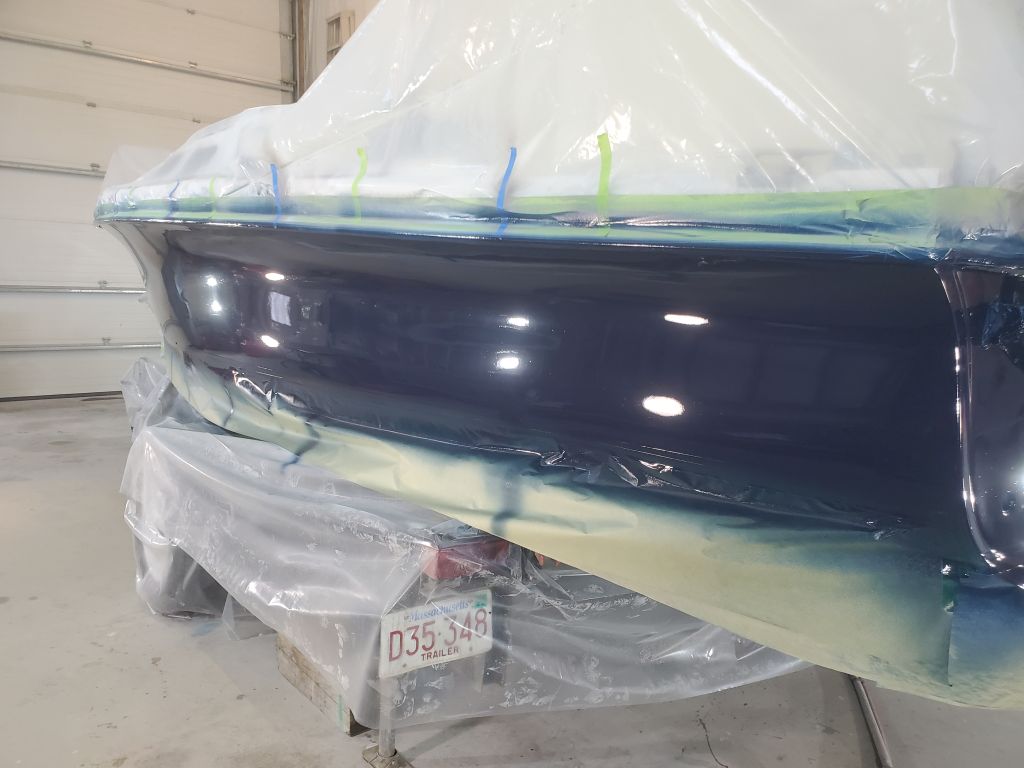
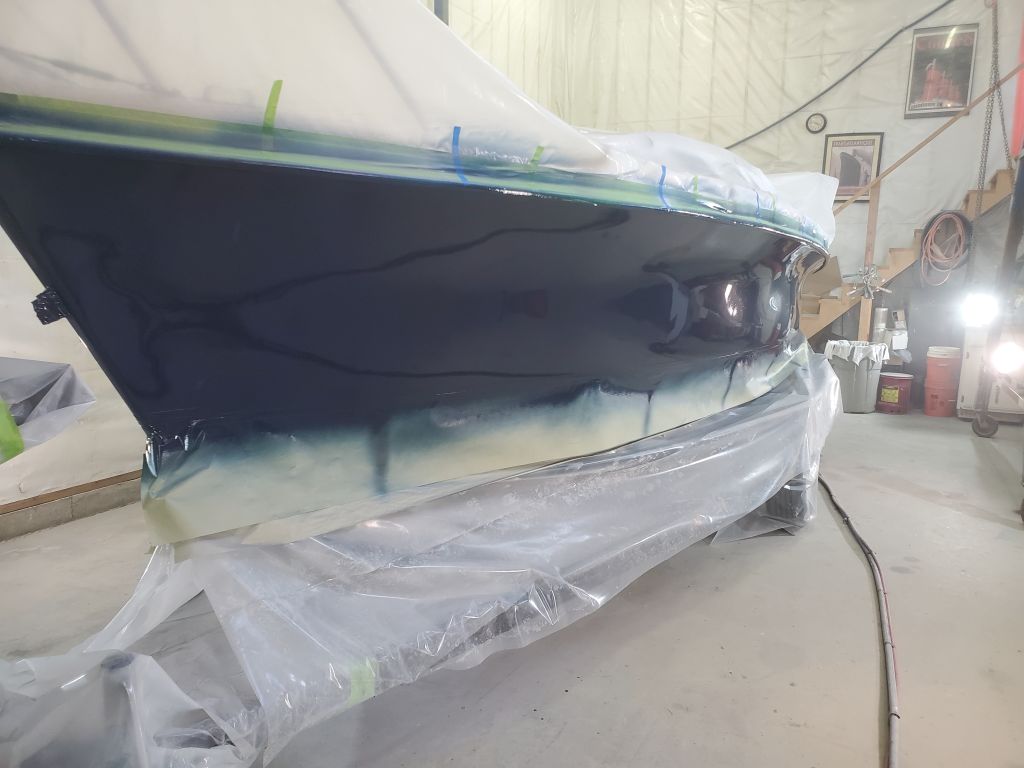
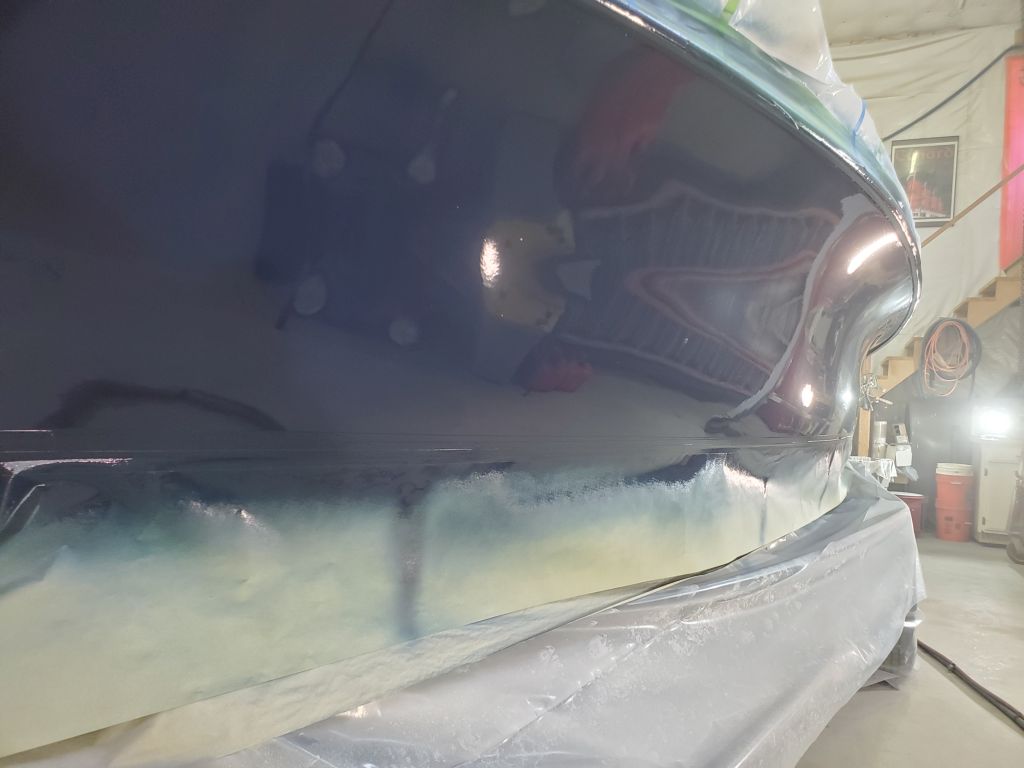
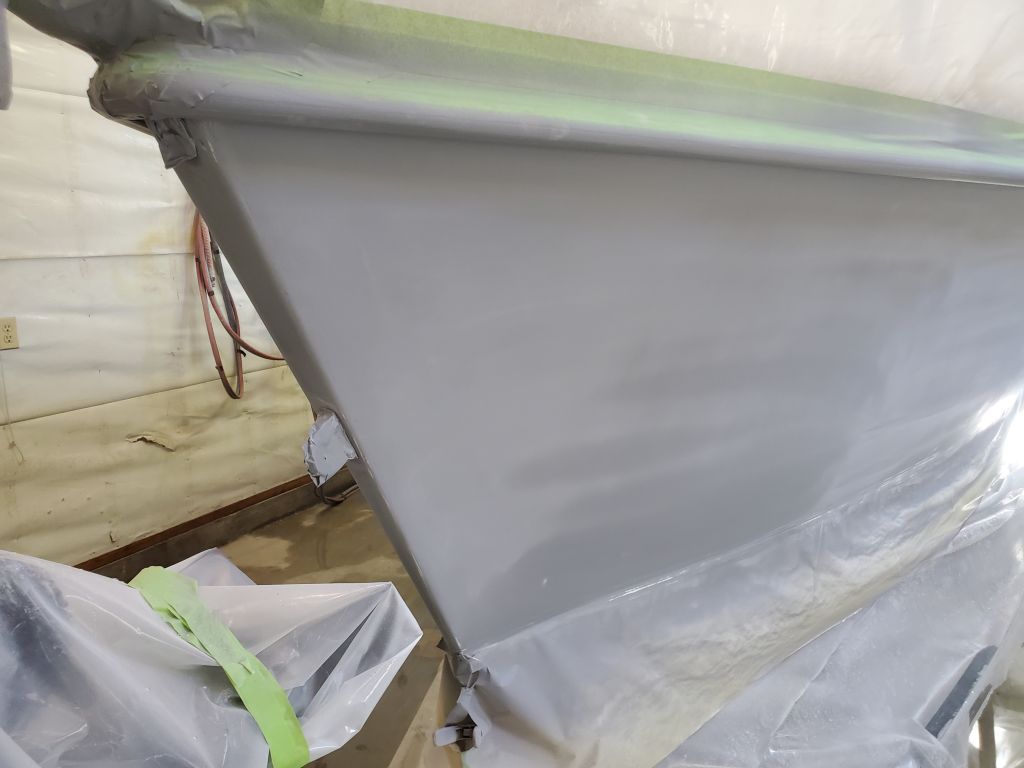
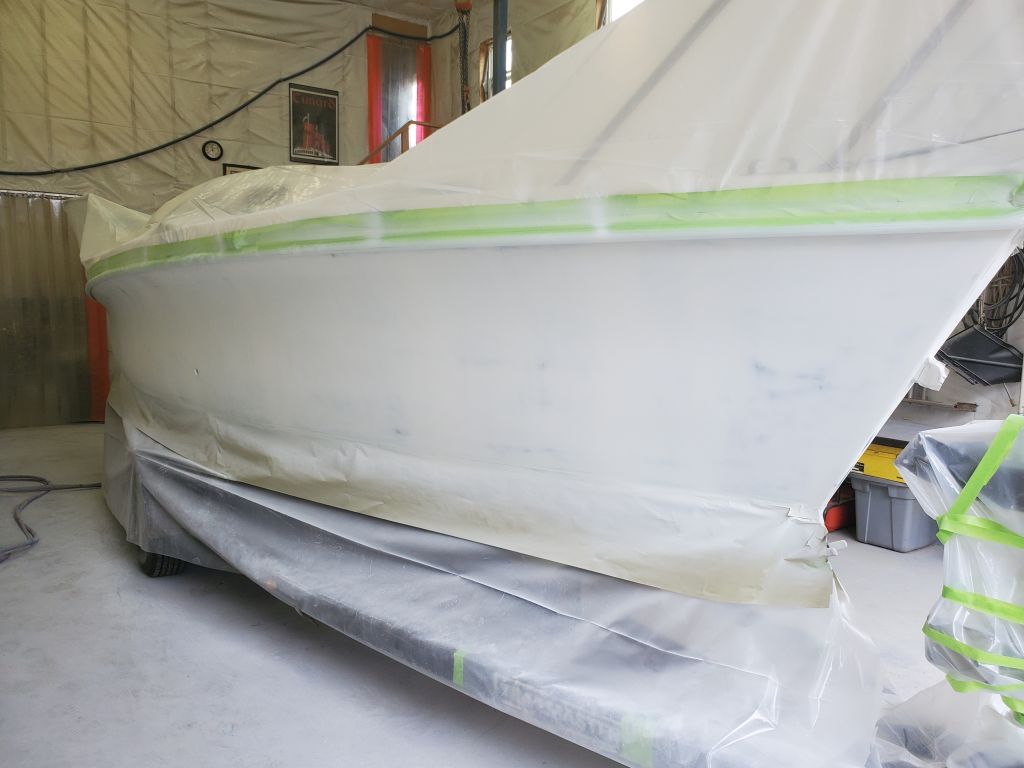
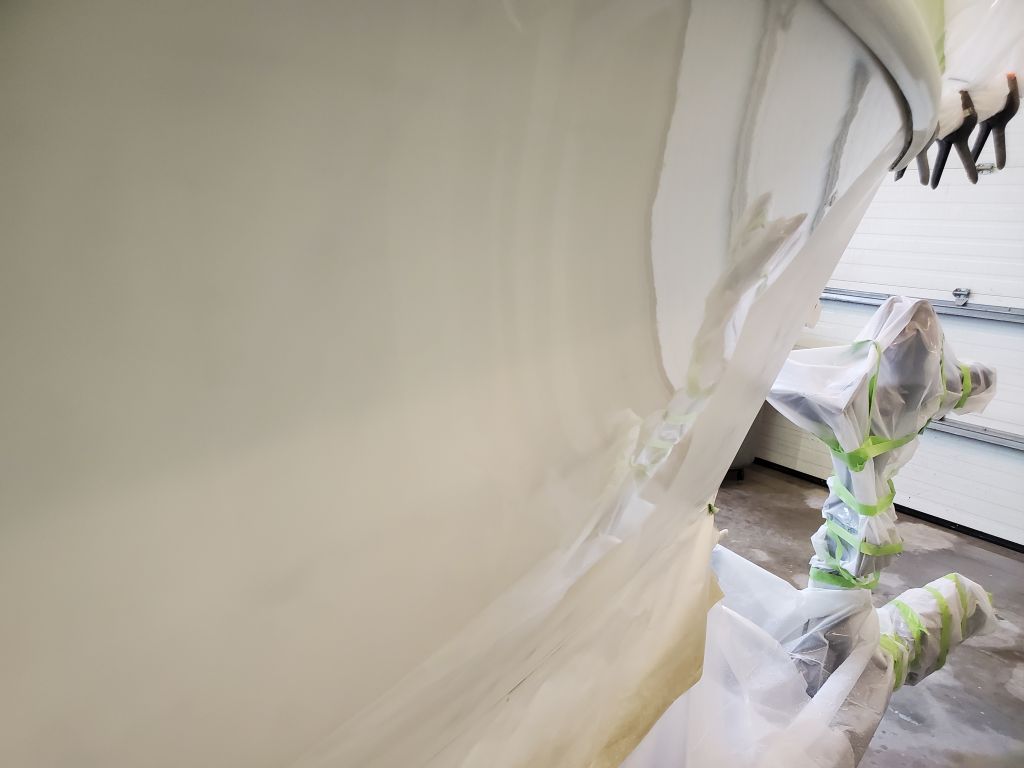
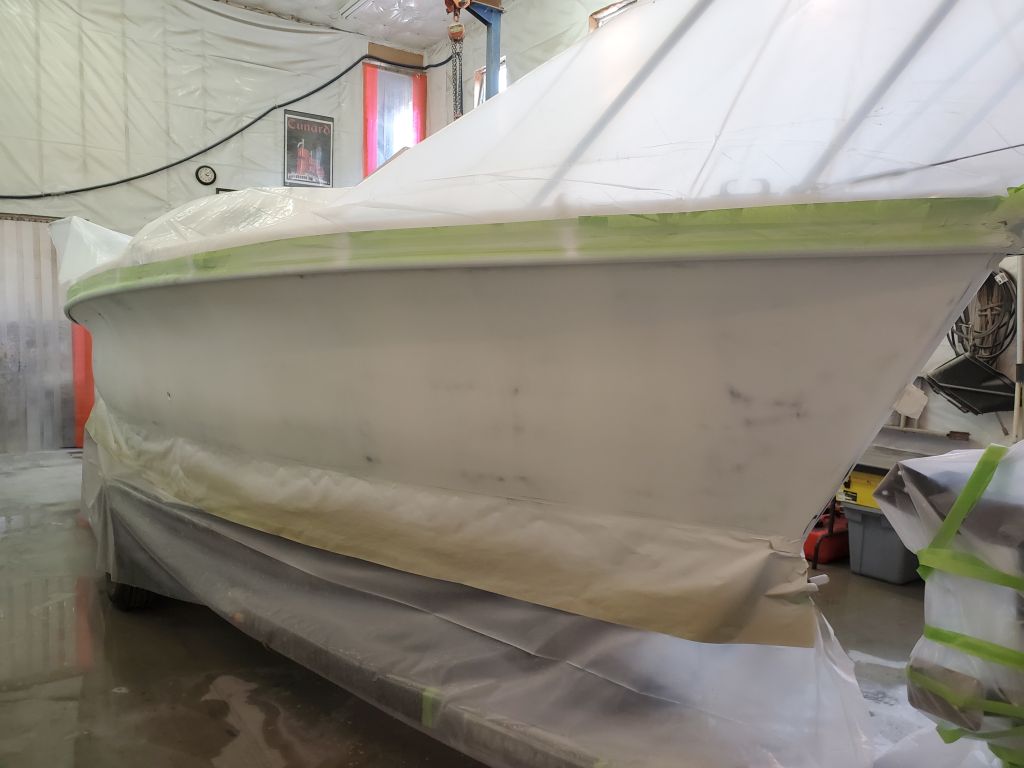
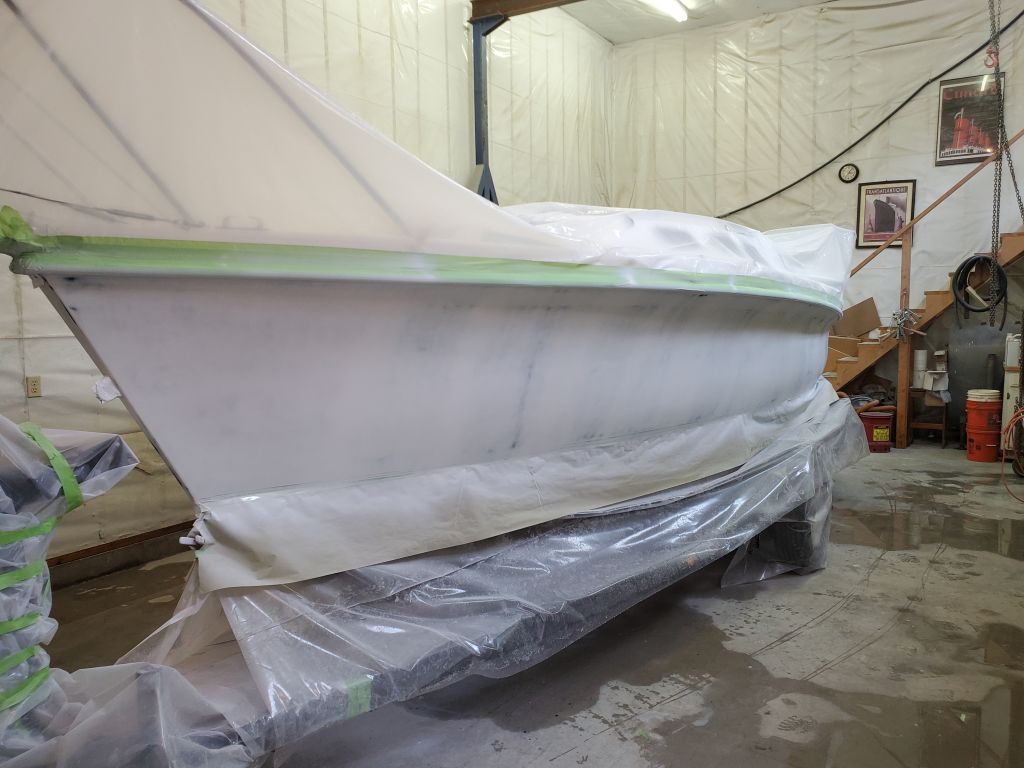
Now that the hull paint had had sufficient cure time, I could begin the final prep for the boottop, starting with a layer of vinyl fine-line tape at the top edge of the stripe, which I then covered with a layer of regular masking tape.
I thought I’d try using all paper to cover the hull above the stripe, as I hate using so much plastic film all the time. The end result looked terrible and was frustrating to install, but did its job to cover the hull. The flared shape of this hull made the installation more difficult than it might have been, but this would have been an issue with plastic film too.
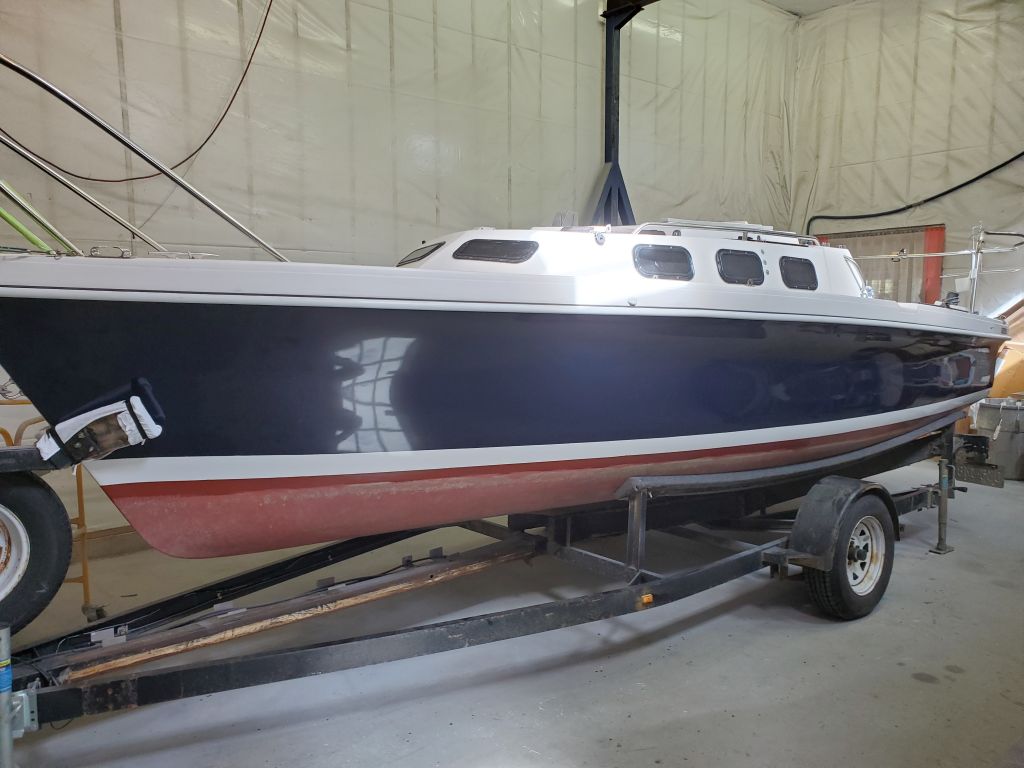
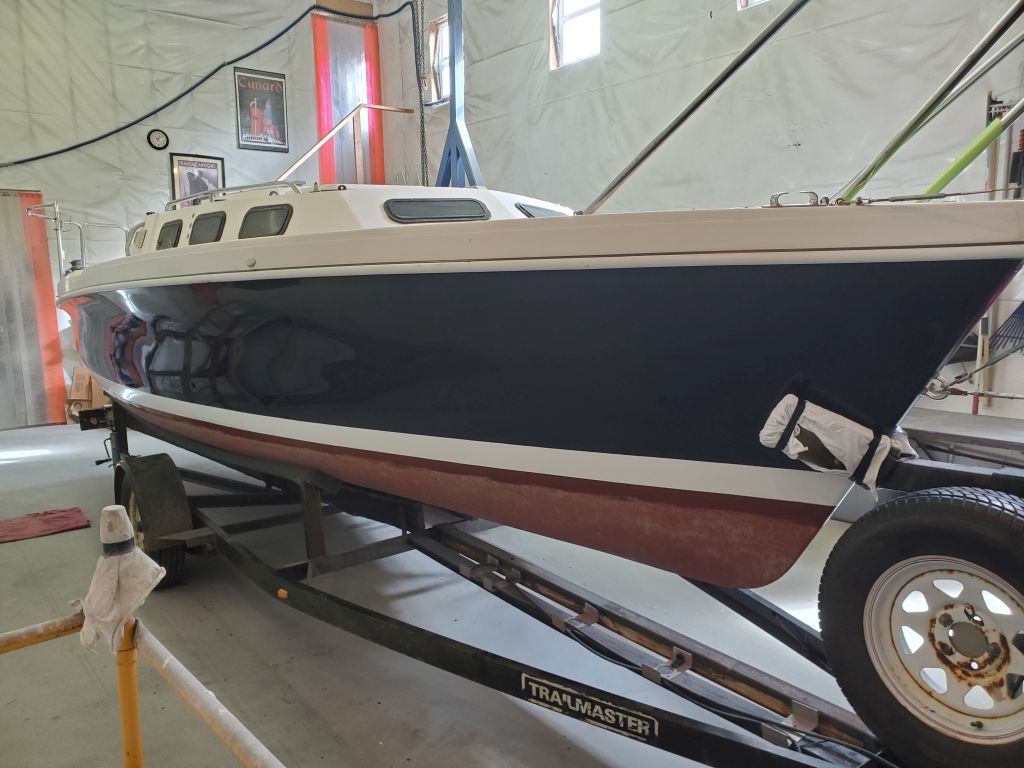
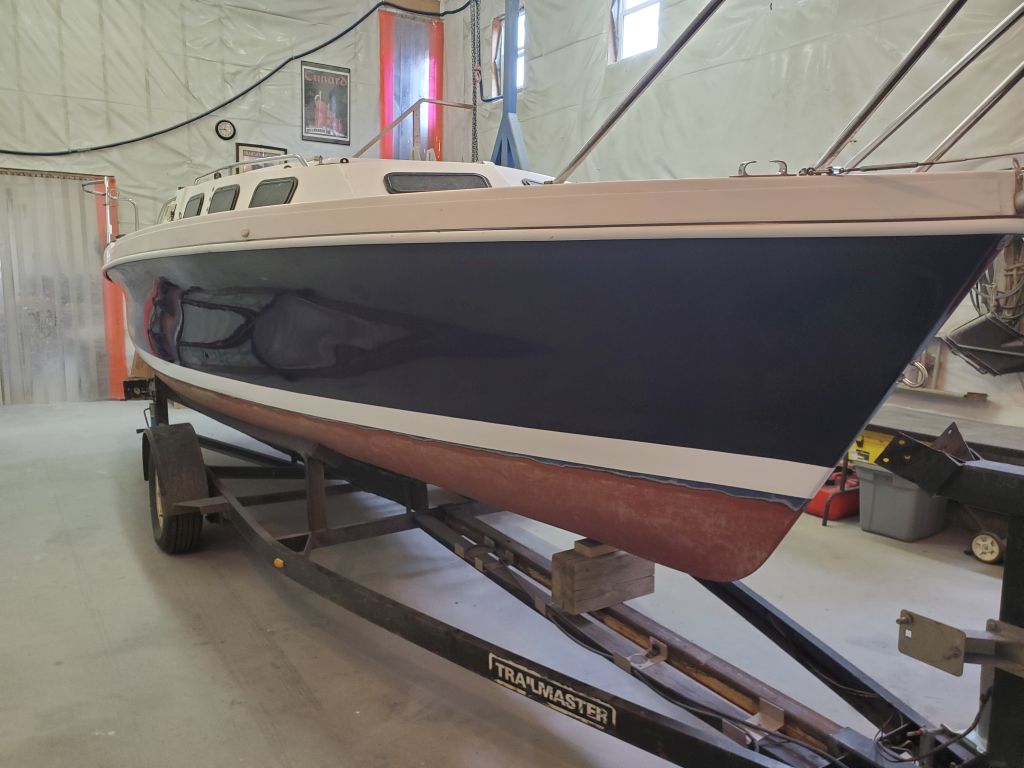
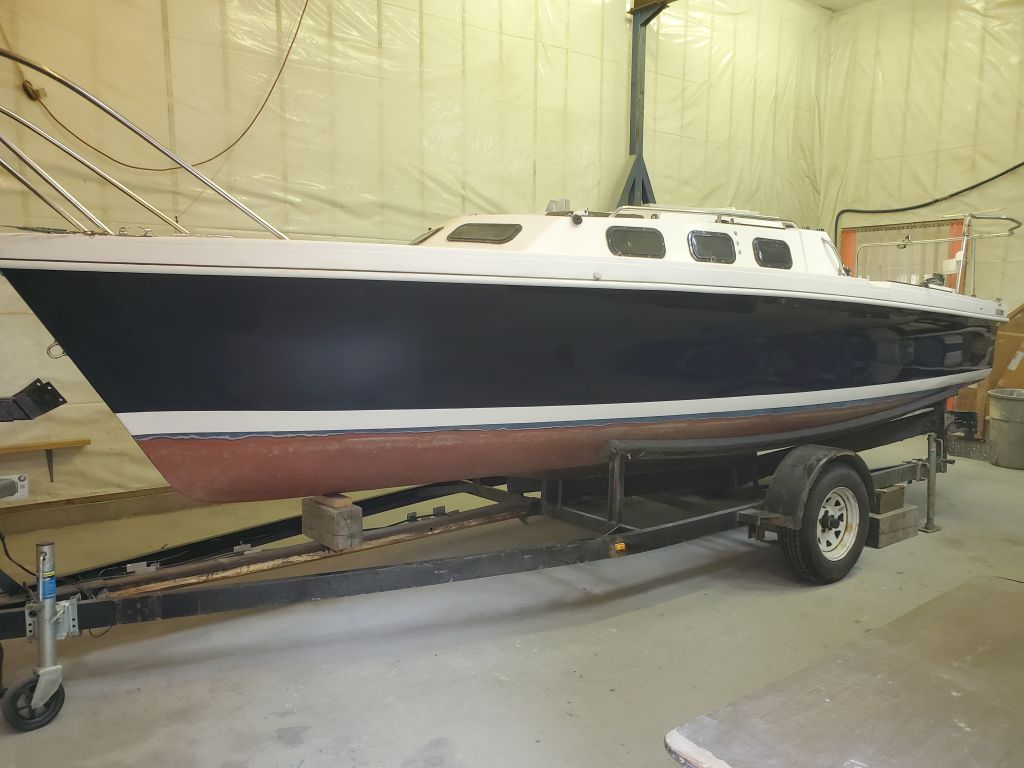
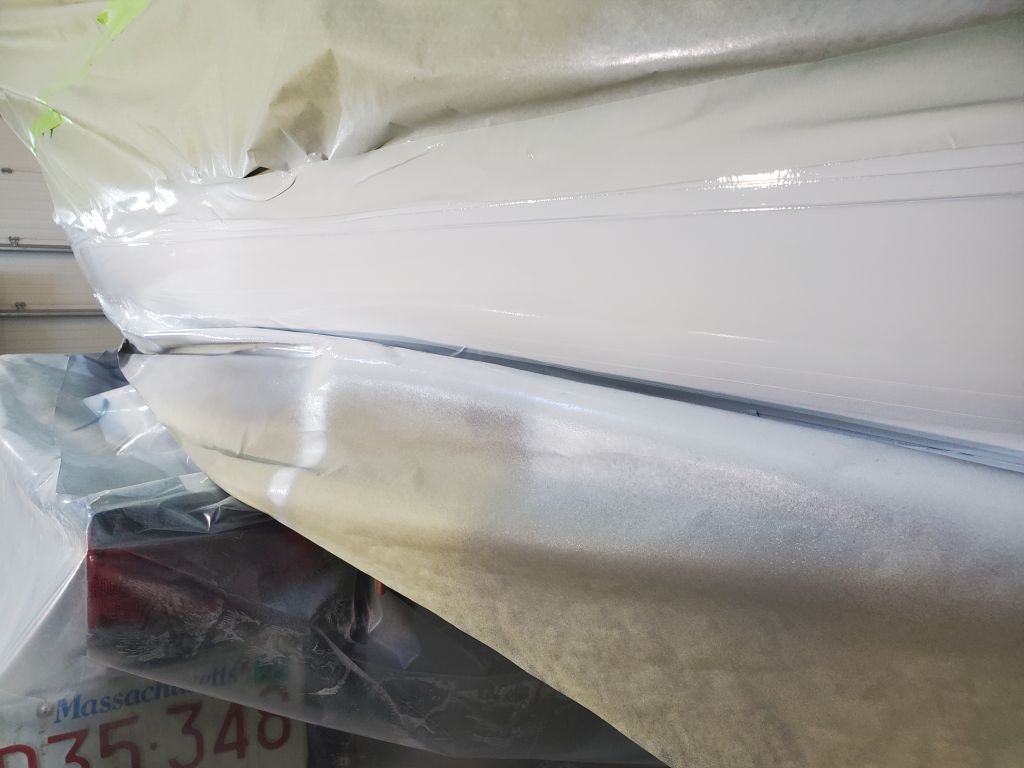
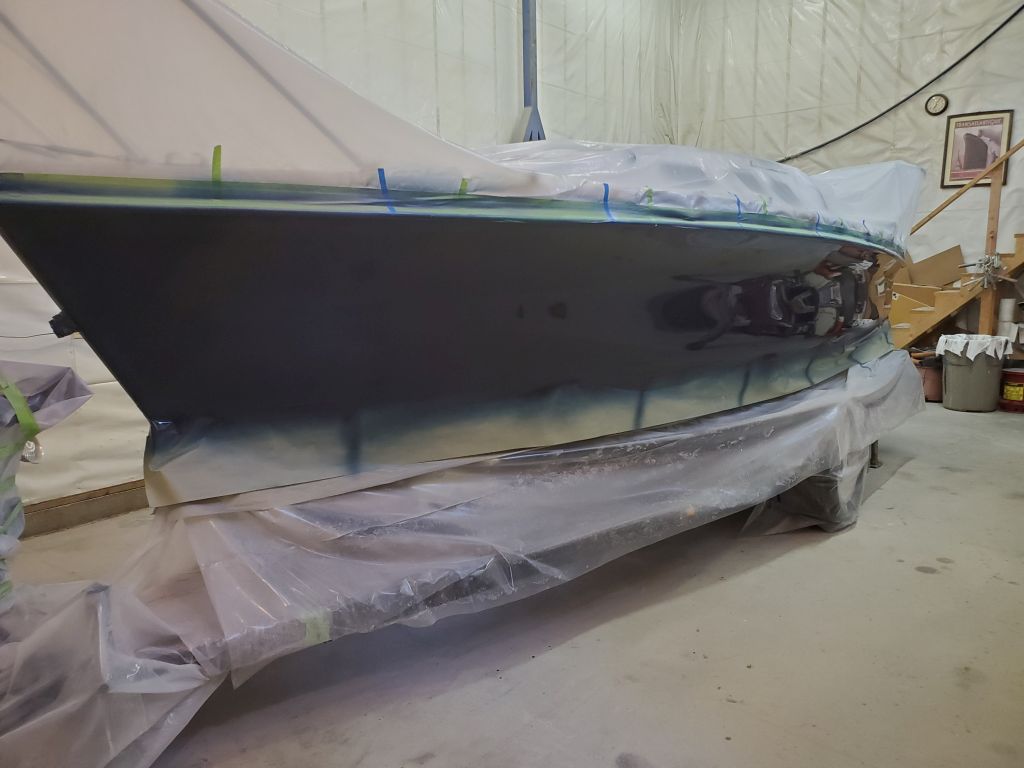
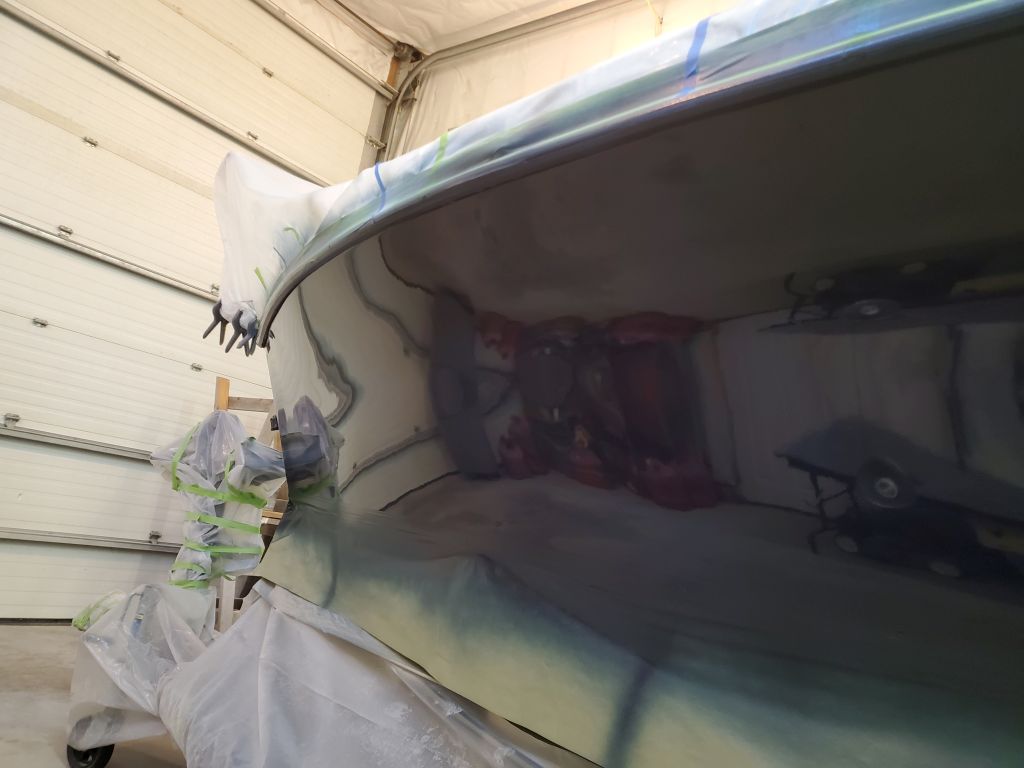
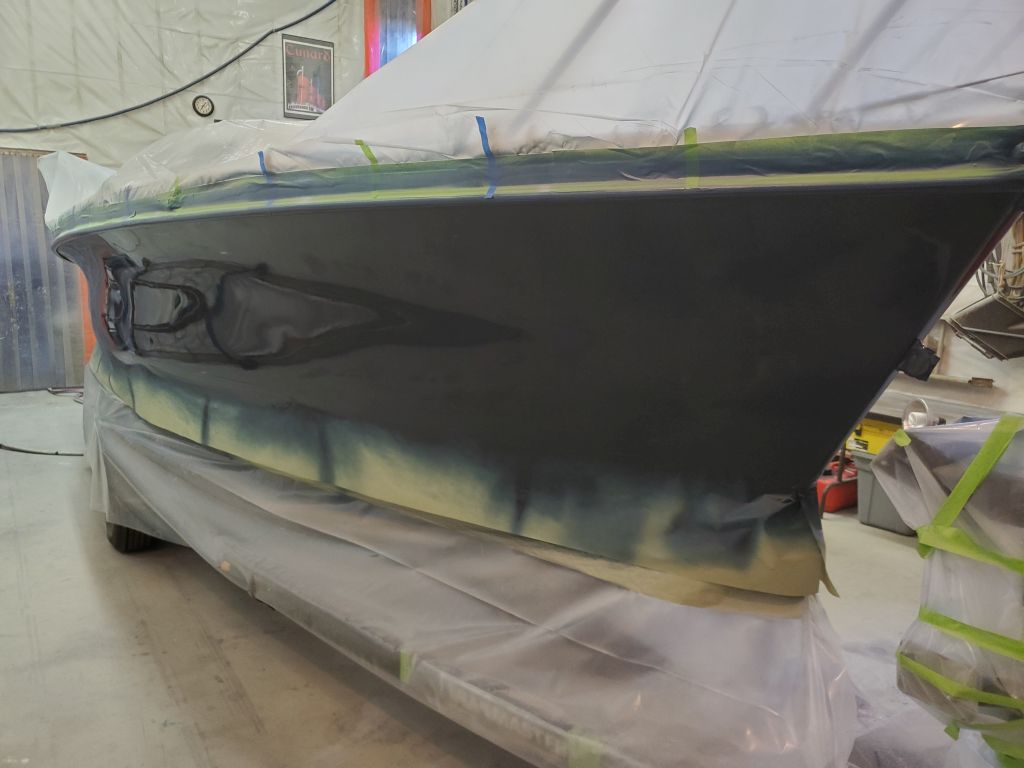
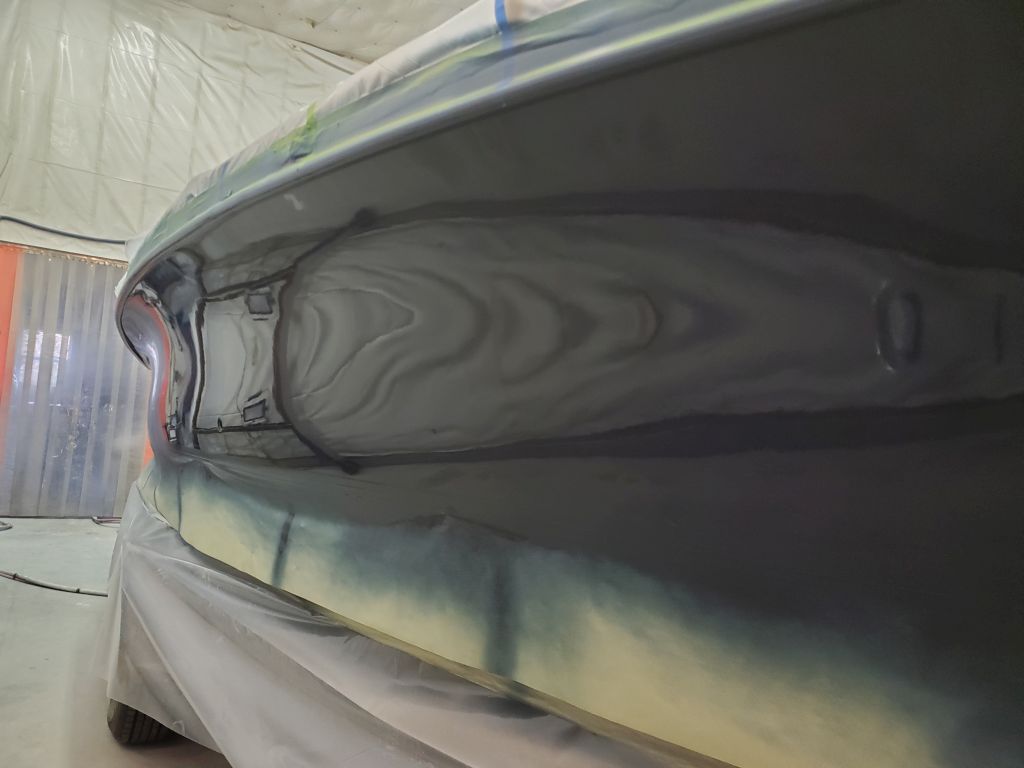
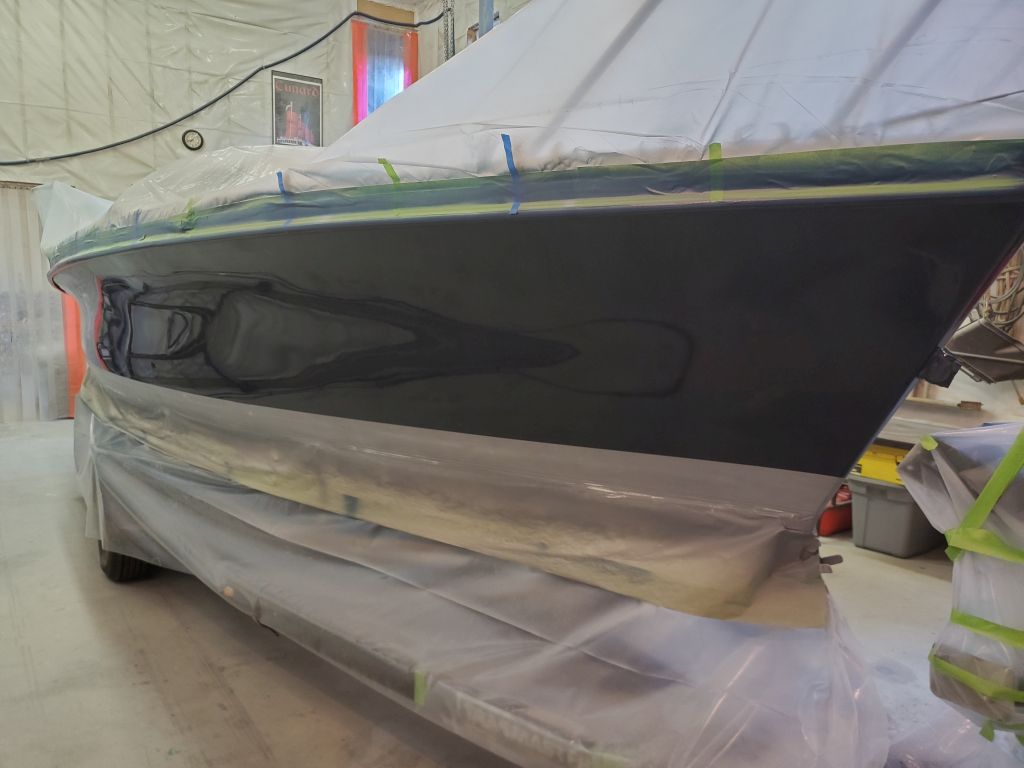
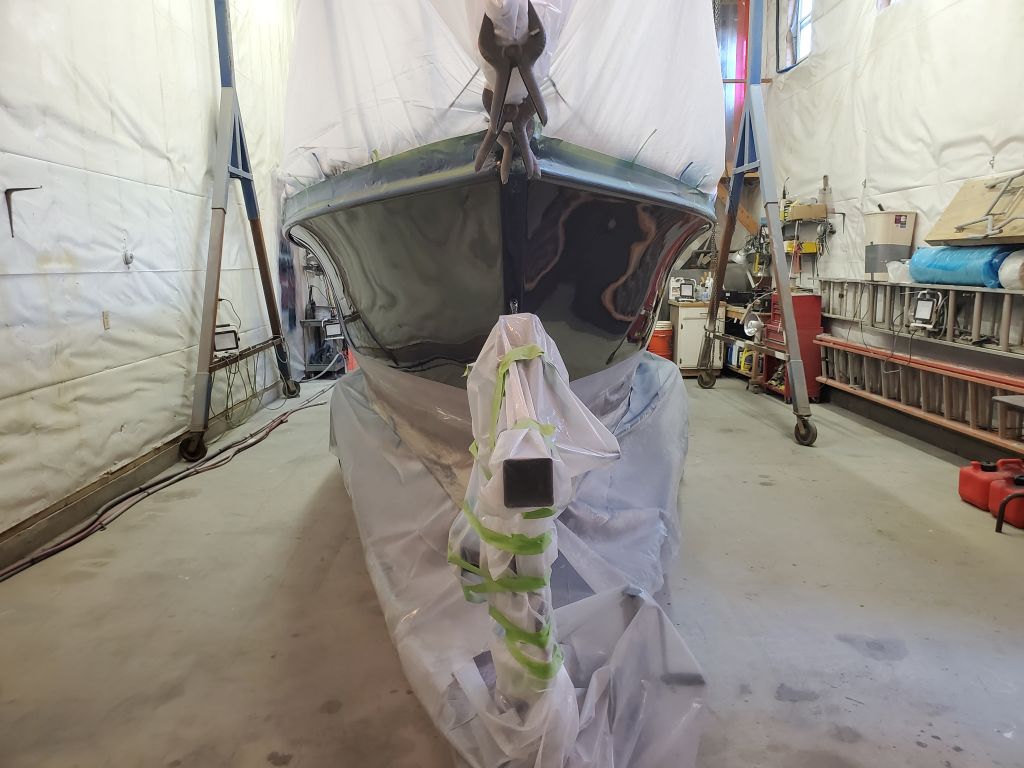
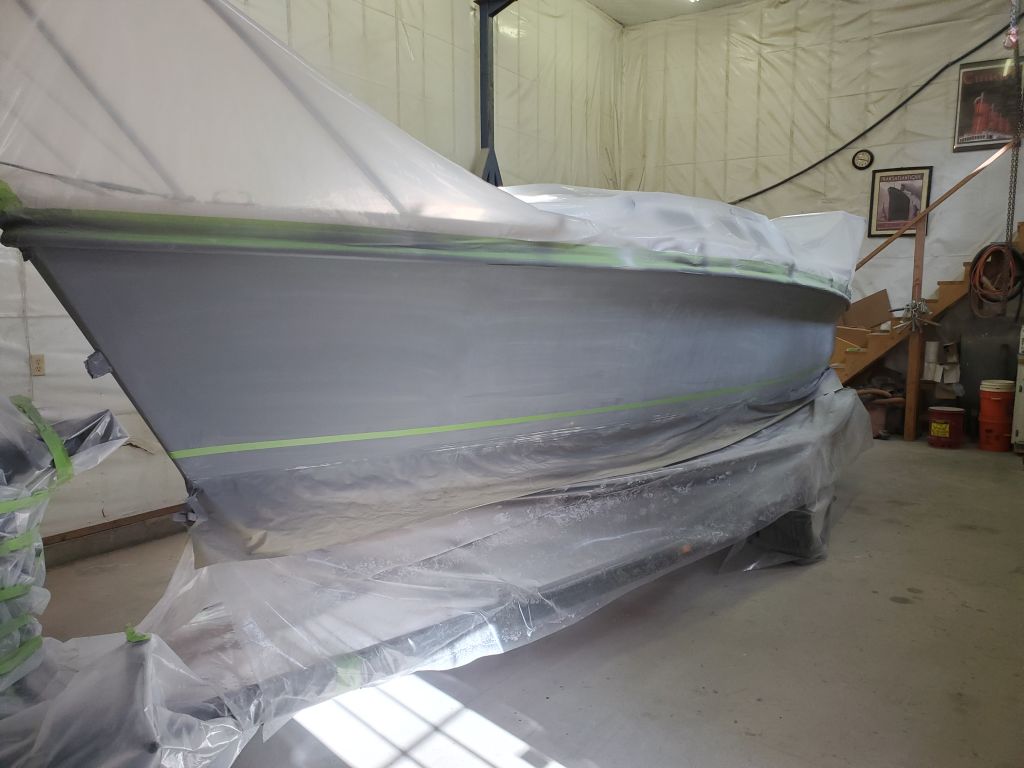
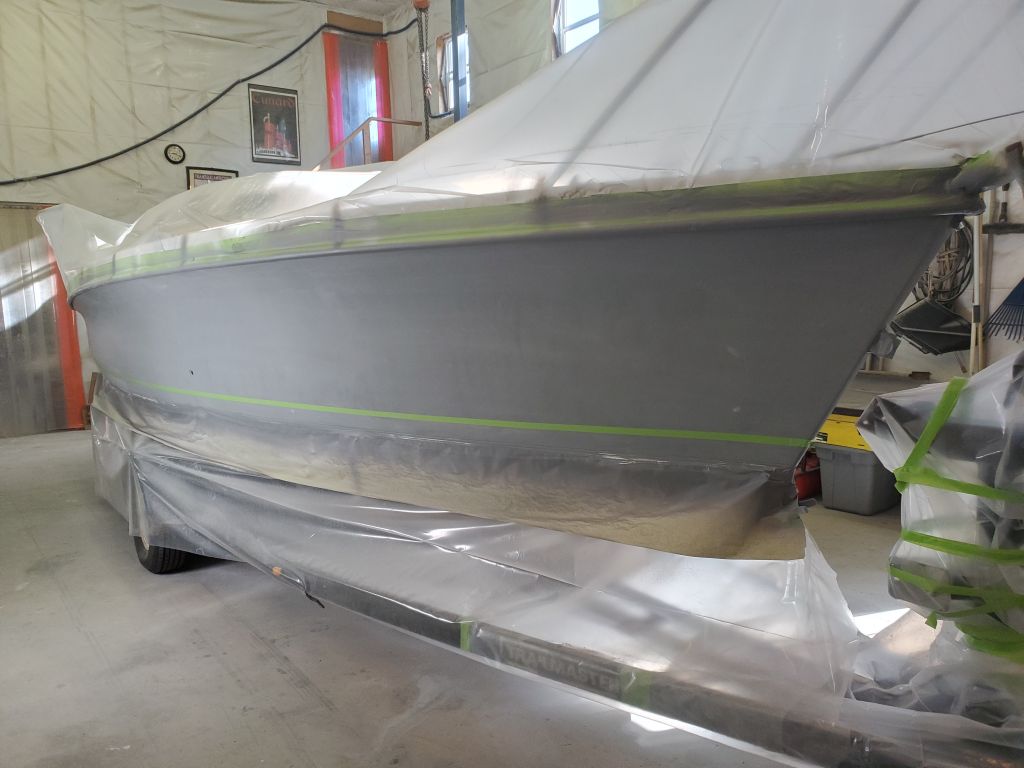
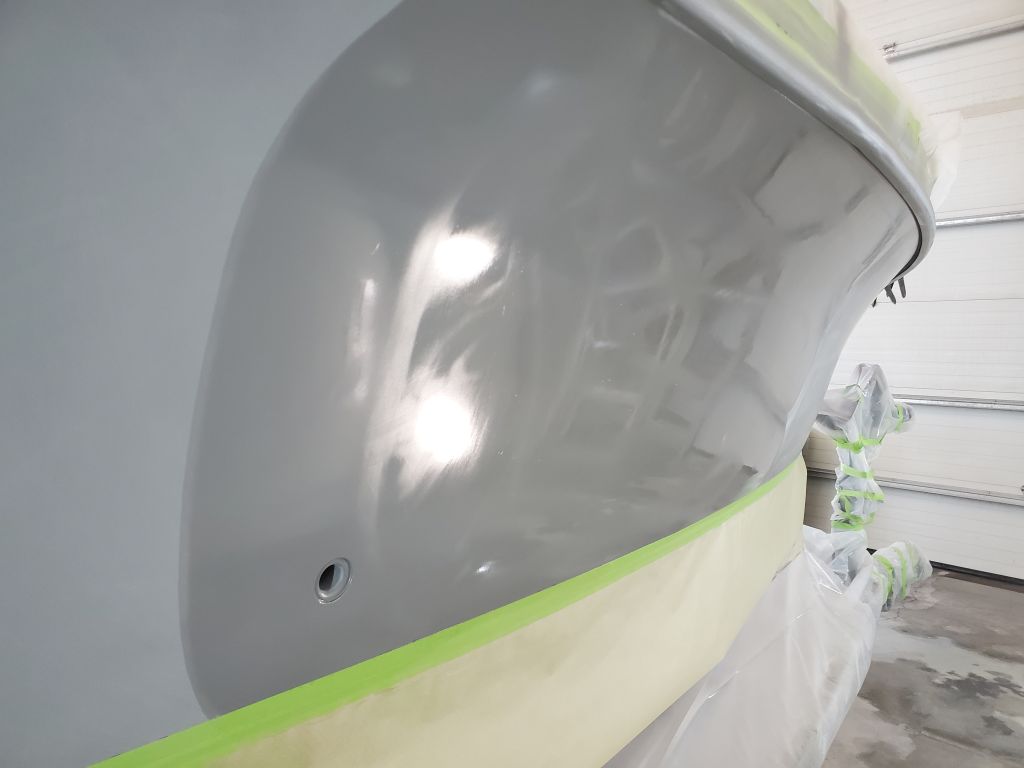
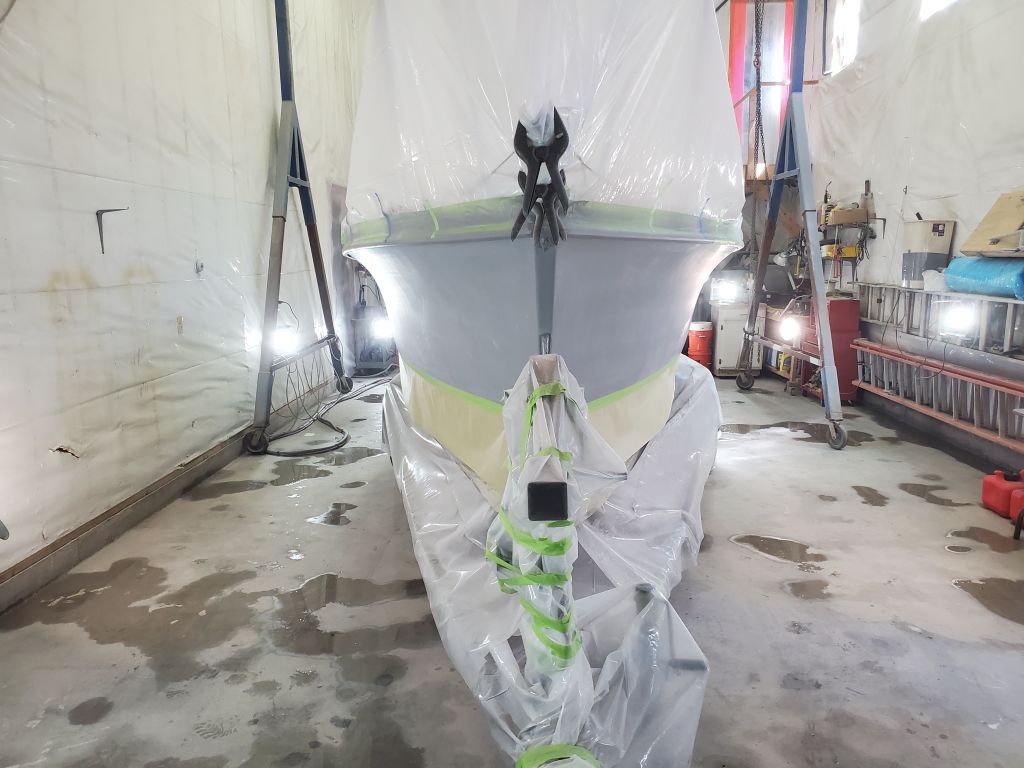
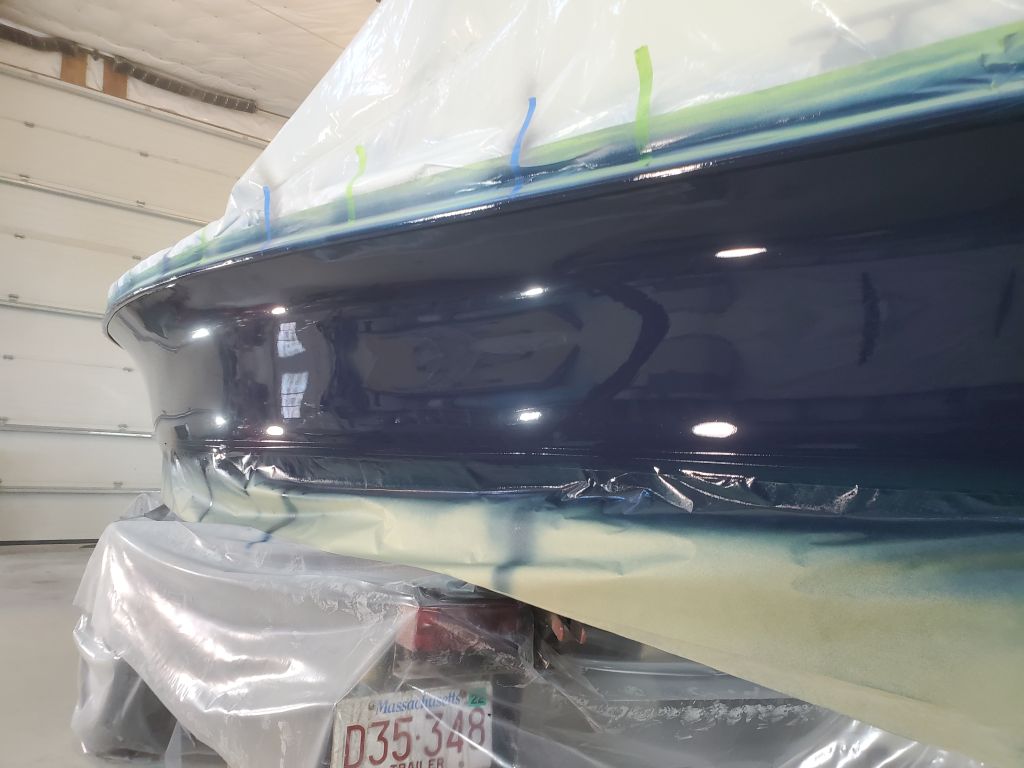
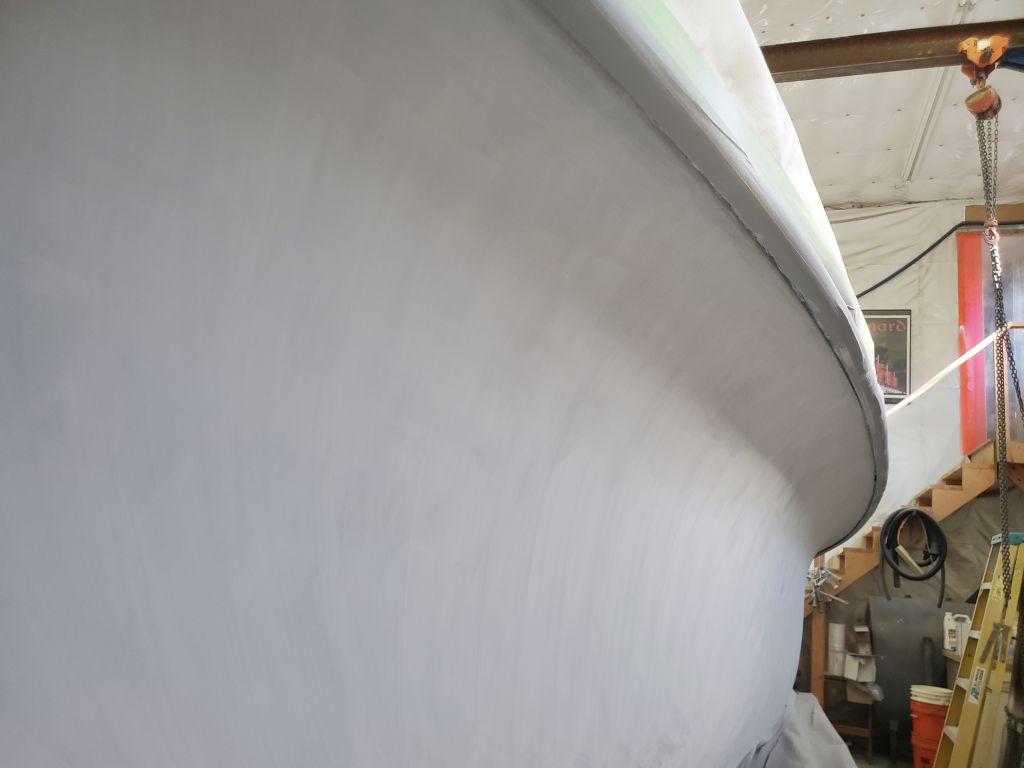
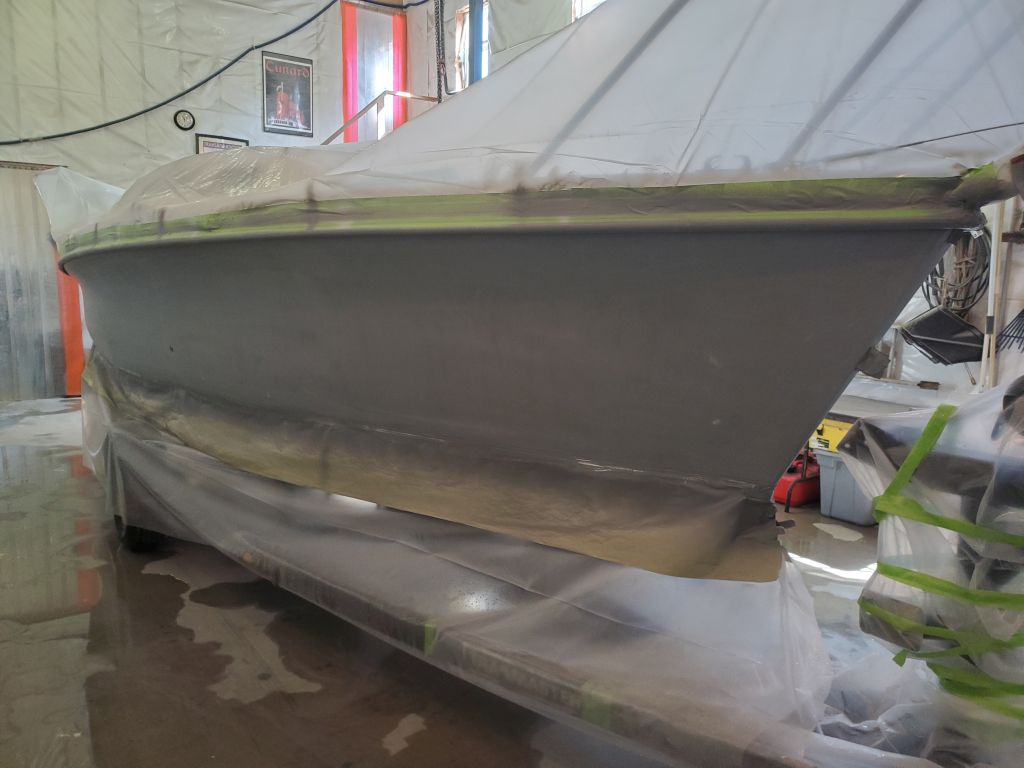
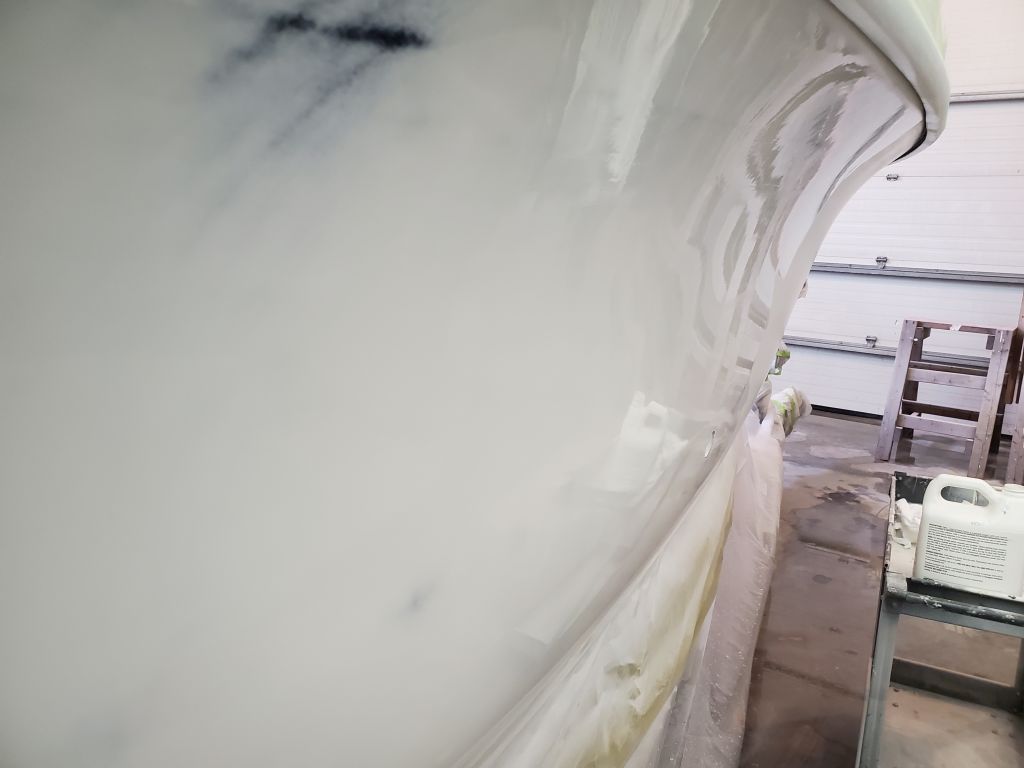
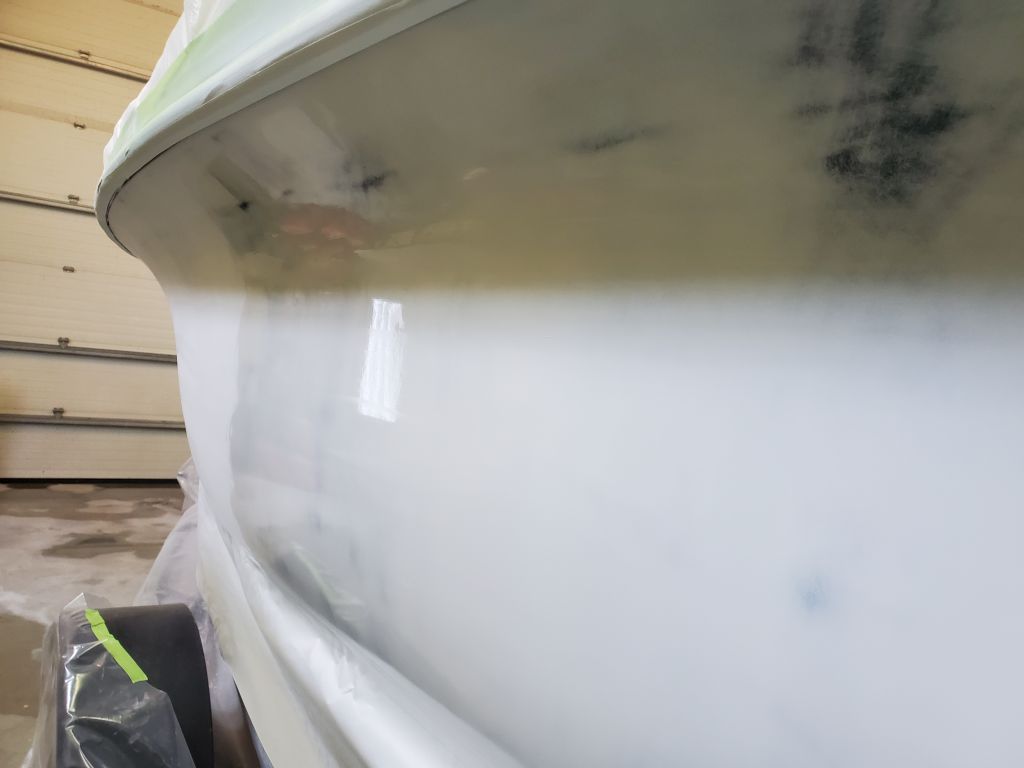
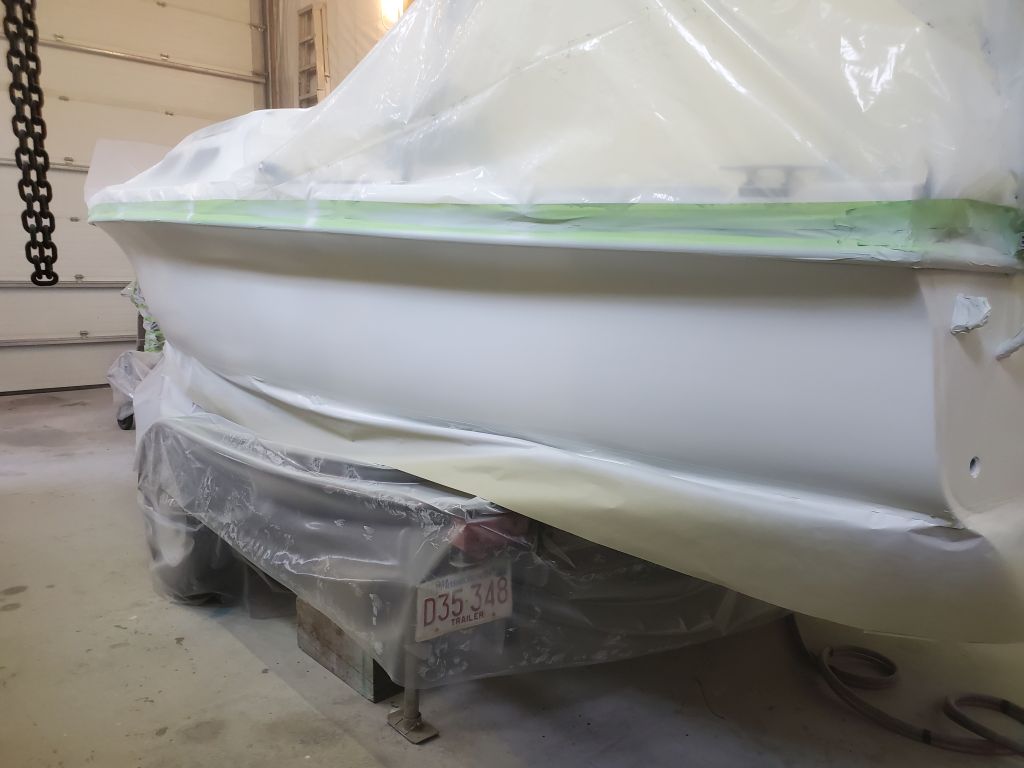
After a final cleaning and other final prep, I applied three coats of snow white gloss topcoat to the boottop, leaving it to cure overnight.
Total time billed on this job today: 4.75 hours
0600 Weather Observation: 26°, clear. Forecast for the day: Sunny, 47°.
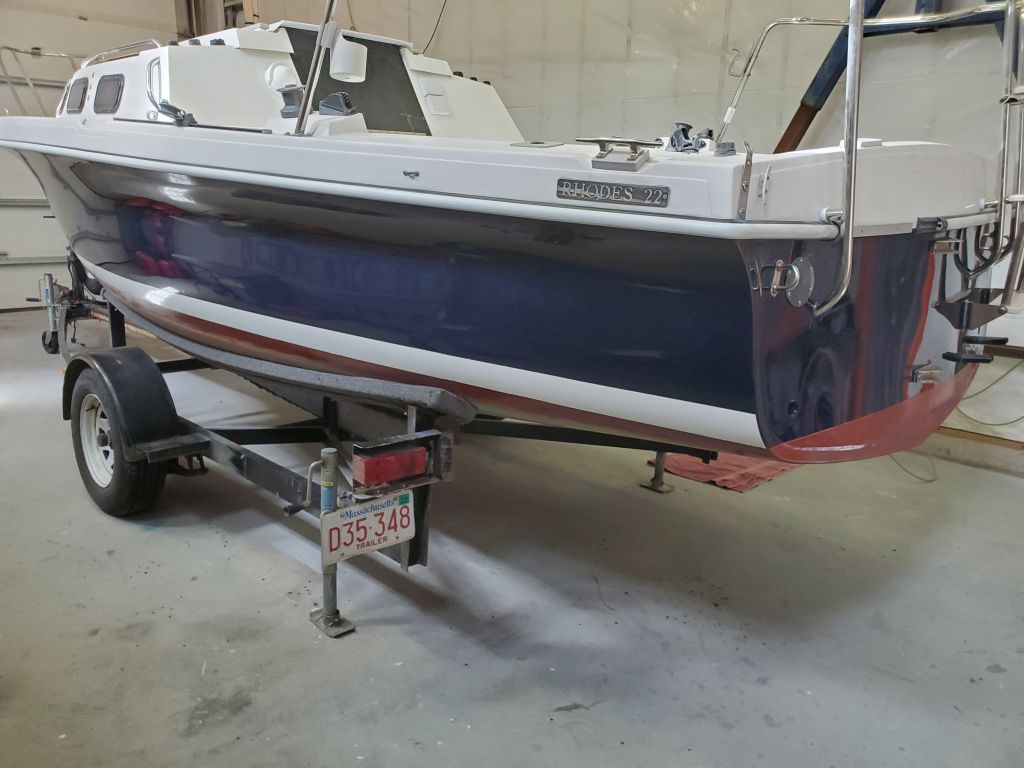
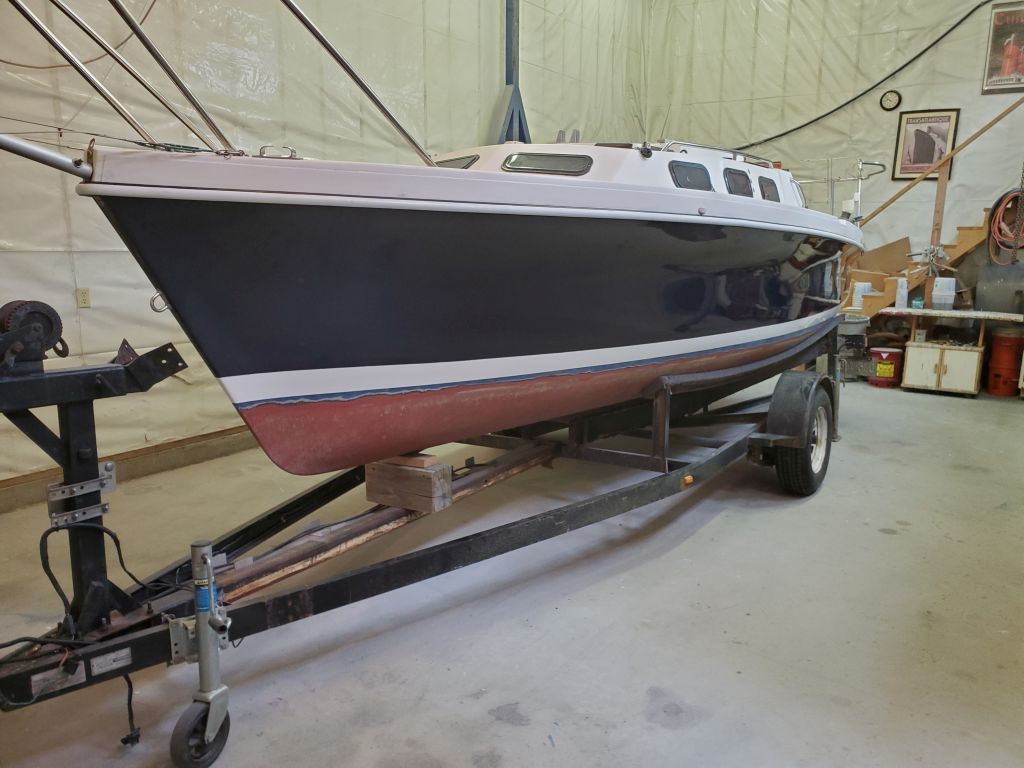
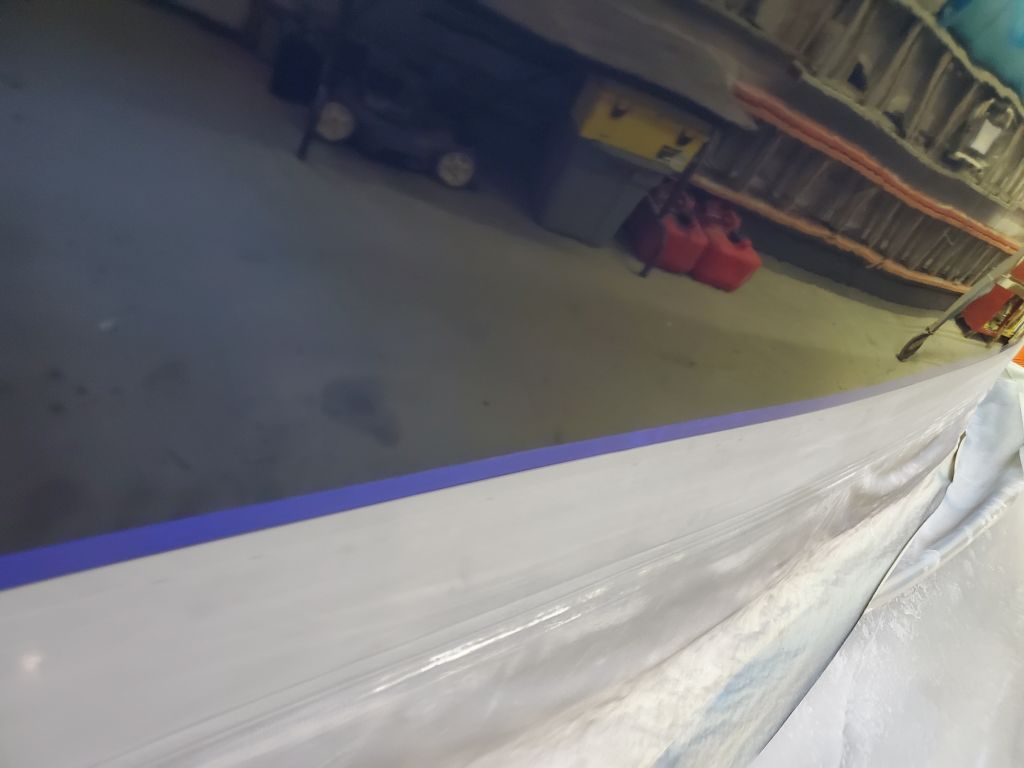
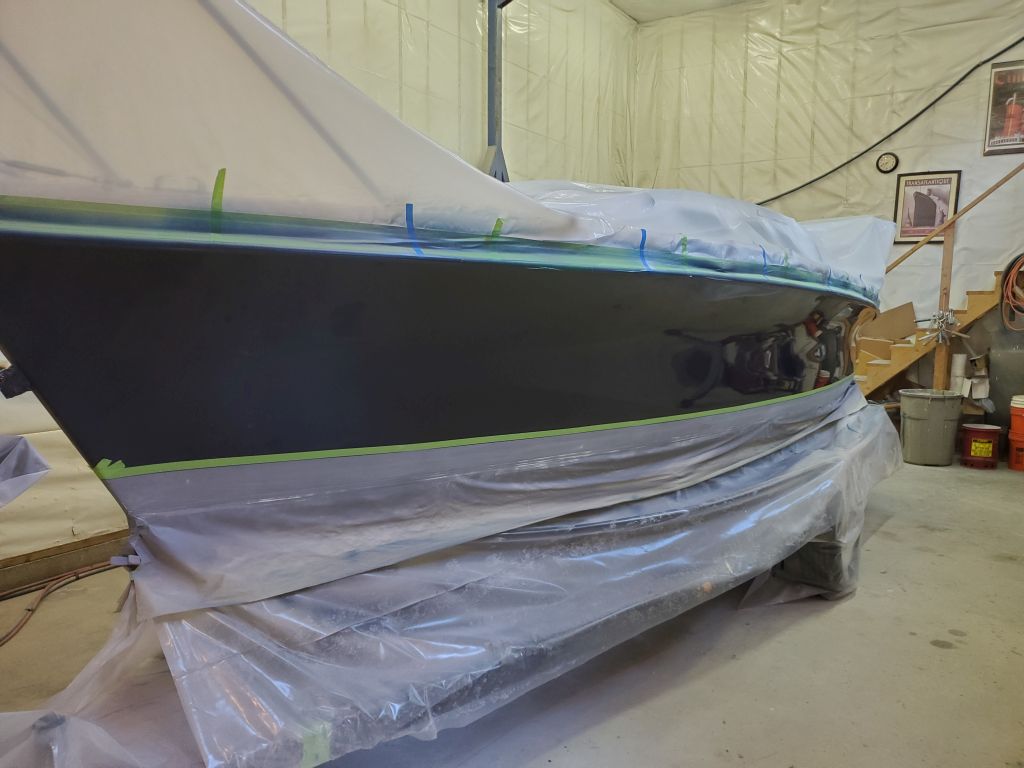
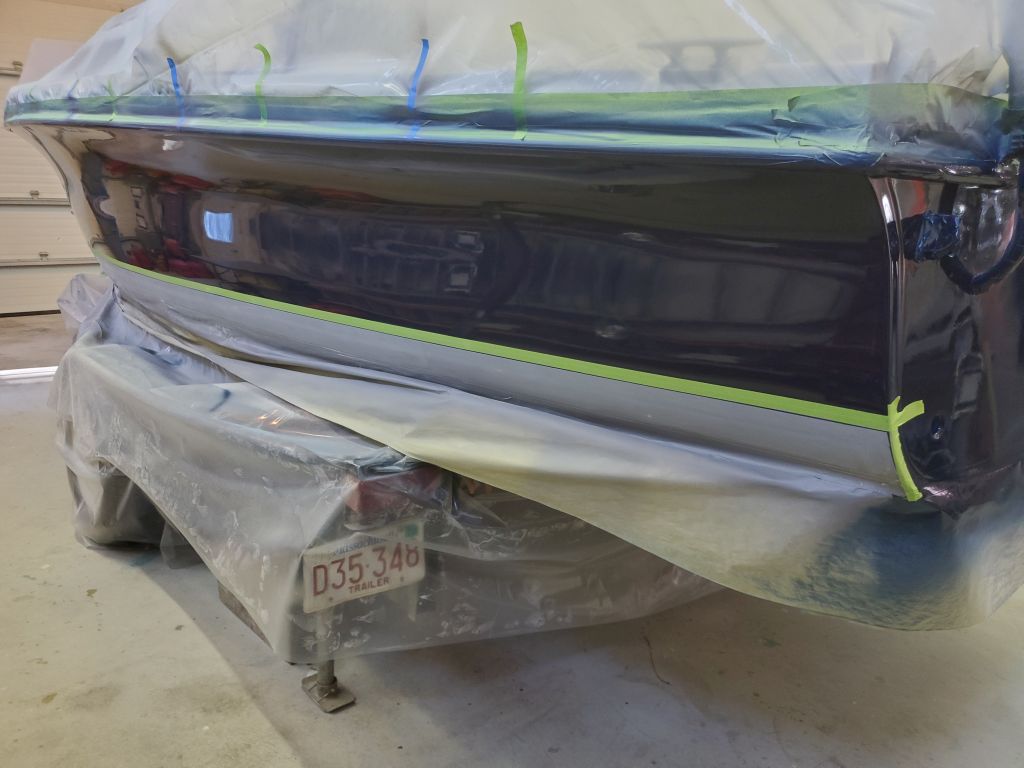
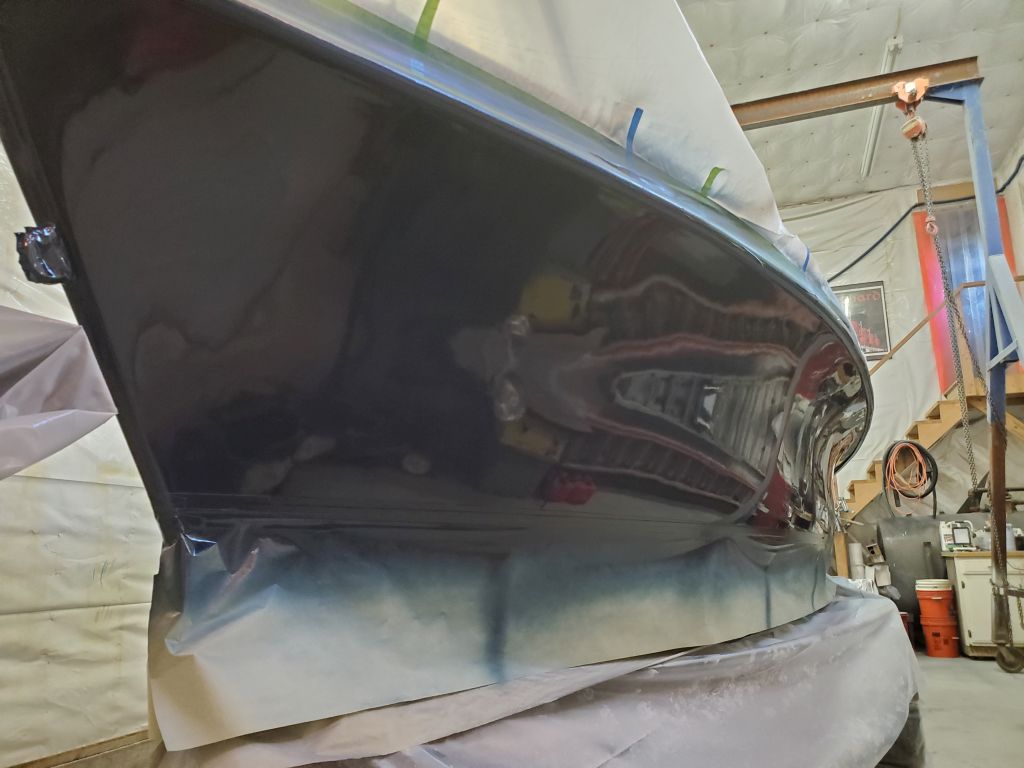
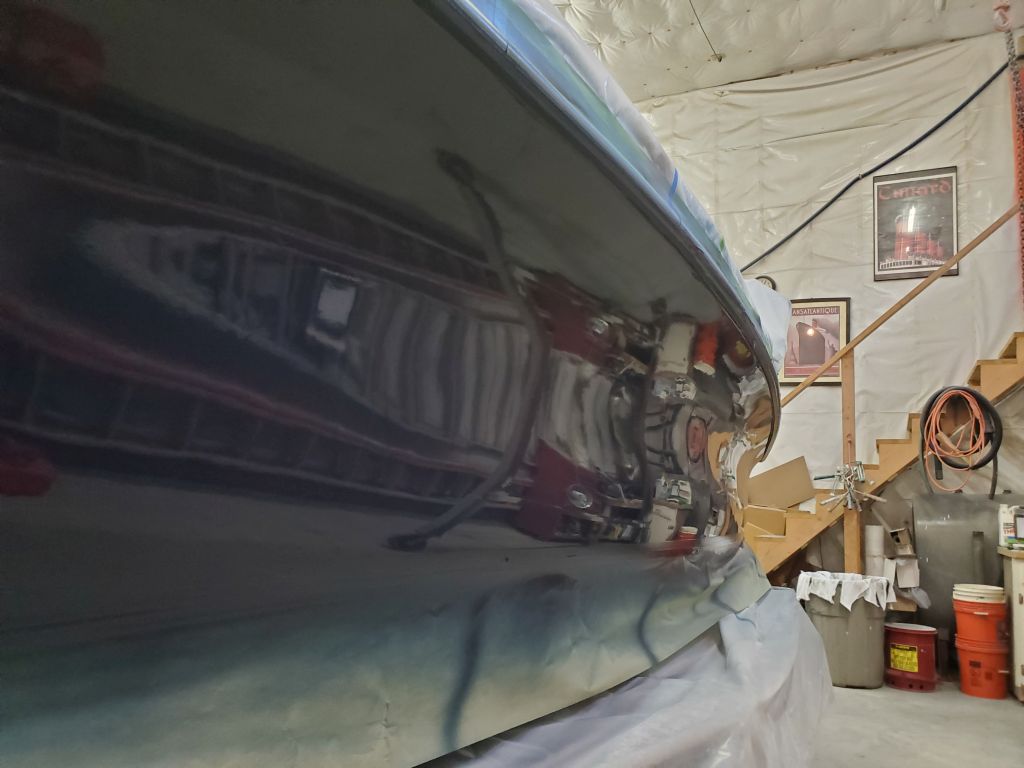
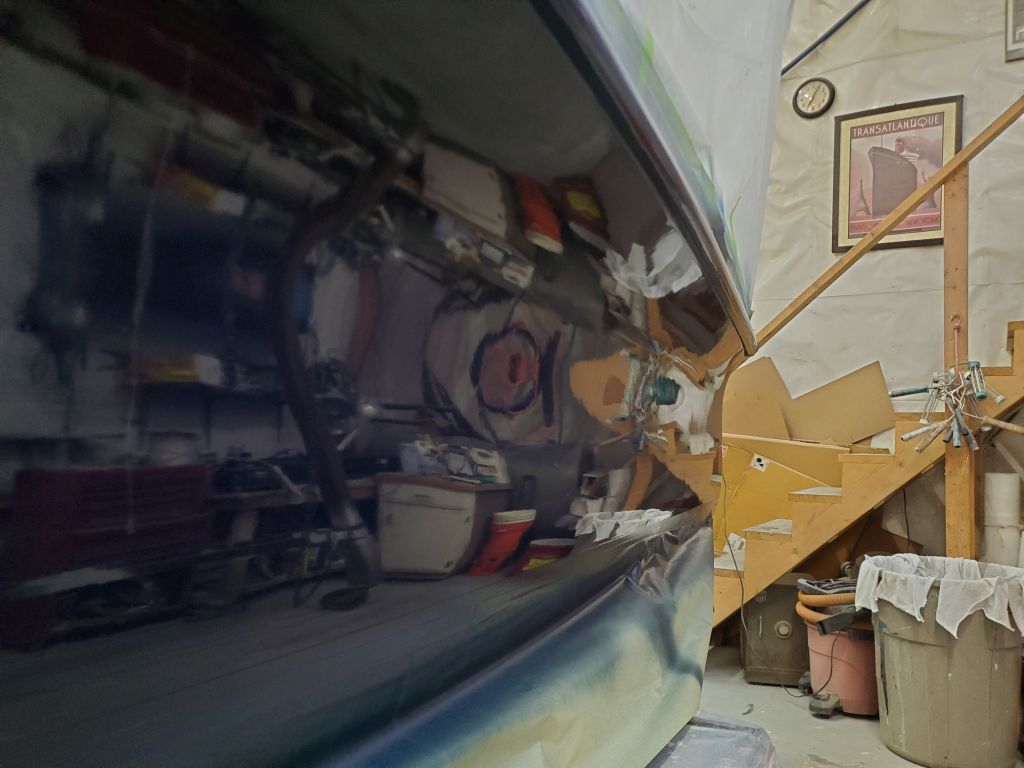
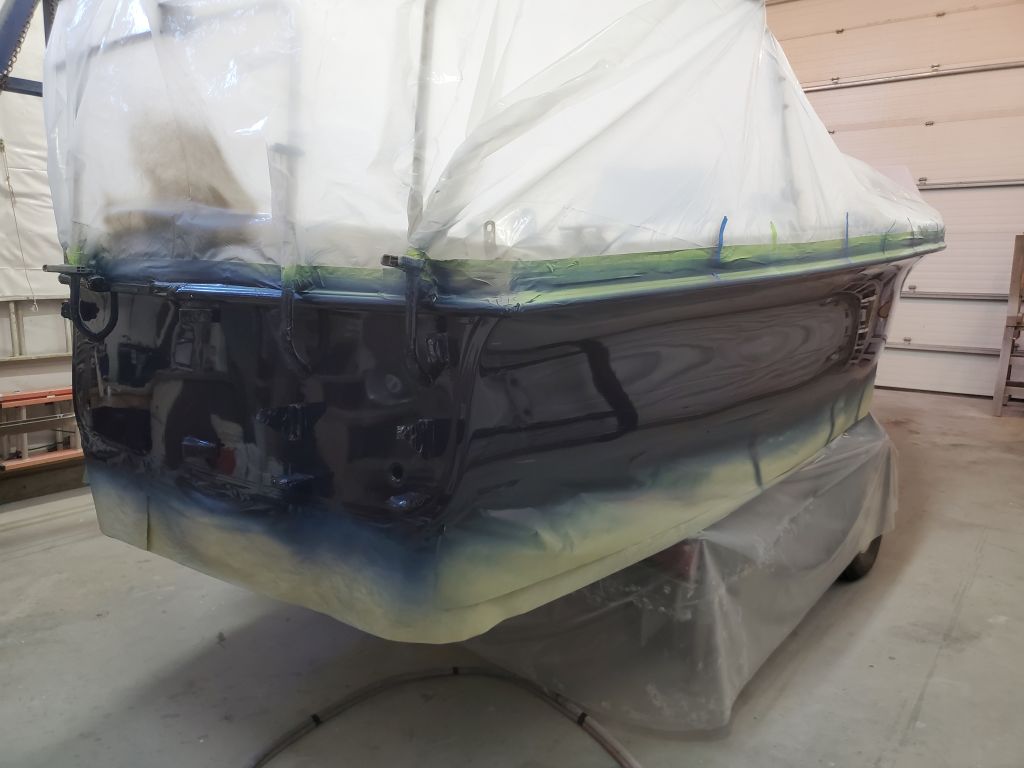
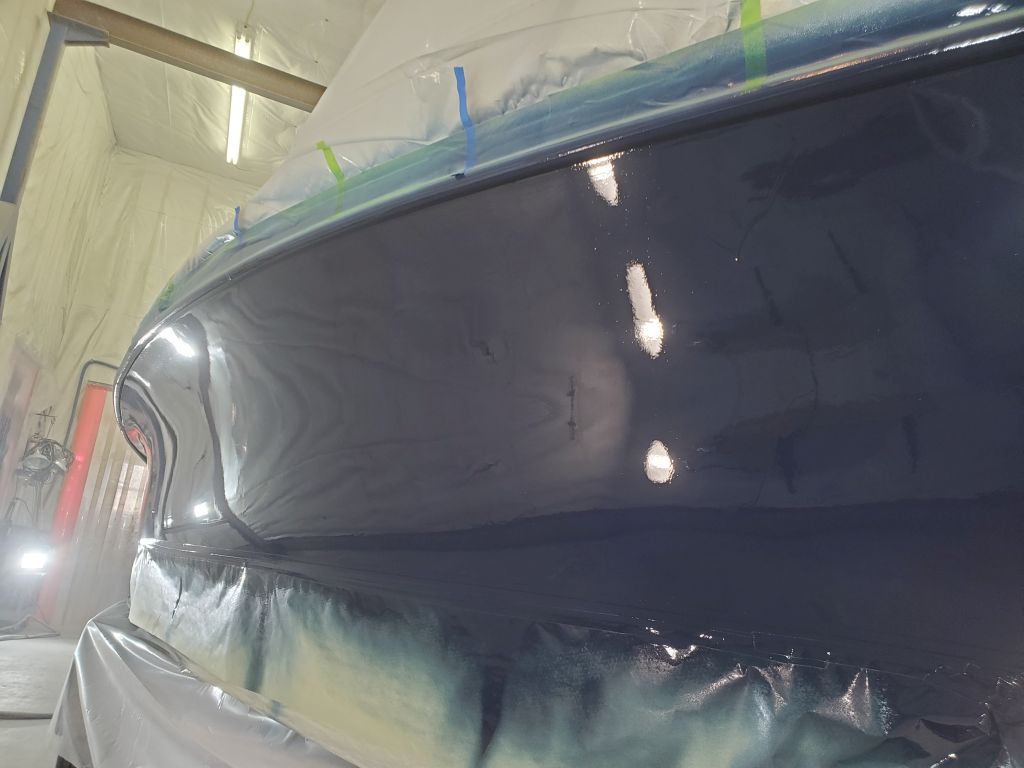
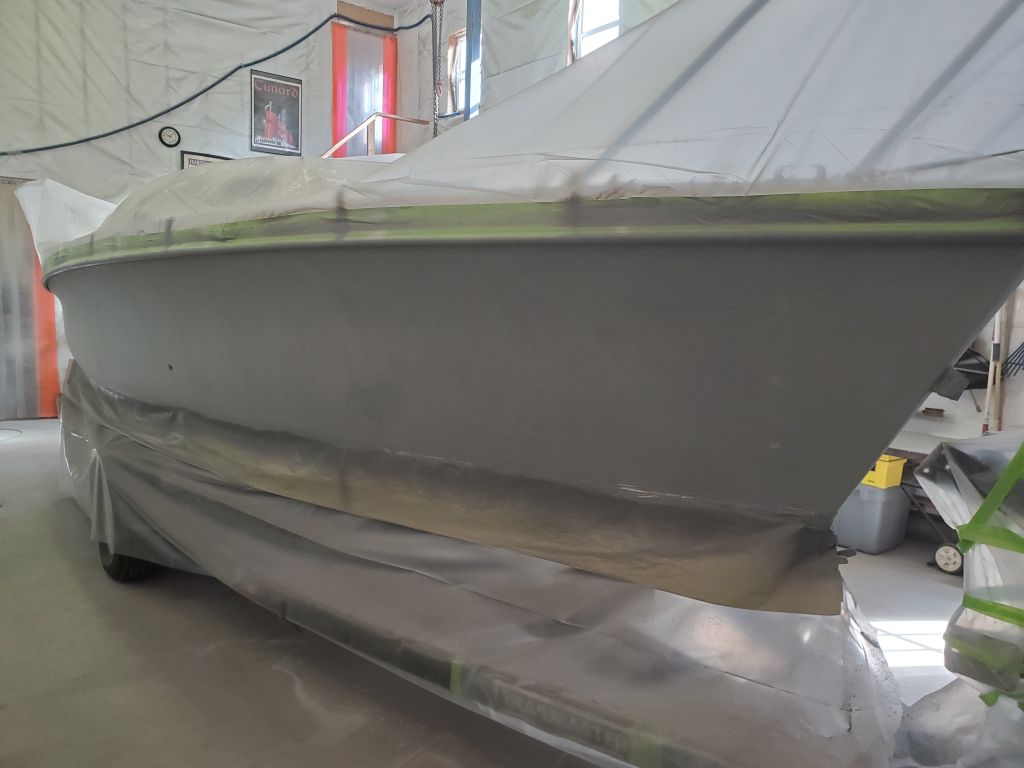
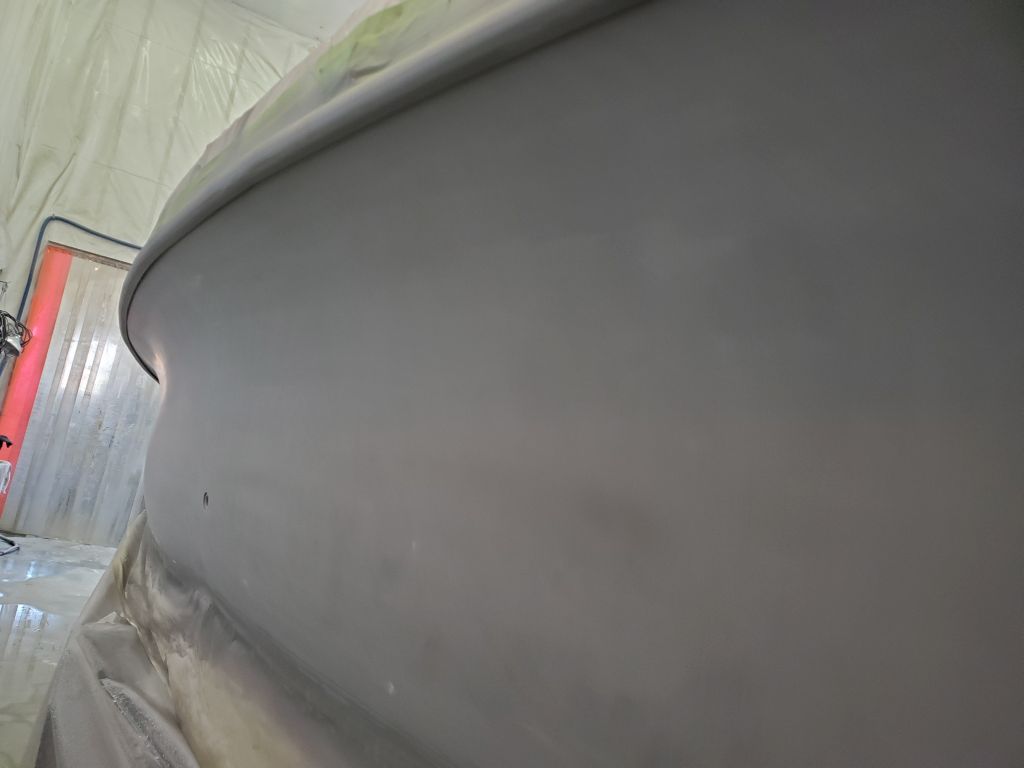
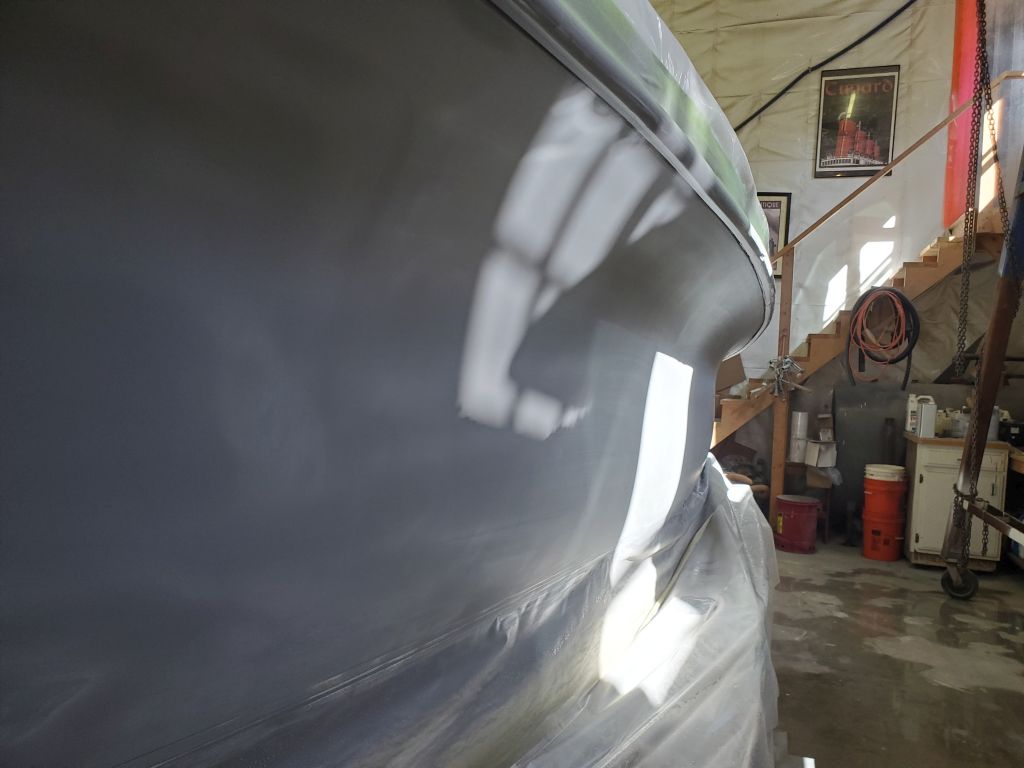
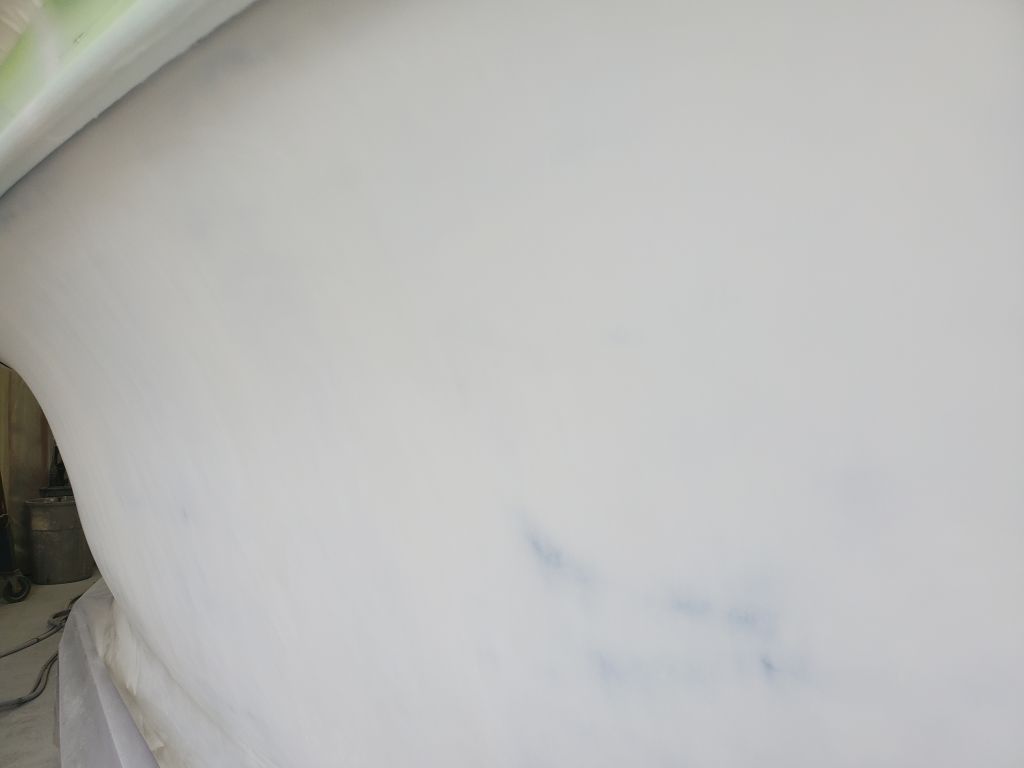
To allow the paint sufficient cure time before masking again for the boottop paint, I planned a lay day, with other, unrelated projects on tap. But first I had an opportunity to check out the new paint after an overnight cure, and take some more detailed pictures.
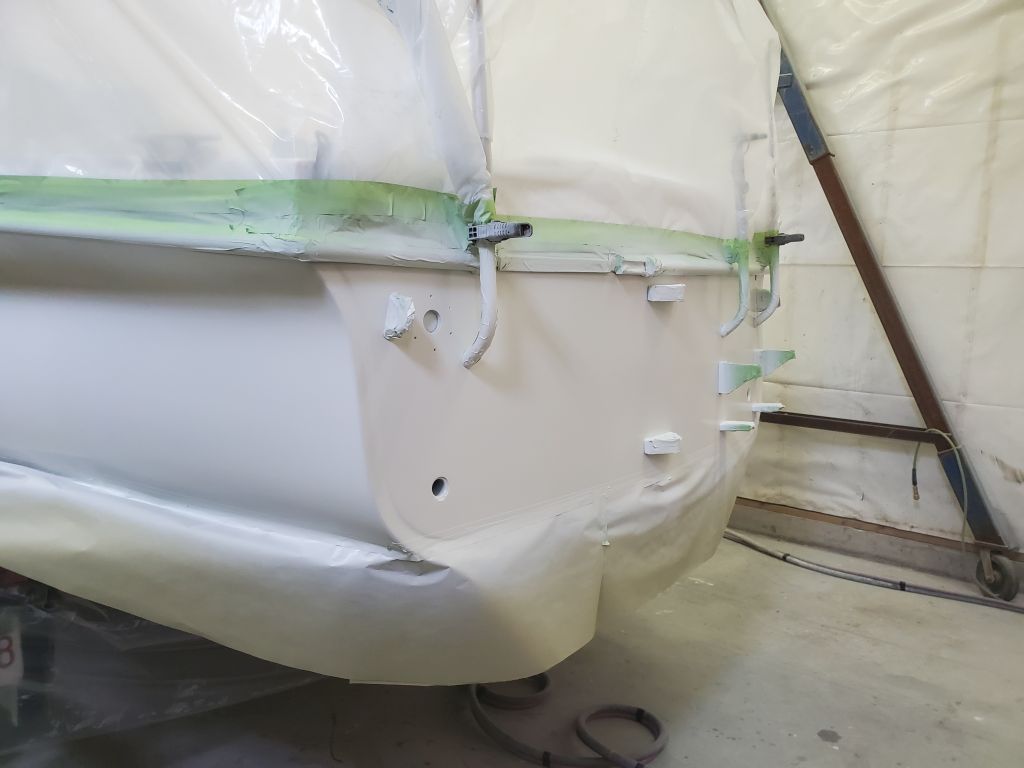
I could, and did, remove the masking at the boottop, but further work would await the morrow.
Total time billed on this job today:
0600 Weather Observation: 32°, clear. Forecast for the day: Mostly sunny, 41°
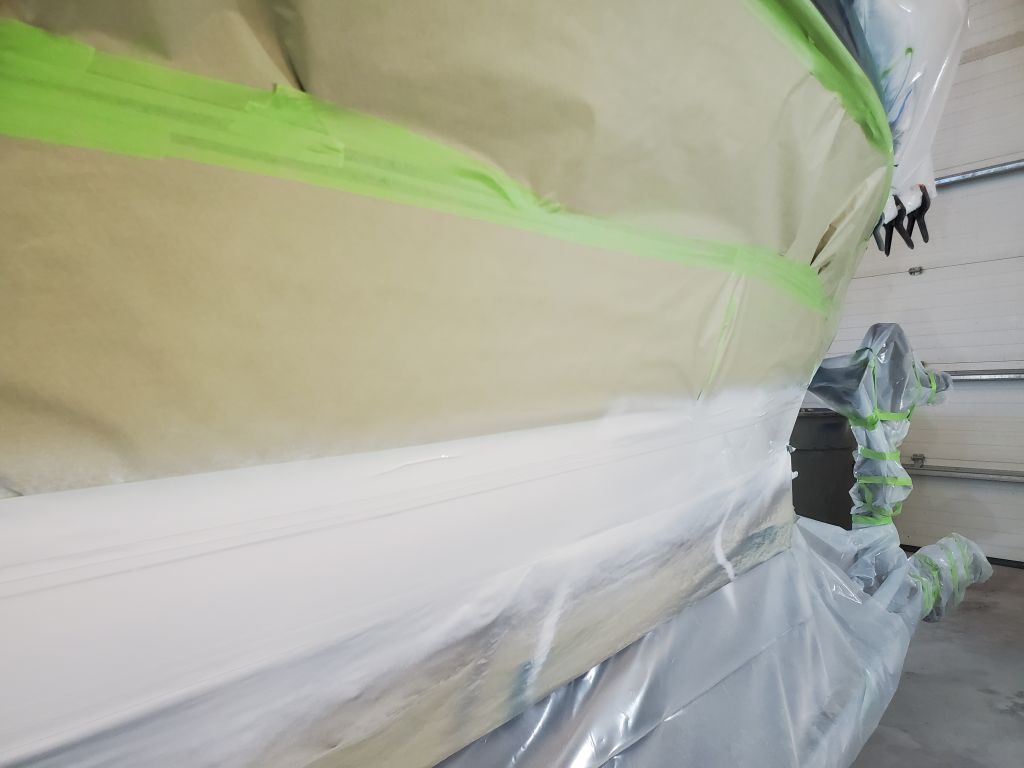
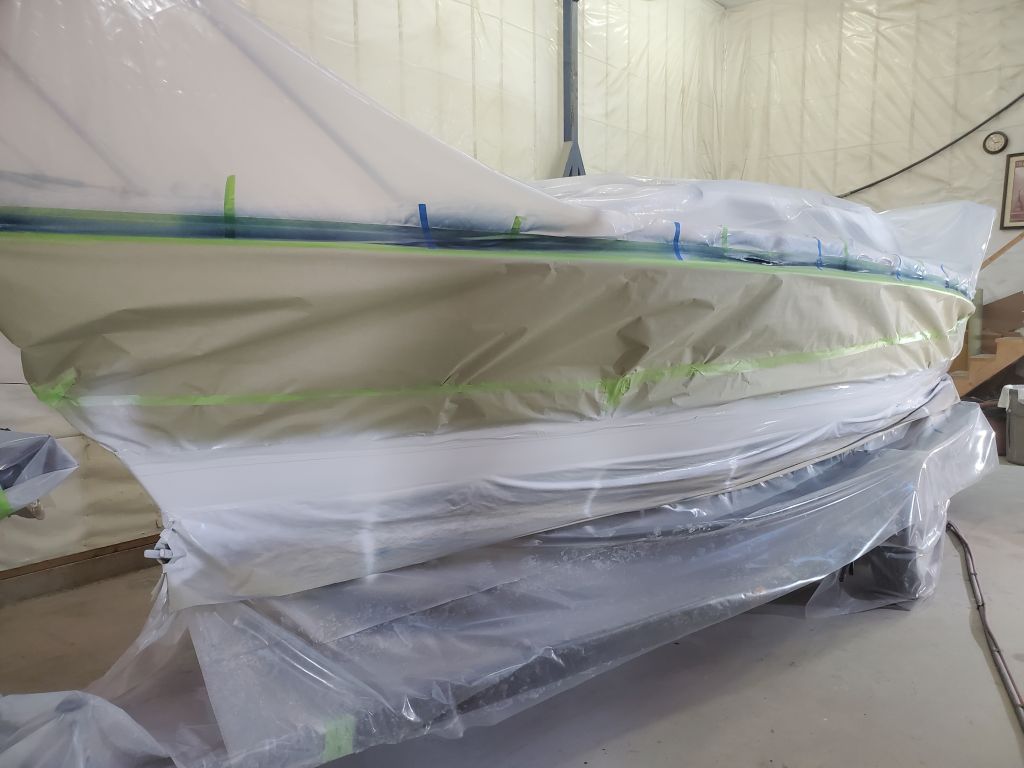
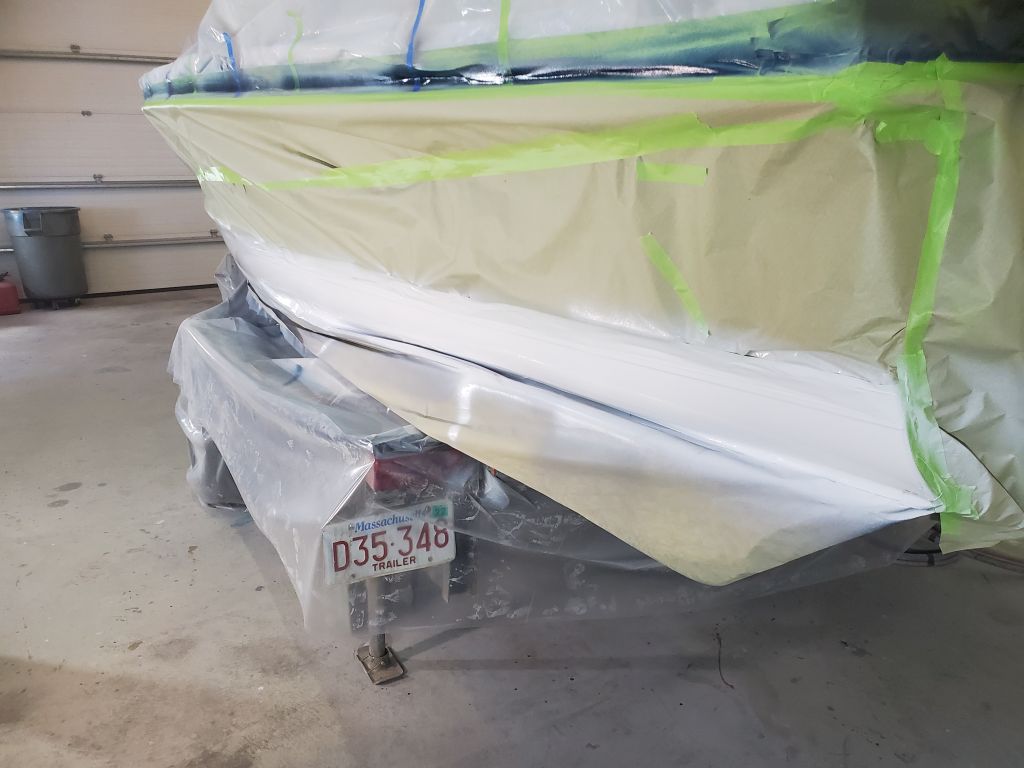
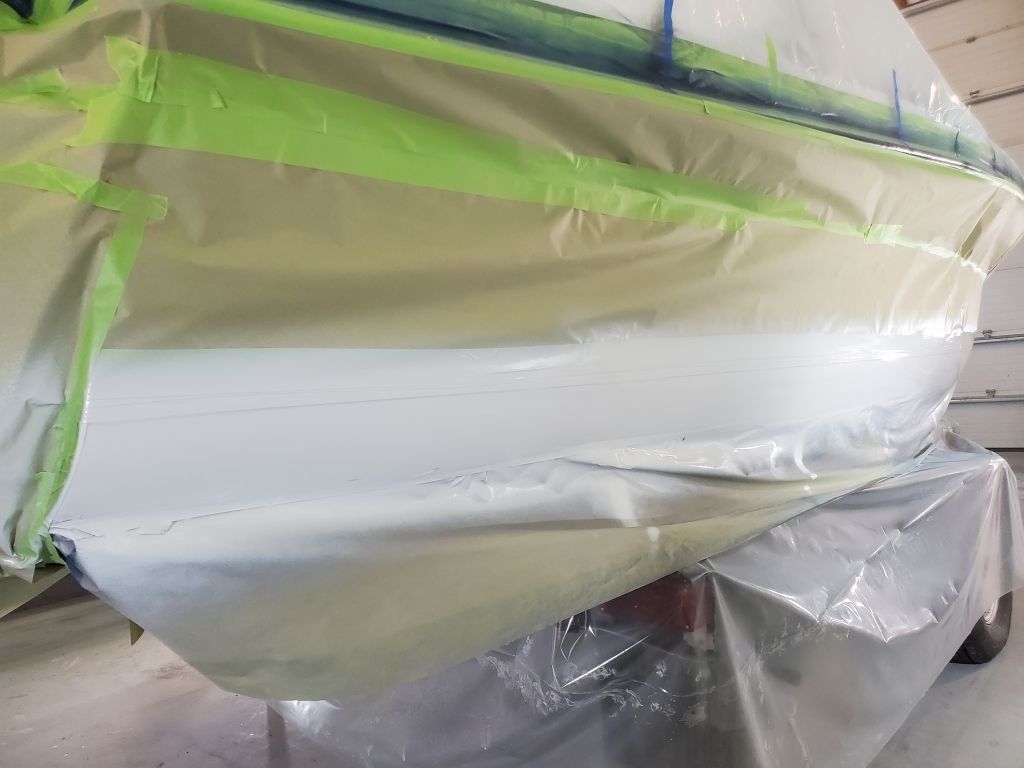
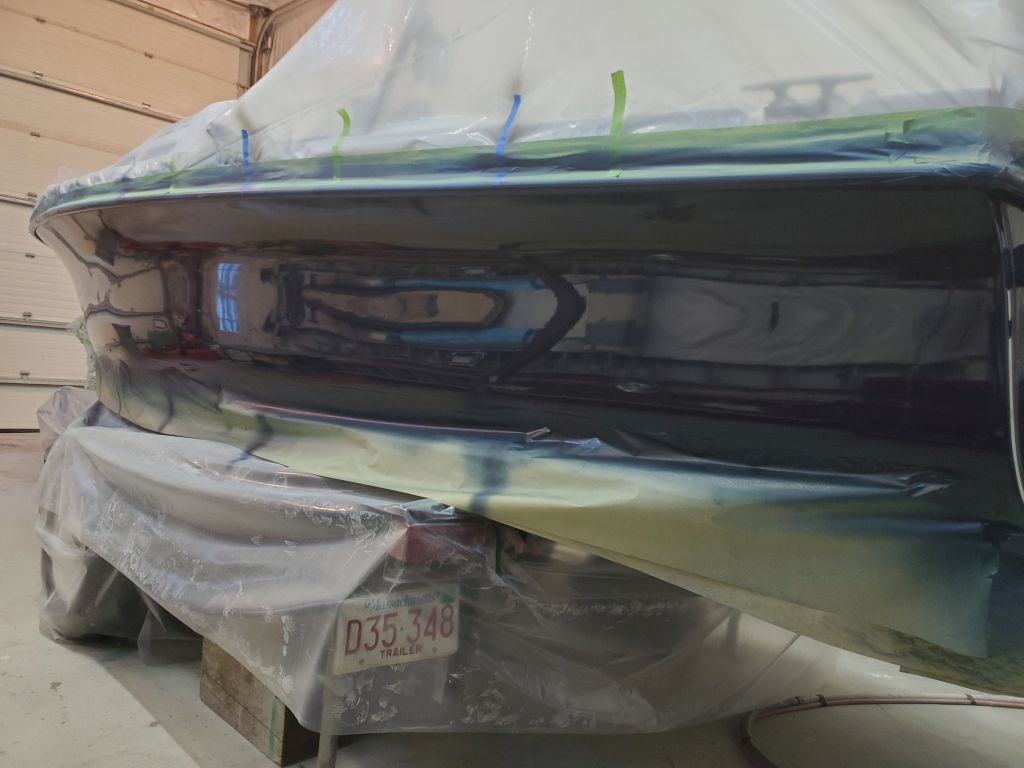
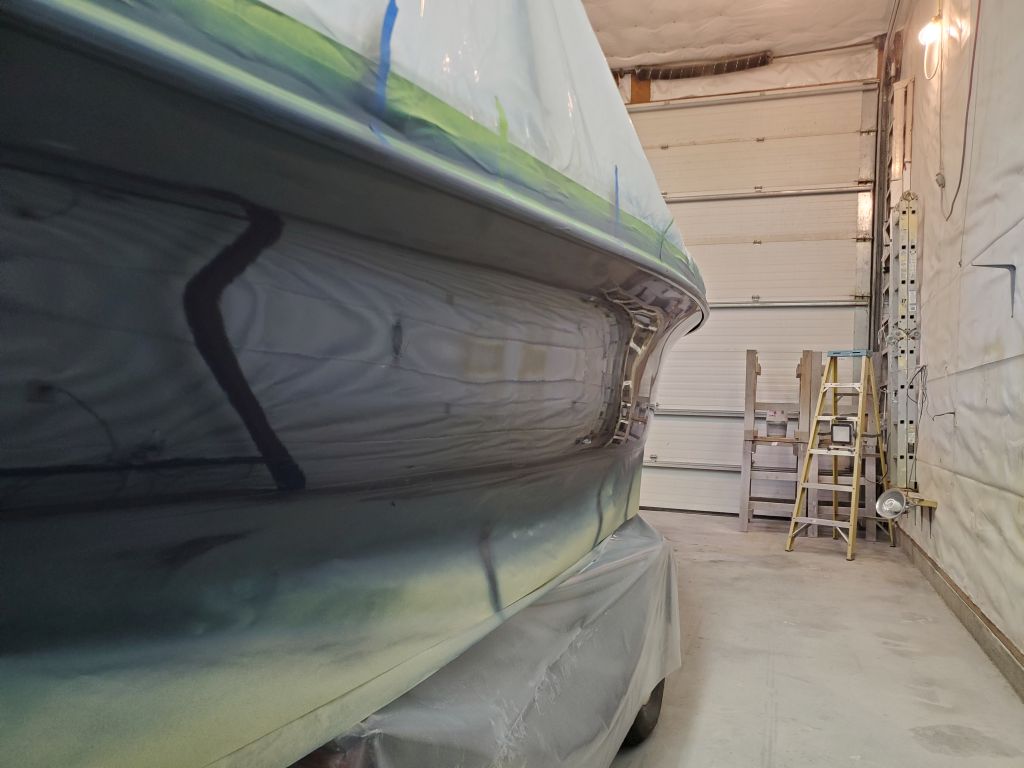
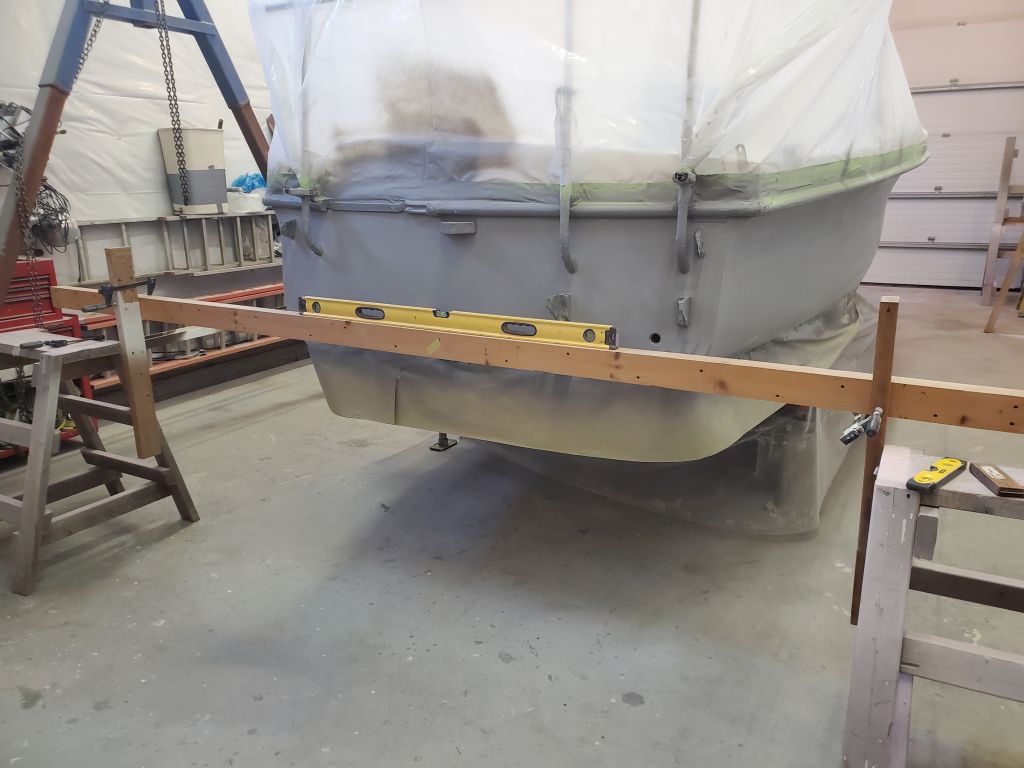
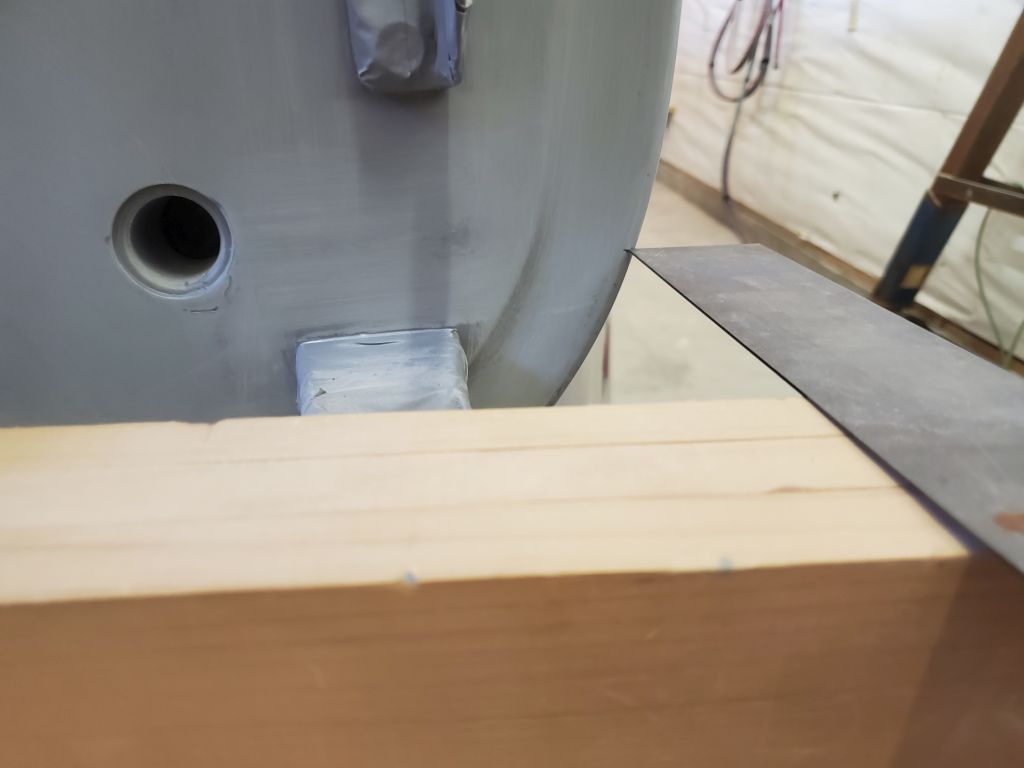
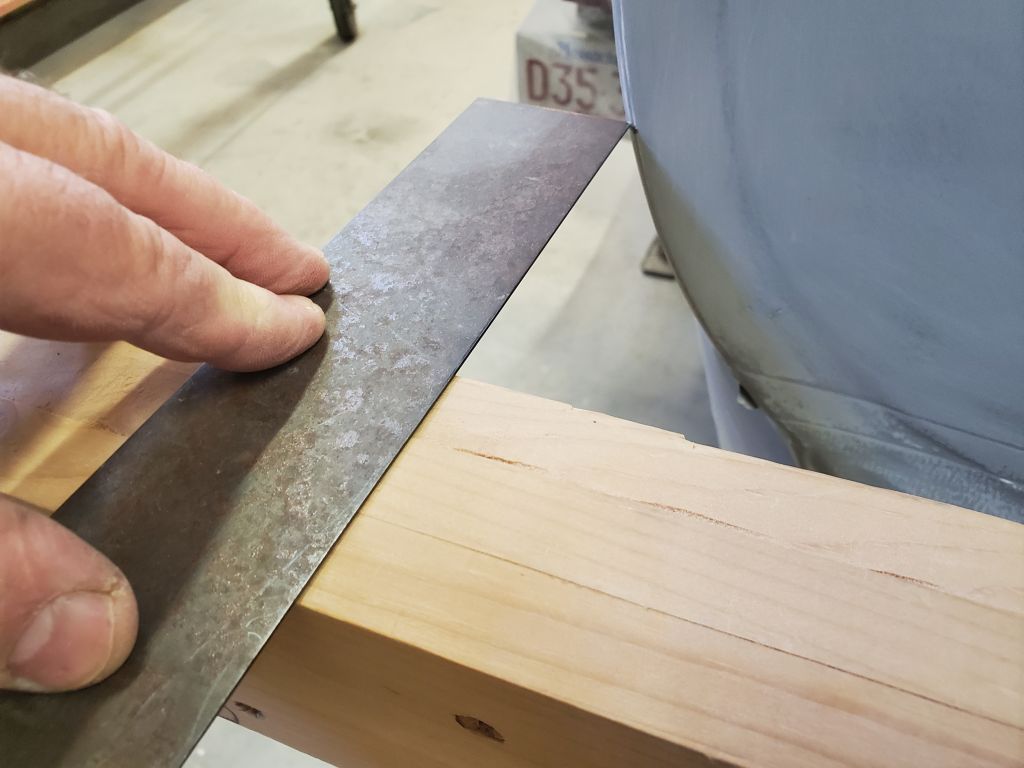
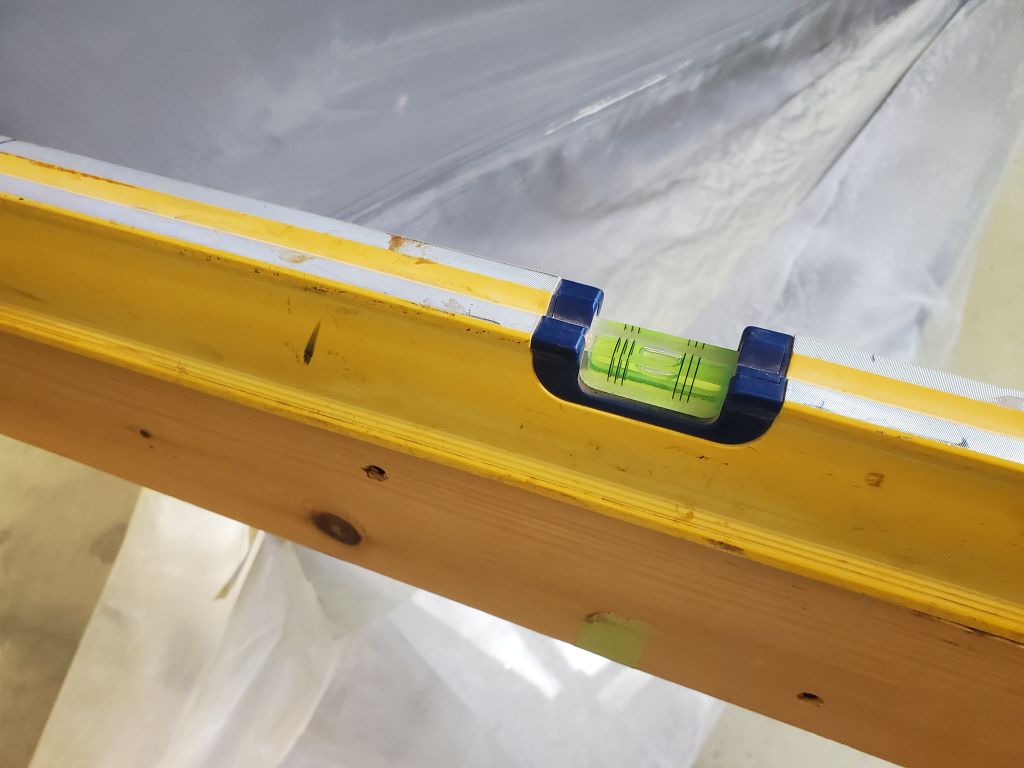
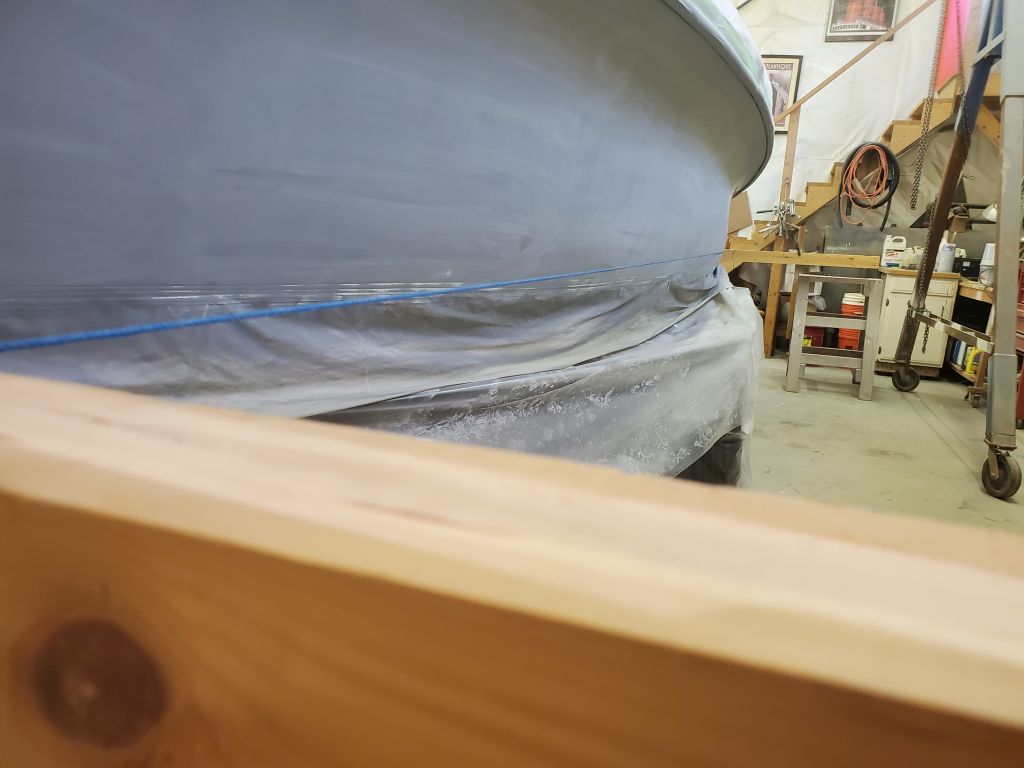
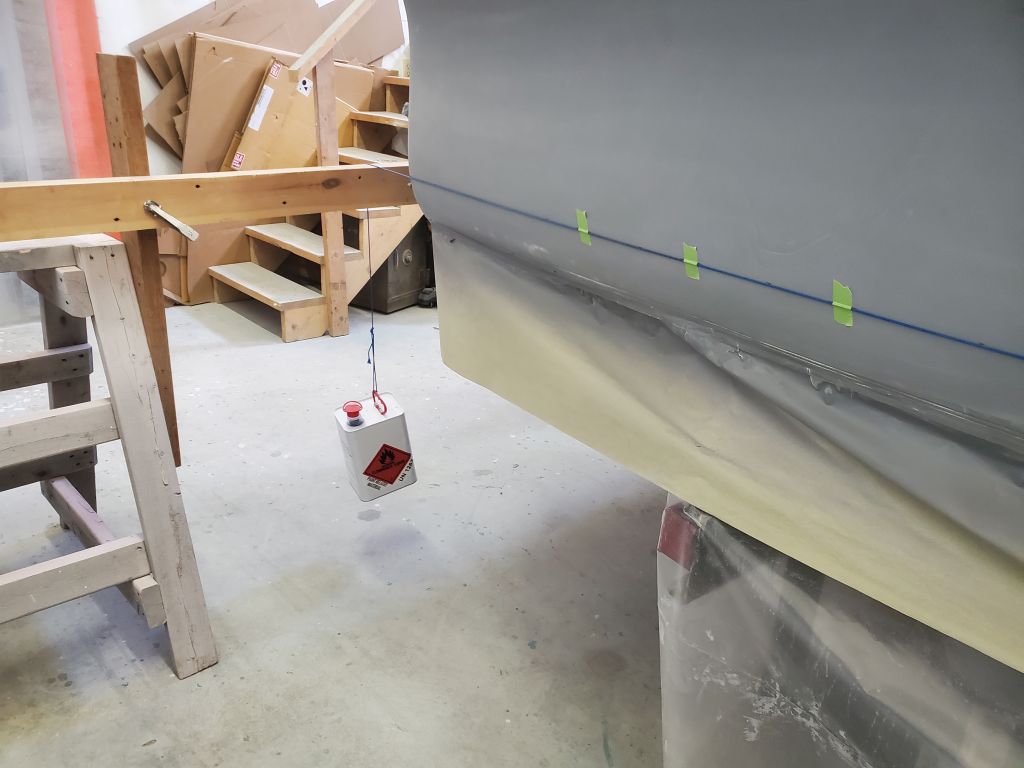
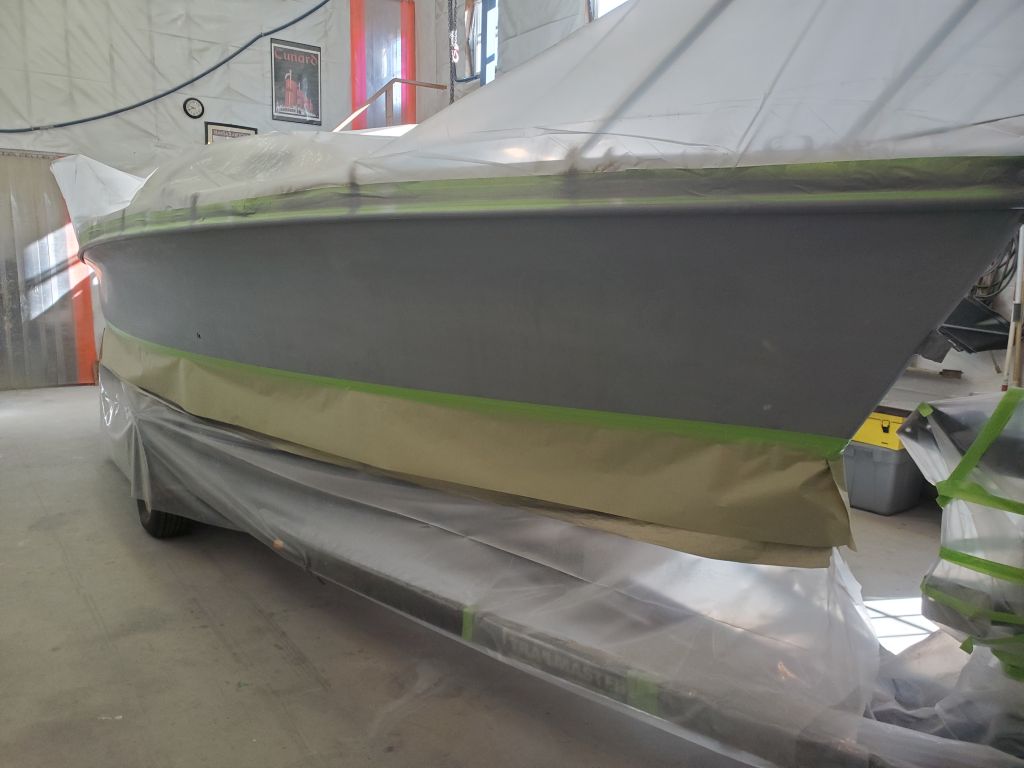
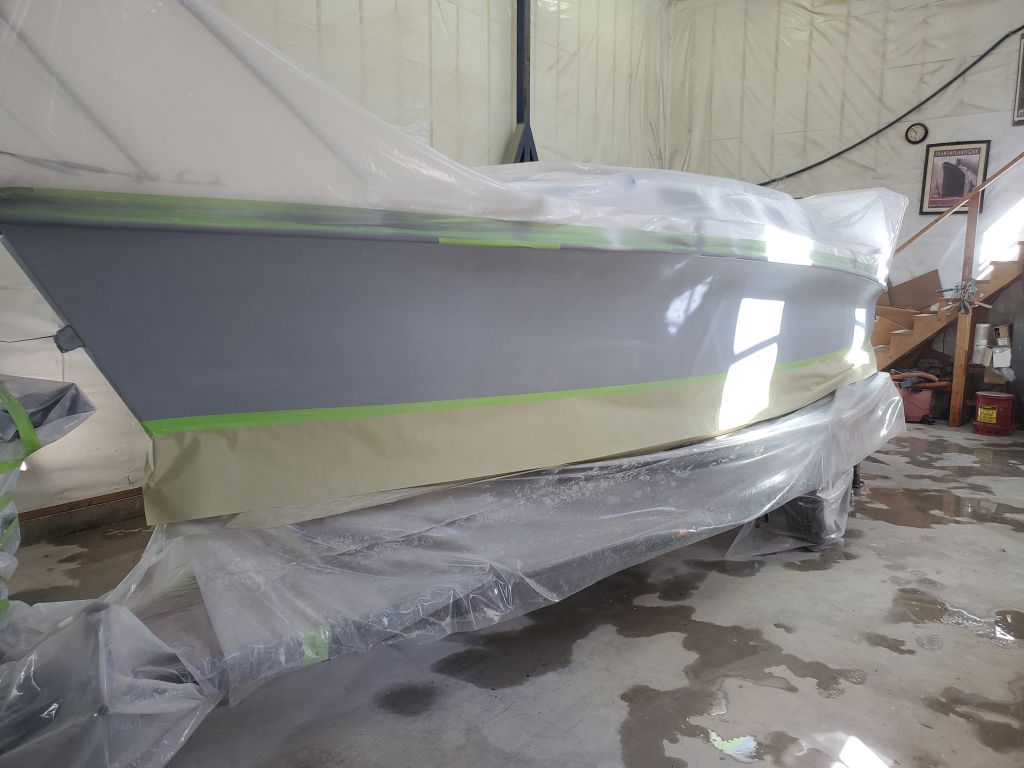
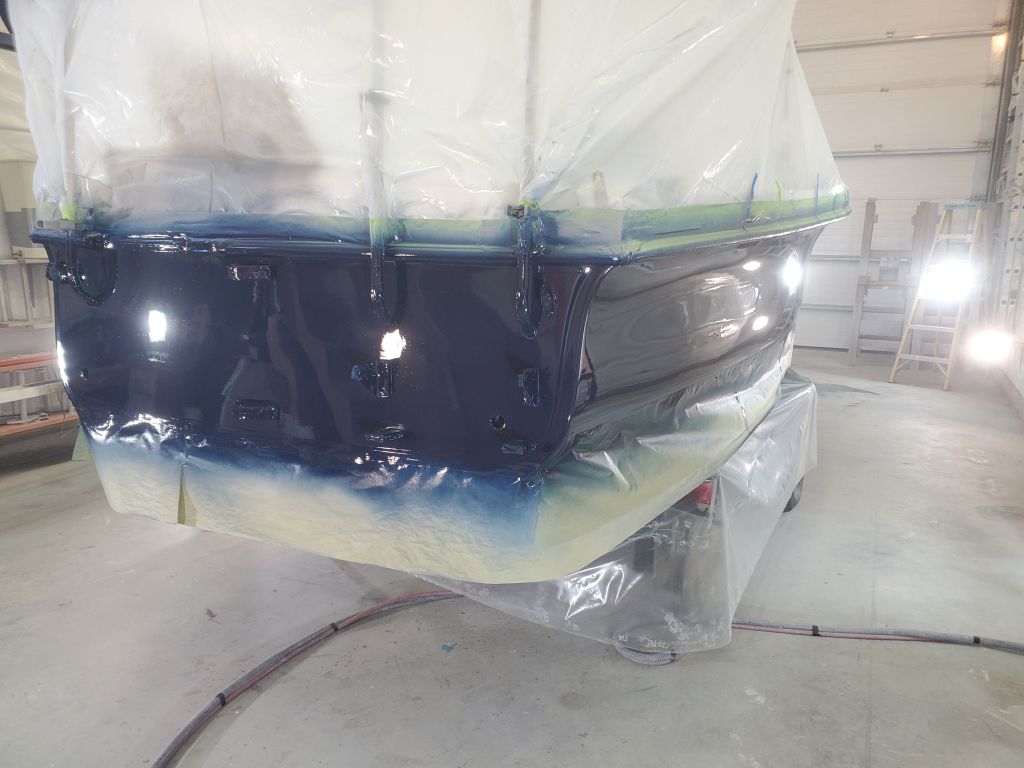
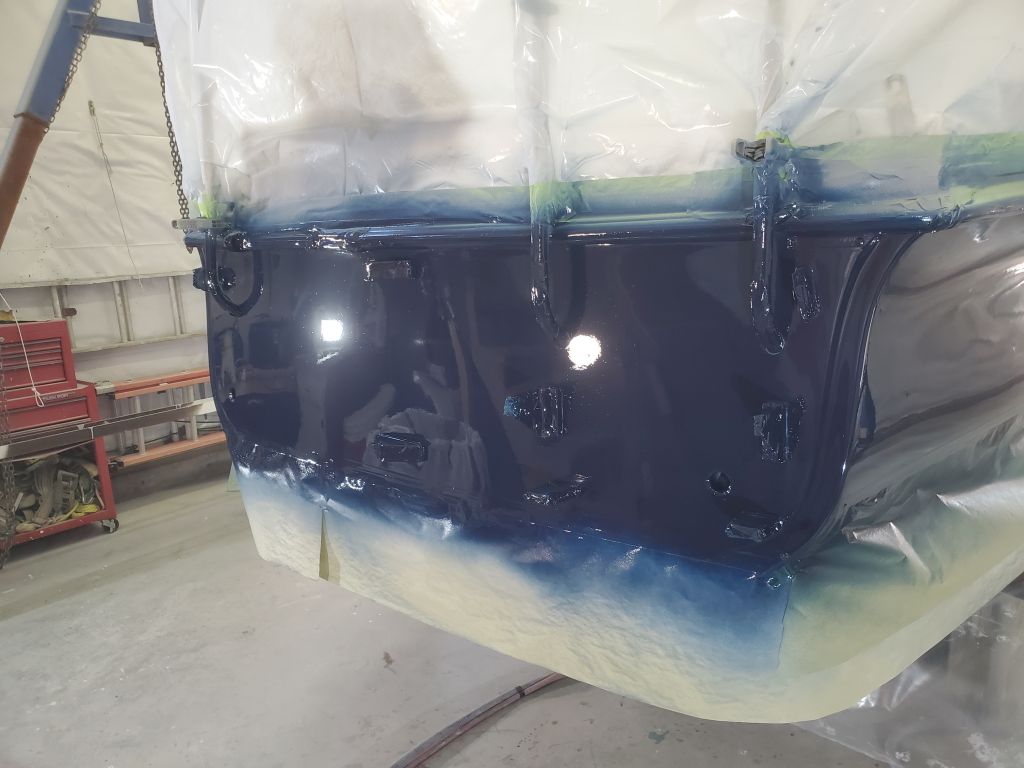
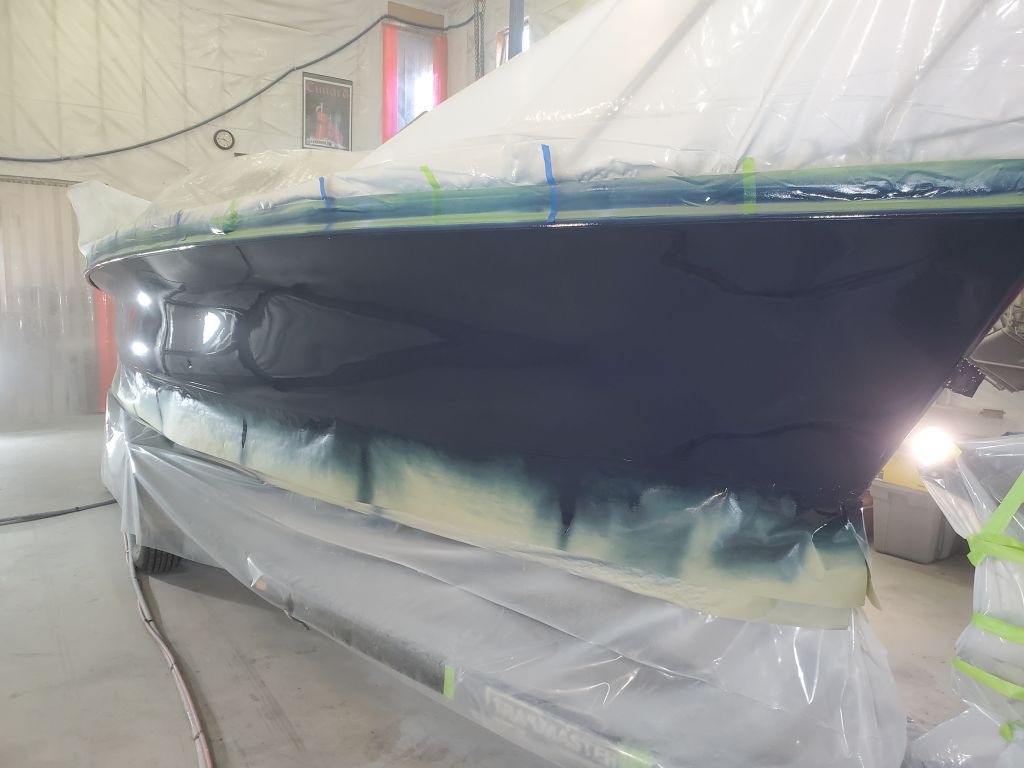
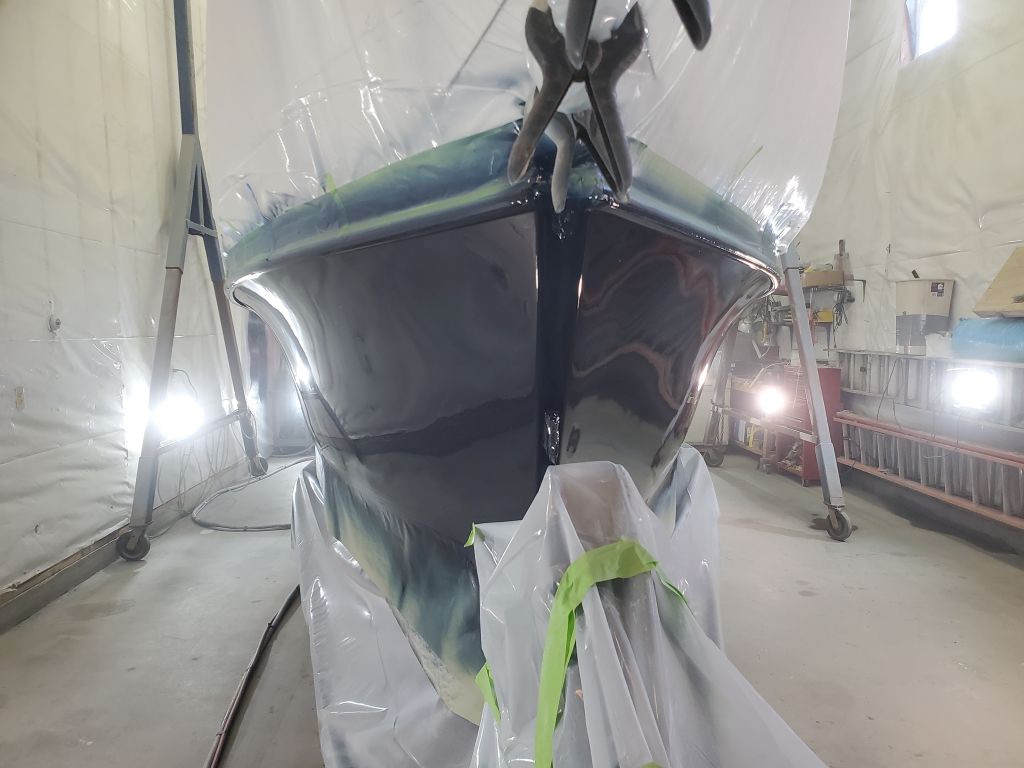
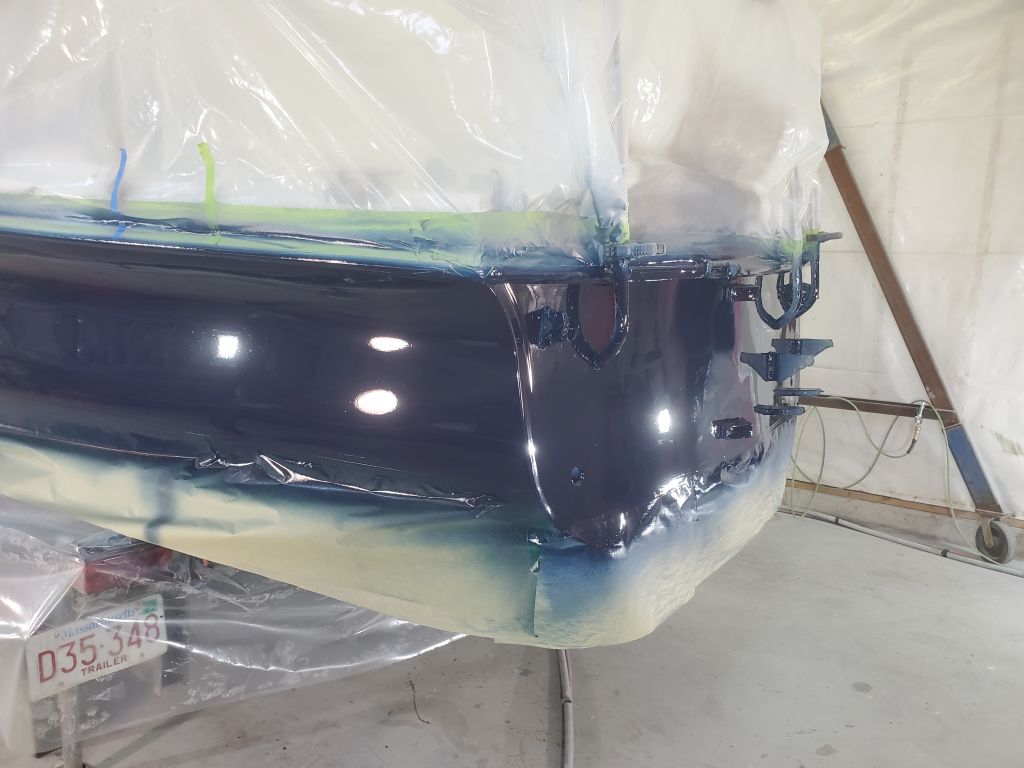
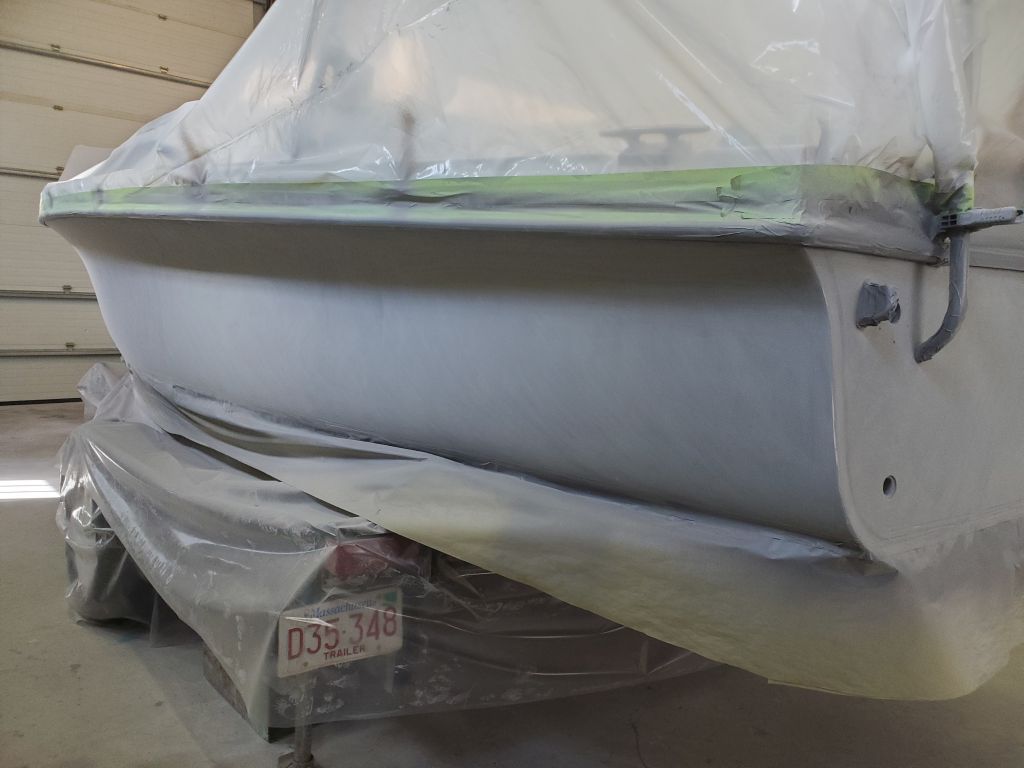
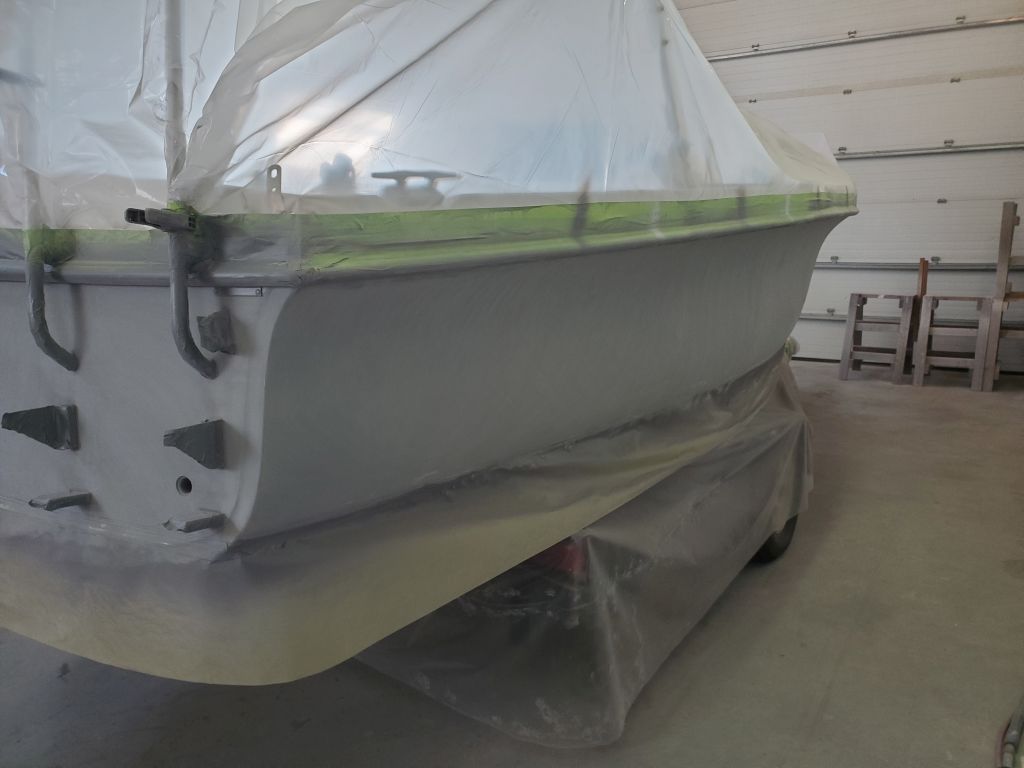
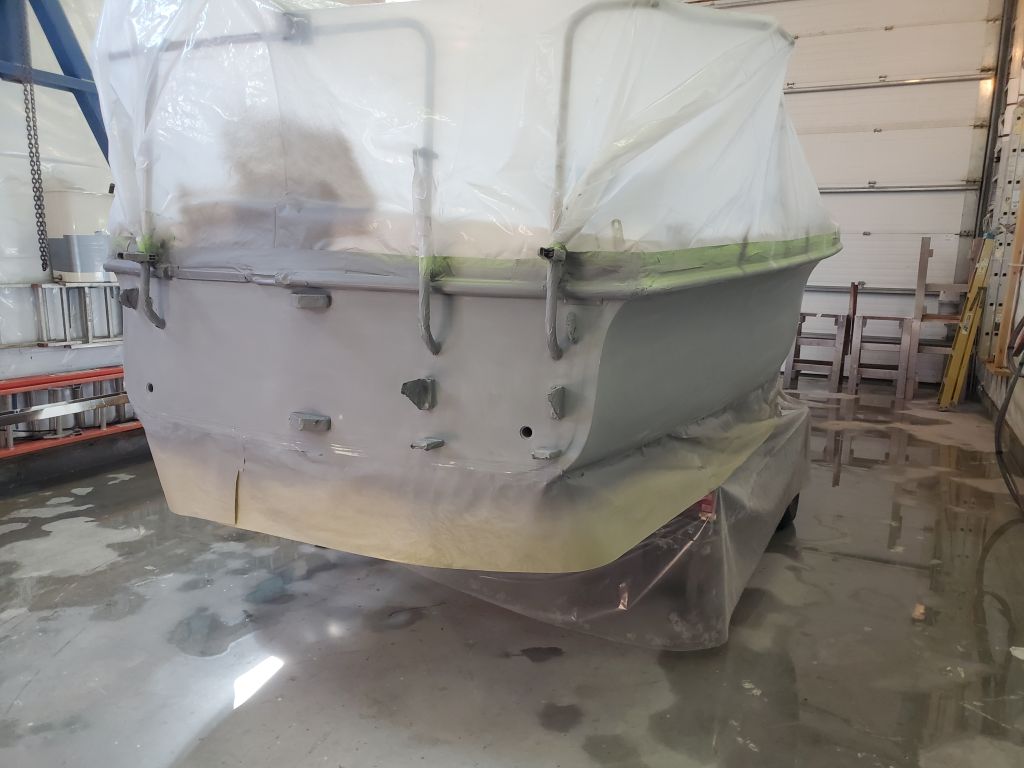
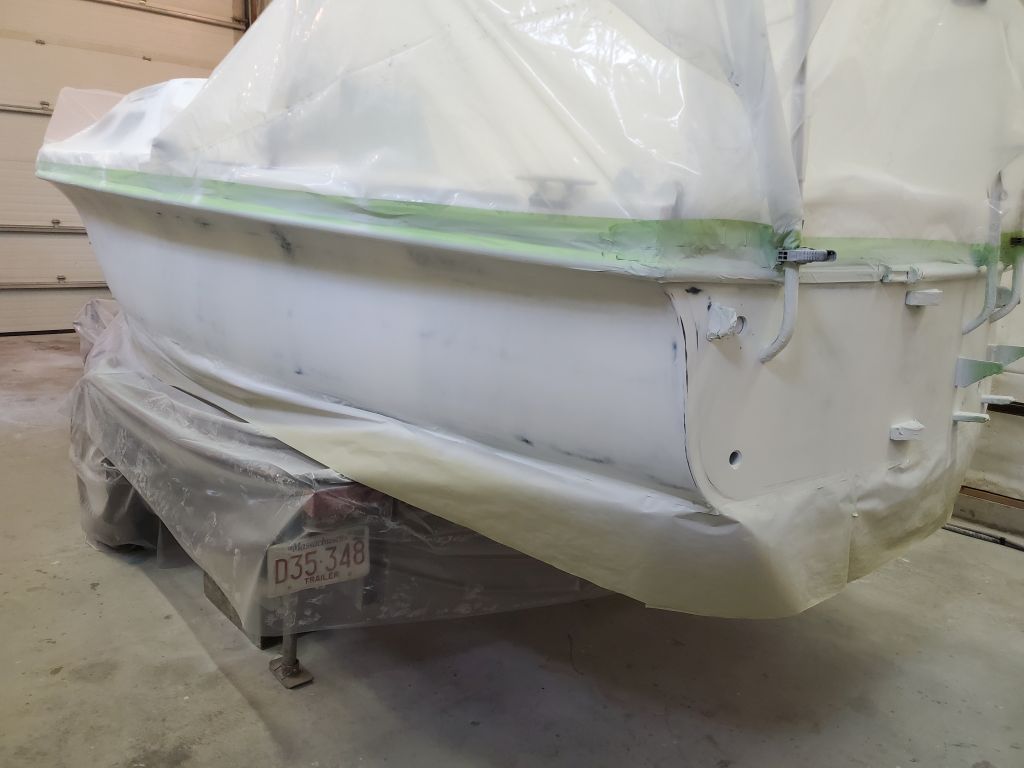
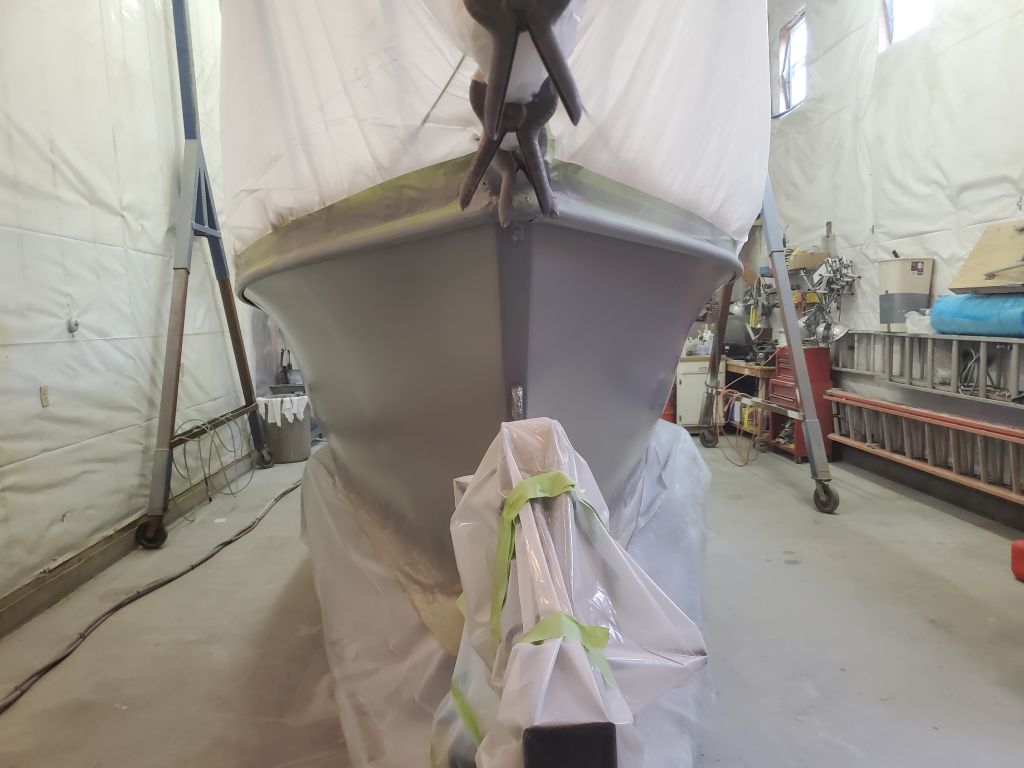
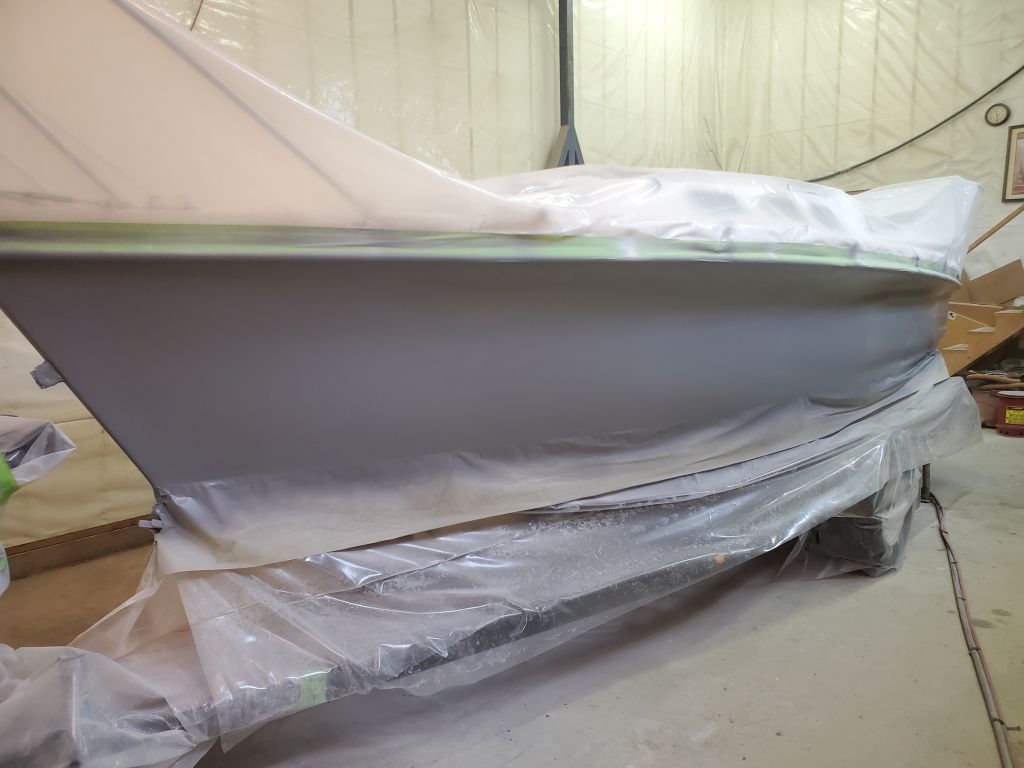
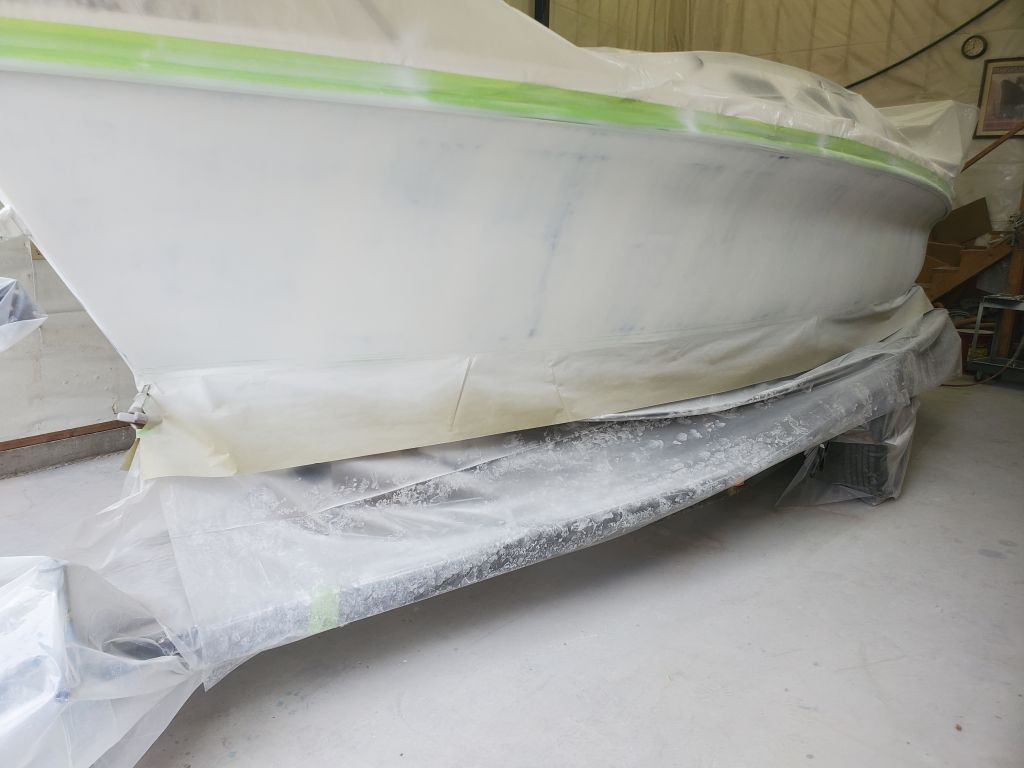
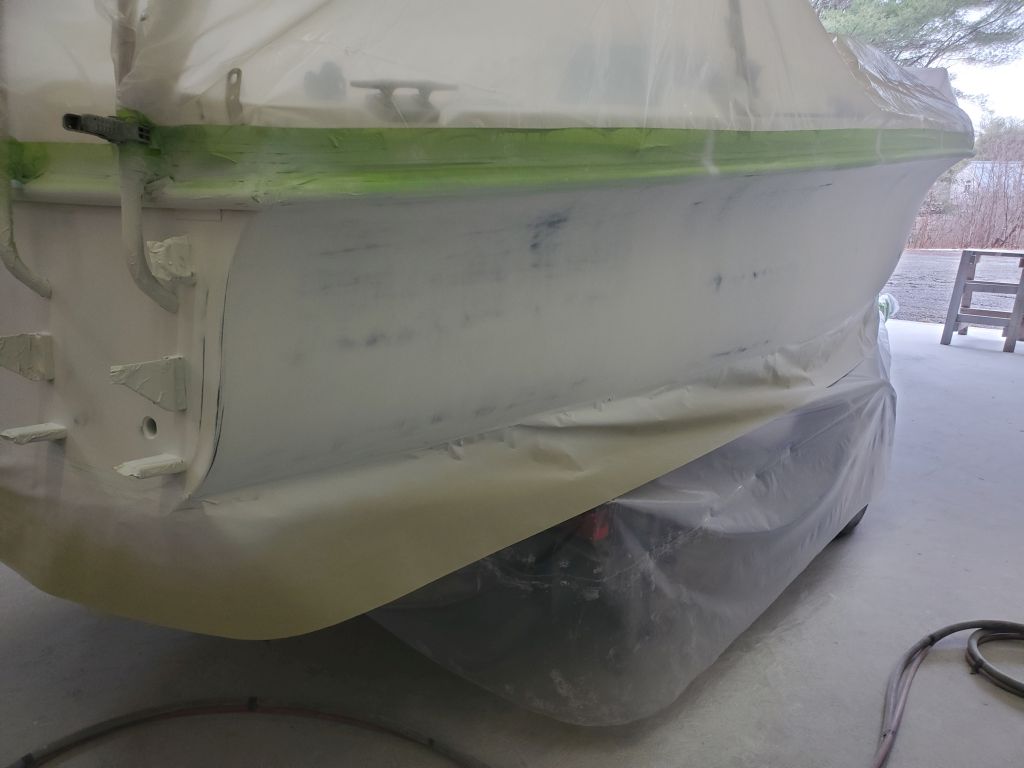
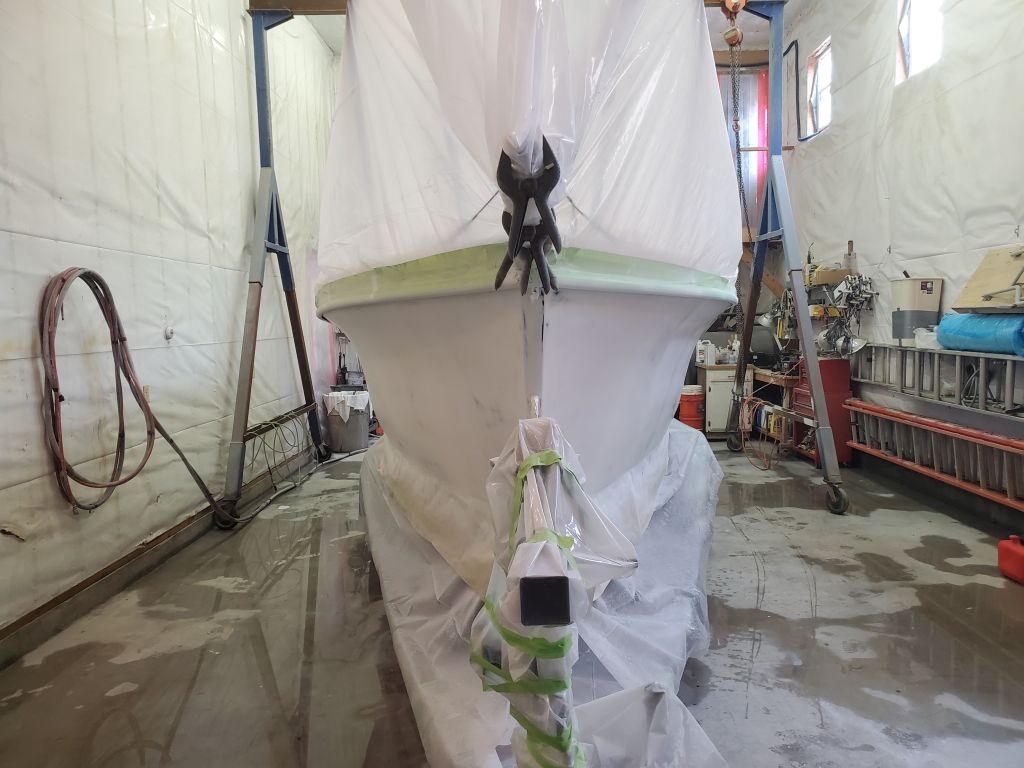
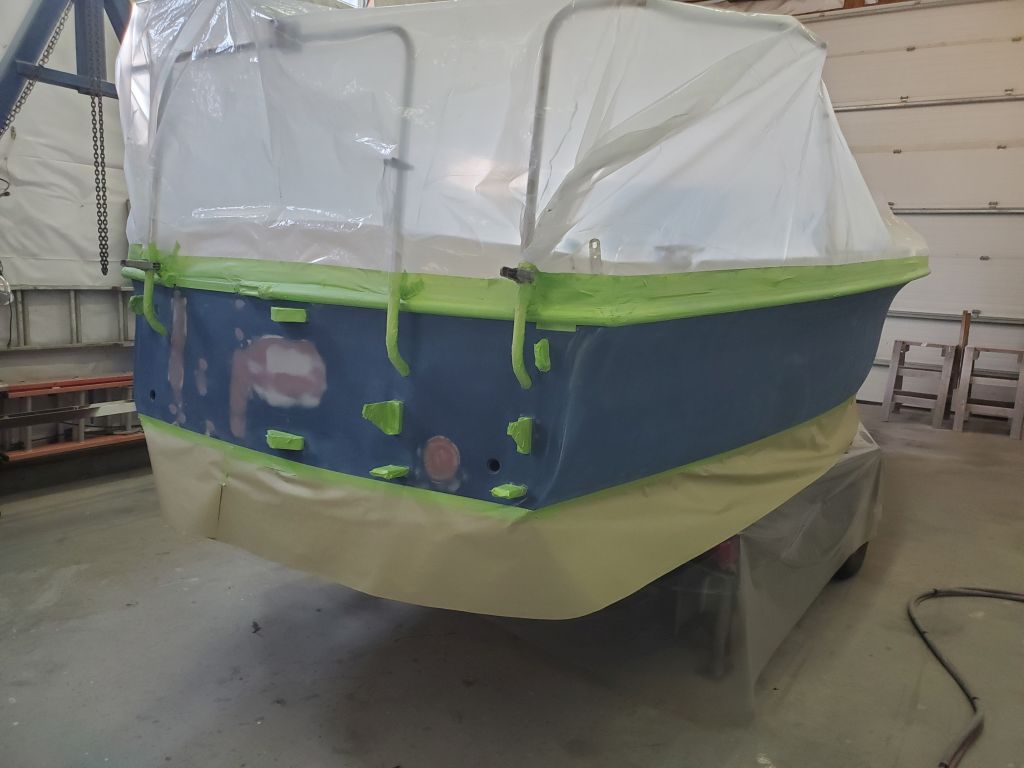
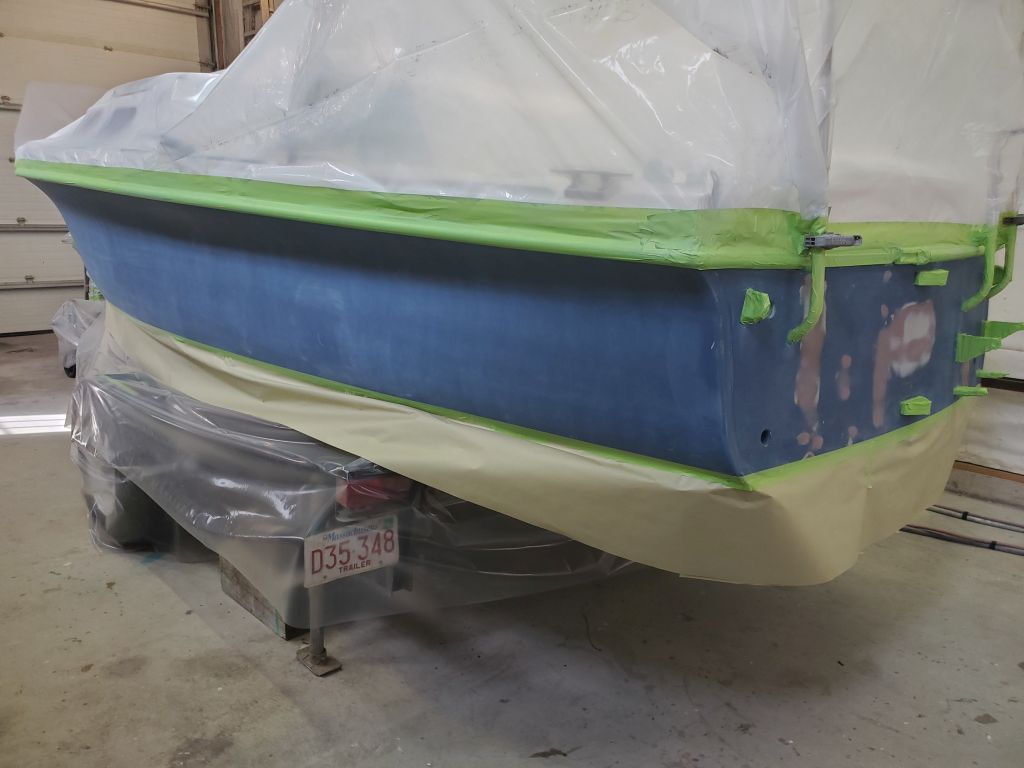
Next on the agenda was to mark, and mask, the boottop to prepare for hull painting. The original boottop had been 3″ in height, which seemed a good fit for the boat, so I planned to strike the new line at the same height above the waterline. When I marked the waterline earlier, I’d noted various references that made the initial setup this time around pretty straightforward as I set the horizontal beams up stem and stern at the new height, which I’d marked at the stem and two transom corners.
Next, I strung my string and went through the process of marking the hull on both sides before masking just below my tick marks to represent the top edge of the boottop. To prevent the stripe from any appearance of diminishing at the bow, I added just a slight sheer–and therefore a modicum of extra height–to the line by marking 1/2″ above the top edge at the stem, then retaping by eye between that new point on the stem and another point 7′ aft of the stem on each side, a point chosen by eye as the “right” point to begin the shape.
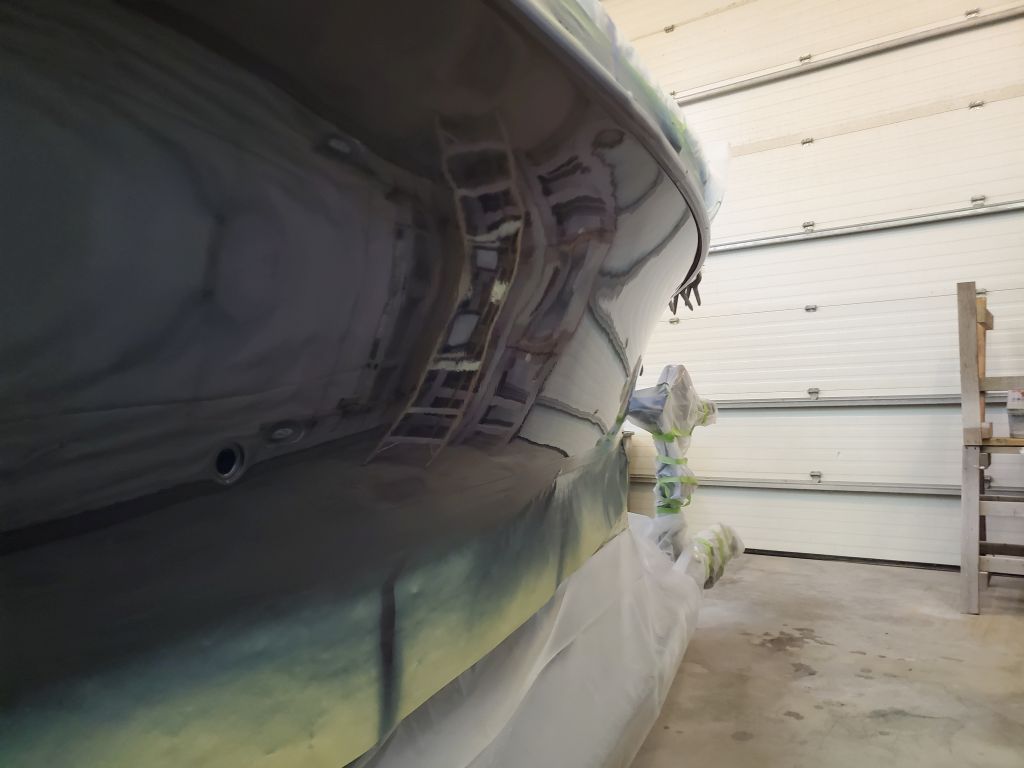
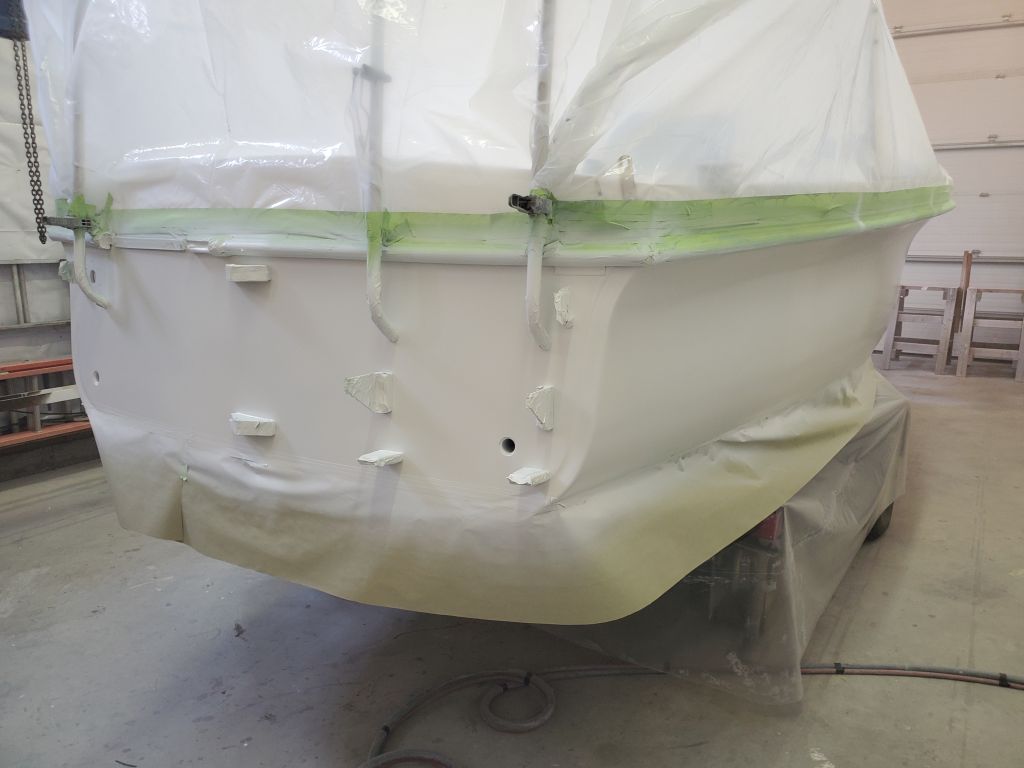
Afterwards, I covered the boottop area with masking paper to protect against overspray.
I finished up the morning by completing all the machinations required for final preparation, including touching up the sanding as needed in a few places, then vacuuming and solvent-washing again and wetting down the floor to settle any new dust.
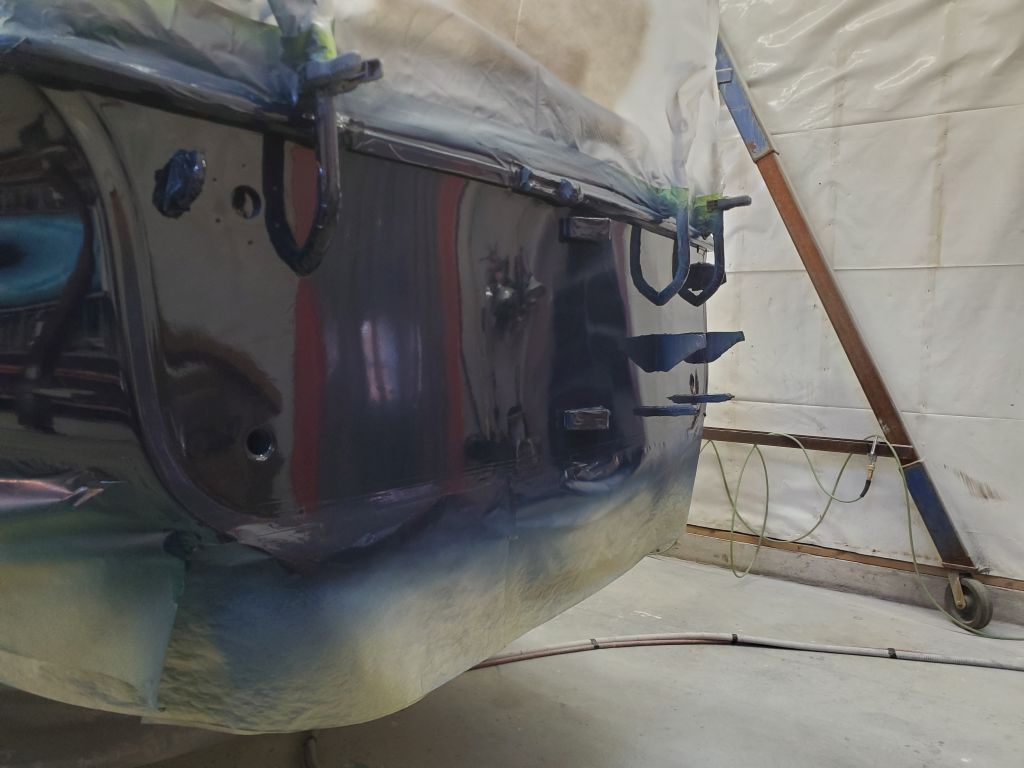
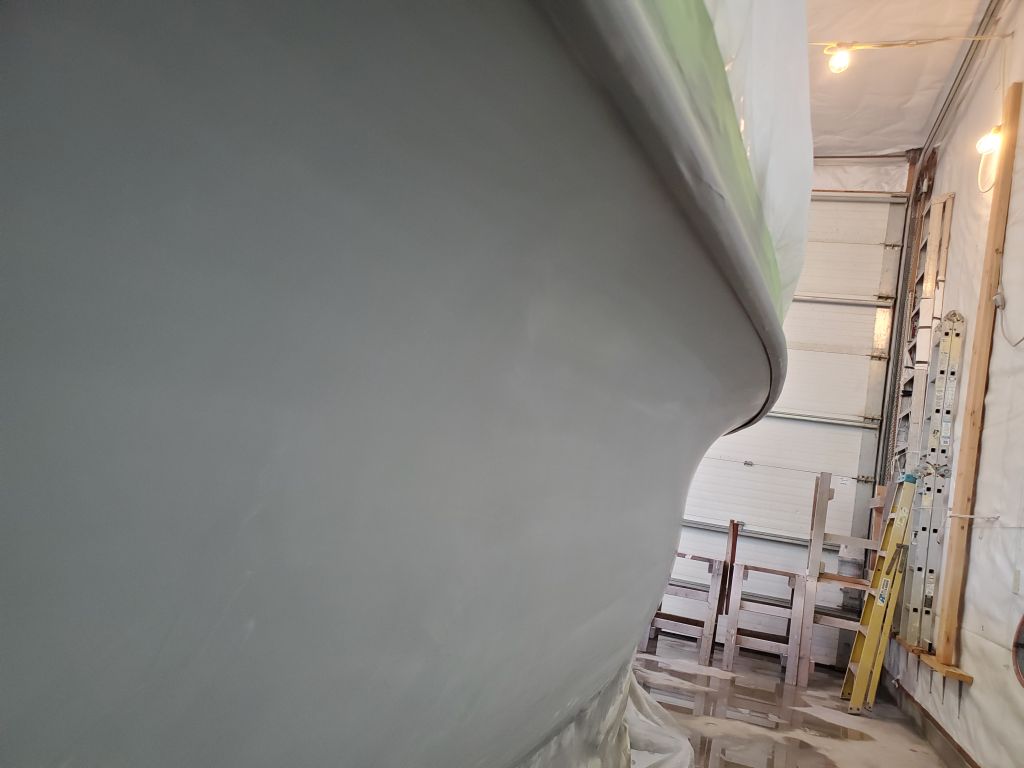
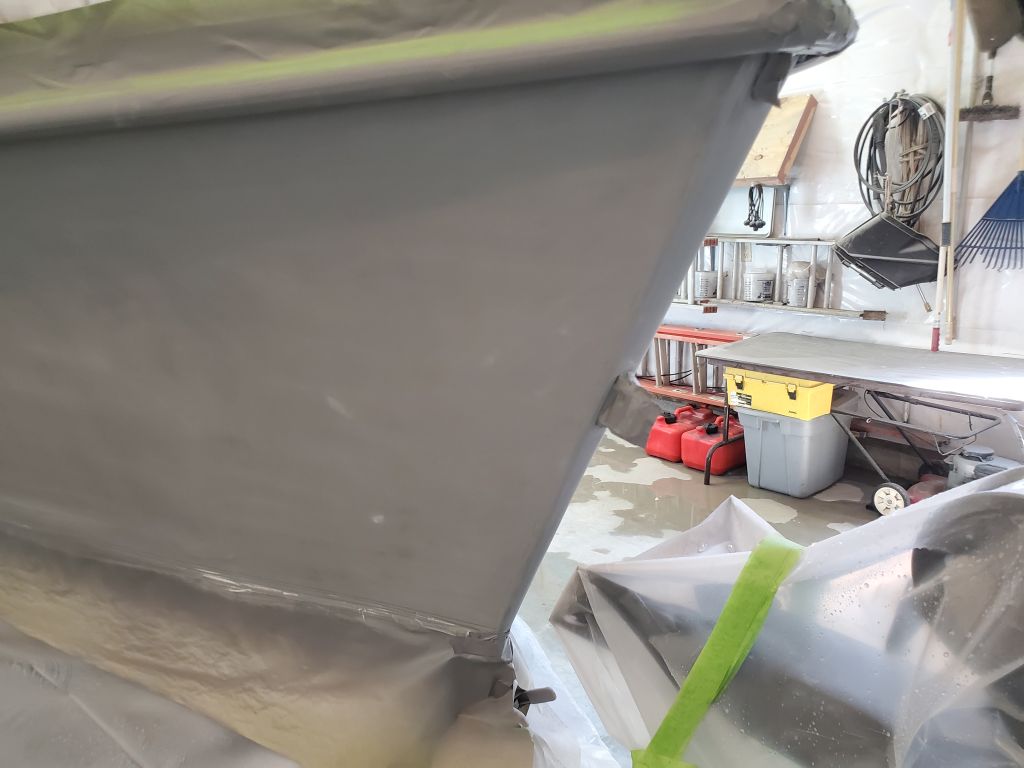
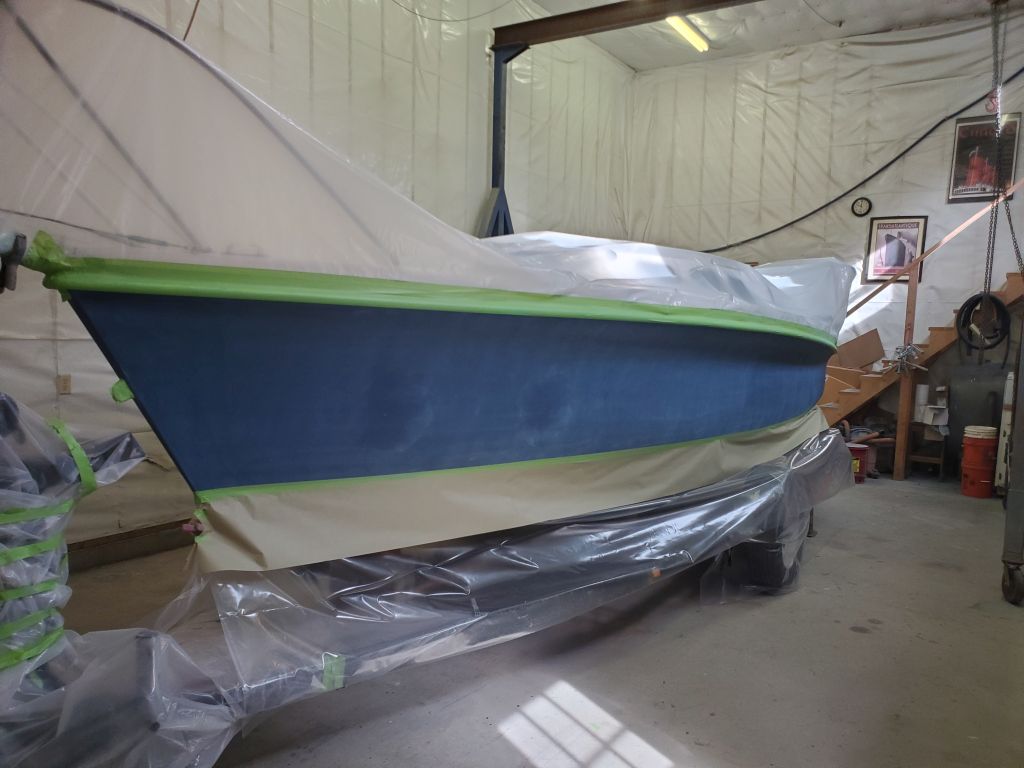
In the afternoon, I applied three coats of flag blue gloss topcoat to the hull.
Total time billed on this job today: 7 hours
0600 Weather Observation: 35°, clear. Forecast for the day: Mostly sunny, 48°
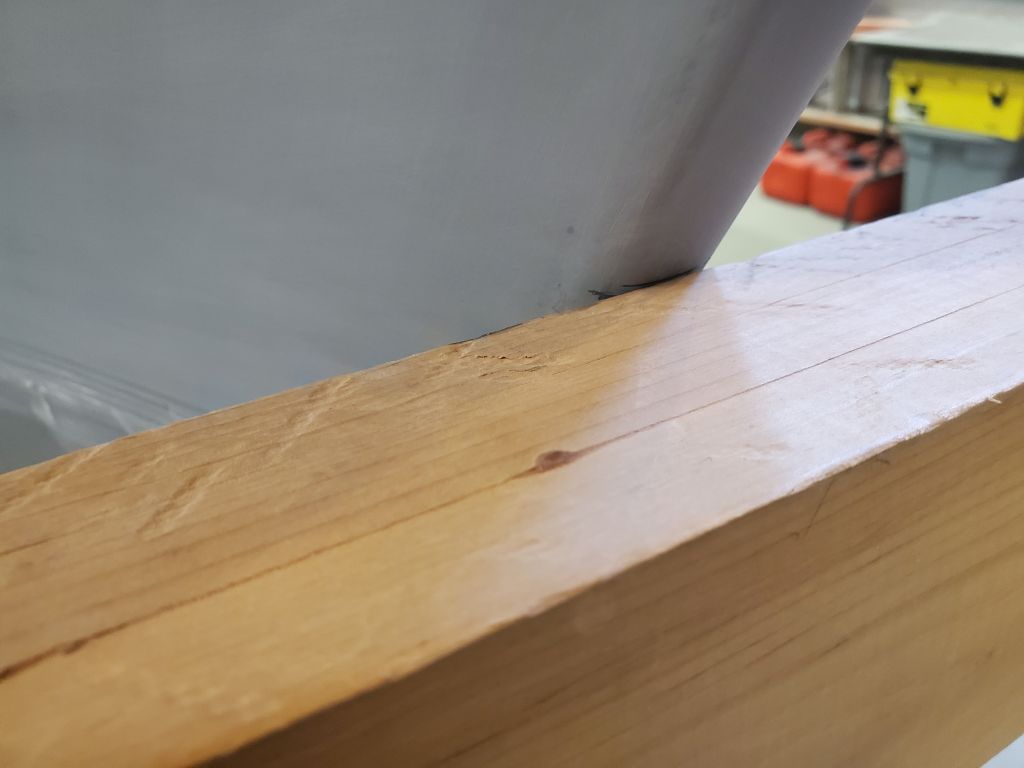
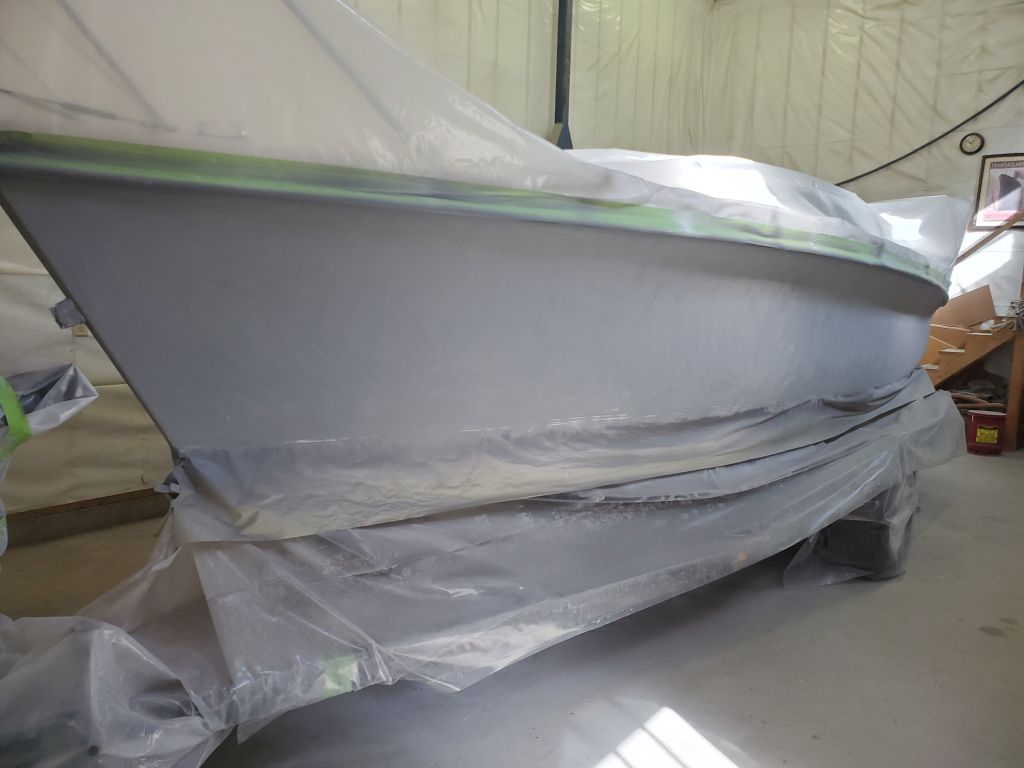
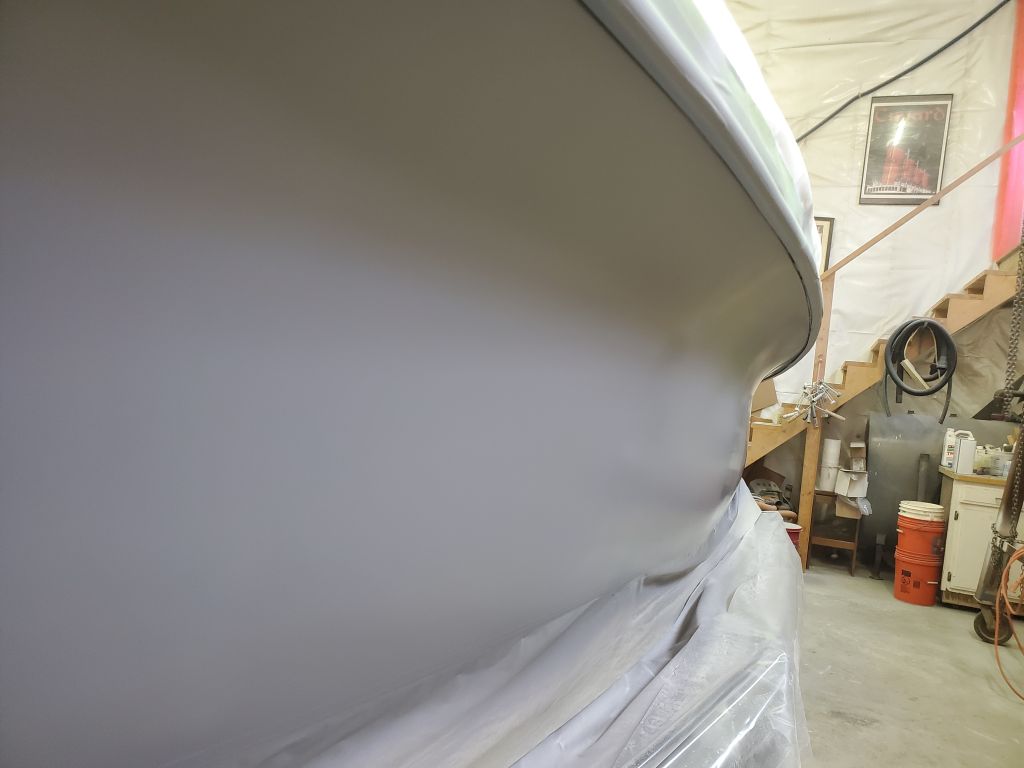
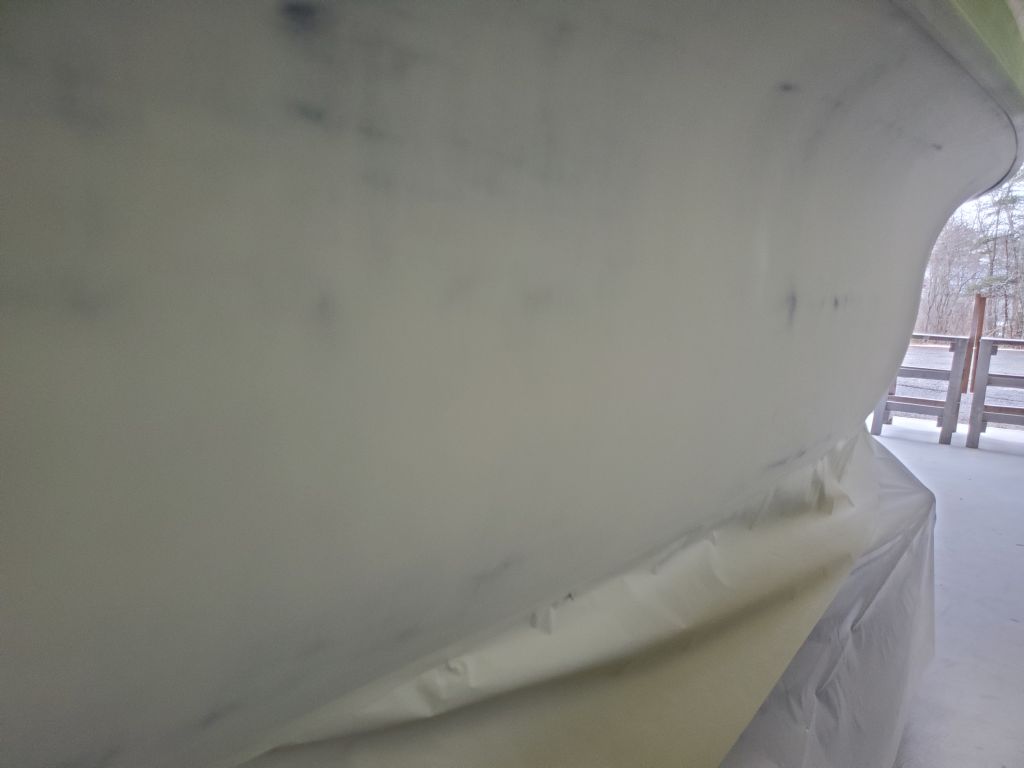
I spent the morning sanding the hull primer, now with 320 grit as the final stage before topcoat.
Afterwards, I cleaned up the shop again via compressed air, vacuum, sweep, and rinse, then vacuumed and solvent-washed the hull to better inspect it and prepare for the next steps, which I’d continue next time. There’d be a few areas to touch up the sanding (for example, I missed the narrow spot above the upper gudgeon), along with marking and masking for the boottop and other things required to prepare for the gloss topcoats.
Total time billed on this job today: 4.25 hours
0600 Weather Observation: 35°, foggy. Forecast for the day: Foggy, becoming mostly sunny, 63°
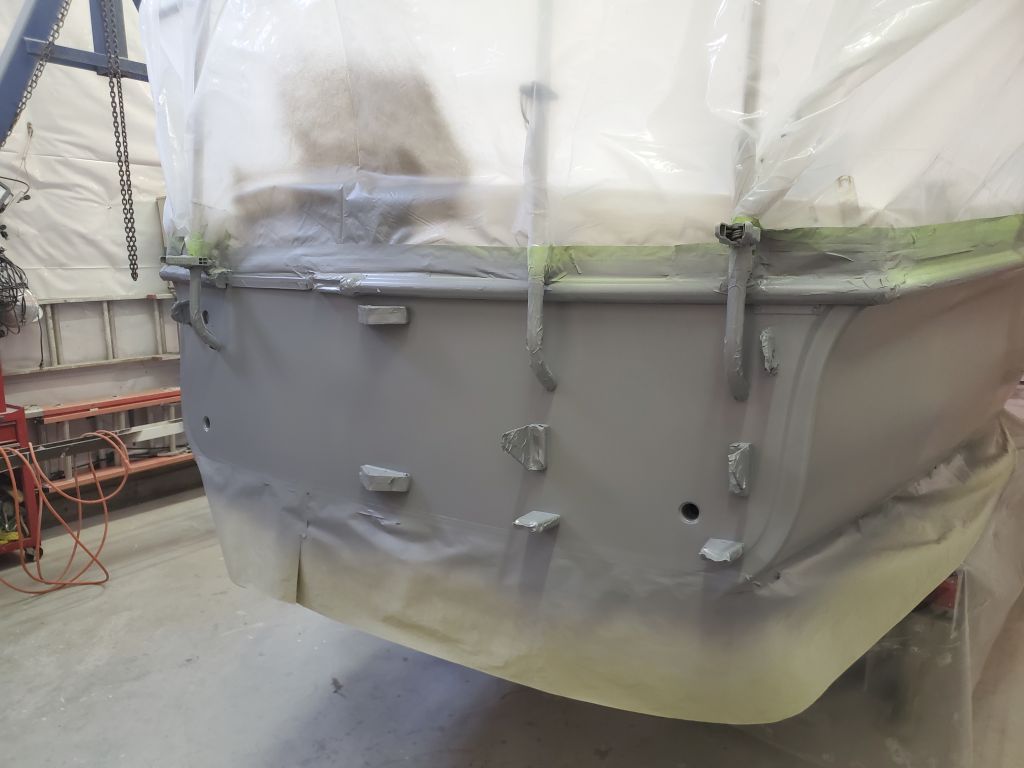
I’d planned to leave the primer spraying till later in the day, a nod to the expected conditions in the seldom-used (for painting) first shop bay, so I’d intentionally left the final-final prep work to be done in the morning. However, with generally overcast skies and impatient virtue, I found I couldn’t resist the urge to get right to the spraying, so with an early start I finished the prep by solvent-washing the hull once more, this time with the paint system’s solvent, tacked off, and got to work mixing the primer for the day.
Over the next few hours, I applied four coats of epoxy-based finish primer to the hull, choosing, as usual, to spray the extra coat since I had product leftover, and I always find that it’s remarkably easy to sand through the primer with fewer coats.
With that, I left the boat to cure overnight.
Total time billed on this job today: 5.25 hours
0600 Weather Observation: 35°, partly cloudy . Forecast for the day: Mostly cloudy, 54°
I spent the morning sanding the high-build primer with 220 grit paper by machine and hand as needed.
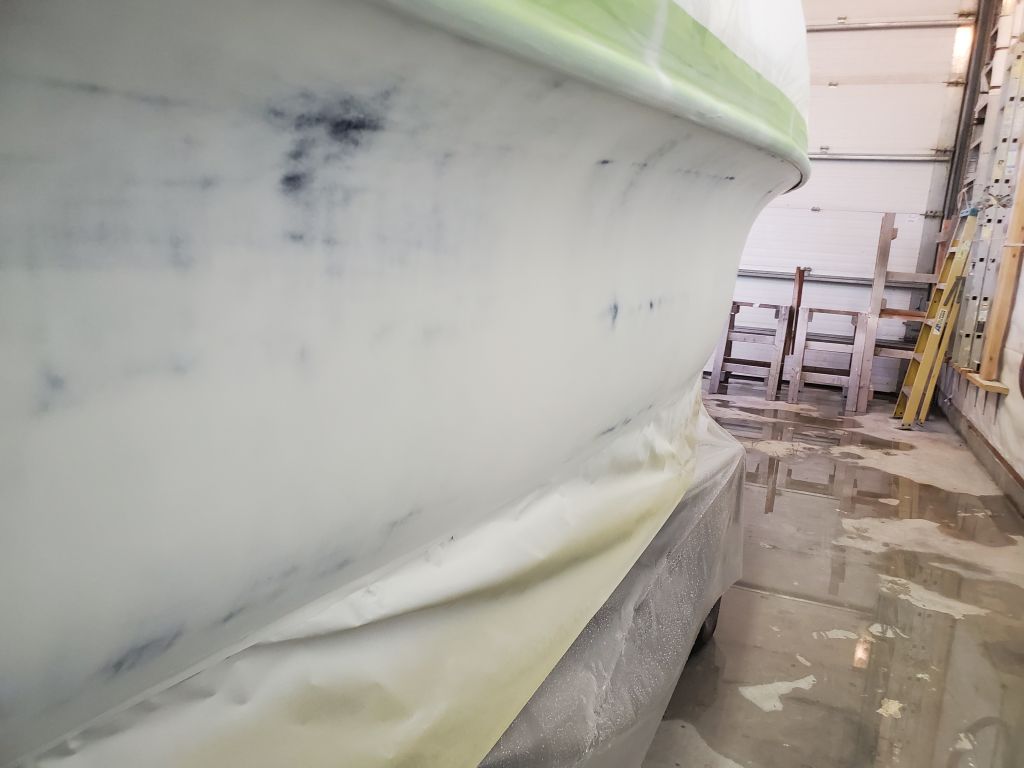
After cleaning up and solvent-washing the hull, I went over it a couple times closely with a bright light to look for any areas requiring more sanding (a few) and to search for pinholes, placed that might need additional filling, or other such details, but was pleased to find nothing of note, so I could move forward with final preparations for finish primer.
Total time billed on this job today: 5.75 hours
0600 Weather Observation: 34°, cloudy with light snow, just a dusting. Forecast for the day: Cloudy, gradually becoming mostly sunny, 50°
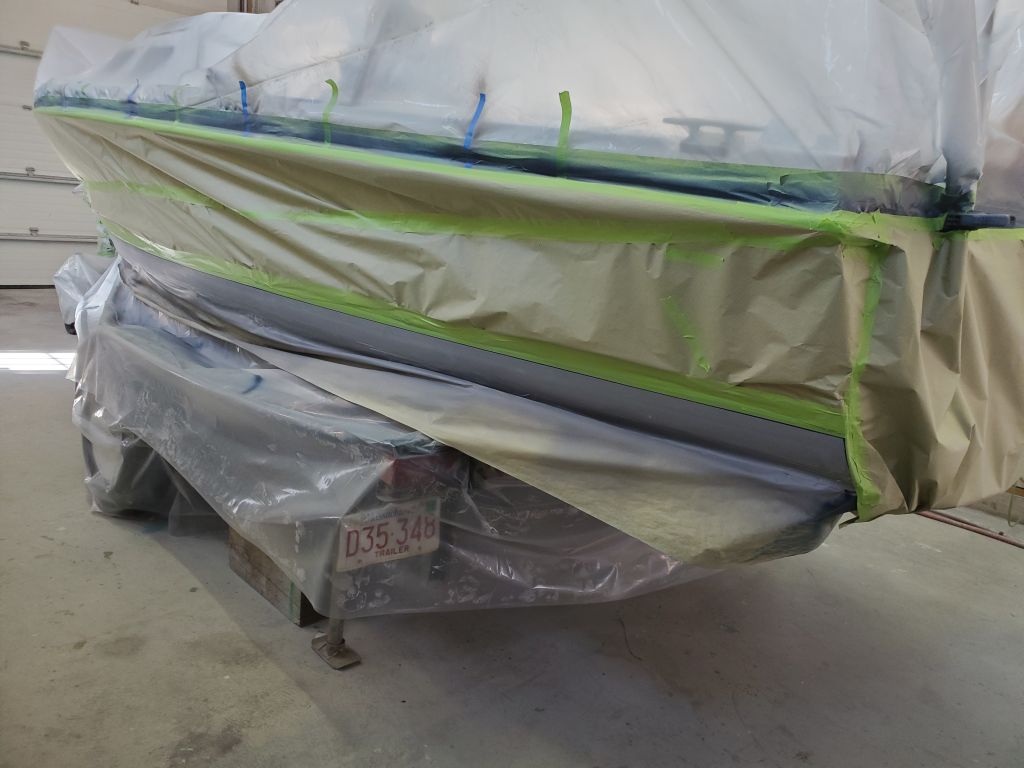
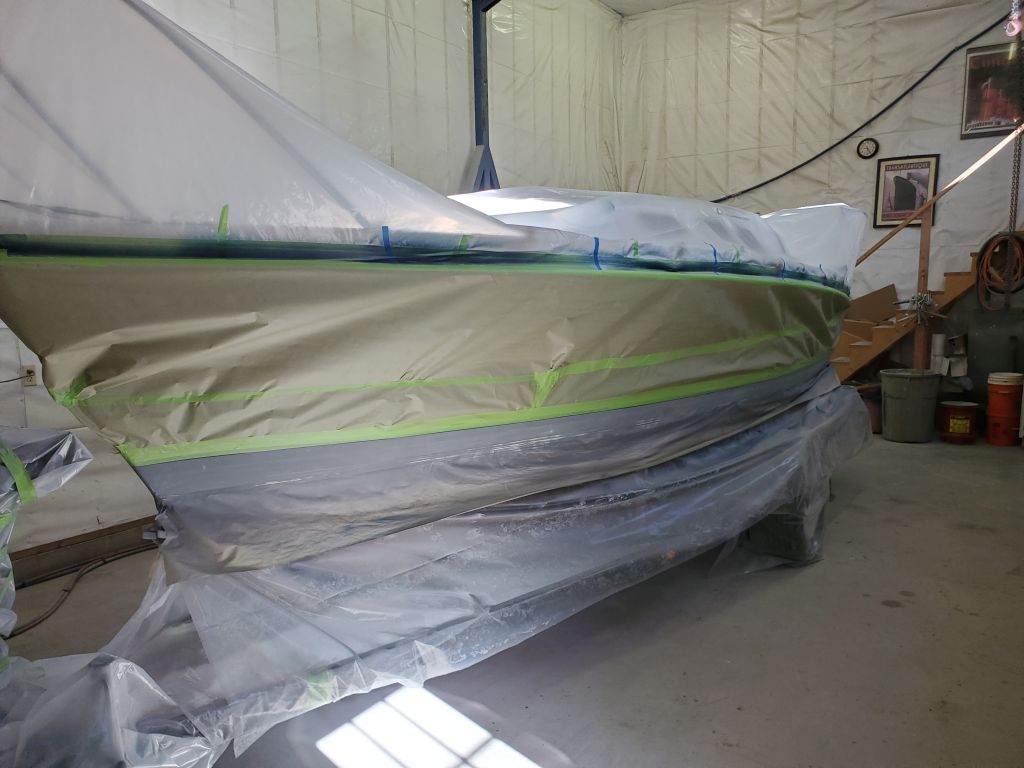
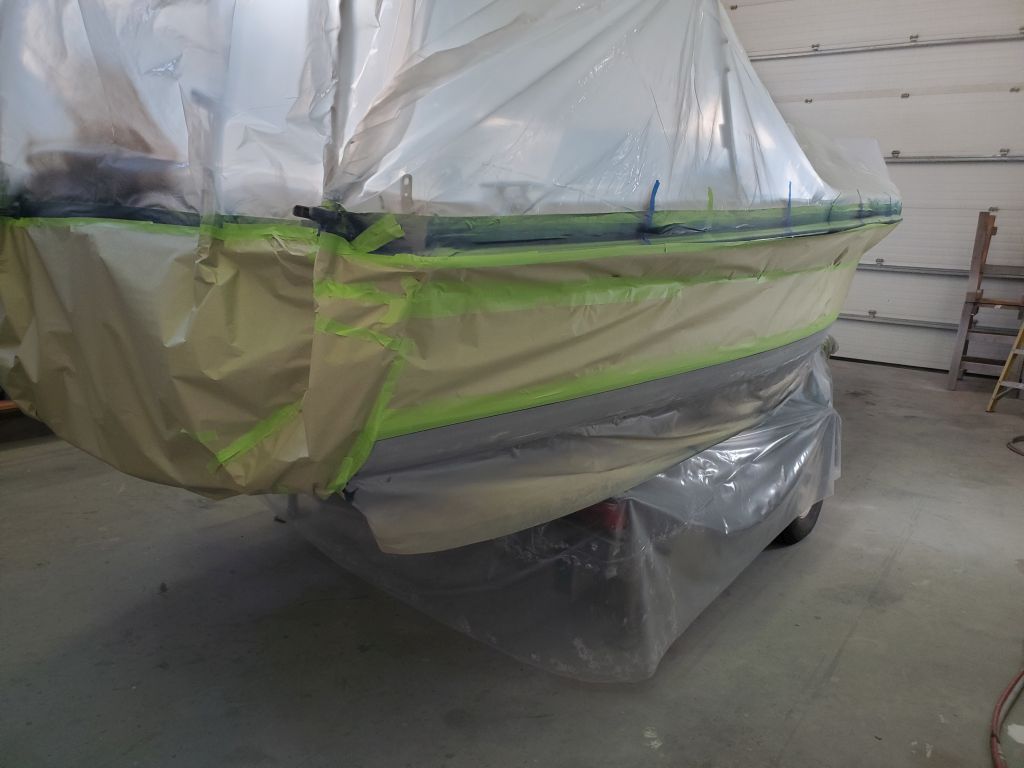
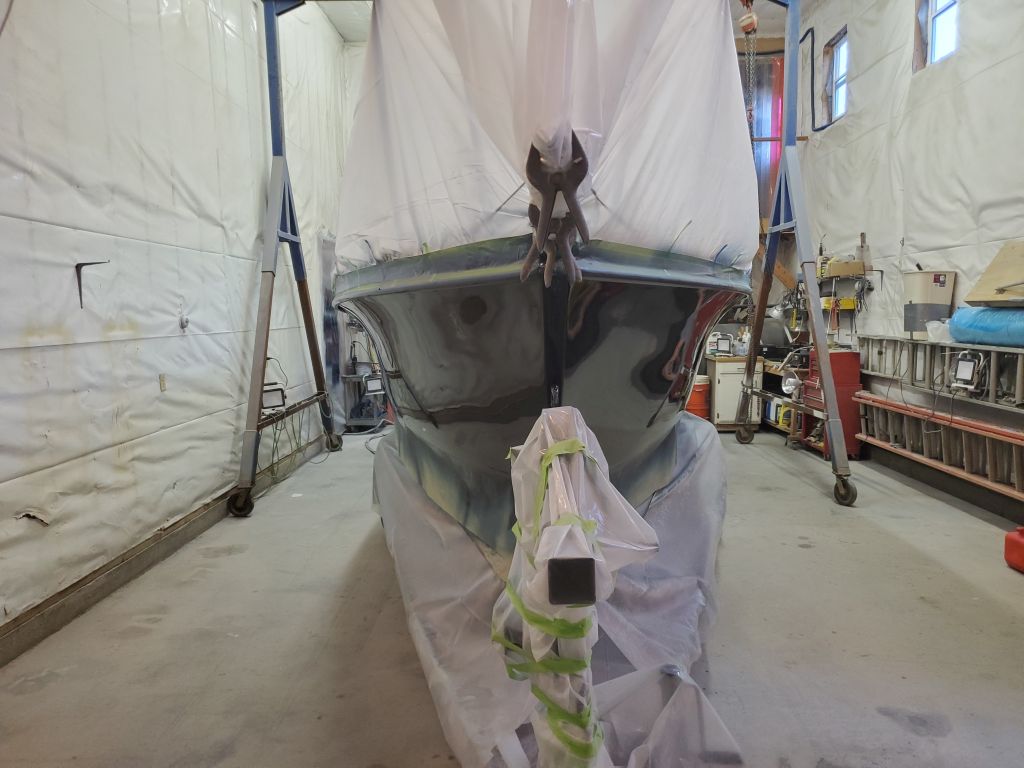
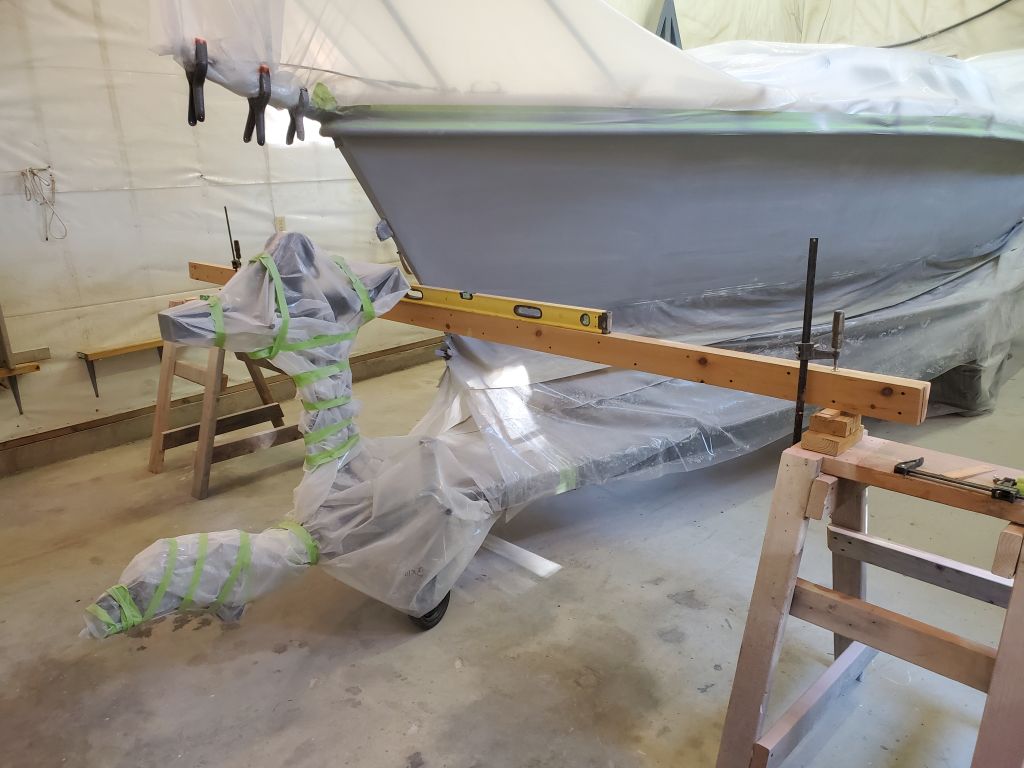
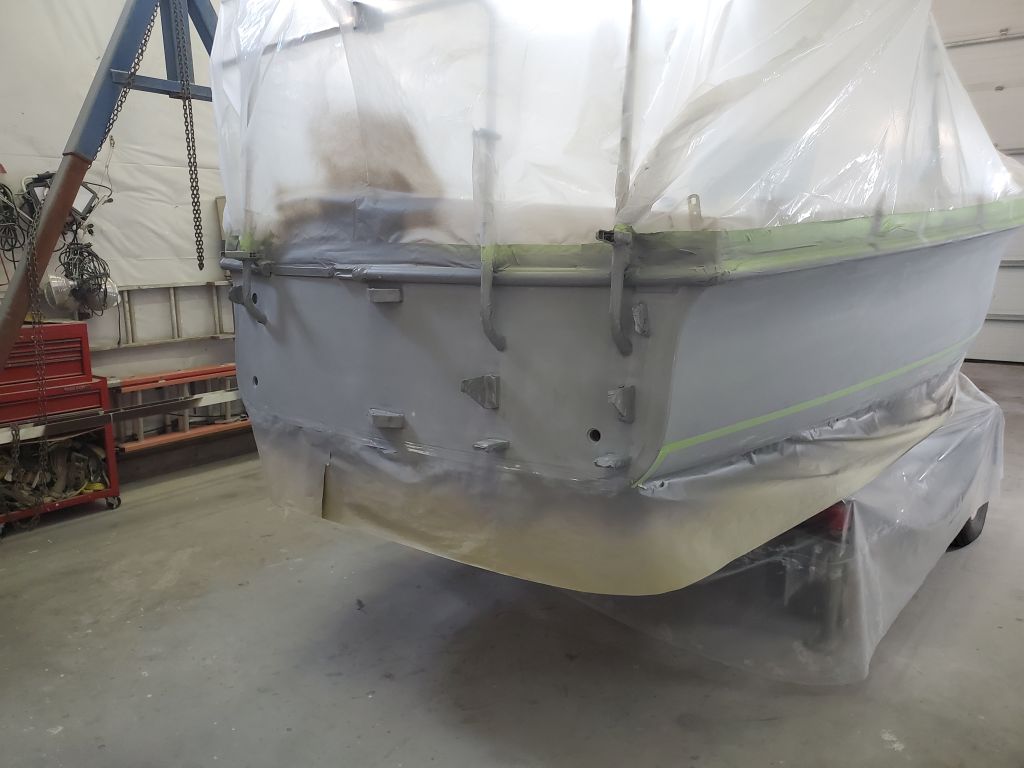
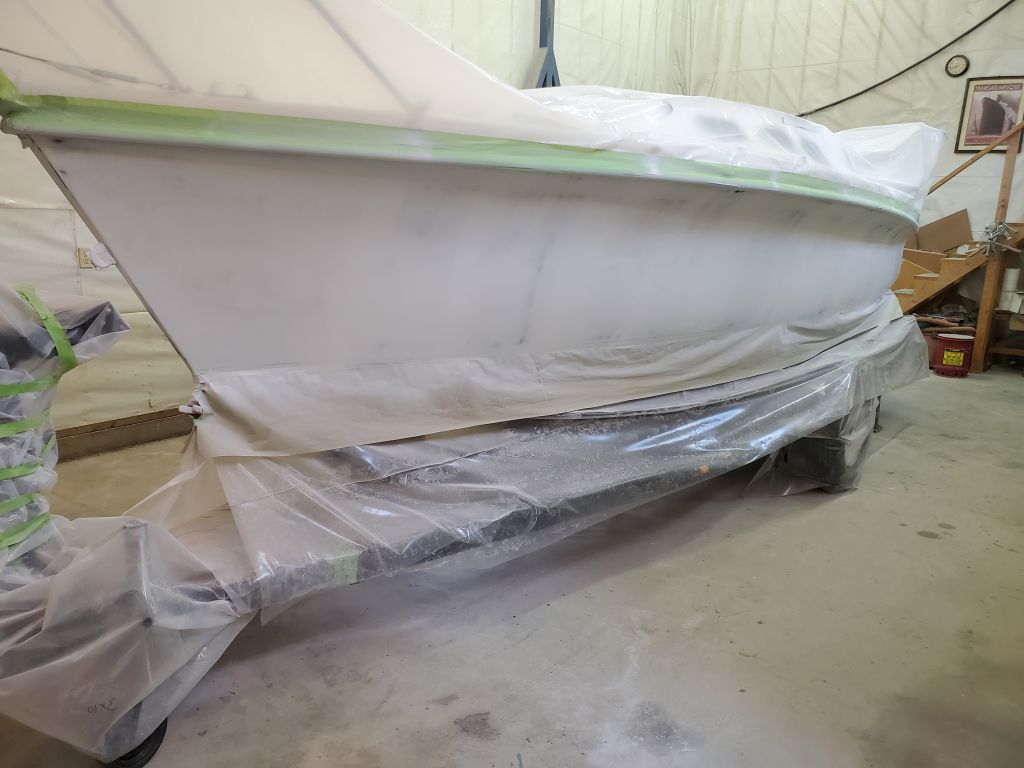
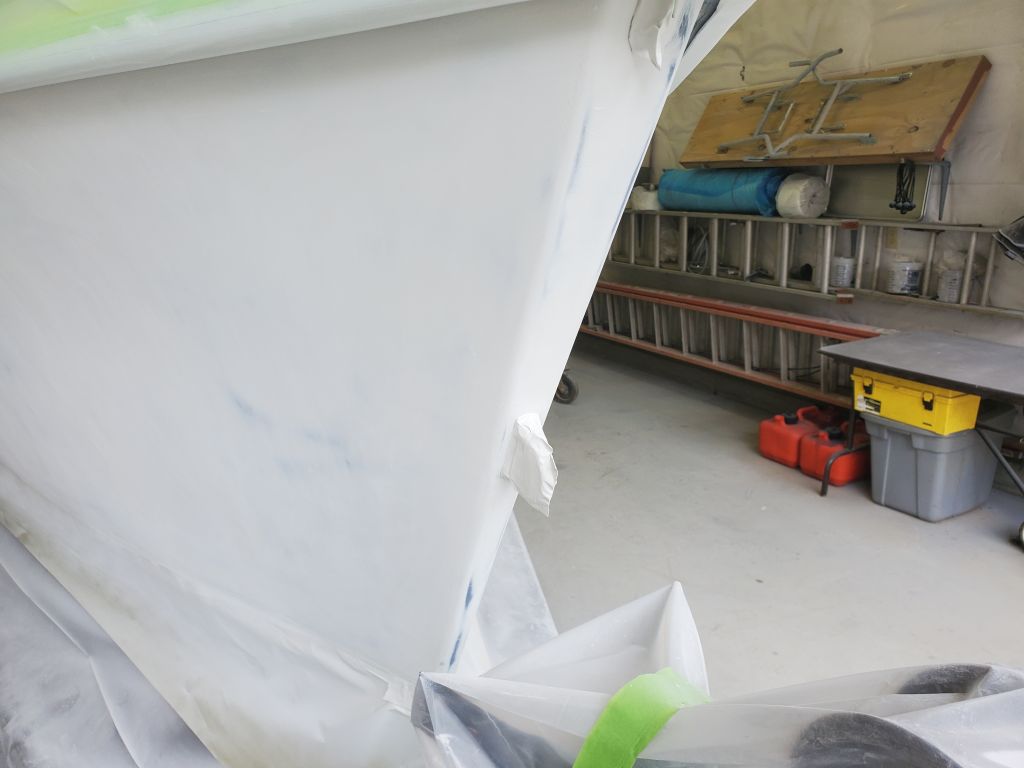
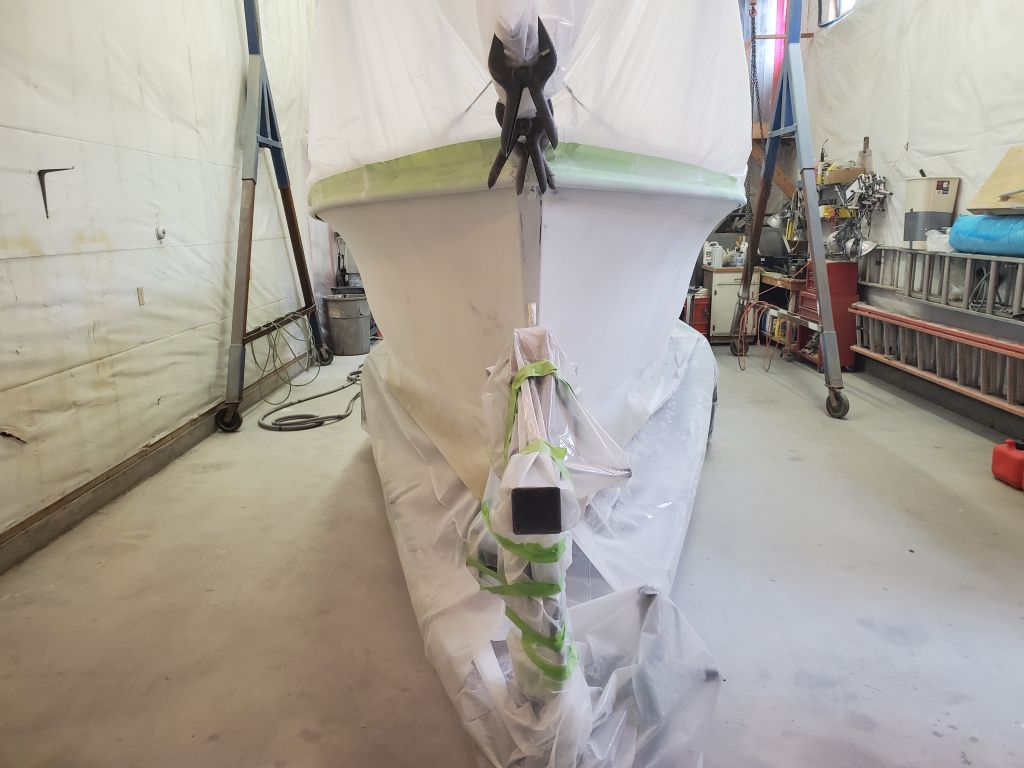
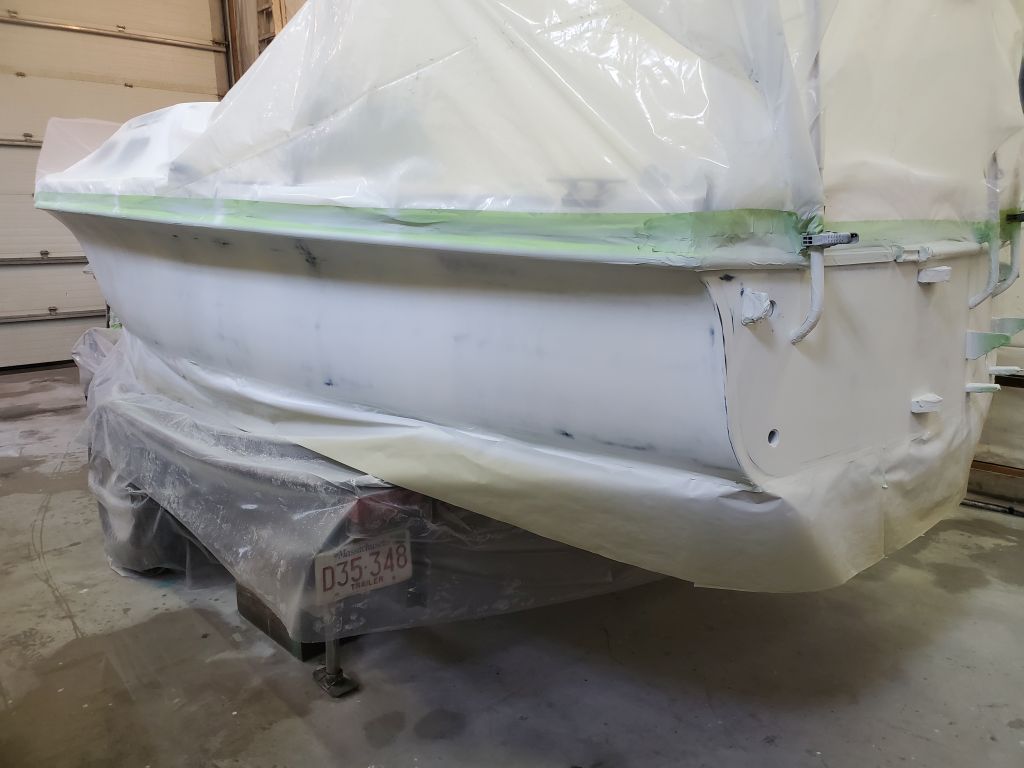
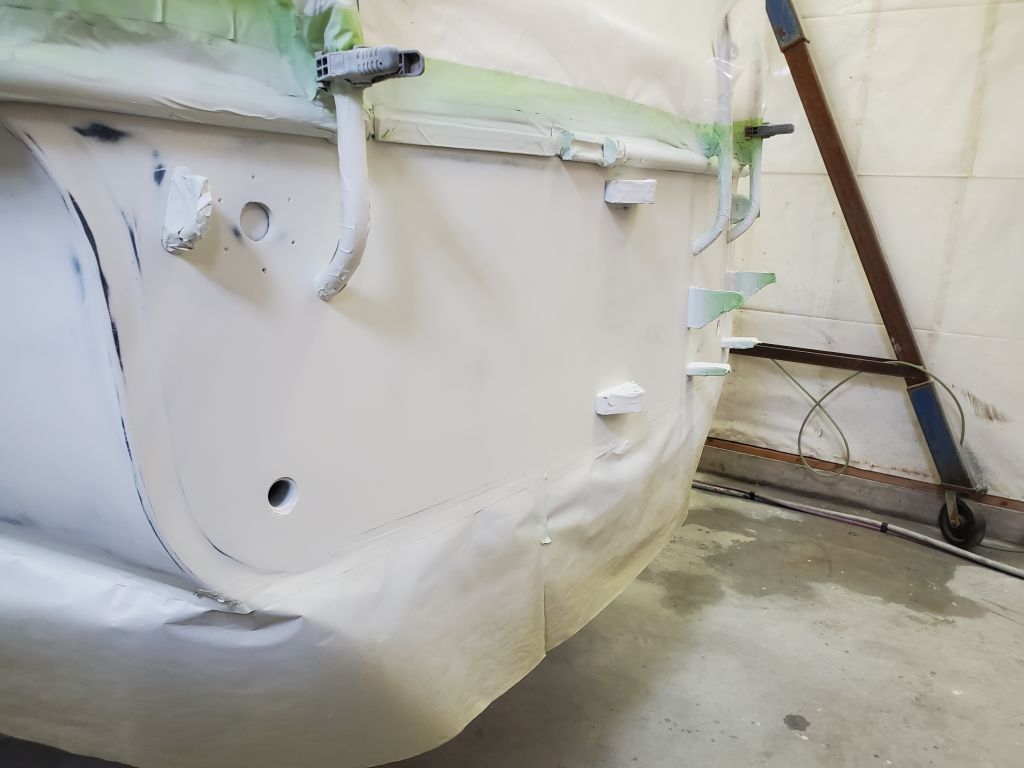
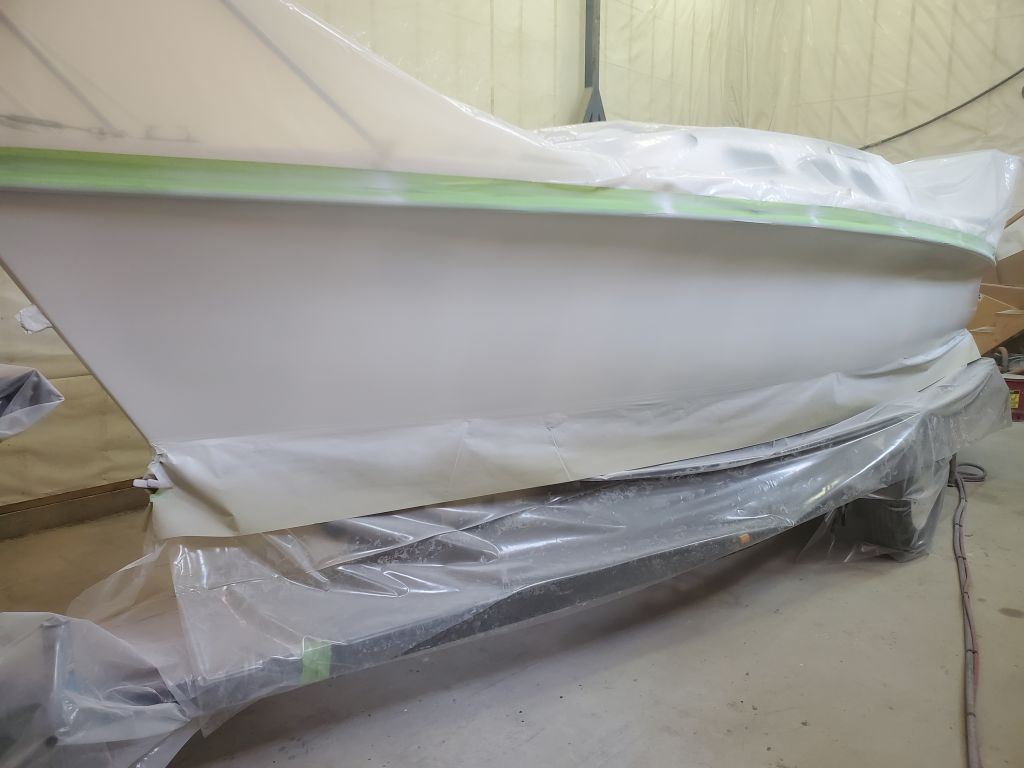
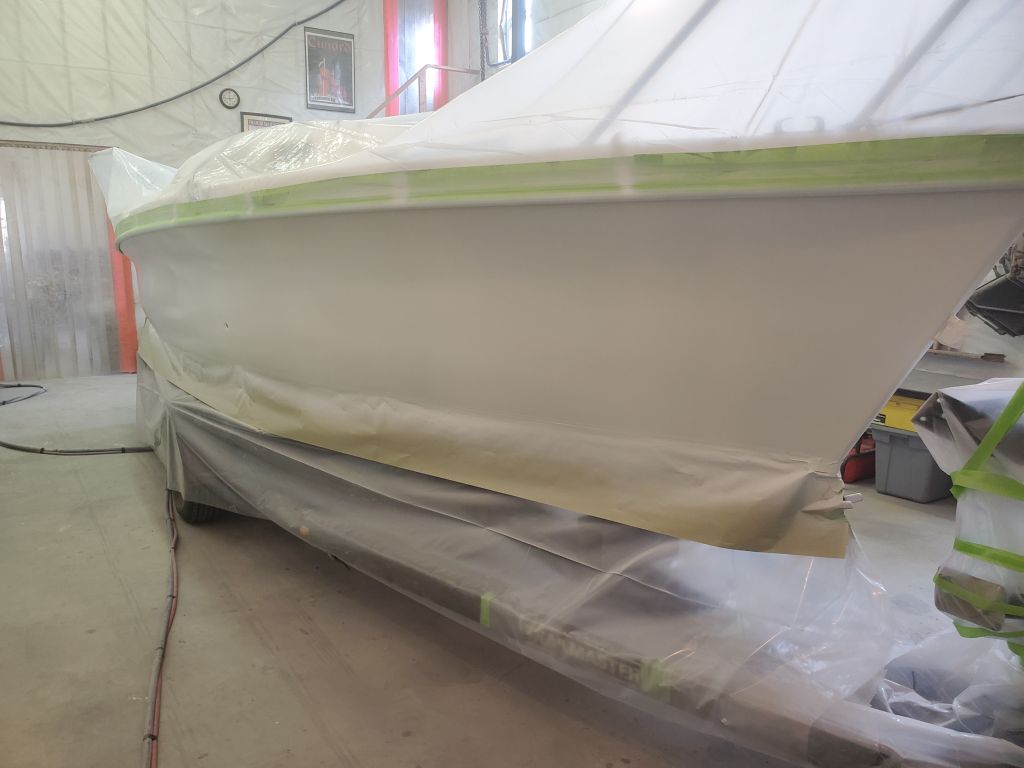
Continuing with the final prep and masking, I covered the trailer with plastic as needed, wrapping the winch stand, tongue, and bow stop first, then taping more plastic to the hull just below the waterline, allowing it to drape over the remaining parts of the trailer. I covered the plastic with a strip of masking paper and more tape at the waterline so the overspray wouldn’t flake off the plastic.
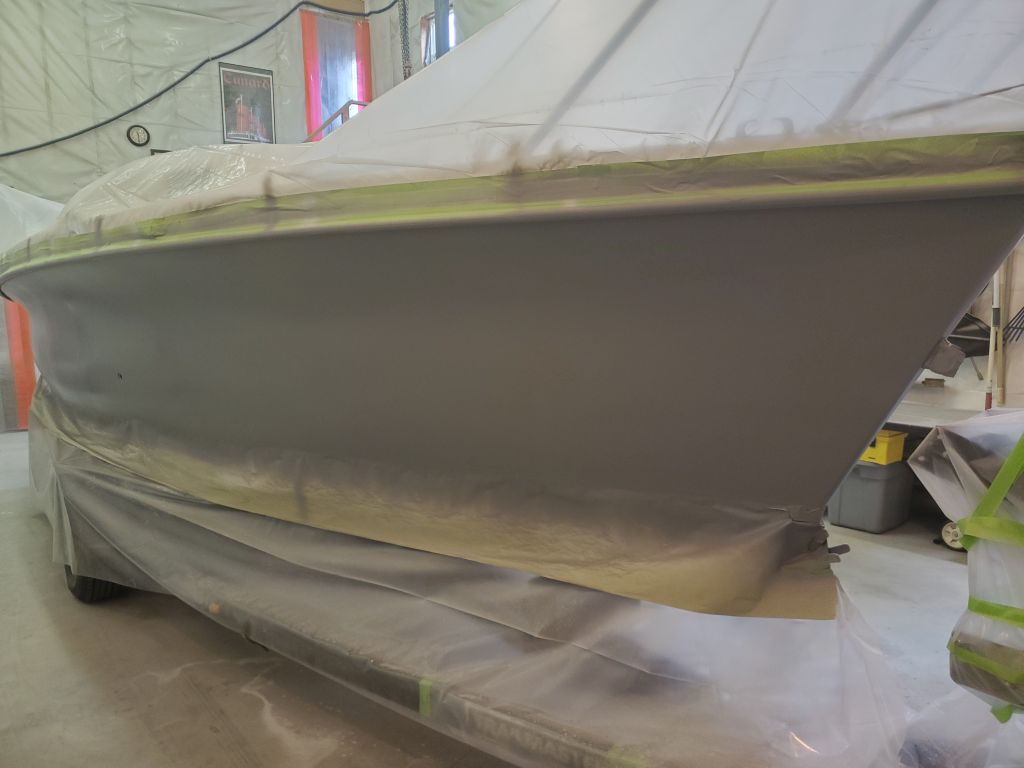
Afterwards, I cleaned the hull once more, this time with the proprietary solvent of the paint system, tacked off, and after various standard and miscellaneous preparations of paint equipment and sundries, I was ready to go with the high-build primer.
On this side of the shop, the sun comes through the windows in the morning, and can create problems with vison through the overspray and in the bright spots from the windows, so once preparations were complete I waited a little while for the sun to pass and, by about lunchtime, began the spraying, eventually applying three coats of epoxy-based high-build primer to the hull, leaving it to cure overnight.
Total time billed on this job today: 5.25 hours
0600 Weather Observation: 32°, mostly cloudy. Forecast for the day: Cloudy, 47°