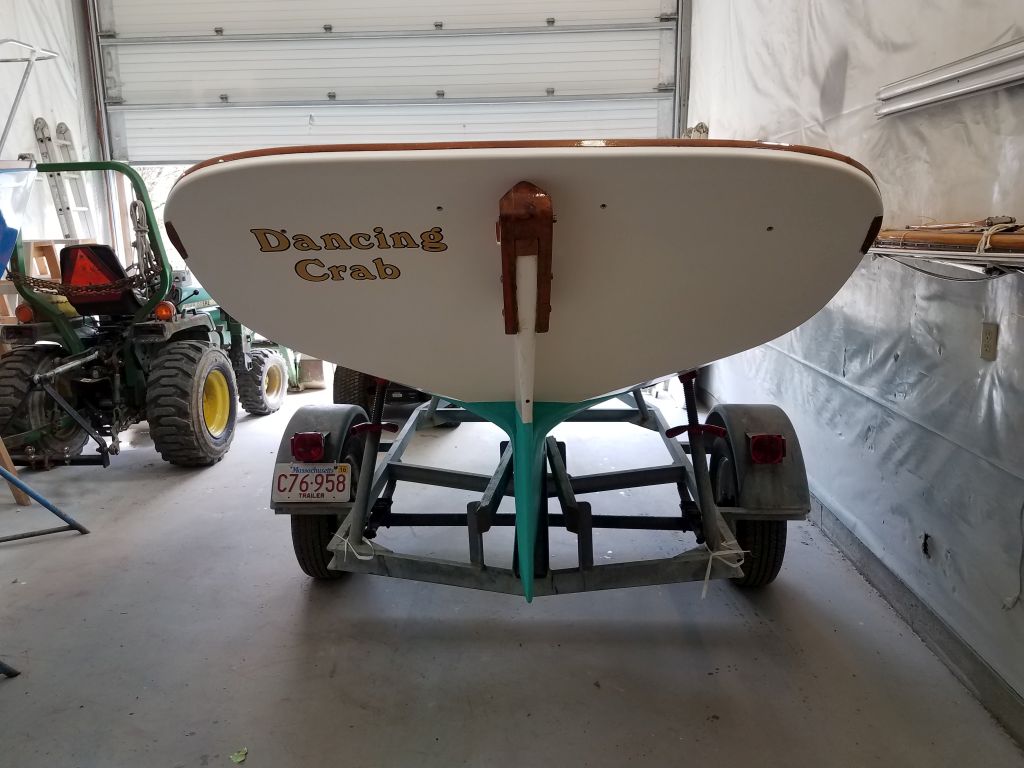
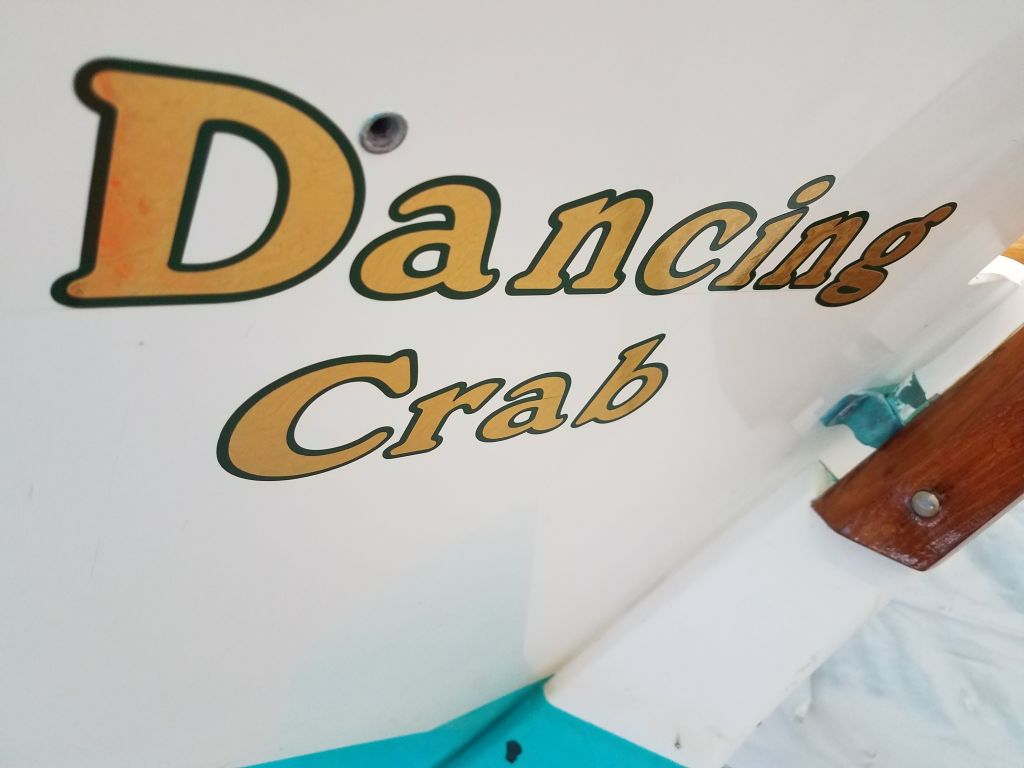
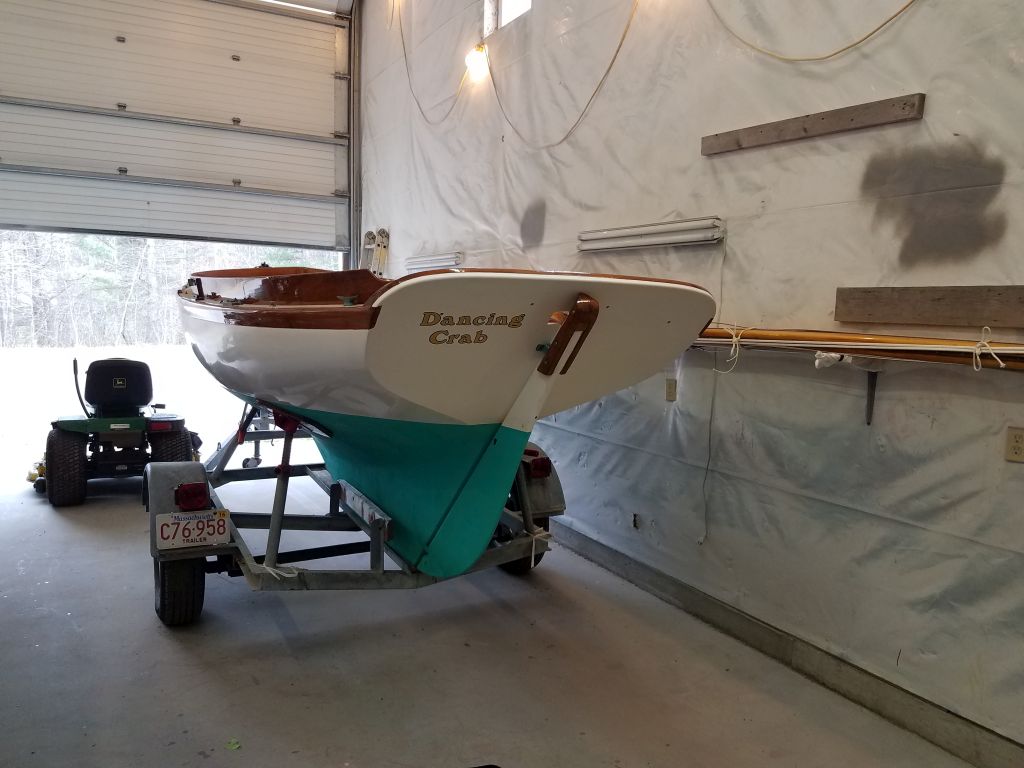
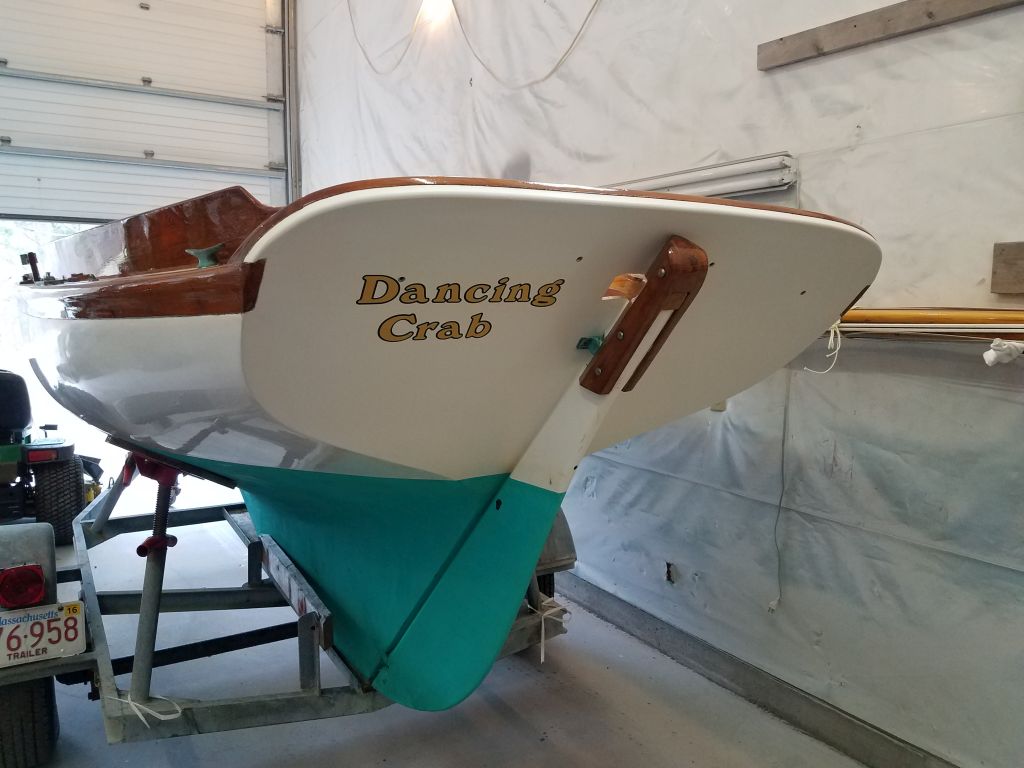
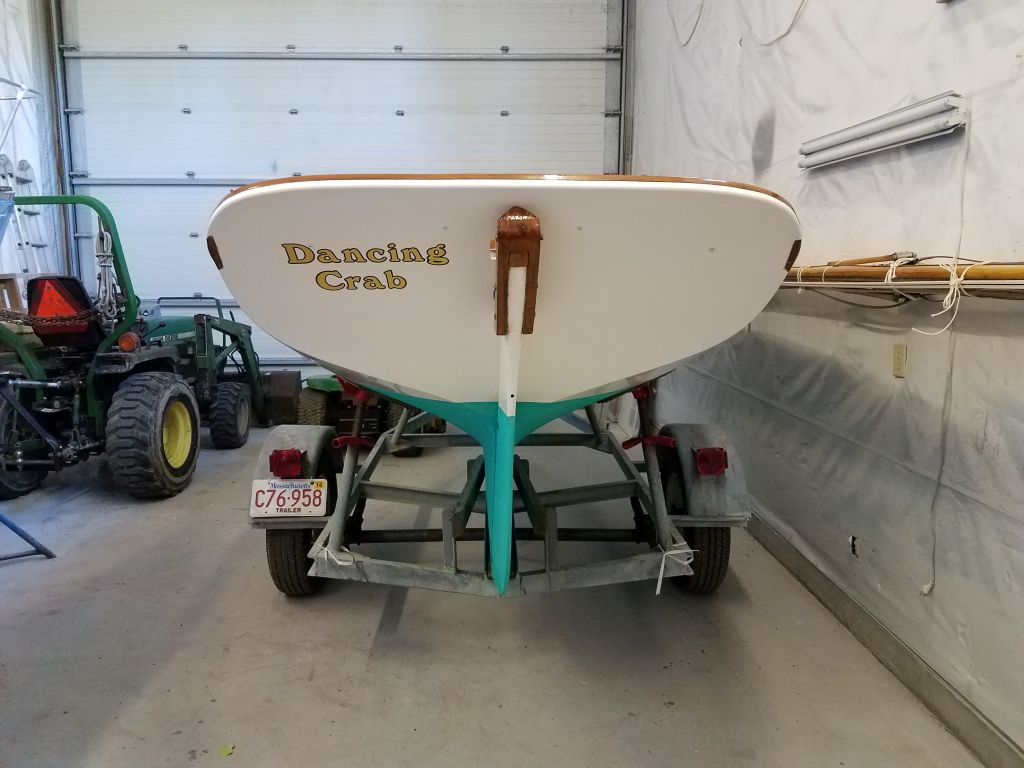
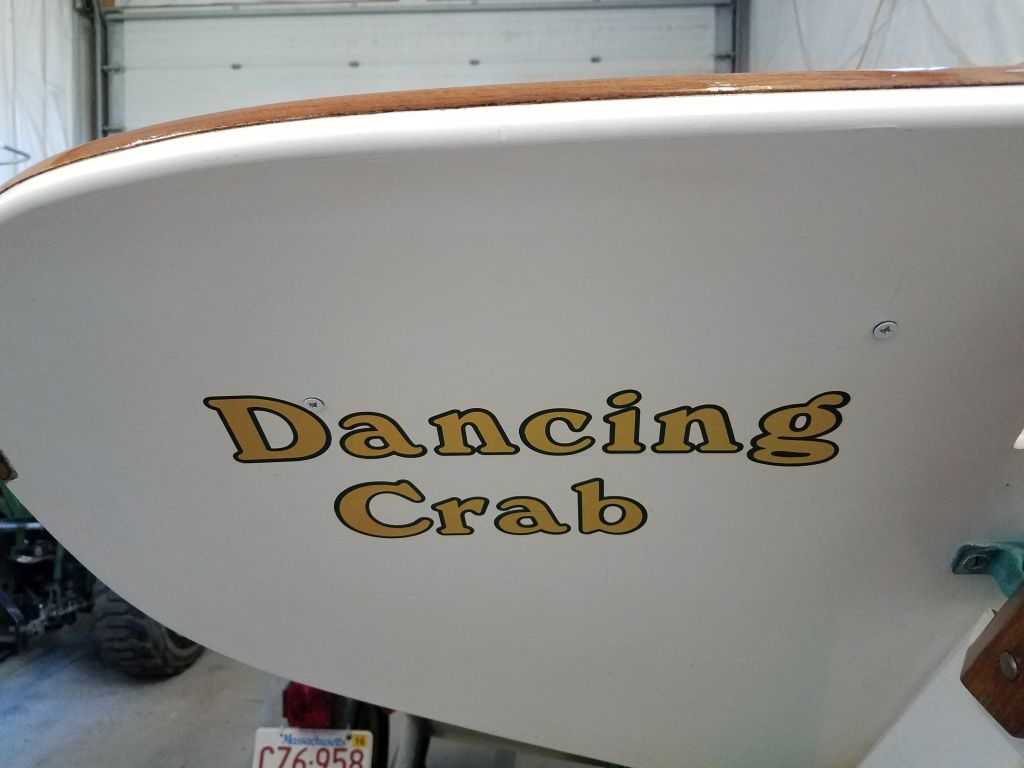
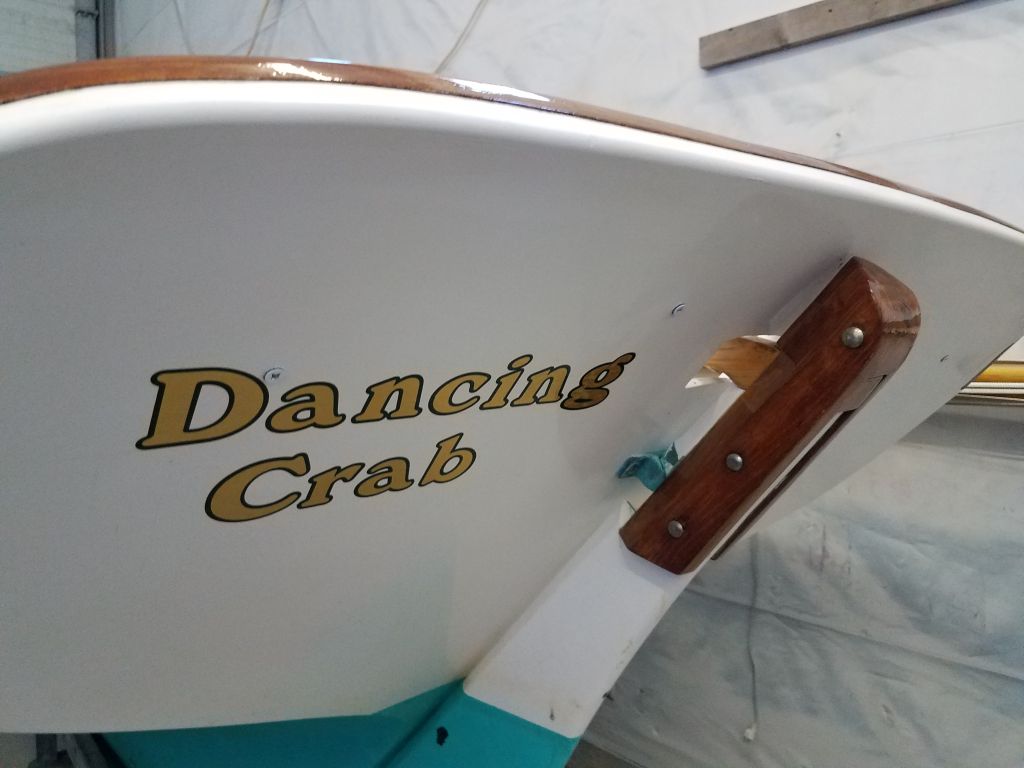
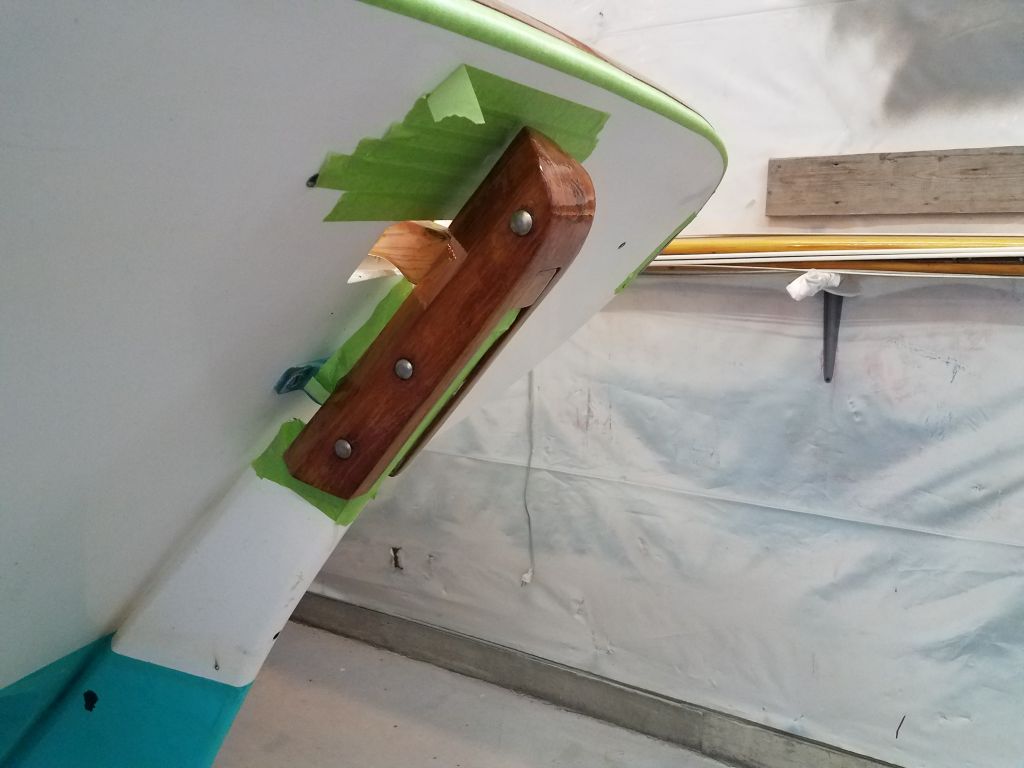
A final touch for the project was to put a name on the boat. The owner chose an old family boat name, and after various iterations with font and style choices, selected the final version for the transom, which I ordered from a local graphics shop and installed. The vinyl is gold leaf with green outline. The little holes in the transom are screw inserts designed for the traditional wooden nameboards often seen on these boats.
Later, with some “custom-painted” white screws, I finished up by inserting the screws in the threaded holes to help hide them. From a modest distance, this made a significant difference.
Total time billed on this job today: 1.5 hours
0600 Weather Observation:
40°, clear. Forecast for the day: sun, clouds, some showers, around 60
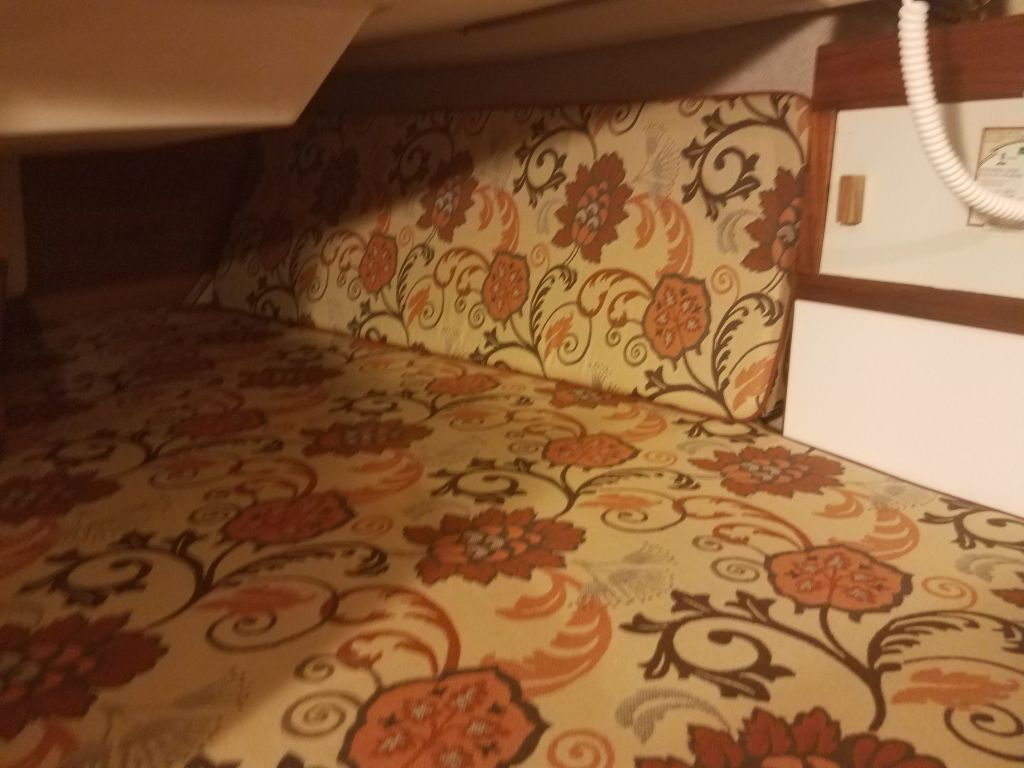
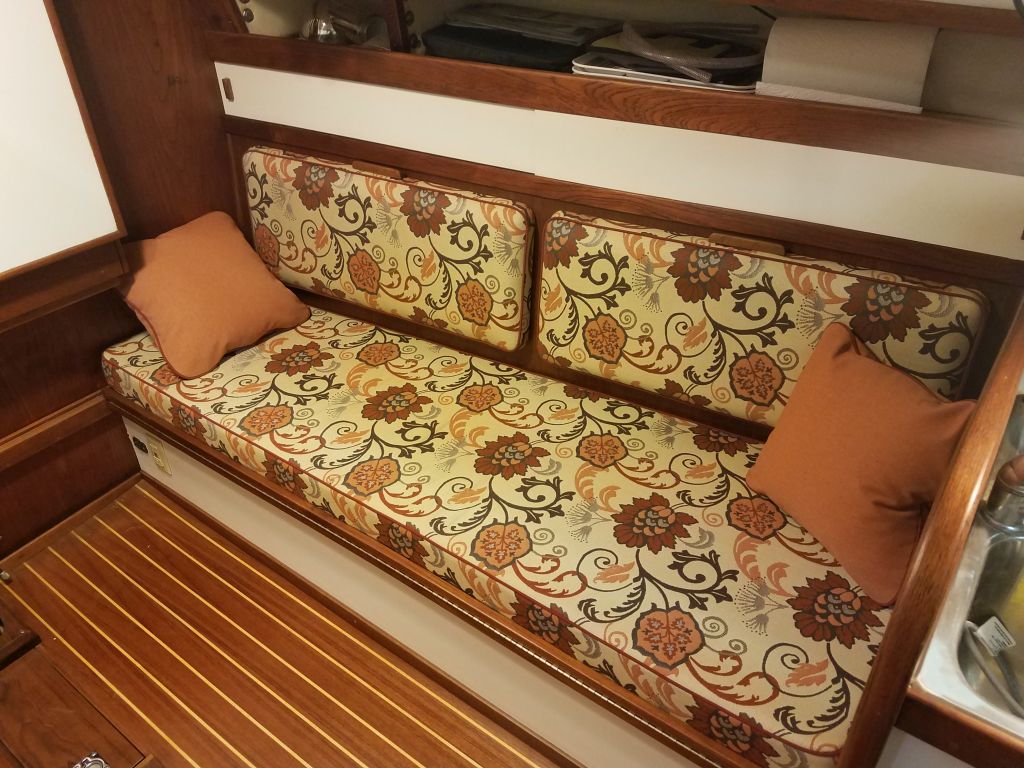
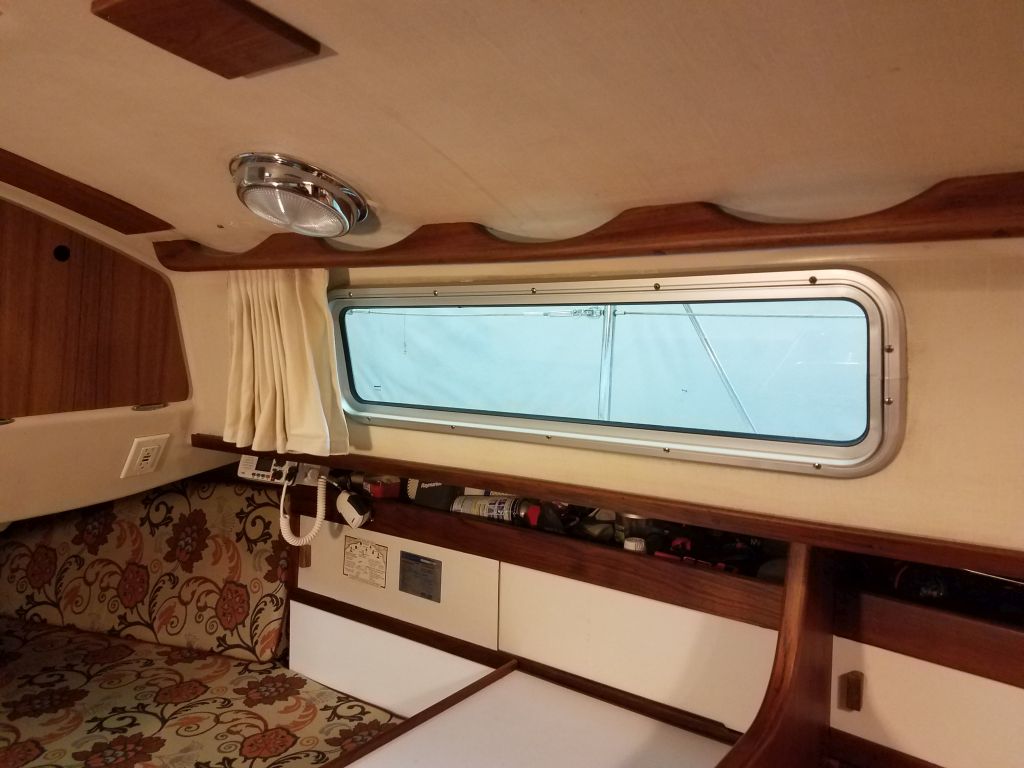
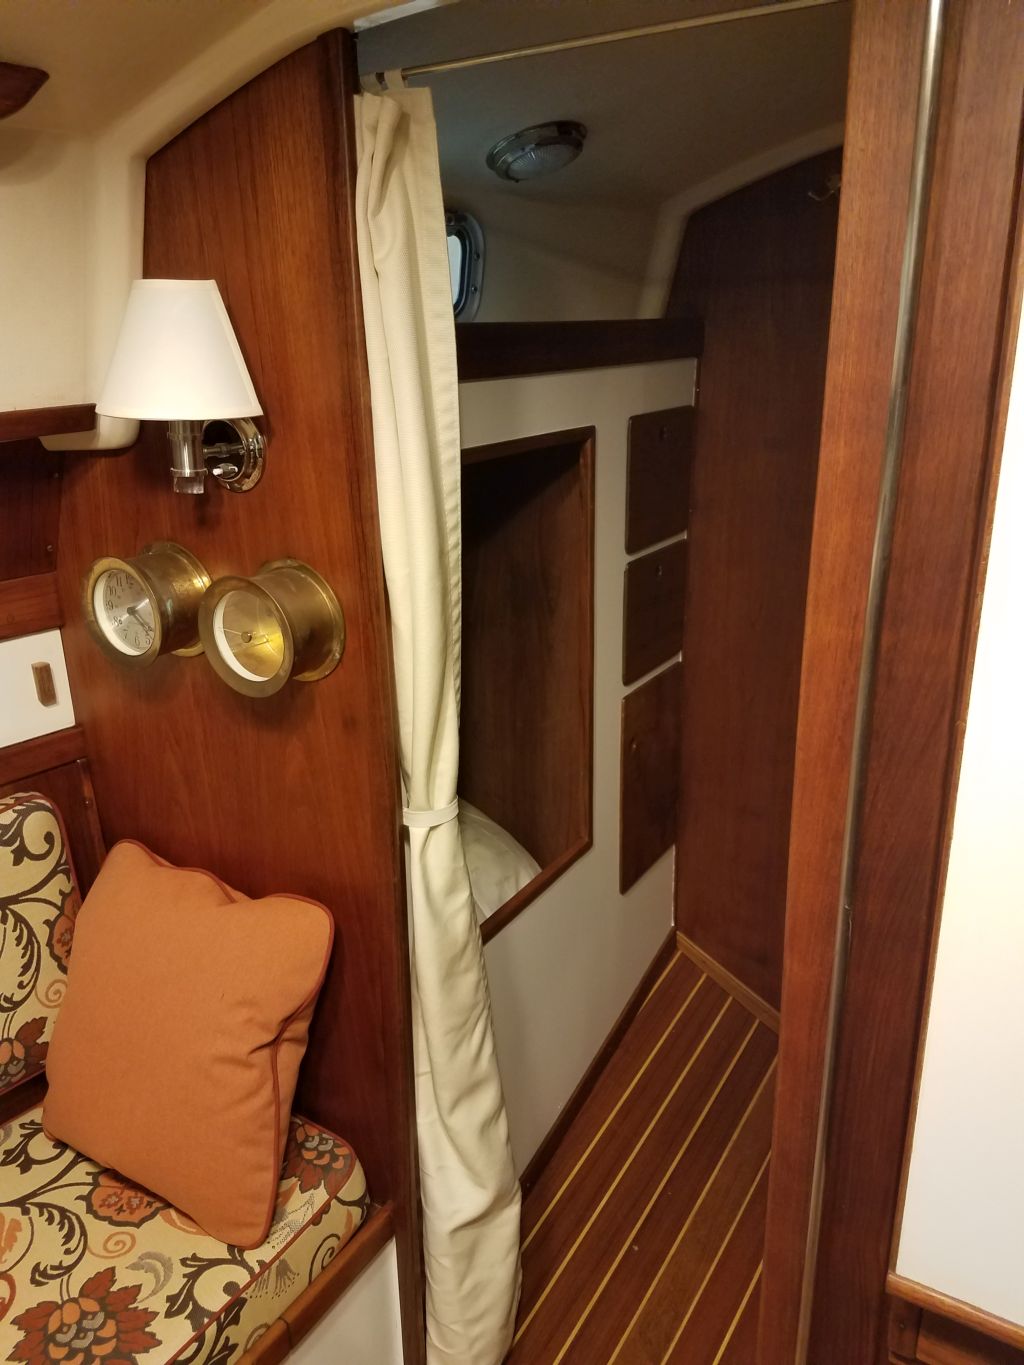
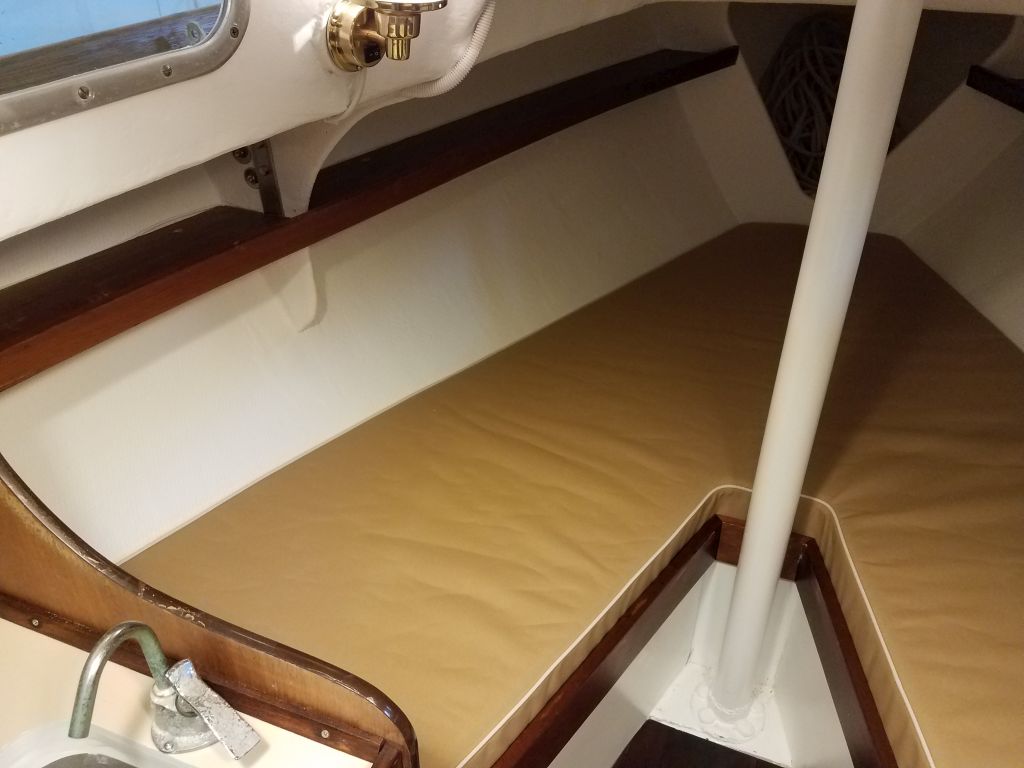
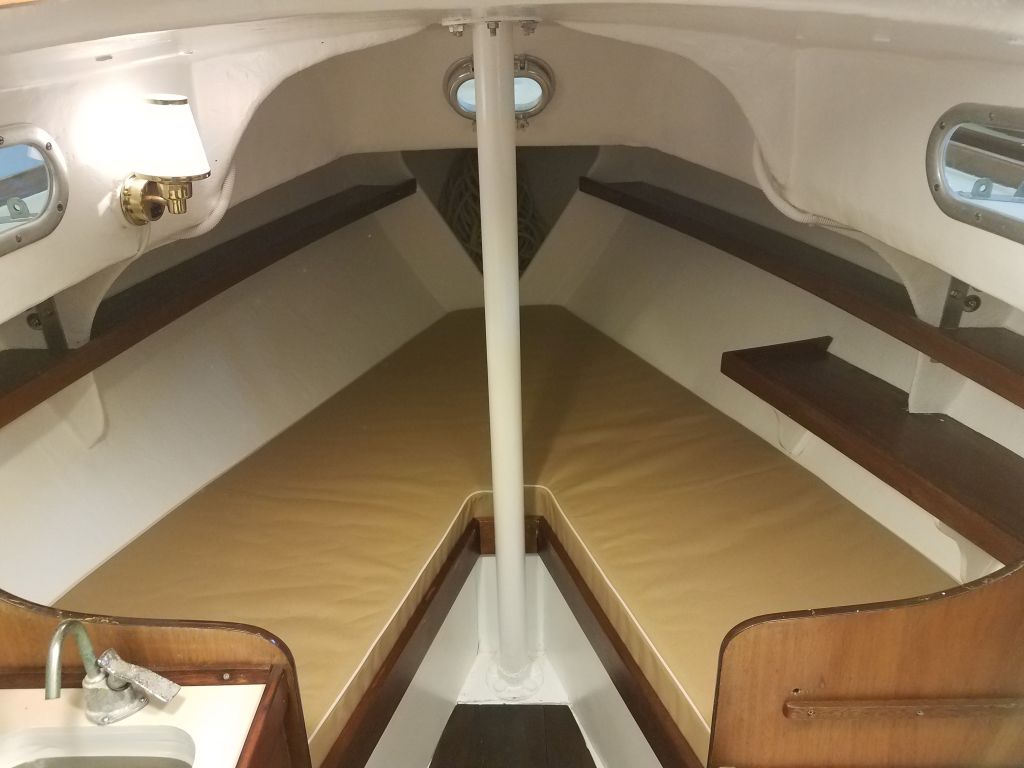
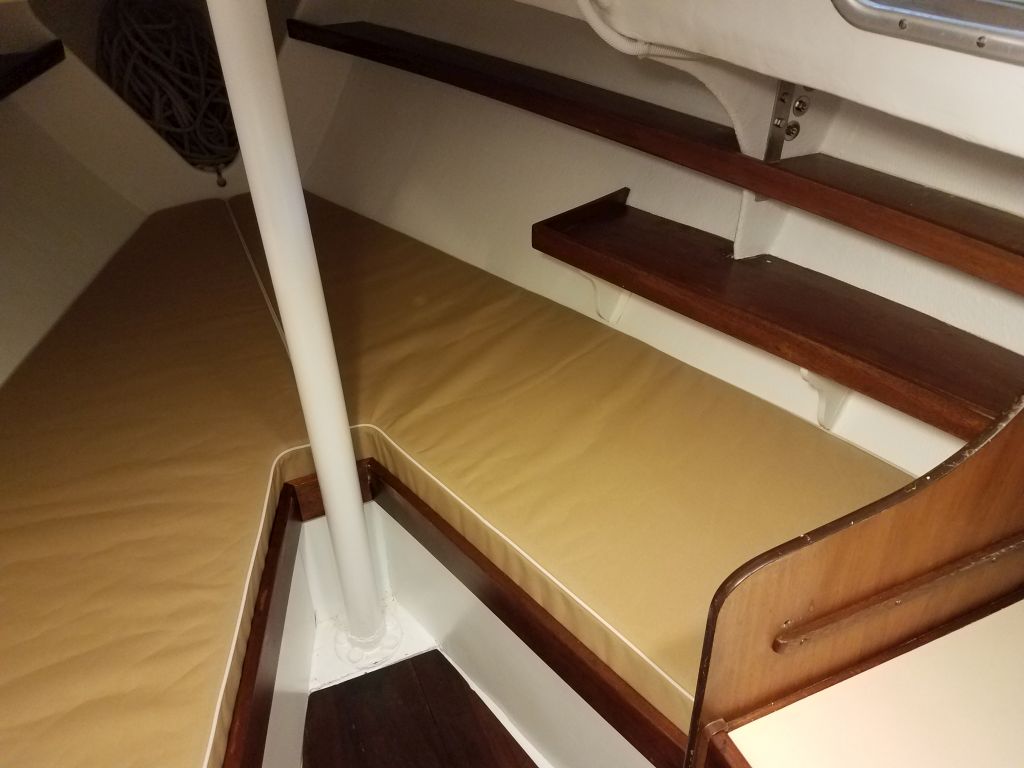
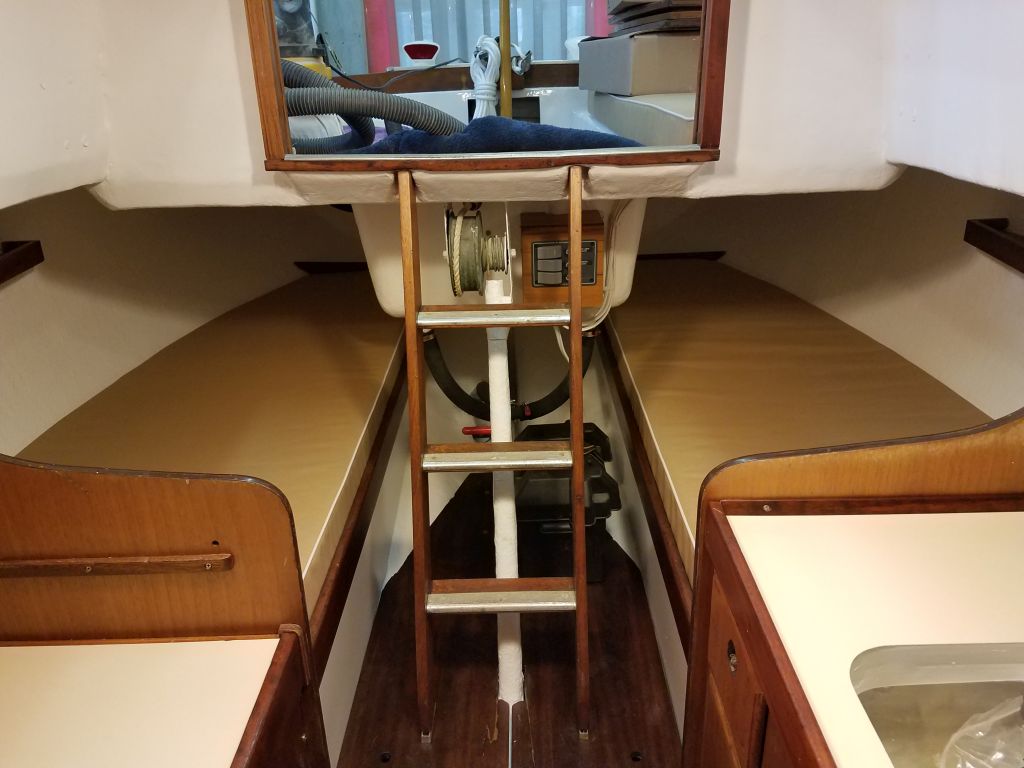
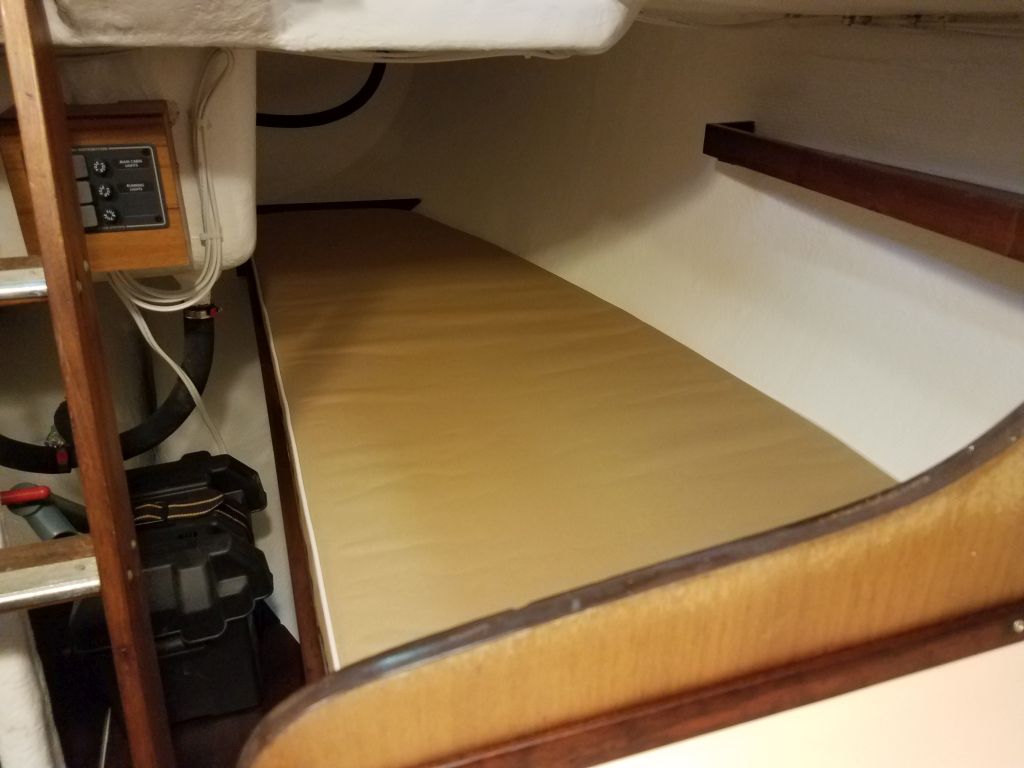
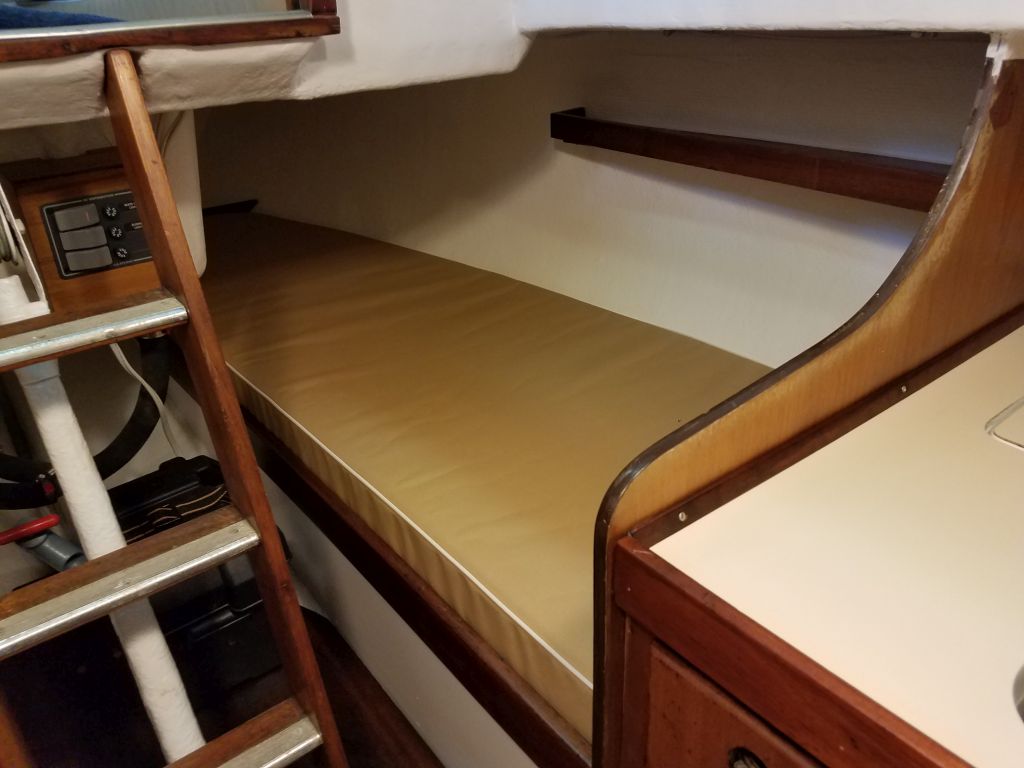
Finishing off the interior work were a few final touches from the upholstery contractor, including curtains on the cabin windows, a curtain to hang and close off the passageway by the head, and two filler cushions designed to fit in the convertible starboard settee in the saloon (one of which stored against the hull in the quarterberth; the other as a small backrest on the port settee), as well as some throw pillows in a coordinating fabric.
0600 Weather Report:
42°, cloudy. Forecast for the day: mostly cloudy, drizzle, and a shower, 50s
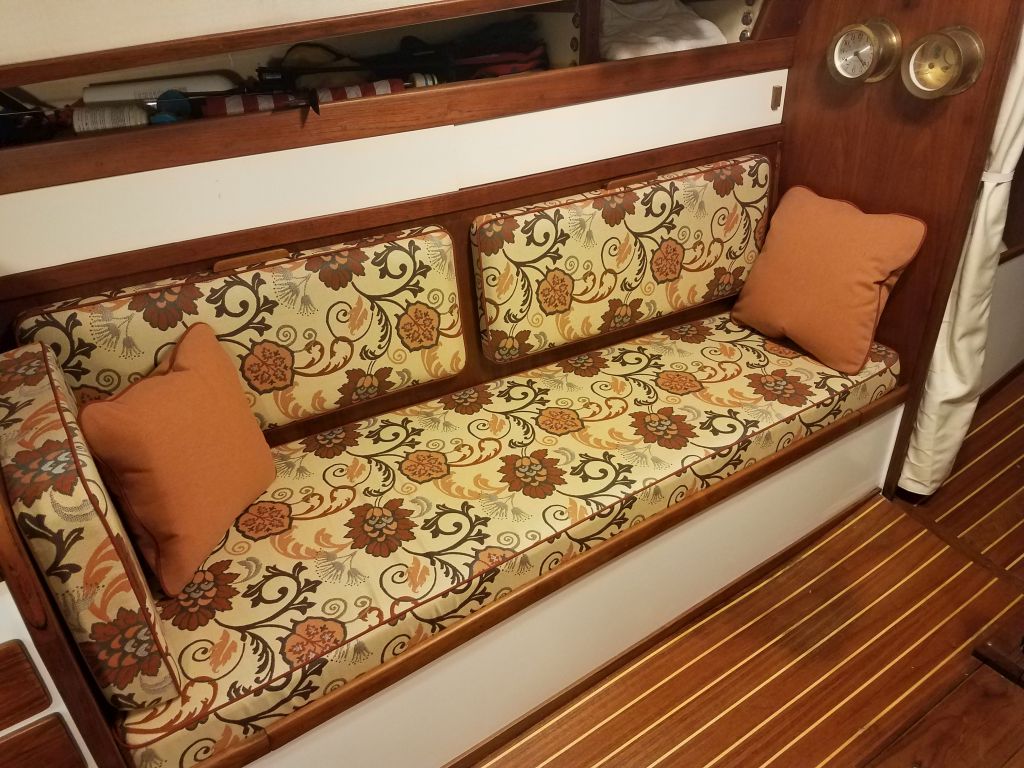
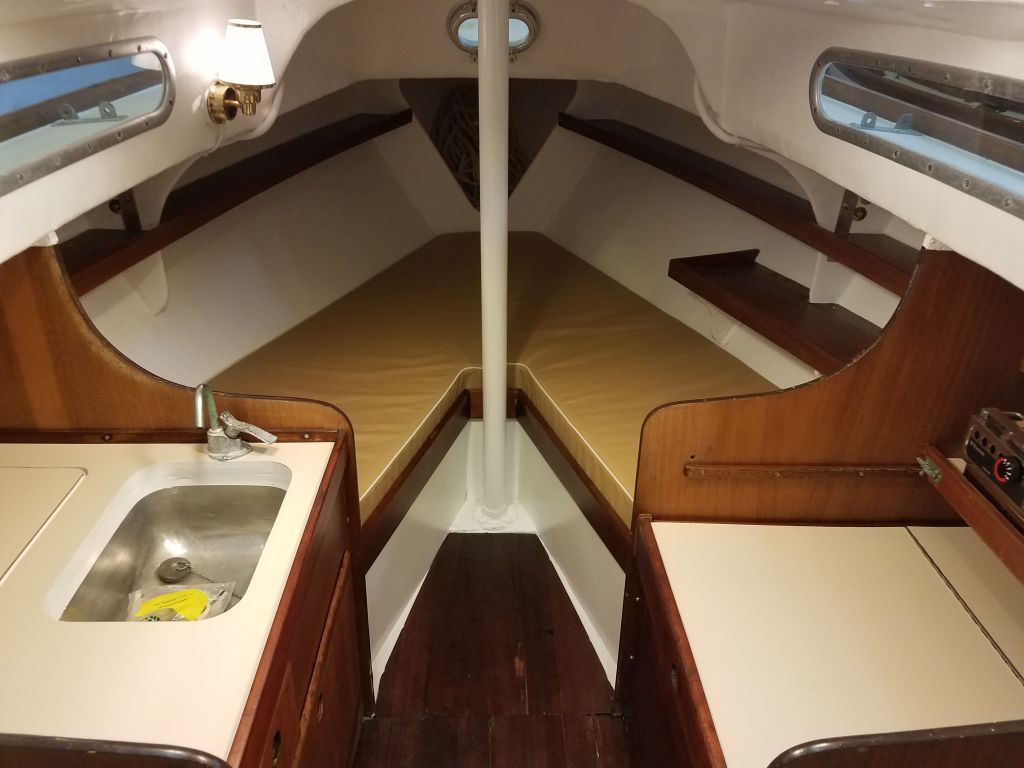
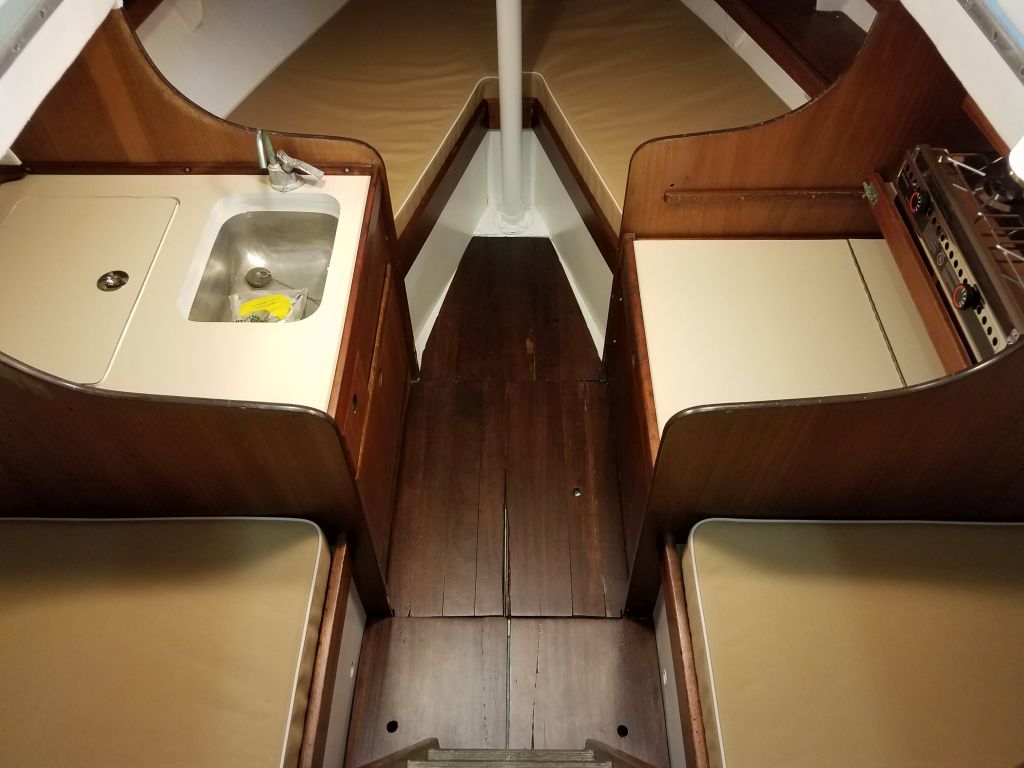
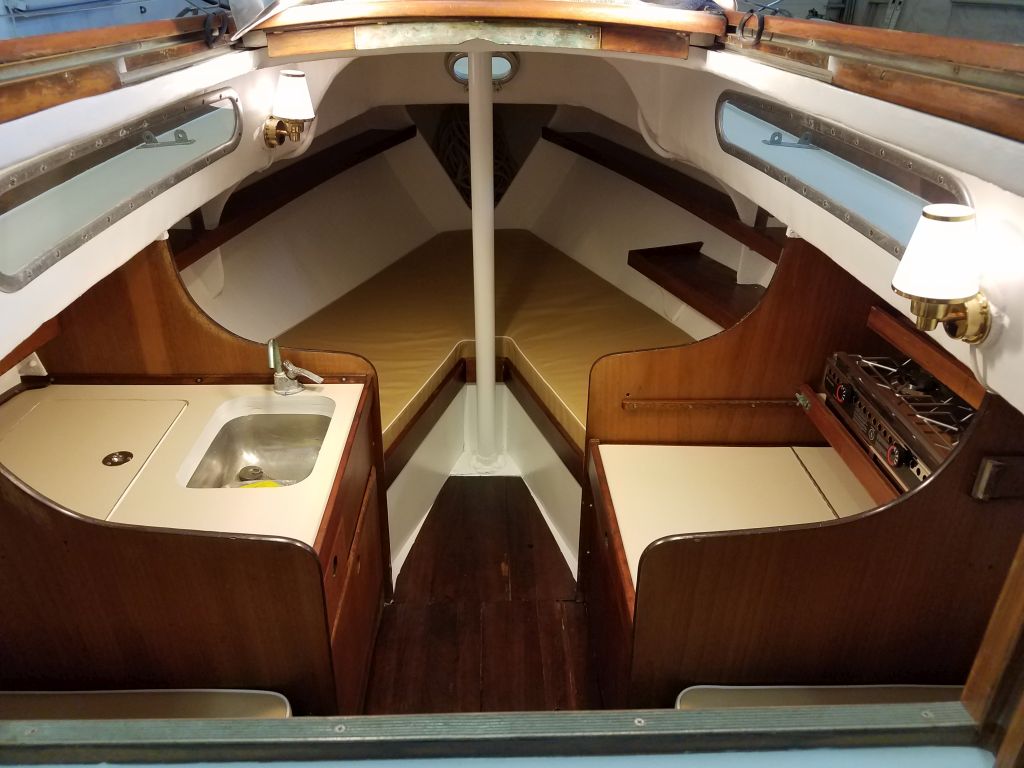
The final touch to complete the project was the new cushions, which the contractor completed and installed, first in the interior. These looked terrific and rounded out the new appearance nicely.
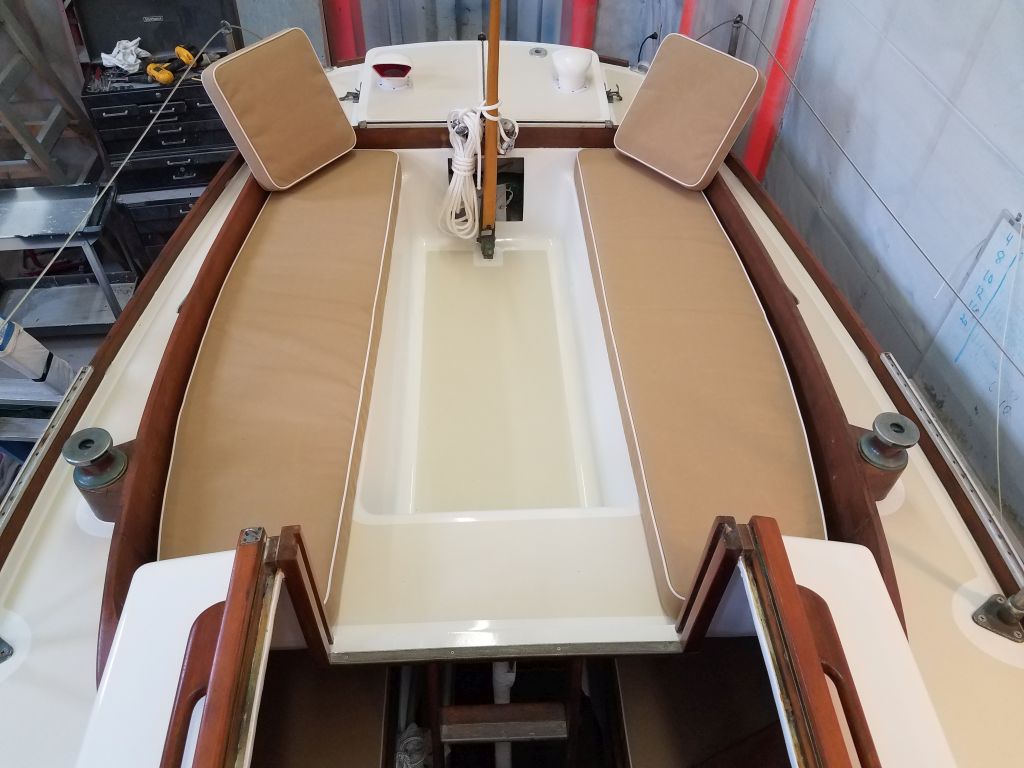
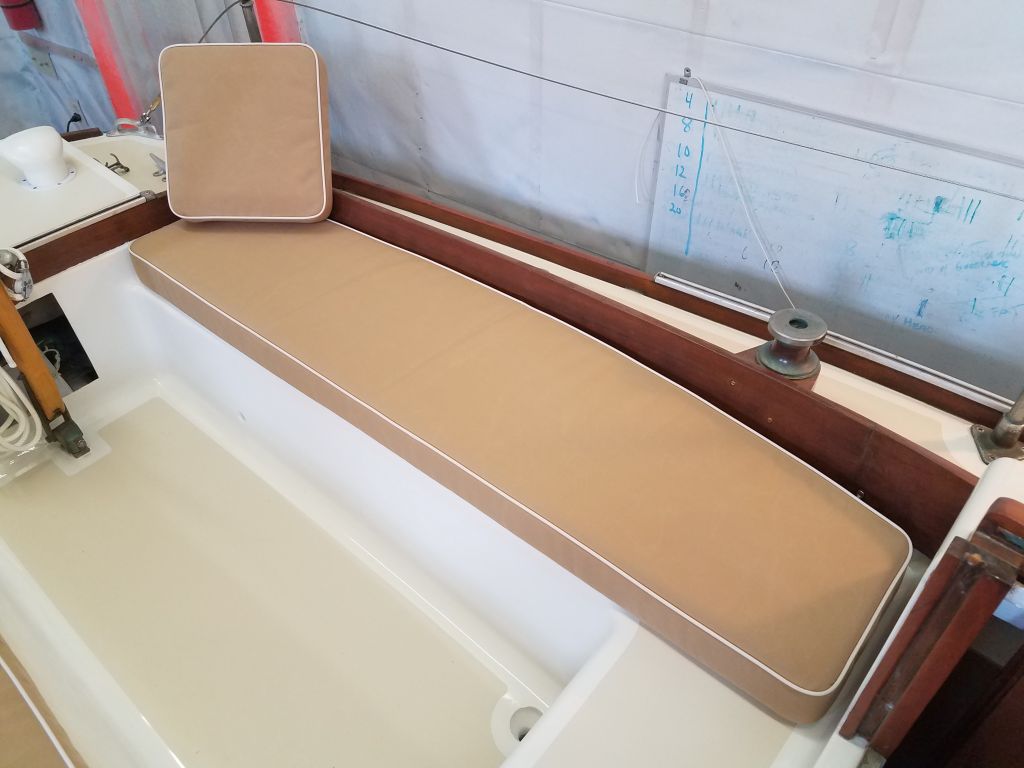
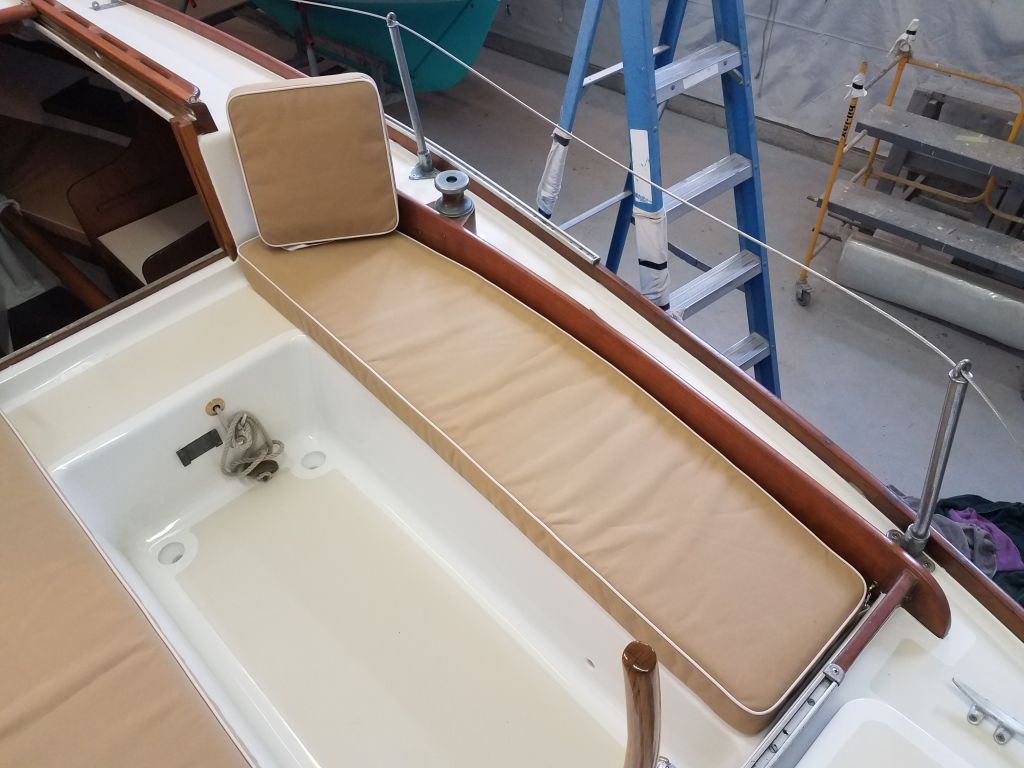
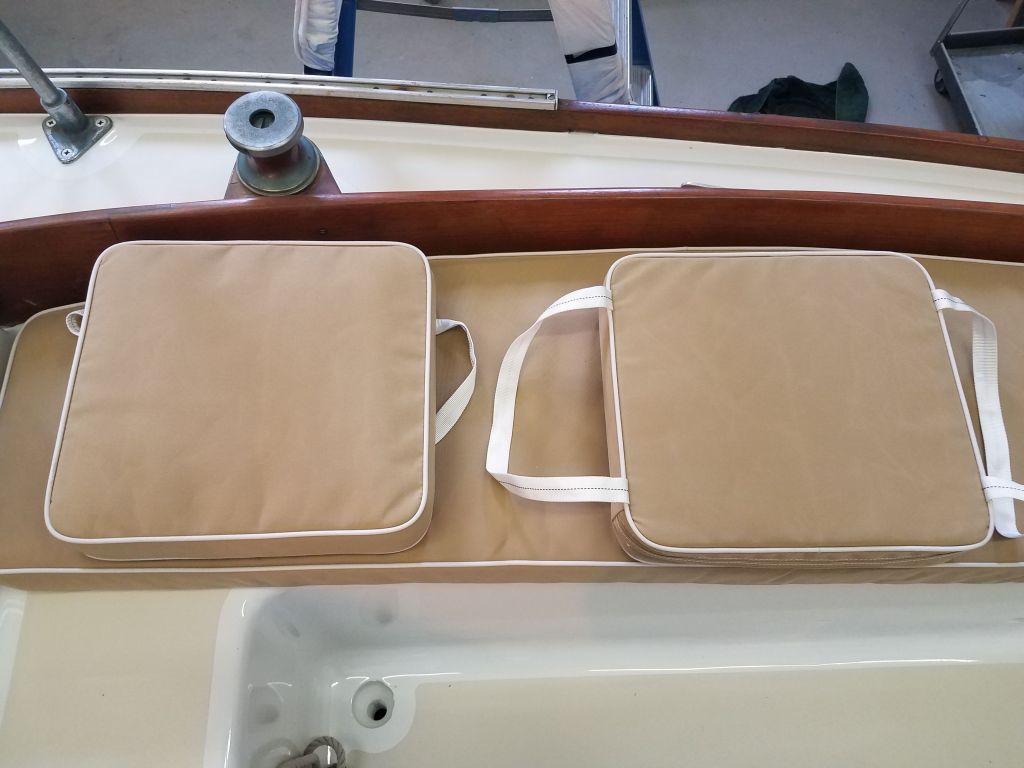
The cockpit cushions were much the same, and, as requested by the owner, included a pair of throwable cushions modeled after the standard Type IV cushions.
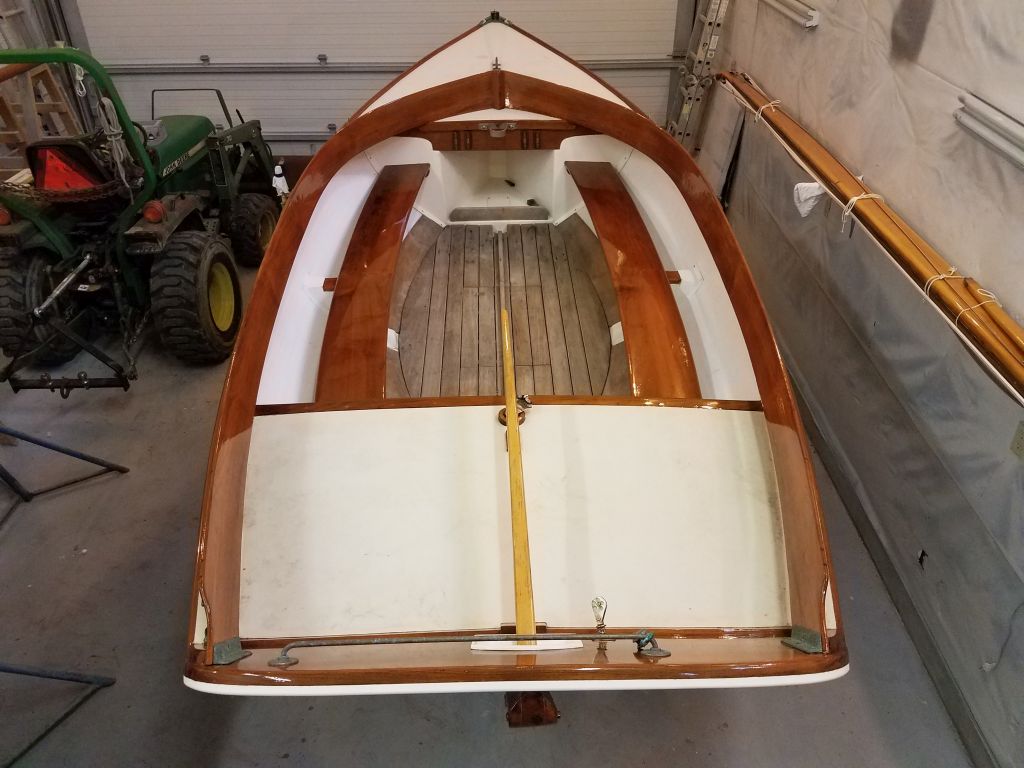
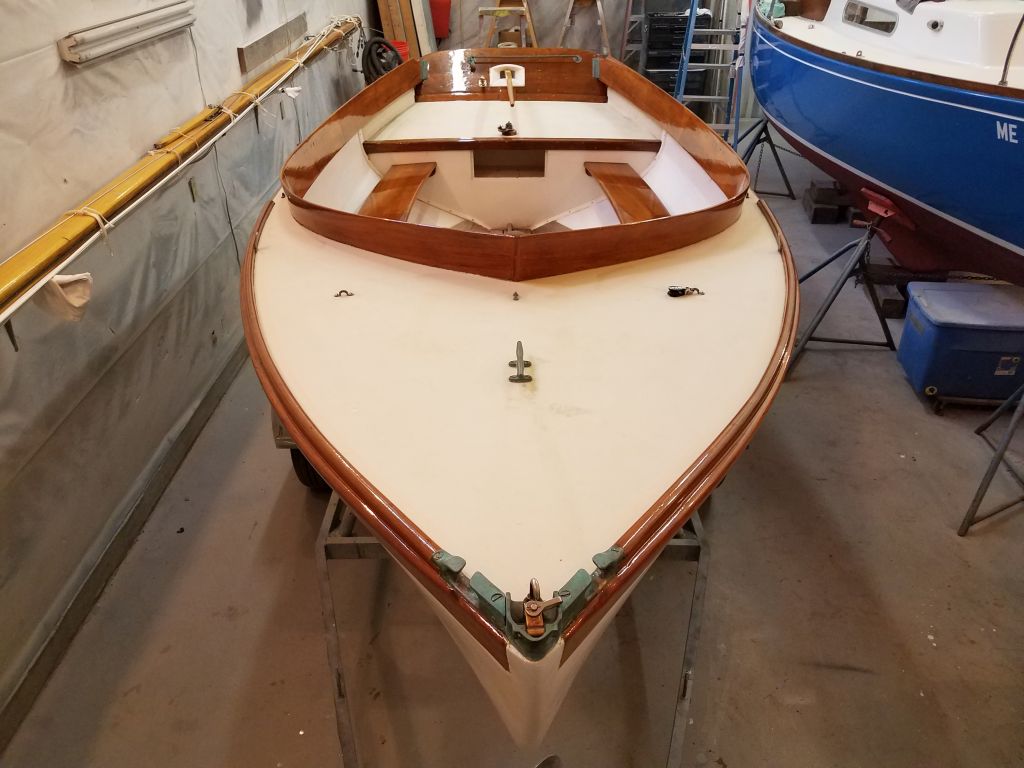
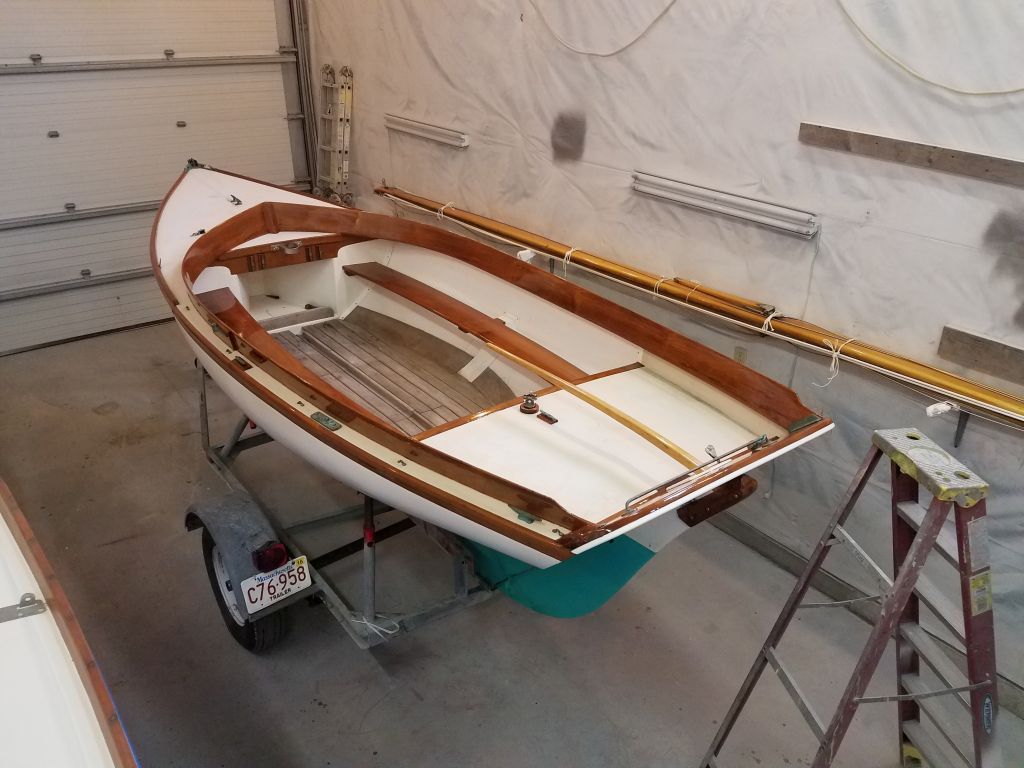
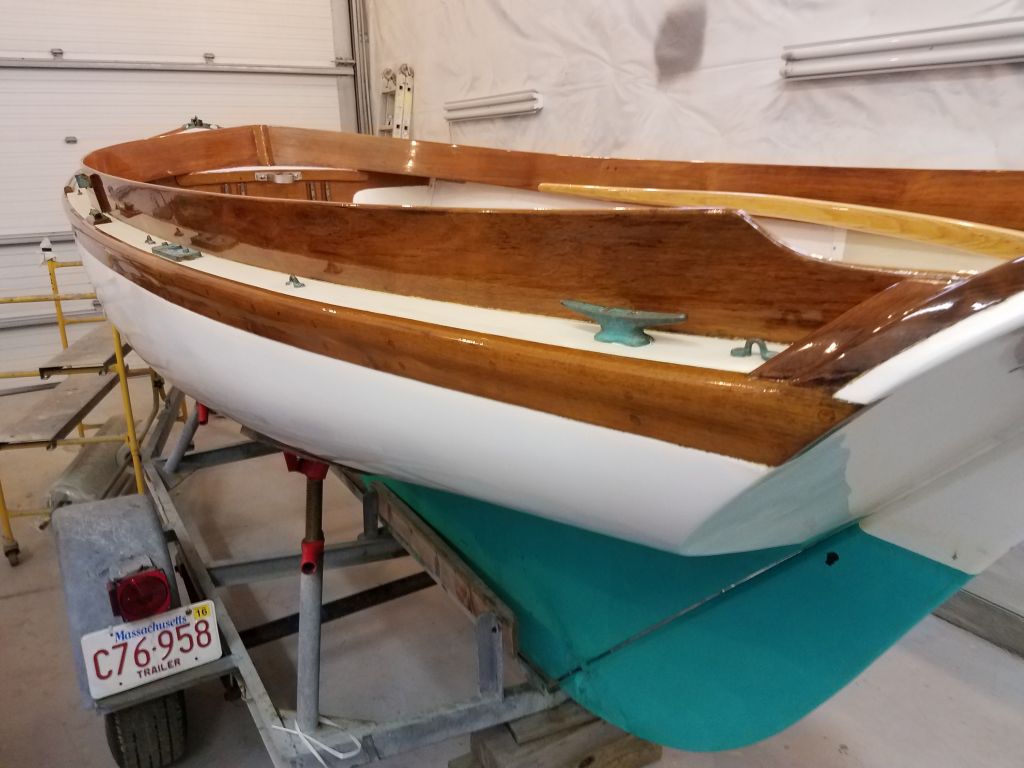
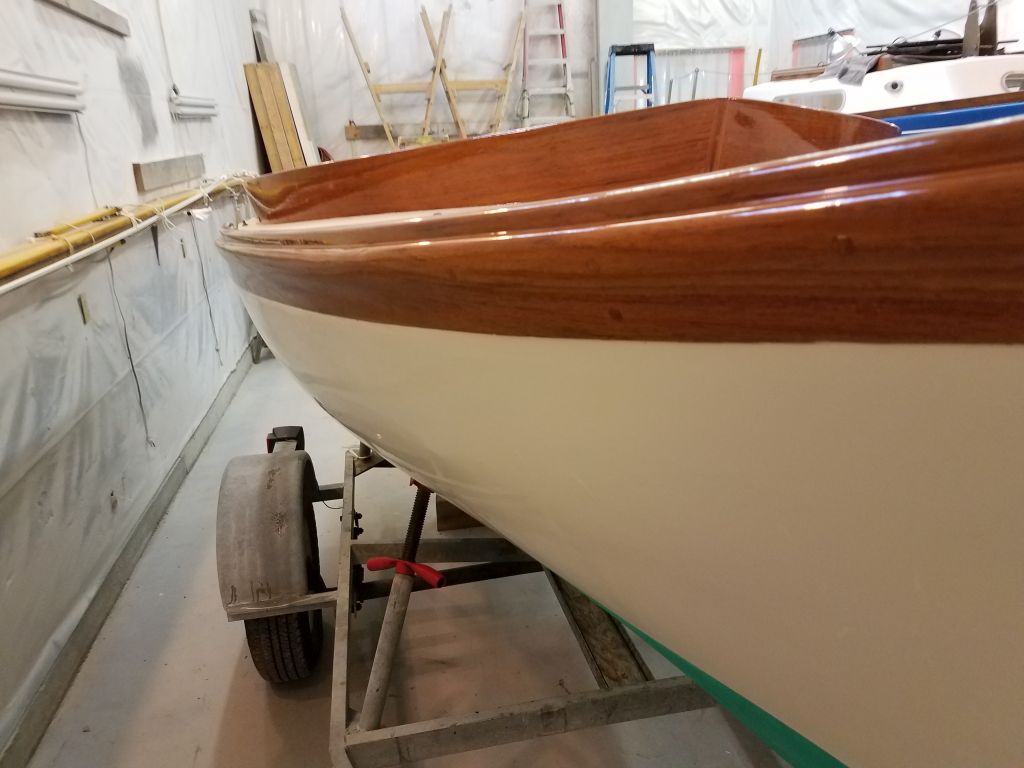
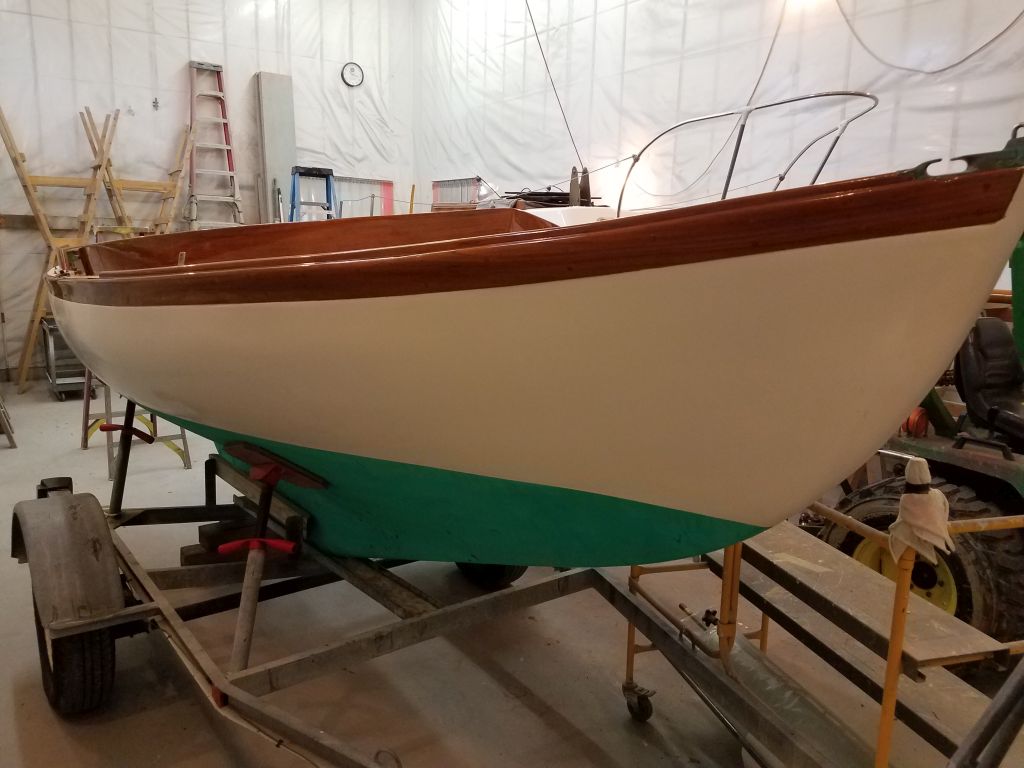
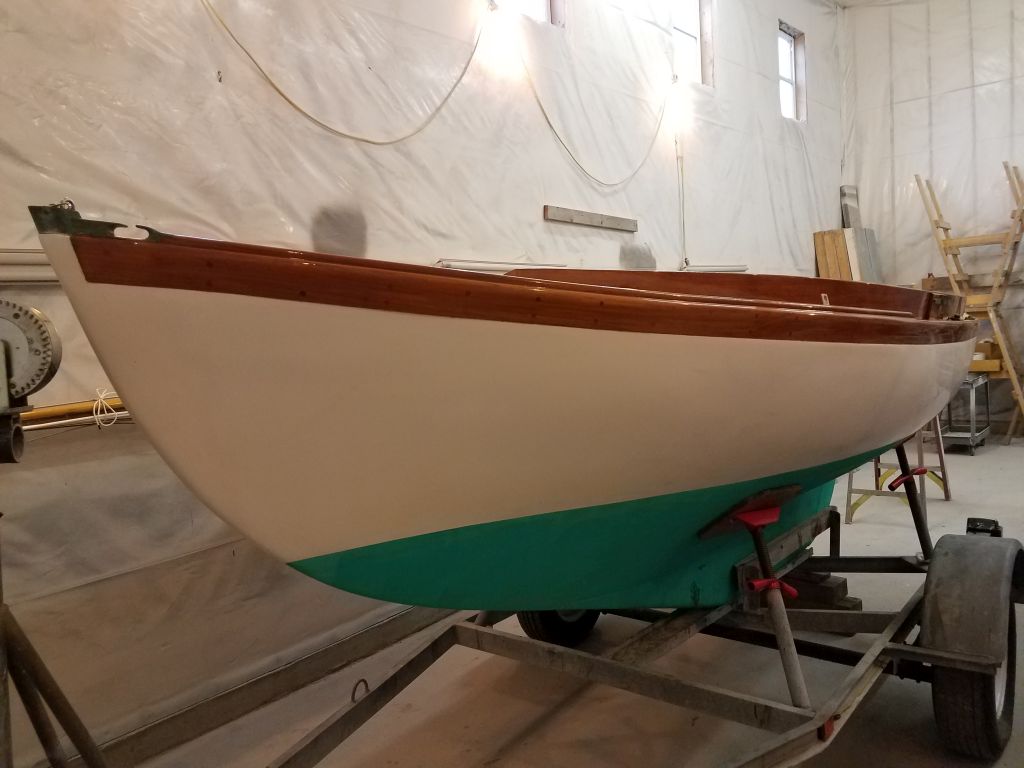
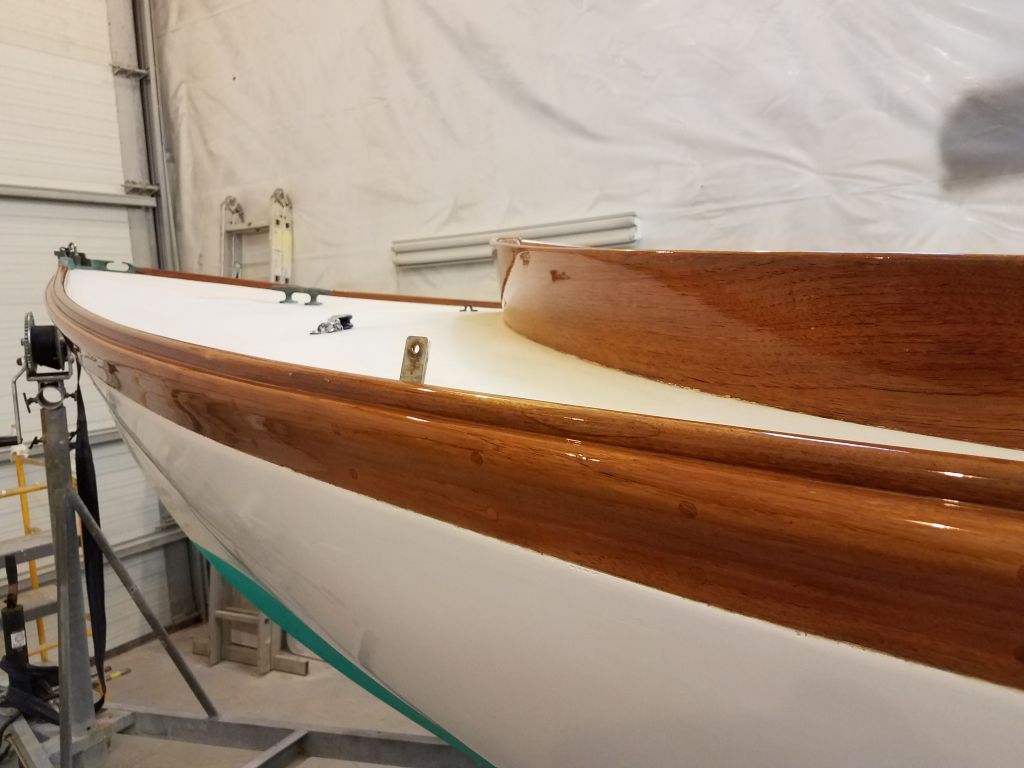
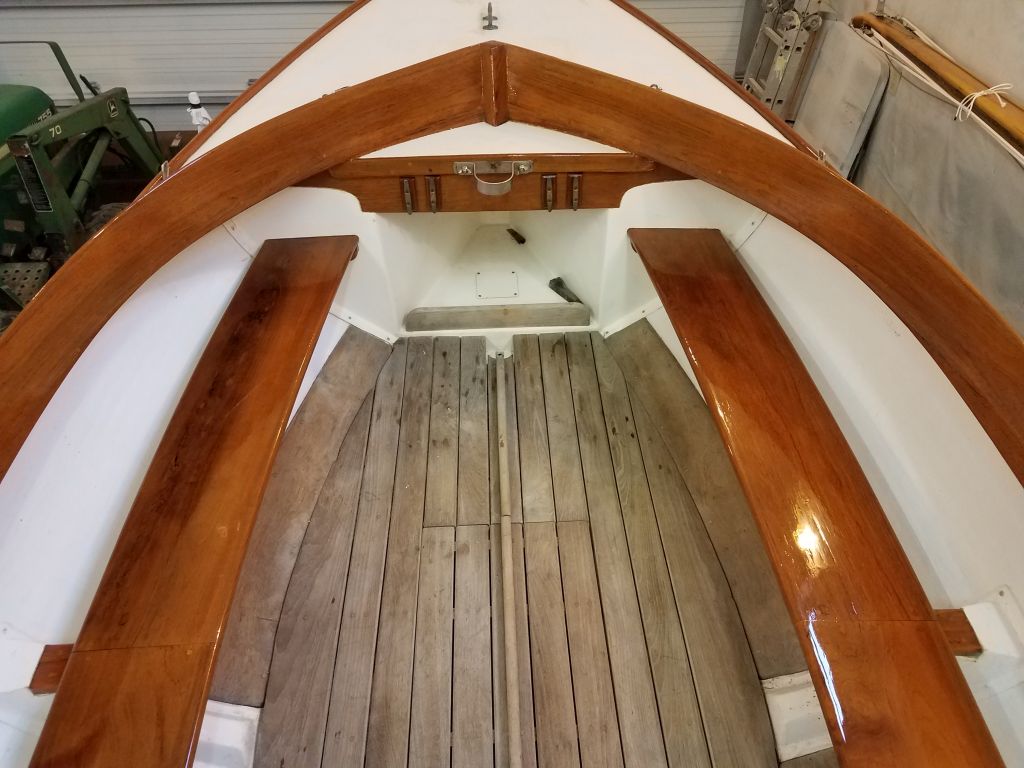
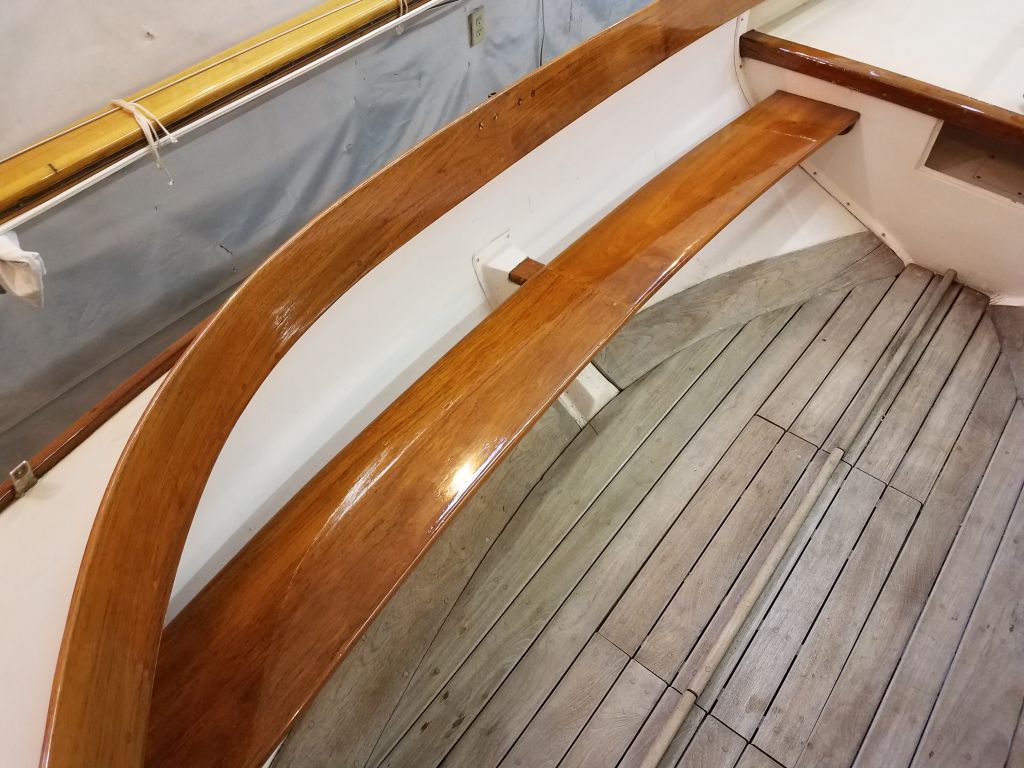
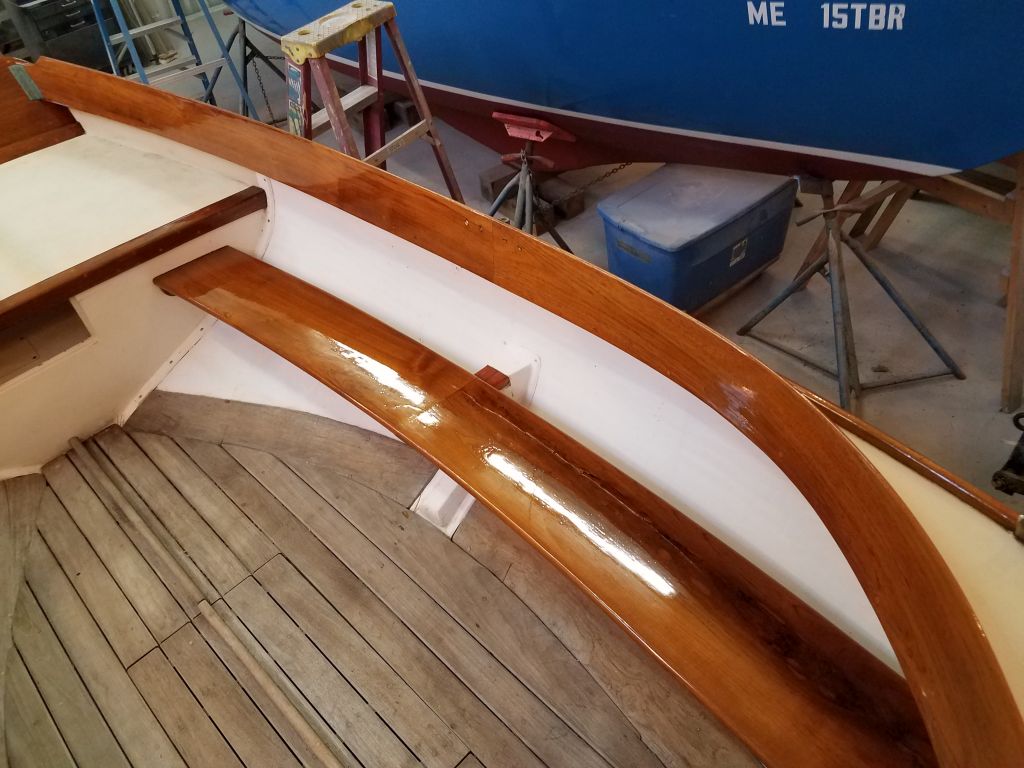
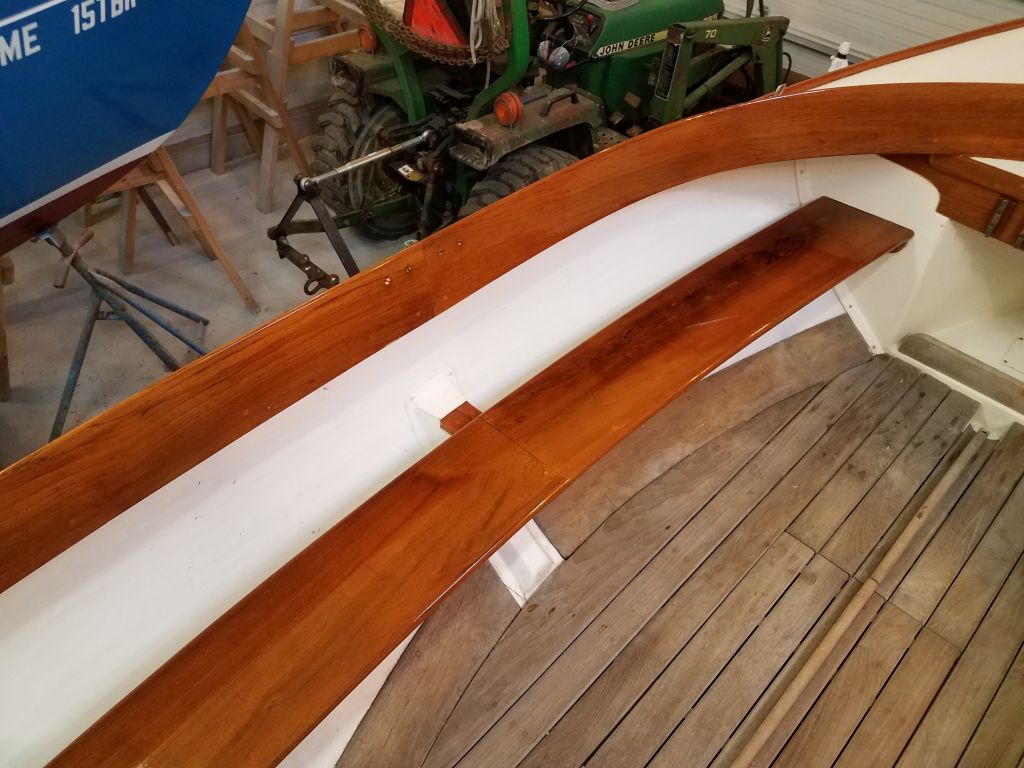
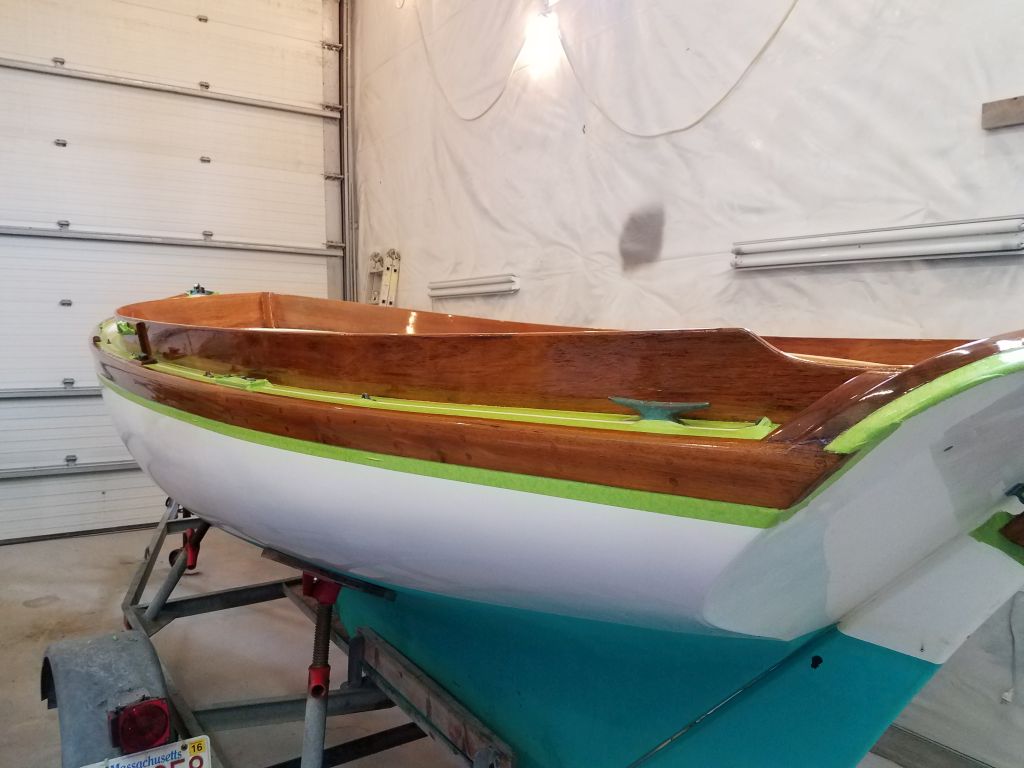
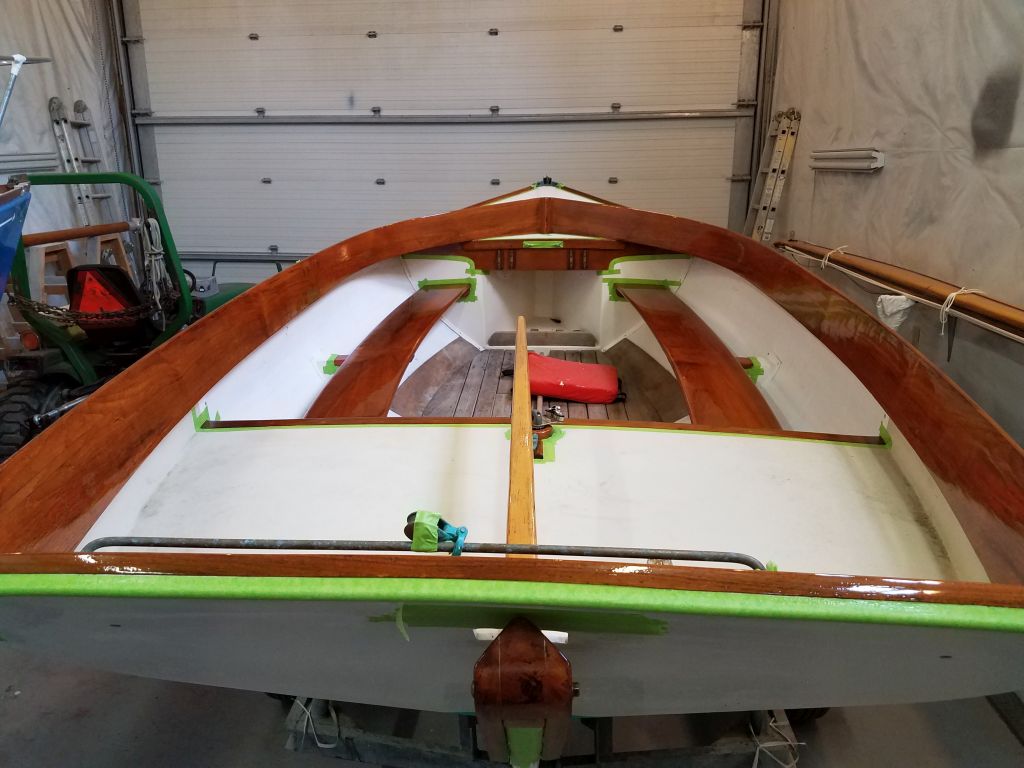
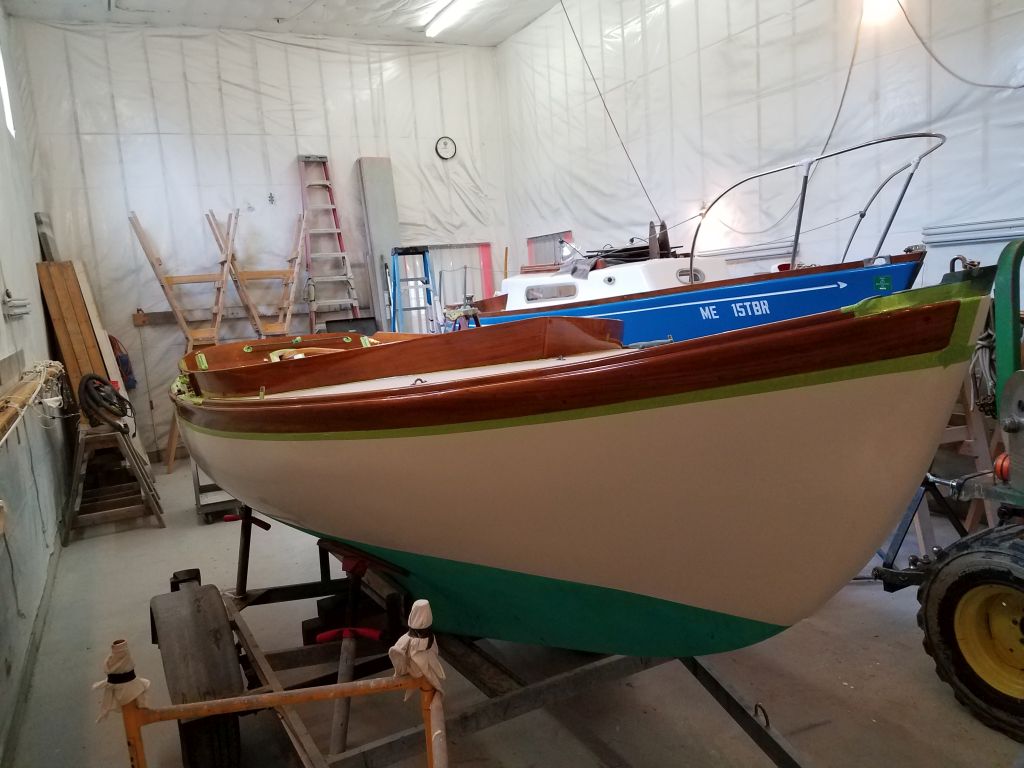
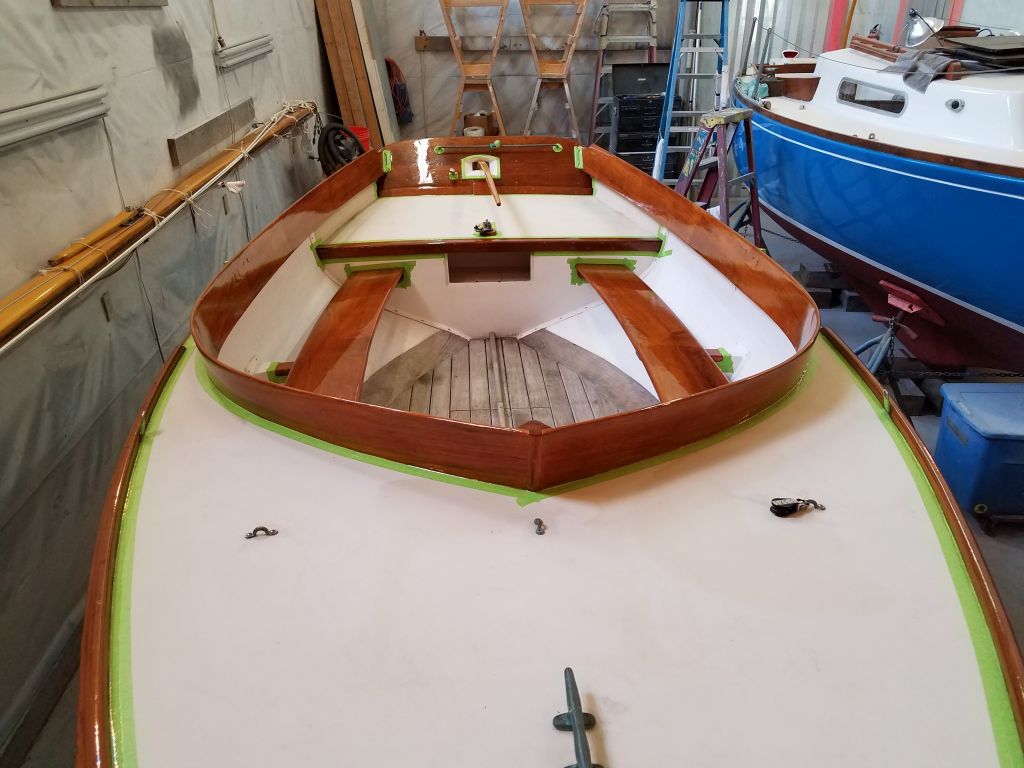
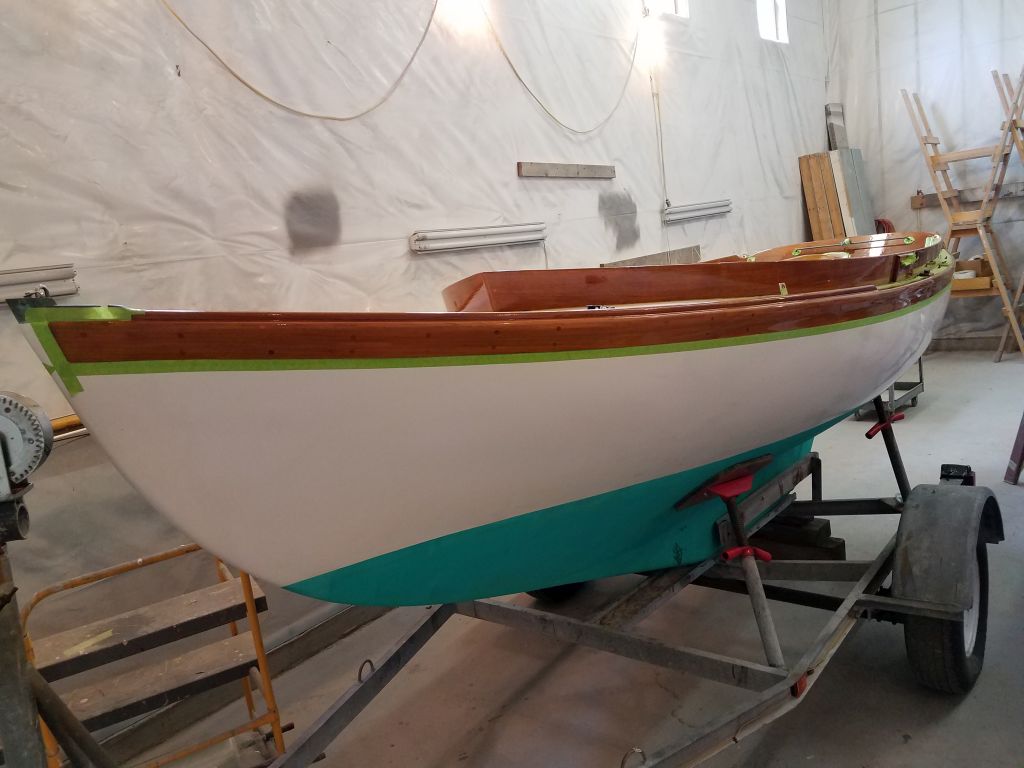
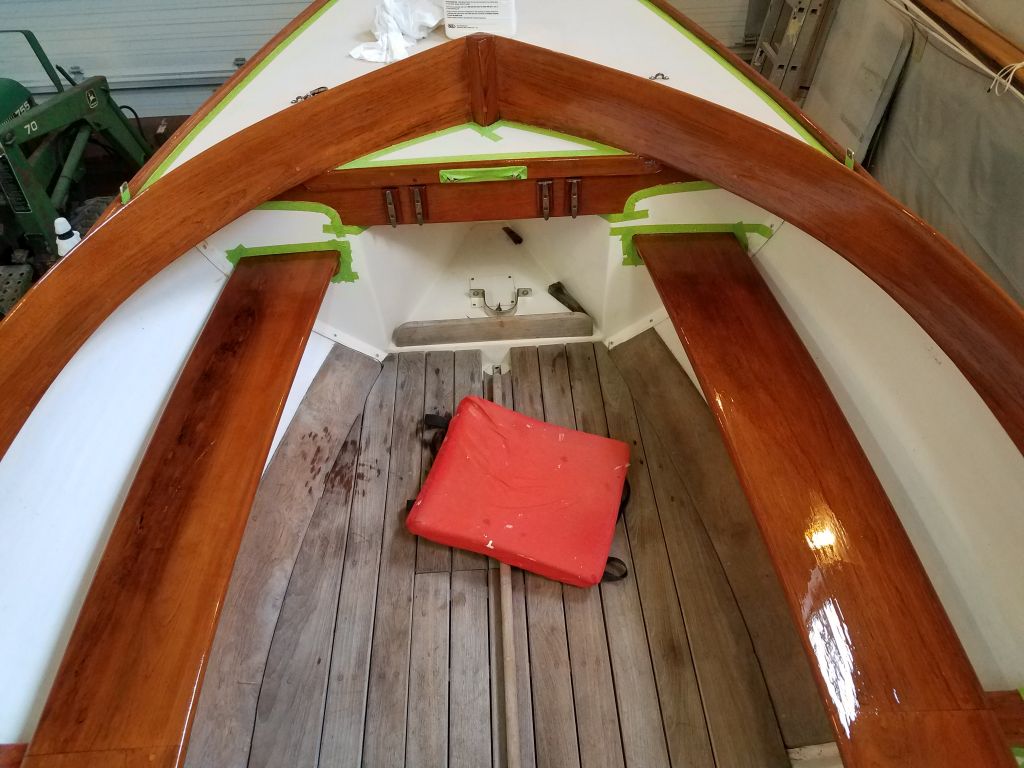
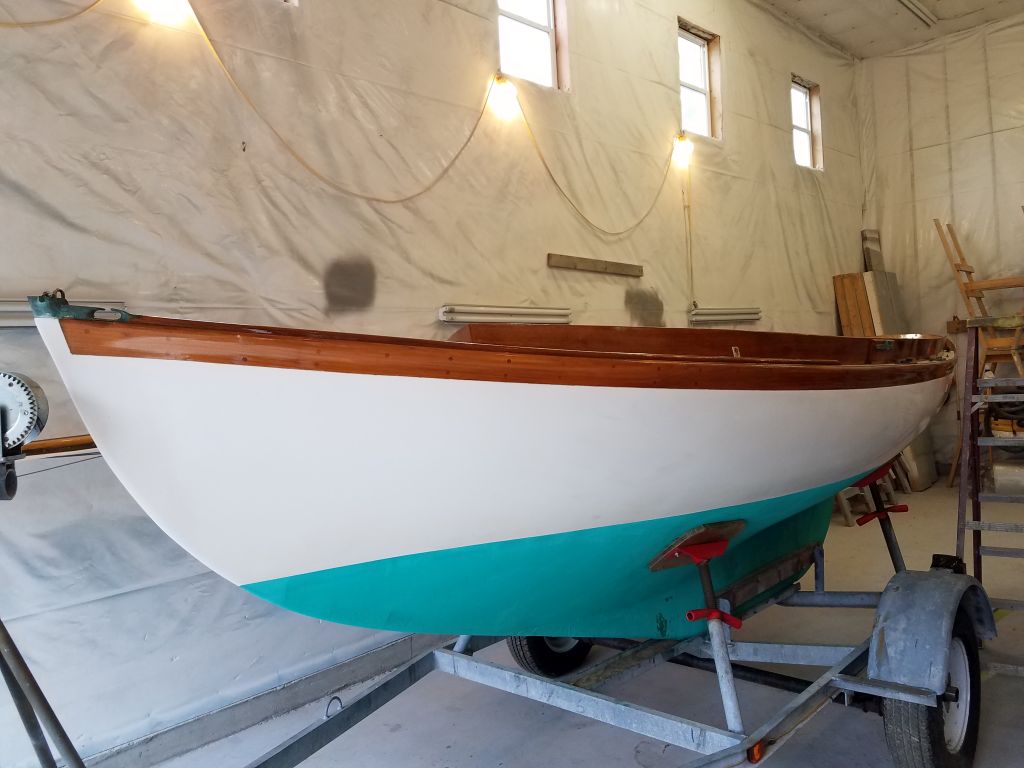
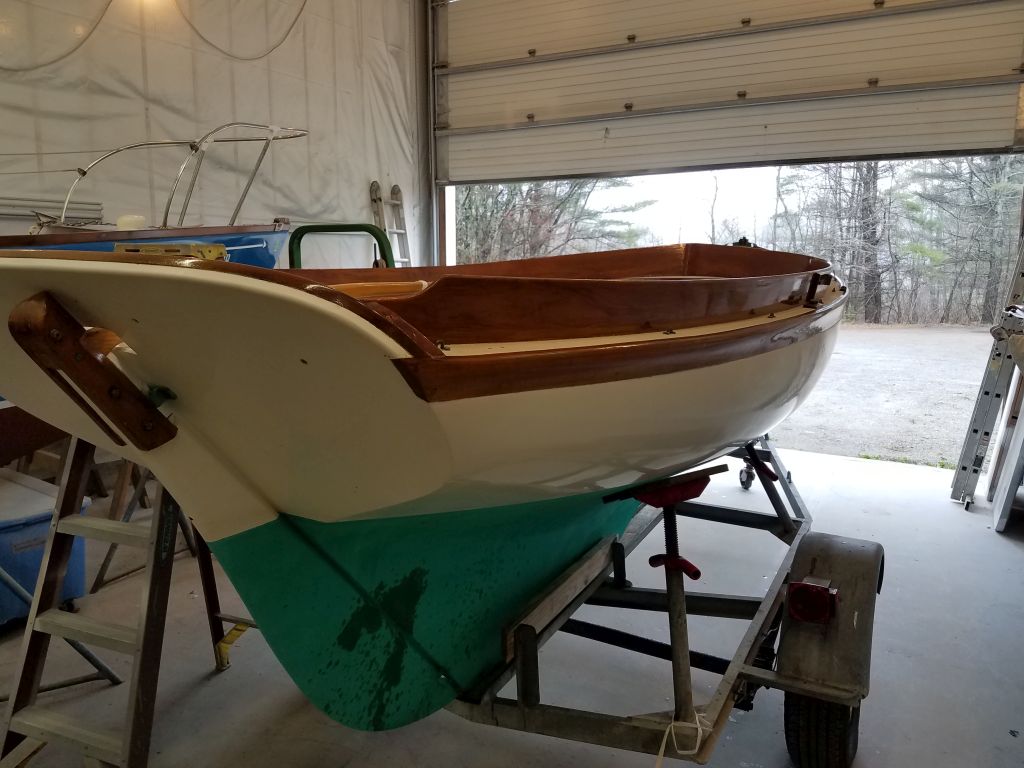
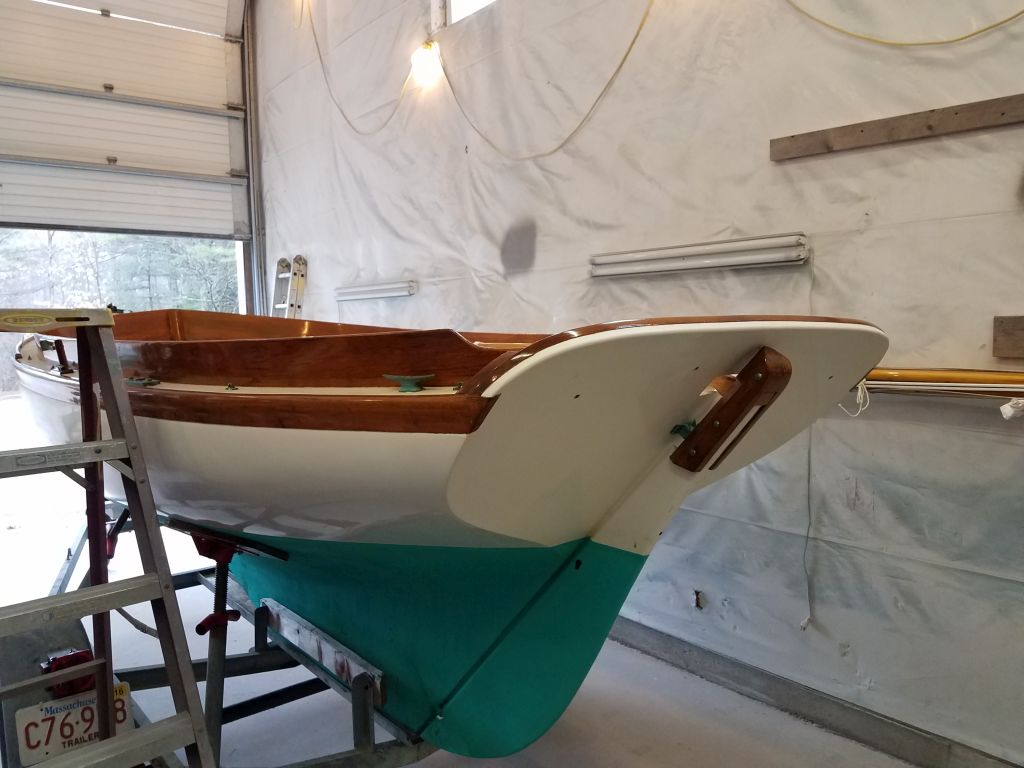
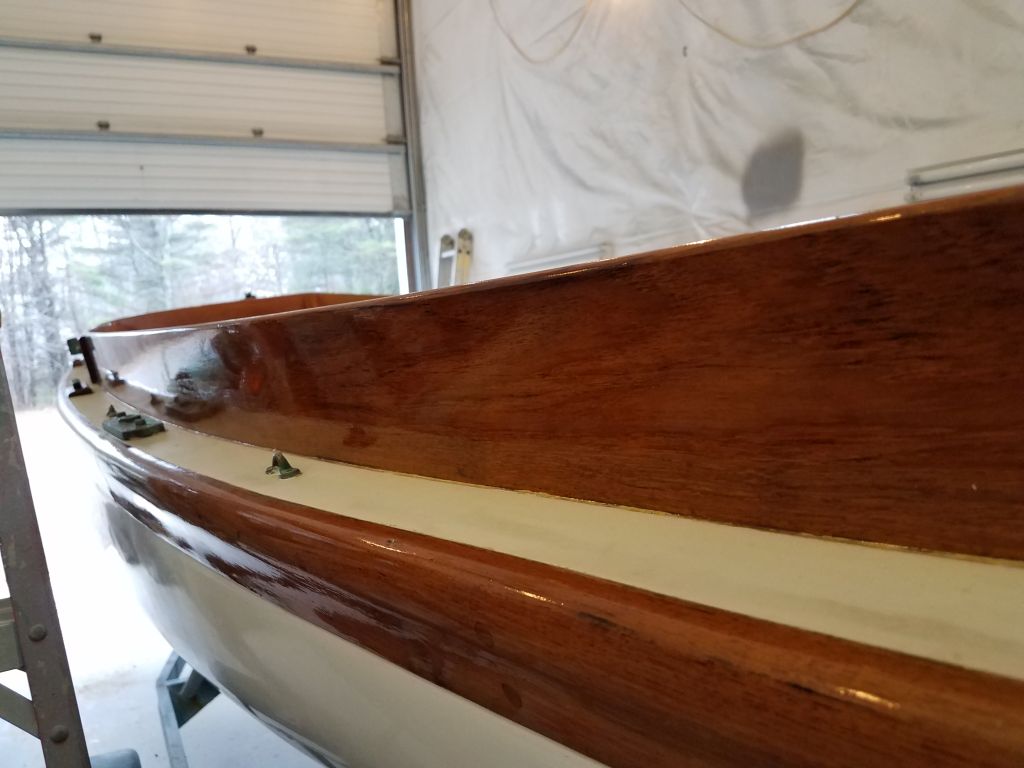
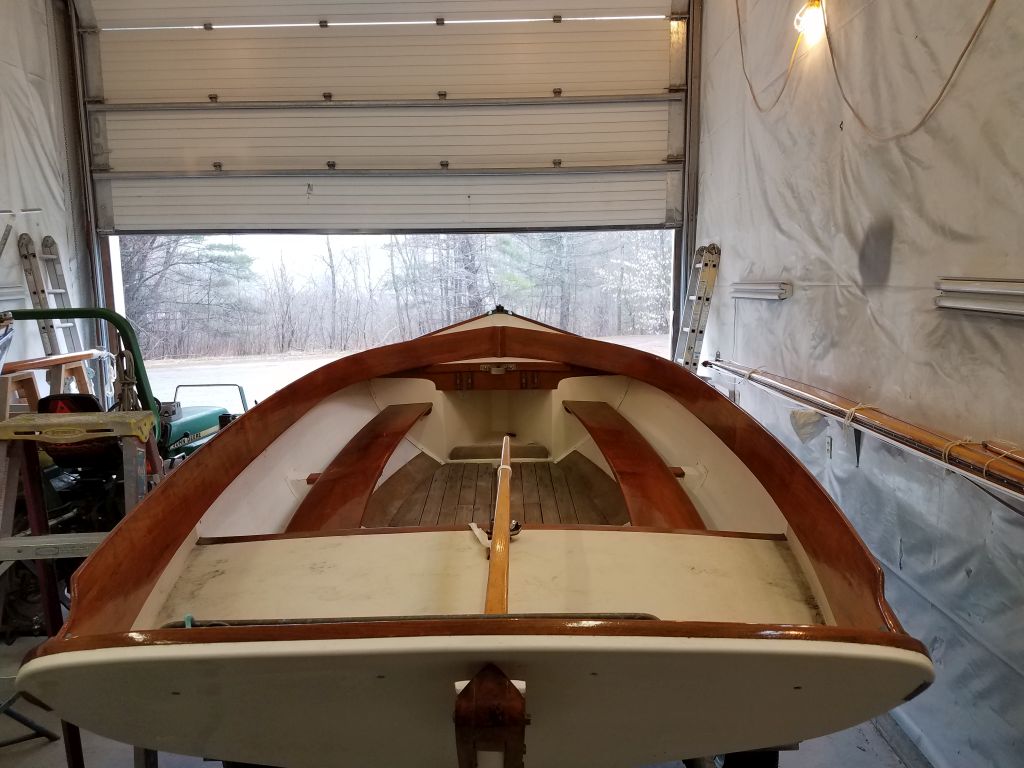
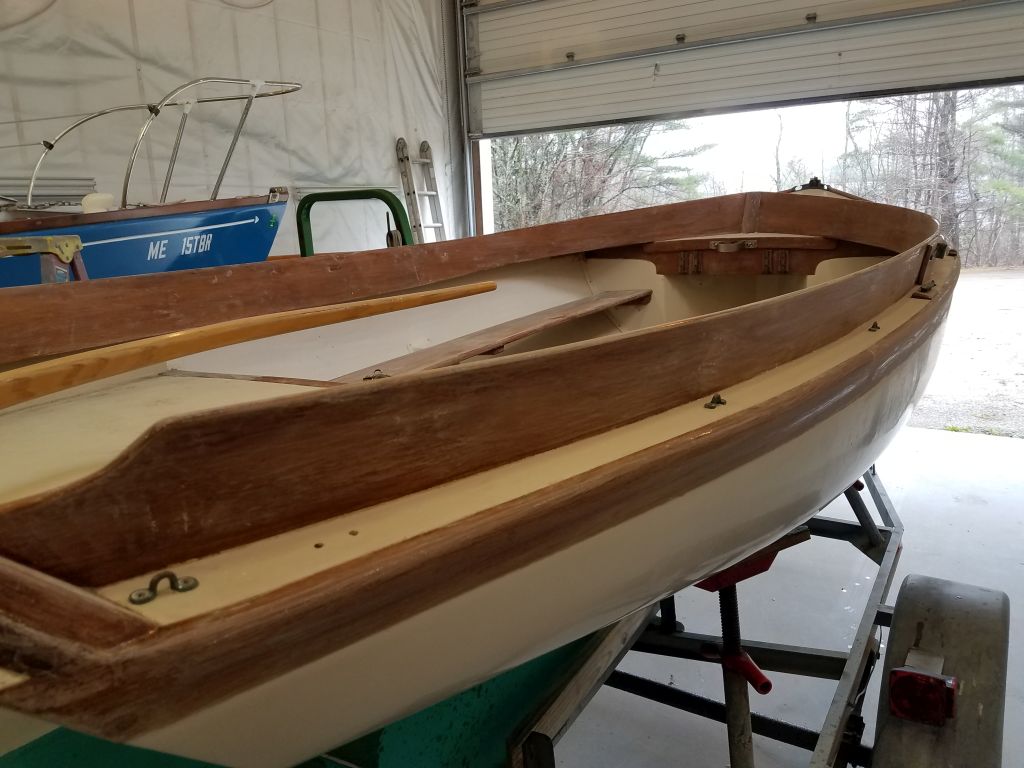
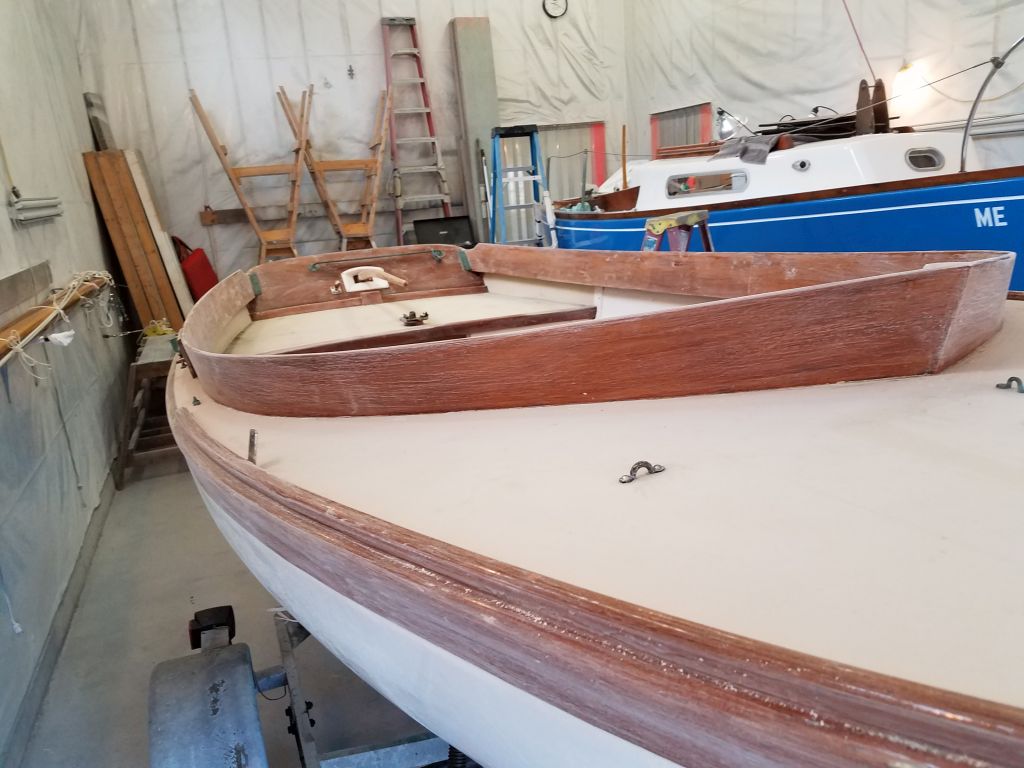
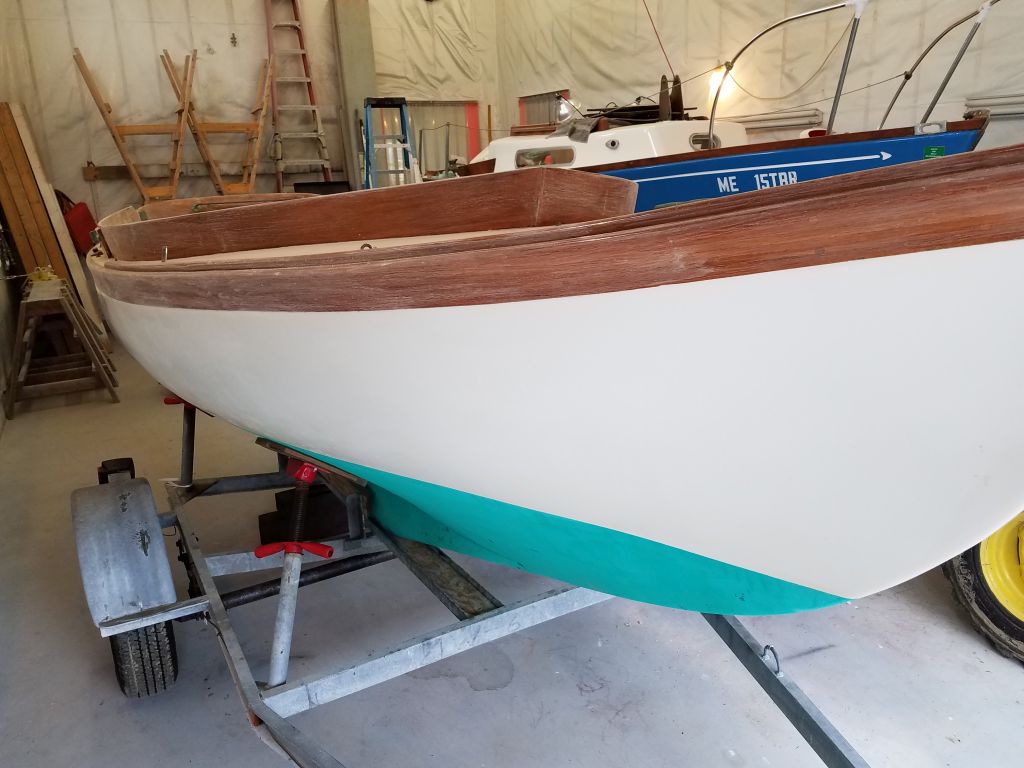
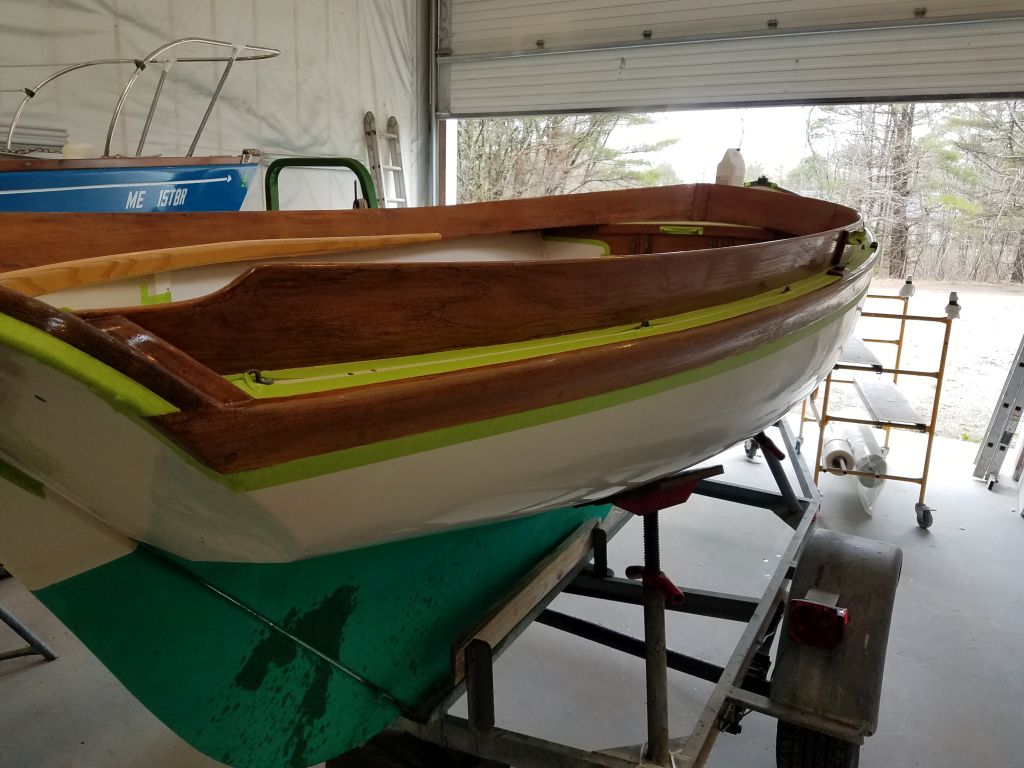
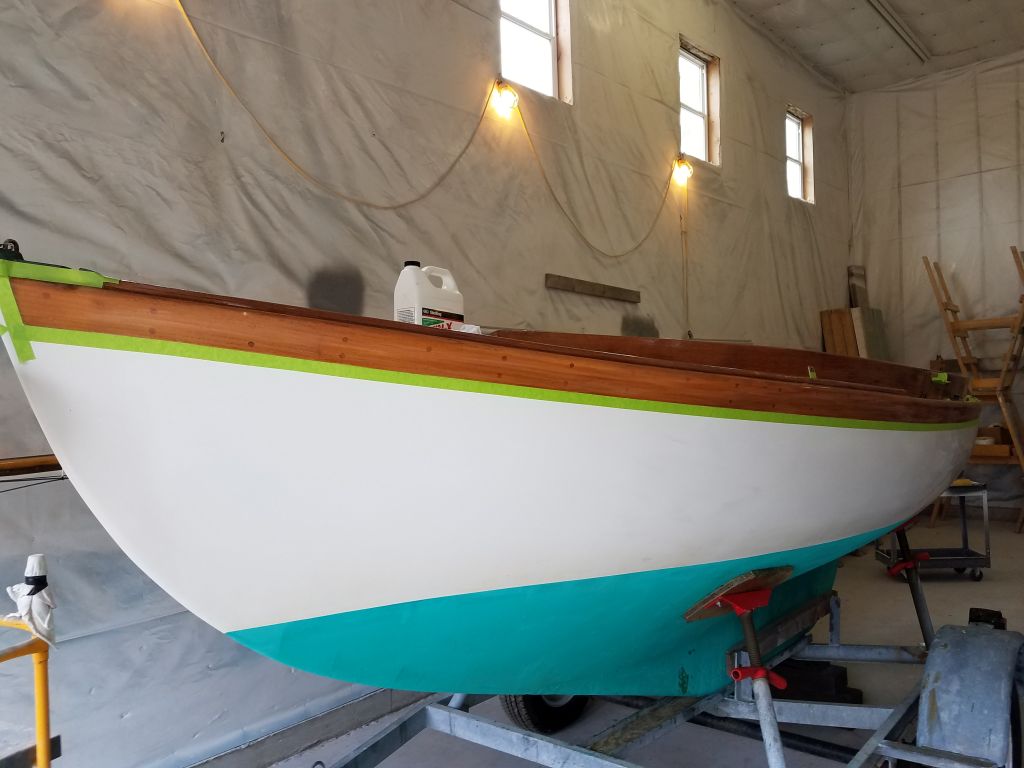
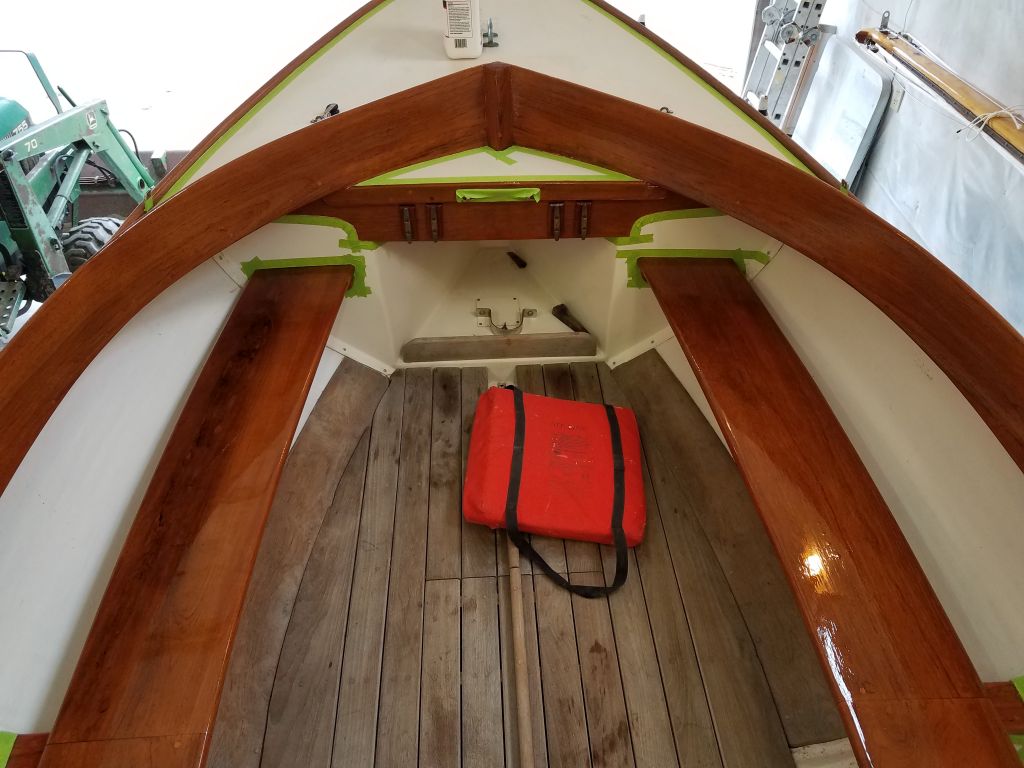
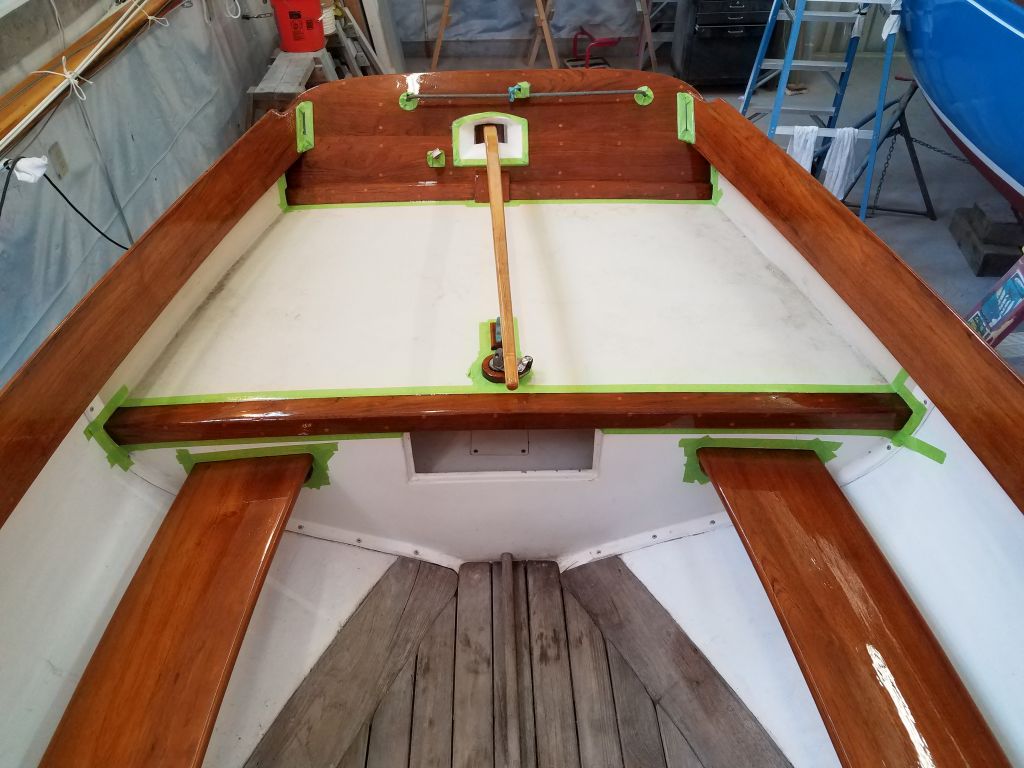
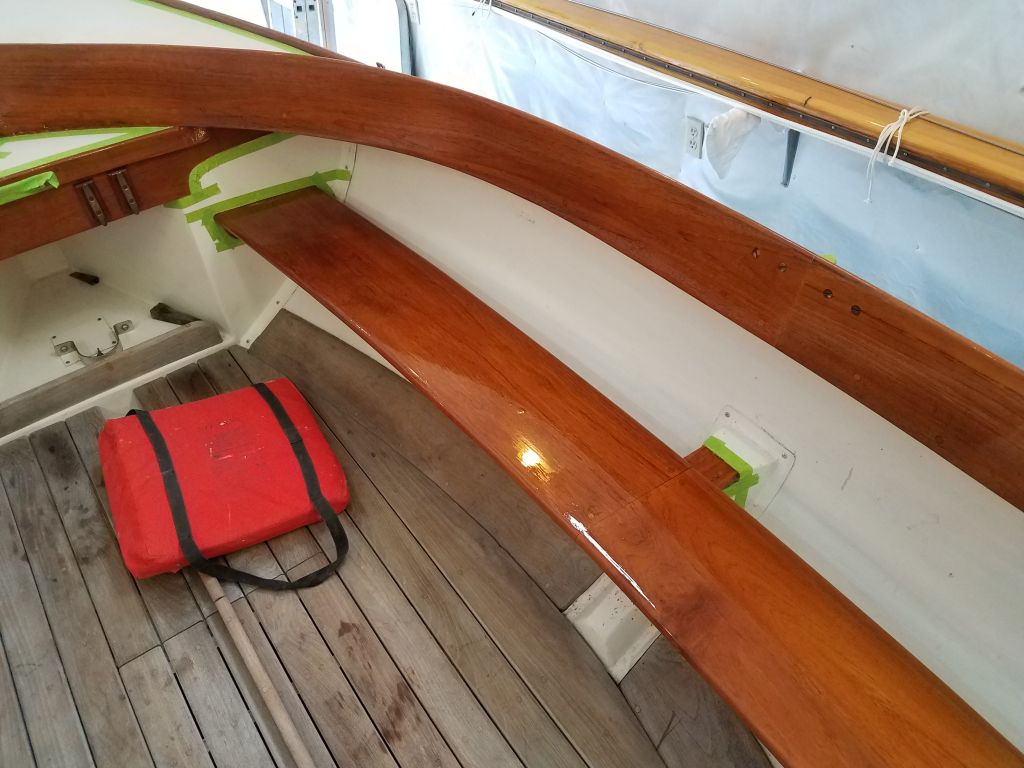
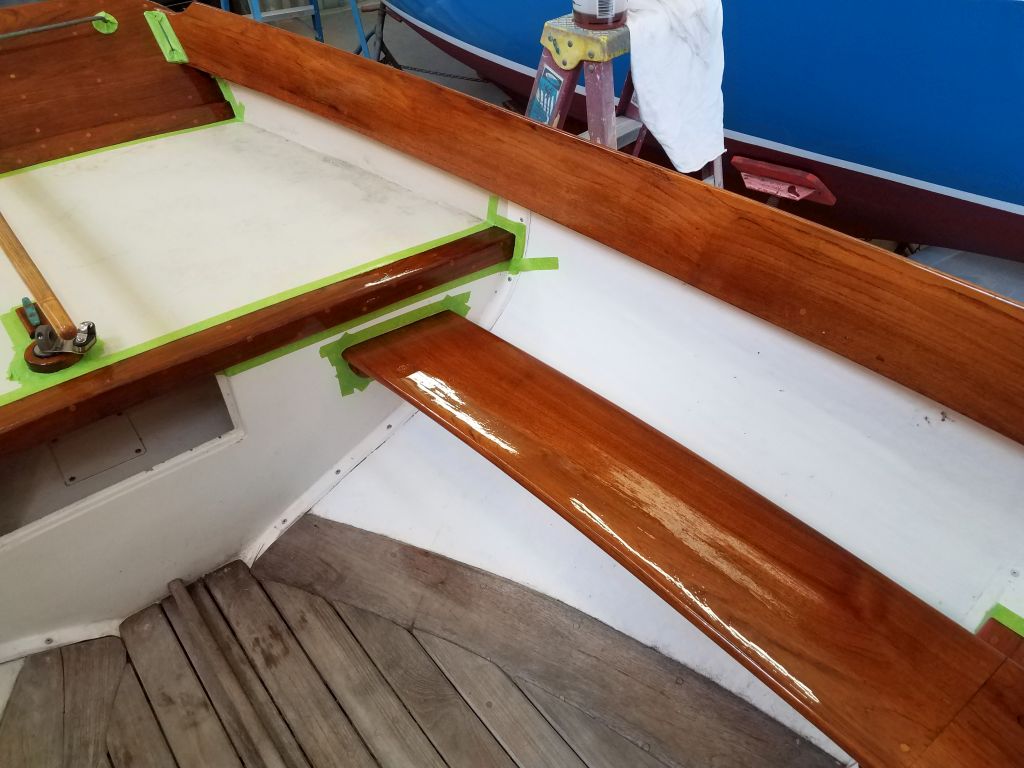
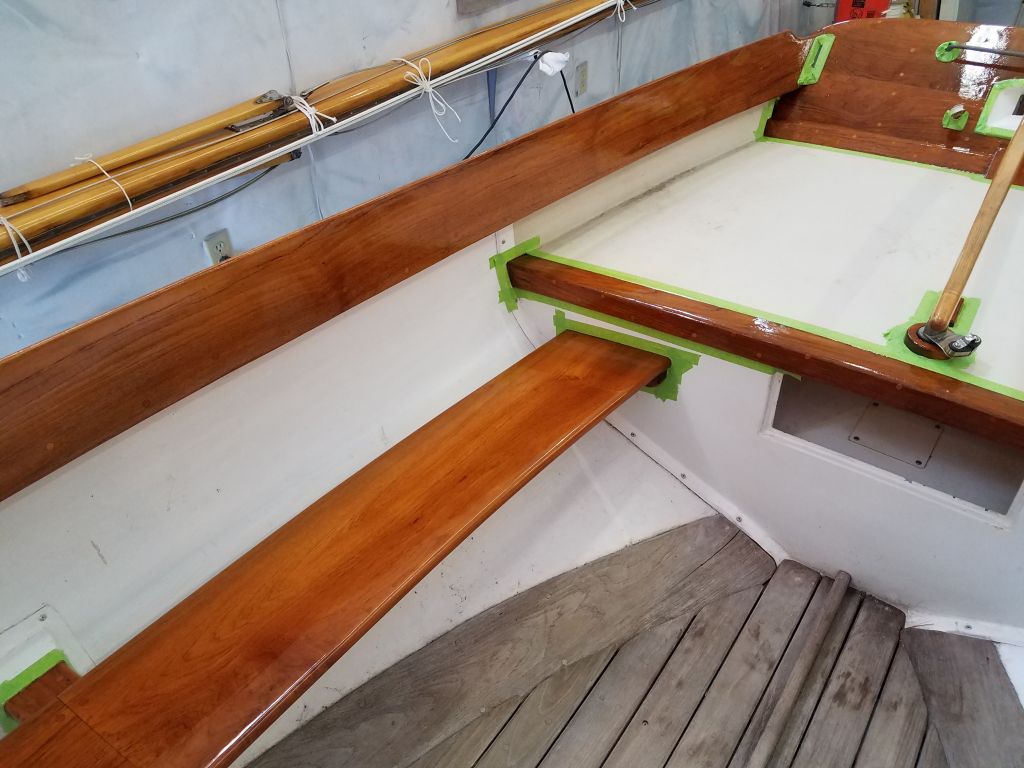
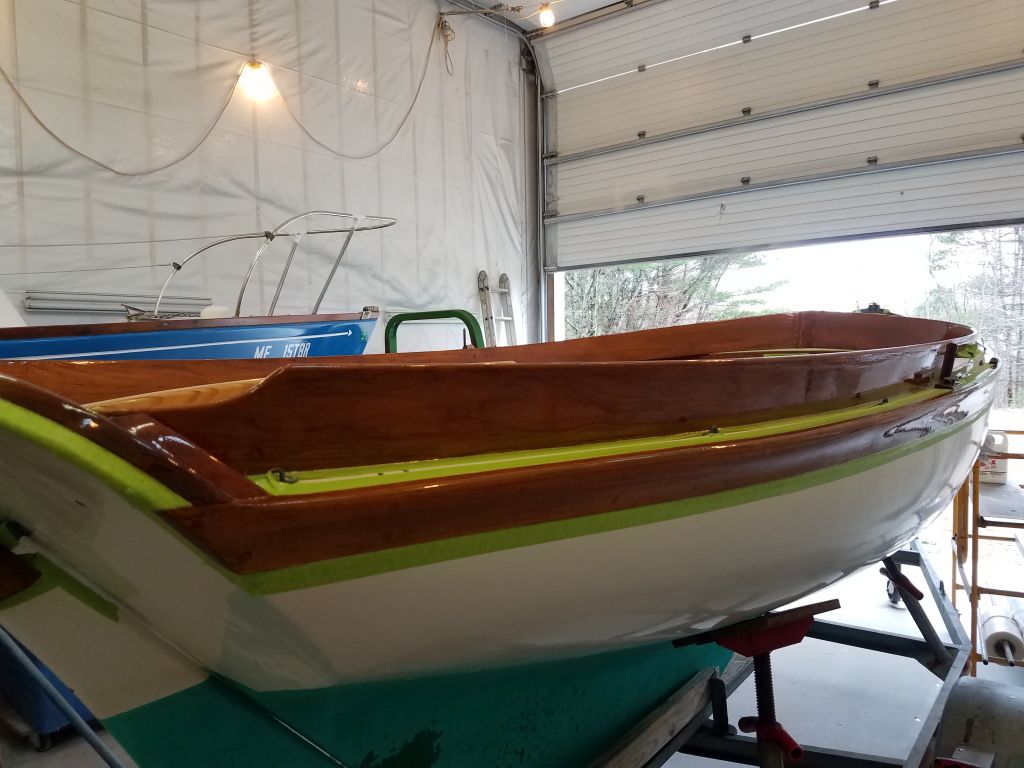
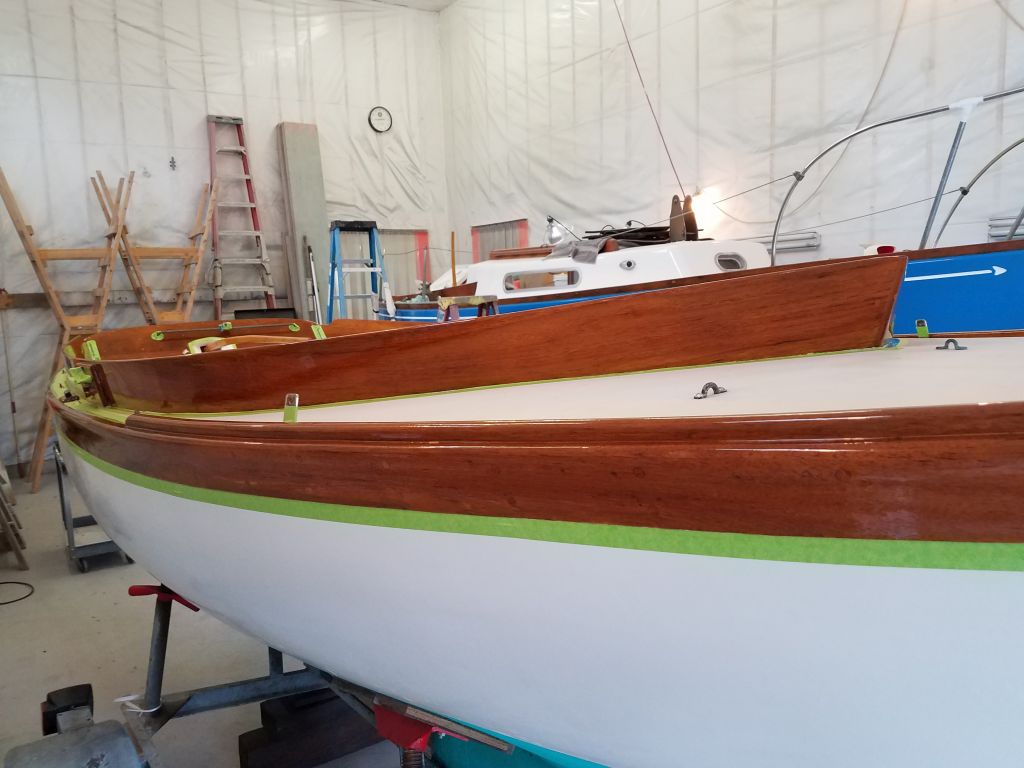
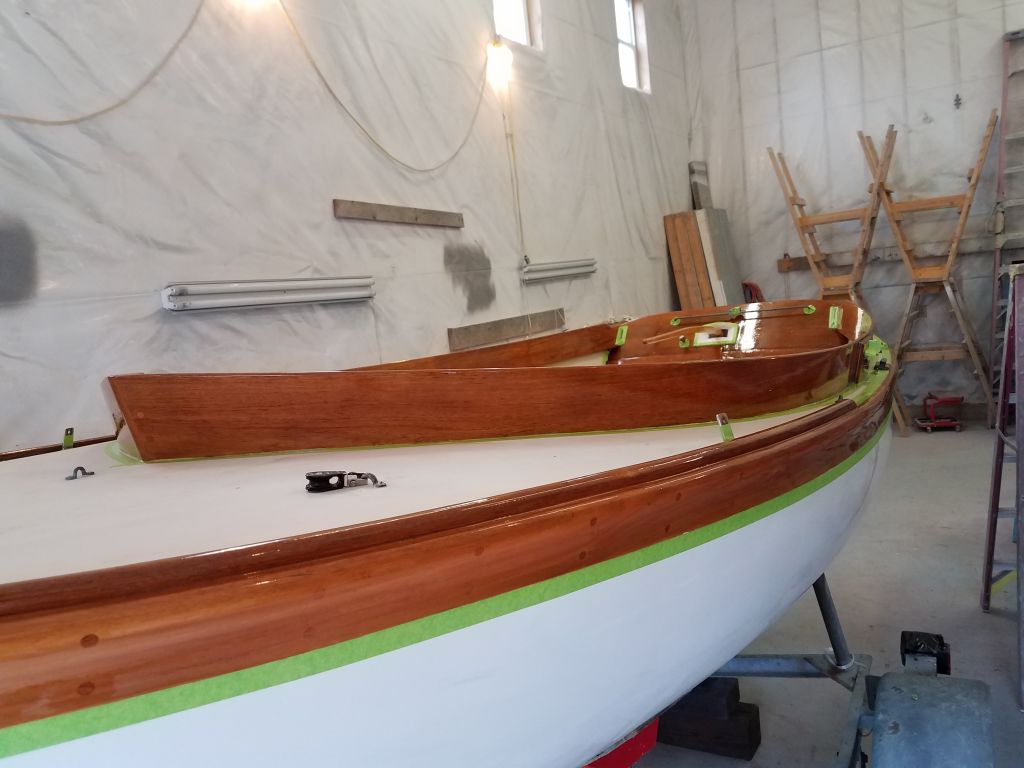
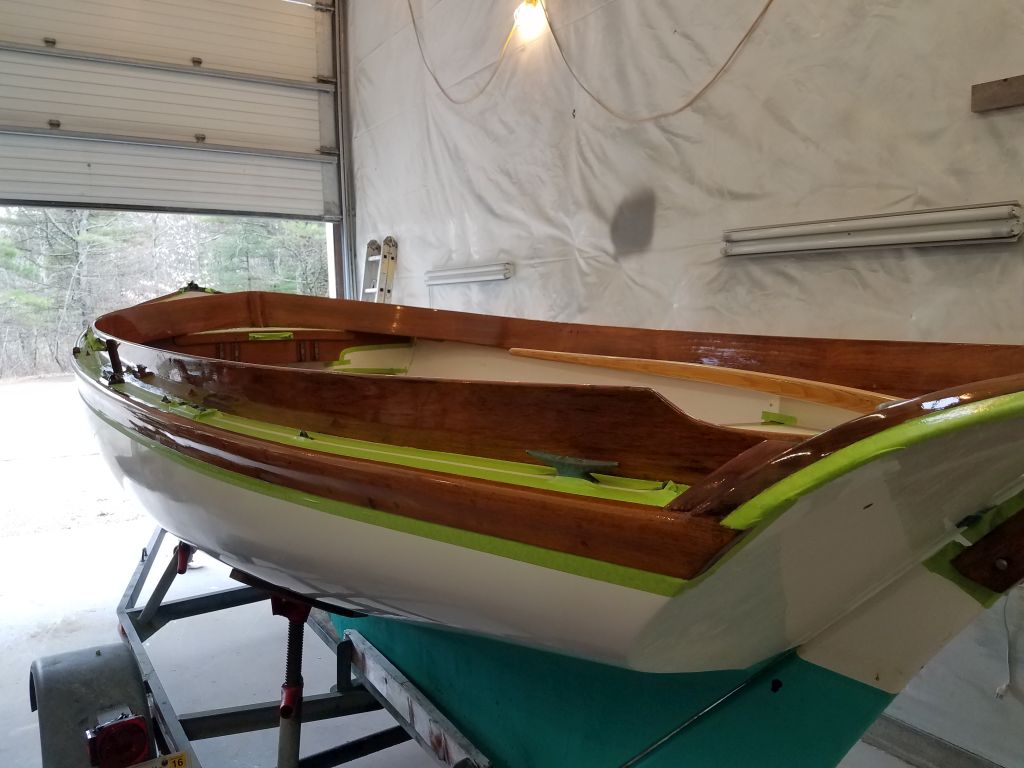
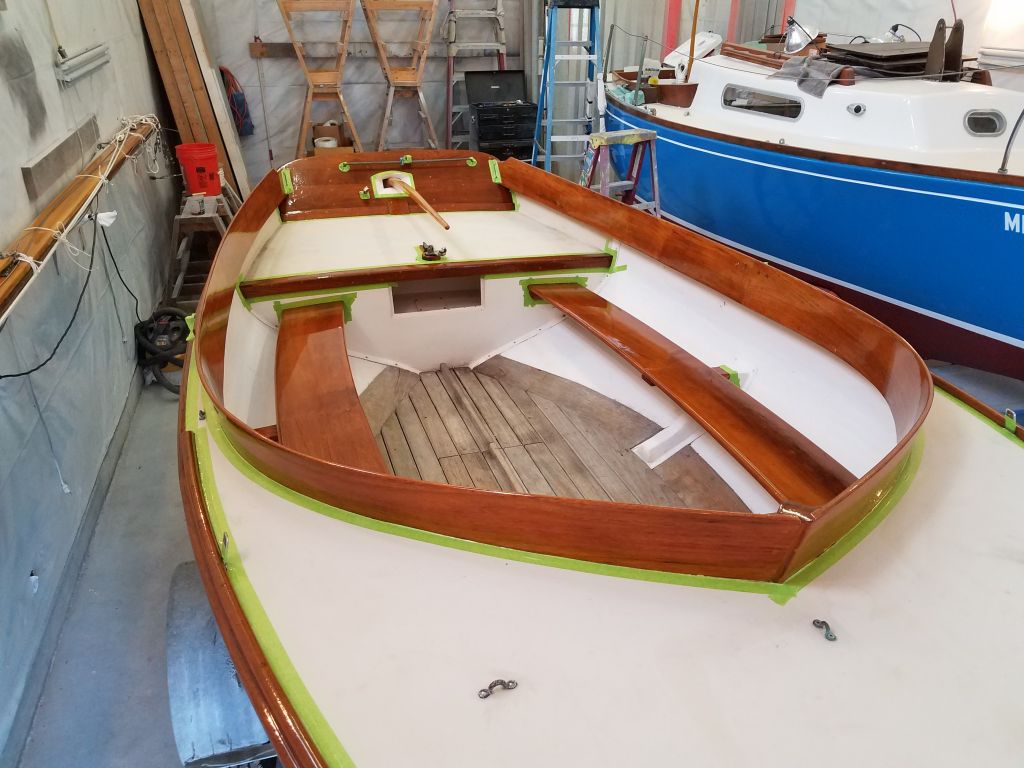
After a slight delivery delay, I was ready to get to work on some basic maintenance on this owner’s next small boat: a Doughdish, which is the fiberglass version of everyone’s favorite daysailer, the Herreshoff 12-1/2. My task list was small, mainly maintenance coats of varnish. The existing brightwork was in good condition, as it’d been redone only a year ago and mainly kept under cover, but as any varnish owner should do, the owner wanted to ensure long life by having me do a couple maintenance coats before the season.
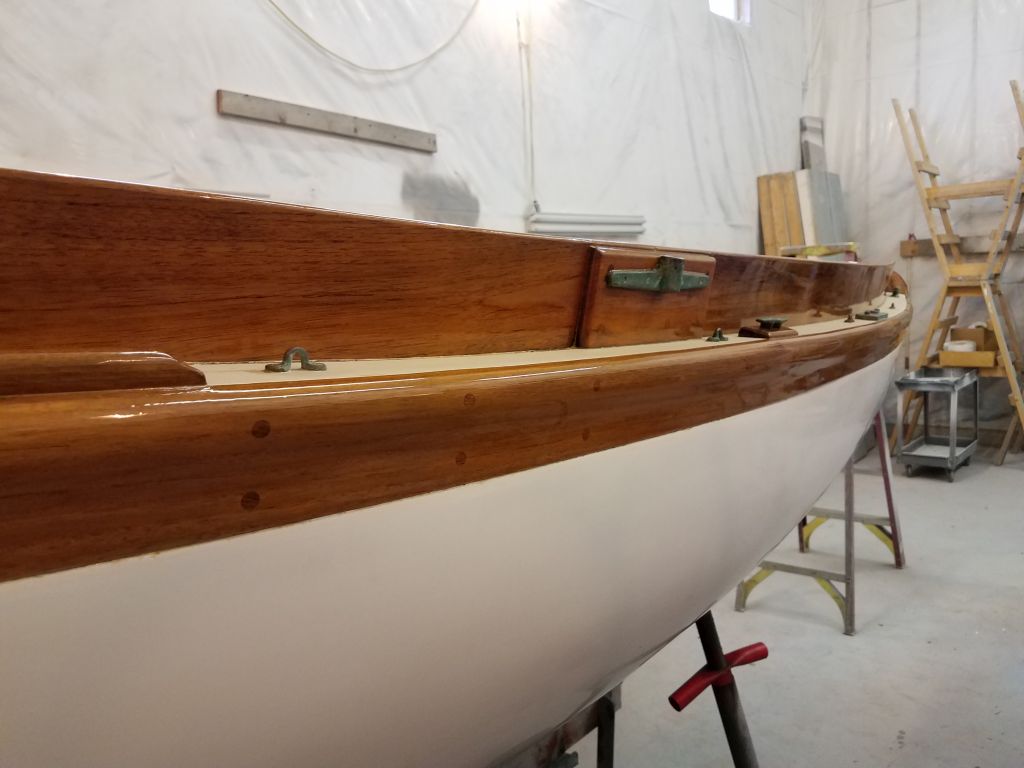
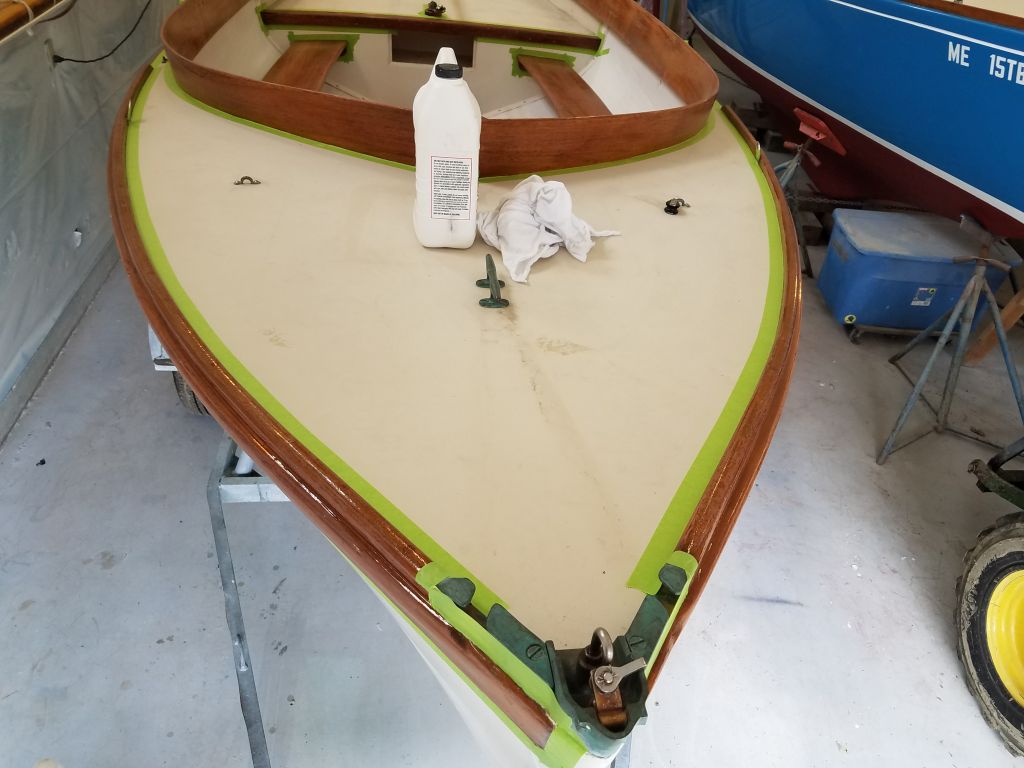
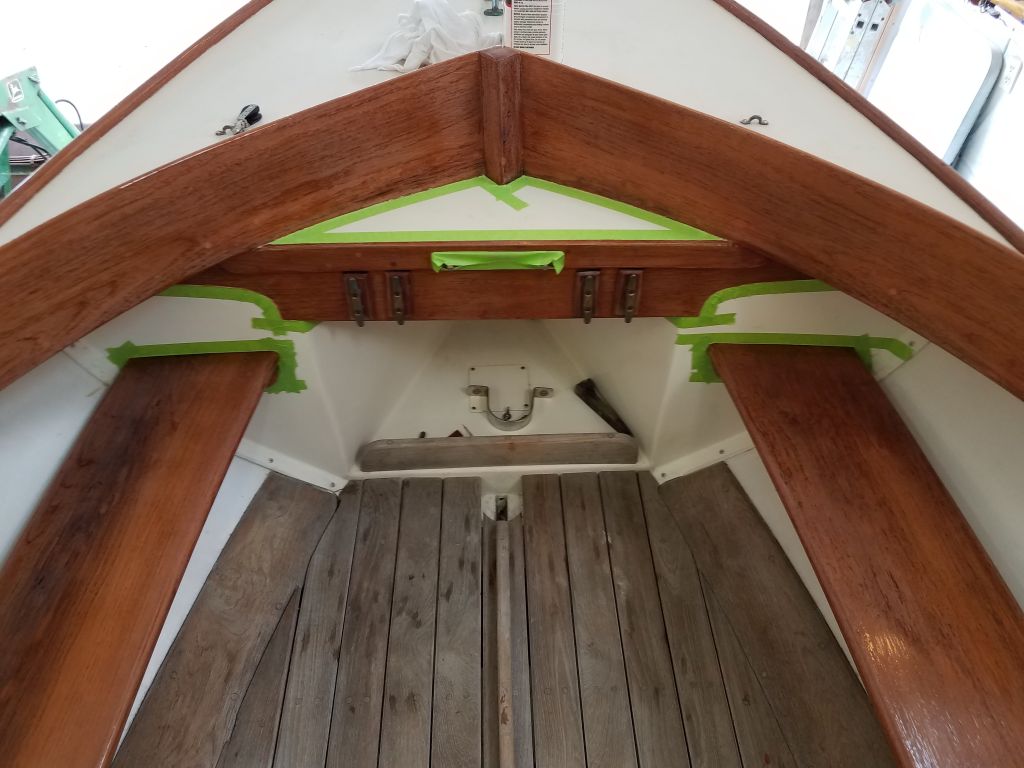
With the existing coating in such good condition, preparation for the new coats of varnish was straightforward, just a light sanding everywhere with 320 grit.
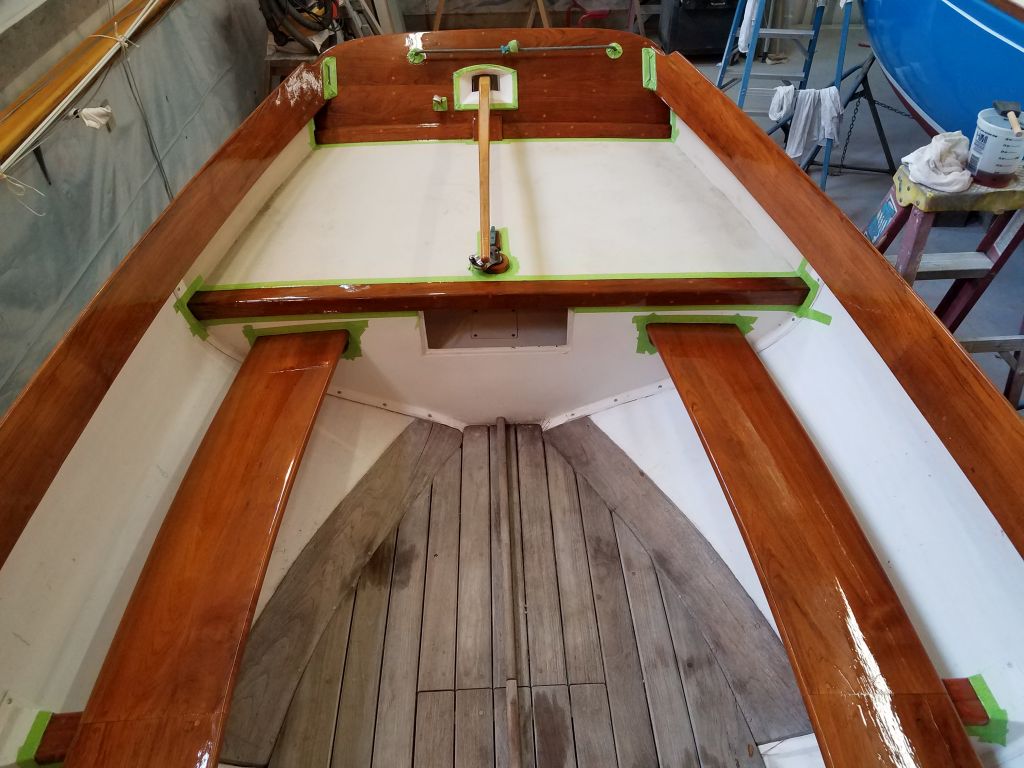
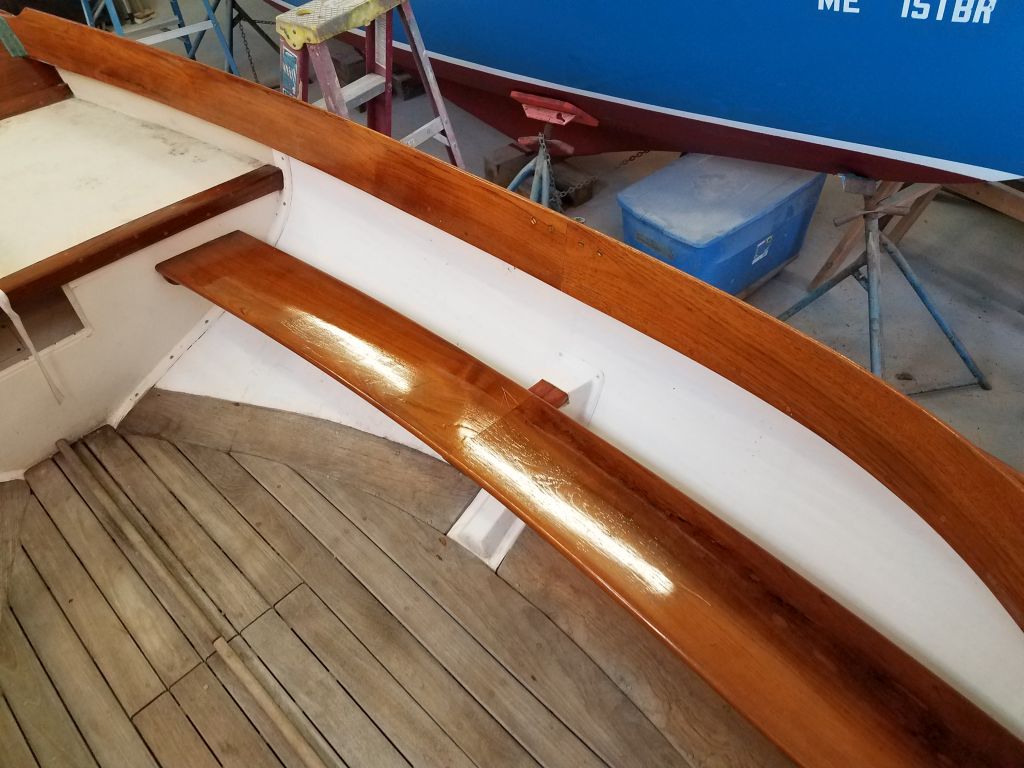
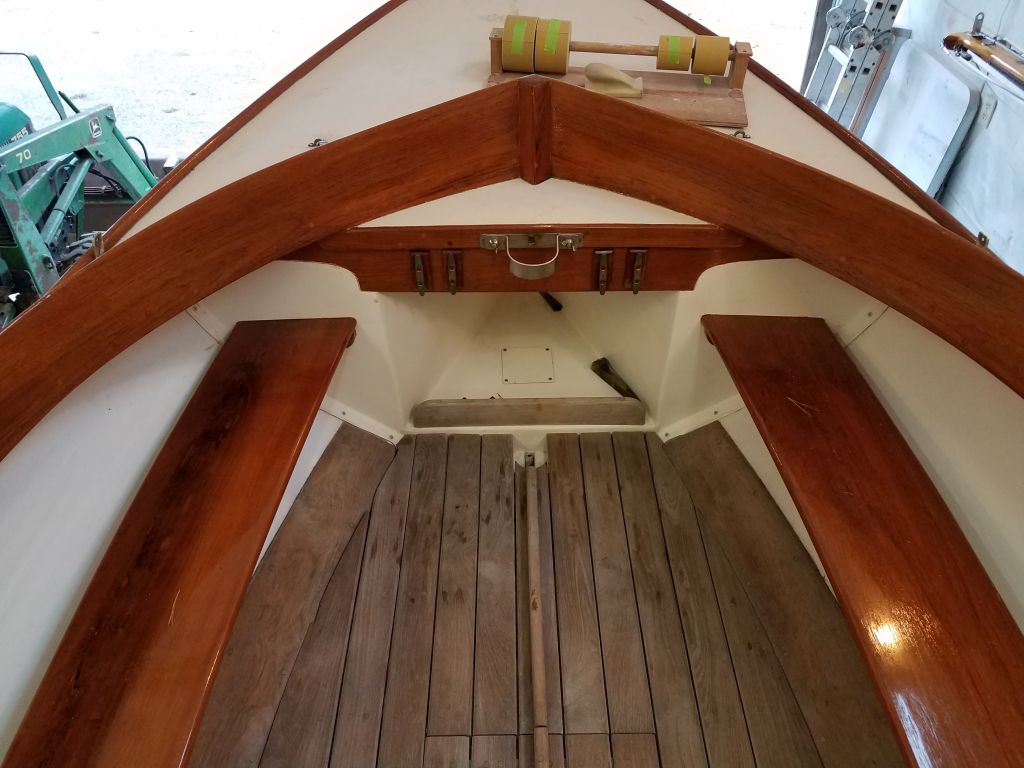
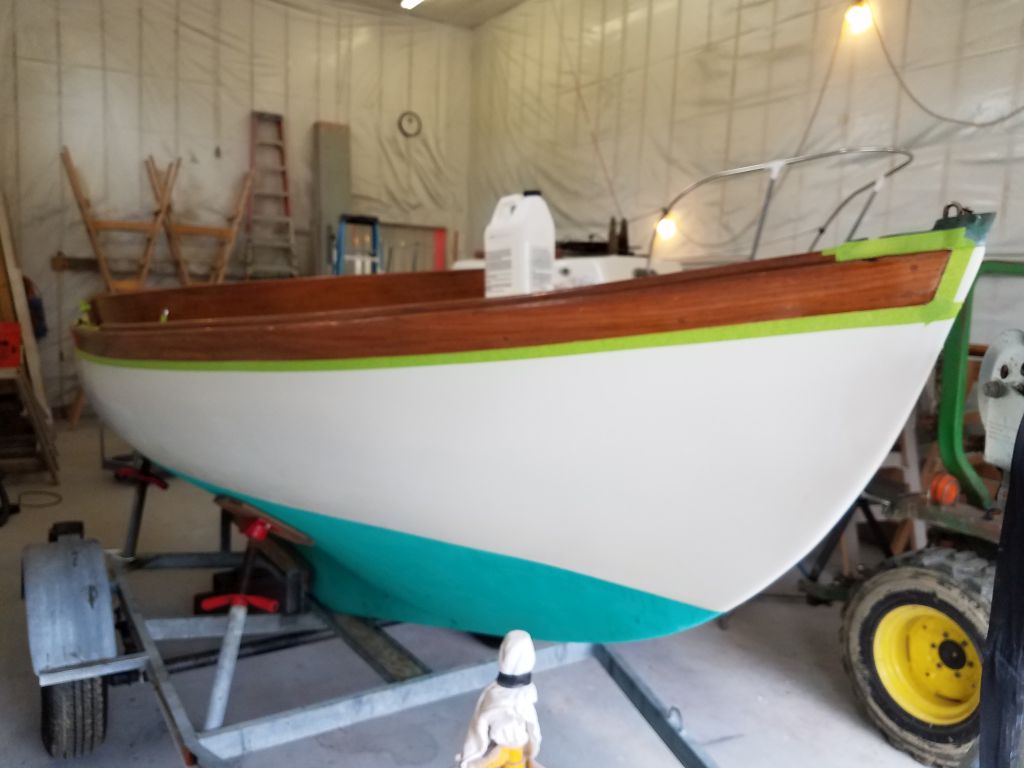
Afterwards, I vacuumed, solvent-washed, then masked off around the brightwork as necessary.
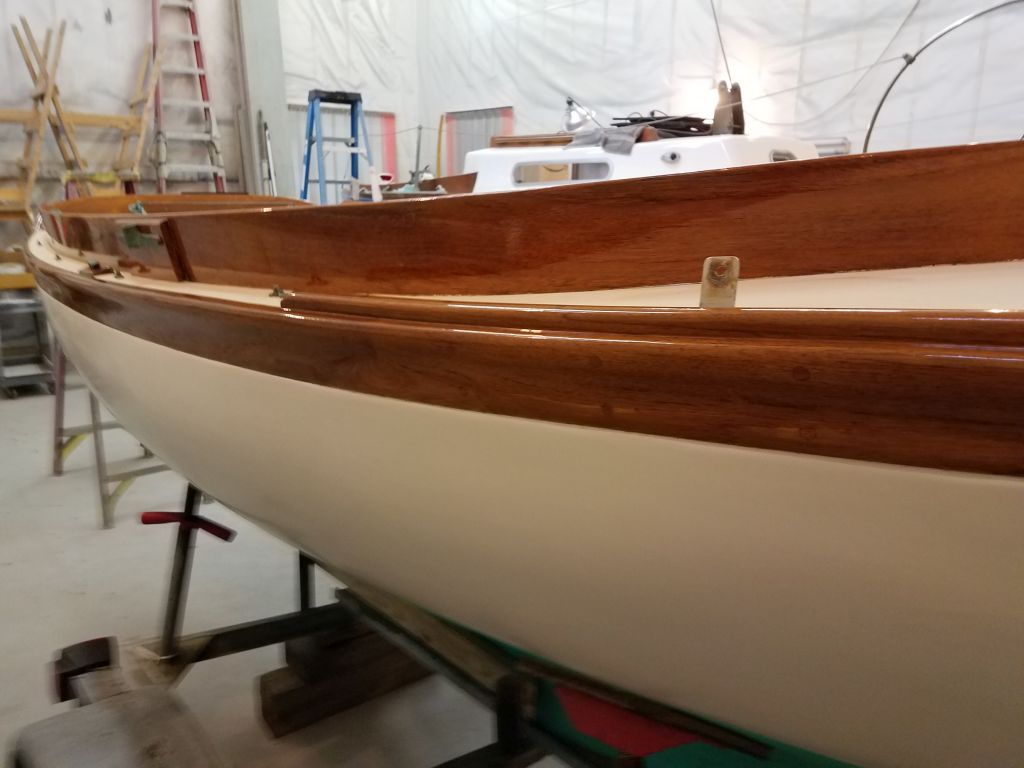
Finally, I applied the first of two coats of fresh varnish everywhere.
Total time billed on this job today: 4.25 hours
0600 Weather Observation:
45°, clouds and fog. Forecast for the day: clouds and fog, drizzle, touch of sun, around 60
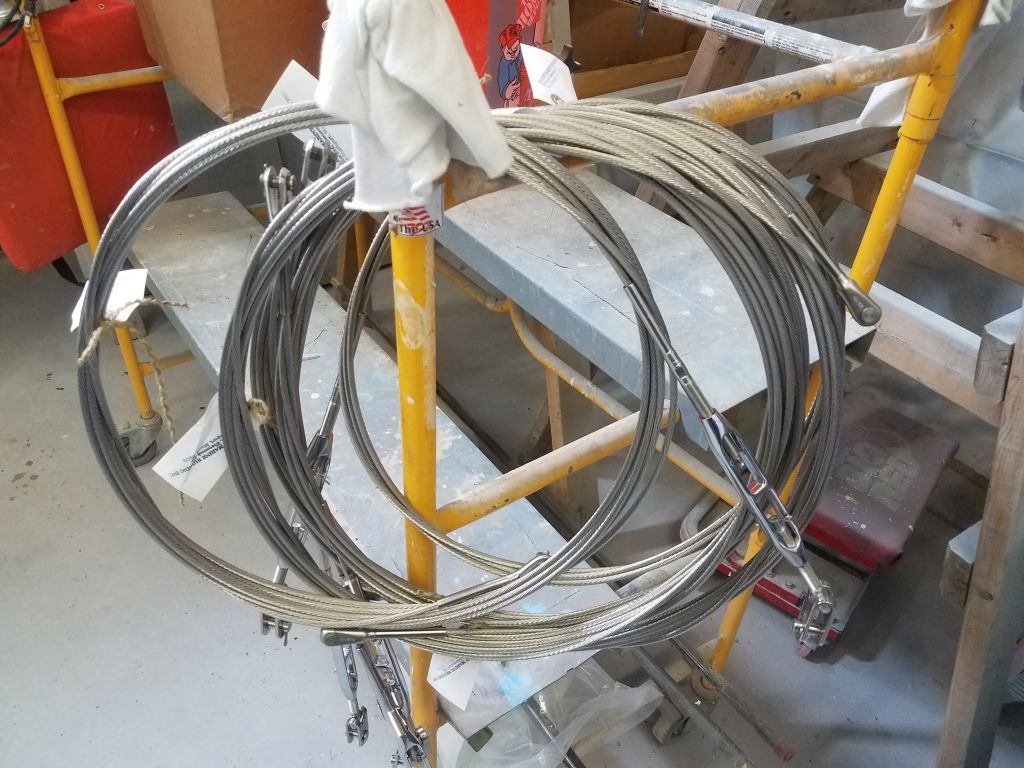
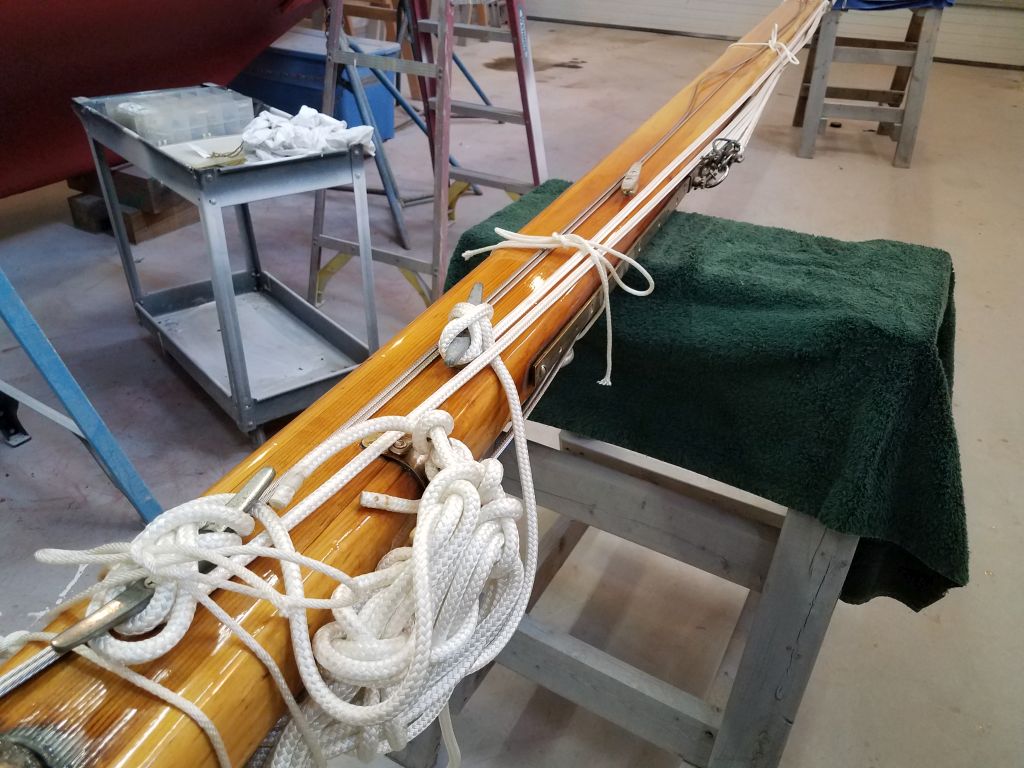
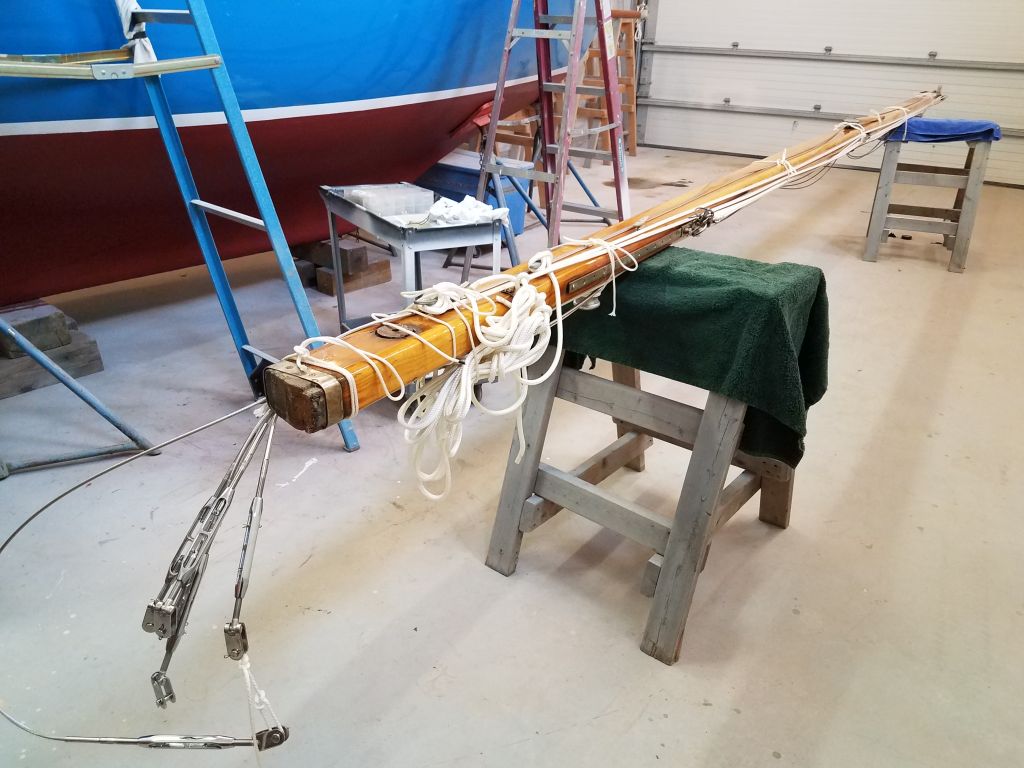
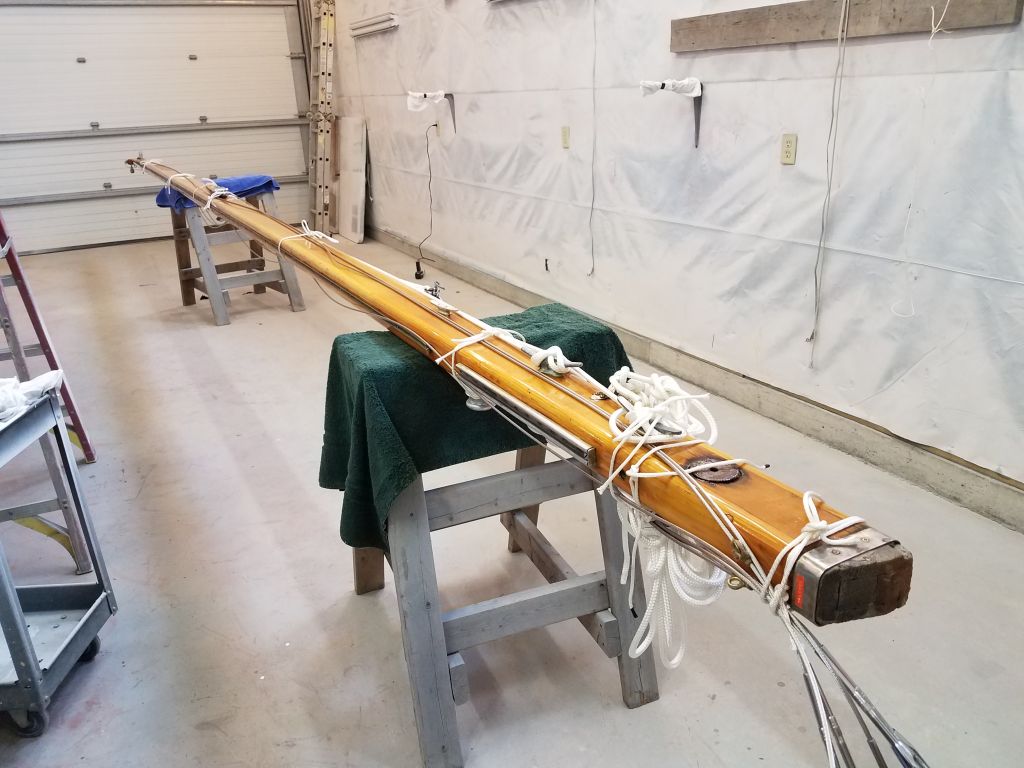
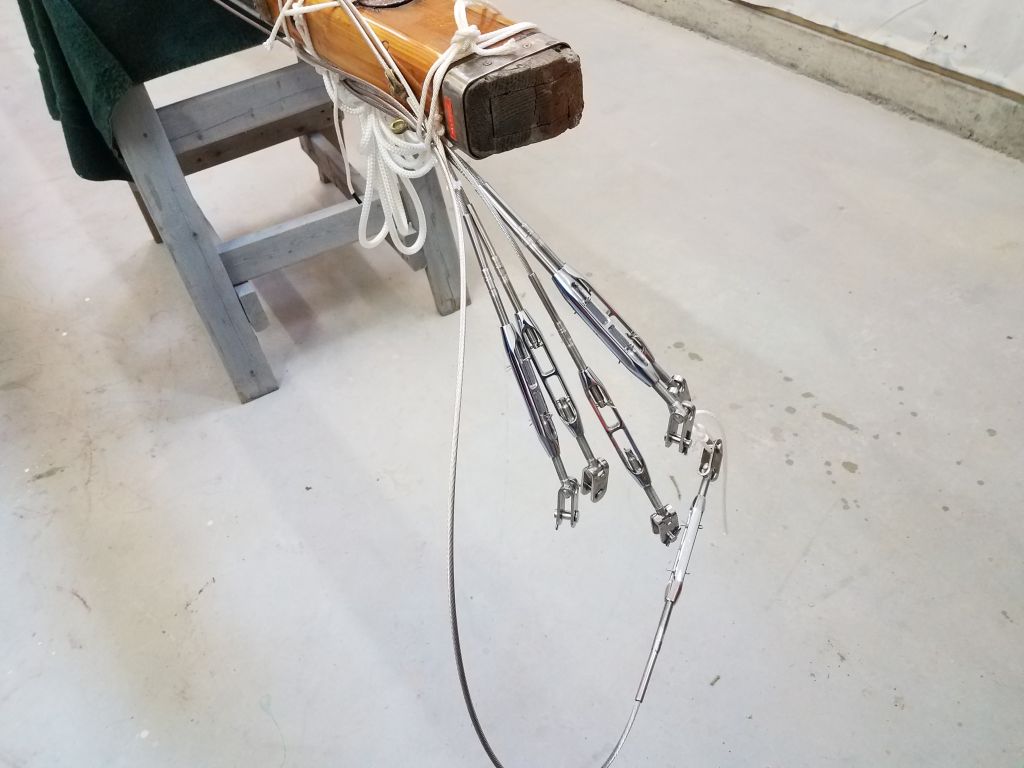
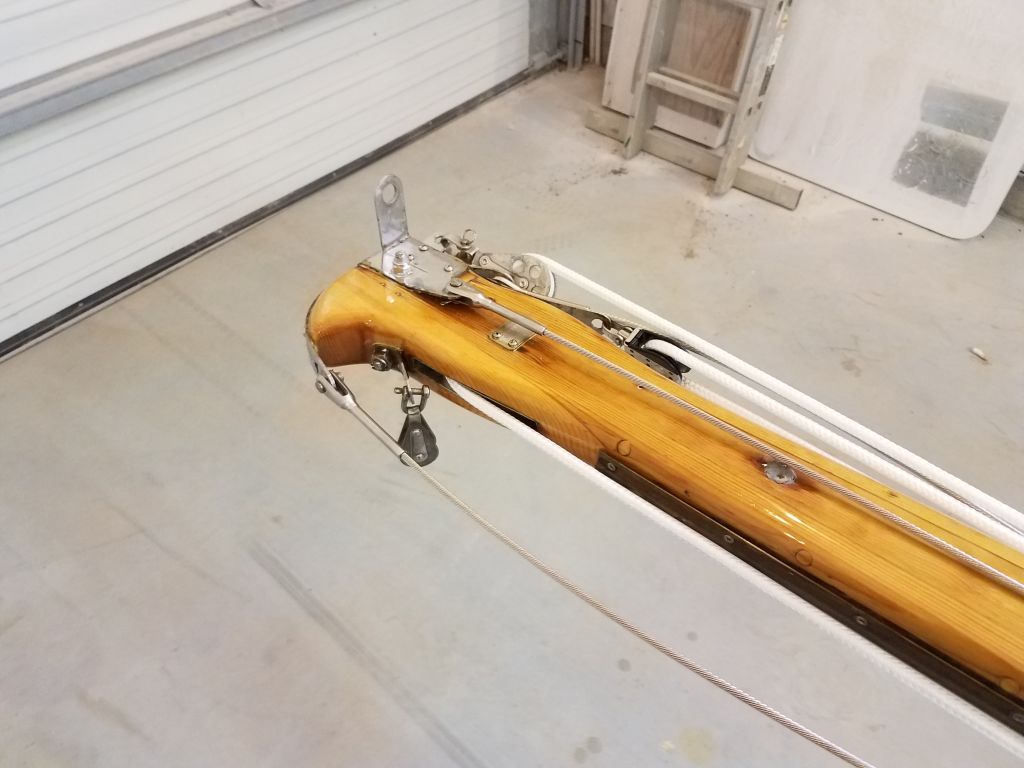
The replacement rigging–both running rigging (halyards) and standing rigging–was now complete and on hand at the shop, so I spent some time installing it on the mast, stringing the halyards and reconnecting the rigging before securing things for storage and transport. The only apparent hiccup was that the new boom topping lift was too short–inexplicable since the original, which I’d provided for replication, was clearly and obviously longer. I contacted the rigger to arrange for him to supply an appropriate replacement, and I’d finish installing it later, once it arrived.
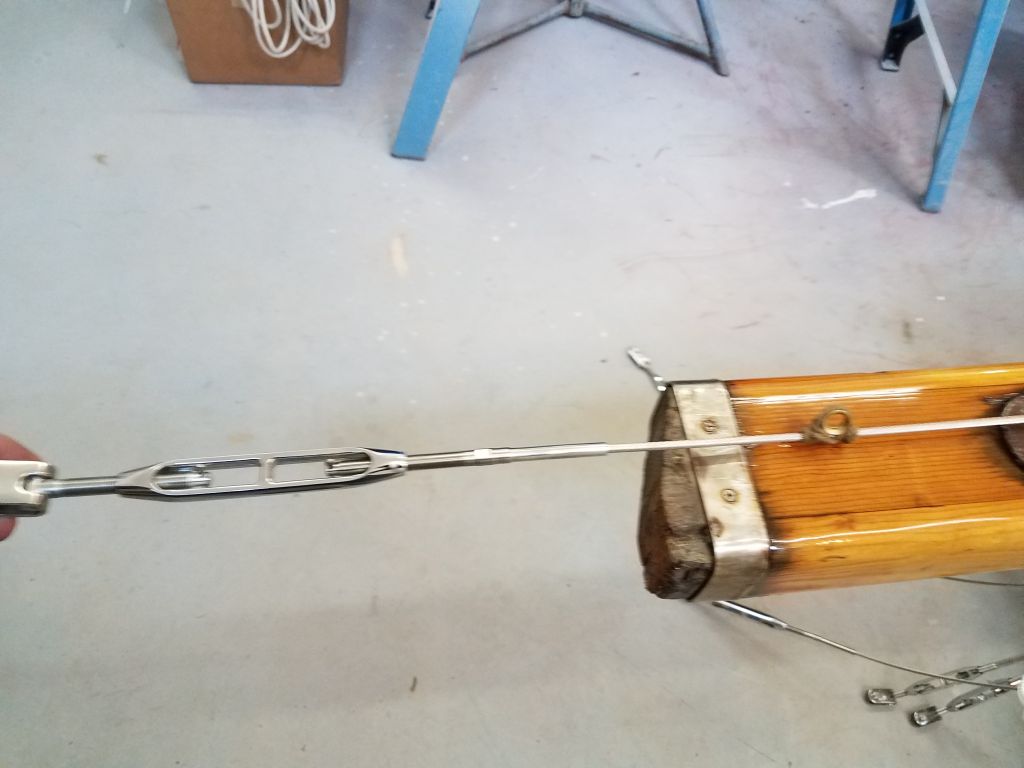
To support the lifelines where they ran outside the cap shrouds, I lashed bronze ferules to the stay at the appropriate height–about 18″ from deck–to match the height of the after stanchions. Once the mast was stepped, the lifelines could be disconnected at the turnbuckle aft and run through this ferule, with minor adjustments possible in the lashing depending on the real-world situation when all was said and done.
The final project awaiting completion now was the new interior and cockpit cushions, which were on order and had been patterned already, but final completion would likely be a few weeks hence.
Total time billed on this job today: 2 hours
0600 Weather Observation:
30 °, mainly cloudy. Forecast for the day: Mostly cloudy, 40s
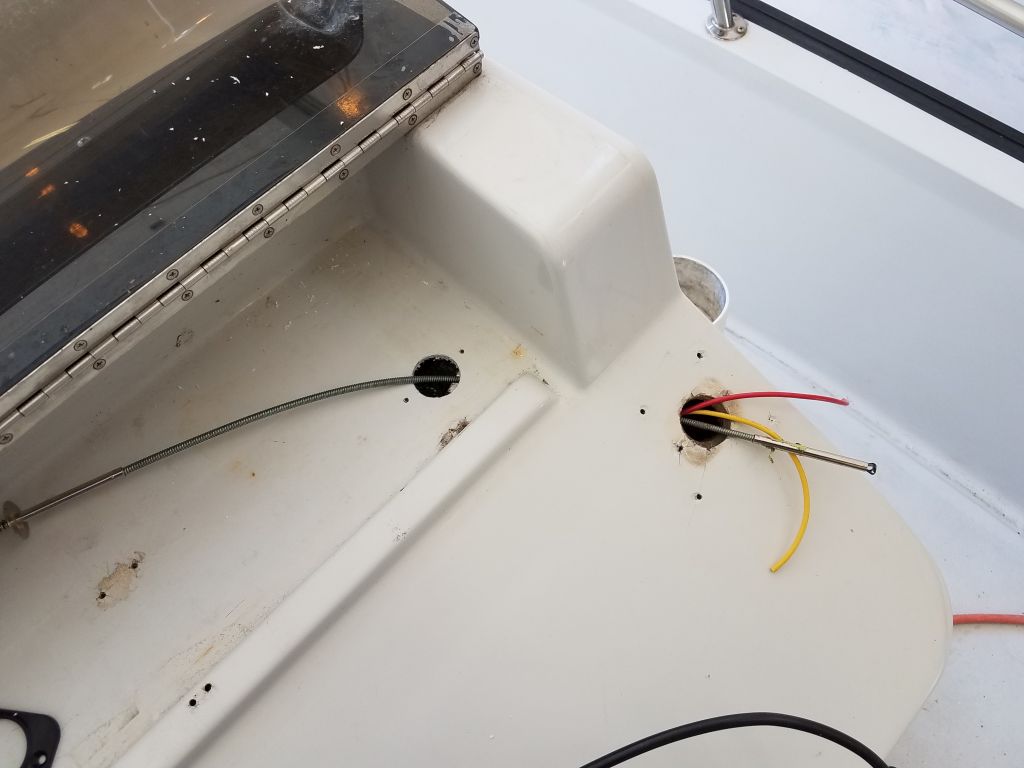
To begin, I returned to the bow light and its decrepit wiring. With the old wiring kaput, the only way to return the light to operation was to run a new wire to the fixture, but this seemingly simple ideal was complicated by the boat’s construction, and the fact that the wiring to the bow was led–and could only be led–inside the void between hull and cockpit liner, in this case along the starboard side. I thought the prospect of stringing new wire through here was dim, and it didn’t take long for my fears to be realized. I figured the manufacturer had installed the wires before the boat was assembled, and that there would be no provision made for future maintenance, access, or replacement. These wires entered the hull void through the liner in the aft compartment, near the stern light, and the prospects for wiring access at that location were minimal as well.
By prior agreement with the boat’s owner, I planned no heroic measures in attempting to repair the fixture, but hoped perhaps I could eke out a solution nonetheless. And of course everyone knows that Whalers are filled with foam between the two sections, so I figured it was highly unlikely there’d actually be space in there for a wire snake. I tried not to laugh out loud when the owner said he hoped there might be a wire conduit. What a comedian! (Actually, I think I failed and did laugh, or at least chuckle, out loud.)
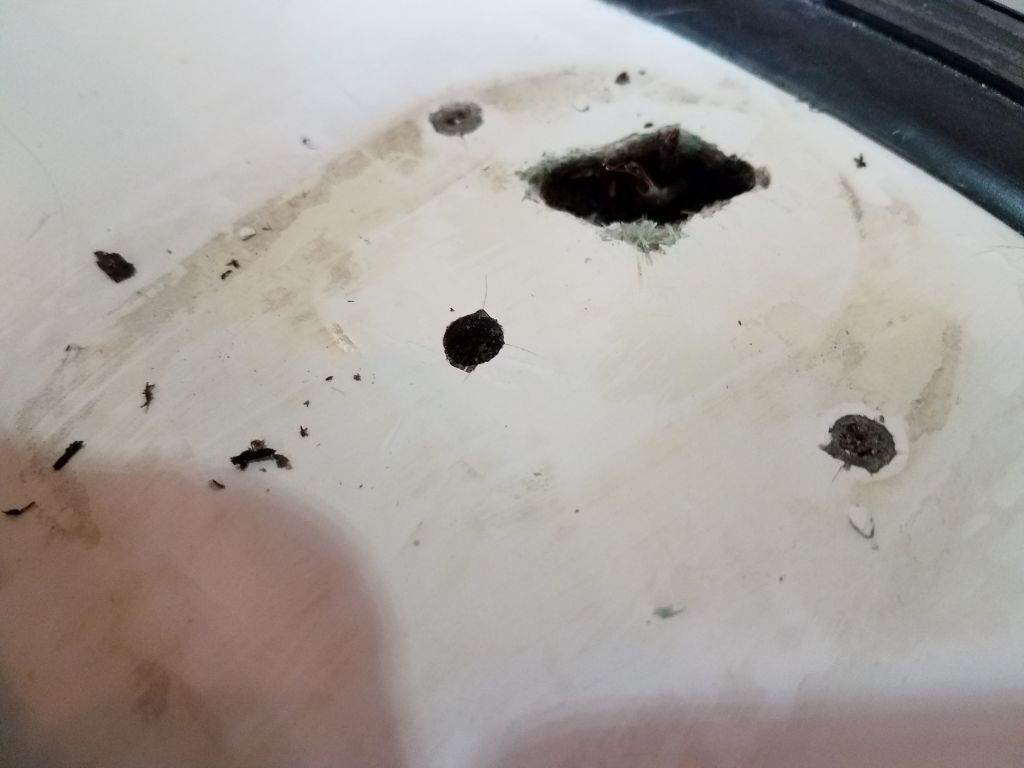
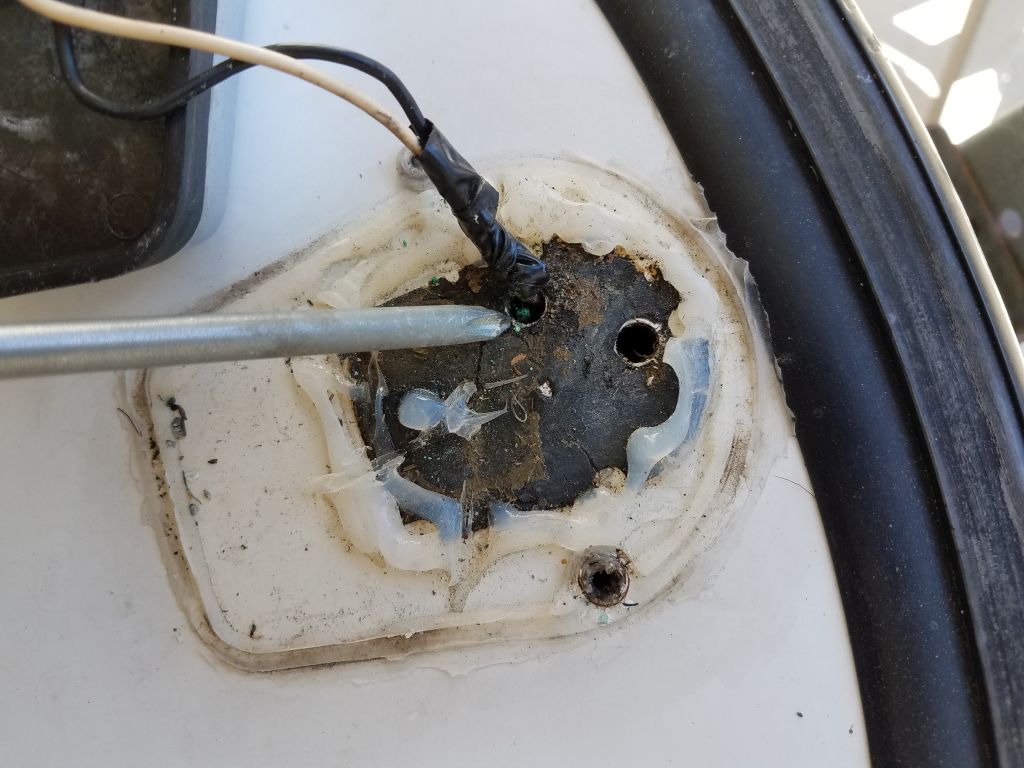
The existing wires, when they were whole, had led through a smallish hole in the foredeck, and regardless of anything else, this hole would be too small to snake new wires. So my first step was to enlarge the hole to reasonable dimensions. This exposed a couple thicknesses of plywood beneath the deck, presumably there not only for stiffness but also as the main structure to which the various hardware–pulpit, lighting, etc–was secured. The thickness and configuration of this was such that immediately my hopes of pulling in a new wire were permanently dashed–it would be a fool’s errand to try.
For a brief, shining moment I entertained the hope that there might be a way I could expose enough of the existing wire to somehow crimp on new butt connectors, thereby saving the day to great accolades. With the larger hole, for this little blip of time I thought it looked possible, and I made the effort. But there simply wasn’t enough wire there, and no way to pull any more, though I tried. All this did was break the existing wire further down. Blame bad installation, construction corner-cutting, and an utter lack of reasonable foresight on the part of the builder.
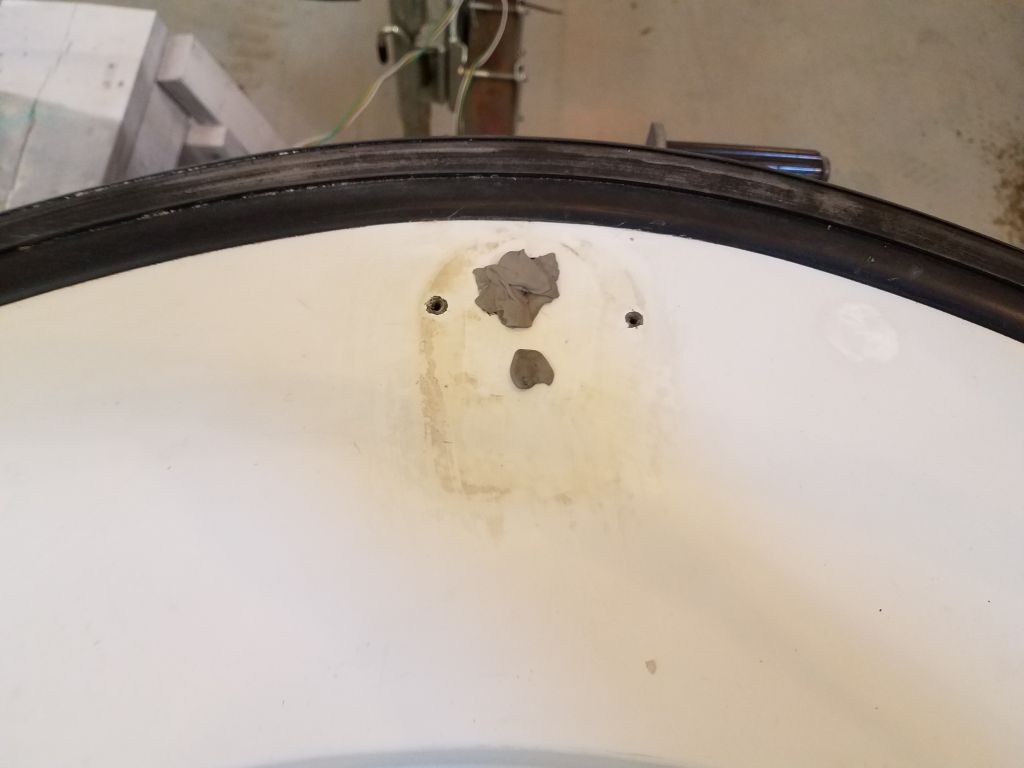
This ended my attempts to repair the existing light, and I stuffed the new hole with sealant, sealed the screw holes, and reinstalled the now forever-dead fixture. The owner would replace it with a portable battery-operated set of lights for those unlikely times they might be needed in this boat.
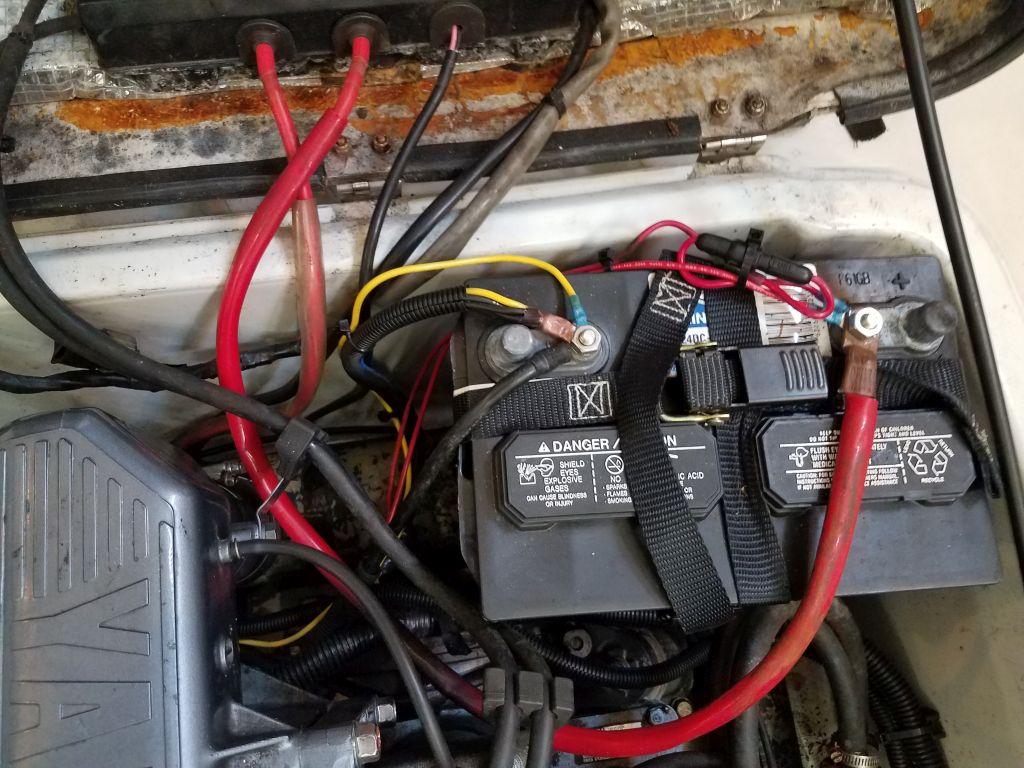
I’d taken apart some of the original wiring harness inside the console during my diagnosing, troubleshooting, and wiring maintenance earlier, so with wiring tasks now complete, I resecured the wires within the split loom and secured the harnesses appropriately inside the tilting console. I added a fuse for the wire leading from the battery to the switch panel at the helm, as the original fuses built into the panel were broken yet some form of simple overcurrent protection was needed. Of course there was plenty more that could be done to improve the electrical system, but the job scope mantra was functionality of certain items without spending untold hours on a basic boat that was essentially fulfilling its requirements as it was.
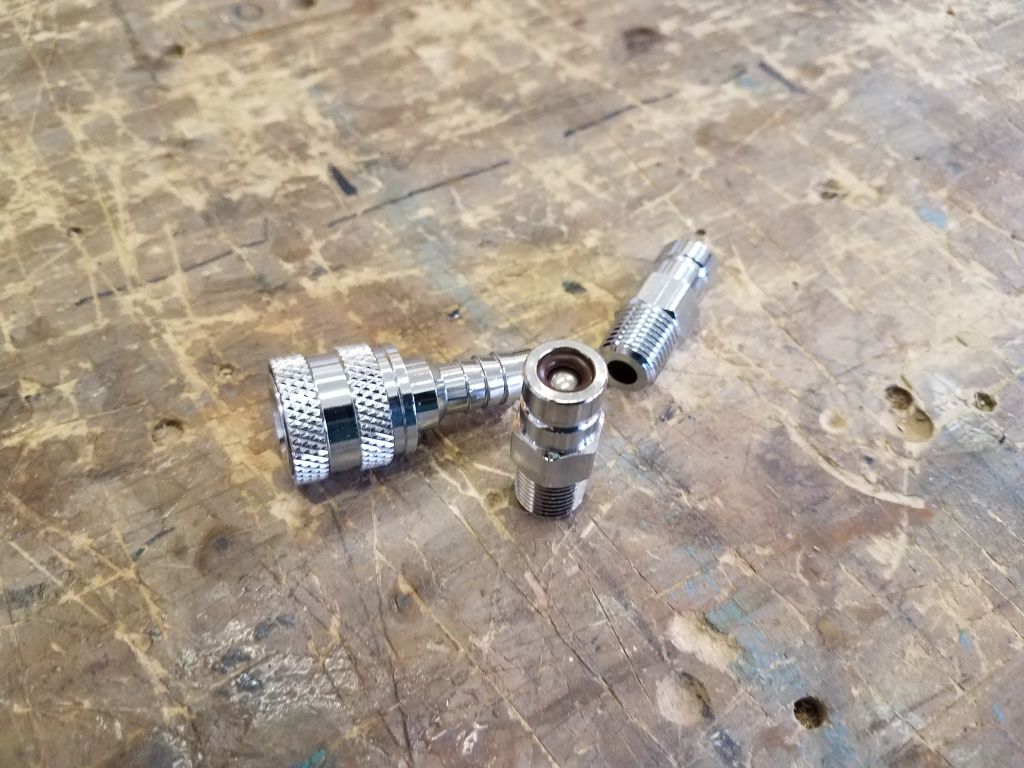
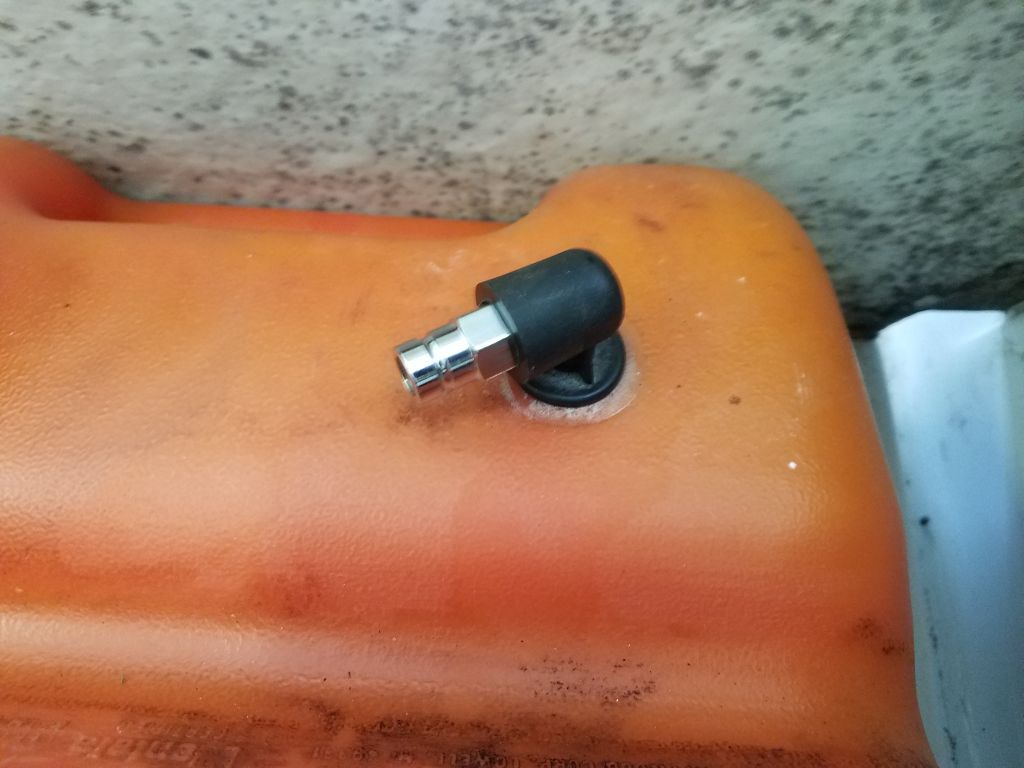
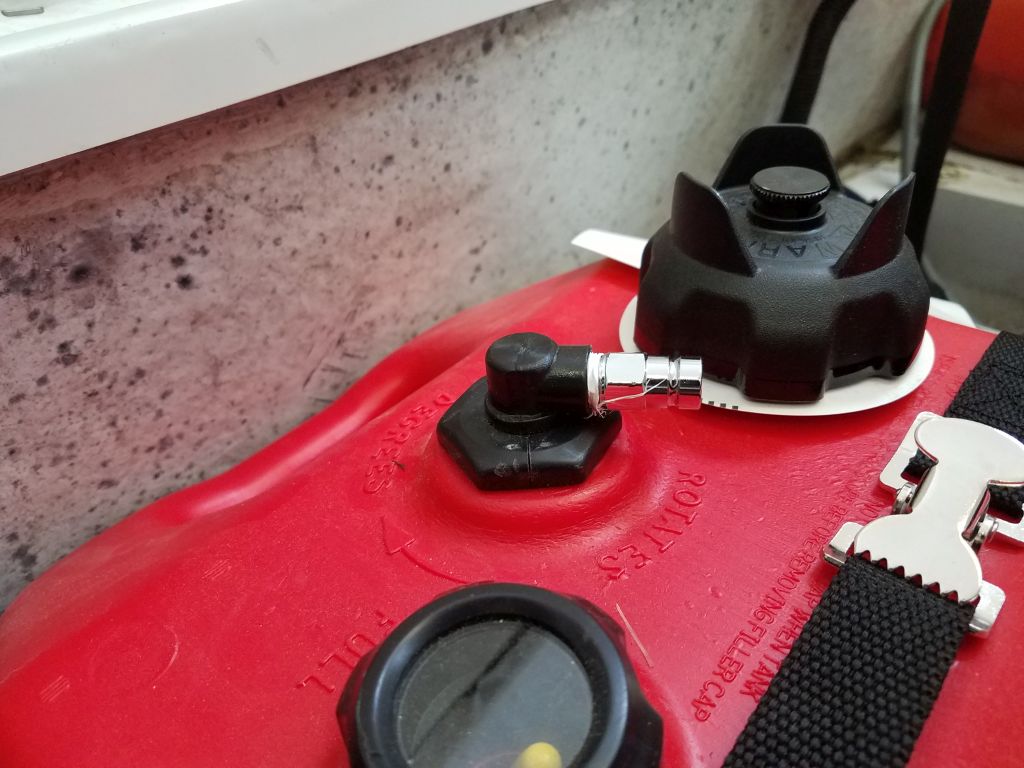
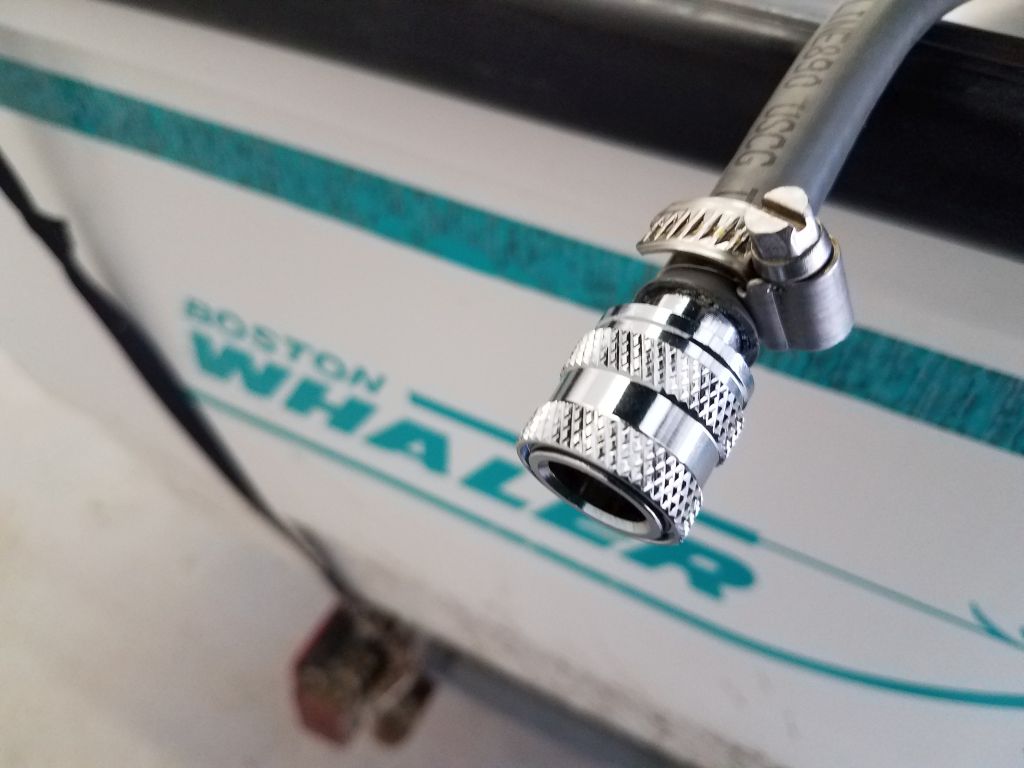
The boat had come to this owner with a single portable fuel tank, and he’d purchased a second one. But the second tank required a fitting to mate with the existing fuel hose, which had these weirdo plastic fittings in place–I just didn’t like the fitting style, as it seemed harder to operate, more prone to squirt fuel when attaching, and just plain cheesy in appearance and operation.
Rather than try to match those, which I didn’t recognize, I purchased new brass fittings in a style that I liked, with an easy mating action. These happened to be the Nissan/Tohatsu style, which past experience had shown me to be a thoughtful design, but I could have chosen anything I wanted since I wasn’t actually mating with a pre-existing fitting on an engine. With two male fittings on hand for the tanks, and a new female fitting for the hose end, it was a snap to prepare the new and existing tankage for easy swapping as needed. To finish up the installation, I installed a new strap to secure the second tank; the original tank already had a strap in place.
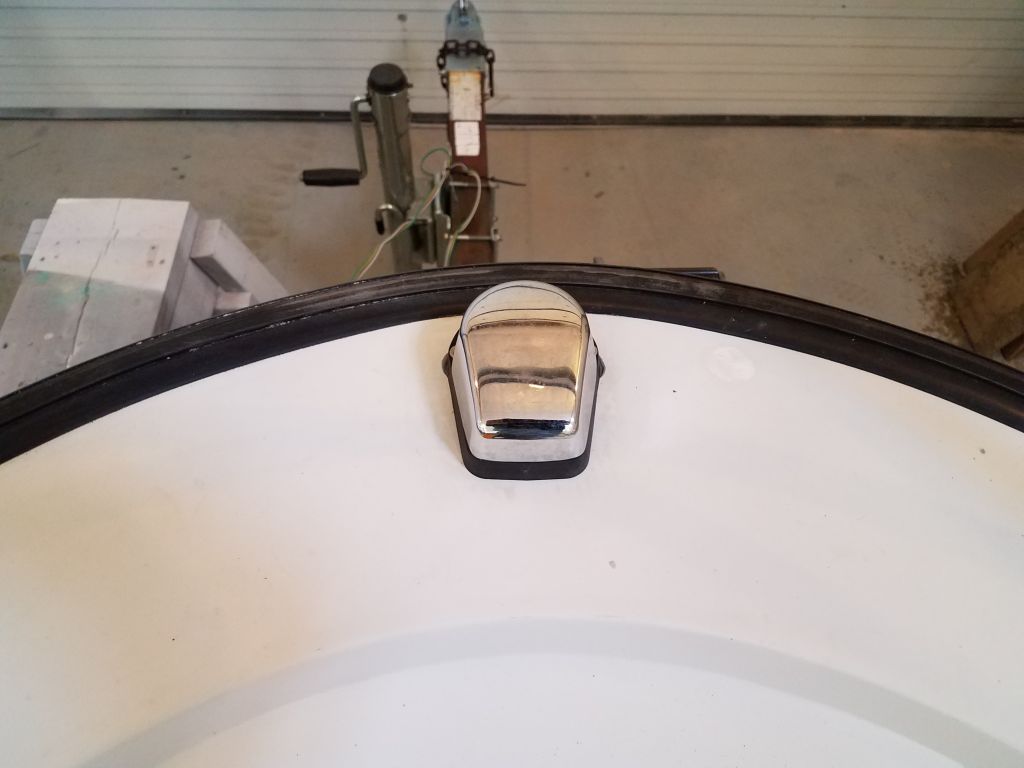
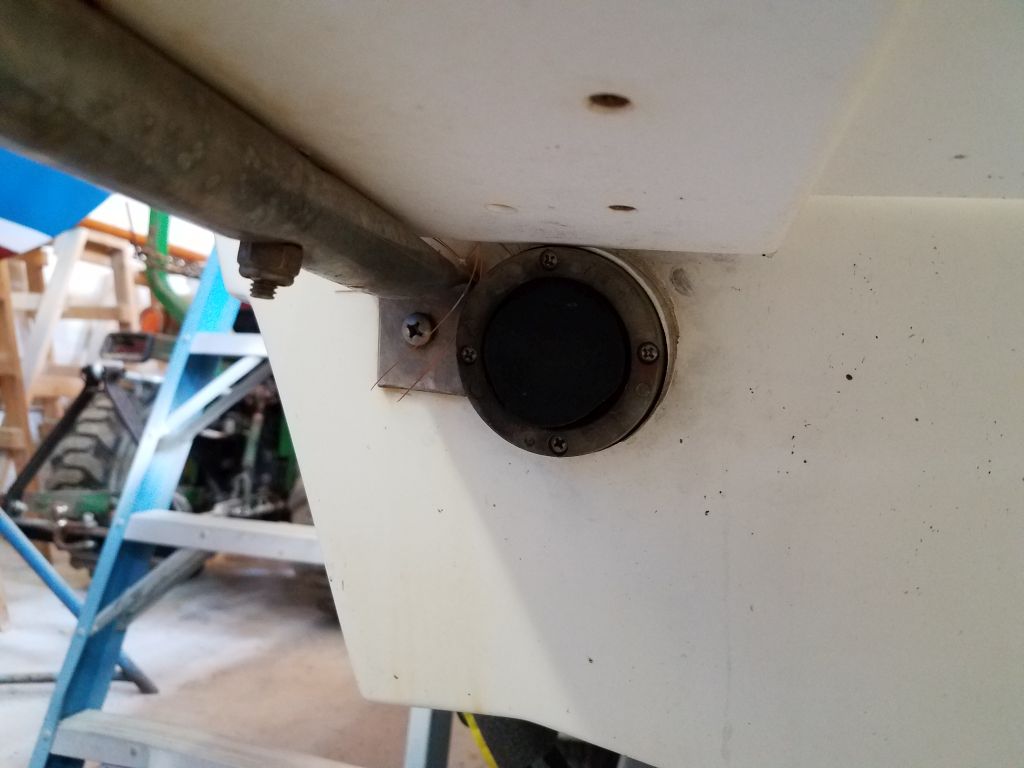
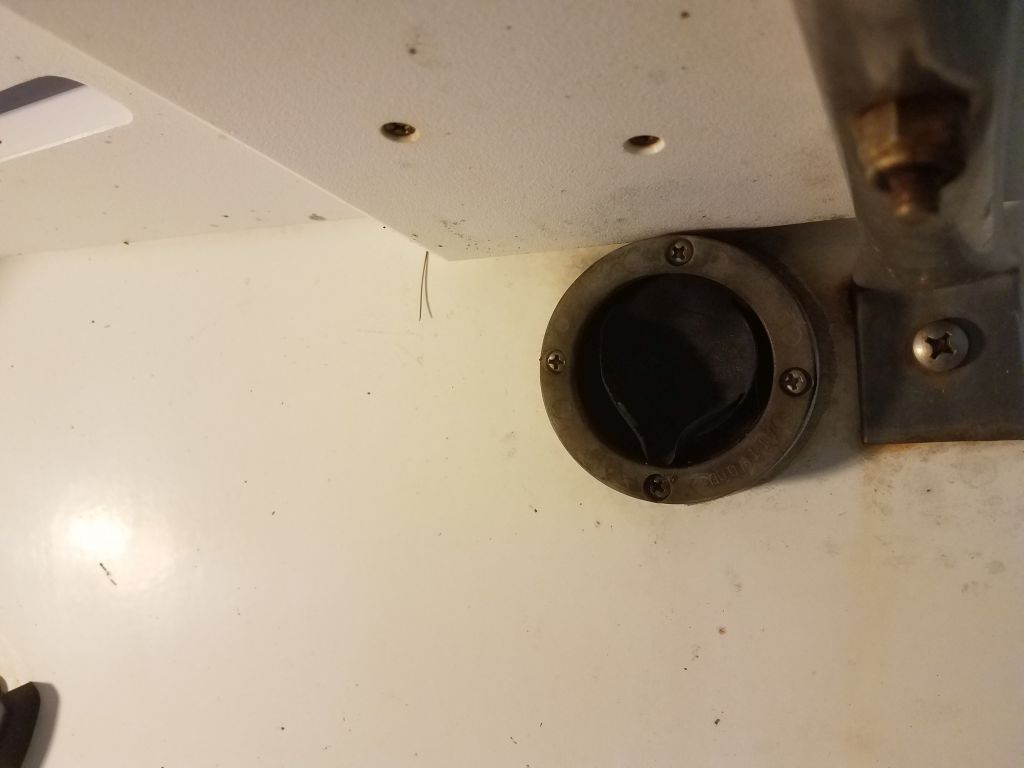
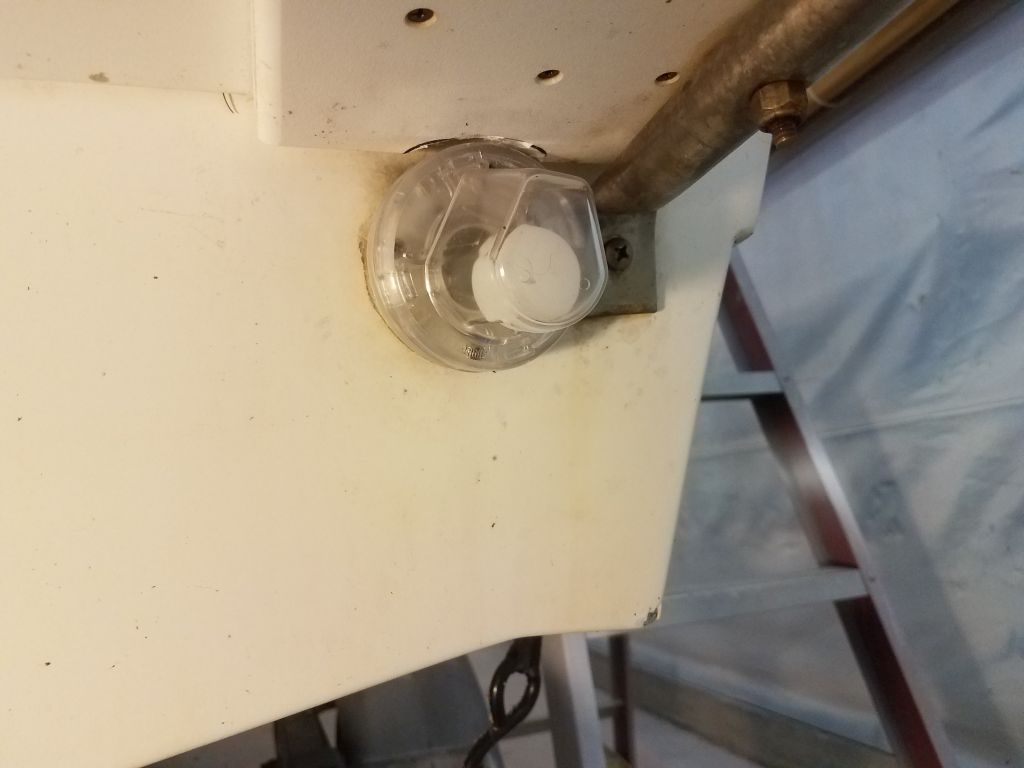
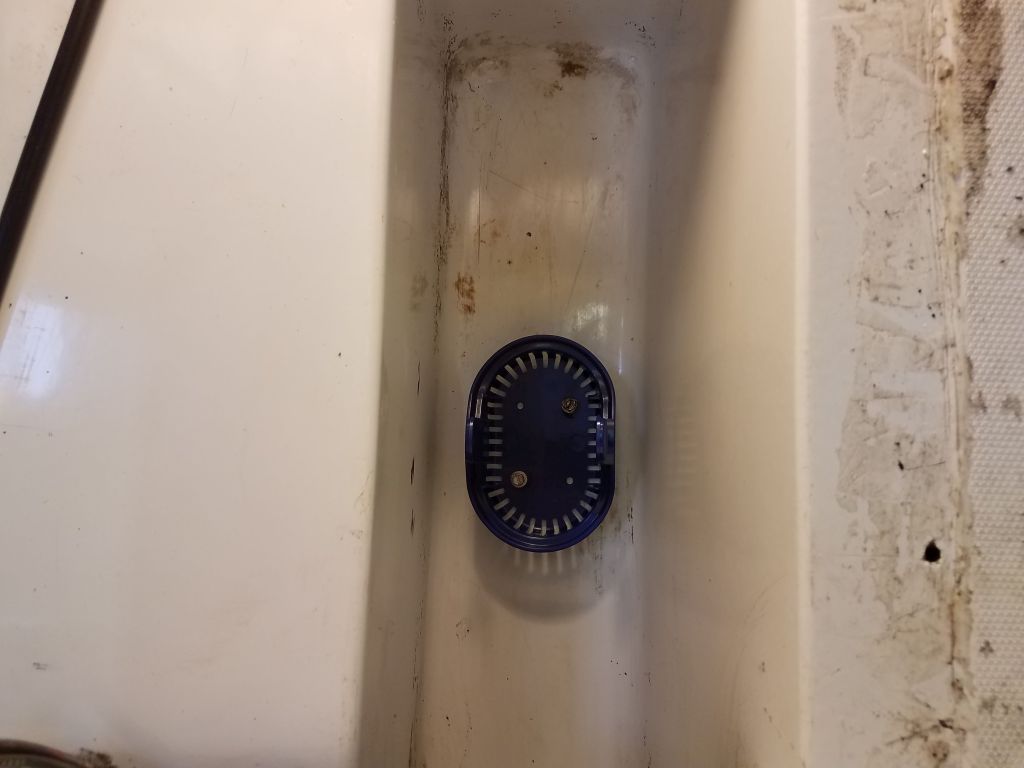
The boat’s self-bailing cockpit relied on the most basic of flapper-type scuppers at the transom. These were intended to prevent undue inflow of water while still allowing proper drainage, but the simple design was just adequate at best, and now, with the rubber flappers dried and shriveled with age, not even that.
I purchased aftermarket scuppers that incorporated a little ball inside, which would float up and seal against the scupper when backing down, or when the scuppers were submerged at rest. After removing the old fitting–four small screws–installation was straightforward, with only the most minor of complications. The little swim platform, made of cast plastic, was a bit too close to the tops of the scupper housings in the transom, and the new fittings, which were slightly larger than the old and also required access to twist on (or off) the main housing for cleaning, interfered with the swim platform.
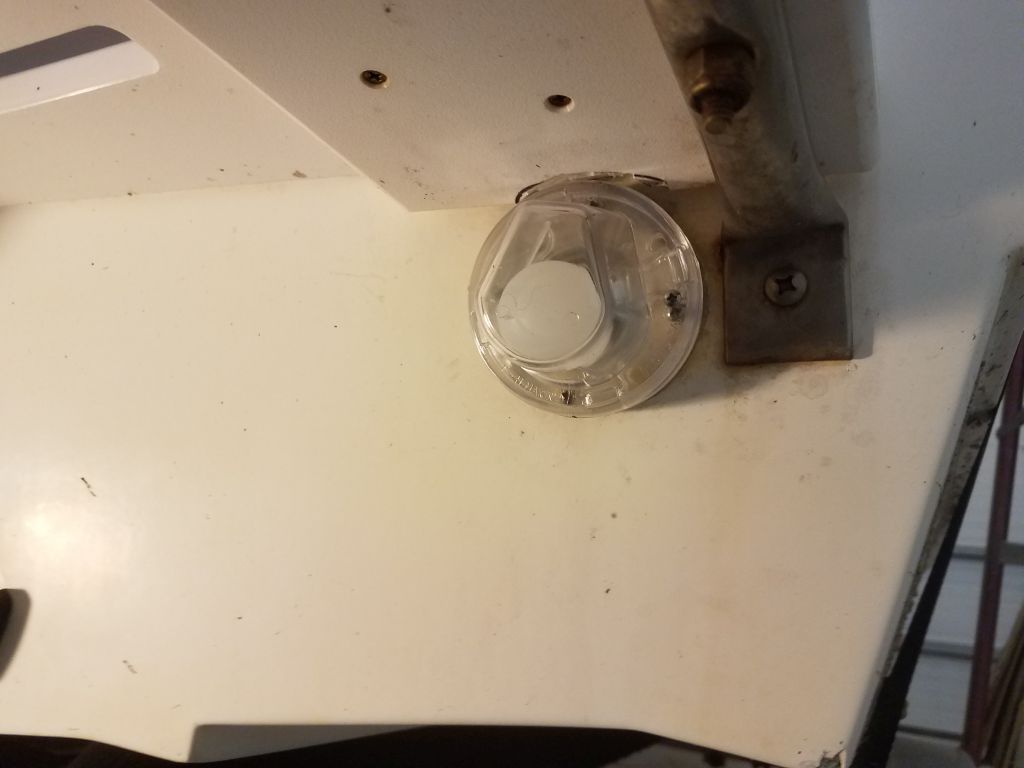
Fortunately, this was an easy fix. The protruding part of the swim platform was actually a doubler plate, so this left me ample material in place and allowed me to chisel out a small portion directly over the scupper fitting, providing me with the access required for the new ones without compromising the actual swim platform. Once I’d done this, the new fittings fit over the existing hole pattern, and I screwed them in place before twisting on the external part of the housing containing the little stopper ball. To remove these in the future for cleaning, there’s a small setscrew on one side (this prevents the housing from being spun off accidentally) that must be loosened, then the plastic housing twists a partial turn counter-clockwise for removal.
This ended my task list on this boat. I planned to swap this boat for another of the owner’s small boats int he near future, and continue the odds and ends work list then.
Total time billed on this job today: 2.25 hours
0600 Weather Observation:
37°, partly clear. Forecast for the day: sun and clouds, 40s
A long-time customer with several small boats asked for help taking care of a laundry list of small tasks spread amongst the various boats. So we set up a time where I could travel to his location to work on a few tasks.
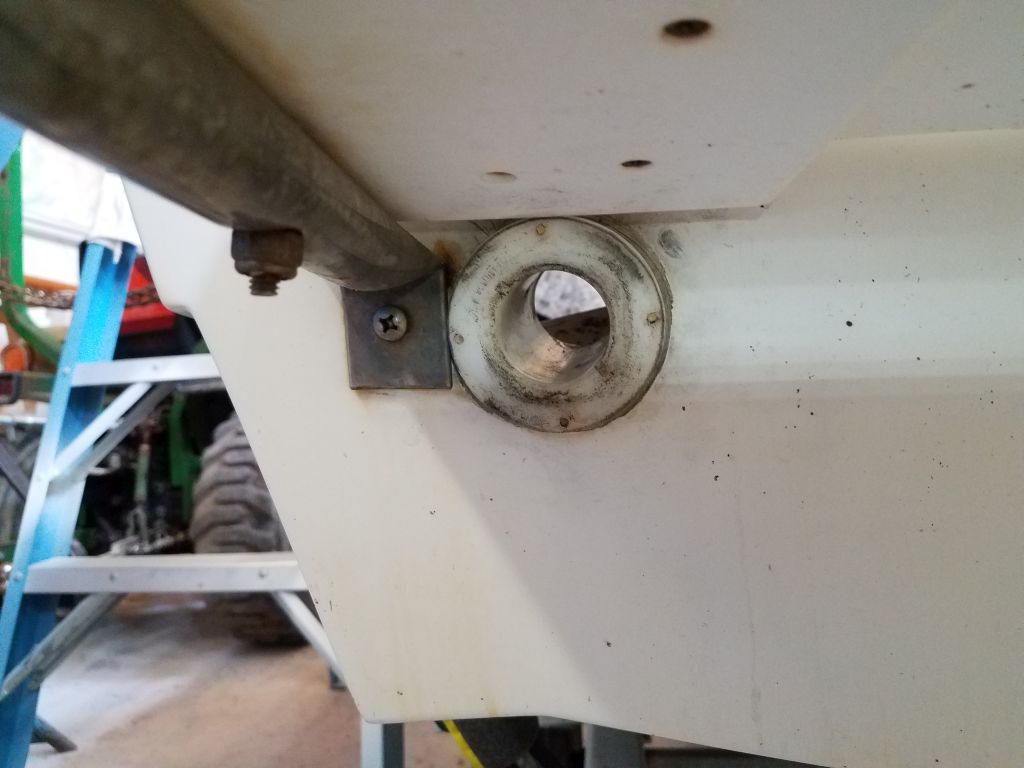
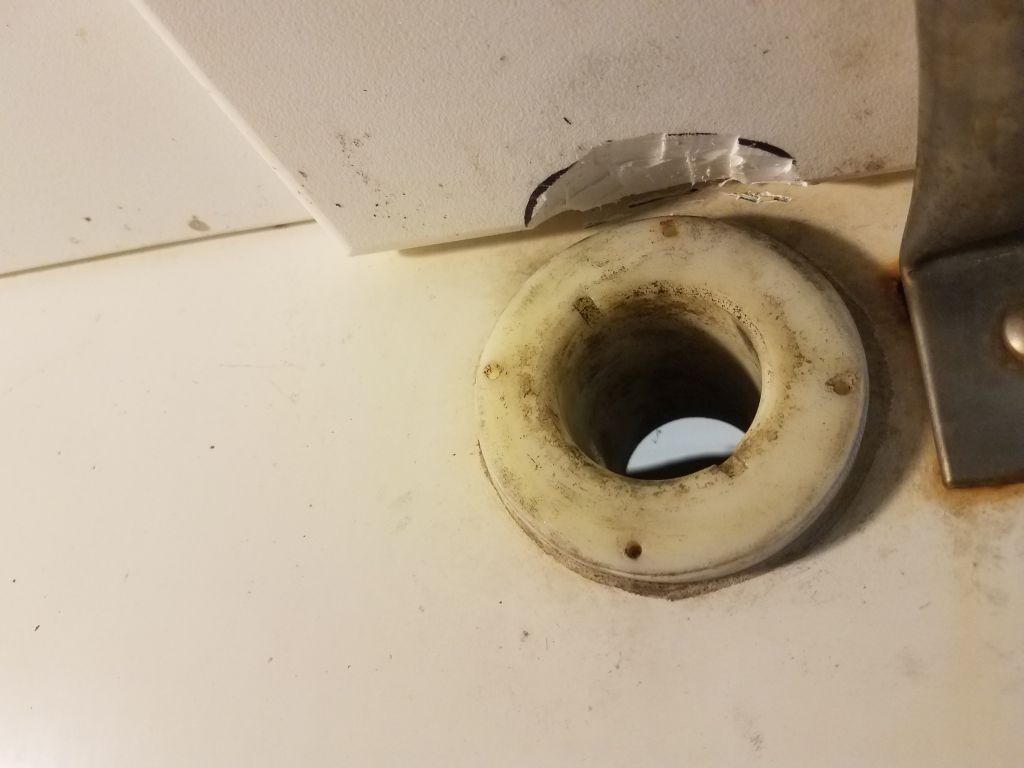
The first order of business was to intall a new garboard drain in his 26′ powerboat; the boat had never had a hull plug installed. The main concern in this case was that since the hull was balsa-cored, the owner wanted to be sure the new hole was properly prepared. Therefore, I initially planned the installation over two days, thinking I’d need to bore out the hole, ream out any exposed core, and fill the area with epoxy before being able to install the fitting itselt.
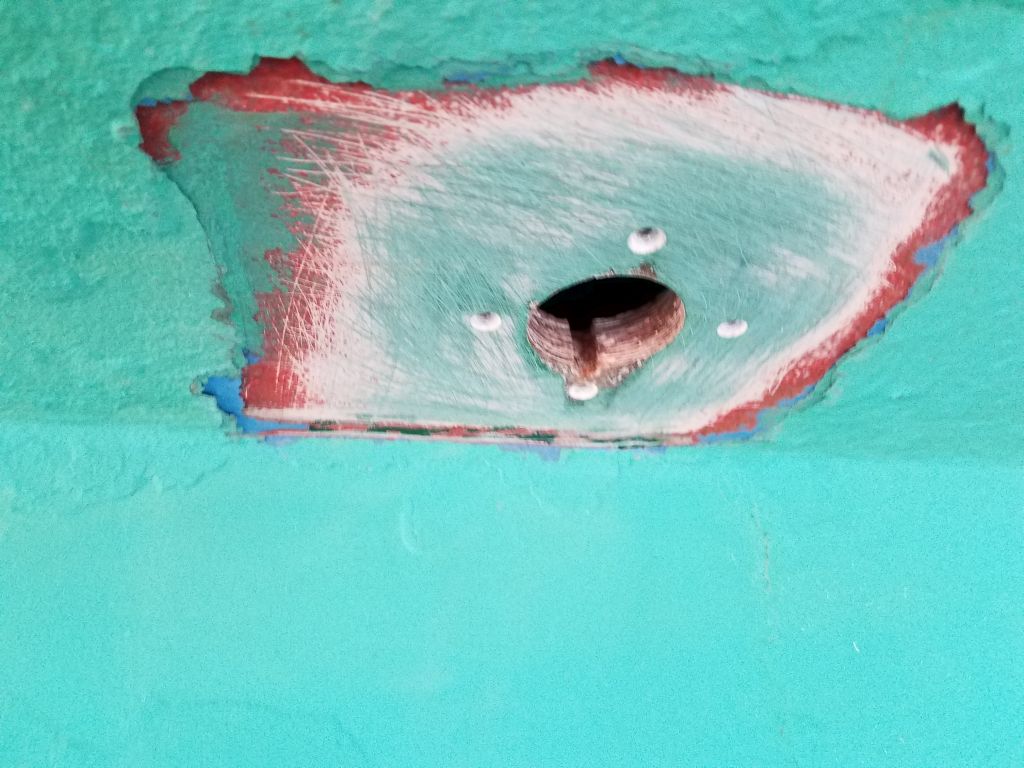
As it happened, the location where the plug needed to go was outside of the edge of the hull coring: the core ended short of the centerline, so there was a nice clear area of solid fiberglass in just the right location. This streamlined the installation significantly, as I could complete the job in one session.
From inside the boat, I drilled a small pilot hole to mark the location from the outside (it would have been easy enough to simply measure too, but since I could fit a drill in I went with the pilot hole). Then, from outside, I removed the various layers of paint down to bare gelcoat before boring the proper-sized hole for the bronze garboard fitting. I finished it off with a small slot for the cast key on the fitting (this helped prevent the fitting from ever spinning). and prepared the fastener holes with a #10 tap to accept machine screws.
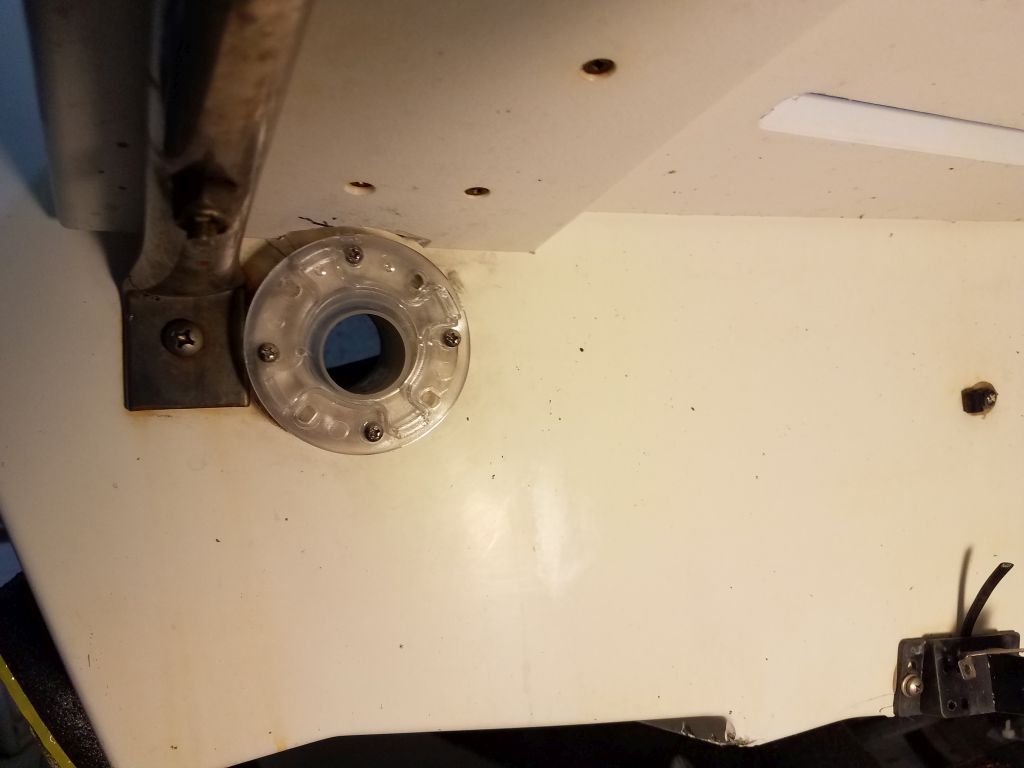
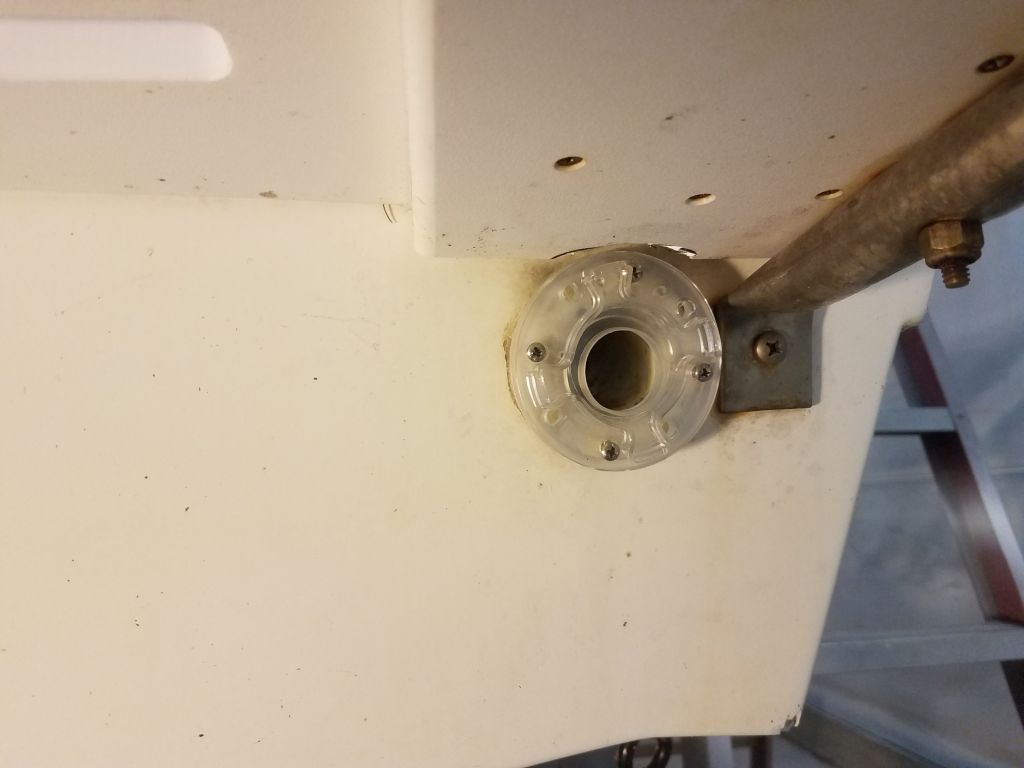
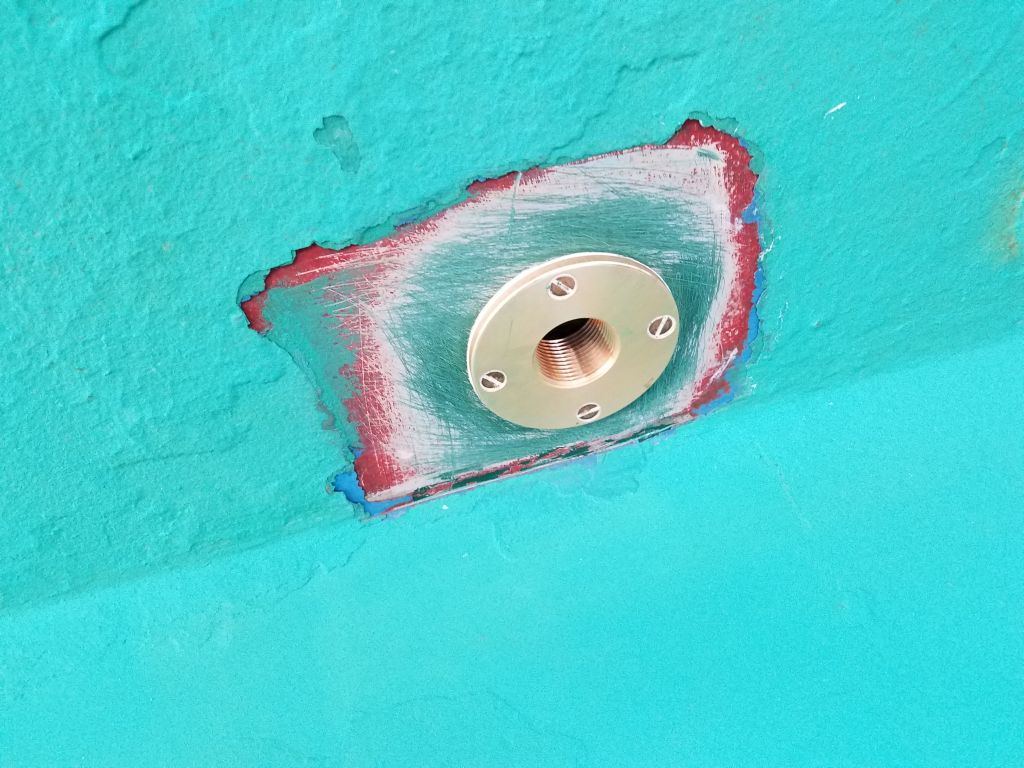
Afterwards, I installed the new fitting with plenty of polyurethane sealant (4200) and bronze machine screws. This completed the task list on this particular boat. (1 hour)
Crosby Striper
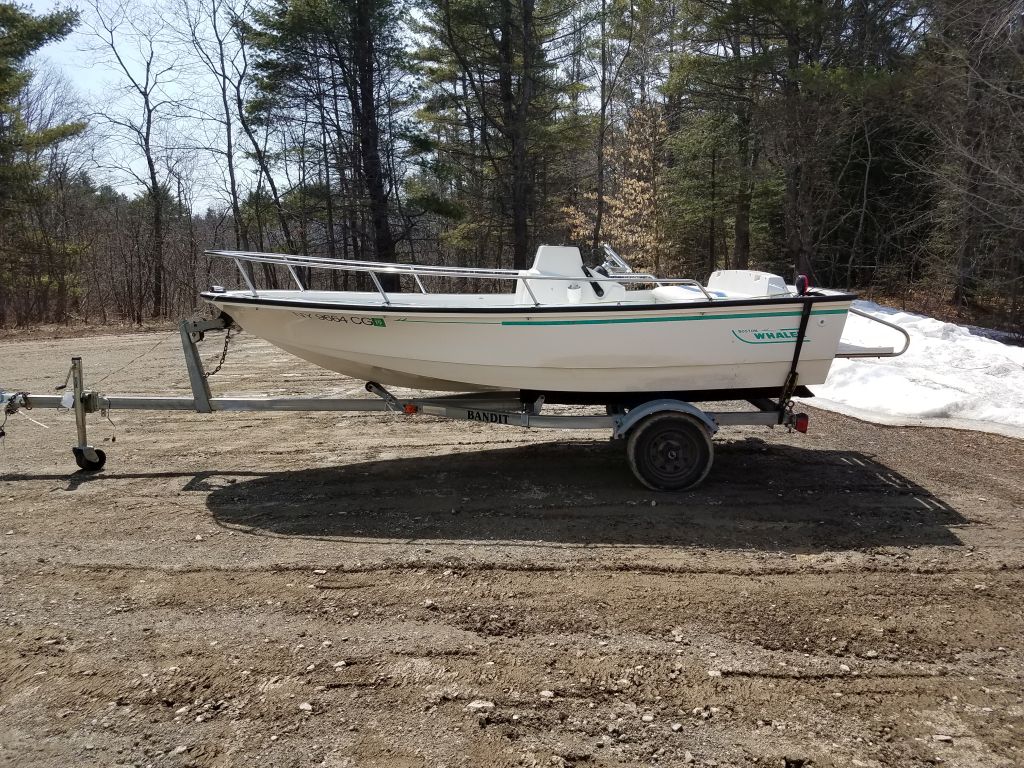
Now we repaired to the owner’s home nearby, where other boats awaited. Next on the agenda: a small jet-powered Whaler with several deceptively small electrical and other tasks on the list. After pulling the boat from its storage location and removing the cover, we started to assess and discuss the project list. While I was prepared for electrical work with tools and basic supplies, it soon became apparent that there would be quite a bit of material shopping required, and also that the task list was a bit more involved than I’d expected, so with the boat on a good trailer I decided it’d be most efficient to simply take the boat back to the shop for the work. (This turned out definitely to be the right decision.)
Once I had the boat back at my shop, I went through things and made up an order for the various materials required so I could have them on hand when I was ready to start the work after a short break.
Monday, April 17
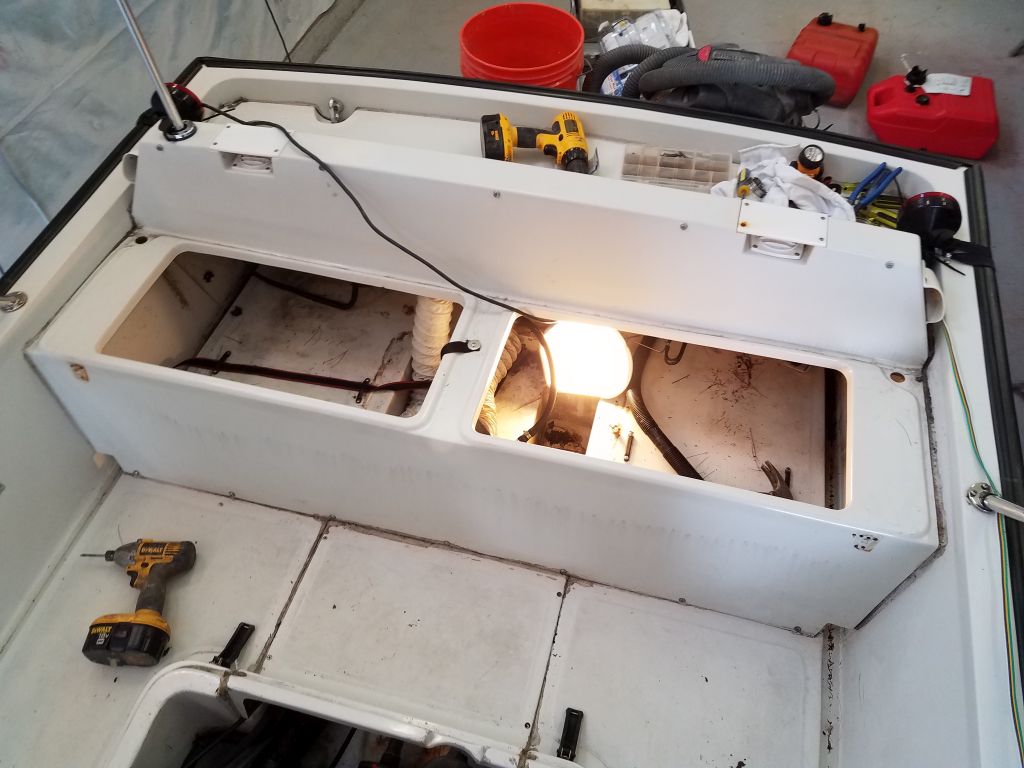
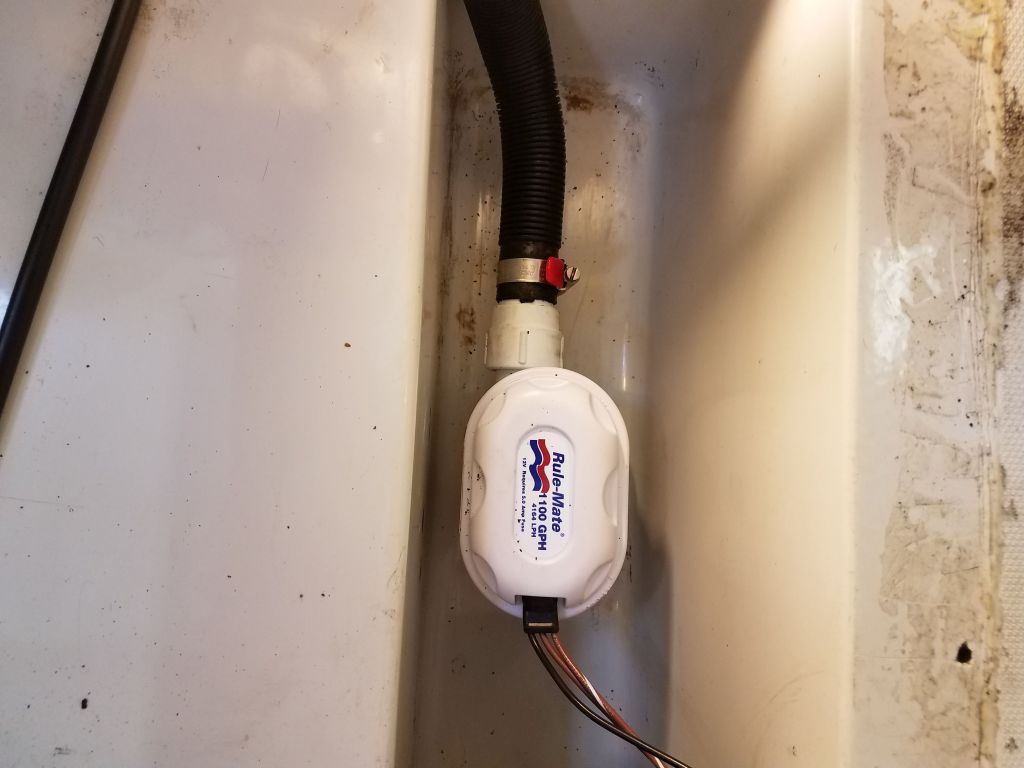
Now properly equipped with various supplies and materials, I got down to business. The first item on the list was to replace the existing manual electric bilge pump with an automatic pump, as the owner expected this boat to stay in the water this season. The way the boat was configured, the pump was located aft beneath a flip-up seat. The seat filpped forward towards the cockpit, and this made accessing the space behind awkward at best, so I decided to remove the seat–two hinges only, but everything about the configuration made access extremely awkward at best. I couldn’t see the top screws from either inside or outside of the boat, and couldn’t get a screwdriver onto the other sides of the screws when the seat was flipped open (and couldn’t, obviously, reach the nuts when the seat was down). What a foolish installation, but eventually, and with far more effort than anything should require, I managed to get vice grips on the nuts, after which I could spin out the screws with the seat flipped down. Once the seat was off, access to the area behind was easy.
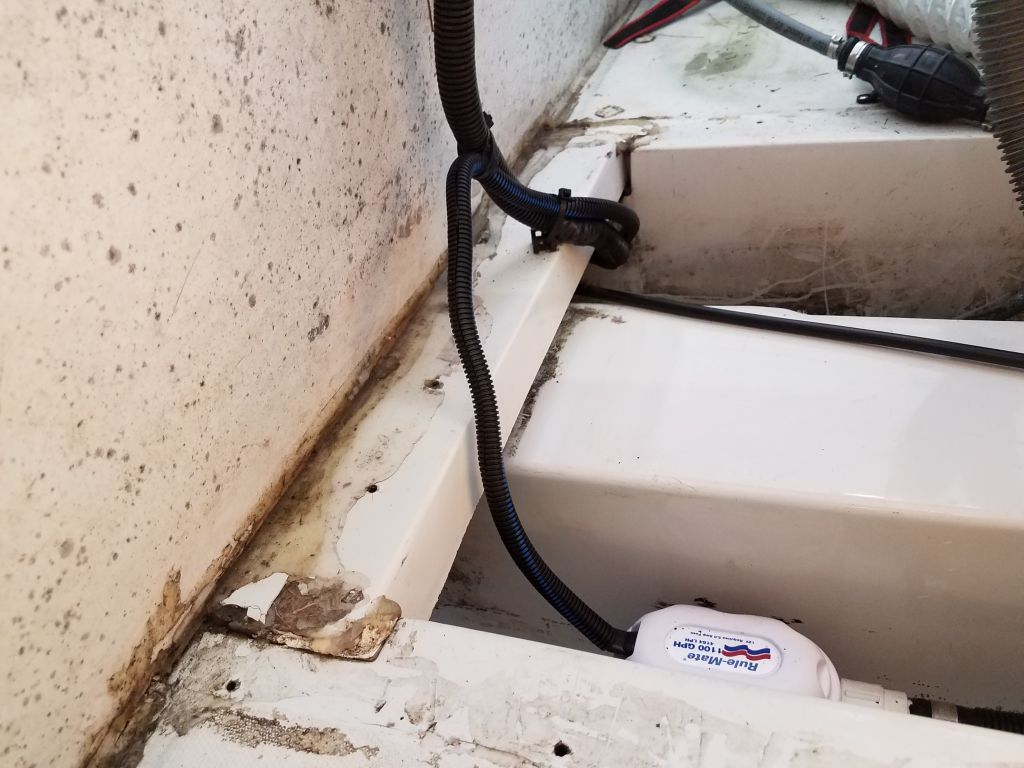
The existing pump was in a small well, and removing it posed no problem. I saved the existing discharge hose, but decided to run completely new wiring rather than try and reuse the existing wires; I’d need a third wire in any event, as there were only two leading to the manual-only pump.
Next, I cleaned up the bilge a bit and installed the new pump, a straightforward task. I sealed the old mounting holes, as well as the new ones, with butyl sealant, and secured the existing hose with a new clamp.
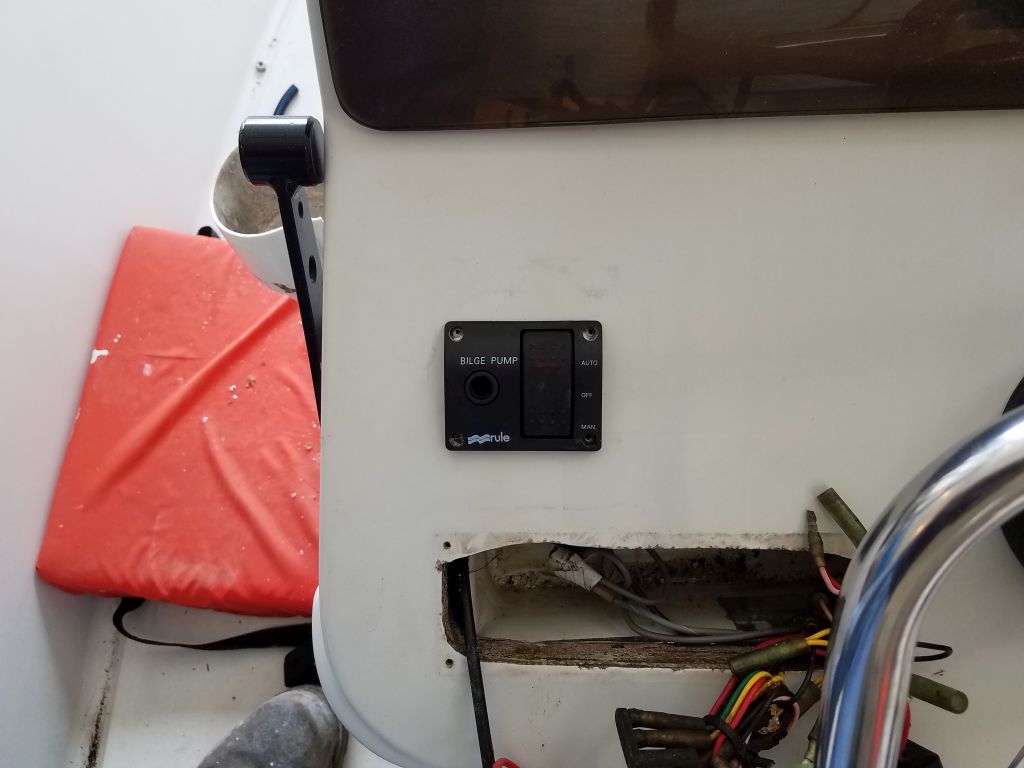
I made up a new harness of three wires encased in split loom, to match the existing wiring setup, and led it aft, where I connected the three wires to the pump’s own pigtails. Then, I led the wires up into the console, where I prepared an opening for a new bilge pump switch and made the connections.
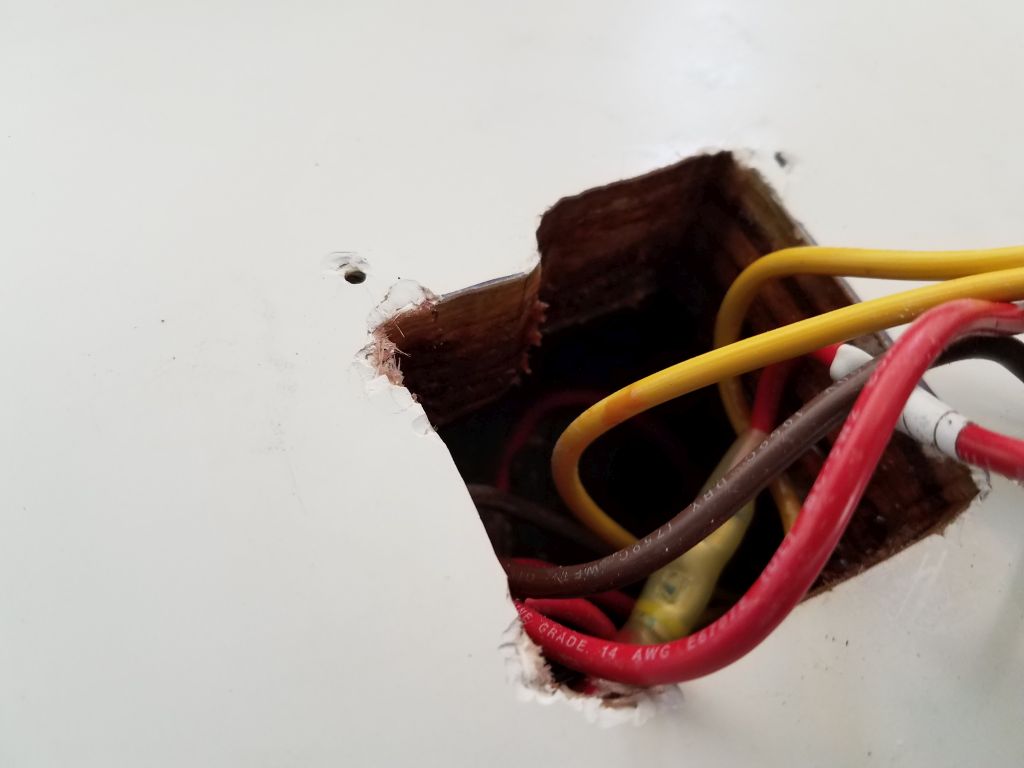
Before installing the new switch permanently, I used some epoxy resin to seal the exposed plywood within the opening, seen in the final photo.
Now that the wiring was complete, I tested the pump, both manually and with the automatic function. As seen in this video, the pump has a small button on its forward side, which one can push and hold for 5 seconds to trigger the automatic operation for testing purposes.
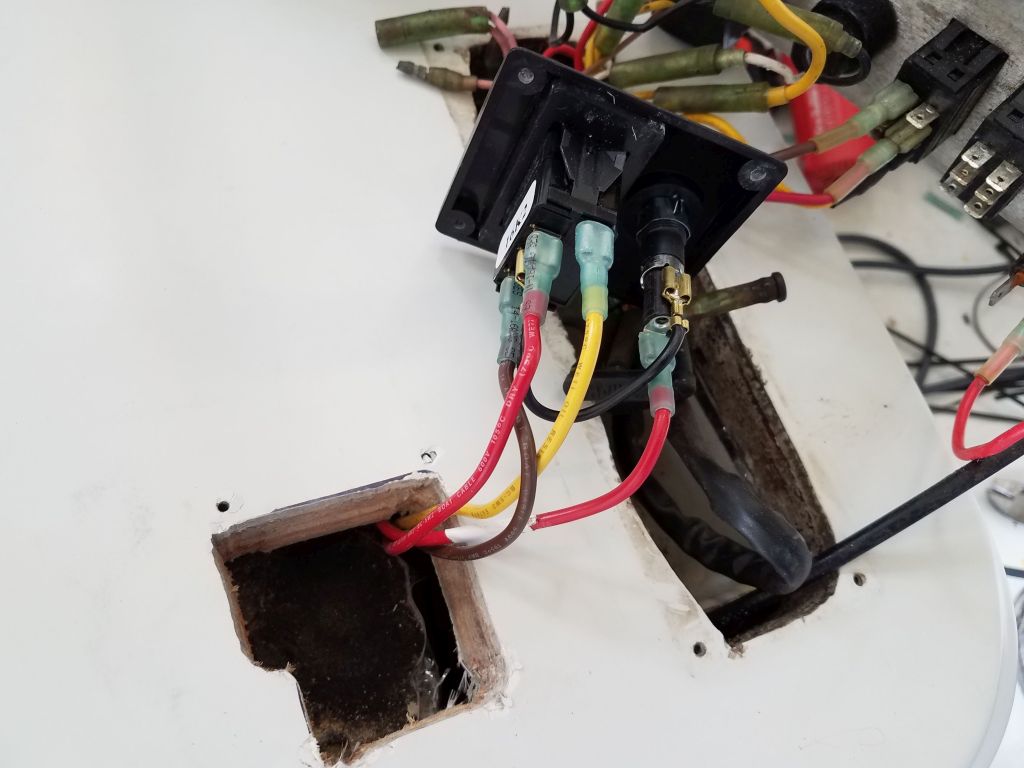
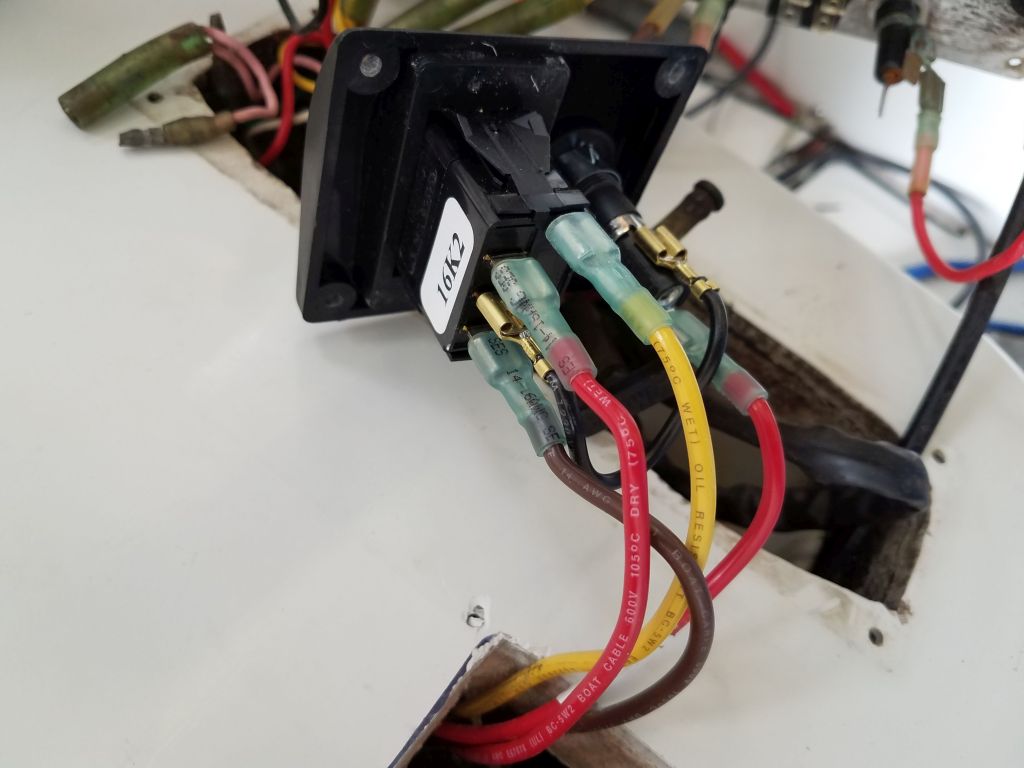
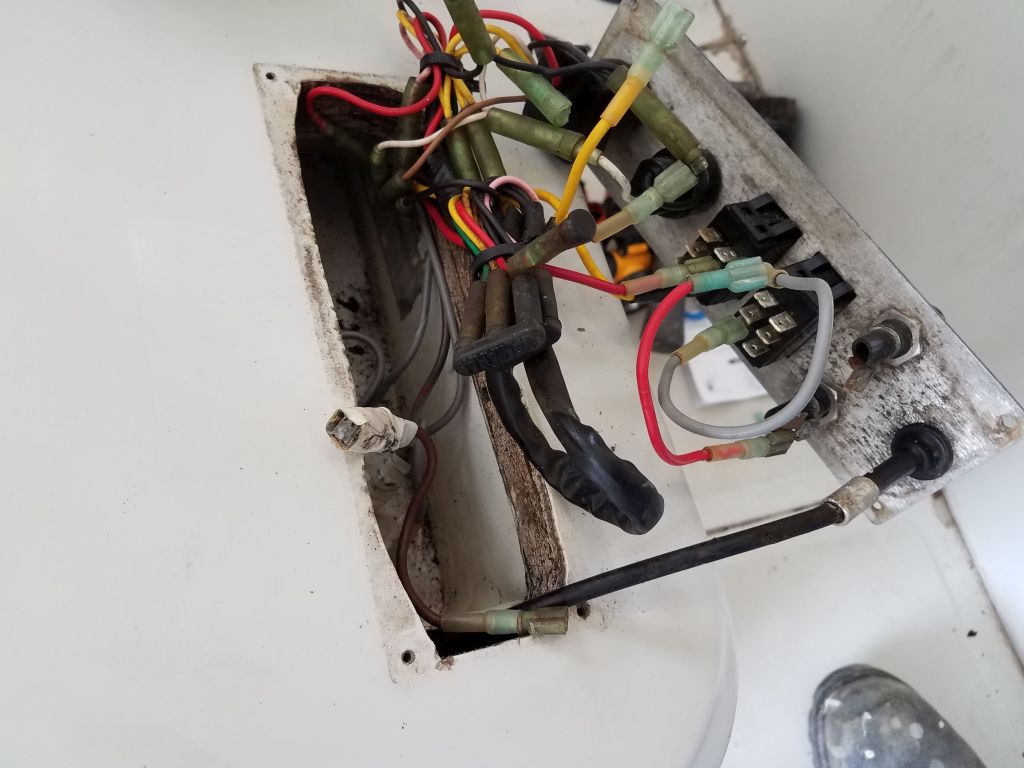
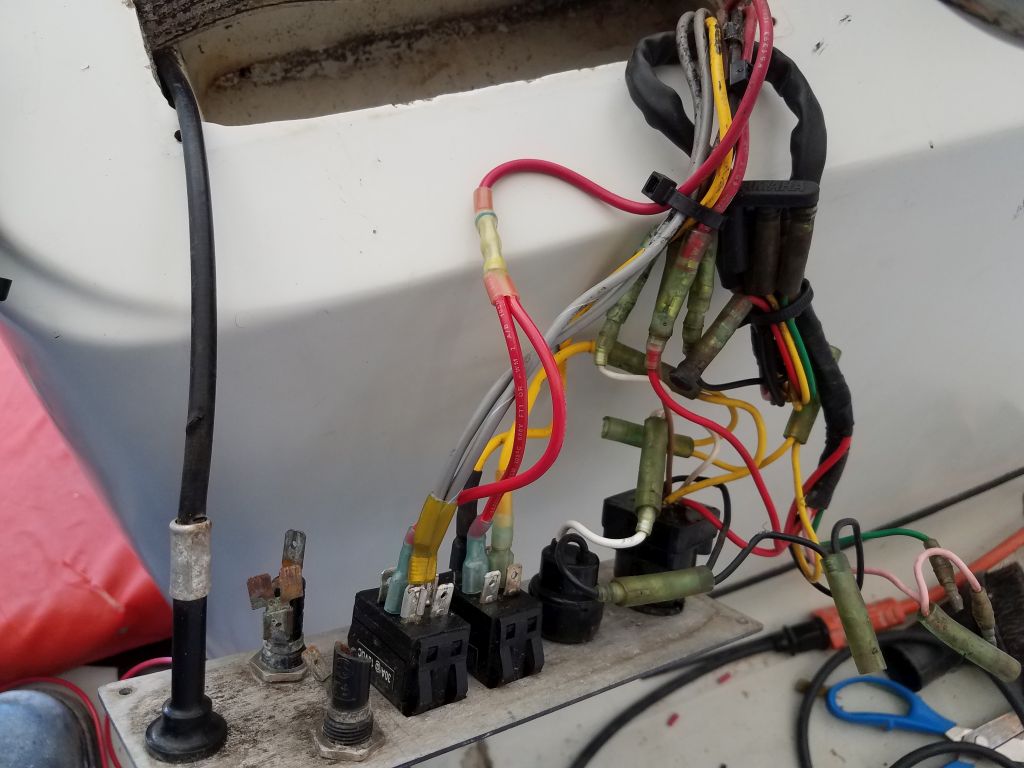
During this installation process, I had cause to open up the existing panel, in the console. The wiring behind was a mess of loose and disconnected wires, many of which had pulled off when I removed the panel, so I had to sort through that as I prepared for the next items on my list. I removed several old wires left over from the original bilge pump installation, and cleaned out various jumpers that seemed to serve no function. I’d known the bilge blower had operated properly before, but now I found it didn’t, so I had to figure out which wire had pulled out and reconnect it, which I eventually did with success.
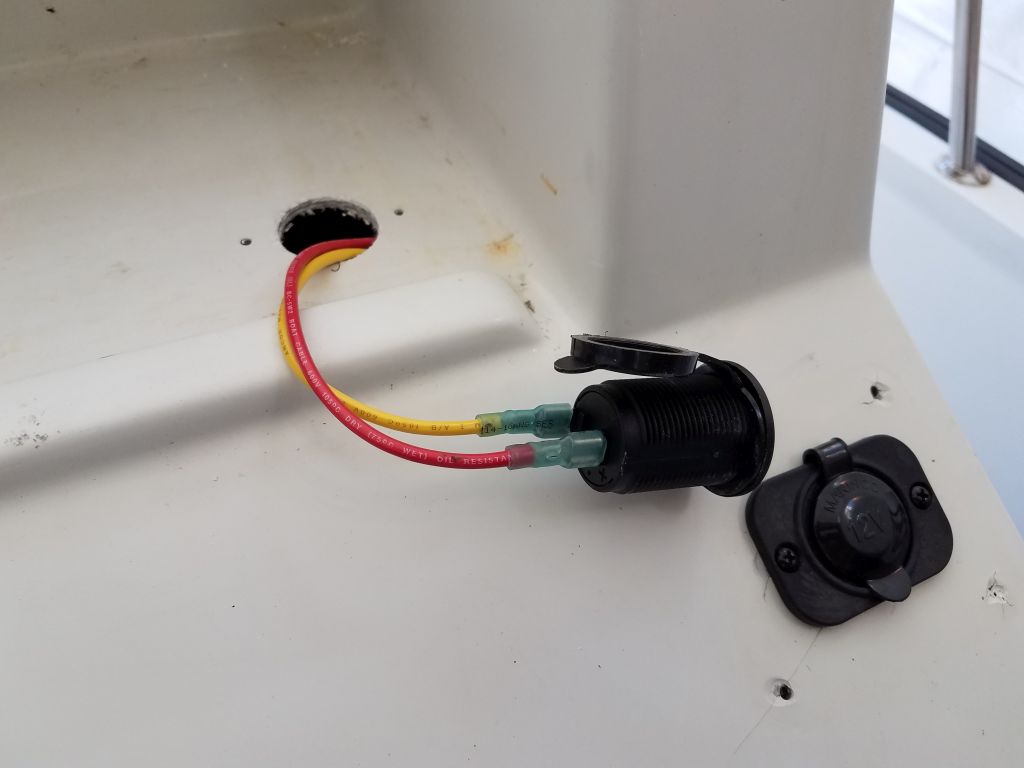
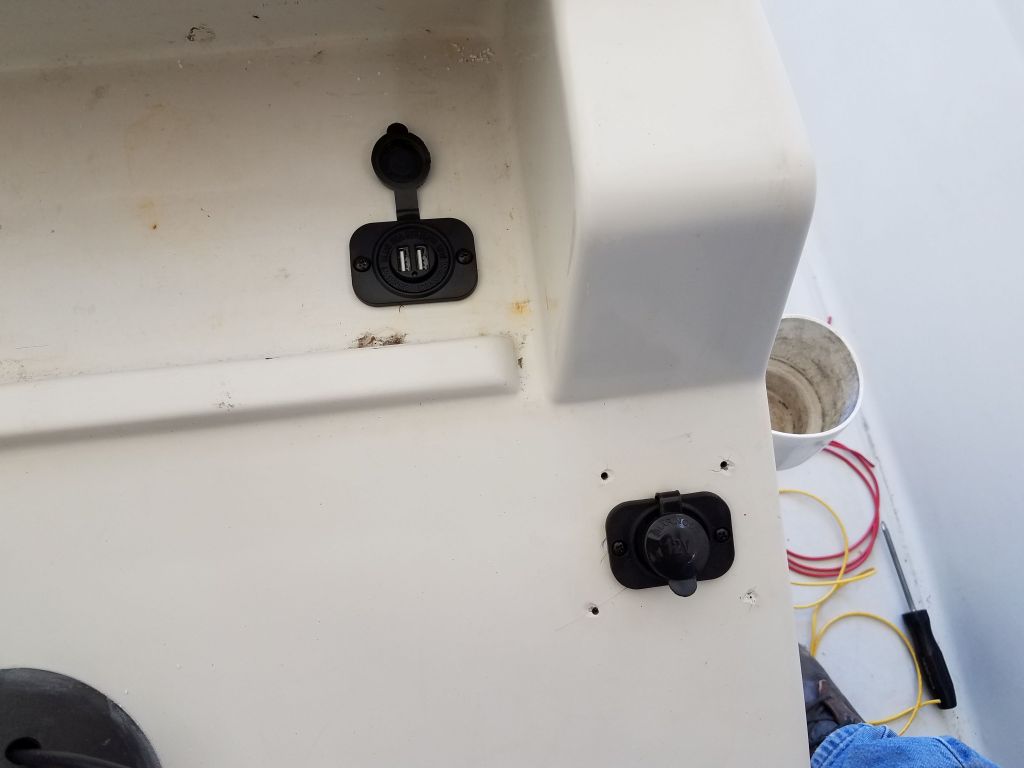
Sorting these wires, and determining what was needed and what wasn’t, was important because my next tasks included troubleshooting and repairing the running lights, as well as adding two new power outlets in the console: a 12V cigarette-type outlet, to replace an existing one that was older and turned out not to be wired at all; and a modern USB charging outlet for today’s various devices. The owner had originally wanted me to install a fixed-mount GPS, a slightly older unit he had on hand, but we found that the desired location in the small box at the top of the console was too small to contain the unit, and after some discussion we determined that using handheld devices, including smart phones or tablets, made the most sense in this small boat, thus leading to the desire for additional and useful power outlets.
I didn’t even bother trying to save the existing outlet from the console, choosing to start fresh with an identical, but new, version. I snaked wires over from the panel area, and strung additional wires to a new mounting location inside the small electronics box, out of the weather, for the USB charging port. Making the final connections and testing these outlets was relatively quick and straightforward once I’d made sense of the existing electrical system to begin with.
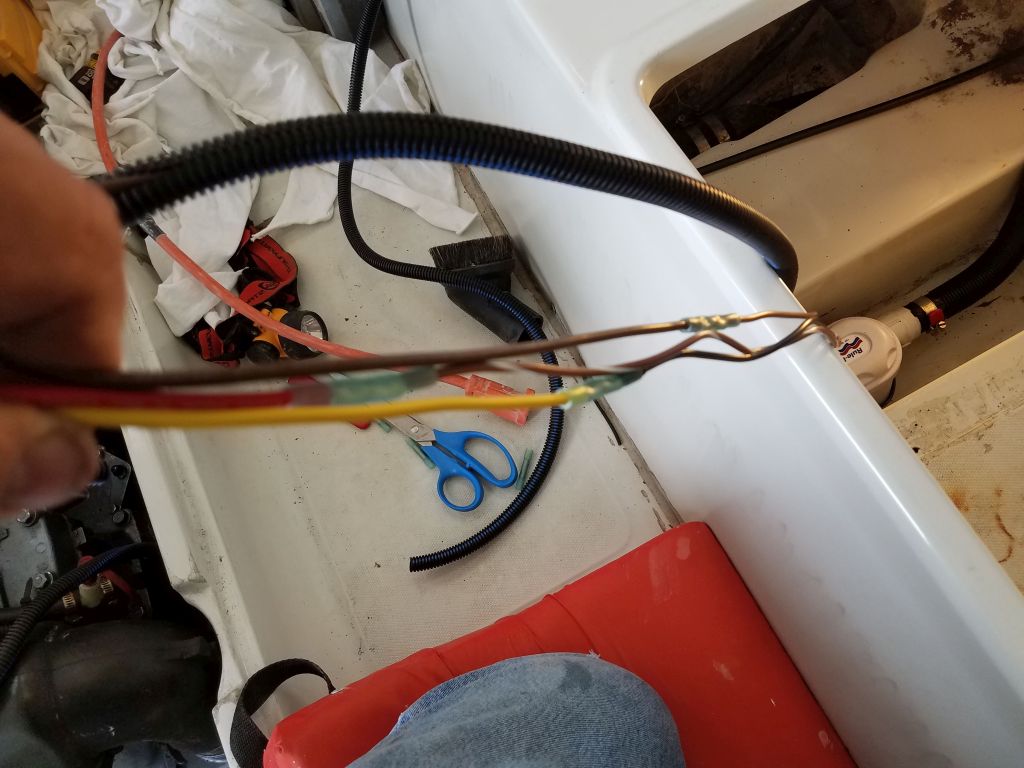
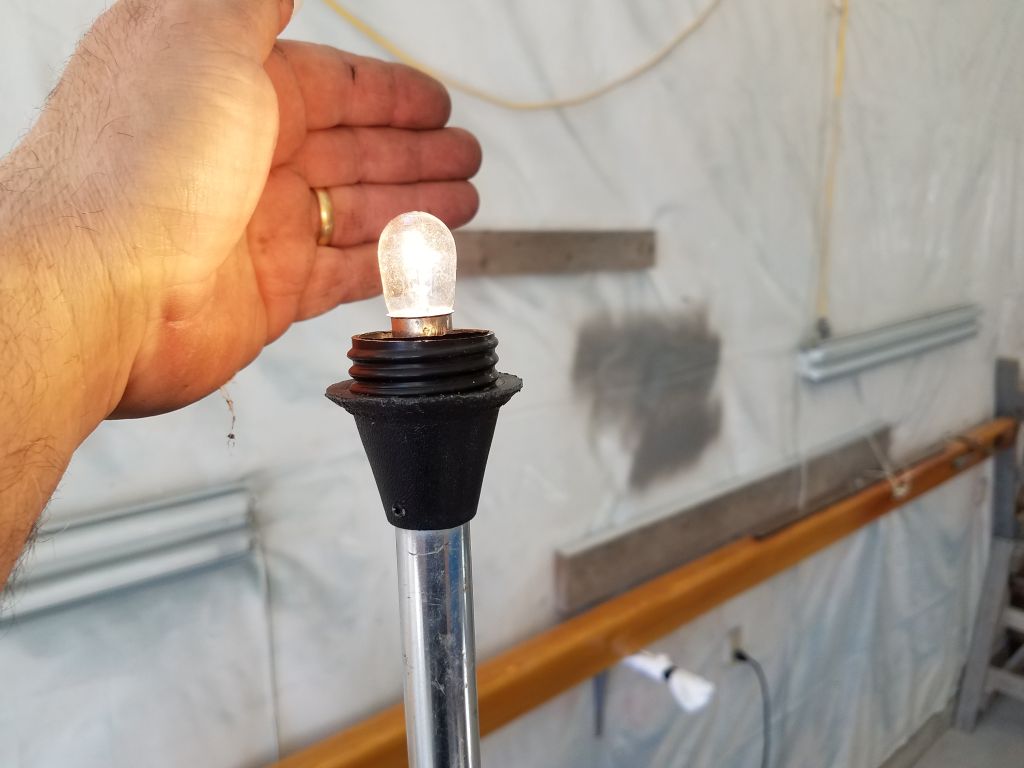
Inspection of the existing wiring harness helped me identify which wires led to the running lights, neither of which worked immediately. At the stern light, it was easy to cut the wires near some existing butt connectors and test for power–all OK, so I made up new wiring connections and the light tested operational thereafter.
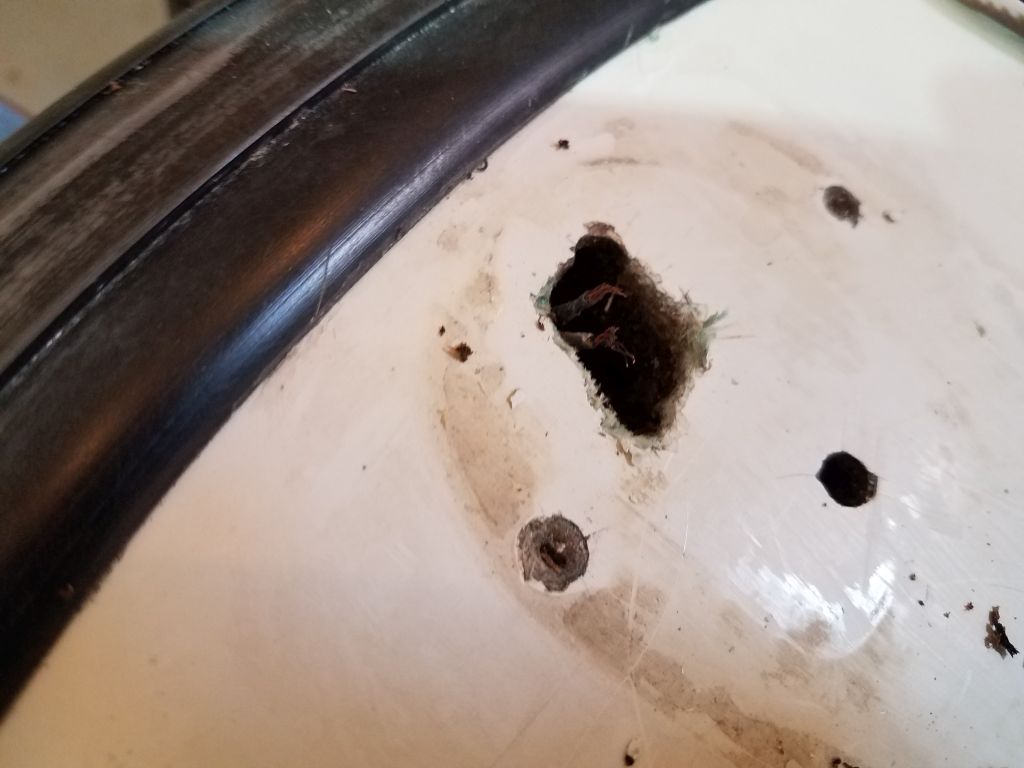
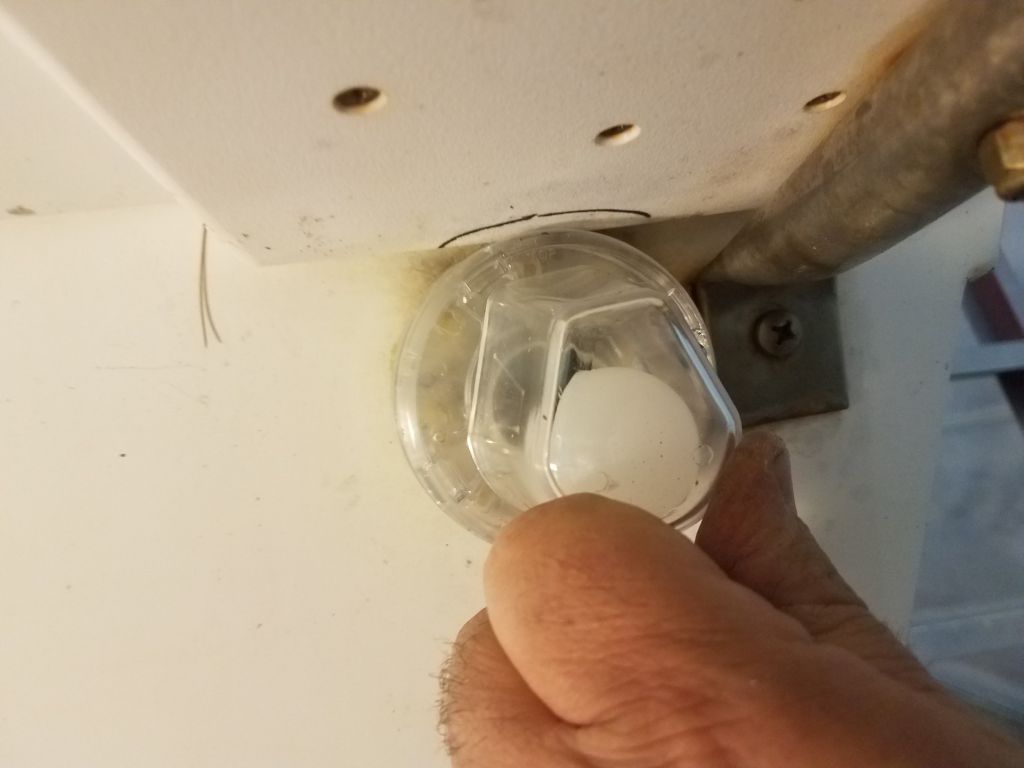
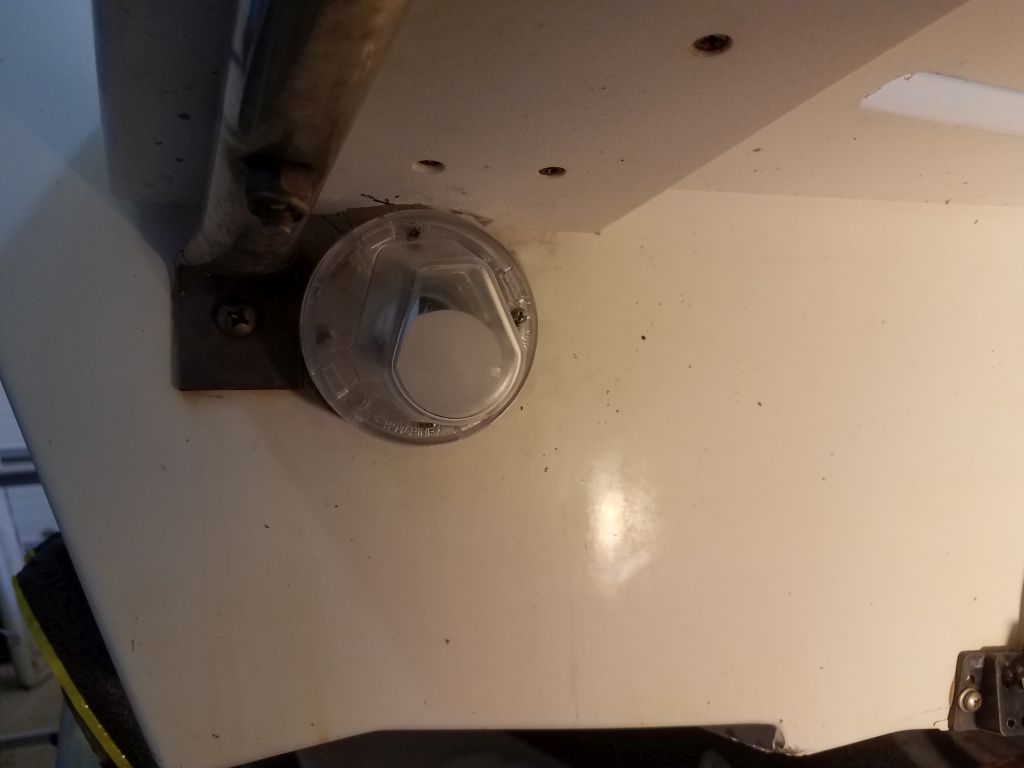
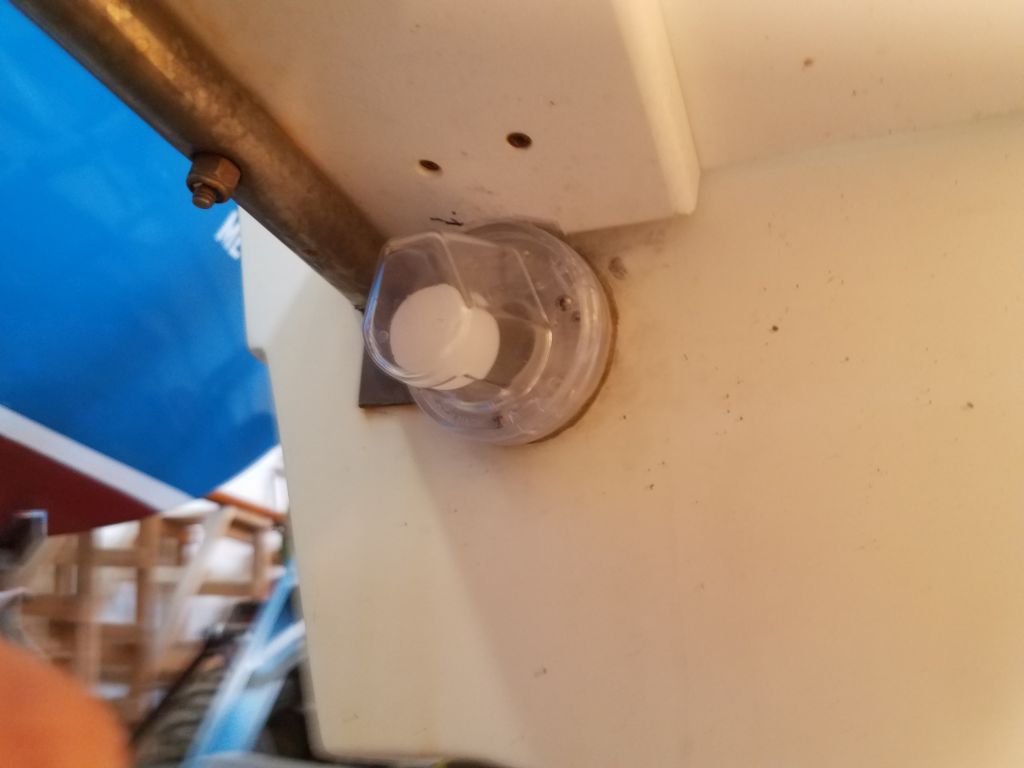
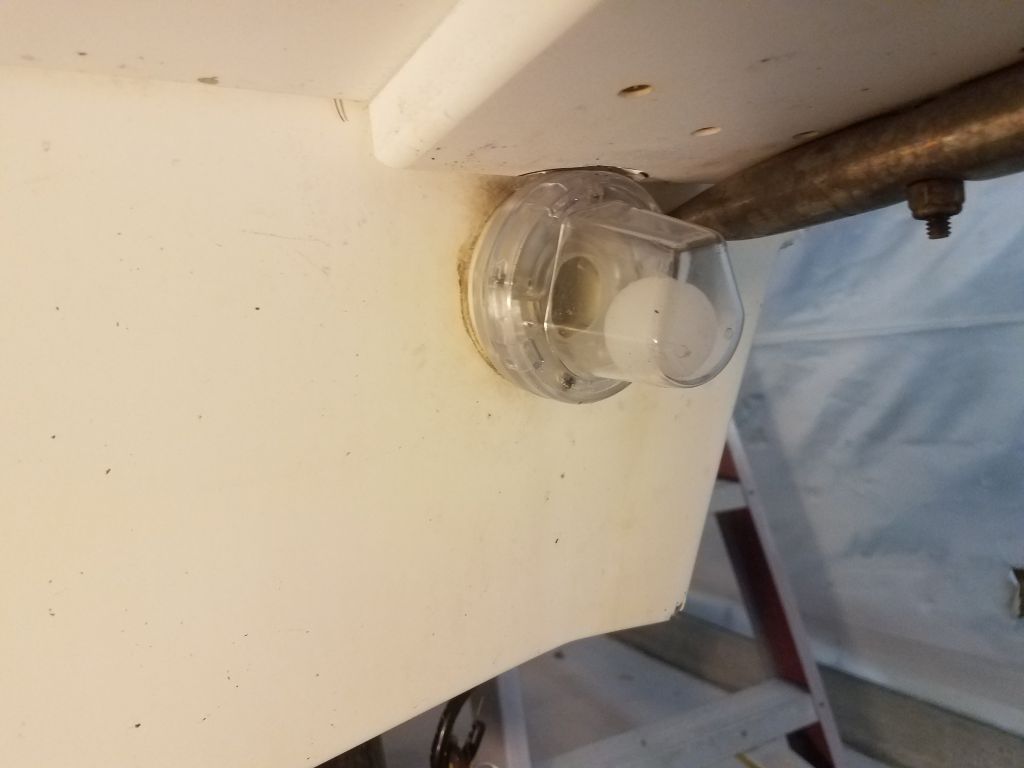
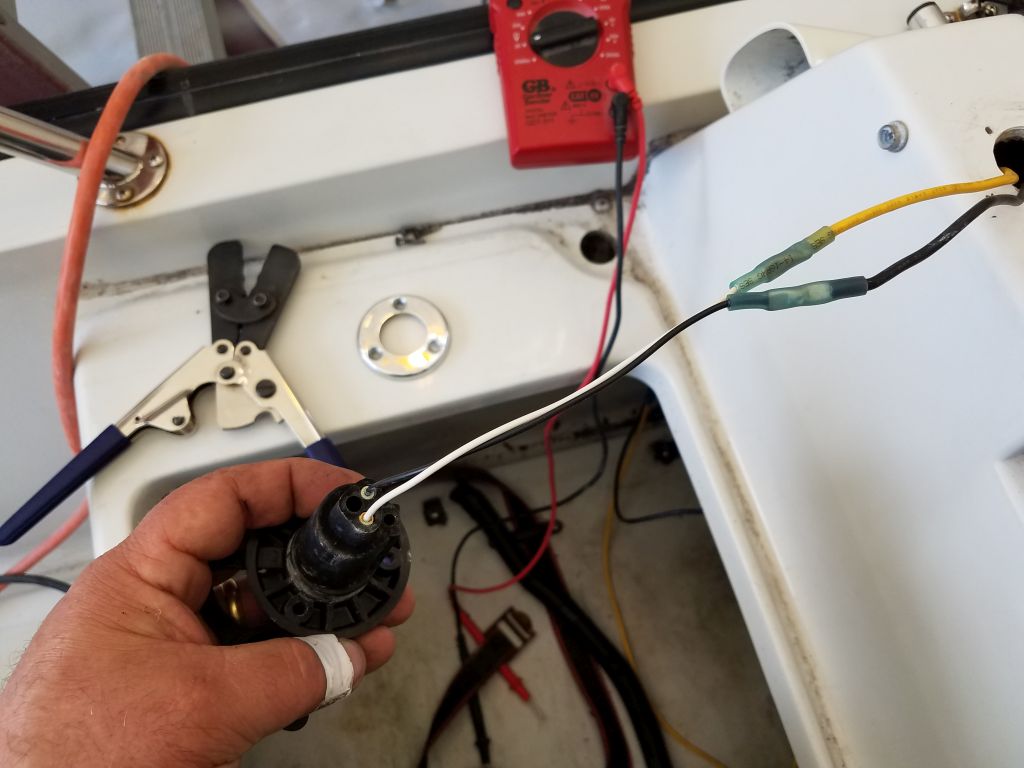
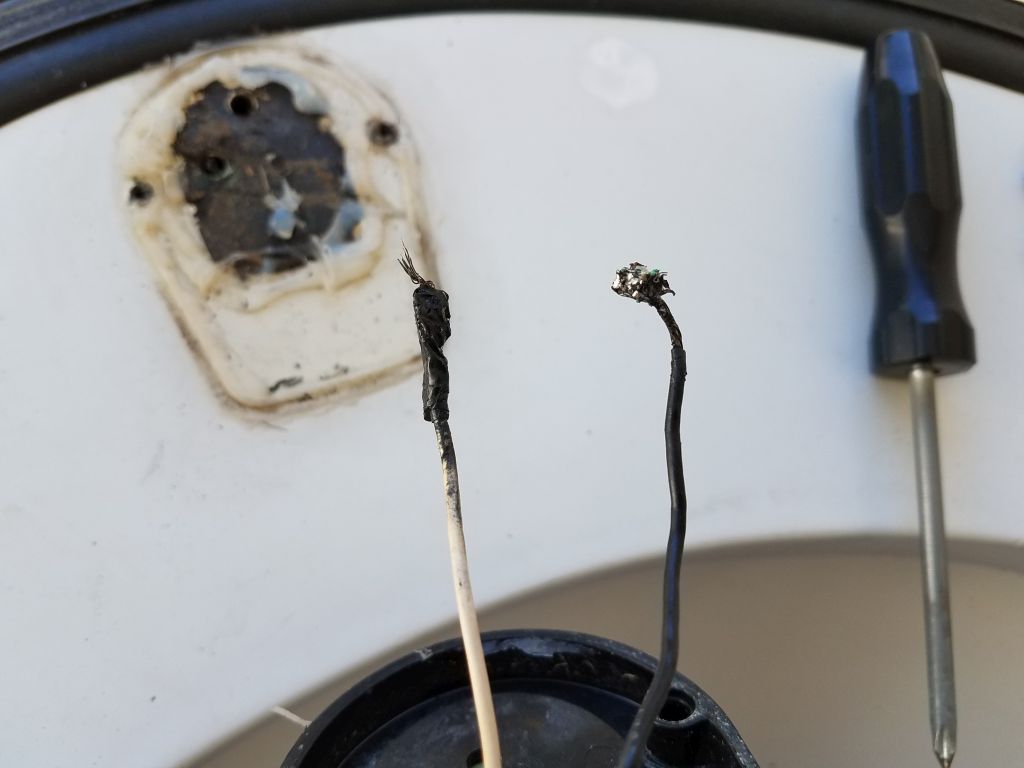
I also cut and tested the wiring leading to the bow light–the wire led into the space between the cockpit and the hull on the starboard side aft, so I tested the wires just before this area to find power as required. So I moved on to the bow light fixture itself, where I found that the wires–which had been soldered together beneath the light–were in poor condition, heavily corroded, with broken connections and, unfortunately, no slack available in the wire, which was broken off just below deck level; the screwdriver points to the green, corroded, broken wire here.
By now it was late in the day, and I chose to address this issue further next time.
Total time billed on this job today: 7 hours
0600 Weather Observation:
47°, clear. Forecast for the day: sunny, 60s
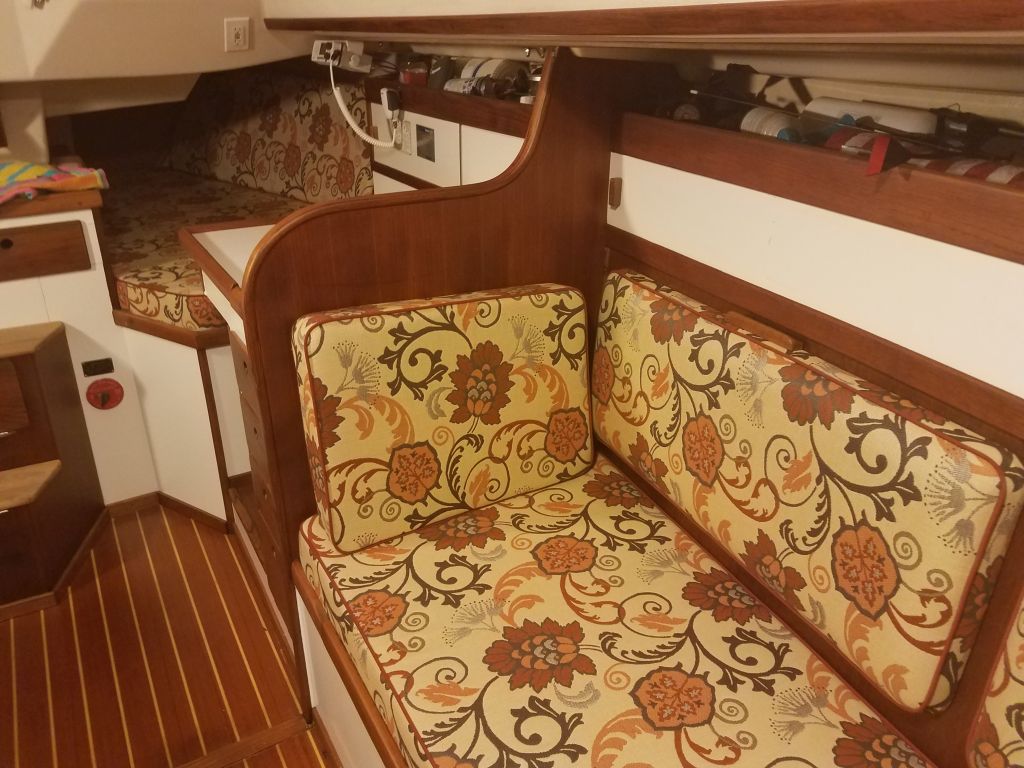
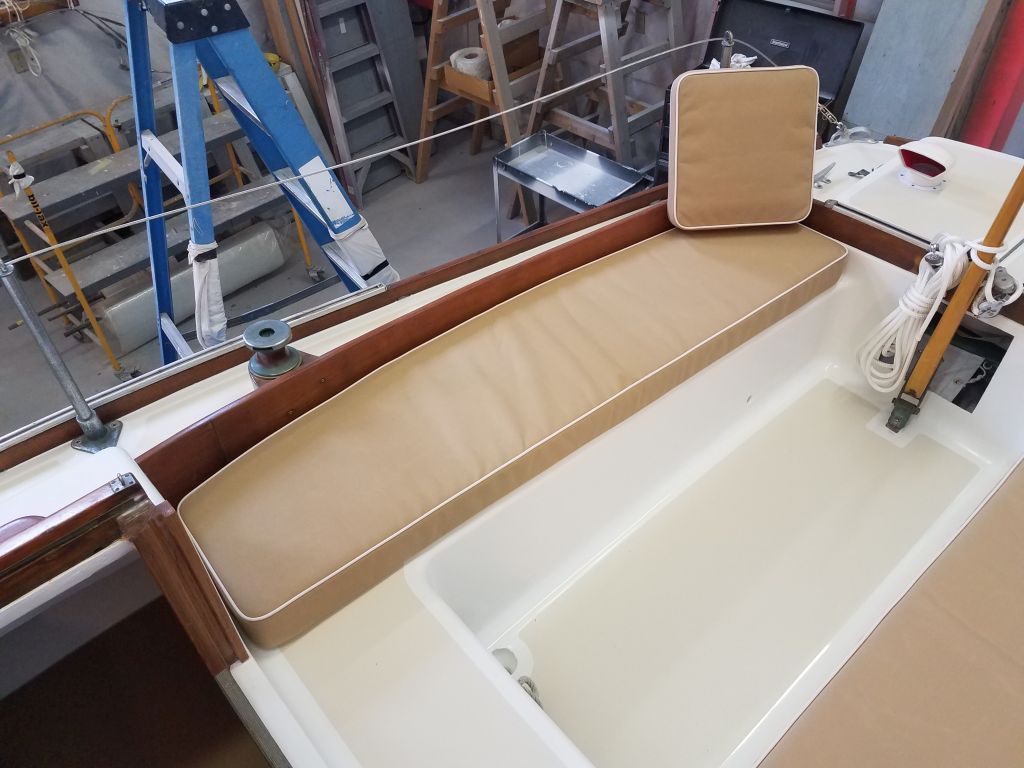
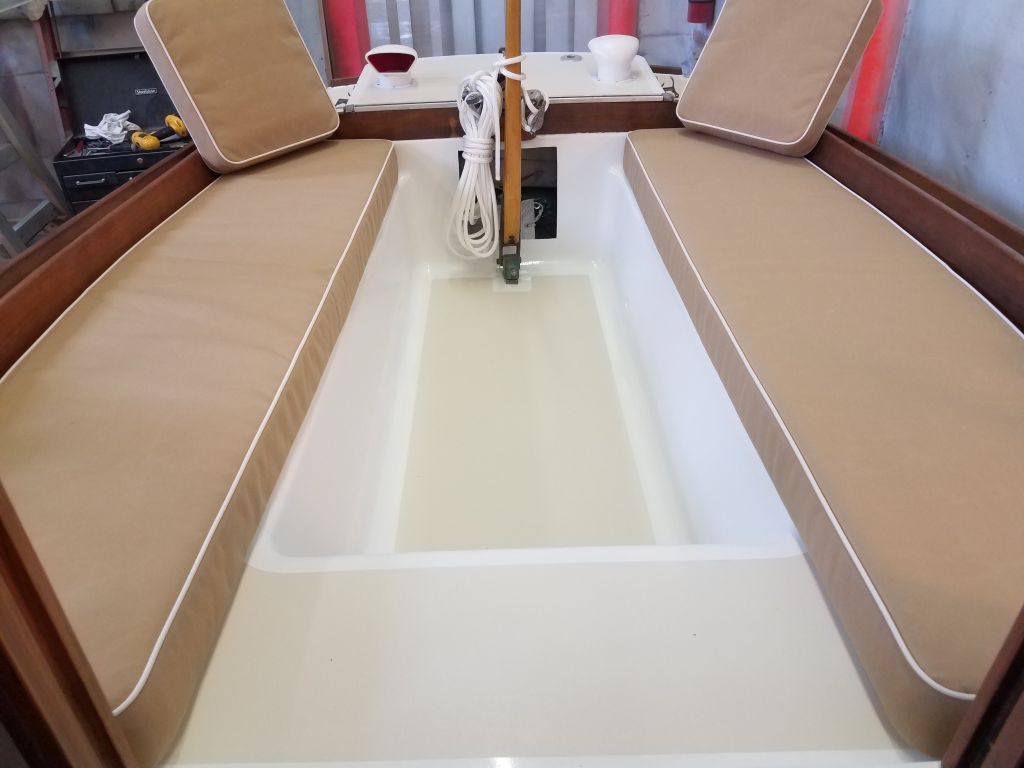
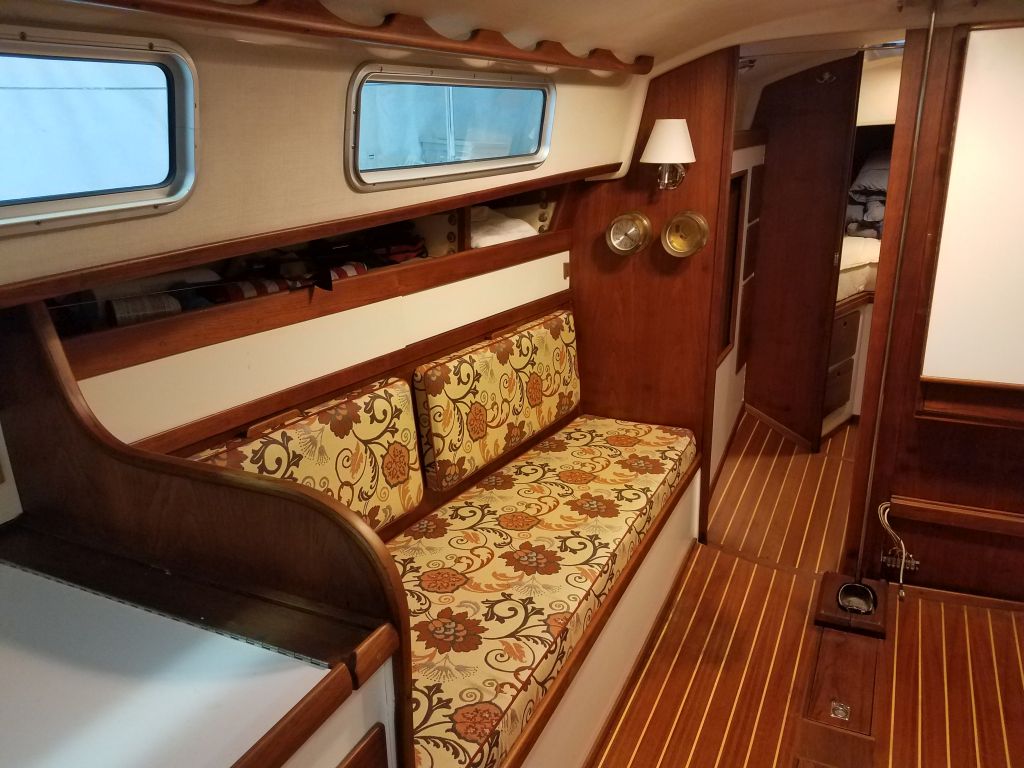
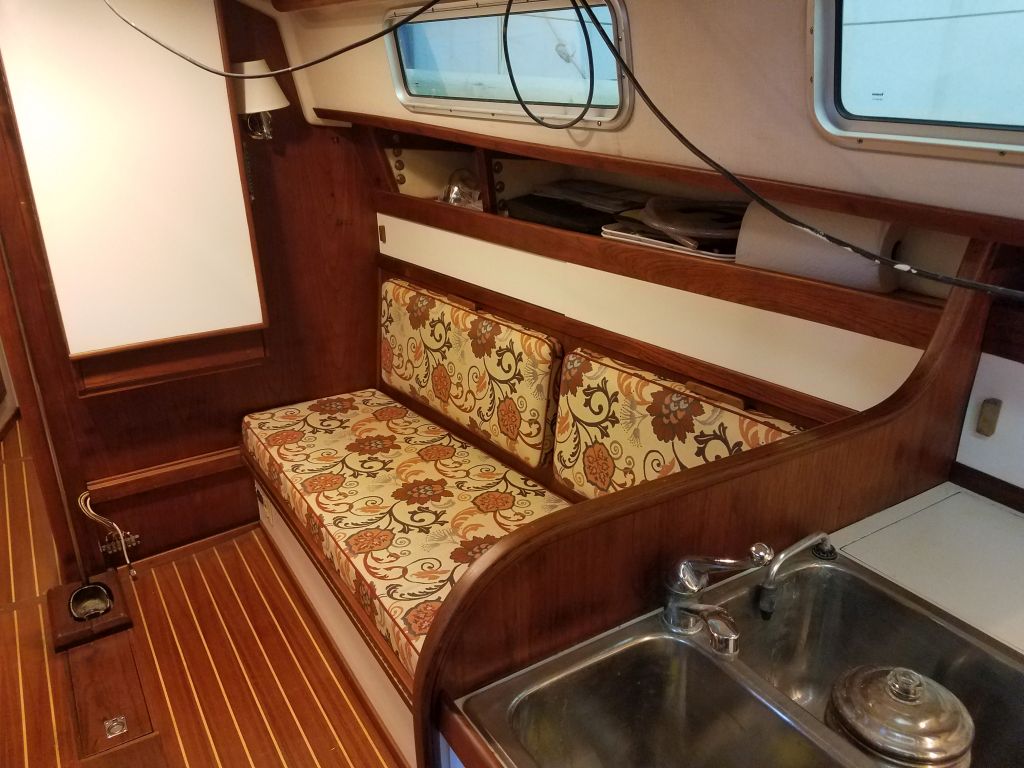
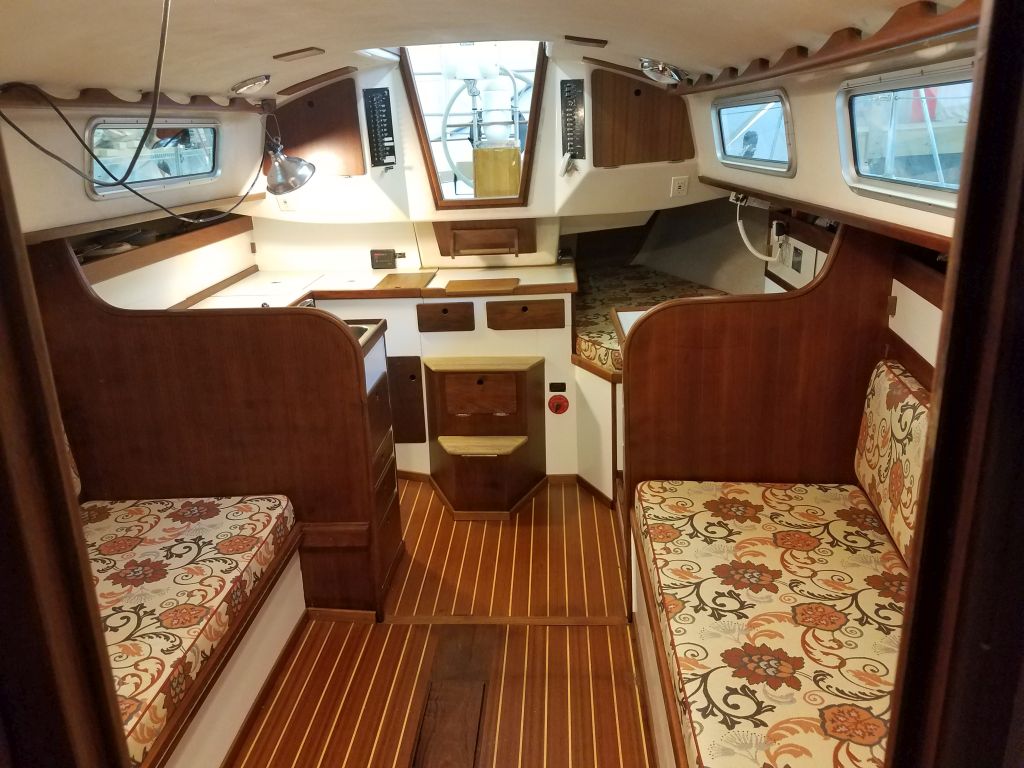
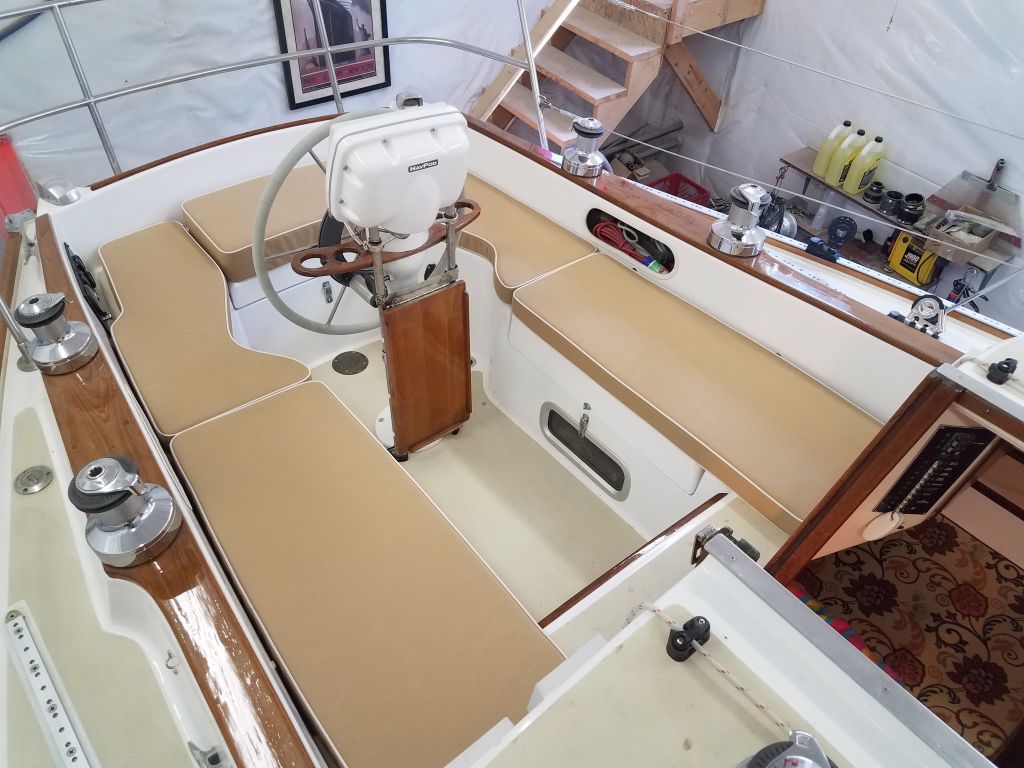
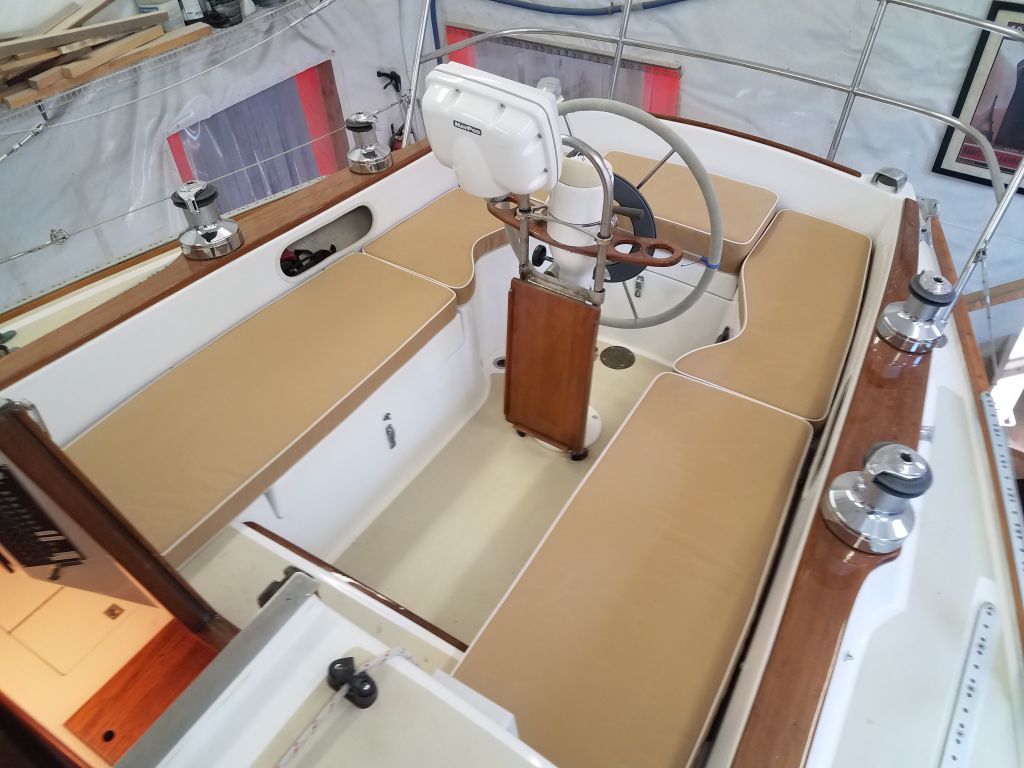
A few months earlier, the owners met with my Jason, my canvas contractor, and I to discuss the new interior and cockpit cushions and make final fabric decisions. Now, the new cushions were complete (minus two filler pieces for the convertible berth in the cabin, which pieces were still under construction), and Jason brought over the new cushions for installation.
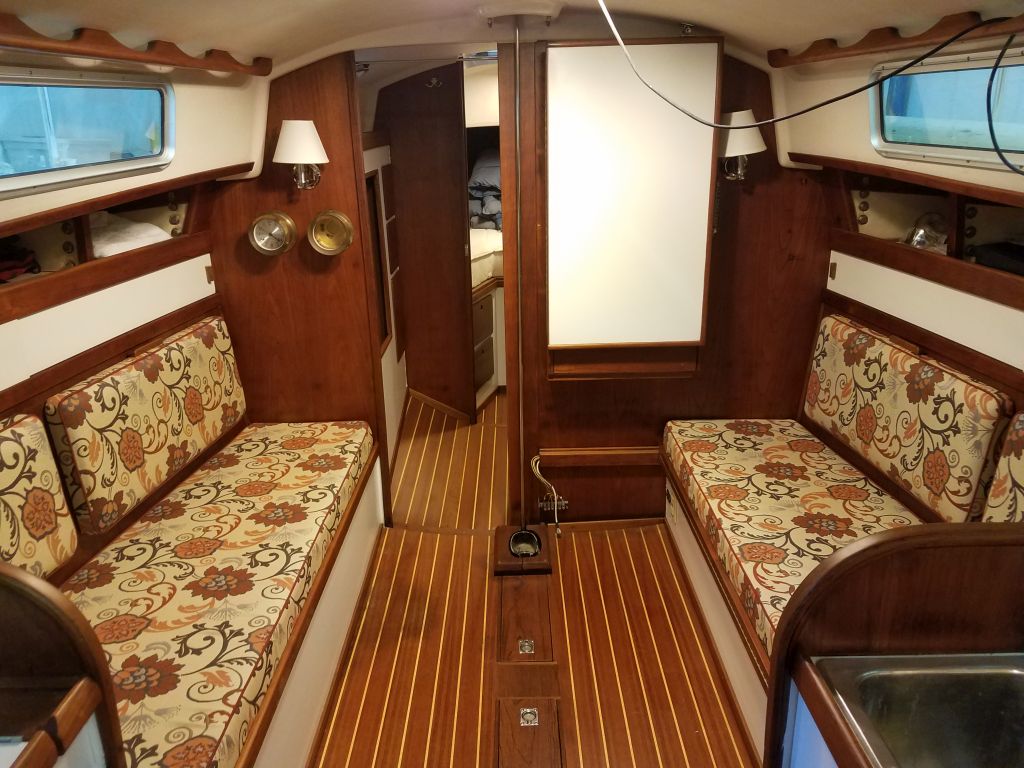
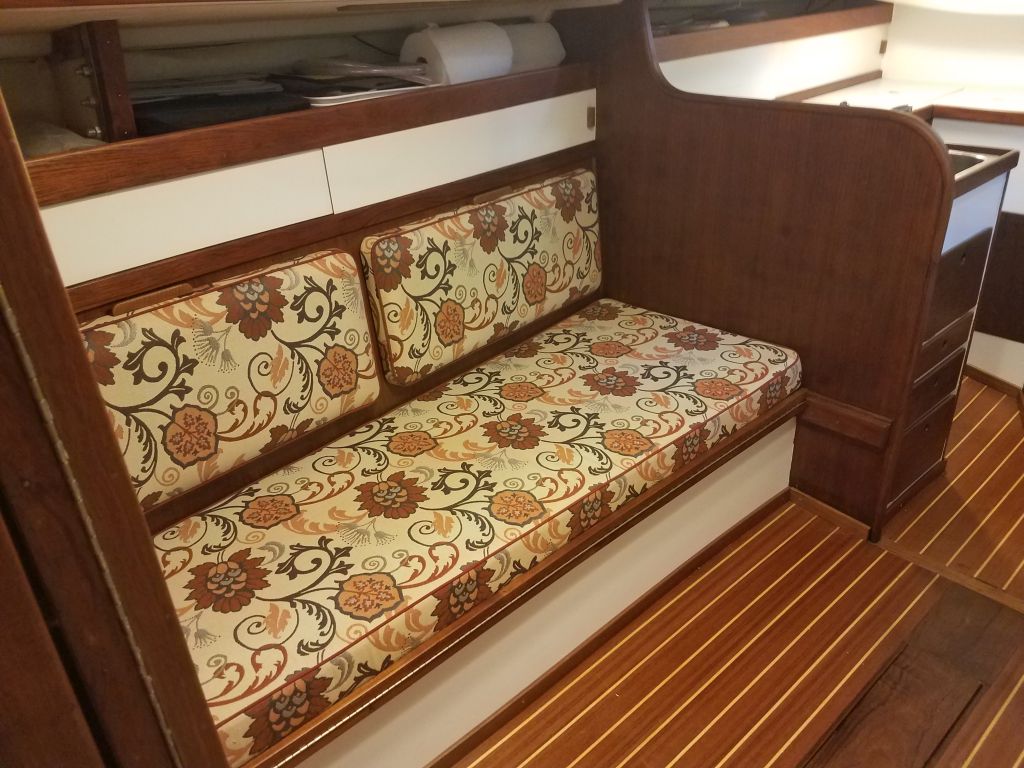
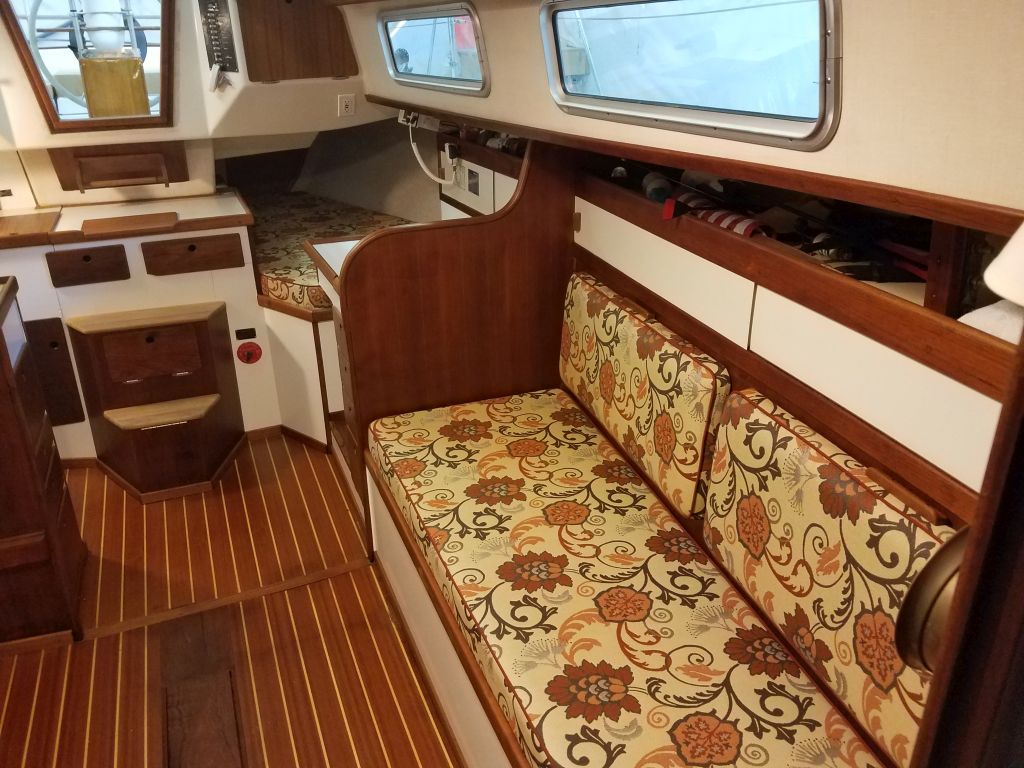
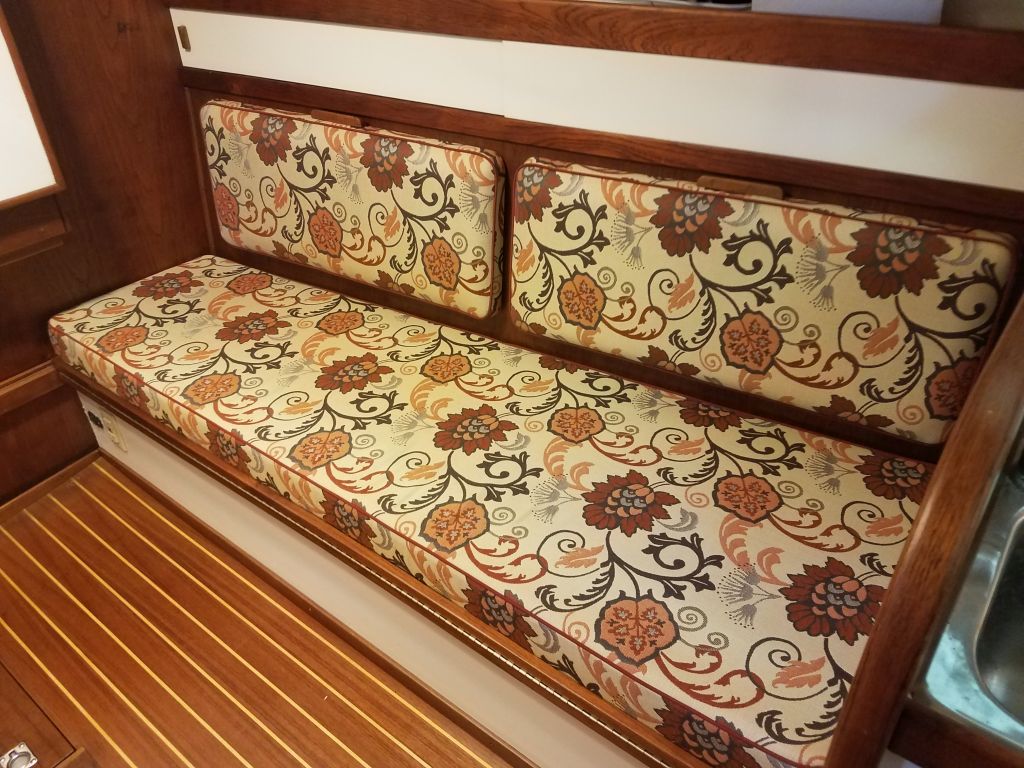
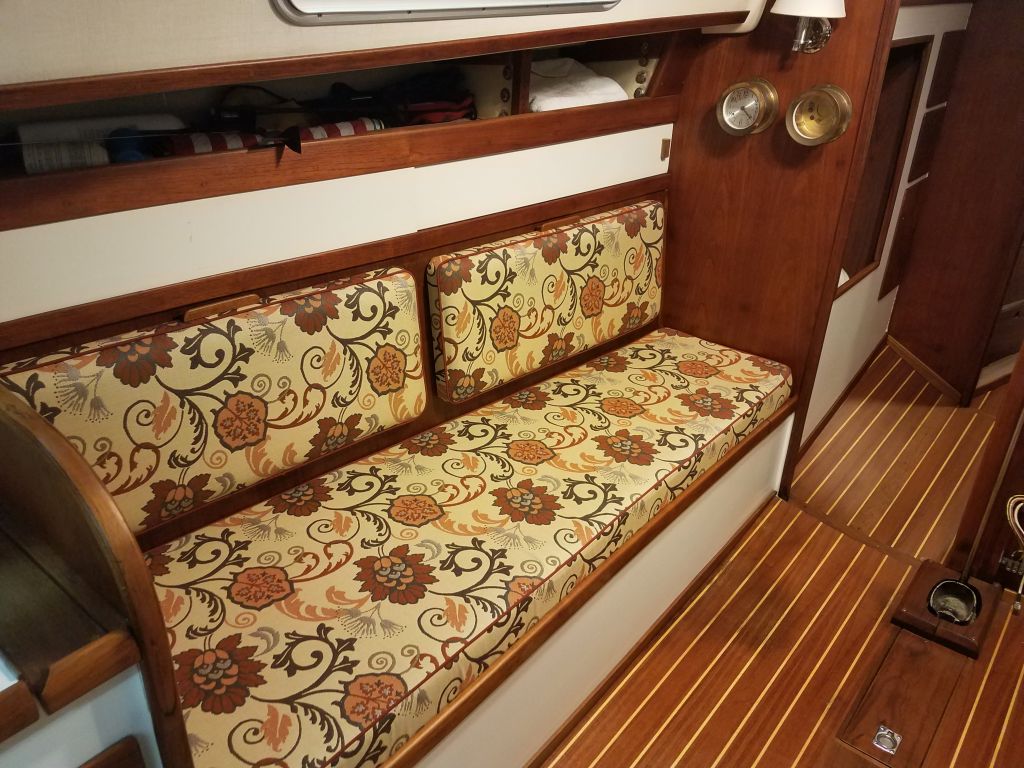
With only a small fabric sample on hand during the final decision-making, the cushion upholstery was a bold choice, but the end result looked terrific in the cabin and, as always, brought all the upgrades and improvements together well.
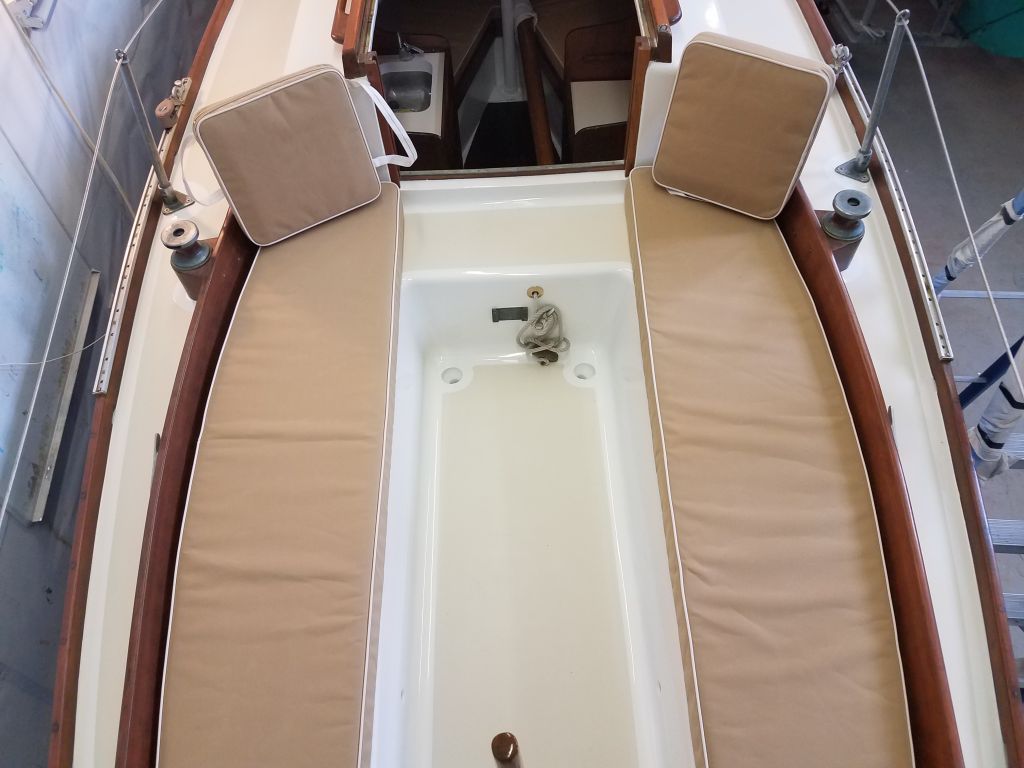
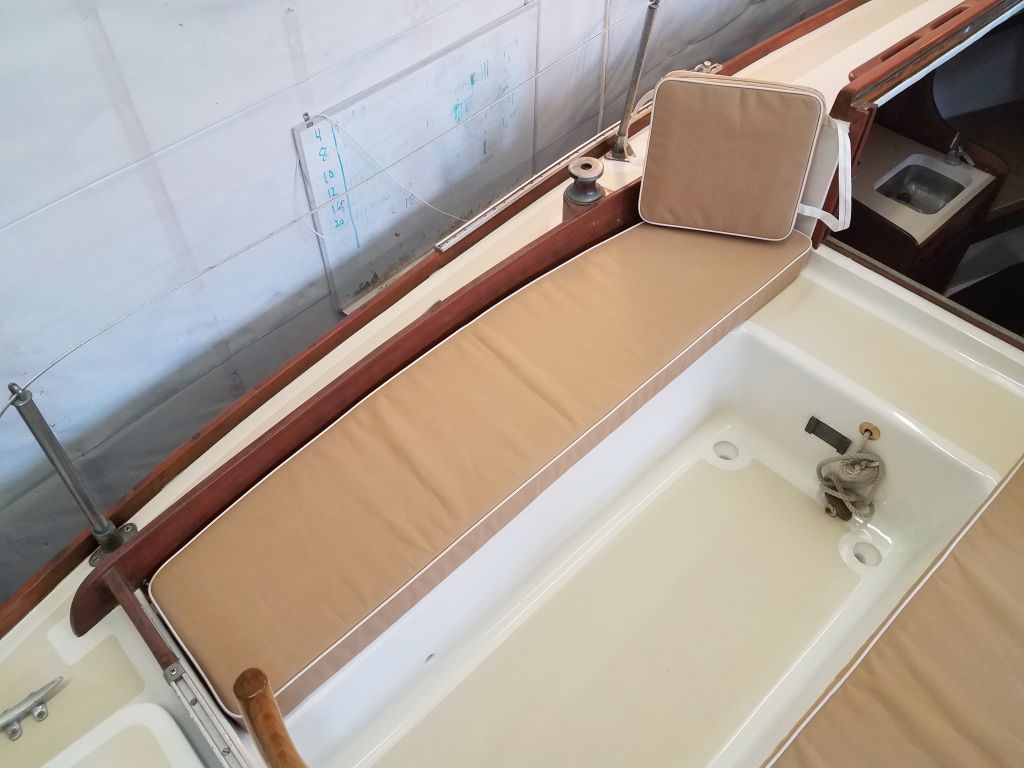
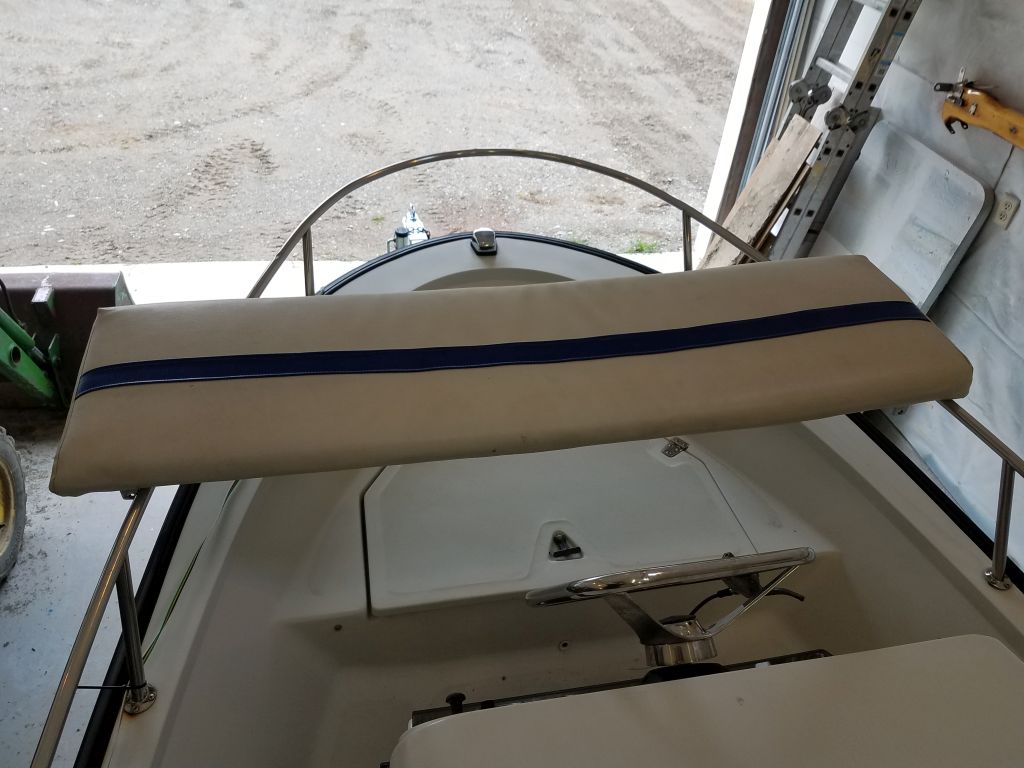
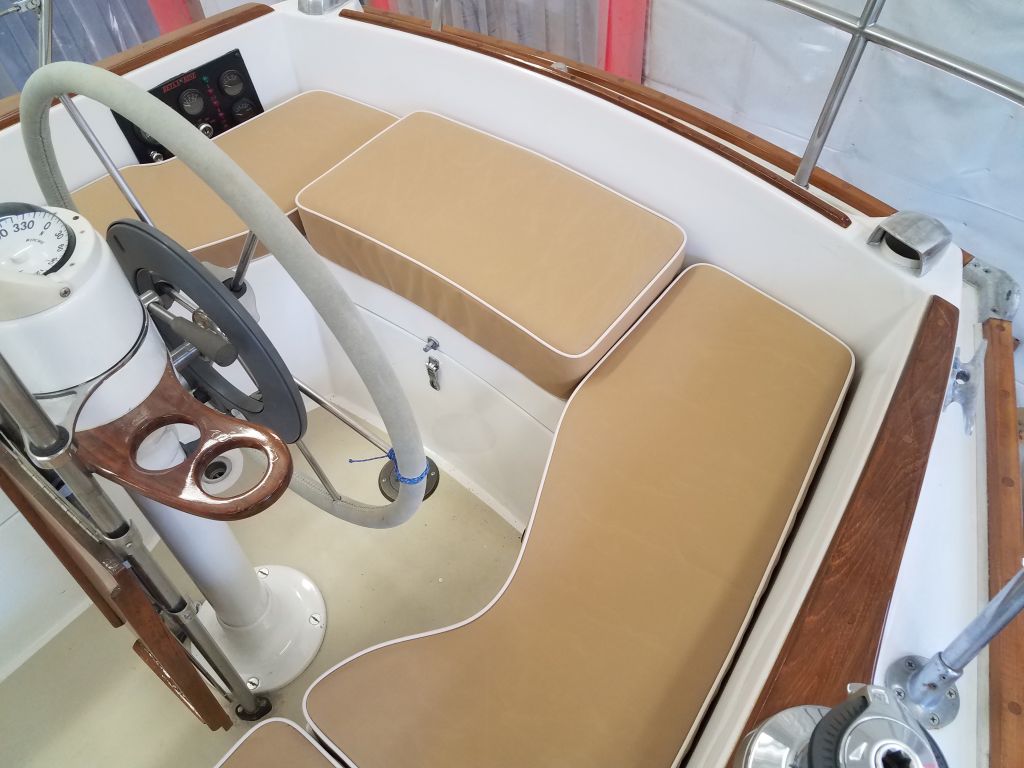
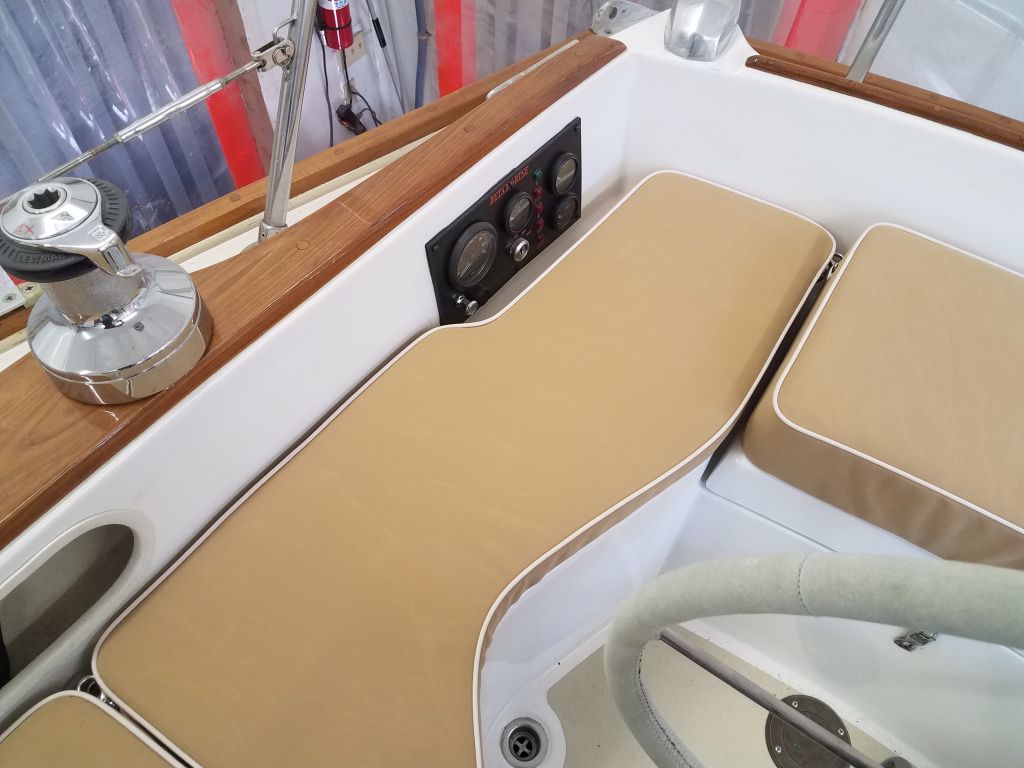
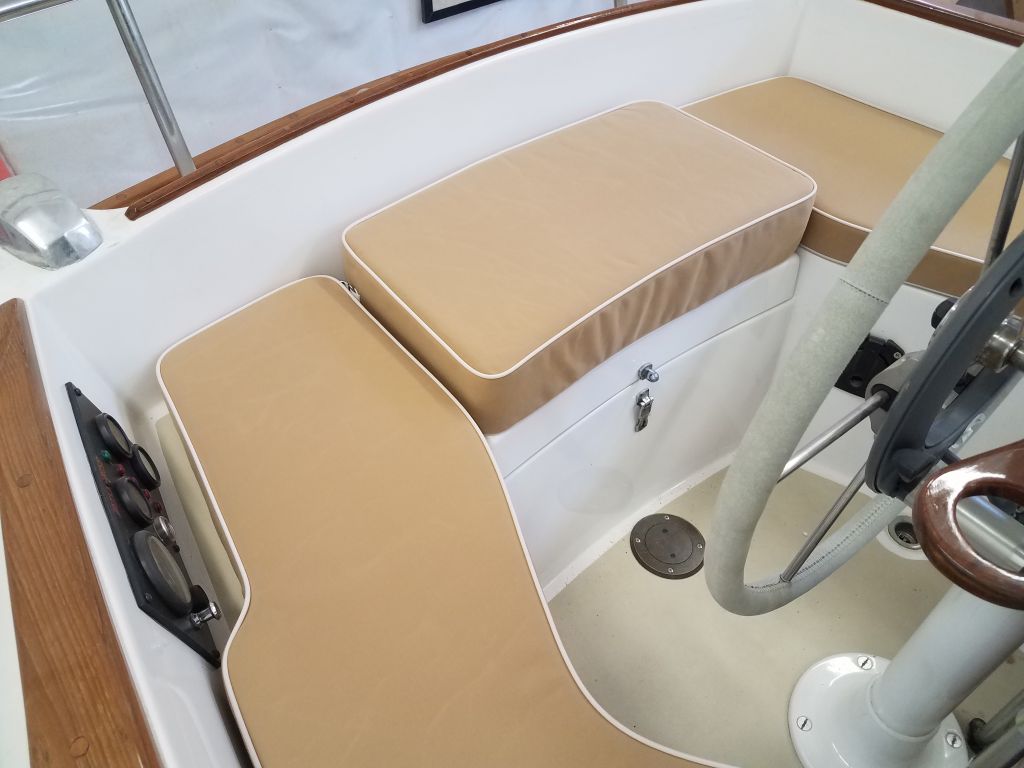
The cockpit cushions, complete with an extra-tall 5″ cushion at the helm position, looked fantastic as well, and would match the boat’s existing canvas work.
Still to come: interior curtains, and those two filler cushions.