

April 18, 2017
odds2
Tuesday
To begin, I returned to the bow light and its decrepit wiring. With the old wiring kaput, the only way to return the light to operation was to run a new wire to the fixture, but this seemingly simple ideal was complicated by the boat’s construction, and the fact that the wiring to the bow was led–and could only be led–inside the void between hull and cockpit liner, in this case along the starboard side. I thought the prospect of stringing new wire through here was dim, and it didn’t take long for my fears to be realized. I figured the manufacturer had installed the wires before the boat was assembled, and that there would be no provision made for future maintenance, access, or replacement. These wires entered the hull void through the liner in the aft compartment, near the stern light, and the prospects for wiring access at that location were minimal as well.
By prior agreement with the boat’s owner, I planned no heroic measures in attempting to repair the fixture, but hoped perhaps I could eke out a solution nonetheless. And of course everyone knows that Whalers are filled with foam between the two sections, so I figured it was highly unlikely there’d actually be space in there for a wire snake. I tried not to laugh out loud when the owner said he hoped there might be a wire conduit. What a comedian! (Actually, I think I failed and did laugh, or at least chuckle, out loud.)
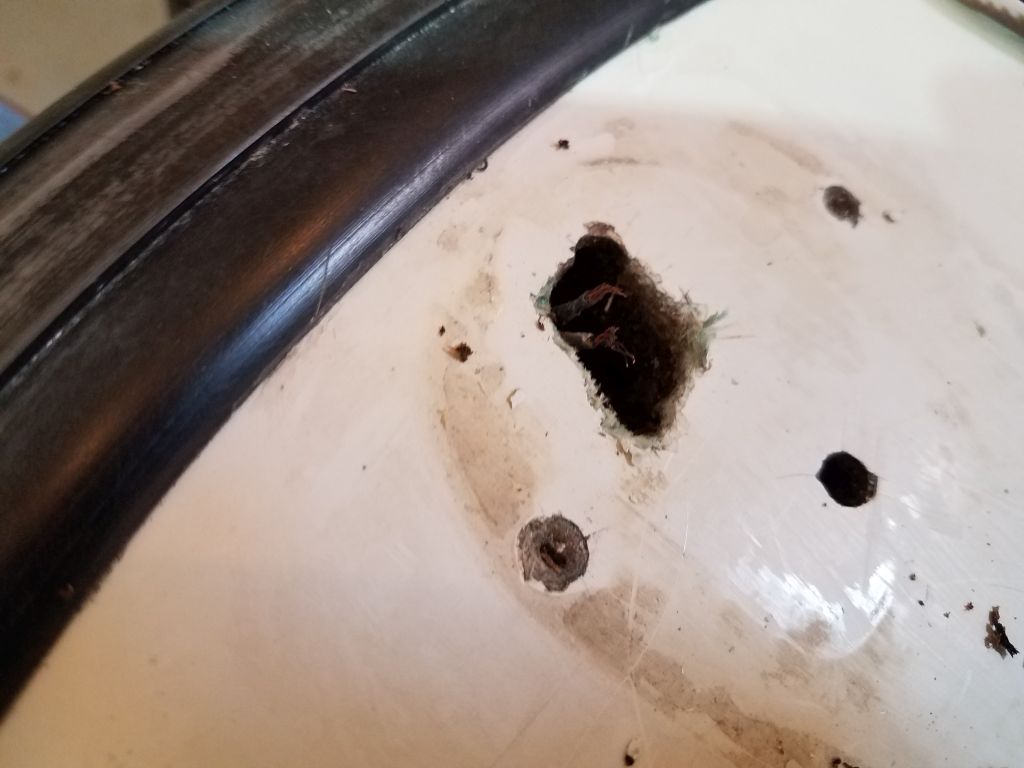
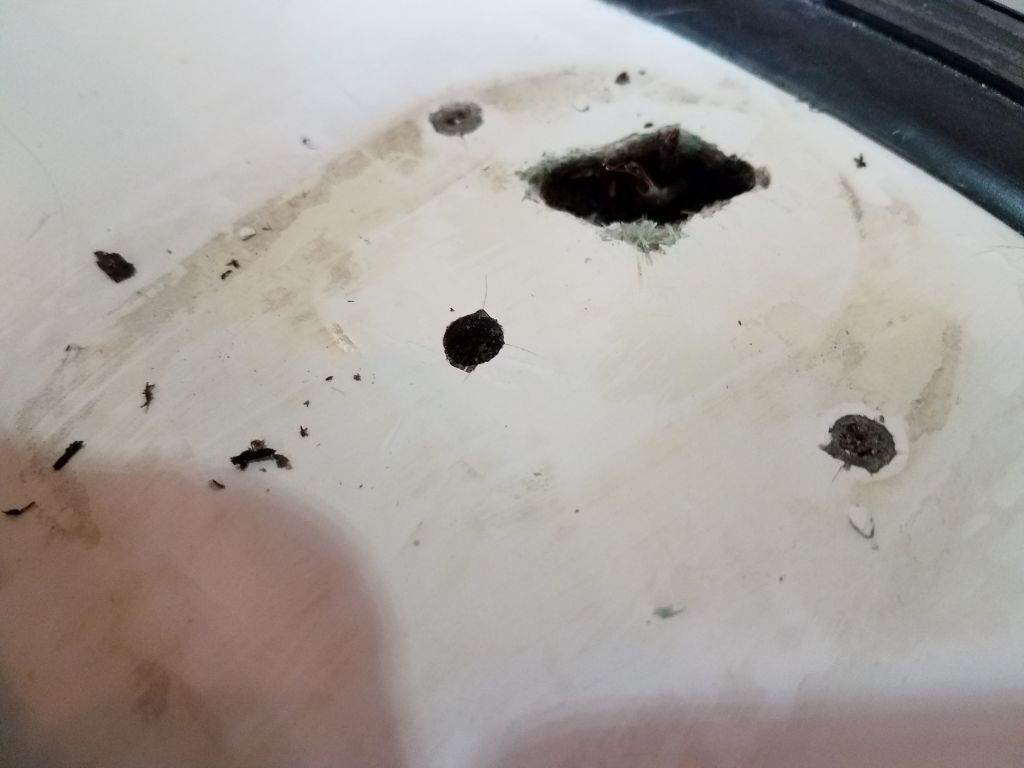
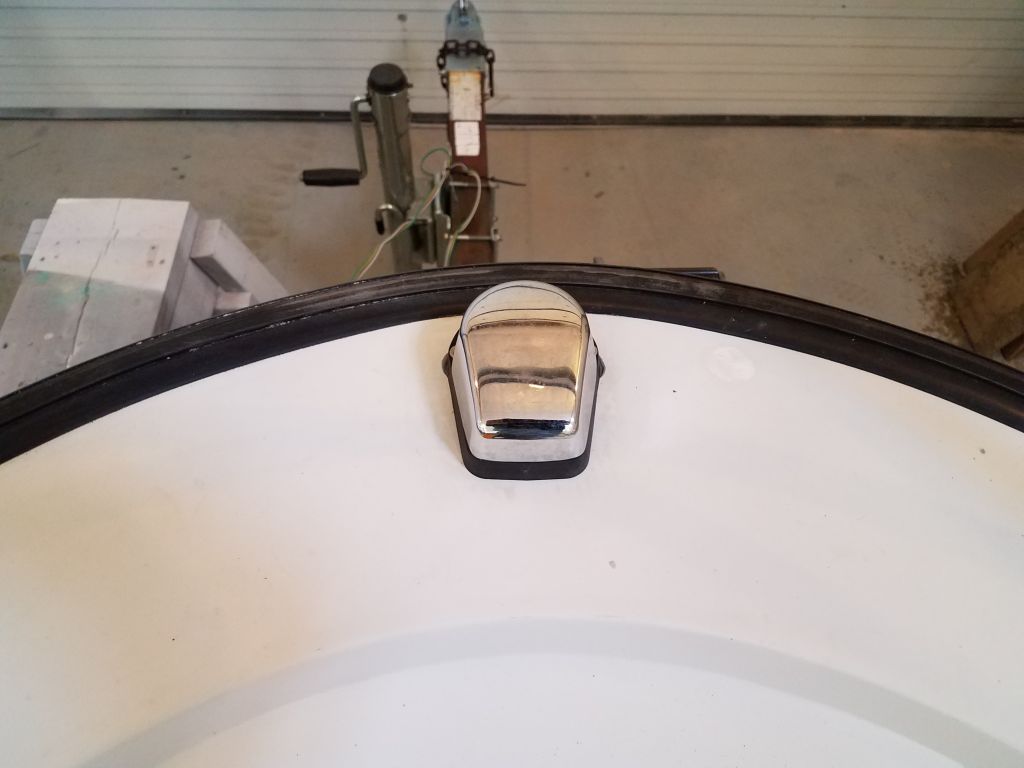
The existing wires, when they were whole, had led through a smallish hole in the foredeck, and regardless of anything else, this hole would be too small to snake new wires. So my first step was to enlarge the hole to reasonable dimensions. This exposed a couple thicknesses of plywood beneath the deck, presumably there not only for stiffness but also as the main structure to which the various hardware–pulpit, lighting, etc–was secured. The thickness and configuration of this was such that immediately my hopes of pulling in a new wire were permanently dashed–it would be a fool’s errand to try.

For a brief, shining moment I entertained the hope that there might be a way I could expose enough of the existing wire to somehow crimp on new butt connectors, thereby saving the day to great accolades. With the larger hole, for this little blip of time I thought it looked possible, and I made the effort. But there simply wasn’t enough wire there, and no way to pull any more, though I tried. All this did was break the existing wire further down. Blame bad installation, construction corner-cutting, and an utter lack of reasonable foresight on the part of the builder.
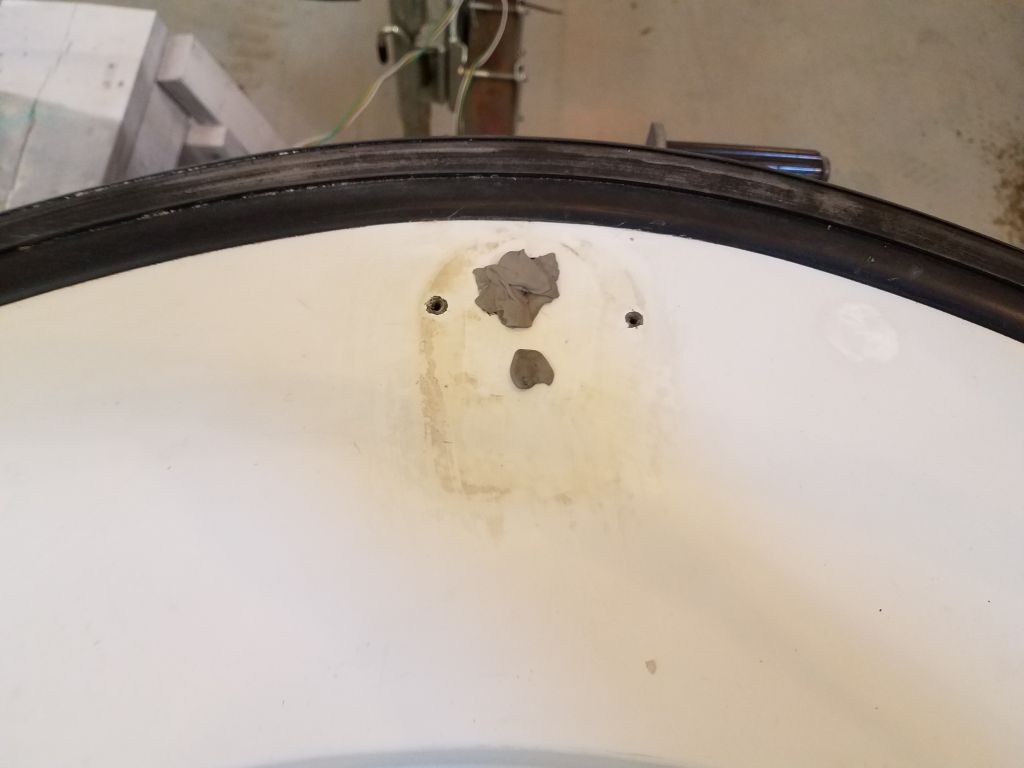
This ended my attempts to repair the existing light, and I stuffed the new hole with sealant, sealed the screw holes, and reinstalled the now forever-dead fixture. The owner would replace it with a portable battery-operated set of lights for those unlikely times they might be needed in this boat.
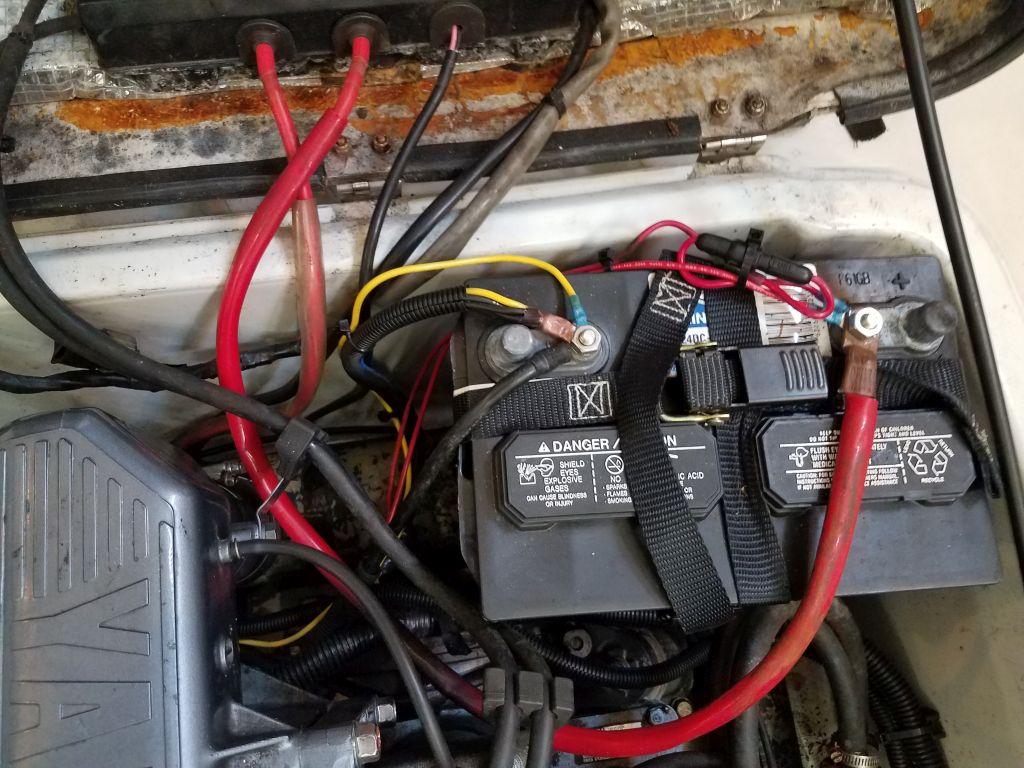
I’d taken apart some of the original wiring harness inside the console during my diagnosing, troubleshooting, and wiring maintenance earlier, so with wiring tasks now complete, I resecured the wires within the split loom and secured the harnesses appropriately inside the tilting console. I added a fuse for the wire leading from the battery to the switch panel at the helm, as the original fuses built into the panel were broken yet some form of simple overcurrent protection was needed. Of course there was plenty more that could be done to improve the electrical system, but the job scope mantra was functionality of certain items without spending untold hours on a basic boat that was essentially fulfilling its requirements as it was.

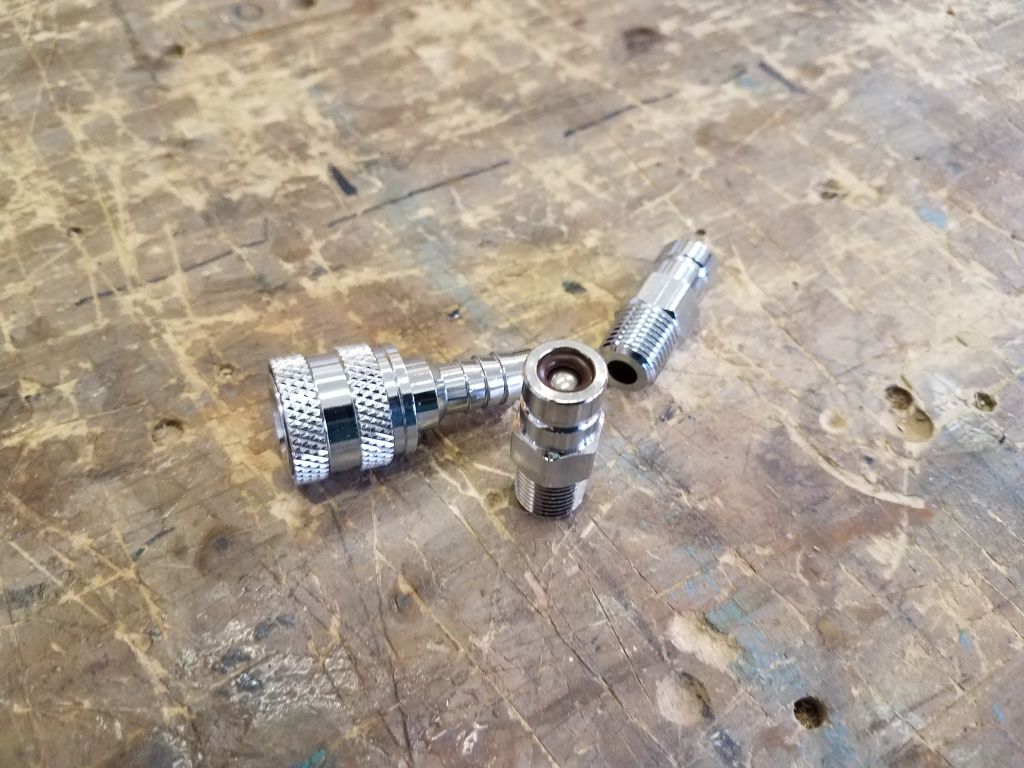
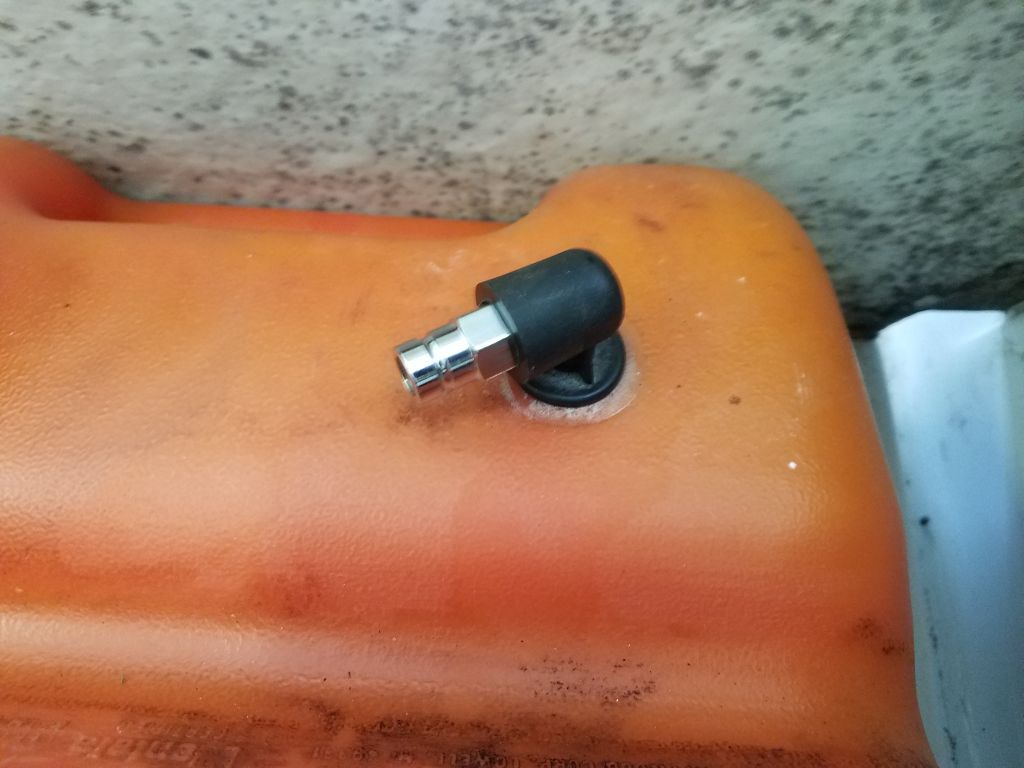
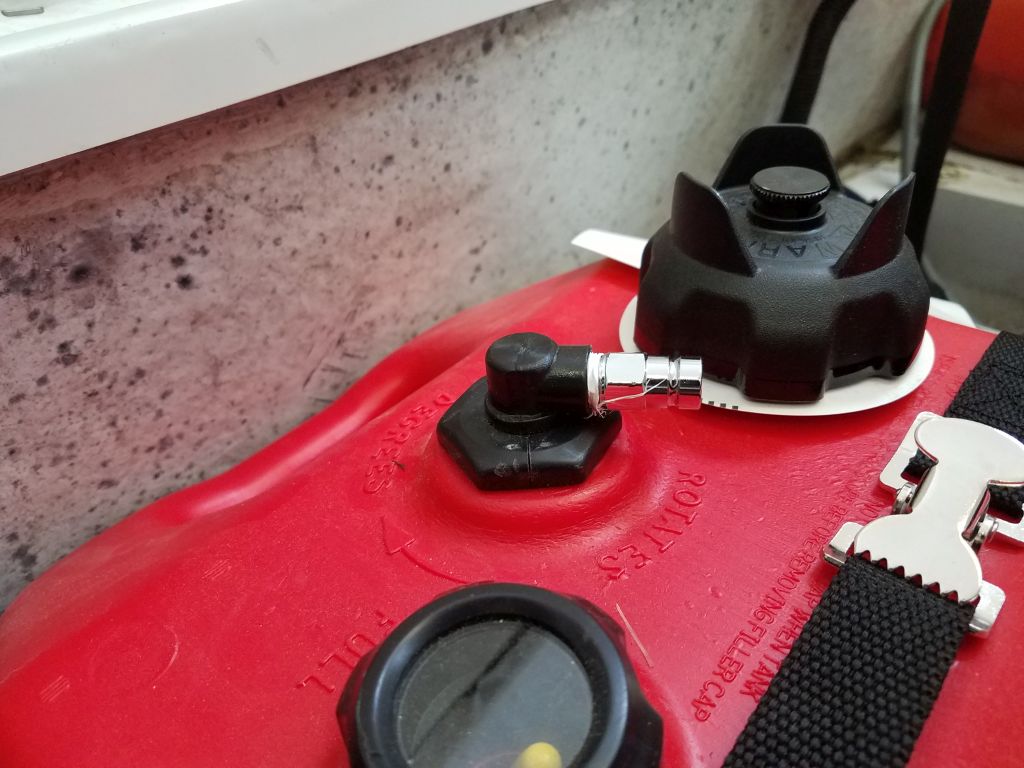
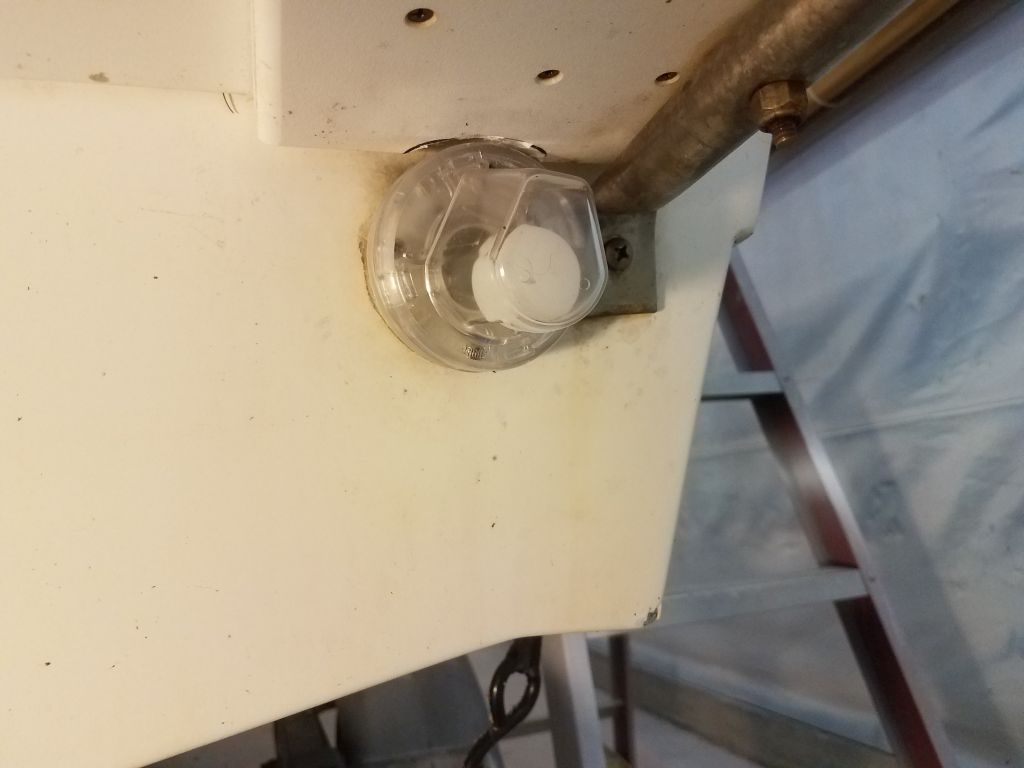
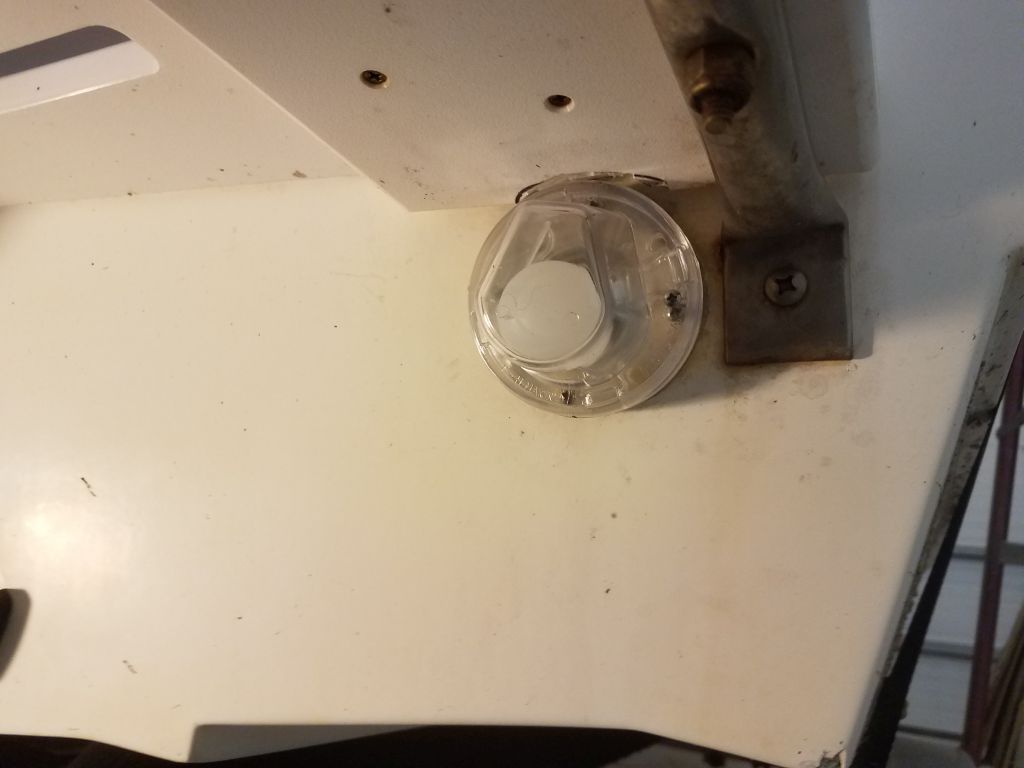
The boat had come to this owner with a single portable fuel tank, and he’d purchased a second one. But the second tank required a fitting to mate with the existing fuel hose, which had these weirdo plastic fittings in place–I just didn’t like the fitting style, as it seemed harder to operate, more prone to squirt fuel when attaching, and just plain cheesy in appearance and operation.

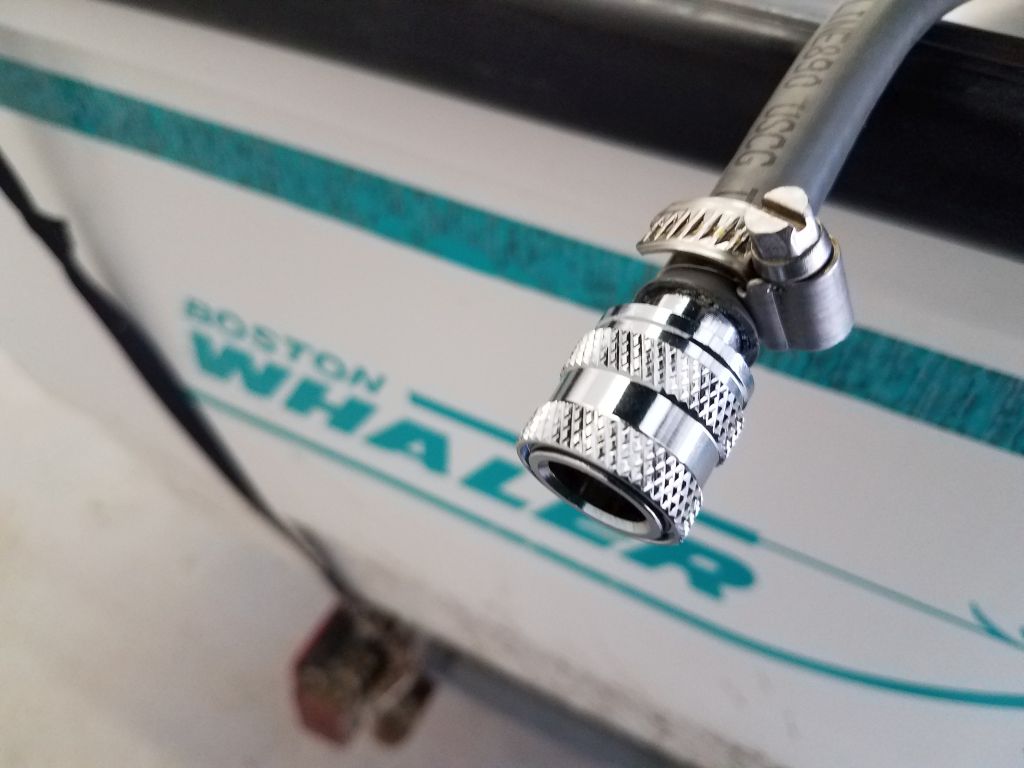
Rather than try to match those, which I didn’t recognize, I purchased new brass fittings in a style that I liked, with an easy mating action. These happened to be the Nissan/Tohatsu style, which past experience had shown me to be a thoughtful design, but I could have chosen anything I wanted since I wasn’t actually mating with a pre-existing fitting on an engine. With two male fittings on hand for the tanks, and a new female fitting for the hose end, it was a snap to prepare the new and existing tankage for easy swapping as needed. To finish up the installation, I installed a new strap to secure the second tank; the original tank already had a strap in place.


The boat’s self-bailing cockpit relied on the most basic of flapper-type scuppers at the transom. These were intended to prevent undue inflow of water while still allowing proper drainage, but the simple design was just adequate at best, and now, with the rubber flappers dried and shriveled with age, not even that.
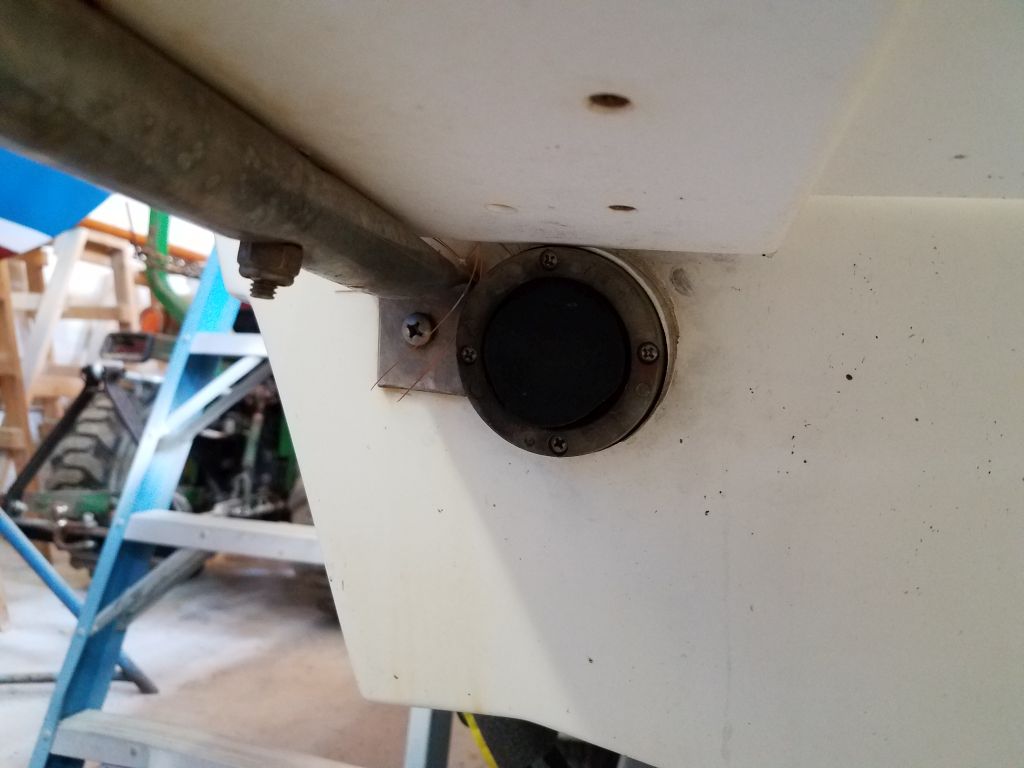
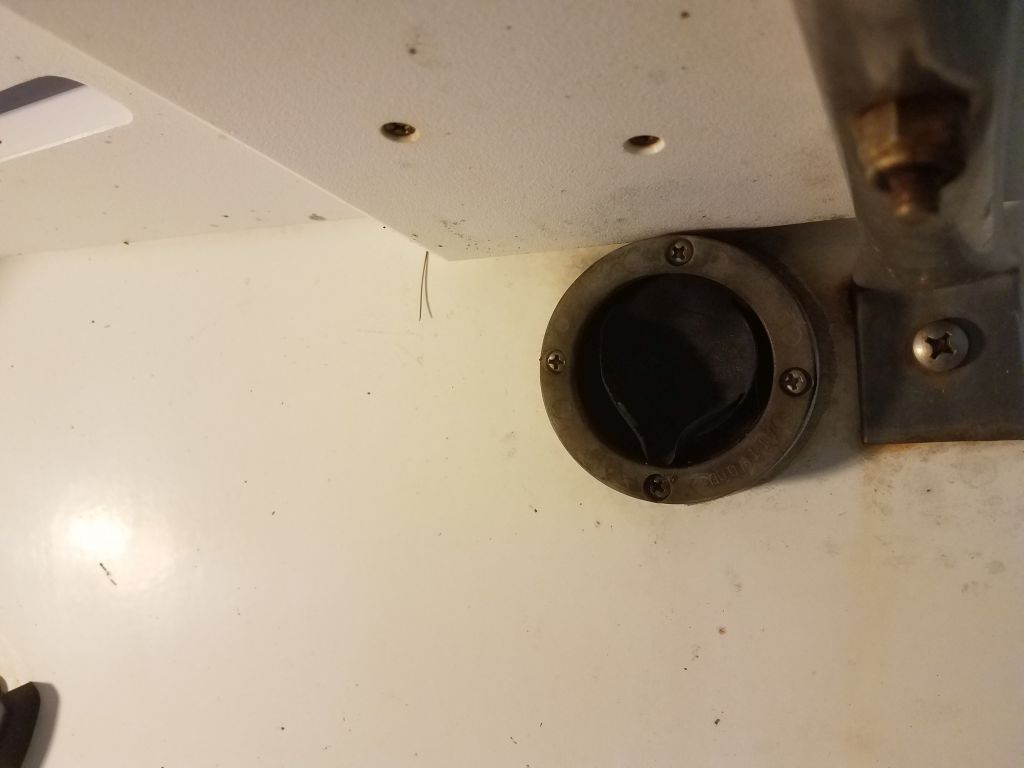
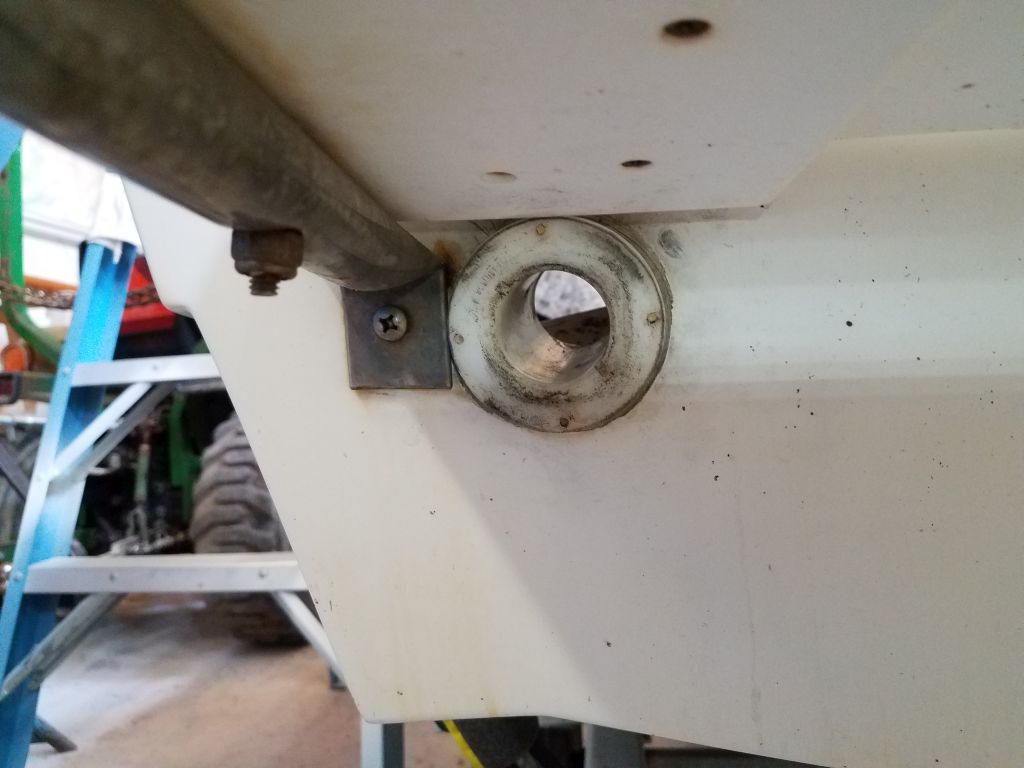
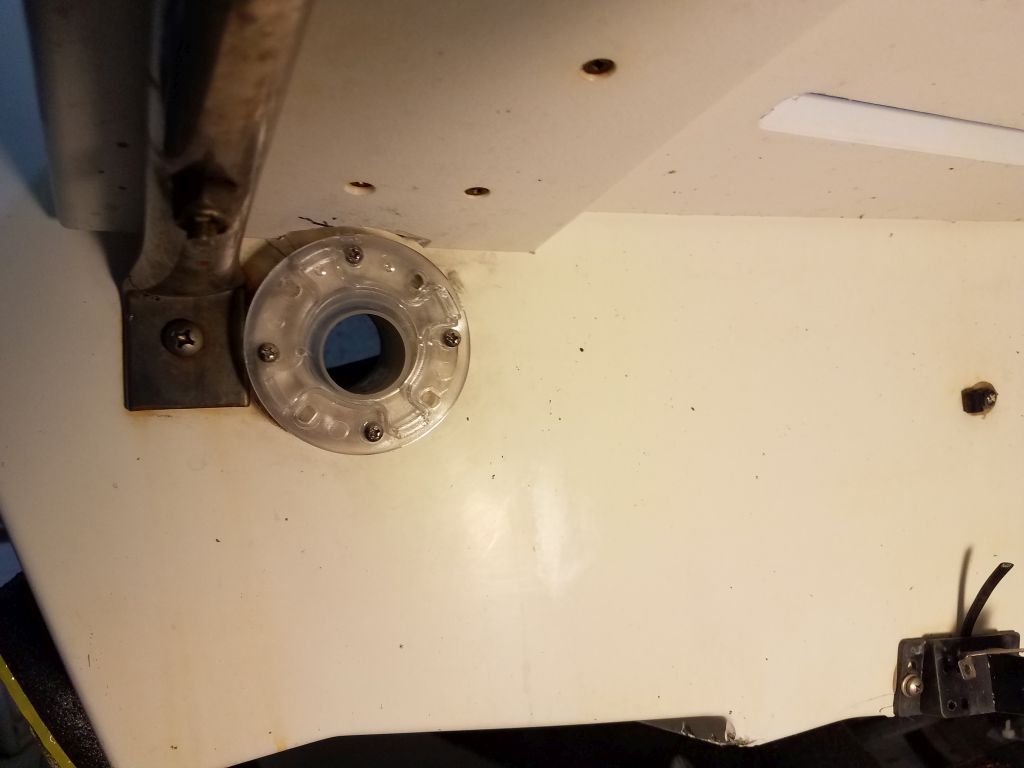
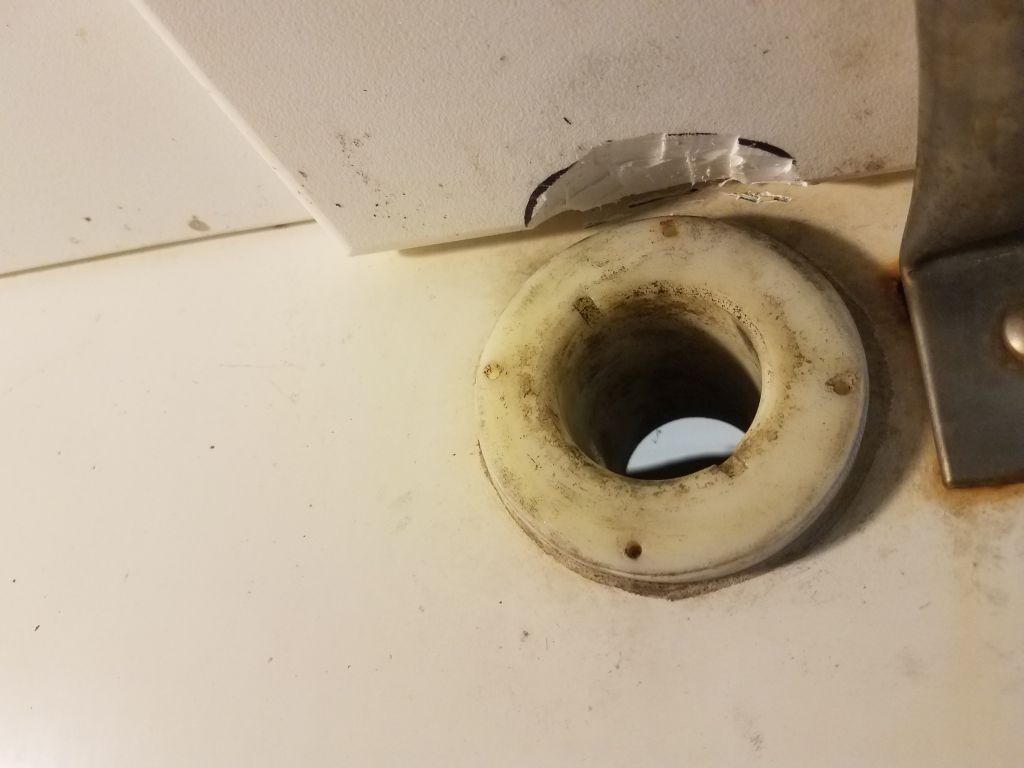
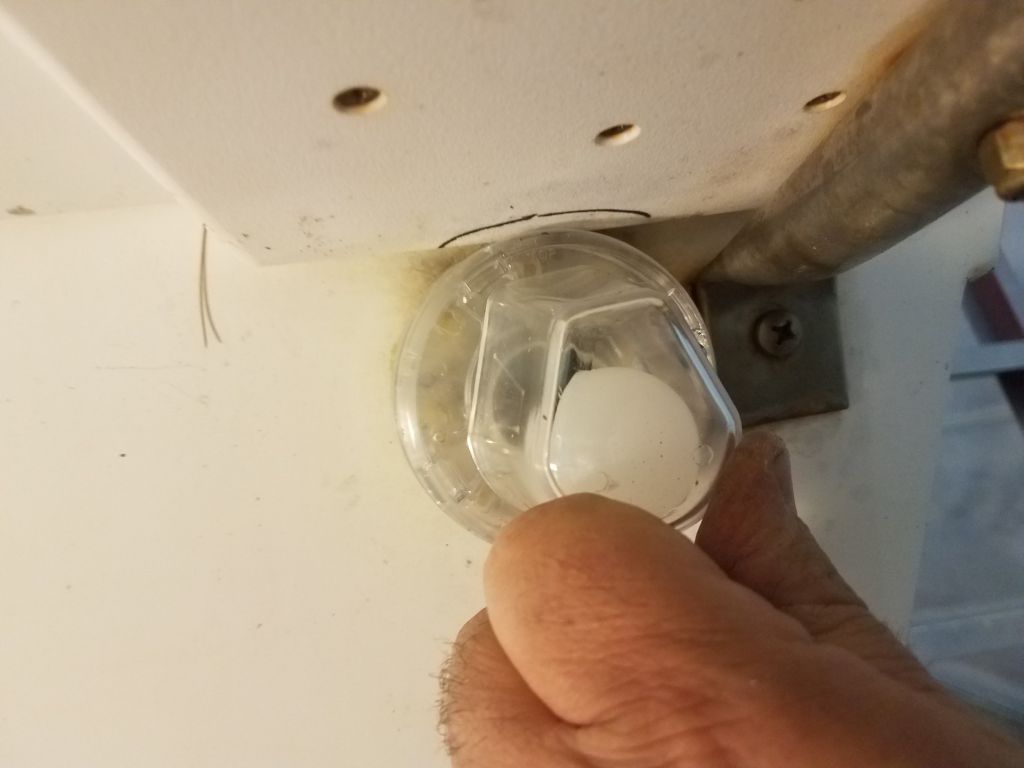
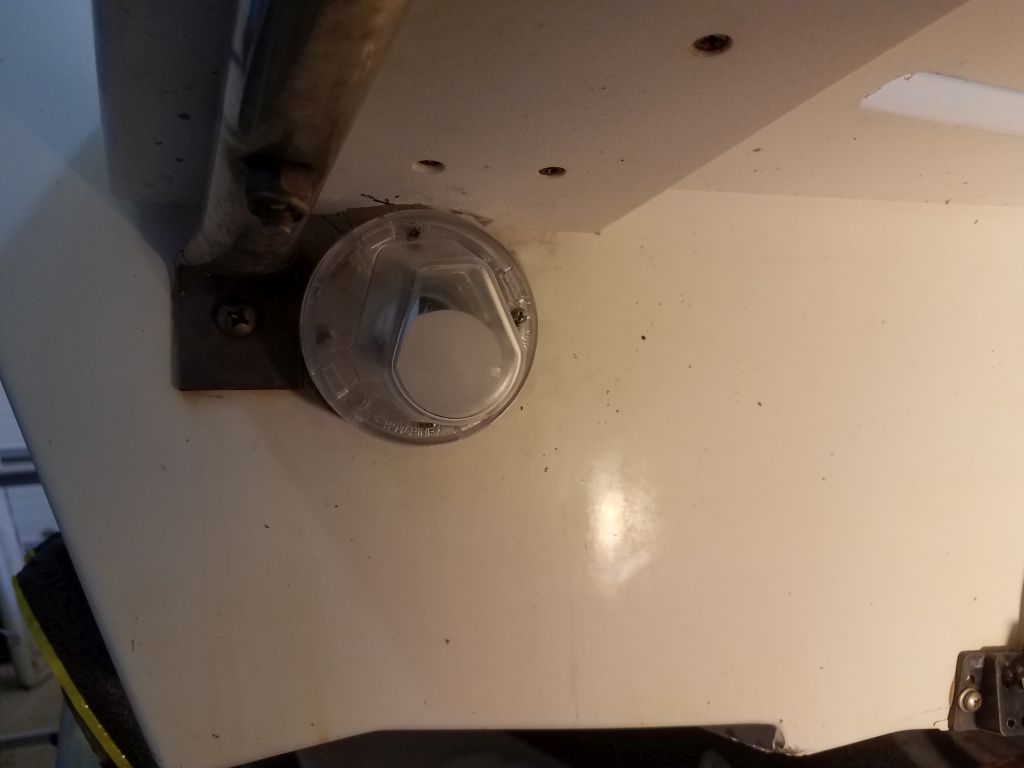
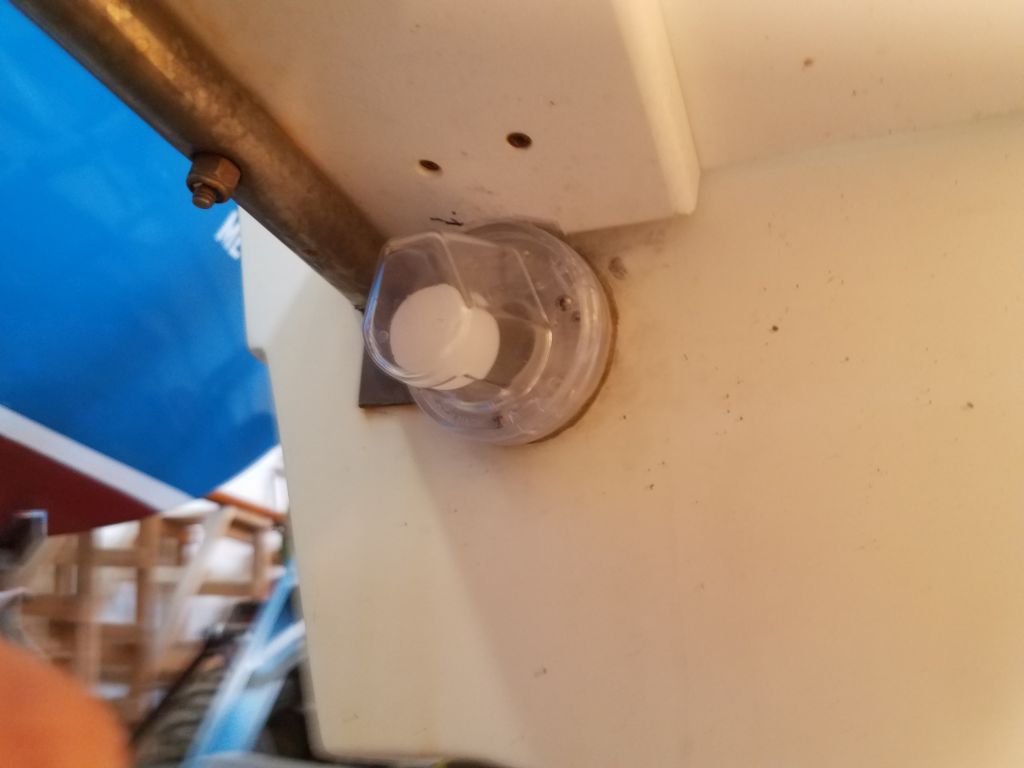
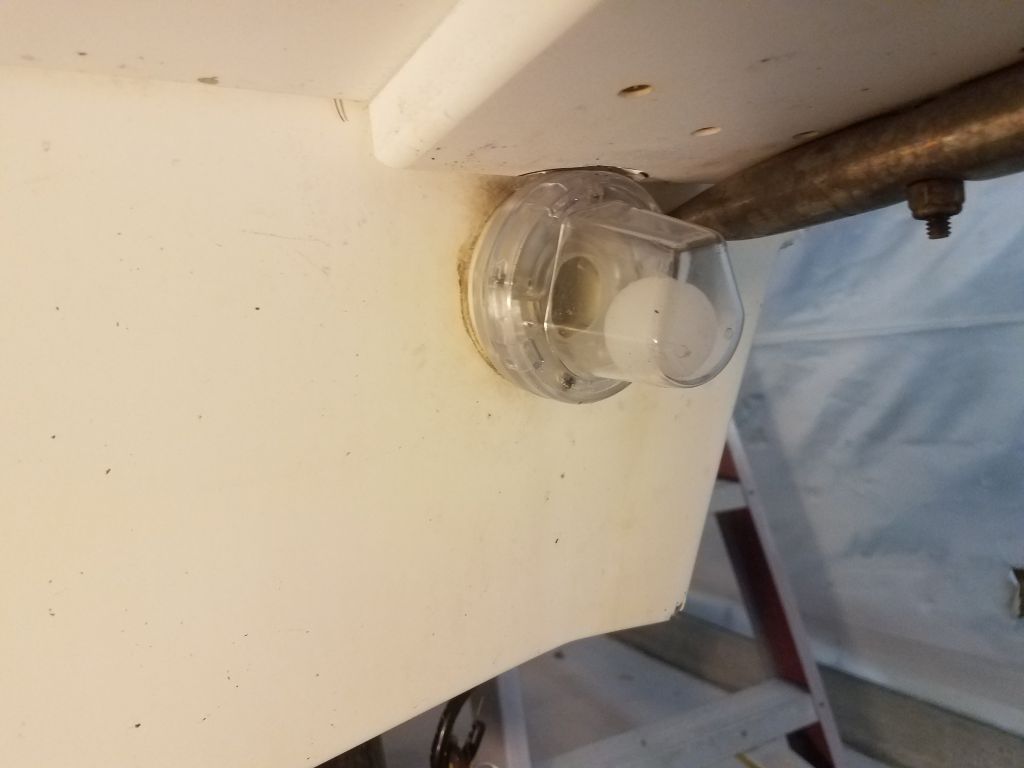
I purchased aftermarket scuppers that incorporated a little ball inside, which would float up and seal against the scupper when backing down, or when the scuppers were submerged at rest. After removing the old fitting–four small screws–installation was straightforward, with only the most minor of complications. The little swim platform, made of cast plastic, was a bit too close to the tops of the scupper housings in the transom, and the new fittings, which were slightly larger than the old and also required access to twist on (or off) the main housing for cleaning, interfered with the swim platform.
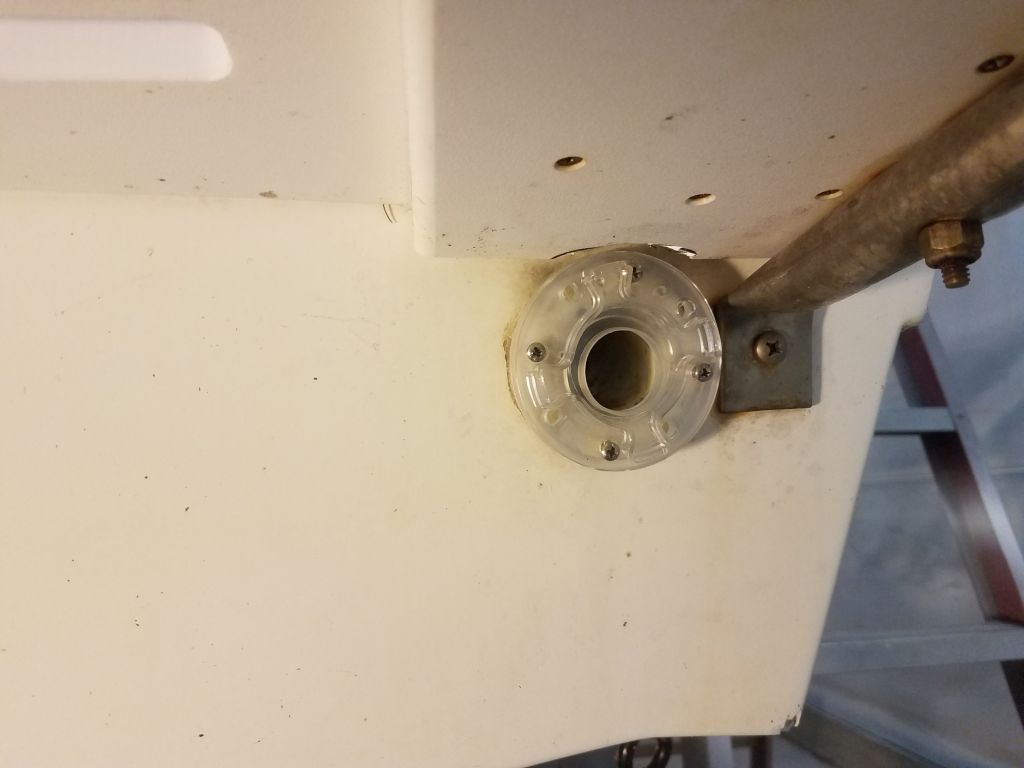
Fortunately, this was an easy fix. The protruding part of the swim platform was actually a doubler plate, so this left me ample material in place and allowed me to chisel out a small portion directly over the scupper fitting, providing me with the access required for the new ones without compromising the actual swim platform. Once I’d done this, the new fittings fit over the existing hole pattern, and I screwed them in place before twisting on the external part of the housing containing the little stopper ball. To remove these in the future for cleaning, there’s a small setscrew on one side (this prevents the housing from being spun off accidentally) that must be loosened, then the plastic housing twists a partial turn counter-clockwise for removal.

This ended my task list on this boat. I planned to swap this boat for another of the owner’s small boats int he near future, and continue the odds and ends work list then.
Total time billed on this job today: 2.25 hours
0600 Weather Observation:
37°, partly clear. Forecast for the day: sun and clouds, 40s