

April 17, 2017
odds1
Tuesday, April 11
A long-time customer with several small boats asked for help taking care of a laundry list of small tasks spread amongst the various boats. So we set up a time where I could travel to his location to work on a few tasks.
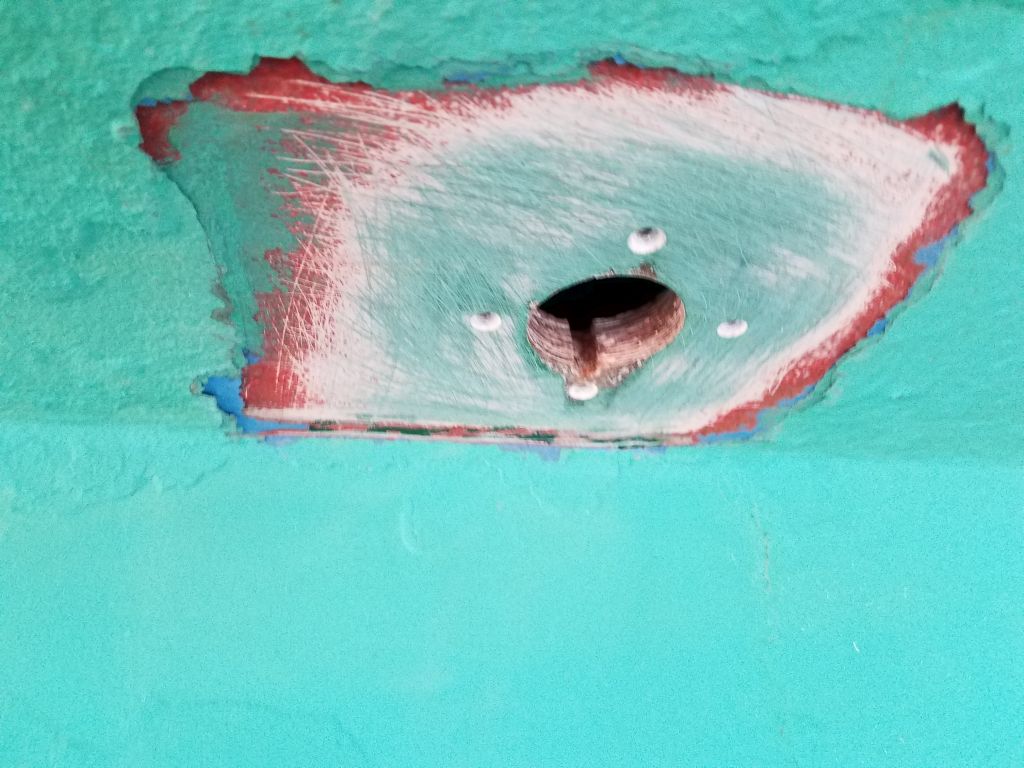
The first order of business was to intall a new garboard drain in his 26′ powerboat; the boat had never had a hull plug installed. The main concern in this case was that since the hull was balsa-cored, the owner wanted to be sure the new hole was properly prepared. Therefore, I initially planned the installation over two days, thinking I’d need to bore out the hole, ream out any exposed core, and fill the area with epoxy before being able to install the fitting itselt.
As it happened, the location where the plug needed to go was outside of the edge of the hull coring: the core ended short of the centerline, so there was a nice clear area of solid fiberglass in just the right location. This streamlined the installation significantly, as I could complete the job in one session.
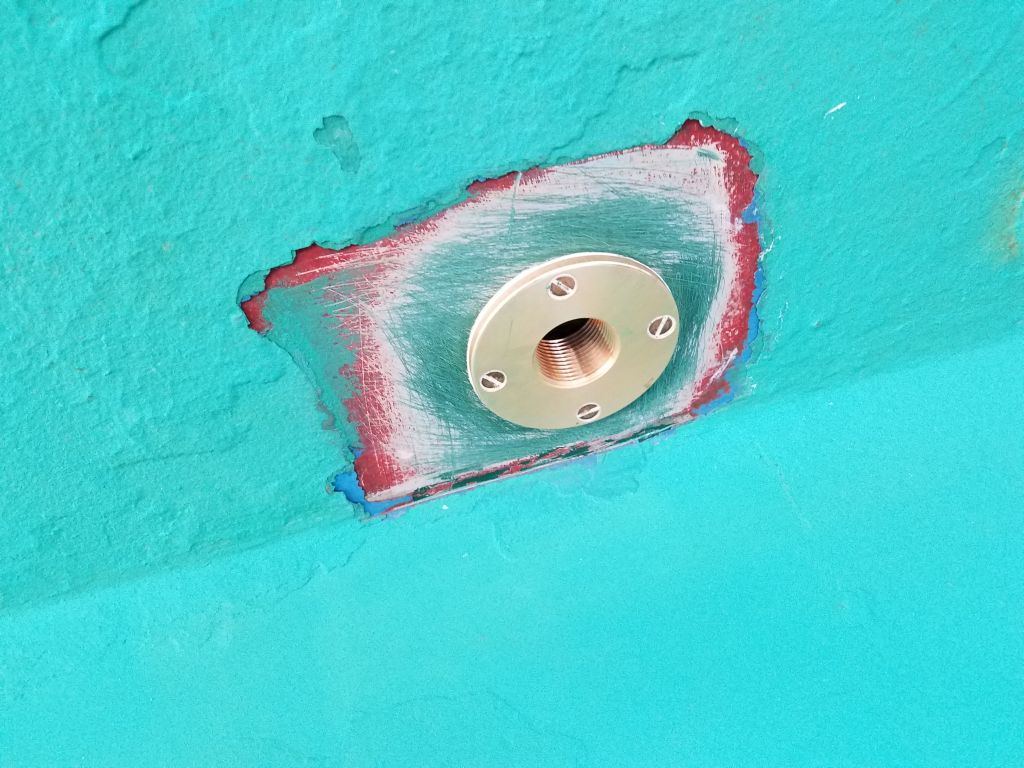
From inside the boat, I drilled a small pilot hole to mark the location from the outside (it would have been easy enough to simply measure too, but since I could fit a drill in I went with the pilot hole). Then, from outside, I removed the various layers of paint down to bare gelcoat before boring the proper-sized hole for the bronze garboard fitting. I finished it off with a small slot for the cast key on the fitting (this helped prevent the fitting from ever spinning). and prepared the fastener holes with a #10 tap to accept machine screws.
Afterwards, I installed the new fitting with plenty of polyurethane sealant (4200) and bronze machine screws. This completed the task list on this particular boat. (1 hour)


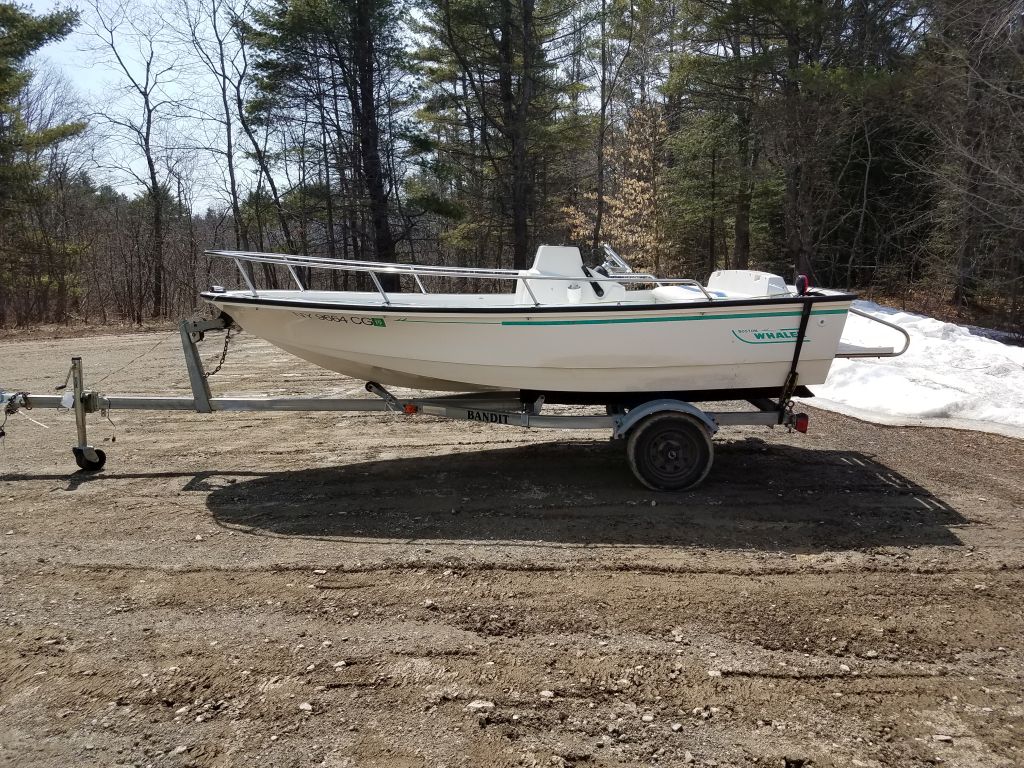
Now we repaired to the owner’s home nearby, where other boats awaited. Next on the agenda: a small jet-powered Whaler with several deceptively small electrical and other tasks on the list. After pulling the boat from its storage location and removing the cover, we started to assess and discuss the project list. While I was prepared for electrical work with tools and basic supplies, it soon became apparent that there would be quite a bit of material shopping required, and also that the task list was a bit more involved than I’d expected, so with the boat on a good trailer I decided it’d be most efficient to simply take the boat back to the shop for the work. (This turned out definitely to be the right decision.)
Once I had the boat back at my shop, I went through things and made up an order for the various materials required so I could have them on hand when I was ready to start the work after a short break.
Monday, April 17
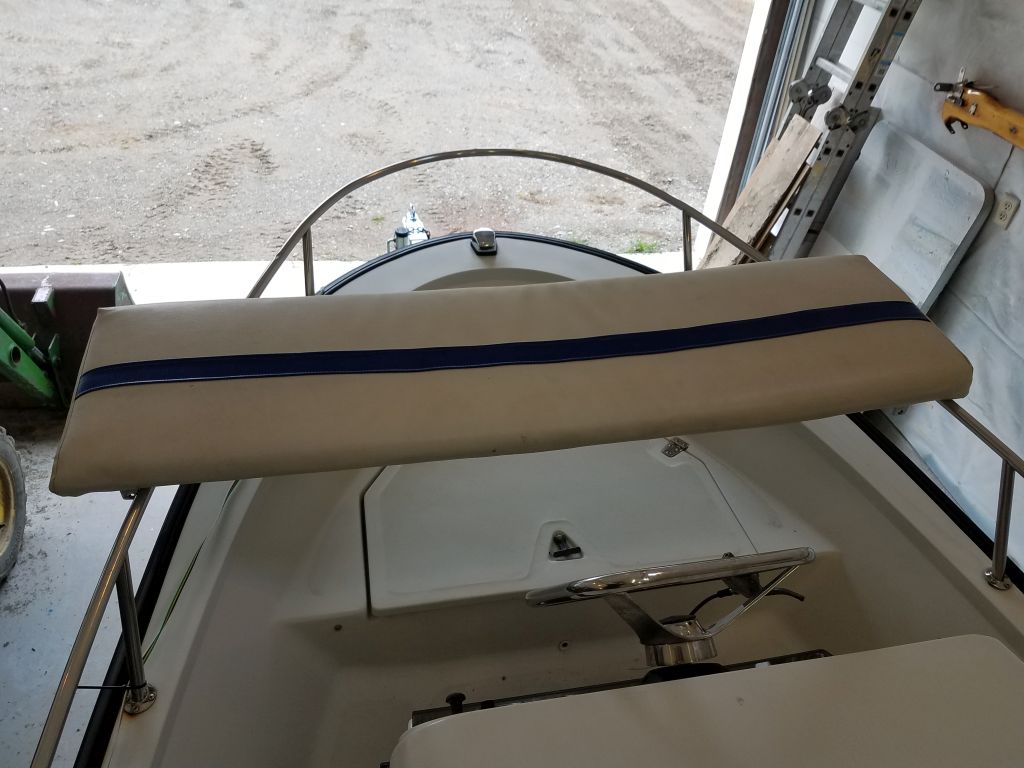
Now properly equipped with various supplies and materials, I got down to business. The first item on the list was to replace the existing manual electric bilge pump with an automatic pump, as the owner expected this boat to stay in the water this season. The way the boat was configured, the pump was located aft beneath a flip-up seat. The seat filpped forward towards the cockpit, and this made accessing the space behind awkward at best, so I decided to remove the seat–two hinges only, but everything about the configuration made access extremely awkward at best. I couldn’t see the top screws from either inside or outside of the boat, and couldn’t get a screwdriver onto the other sides of the screws when the seat was flipped open (and couldn’t, obviously, reach the nuts when the seat was down). What a foolish installation, but eventually, and with far more effort than anything should require, I managed to get vice grips on the nuts, after which I could spin out the screws with the seat flipped down. Once the seat was off, access to the area behind was easy.
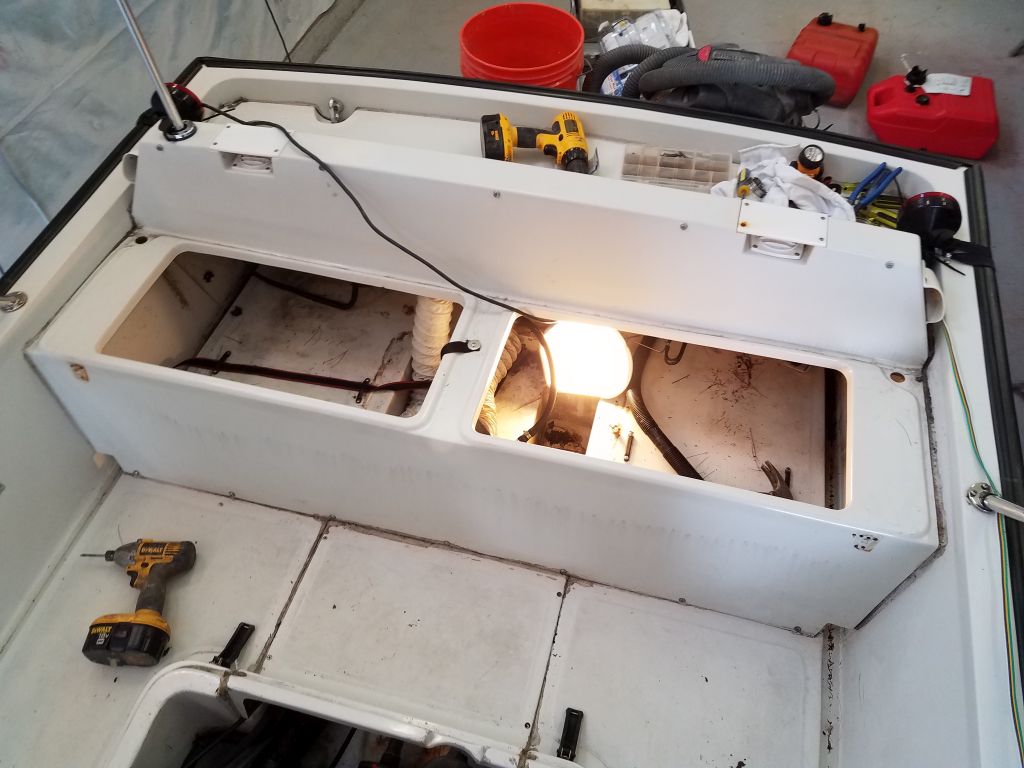
The existing pump was in a small well, and removing it posed no problem. I saved the existing discharge hose, but decided to run completely new wiring rather than try and reuse the existing wires; I’d need a third wire in any event, as there were only two leading to the manual-only pump.

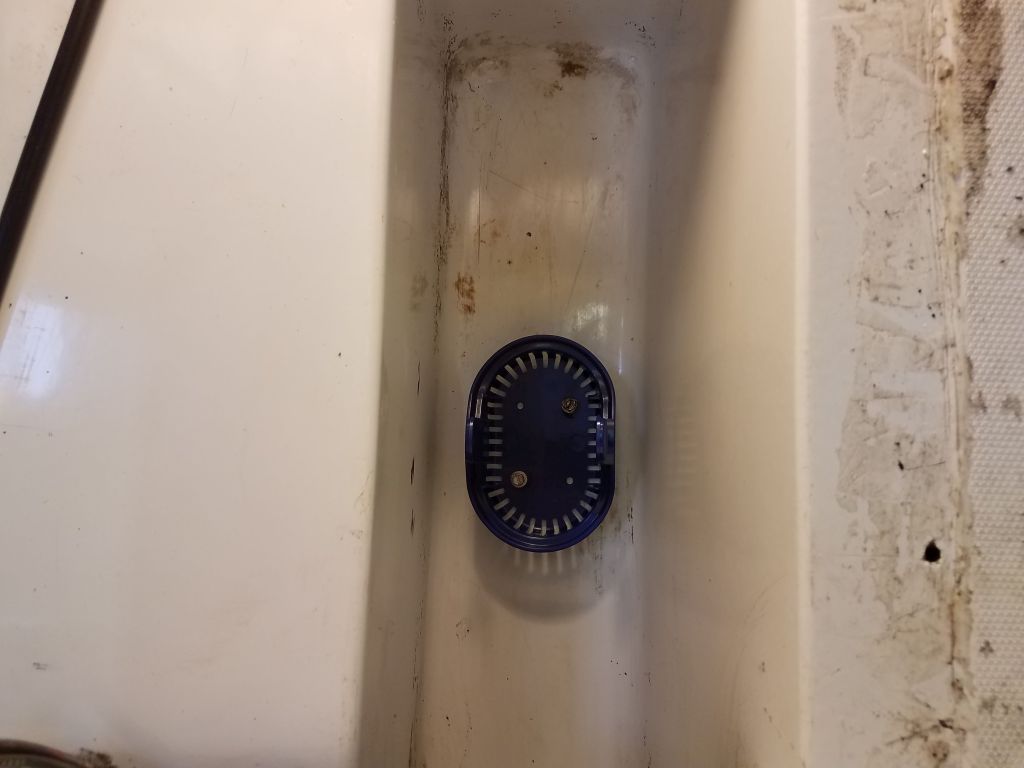
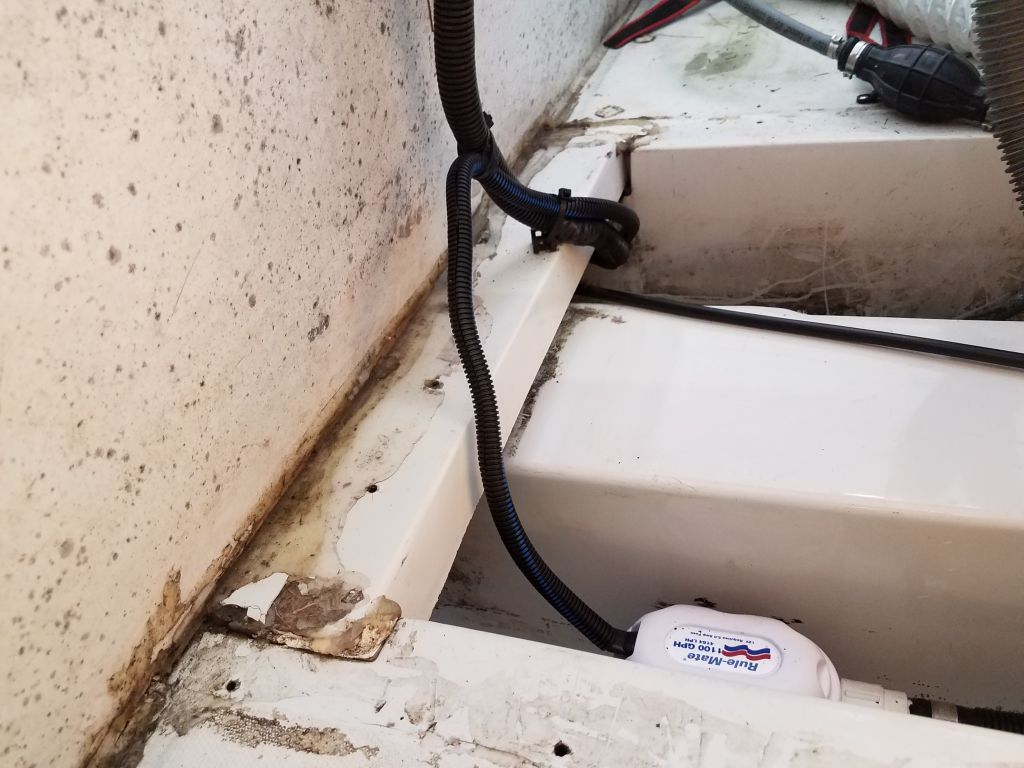
Next, I cleaned up the bilge a bit and installed the new pump, a straightforward task. I sealed the old mounting holes, as well as the new ones, with butyl sealant, and secured the existing hose with a new clamp.
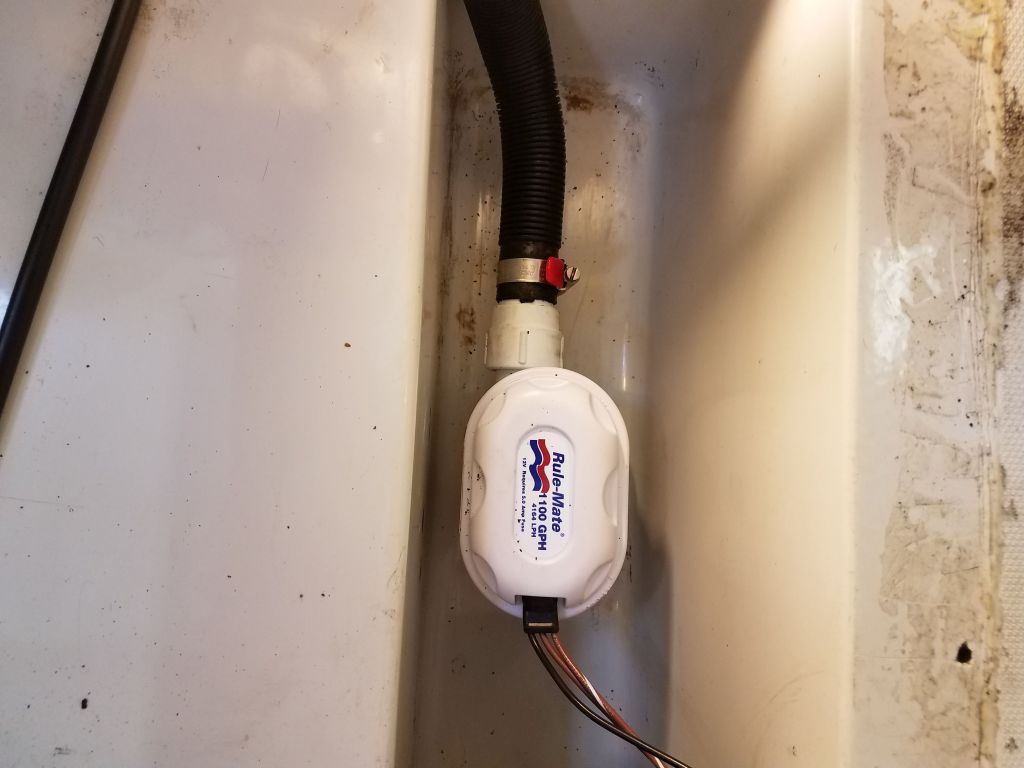
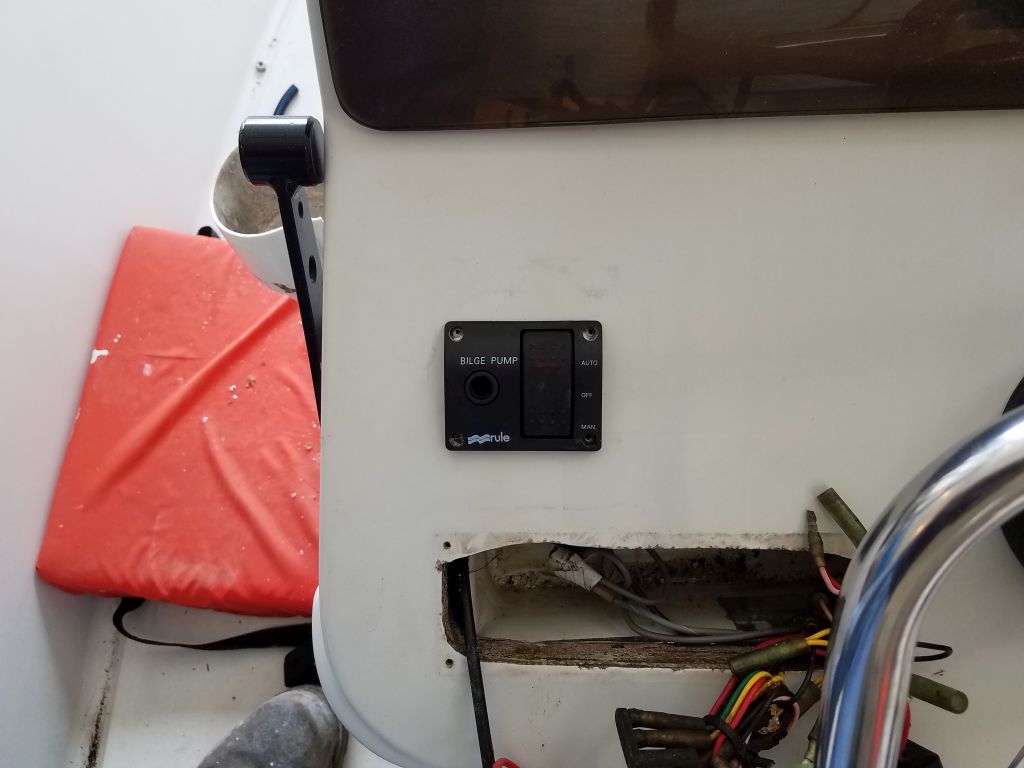
I made up a new harness of three wires encased in split loom, to match the existing wiring setup, and led it aft, where I connected the three wires to the pump’s own pigtails. Then, I led the wires up into the console, where I prepared an opening for a new bilge pump switch and made the connections.
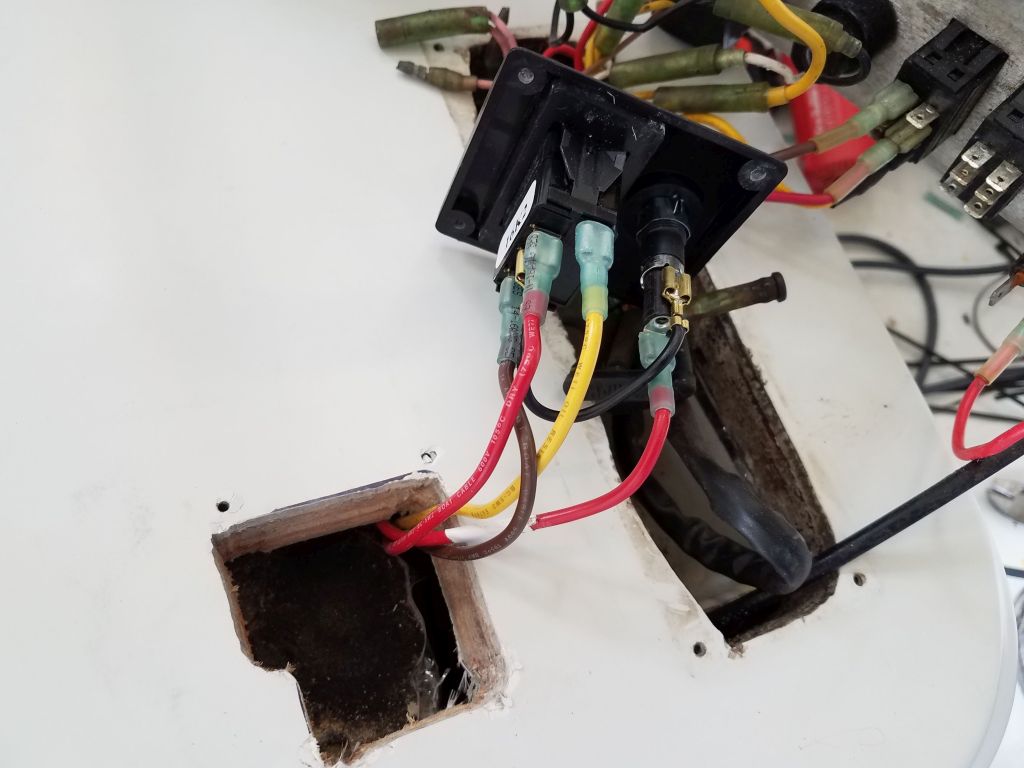
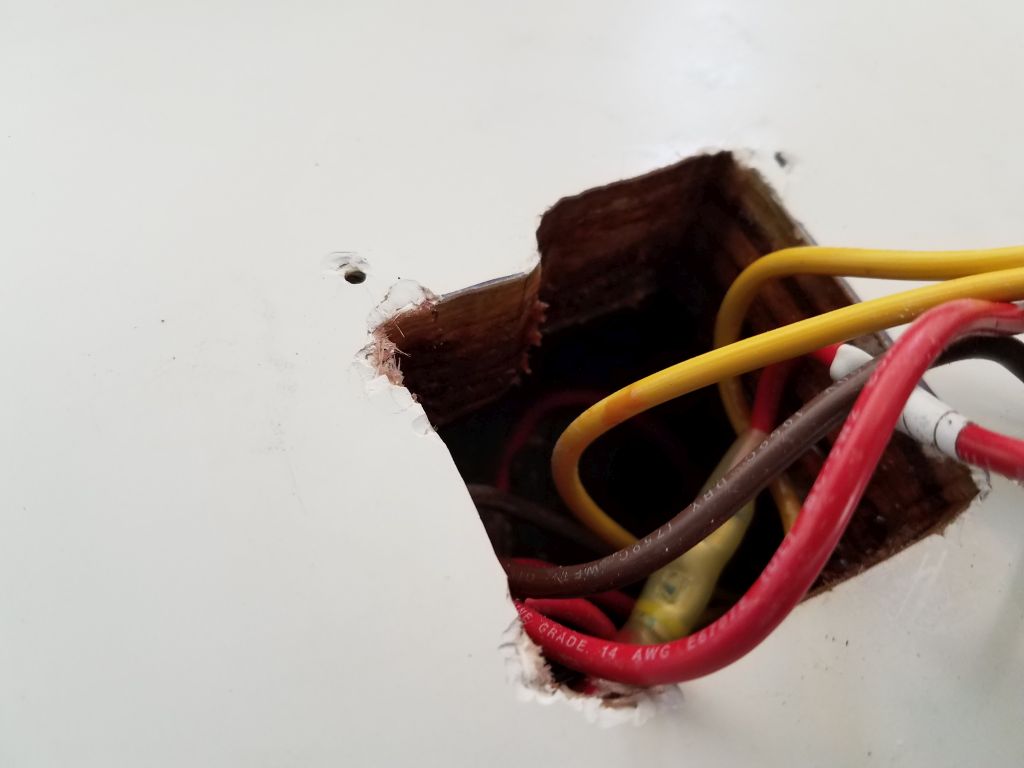
Before installing the new switch permanently, I used some epoxy resin to seal the exposed plywood within the opening, seen in the final photo.


Now that the wiring was complete, I tested the pump, both manually and with the automatic function. As seen in this video, the pump has a small button on its forward side, which one can push and hold for 5 seconds to trigger the automatic operation for testing purposes.
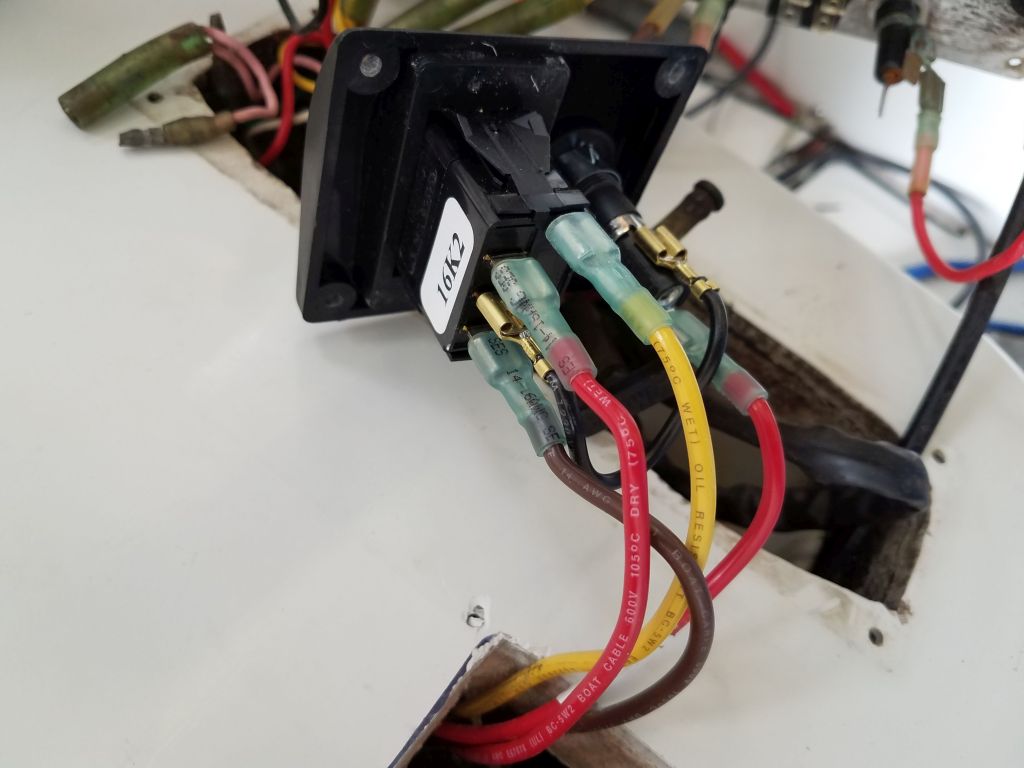
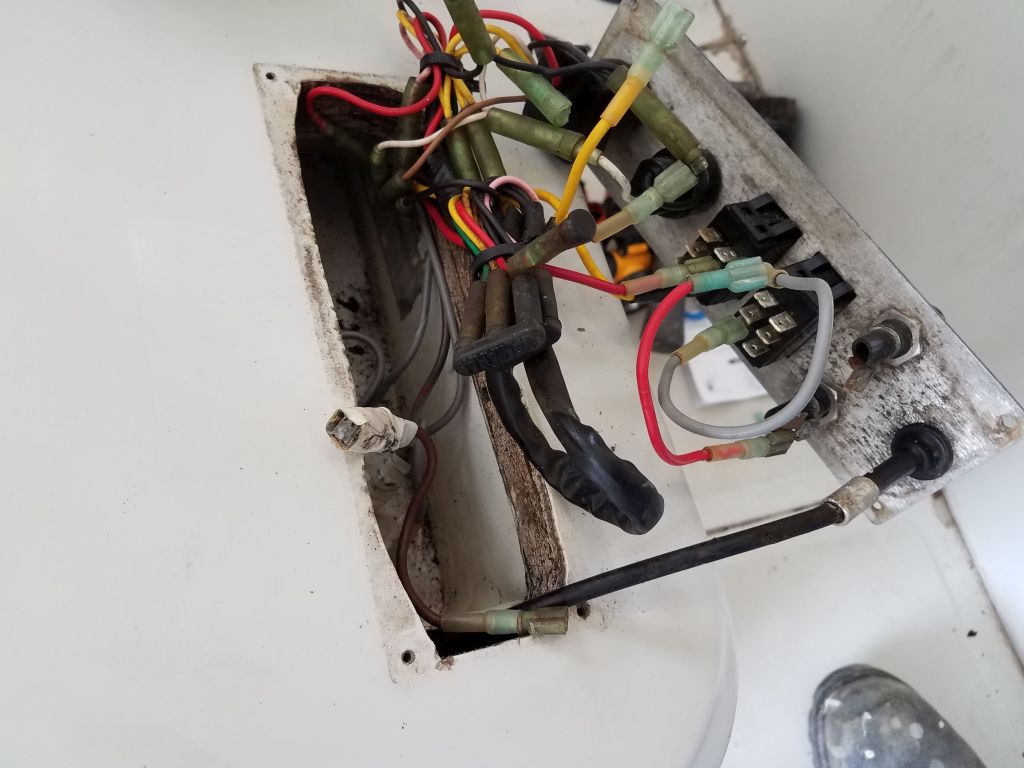
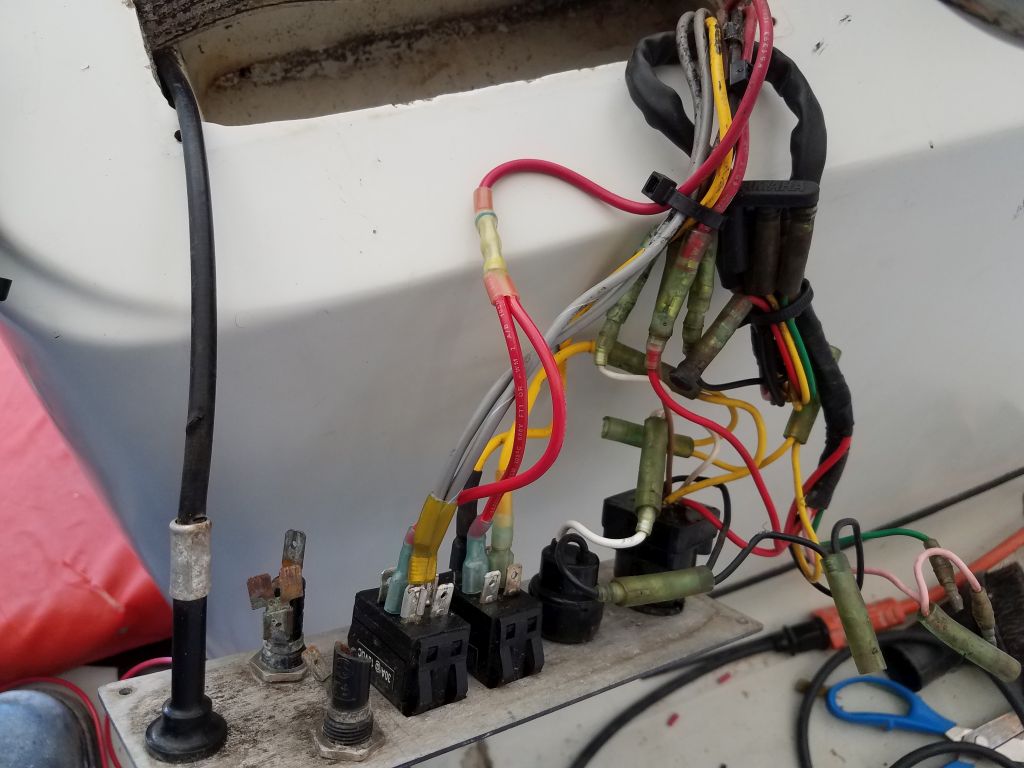
During this installation process, I had cause to open up the existing panel, in the console. The wiring behind was a mess of loose and disconnected wires, many of which had pulled off when I removed the panel, so I had to sort through that as I prepared for the next items on my list. I removed several old wires left over from the original bilge pump installation, and cleaned out various jumpers that seemed to serve no function. I’d known the bilge blower had operated properly before, but now I found it didn’t, so I had to figure out which wire had pulled out and reconnect it, which I eventually did with success.


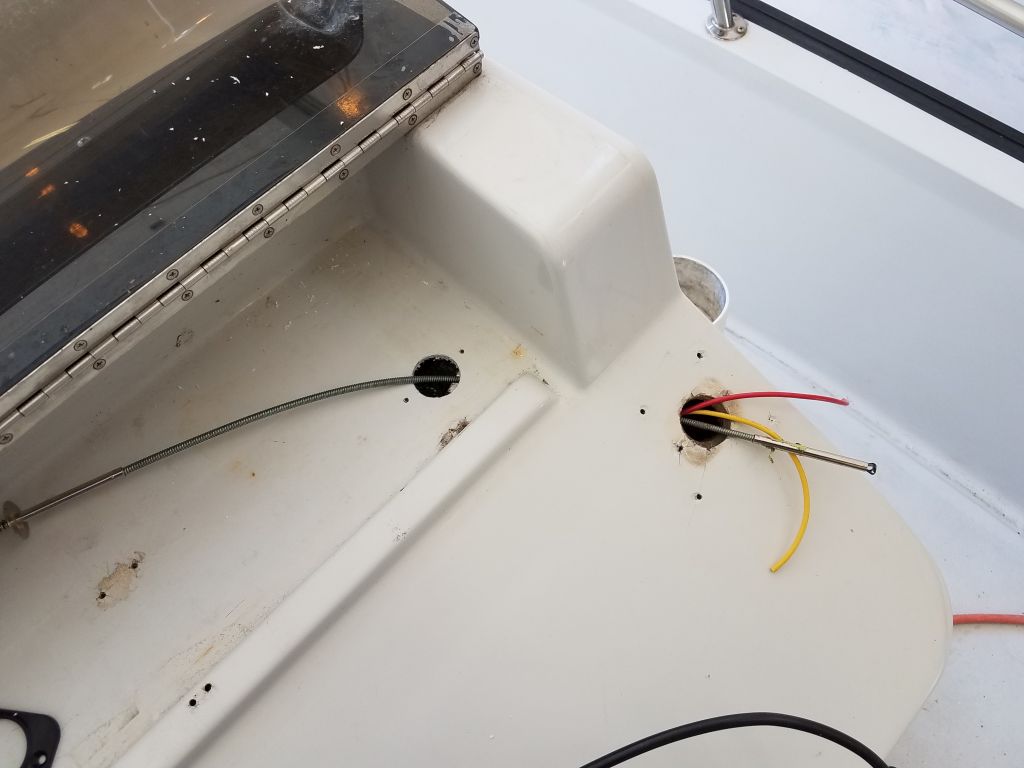
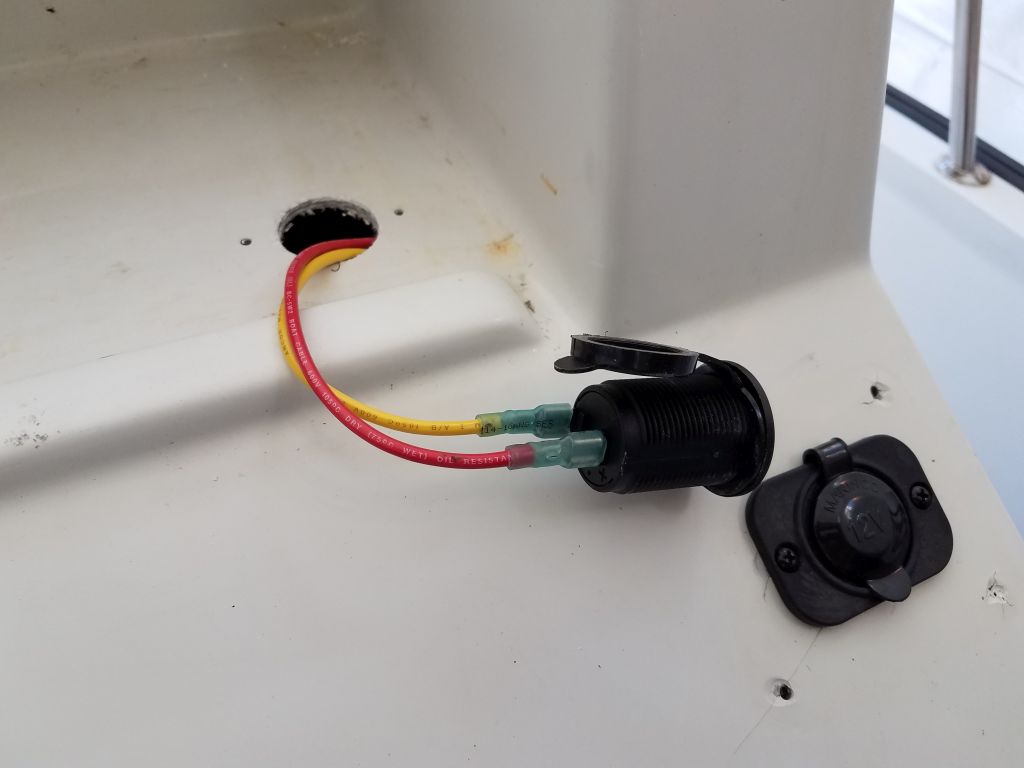
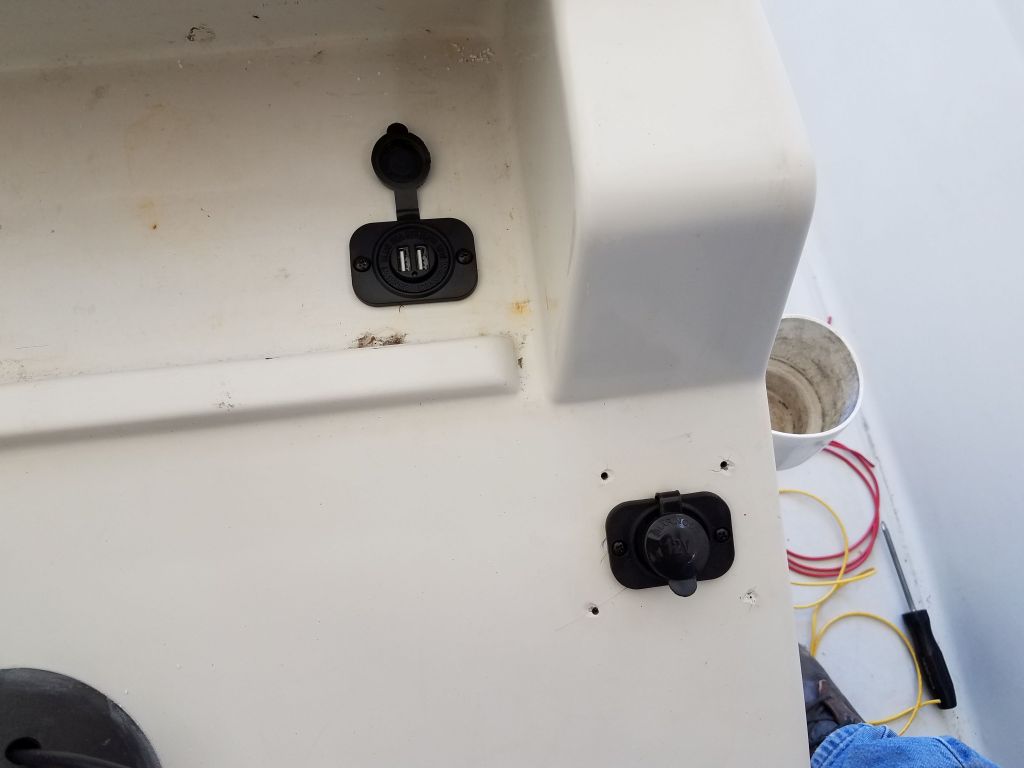
Sorting these wires, and determining what was needed and what wasn’t, was important because my next tasks included troubleshooting and repairing the running lights, as well as adding two new power outlets in the console: a 12V cigarette-type outlet, to replace an existing one that was older and turned out not to be wired at all; and a modern USB charging outlet for today’s various devices. The owner had originally wanted me to install a fixed-mount GPS, a slightly older unit he had on hand, but we found that the desired location in the small box at the top of the console was too small to contain the unit, and after some discussion we determined that using handheld devices, including smart phones or tablets, made the most sense in this small boat, thus leading to the desire for additional and useful power outlets.
I didn’t even bother trying to save the existing outlet from the console, choosing to start fresh with an identical, but new, version. I snaked wires over from the panel area, and strung additional wires to a new mounting location inside the small electronics box, out of the weather, for the USB charging port. Making the final connections and testing these outlets was relatively quick and straightforward once I’d made sense of the existing electrical system to begin with.


Inspection of the existing wiring harness helped me identify which wires led to the running lights, neither of which worked immediately. At the stern light, it was easy to cut the wires near some existing butt connectors and test for power–all OK, so I made up new wiring connections and the light tested operational thereafter.
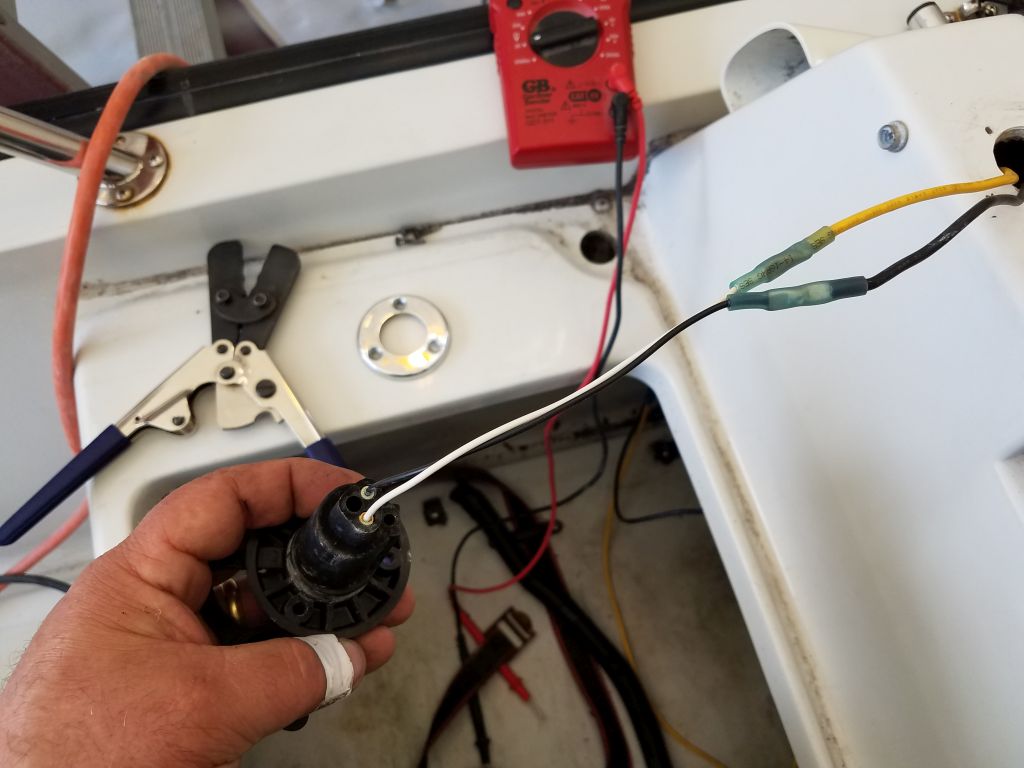
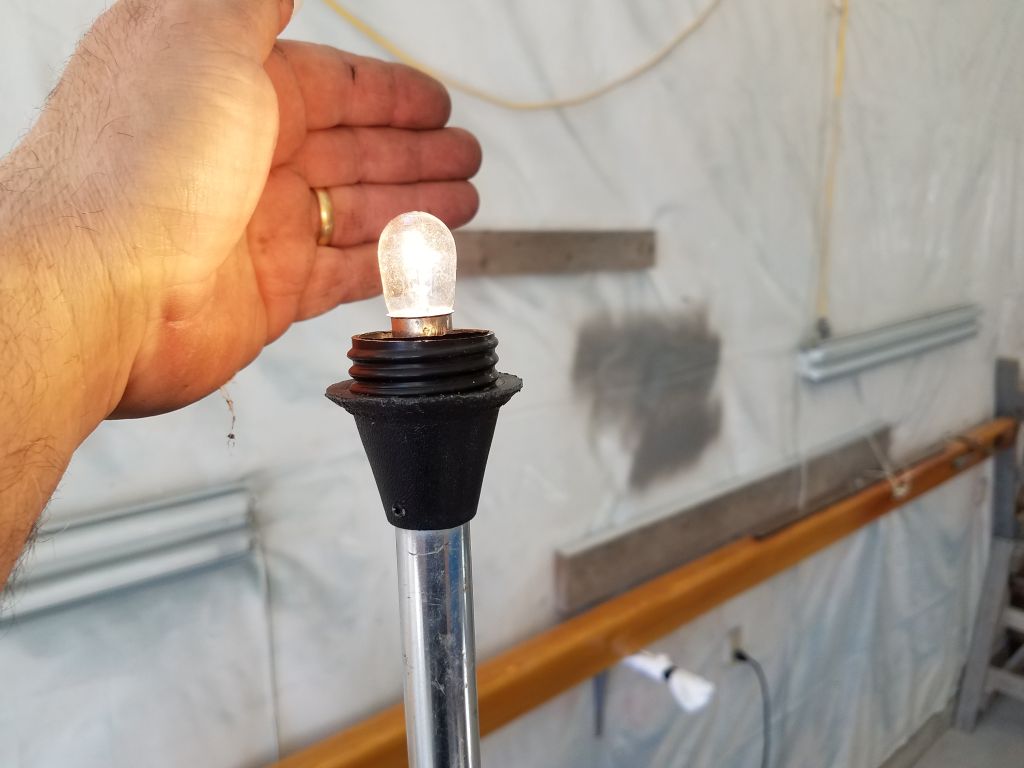

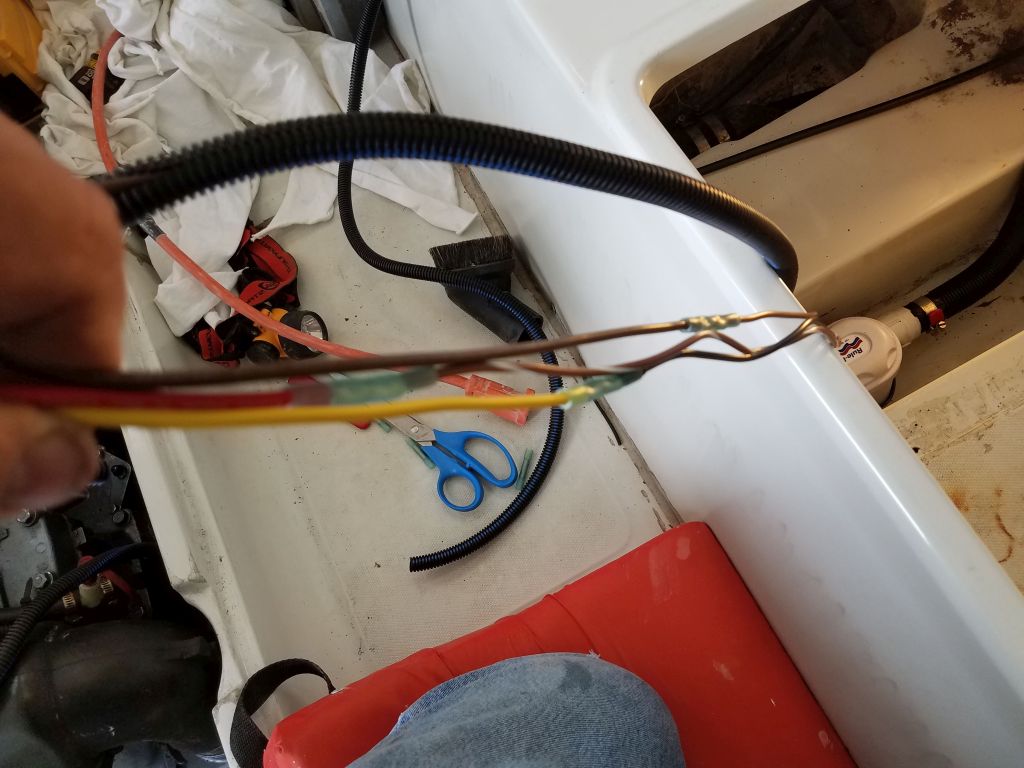
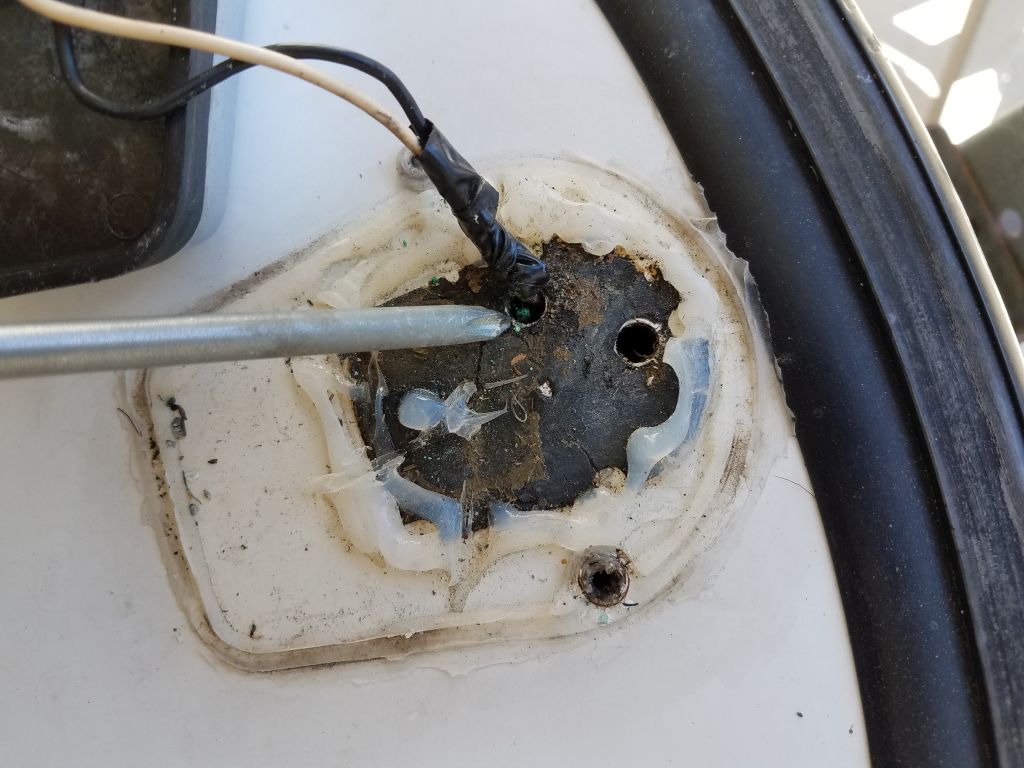
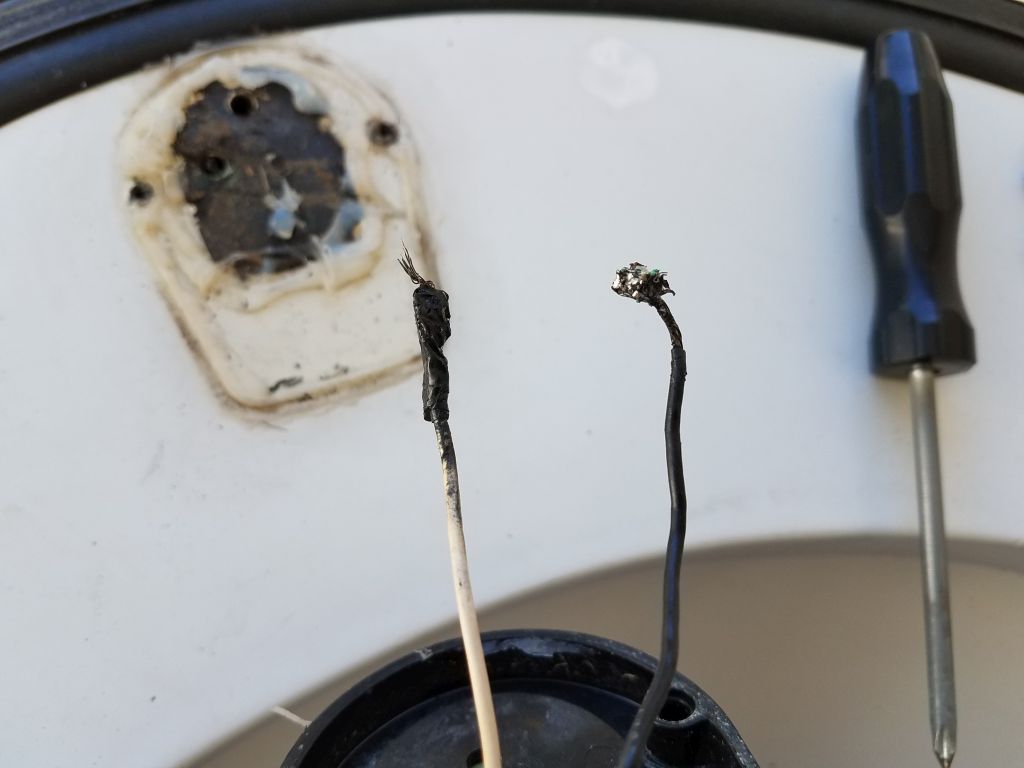
I also cut and tested the wiring leading to the bow light–the wire led into the space between the cockpit and the hull on the starboard side aft, so I tested the wires just before this area to find power as required. So I moved on to the bow light fixture itself, where I found that the wires–which had been soldered together beneath the light–were in poor condition, heavily corroded, with broken connections and, unfortunately, no slack available in the wire, which was broken off just below deck level; the screwdriver points to the green, corroded, broken wire here.
By now it was late in the day, and I chose to address this issue further next time.
Total time billed on this job today: 7 hours
0600 Weather Observation:
47°, clear. Forecast for the day: sunny, 60s