|
|
~MENU~ |
| Home |
| The Concept |
| The Boat |
| Bringing Her Home |
|
Weekly Progress Log |
|
Daysailor Projects |
| The Boat Barn |
| Resources |
| Other Sites |
| Email Tim |
|
|
| Boat Barn: Raising the Walls and Roof Framing | ||
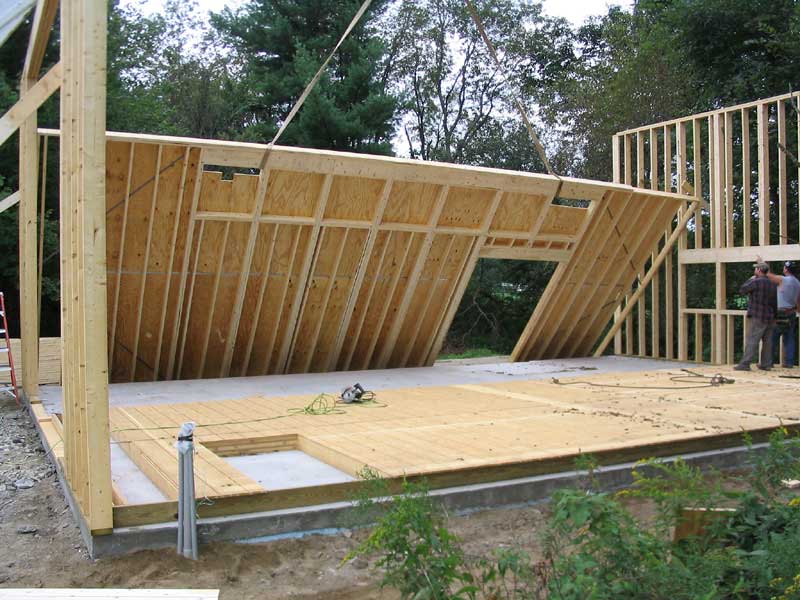
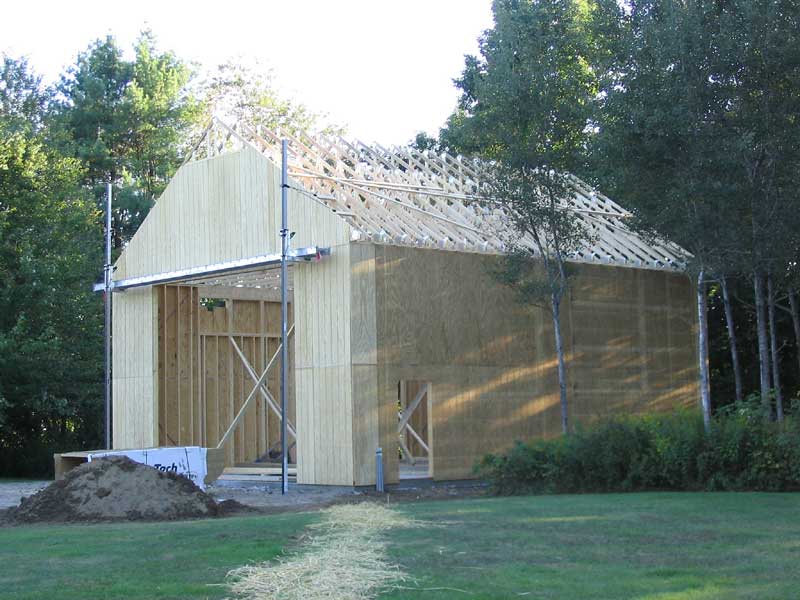
The walls were framed on the ground and lifted into place with a crane. In the space of a day, the barn was suddenly there! Of course, much work remained before the structure was complete. |
Framing Framing Detail Photos |
|
| Raising
the Walls
Wall Photos Truss Photos |
||
| Roof and Trim | ||
| Electrical | ||
| Insulation/Windows/Doors | ||
| Barn
Home Page
Tuesday, September 2,
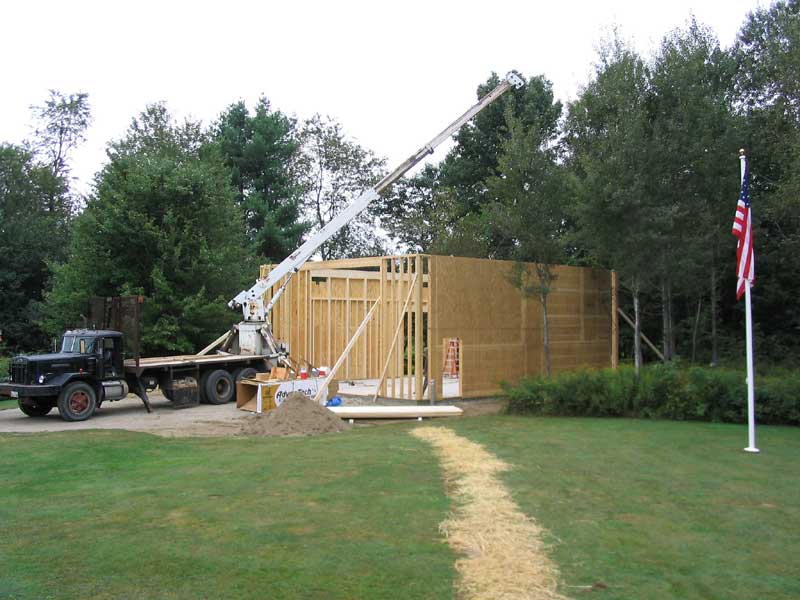
2003 At 0600, the crane arrived, followed closely by Bob, and by 0630 some initial preparations had been made (including moving some of the lumber piles in order to back the crane closer to the slab). Before 0700 hit, the back wall had already been raised into place, and temporarily braced. Two additional guys arrived at about 7, and the four of them proceeded to make short work of raising the remaining three walls. By 0800, all four walls were standing and were partially secured in place.
|
|
|
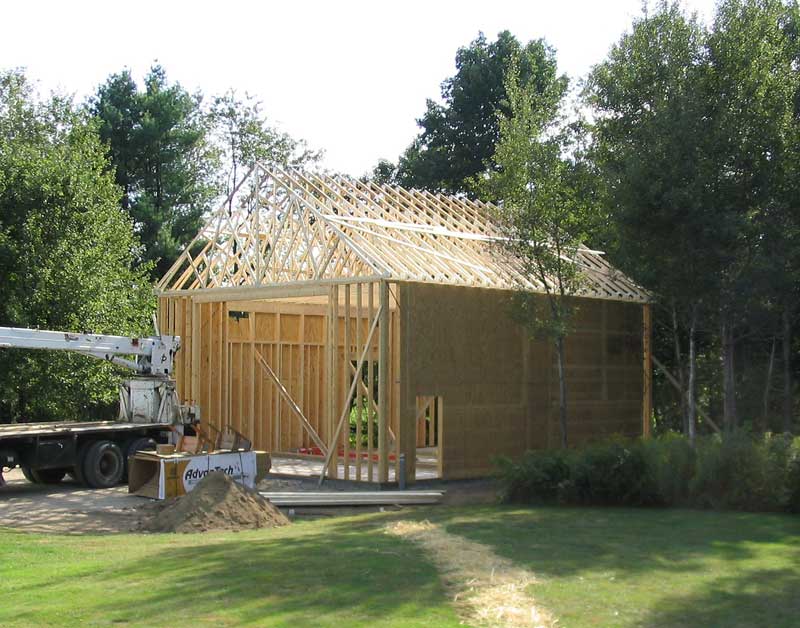
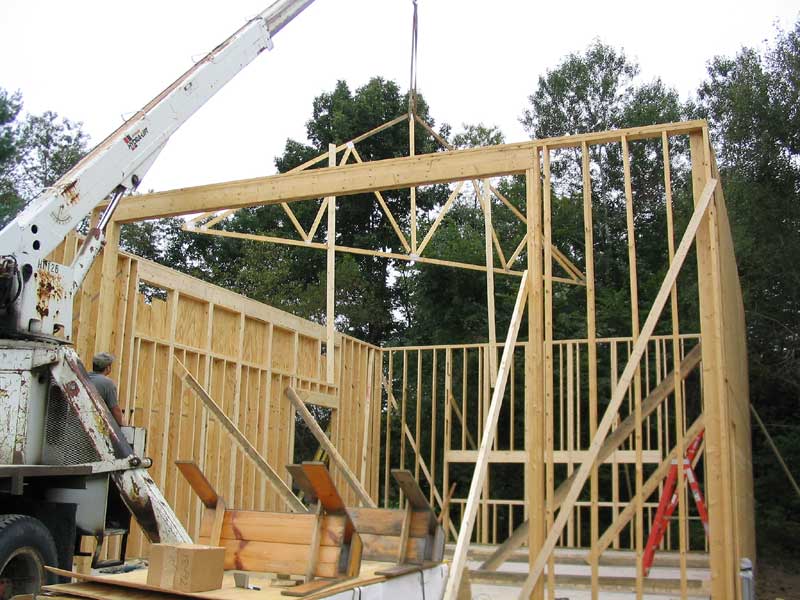 Once all four walls were up and braced, the crew took a break and then got
to work on the trusses. There were 21 trusses to raise and brace
into position. Onto the first truss, they nailed two long sections
of 2x6 lumber, which extended about 8 or so feet beyond (beneath) the
bottom chord of the truss. With this extra height, it took some juxtapositioning
of the crane to get the first truss over the sidewall,
but once that hurdle was passed, placement of the first truss--the most
difficult, perhaps--went smoothly, except that the boom on the crane
couldn't extend quite far enough to reach the very back wall of the barn
and lift the truss and braced high enough above the wall to clear
it. Therefore, it just took a little fiddling to get the vertical
braces over the edge and secured to the framing beneath, thereby holding
the truss in position.
Once all four walls were up and braced, the crew took a break and then got
to work on the trusses. There were 21 trusses to raise and brace
into position. Onto the first truss, they nailed two long sections
of 2x6 lumber, which extended about 8 or so feet beyond (beneath) the
bottom chord of the truss. With this extra height, it took some juxtapositioning
of the crane to get the first truss over the sidewall,
but once that hurdle was passed, placement of the first truss--the most
difficult, perhaps--went smoothly, except that the boom on the crane
couldn't extend quite far enough to reach the very back wall of the barn
and lift the truss and braced high enough above the wall to clear
it. Therefore, it just took a little fiddling to get the vertical
braces over the edge and secured to the framing beneath, thereby holding
the truss in position. |
|
Click here to see a series of photos of the trusses going up. |
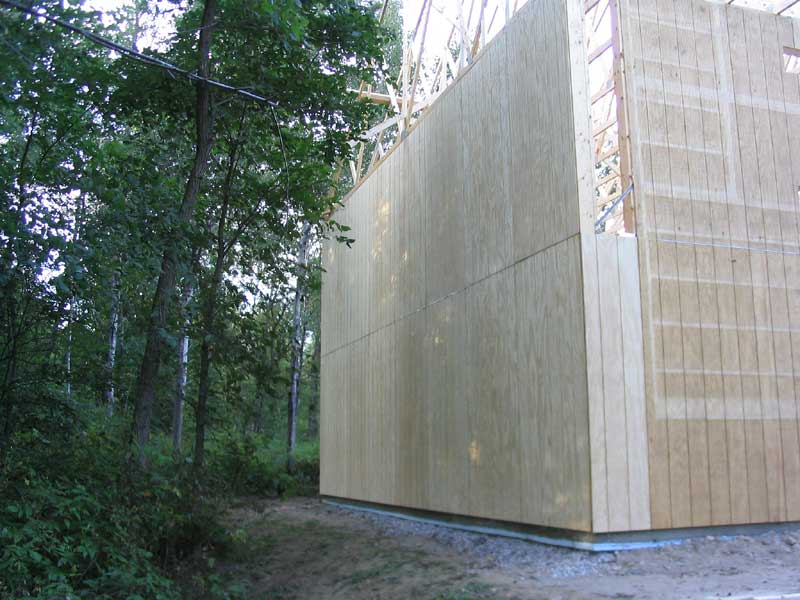
Wednesday, September 3, 2003 Sheathing After a day in which the site went from nothing to a full-sized barn (if only in framing) in only 9 hours, anything less was bound to seem insignificant. Knowing full well the nature of construction, I was prepared for this apparent slowing of the progress. Still, one always hopes things can magically go faster.
|
|
|
Friday, September 5, 2003 Gable Framing, Sheathing, and Other Details
|
|
|