

October 26, 2017
Steadfast 2
Thursday
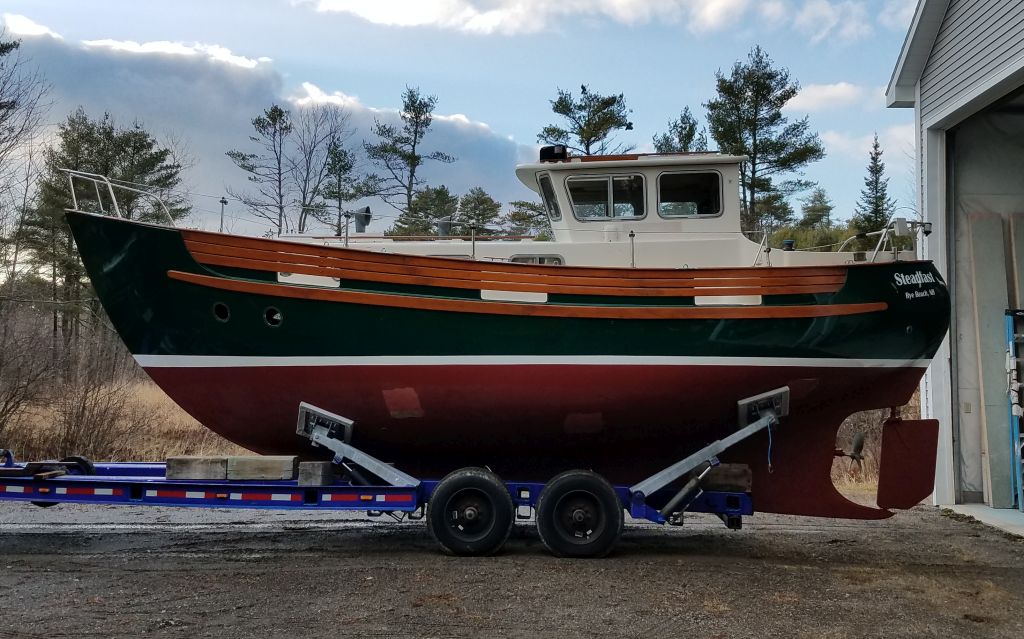
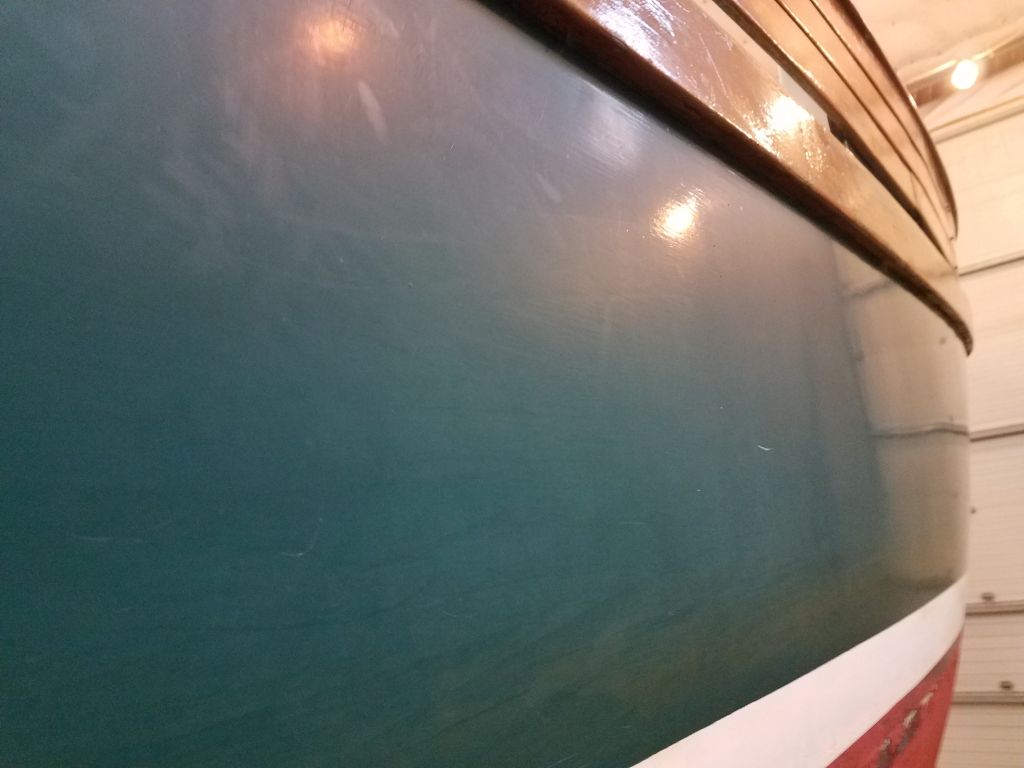
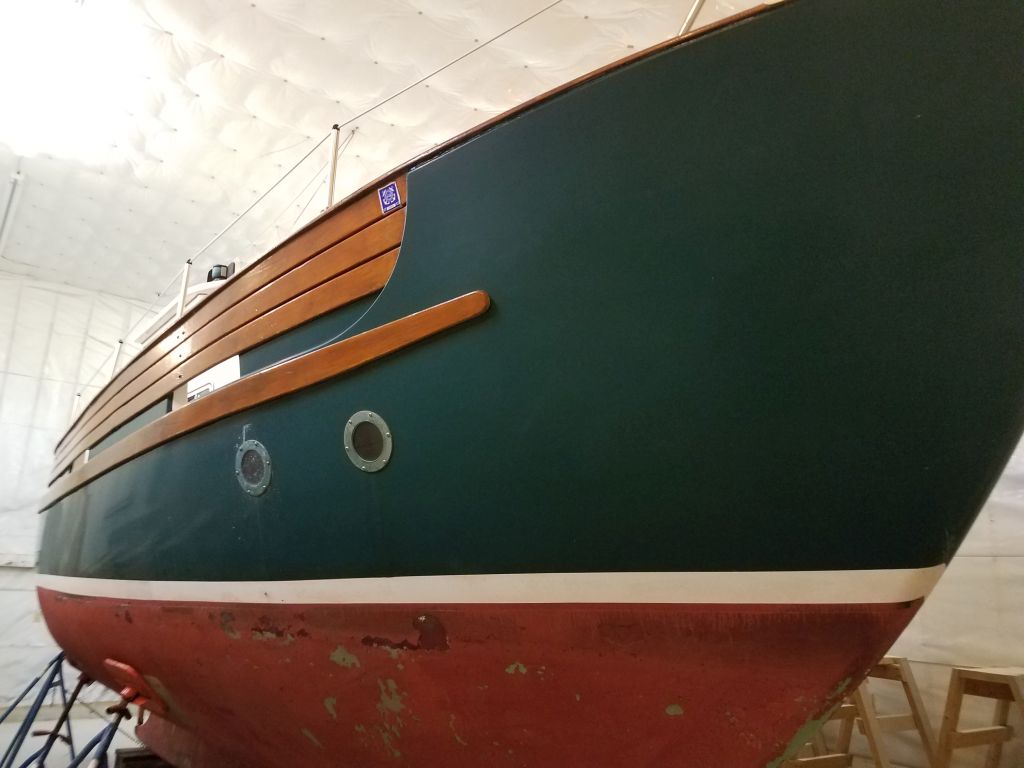
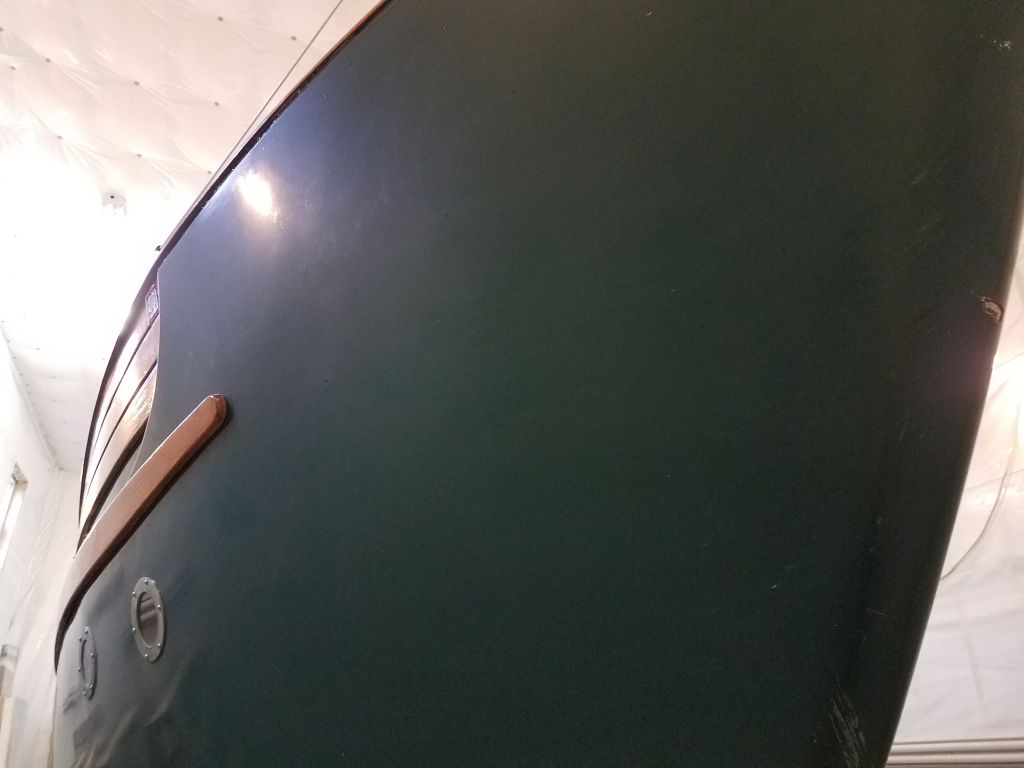
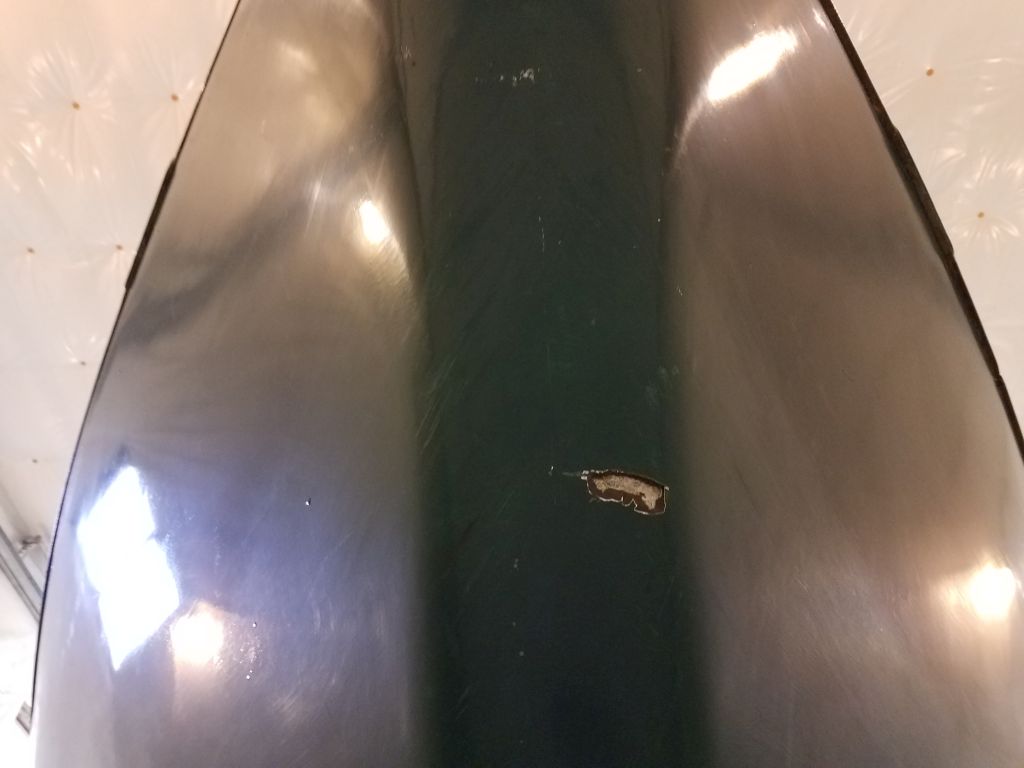
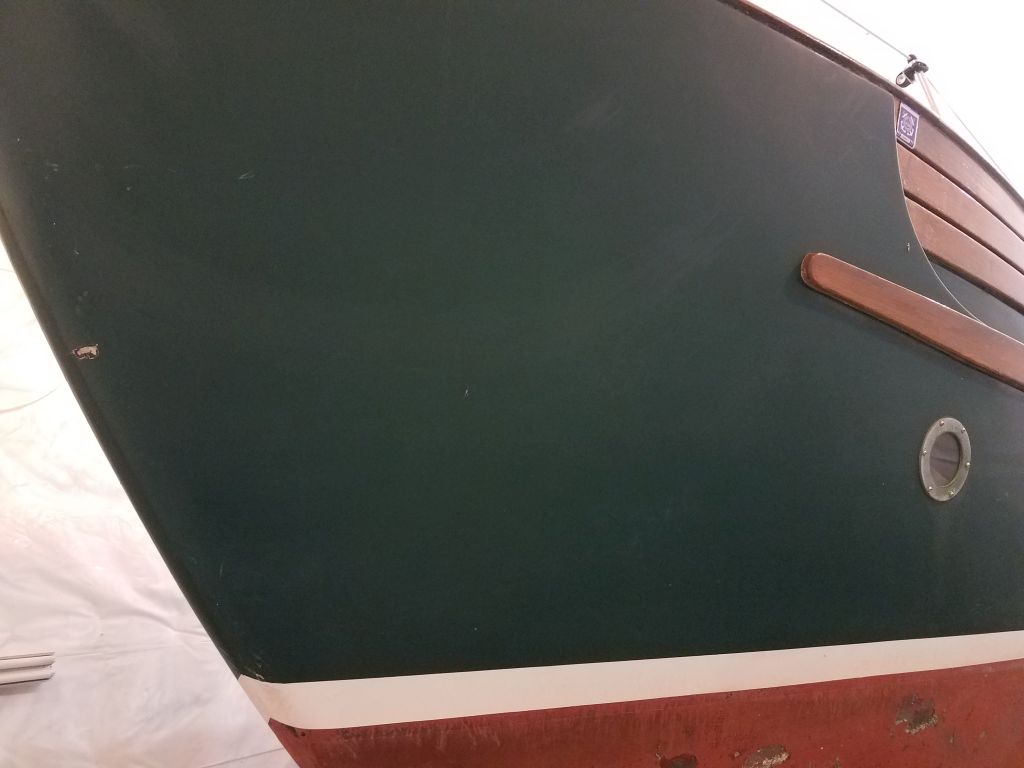
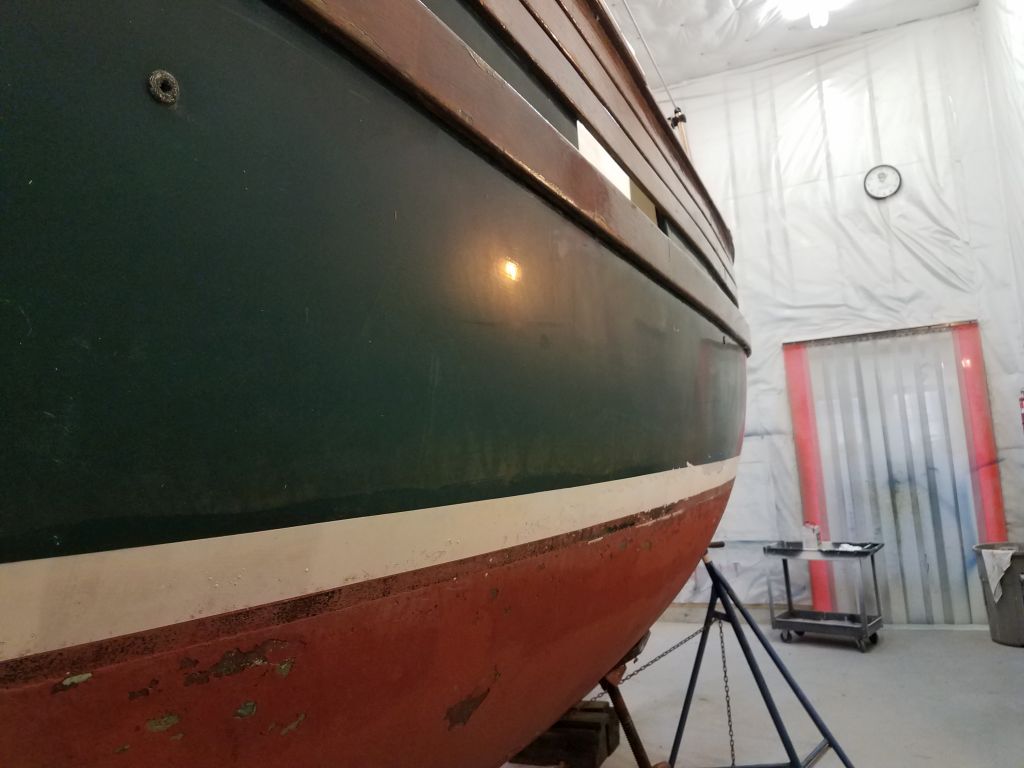
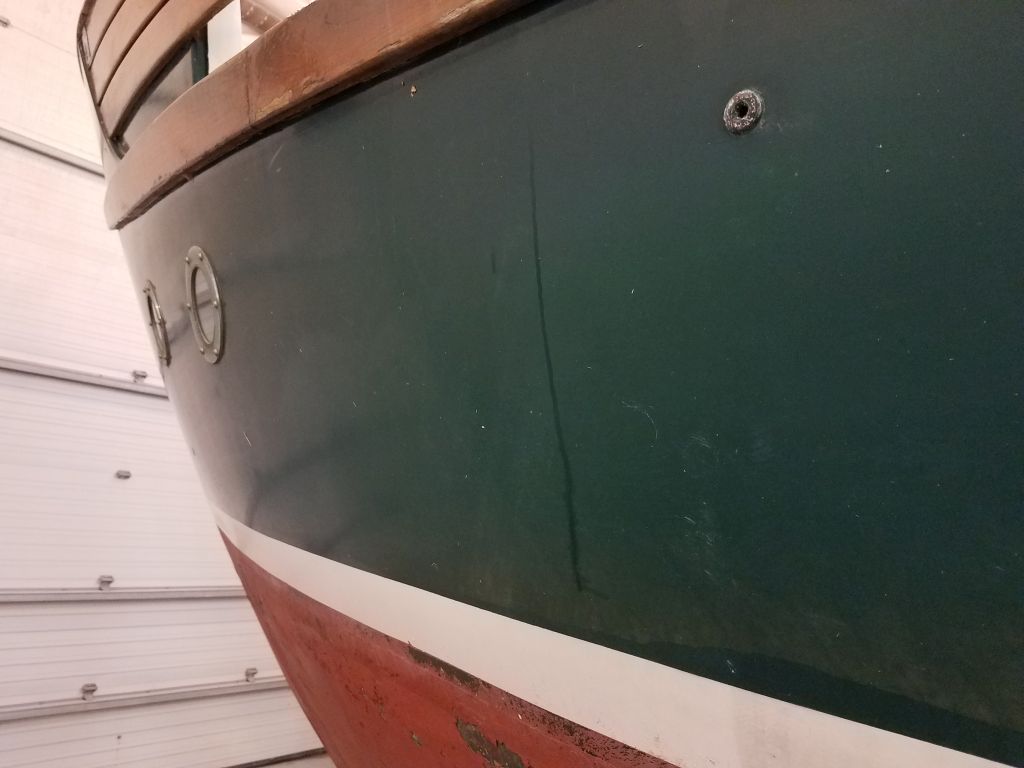
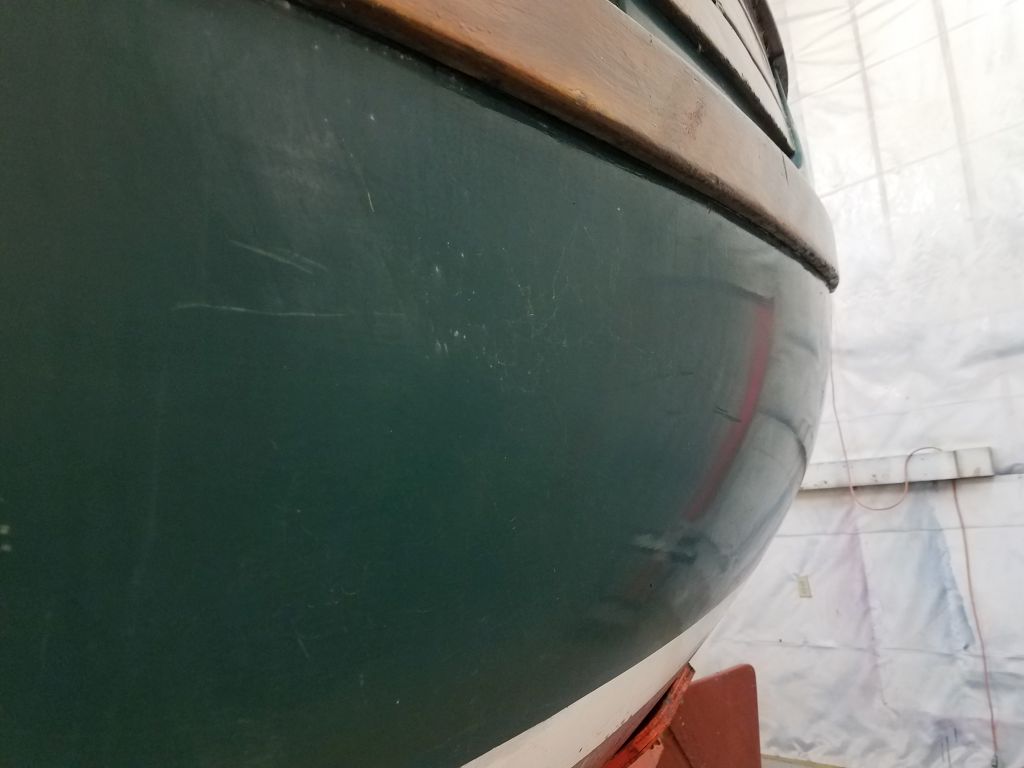
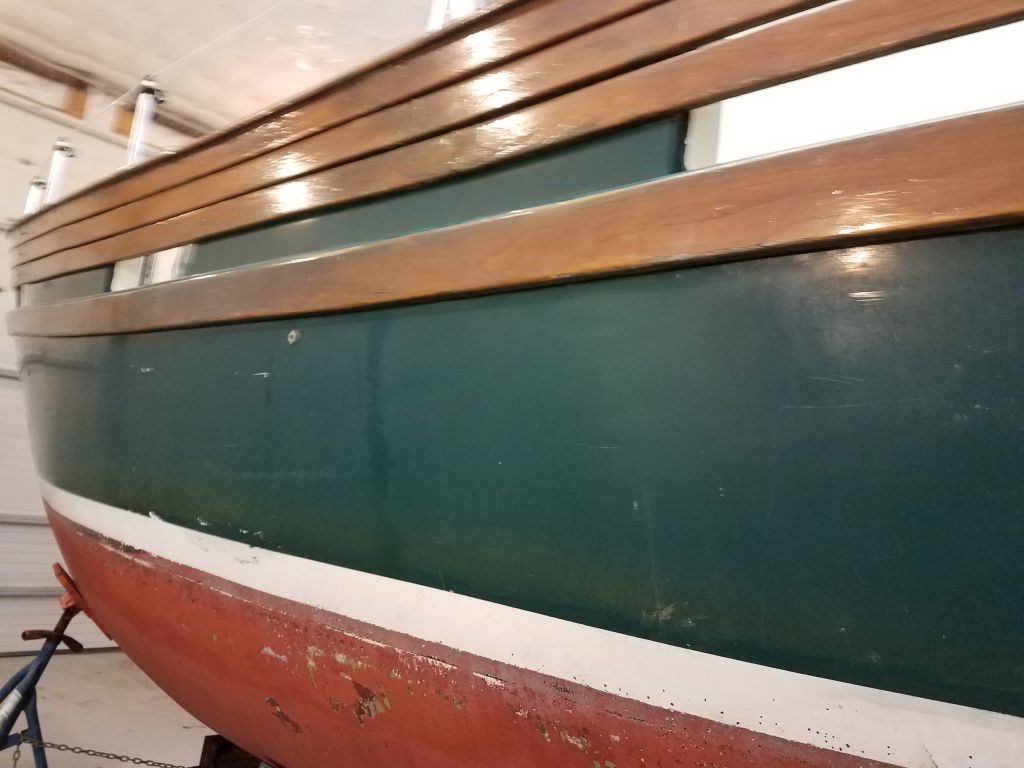
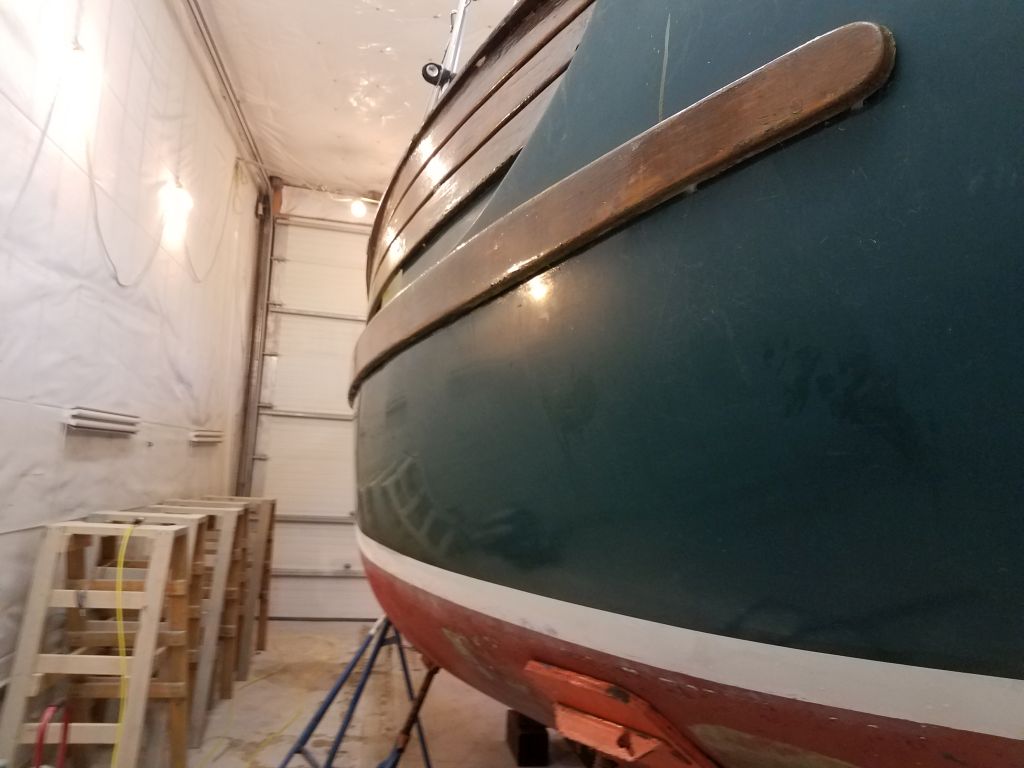
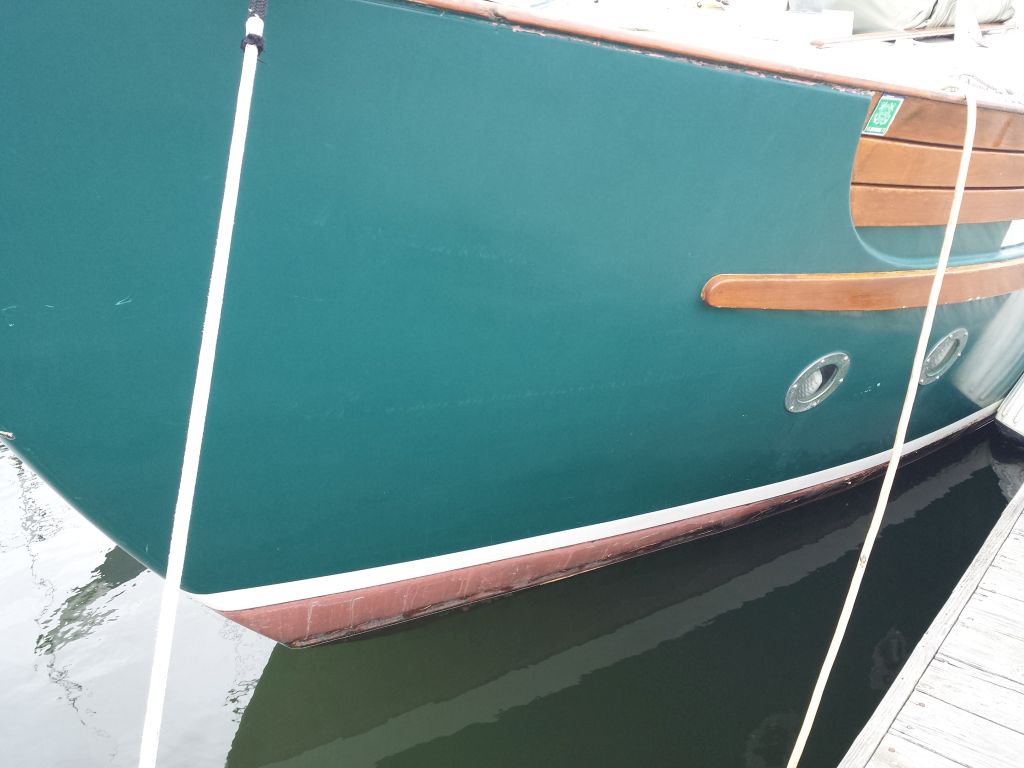
Now that the boat had had a chance to at least begin to dry out, I could begin the process by inspecting the existing hull substrate to prepare for the refinishing work ahead. The existing coating–and it was a painted surface, not gelcoat–was in fair condition overall, with only minor damage from the usual assortment of docking incidents, etc. The paint surface was flat and smooth, and fairly faded and oxidized in some areas, showing its age (which was indeterminate), but otherwise appeared basically sound. I’d first viewed the boat two years earlier during the original job discussion, and the paint appeared to have held up well in the meantime.


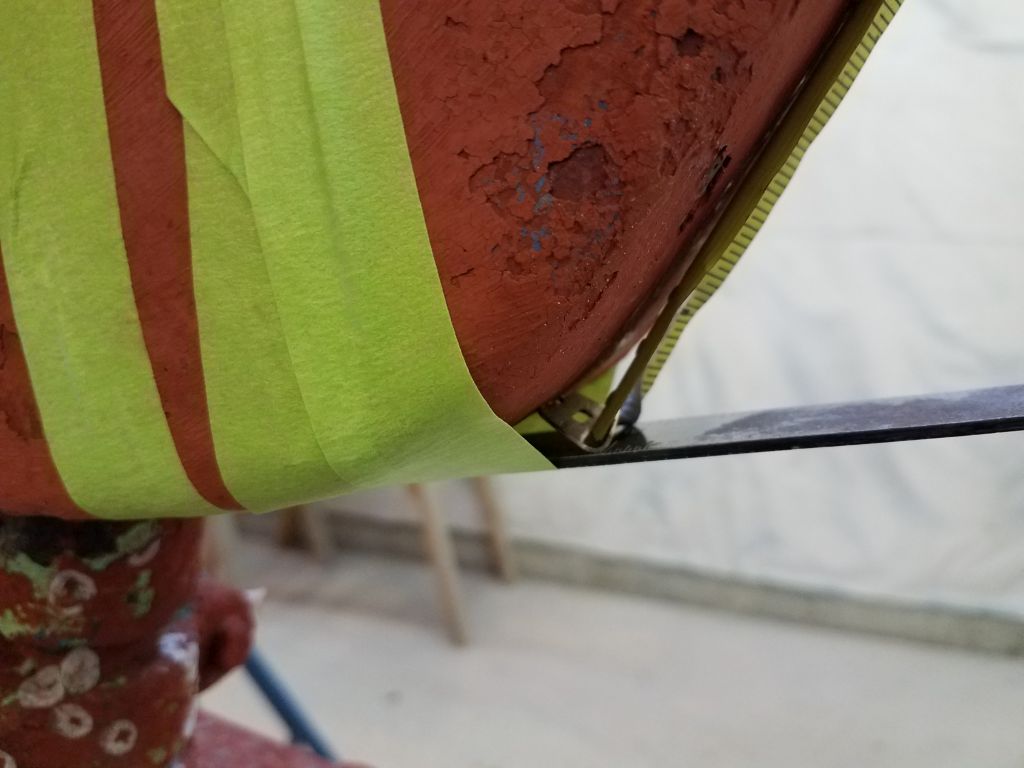
To determine the compatibility of the existing coating with the new paint, I had to do a couple adhesion and compatibility tests, beginning with a scoring test to check the coating’s adhesion to the original substrate. I followed the coating system’s documentation in performing these tests.
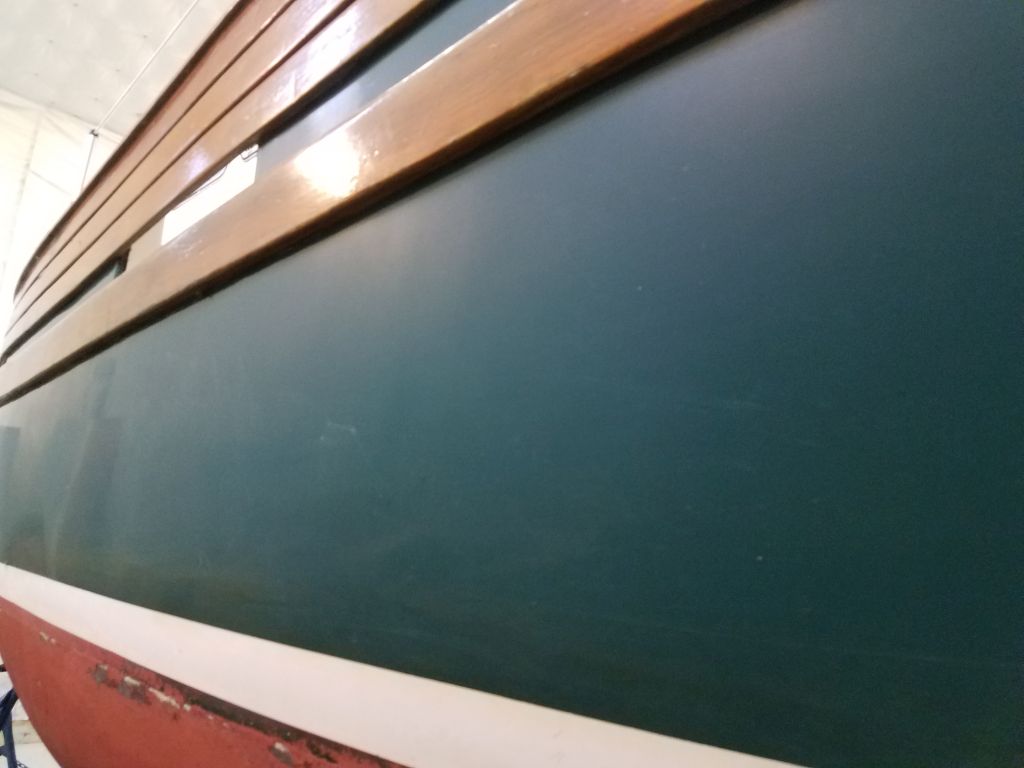
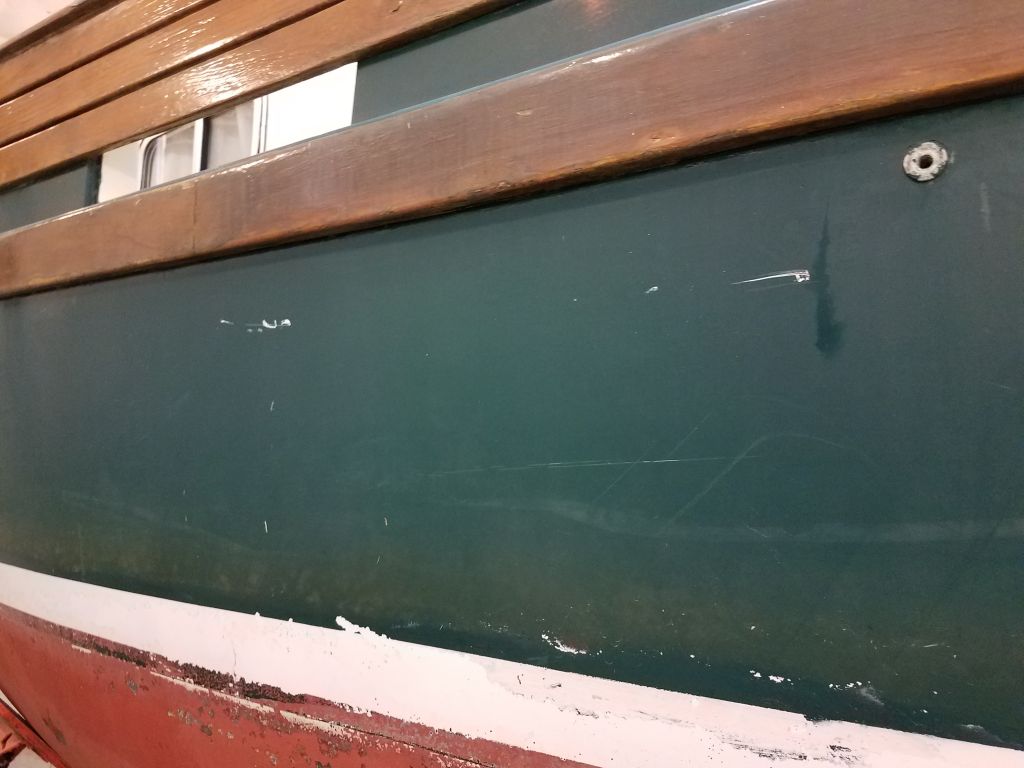
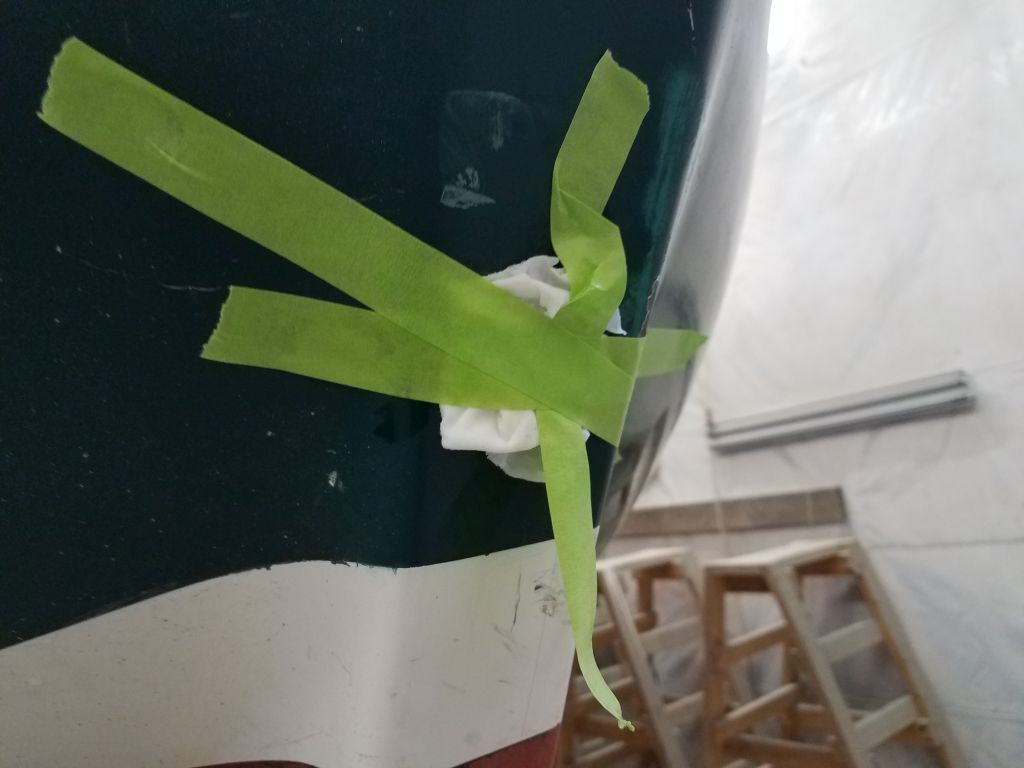
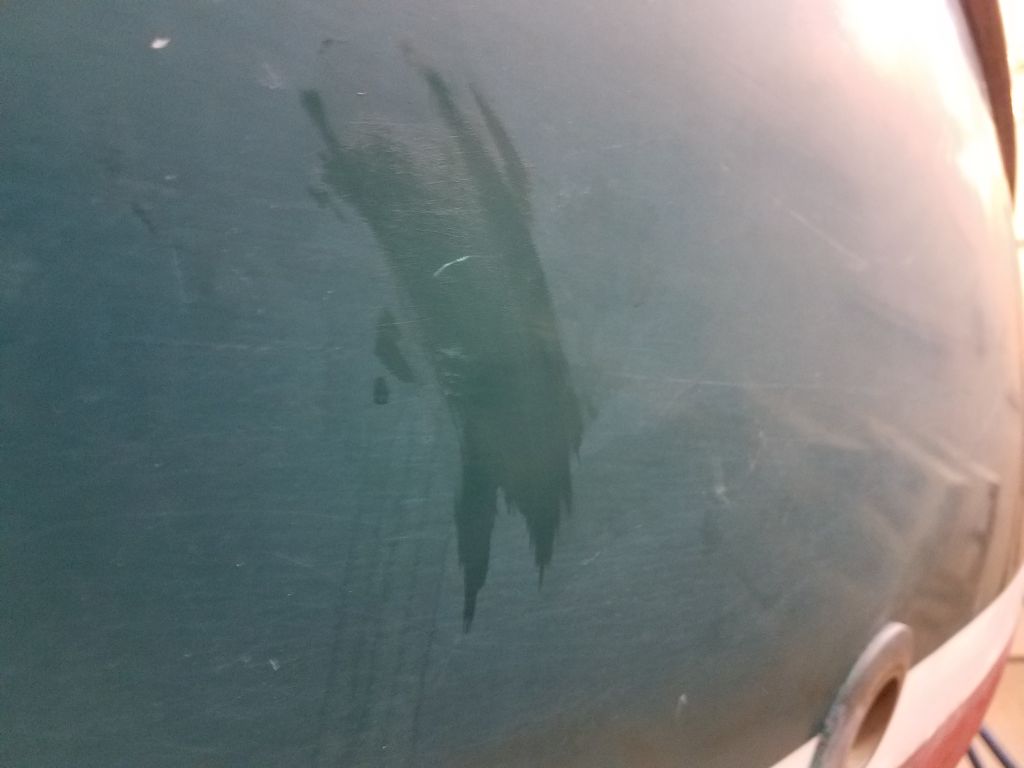
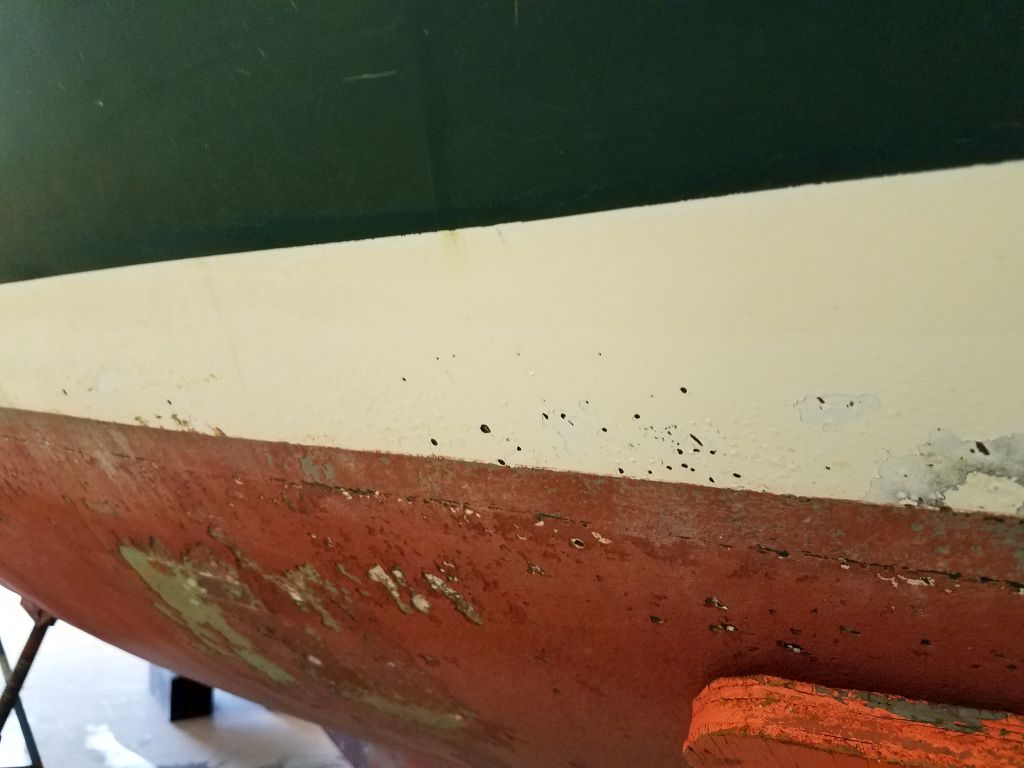
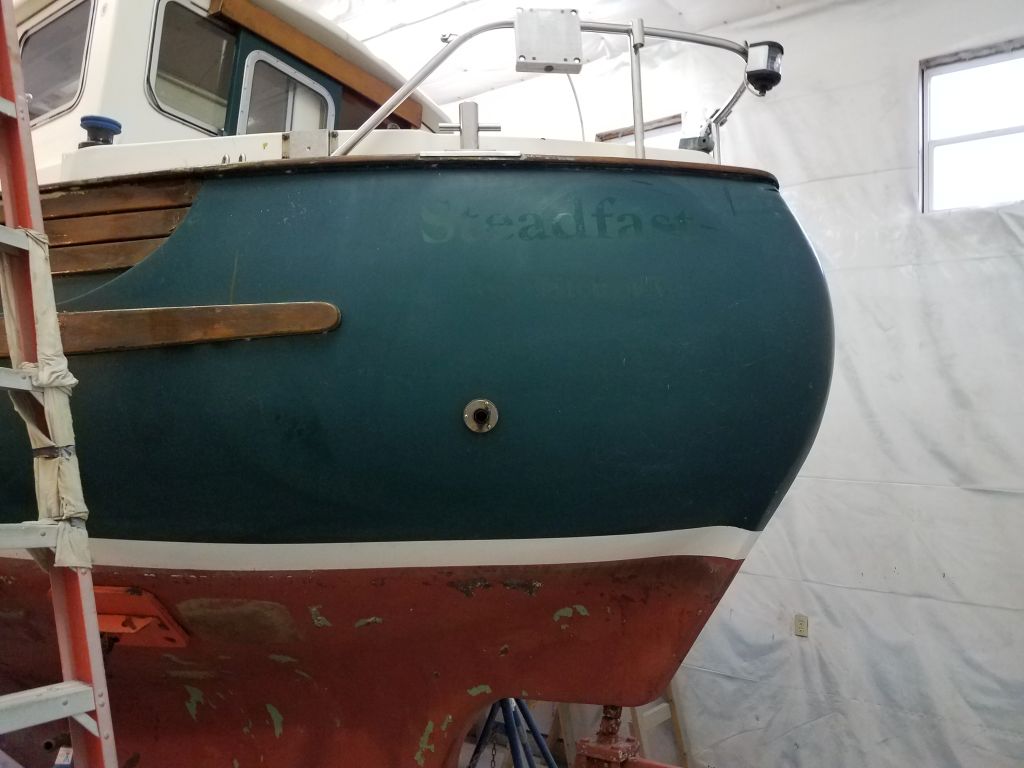
Choosing an area that would be straightforward to repair during surface preparations–the flat surface of the lower portion of the transom– I used a sharp knife to cut through the paint surface over a 2″ square area, creating a matrix of 1/4″ squares between the score cuts.

I firmly applied a piece of duct tape, a strong-adhesive tape, pressing it onto the surface evenly. Then, I pulled it straight off, at a 90° angle, like a Band-Aid. The goal of this test was to determine if any of the paint in between the score lines came off with the tape, as it likely would were basic adhesion suspect.

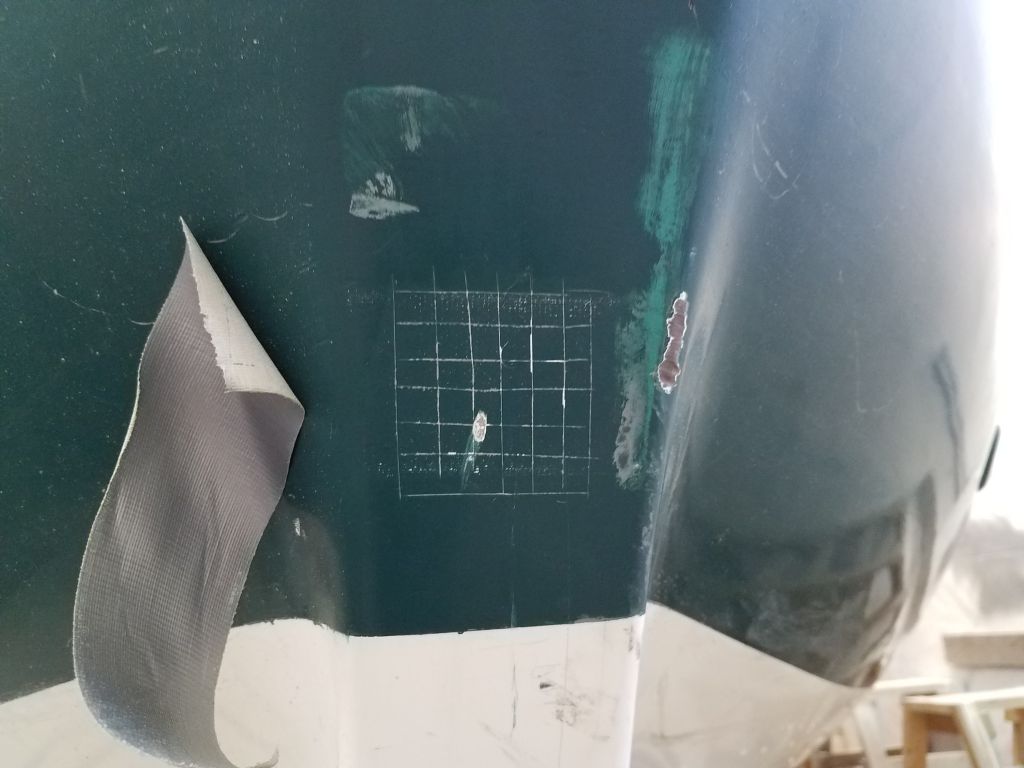
The paint in the scored area remained firmly in place. I performed the tape test a second time to be sure, and the only sign of anything was perhaps some of the oxidation/weathering on the surface coming away with the tape, natural enough since the paint was oxidized for hints of the color to come away even on a dampened rag.
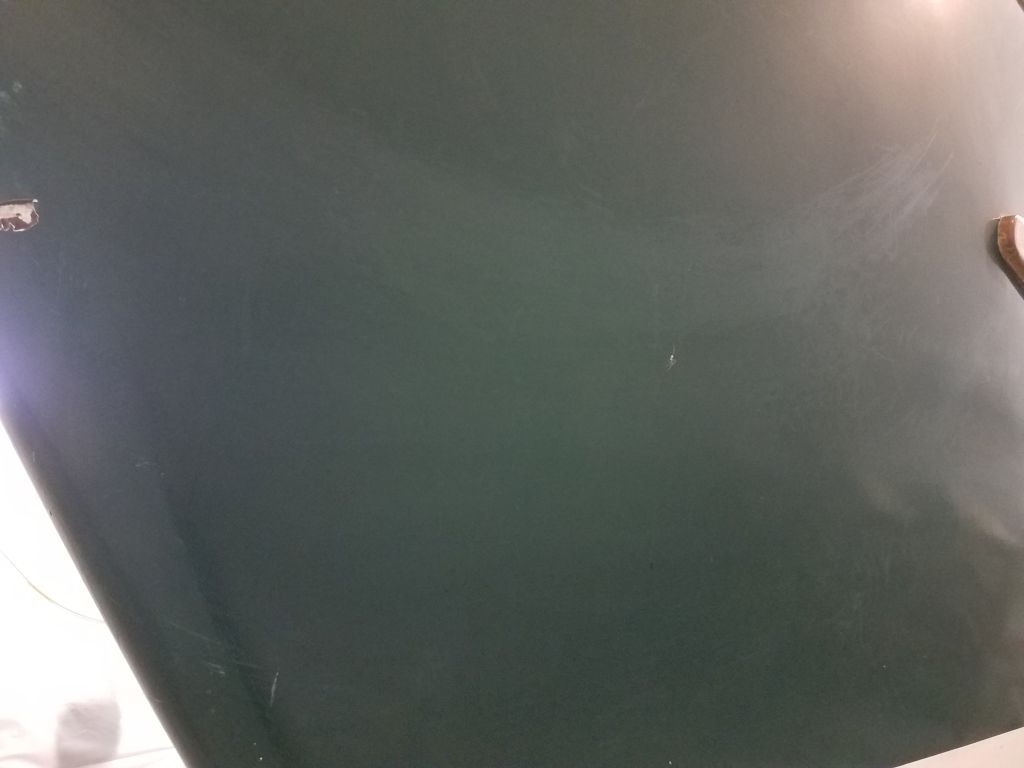
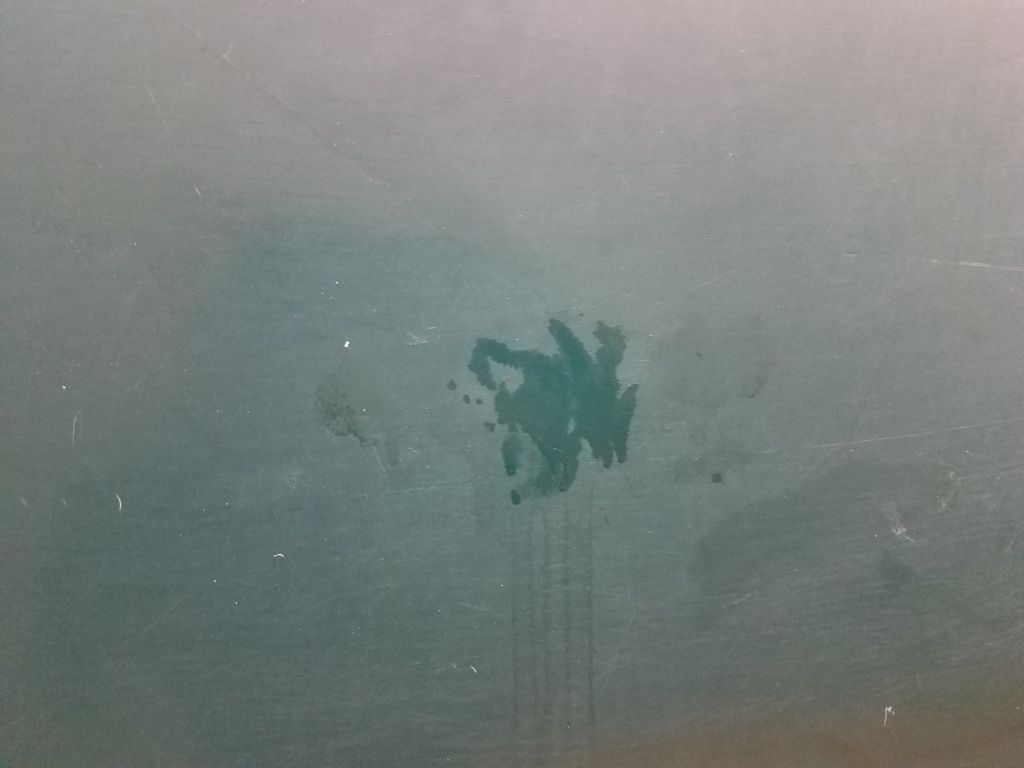
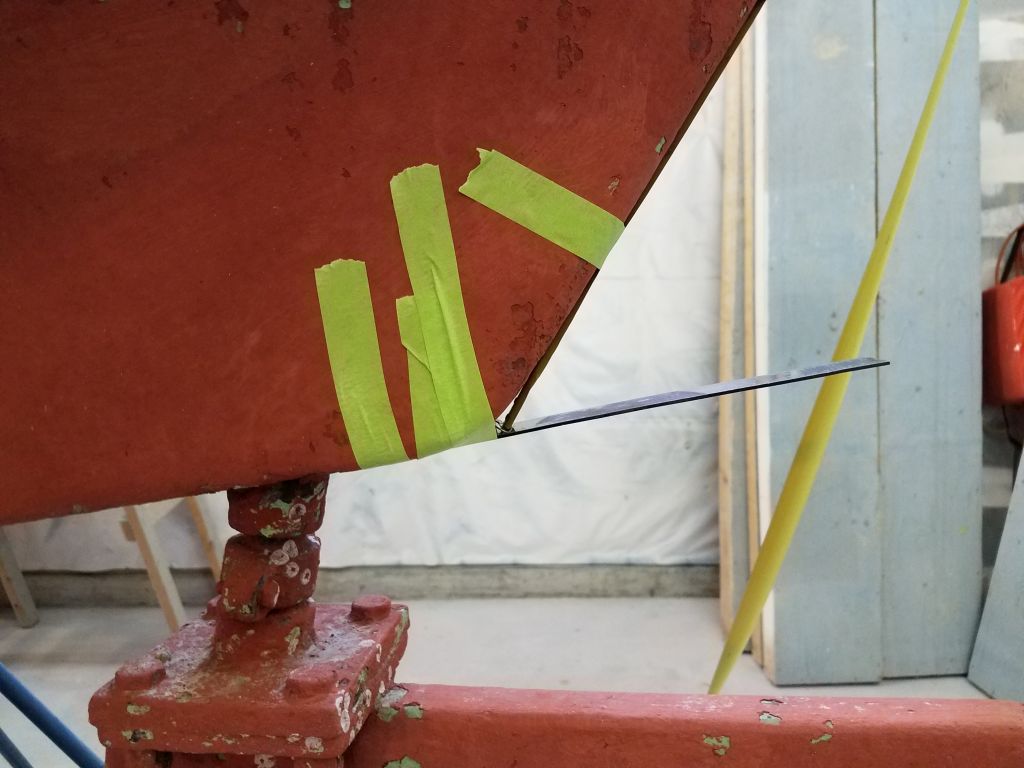
Next, I performed the important solvent compatibility test. Soaking small rags in topcoat solvent from the paint system, I taped them in place in two areas on the hull: one directly over the scored area, and the other in another random location, which happened to be on the starboard topsides near the exhaust outlet, but could have been anywhere.
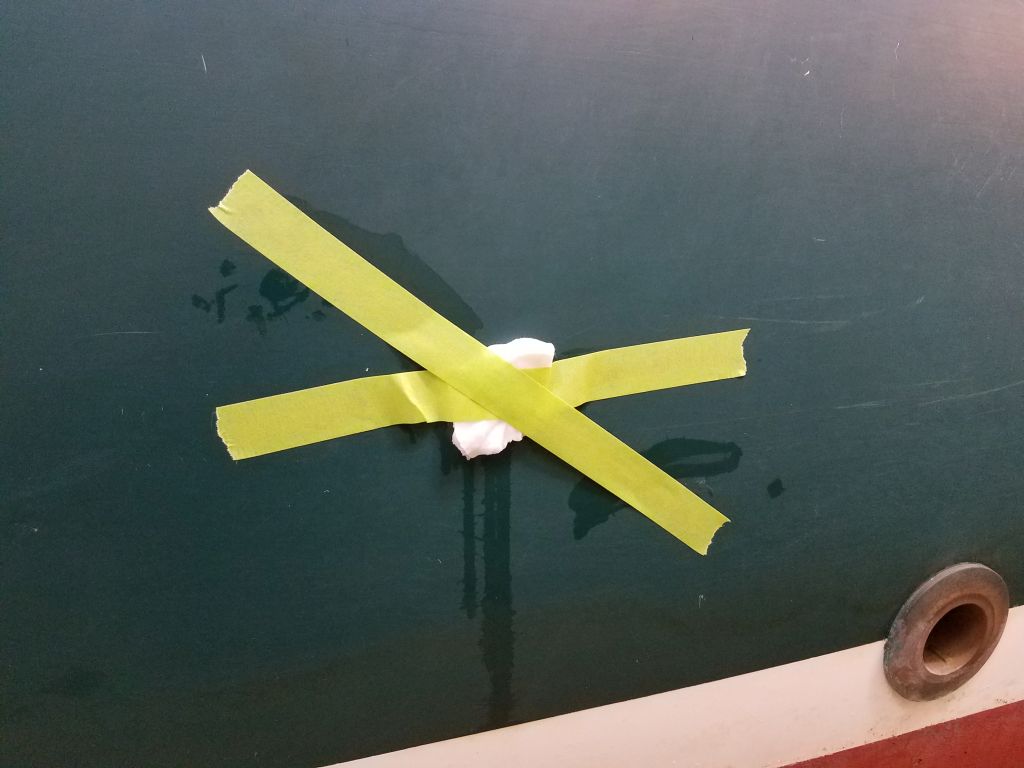
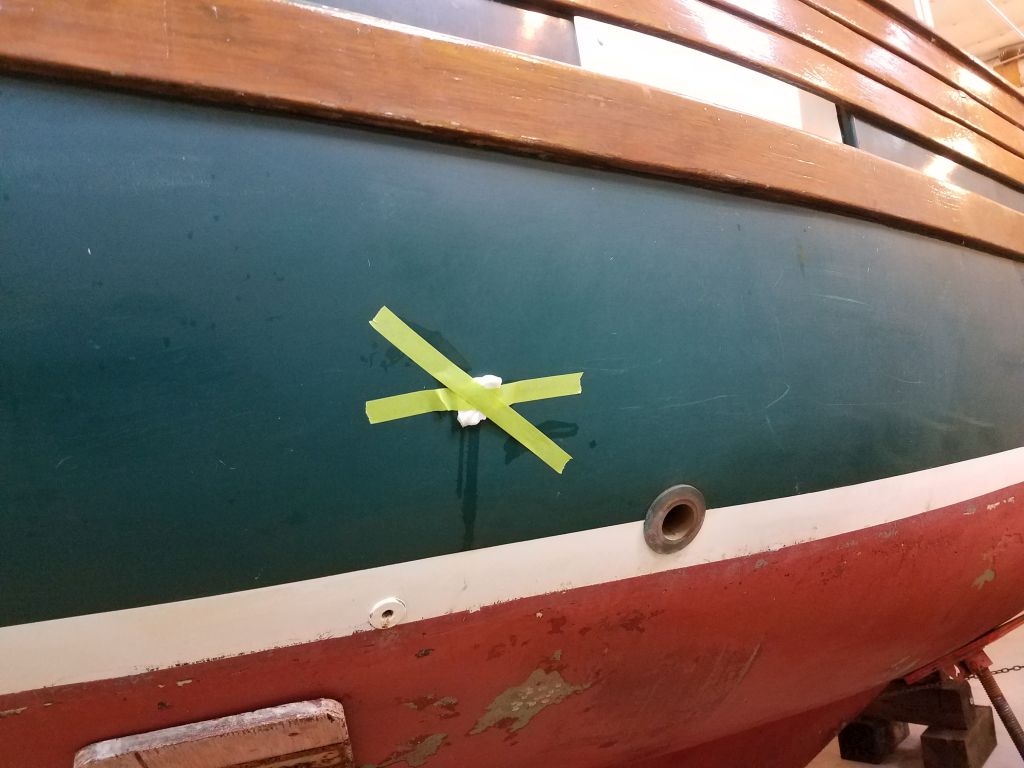
I left these tests in place for 15 minutes before removing the rags and inspecting the paint beneath. There were no signs of any paint removal, wrinkling, or other suspect damage, nor even any particular signs of coating softening beneath the harsh solvent. This was all good news, as it meant that I’d not have to remove the existing coatings, and that they could provide an acceptable substrate for the new primer and paint.
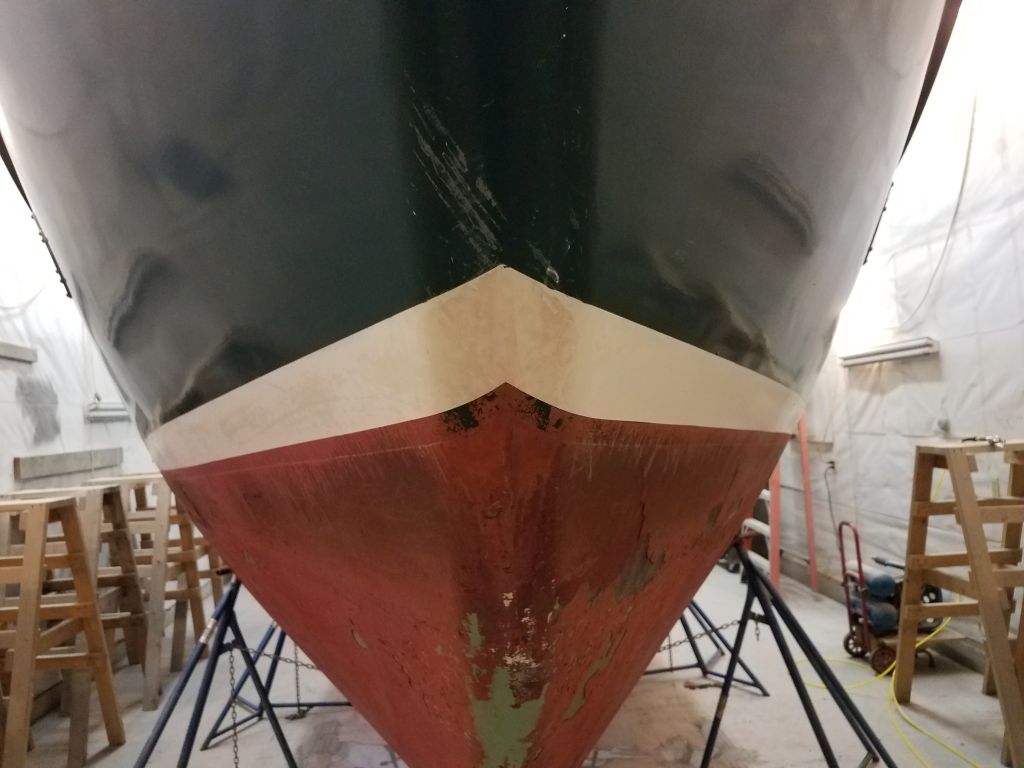
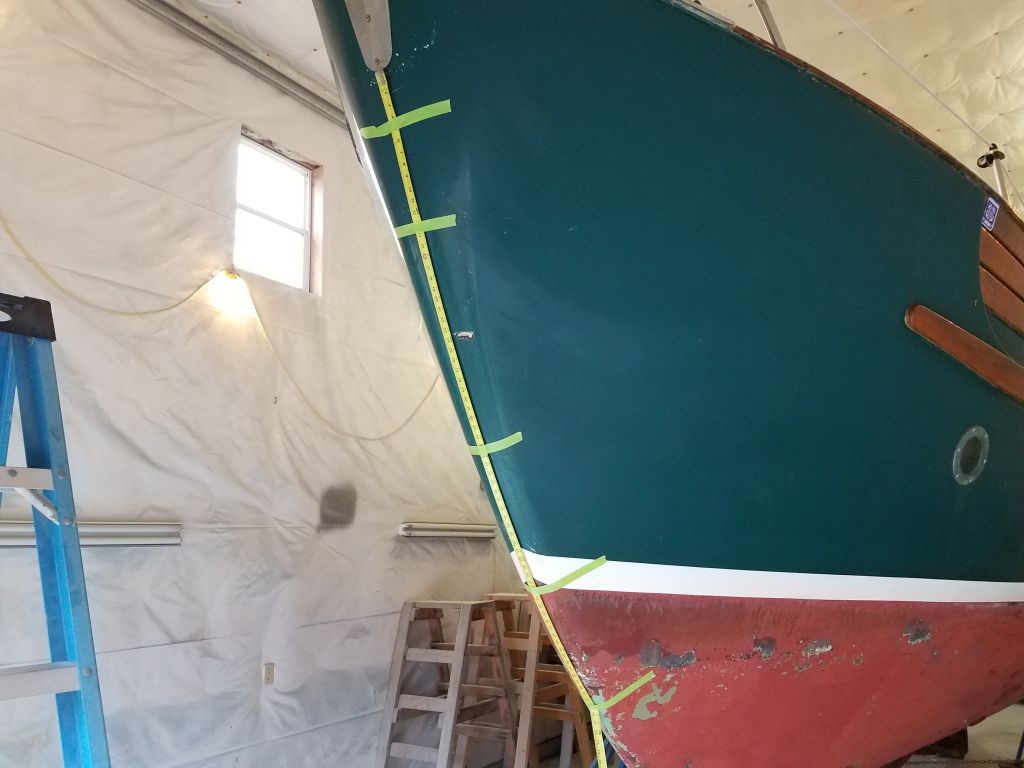
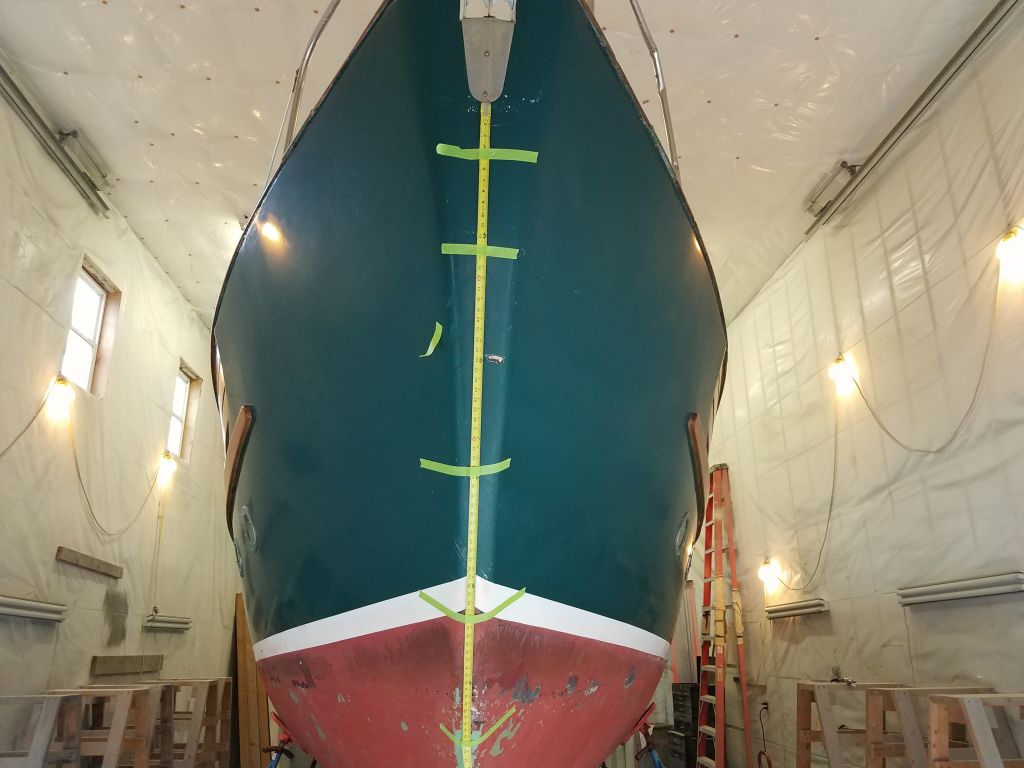
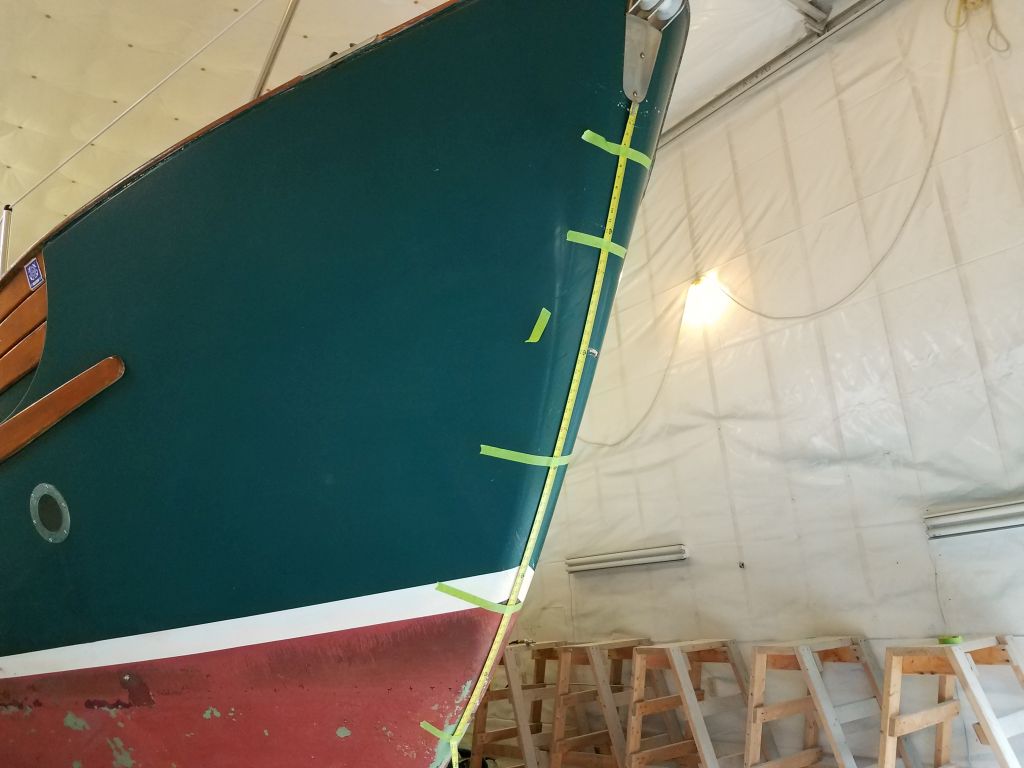
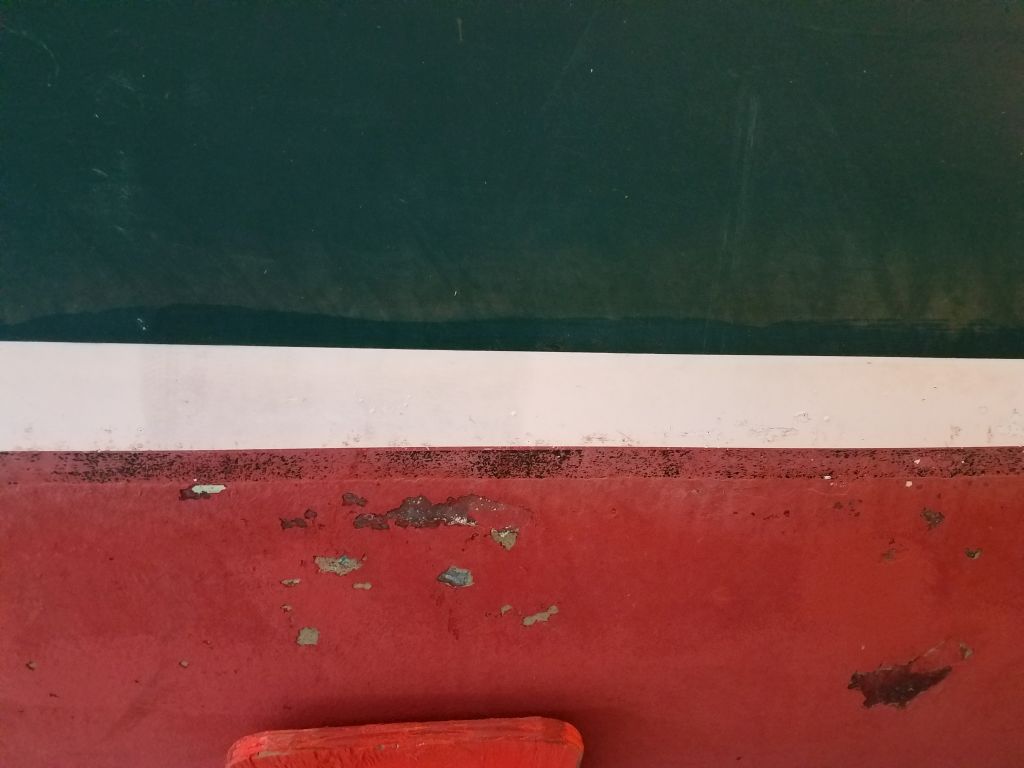
With those critical steps behind me, I turned to documenting the existing position of the bottom paint, boottop, and true waterline; the actual floating waterline was easily determined by a visible scum line bow and stern, and backed up by some photos of the boat in the water that I took during my inspection and estimating two years earlier.
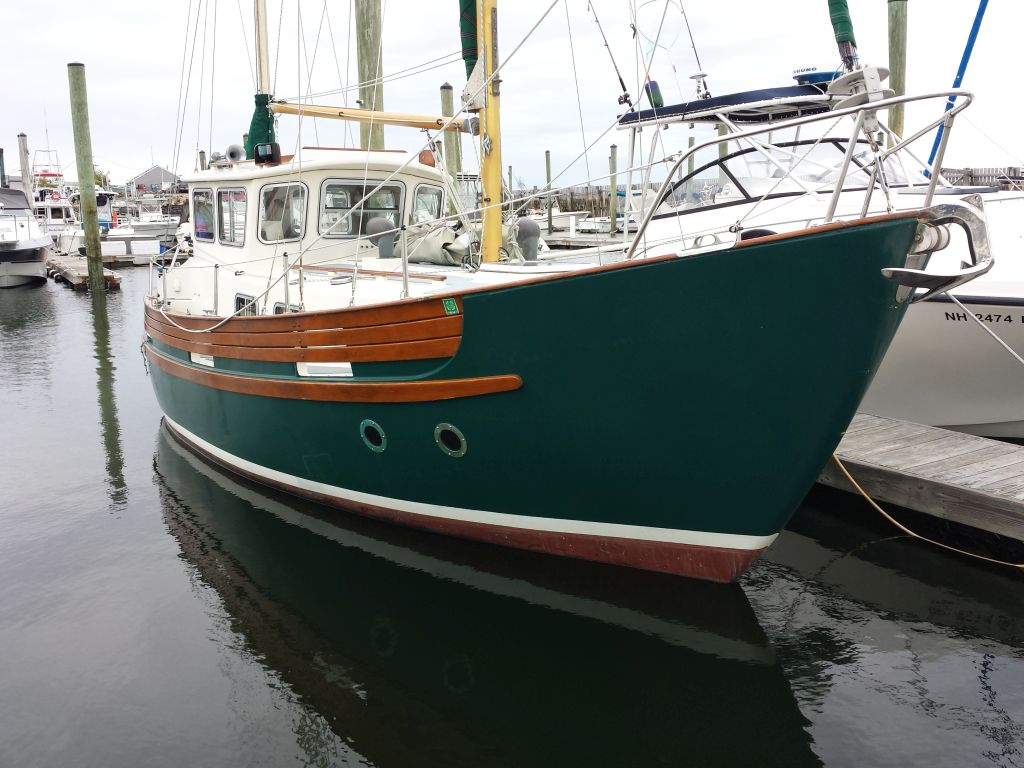
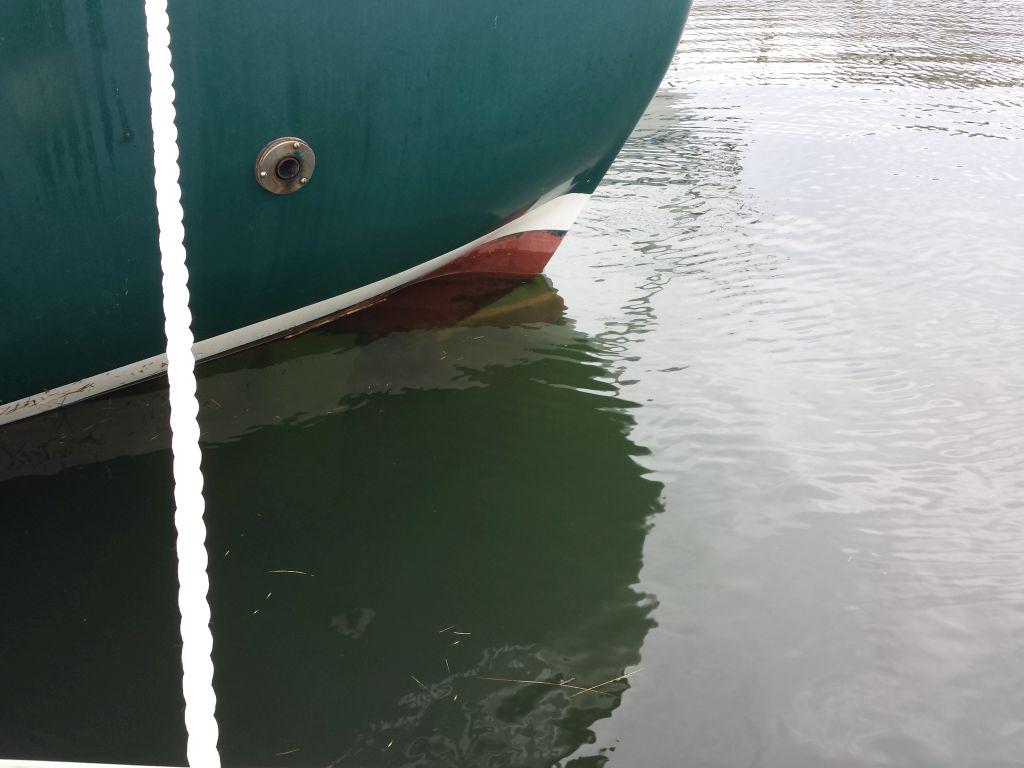
The owner requested that we correct the waterline, which was a bit wonky and could certainly be improved upon. For this purpose, the location of the actual floating waterline was most important and was the main focus of my measurements.
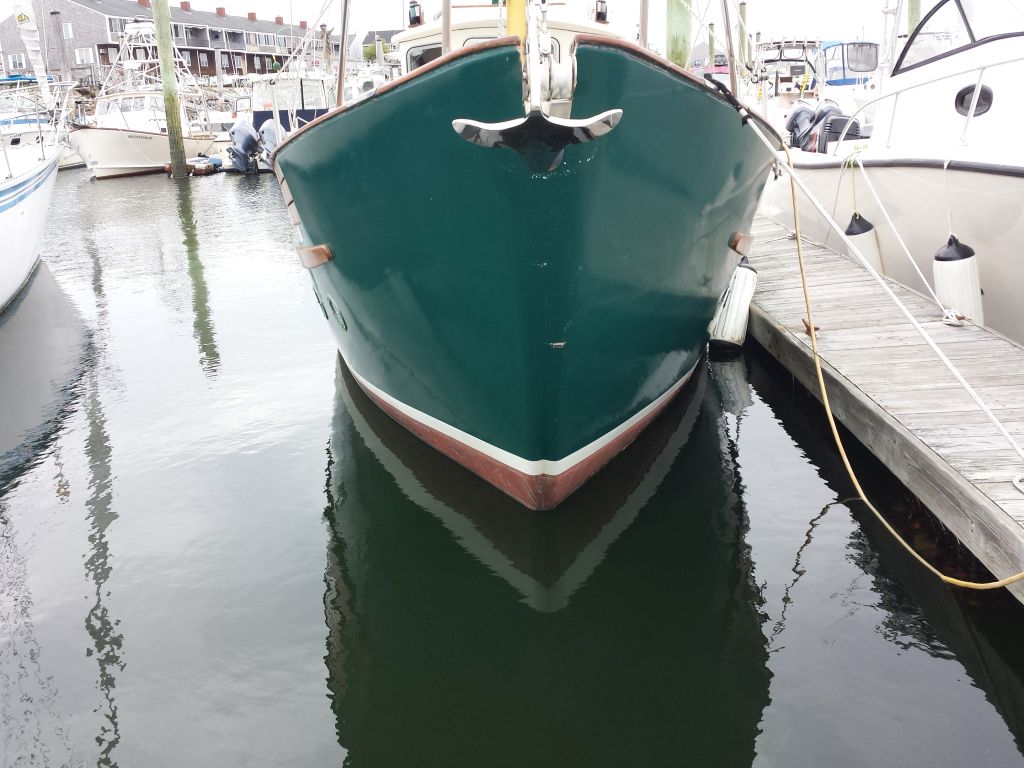
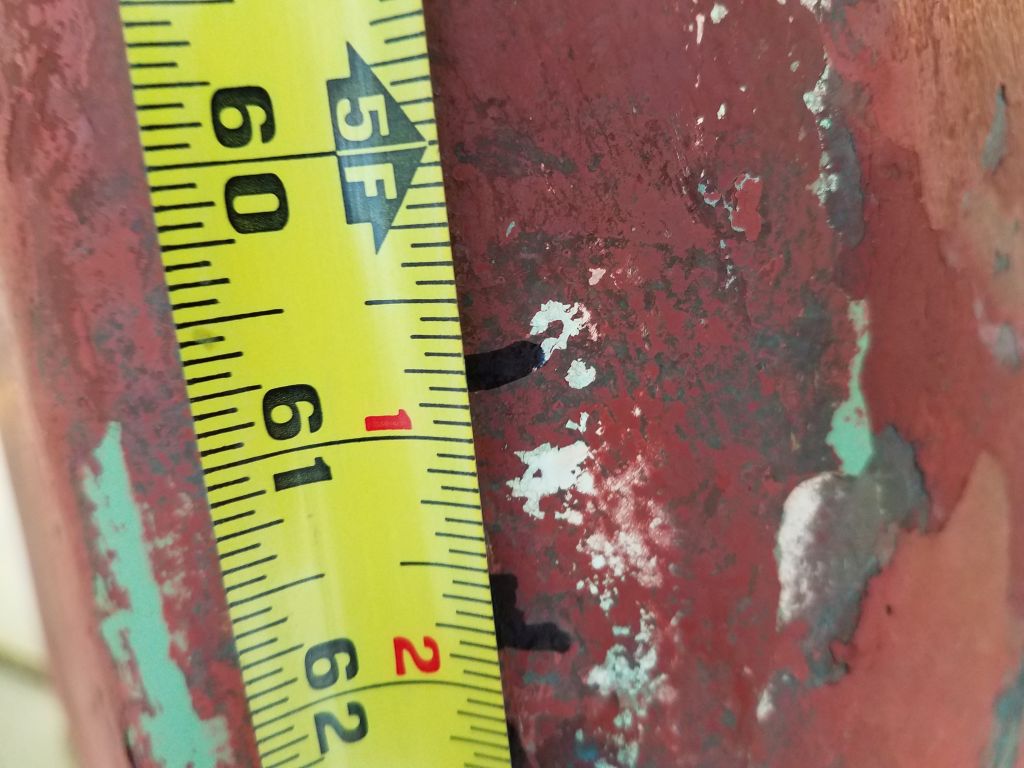
At the stern, I measured from a known point on the hull, determined by securing a steel rule in line with the angle of the hull at the top of the aperture behind the rudderpost. From here, I could determine set measurements to the actual scum line (13-1/2″). I’d use this mark again later as a reference point for striking a new and improved waterline (i.e. top of the bottom paint in my personal nomenclature here) and boottop.

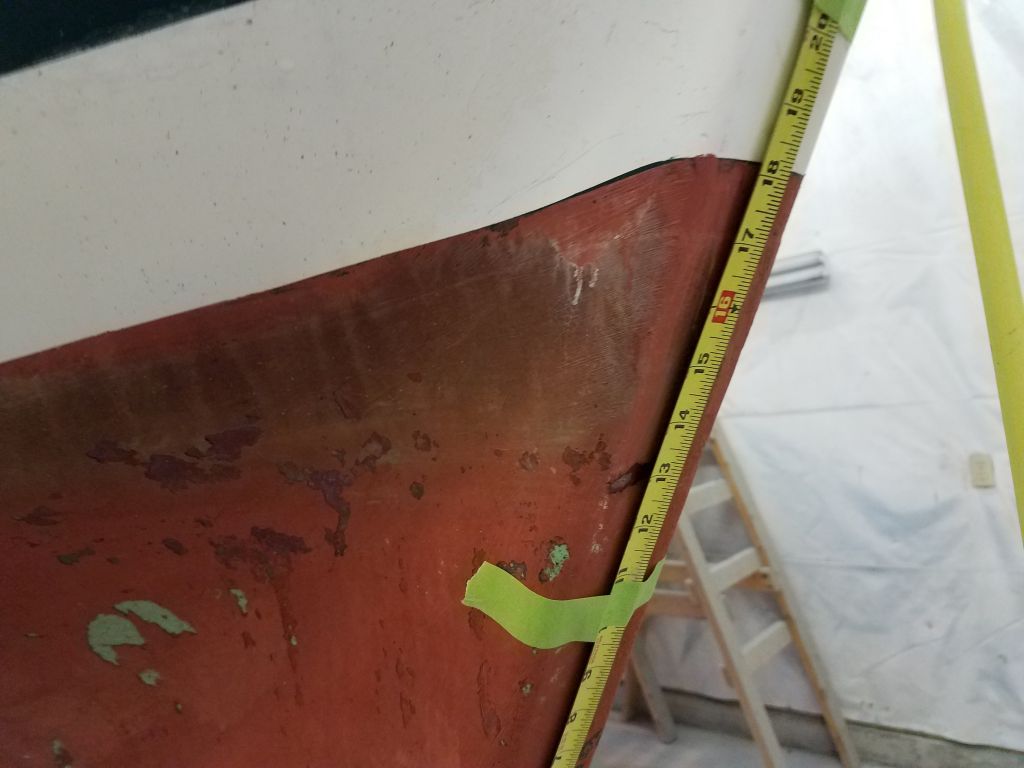
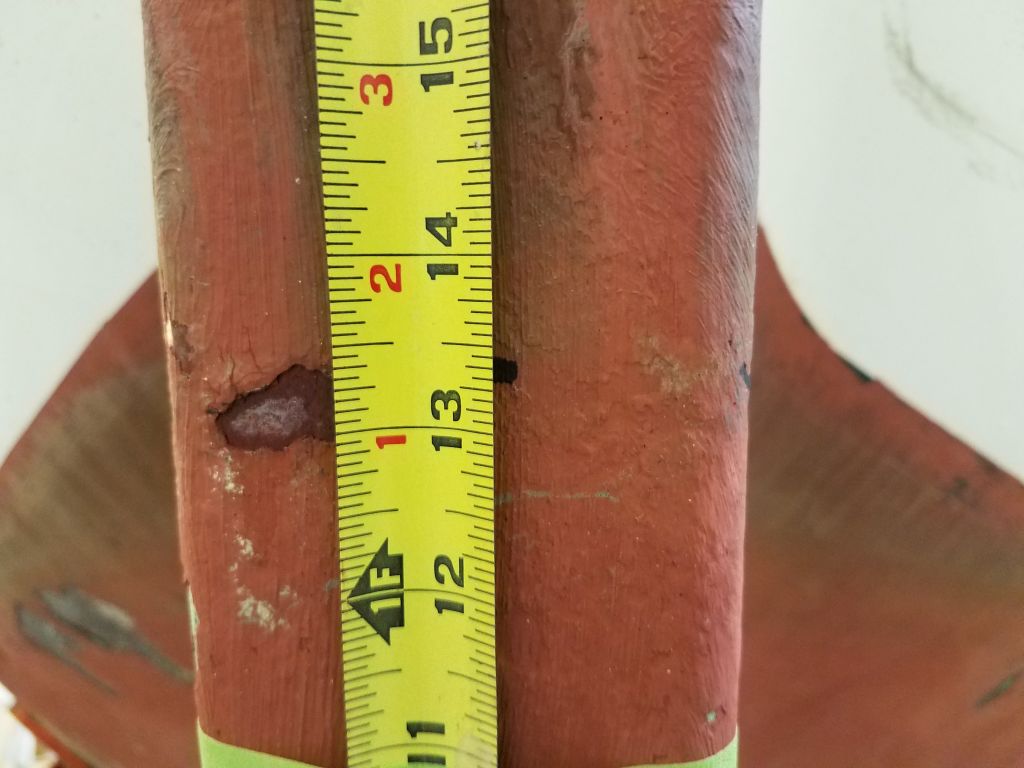
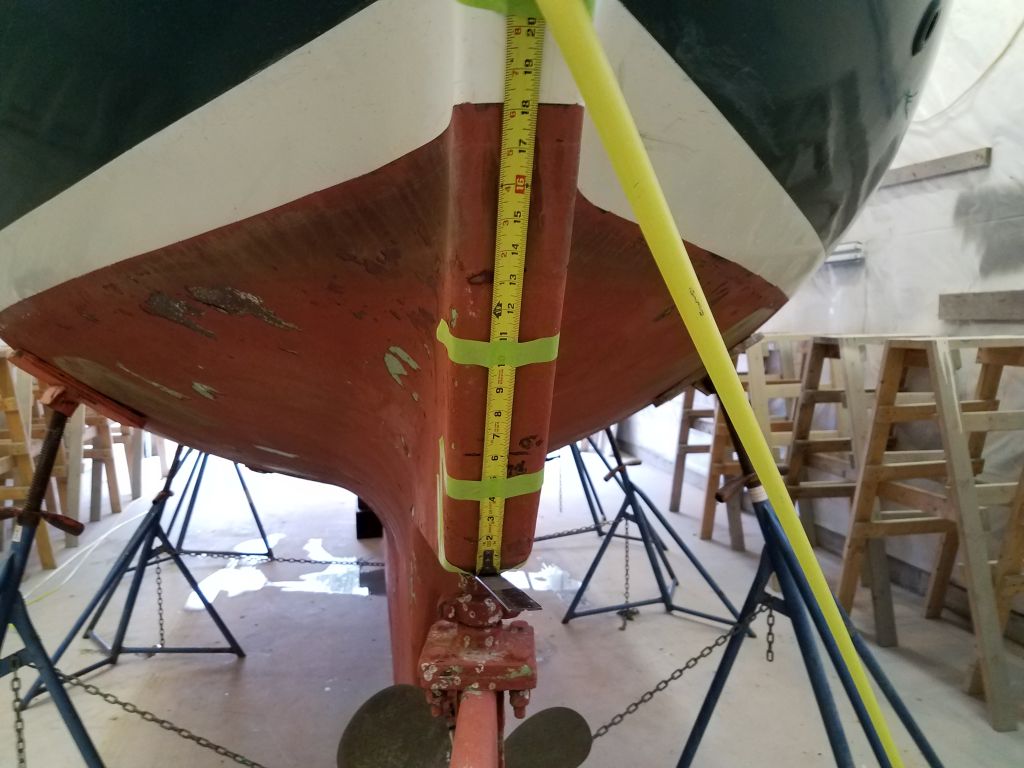

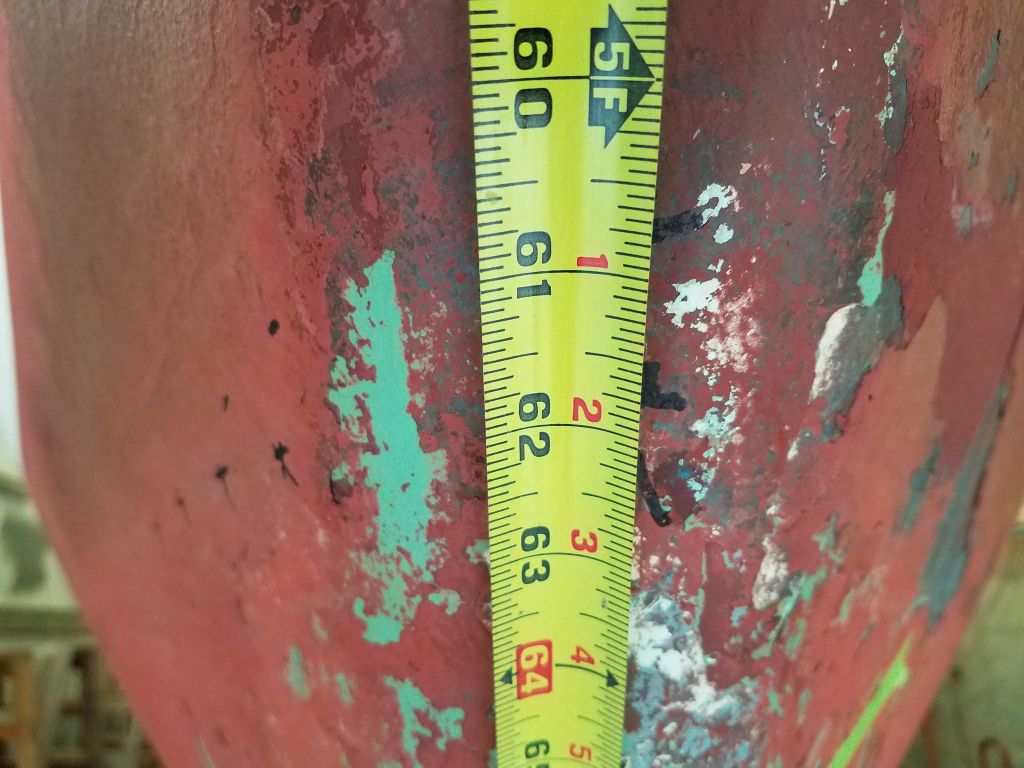
At the bow, I followed a similar procedure, this time using the bottom edge of the stem plate as my reference for measurement. I secured the tape measure along the stem and noted the various measurements for the record: 60-3/4″ to the actual scum line.
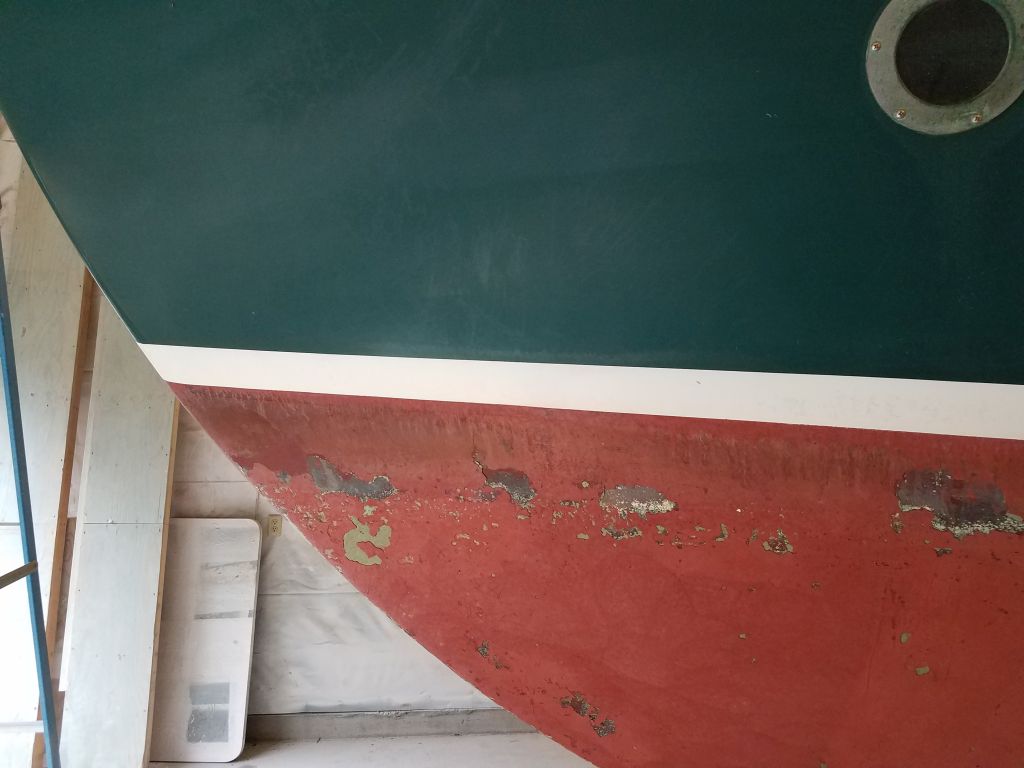
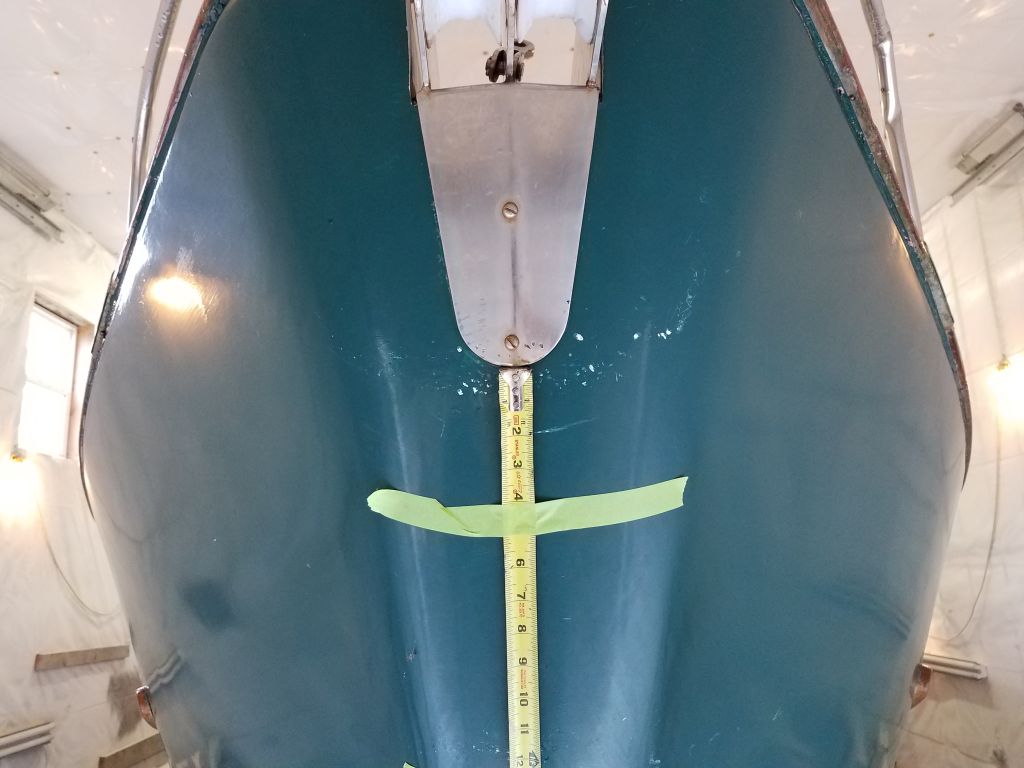


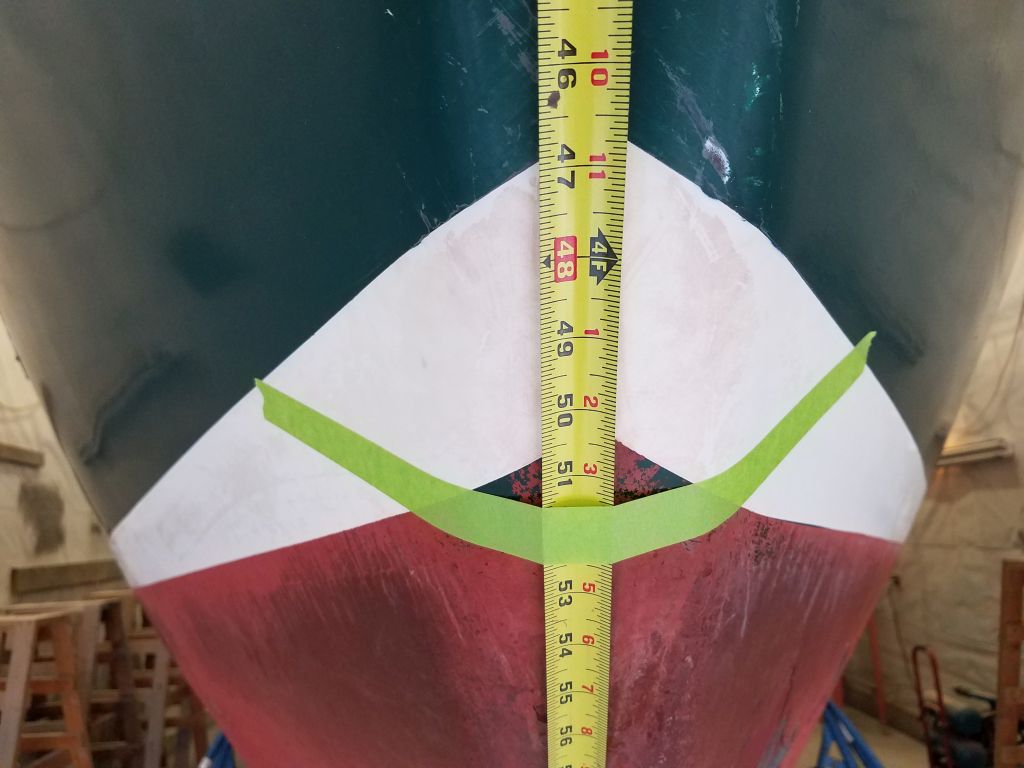
I also noted that the existing boottop had a visual height of 3″ amidships. While its current position was irrelevant, I did note that on the port side, there was evidence that the boot was at or possibly below the waterline at rest, evidenced by various paint failure and bubbling that suggested submersion or at least proximity.
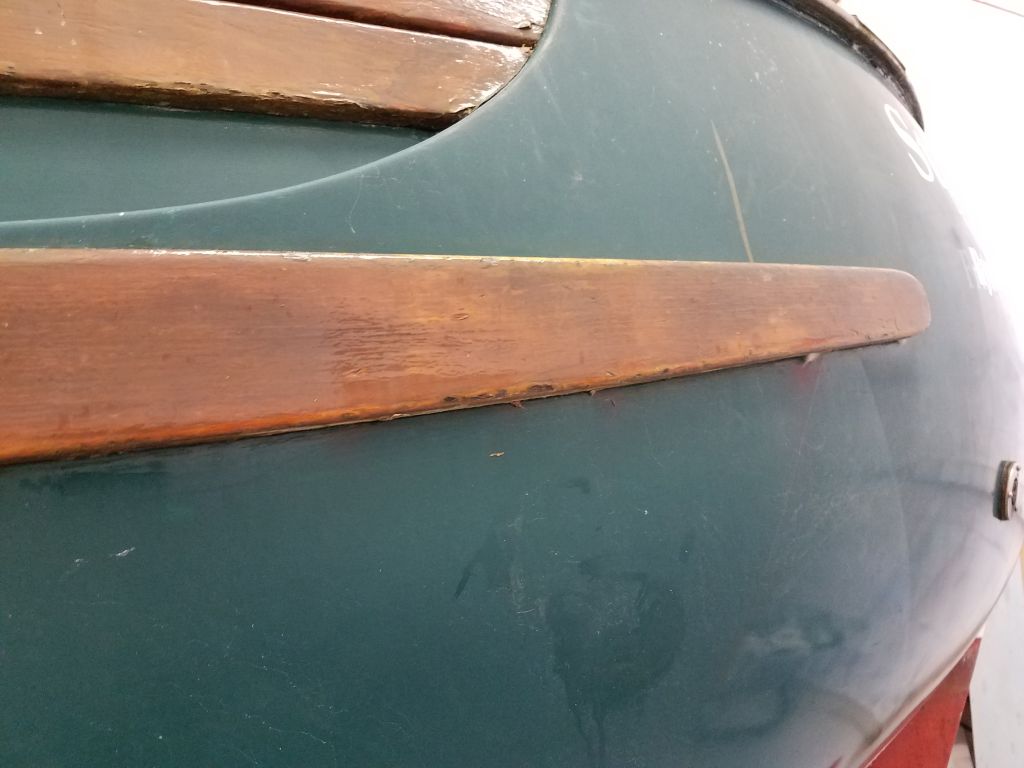
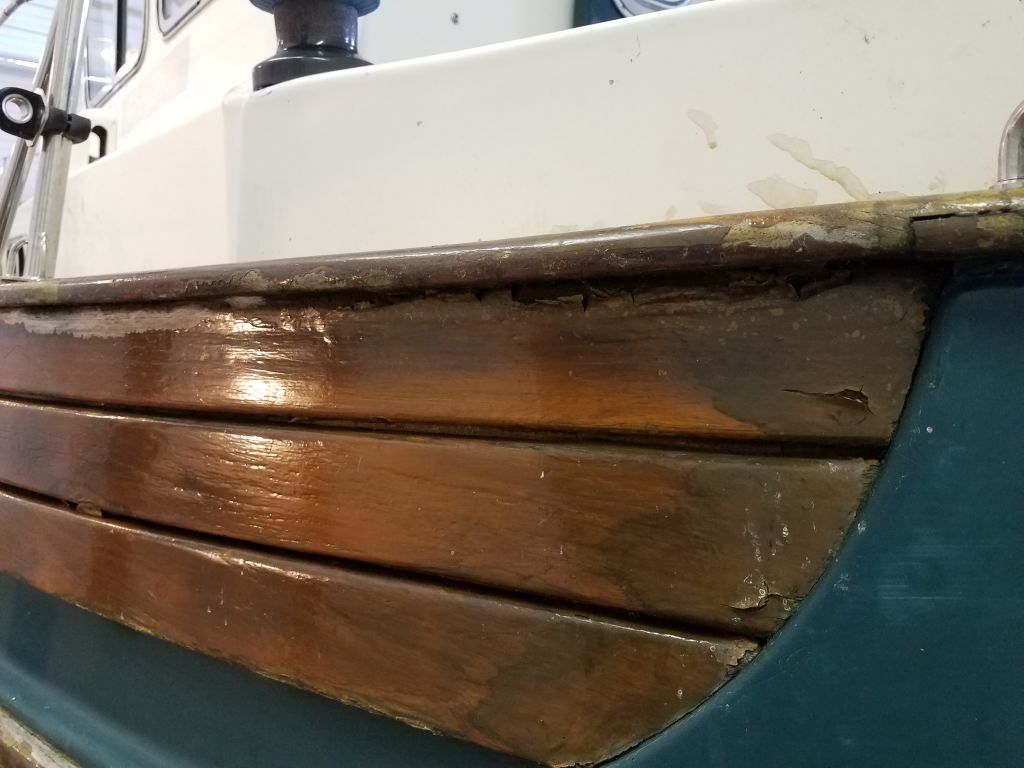
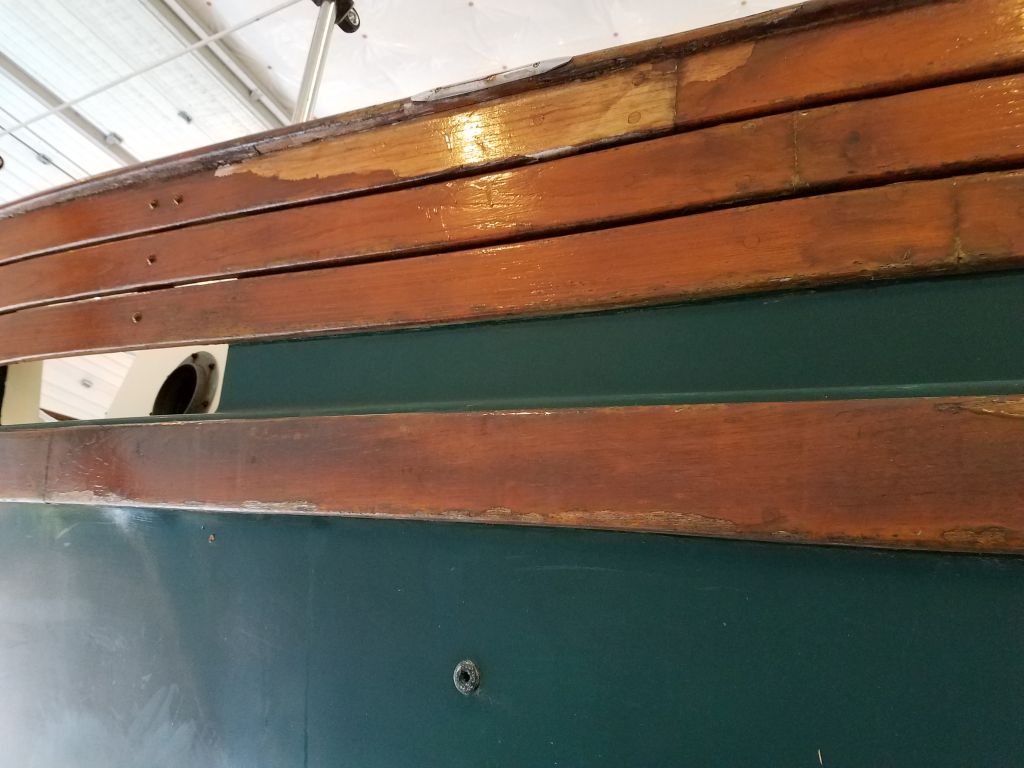
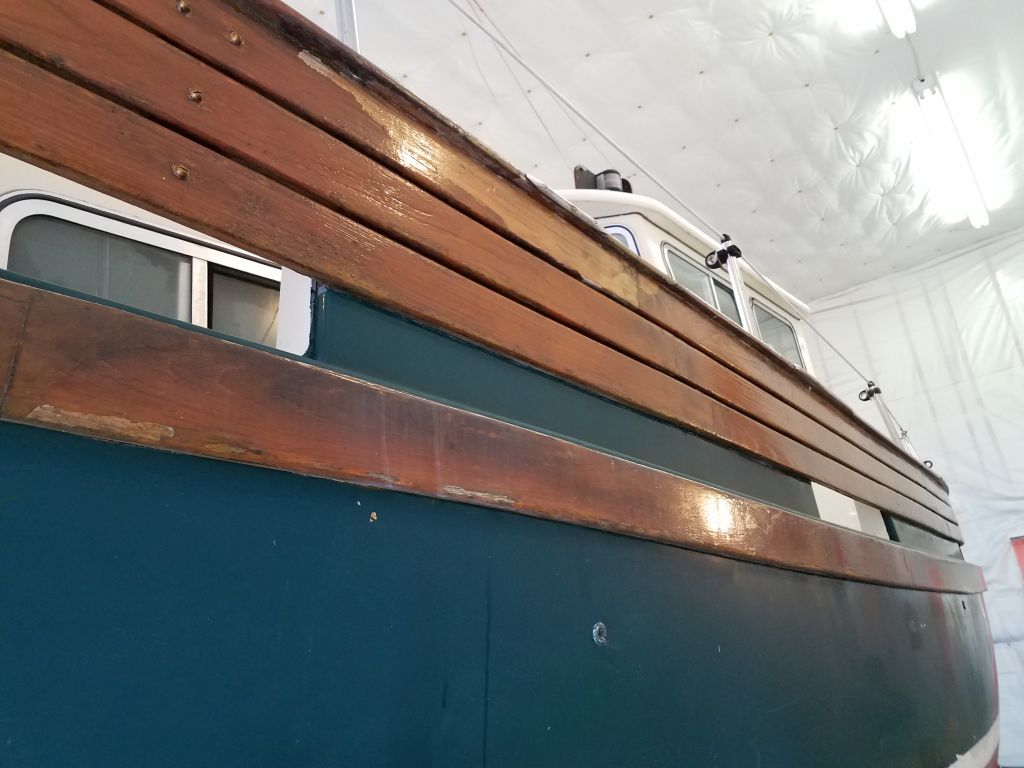
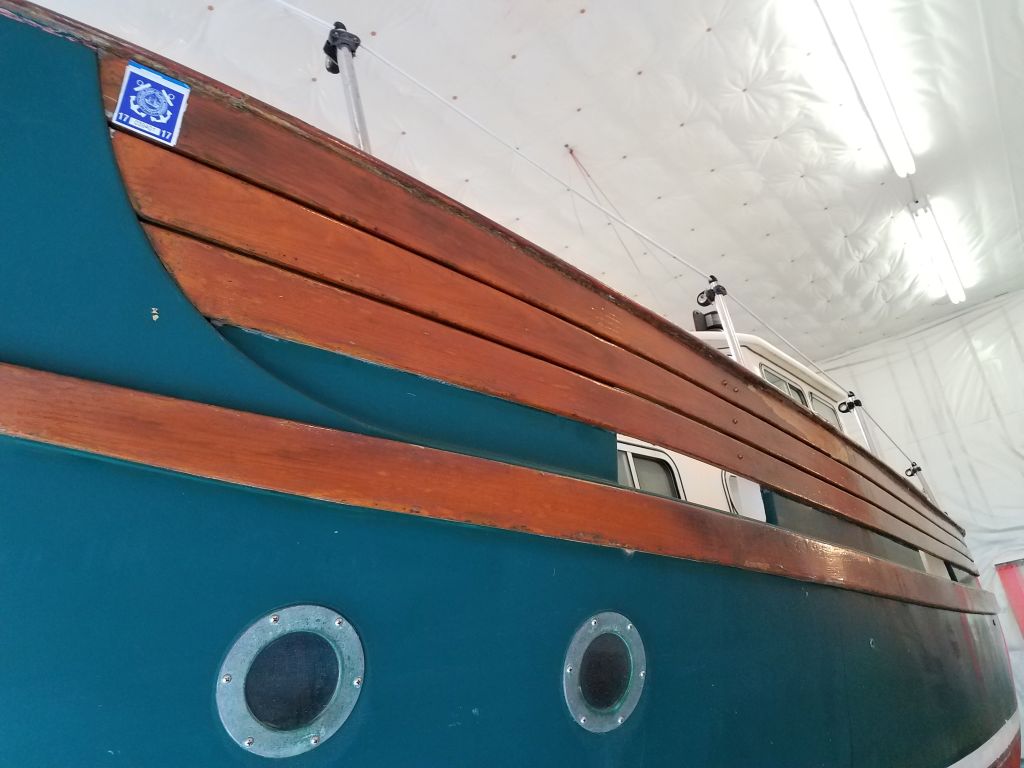
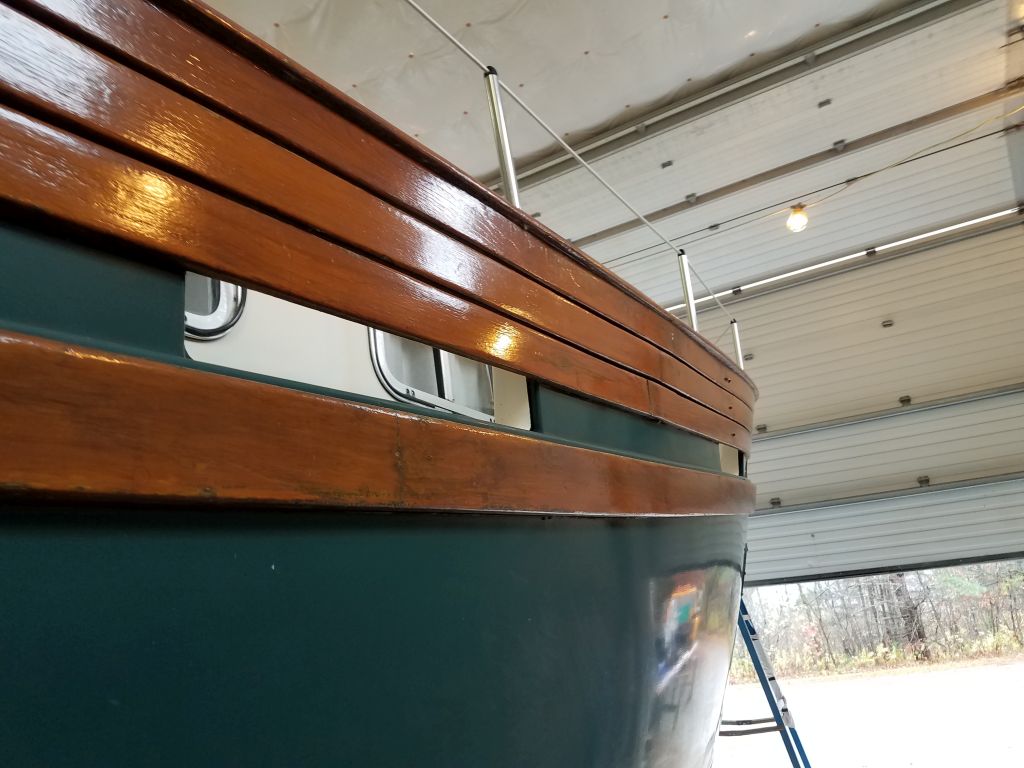
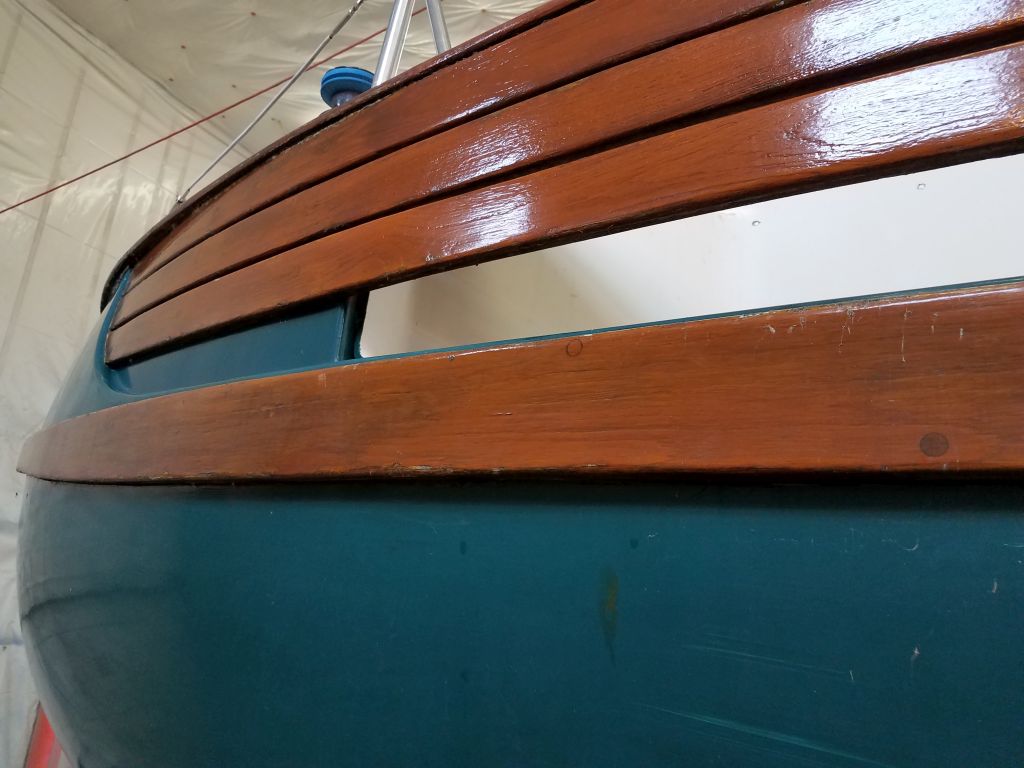
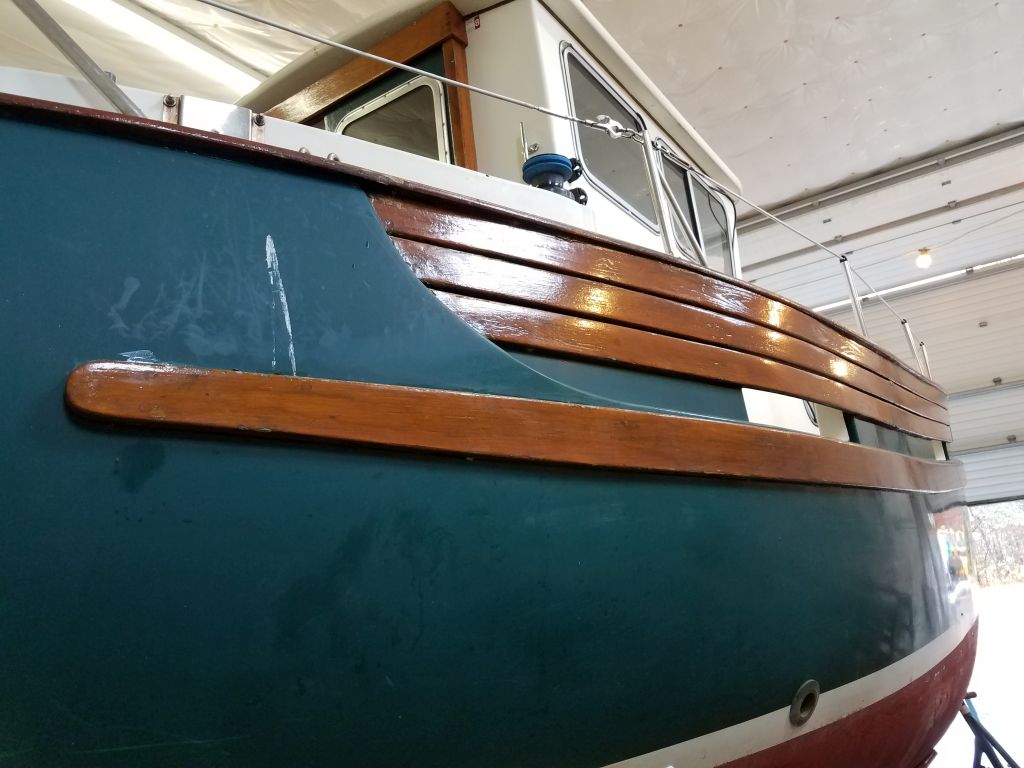
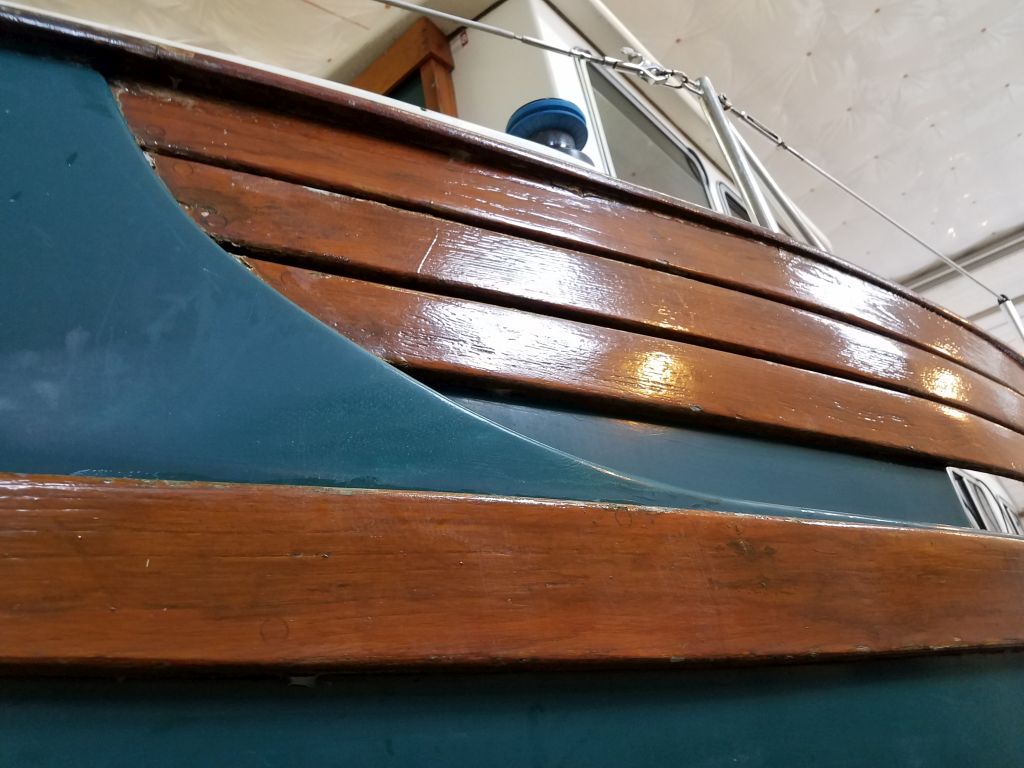
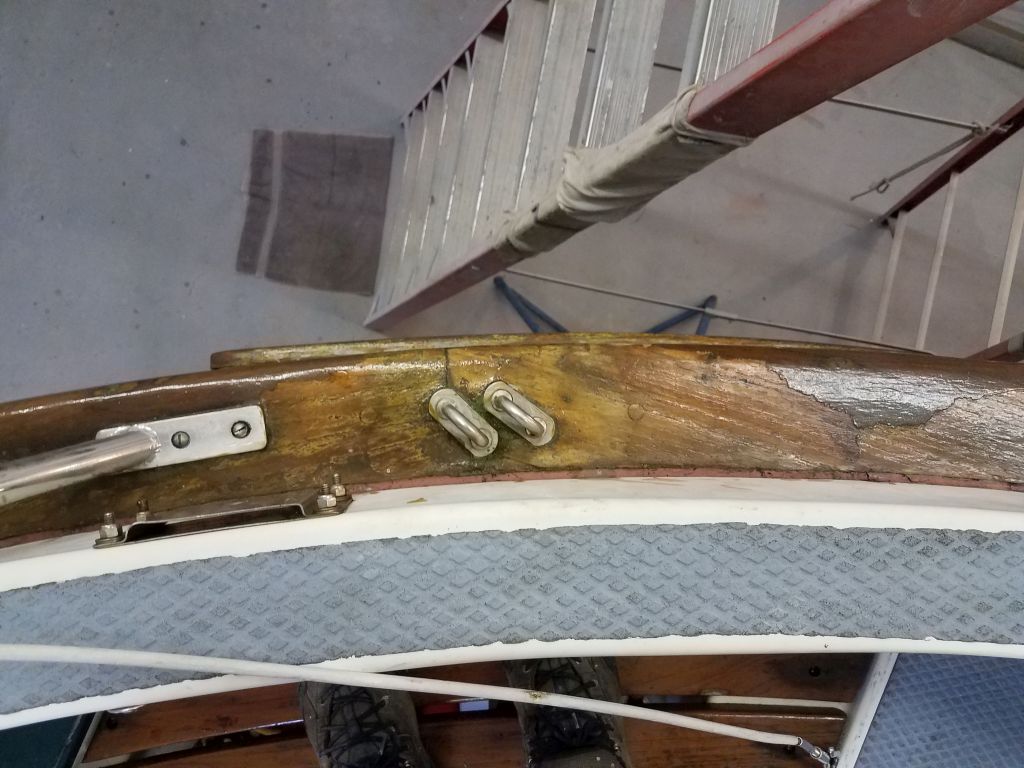
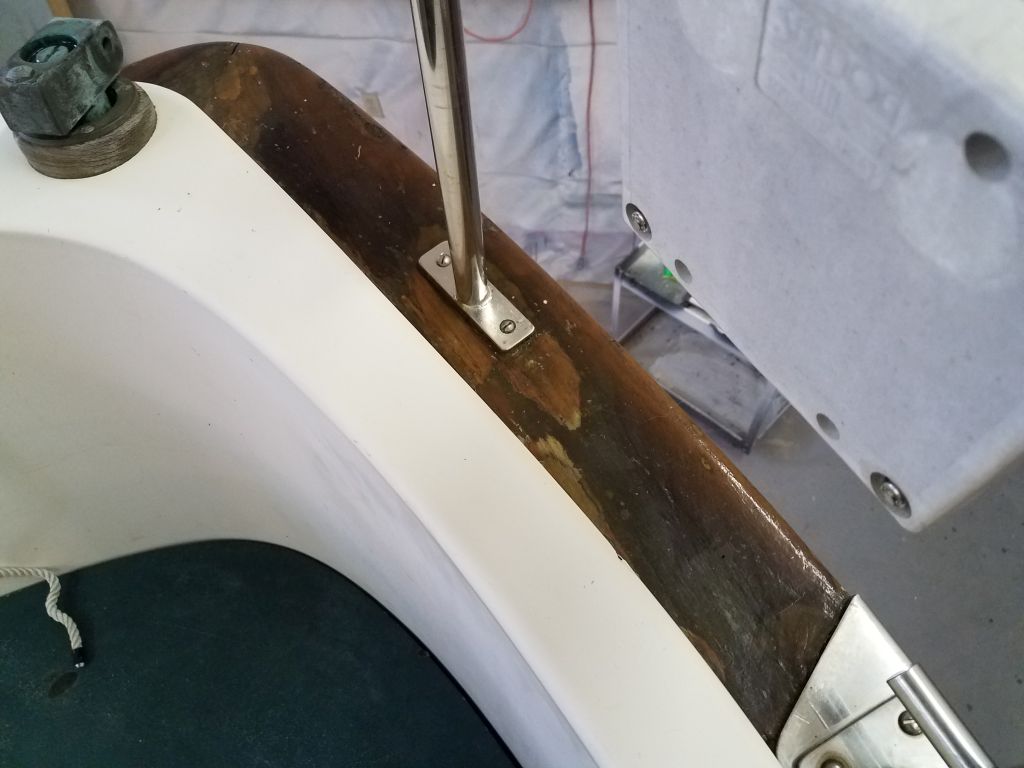
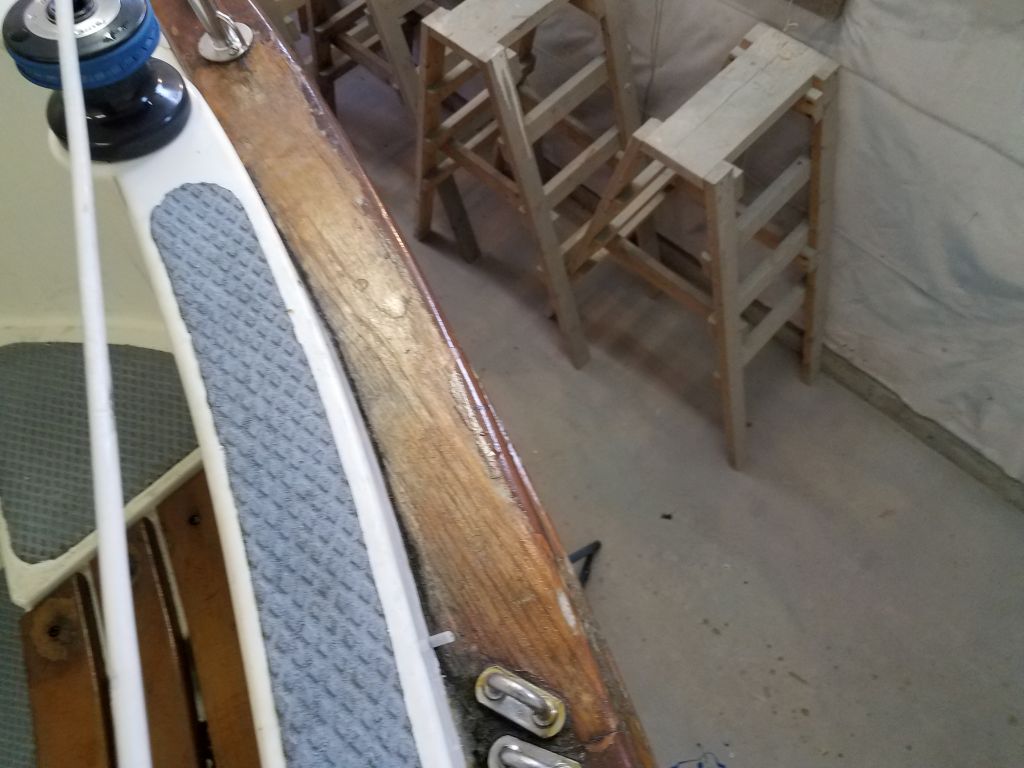
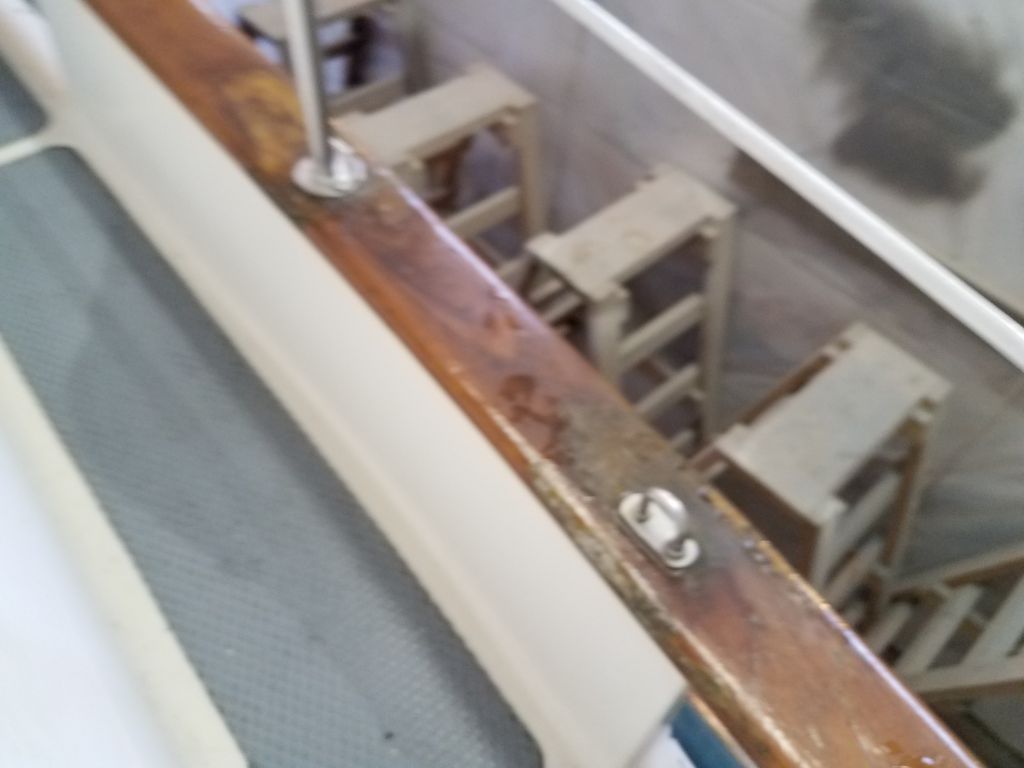
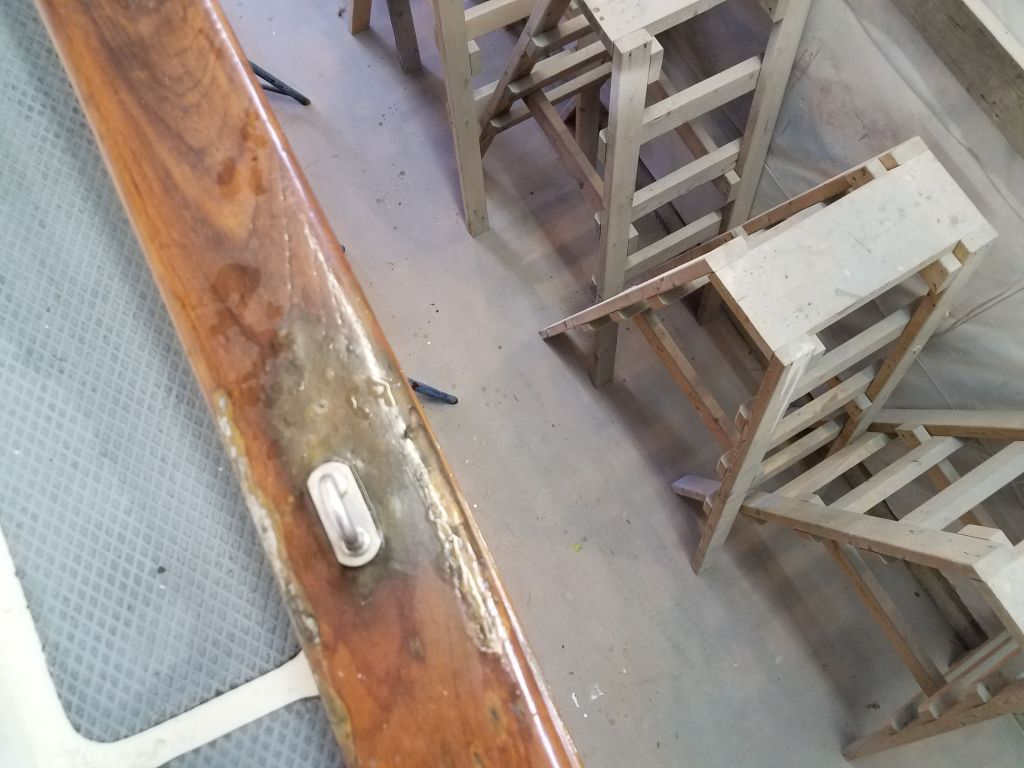
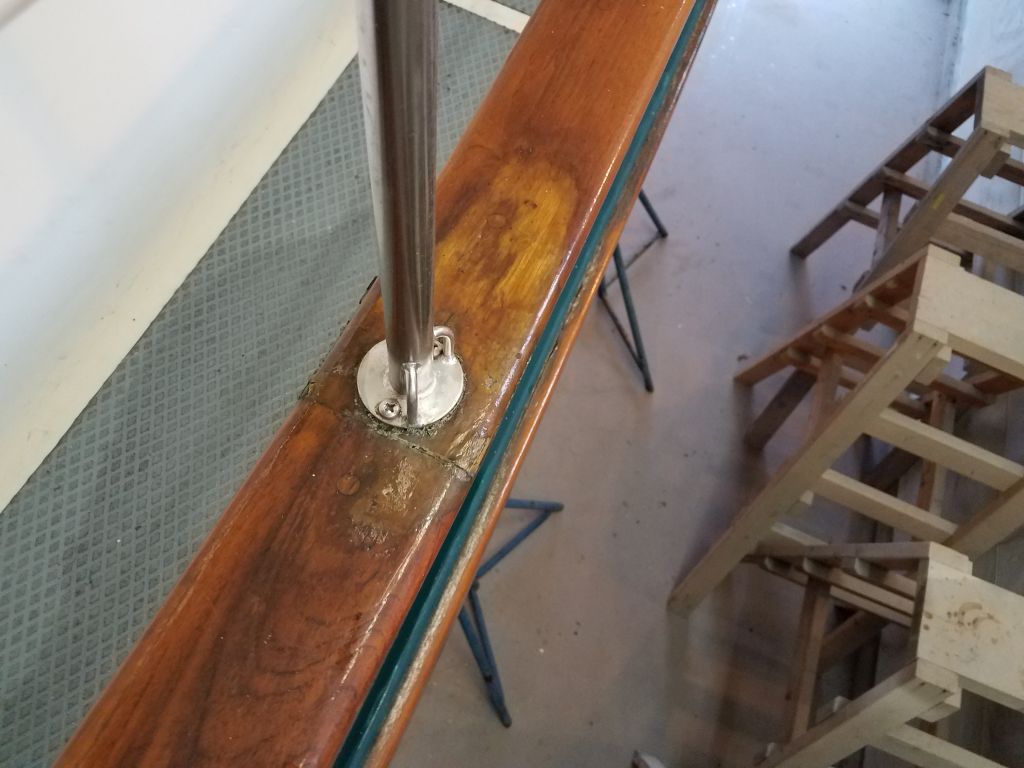
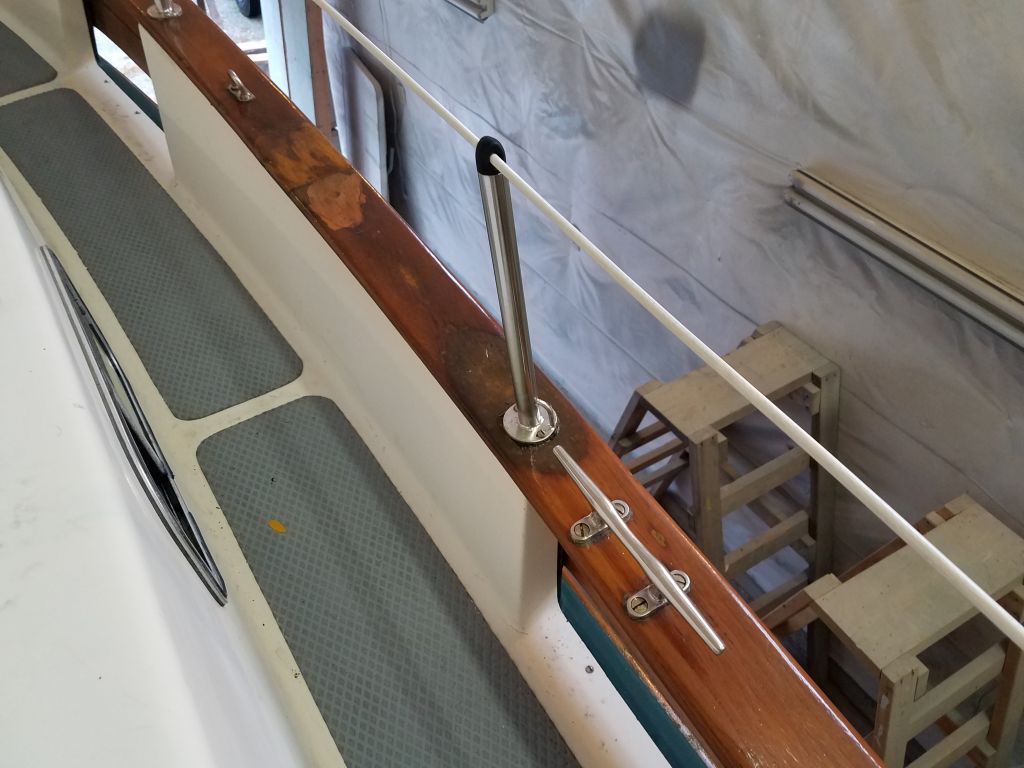
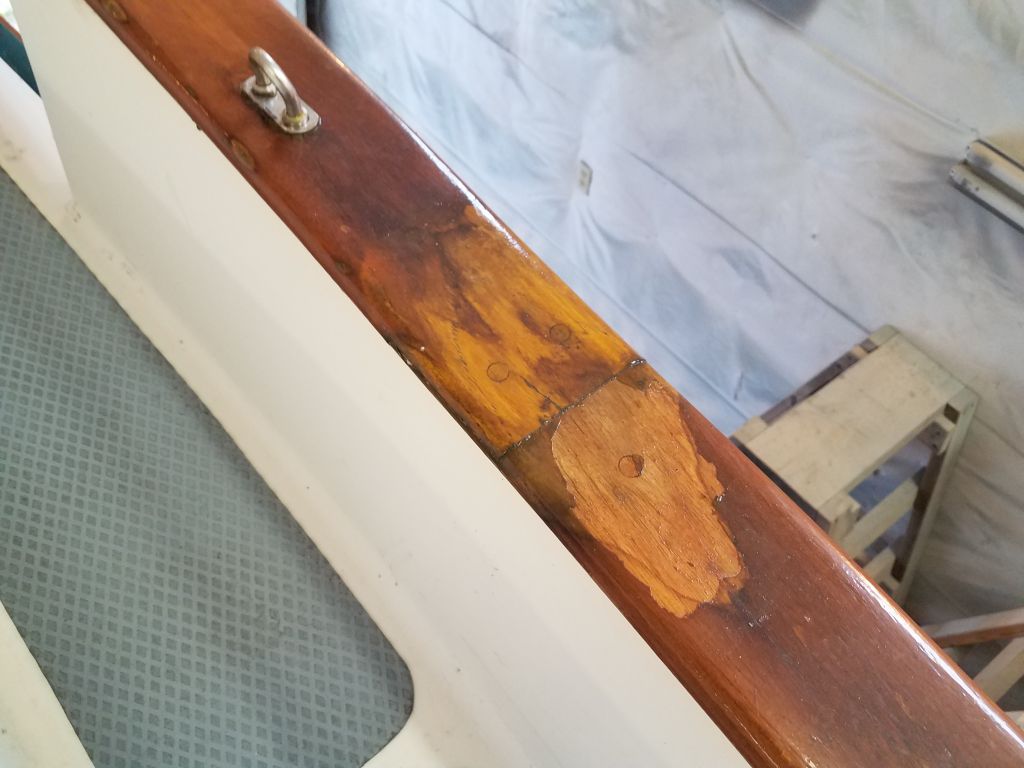
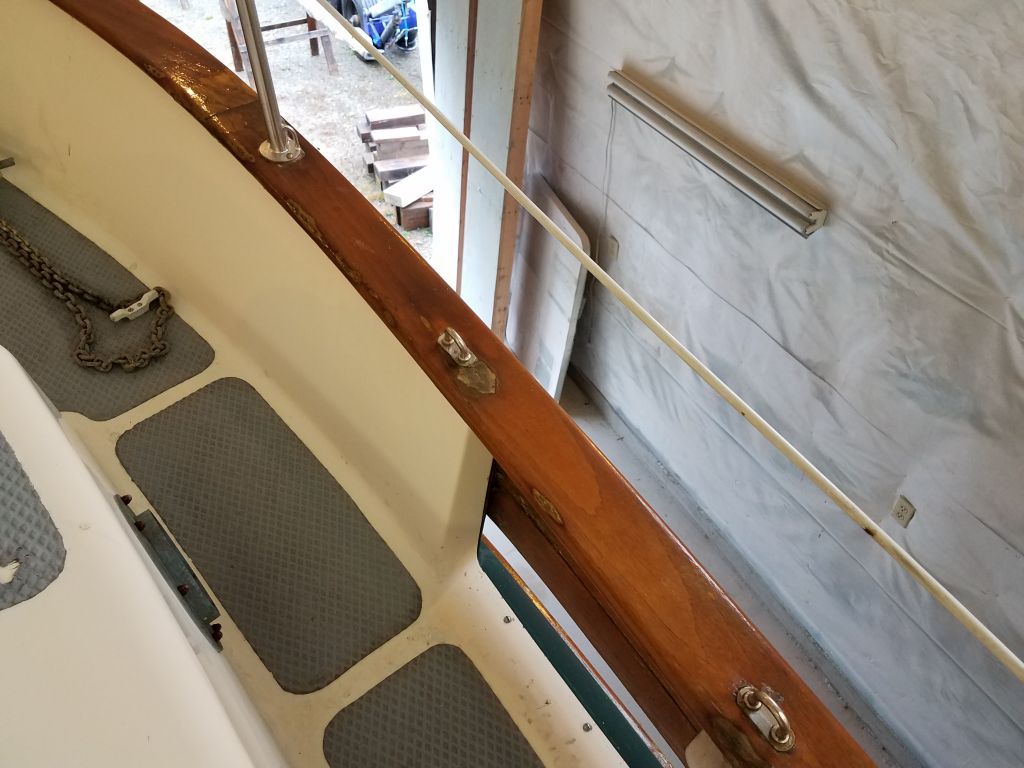
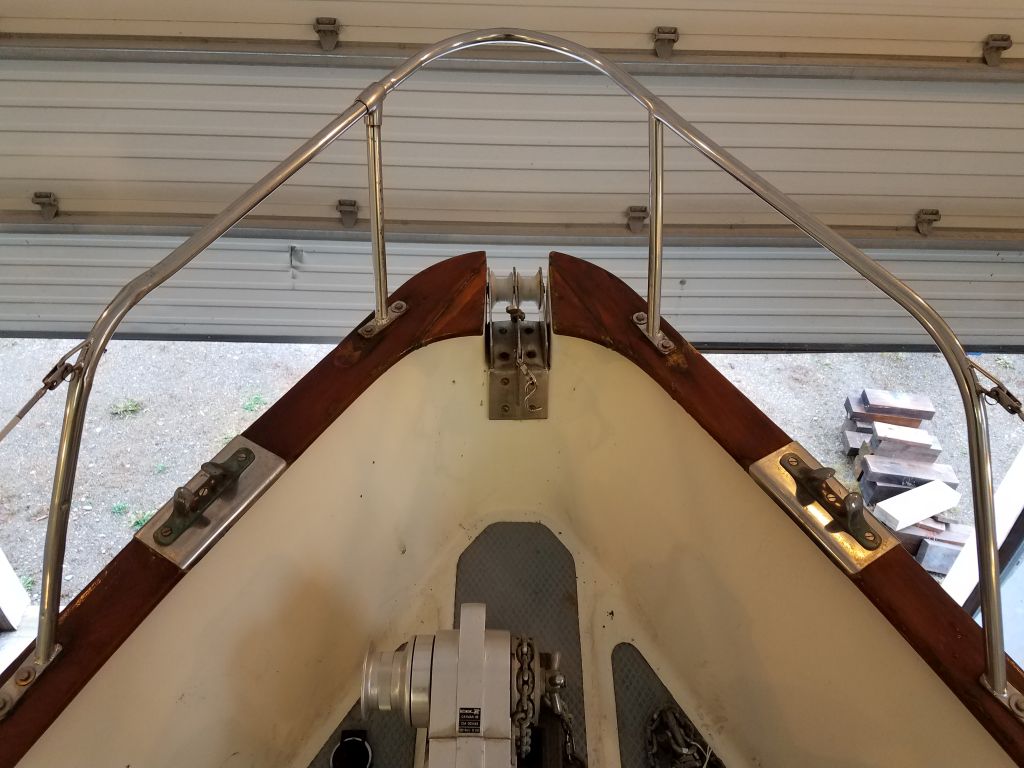
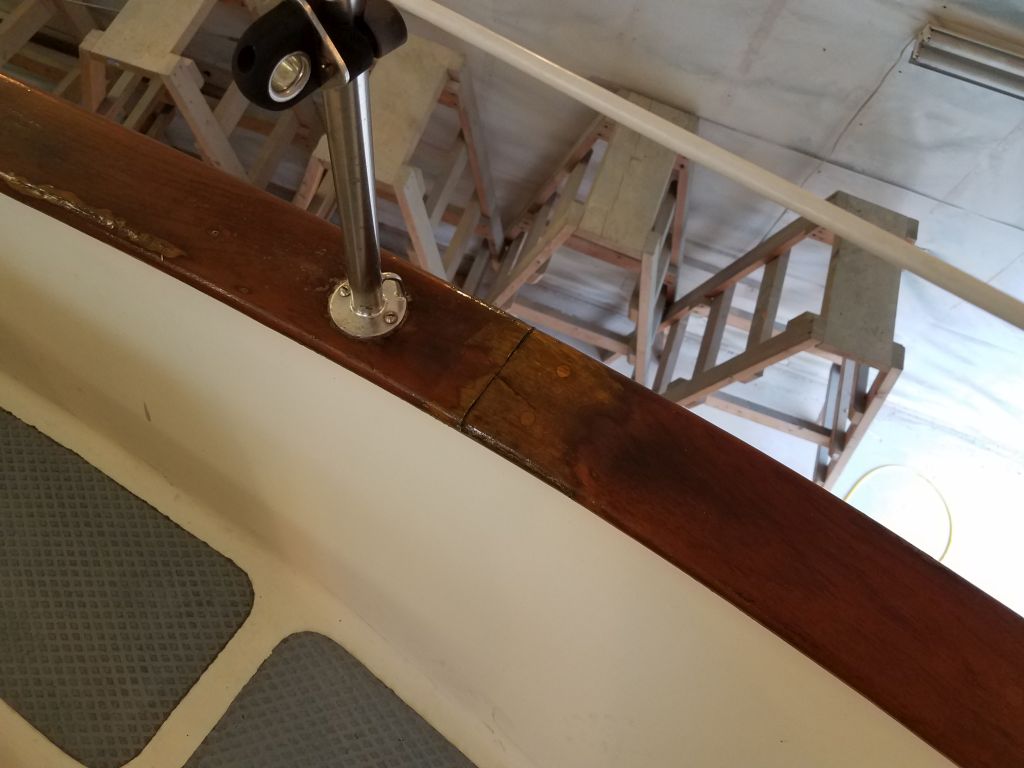
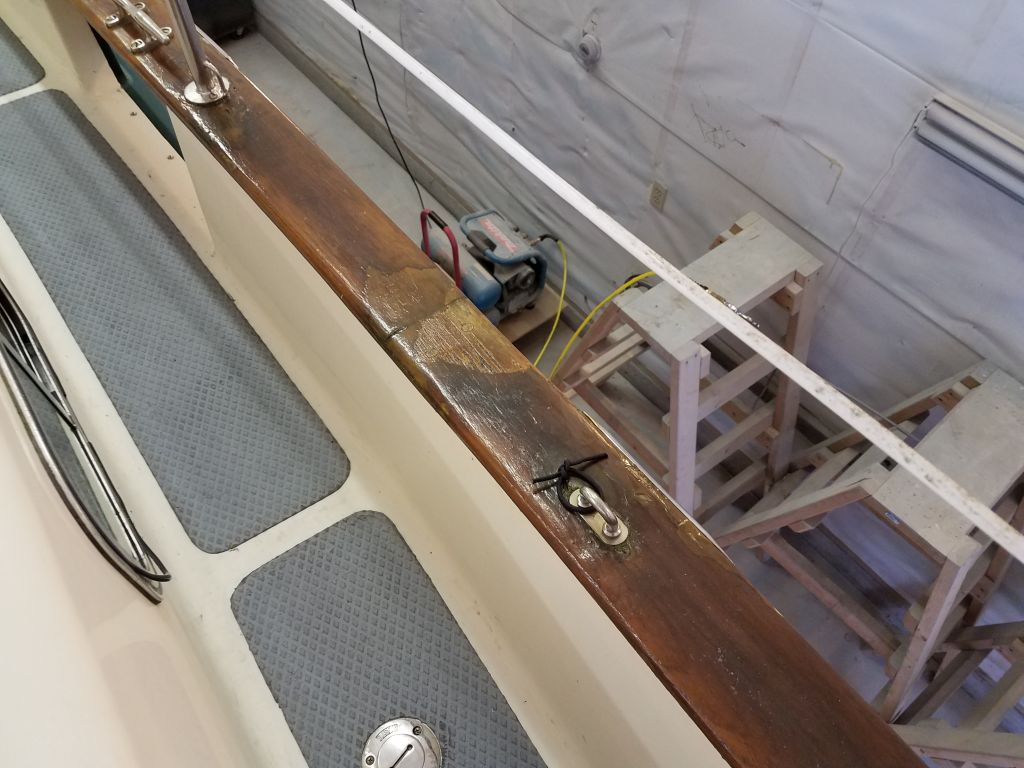
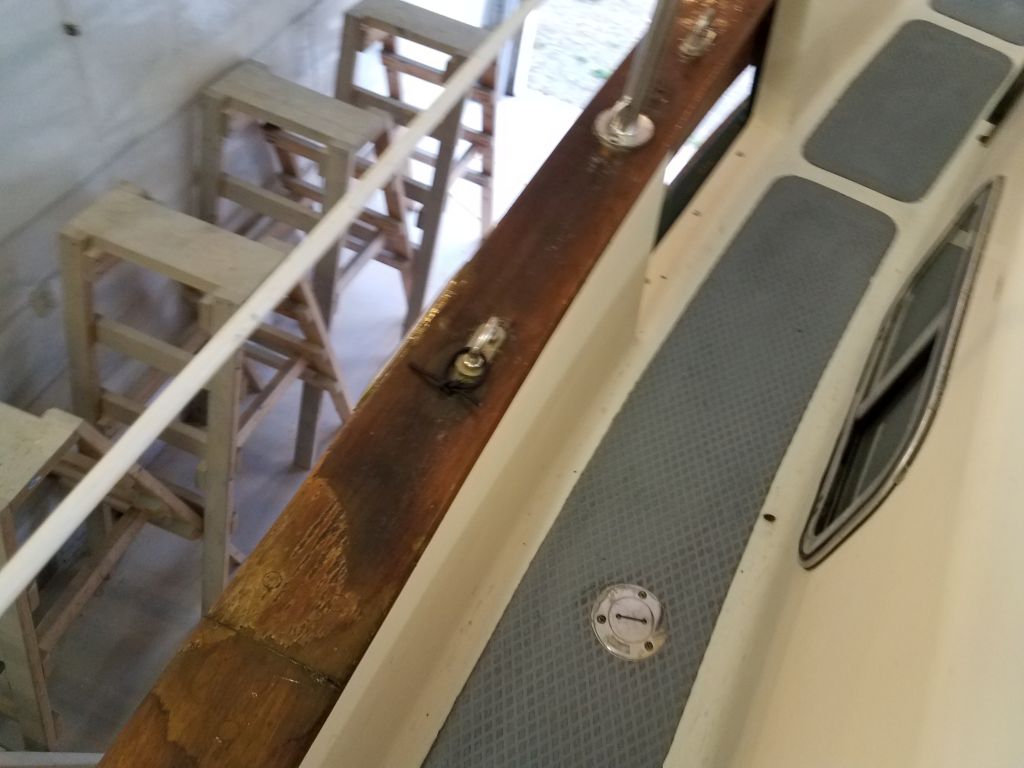
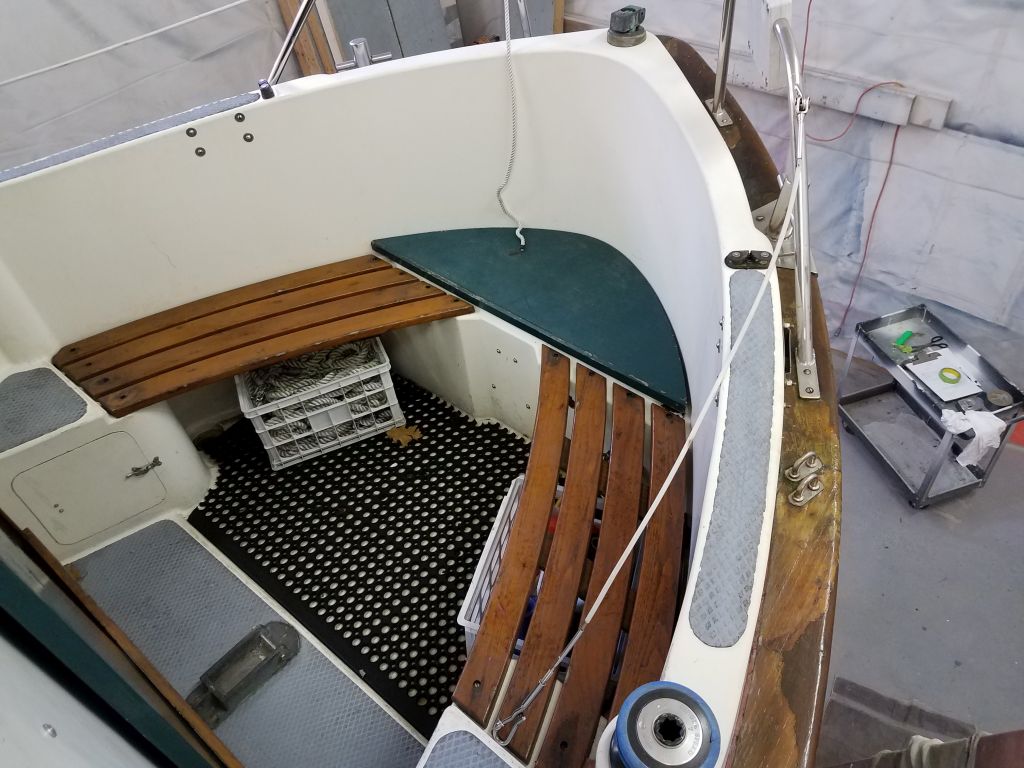
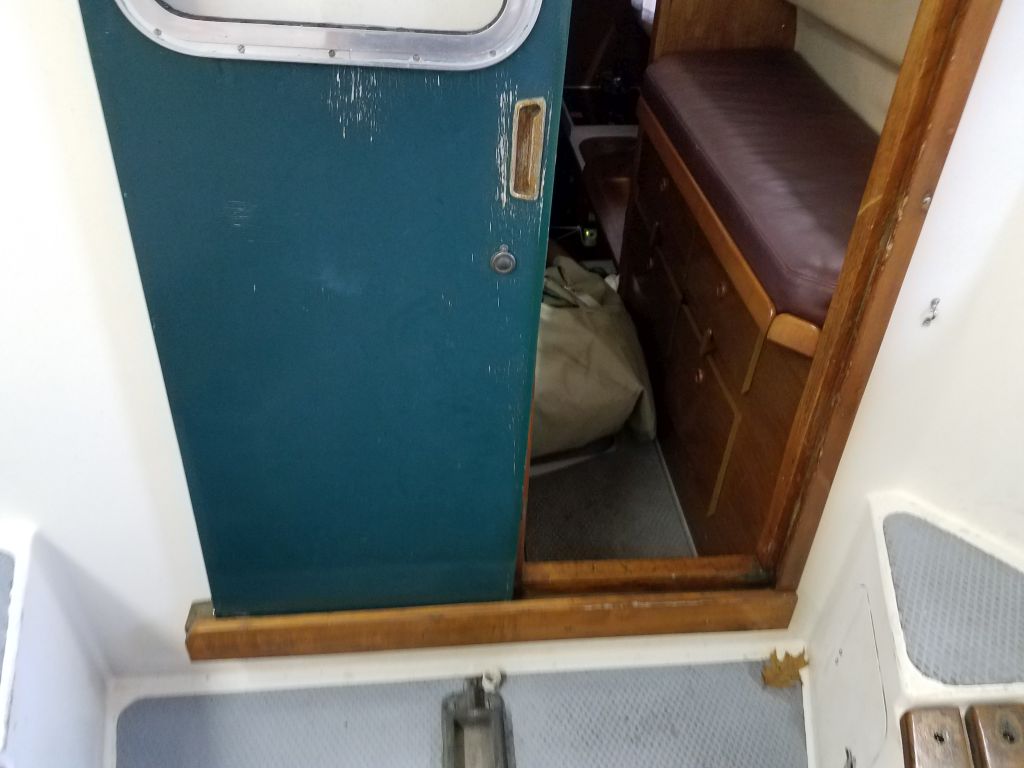
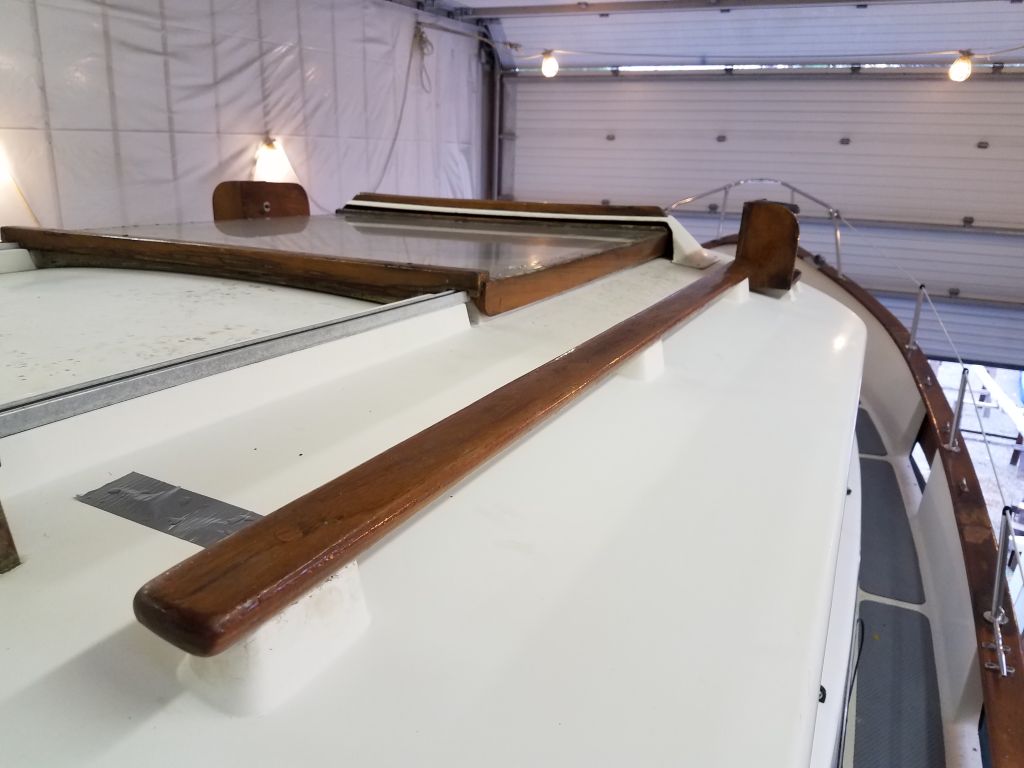
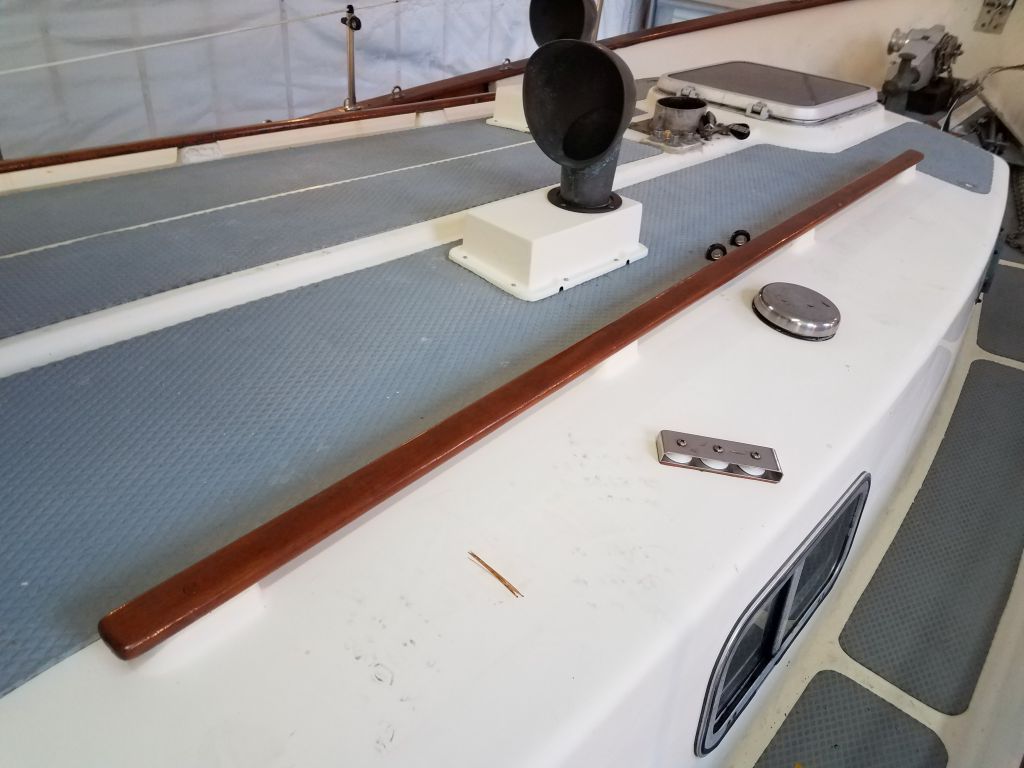
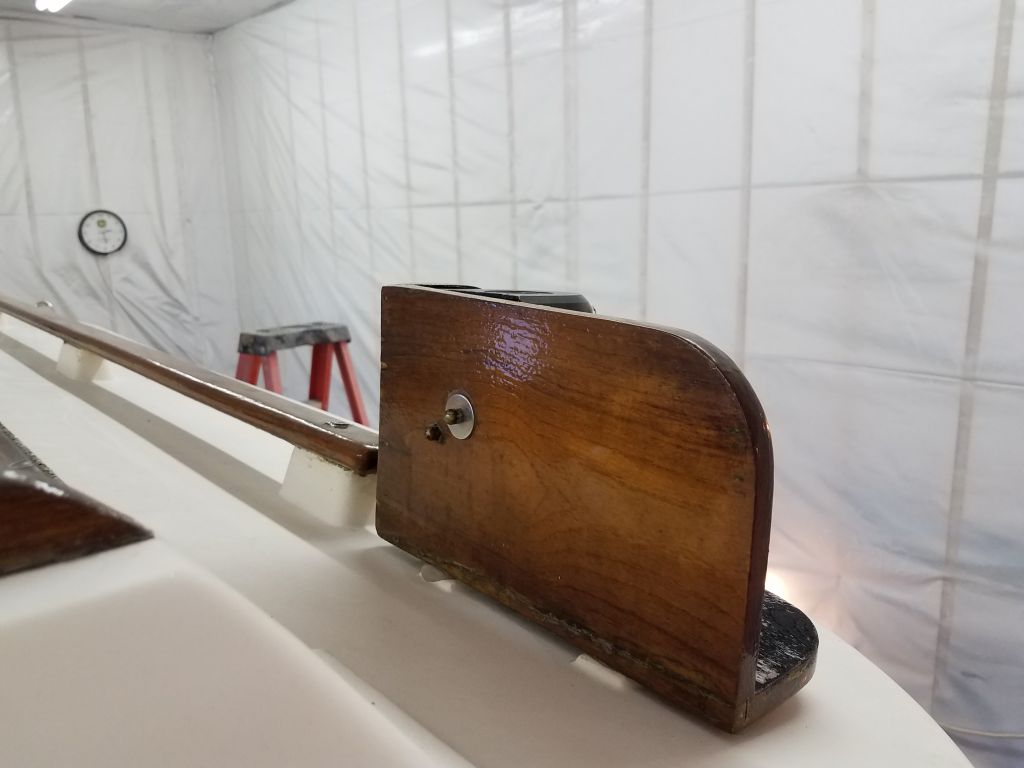
Onwards. The original job bid had me performing basic seasonal maintenance on the brightwork on deck, along with the caprails, rubrails, and bulwarks. Inspecting the woodwork now, I noted many past and present failures of the old finish (Cetol) on the caprails, as well as the bulwarks and rubrails. On deck, the handrails, hatch trim, and cockpit areas were more serviceable if not in ideal condition, but upon discussion with the owner we decided to concentrate mainly on the most significant areas that also happened to need the most work: caprails, rubrails, bulwarks. At my suggestion, the owner decided to proceed with stripping and refinishing these areas, while sticking with maintenance coats on the deck trim for the moment.


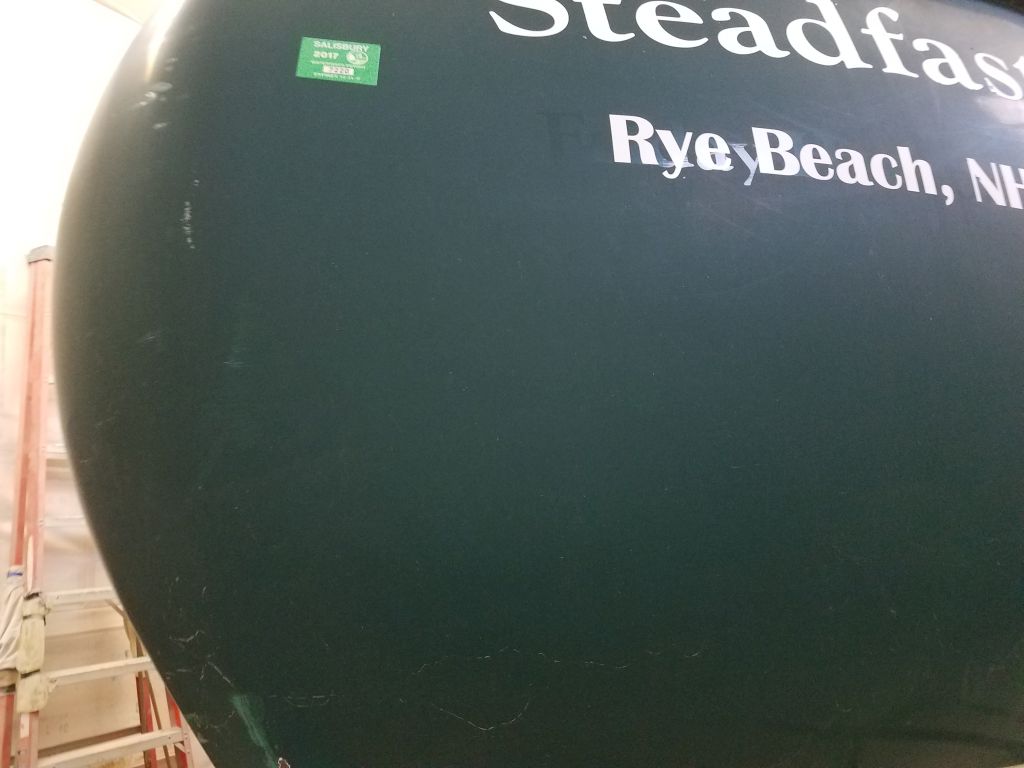
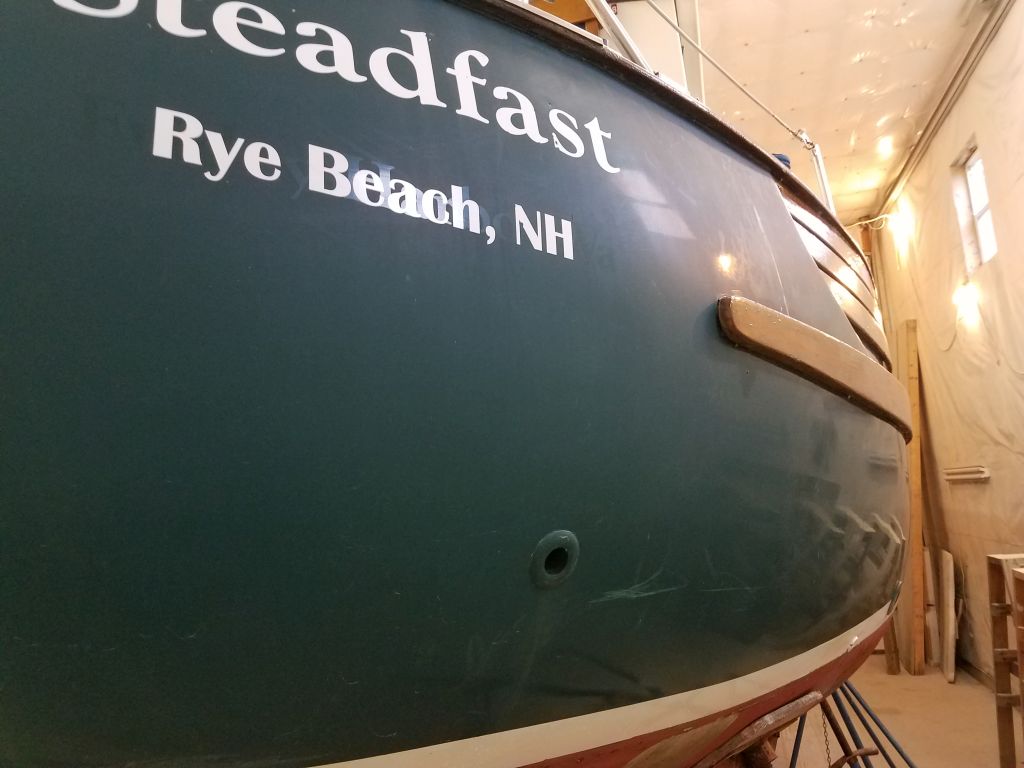
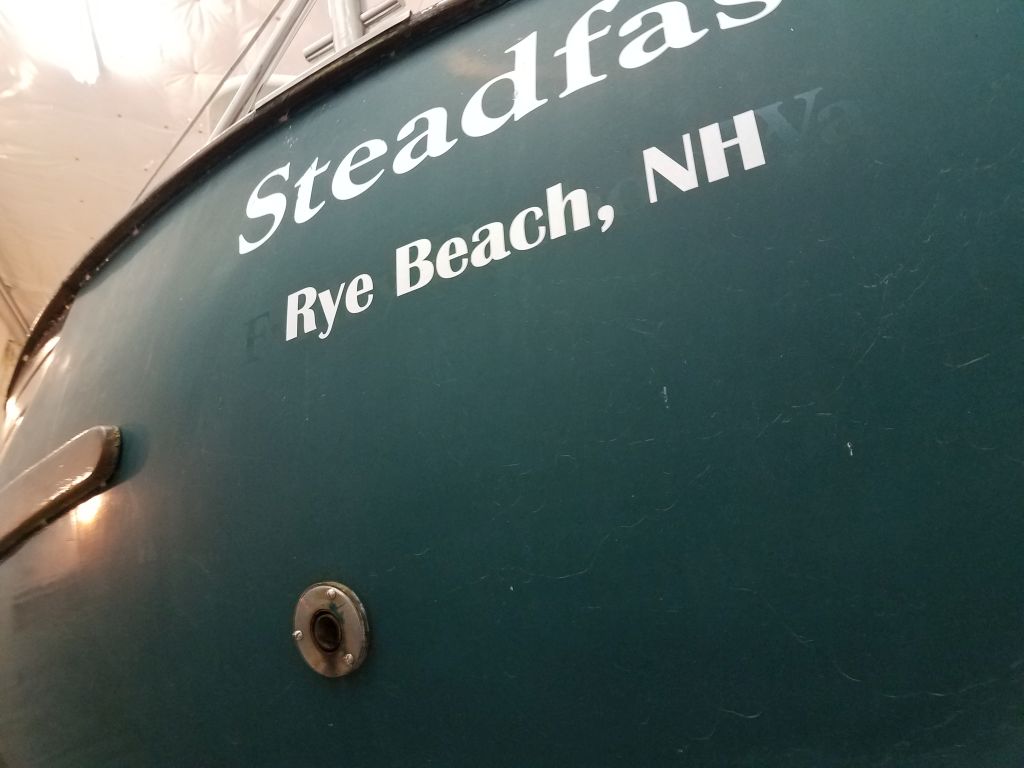
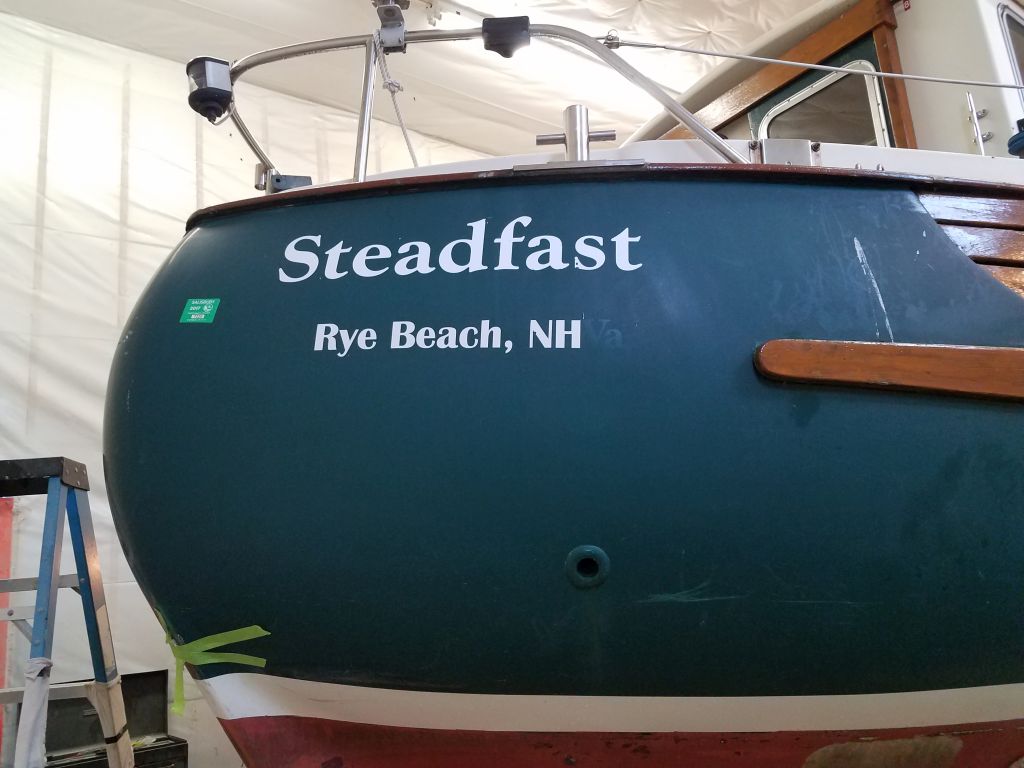
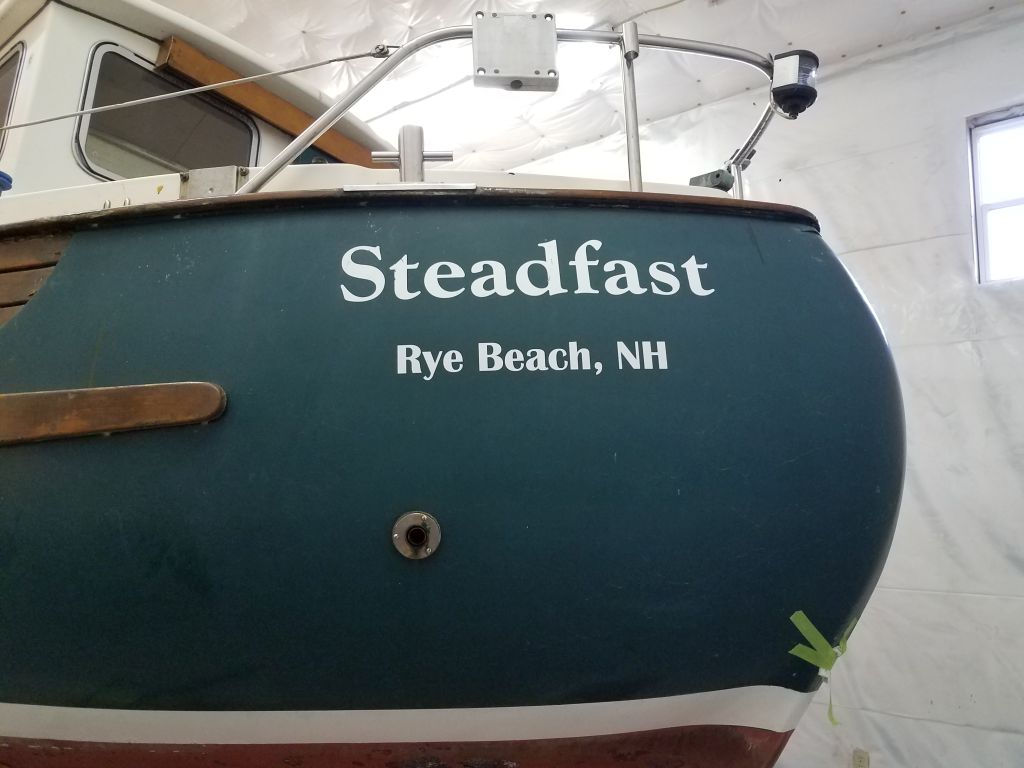
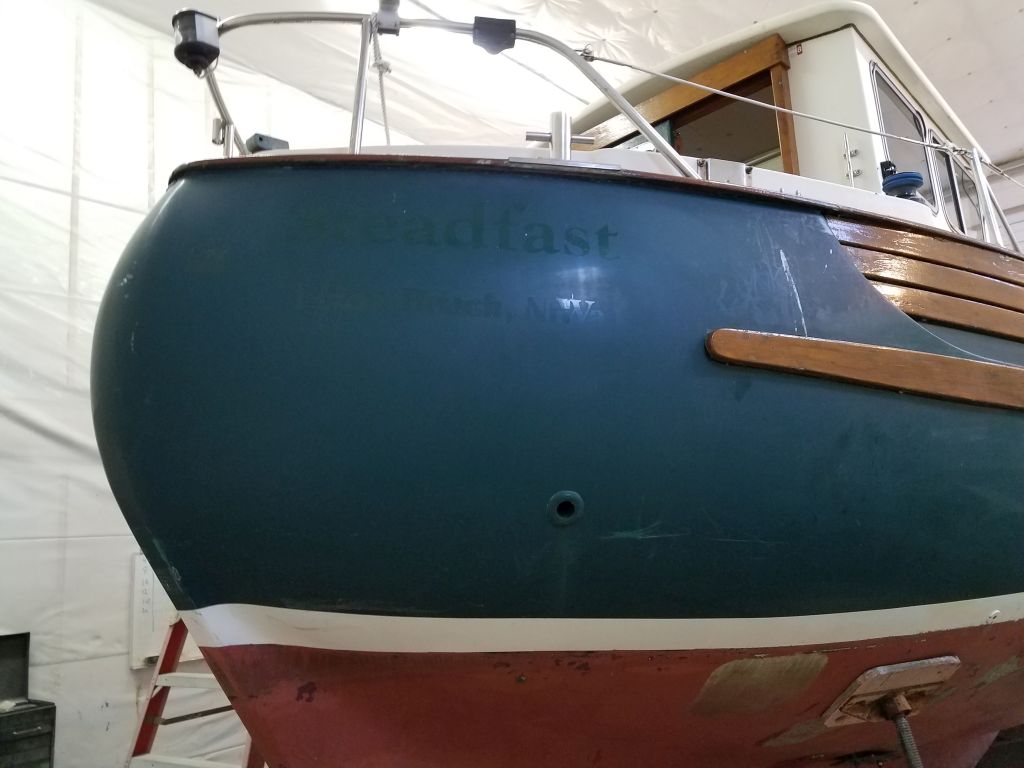
At the stern, I took various measurements to document for my future reference the existing letter sizes and spacing of the name and hailport on each side, the removed the vinyl lettering to prepare for sanding and surface preparation.
Total time billed on this job today: 3.75 hours
0600 Weather Observation: 60°, rain. Forecast for the day: Rain, 60s