

November 9, 2017
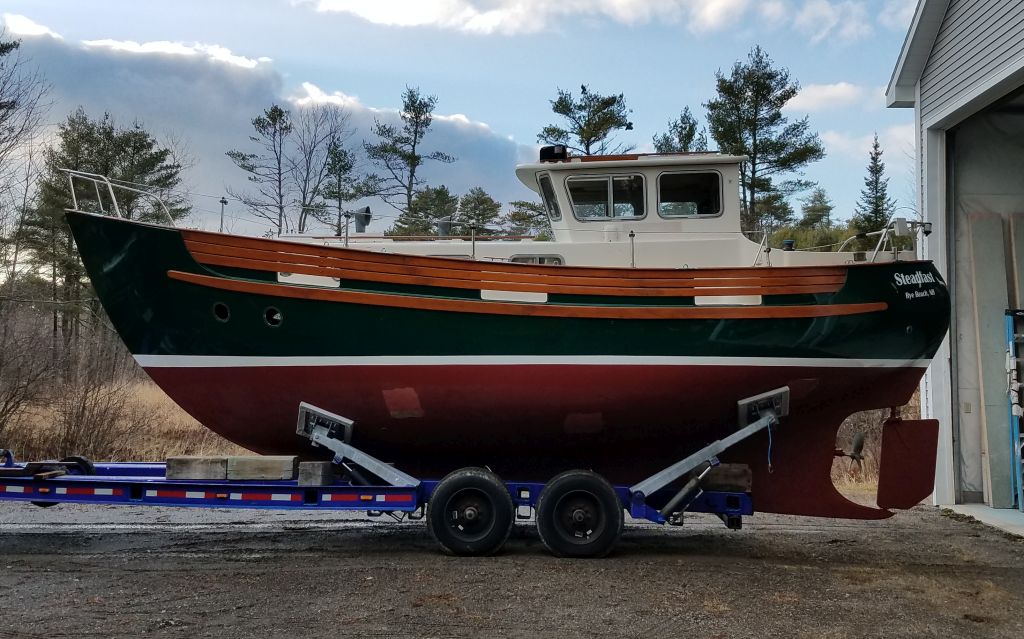
Steadfast 12
Thursday
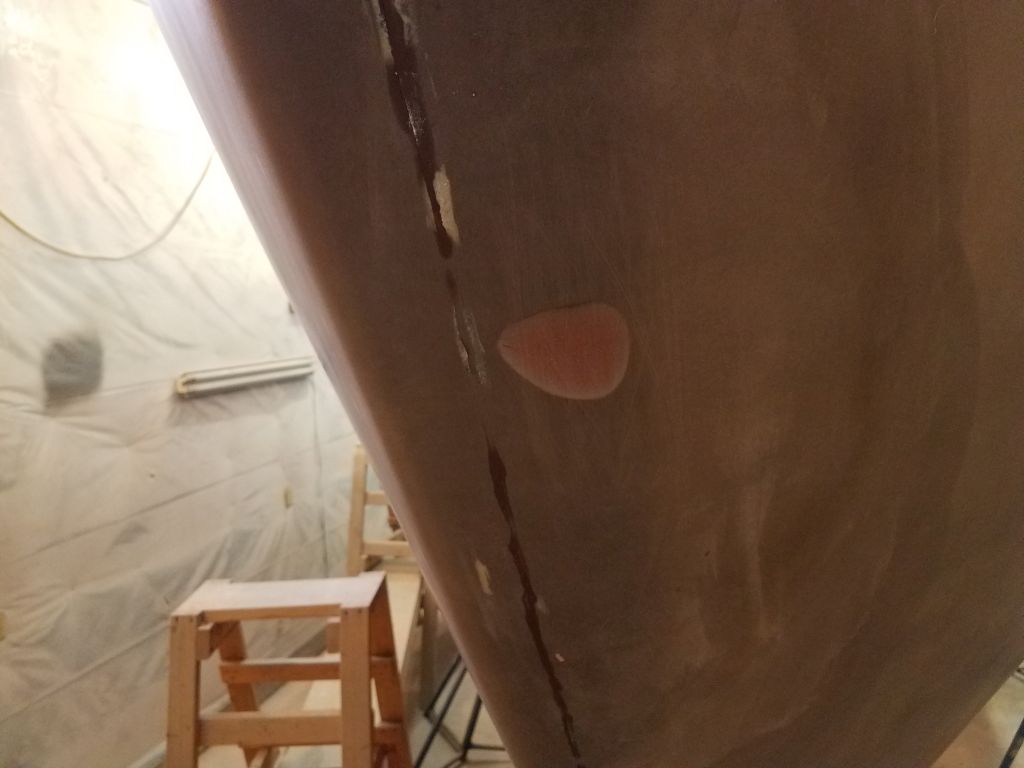
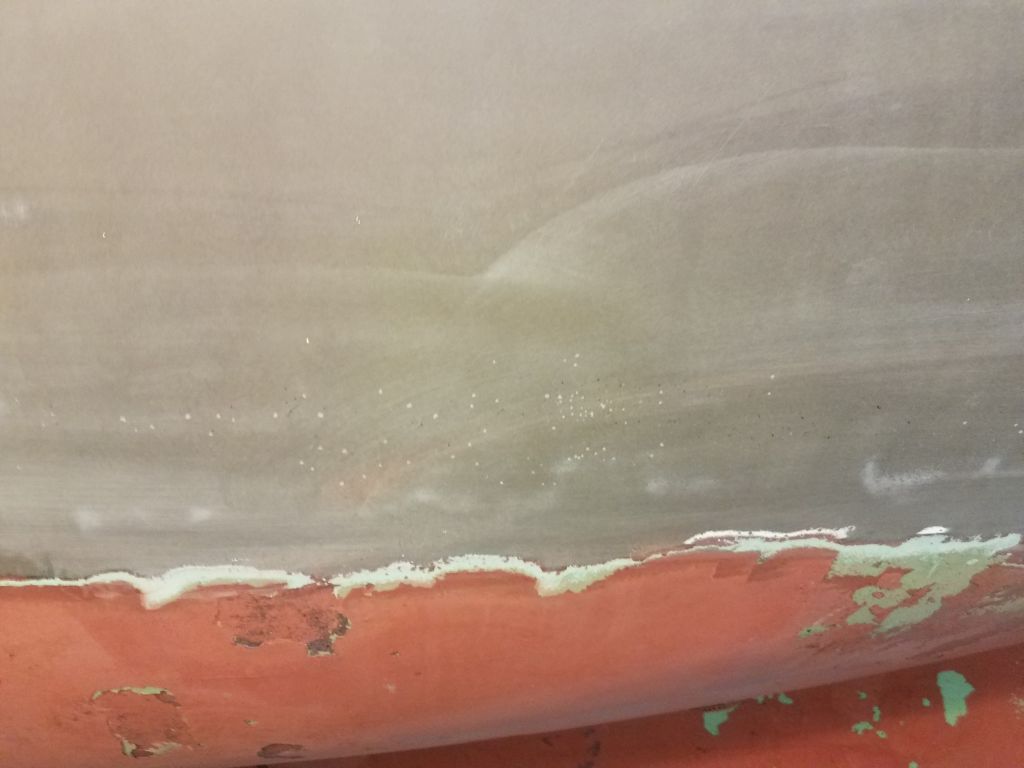
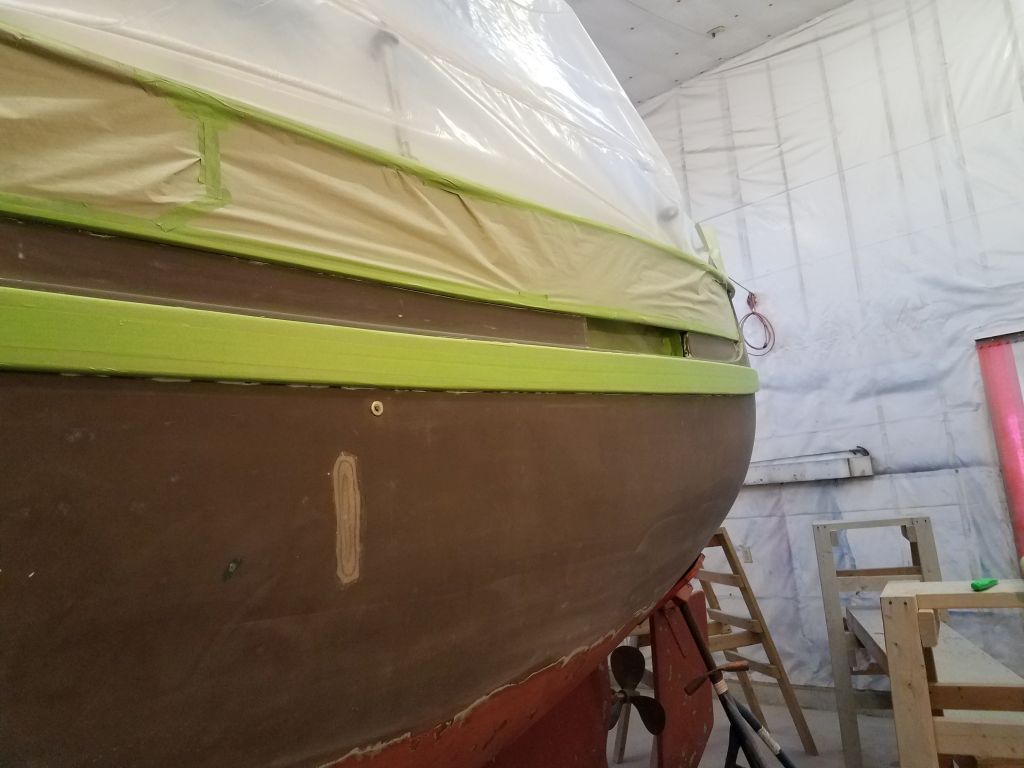
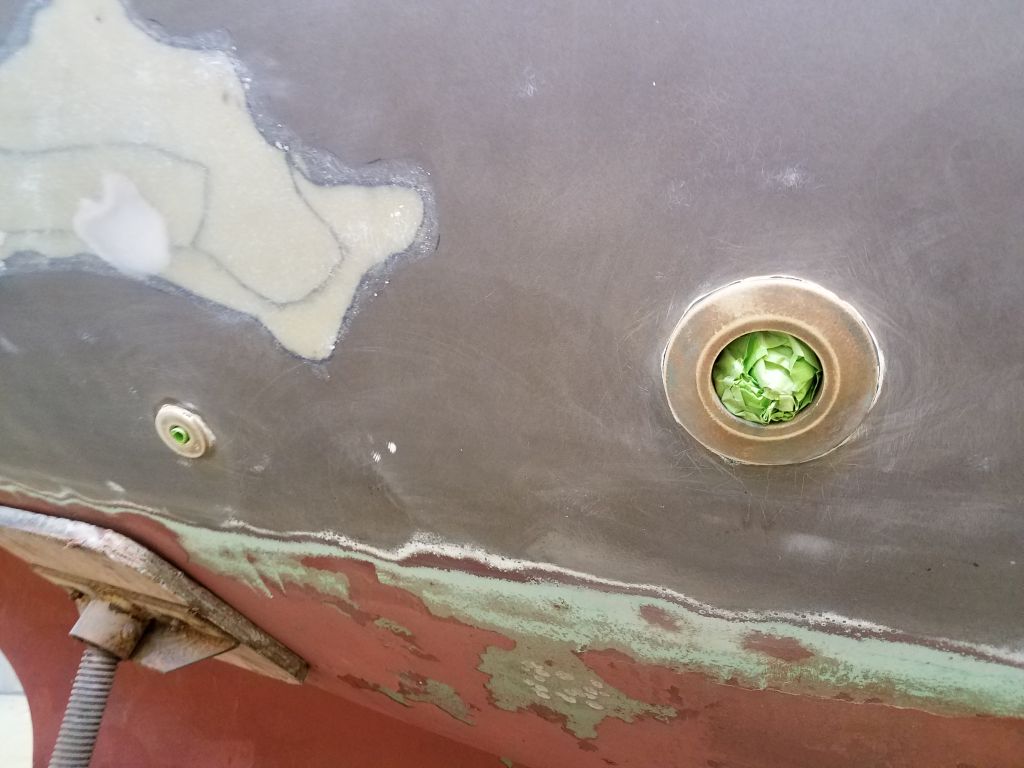
To begin, I sanded the areas I’d coated/filled with epoxy earlier, removing excess and sanding the repairs smooth. I was pleased to find that the gouge on the stem came out well with only one application; the small pockmarks on the midships hull on each side filled satisfactorily with the one coat as well, and in any event these areas wouldn’t impact the topside painting process as they were below the waterline. There’d be an opportunity for any final minor filling later, after high-build primer.
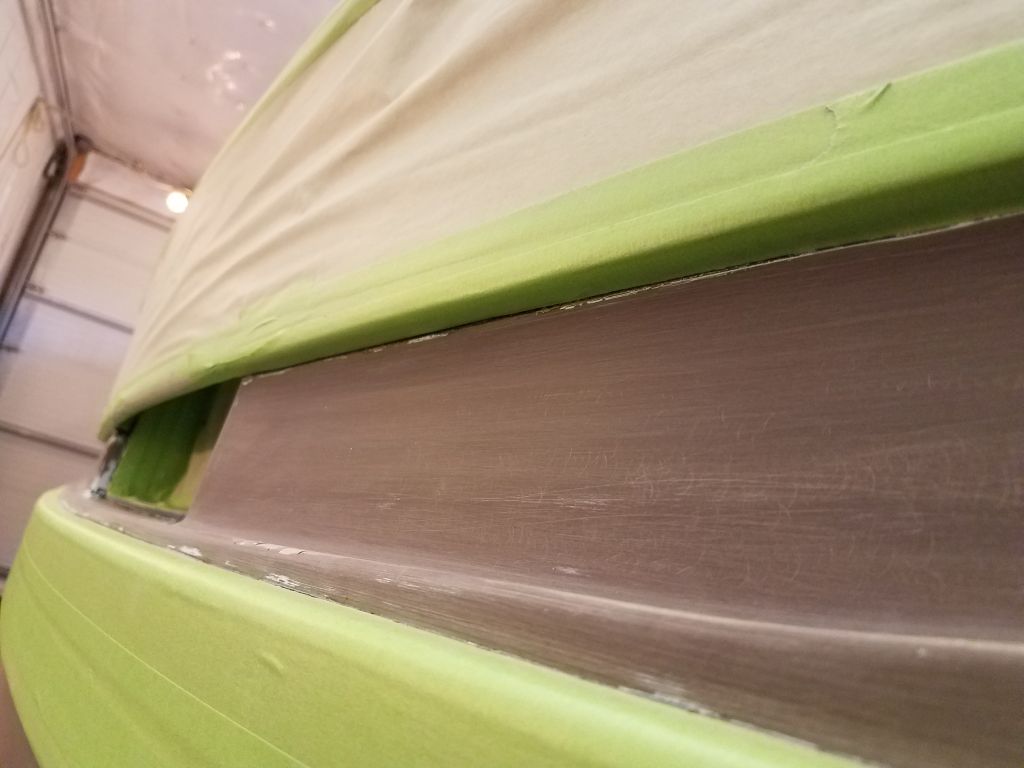
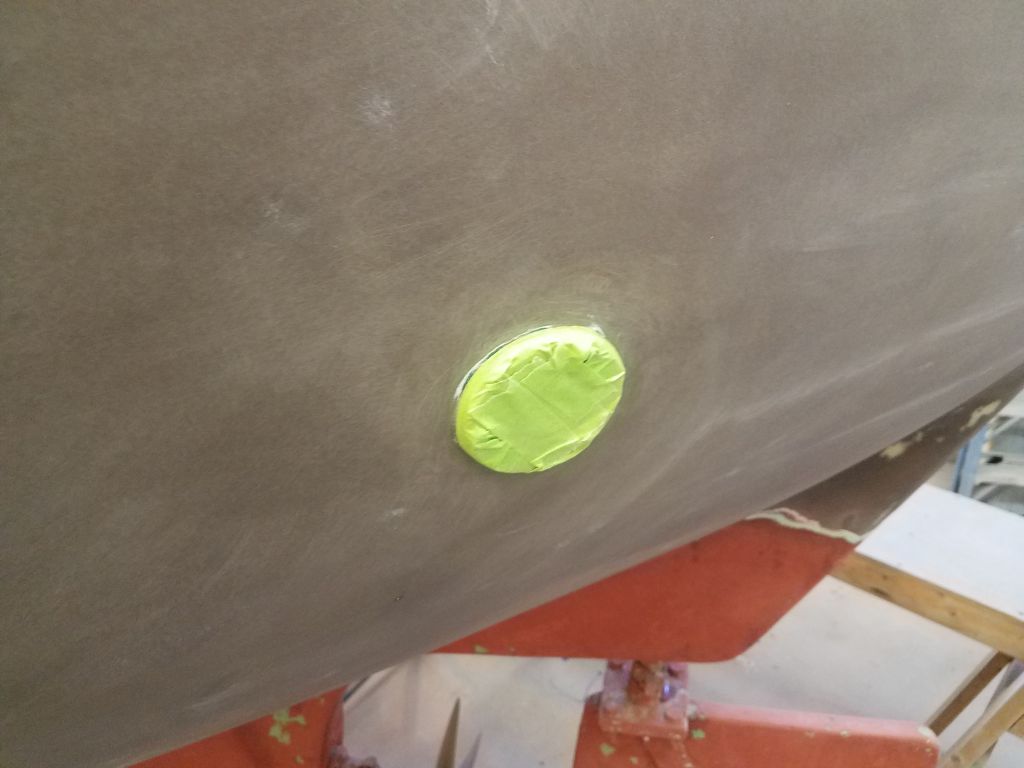
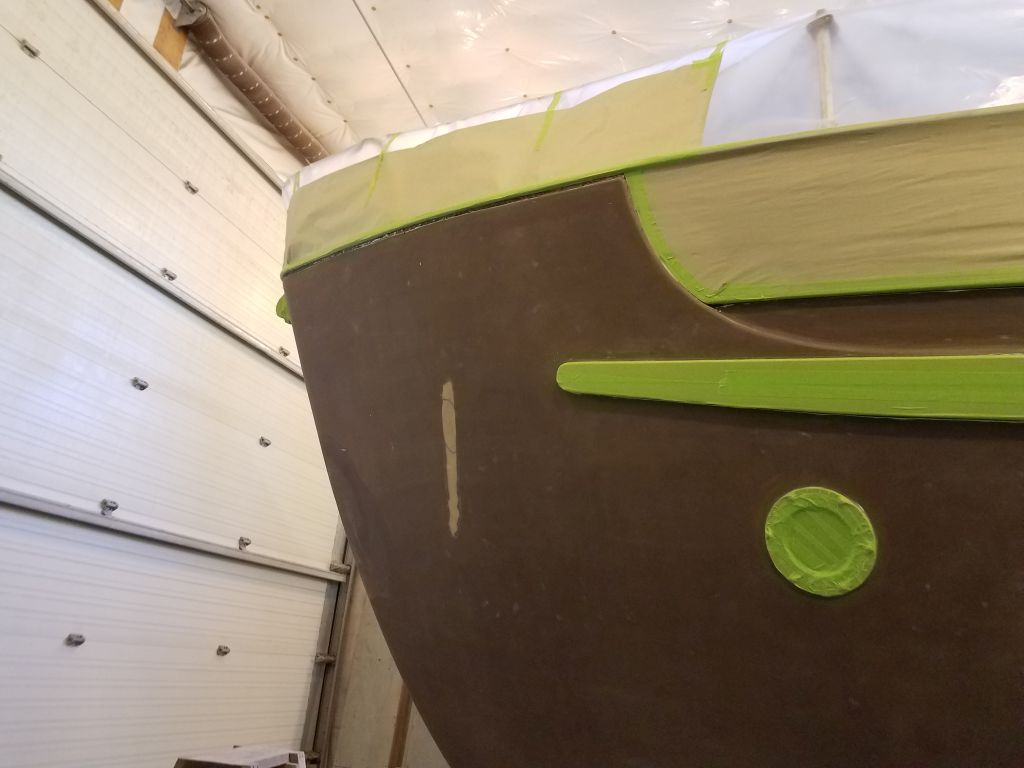
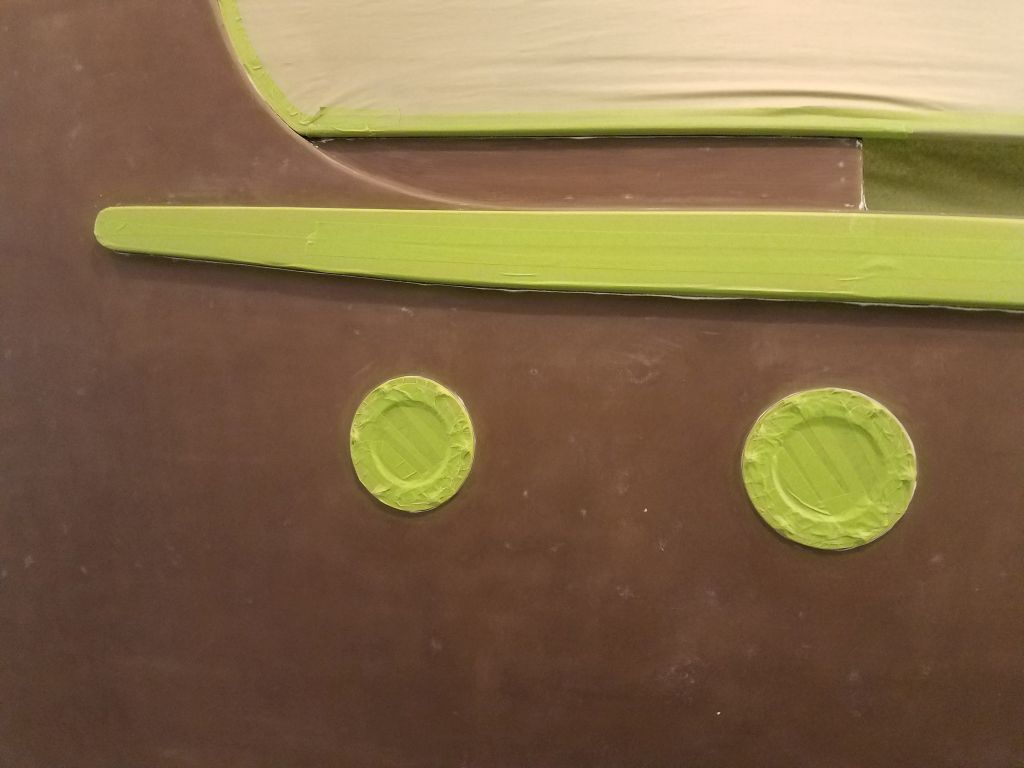
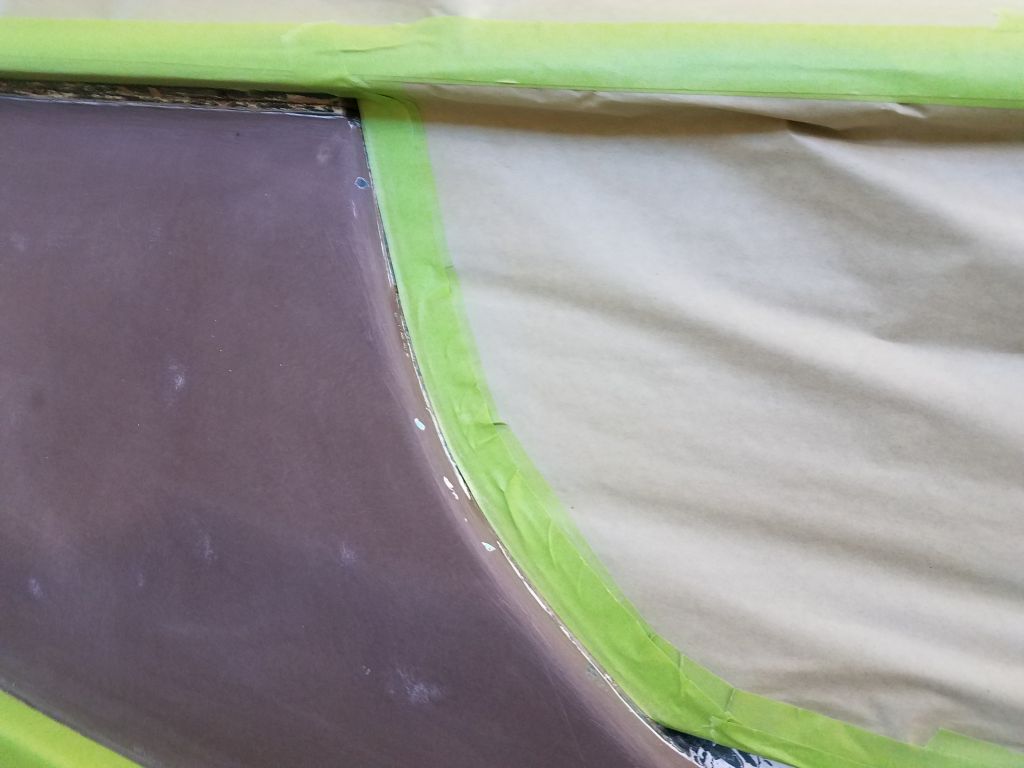
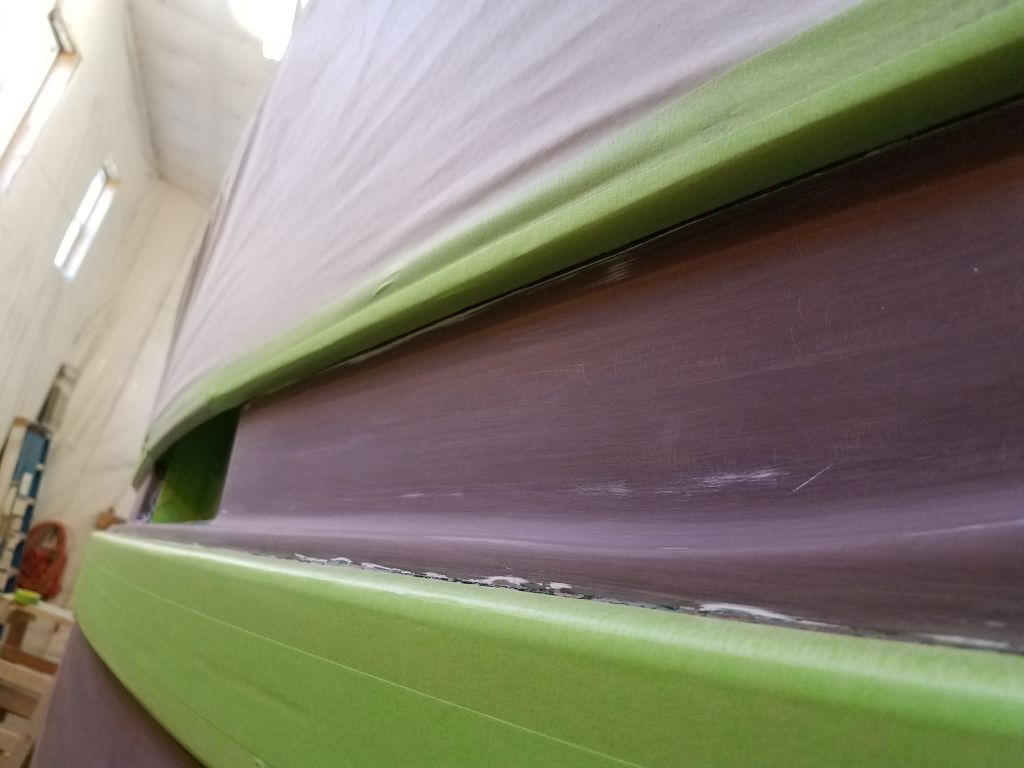
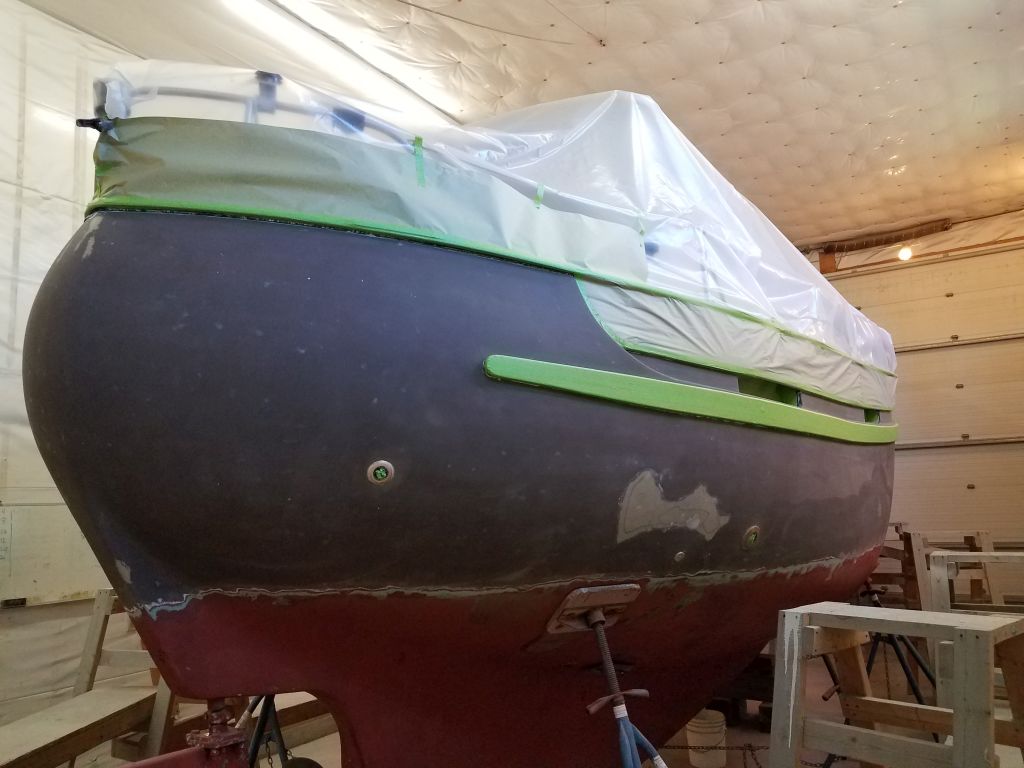
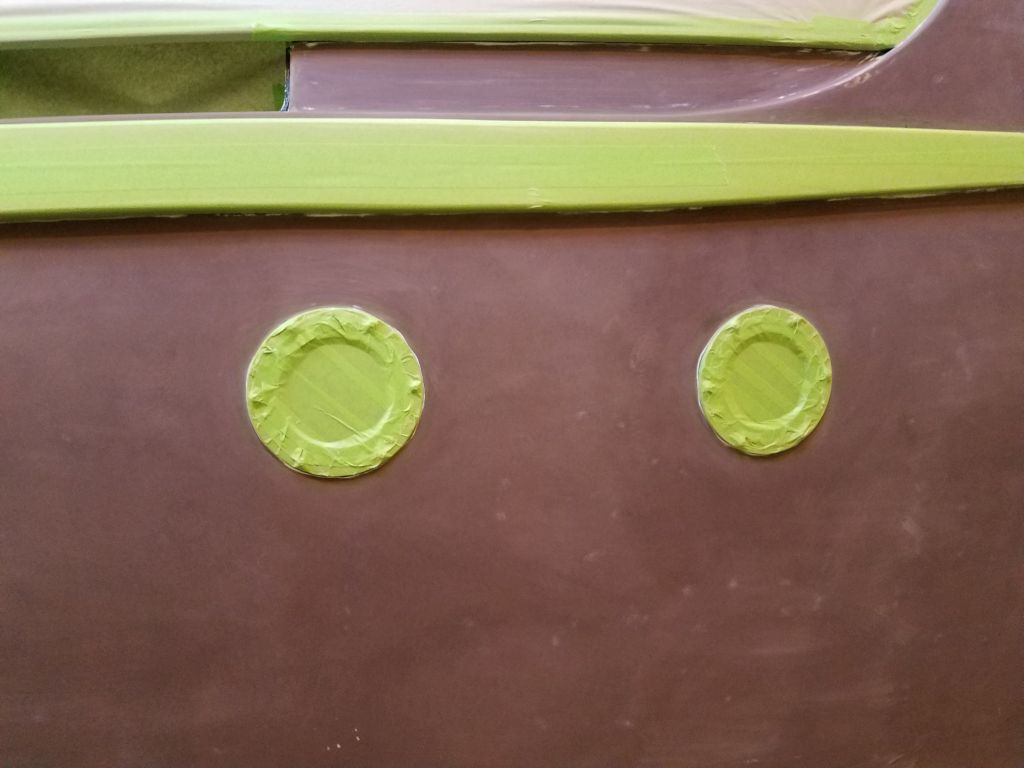
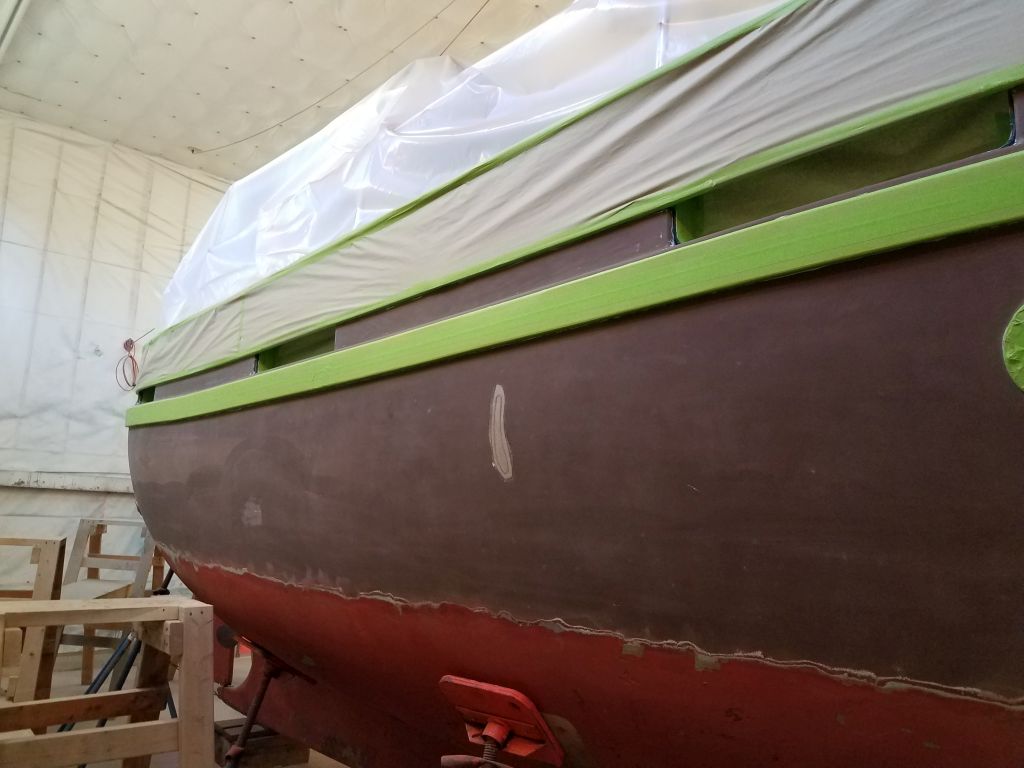
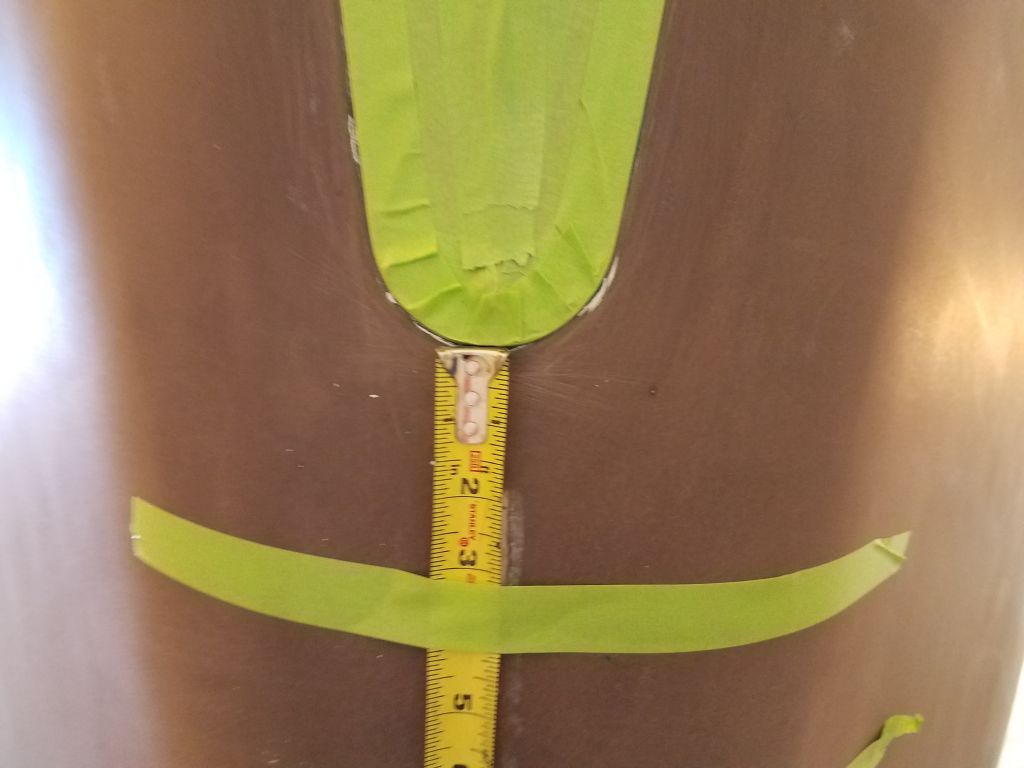
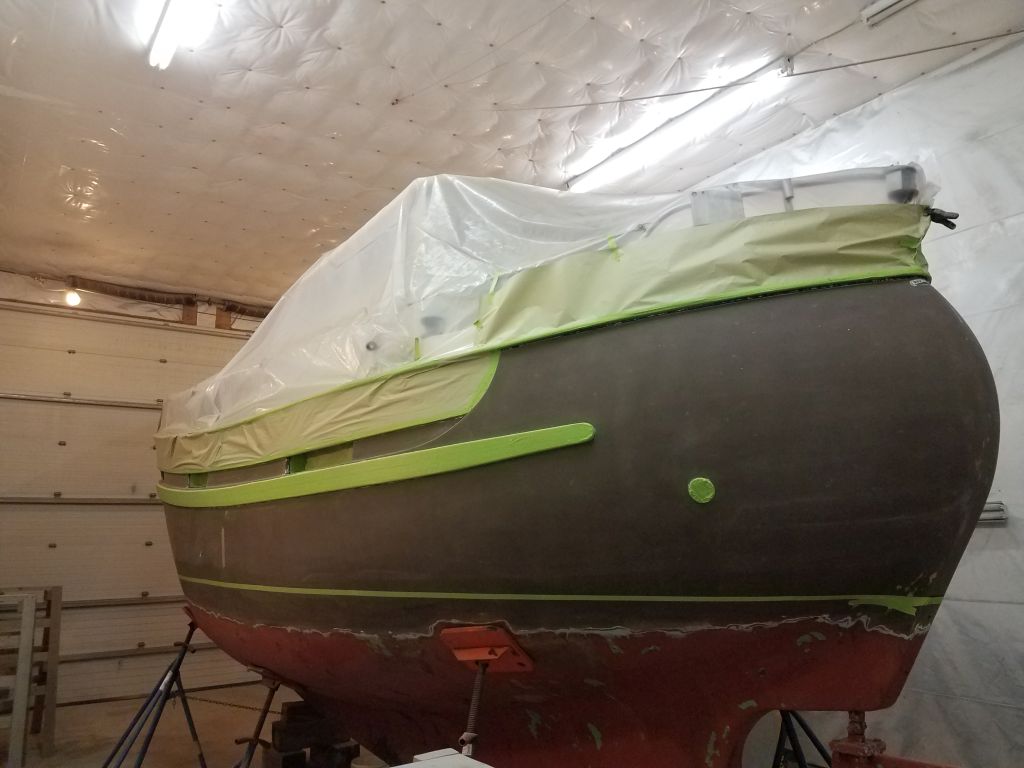
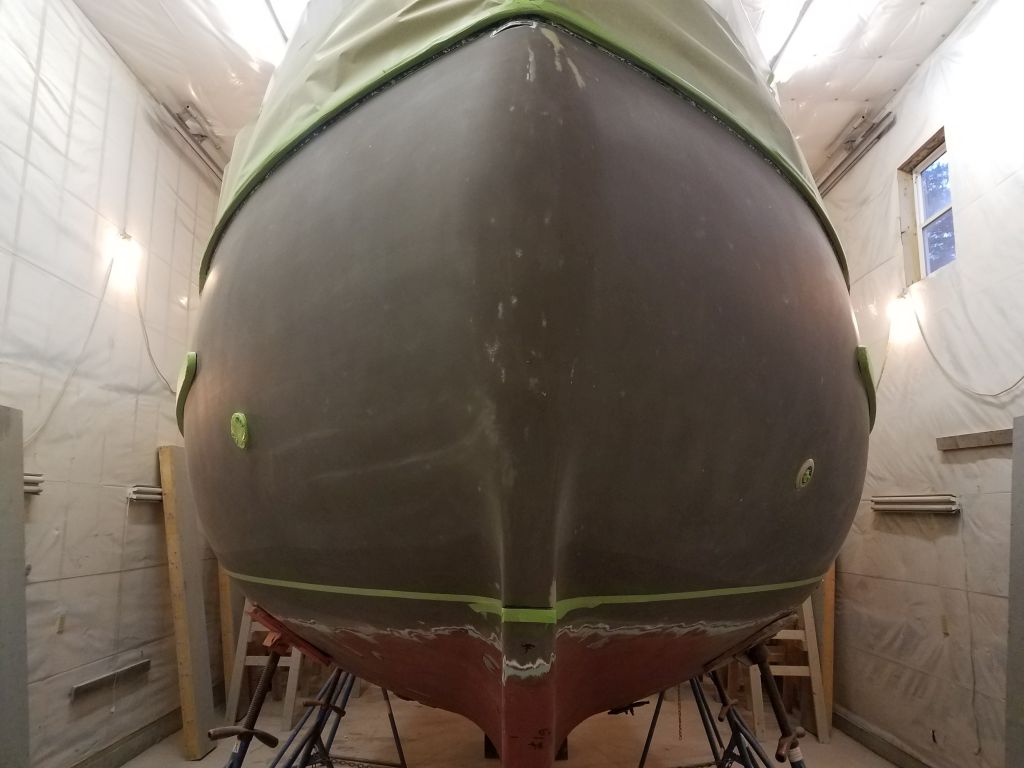
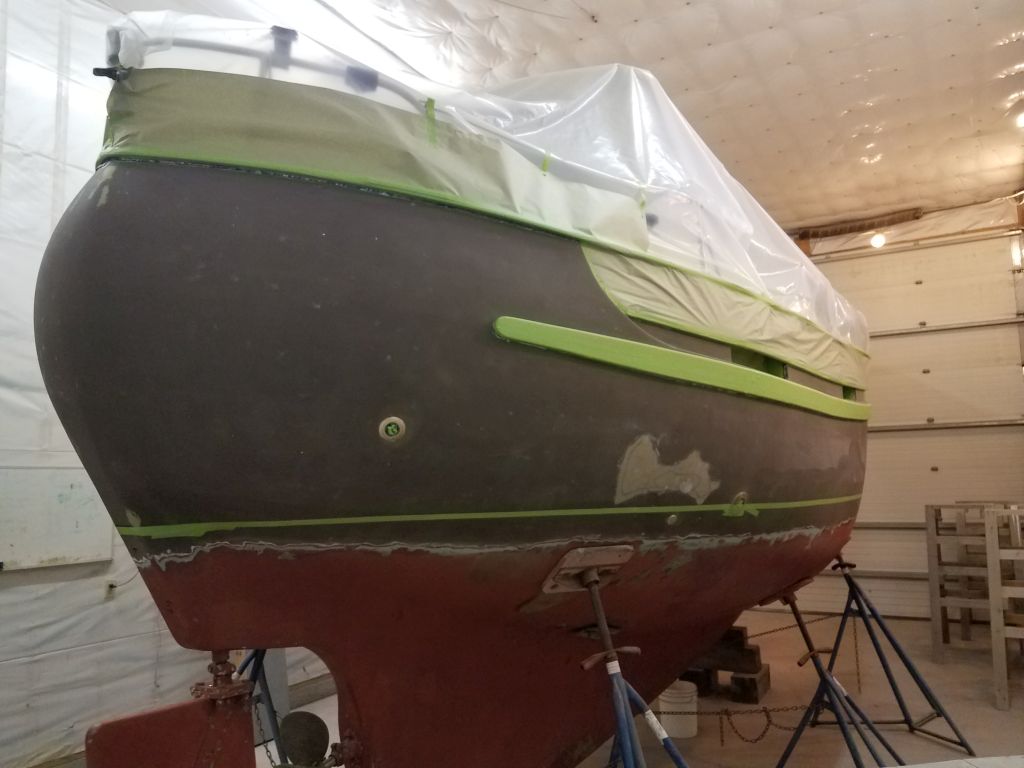
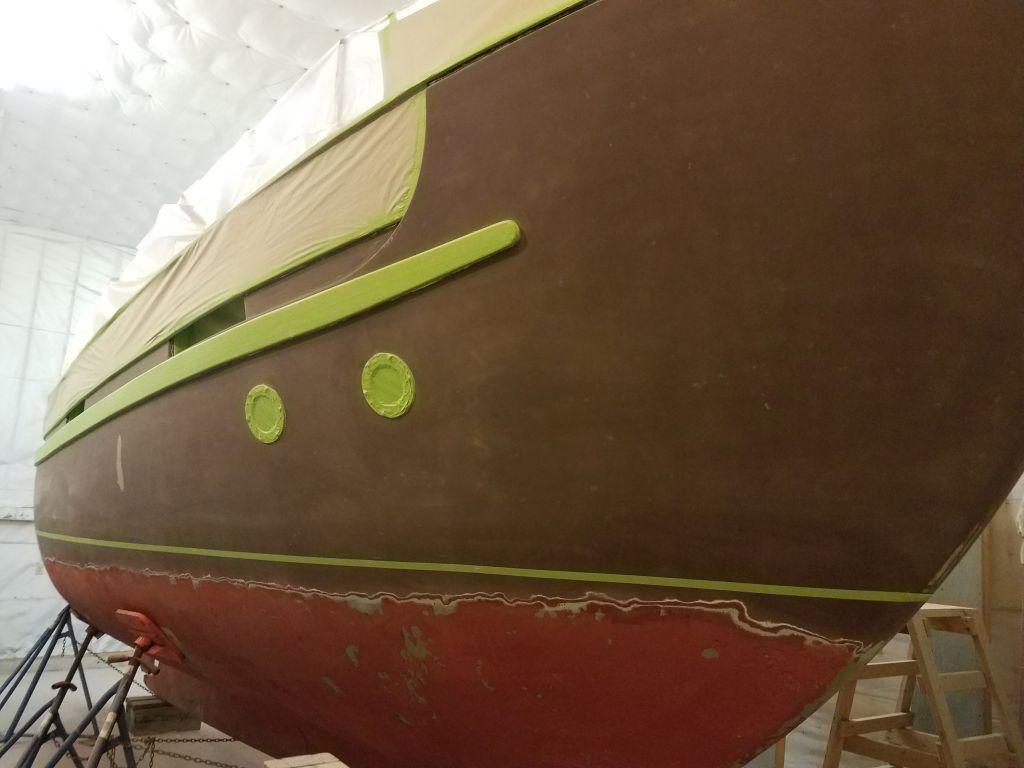
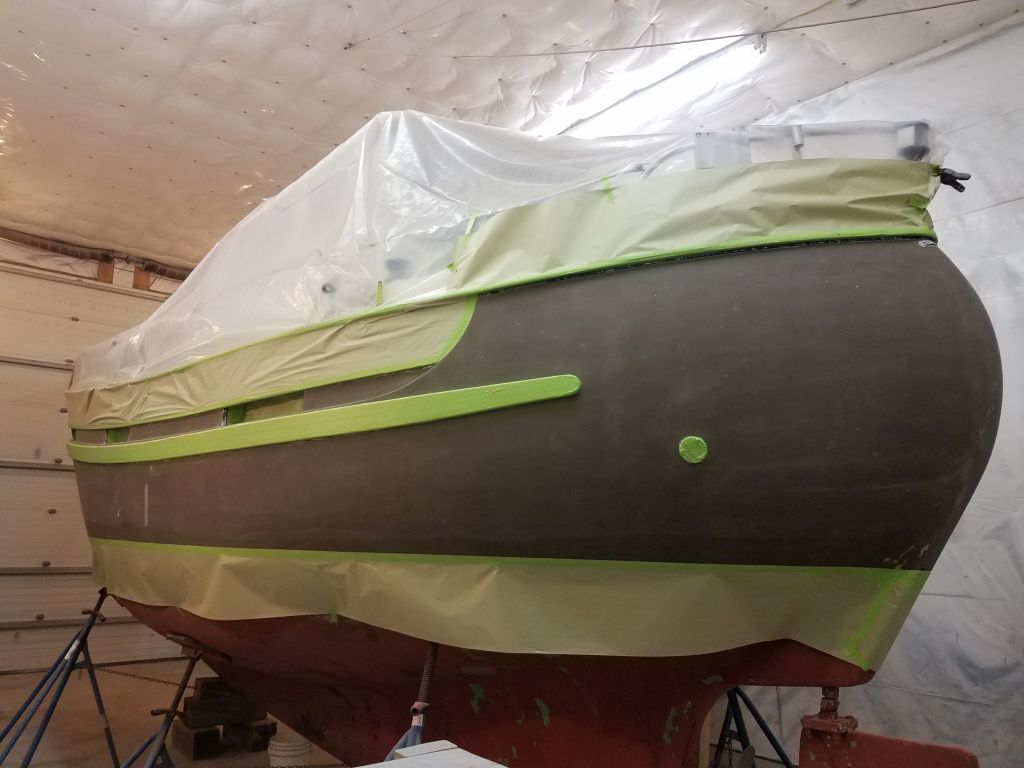
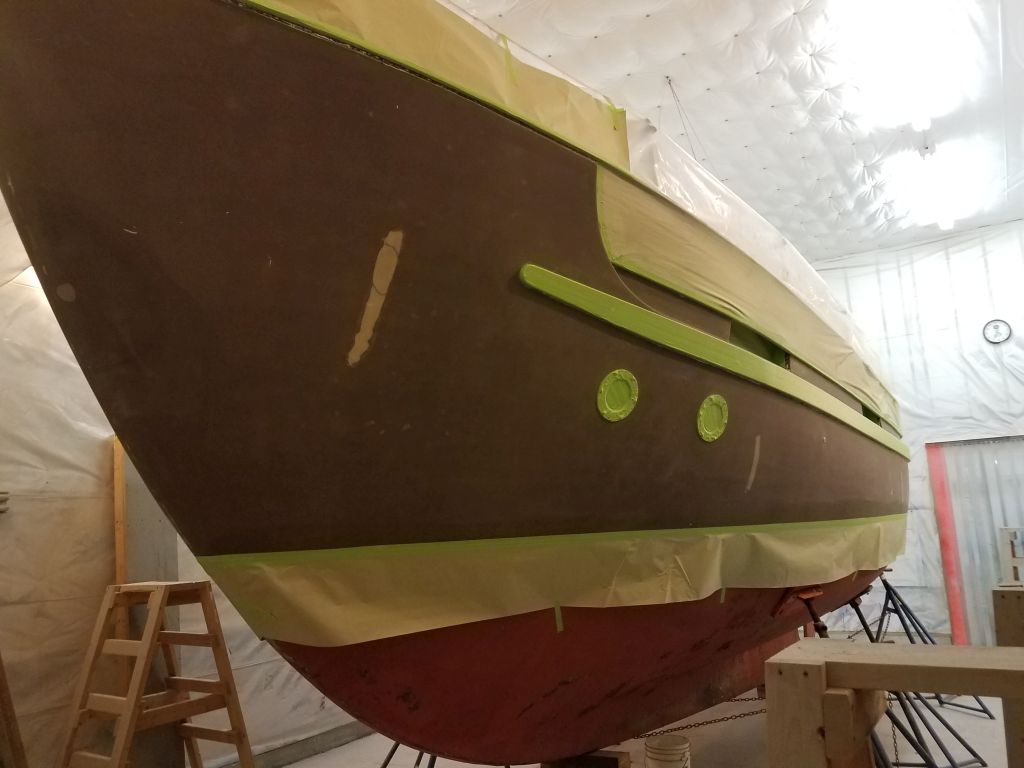
After cleaning up from the minor sanding, and happy with the overall condition of the hull at this point, I turned to the final masking chores. In addition to minor repairs to existing tape, this included masking off the edges of the bulwark woodwork that I’d left open before, as well as the large rubrails on both sides. At the bow and stern, I added masking paper above the caprails for extra protection and to avoid the problem of paint flaking off the plastic during the three-step painting process to come. Various through hull fittings piercing the topsides had been painted previously, and I planned t prime and paint them this time as well, so I balled up masking tape and filled the through hull openings to prevent overspray and dust from getting into the fittings and hoses within.


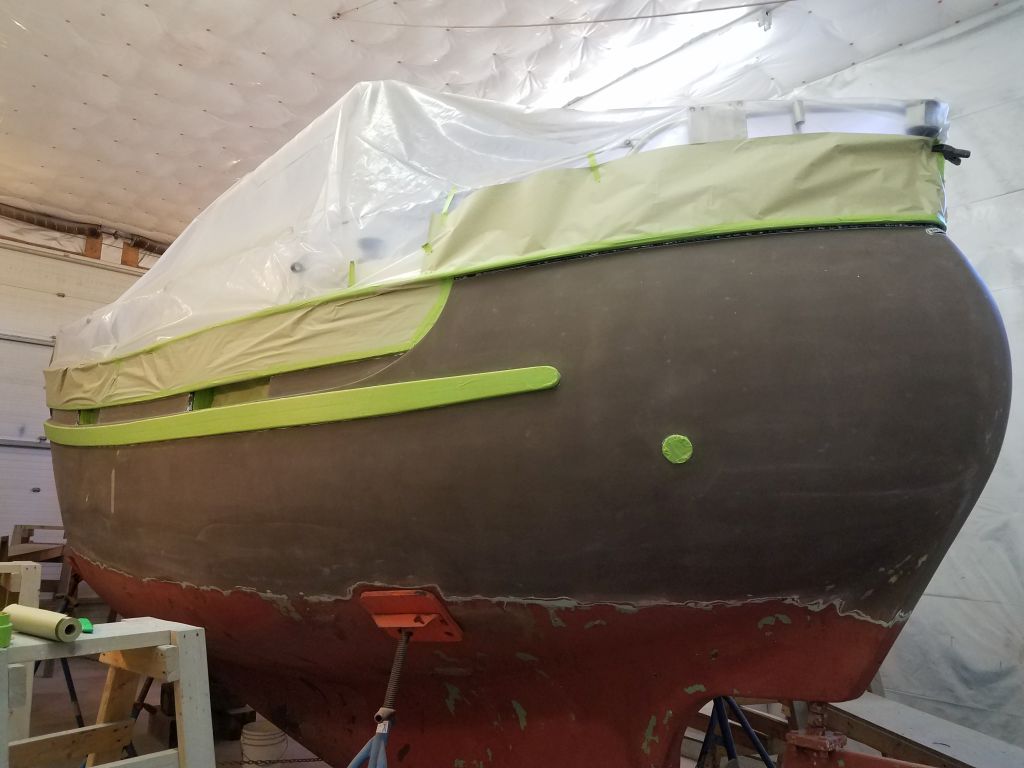


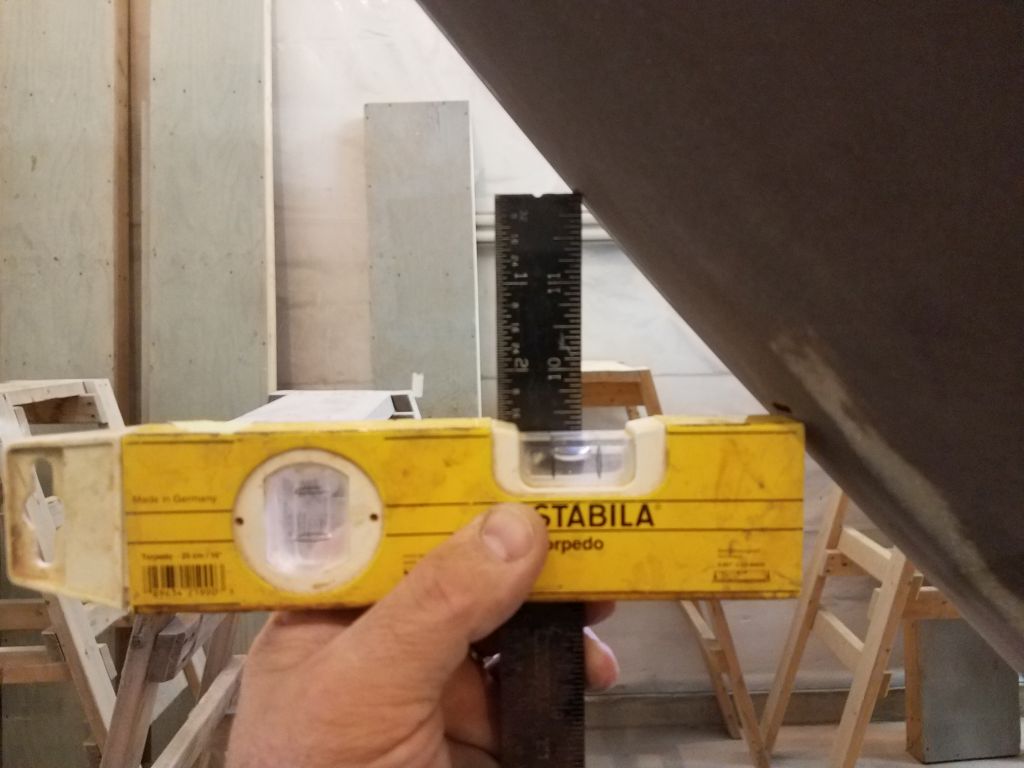
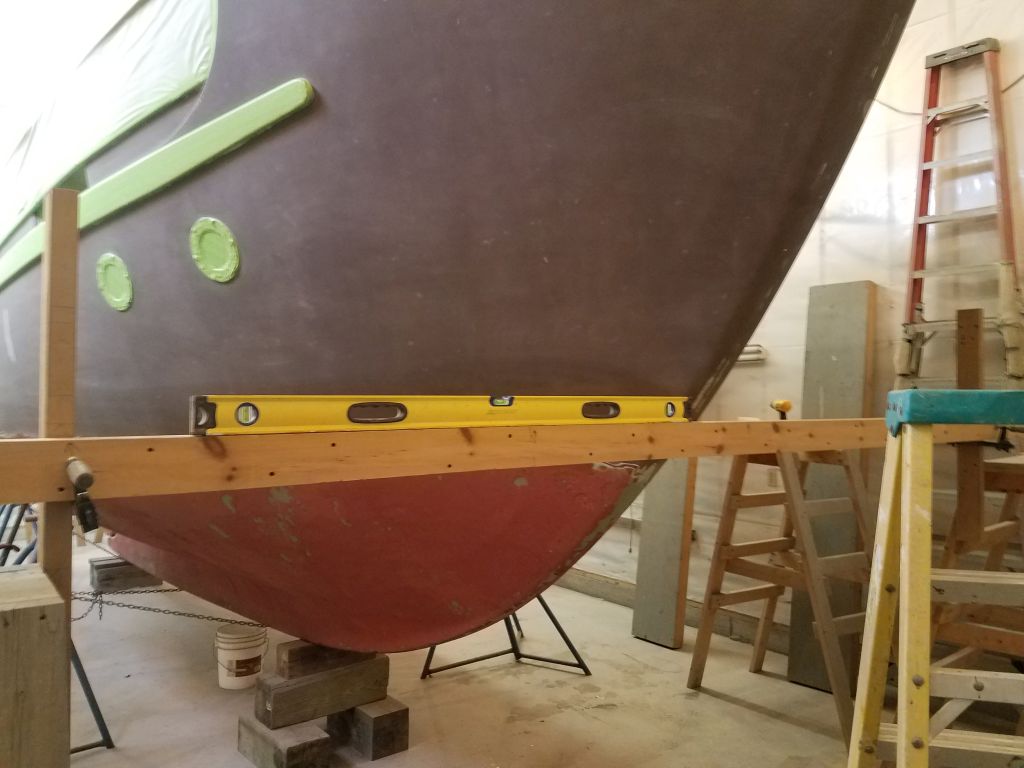
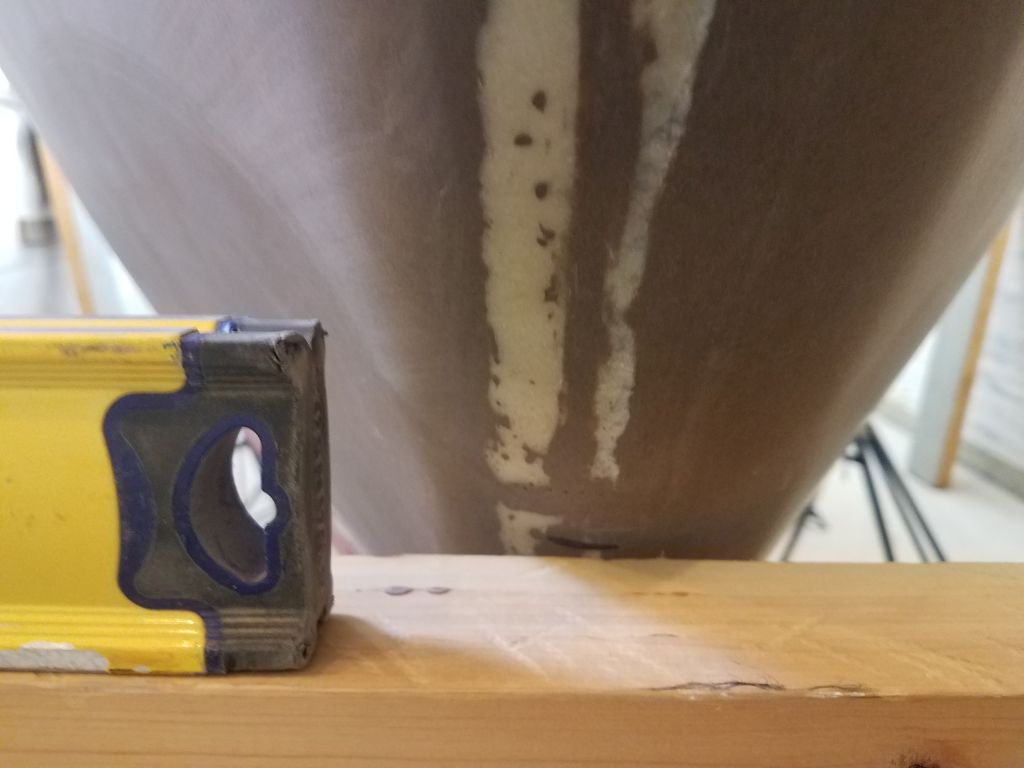
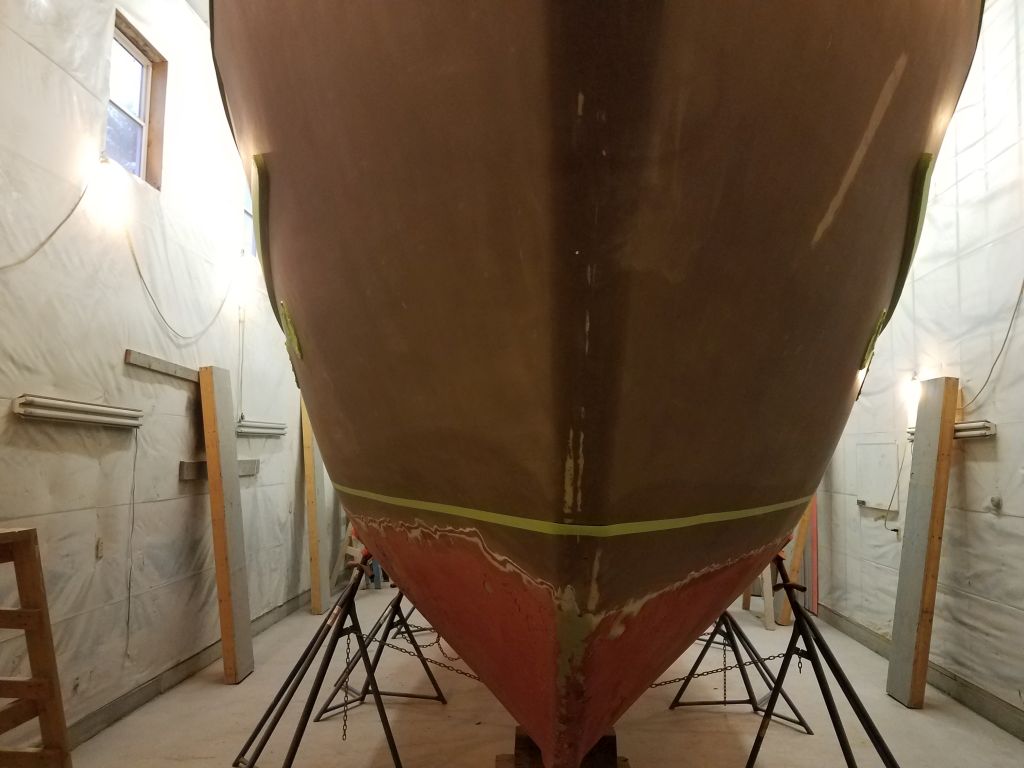
Reviewing my notes from early in the project, I measured and remarked the original/actual waterline marks, starting at the bow. This measurement was for the actual observed scum line, which was indicative of the true floating position of the boat. With this as a generous guideline (I always erred on the higher rather than lower side for the base measurements), I made a new mark 2-1/2″ higher than the first, choosing this as a good height for the new top-of-antifouling line, which would not only look good but also keep the new topside paint well clear of the water to avoid fouling and damage to the paint from constant immersion. The new mark was 2-1/2″ higher in a truly vertical (i.e. visual) manner, not measured along the hull itself. I used a small level and straightedge (held perpendicular to the level at the appropriate measurement) to move the reference mark up the appropriate visual height, as shown in one of the photos below (which photo I took for illustration only, so ignore the fact that the level bubble is off as I only intended to show the basic process and couldn’t accurately hold everything while taking a photo). Finally, I set up a horizontal beam across the stem at the correct height, which I’d use to strike the lines down the sides of the hull.


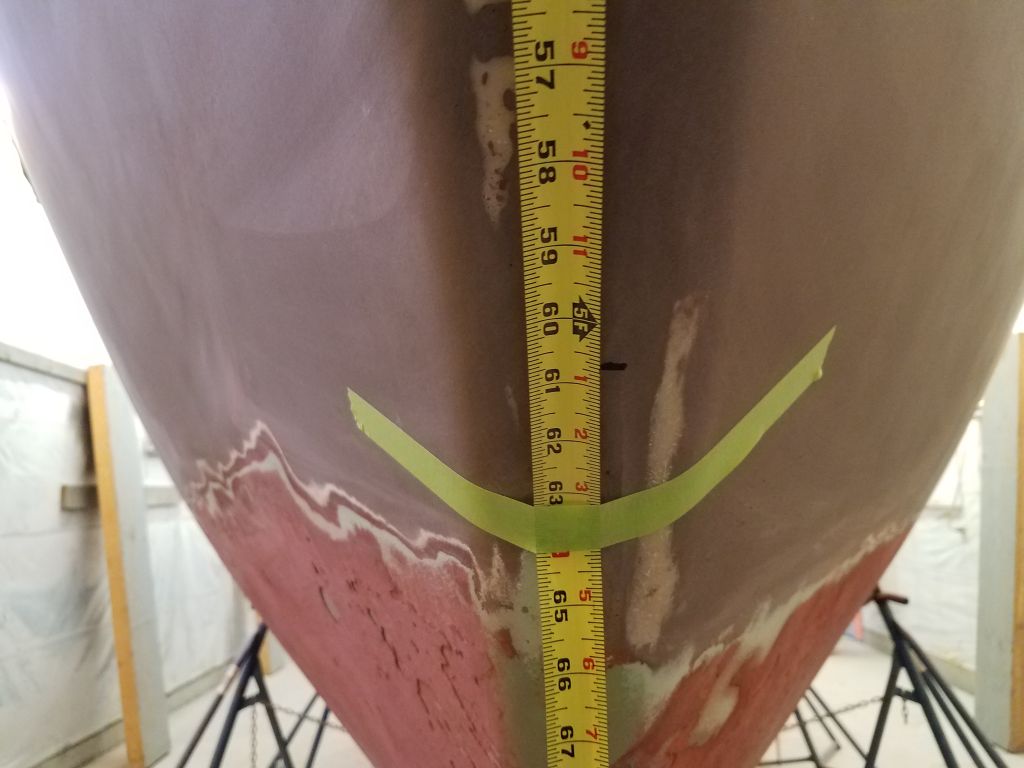
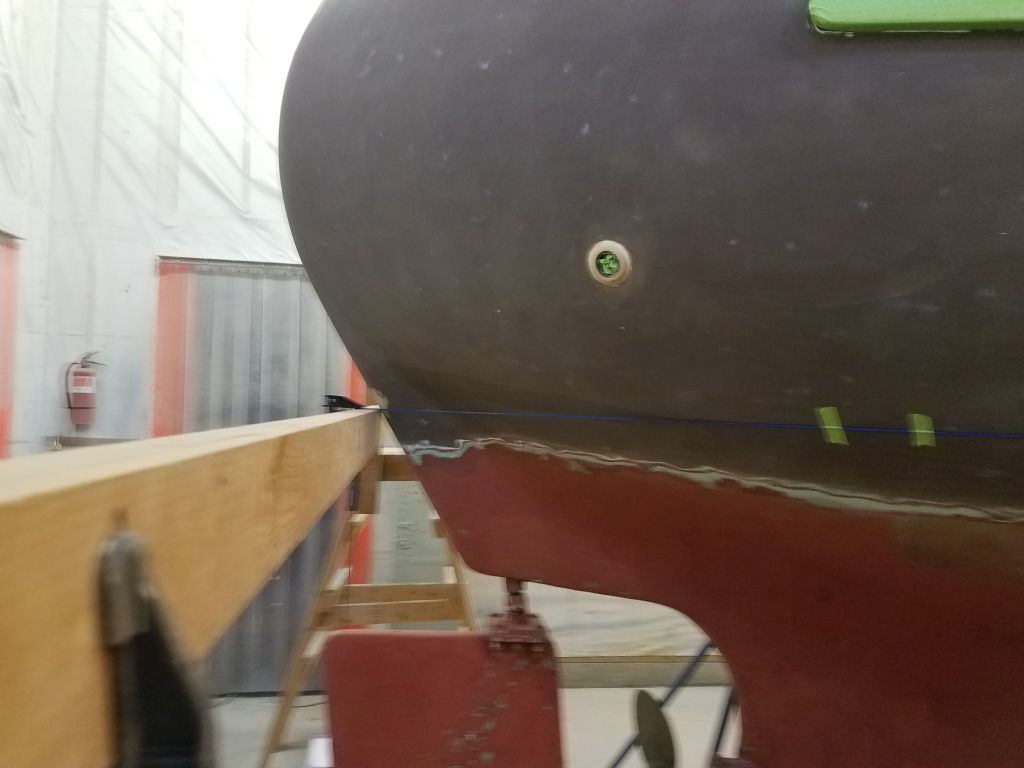
Afterwards, I repeated the process at the stern.
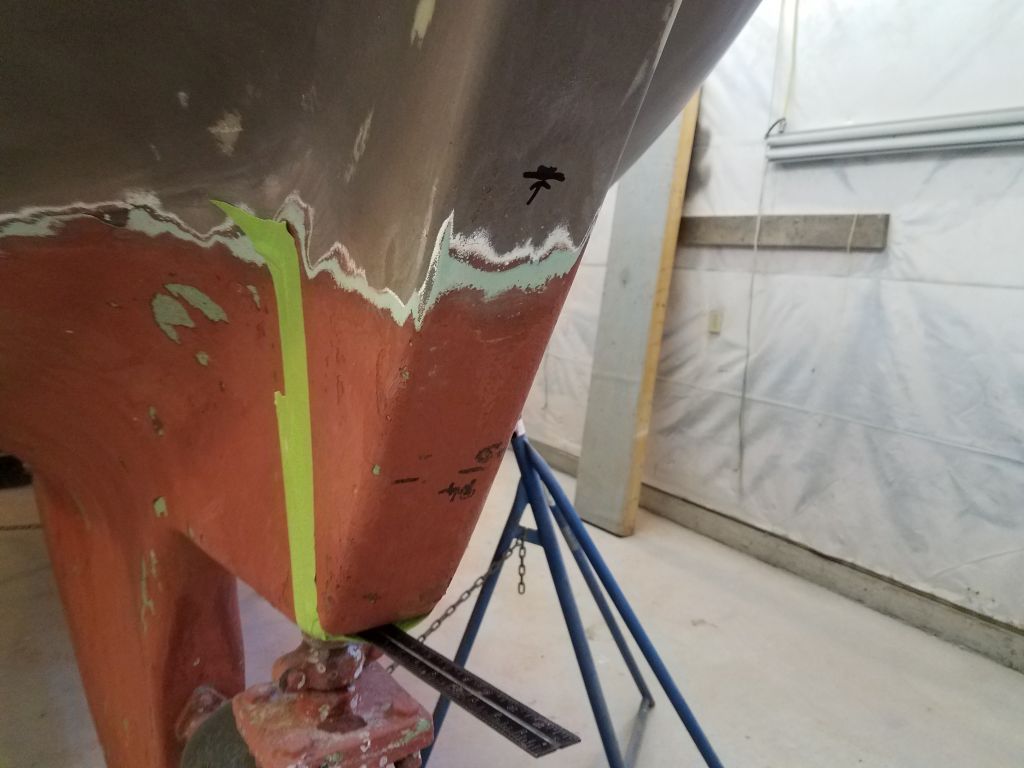

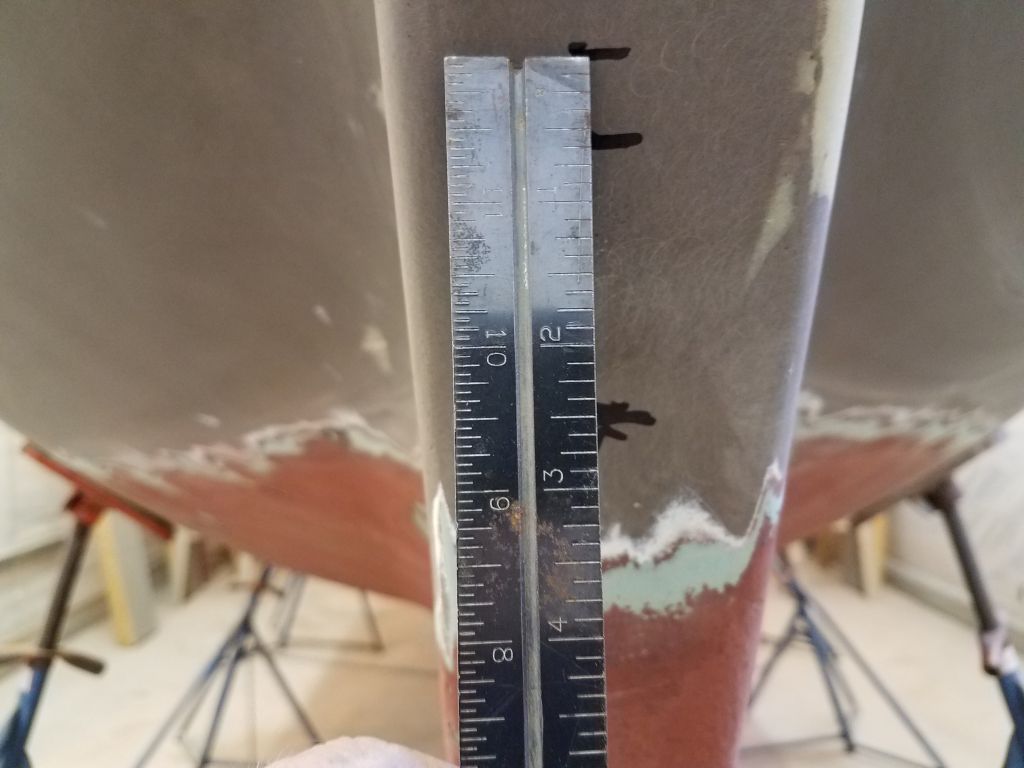

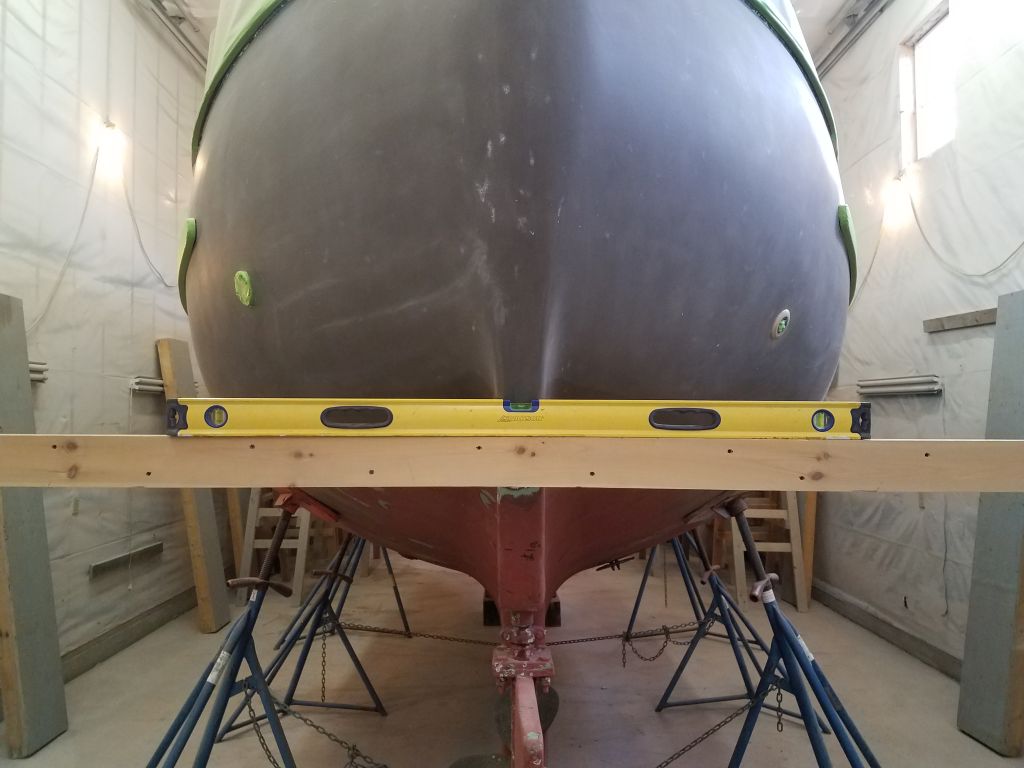

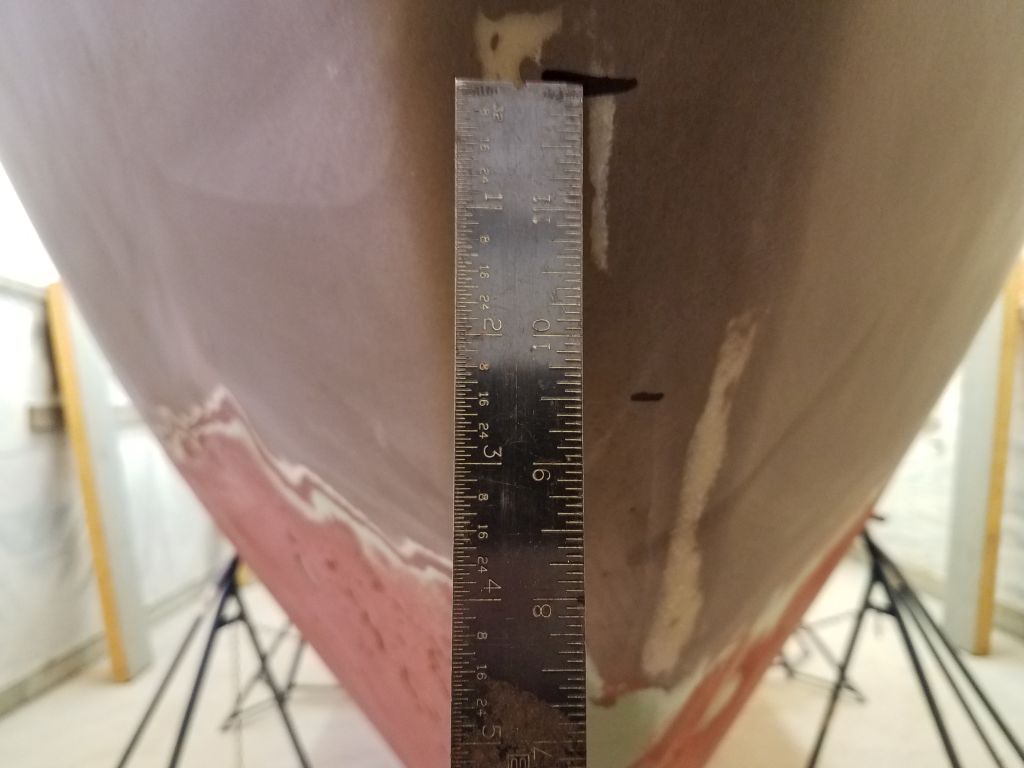
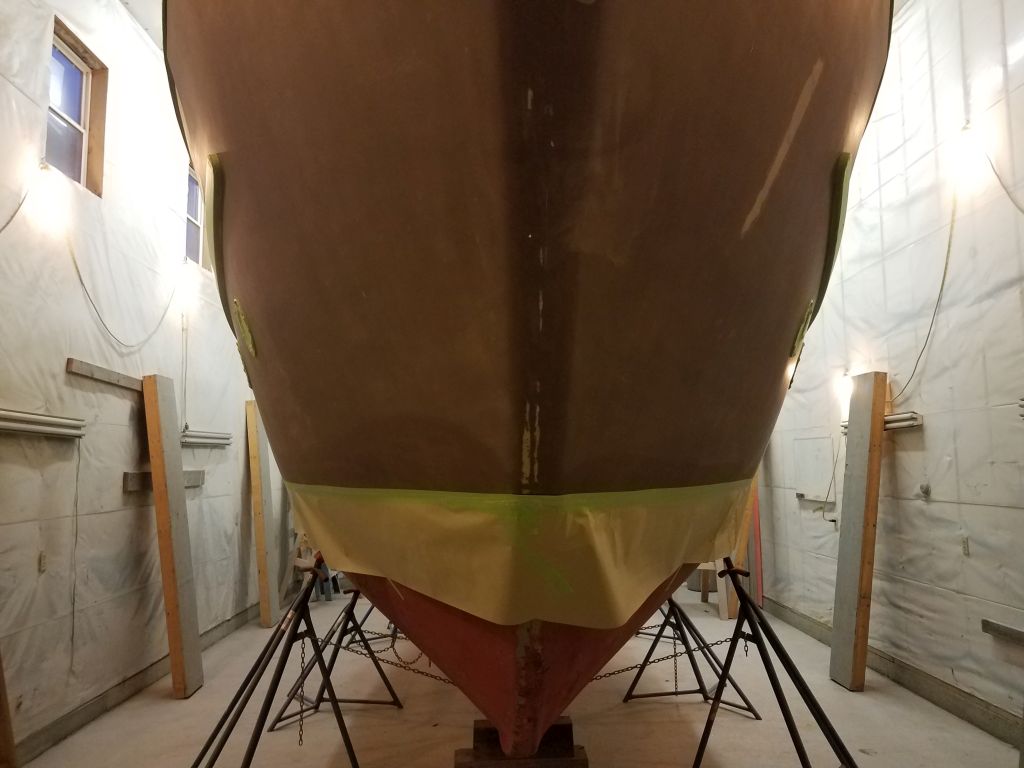
With a line strung taut between the fore and aft beams (and the boat already level from side to side, as you may recall), I struck the new waterline, or, more specifically, the bottom edge of the new topsides finish. My analog, visual process ensured an accurate and straight line as I drew the string closer to the hull in increments, taping it in place to prevent movement and making a series of tick marks on the hull to demark the new straight, planar line: first from amidships to the bow, then to the stern, and on both sides of the boat. Remember that I removed the existing bottom paint well below the original lines, so this immediate visual reference caused a skewed perspective of things that had me double-checking my measurements and original photos carefully to ensure the new line was where it should be.
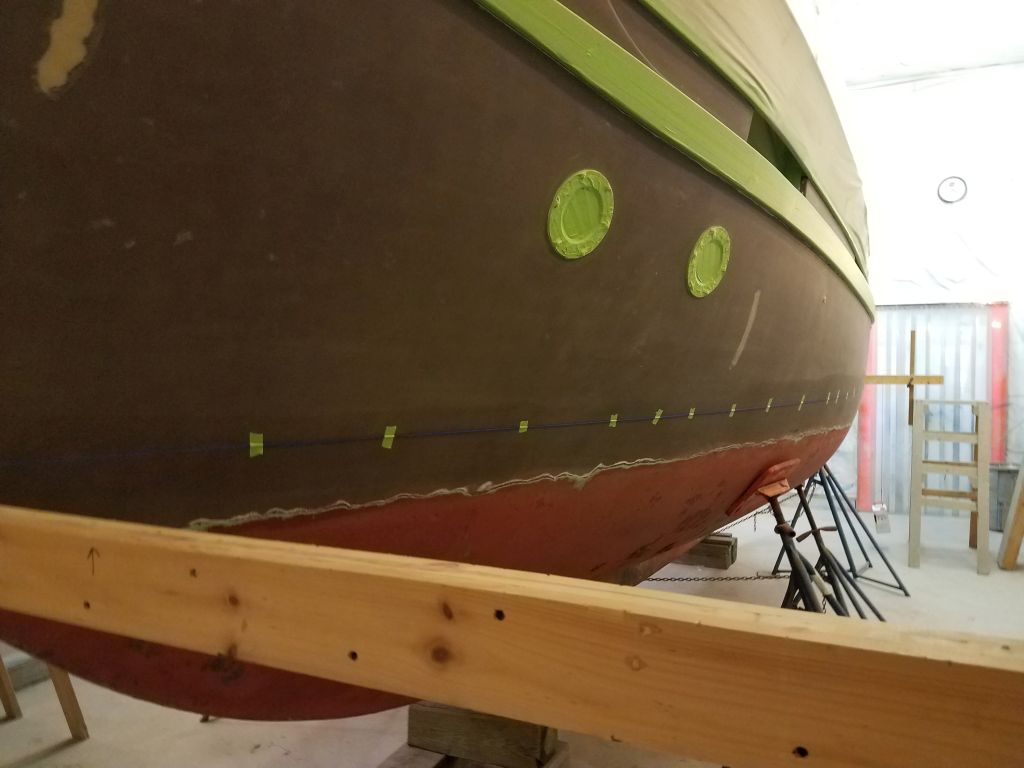
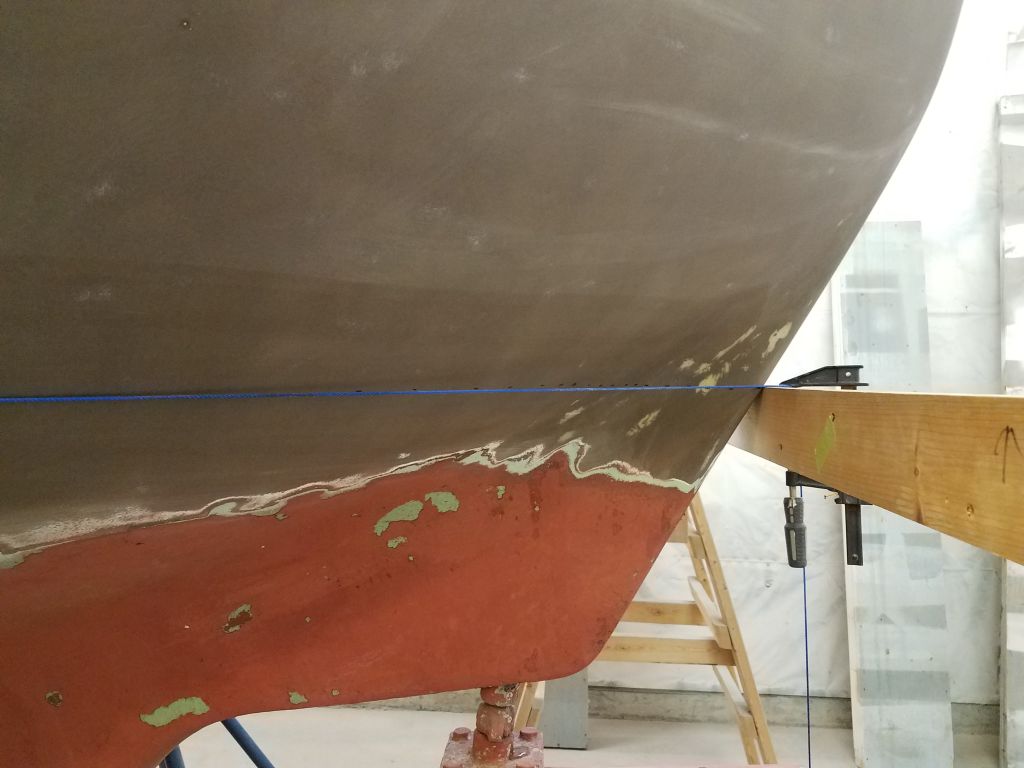
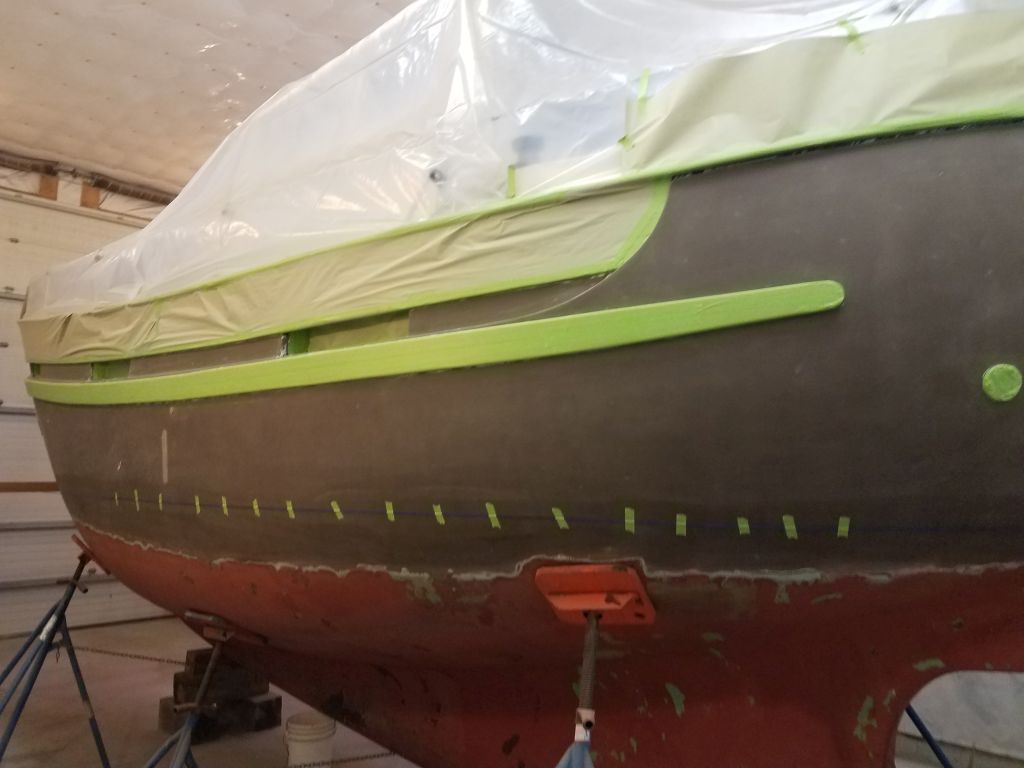
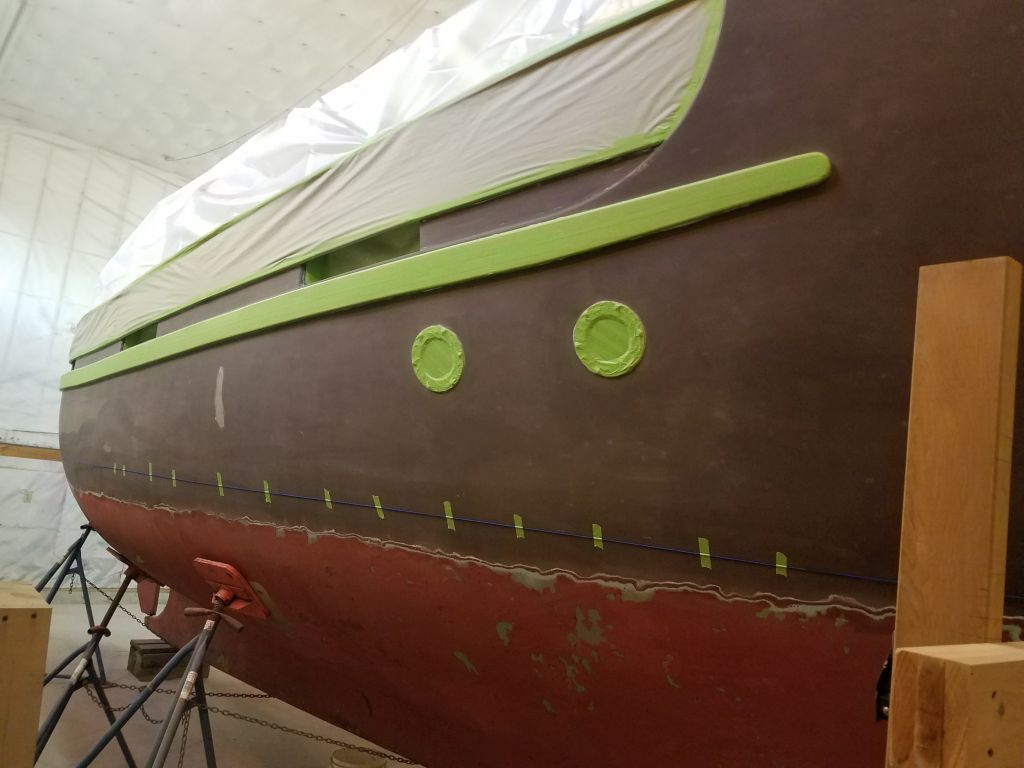
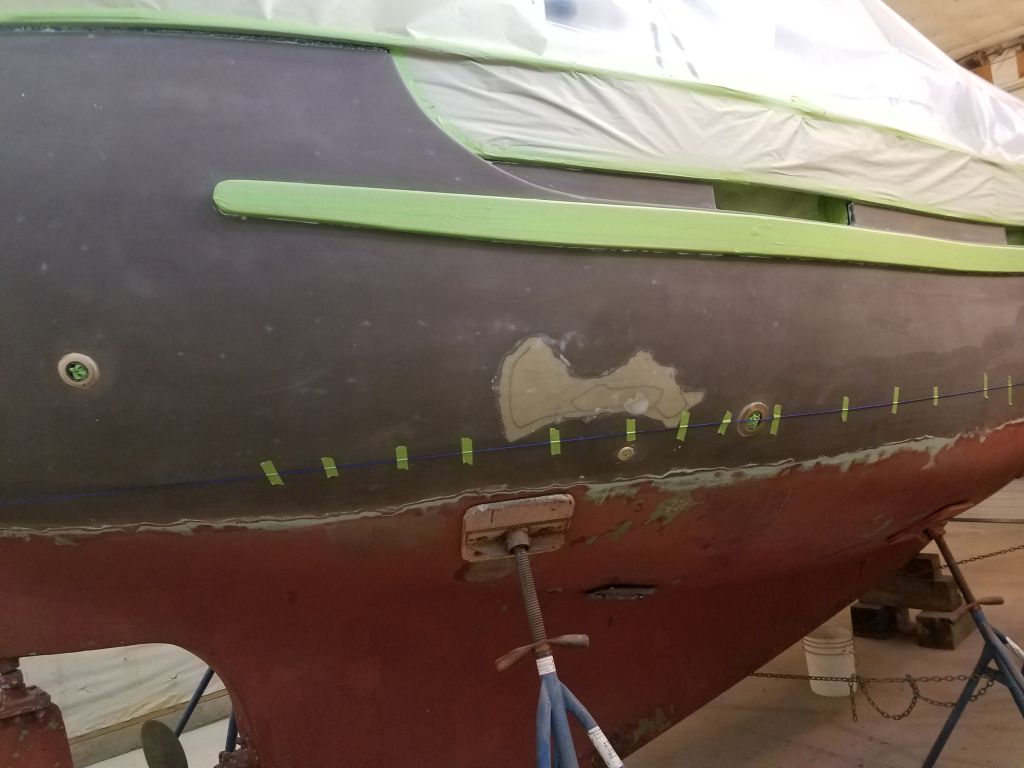
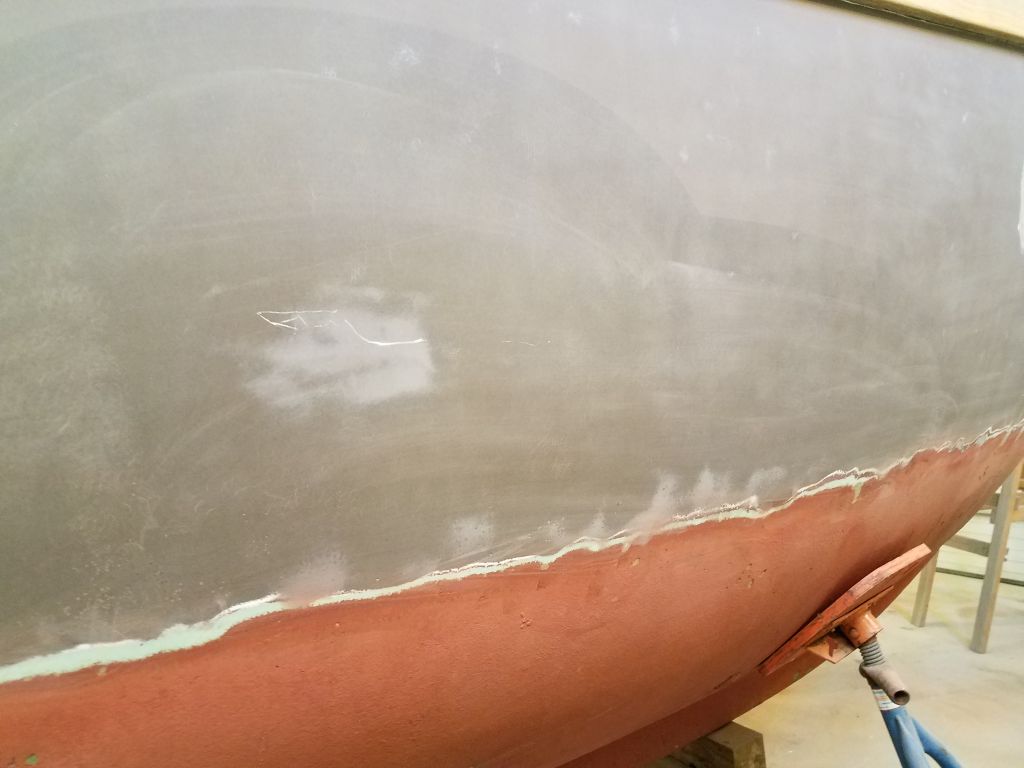
With the marks made on both sides of the hull, I masked off the new line (the top edge of the tape is the one that matters here), then applied masking paper beneath to protect the bottom from overspray.


Total time billed on this job today: 6.75 hours
0600 Weather Observation: 20°, clear. Forecast for the day: sunny, mid 40s