(page 1 of 3)

Nomad 24

< Back to Nomad

Saturday

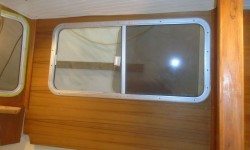
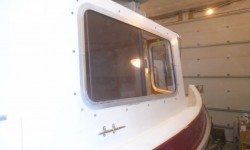
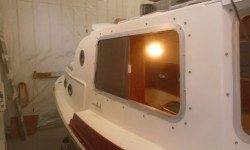
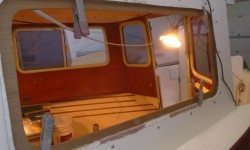
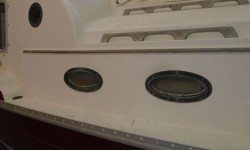
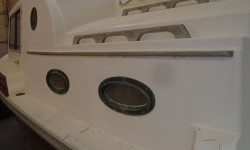
I prepared the starboard window opening by scraping away any remnants of old sealant on the exterior of the boat, left over from the original installation.  Then, I dry-fit the window to make sure it still fit the opening.

window1-40216

With the window still on the ground, I applied beads of sealant around the mounting flange and at the junction between the flange and the window frame, then inserted it into the opening and clamped it temporarily through the open part of the window.    Inside, I installed the split trim ring, securing the window in place.

Back outside, I cleaned up the excess sealant from around the frame, completing the installation.

Total time billed on this job today:  1.25 hours

0600 Weather Observation:
40°, cloudy.  Forecast for the day:  clouds and showers, high around 45

Nomad 23

< Back to Nomad

Sunday

The adhesive securing the new pilothouse panel had cured to the point that I could remove the clamps and continue work.

Next, I reinstalled two pieces of the original corner trim, solid teak that I’d sanded back to bare wood.  I still needed to bung the screw holes.  With the trim back in place, I resecured the vinyl trim along the top edge,  then applied a quick sealer coat of varnish to the new panel and trim, bringing it to the same state as the remaining interior woodwork.

Total time billed on this job today:  .75 hours

0600 Weather Observation:
15°, clear.  Forecast for the day:  Sunny, high about 35°

Nomad 22

< Back to Nomad

Saturday

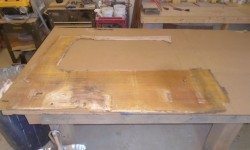
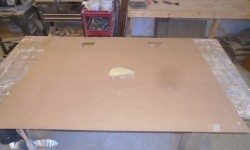
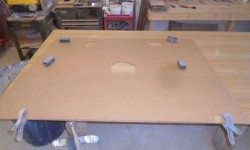
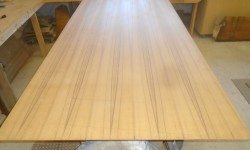
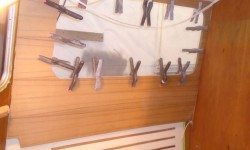
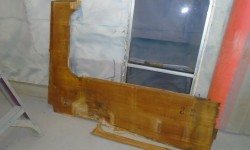
With a new sheet of 1/4″ teak plywood now on hand, I could turn to replacing the damaged pilothouse panel that I’d removed earlier.  The original panel had been badly damaged by water over the years, and was unsalvageable.  However, I saved what I could it it to use as the beginnings of a pattern for the new panel, and now, starting with a sheet of cardboard, I laid out the remnants to form the first rough (yet as accurate as possible) pattern for the panel.  There was enough of the old panel for a good start, as it provided the overall dimensions required.  Most of the top edge was missing, and the narrow strip above the window was separate.  Though the photo shows the narrow strip aligned near the forward (left) edge of the panel, later I determined that it actually belonged at the aft end, but this was of no matter, as it turned out, at this stage.  I didn’t cut out the window opening, but did create a few slots within the tracing of the window so I could clamp the pattern in place once in the boat.

In the boat, I clamped the cardboard in place, and noted and marked any modifications required.  It was only the top edge that required changing, and I scribed a new line there to demark the area I needed to enlarge just slightly for the best fit.  I also marked the after edge accurately so I could increase the length of the final panel slightly over the length of the pattern.  With the pattern clamped in place, I could trace the actual window opening from outside, which would provide me with a more accurate position for the opening that I’d use later.

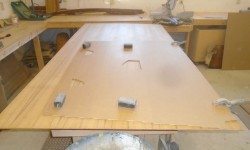
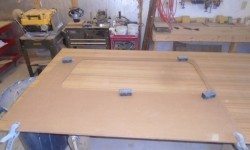
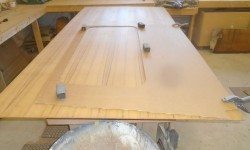
Back on the bench, Iald out the pattern on my sheet of plywood, and traced the outline, making the changes required by the pattern.  Once I’d traced the panel outline, I removed the cardboard and cut out the window opening that I’d marked in the boat, then transferred this to the plywood as well.  I left the window uncut during the initial tracing so that the pattern couldn’t warp or bend and possibly throw off the more critical outward dimensions.

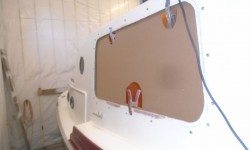
I thought it’d be best to play it safe and await final cutting of the window opening till the real panel had been test-fit, so I cut about an inch or so inside the tracing, so that I could finalize the window opening once the panel was in the boat.  The plywood was very expensive.  Up in the boat, I clamped the panel in place through the window opening, pleased with the overall fit of the panel.    Once more, I traced the window opening from outside, so that I could remove the panel to the bench and make the final cut.

With the window opening now cut to the exact size, I test-fit the panel once more.

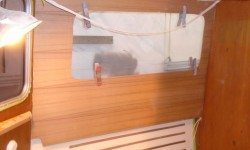
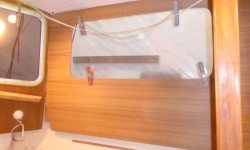
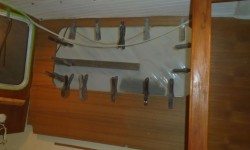
After final preparations, I glued in the new panel with polyurethane adhesive, clamping it securely all around the window opening, which was more than enough to press the panel into the adhesive, and left it to cure.

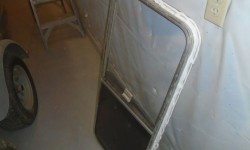
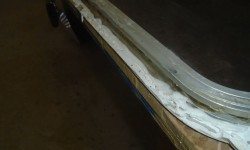
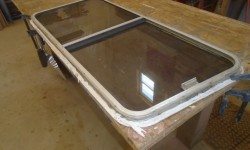
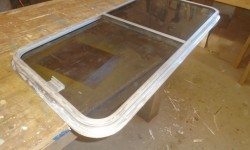
Now seemed like a good time to prepare the window for reinstallation soon as well.  I had to remove the old sealant from around the mounting flange, so I clamped the window to the bench and scraped off the old sealant with a putty knife and scraper till the flange was clean and ready for new sealant during installation.

Total time billed on this job today:  3 hours

0600 Weather Observation:
15°, clear.  Forecast for the day:  Sunny, high 34°

Nomad 21

< Back to Nomad

Sunday

I masked around various windows, ports, and adjacent surfaces as required to prepare the newly-sanded interior woodwork for varnish.

Afterwards, I applied a thinned-down sealer coat of varnish to all surfaces, the first of several coats to come.  I’d be rebuilding the starboard pilothouse panel soon and would catch that up with the other areas as needed.

Total time billed on this job today:  2.5 hours

0600 Weather Report:
10°, clear.  Forecast for the day:  Sunny, 33°

Nomad 20

< Back to Nomad

Sunday

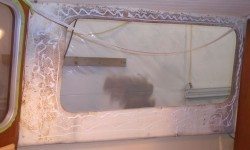
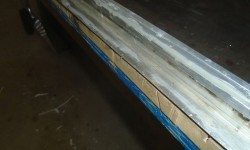
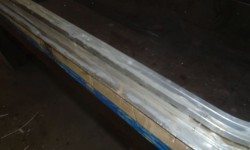
I had thought I might start masking off the interior, but as it happened I got involved with non-related projects around the shop and didn’t get around to any real progress on the boat.  I did take a few moments to remove the masking tape from the window repair and lightly sand down the epoxy, which more or less completed the work required there.  The window frame would cover this area when installed.  I’d have to order some new teak plywood for the interior so I could get that underway and get the window back in sooner than later.

windowrepair-22116

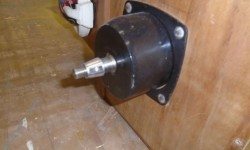
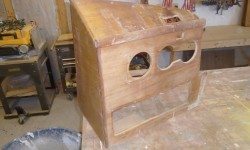
I wasn’t yet sure how I was going to deal with the old console–work with the original or simply rebuild–but either way, I wanted to remove the steering helm, which I’d left in place earlier because access to the back side was undesirably tight with the console in place.  Now, with full access to the back, I could easily remove the helm and old hoses, and I set this aside for later reinstallation.  I also removed the abominable compass housing from the top, which wasn’t going to survive either a rebuild or a refinishing no matter what.

Total time billed on this job today:  0 .5 hours

0600 Weather Report:
34°, partly clear.  Forecast for the day:  mostly sunny, high around 46°

Nomad 19

< Back to Nomad

Saturday

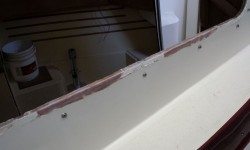
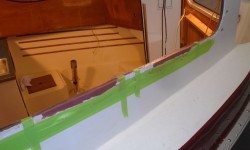
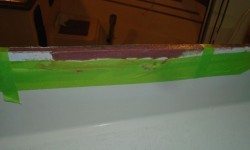
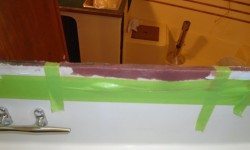
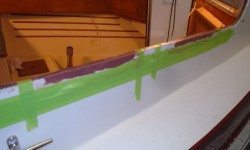
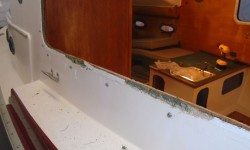
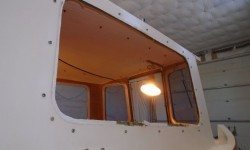
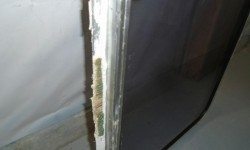
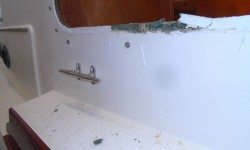
To repair the small sections where removing the starboard pilothouse window had damaged the core and outer skin of the superstructure, I prepared the area by cleaning away any debris or old sealant, then masking off below the damaged area and the outline of the window frame to ensure that the repair stayed within the footprint of the window as much as possible, which would minimize any cosmetic concerns.  Then, I installed very thick epoxy putty to rebuild the original shape and replace the foam core that had come out with the window.  There was no particular structural aspect nor requirement to this repair, though where the outer skin had separated from the core within I made sure to force some epoxy into the gap with a small brush to help resecure the whole structure together.  To hold things while the epoxy cured, I added some high-tech clamps made of masking tape, which basically pressed the outer skin back into place against the core and new epoxy.  The epoxy was thick enough to hold its shape, and I formed  it into the square-edged shape required for the opening.

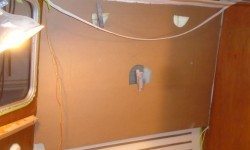
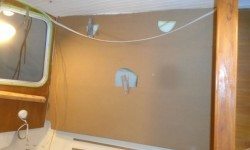
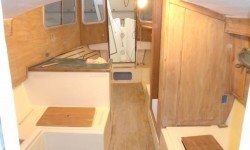
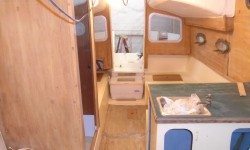
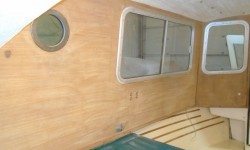
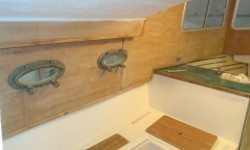
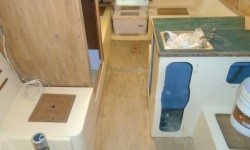
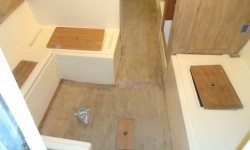
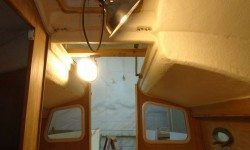
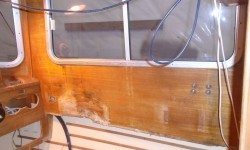
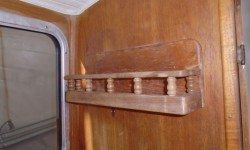
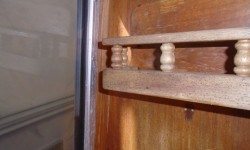
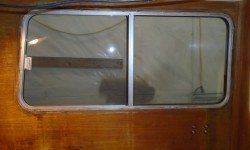
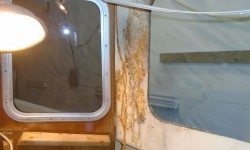
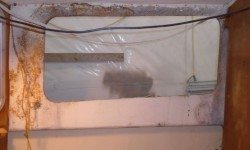
Inside the cabin, I set up tools and breathing equipment, and attacked the interior woodwork and paneling.   Restoring the appearance of the interior would go a long way to returning the boat to the cosmetic condition I hoped for.  The plywood paneling (1/4″ teak plywood) and various solid teak trim pieces were in sound condition overall (other than the panel that I’d removed earlier), and an earlier test had shown that the surfaces could be brought back successfully.  However, the overall nature of the interior construction was pure production line (Larry Pardey might have called it “cheap and cheerful”), and I had to come to terms early on with the wiggly paneling and barely-tacked-in-place trim pieces along the edges and seams, lest I find myself ripping everything out to start fresh.  The reality was that the paneling basically looked fine, and would suit my requirements going forward, and while I might have liked (on some level) to start over and do it my way, I’d already done enough of that and at this point in time such a project scope was not of interest nor desire nor need.

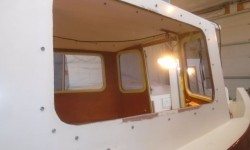
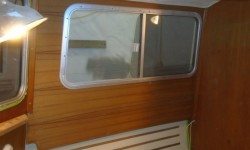
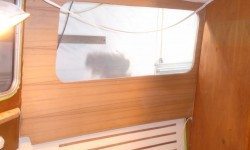
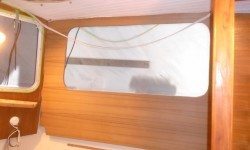
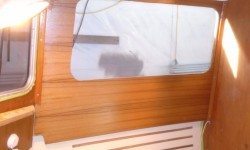
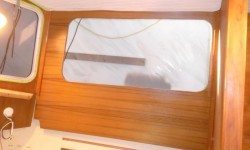
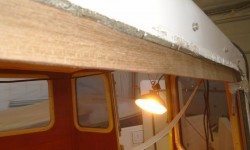
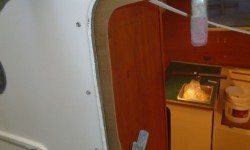
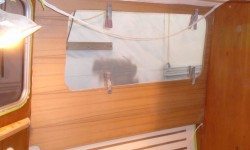
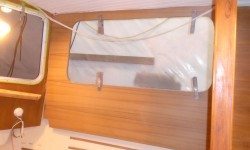
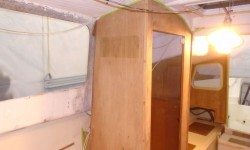
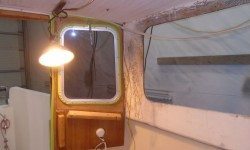
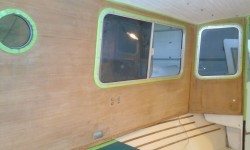
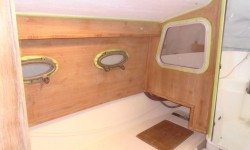
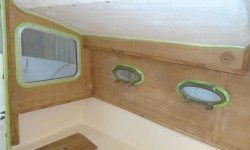
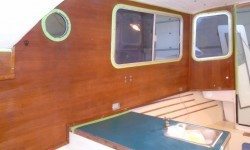
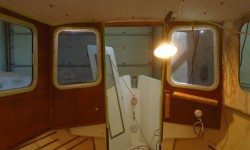
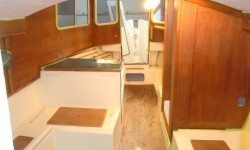
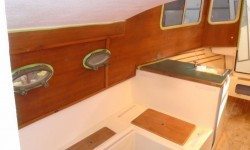
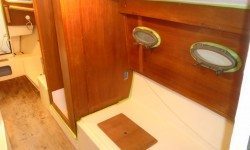
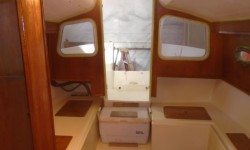
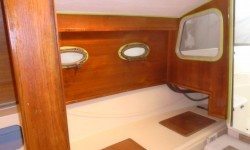
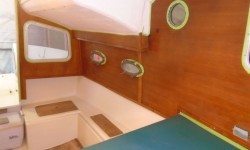
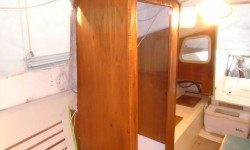
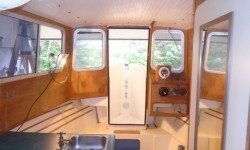
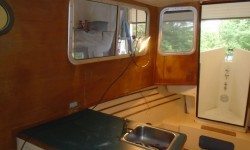
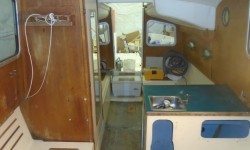
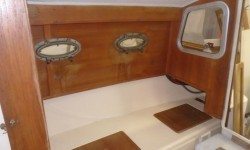
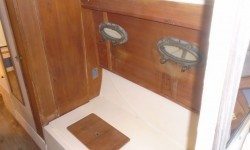
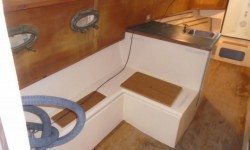
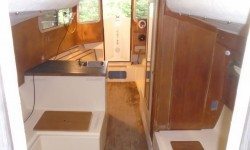
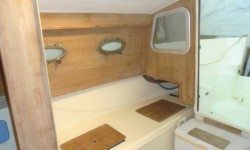
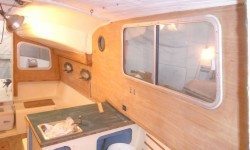
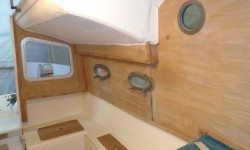
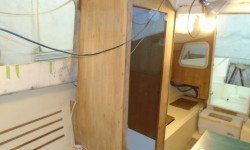
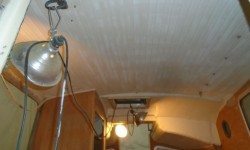
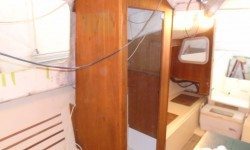
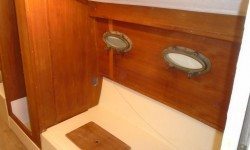
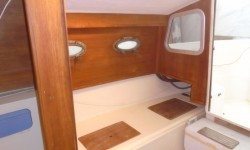
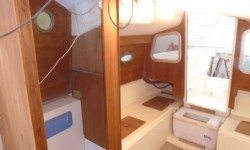
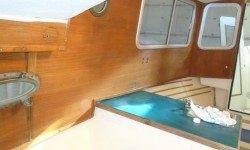
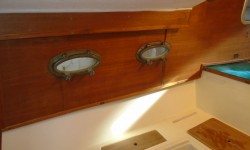
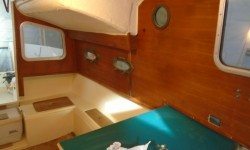
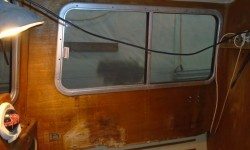
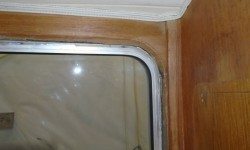
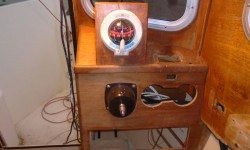
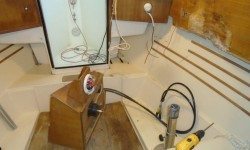
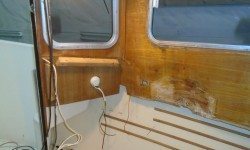
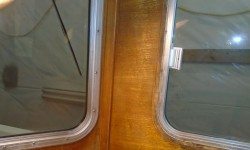
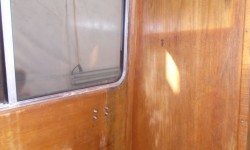
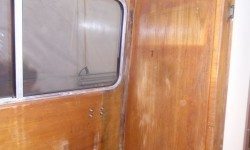
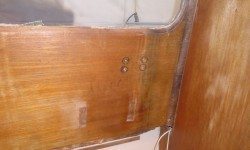
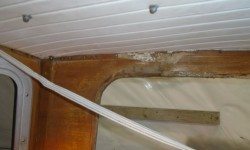
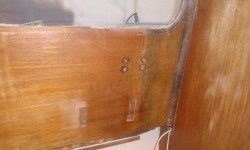
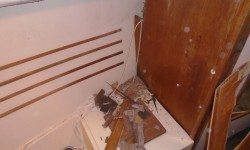
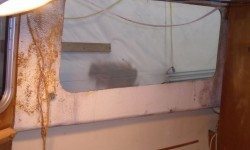
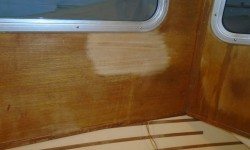
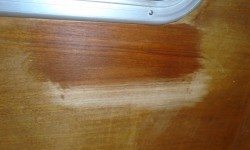
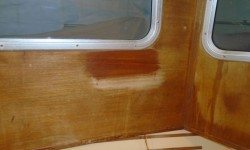
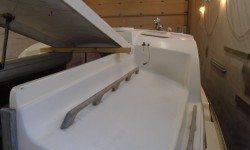
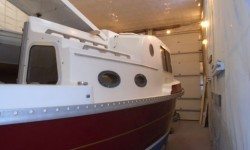
These photos showing the beginning state of the interior date to July 2015.

There was really very little finish on the wood at all, and I found it was pretty quick and easy to sand it away with a palm sander and 120 grit paper.  This took care of most of the field areas, and I finished up with hand-sanding as needed for some of the trim, edges, and a couple of narrower panels where the sander wouldn’t fit.  Though I’d not been looking forward to this task, and had managed to postpone it for weeks, in the end only getting it done would get it done, and once I knuckled down I was pleased to find that the job went smoothly and quickly–far more quickly than I’d ever imagined.  The sanding removed most if not all of the various water streaks and stains, at least to a point appropriate to the overall nature of the construction.  In other words, the results weren’t perfect, but then nothing here was remotely perfect to begin with.  It all worked in harmony,.

While I was making a mess and in sanding mode, I used a more aggressive tool to sand the old cabin sole, which was in poor condition and not salvageable, though I intended to leave the old plywood in place as a substrate.  I gave it a quick sanding to promote a surface that would be ready for whatever came next, and somehow this step made me feel better, as now instead of a neglected, damaged sole I had a surface that looked like it was on the way to something new.

The overhead would also require refreshing.  The after parts of the cabin featured a textured surface, while the forward section featured a v-match simulated plank pattern.  Both sections were in fine condition overall, except they looked tired and ready for some fresh paint.  I ran my sander over both sections, more on the flat surfaces of the forward part, to prepare them for new paint in the near future.

Afterwards, I vacuumed all the surfaces and generally cleaned up, then solvent-washed the woodwork to clean it; this also showed how the newly-sanded surfaces would look once I applied the finish.

There was plenty left to do, but having the interior prep expunged from my list was a great relief.

Total time billed on this job today:  3.75 hours

0600 Weather report:
32°, light rain, coating of snow overnight.  Forecast for the day:  Rain and showers, then clearing, high in the low 40s

Nomad 18

< Back to Nomad

Sunday

The starboard panel in the main cabin/pilothouse was badly water-damaged, and would require replacement.  I hoped and expected this would be the only interior panel requiring replacement.
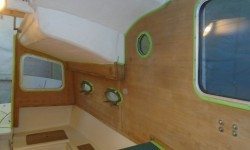
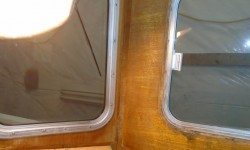
To remove the panel, I first needed to remove the large window, so I started by removing the interior trim pieces  (aluminum, and fastened through to the structural window frame with screws).  This was easy enough, but I found one screw at the aft side was inaccessible thanks to a little teak rack installed on the bulkhead, so I had to remove that too.  With that out of the way, I could remove the rest of the trim ring, the only thing (other than sealant) holding the window in place.

Also holding the panel in place were two pieces of solid teak trim, one on each end corner.  I drilled out the bungs covering the screws and removed the trim.  At this point, I also removed the helm console, which was pinning the panel in place at the forward corner, and also generally in the way and poorly designed to boot.  I removed the console in one piece, with its remaining installations (helm, compass) still intact.  There was much I didn’t care for about the console (especially that compass installation, yuck) and I suppose only time would tell whether I tried to work with it as is, or rebuilt it in my own image.

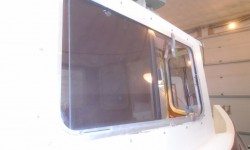
Outside the boat, I carefully pried the window away from the superstructure.  It was well-stuck with sealant, even though apparently the sealant had not been doing its job well given the extensive damage to the interior panel.  At the bottom edge of the window, the sealant was stuck so well that it actually damaged the exterior skin laminate, pulling it away from the foam core in ragged bits.  The outer skin was extremely thin–about layer of mat , enough to support gelcoat–so there was zero structural strength to it in terms of resisting the sealant removal.  On this boat, the inner skin was actually heavier than the outer, with at least some roving in the laminate.  This was a frustrating setback, and  by the time this problem presented itself the window was 90% free, and it was all I could do to complete the removal while minimizing (there was no preventing) the damage and outer laminate tearing,  I managed to keep most of the visible damage within the footprint of the window’s flange, which was important as I didn’t want to get into a major cosmetic restoration of the area.  I finally succeeded and set the window aside, bits of the boat still stuck in those two places.

As a final step, I removed the fasteners from a cleat mounted on the outside of the superstructure and bolted through the plywood panel.  It became immediately clear that the cleat was installed with the same tenacious sealant as the window, so I left the cleat right where it was on the gelcoat rather than try to pry it off.

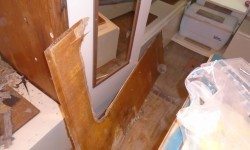
With all the obstructions now out of the way, I proceeded to remove the plywood interior panel, which seemed to be only secured with some non-adhesive adhesive and a few little screws.  The damage to the wood was so extensive that it literally disintegrated into powdery splinters along the after side and adjacent top edge, which made removal easy although I’d hoped to have enough of the panel intact to use as a pattern (though making a new pattern would be no problem).  The original panel actually passed through the head and into the aft cabin, a full eight feet, but fortunately it was so badly damaged where it met the transverse head bulkhead aft of the helm that it was easy to remove the forward portion without damaging the remainder.

Meanwhile, I decided to assess the restoration possibilities on the other panels, all of which were water-stained and had very little finish on them–and what was there was in poor condition.  However, I hoped (expected) that the underlying veneer would be salvageable, appearance-wise.  I found there was so little finish in place that scraping and heat didn’t have much effect, but I stripped a small test section beneath the port pilothouse window, then sanded it clean with sandpaper to expose good-looking teak veneer.  I wet the bare wood with solvent to sample how it would look once refinished.  I was pleased with the result, and this project loomed large on my project horizon.

Total time billed on this job today:  1.5 hours

0600 Weather Report:
10°, clear and breezy.  Forecast for the day:  Sunny, 27°

Nomad 17

< Back to Nomad

Saturday

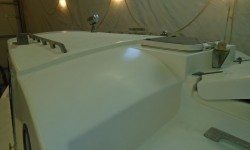
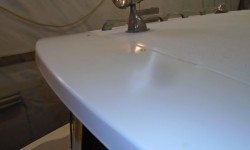
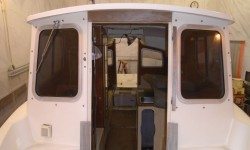
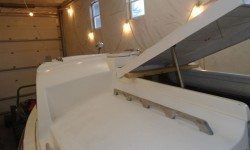
With the fresh new hull looking good, it only followed that my next tasks needed to focus on the deck areas, which currently looked downtrodden and neglected.  This boat had obviously spent a lot of time stored outdoors, whether covered or otherwise, and there were signs that the boat had been powerwashed to remove the worst of the dirt and neglect, with the stroke marks of the nozzle clearly evident.  But despite this, the original gelcoat was in essentially good condition beneath the remaining dirt and oxidation, and I’d known from the getgo that I could salvage the original finish on the deck, a great time-and labor-saver.  I only took a few photos showing the decks’ condition on this day, but other entries in this project log at the beginning of the project also show the original condition.

As anticipated, it took very little work to clean up the original gelcoat with a finishing compound, which I applied and buffed by hand.  This removed dirt and oxidation, and restored color and shine to the gelcoat.  Over the course of a few hours, I polished most of the deck areas, excepting the two cockpit wells, which I left for another time.   But the main portions of the deck were done, and looked much better next to the shiny new hull.

Total time billed on this job today:  2.5 hours

0600 Weather Report:
Snow flurries, 22°.  Forecast for the day:  Partly sunny, 35°

Nomad 16

< Back to Nomad

Sunday

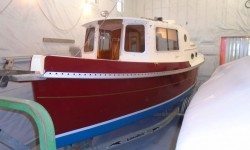
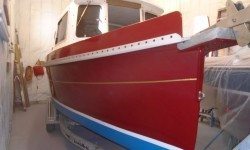
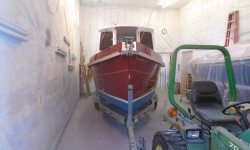
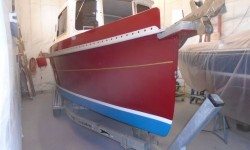
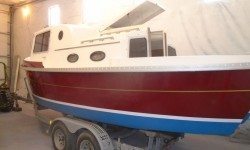
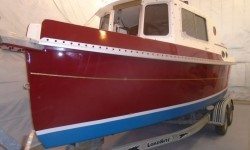
With all the spray painting complete, I removed all the masking tape, paper, and plastic, exposing the boat again in full for the first time since I first taped her (or will it be him?) up several months earlier.  It was great to see the whole boat again, and with the fresh new hull I was inspired anew to attack the original decks (badly in need of cleaning, polishing, and varnish work) and interior.  I’d postponed–actively and otherwise–work on the hull for a long time, but it was great to be on the other side of the hull work.  I’d been wanting to use this paint color for ages and it had always been my vision as I imagined what this boat would become.

I’d seen this apparent phenomenon before, on another boat with another color,  but I think the paint got darker as it continued its curing process.  Now it looked much more like the expected result; at first it had seemed a little brighter.

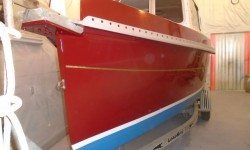
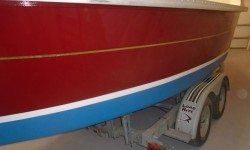
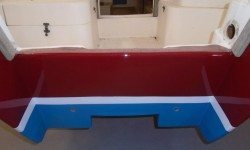
The final step required to bring the new appearance of the boat together was to paint the bottom.  This was a purely aesthetic requirement, as I expected the boat to live on the trailer so antifouling wasn’t strictly necessary, but the old red paint had to go.  After masking off along the bottom edge of the boottop, I painted the visible areas of the bottom.  I didn’t worry about the underside where things weren’t visible, and anyway, the trailer mostly got in the way of these areas and would have prohibited a decent paint job regardless.  As a final touch, I added a gold leaf stripe just beneath the character line in the hull, where there had originally been a thin gold stripe.  The devil is in the details.

Total time billed on this job today:  3.75 hours

0600 Weather Report:
22°, clear.  Forecast for the day:  Mostly cloudy, 34°

Nomad 15

< Back to Nomad

Friday

After giving the hull paint a full extra day to cure (almost 48 hours total), I was looking forward to to finishing the boottop, which required plenty of masking work to get ready.

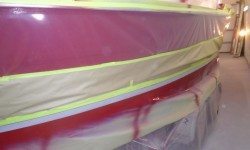
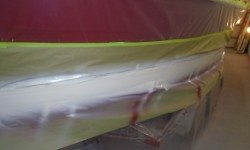
As usual, I began with a narrow strip of special vinyl fine-line tape (1/2″) at the top edge of the boottop, which would help provide a crisp, clean paint line there.  Then, I applied a layer of 1″ masking tape, covering as much of the vinyl tape as possible  because overspray on the vinyl, which was non-absorbent, would tend to run down onto the boottop below, and, when cured, would also tend to create annoying feathers of paint that didn’t stick to the vinyl and therefore wouldn’t peel off cleanly during removal.

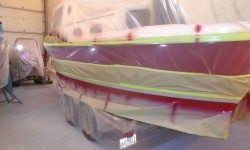
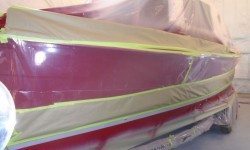
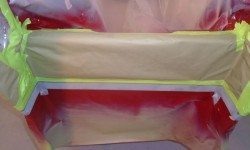
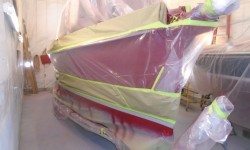
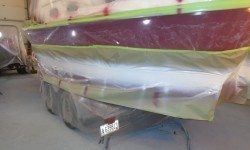
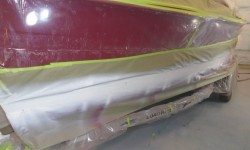
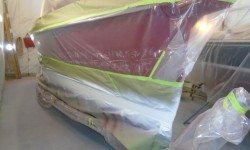
With the top of the stripe now taped off, I spent another hour or so draping the hull from the gunwale to the boottop with plastic sheeting and then, because I never trust the plastic entirely like this, a 12″ wide strip of masking paper at the lower edge, just to safeguard against any of the boottop paint getting on the new hull.  It seemed excessive, as always, but the peace of mind was worth the extra effort.   Covering the entire hull in order to spray a 2″ stripe seemed ridiculous sometimes, but there you are.

To complete the masking, I covered the raised forward bulwarks with more paper and tape.

After final preparations, I applied three coats of Alexseal off-white gloss topcoat to the boottop.  This color would tie in well with the off-white color of the original decks, which were in good-enough condition and would stay as is.

Total time billed on this job today:    3.75 hours

0600 Weather Report:
25°, clouds.  Forecast for the day:  Partly sunny, 36°

Older posts