(page 2 of 2)

Luna Mia 8

Friday

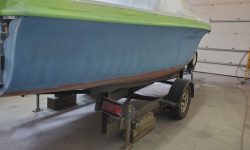
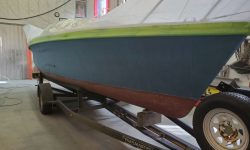
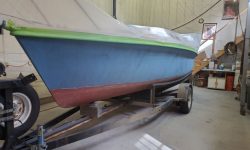
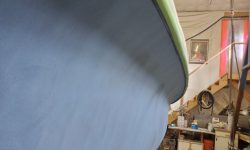
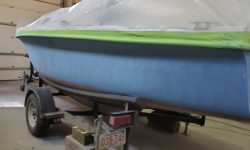
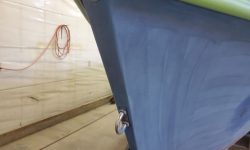
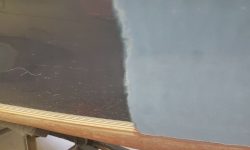
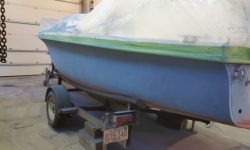
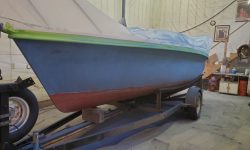
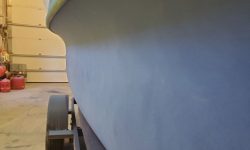
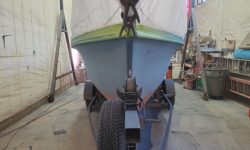
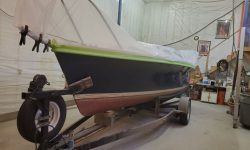
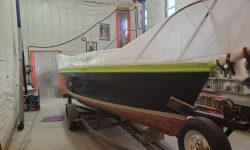
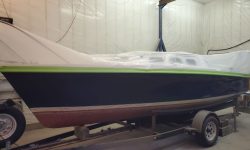
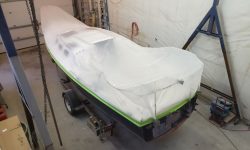
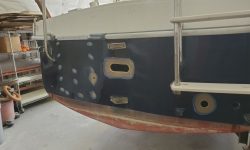
Continuing with the hull surface prep, I sanded the entire boat twice more, with 80-120 grit paper on a 6″ finishing sander.  This helped further refine the surface and smooth it to the required level for high-build primer.

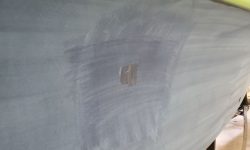
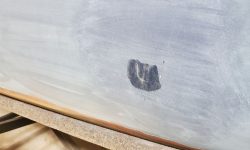
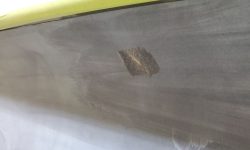
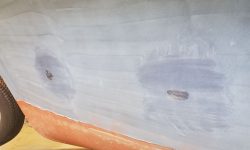
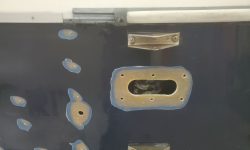
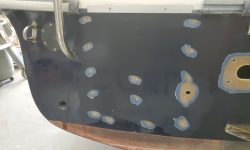
Next, I went around the hull and checked for any dings, scratches, or other areas requiring attention and, after cleaning as needed, applied a coat of fine fairing filler to these areas.  There were only a half dozen or so tiny dings and scratches to be found.

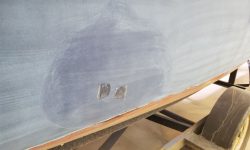
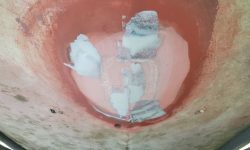
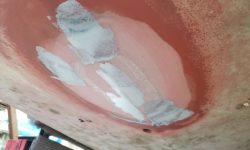
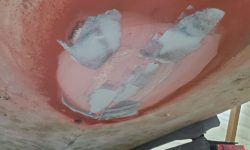
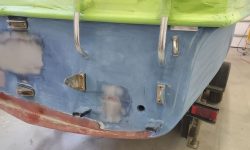
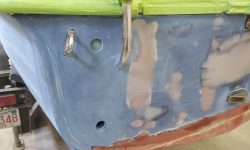
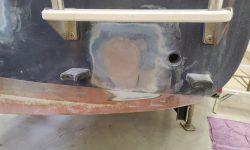
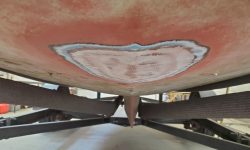
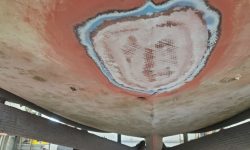
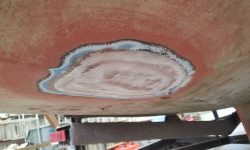
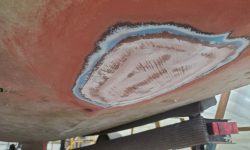
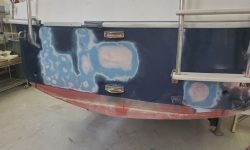
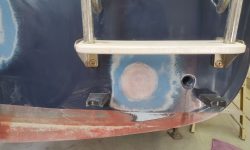
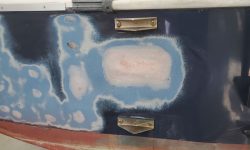
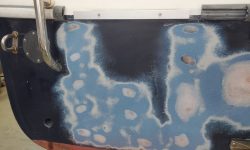
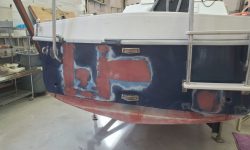
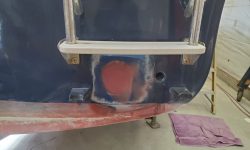
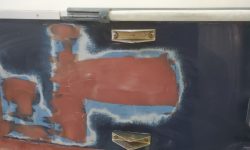
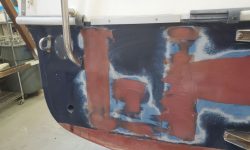
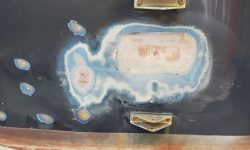
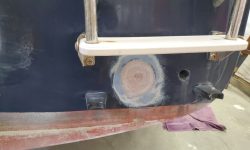
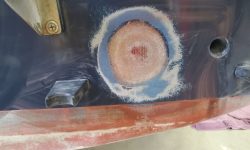
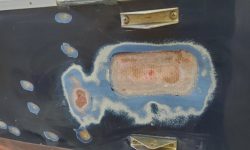
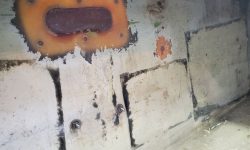
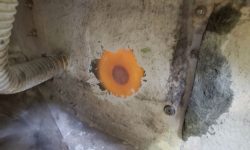
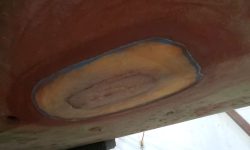
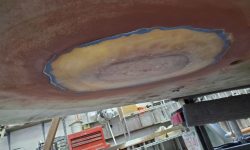
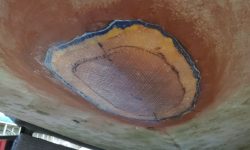
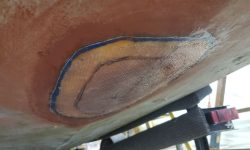
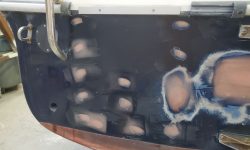
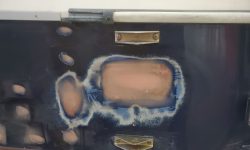
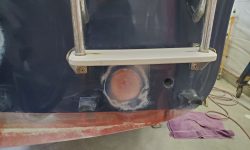
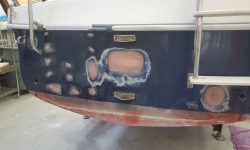
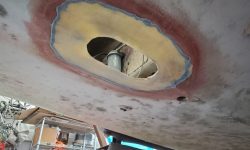
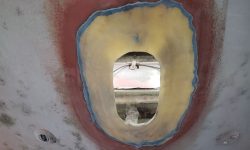
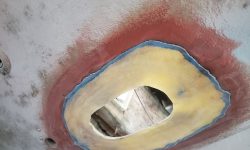
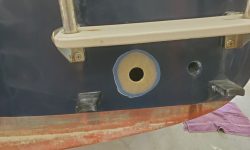
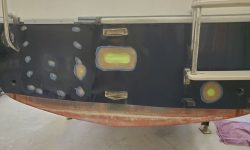
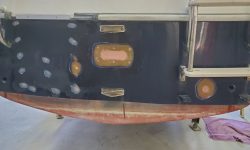
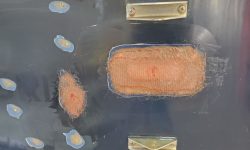
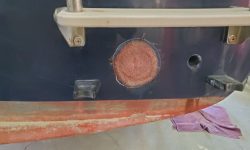
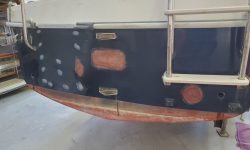
At the transom, I added more fairing compound as needed around some of the repairs I’d started earlier, and applied additional fairing to the patch over the engine sail drive hole in the bottom, just to take care of a few known and minor voids left from the last round of fairing compound there.

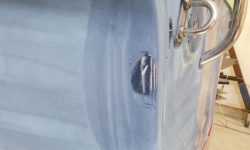
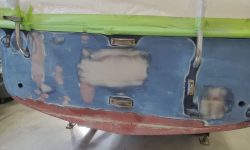
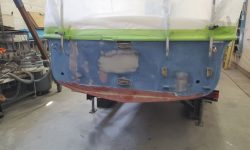
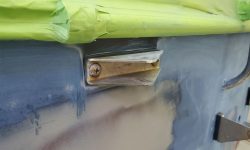
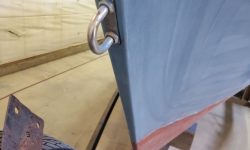
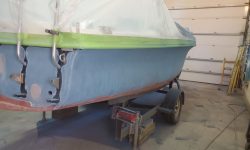
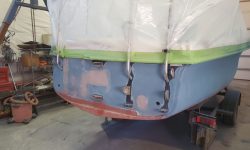
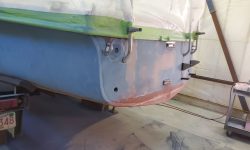
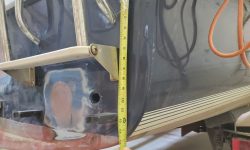
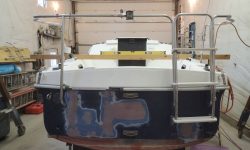
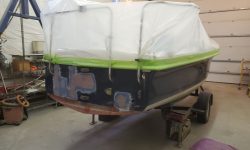
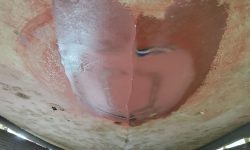
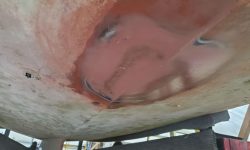
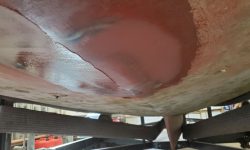
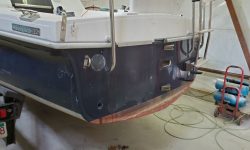
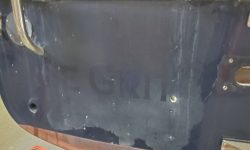
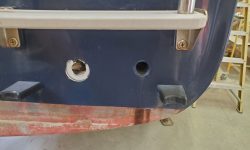
Now, I worked on the transom to remove the remaining paint and sand smooth all the tight areas around the hardware and stern pulpit rails that I couldn’t reach with a power sander, as well as some detail sanding elsewhere on the boat, including the stem.  There’d be more sanding work on the transom to come next time, along with additional light sanding on the other parts of the hull as needed, but for the moment I’d progressed things as much as possible.

Total time billed on this job today:  3.5 hours

0600 Weather Observation:  26°, clear.  Forecast for the day:  Partly sunny, 46°

Luna Mia 7

Thursday

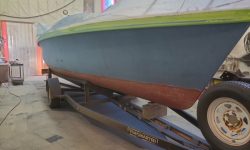
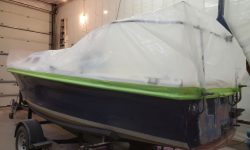
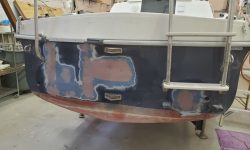
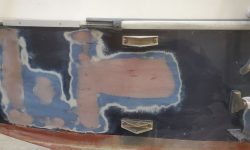
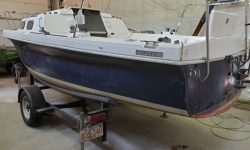
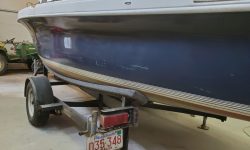
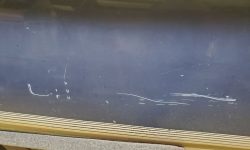
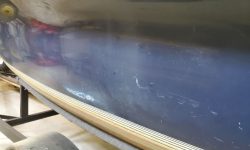
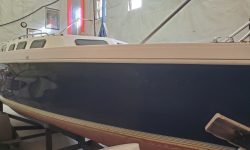
It was time to get down to business on the main aspect of this project:  The hull.  With the deck protected and masked and nothing standing in my way, I spent the day removing the existing coatings from the hull, sanding through two grits to get back to the original blue gelcoat and a suitable substrate for the new coatings to come.  The existing paint was a one-part product of undetermined type, with primer beneath, and was generally easy to remove, with no surprises underneath; in fact, the hull was in excellent condition all around, save for a few shallow scrapes and the like that would either disappear during the next round of final finish sanding, or with some minor fill work.  The repairs I’d made on the transom would require a bit more final work, but I already knew that.

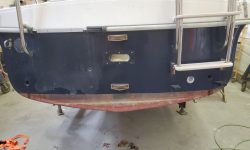
Starting at the bow and working aft on the starboard side, then around the transom and back to the port bow, I removed all the paint and vinyl striping by the end of the day, other than some tight areas on the transom that would require hand work.

Total time billed on this job today:  5.25 hours

0600 Weather Observation:  22°, mainly clear.  Forecast for the day:  Patchy fog, then mostly sunny, 46°

Luna Mia 6

Wednesday

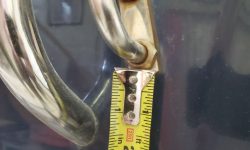
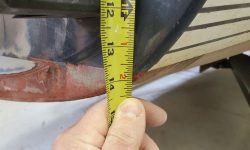
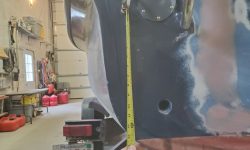
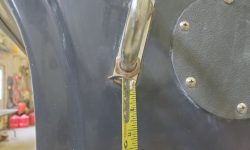
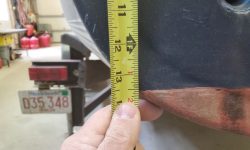
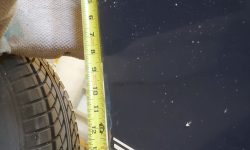
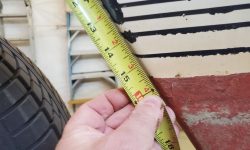
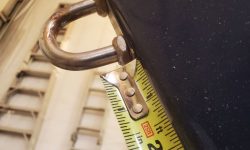
For future reference in re-establishing the waterline, should it be sanded away during the hull prep, I made several reference measurements at the stem and stern, using conveniently-mounted U-bolts to measure from at both transom corners and at the stem.  I noted these measurements for later edification.

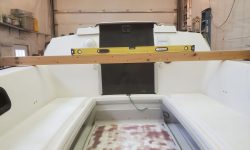
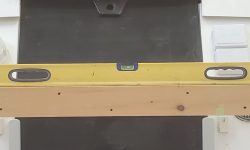
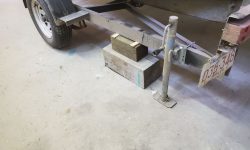
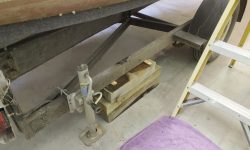
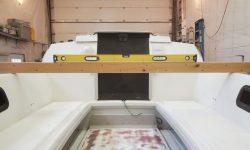
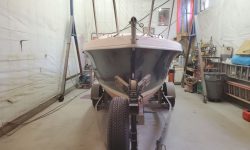
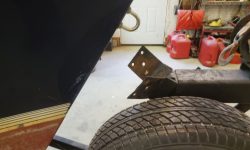
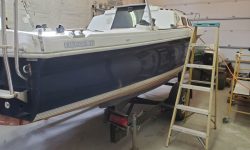
The boat was slightly crooked on the trailer bunks, and thus a bit out of level from side to side.  There was no way to reposition the boat on the trailer itself, so I jacked up the port side as needed to level the boat, and blocked the trailer under both sides to supplement the rear trailer jacks and better stabilize the trailer for the upcoming work.

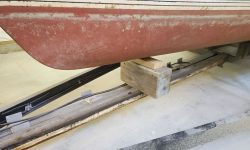
At the bow, I put some blocks beneath the hull for support since I needed to retract the bow chock for access to the hull, and the blocking would limit any tendency of the hull to move around during the sanding work to come.  I removed the extra-wide bow chock supports from the metal bracket to increase clearance.

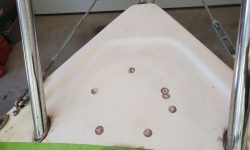
At the stern, I removed the folding portion of the boarding ladder from the starboard side, and masked from within an outboard wiring hole on the port upper corner after removing its temporary plastic cover.  Then, after cleaning the rubrail and edge of the deck, I covered the decks with plastic and heavily masked along the rubrail above the hull.  There’d be more masking required for paint at the transom to cover the various hardware, but I waited on that for now since any tape would probably get damaged during the sanding operations.

Total time billed on this job today:  3 hours

0600 Weather Observation:  22°, high overcast.  Forecast for the day:  Mostly cloudy, chance of snow in the evening, 36°

Luna Mia 5

Tuesday

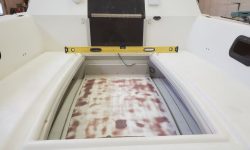
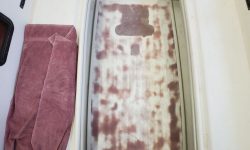
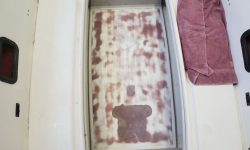
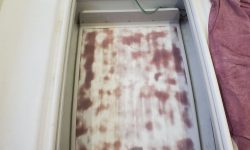
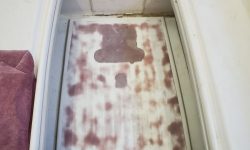
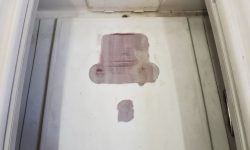
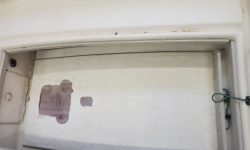
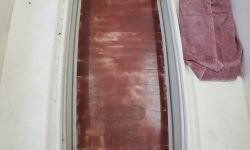
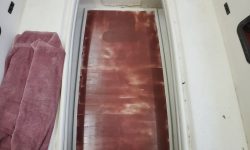
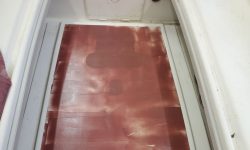
Finishing up in the cockpit for now, I sanded the epoxy skim coat flat and smooth, removing the excess and working through various grits and different tools before eventually ending up at 120 grit on a finishing sander as needed for primer and paint.  With the major repair work and surface prep complete for now, I planned to turn my focus to the hull prep and paint and would return to the various small deck projects and refinishing once the hull was complete.

Total time billed on this job today:   1.25 hours

0600 Weather Observation:  35°, clear and windy.  Forecast for the day:  Sunny, 36°

Luna Mia 4

Monday

Continuing the process with the various small repairs underway, I sanded all areas again as needed.  The sail drive mount hole and transom repairs were near their final contours, with a few low spots requiring minor attention that I’d finish up in the near future, and the stem repair work was complete other than some additional finish sanding and eventual painting, which I’d probably wait on till after the hull was painted.

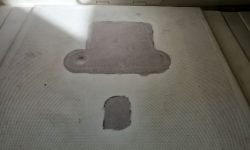
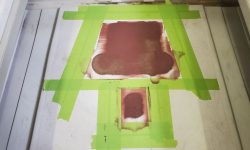
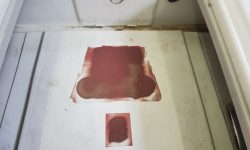
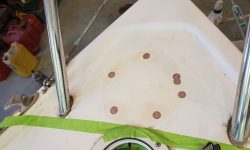
However, my focus for the moment was the cockpit sole repair.  The main repair over the pedestal hole was more or less complete, with only some minor low areas remaining, but to deal with the overall cosmetics of the repair, the owner asked that I repaint the entire cockpit sole, which would best hide the repair work.  So to prepare for this, I sanded the nonskid over the entire sole, smoothing it as much as possible without abrading or otherwise getting into the smooth borders around the nonskid field.  The molded nonskid, as per usual, was essentially a raised area, so by maintaining the general height of this plateau the refinishing work would be similarly limited to the area in question.

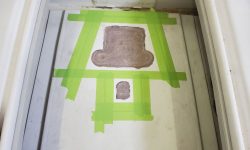
This process brought the molded nonskid down to a relatively flat level, but not completely eliminated because of variations in the thickness of the molded gelcoat.  I’d average out the surface and achieve the desired smoothness by skim-coating and filling the remains of the molded pattern with fairing compound, so to begin I masked around the perimeter of the nonskid field, following the raised edge of the field, then coated the entire area in epoxy fairing compound, starting with the known low spots in the pedestal repair and continuing with a thin coat troweled over the entire surface, up to the tape on the edges.  I removed the tape thereafter, leaving a clean line, and left the material to cure overnight.

Total time billed on this job today:  1.25  hours

0600 Weather Observation:  44°, clear.  Forecast for the day:  Rain in the afternoon, 44°

Luna Mia 3

Friday

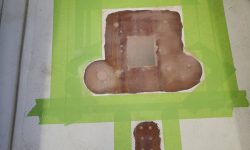
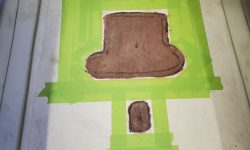
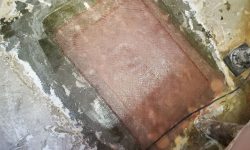
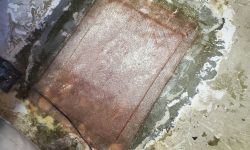
Continuing the various ongoing repairs to the hull and deck, I began with a round of sanding as necessary in all areas, starting with the hull patch at the old sail drive opening.

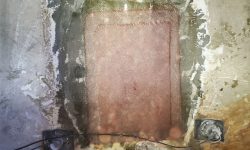
I continued with the sundry and small transom repairs, sanding smooth the filler I’d applied n the exterior, and lightly scuffing the new layer of fiberglass on the inside.

Next, I sanded smooth and flush the patch over the cockpit pedestal opening, and the filler on the stem.

After cleaning up and related prep and, as needed, masking, I applied epoxy fairing compound to these various areas:  The hull patch; the exterior transom; the cockpit patch; and the stem.

Total time billed on this job today:   2.5 hours

0600 Weather Observation:  -2°, clear.  Forecast for the day:  Increasing clouds, 26°

Luna Mia 2

Thursday

The initial fiberglass work on the transom was ready for some sanding to smooth and begin to fair the repairs in with the adjacent surfaces.  Inside the boat, I removed the tape “molds” from the back sides of the openings and lightly sanded those areas as well.

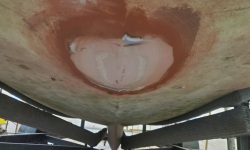
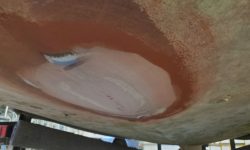
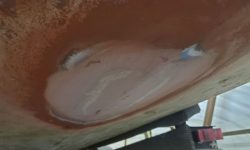
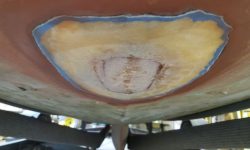
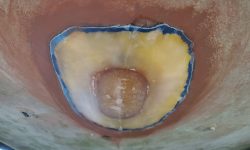
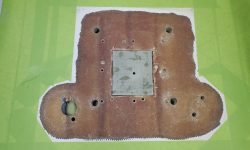
At the same time, I lightly sanded the inside and outside of the larger repair covering the old saildrive leg opening in the hull.

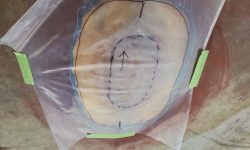
After cleanup, I made a simple pattern of the patch area on the bottom and cut two layers of fiberglass to fill it.  The exposed area of the patch required a light skim coat of a thickened epoxy mixture to fill small voids around the edges, after which I installed the two new layers of fiberglass over the entire area.

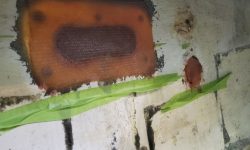
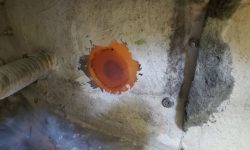
The transom repairs required a layer of fiberglass to cover the insides of the three patches, and I used more of the thickened epoxy mixture to skim over the patches on the exterior, the first round of filler needed for these areas.

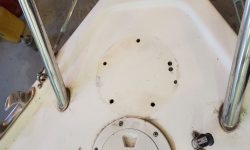
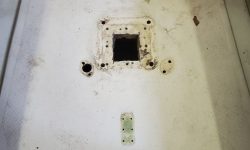
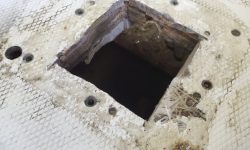
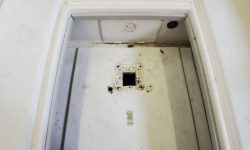
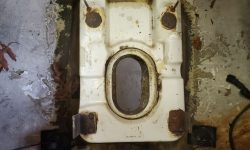
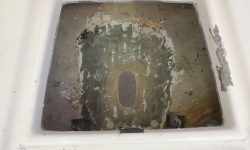
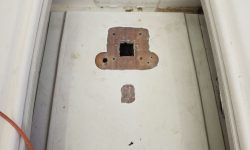
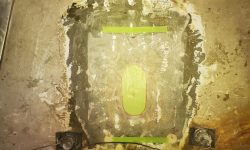
Next, I turned to the repair of the old pedestal mount in the cockpit.  There was no practical access to the underside of this area for repair purposes, so I’d effect the entire repair from above.  To fill the square hole left from the pedestal mount, I cut a piece of 1/2″ thick prefab fiberglass to a friction fit in the opening, the installed it with epoxy adhesive all around, and used more of the mixture to skin the whole area and fill the smaller bolt holes as needed, which I’d previously taped over from beneath by reaching through the square hole.

Finally, I cut two layers of fiberglass to fit and installed them over the repair.

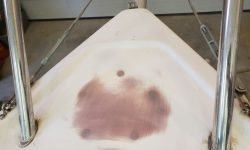
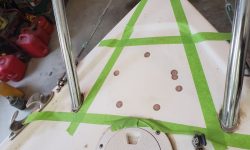
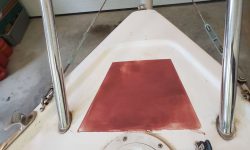
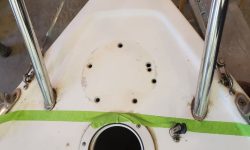
The last bit of minor deck repair was at the stem, where the owner had removed the mount for a Hoyt boom that he no longer used.  These old screw holes required patching, so I reamed them out, masked from beneath, and filled with a thickened epoxy mixture.

Total time billed on this job today:  4.25  hours

0600 Weather Observation:  23°, snow, 6″ down overnight and still coming.  Forecast for the day:  Snow, then snow showers, 32°

Luna Mia 1

Wednesday

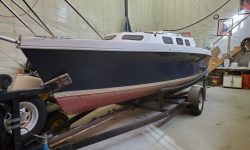
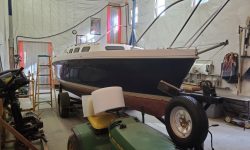
Luna Mia’s owner brought her to the shop to repaint the hull, as well as for a few other small projects and repairs, and the boat had been stored indoors in the second shop bay since delivery several weeks earlier.  Though I didn’t plan to get into the project in depth for a few more weeks, a required pause in my ongoing project gave me a free day, so I decided to get a head start on things.

The hull appeared to have been painted once, as there were signs of blue gelcoat beneath the existing topcoat in a few areas where the finish had been worn down or scratched.  Overall, the hull was in pretty good condition, with no major repairs anticipated during the refinishing process.  I’d get into all that in more detail later on.

For now, my plan was to focus on the other smallish tasks on my list, including the following:

  1.  Remove an old engine bed from the lazarette (the owner had previously removed the engine and saildrive unit)
  2.  Patch the old saildrive hole in the bottom
  3.  Patch holes left from the removal of a steering pedestal in the cockpit (the owner had previously removed the wheel steering)
  4.  Patch several now-obsolete holes in the transom
  5.  Patch some obsolete fastener holes in the bow

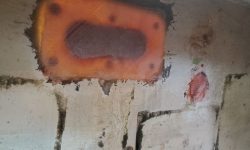
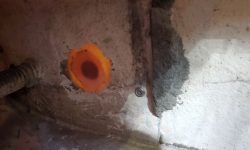
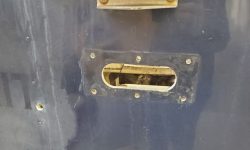
The removal of the wheel steering (the owner reported that the pedestal was so far aft that there was no room to stand behind it, never mind the other reasons it didn’t make a whole lot of sense to begin with) left a large hole, and several smaller holes and fastener locations, in the cockpit sole, as well as a slot in the transom through which the original steering cable had extended to the transom-hung rudder.  In addition, there were several old fastener holes in the transom that required minor work (previously filled, but showing through), and the now-obsolete engine exhaust outlet to starboard.  These various openings in the cockpit and transom needed to be patched and repaired.

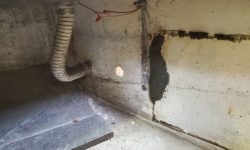
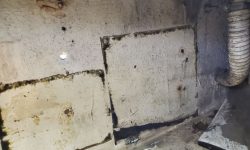
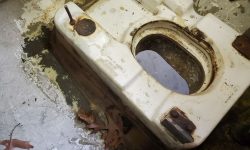
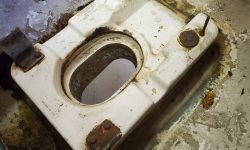
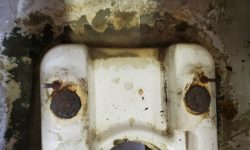
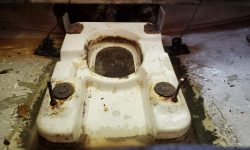
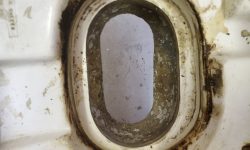
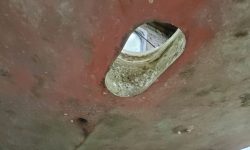
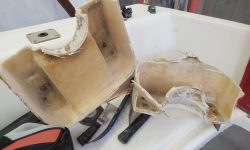
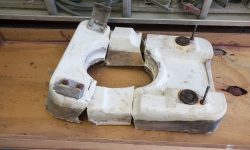
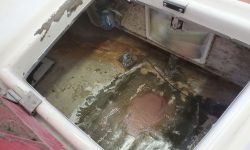
The engine bed was a molded fiberglass construction glassed to the hull inside the large aft lazarette, with generally good access thanks to a large hatch.  The mount incorporated a large hole that extended through the hull where the saildrive leg had once penetrated.  The owner requested that I try to remove the engine foundation in one piece if possible.

After getting properly set up with tools, lighting, and a fan (and as it happened, this was a great weather day for a messy grinding project, as the weather was warm enough to allow me to open the shop door for ventilation), I cut around the base of the foundation, where it was tabbed to the hull all around, with a grinder and cutoff wheel, which easily sliced through the tabbing.  Access at the forward corners was tighter, and made more so by the transducers mounted on either side of the foundation, so with various other tools I eventually cut through the tabbing in these trouble spots.  So far so good.

The challenging part came when I worked to remove whatever resinous material was filling the area between the hull cutout and the inside of the engine mount.  I’d known this would be the hardest part all along, mainly because the opening was fairly small and there wasn’t adequate room for tools within.  After various attempts and too much time using grinder and multi-tool from within, and even chisels and prybars from without, with little progress and no clear path to success, I cut through the foundation from side to side in two places, which opened up enough room that I could cut through the remains of the resin mash that secured and filled the opening all around, allowing me to easily remove the rest of the engine foundation.   Technically, the old molding could be reassembled and fiberglassed from beneath without too much trouble, so despite having to cut it in the name of efficiency, it wasn’t destroyed beyond all hope.  I couldn’t imagine a scenario where this thing would ever be reinstalled in this boat, but theoretically it would be possible with some work.

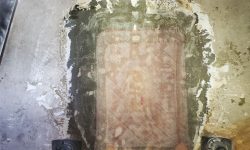
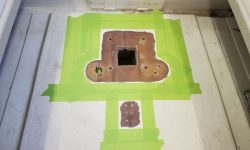
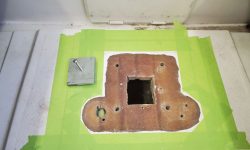
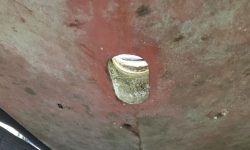
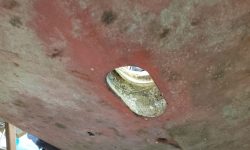
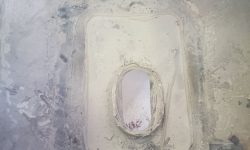
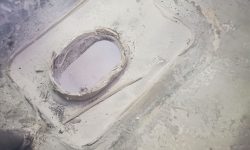
With a hammer and chisel, I easily removed most of the tabbing and adhesive bead from the hull around the old footprint, then cleaned up the whole area with a grinder.  A little later, from beneath the boat, I prepared the underside of the opening for patching as well, removing paint and gelcoat and creating a tapered area to accept new fiberglass.

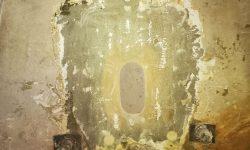
Meanwhile in the cockpit, I prepared the pedestal mounting area for patching, removing the gelcoat and grinding the area appropriately.  I also sanded away the coatings from the insides of the various transom repairs to be dealt with:  the engine exhaust to starboard, and the steering slot (and a nearby small hole).

Outside the boat, I prepared the transom for the repairs and patching.

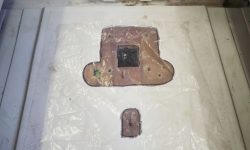
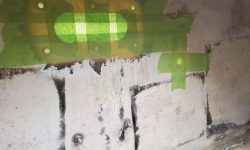
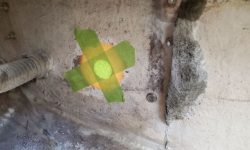
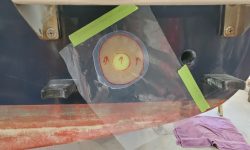
After cleaning up everywhere, and solvent-washing inside and out, I masked over the transom openings from inside, providing a “mold” for the patching work ahead.

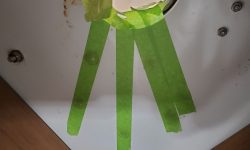
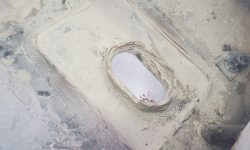
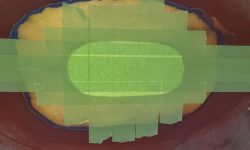
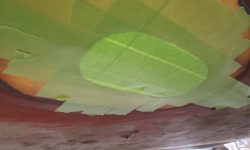
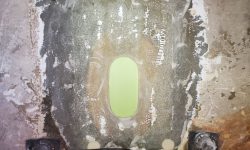
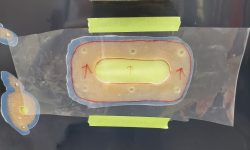
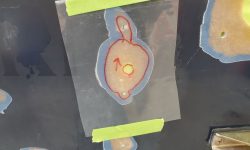
Similarly, I masked over the saildrive opening from beneath, using the tape to stretch tightly across the opening in a way that maintained the shape of the hull (there was a slight V shape to the hull along the centerline), and would support and mold the fiberglass above.

I made simple patterns of the various patches and cut fiberglass as needed:  For the saildrive opening, and the large transom slot, I cut material to fit within and completely fill the openings as required by the thickness of the hull in each area (about 4-6 layers of 1708), then larger pieces to overlap and fill the previously-ground repair areas, including two large rectangular pieces to widely overlap the hull in way of the saildrive cutout.

Then, after final preparations, I installed the new fiberglass in epoxy resin, first filling the recessed openings with solid fiberglass, then, after using some thickened epoxy to make up some minor variations in the center areas, the larger, overlapping layers to tie the repairs in with the adjacent hull at each location.  For the smaller, round holes in the transom, I began by filling the openings with a thickened epoxy mixture, then installed fiberglass to tie in with the hull all around.

I’d continue the repairs another time with the outside part of the patch for the saildrive cutout, and inside patches for the transom openings.

Total time billed on this job today:  6 hours

0600 Weather Observation:  50°, partly cloudy, rain overnight.  Forecast for the day:  Gradually becoming sunny, 65°

Newer posts