(page 3 of 6)

Aventura 36

< Back to Aventura

Monday

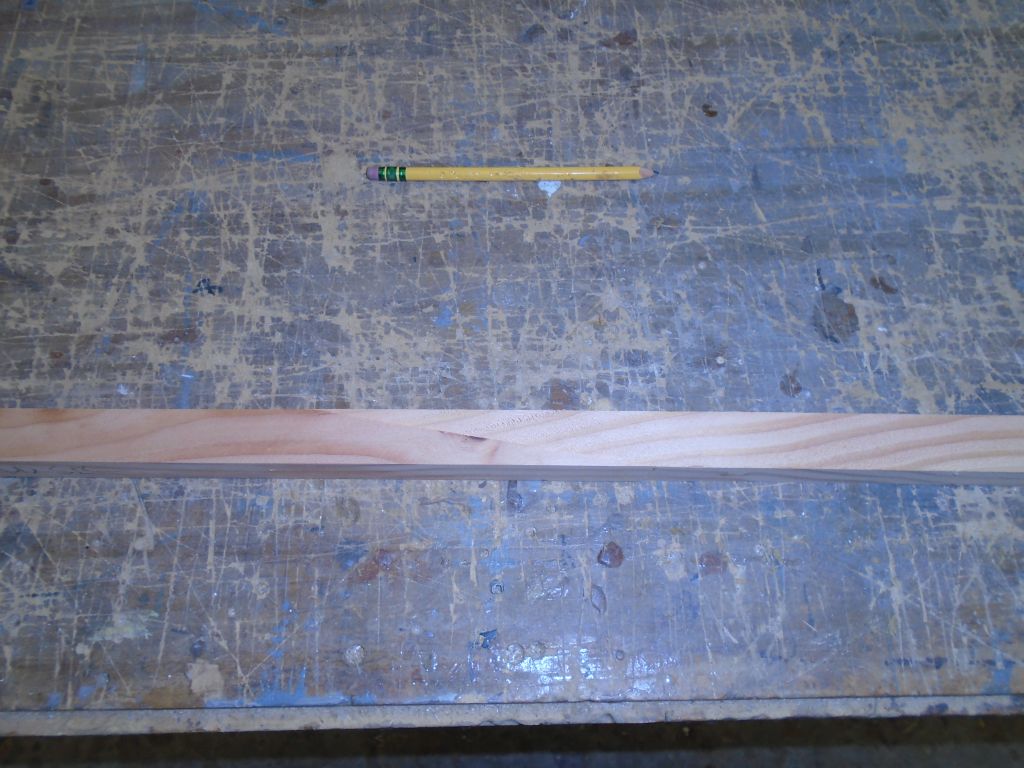
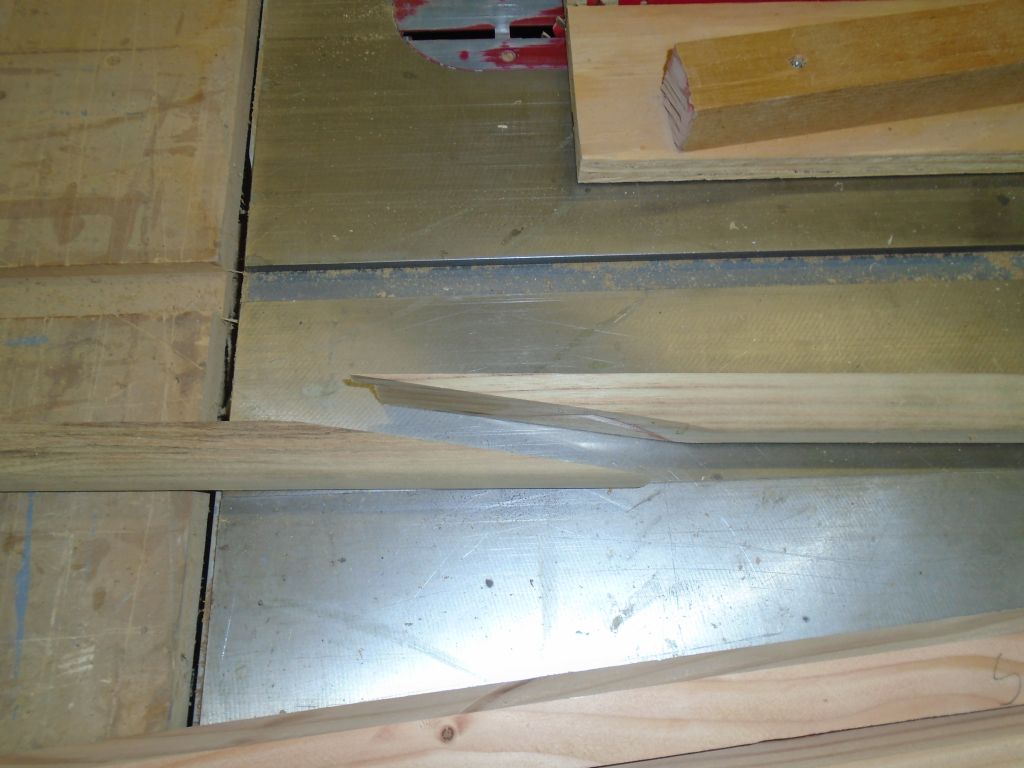
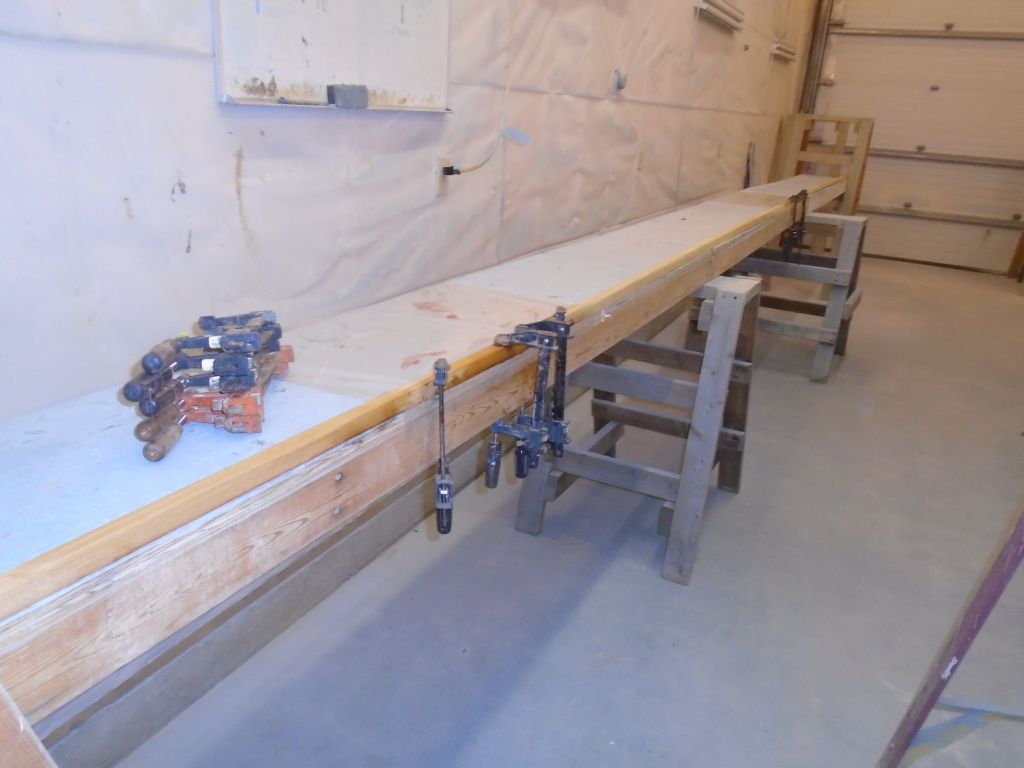
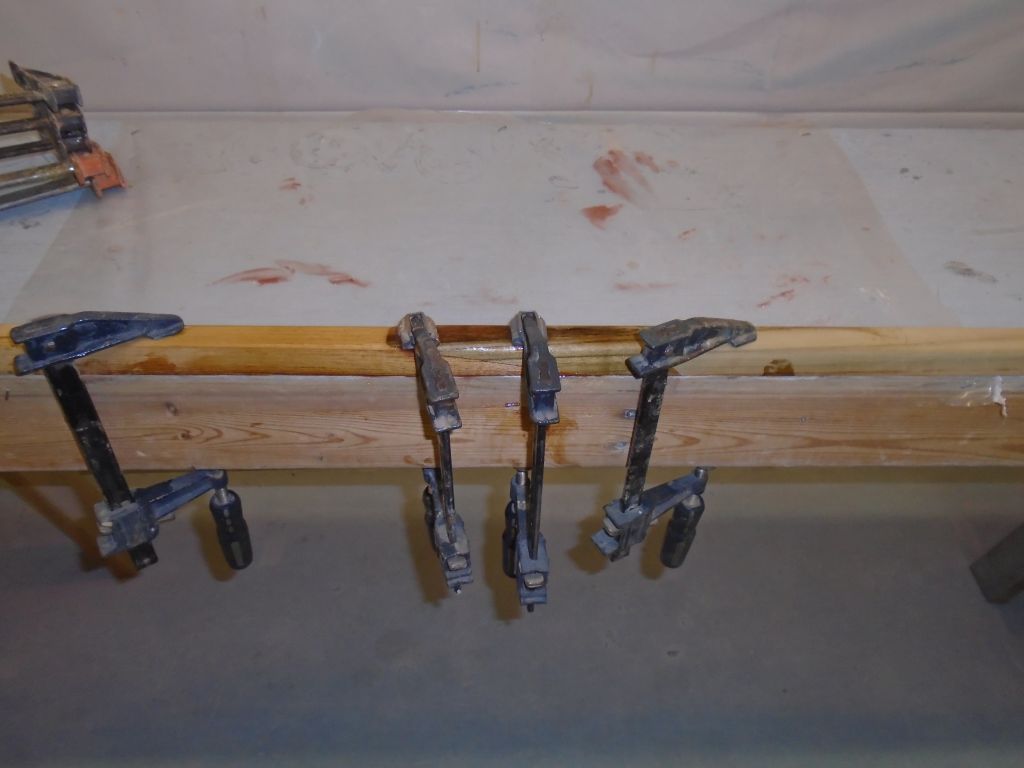
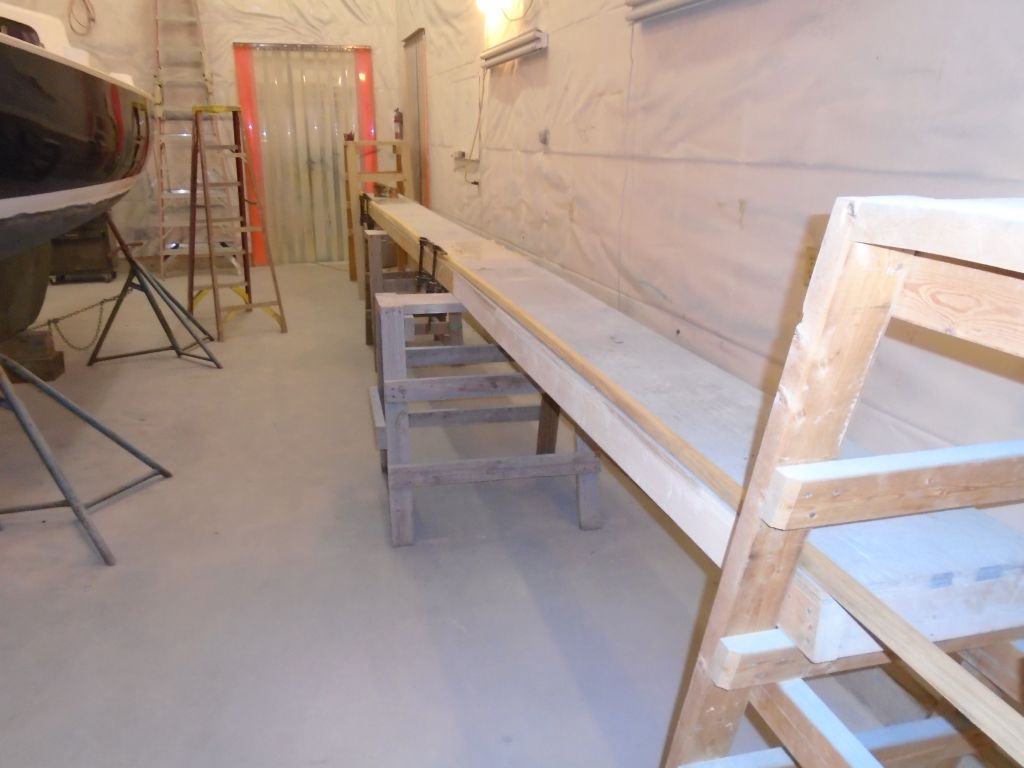
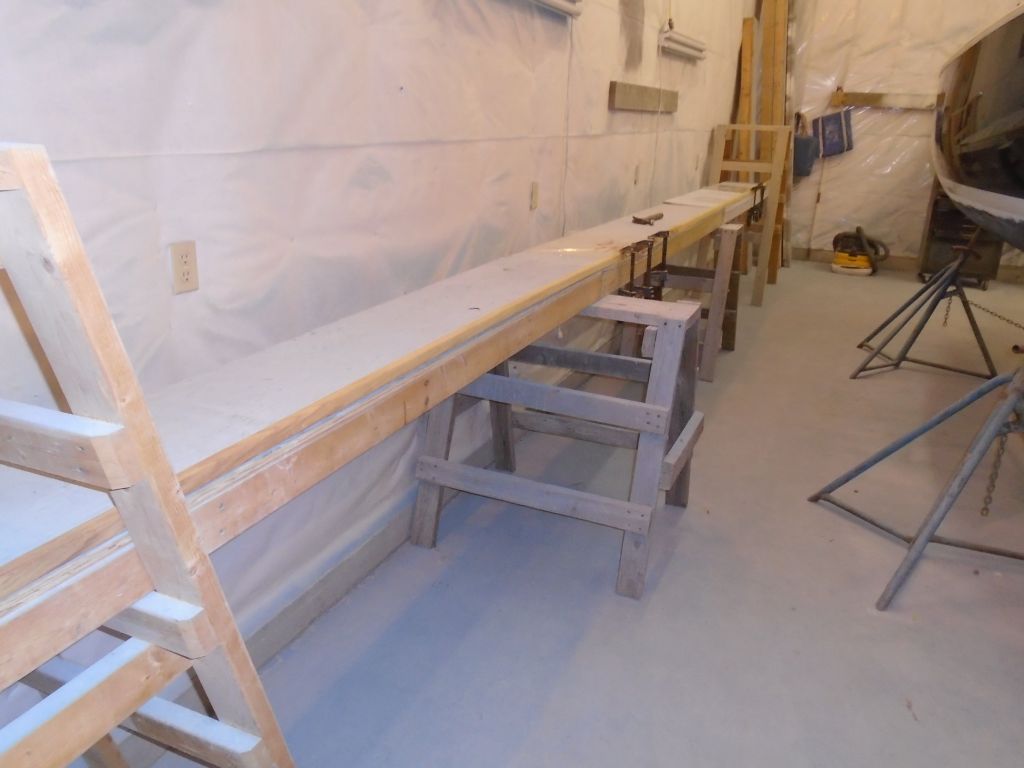
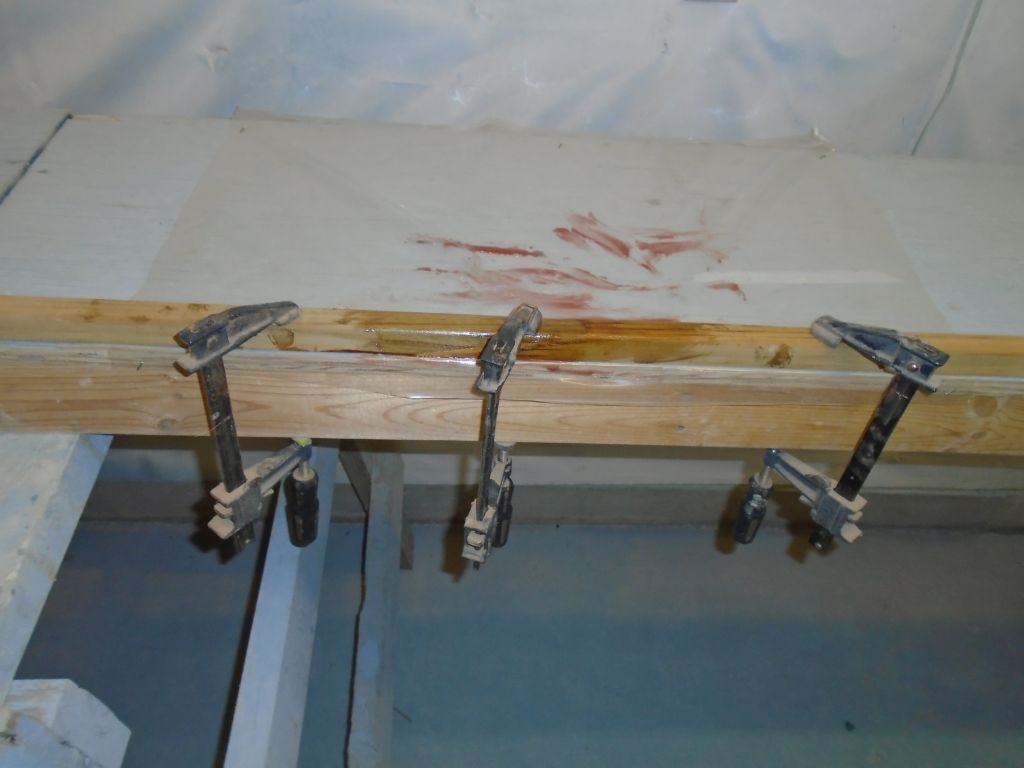
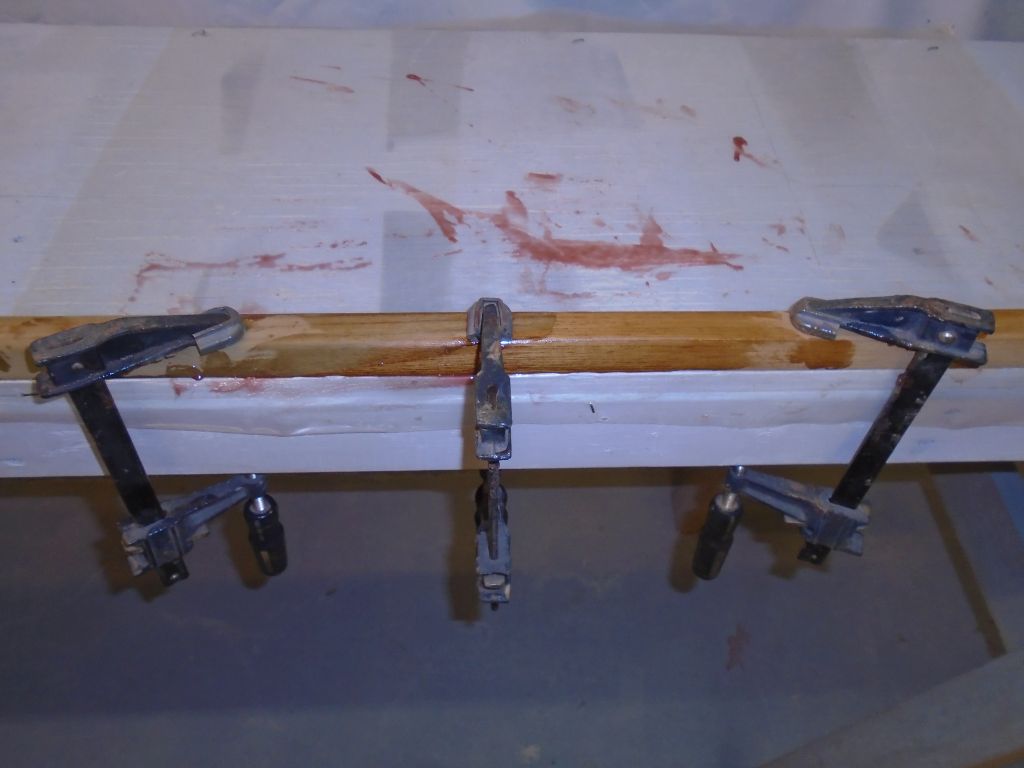
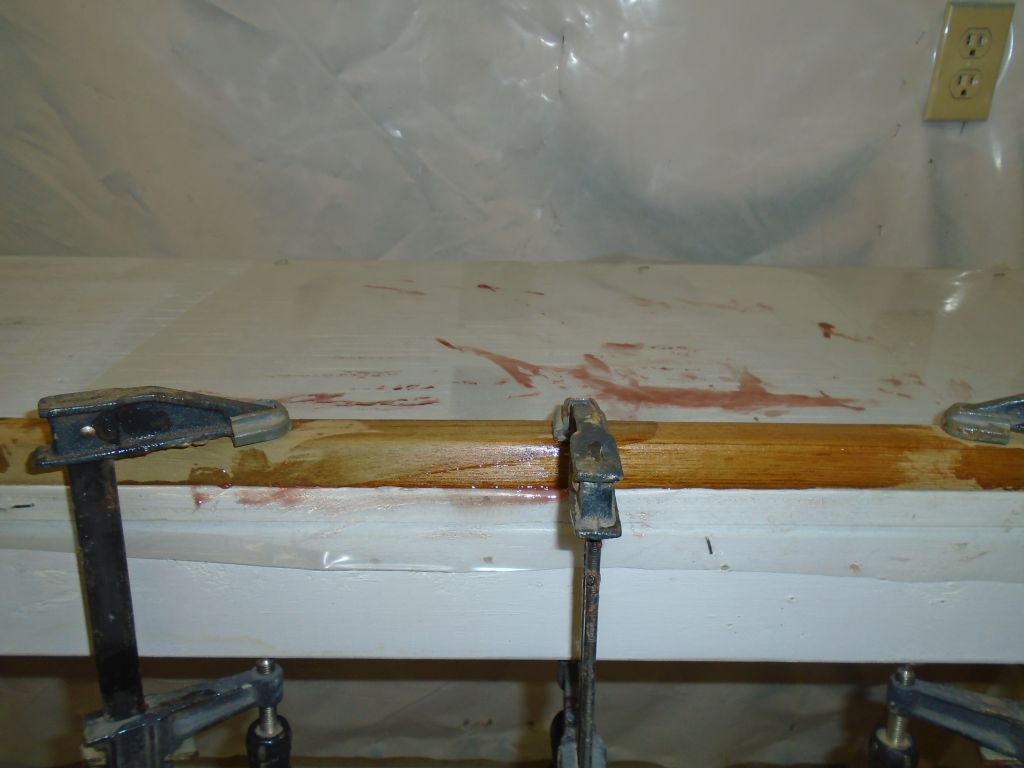
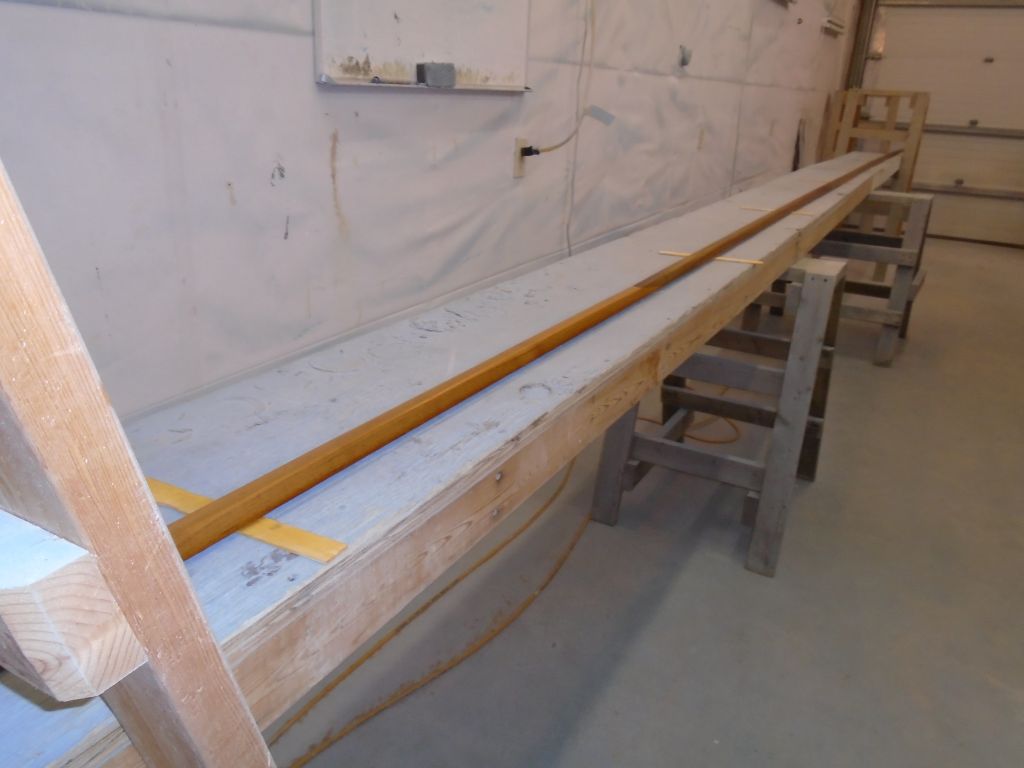
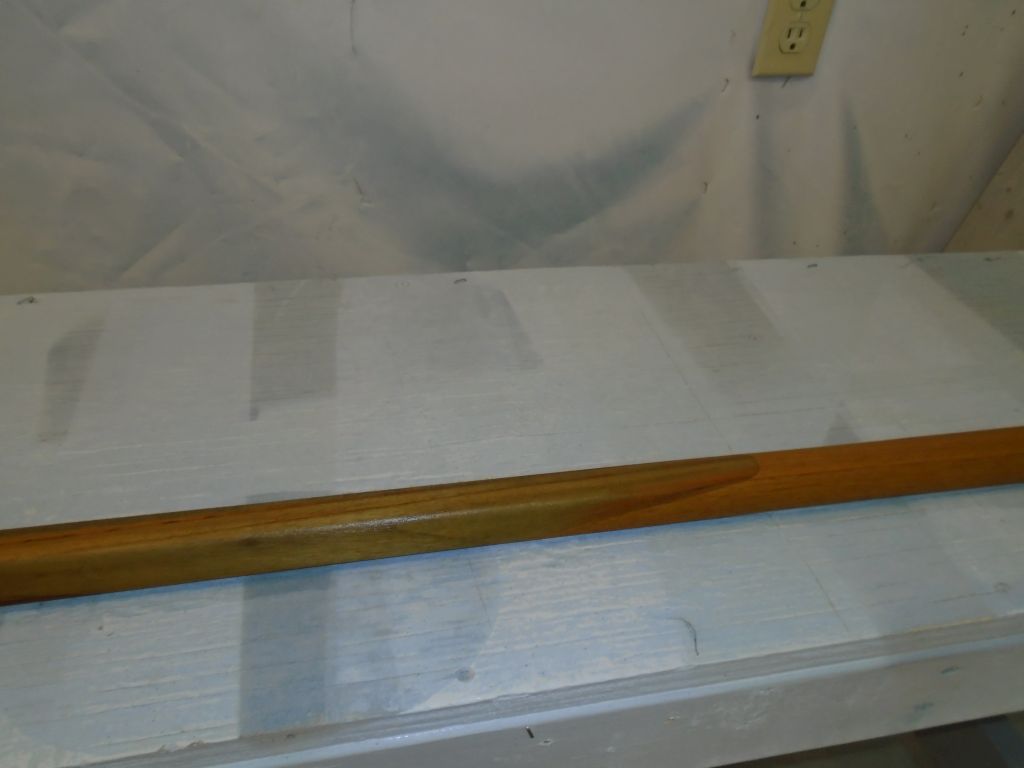
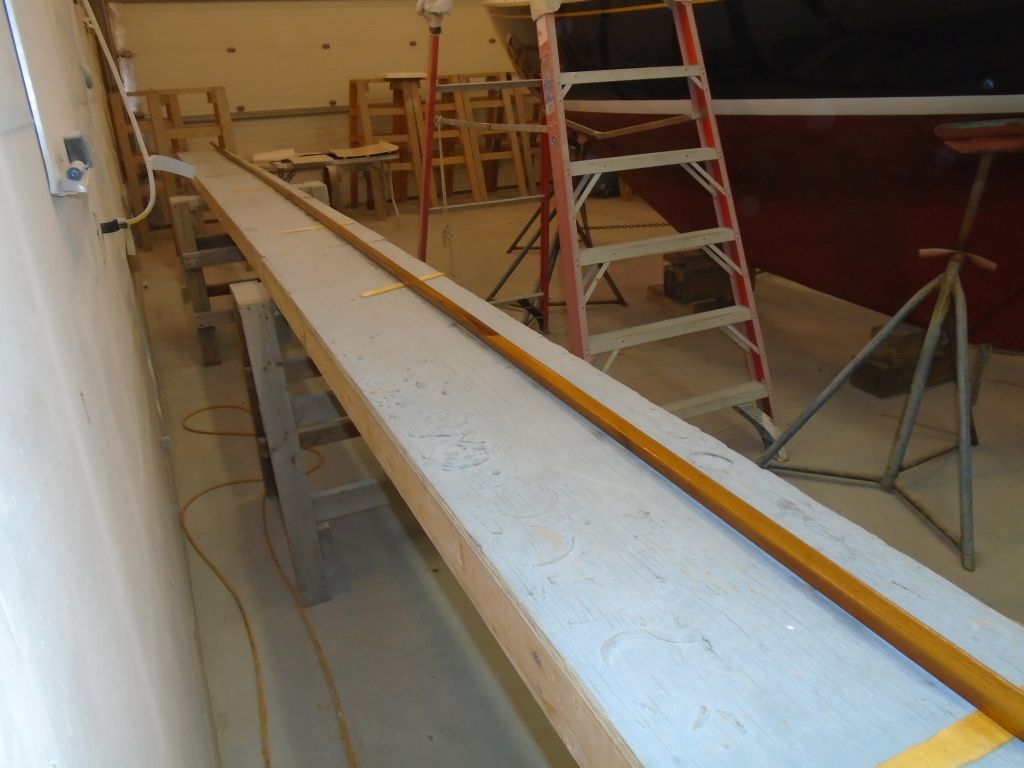
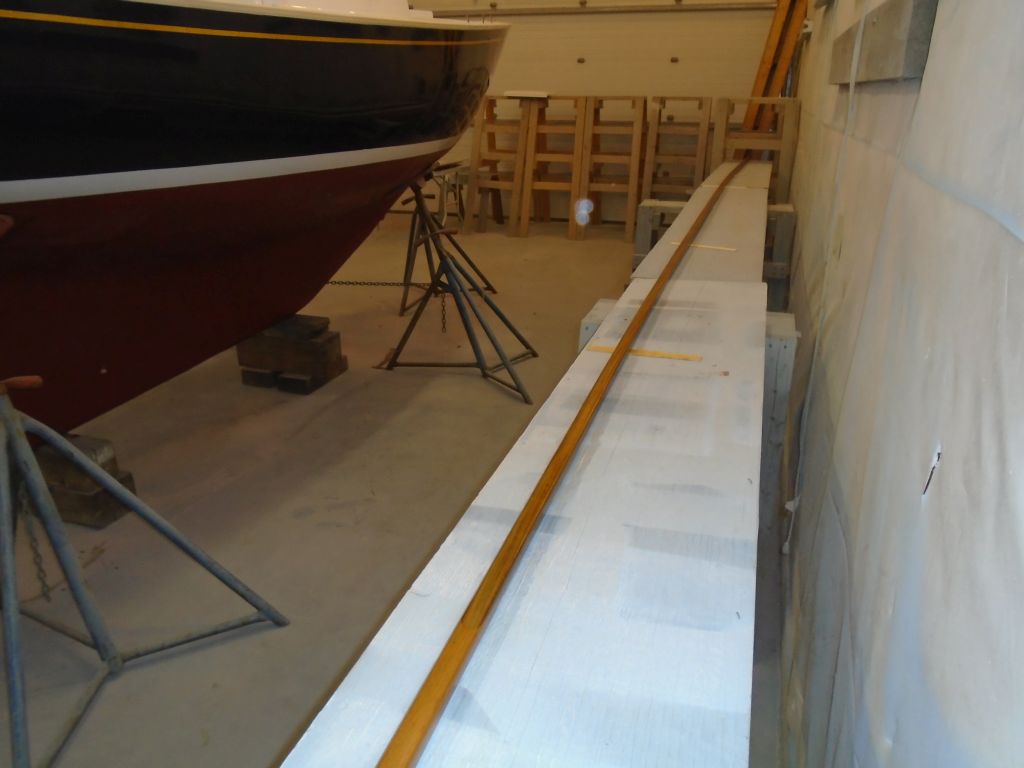
The toerails had had several days in the clamps to cure, so I removed the clamps now and sanded clean the scarf joints to remove excess epoxy.

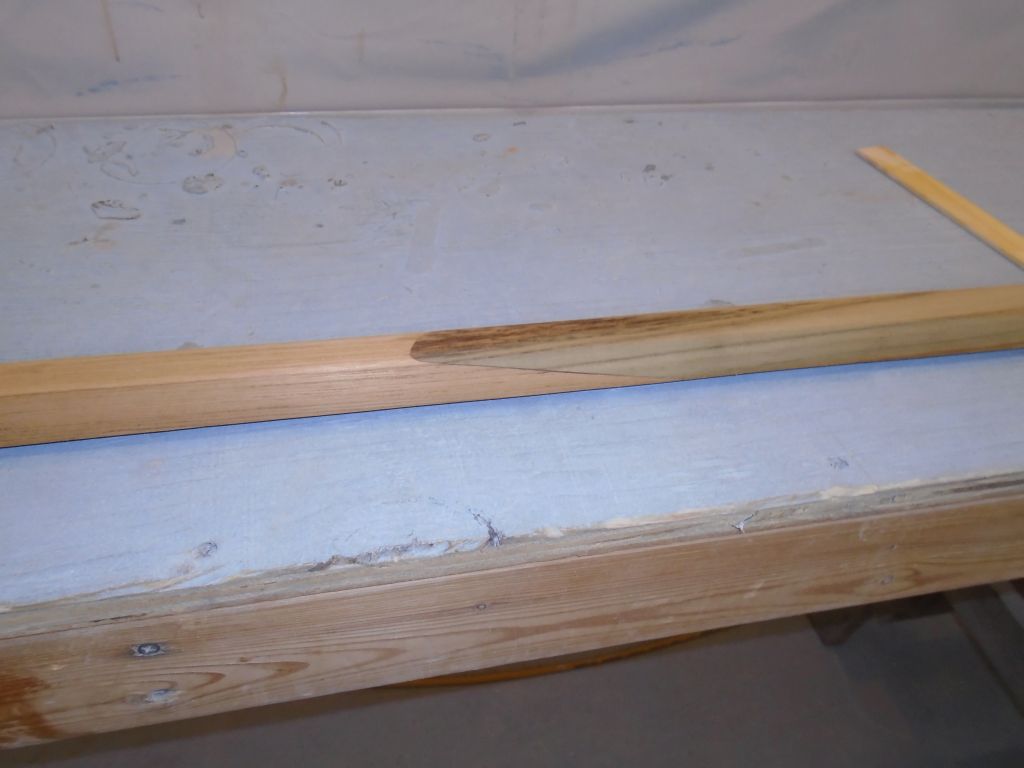
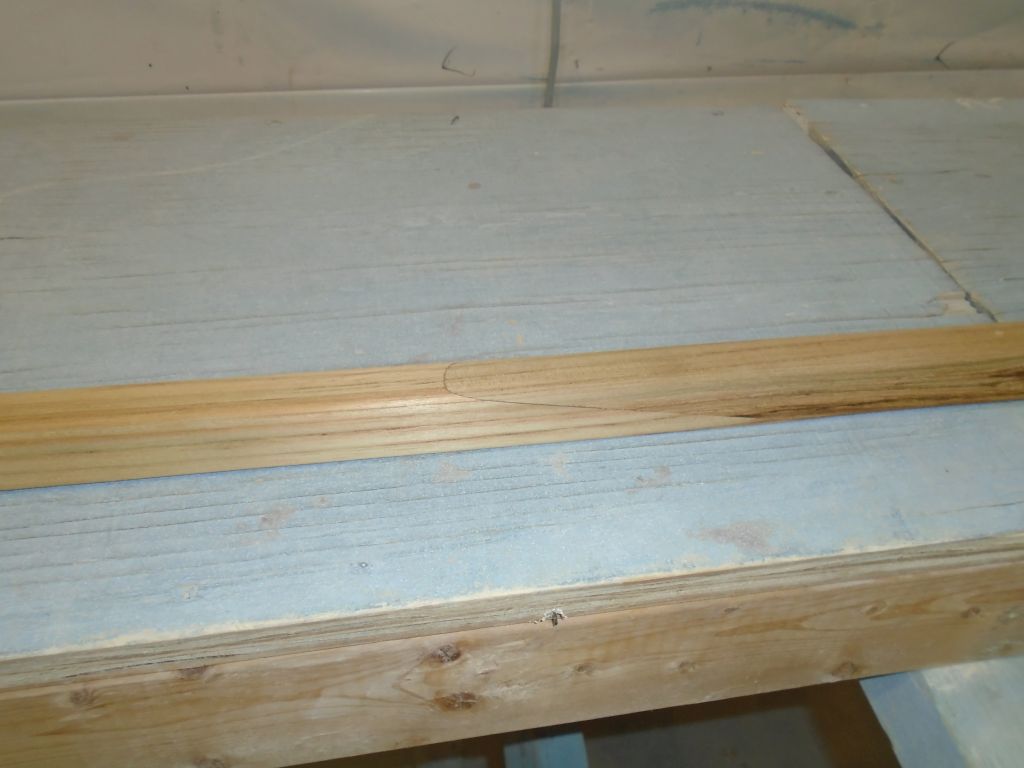
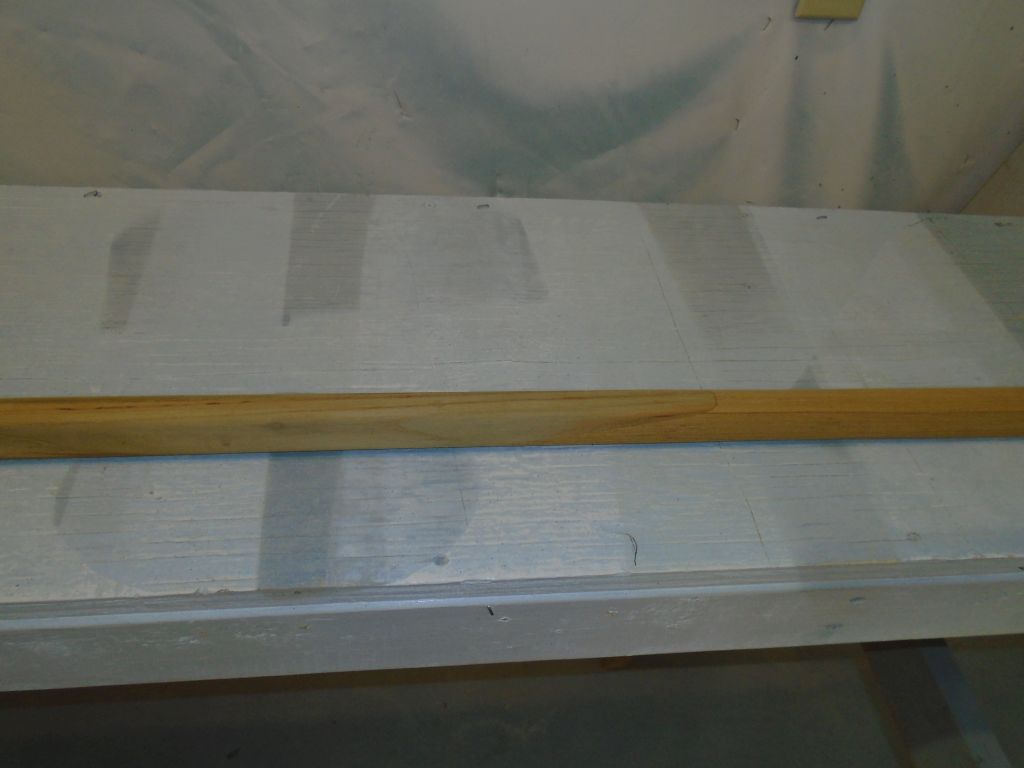
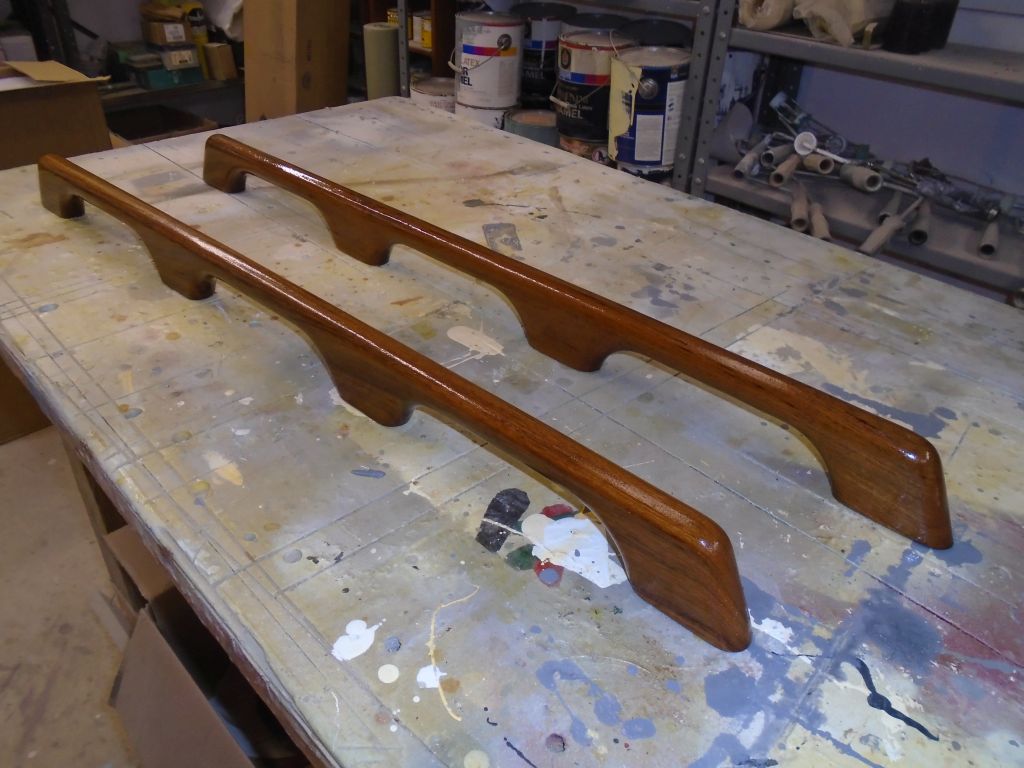
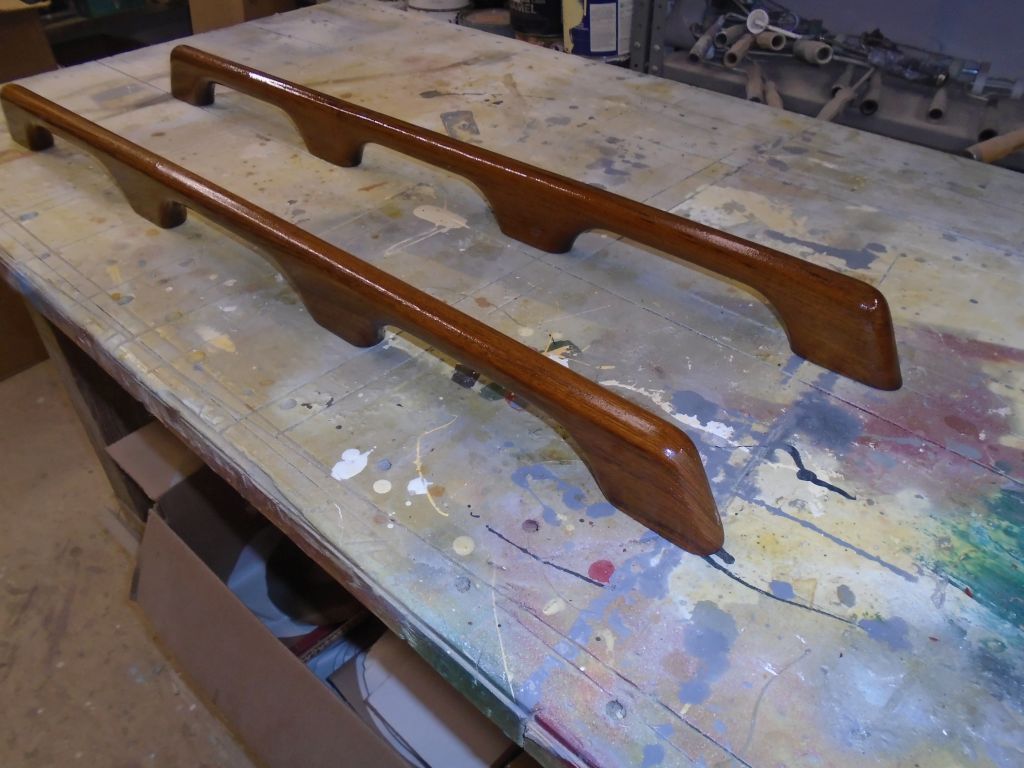
Afterwards, I applied a sealer coat of varnish to all sides of the two rails, as well as to a new set of teak handrails for the cabin top.

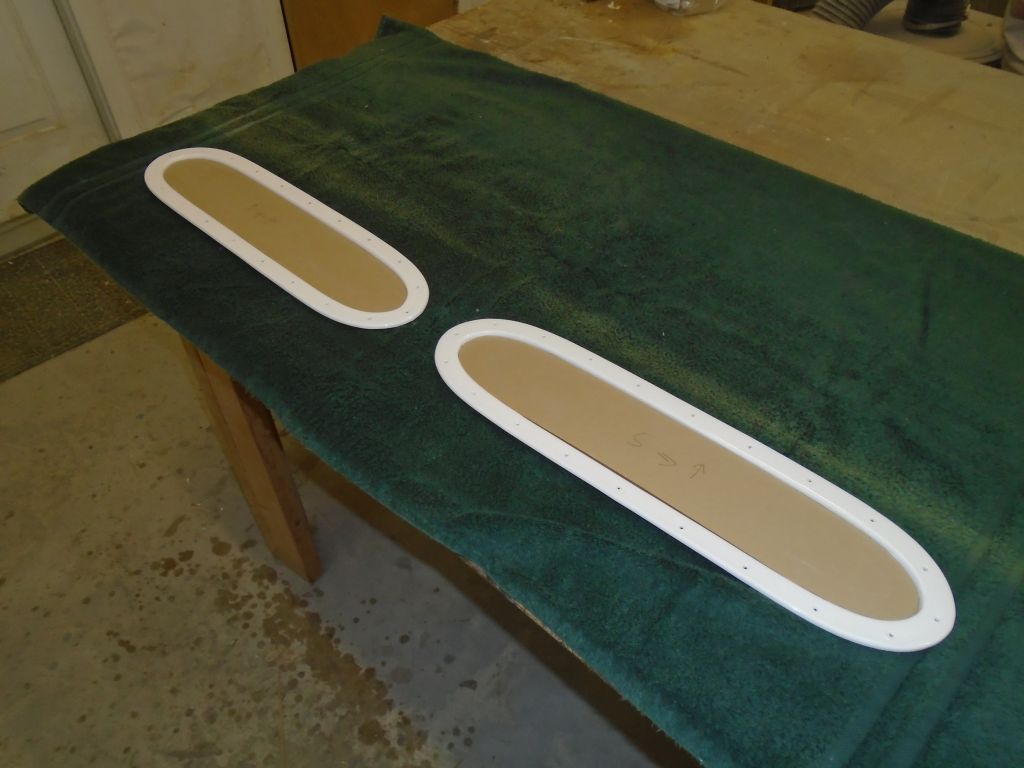
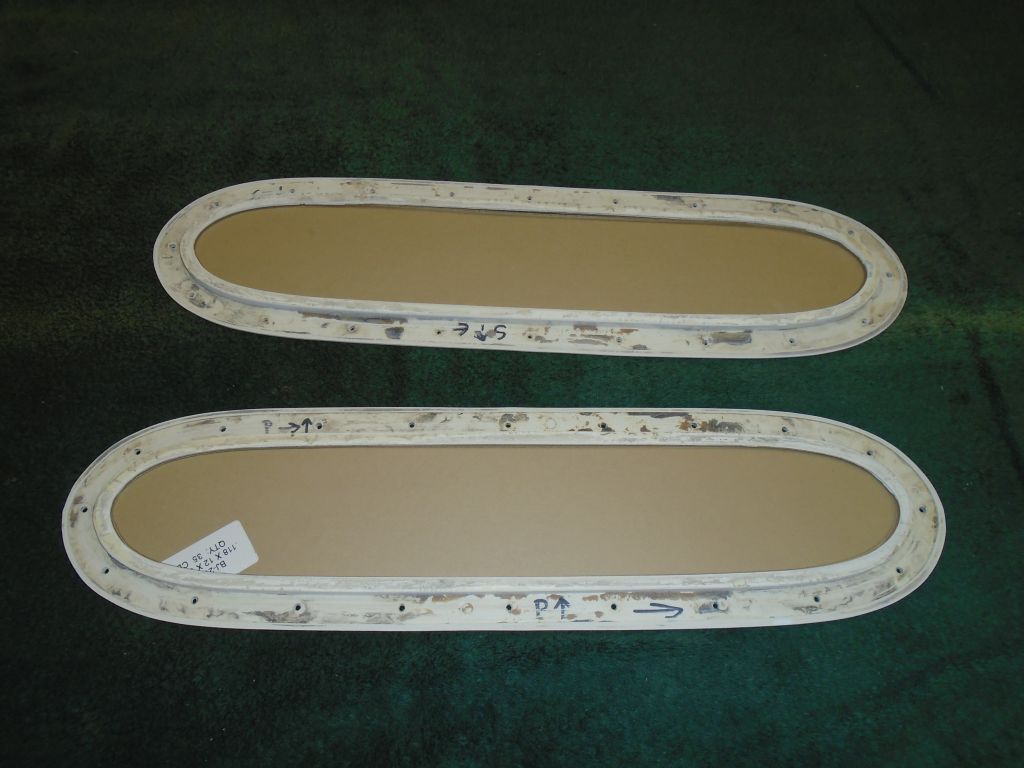
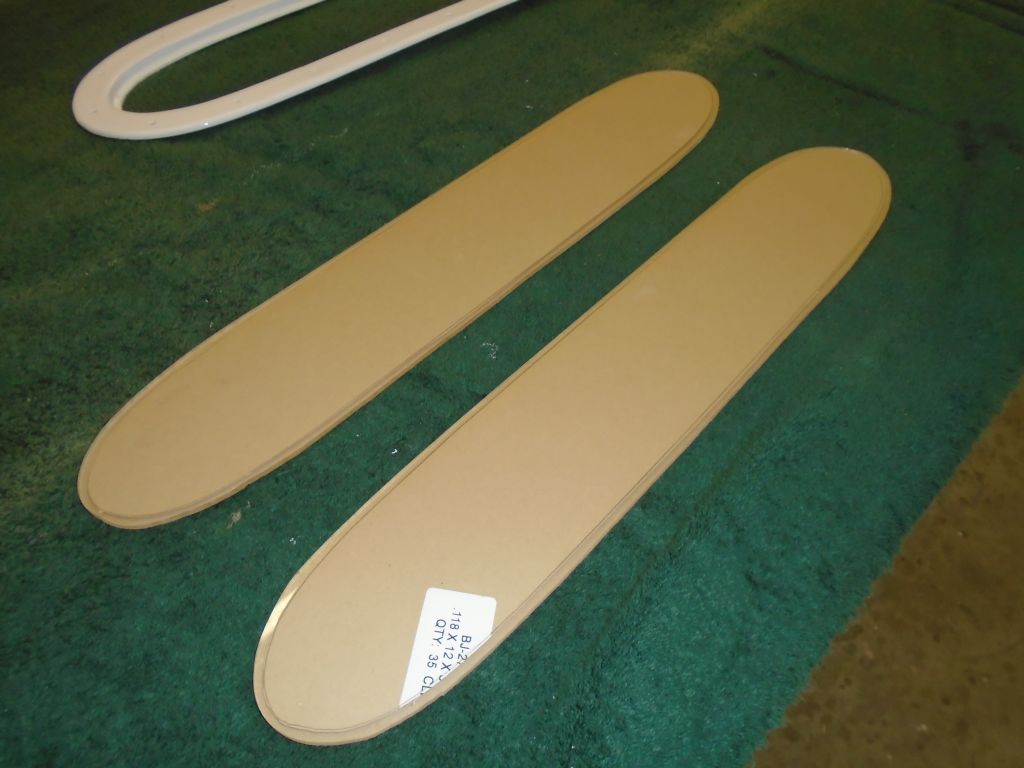
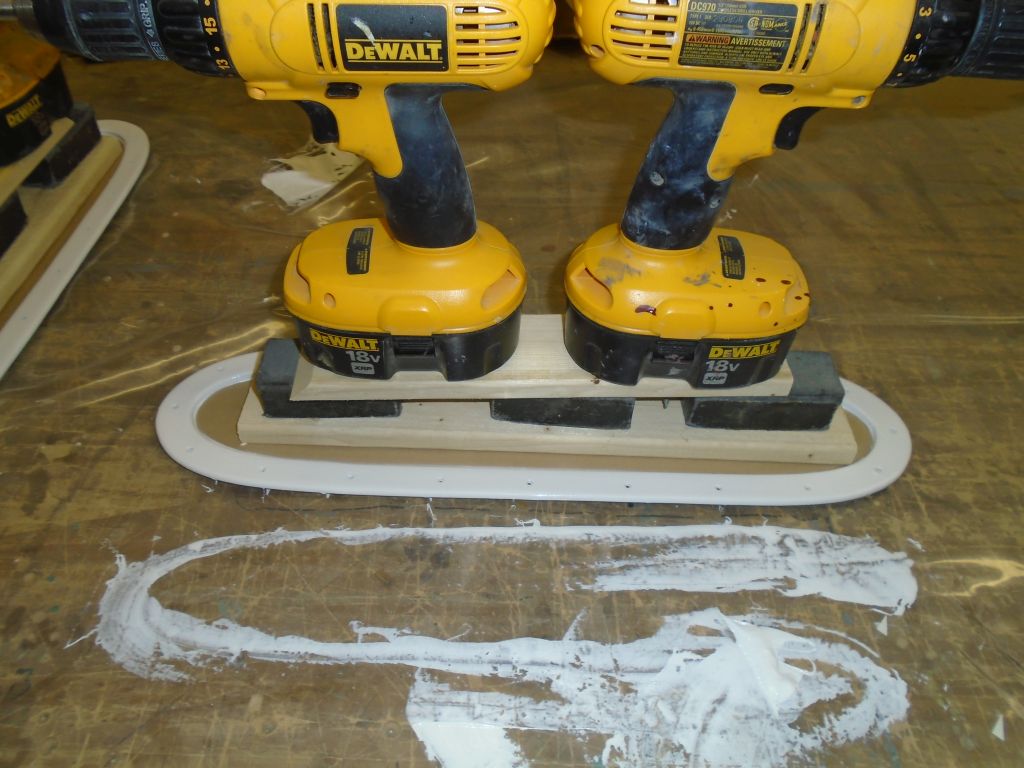
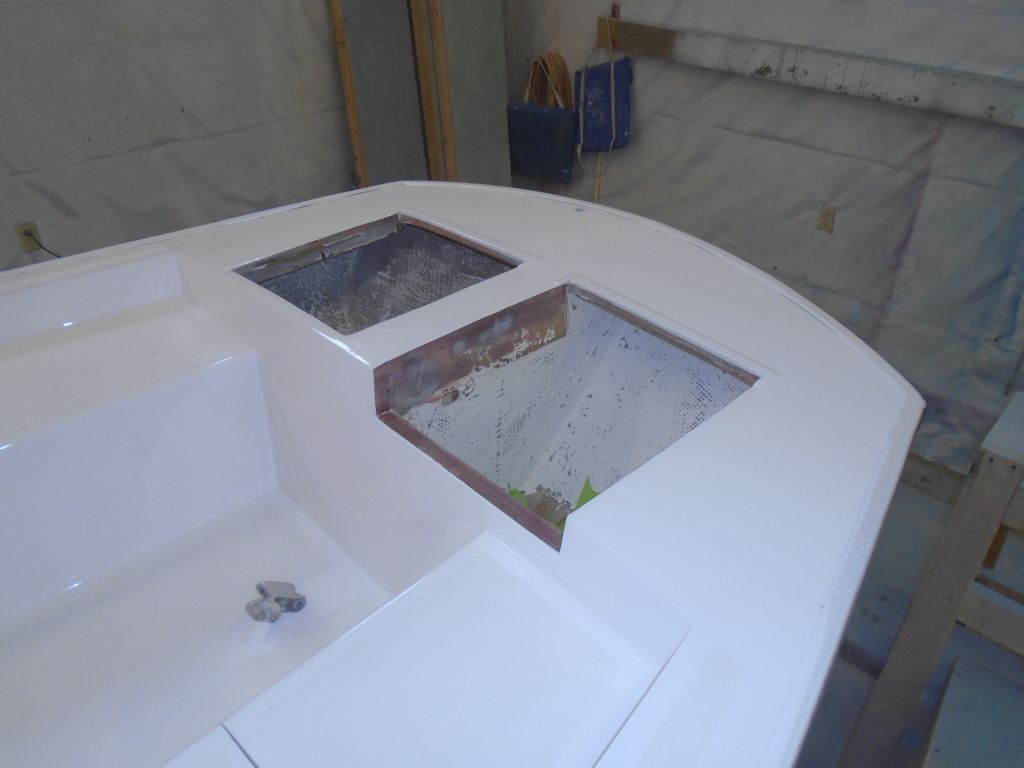
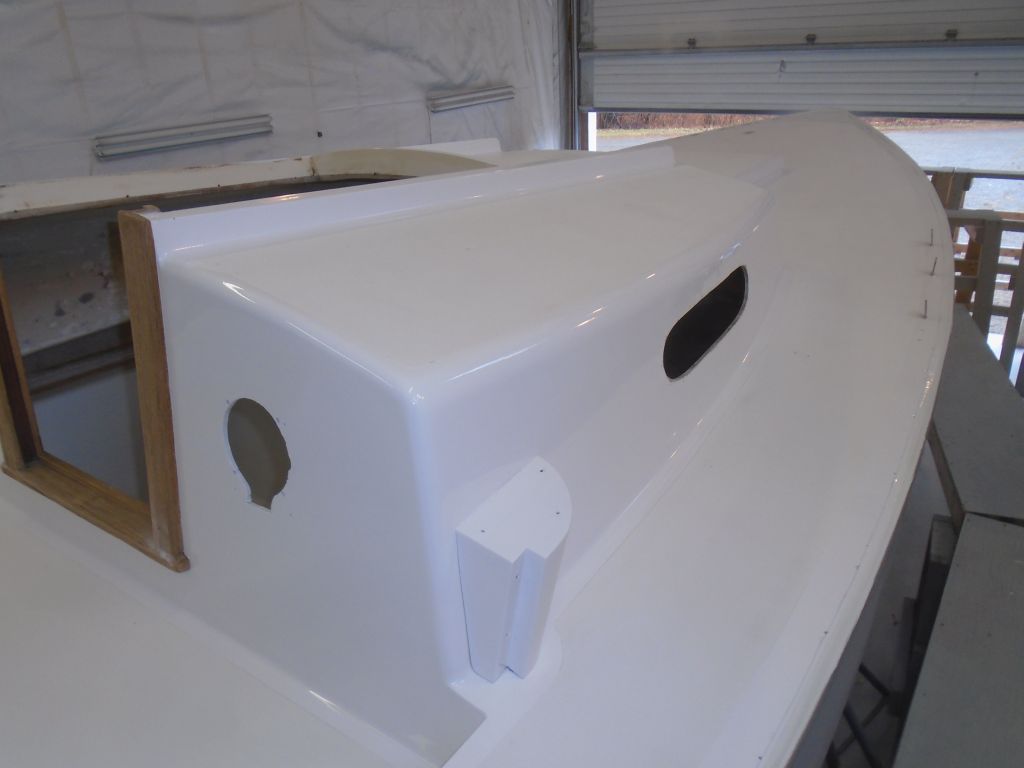
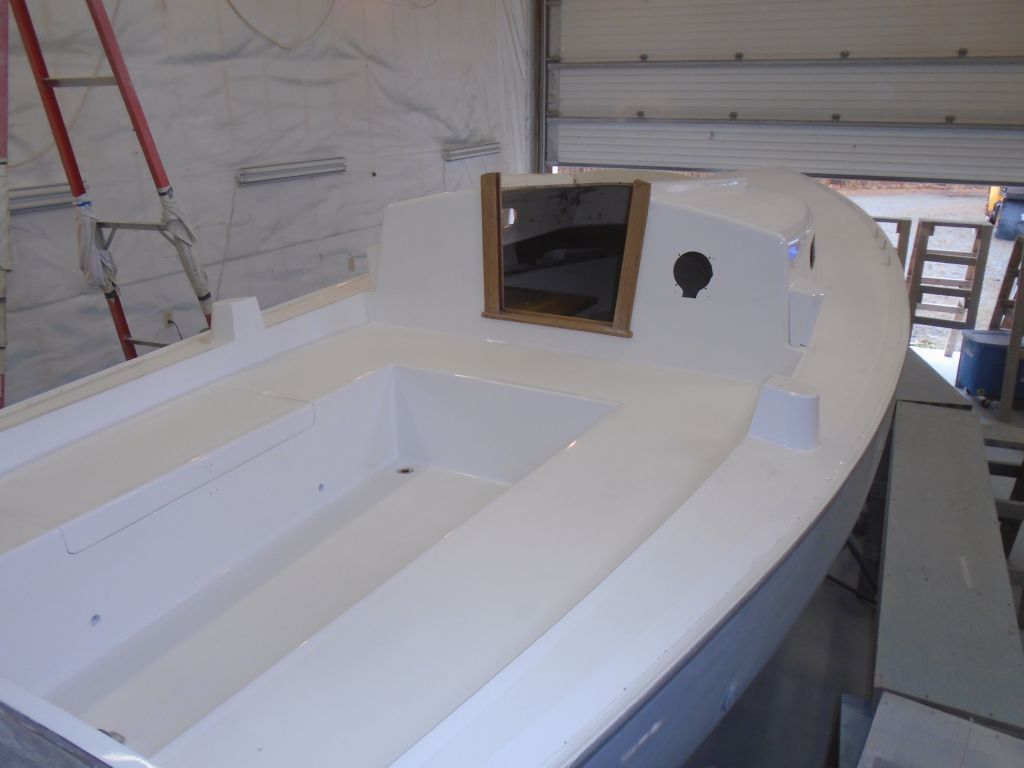
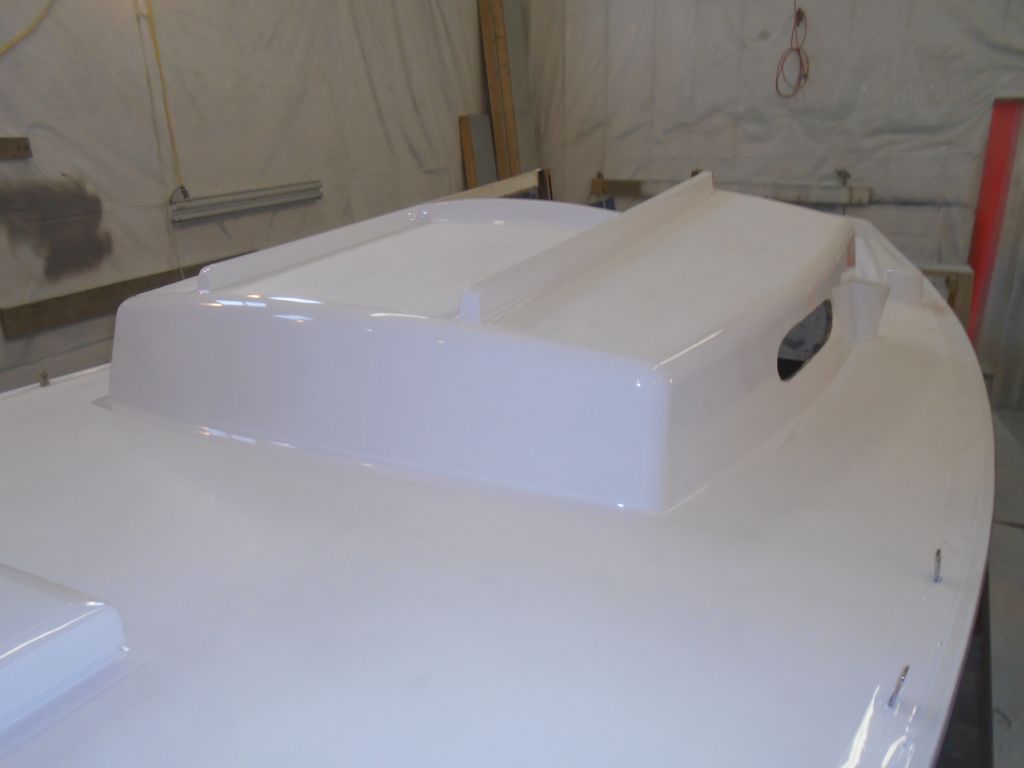
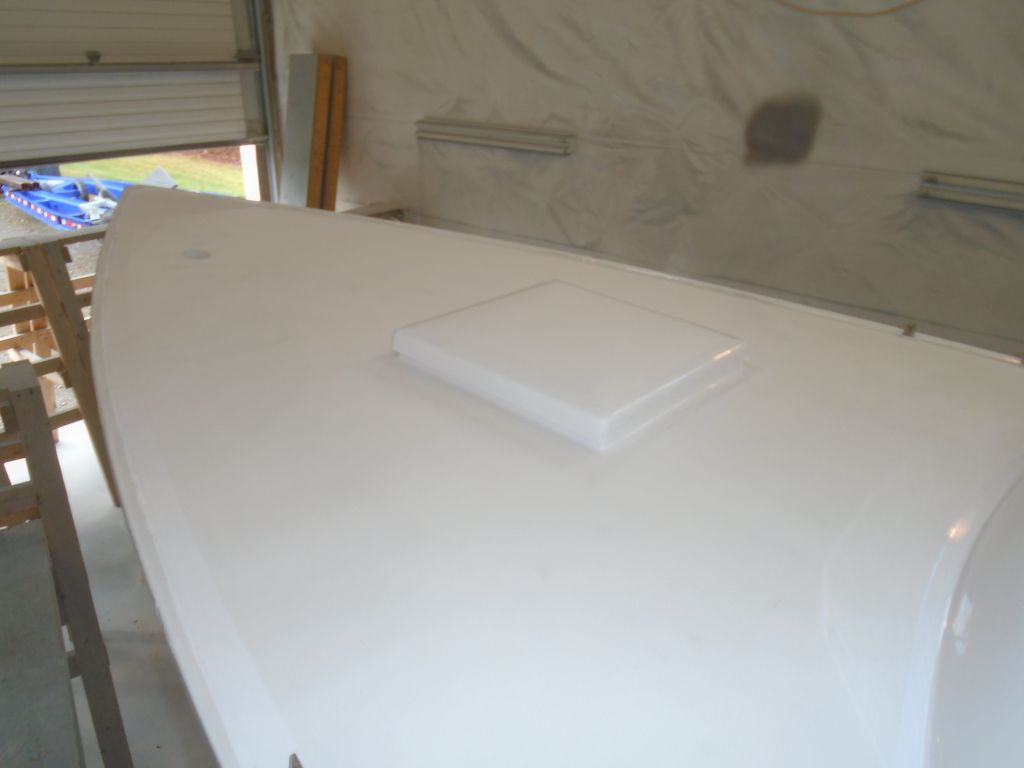
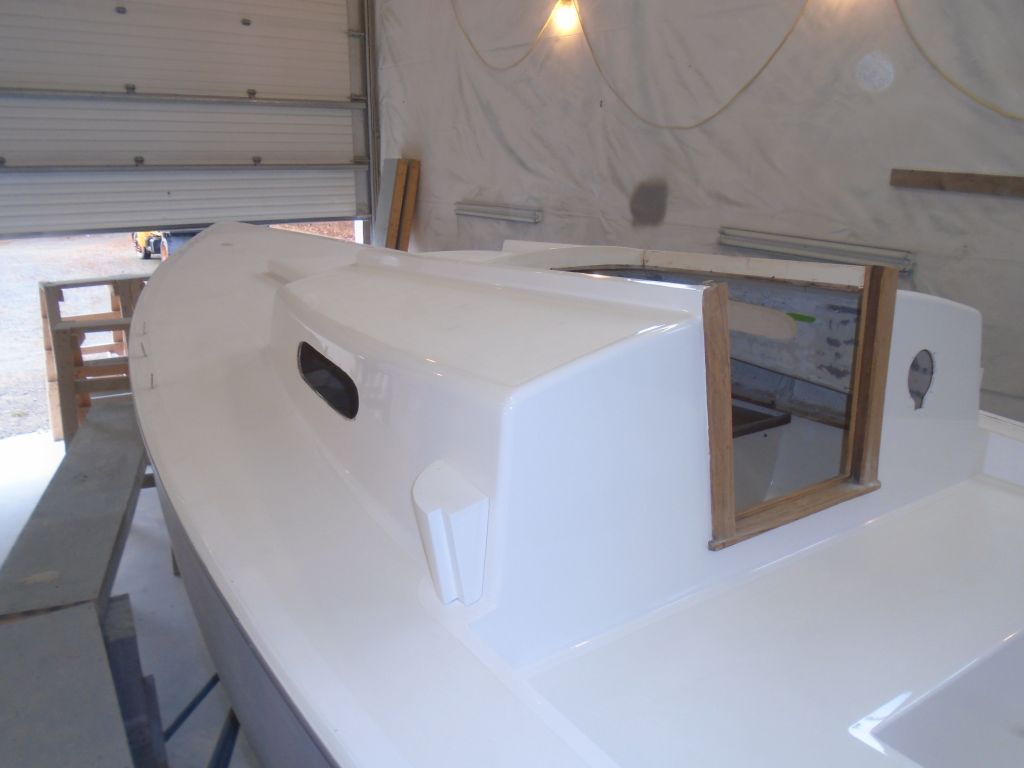
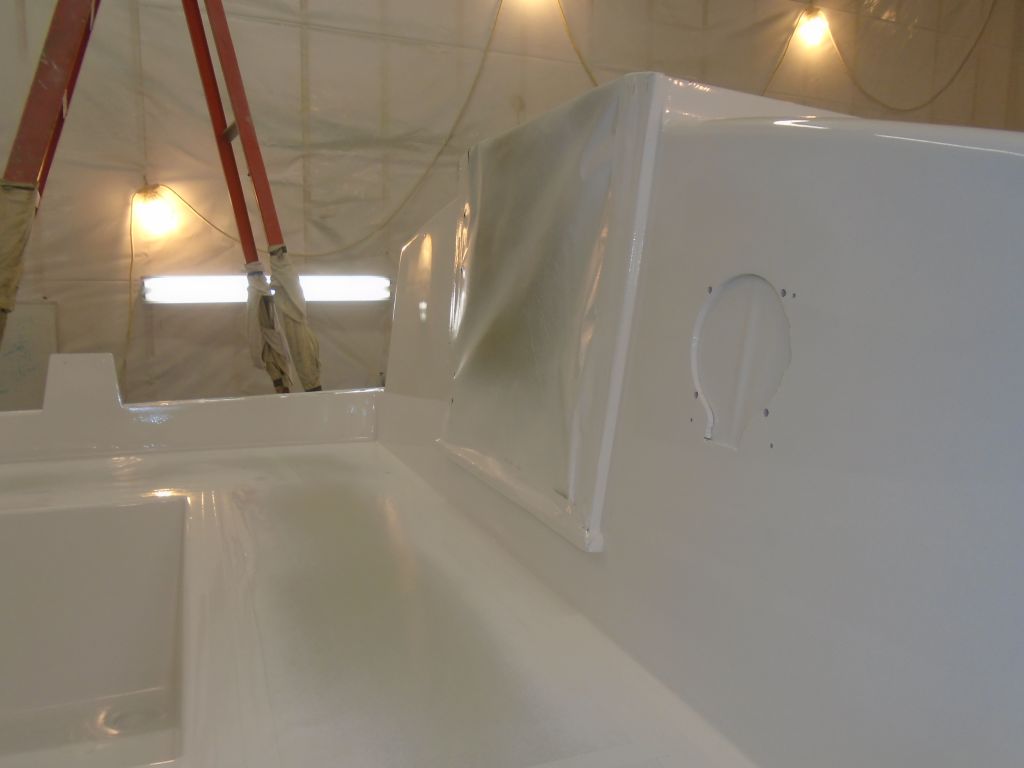
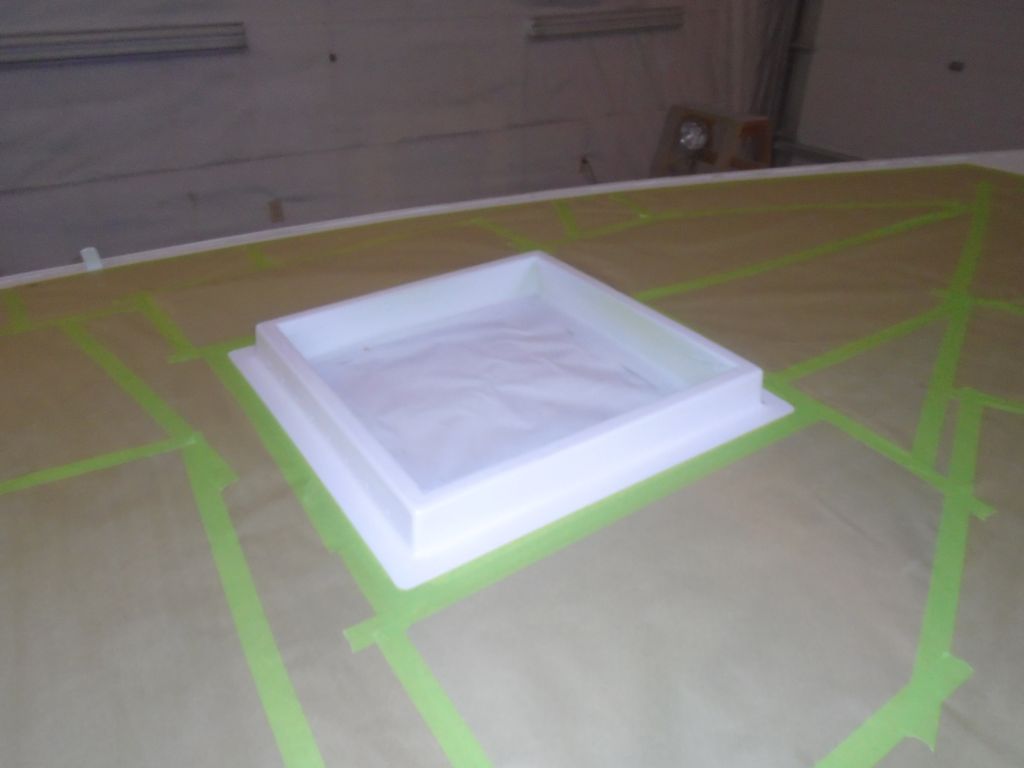
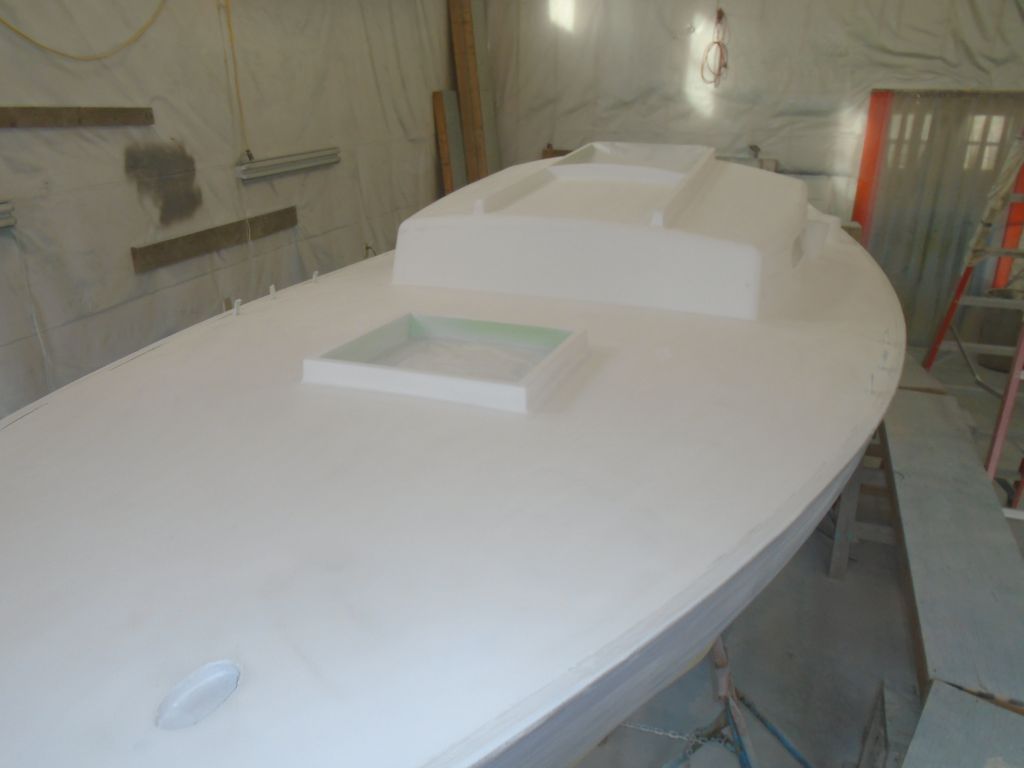
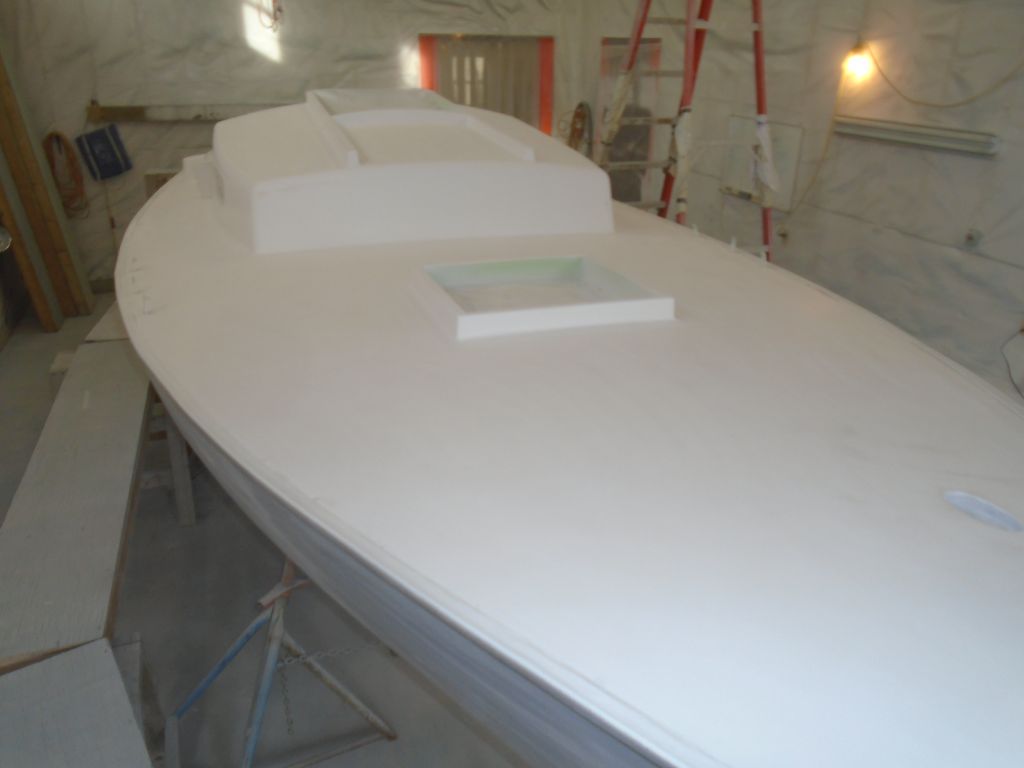
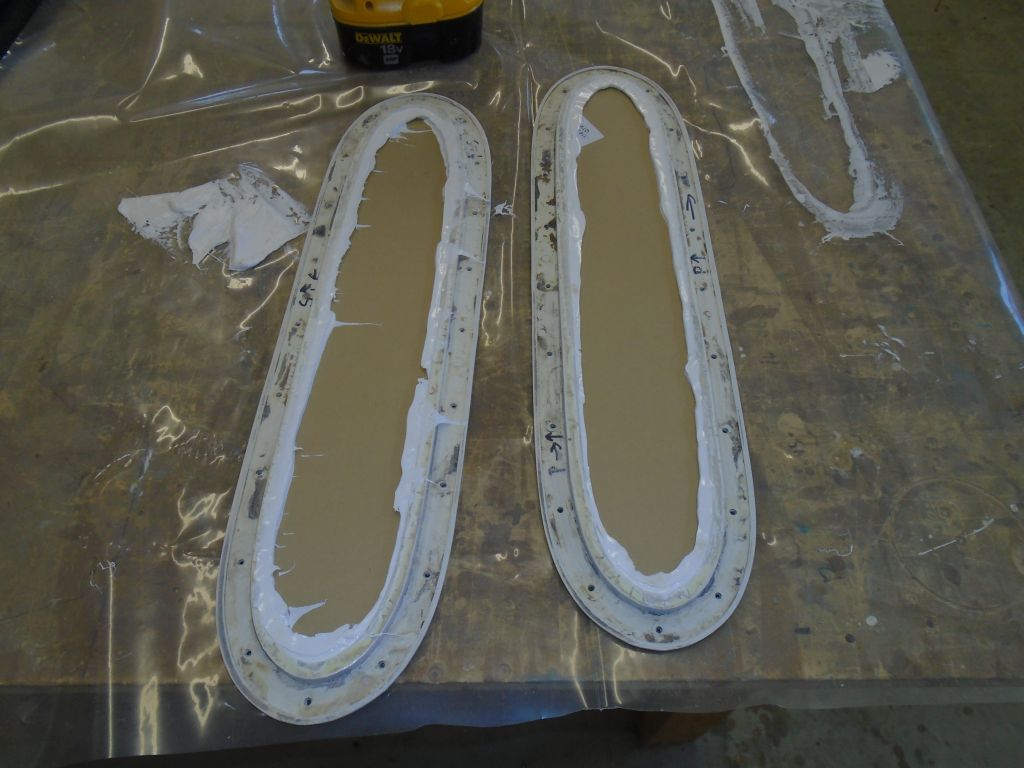
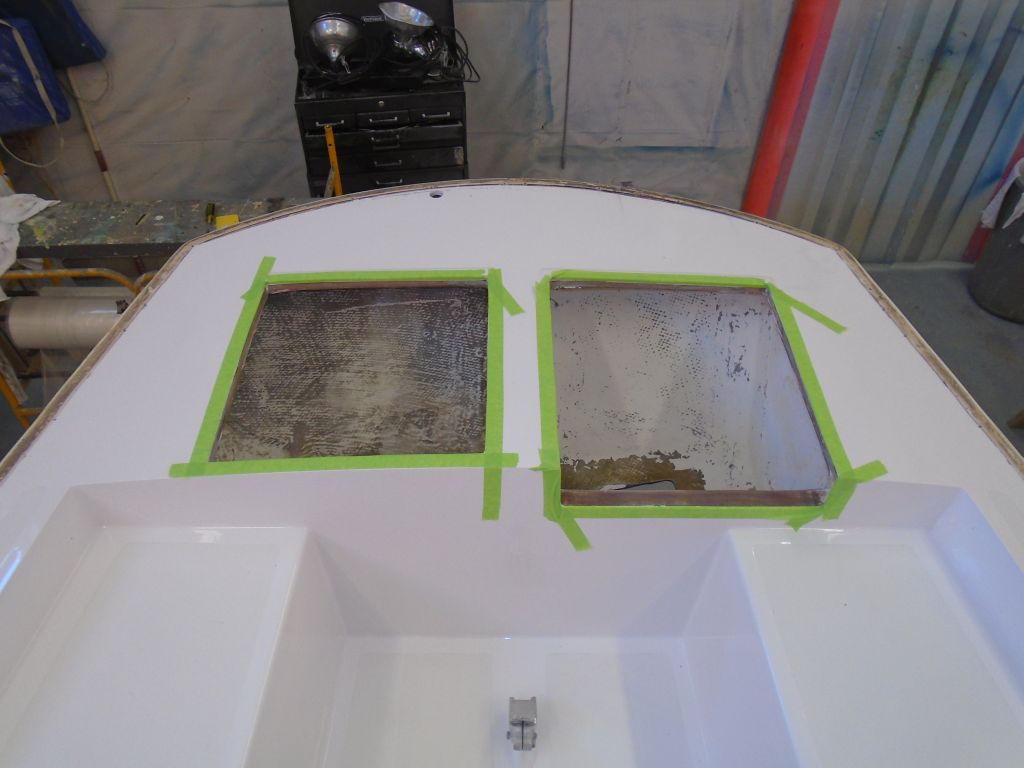
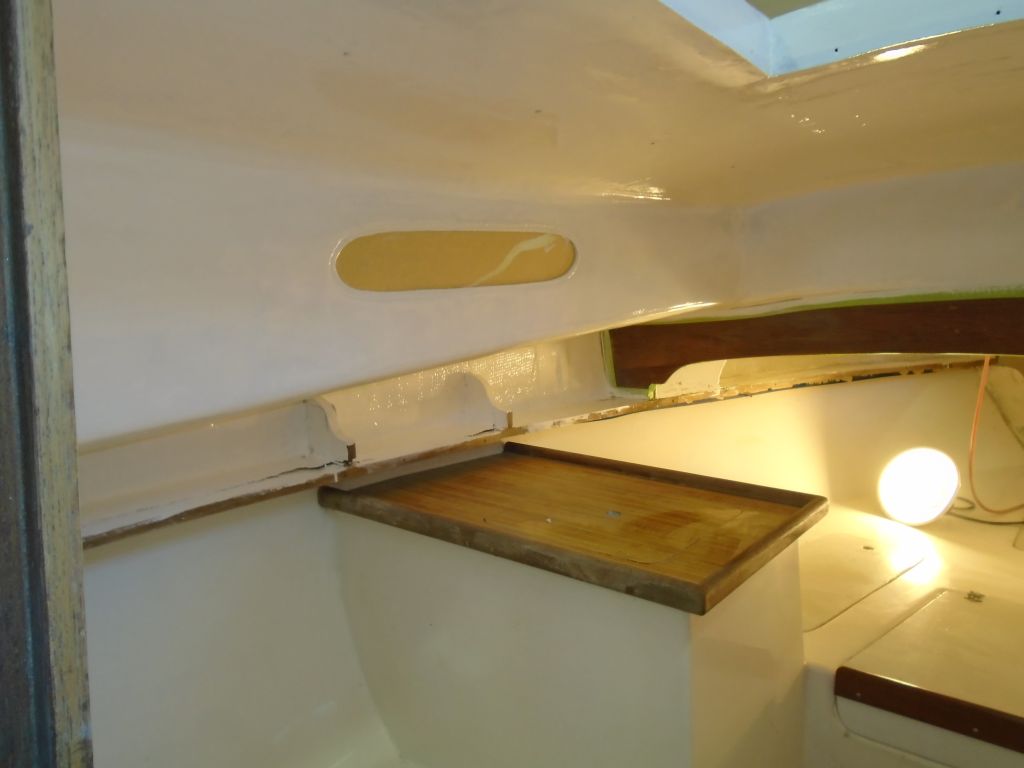
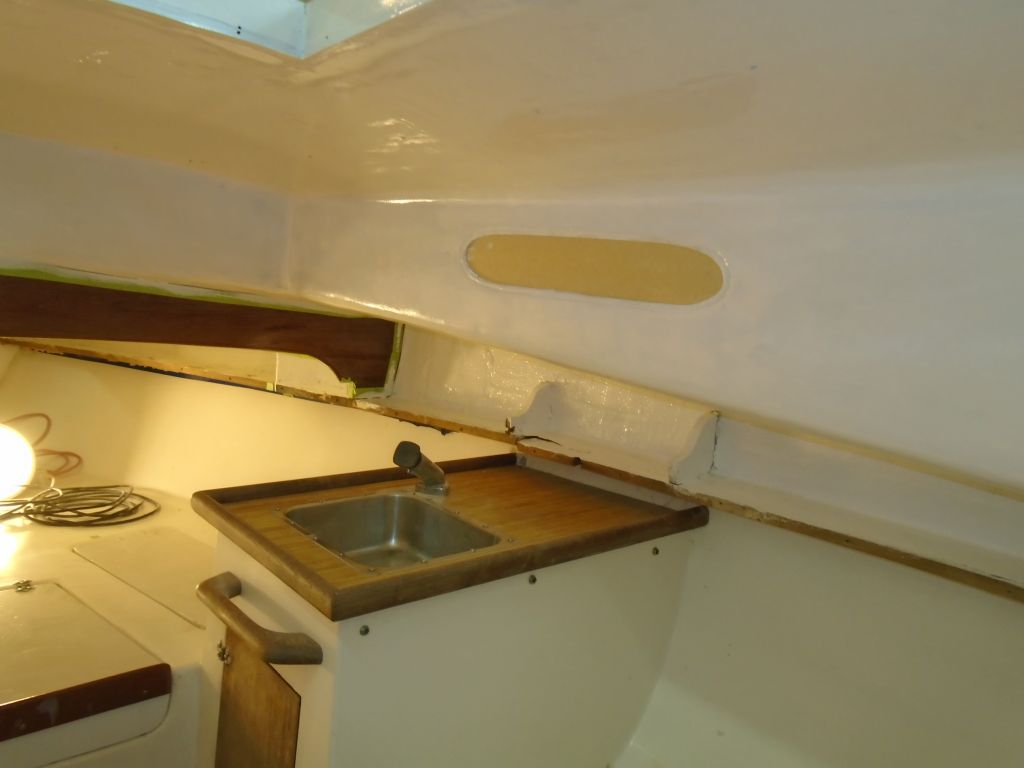
After unclamping the deadlights and their new lenses, I was left with cured squeezeout on the inside faces of the units, which I trimmed and removed easily with a knife.  Then, I installed the assemblies with their original screws and plenty of sealant.  I removed the protective masking from the outer side of the lens, but left the inside to protect the ports from interior painting, which I was about to begin.

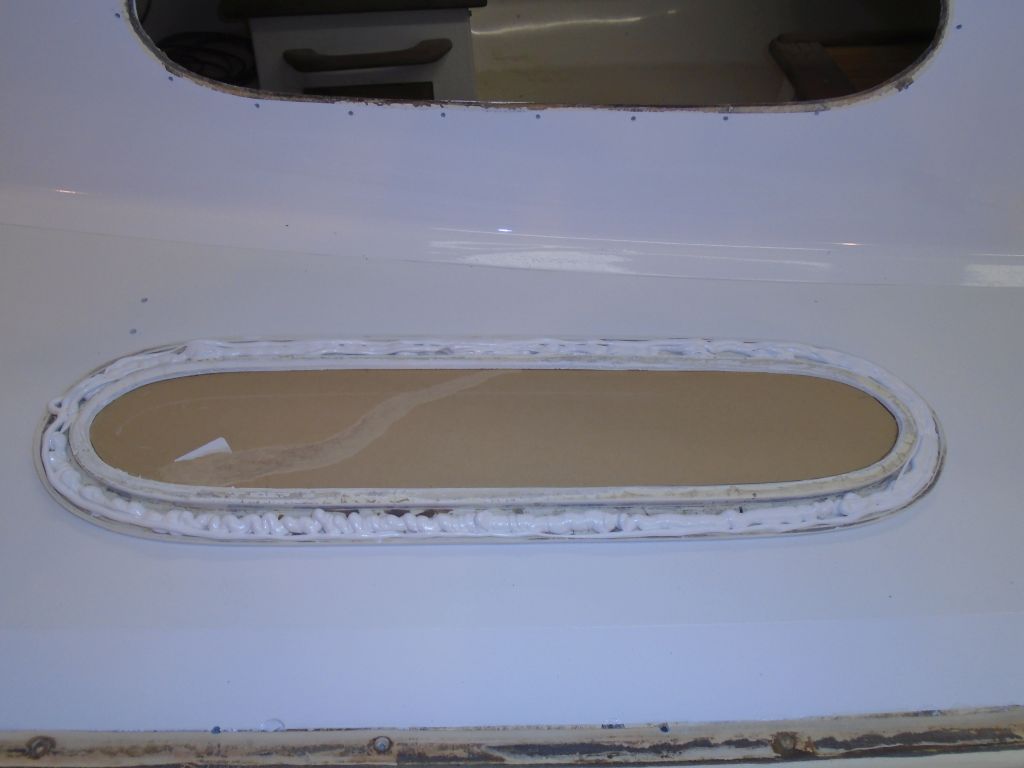
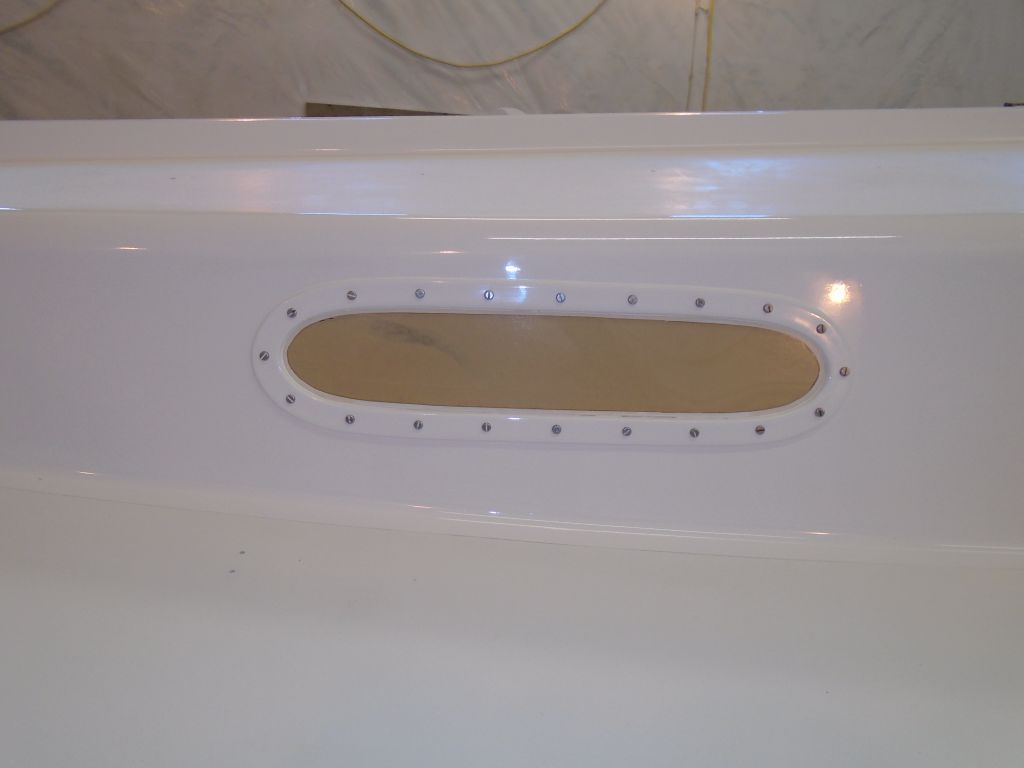
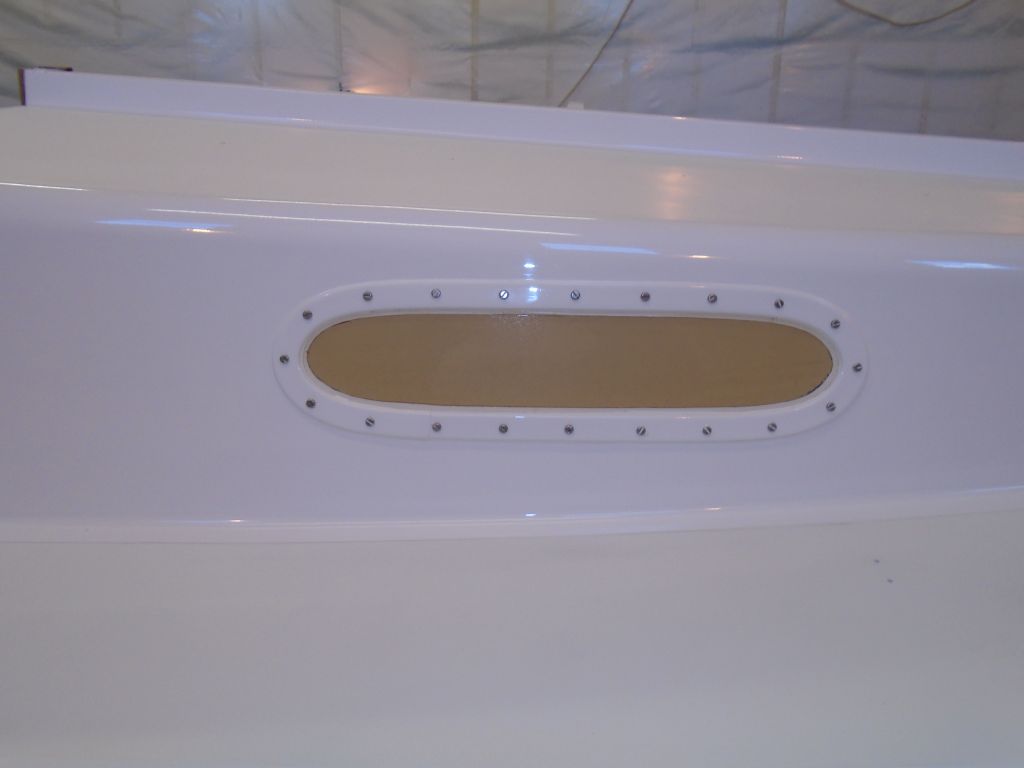
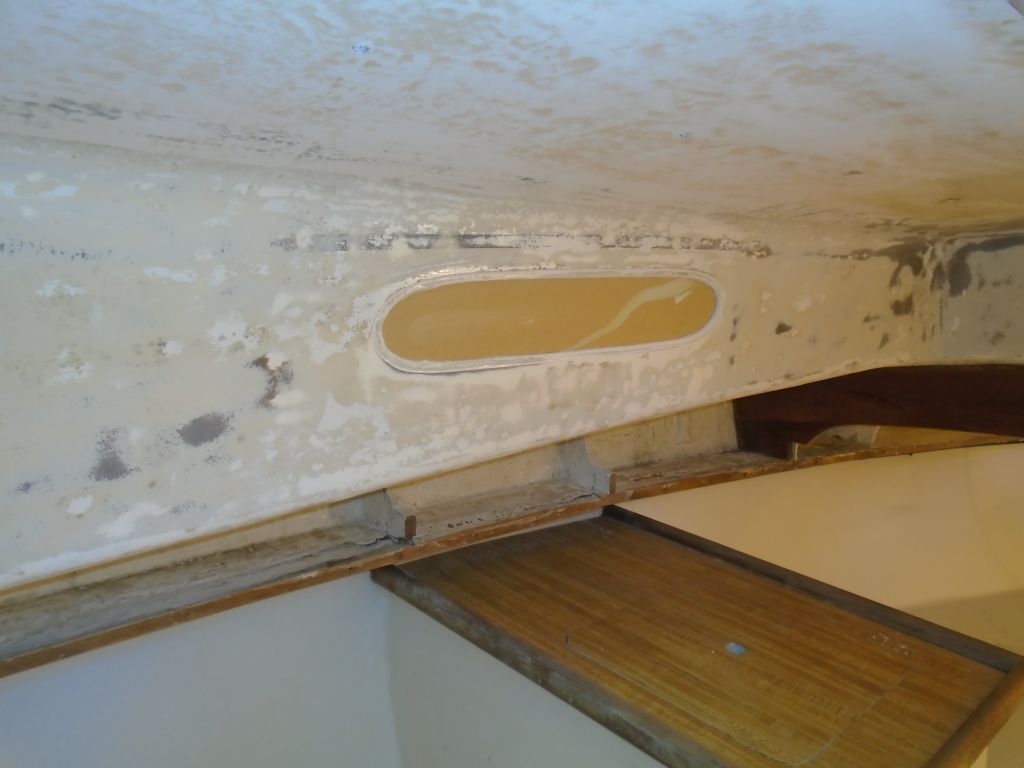
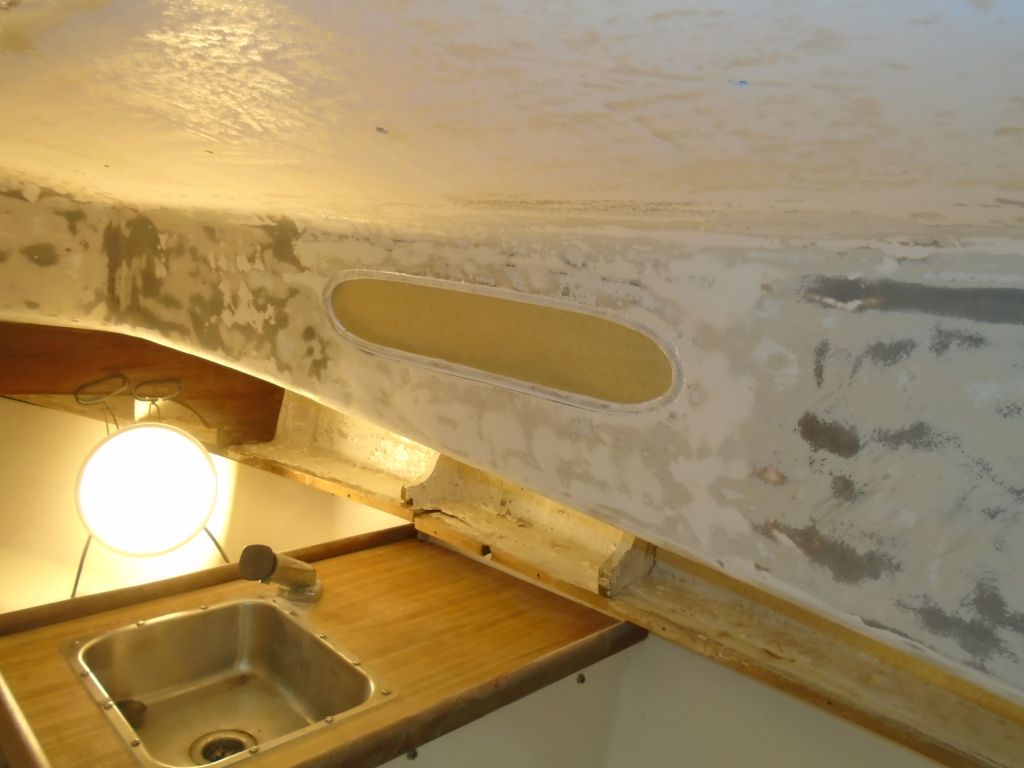
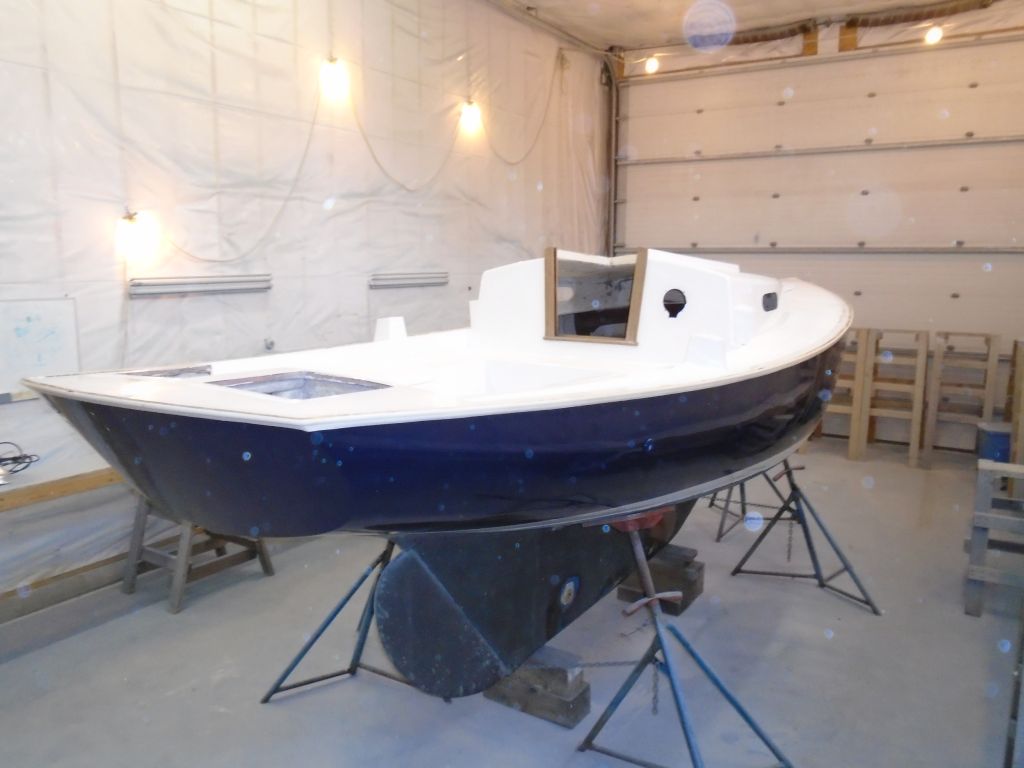
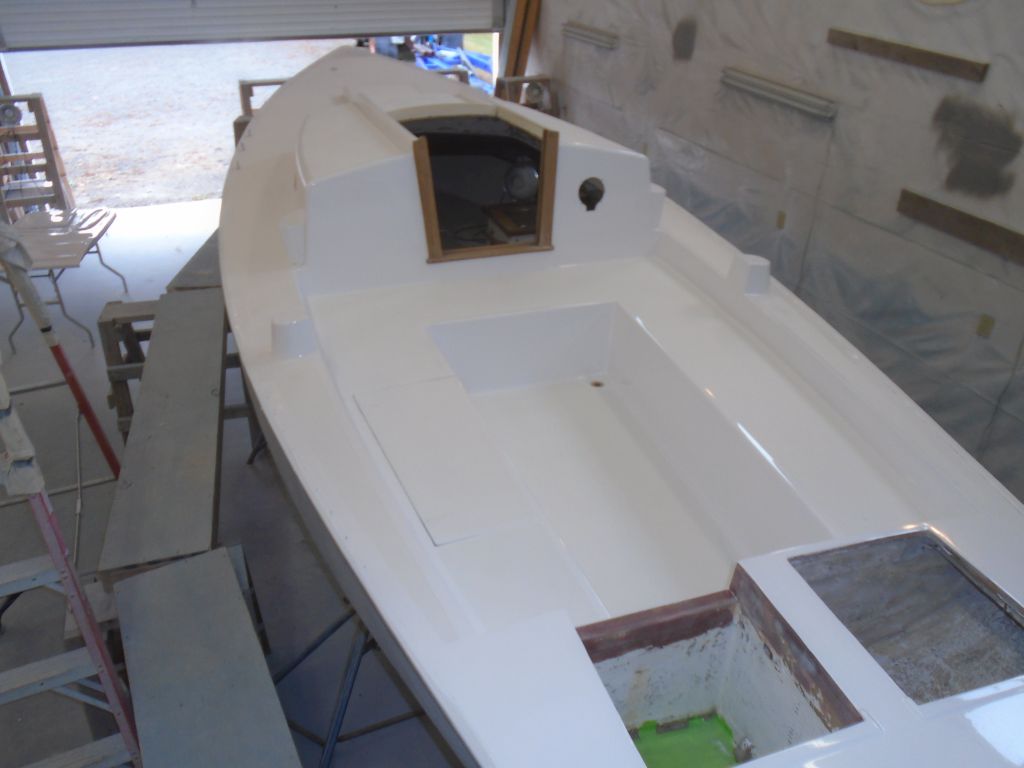
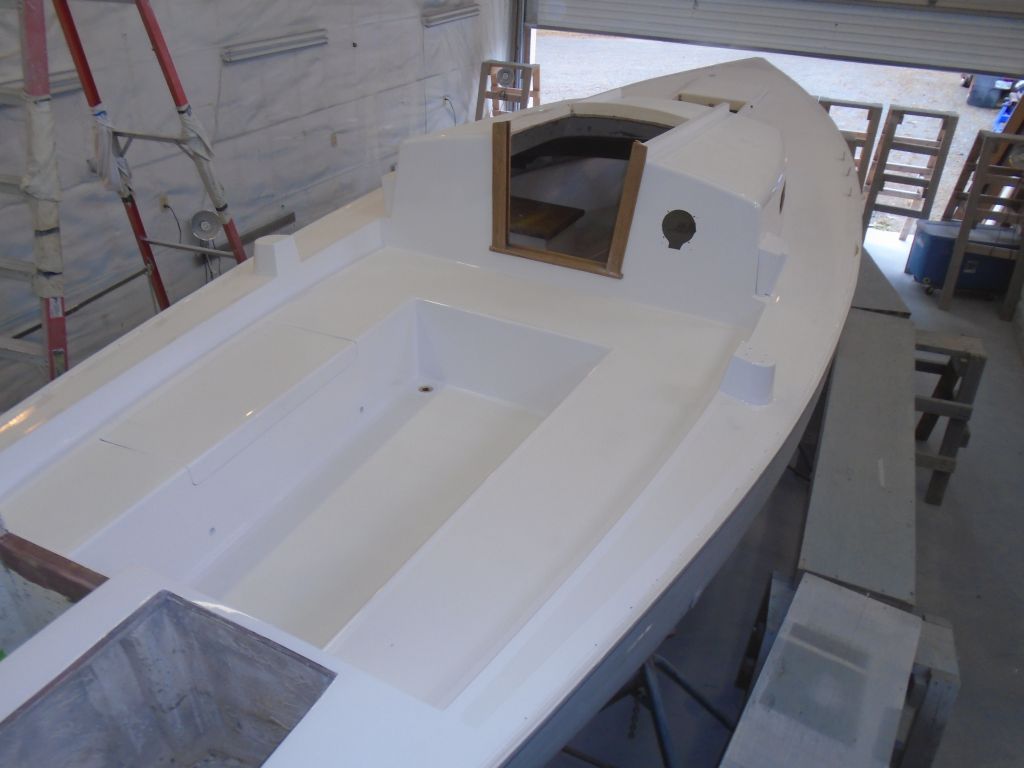
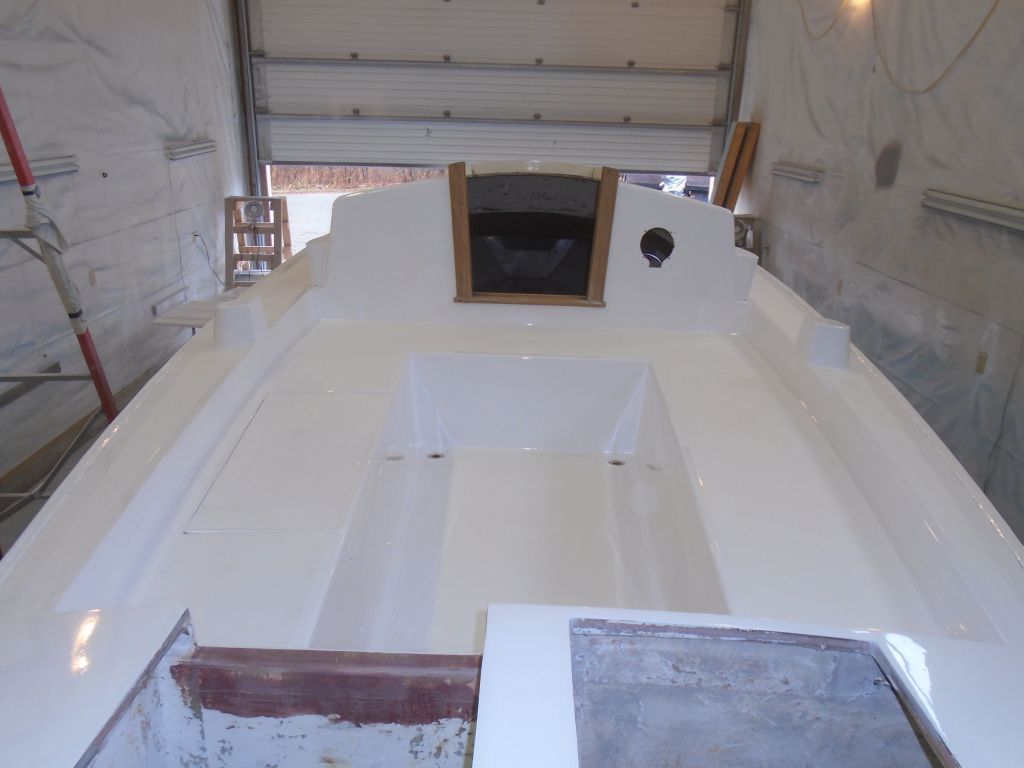
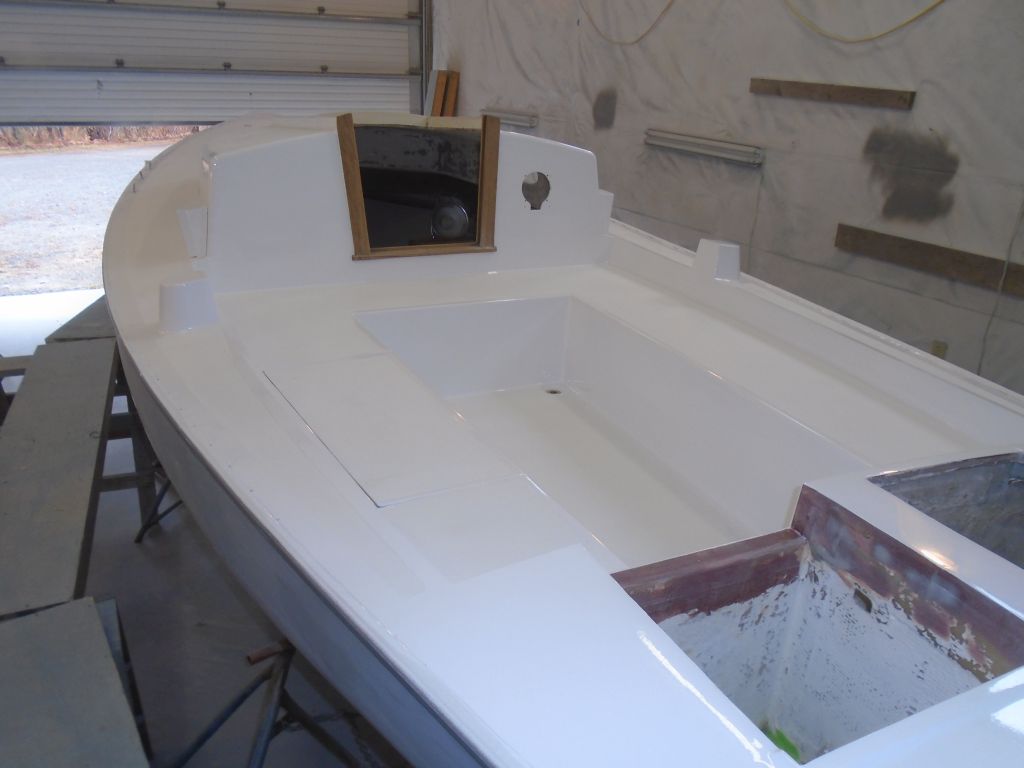
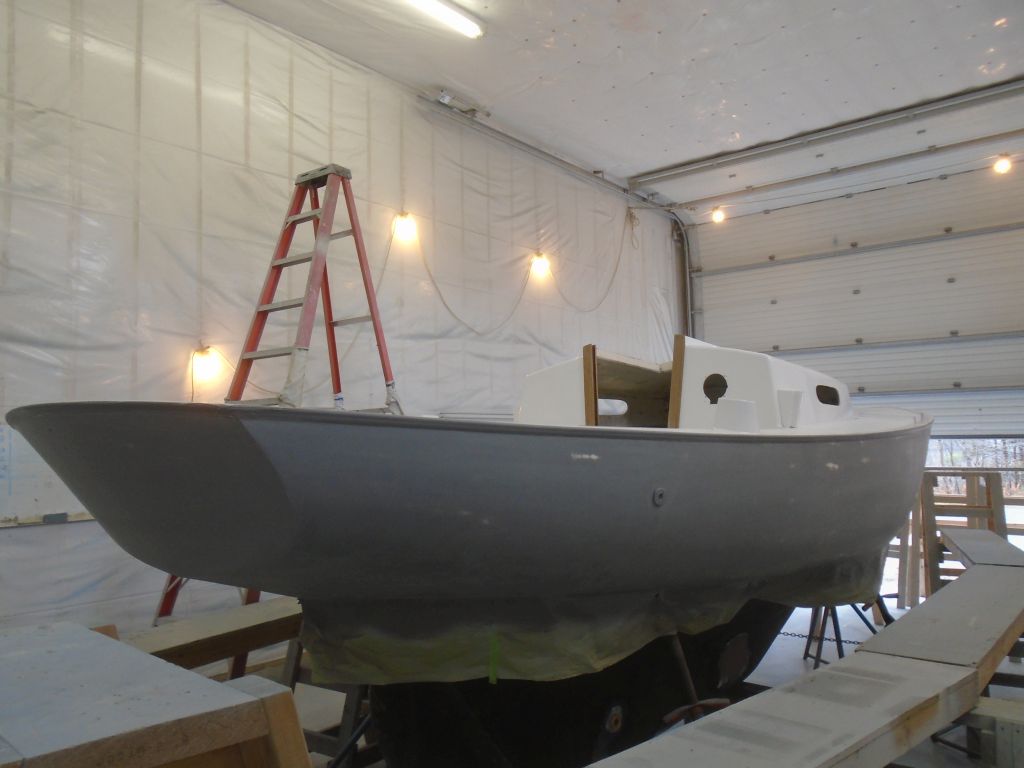
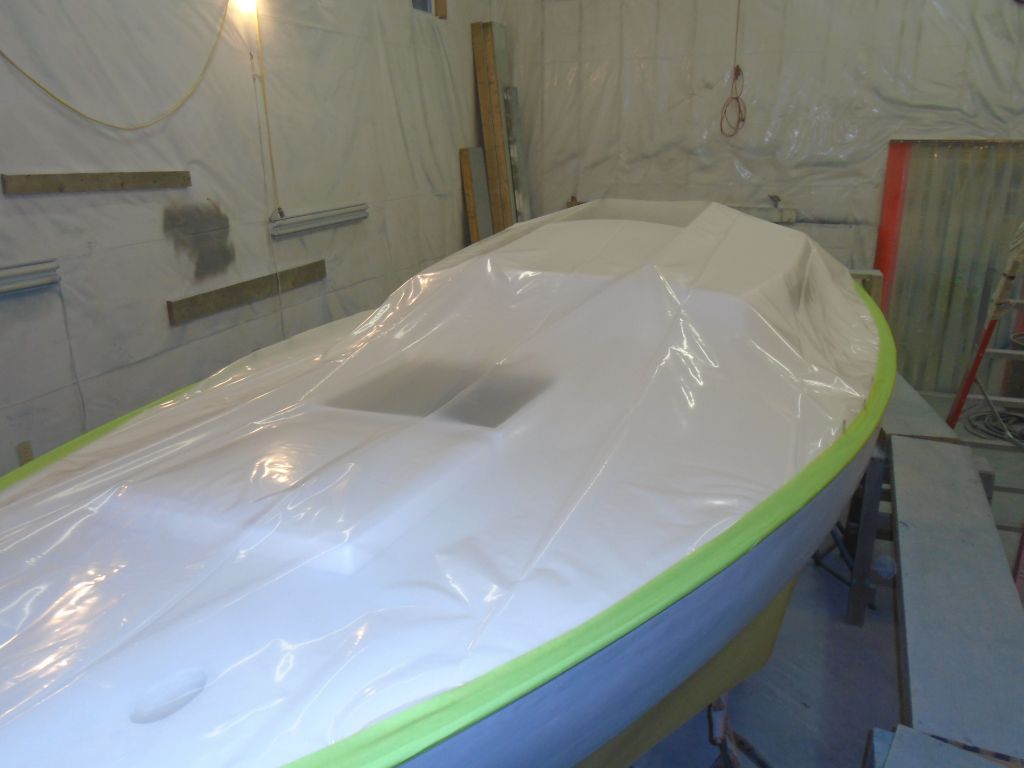
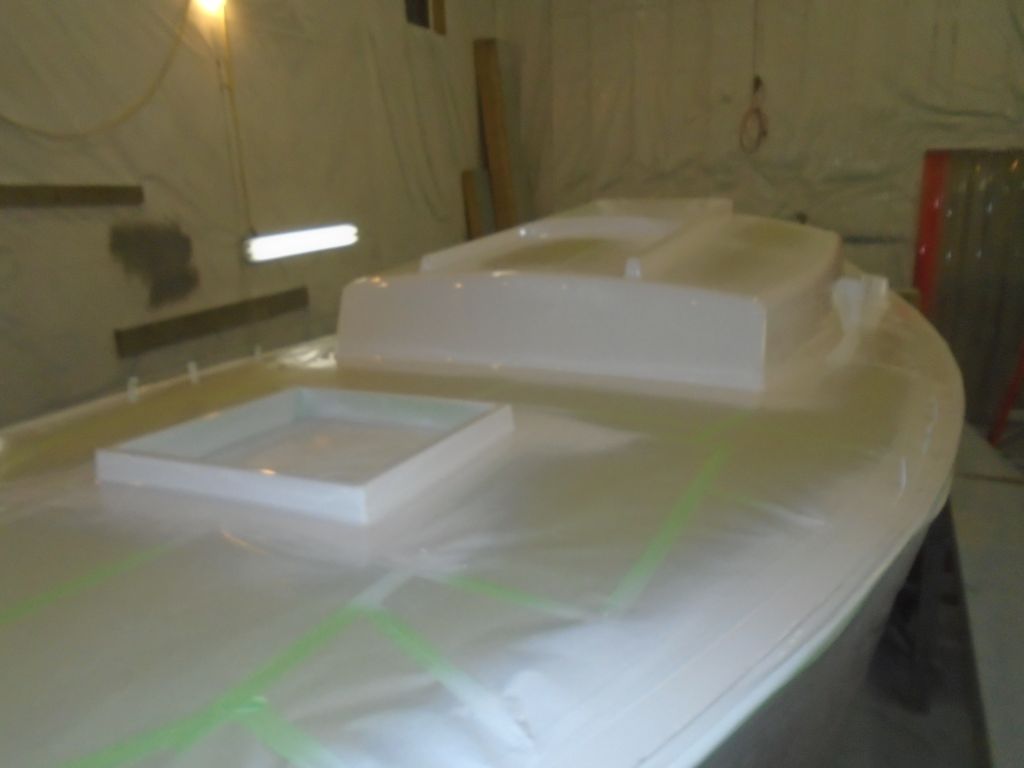
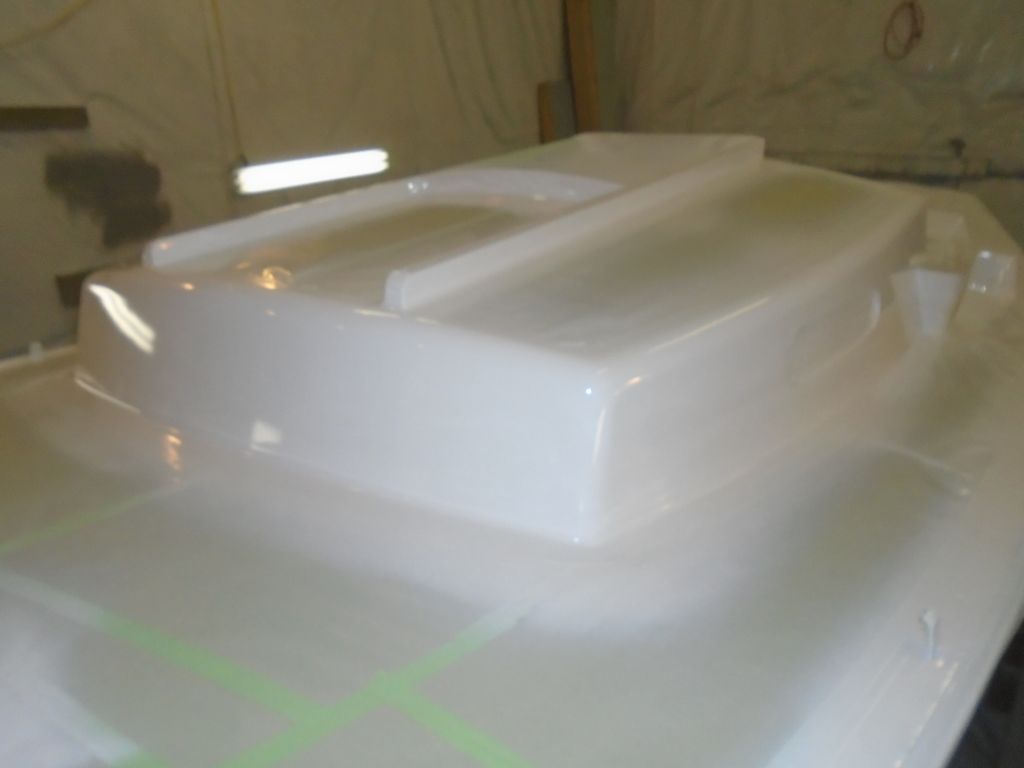
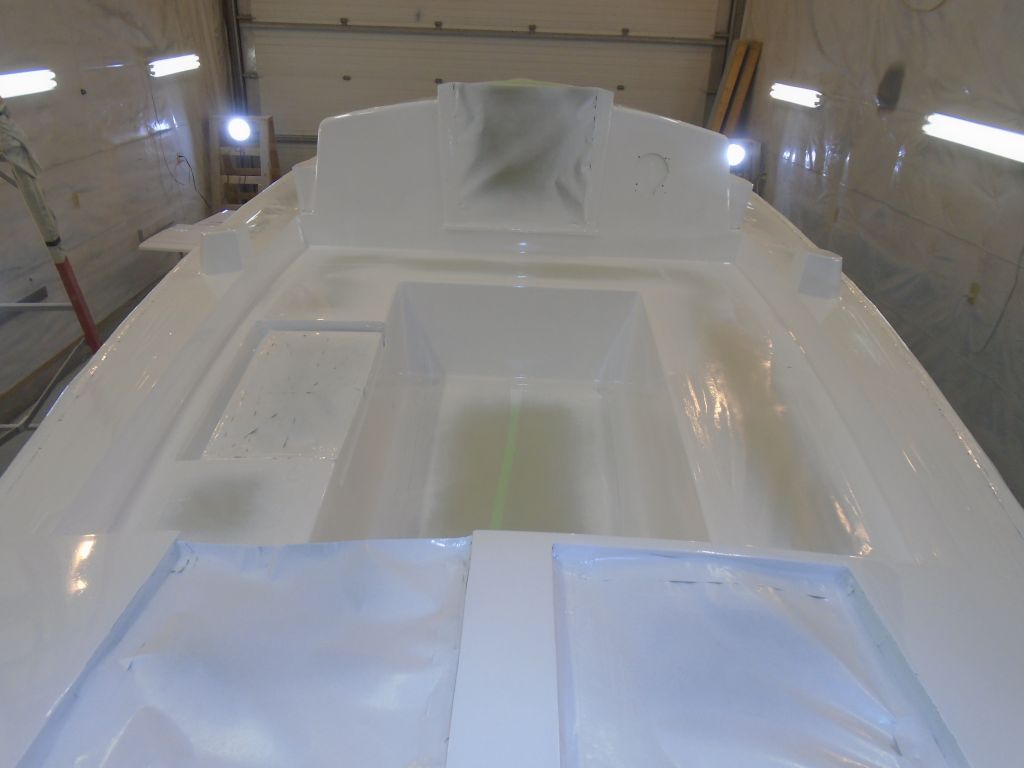
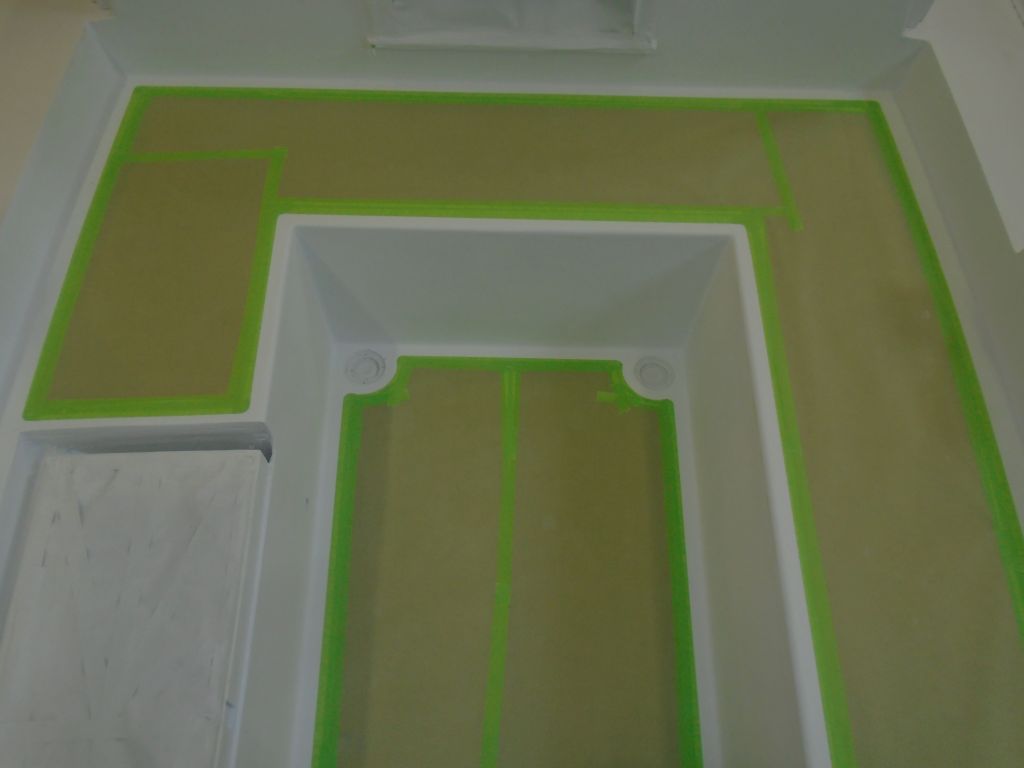
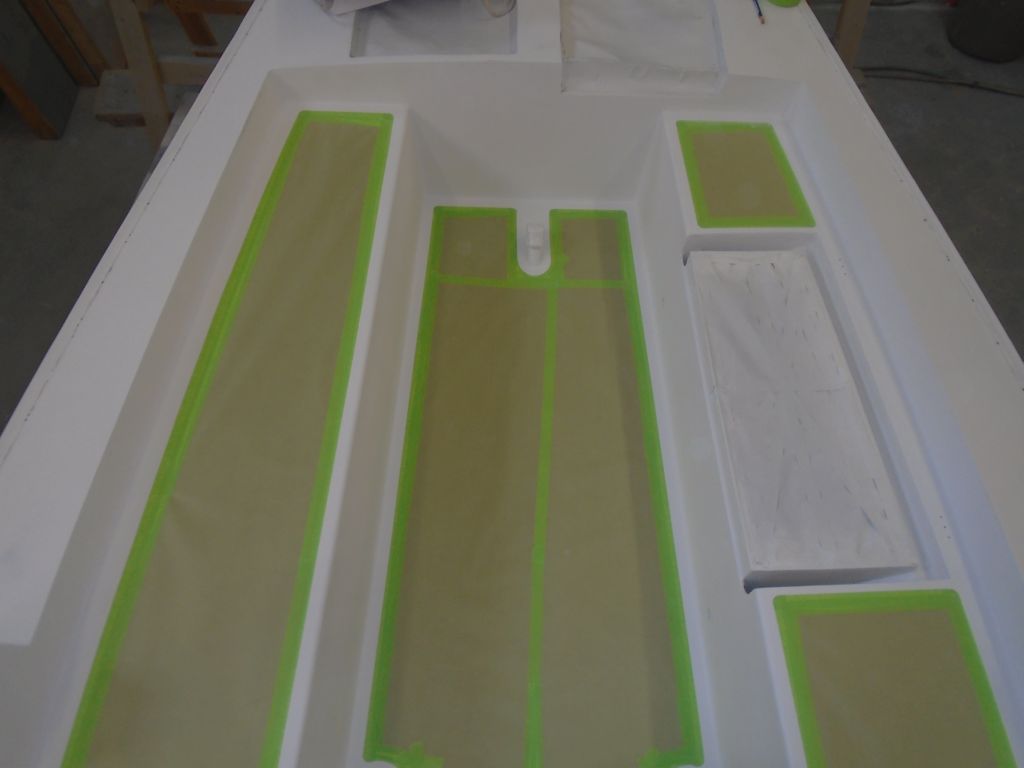
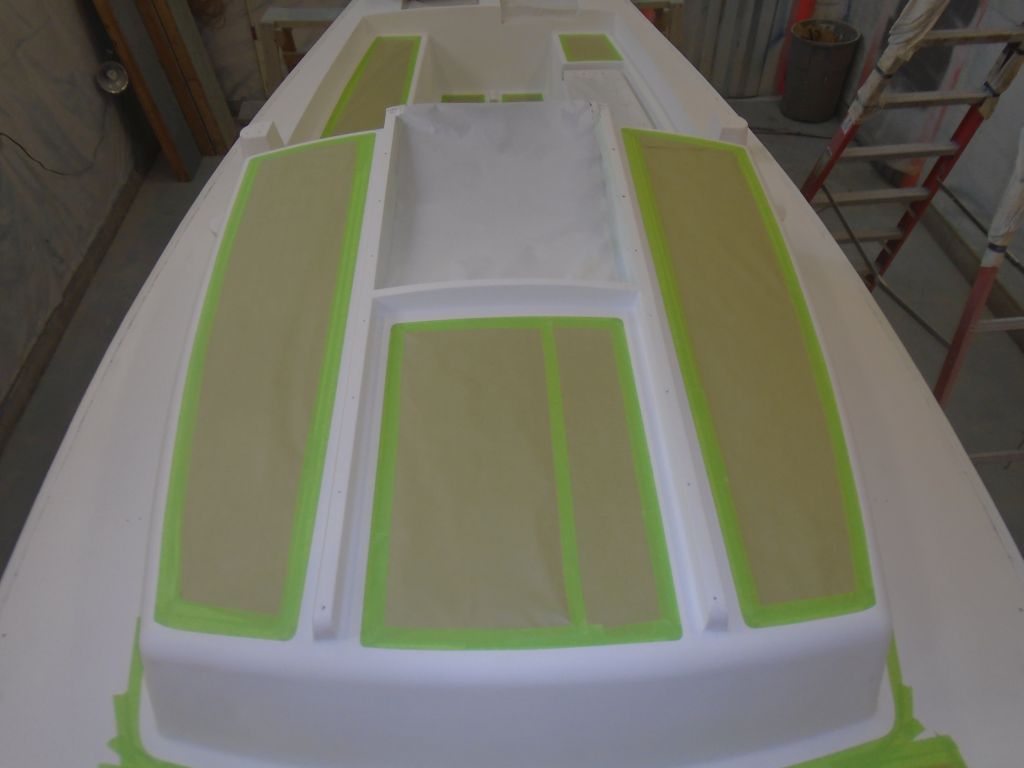
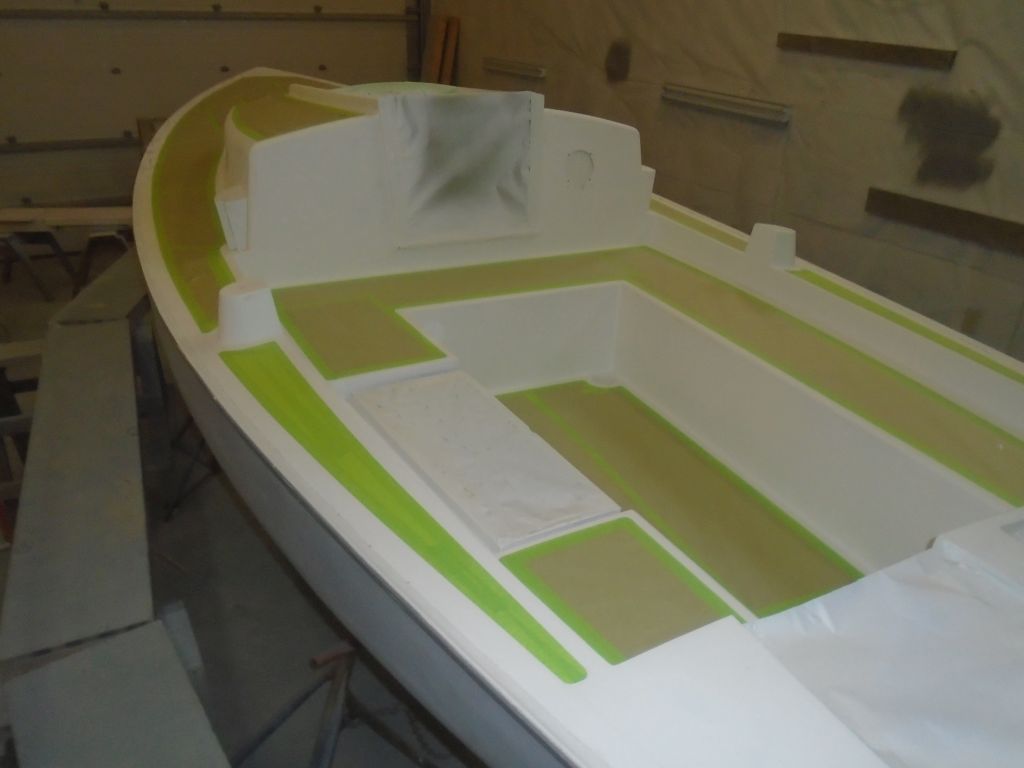
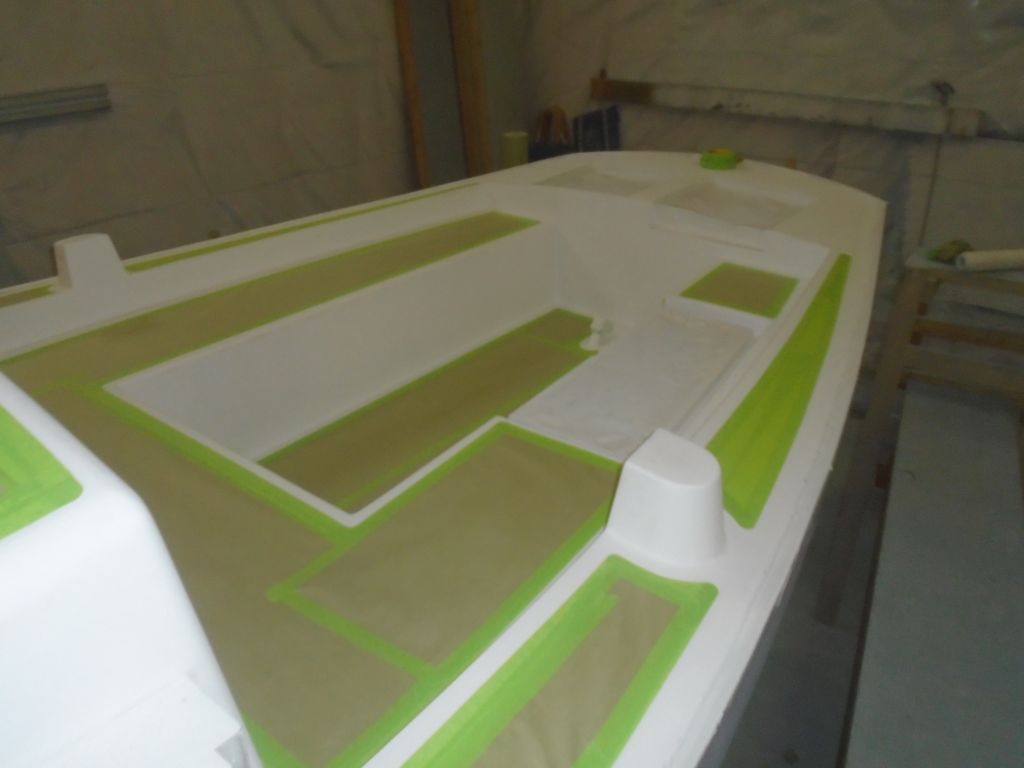
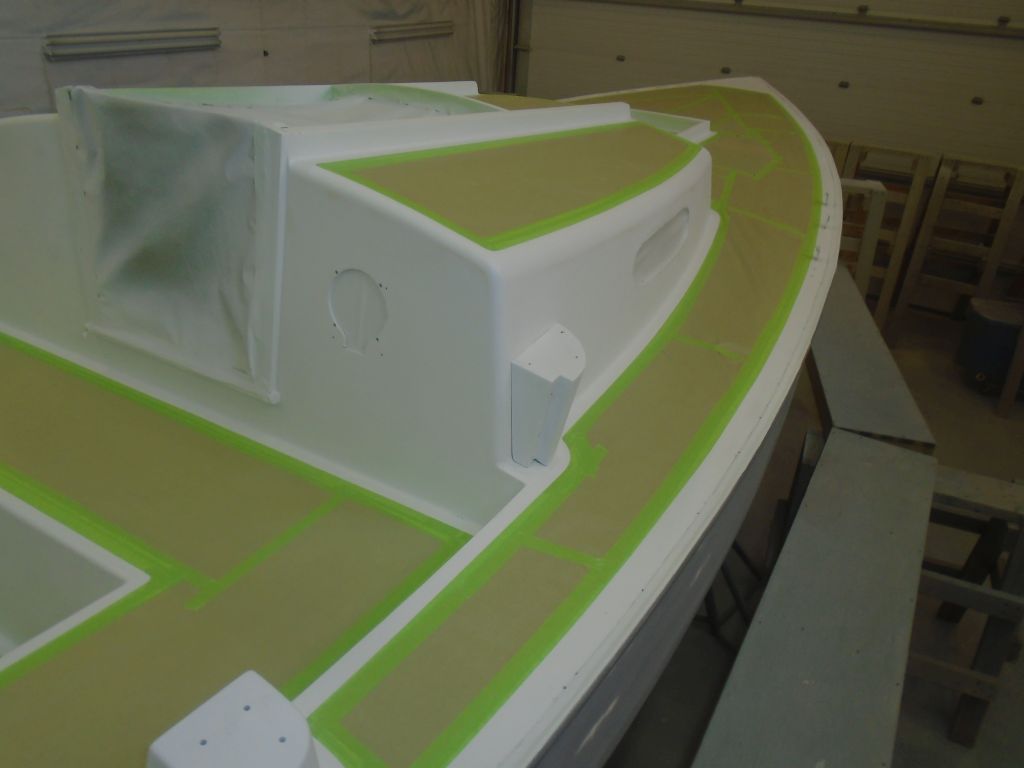
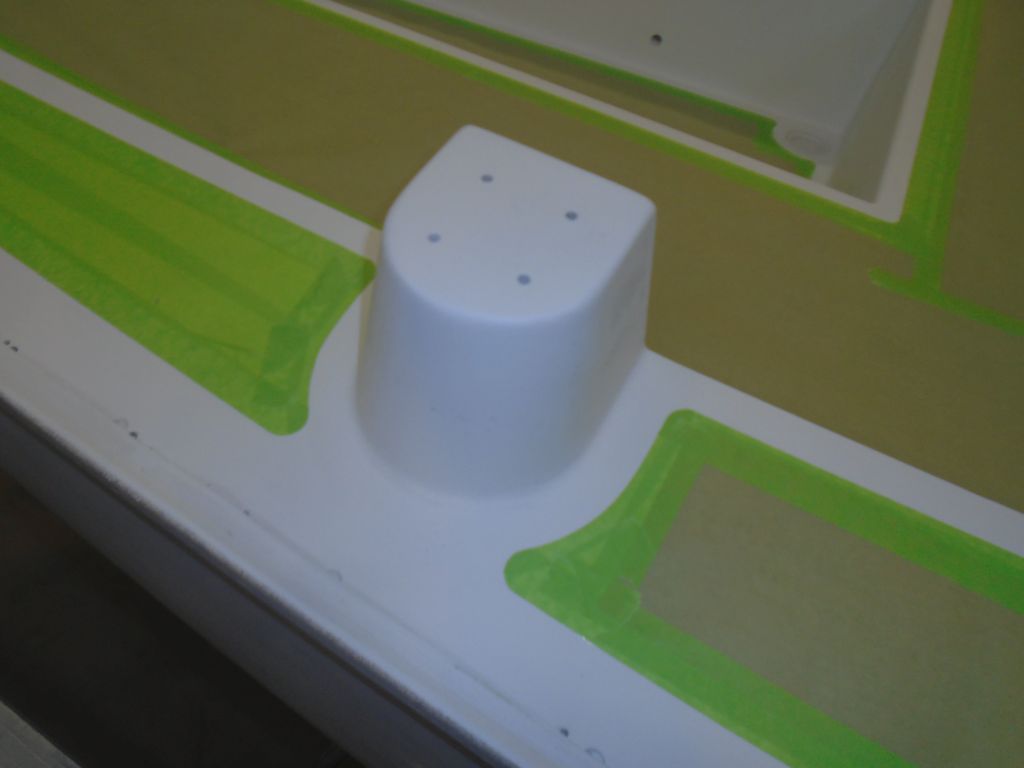
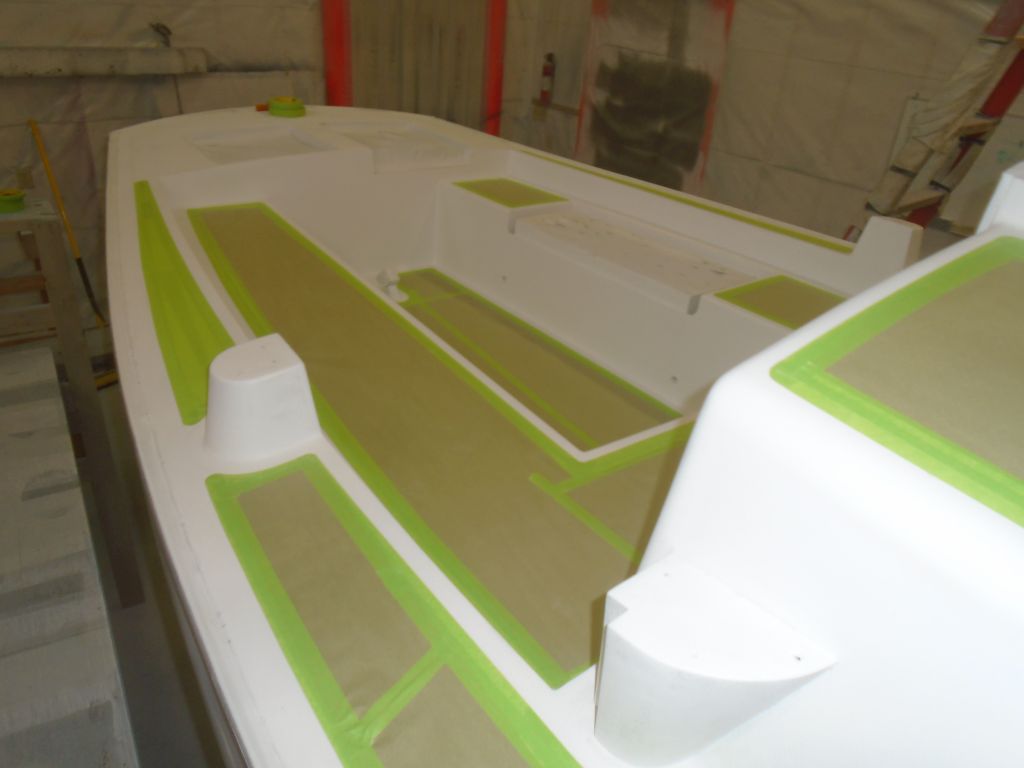
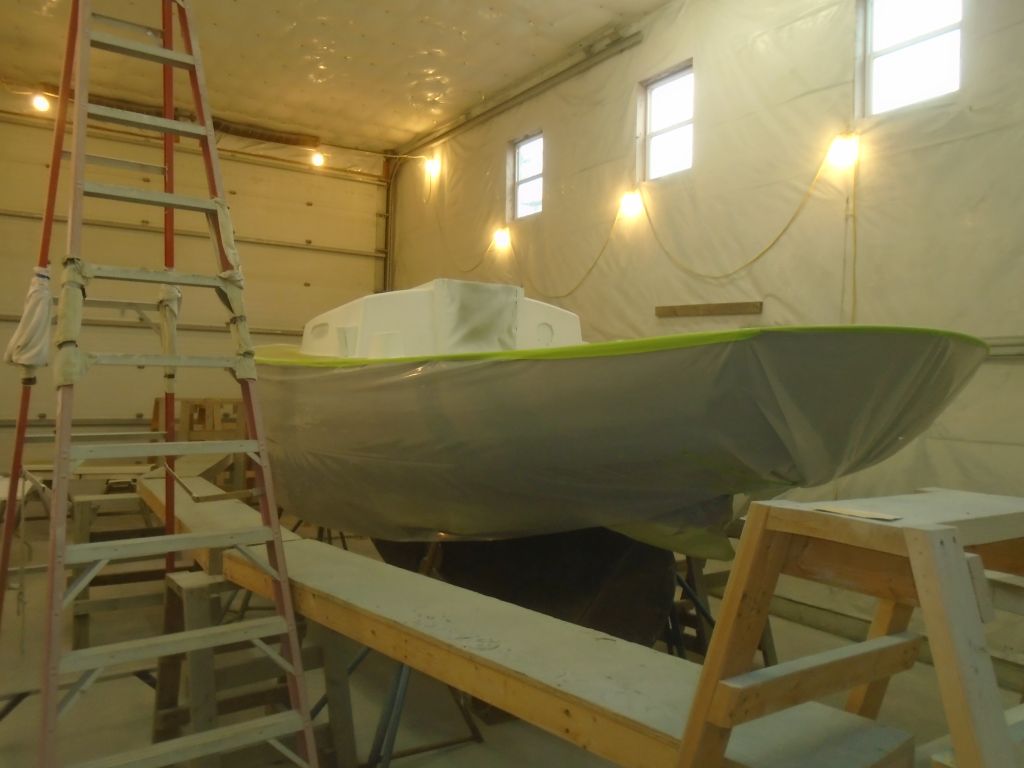
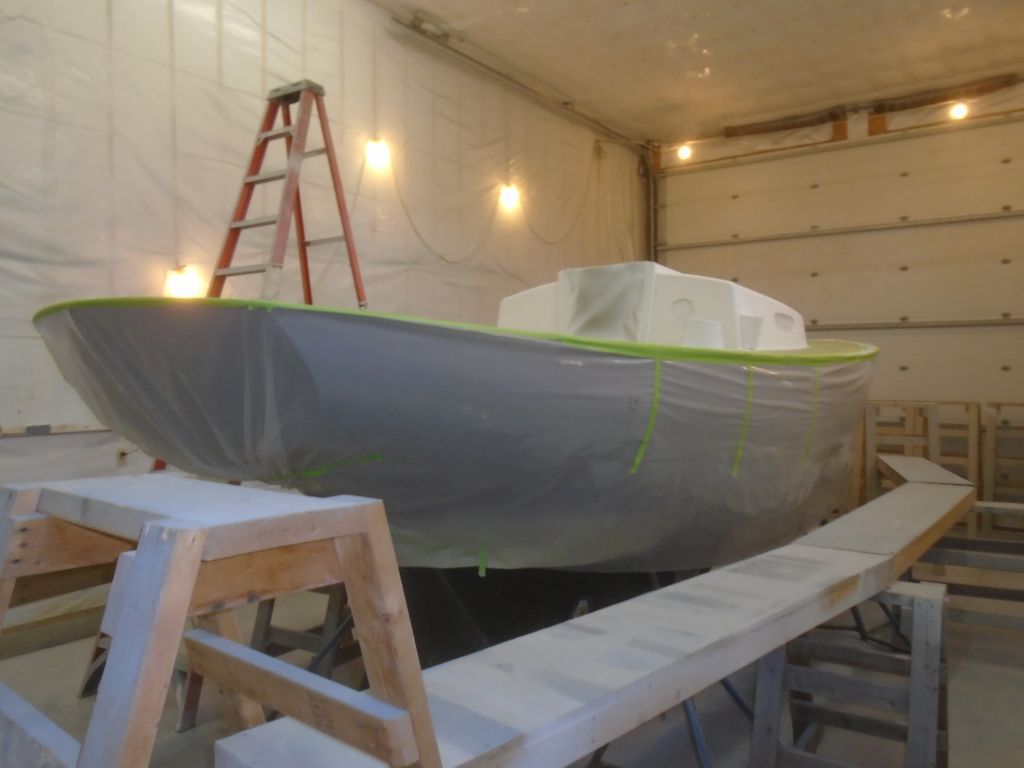
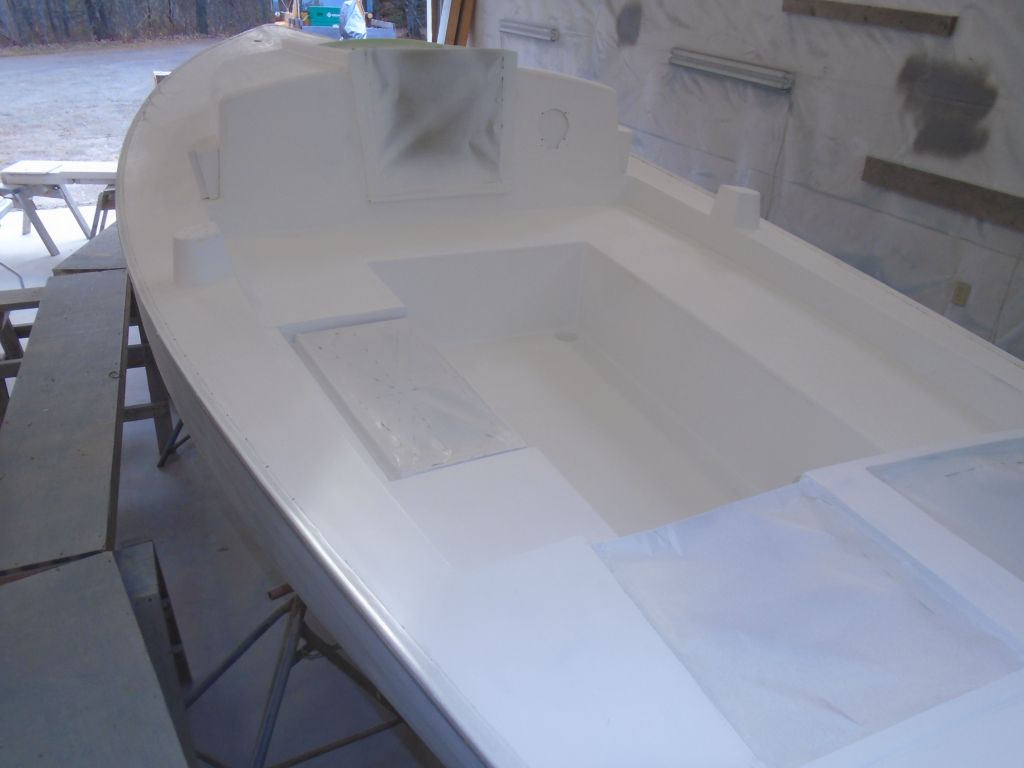
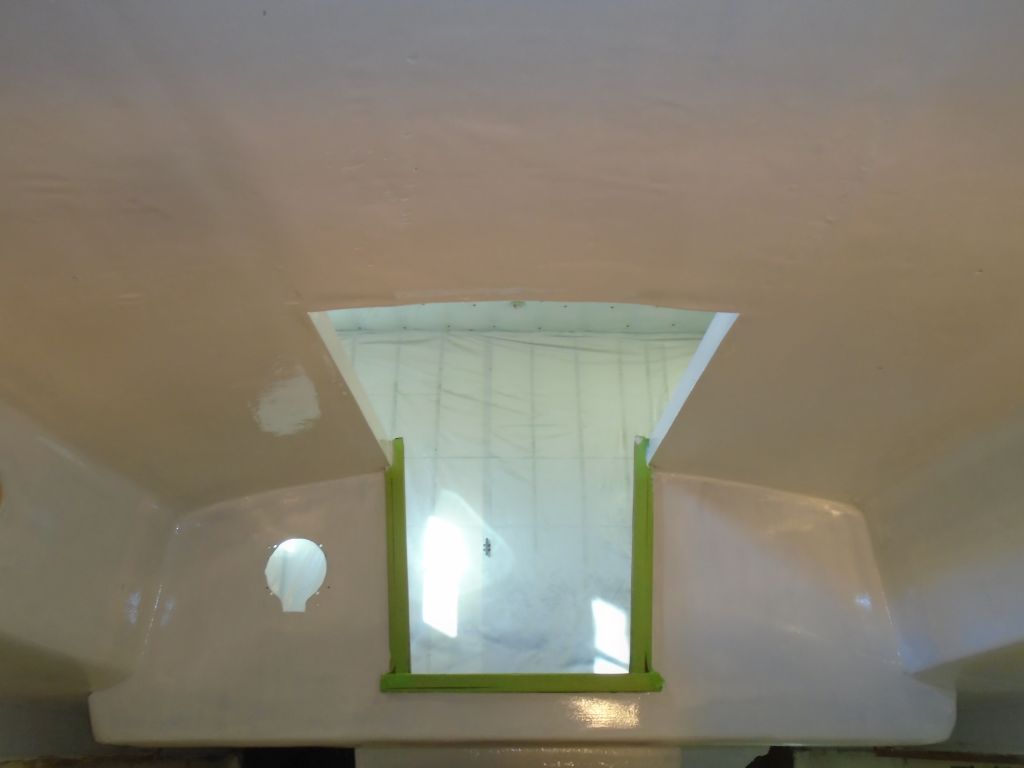
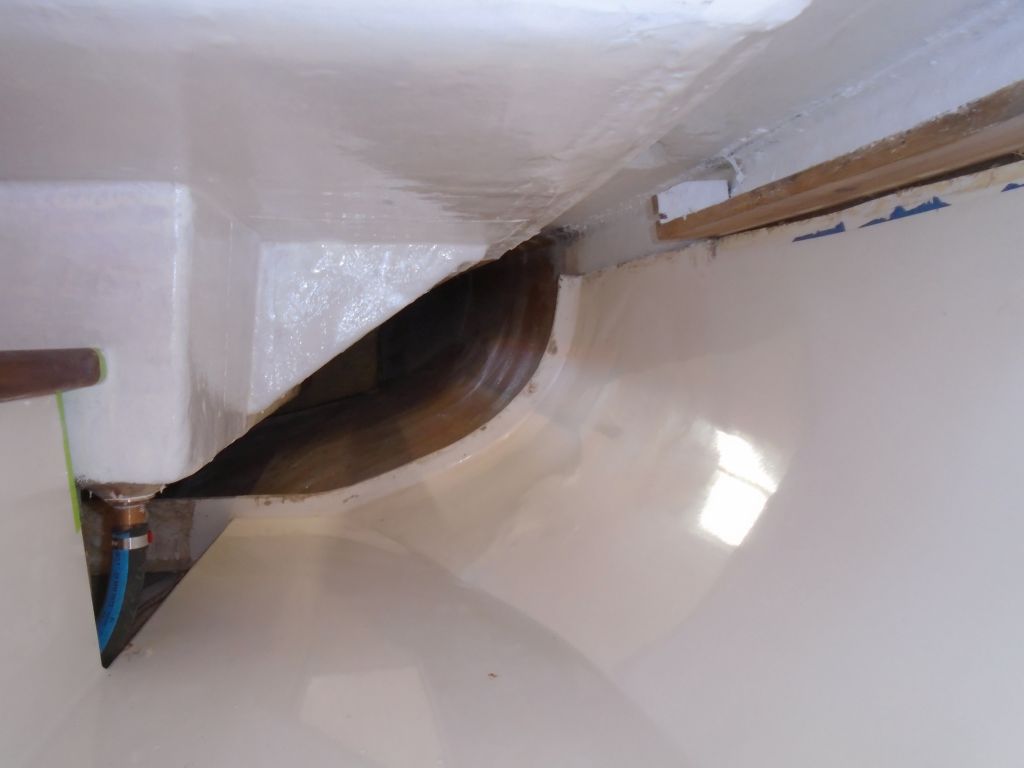
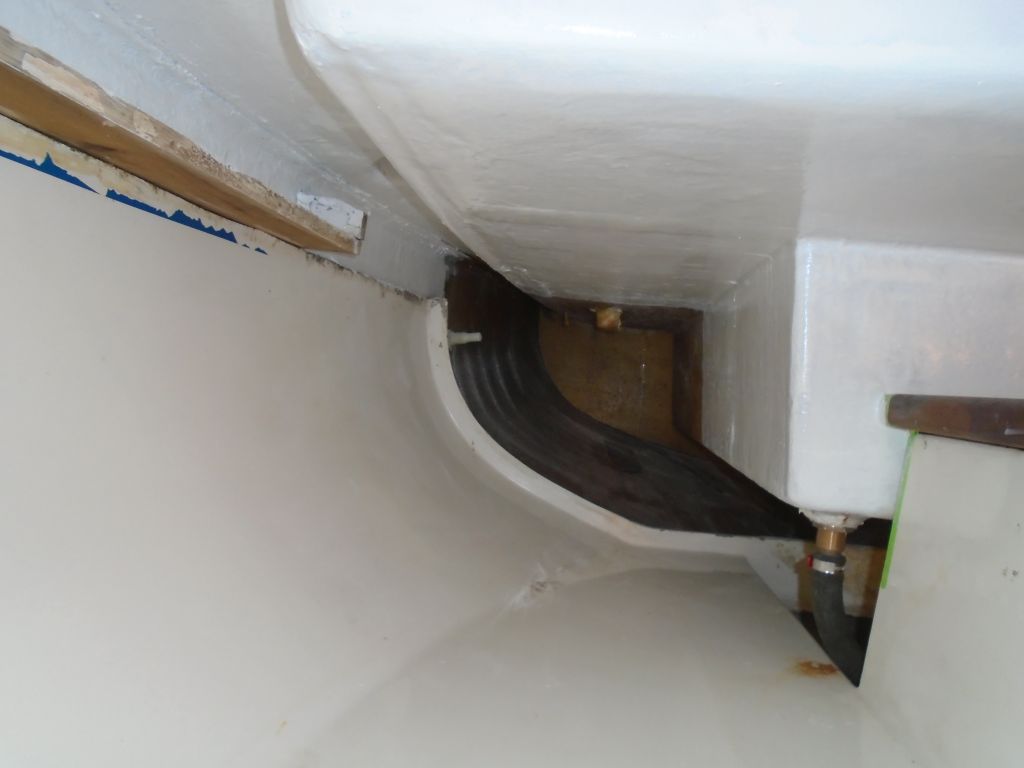
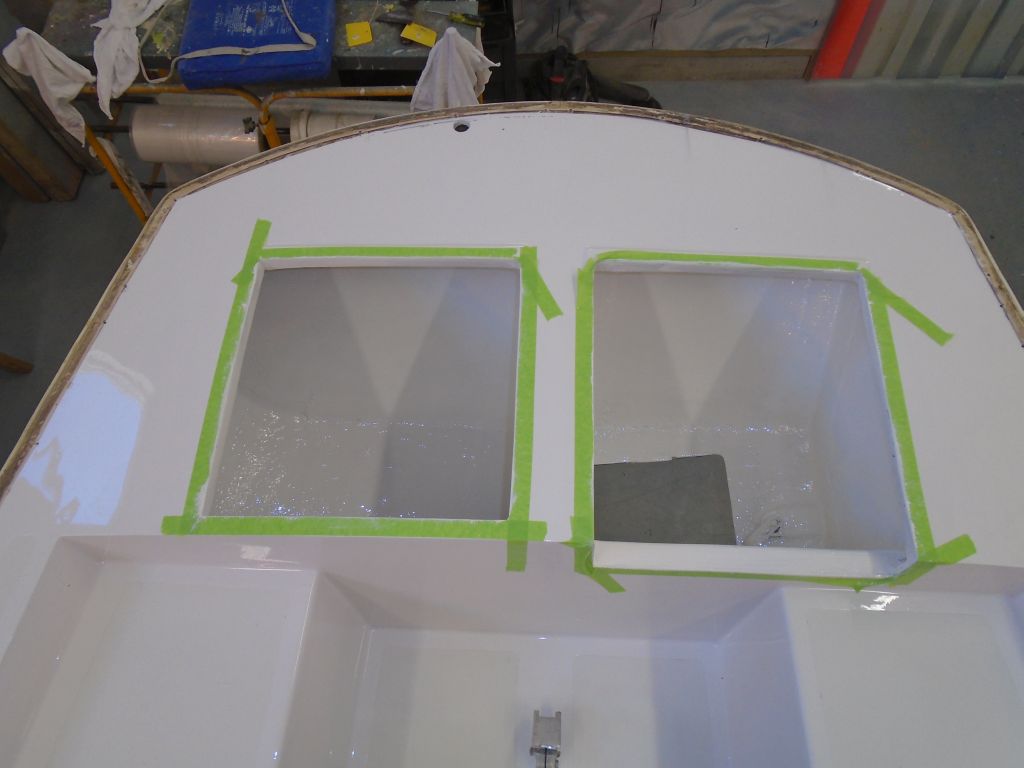
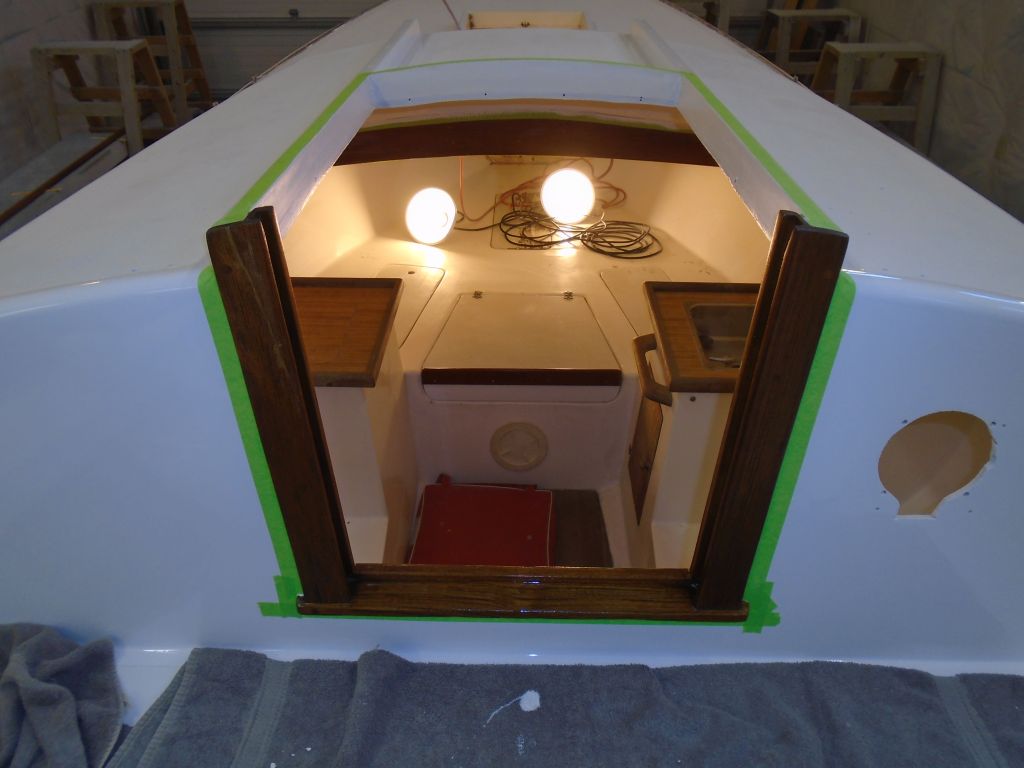
I installed the ports now because their design featured an interior flange that rested nearly flush with the surrounding surfaces, and could be painted to blend in more effectively.    To prepare for primer and paint in the main cabin, I masked off various areas as needed, and cleaned up the surfaces.  At the same  time, I masked around the two aft lockers in the cockpit, and also the companionway trim, all of which I’d be working on in the immediate future.

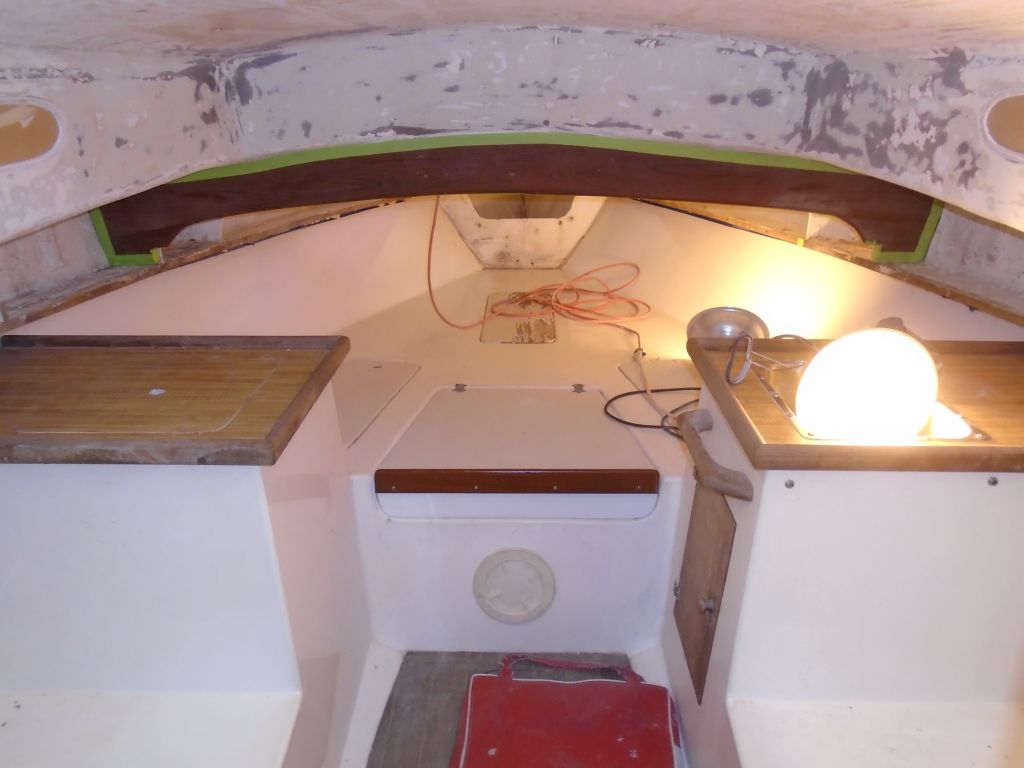
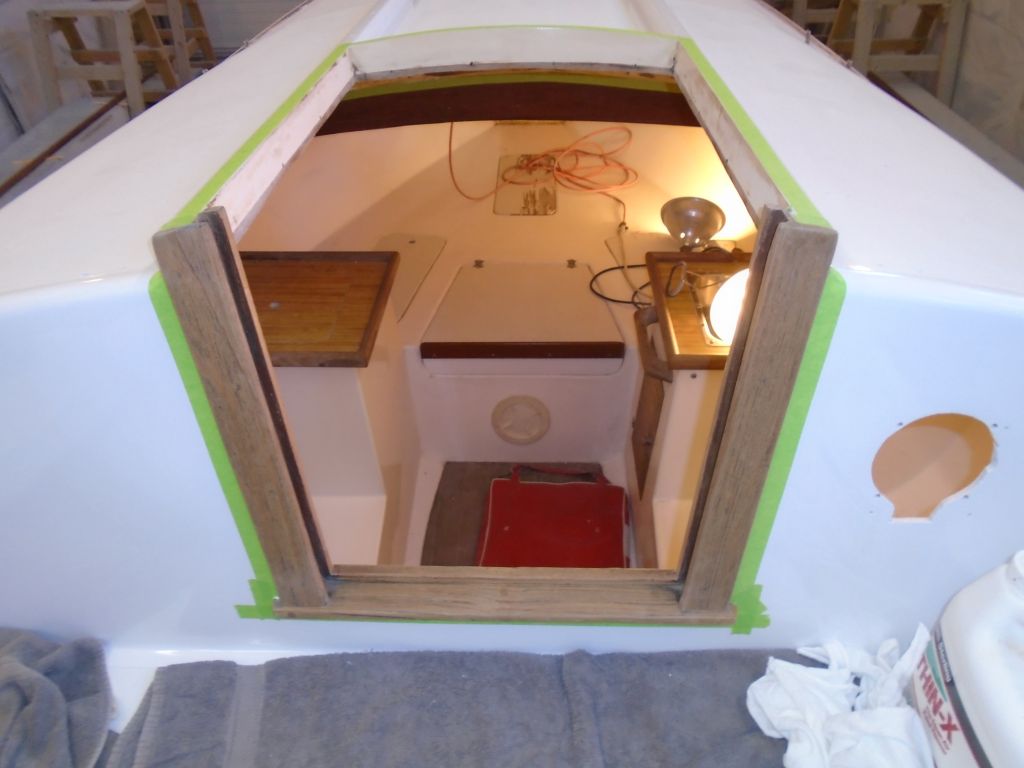
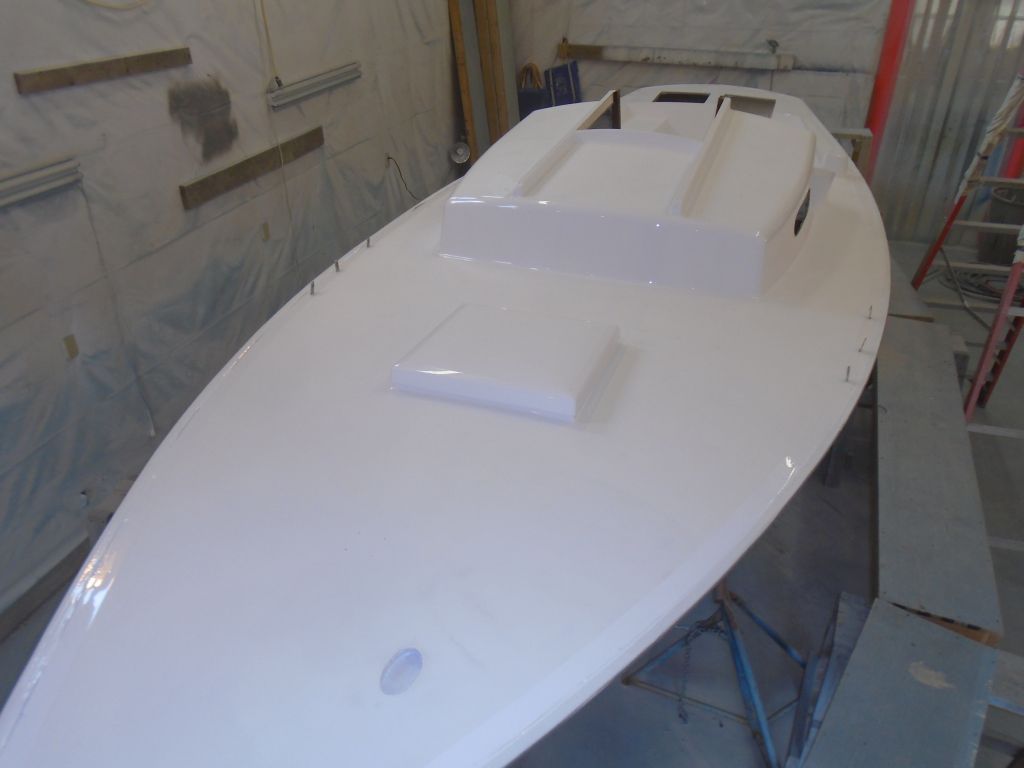
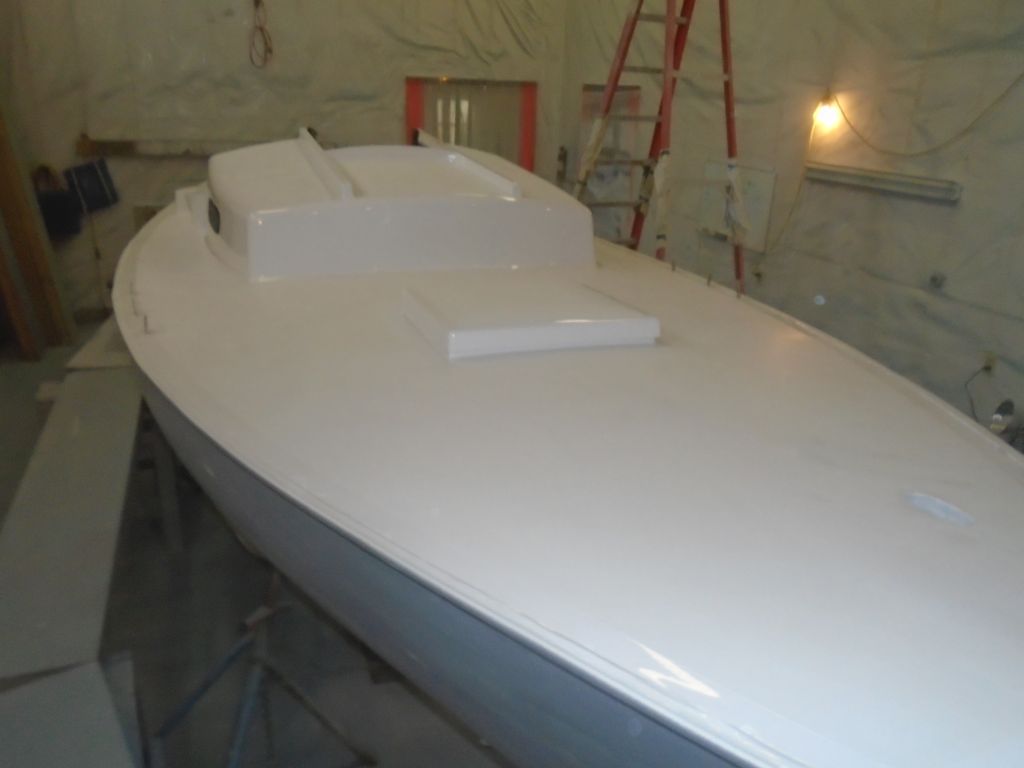
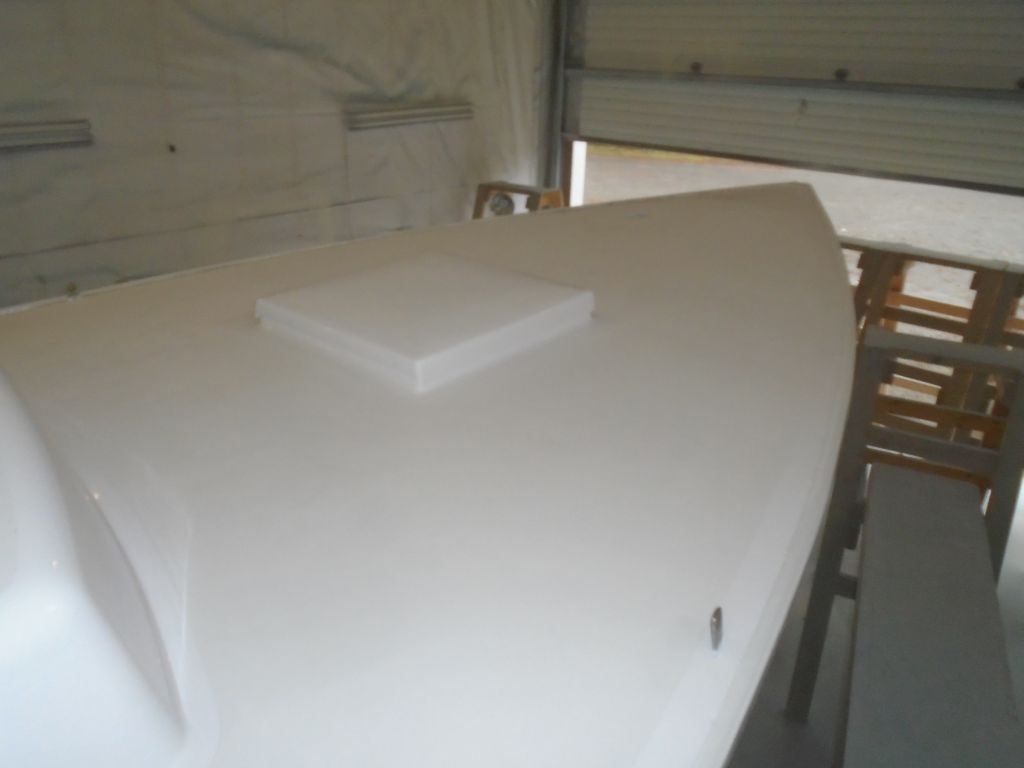
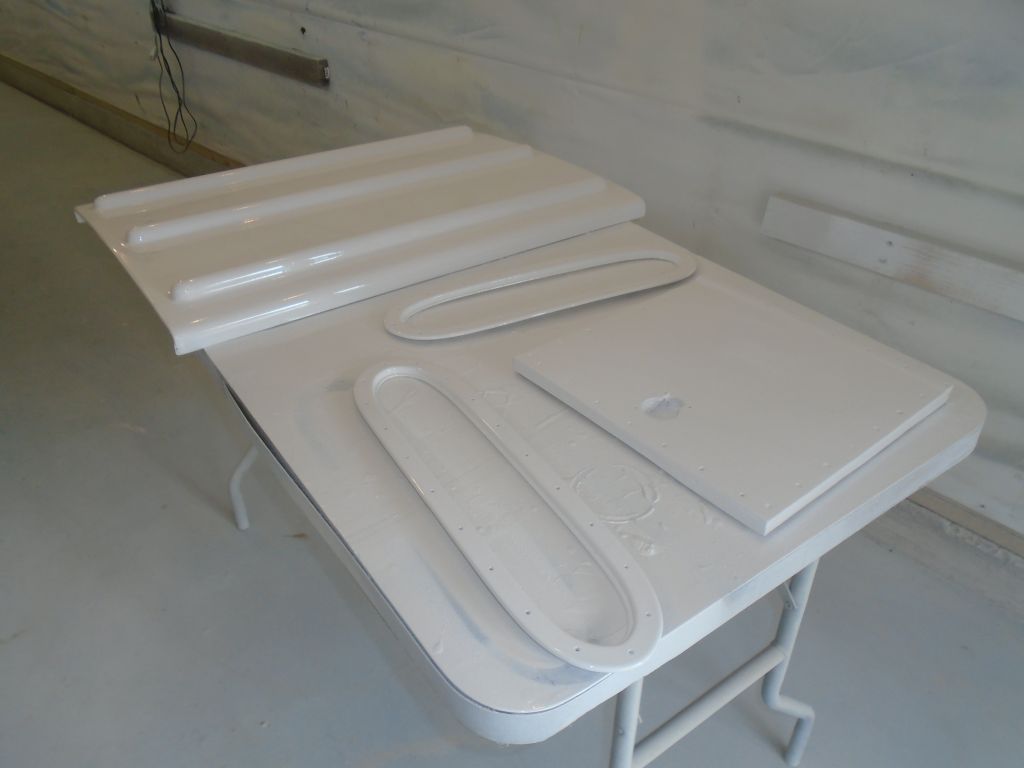
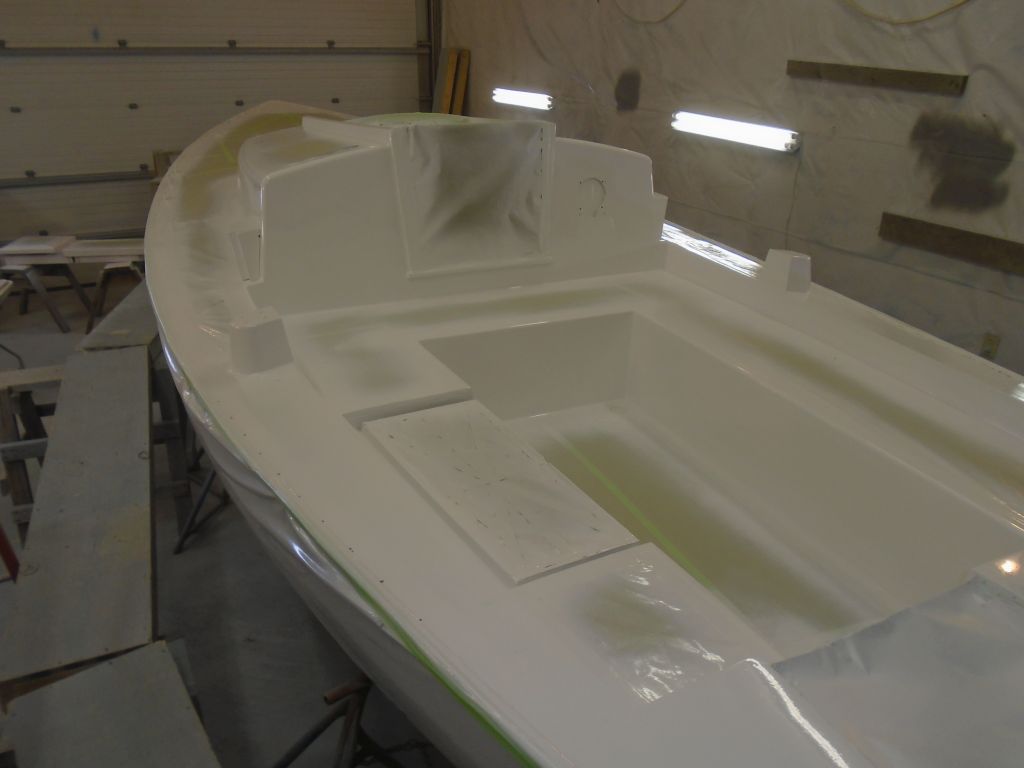
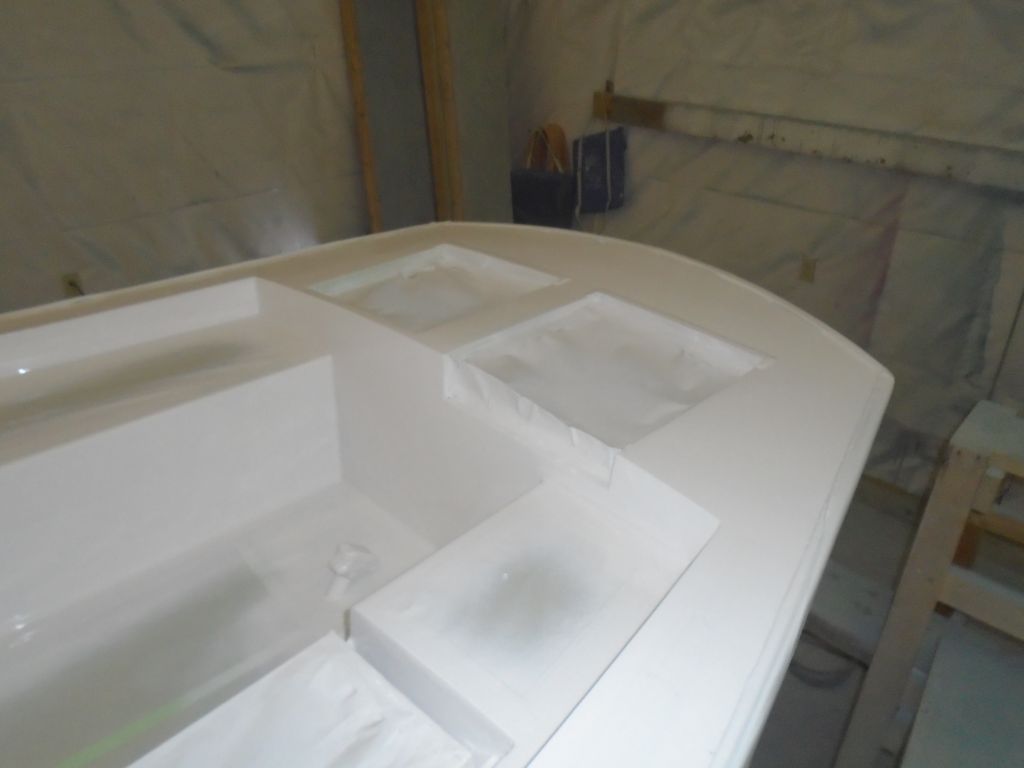
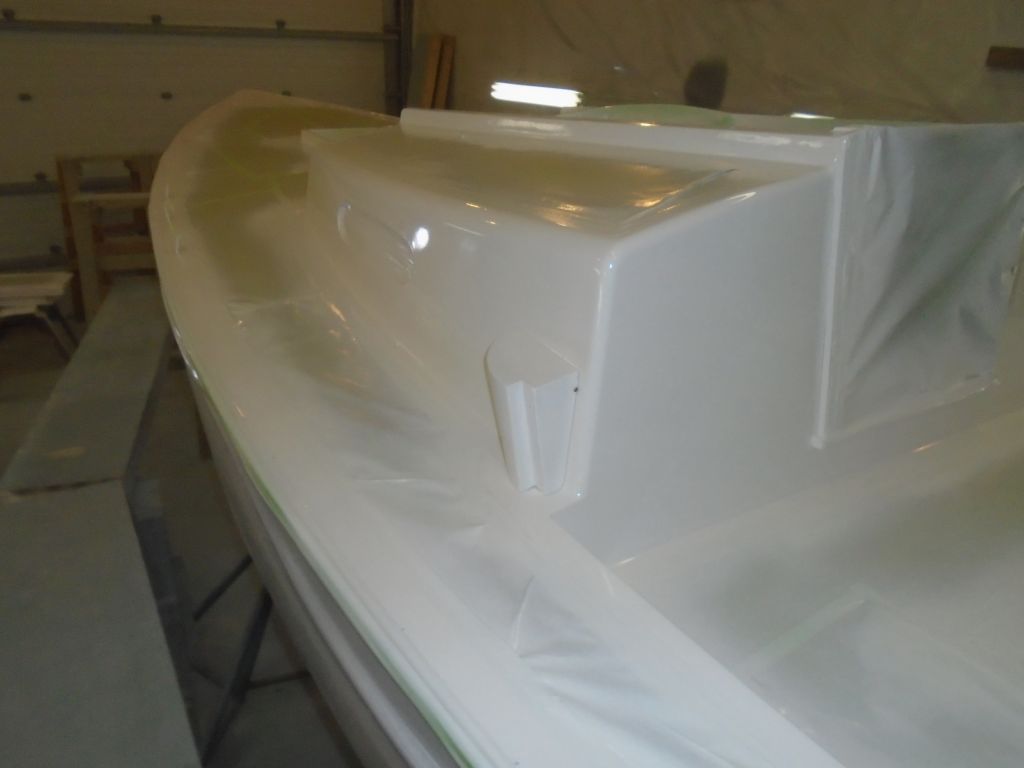
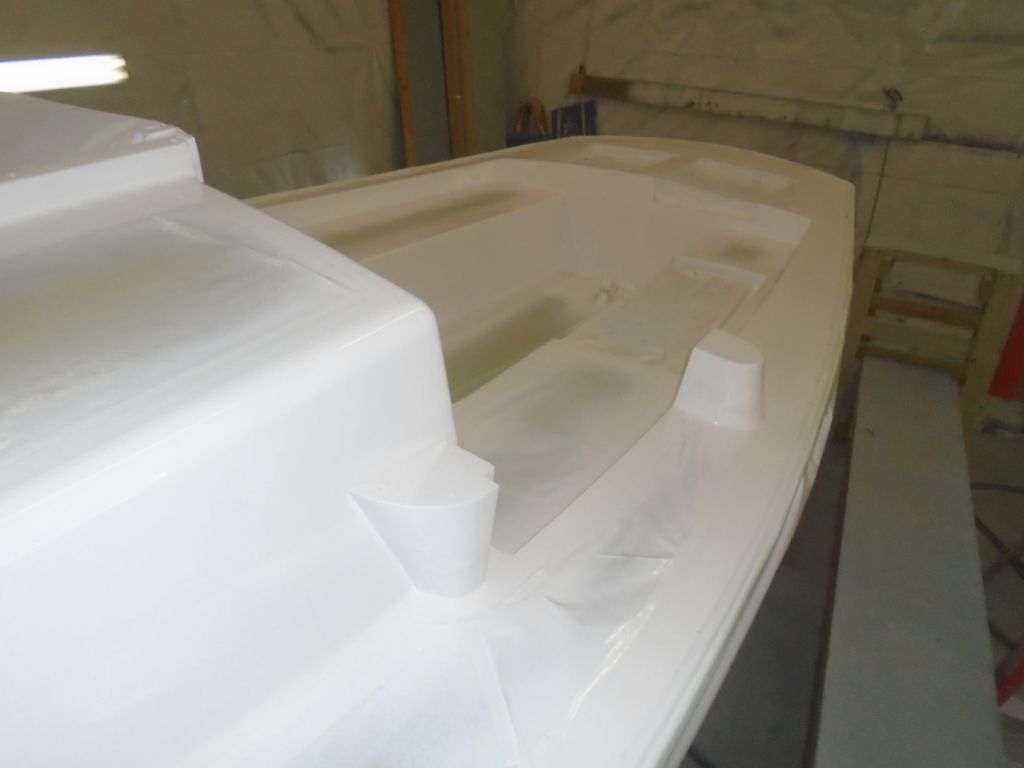
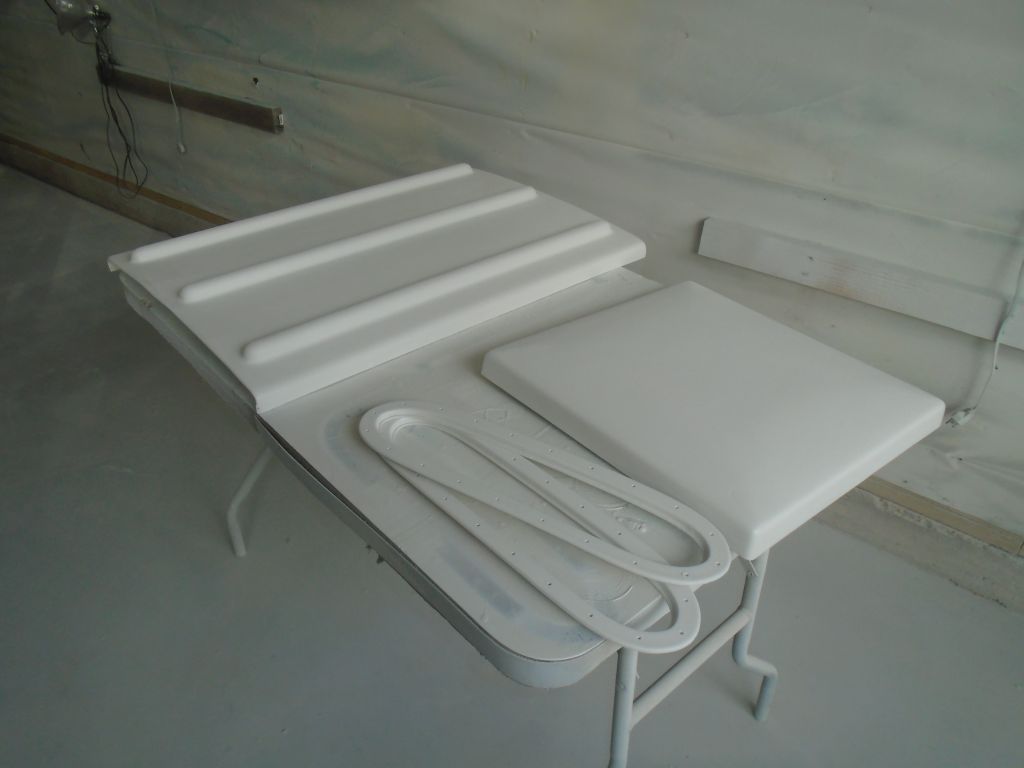
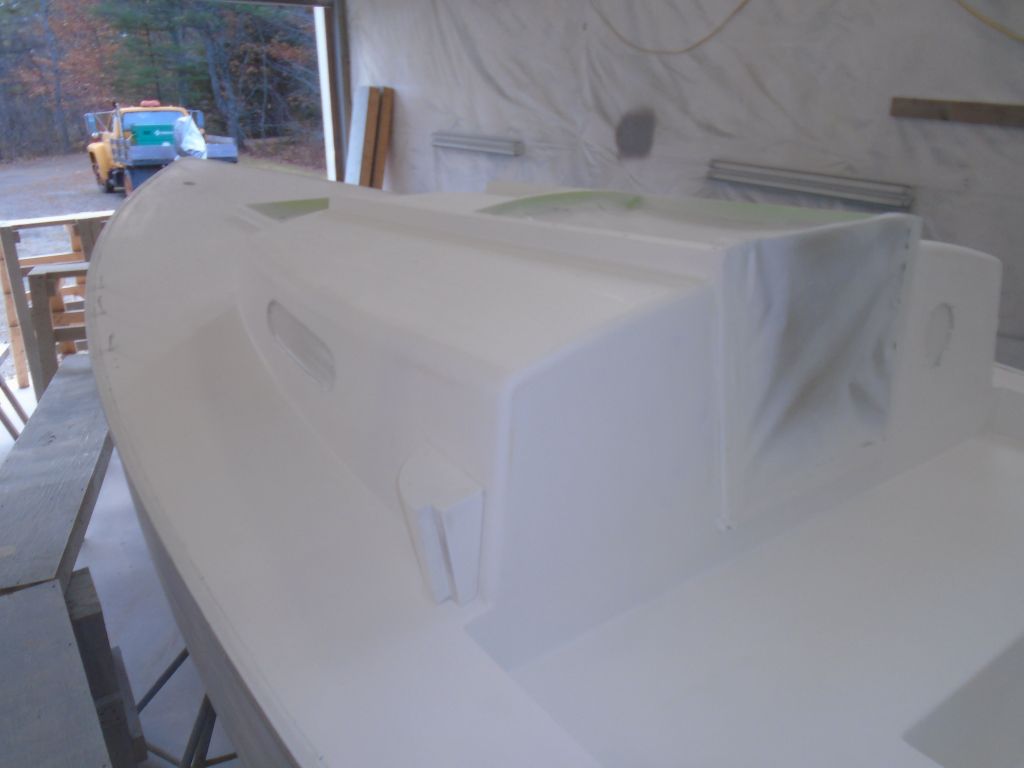
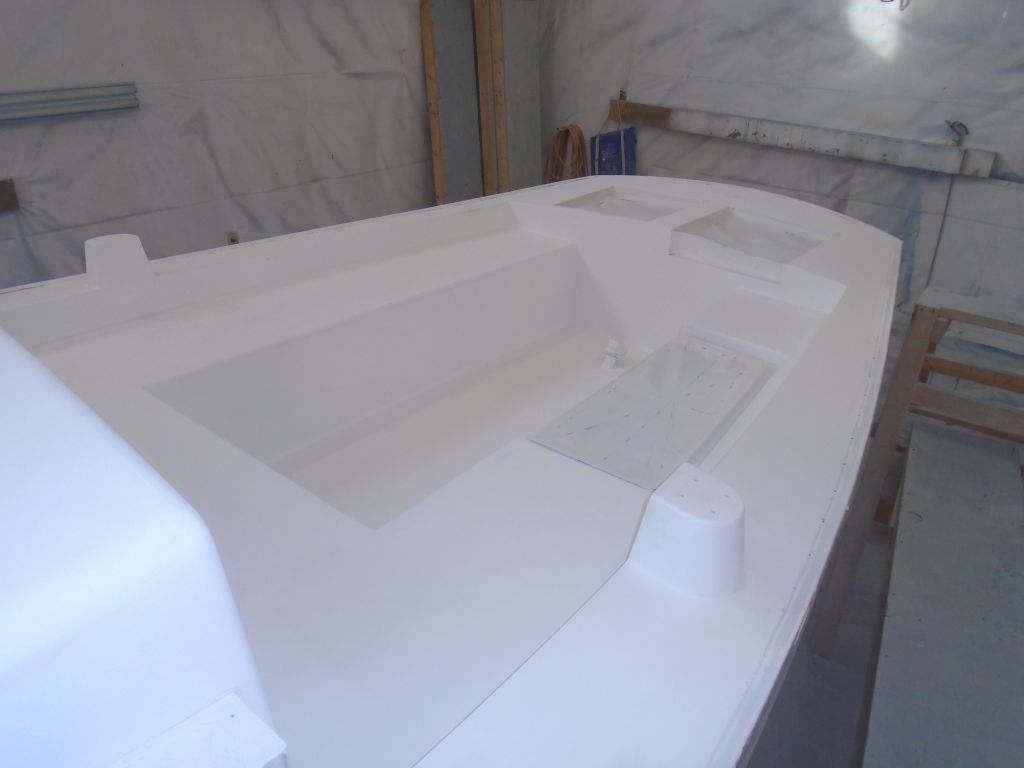
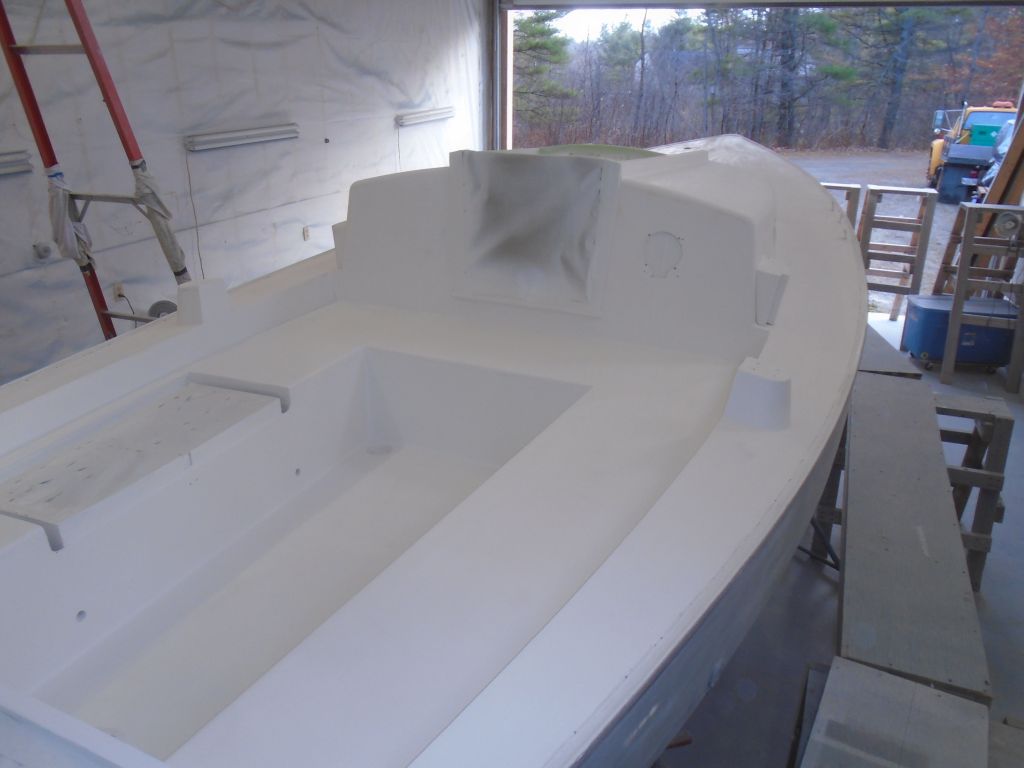
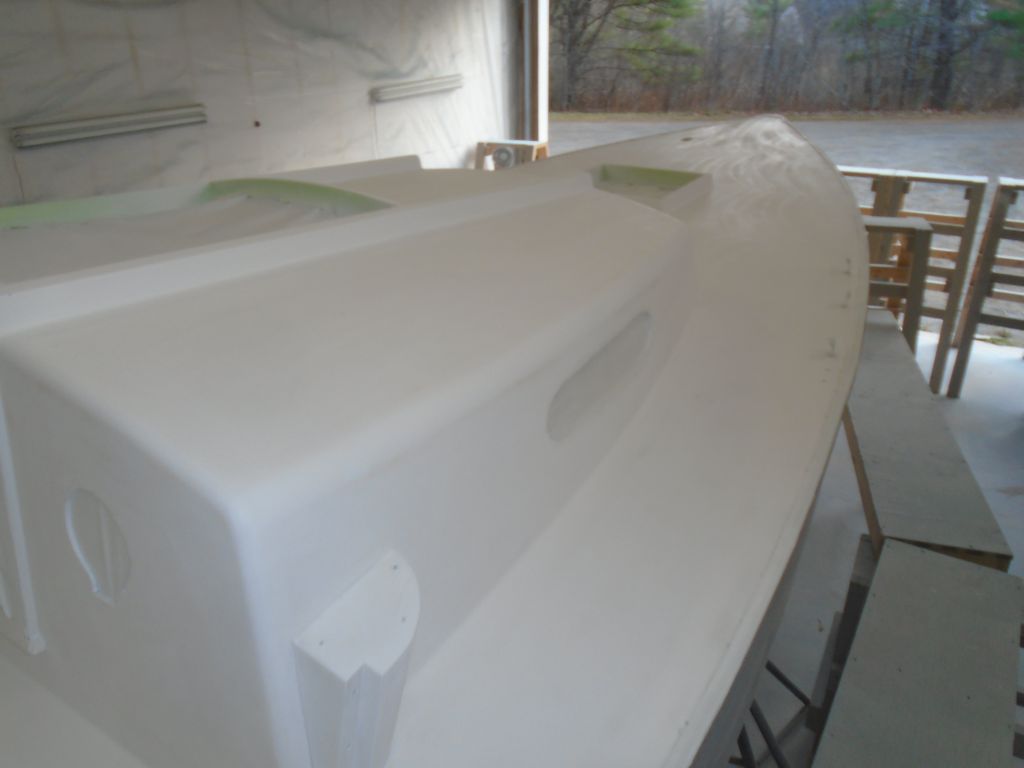
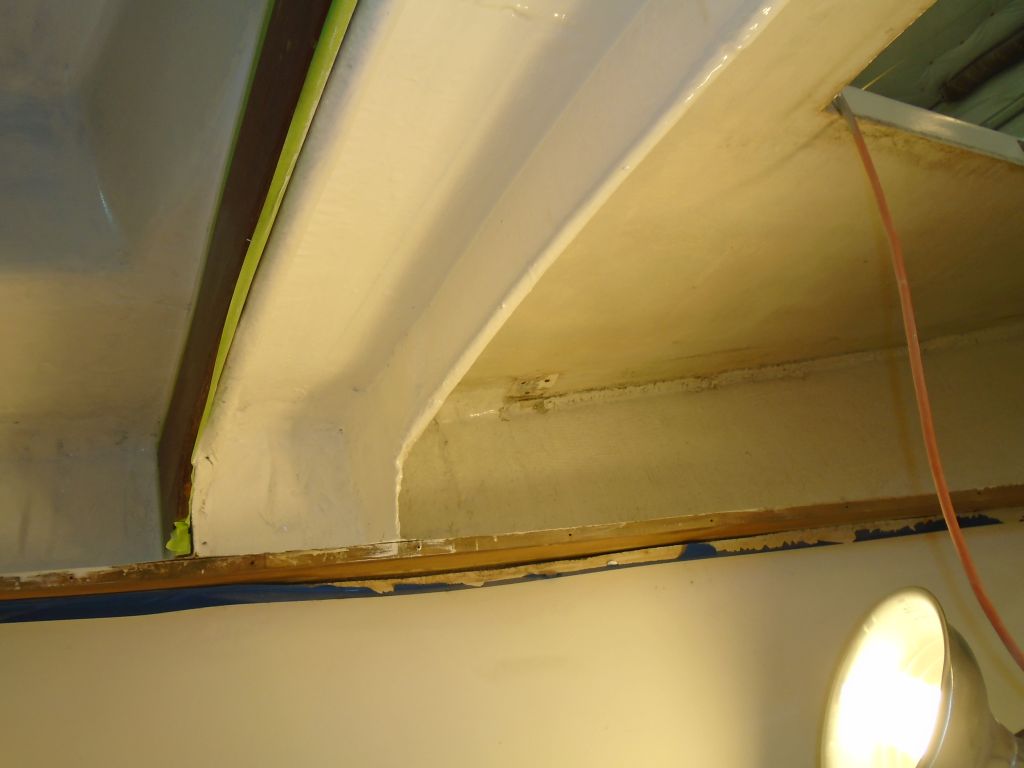
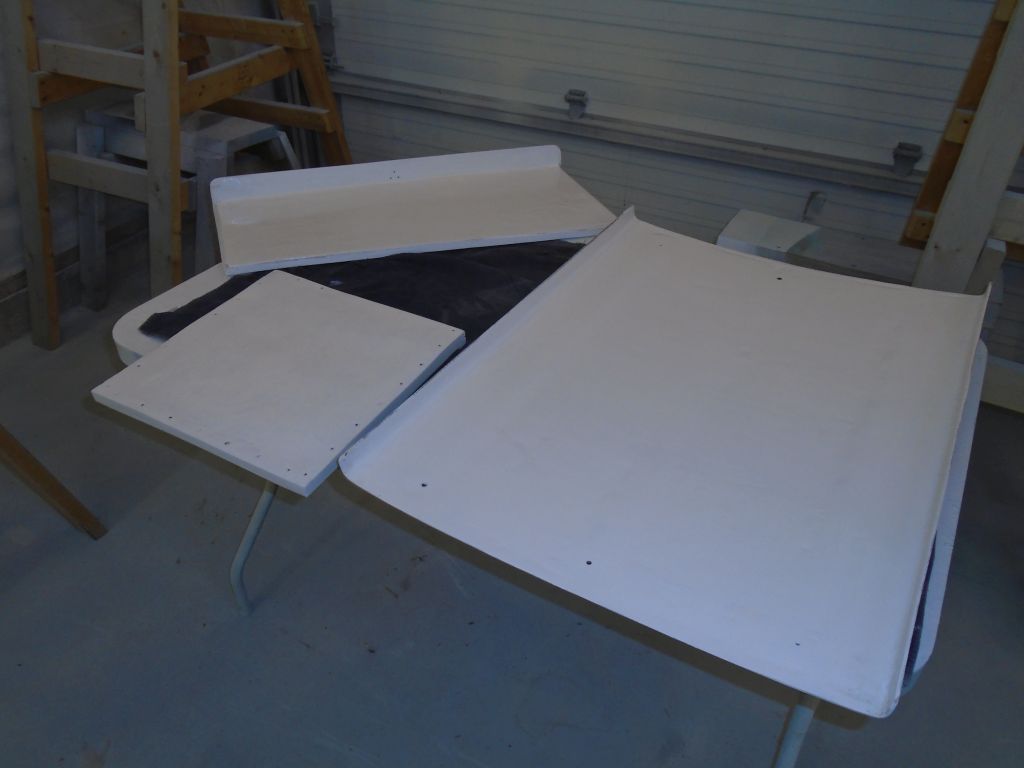
With preparations complete, I applied a coat of primer to the main cabin and quarterberths, down as far as the built-in shelves.  I also primed the mast support structure, as I’d completed a minor repair there earlier and needed to hide it.  Then, I primed the two cockpit lockers at the stern, as well as the undersides of the loose hatches as required.

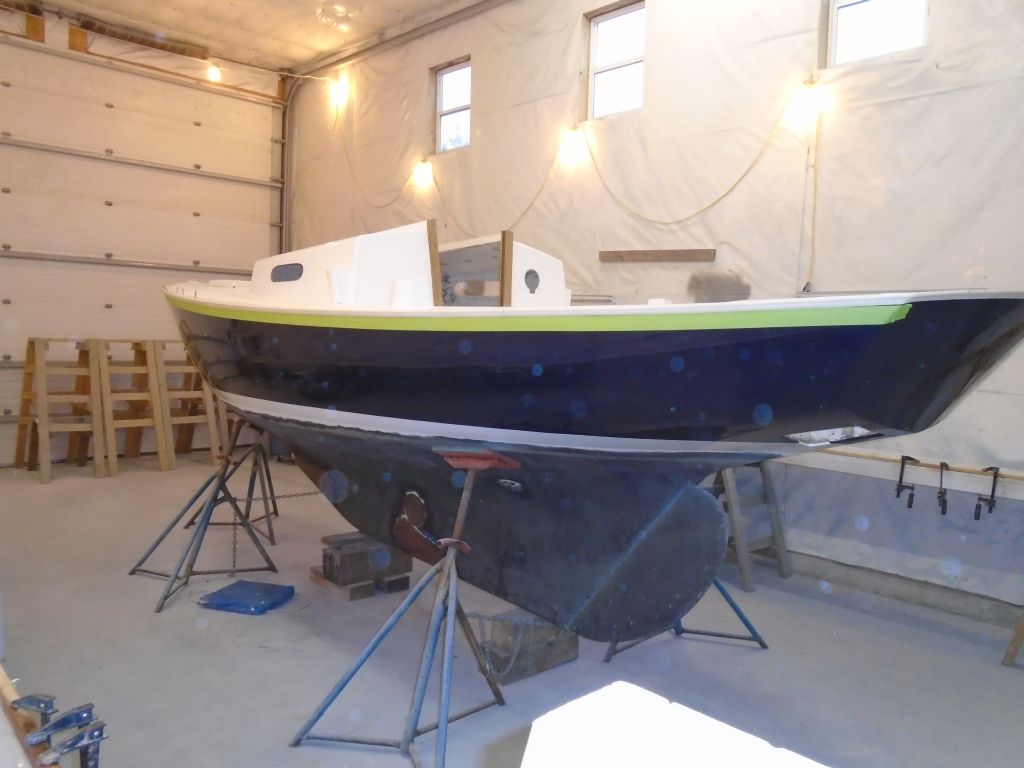
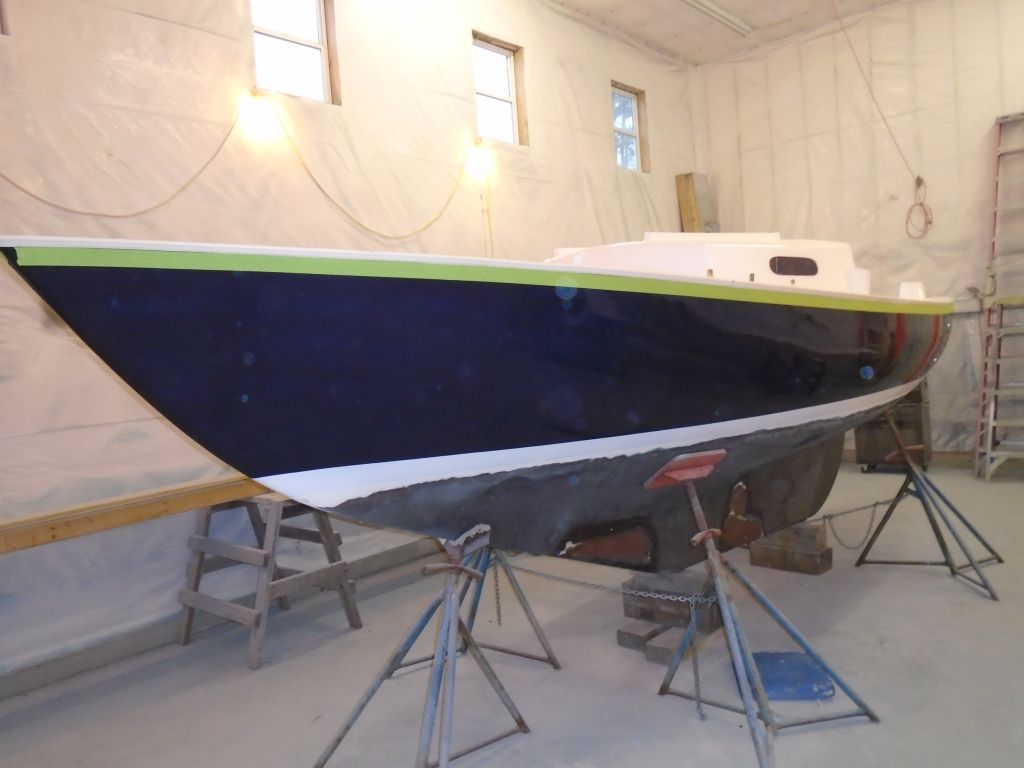
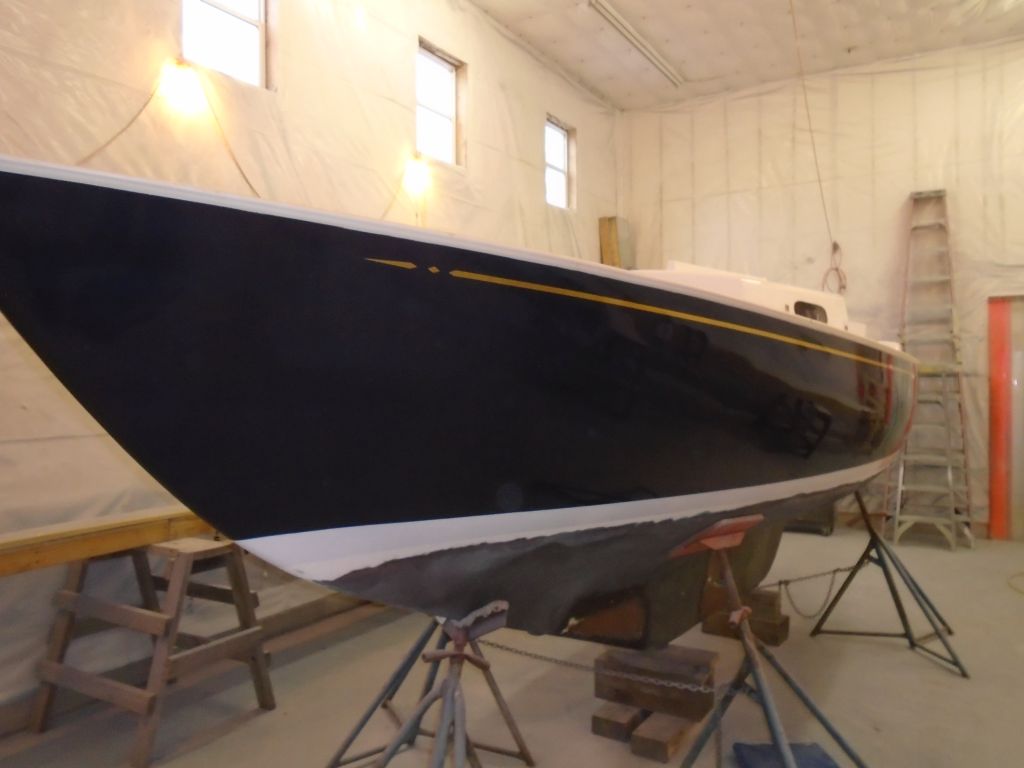
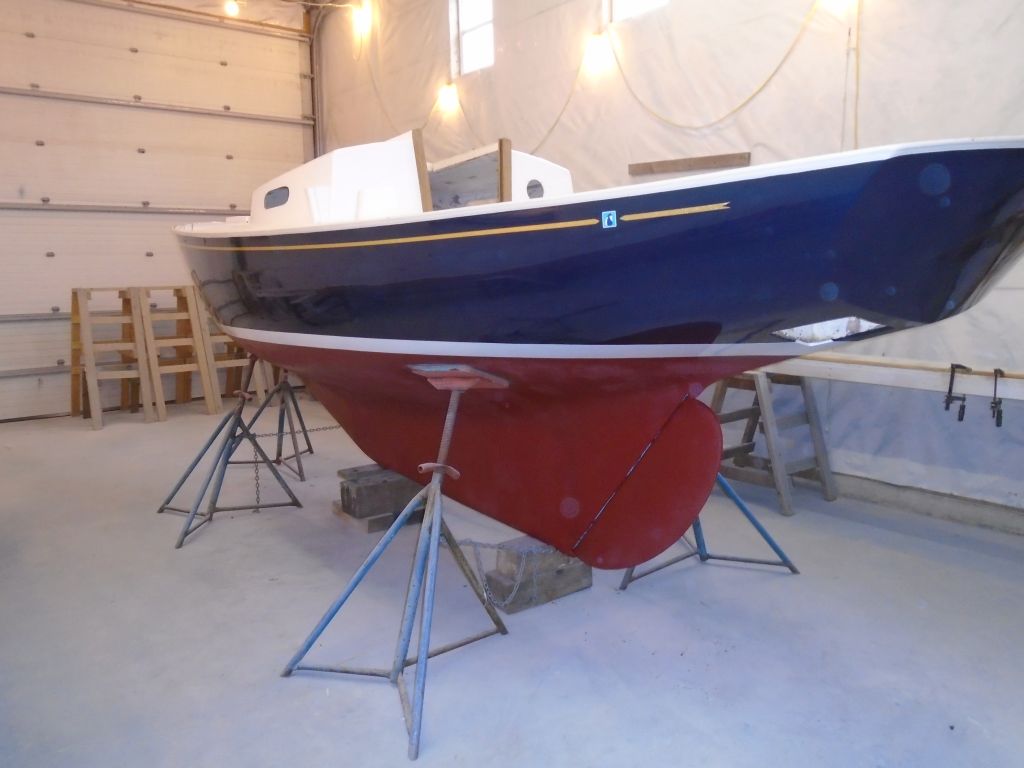
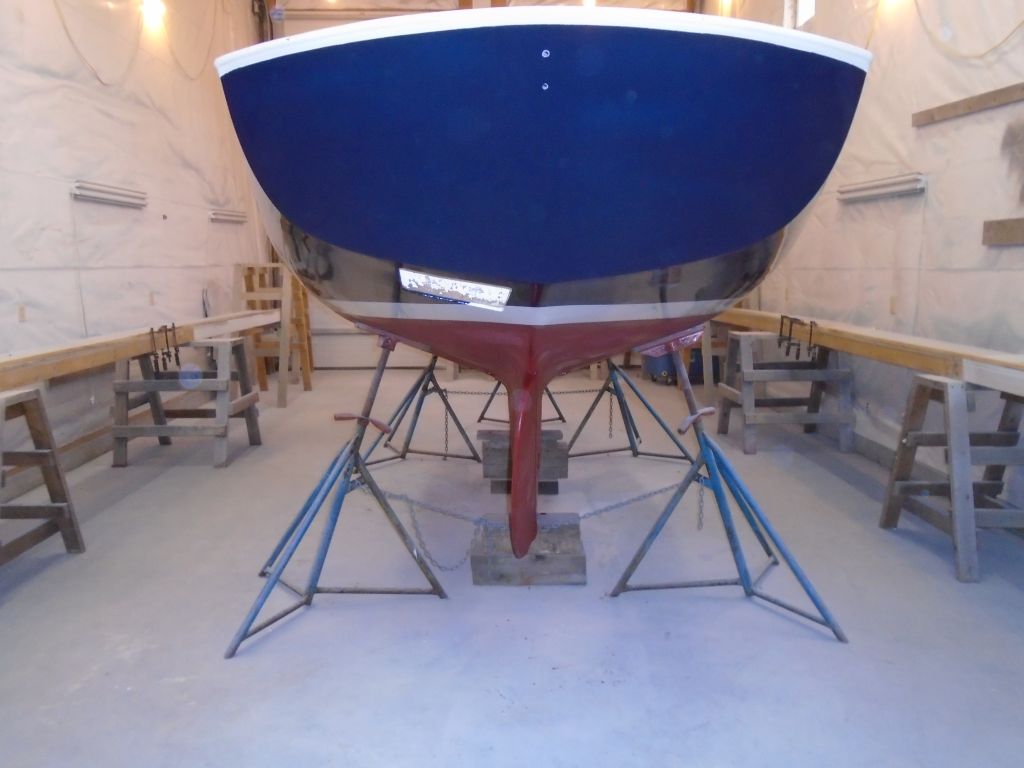
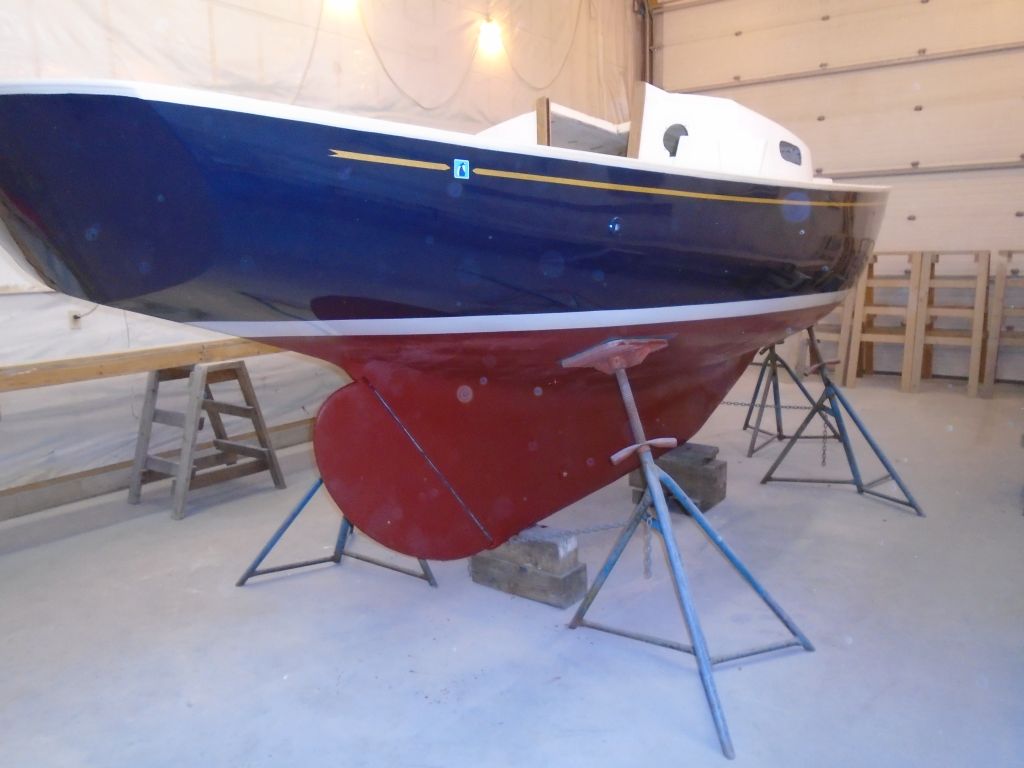
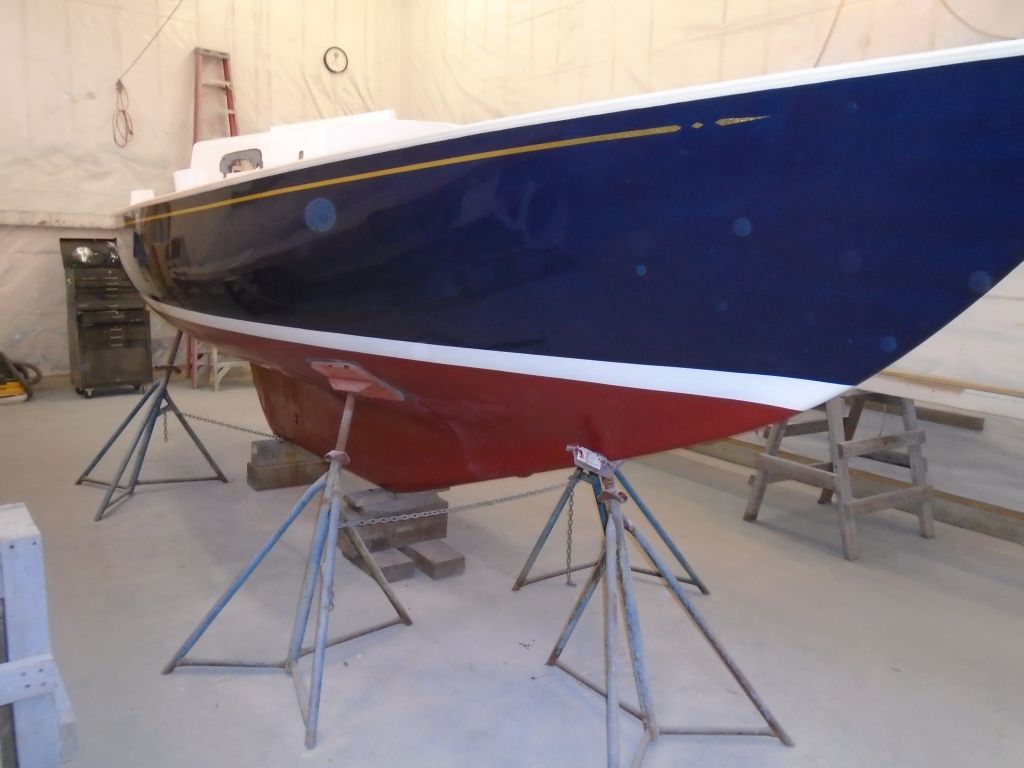
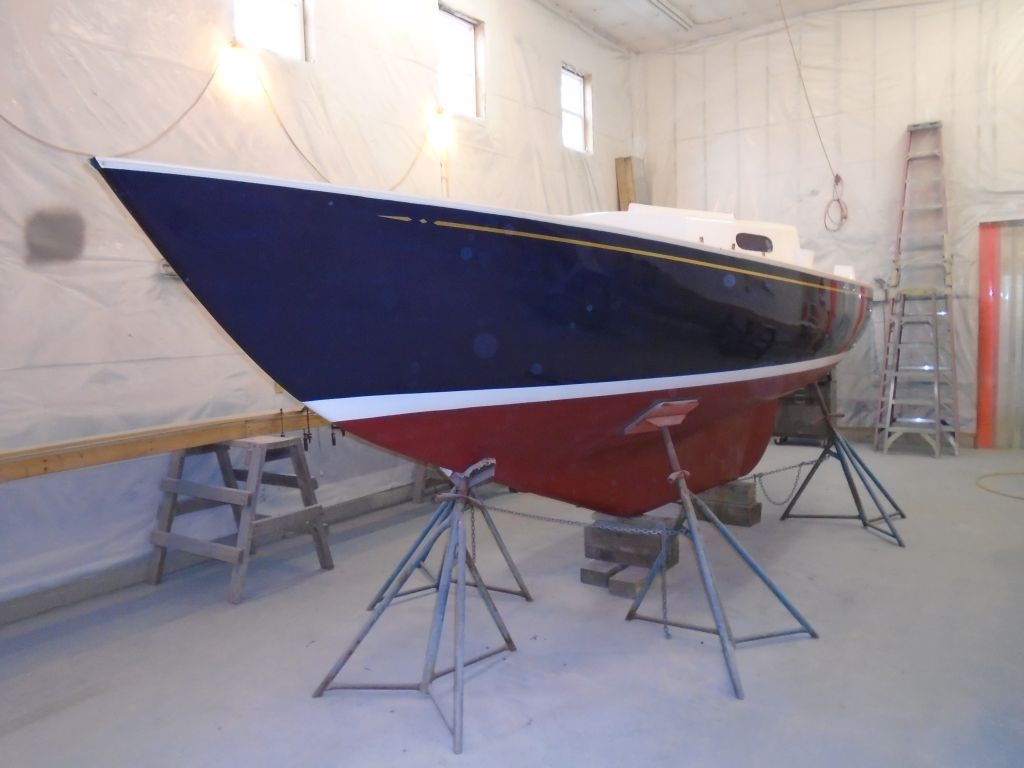
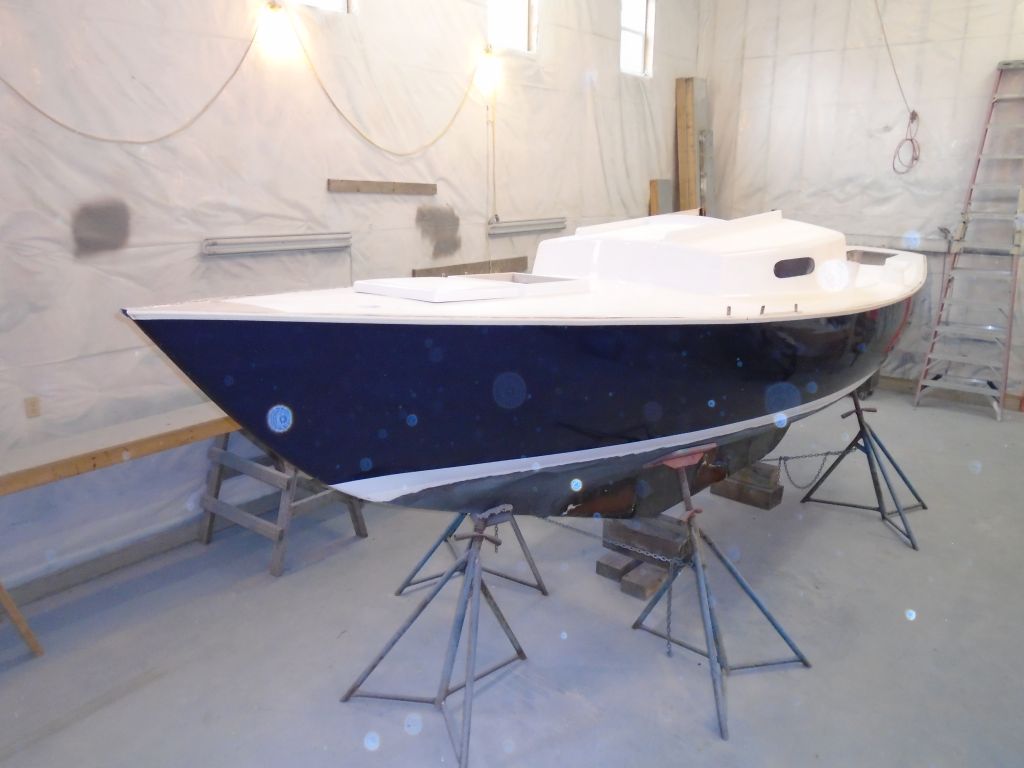
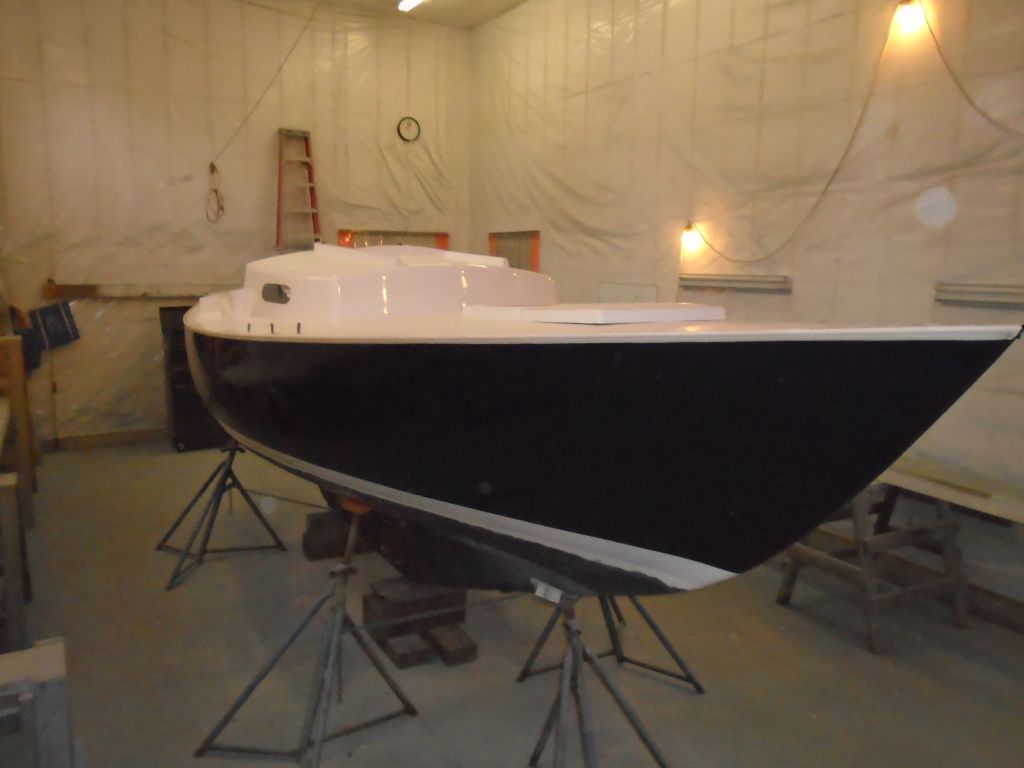
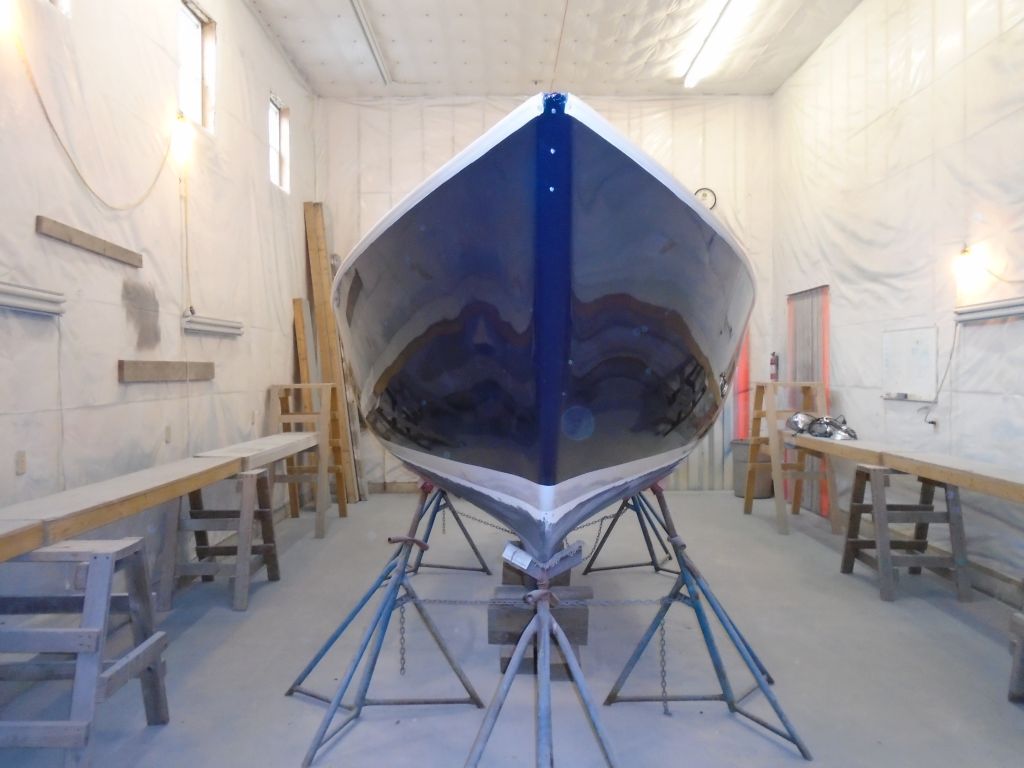
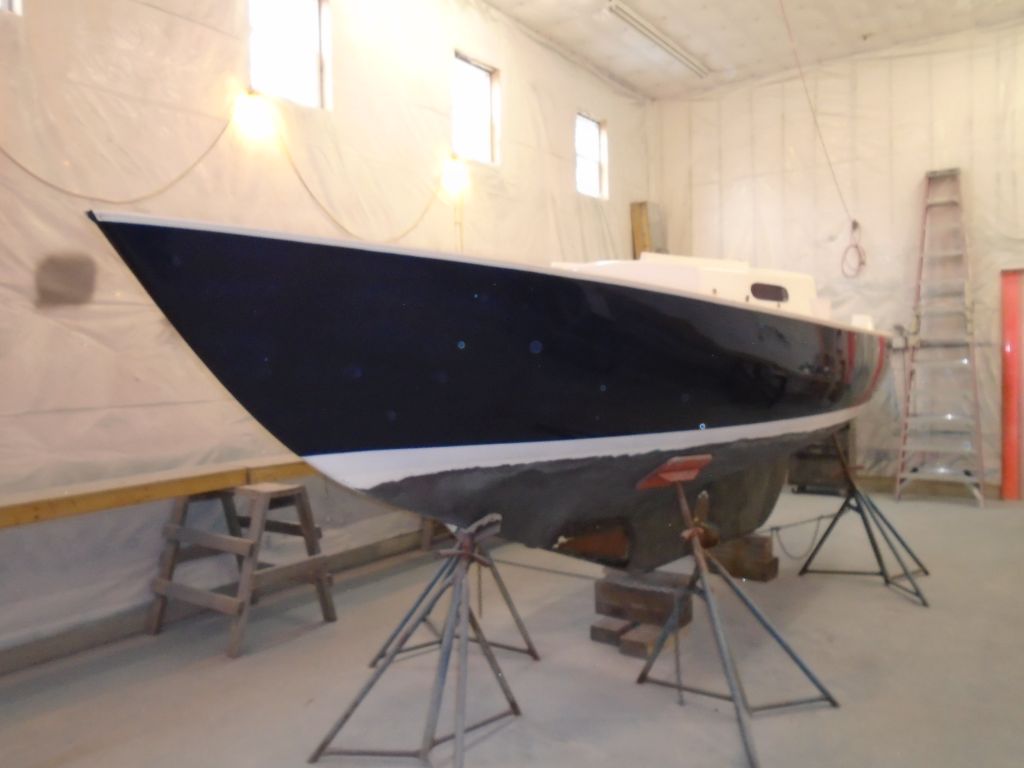
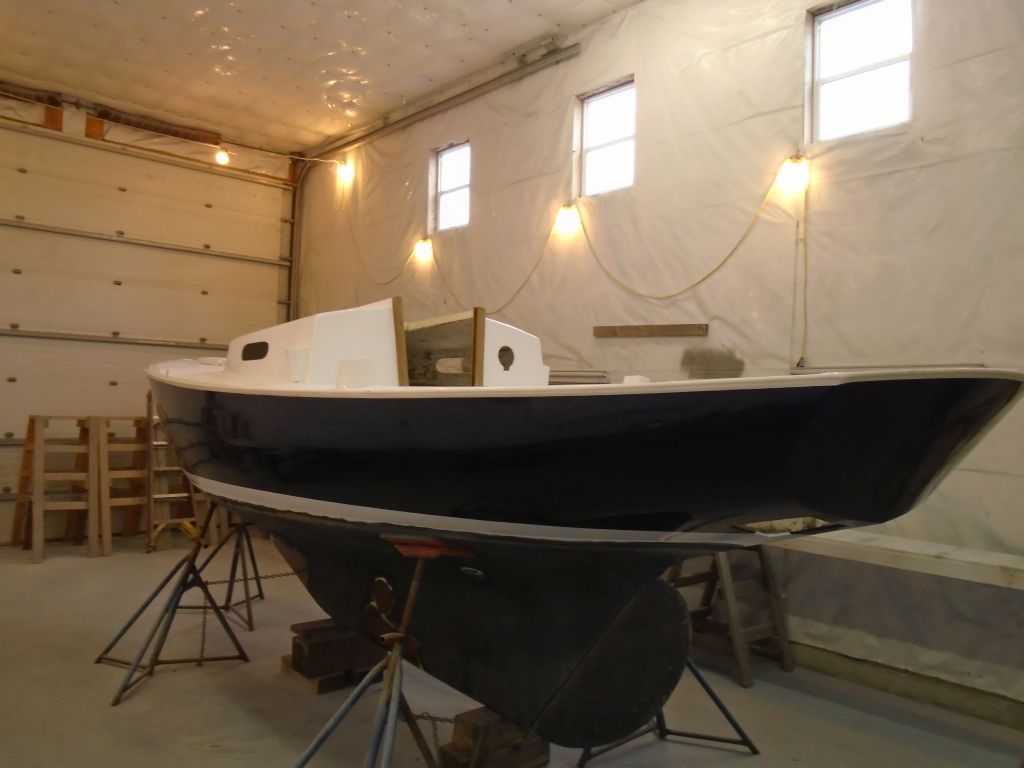
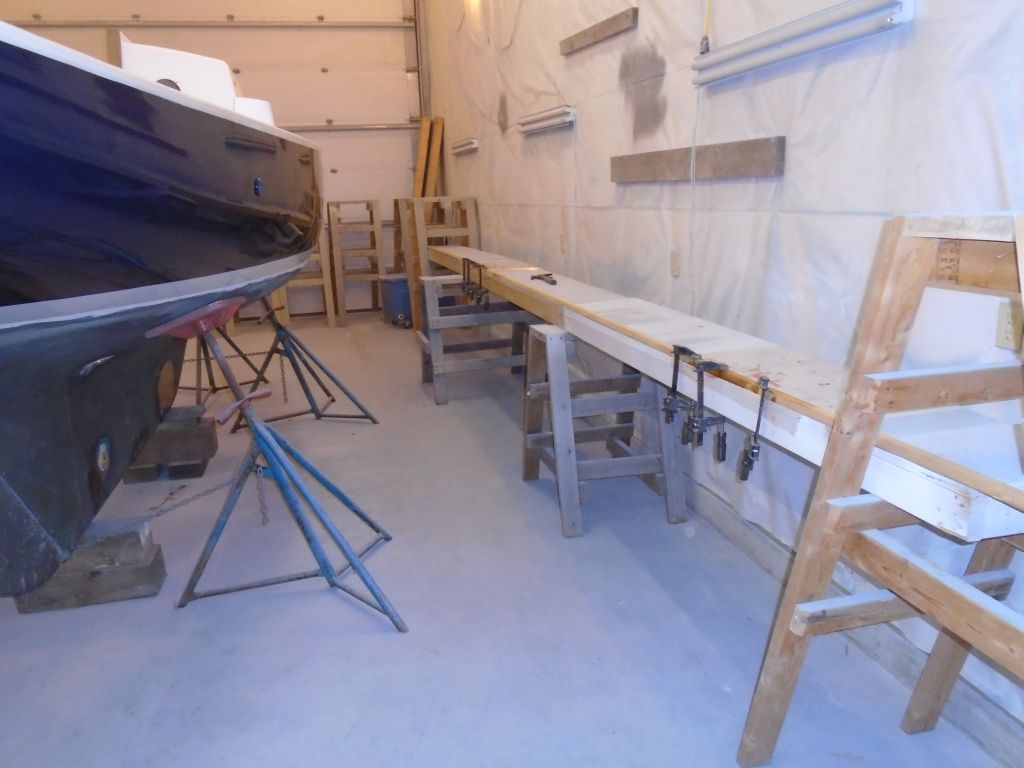
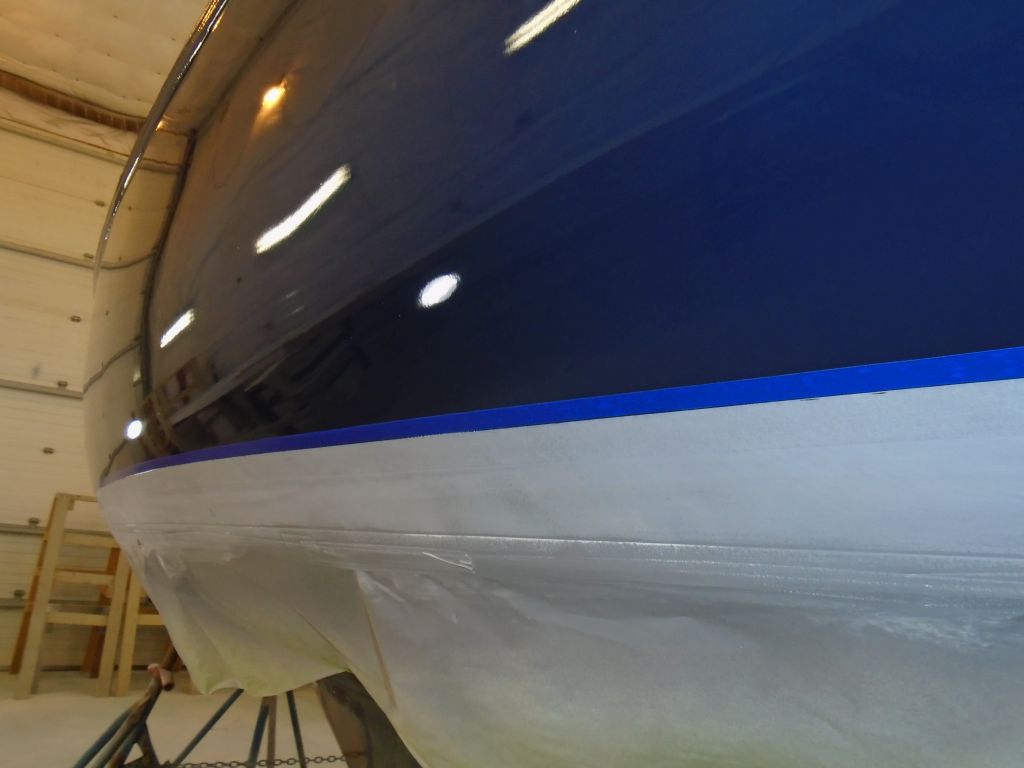
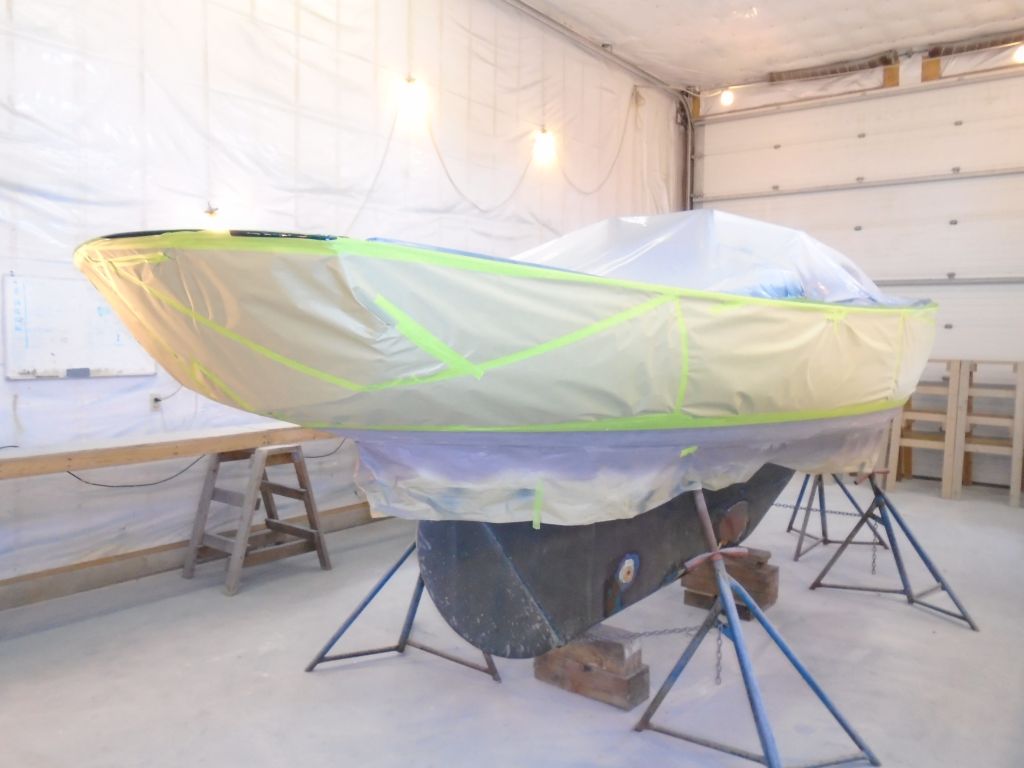
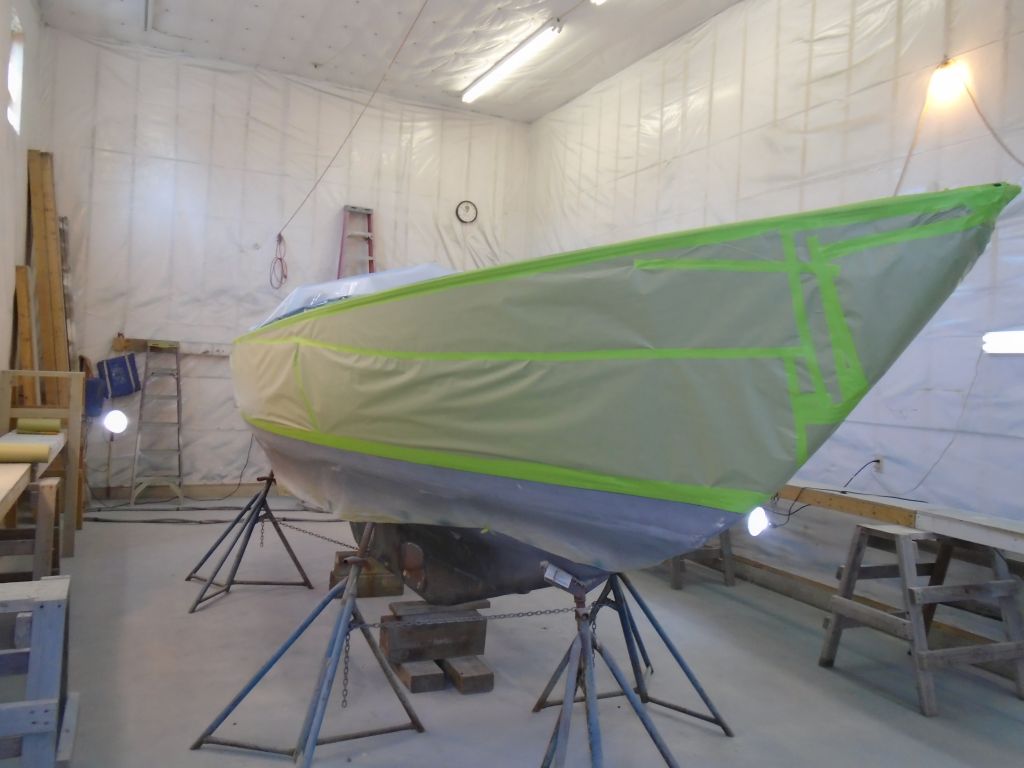
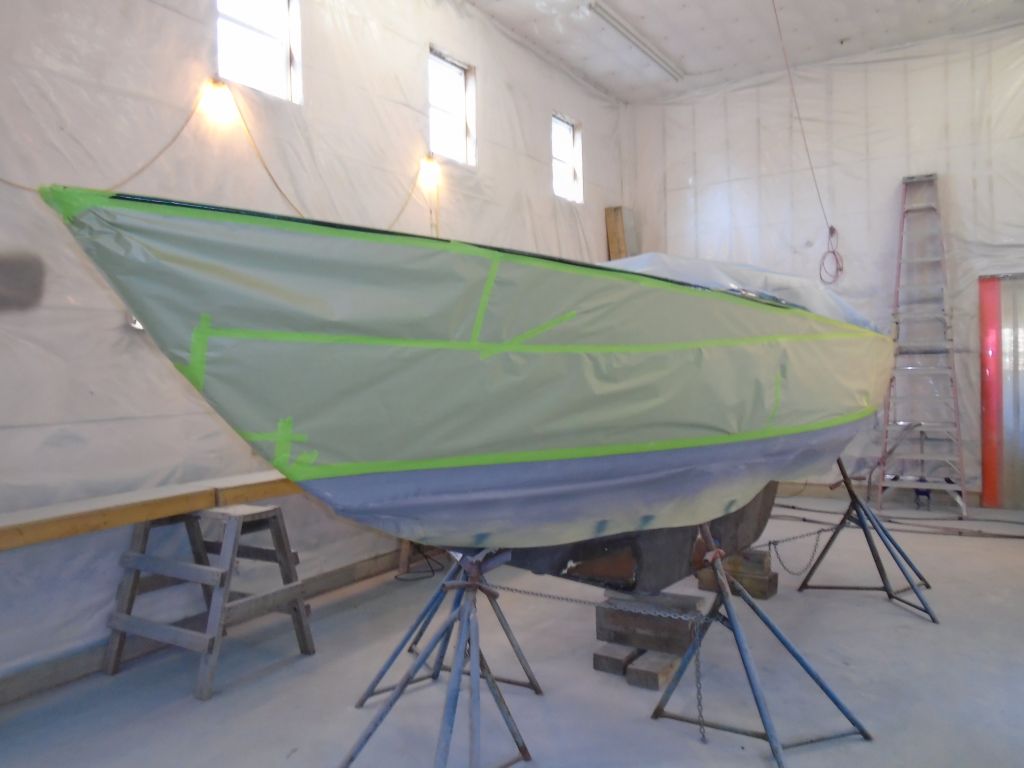
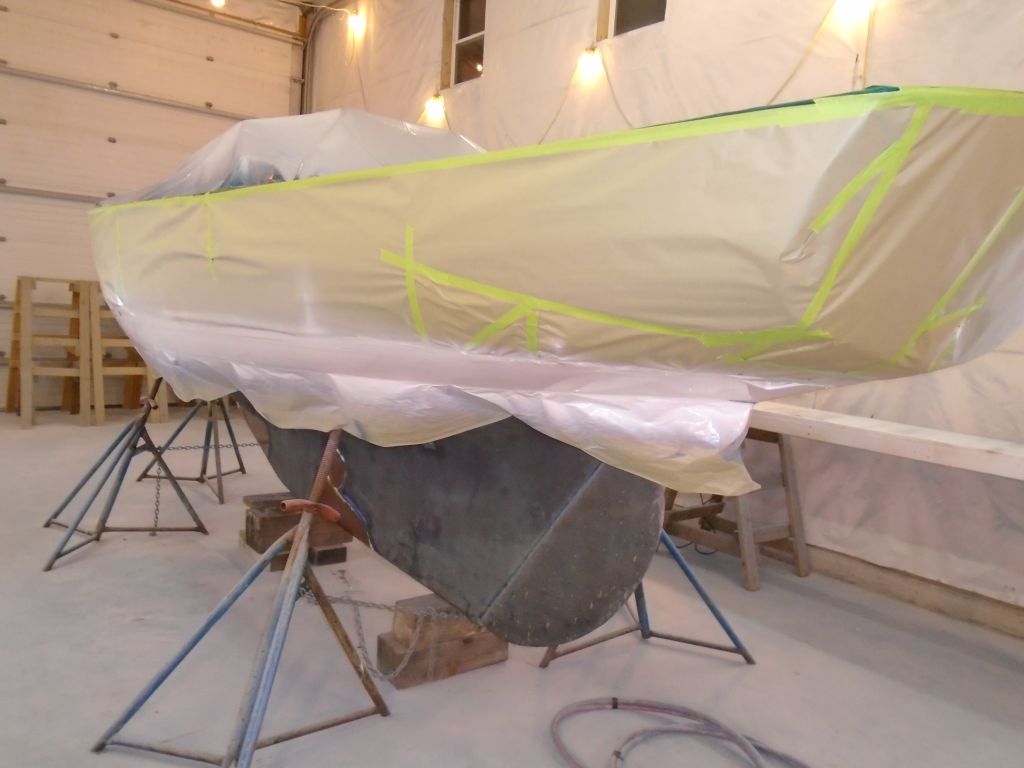
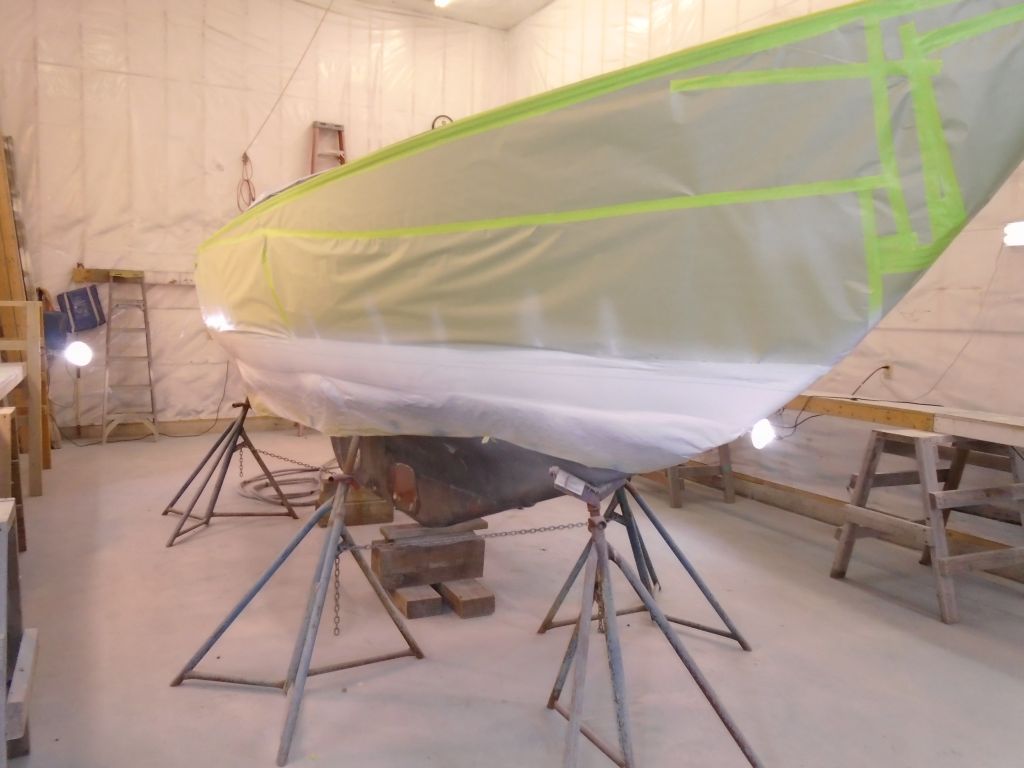
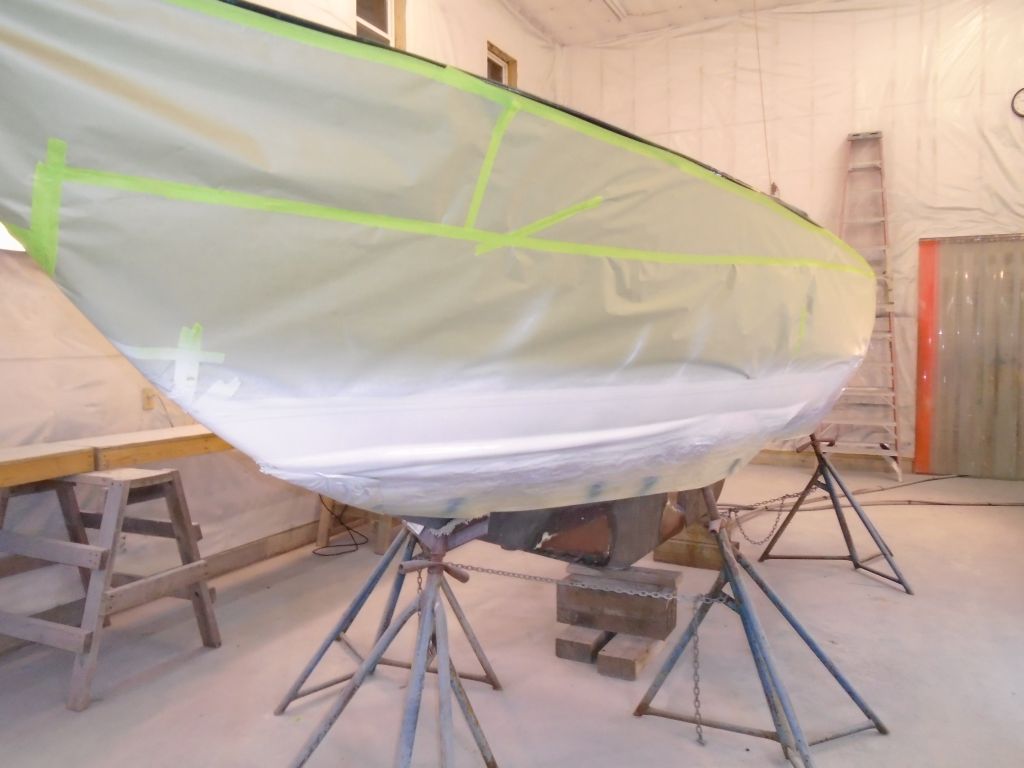
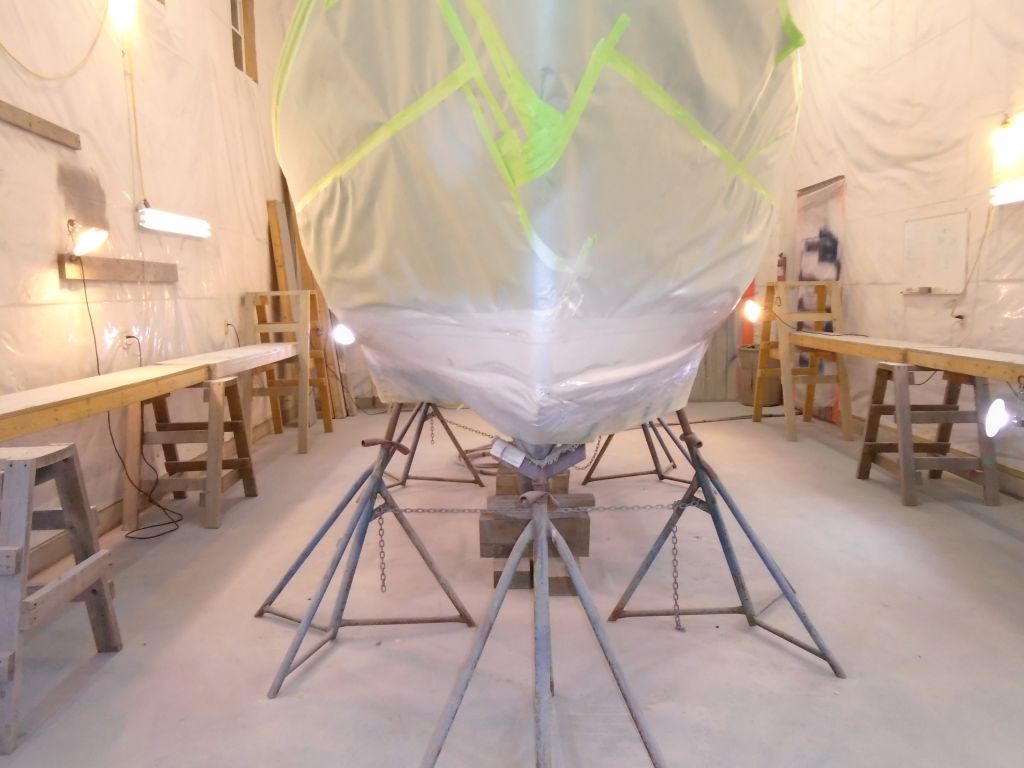
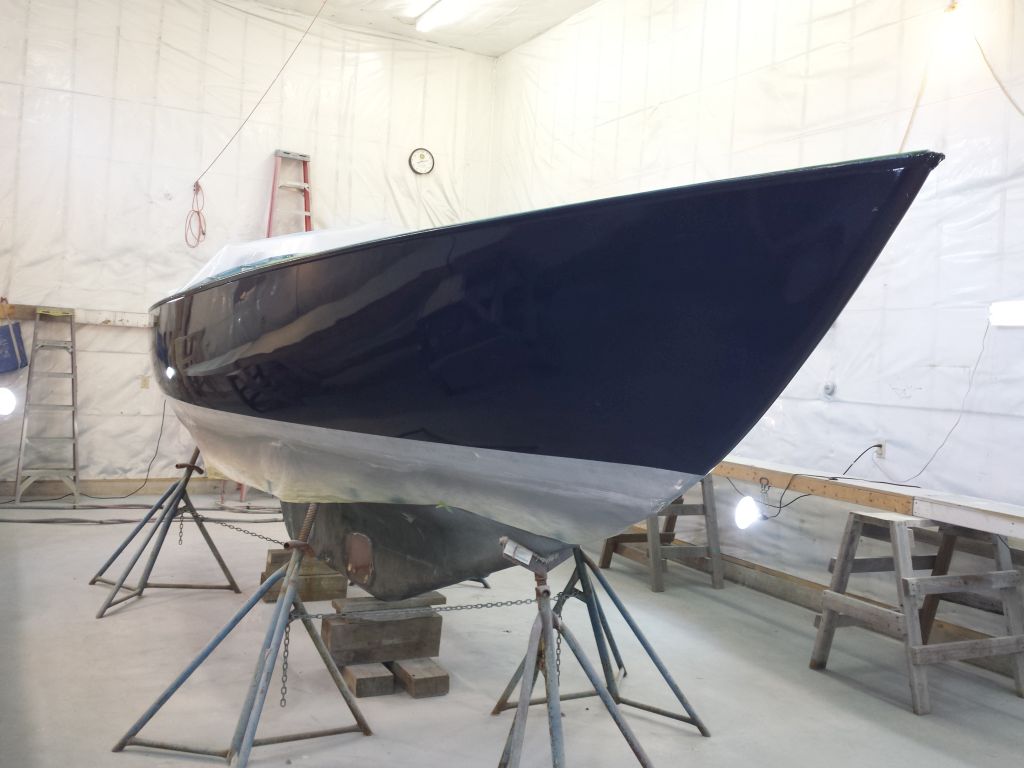
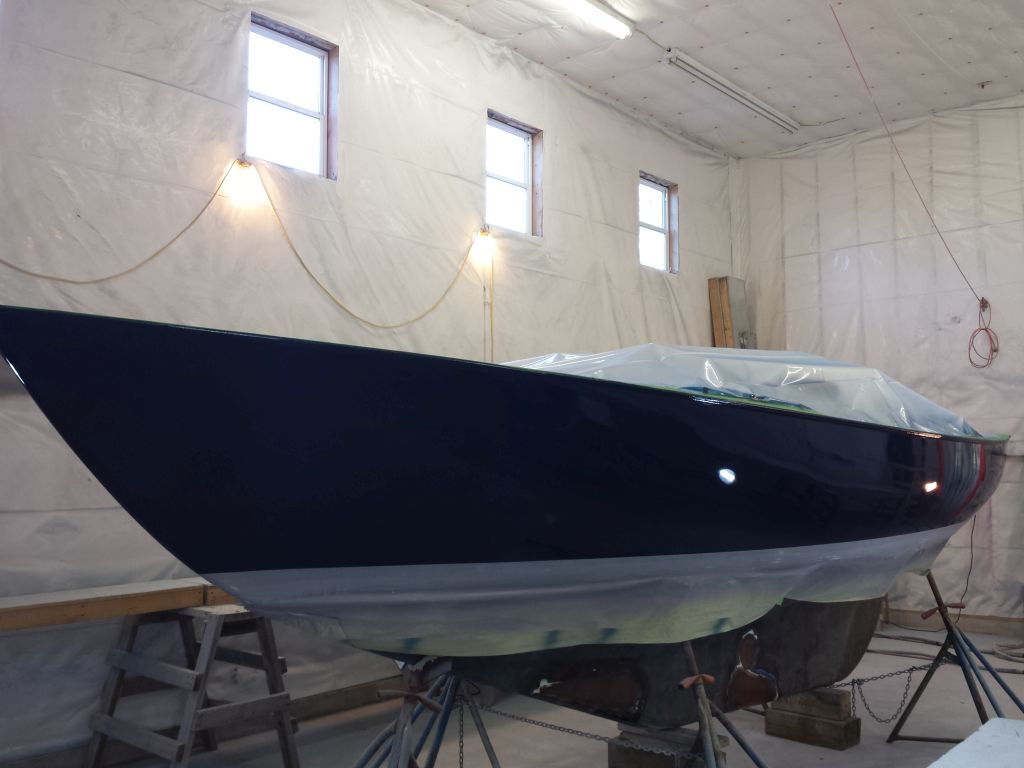
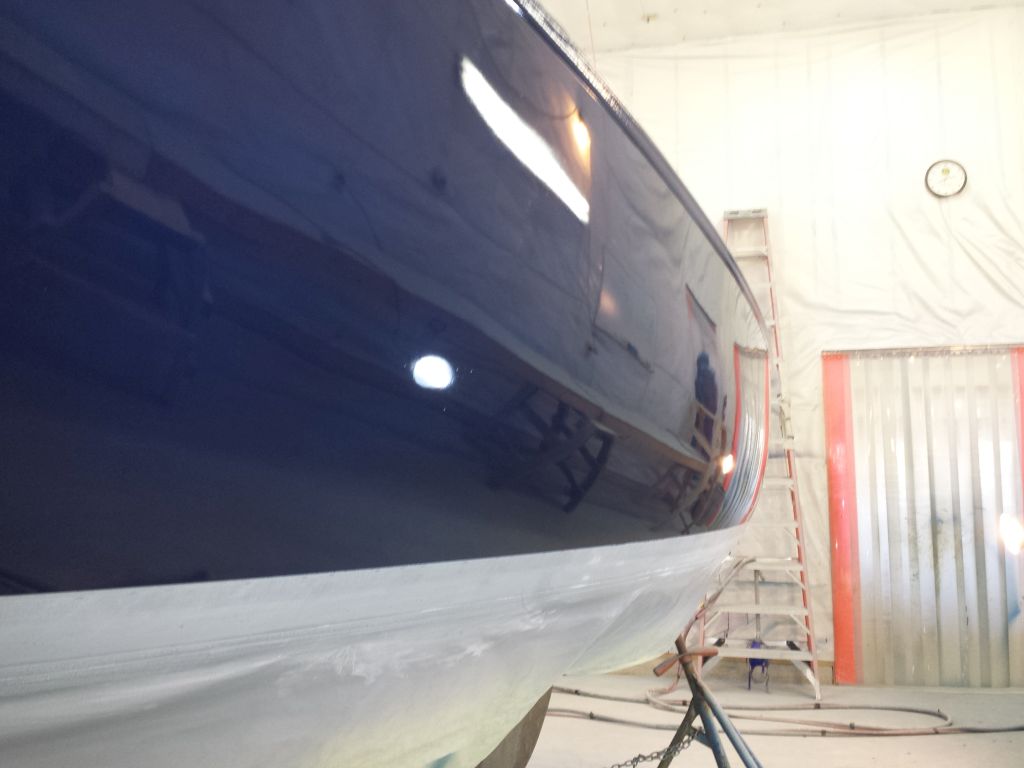
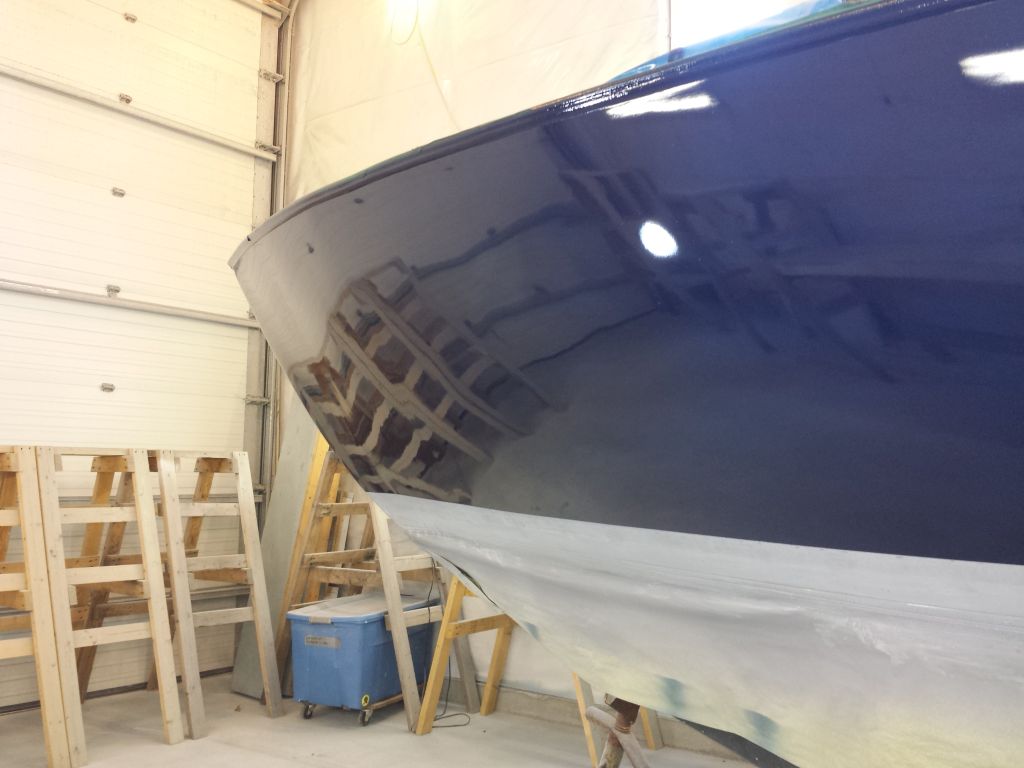
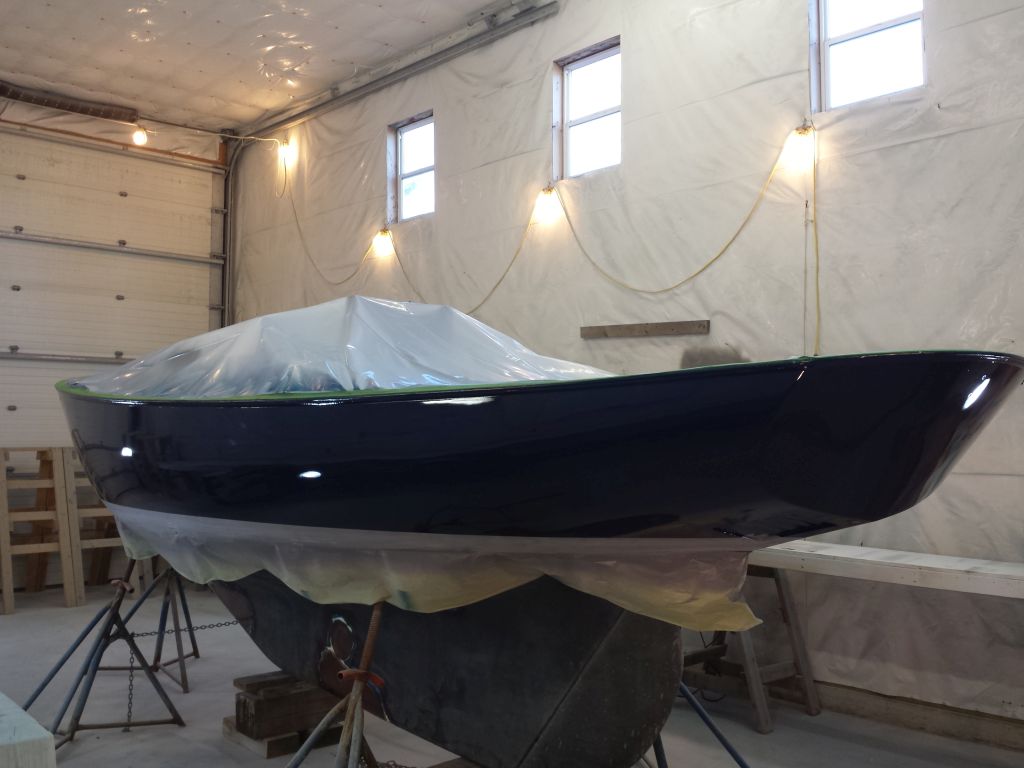
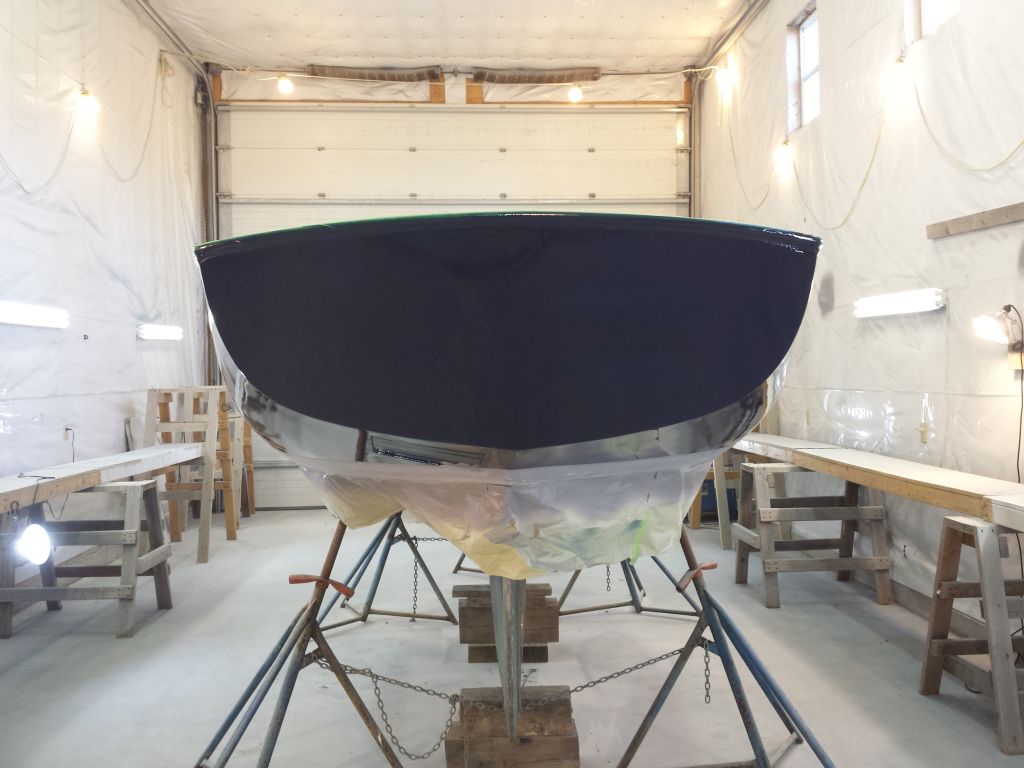
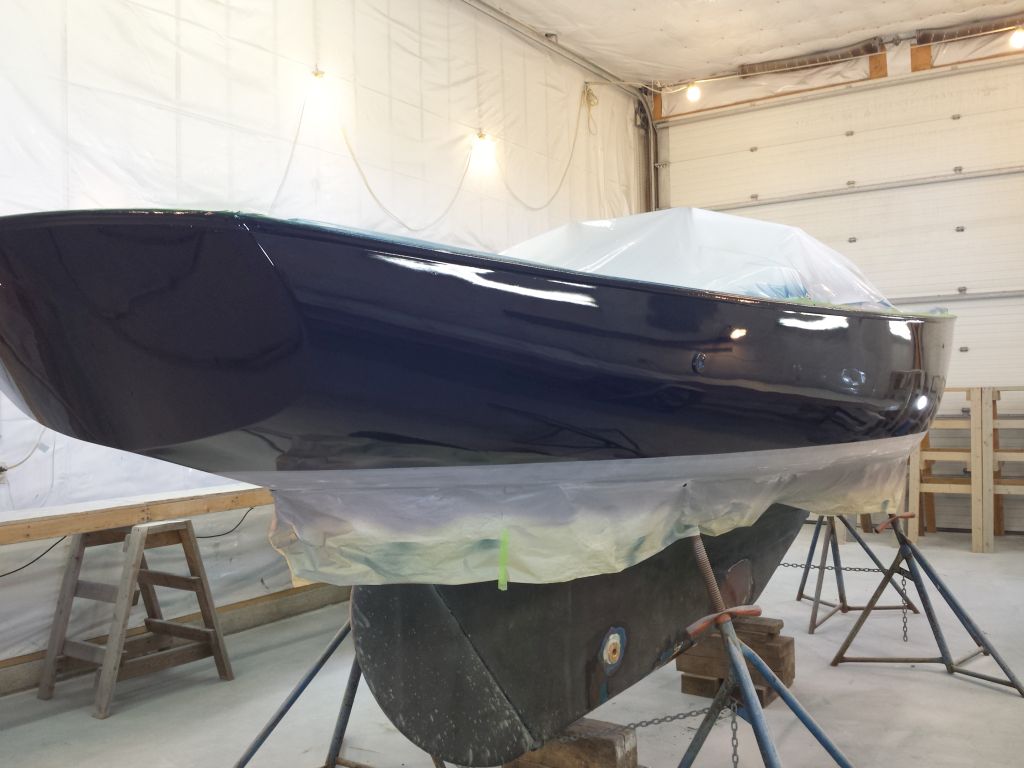
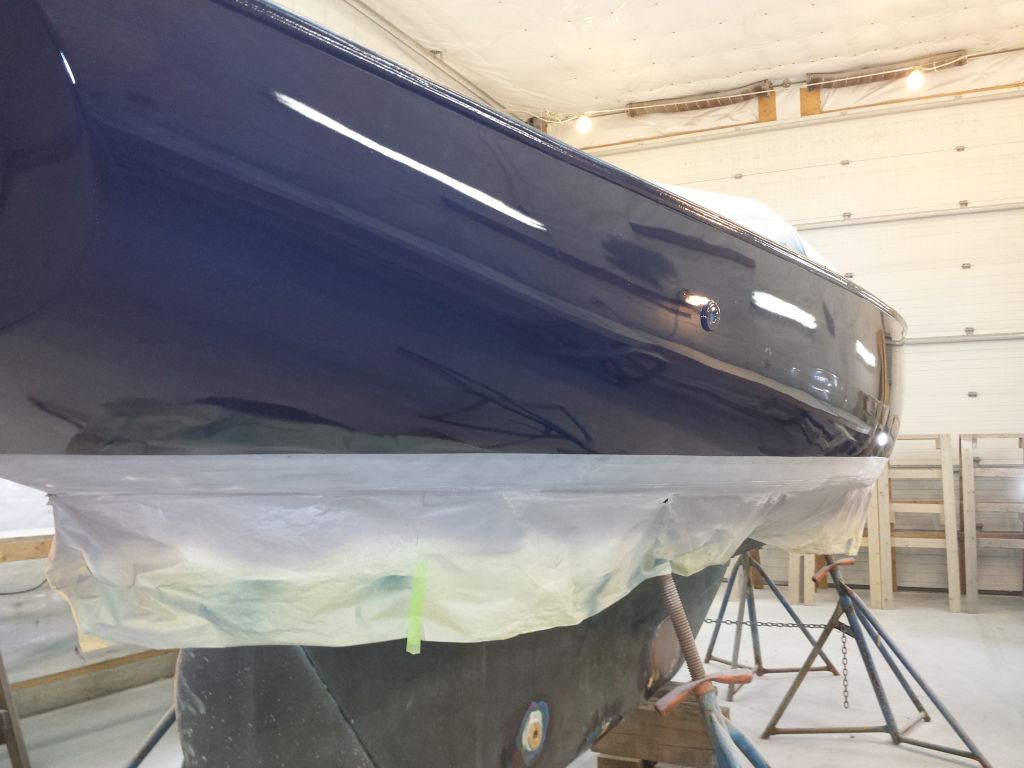
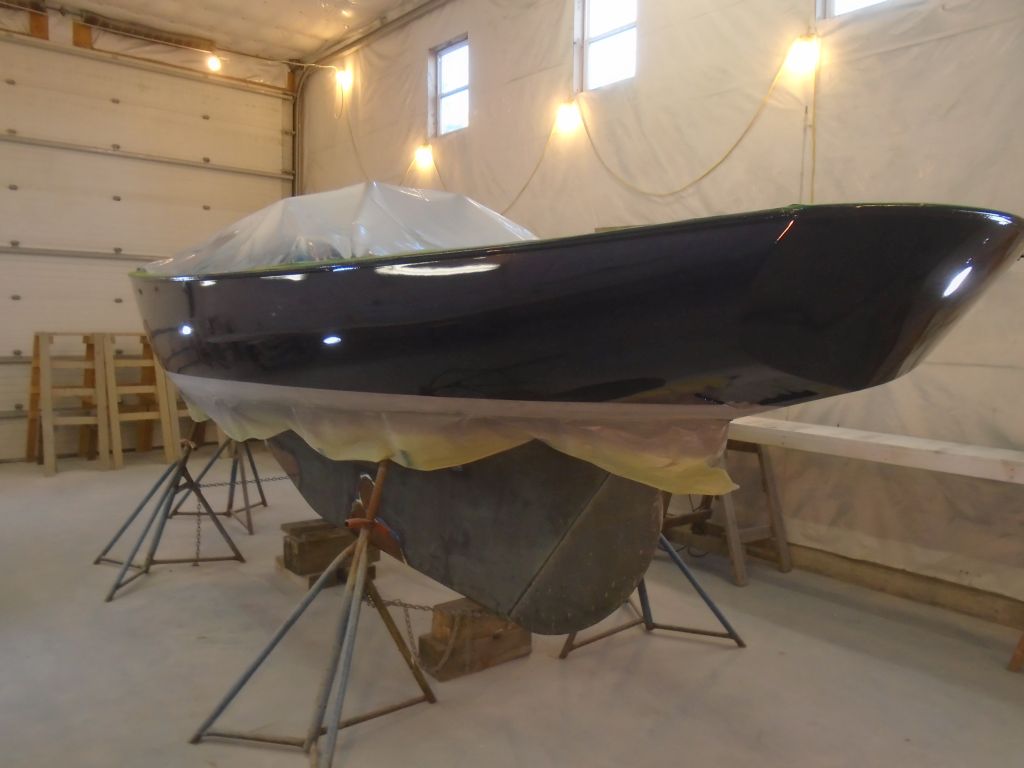
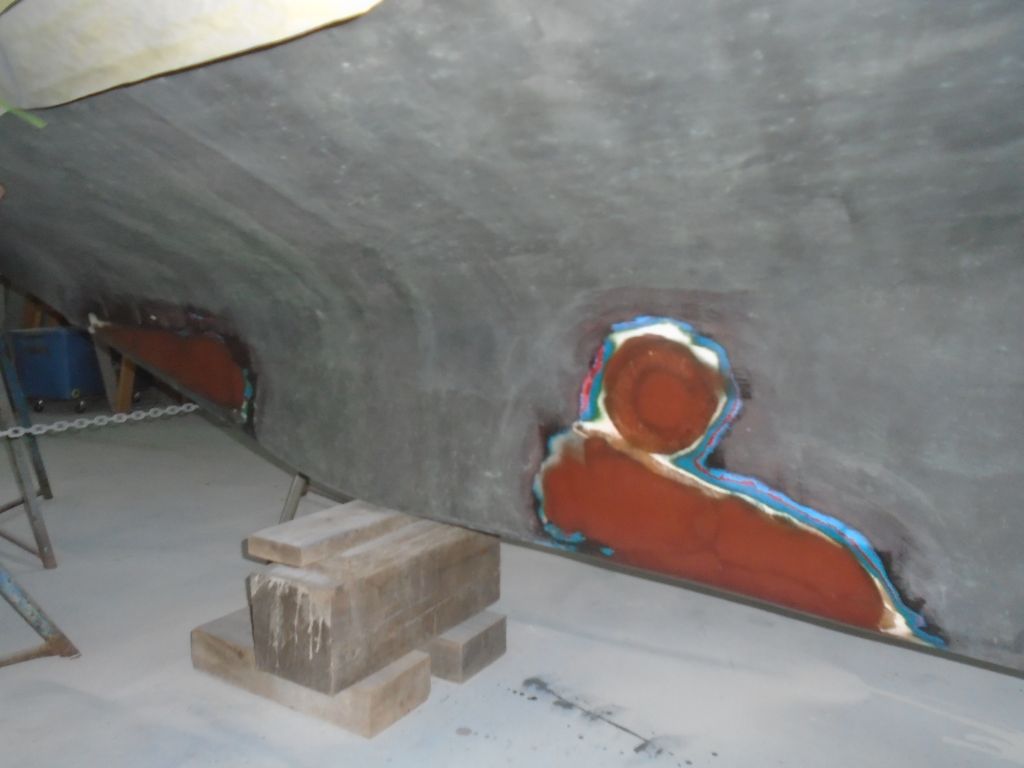
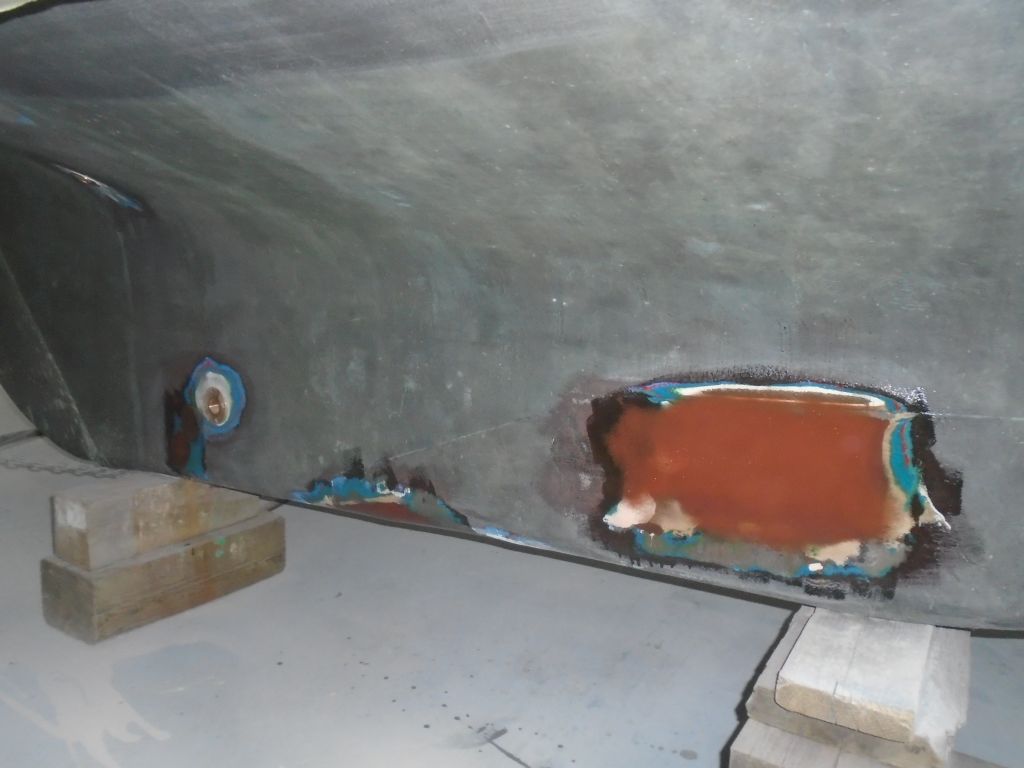
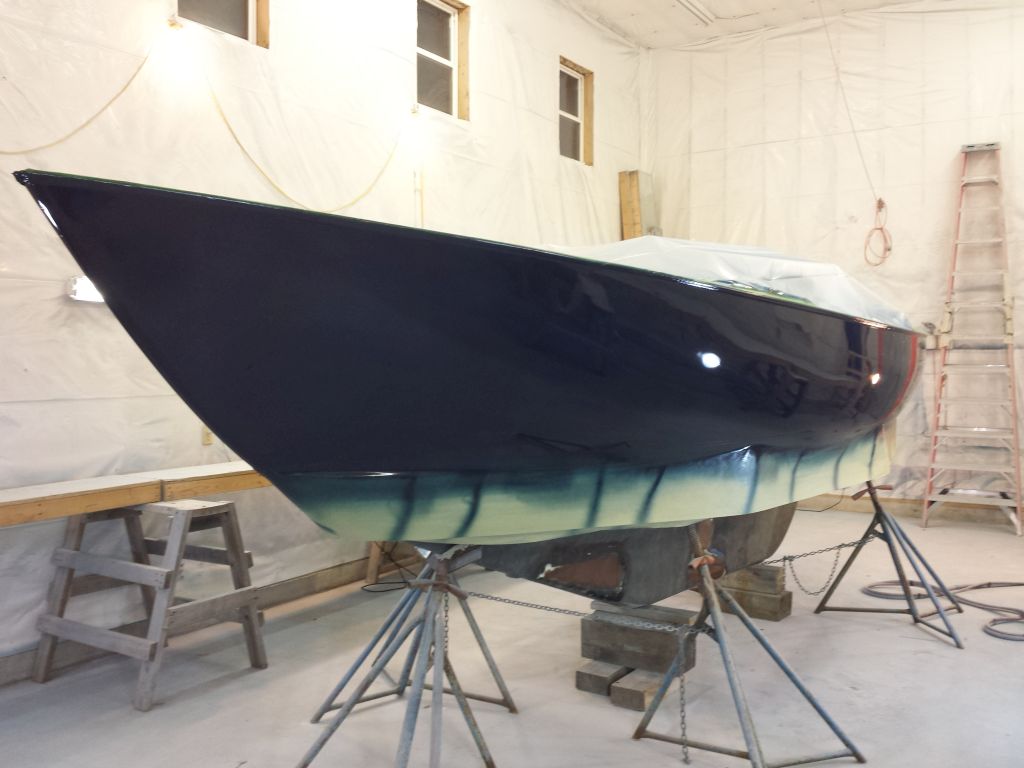
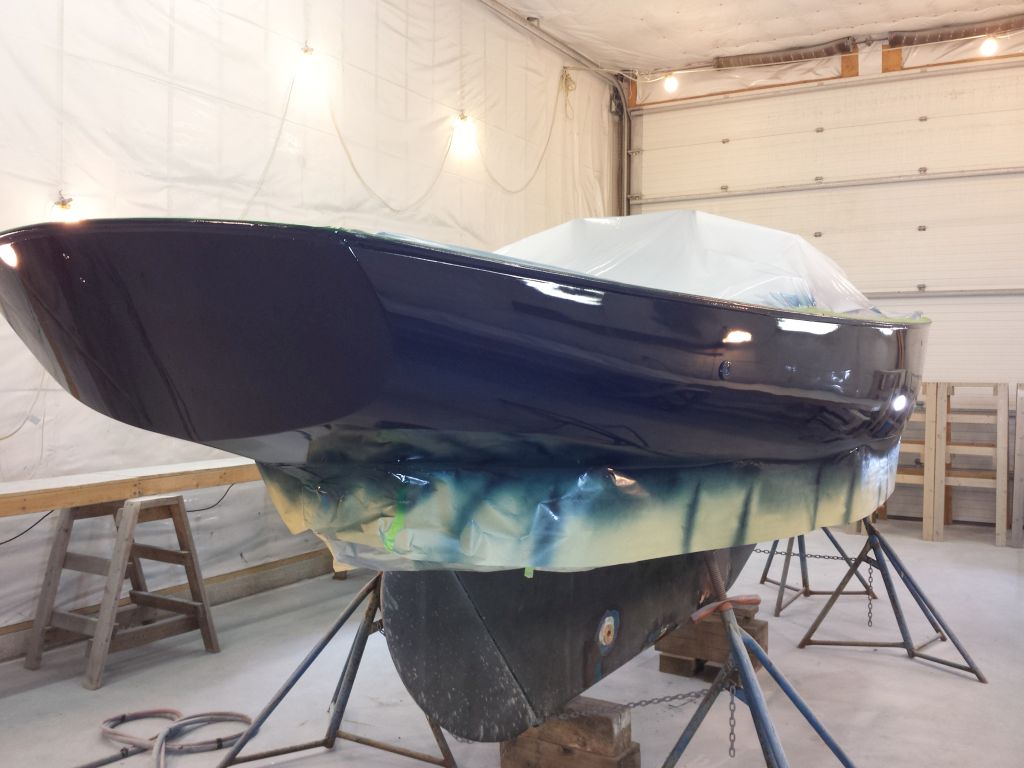
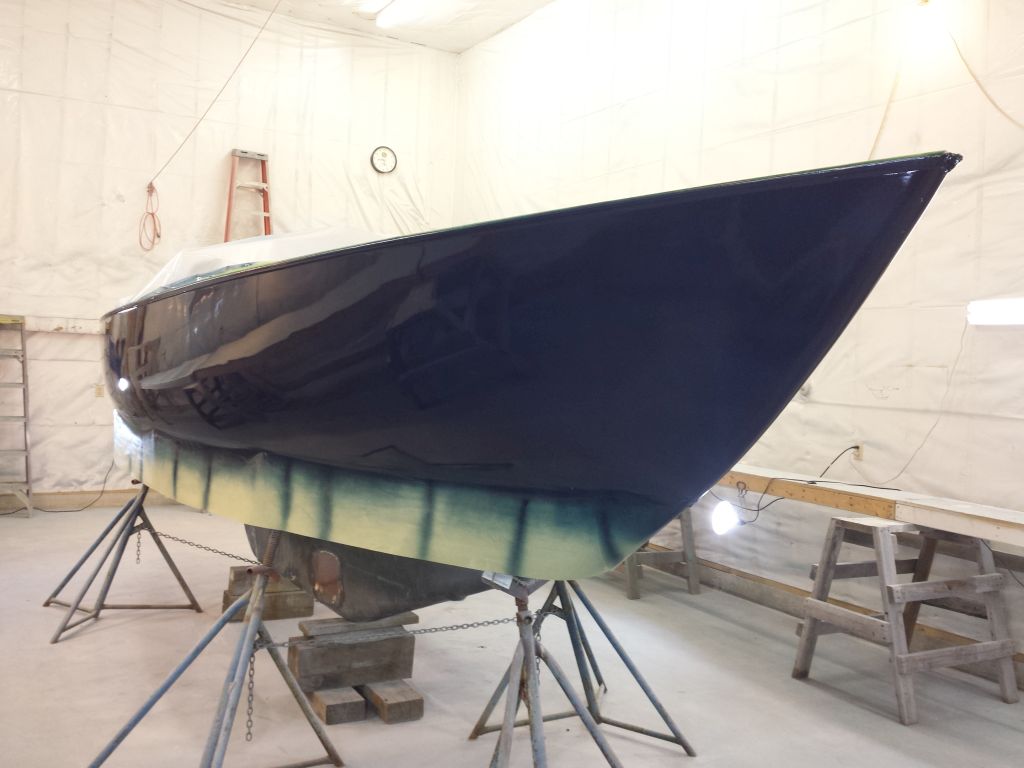
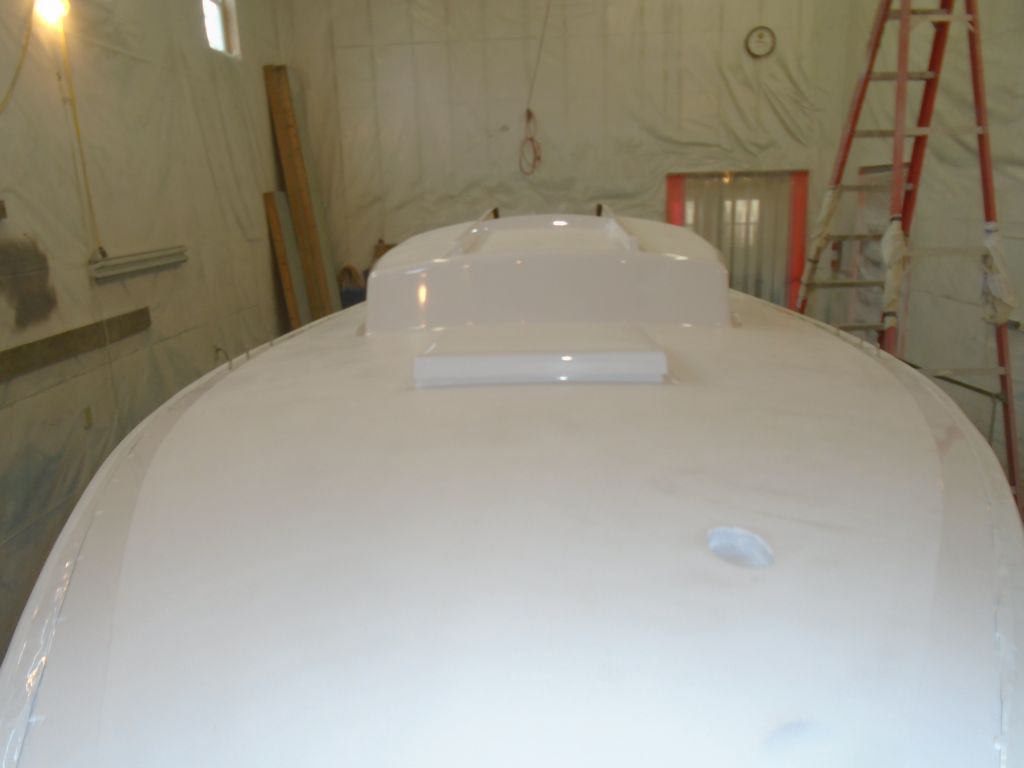
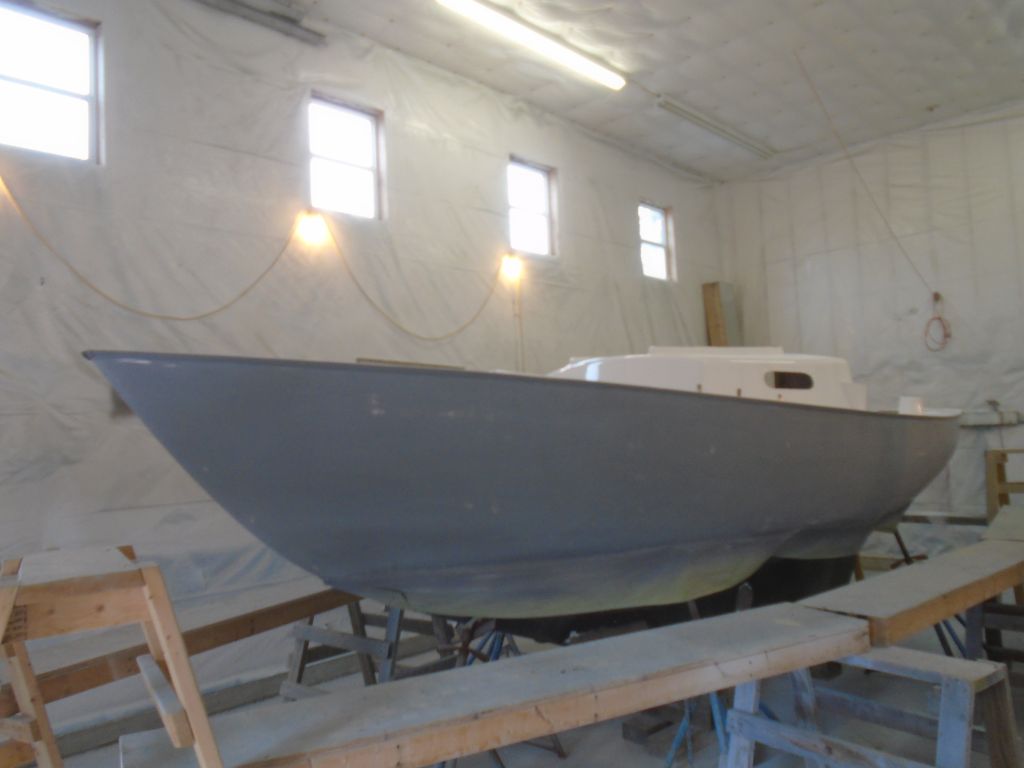
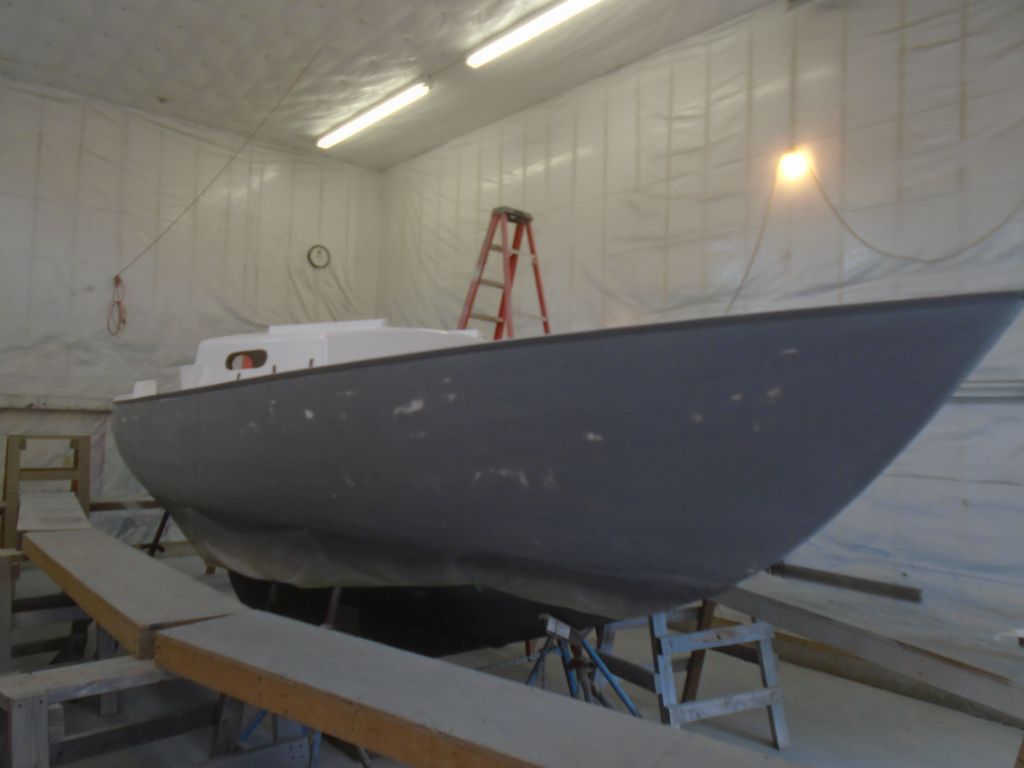
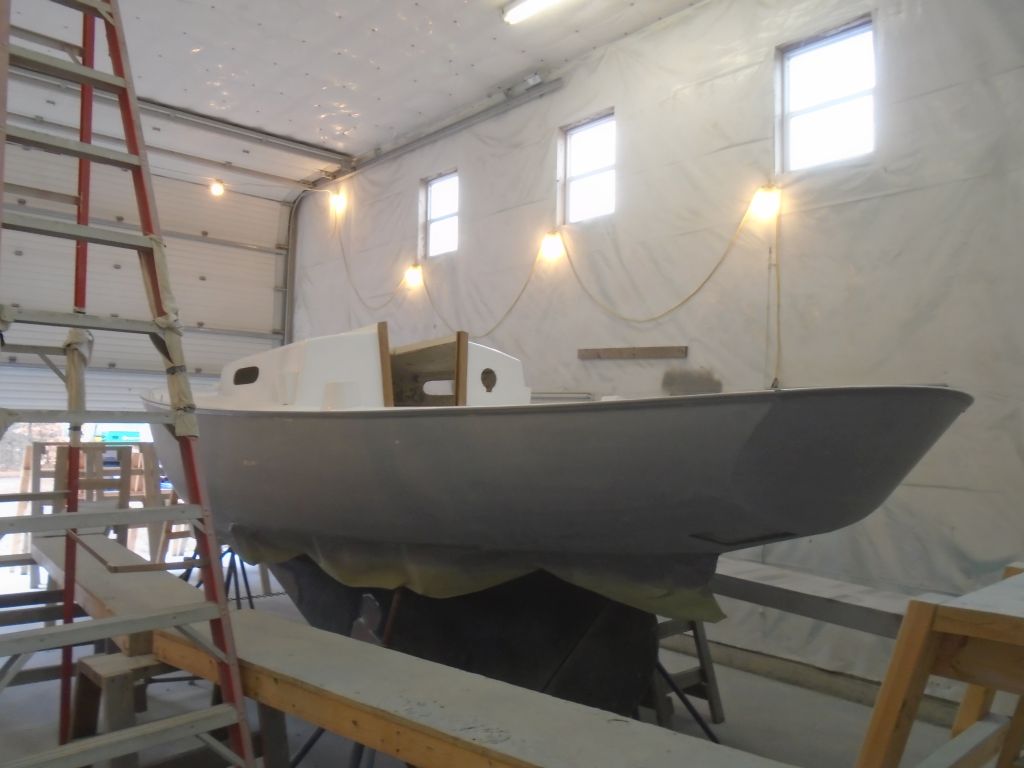
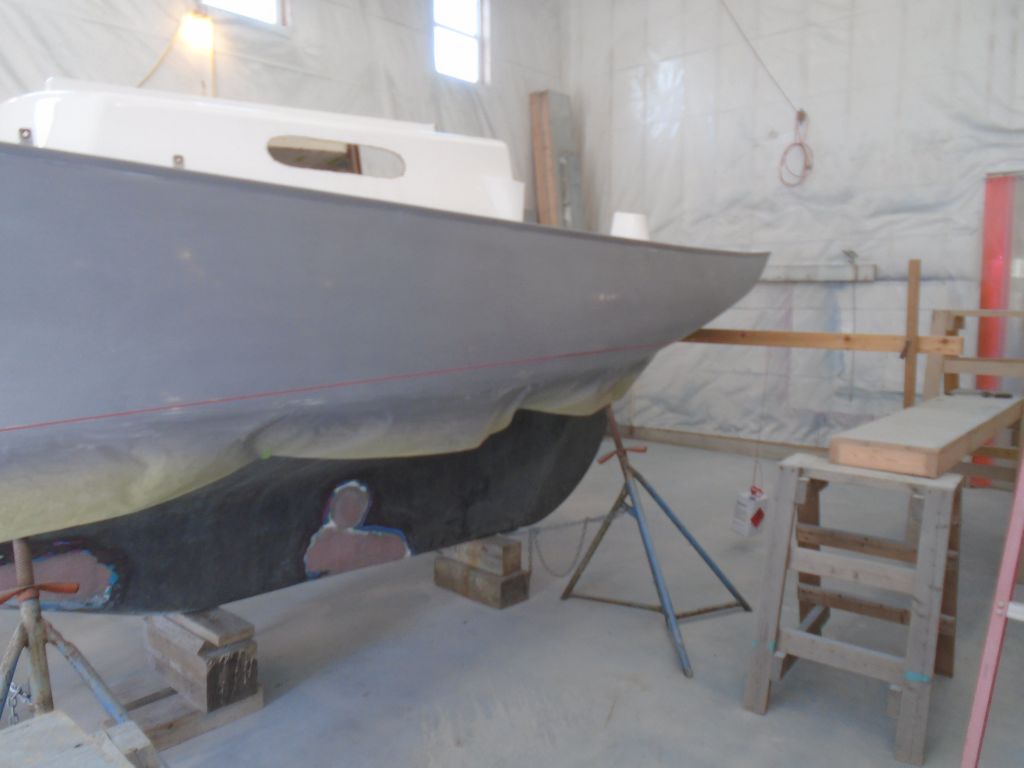
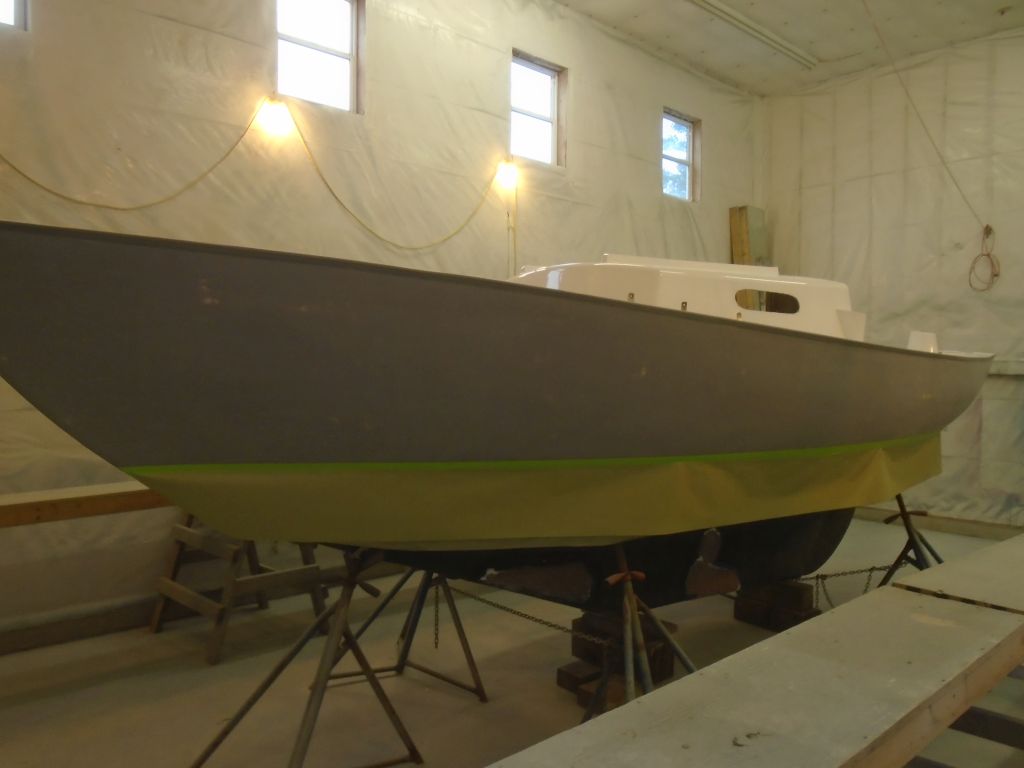
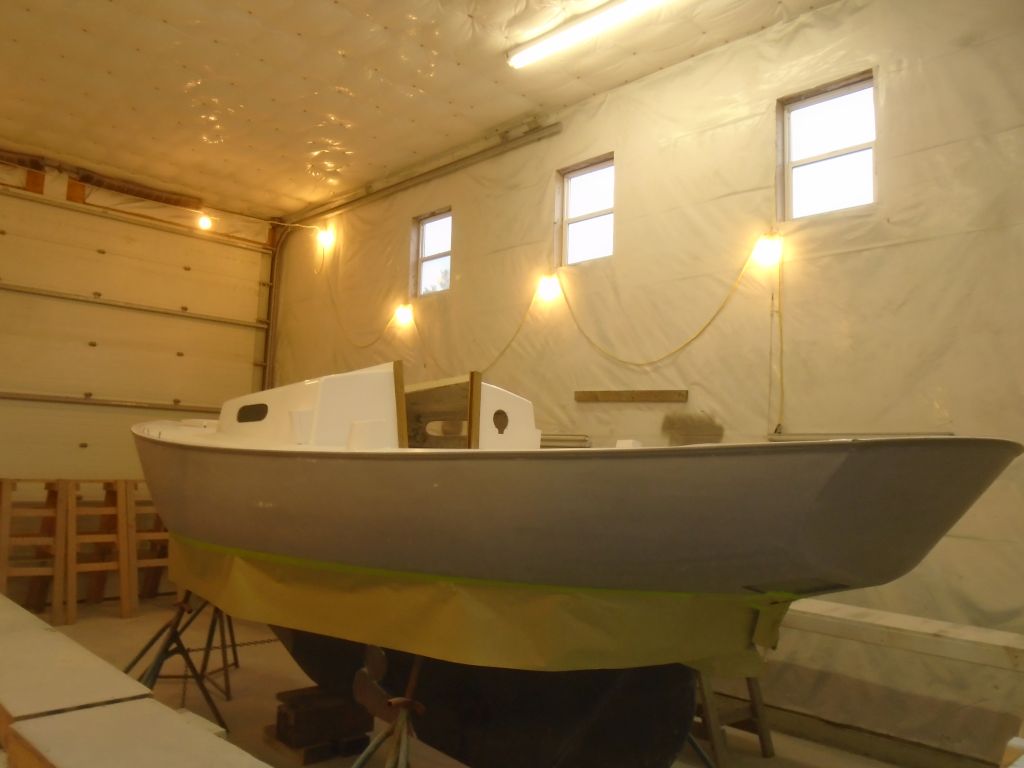
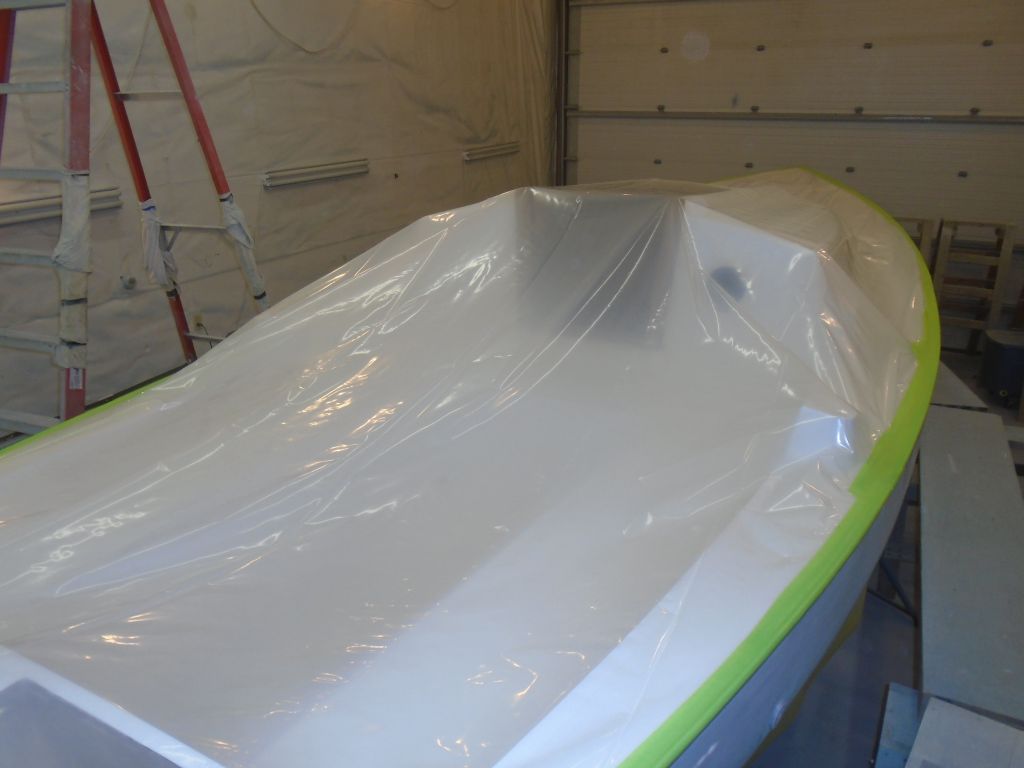
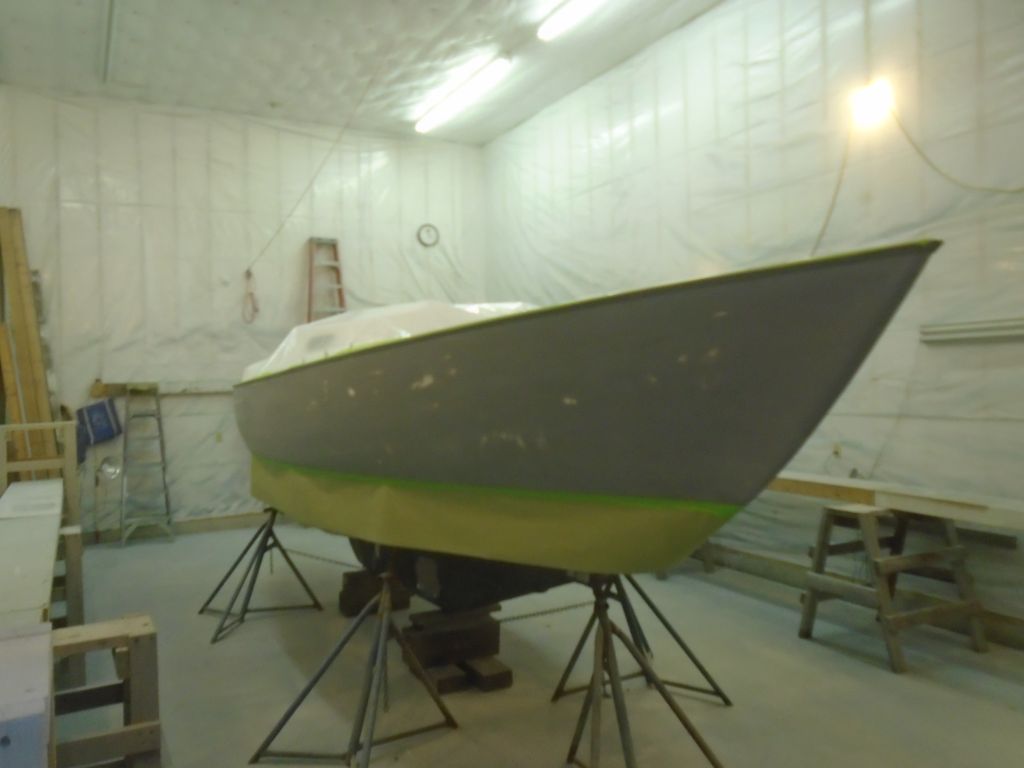
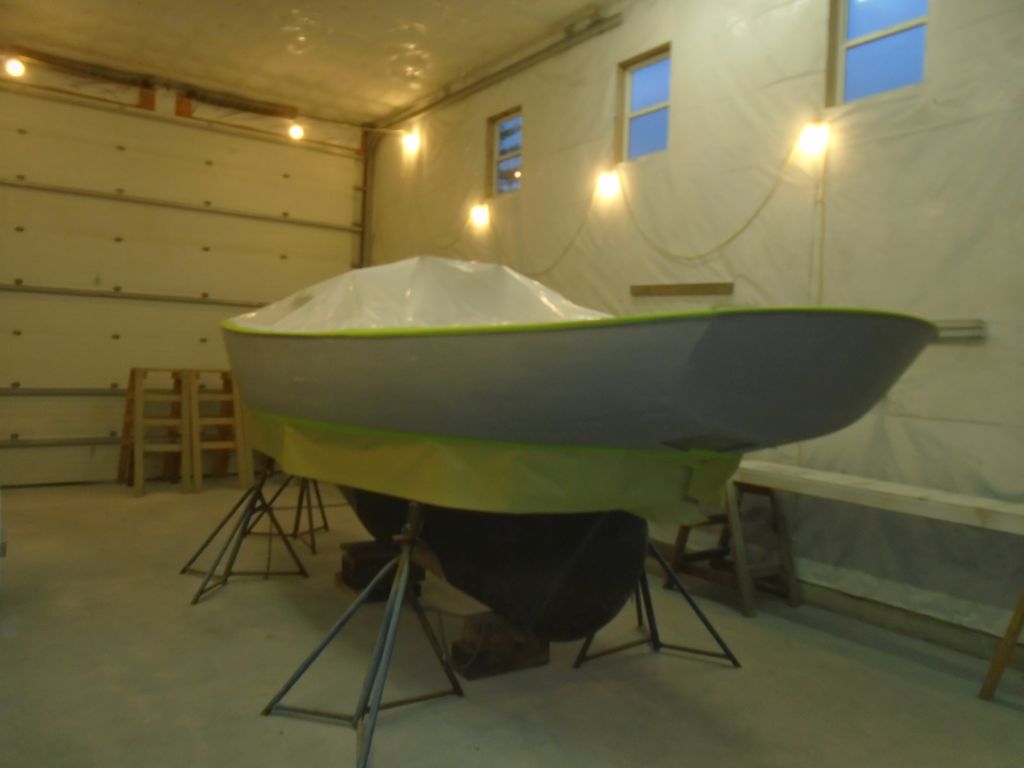
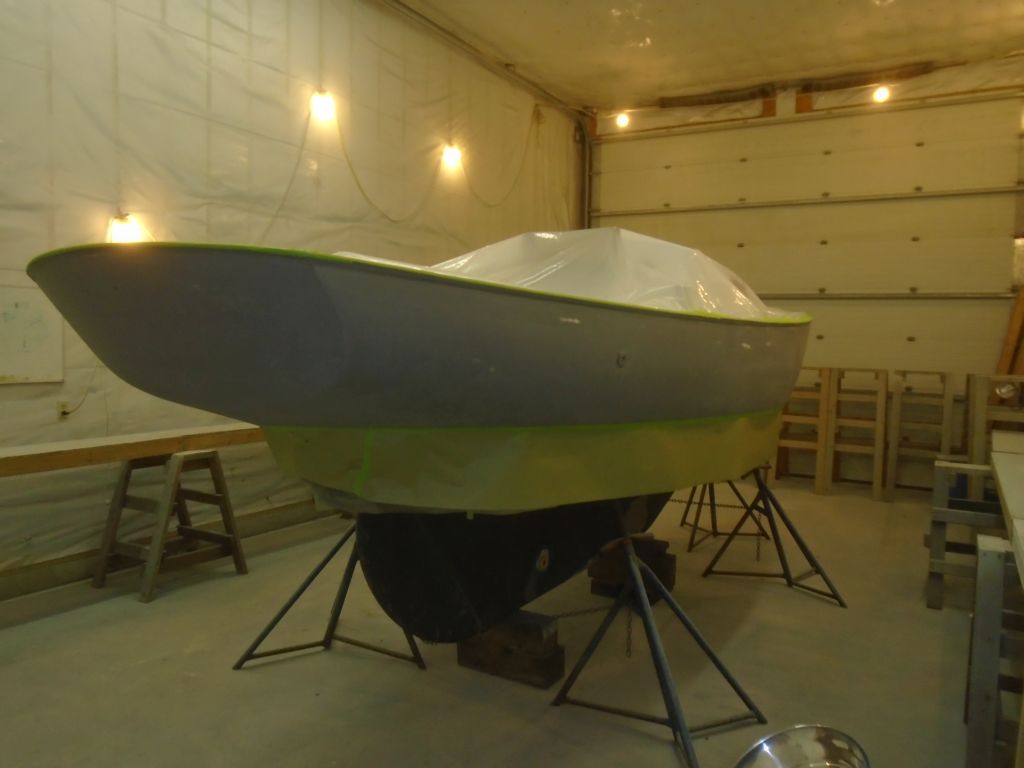
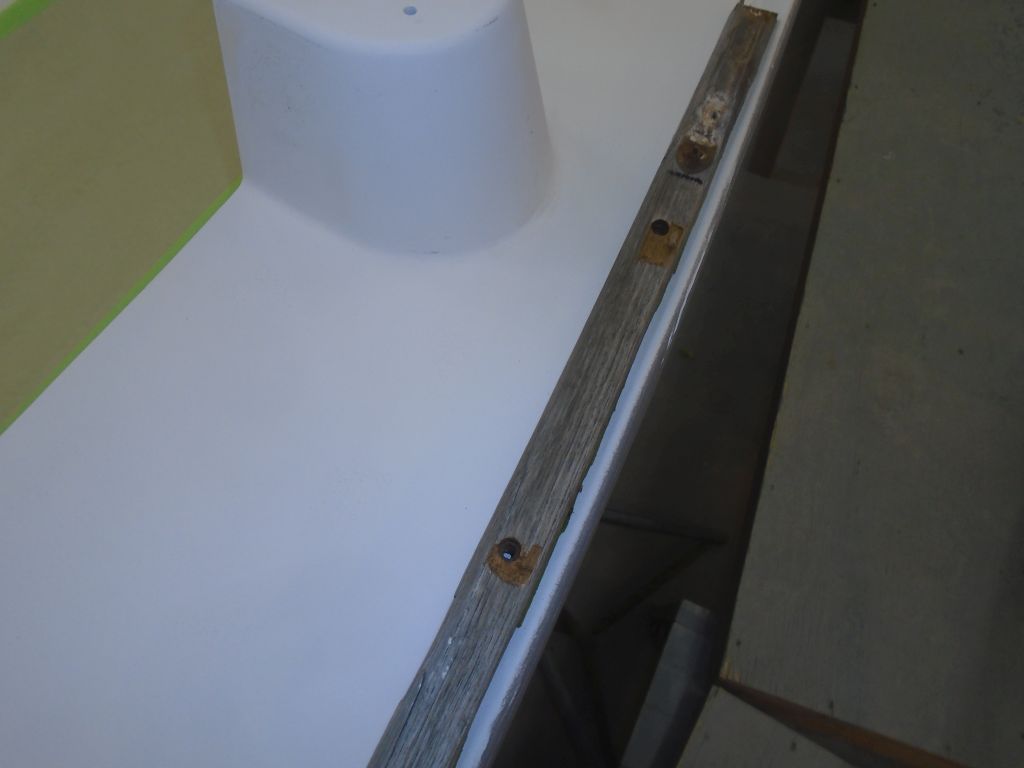
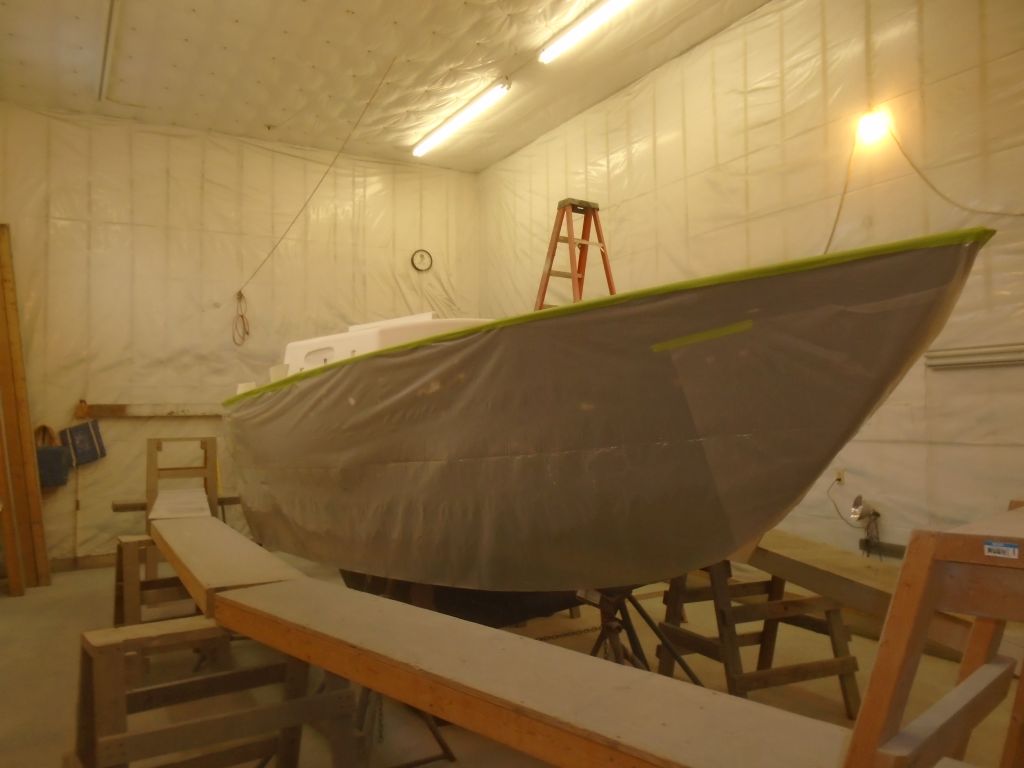
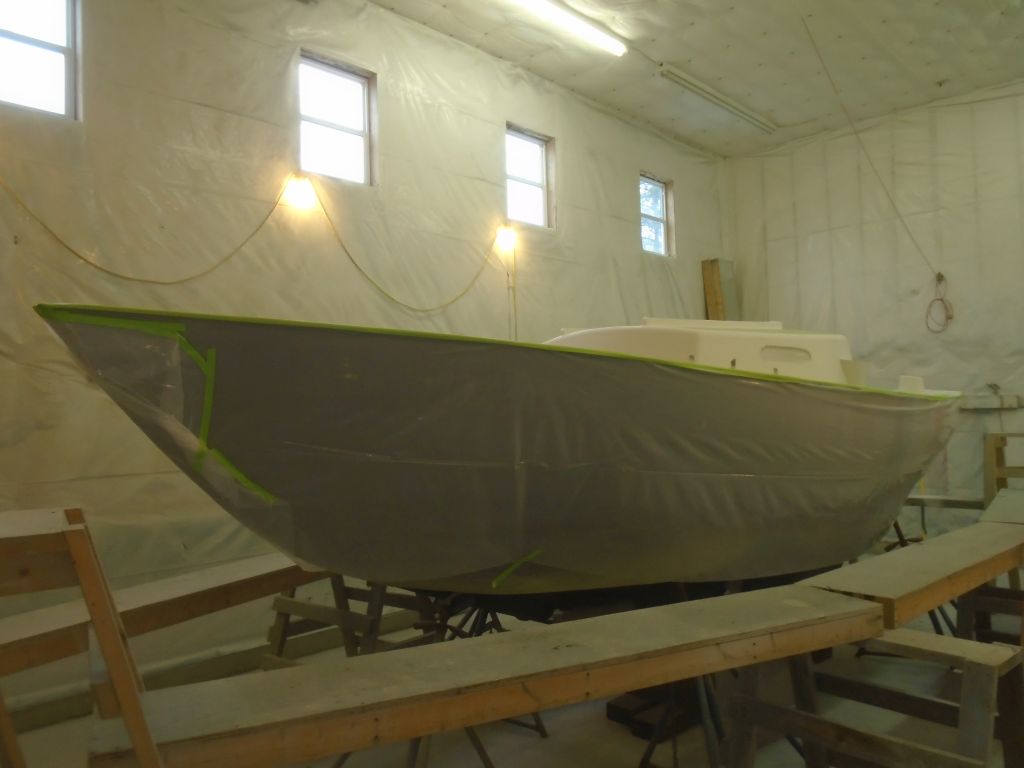
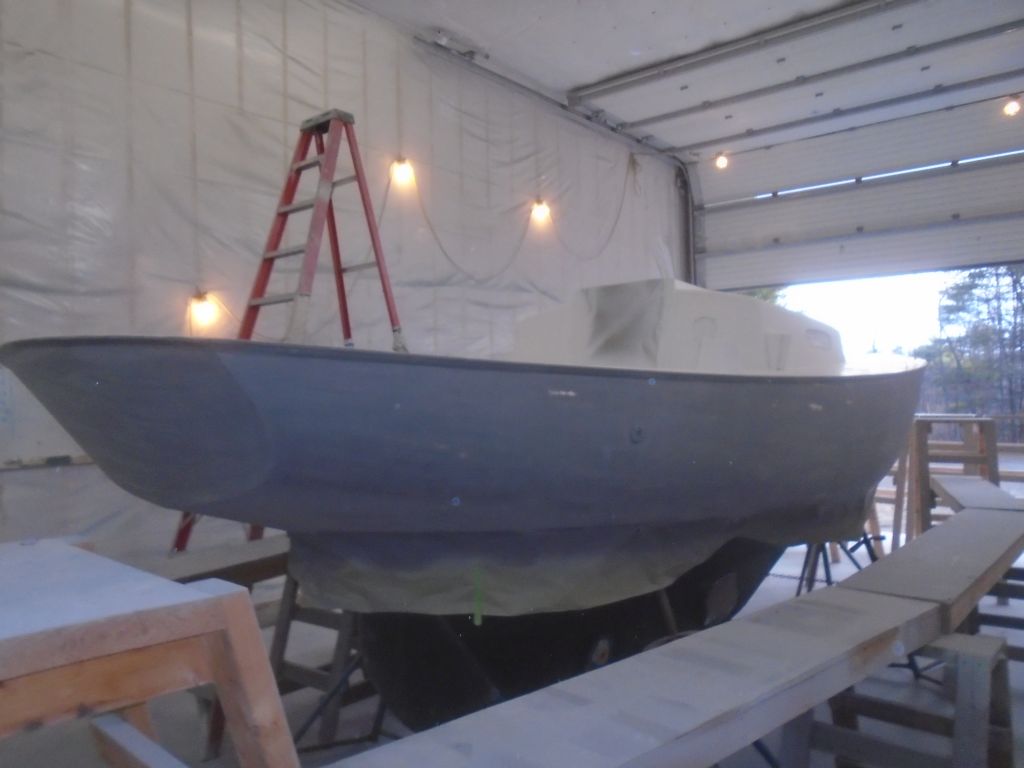
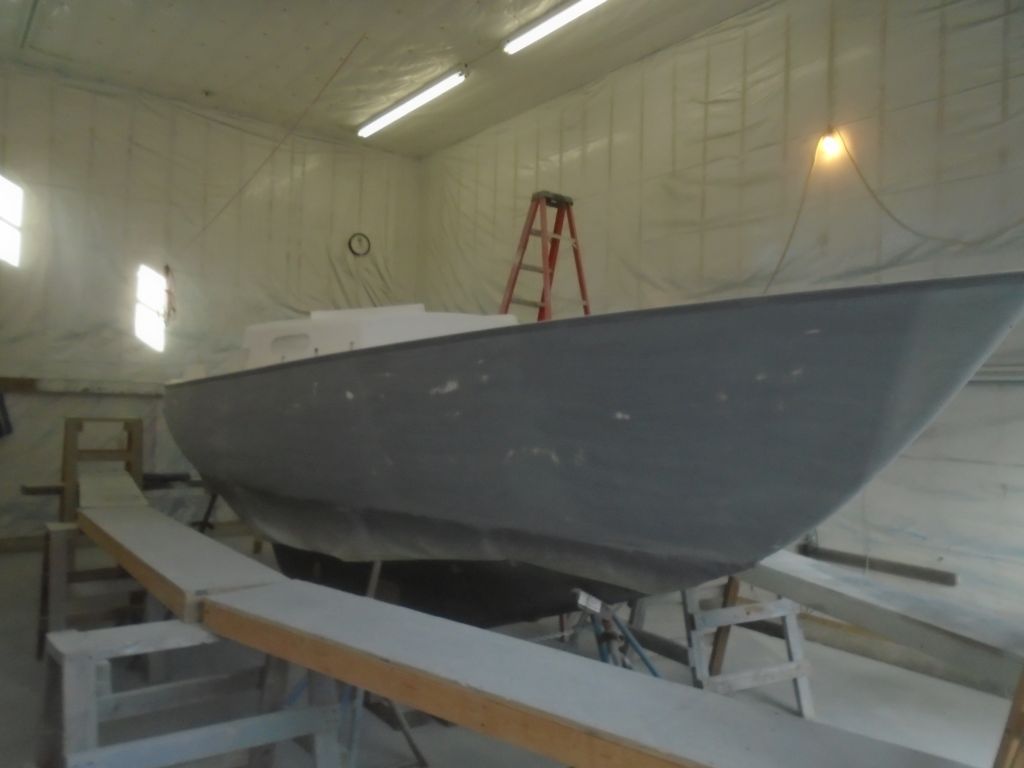
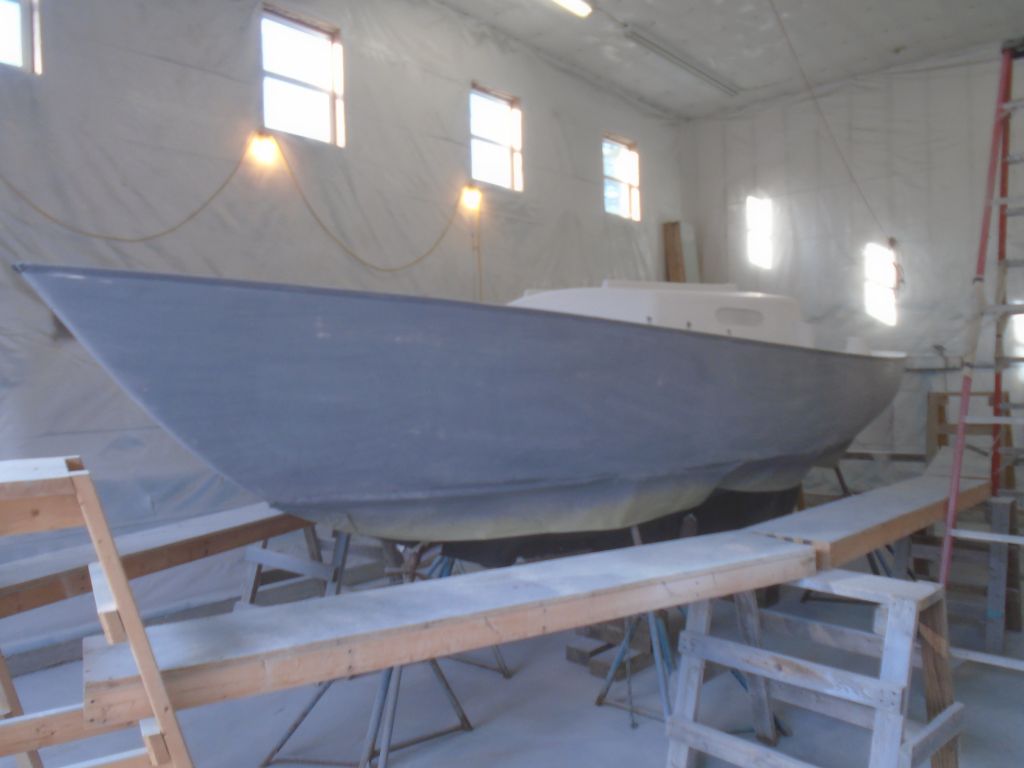
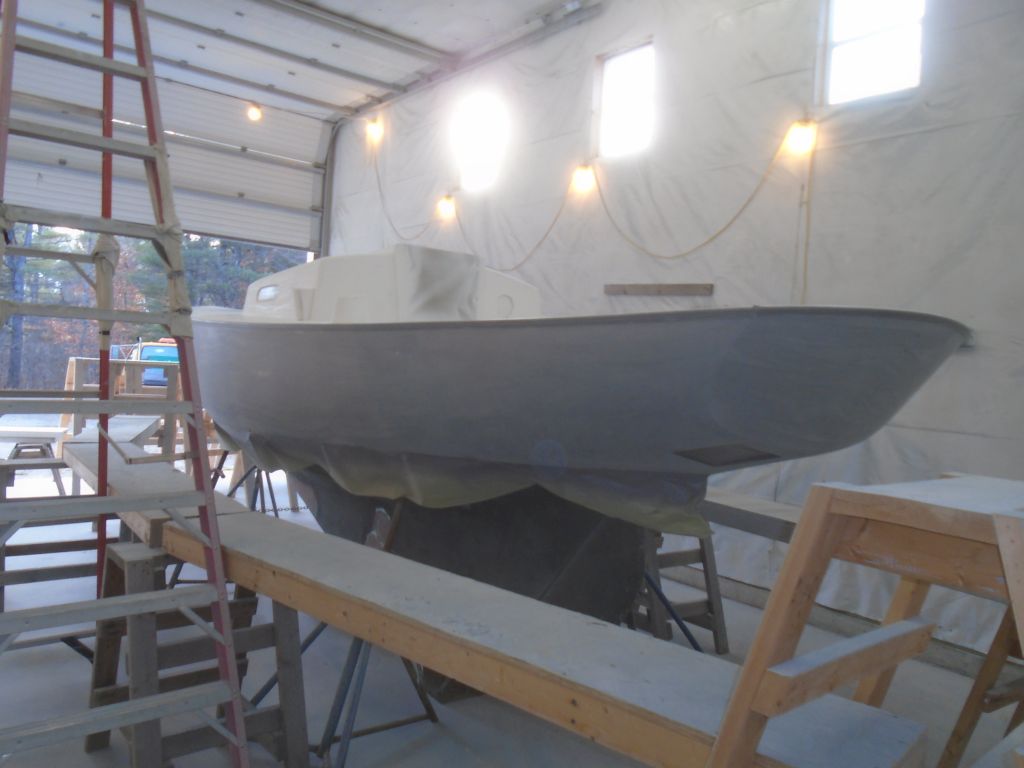
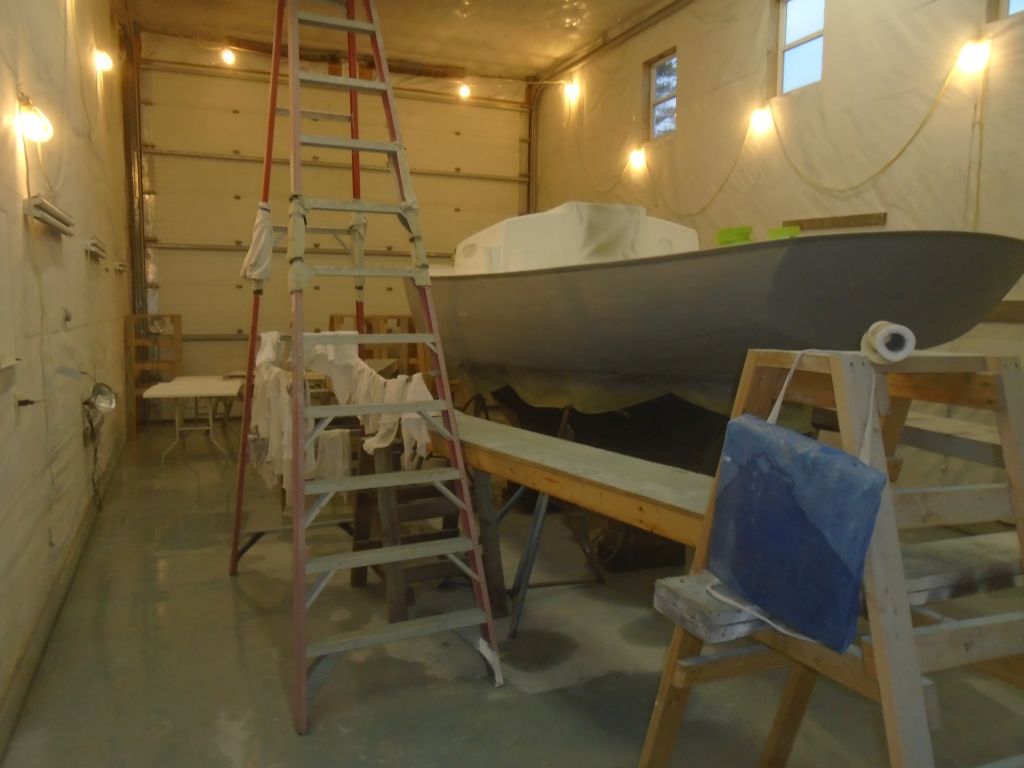
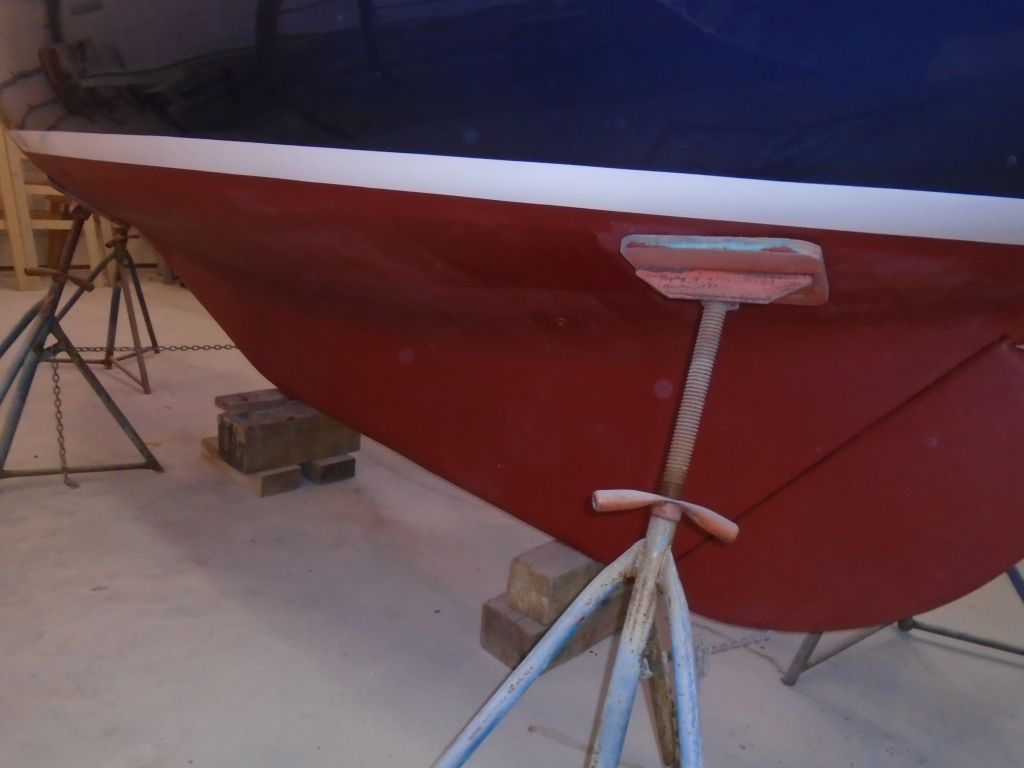
While I still had good access to the hull, I decided to move the jackstands and paint the patches beneath their previous locations.

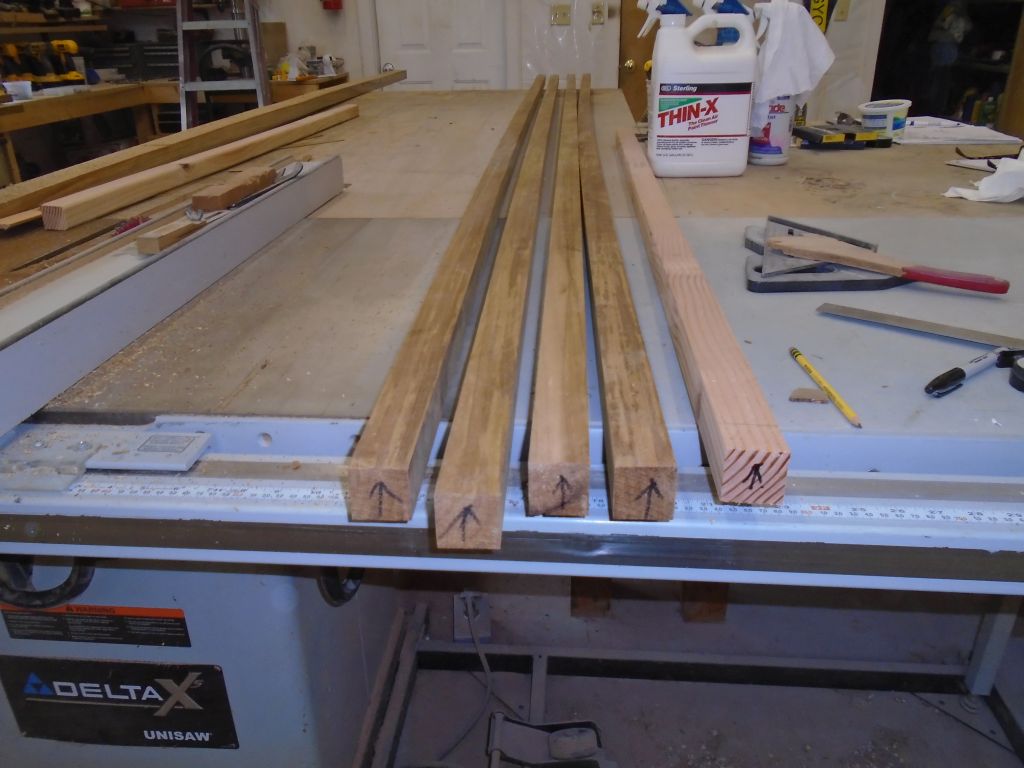
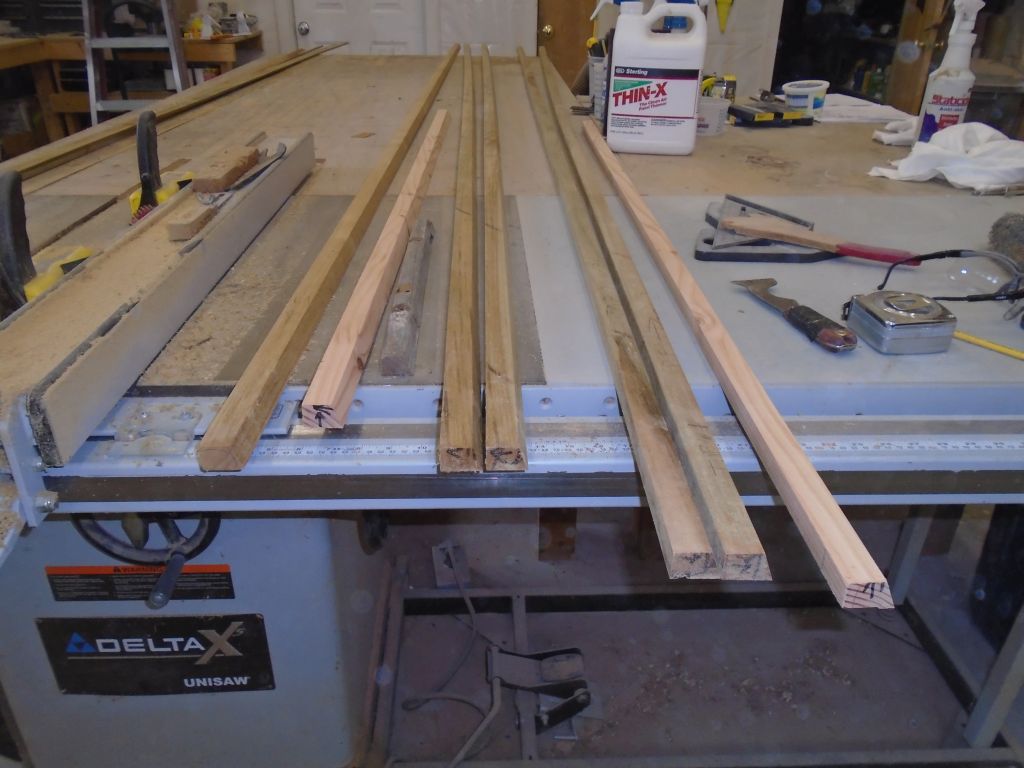
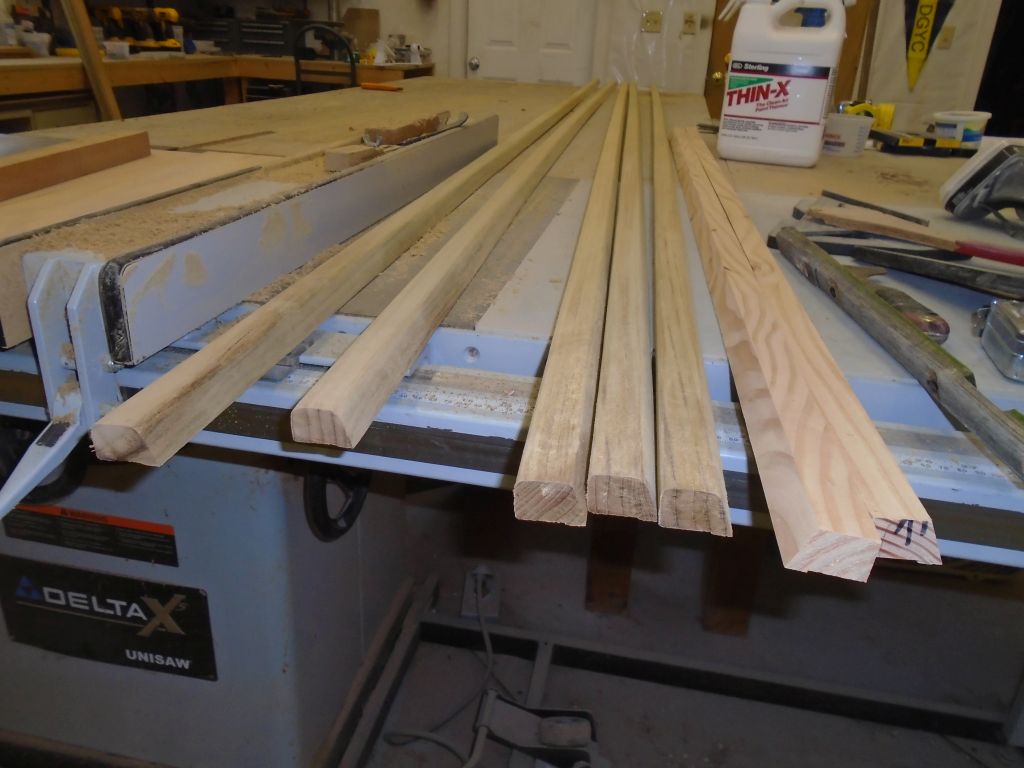
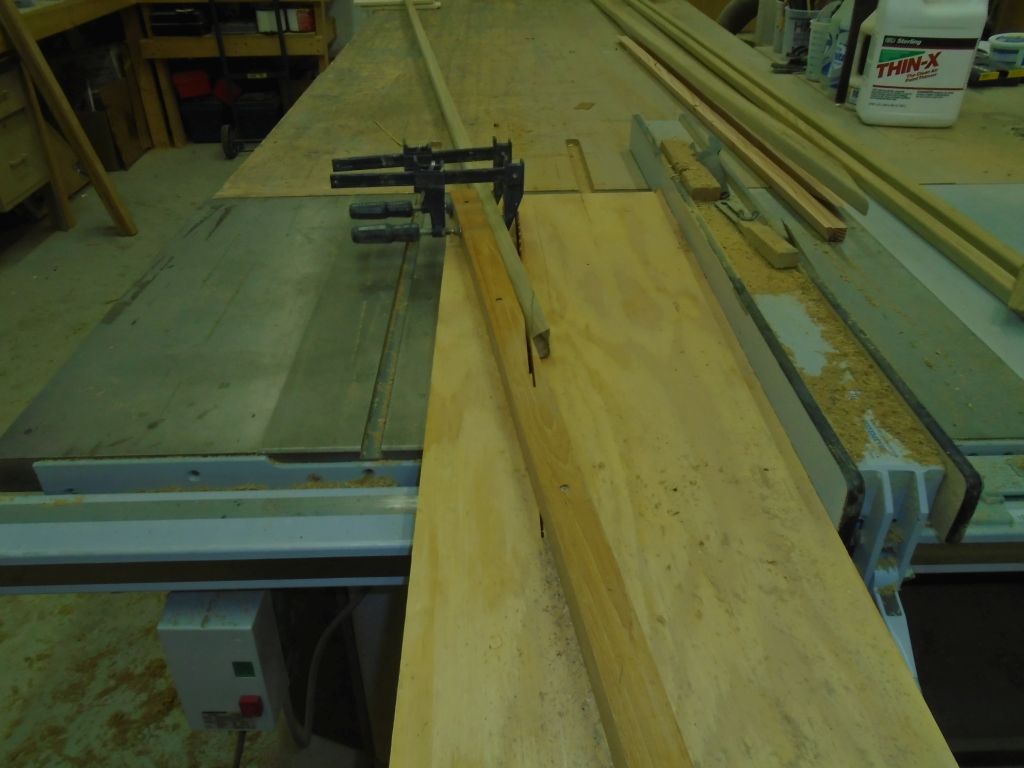
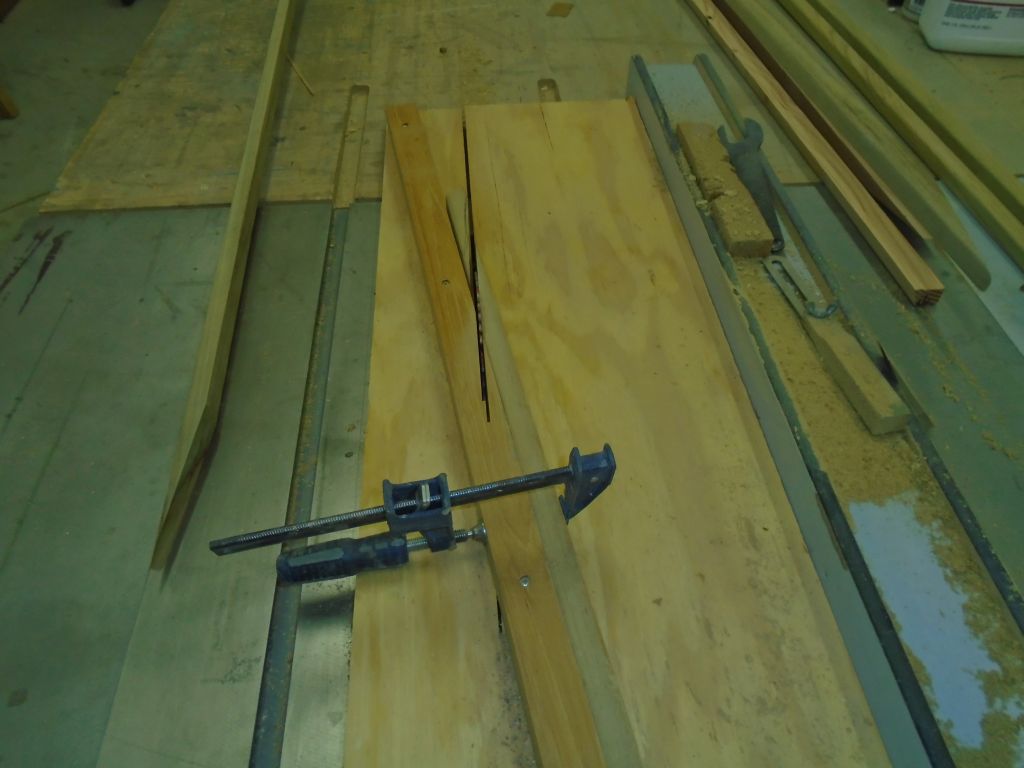
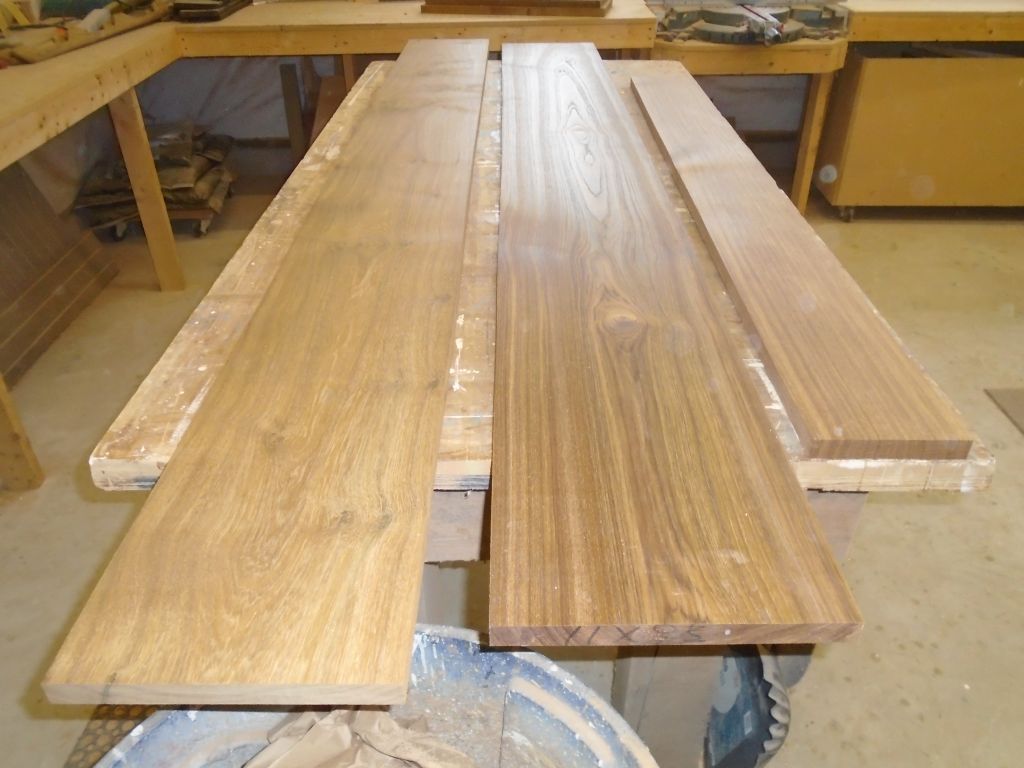
In the woodshop, thinking ahead to the new cockpit coamings and other trim, I planed three rough 4/4 teak boards down to their finished thickness of about 7/8″, spending almost as much time changing the planer blades as actually planing the stock.

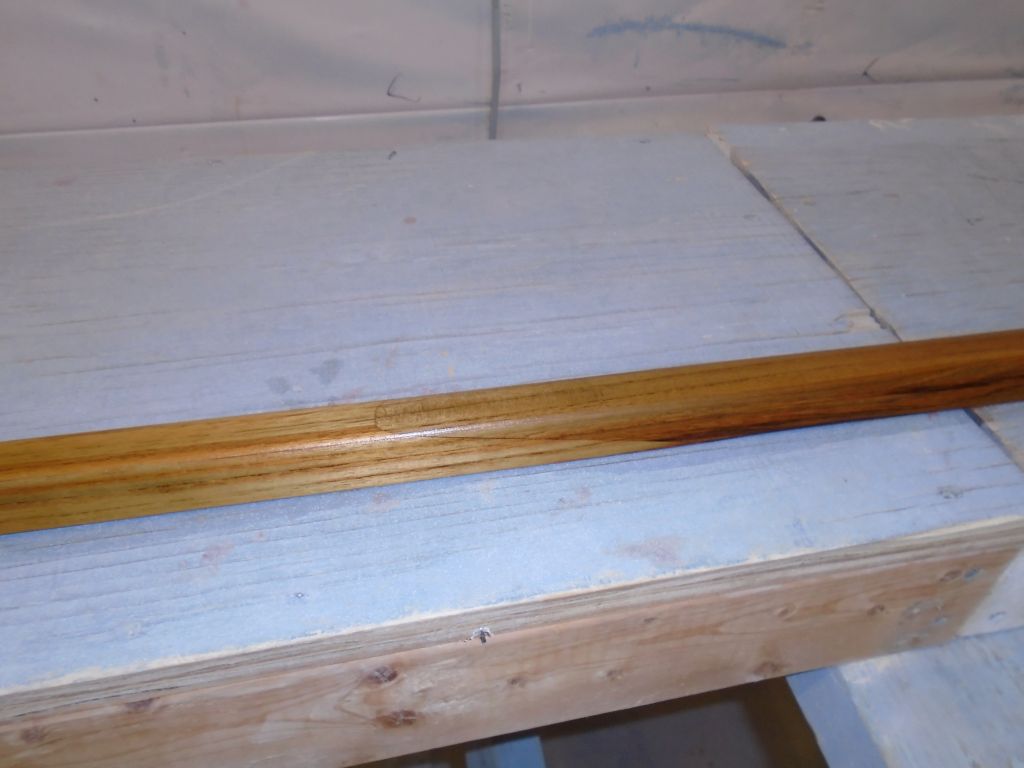
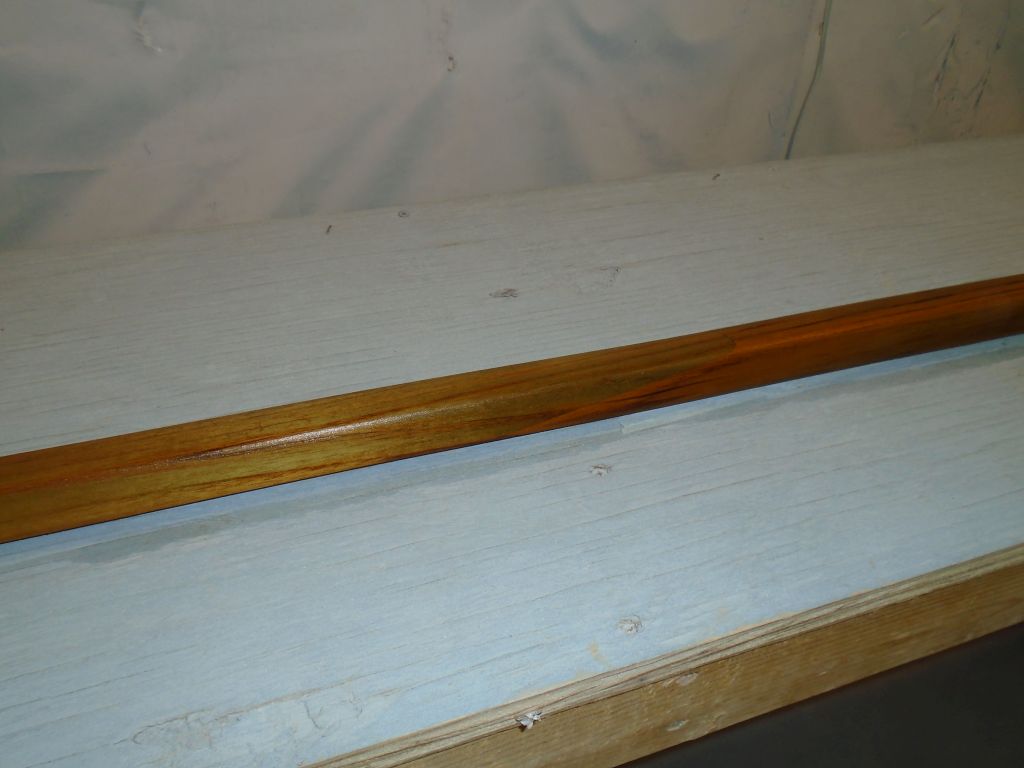
Finally, just before the end off the day I applied another coat of varnish to the toerails and handrails, as the first very thin coat had dried sufficiently.  I also applied a sealer coat to the companionway trim.


Total time billed on this job today:  8 Hours

0600 Weather Report:
Cloudy, breezy, heavy dusting of new snow on the ground.  Forecast for the day:  clearing, 30s.

Aventura 35

< Back to Aventura

Friday

I spent part of the morning installing the new cove stripe.  To begin, I used 2″ tape to strike a clean line beneath the vinyl rubrail, fairing the tape by eye as needed.  Then, I installed 1/2″ gold leaf striping tape below my reference mark, beginning 12″ forward of the edge off the transom and ending 30″ aft of the stem to suit my eye for the right appearance.  A few of my photos didn’t come out well, but there are more a bit further down the page.  I’d incorporate registration numbers later once various style decisions were made for them and for the name.

With the cove stripe complete, I masked off and painted the bottom.  Before beginning, I water-washed and lightly sanded the recently-epoxied bottom patches.  A freshly-painted boat never looks complete till the bottom is done, so I was anxious to do this.   The owner selected red for the bottom paint.

I lost a few hours of the afternoon to an unrelated chore, so when I got back to the shop I had less time than I’d planned for, and looked for a smallish, straightforward task to knock off the list given the short timeframe at hand.  I decided to prepare the new lenses for the deadlights, so from a new sheet of 7/64″ acrylic I cut the new pieces, using the originals as templates.  Fitting the new lenses into the plastic deadlight frames–the lenses fit in from the outside and rested against a small inner flange–I marked the inside faces where the frame overlapped, and cut along this line with a knife to remove the masking paper from the lens on their faying surfaces.

I installed the lenses with light polyurethane sealant, applying a bead into the flange and pressing the lens (with all protective paper still in place except on the narrow bonding edges) into place with weights.  I placed the assemblies on a sheet of plastic to prevent the sealant that must be oozing out beneath from sticking to the bench–that mess on the plastic is where I picked up the first assembly after I’d installed the lens (I left the second one right where it was once I installed the sealant).  I cleaned up excess sealant from around the exposed edge of the lens (which would be visible when all was said and done, and left the unseen squeezeout beneath for trimming once the sealant had cured.  Then I left the two assemblies to cure for a couple days.


Total time billed on this job today: 5 hours

0600 Weather Report:
Heavy rain, 45°.  Forecast for the day:  Rain in the morning, eventually ending and clearing behind, highs in the 50s.

Aventura 34

< Back to Aventura

Thursday

The major paint work was complete, and after several weeks of it I was glad to remove all the masking tape, paper, and plastic to reveal the boat all at once for the first time.  In the near future, I’d finish up some additional details while I still had good access to the hull and before concentrating back on the remaining deck work list.

While giving the hull and boottop a little extra cure time, it was the perfect opportunity to get to work on the new toerails.  From rough teak stock, I milled several blanks from which I’d form the final toerail profile, along with two test blanks cut from 2x4s.    Then, using a scrap of the old toerail as a guideline, I milled one off the scrap blanks into the new profile as a trial run, noting the various milling steps so I could recreate it easily on the next five blanks.

Satisfied with the profile, I milled five sections of teak into the required shape, starting each new step with the second scrap blank to be sure each step was correctly replicated.  With the milling complete, I sanded smooth all five teak blanks (each about 12′ long), and rounded the top corners for a more pleasing shape and to better hold varnish.

Each toerail would require two full pieces and half of the second in order to have ample overall length, since scarfing would reduce the effective length of each blank enough that some extra was required.  Using an old and increasingly worn-out jig on the table saw, I milled 8:1 scarfs on the ends of the rail sections as required, starting with the two scrap blanks to ensure the setup was correct and then moving on to the remaining sections.


Since I wasn’t using the staging right at the moment, I created long tables on each side of the boat, and set up the rail sections on these for glueing–much easier on the knees and in all other ways than doing it on the floor.  I cleaned all the joints thoroughly with acetone, secured plastic over the bench to keep it clean and prevent epoxy from sticking, coated with plain epoxy, and then glued the two scarfs for each toerail with thickened epoxy.  The benches meant that I could clamp the rails directly to the work surface, which helped keep the angled joints from slipping as they are wont to do.  I’d leave the rail sections in the clamps for a few days to give the epoxy lots of cure time before continuing work.


Total time billed on this job today:  7.75 hours

0600 Weather Report:
35°, cloudy.  Forecast for the day:  cloudy, chance of showers, and rain late.  Temperatures rising through the  40s.


Aventura 33

< Back to Aventura

Wednesday

Now that the topside paint had had enough time to cure, I began the final masking process with a narrow strip of solvent-resistant fine-line tape at the top edge of the boottop (i.e. lower edge of the hull paint).   This tape would help the final line be crisp and clean.  Afterwards, I covered the vinyl tape with regular 1″ masking tape as completely as possible.

With the critical edge masked,  I covered the rest of the hull with paper and tape to protect against overspray.

Finally, over the course of a few hours, I applied three coats of snow white gloss topcoat to the boottop.


Total time billed on this job today:  3 hours

0600 Weather Report:
18°, clear and calm.  Forecast for the day:  sunny, in the 40s, light wind.

Aventura 32

< Back to Aventura

Tuesday

After removing the masking tape from the lower edge of the topsides–the top edge of the eventual boottop–there was really nothing more to do for the moment, as I had to give the fresh paint additional cure time before I could overtape it for the boottop.  So I worked on other things around the shop and elsewhere for the day.


Total time billed on this job today:  .25 hours

0600 Weather Report:
22°, clear.  Forecast for the day:  Sunny, 45°.

Aventura 31

< Back to Aventura

Monday

During the weekend, in a dull moment, I took a few minutes to apply unthickened epoxy to the repairs on the keel, the final step to seal these repairs before eventual bottom painting.

After final preparations early in the morning, I applied three coats of Flag Blue gloss topcoat to the hull.


Total time billed on this job today:  2.75 hours

0600 Weather Report:
Clear, 28°.  Forecast for the day:  Mainly sunny, breezy, highs in the 40s.

Aventura 30

< Back to Aventura

Friday

Now that the deck paint had cured sufficiently overnight, I looked forward, as always, to removing all the paper and masking tape to fully reveal the new paint.

The next step to prepare for hull topcoats was to lay out and strike the boottop.  As with the waterline earlier, I set up my horizontal beams at each end of the boat, this time 2″ above the waterline to demark the visual height of the boottop, and set up a string between the two.  Working from amidships towards each end at a time, I pulled the line in, securing it and marking it on the hull.    With the tick marks complete, I masked off the area beneath before continuing.

At the bow, I visually sheered the boottop fairly substantially, as per the original striping and to ensure consistent and appropriate visual height and appearance  I raised the height at the stem approximately one visual inch above the “straight” version of the line.

I was struck again, as every time I work on one of these boats, by the amount of hollow in the waterline sections at the bow–not a typical design trait from Mr. Alberg, but he clearly wanted to try out the idea on this design.

boot4-111315

I completed the new masking with a strip of paper below the tape to protect the boottop area from overspray.

Because I didn’t need to actually mask directly on the new deck paint, by the end of the day I felt comfortable draping the decks in plastic sheeting, the final step towards preparing for hull paint.  I heavily masked the sheeting over the deck, securing it to the already-masked rubrails all the way around the perimeter of the deck.


Total time billed on this job today:  6.25 hours

0600 Weather Report:
40°, clear.  Forecast for the day:  Sunny and breezy, 50s.

Aventura 29

< Back to Aventura

Thursday

After final preparations and tack-off, I applied three coats of Alexseal snow white gloss topcoat to the deck areas, working once more in two stages to allow full access to the inner sections of the deck (cockpit well and coachroof).

Apologies for the poor photo quality of late–dark and/or blurred images have been on the rise, unfortunately.  Apparently my camera is at the end of its useful life and unable to take reasonable shots anymore.  Replacement on the way.


Total time billed on this job today:  5 hours

0600 Weather Report:
32°, clear.  Forecast for the day:  Increasing clouds and rain late in the day, high in the 40s.

Aventura 28

< Back to Aventura

Wednesday

The final step to prepare for gloss topcoats was to mask off the eventual nonskid areas on deck, and I spent much of the day on this task.  Starting in the cockpit, and moving on to the coachroof,  I marked off 1″ wide borders in most areas, and masked to the lines, leaving radiused corners.  I left extra width at the sides of the cockpit to account for the thickness of the cockpit coamings, and laid out the cockpit locker hatch lid in tandem with the surrounding areas to keep the borders consistent throughout.

At the deck edges, I used a piece of the old toerail to help measure for a 1″ border inside the eventual rail, and marked off this distance around the boat before masking to the line.  At the stem, I left a wider area to leave me some wiggle room for the size and shape of the new stem piece so I wouldn’t be tied to a specific shape when it came time to replicate the old one.

With 1″ borders elsewhere on the sidedecks and foredeck, I worked to mask and paper the remaining areas of the deck.

Afterwards. I masked off the hull below the rubrail with some plastic sheeting to protect against overspray, vacuumed and solvent-washed the deck areas, and prepared paint and spray equipment as required for the work ahead.


Total time billed on this job today:  6.5 hours

0600 Weather Report:
Cloudy, 40°.  Forecast for the day:  chance of showers in the morning, then cloudy, near 50.

Aventura 27

< Back to Aventura

Tuesday

With the primer ready for the next steps after an overnight cure, I spent several hours sanding first the hull, and then the deck areas, with 320 grit paper, by machine and hand as required.  Afterwards, I spent the rest of the day with thorough cleanup chores:  vacuum, solvent wash, shop blow-down, sweeping, and floor-washing, all required before I could begin the final stages of prep for the gloss topcoats on deck and hull.  Our stretch of fine late fall weather continued, making shop work that much more enjoyable in the afternoon with the big door open for ventilation as I worked on the cleanup.


Total time billed on this project today: 7.5 hours

0600 Weather Report:
Clear, 20°.  Forecast for the day:  Sunny, 50ish.

Older posts Newer posts