(page 3 of 13)

Calliope Girl 107

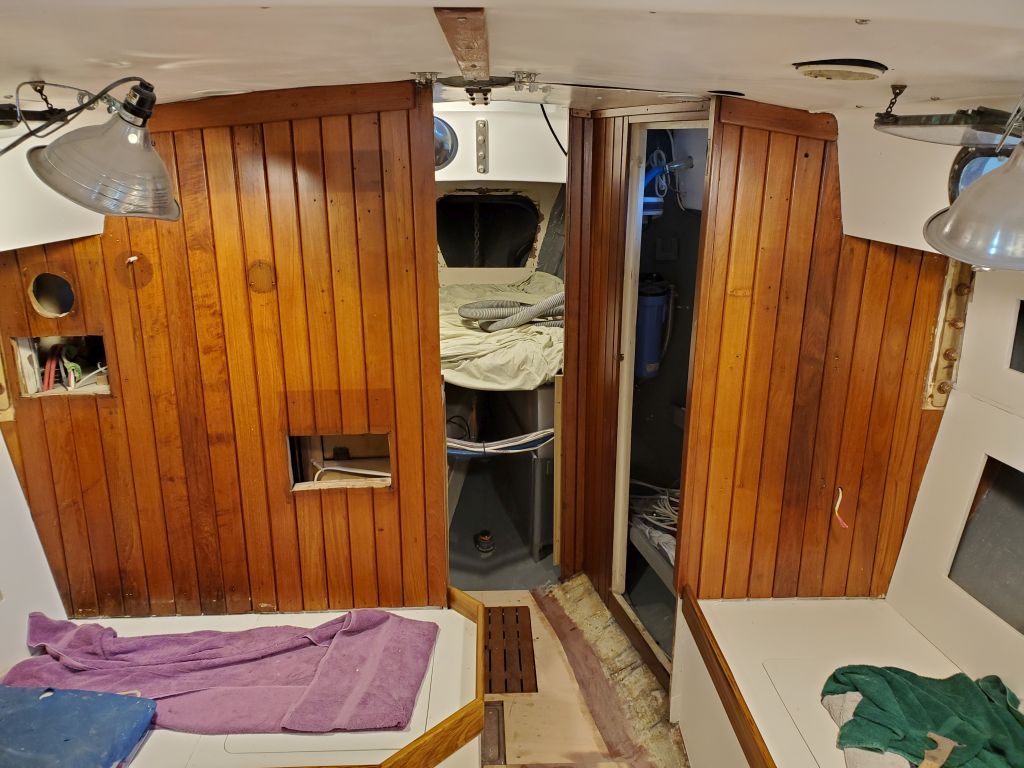
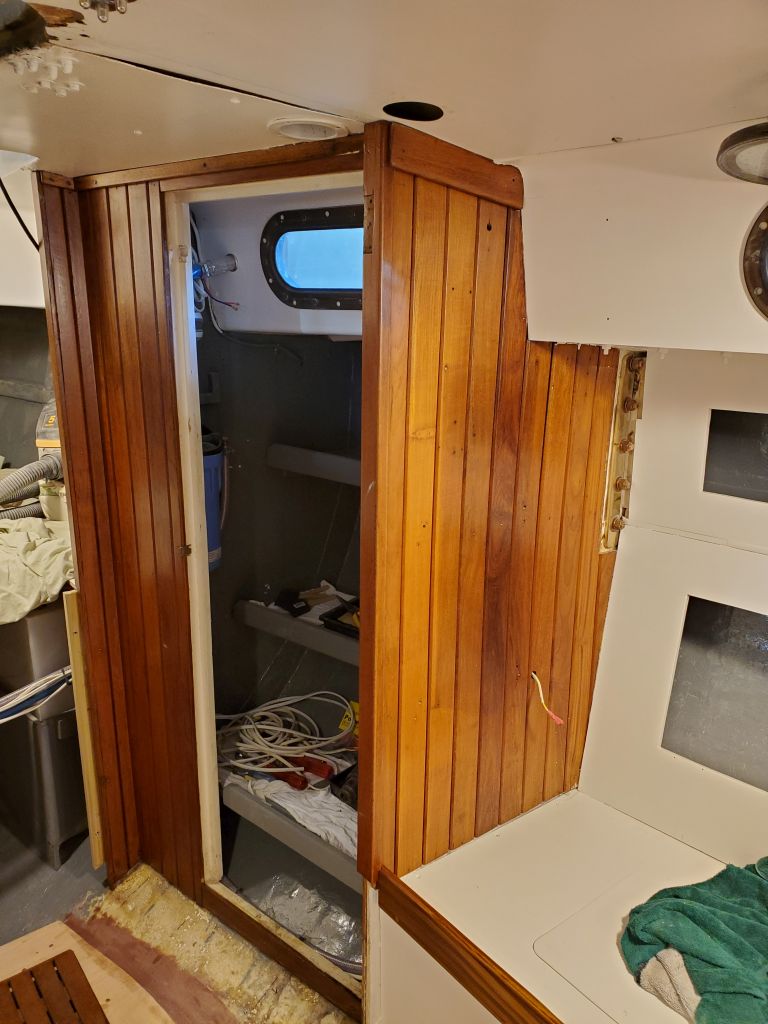
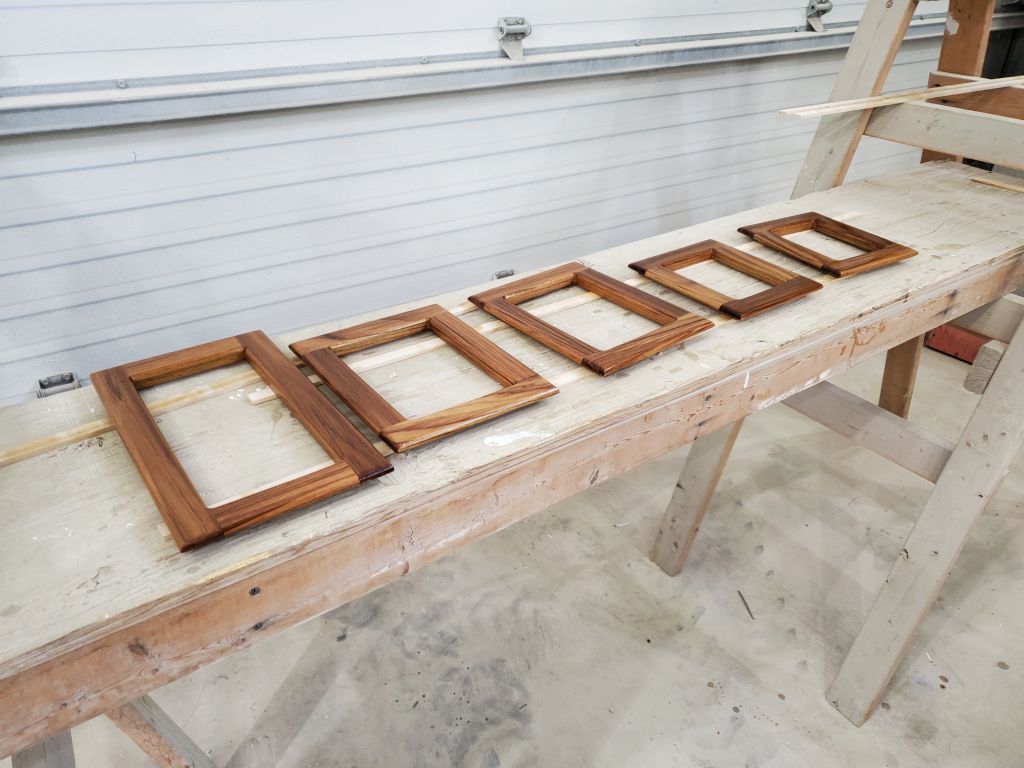
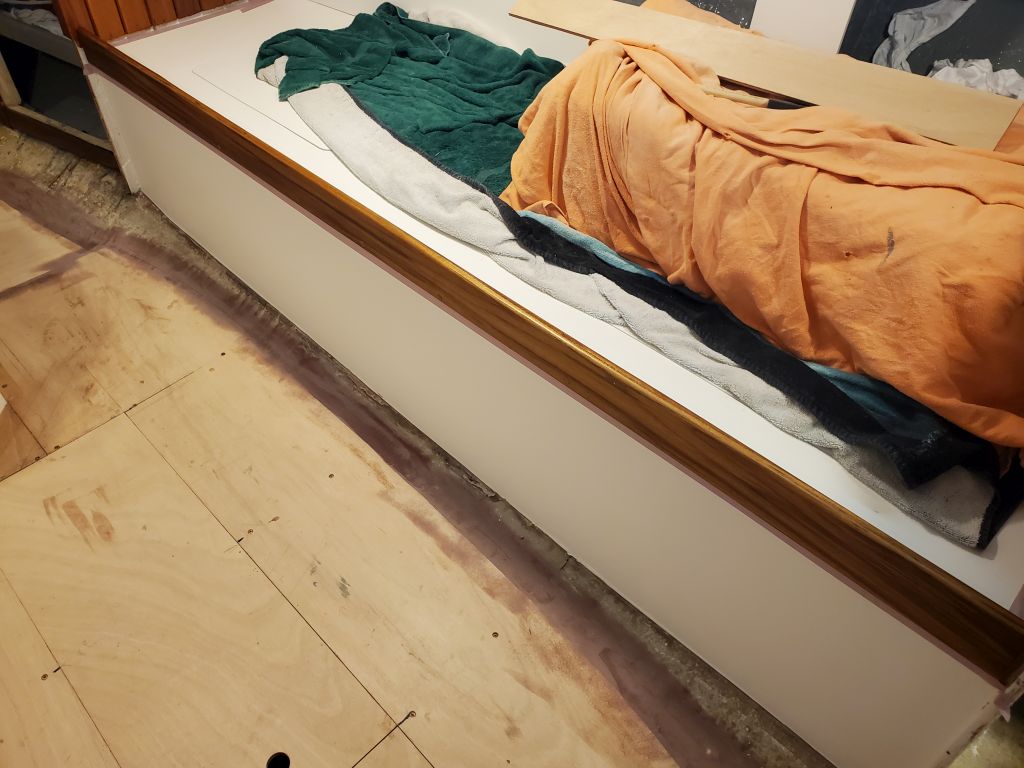
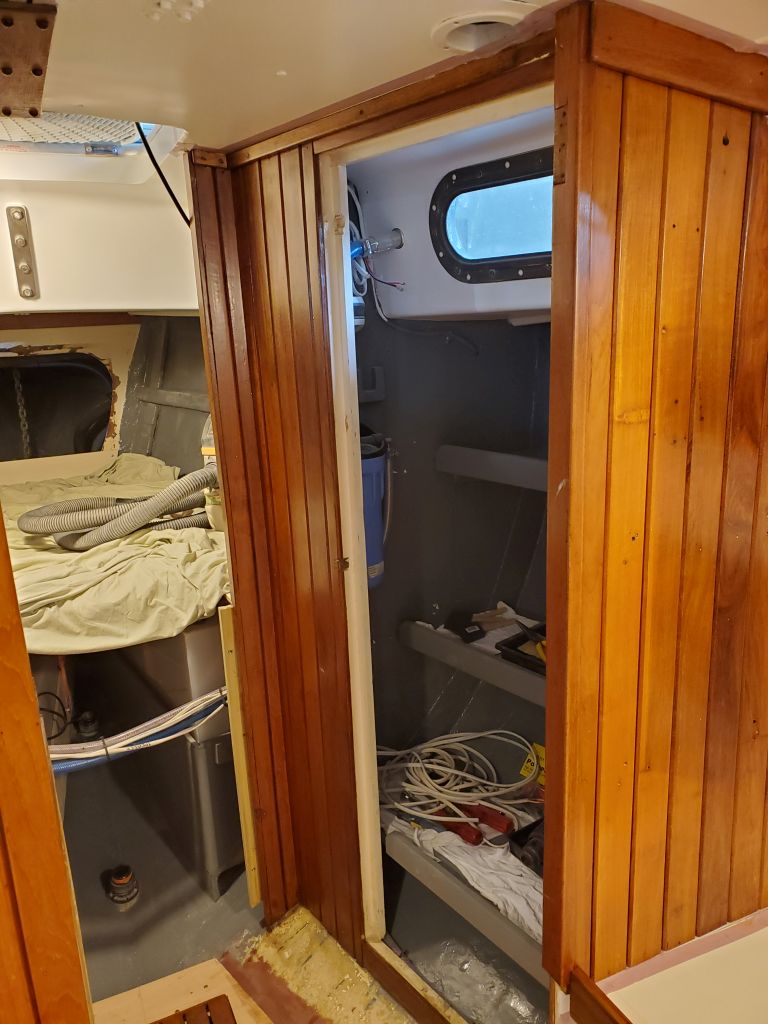
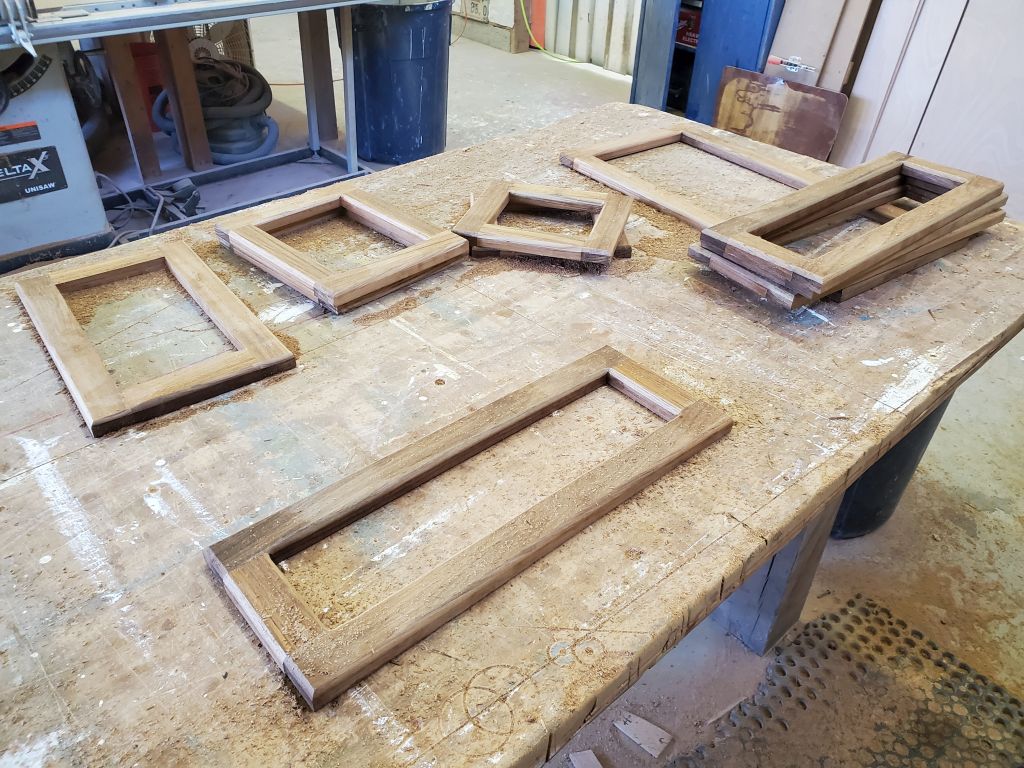
I began the day with another round of sanding, cleaning, and varnish on the door frames, companionway, and other items currently underway.

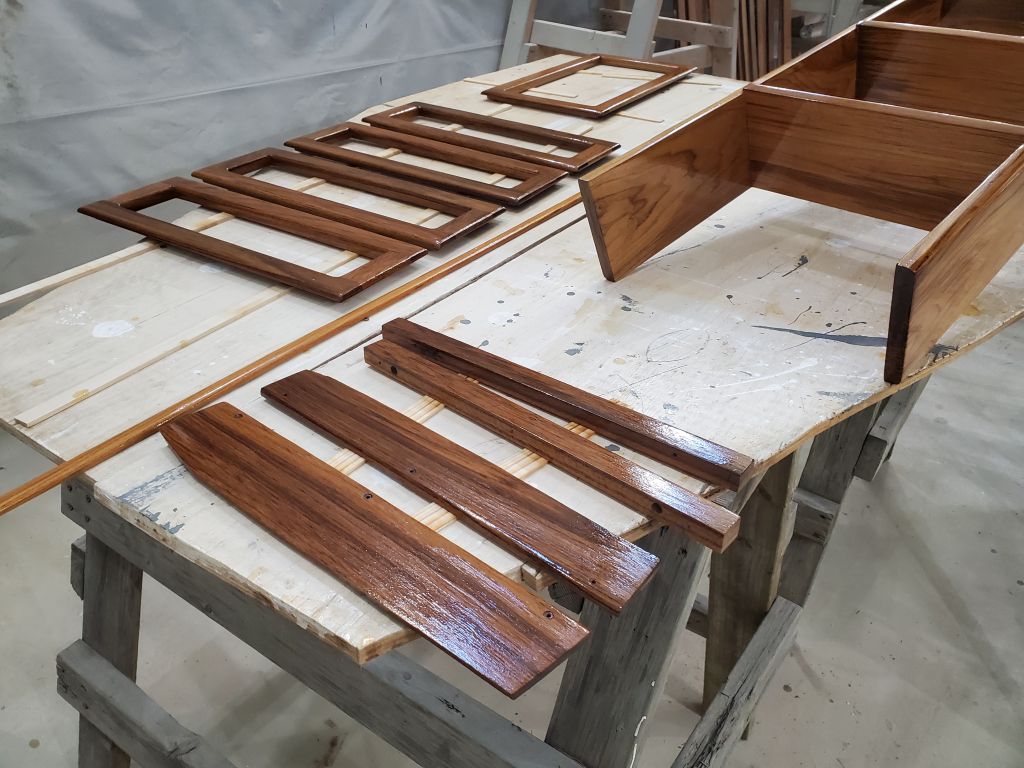
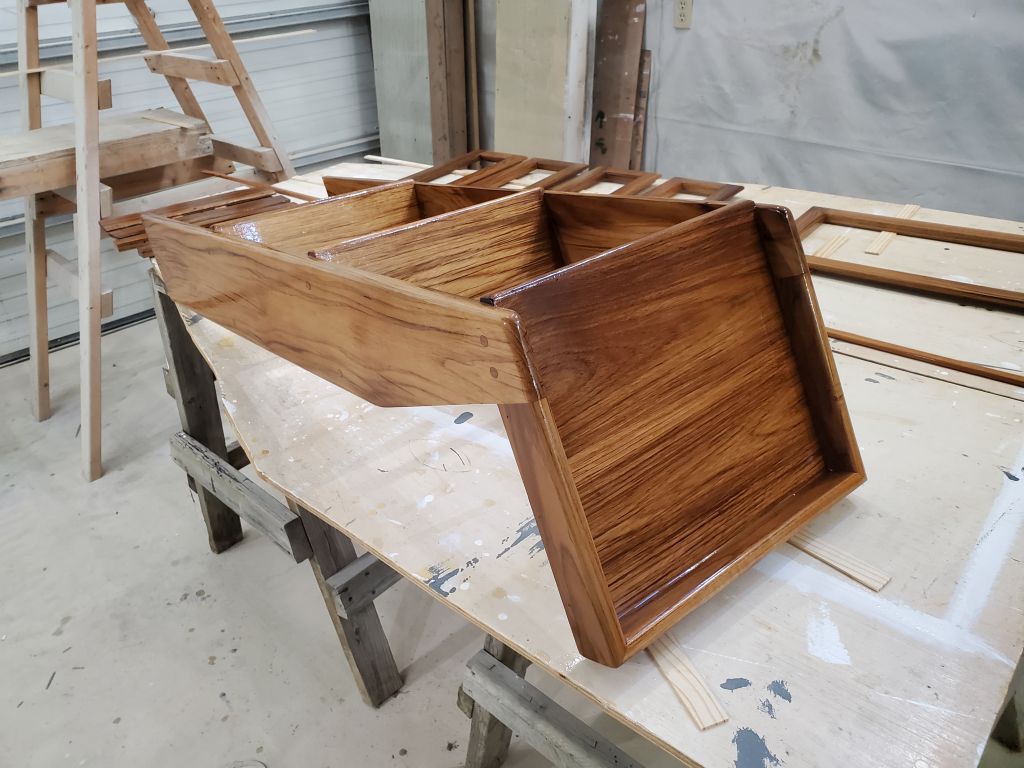
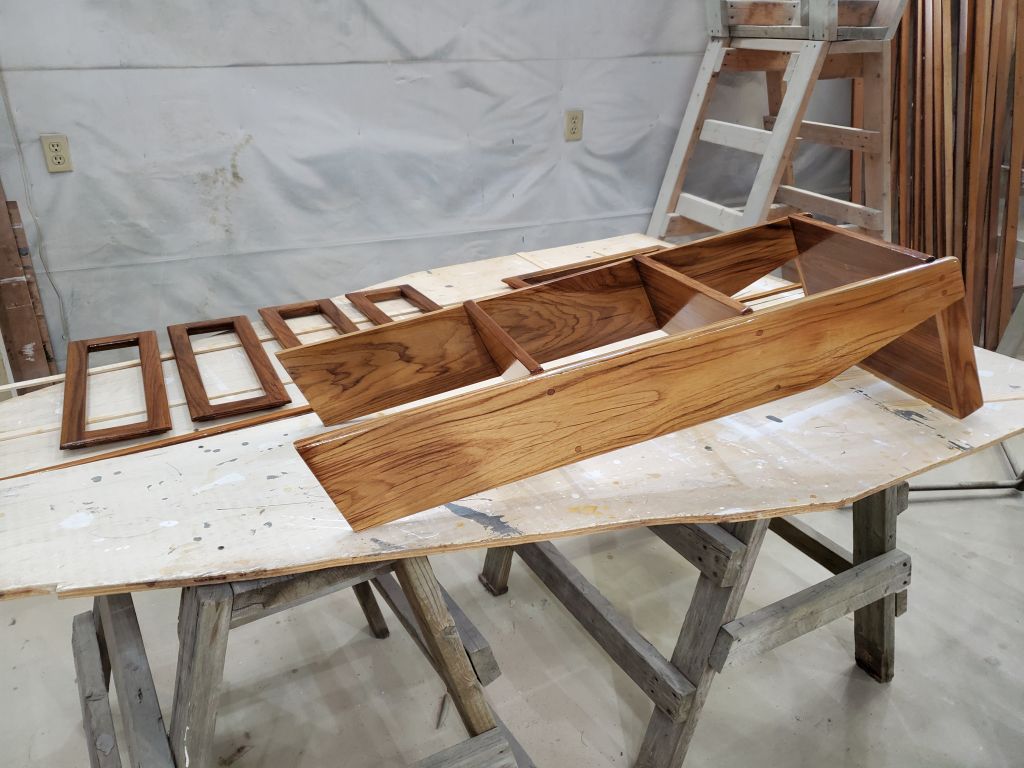
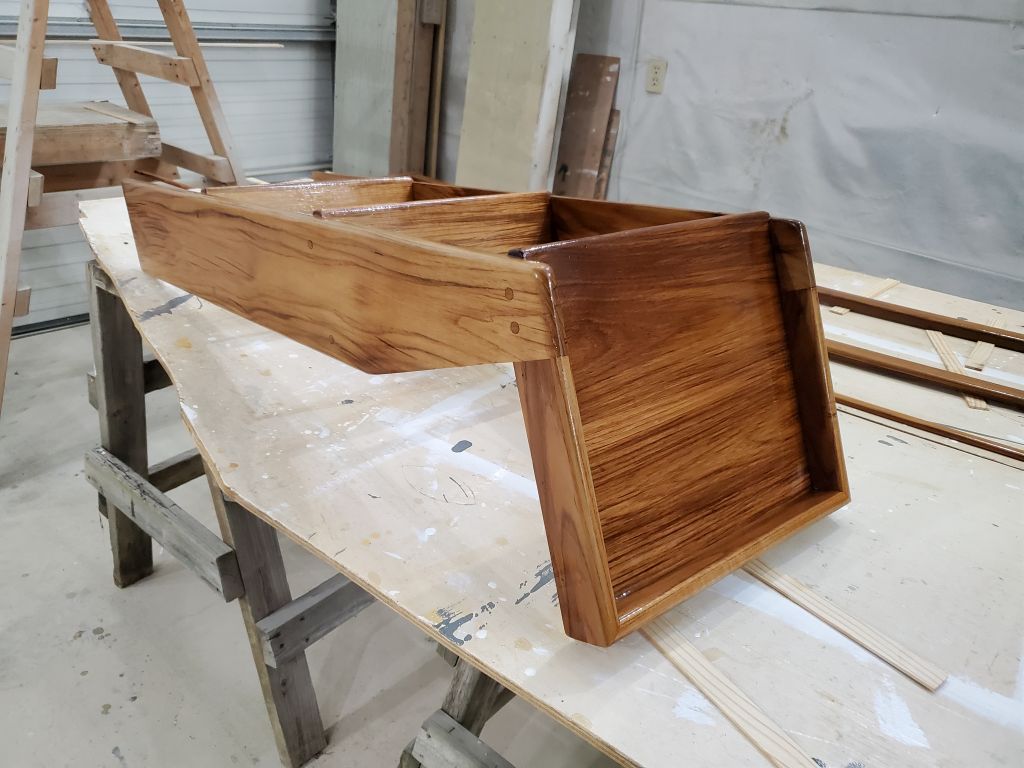
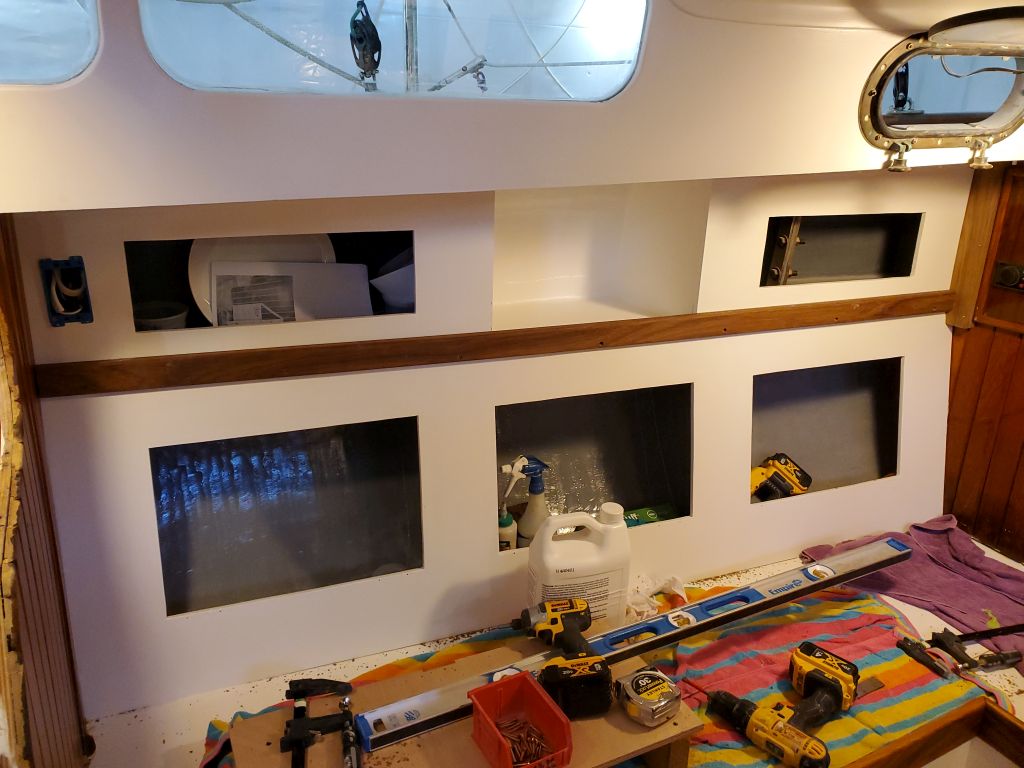
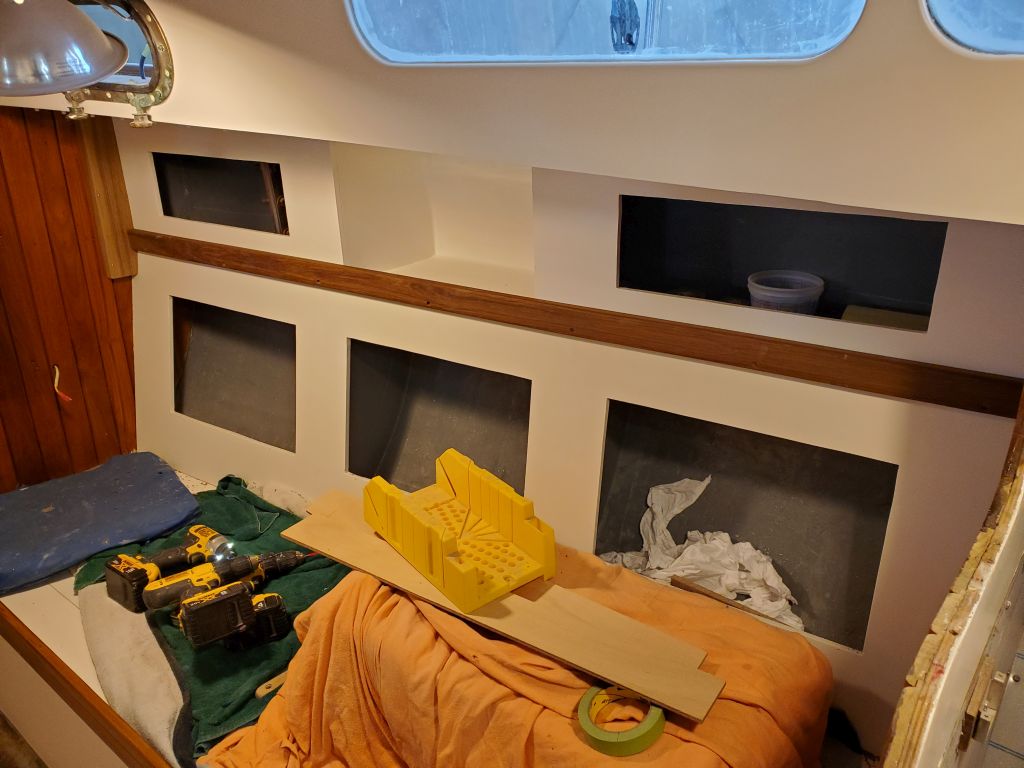
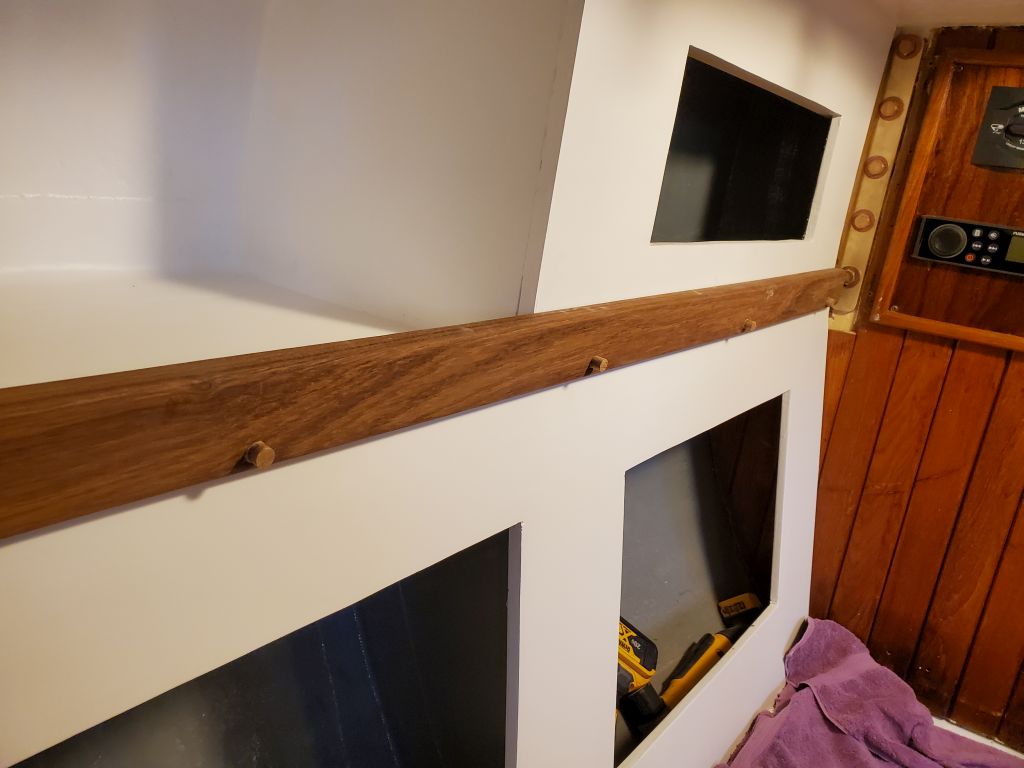
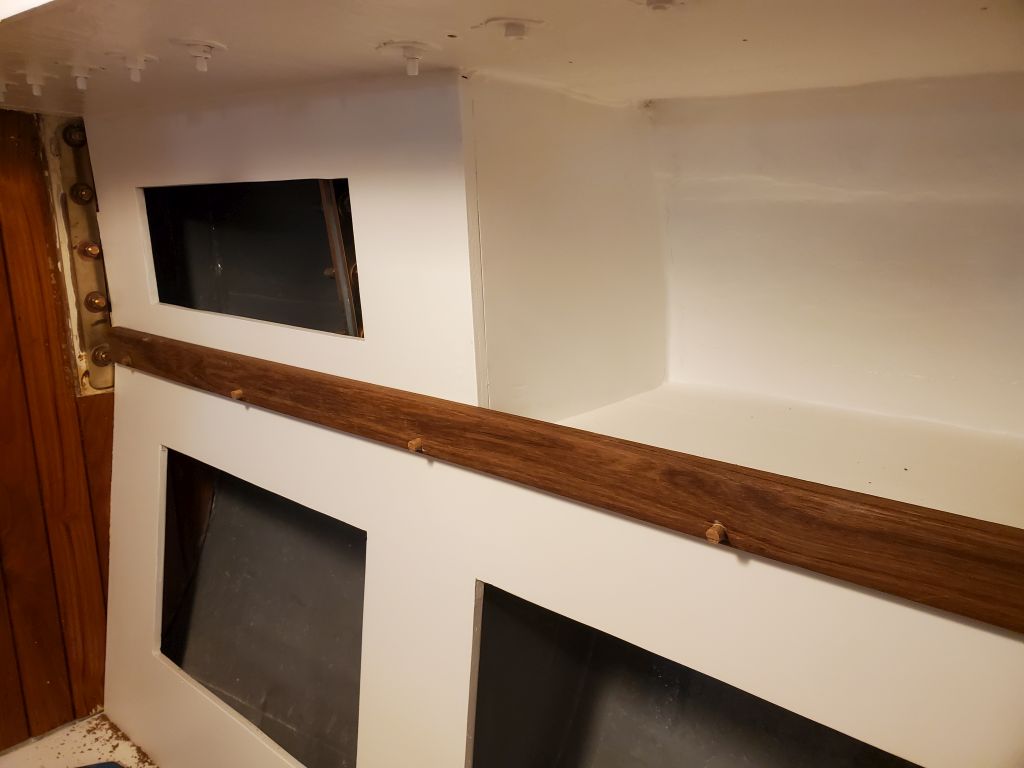
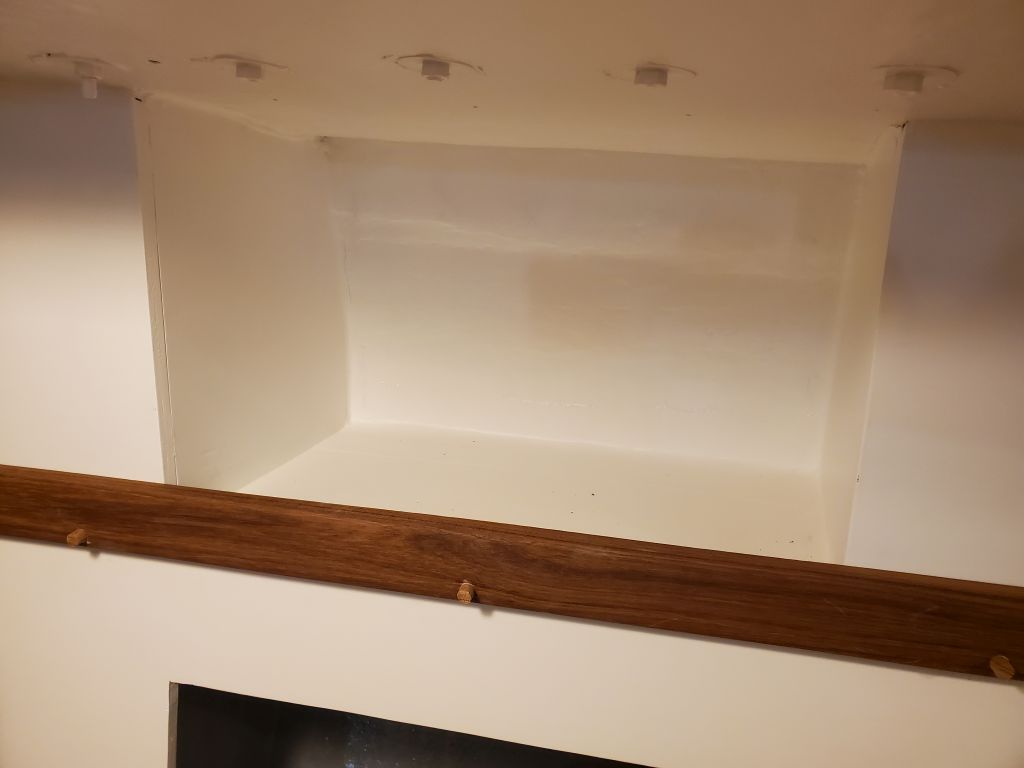
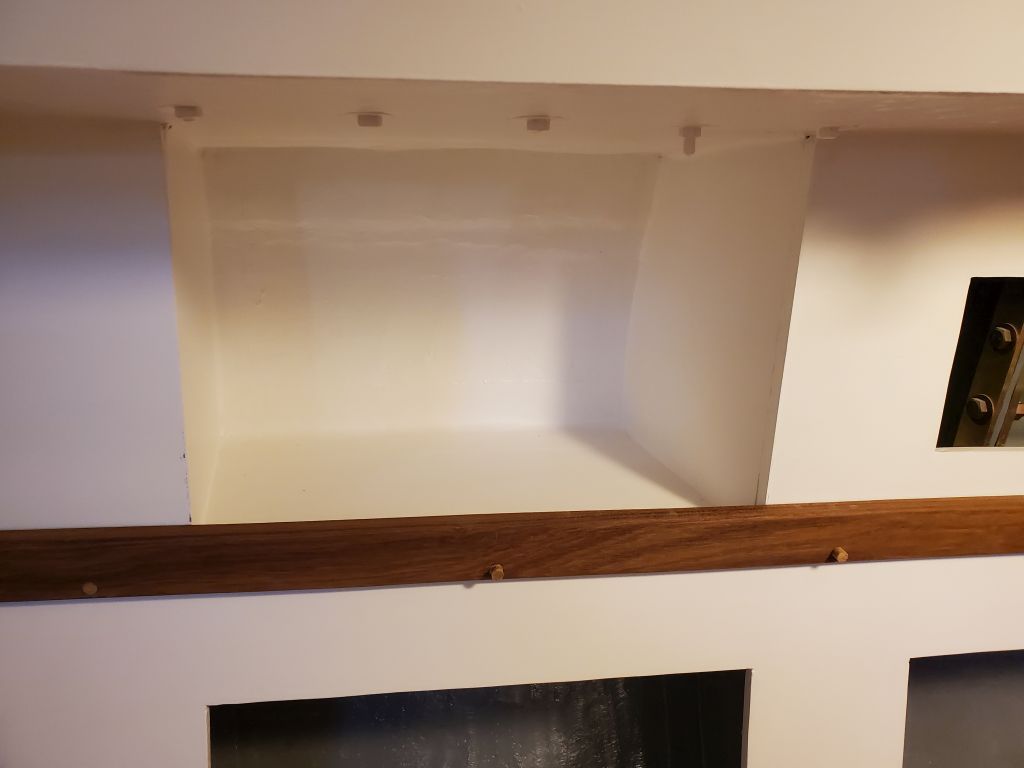
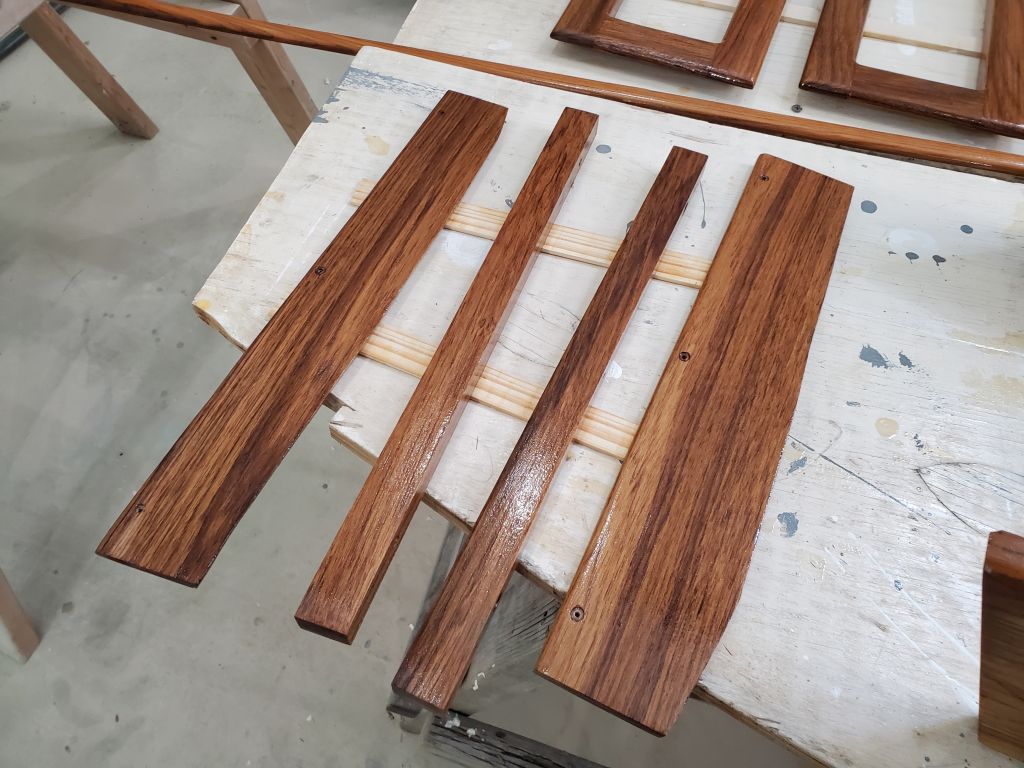
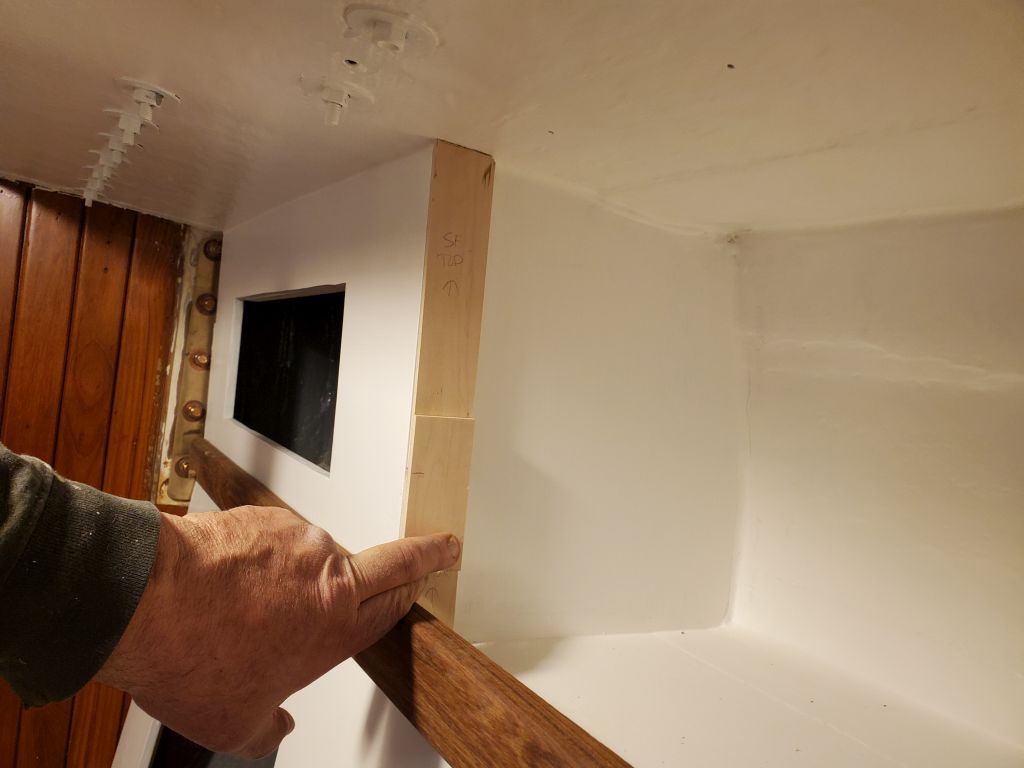
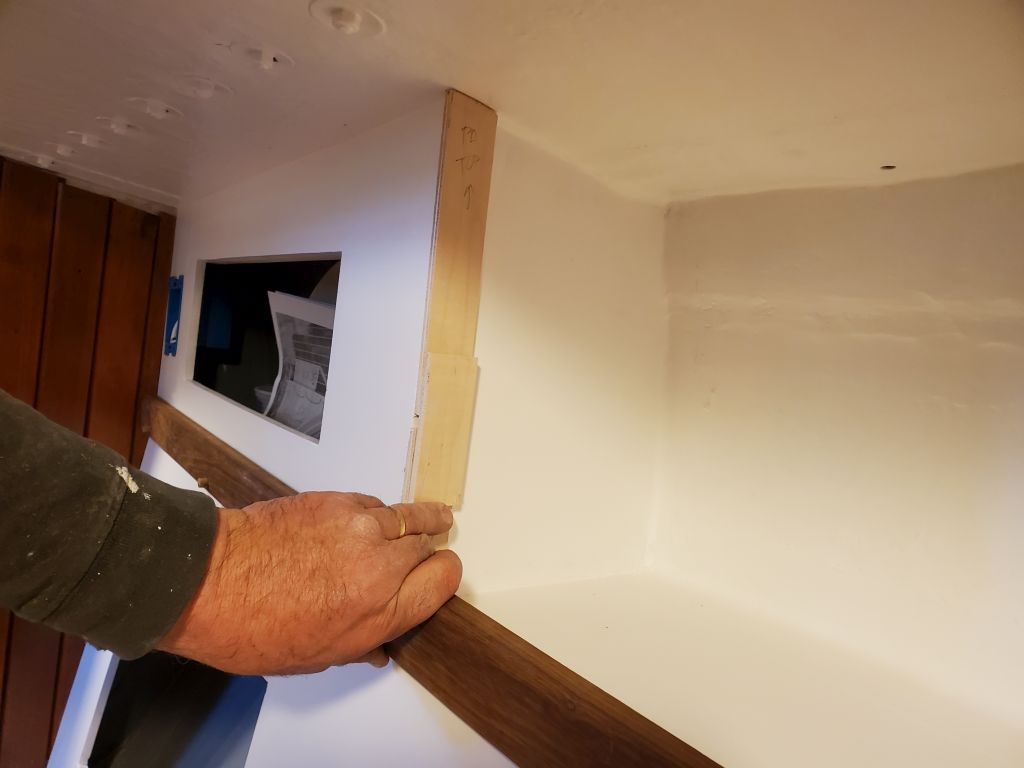
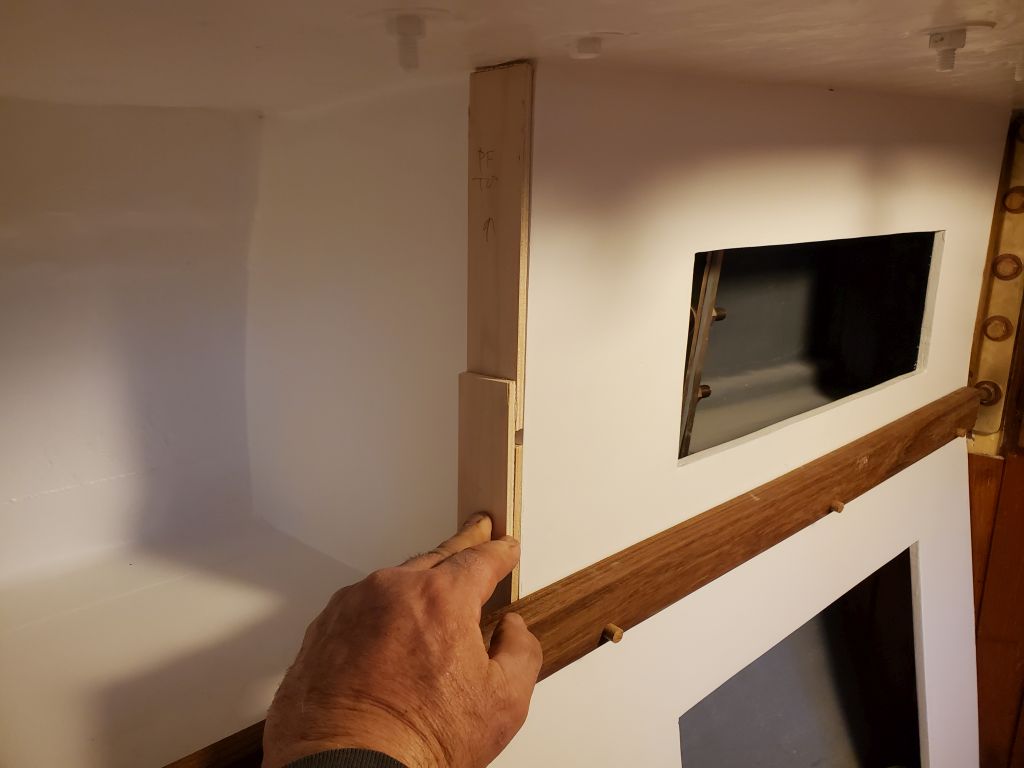
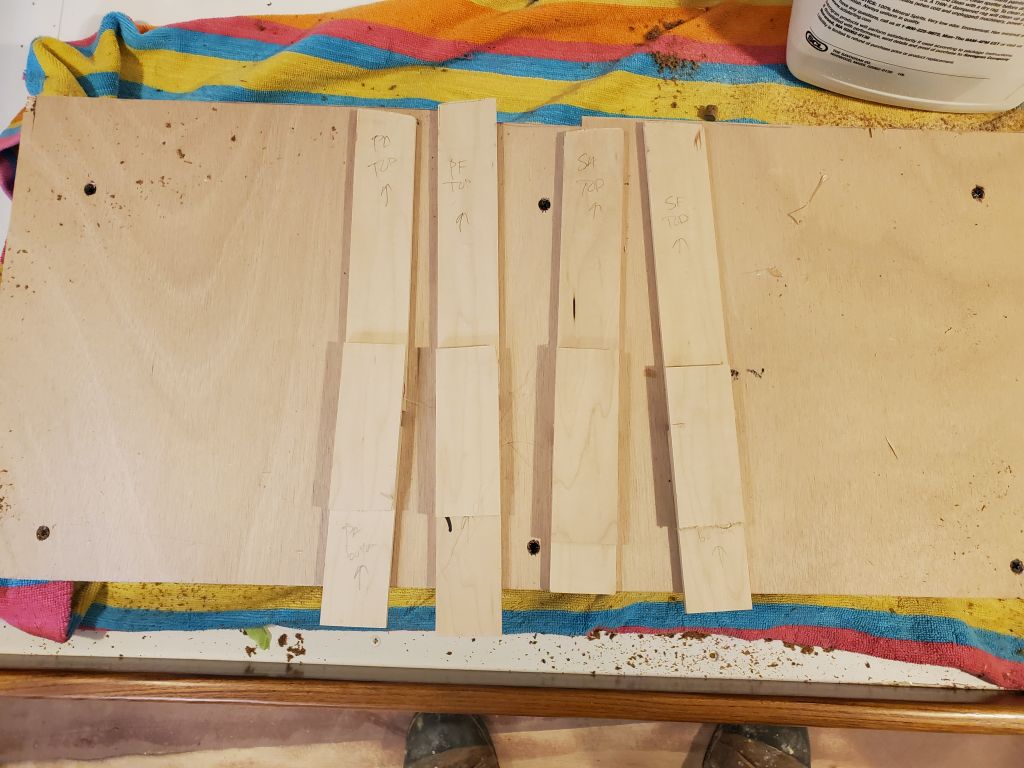
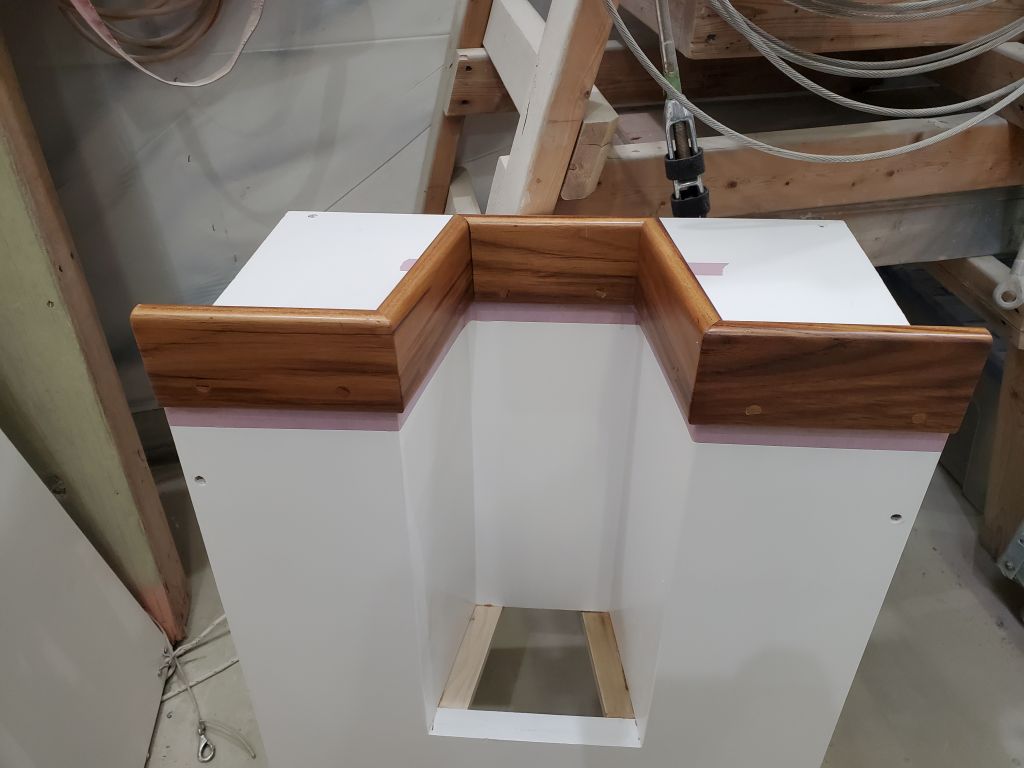
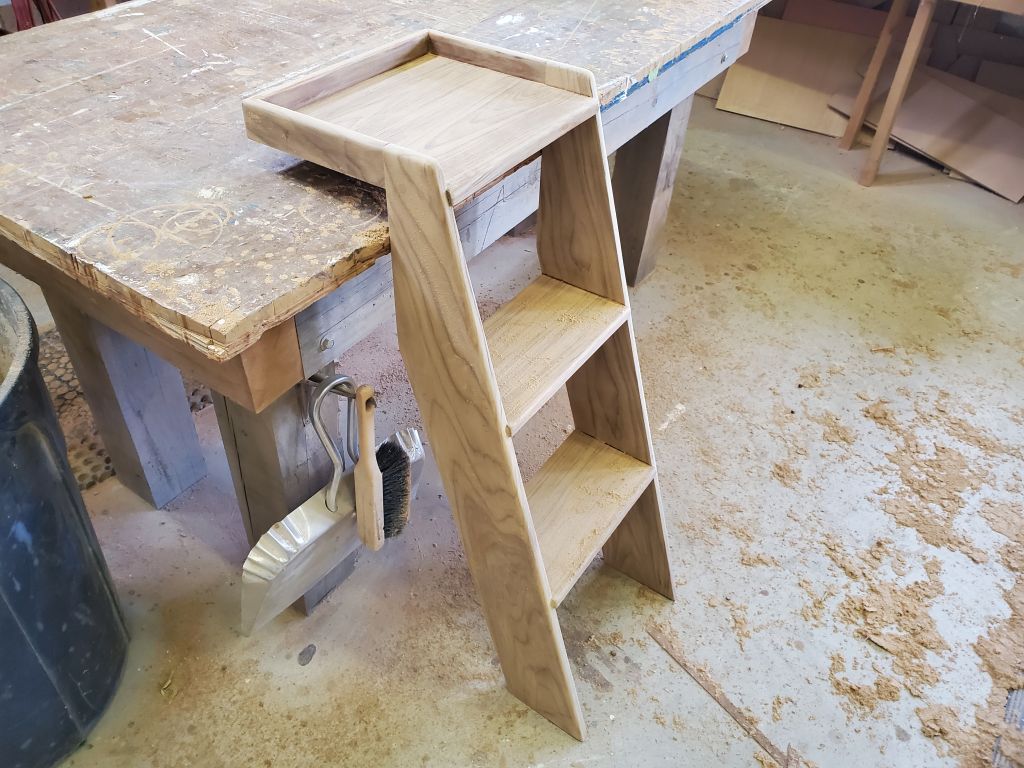
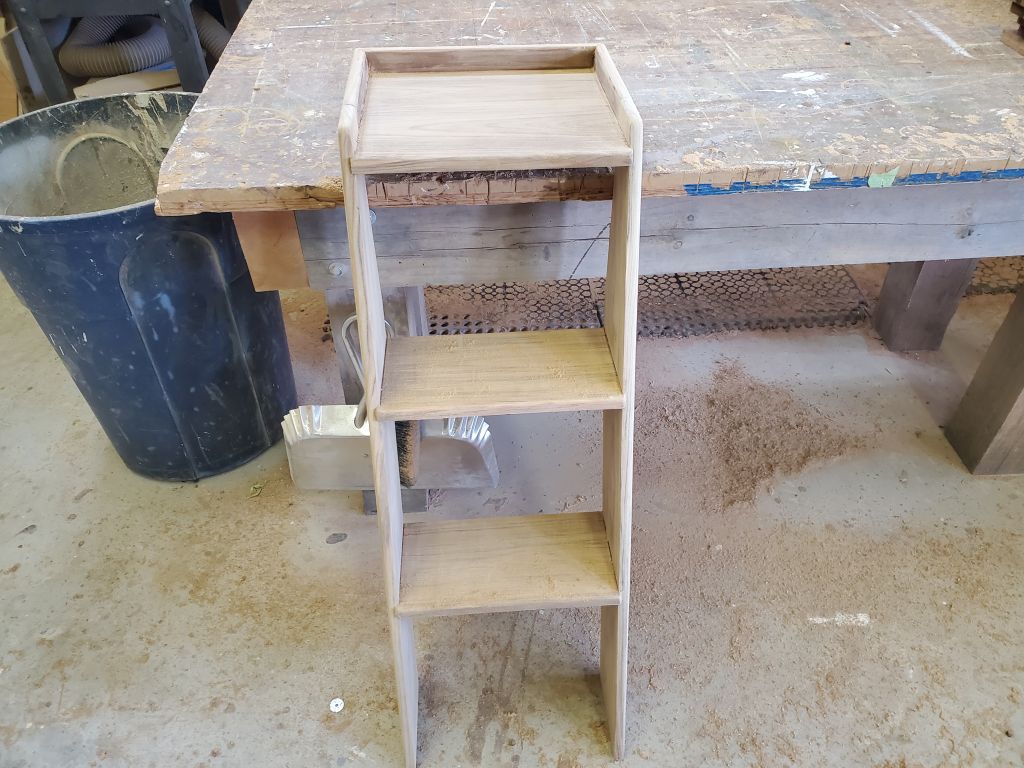
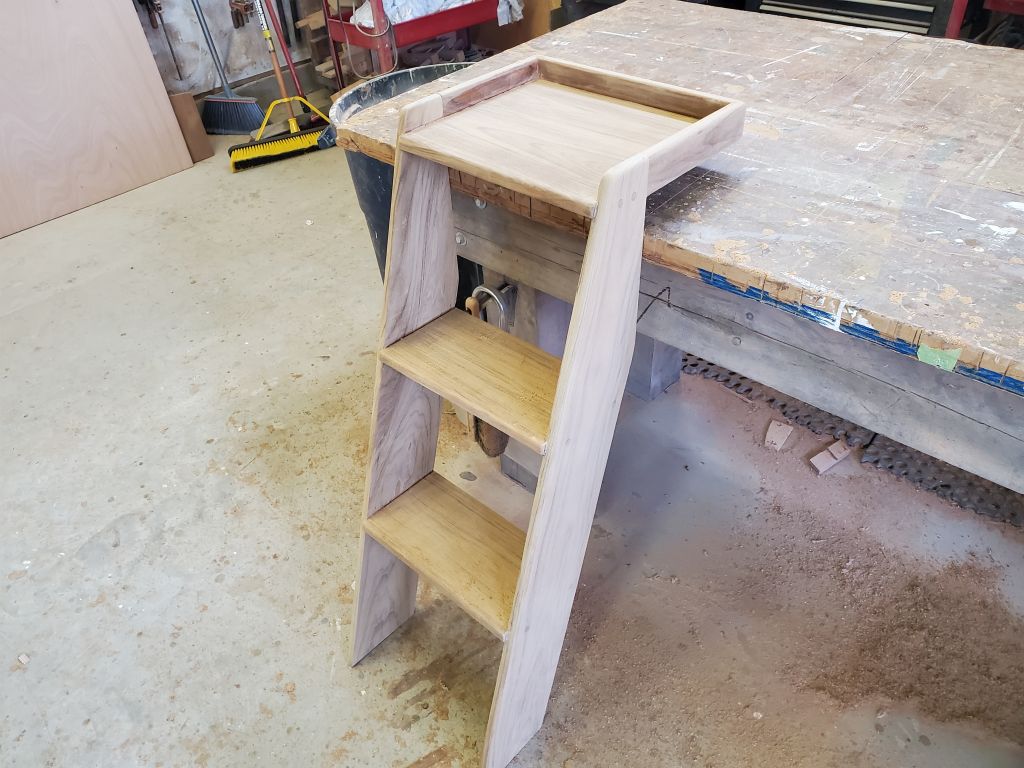
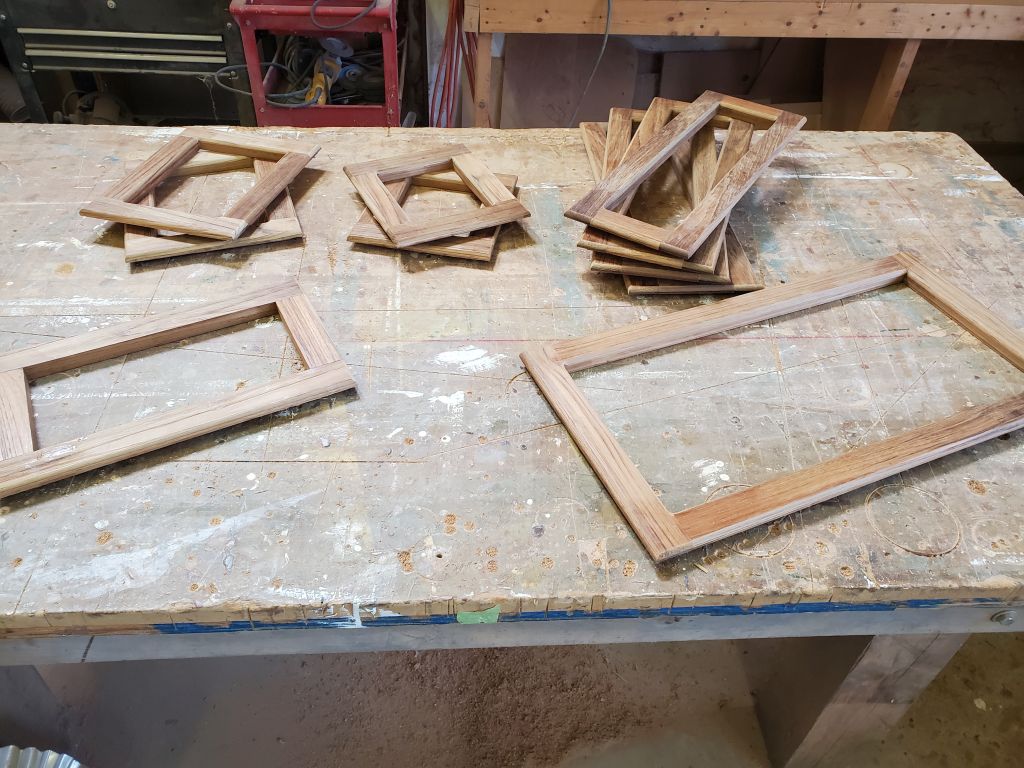
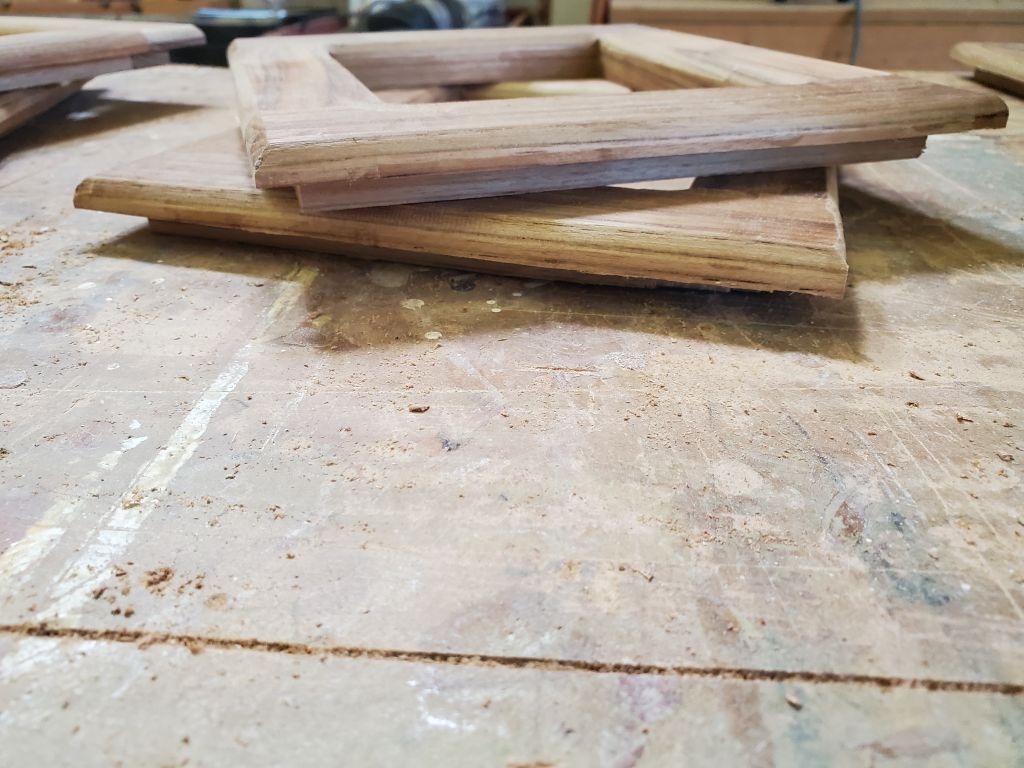
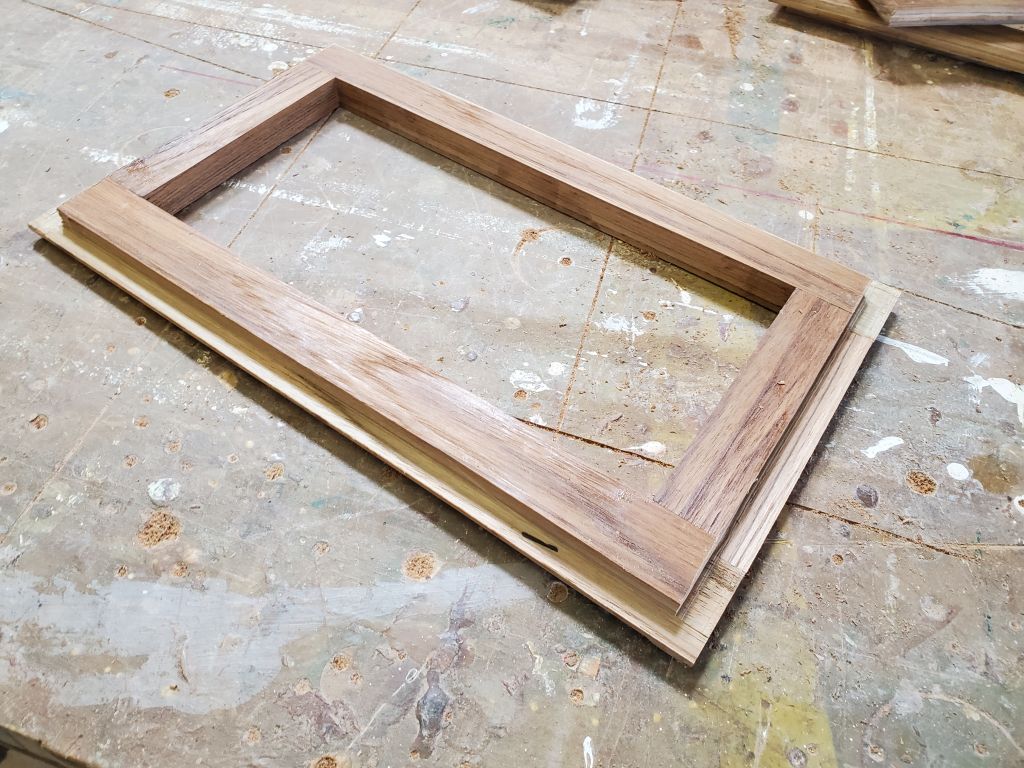
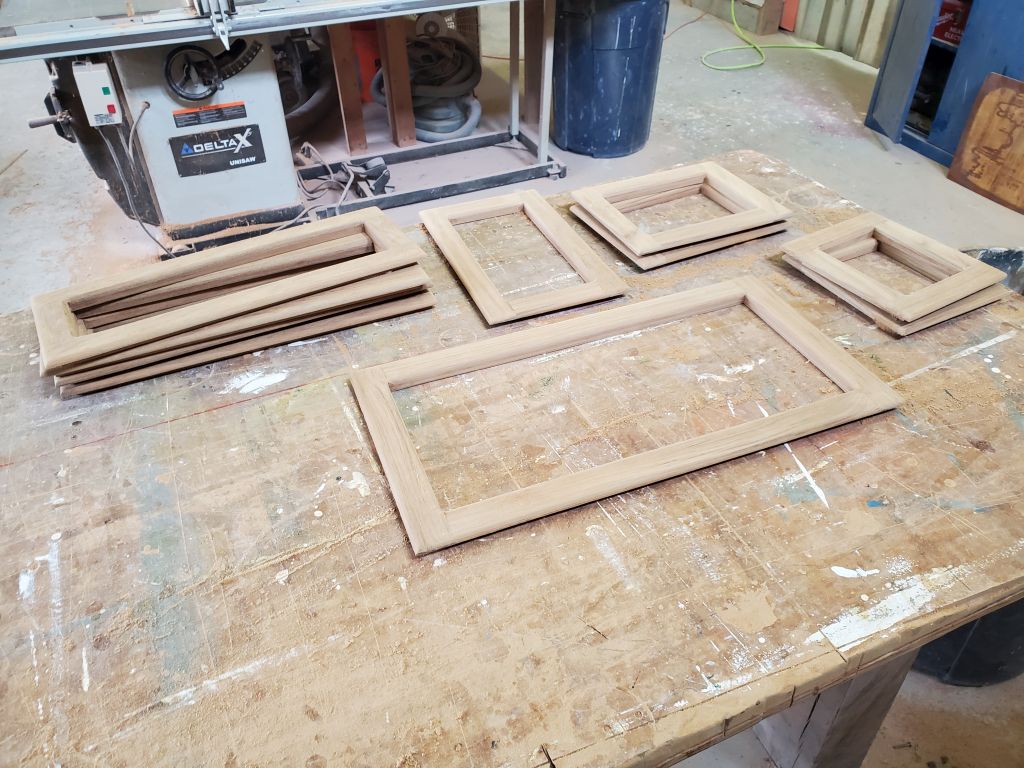
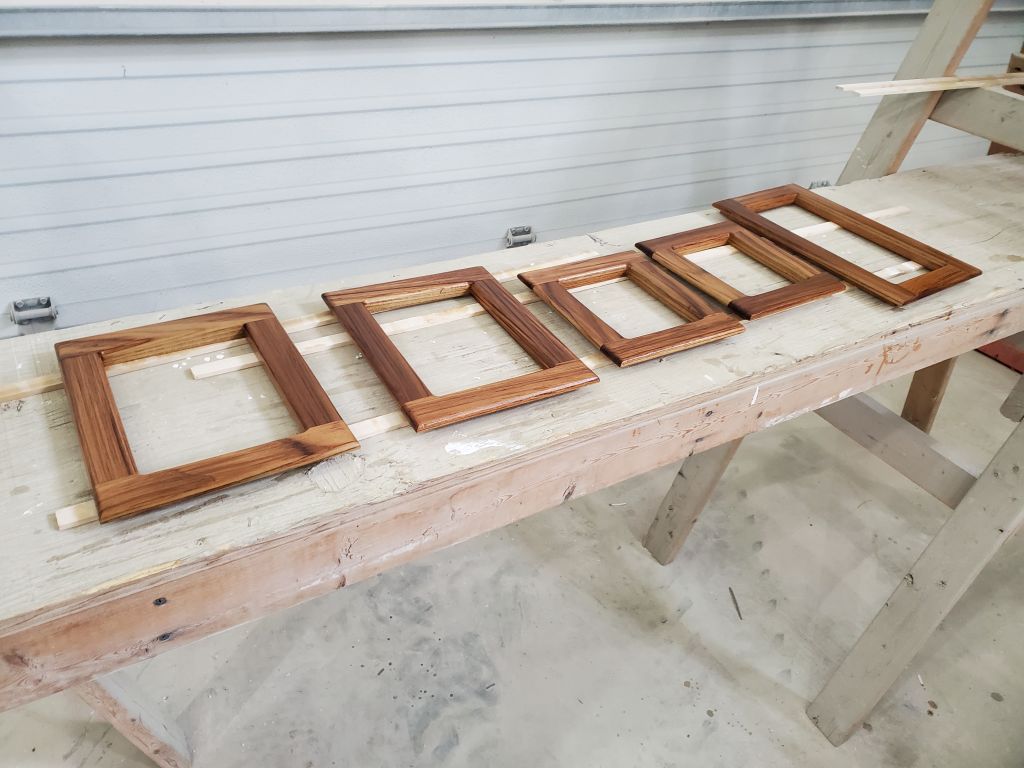
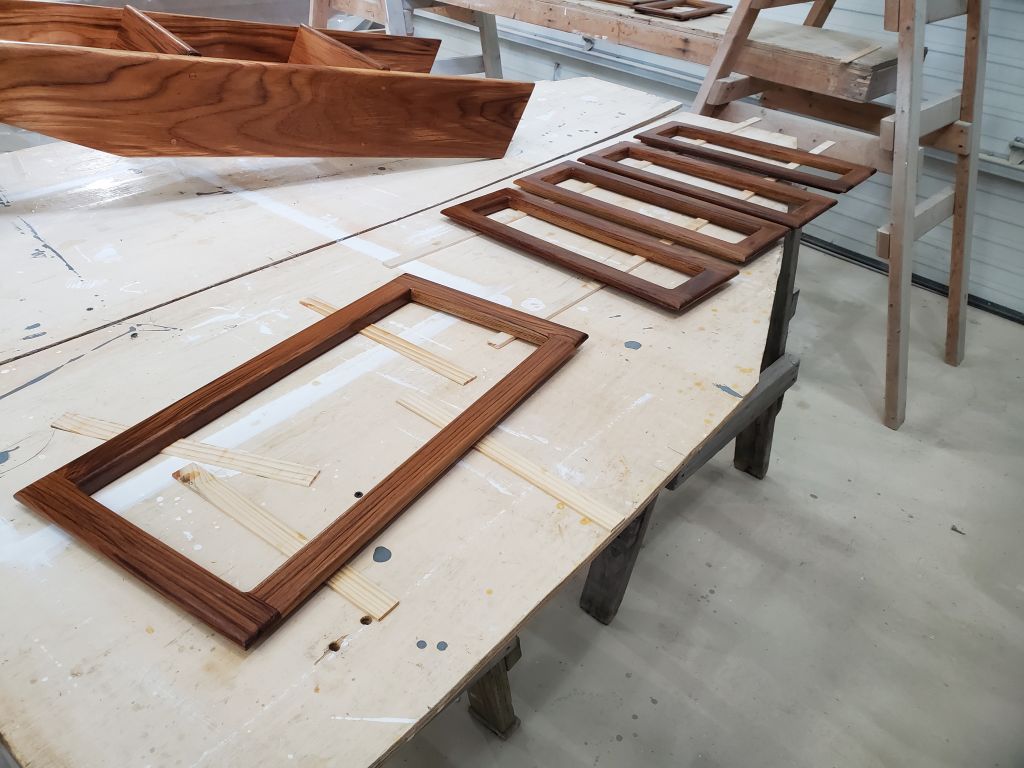
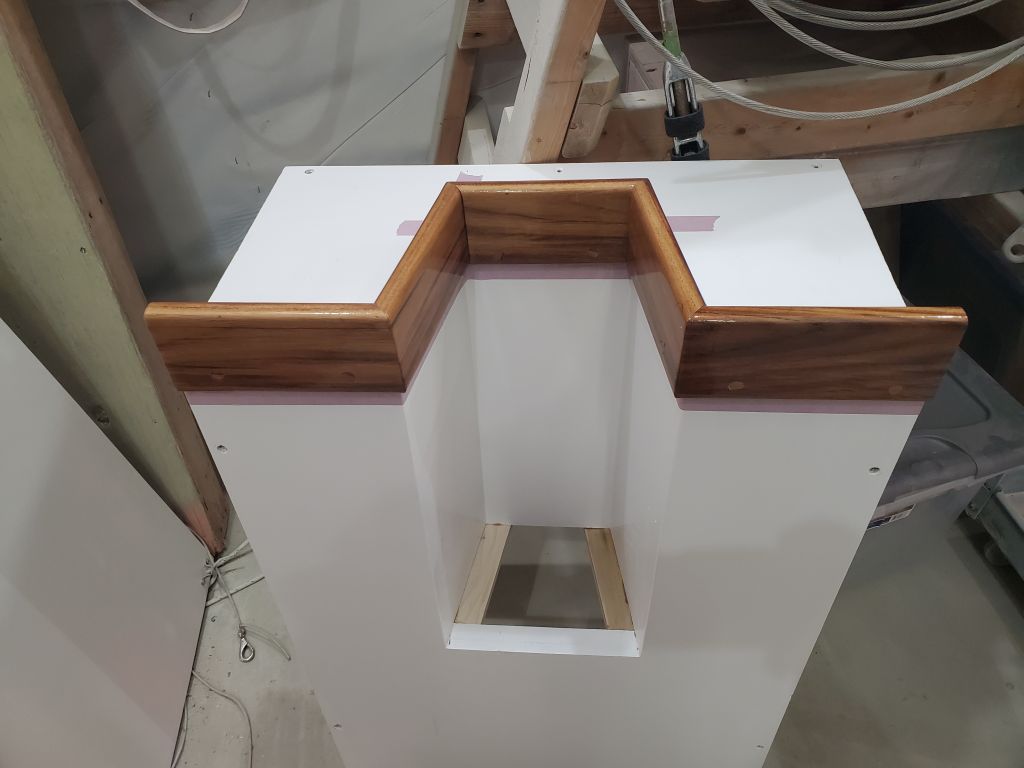
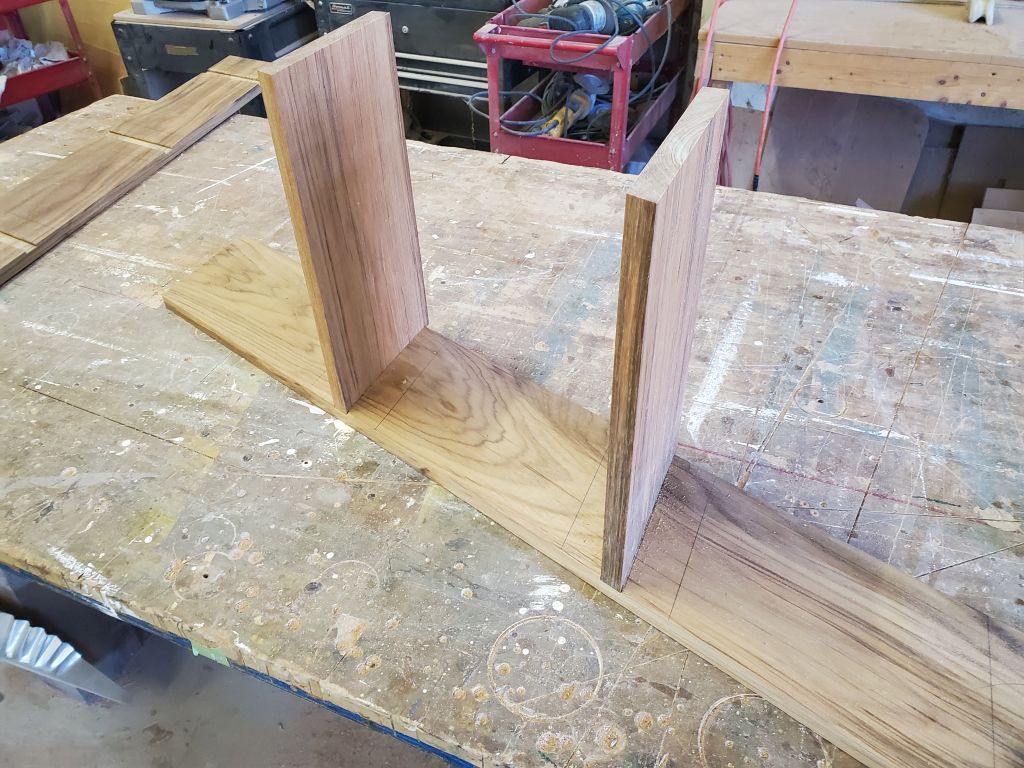
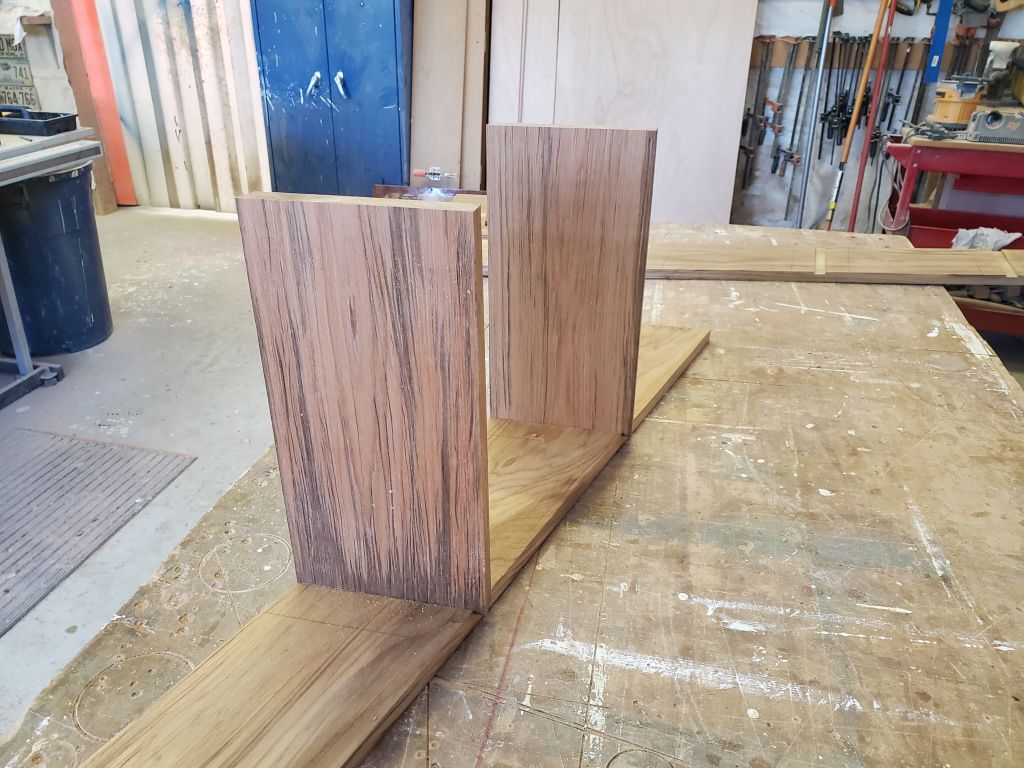
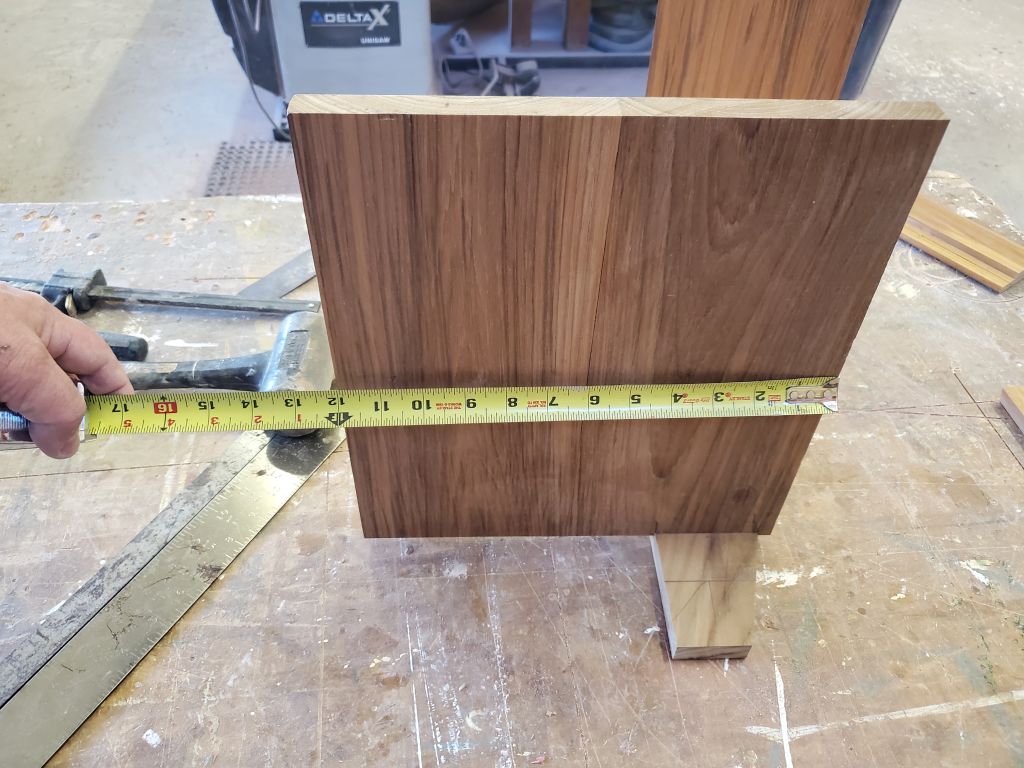
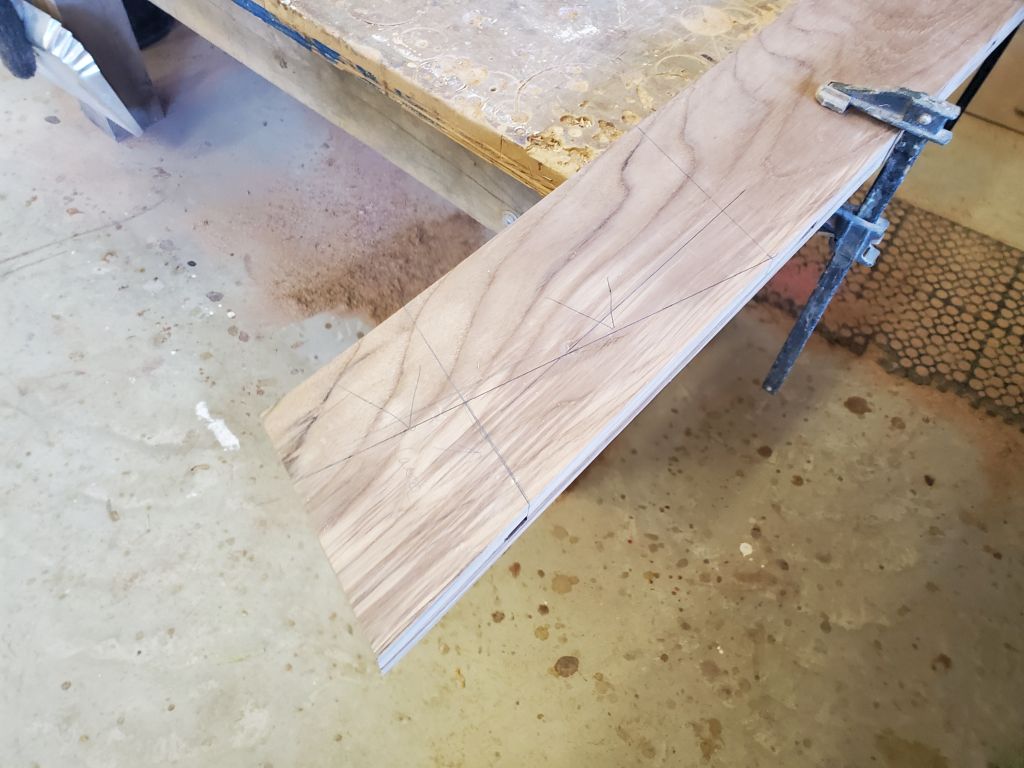
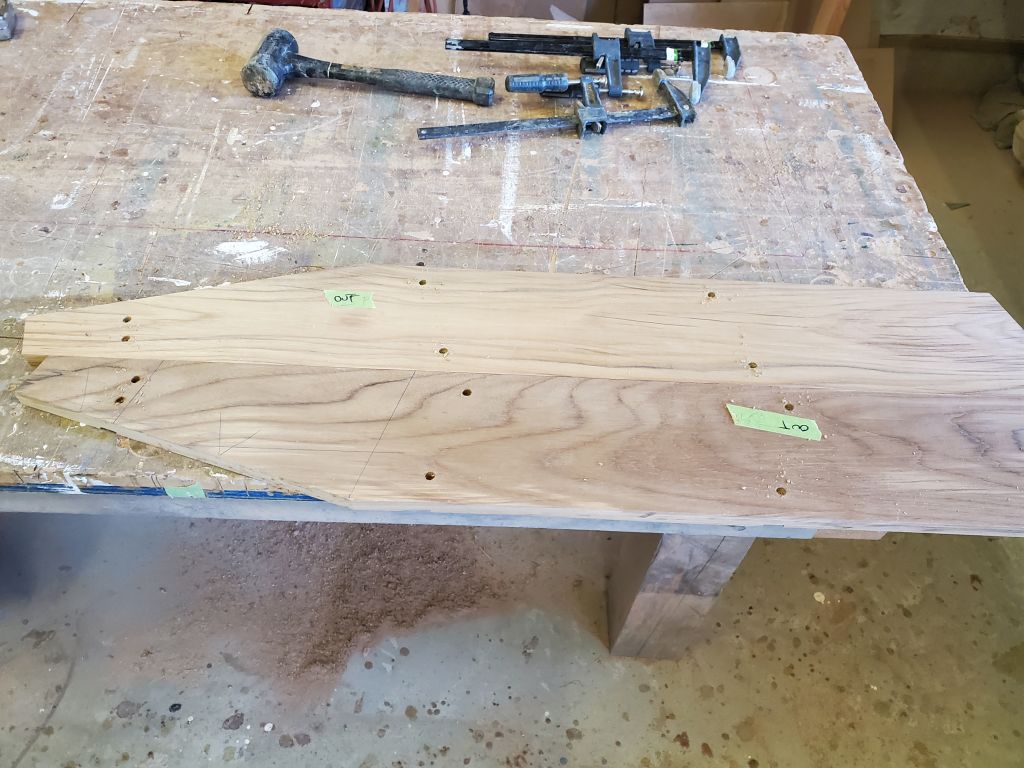
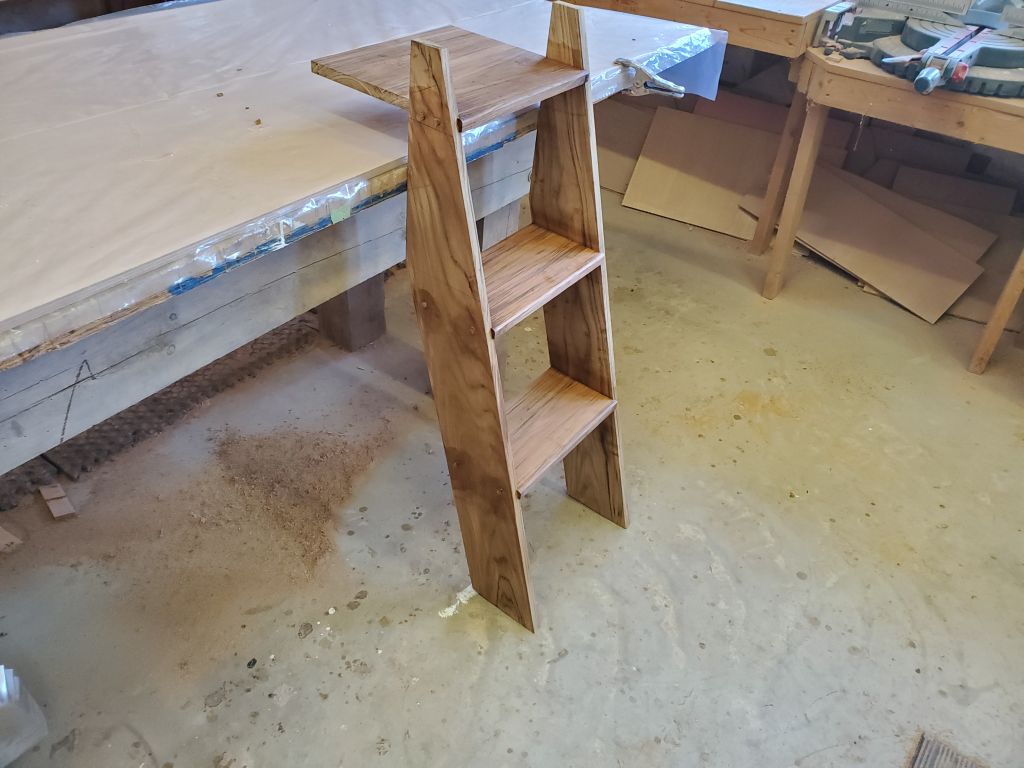
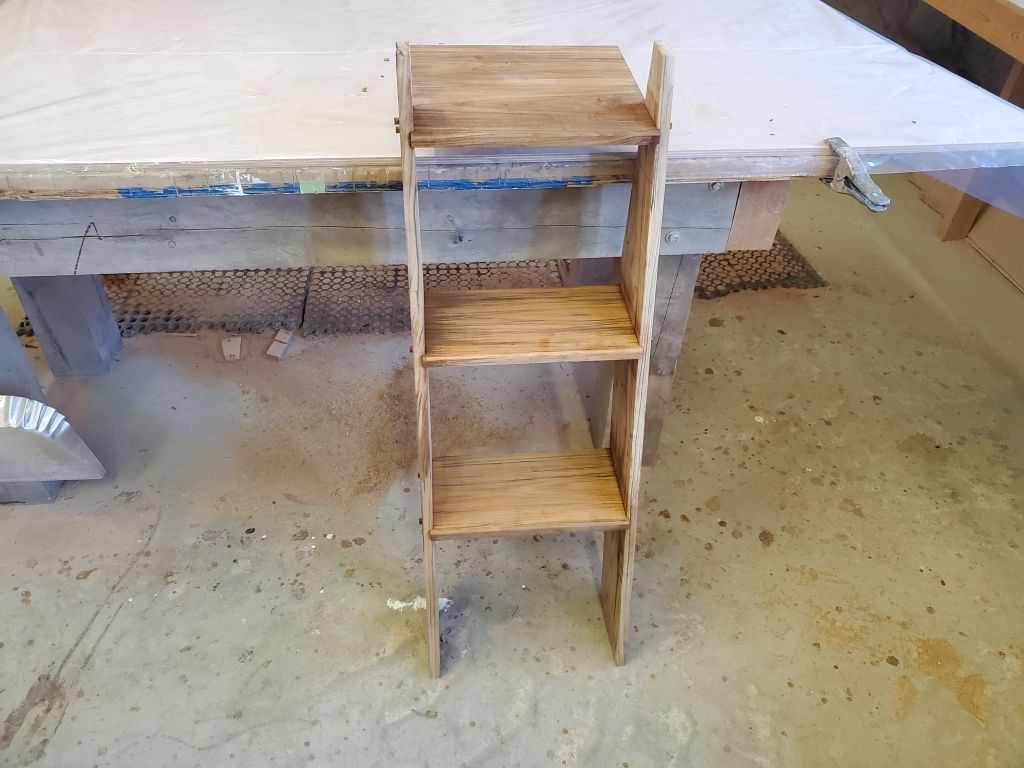
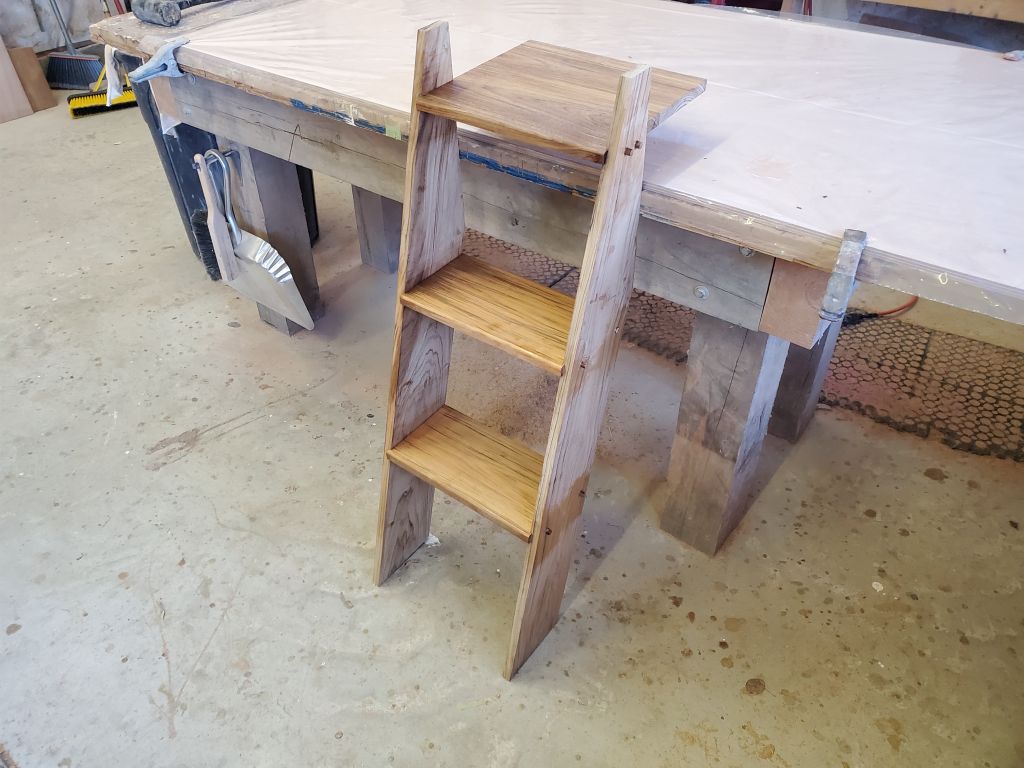
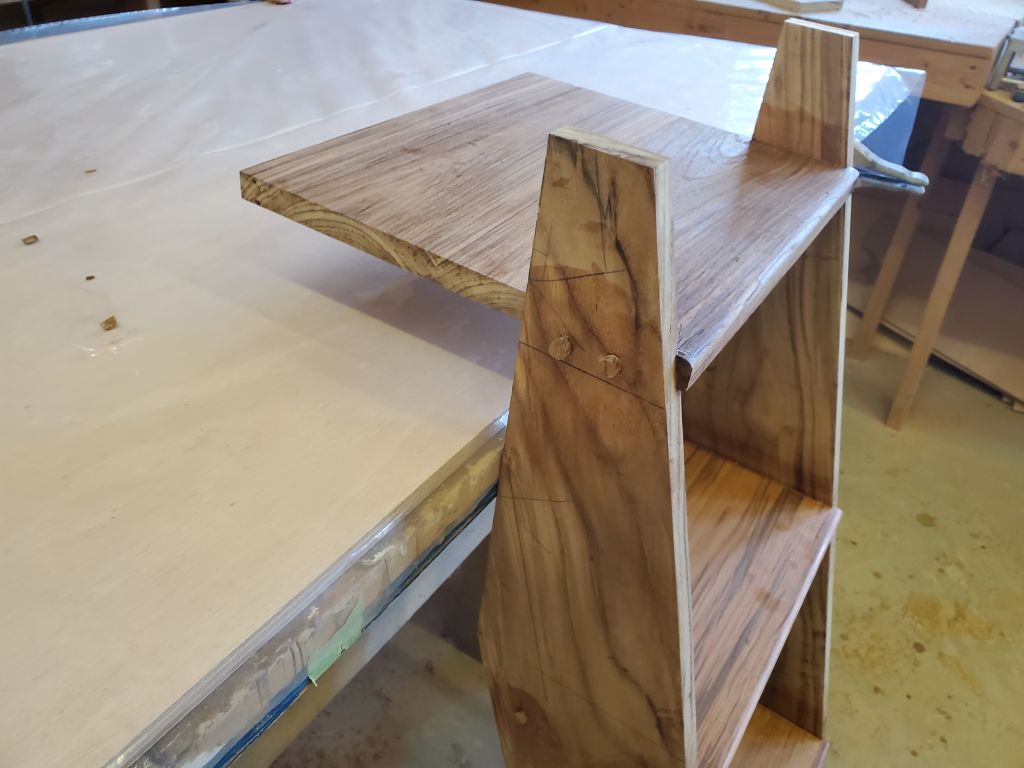
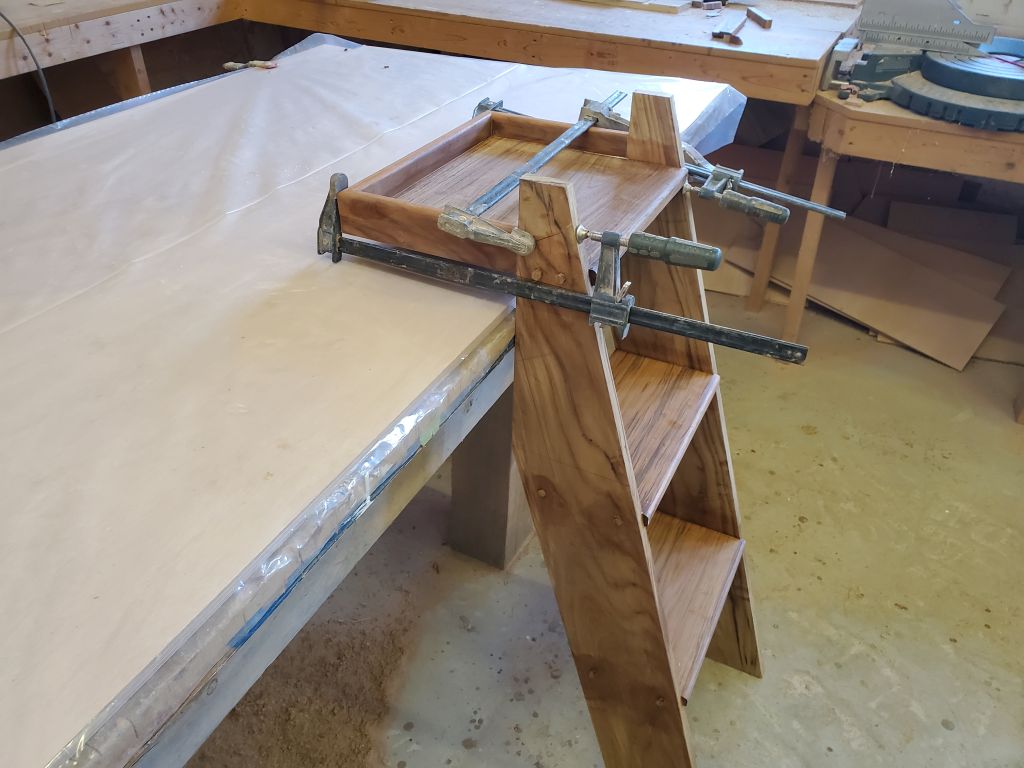
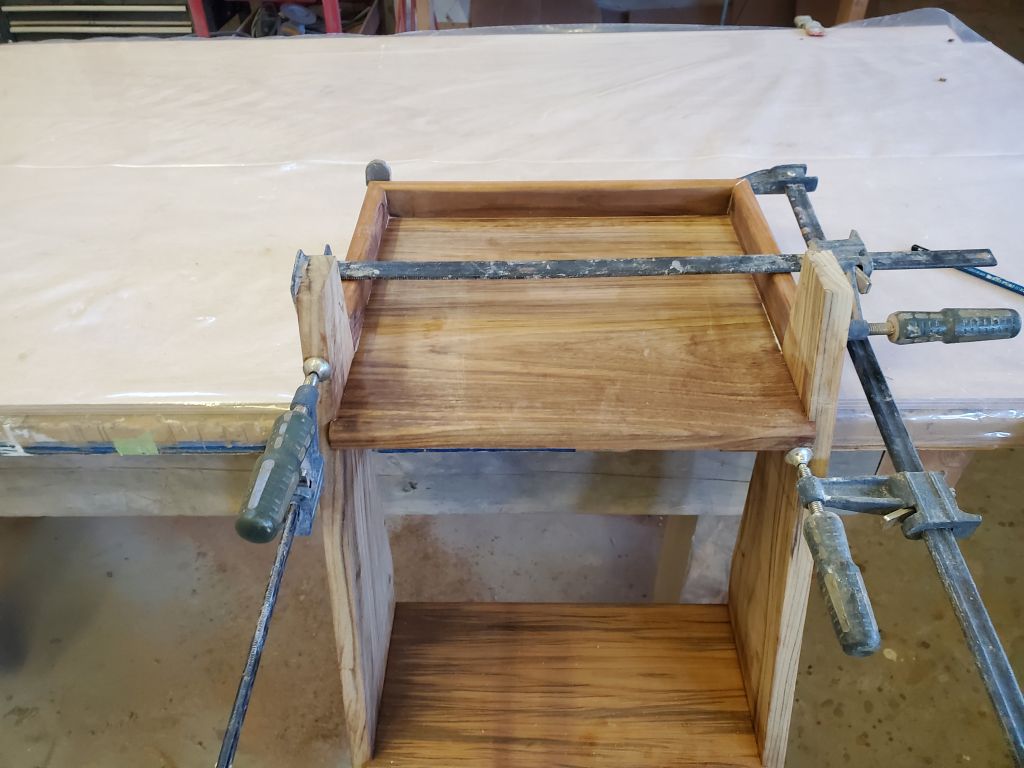
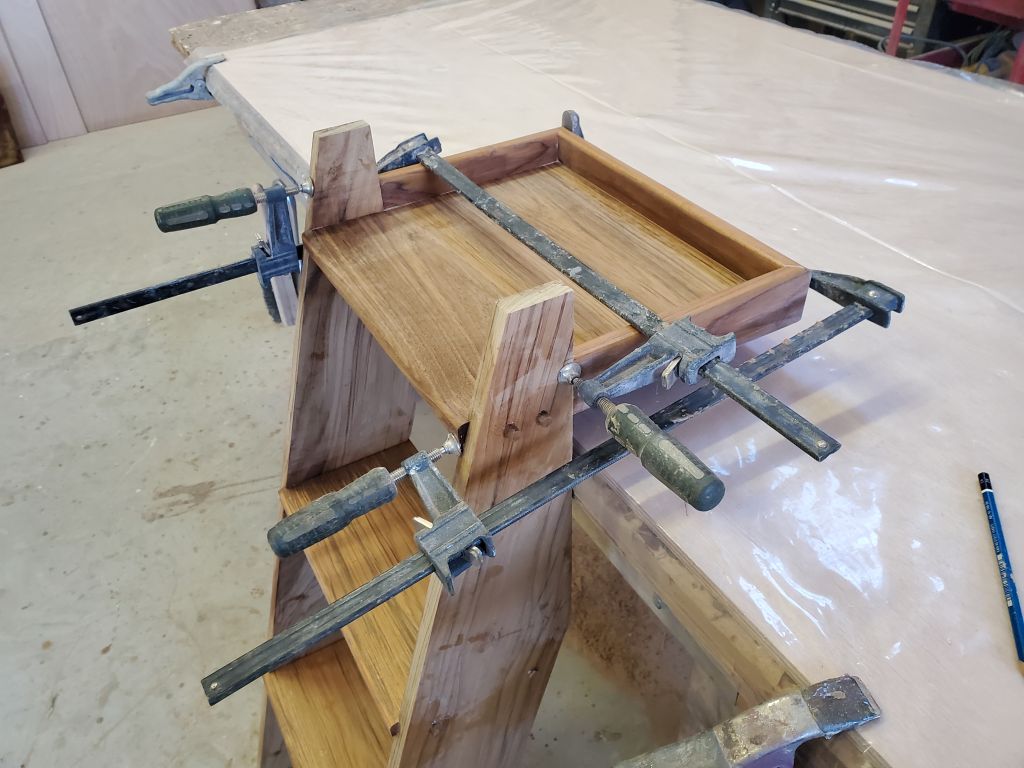
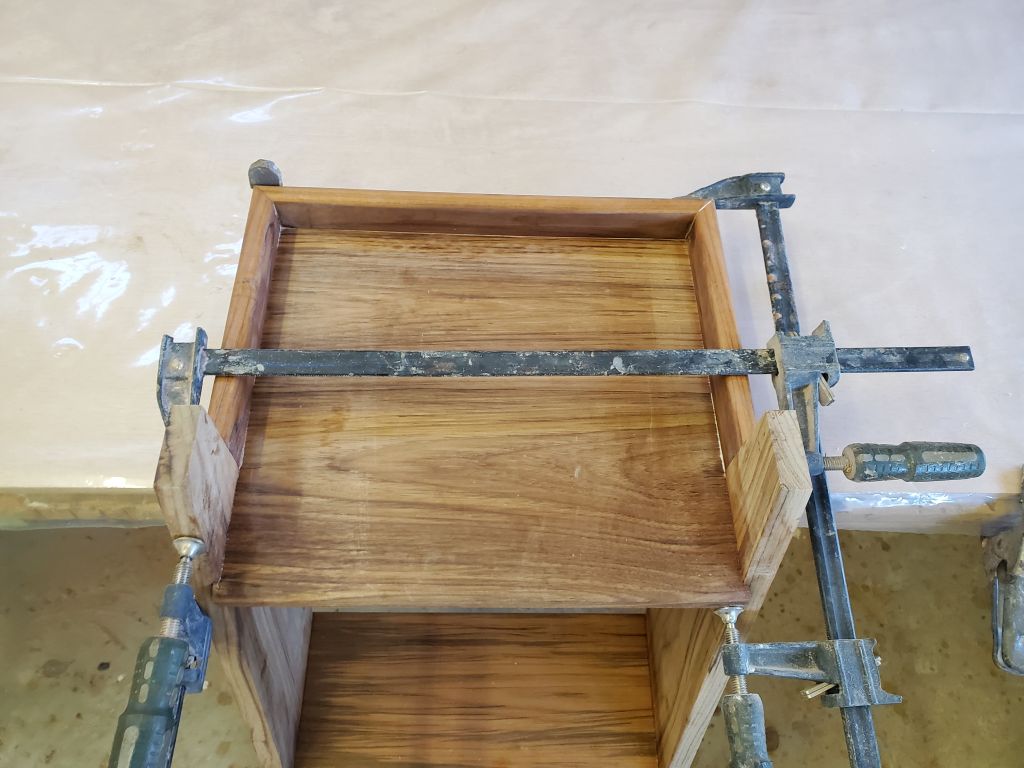
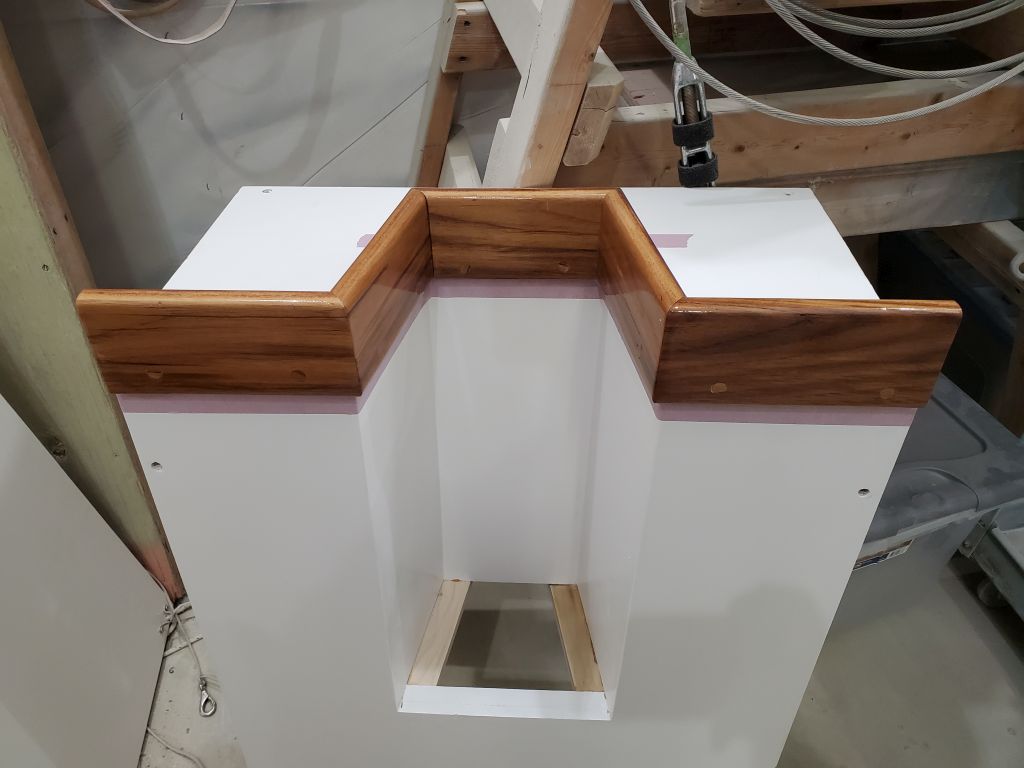
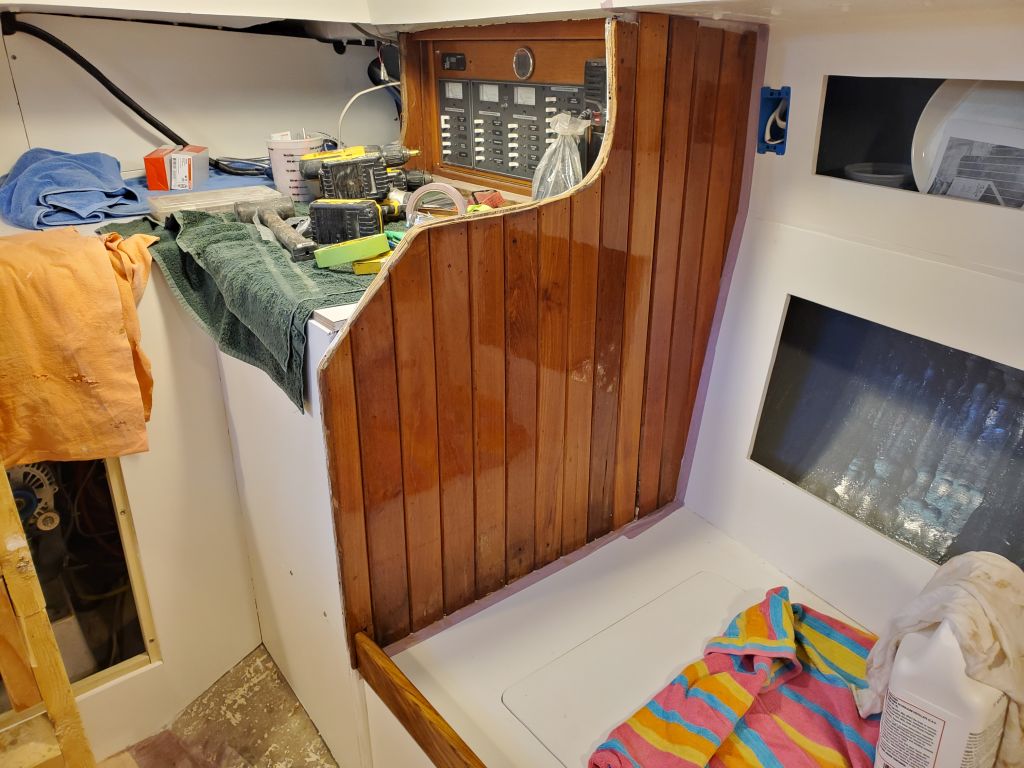
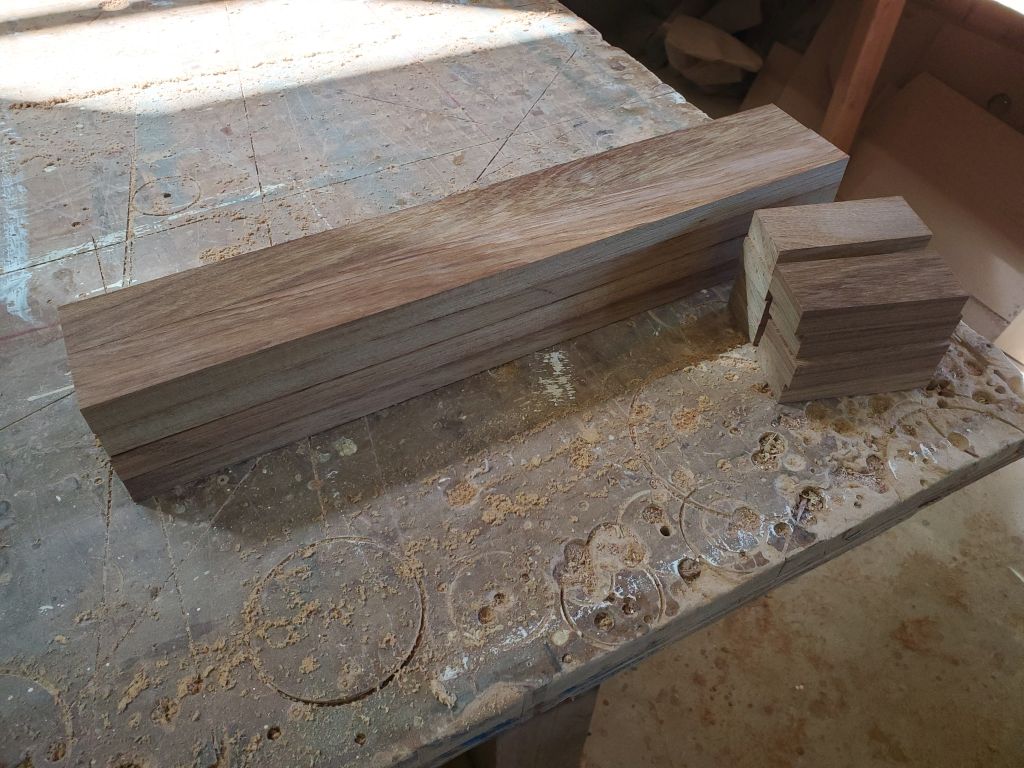
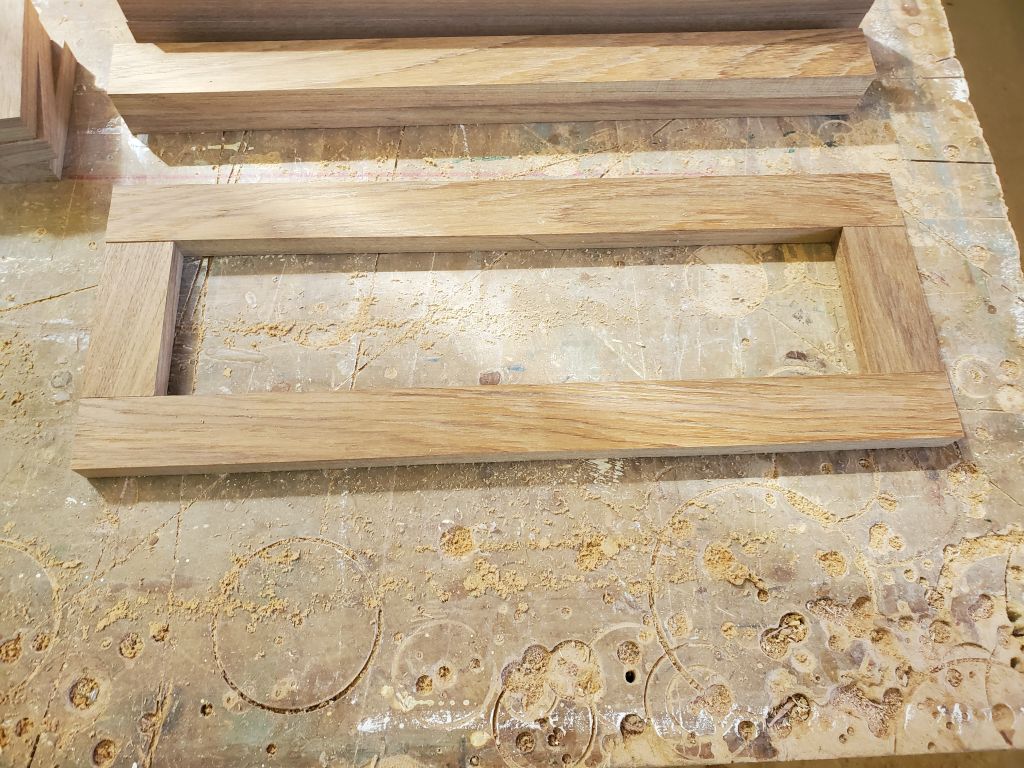
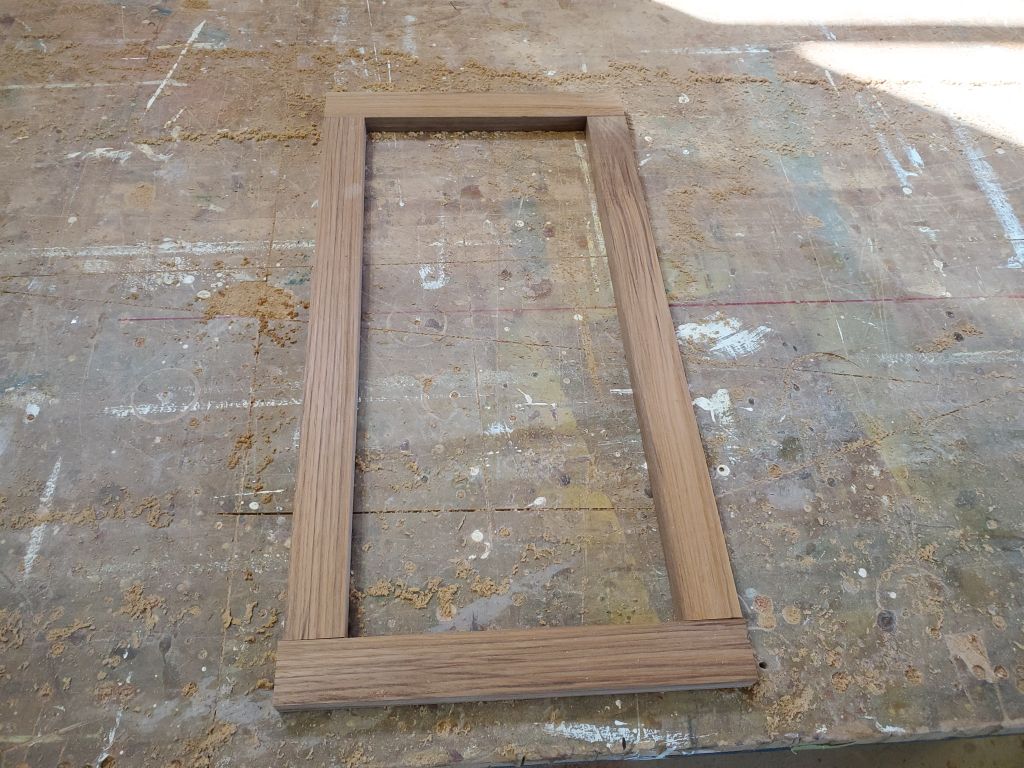
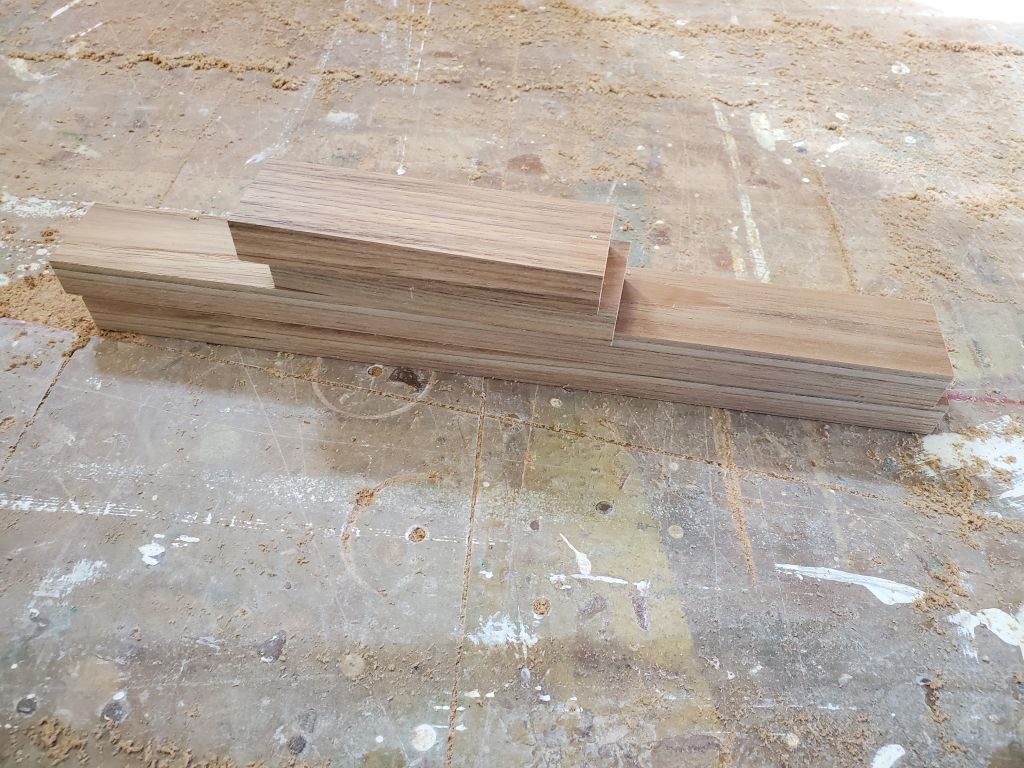
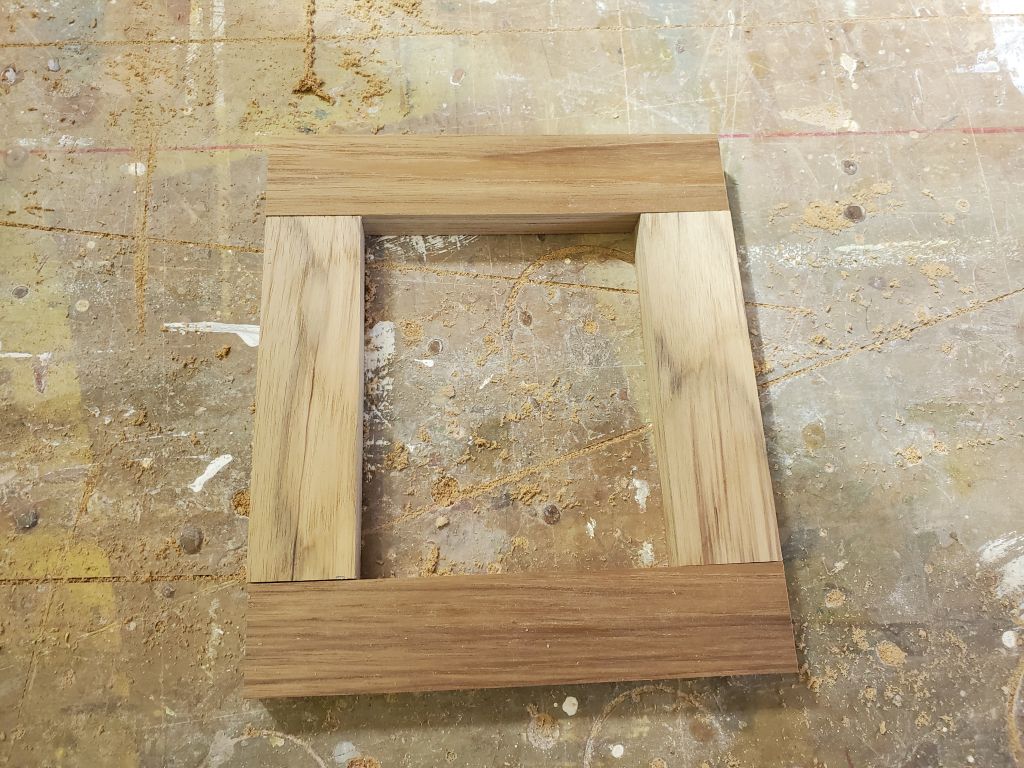
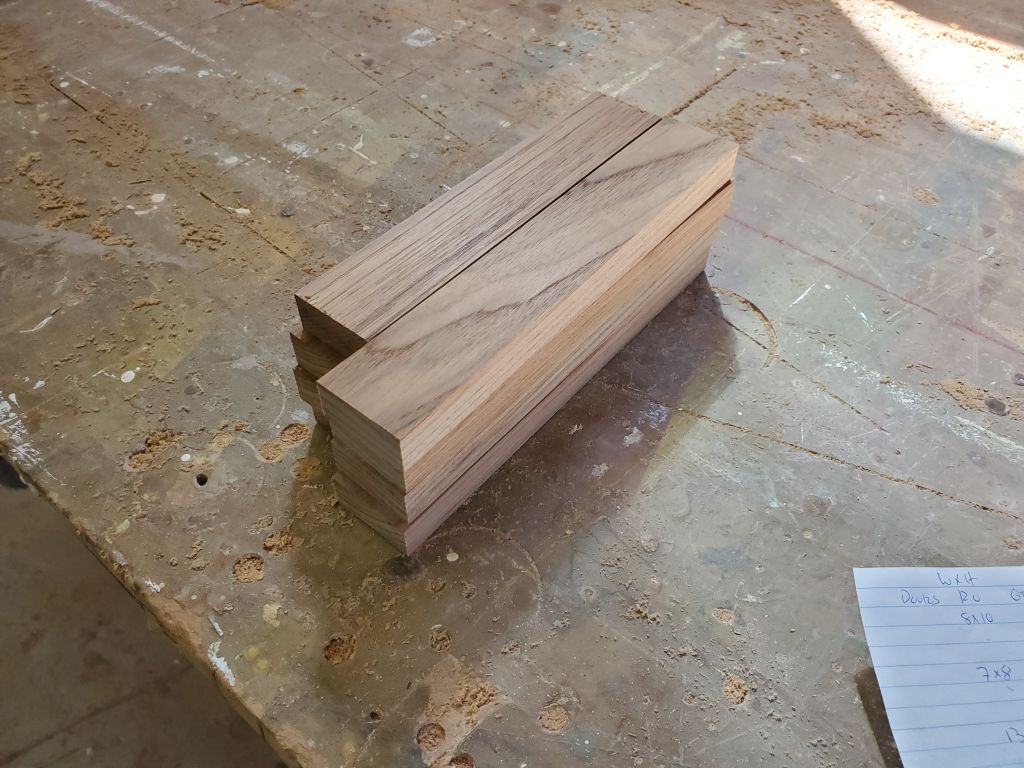
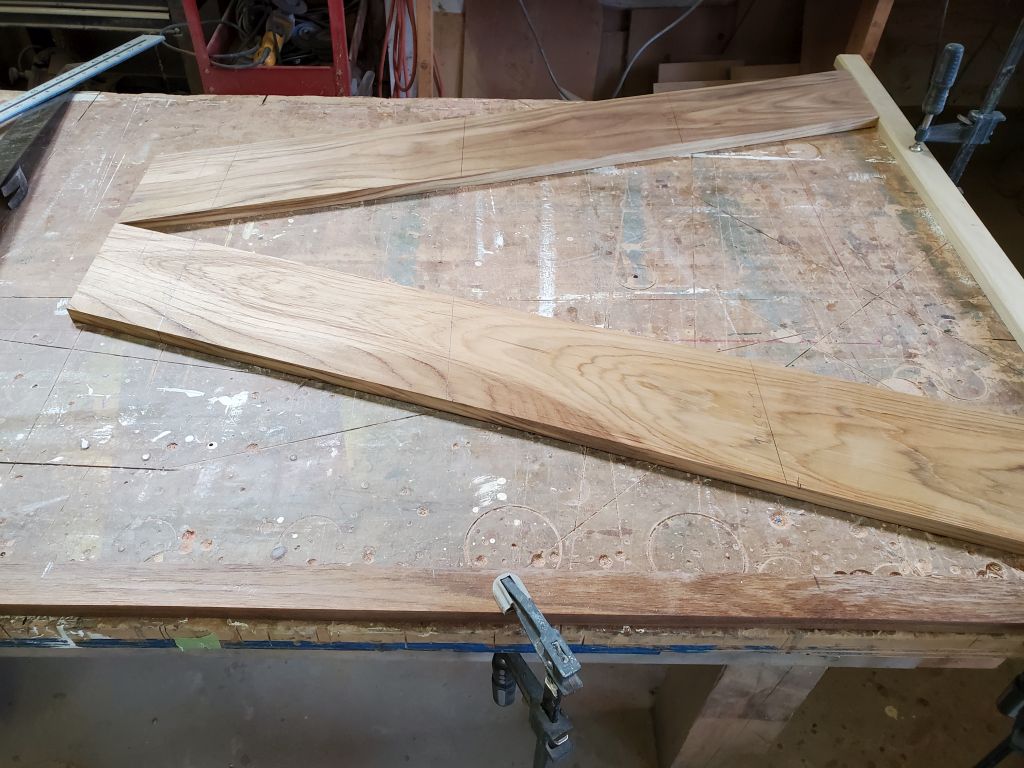
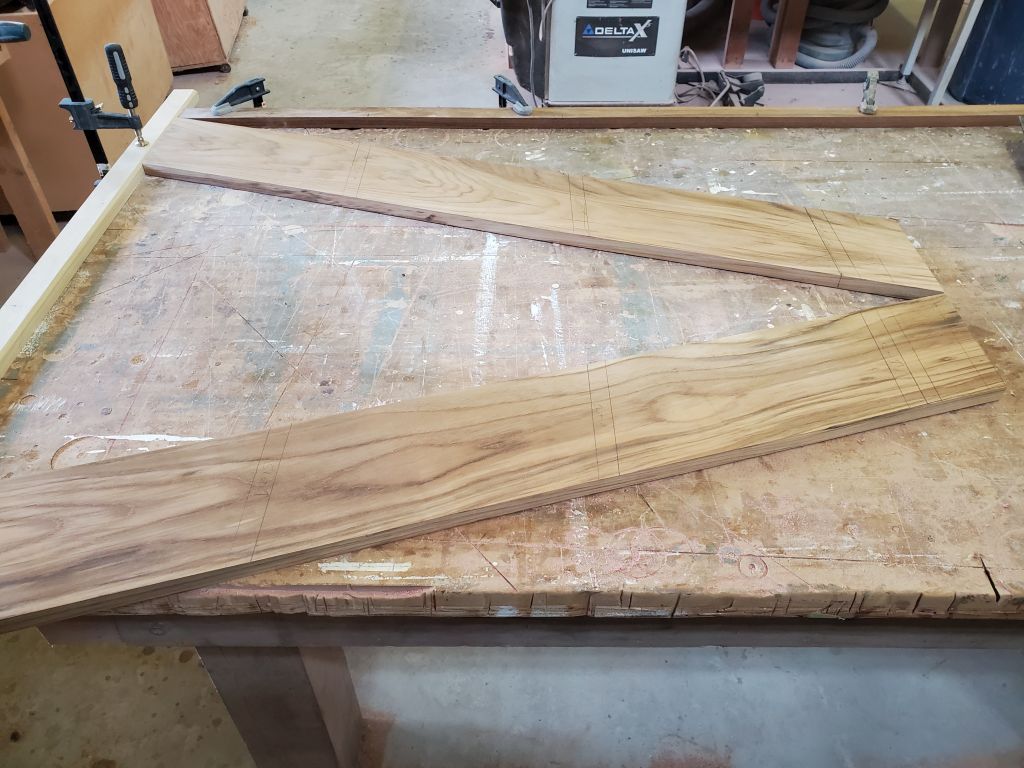
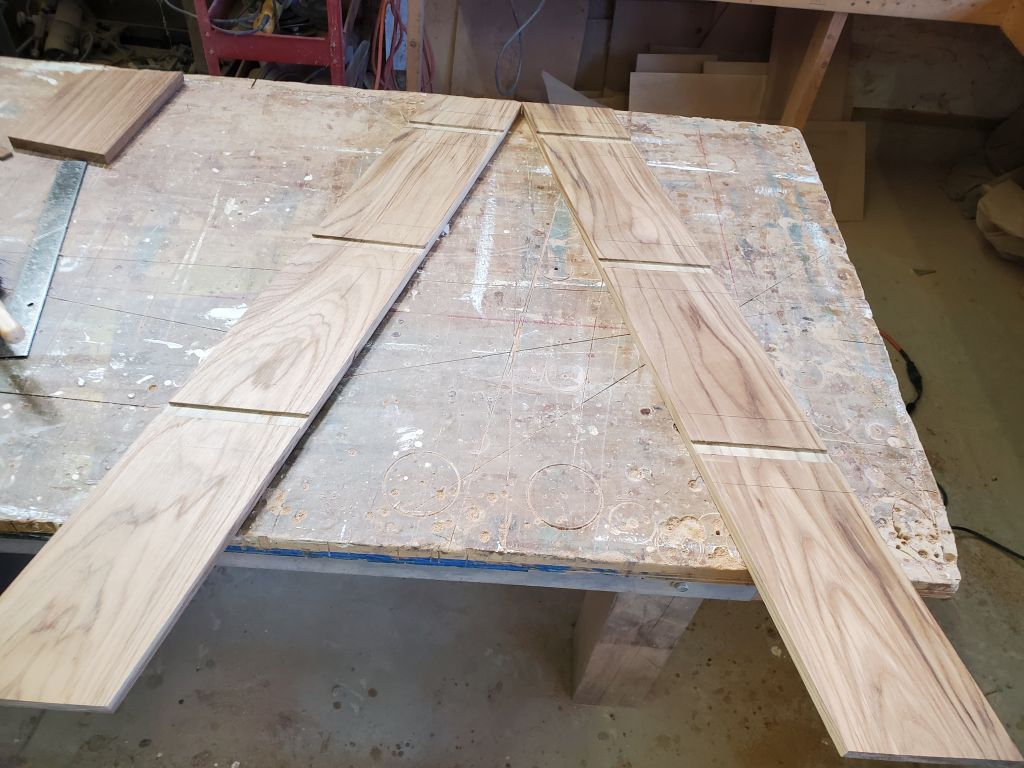
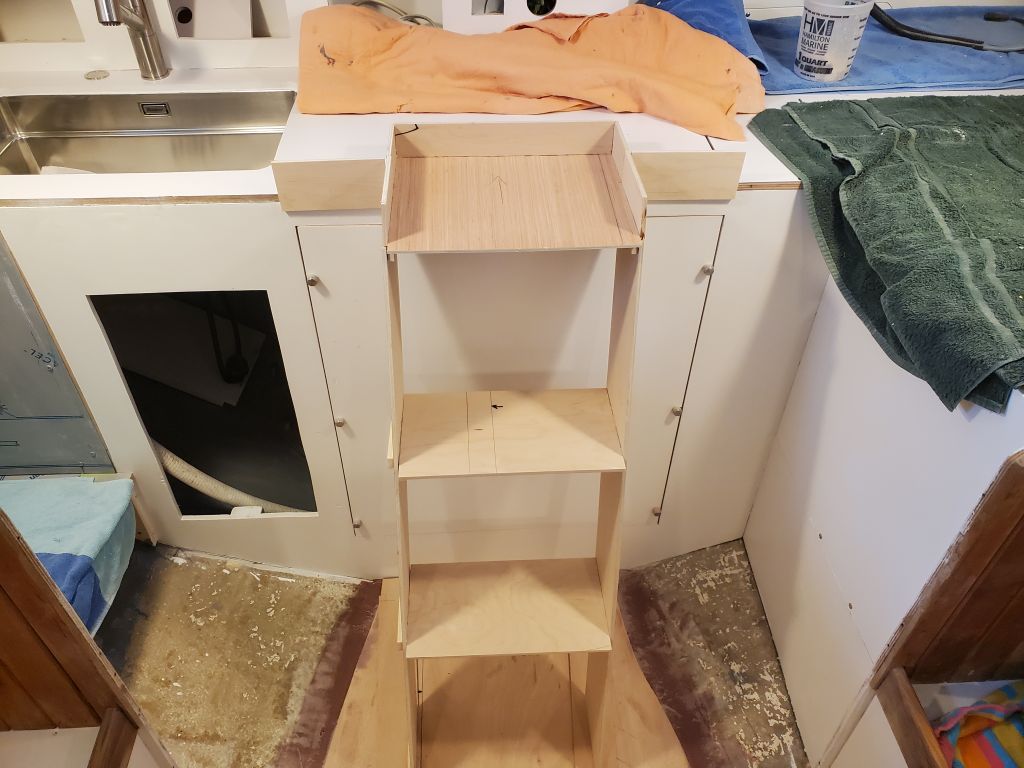
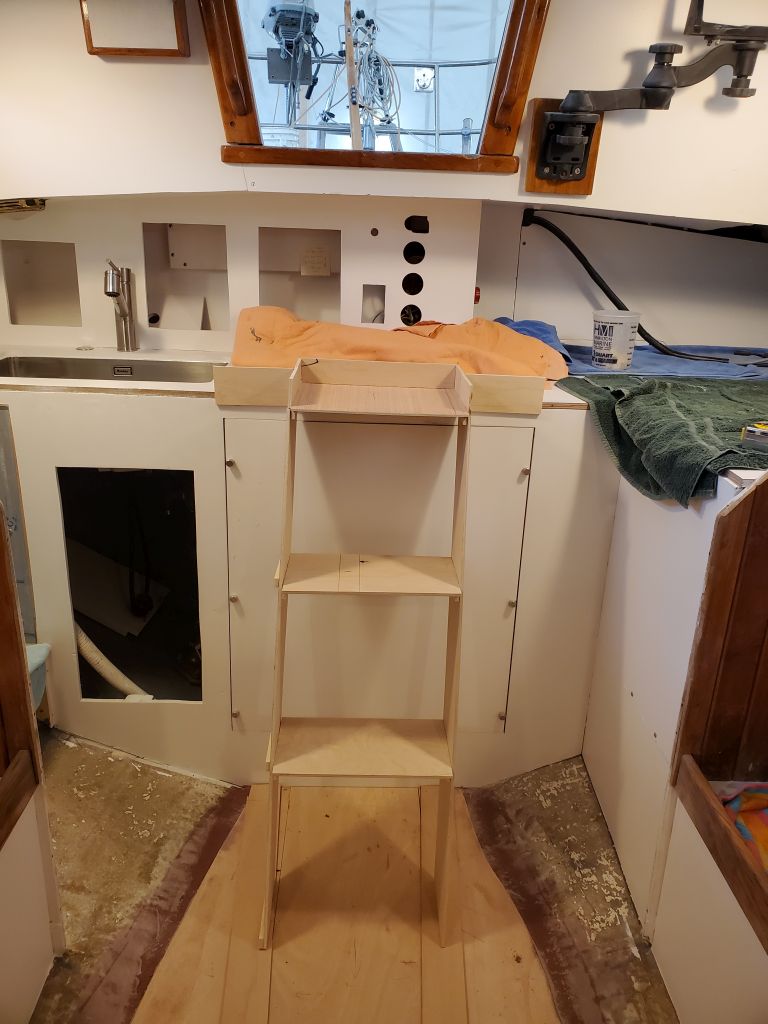
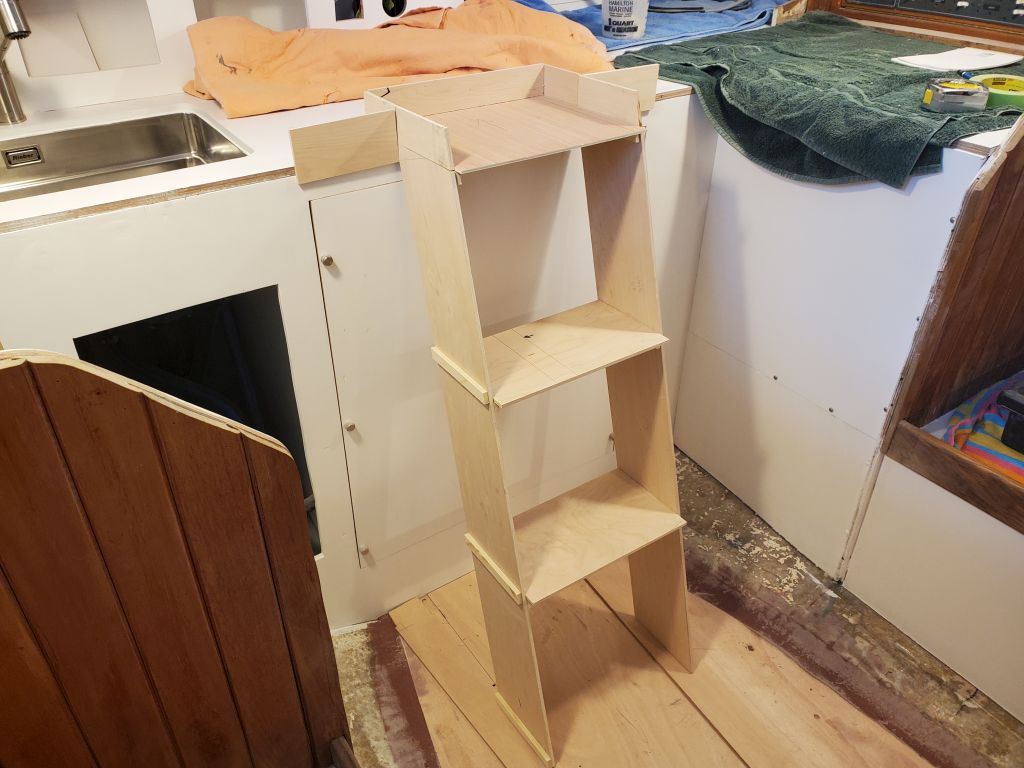
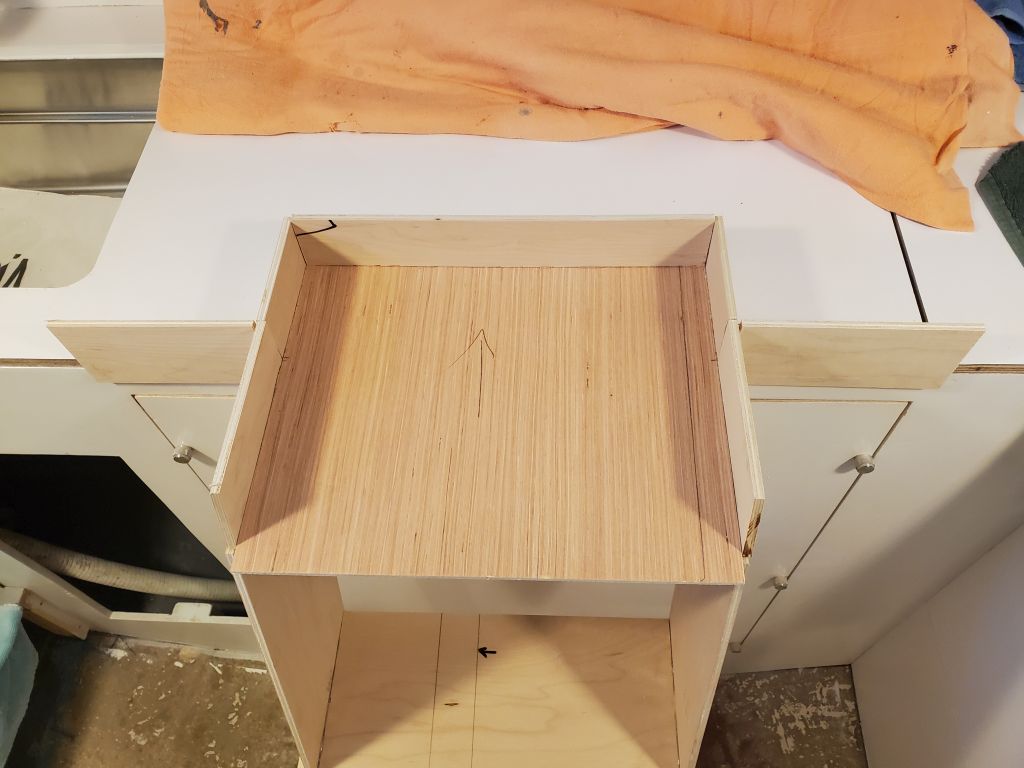
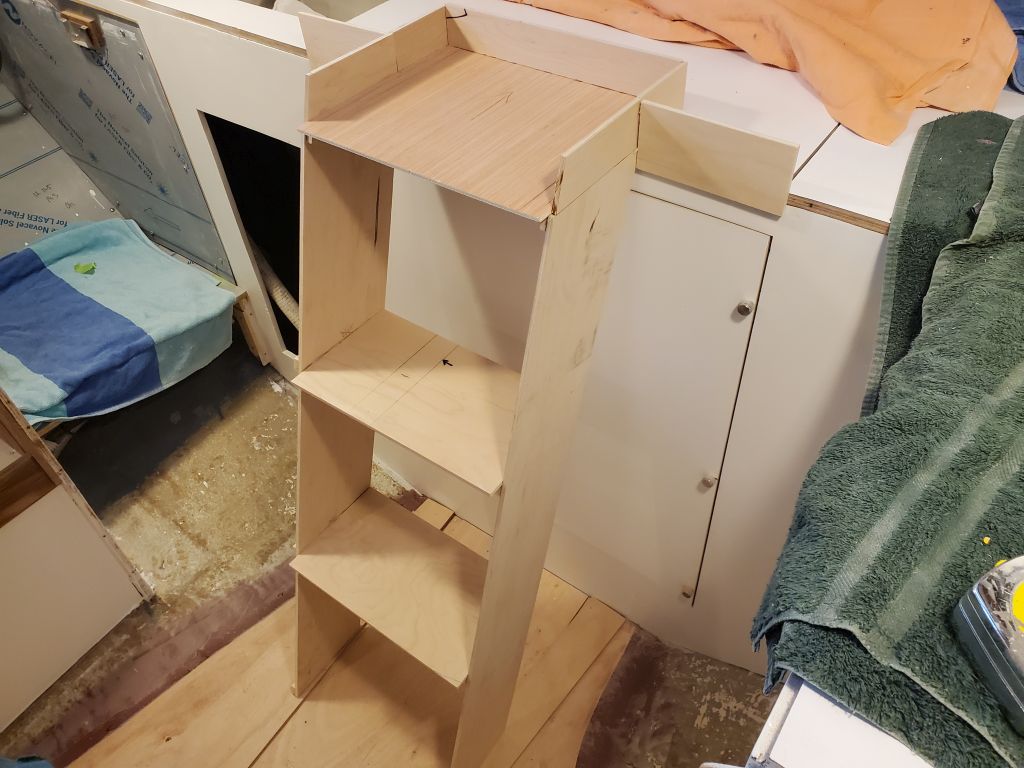
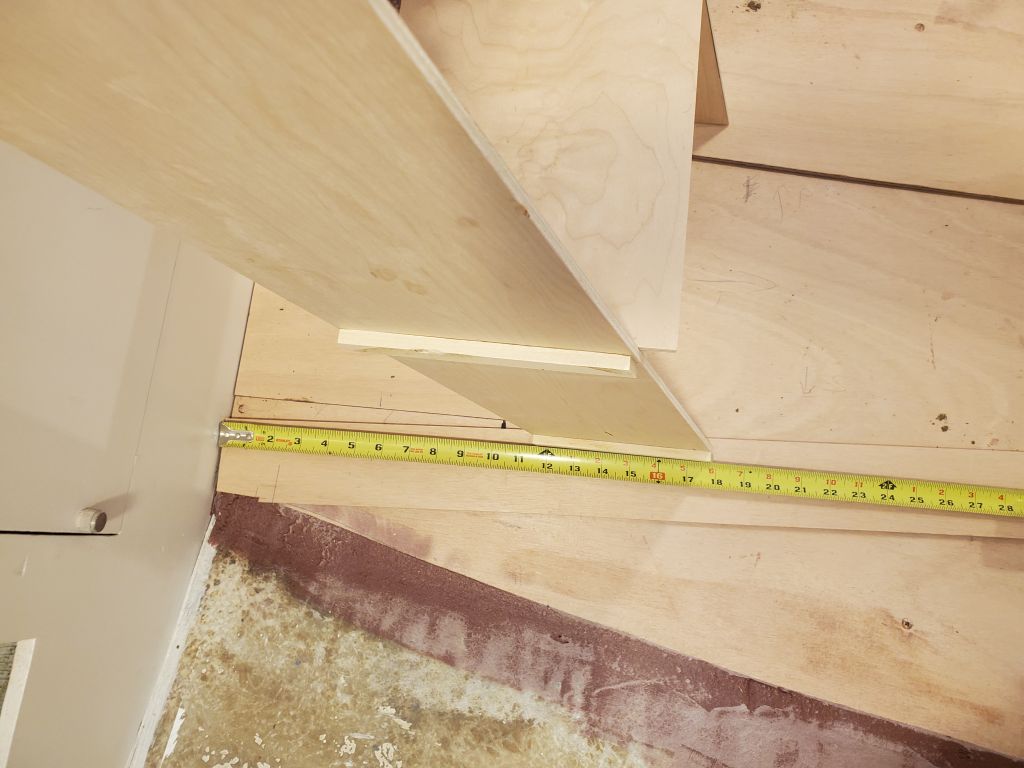
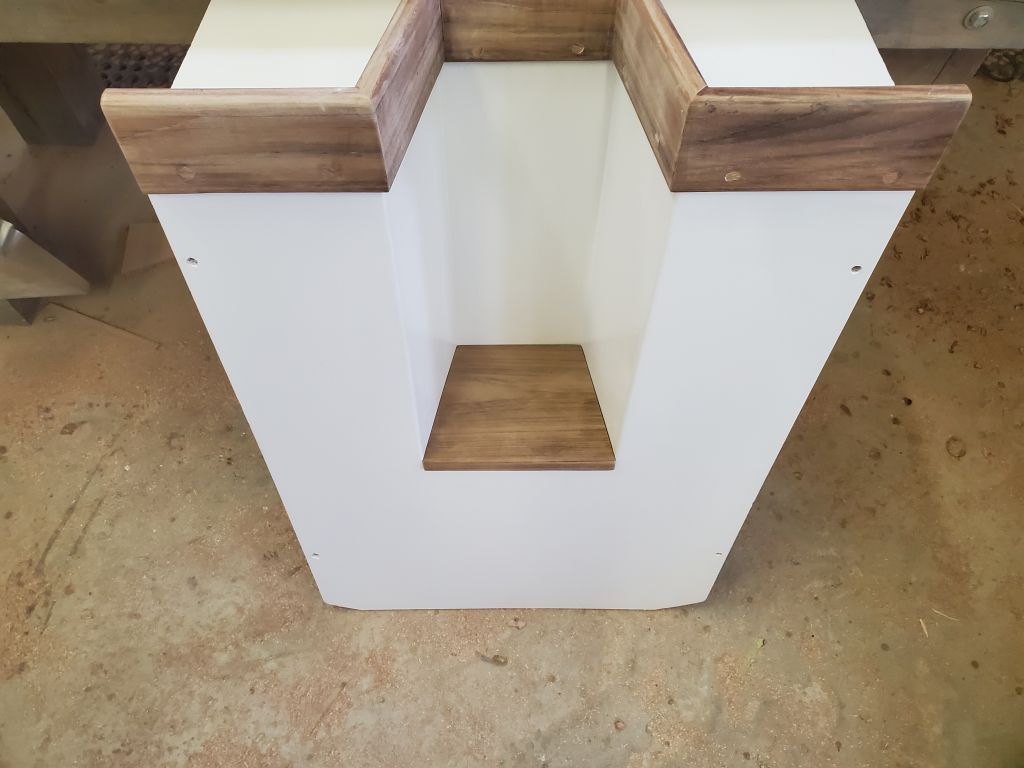
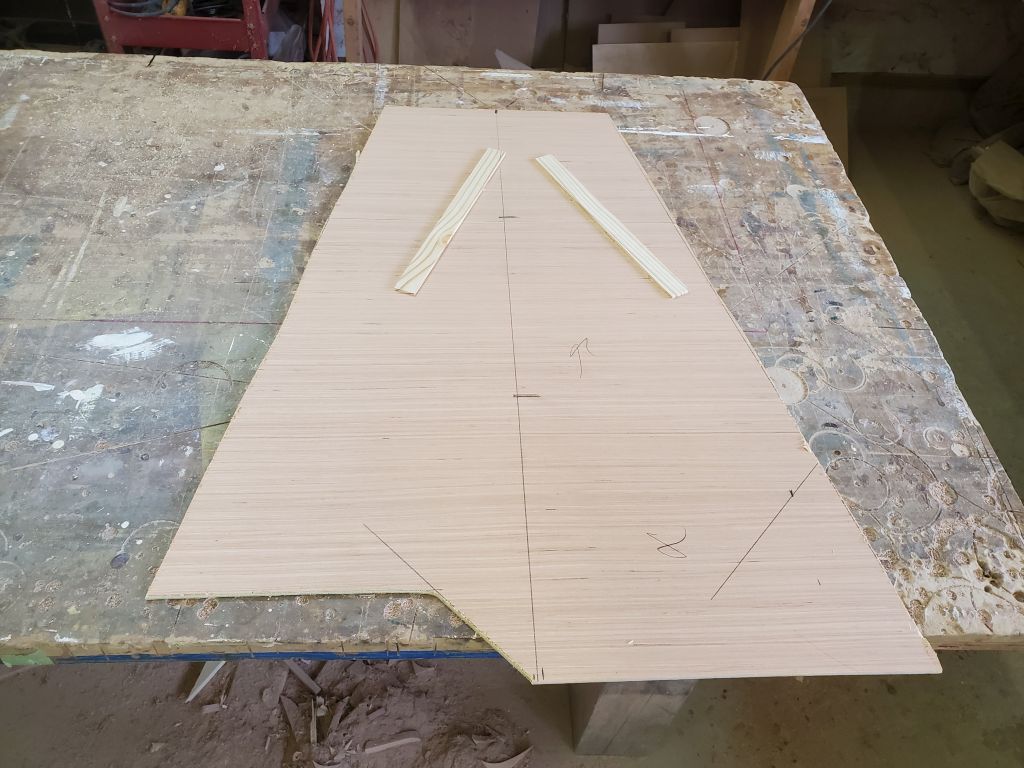
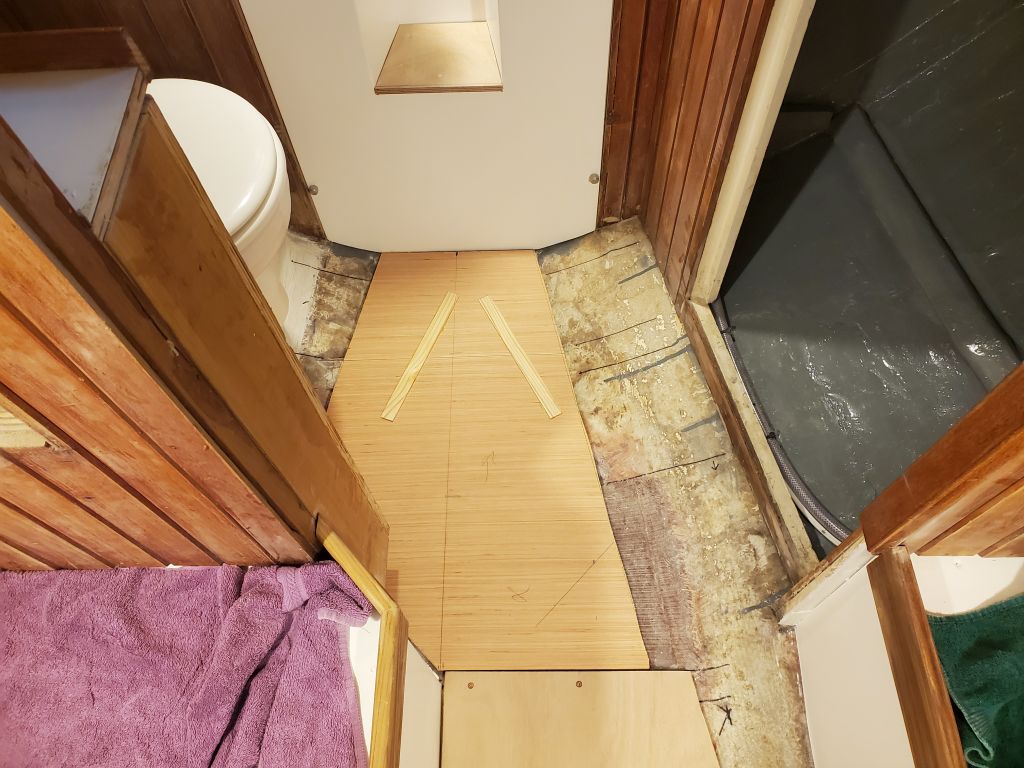
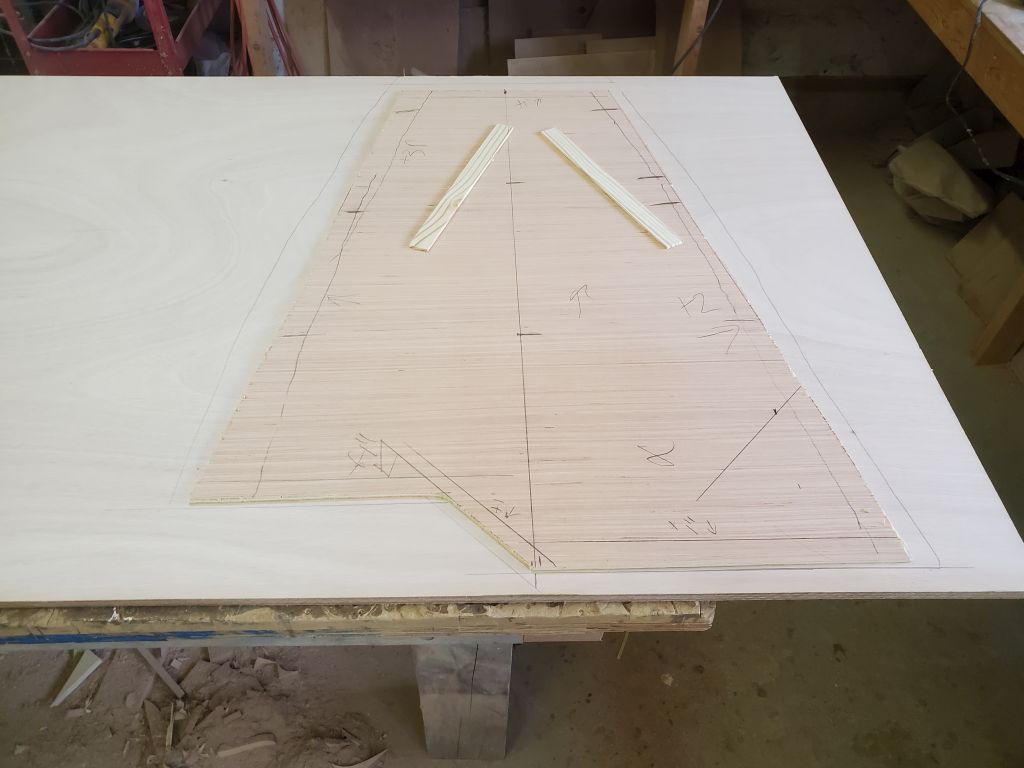
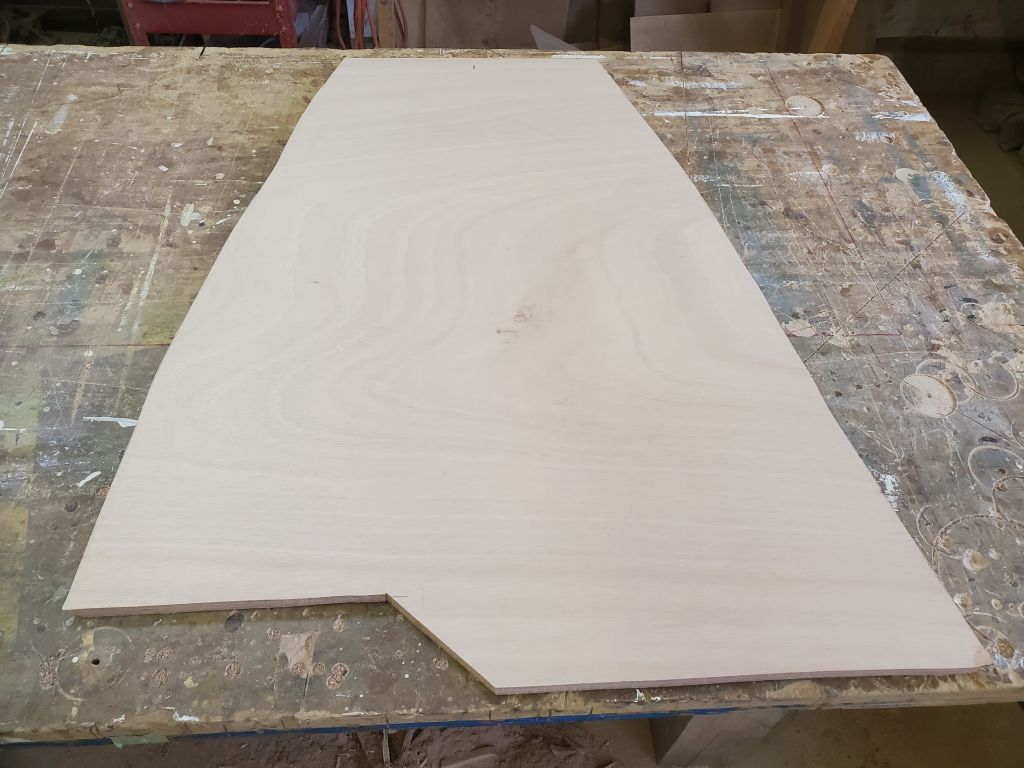
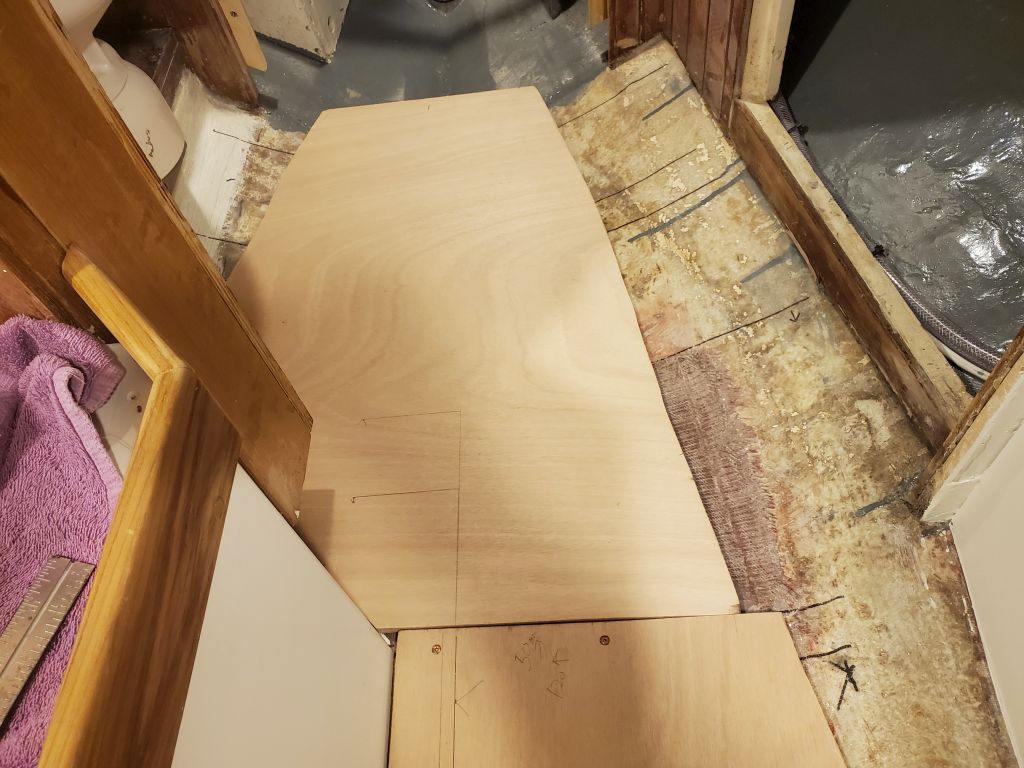
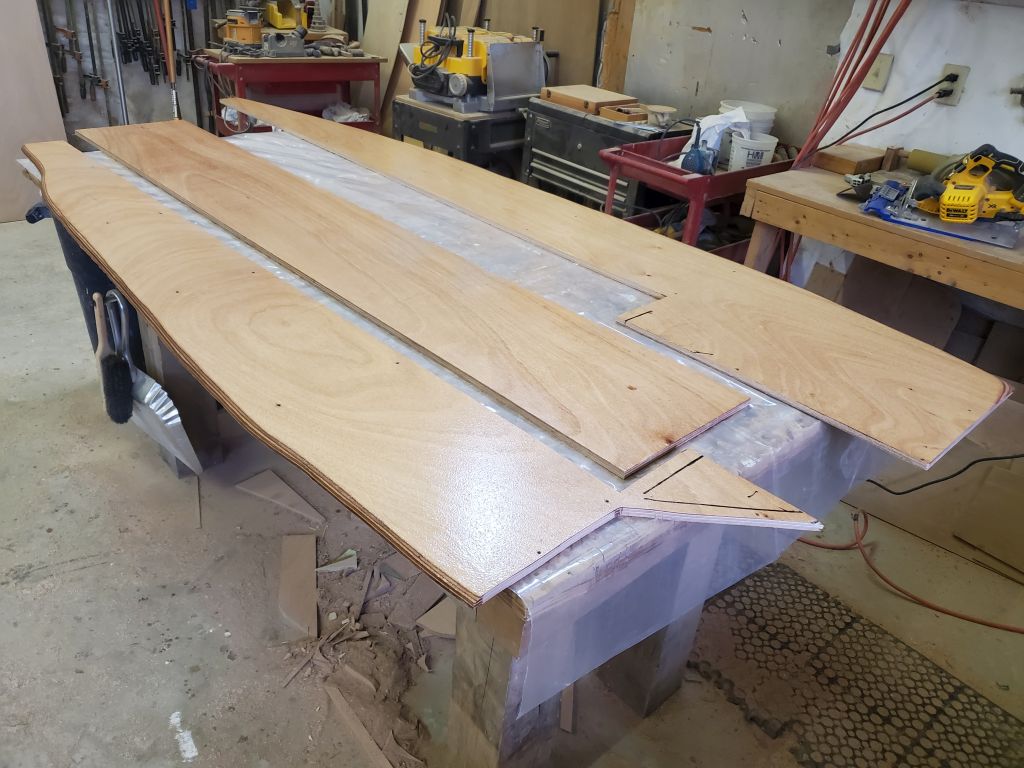
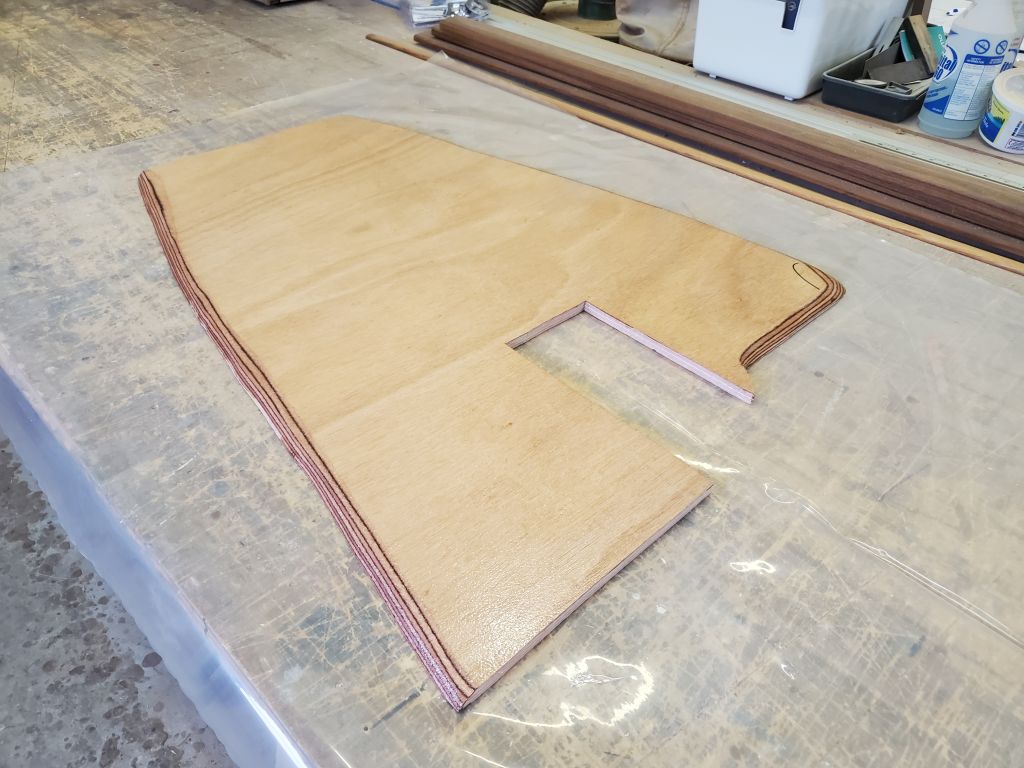
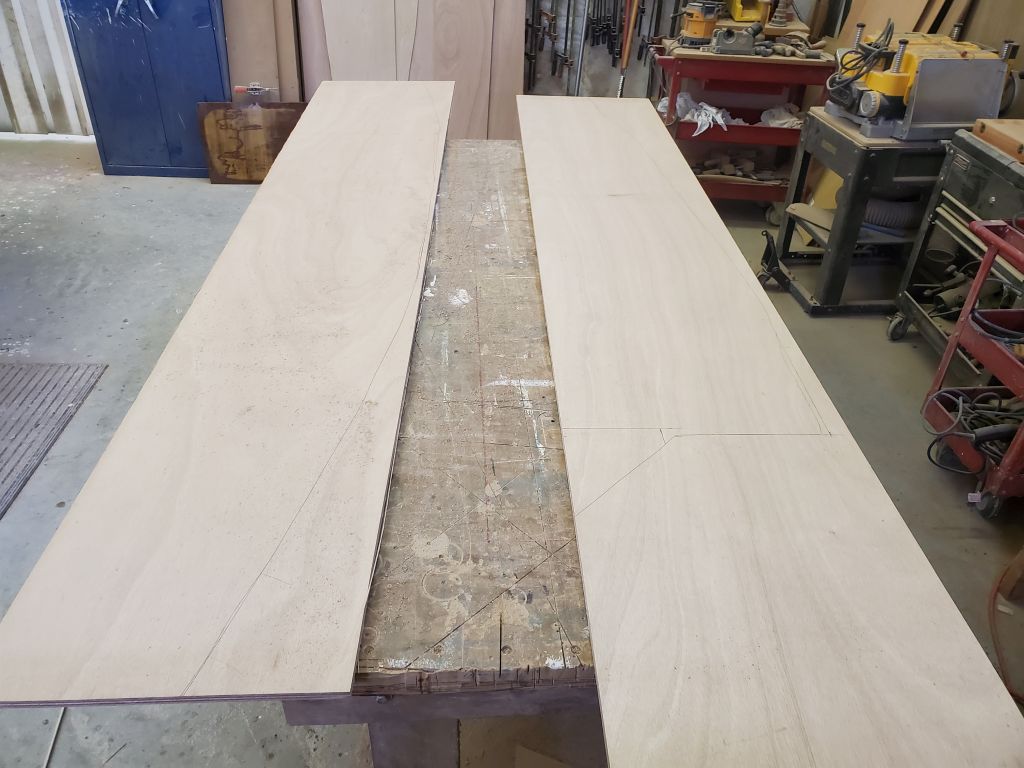
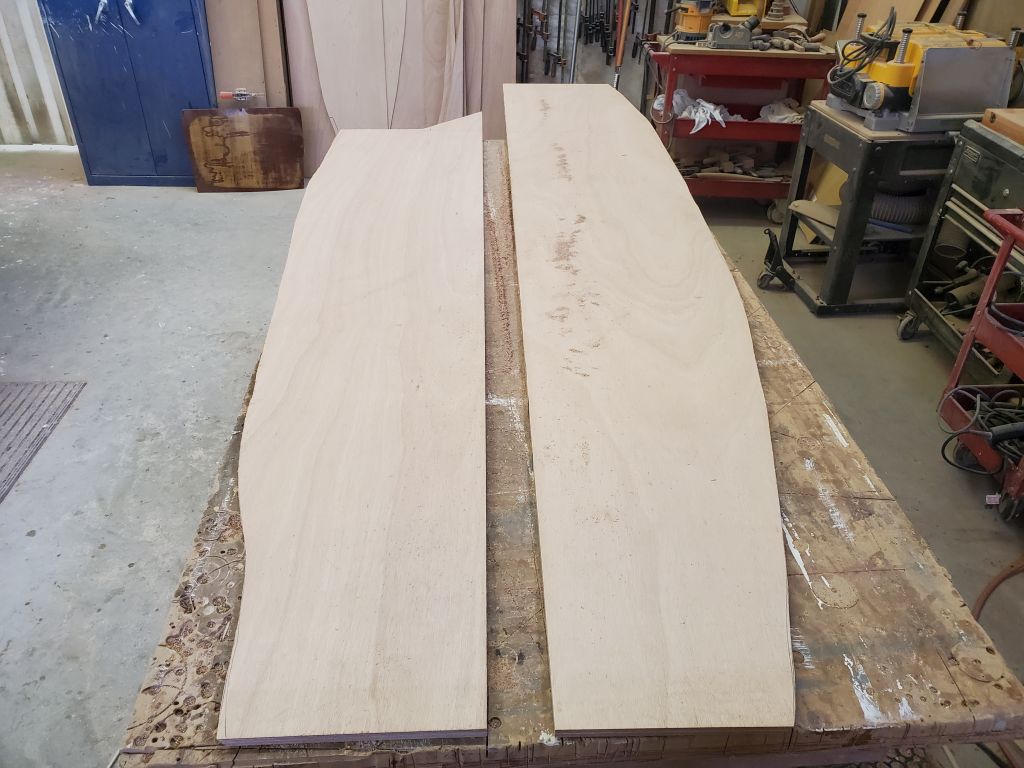
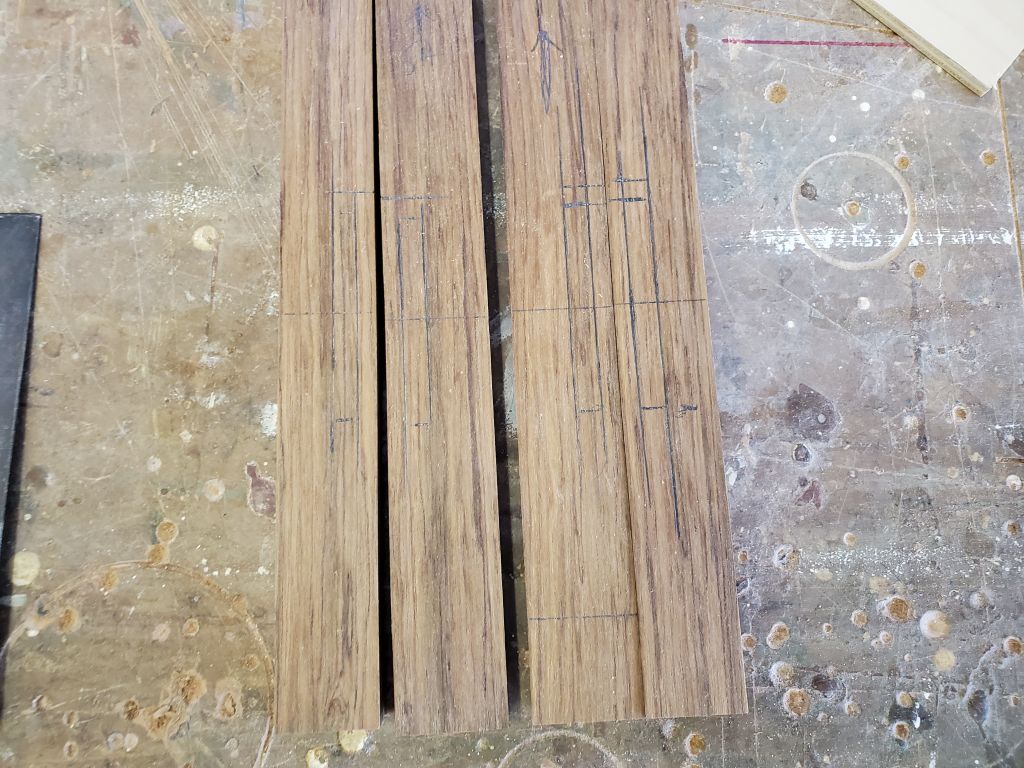
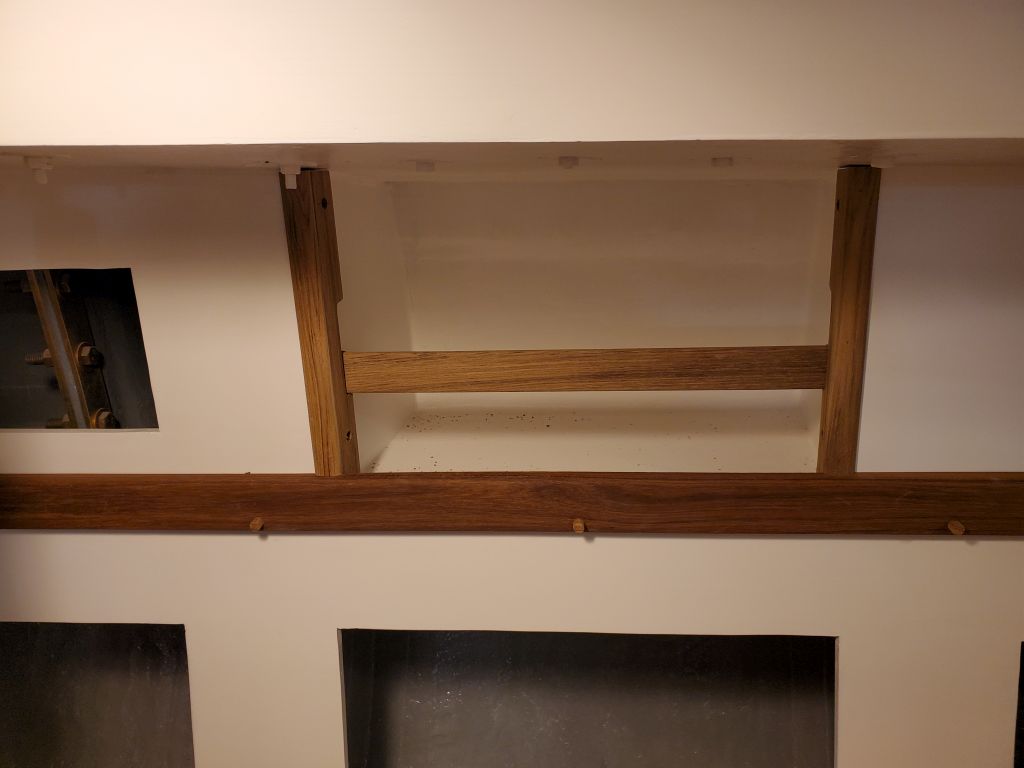
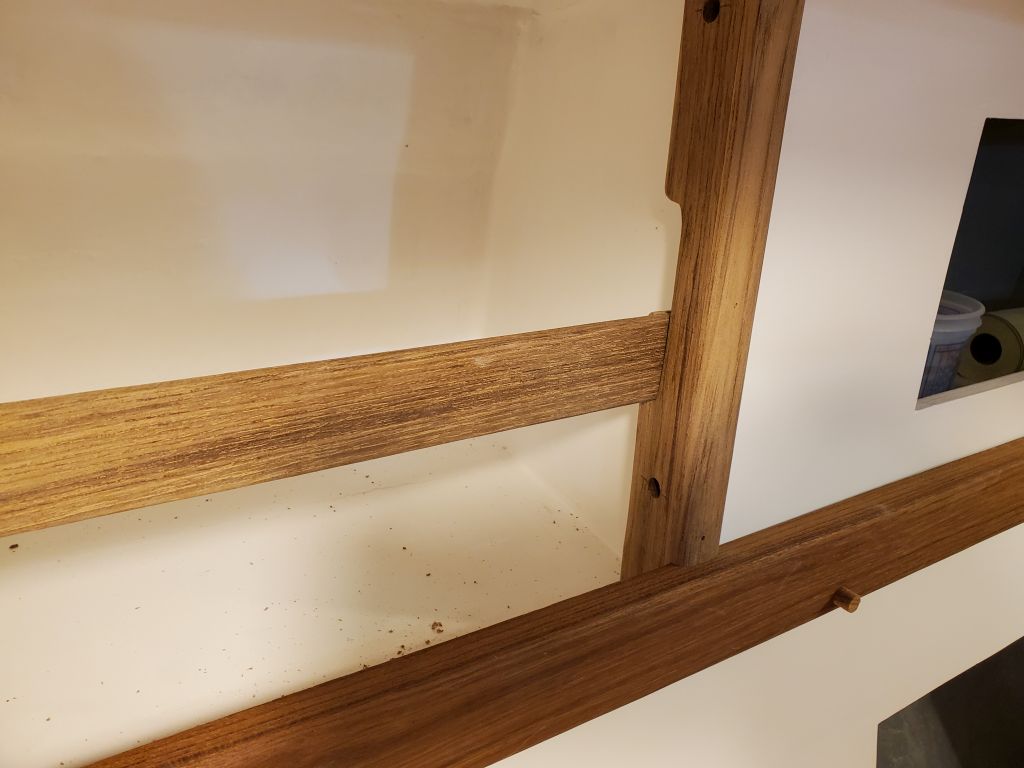
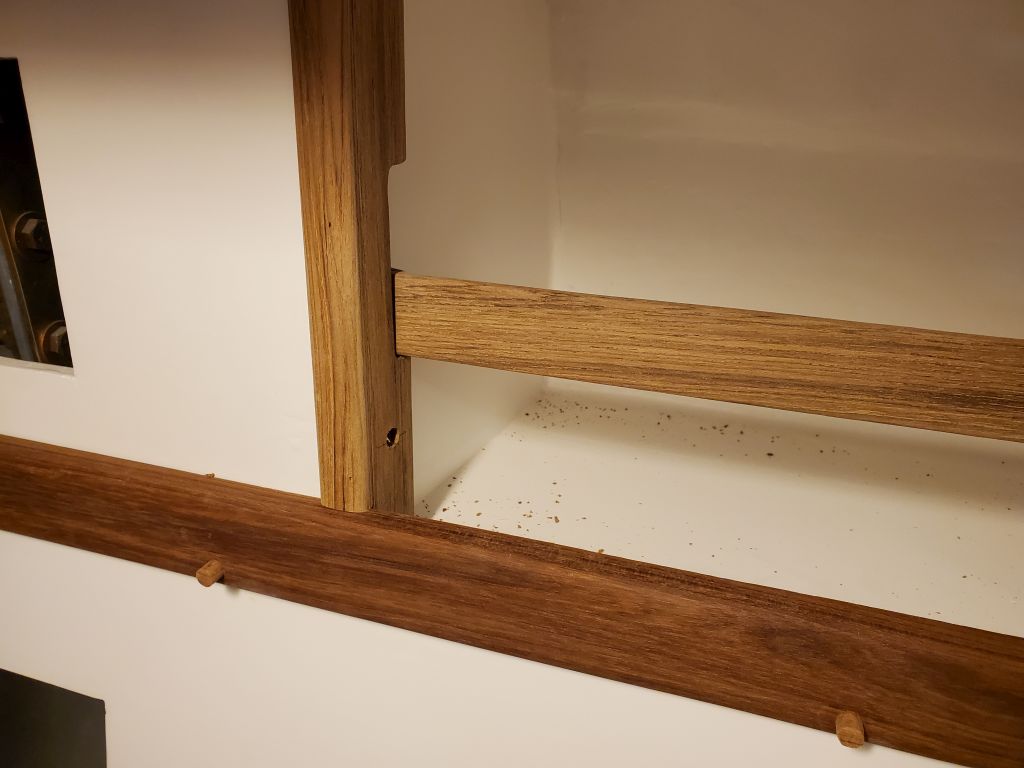
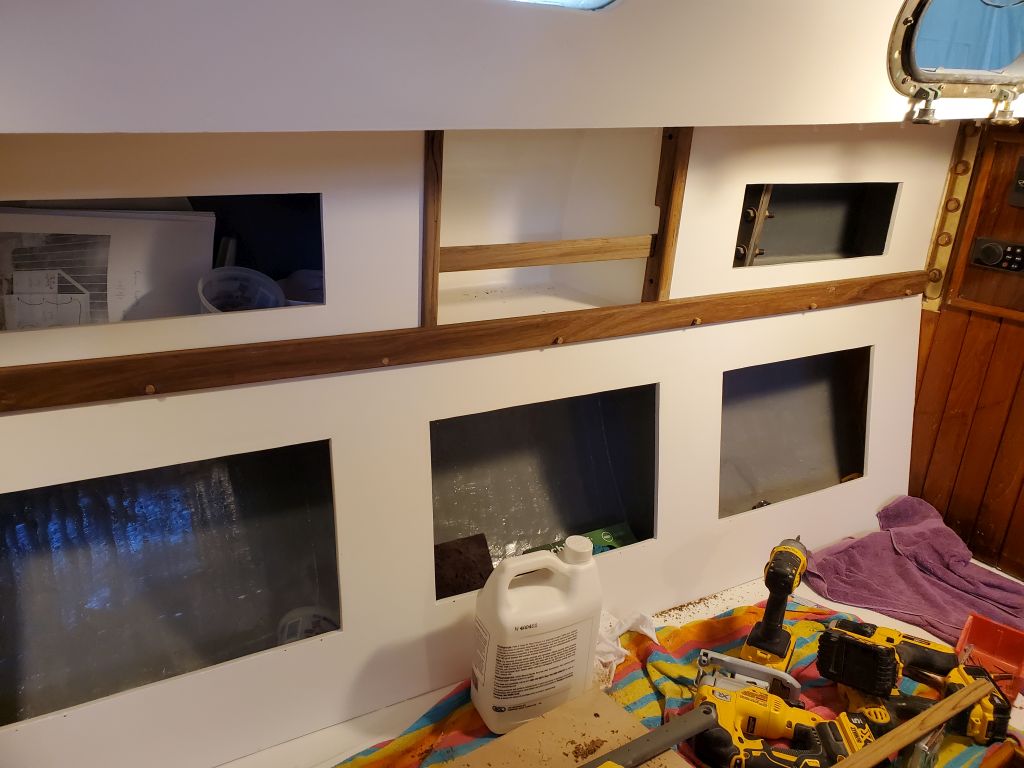
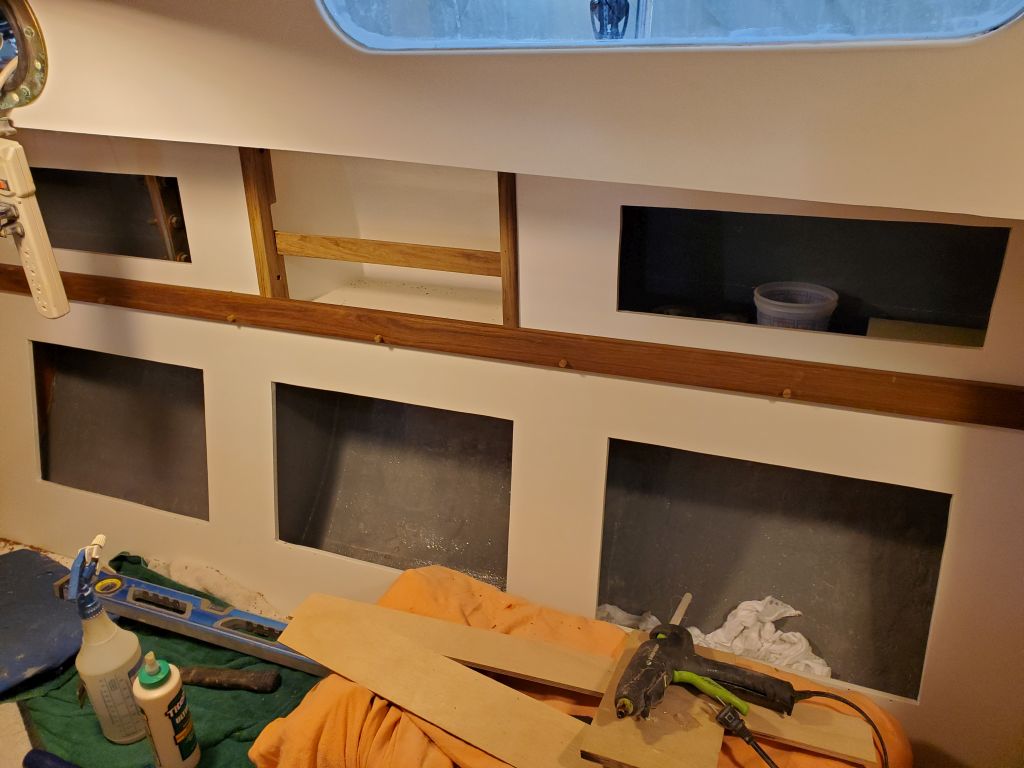
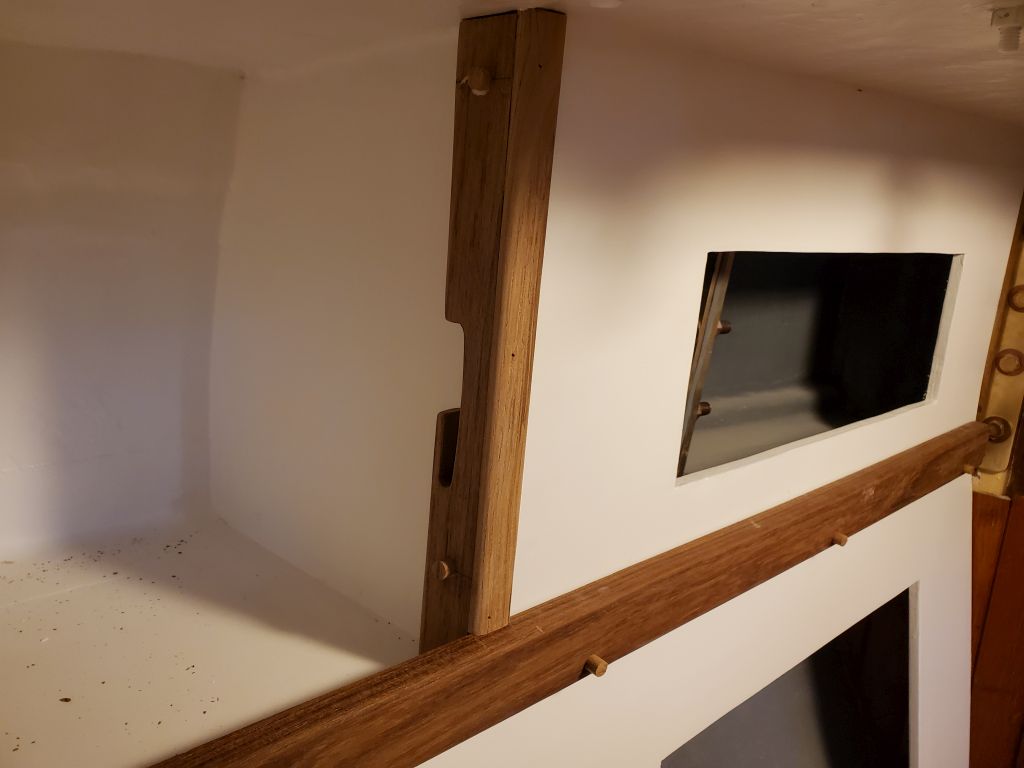
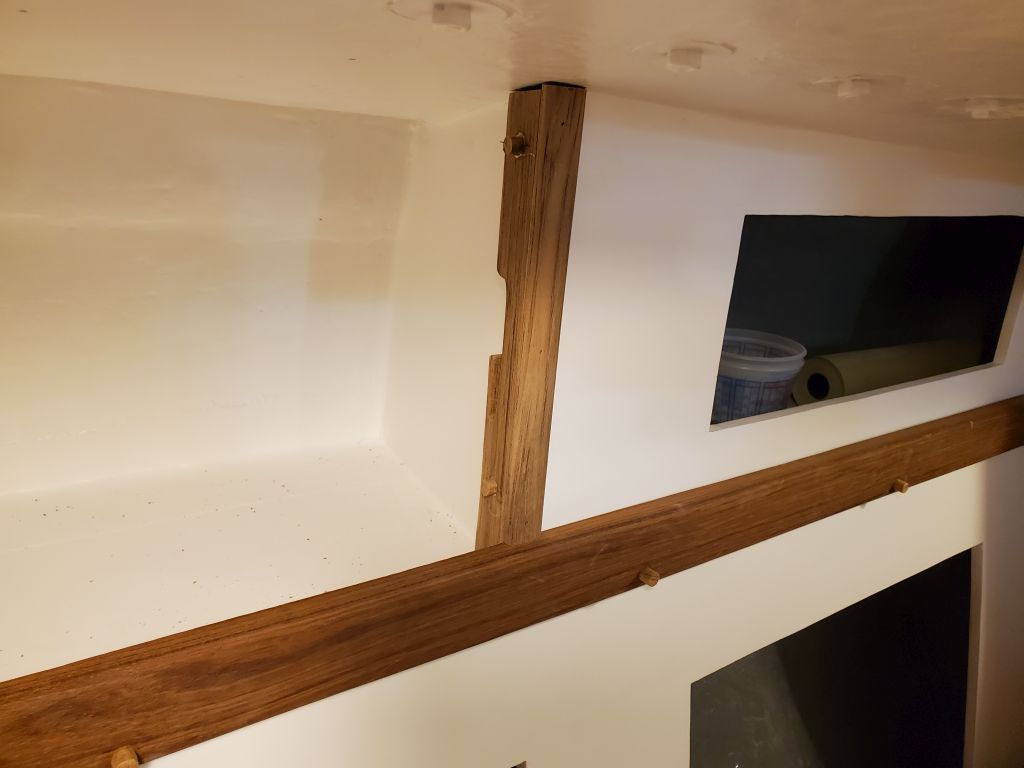
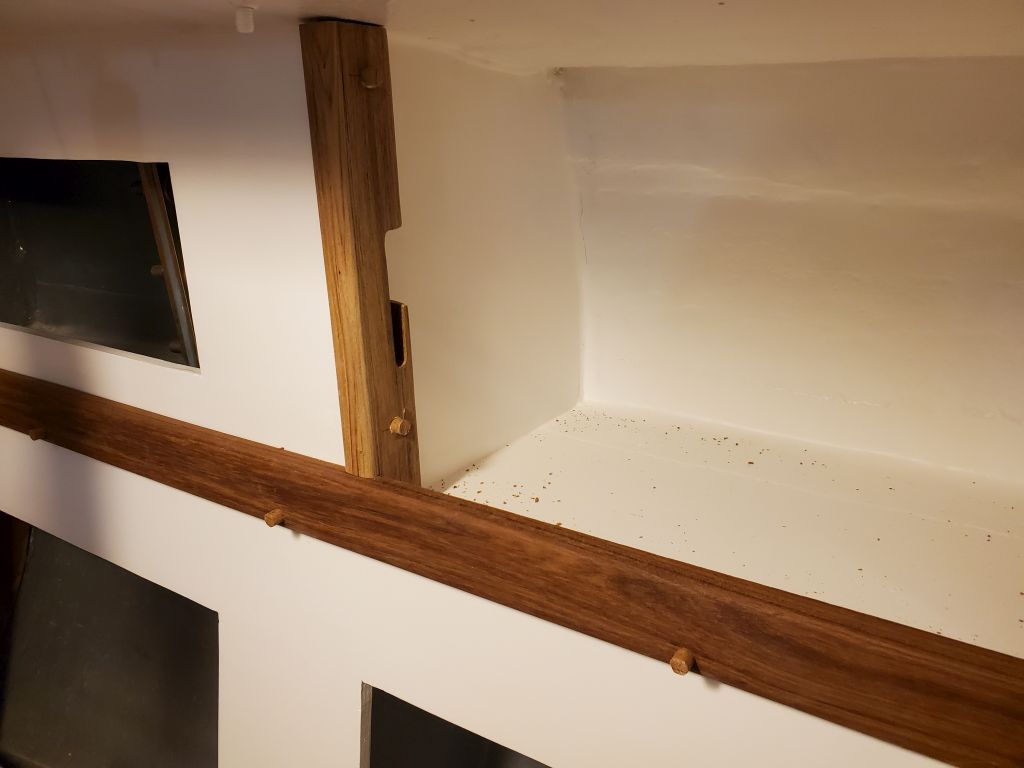
Next, I turned to the bookshelf trim, beginning with four pieces of 1-1/2″ wide stock that I cut according to the plywood patterns I’d made.  I test-fit these and made some reference marks so I could lay out some slots to hold a cross brace that would support taller books and such behind the trim, after which I cut out the patterns and sanded the parts clean and smooth.

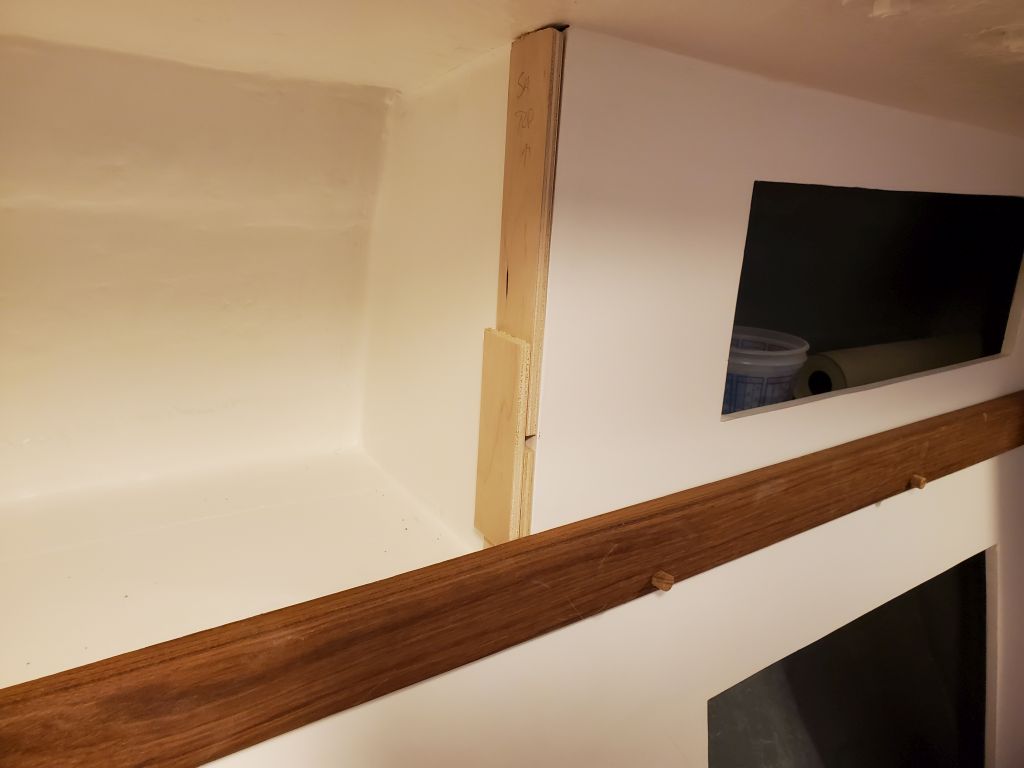
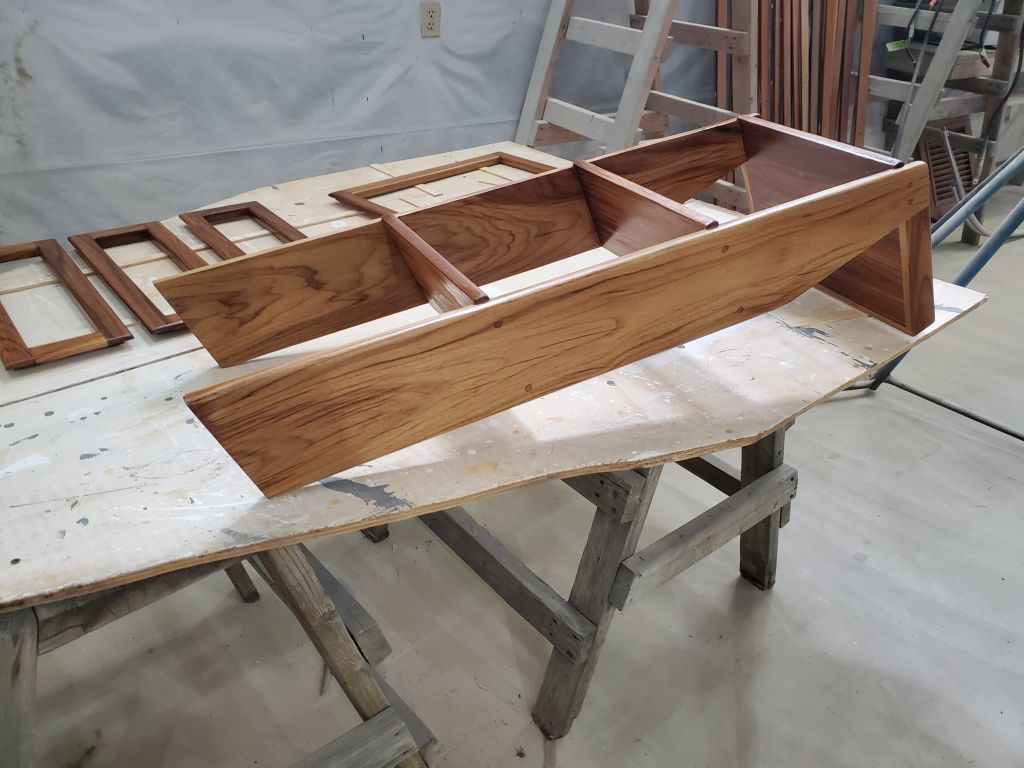
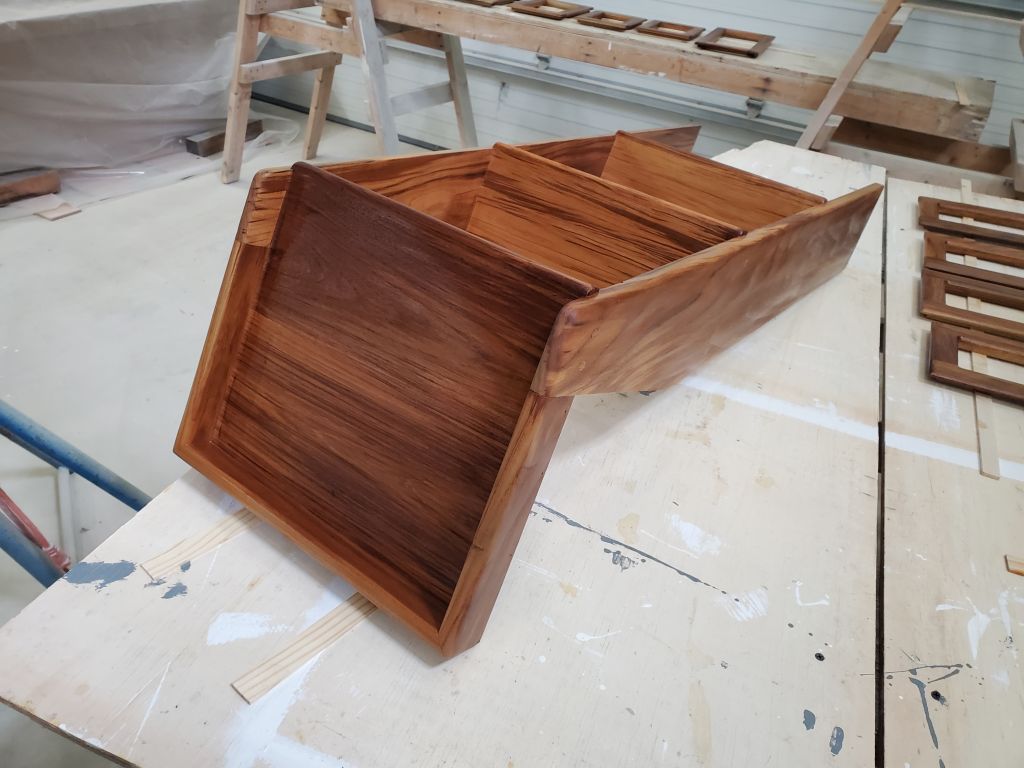
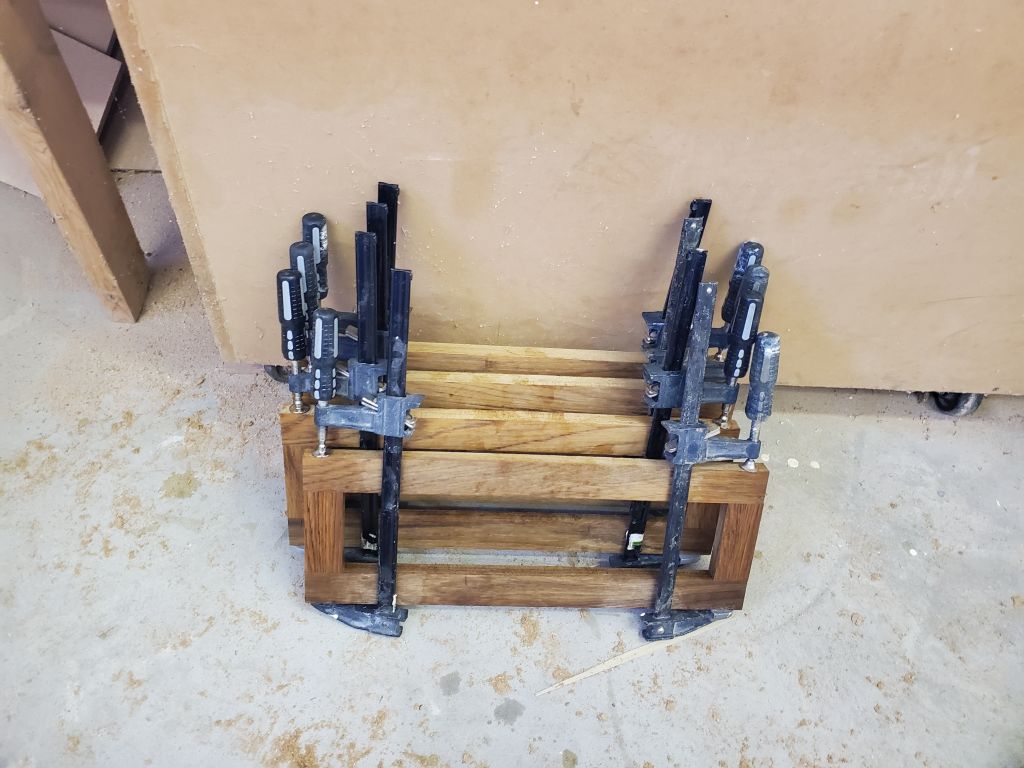
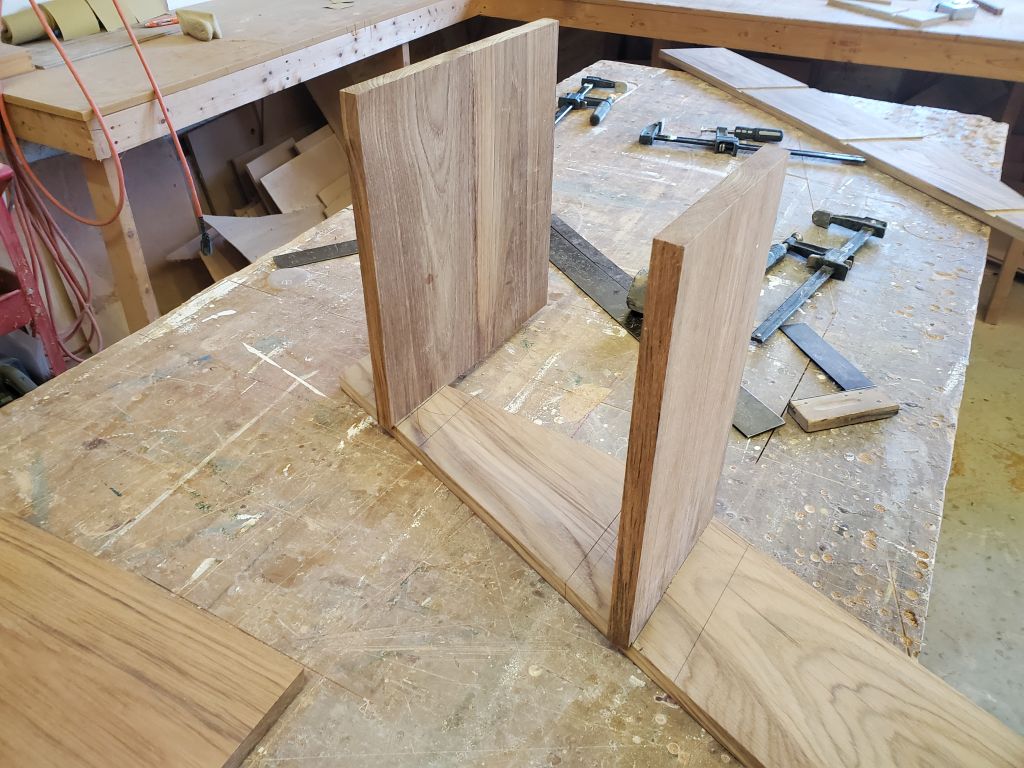
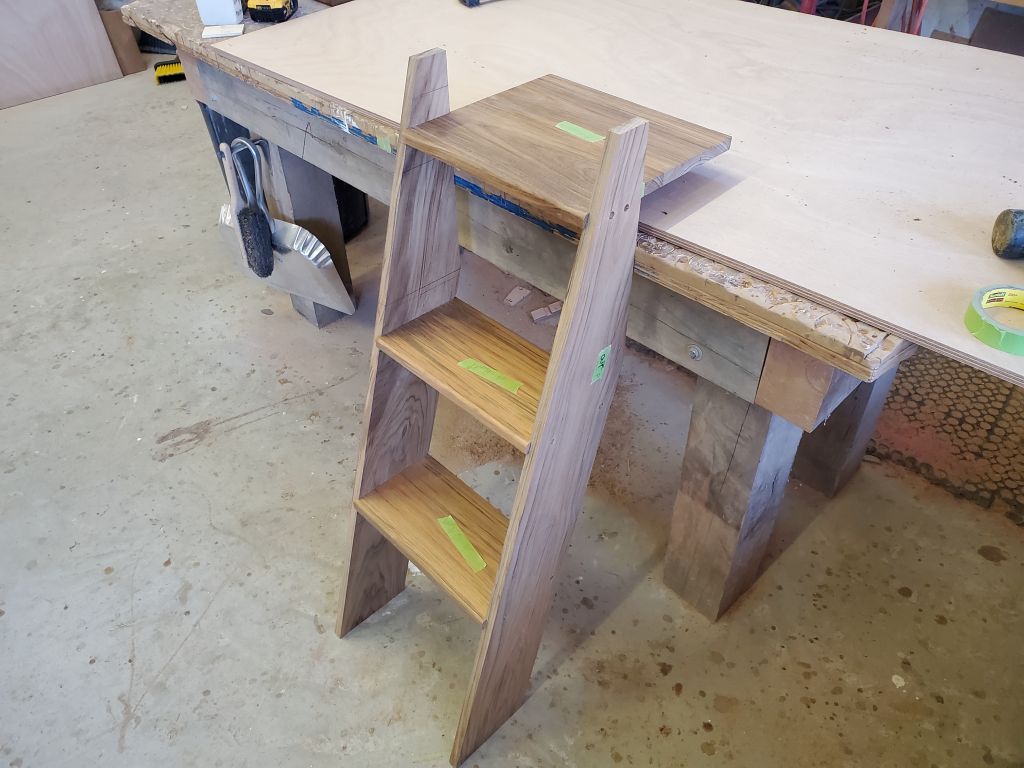
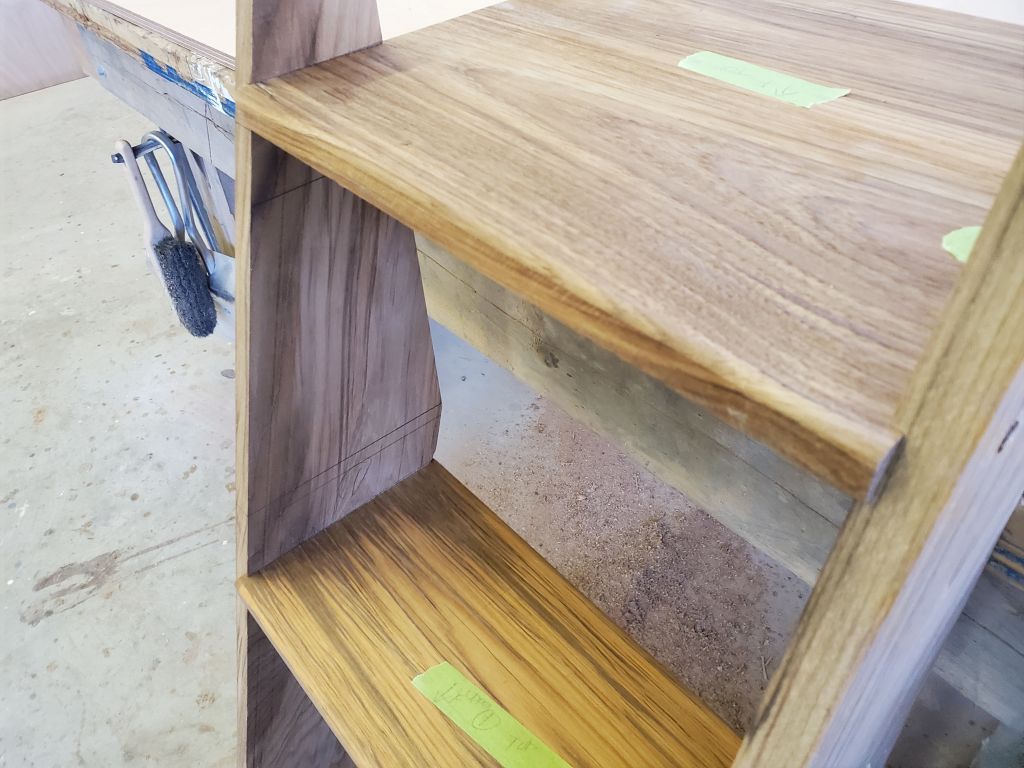
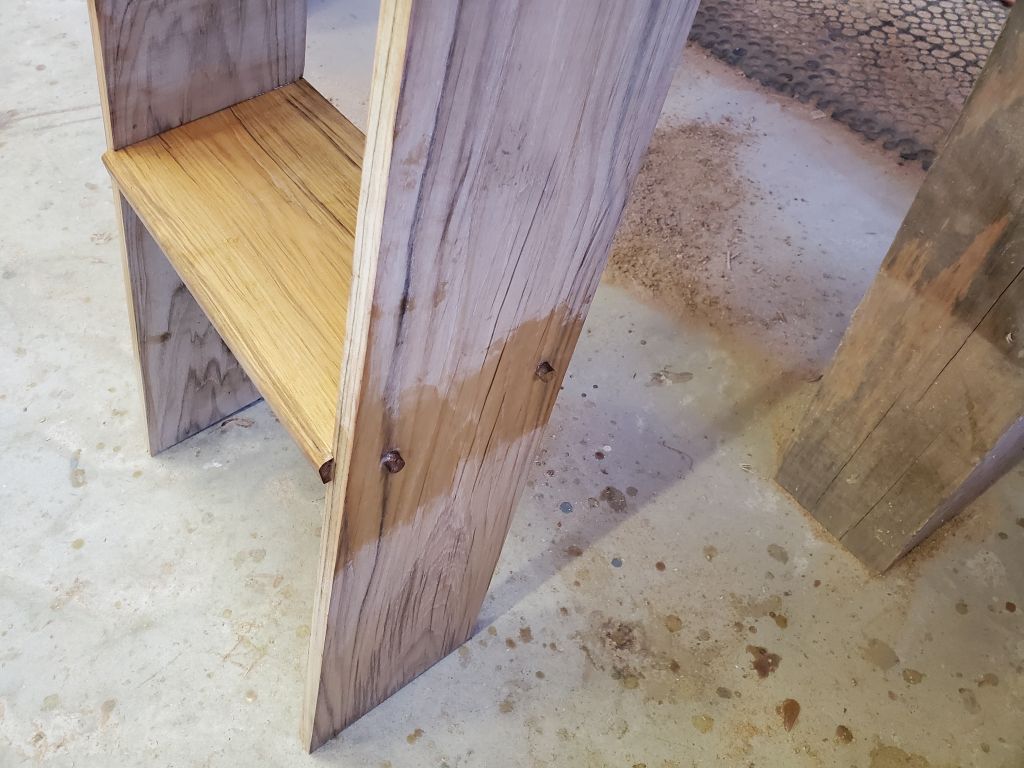
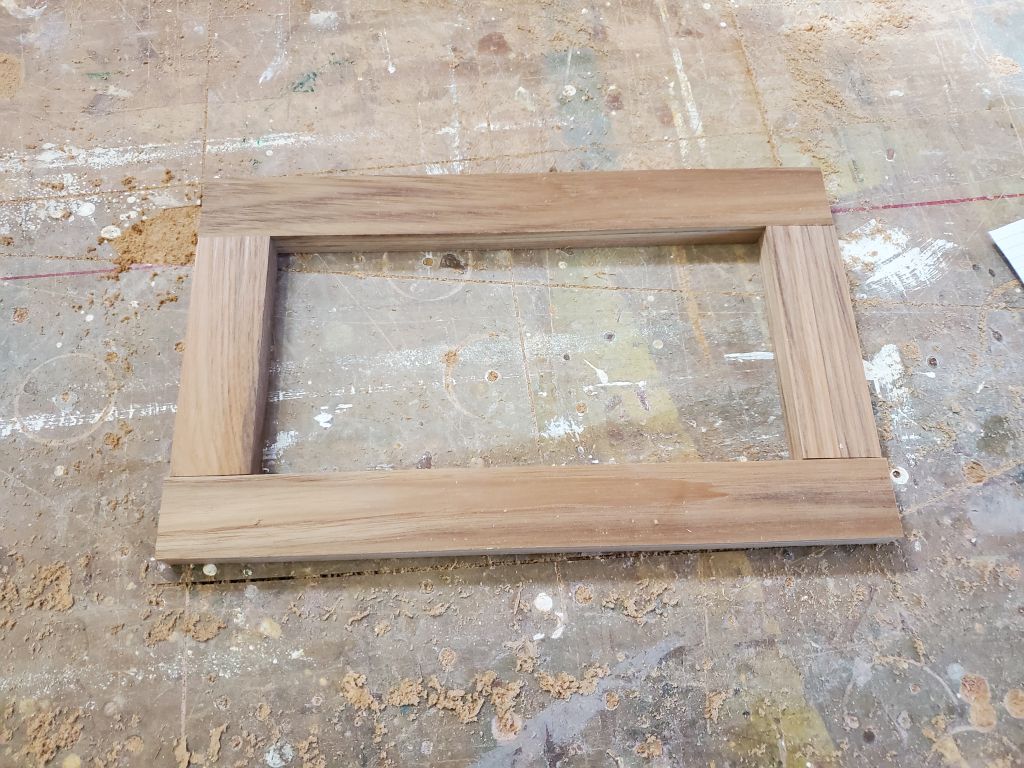
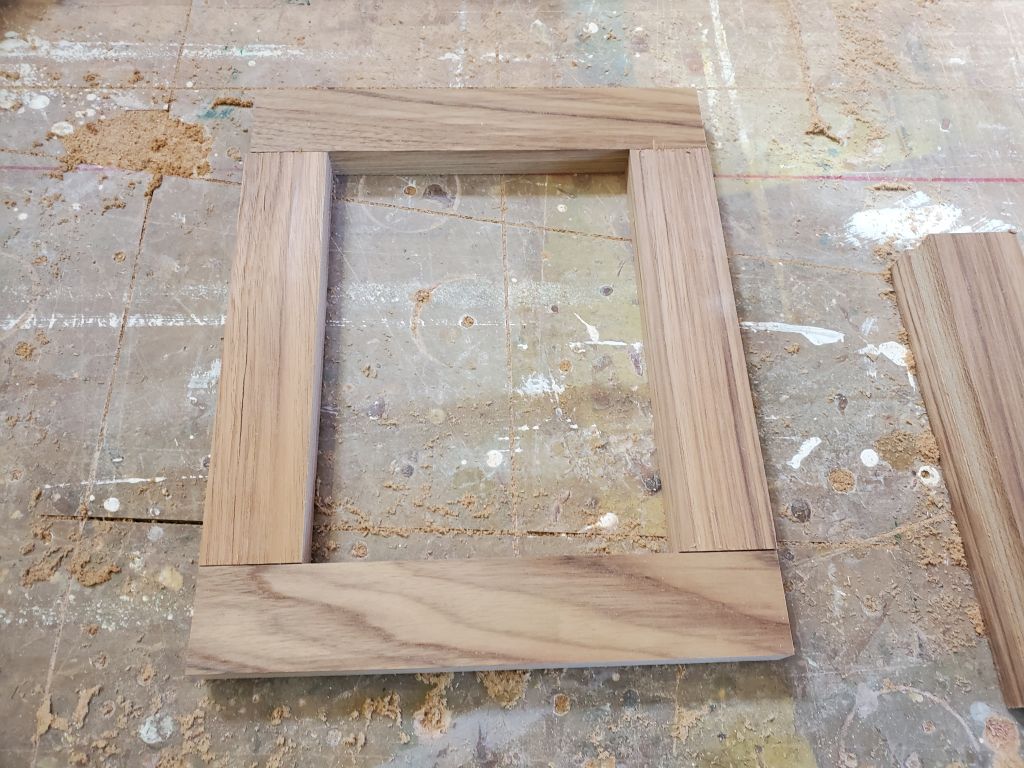
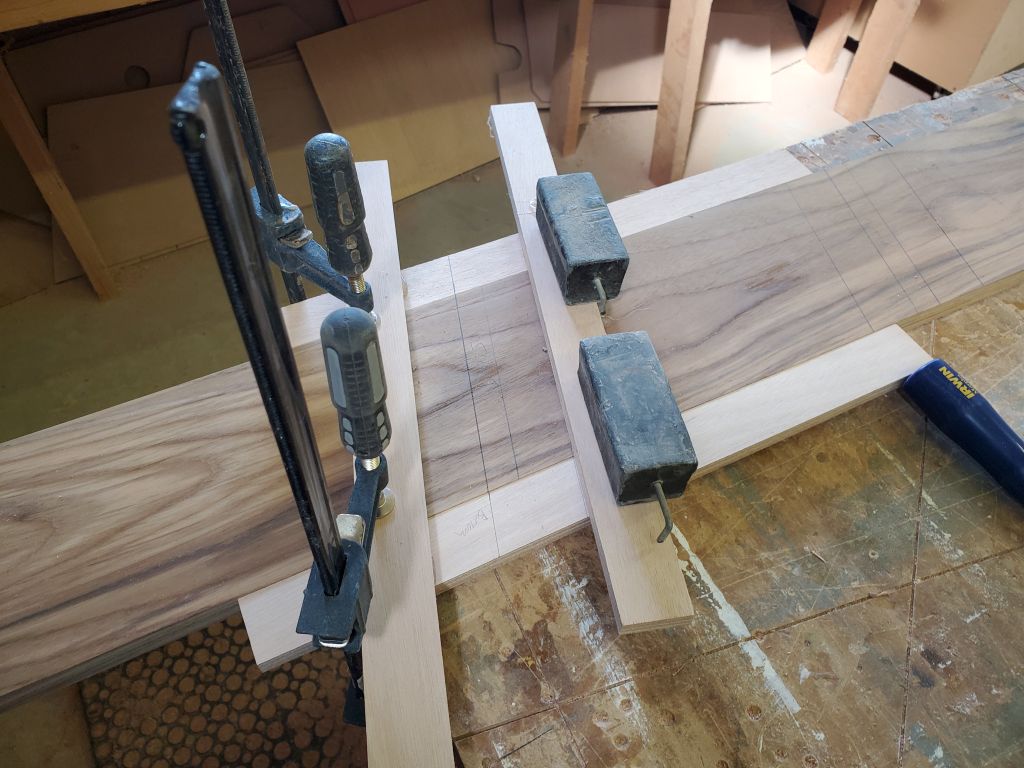
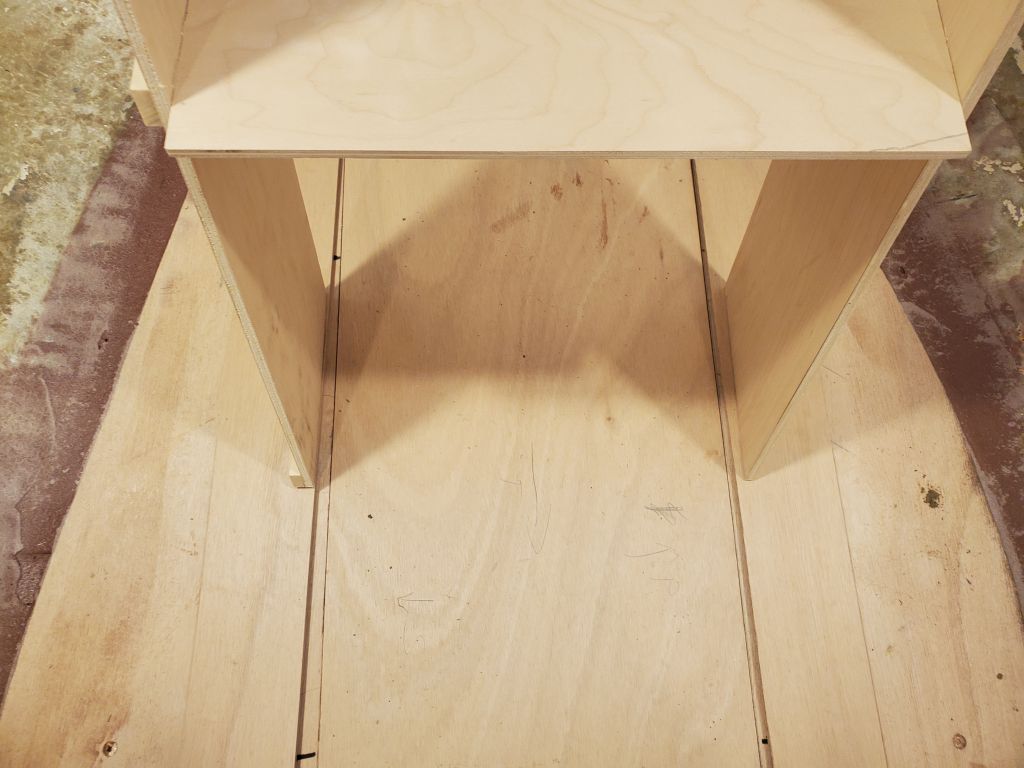
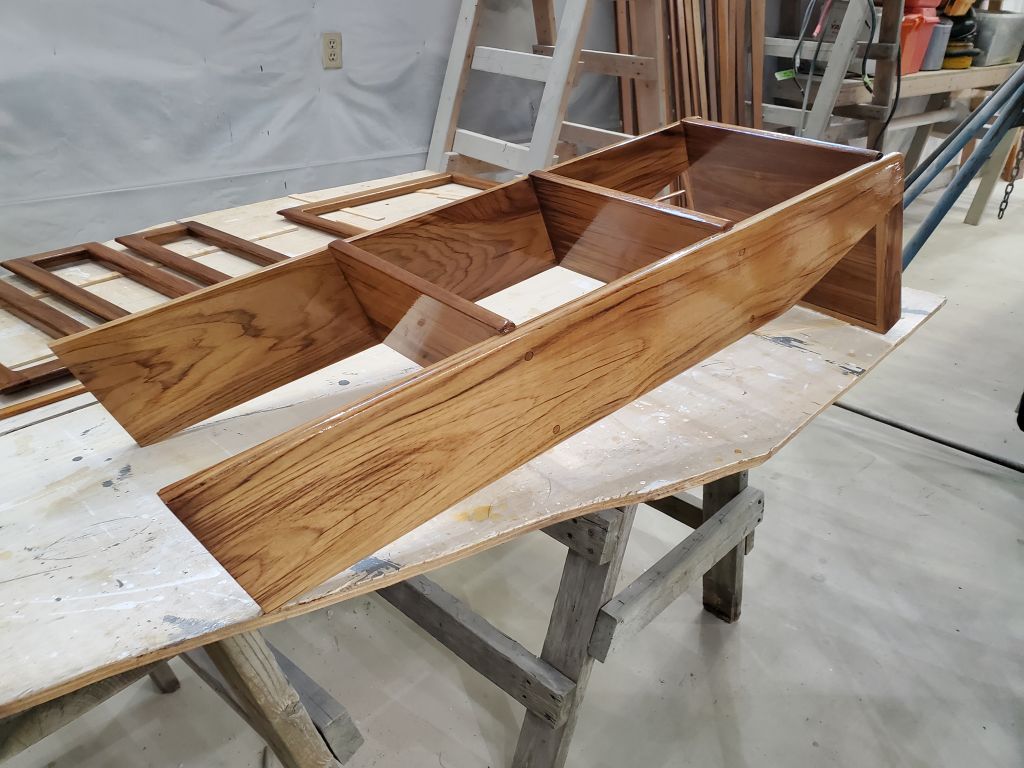
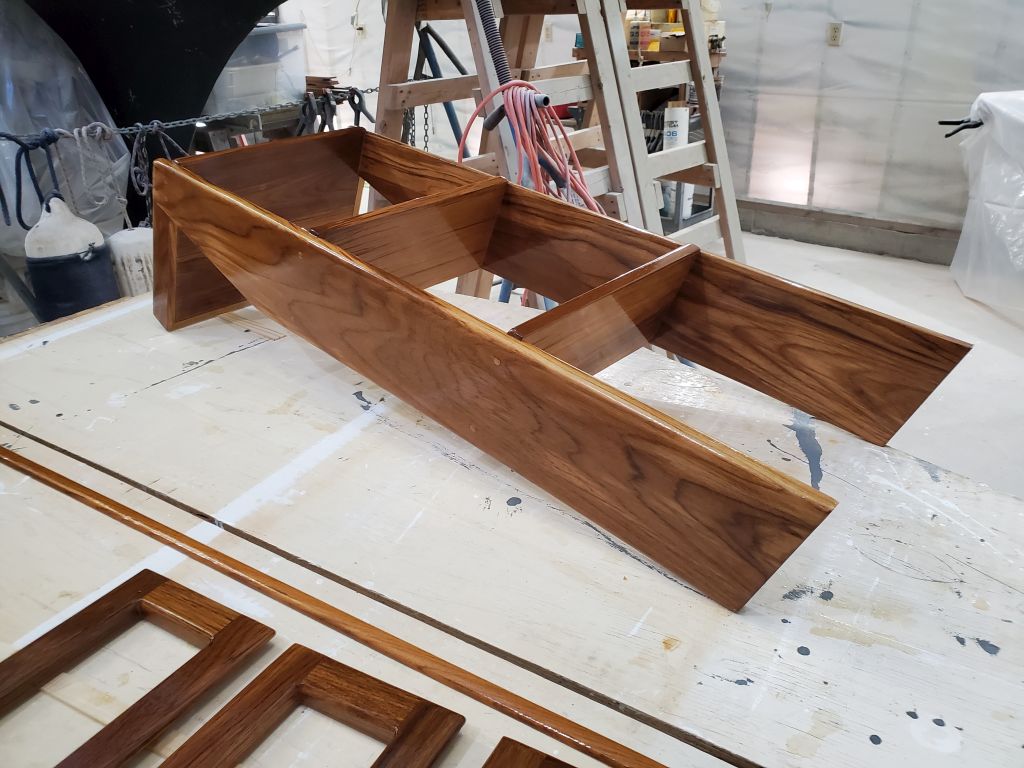
I installed the side members, along with some rounded trim to cover the seam at the plywood edge, and then cut to fit the cross members to fit between the slots.  I bunged the fastener holes as needed, and these parts were ready for final sanding, masking, and varnish along with the adjacent settee trim.

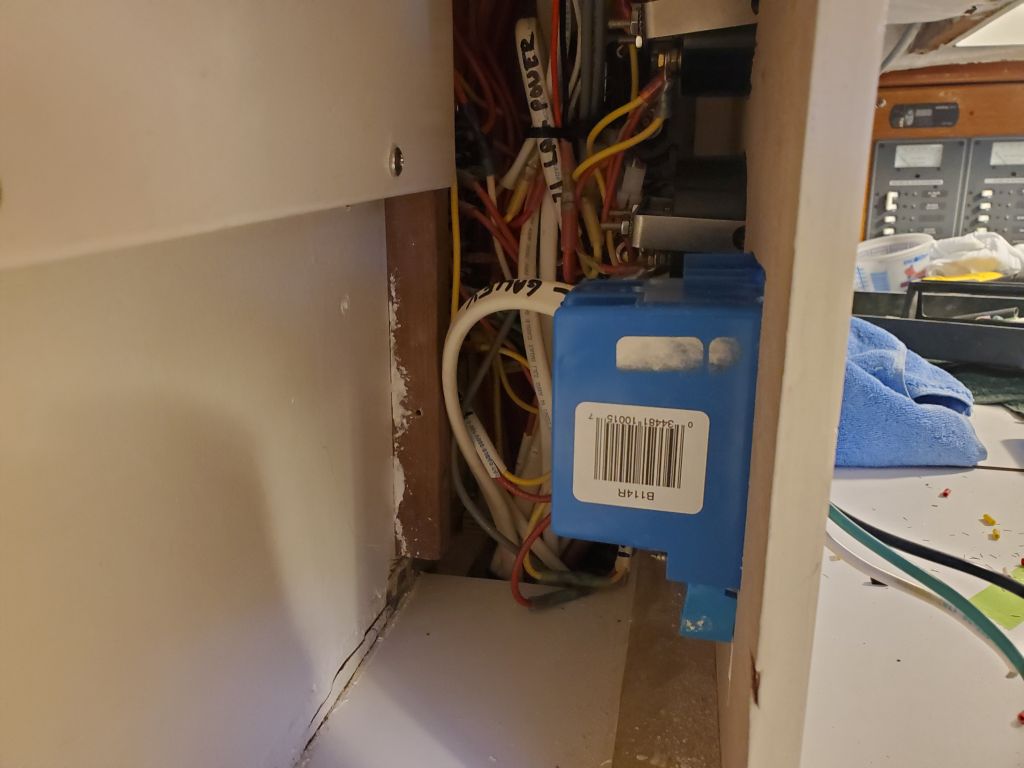
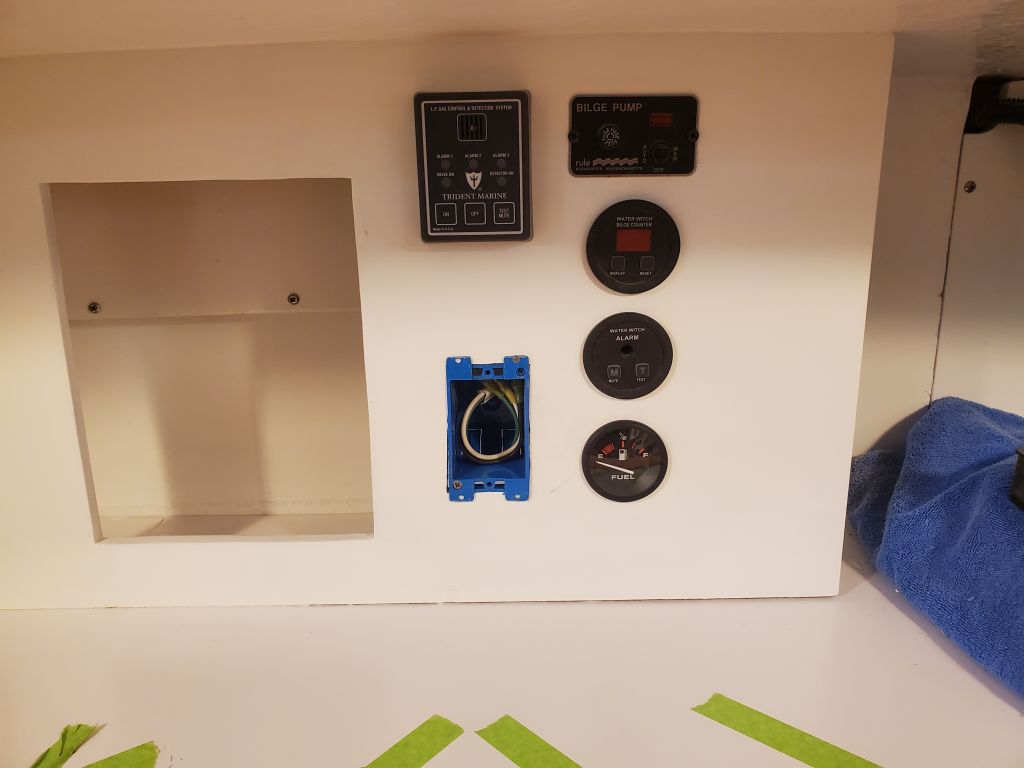
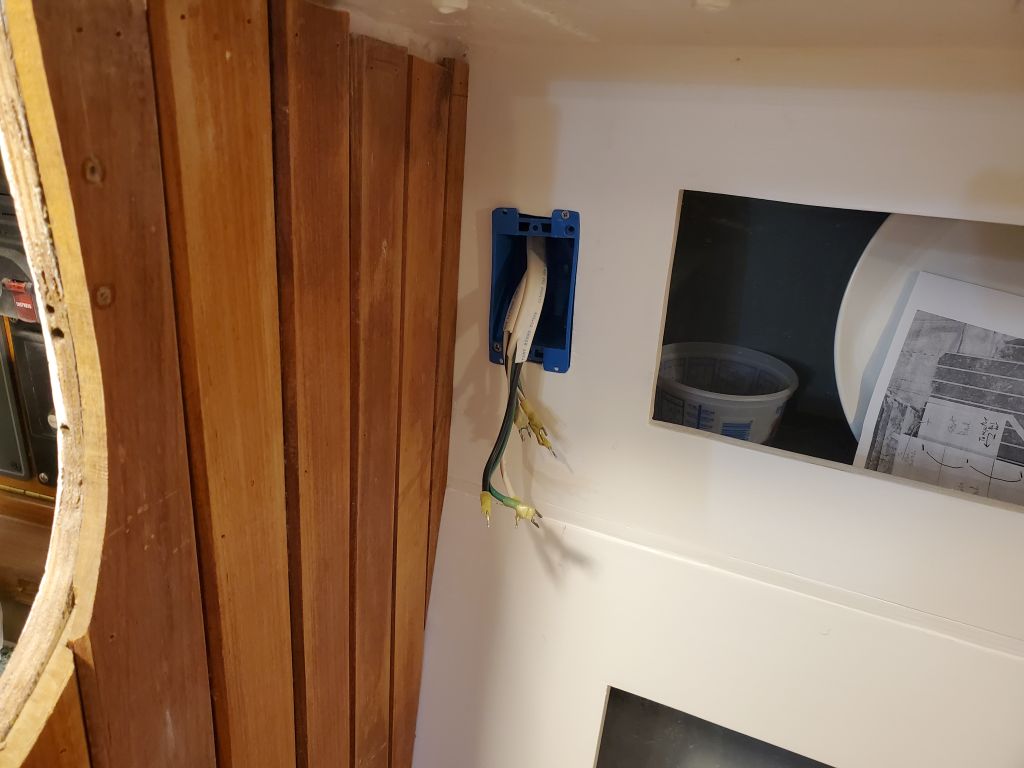
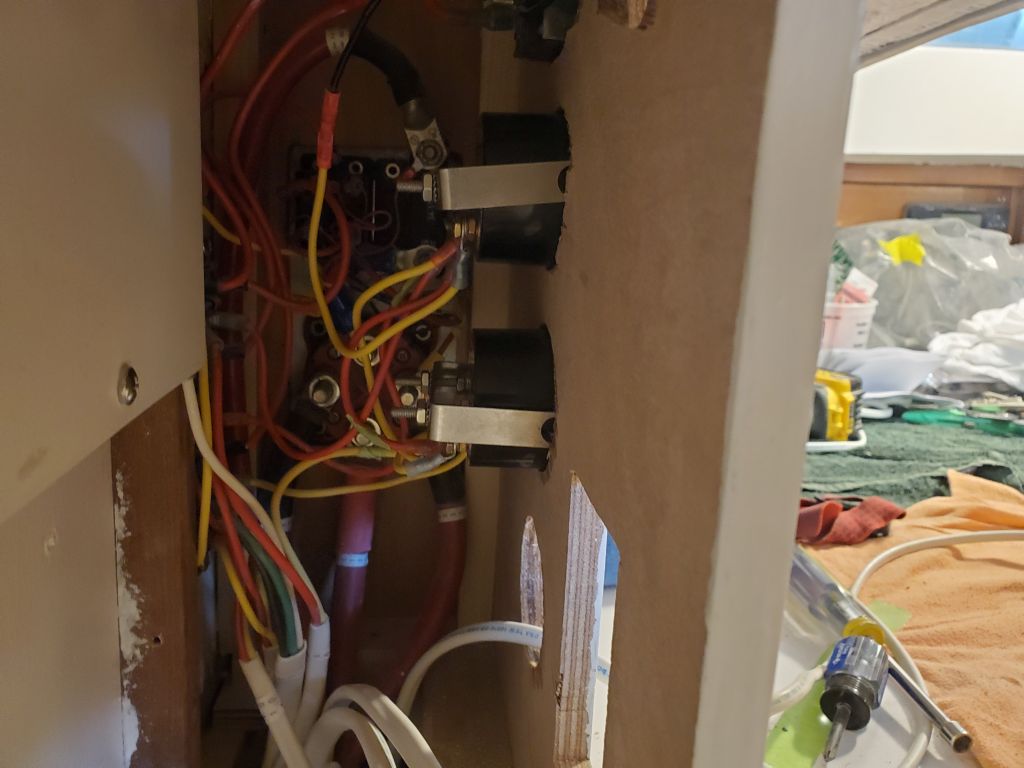
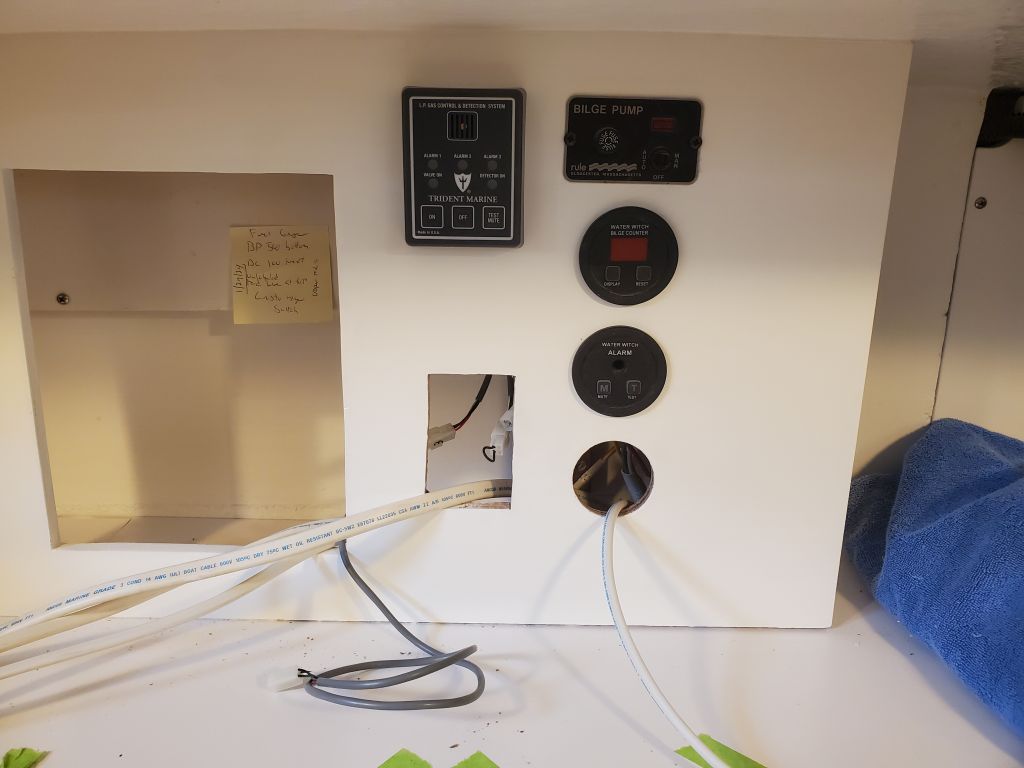
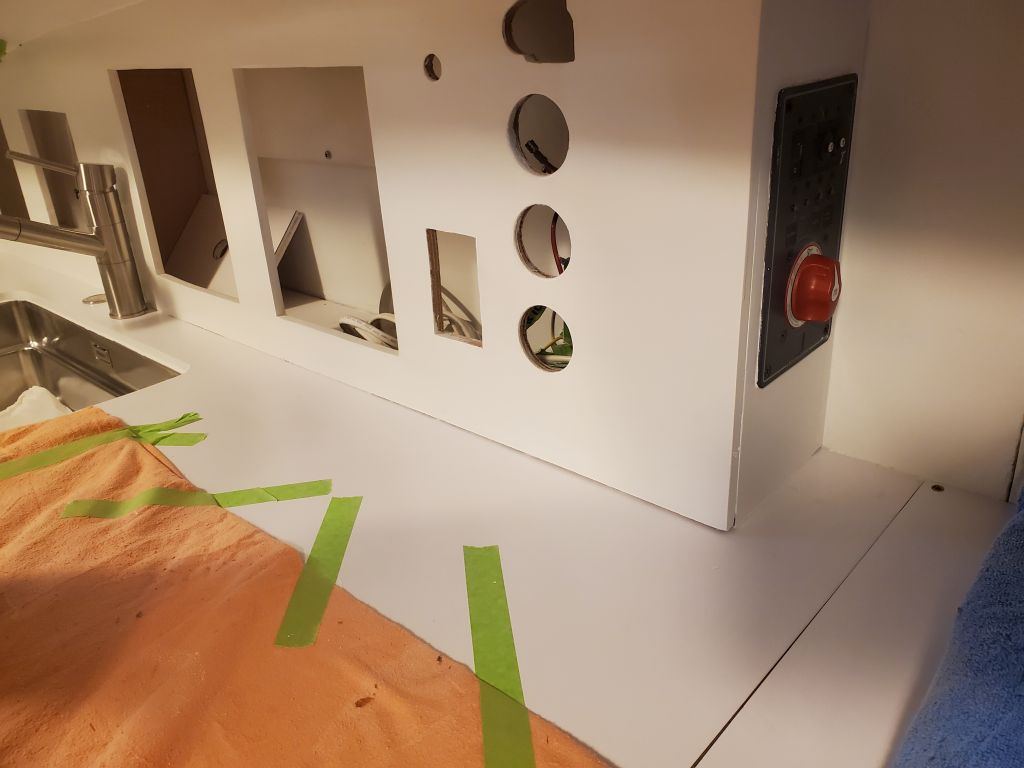
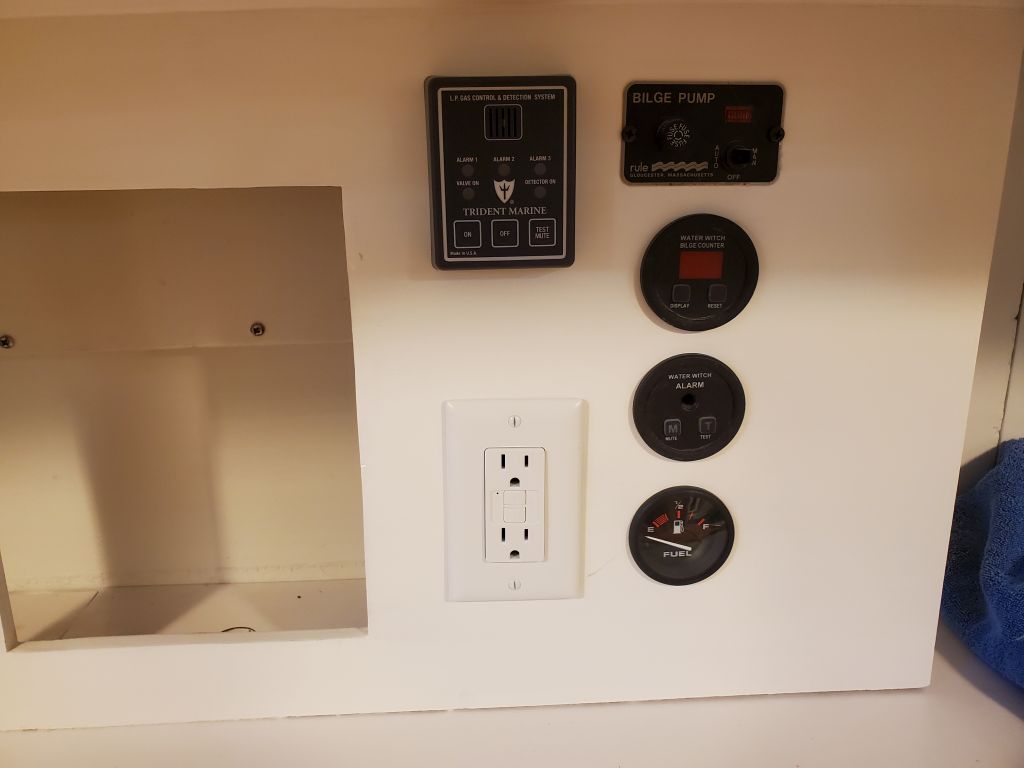
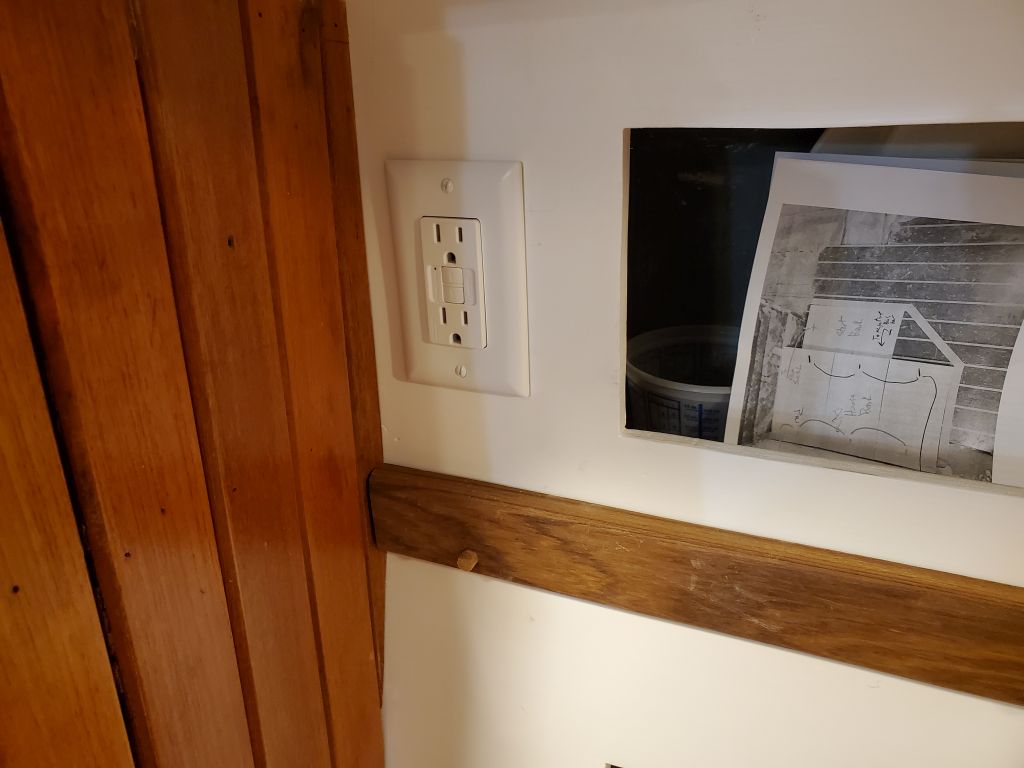
Having wrapped up this trim shortly before lunch, I took advantage of a few slack minutes to install the two GFCI receptacles in the AC boxes that were otherwise wired and ready.

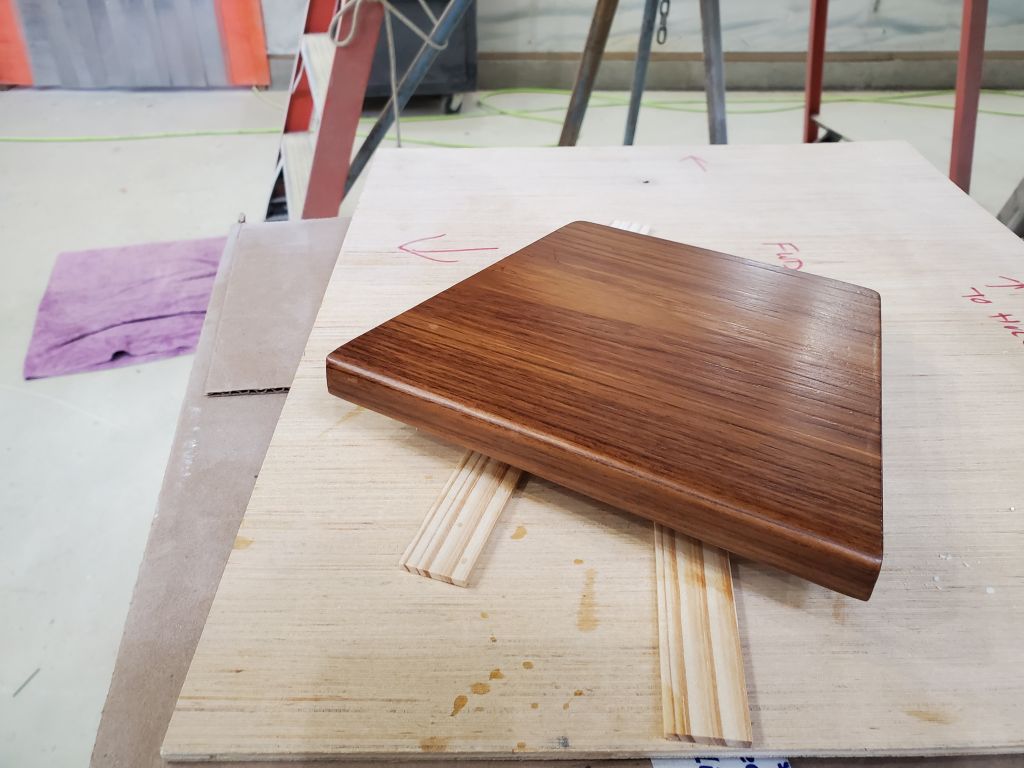
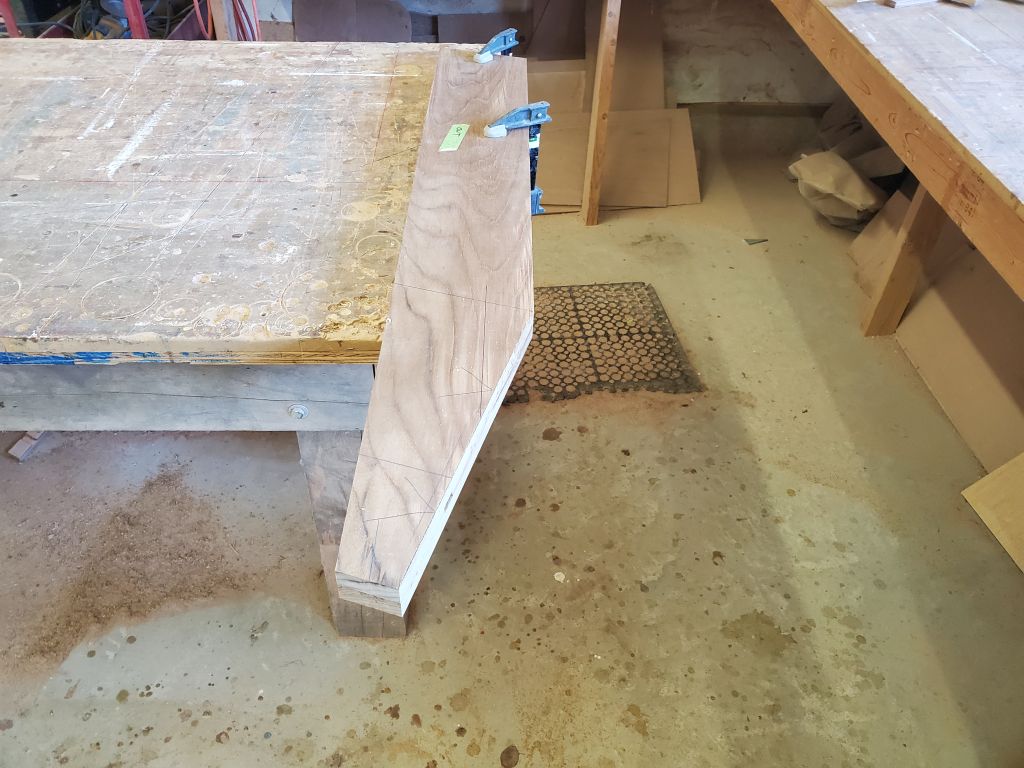
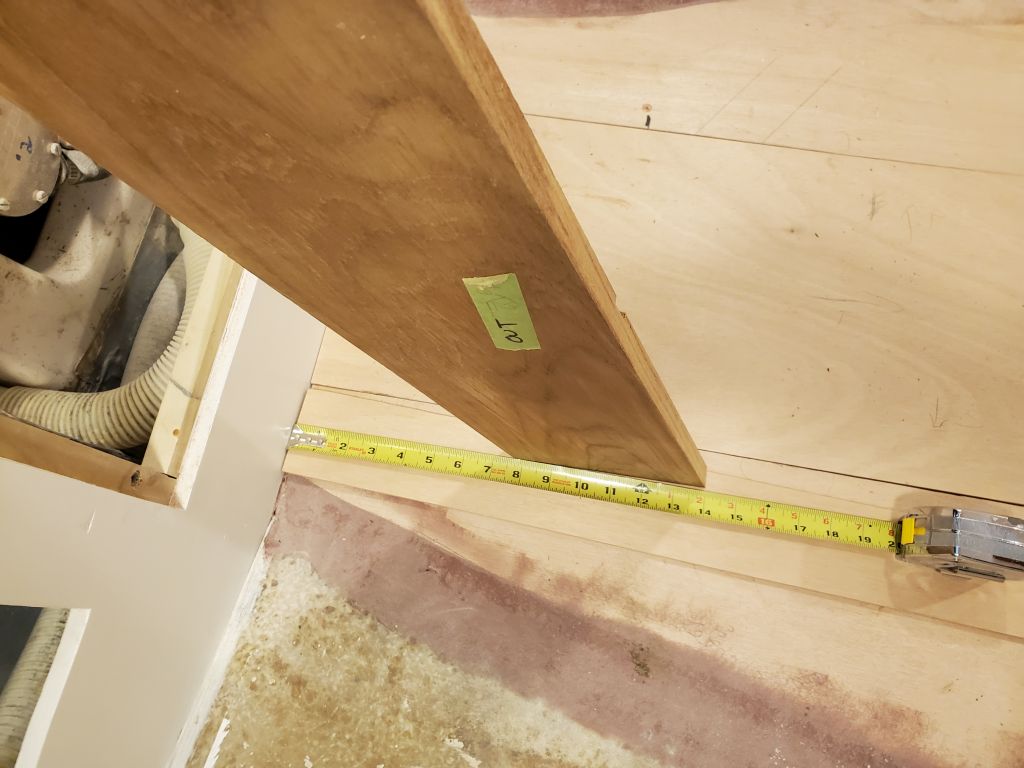
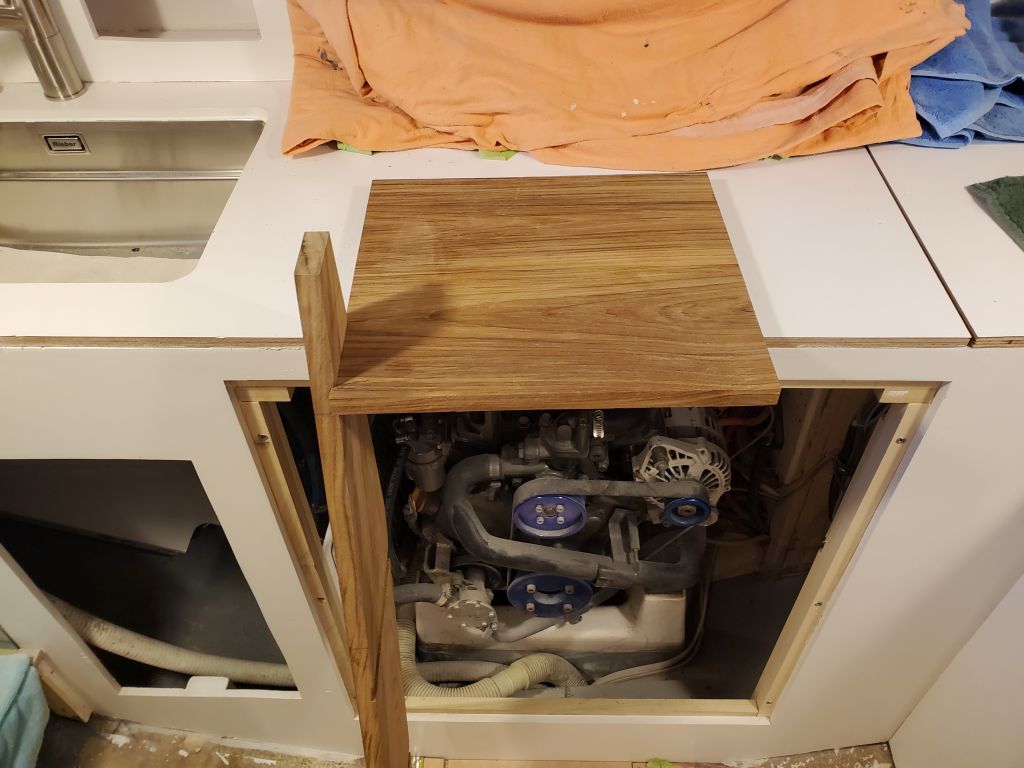
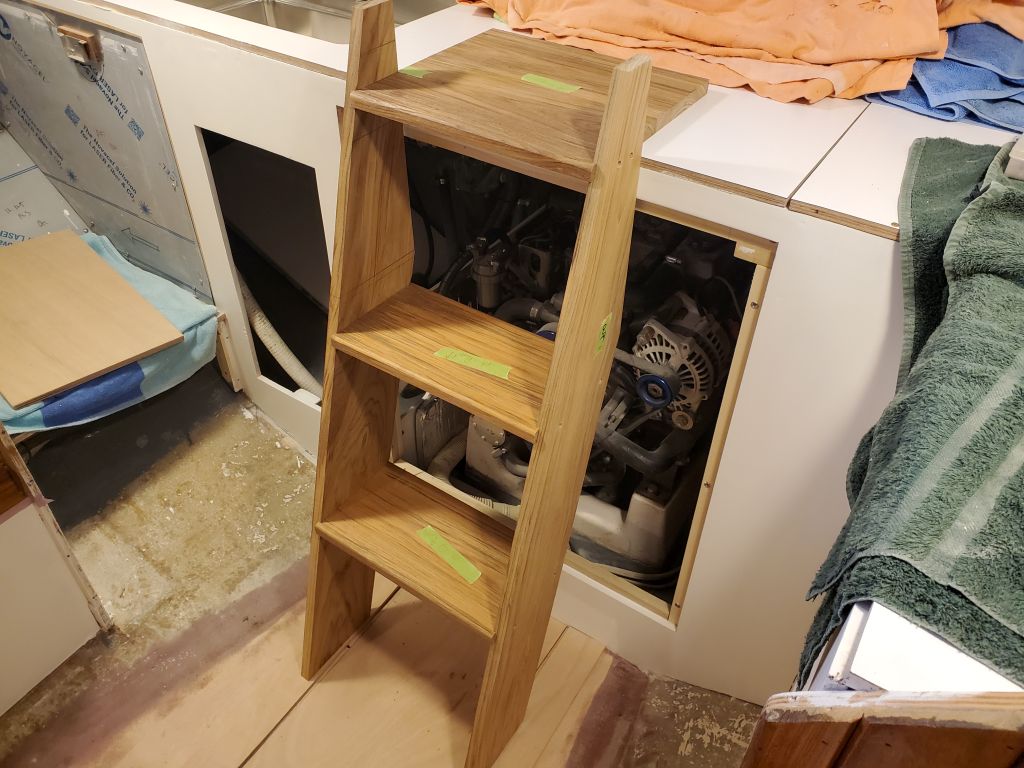
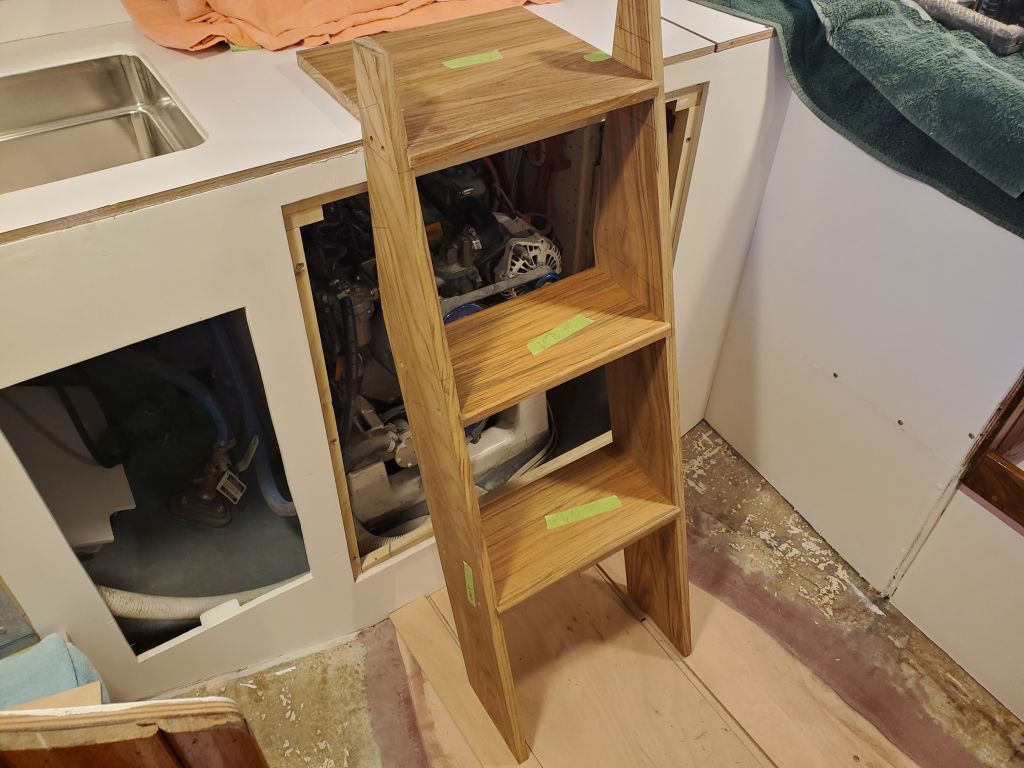
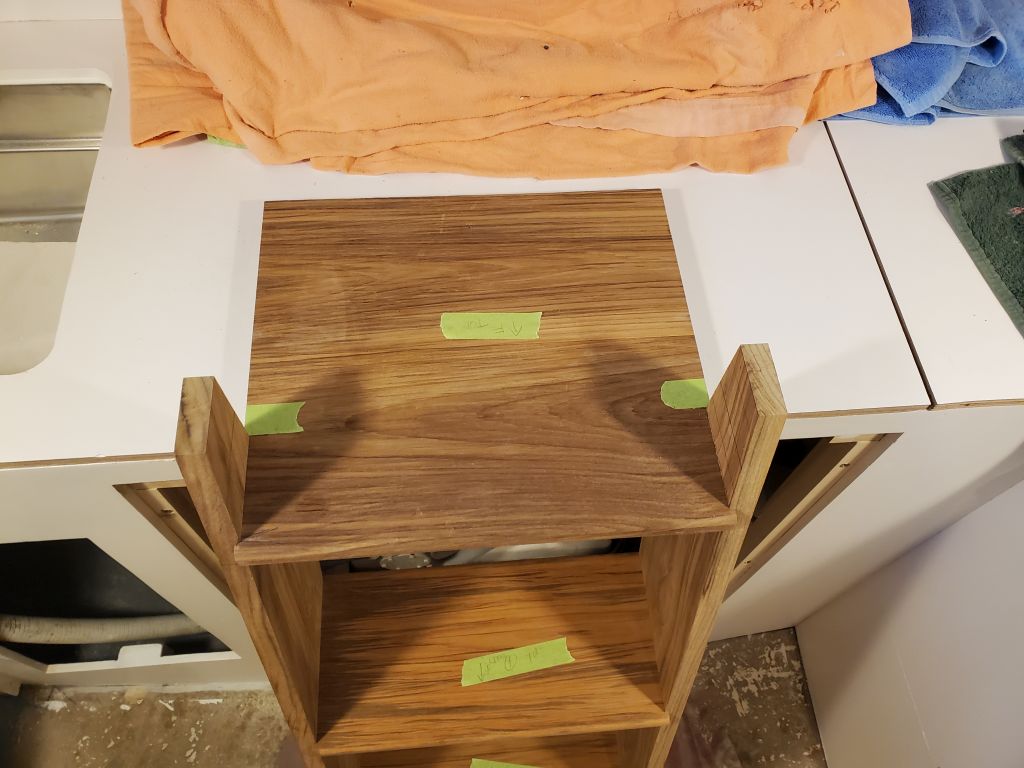
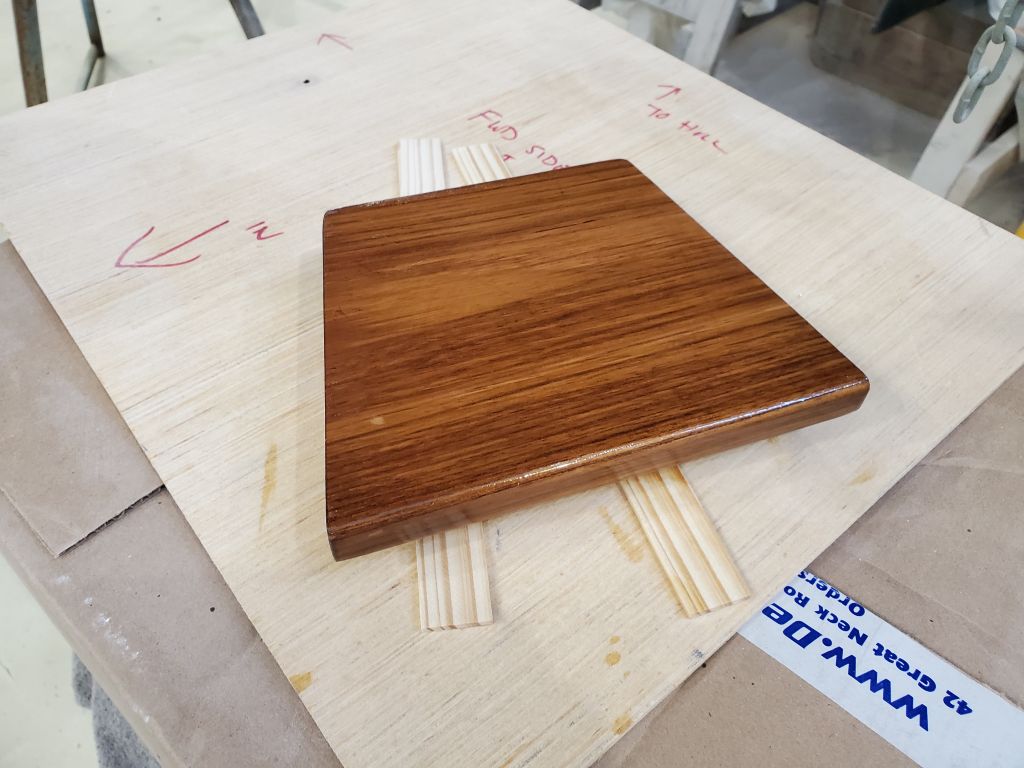
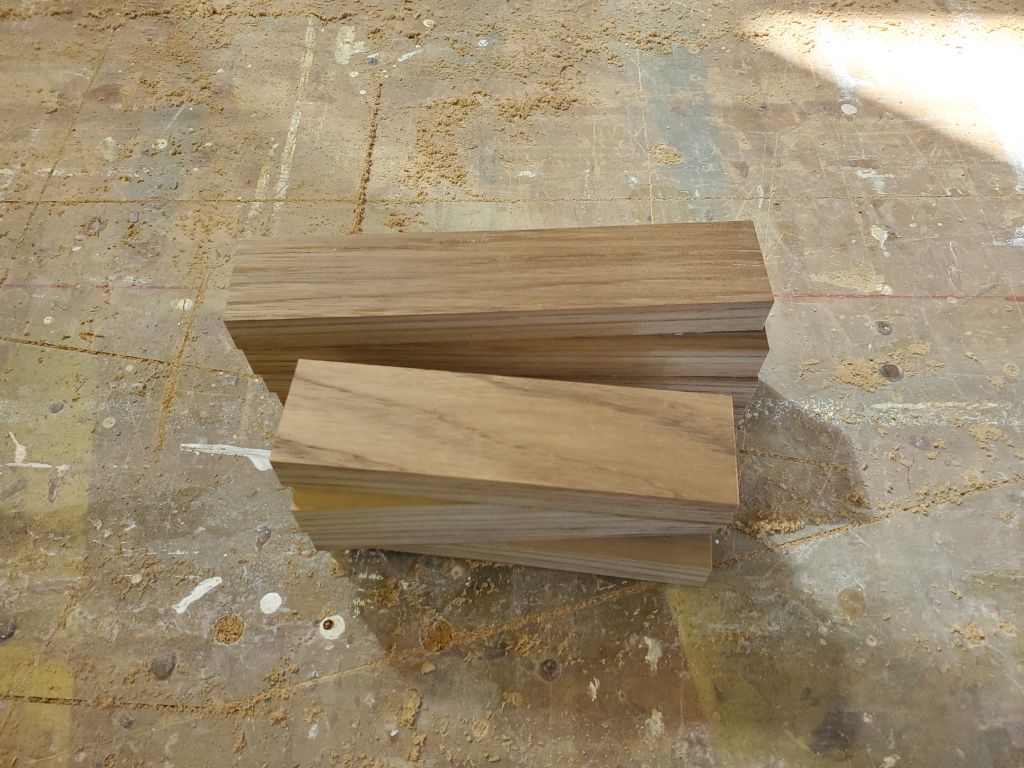
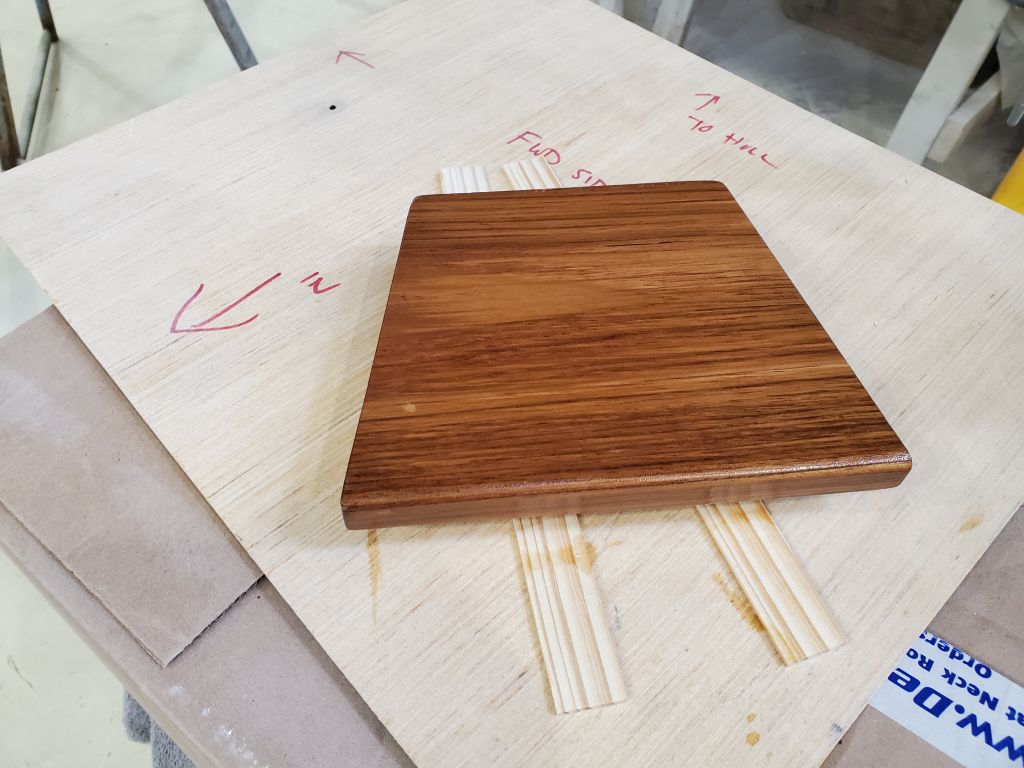
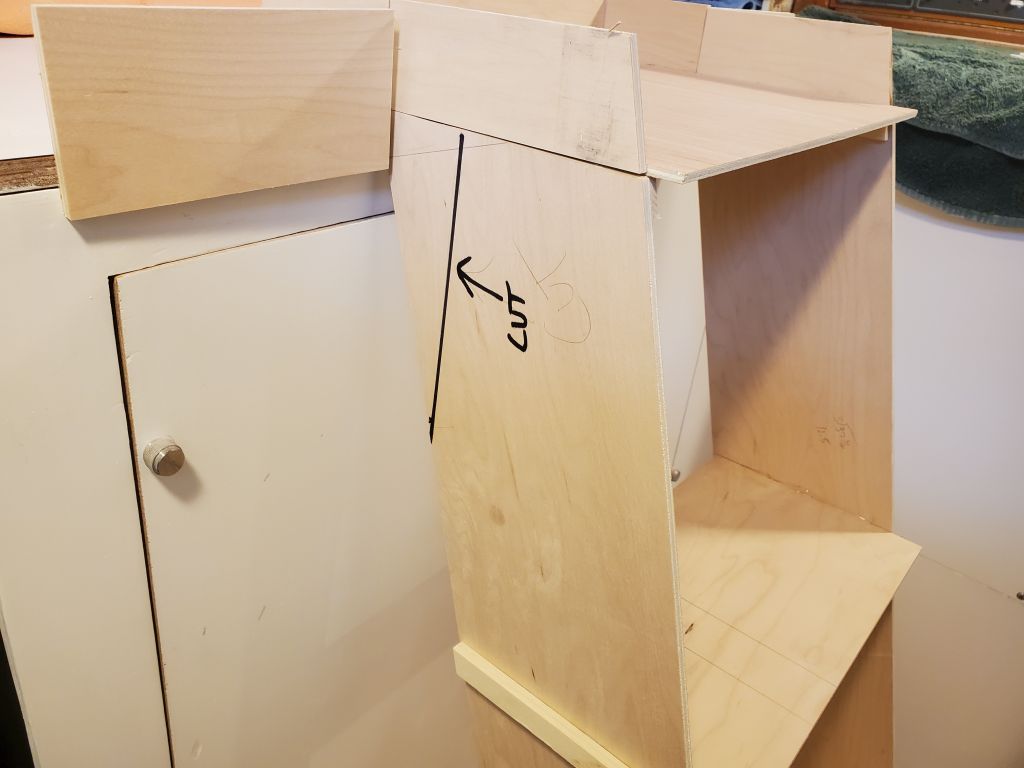
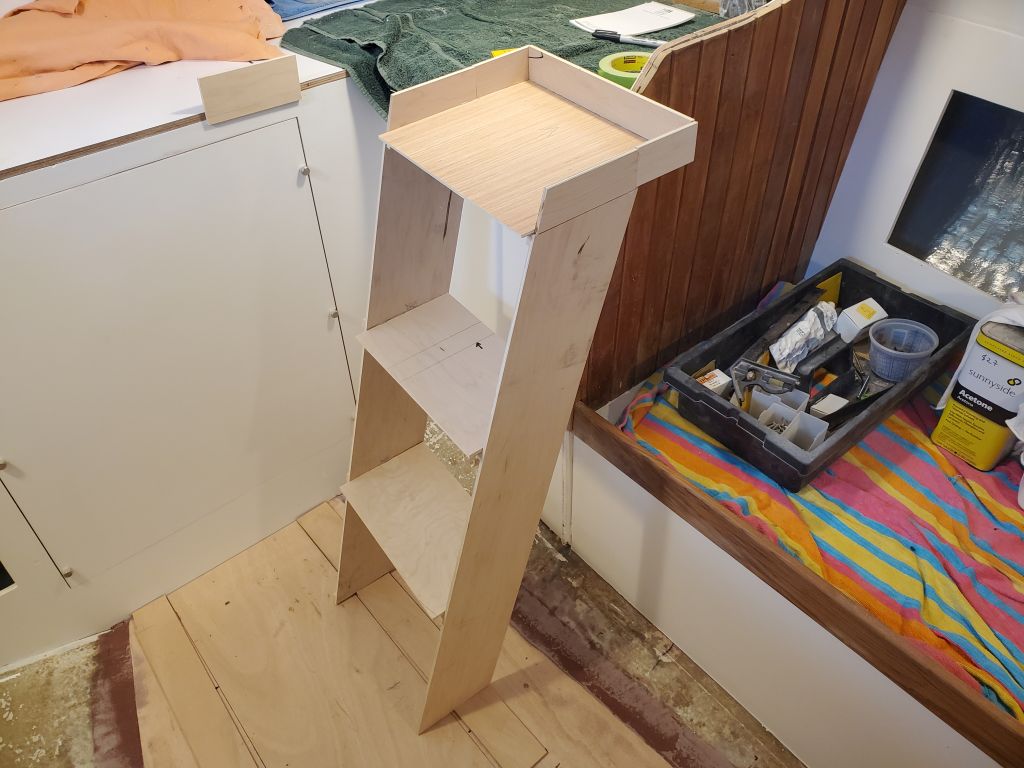
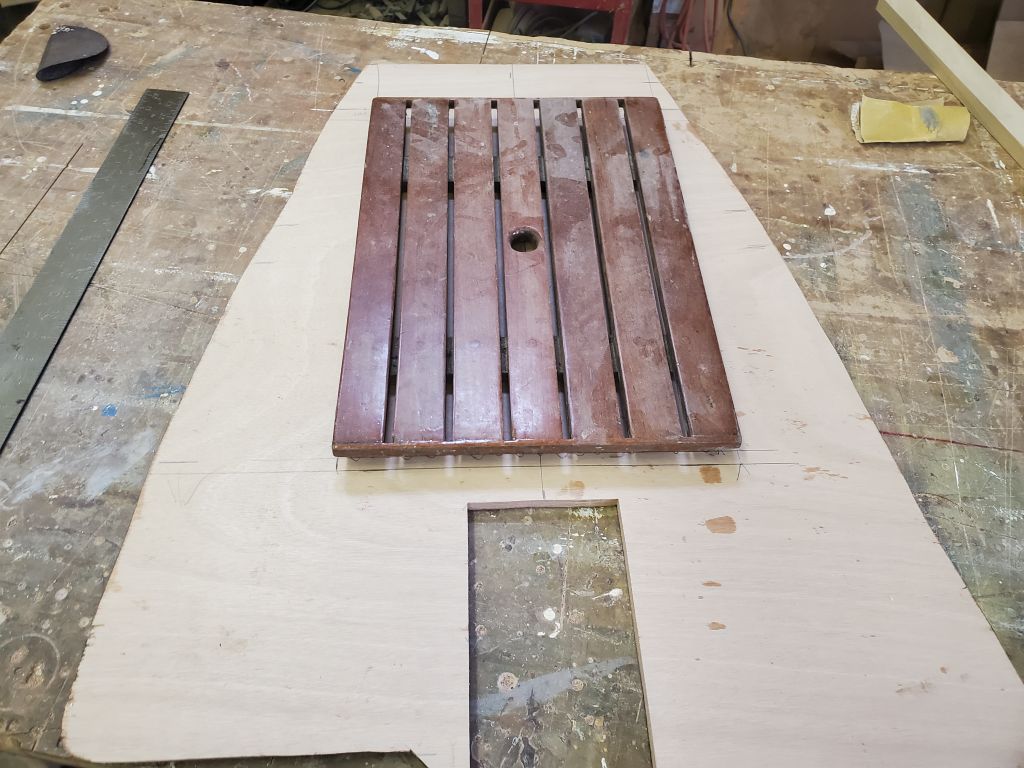
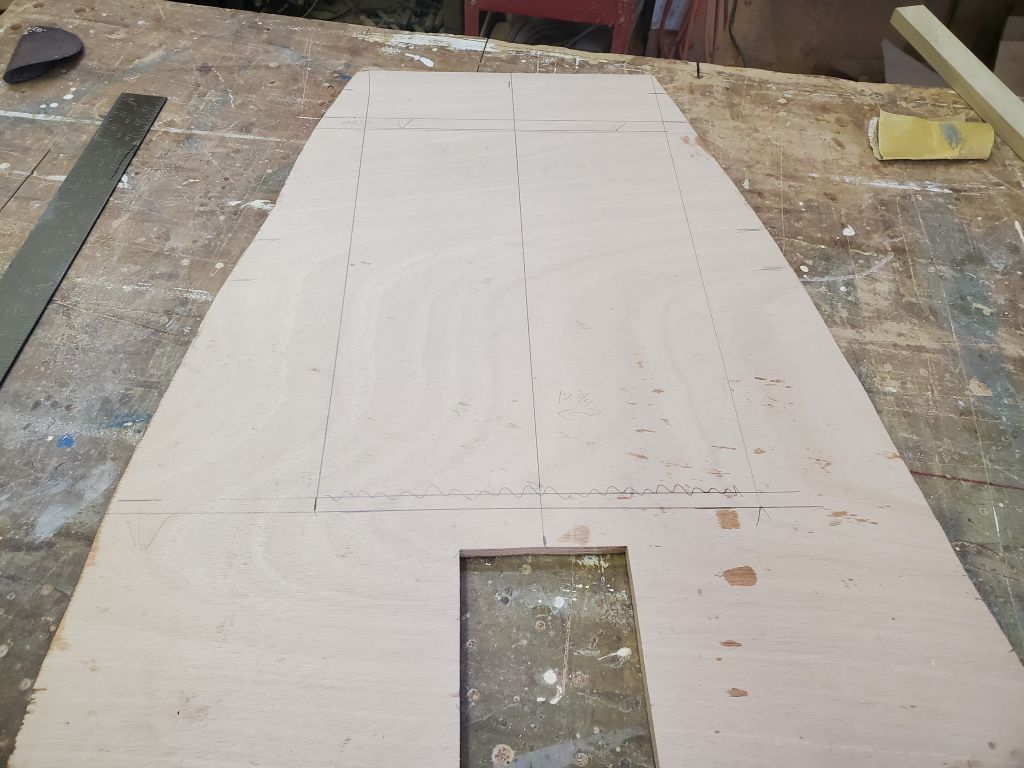
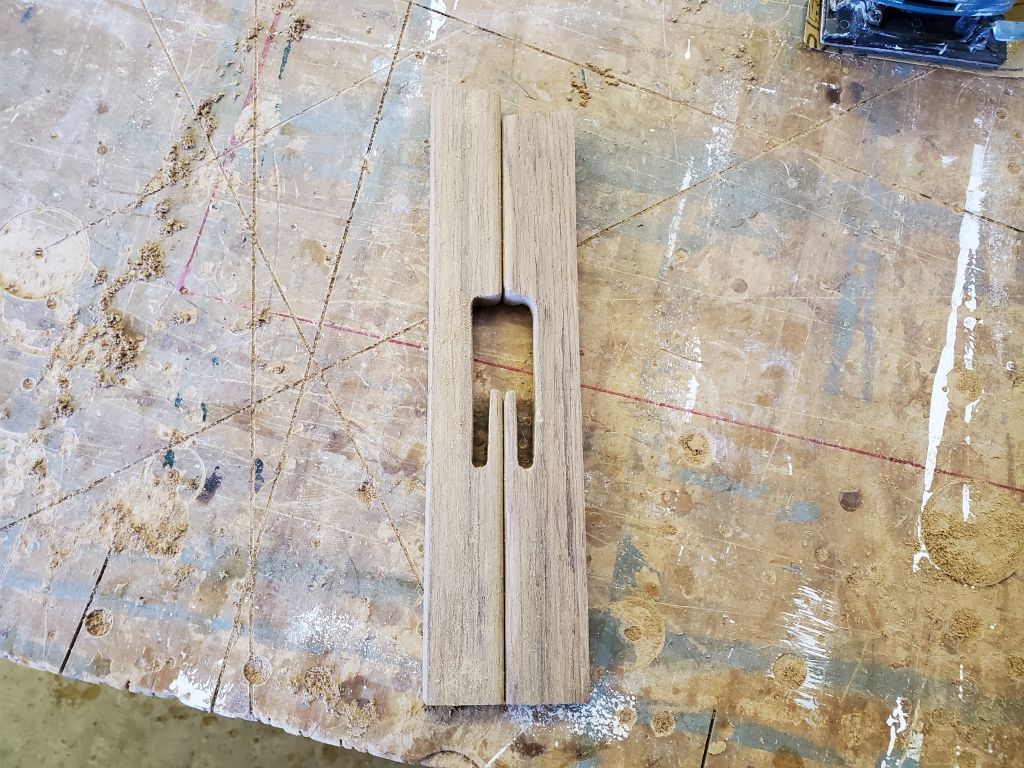
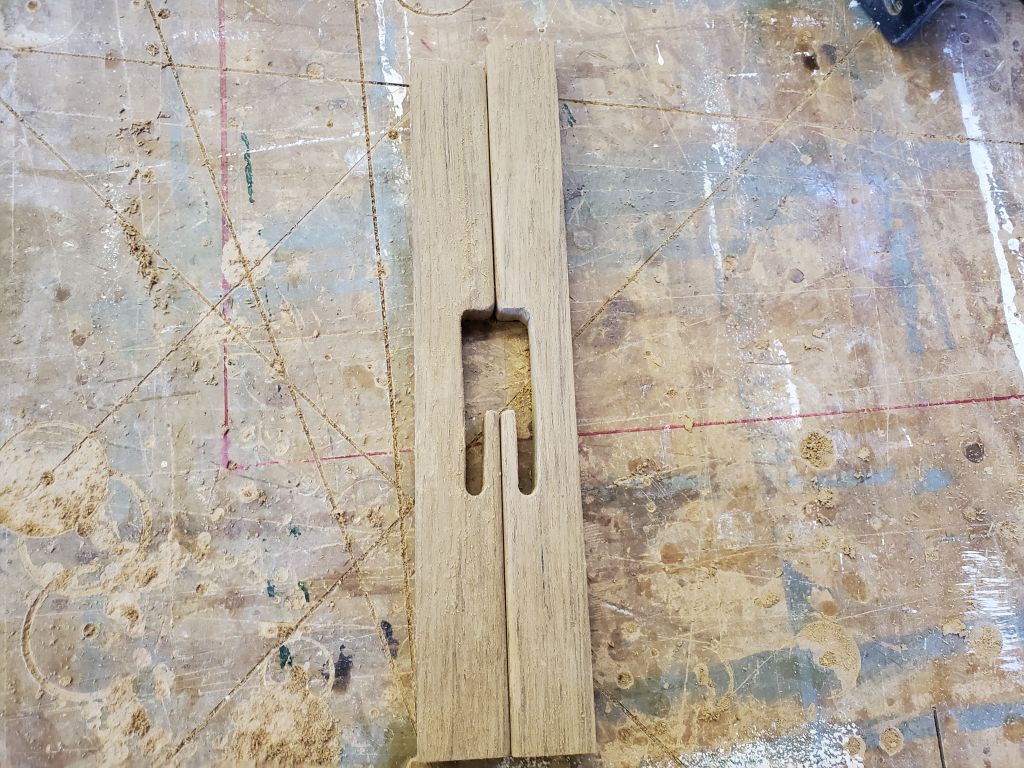
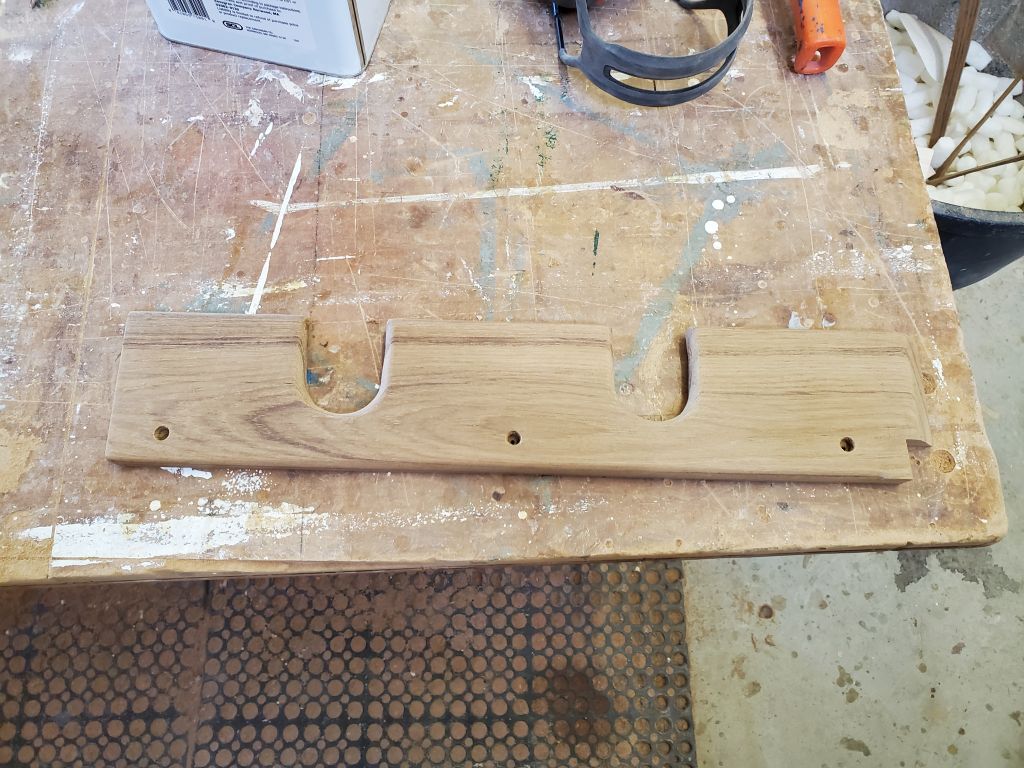
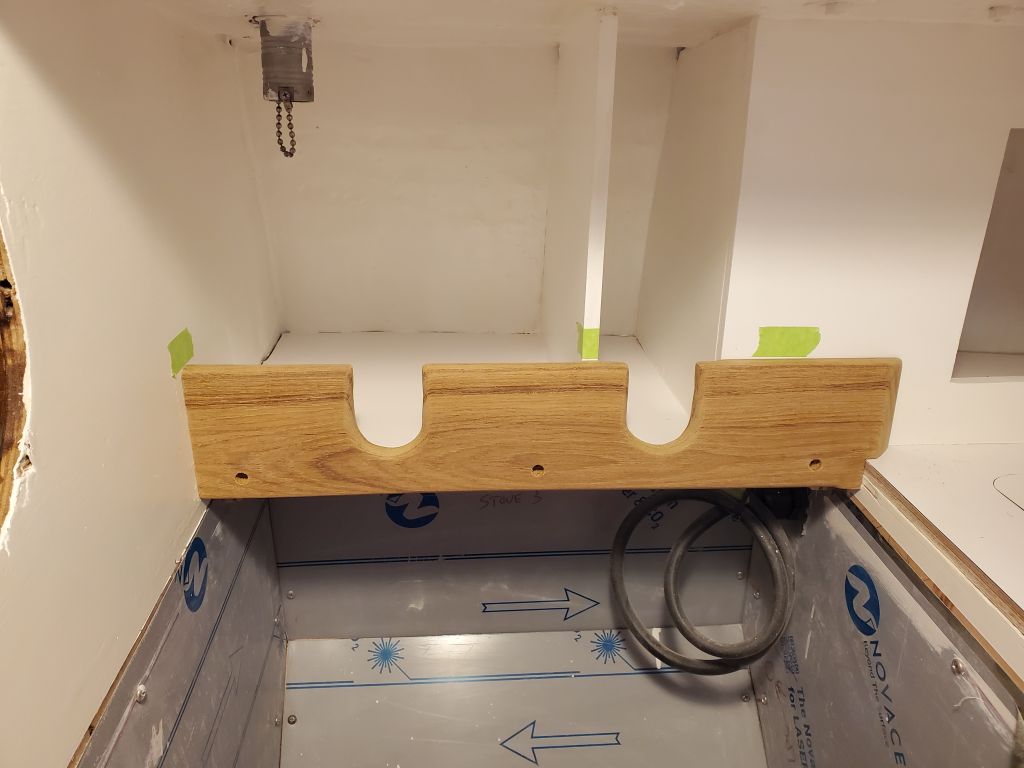
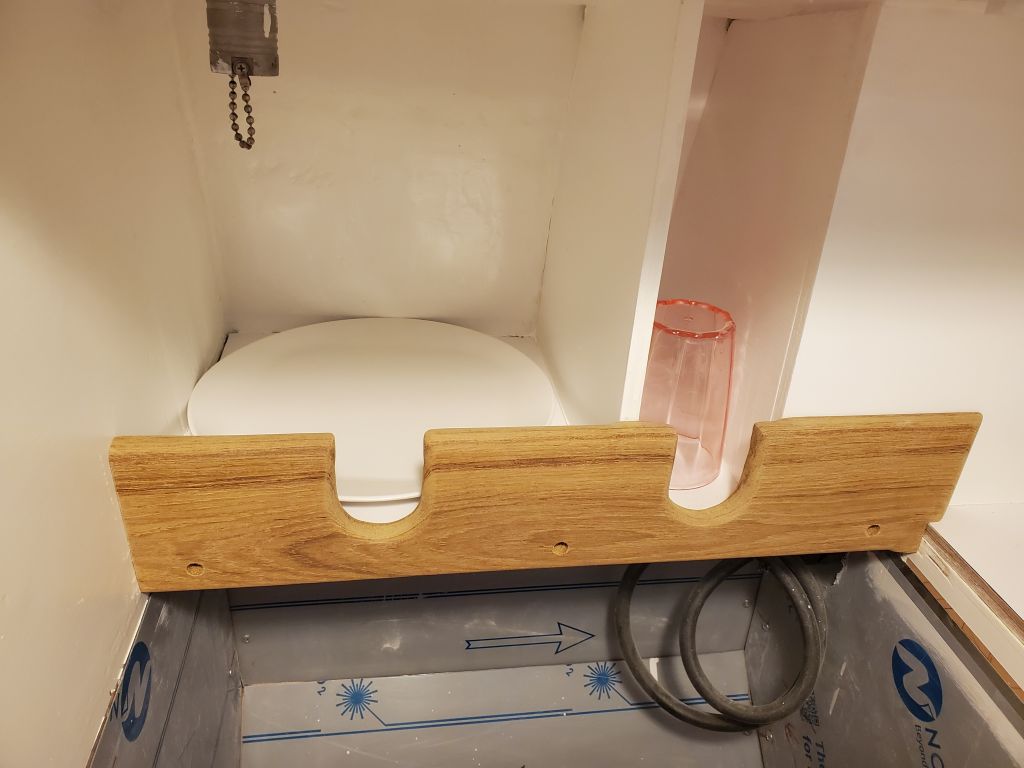
In the afternoon, I prepared the teak trim to establish the business side of the dinner-and-glassware rack outboard of the stove, a relatively simple piece 4″ tall overall with two rounded slots to allow access to the utensils within.

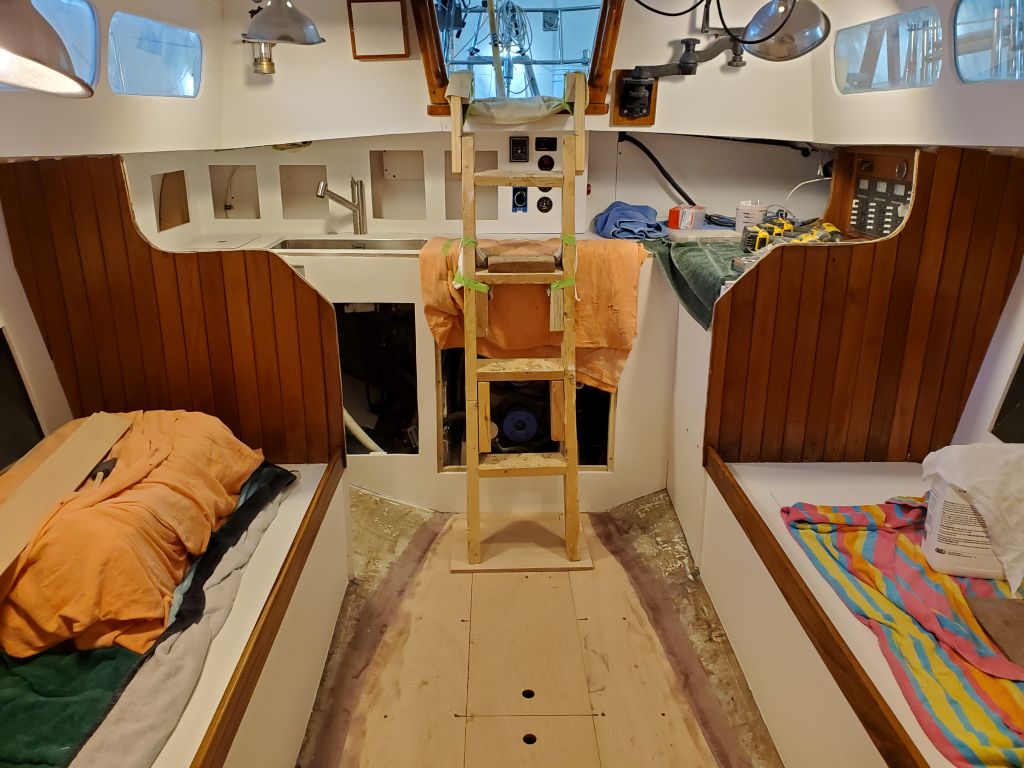
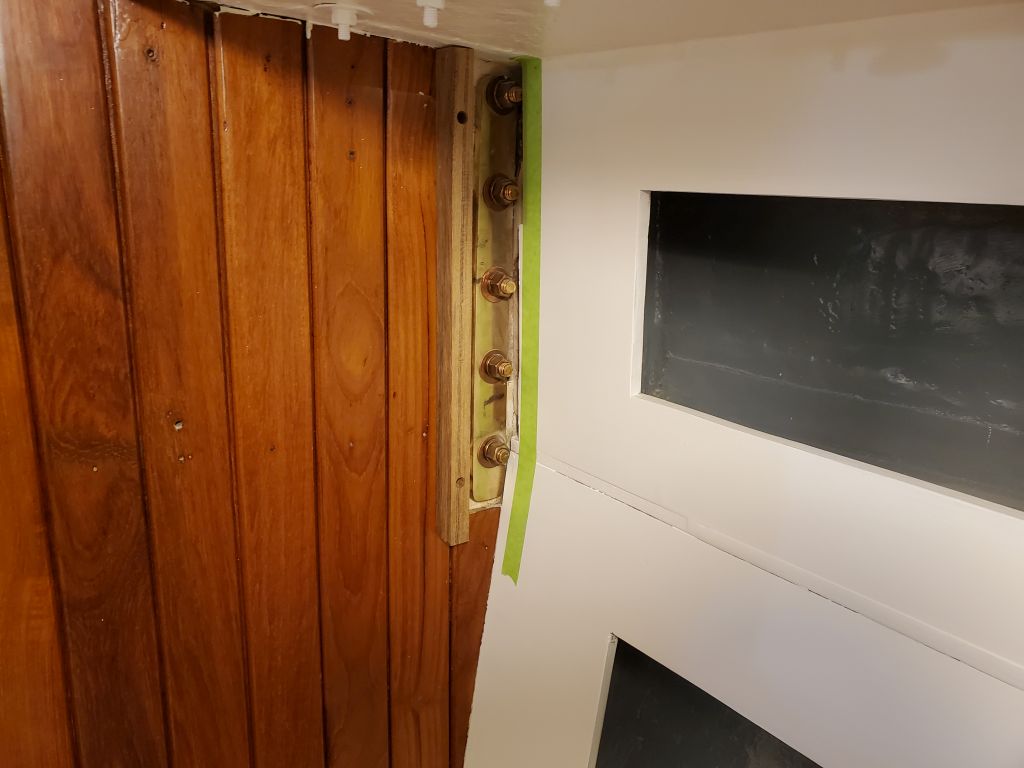
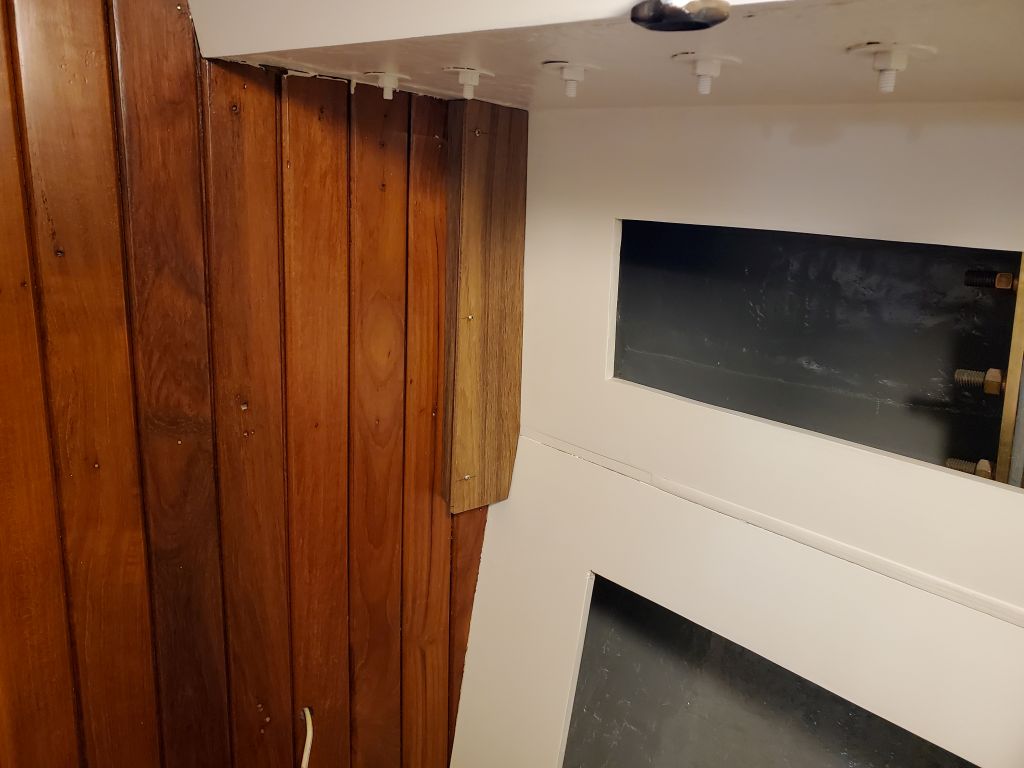
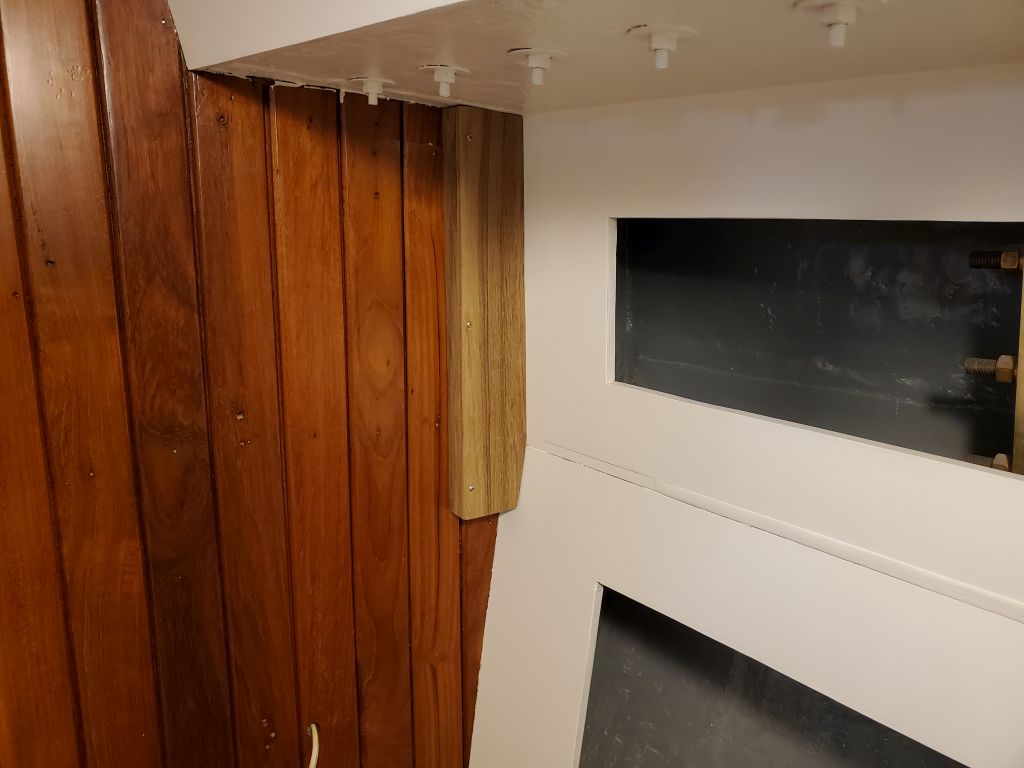
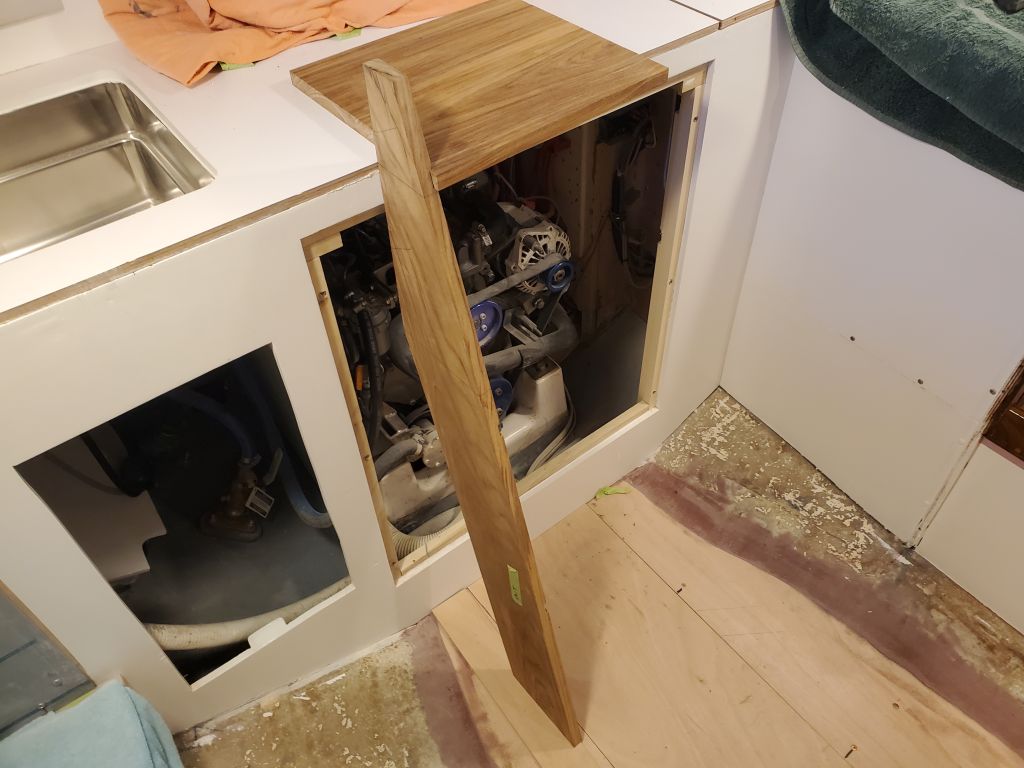
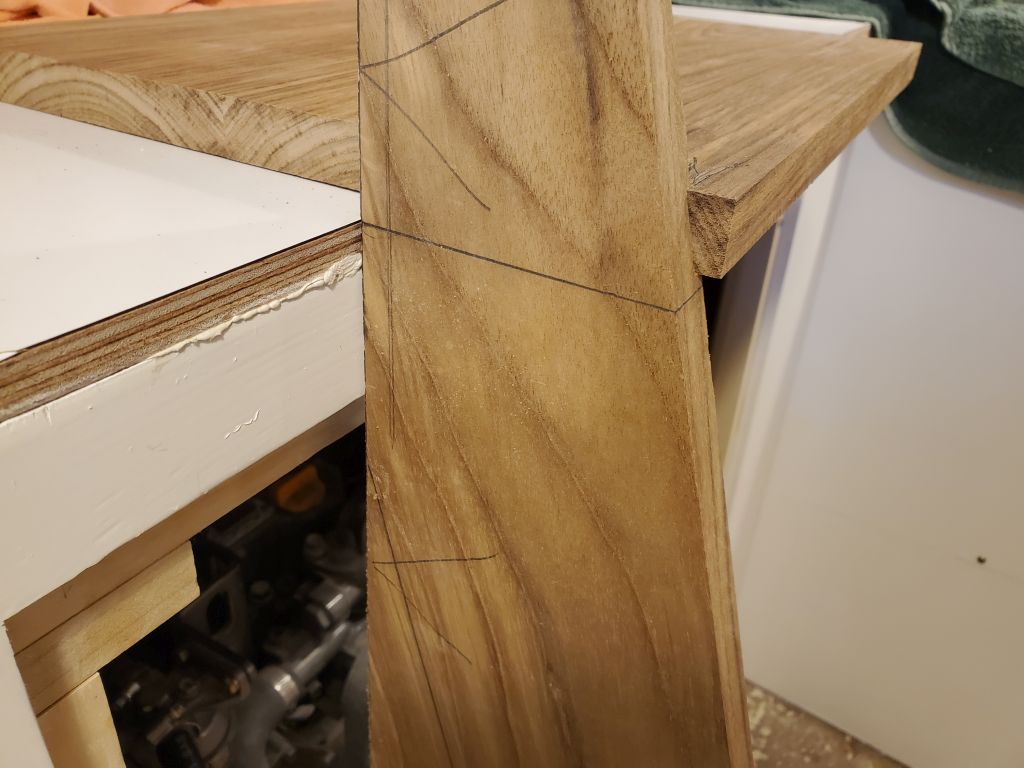
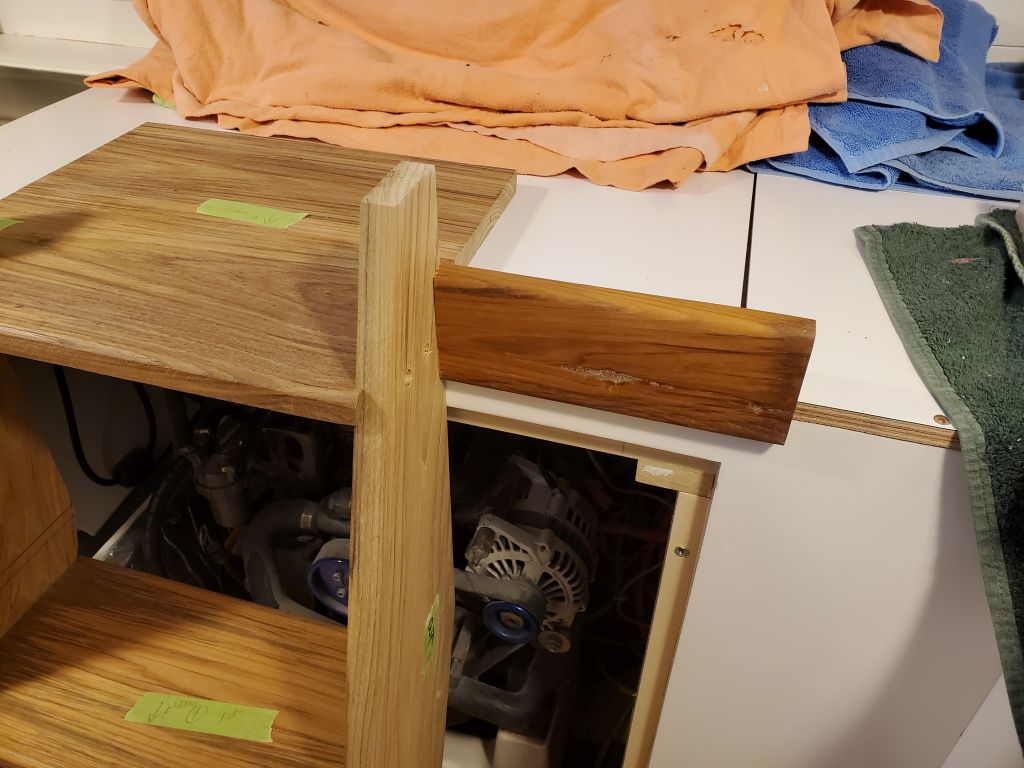
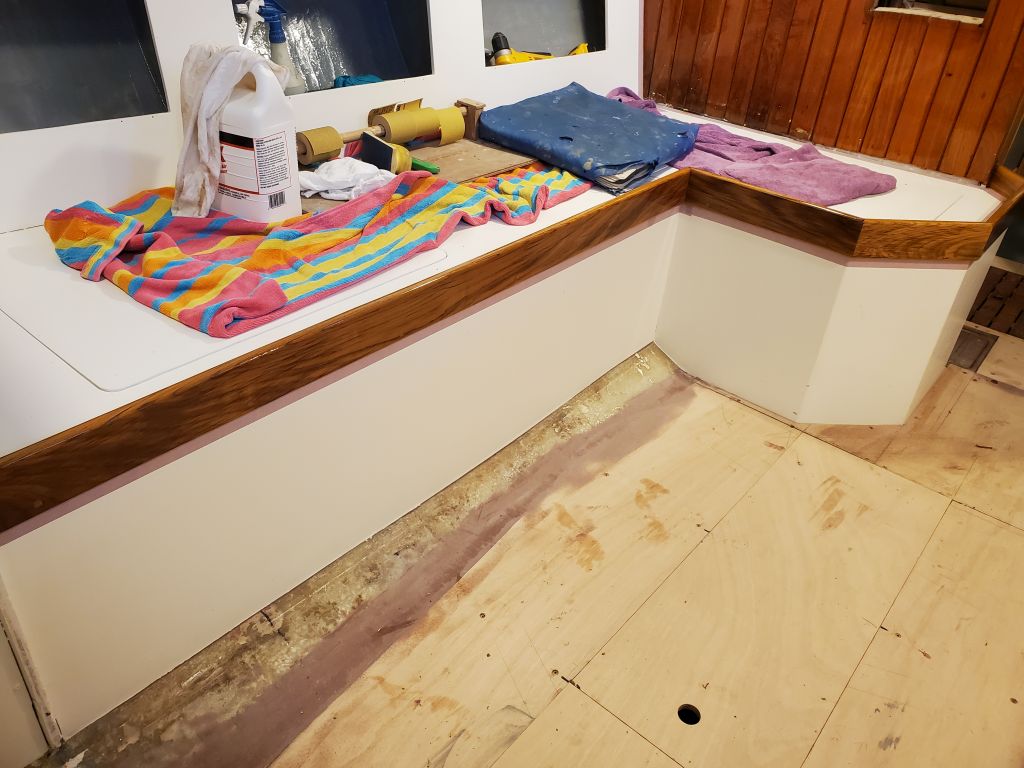
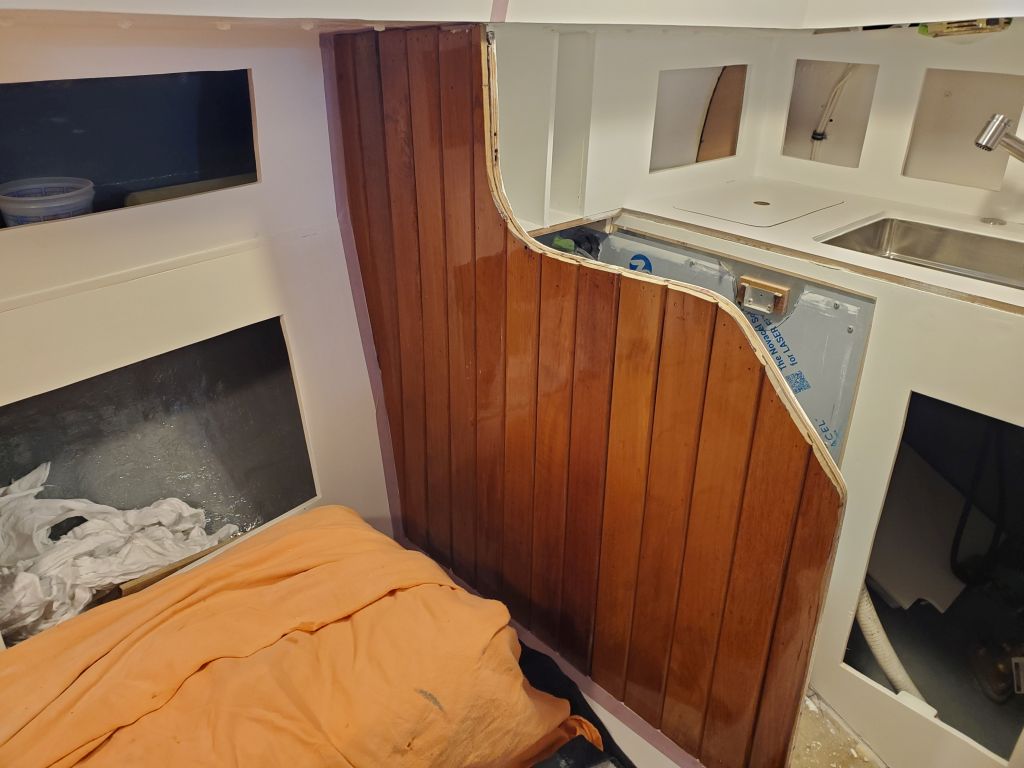
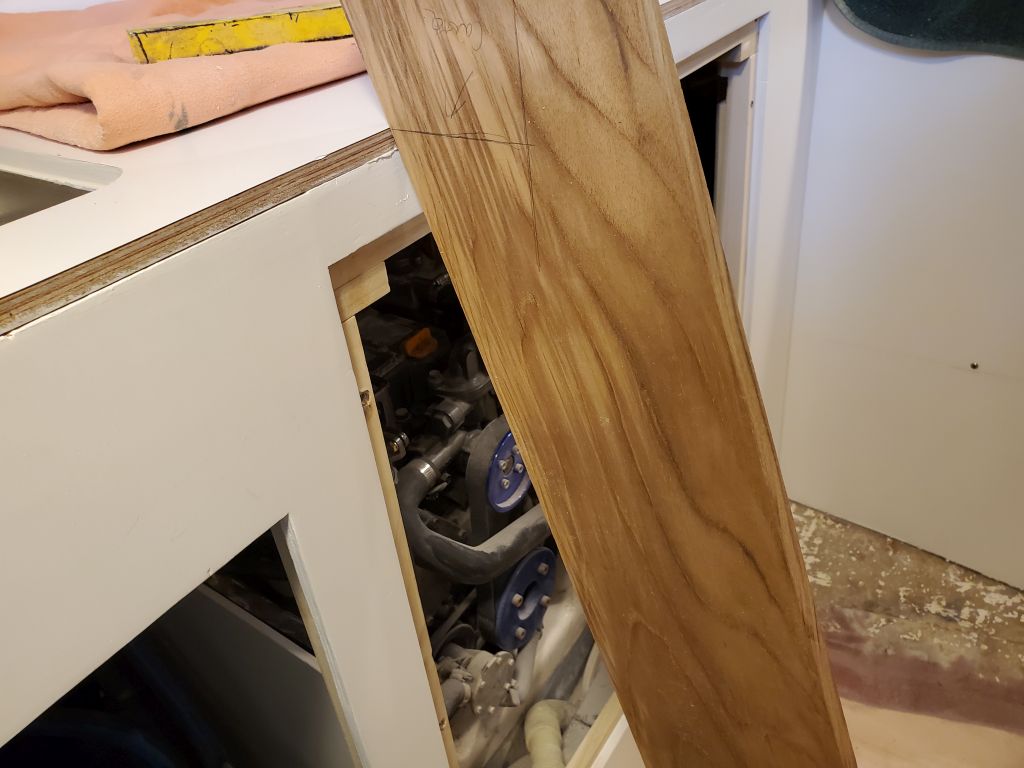
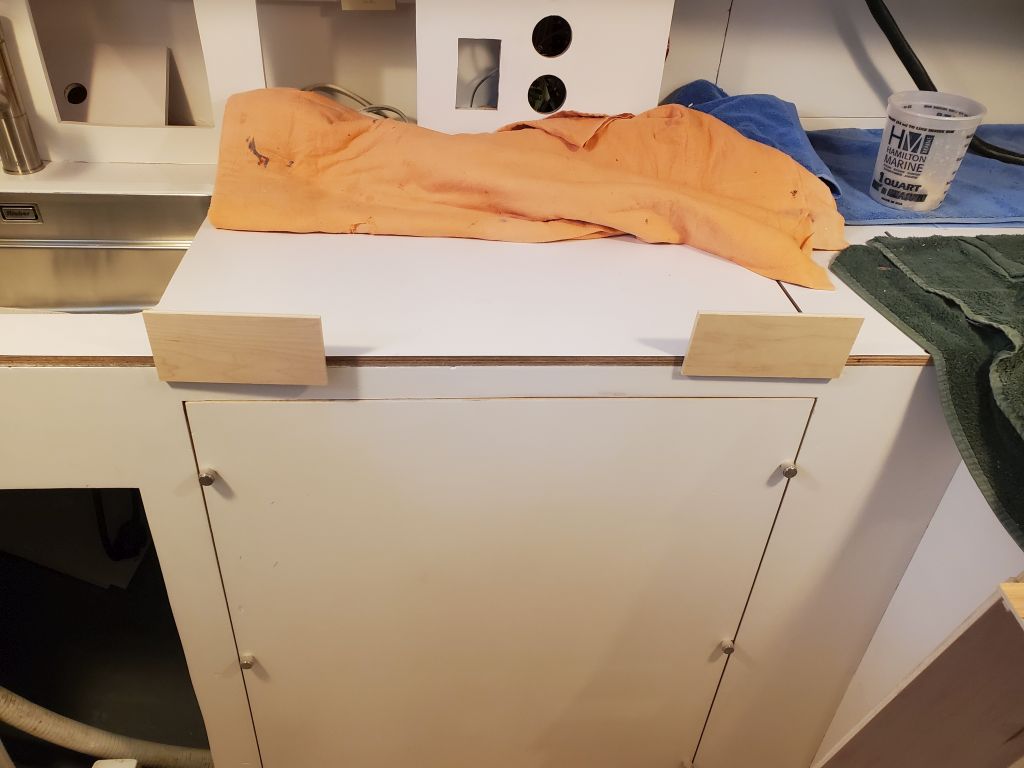
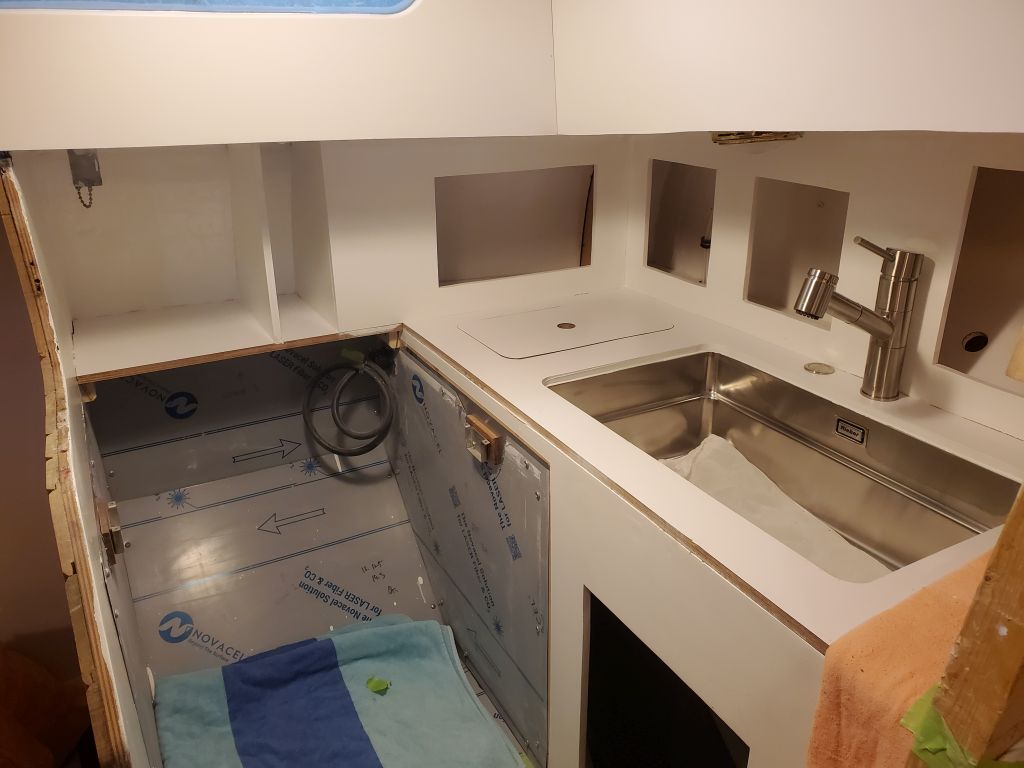
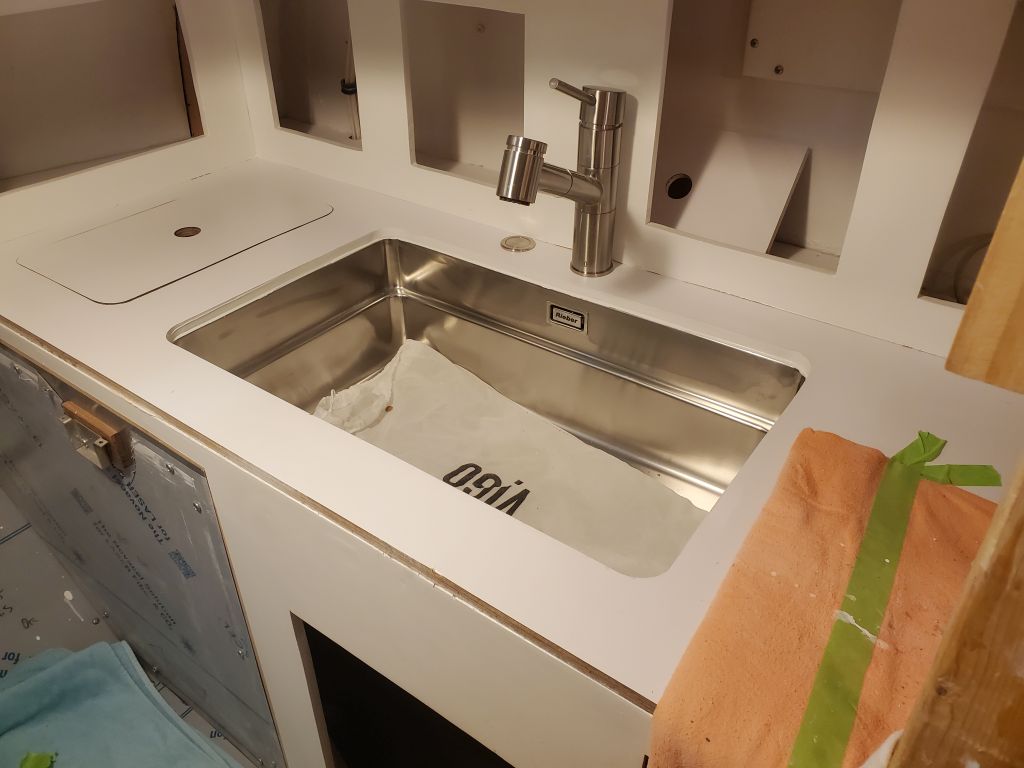
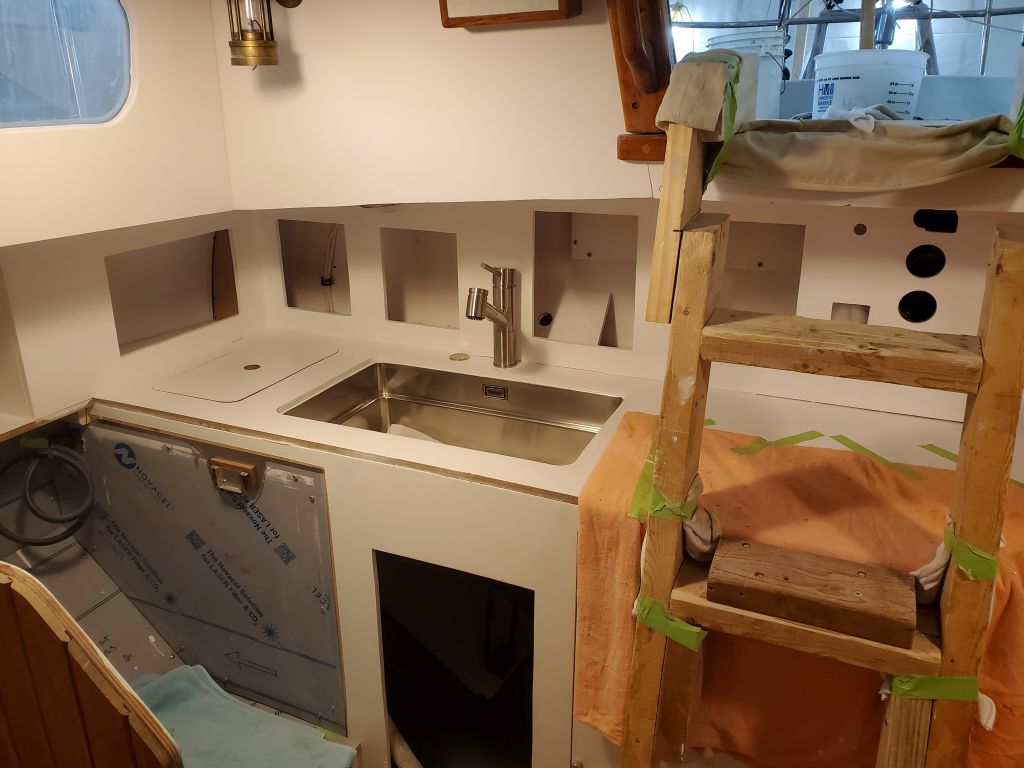
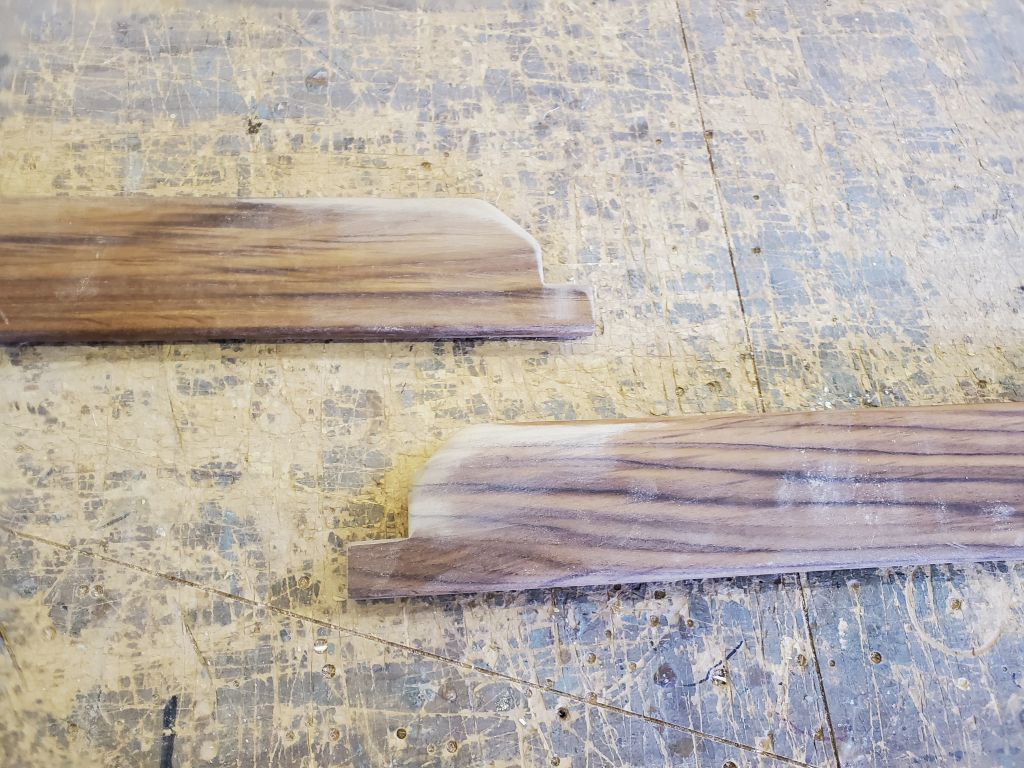
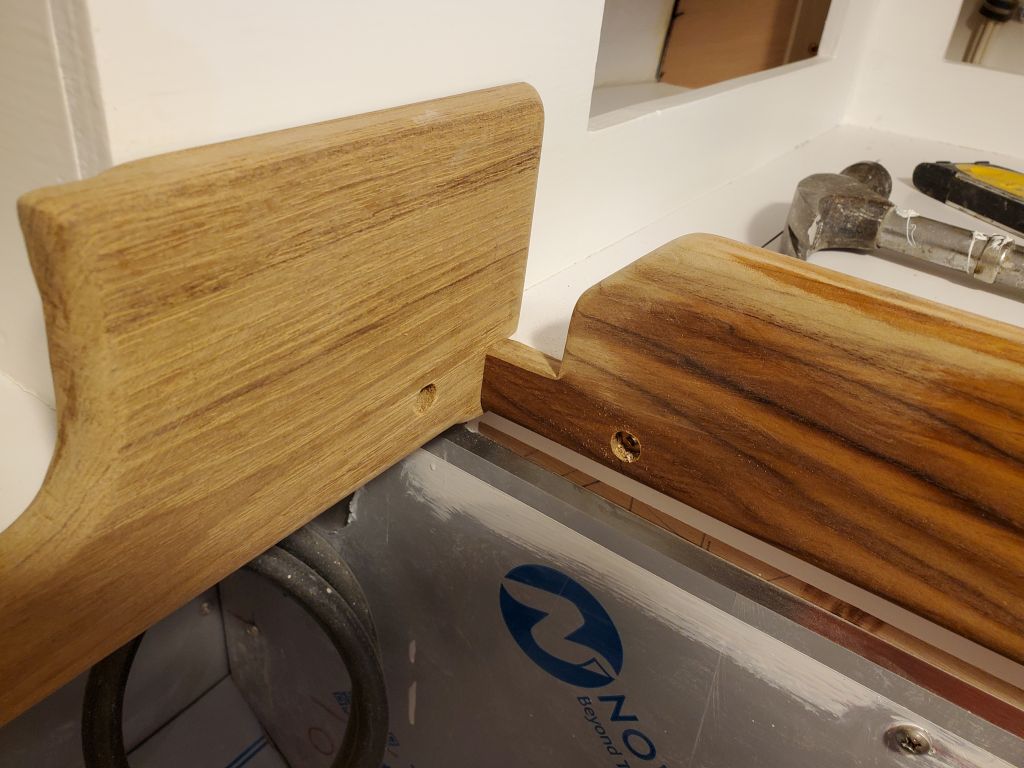
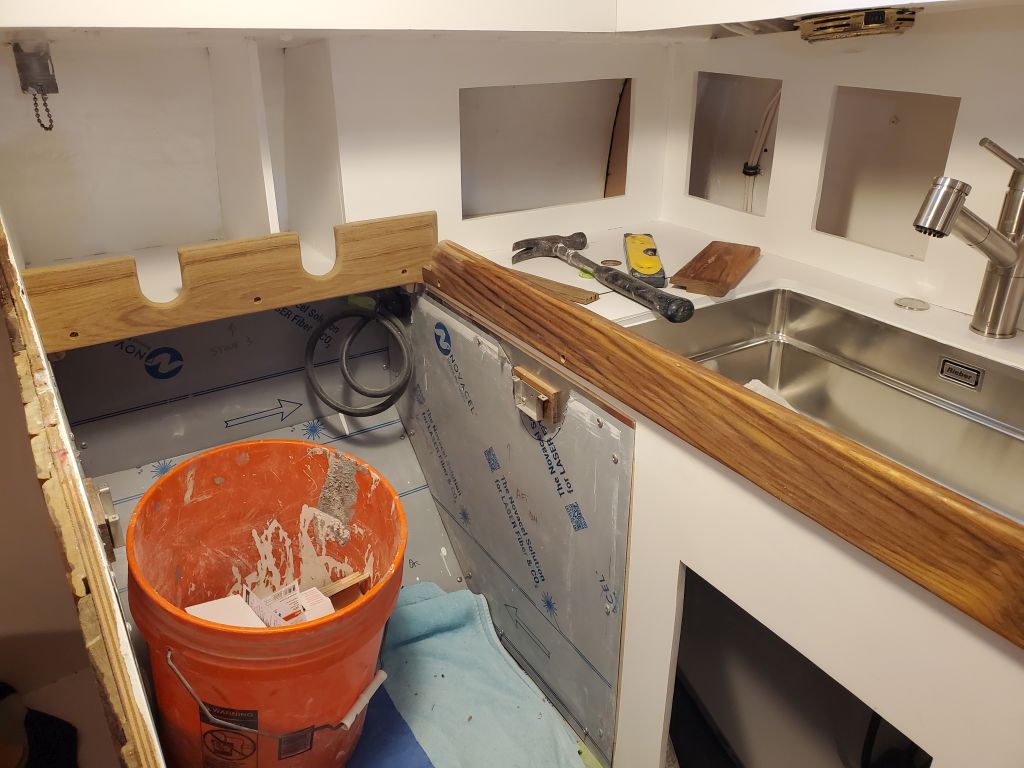
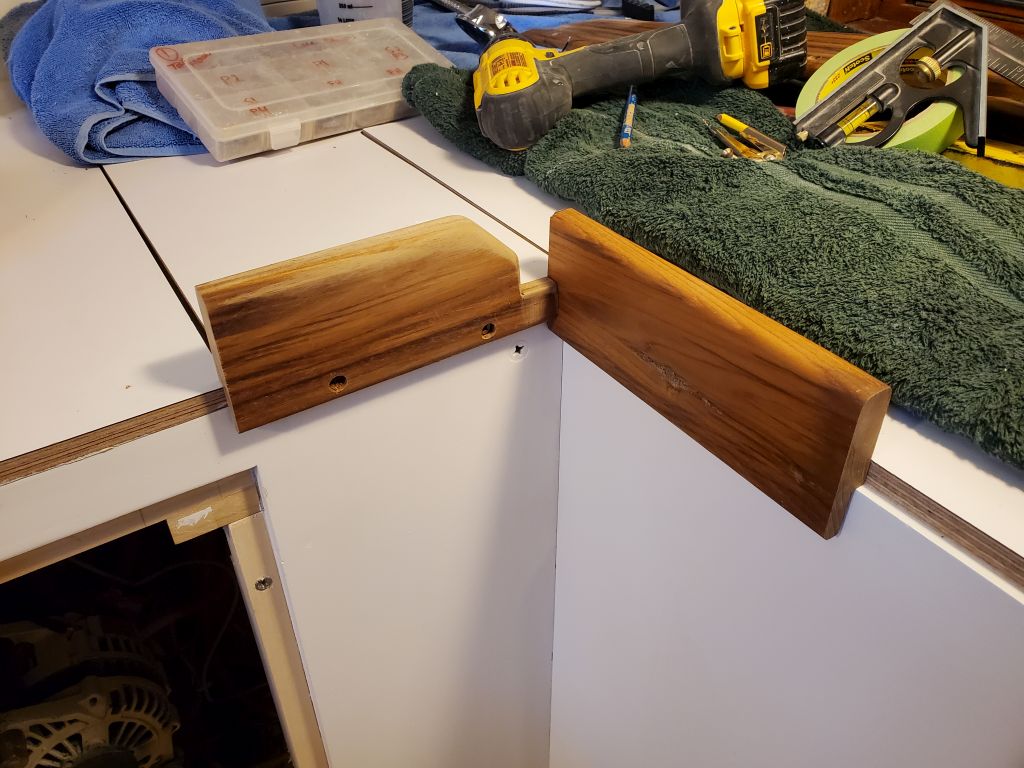
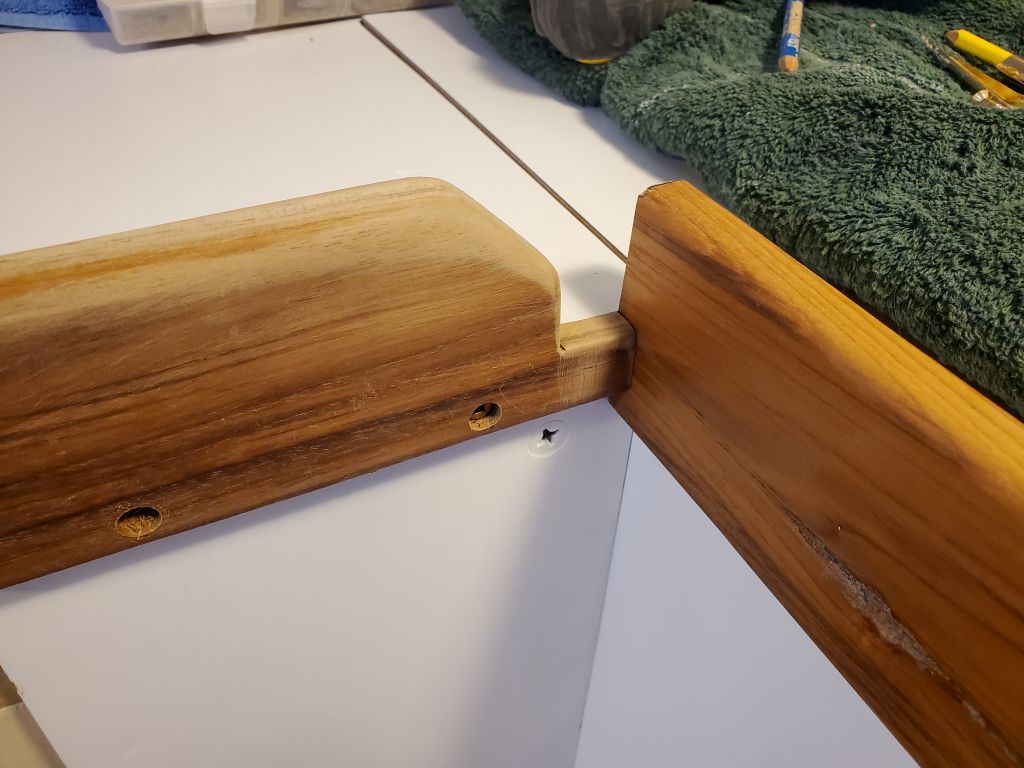
In order to install the adjacent galley fiddle trim permanently, I first had to determine the exact location of the companionway ladder, and this would have to wait till next time since the ladder was wrapped in fresh varnish at the moment.  However, with a slightly longer-than-needed piece of the trim, I could start the process, specifically to modify the end of the trim (and a corresponding piece at the opposite end of the galley) to leave a slot in the corner where one could wipe out crumbs and such to avoid a tight corner where this might otherwise collect.  At the port end, I used a mockup piece of the trim on the refrigerator lid to determine the final location of the adjacent trim, which was a short piece to allow removal of the port part of the galley should it be required in the future.  I’d permanently install these and the remainder of the trim once I could mark the location of the companionway ladder next time.

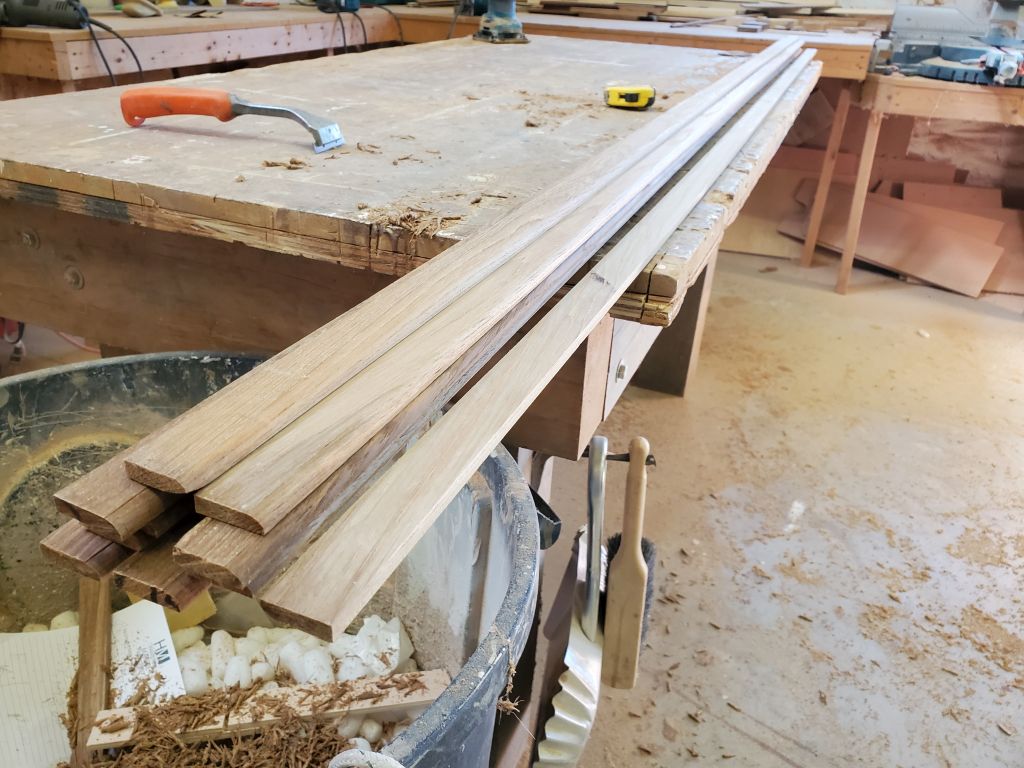
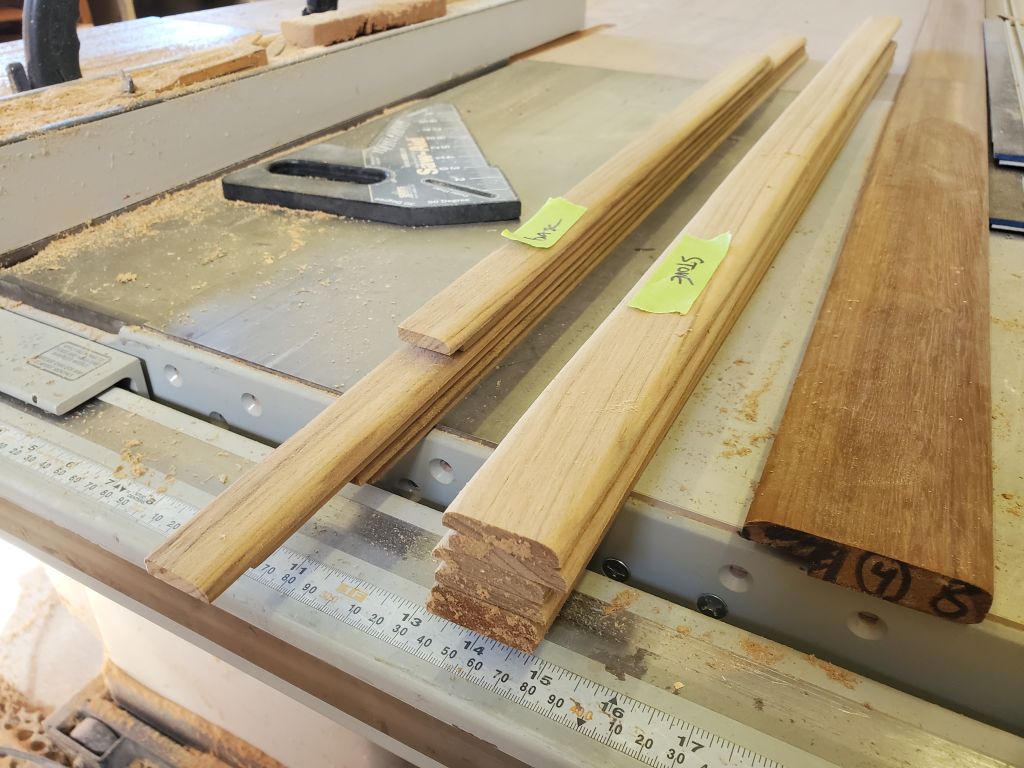
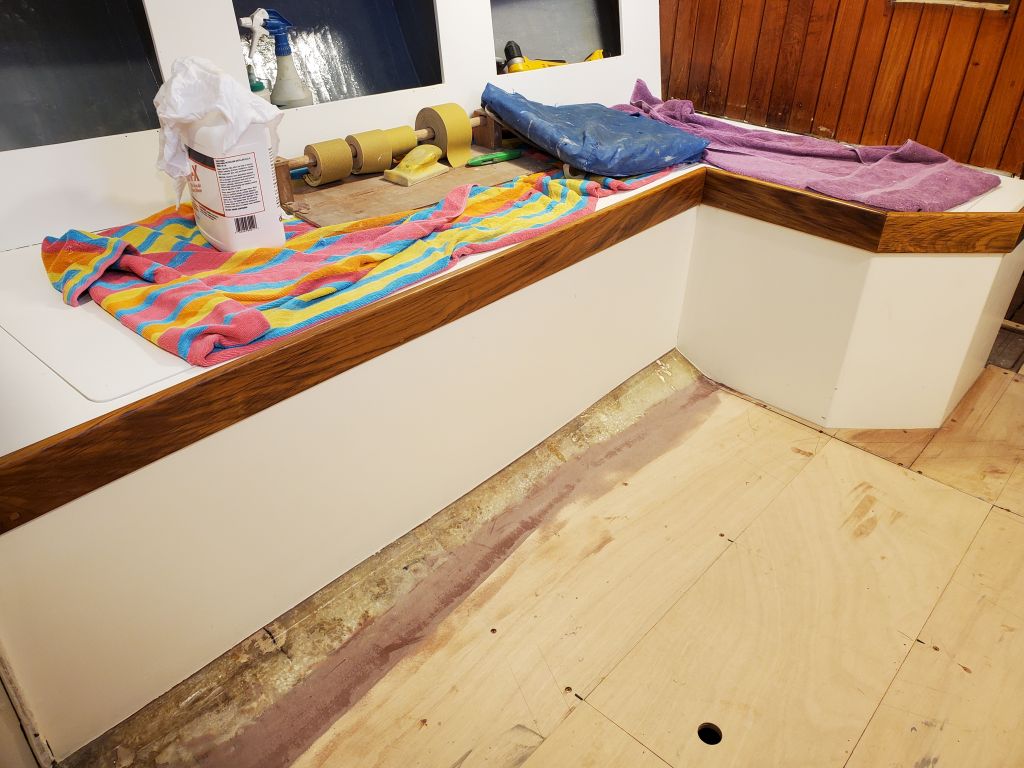
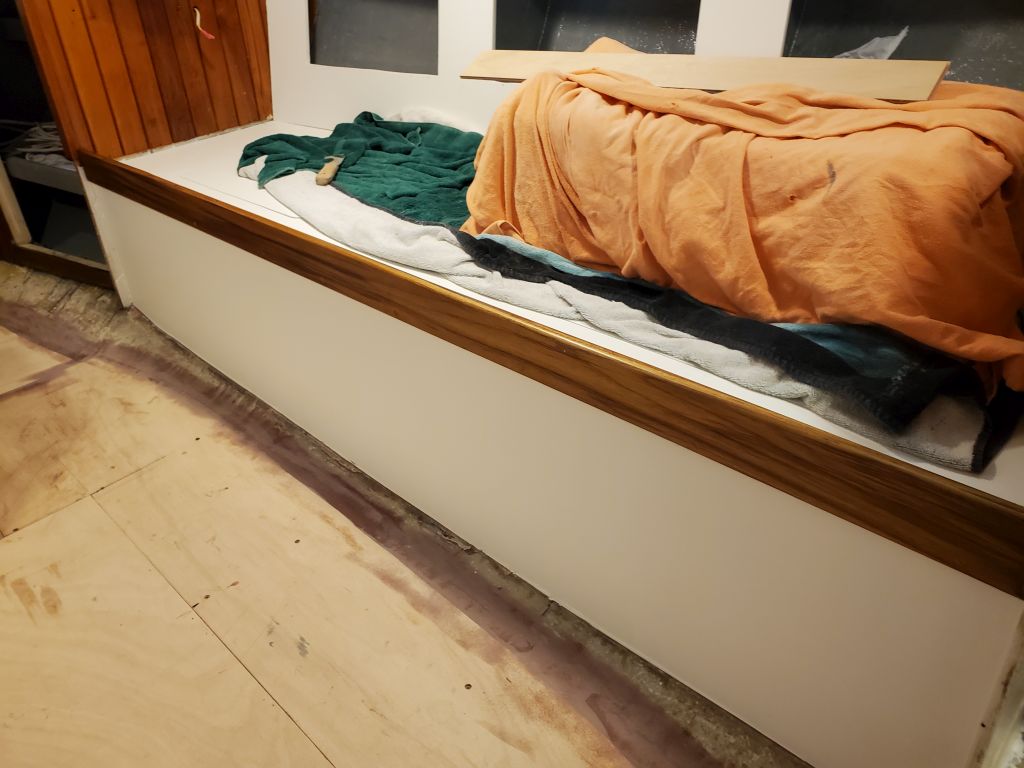
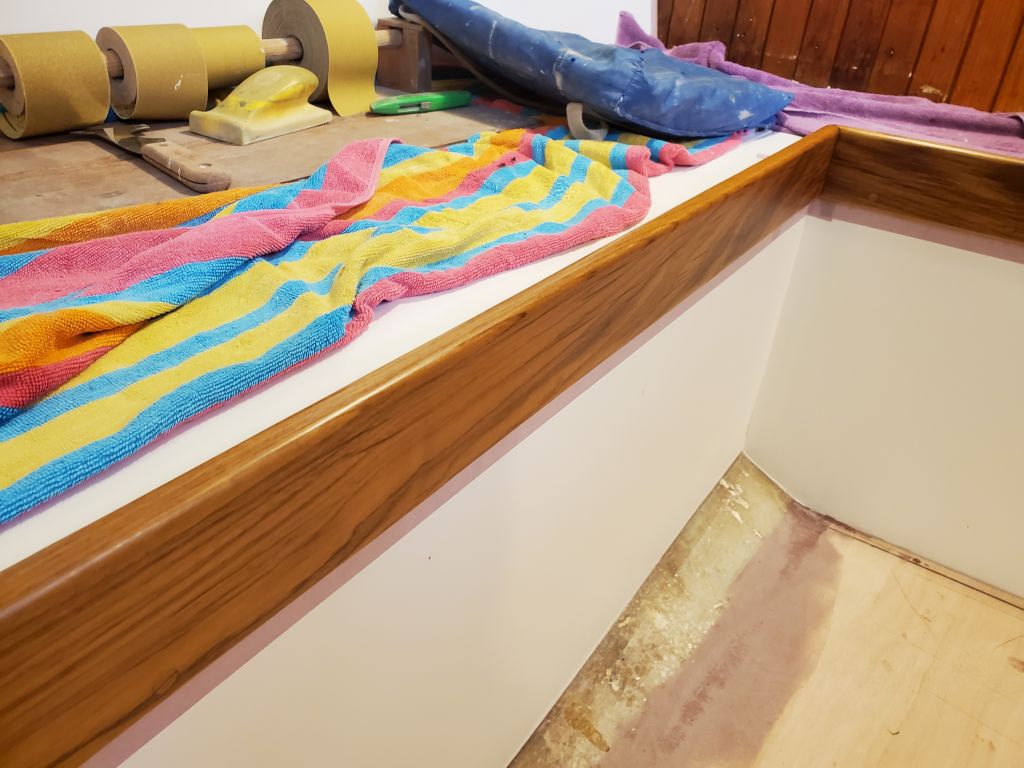
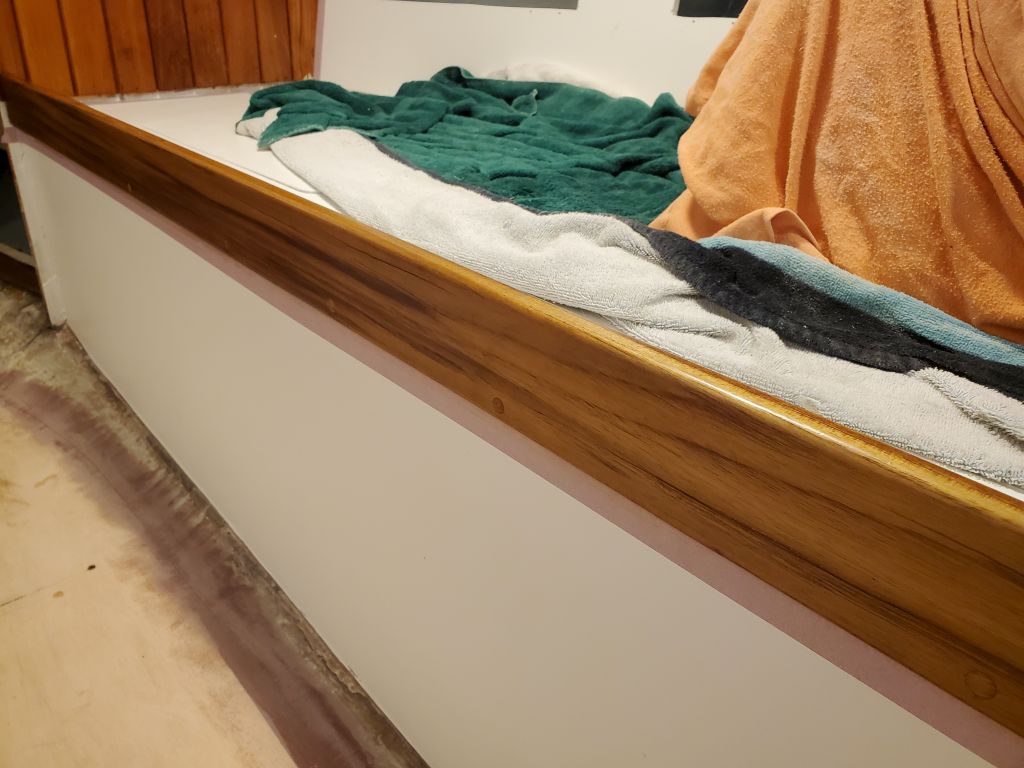
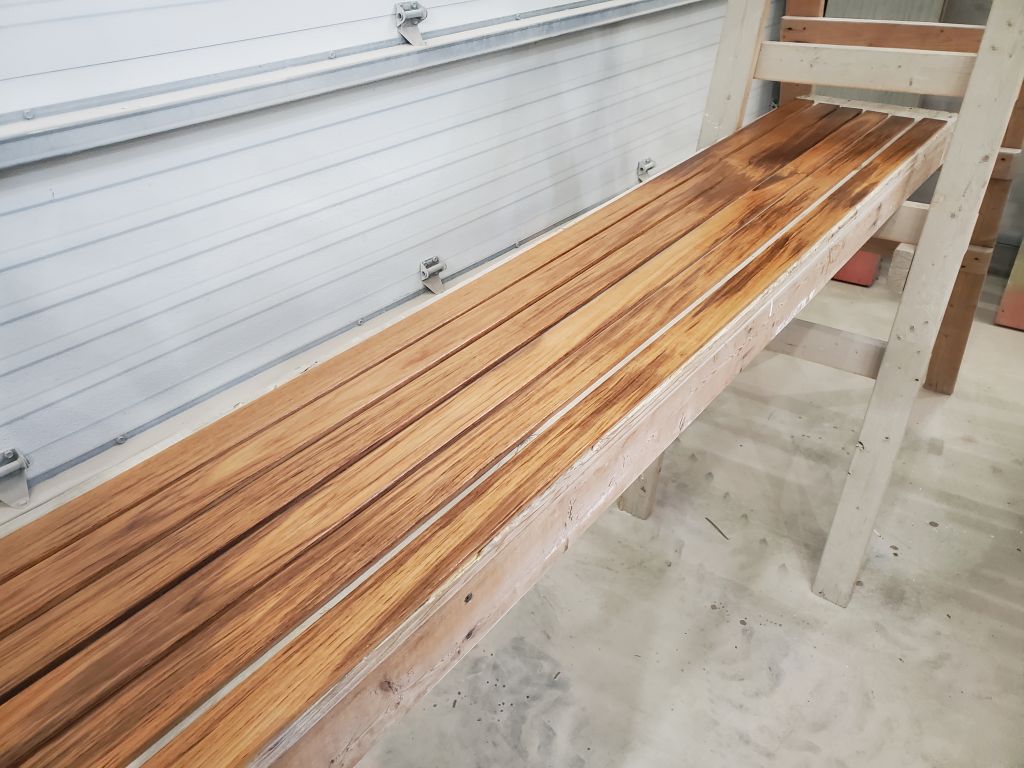
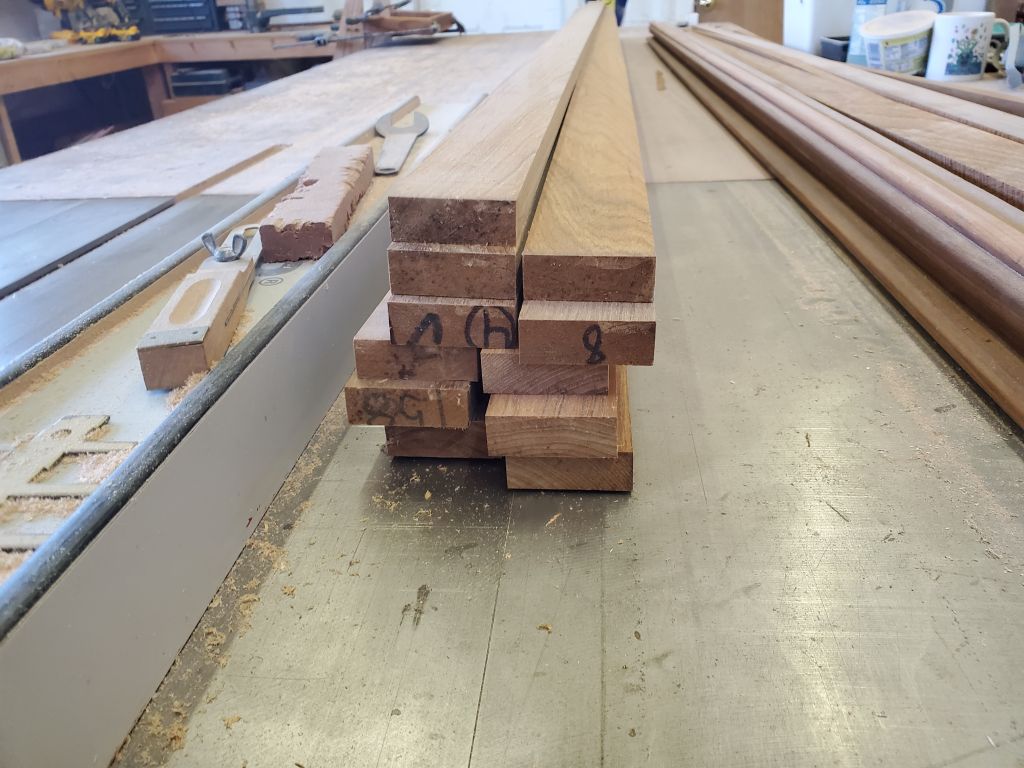
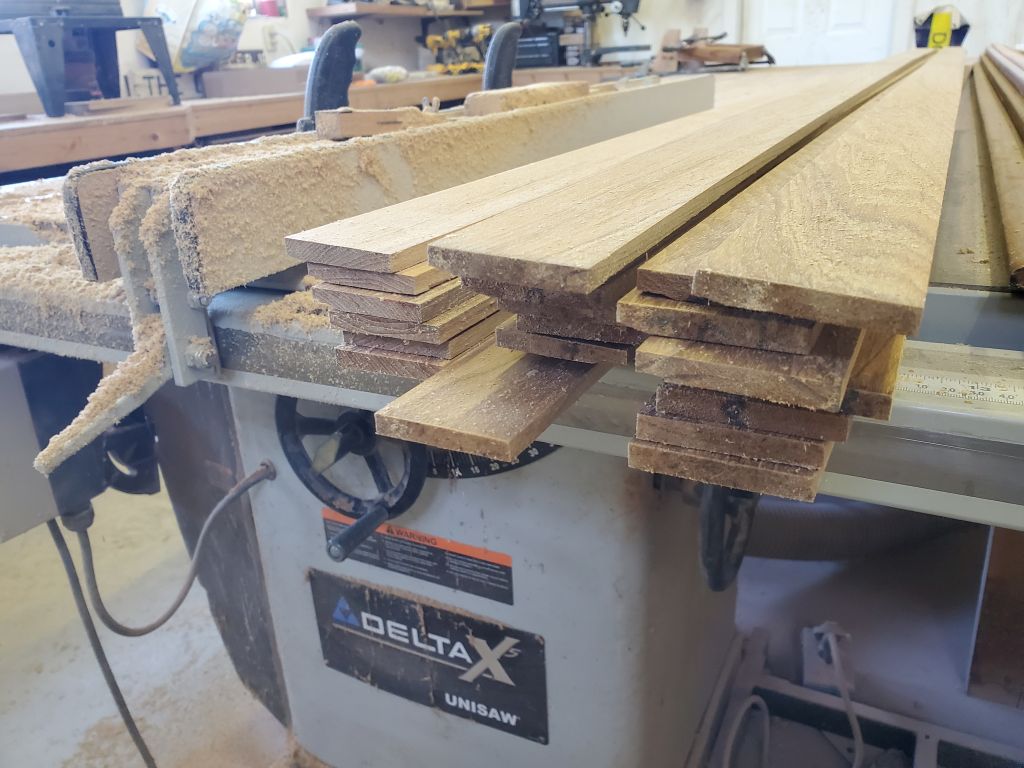
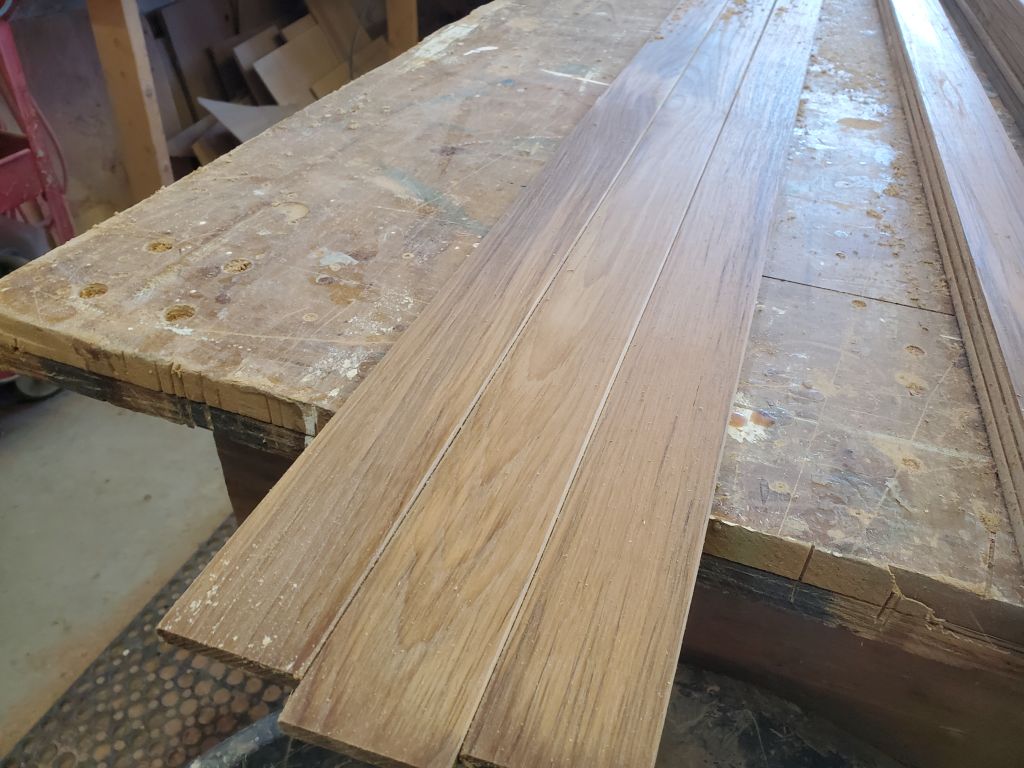
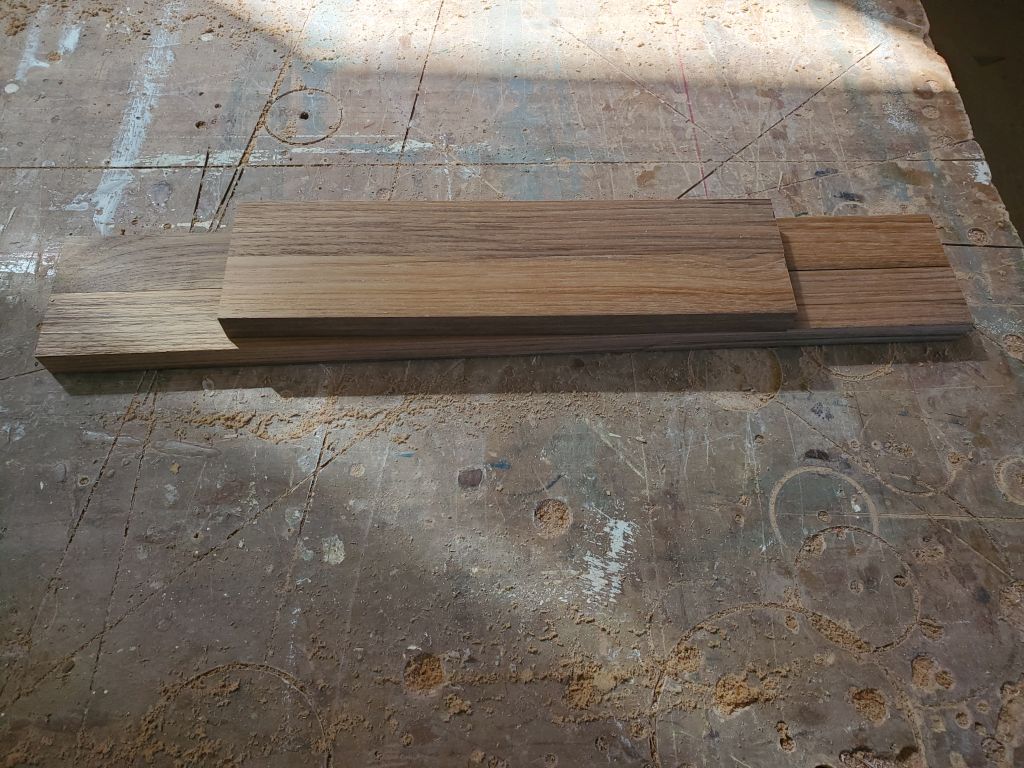
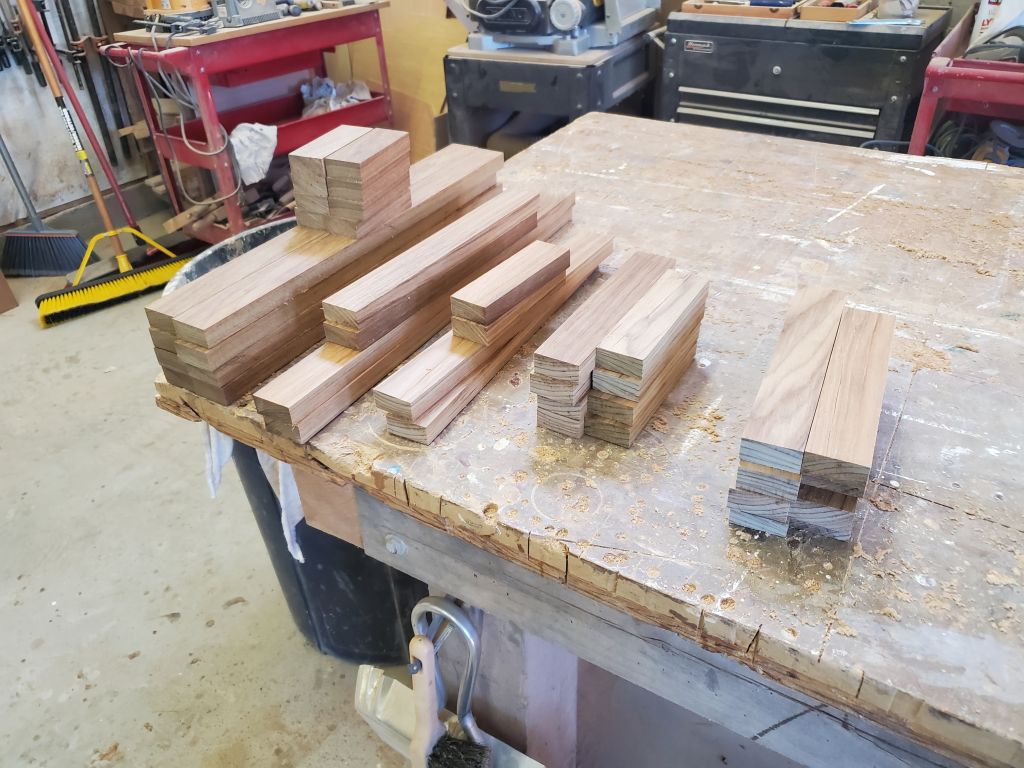
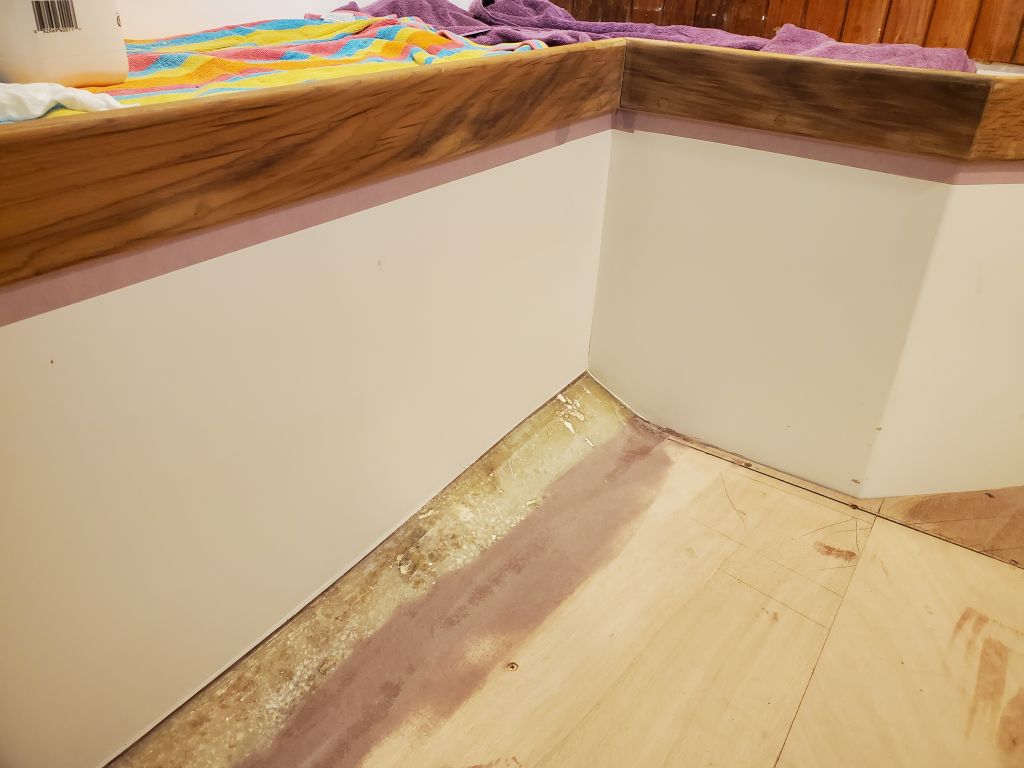
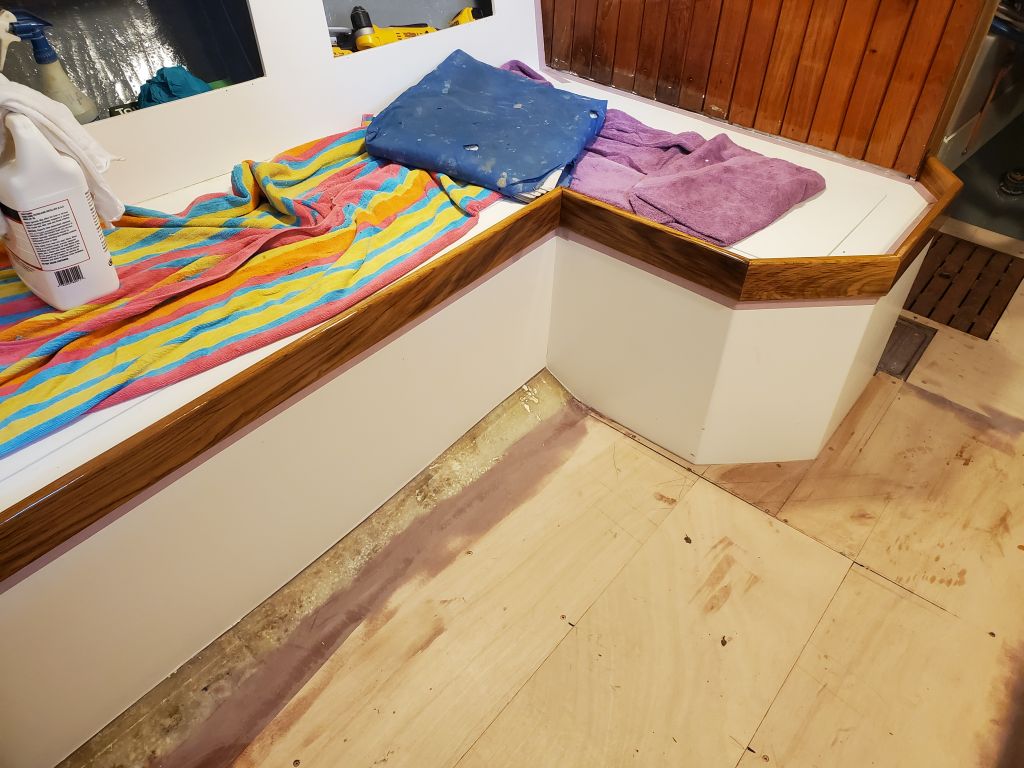
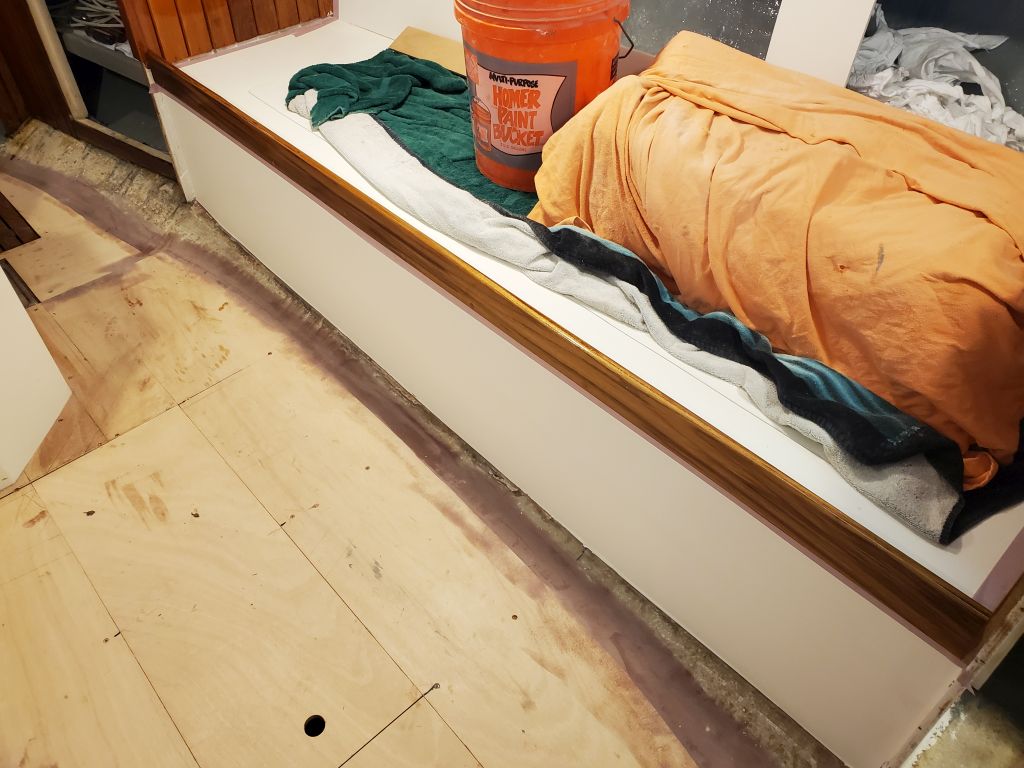
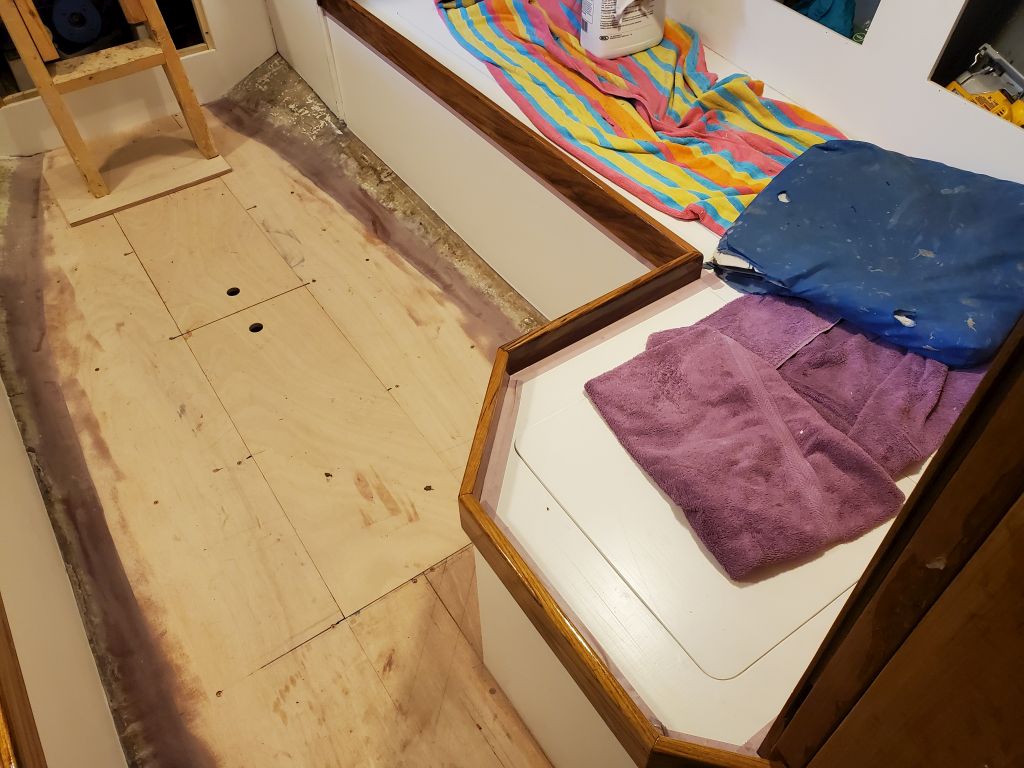
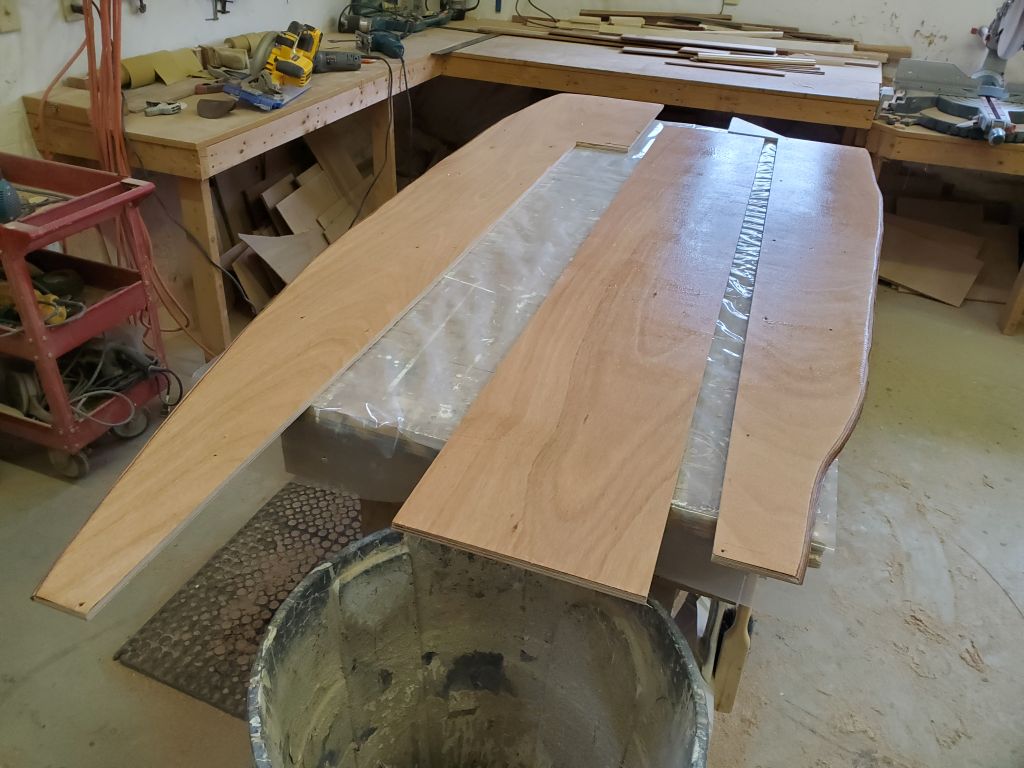
During what remained of the day, I worked to mill some additional pieces of trim on my list, including some trim to wrap the edges of the stainless steel stove enclosure, and a quantity of “baseboard” trim that I planned to use along the edges of the cabin sole and the base of the galley cabinets where they met the countertop.  I got all these pieces milled and many of them sanded by the end of the day.

Calliope Girl 106

I got started removing the masking tape from the interior trim and bulkheads, now that the varnish work there was complete.

Next, I lightly sanded, then varnished again, the door trim and companionway ladder, the second of probably 4 base coats.

Jason the canvas contractor was on hand for part of the morning to prepare the template for a new dodger.  We started by setting up the existing dodger to see its shape and details, and then he set to work making a plastic template of the replacement, working off the existing frame and molded coamings and obstructions.

Next, I turned to some trim pieces to hide the chainplates in the main cabin.  These were exposed outside of the varnished staving and forward of the new settee cabinets.  On the port side, I began by reinstalling a wooden panel containing a stereo and windlass breaker, which panel I’d removed early in the project, as this panel dictated the position of the chainplate cover.

I milled some teak into roughly 1/4″ thick by 4″ wide planks, each long enough to cover the chainplate on each side, then milled two 1″ deep cleats, the required depth of the trim to hide the chainplate bolts.  Starting with the port side, I installed the cleat to the bulkhead with two screws, flush with the outboard edge of the stereo panel, then, in a series of steps, scribed and cut the cover panel to fit in the space.  I chose to do one side at a time to sort of learn the steps and therefore streamline the second side’s construction, which I did next (a few interim steps shown in the starboard photos).  The end result was a simple two-part box allowing easy access to the chainplates for inspection.  I planned to remove the new trim for finishing, but first I wanted to install some adjacent trim on the settees.

While the chainplate trim was in place, I cut and fit the mid settee trim that I’d milled some time before.  This trim covered the edge of the plywood shelf at the top of the backrest, and provided a bit of a fiddle to the bookshelf area in the center.  This wouldn’t be enough to hold in books, but additional trim at the edges of the bookshelves would provide for that next.  Once the settee trim was installed, I bunged the screw holes, and then I could remove the chainplate trim for varnish on the bench.

The design of the trim at the vertical edges of the bookshelf recesses was still forming in my mind, but would eventually accomplish the requirements to hide the edges of the locker panels, as well as provide a means of installing and securing a removable fiddle to secure books across the space.  To make it easier to fit the trim into the confined space, I used the remainder of the day to make some basic 1-1/2″ wide plywood templates of each of the four locations, each cut to fit from three pieces and hot-glued together.  I’d make and install the trim next time.

Calliope Girl 105

The first order of the business for the day was to prepare the interior woodwork for what I hoped and planned would be the final coat of new varnish, this time a rubbed-effect satin finish.  To that end, I sanded the previous coat and thoroughly cleaned up the boat and the woodwork specifically, then applied the satin varnish.

In this case I was happy to do this work first thing since I knew I had plenty to do in the woodshop, and had no further need to go up into the boat for now.

My next task was to cut the protruding side rails on the companionway ladder, finish up any edge and profile details, and sand the completed ladder smooth and clean.

Next, I performed a series of milling and edging operations on the 10 door frames, rounding the exposed edges inside and out, and milling a rabbet on the back side of the frame to form the overlay where the doors would fit into their openings.  Then, I sanded them all clean and smooth.

Afterwards, I applied a sealer coat of varnish to all the new woodwork, always a satisfying moment as the wood takes on its final color and overall appearance.

Calliope Girl 104

I had a short day planned, as I had to leave in mid-morning for an appointment later in the day, but I got done all the things I’d wanted to, starting with another round of sanding and coat of base varnish on the interior woodwork.

Next, I applied a sealer coat of varnish to the boards I’d milled for the cabin sole.

This left me just enough time to prepare and glue up the final four door frames.

Calliope Girl 103

I started in the cabin, lightly sanding the fresh varnish work to prepare for another coat later in the day.

Once that was done, and cleaned up, I turned to the companionway ladder and prepared the three steps for final fitting.  Leaving just a bit of tread to extend beyond the front face of the ladder, and with the back sides cut at an angle to match the ladder’s angle, the two lower treads ended up about 6-3/4″ deep, and I cut them 13-1/2″ long to allow 1/8″ into each of the dadoes, leaving the final tread about 13-1/2″ wide between the rails.  The top  step, or platform, was the same width but 12″ deep.

At the top of the rails, I laid out a plumb line for a cut, leaving 2″ full width above the top of the middle step, and cut the rails together to reduce the extension of the ladder into the cabin and also provide good support once installed.

With the top step and one rail, I mocked up the ladder in the boat to check the fit before proceeding.  The ladder fit well, and now extended just 14″ from the bulkhead at the base.  This looked and would operate well, and there was ample room for passage on the sides of the ladder.

Having confirmed that the ladder was properly laid out, I laid out two fastener locations at each side of each step, then dry-assembled the ladder with screws after first rounding over the top edge of each of the three steps.

I test-fit the assembled ladder in the boat a final time.  I simulated one of the galley fiddles to show the juxtaposition, and to mark the height of the fiddles against the ladder.  Later in the process, I’d cut the rails to this final height, but not yet.

Happy with the ladder, I returned to the bench, disassembled the ladder, then reassembled it permanently with epoxy adhesive to secure all the treads in place along with the screws from each end.  I bunged the screw holes.  Then, I cut trim to surround the top tread, matching it to the galley fiddles in profile and keeping it flush with ladder rails.  This trim projected 2″ above the counter height, the same as the main galley fiddles.  I set the ladder aside to cure fully.

Next, I ripped a series of teak boards into two inch wide strips, then resawed them into 1/4″ thick planks for the cabin sole.  With all the planks milled, I chamfered a relief into the top edges of each board, just a simple small angle that would form a v-match when the planks were butted together.  This was just hand work with a sanding block.

In the afternoon, I started with another coat of gloss varnish on the bulkheads and main cabin fiddles.

For the remainder of the afternoon, I milled additional teak into 1-1/2″ wide strips that I then cut into shorter lengths as needed for the various cabinet doors in the cabin.  Then, before the end of the day, I had time to glue up a number of the door frames into their final shape, using epoxy adhesive, leaving just a few more to be assembled next time.

Calliope Girl 102

I began with a quick, light sanding of the epoxy around the cabin sole.  This was the last work required for now, till it was time to install the teak planking.

Next, I finished up the wiring in the galley, including installing the propane vapor alarm and wiring at the base of the galley cabinets, along with the solenoid wires and propane system power supply, plus the fuel gauge, where I was able to pull power from a repurposed circuit left over from the original propane system, but not required with the new setup that combined alarm and solenoid control in a single unit.  Later I’d come up with a cover panel to close off the wiring area inside the upper galley cabinet.

I decided it was time to start some varnish work on the bulkheads and trim in the main cabin so far.  I liked to keep finishing work underway and in manageable amounts, and though there was more trim to come, there was nothing stopping me from moving forward the existing staving and fiddles.  So after cleaning and masking around the wood I planned to varnish (all of which was already sanded and otherwise ready), I applied a base coat of gloss varnish to these areas.  I expected to do 2-3 additional build coats of the gloss varnish on the wood before switching to the final coat of satin varnish thereafter.  I also did the fiddle trim on the v-berth step, along with the new teak step itself.

In the meantime, I had plenty to do in the woodshop, continuing with the companionway ladder.  I started by cutting two side rails to 6″ wide and long enough for the job, with some extra at the top end so I could finalize the height to match the fiddles later.  I confirmed the countertop height with one of the side rails in position in the boat to ensure the top step/platform ended up exactly where needed.  To provide for this top step, I glued up a blank from two narrower pieces of teak to give me the dimensions I’d need for the final piece.  Then, I figured and laid out the positions for three dados required in each side board to locate and support the treads.


I milled the shallow dadoes with a small router, first building a simple jib from plywood to align and guide the router to make the required slots.   Of course the jig didn’t work for both sides of the ladder, as they were reversed, so I had to reconfigure things to do the slots in the second board; I should have anticipated this but didn’t. The slots were just wide enough to accept the 3/4″ treads.  This left me in good shape at the end of the day so next time I could cut the treads and top platform to size and assemble the ladder.

Calliope Girl 101

The epoxy lining the cabin sole required a light sanding.  This left some low areas that I planned to fill again late in the day.

Next, I installed the three shelves in the hanging locker, a small task that had been pending for several days just awaiting the right moment.  I immediately put the shelves to use to store tools and supplies that were otherwise cluttering up the settees or galley.

With the new cabin sole now in place, I turned my focus on the companionway ladder.  The owner had in mind a ladder that rested upon the galley countertop, where the top step was the main support and was surrounded by its own fiddles so that the step remained separate from its surrounds.  Working just from this description and the confines of the space at hand, I built a plywood and hot glue mockup of the steps, choosing a 13″ wide step (and inside dimension) that would still allow access to the sole bilge panel beneath.  I milled some scrap plywood to 1/4″ thickness to stand in for the final layer of the sole, which would eventually be 1/4″ thick teak strips, and divided the height equally to provide for two steps below the countertop step.

I made the side rails 6″ wide, and at a 17° angle off vertical (or perhaps it’s 73° off the sole), which angle I took from my terrible-but-at-a-good-angle construction ladder, and the steps I cut for the mockup were 7″ deep, which seemed to project a bit further from the face of the ladder than I thought they should in the final analysis.  I mistakenly glued my support cleats on the wrong side of one of the panels but left them in place as it was too much trouble to remove them, and they didn’t affect the purpose of the mockup anyway.

Around the top step, which was 10″ deep by 13″ wide, I installed a 2″ high fiddle to correspond with the height of the galley fiddles that would surround the ladder eventually, which would be 3″ high in profile with 1″ below the countertop.  I included some short sections of plywood to simulate these as well.

Immediately upon installation, I saw that I could improve the ladder by making a plumb cut along the back edges, which would bring the whole assembly correspondingly closer to the bulkhead to save cabin sole space and make the whole arrangement more compact.  As built, the steps projected 18″ forward into the cabin, which wasn’t as bad as it seemed in terms of galley access, but could clearly be improved.  In the photos, I marked a plumb line 2″ in, but in reality I thought I could nearly double that, leaving plenty of strength in the sides of the ladder (terminating the plumb cut anywhere above the first step would still provide full strength for the step installation) and pulling the ladder that much closer to the bulkhead, as well as providing support where the ladder rested against the vertical panel.

After discussing these and other aspects of the mockup with the owner, we agreed that the basic concept was sound enough to proceed with actual construction that incorporated the changes, so I looked forward to getting that underway soon.

In the meantime, I turned to the galley, where I was anxious to install the various electrical components in the upper panel and finish up the related wiring as needed.  I made progress, eventually reconnecting and reinstalling the bilge pump switch, pump counter, and high water alarm as well as the basic panel installation for the propane system, but this all took longer than I’d hoped, first sorting out the wiring itself, then some frustrations with wires that were slightly too short–possibly because of how I’d run and secured the bundles below in the engine room–and the resulting collection of required tools and parts and fasteners to lengthen the wires in question and finalize the installations.  I also had to figure out the home of one mystery wire, which didn’t go to any o the gauges and was unlabeled.  Eventually, after reviewing older photos closely, I found it belonged on a bare terminal on the battery switch panel.  In any event, after a couple hours, I’d hopefully gotten past the worst of it, and would finish up the remaining wiring (including the AC outlet, propane system connections, and the fuel gauge) next time.

For now, though, I needed to get back to the cabin sole where, after final preparations, I applied a quick second coat of thickened epoxy to the edges, just to clean up and make a smoother transition between the sole and the adjacent hull so that installing the teak planks would go more easily.

This didn’t take as long as I’d allowed for, so with the bit of time remaining in the day I cut and installed some cleats beneath the teak step for the v-berth.  These cleats would slot in securely between the support cleats in the step opening, and help hold the step securely while maintaining ease of removal.


Calliope Girl 100

Anxious to have a flat surface in the boat once more, I wasted no time getting the cabin sole panels installed, using epoxy adhesive on the floors and cleats, along with screws to hold things securely.  Once the side panels were installed, I cut and fit two hatches for the center to provide bilge access.

In the head, I repurposed the teak grate panel that had come out of the sole that had been there when the project started.  Using the grate as a guide, I laid out and cut the large opening in the sole.  The grate would rest upon the forward edge of the mast step platform, and portions of the forward two structural floors, though I had to add a 1-1/2″ thick cleat at the forward end to give the panel support, since the old mast step structure had extended a bit further forward than the replacement, which meant the forwardmost floor wasn’t exposed by the grate cutout.  With this all worked out, I permanently installed the forward section with epoxy and screws.  Later, once the epoxy was cured, I planned to create drain channels from the recessed mast step location towards the bilge just ahead, or possibly remove that entire small strip of plywood to the same effect.

Next, I filled the gap at the edges where the plywood met the hull with a thickened epoxy mixture, tying everything together and providing a consistent surface over which I’d later install the final teak facing for the sole, including on the exposed hull edges.

I chose to run the head sole a bit forward and beneath the removable step panel to the v-berth, and earlier I’d made a mark on the panel at the appropriate height so I could cut it to fit.  Now I added 1/4″ to the mark and cut the panel that much shorter, and took a few moments to cut and fit the final teak step to fit in the recess.

In the afternoon, I finished up the installation of the foredeck padeye and water deck fill, along with the associated hoses for fill and vent.  Access to the tip of the bow from inside was a challenge, so I was grateful once I had the 3/4″ backing plate and nuts and washers fully installed.  For the hoses, I formed a loop from the vent fitting that extended up to deck level before the hose continued its run to the tank, to reduce the chance of water ingress.  It wasn’t possible to get a good angle for photos of these hose runs, but I did what I could.  I secured the fill and vent hoses out of the way as much as possible along the aft end of the locker.

To wrap up the day, I finished painting the bilge with the last section that I’d left undone before.

Calliope Girl 99

I lightly sanded the new tabbing securing the cabin sole floors at the ends, then cleaned up and dry-fit the two halves of the main sole.  This gave me a chance to mark the position of the center, removable panels, for which I chose 6″ off center on each side, or a 12″ total width.

Removing the panels to the bench, I cut a 12″ wide strip of plywood and used it in conjunction with my layout and alignment marks to cut the center portions of the sole out.  I’d cut the removable center panels to their final sizes later, once the sole was permanently installed.  Meanwhile, from some scrap I cut two spacers 12″ wide and long enough to span two of the floor supports that I could use up in the boat to properly position and align the fixed side panels, ensuring the open center section was consistent and exactly where it needed to be.  I dry-secured for now the panels at each bearing location with screws.  The center panels would provide good access to all areas of the bilge when all was said and done.

For alignment purposes when the time came for final installation (with adhesive), I installed hot glue blocks on the framing members at the edges of every cutout.  Though the screw holes would help keep things aligned on their own, I thought the blocks would help make the initial stages of installation easier once messy epoxy was brought into play.

Before removing the main cabin panels, I templated and then cutout the plywood substrate for the sole in the head.  As part of this process, I laid out the position for the mast base (new anodized aluminum base had finally arrived after months of waiting), and cut out a portion of the head sole to allow clearance (not shown in these photos, but visible further down the page).

Now I removed the sole panels and, after cleanup and final prep, painted the bilge throughout the boat.  I had to leave one section mostly unpainted for now (I did the areas that would be mostly under the new sole), as there was too much going on in that particular section, and I had gotten too painted into a corner, as it were, with only the skinny floors to kneel on and nowhere to put anything or hang on.  The hot glue blocks I’d put in for alignment were fragile, so I had to avoid kicking or putting any pressure on them, and they were spaced in such a way that I couldn’t use the square of plywood I had on hand for temporary support, so I left this one section for later, which would be easy to do since access would be wide open.  I also epoxy-coated the plywood edges and underside of the sole pieces.

To fill the short time left in the day, I drilled and tapped and countersunk for the fasteners required to install the water tank deck fill and foredeck padeye.  I’d wait to do the final install on these till I could traipse more easily through the cabin again, but it’d be a quick process then.


Calliope Girl 98

Before getting back into cabin sole work, I took a few minutes to remove all the masking from the upper galley.

Next, I lightly sanded as needed the epoxy work on the new floors, then cut fiberglass to fit as needed for the final tabbing to secure these floors to the hull at each end.  For now, I held off installation so I could continue working on the sole.

With some basic measurements in hand, I cut slightly undersized plywood  templates of each side of the main cabin sole, roughly to the centerline.  Ultimately, the sole would consist of two permanently-mounted pieces on the side, with removable panels down the center, so the important thing was to get the shape of the edges where the sole would meet the hull.   With the basic templates cut, I laid them in place in turn and scribed the edges to the exact shape.

Apparently I didn’t photograph the process on the port side.

I transferred the marks from this first set of templates to another piece of template plywood, and cut out what would essentially be the final shape of the actual sole, giving me one more chance for a test fit before committing to the real plywood.  I tested the new  templates in place after first installing a final support cleat at the aft end of the space.

At this point, I had enough to do off the boat that it was time to clean up and install the tabbing at the ends of all five cross beams.  First, I applied some more thickened epoxy to dress up the existing fillets at the ends, then wet out and installed the tabbing.

During what remained of the day, I transferred the final templates to a sheet of new ply wood and cut out the two sole panels, still oversized in the center so I could mark the final cuts for the center panels in place.  This would happen next time once the fiberglass had cured overnight.


Older posts Newer posts