Tuesday
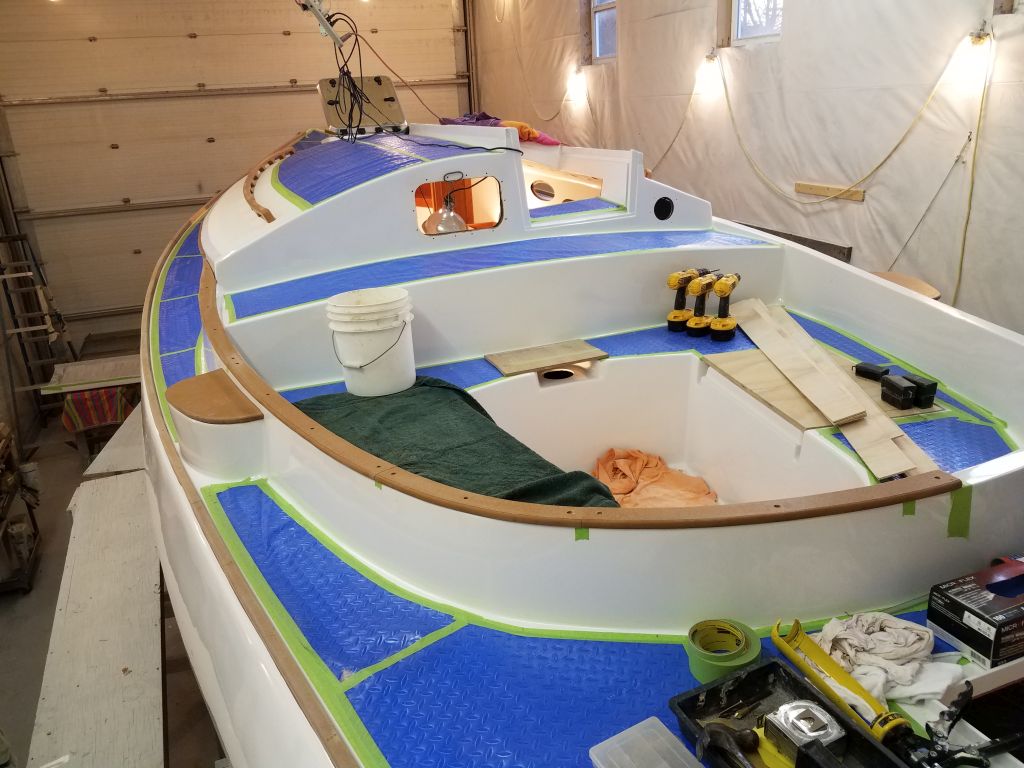
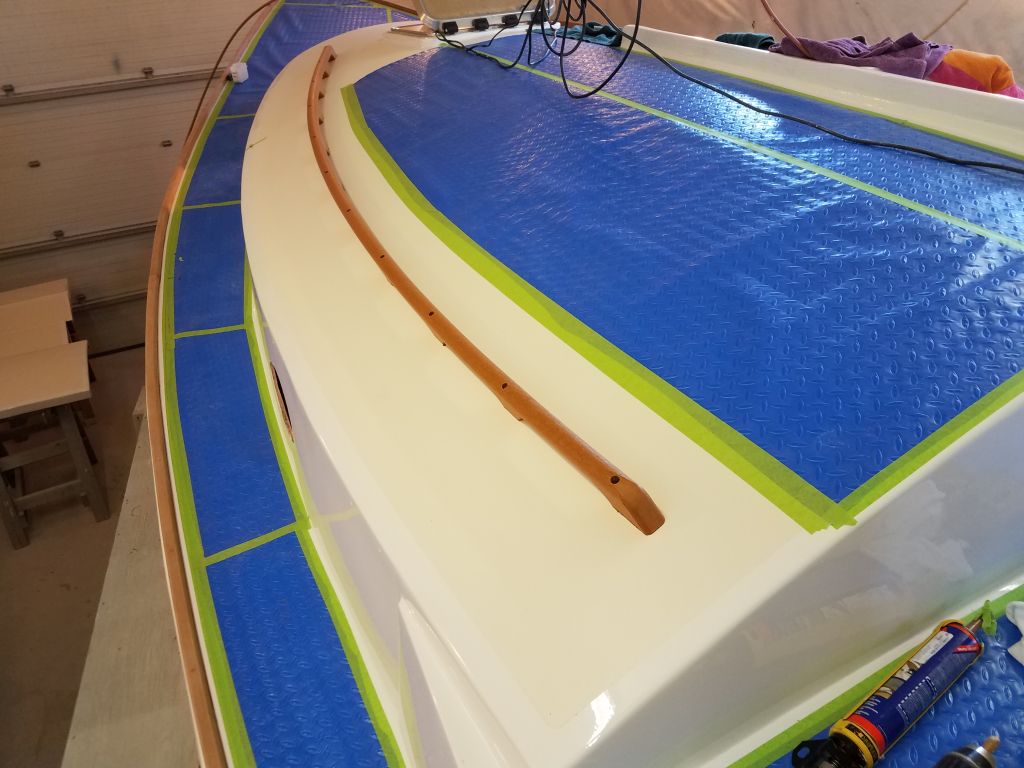
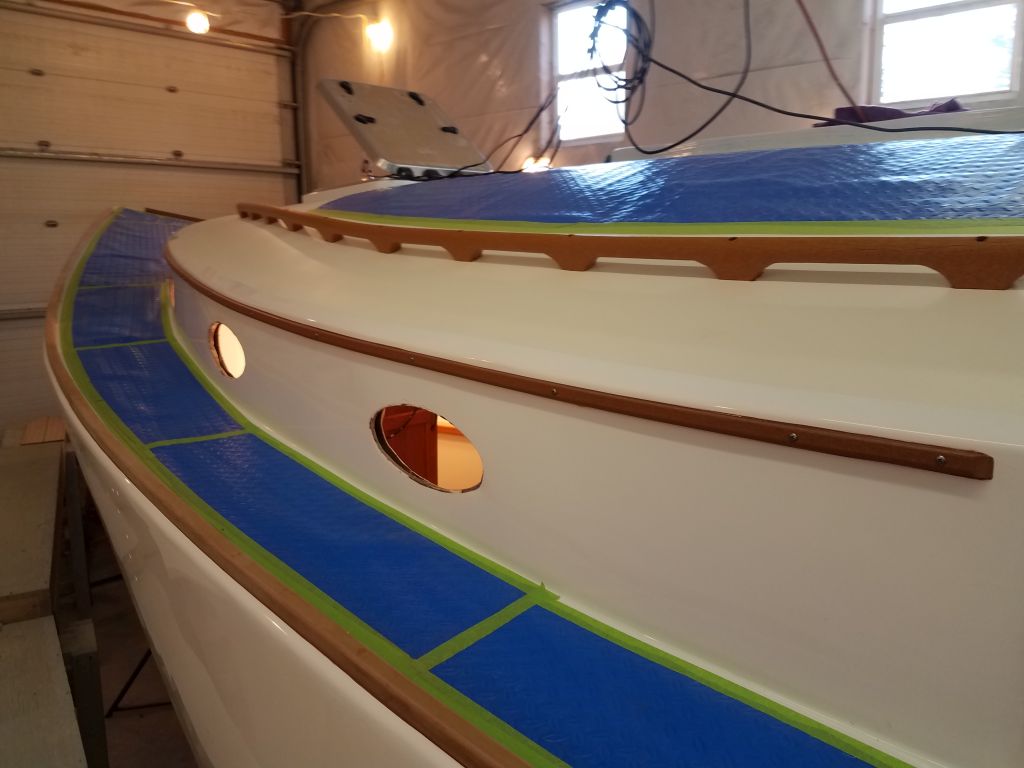
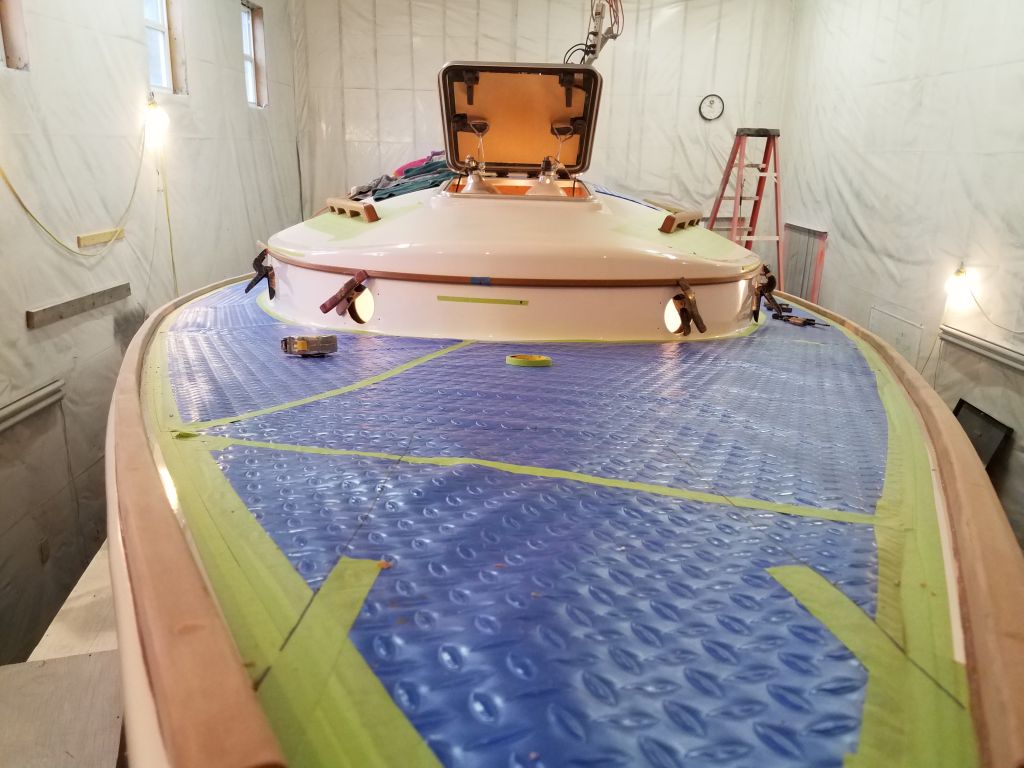
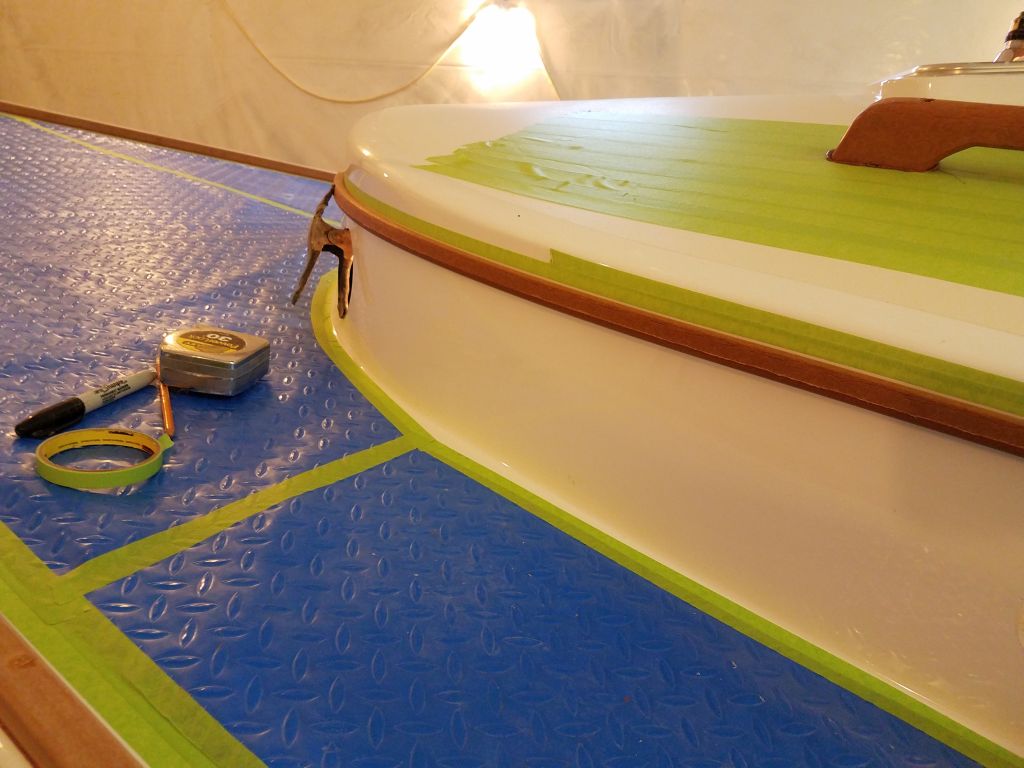
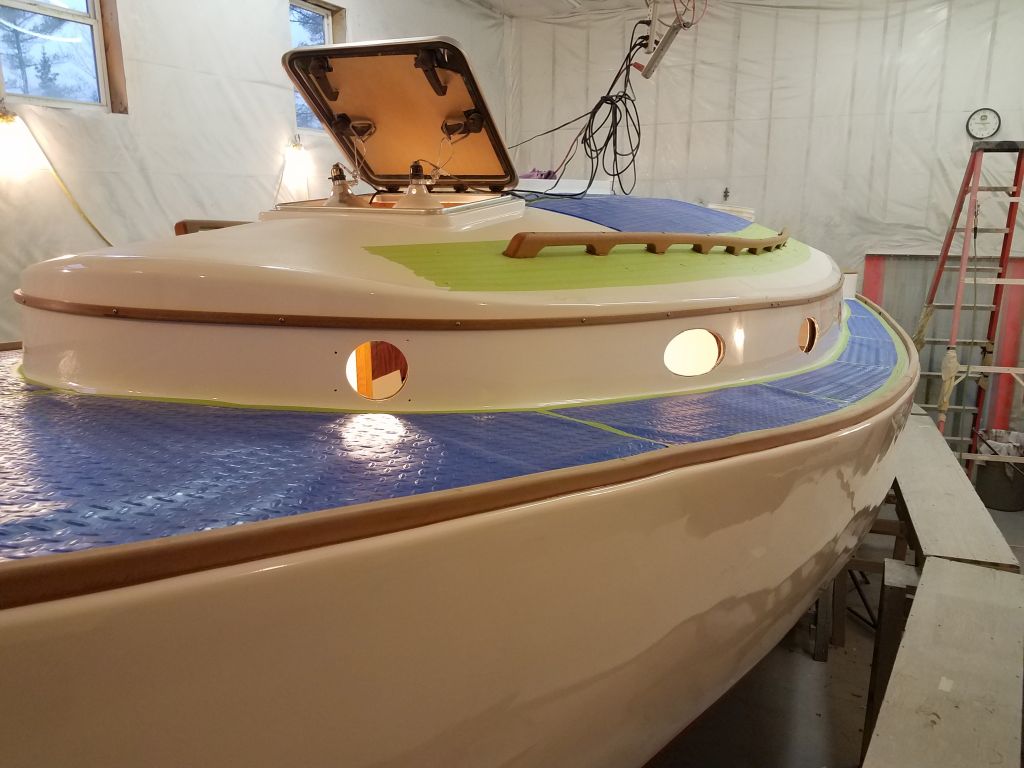
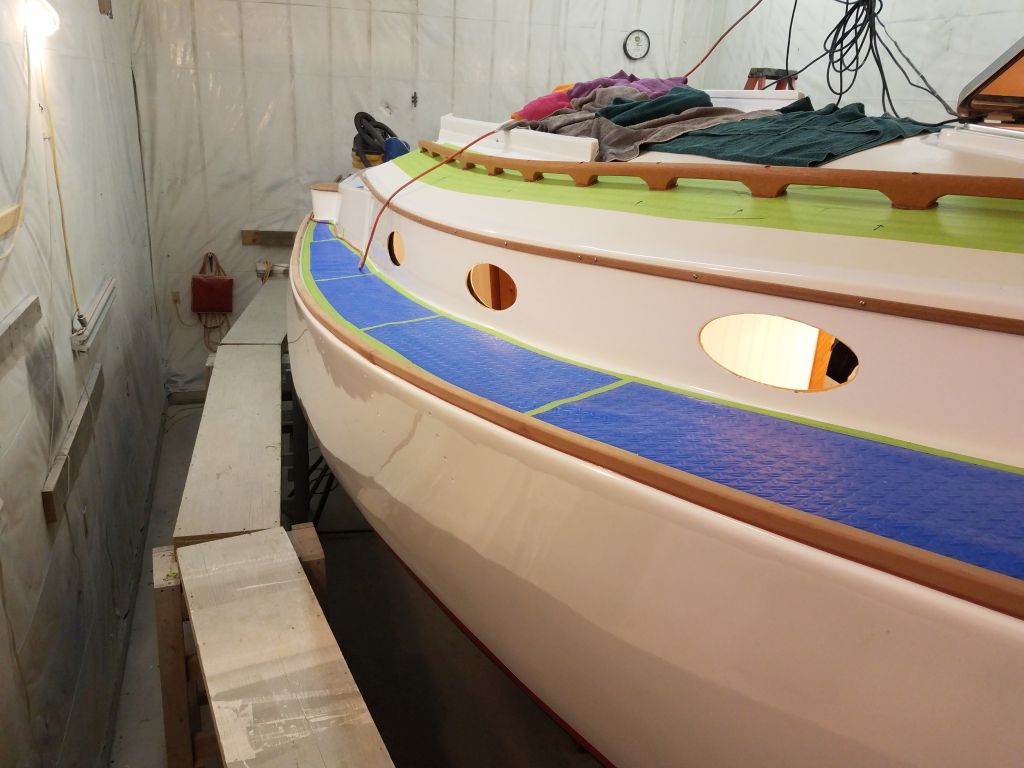
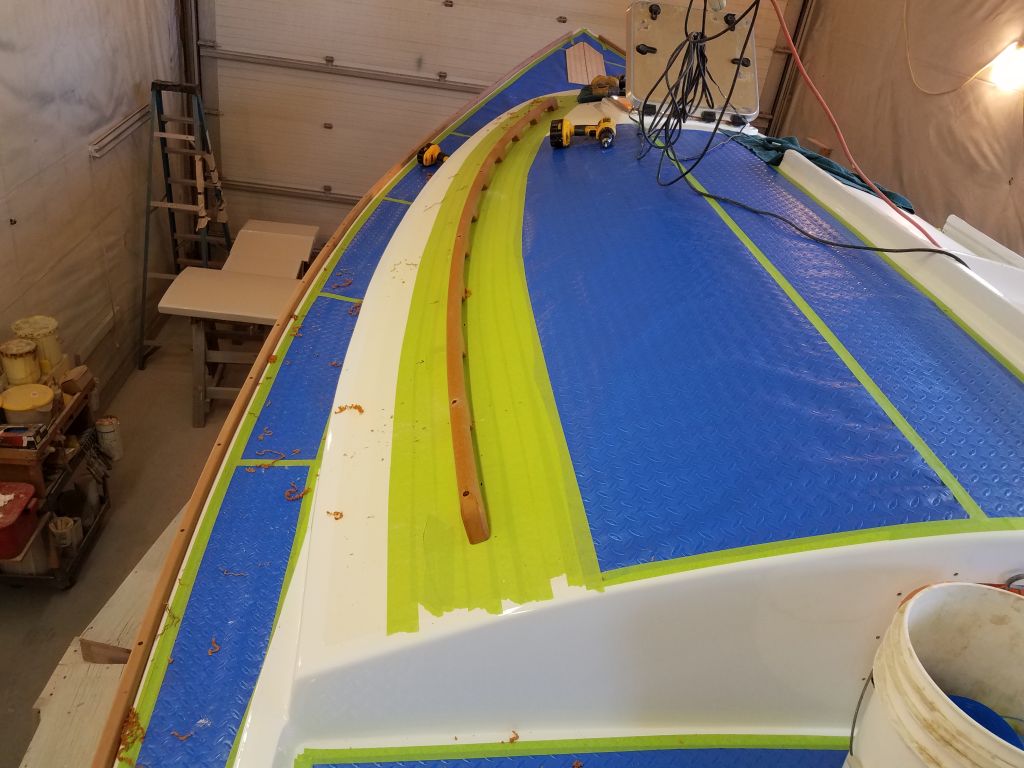
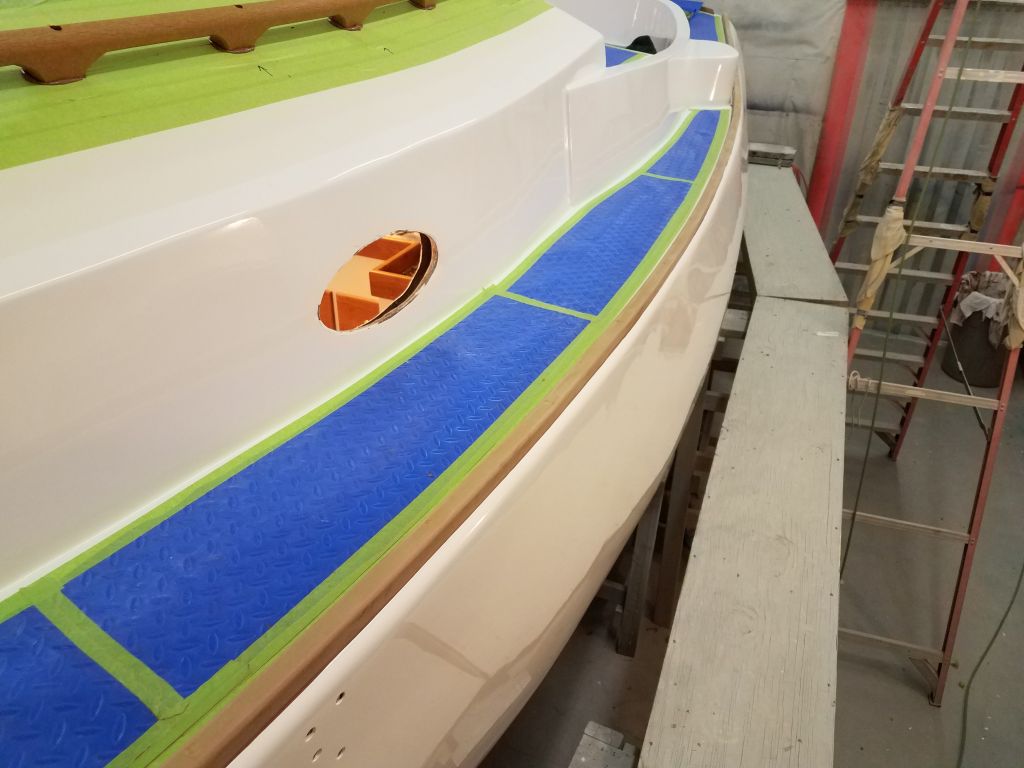
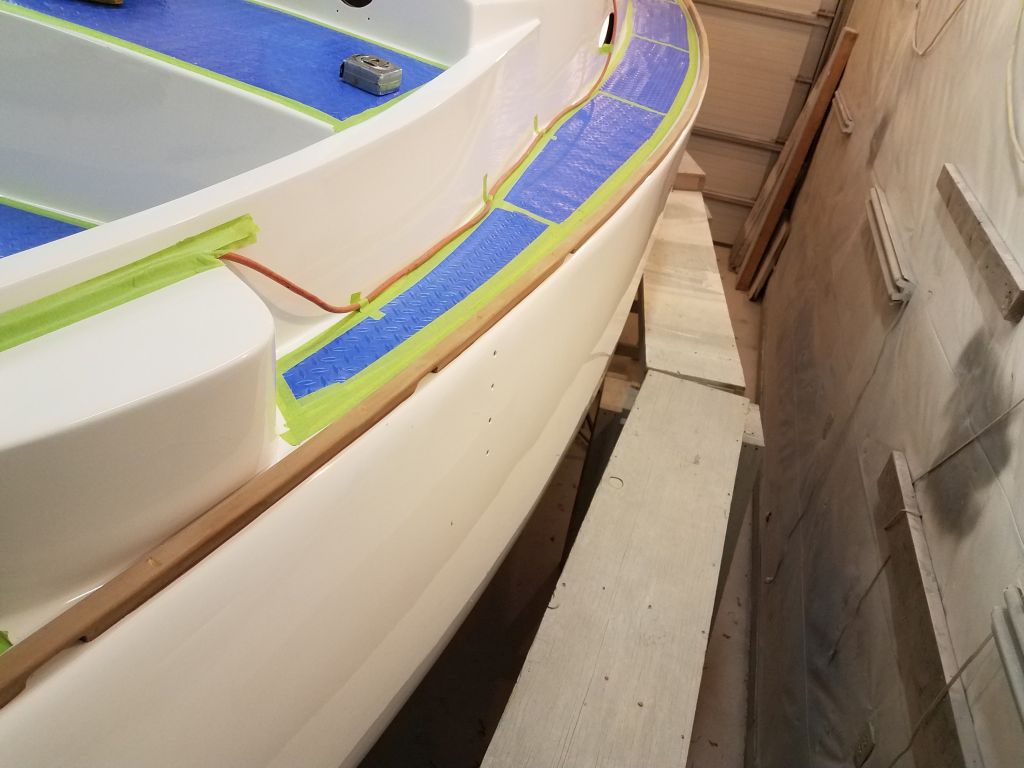
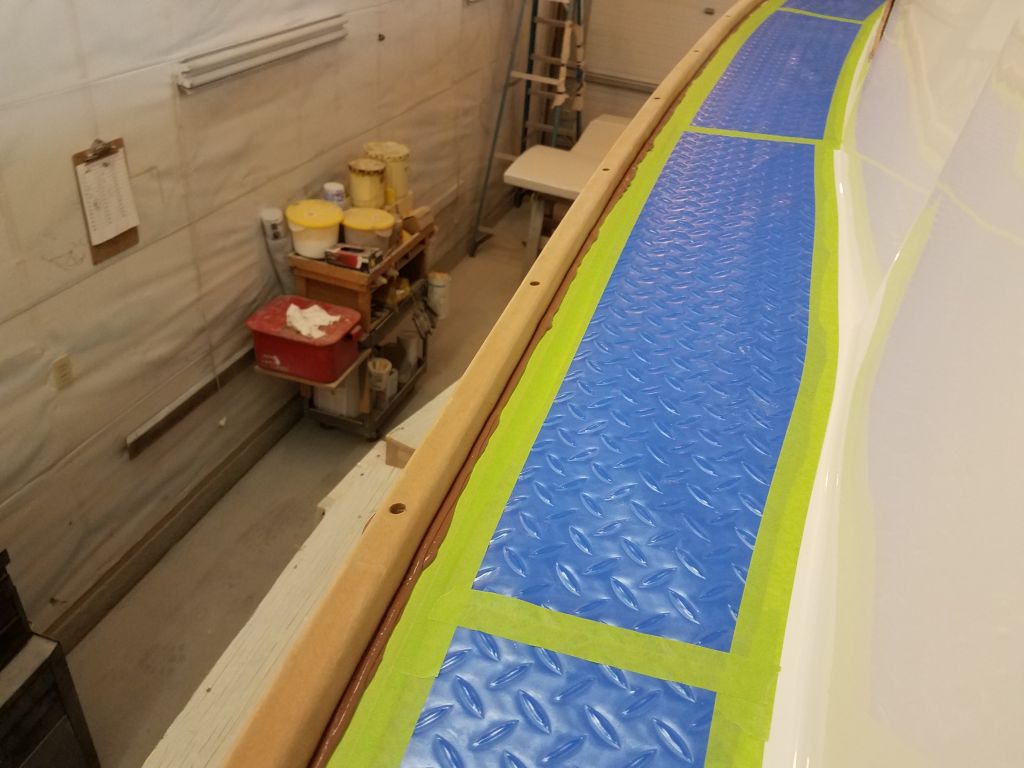
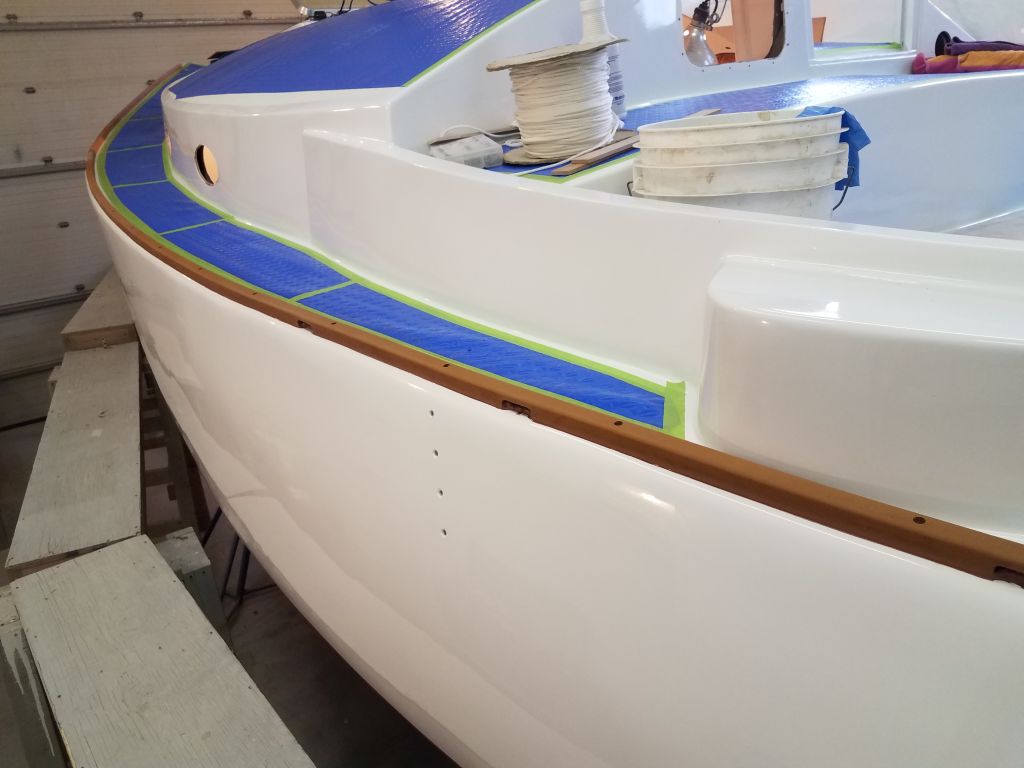
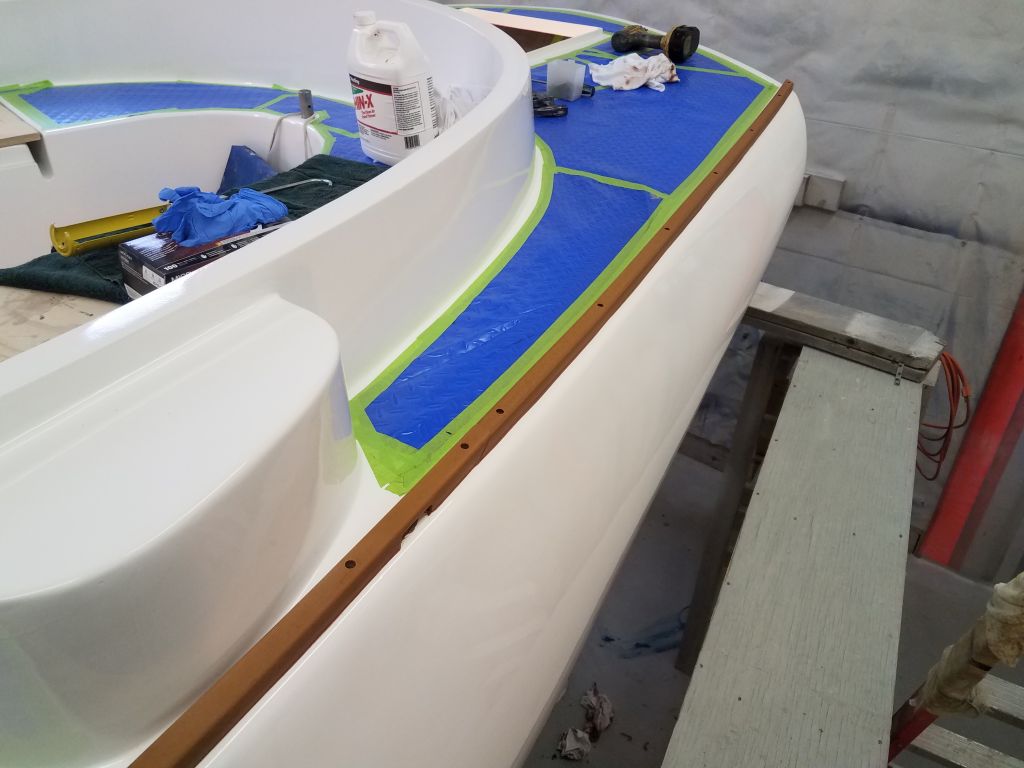
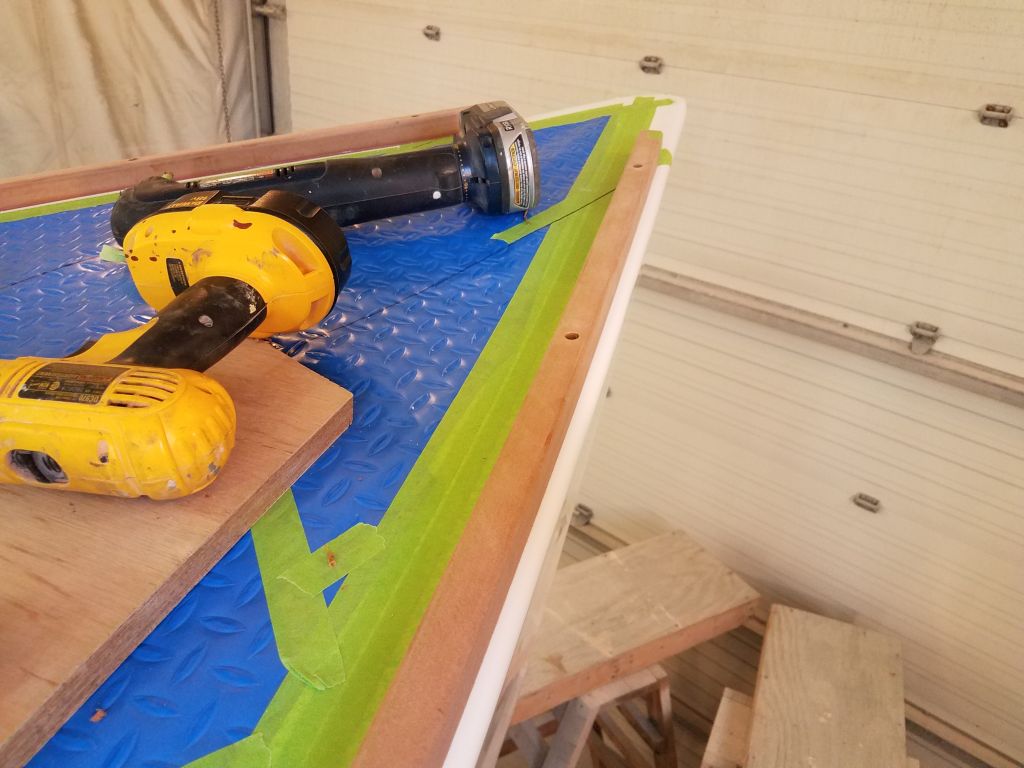
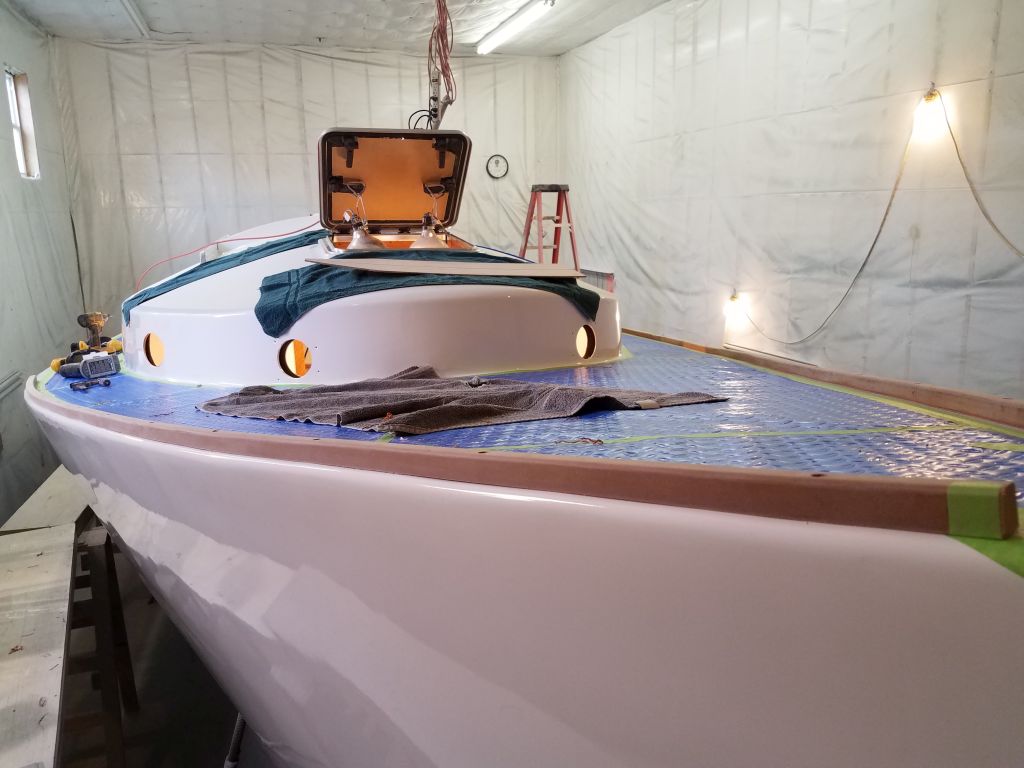
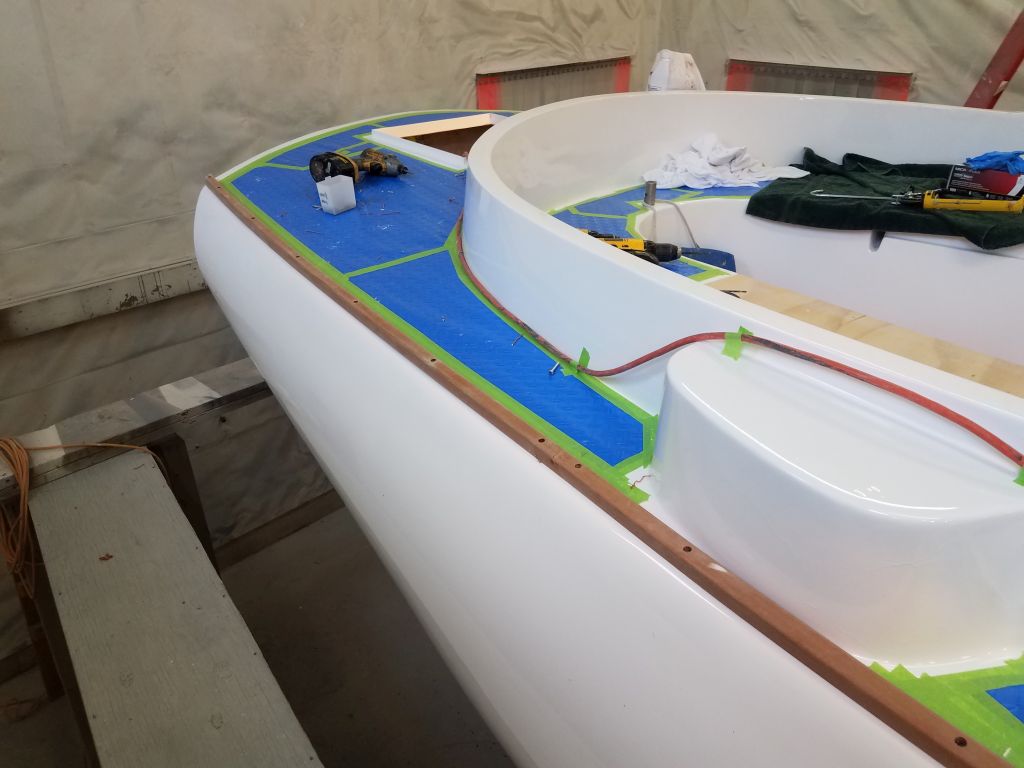
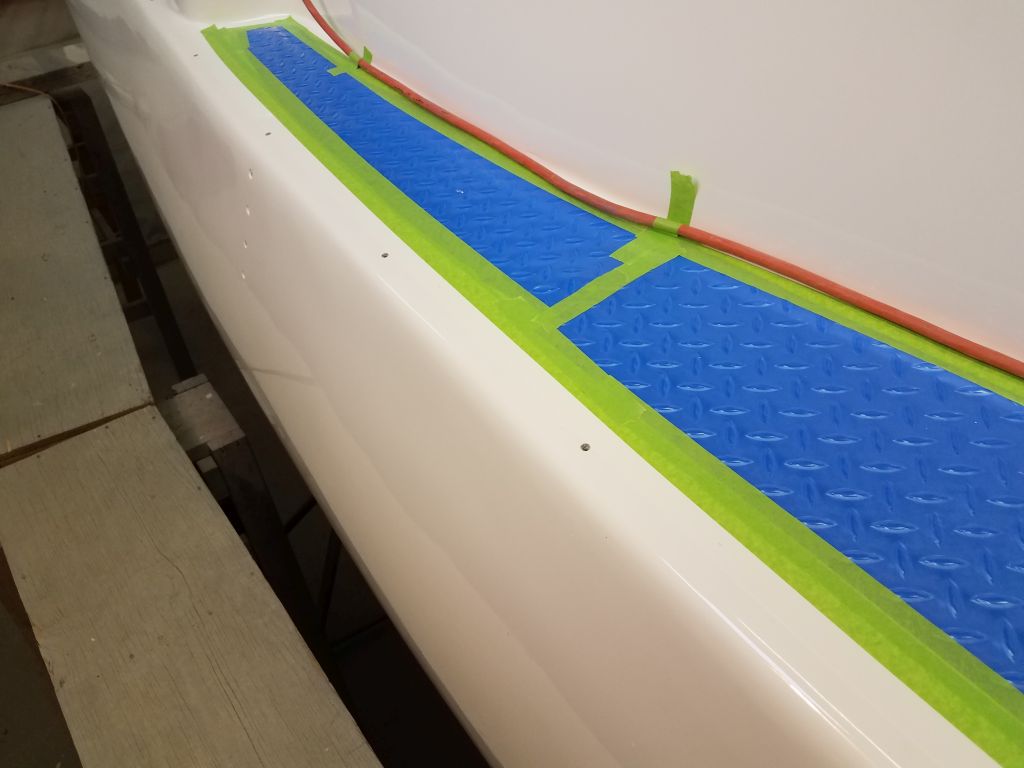
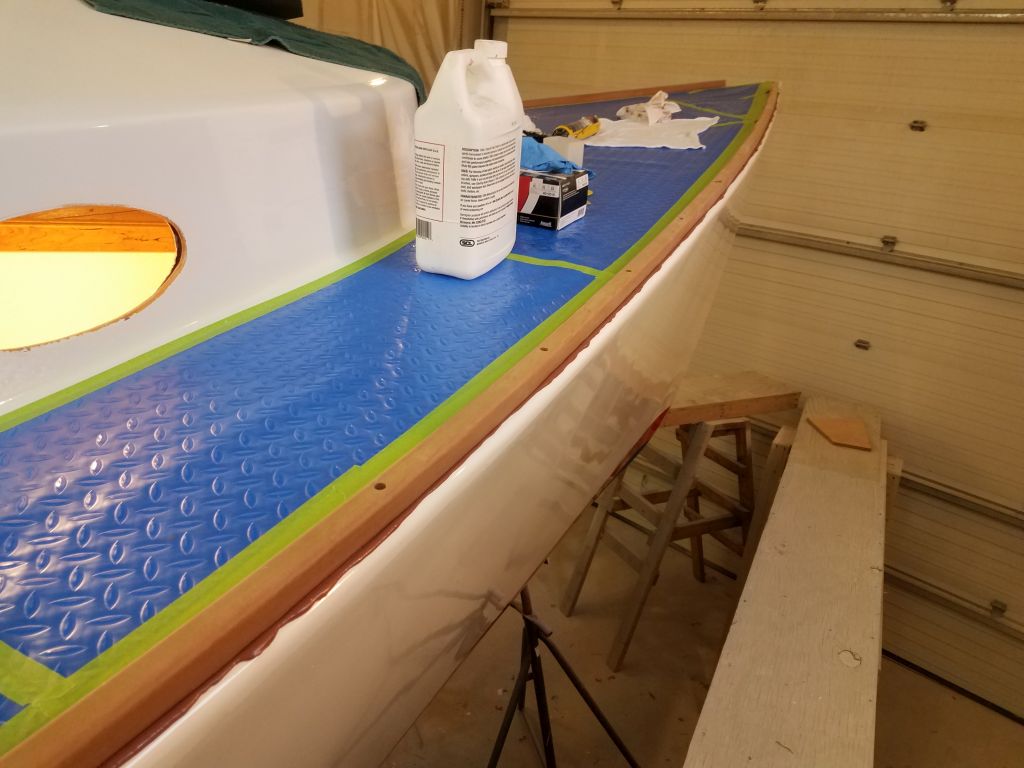
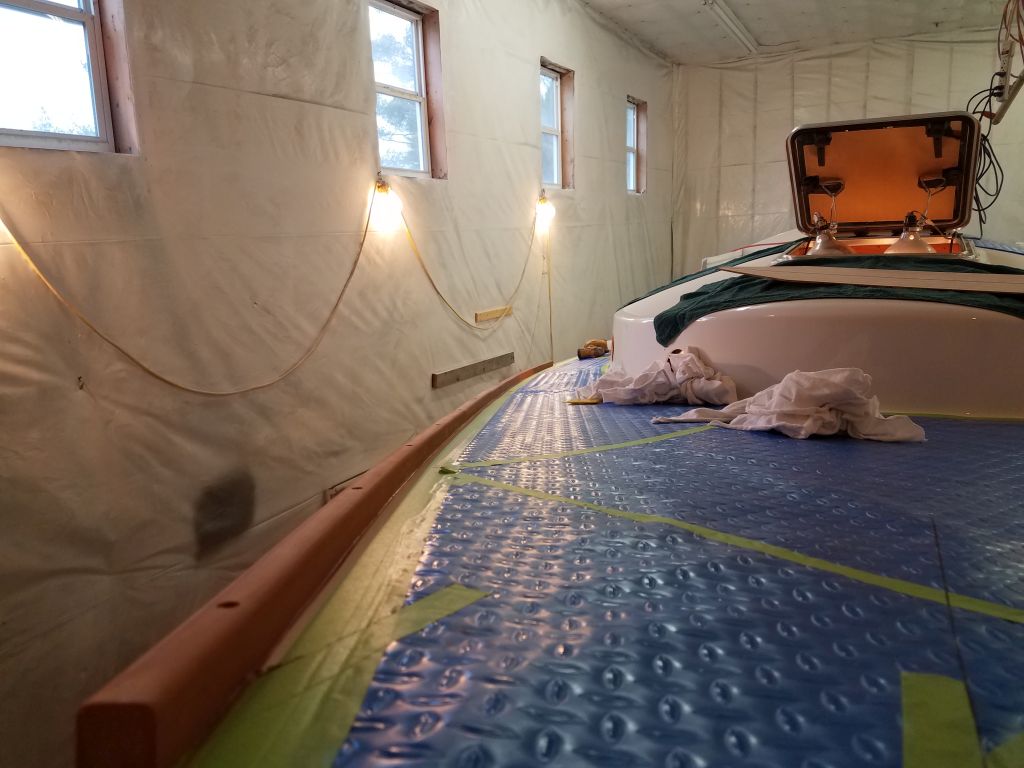
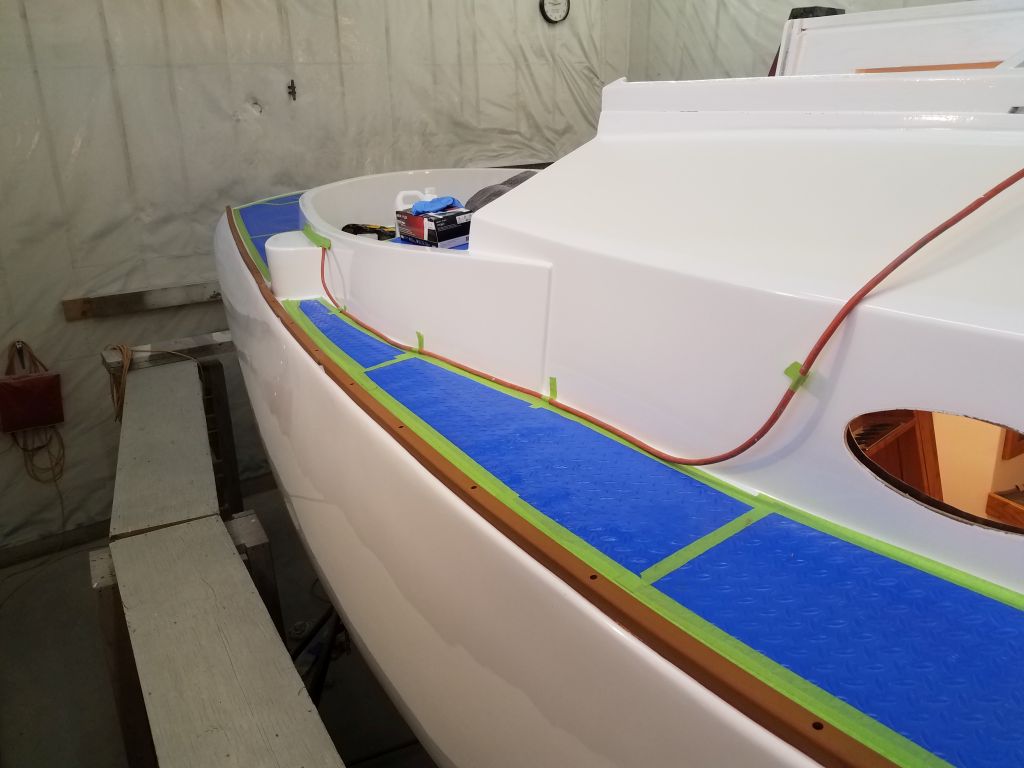
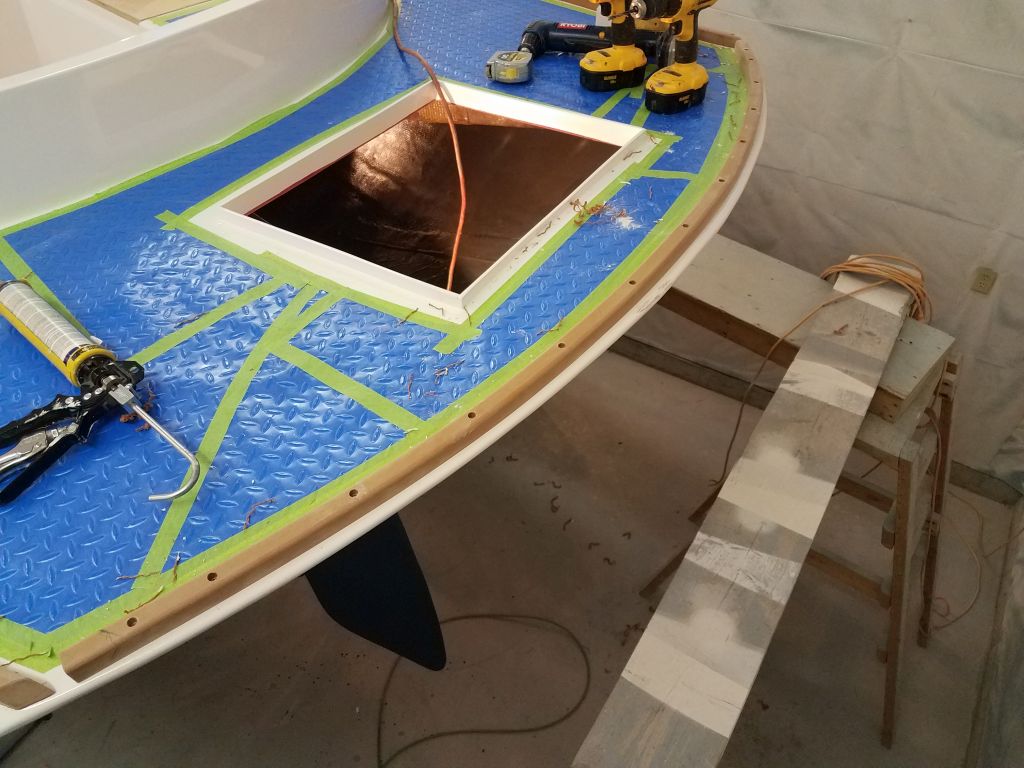
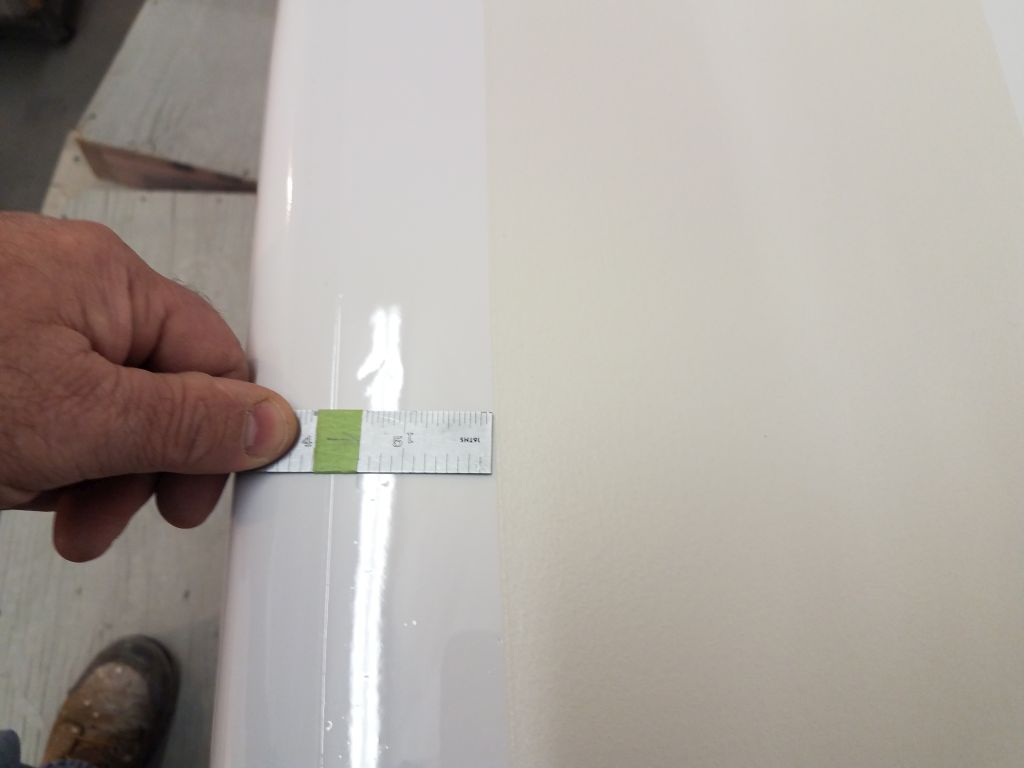
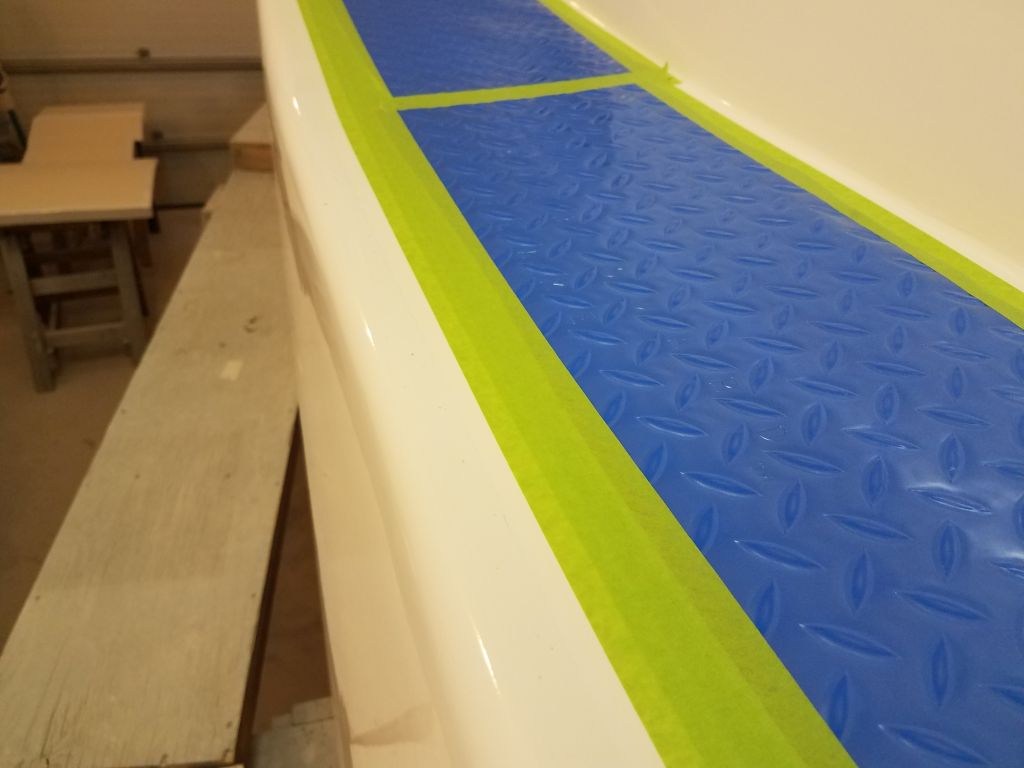
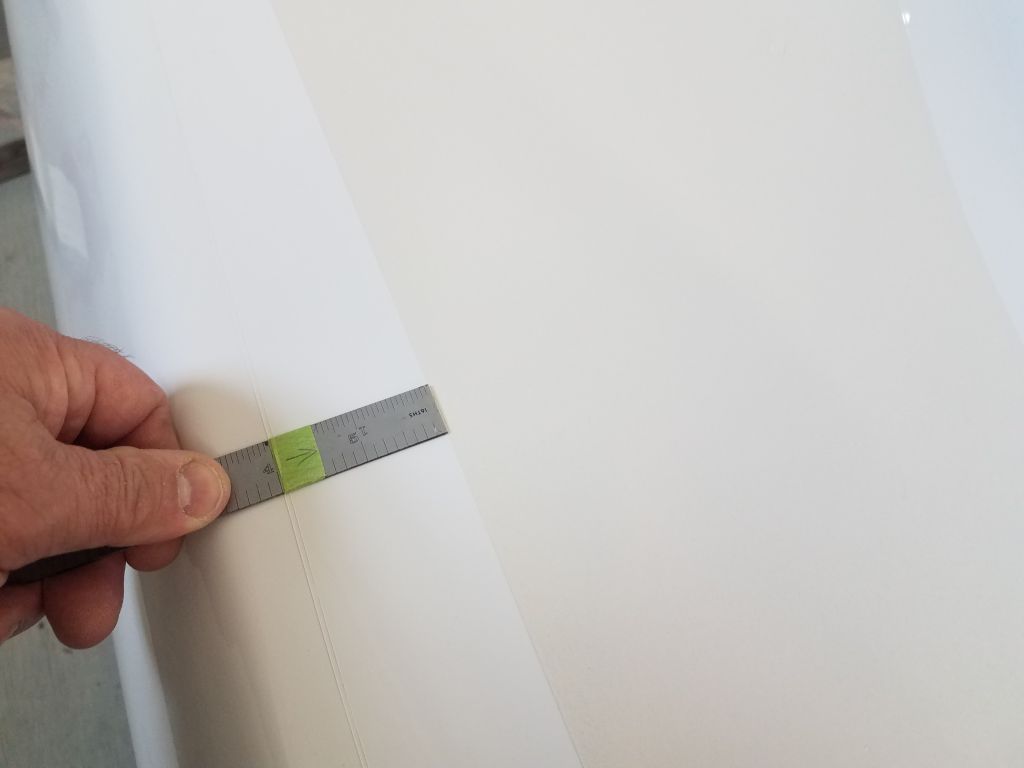
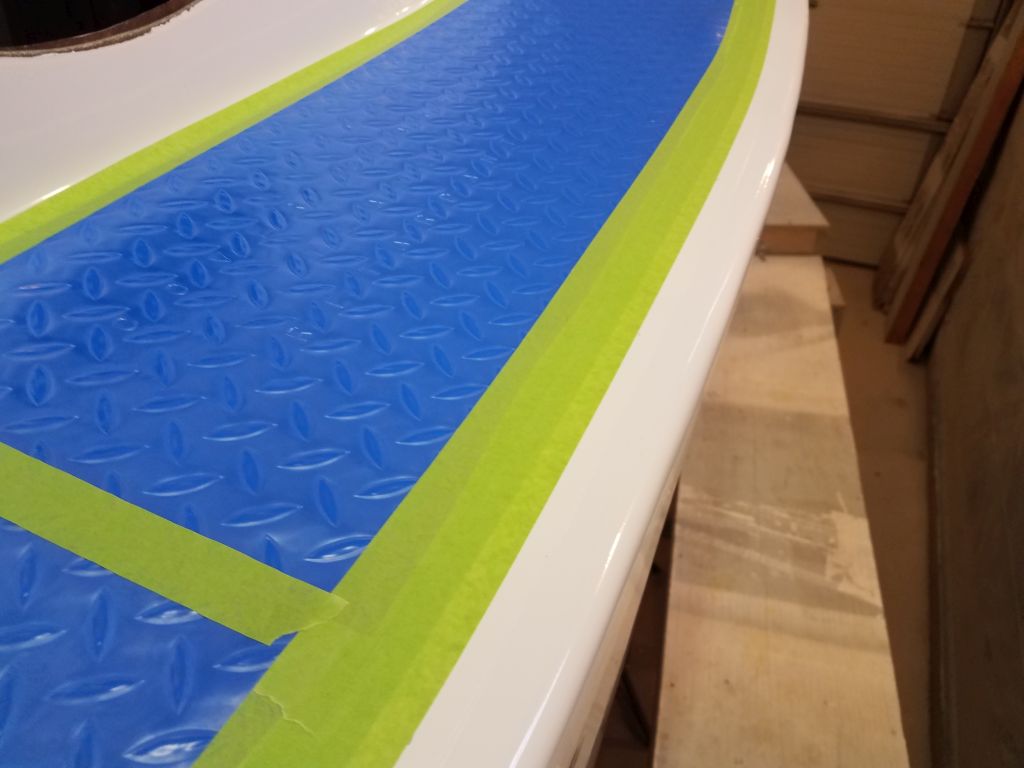
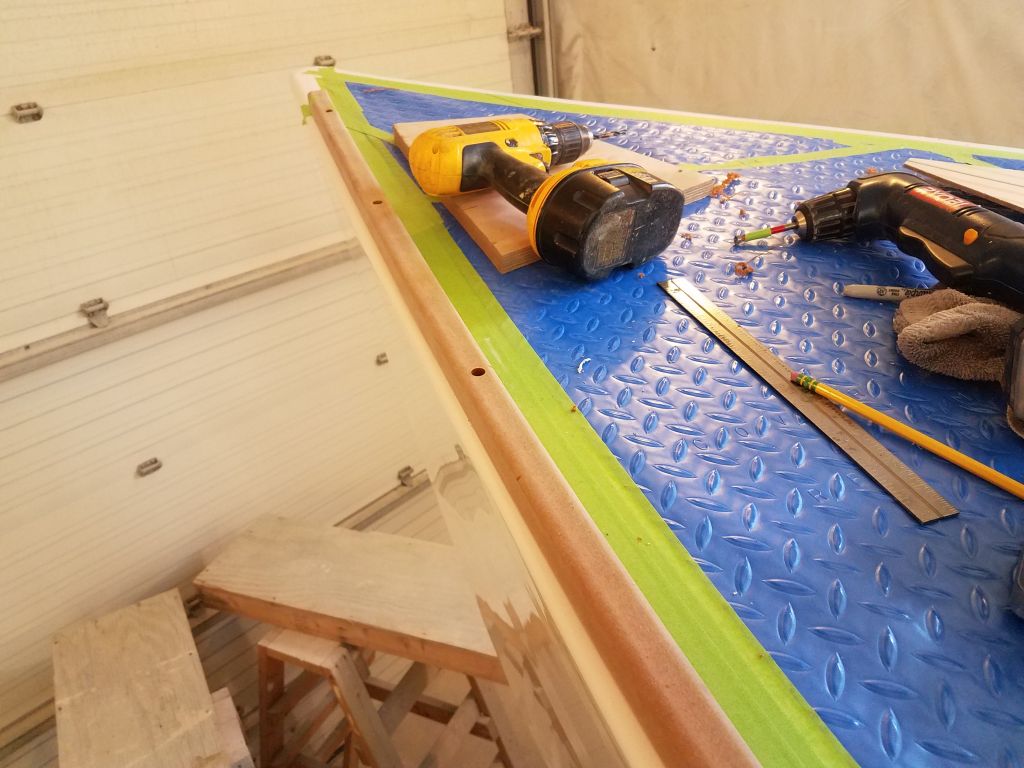
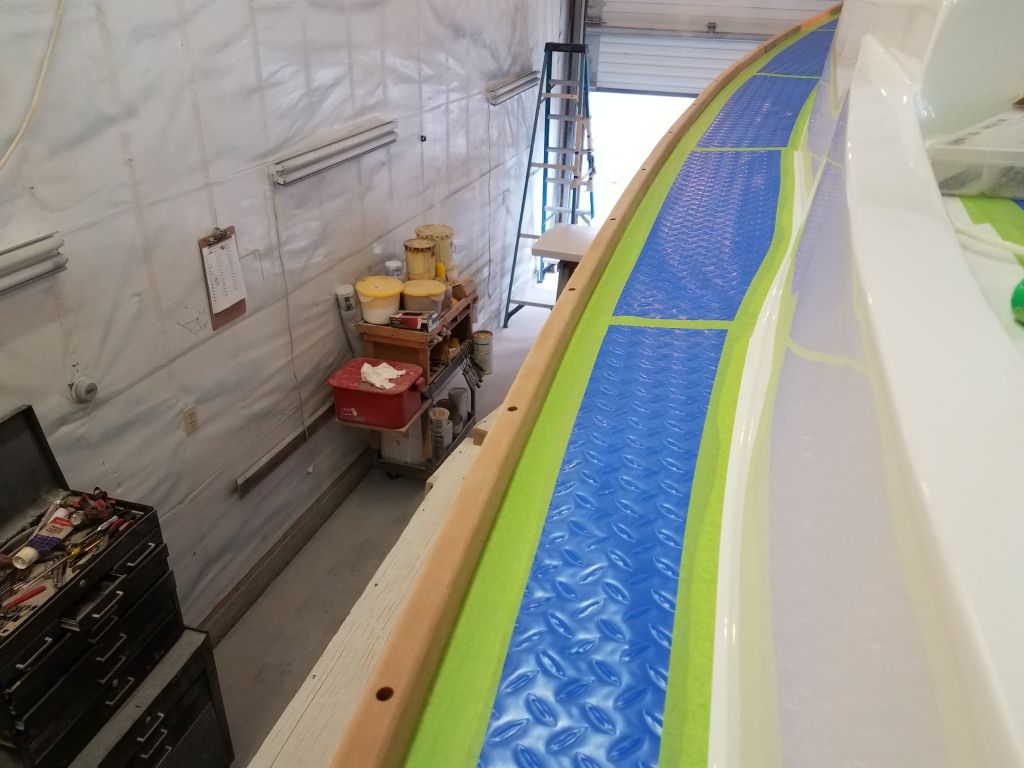
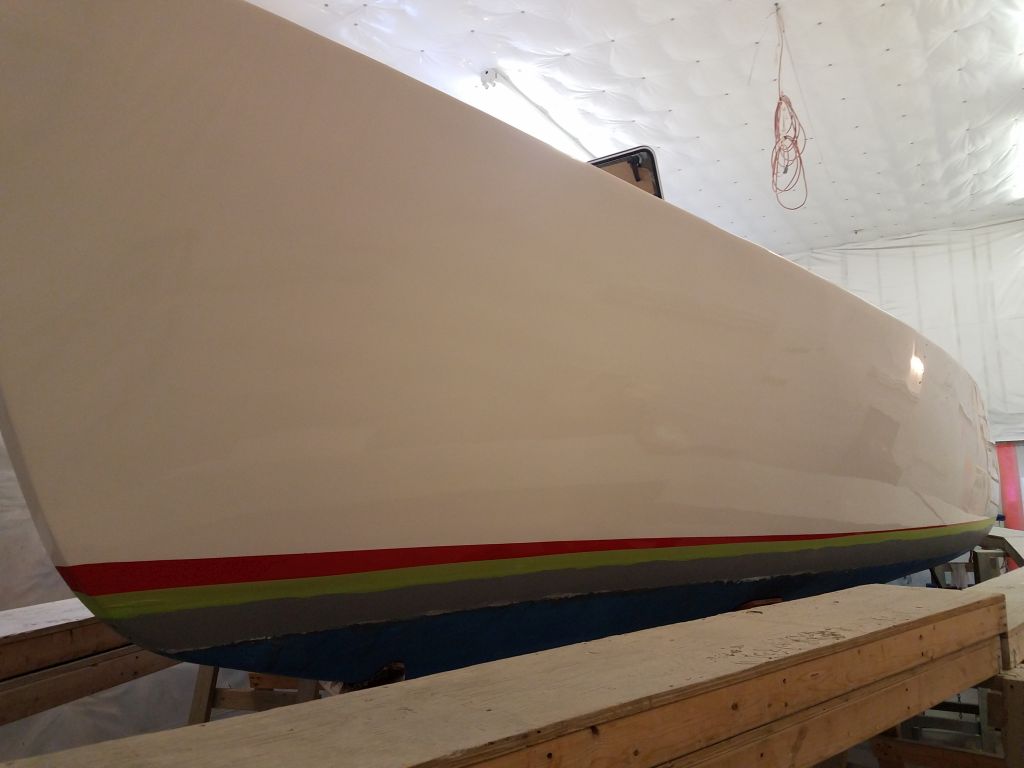
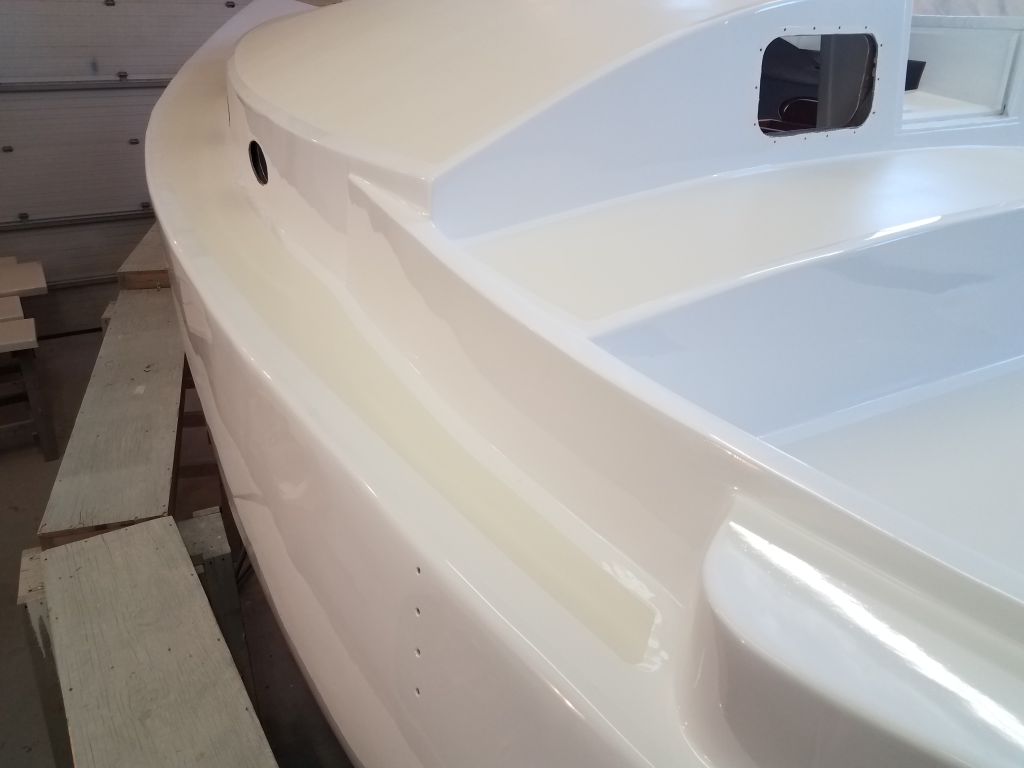
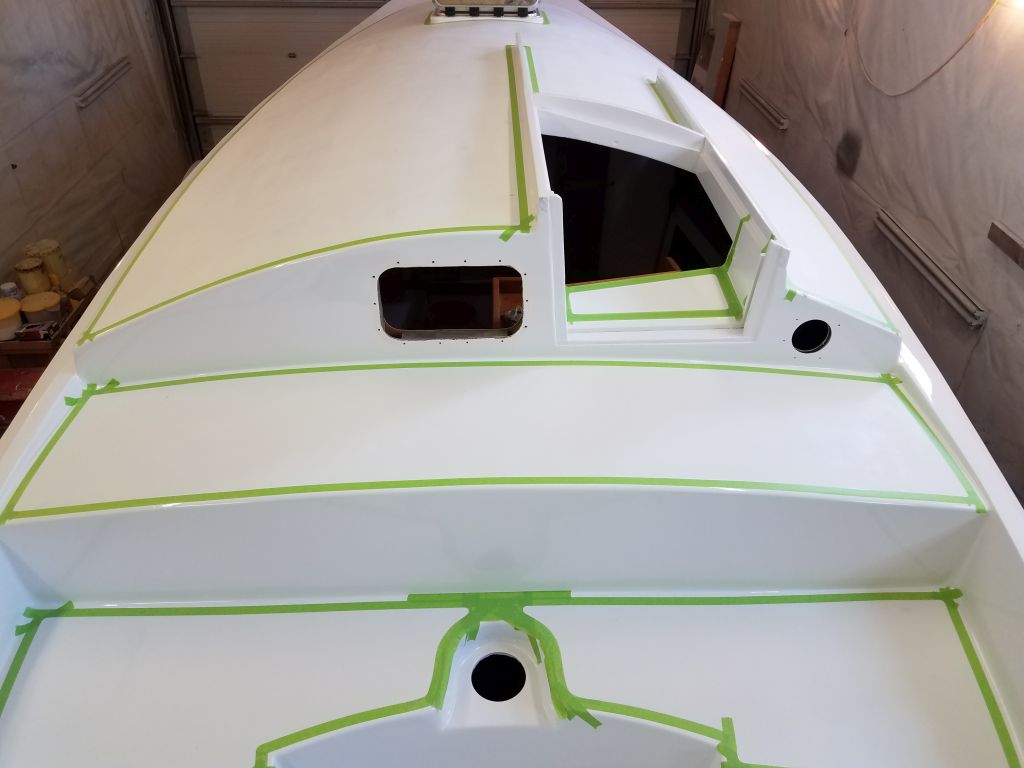
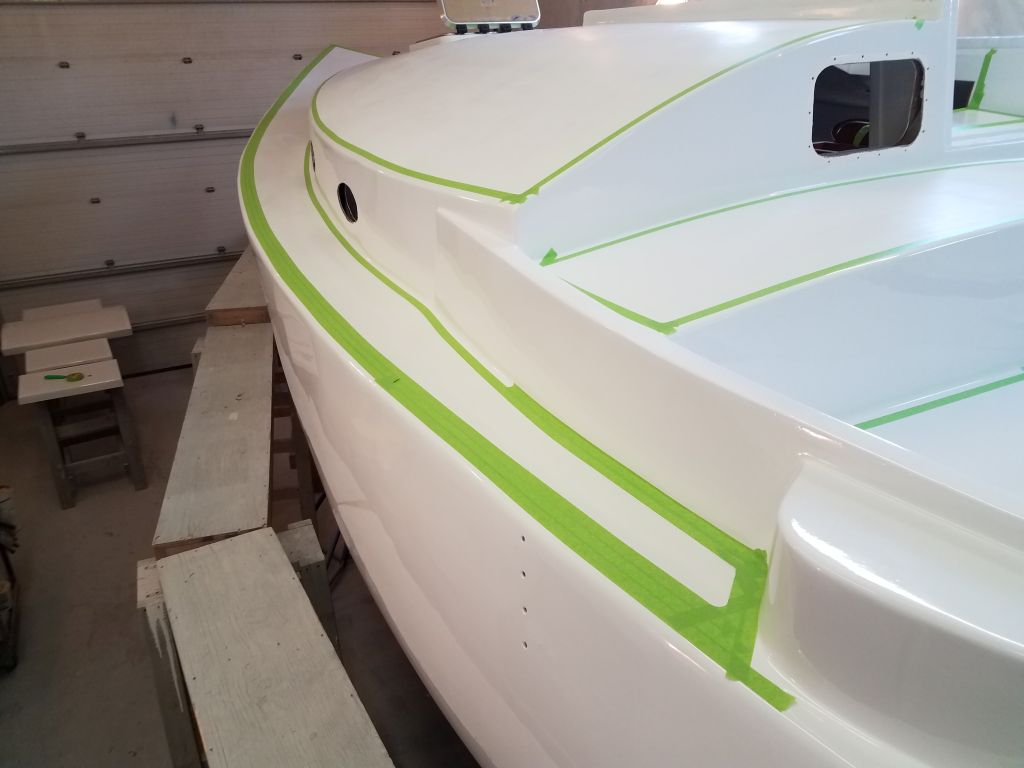
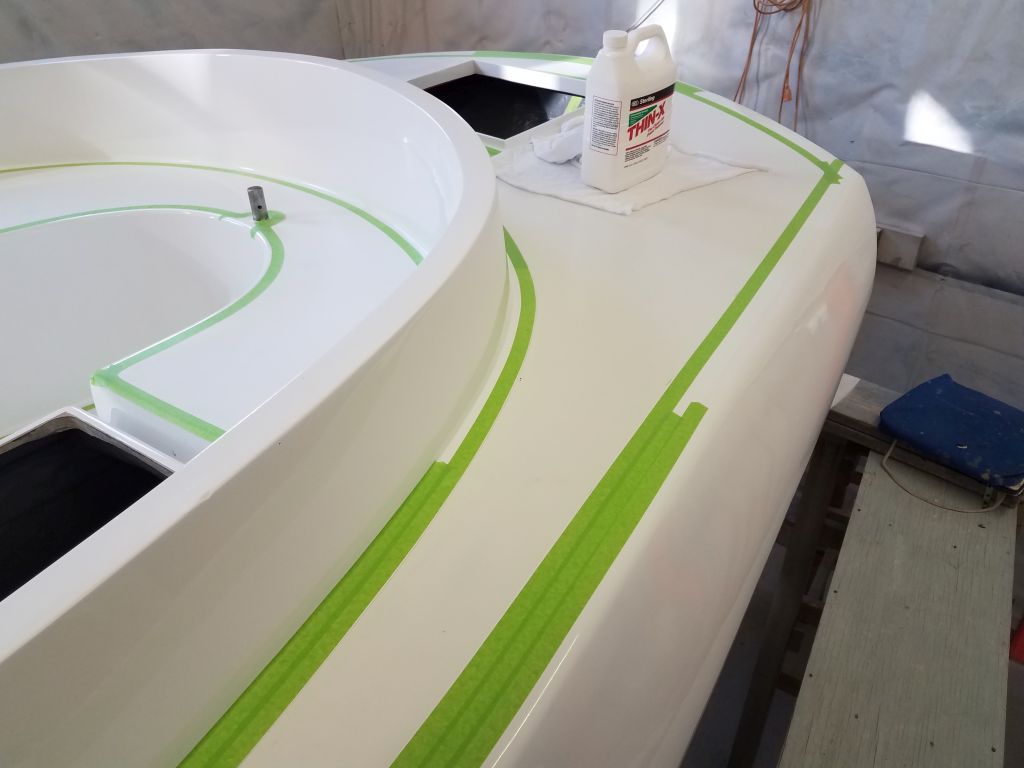
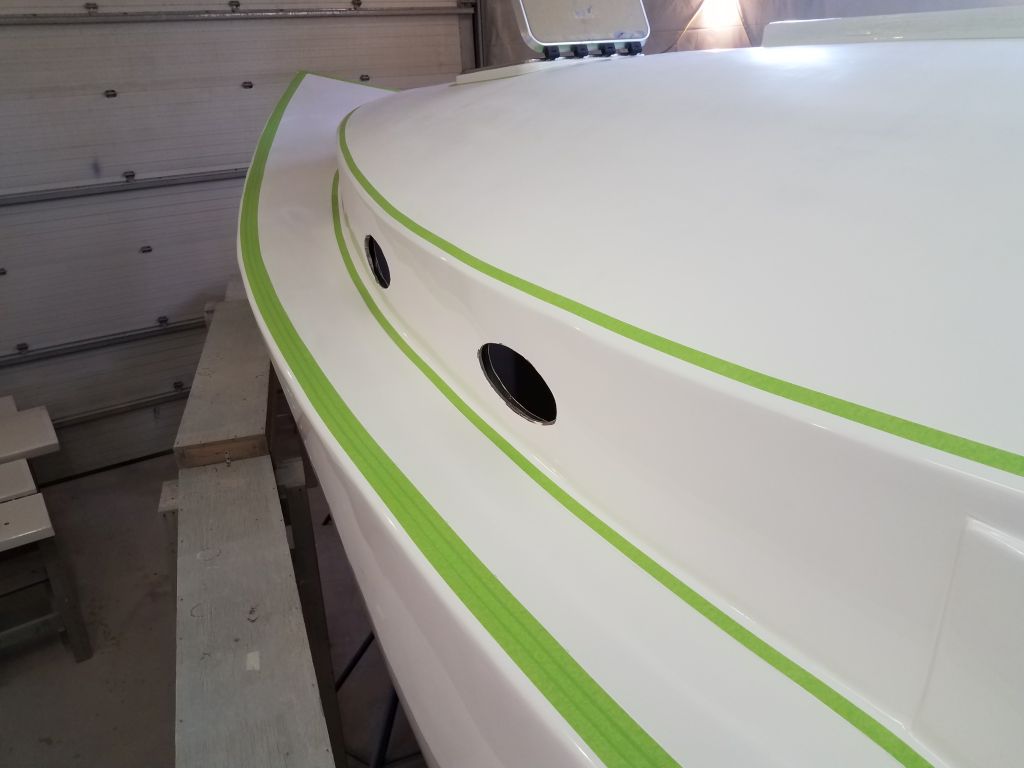
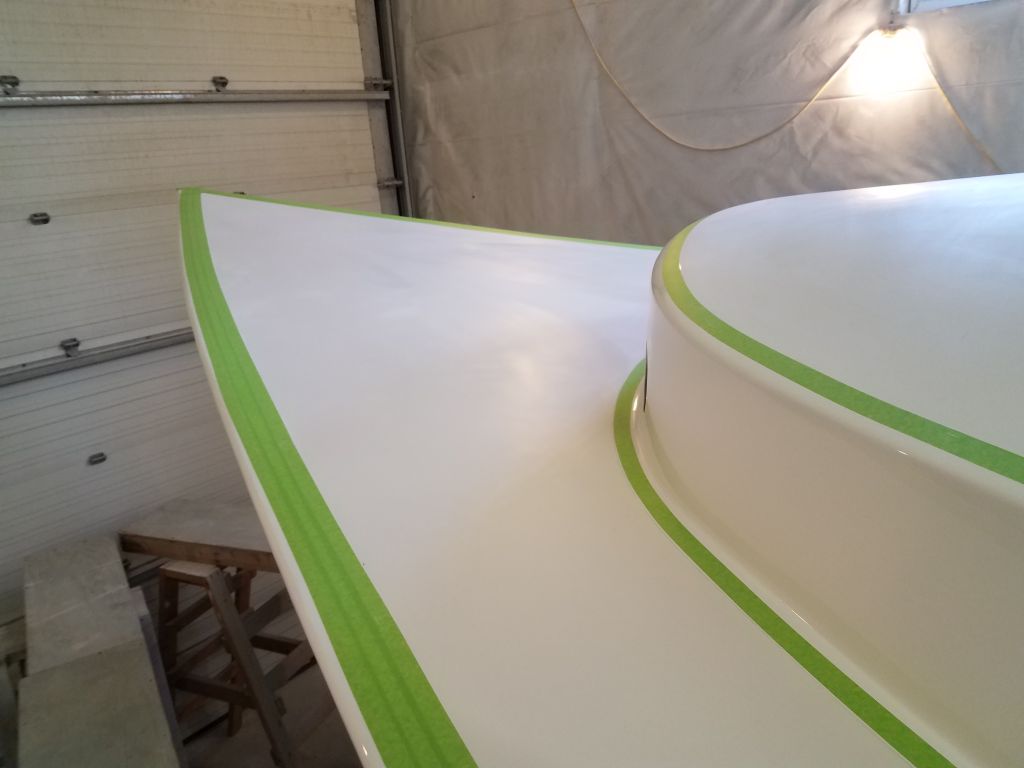
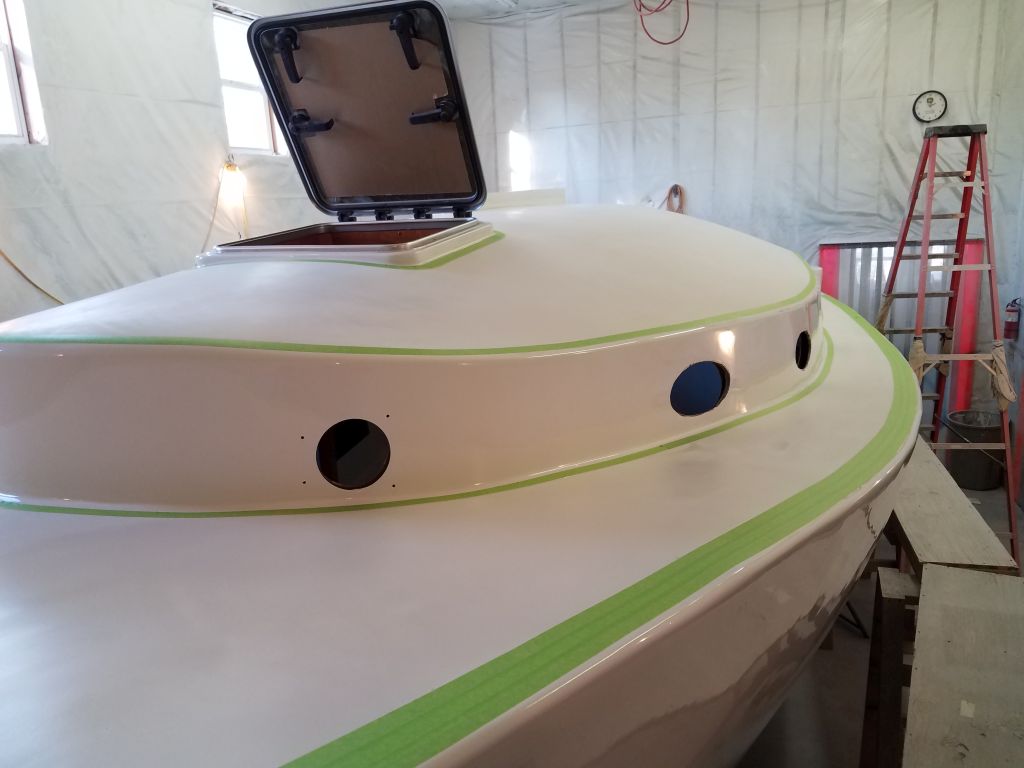
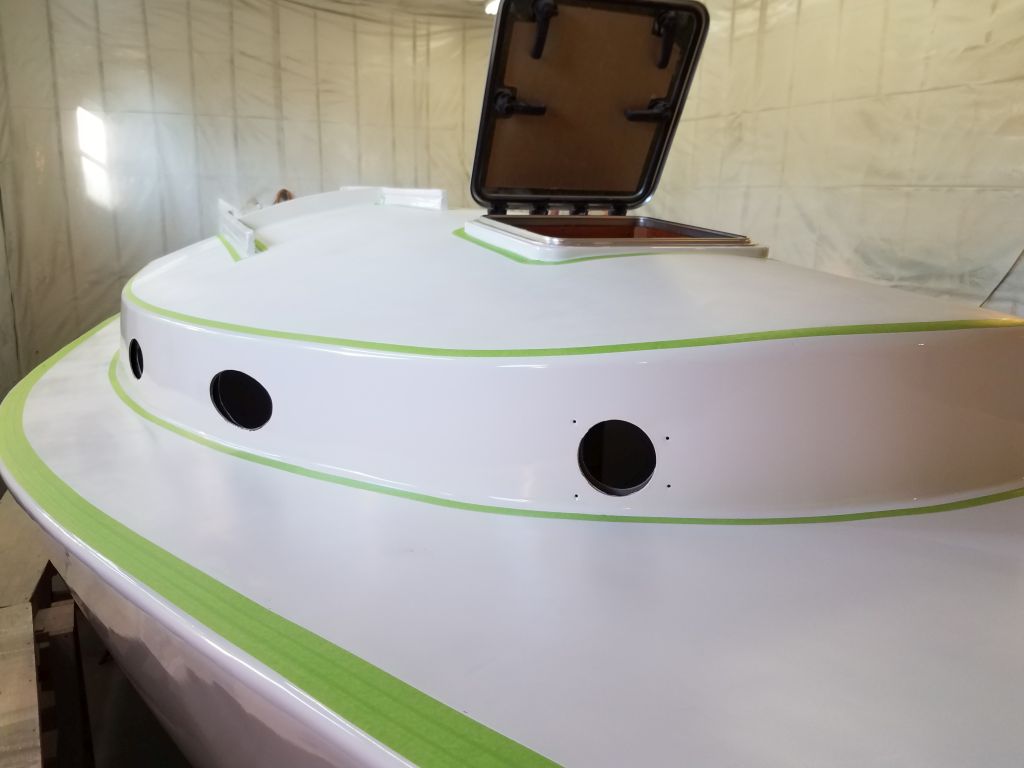
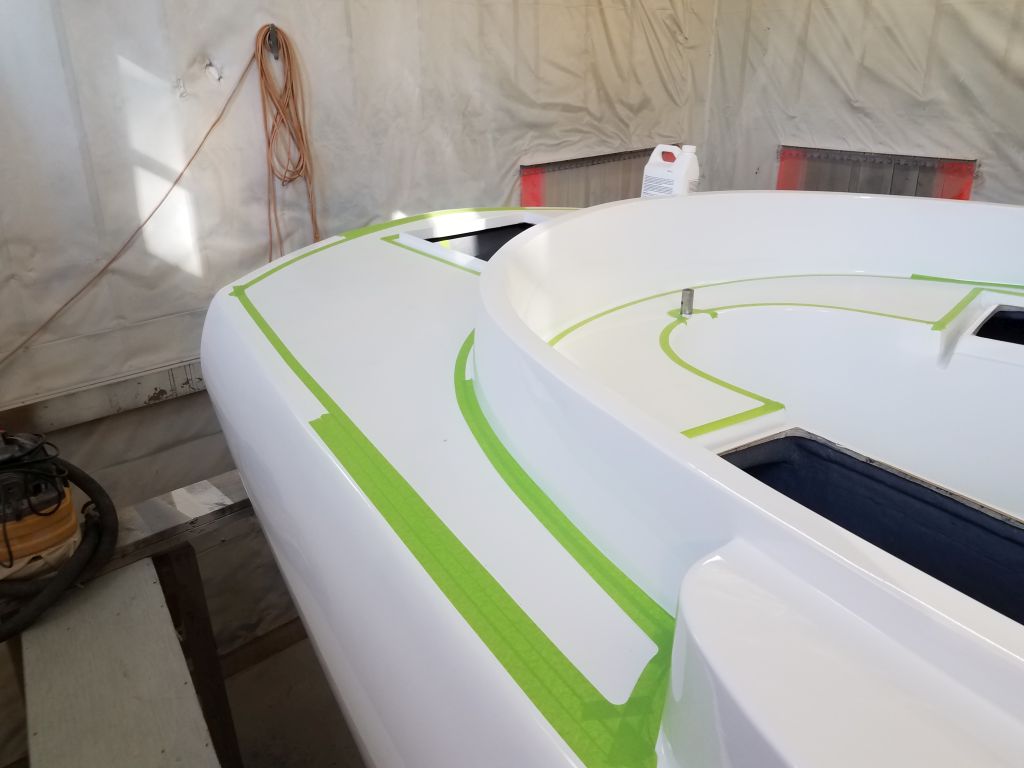
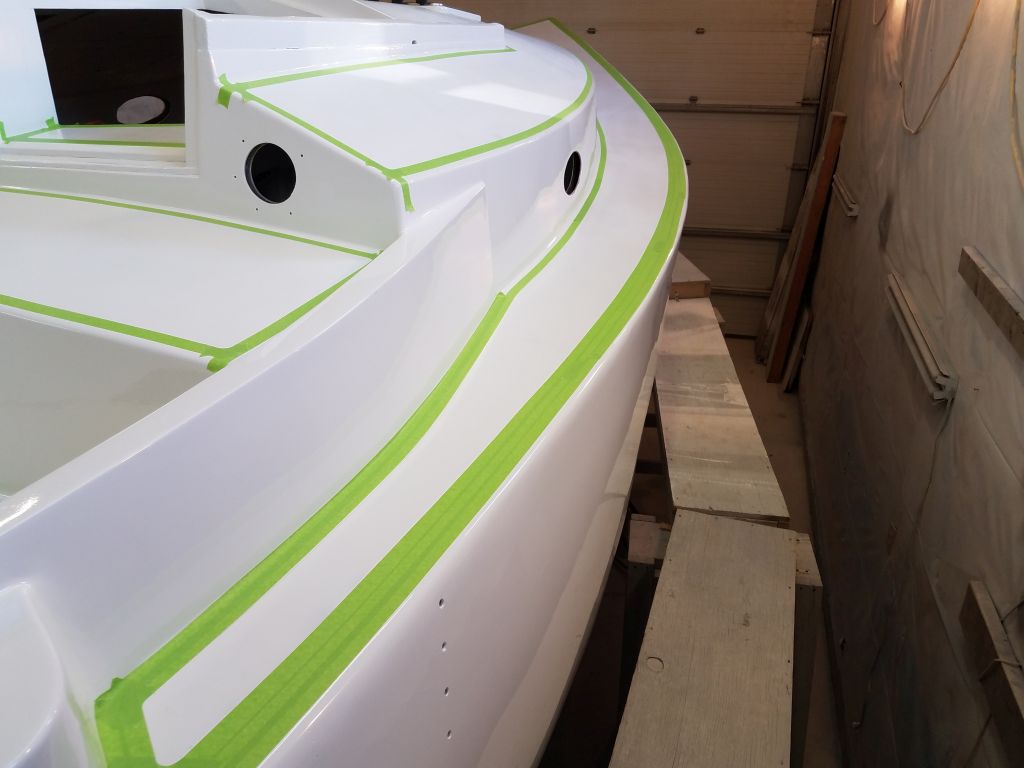
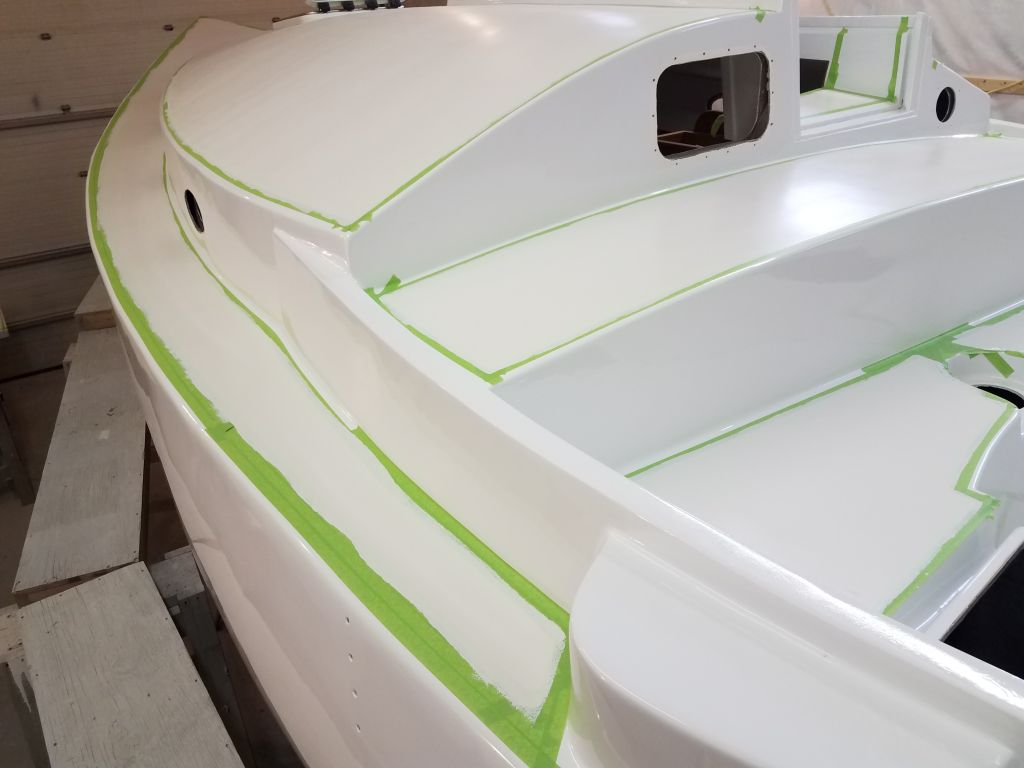
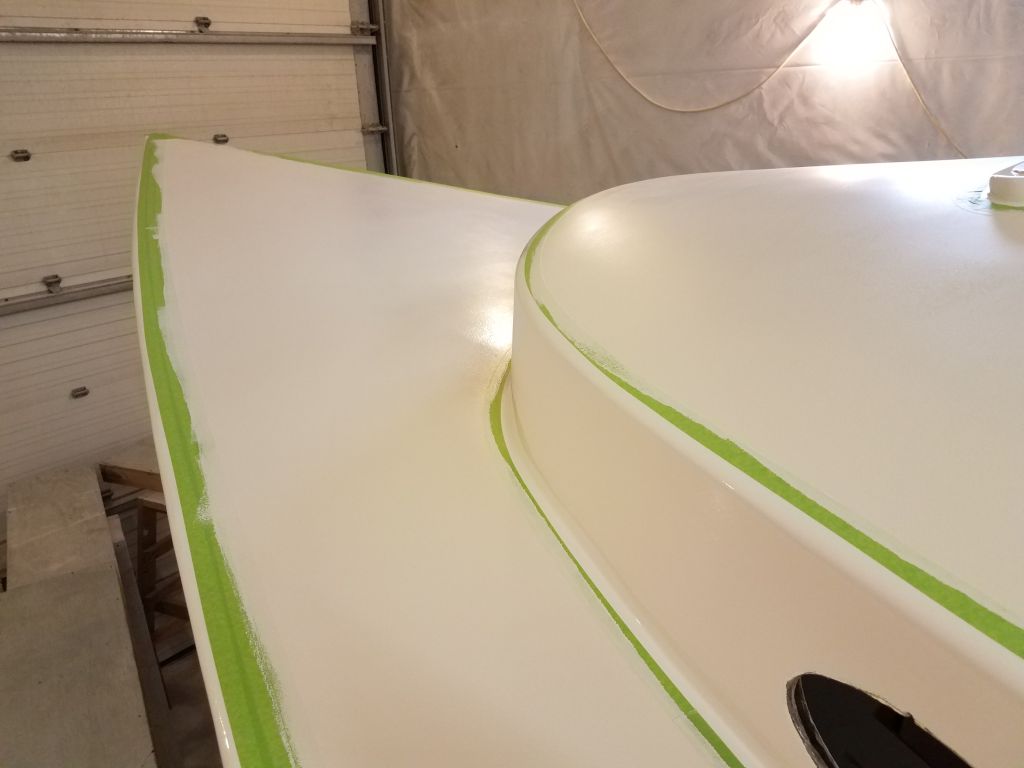
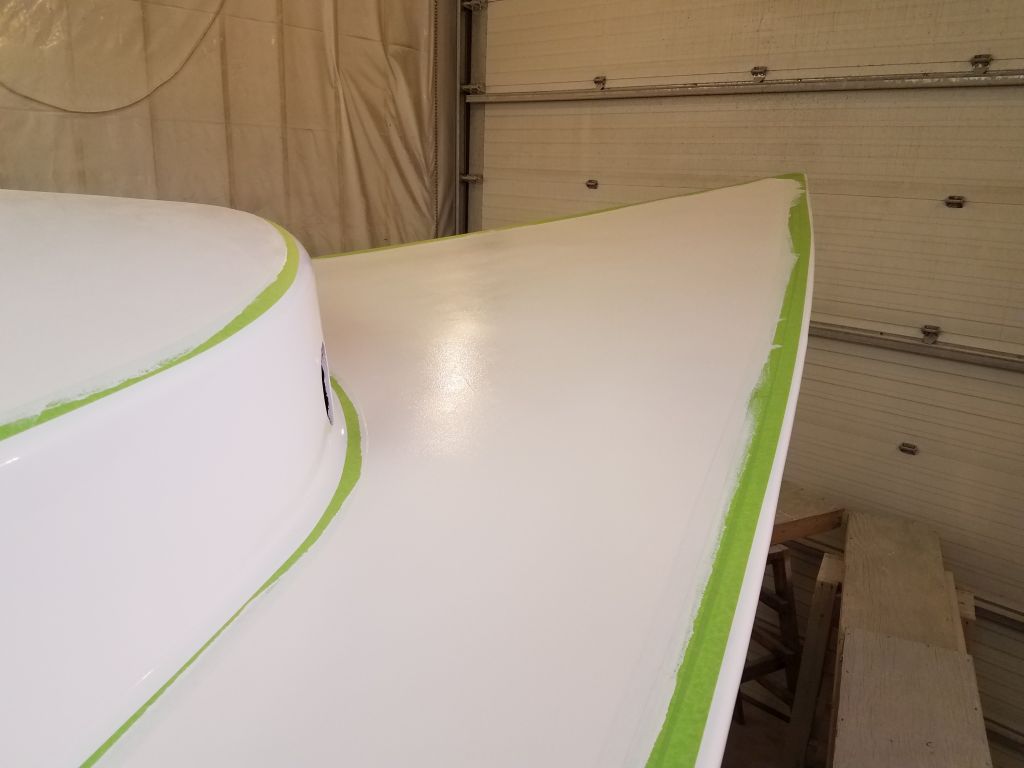
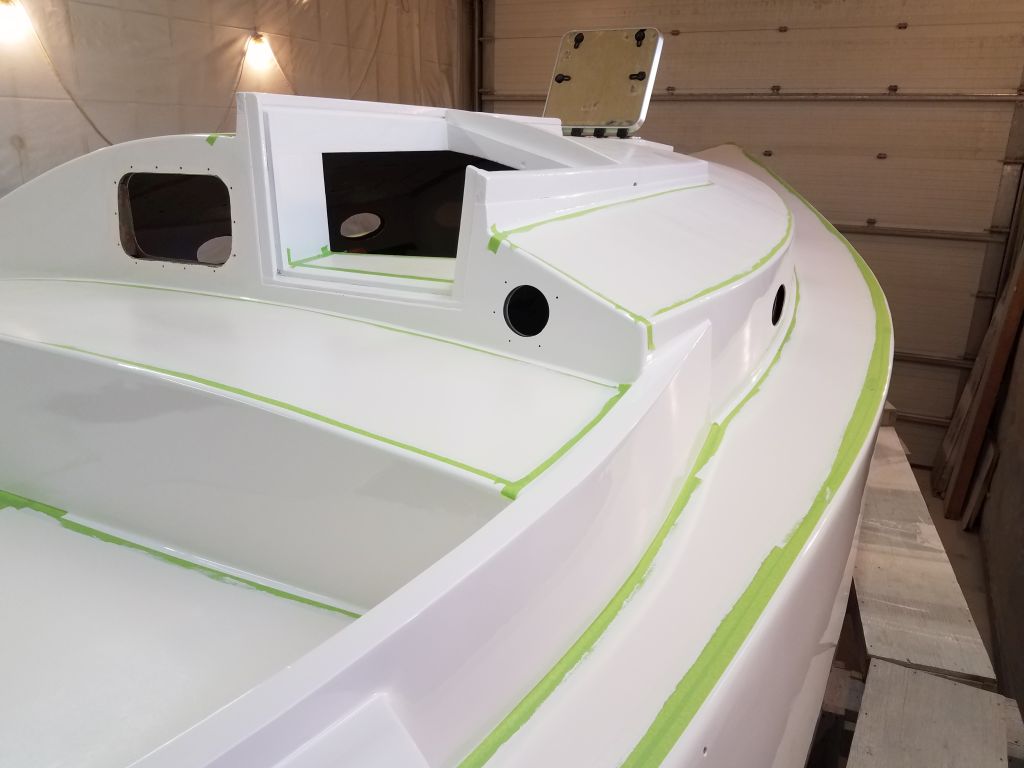
Using a ruler to measure off the edge of the nonskid, I made a series of marks 1-1/2″ towards the deck edge, which marks indicated the general position of the inside of the toerail. During deck painting, I’d worked in the opposite direction to establish the nonskid edge, so now it was straightforward to transfer the marks and leave the desired 1-1/2″ wide glossy border between the nonskid and the edge of the toerail.
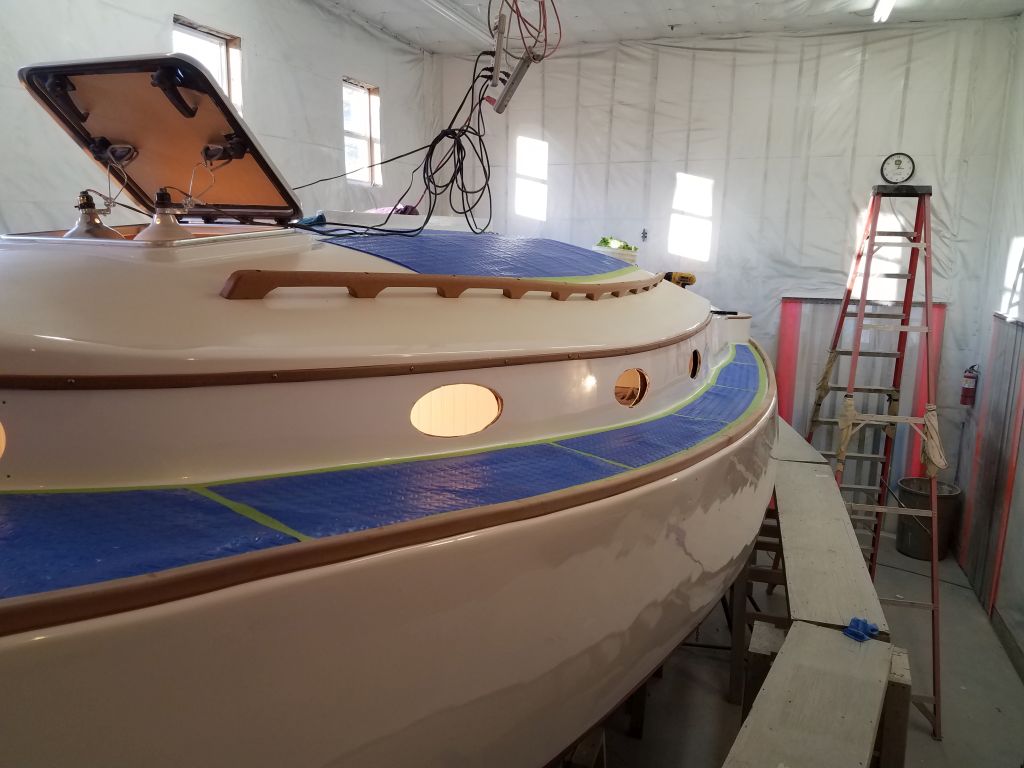
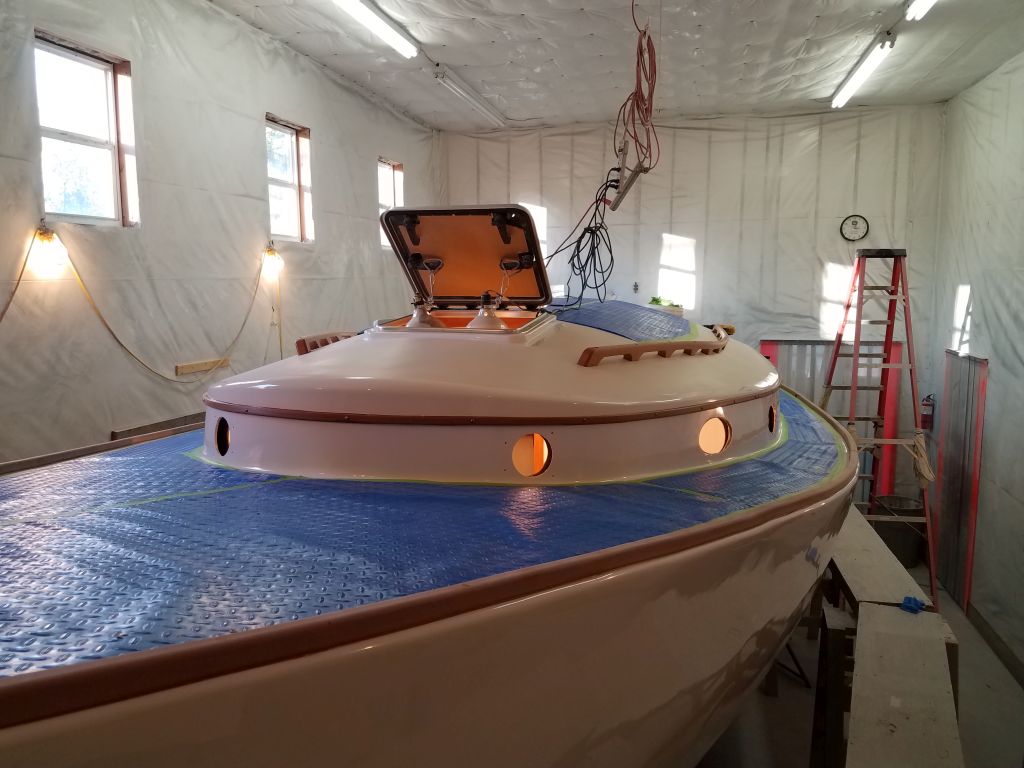
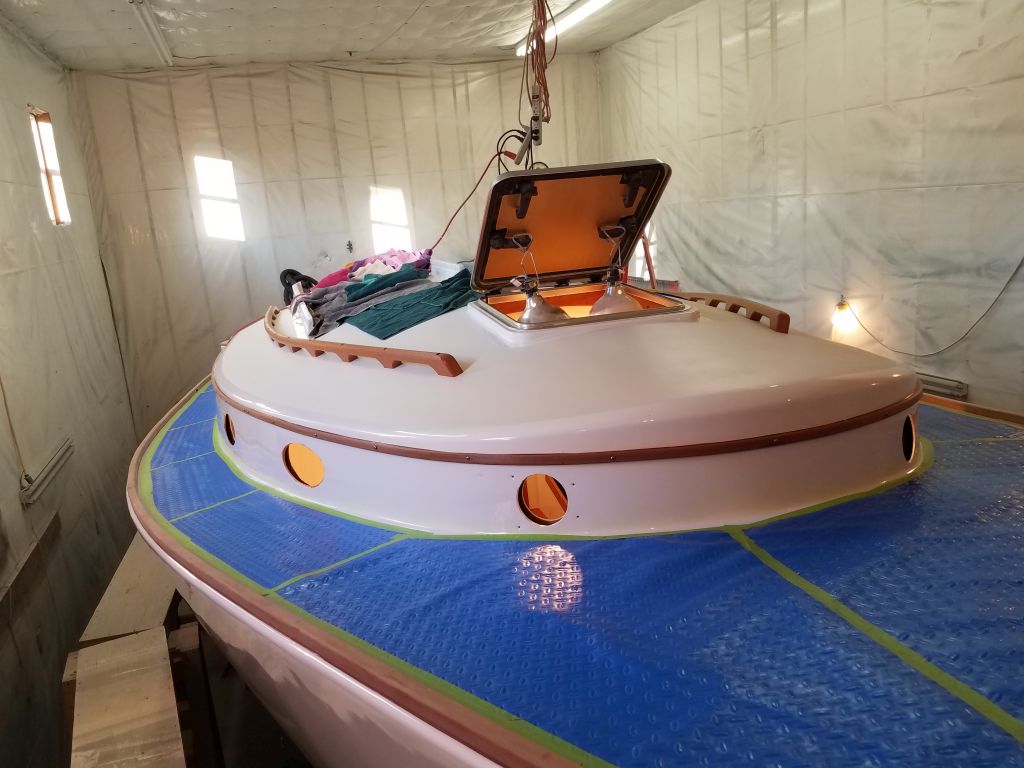
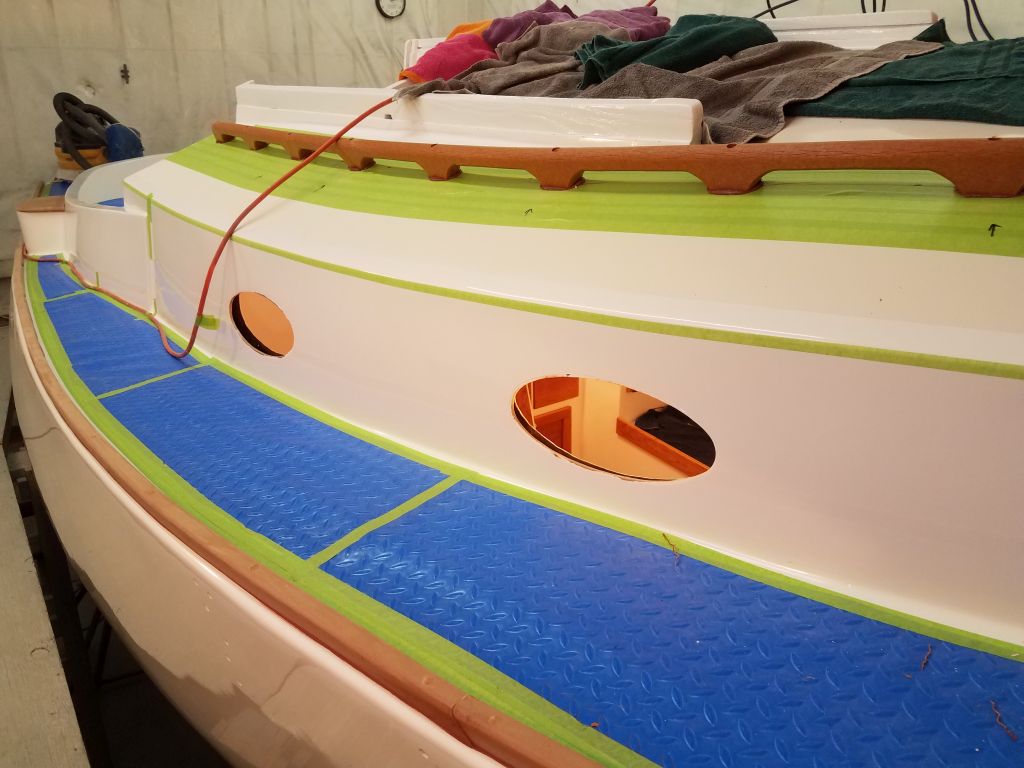
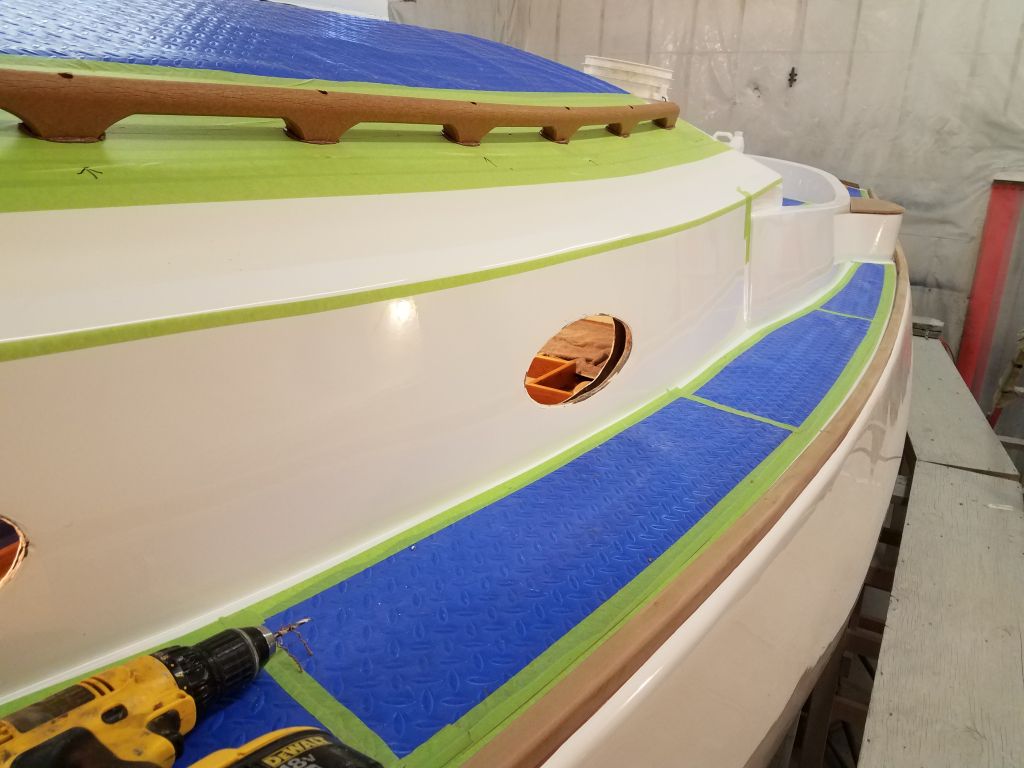
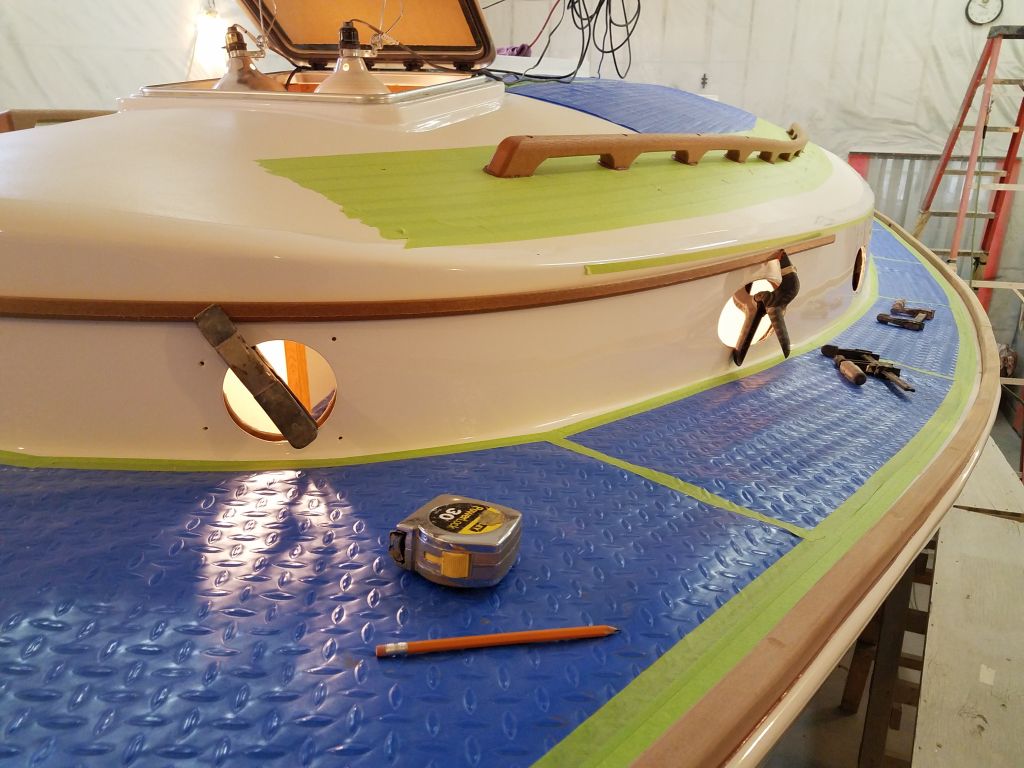
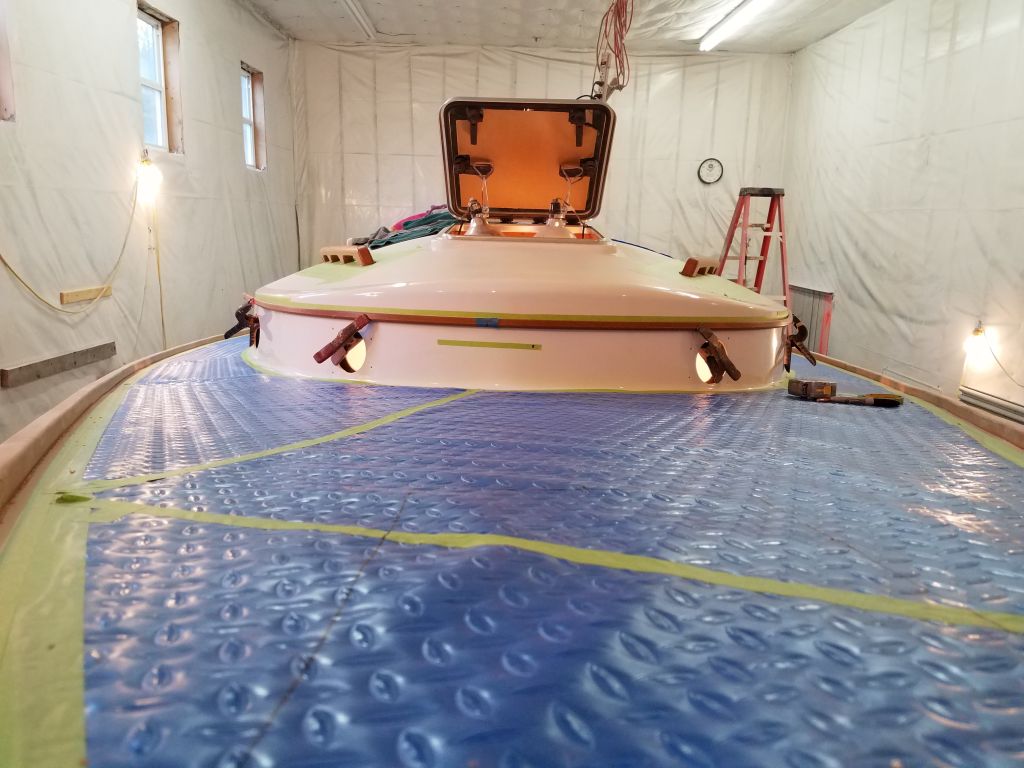
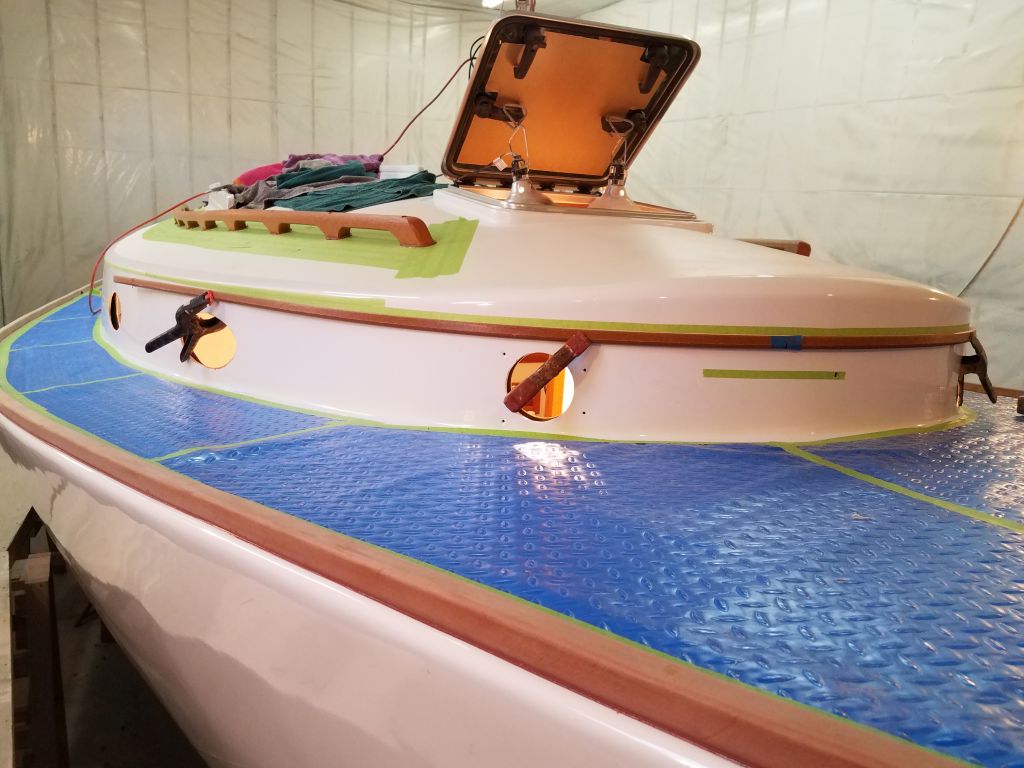
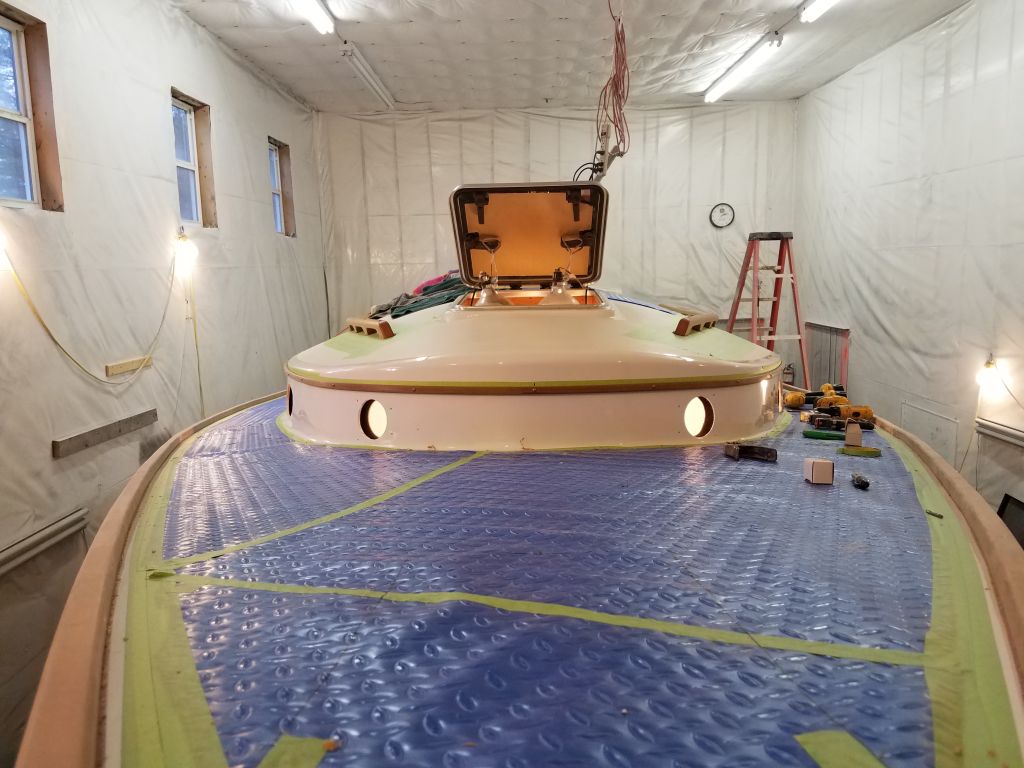
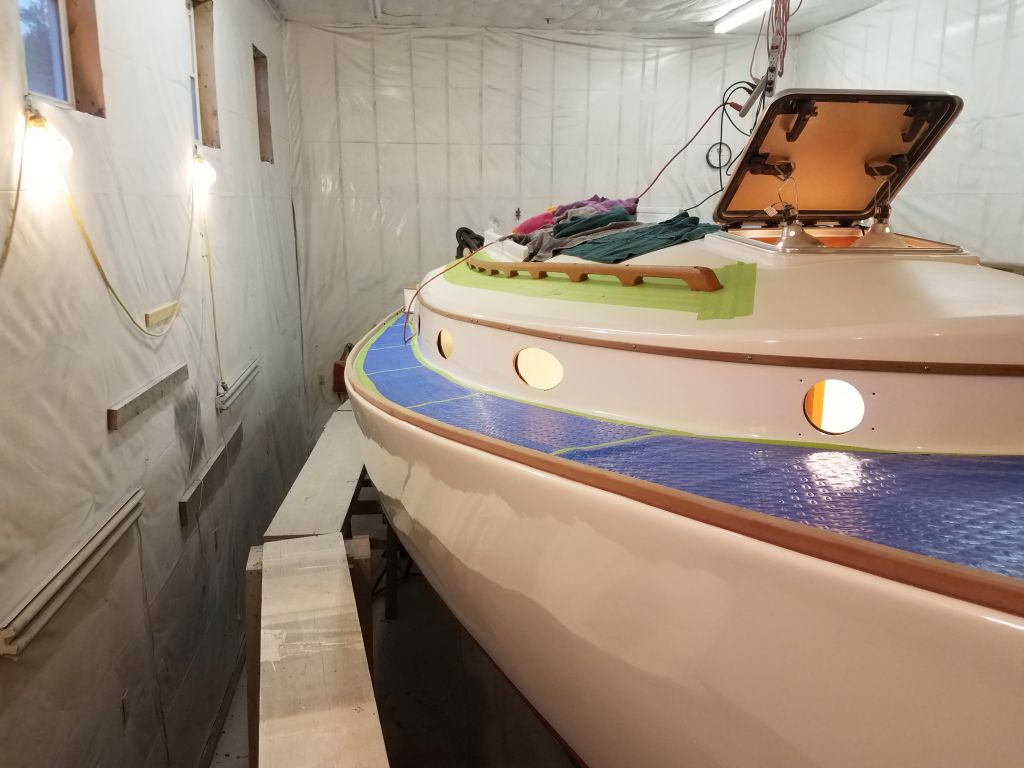
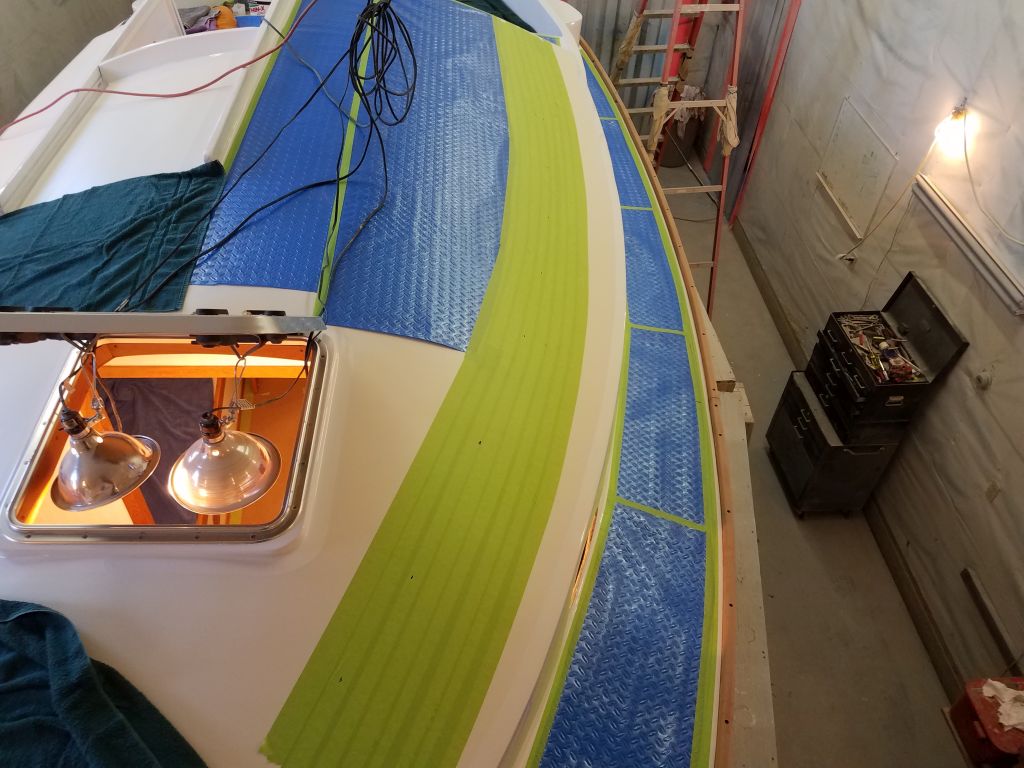
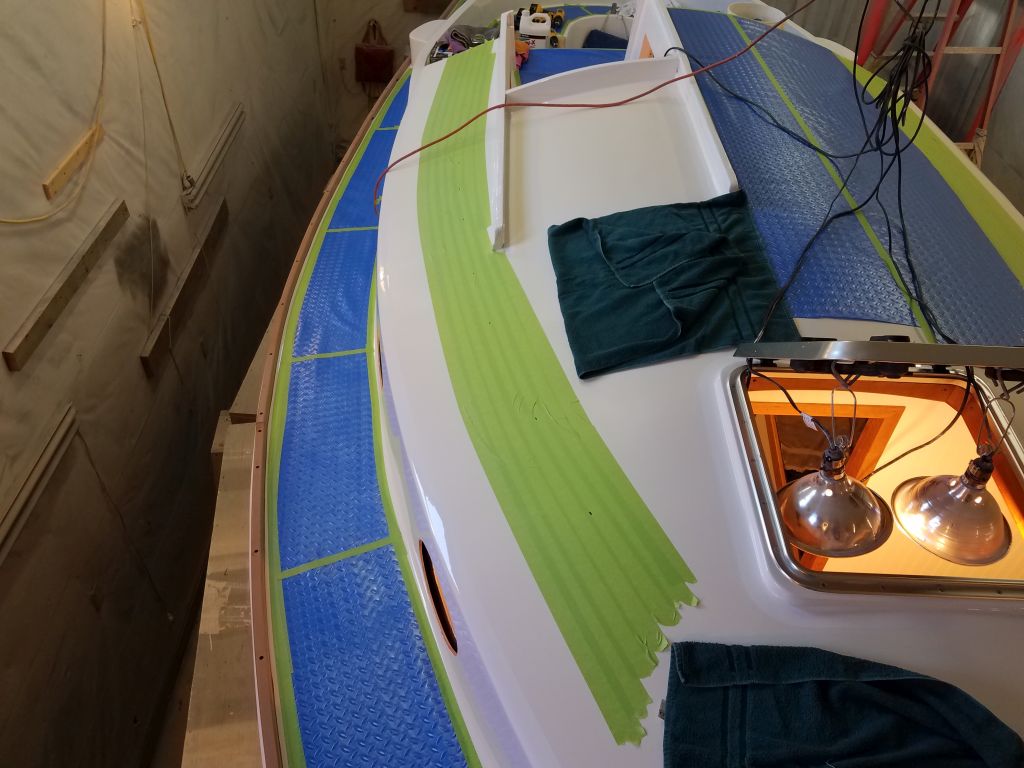
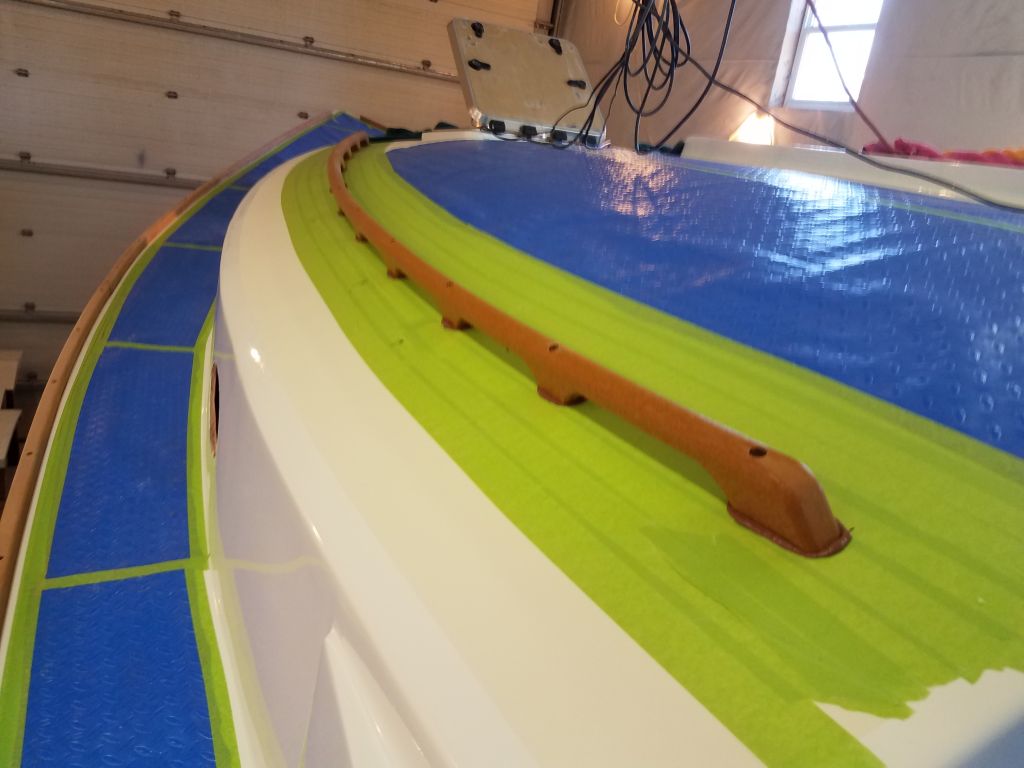
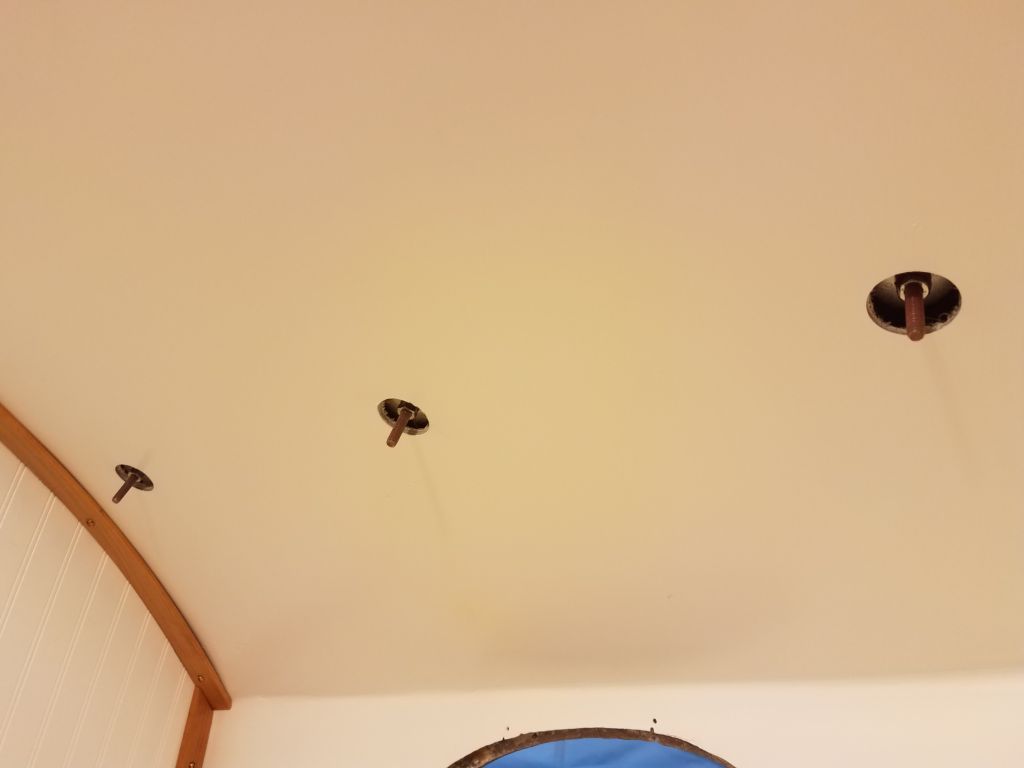
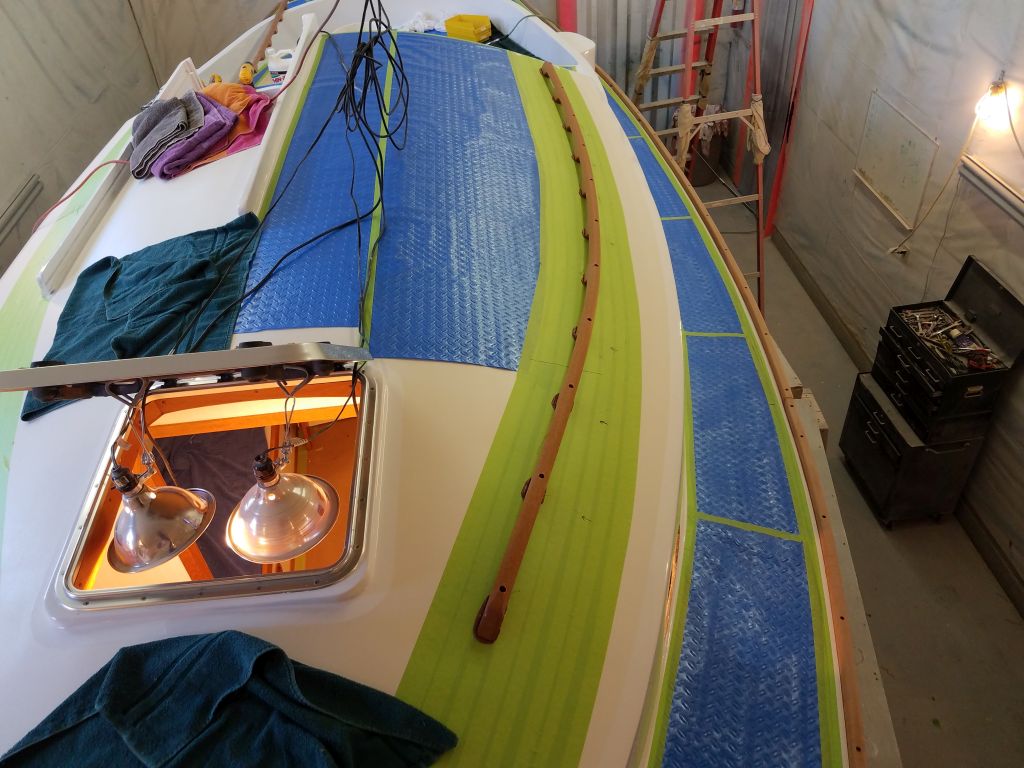
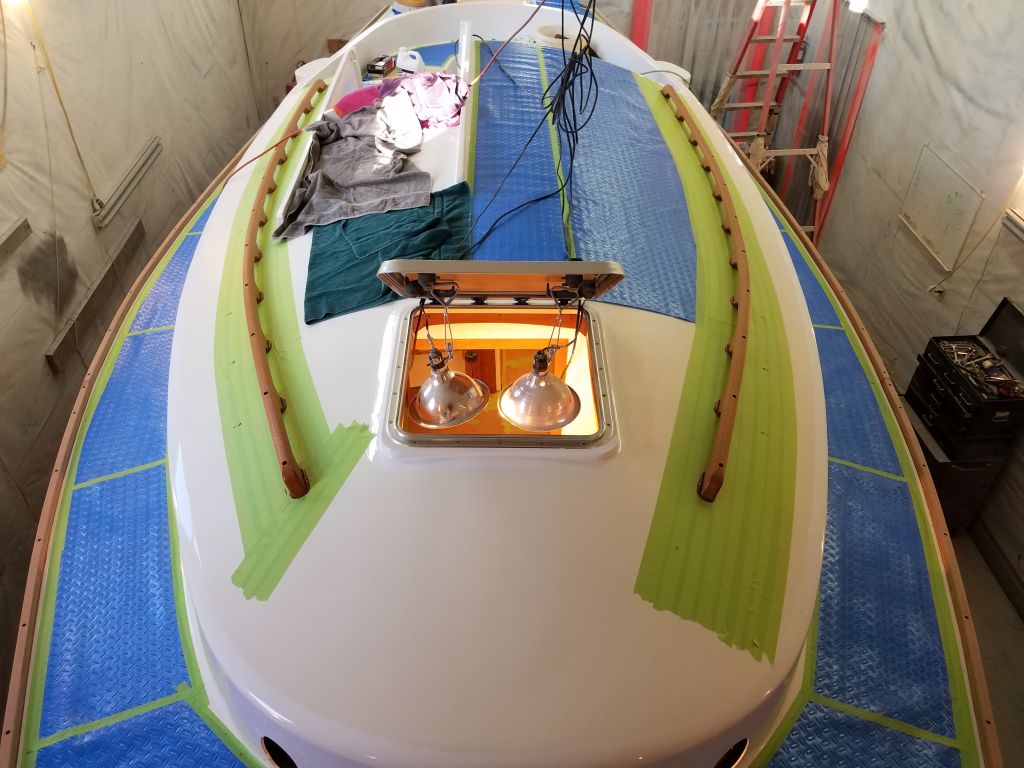
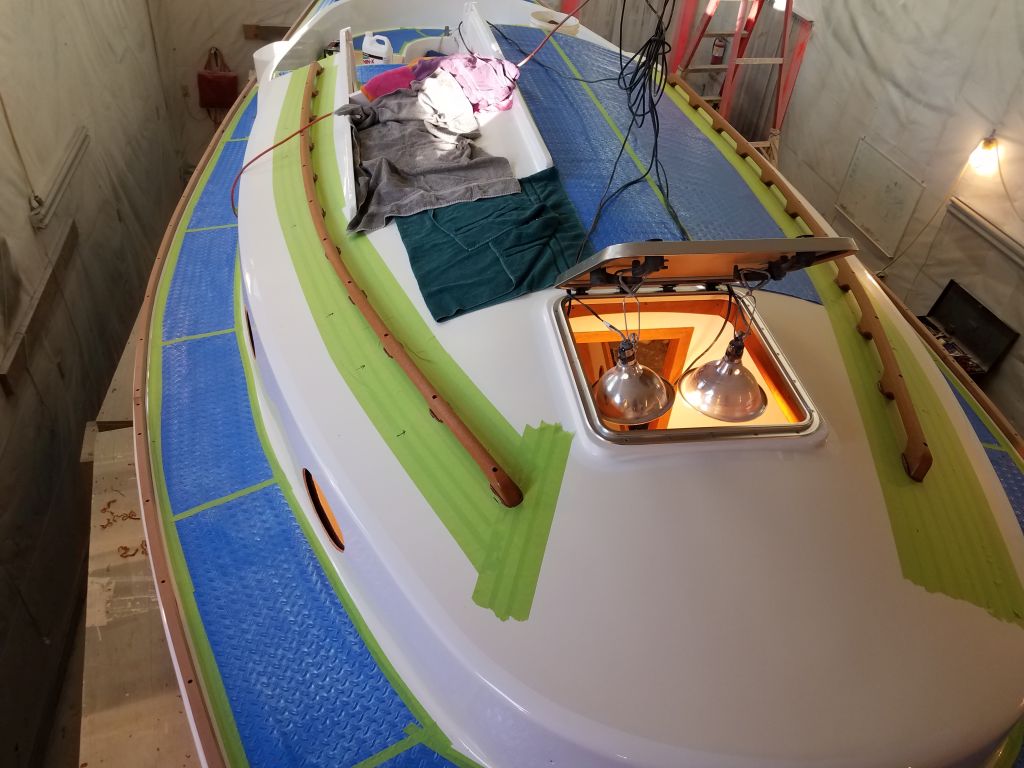
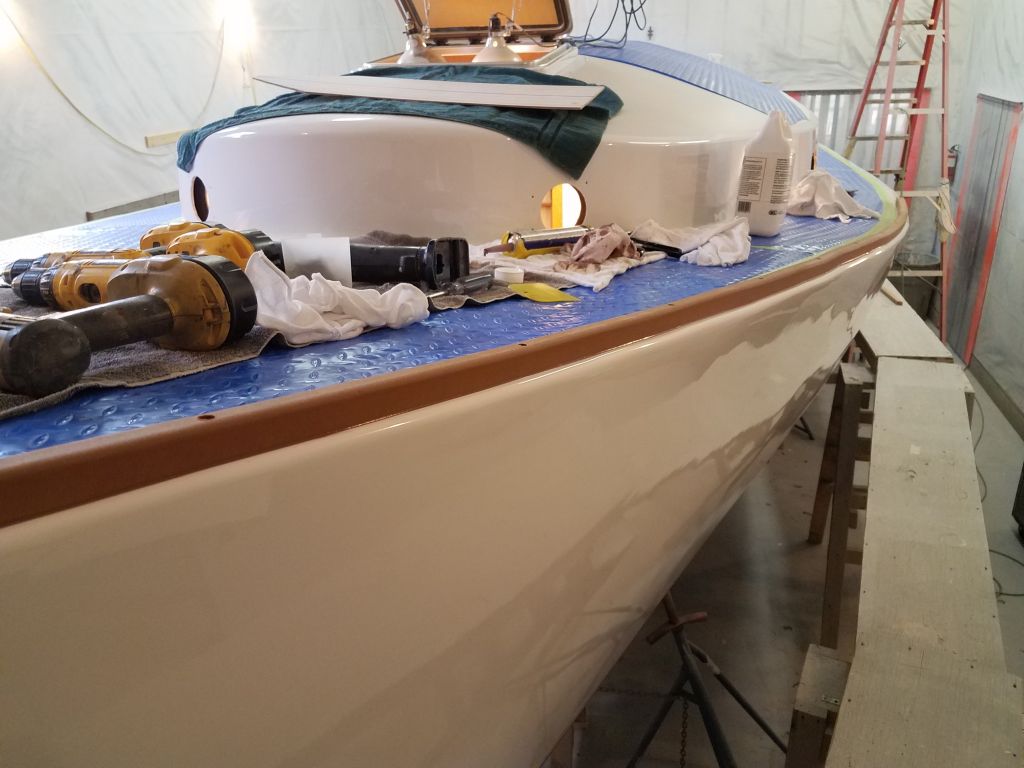
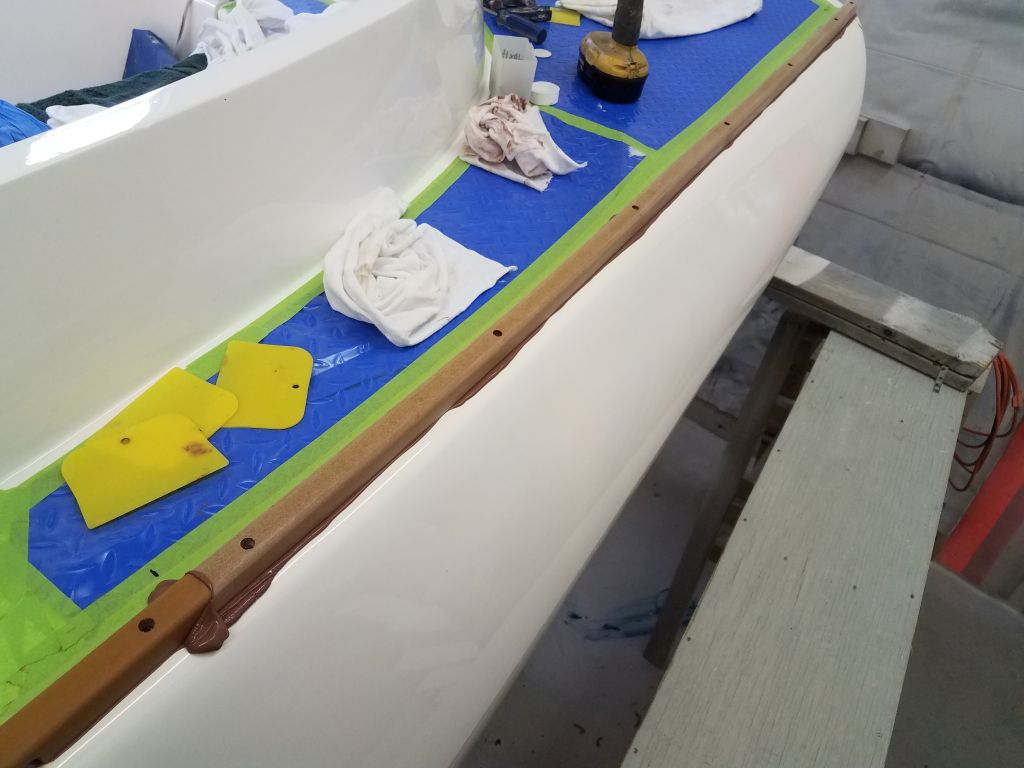
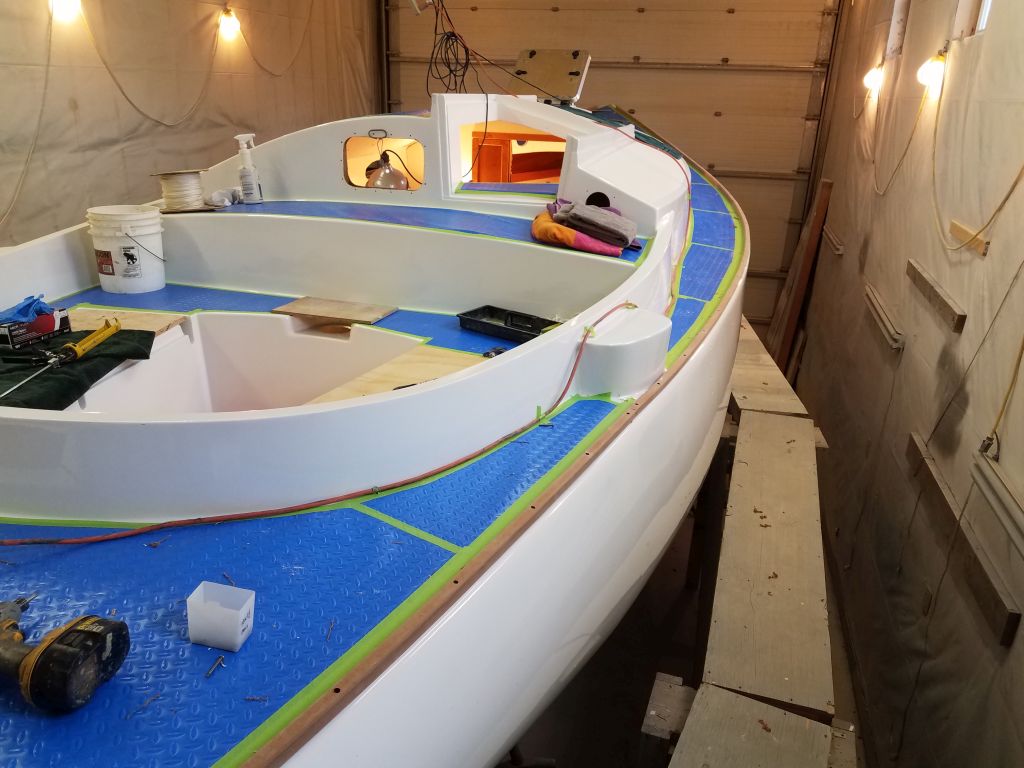
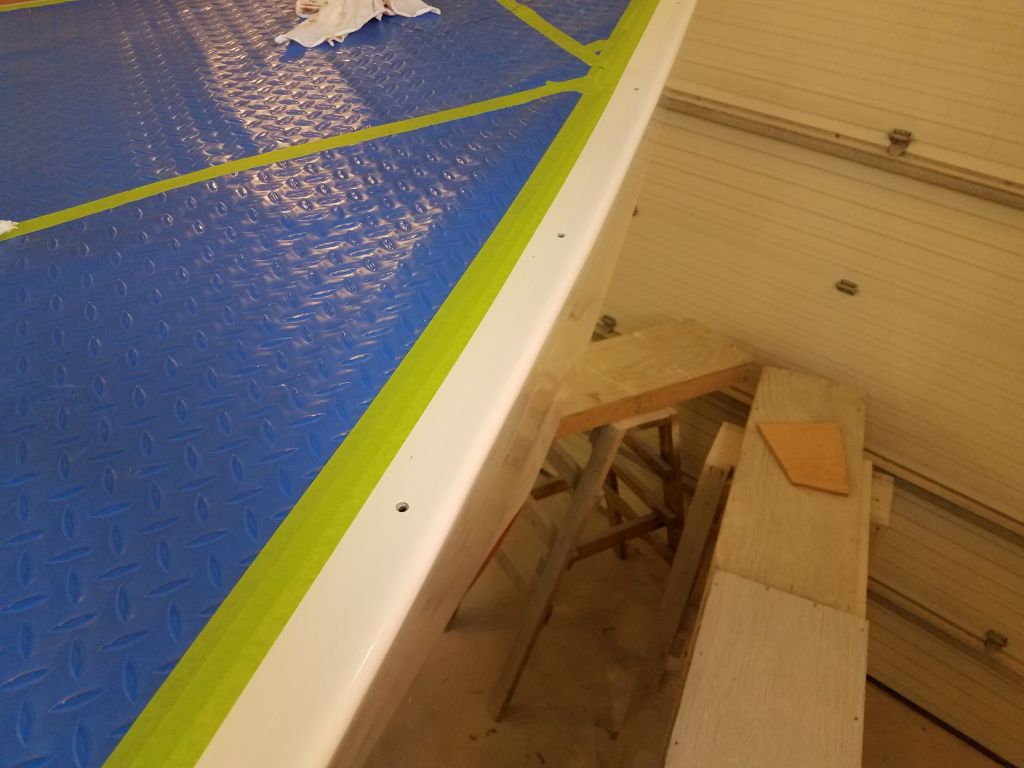
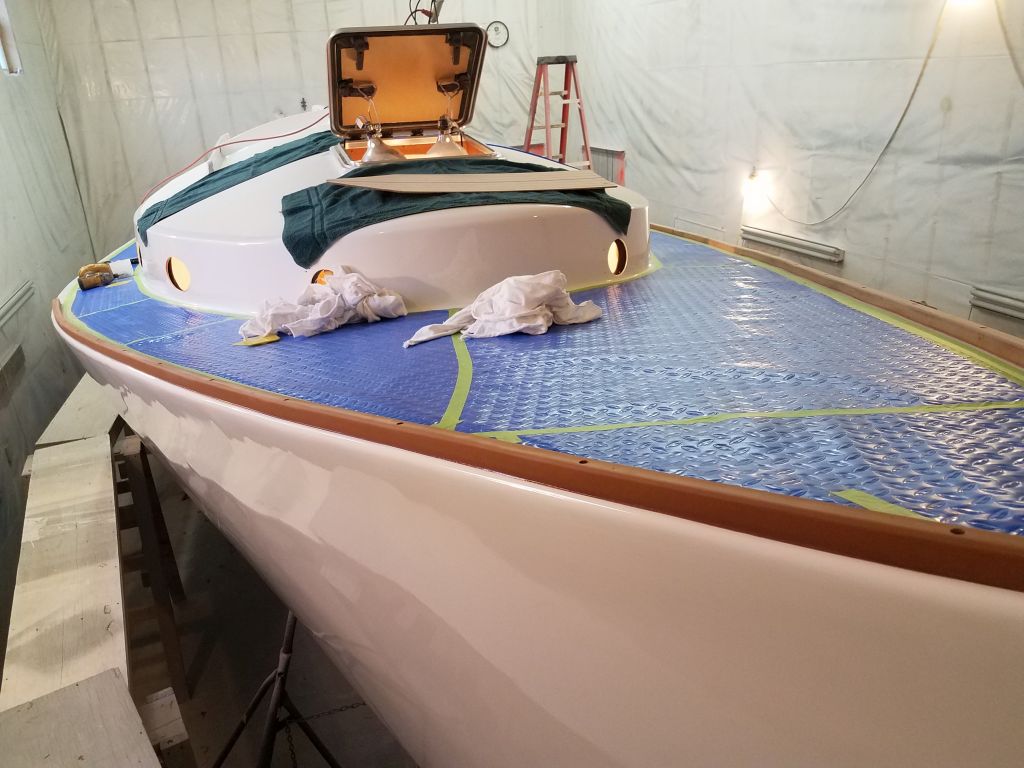
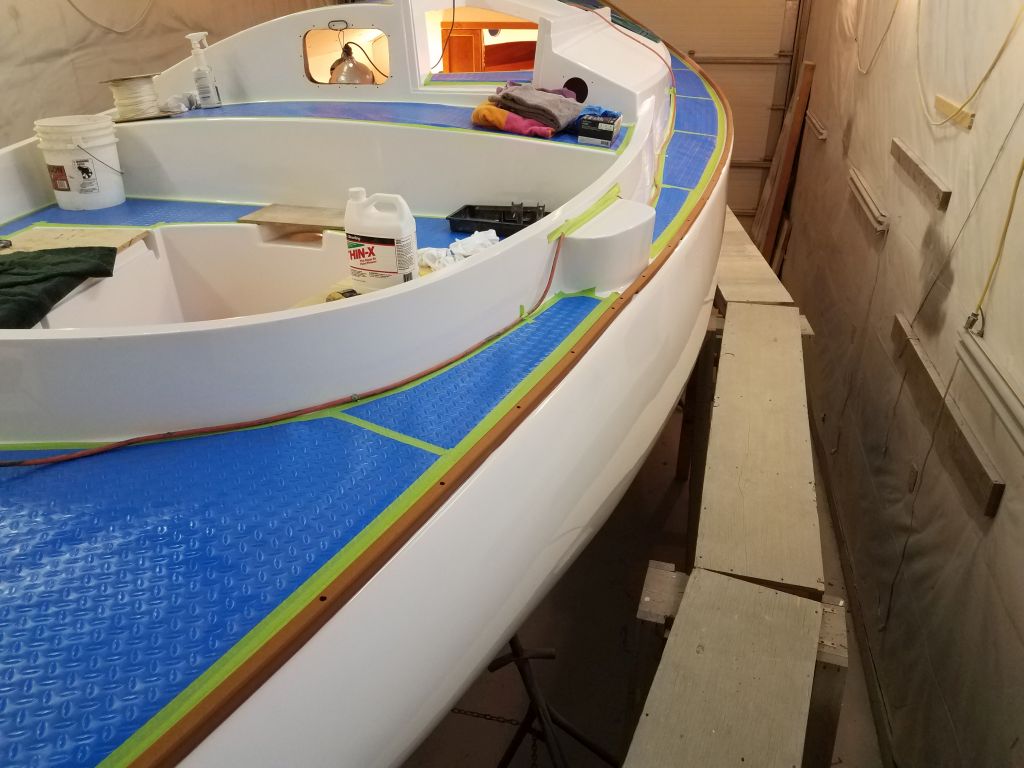
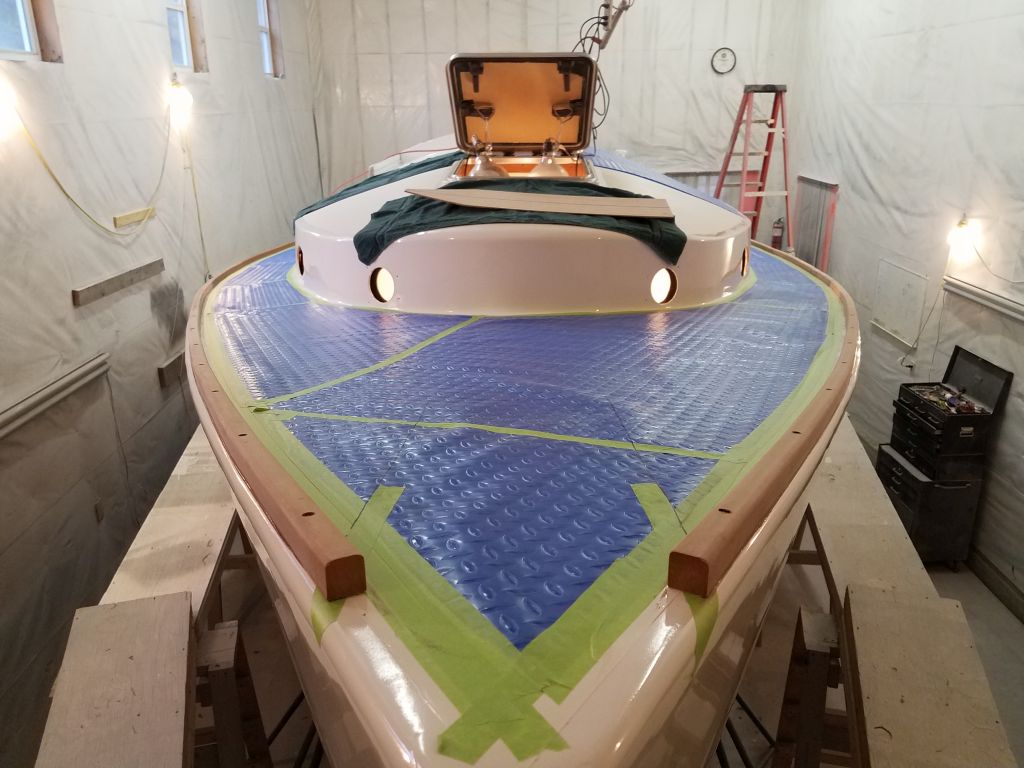
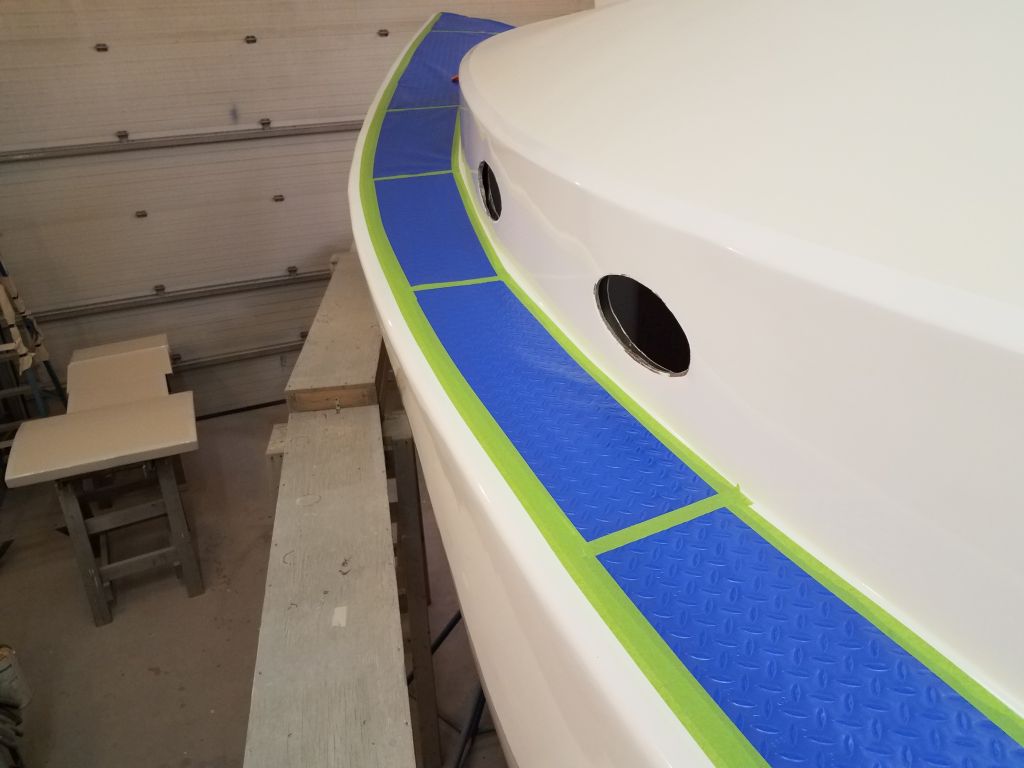
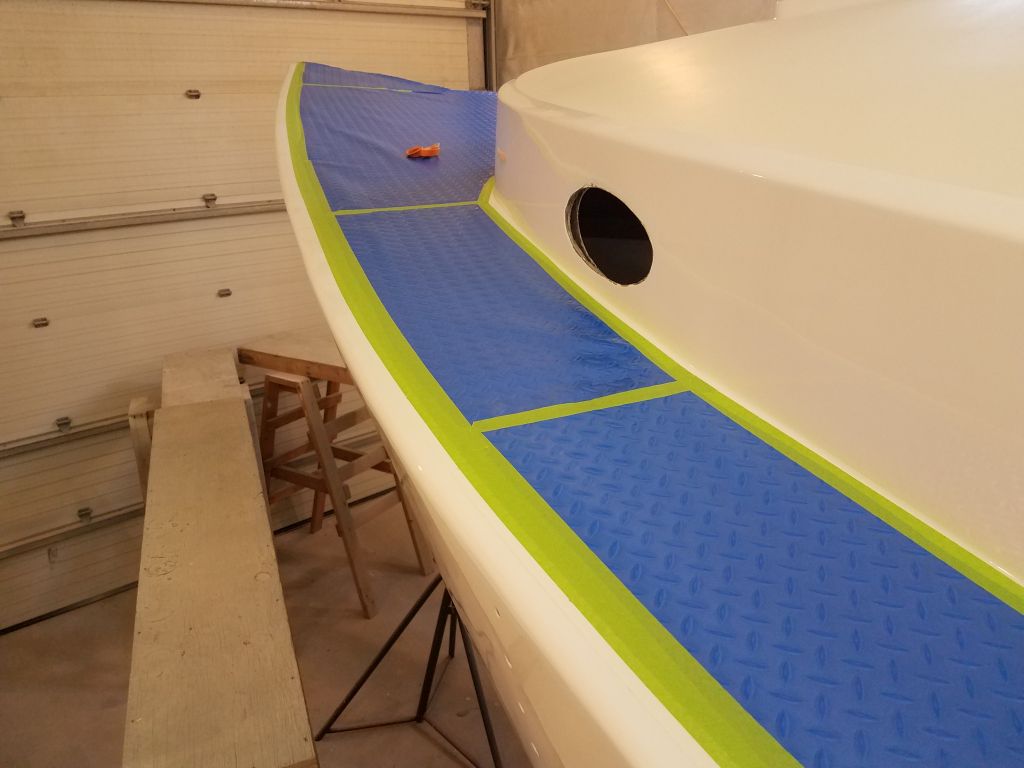
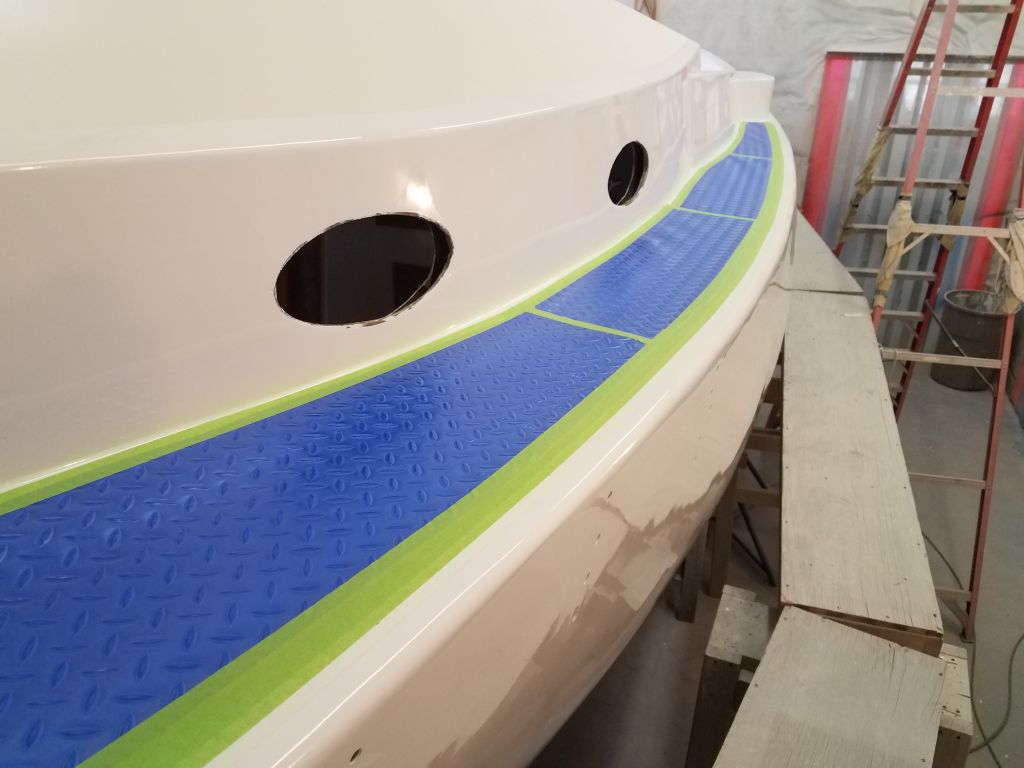
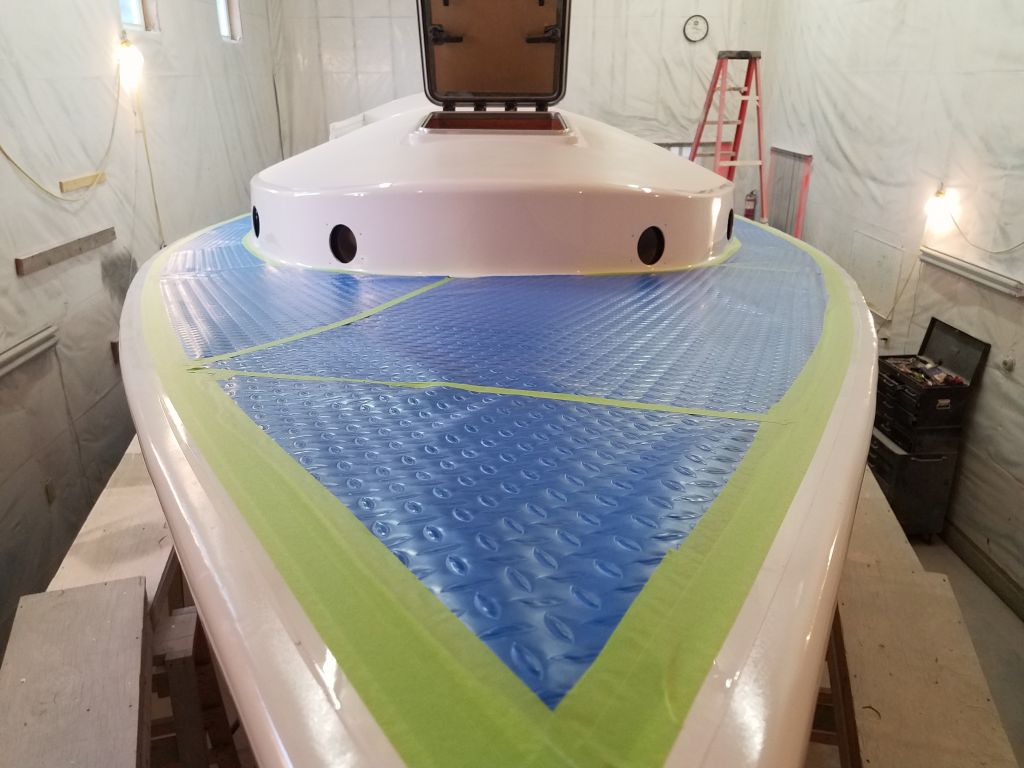
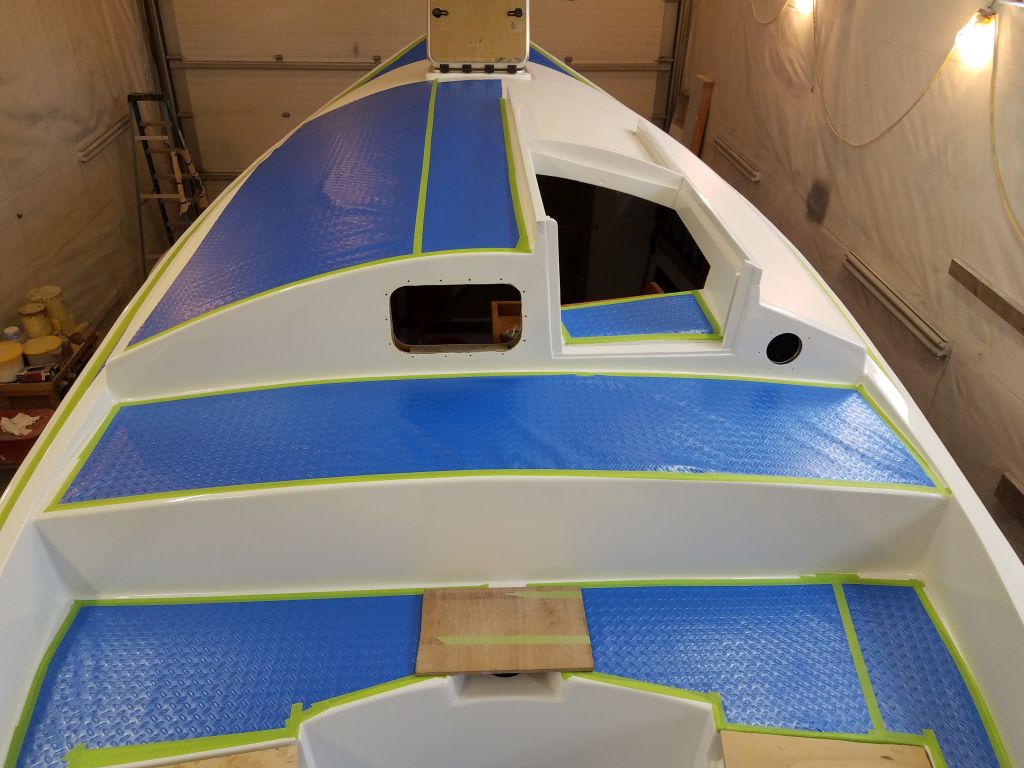
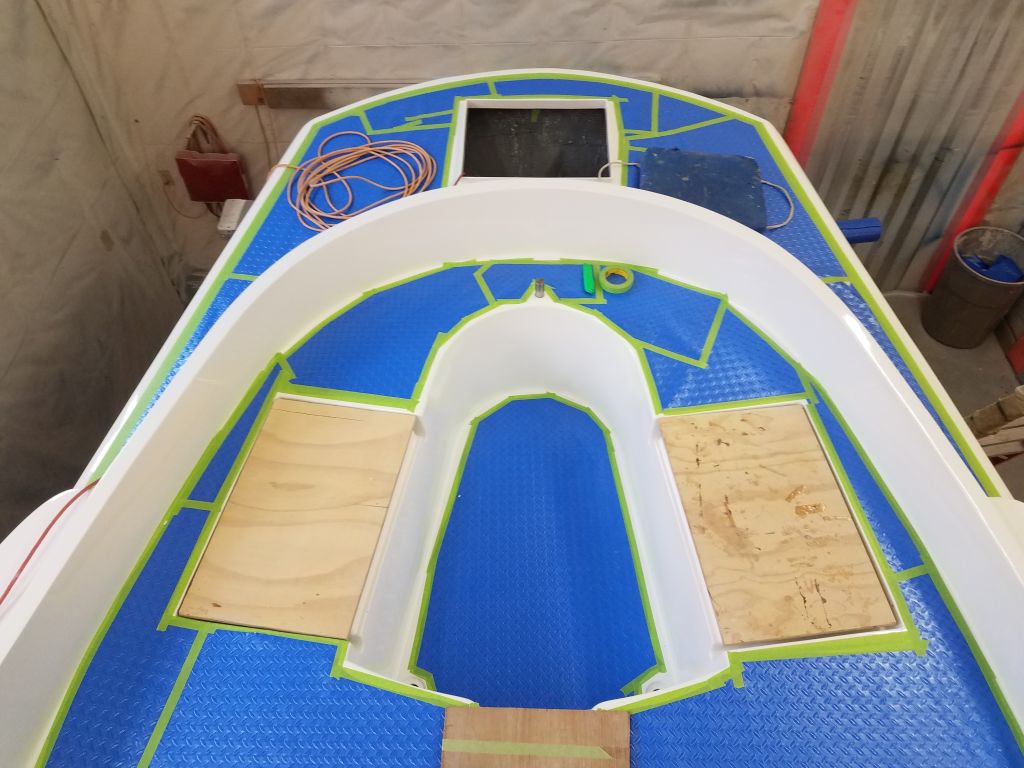
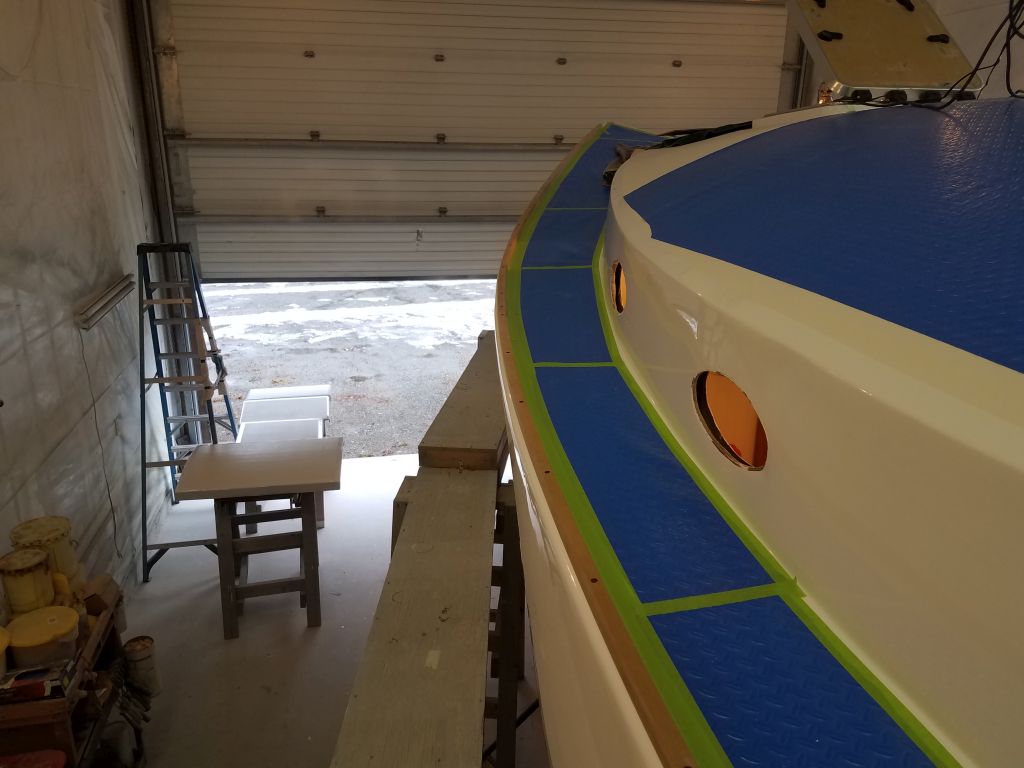
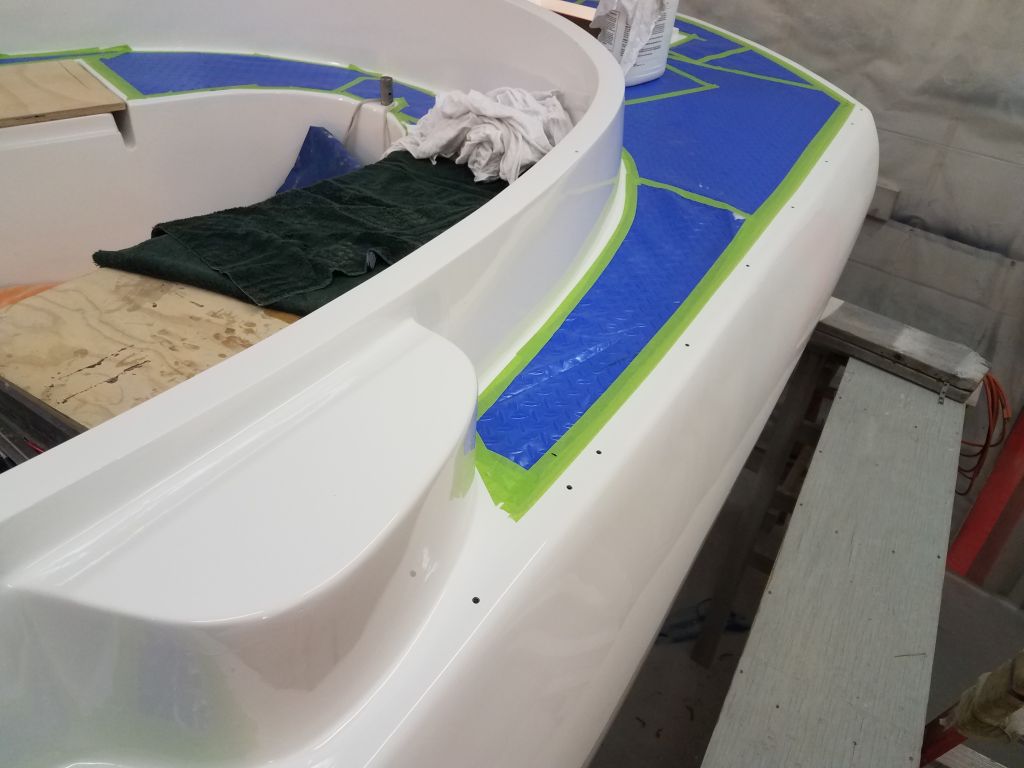
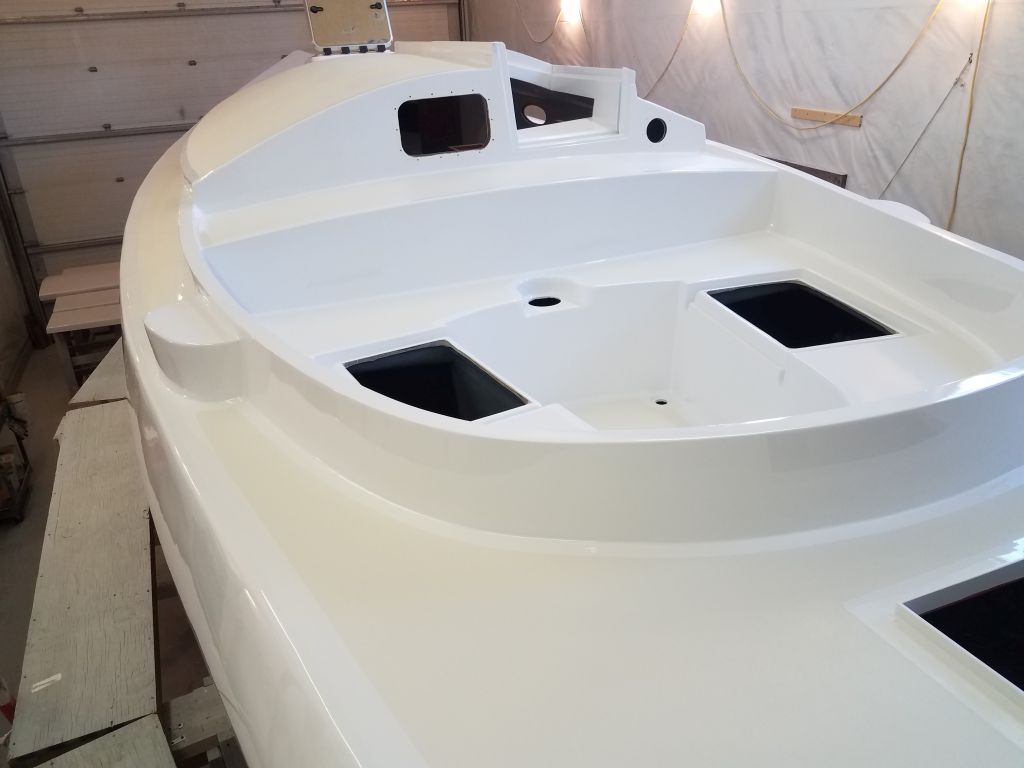
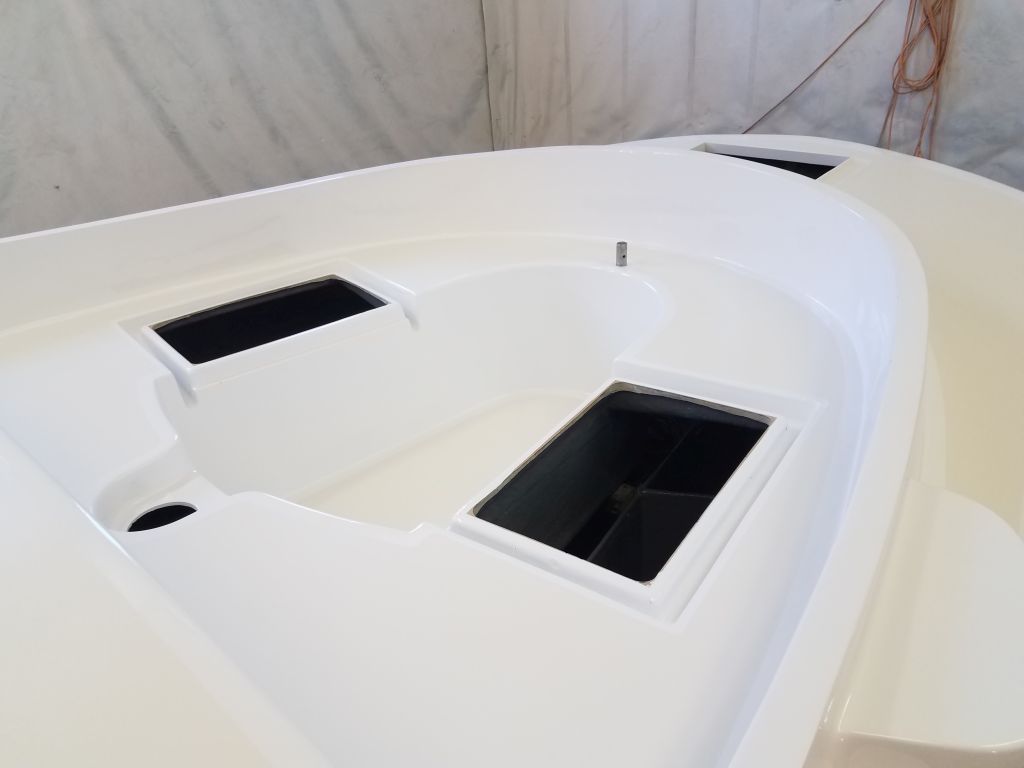
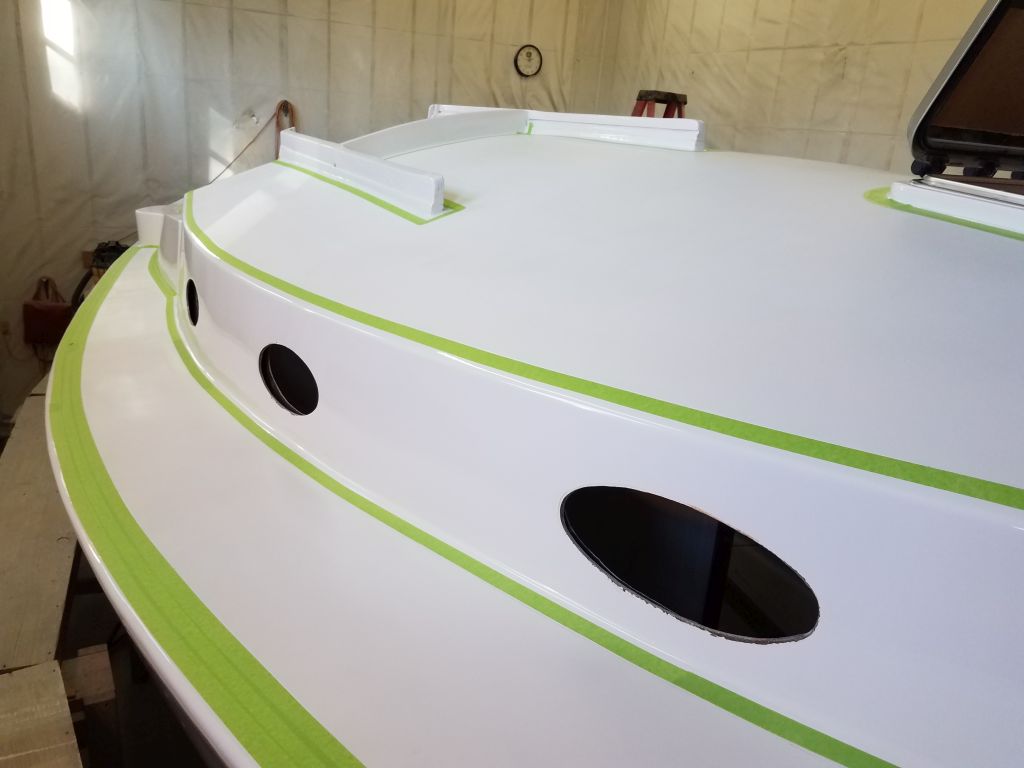
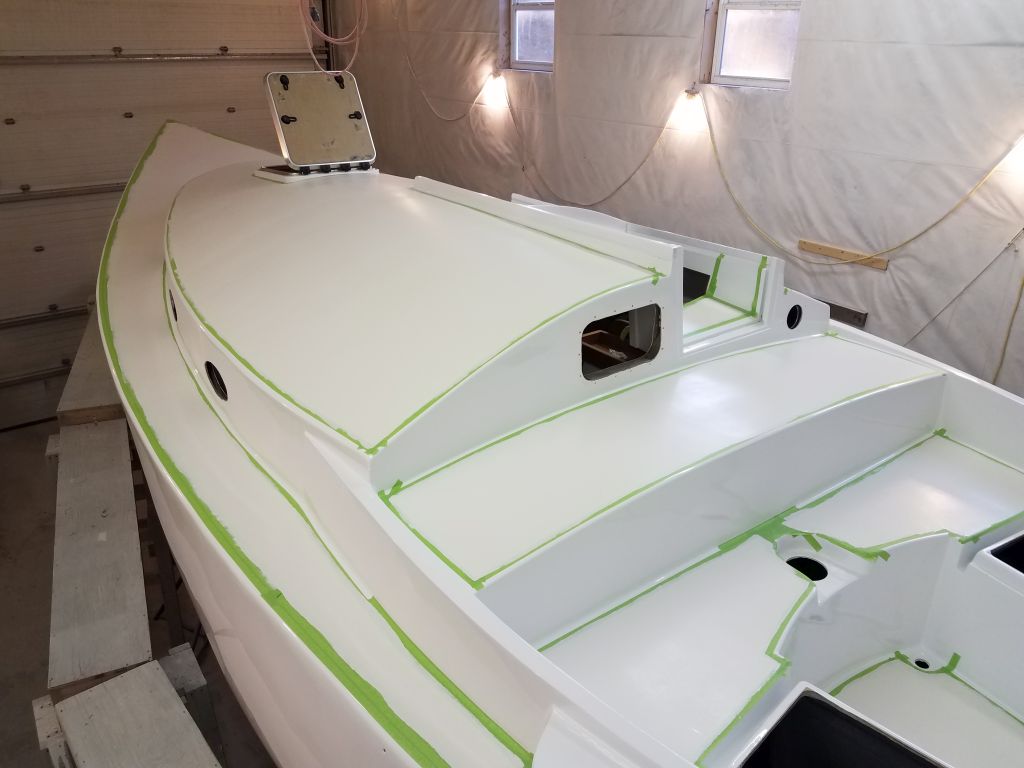
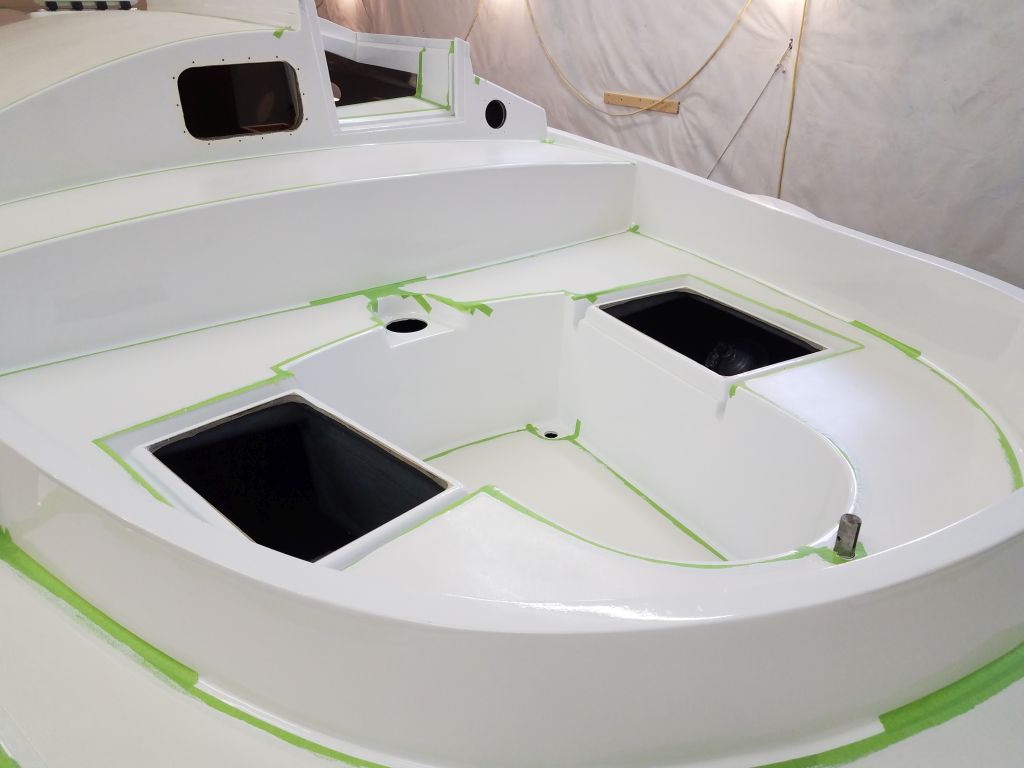
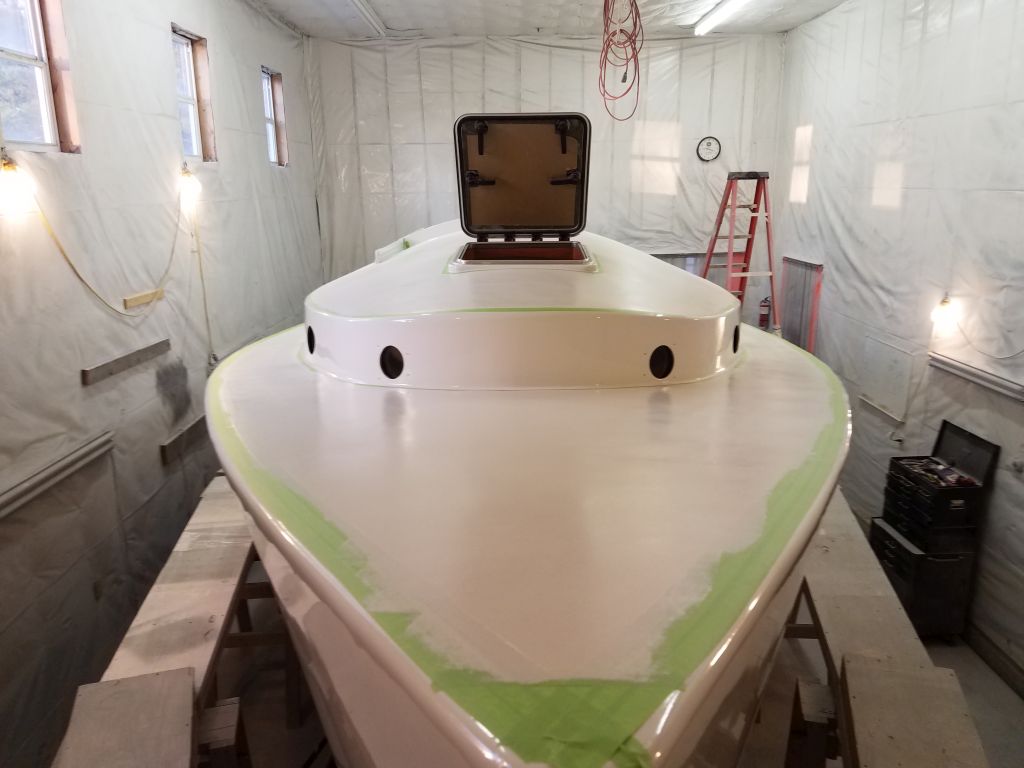
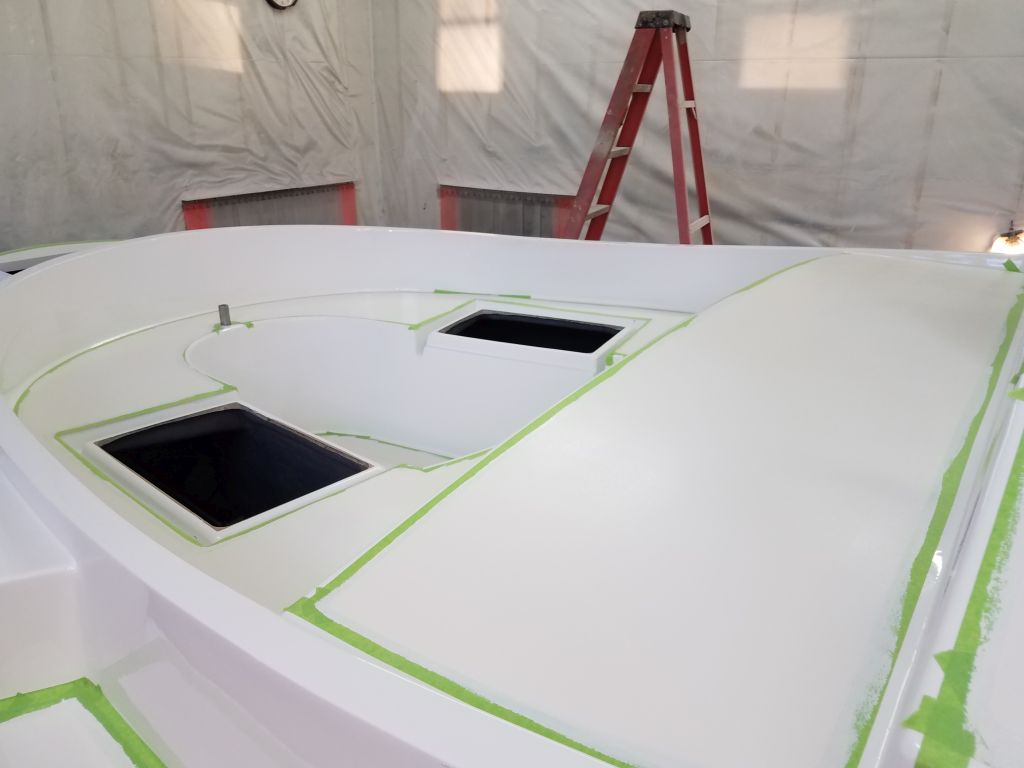
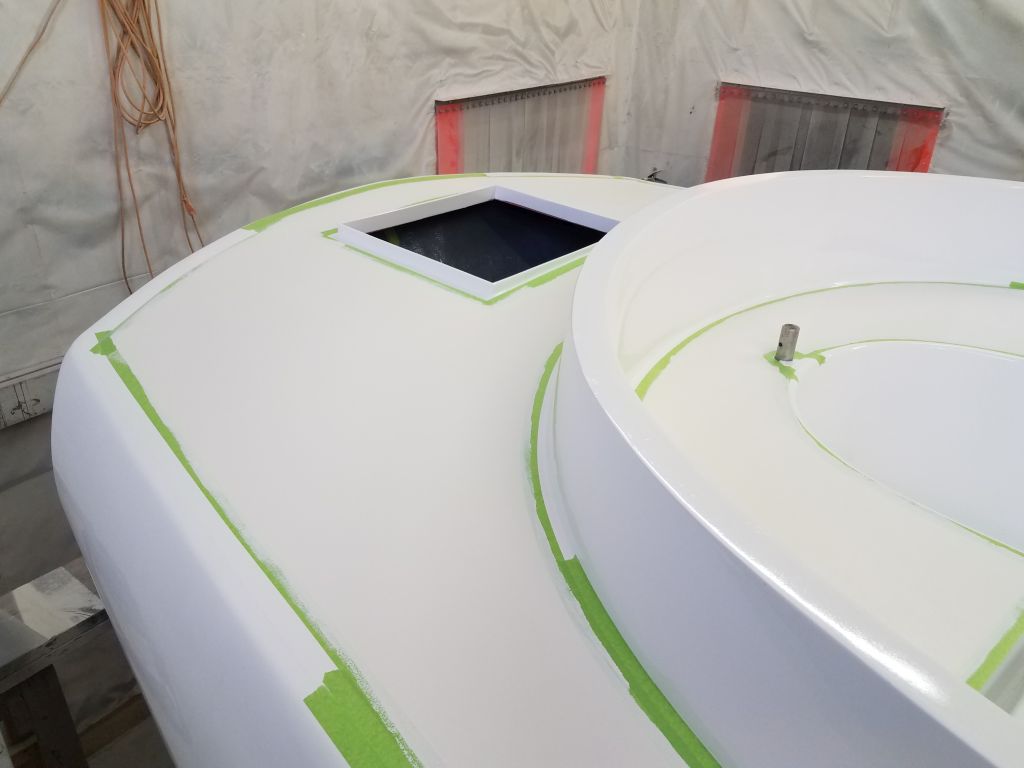
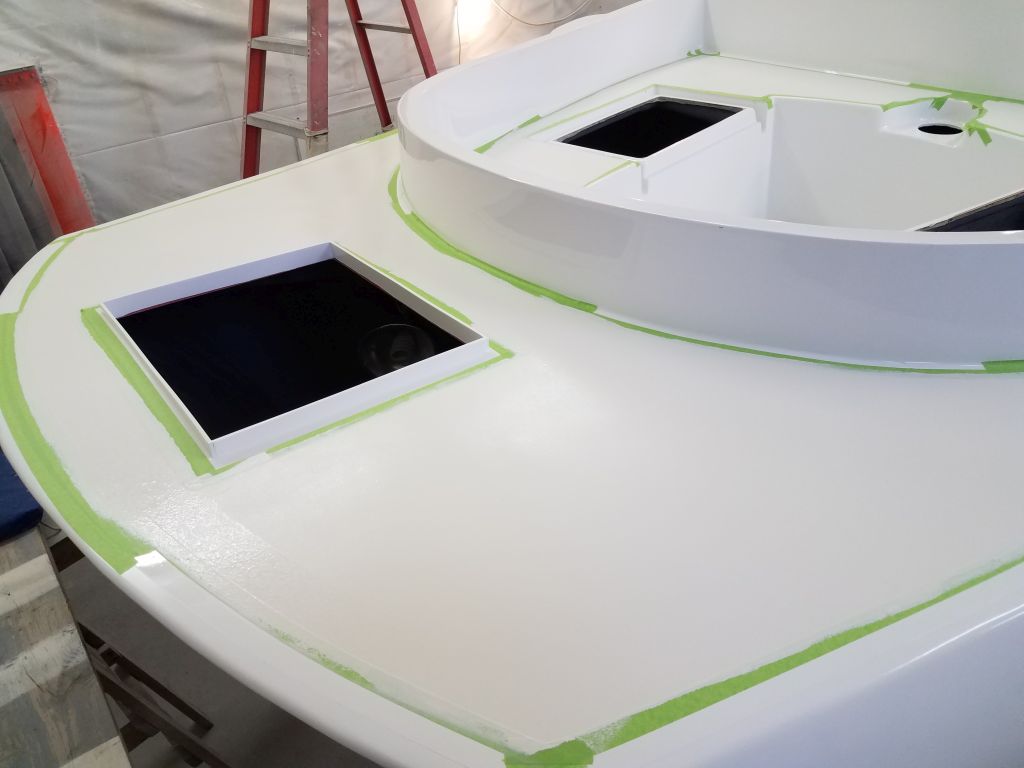
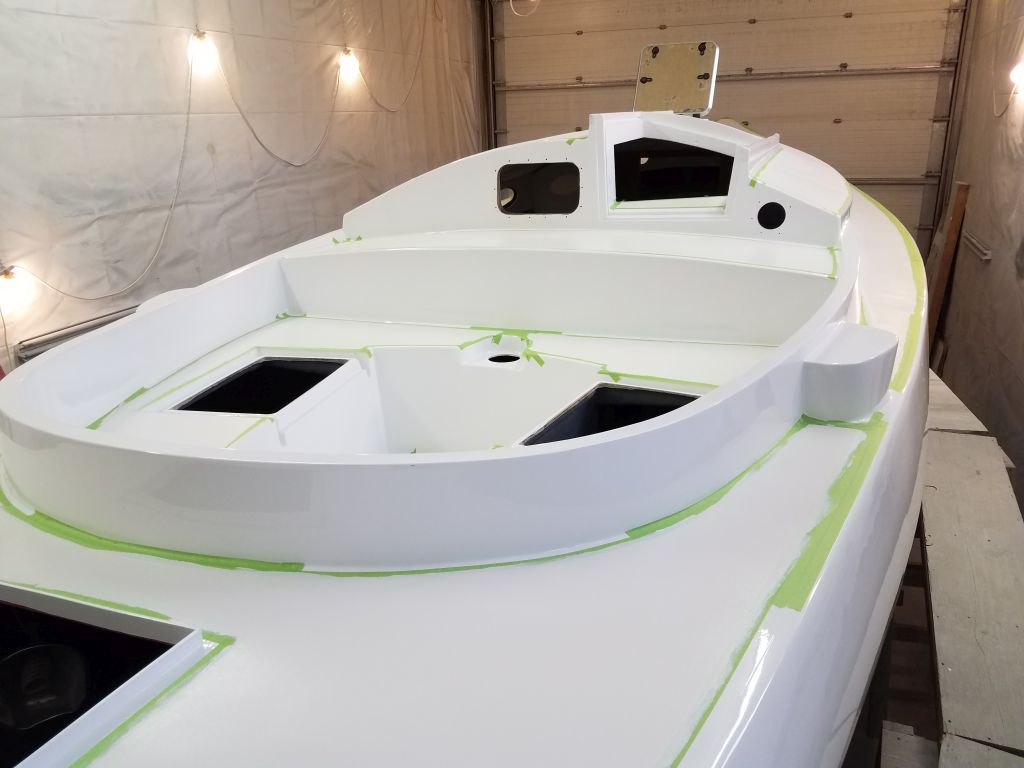
With these initial marks made, I masked off and covered the decks with a protective material that would help keep the nonskid clean and unmarred during the rest of construction. I covered the large port side of the coachroof, but left the outboard edge unsecured as I’d soon be trimming the material more to install the handrails. Afterwards, I reconnected some electrical cords and the interior lighting that I’d disconnected for the painting project.
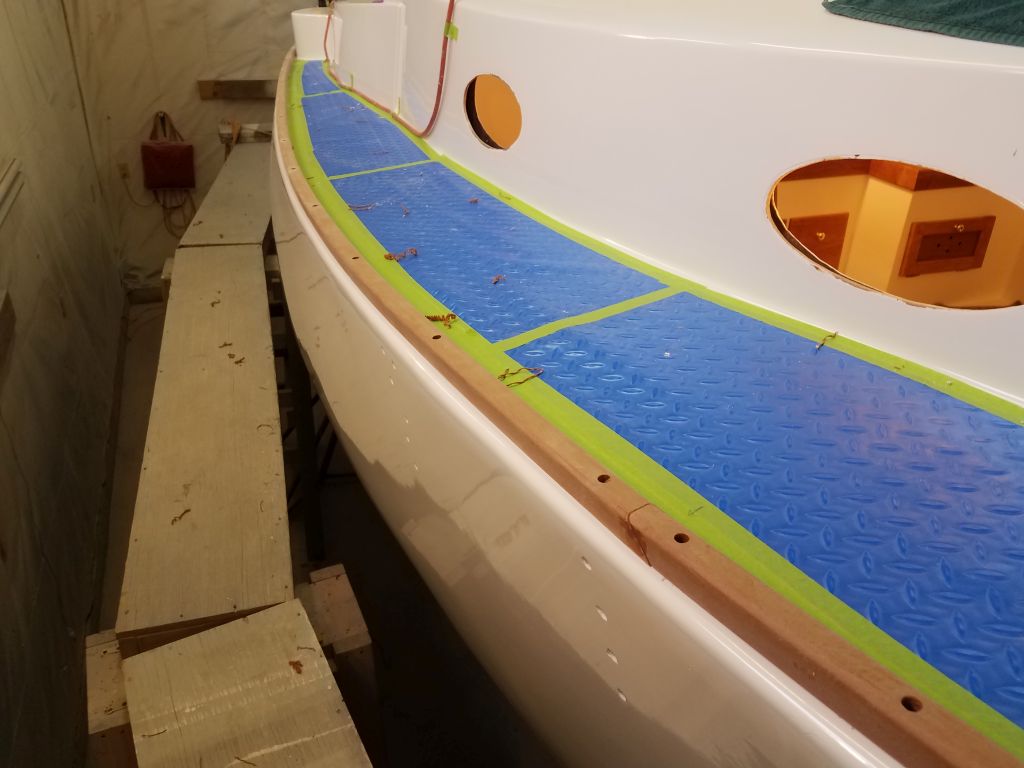
I kept the masking tape about 1/2″ inboard of my toerail marks to secure the deck cover; once that was all taped down, I ran a line of masking tape along my pencil marks, giving me a line to which I’d align (generally speaking) the toerail during installation, notwithstanding any minor adjustments as I let the toerail fair itself into a smooth curve.
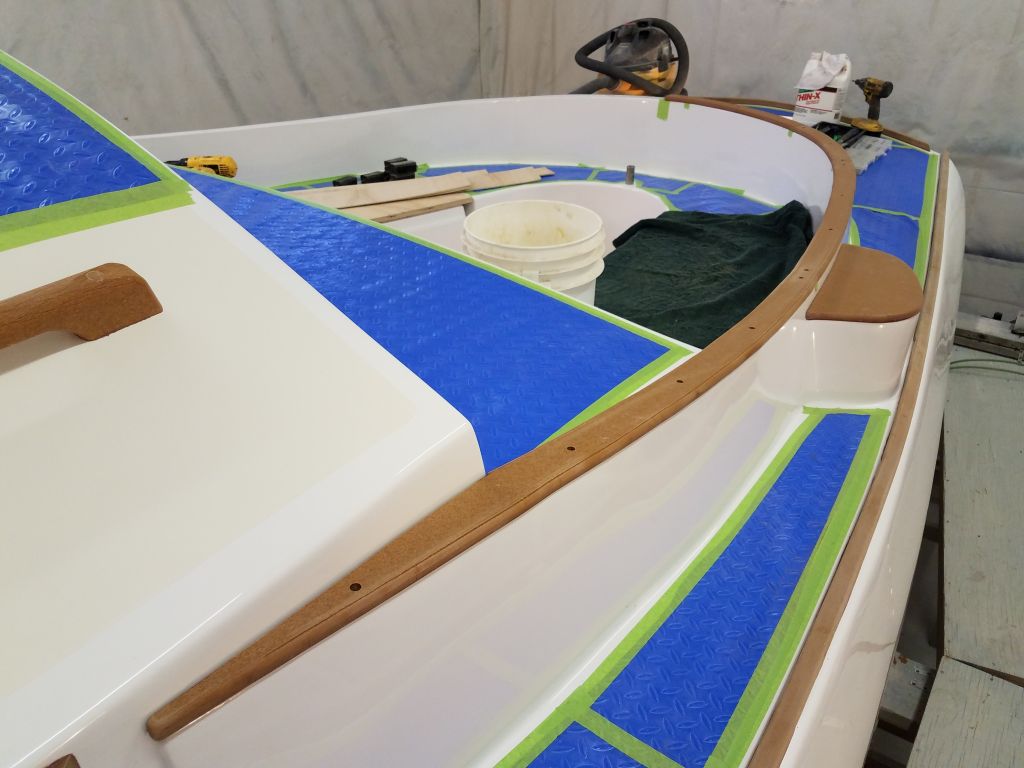
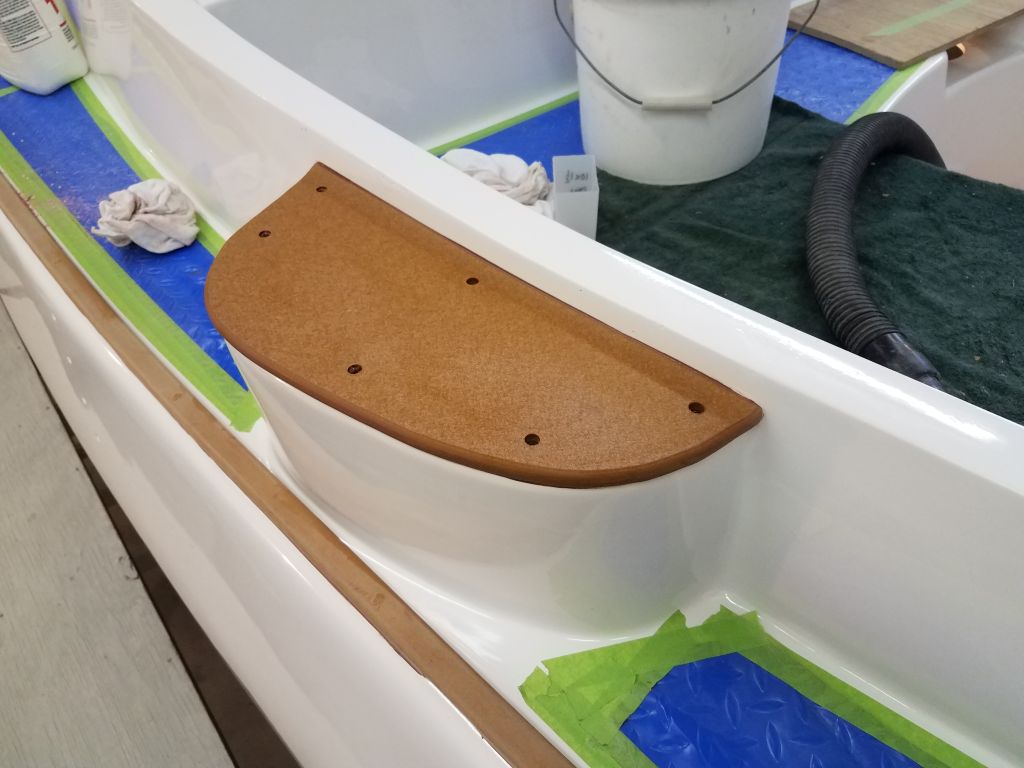
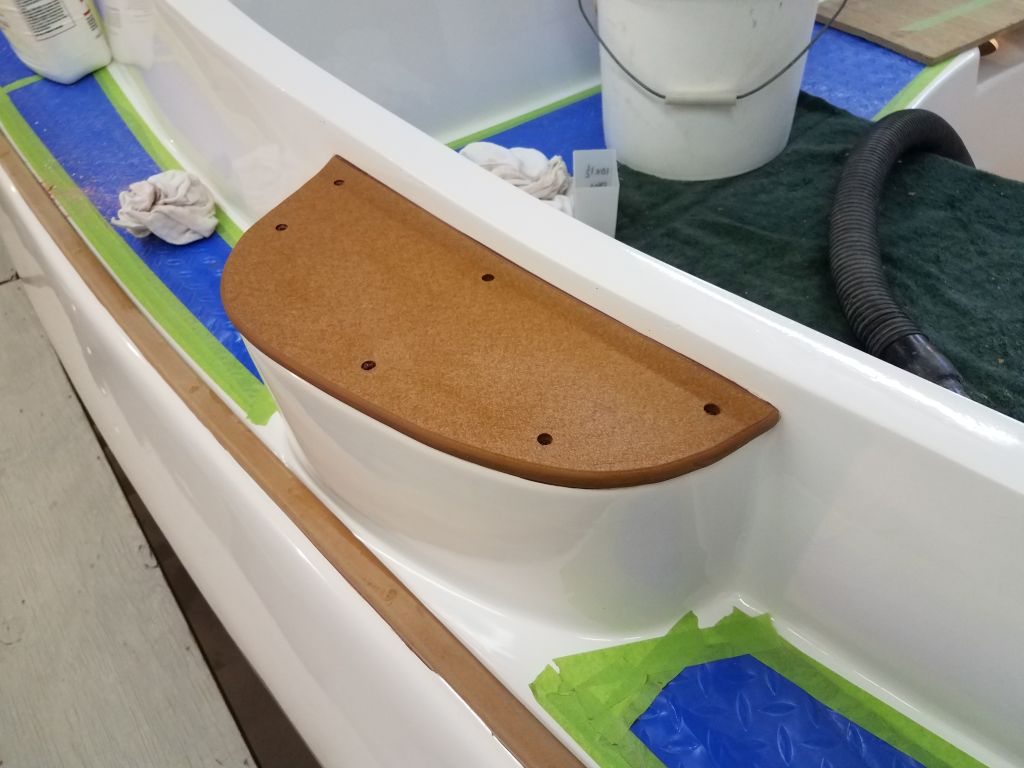
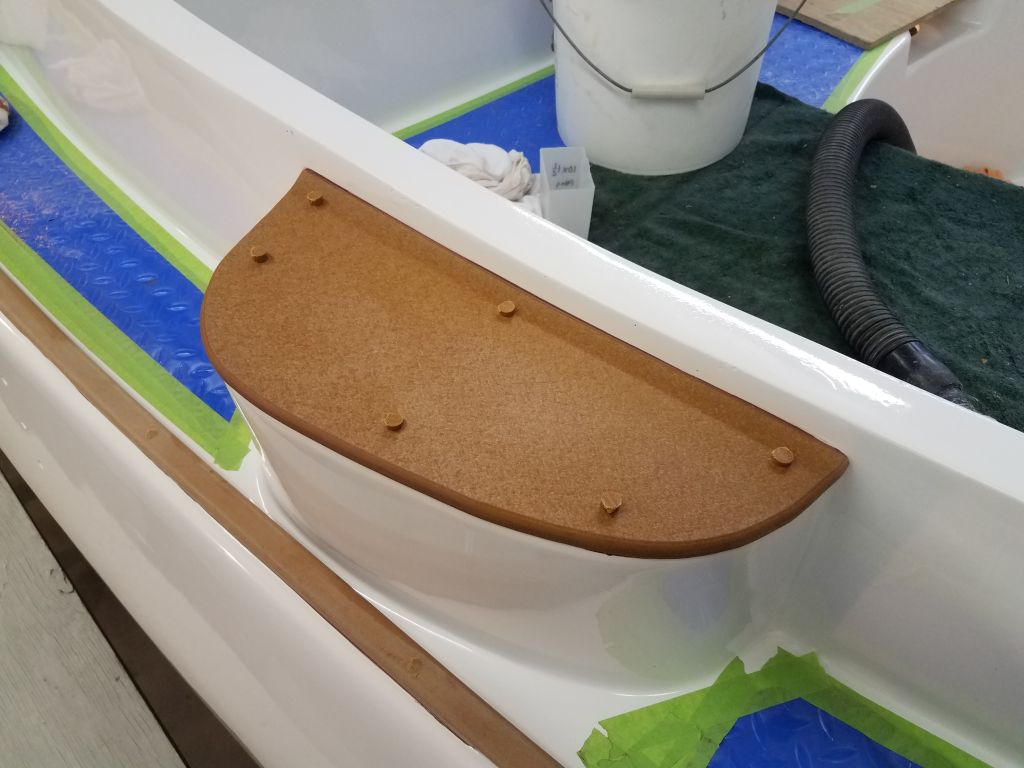
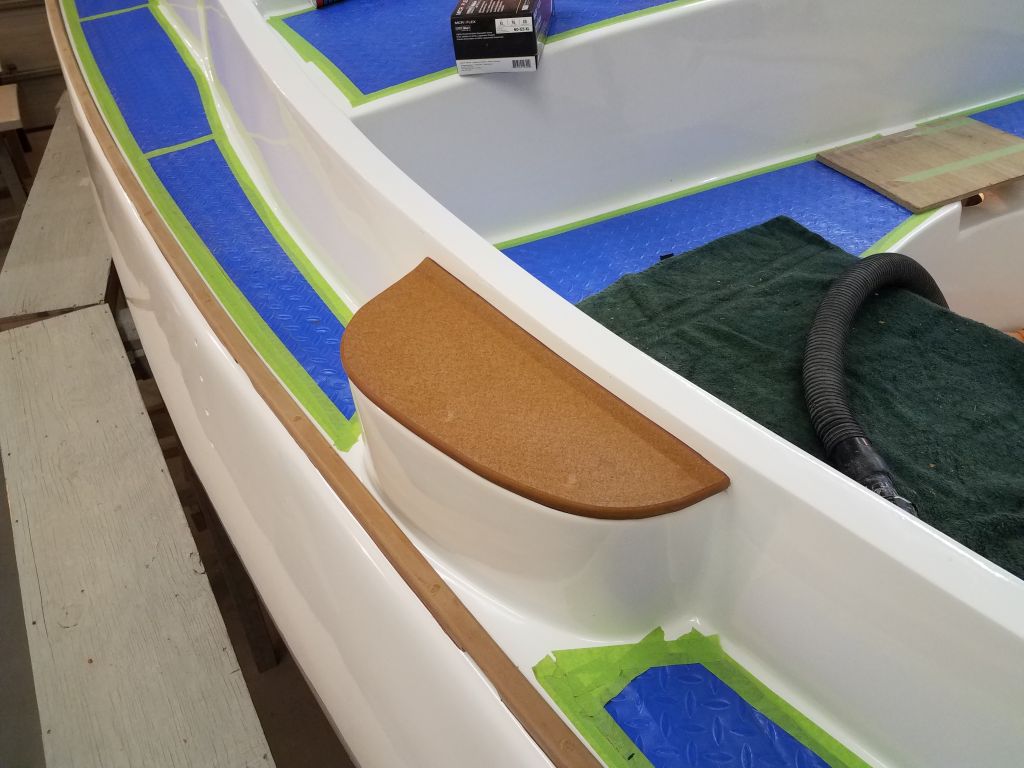
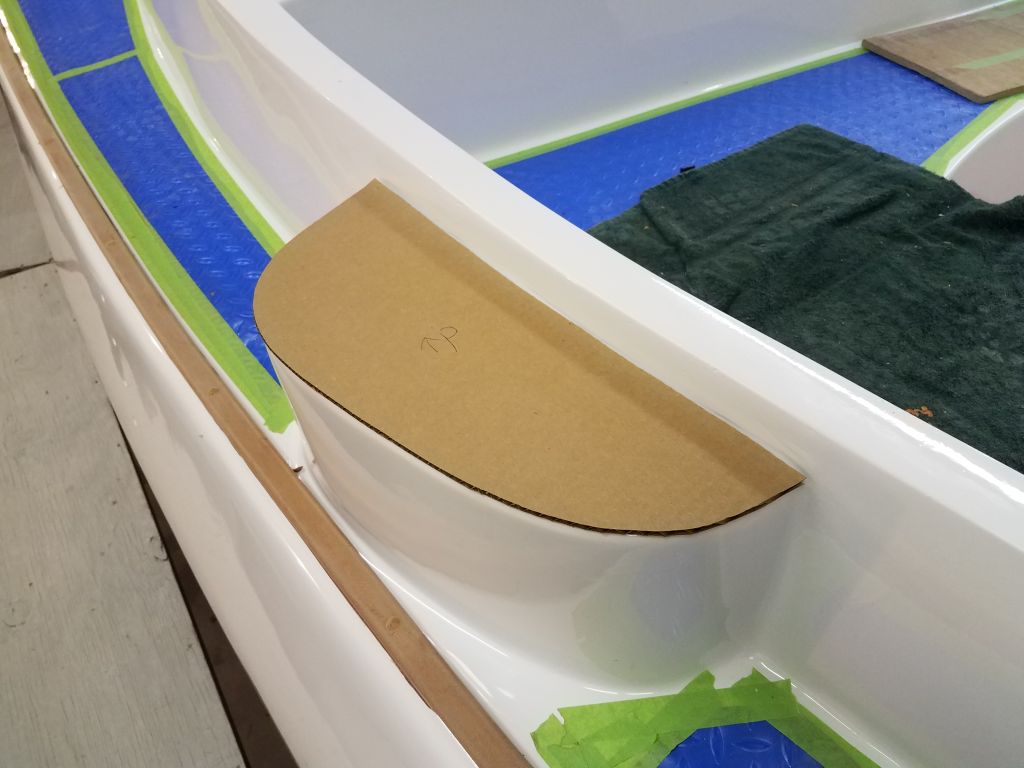
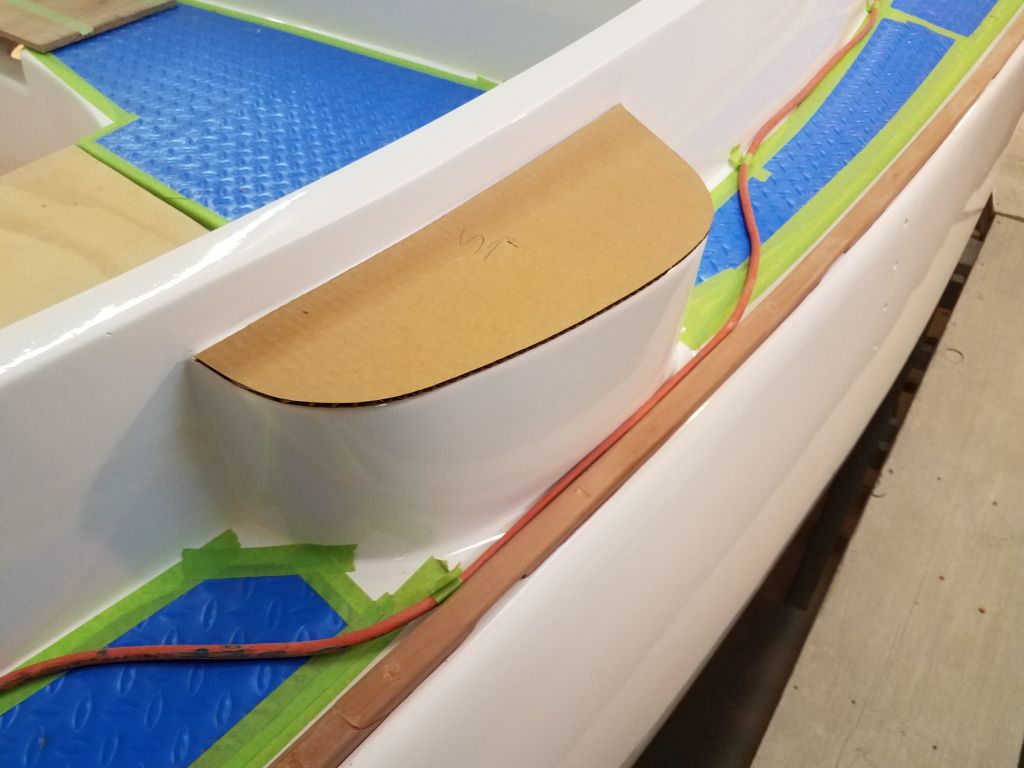
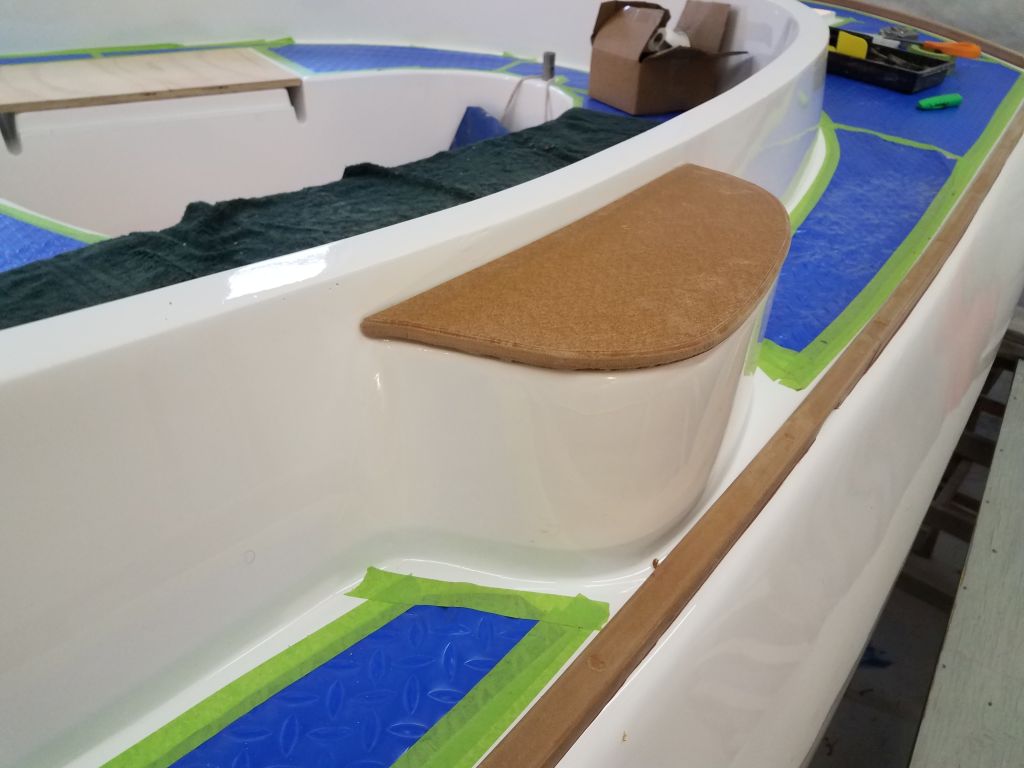
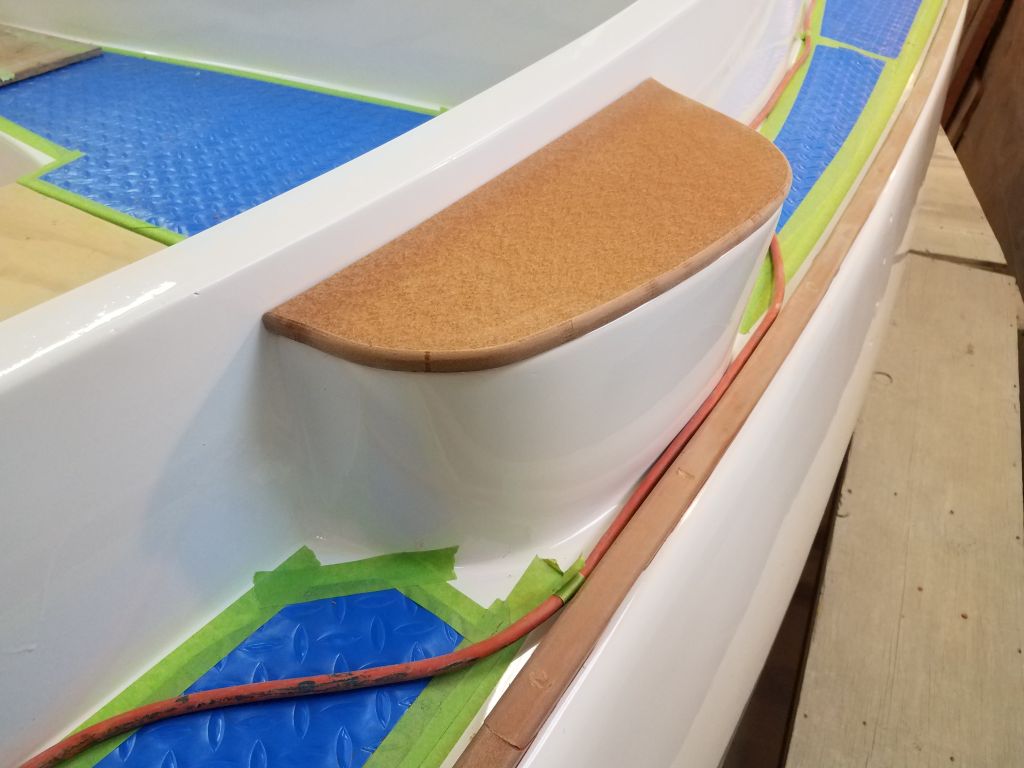
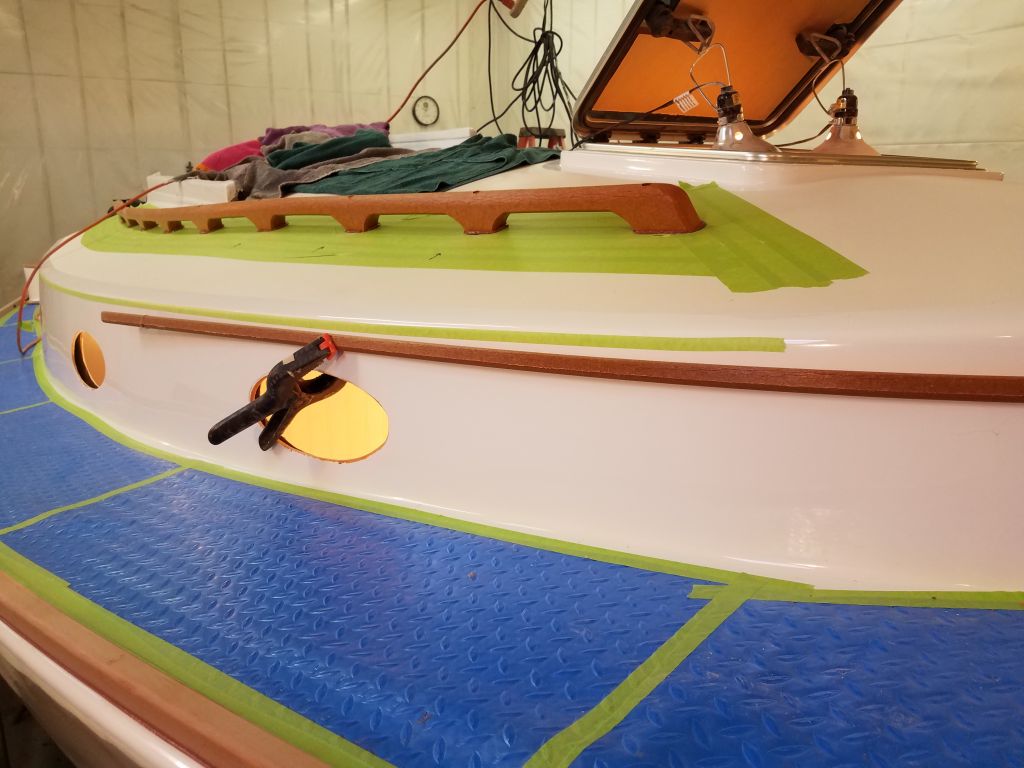
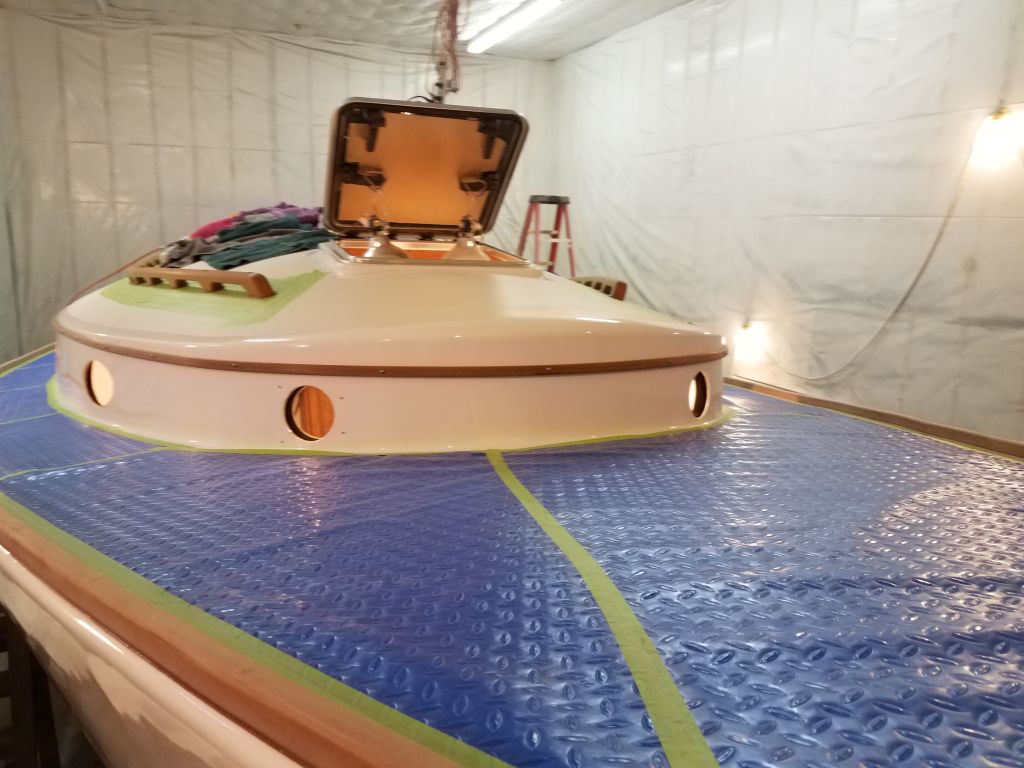
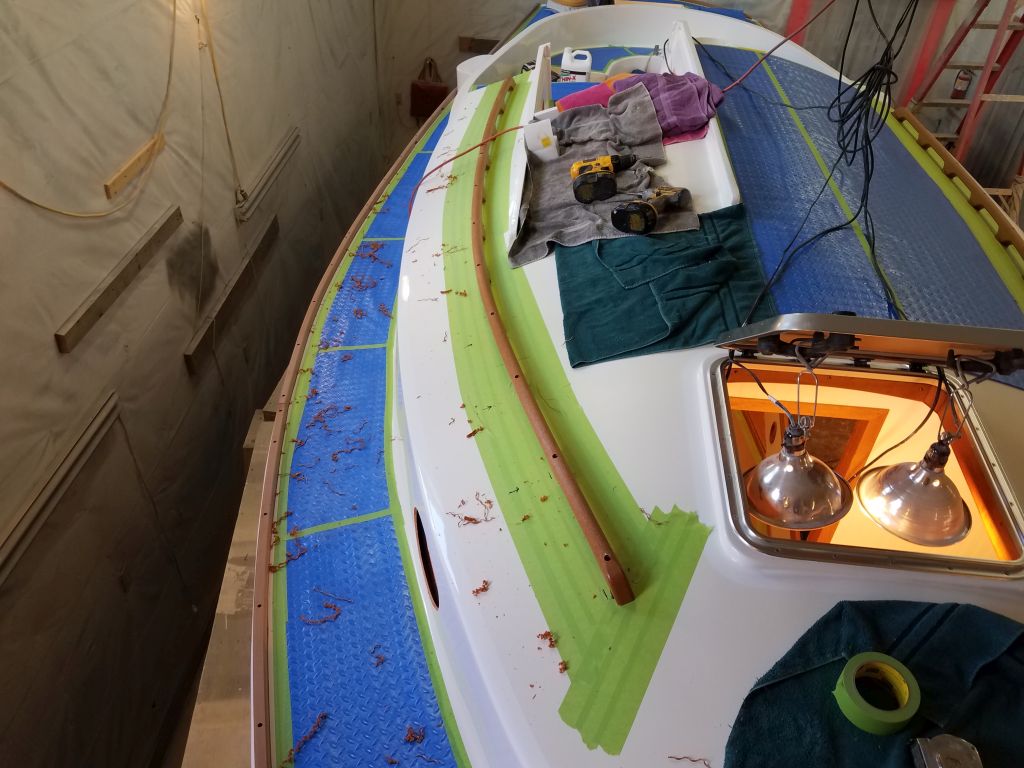
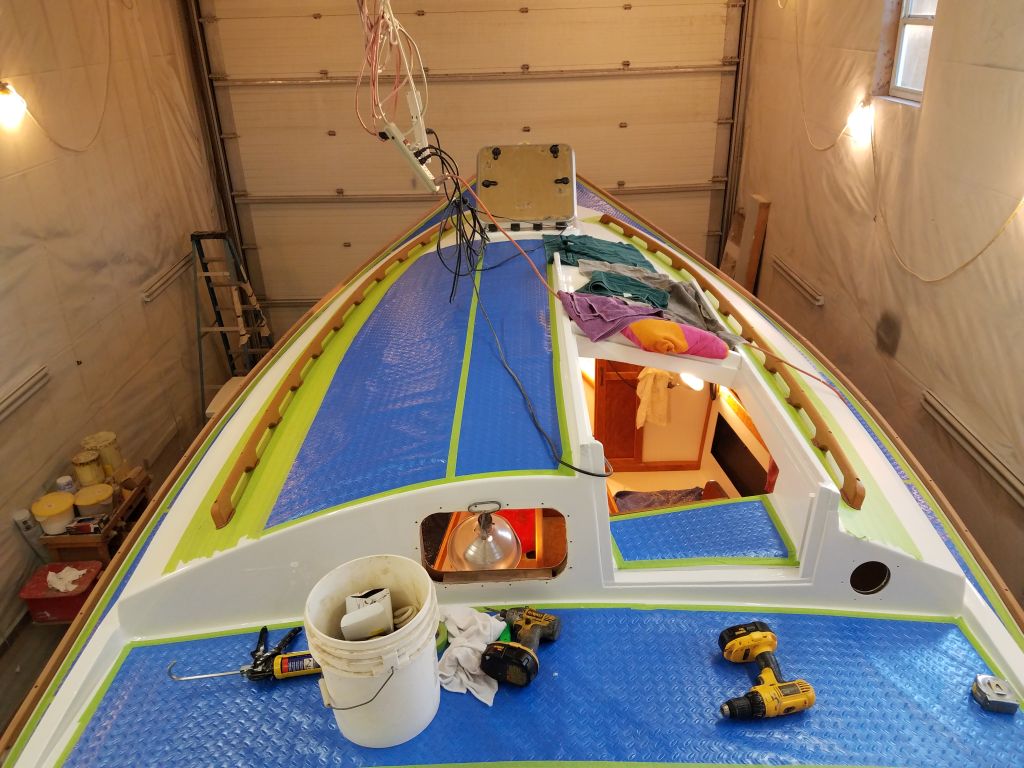
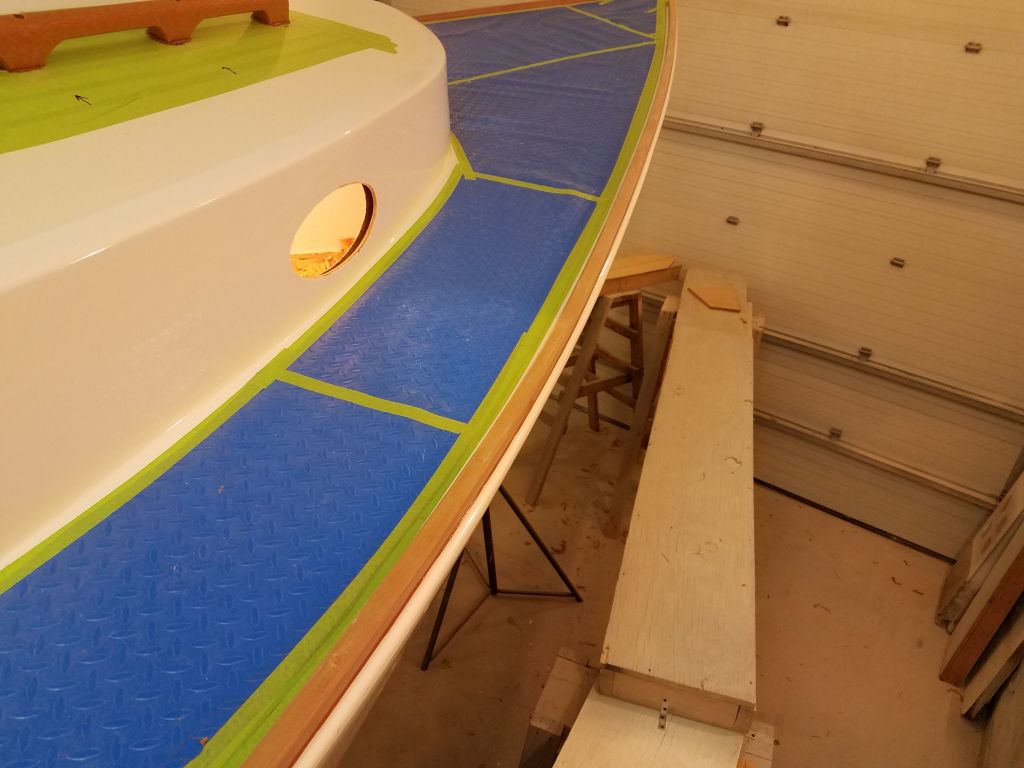
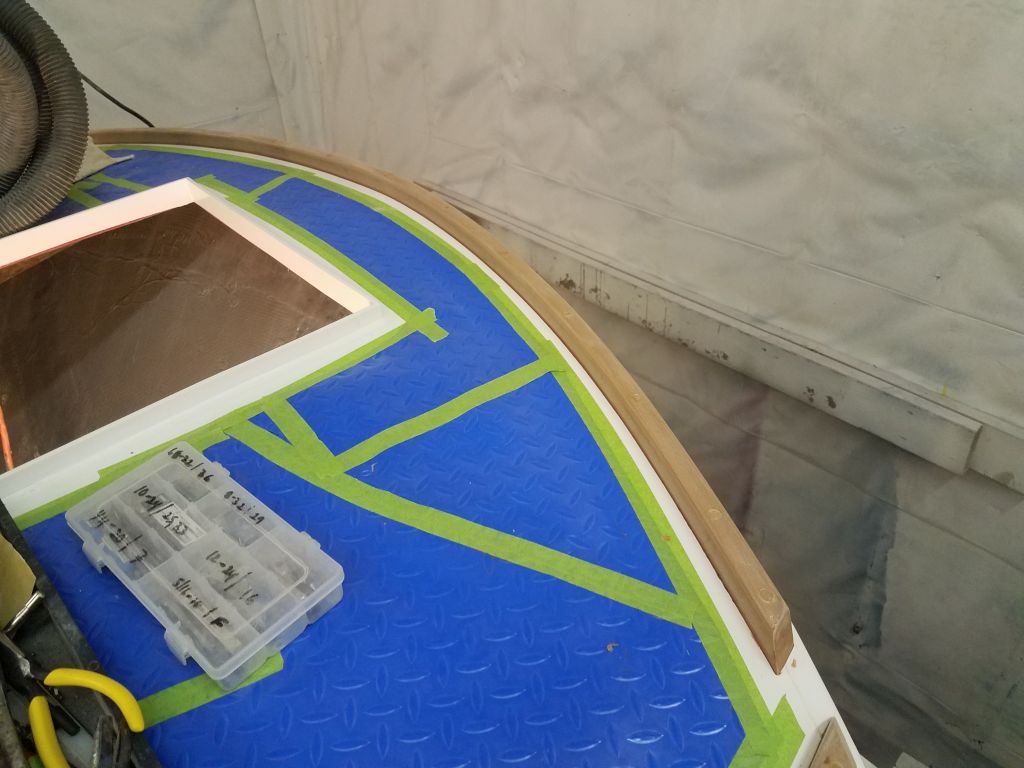
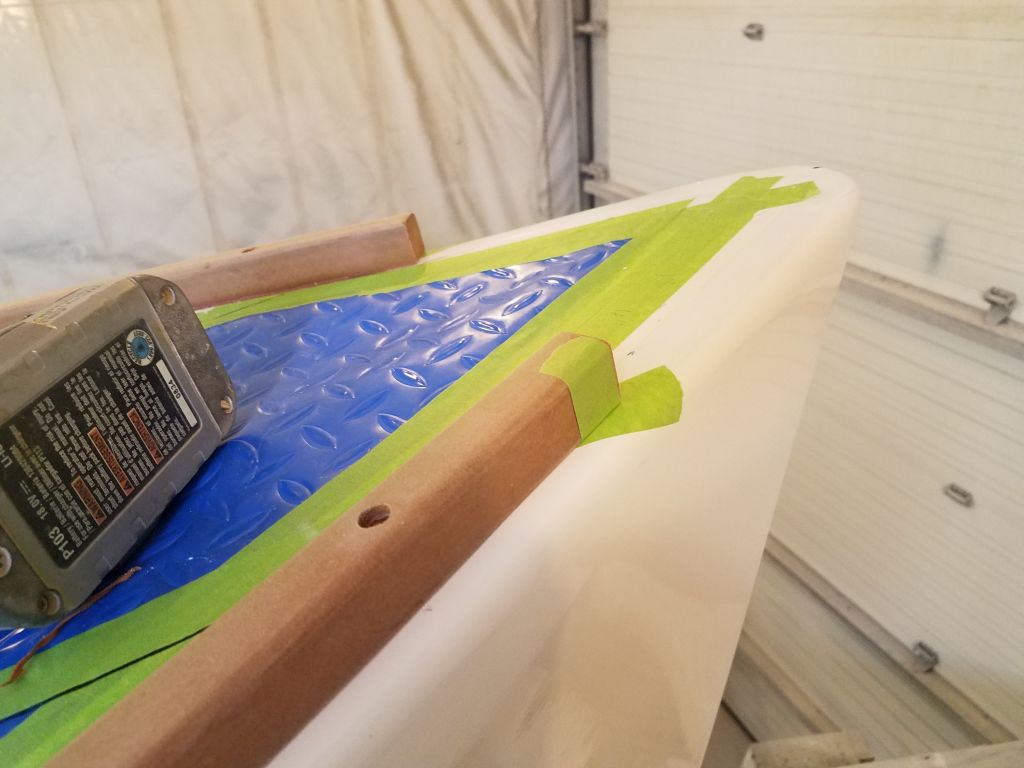
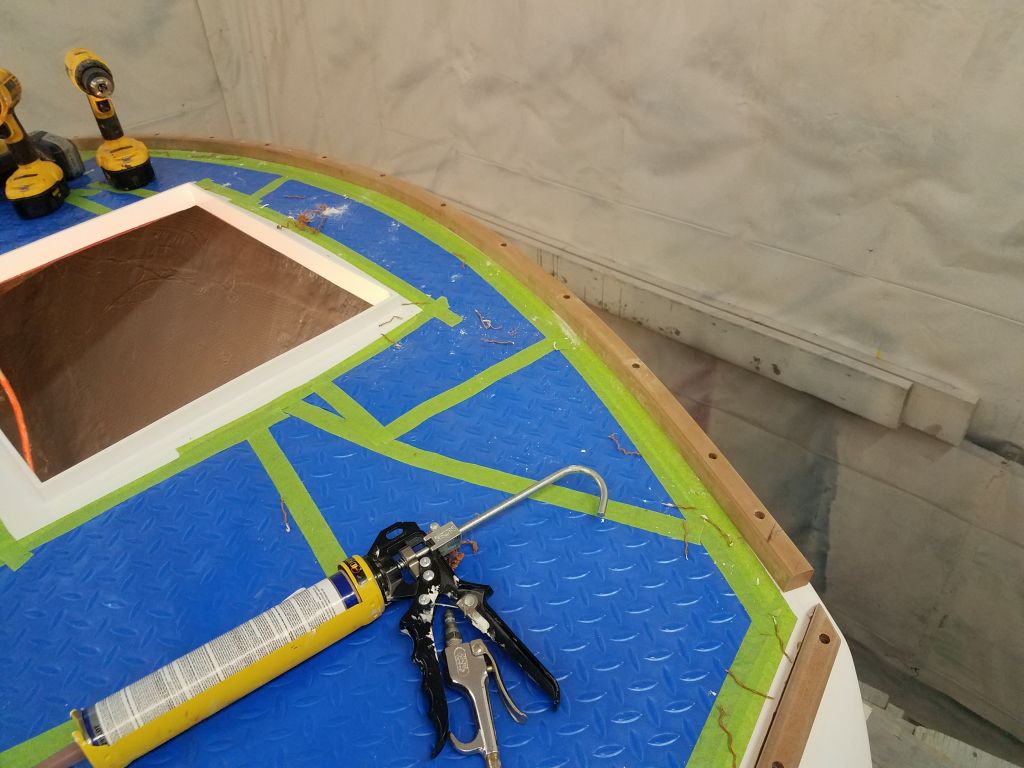
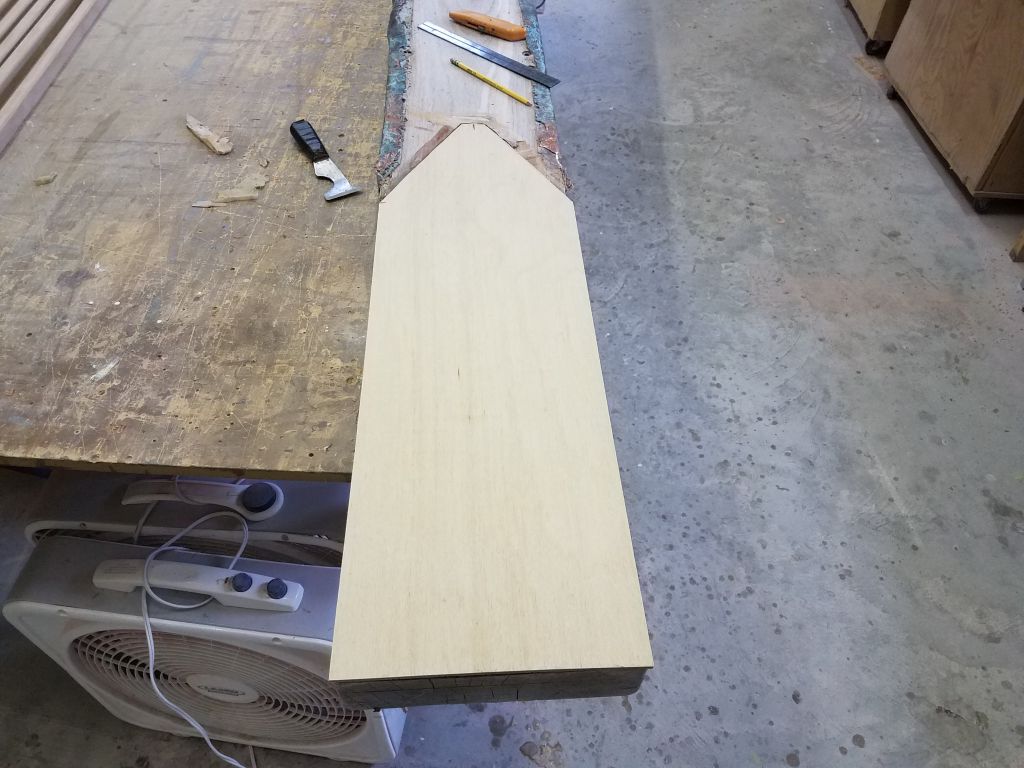
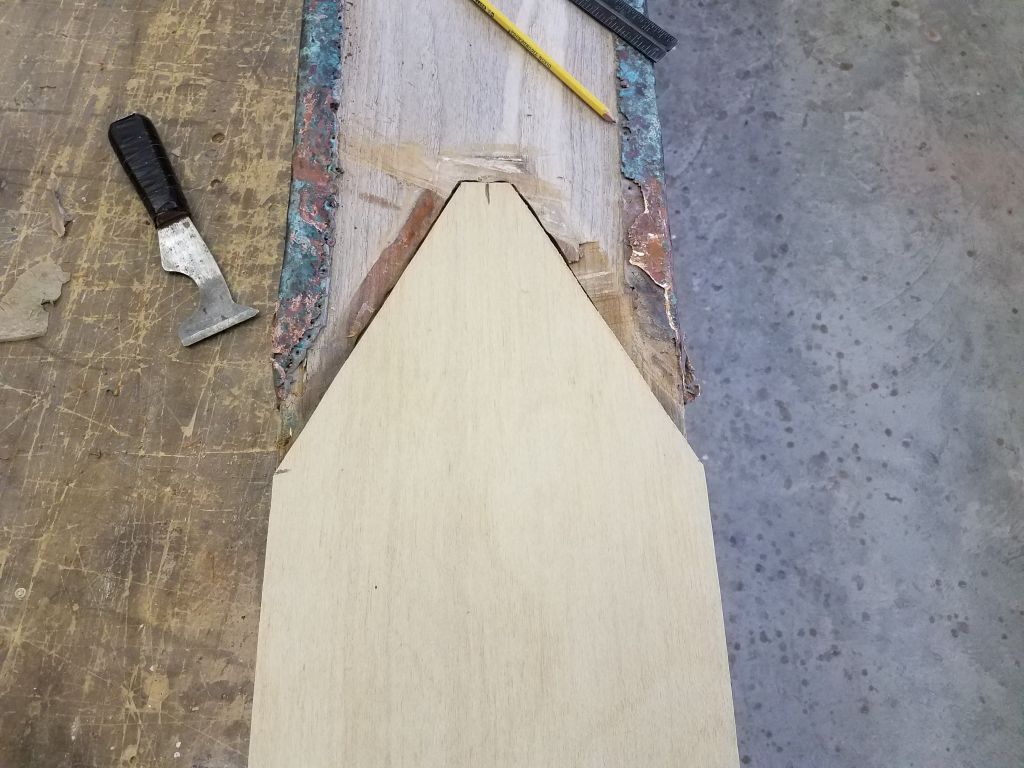
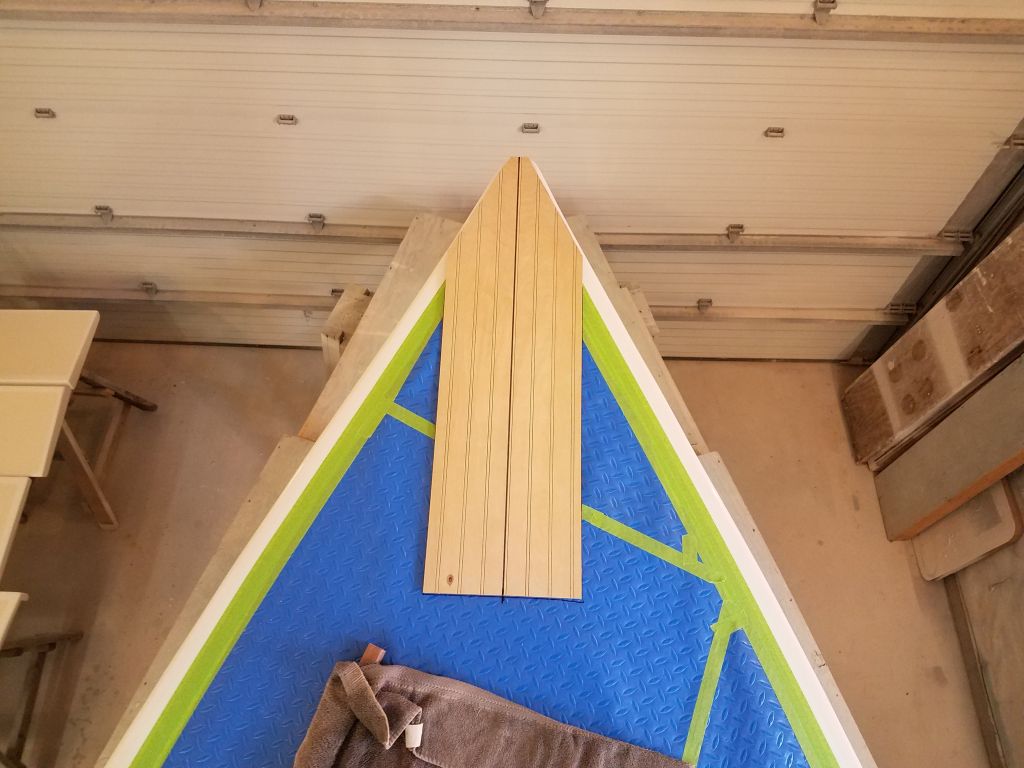
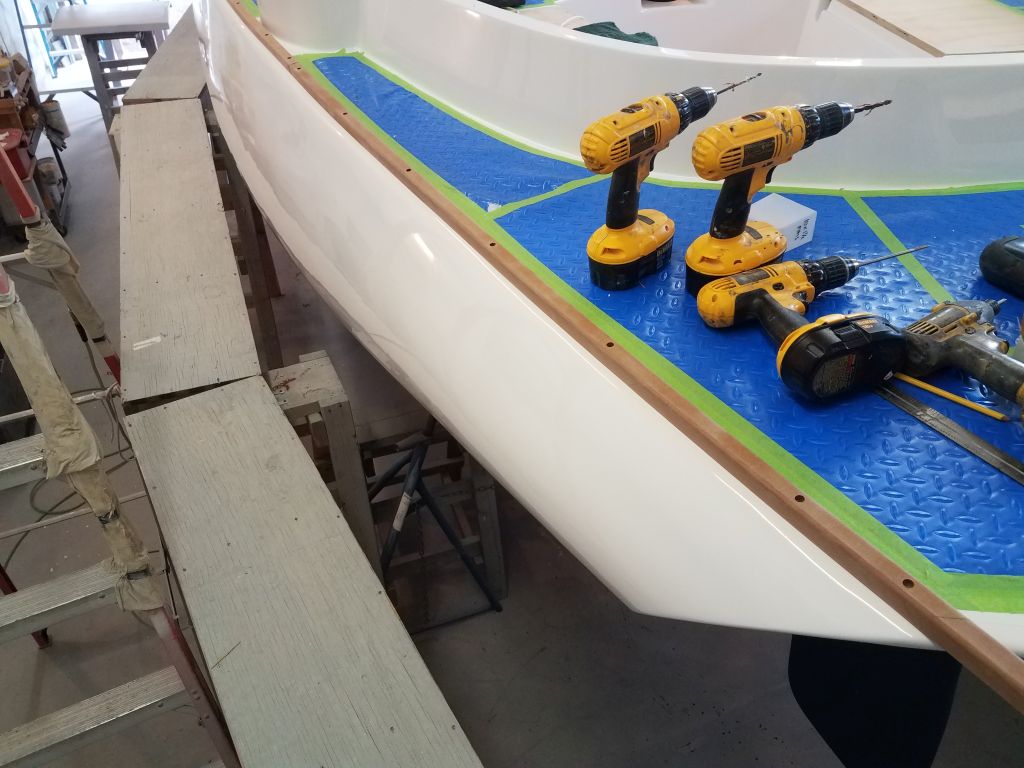
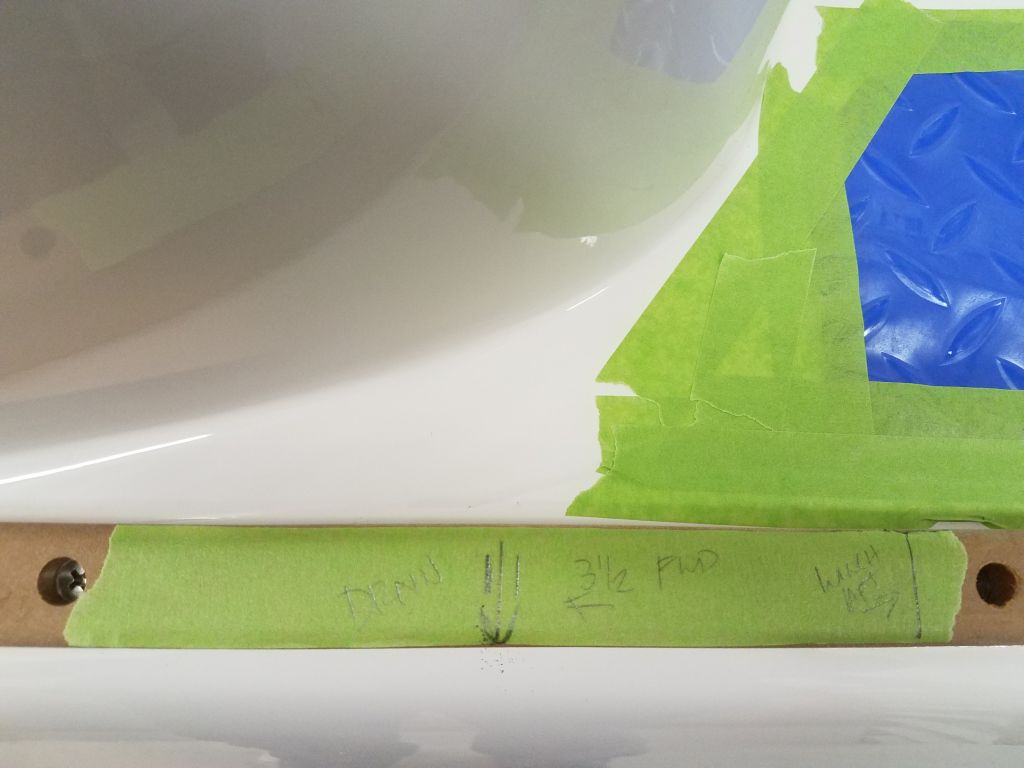
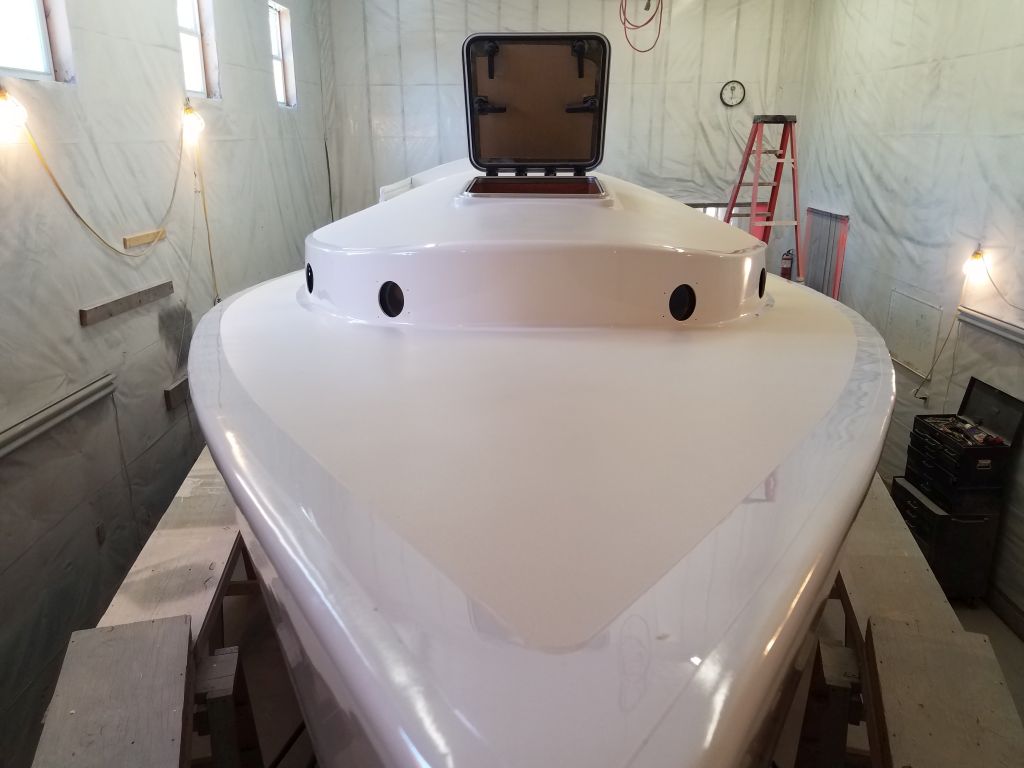
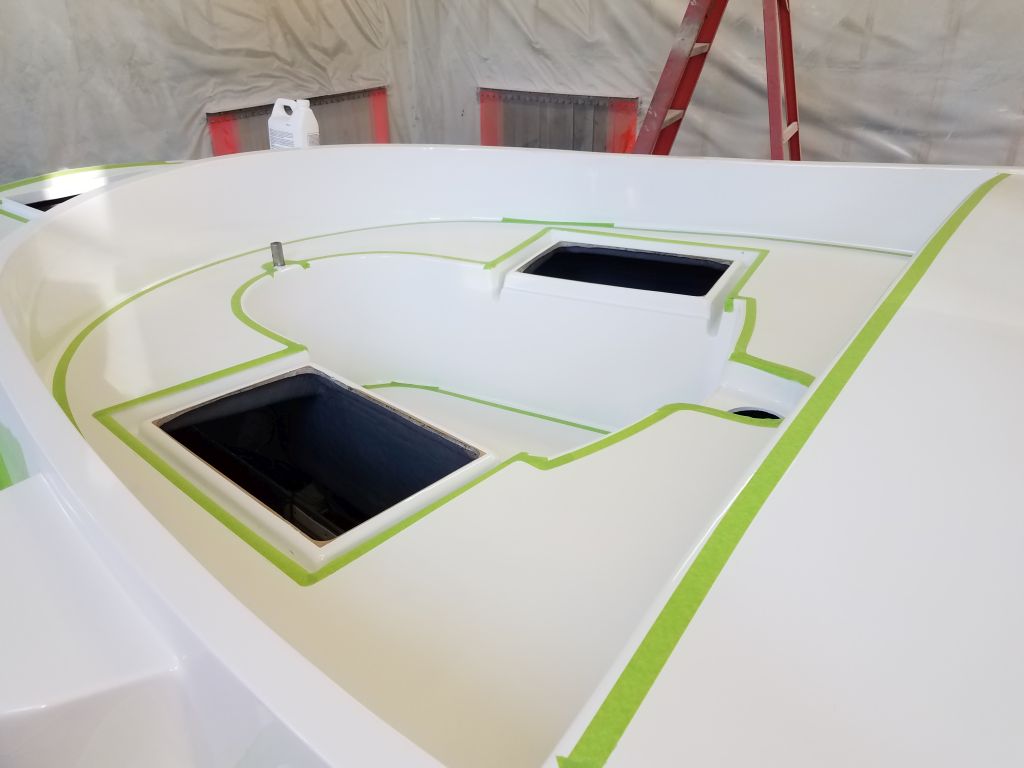
After getting myself set up with tools and supplies for the toerail installation, I began the job at the port bow. To begin, I made a quick plywood template of the part of the original bow platform that had been secured to the deck. Then, I used this template to determine the eventual position of the bow platform on the foredeck, both for immediate use and for future reference. I centered the template at the stem and made some reference marks right on the deck cover.
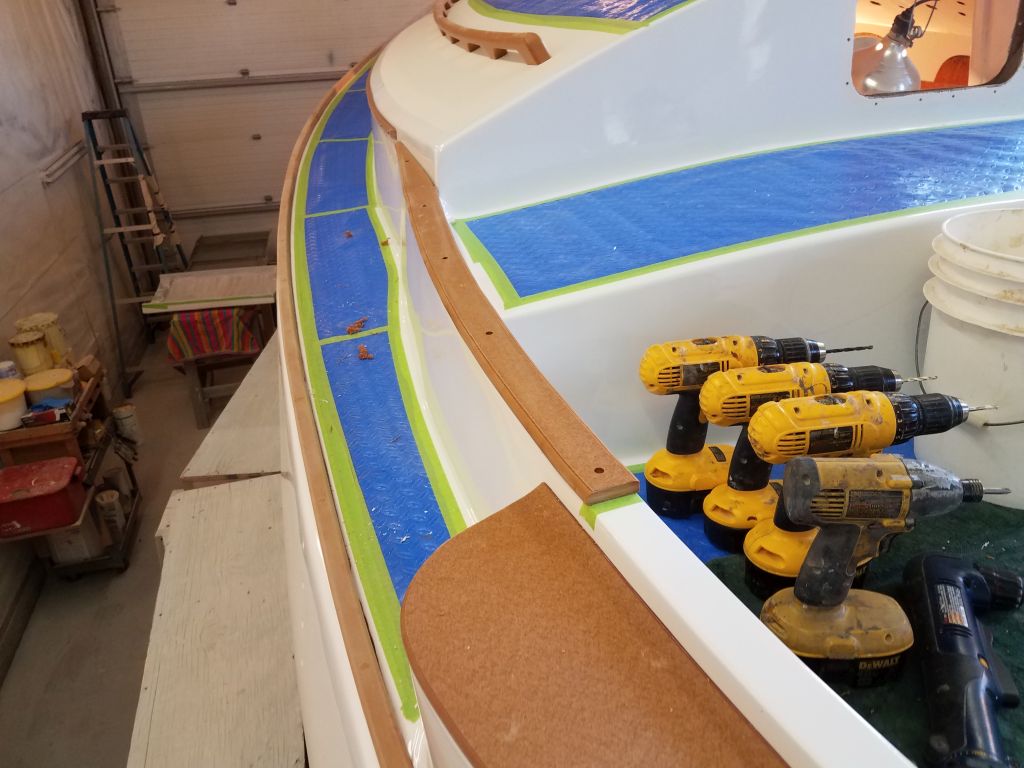
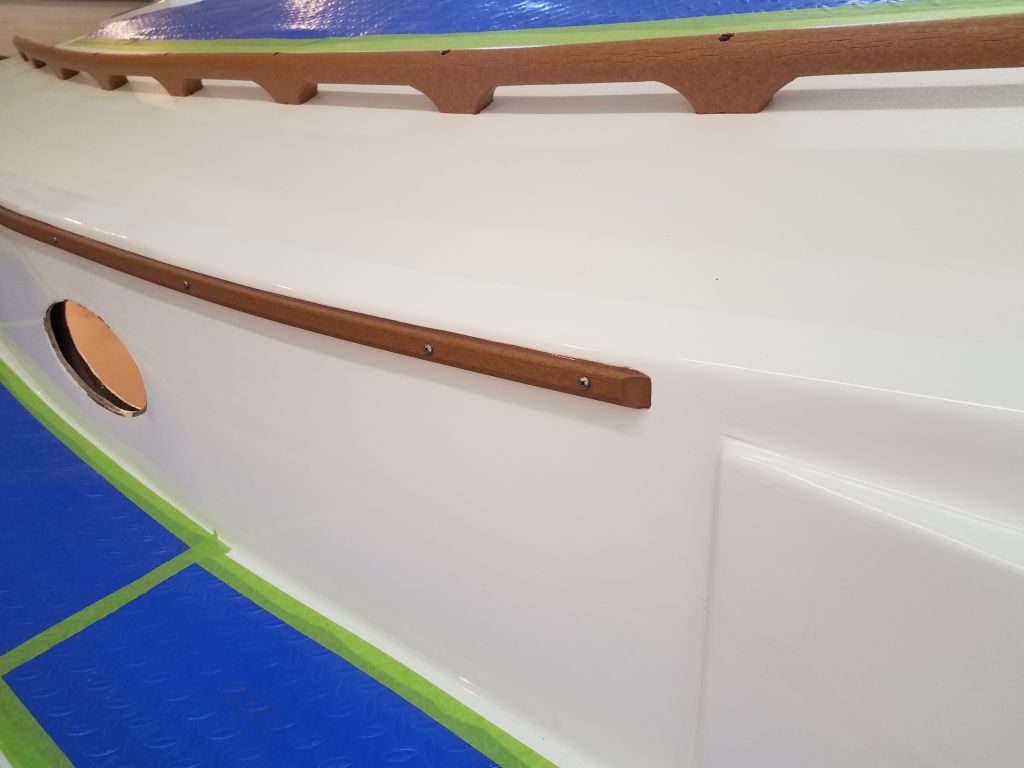
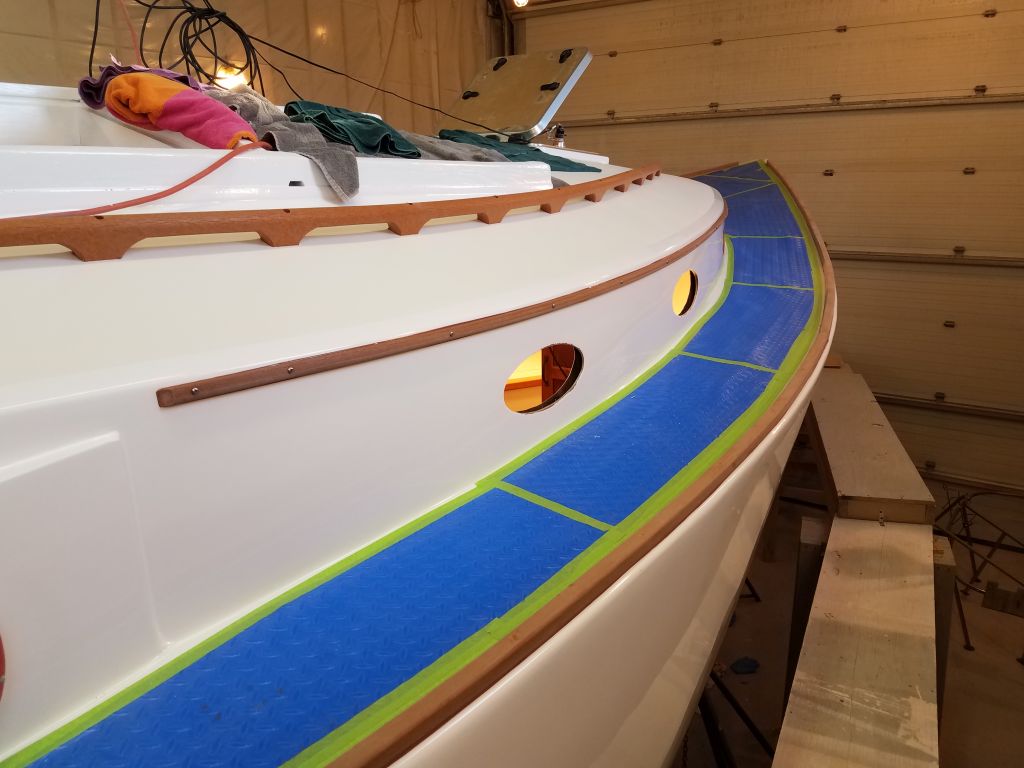
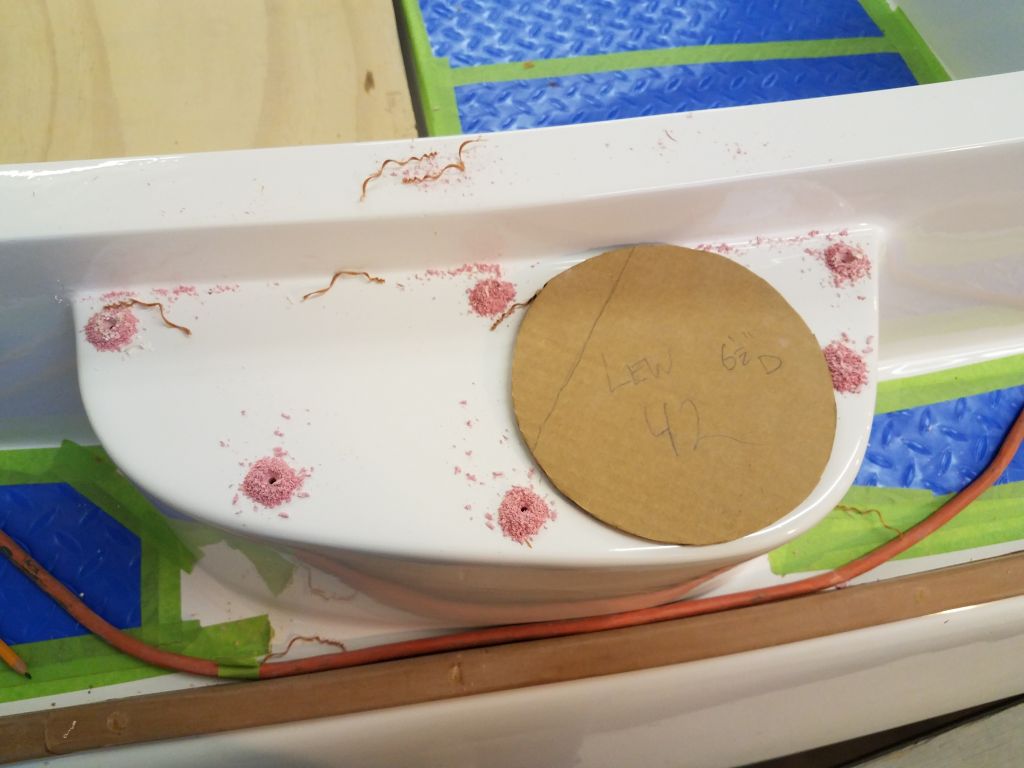
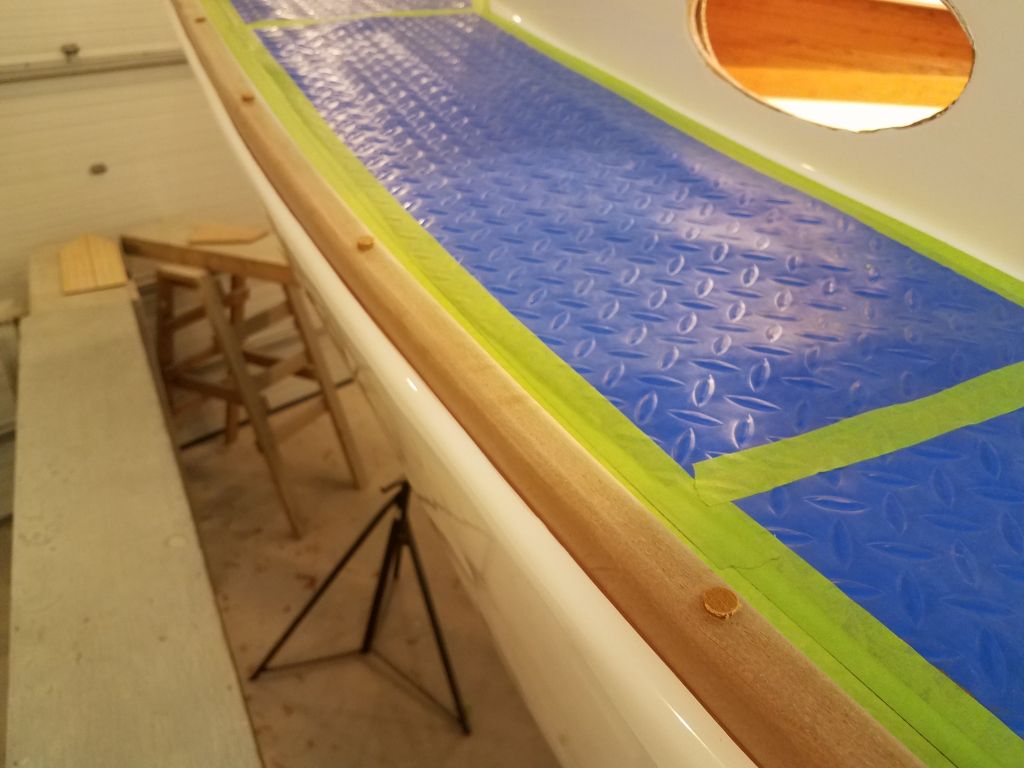
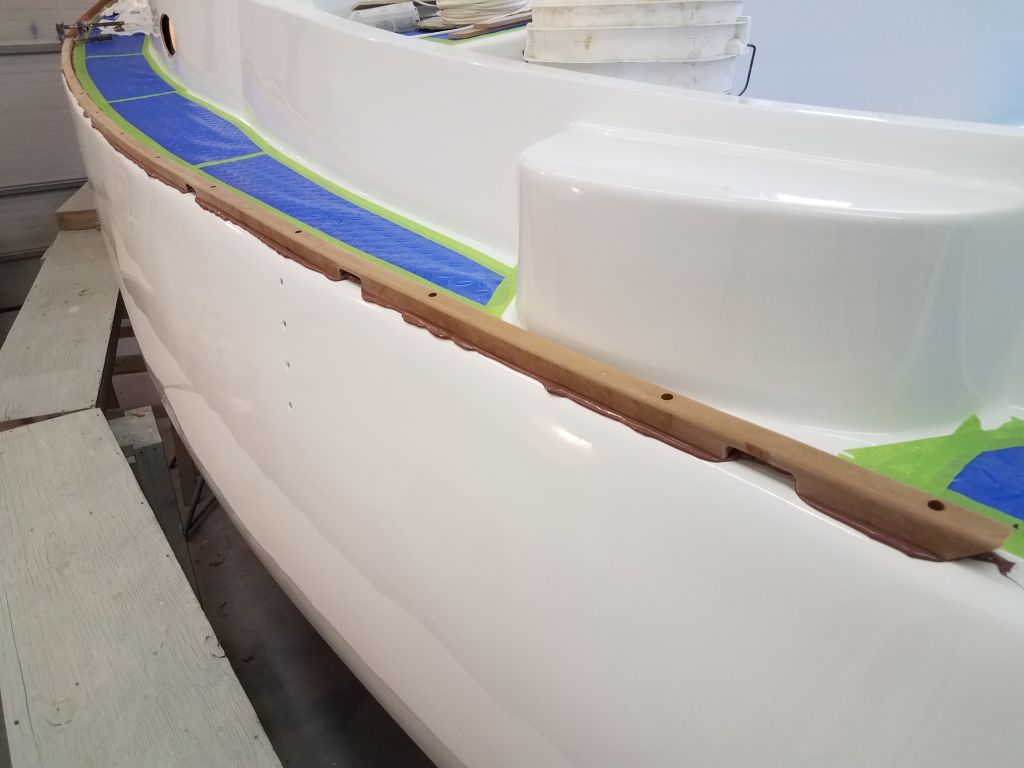
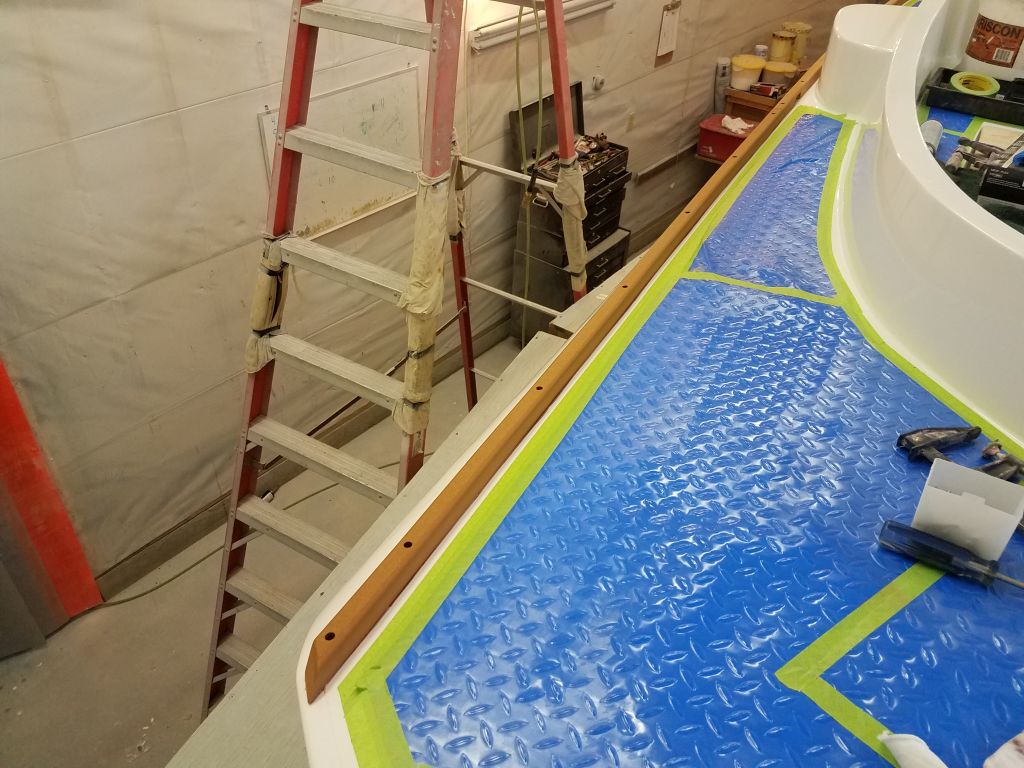
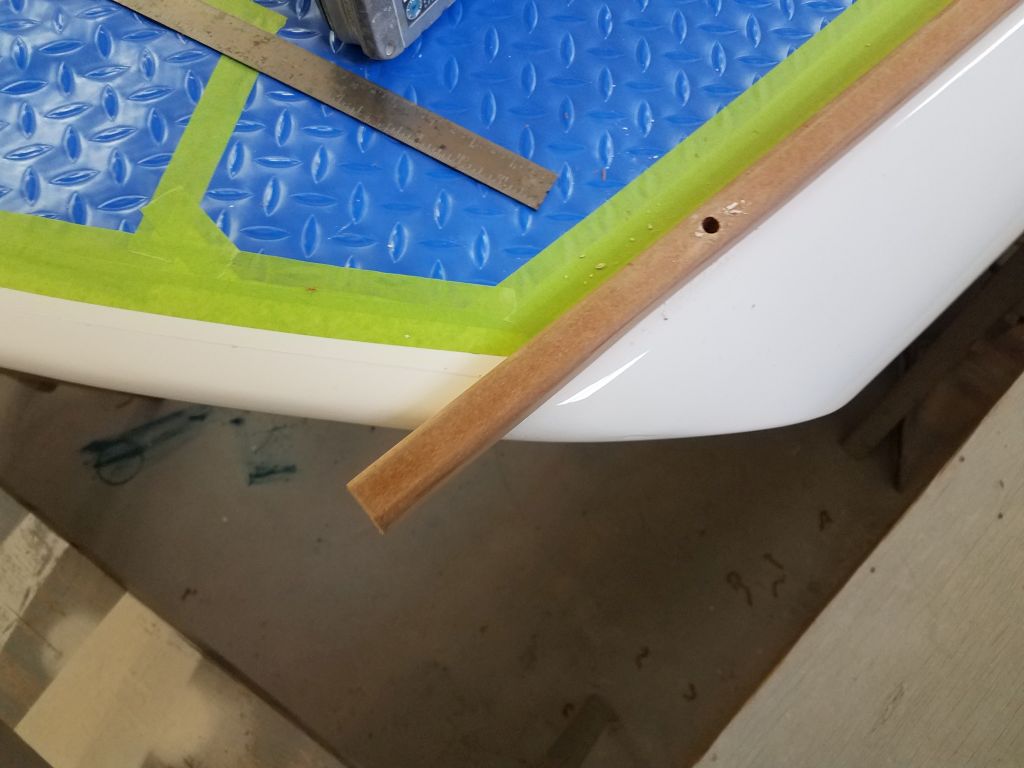
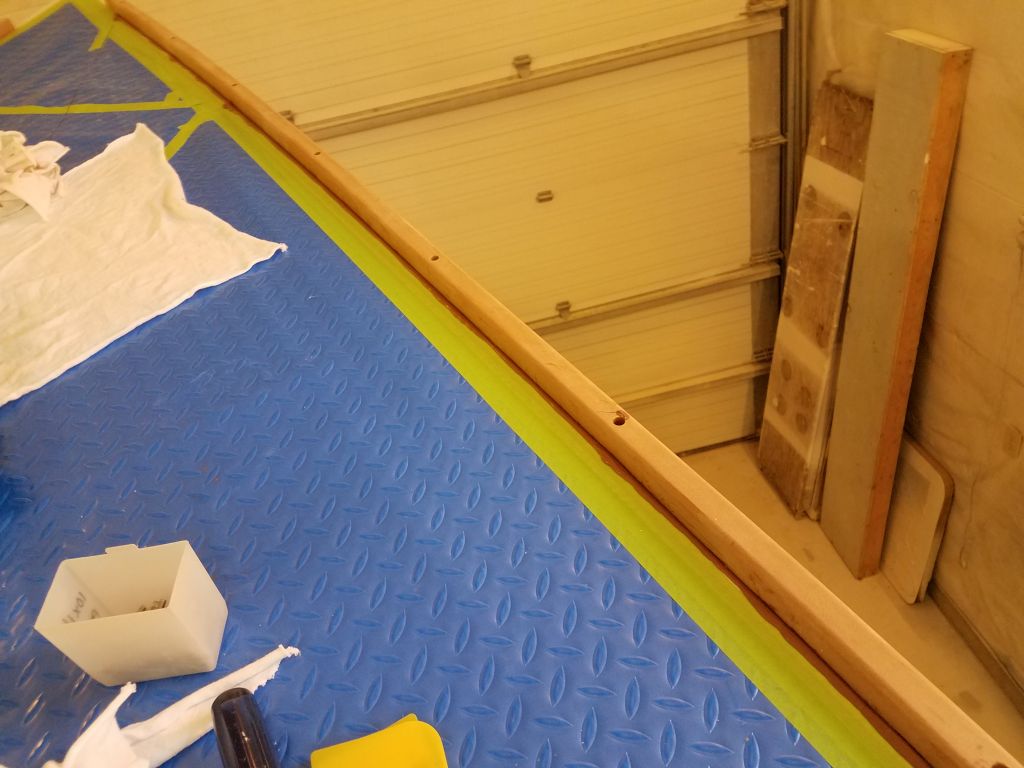
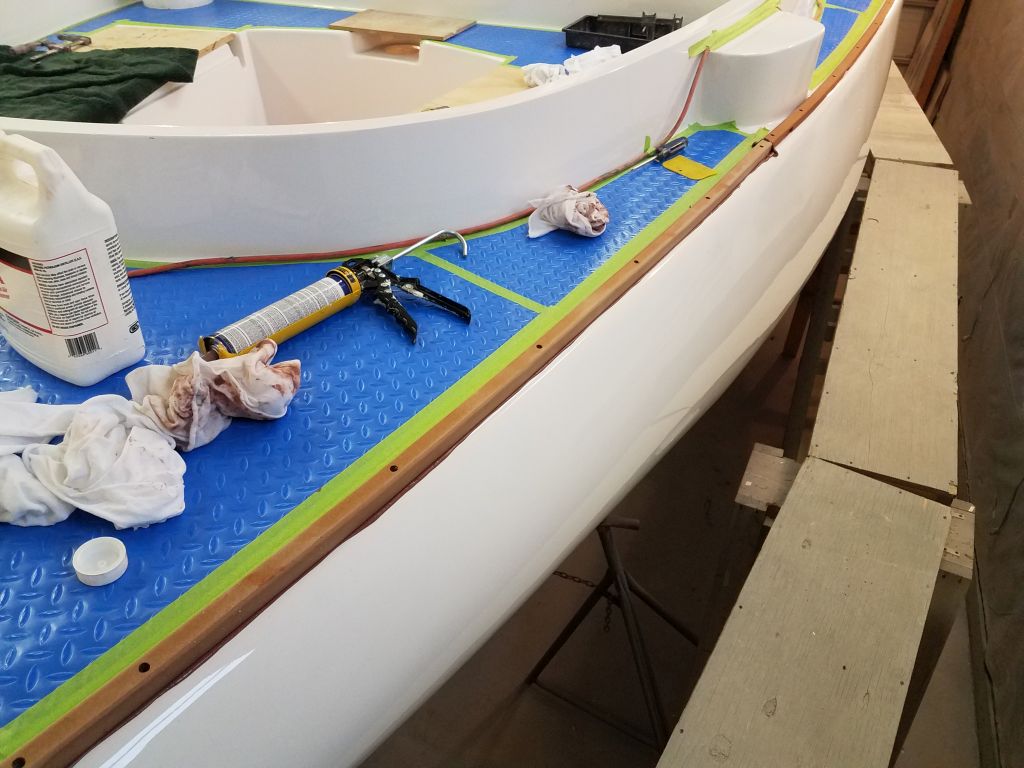
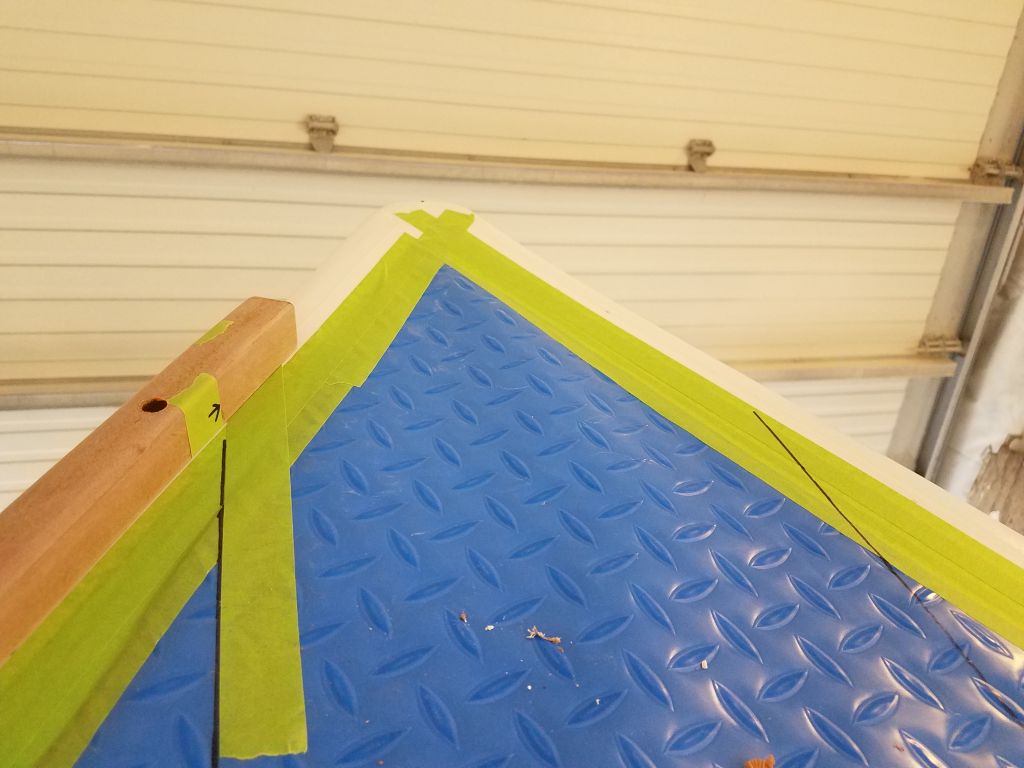
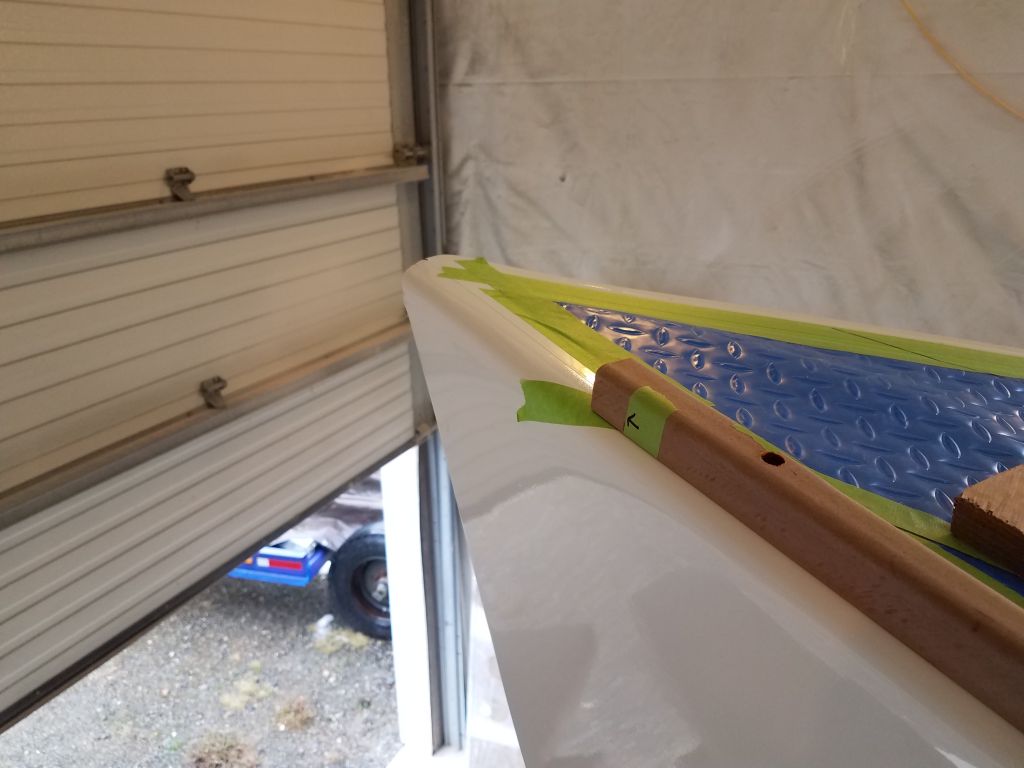
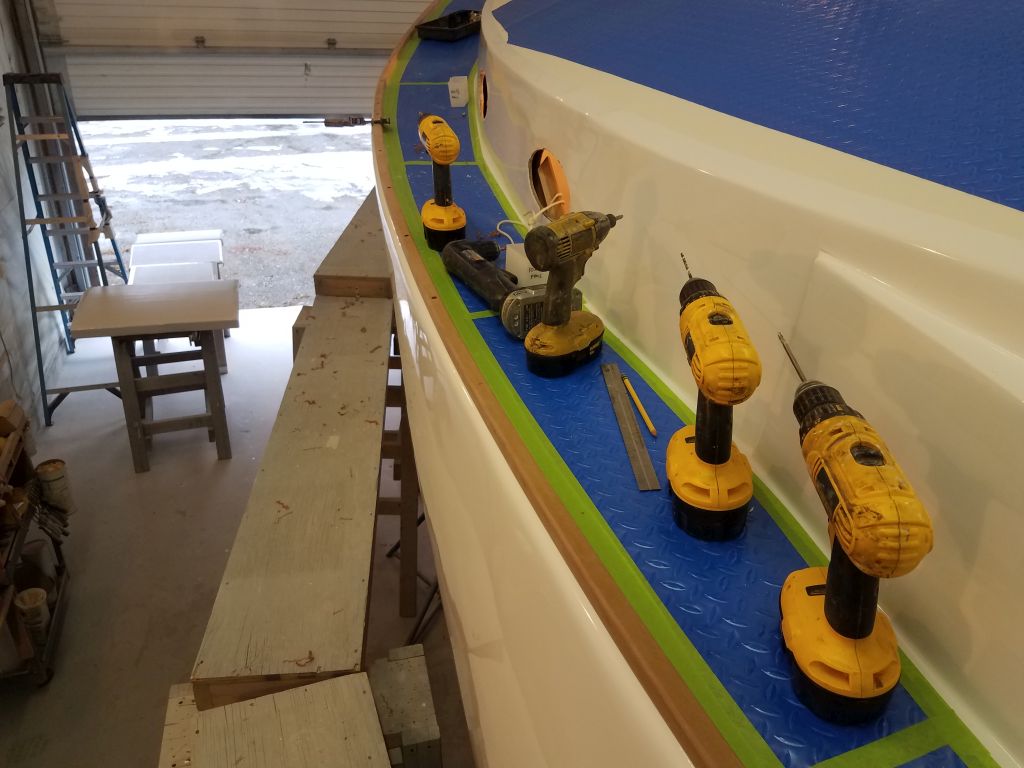
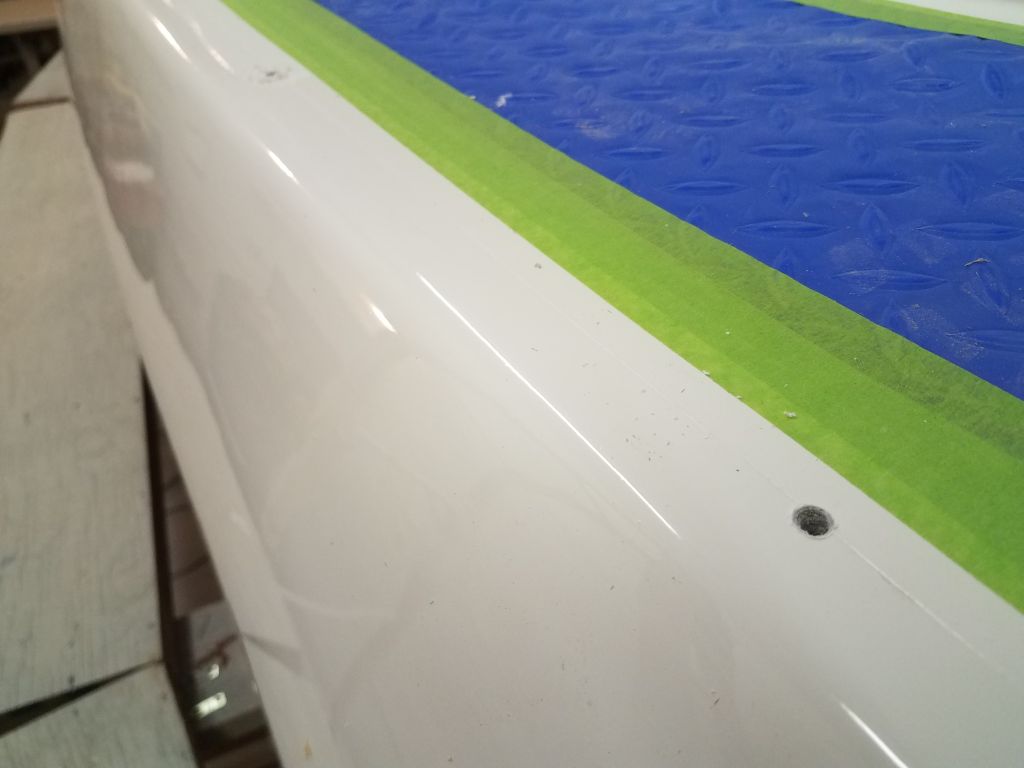
This gave me a general starting point for the toerail, and, more importantly, a reference point for the toerail’s first fastener. I planned to run the toerail just a bit past the eventual bow platform line for later trimming, but wanted to locate the first fastener close to the cut line, but certainly not in the way of or past it. From there, I chose an arbitrary length (1″) to extend the toerail past the cut line marked on the deck, and, from there, located the first fastener position and predrilled the counterbore and pilot hole through the toerail before positioning the rail and beginning to secure it with machine screws to the deck, spacing the fasteners 12″ on center.
The flexibility of the plastic lumber material worked in my favor here. Had this been a wooden rail of similar dimension, I would have had to install it all the way to the stem to ensure that the curvature was fair and true, but here I needed only the slight overlap past my marked cutline, and the rail material had no trouble maintaining its shape. It also helped that the bow sections on this deck were quite straight with almost no curvature.
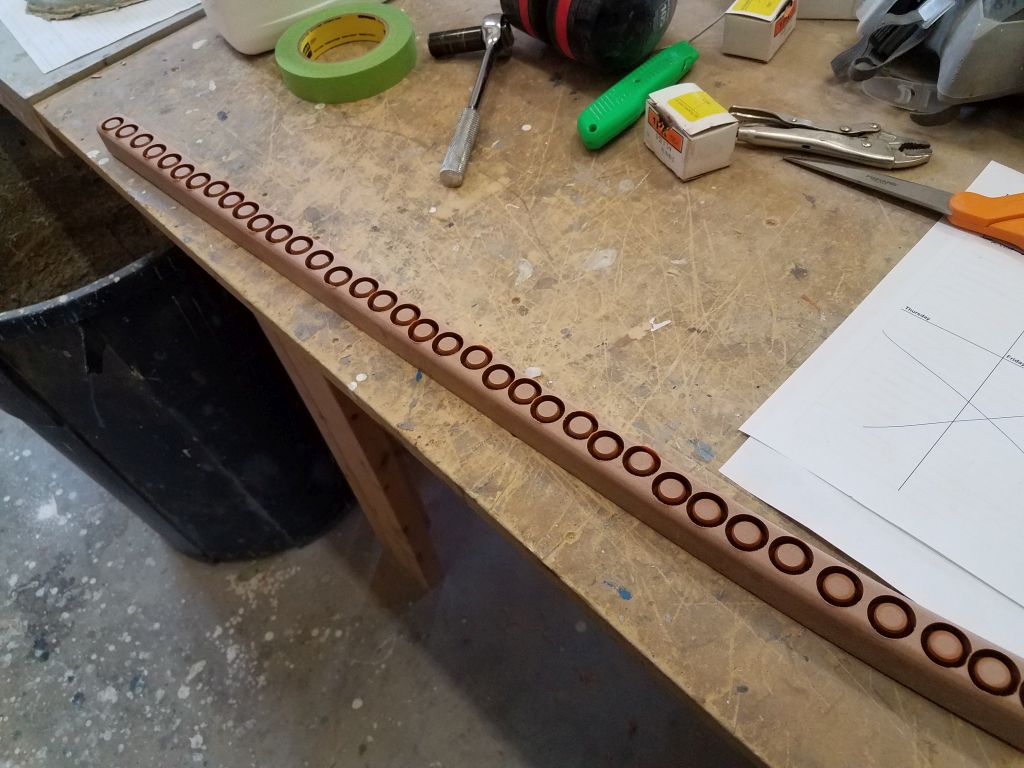
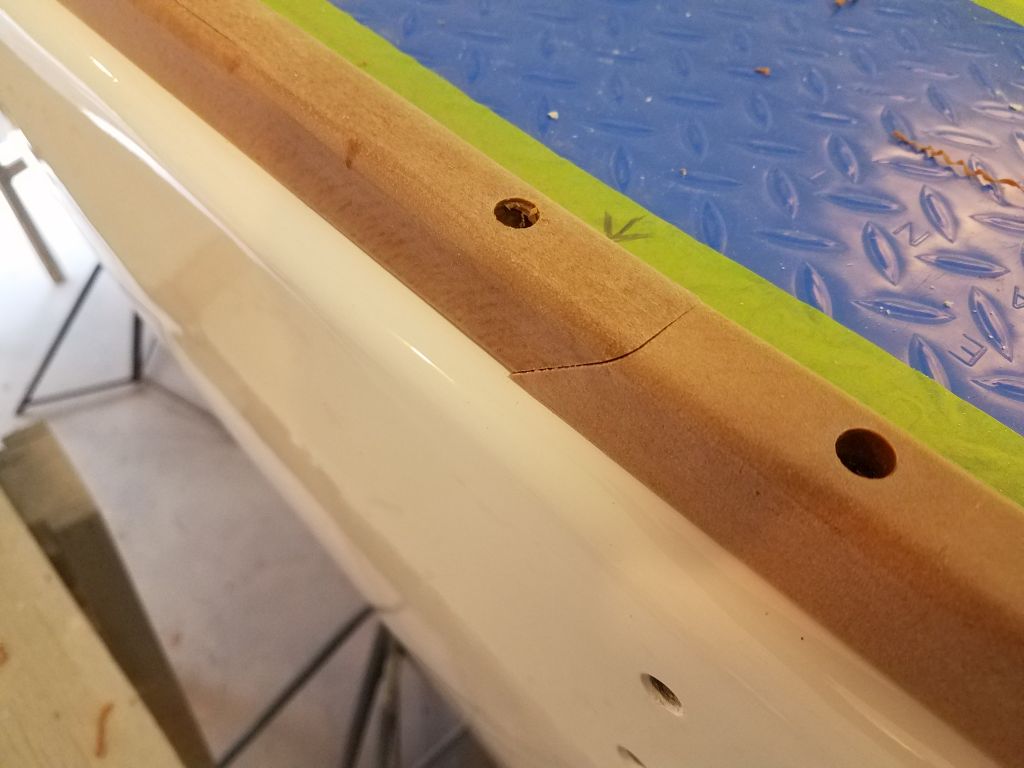
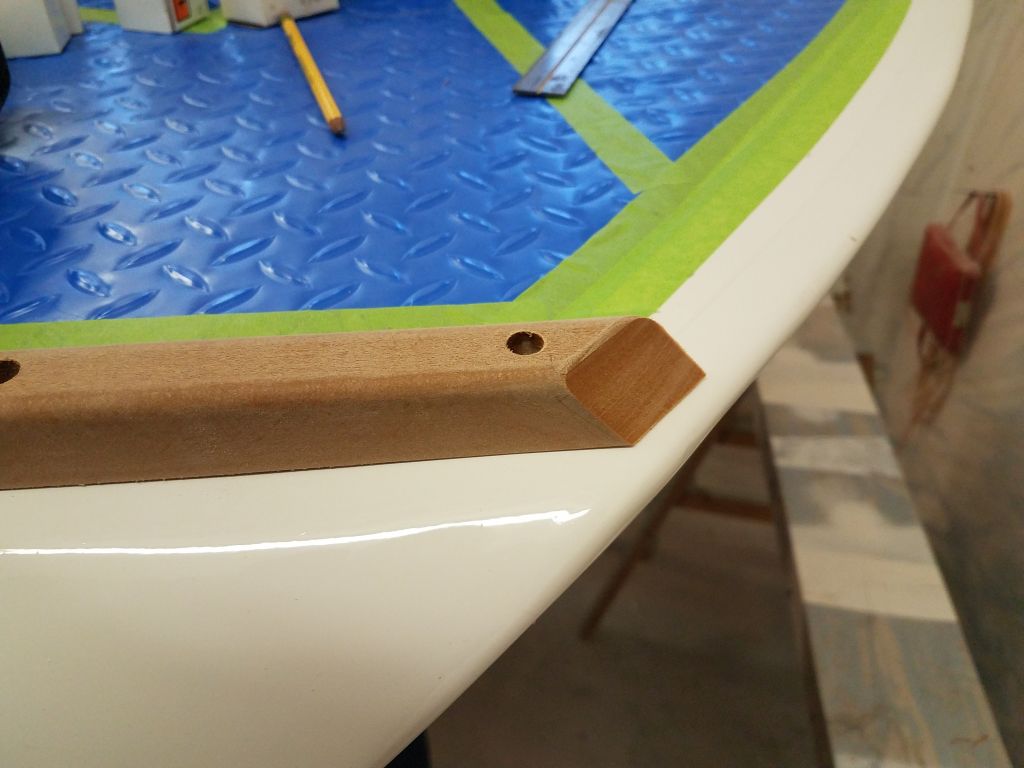
This material cannot be glued, and will not hold glue or adhesive of any kind, so this meant I was able–and had no choice but to–install the rail in sections, rather than the normal procedure of scarfing together various lengths of wood into a continuous length to reach the full length of the boat. This certainly made installation easier, but raised the issue of how to deal with the seams between the 12′ lengths of toerail.
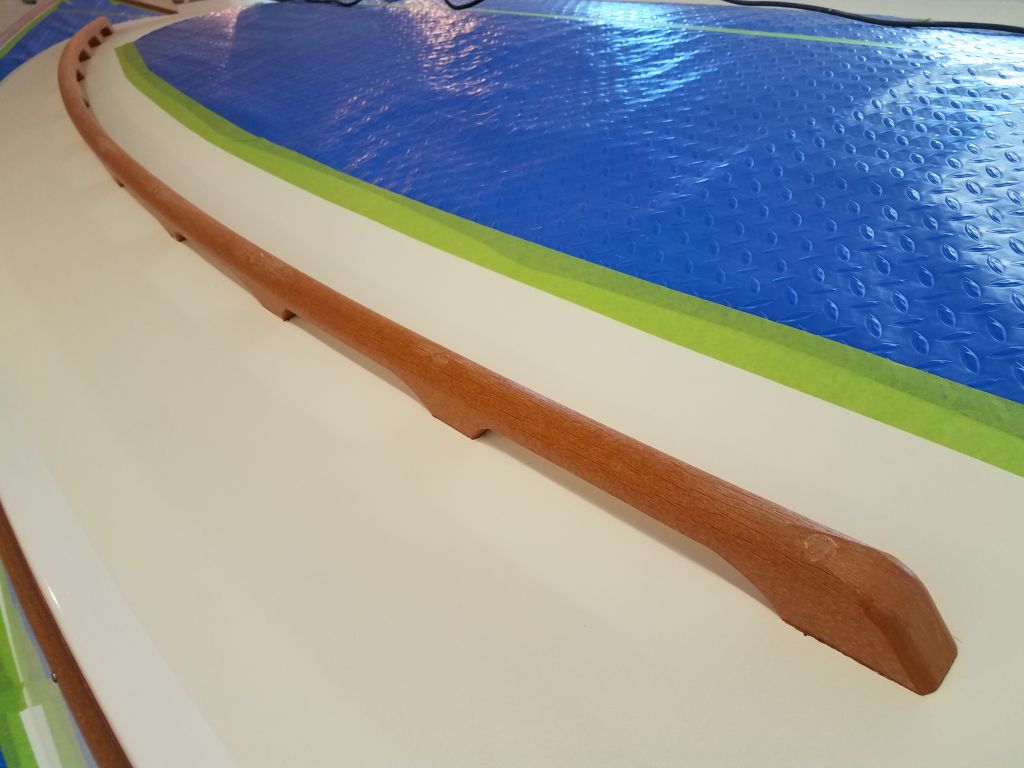
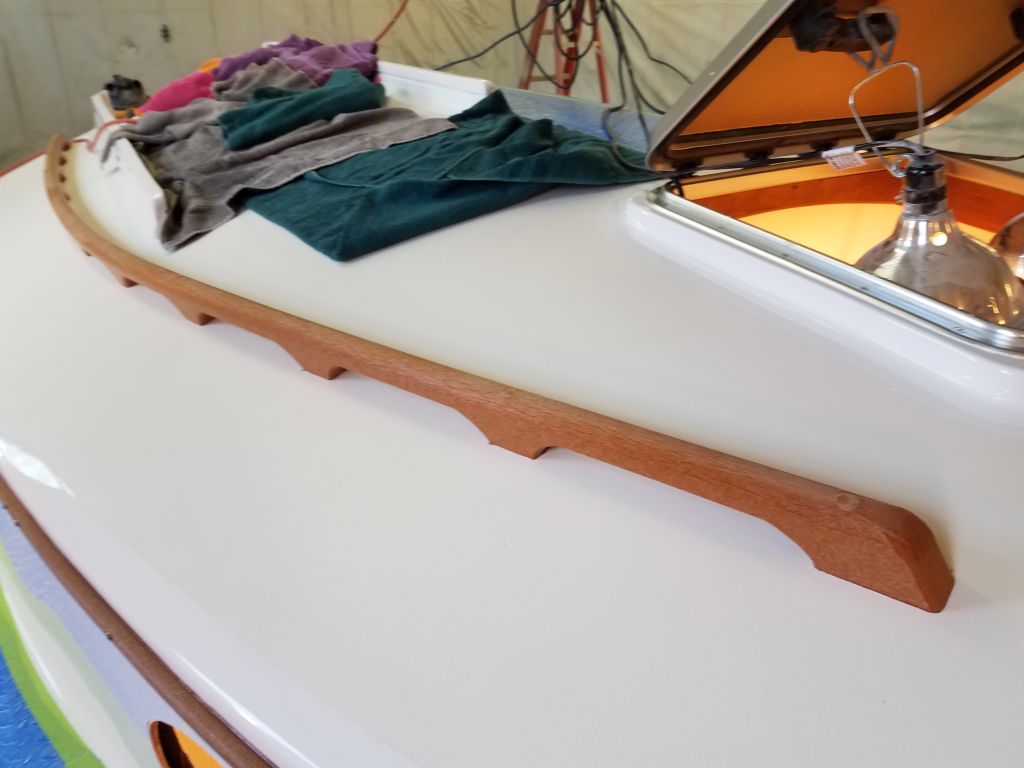
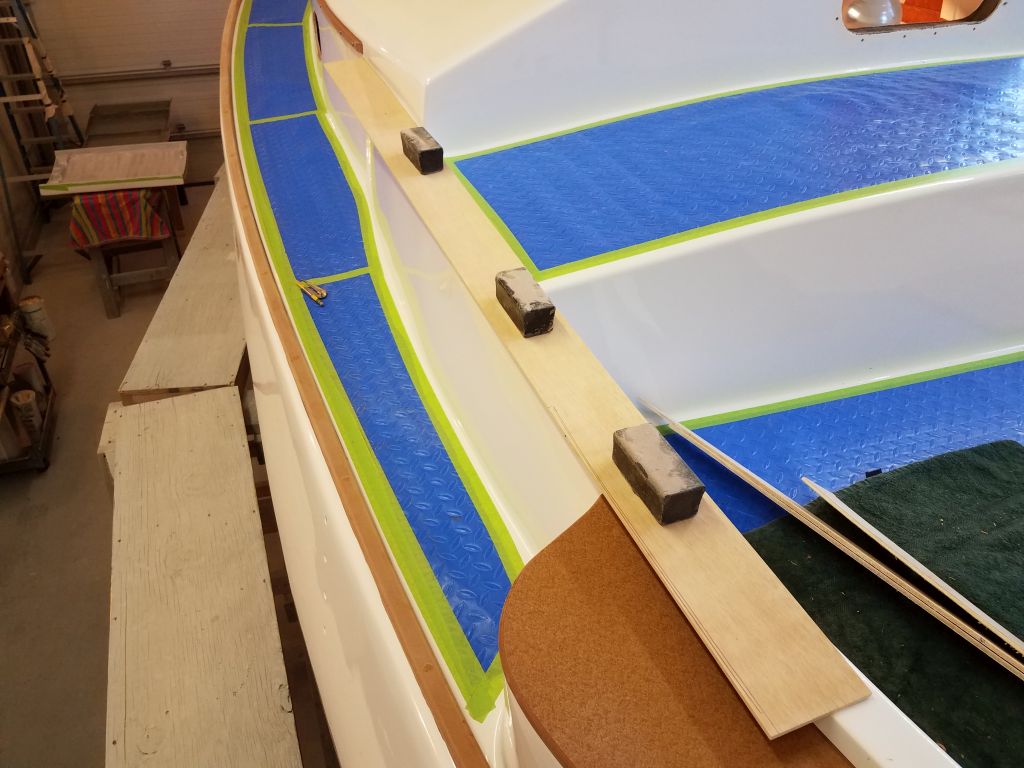
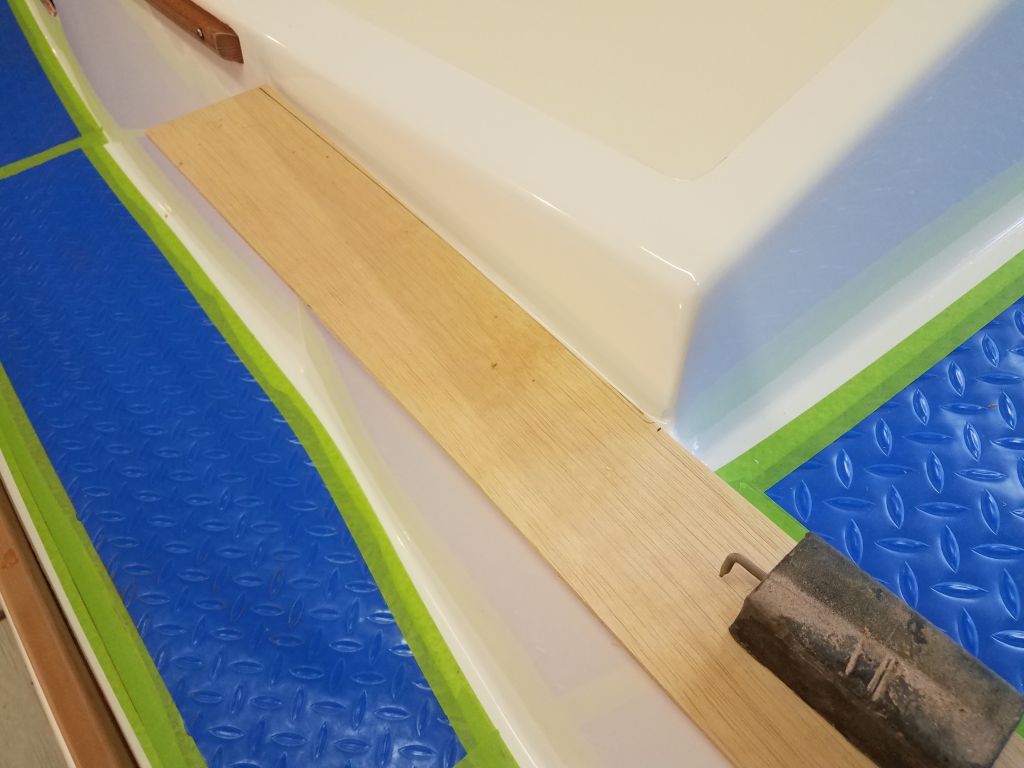
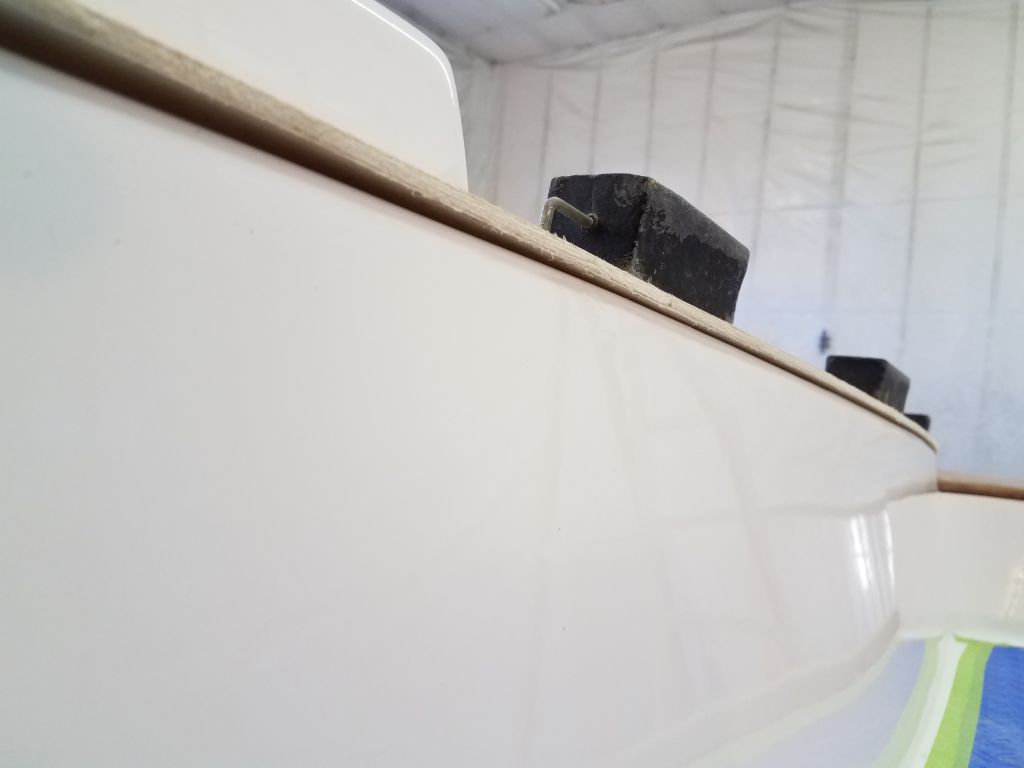
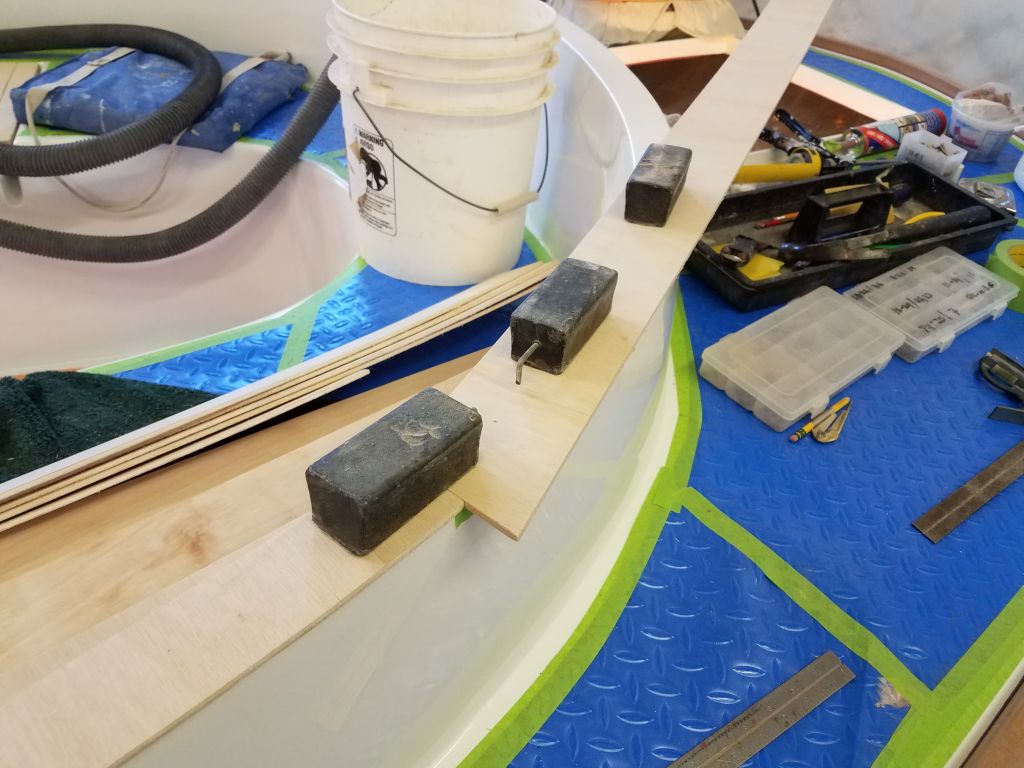
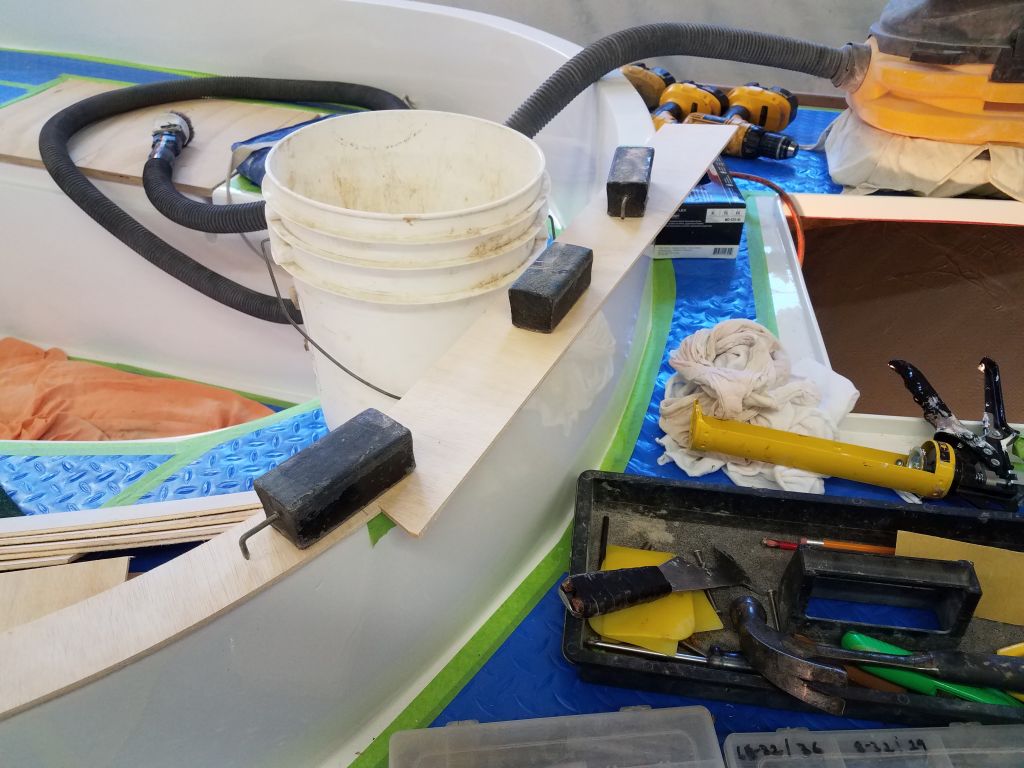
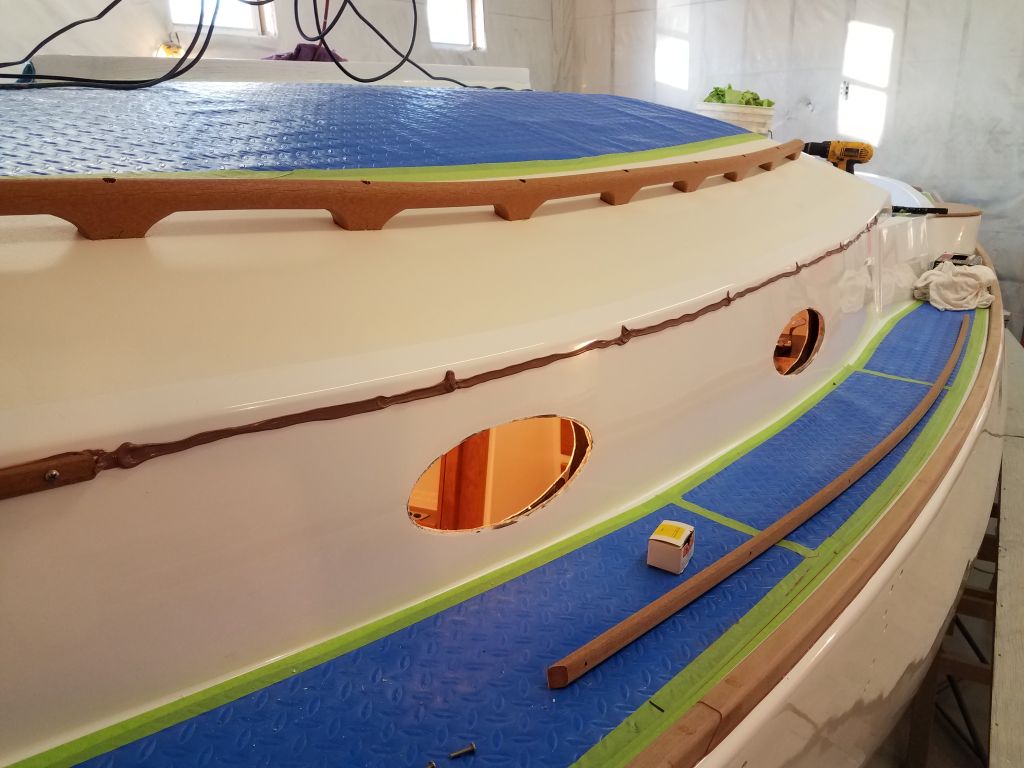
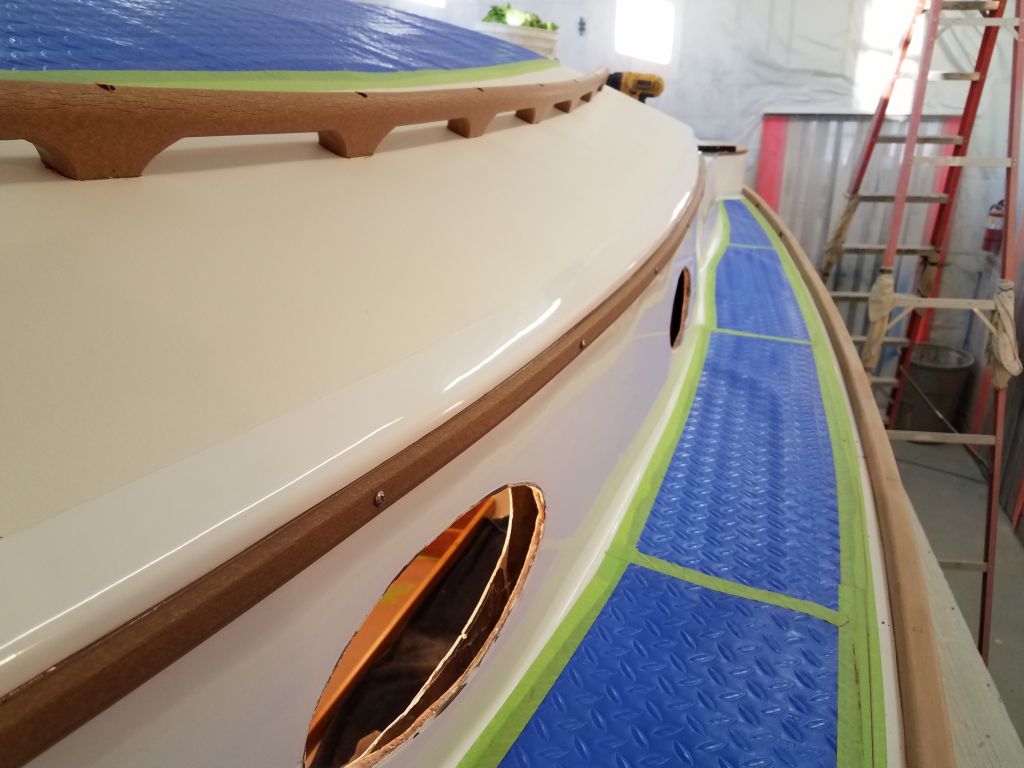
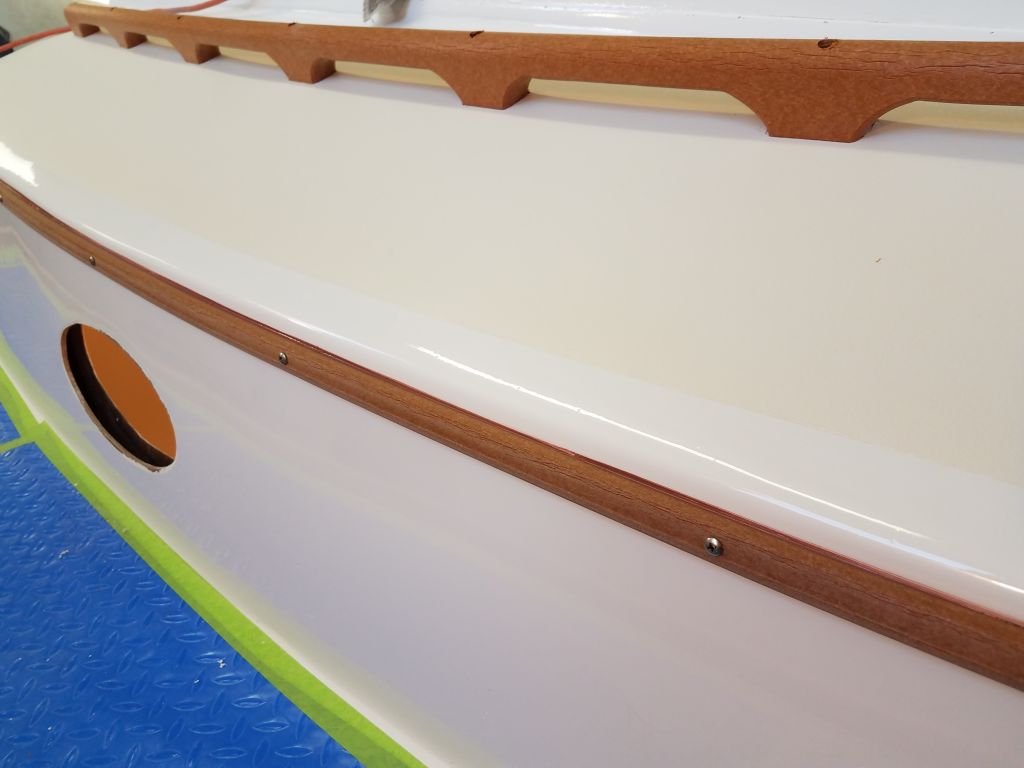
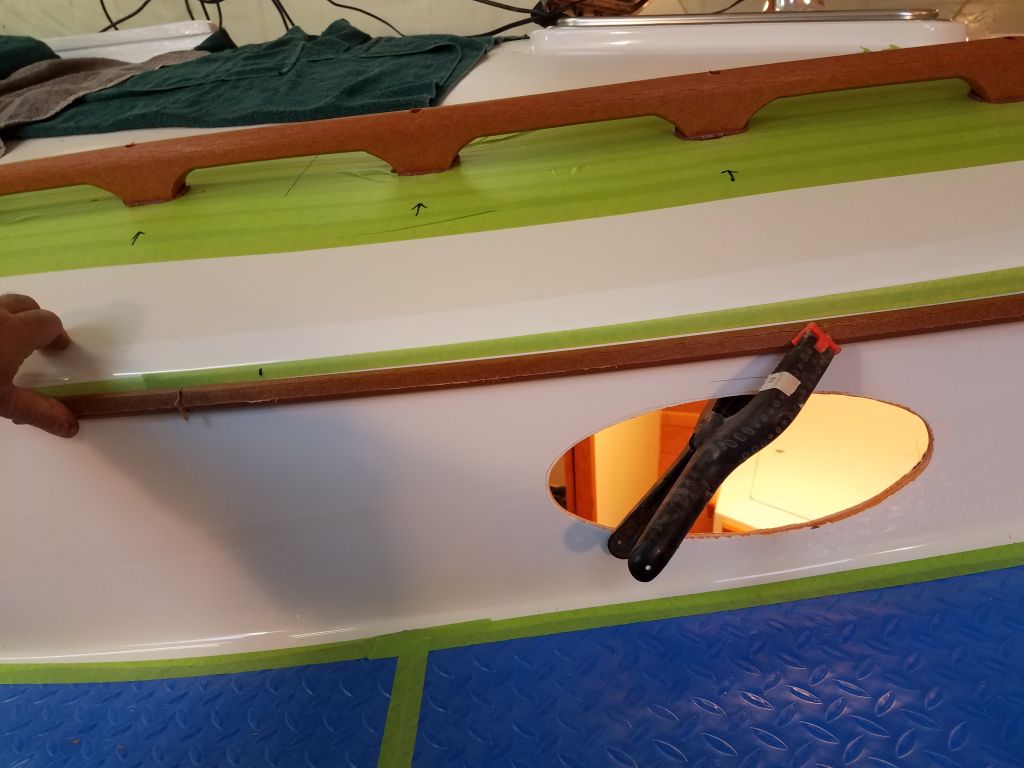
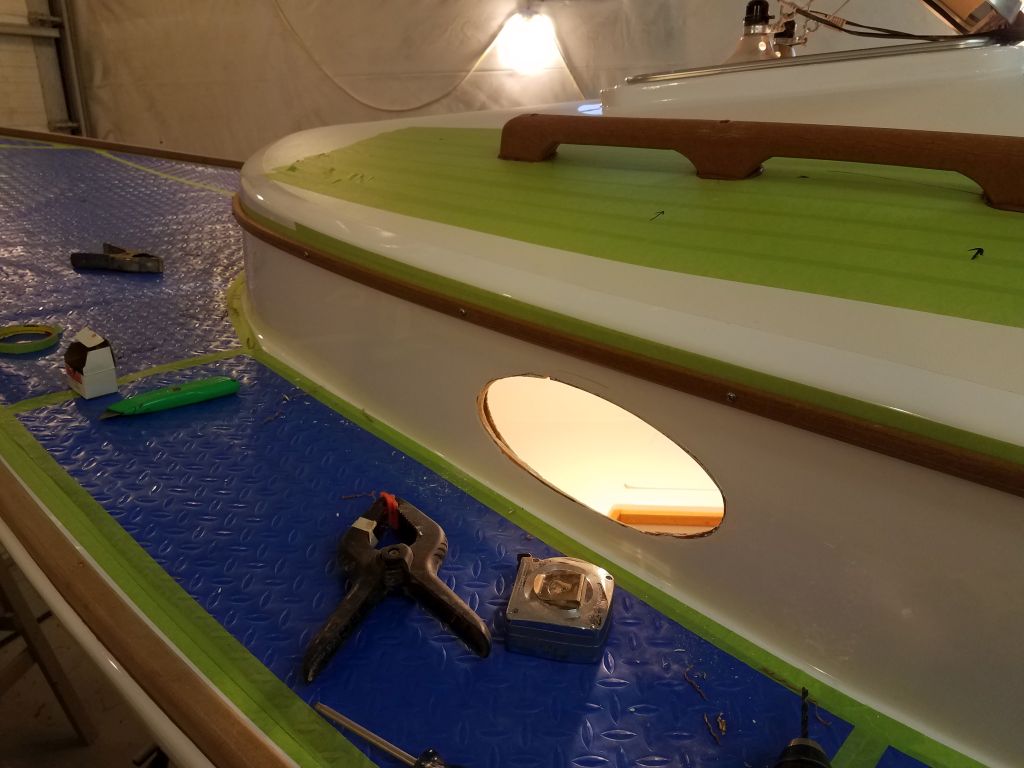
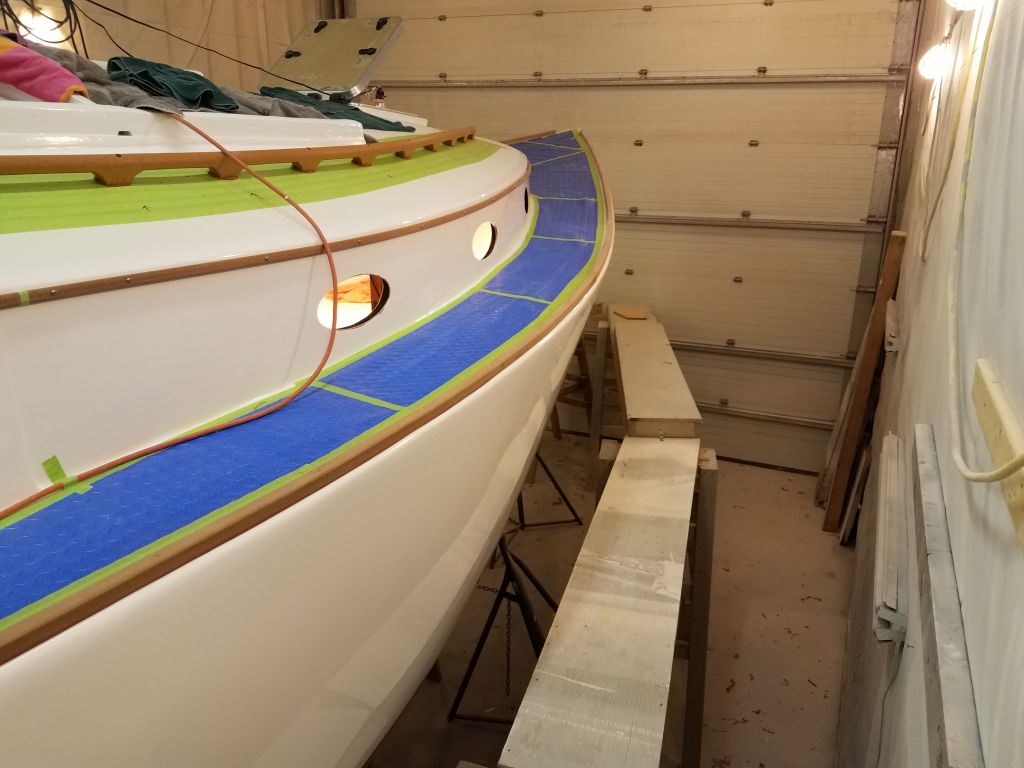
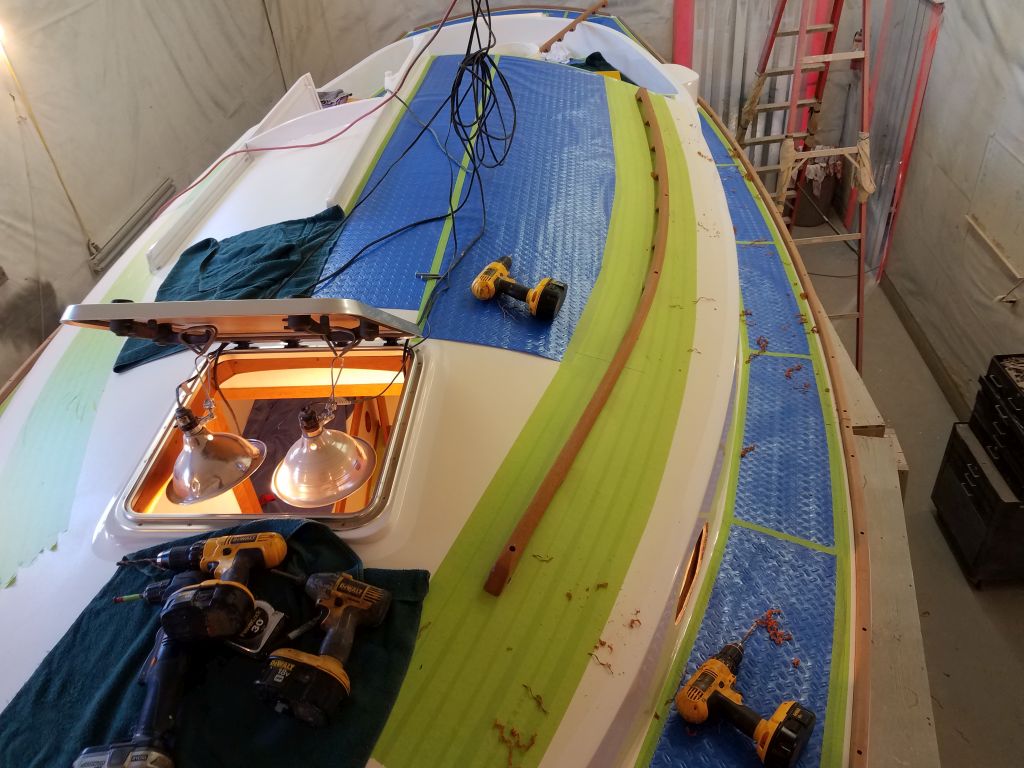
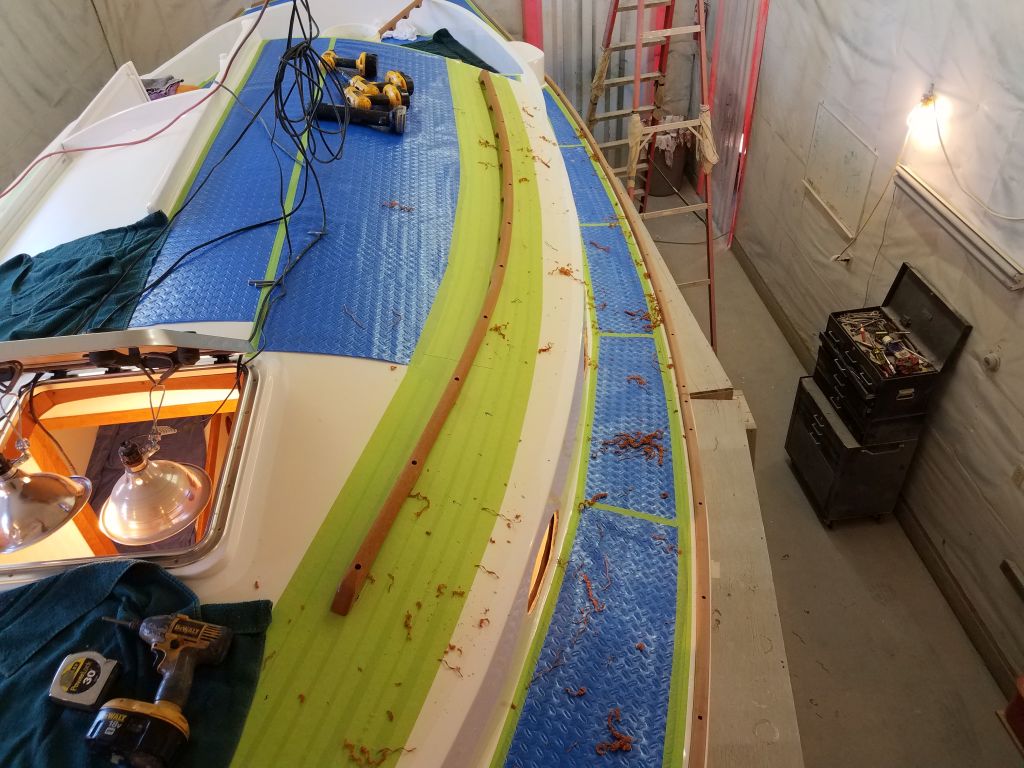
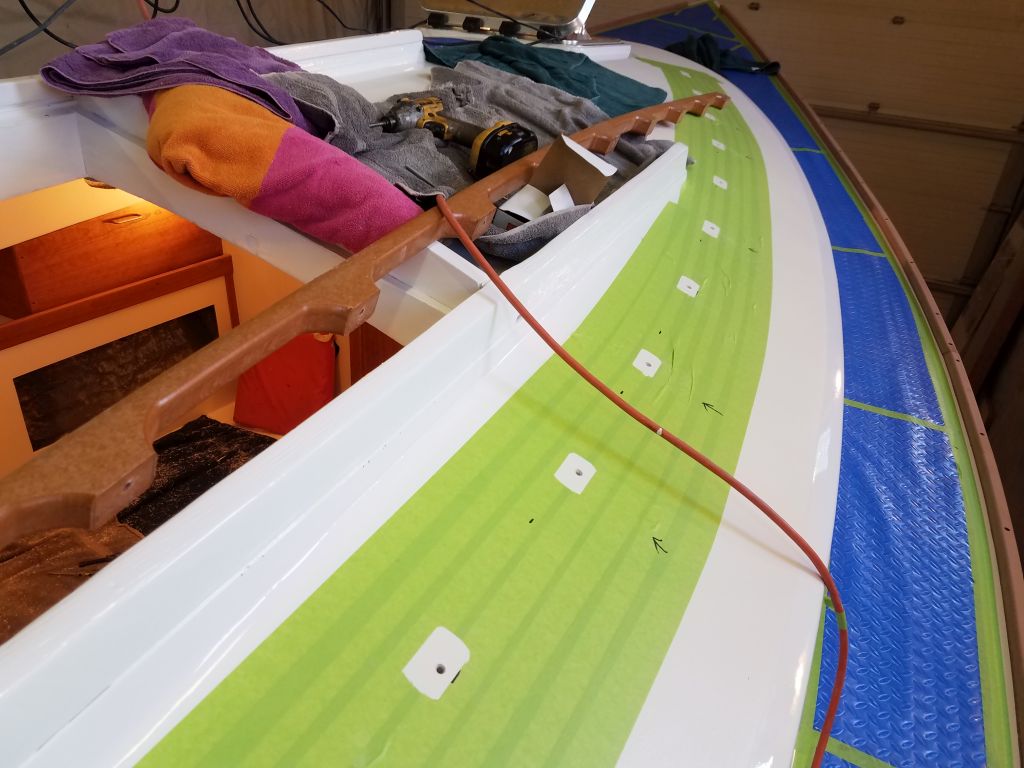
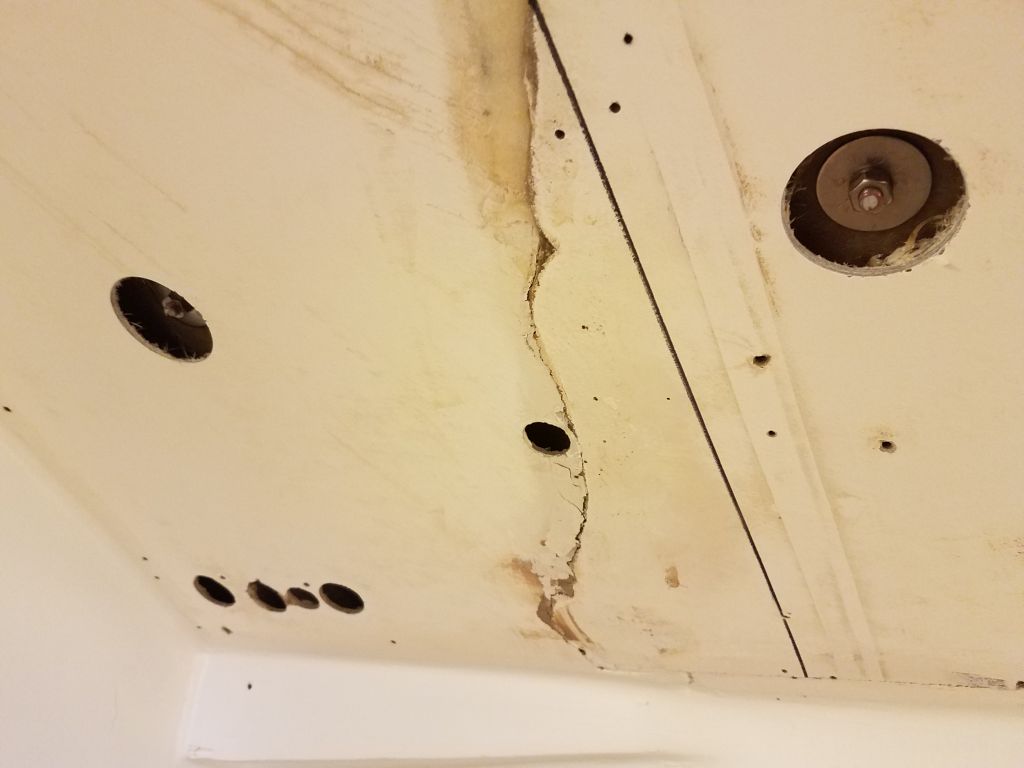
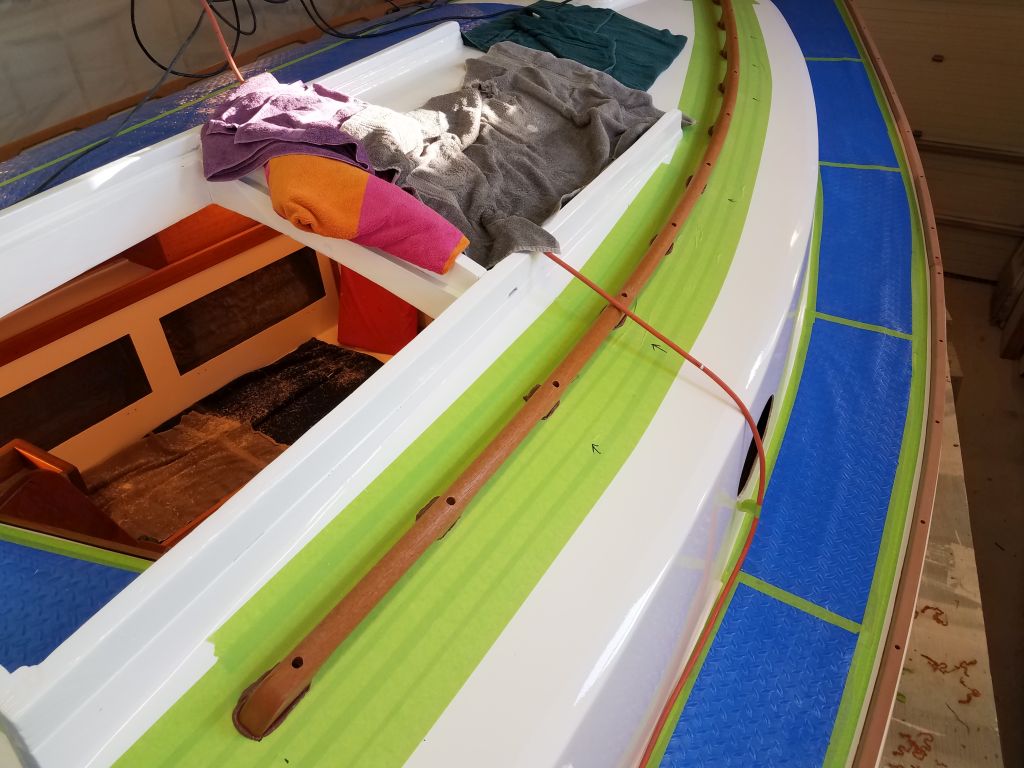
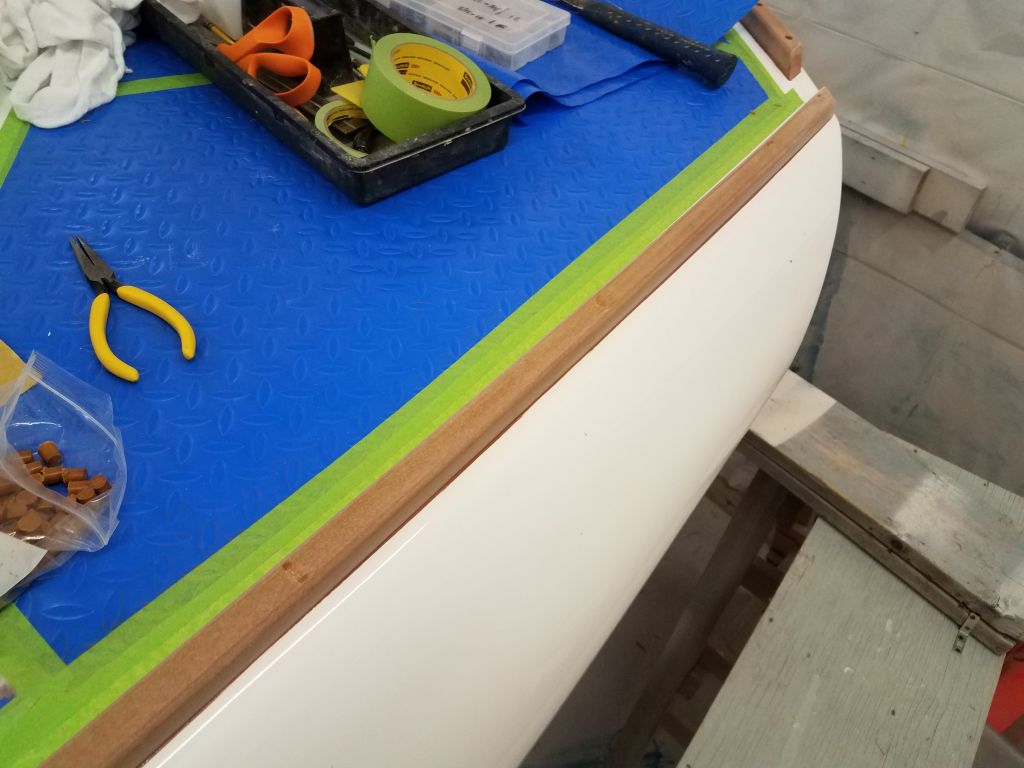
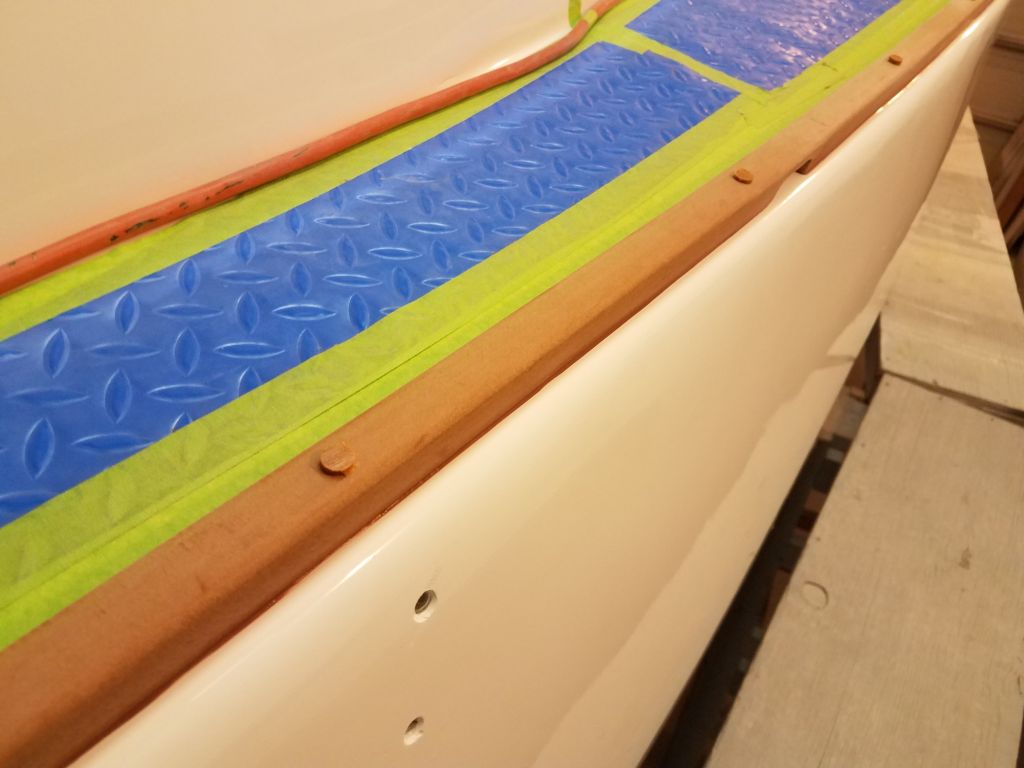
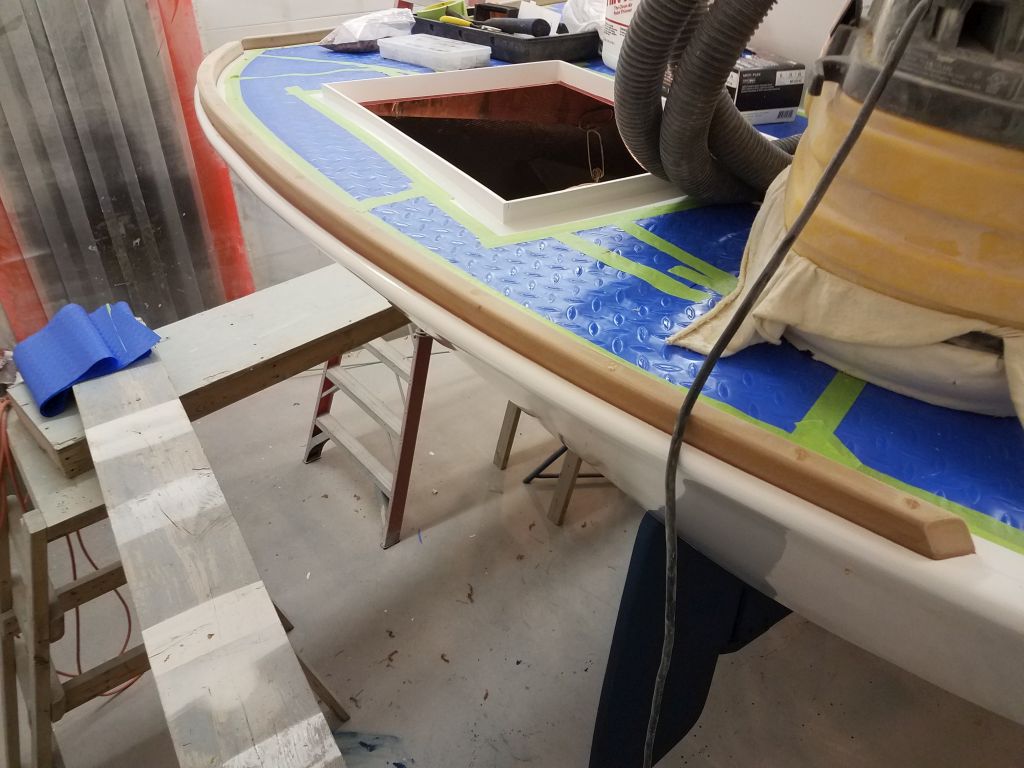
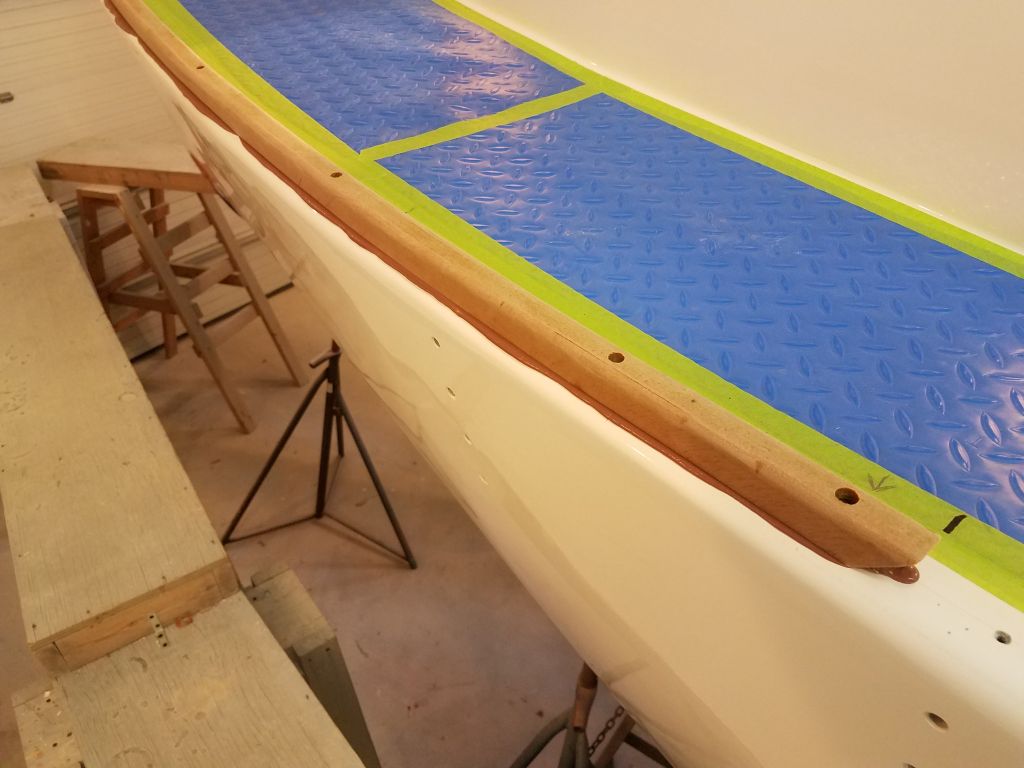
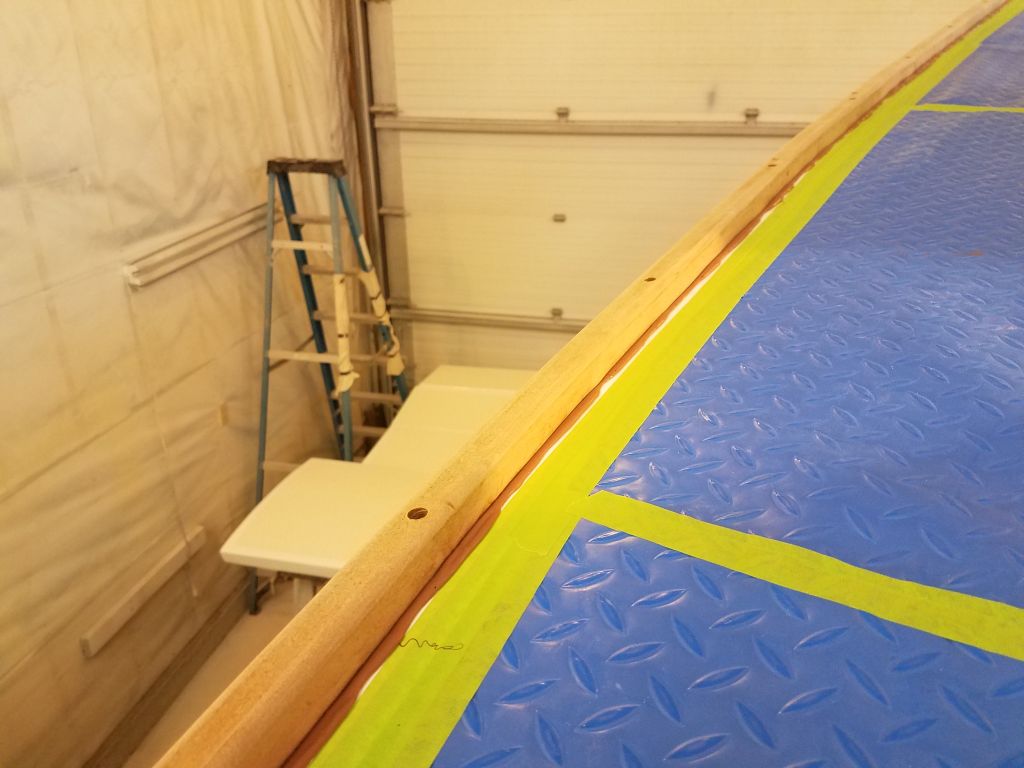
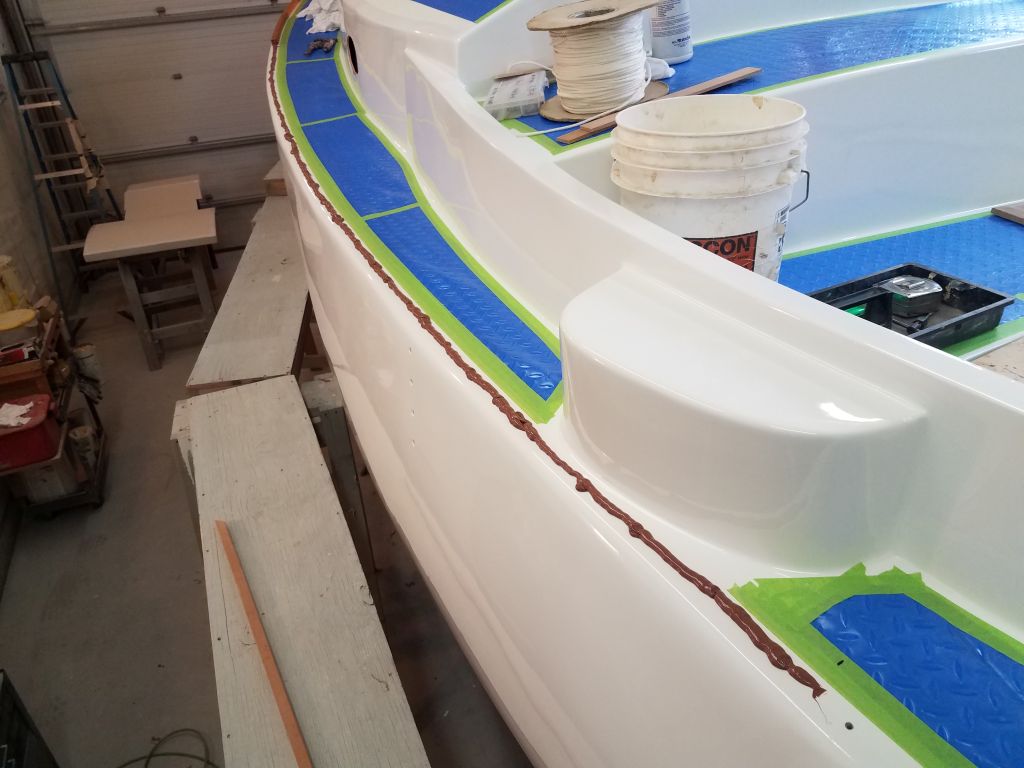
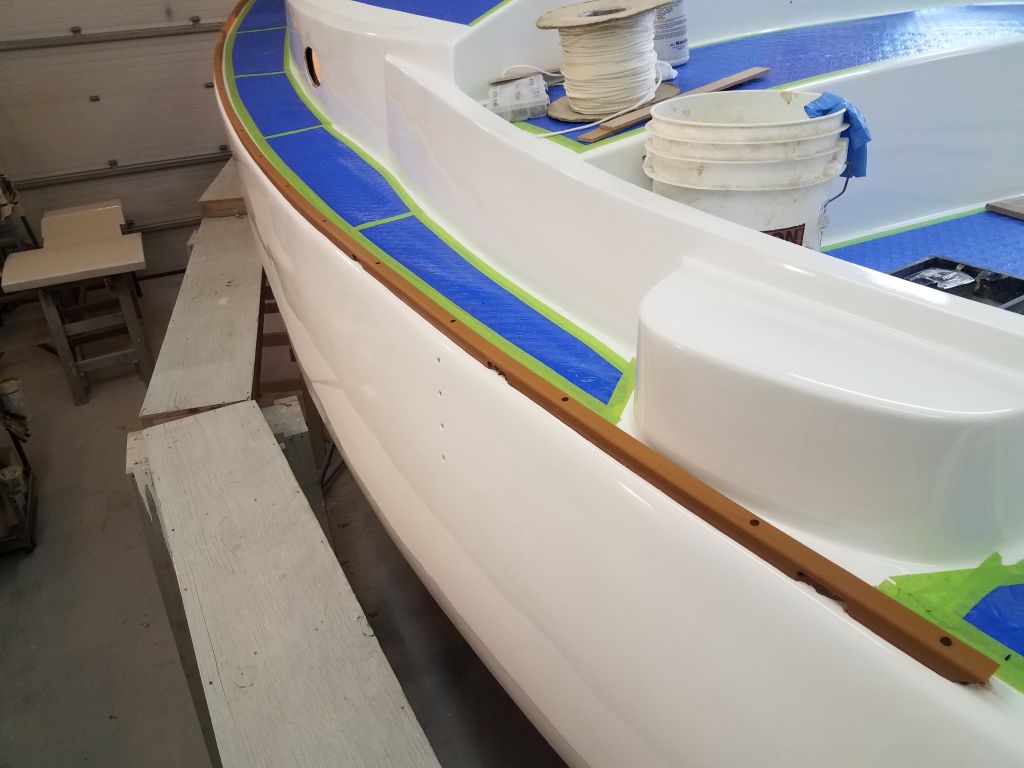
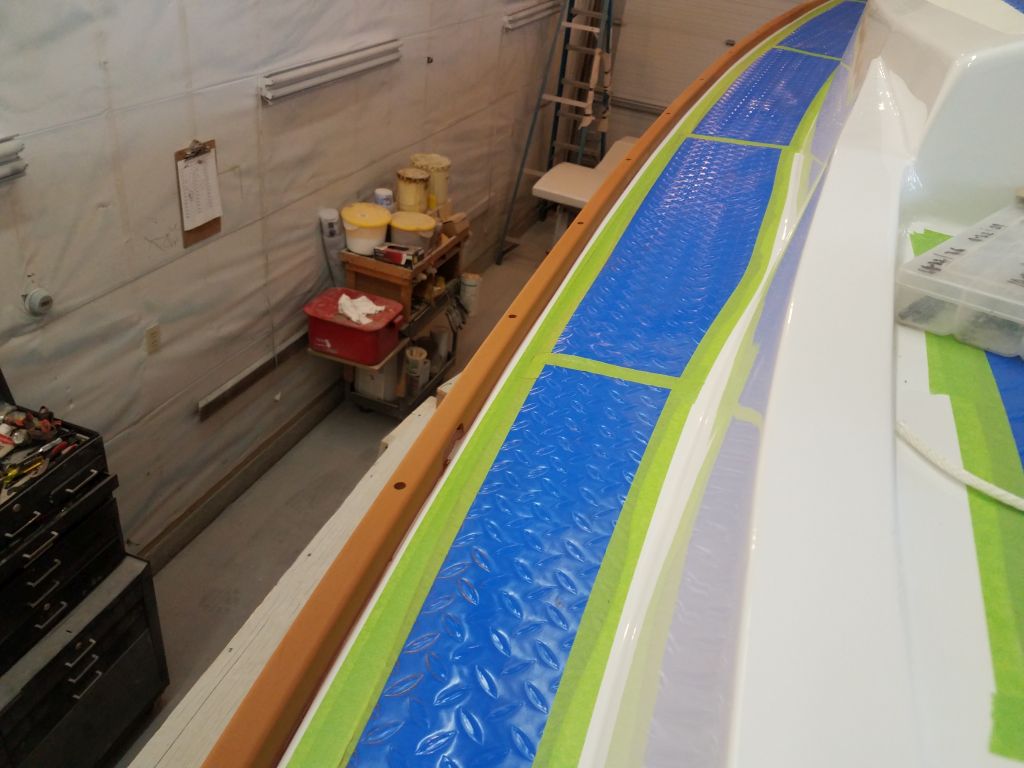
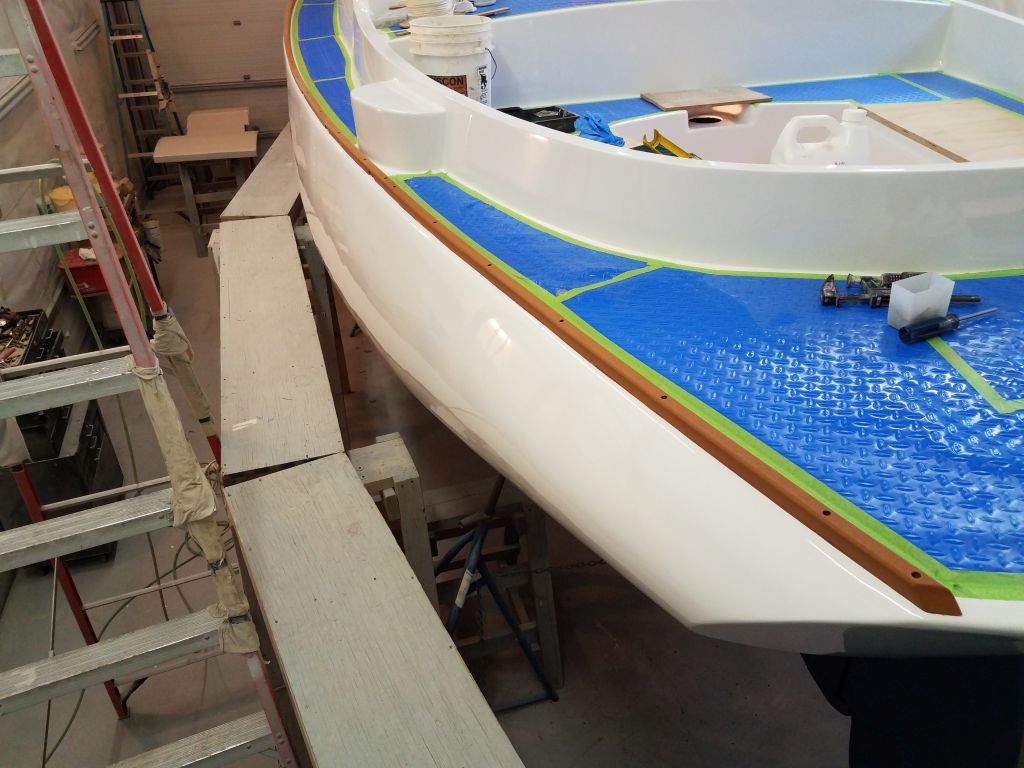
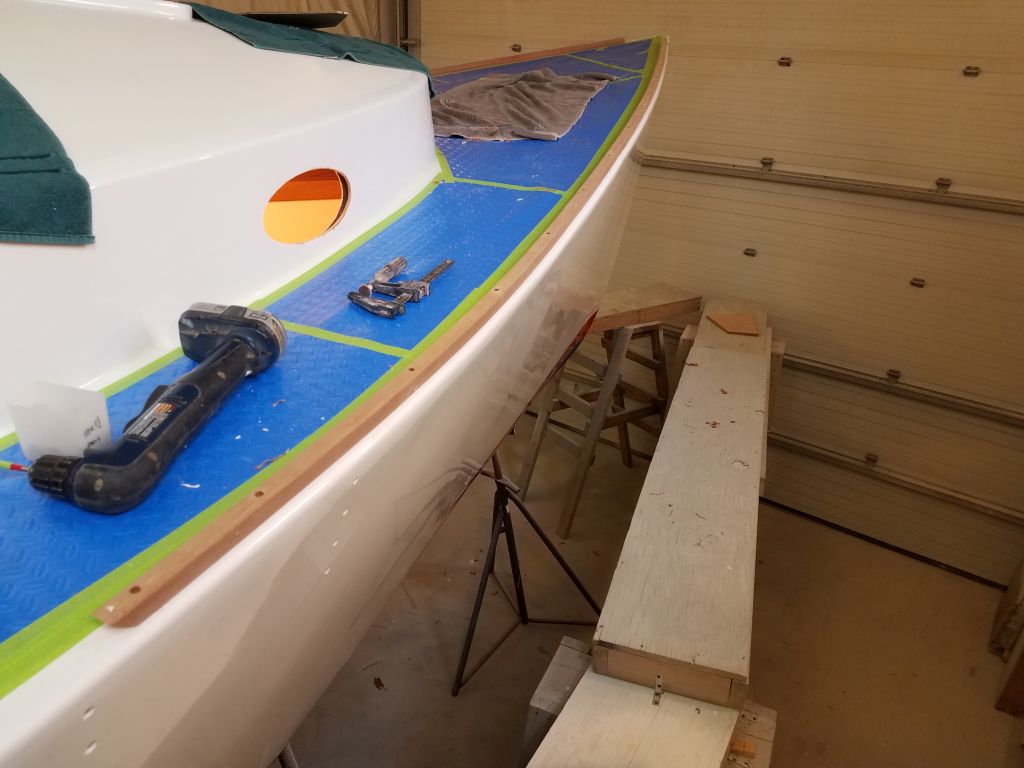
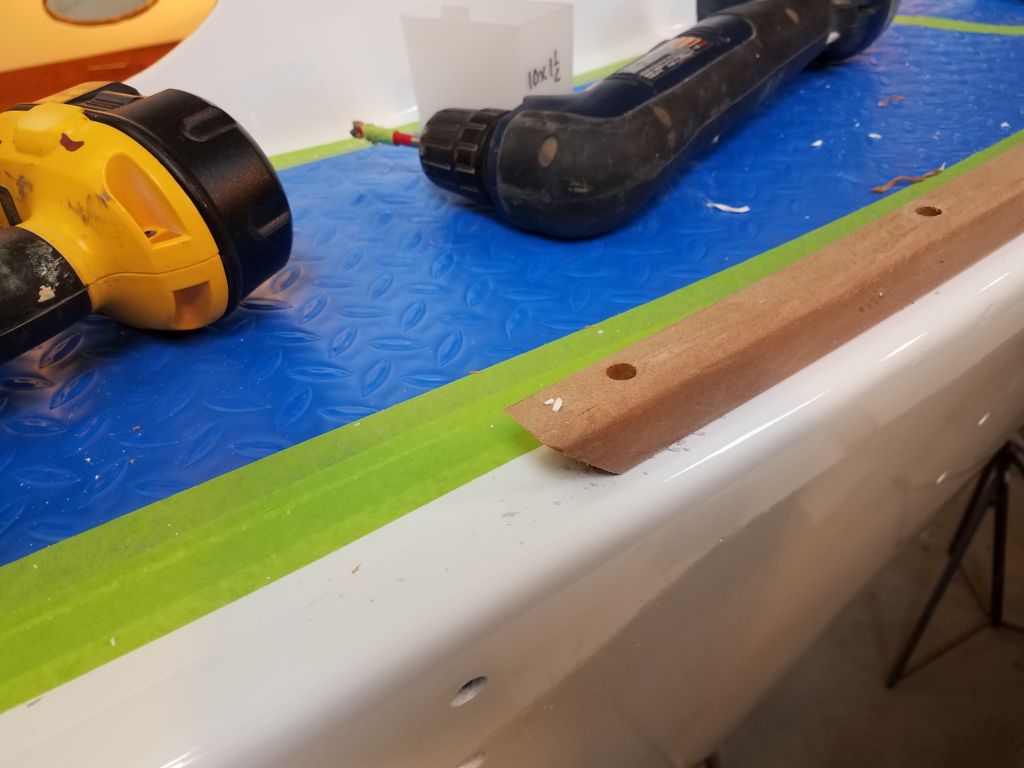
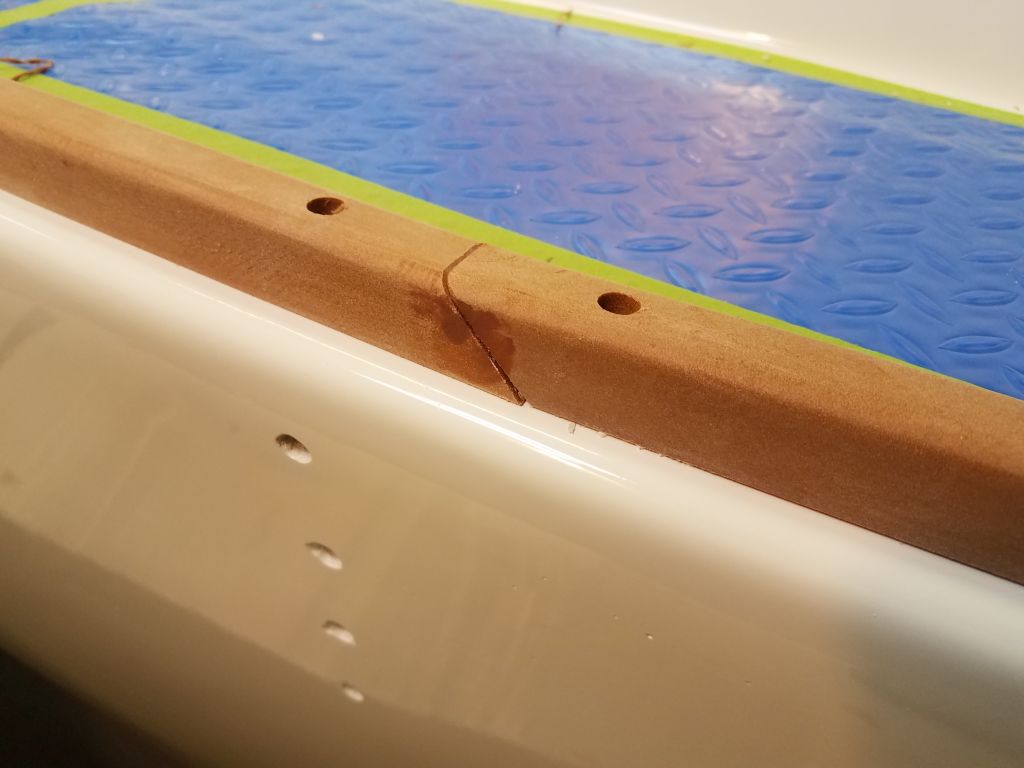
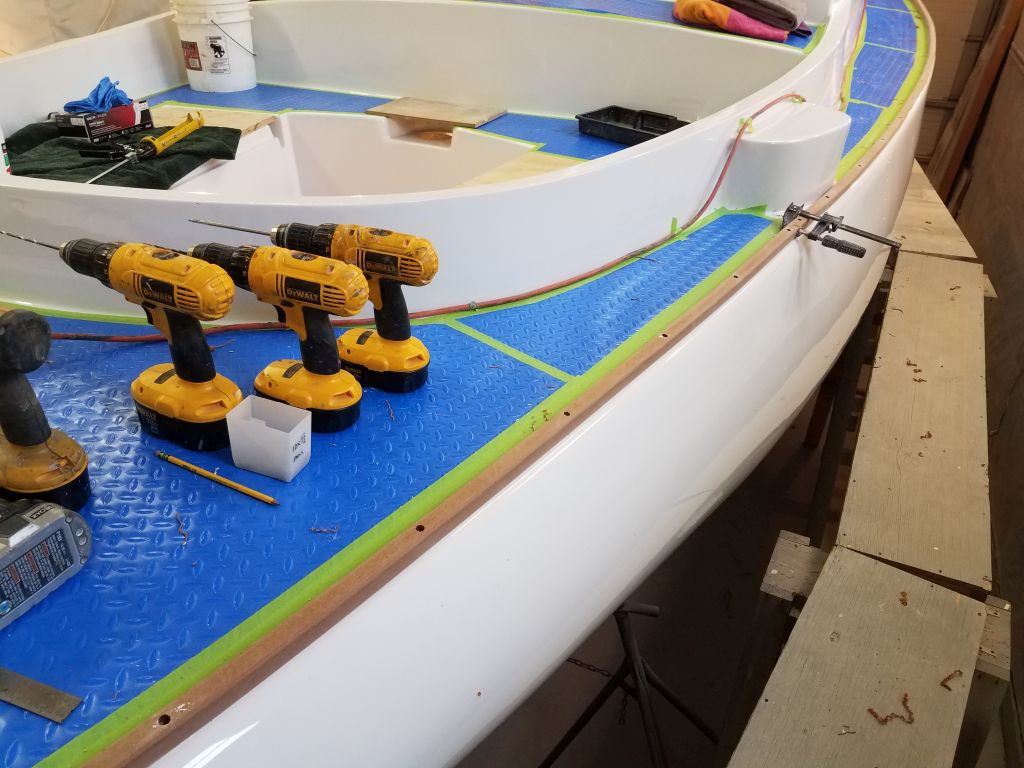
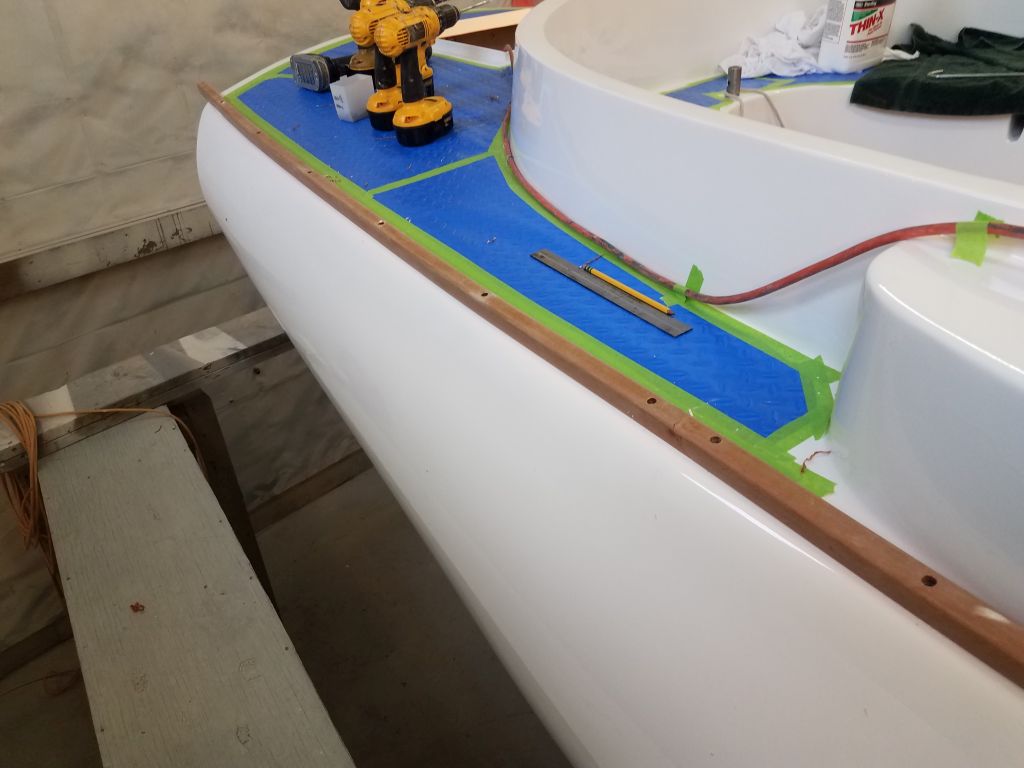
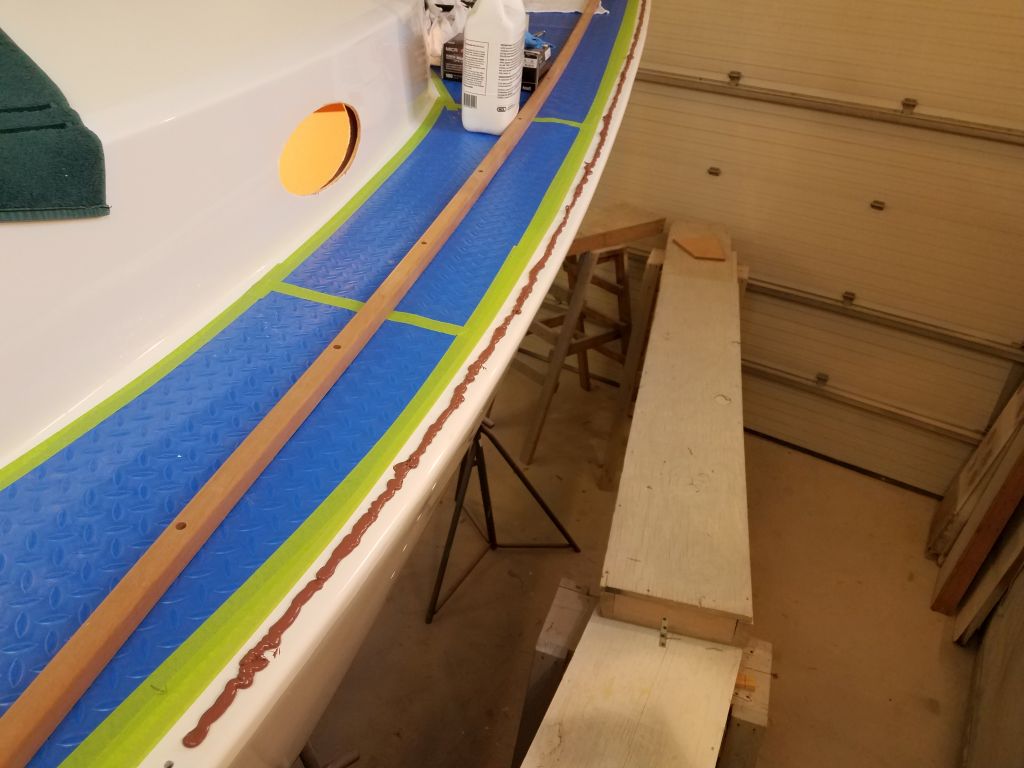
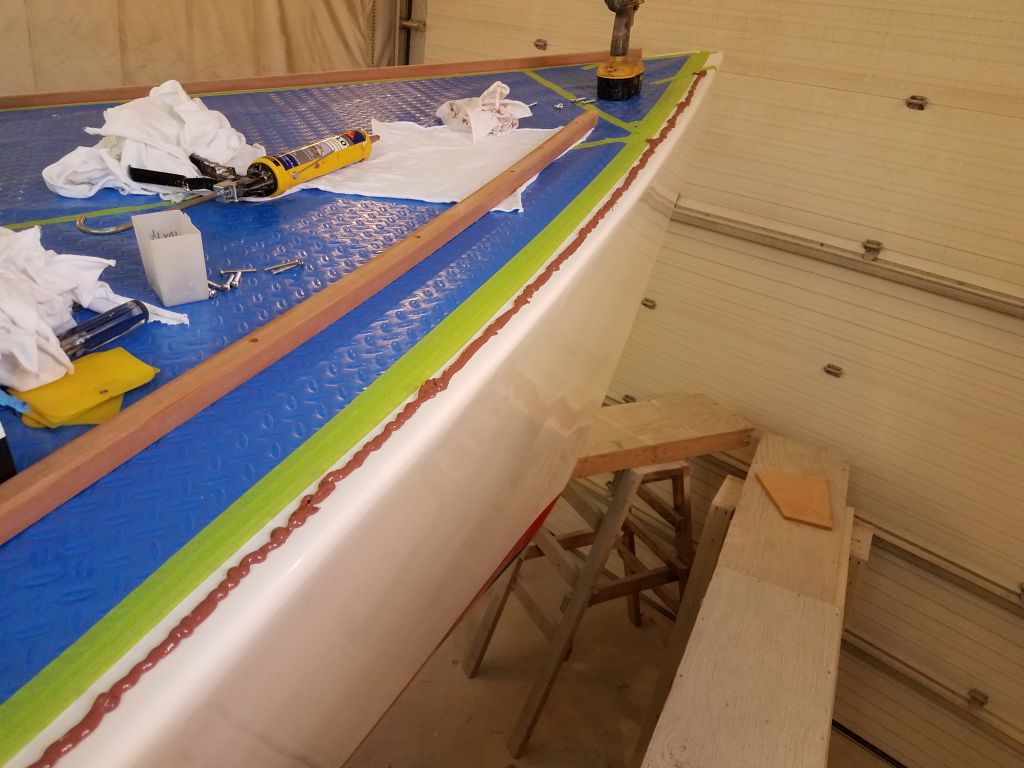
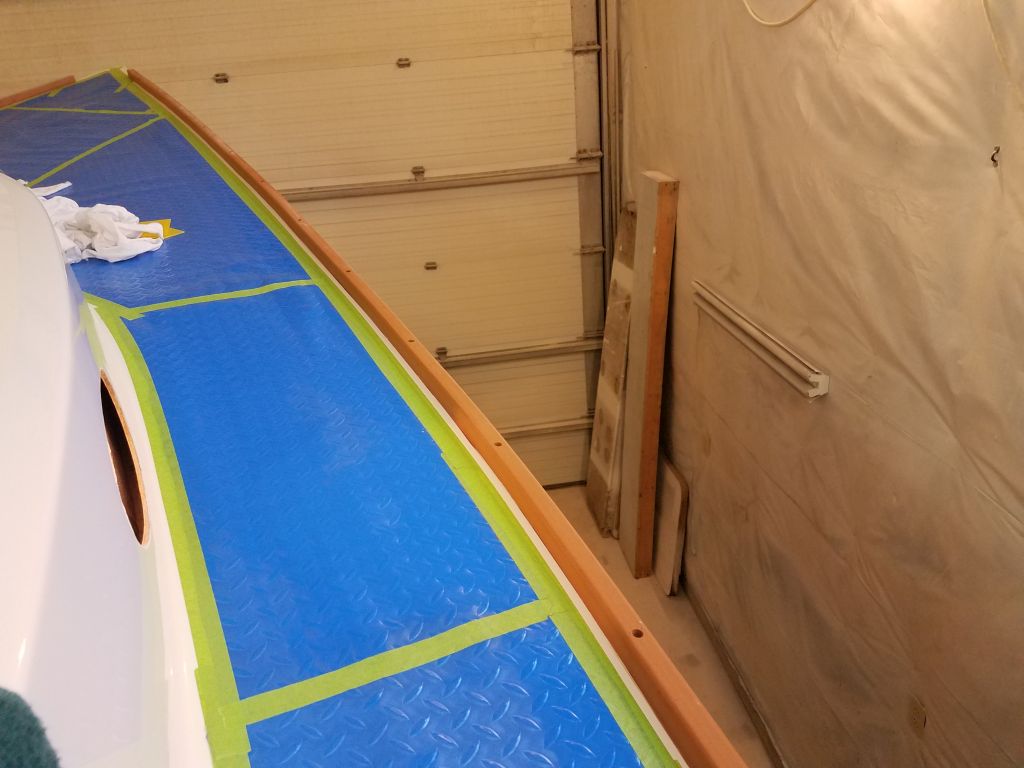
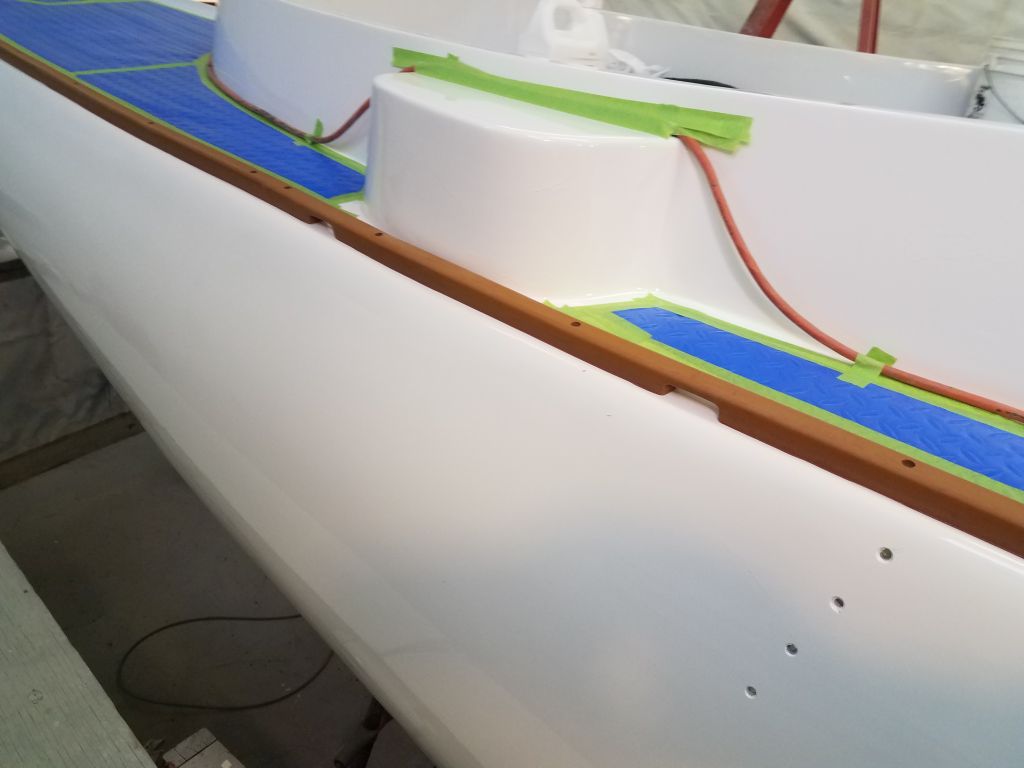
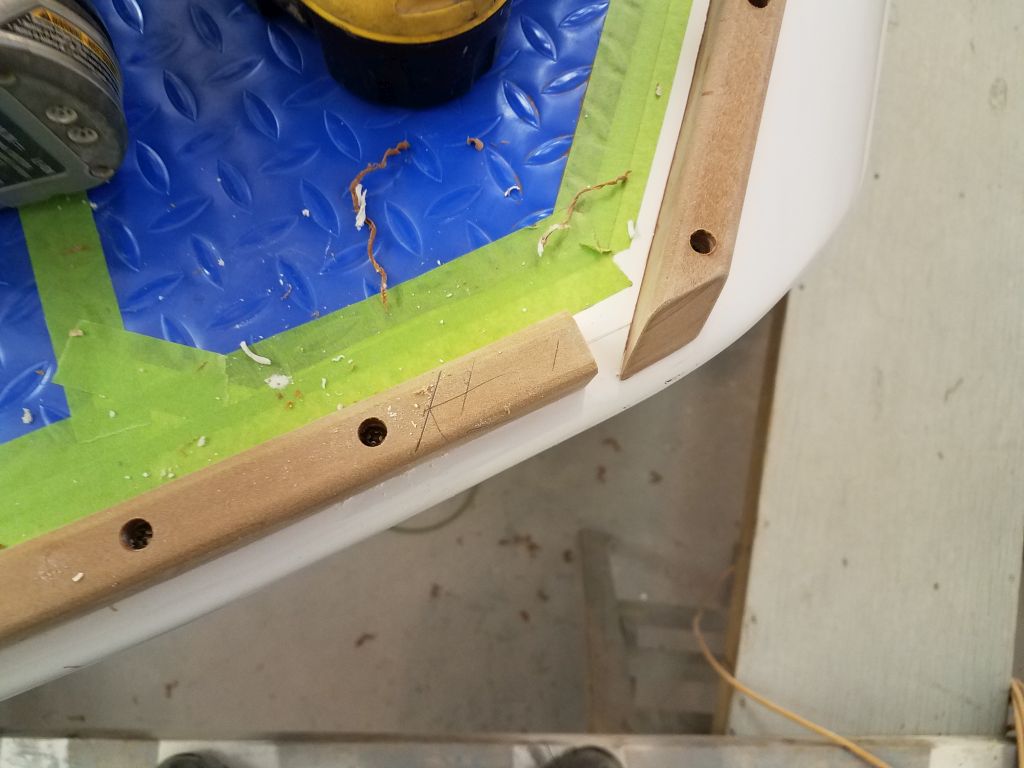
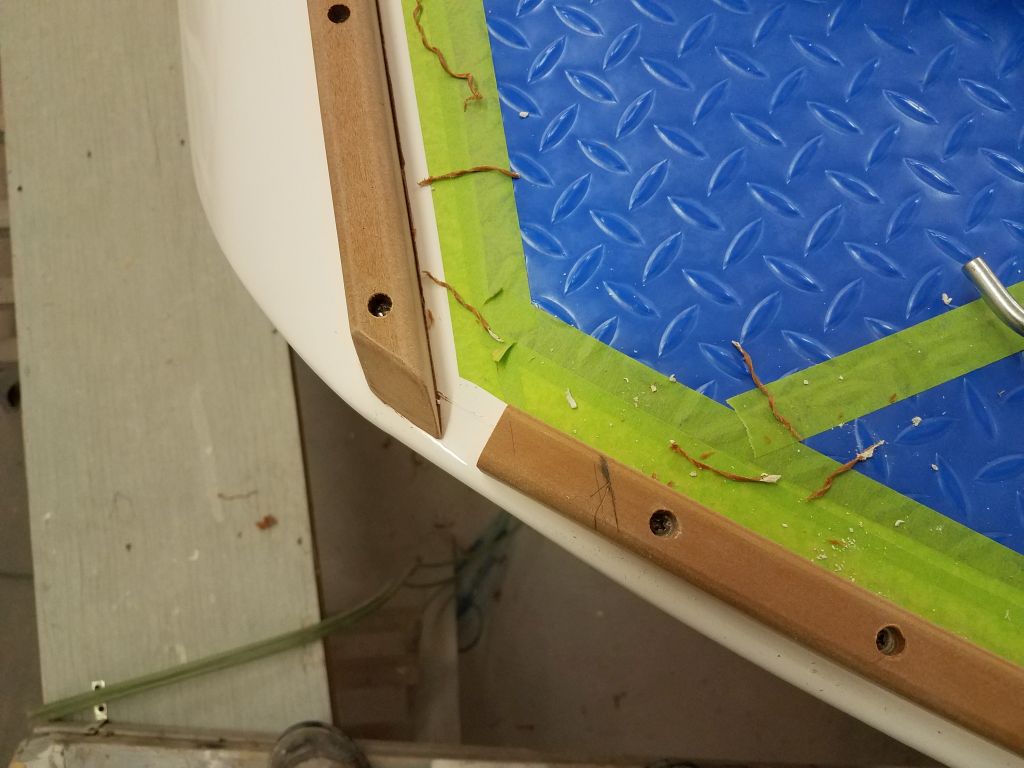
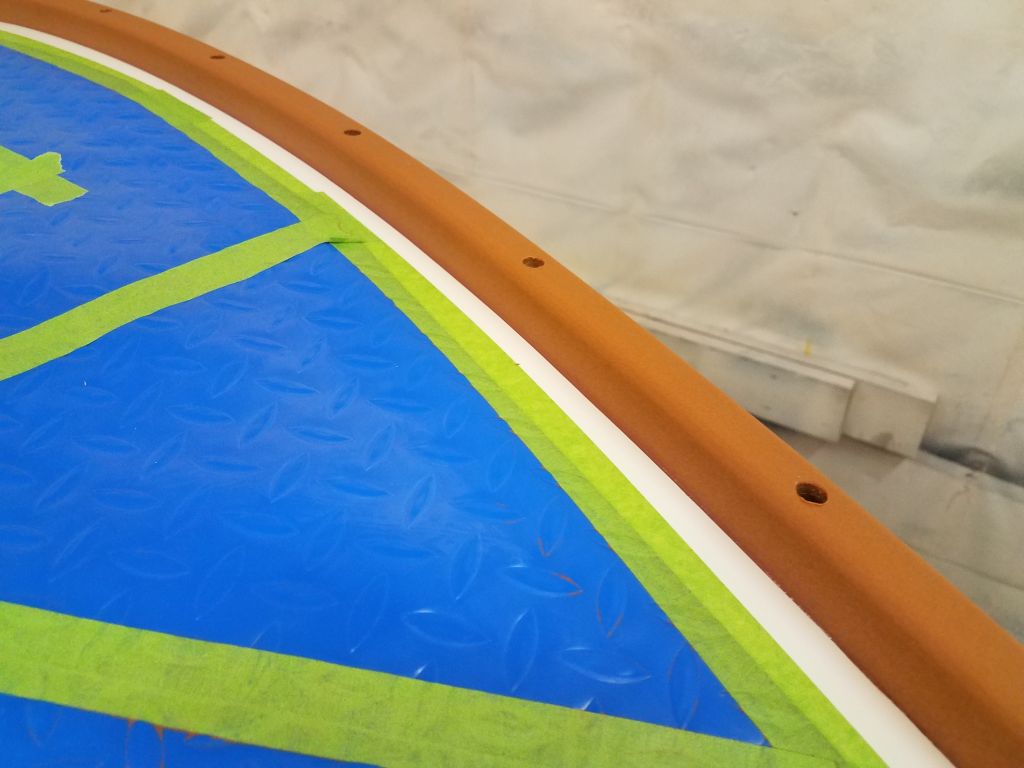
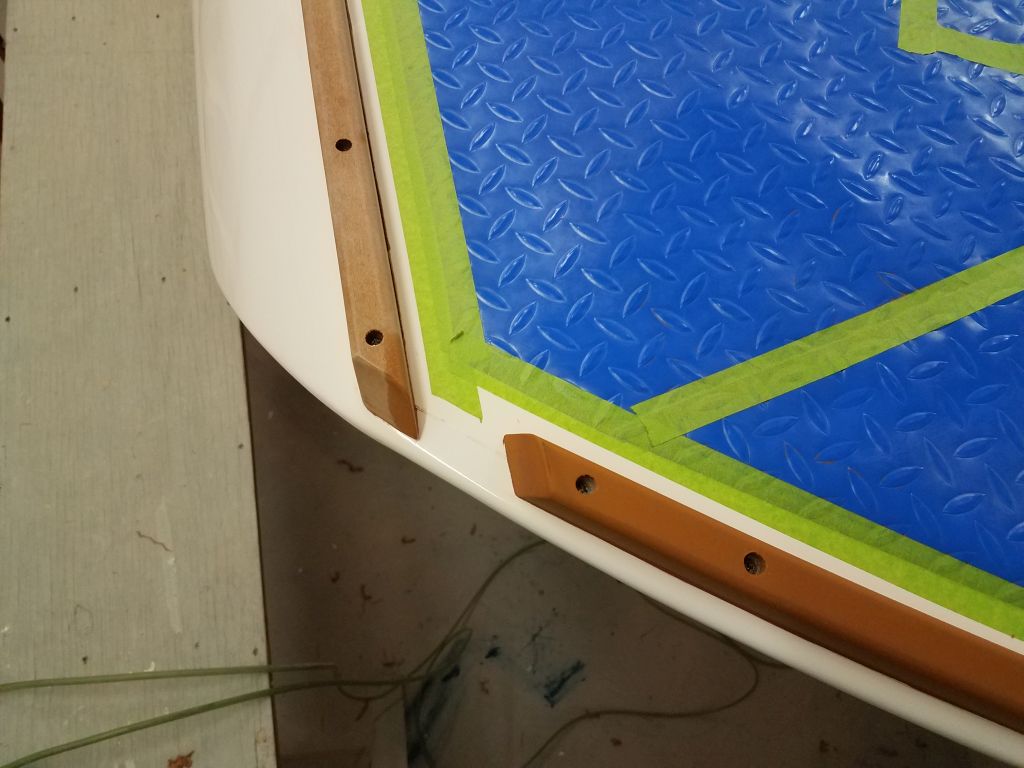
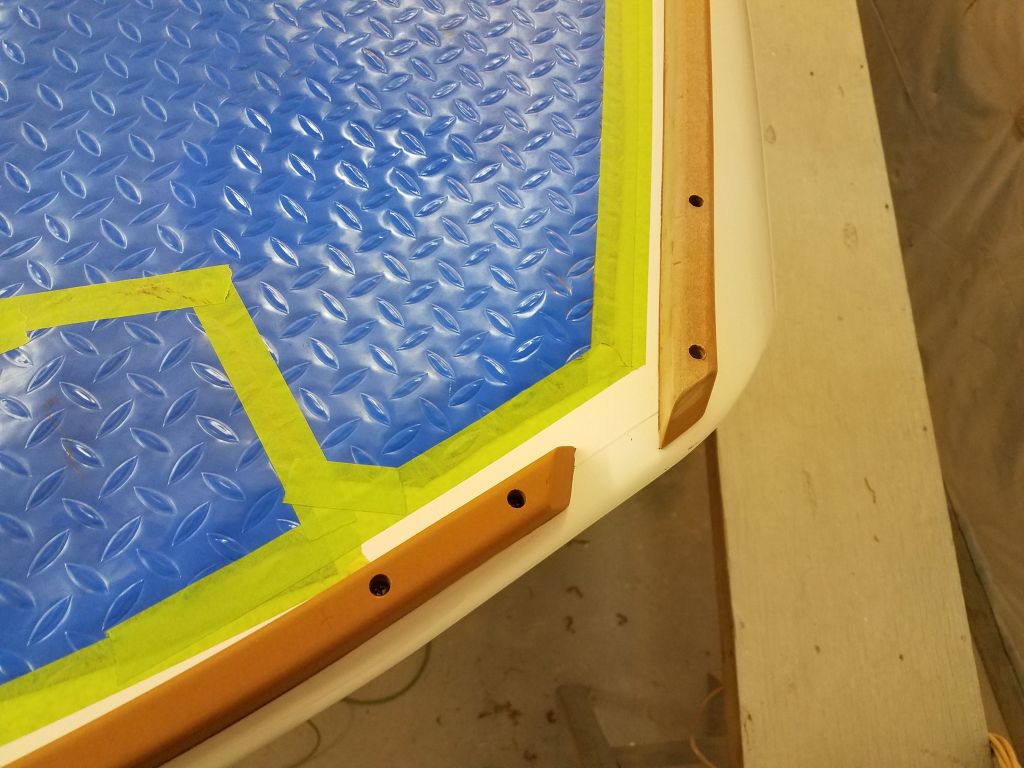
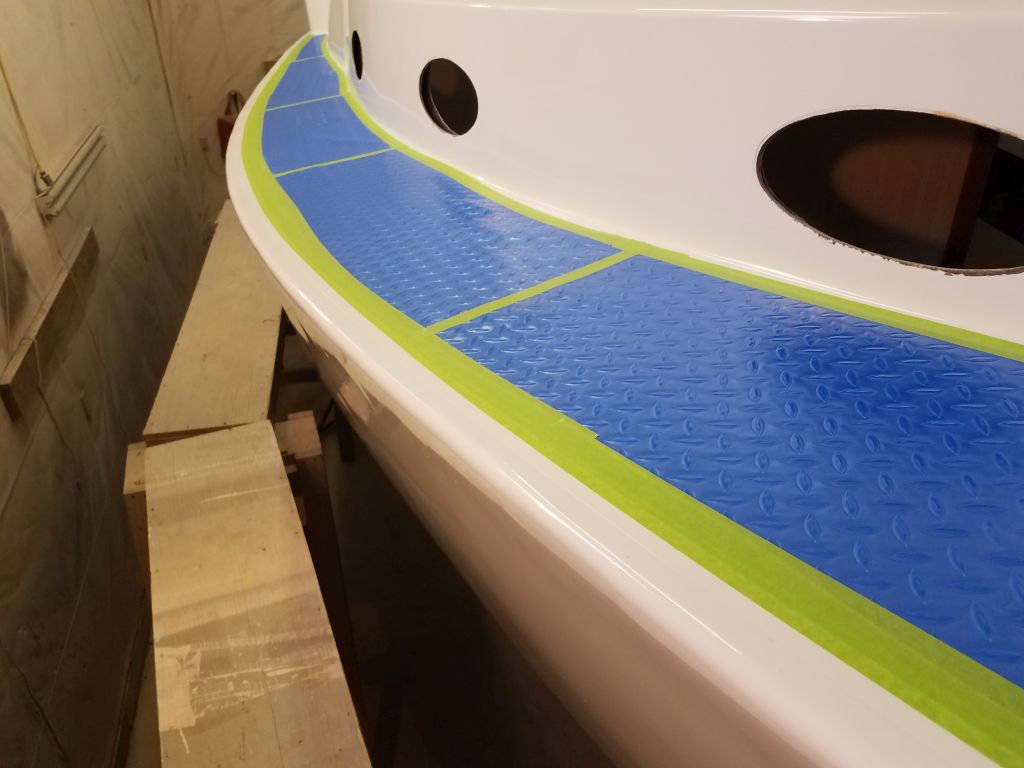
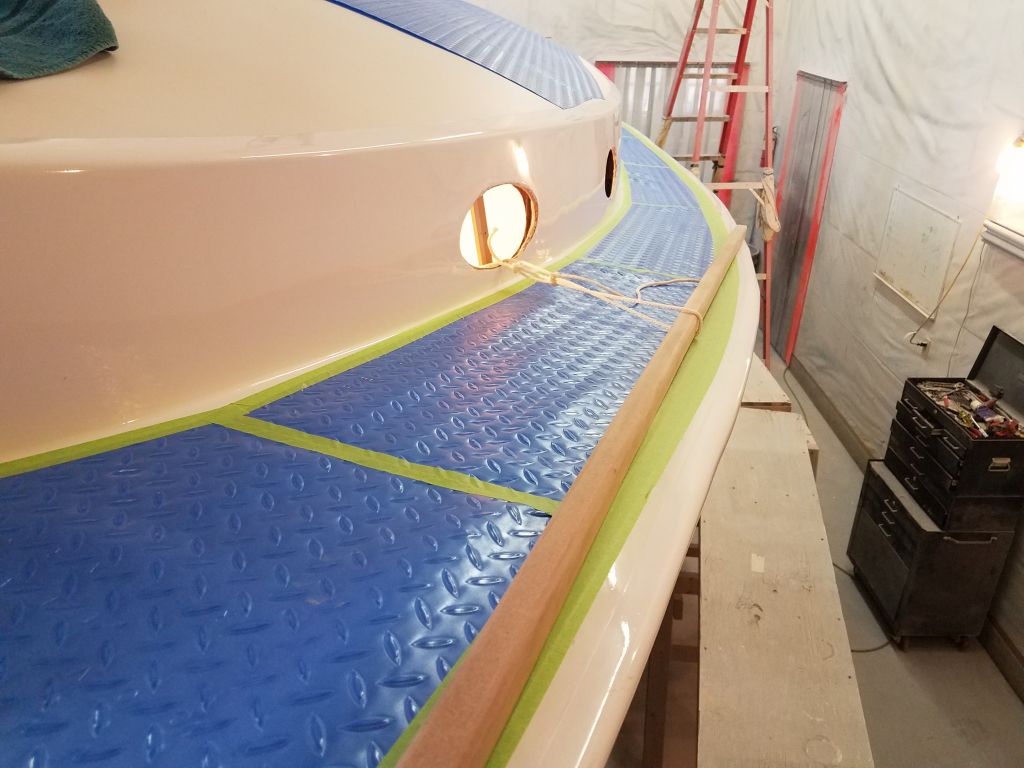
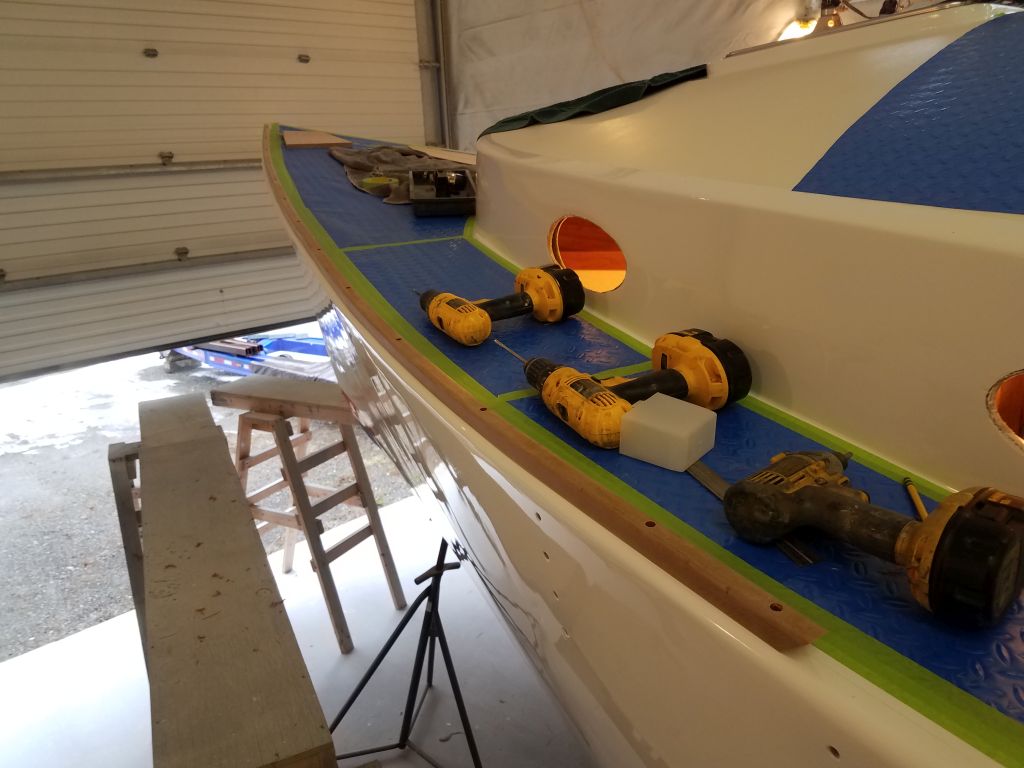
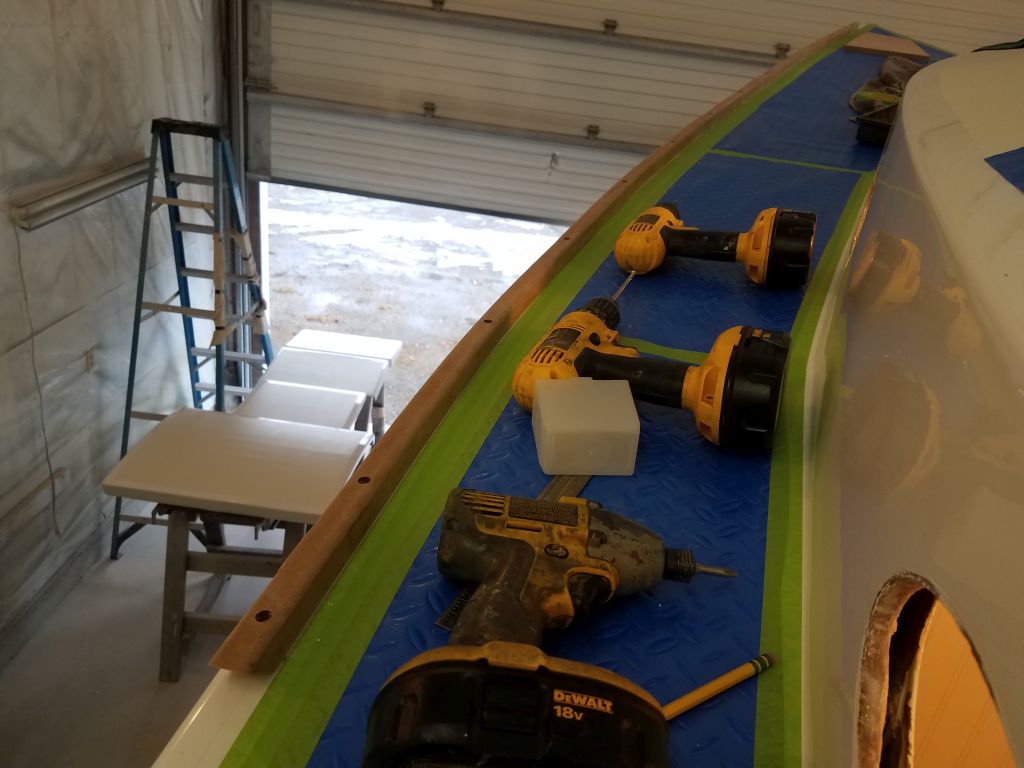
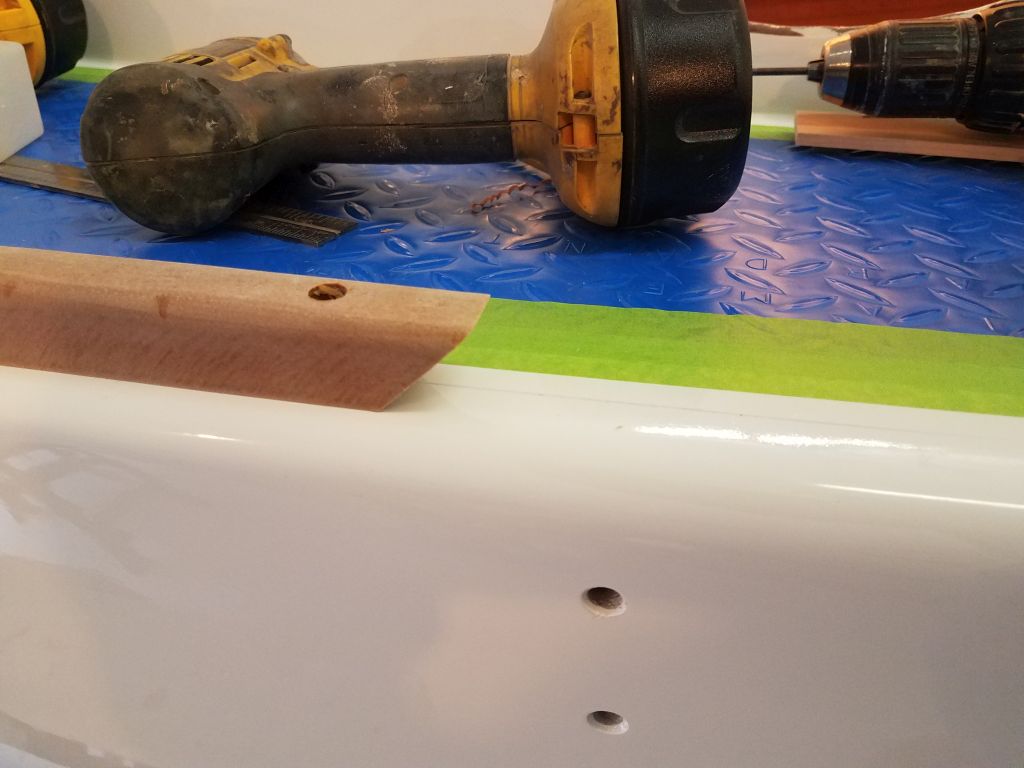
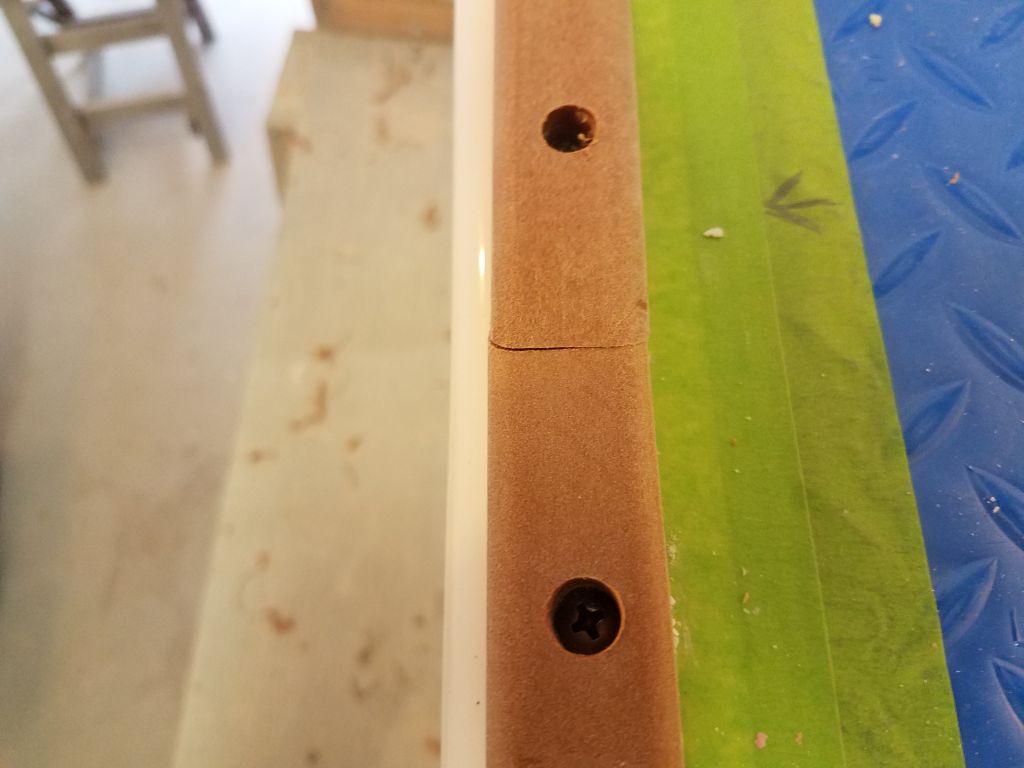
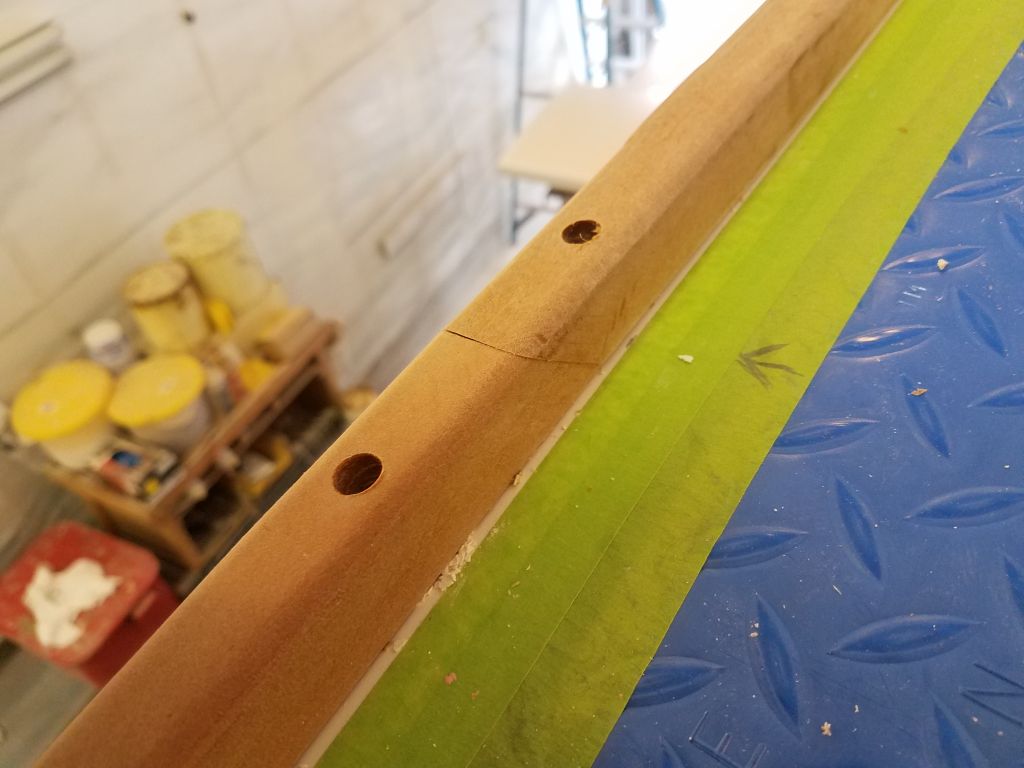
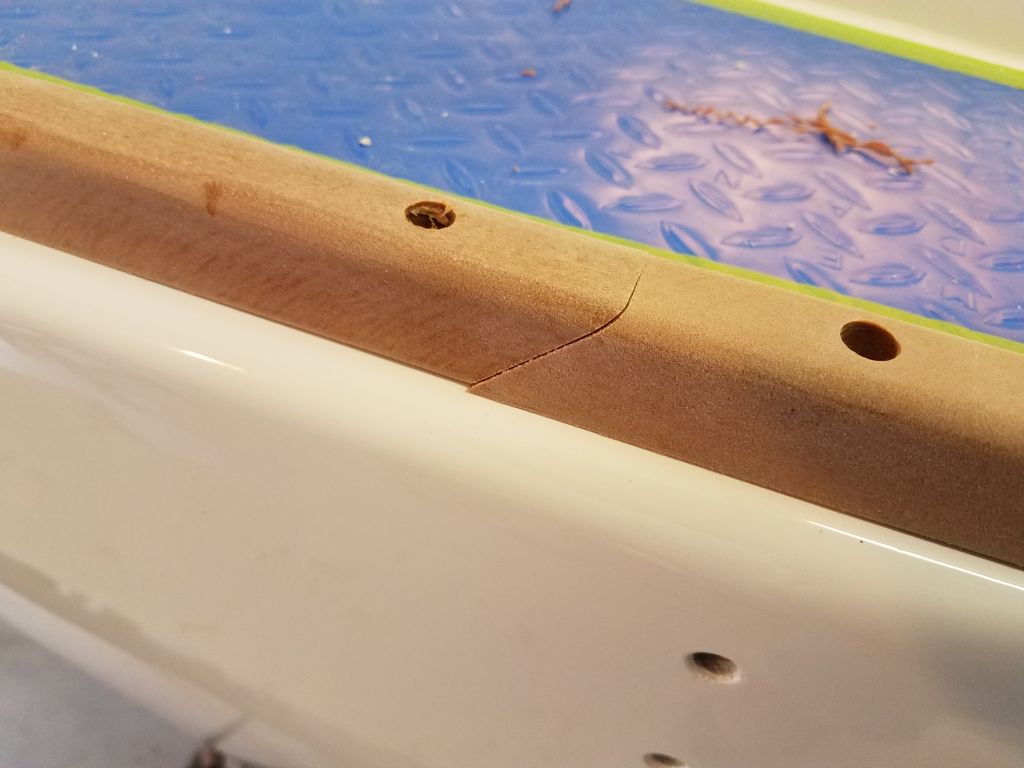
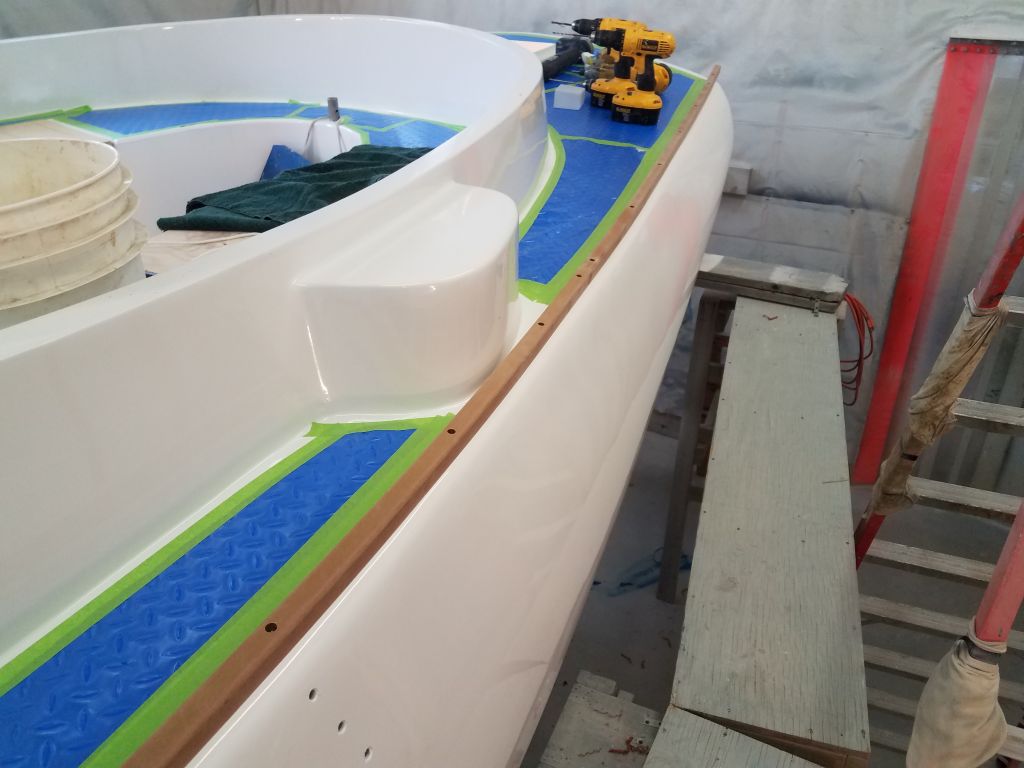
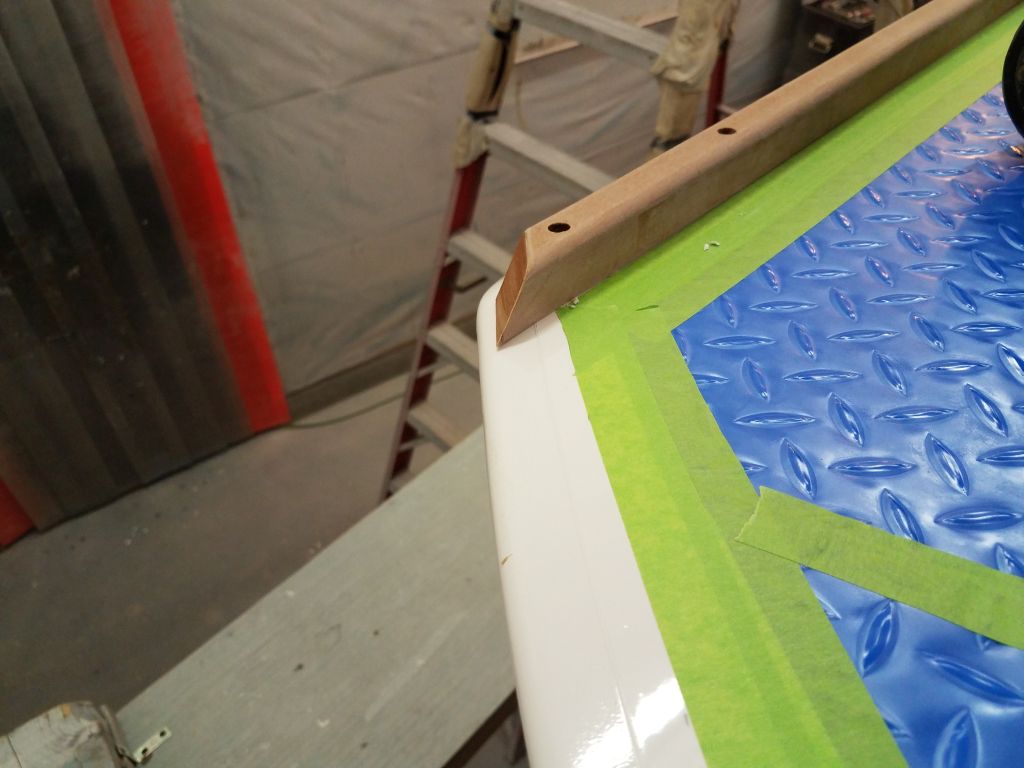
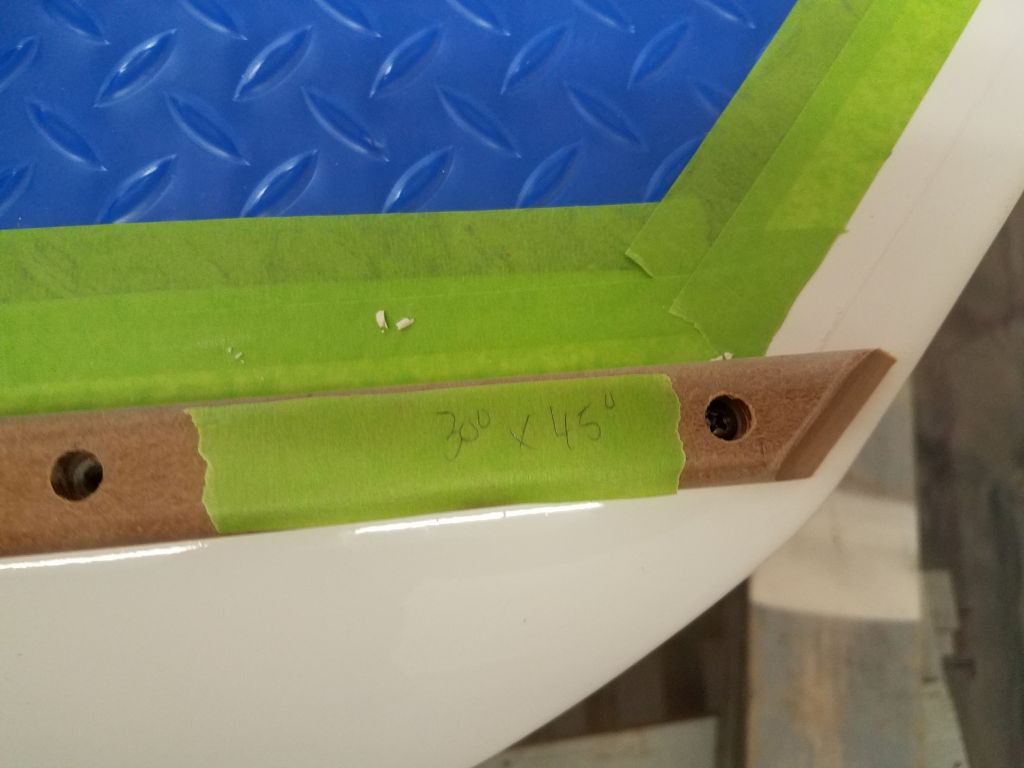
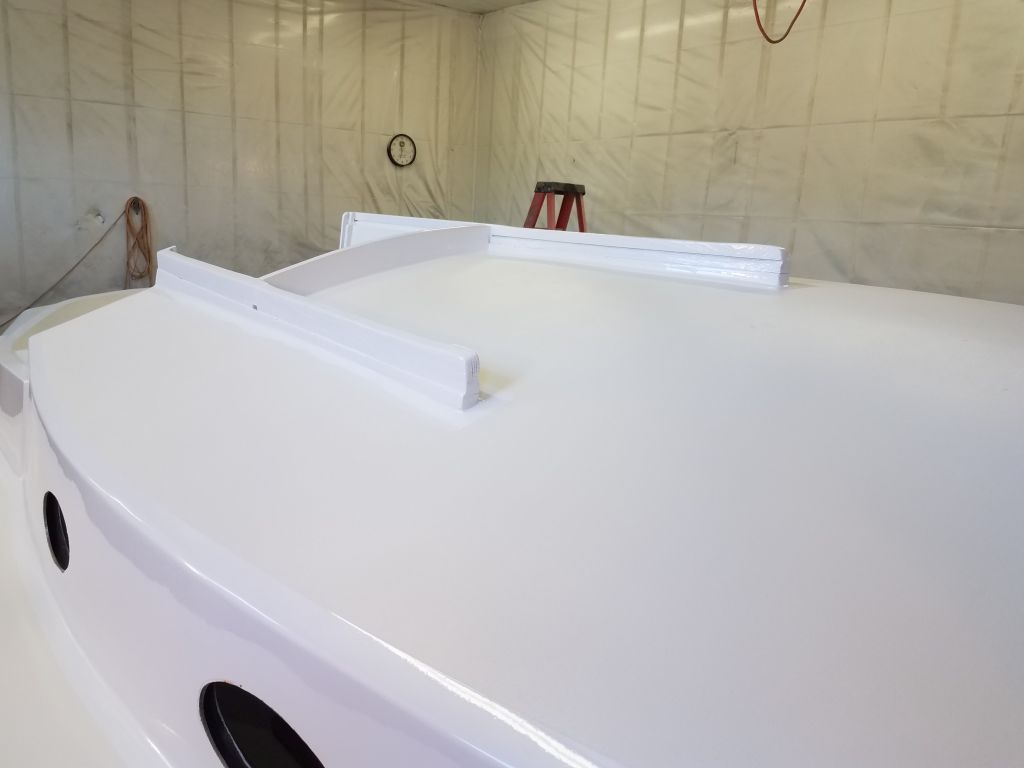
To prepare for this, though I wasn’t sure how it would work just yet, I cut the aft end of the first section at a 45° angle from top to bottom, with the cut leaning aft. I hoped I’d be able to butt the next section, cut with a corresponding angle, into this joint, but wouldn’t know how that seam would work out till I got there, so I continued working aft and securing the toerail with screws. For each hole, I bored a 3/8″ counterbore for a bung; then a #25 pilot hole through the toerail and deck; then a 7/32″ “sloppy” pilot hole a little oversized for the #10 screws; and finally tapped the deck hole with a #10 tap. The material was highly flexible and easy to maneuver, but to help hold it generally in place I used a temporary line secured to a cleat through the port openings to hold the aft end as needed.
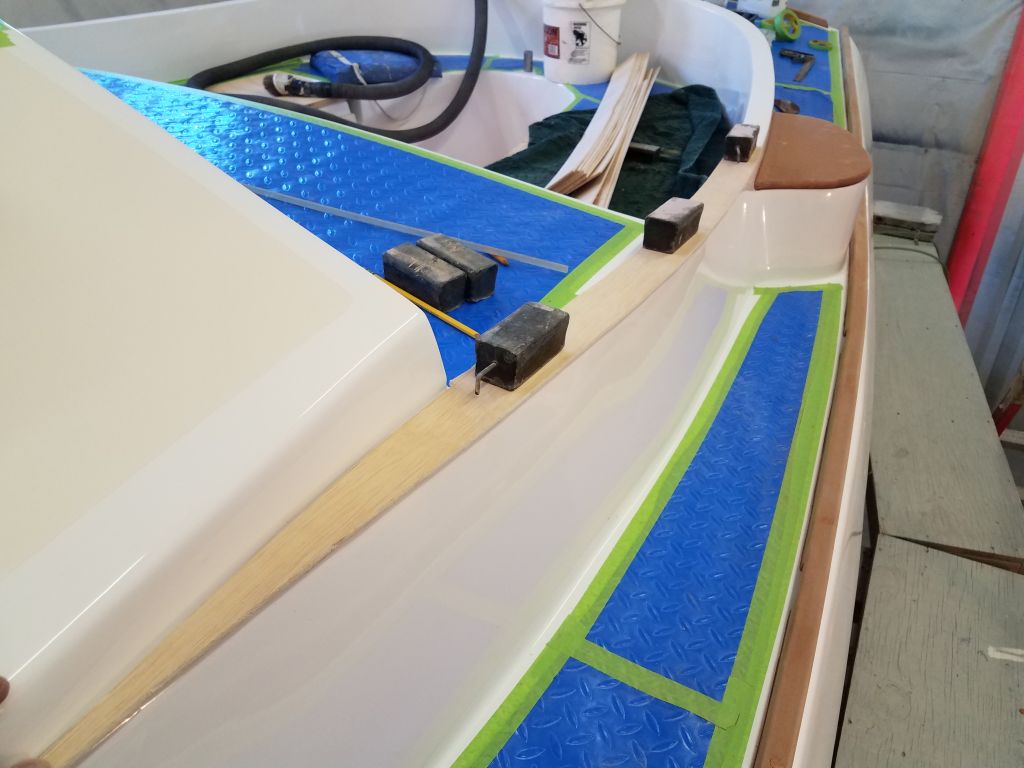
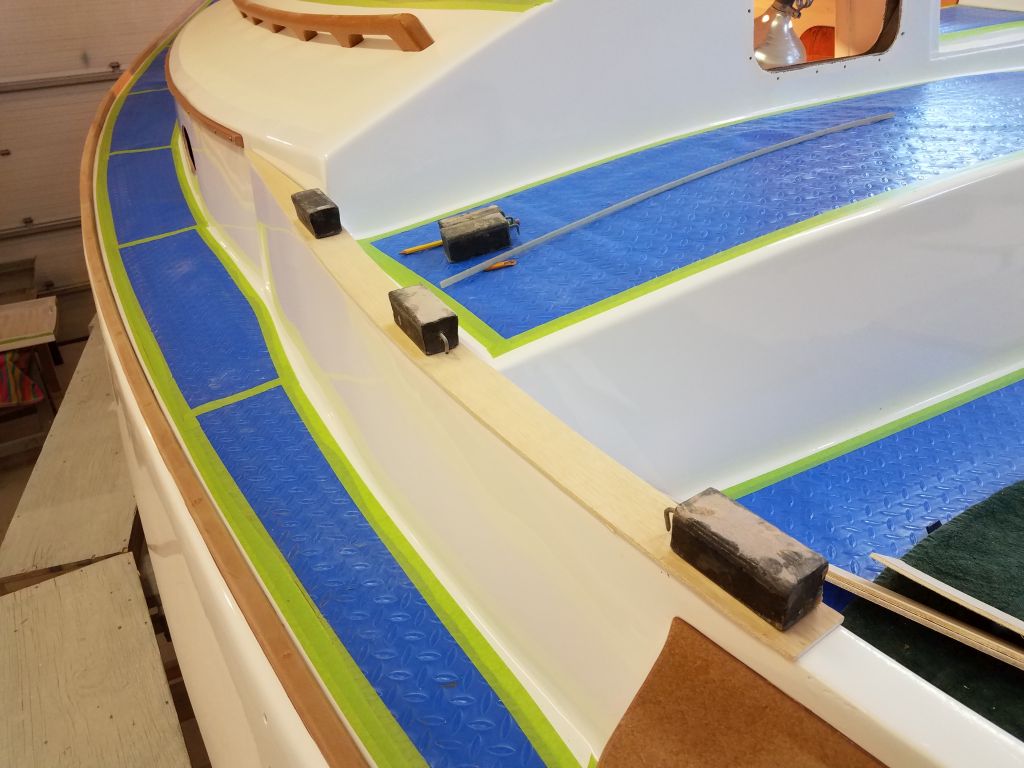
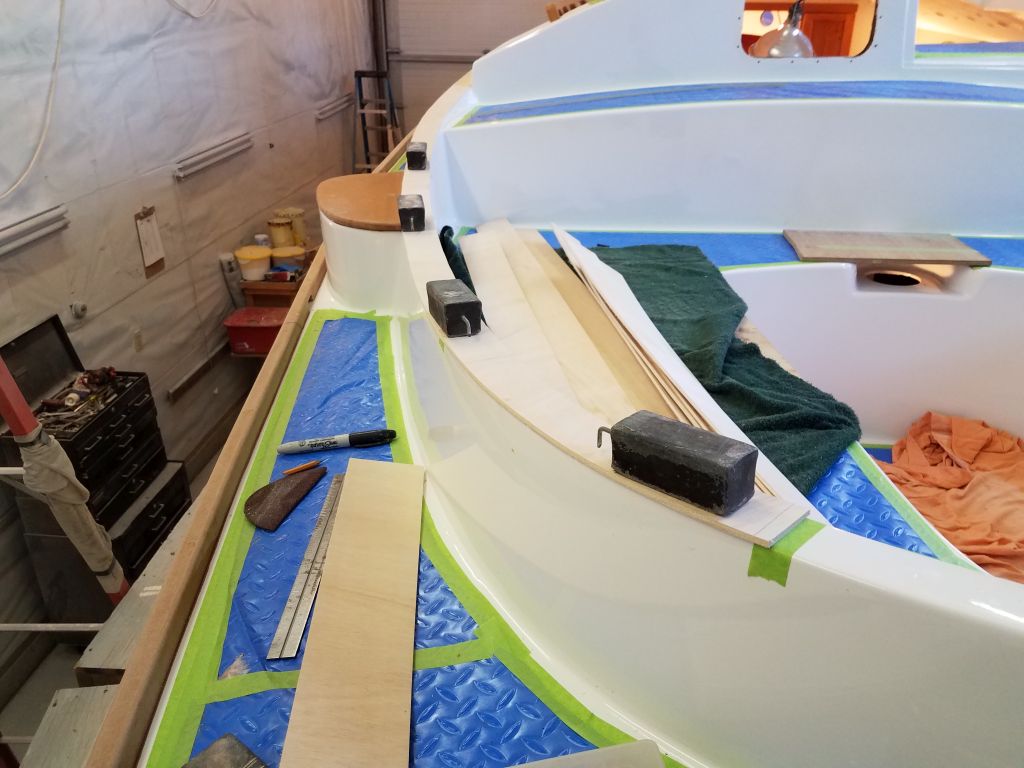
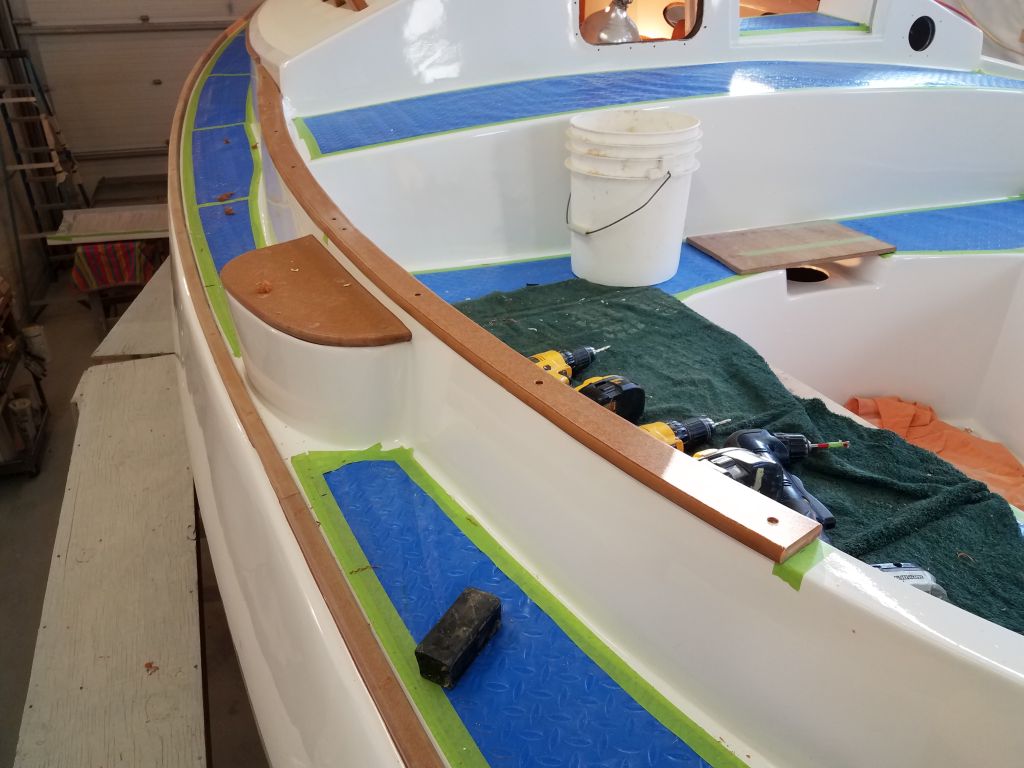
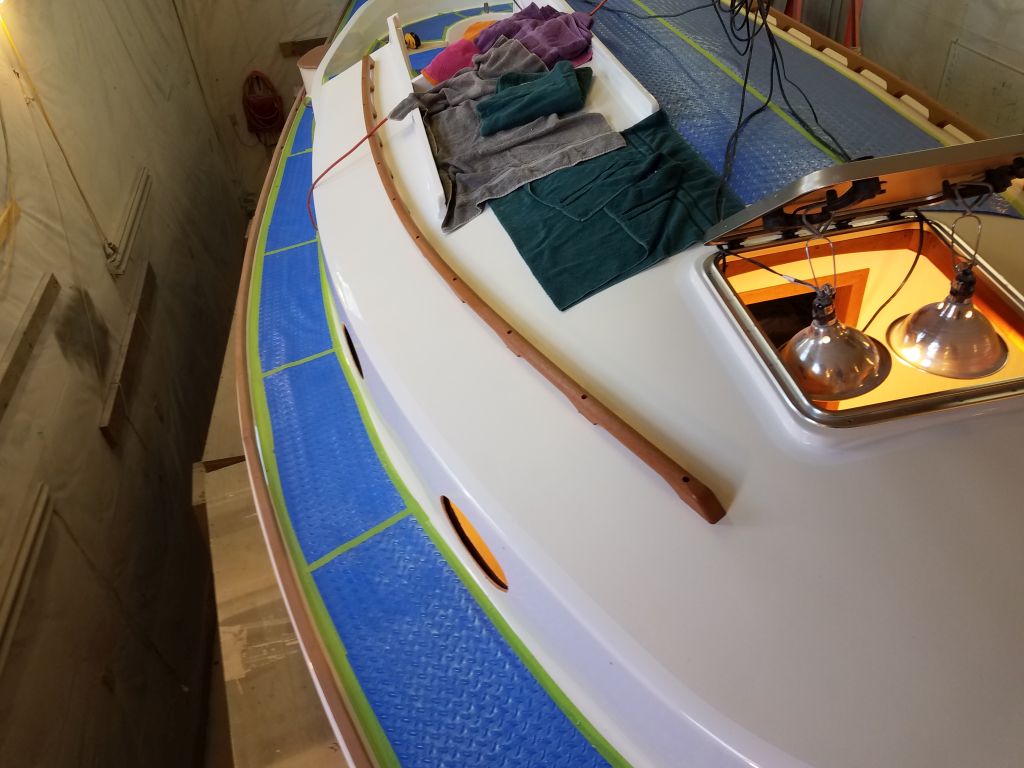
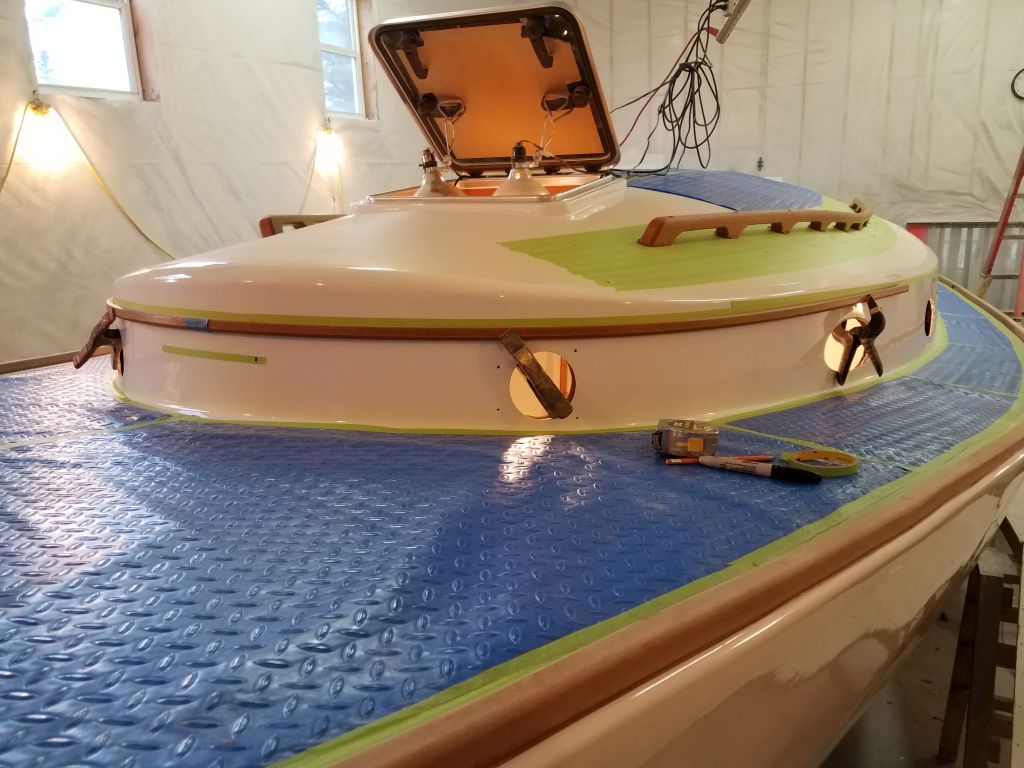
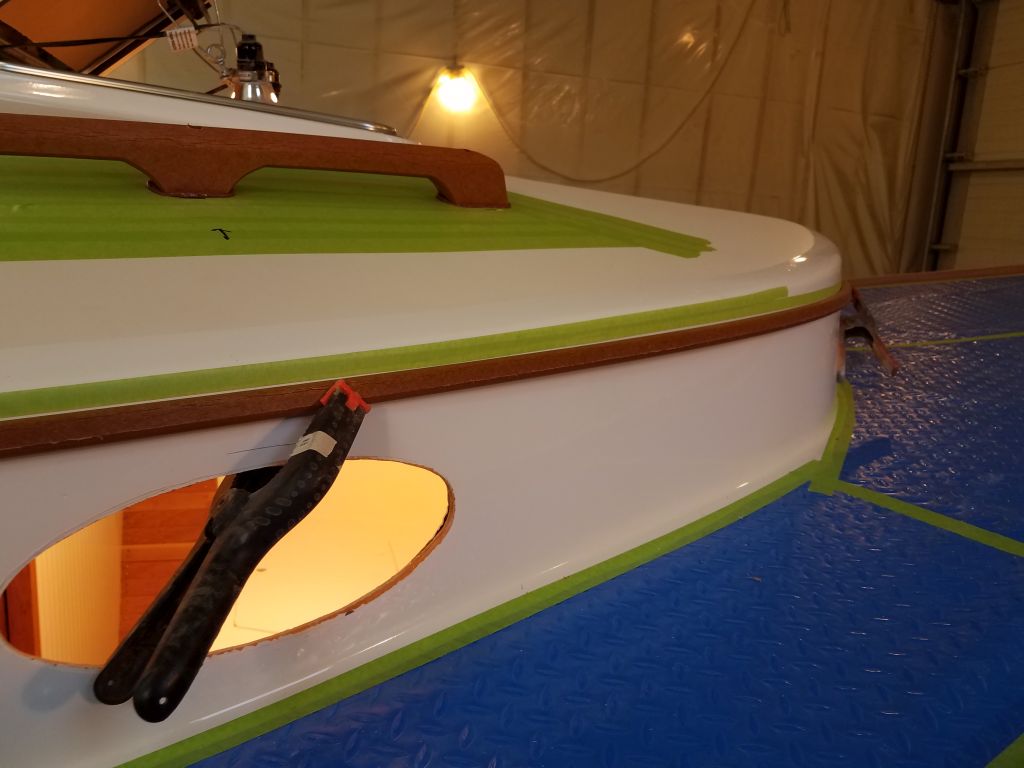
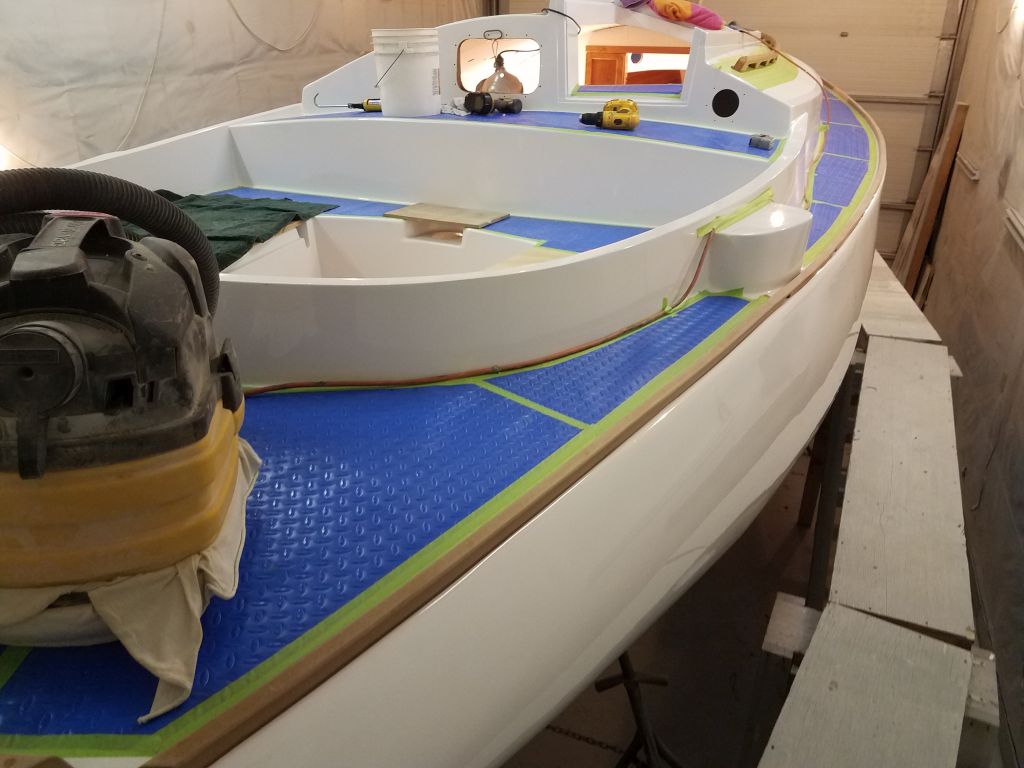
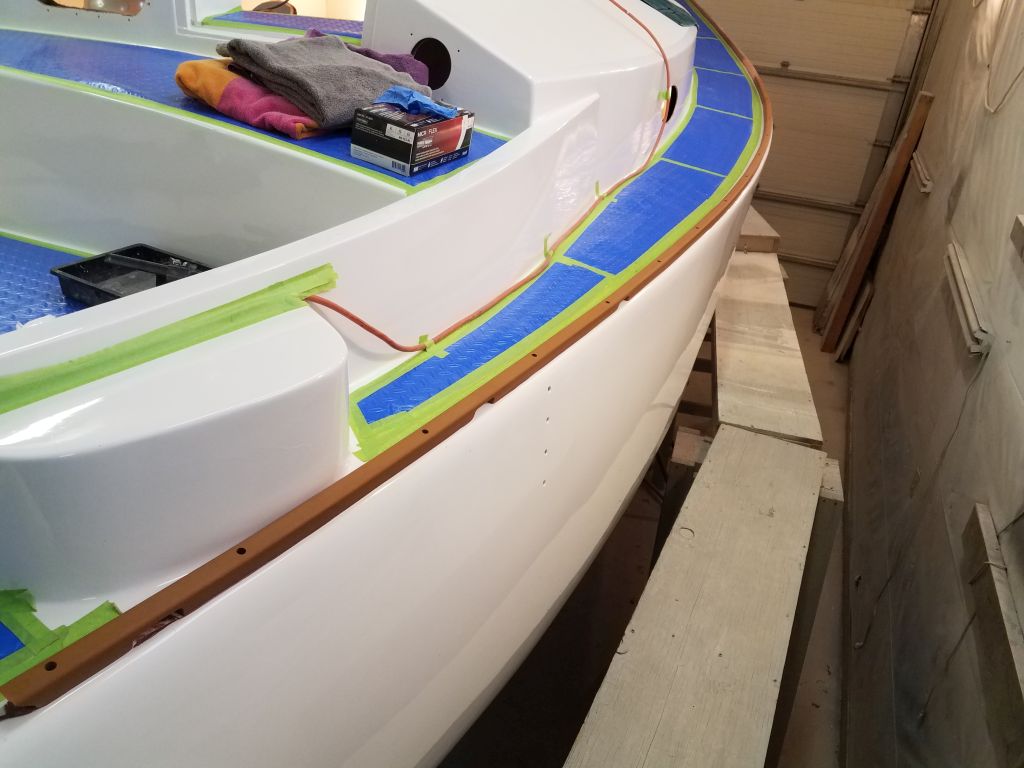
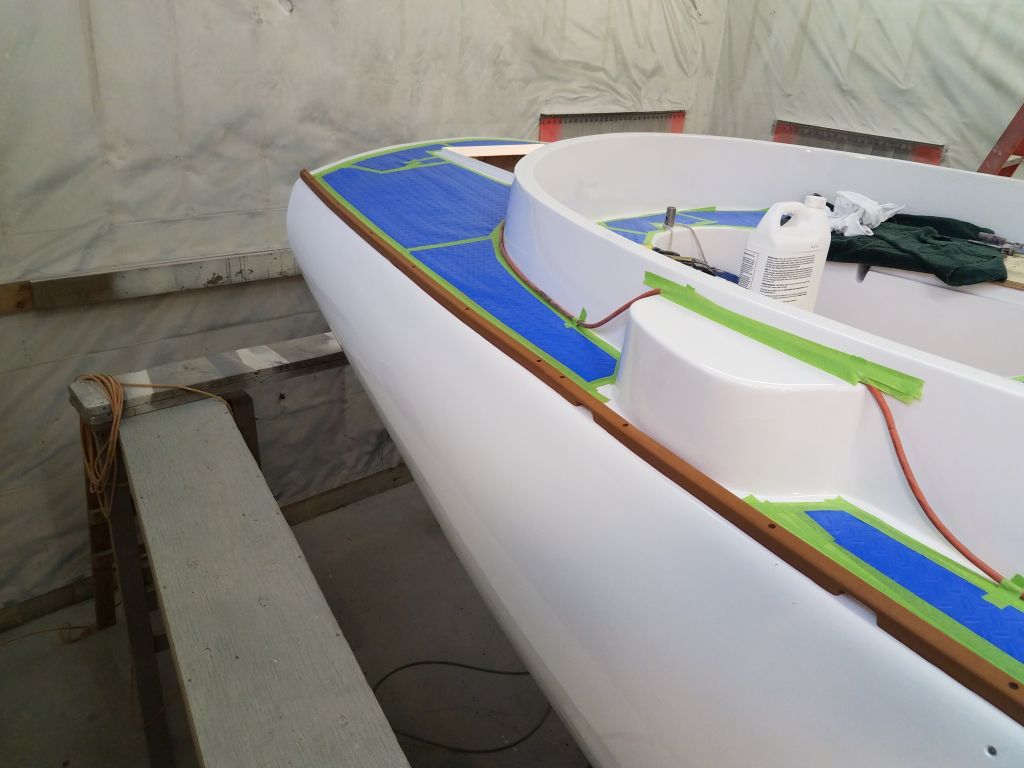
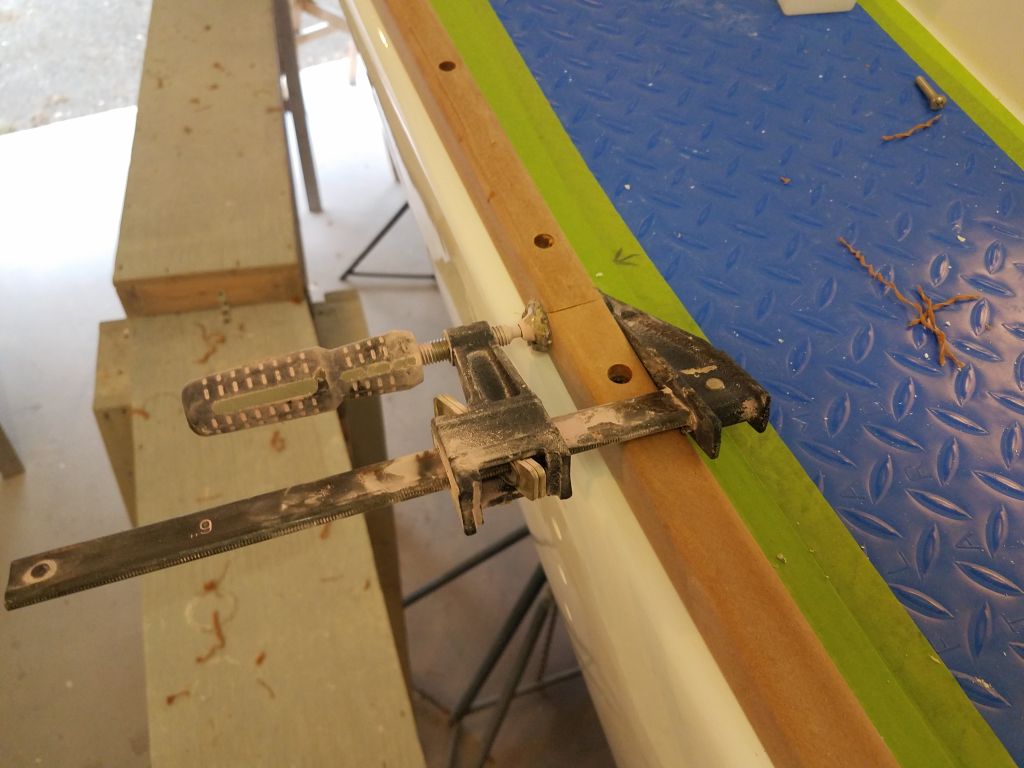
With the first section successfully in place (dry), I continued with the next length. The curvature of the boat where the seam landed wasn’t overly great, so I hoped the angle cuts would work well and that the ends wouldn’t misalign. I used a clamp to hold the joint together once I’d secured the first screw, which was near the joint, and worked my way aft, securing the rail every 12″ as before. The second seam ended up just aft of the winch islands.
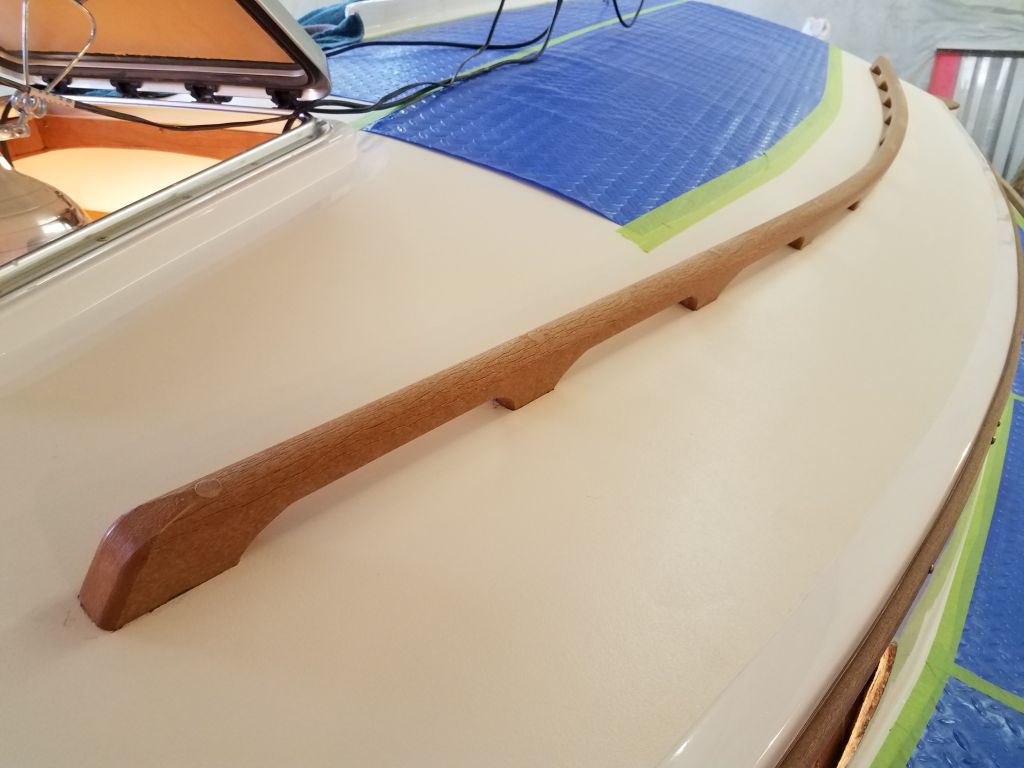
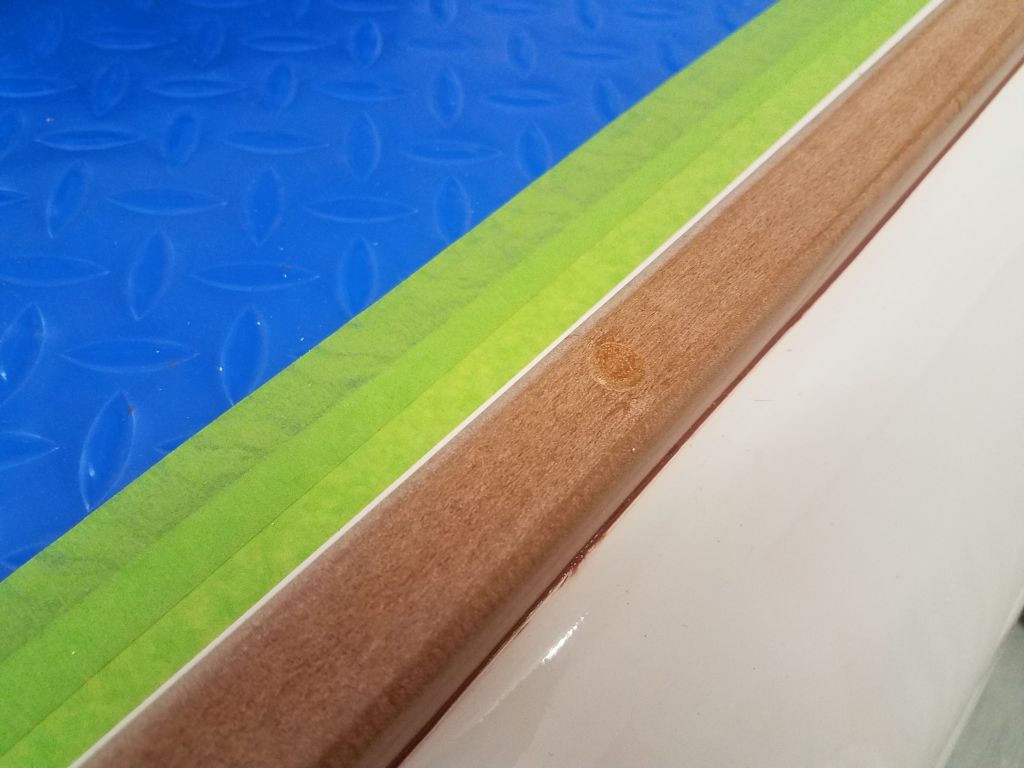
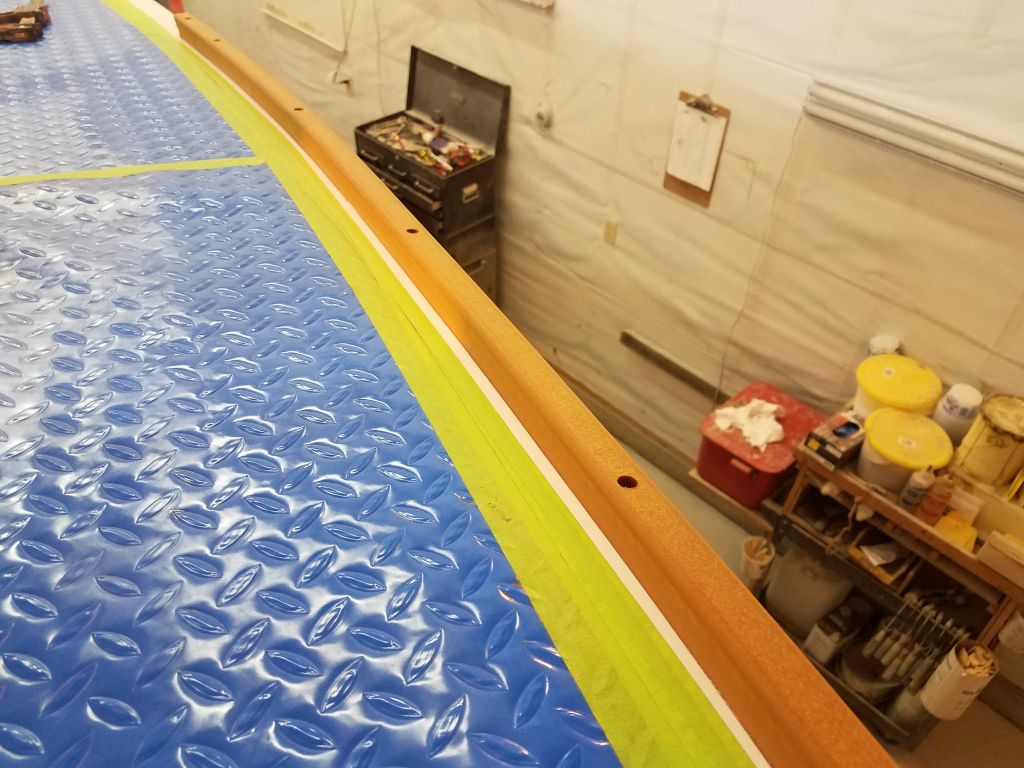
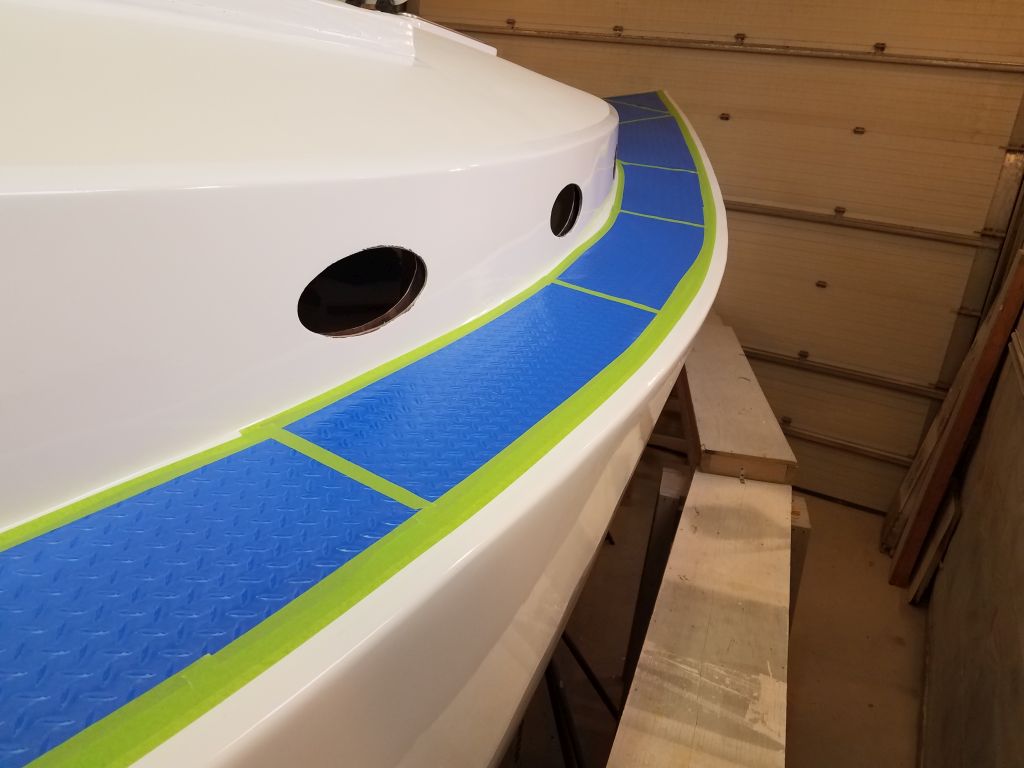
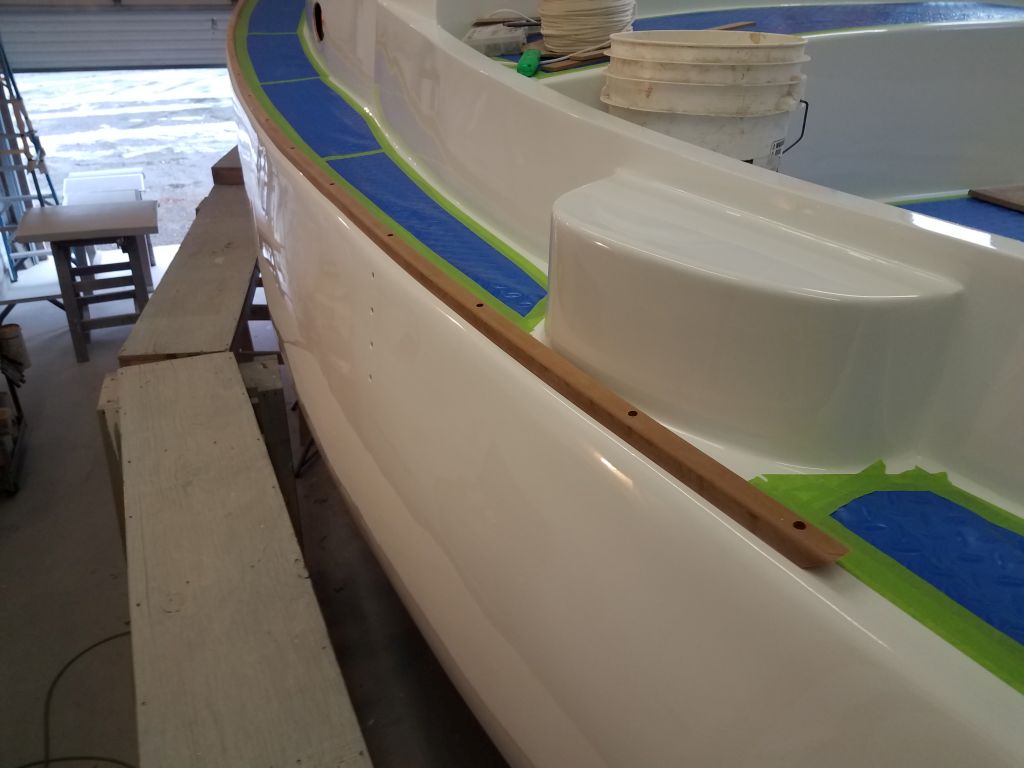
The dry seam between the two rail sections near the chainplates worked out frankly far better than I ever hoped it would. The flexibility of the non-wood material really worked in favor here, as such a seam design would never work with wood. But here, the material was flexible enough even in a short distance that the seam remained basically well-aligned with no clamping pressure, so this was good news.
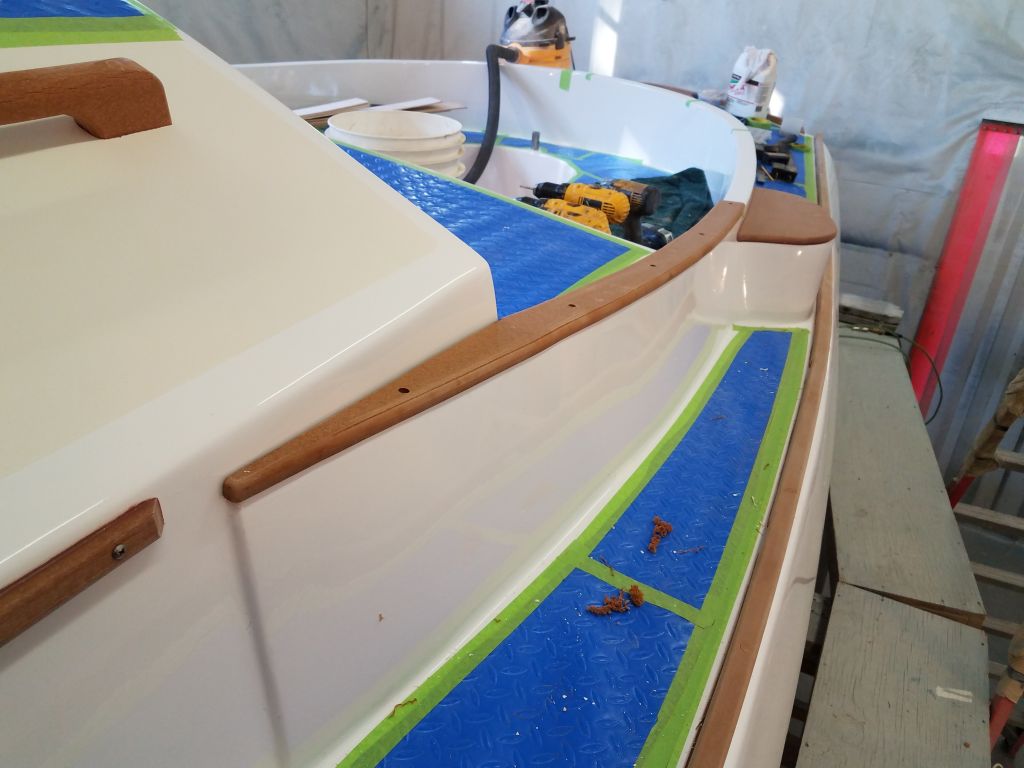
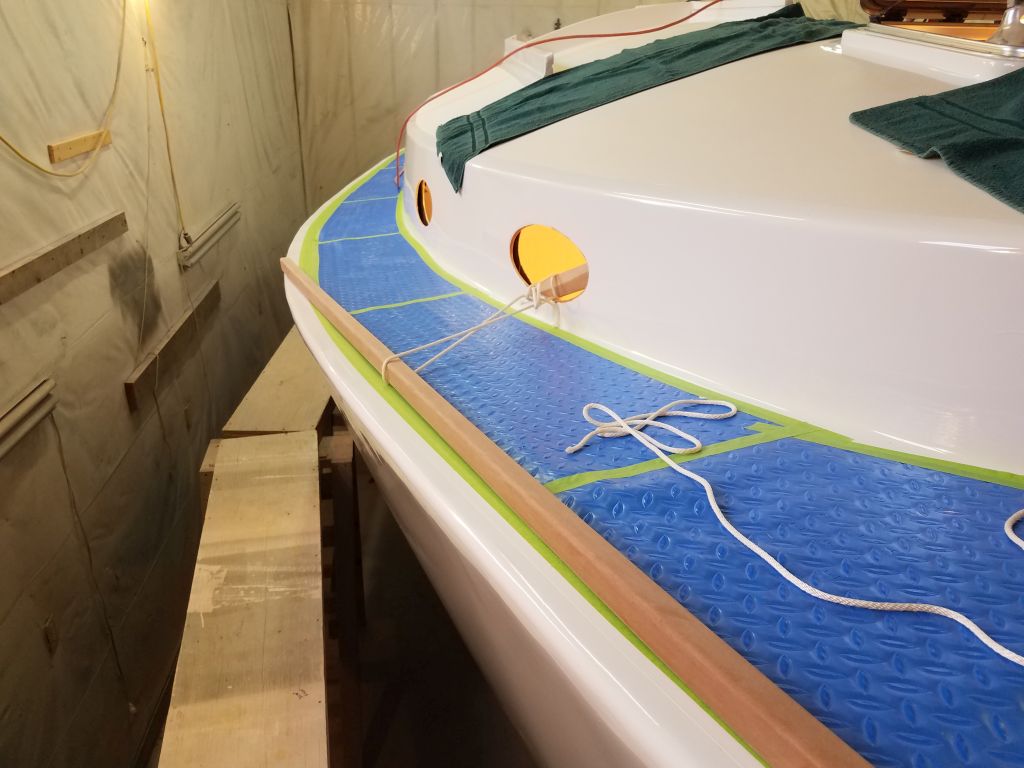
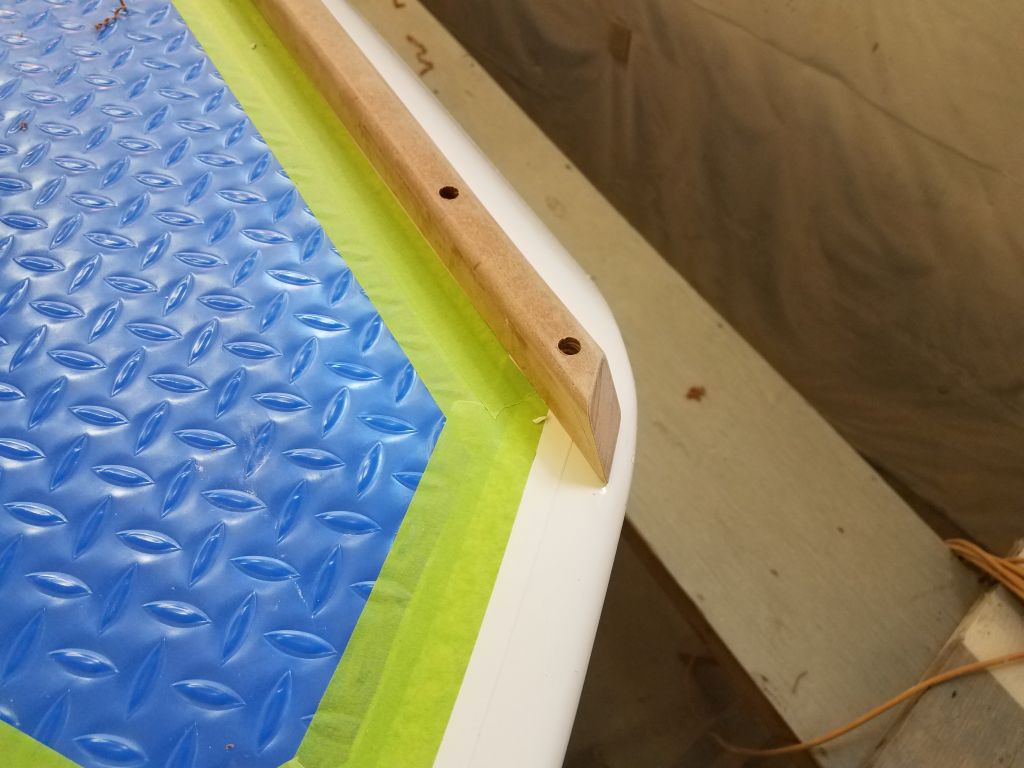
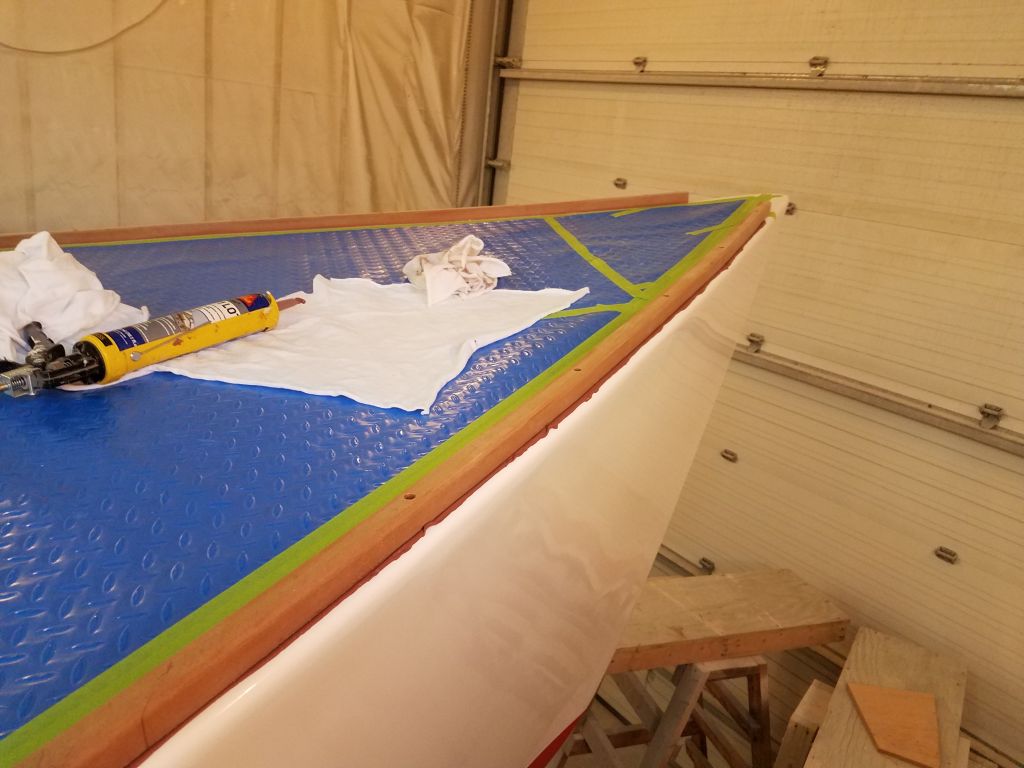
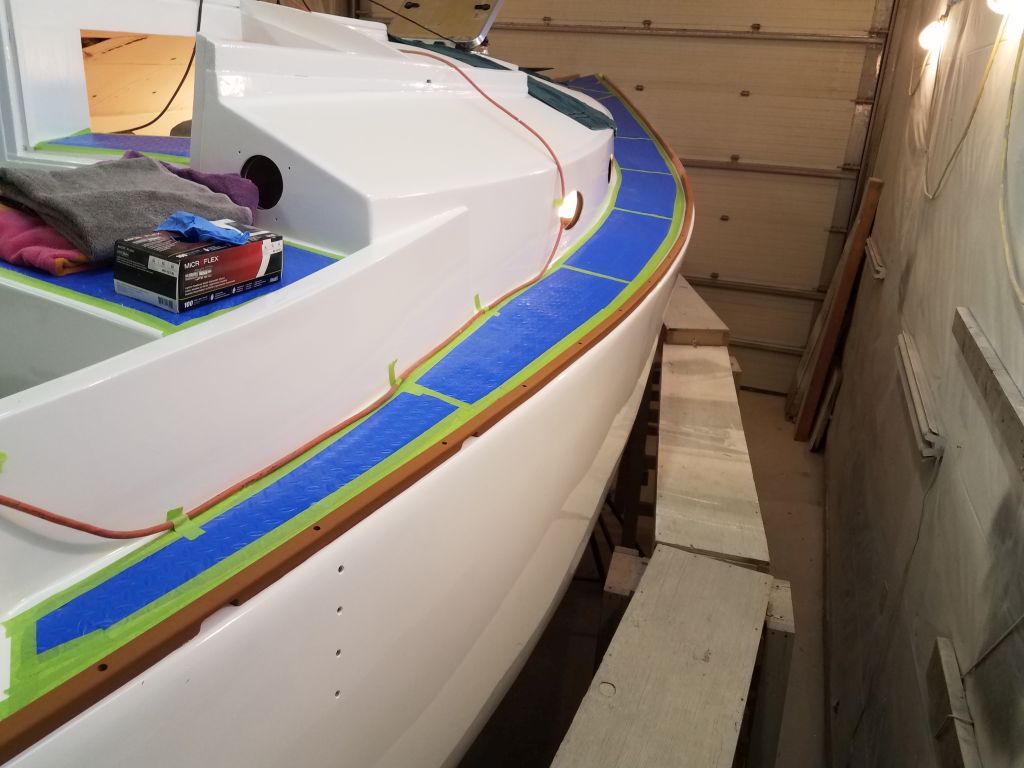
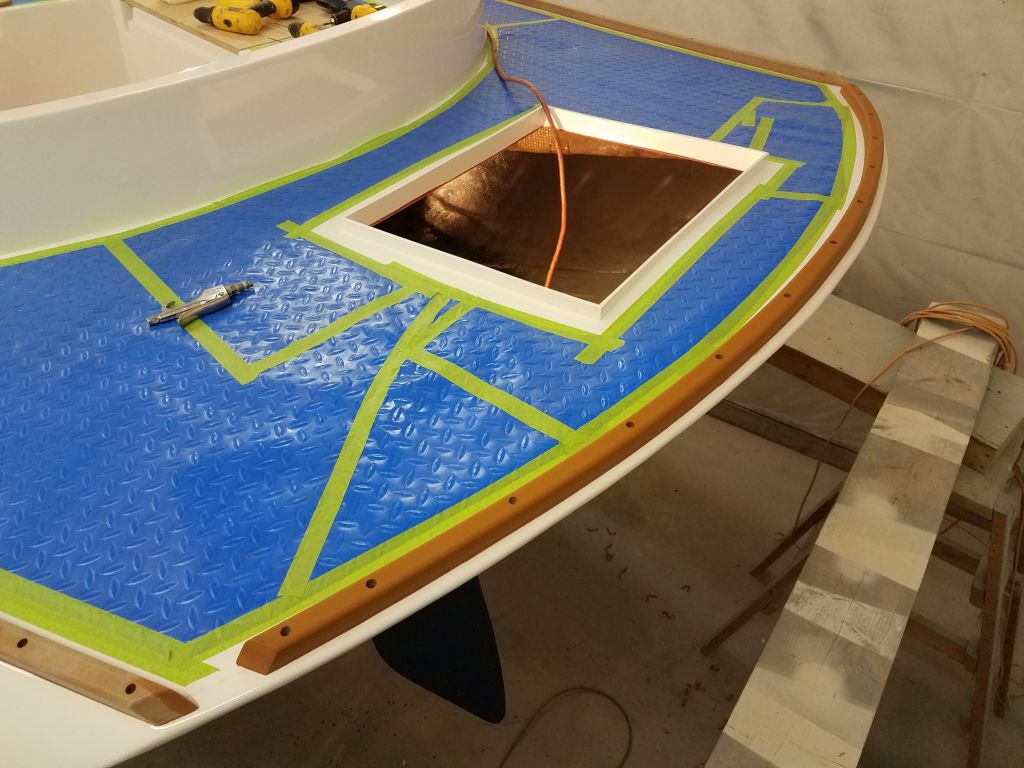
I finished up the dry toerail installation with the last, shorter section on the port side, running aft to the transom. I let the rail run wild over the transom for the moment so I could mark its final end. Again, the seam between the two sections looked good once complete.
I planned to leave a scupper opening between the toerails and the taffrail at the transom, so I made some reference marks on the rail to align it with the angle of the transom and other considerations as needed, then removed the rail and made the cut.
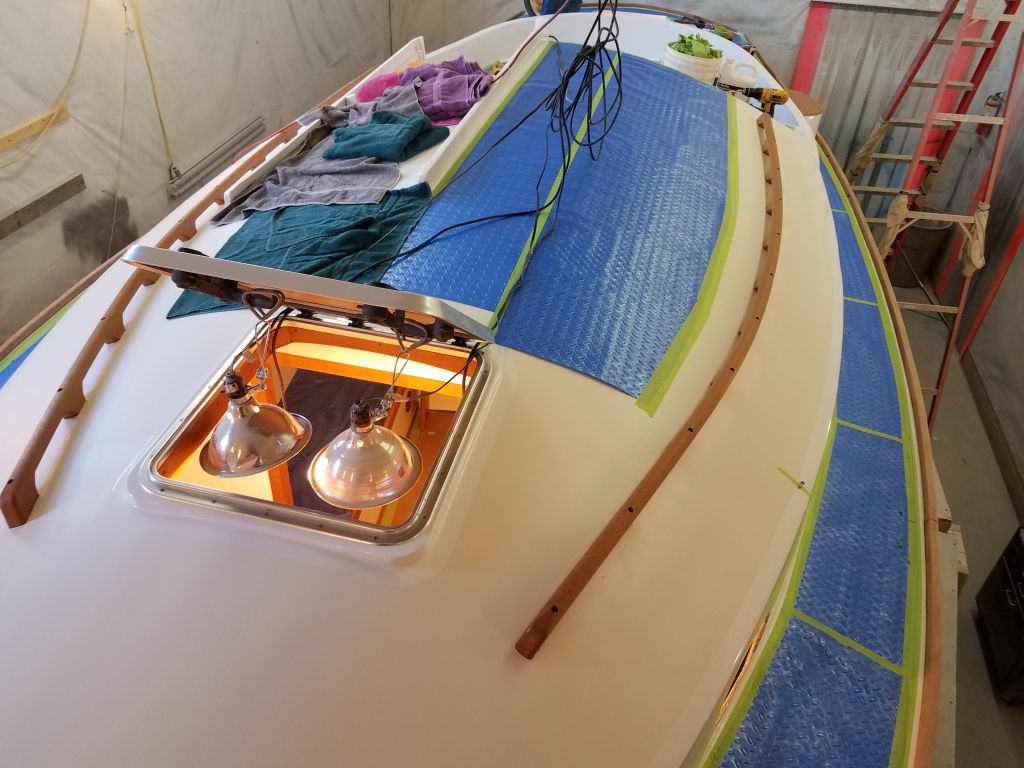
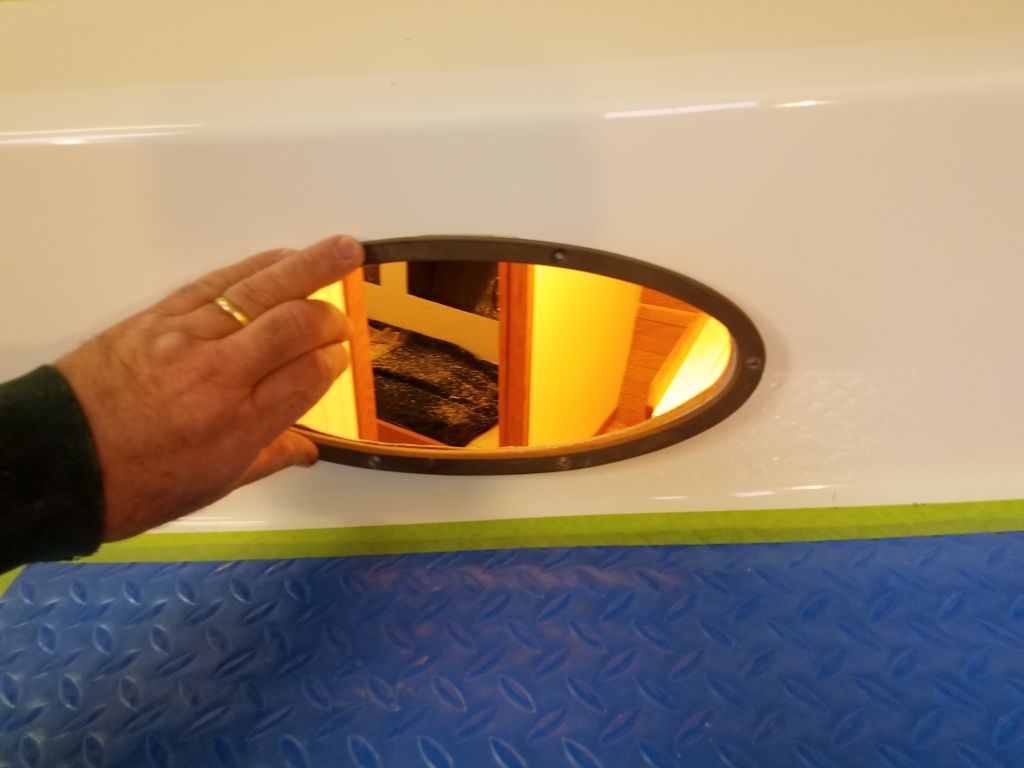
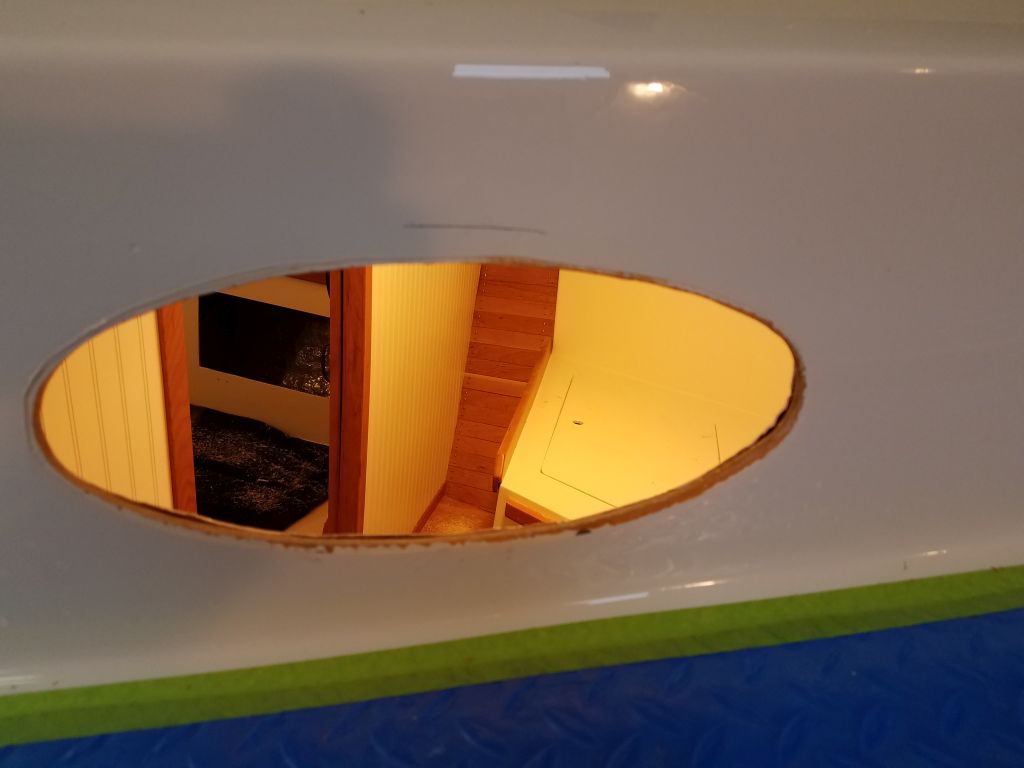
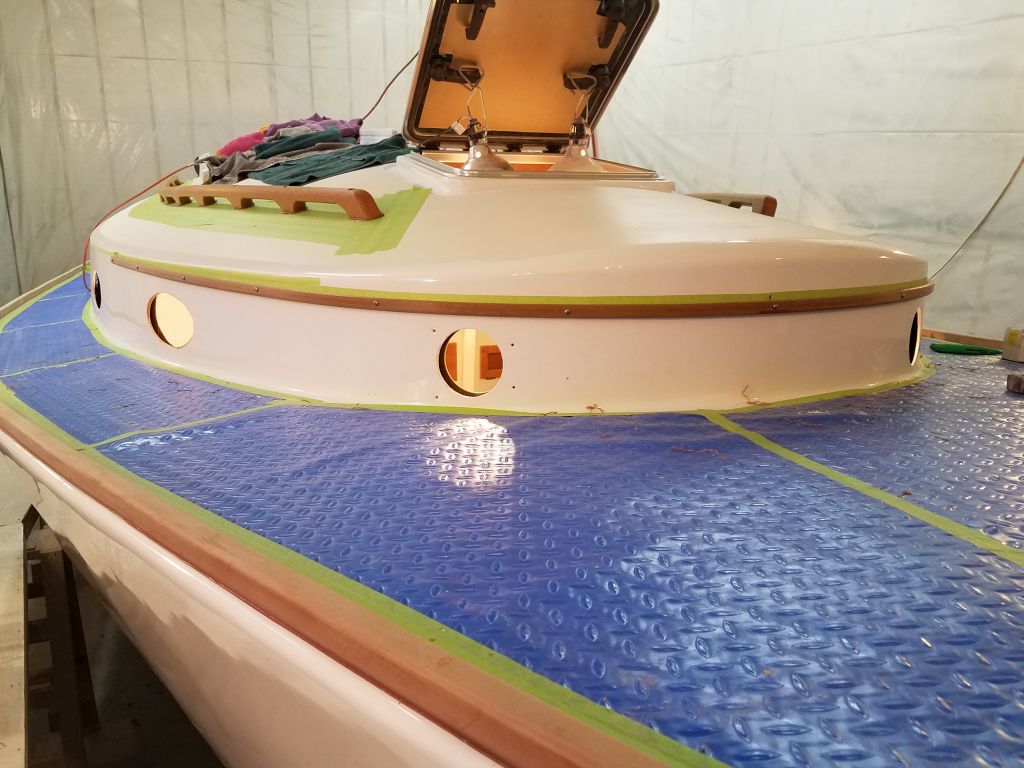
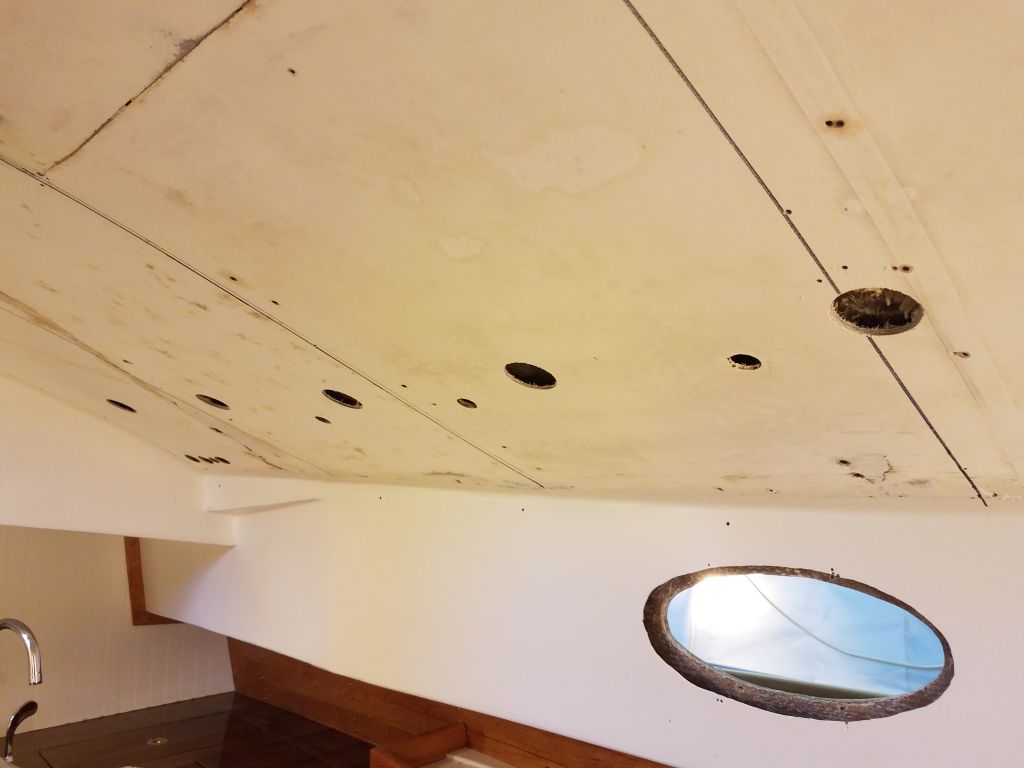
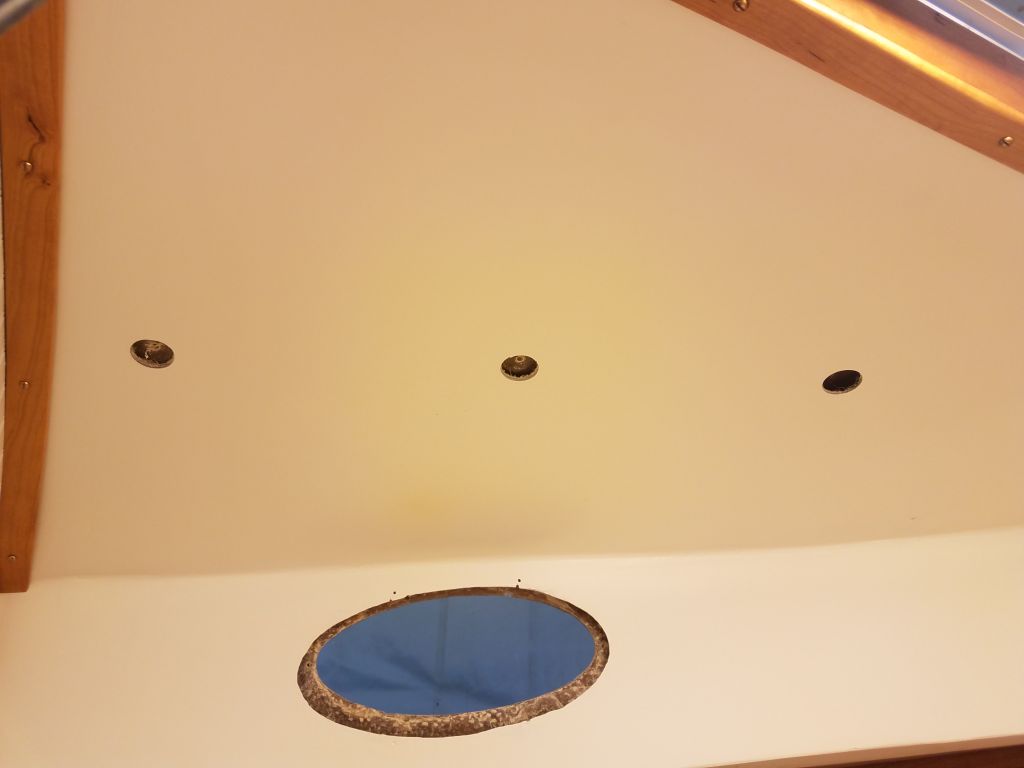
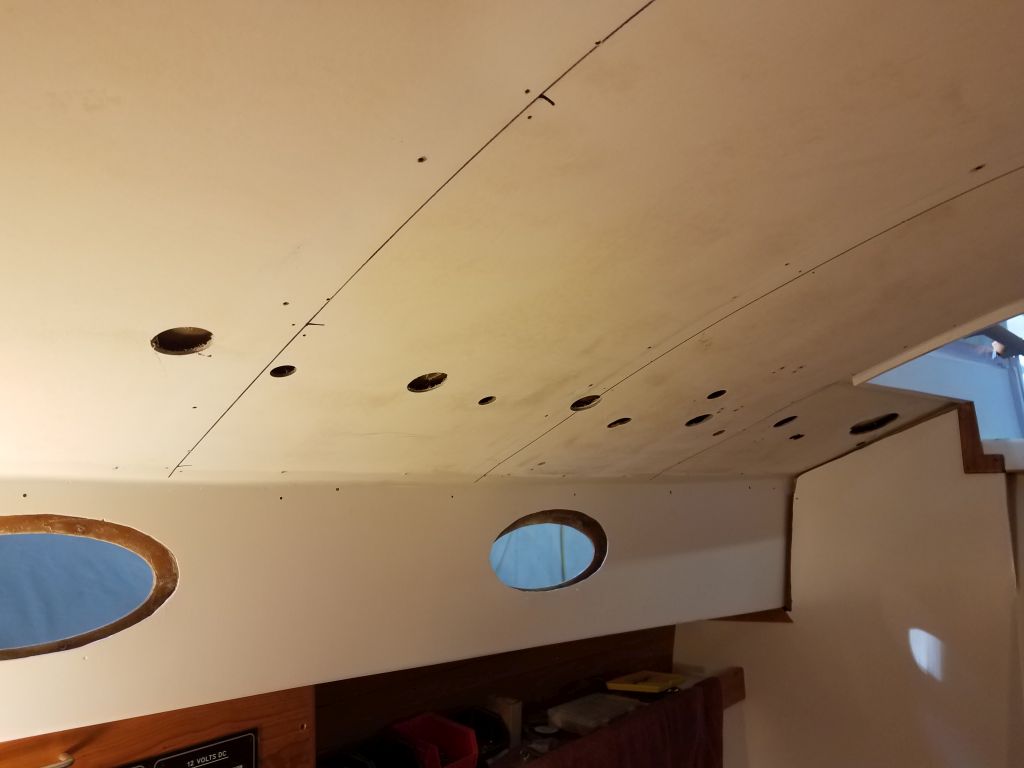
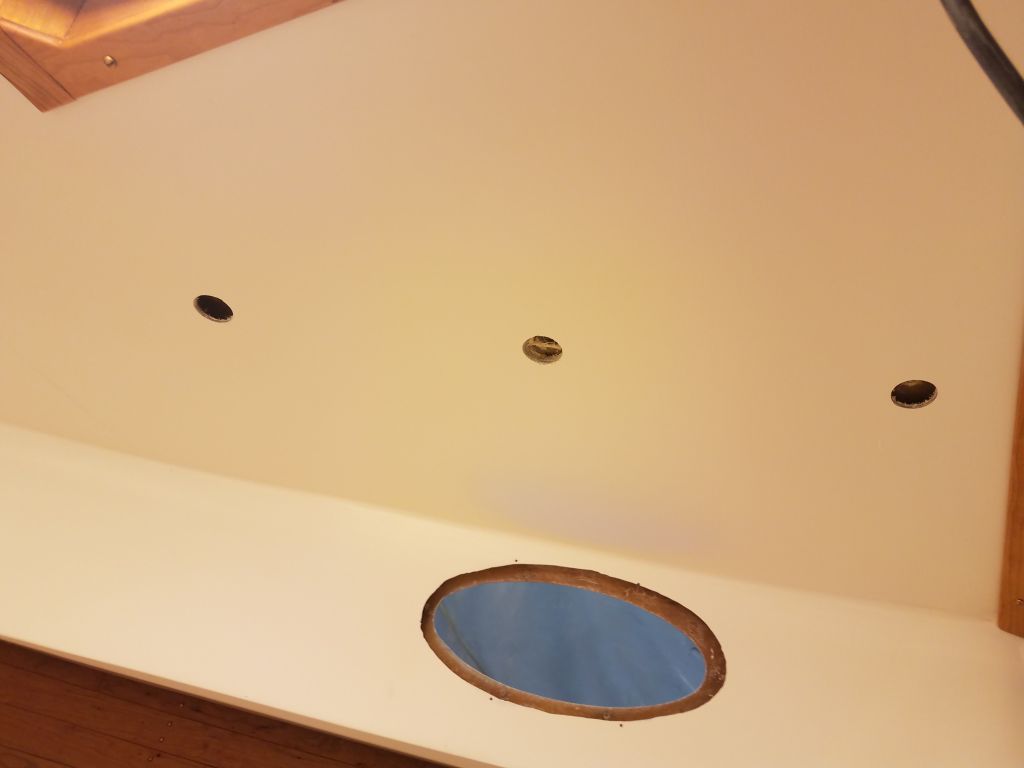
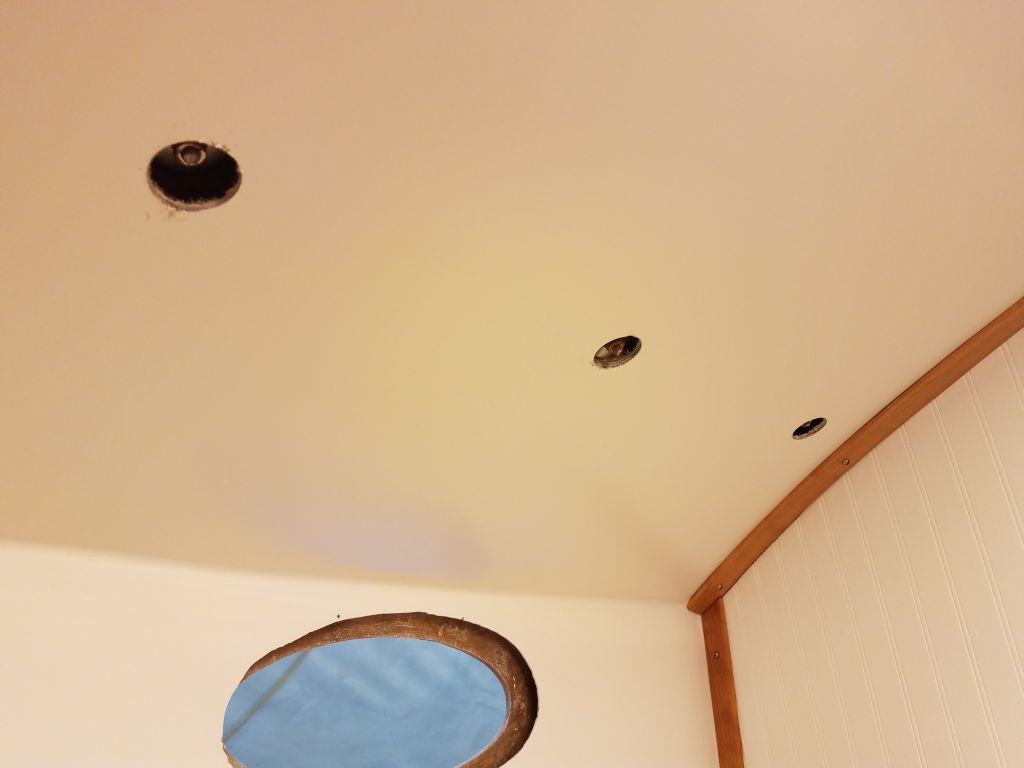
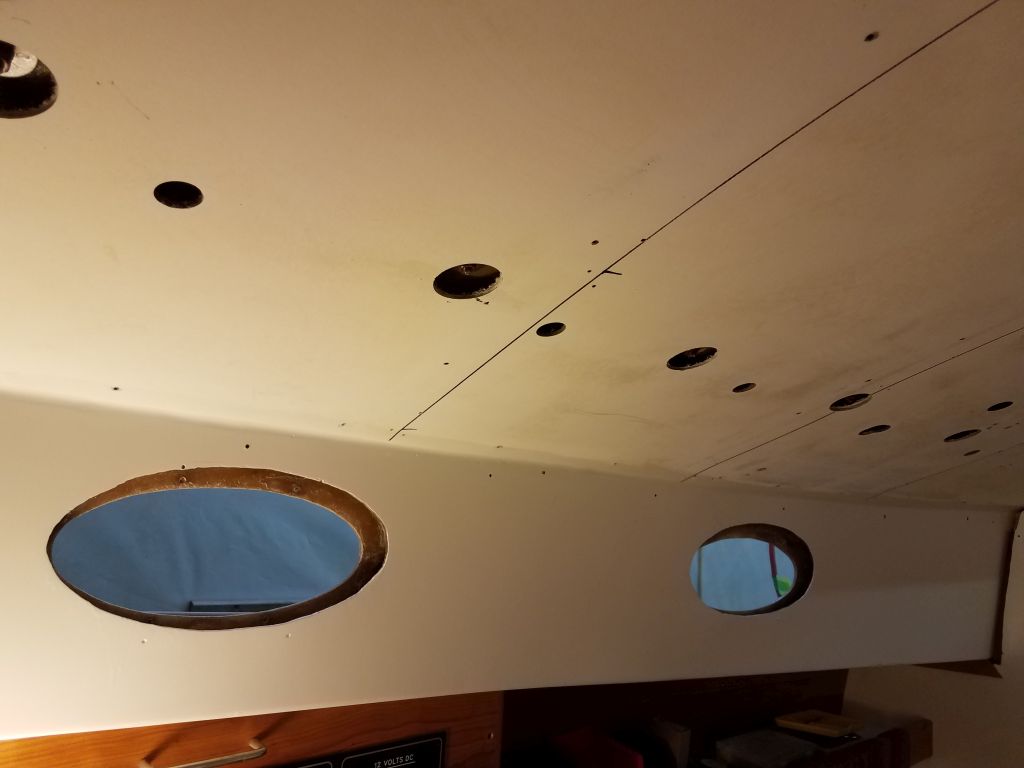
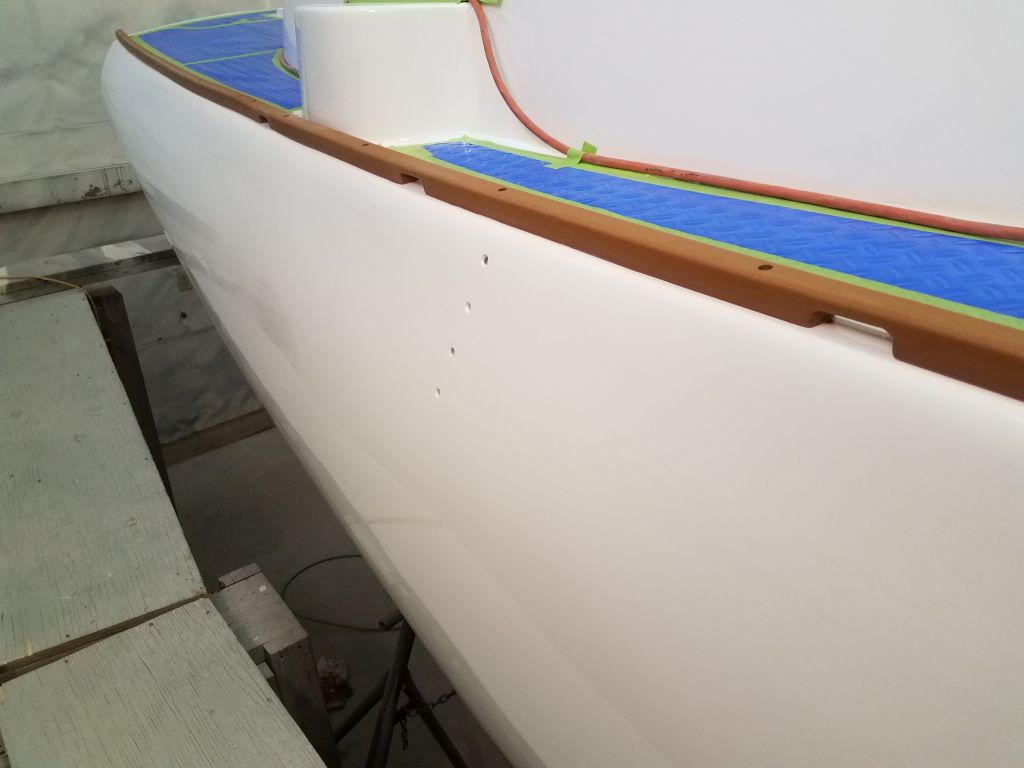
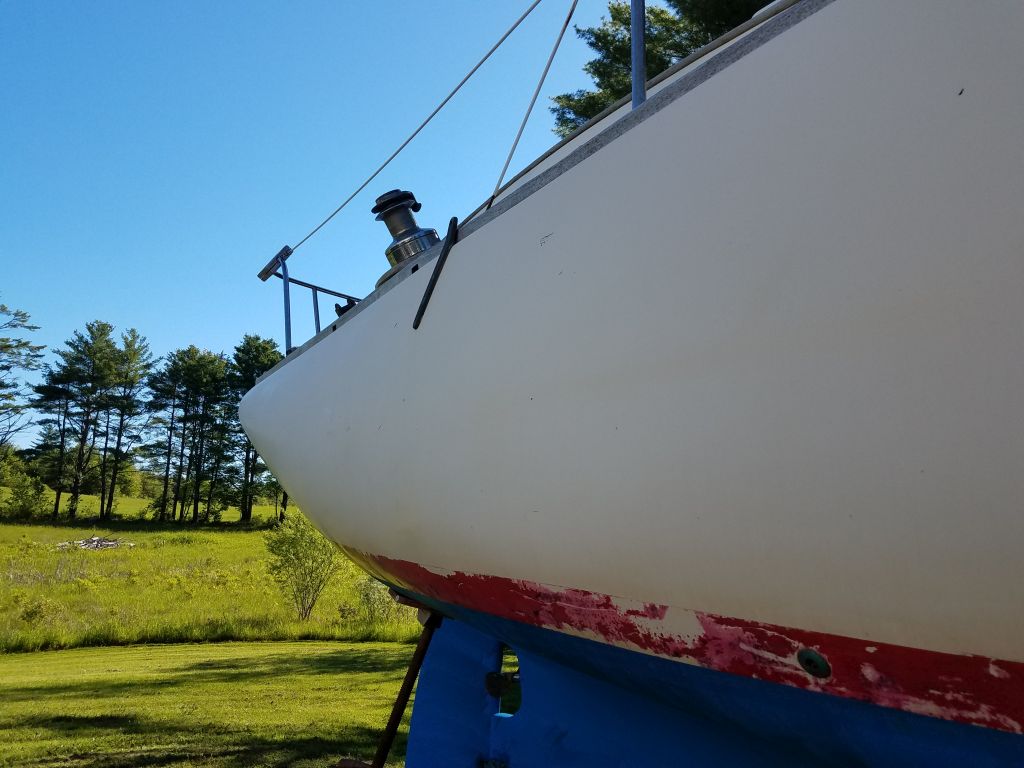
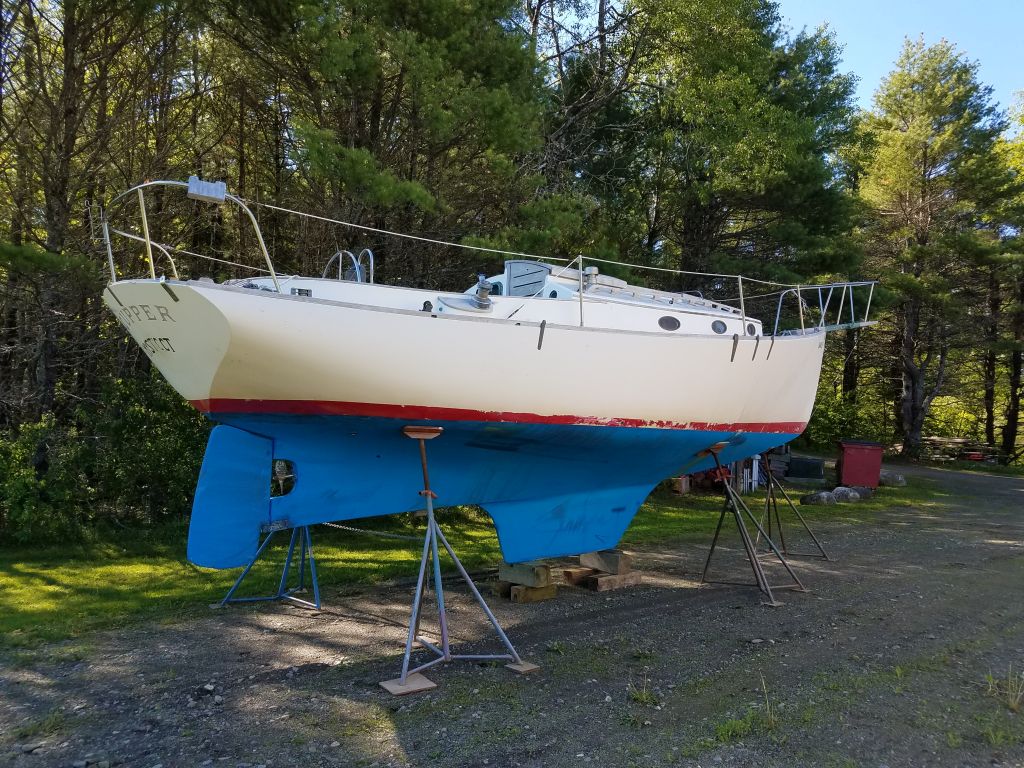
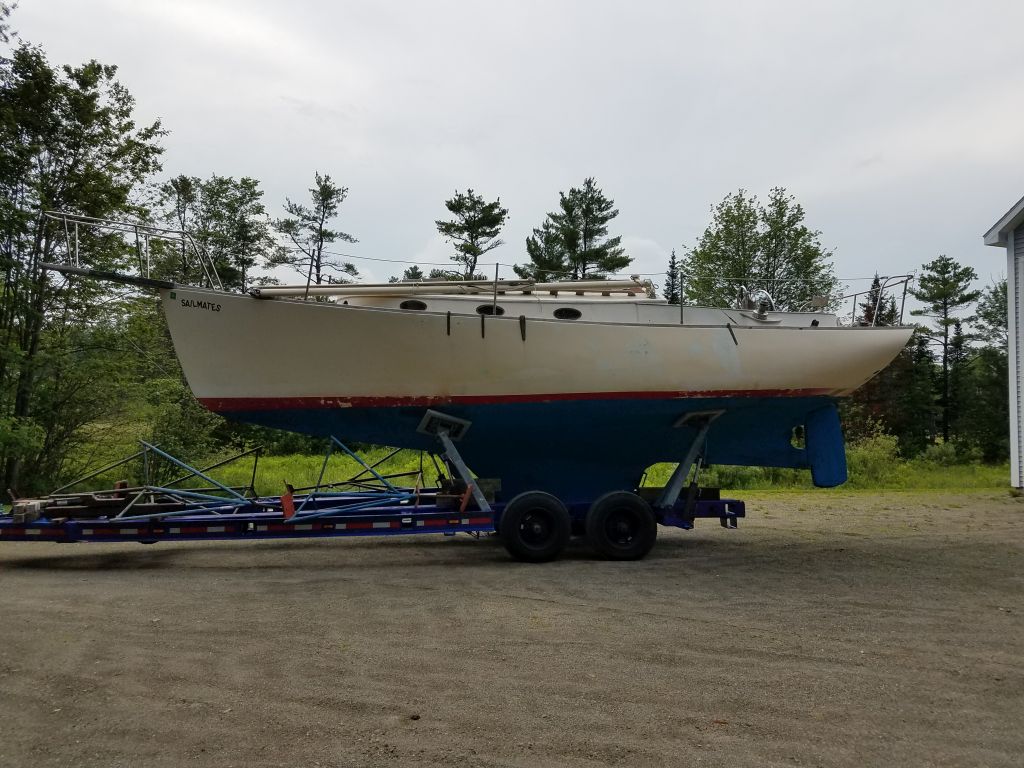
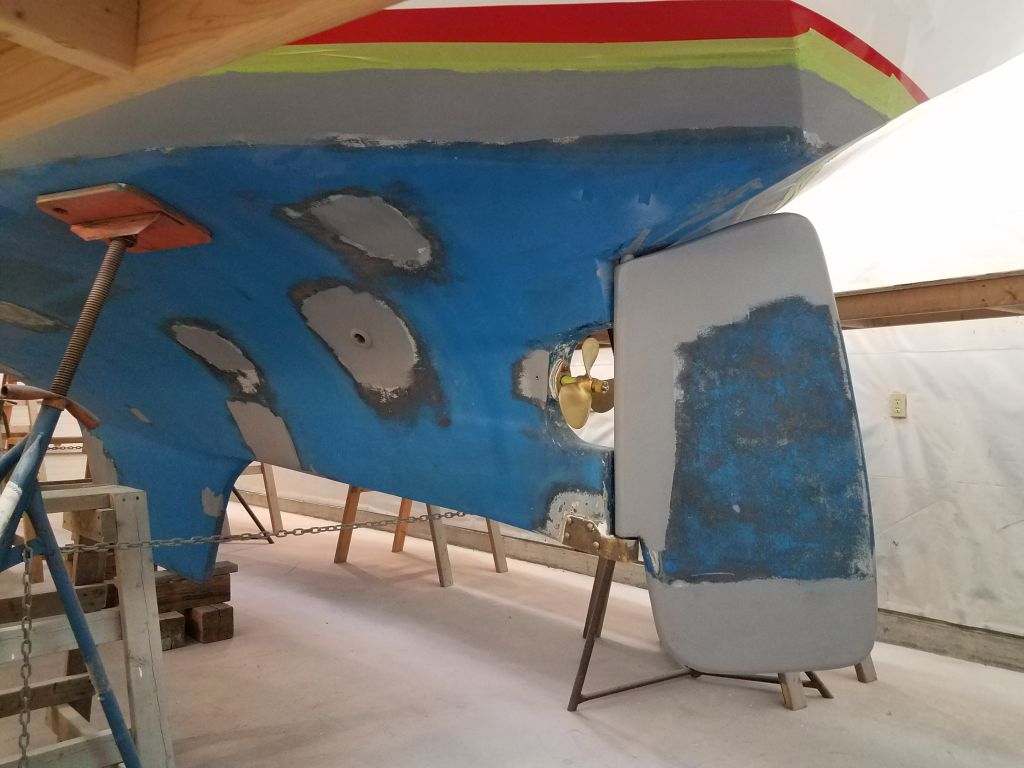
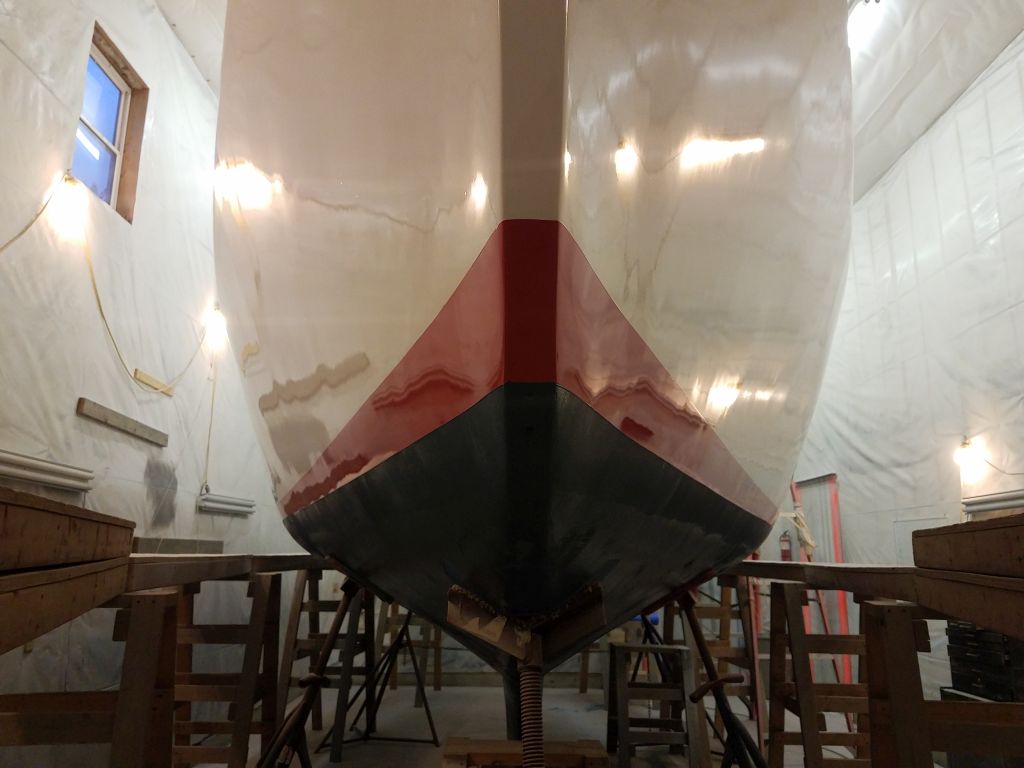
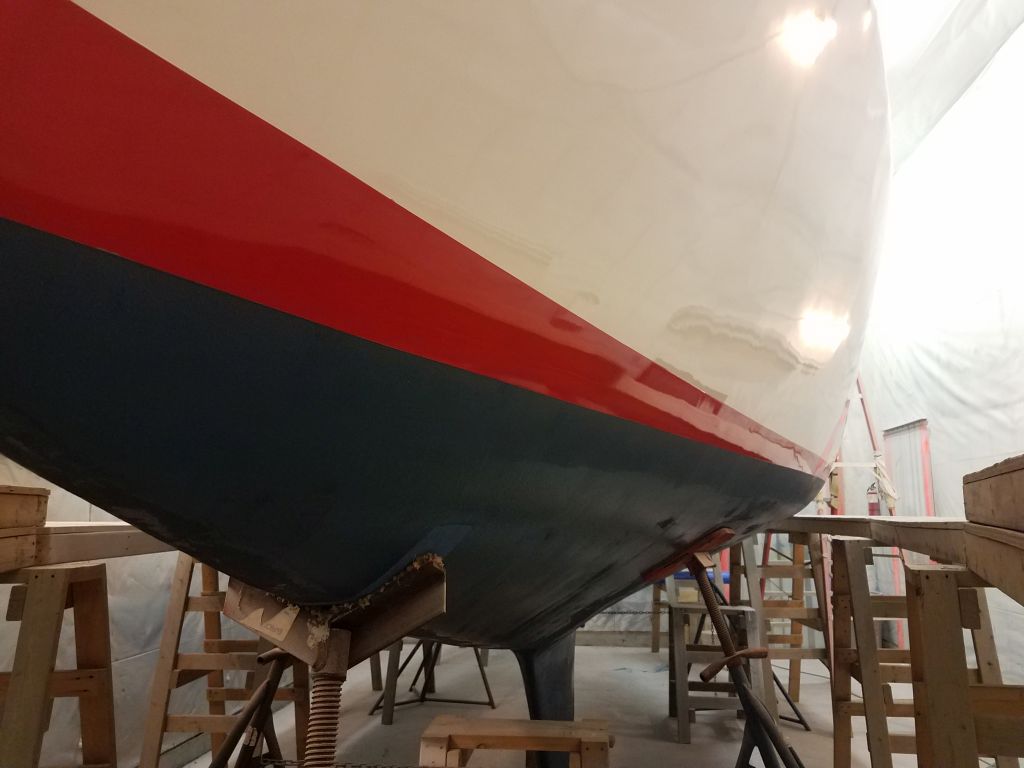
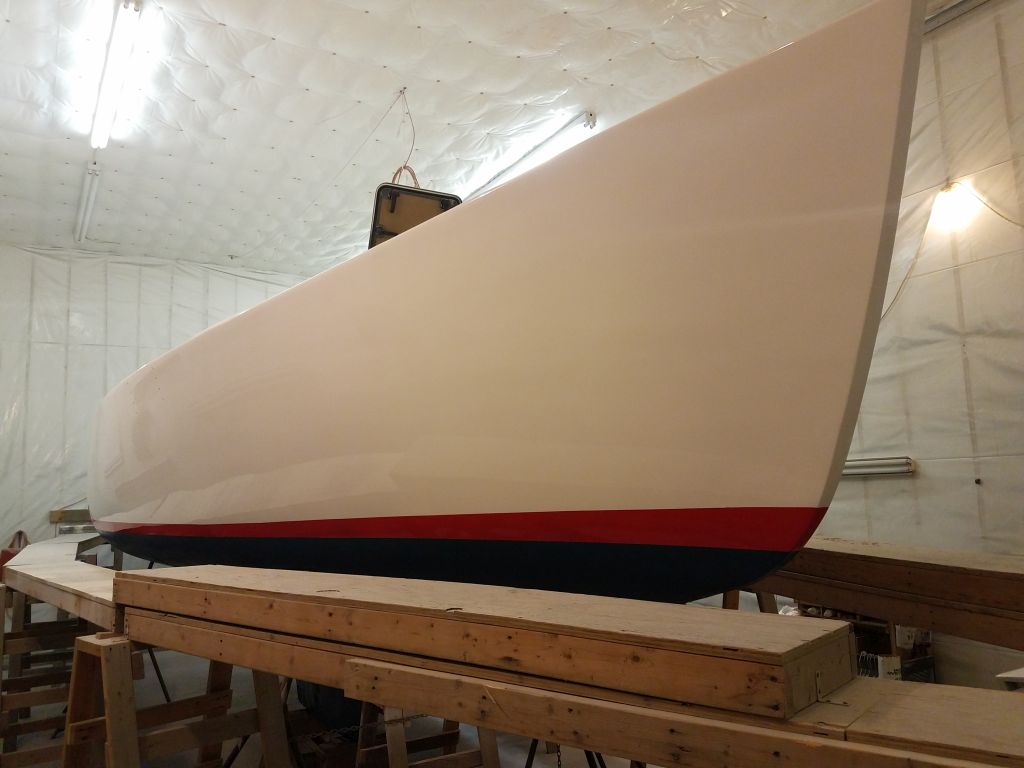
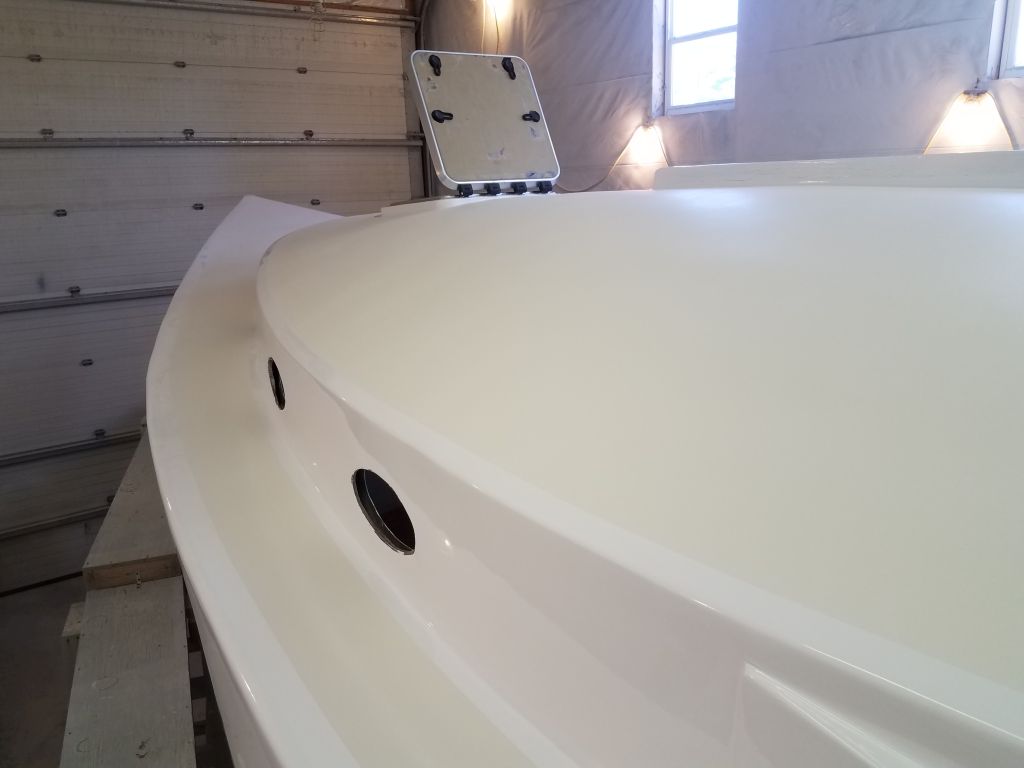
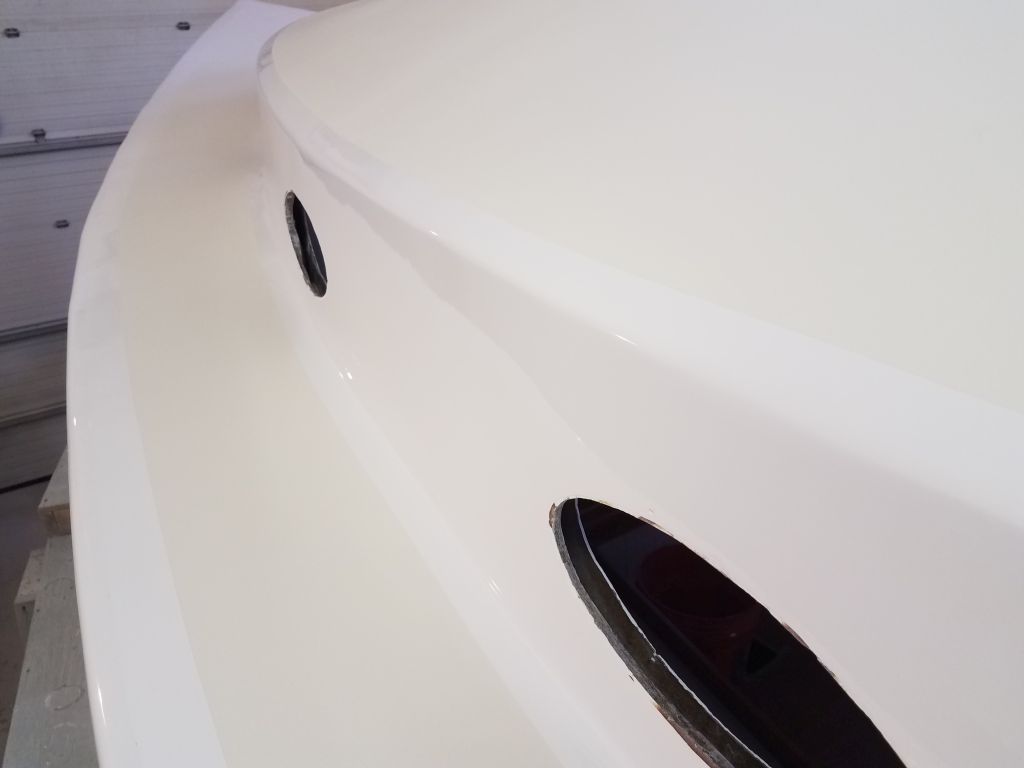
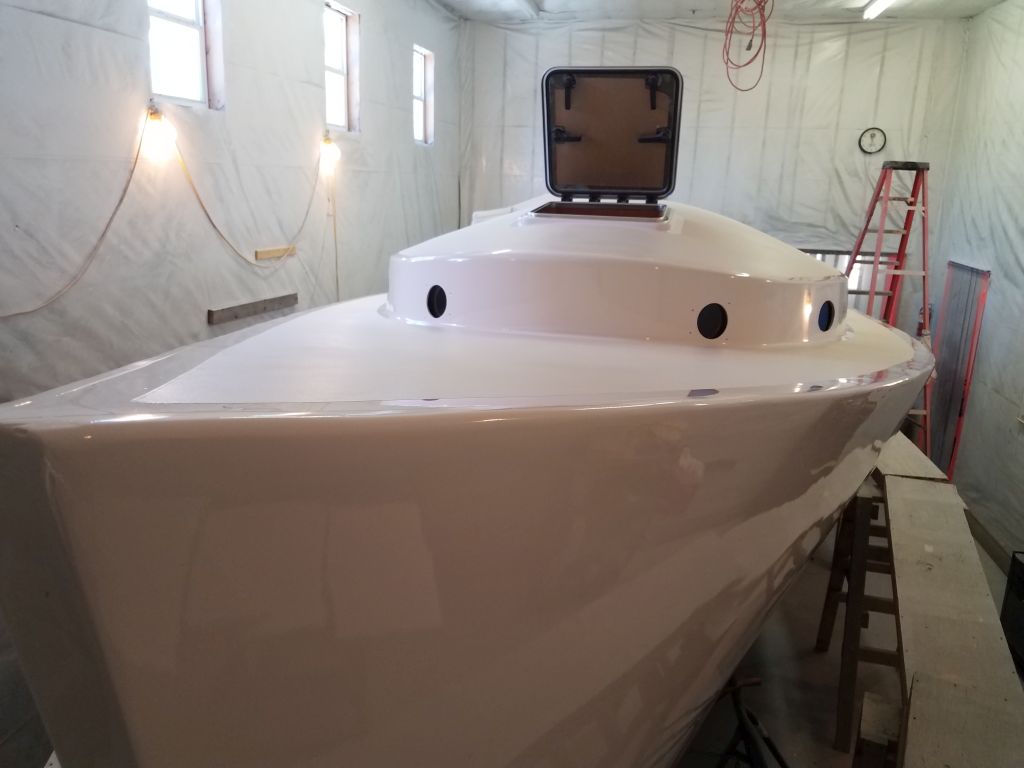
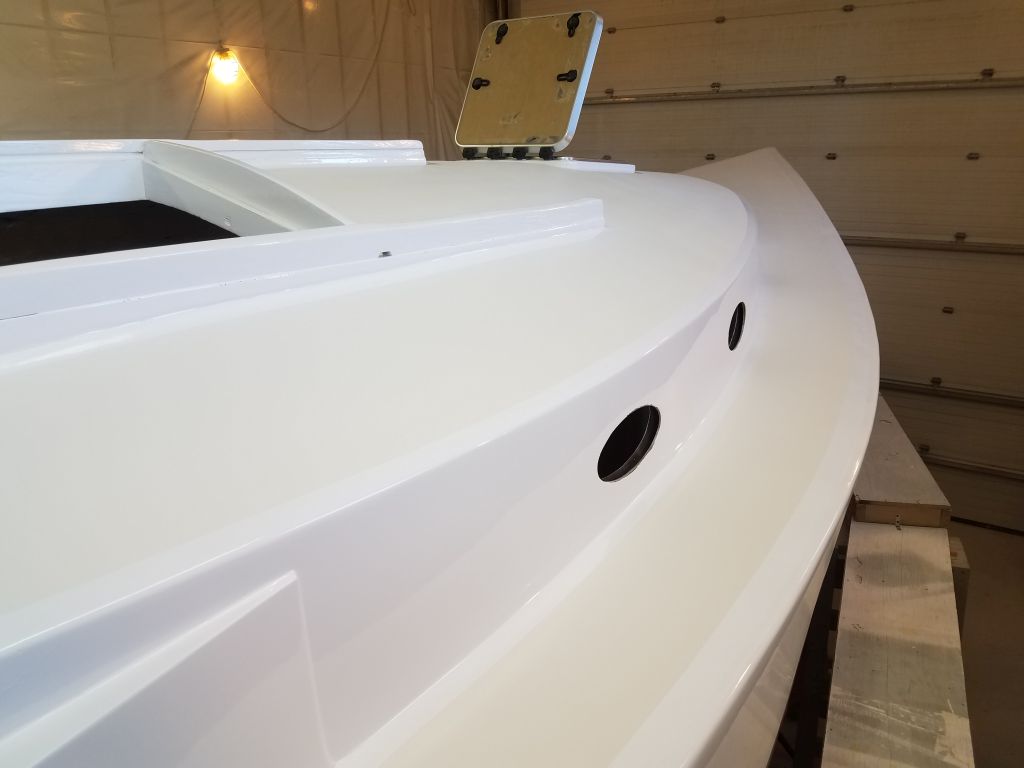
Before I removed the toerails to prepare for final installation, I had to determine and lay out some drain openings at the sheer’s low point to allow water drainage. To begin, I referred to some old pictures of the boat, to see where these openings had been placed originally. These photos may also provide a useful reminder of how far we’ve come since this odyssey began, lest we forget. (The old deck close-ups are even more revealing.)
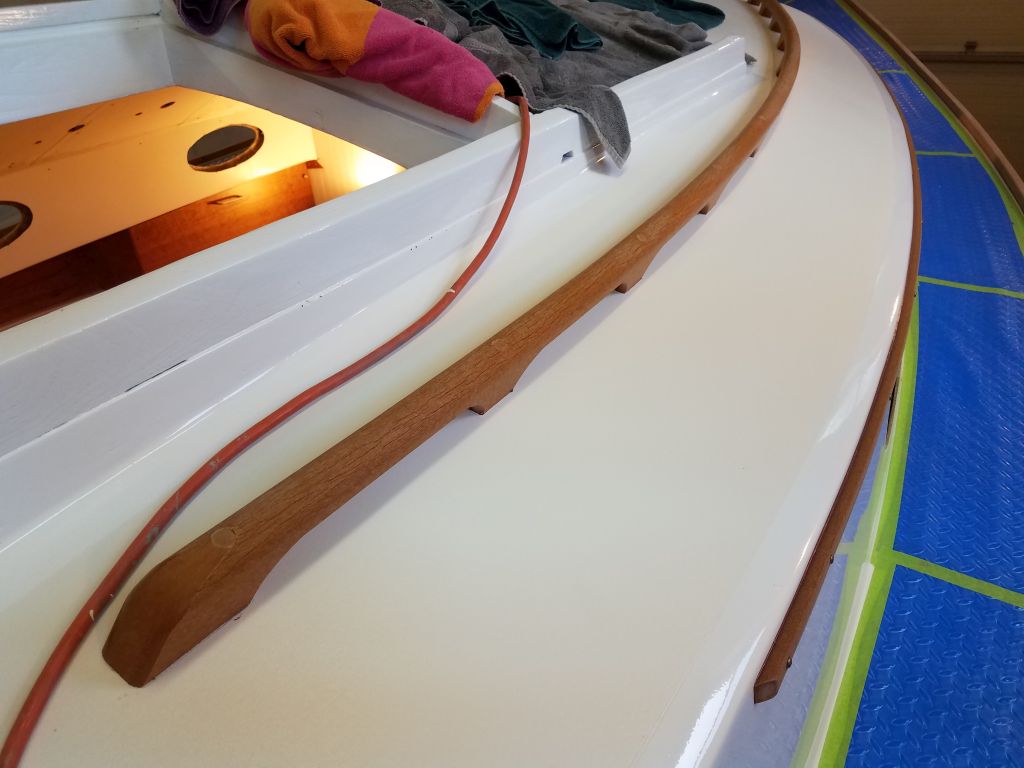
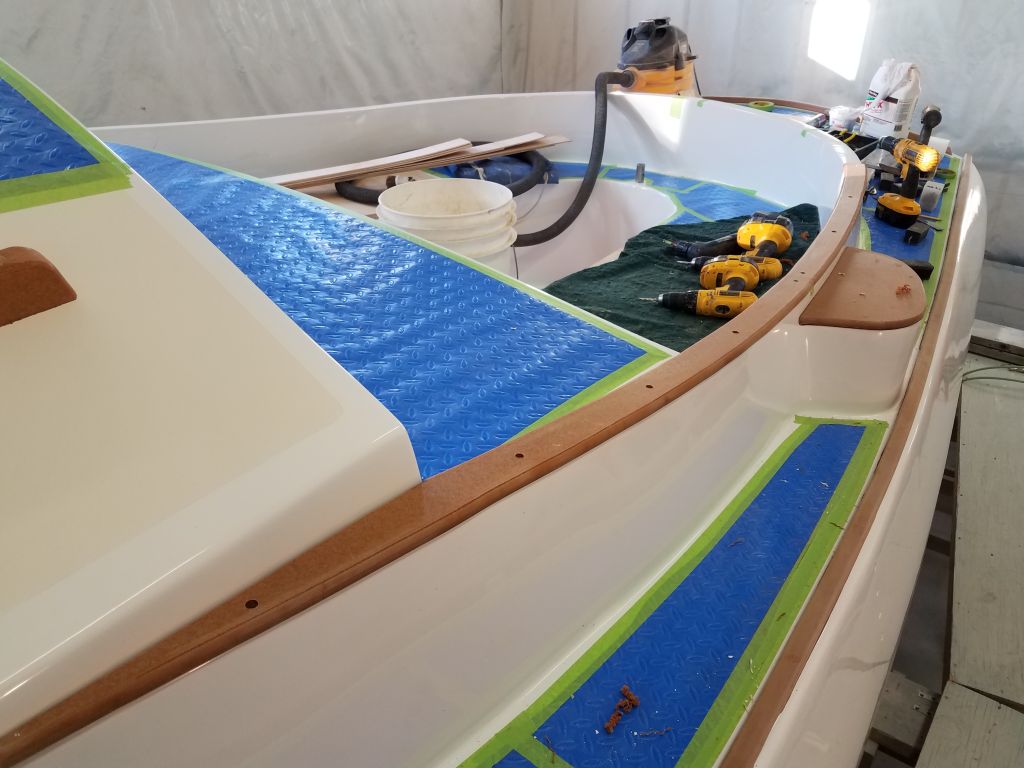
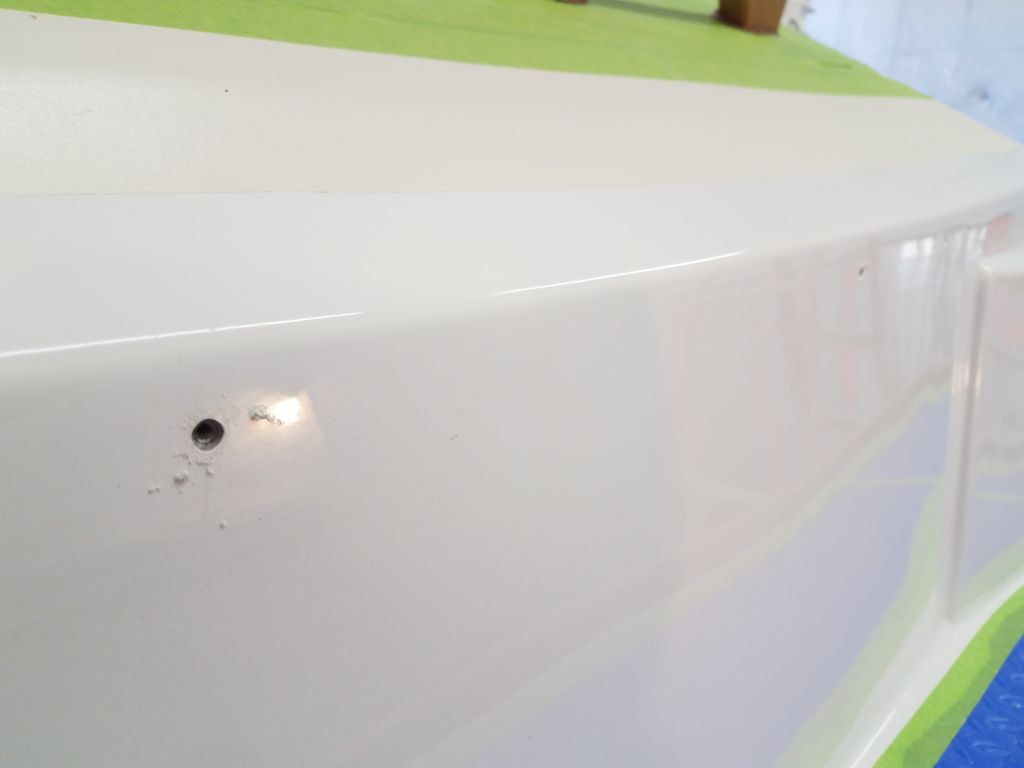
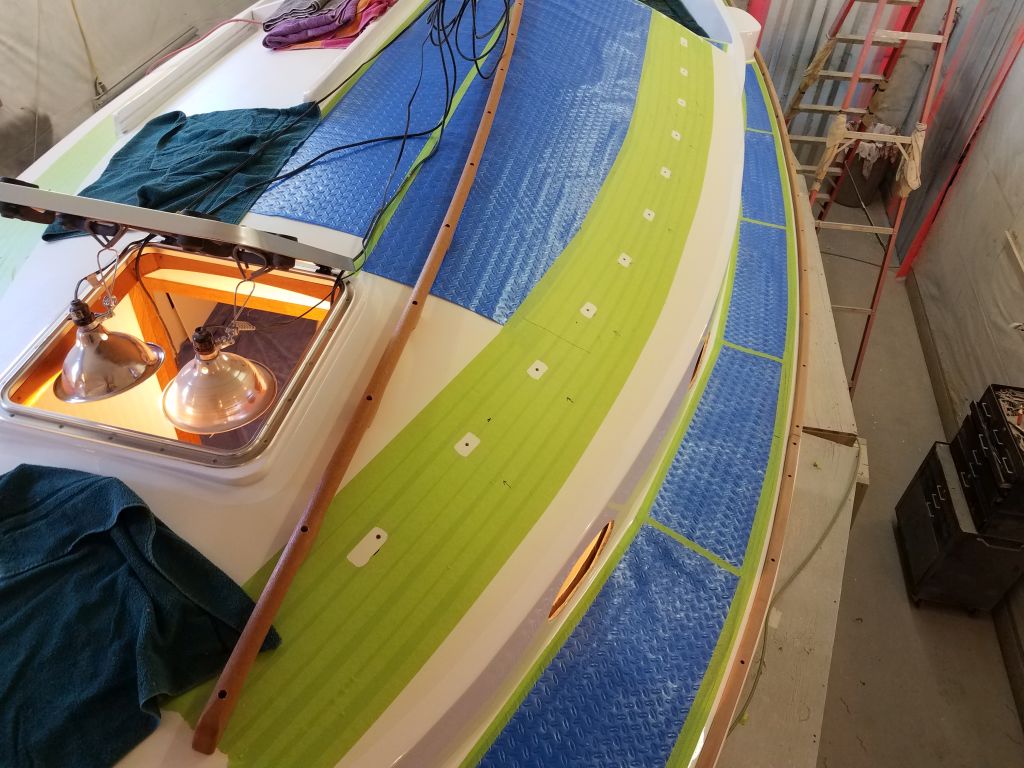
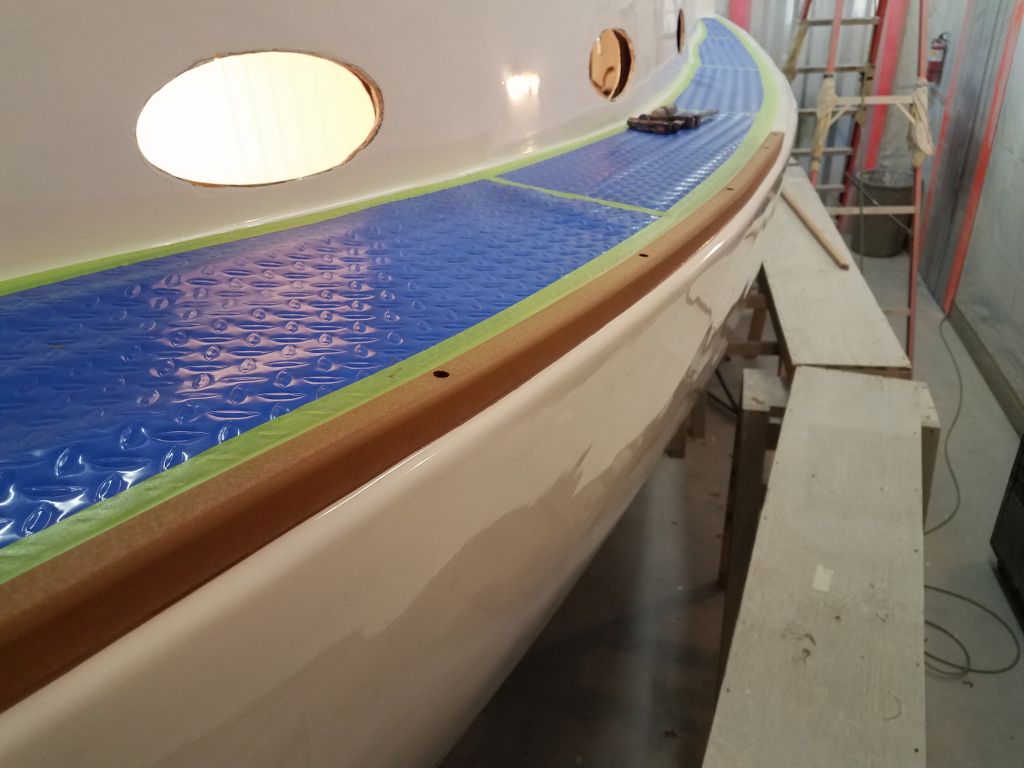
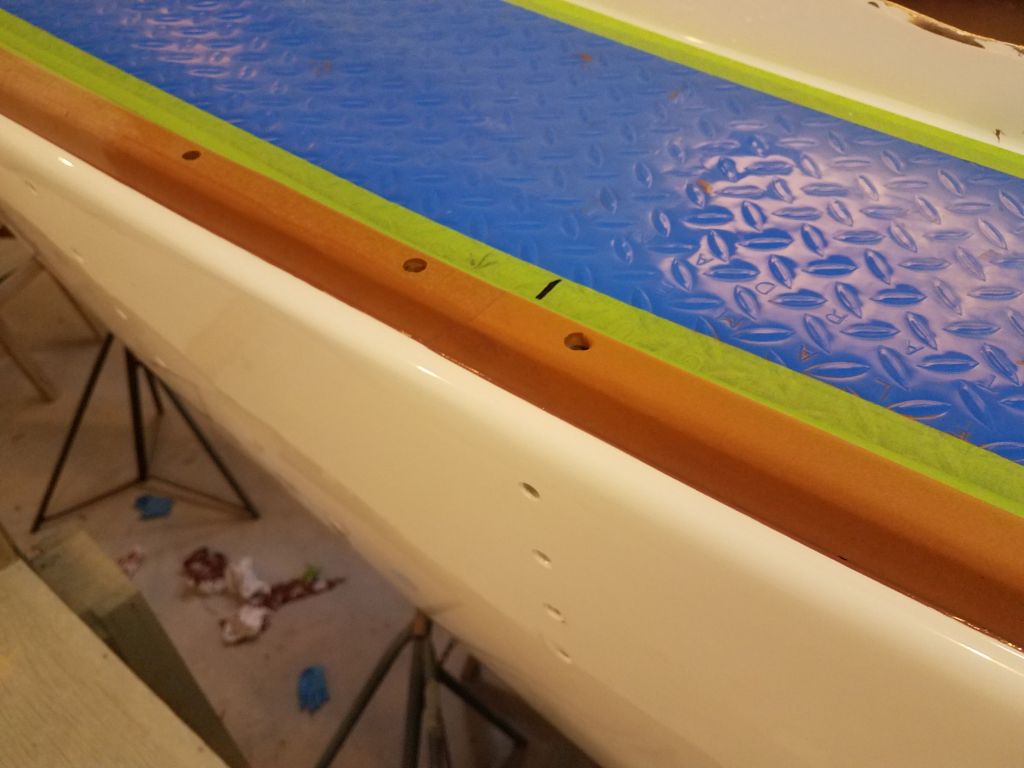
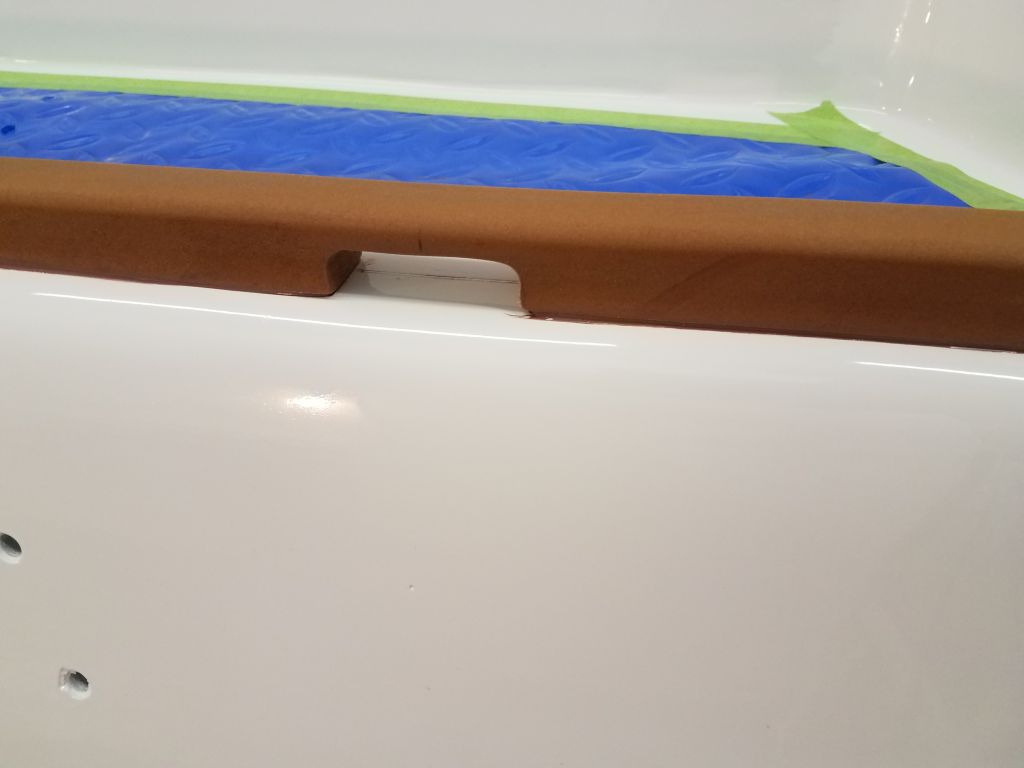
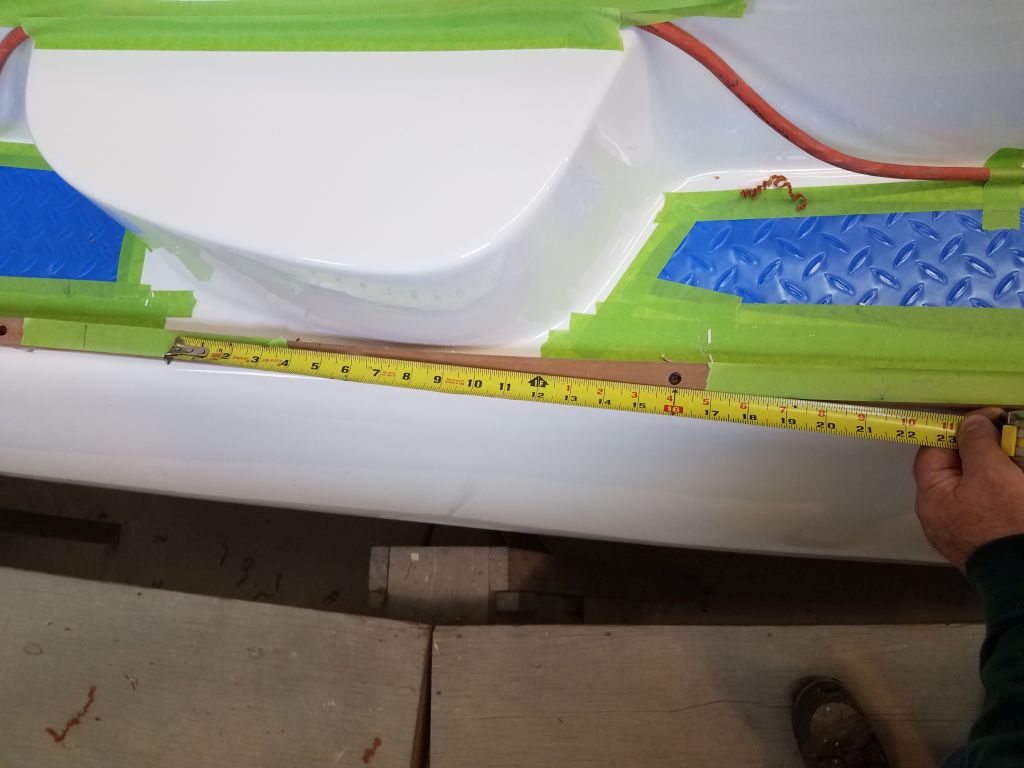
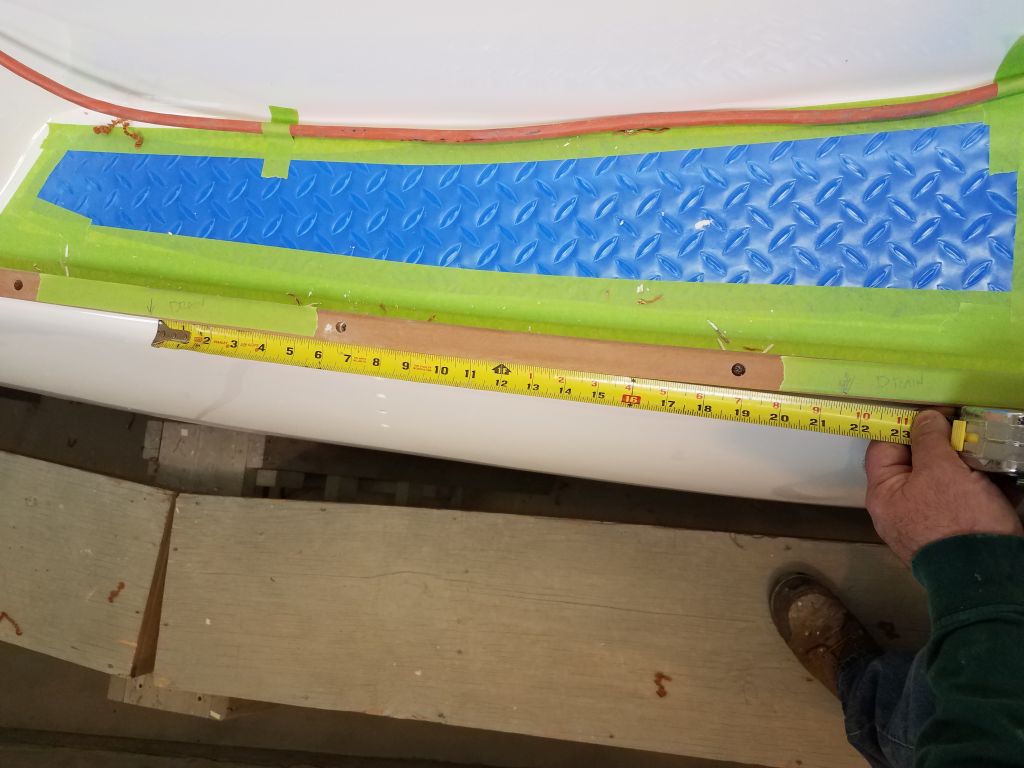
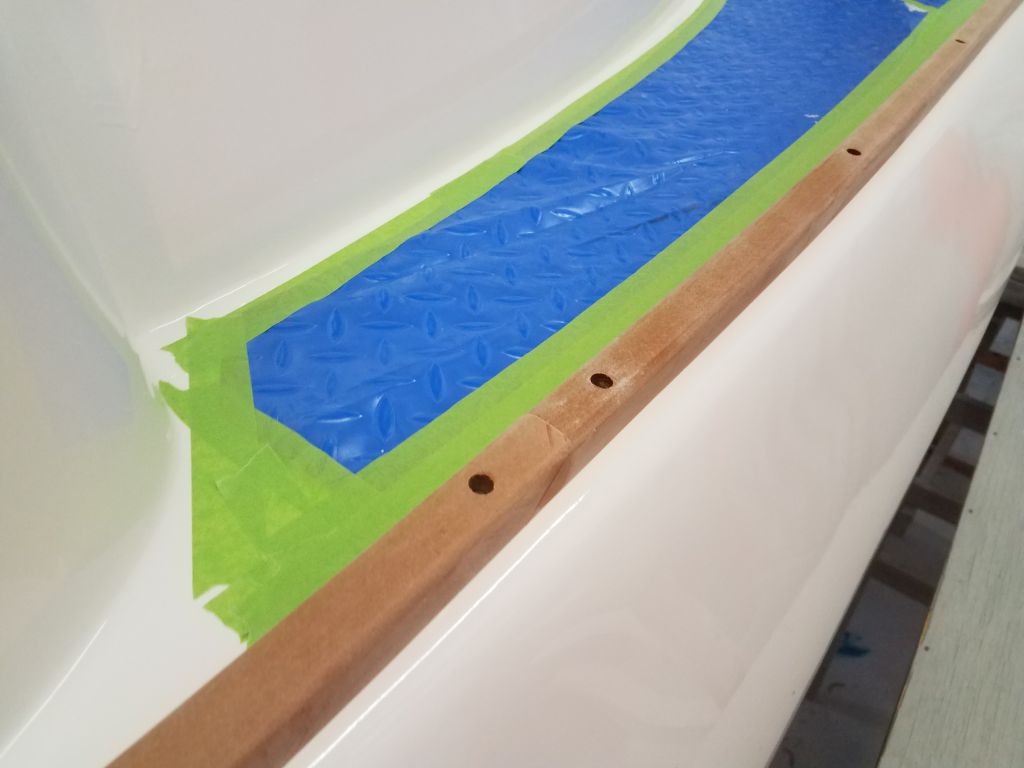
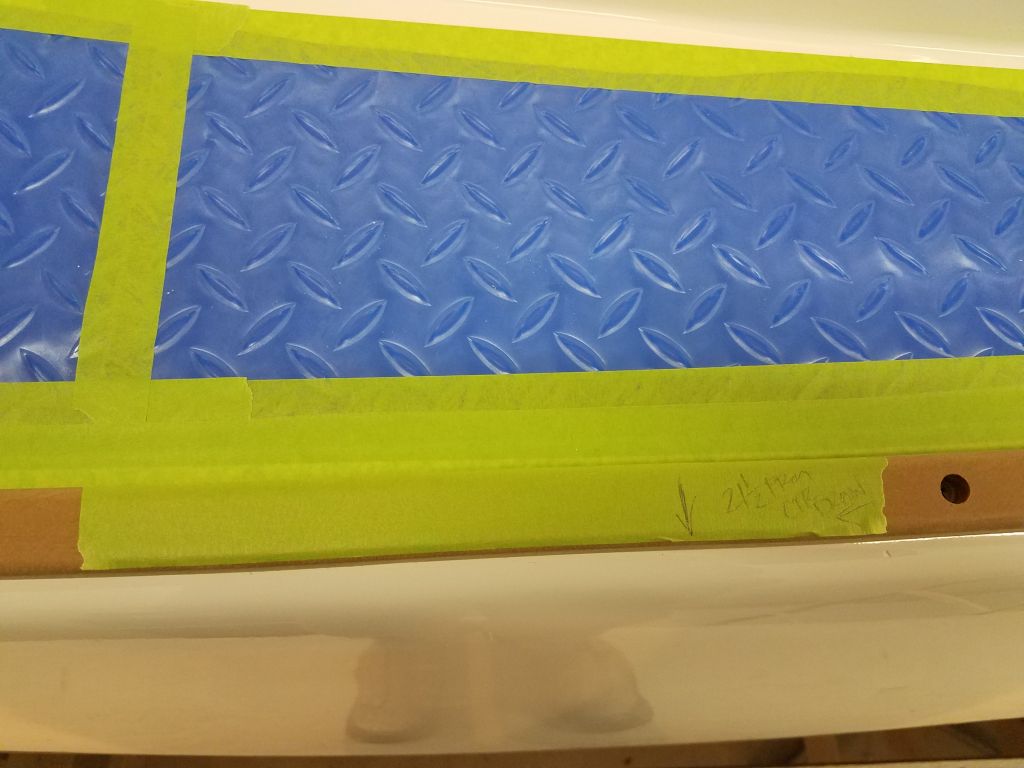
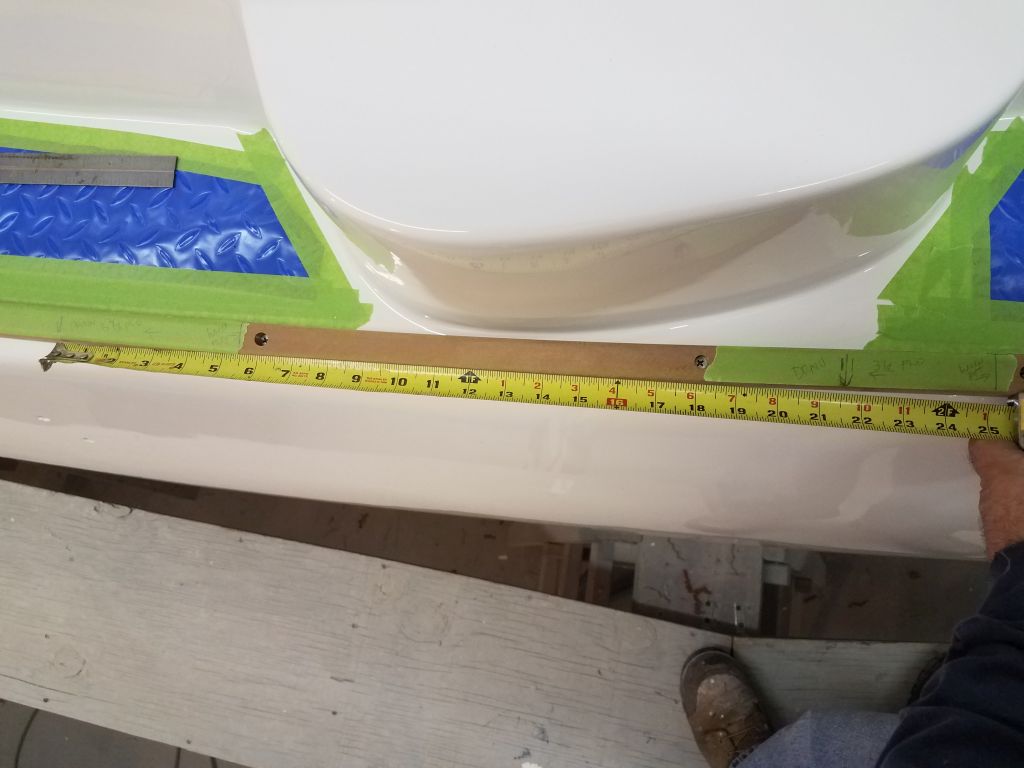
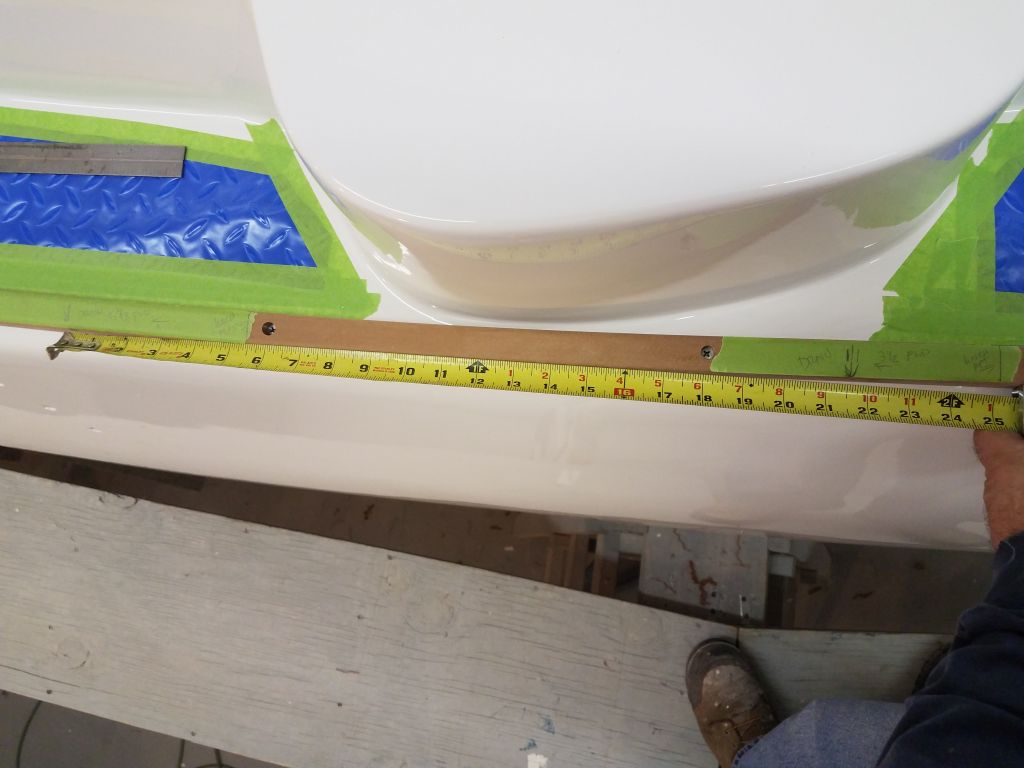
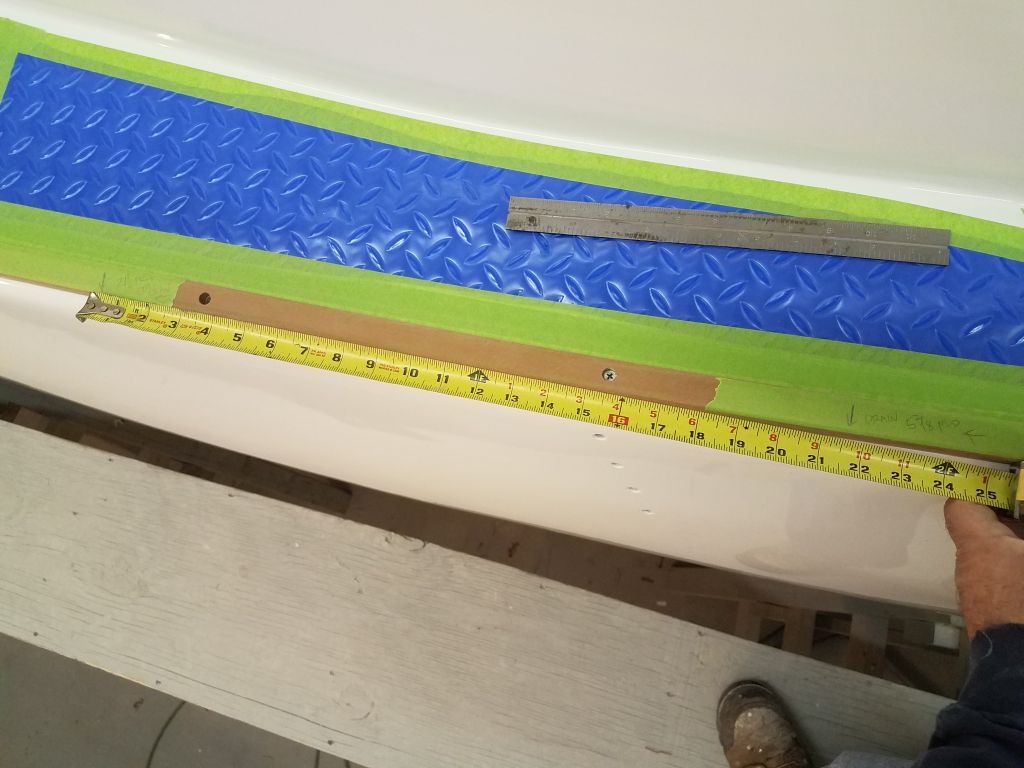
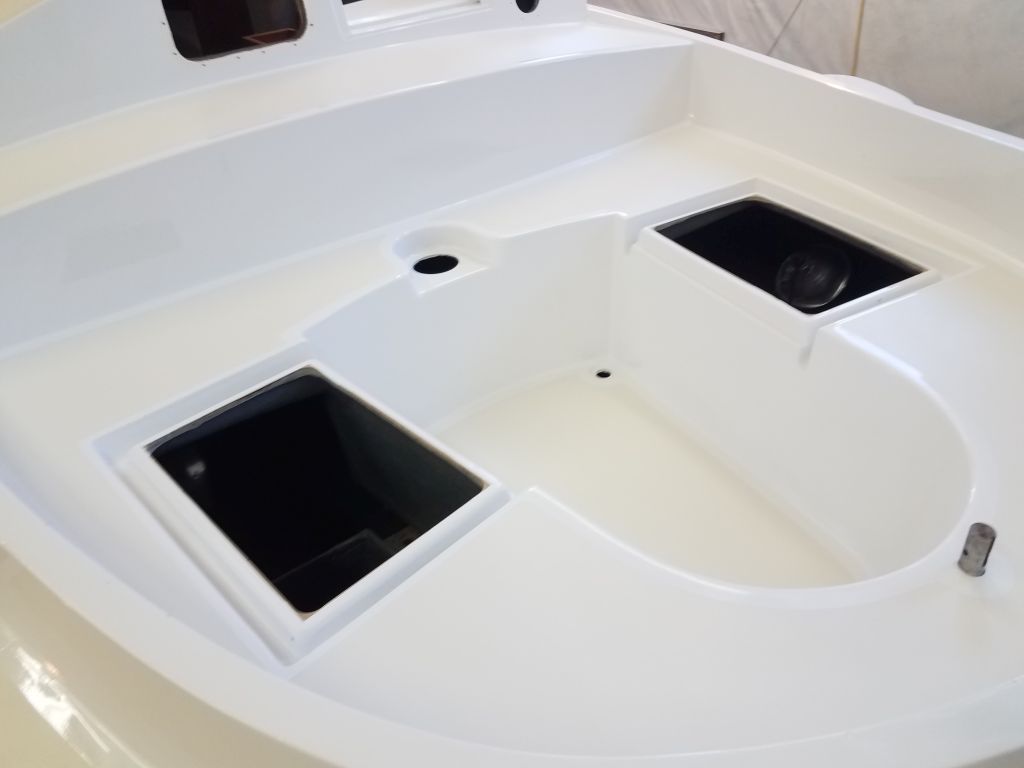
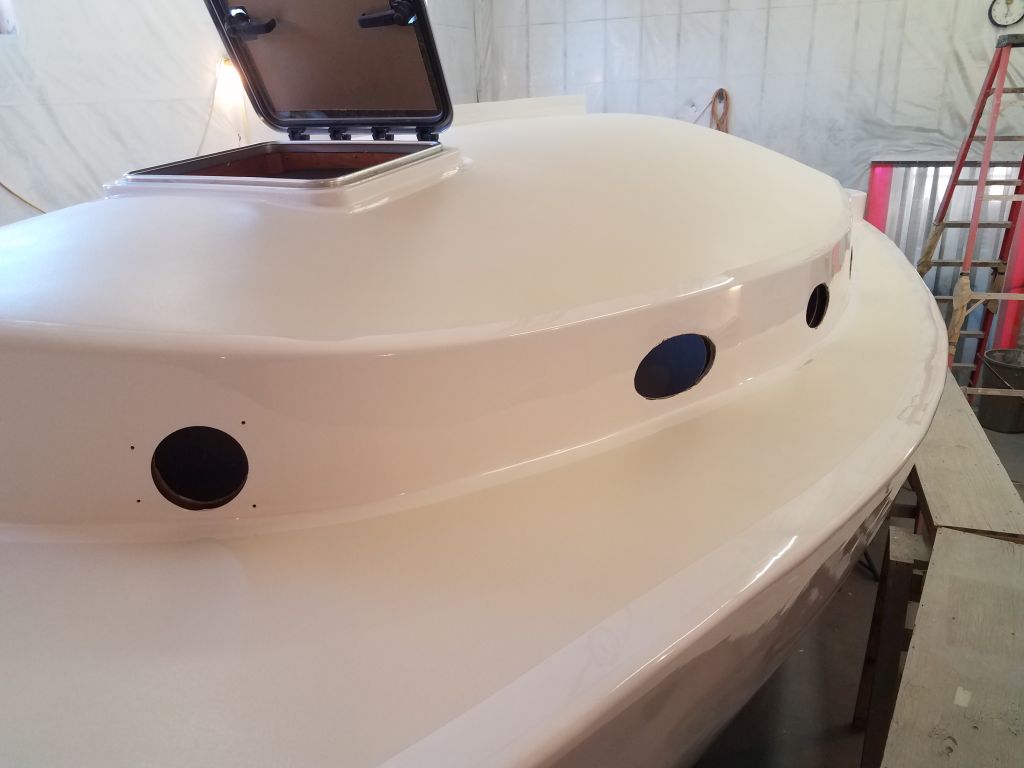
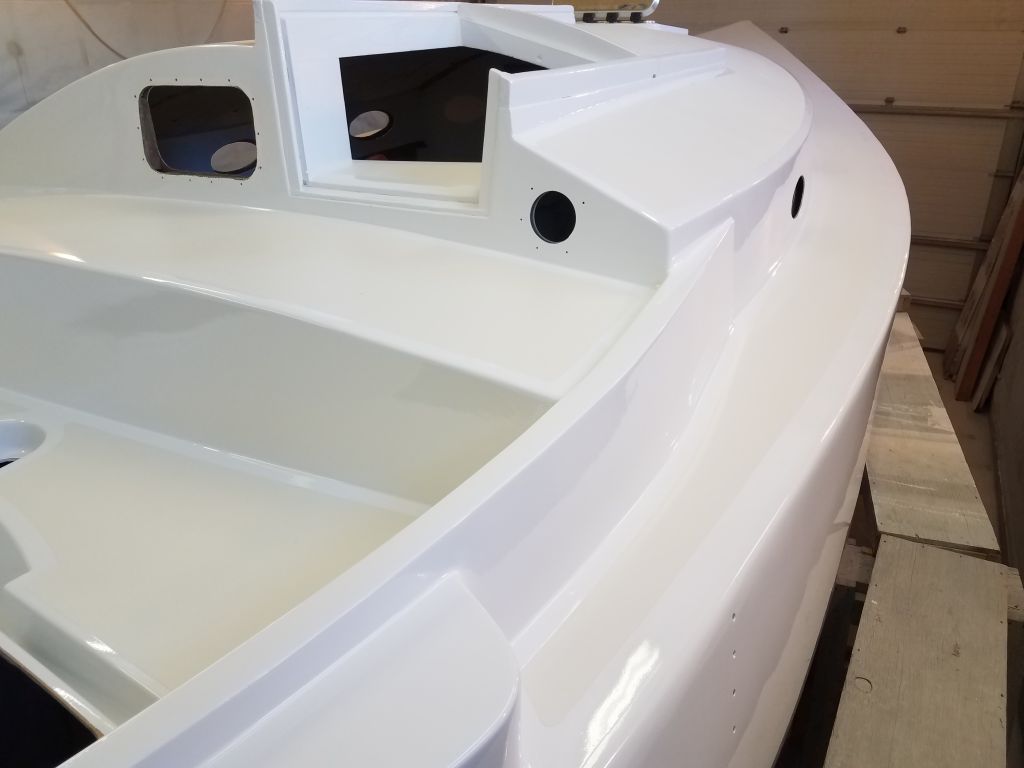
The original toerails had two drains: one each forward and aft of the winch islands, which made sense based on the sheerline and the fact that the winch islands, while not completely closing off the channels, at least impeded the free passage of water thereunto. So, armed with this information, I studied the new toerail and its fastener positions, and eventually marked off three drain locations, using the winch island’s after and forward edges as reference points so I could repeat this process on the starboard side later. I added a third drain location forward because it seemed like the extra capacity could be helpful rather than relying on just the single pair of drains. I spaced the three openings 21-1/2″ apart, since this measurement worked between the pair near the winch islands (and avoiding fasteners).
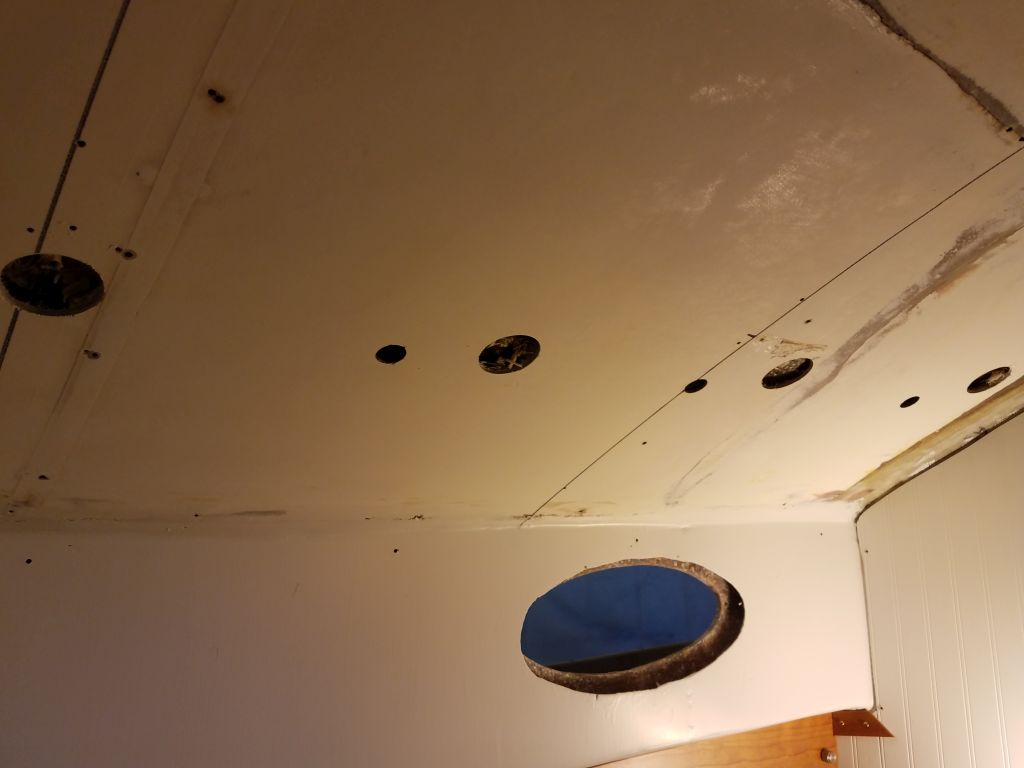
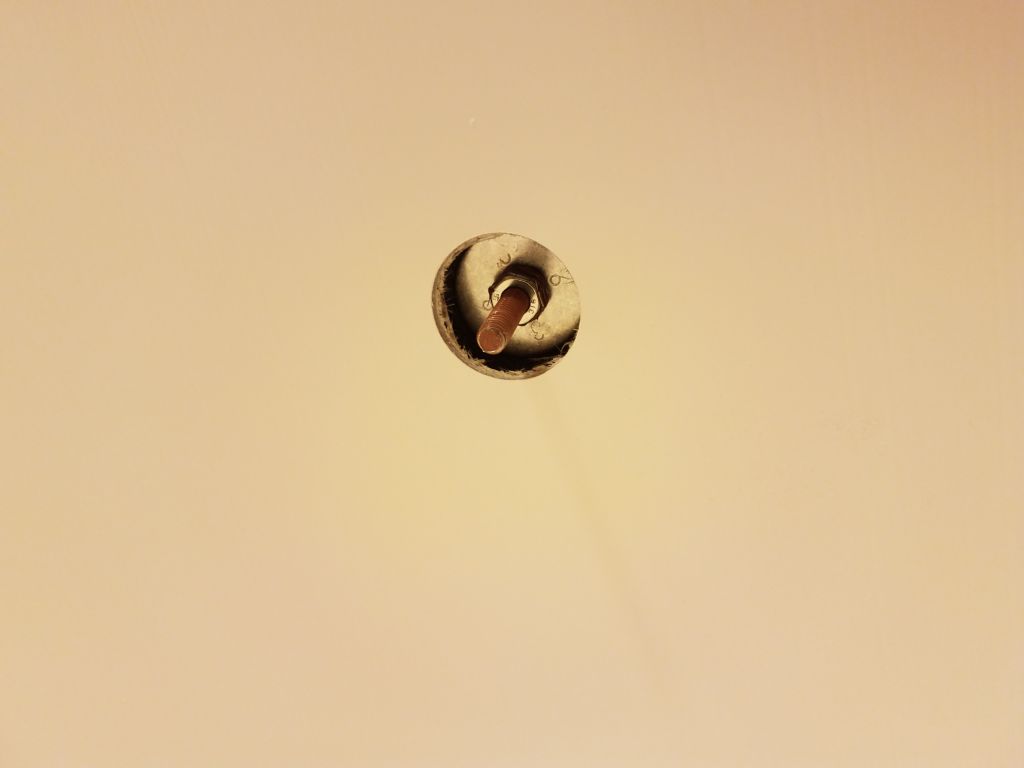
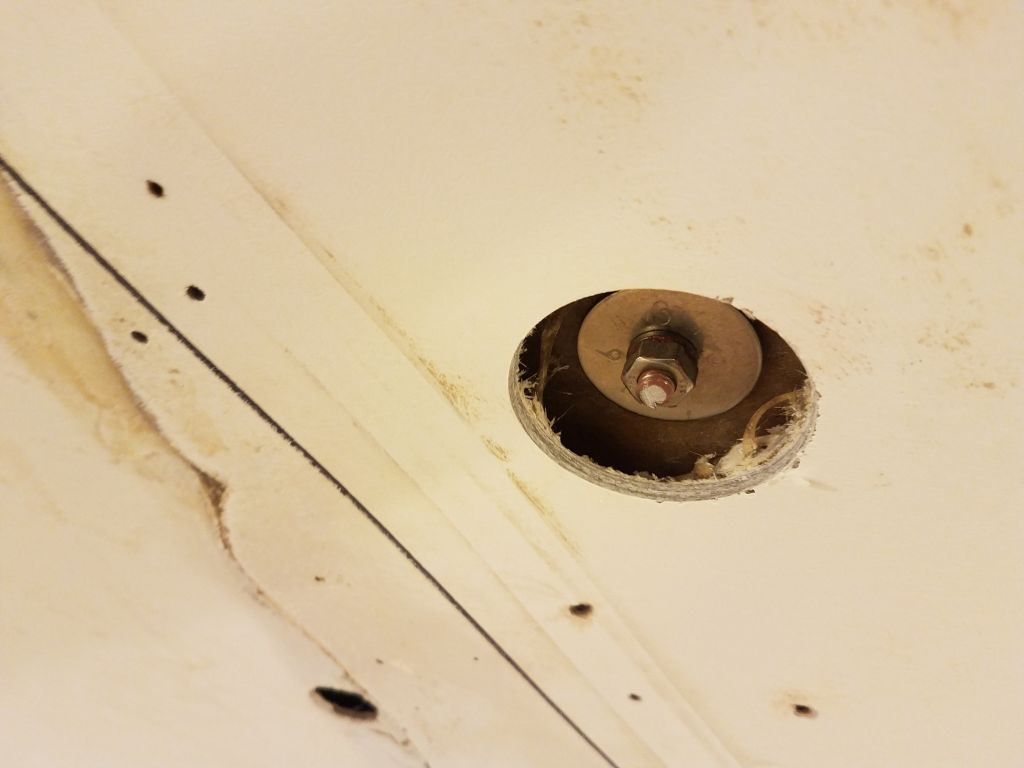
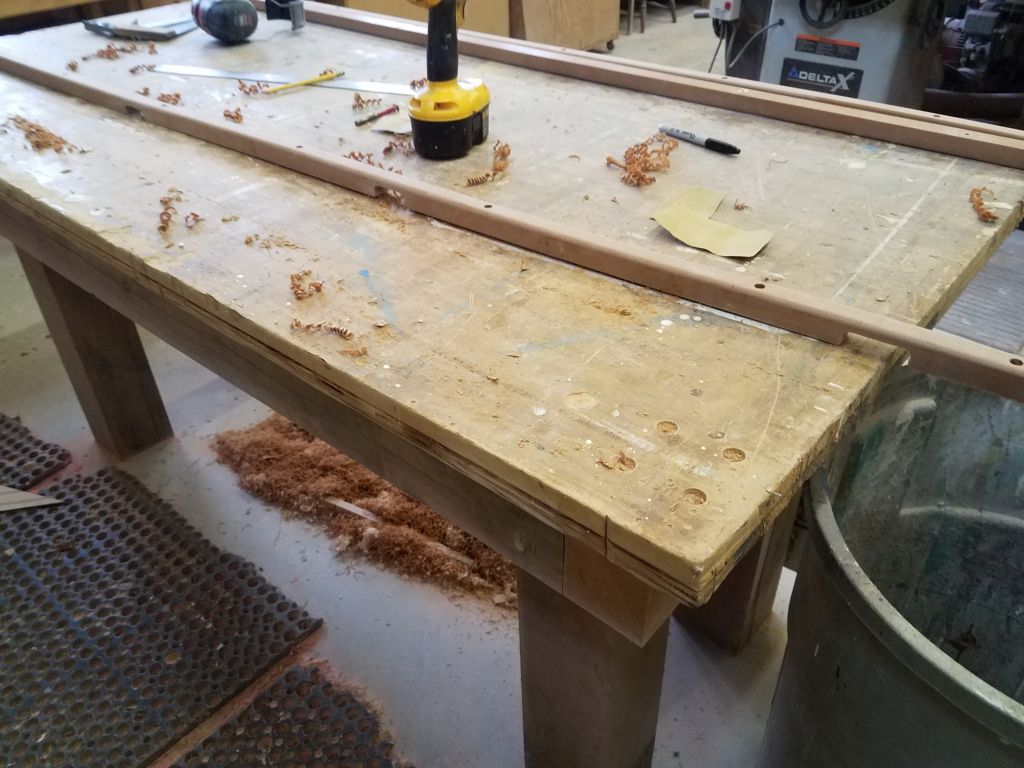
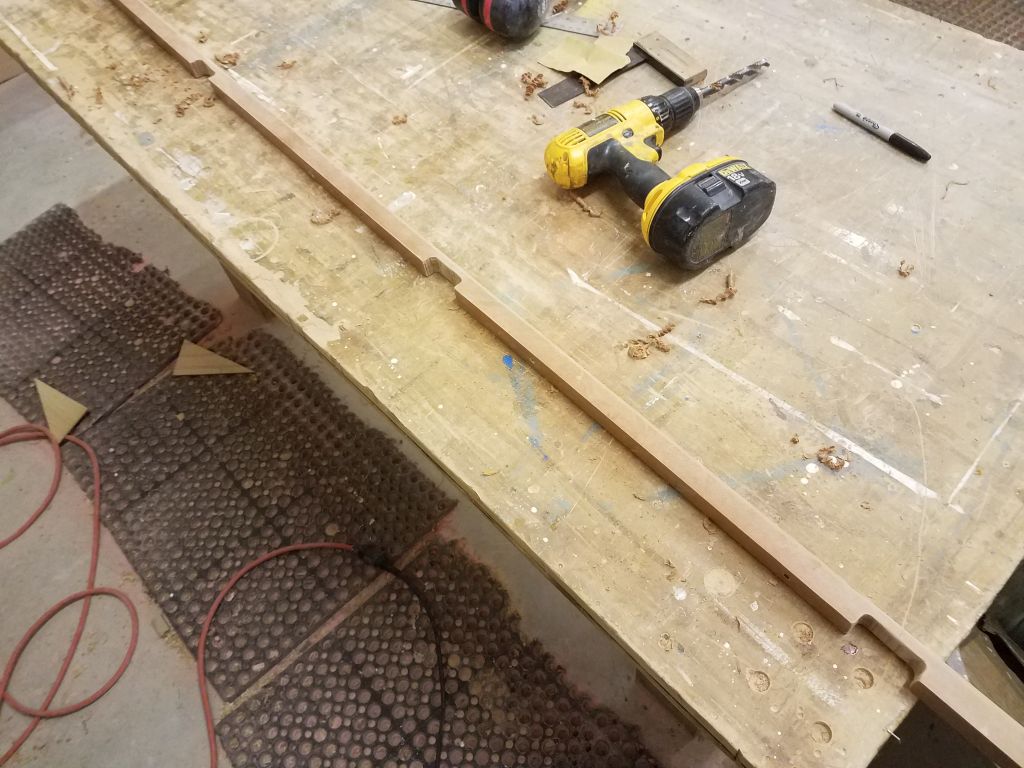
With the drains thusly marked, I removed all three rail sections, and milled small countersinks at each fastener location on deck to better supply sealant to the fastener holes themselves. Afterwards, I cleaned the decks and the faying surfaces as needed to prepare for final installation.
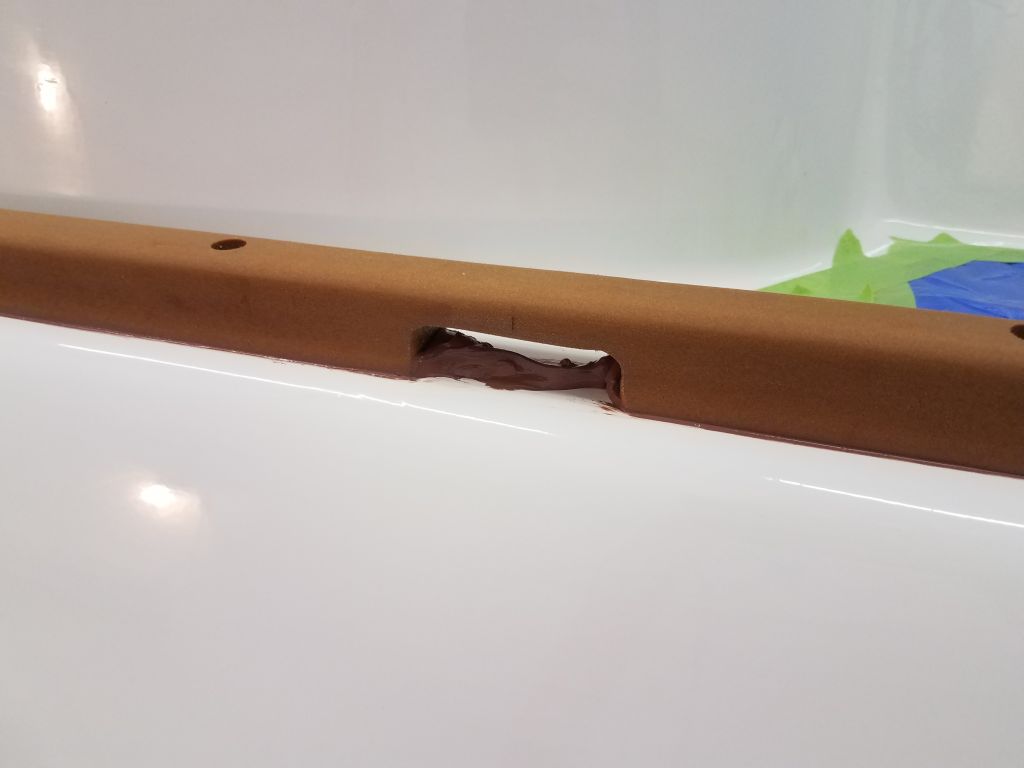
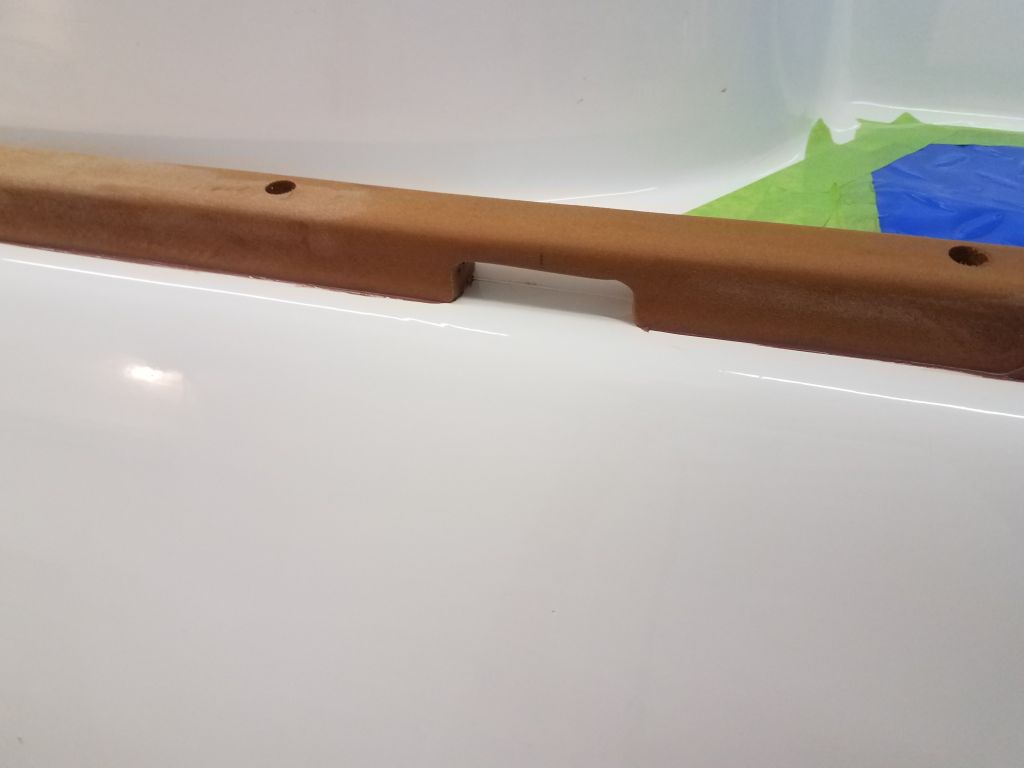
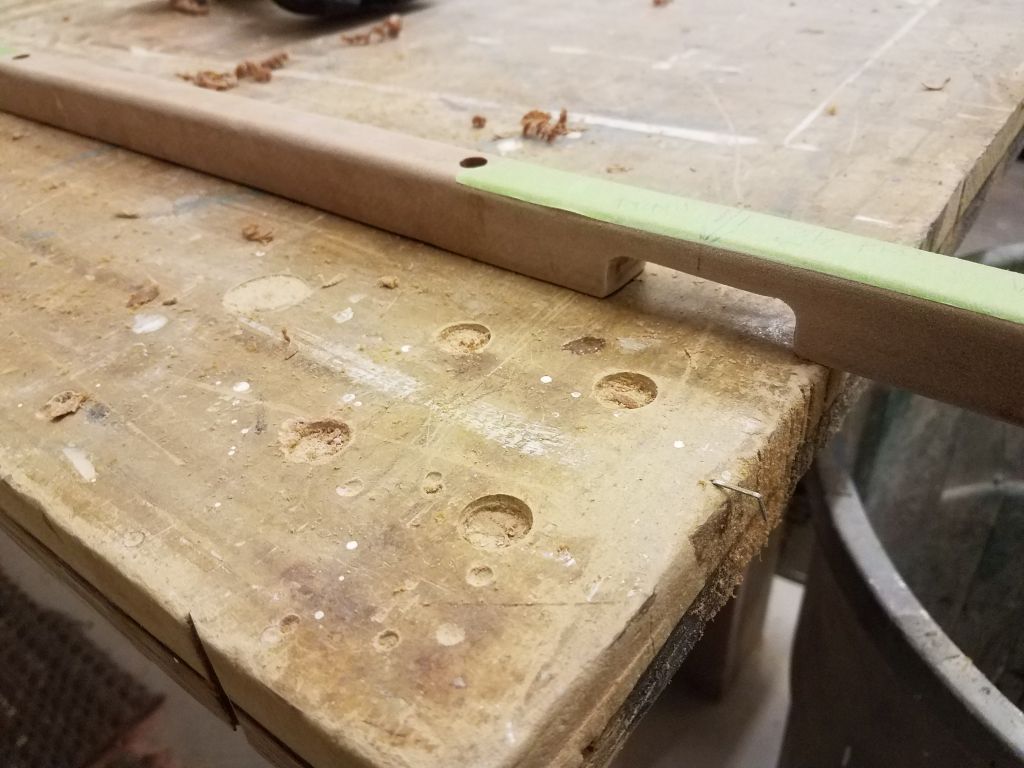
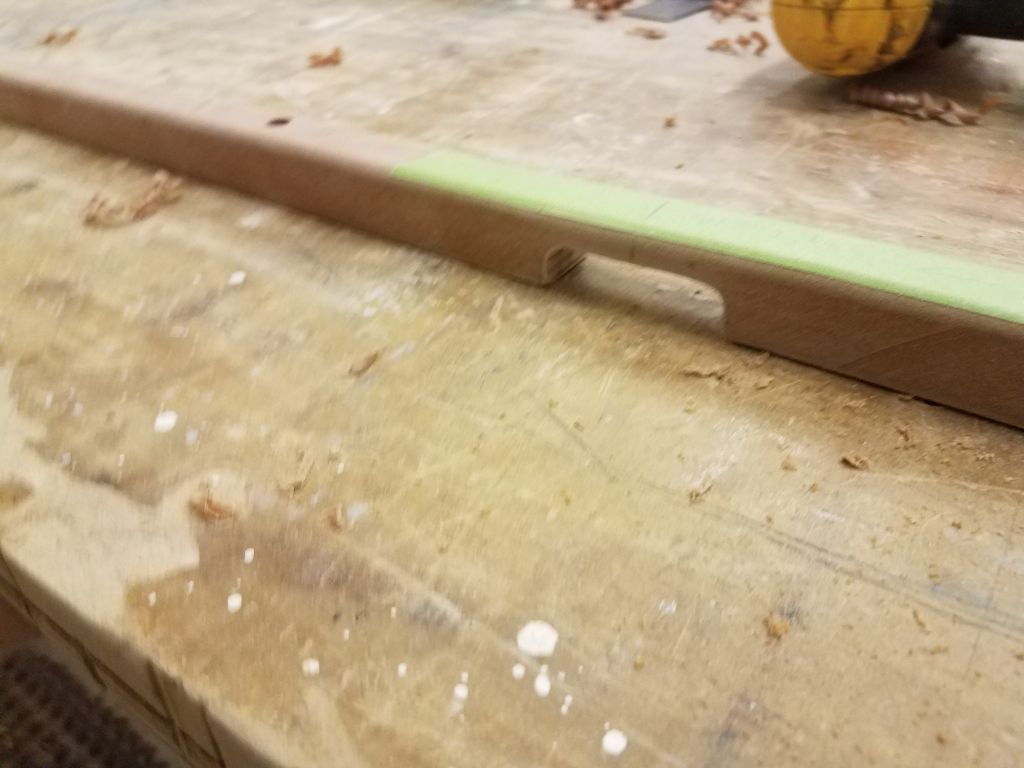
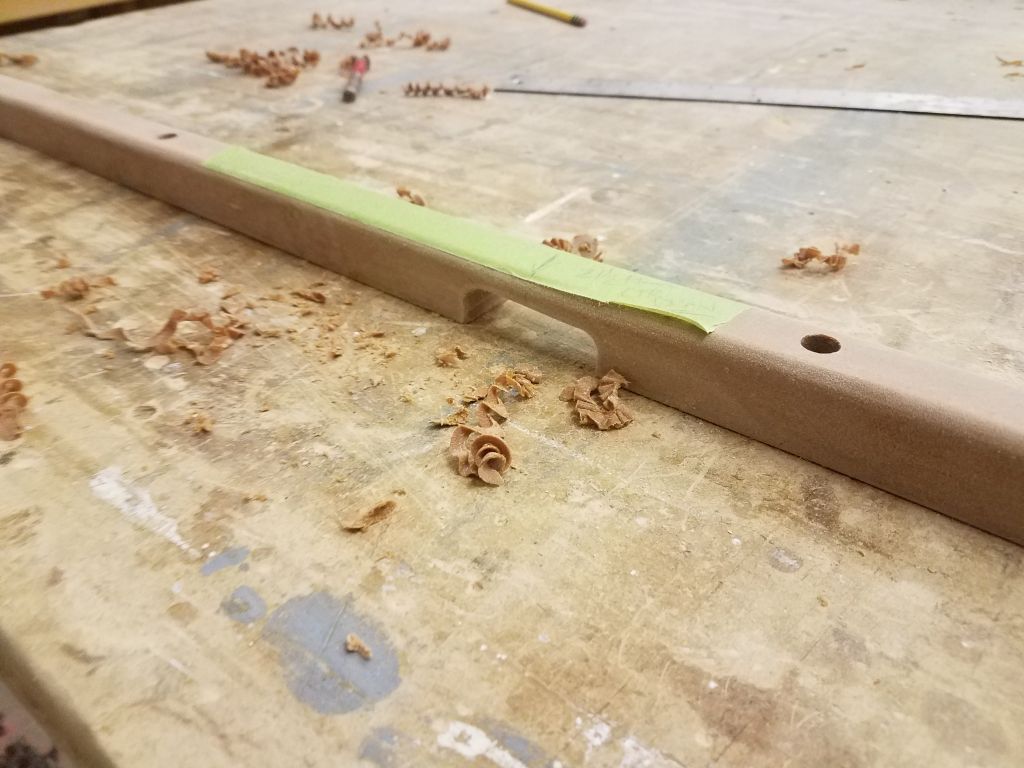
Finally, I cut the three drain openings in the rail section down on the bench. I made them 1/2″ high and 2″ long, with rounded corners. After cleaning the rail sections, all was ready for final installation next time.
Total time billed on this job today: 8.25 hours
0600 Weather Observation: 34°, cloudy. Forecast for the day: Cloudy, chance of rain or snow, 37°