Tuesday
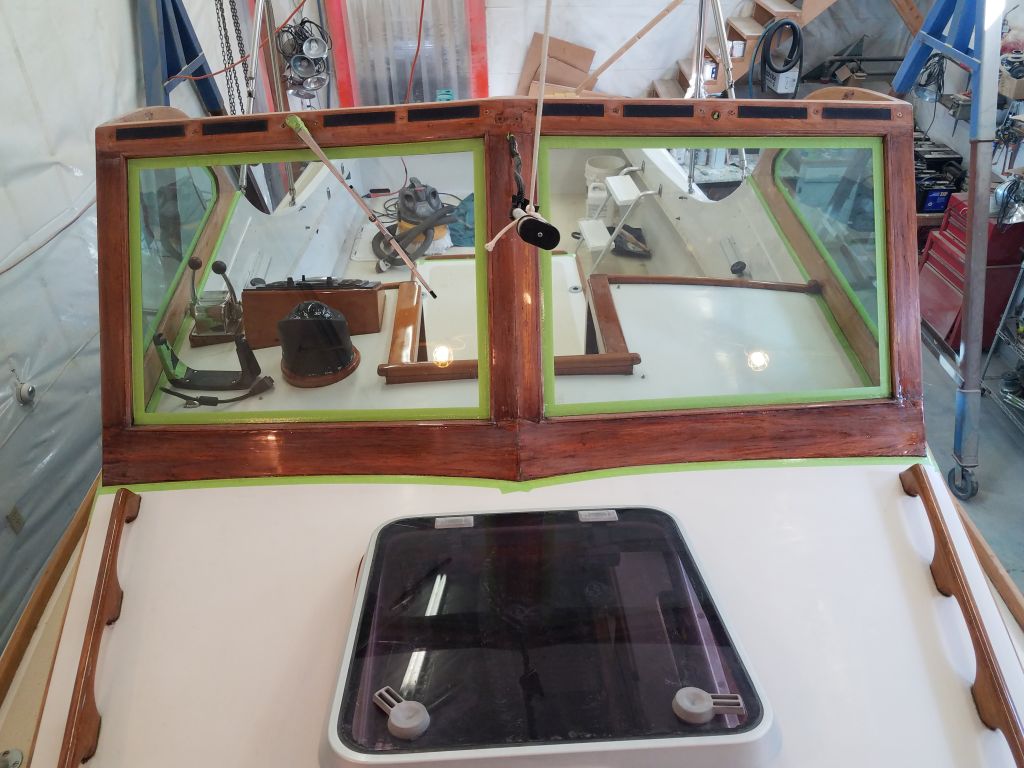
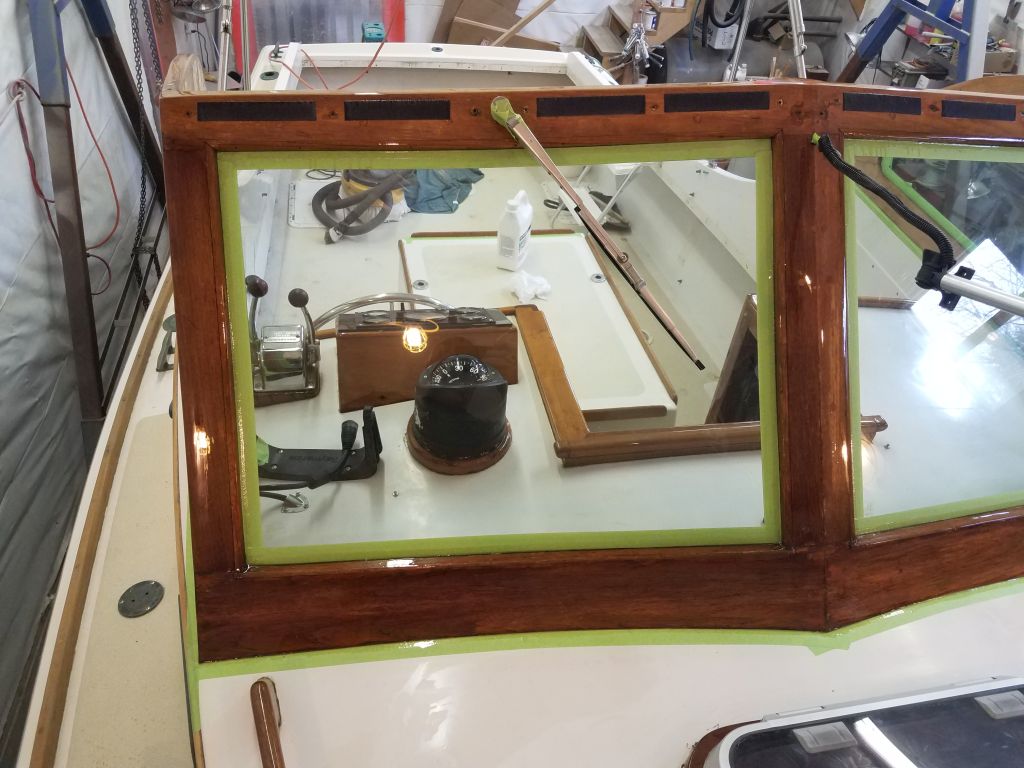
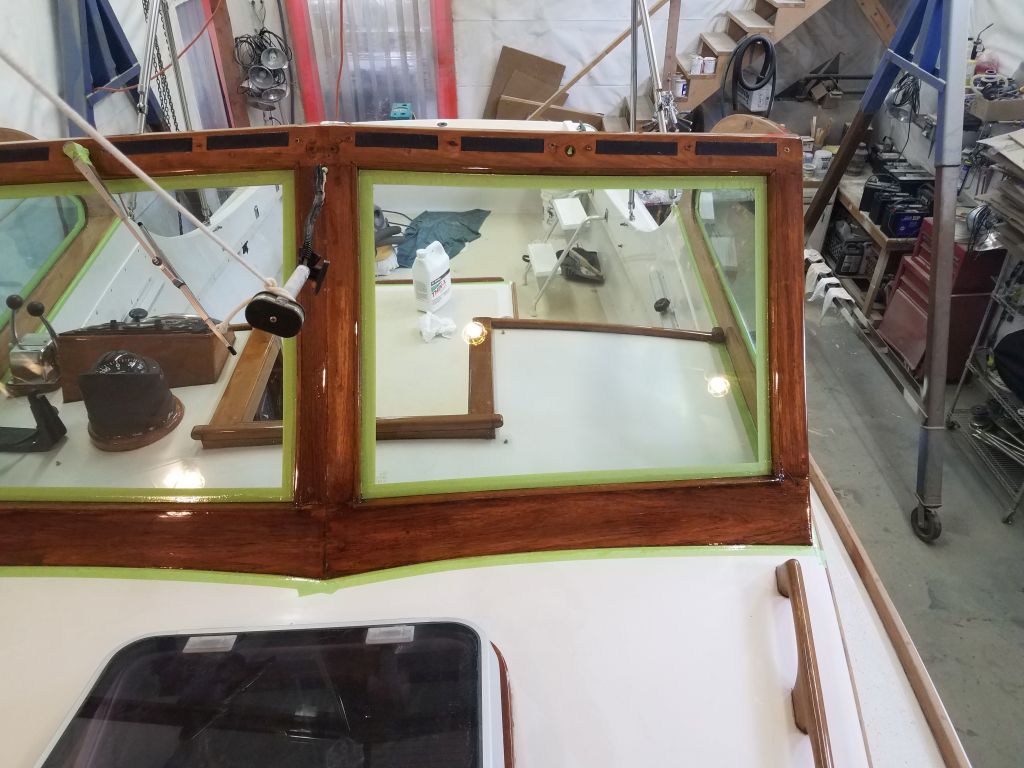
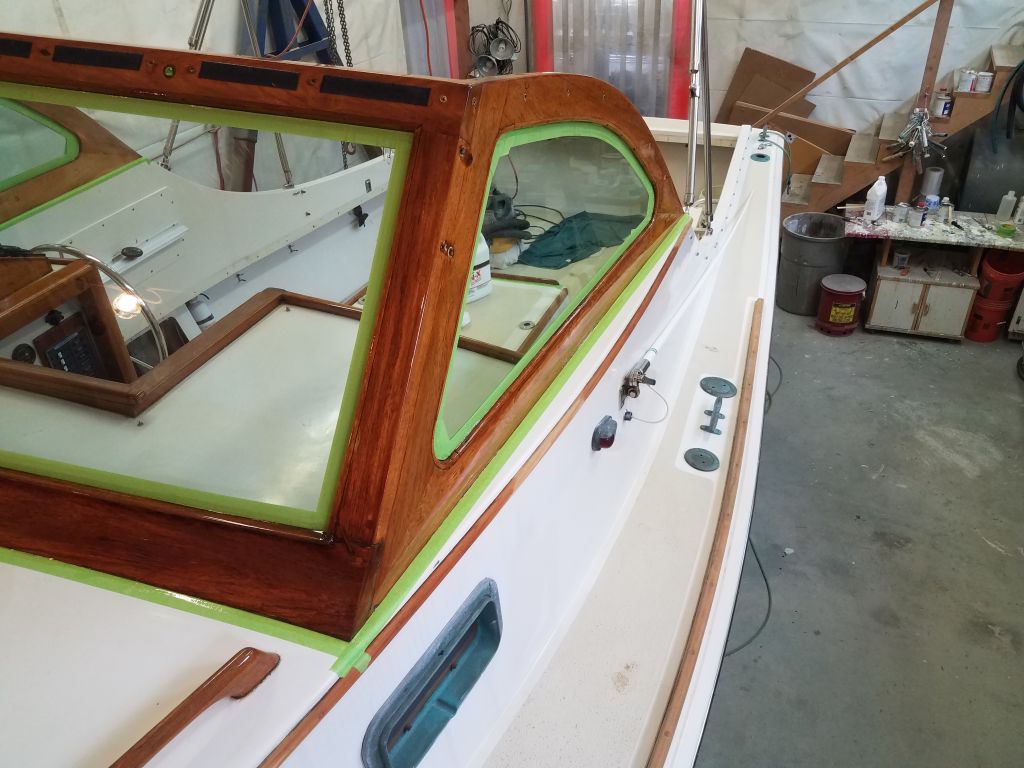
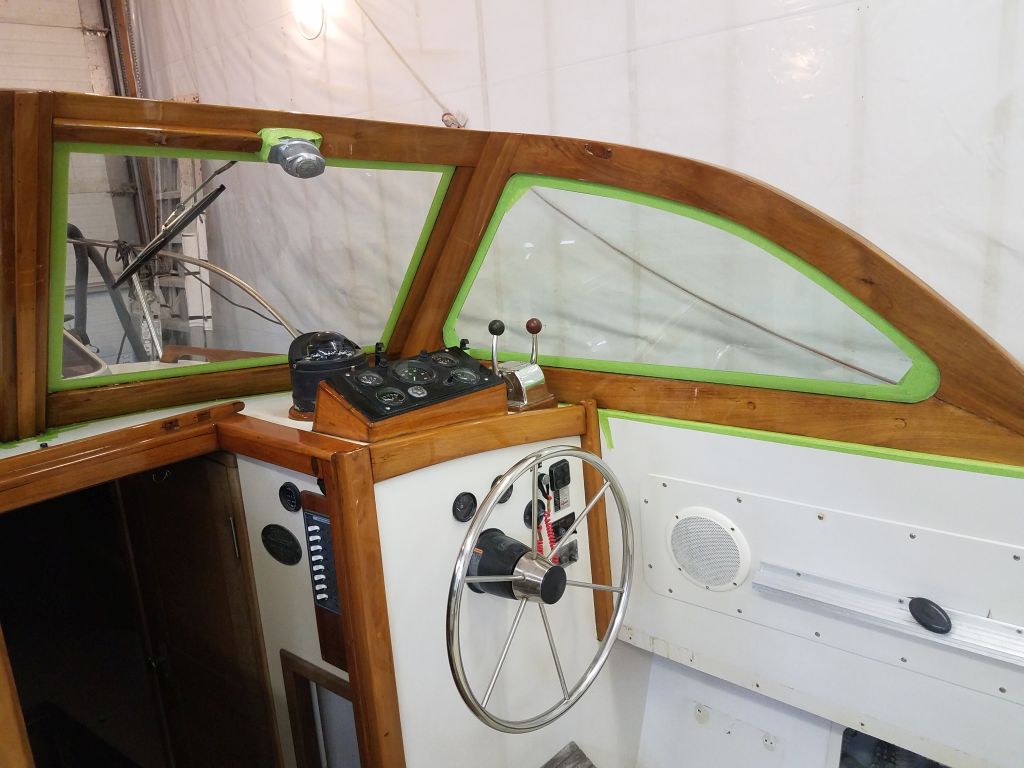
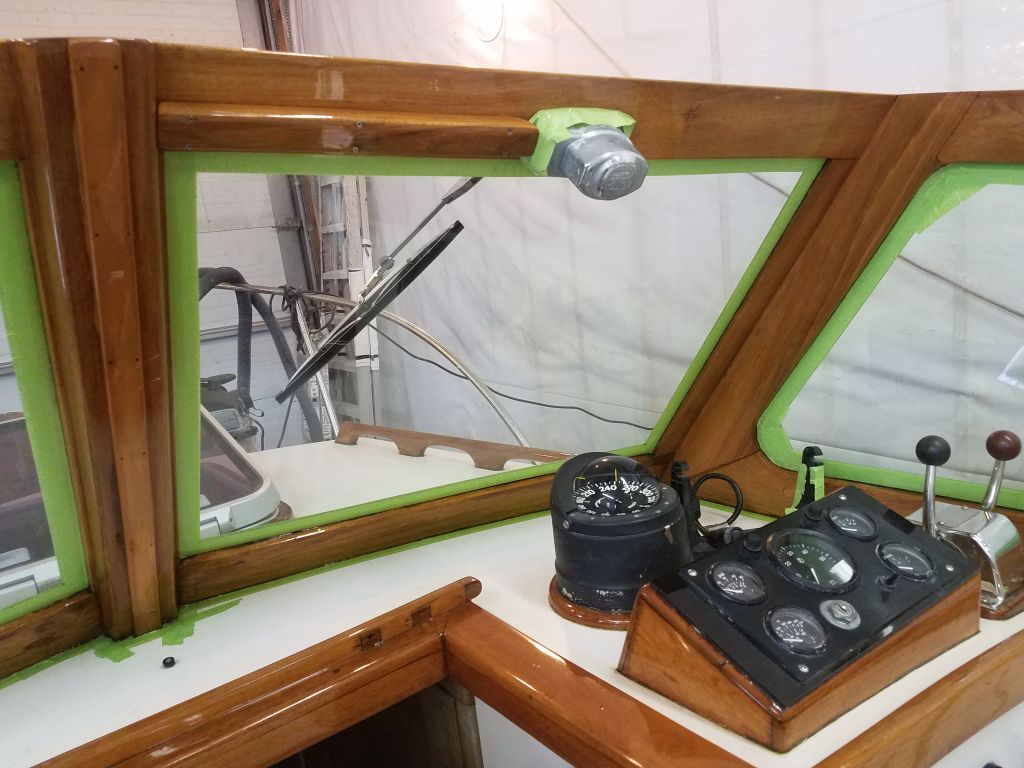
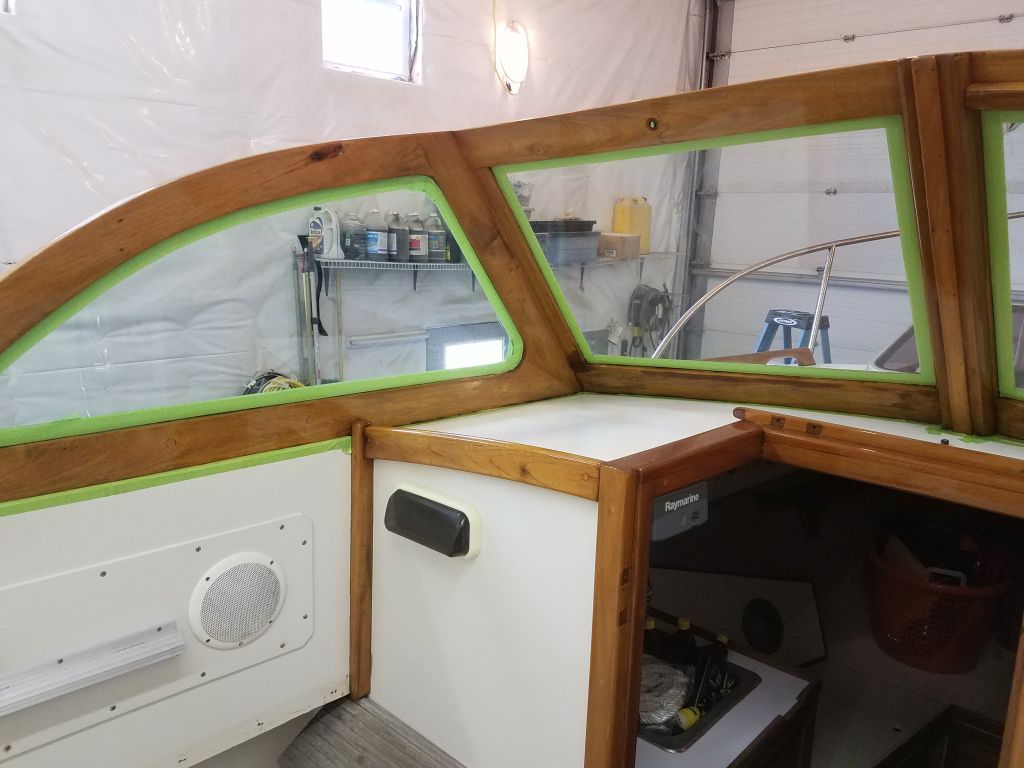
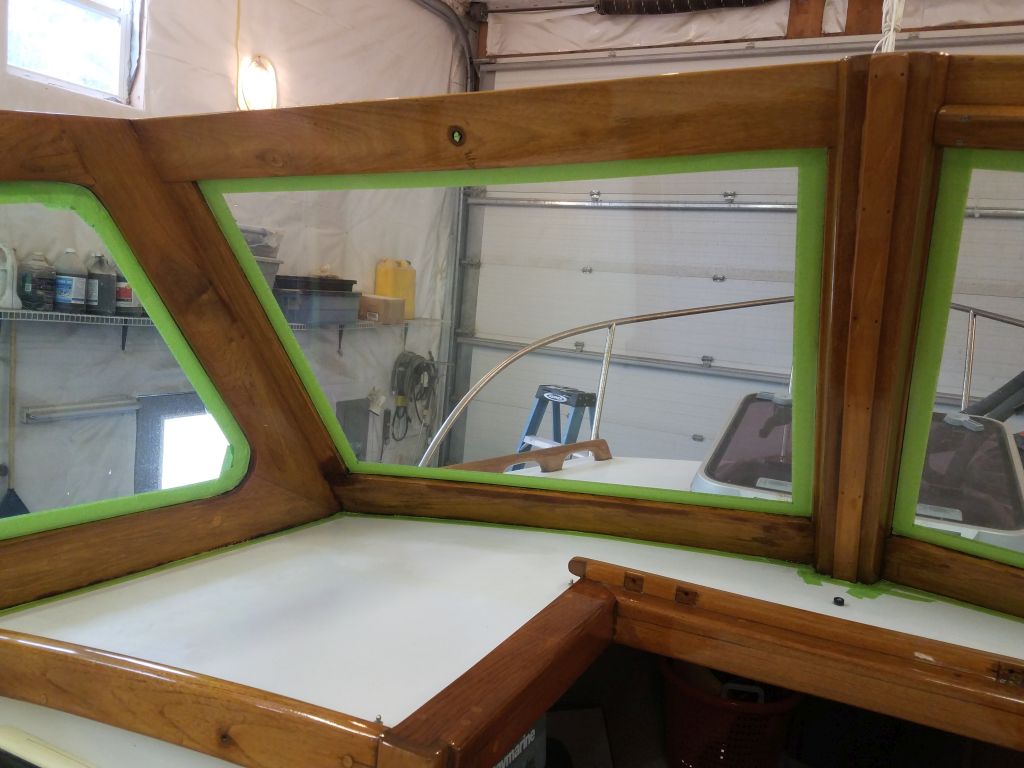
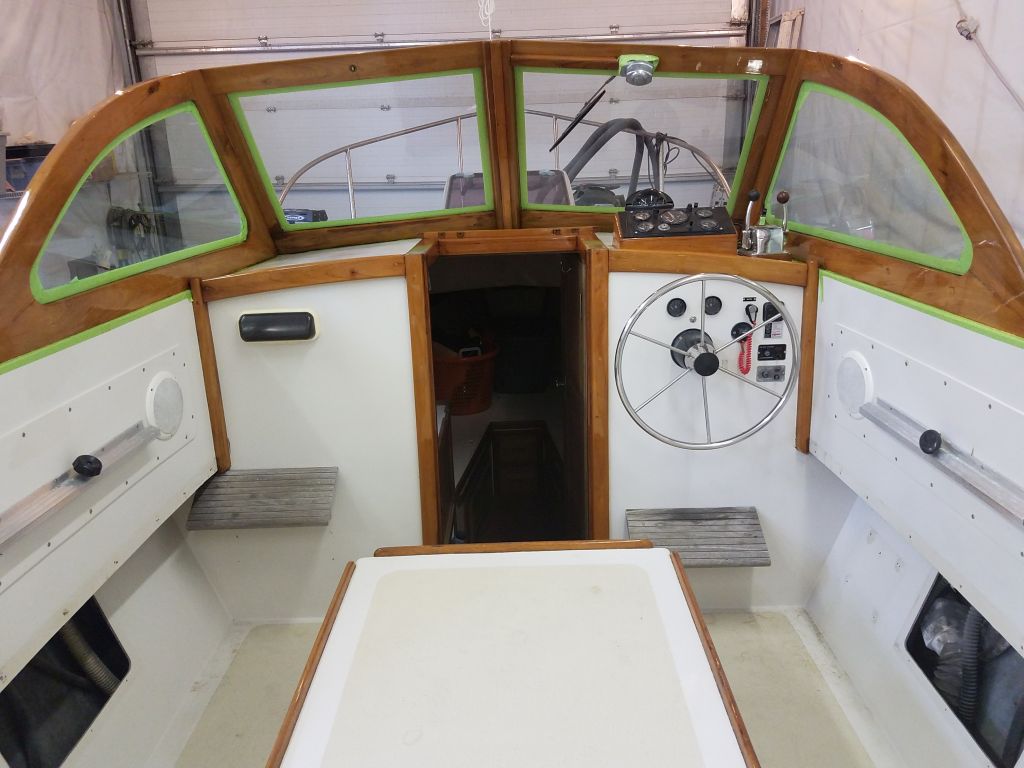
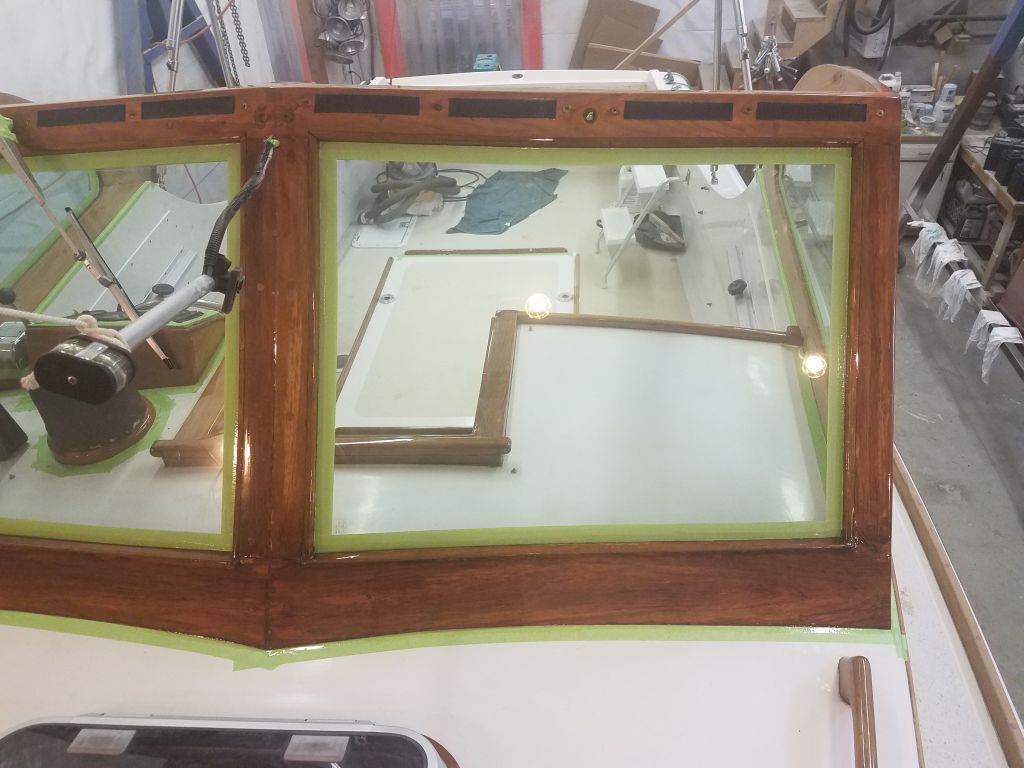
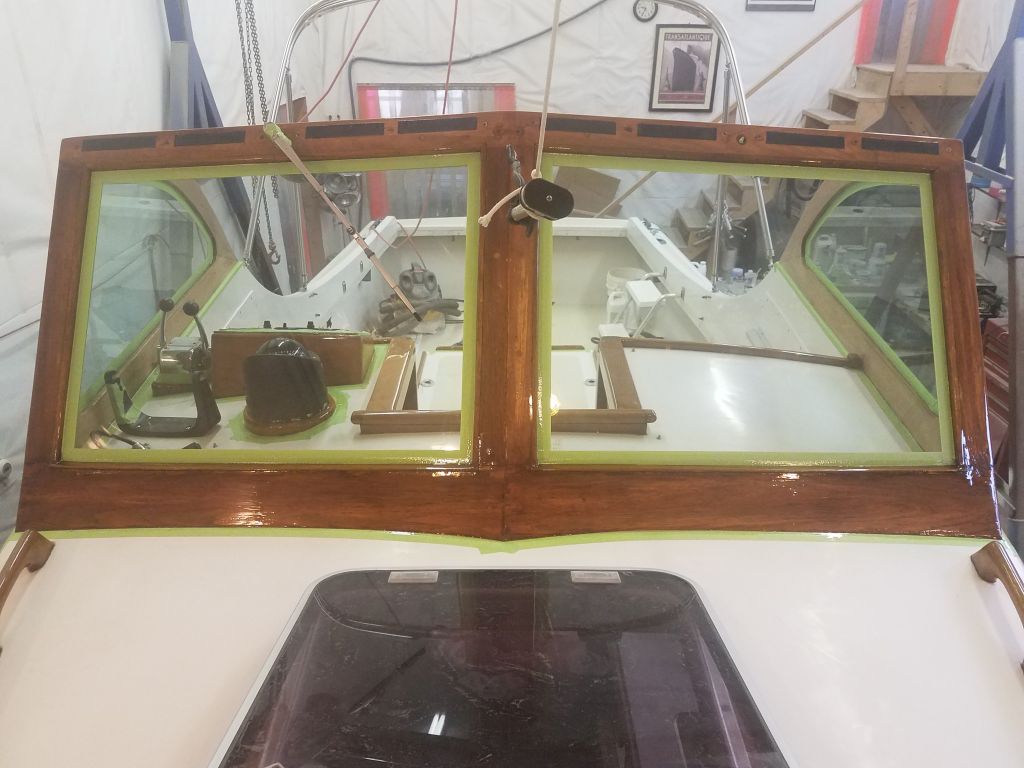
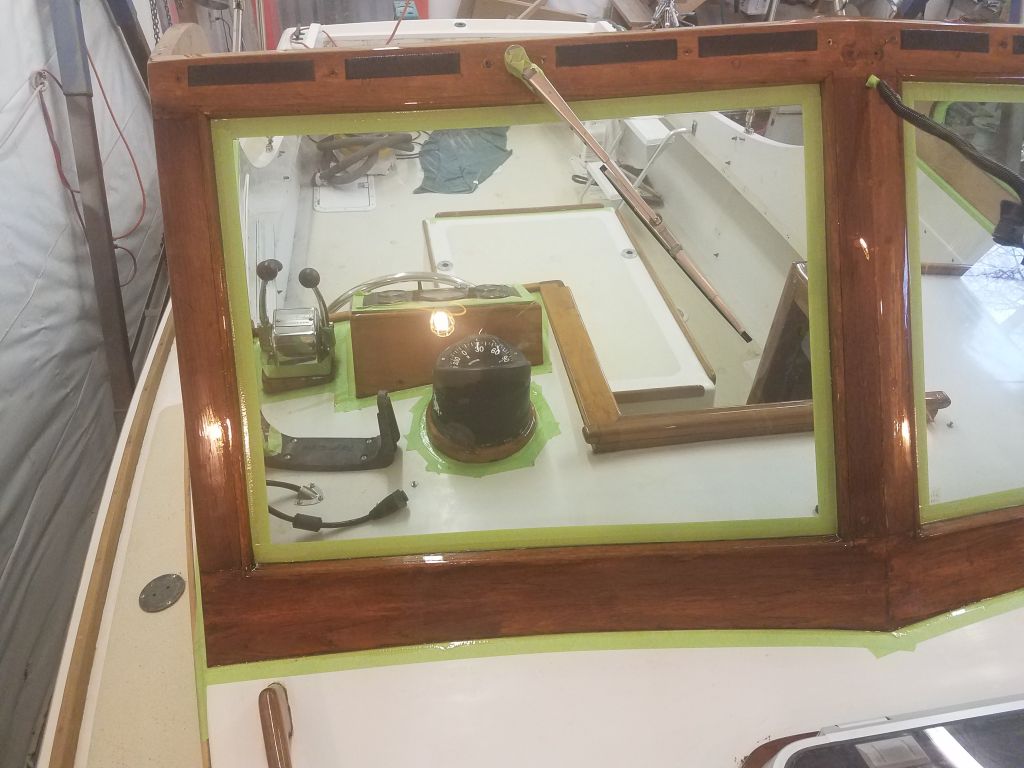
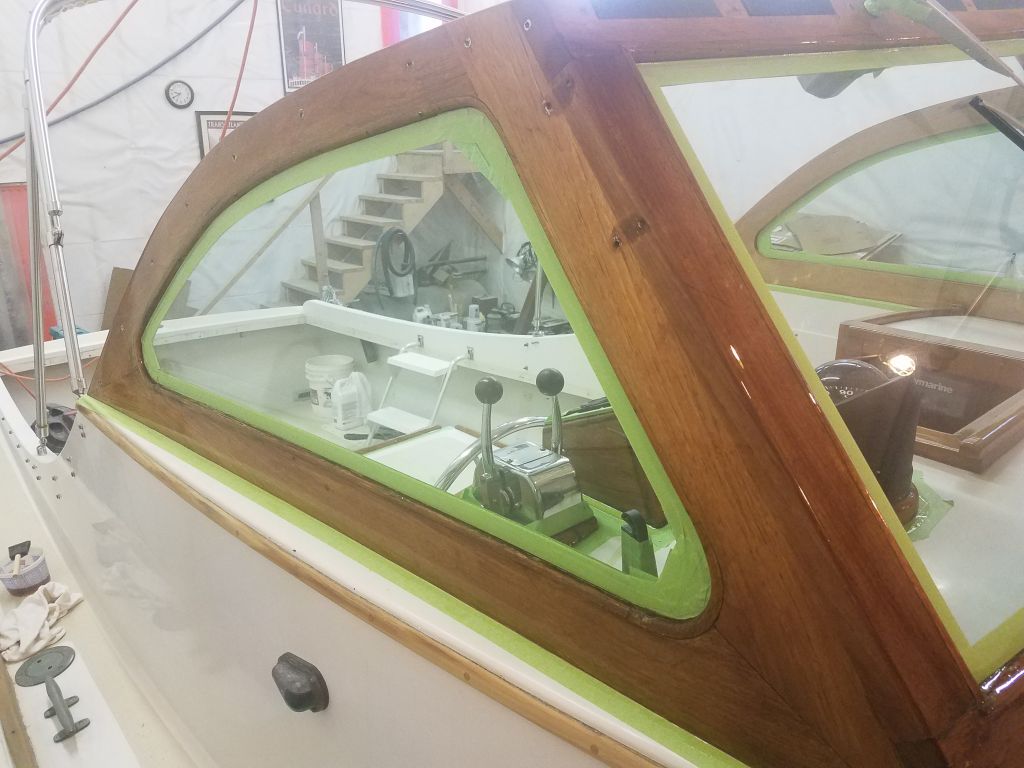
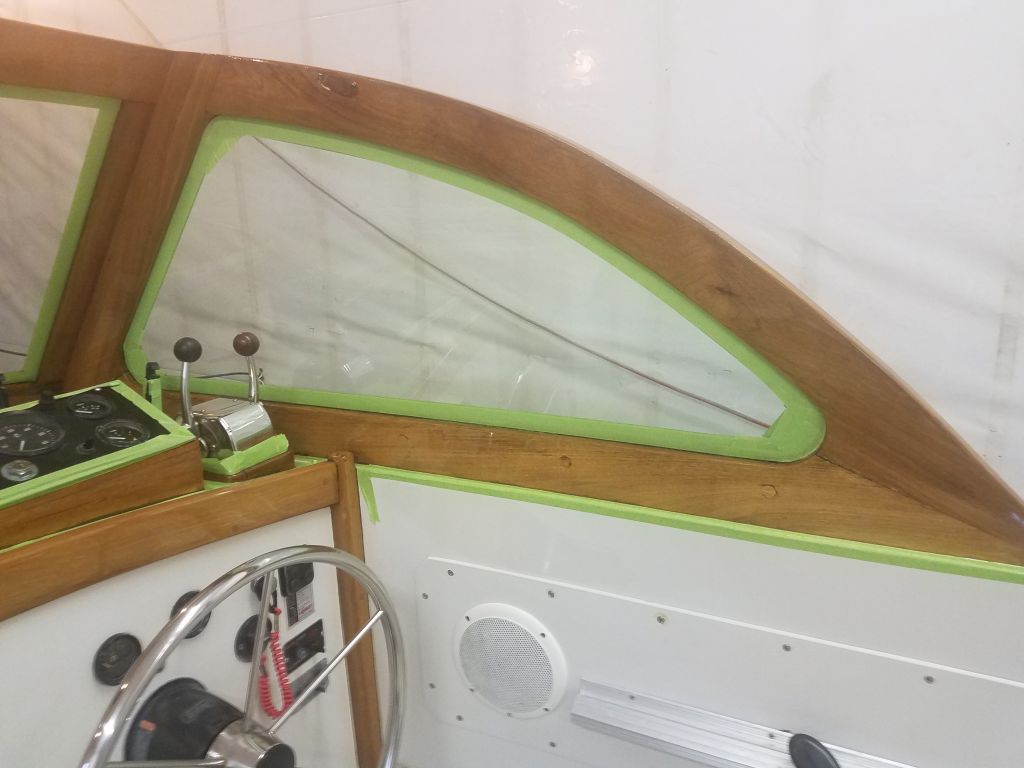
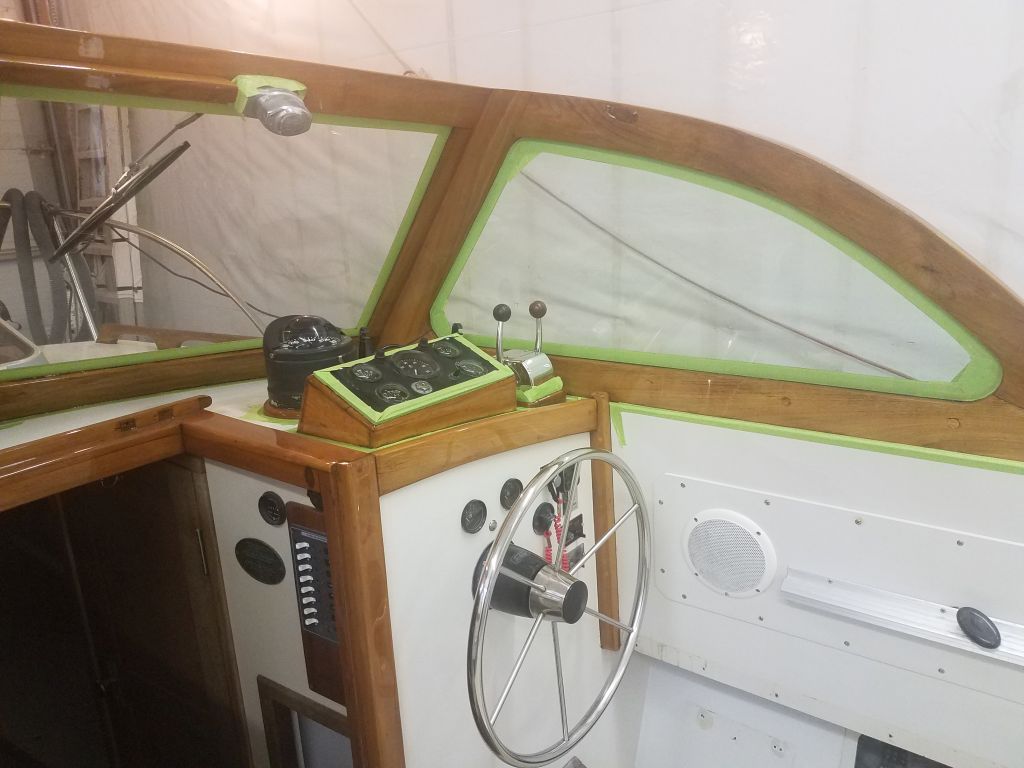
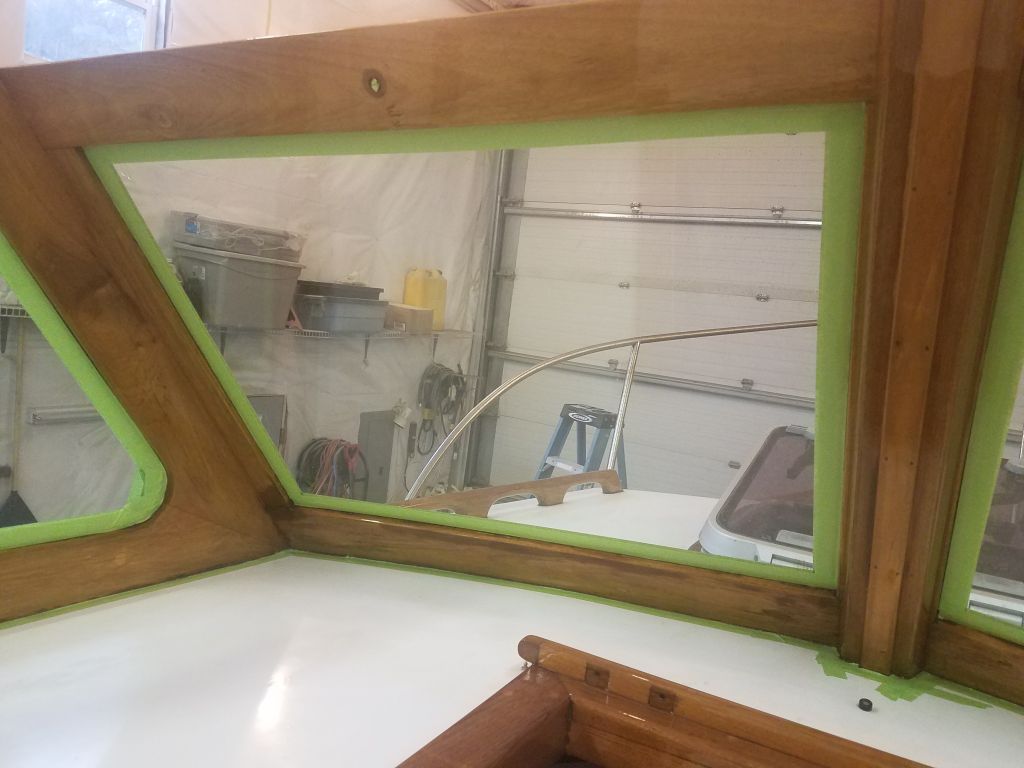
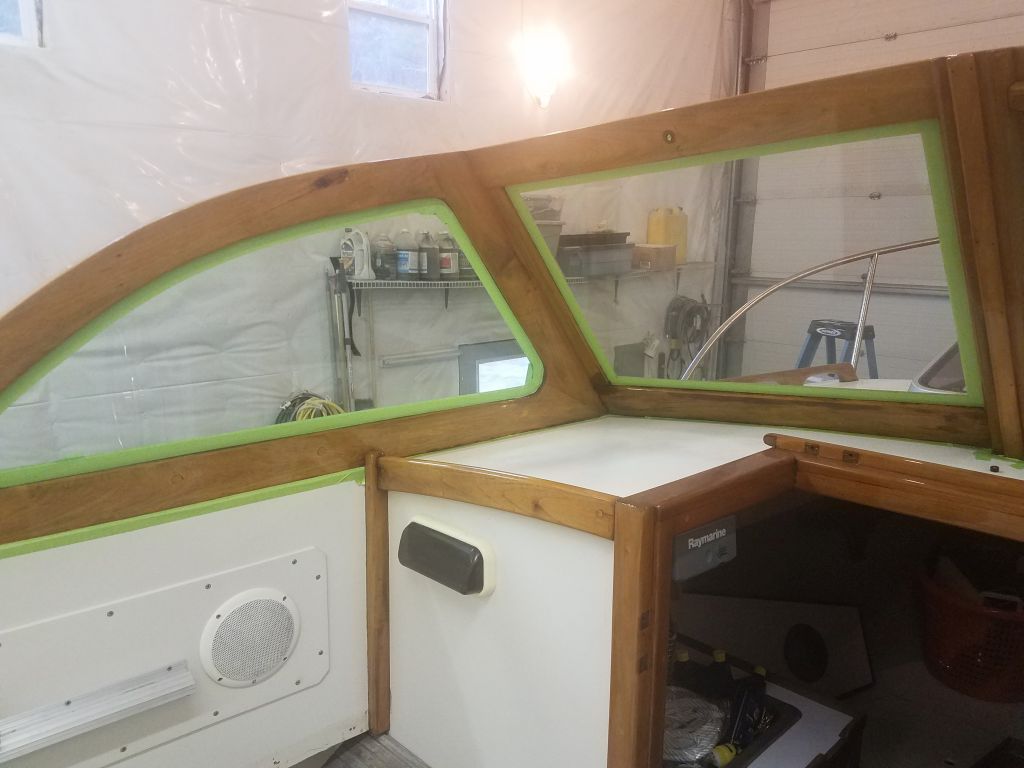
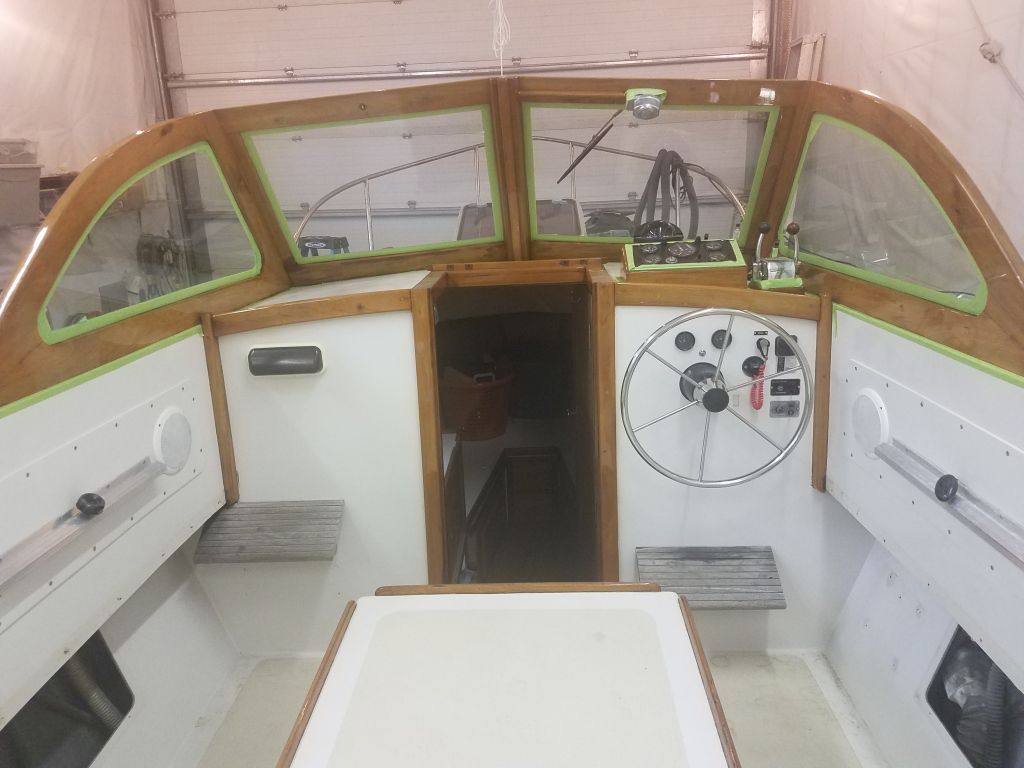
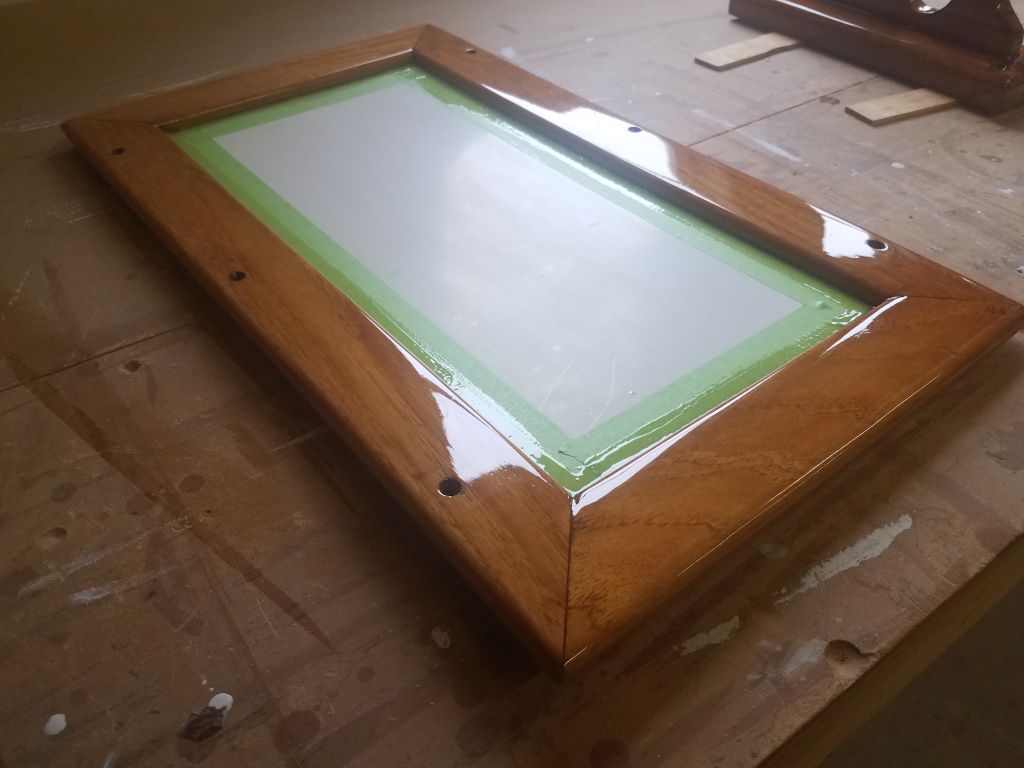
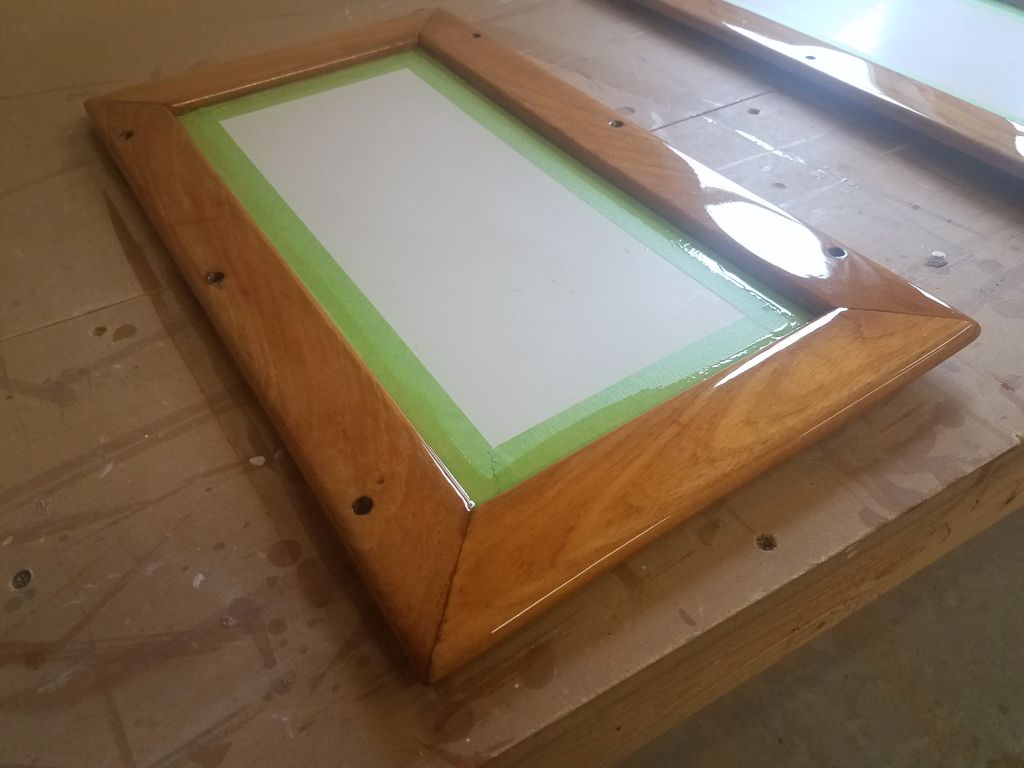
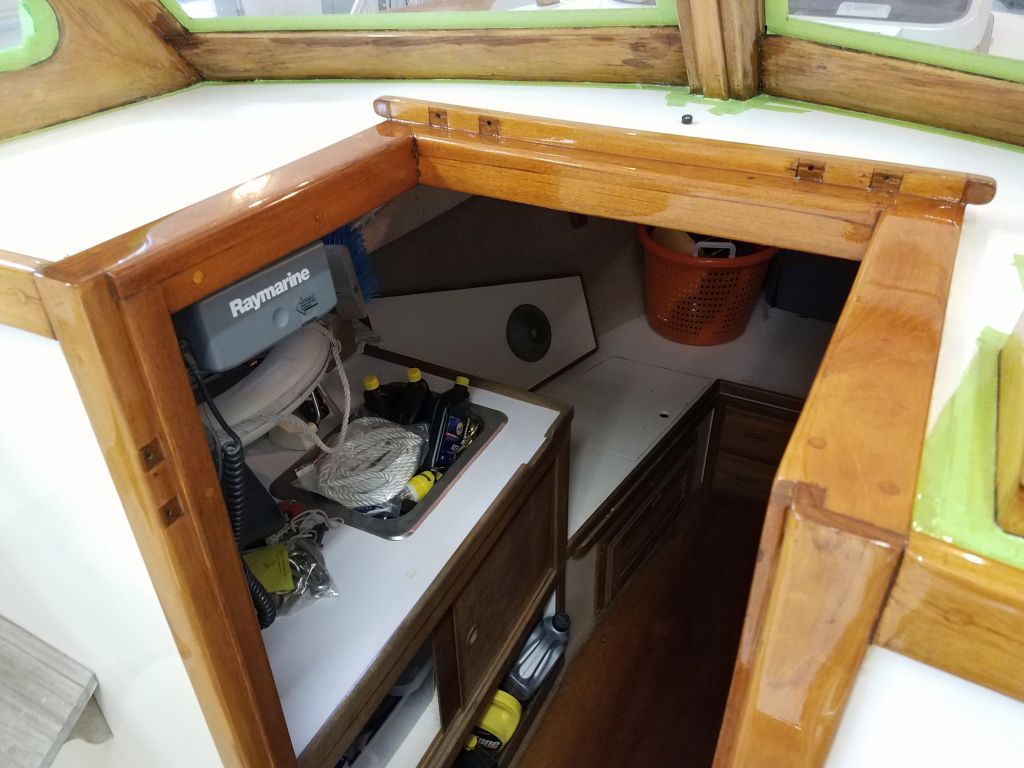
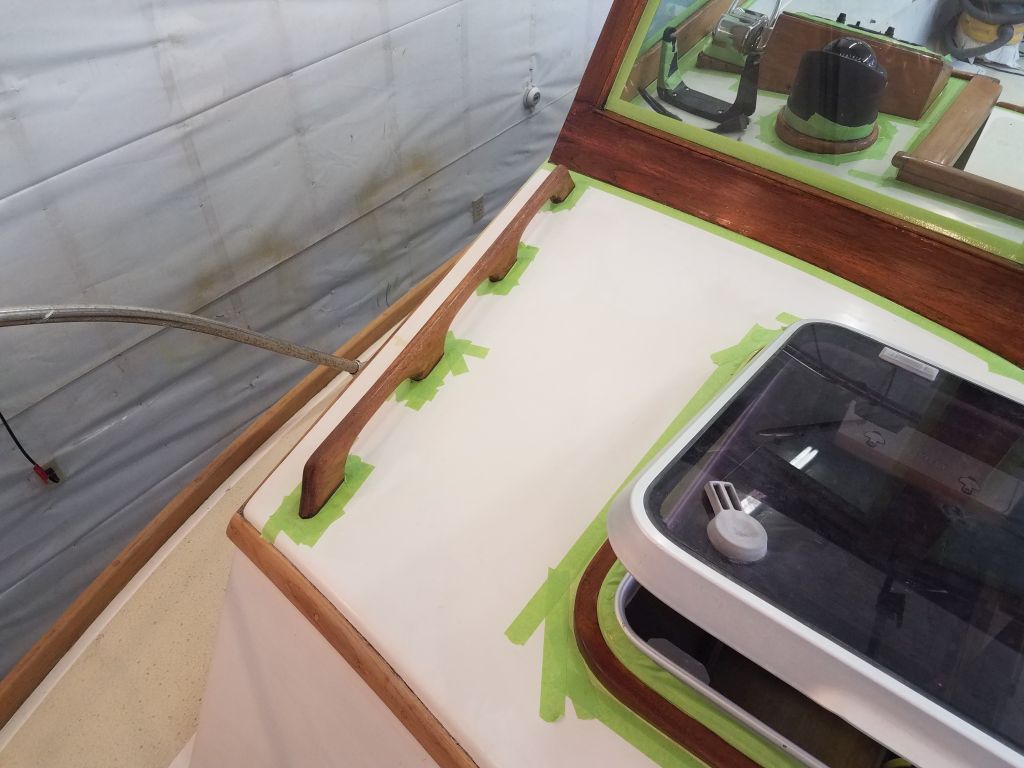
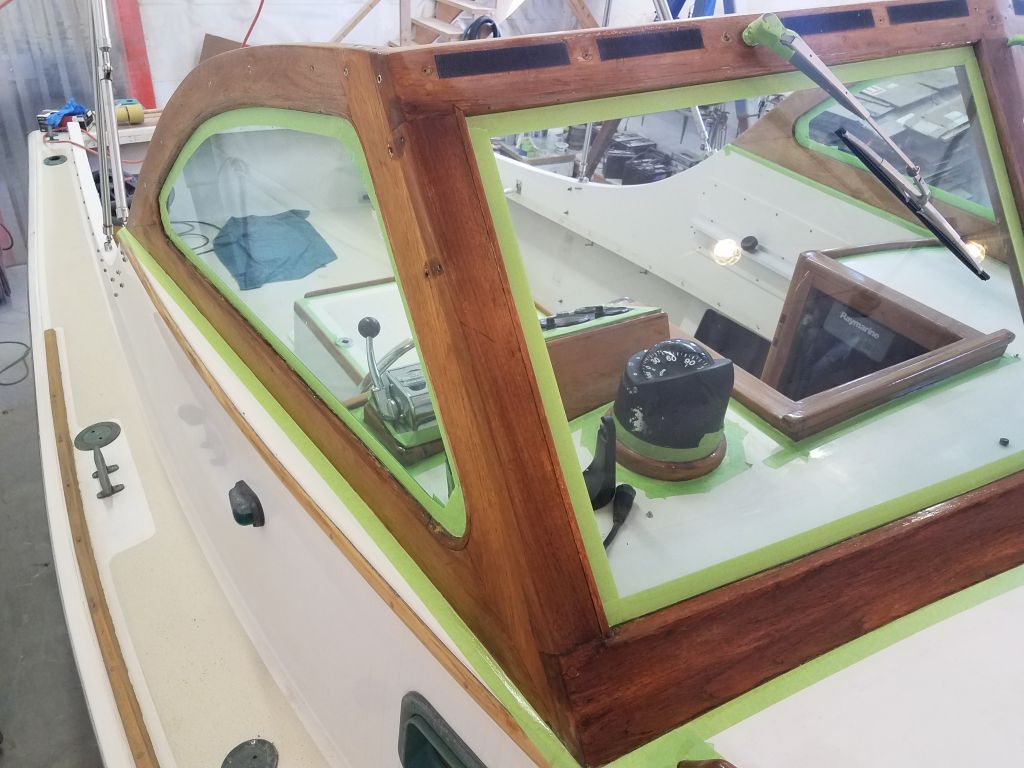
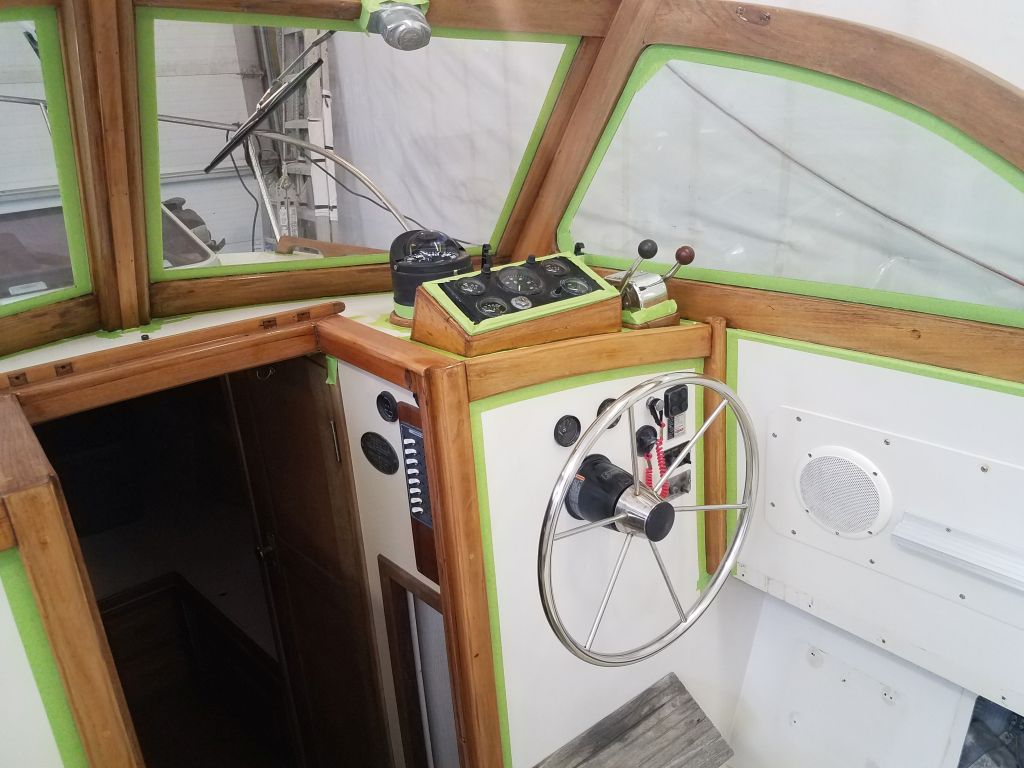
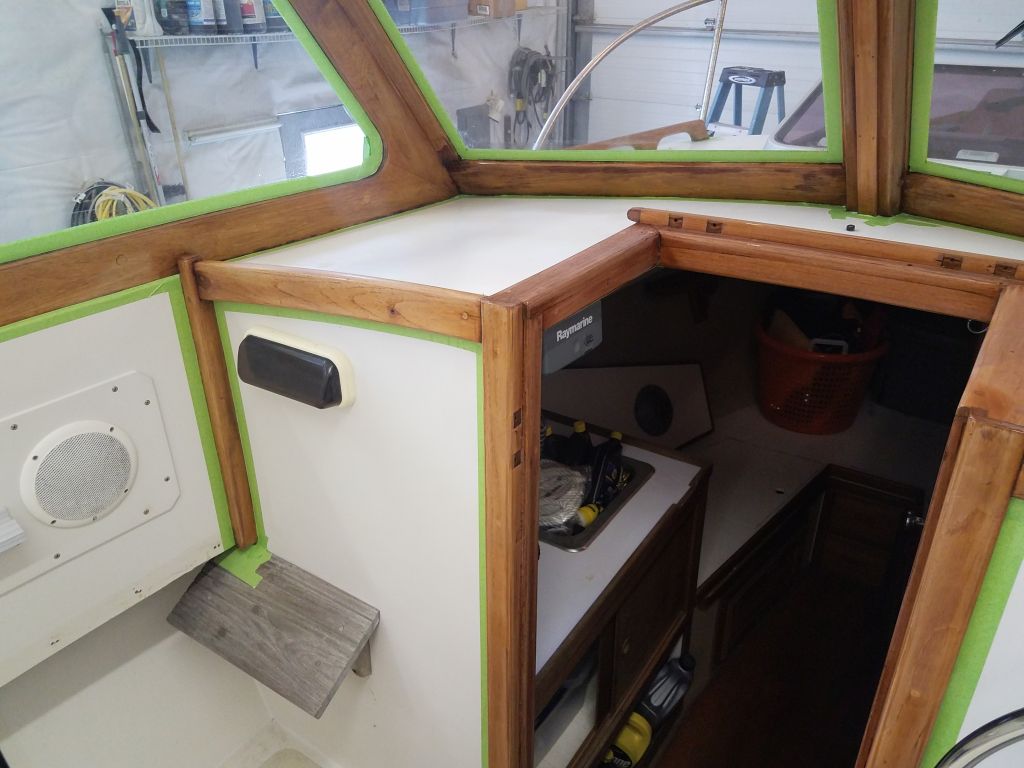
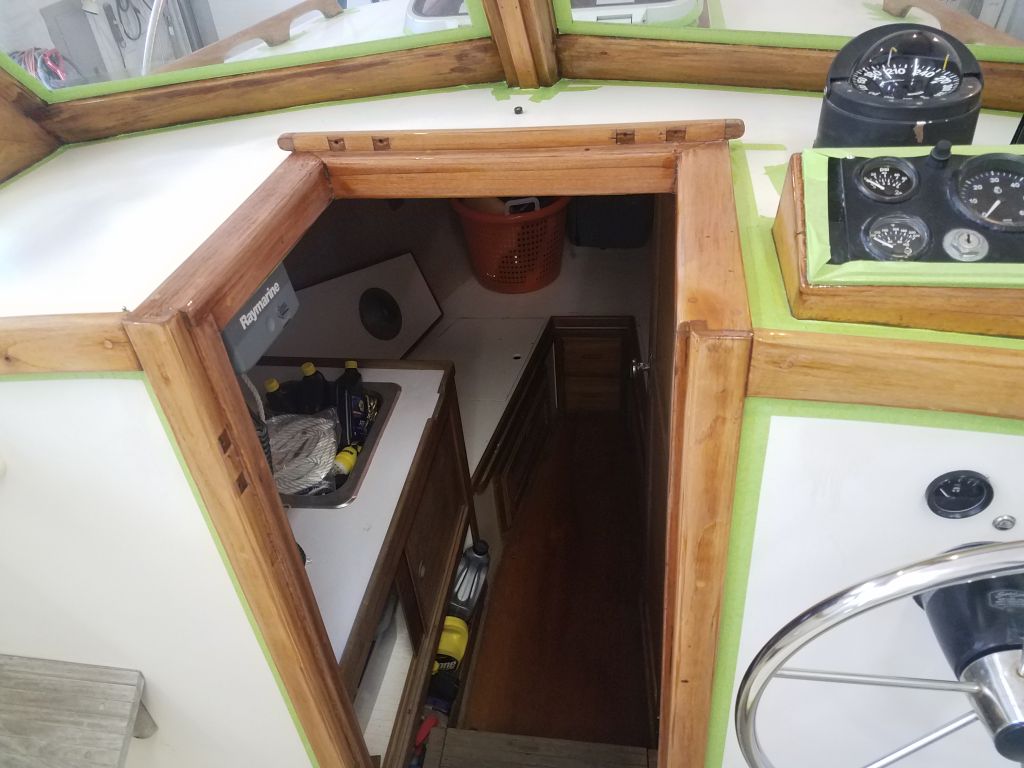
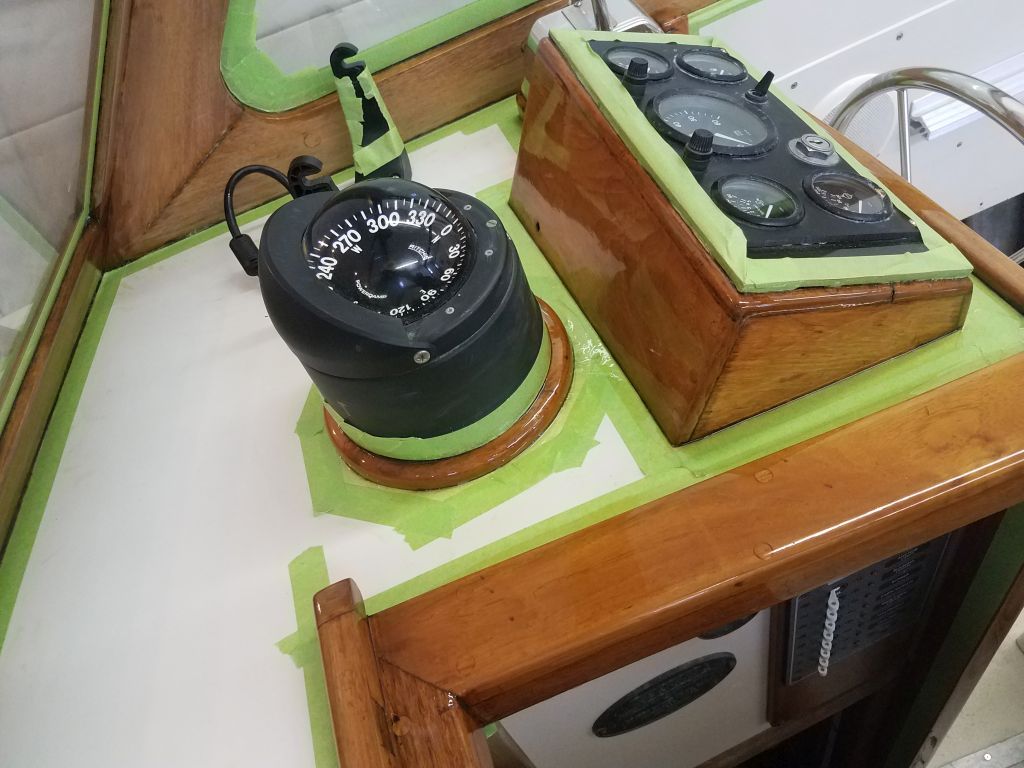
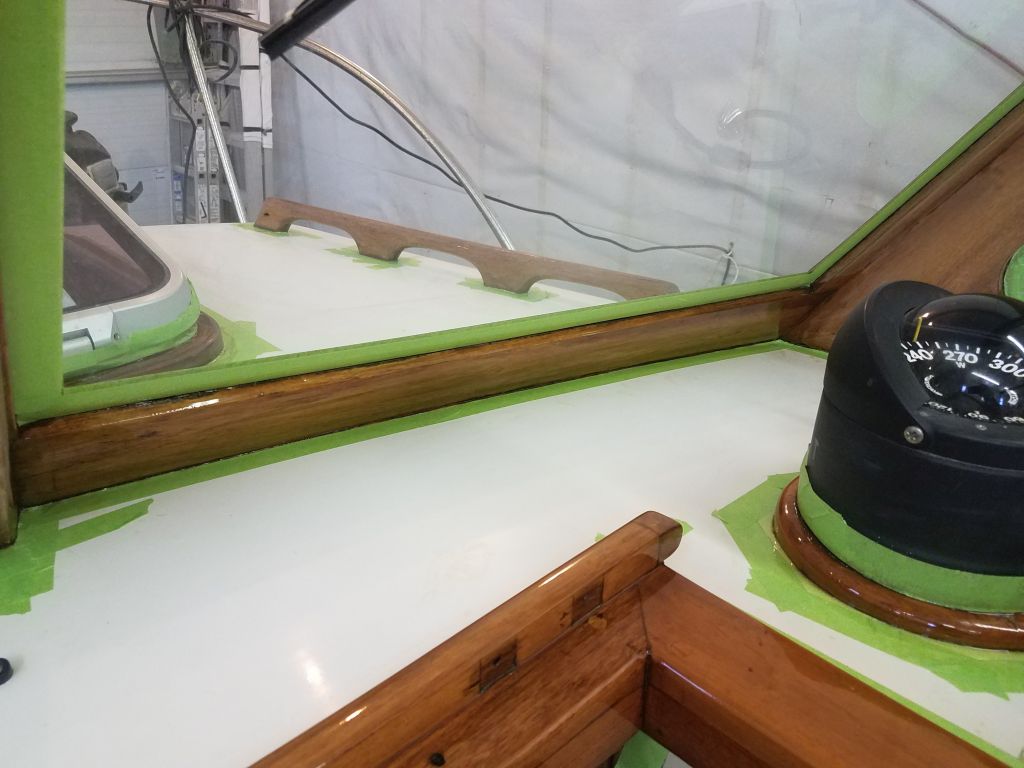
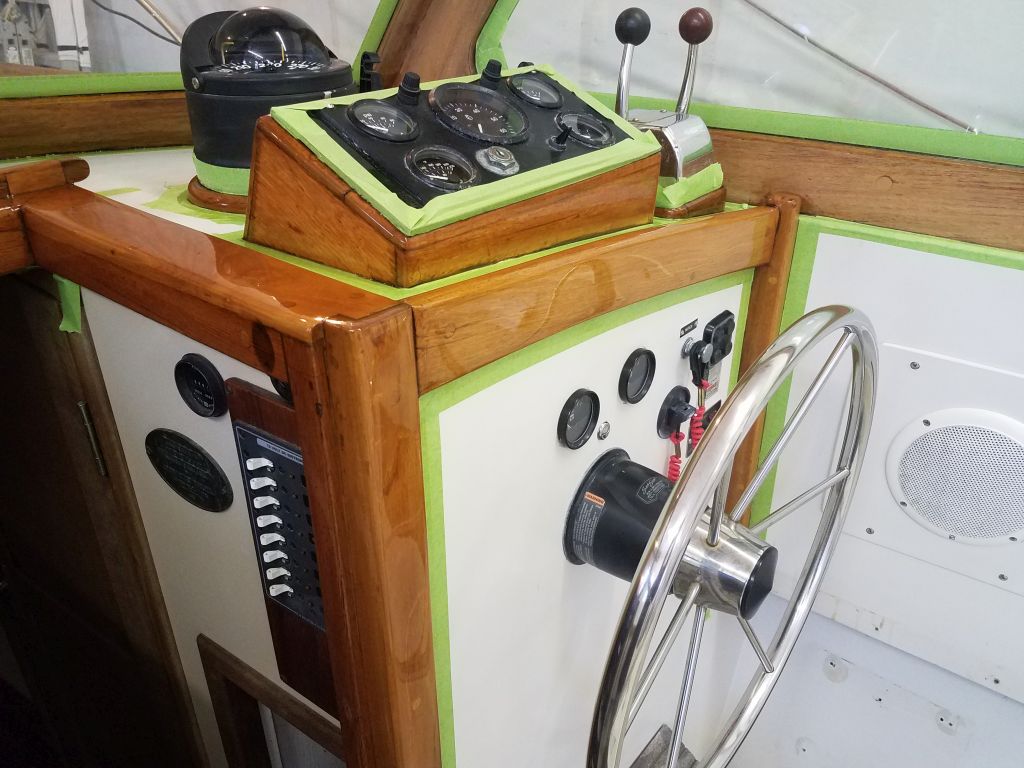
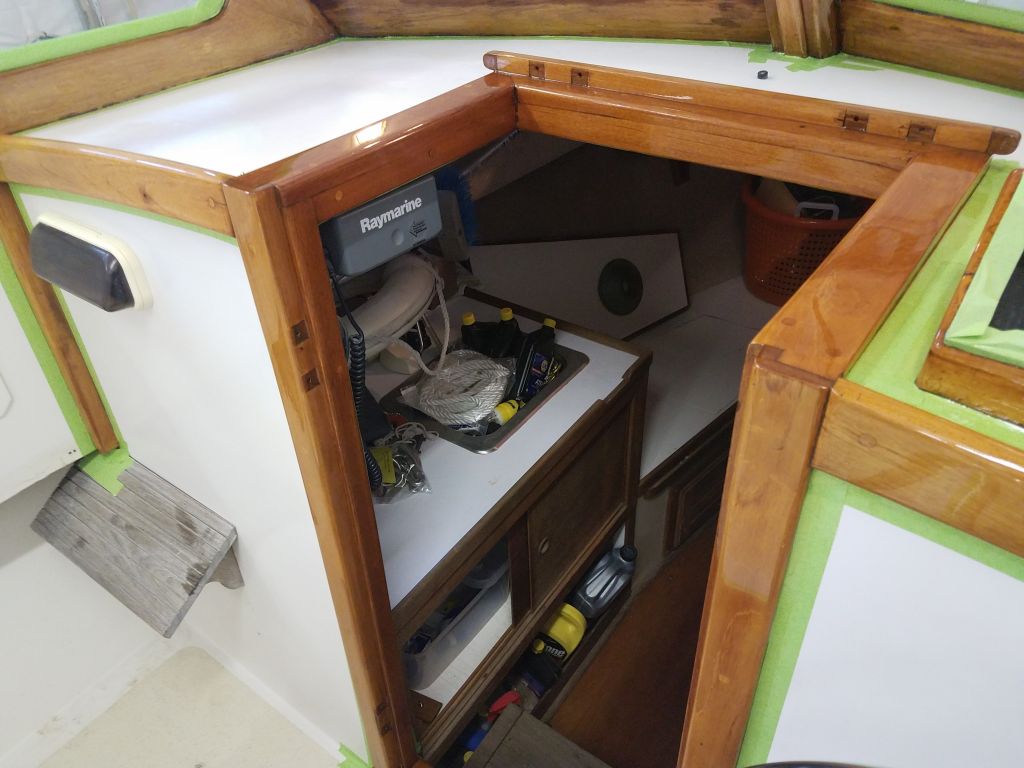
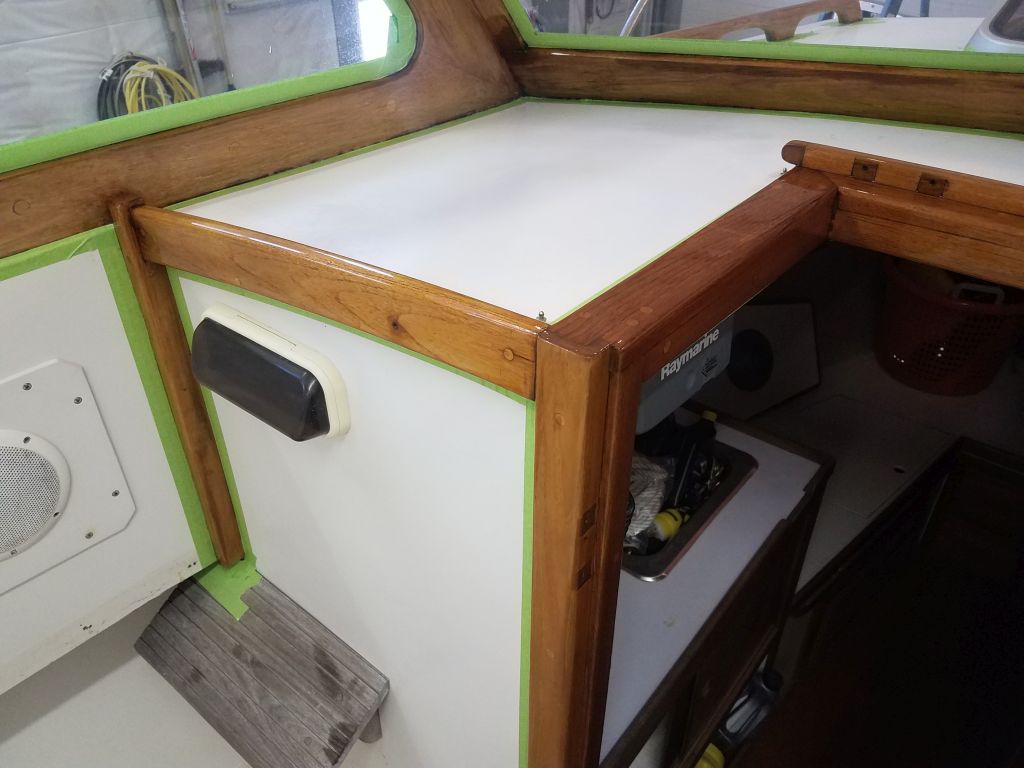
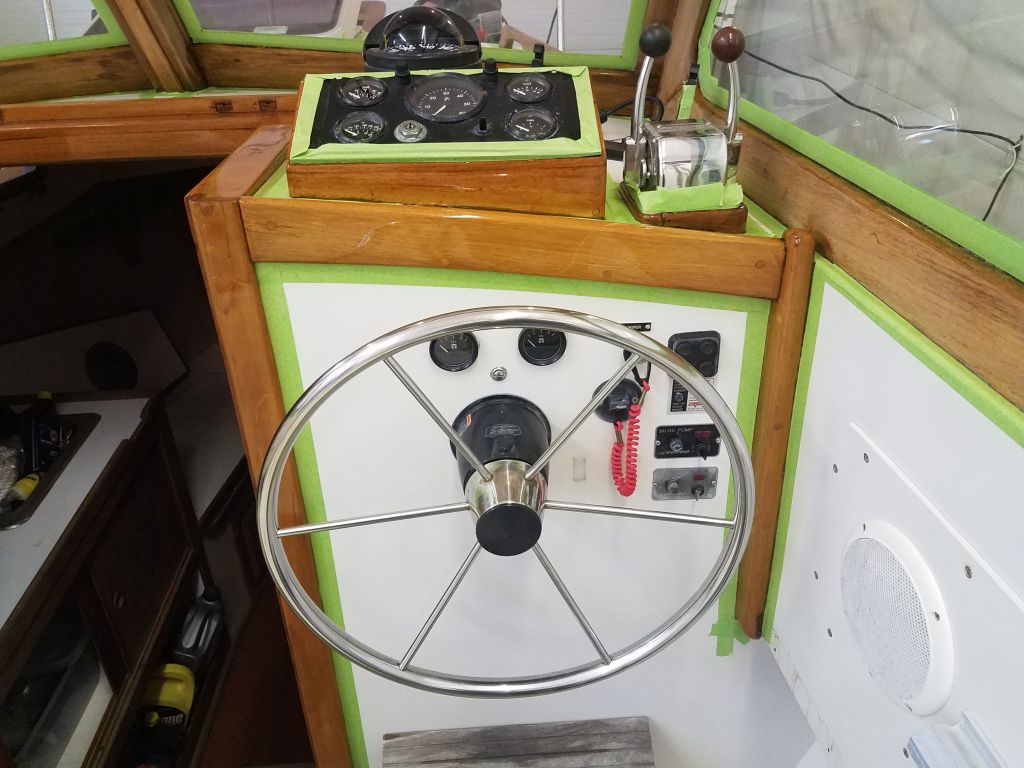
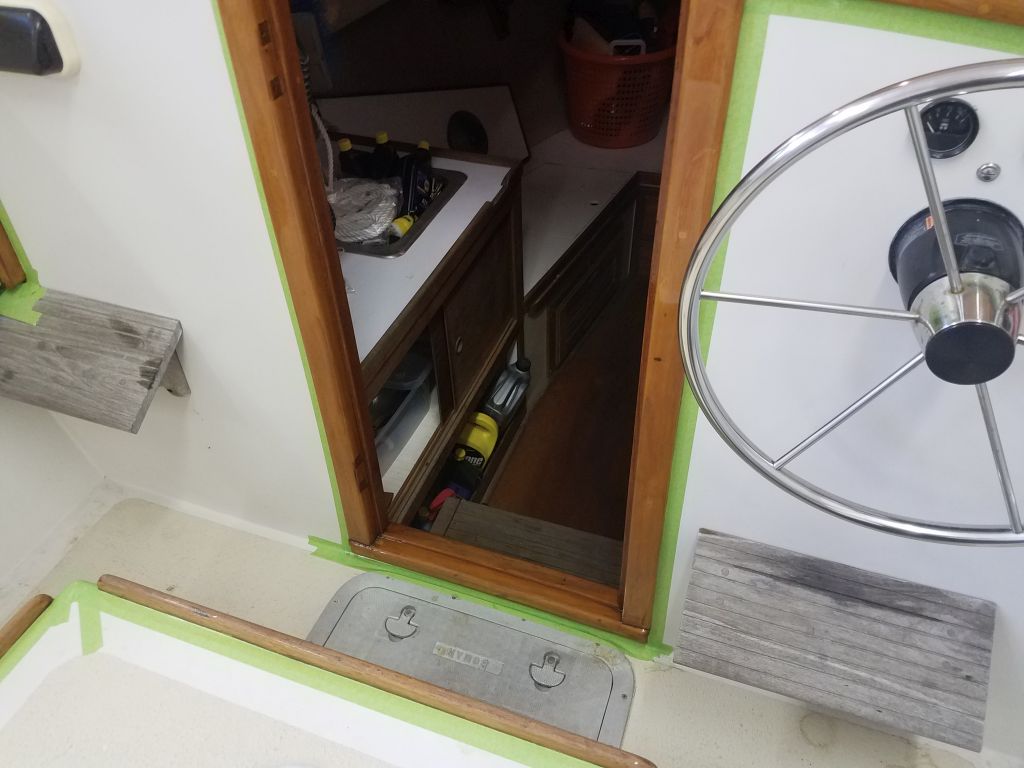
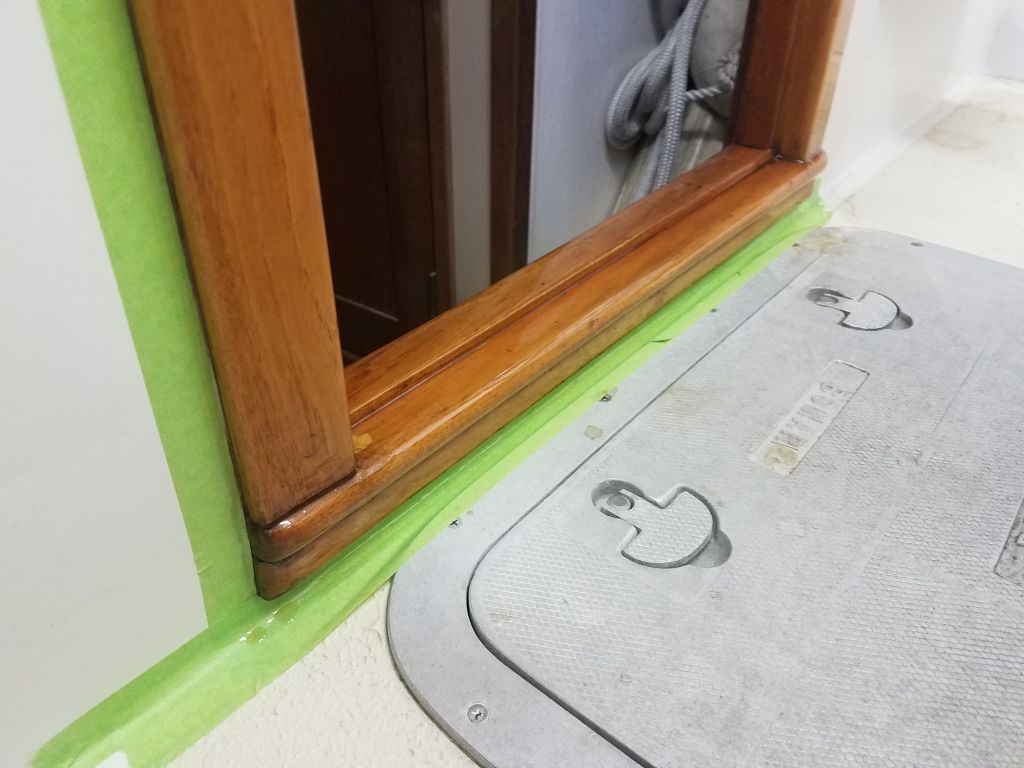
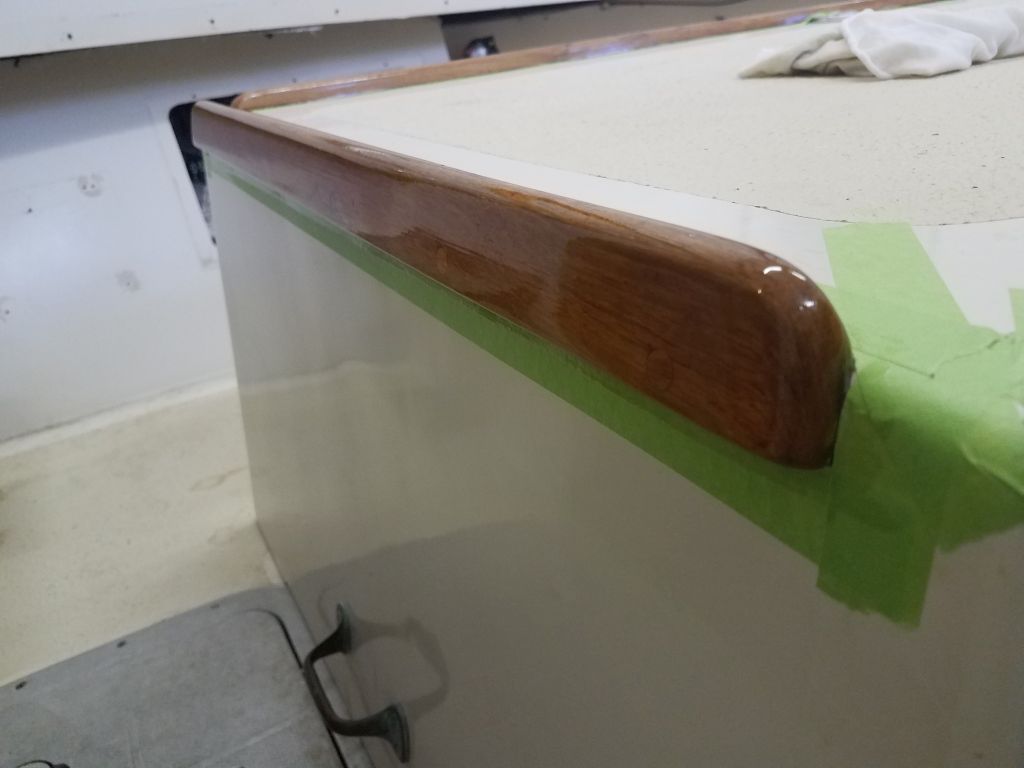
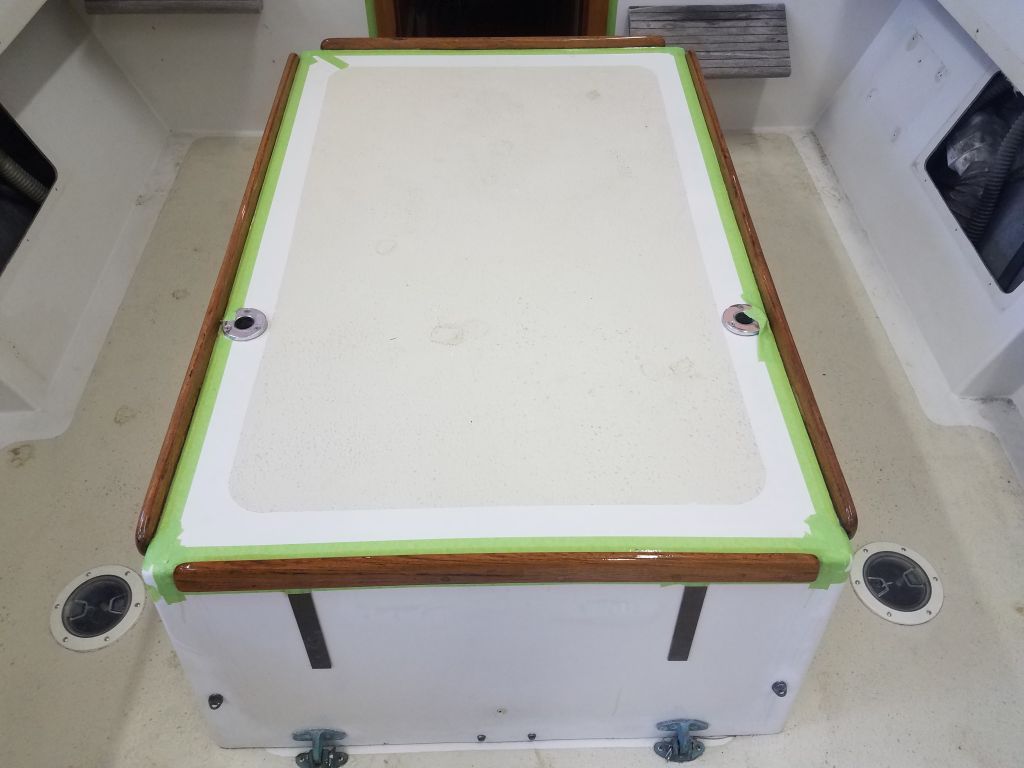
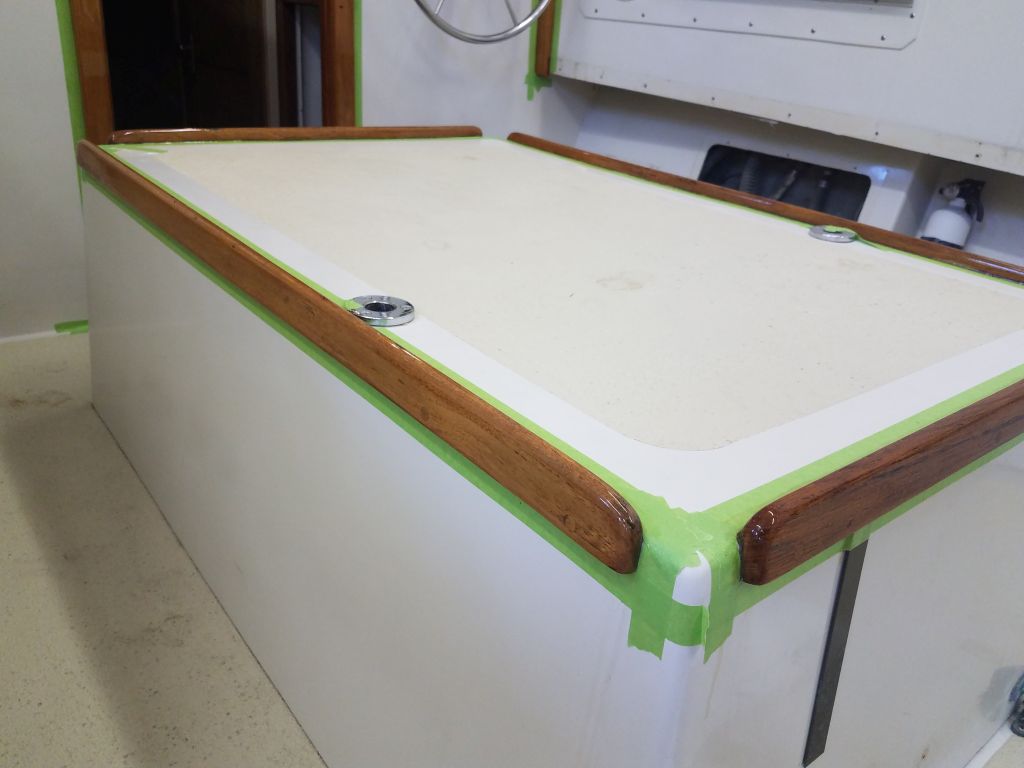
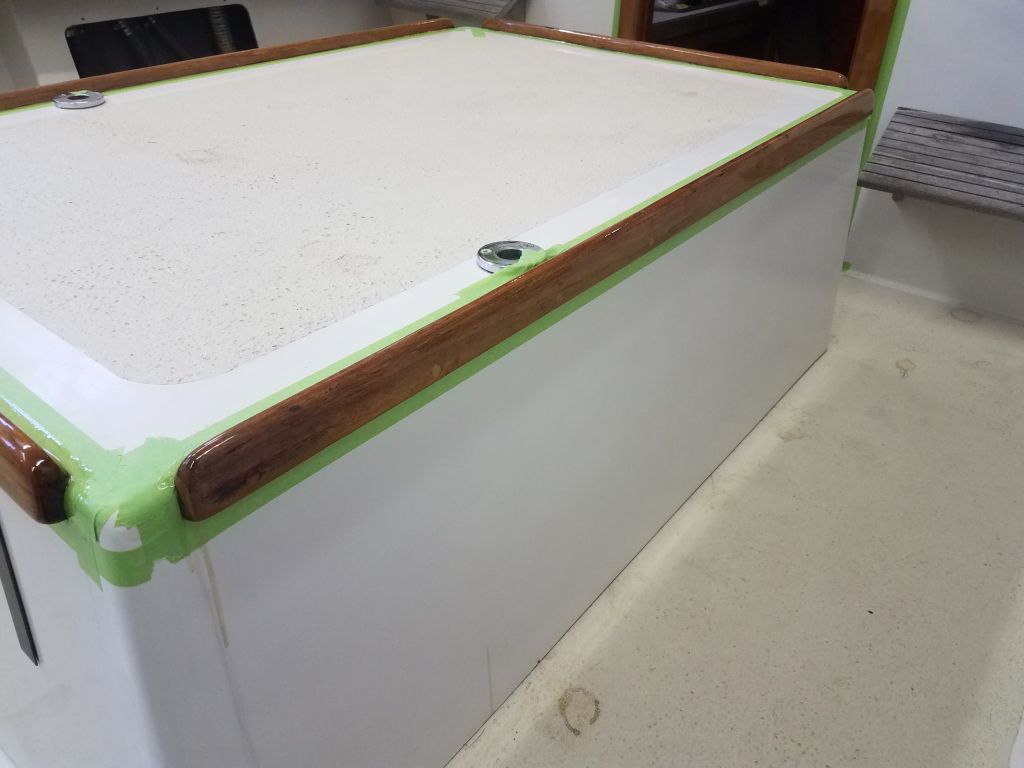
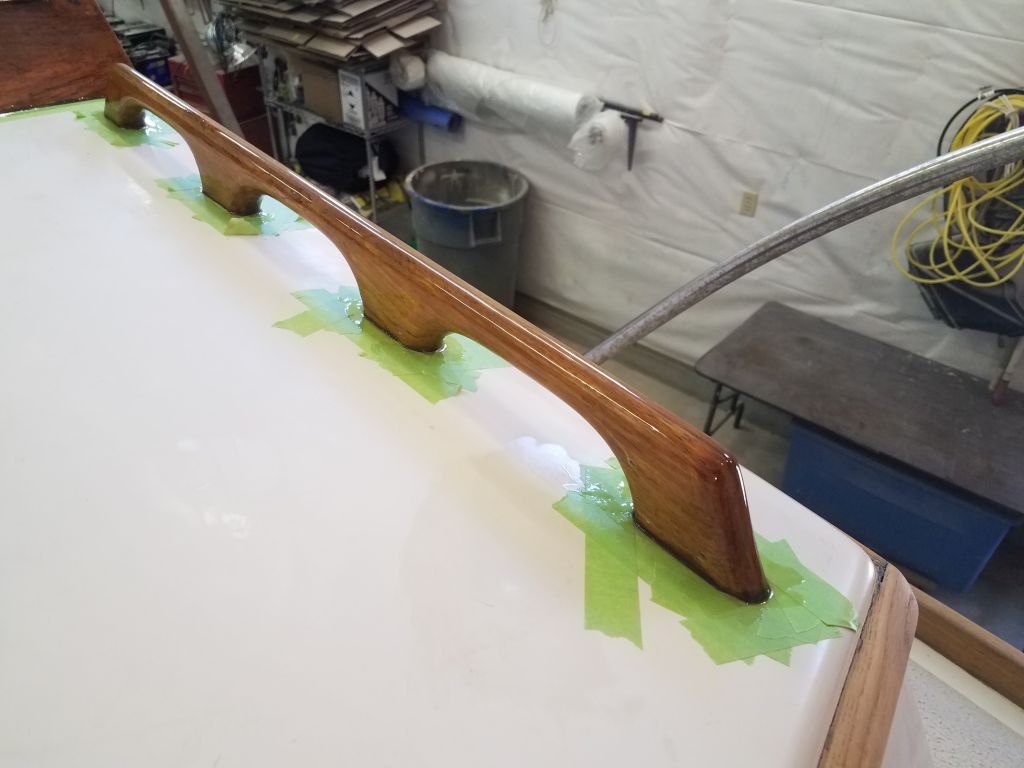
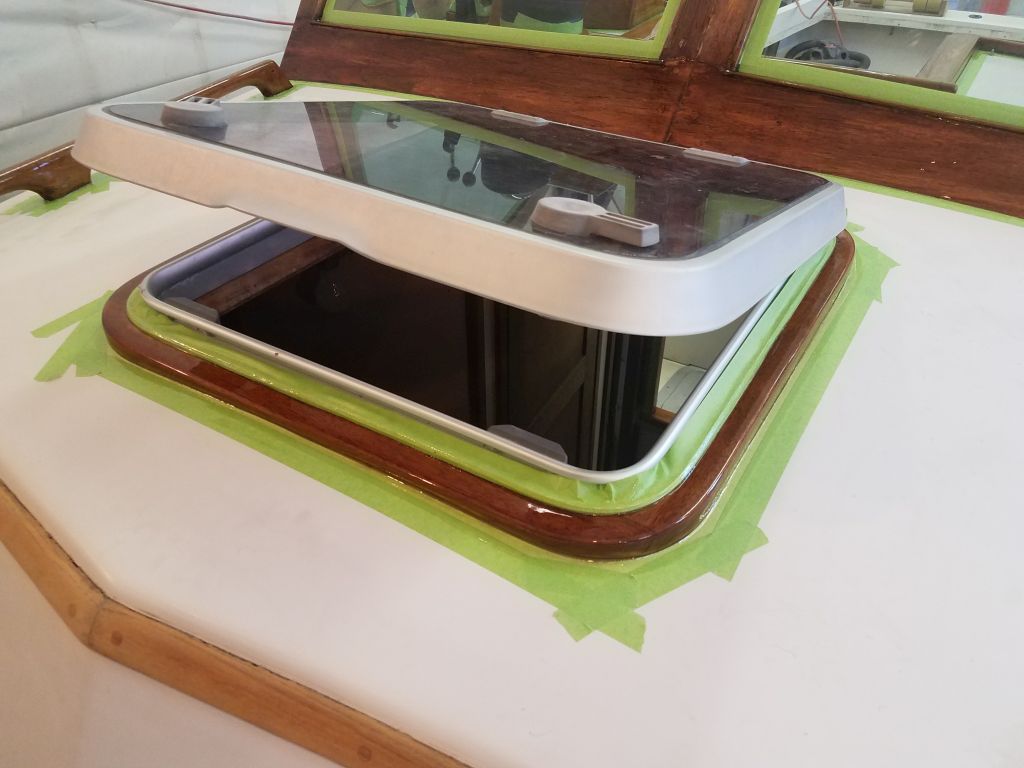
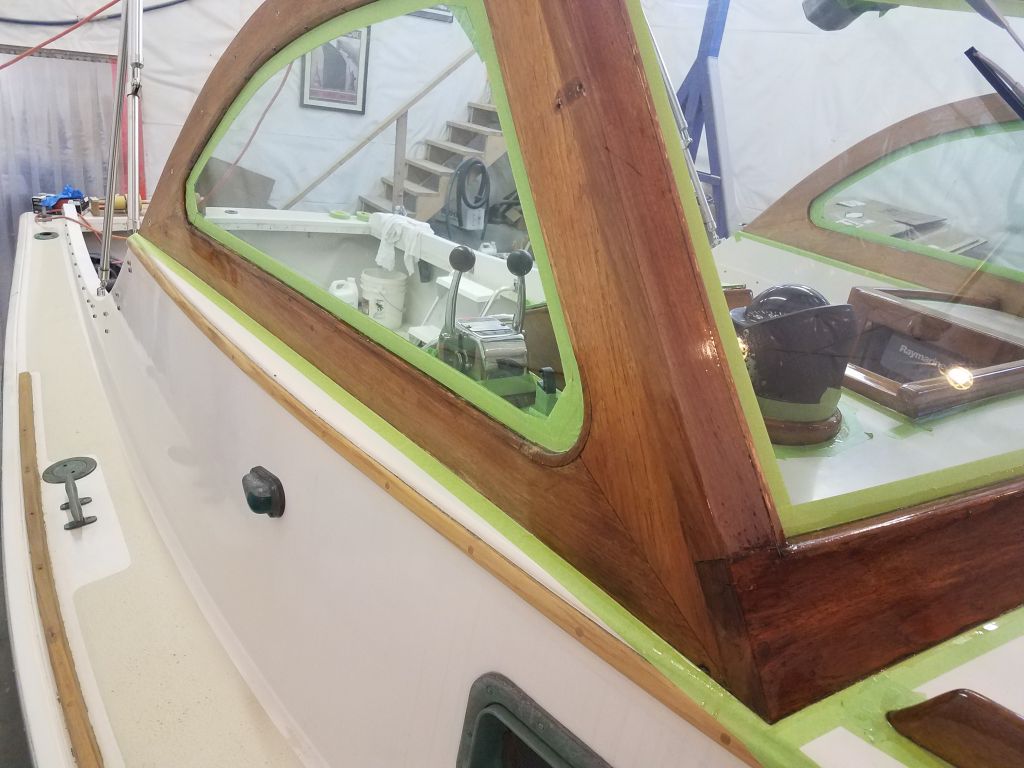
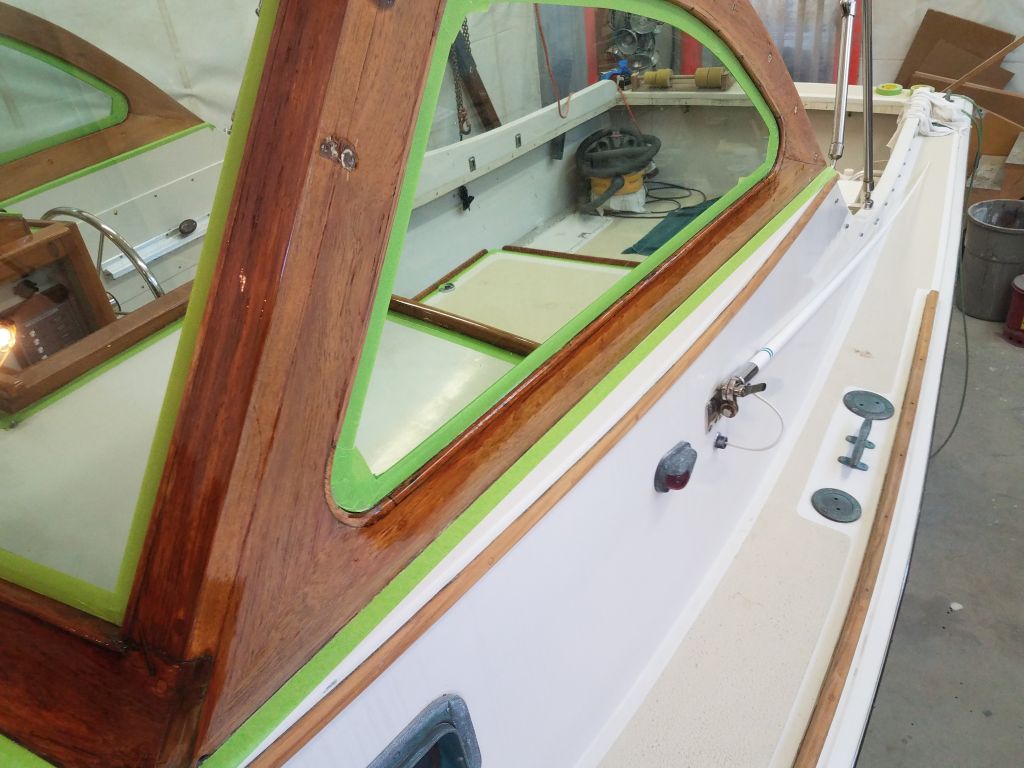
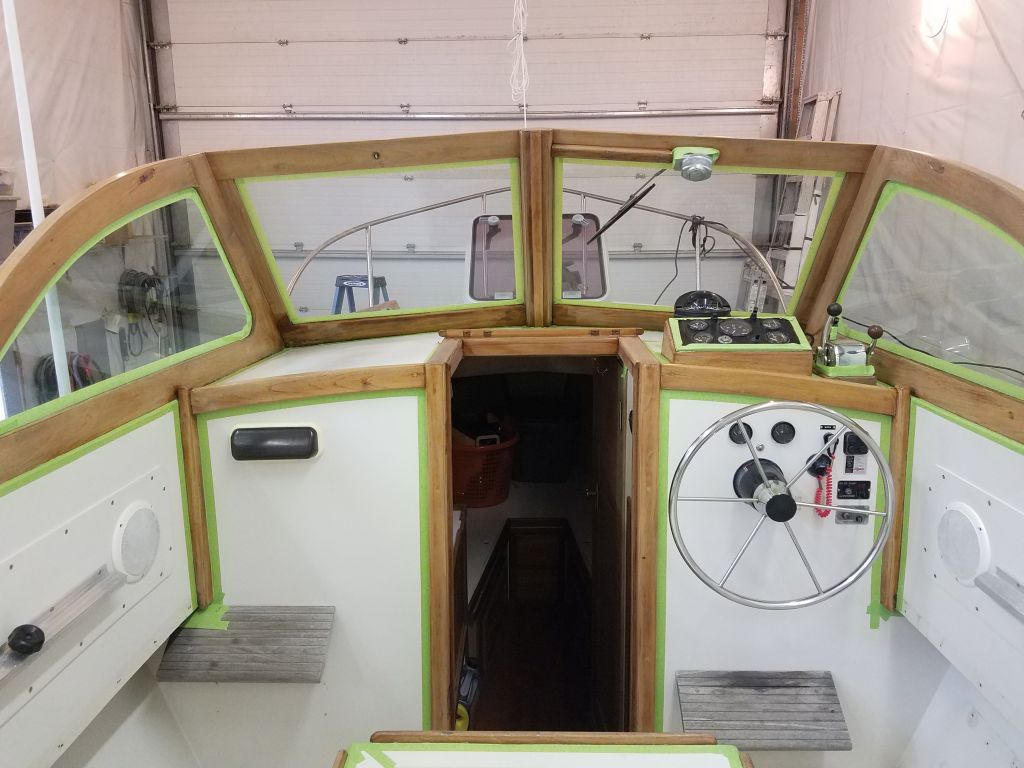
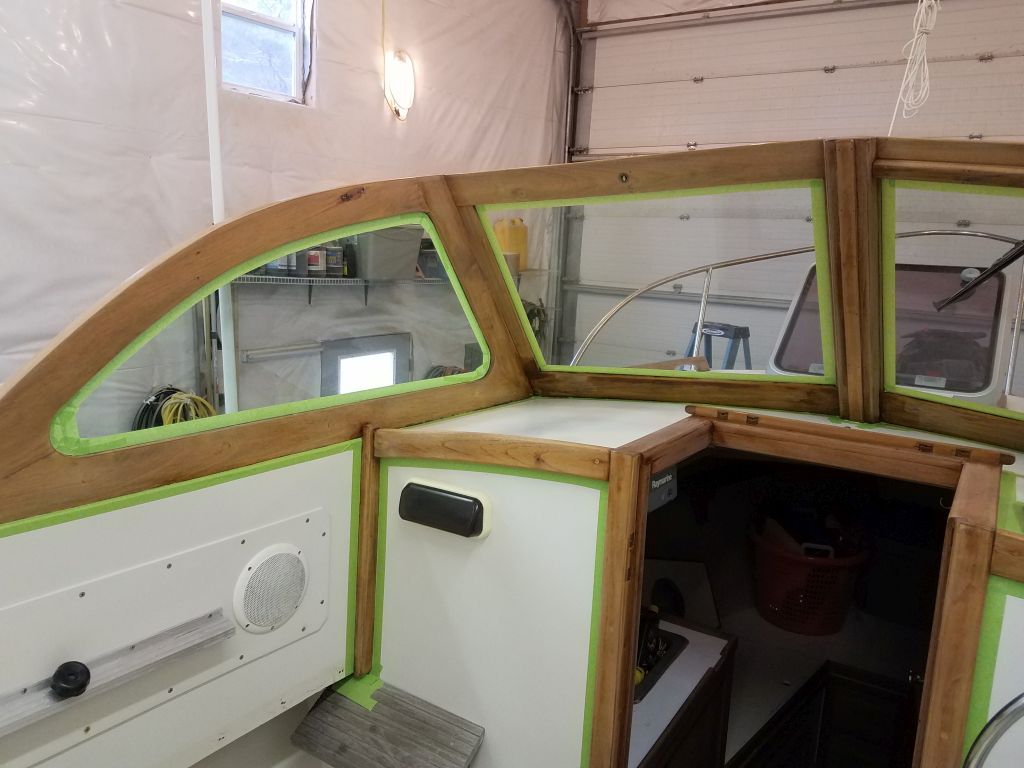
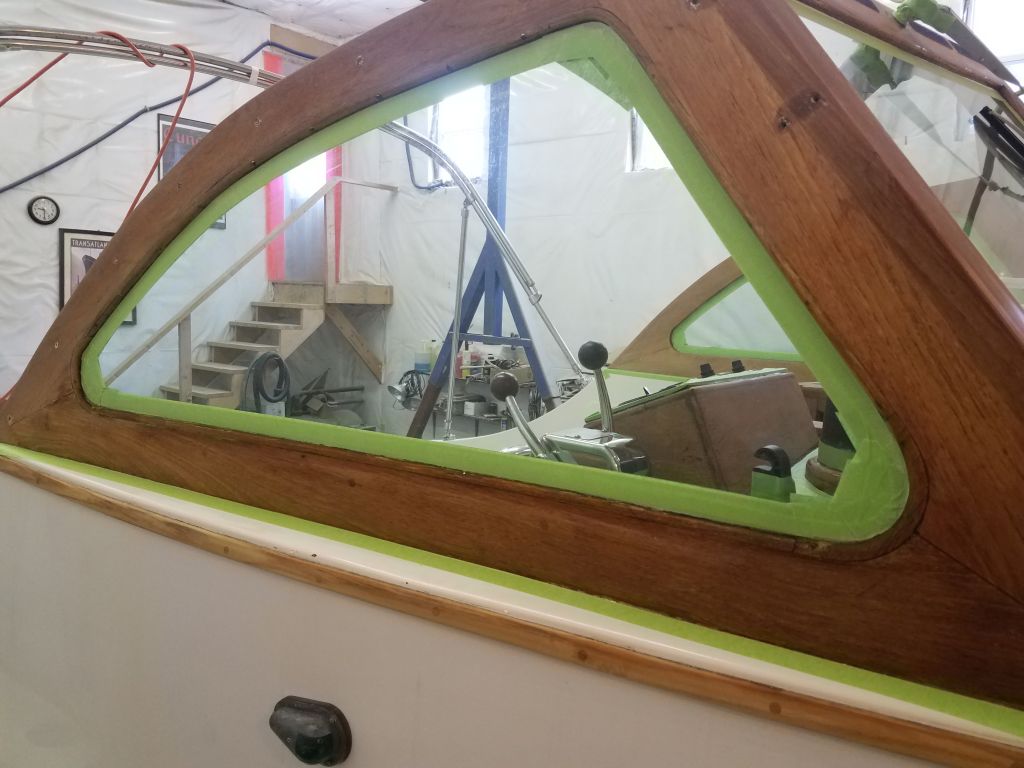
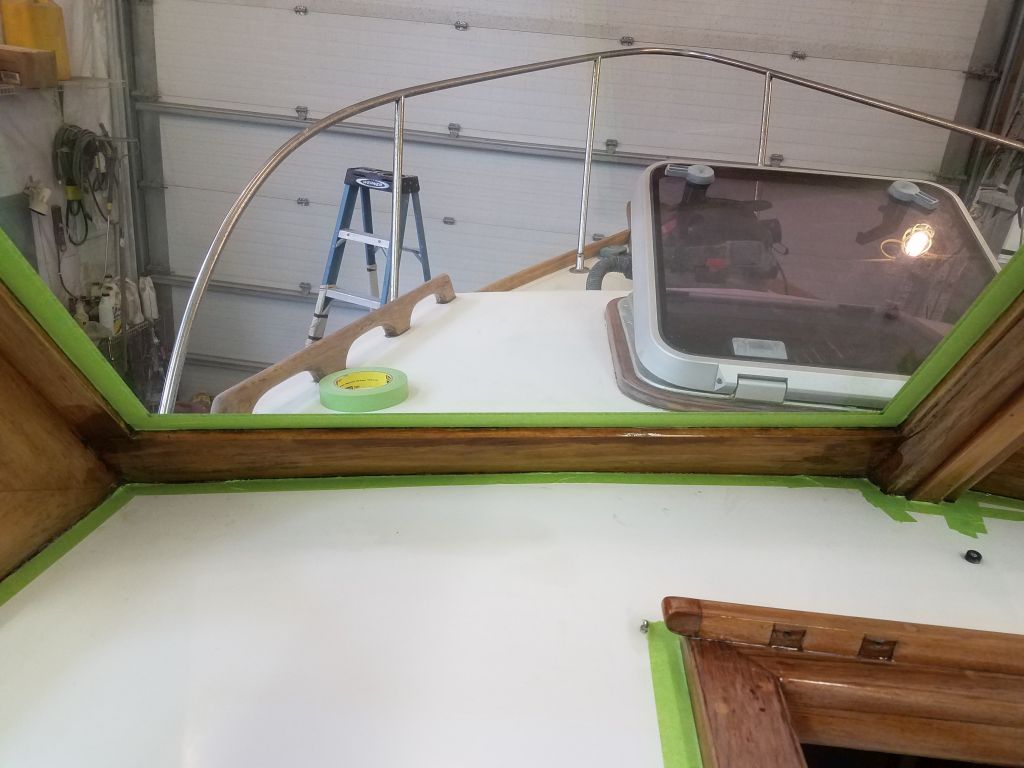
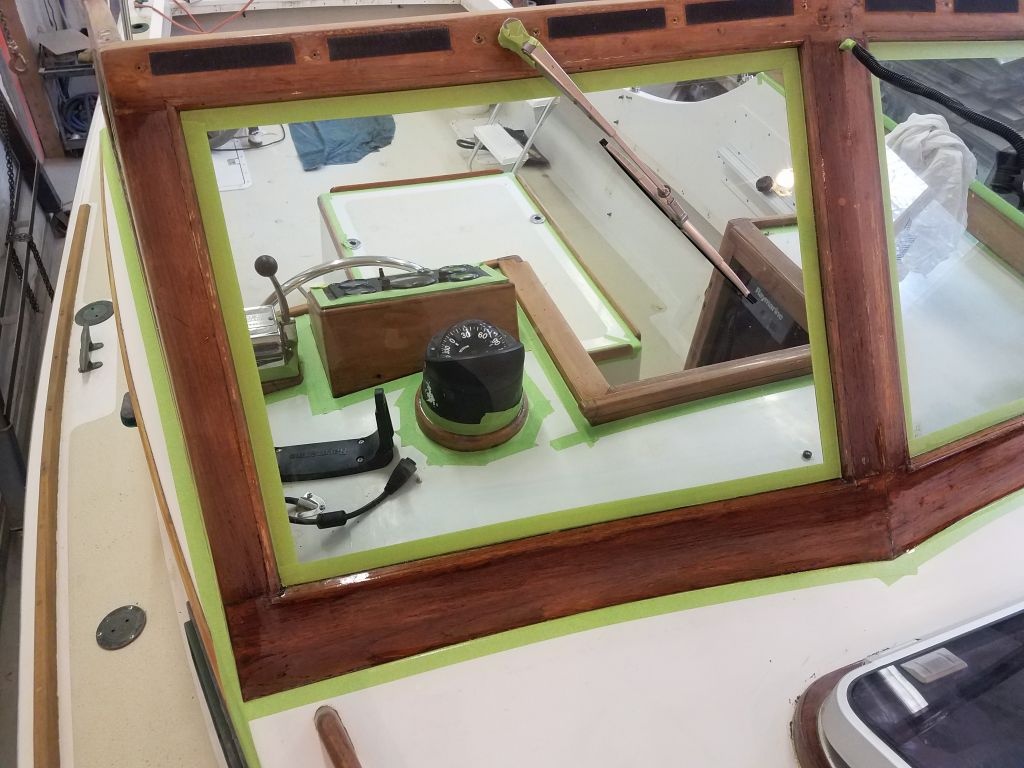
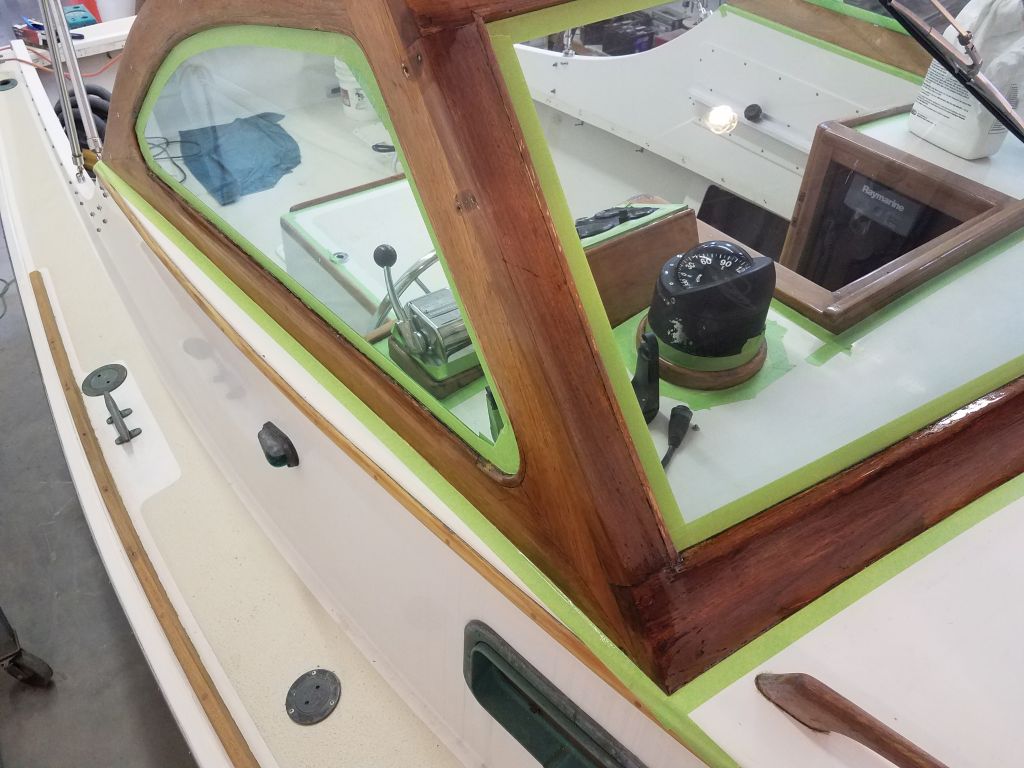
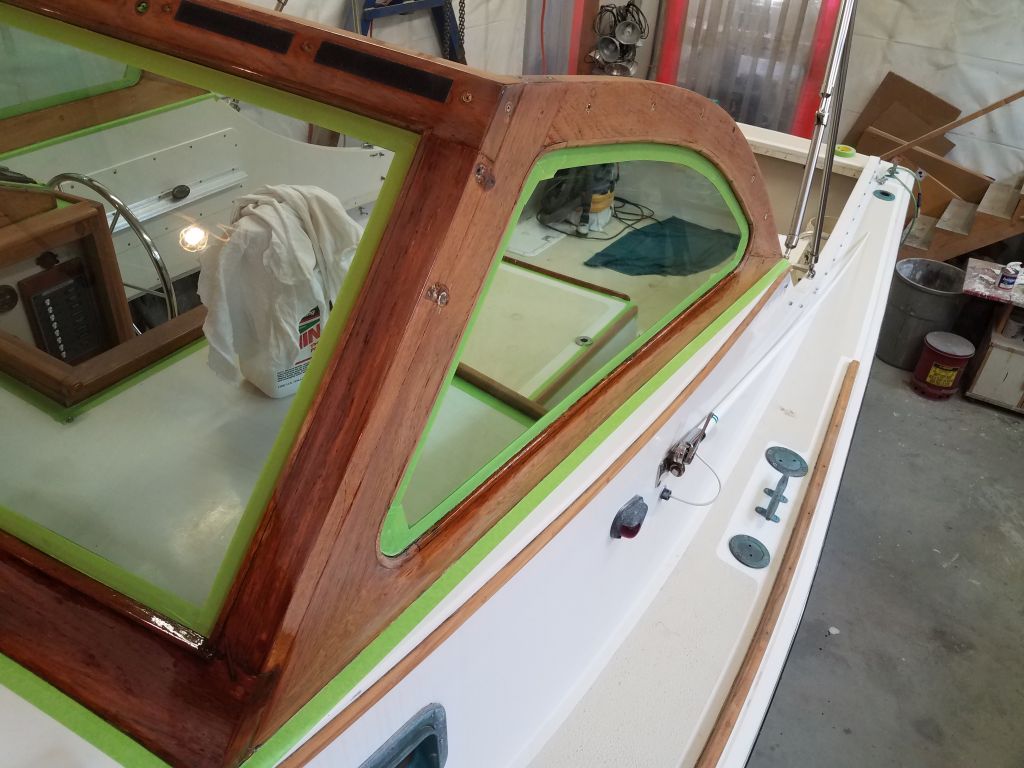
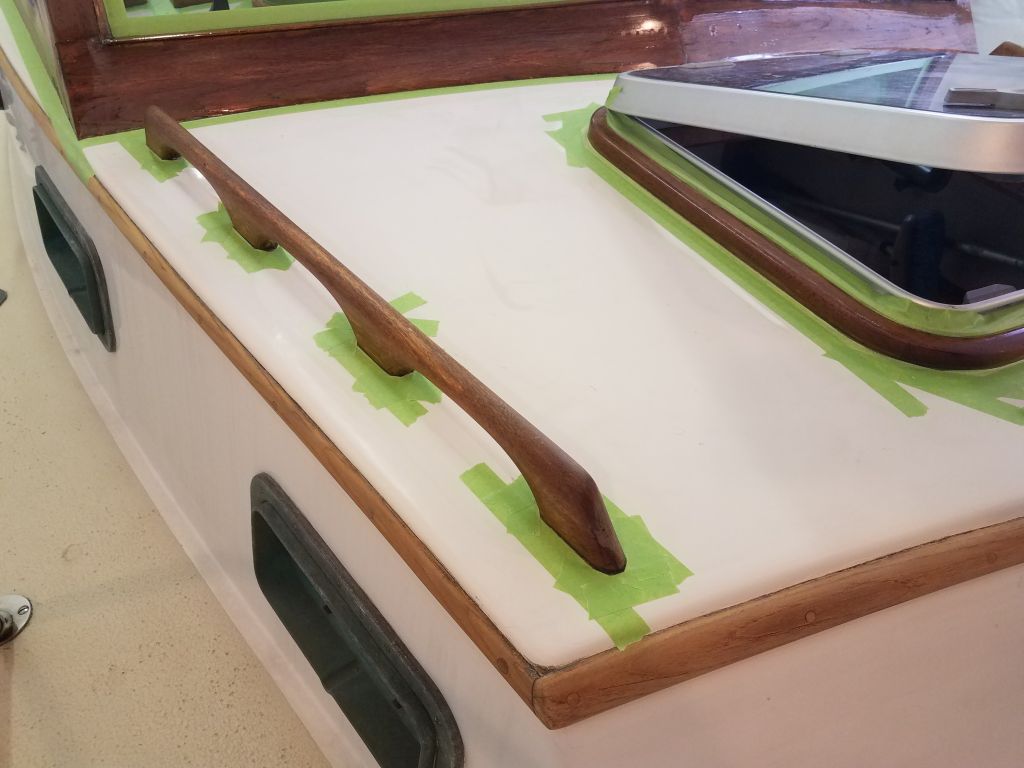
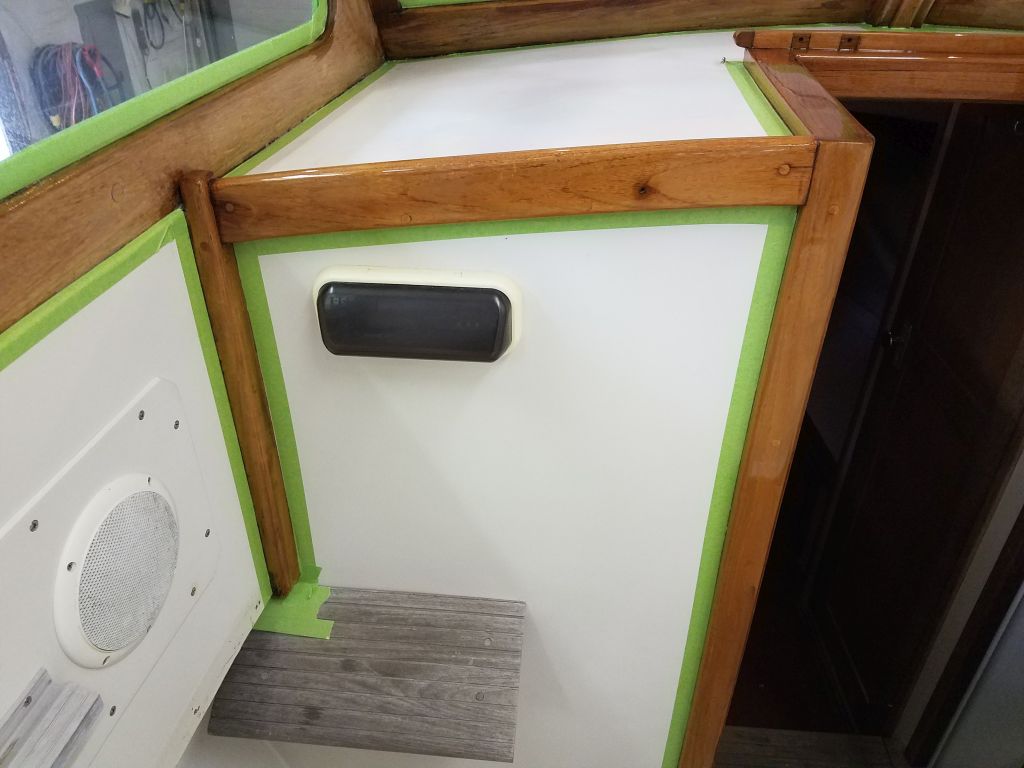
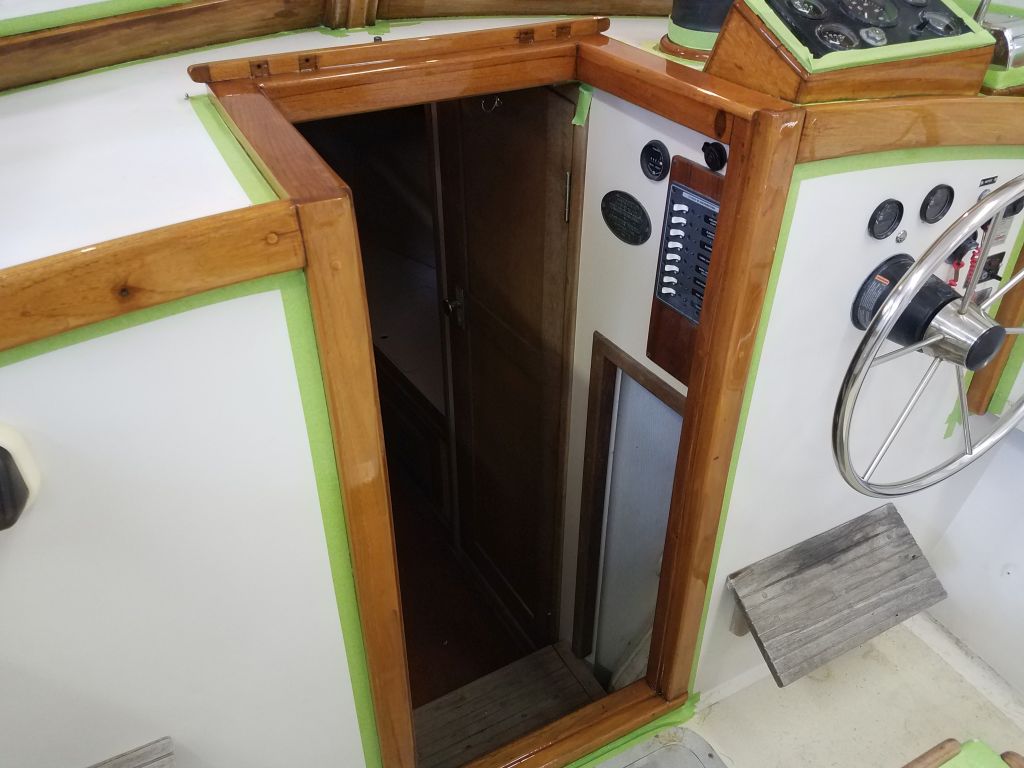
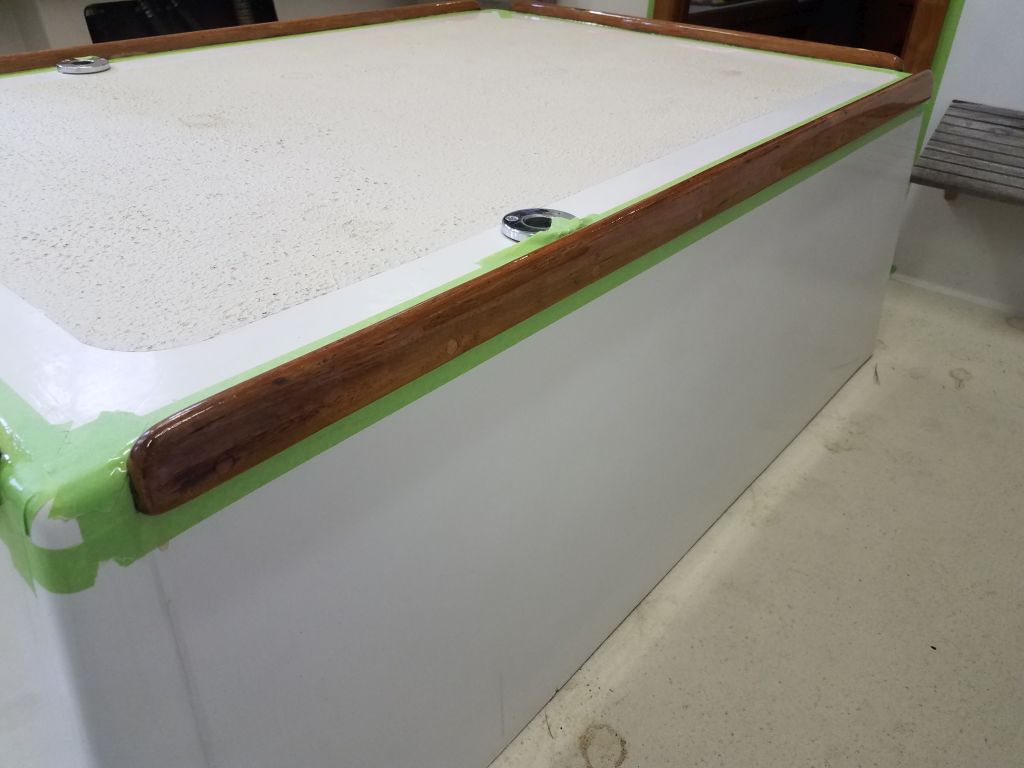
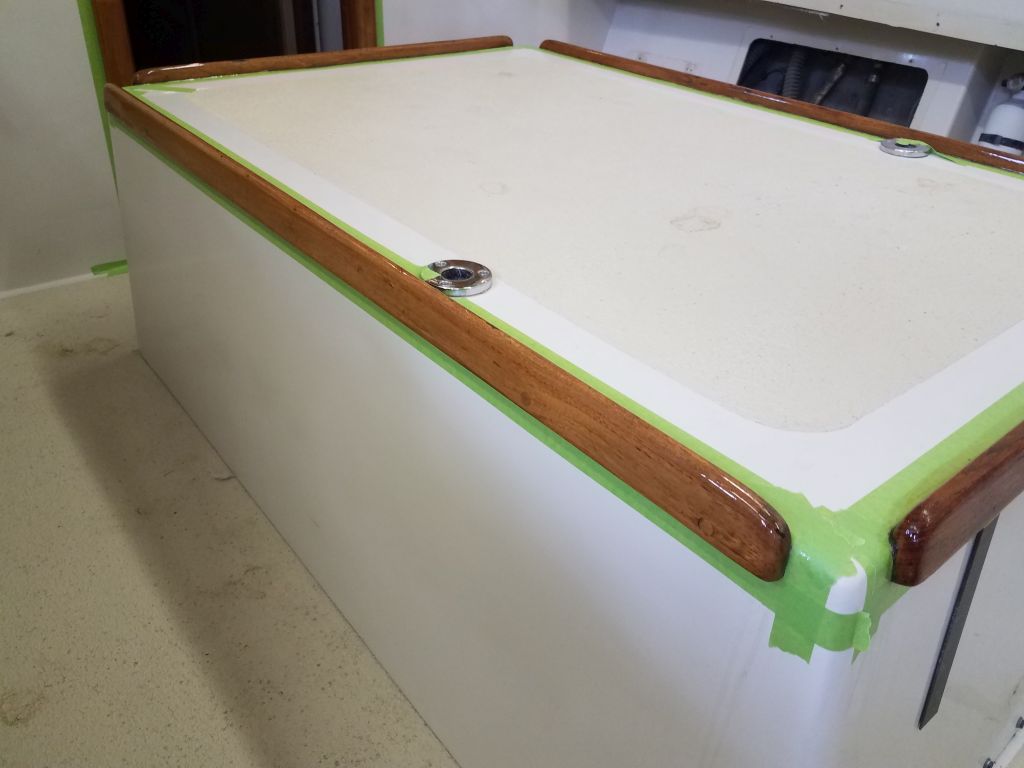
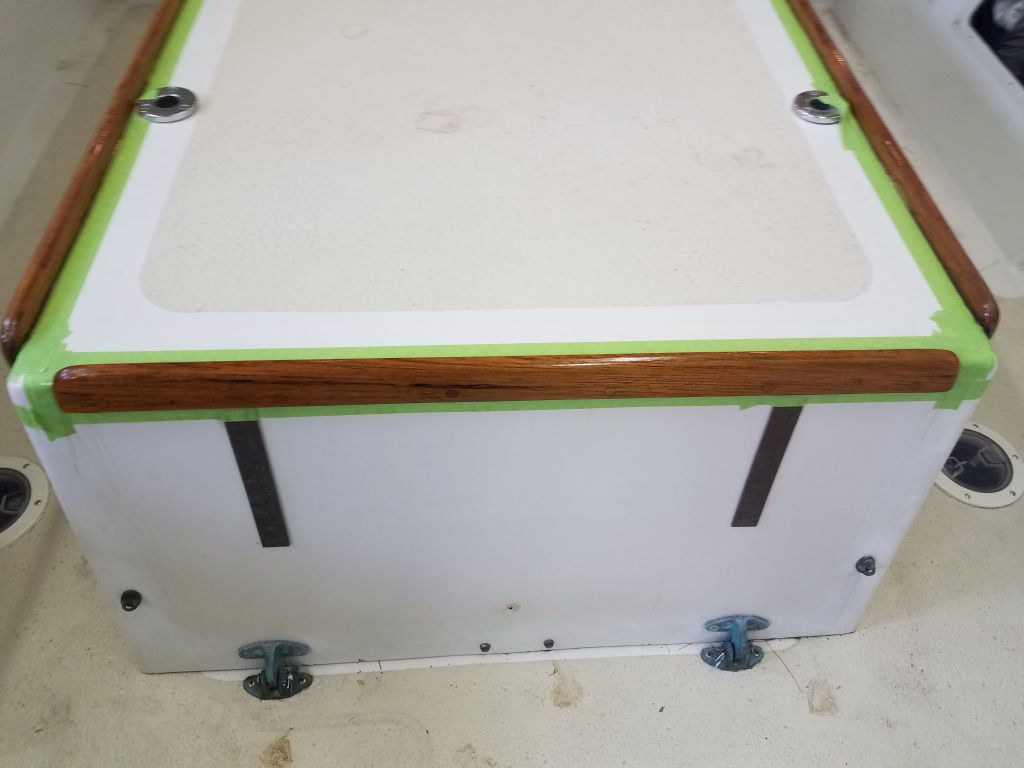
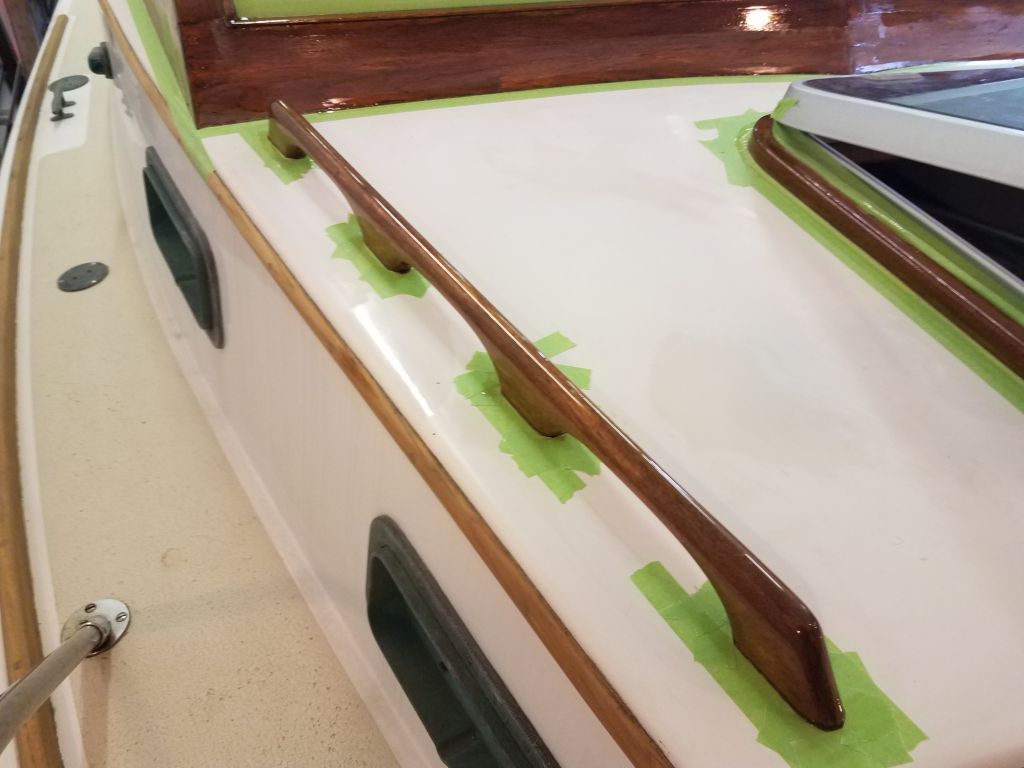
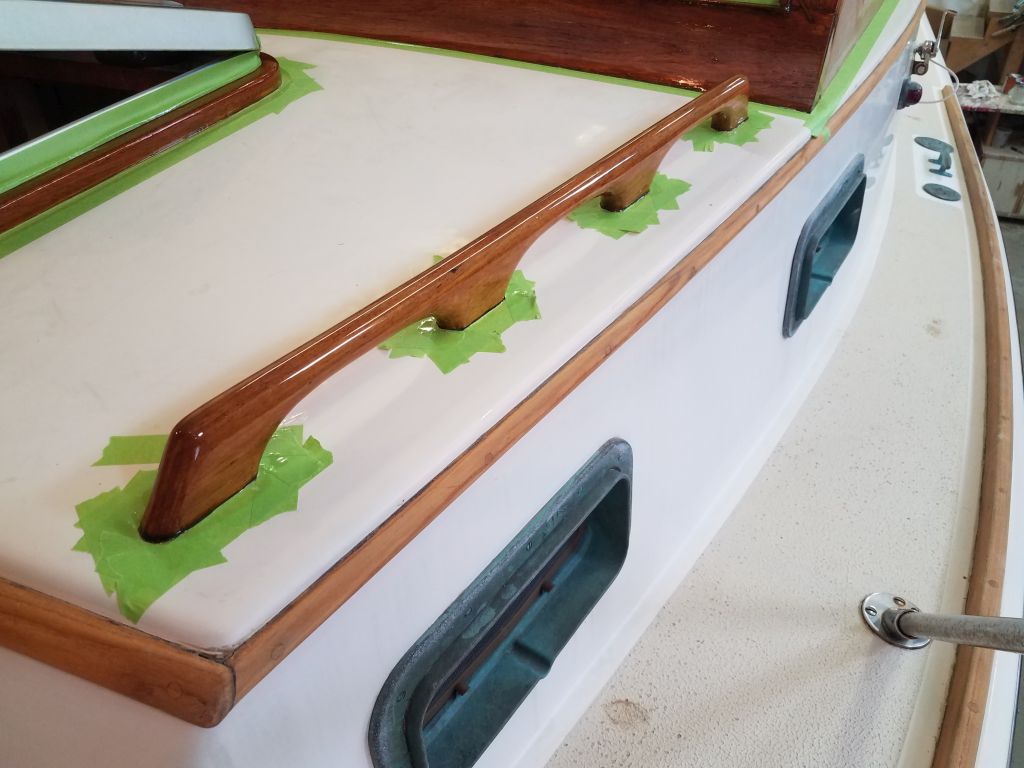
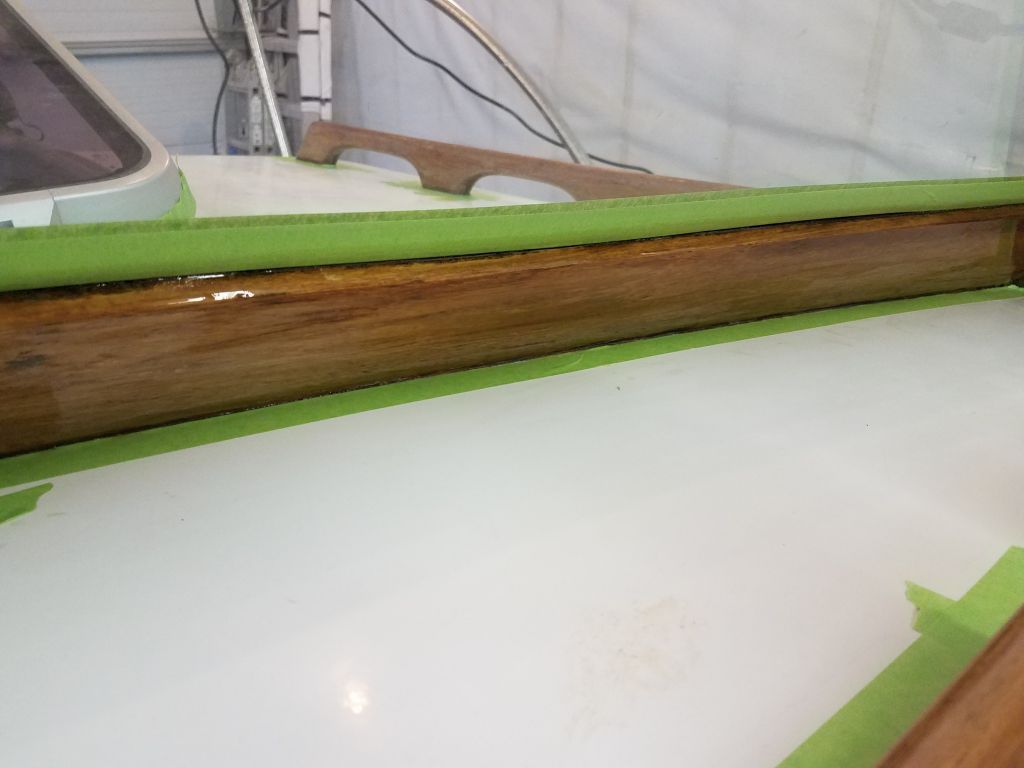
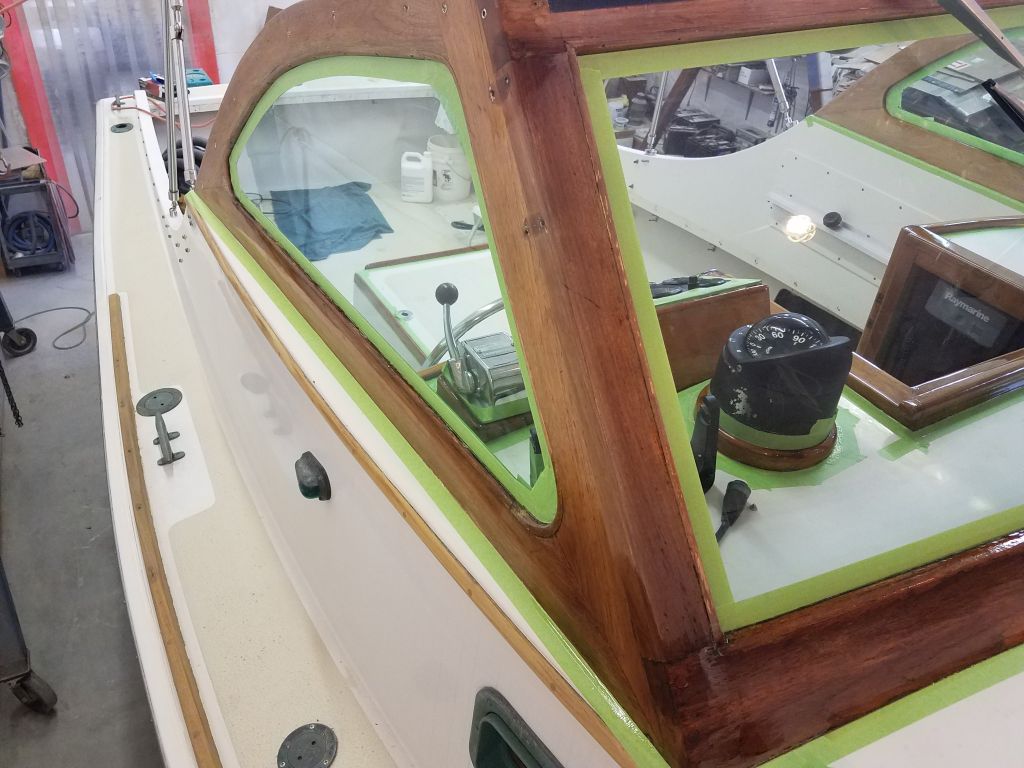
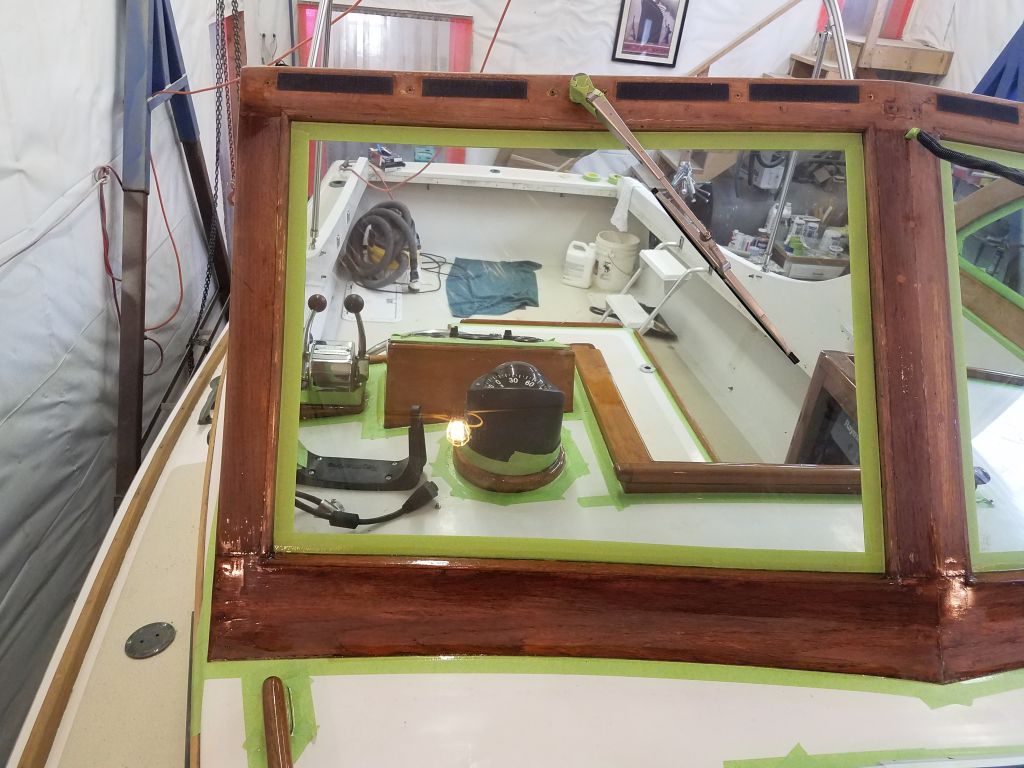
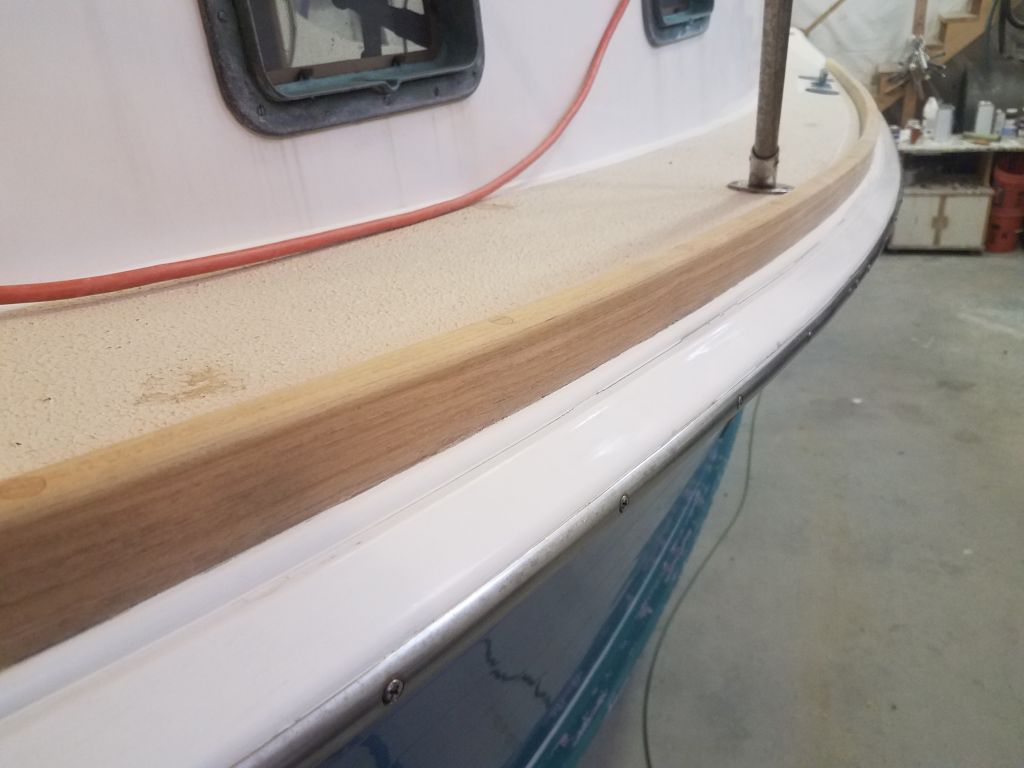
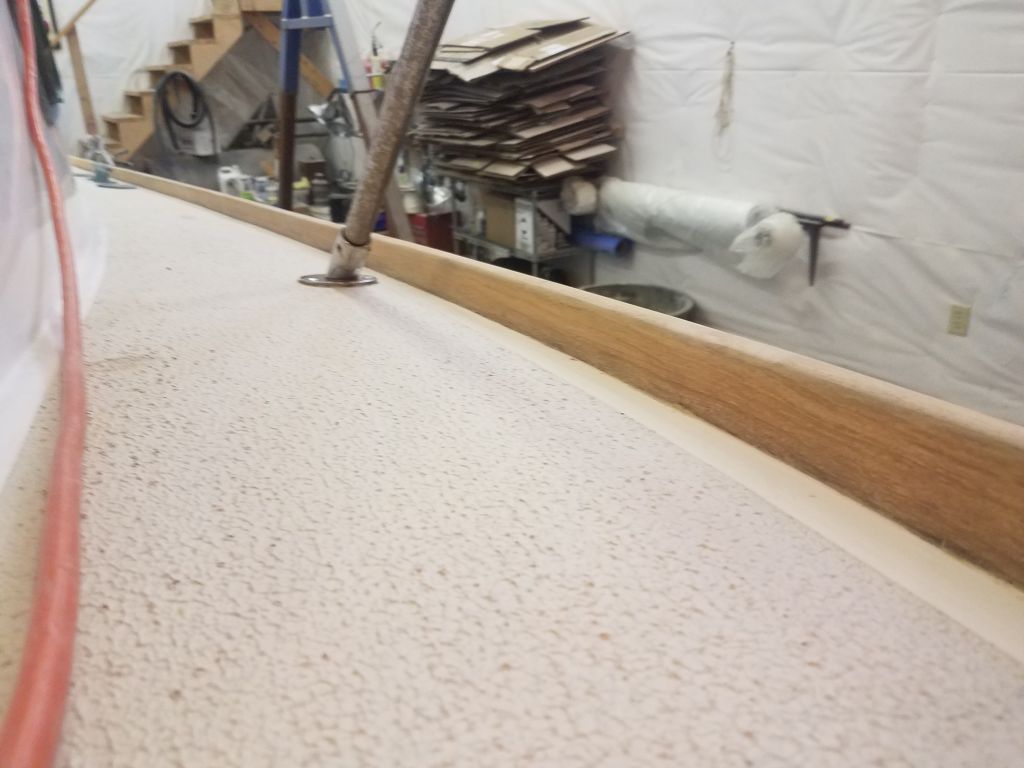
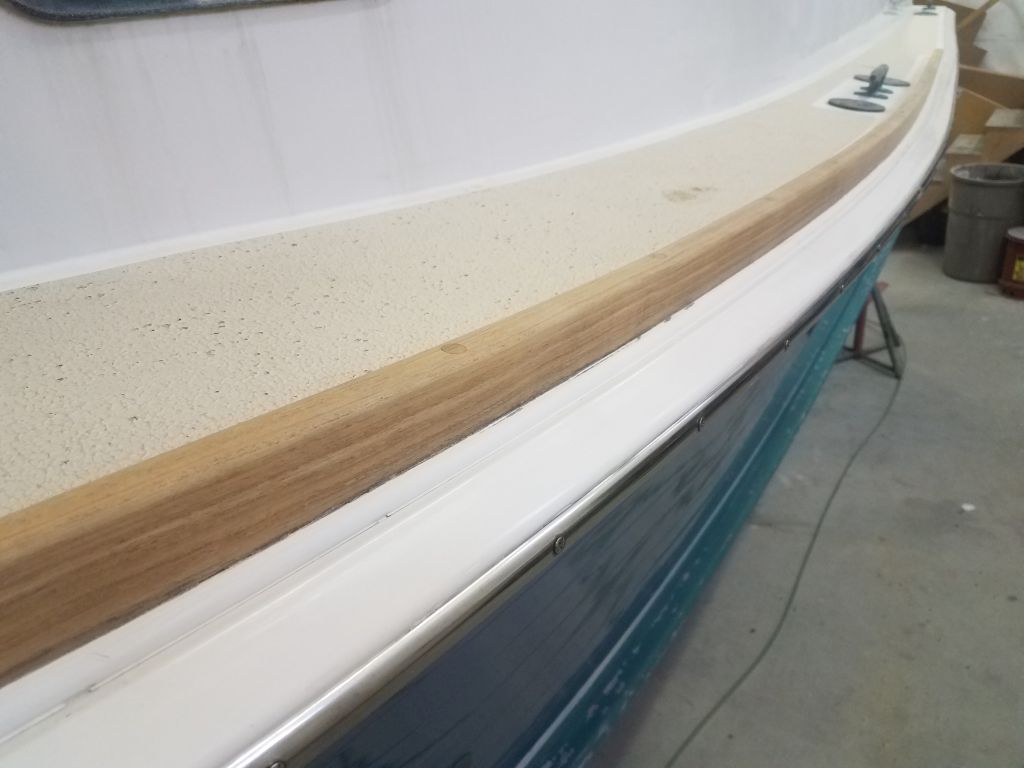
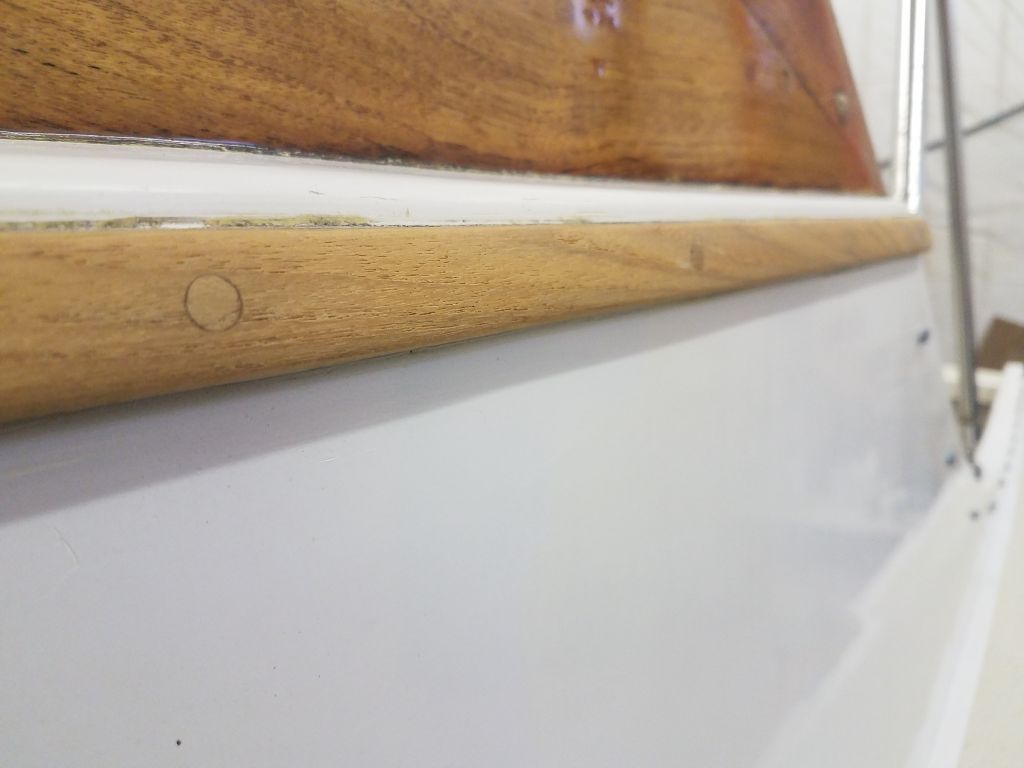
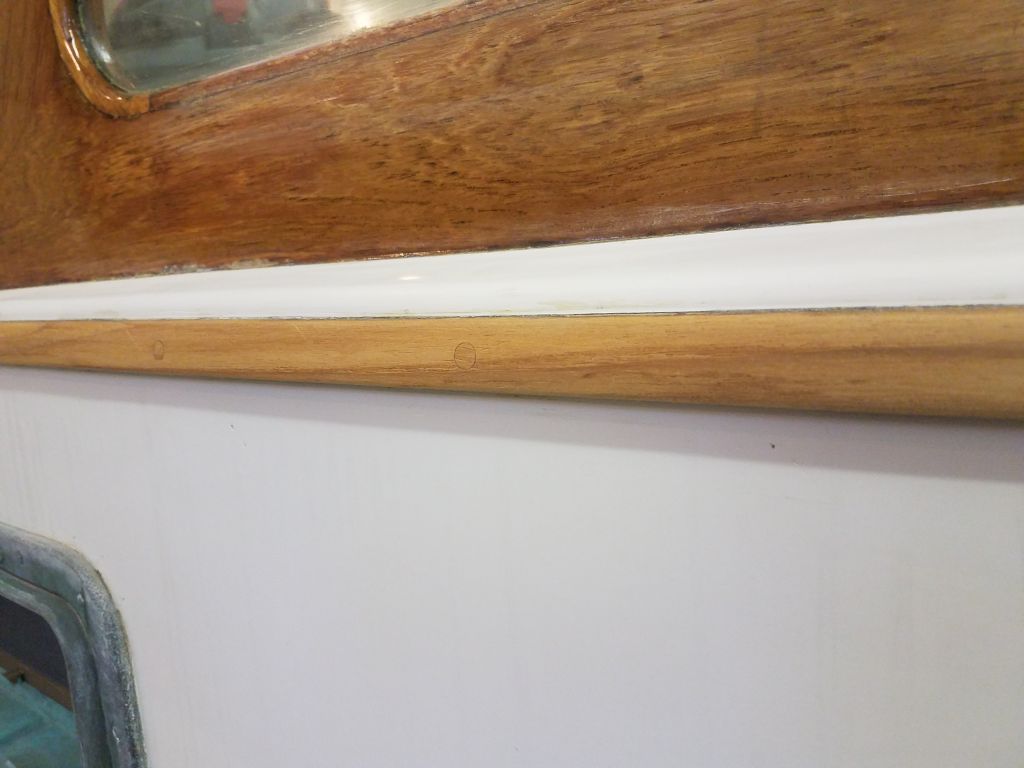
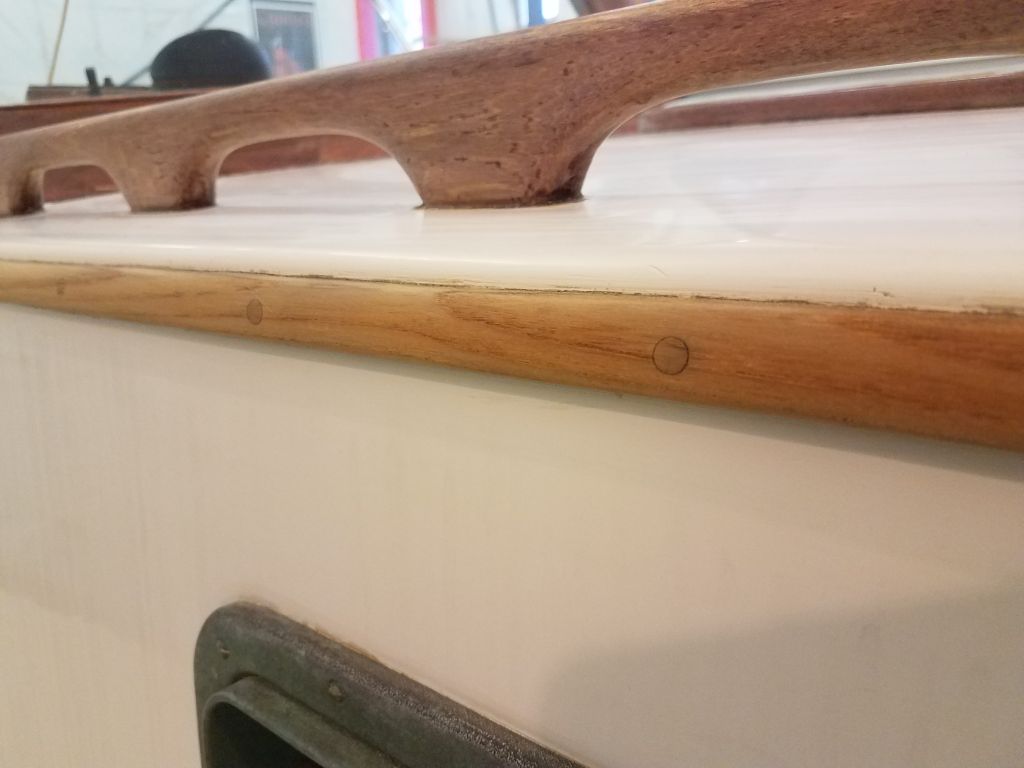
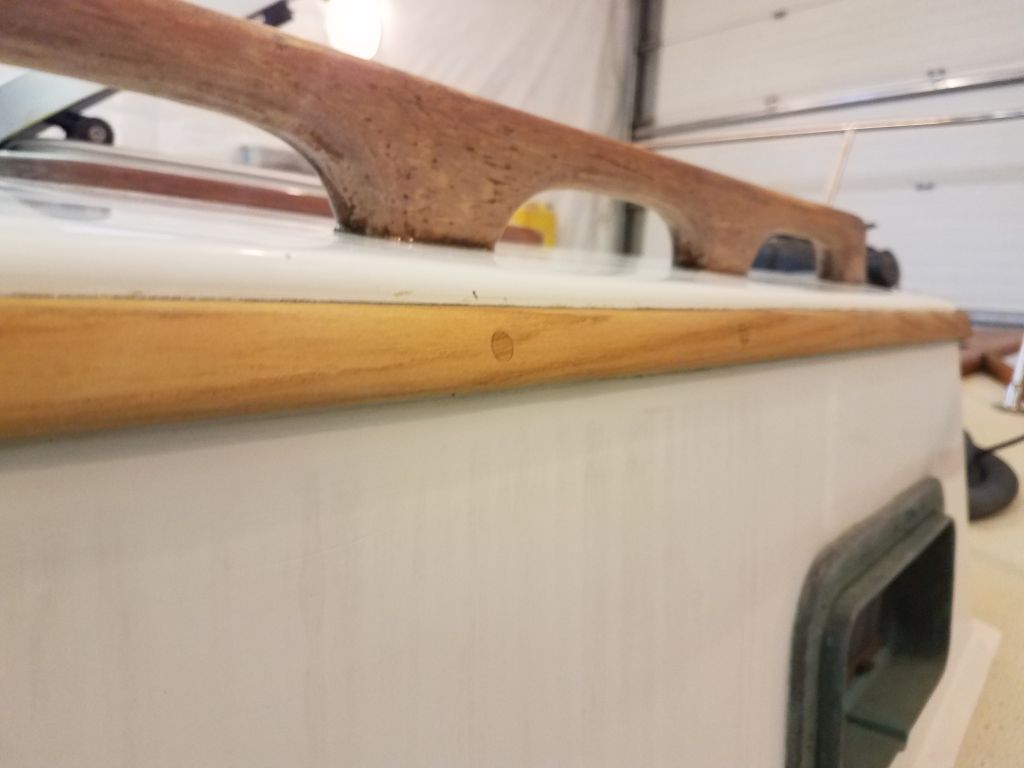
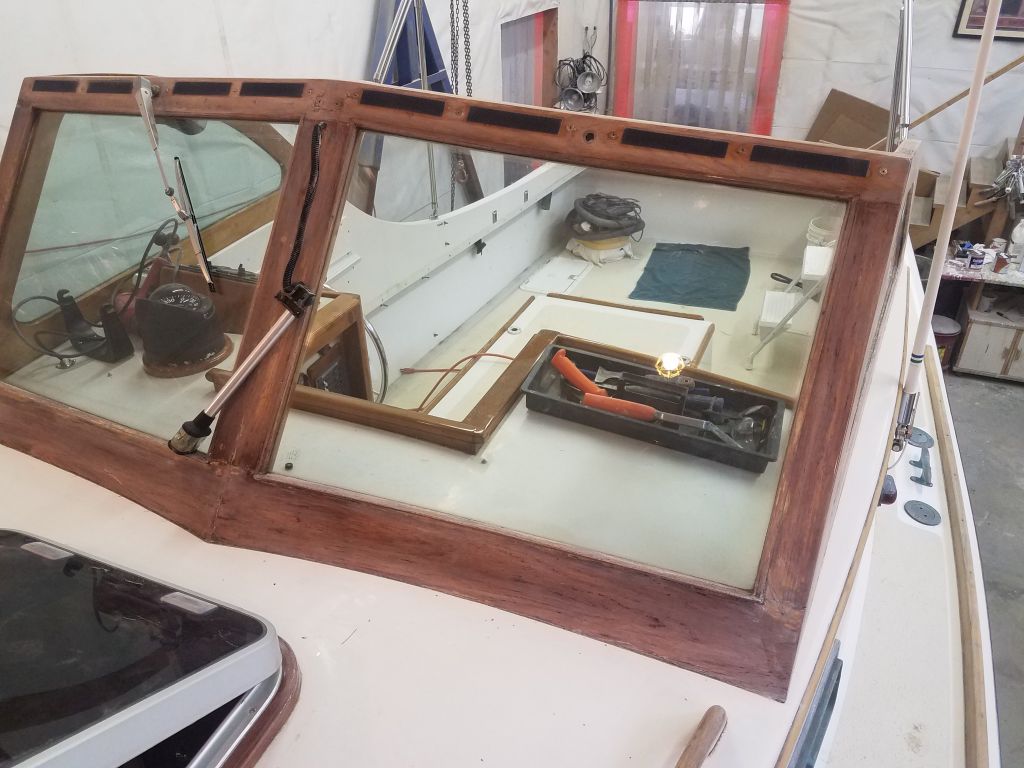
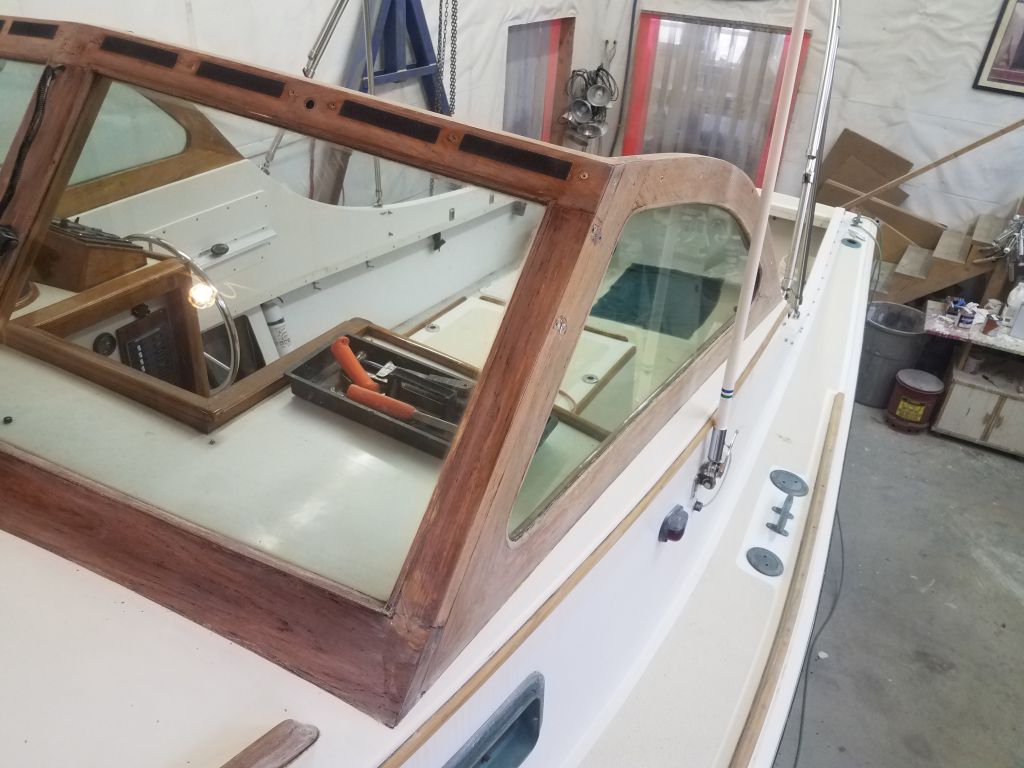
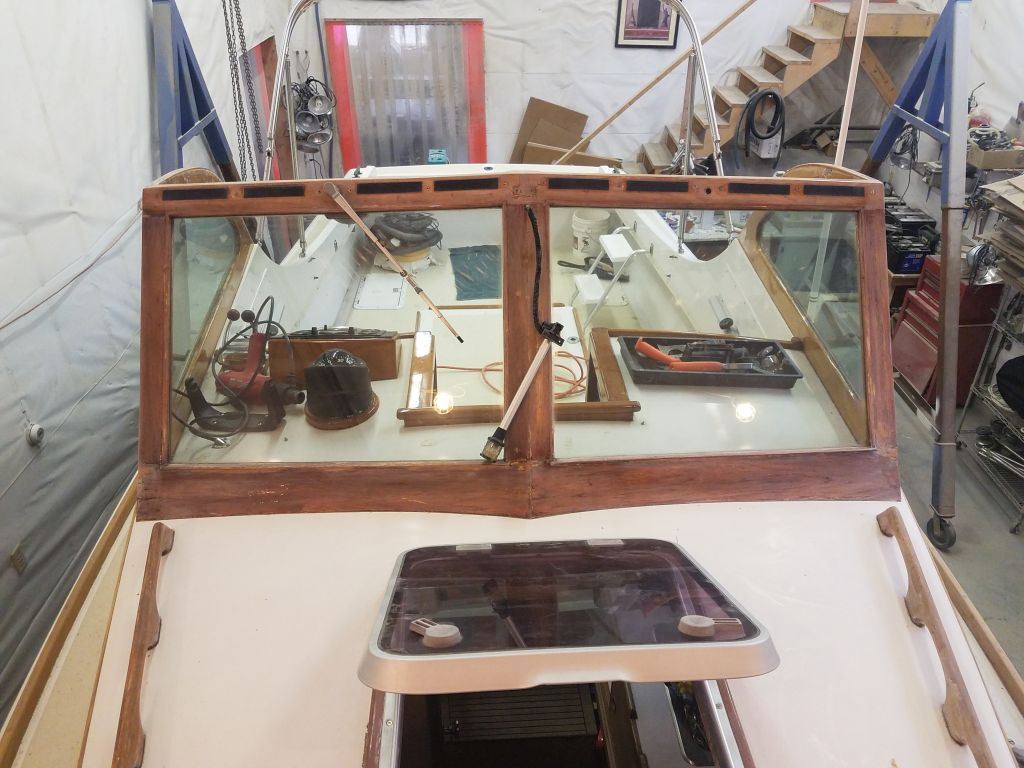
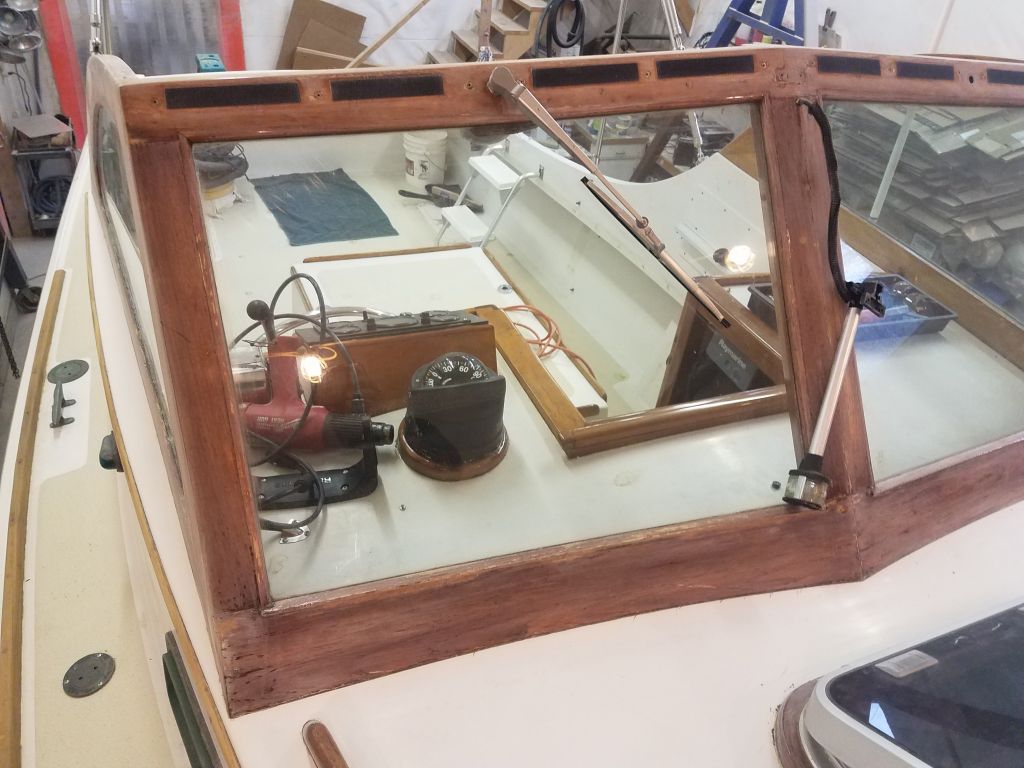
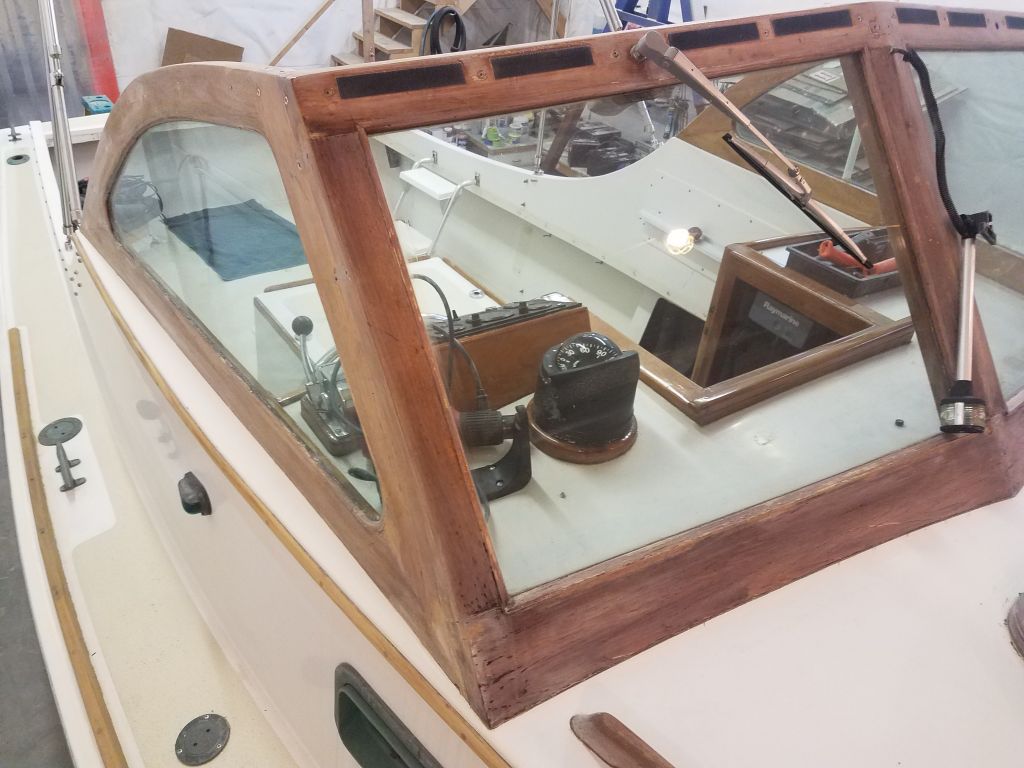
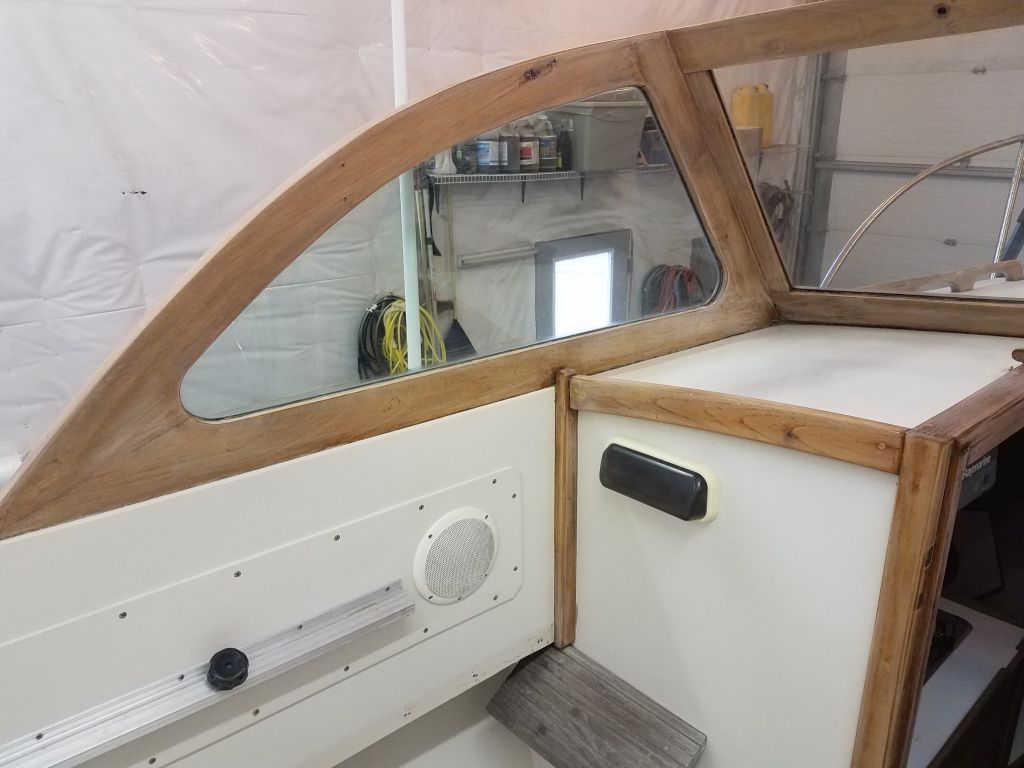
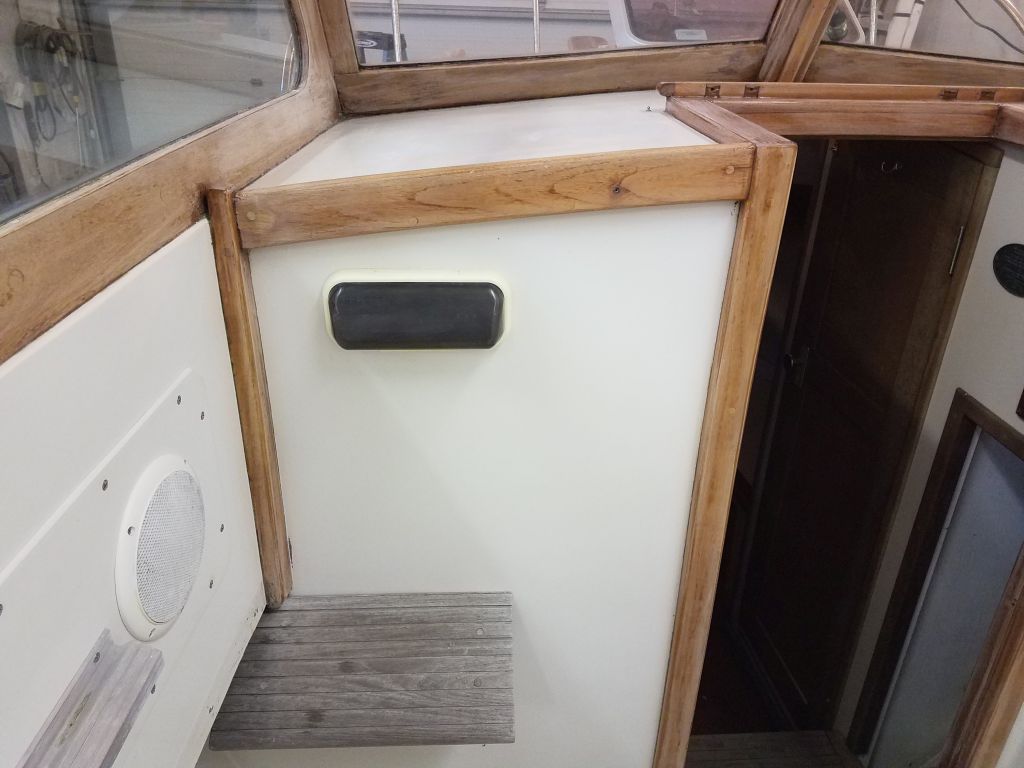
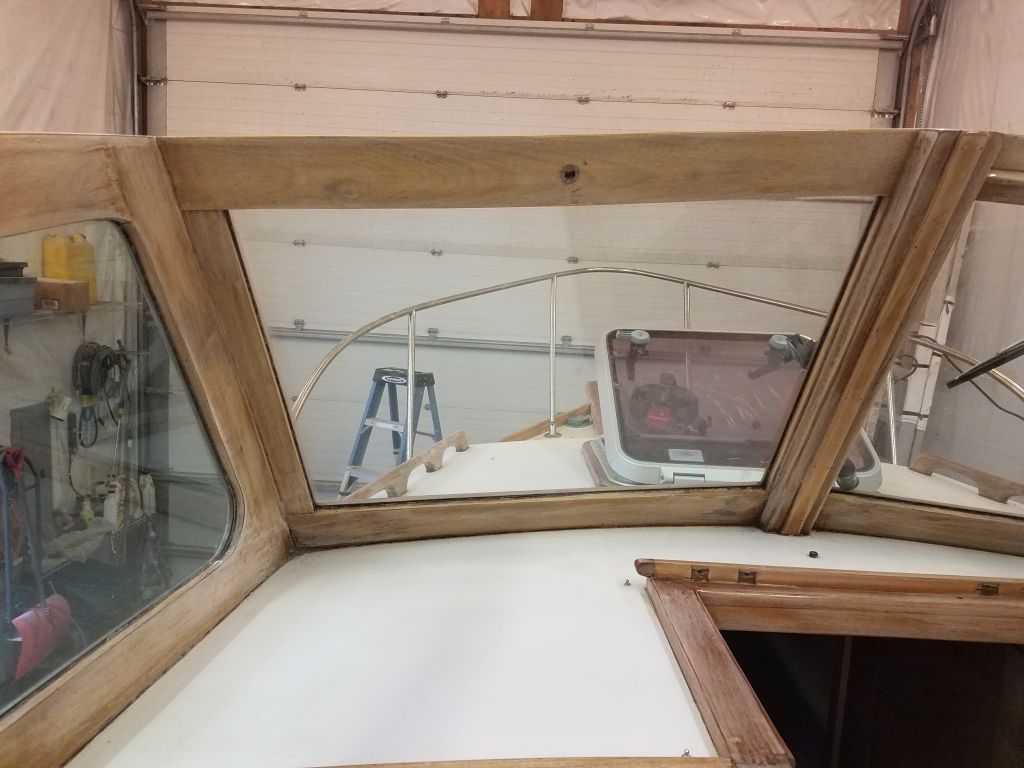
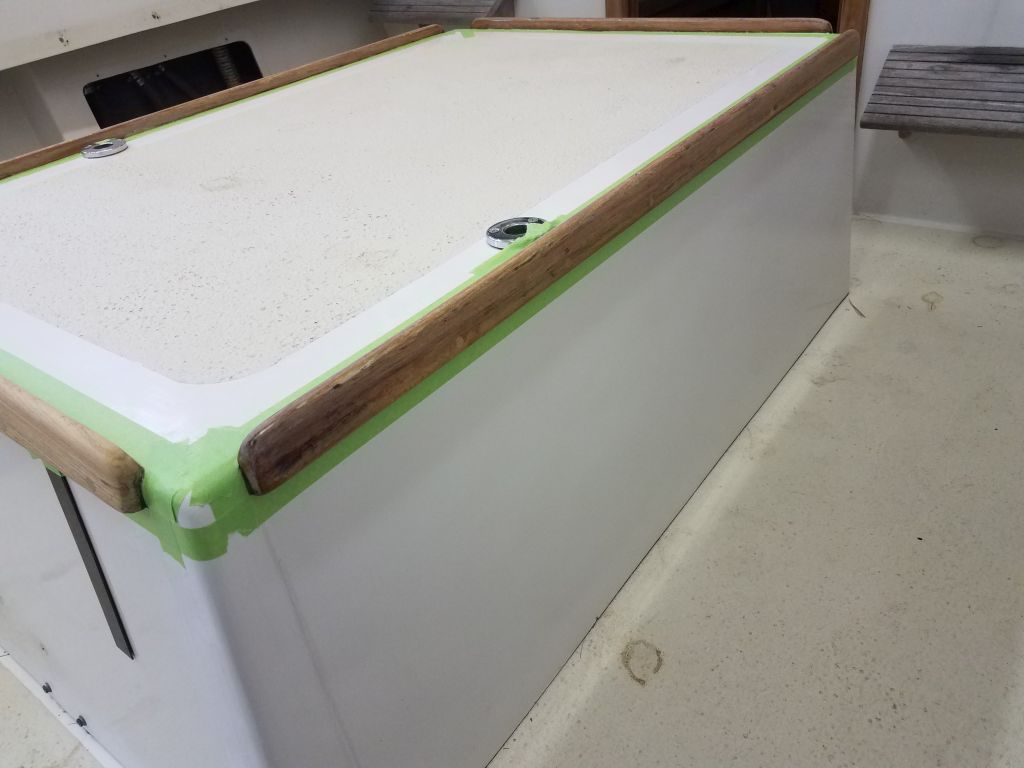
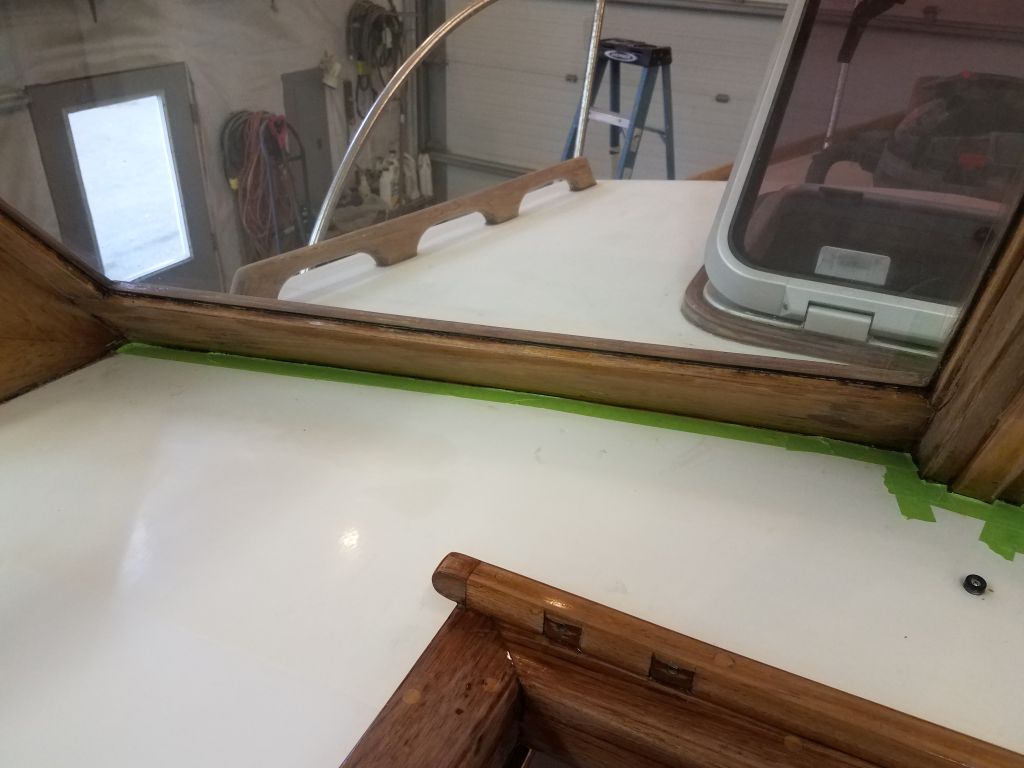
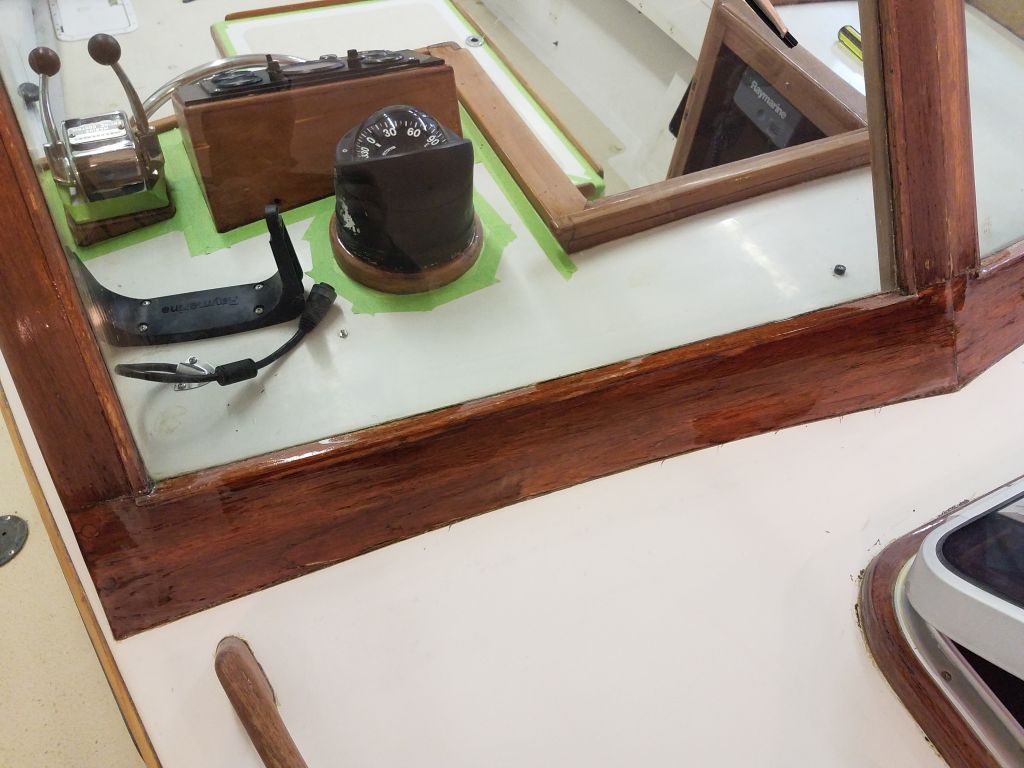
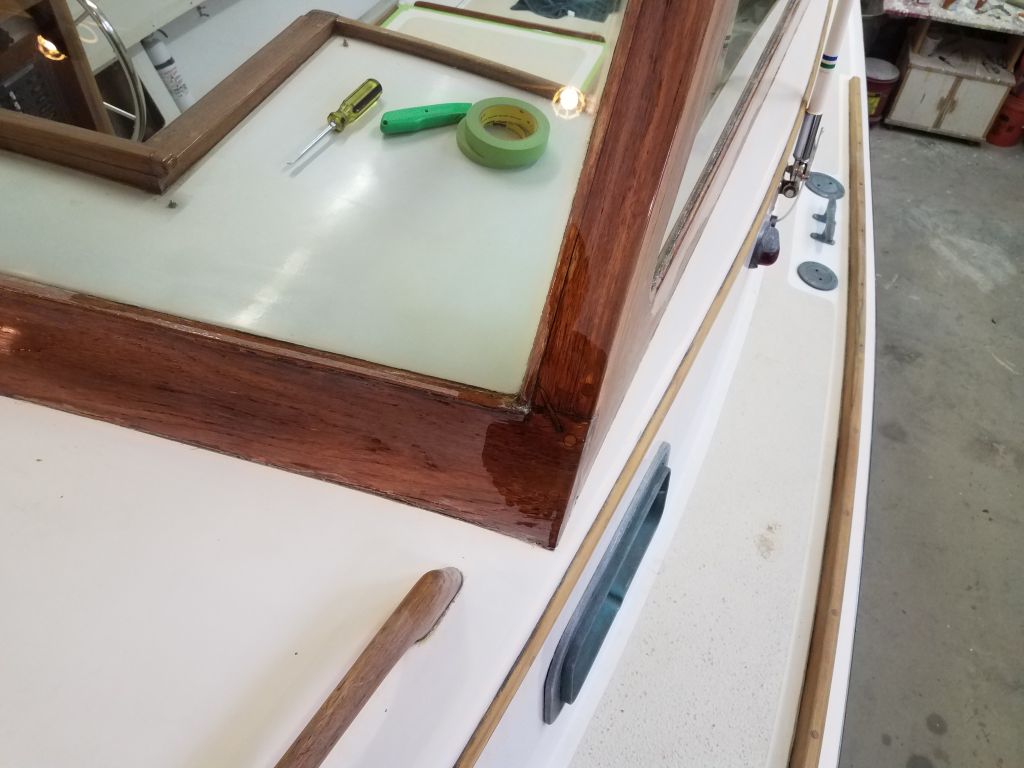
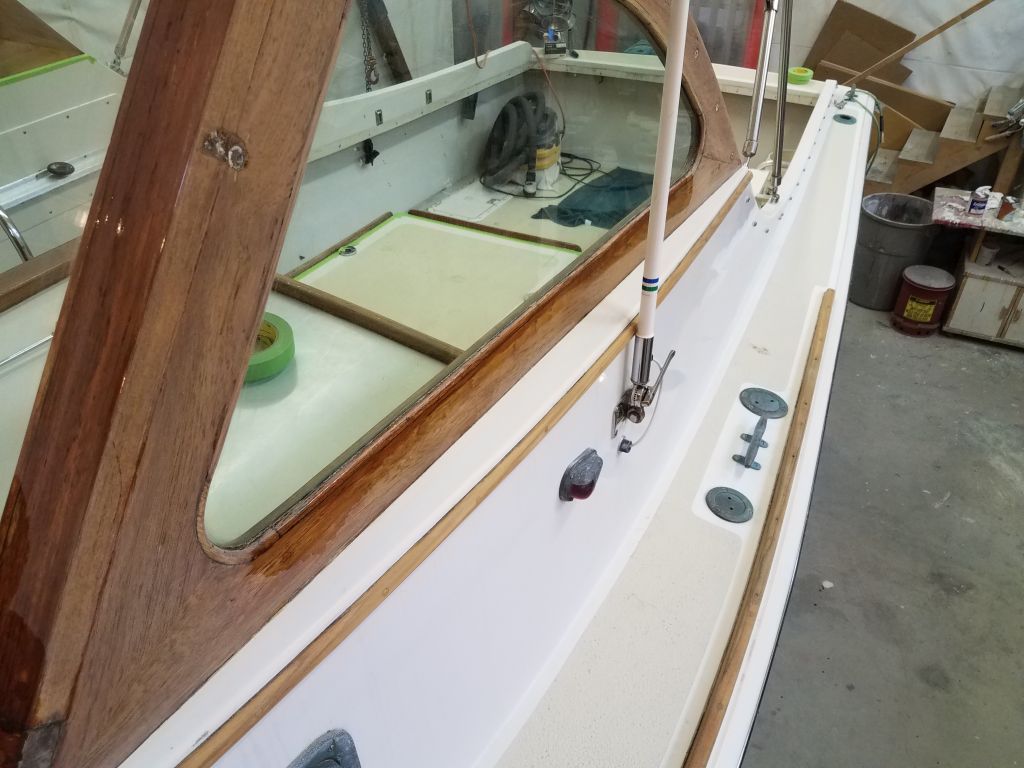
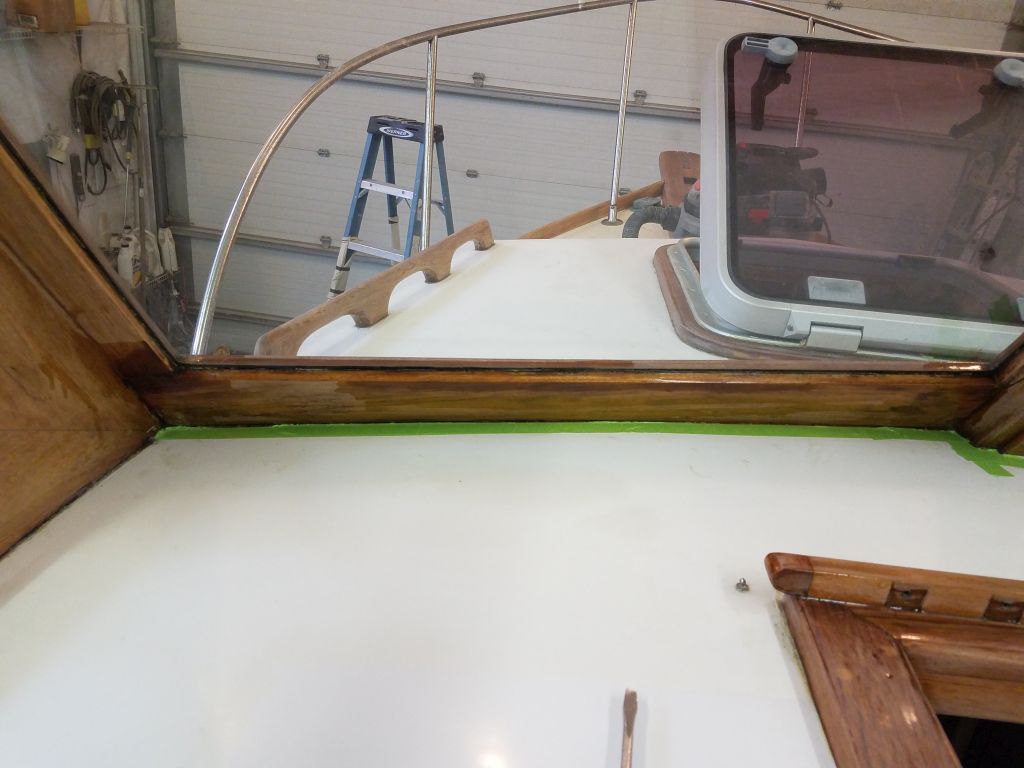
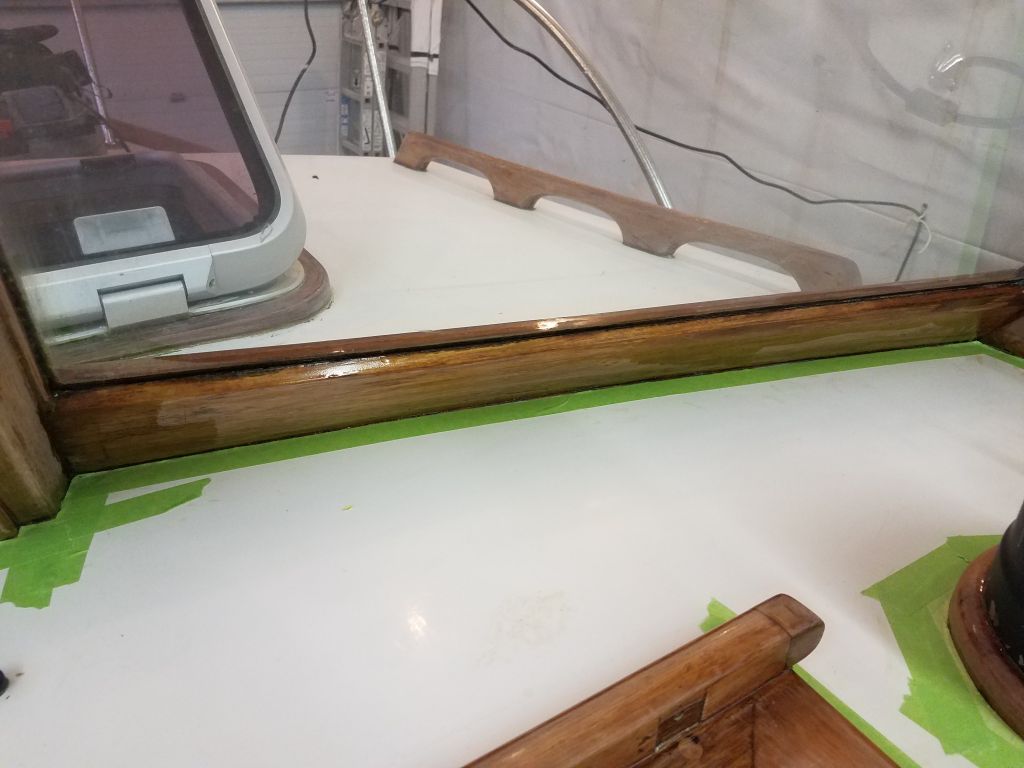
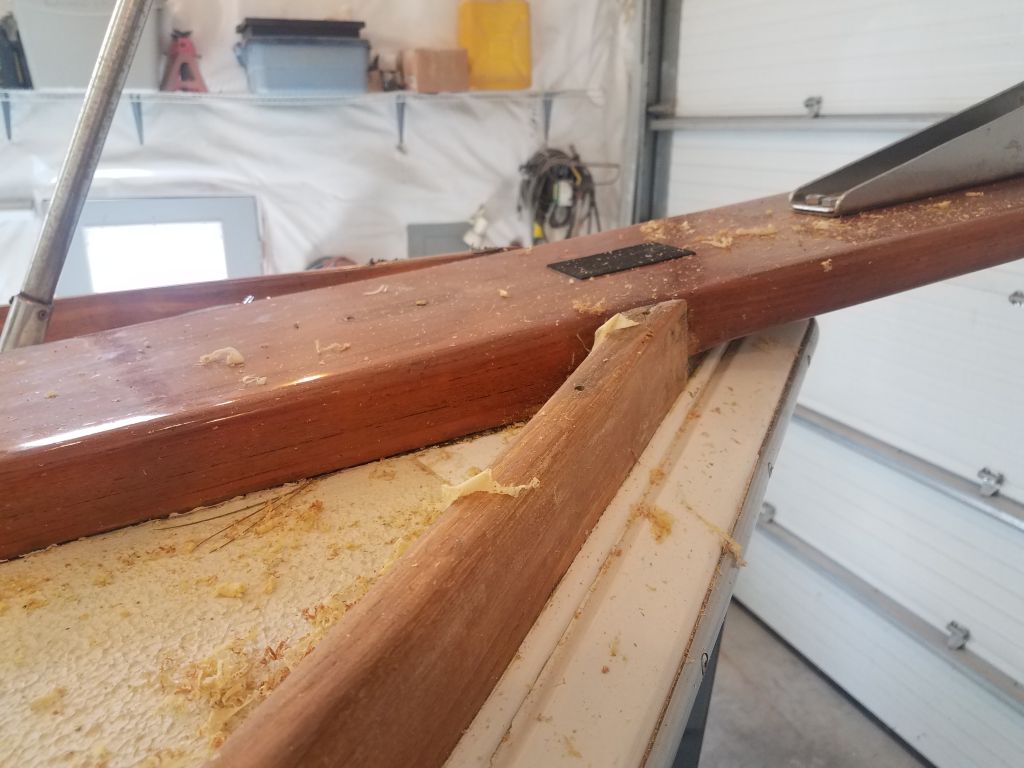
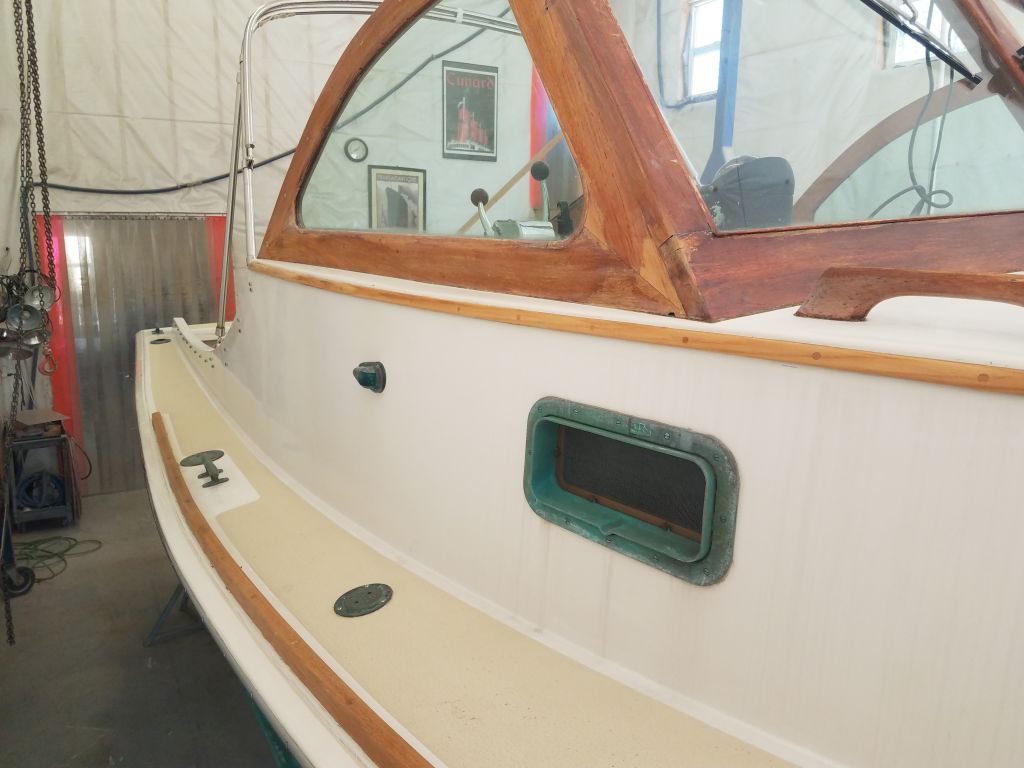
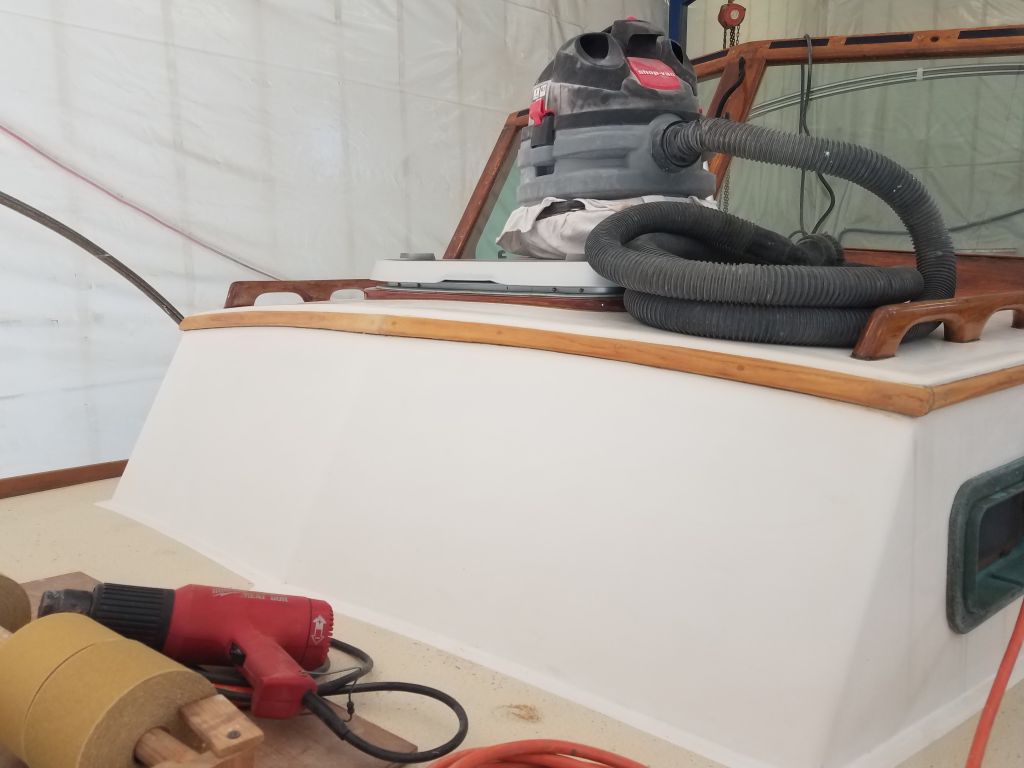
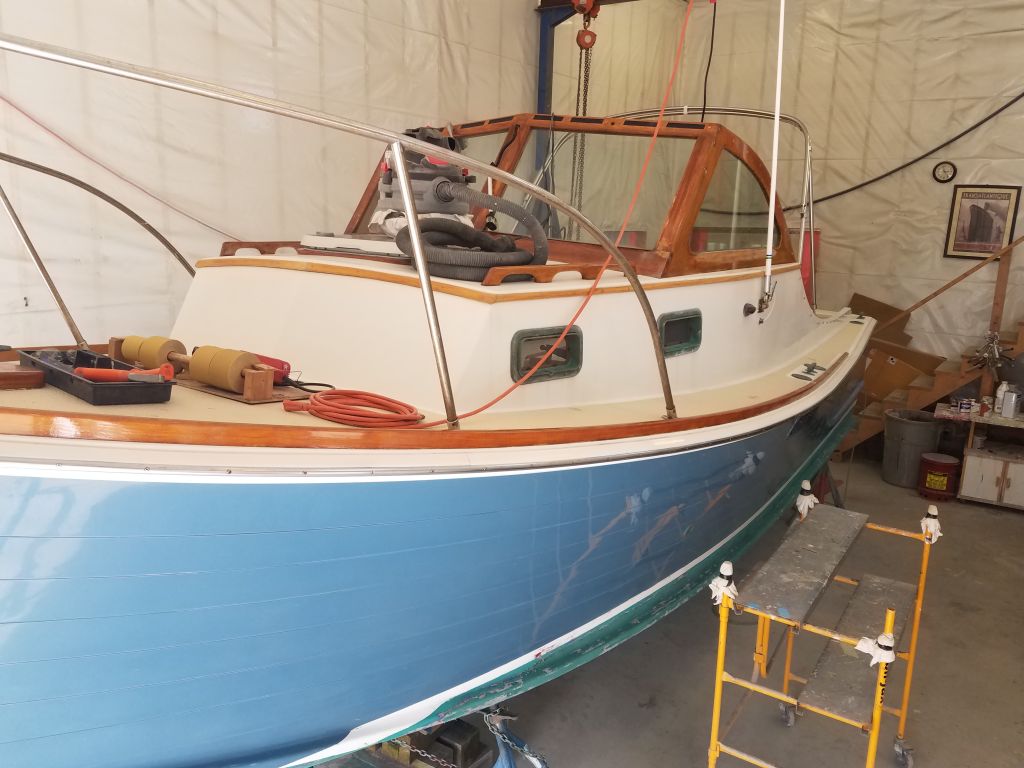
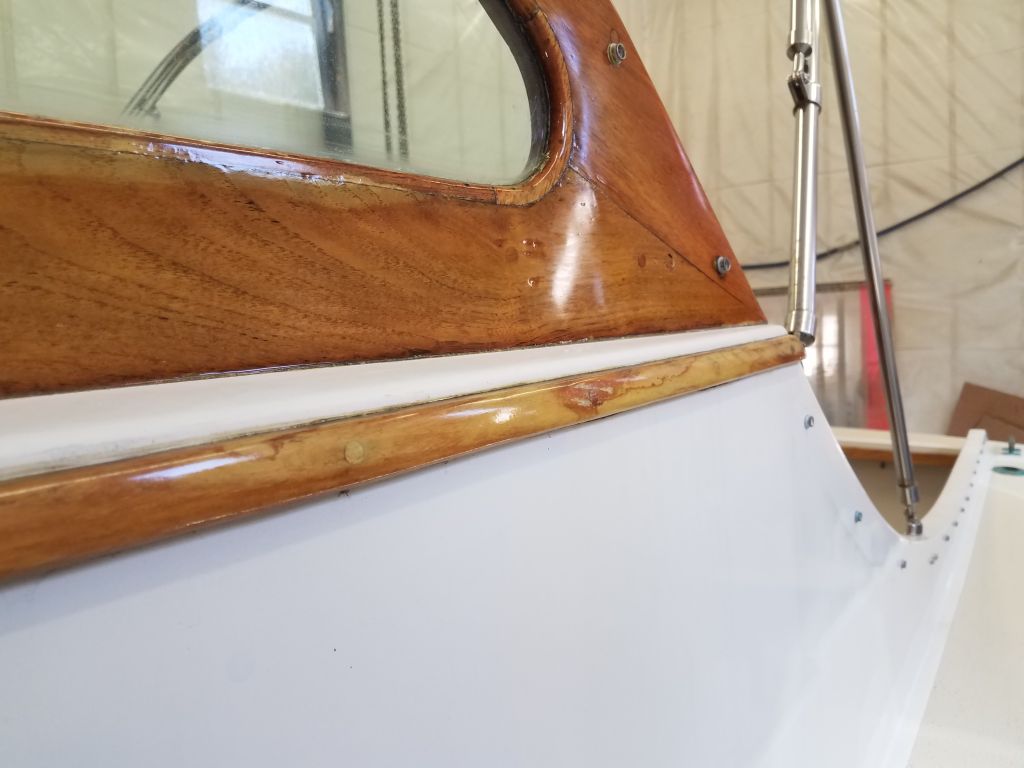
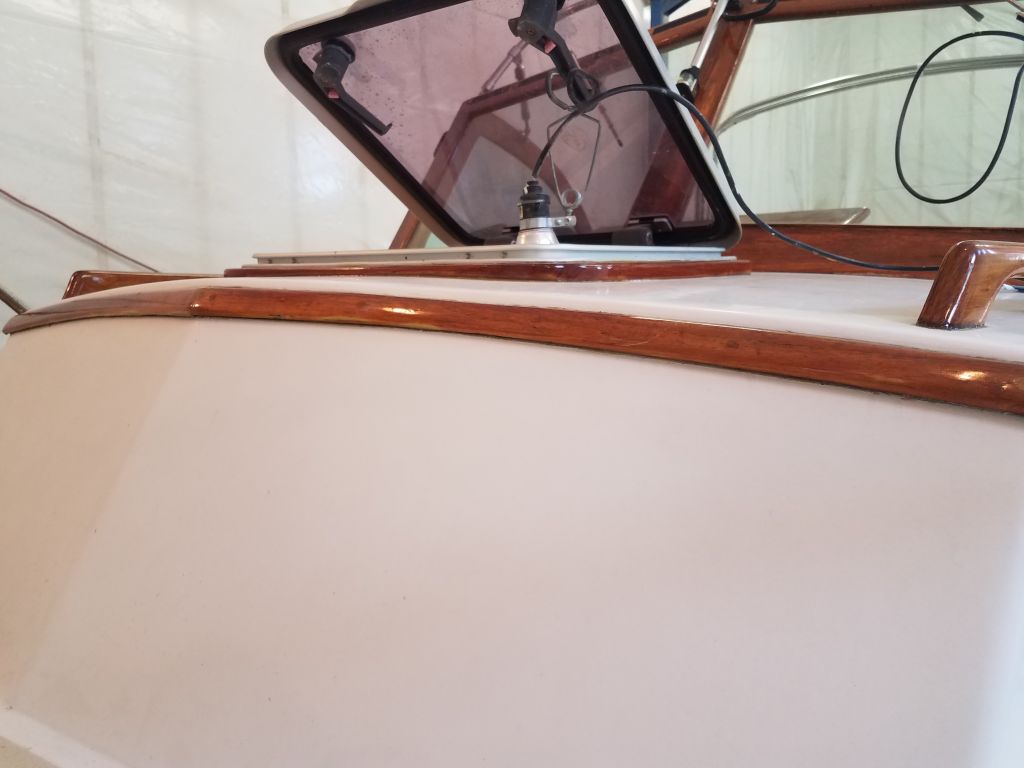
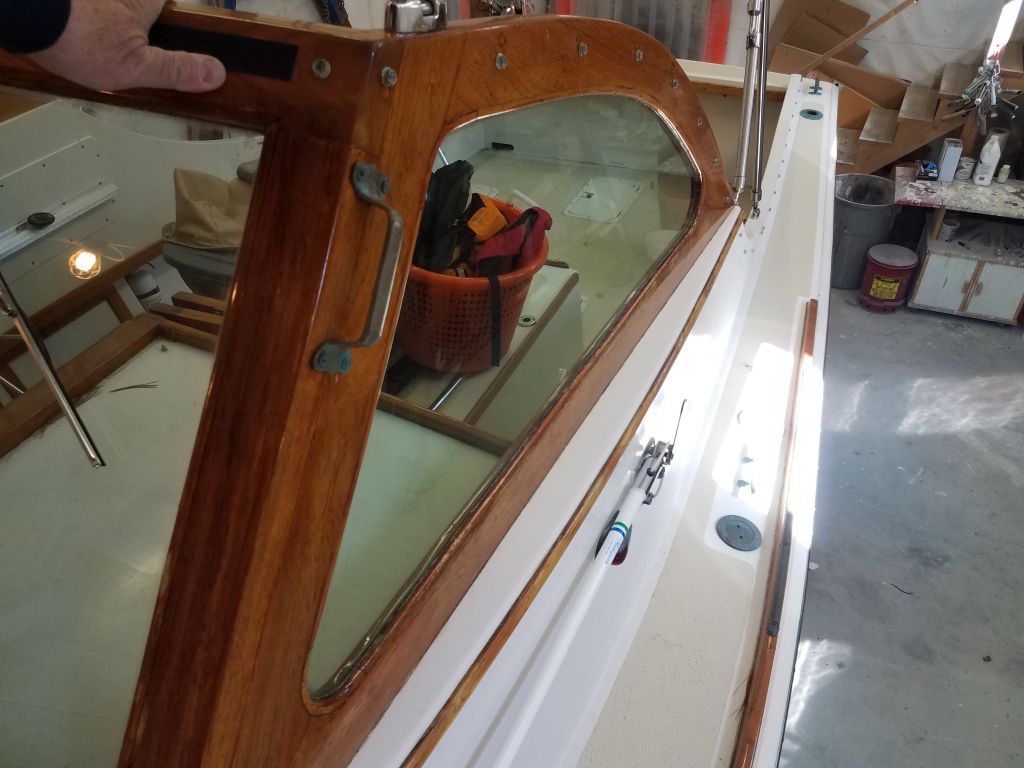
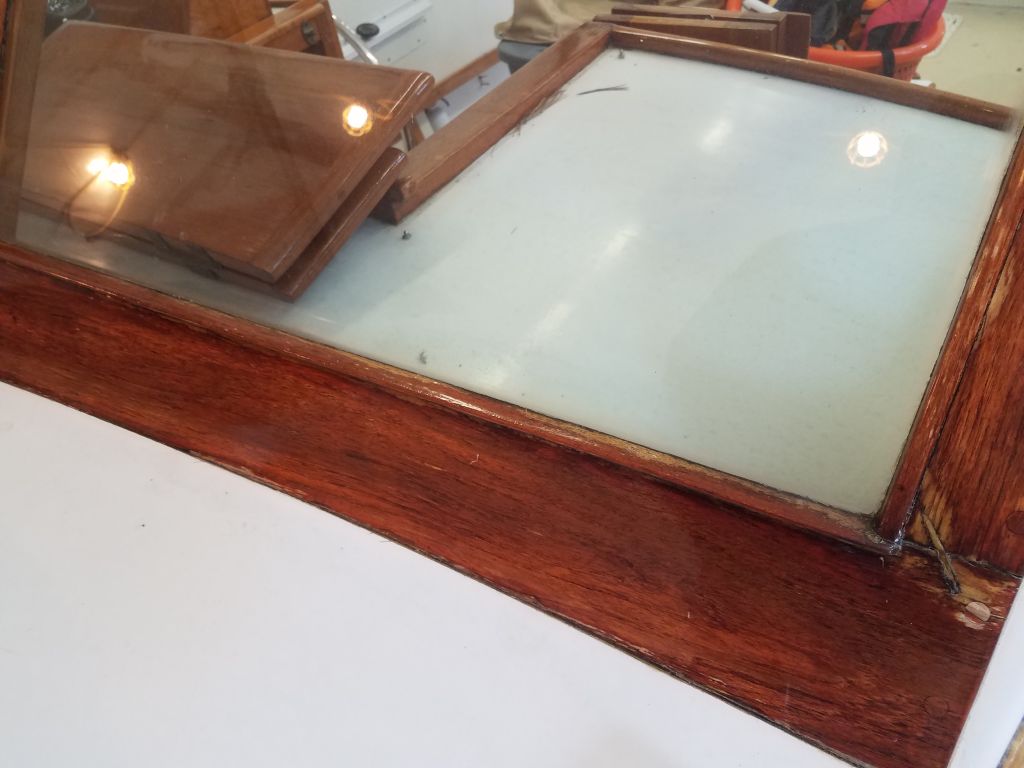
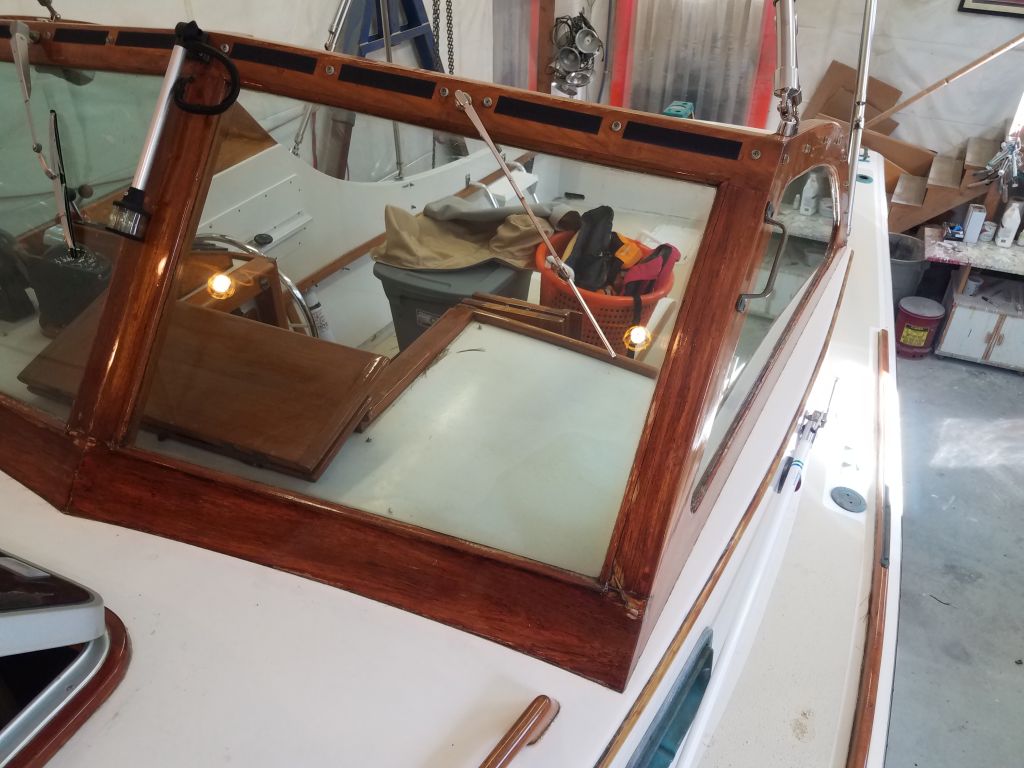
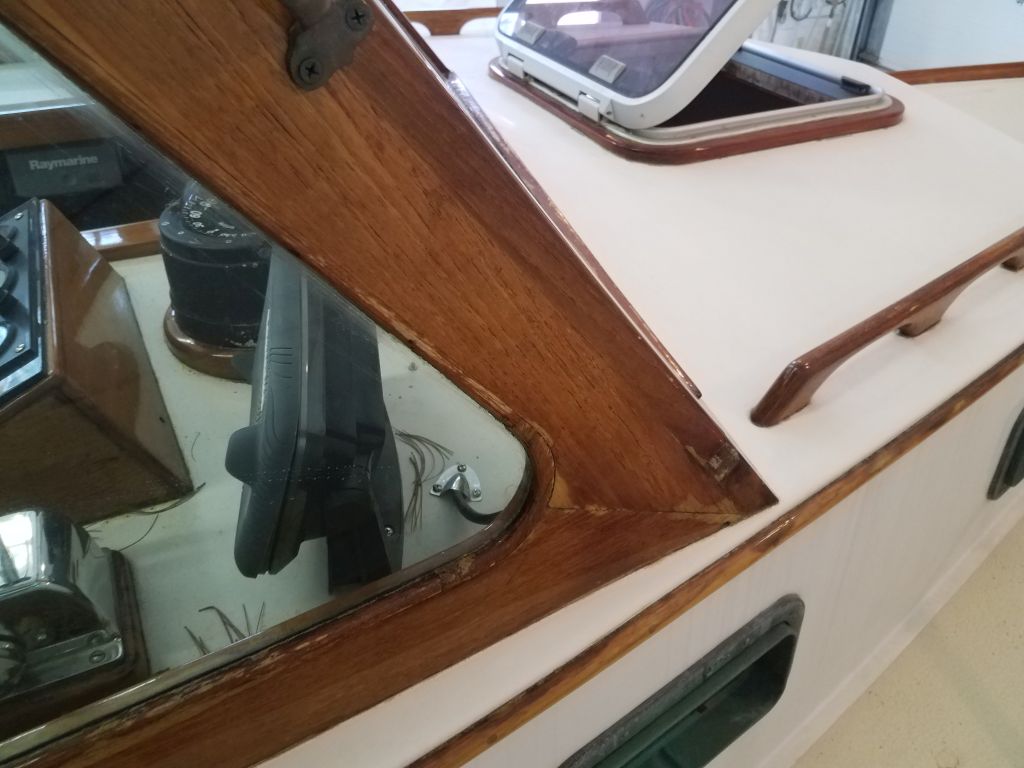
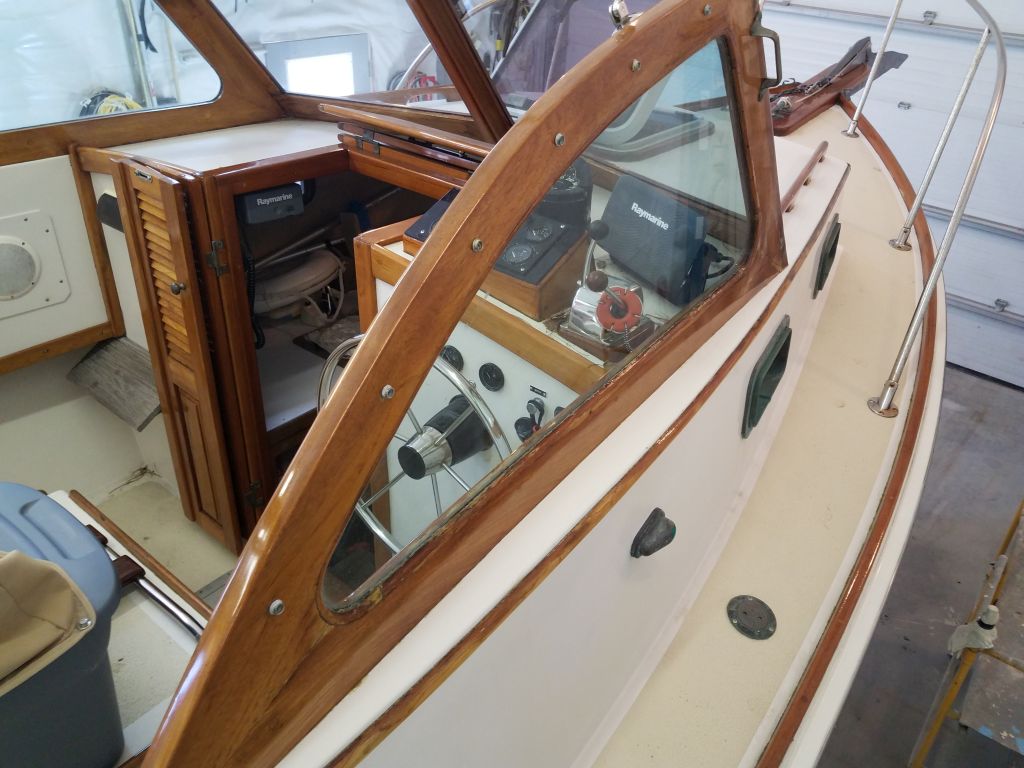
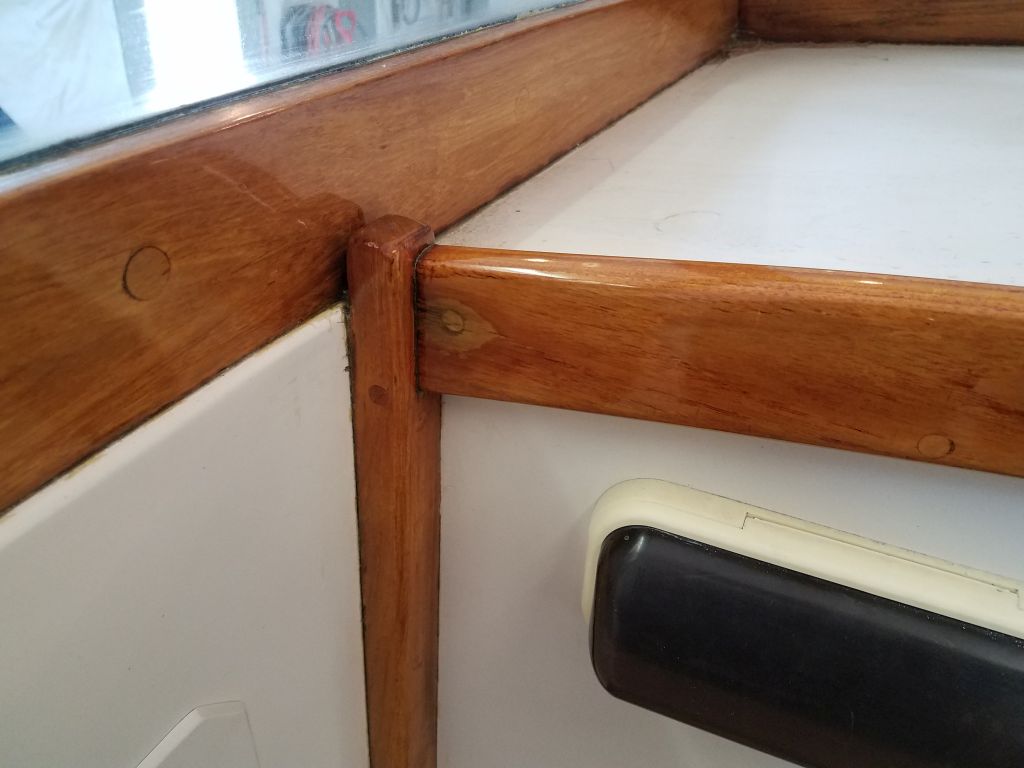
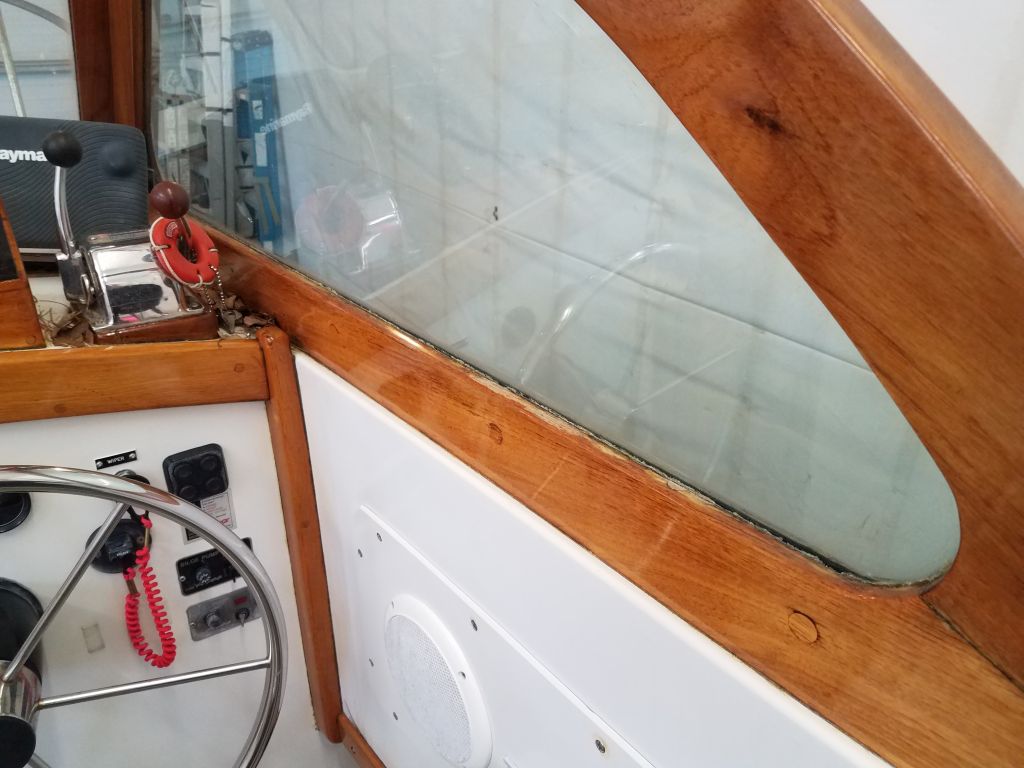
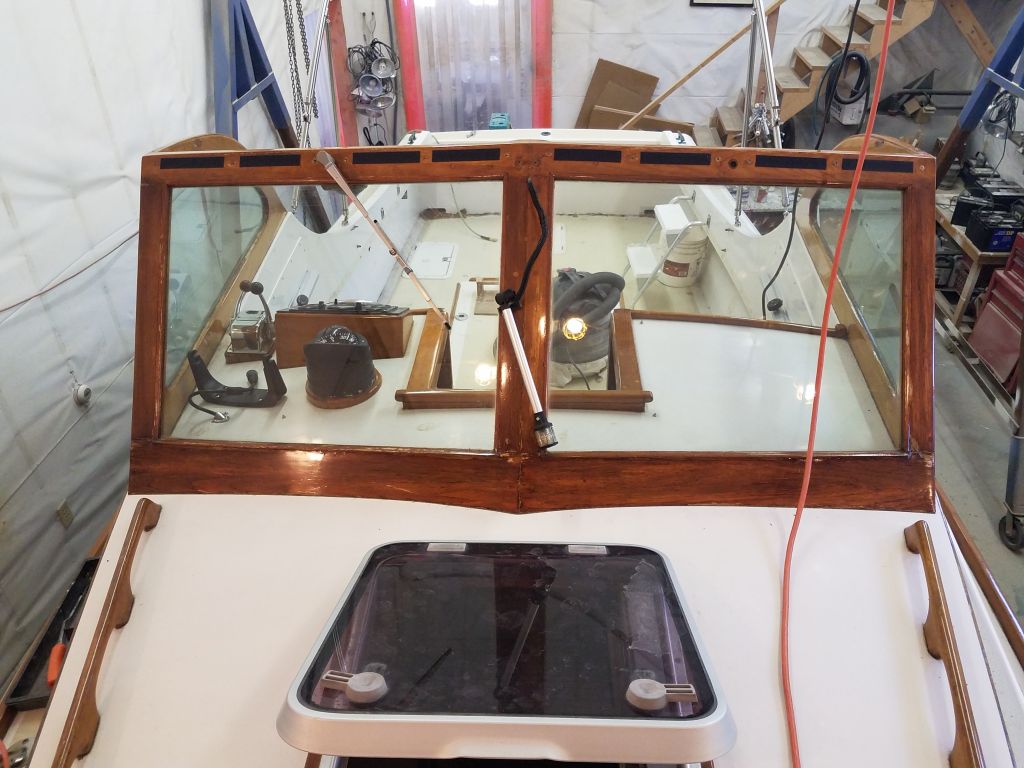
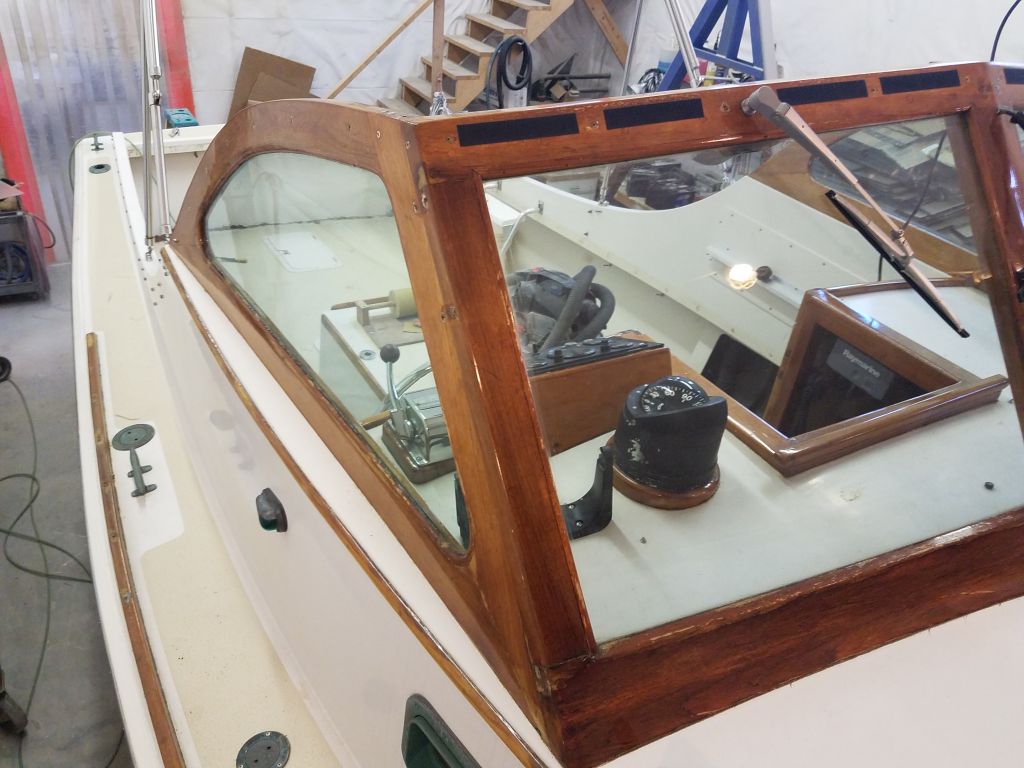
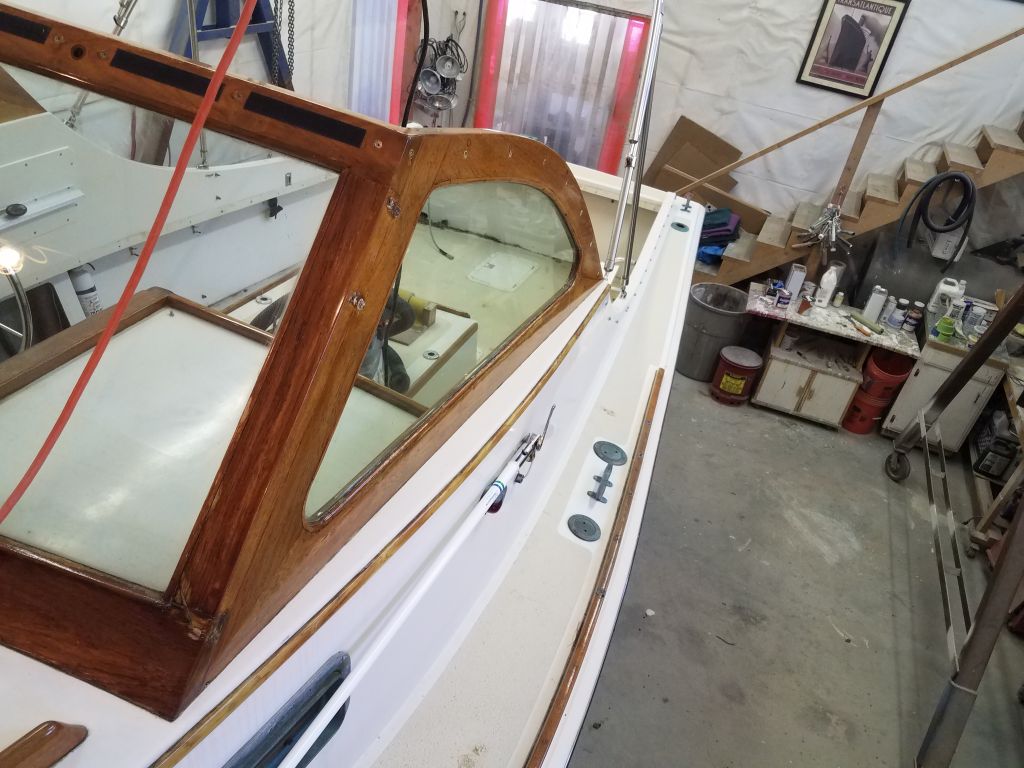
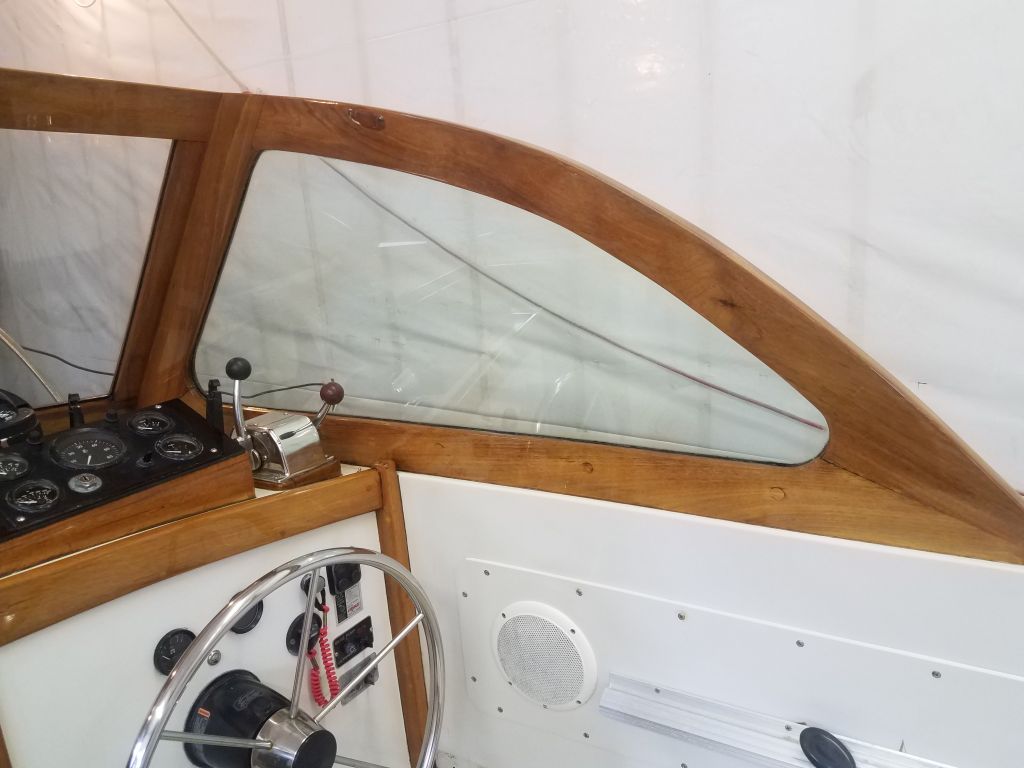
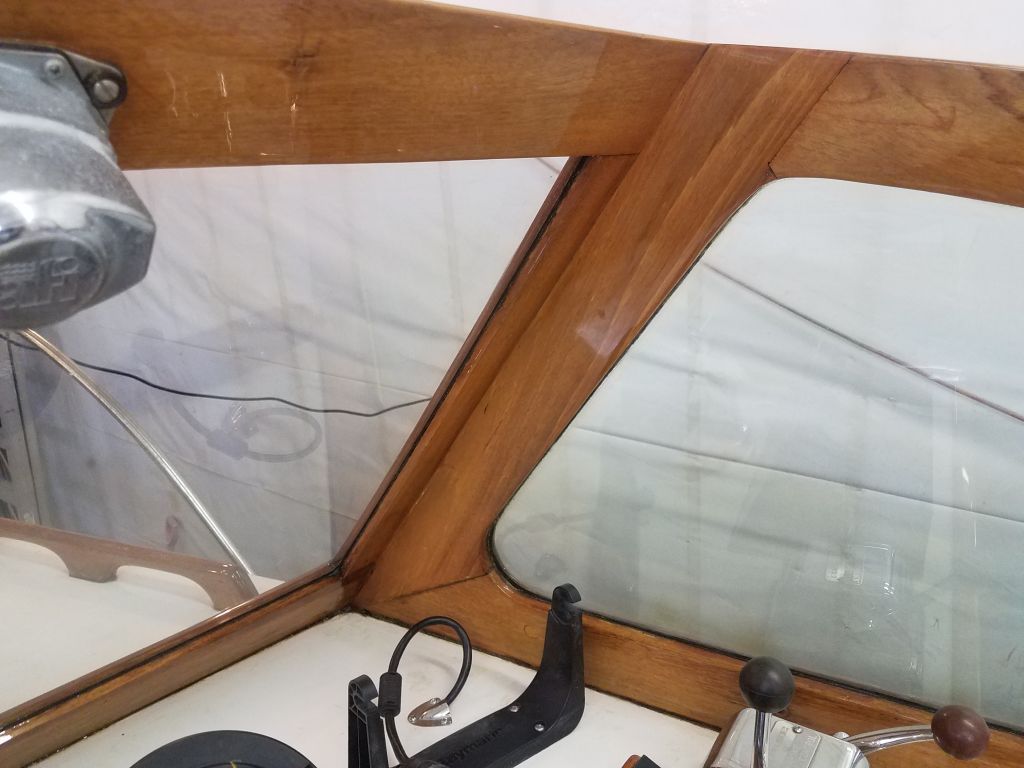
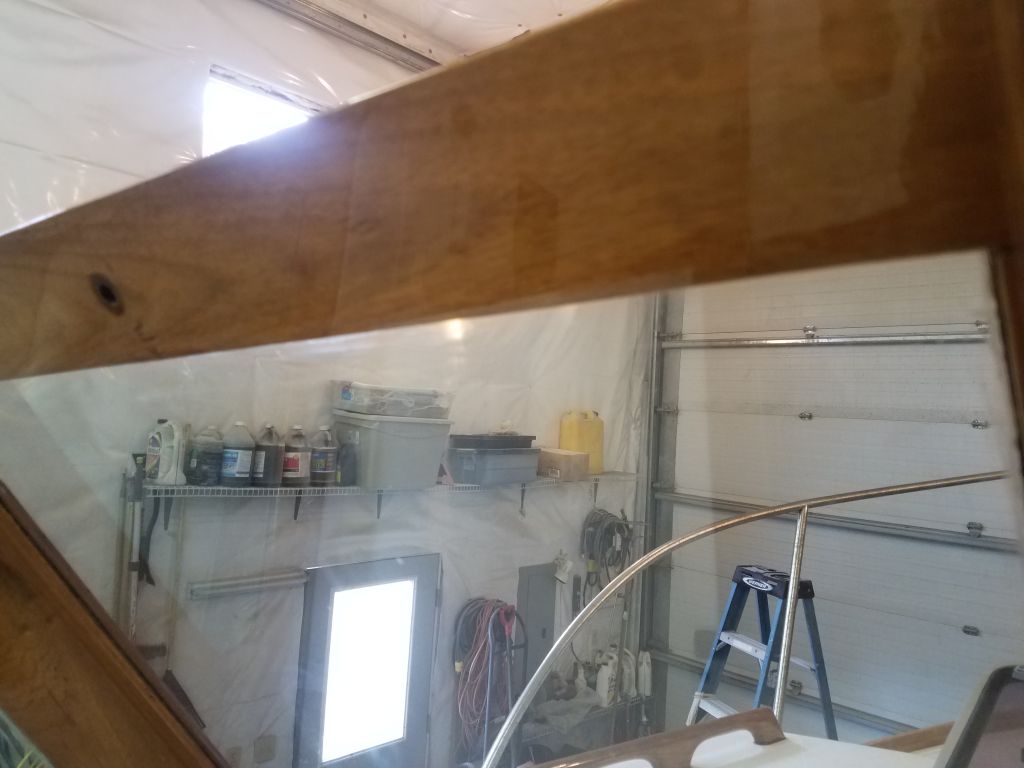
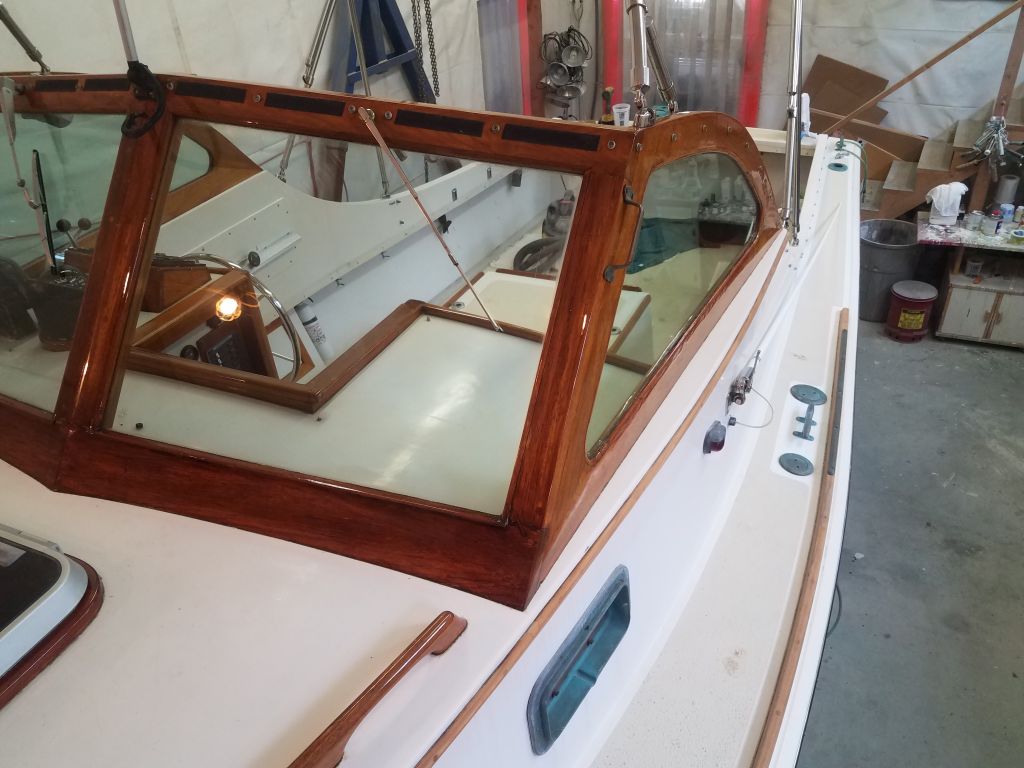
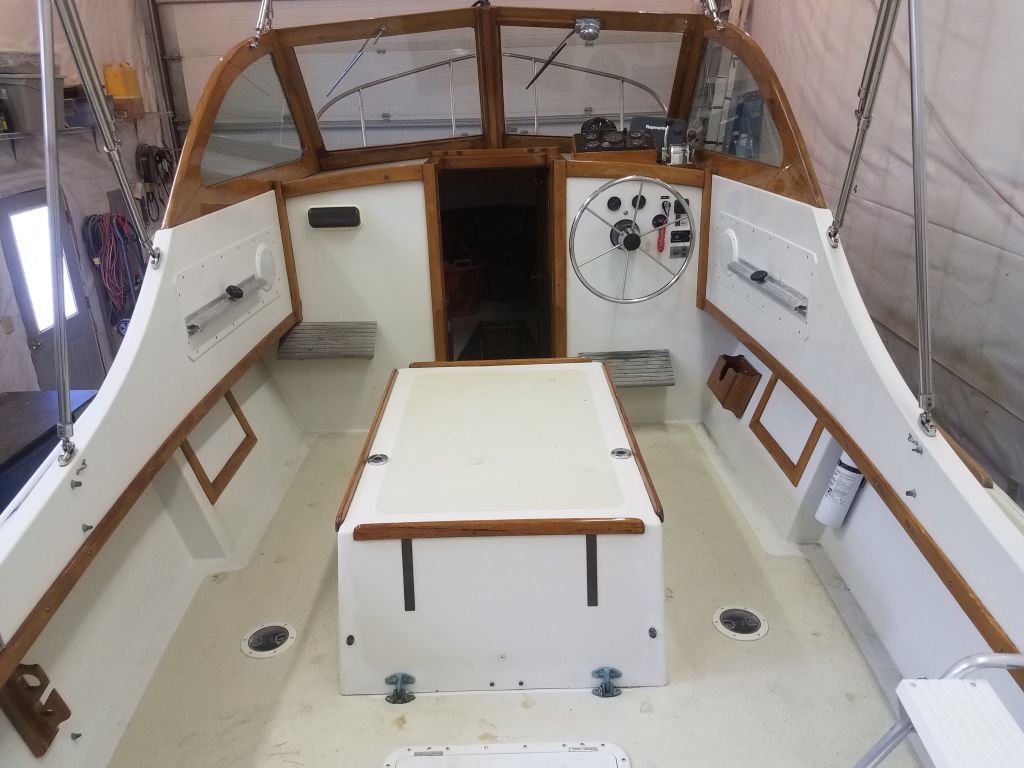
With at least two maintenance coats of varnish on all parts of the windshield, the usual prescription, and no issues with the last coat I’d put down, I could call this year’s maintenance complete and remove all the masking tape and clean up any gunk in the corners and so forth.
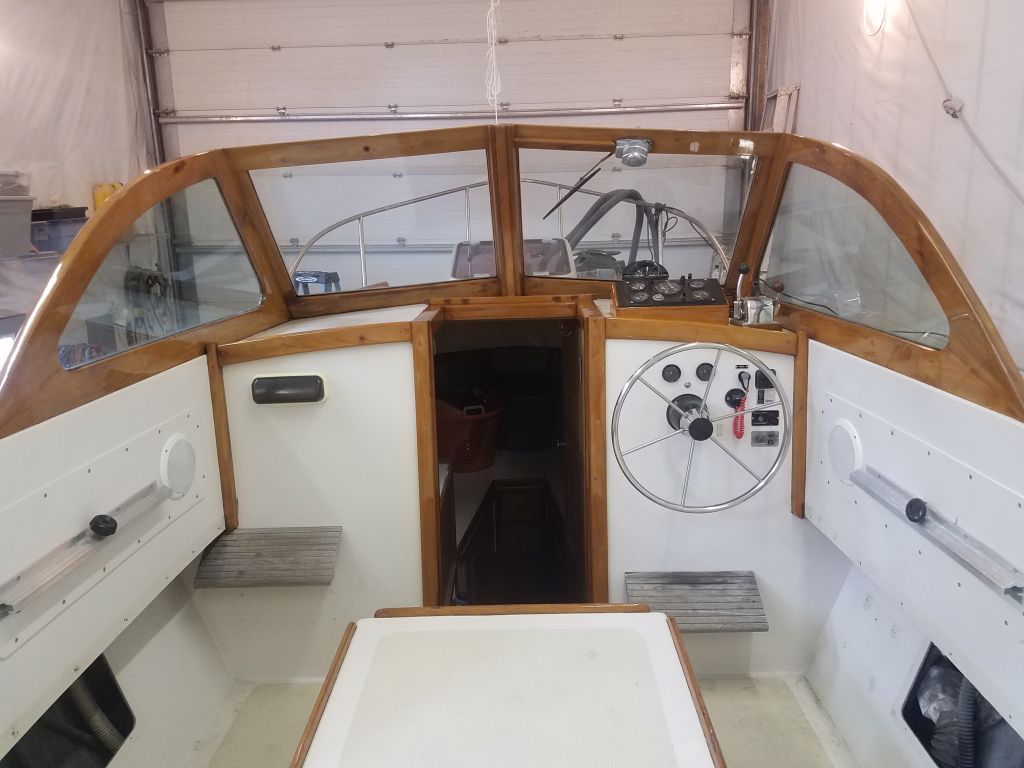
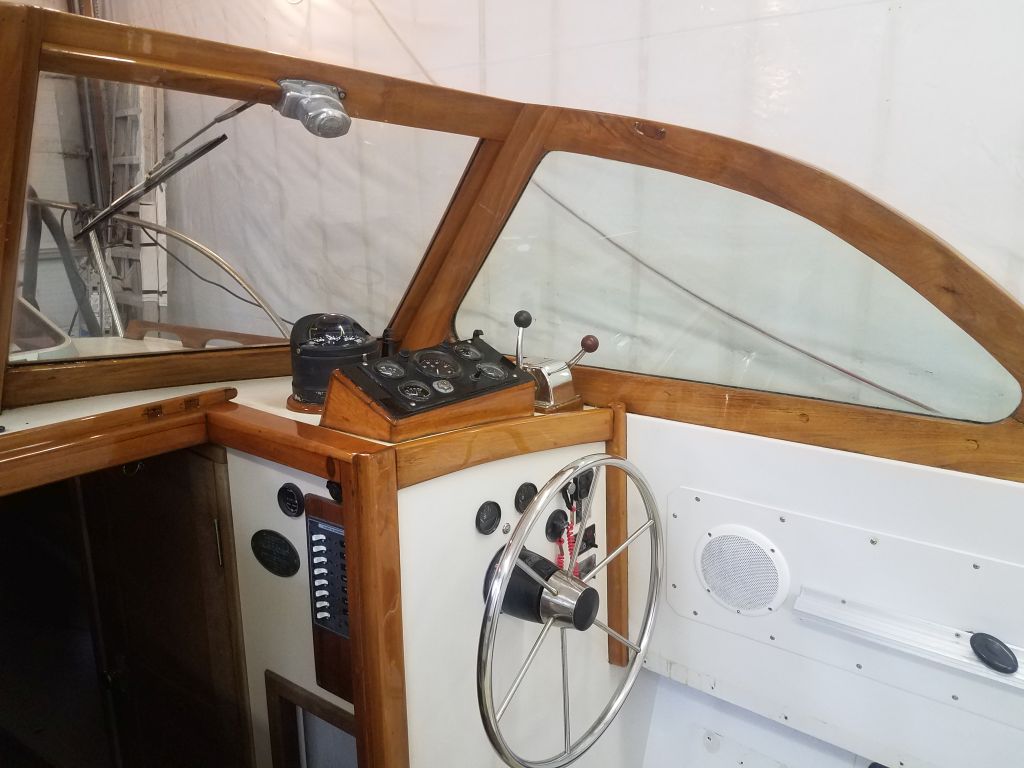
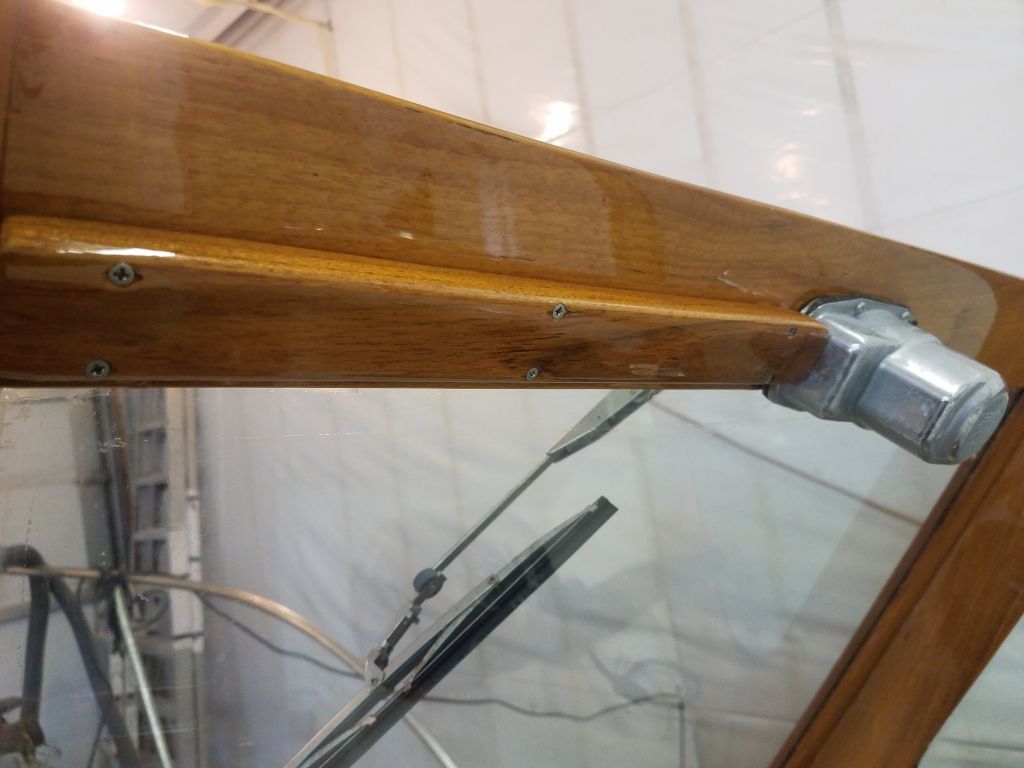
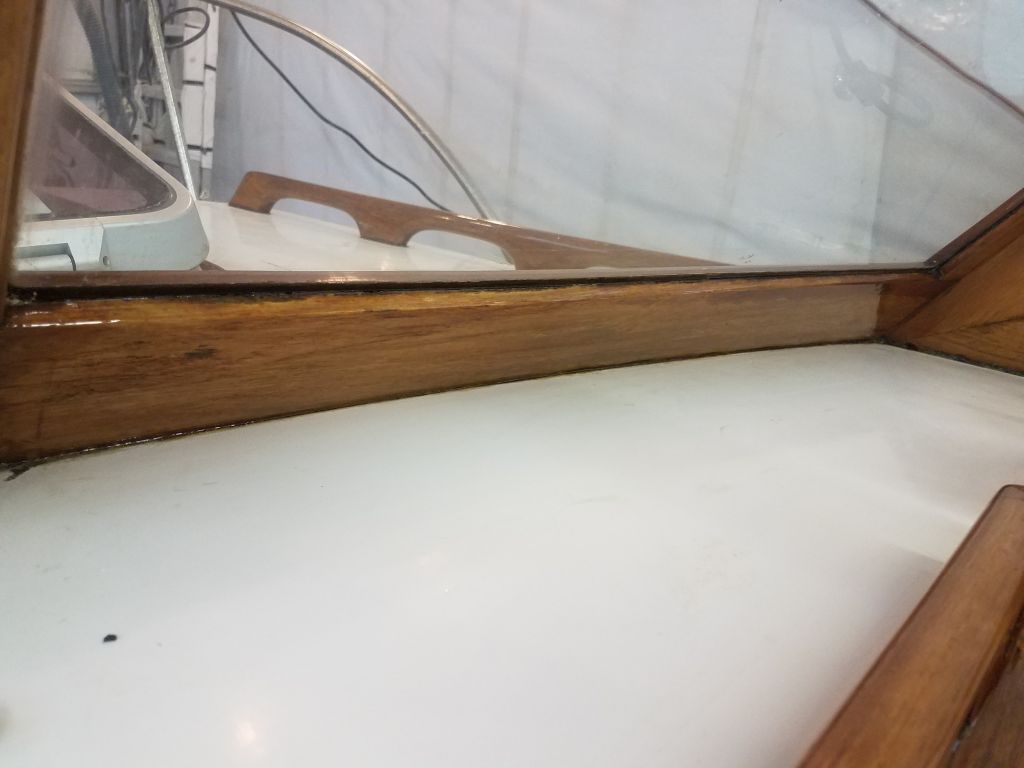
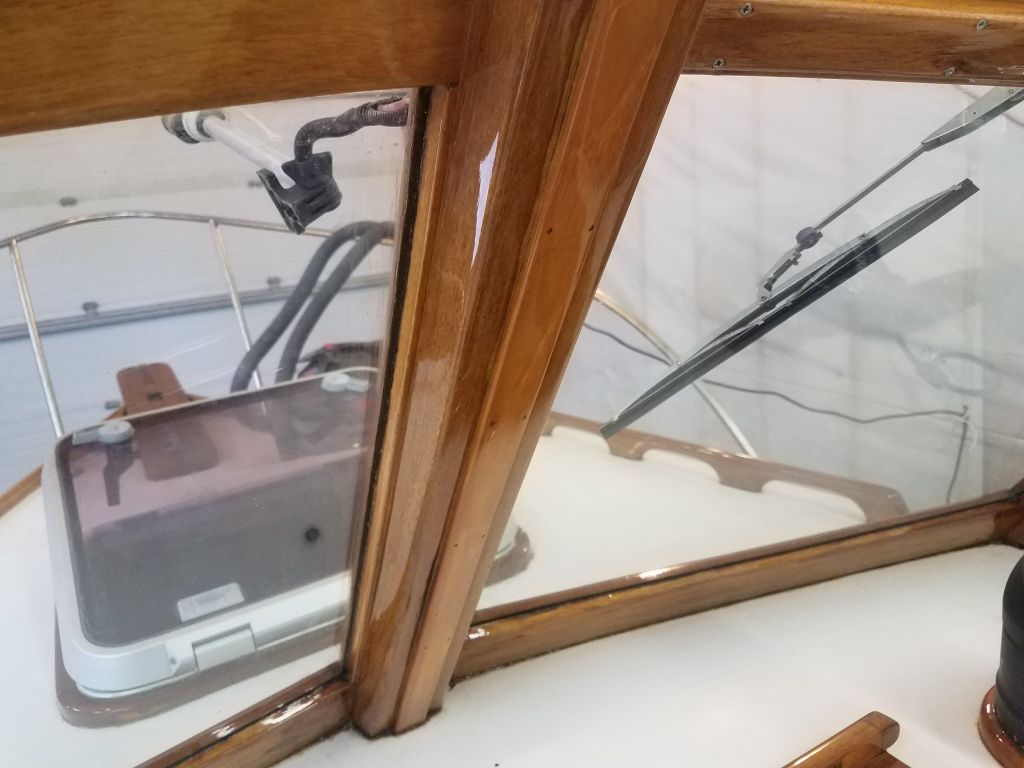


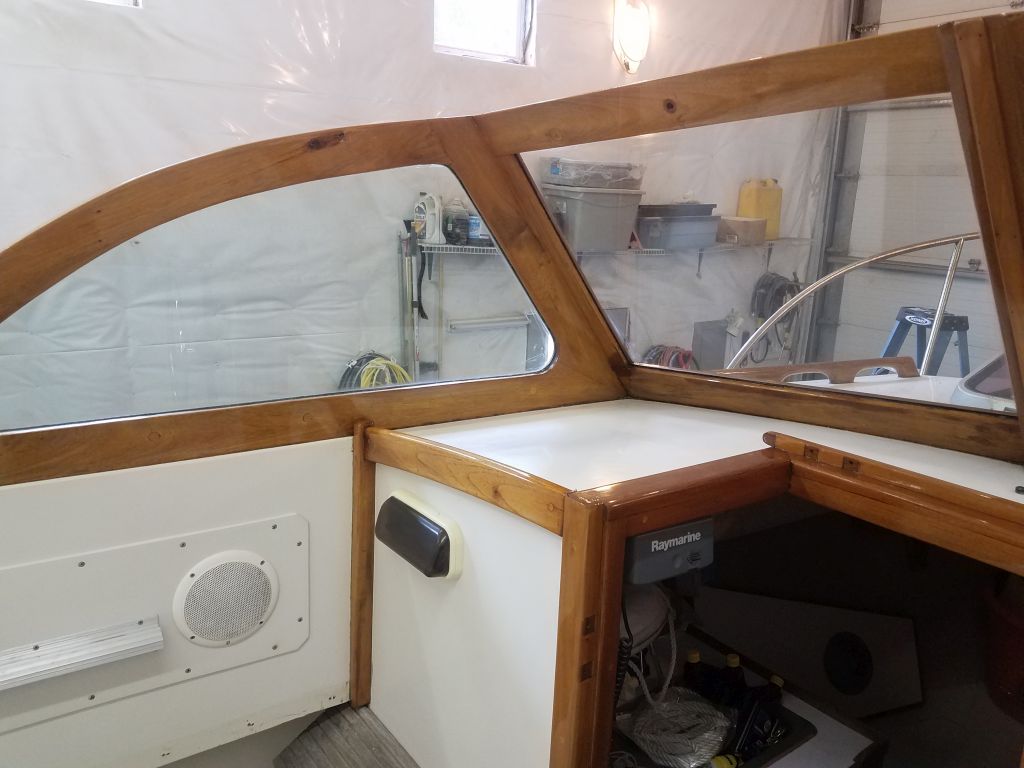
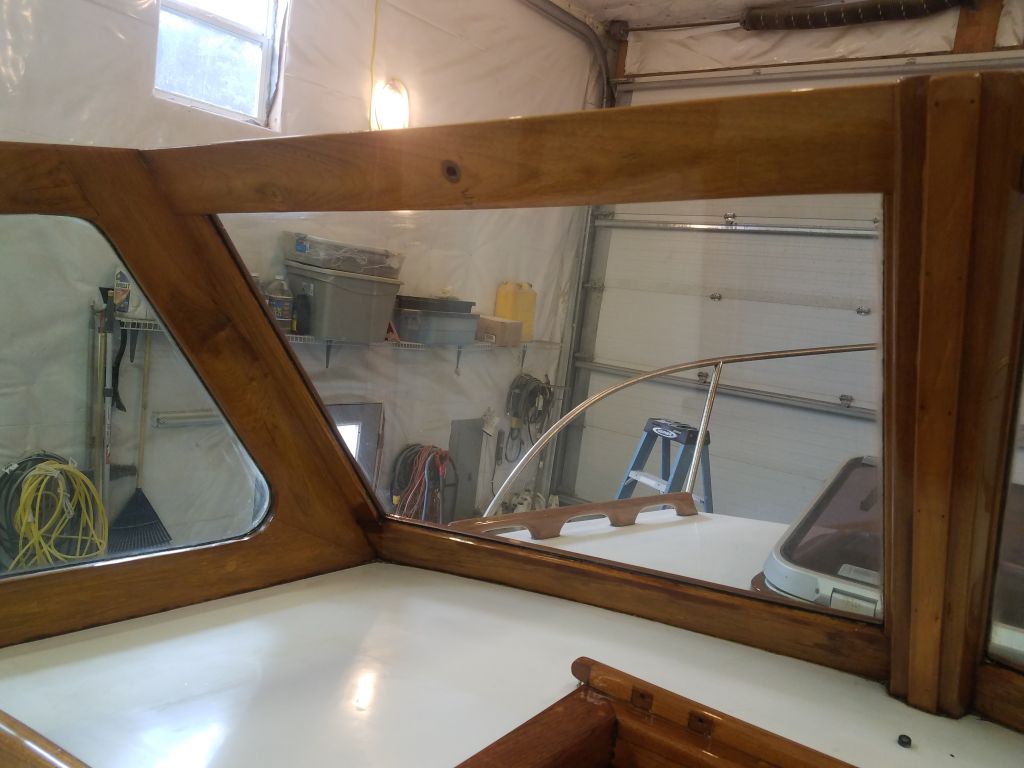

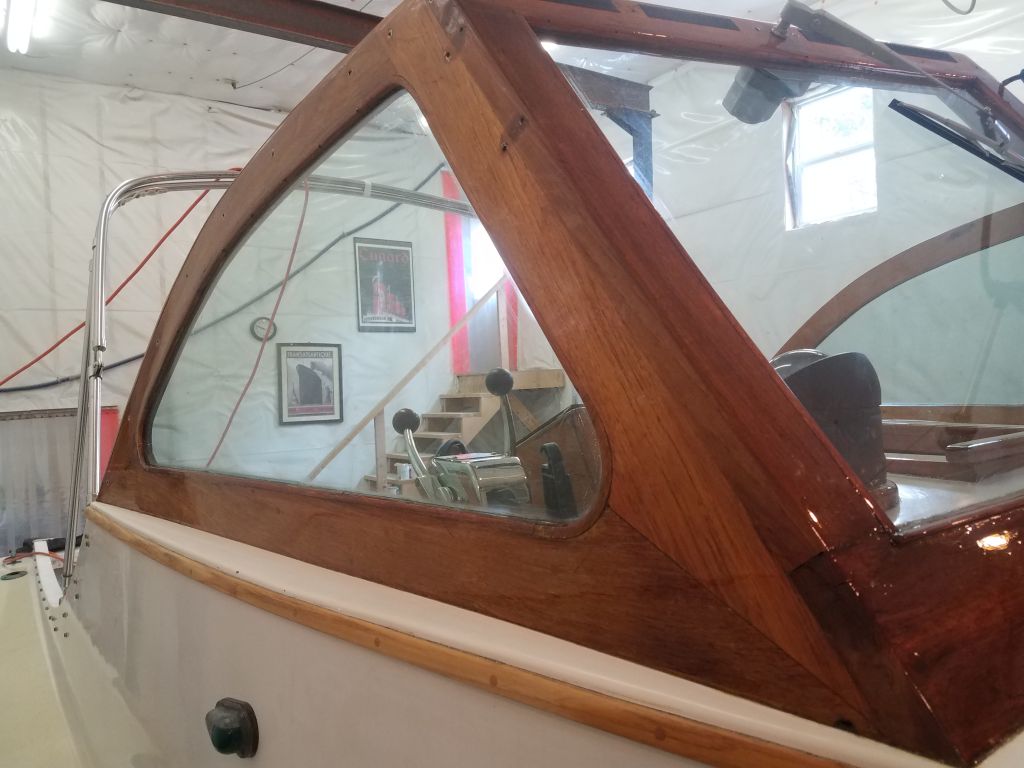

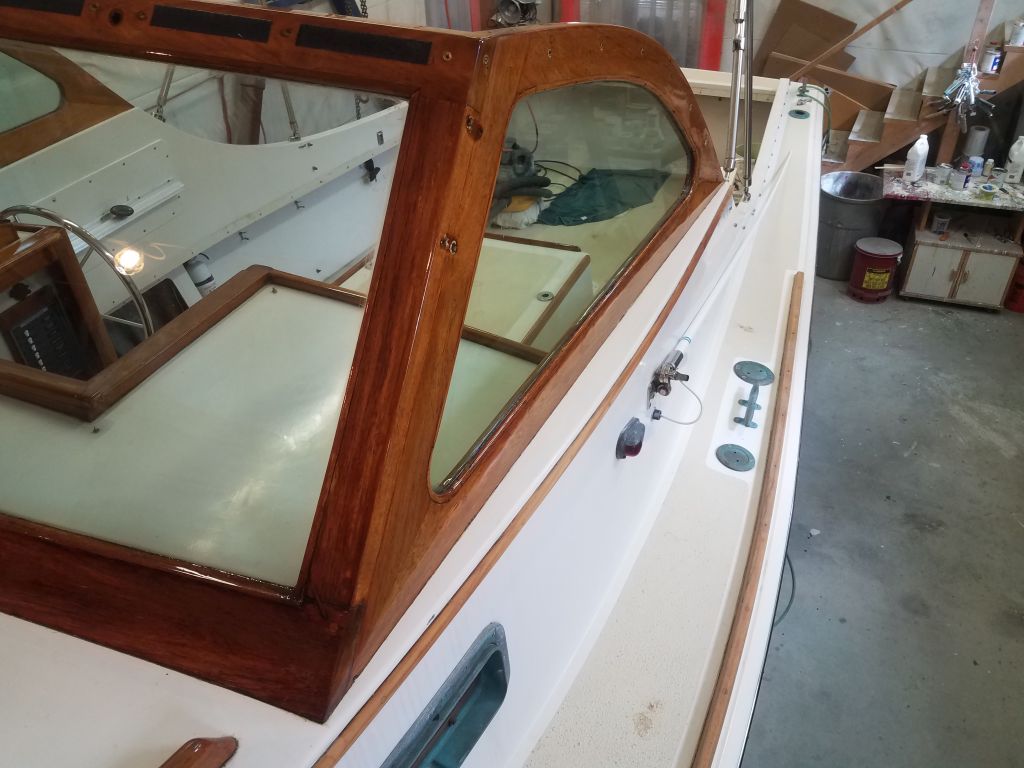
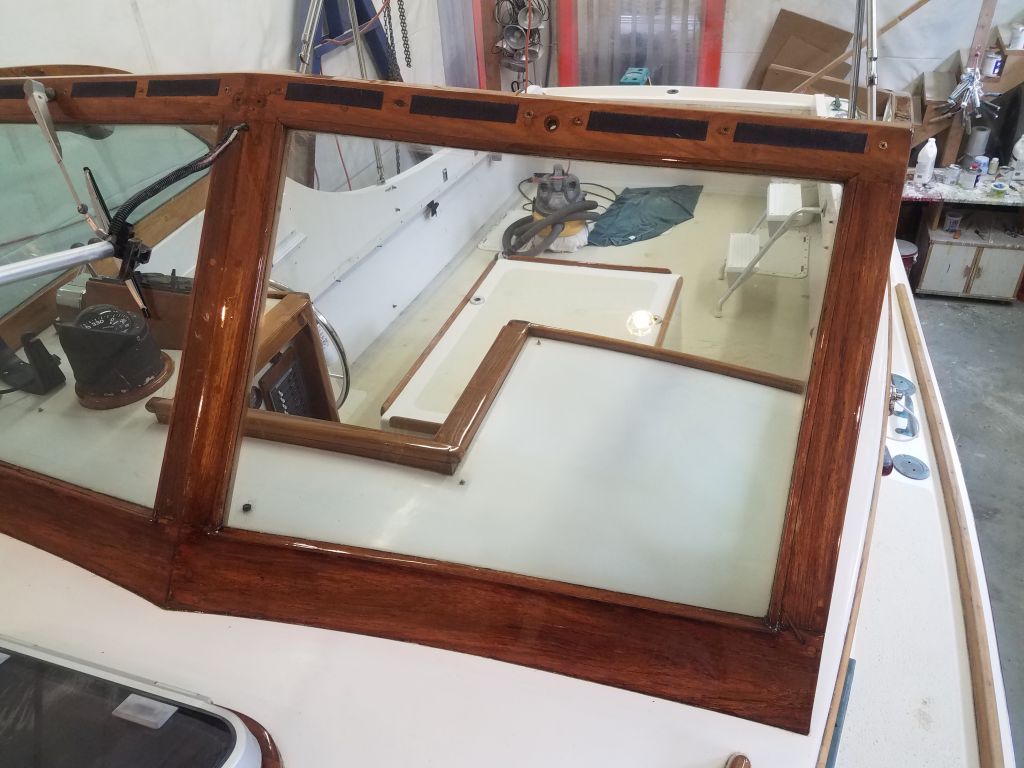
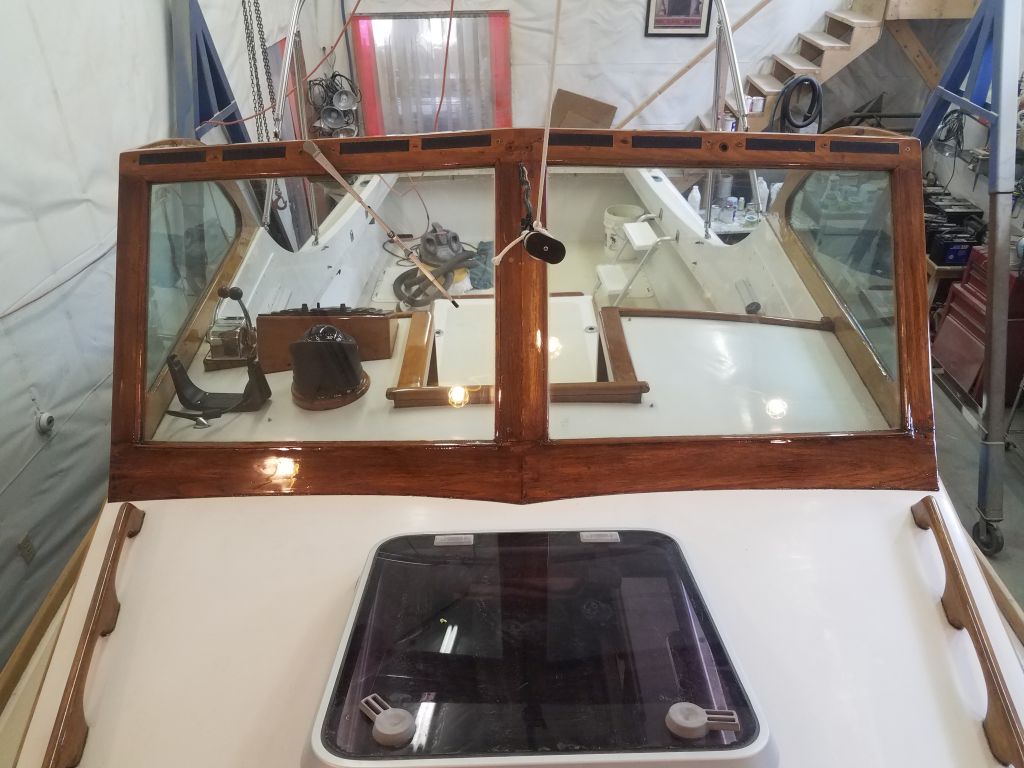
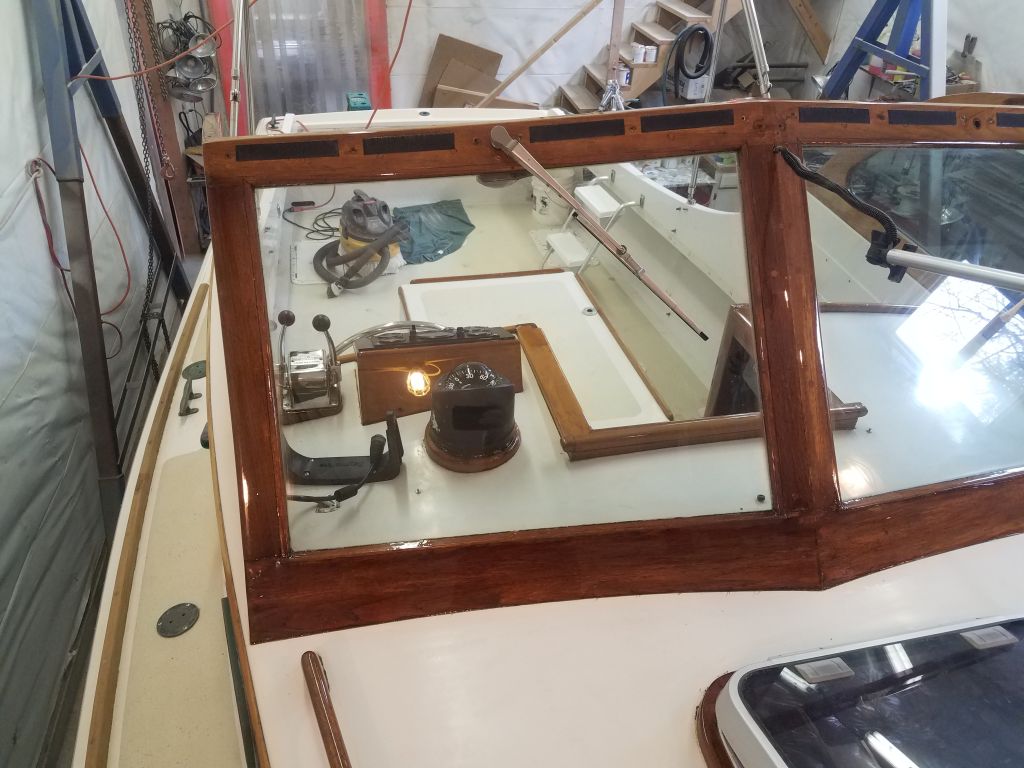
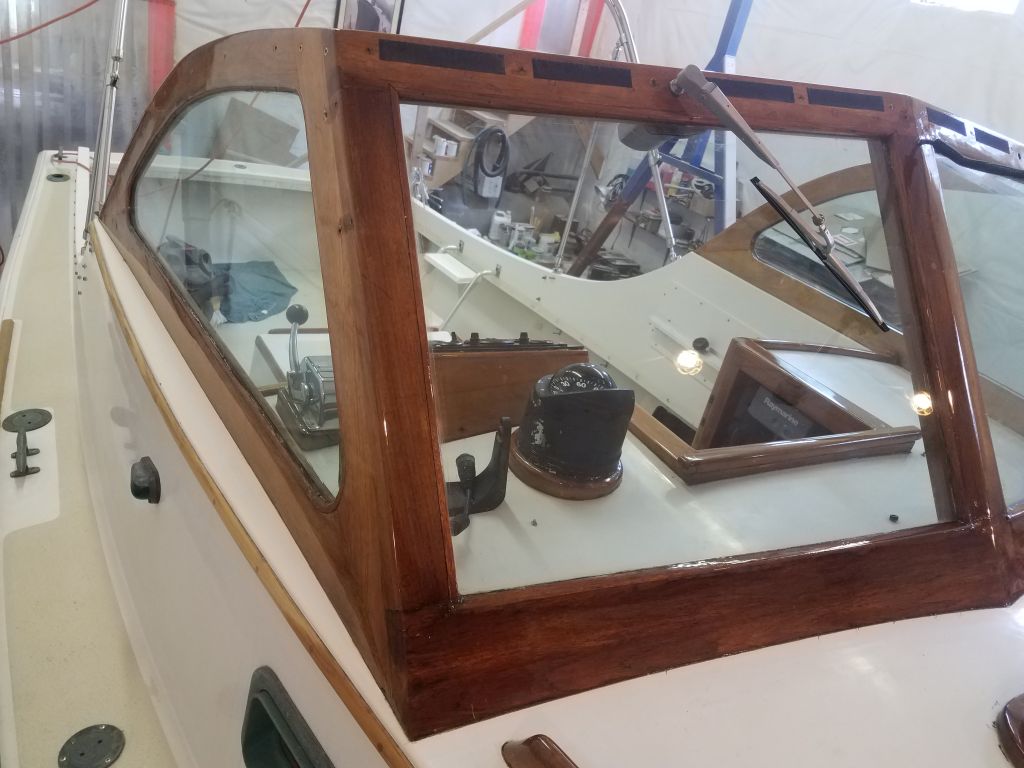
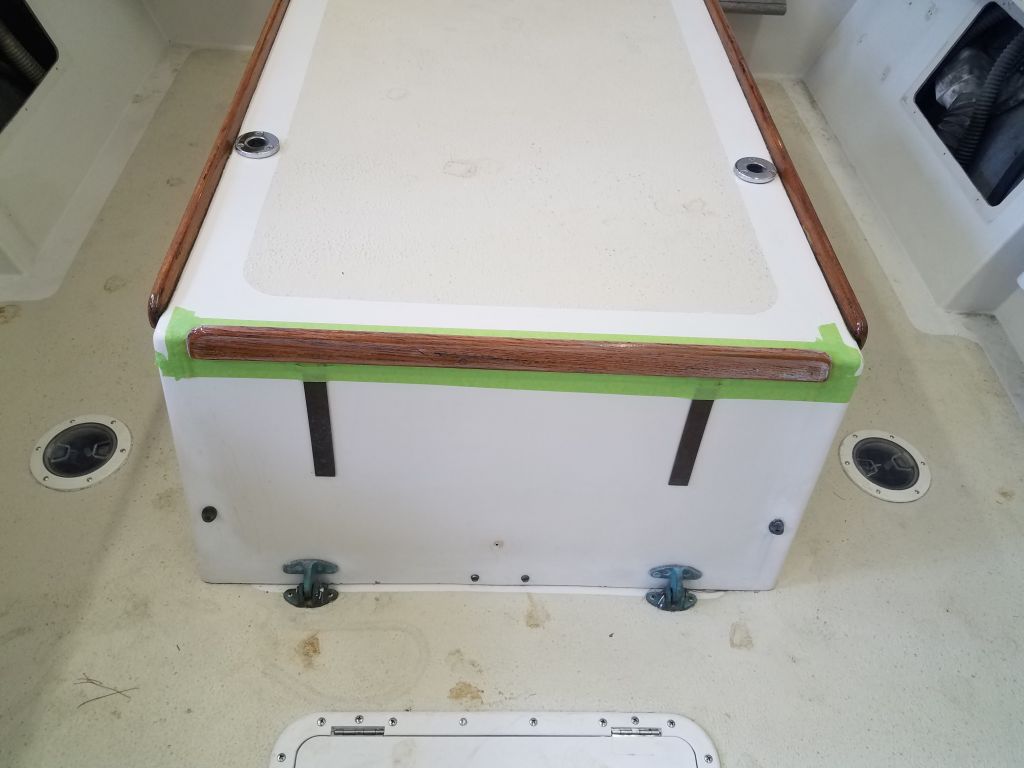
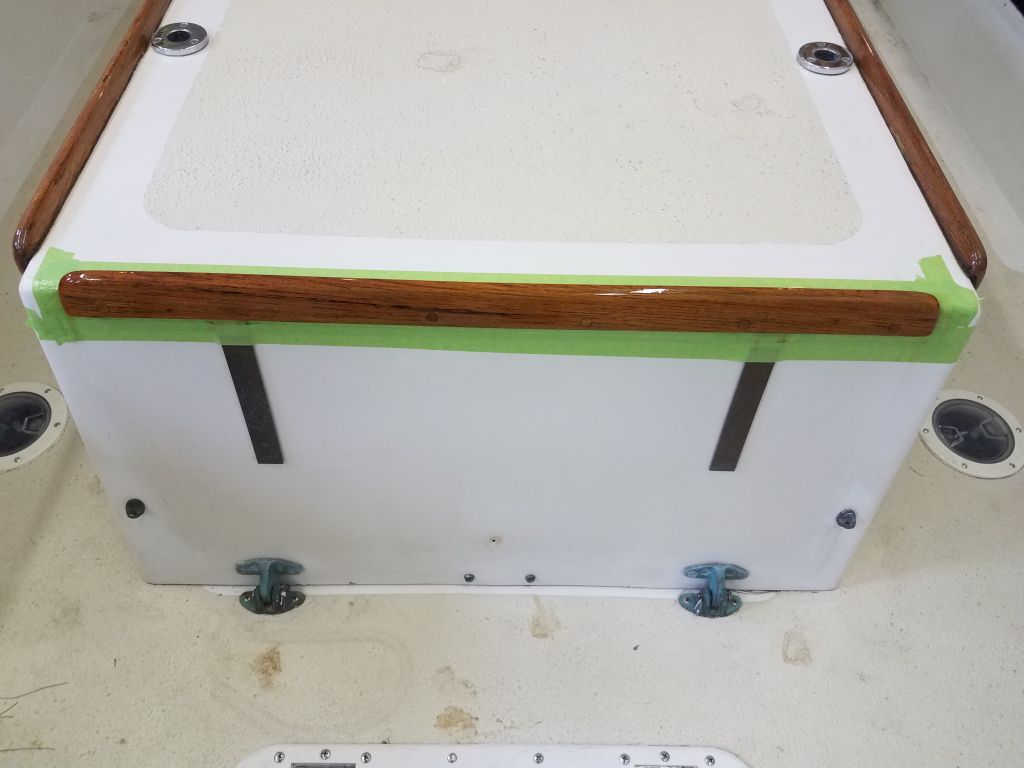
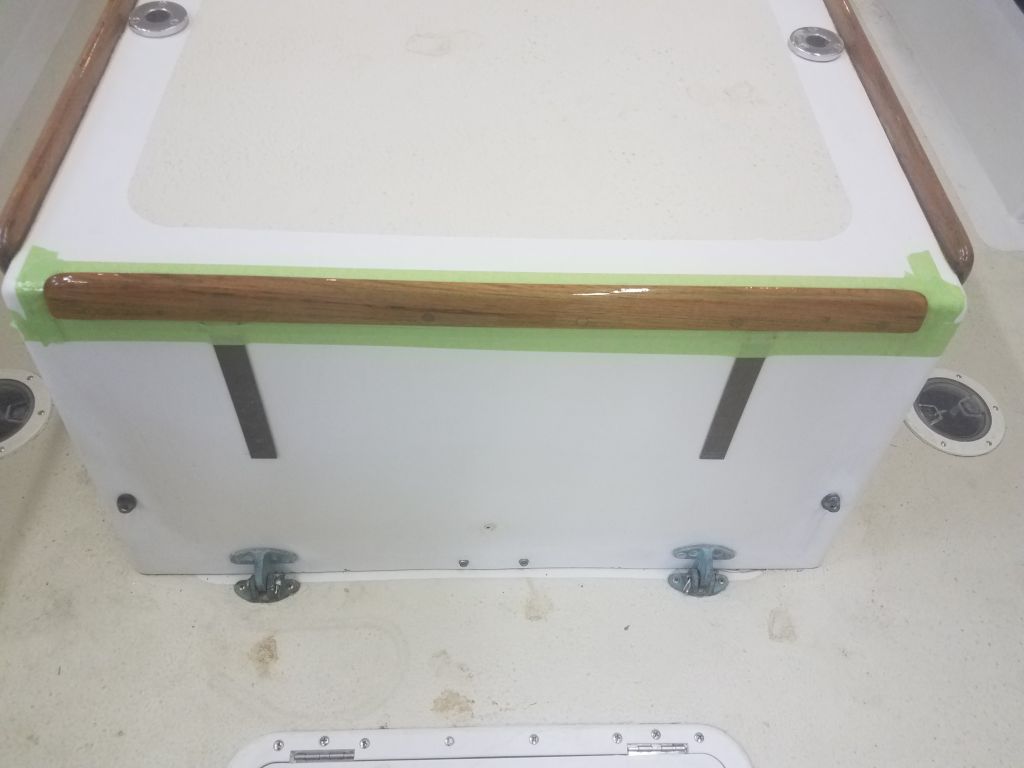
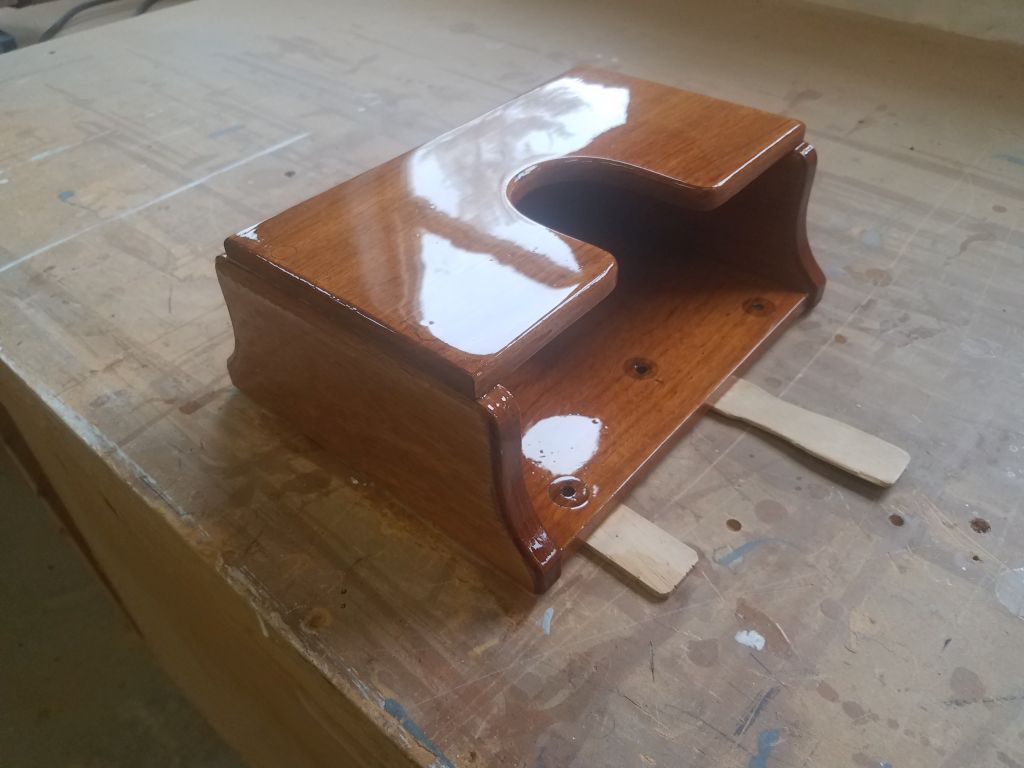
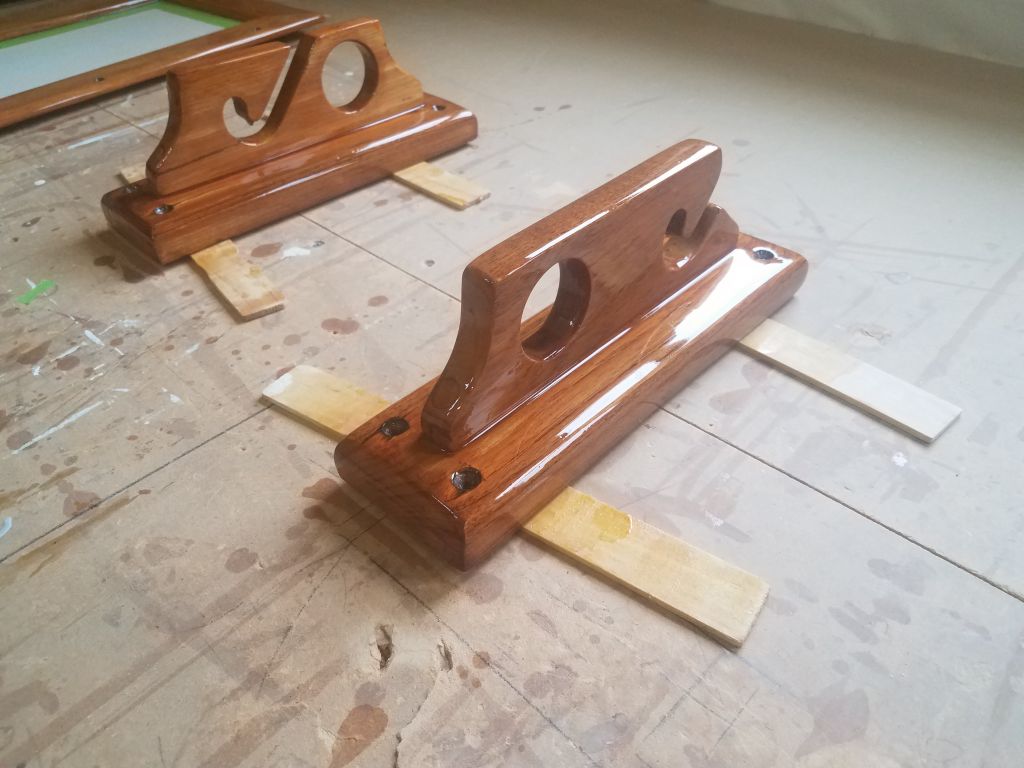
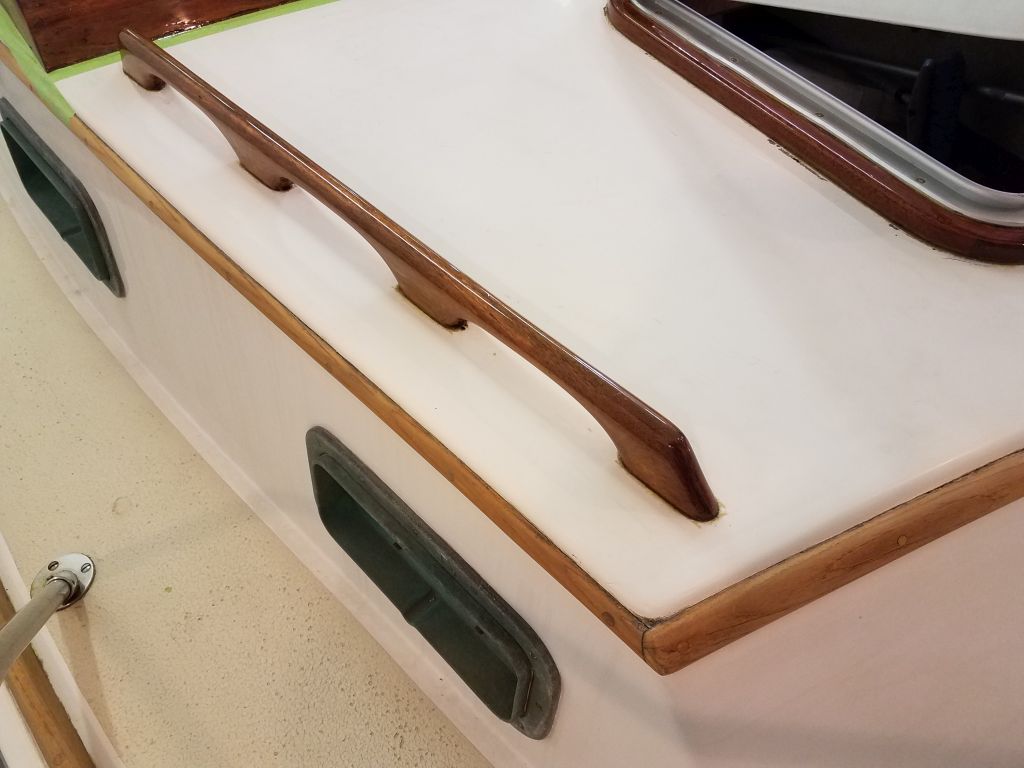
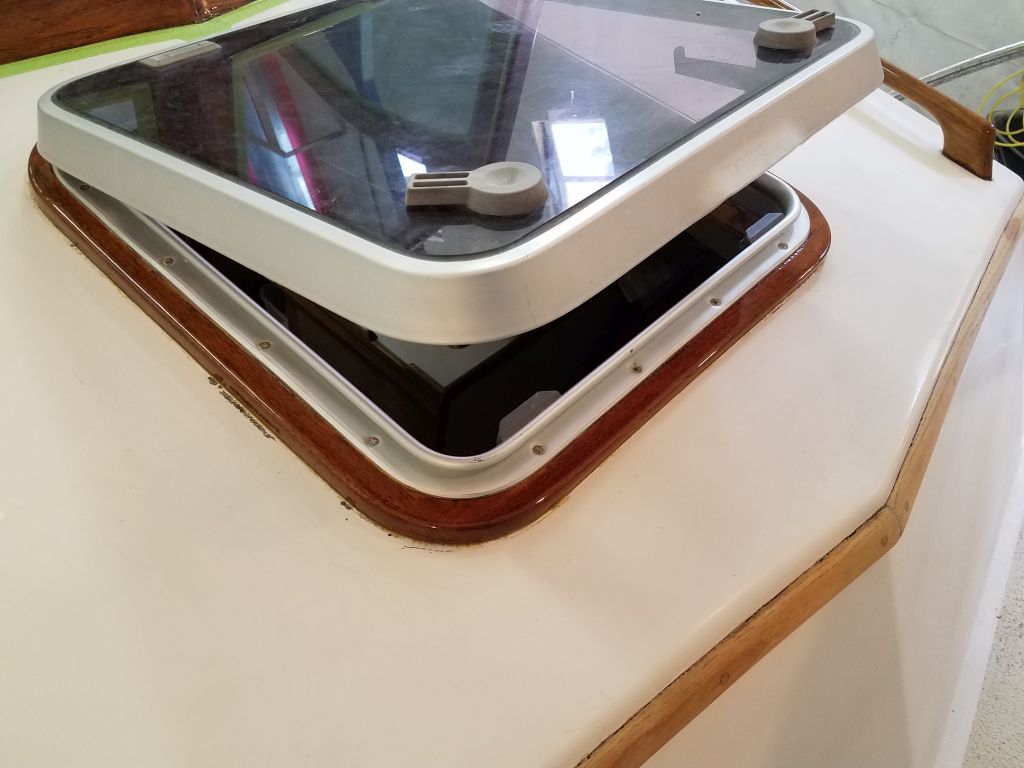
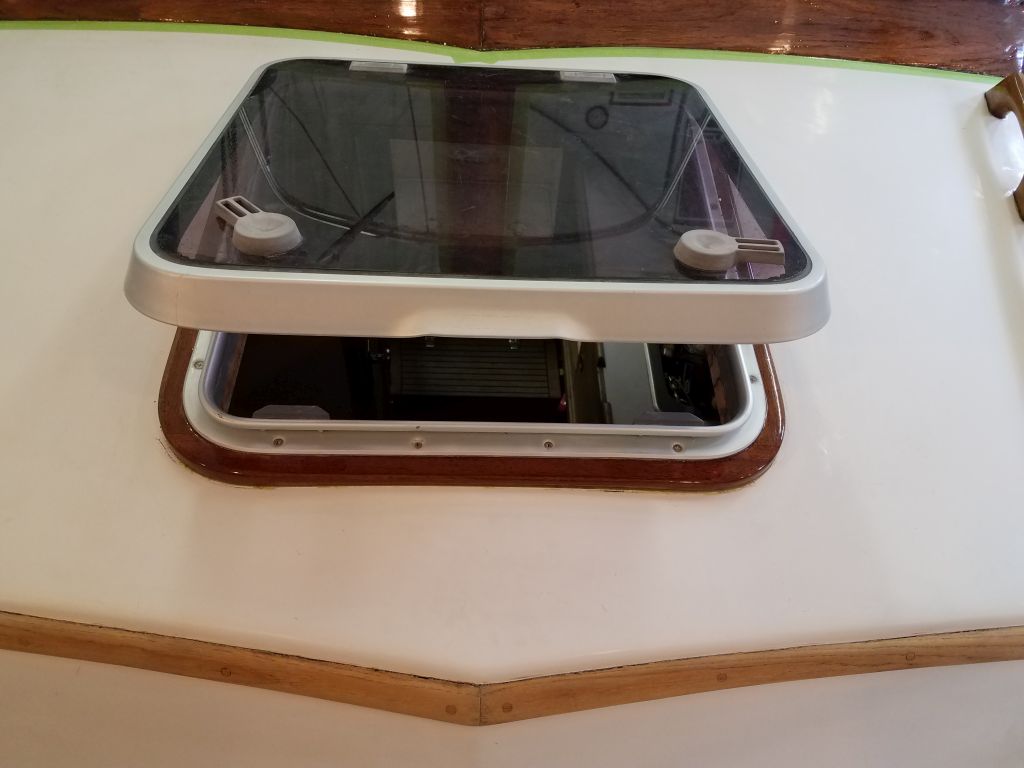
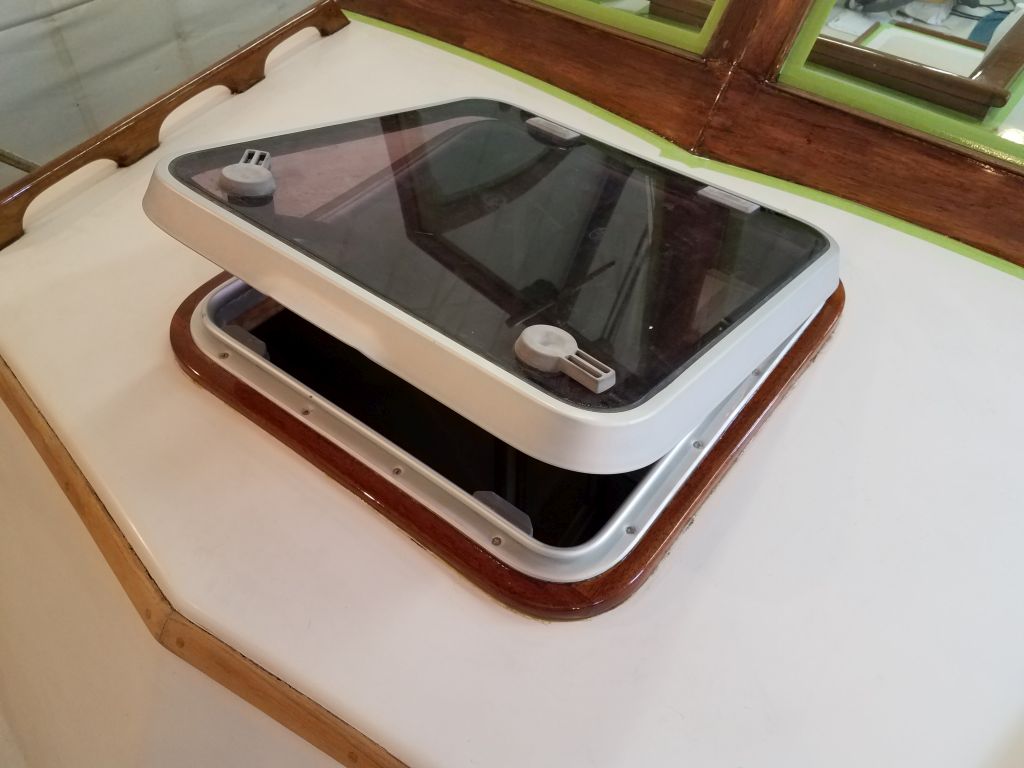
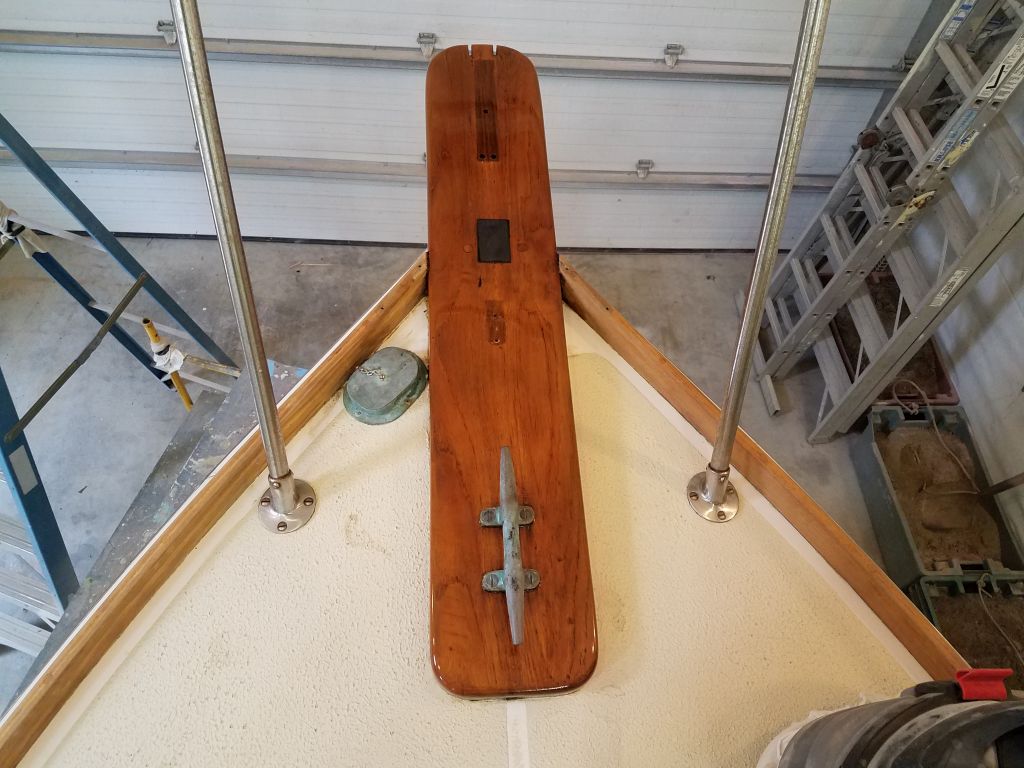
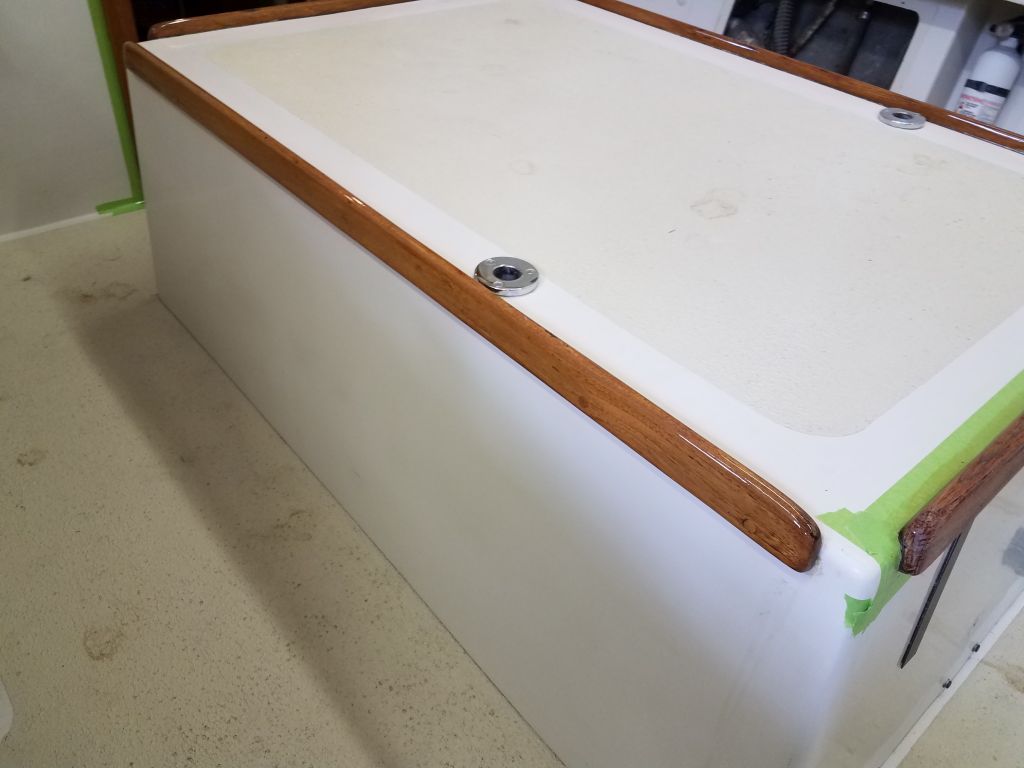
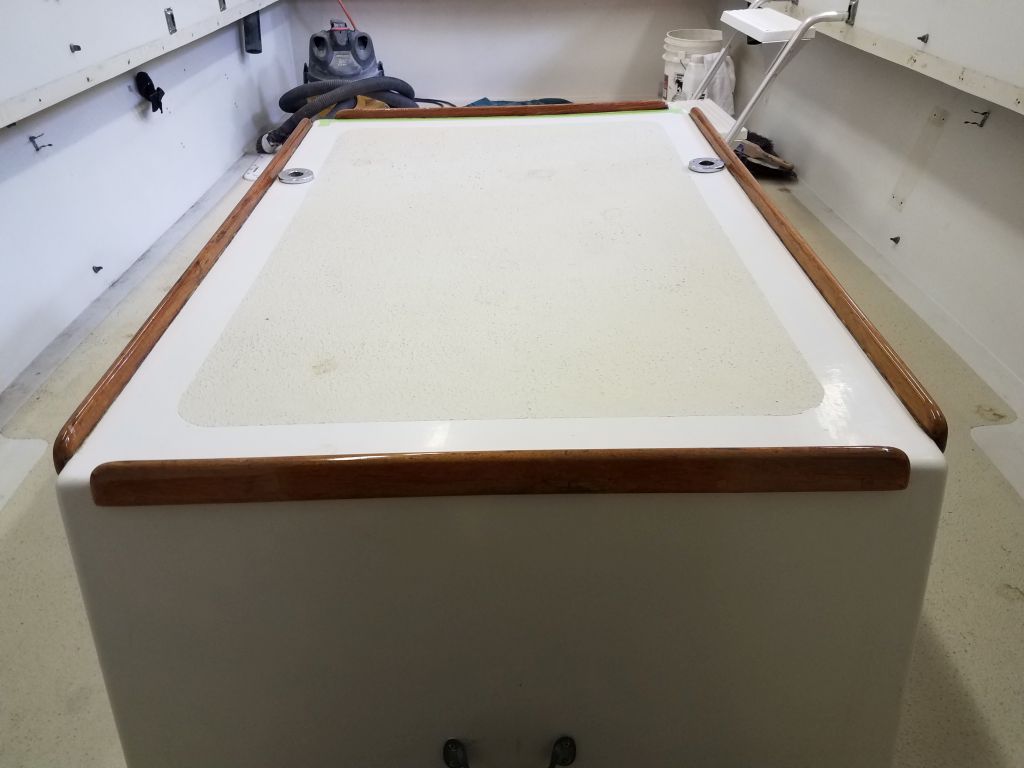
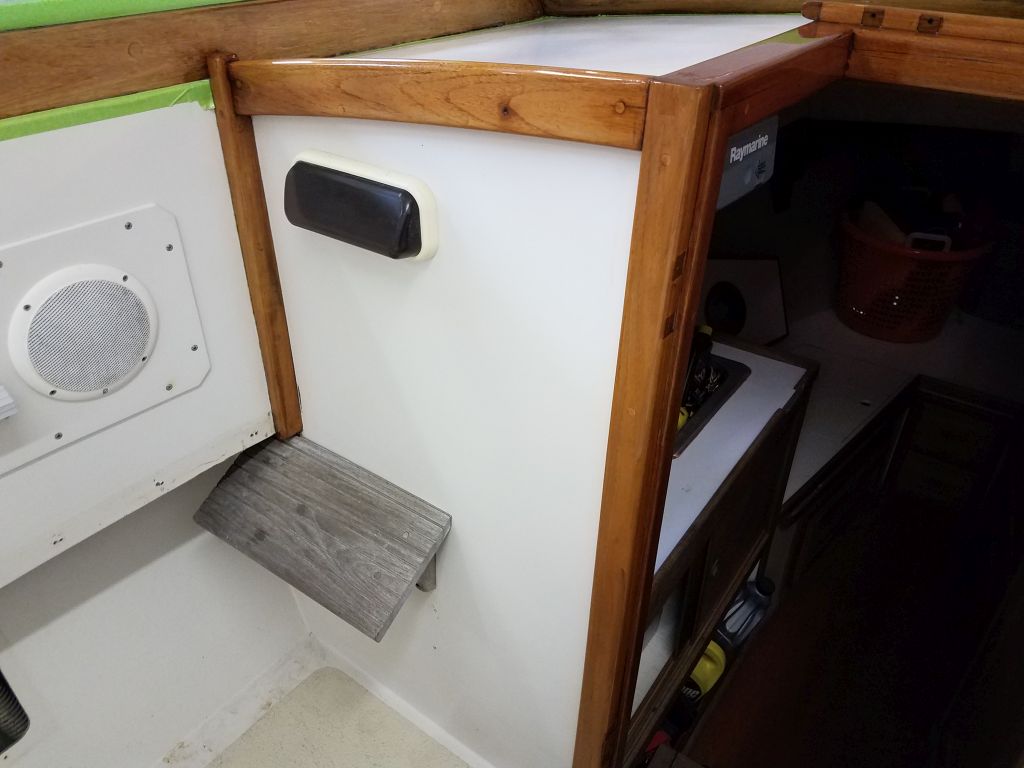
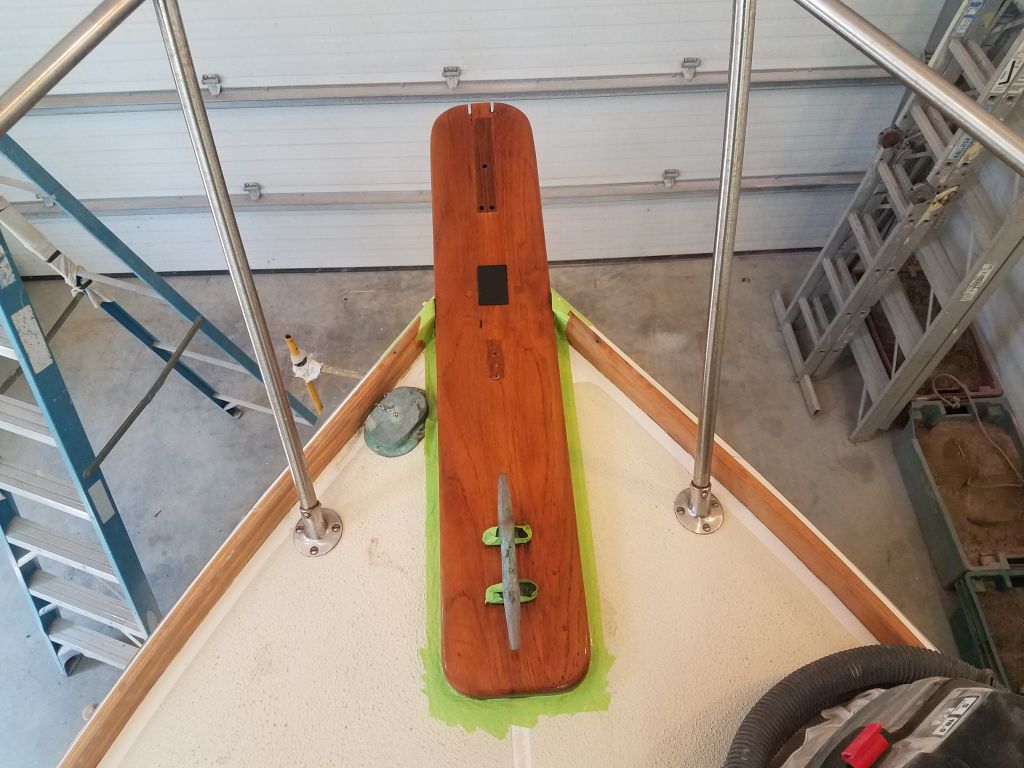
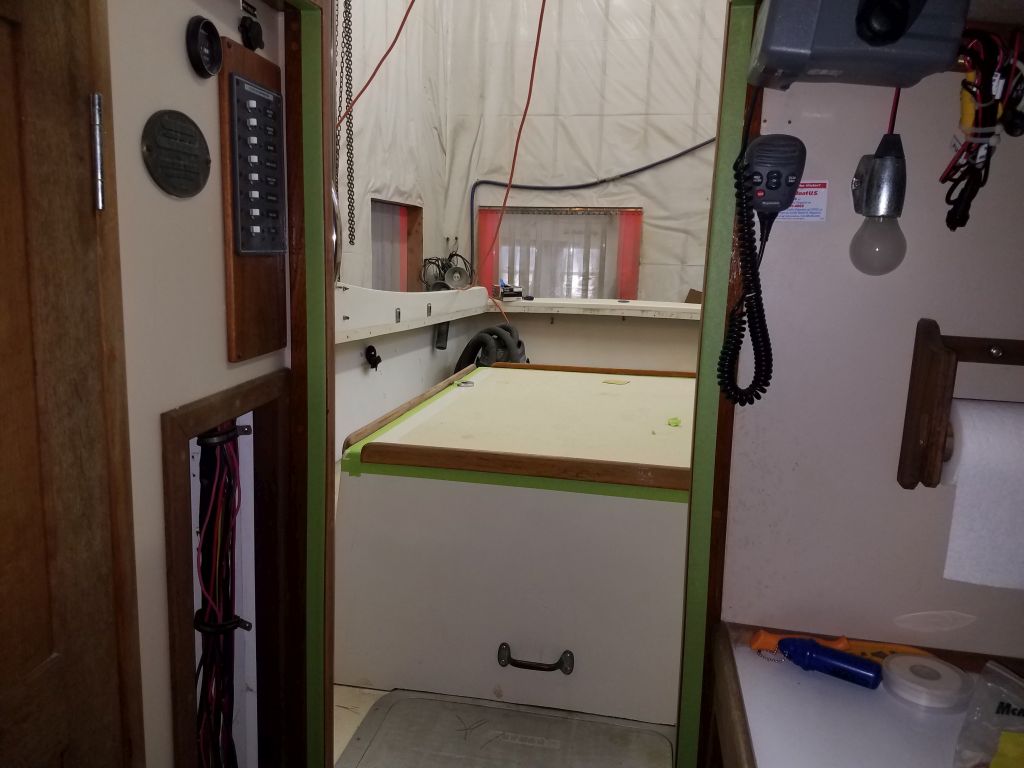
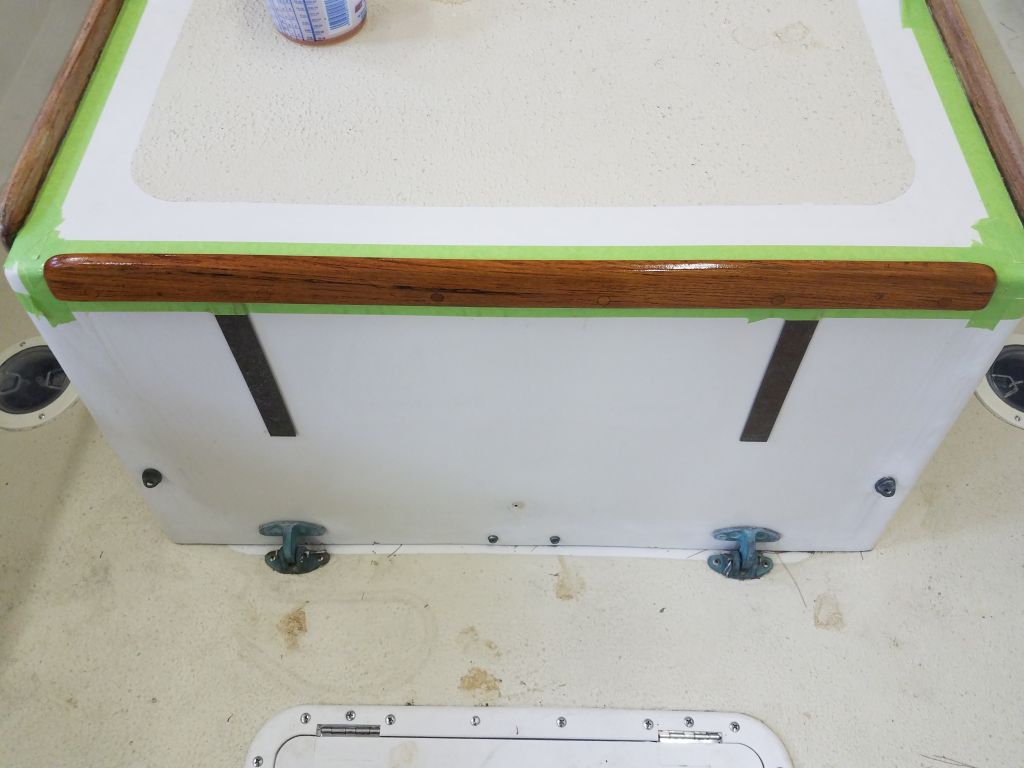
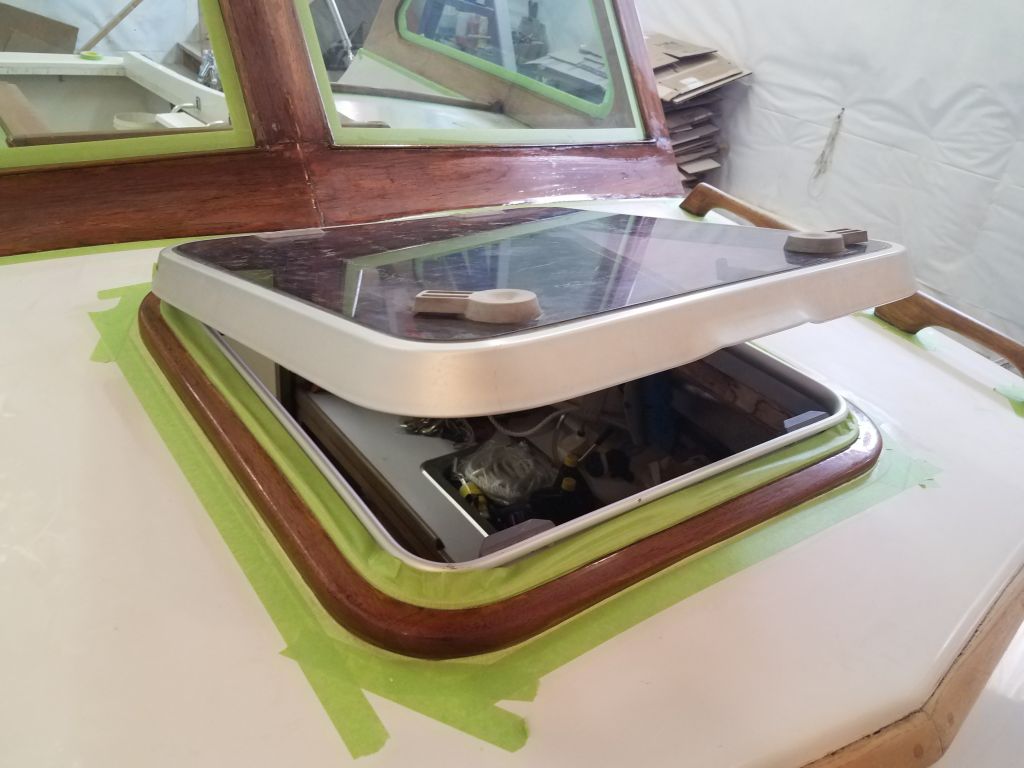
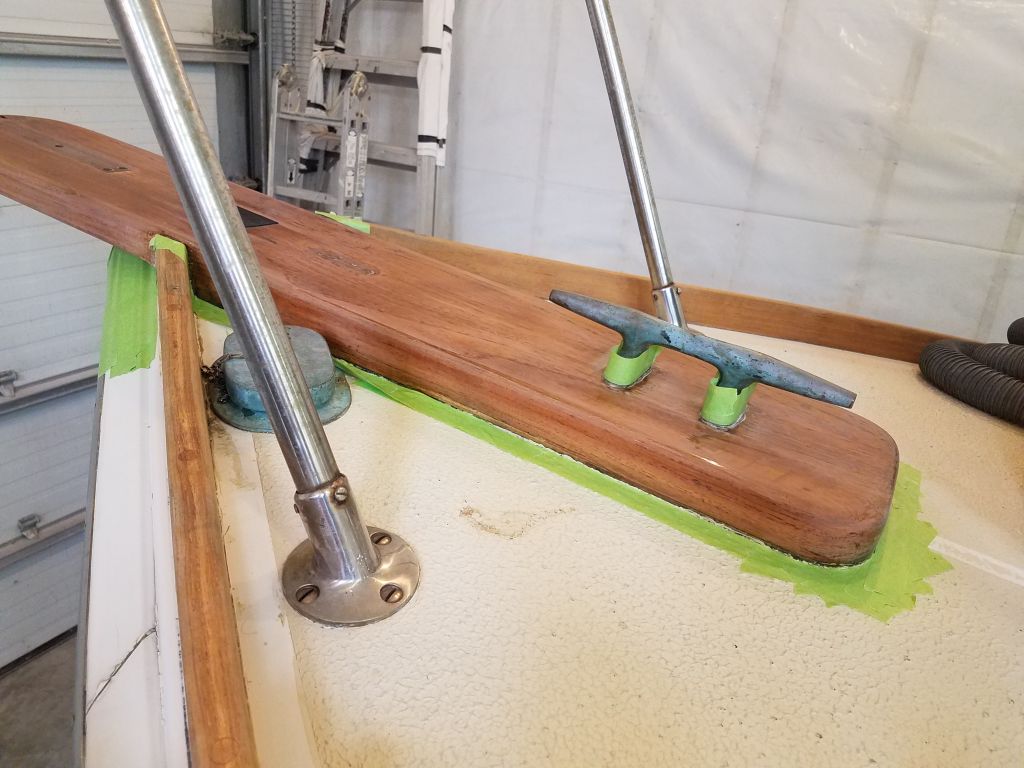
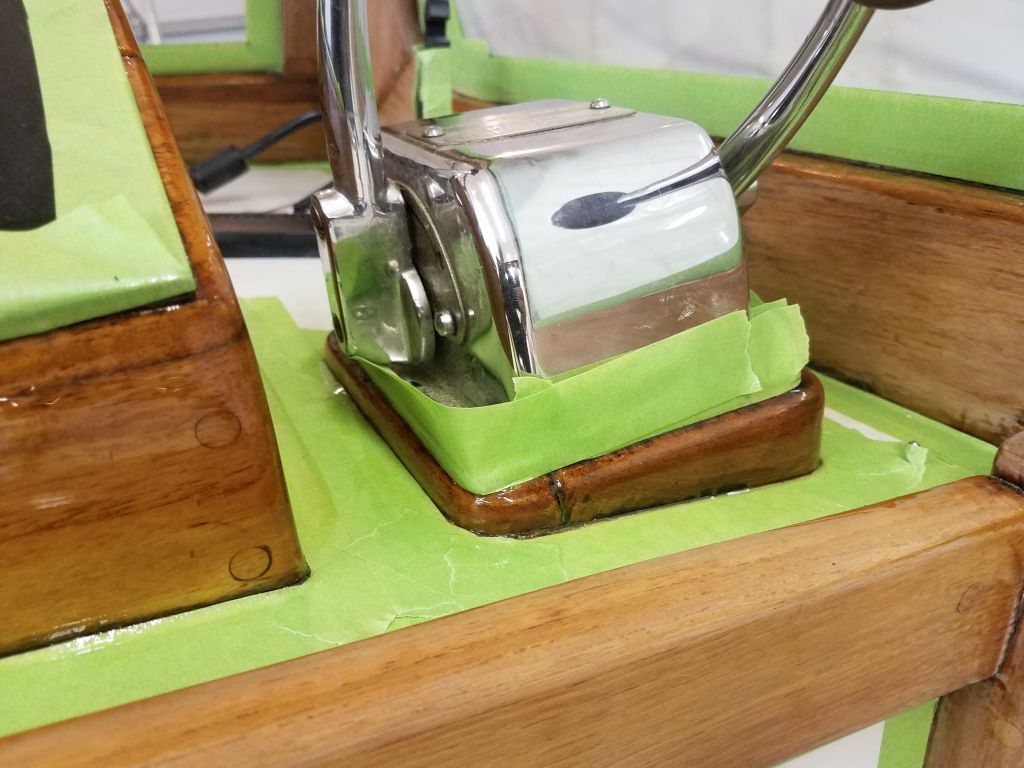
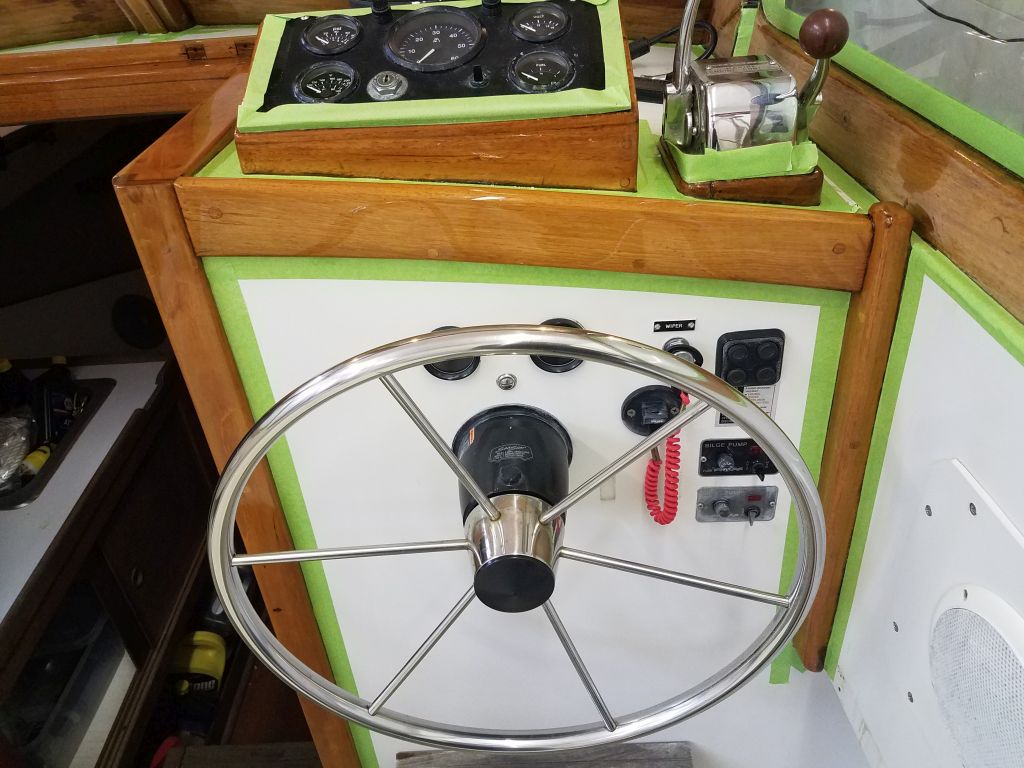
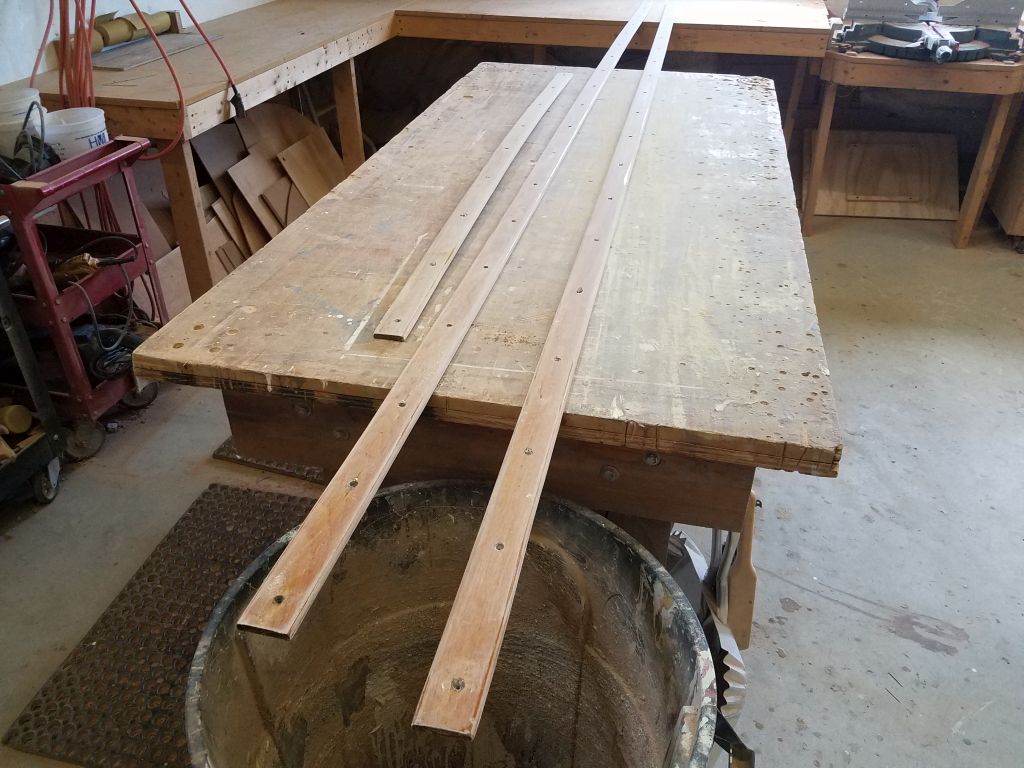
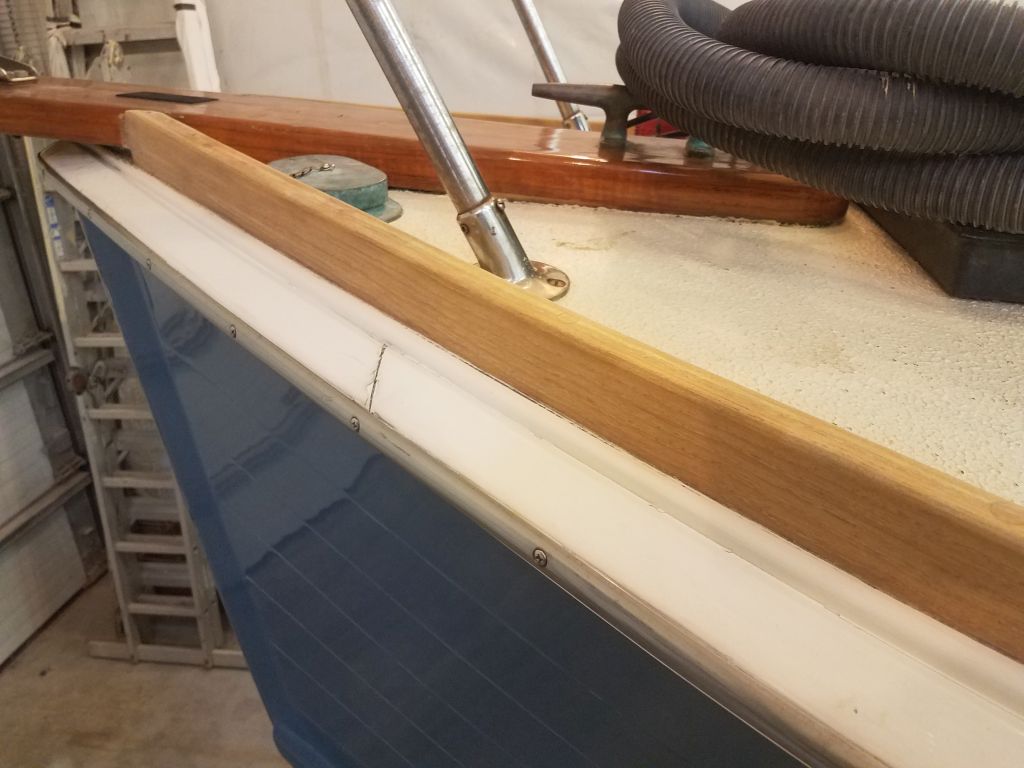
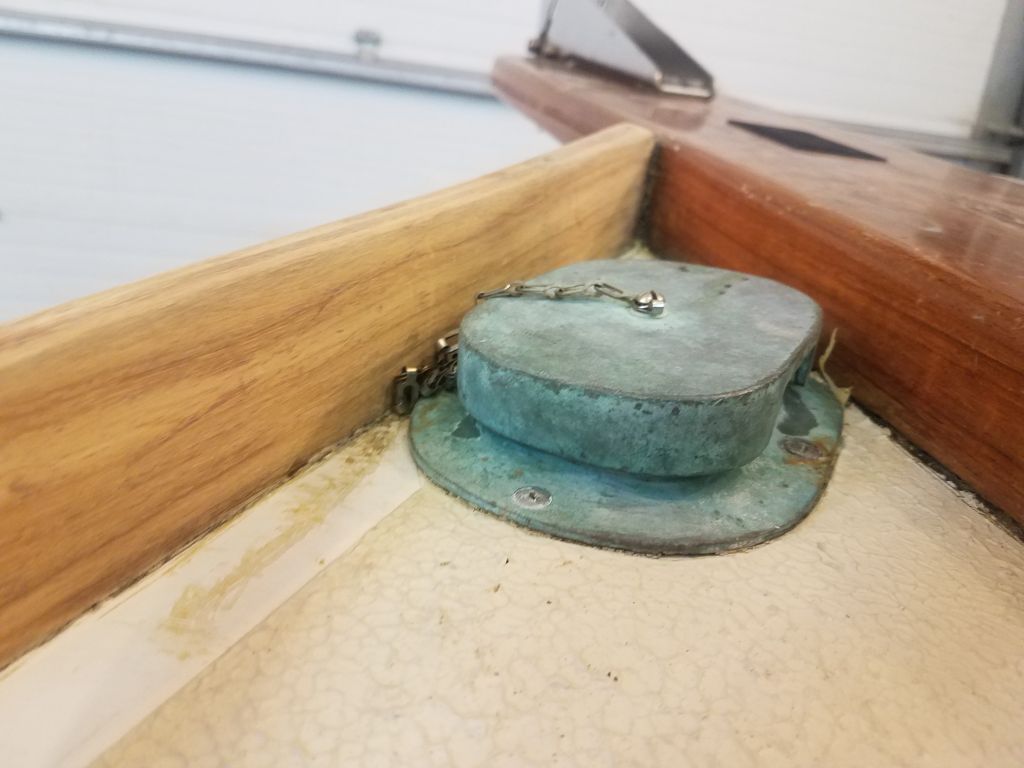
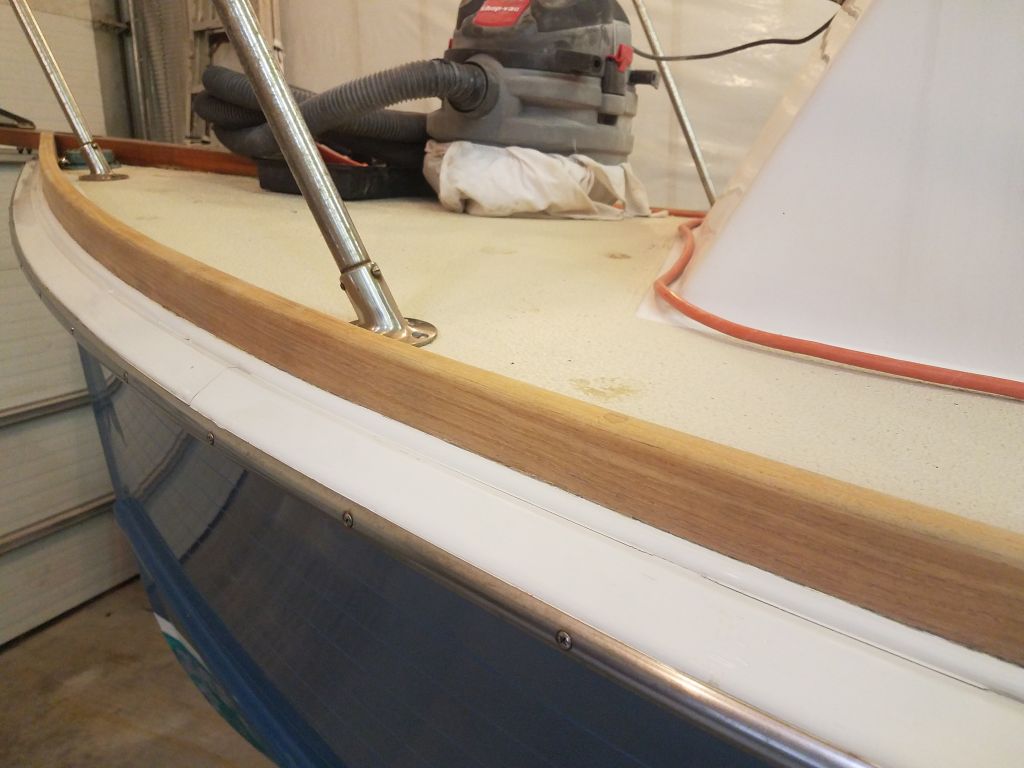
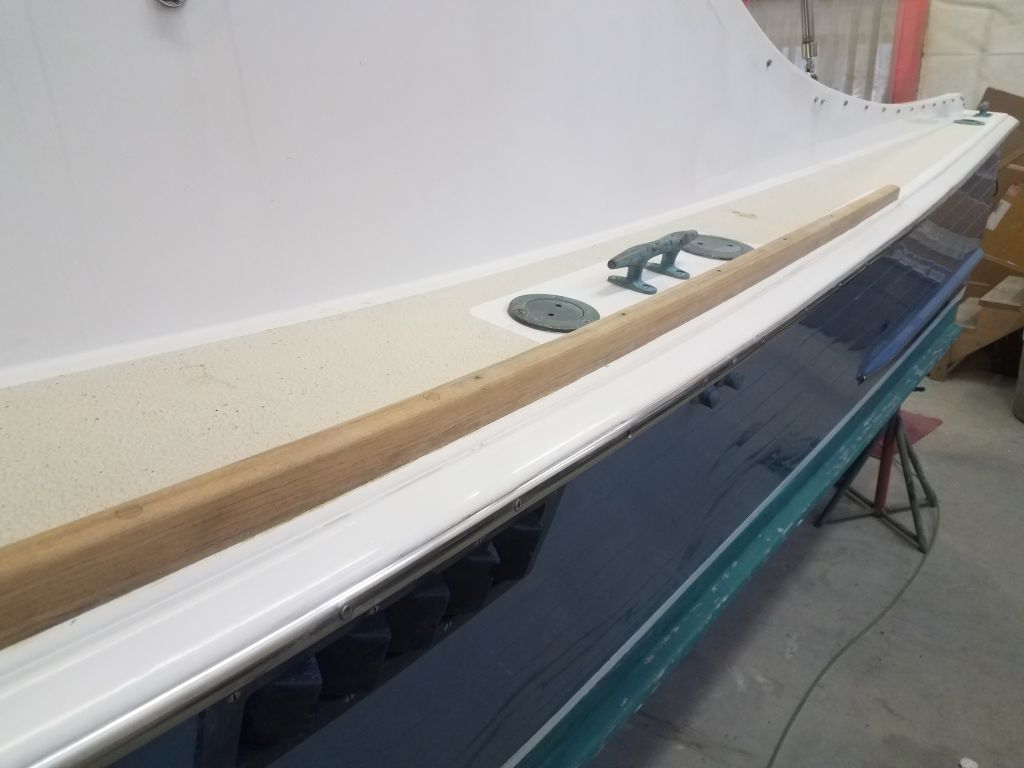
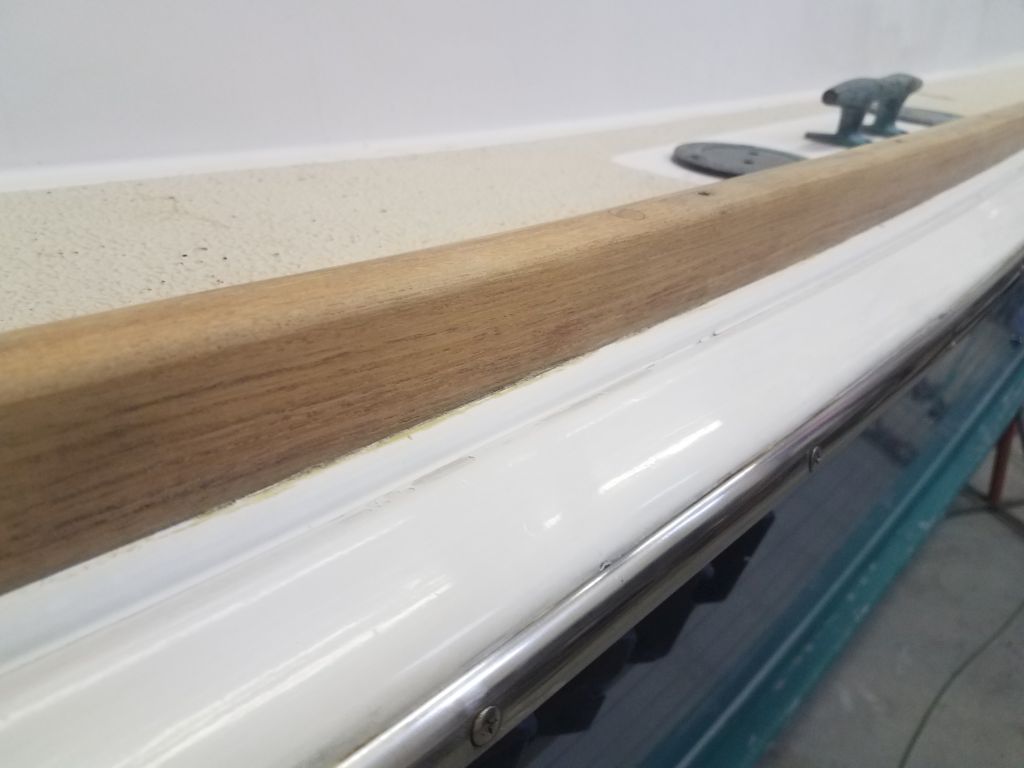
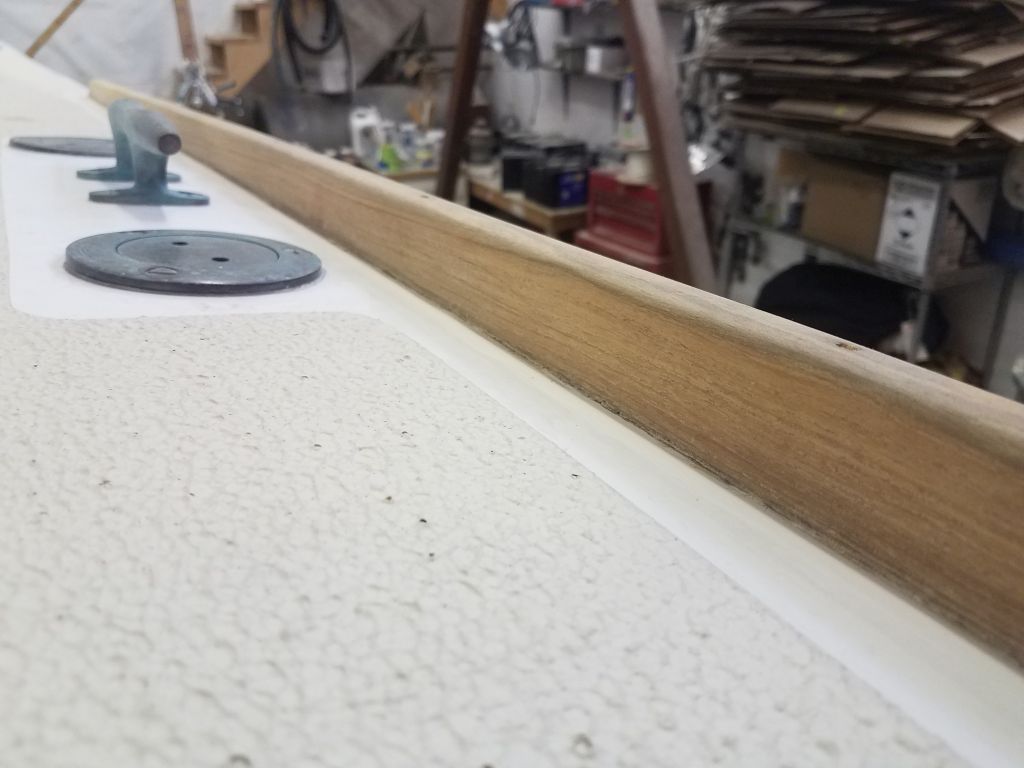
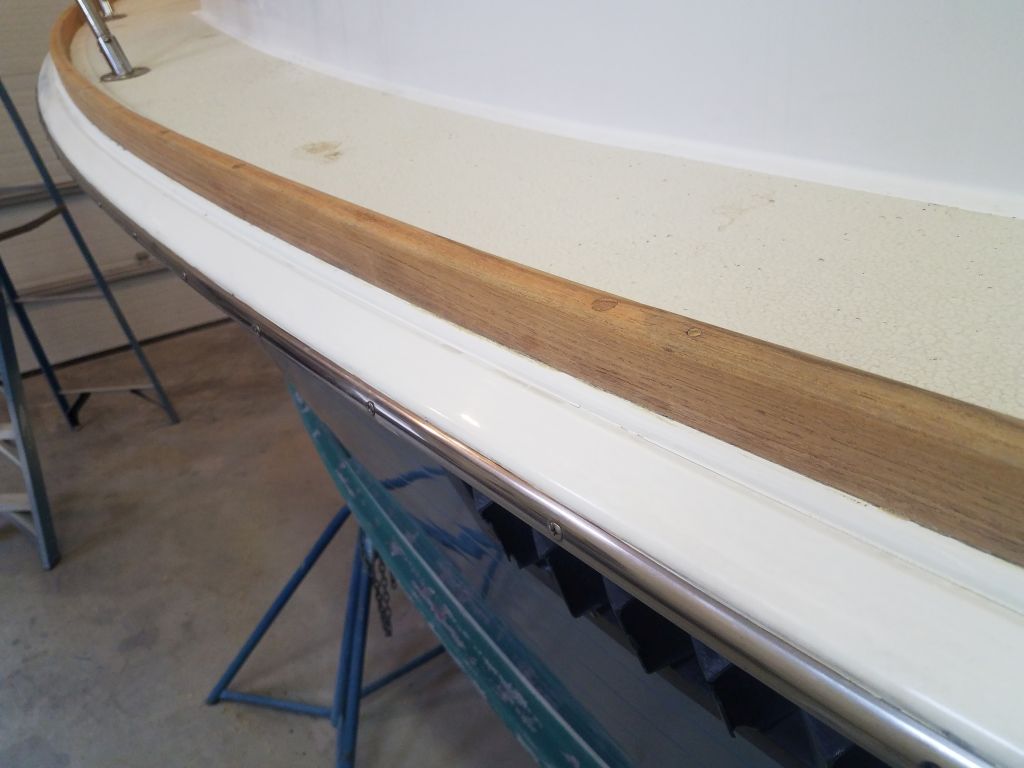
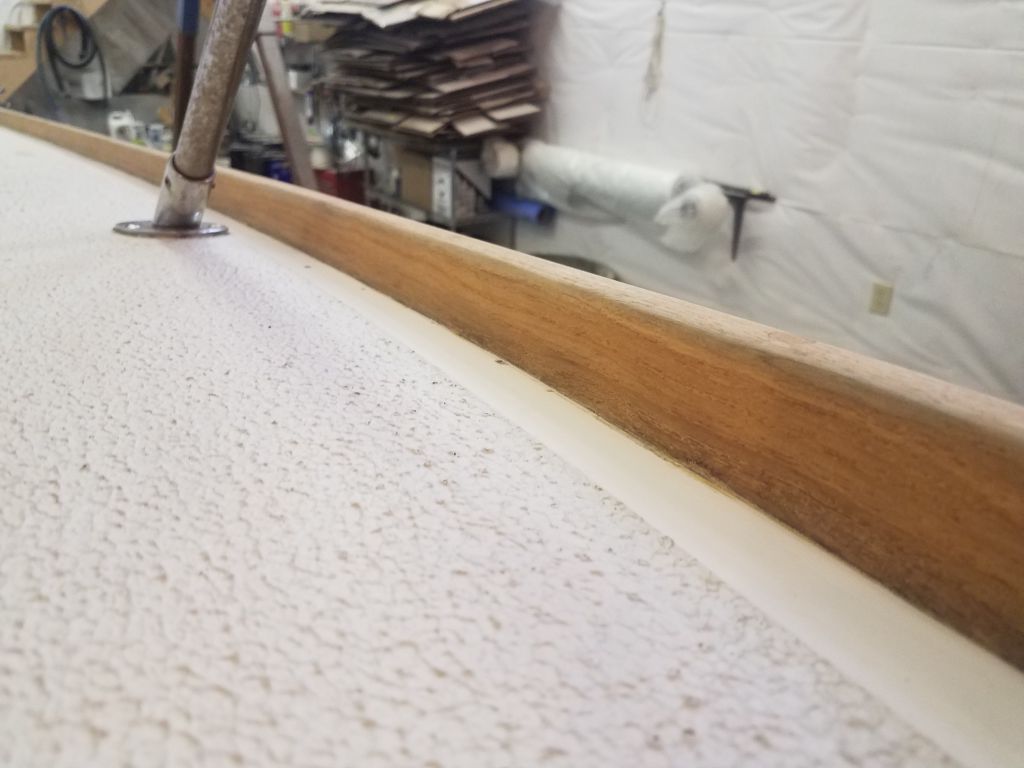
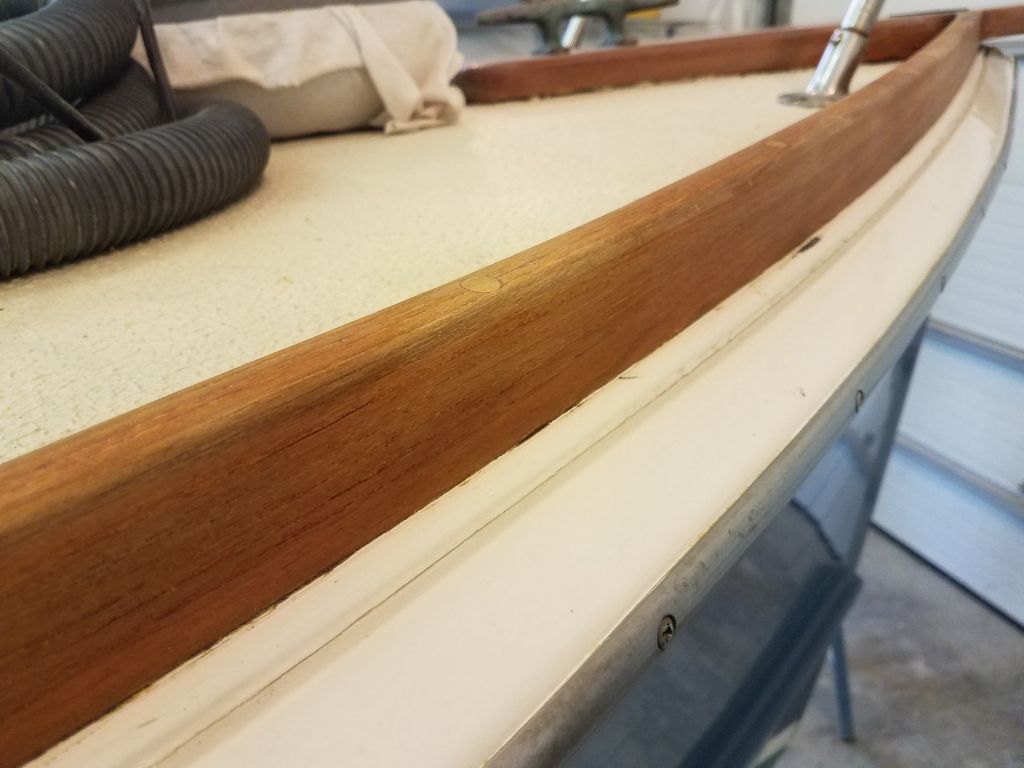
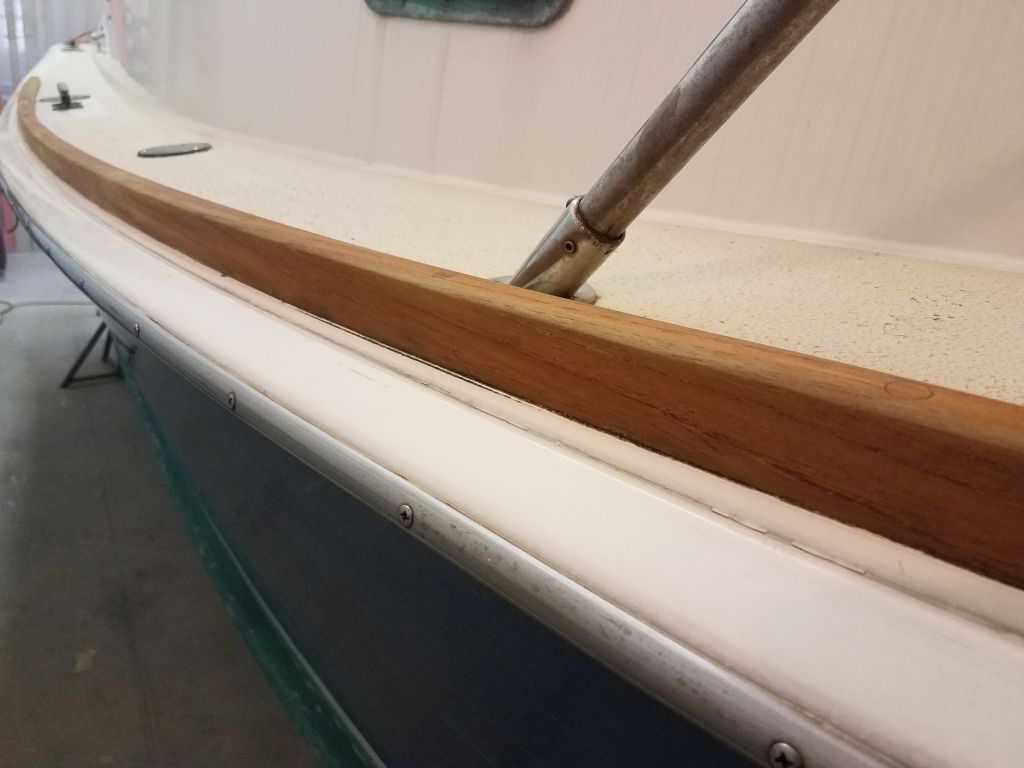
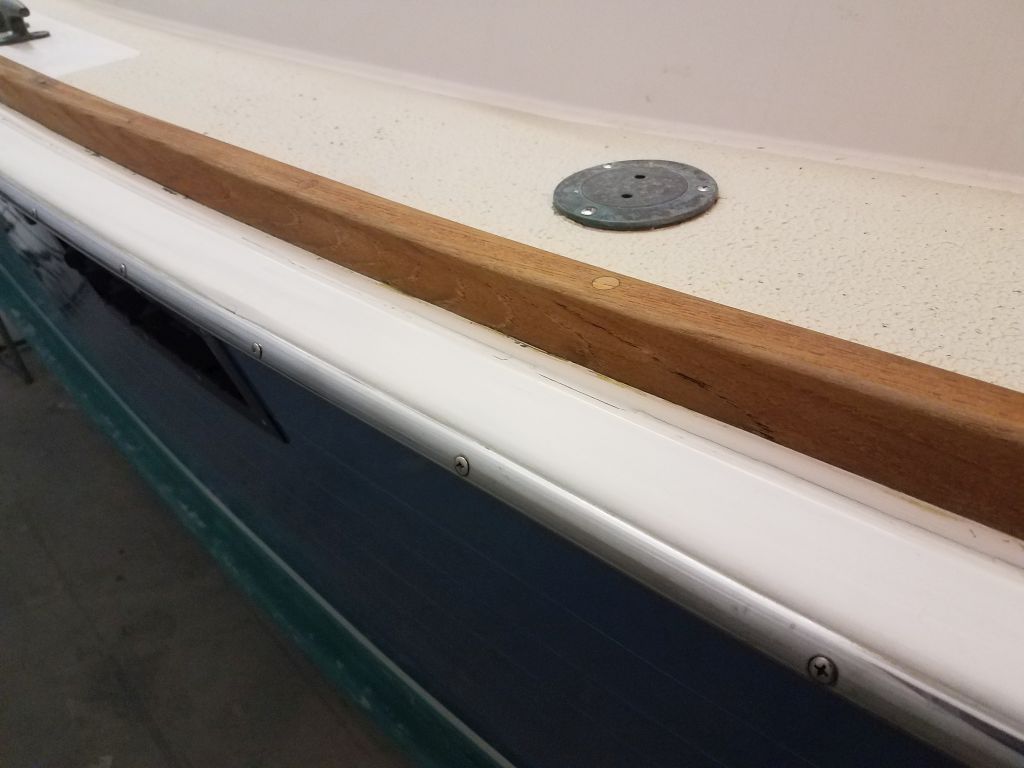
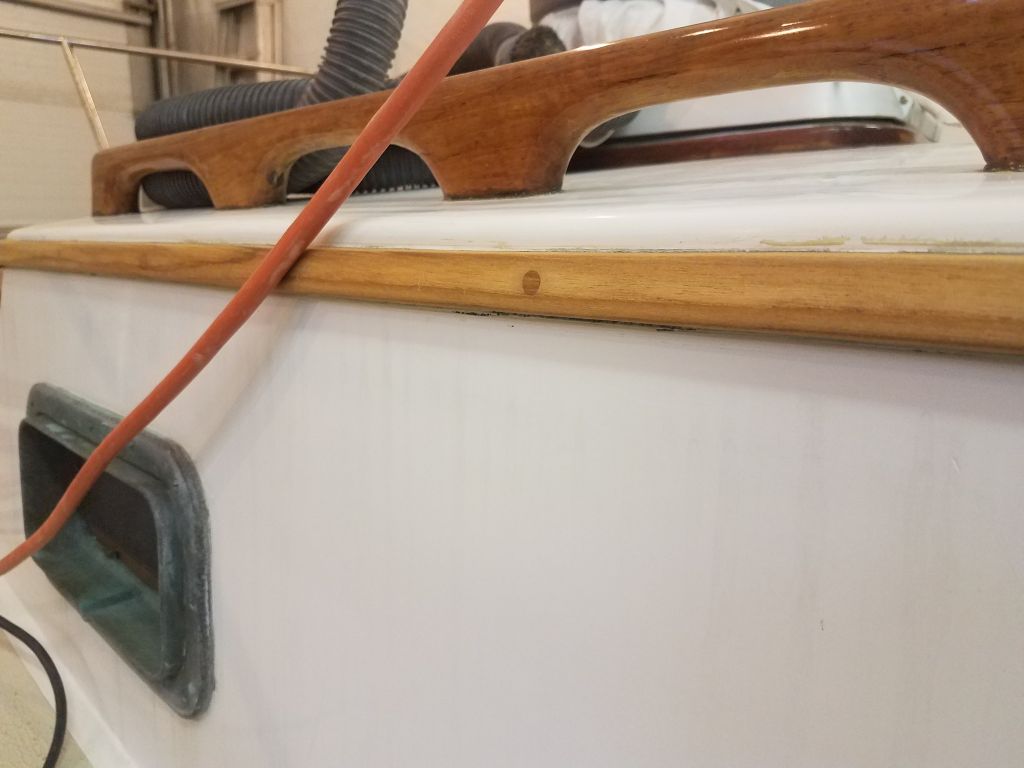
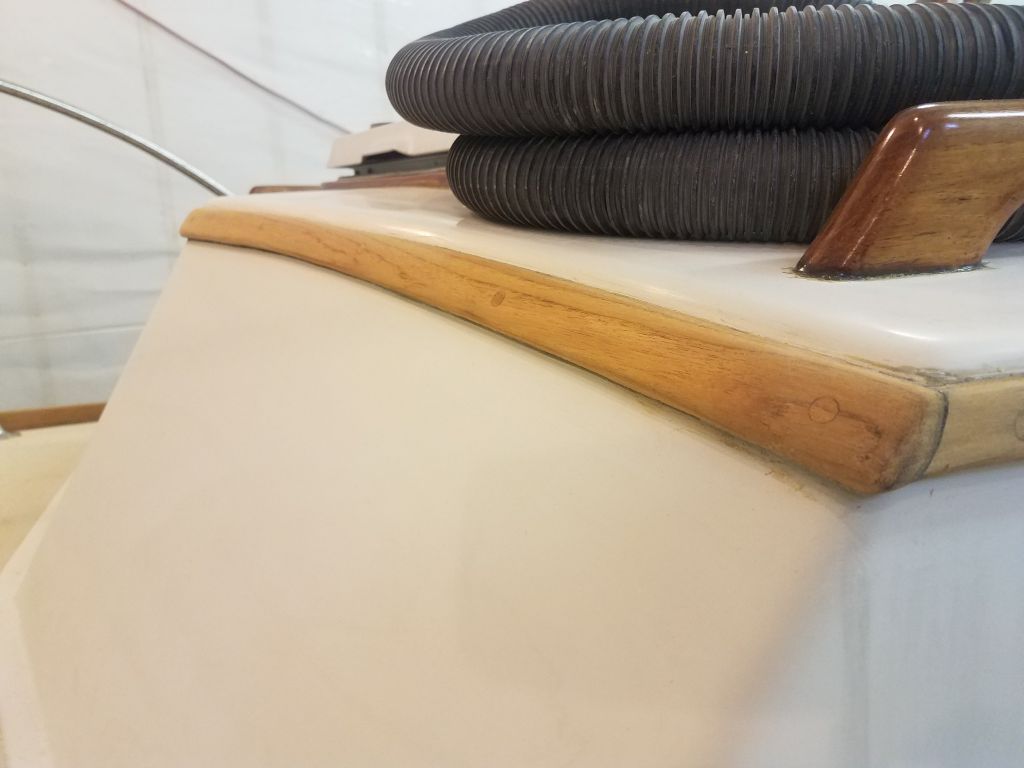
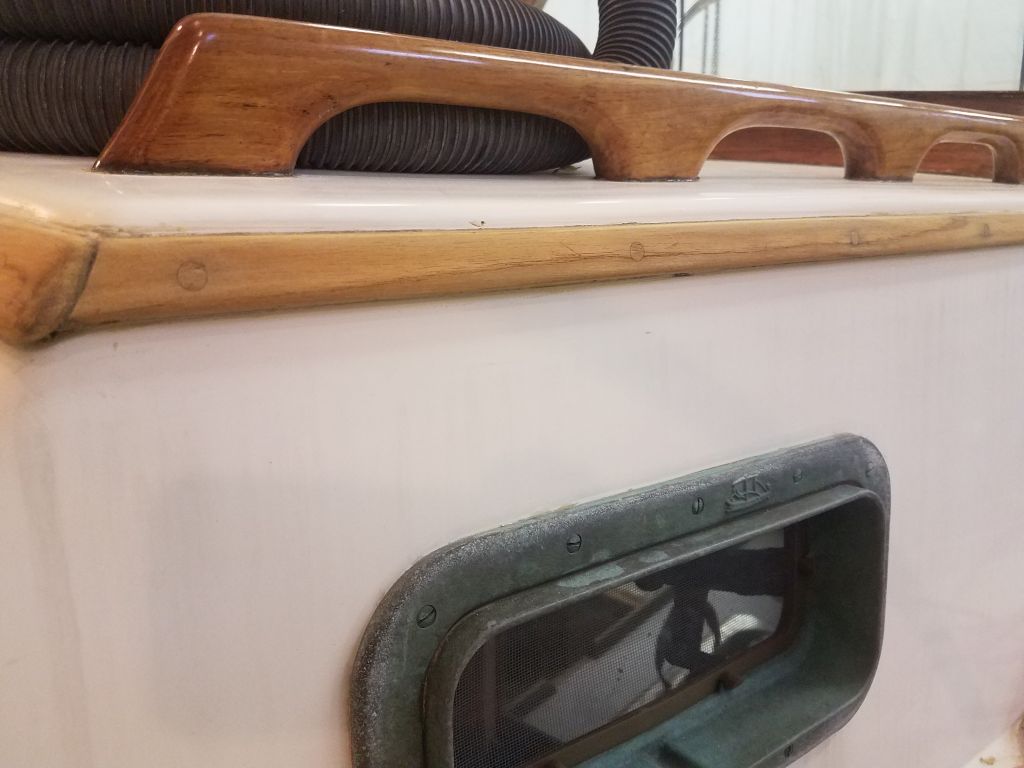
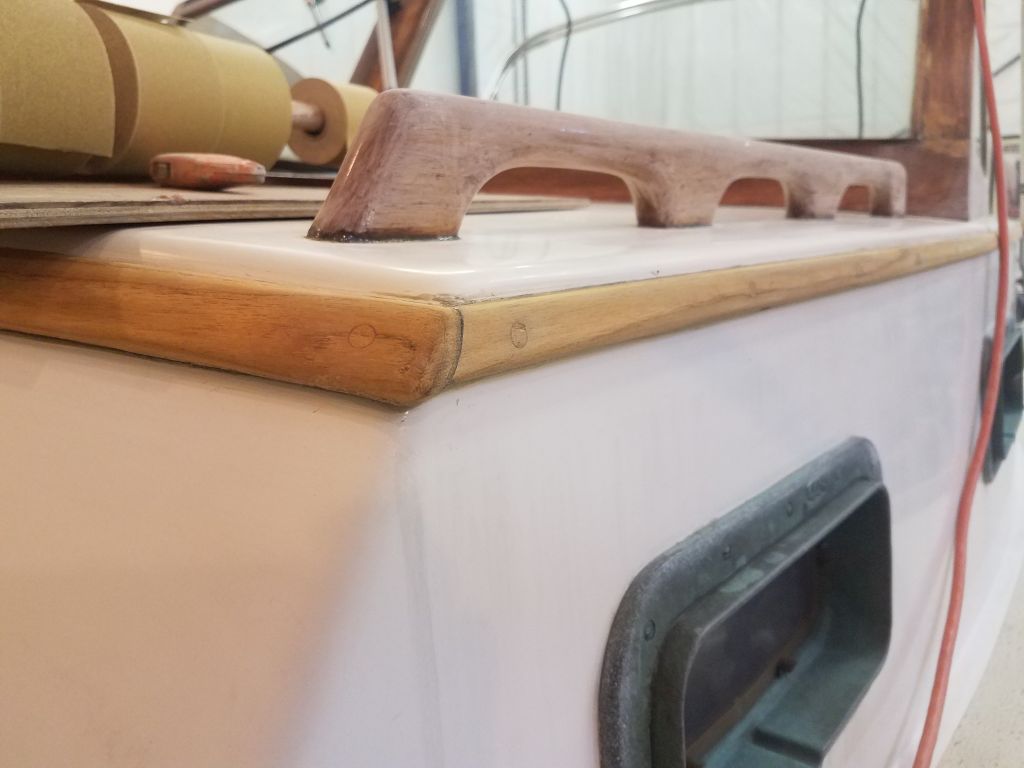
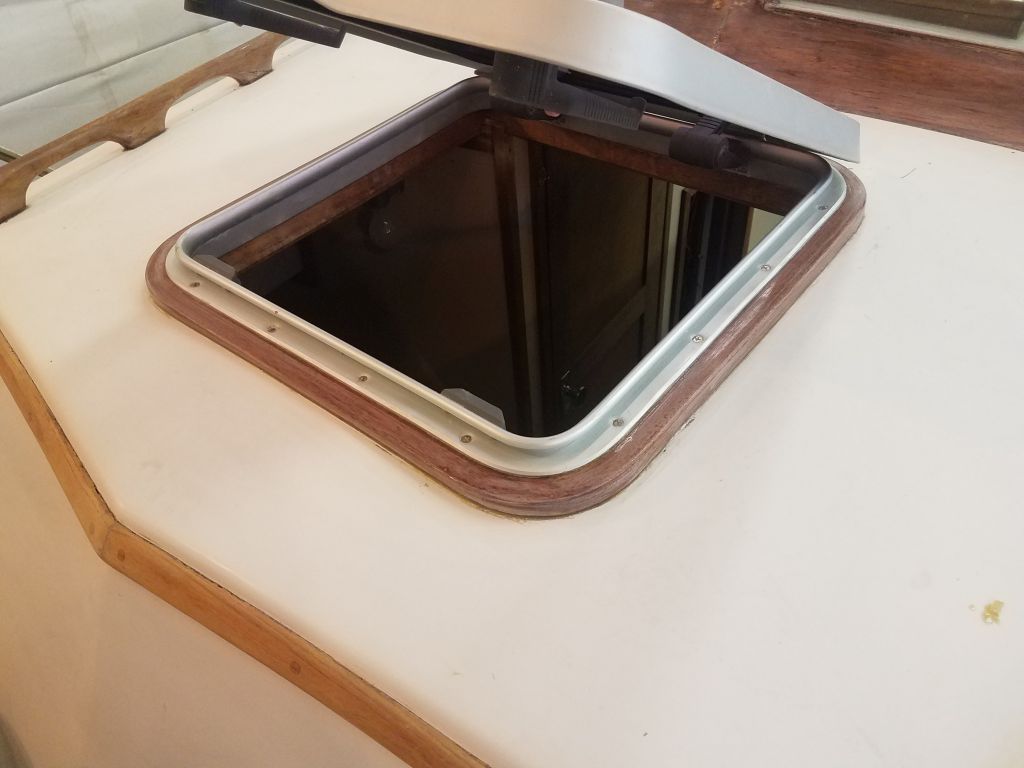
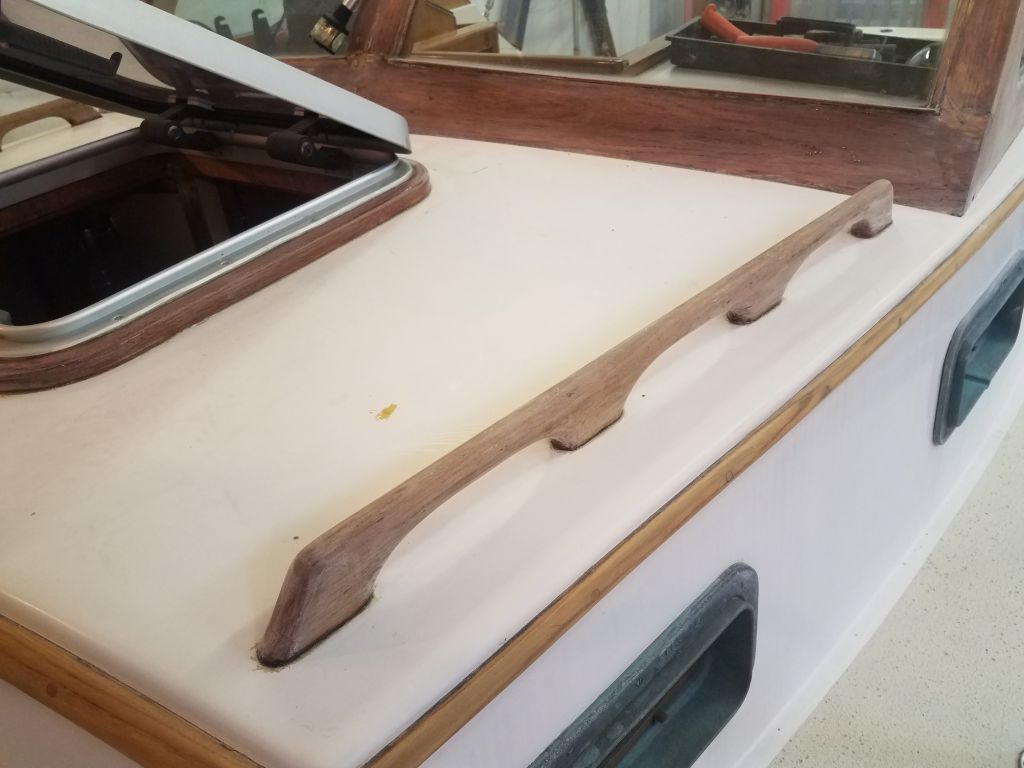
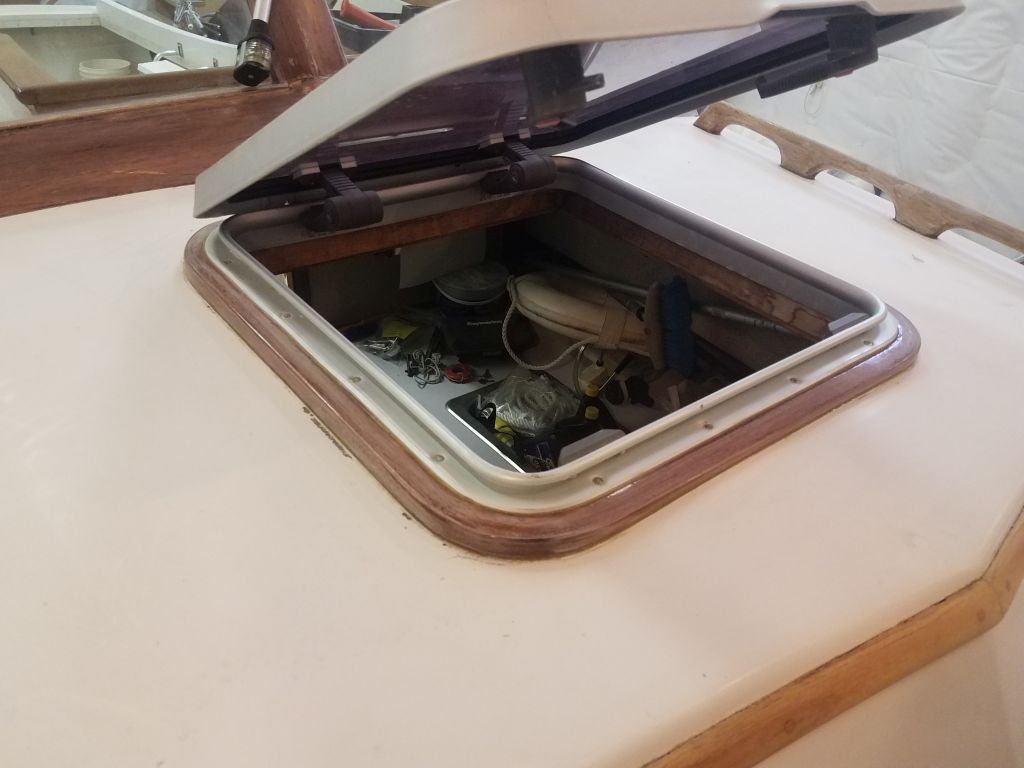
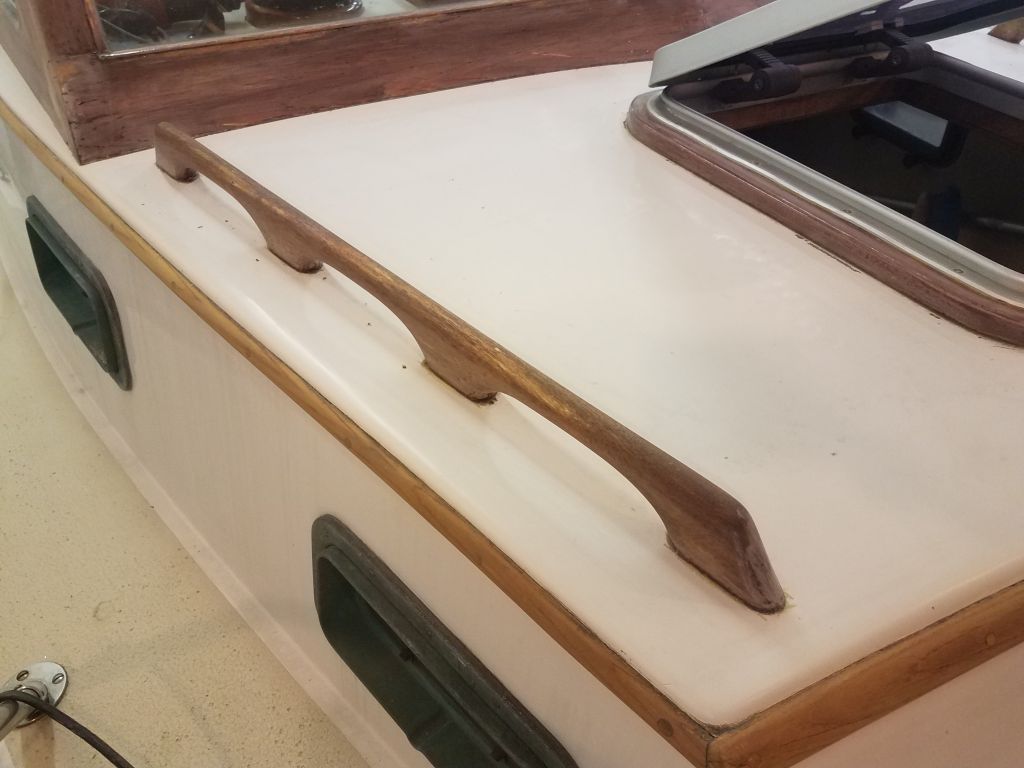
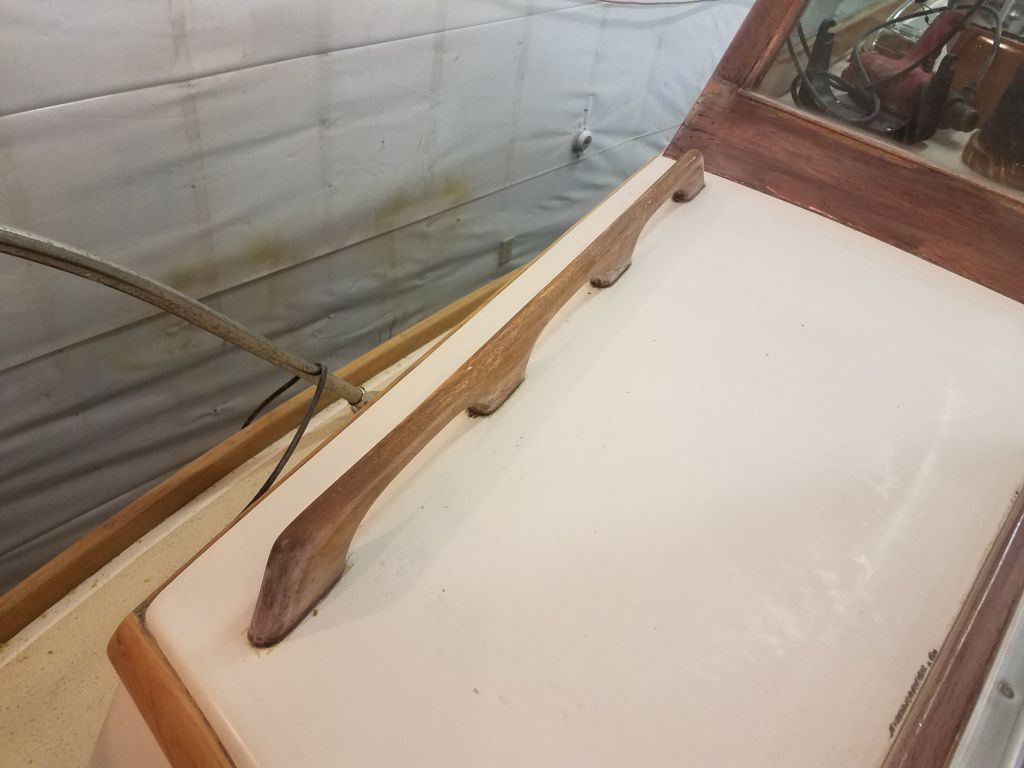
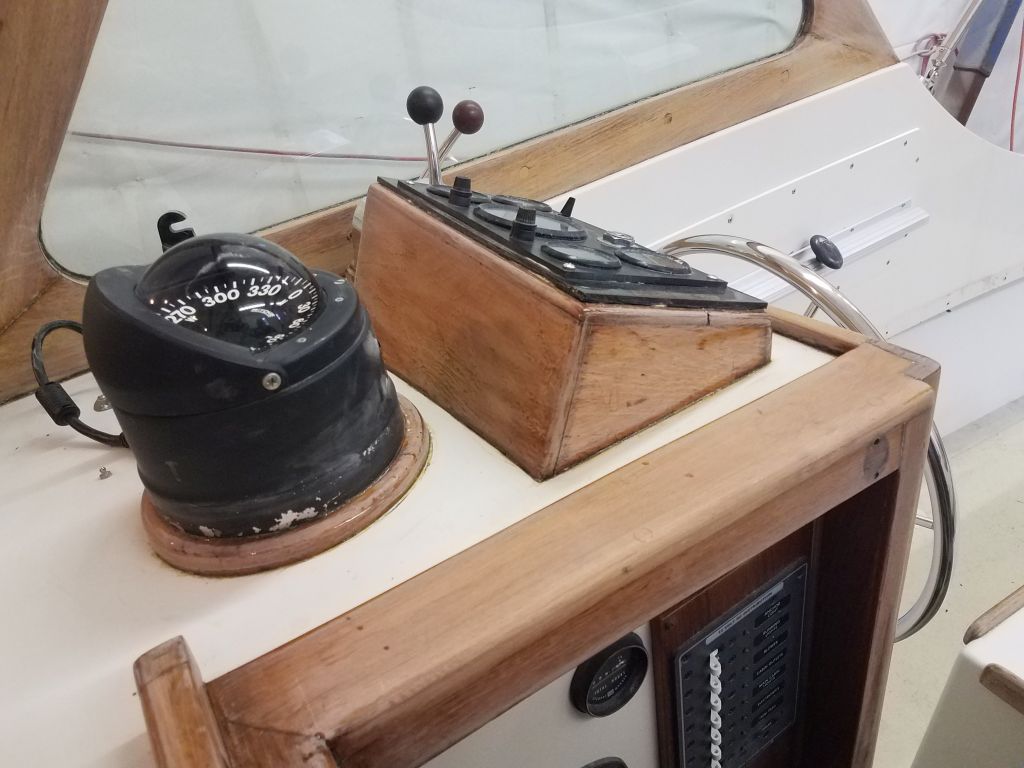
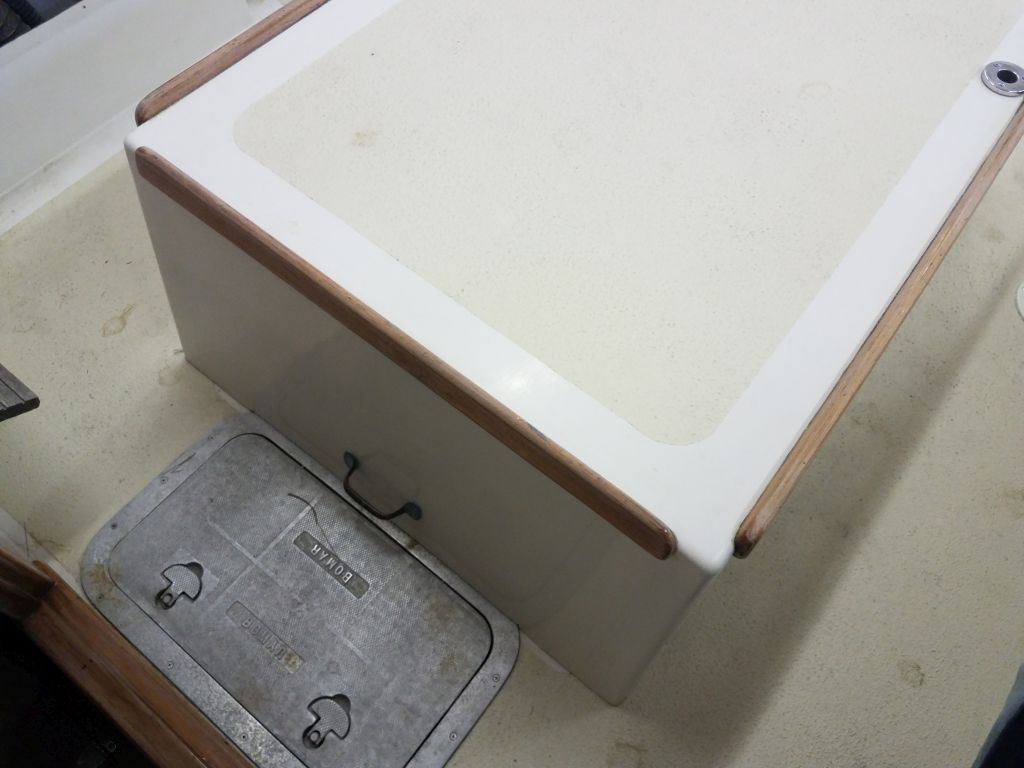
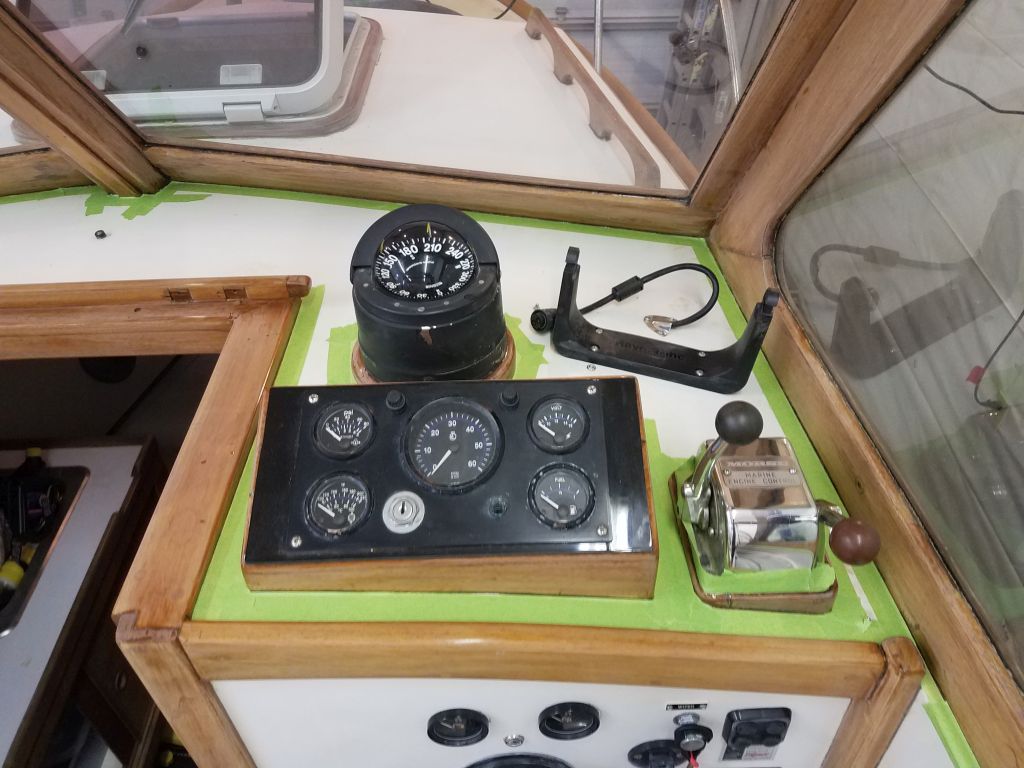
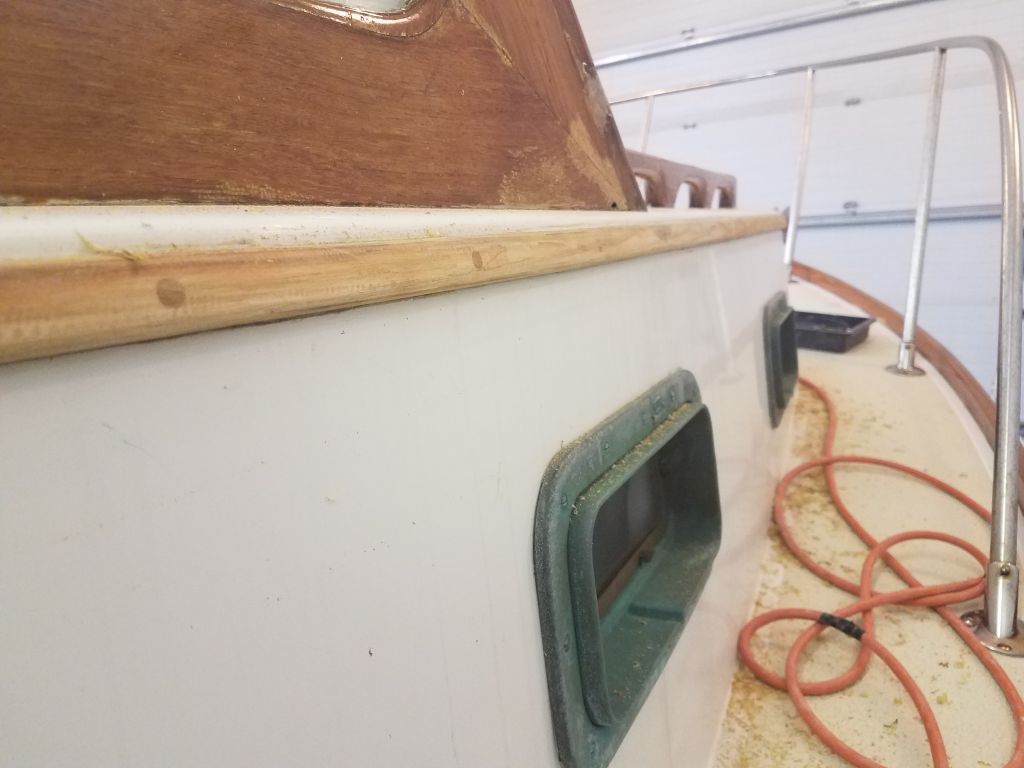
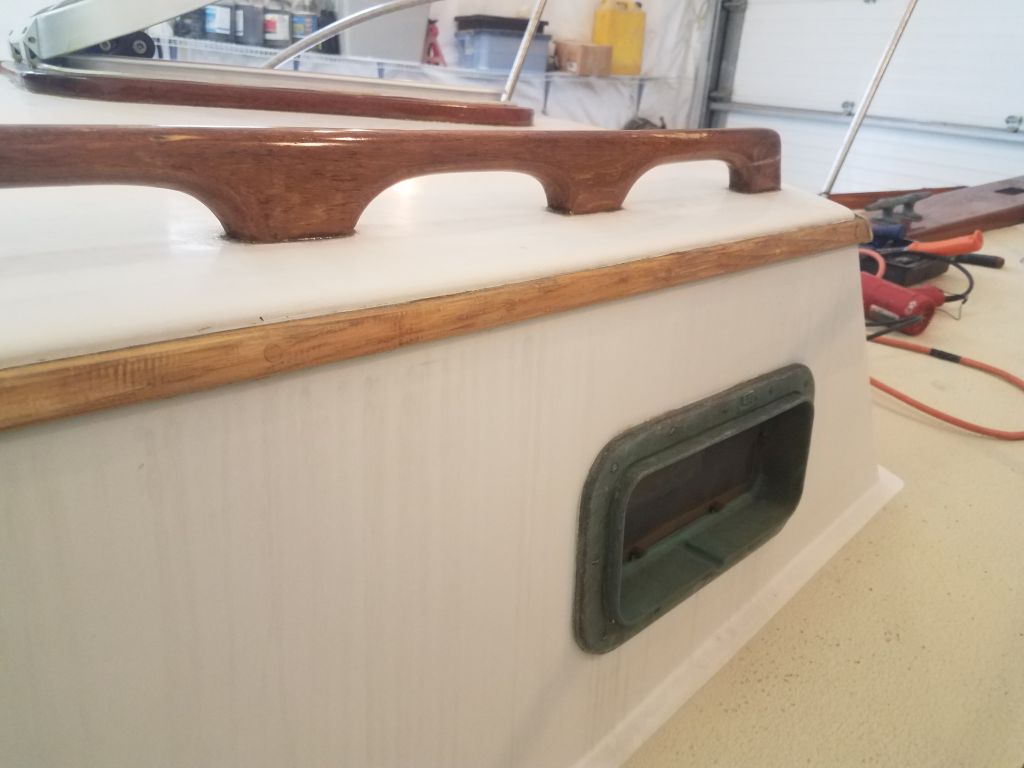
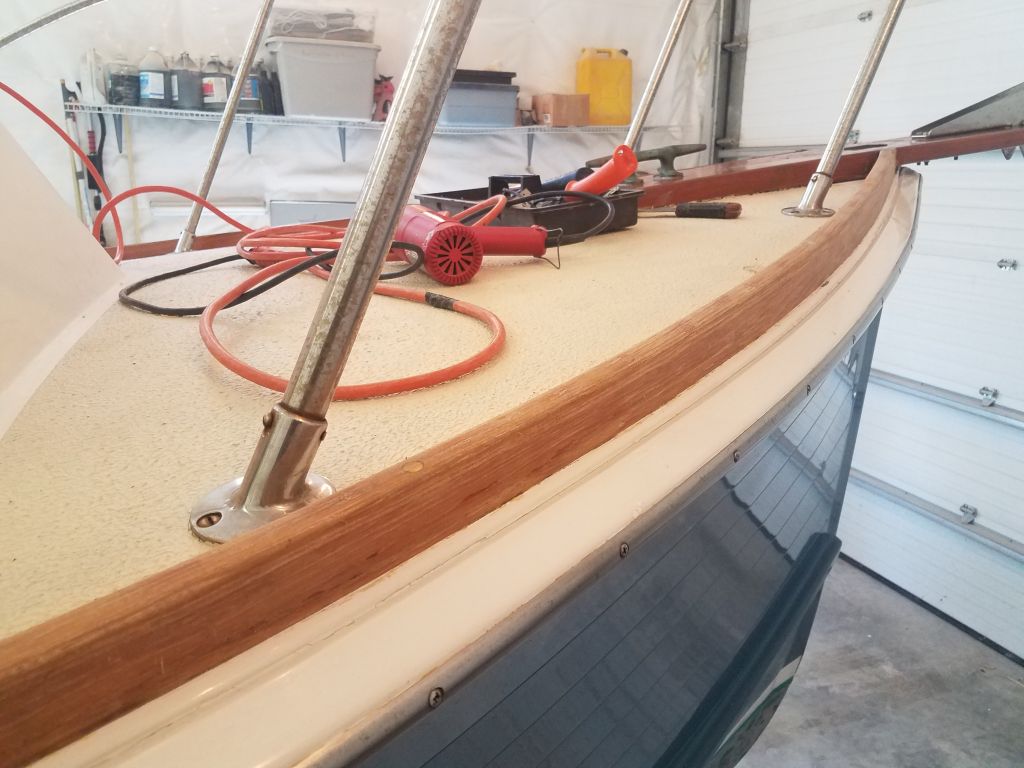
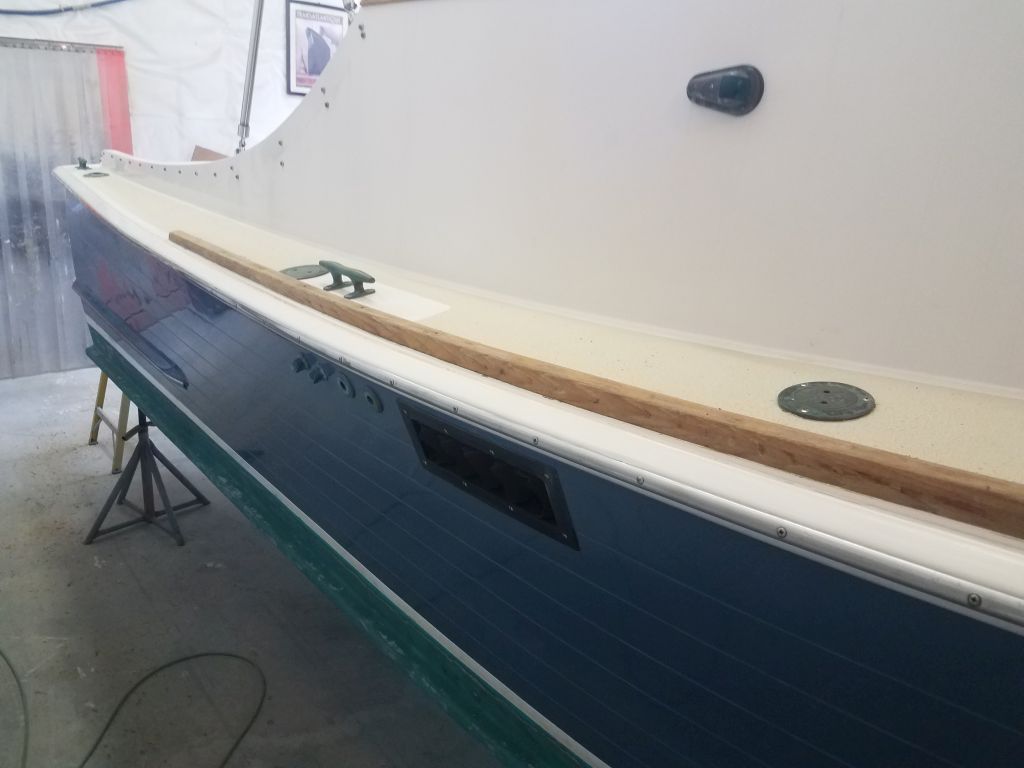
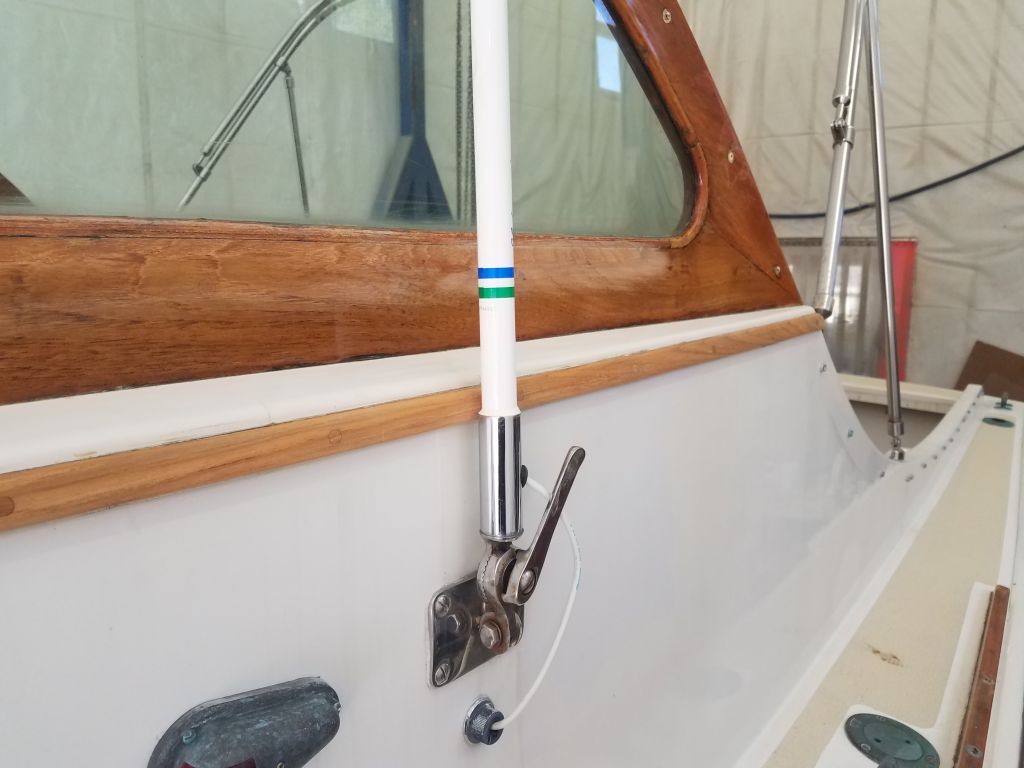
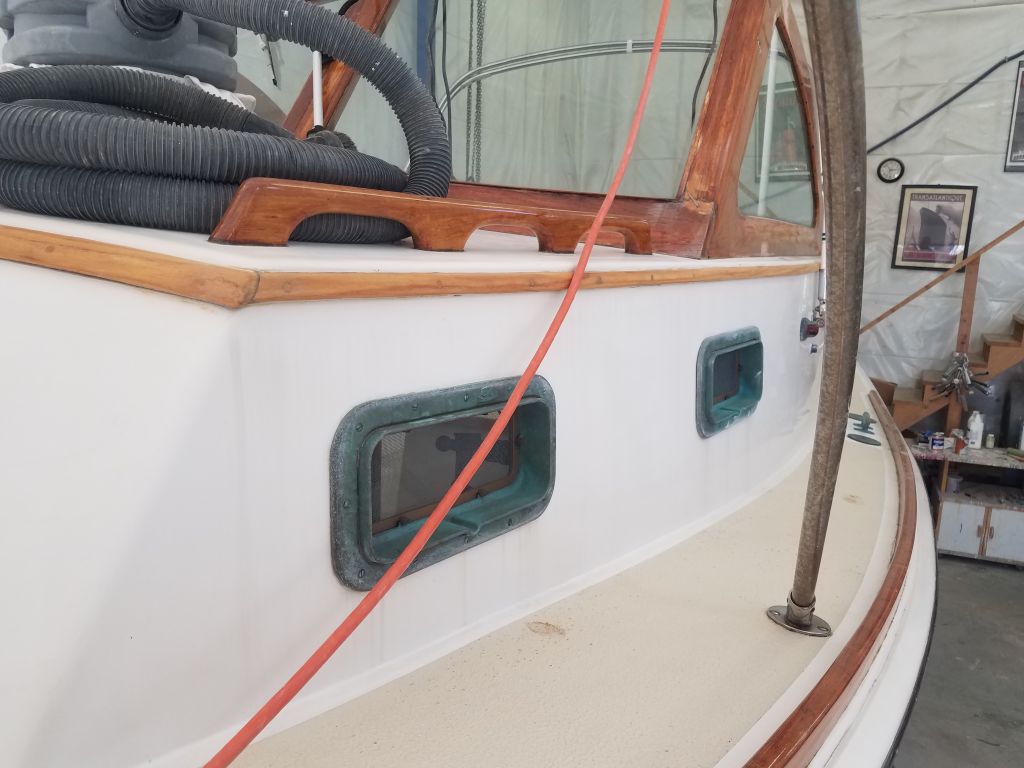
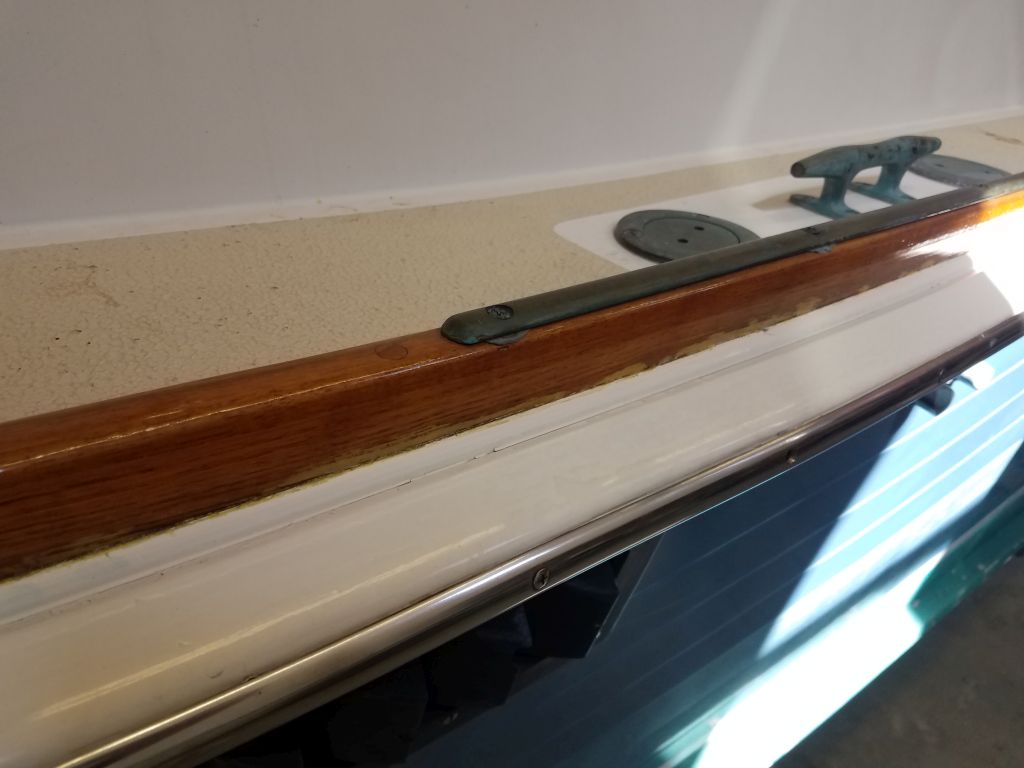
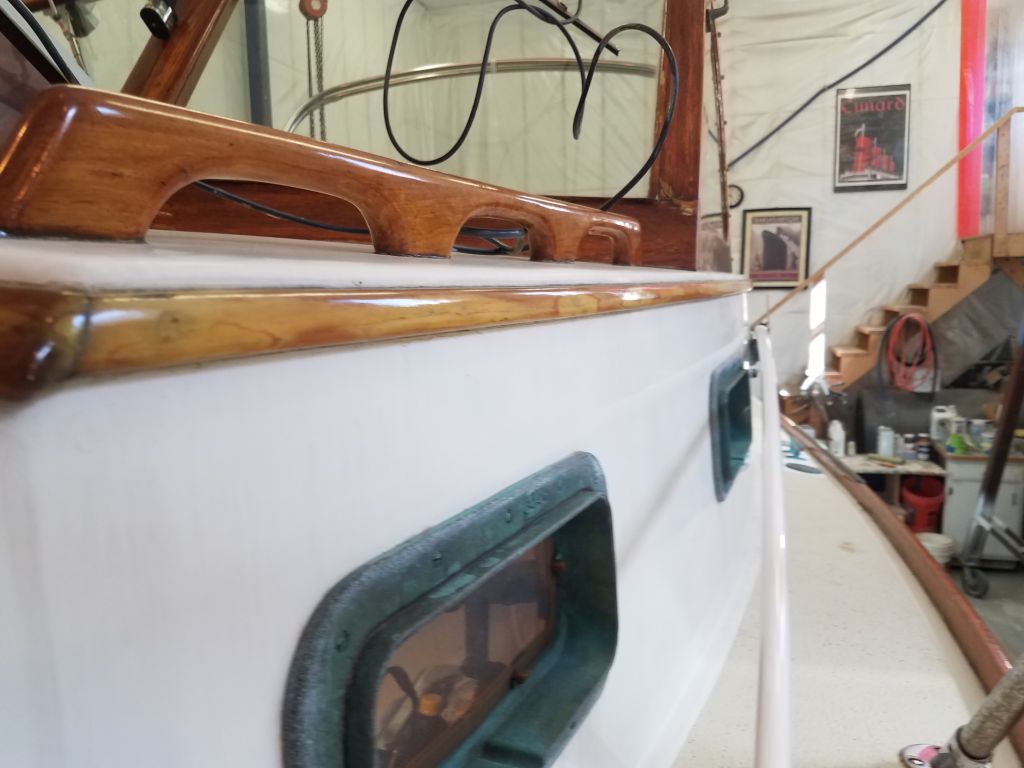
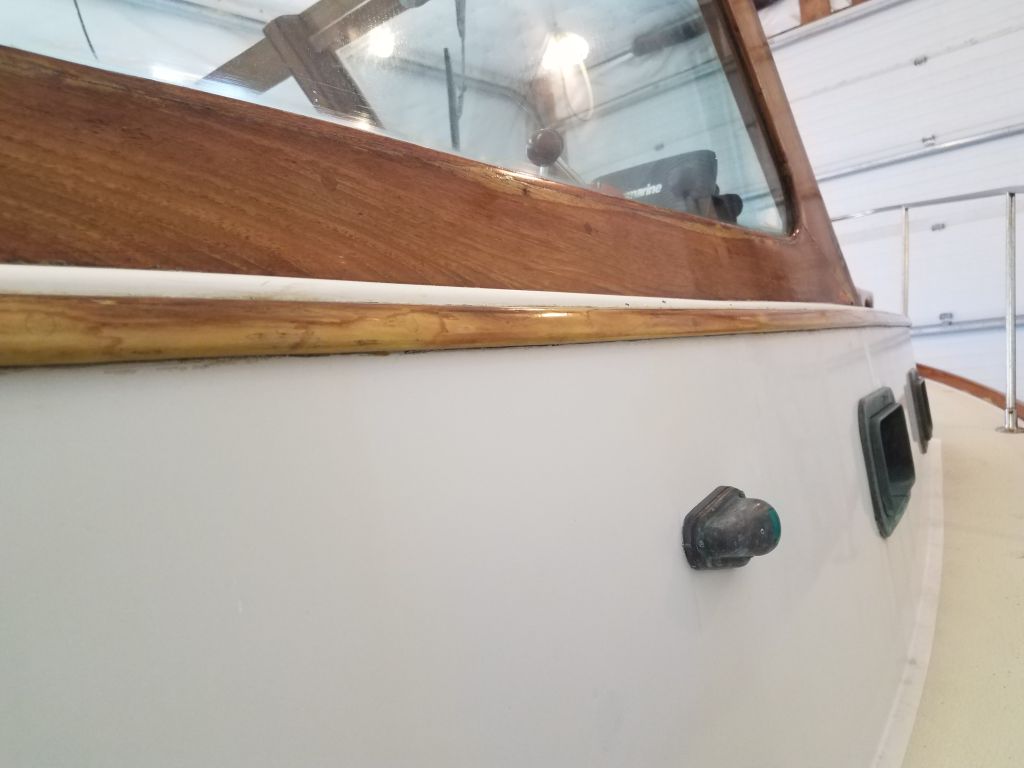
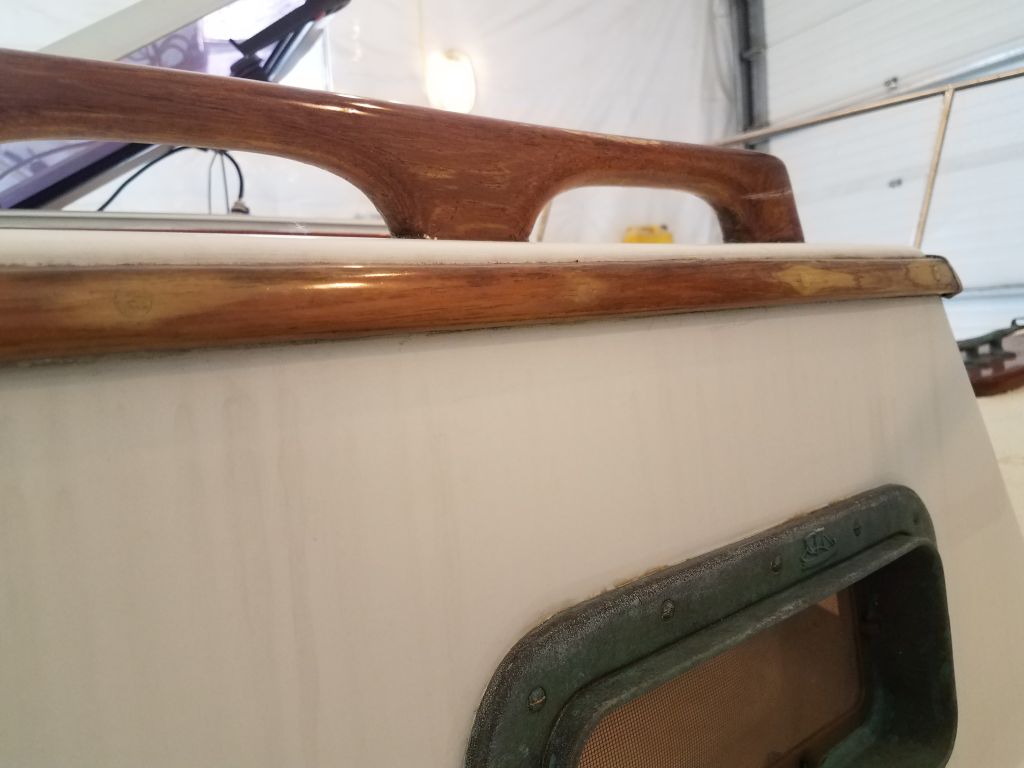
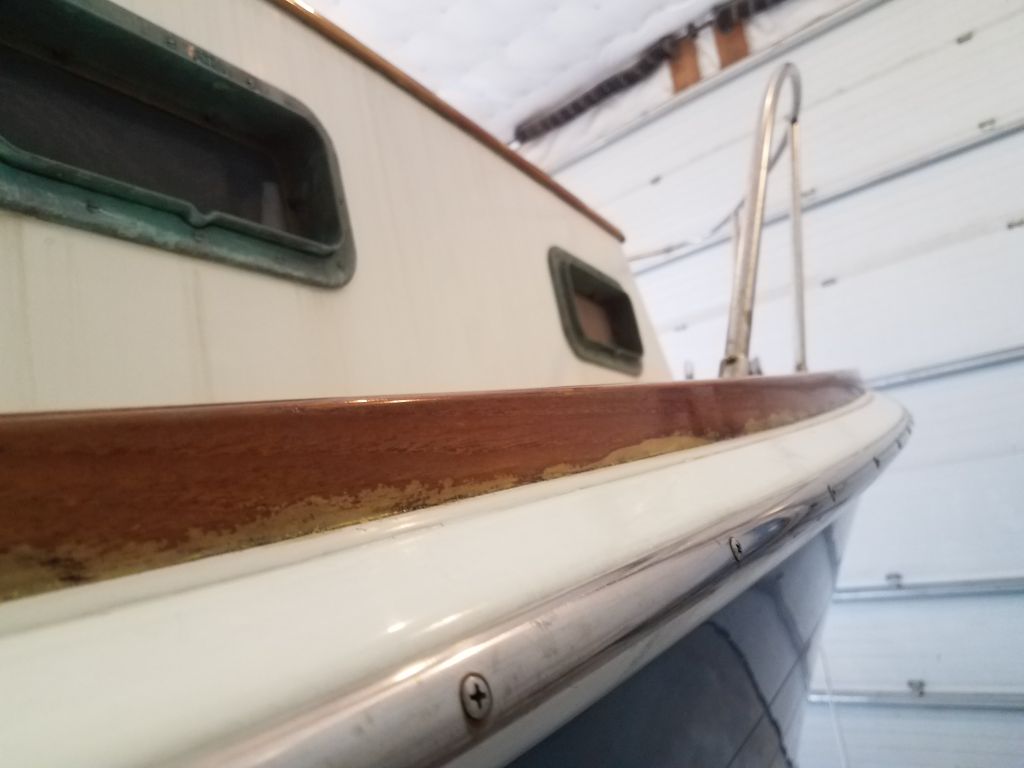
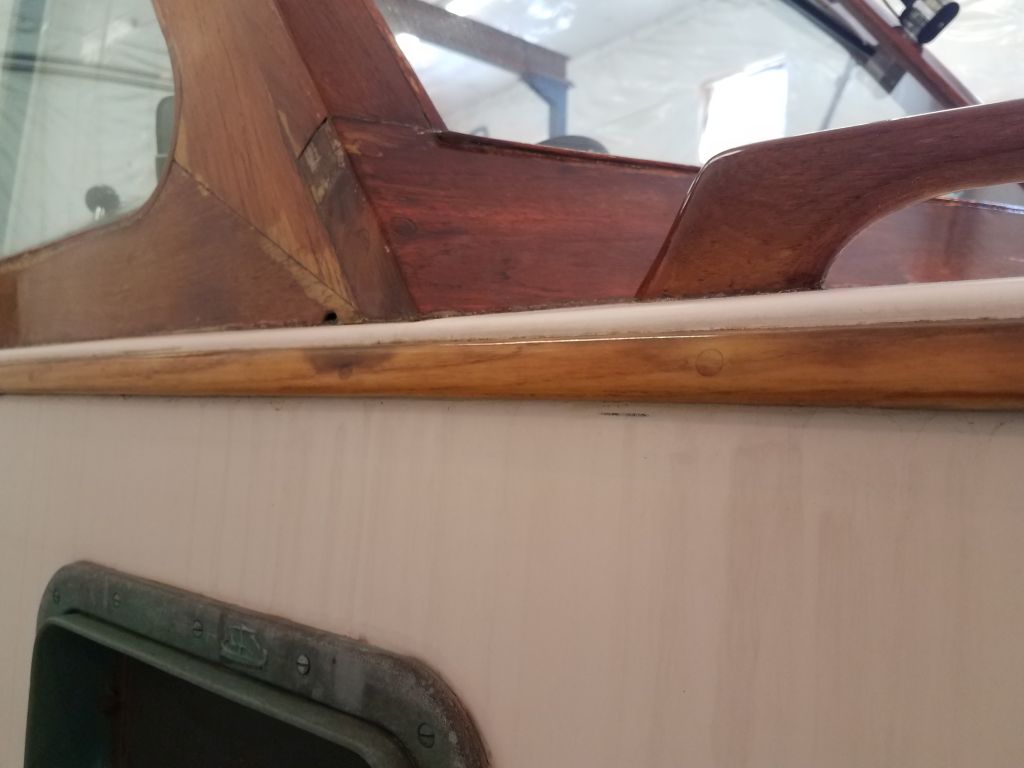
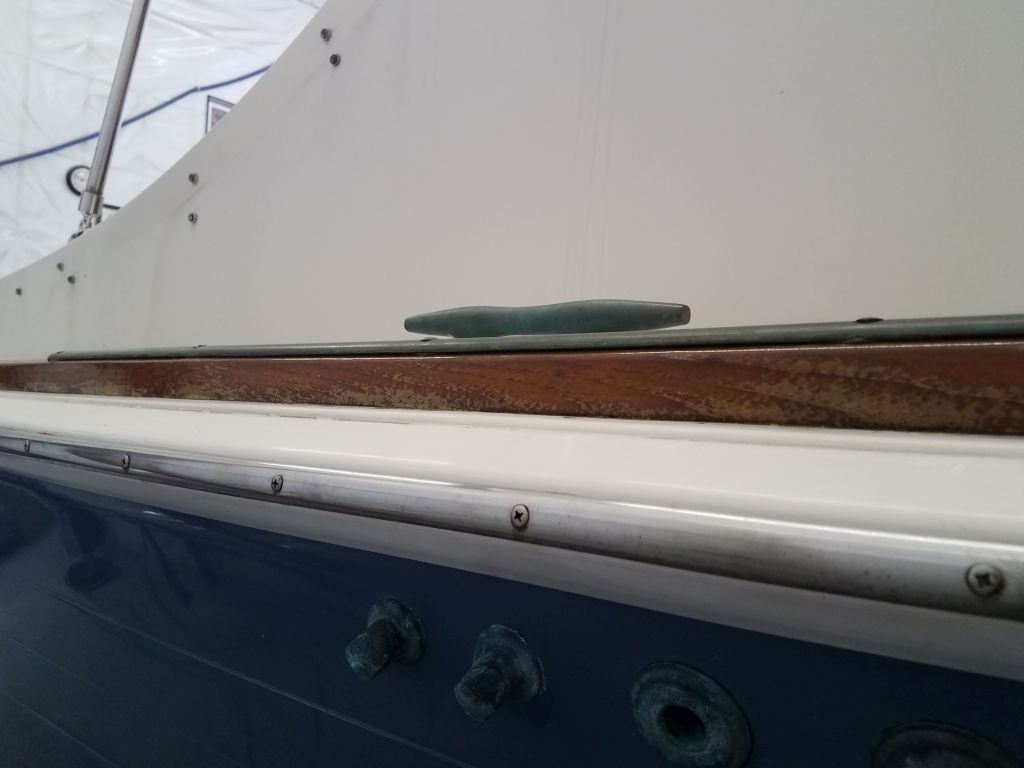
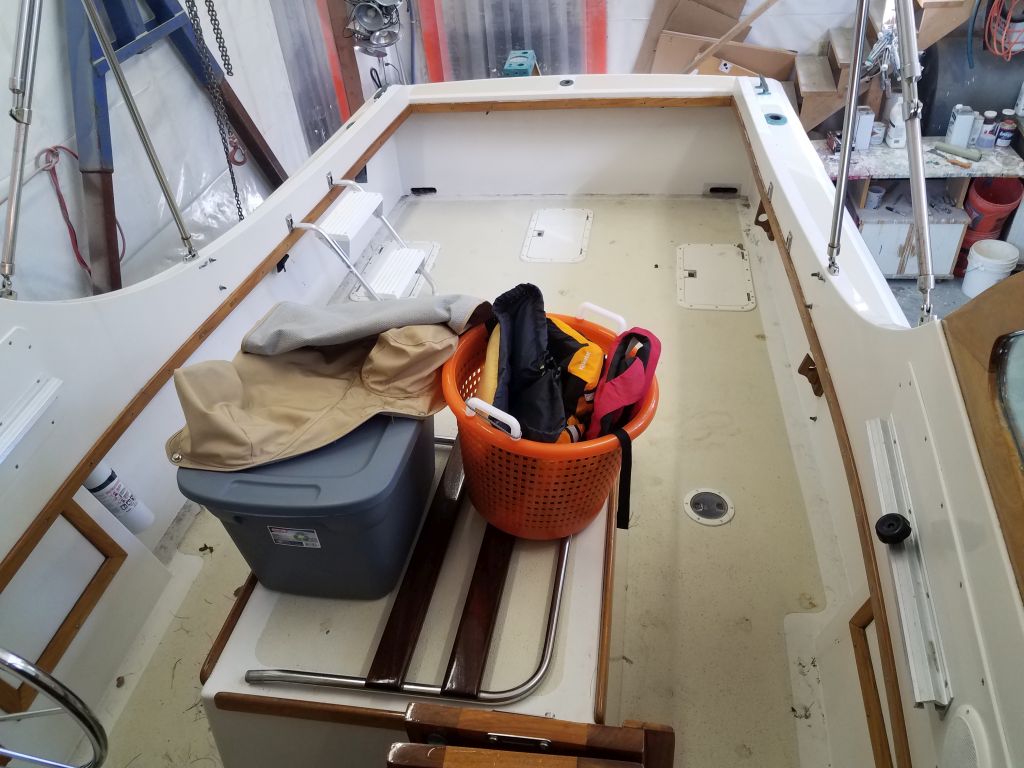
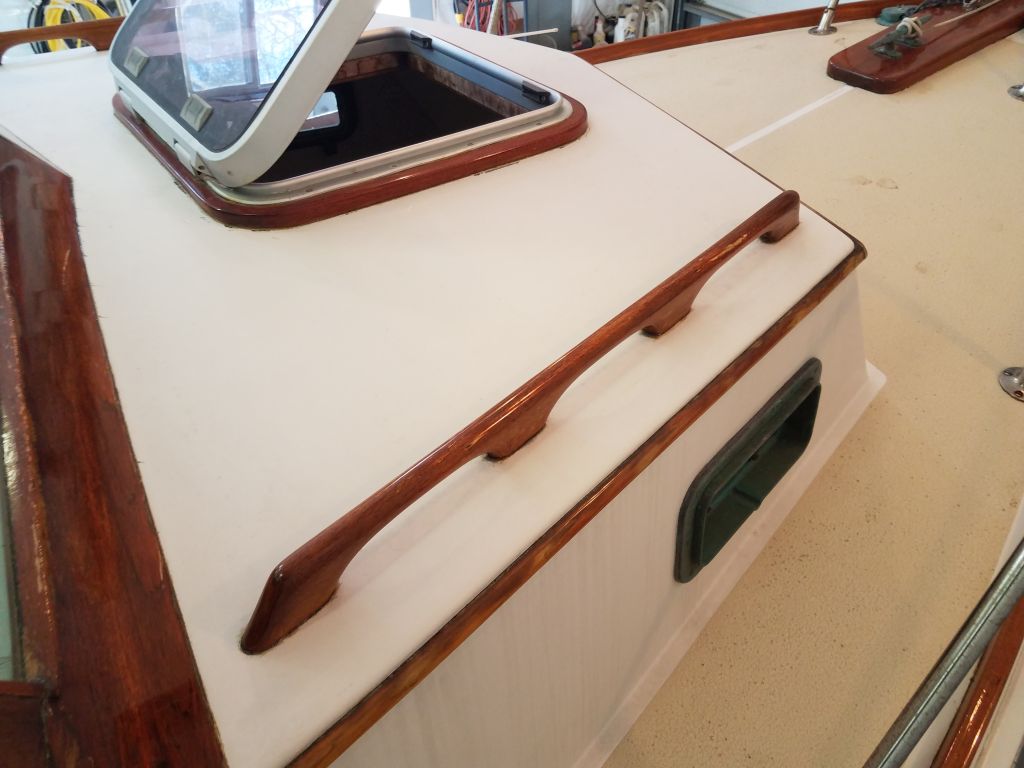
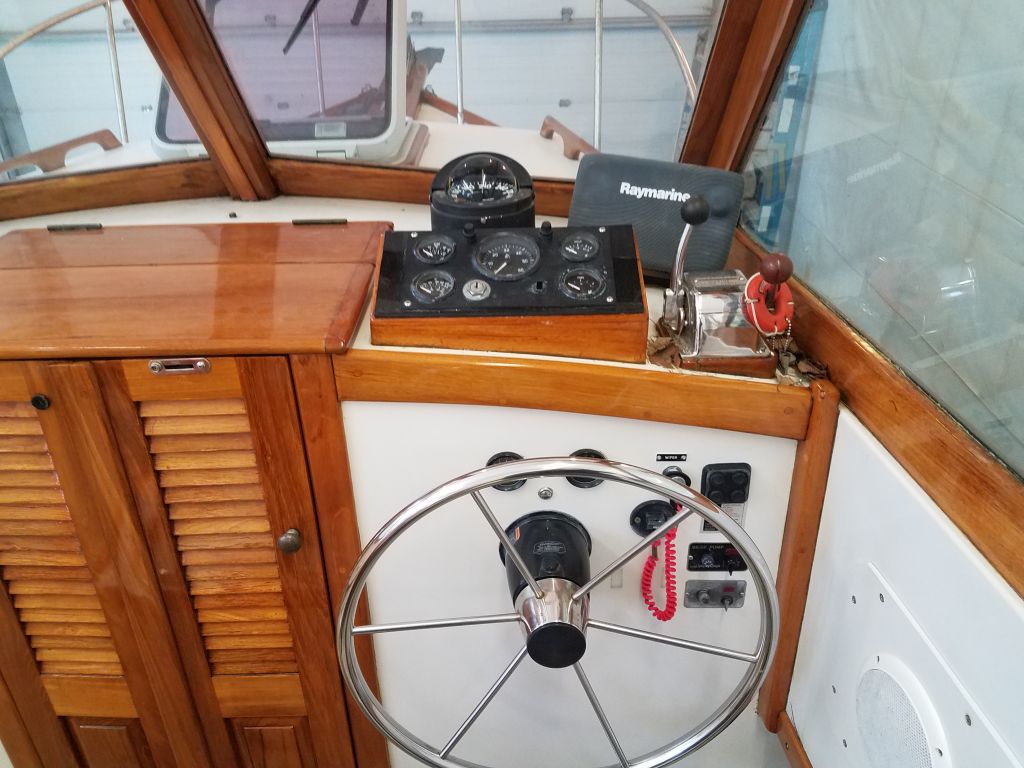
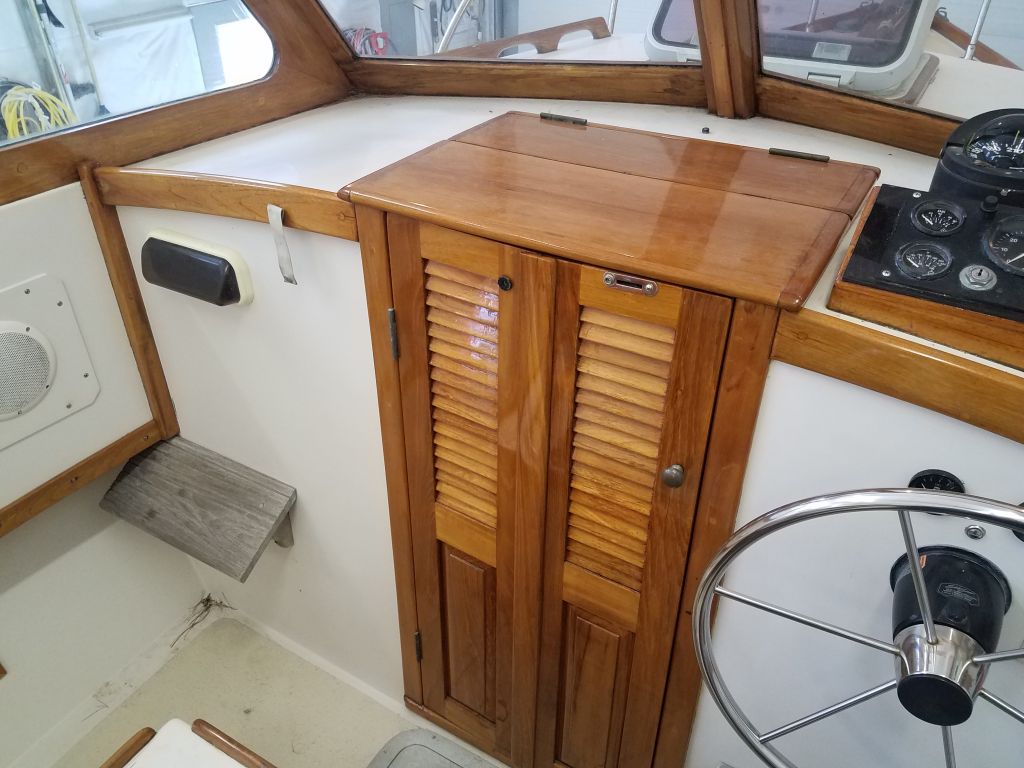
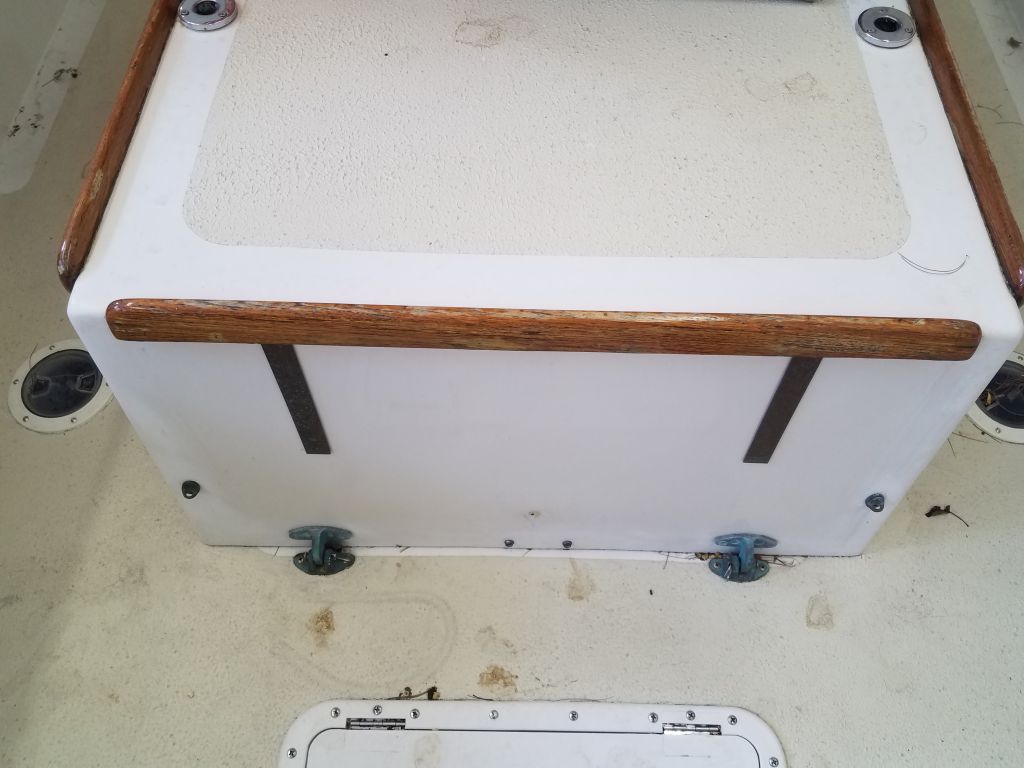
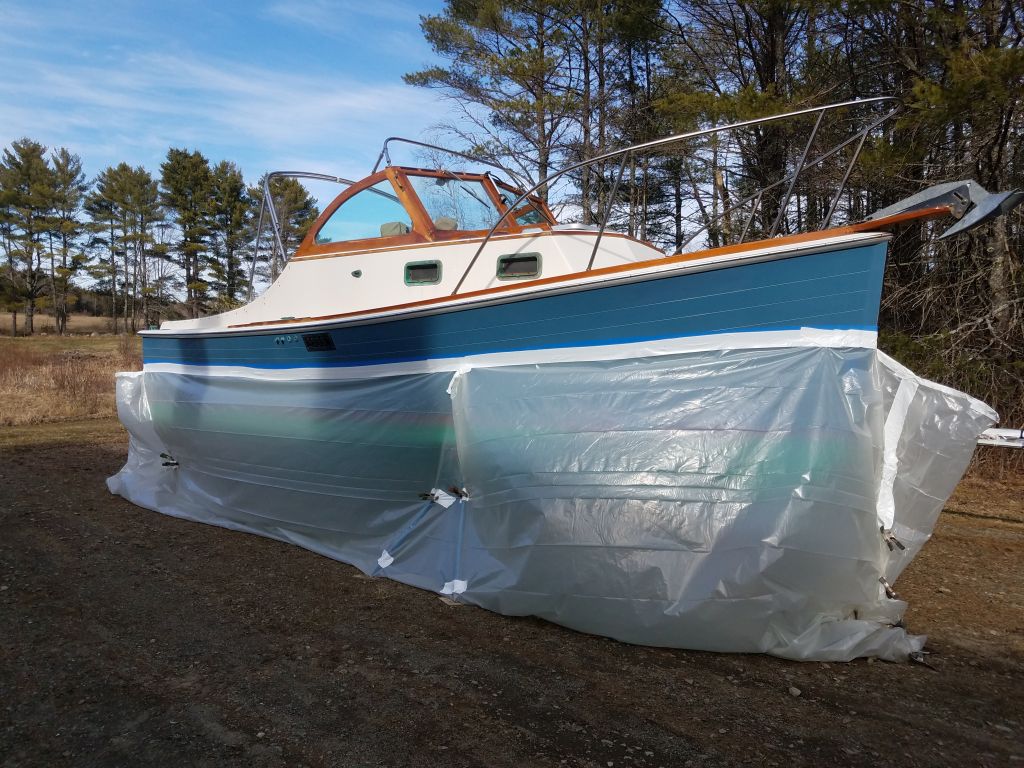
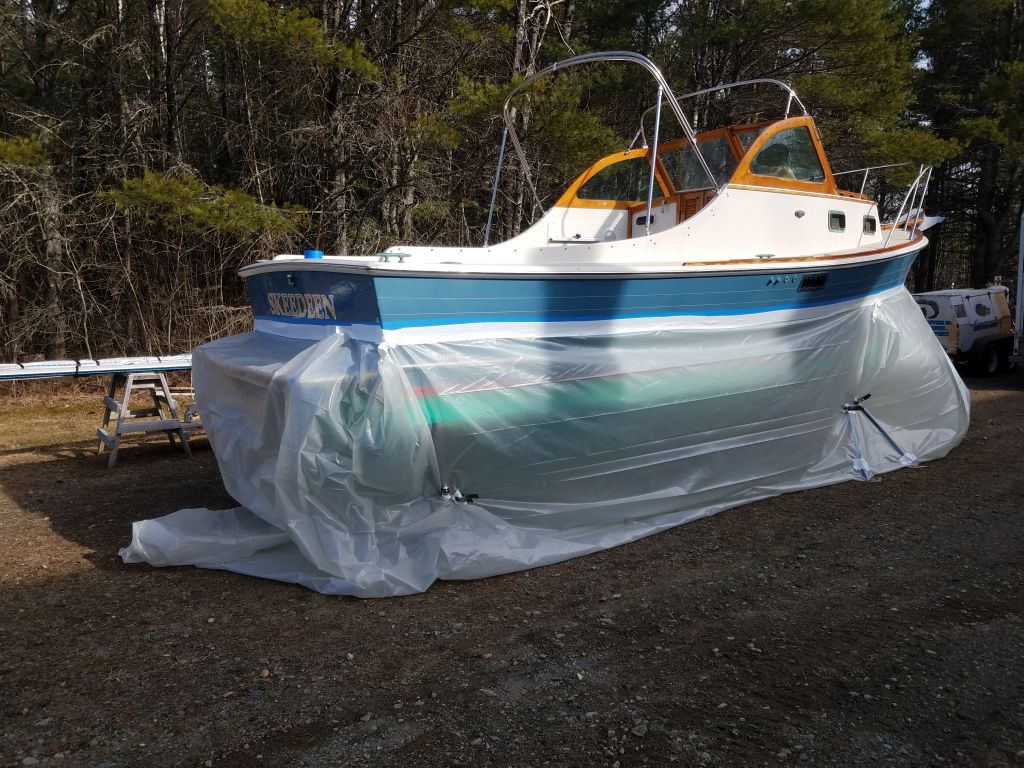
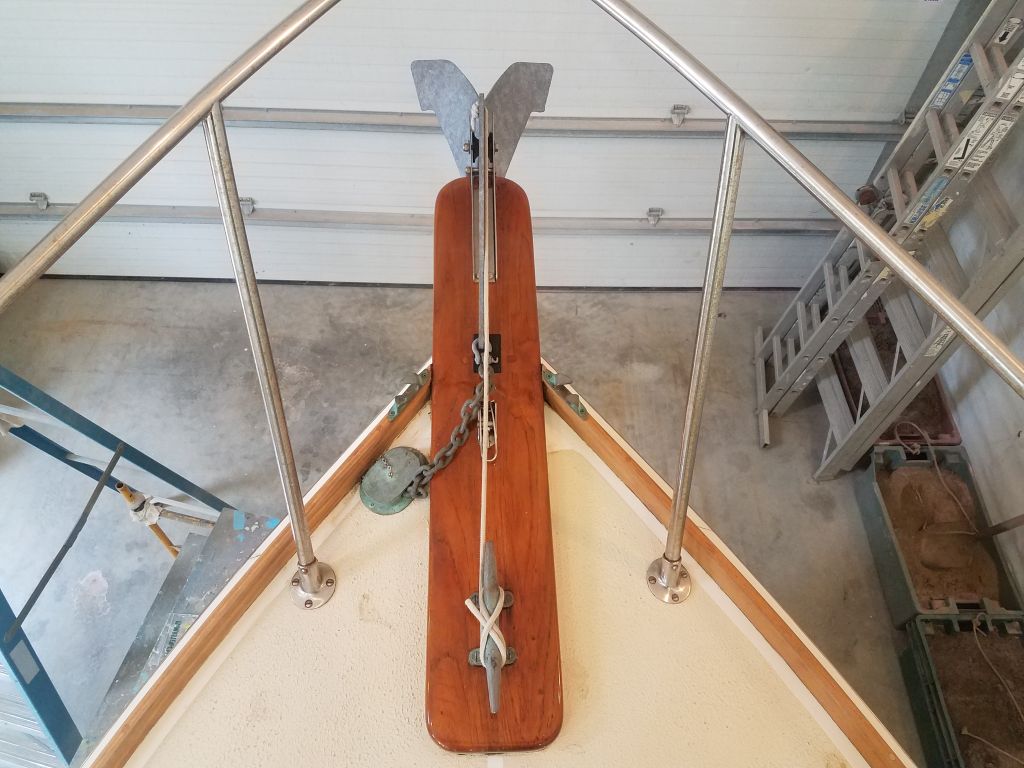
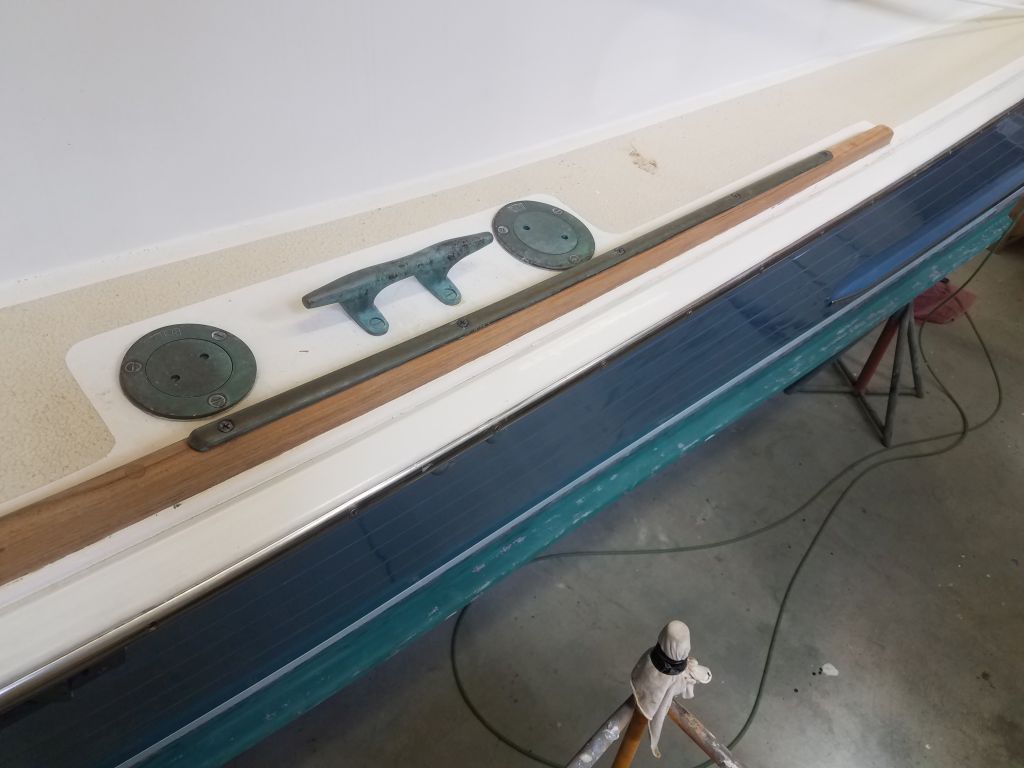
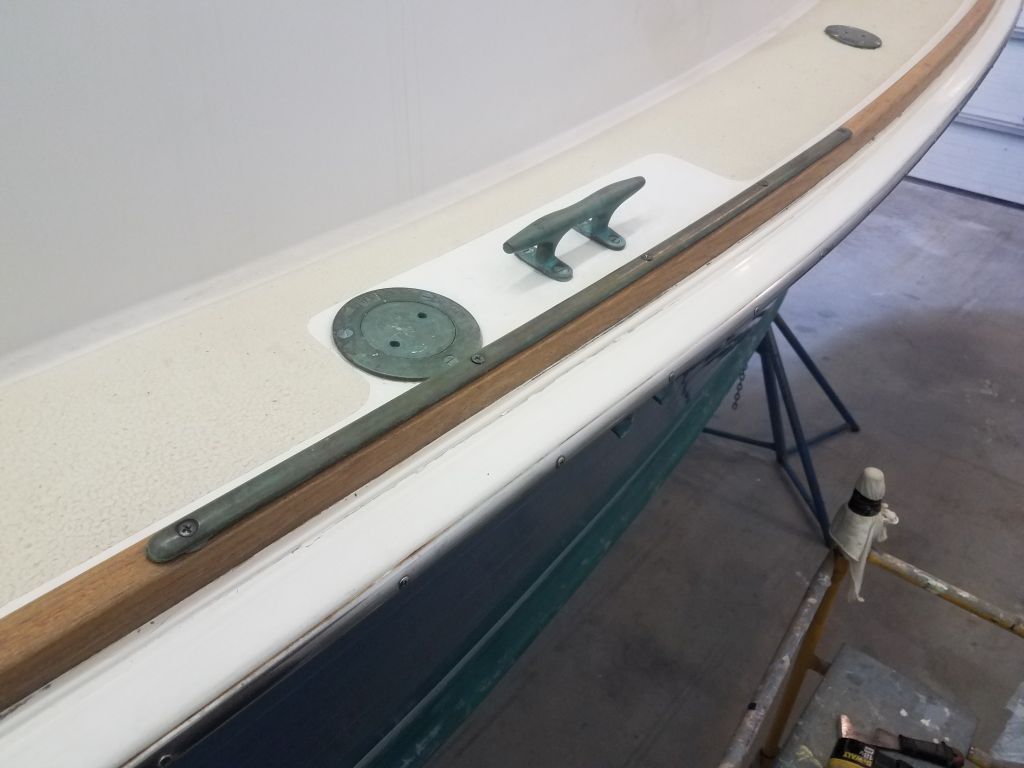
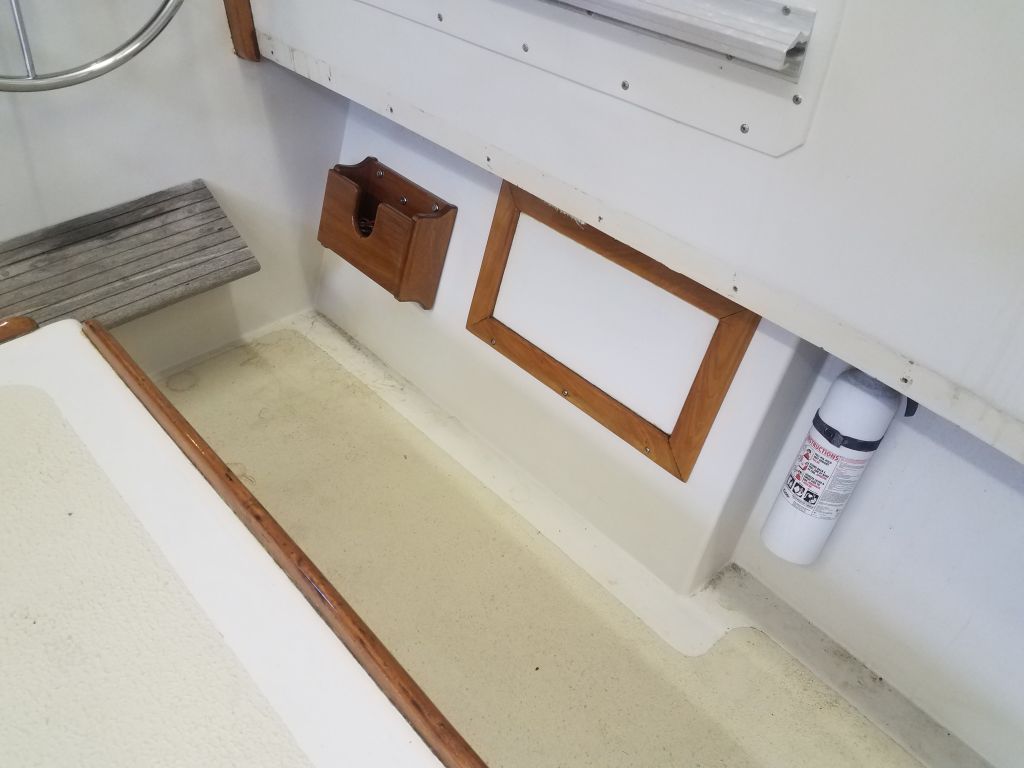
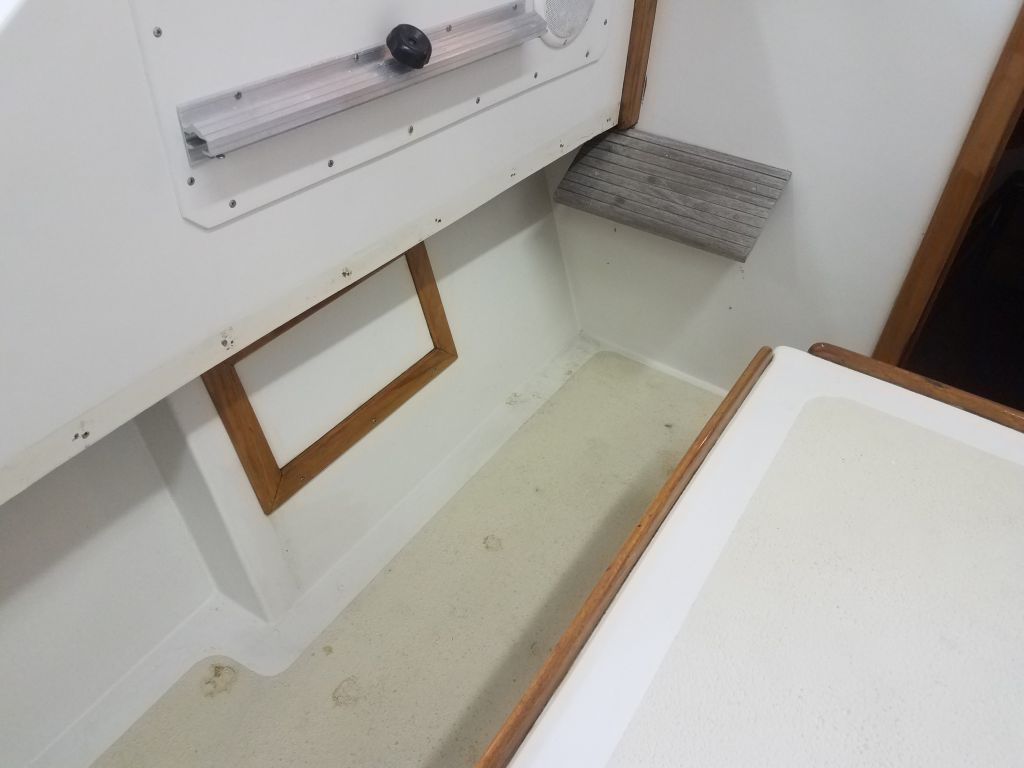
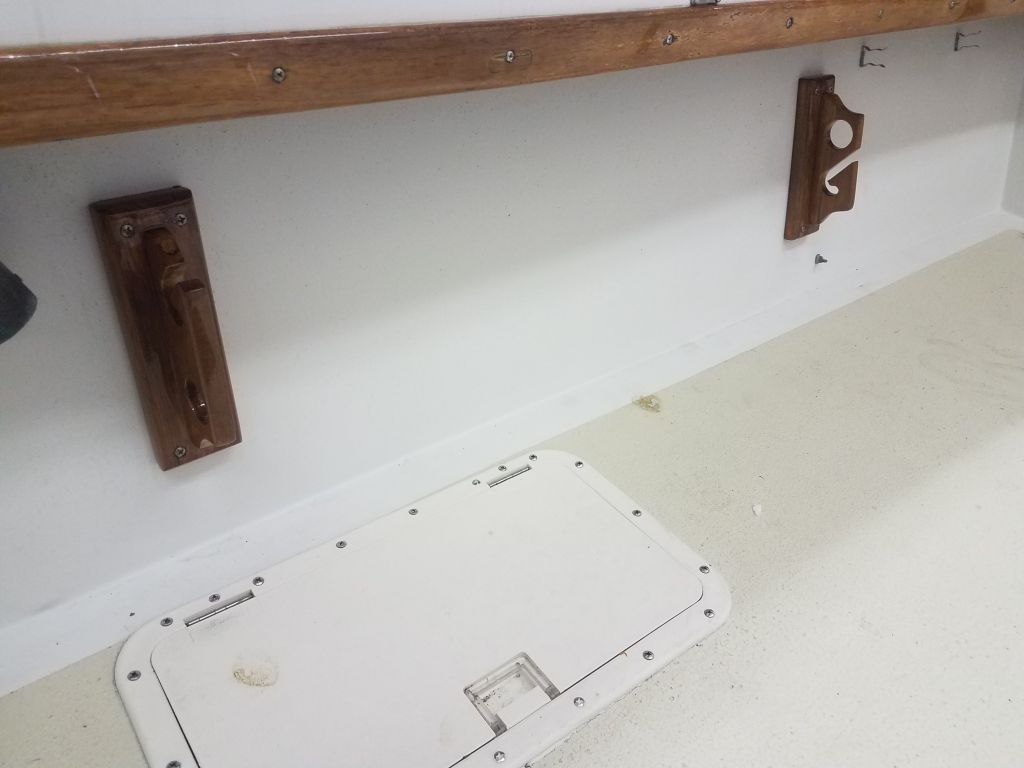
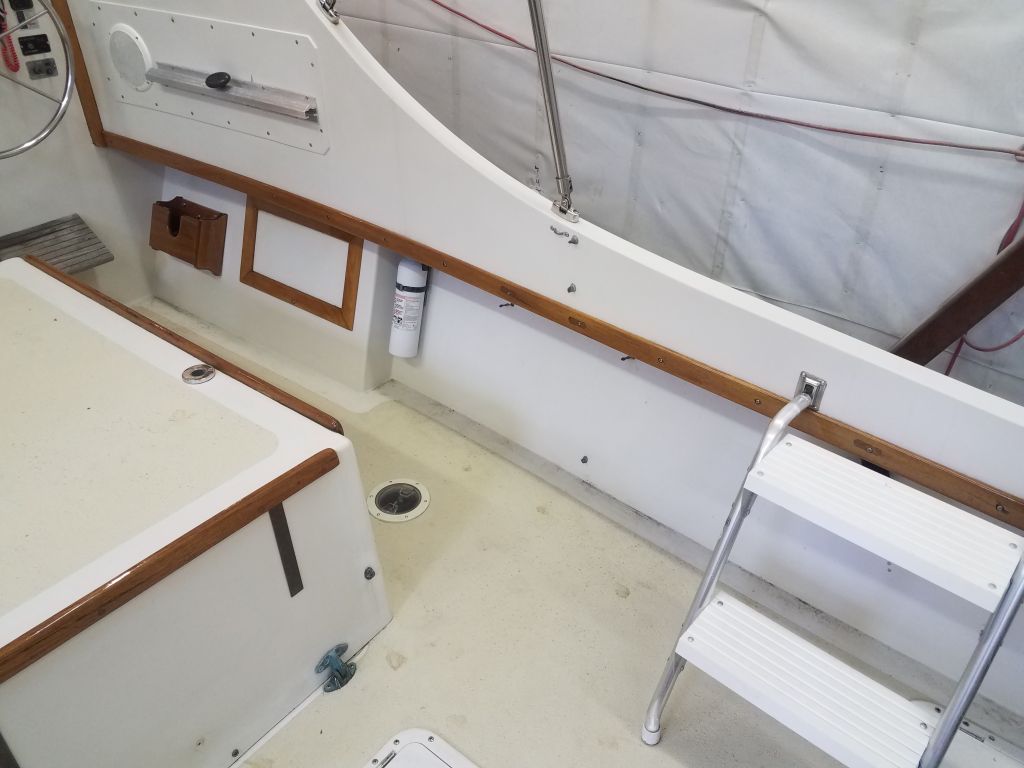
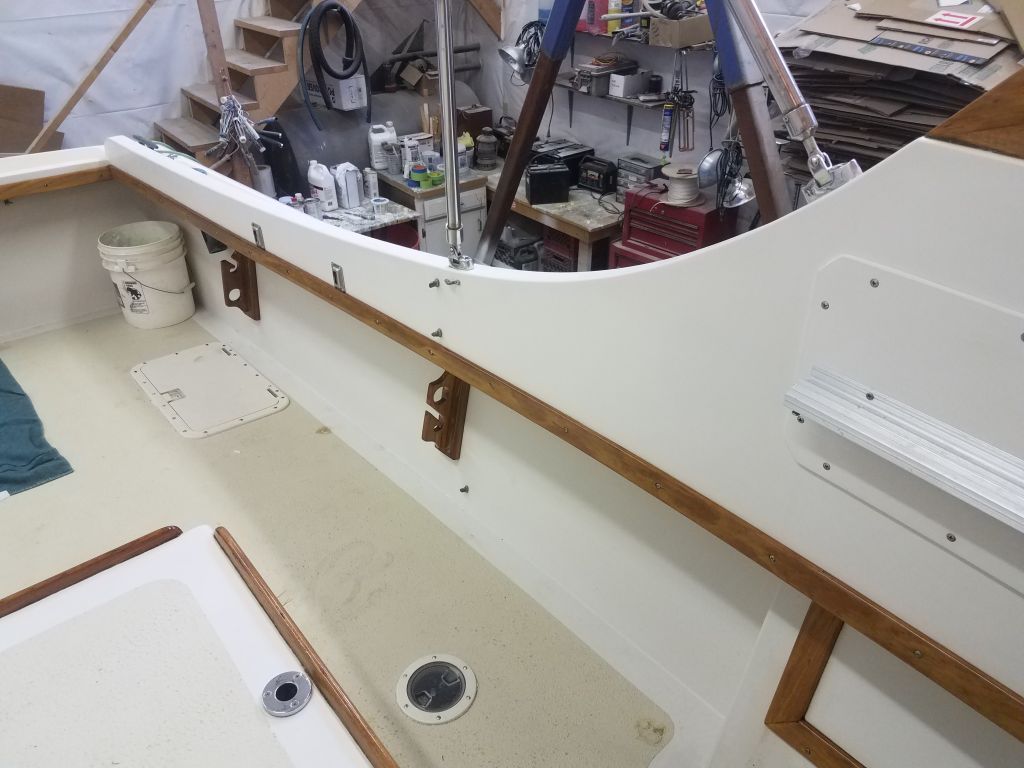
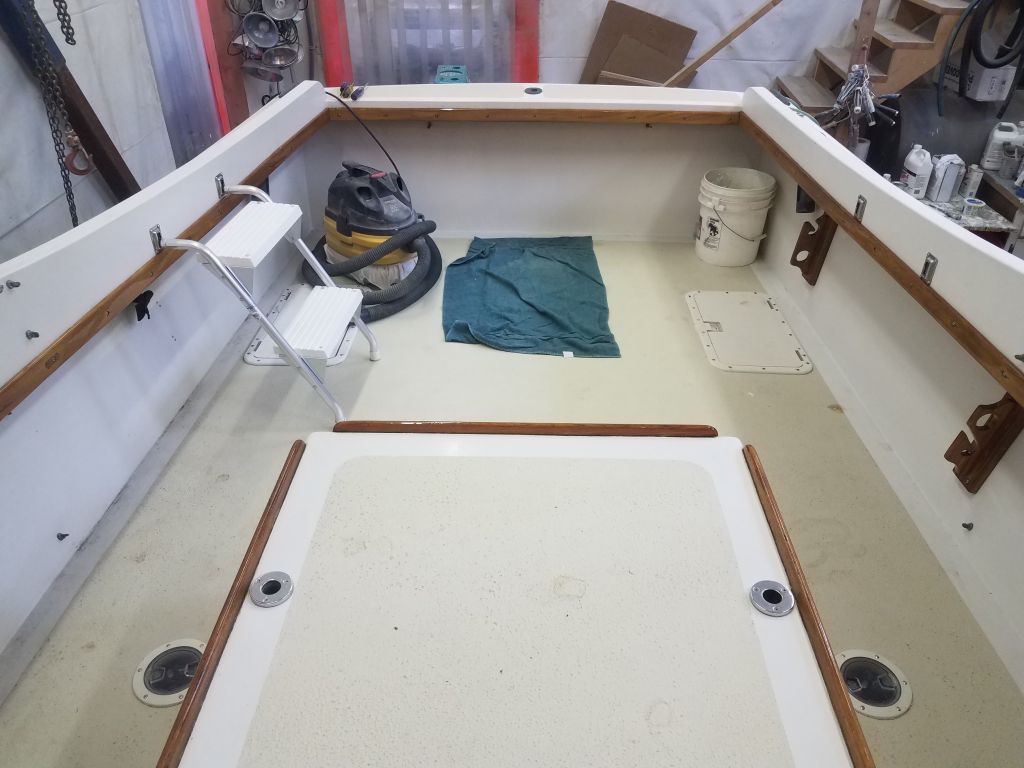
During much of the rest of the rest of the morning, I worked to reinstall hardware that I’d removed for the varnish maintenance, including canvas snaps, bow frame, the masthead light, anchor roller and anchor, bronze chafe guards, and some of the removable trim pieces in the cockpit.
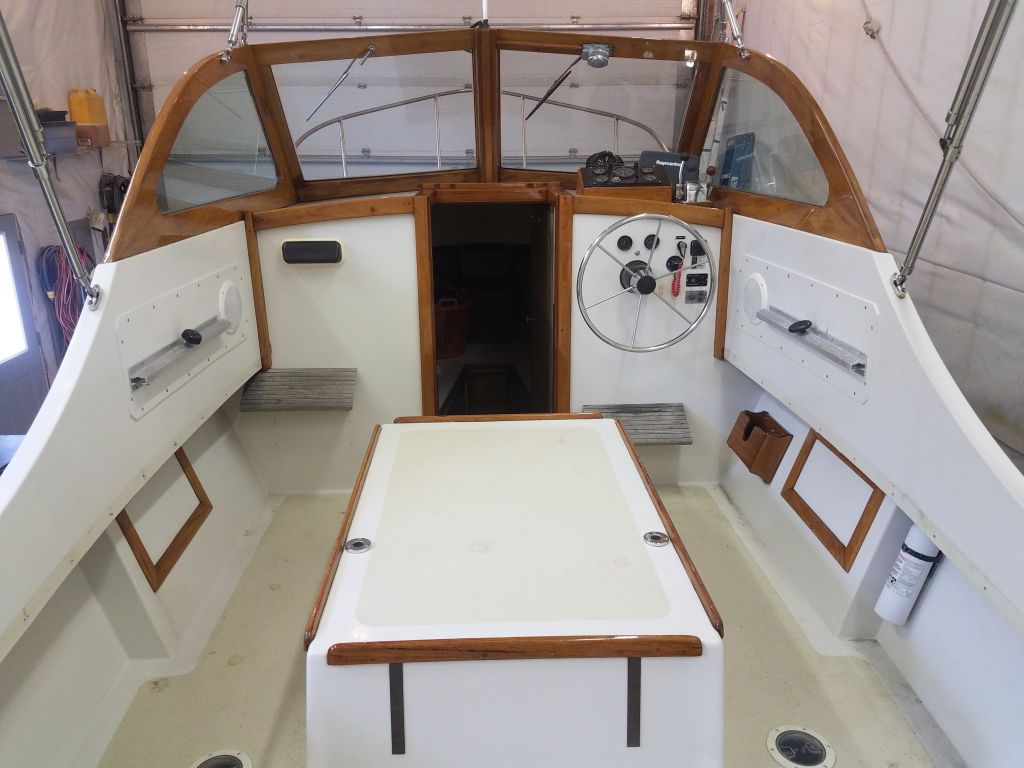


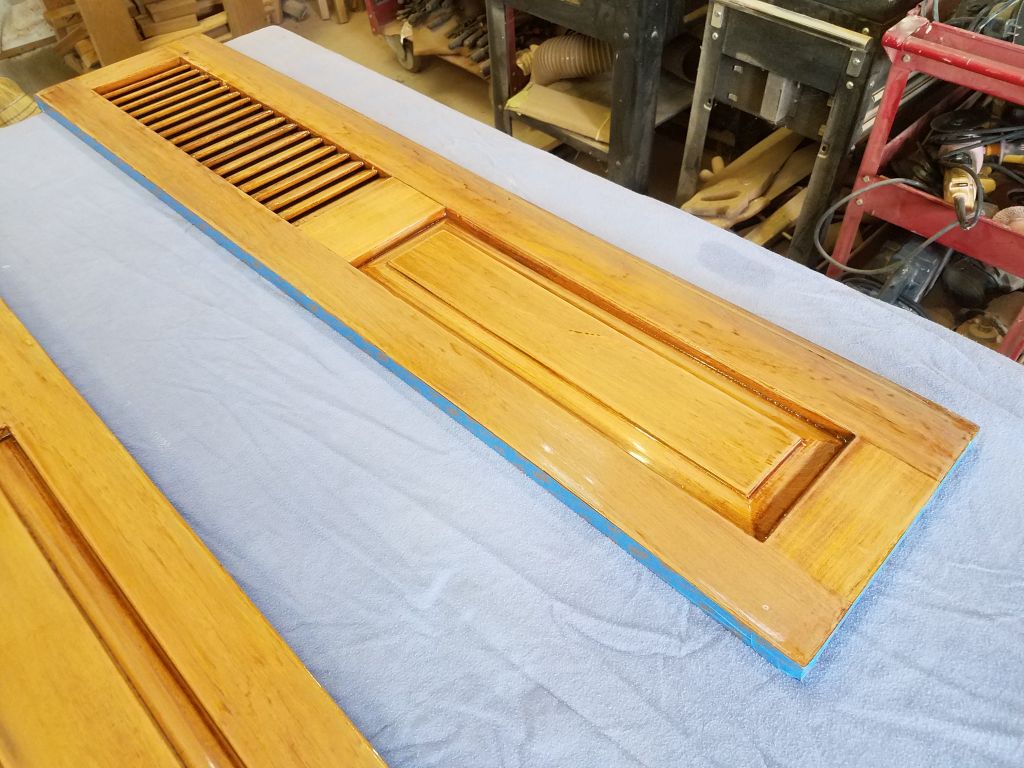
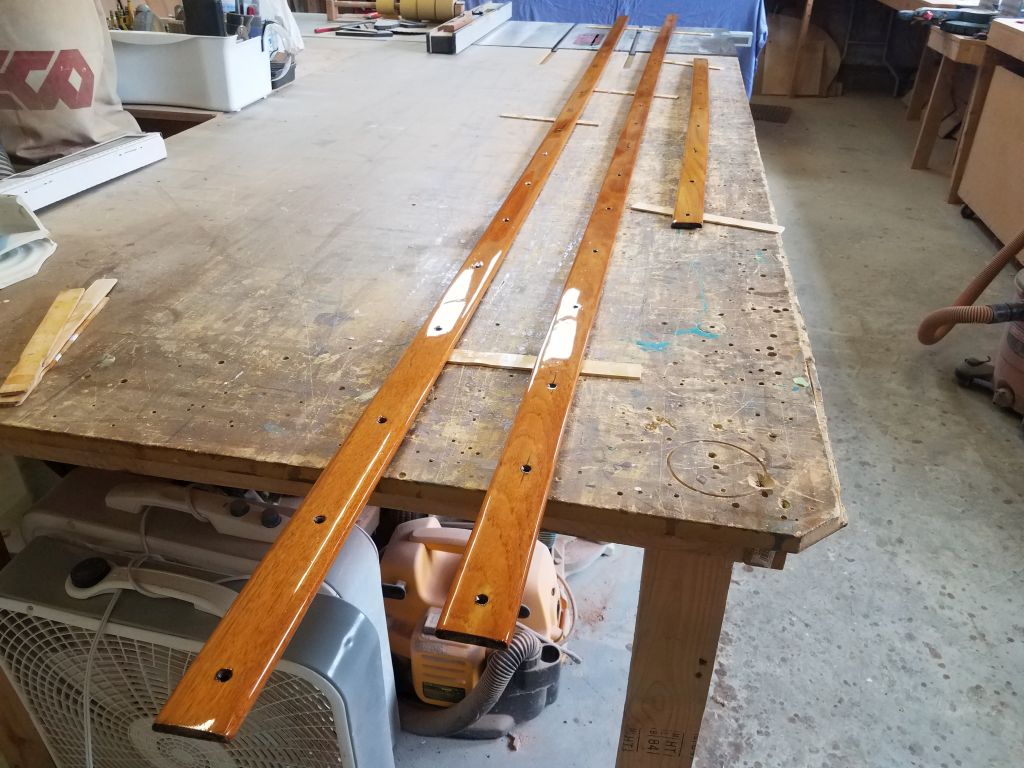
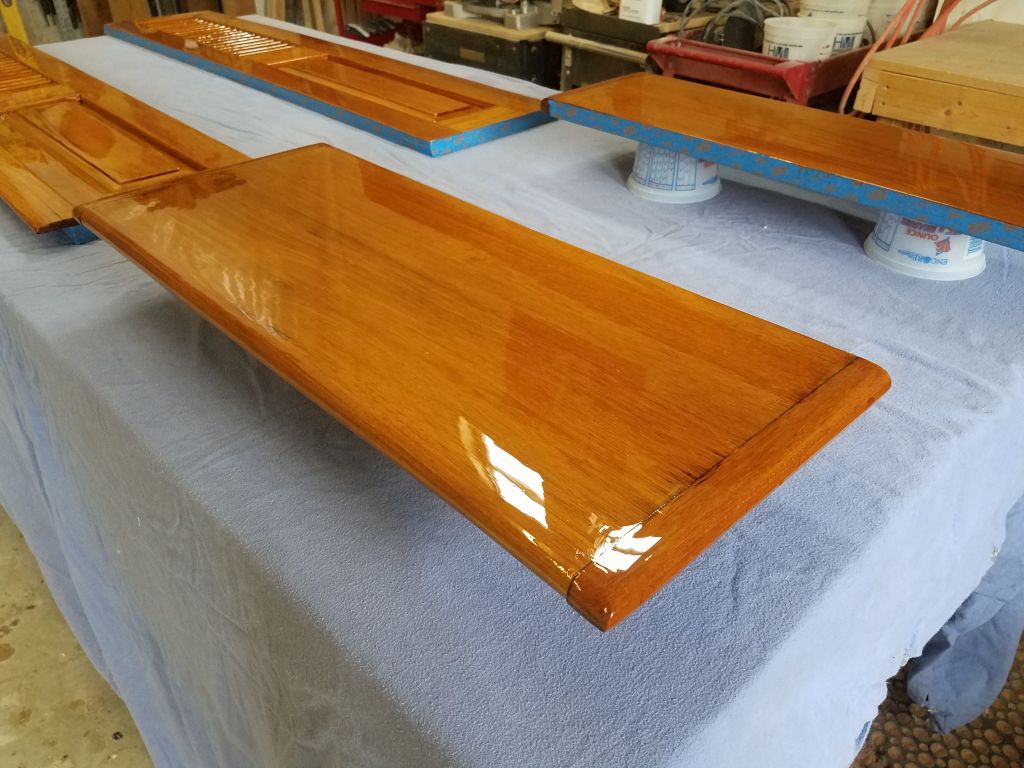
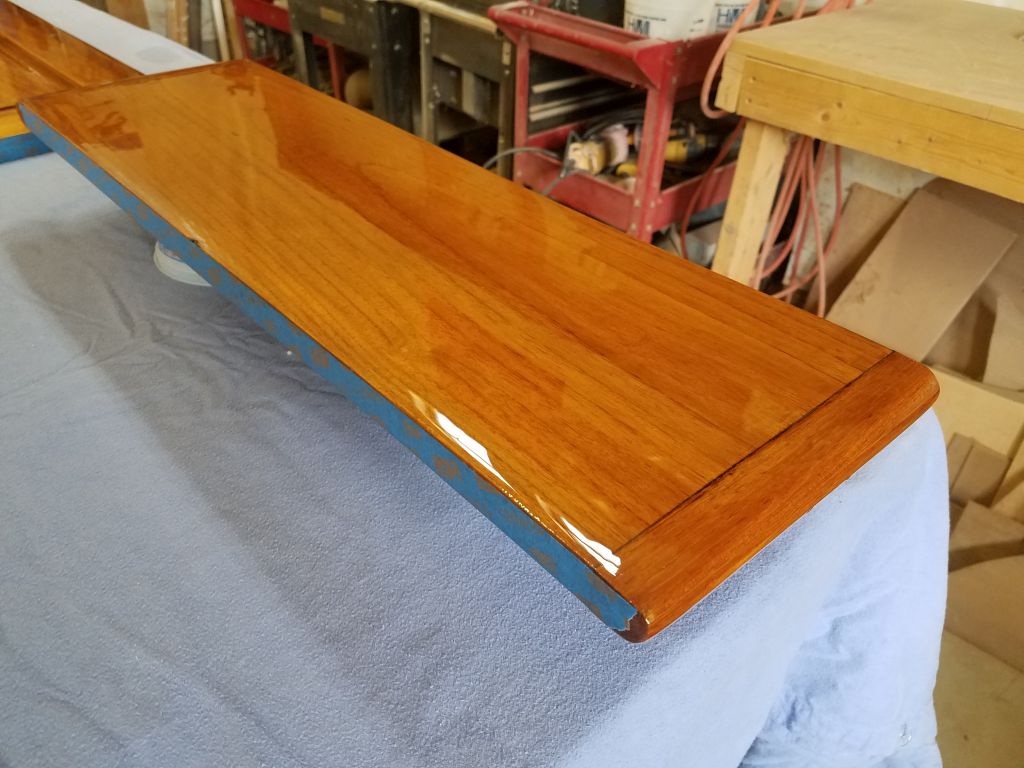
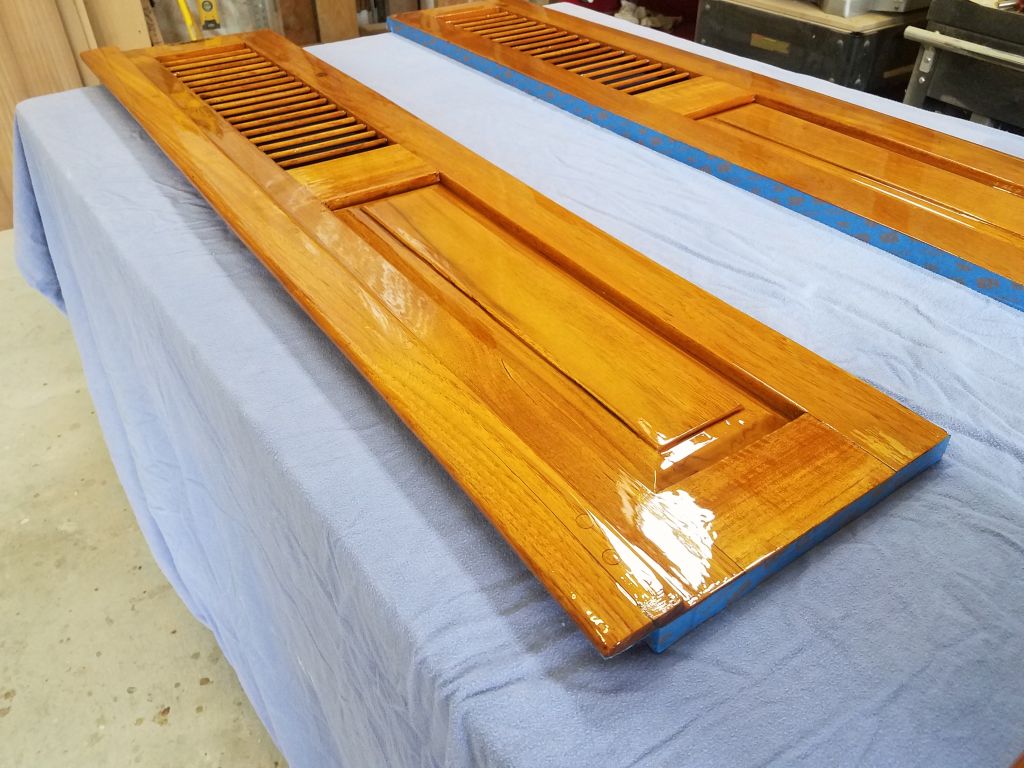
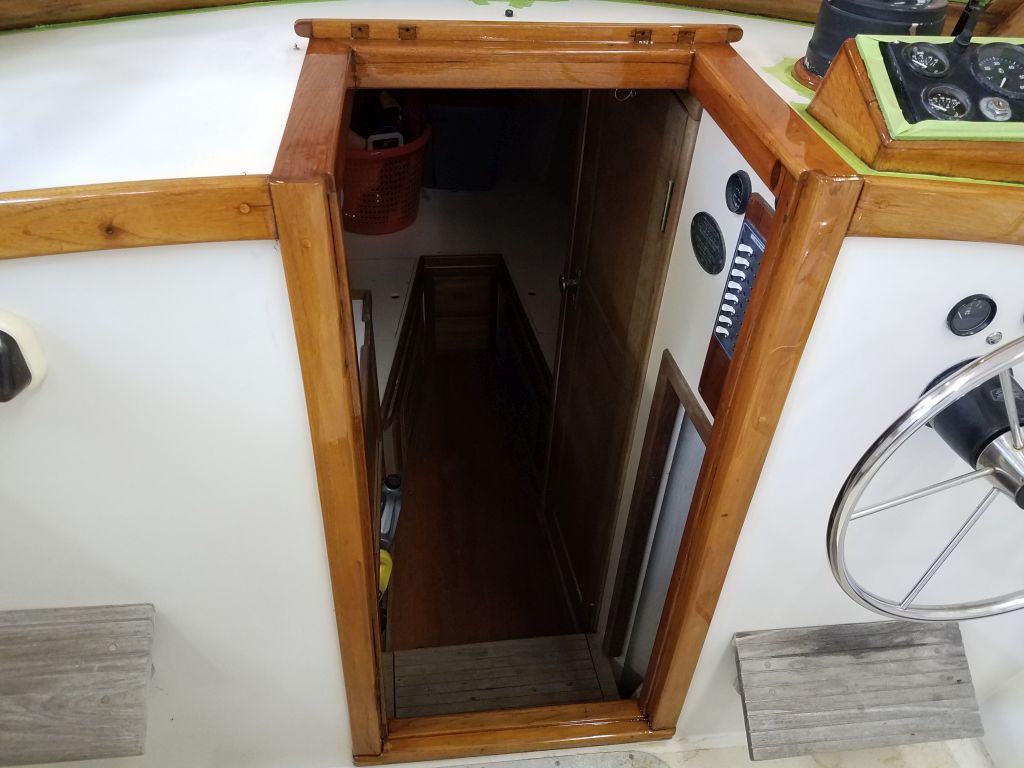
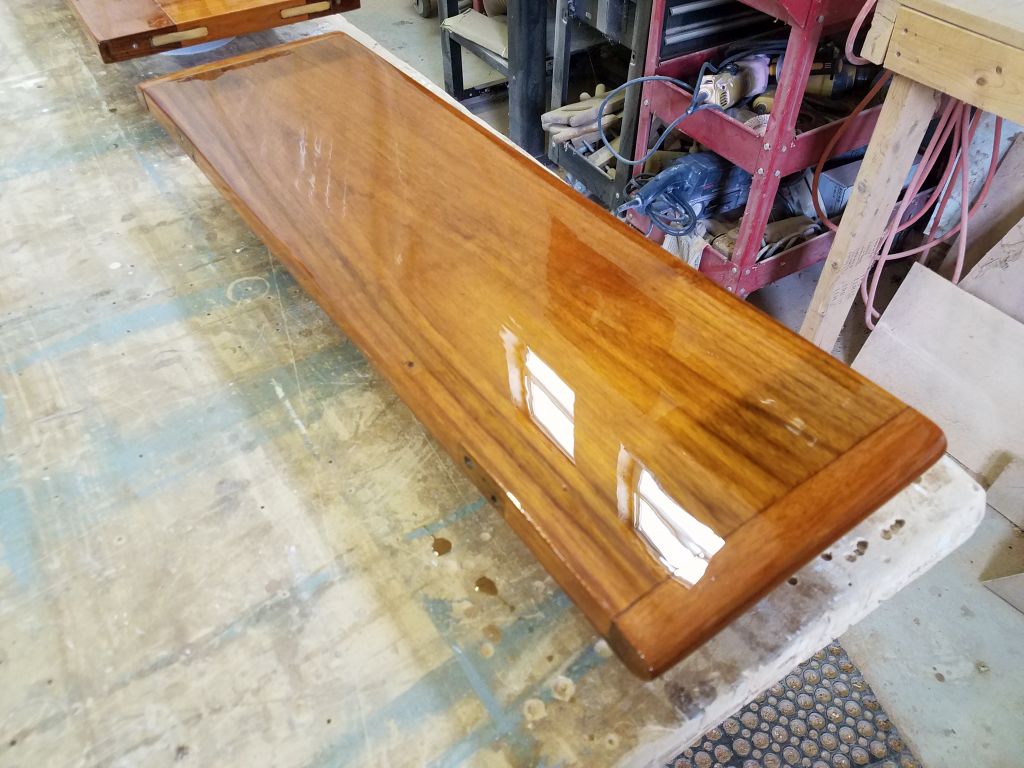
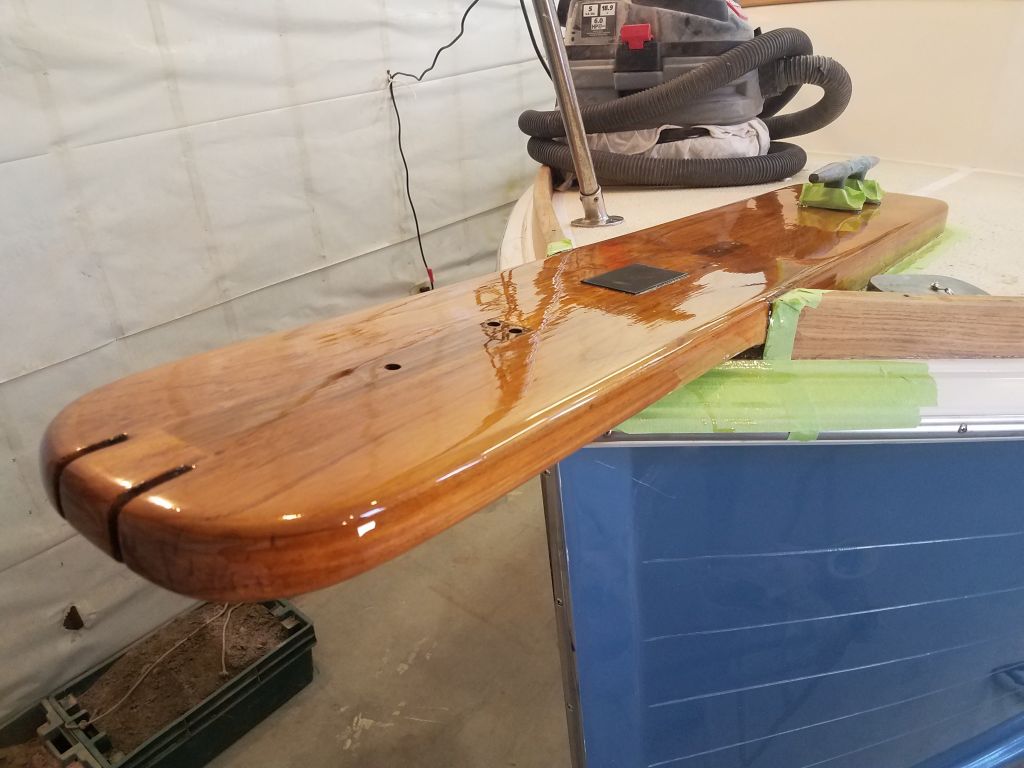
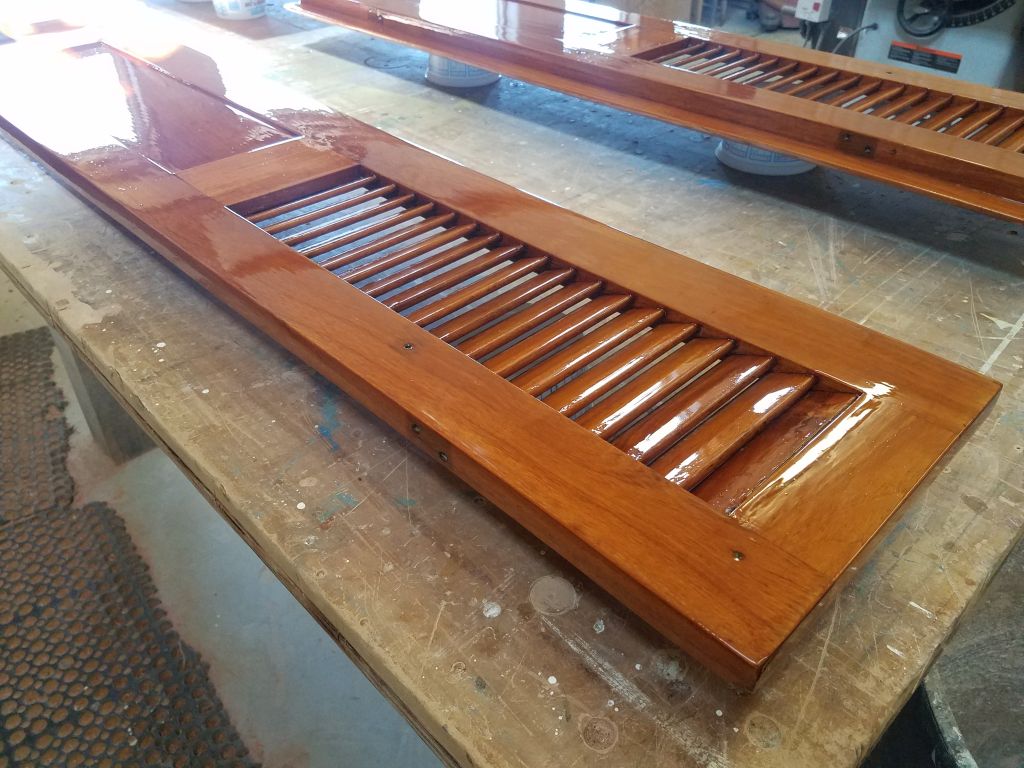
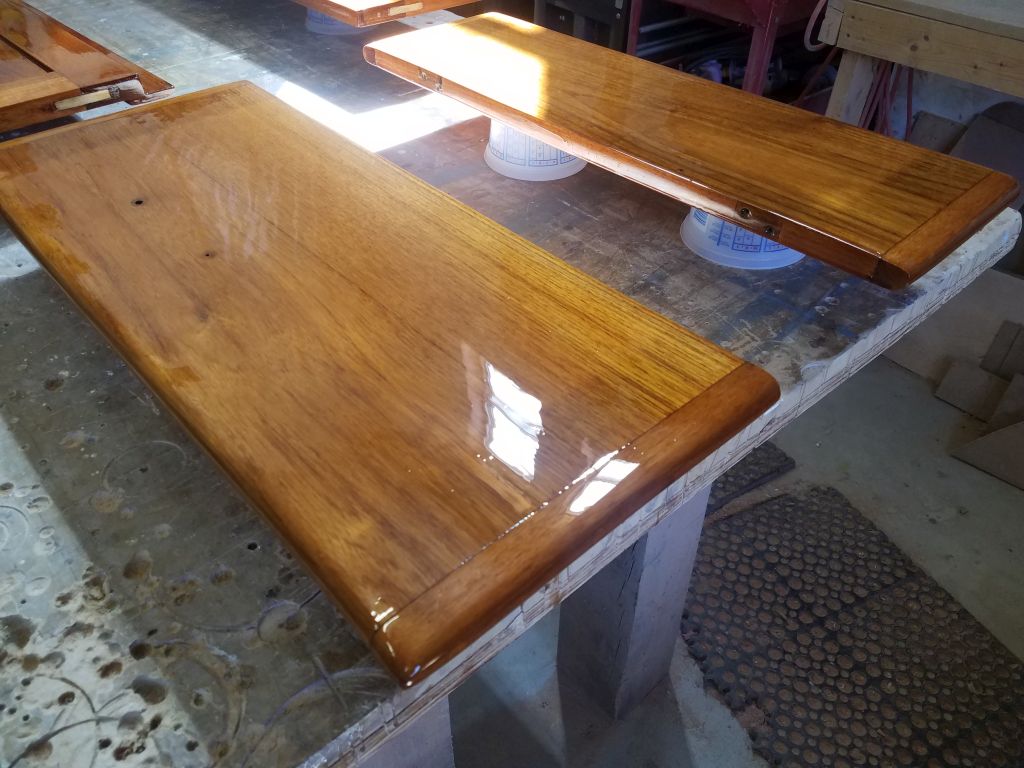
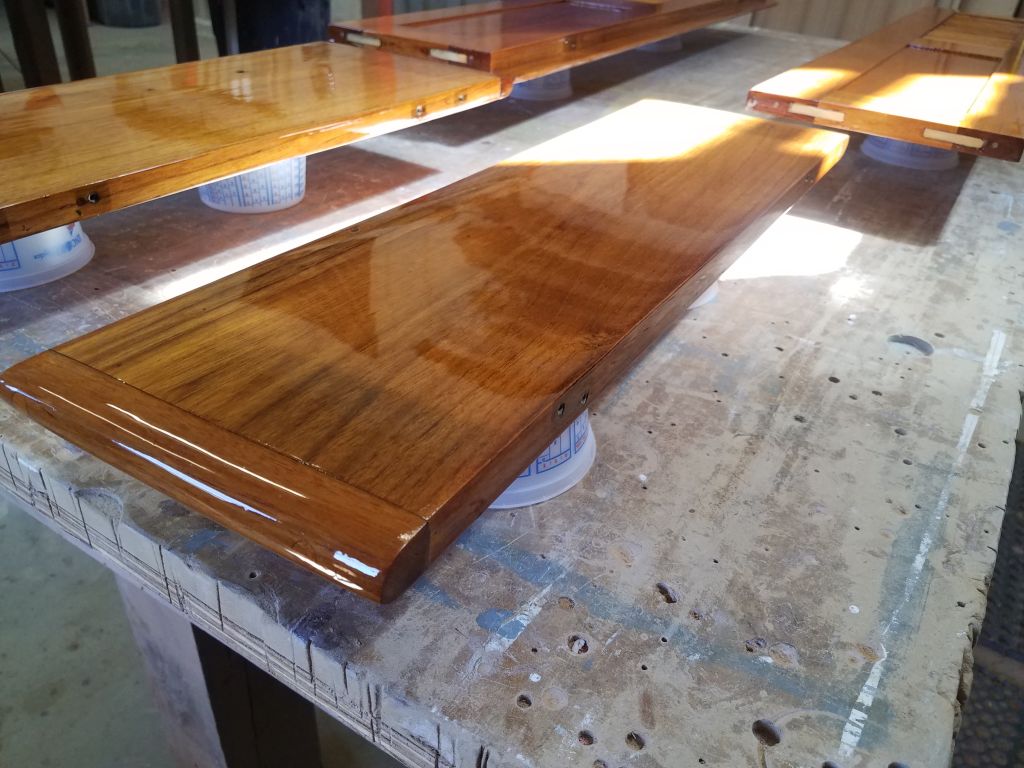
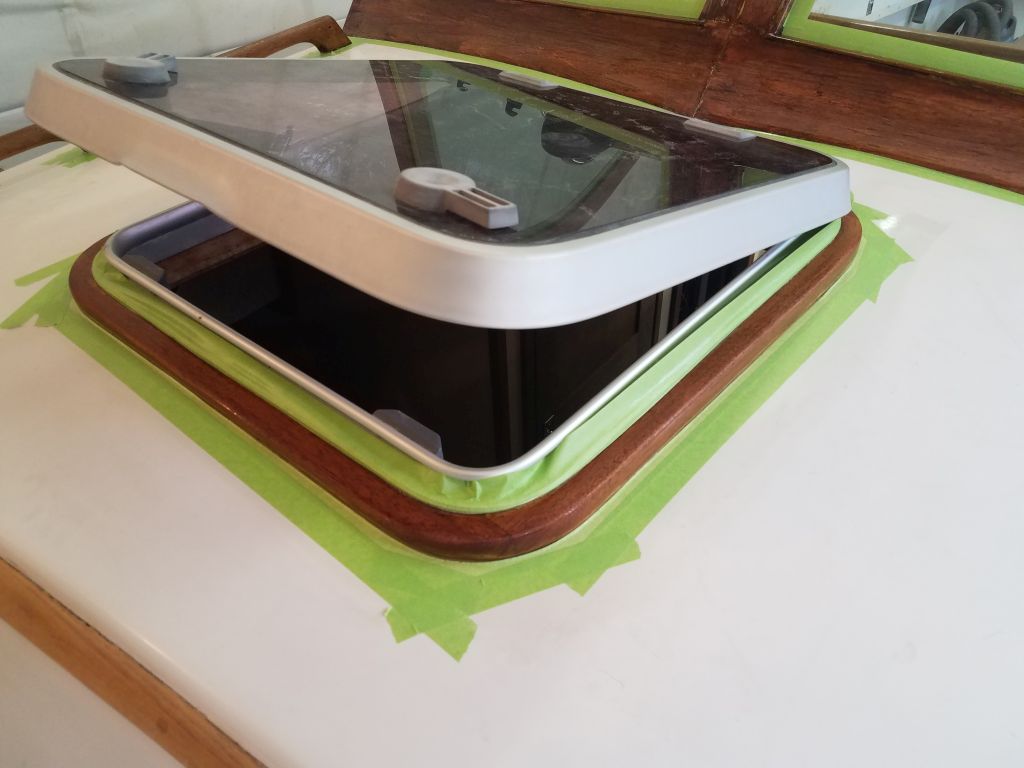
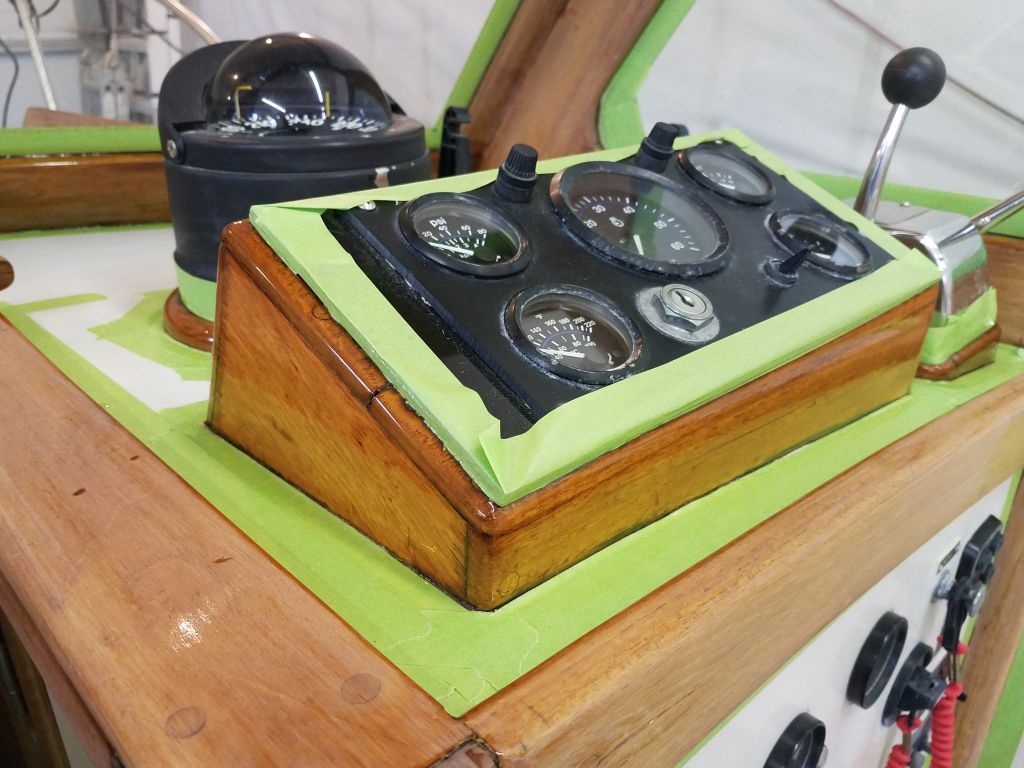
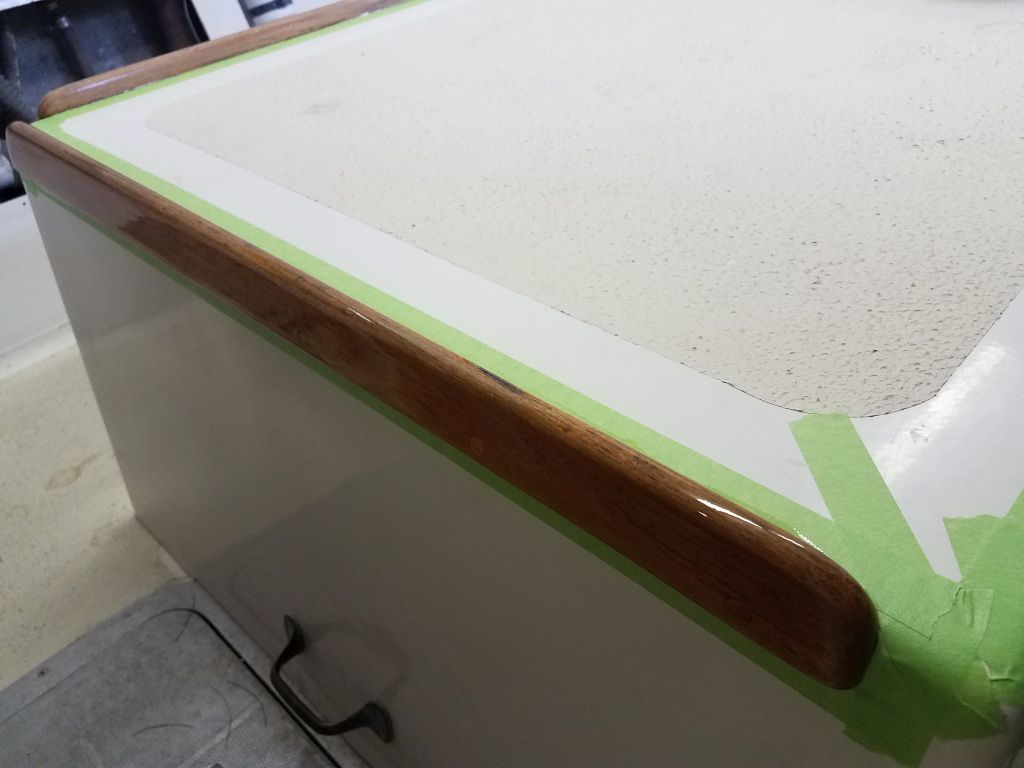
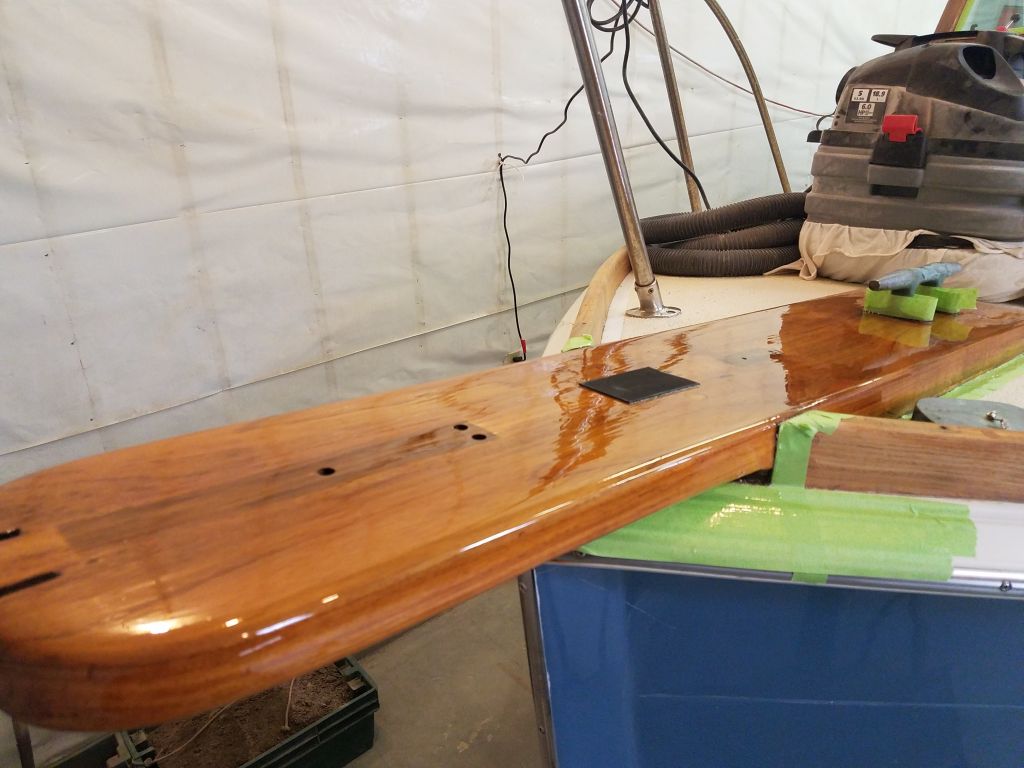
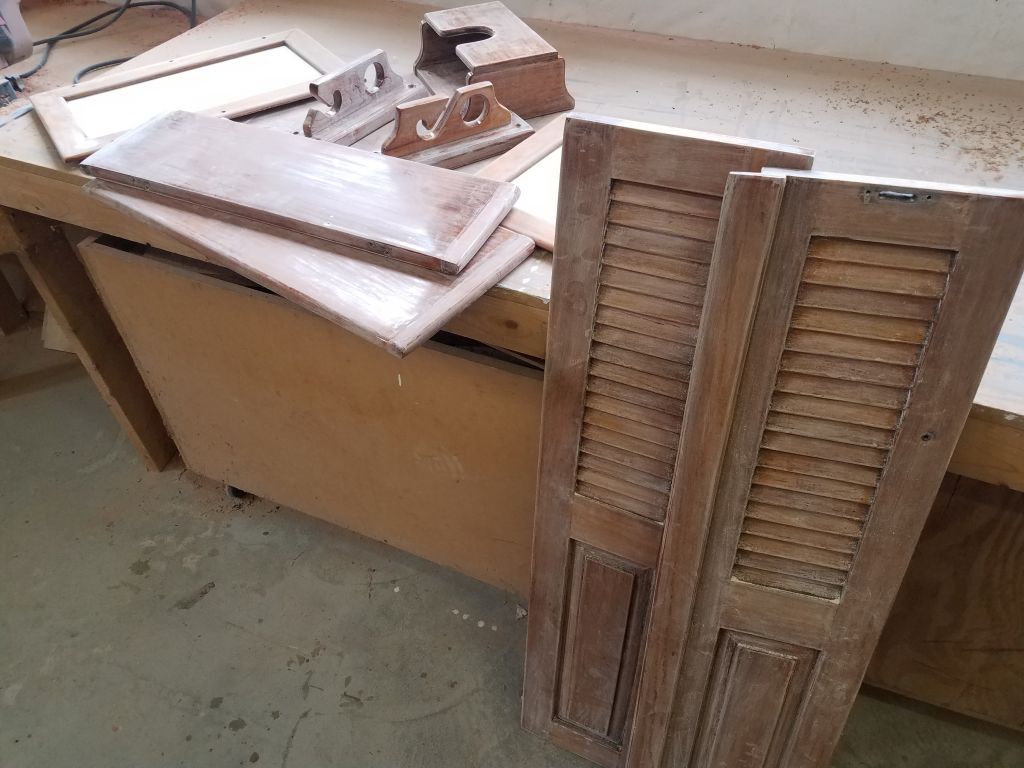
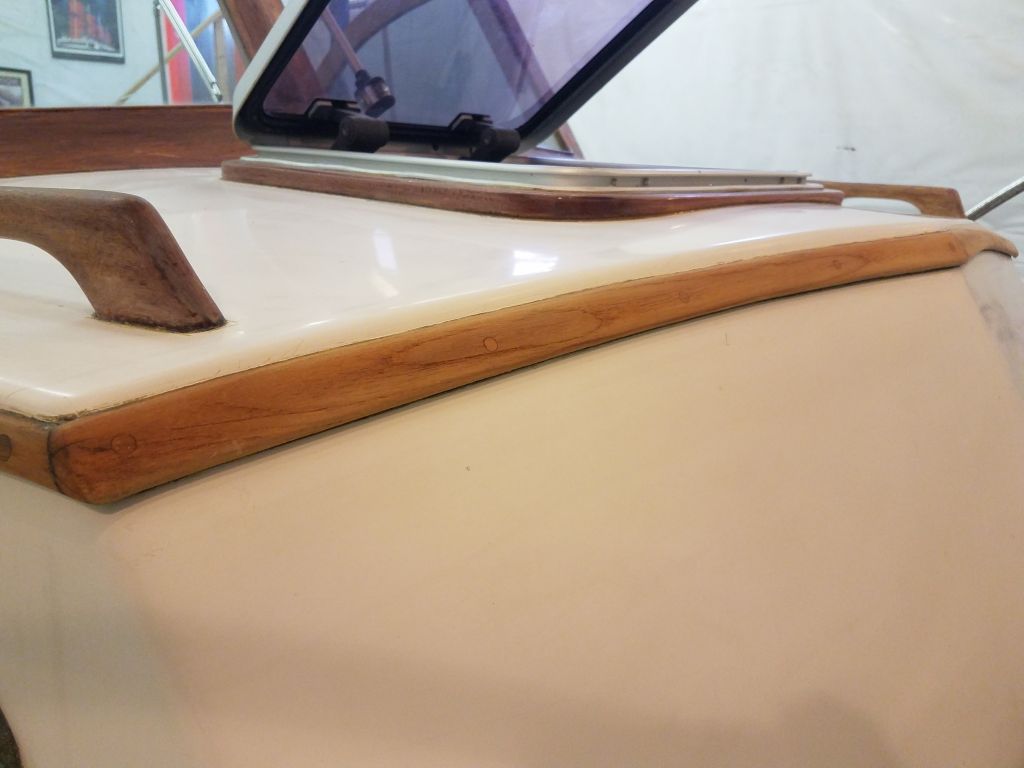
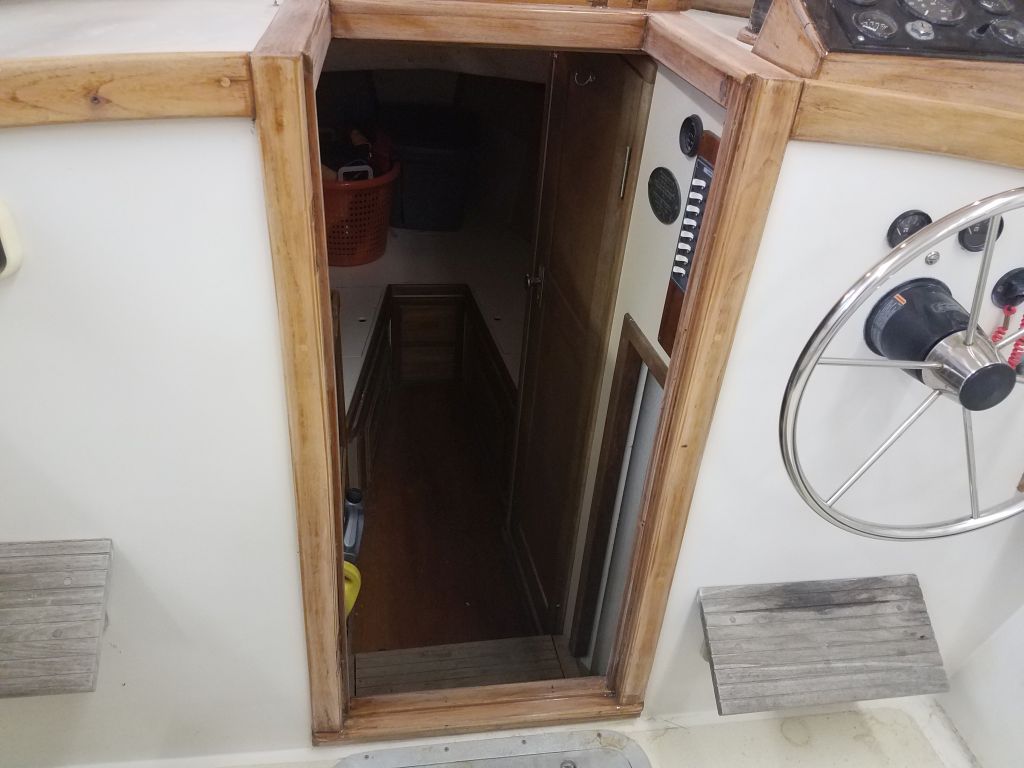
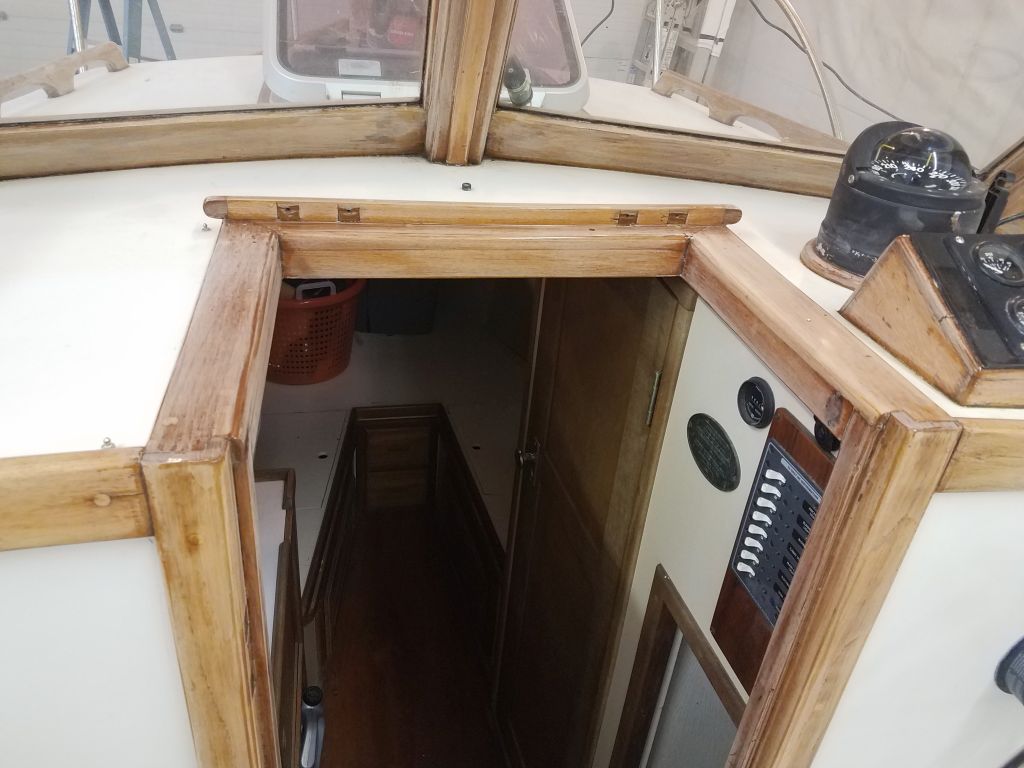
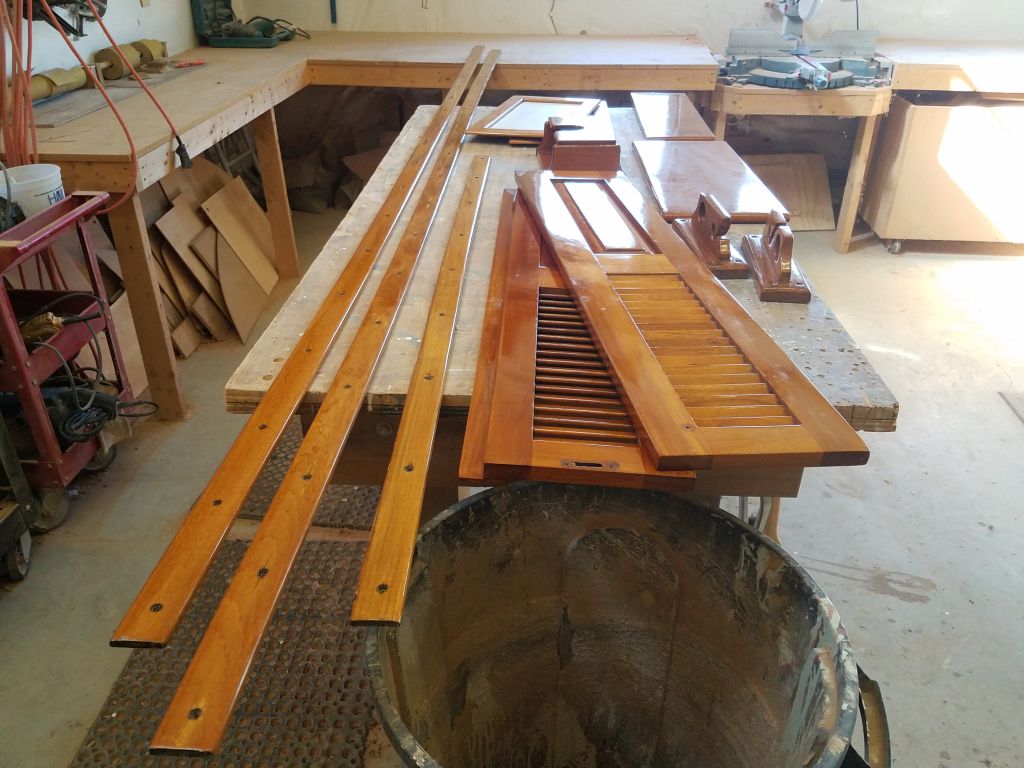
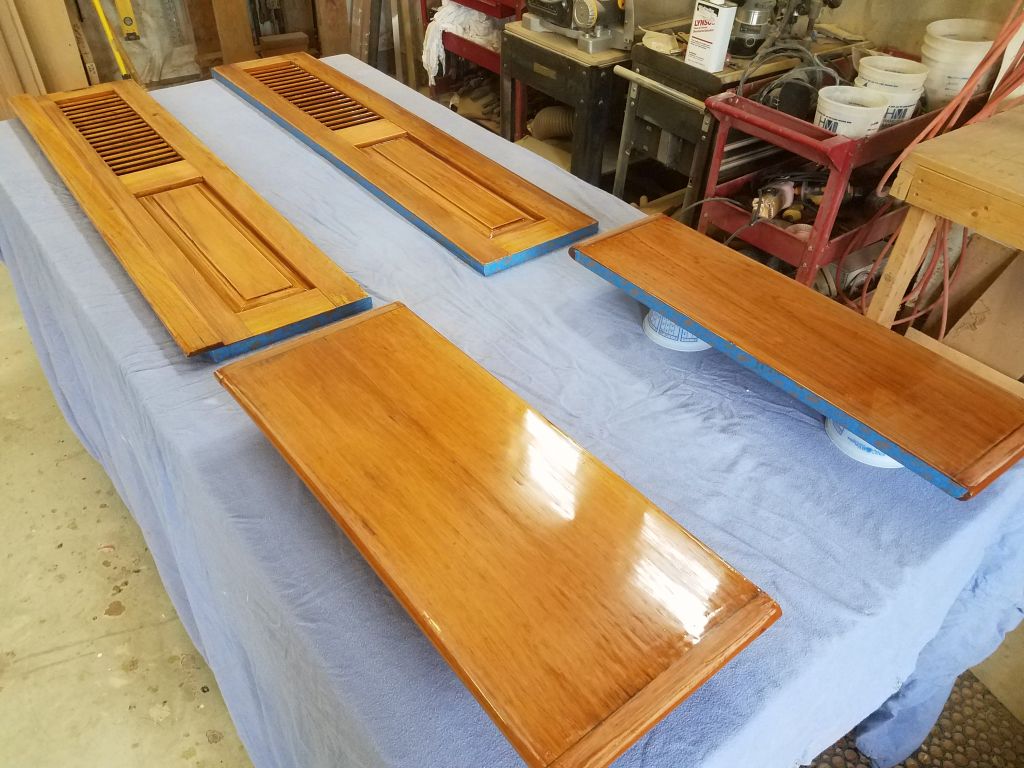
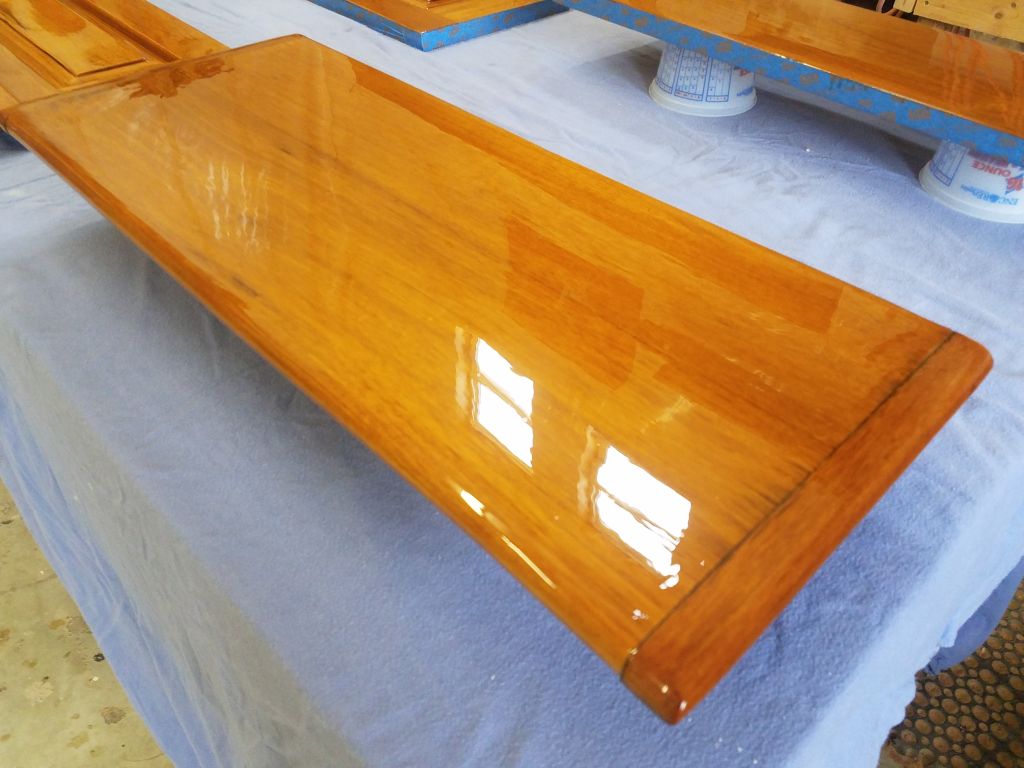
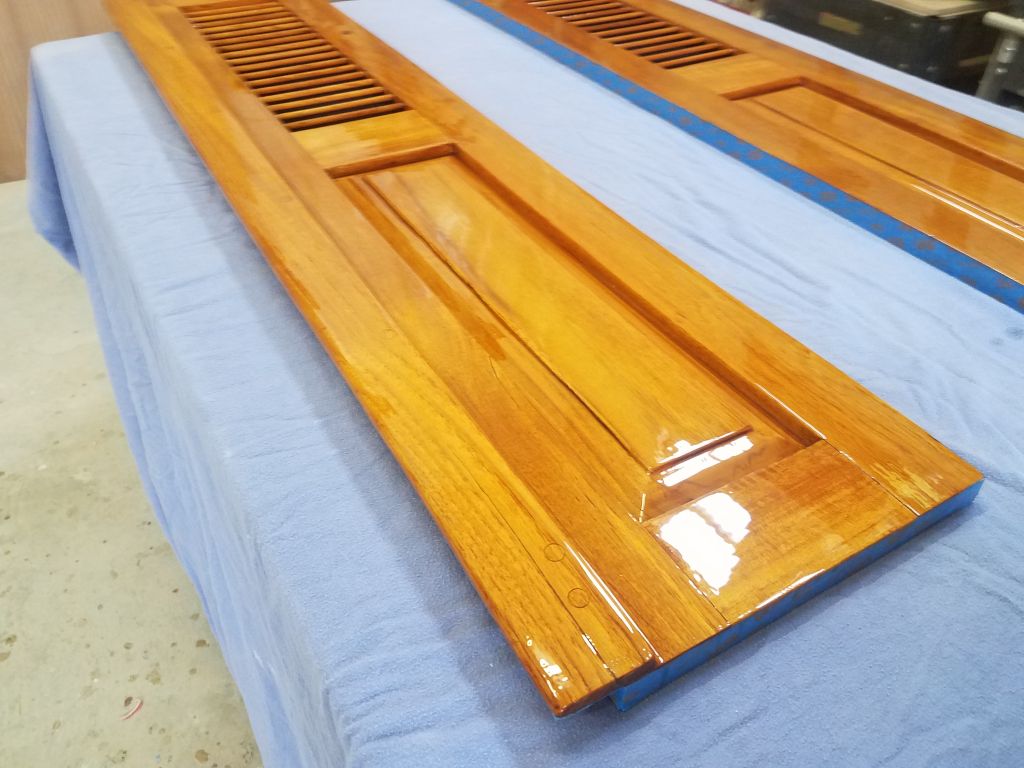
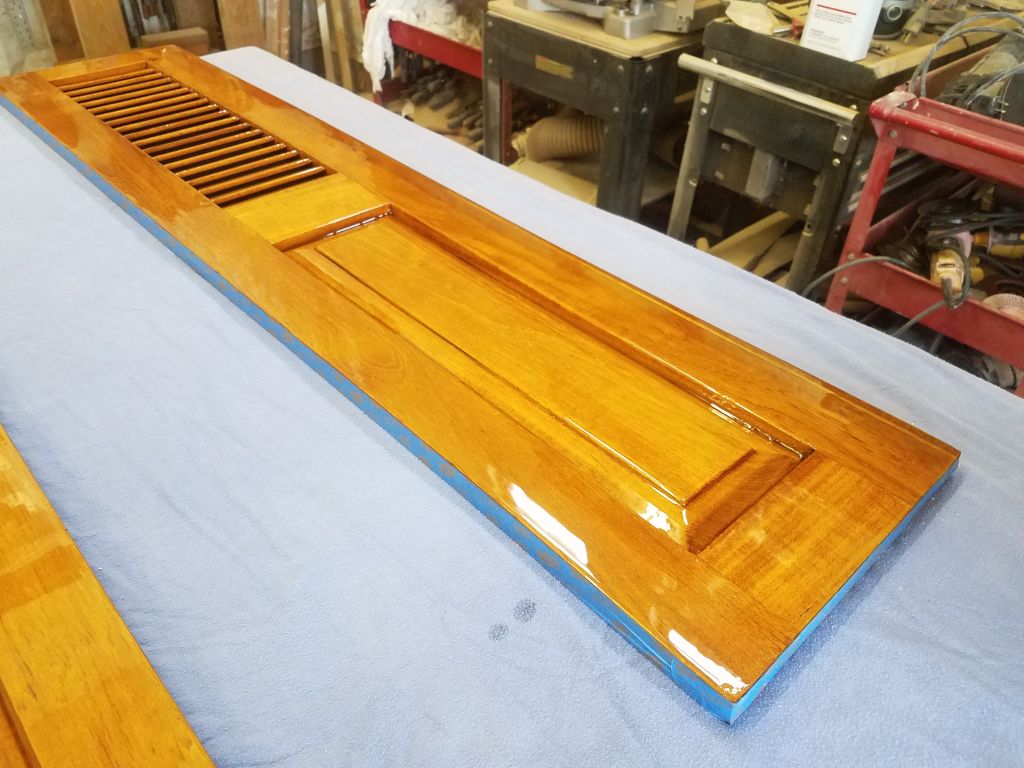
The companionway hatch and bifold doors required a light sanding and another coat on their main surfaces, which I hoped and expected would be the final varnish on these pieces for now.

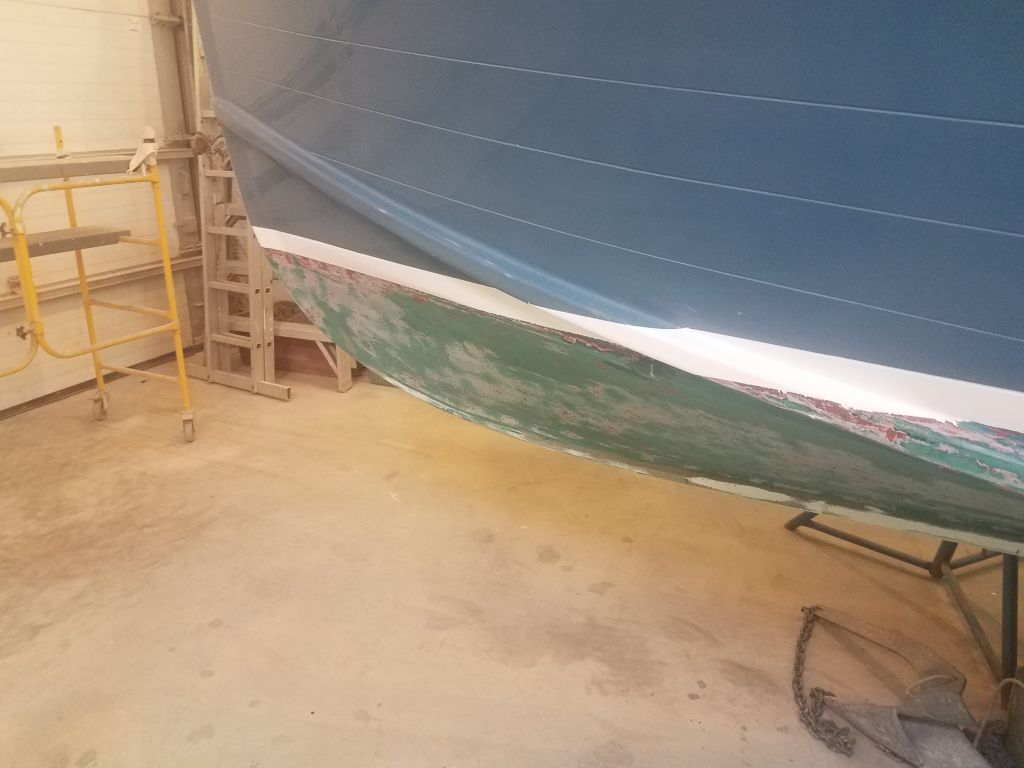
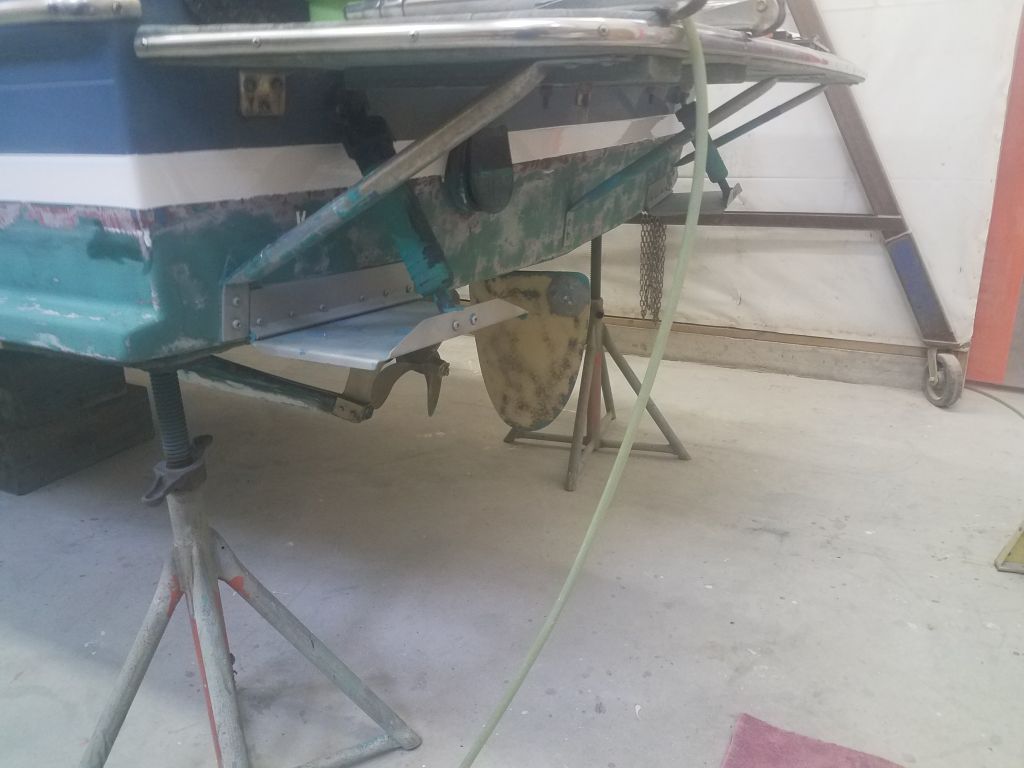
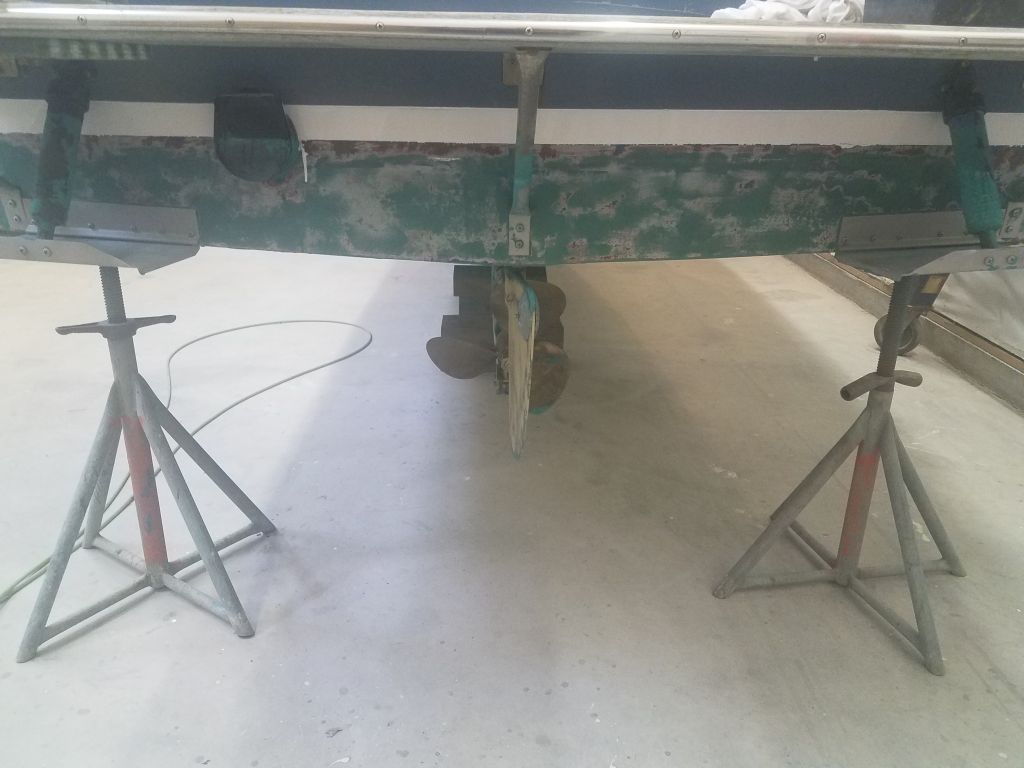
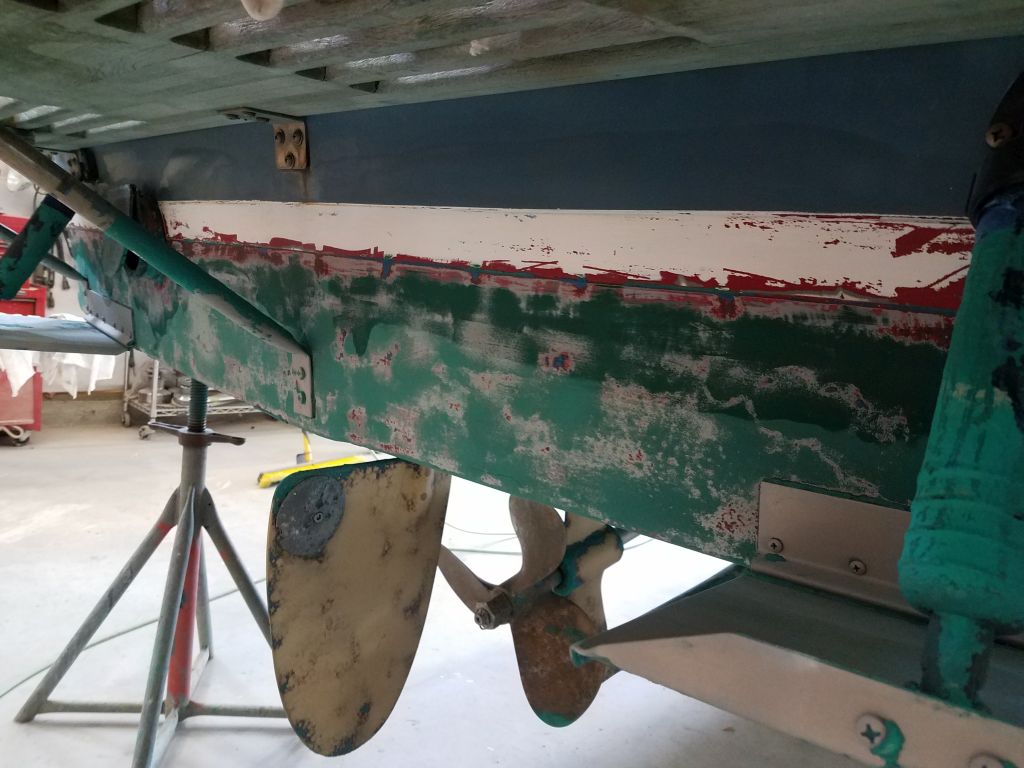
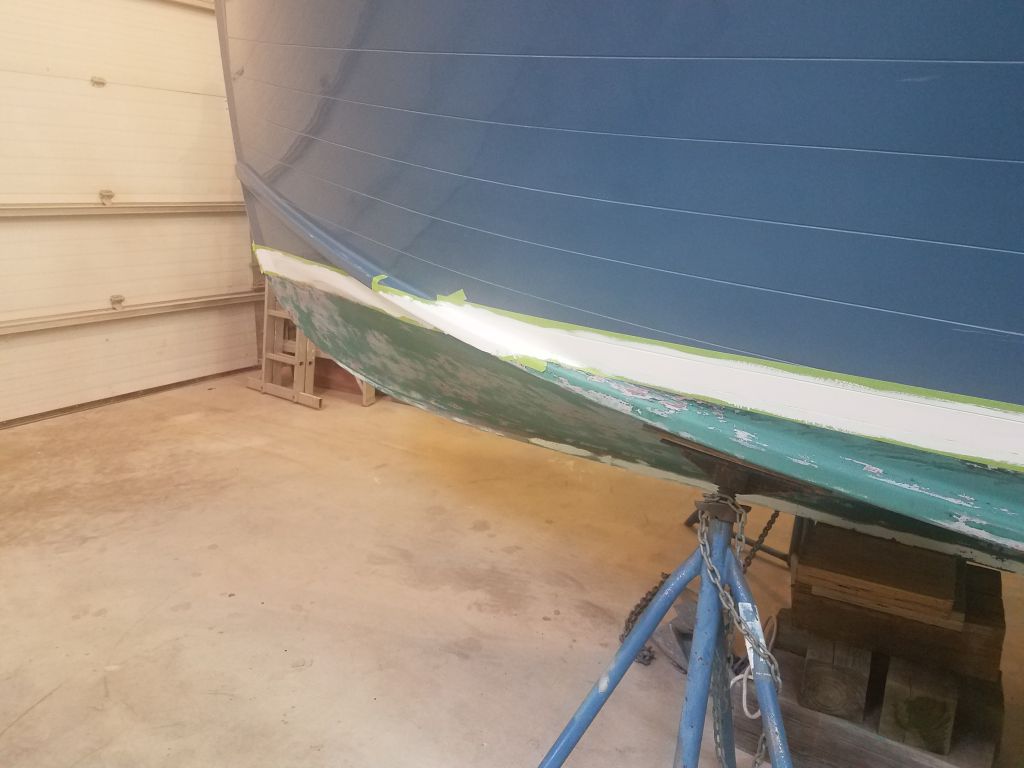
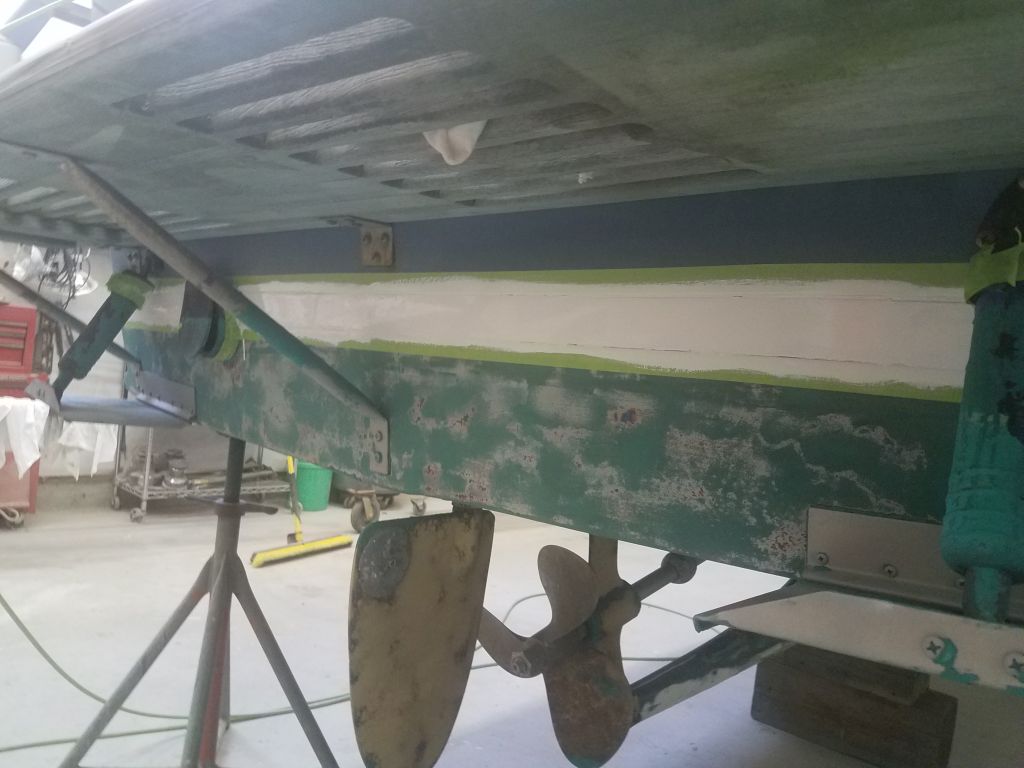
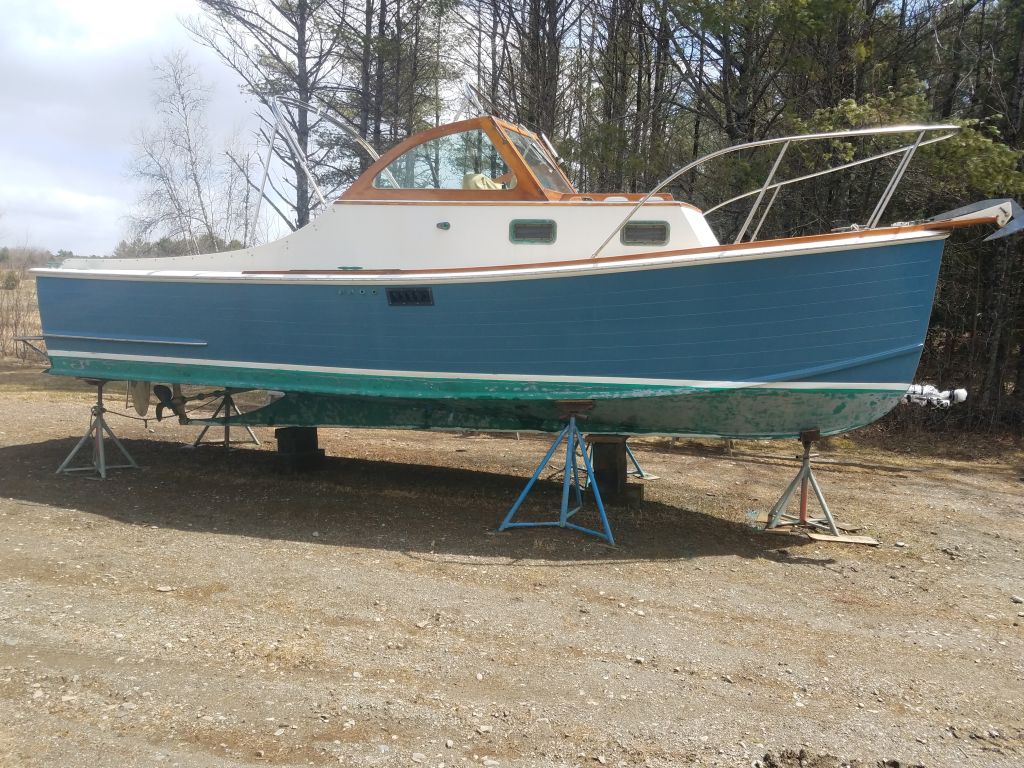
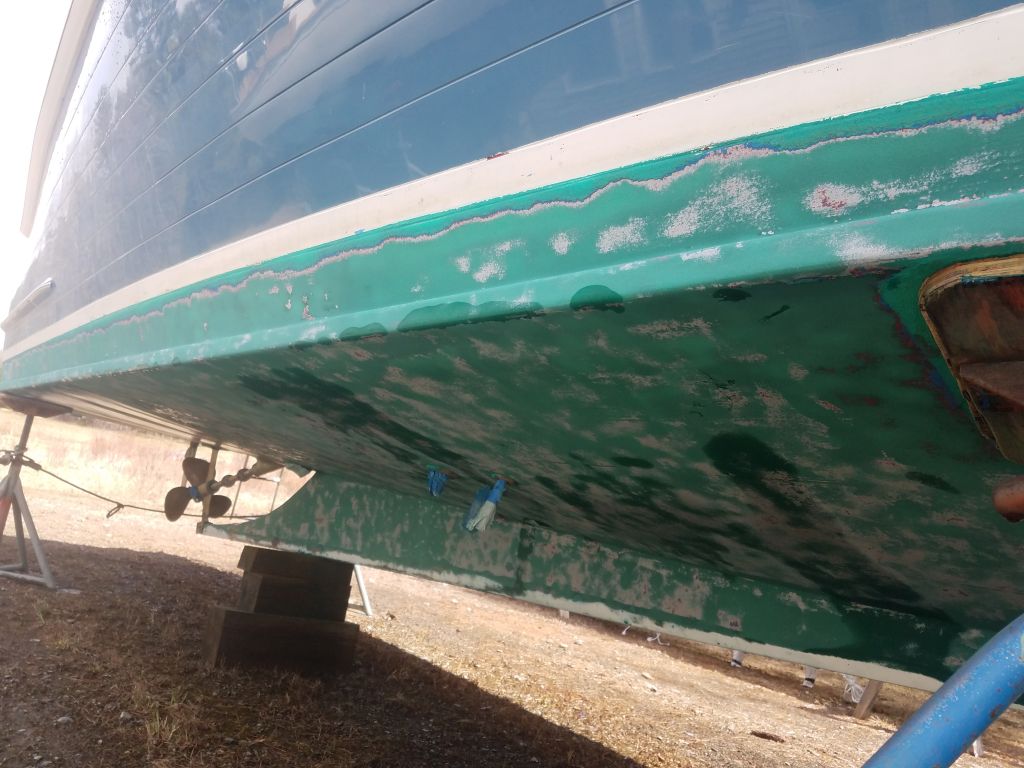
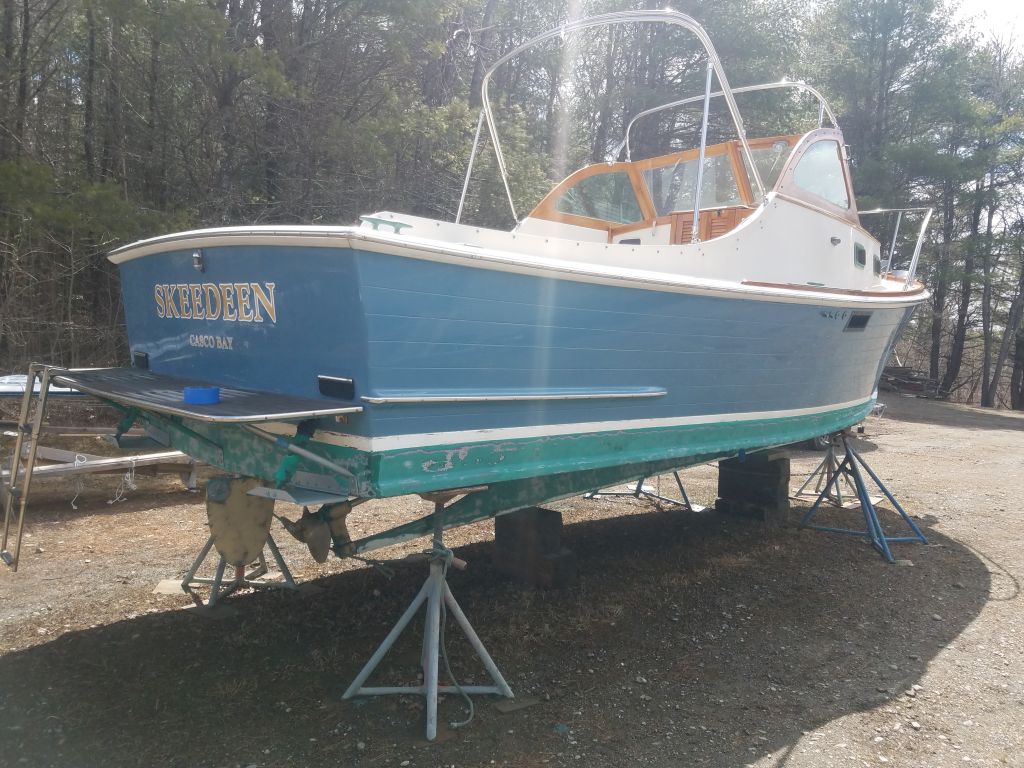
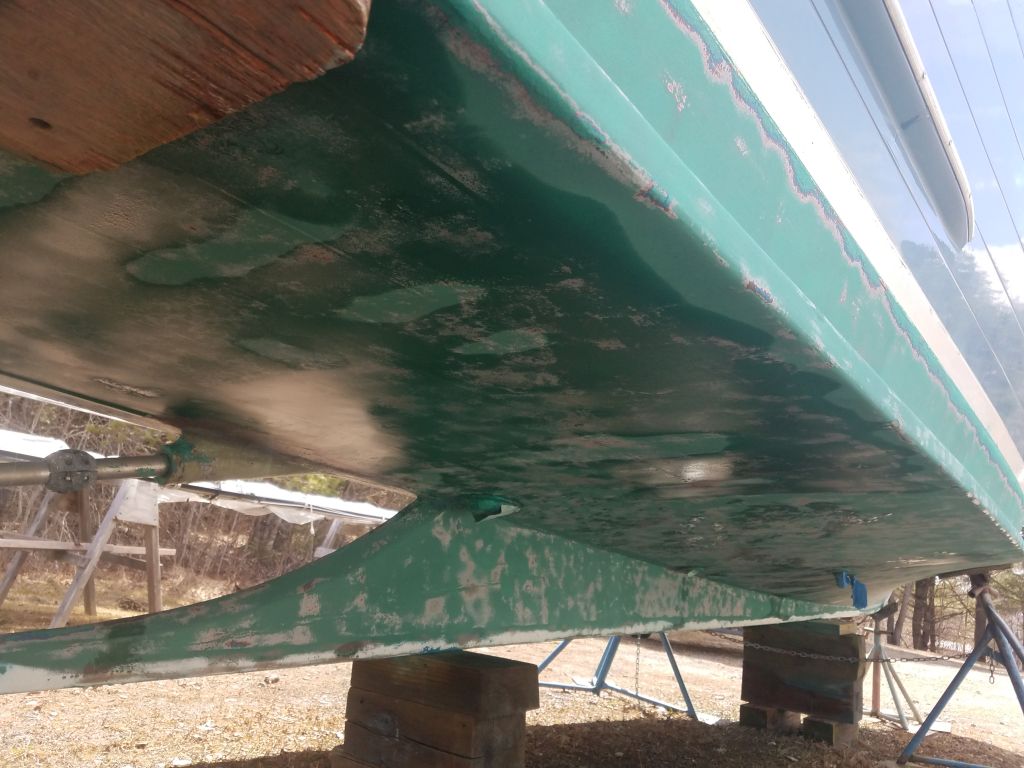
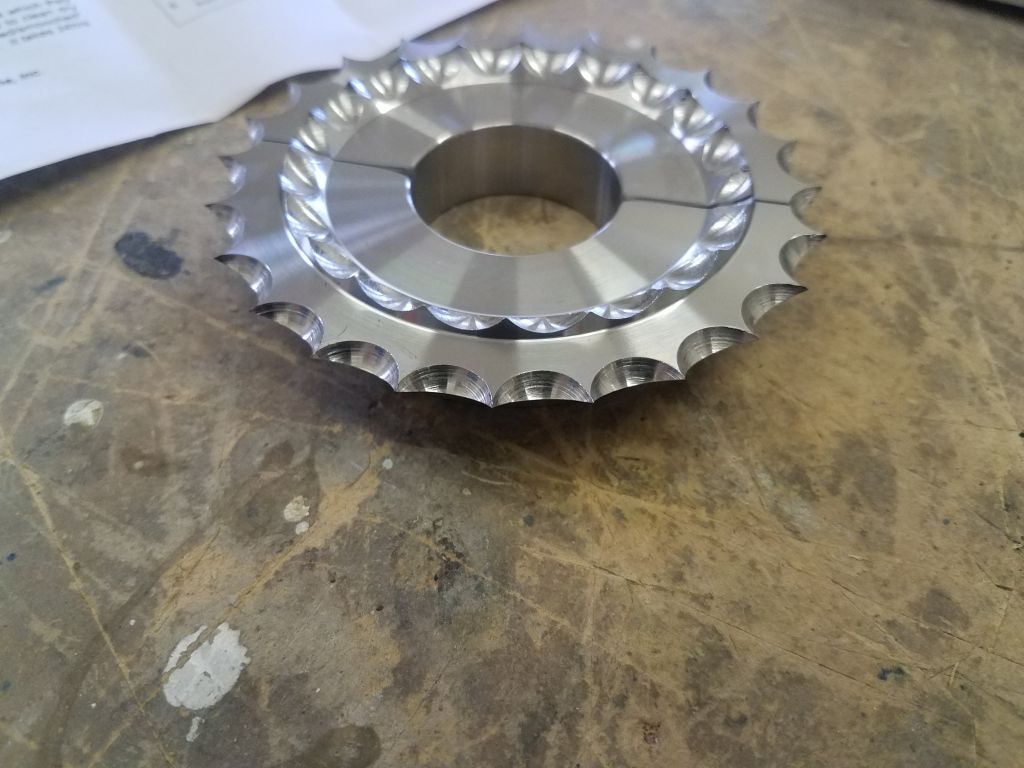
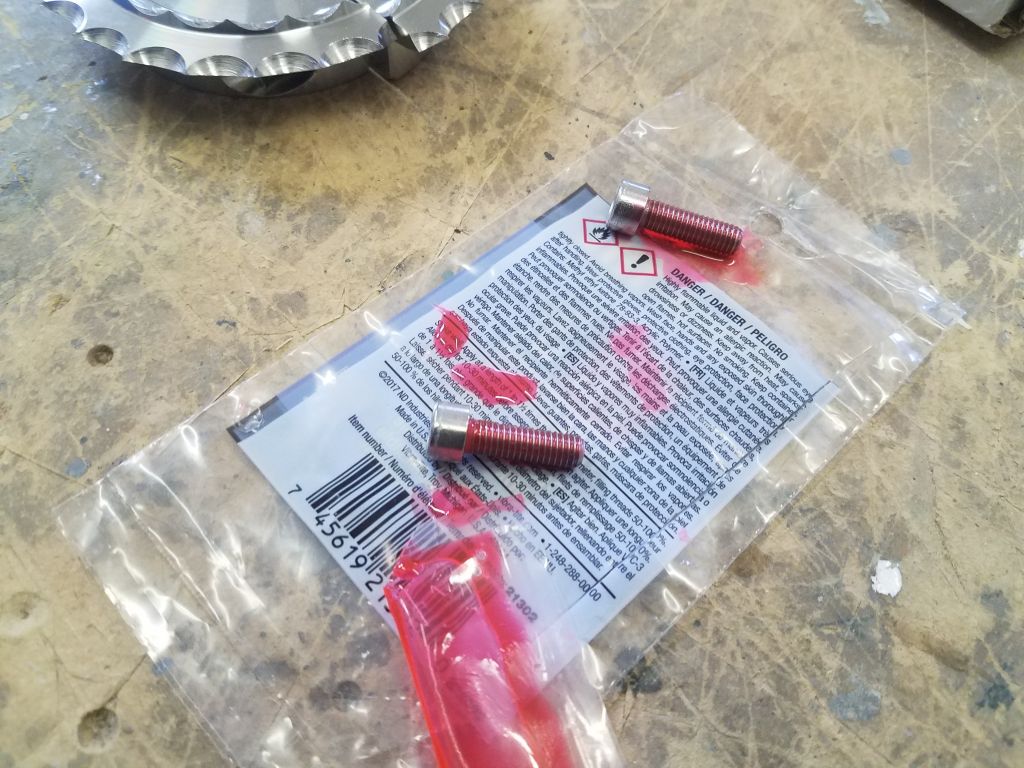
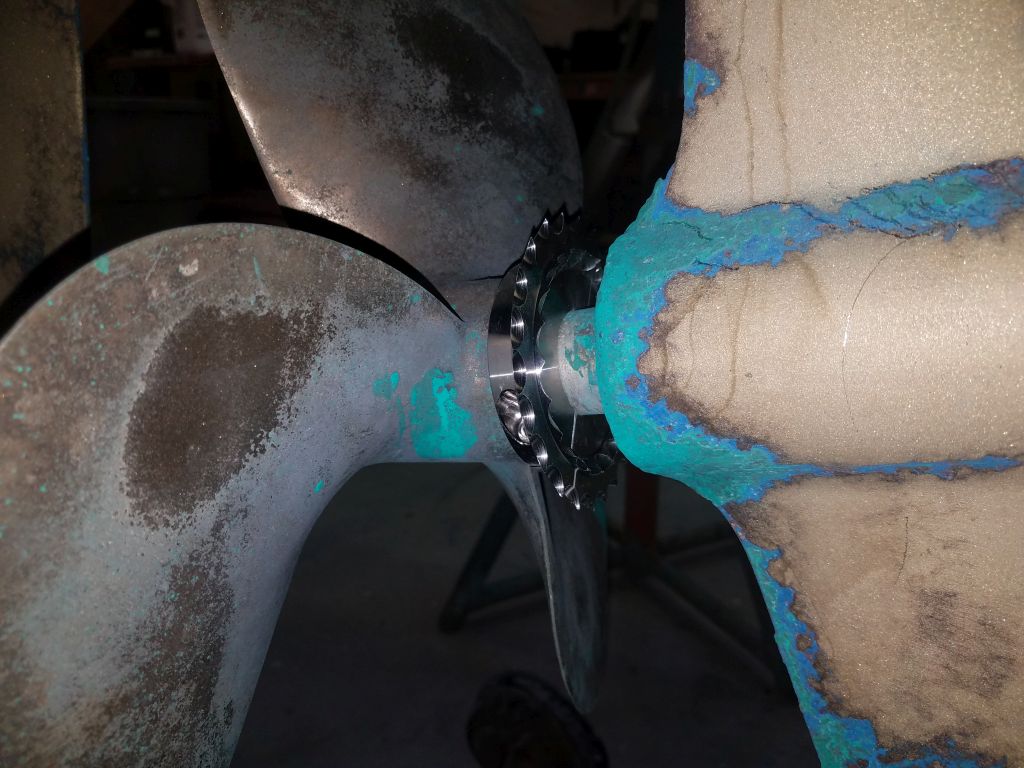
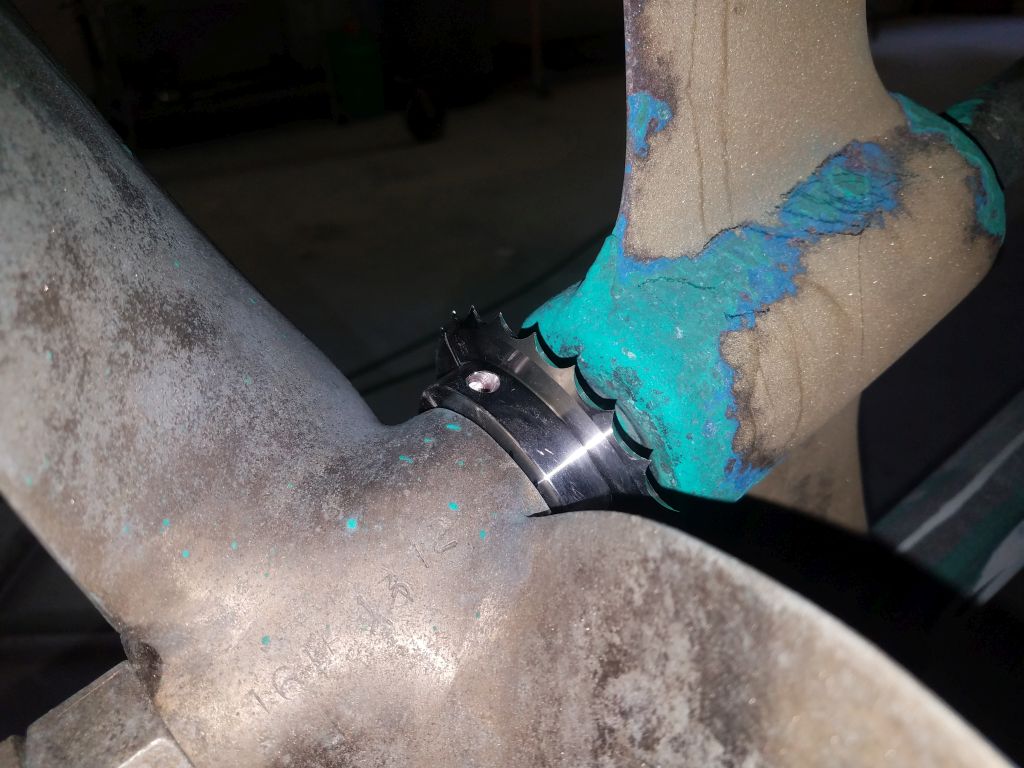
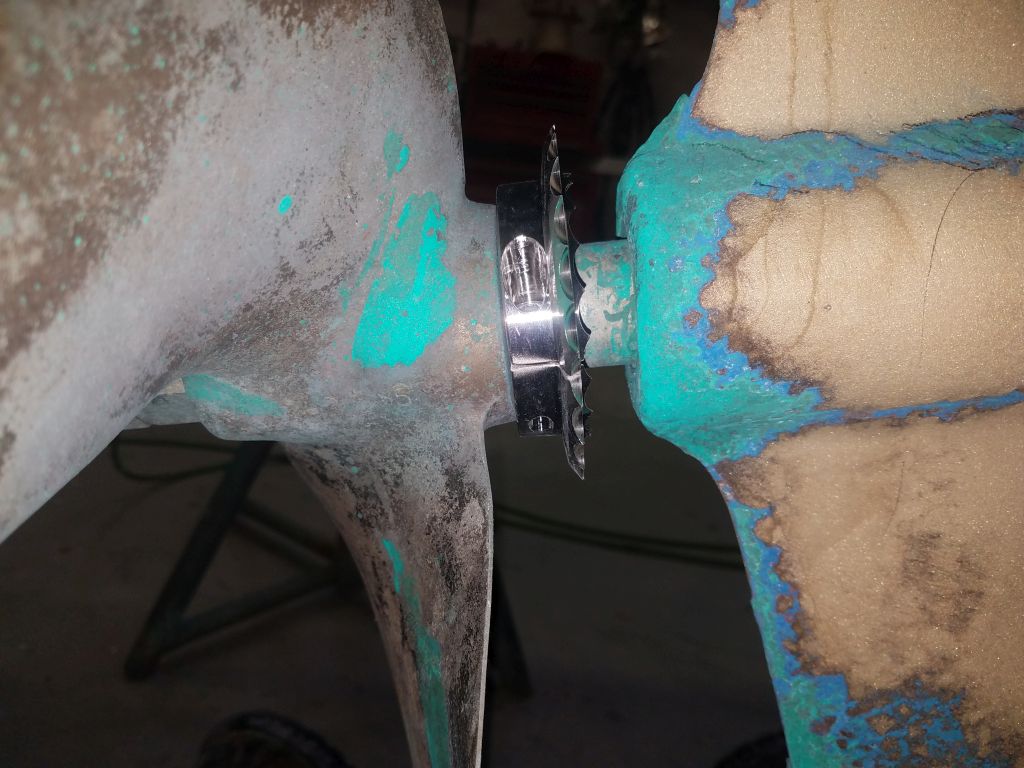
To finish up the day, I replaced the worn shaft and rudder zincs with new ones, and installed at the owner’s request a line cutter on the shaft just forward of the propeller. This was a split version that allowed installation without removing the propeller, a much more convenient alternative (especially since I was prop puller-challenged at the moment, having broken my puller when I tried to remove the propeller from another boat a while back, and had yet to replace).


Total time billed on this job today: 5 hours
0600 Weather Observation: 42°, partly cloudy. Forecast for the day: Partly sunny, 54°