

April 6, 2020
Adeline 4
Monday
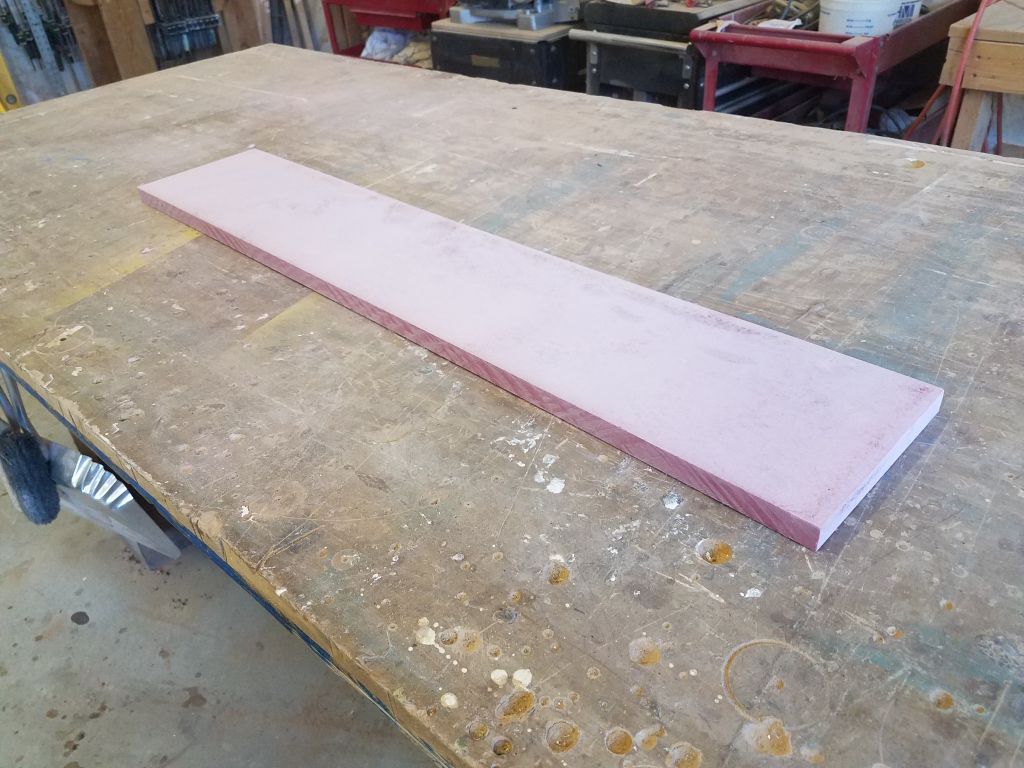
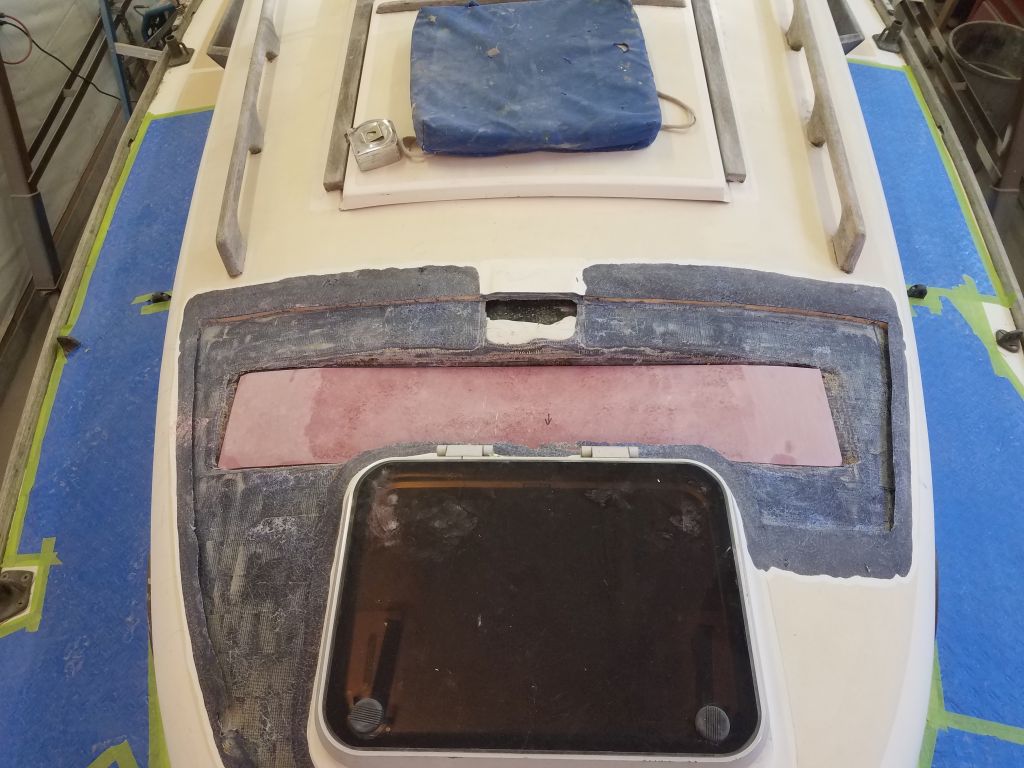
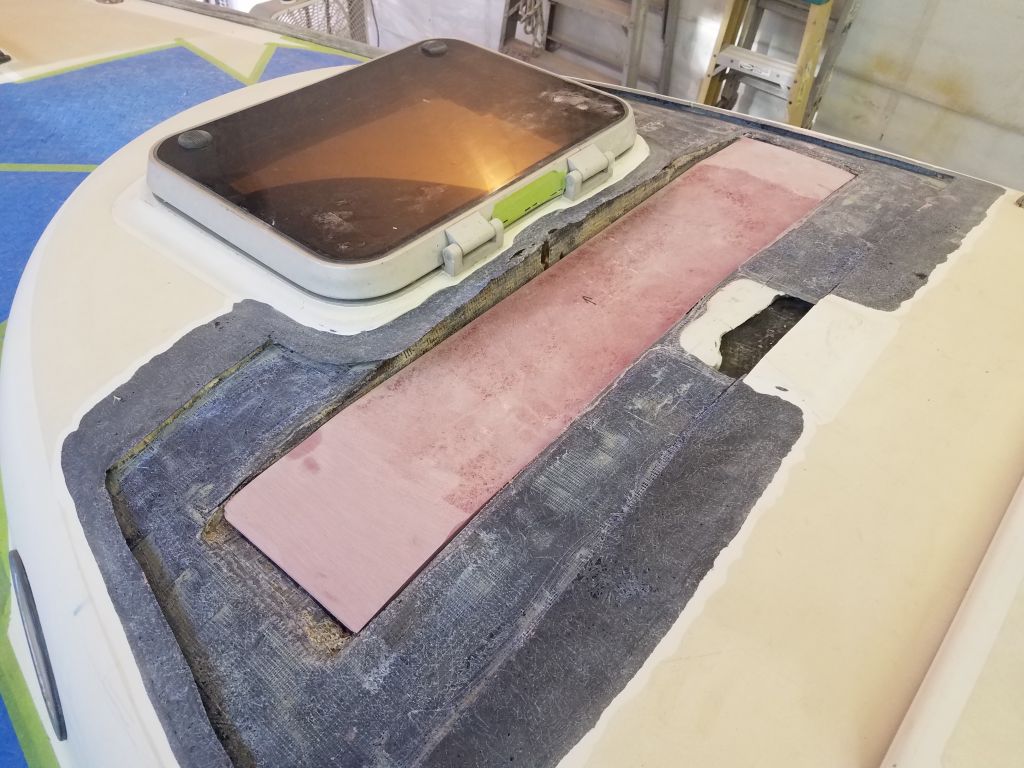
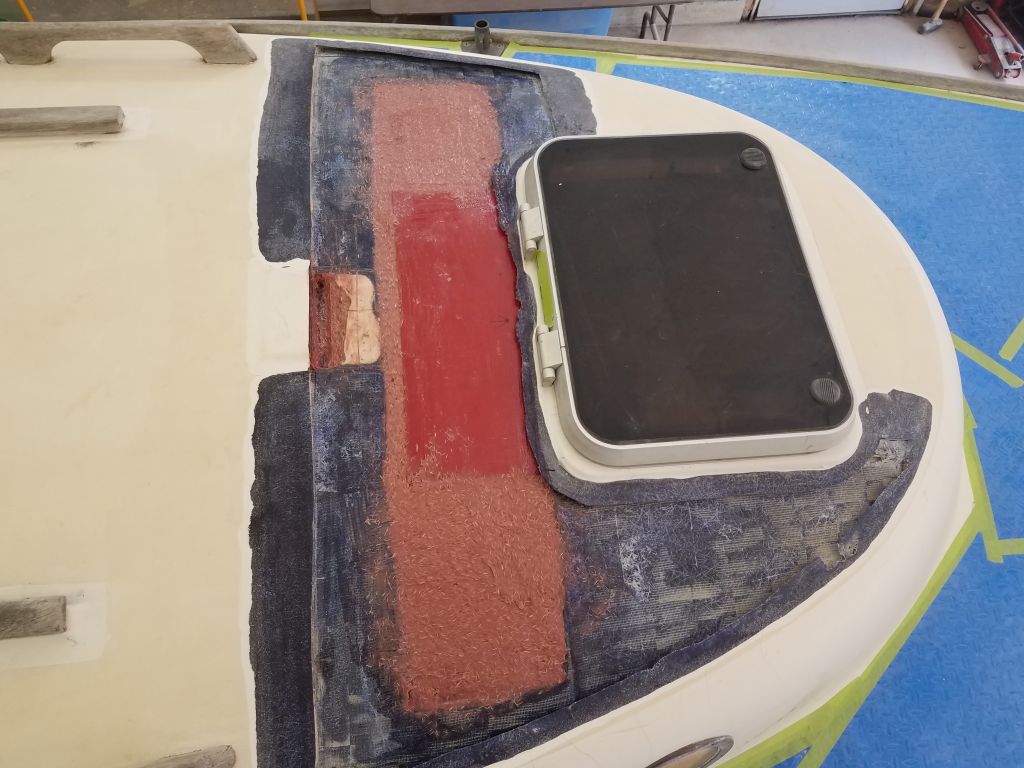
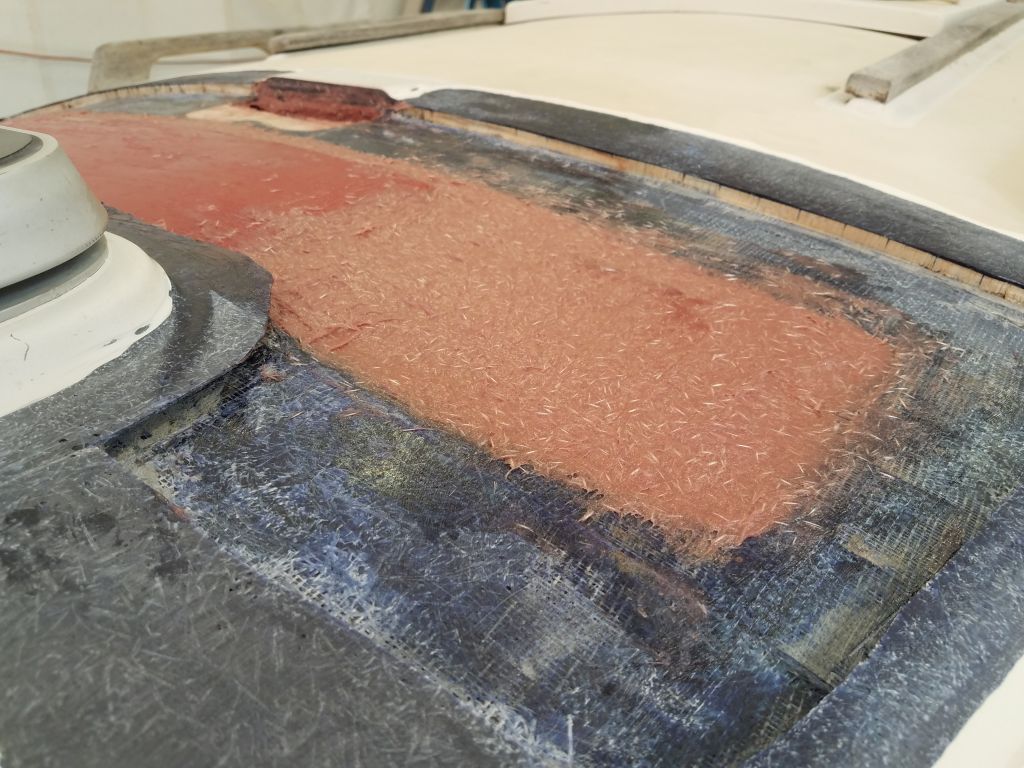
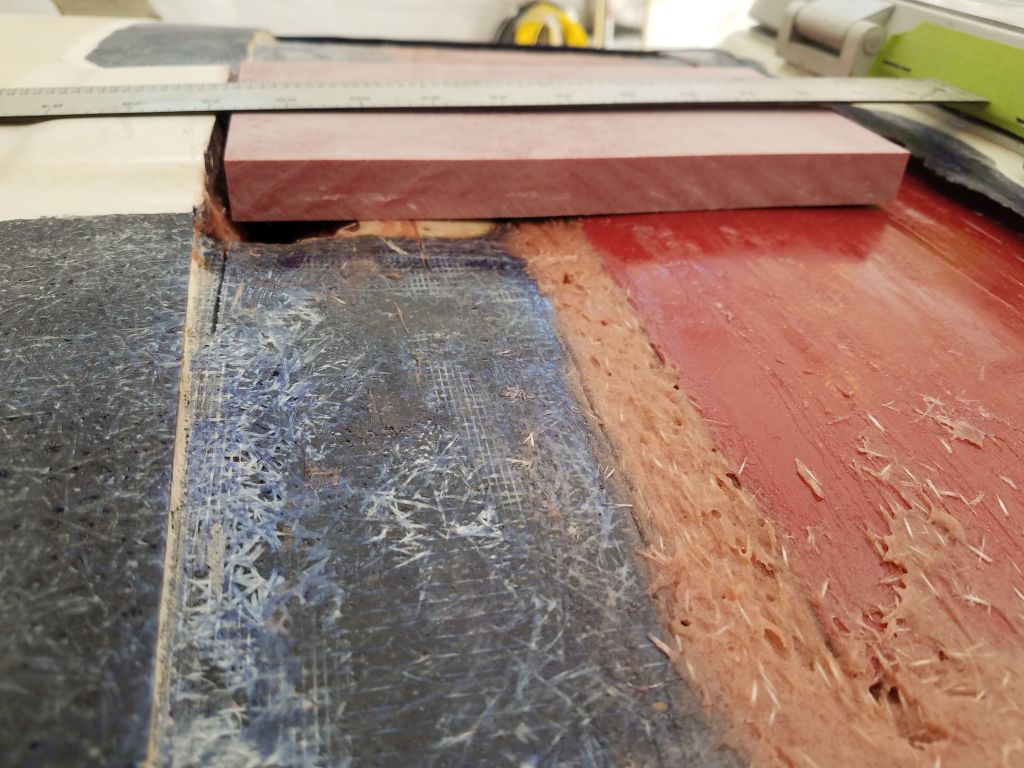
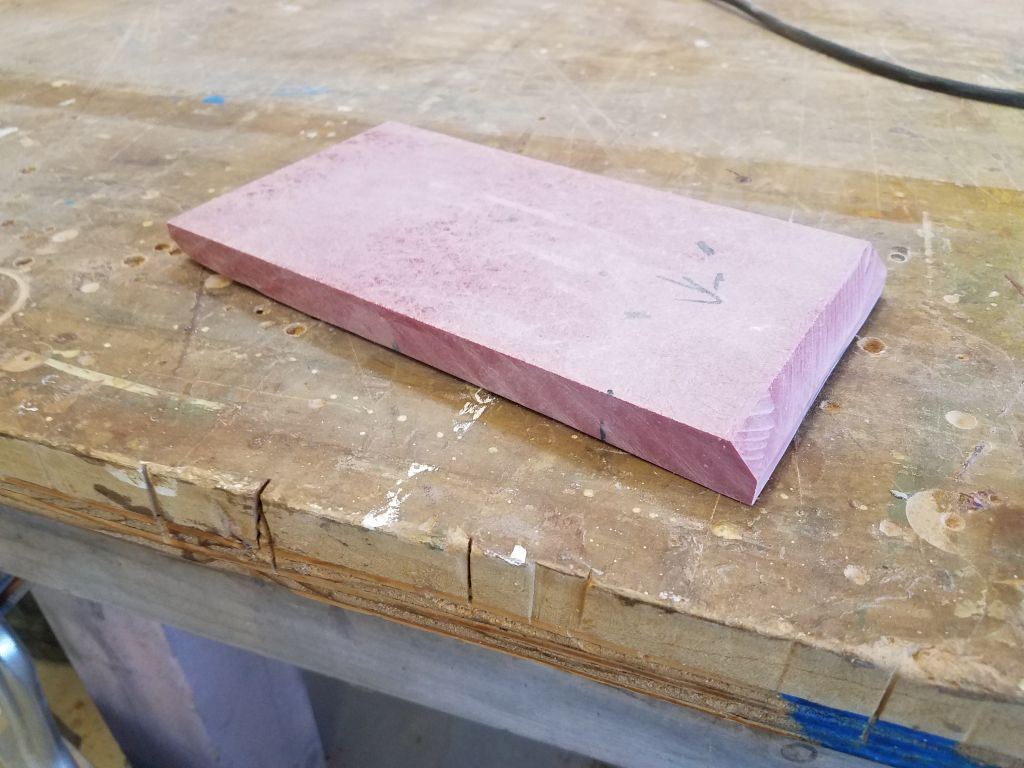
To build the mast beam, I ordered a 36″ long piece of 3/4″ prefabricated fiberglass sheeting for the job. Since the beam trough had an overall height in the center of 2″ or more, I could use three layers of the fiberglass to create the full beam thickness as needed. The length of the trough was just over 36″, but since it tapered to nothing at the ends, the 36″ length would work out well.
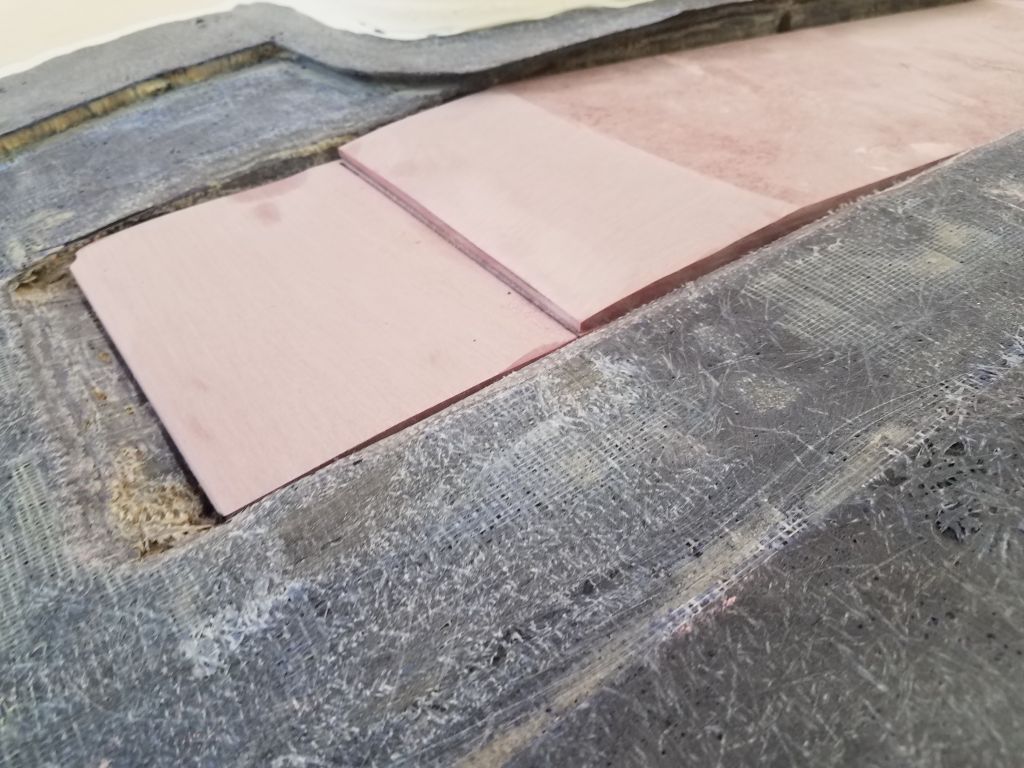
To begin, after sanding the smooth factory surface on both sides of the raw material, I cut a 6-3/4″ wide strip of the fiberglass as needed to fit within the trough. A test fit showed that I needed to slightly ease the bottom corners, since the corners of the molded trough were rounded, and afterwards the blank fit properly and sat more or less flat on the bottom of the trough.
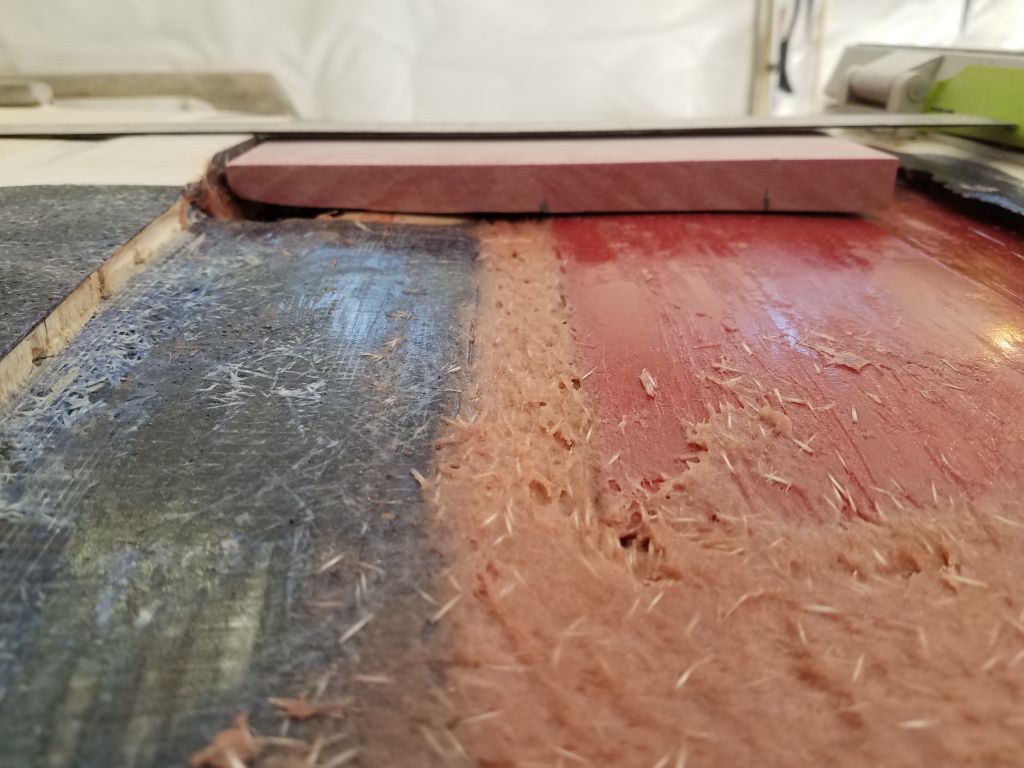
Each piece of fiberglass would require shaping at the ends to accommodate the deck camber and changing depth of the trough at the outboard ends, so I marked the blank on each side at the ends, following the curve of the deck’s inner skin.

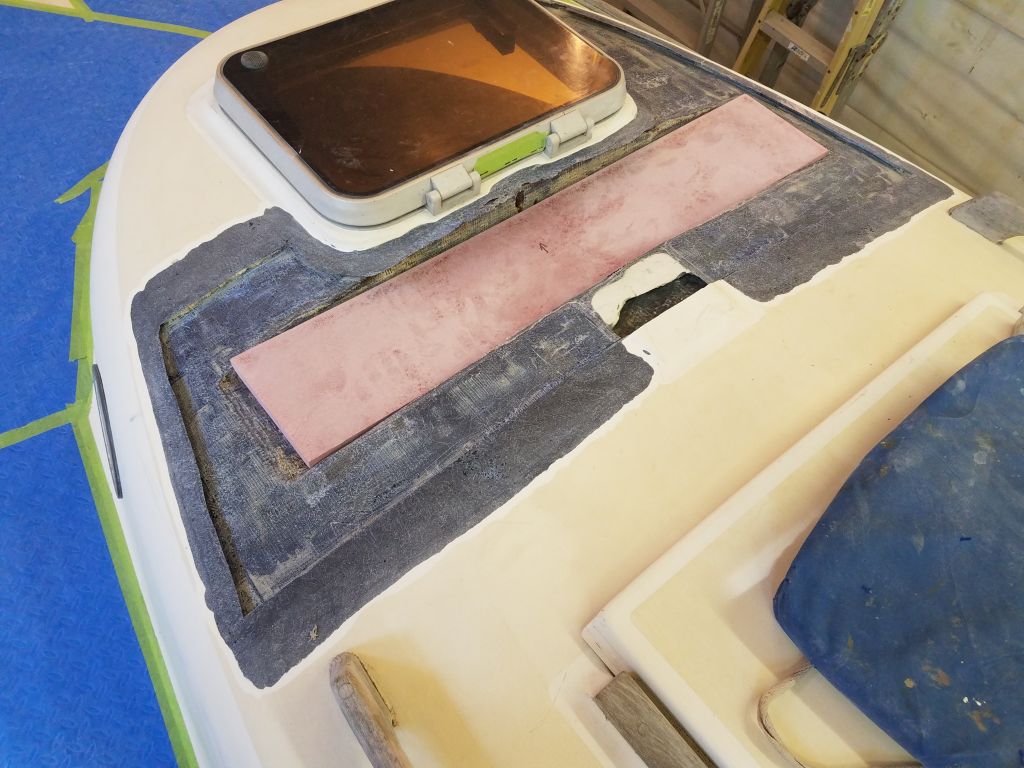
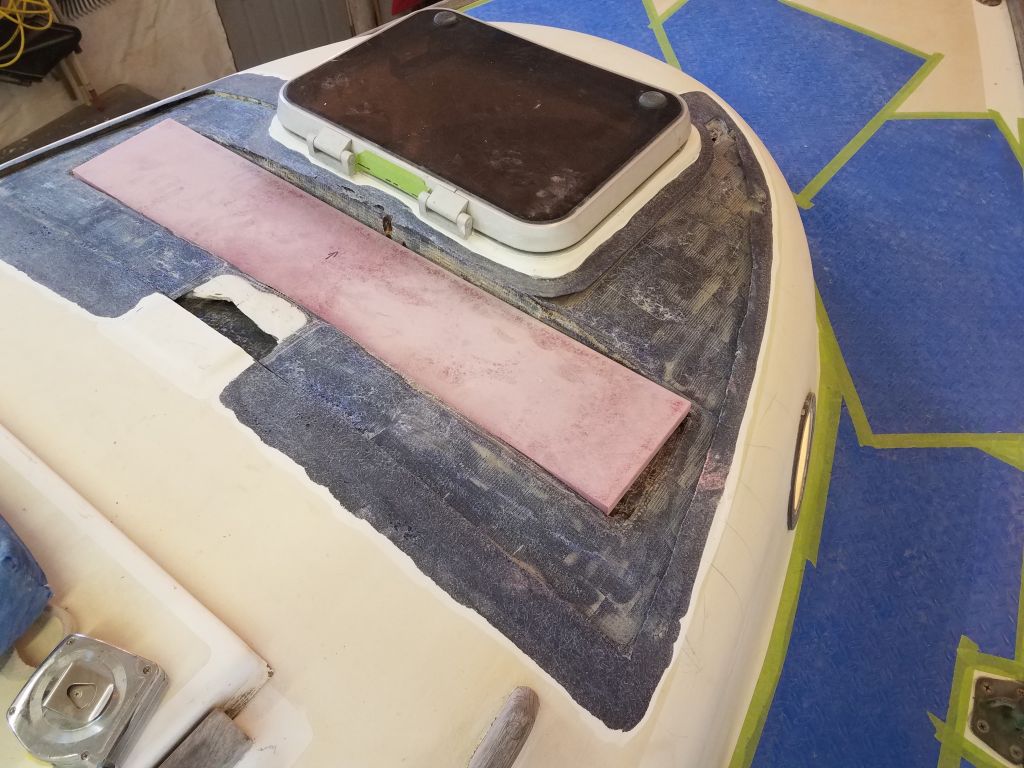


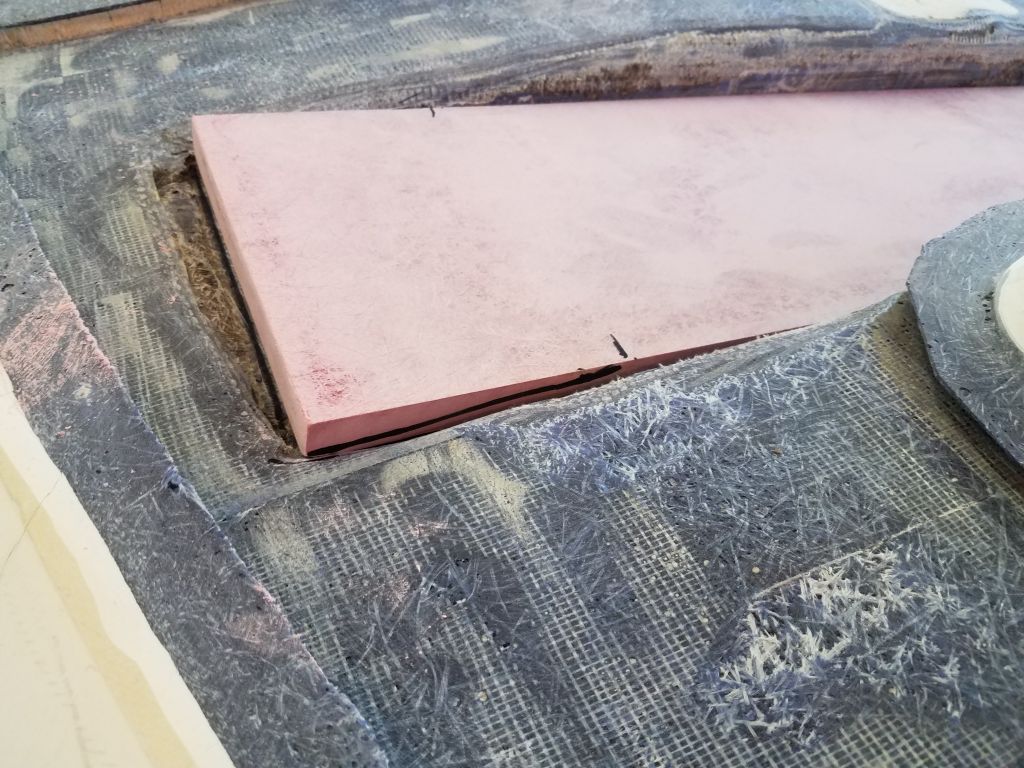
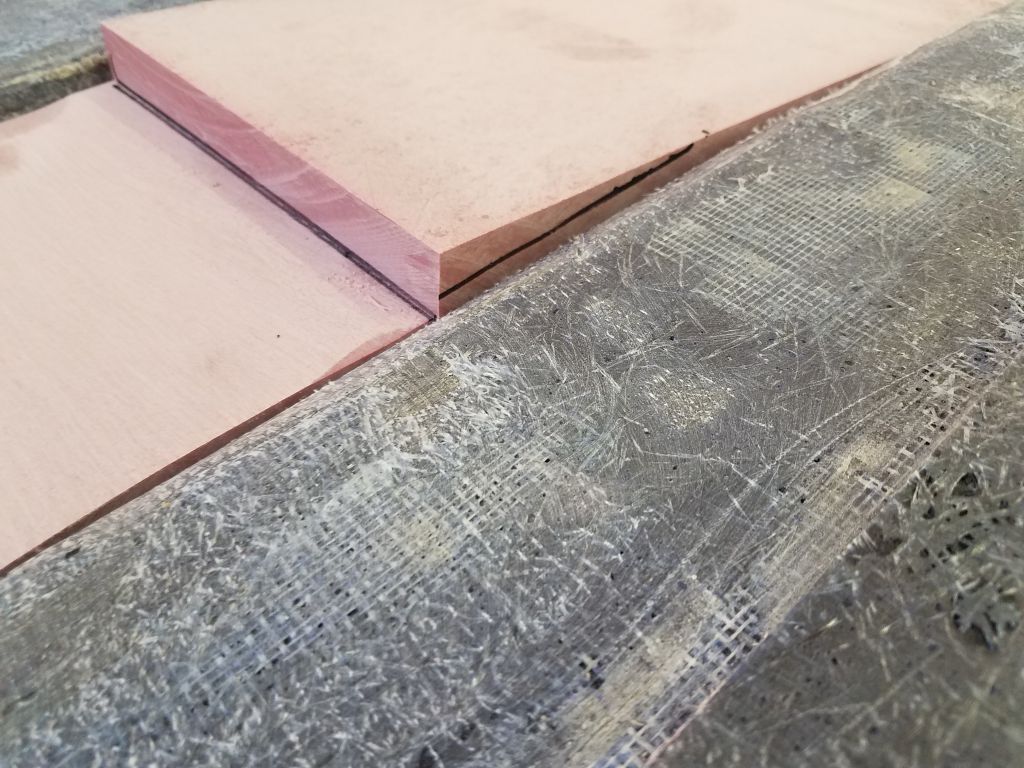
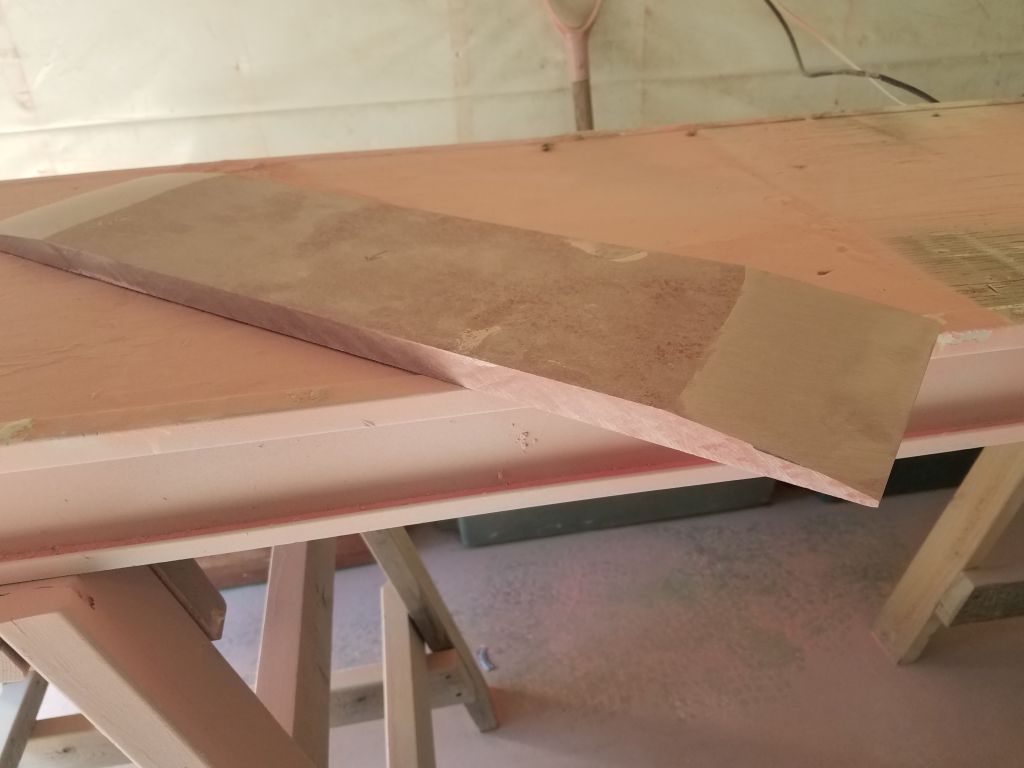
In the bench, I used a grinder and belt sander to remove the excess material, after first connecting the marks with a ruler to give me guidance on all sides as I ground away the excess material from each side, creating an angle that corresponded to the shape of the deck.

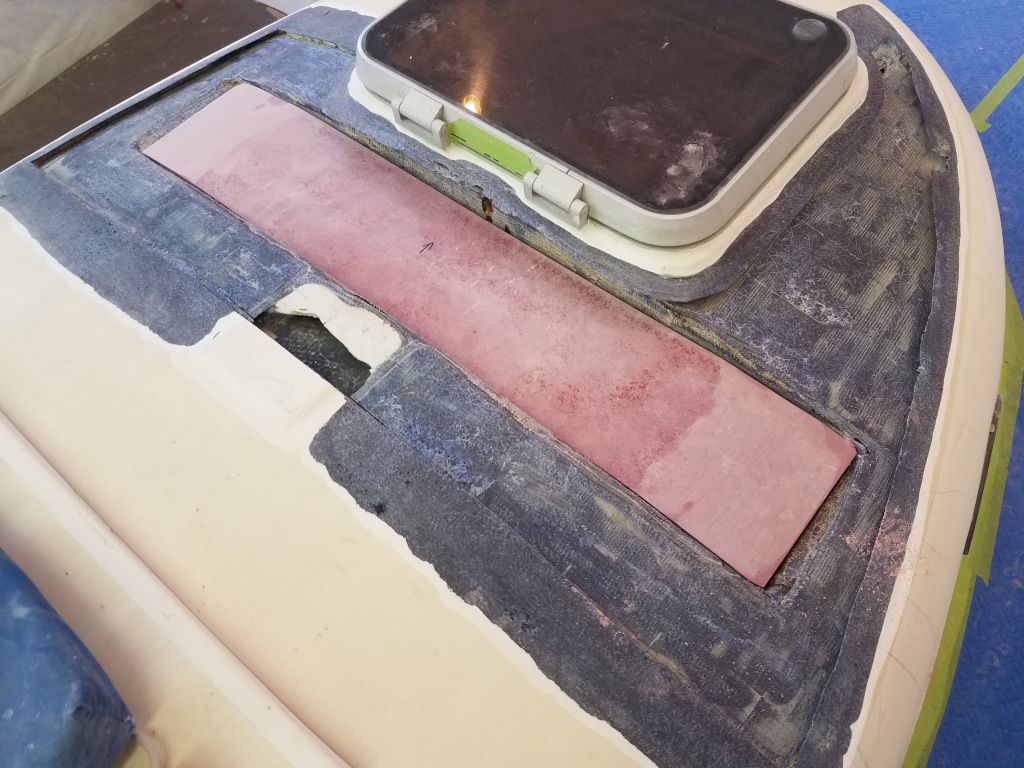

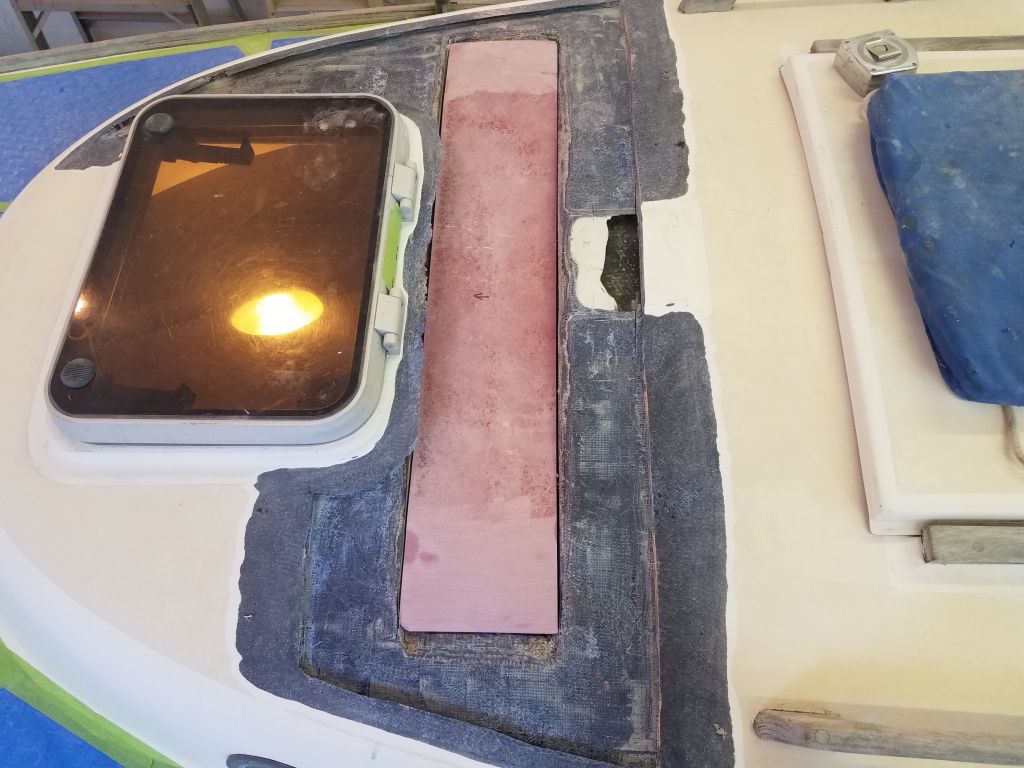
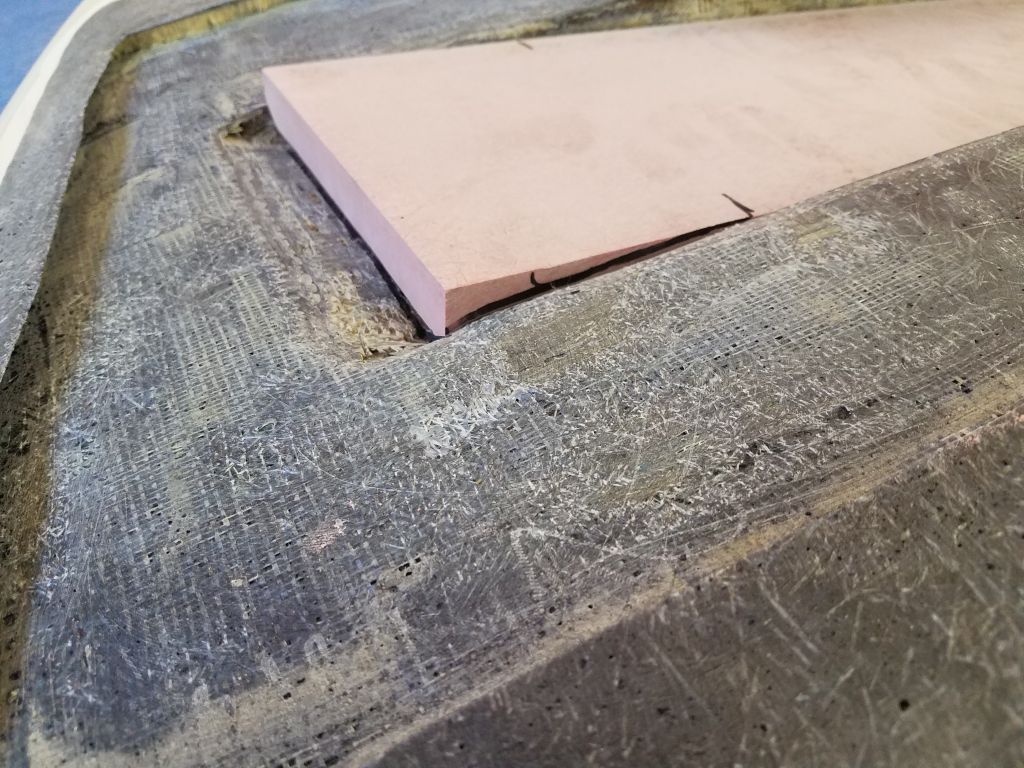
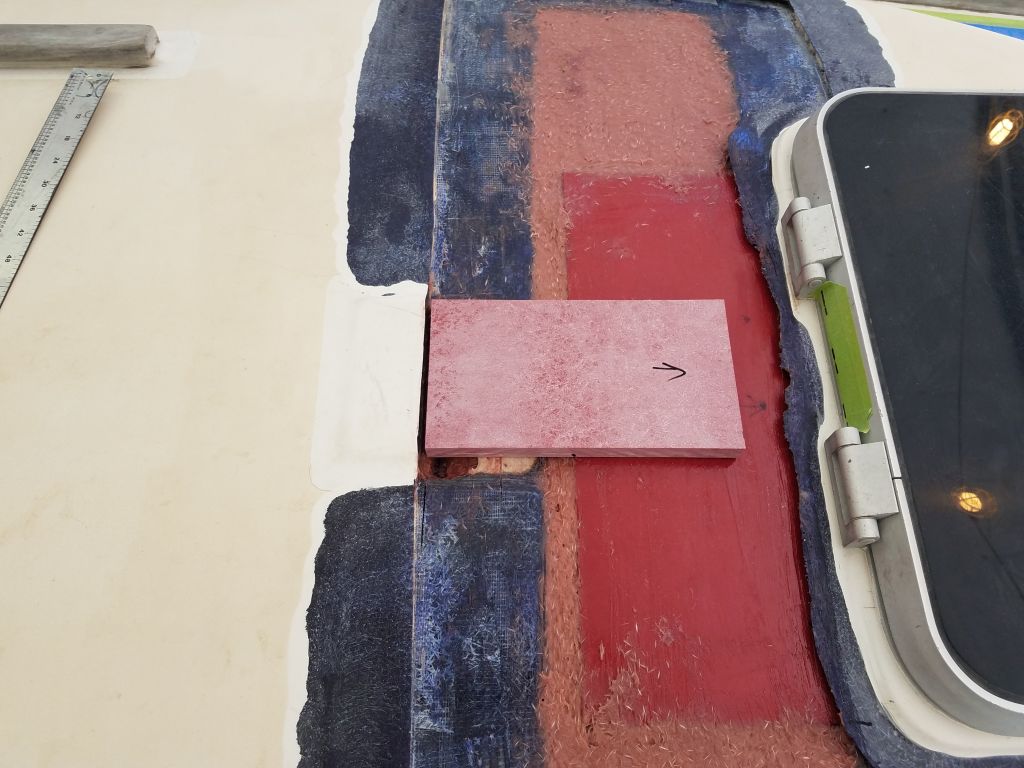
I measured the length of the flat part of the first piece, then cut a second layer to that measurement (26″). With the second layer atop the first, I repeated the marking and shaping process. I didn’t try to shape these pieces to a razor’s edge at the ends of the tapers, partly because it was a substantial effort to remove the excess material to begin with and I saw no reason to do more work than necessary; and also because I intentionally kept the heights of the new beam just slightly below the adjacent decks, since I did not want the rock-hard beam to end up higher than its surroundings. Instead, I planned to make up any slight height differences with some strengthened epoxy during installation.
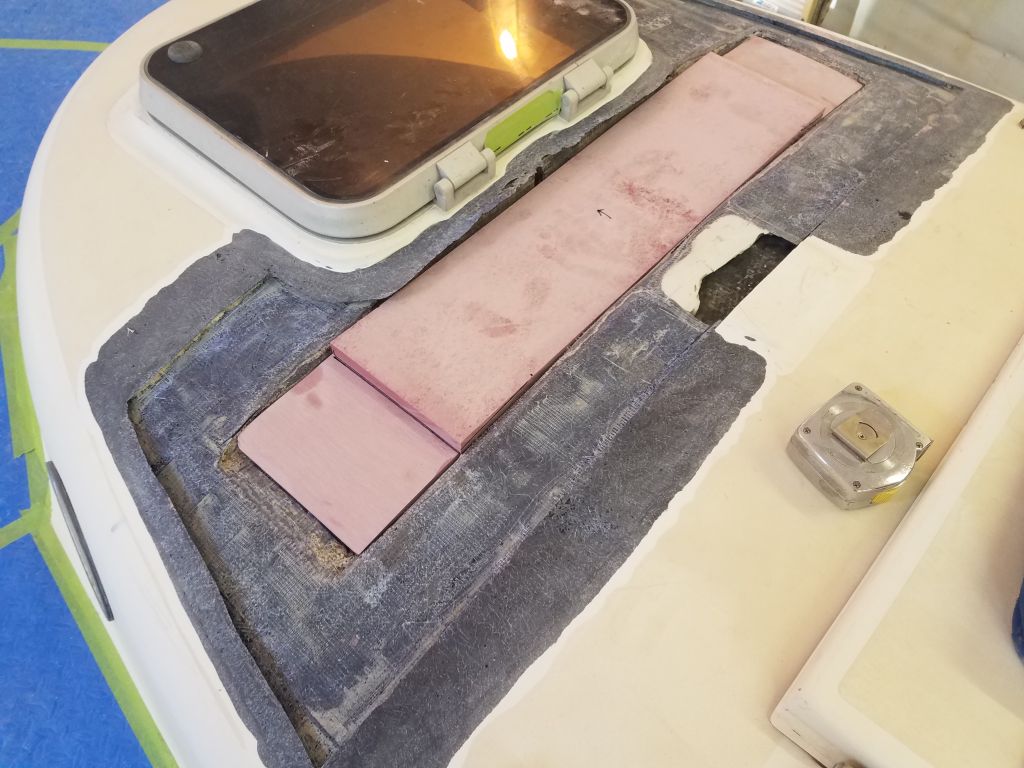
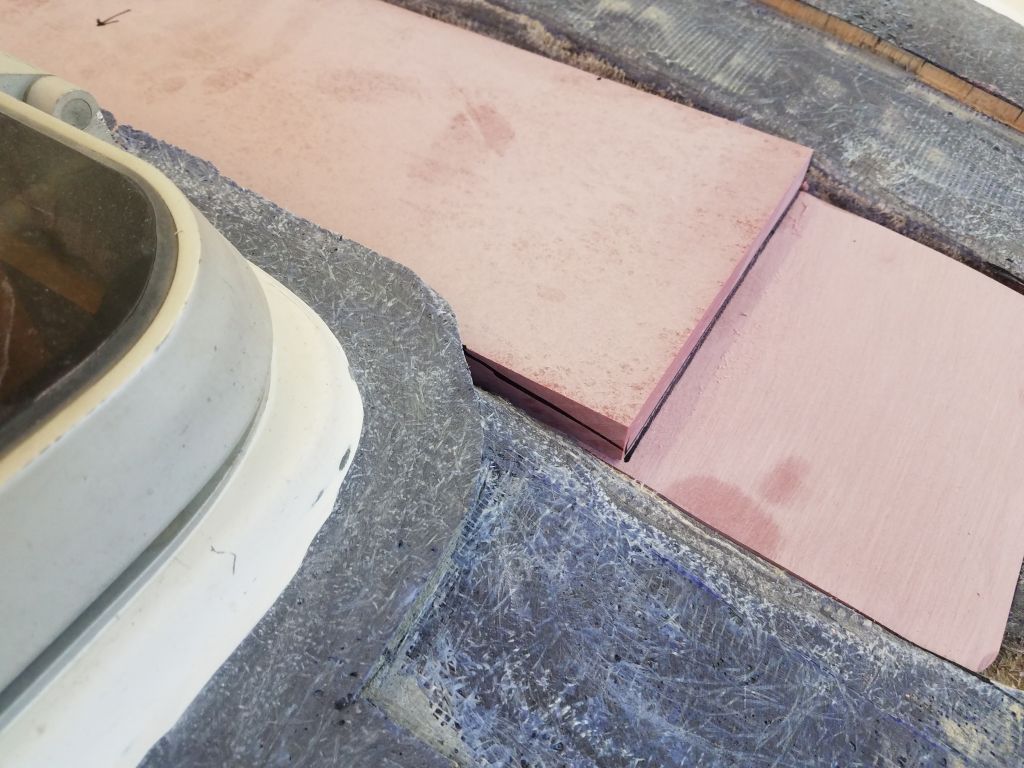
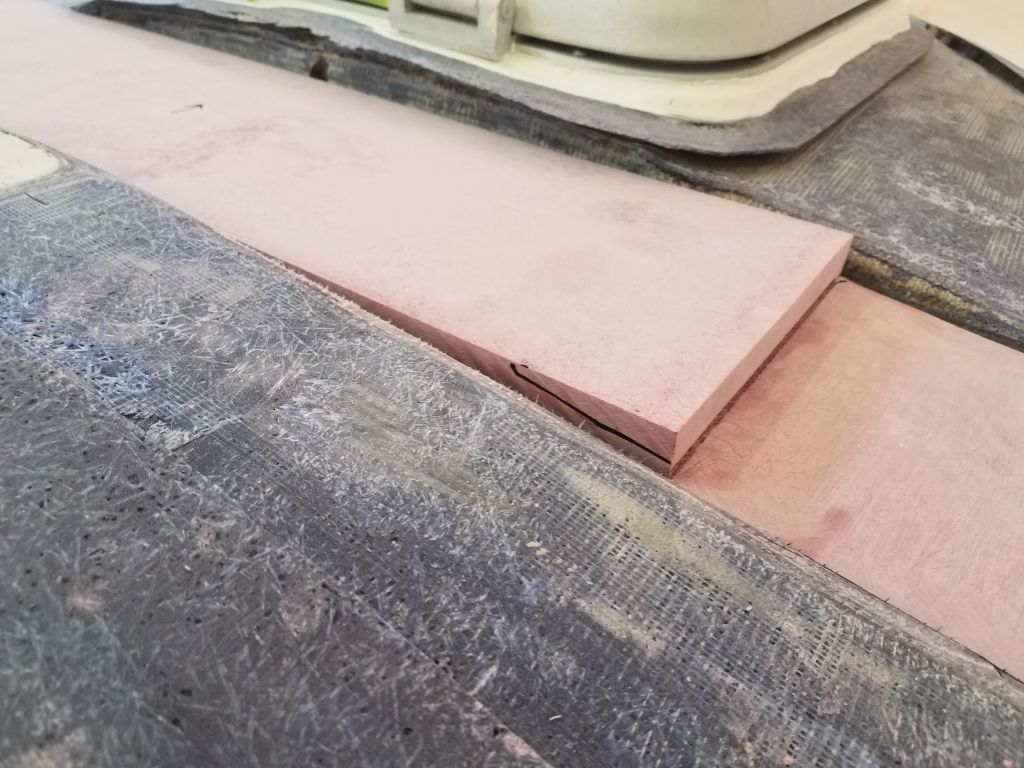
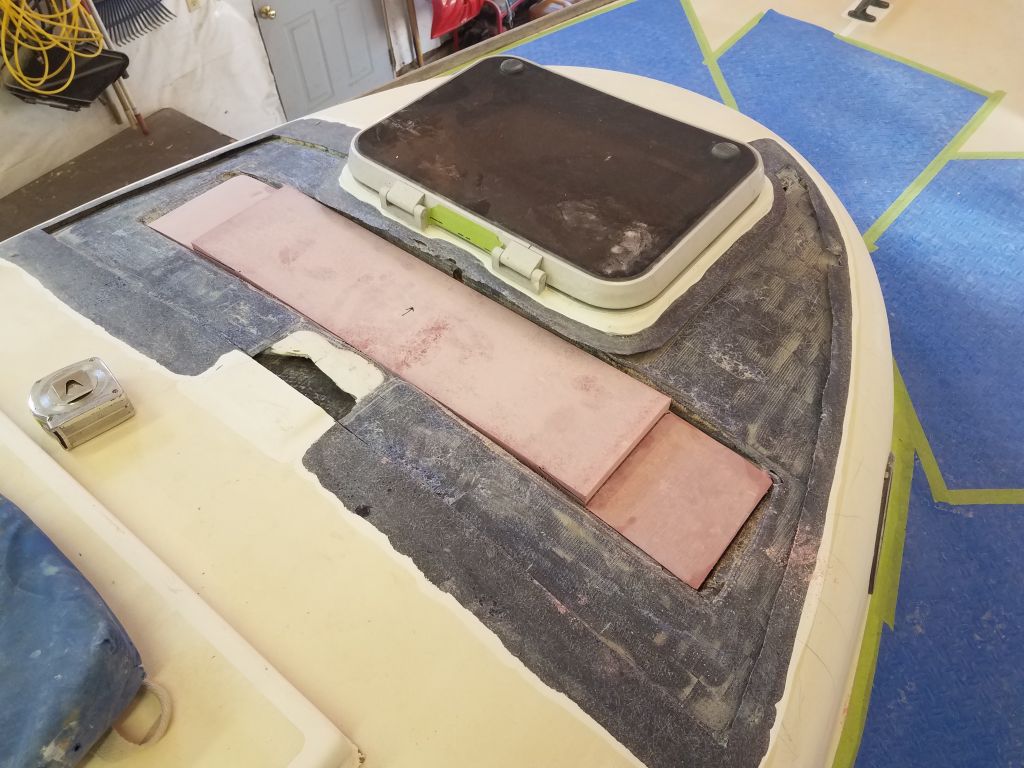
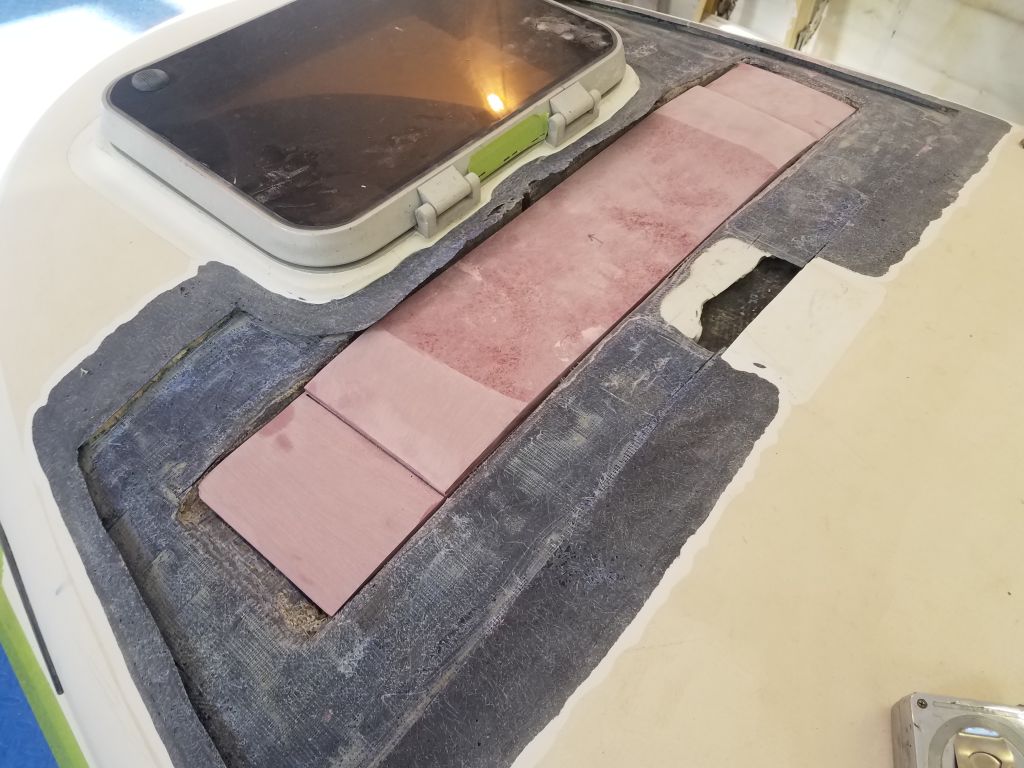
After some eyeballing and measuring, I determined that I could use one more layer of the 3/4″ fiberglass for the top and center section without needing to remove too much material to make it work. I didn’t want the center of the new beam to end up higher than the surrounding inner deck skin, nor did I want to have to remove too much material from the raw stock, but since the overall depth of the beam trough was over 2″ at centerline, it ended up that I needed only to remove about 1/8″ of height from the whole piece, in addition to the curved tapers on each end. This was a do-able prospect.

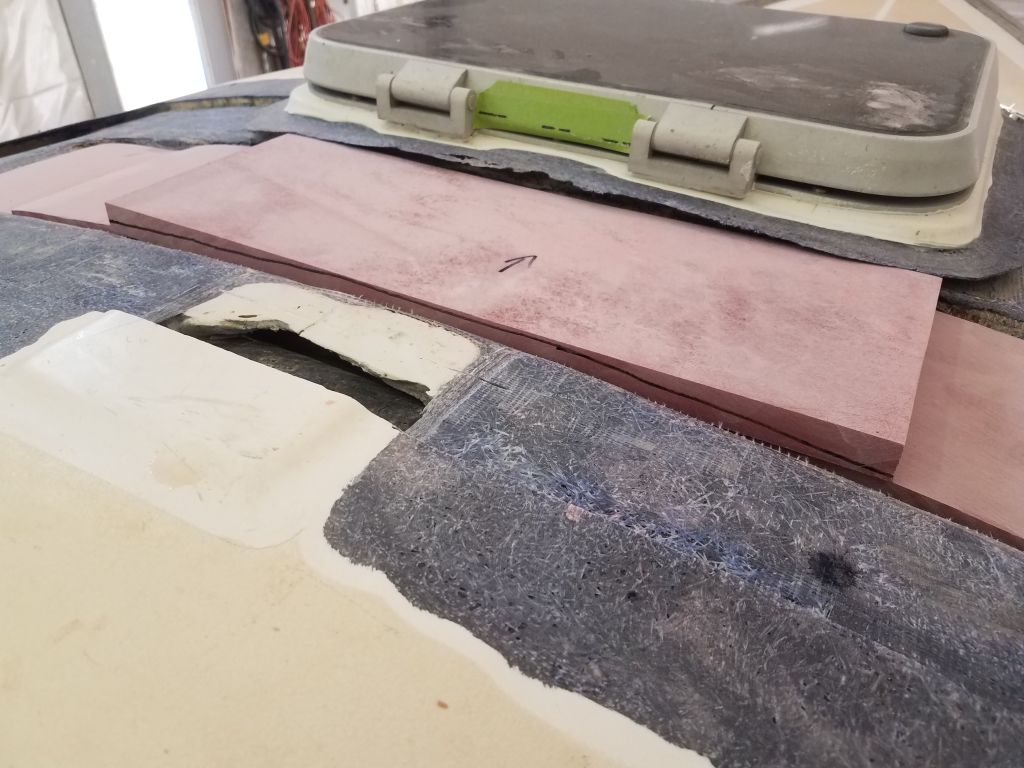
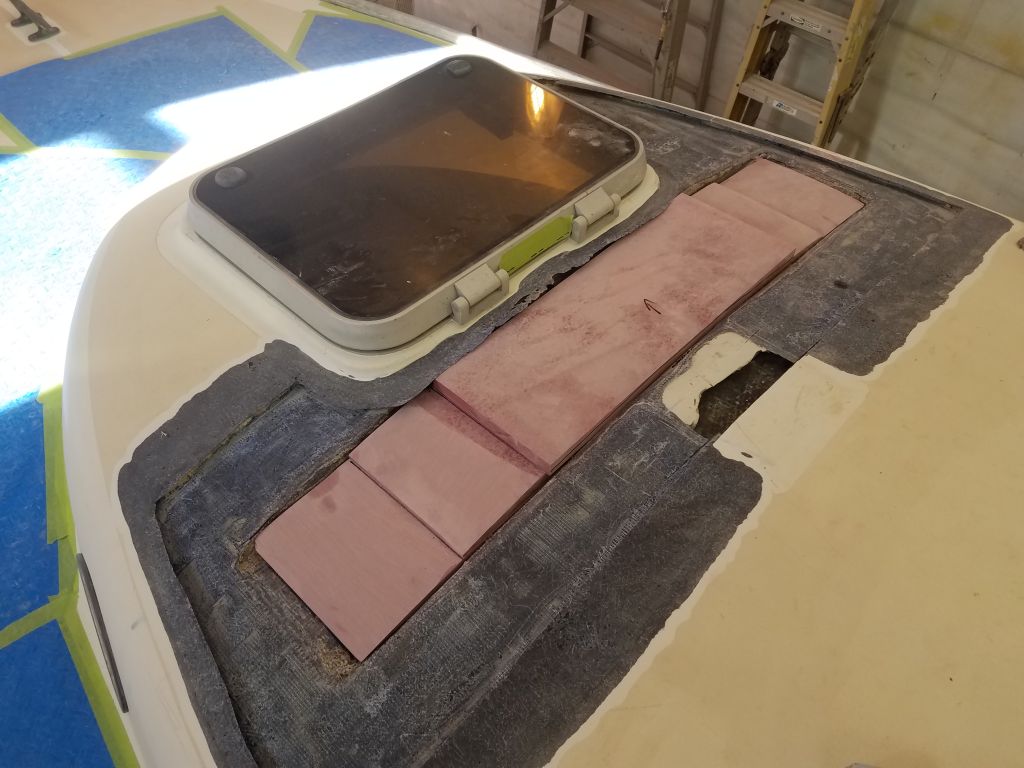
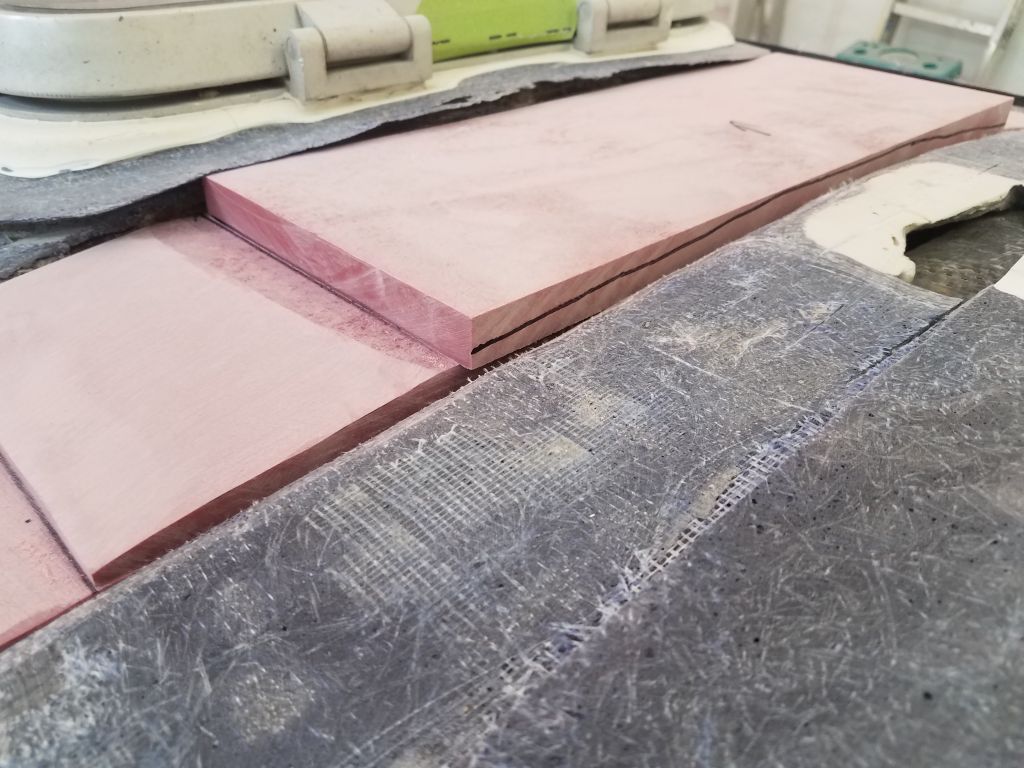


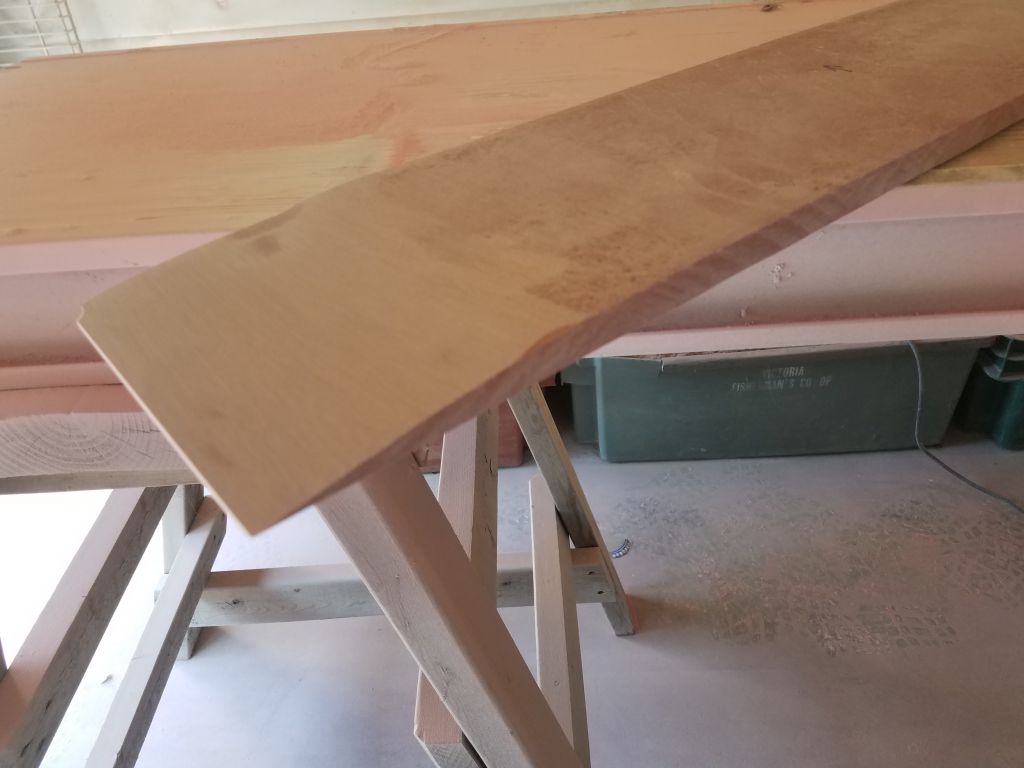
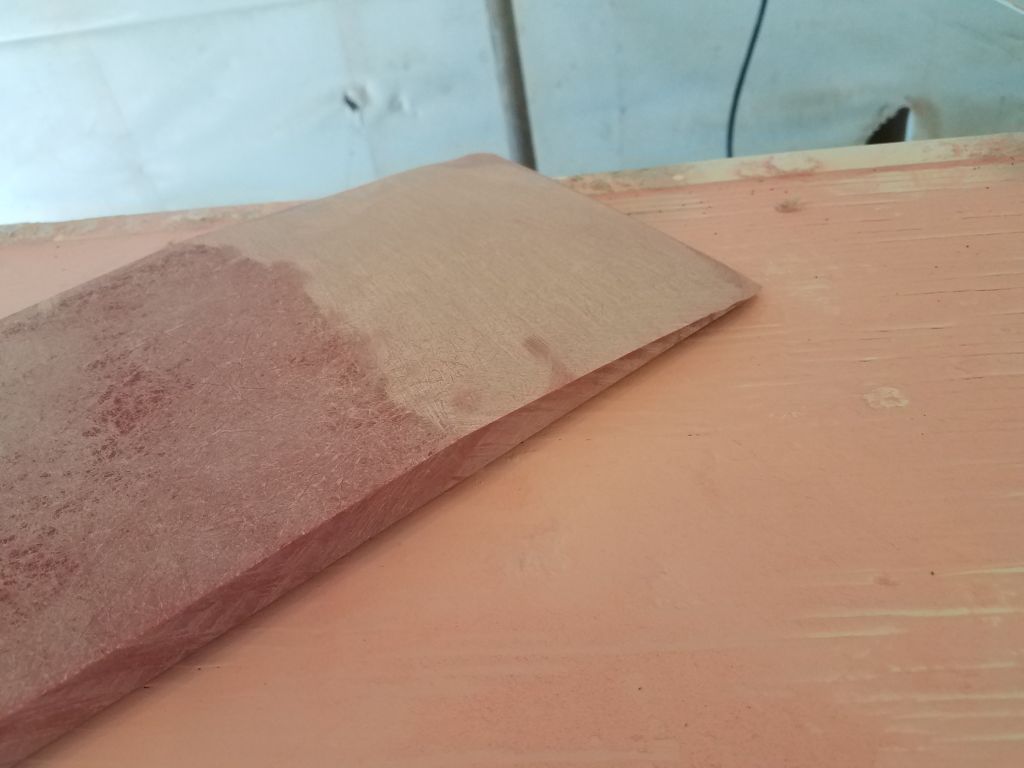
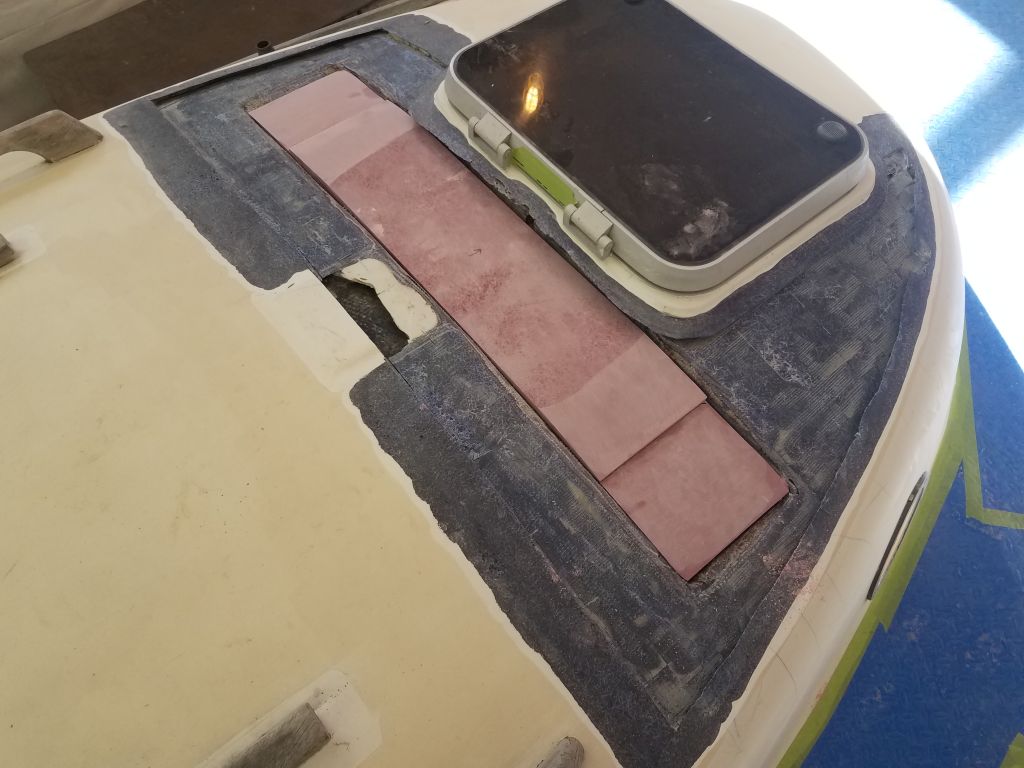
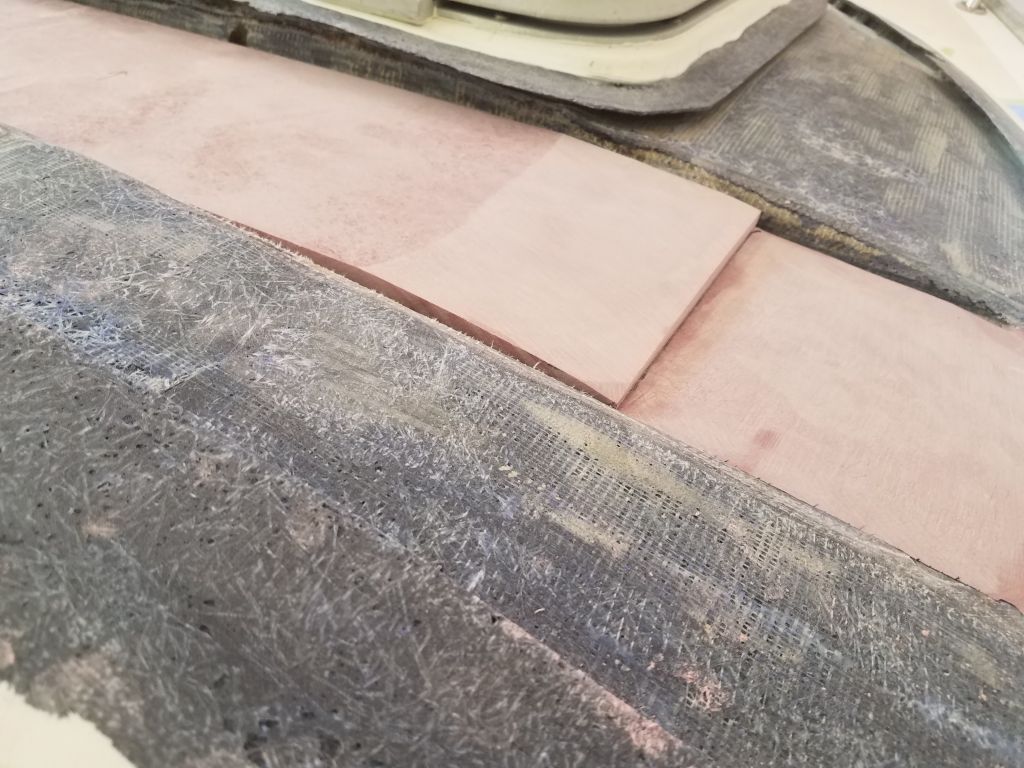
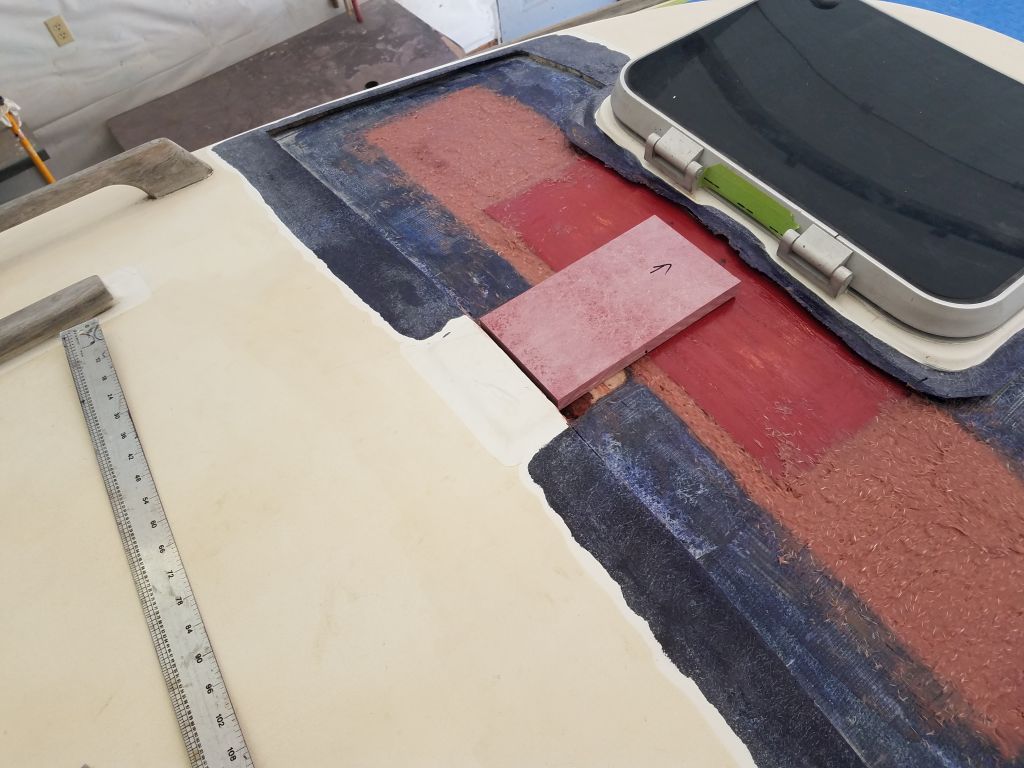
This is how the three sections looked when stacked up on the bench.


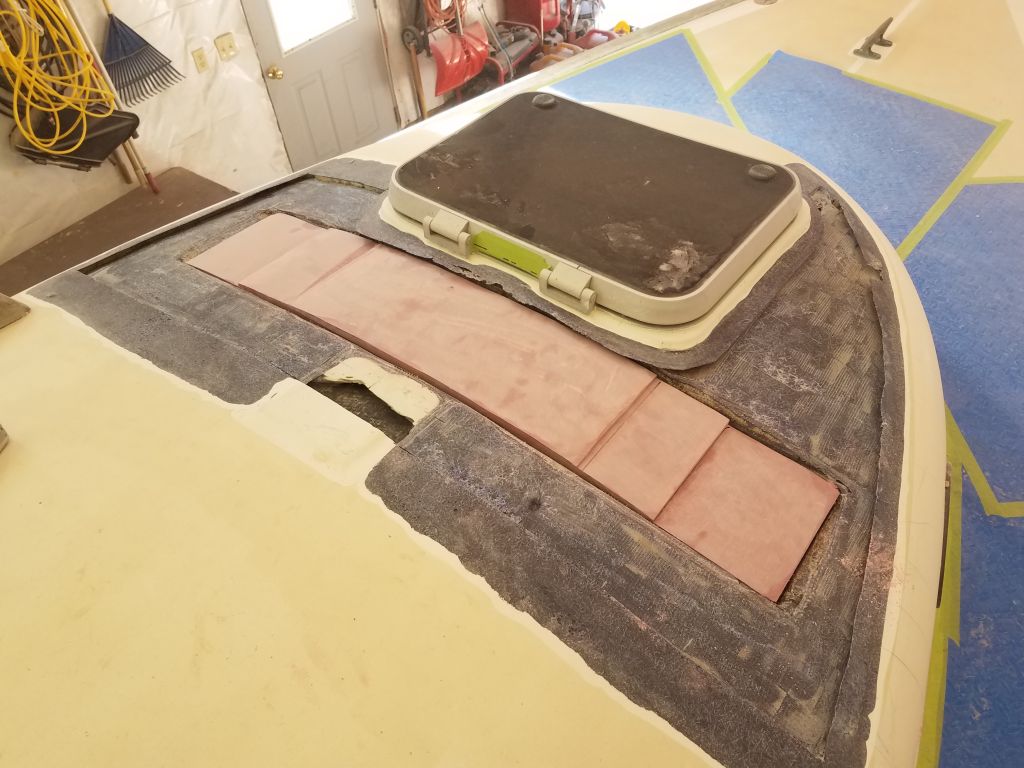
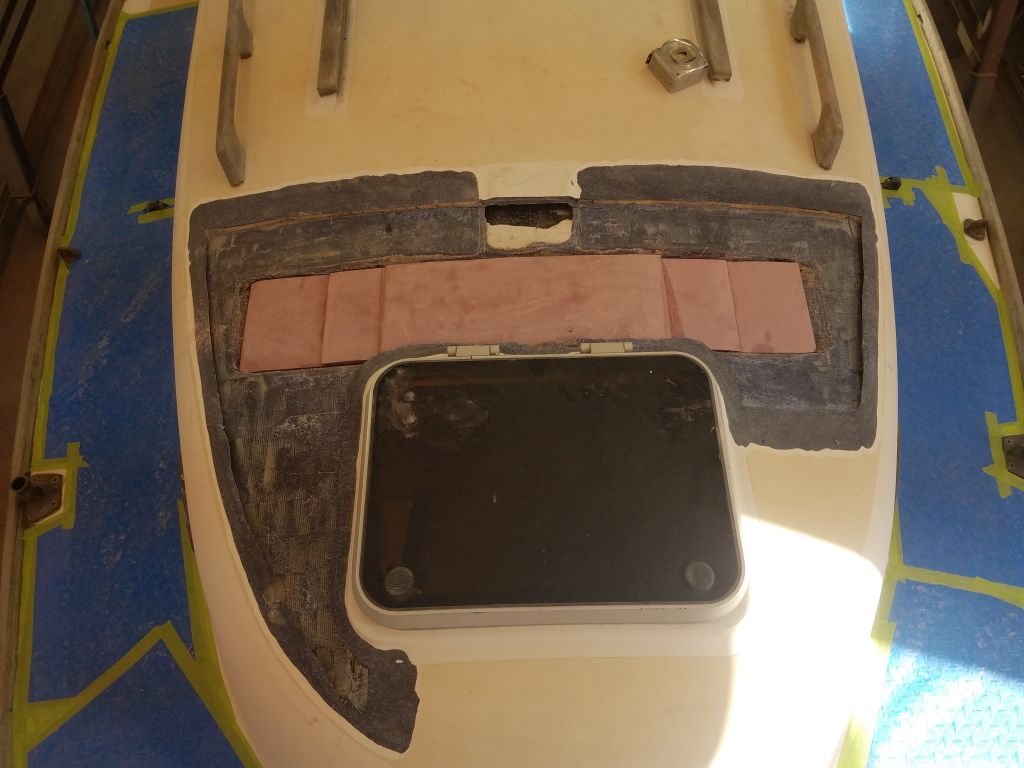
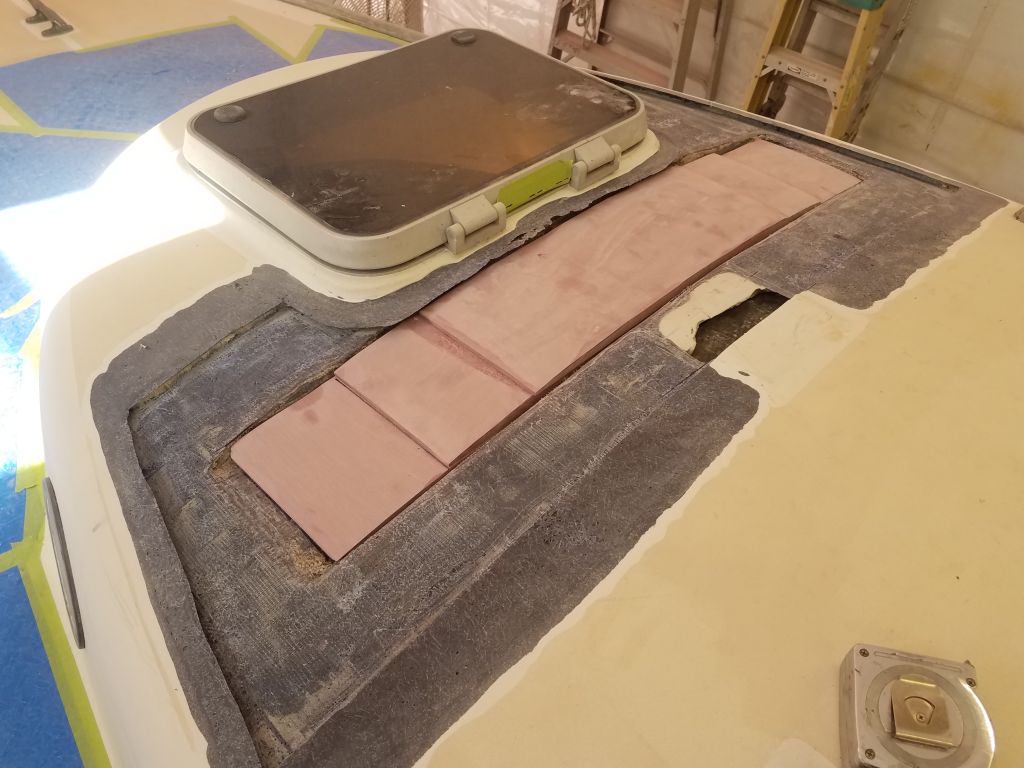
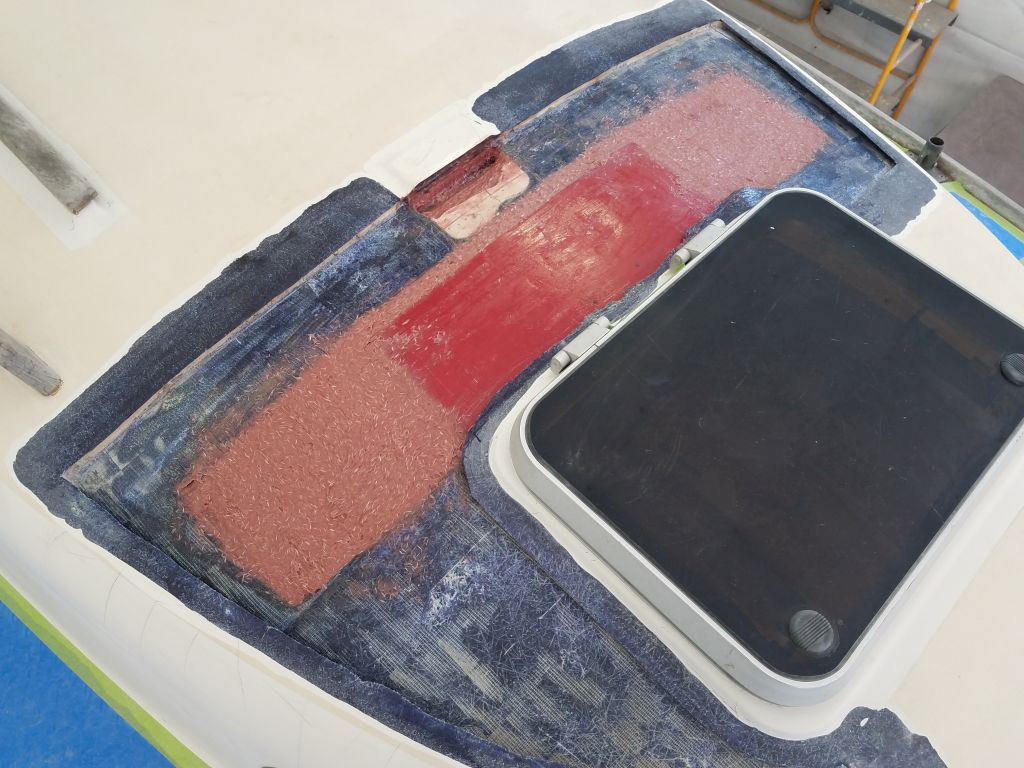
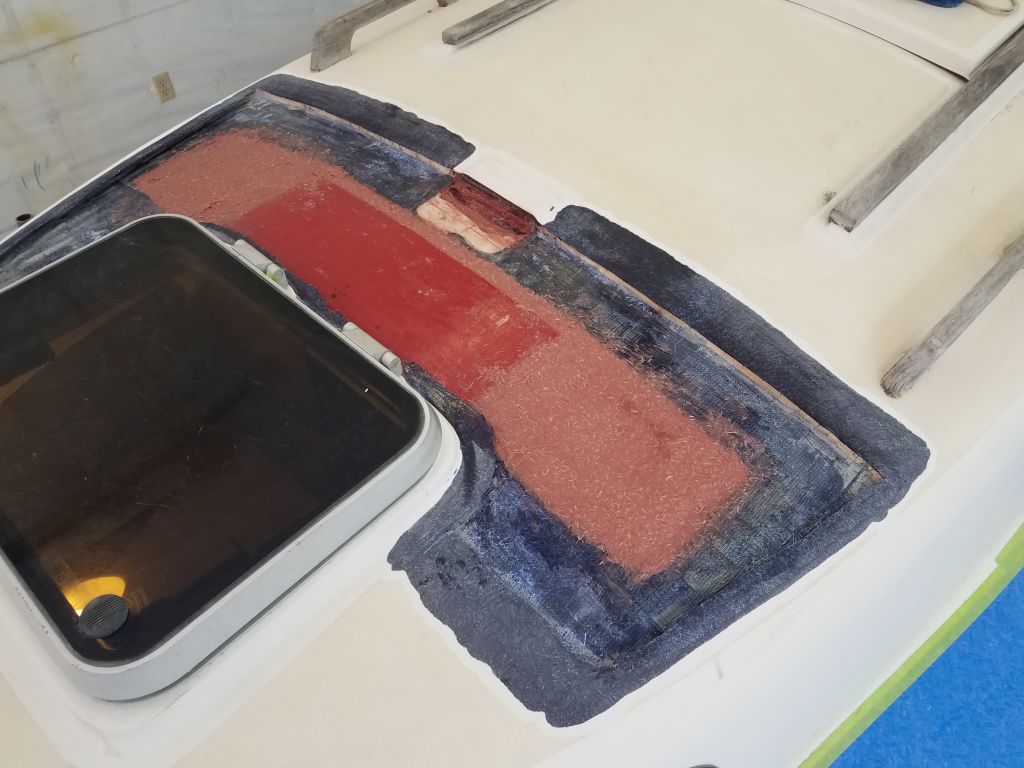
After final cleanup and surface prep, I installed the new beam, one layer at a time. The messiness and time-sensitive nature of this work, as usual, obviates step-by step photos.
I began with an epoxy coat over all interior surfaces of the beam trough, and used some thickened epoxy to fill a few places where the drill bit I used in the early stages of the old beam’s removal had slightly run into the bottom of the trough. I also masked over from inside the mast step bolt holes and the old wiring holes, to prevent epoxy from spilling through these openings during installation.
After wetting out the underside and edges of each beam section, I installed them in epoxy adhesive thickened with high-density filler and cabosil, using a notched trowel to apply the adhesive and leaving plenty of extra along the vertical edges to fill the small gaps. Once the top section was in place, I used a thickened epoxy mixture strengthened with choppings to finish off the top shape of the beam, filling the areas left by the short steps in each of the three layers. I kept this filler just slightly lower than the adjacent deck as well, to prevent undue sanding later, as this filler would be quite hard and difficult to sand.
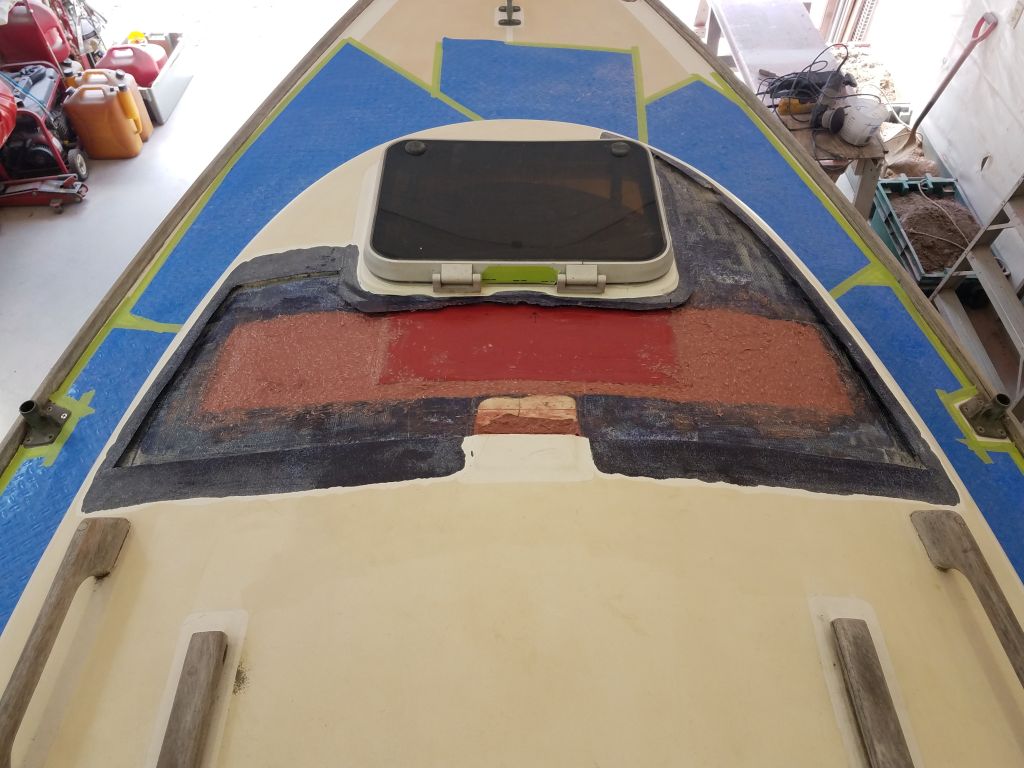
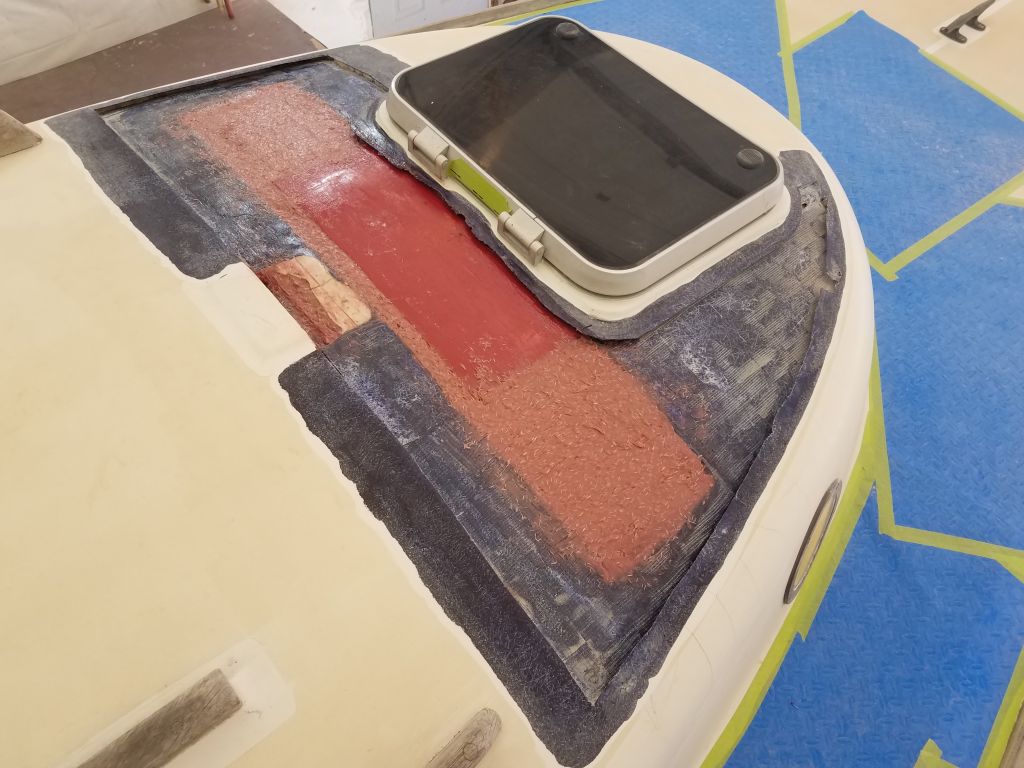

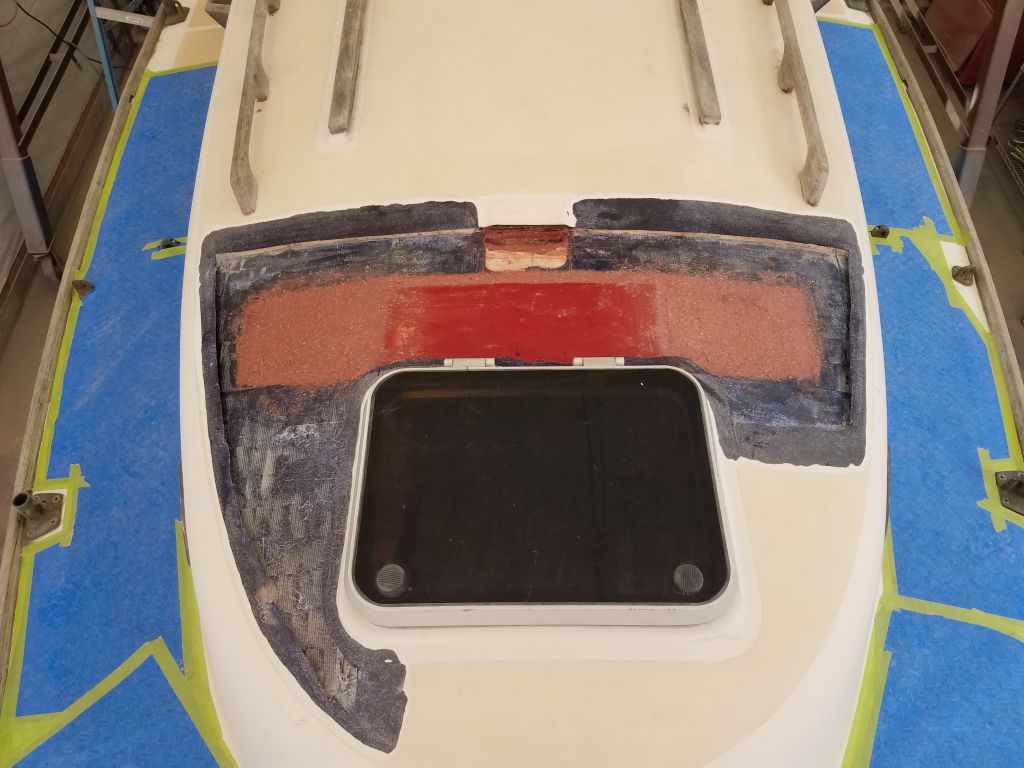
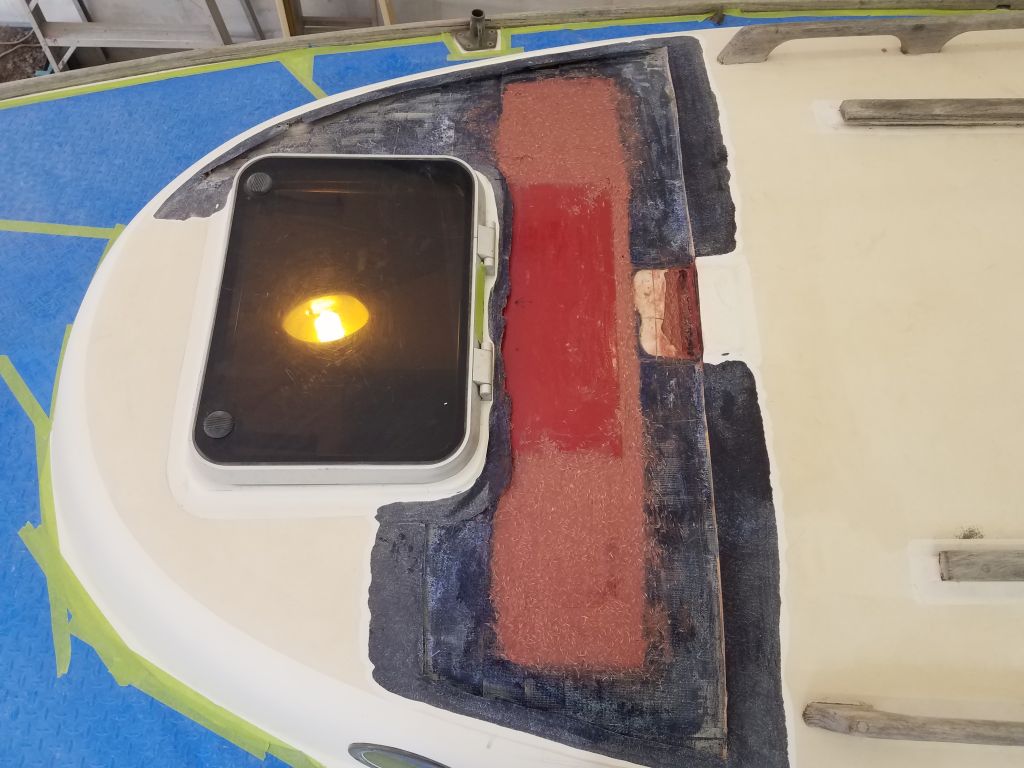
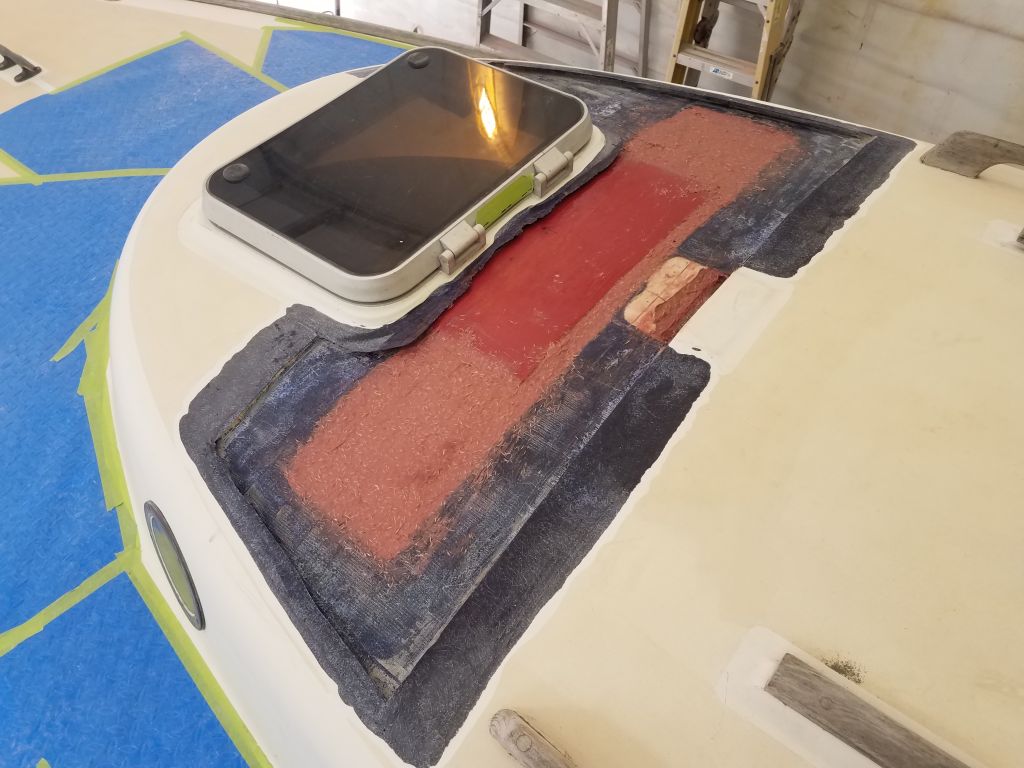
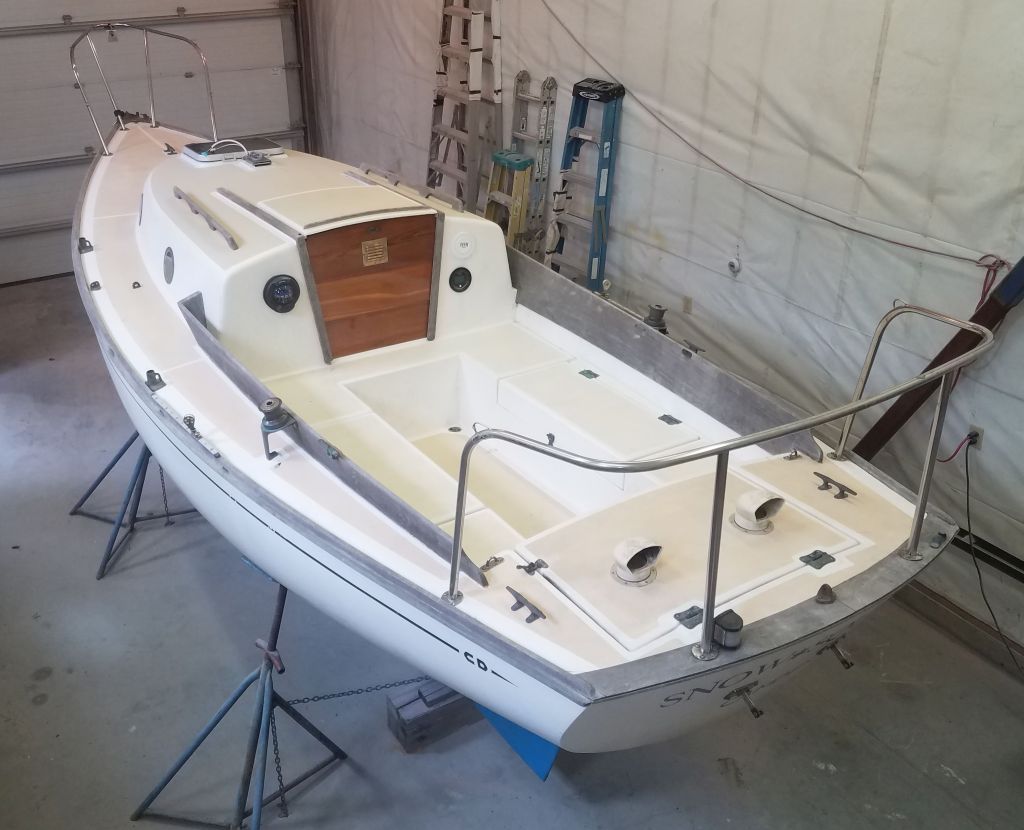
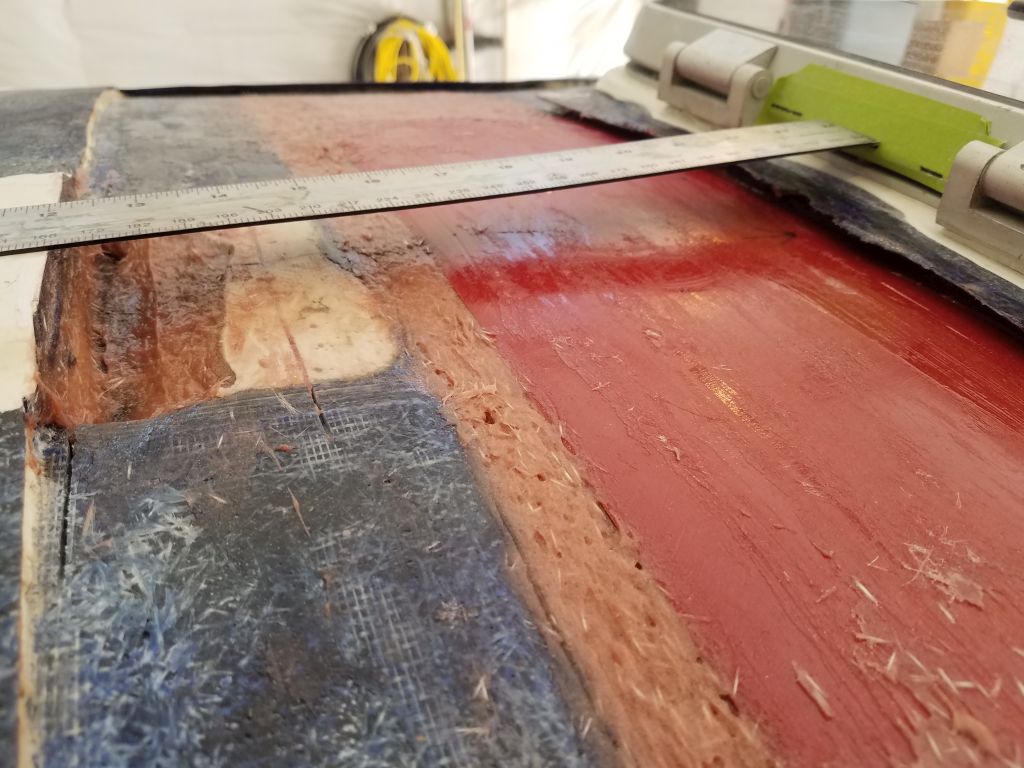
After lunch, the beam area had tacked up enough that I could do some preparatory work for the new mast step platform. With a steel ruler in place between the short remaining section of the old platform (left in place for this purpose) and the marks I’d made on the forward hatch, I measured the height and found that it was just shy of 3/4″ (and taller at the forward end), so I thought I’d use another piece of my fiberglass sheeting to build the platform base. The mast step needed to be solid fiberglass, and I’d originally considered building this up myself once the core was in place around it, but this was a quicker solution that would make building and shaping the little platform that much easier. (Review the original platform design and shape here.)
I wanted to install the solid base, then glass over the top of it with the new top skin for the deck, so I needed the whole thing to be an appropriate height below the desired finished height as dictated by the ruler. This meant that I had to remove some material from the underside of the piece to make it fit properly, mainly at the aft end, where it was too high, but I also had to shape and dish out the bottom to fit the general curvature of the deck beneath. After some incremental shaping, I eventually got the new piece to fit the way I wanted it, essentially two layers’ thickness below the finished deck height. (This gap is hard to see beneath the ruler in the bottom row of photos, but it’s there.)
To roughly match the shape and character of the original platform I was attempting to reproduce, I cut a bevel on the forward end of the fiberglass, which would ease the transition and shaping of the platform into the finished deck later. The narrow area just forward of the mast step would be at nominal deck height (just a little lower), but instead of balsa core here, as in the original construction, I planned to fill that gap with solid fiberglass later, once the core was in place. This would ensure that the wiring runs would never leak into any coring as they had in the past.
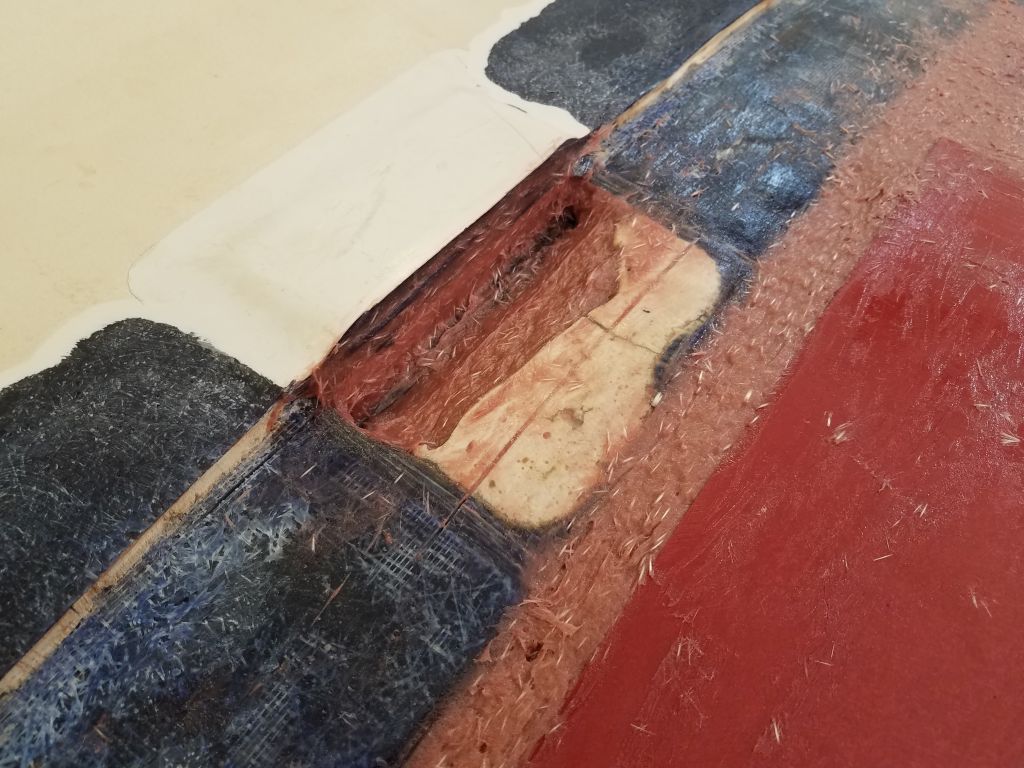
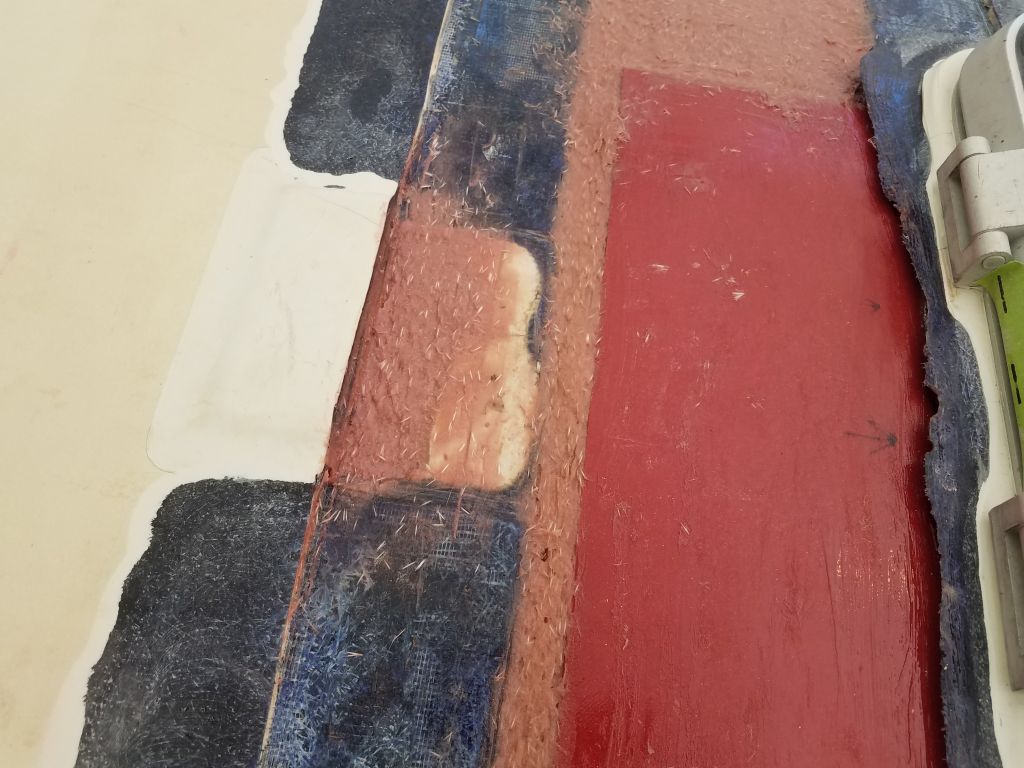
When I’d removed the old part of the platform, I found that this left a gap in the deck skin below, and over a couple “lifts” of epoxy I’d filled this void over the course of the day, finishing up with a final layer once I’d completed work on the mast platform and bringing the void up to inner deck level.
Total time billed on this job today: 5.5 hours
0600 Weather Observation: 28°, mostly clear. Forecast for the day: Sunny, 57°