Monday
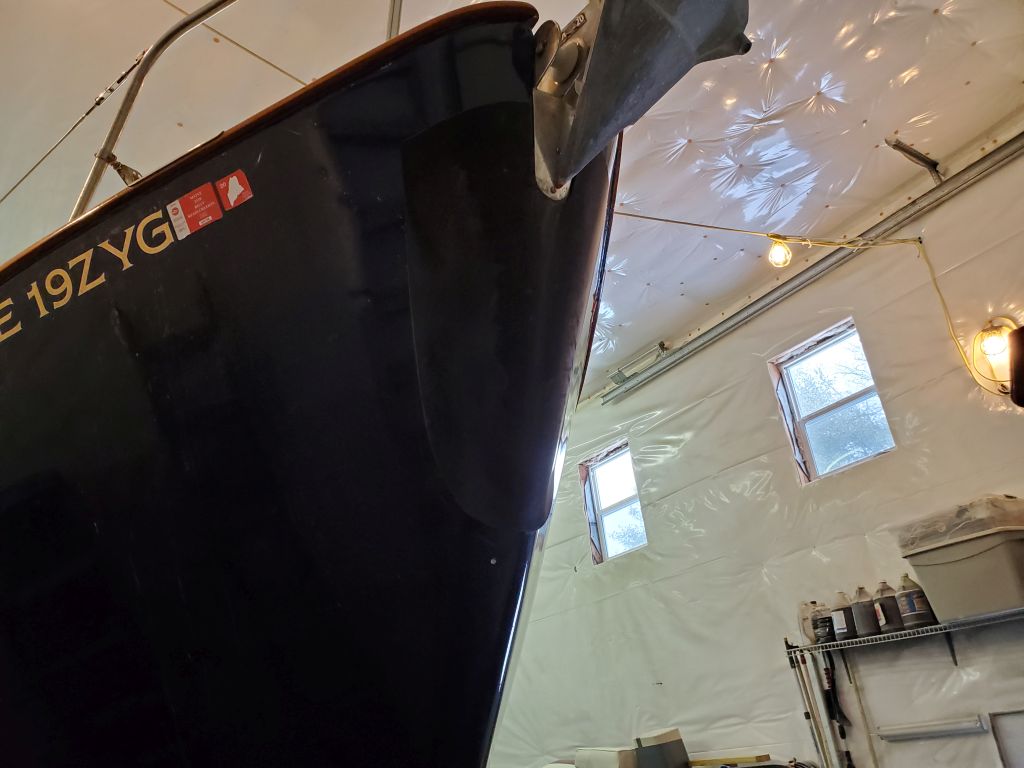
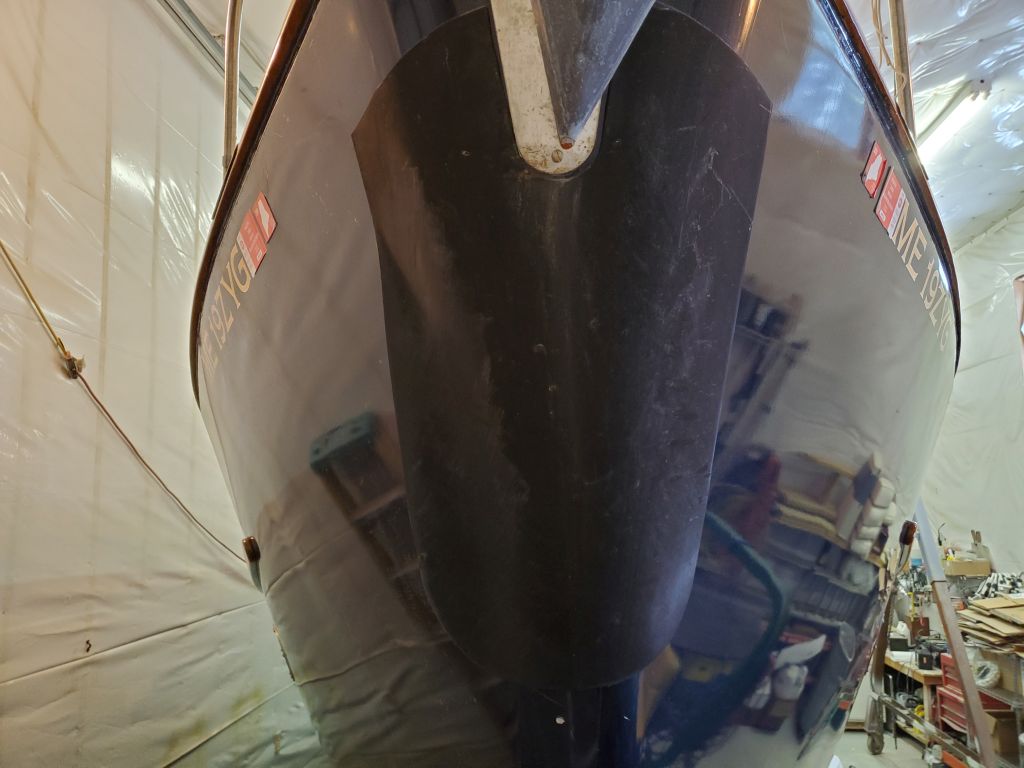
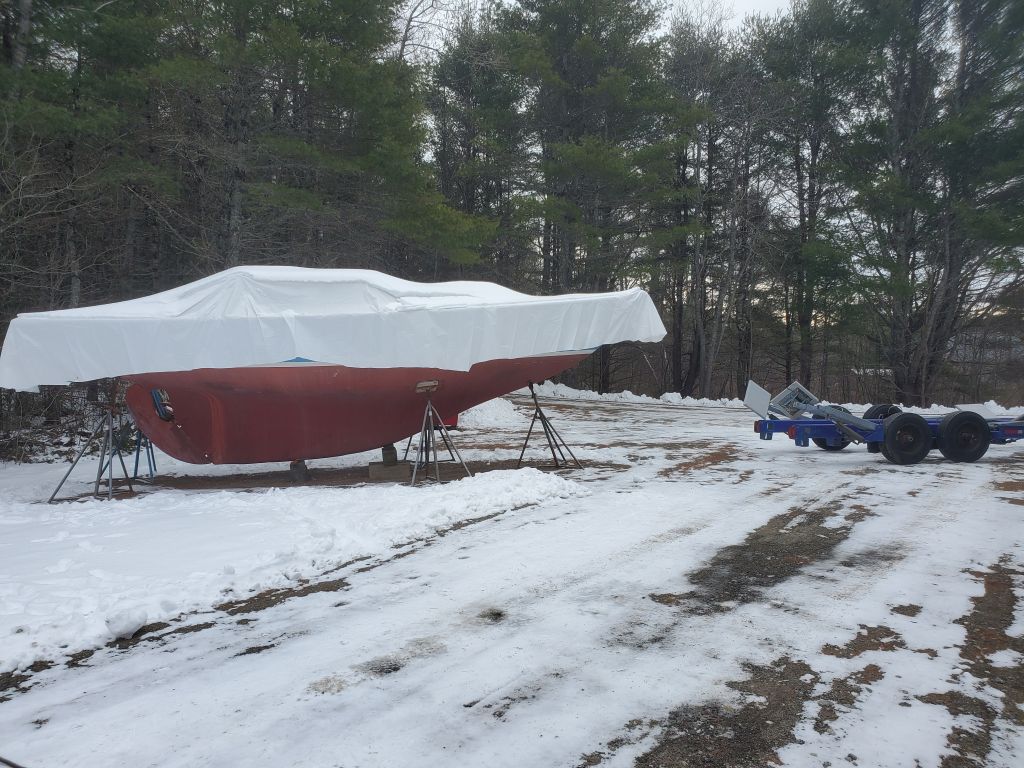
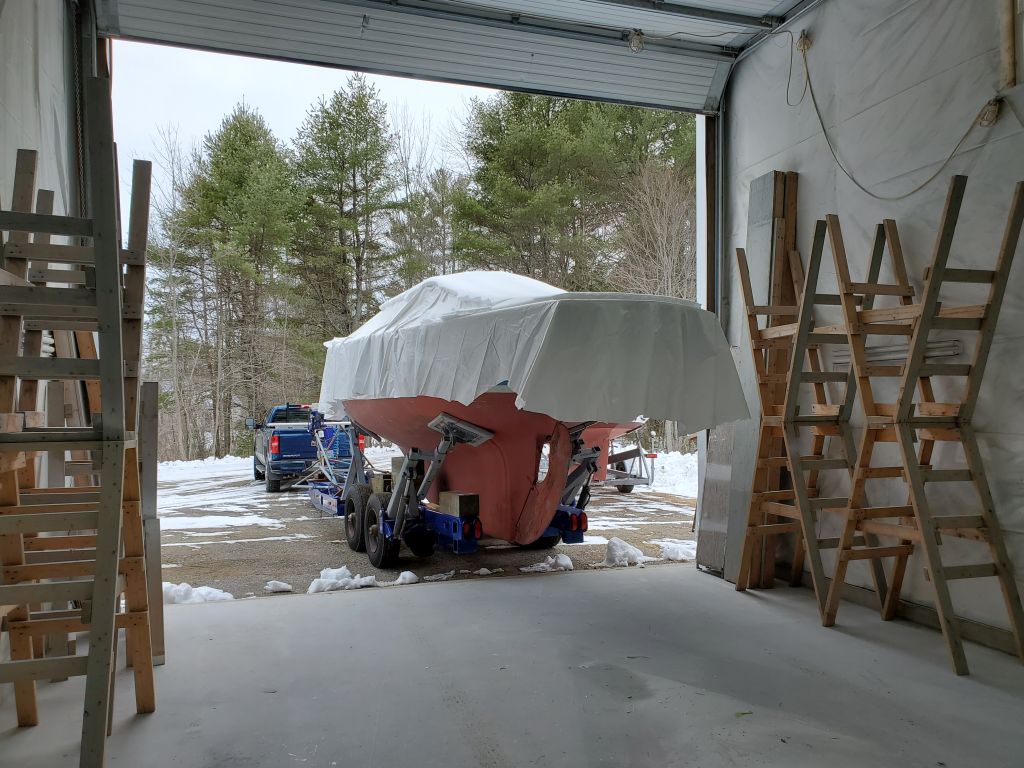
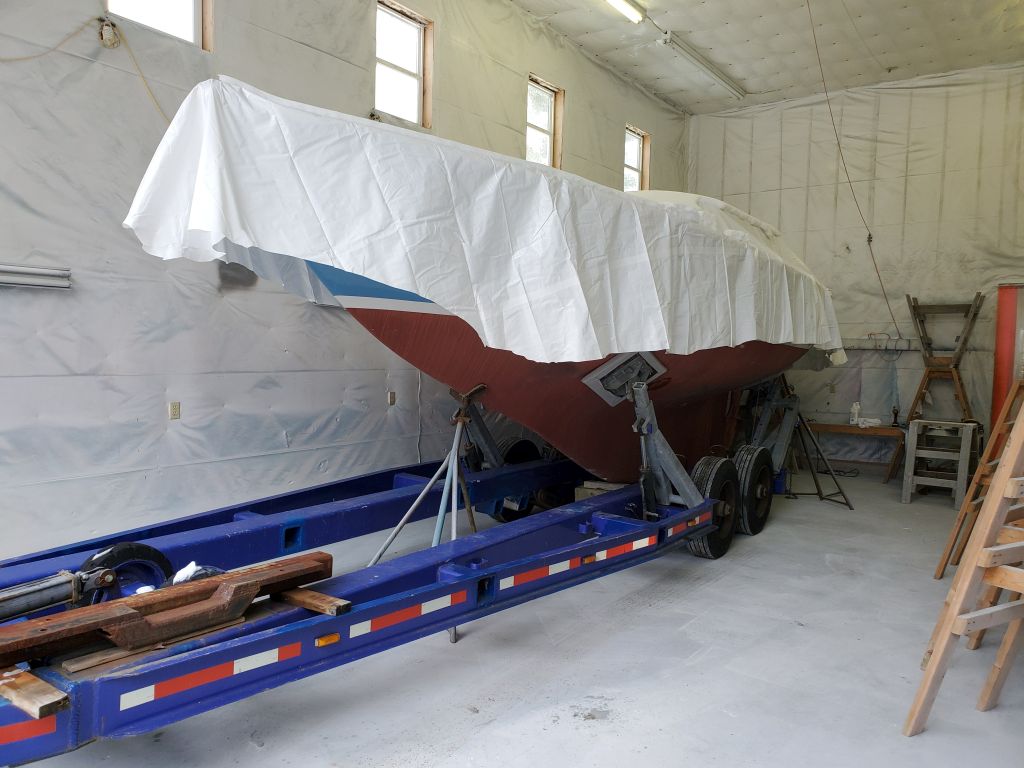
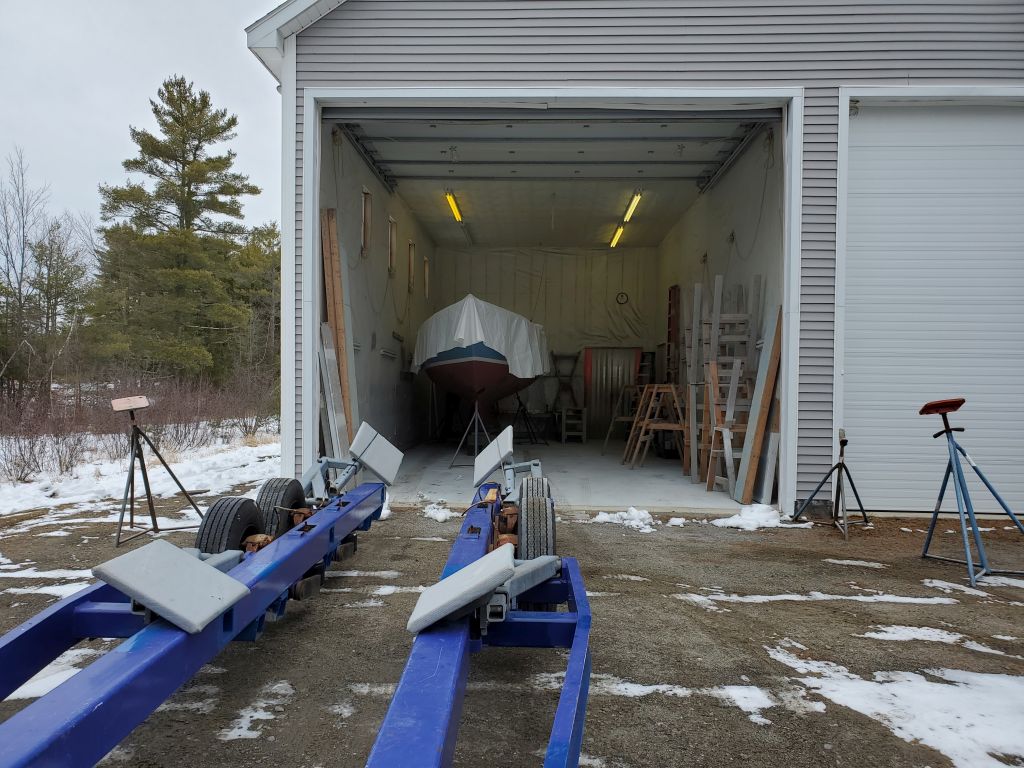
After a meeting with the owner at the boat over the weekend, mainly to discuss aspects of the project scope, I was anxious to get to work. This boat had a checkered history, but about 10 years ago the previous owner had some structural and cosmetic work completed by another yard somewhere, including some deck core repairs and new paint on hull and deck. Then, for reasons unknown, he left the unfinished project to linger in various storage yards before the current owner obtained the boat at no cost from its last and final storage yard, whose proprietor was anxious to free up space for paying customers.
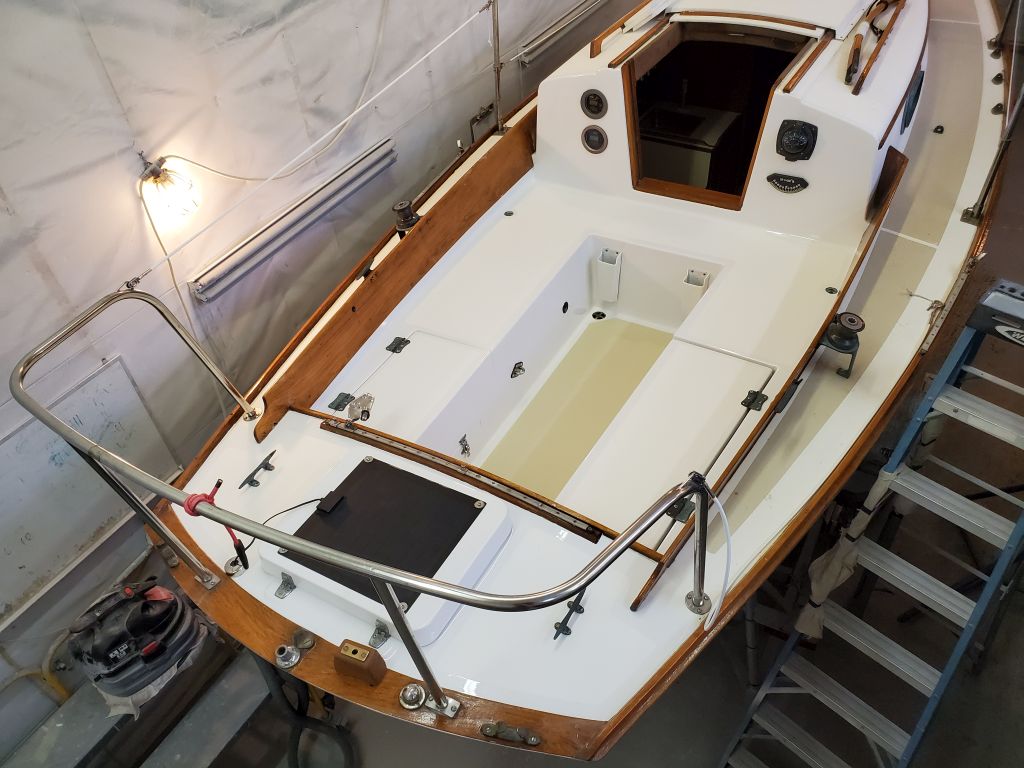
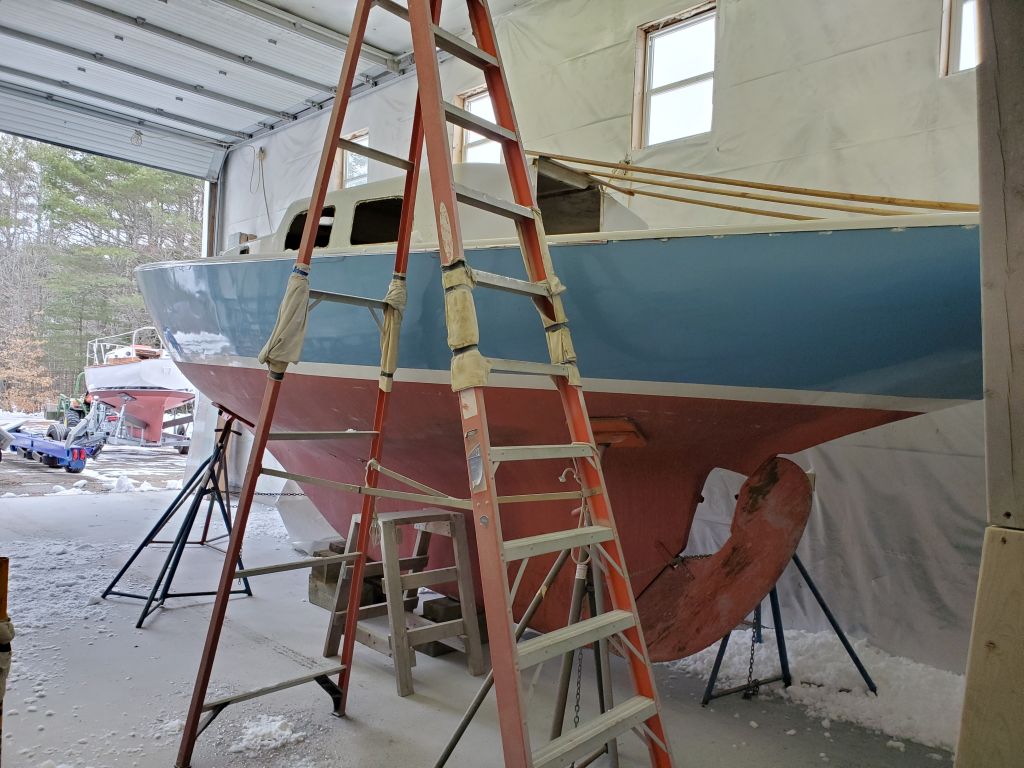
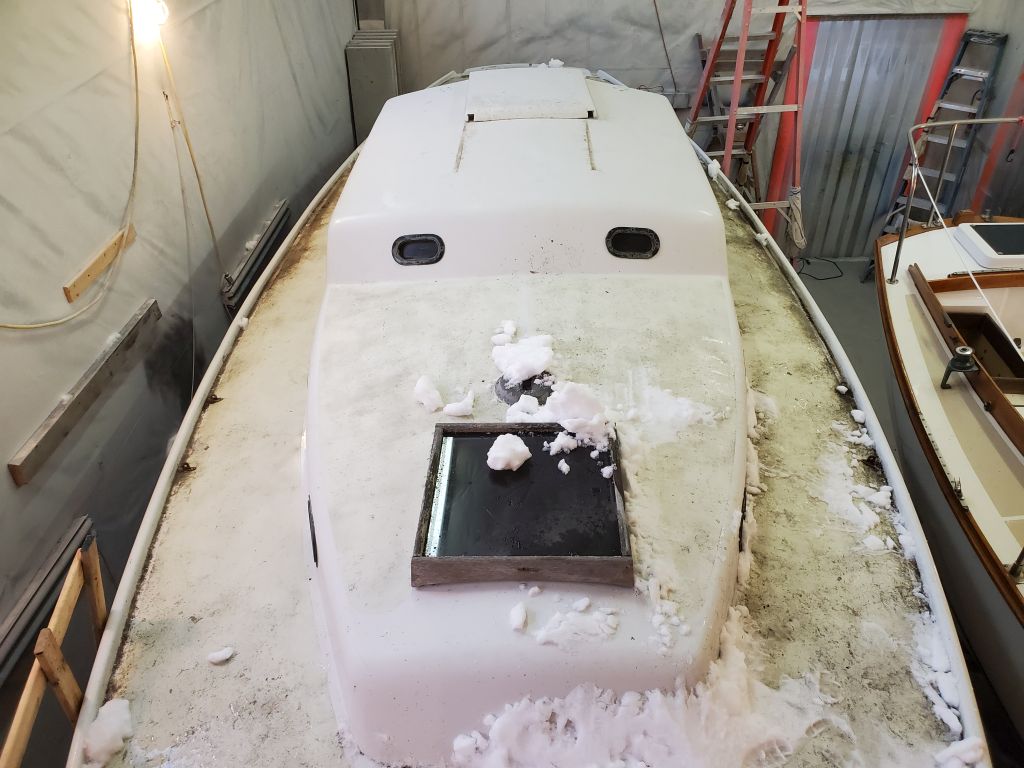
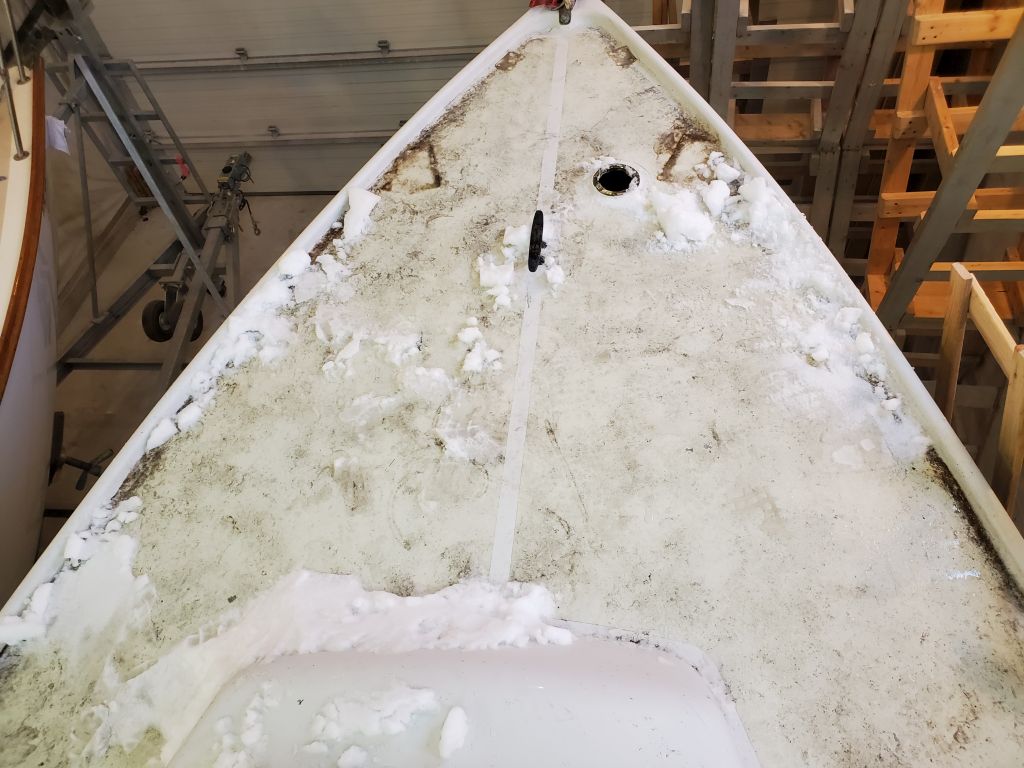
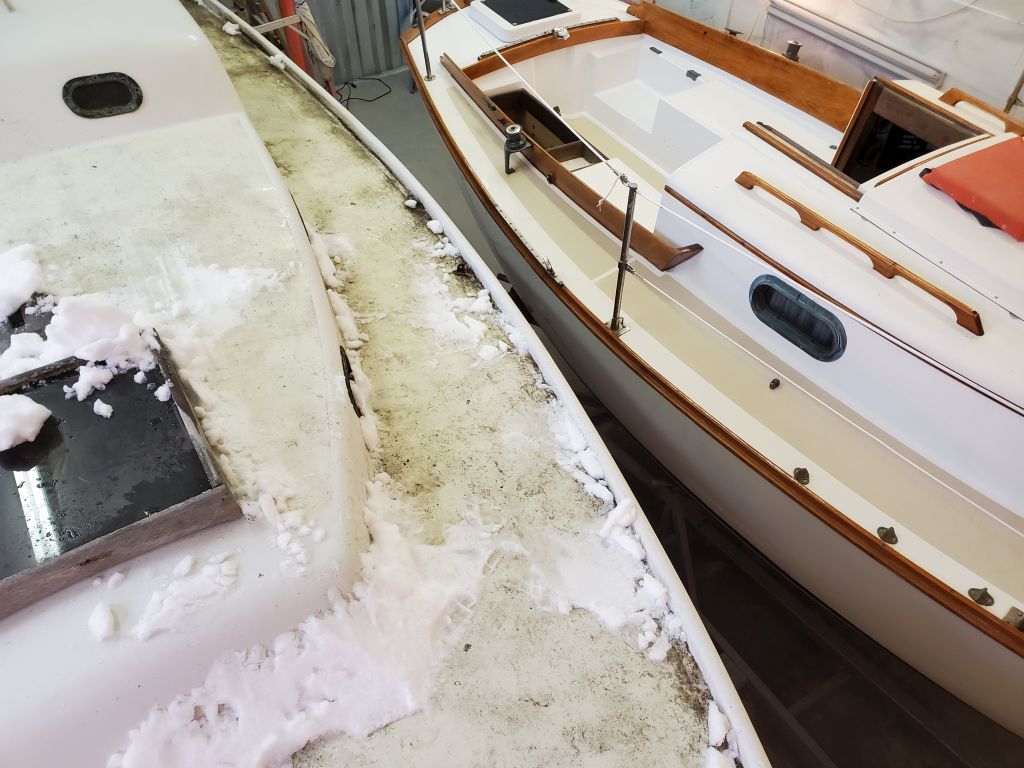
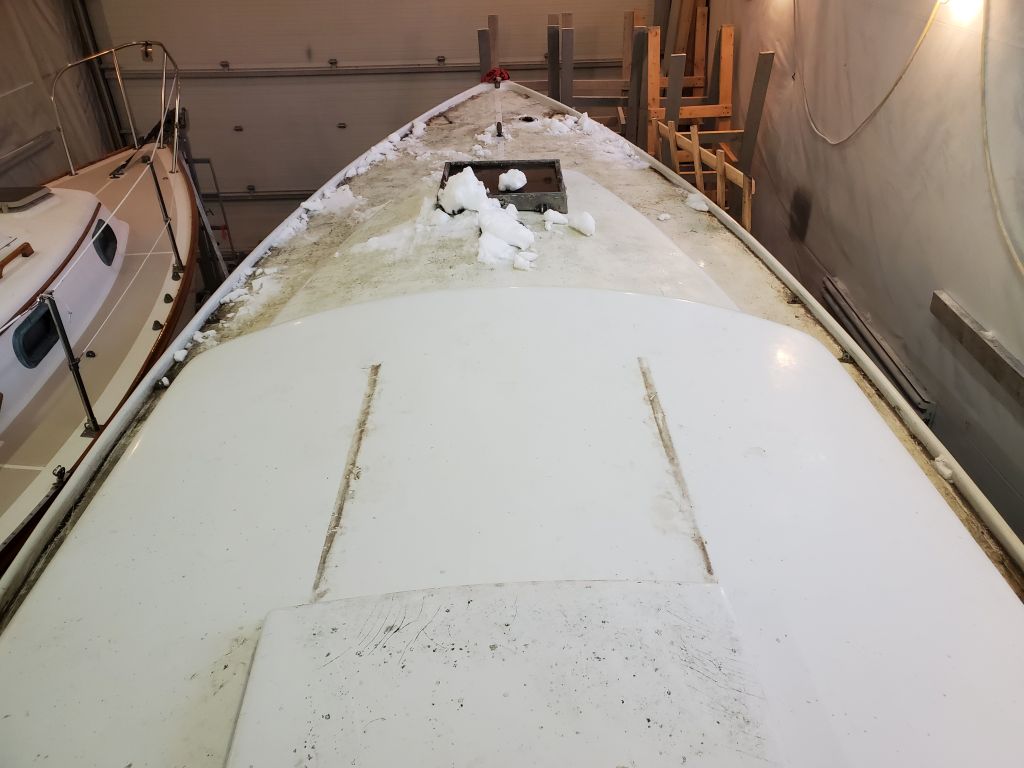
This long period of inaction and neglectful storage had taken its toll on the “new” paint, and the decks in particular were filthy from their time exposed, and there were various current and forthcoming issues with the deck paint (and possibly underlying structure, but more on that later) that, alas, we largely wouldn’t be able to deal with during this phase of the project, since the original project scope and goal was to get the boat back in the water and sailing in a usable and safe condition for the upcoming season. With limited time and shop availability, the project would have to focus on the more pressing requirements. The deck paint was in fair condition despite its neglect, but there were signs of ongoing or pending failures that pointed to insufficient prepwork during the last round of work. The filth would clean up with a solid application of elbow grease outside of the scope of this project in most cases.
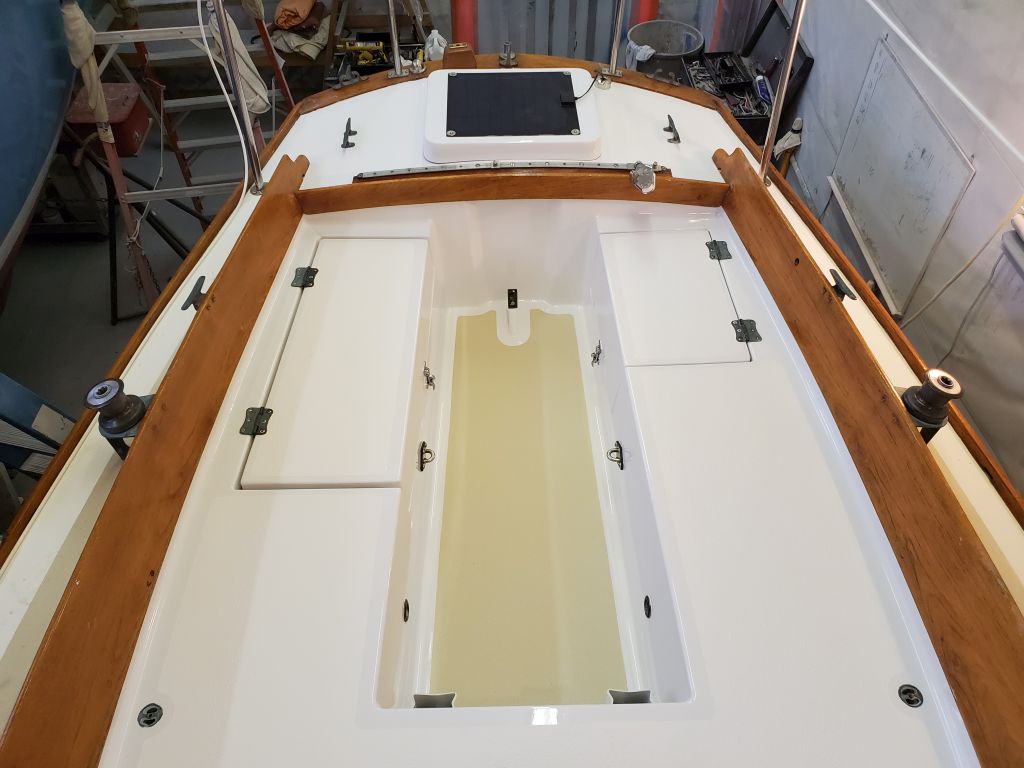
For now, what we did plan to accomplish on deck was the following:
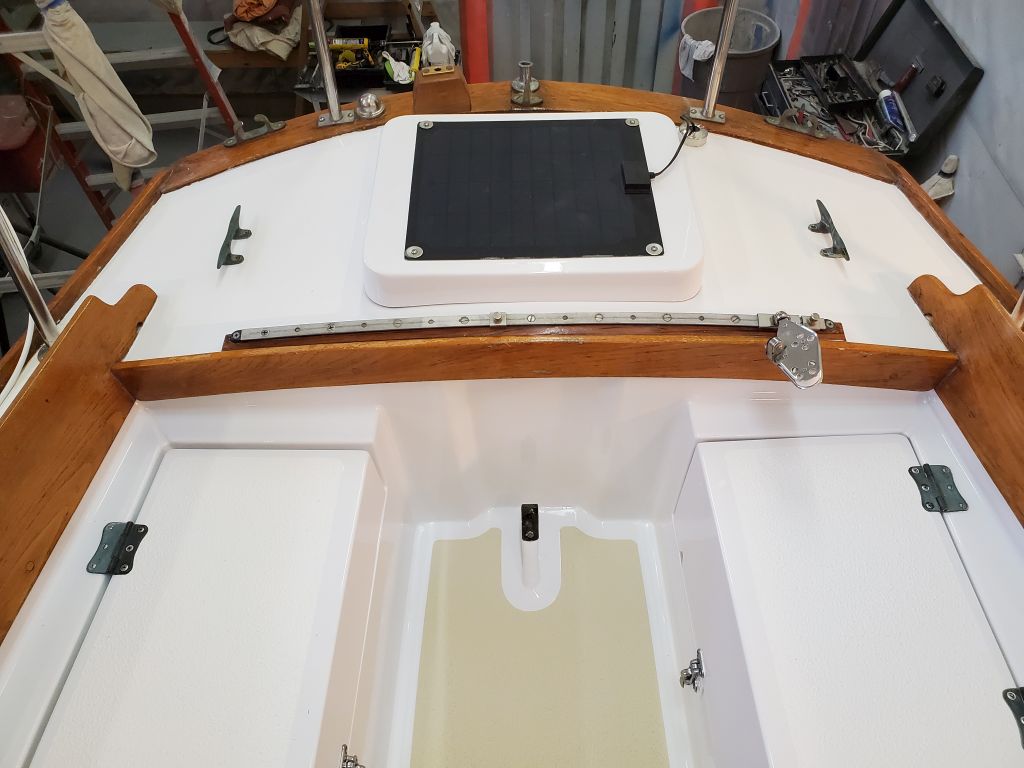
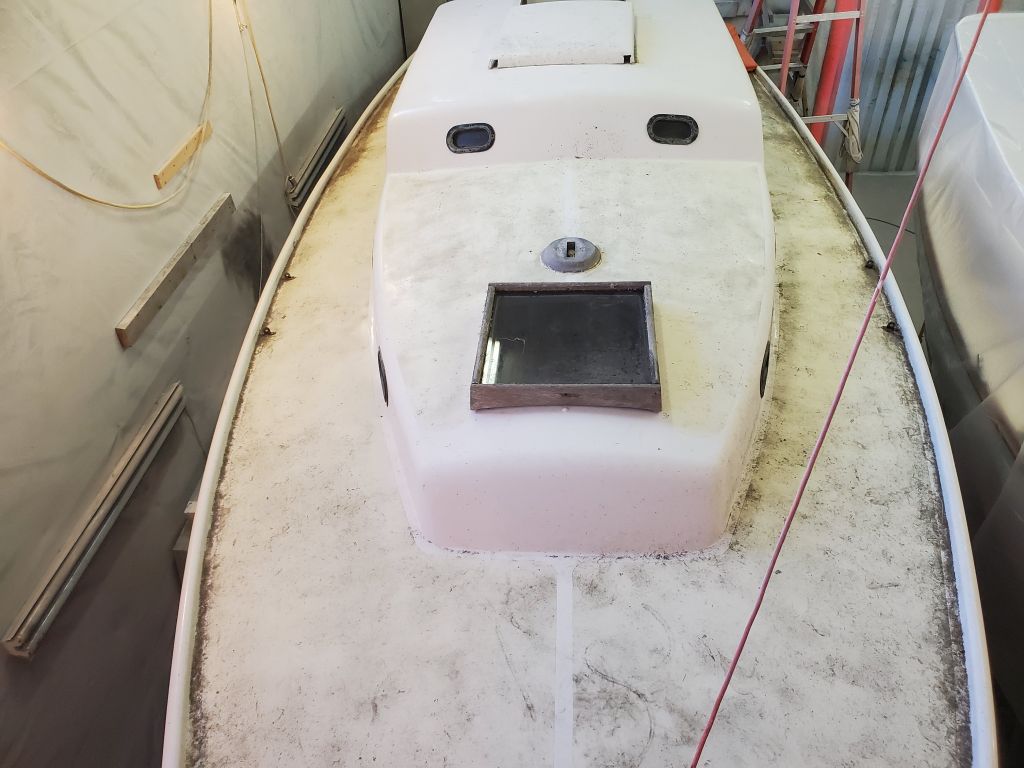
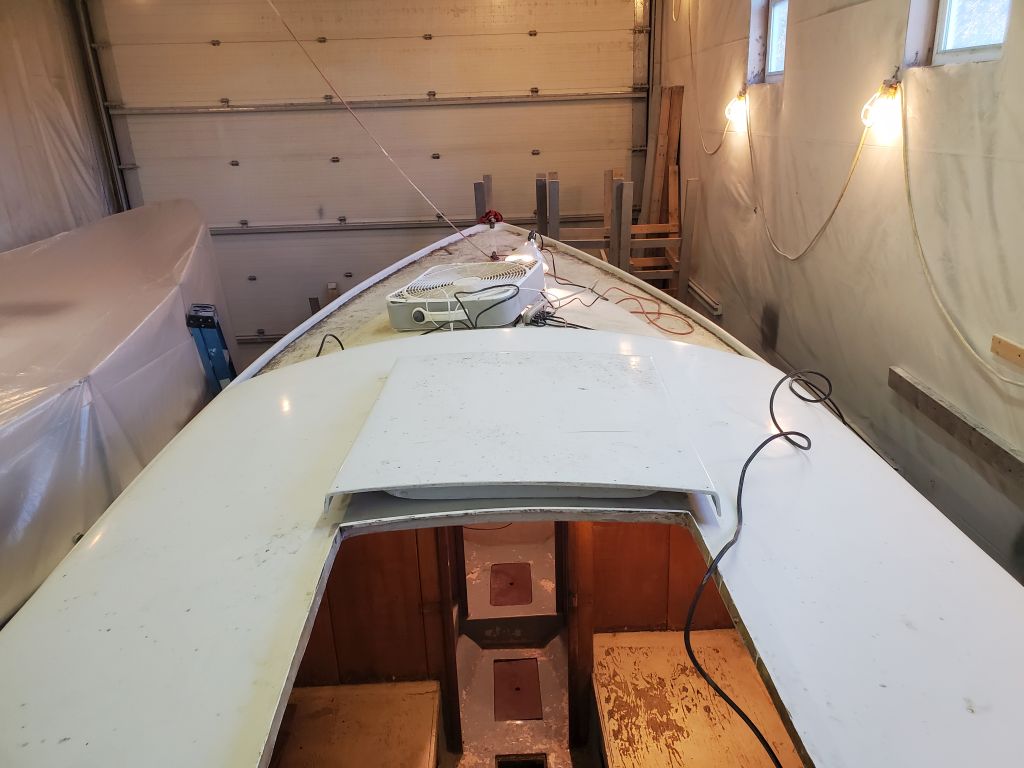
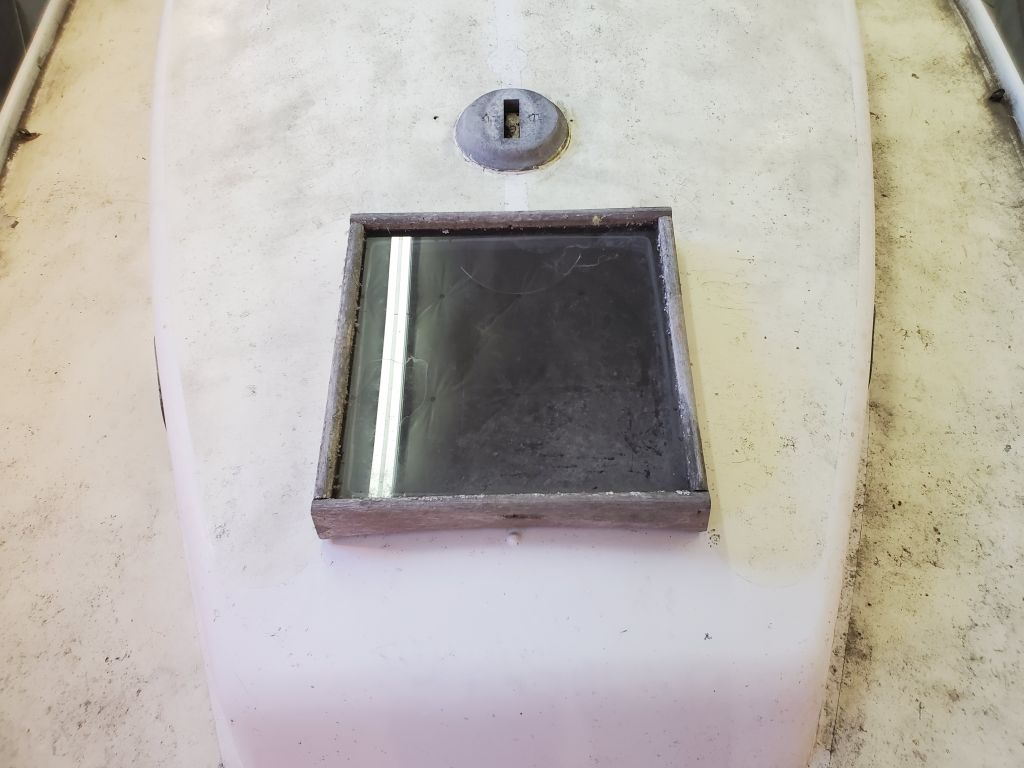
- Install new, modern forward hatch to replace the original wooden shoebox type
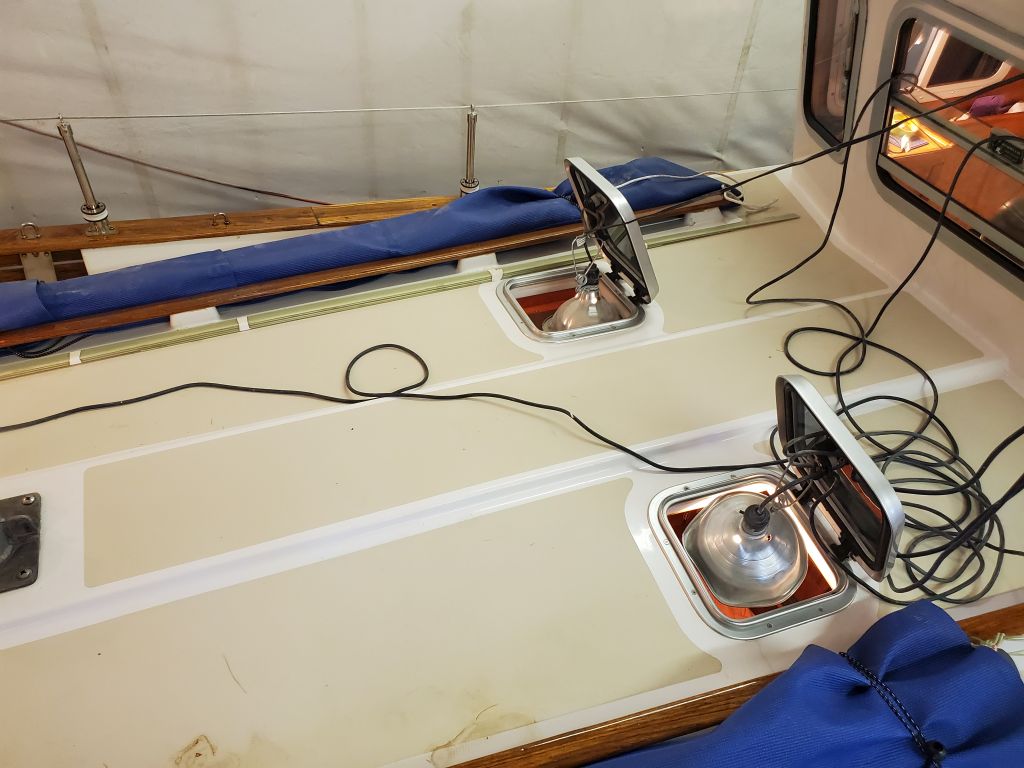
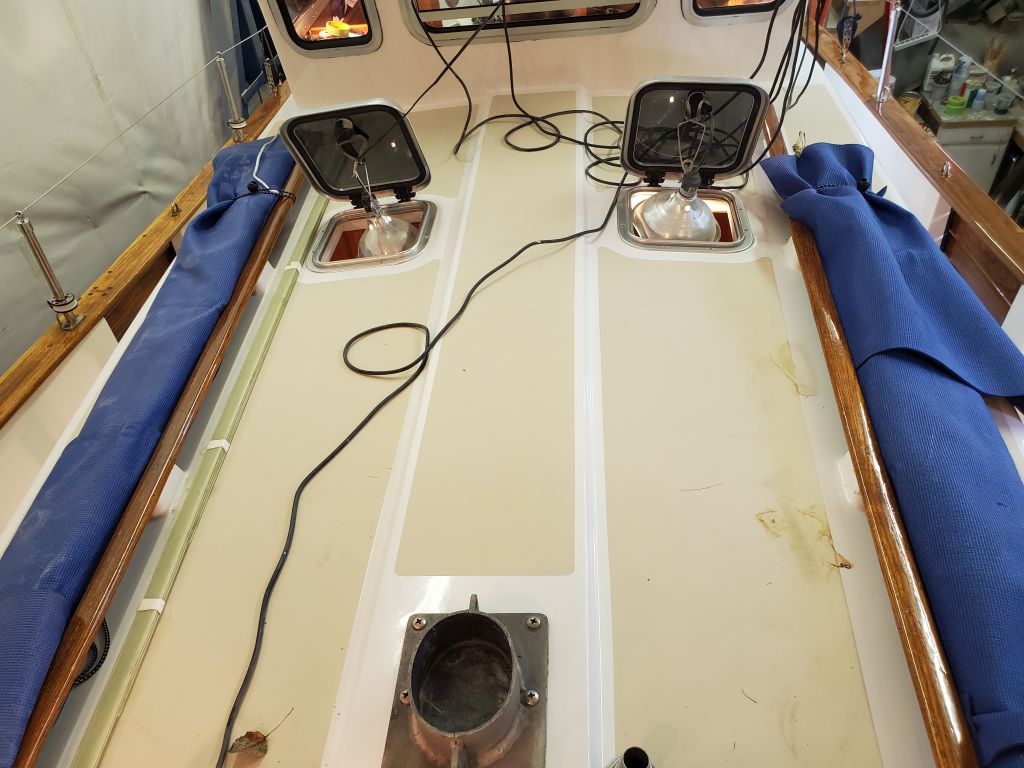
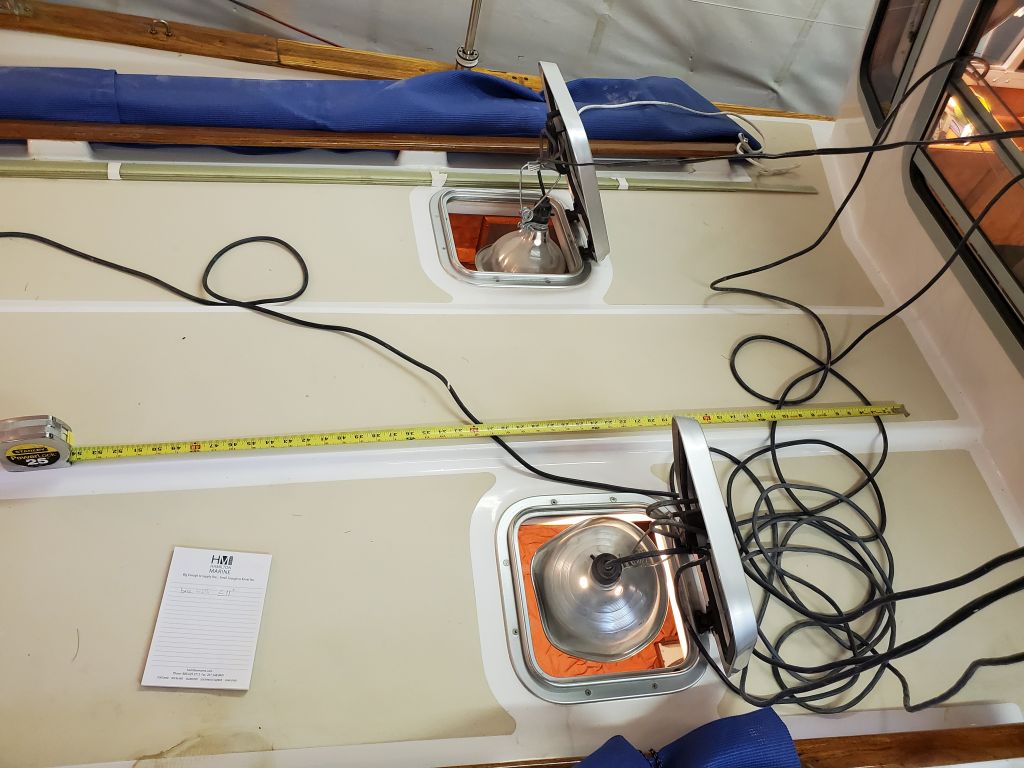
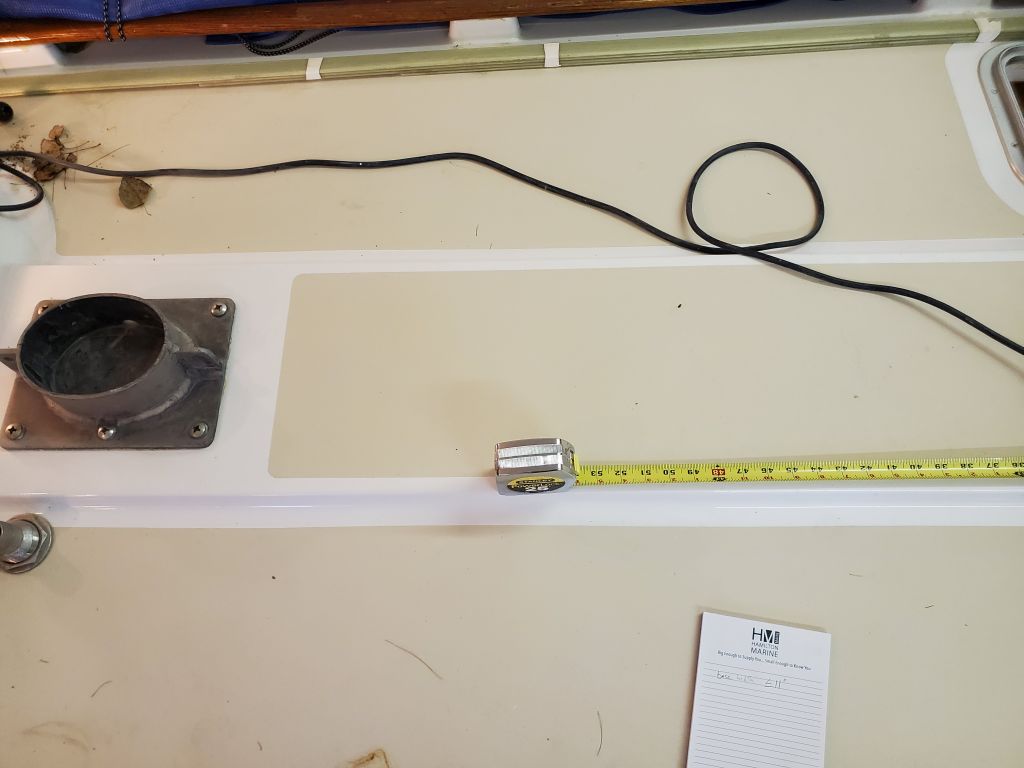
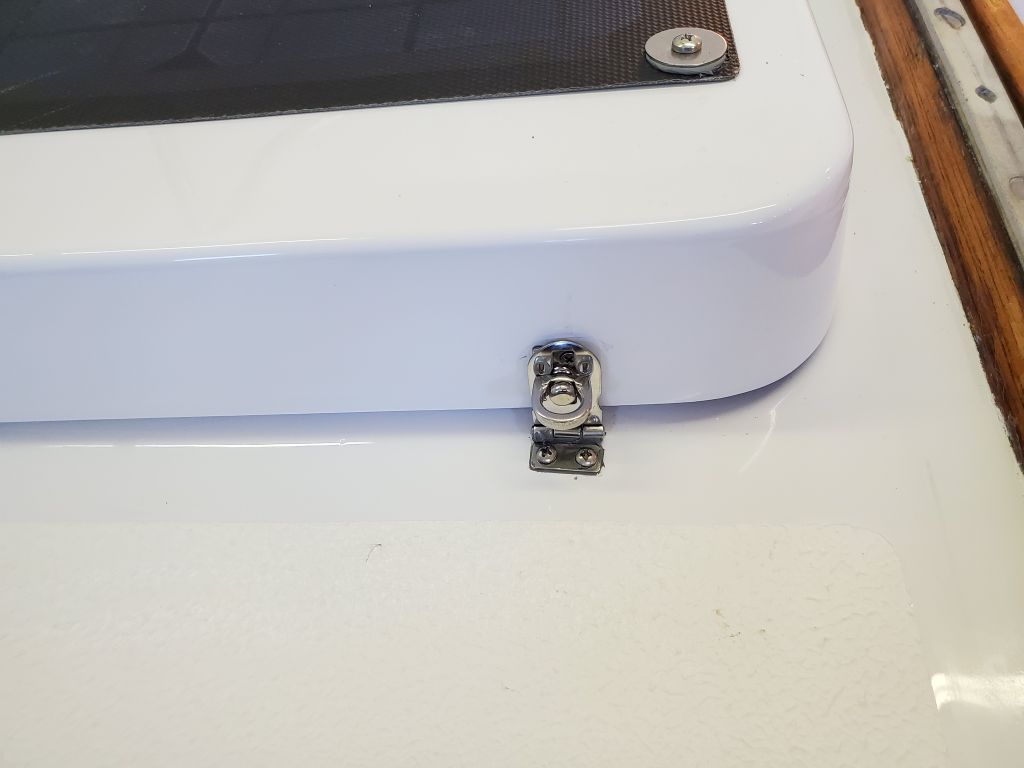
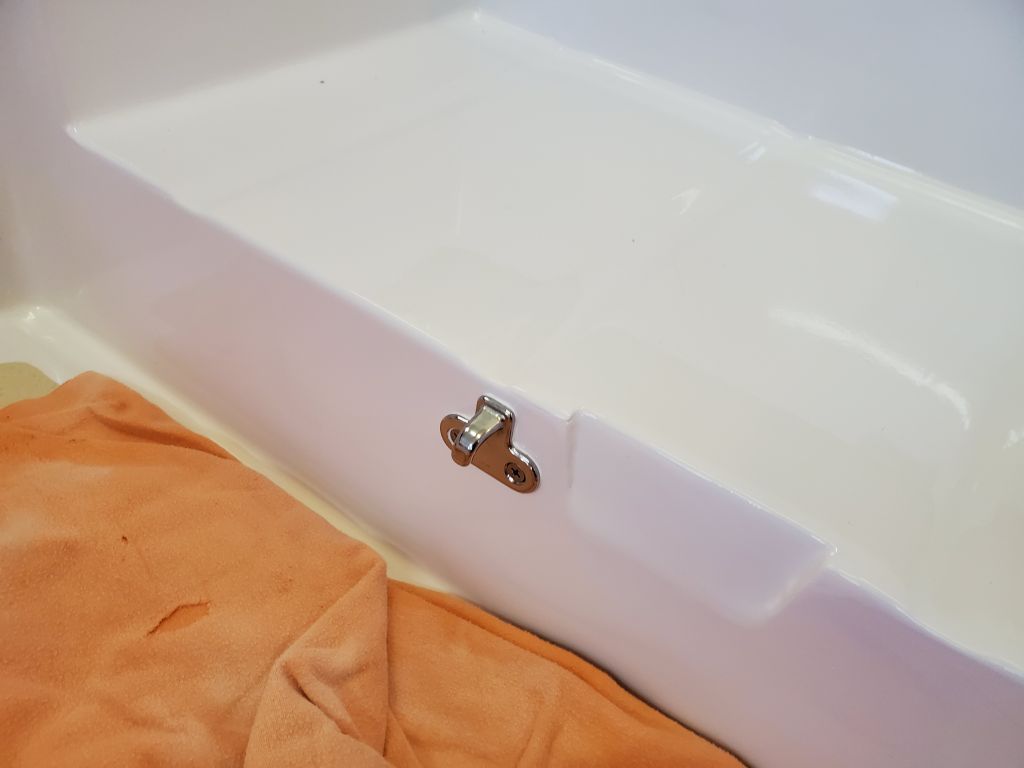
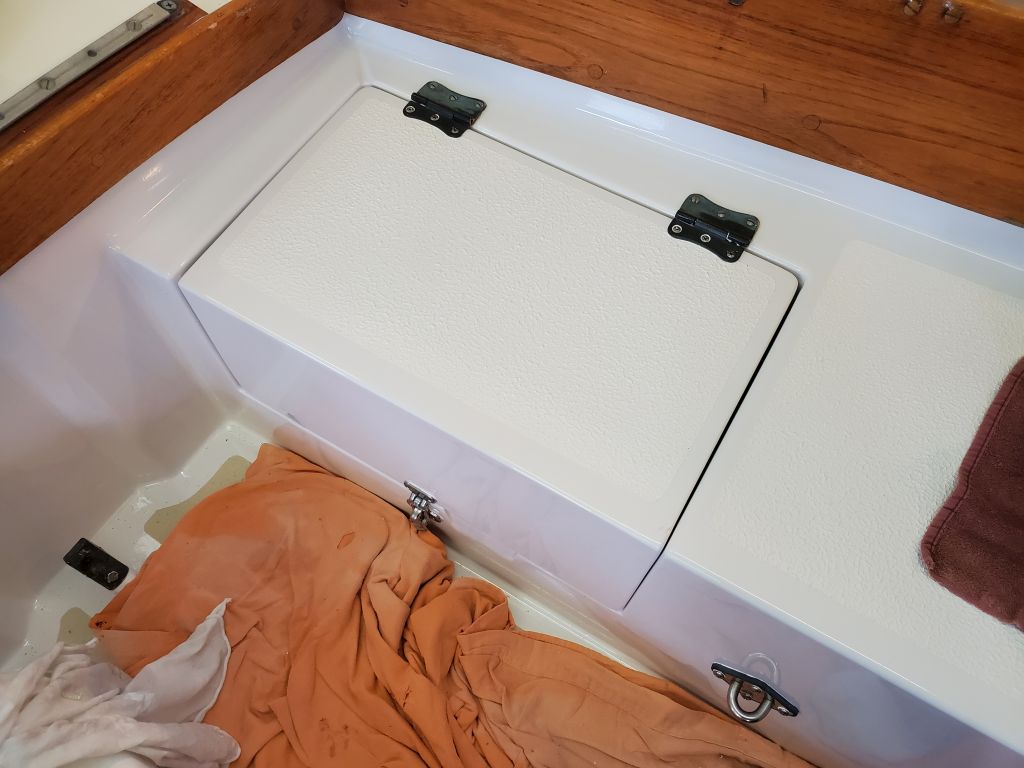
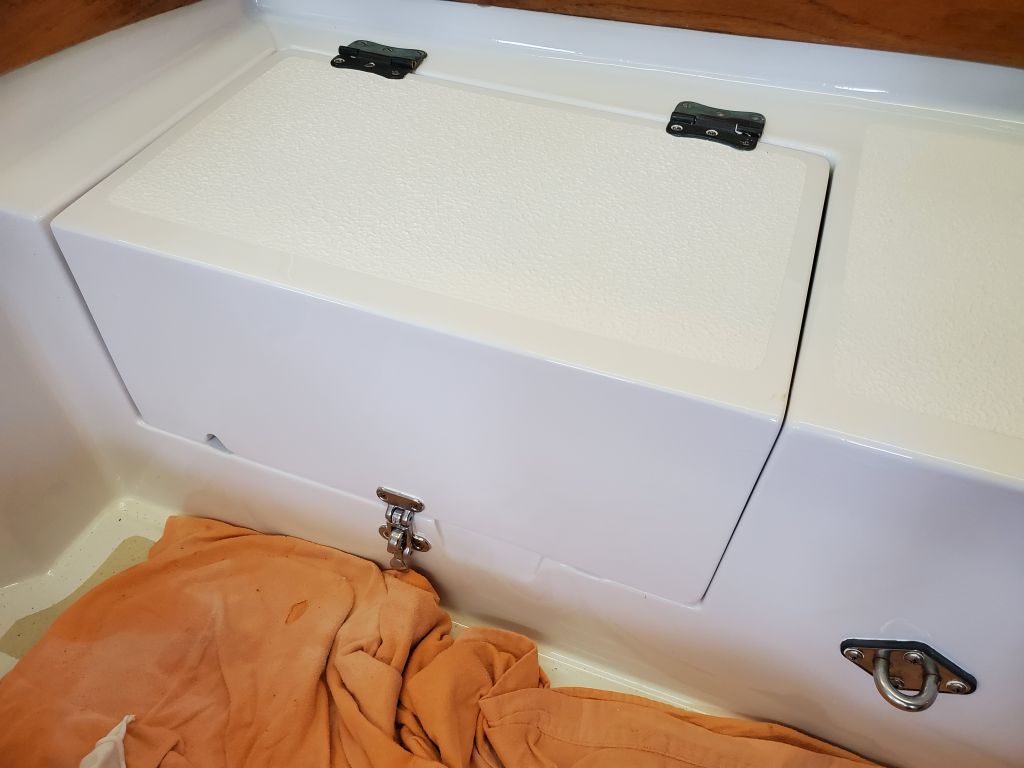
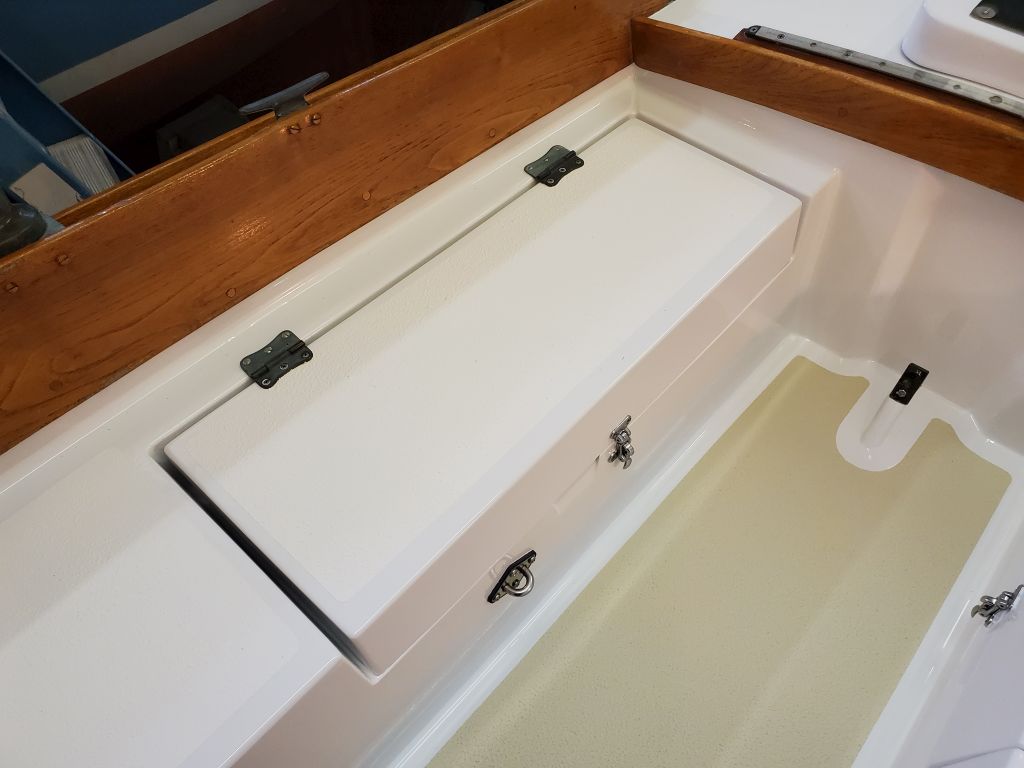
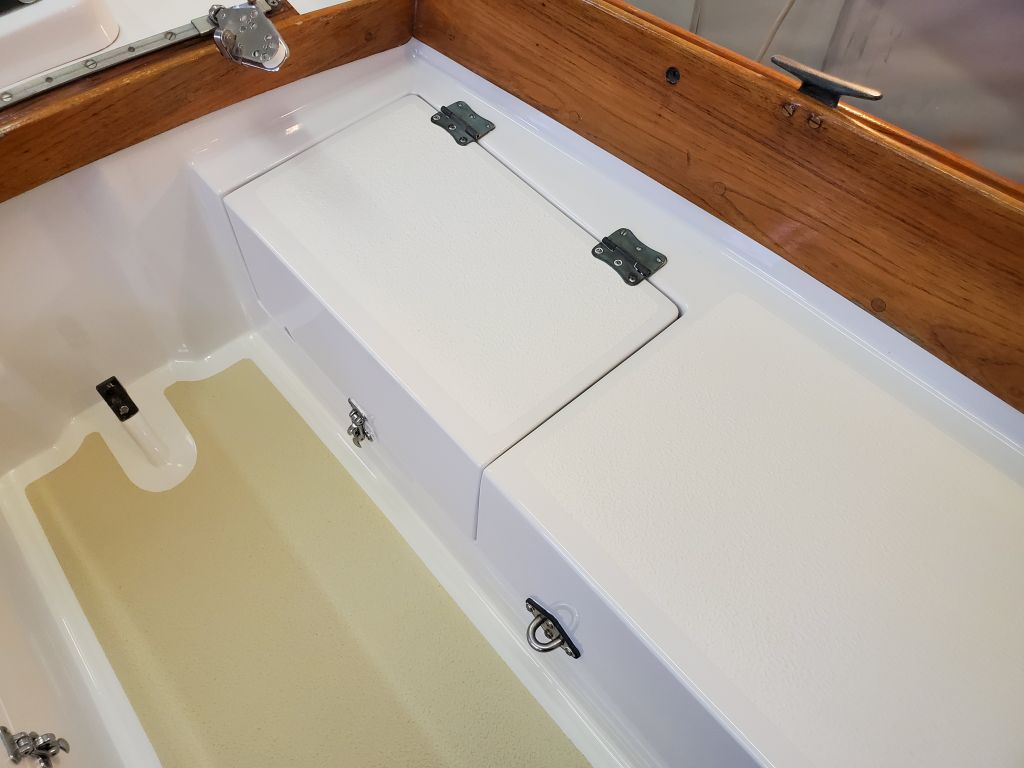
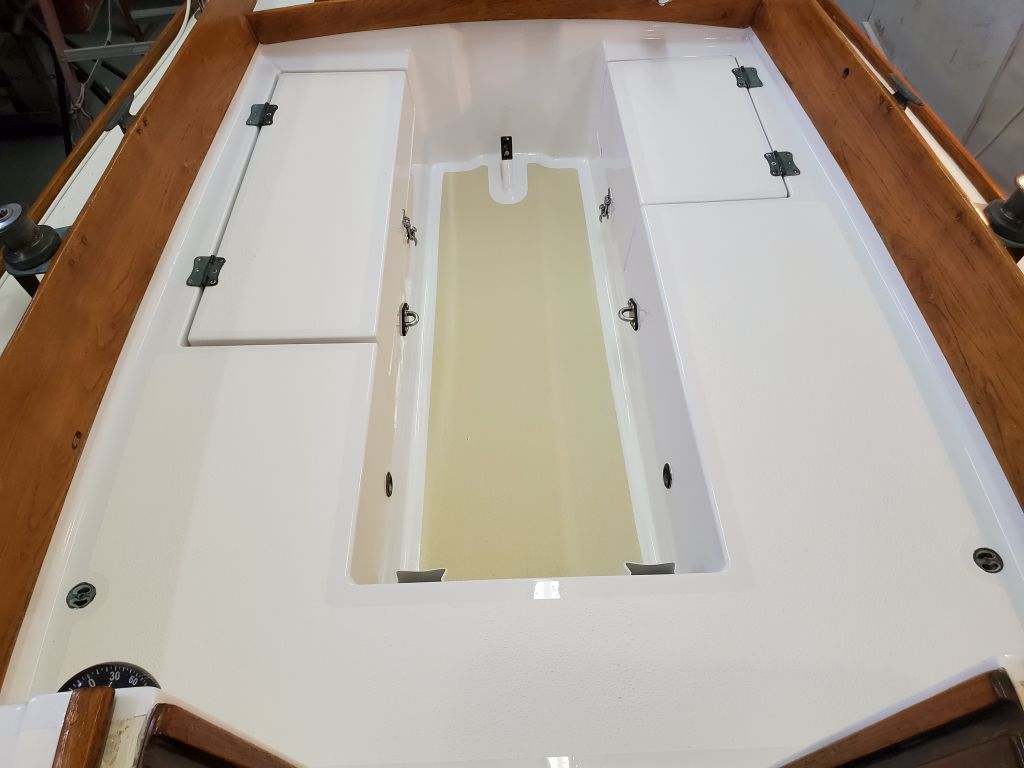
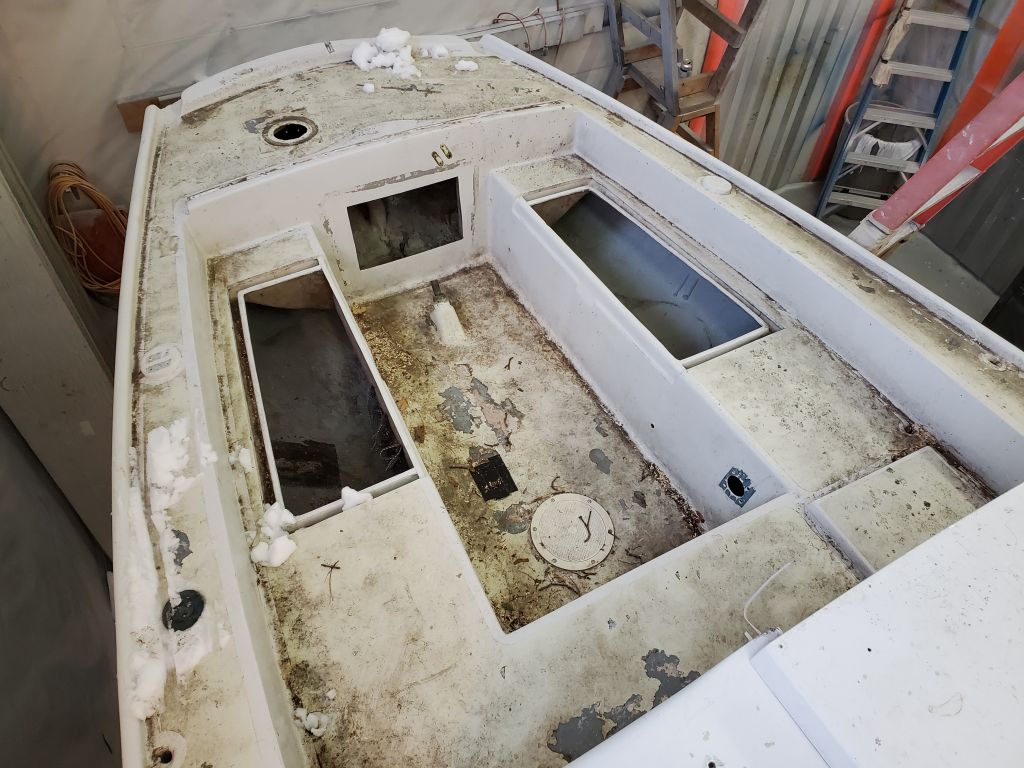
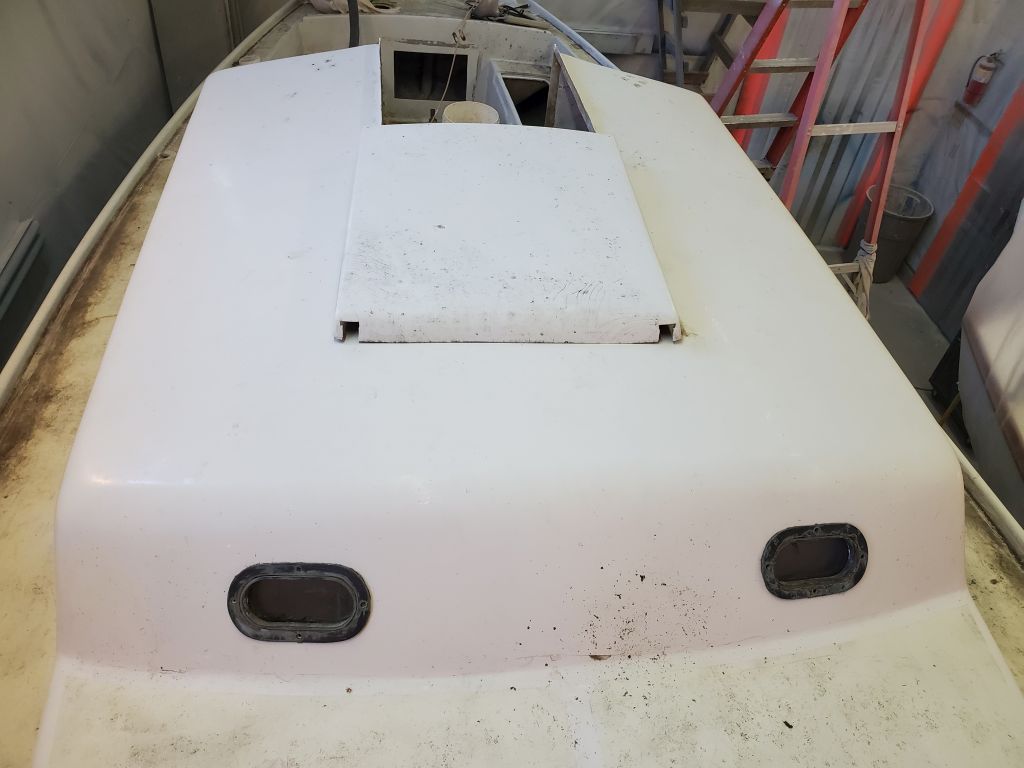
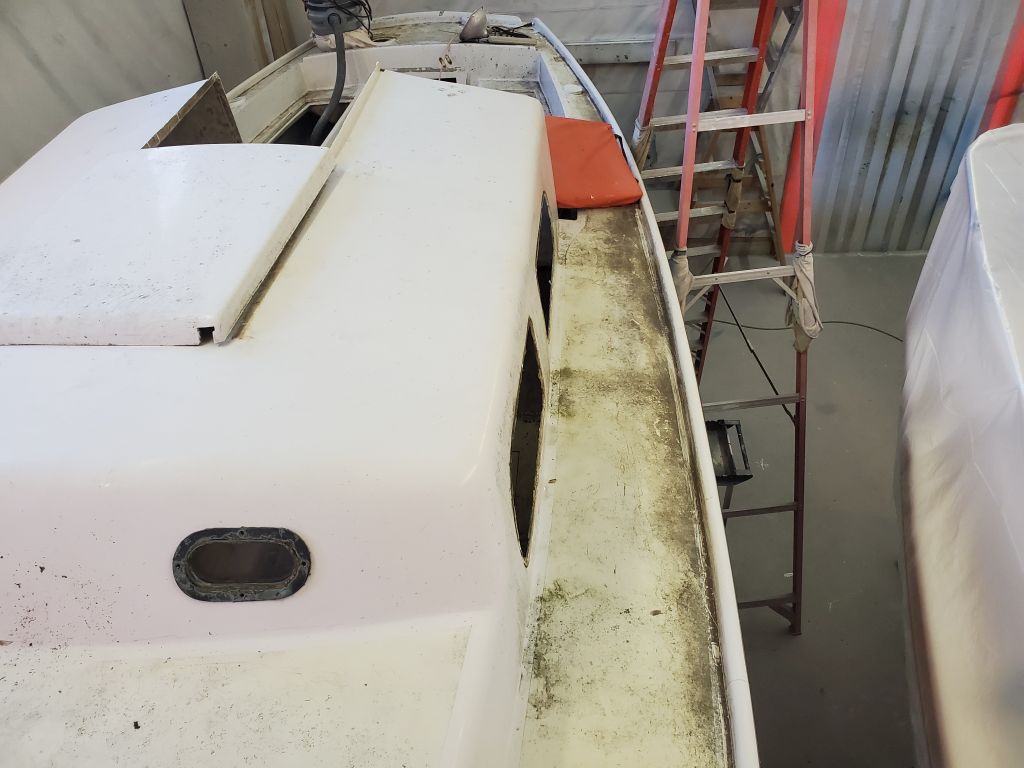
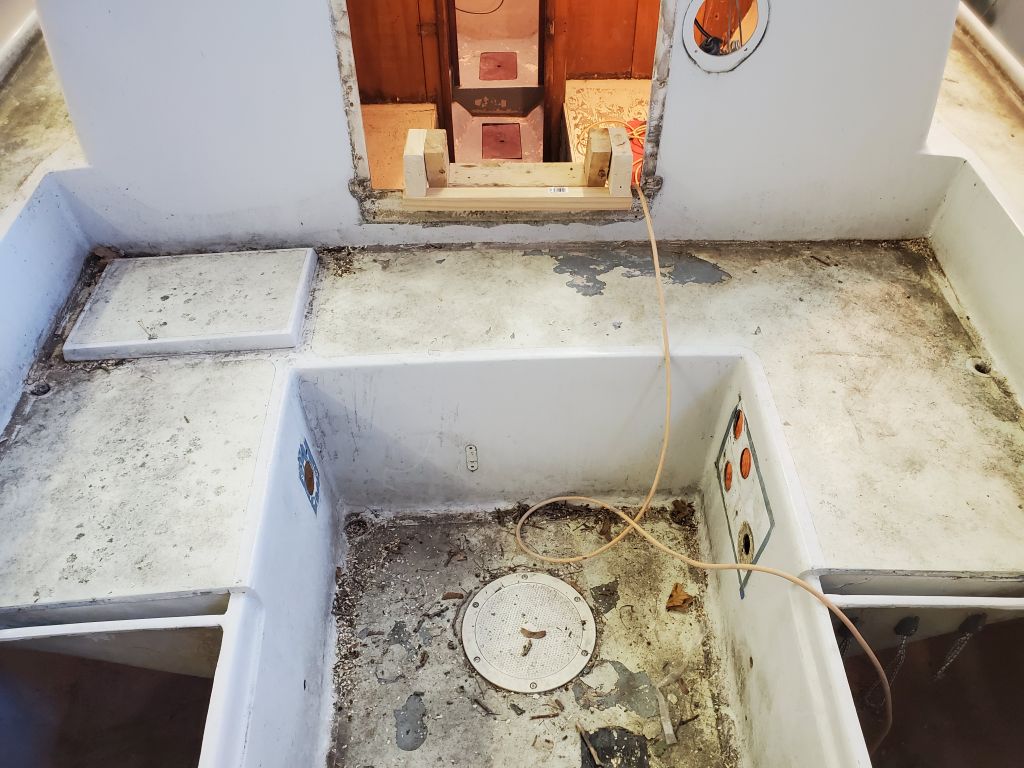
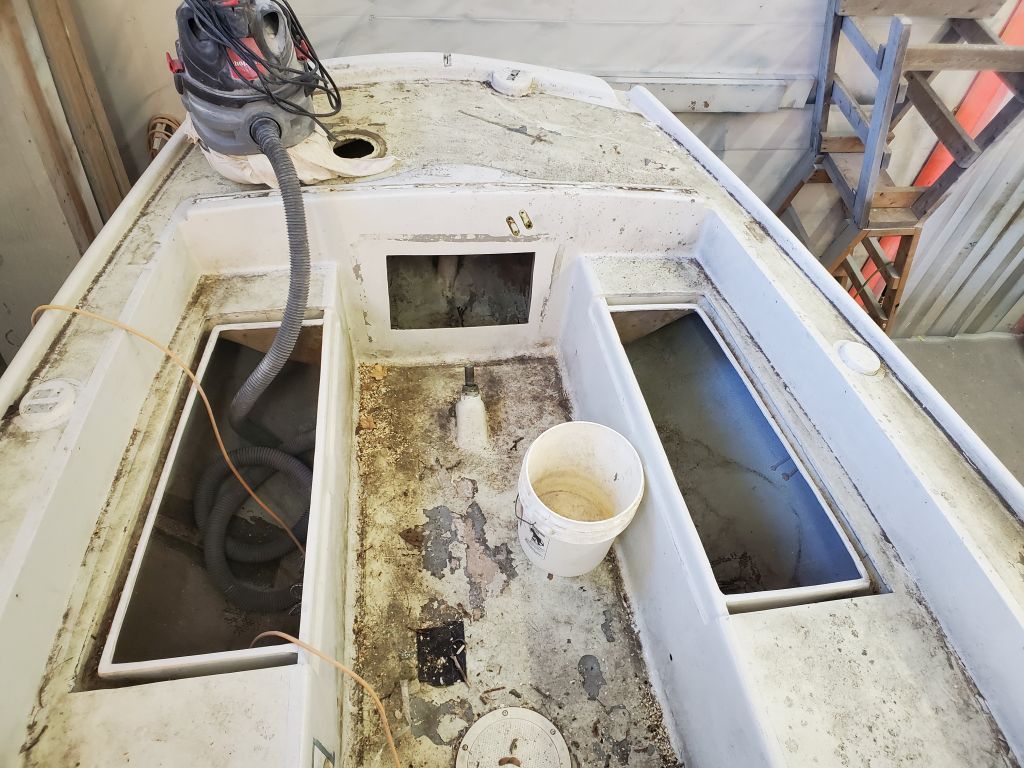
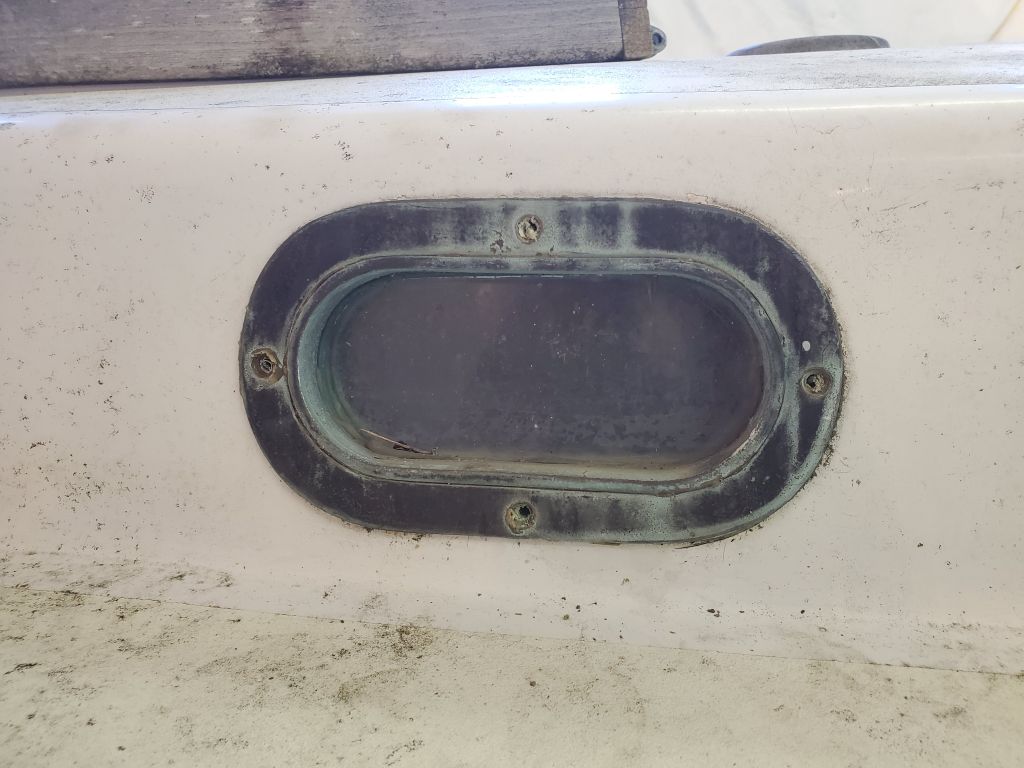
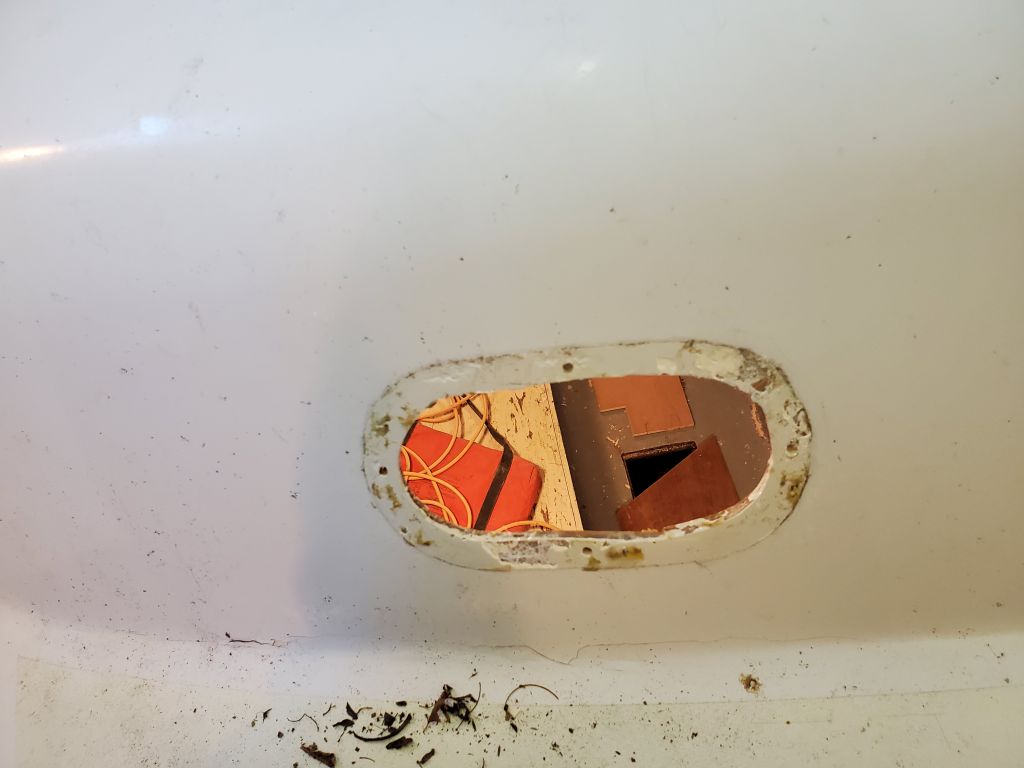
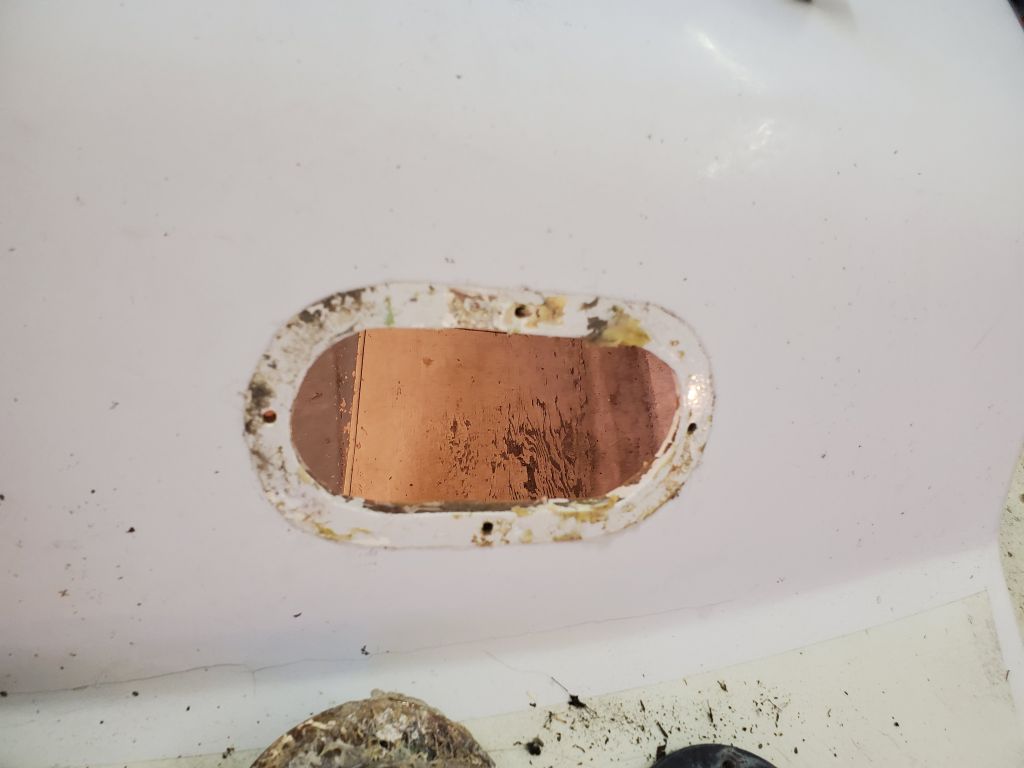
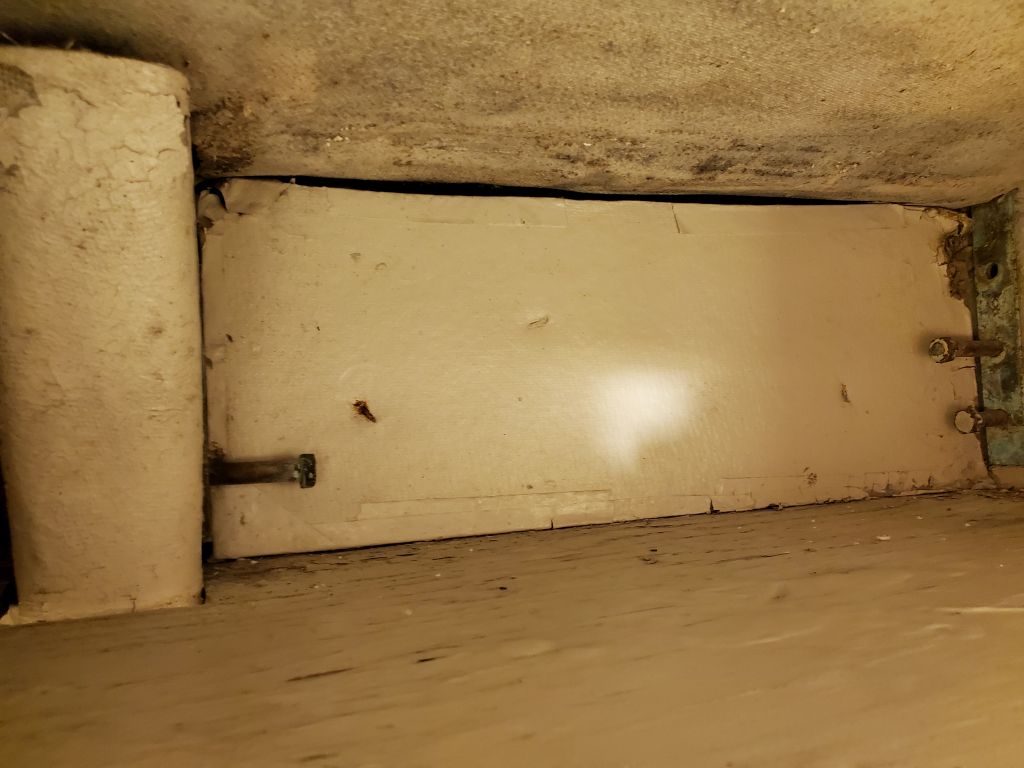
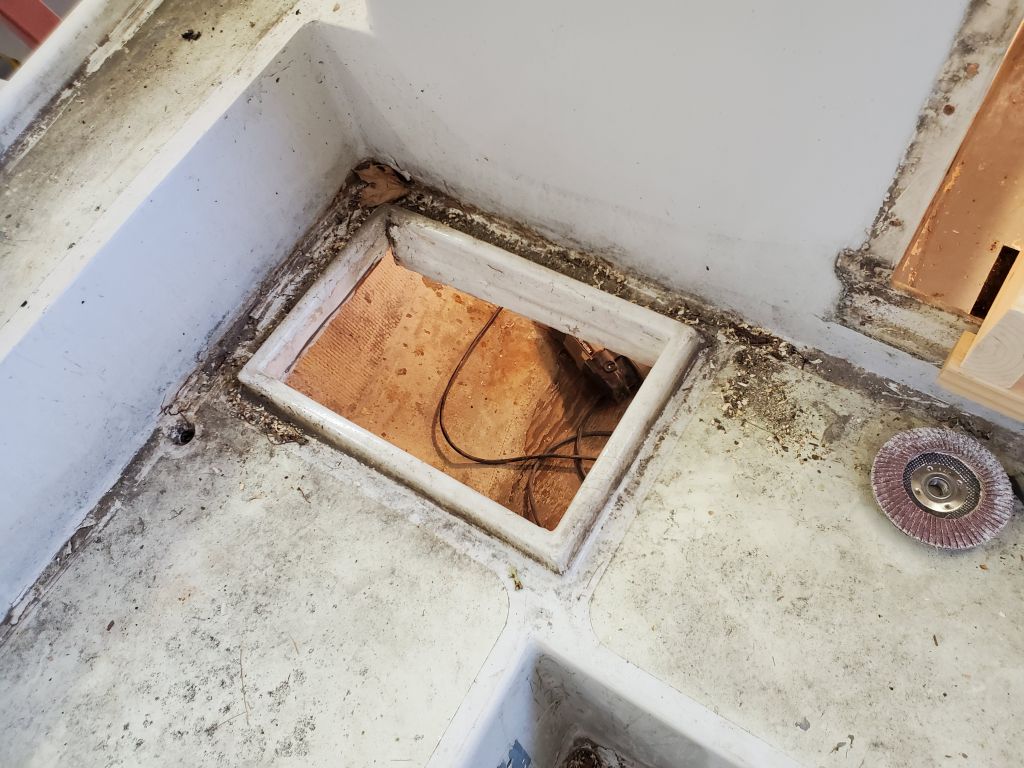
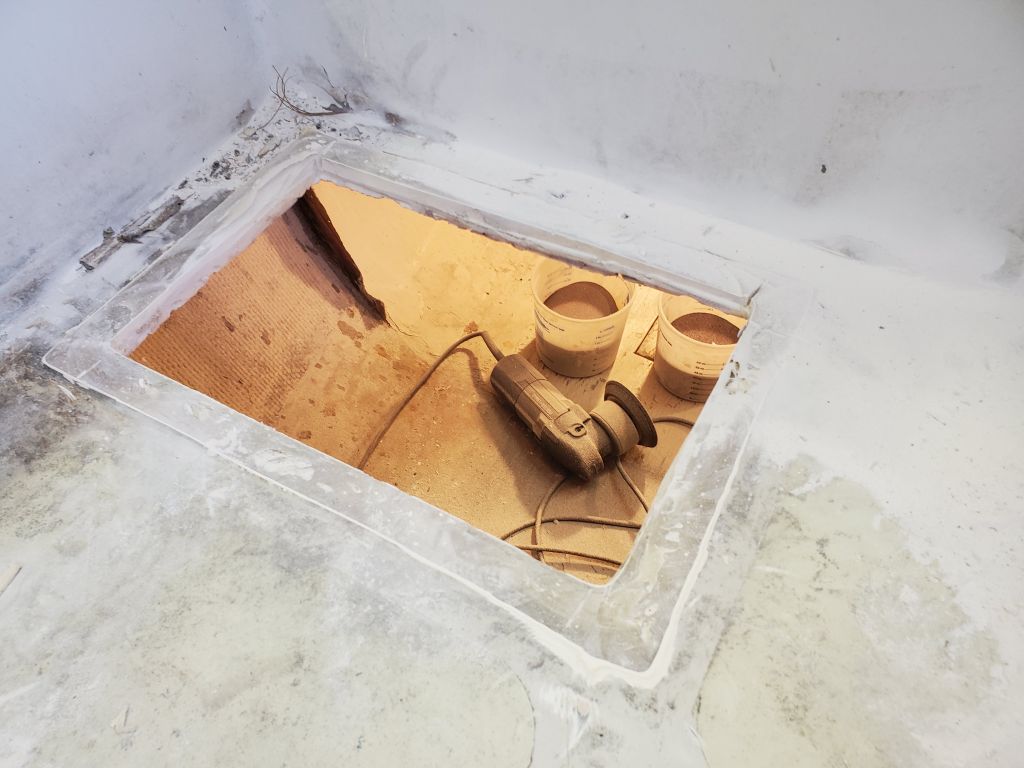
- Patch the old icebox hatch in the port forward corner of the cockpit
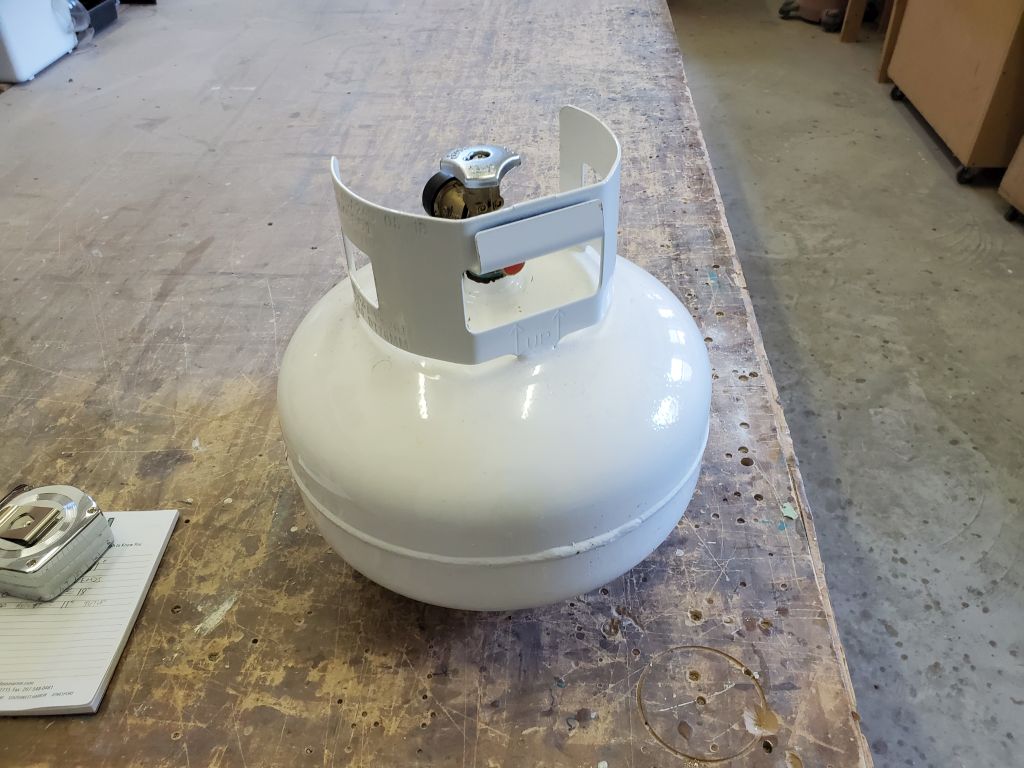
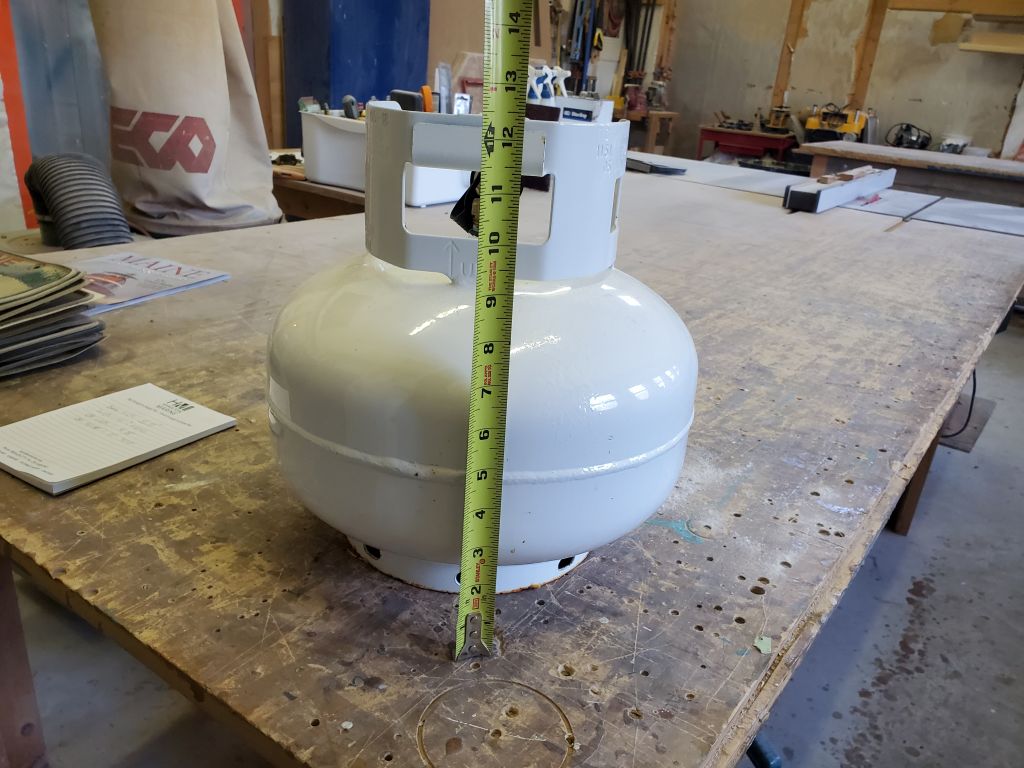
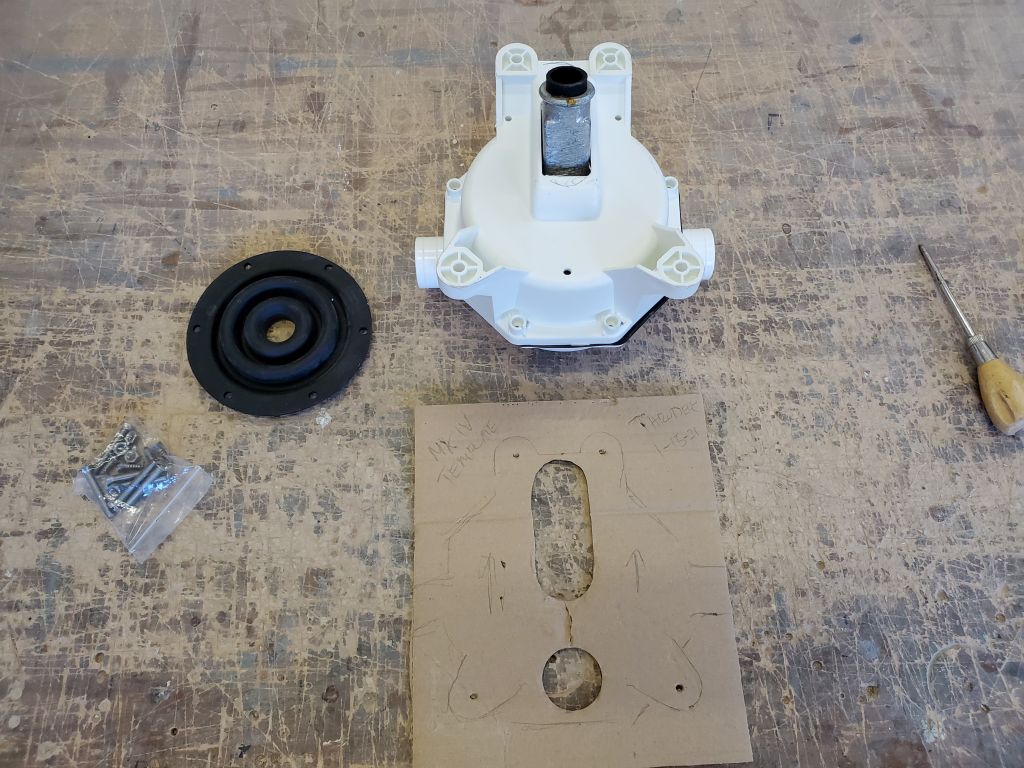
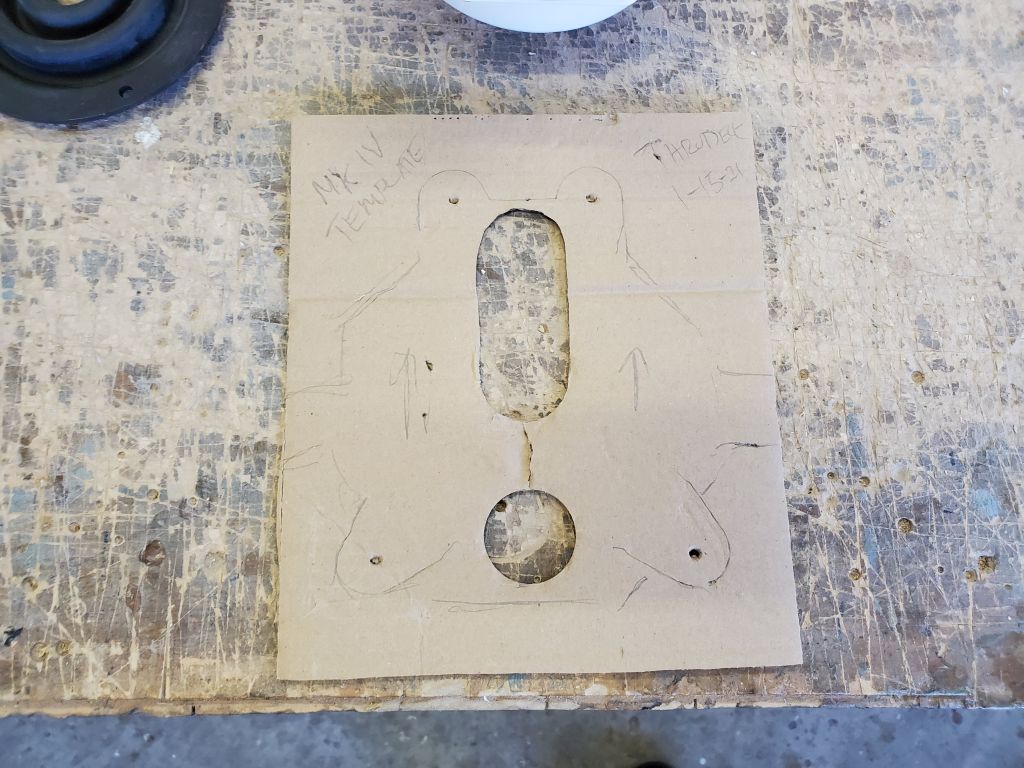
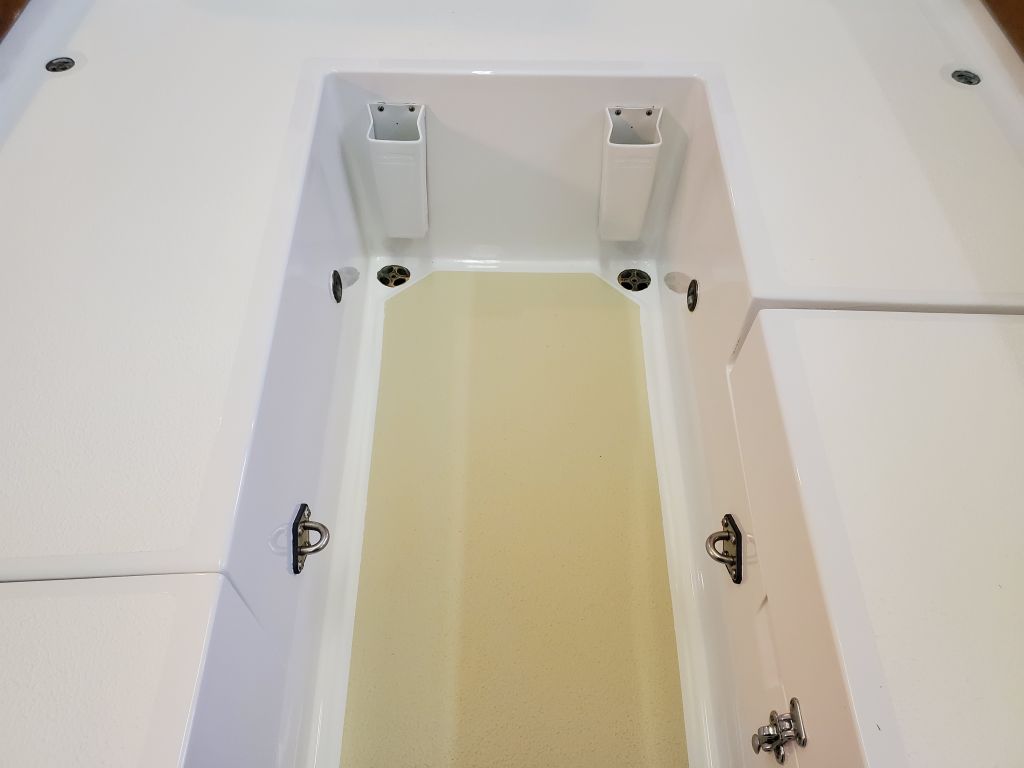
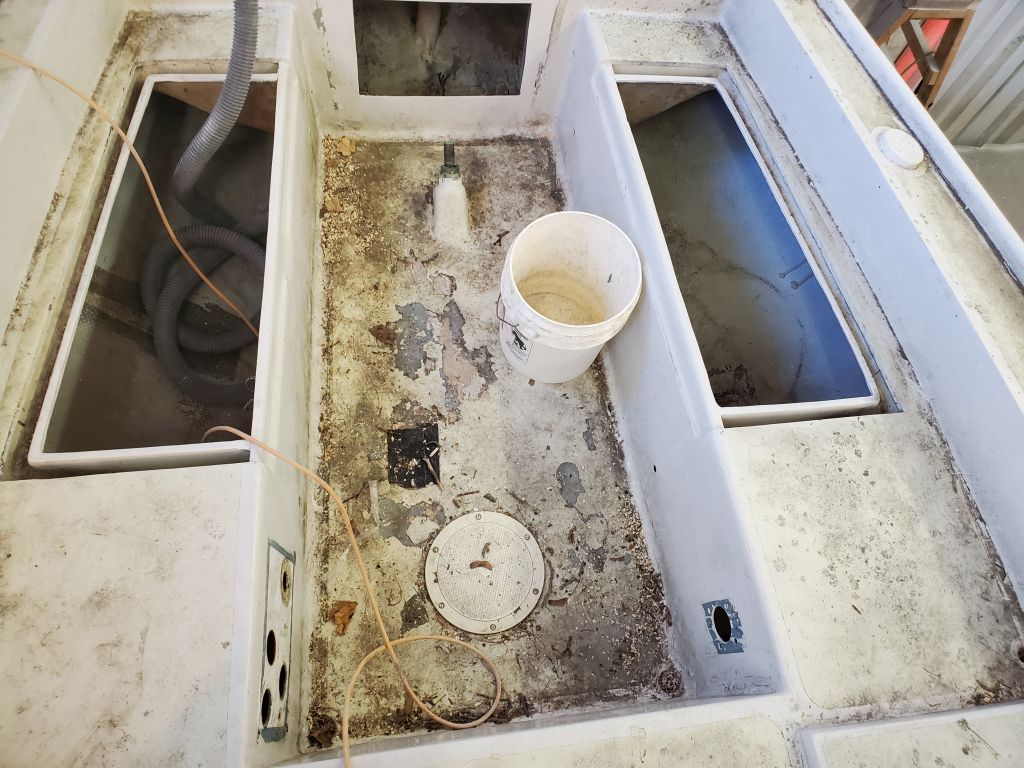
- Install new access hatch in the cockpit sole (for access to the shafting, stuffing box, and the like)
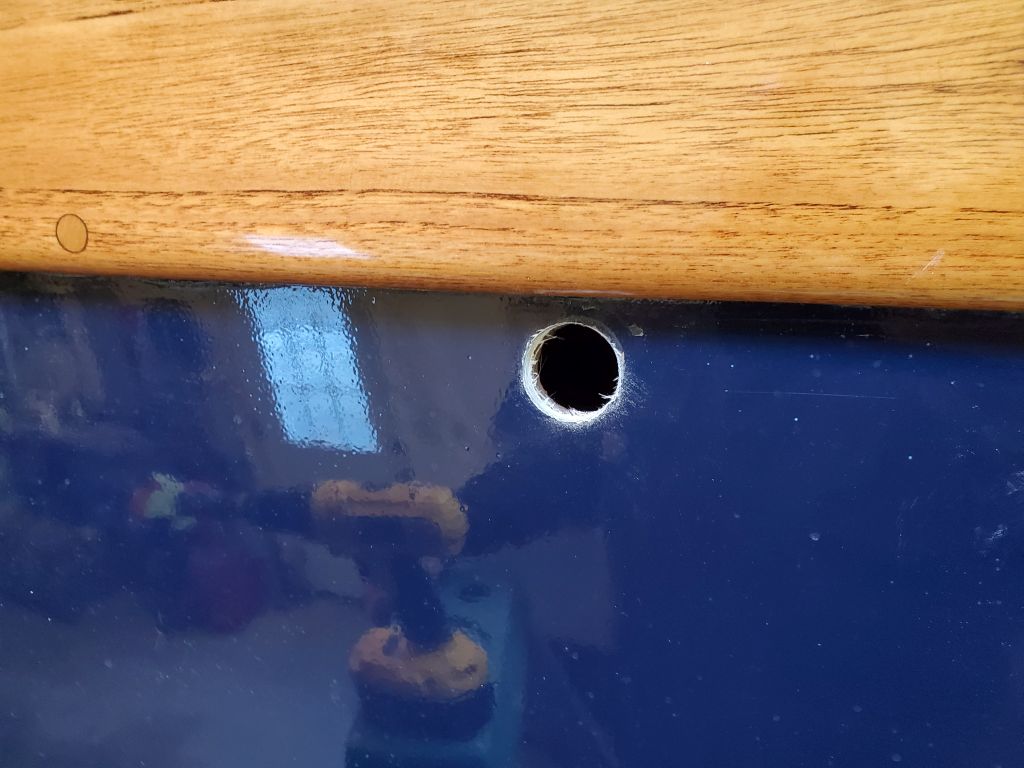
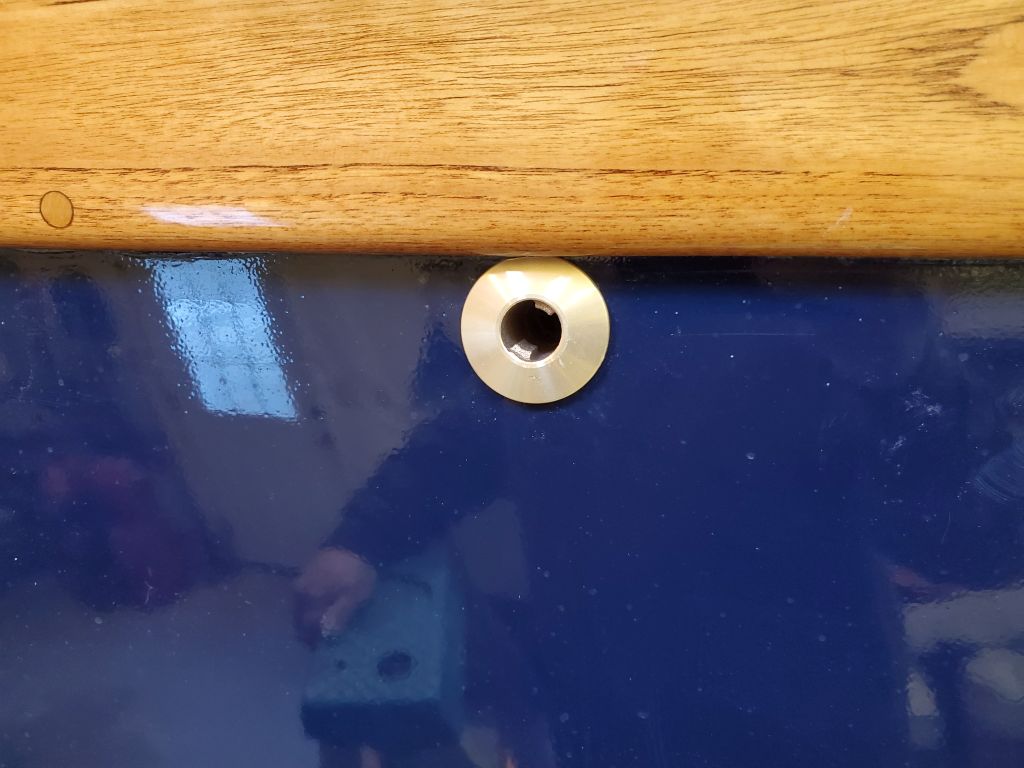
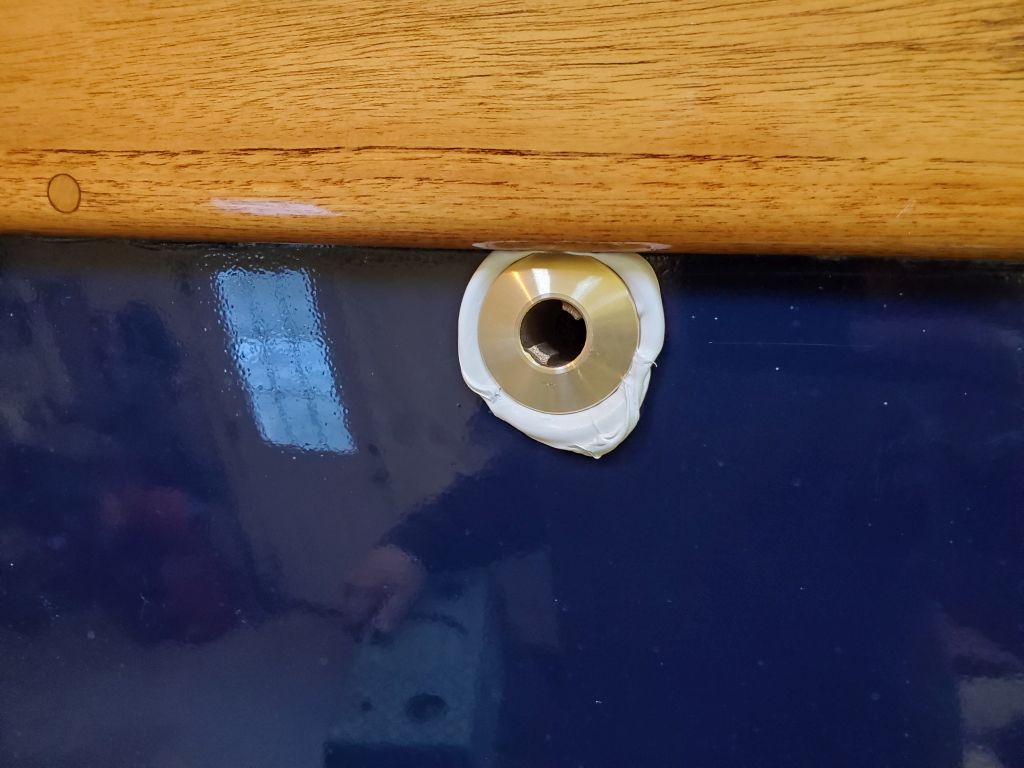
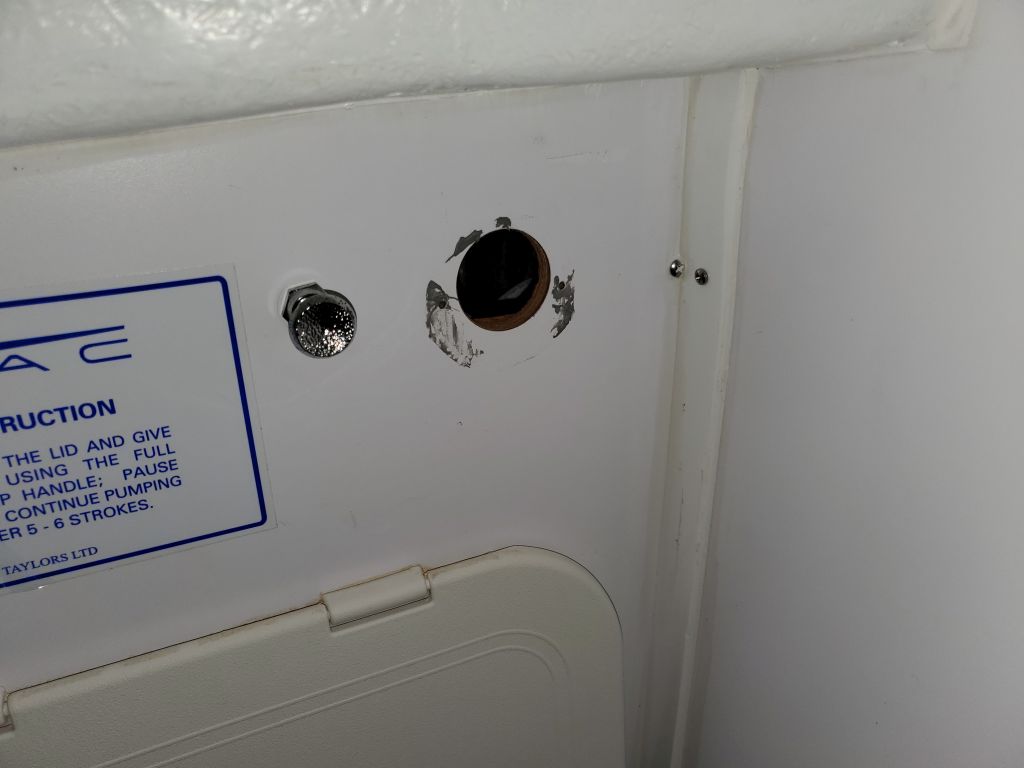
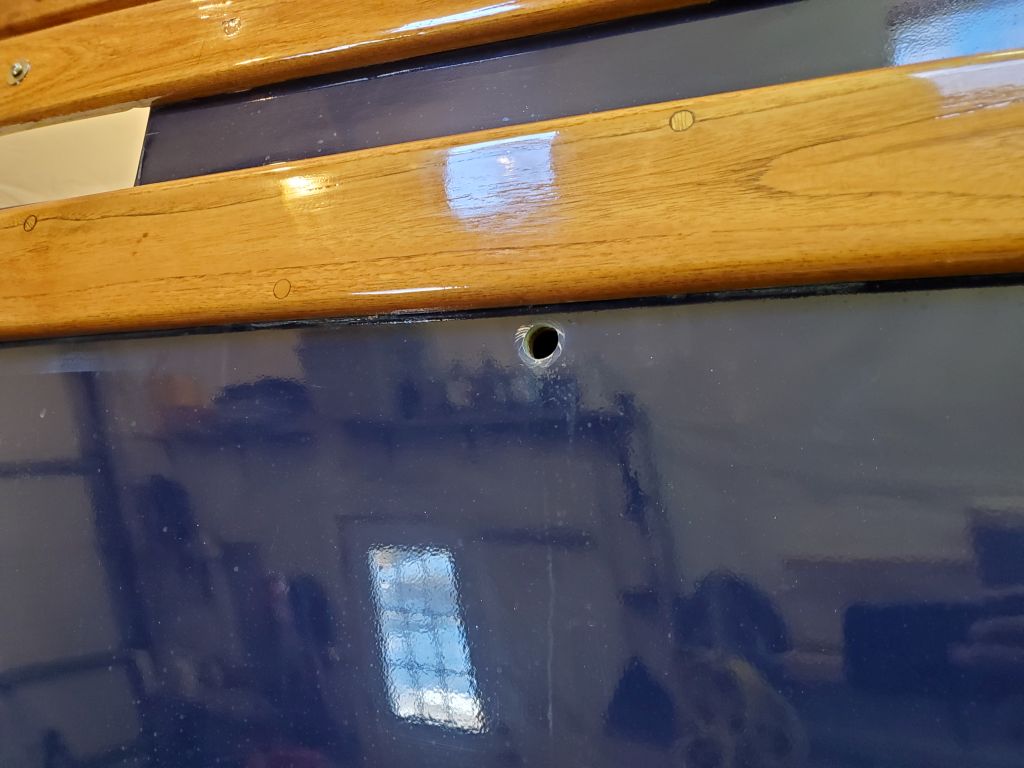
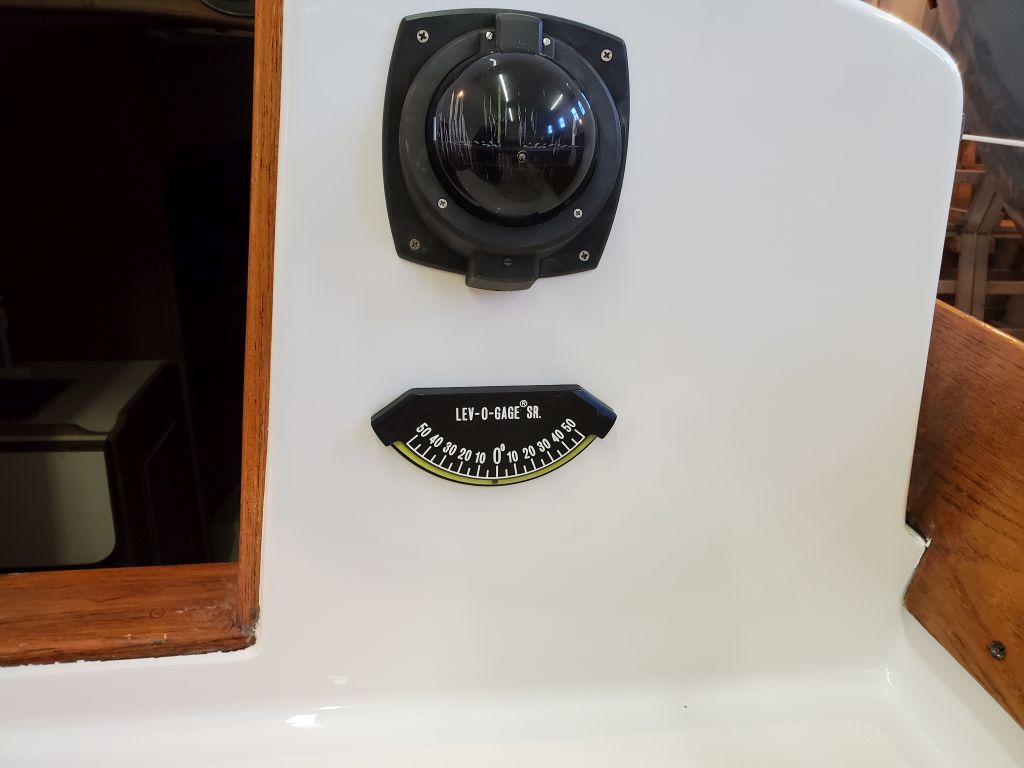
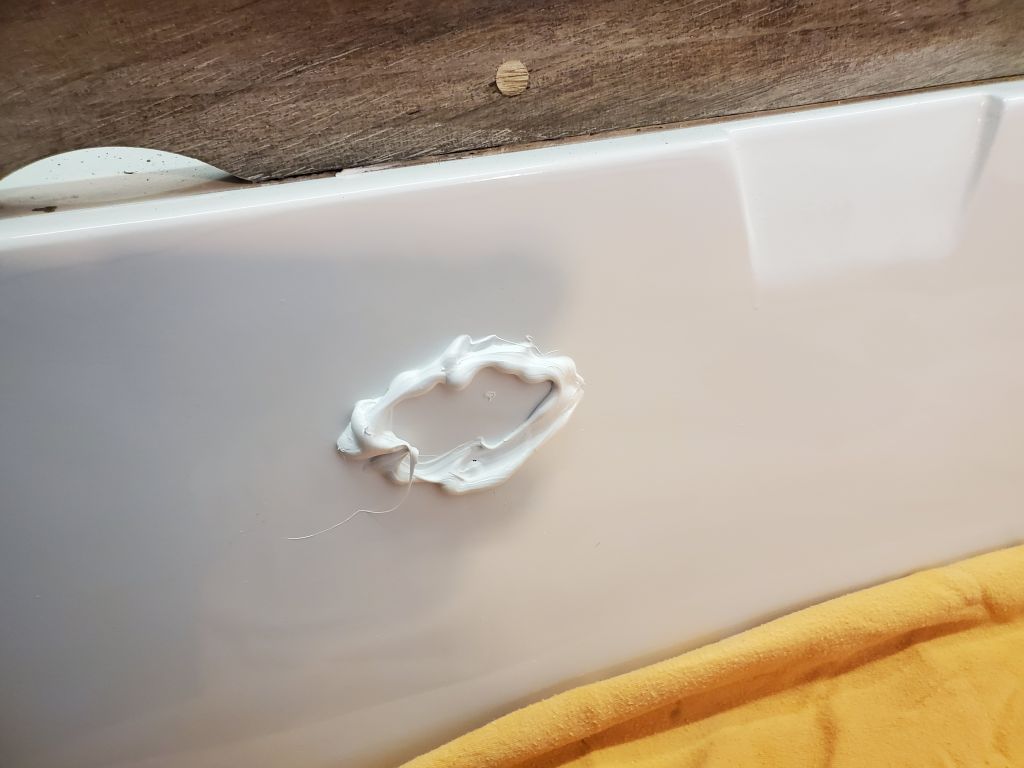
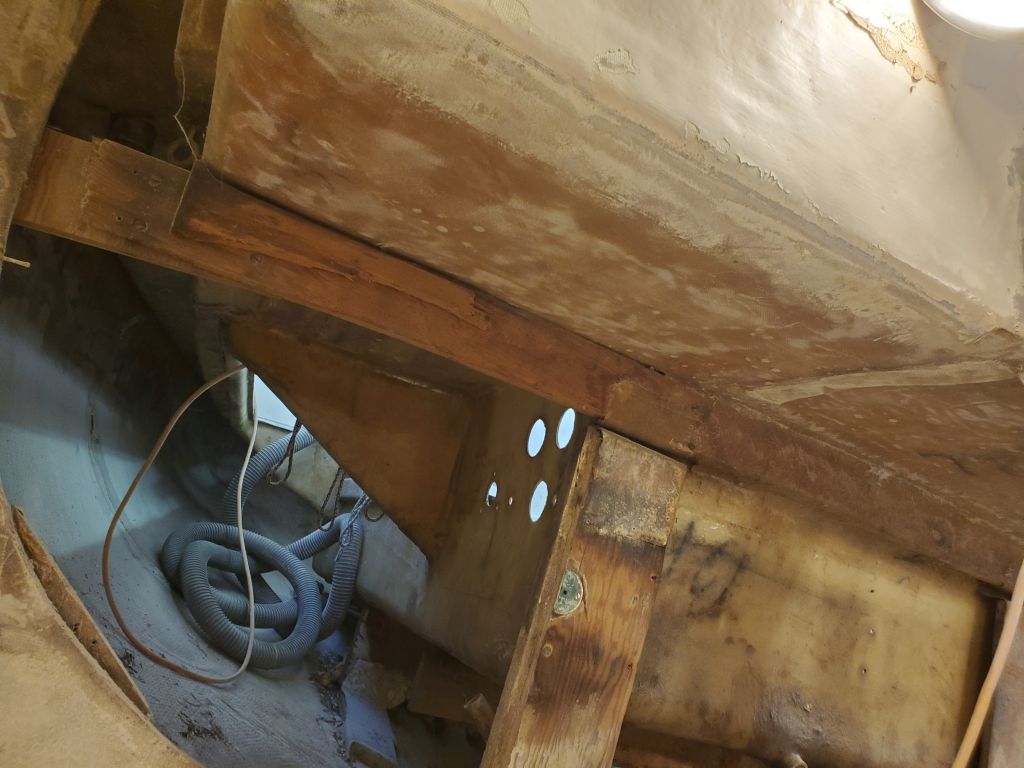
- Patch several old and now obsolete instrument and control holes in the cockpit well
- Refresh the cockpit cosmetics to take care of the repairs and to deal with the failing paint
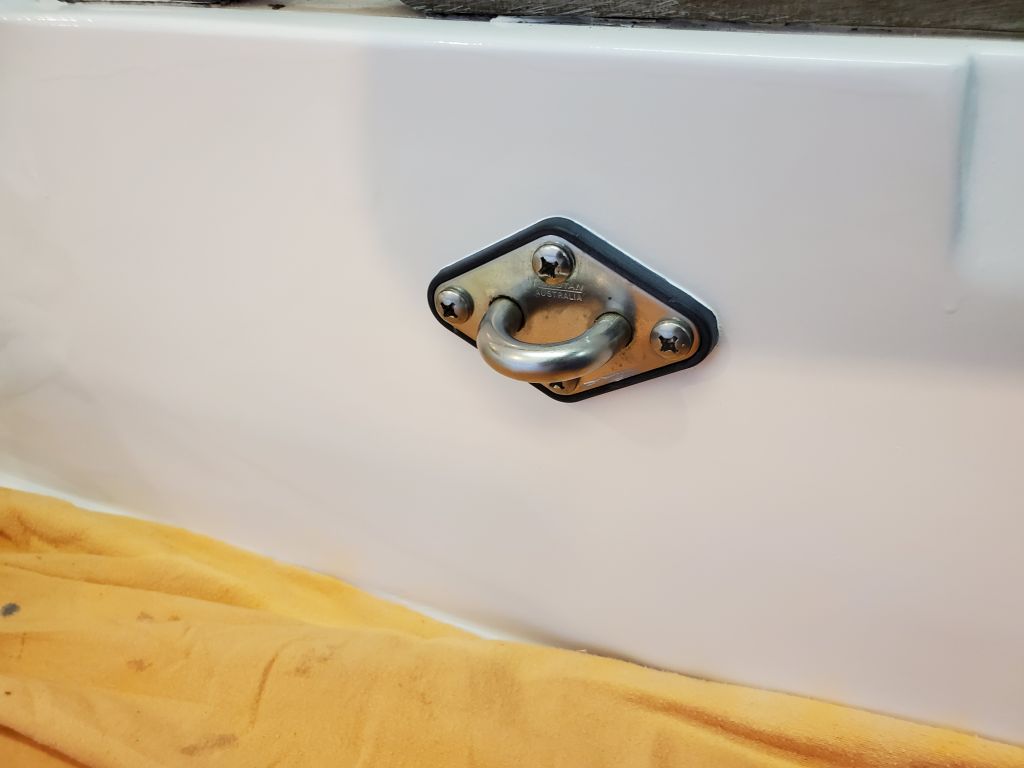
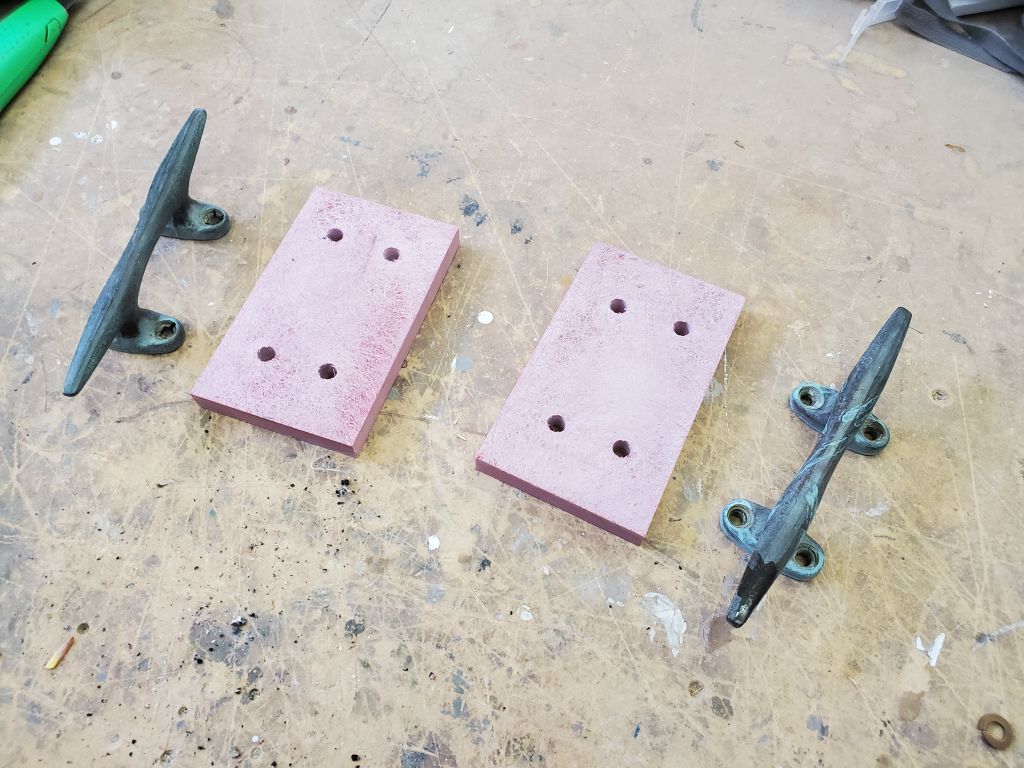
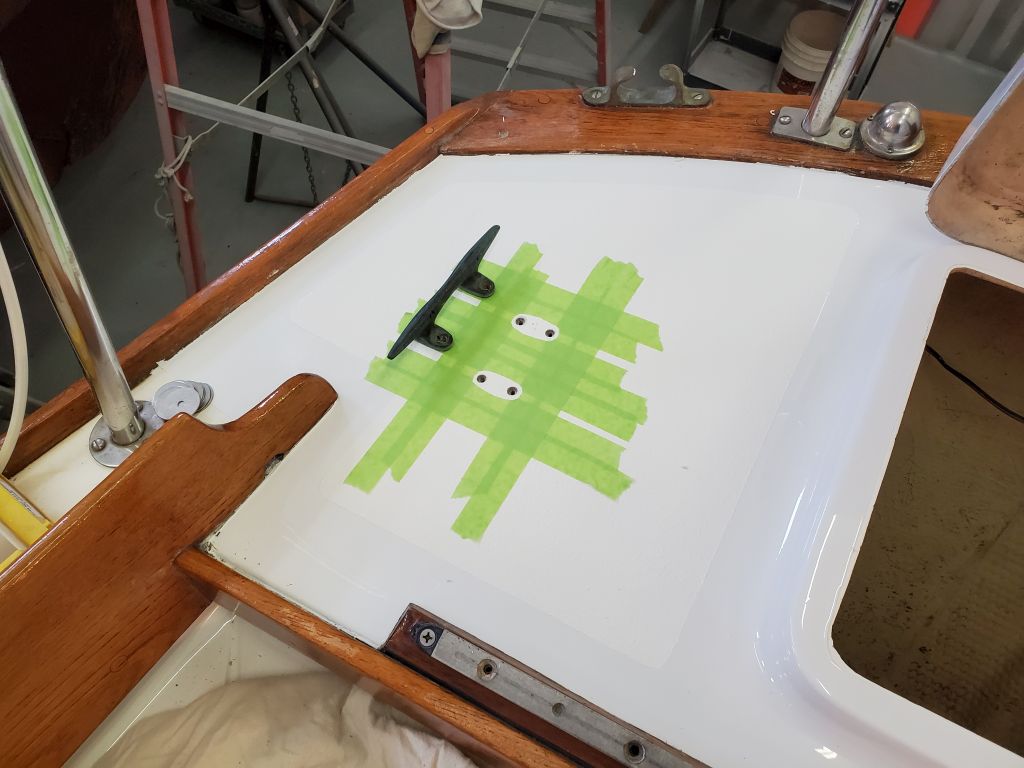
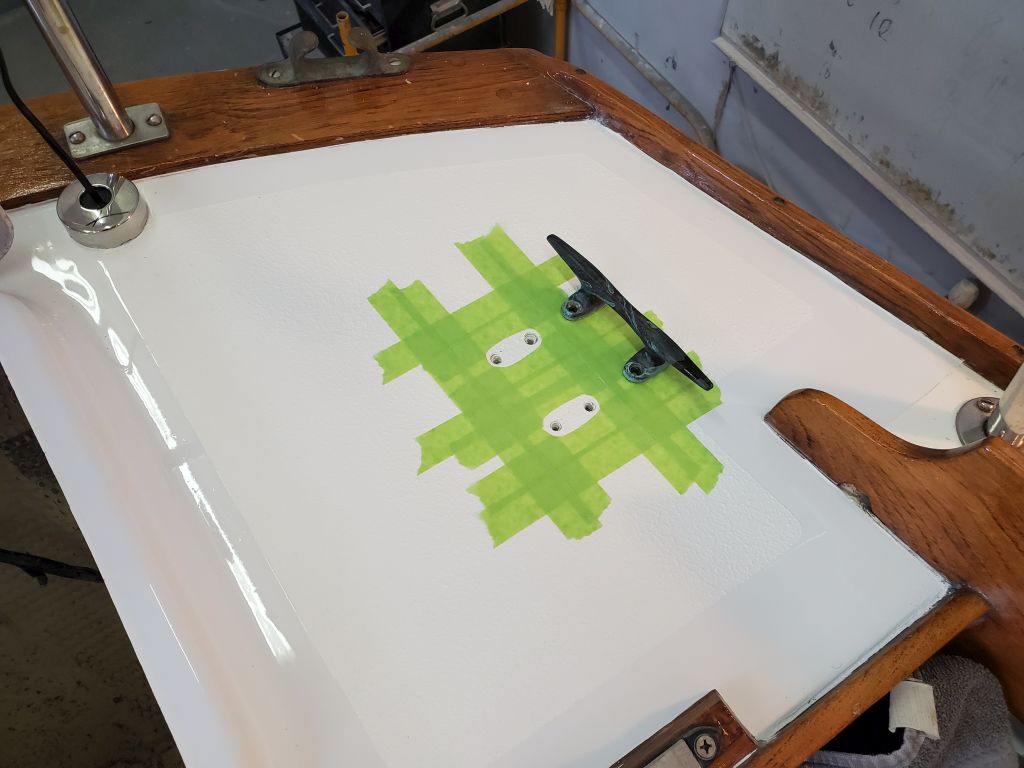
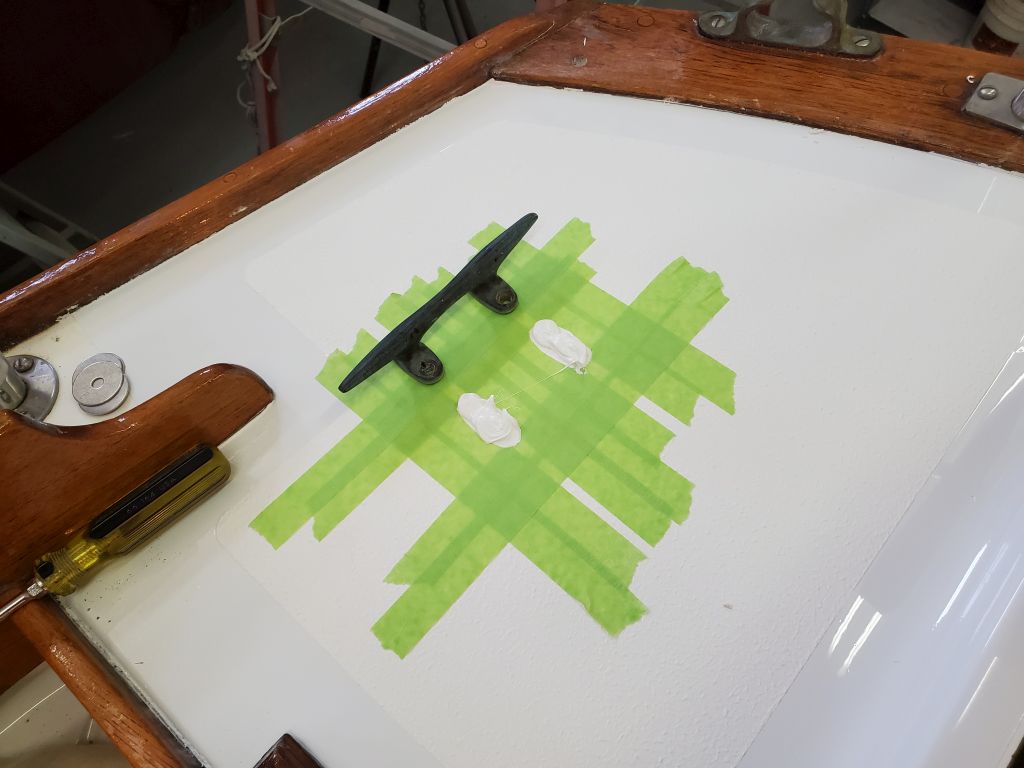
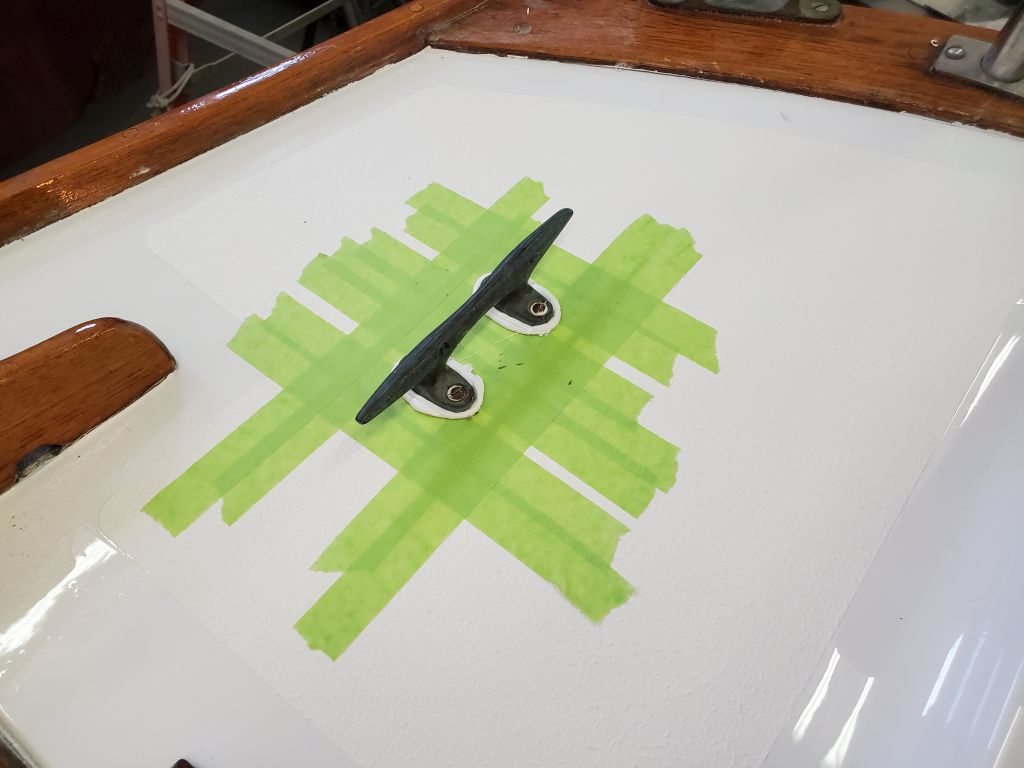
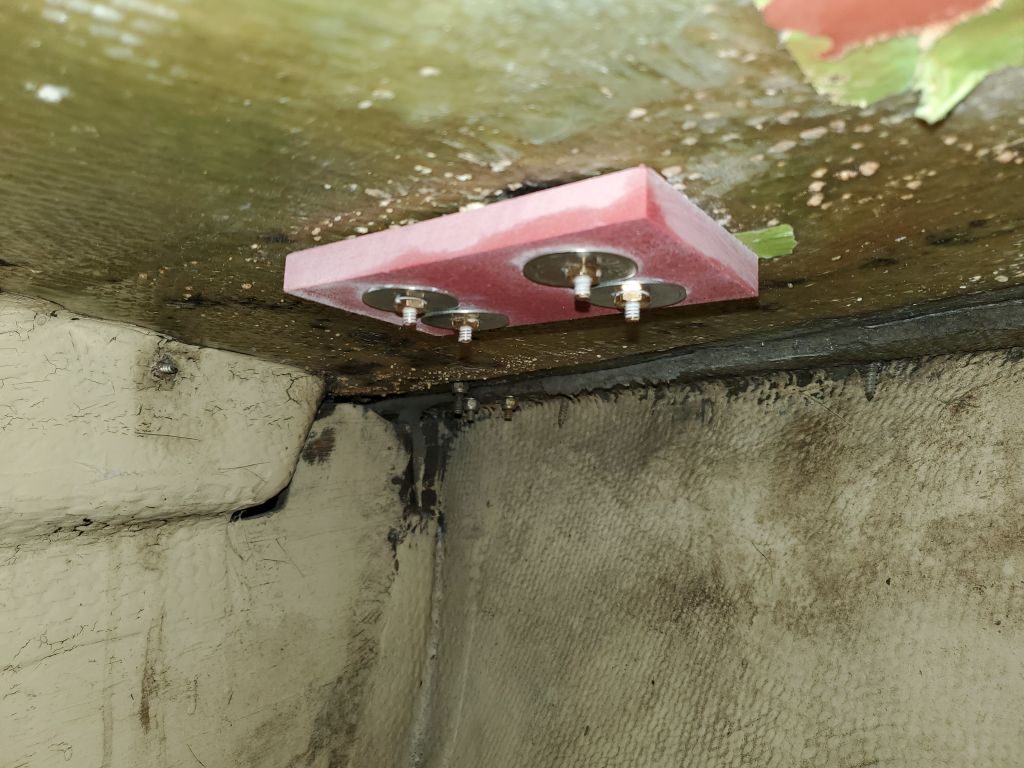
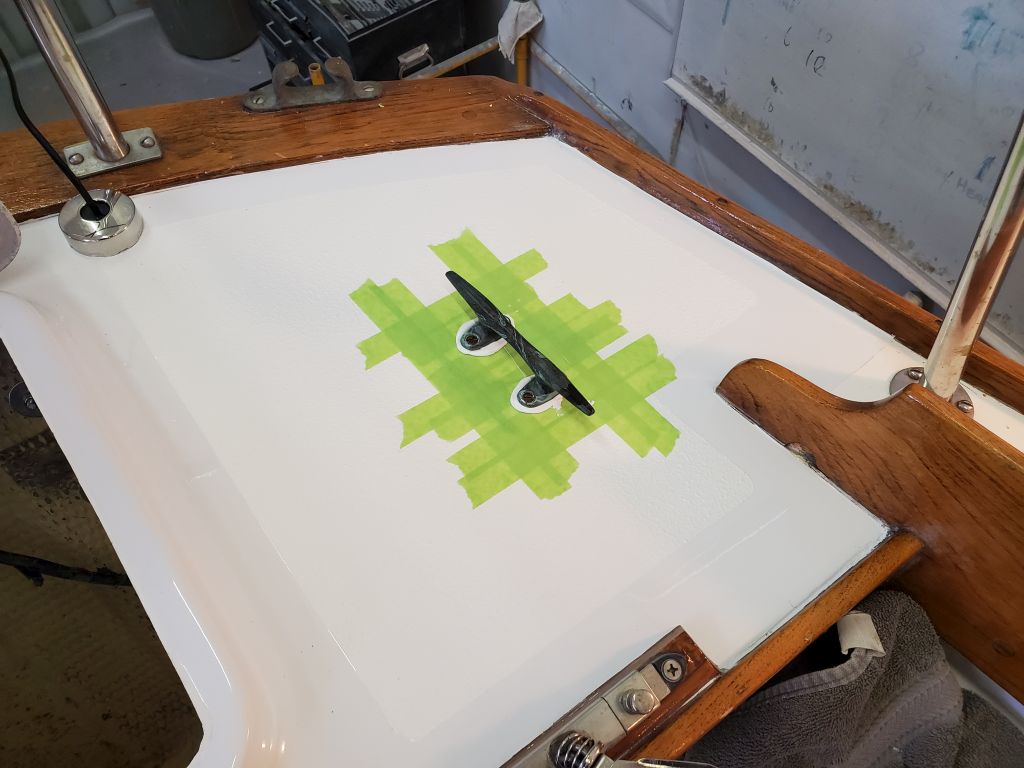
- Install deck and sailing hardware


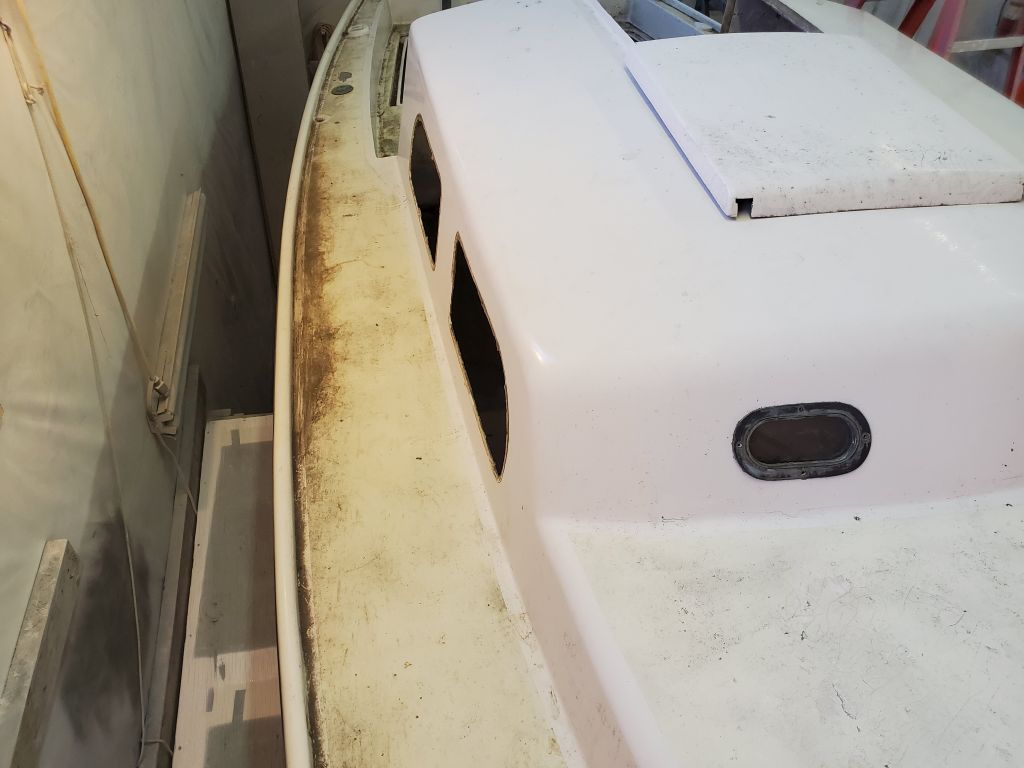

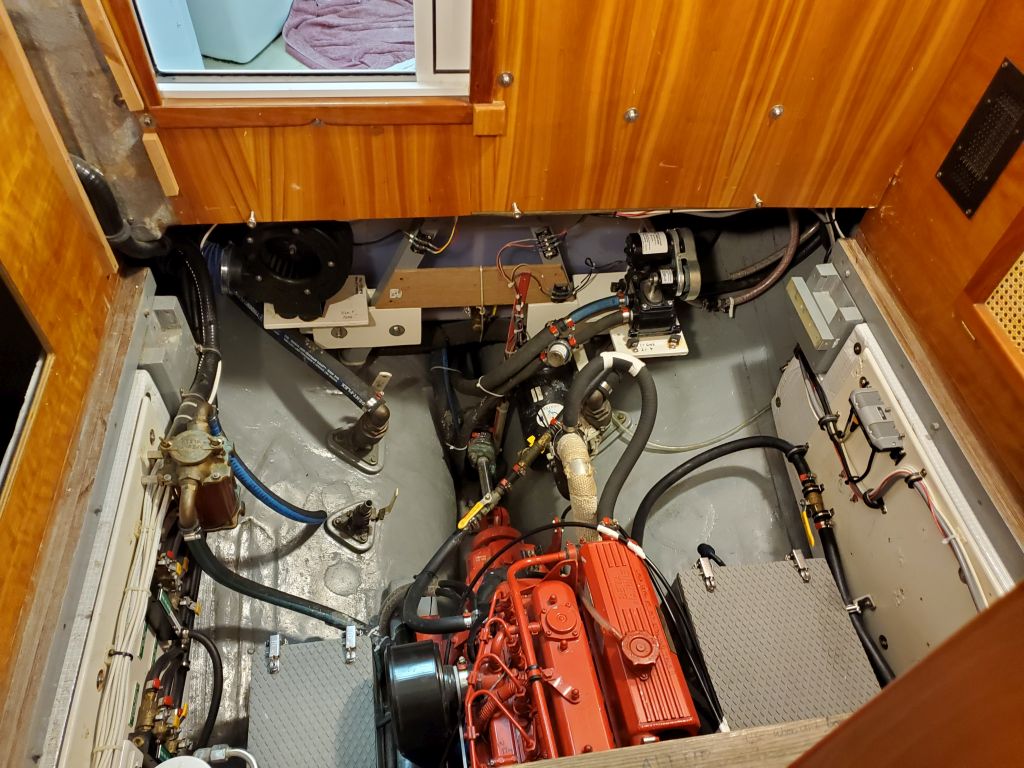
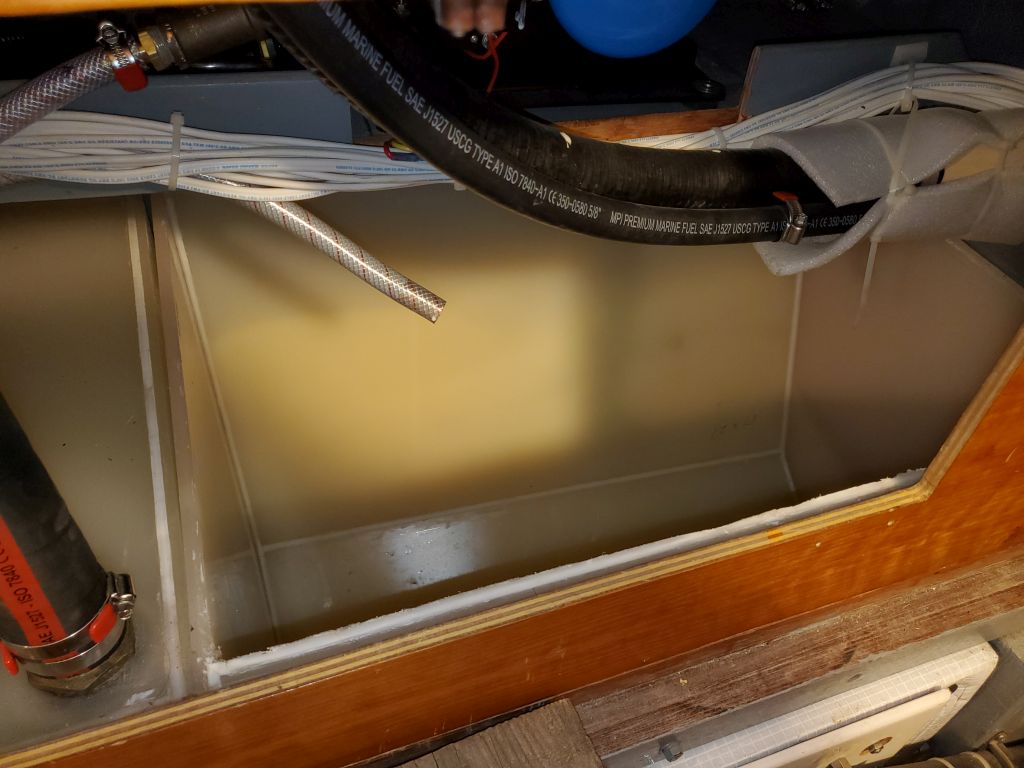
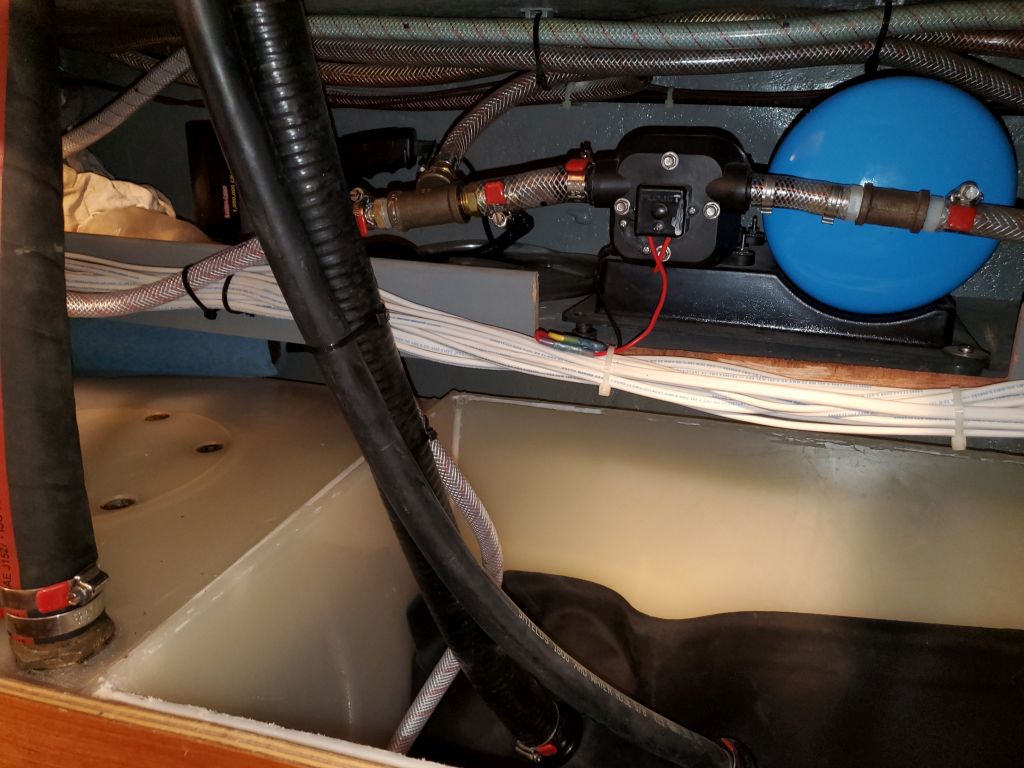
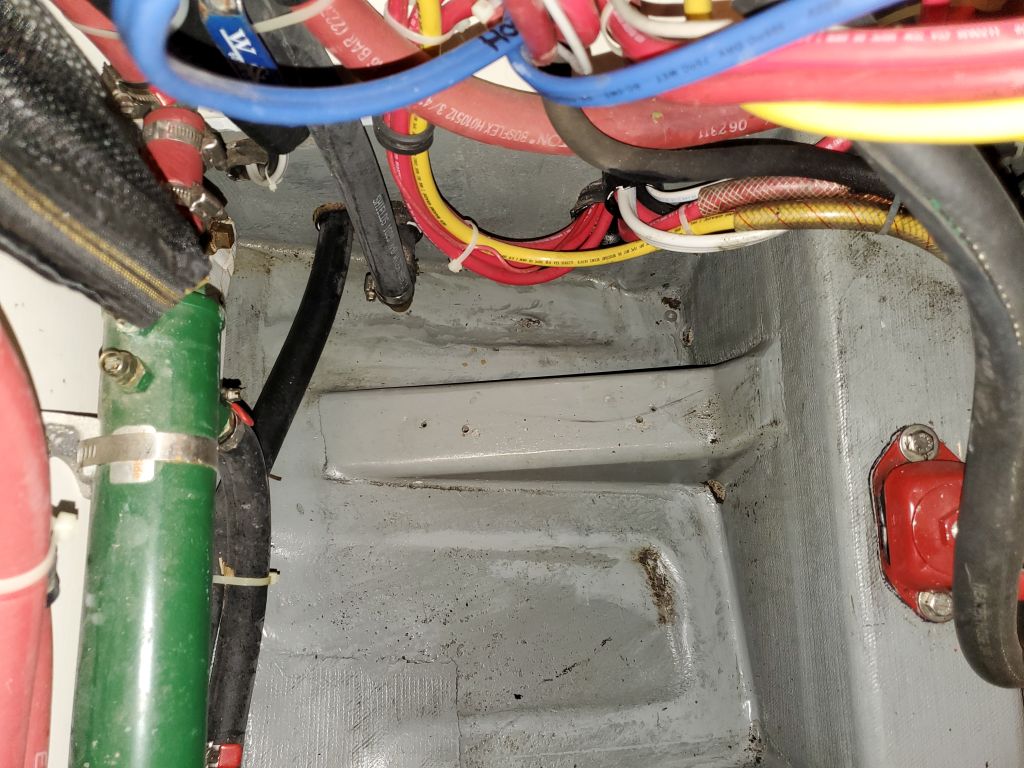
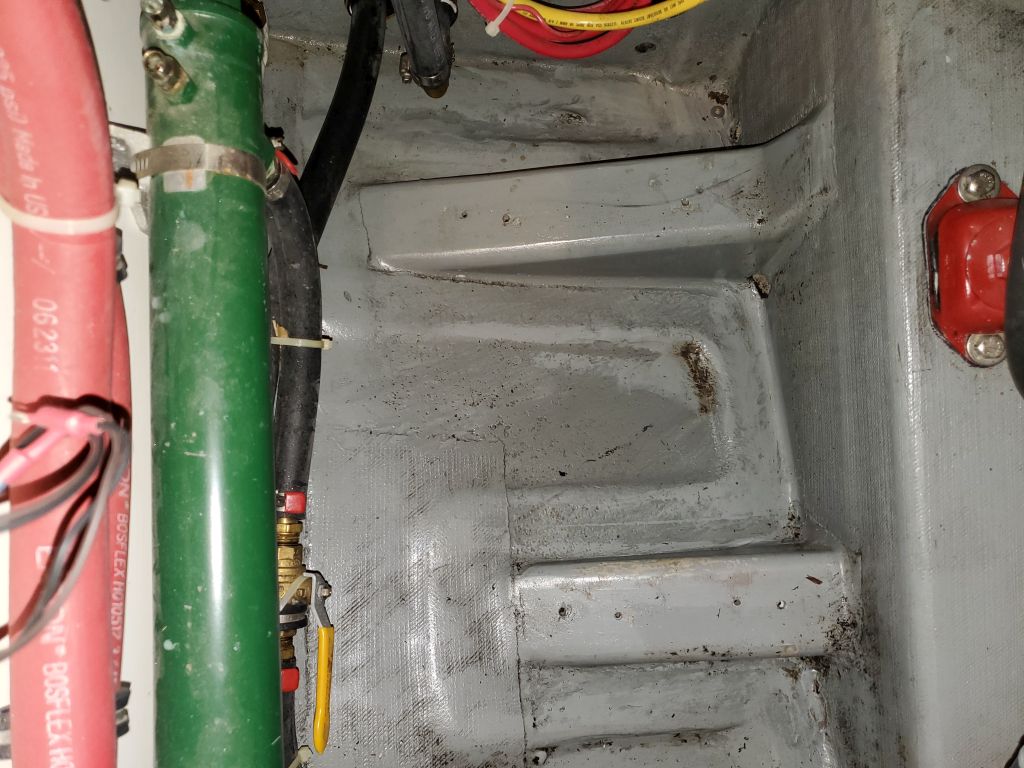
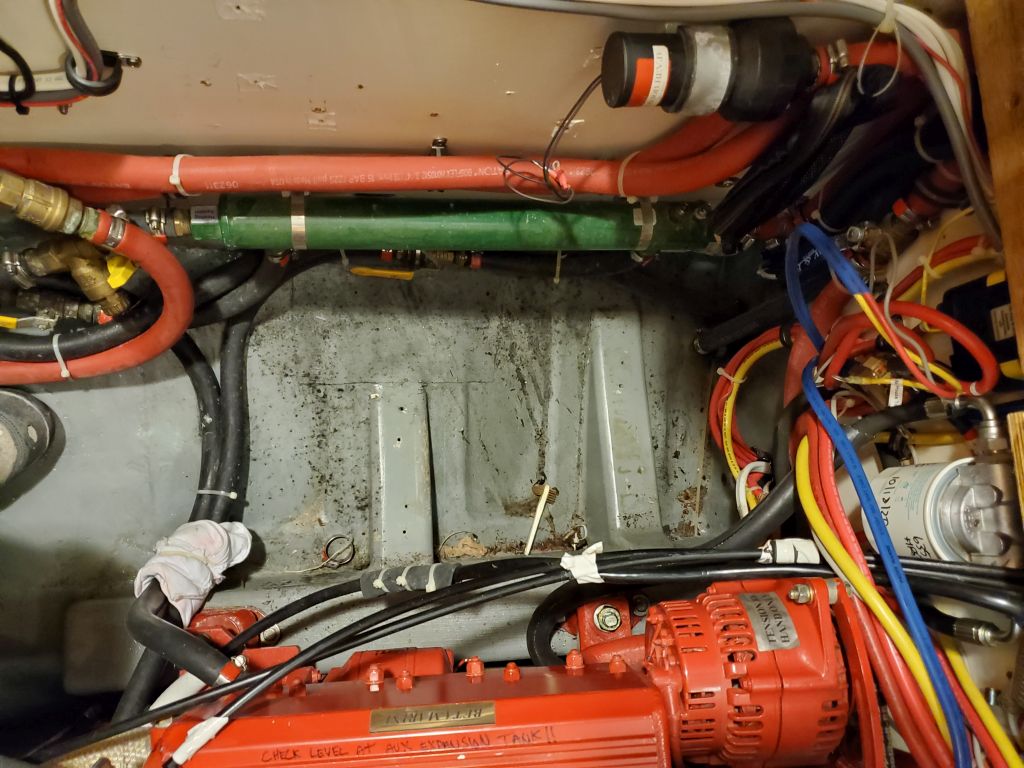
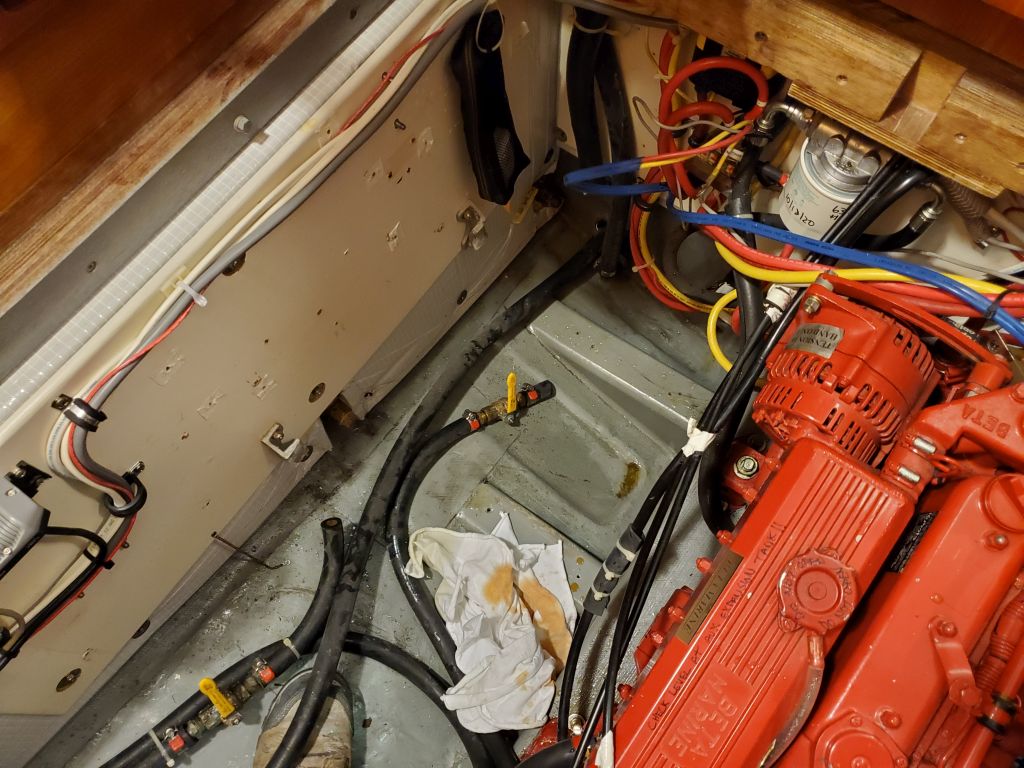
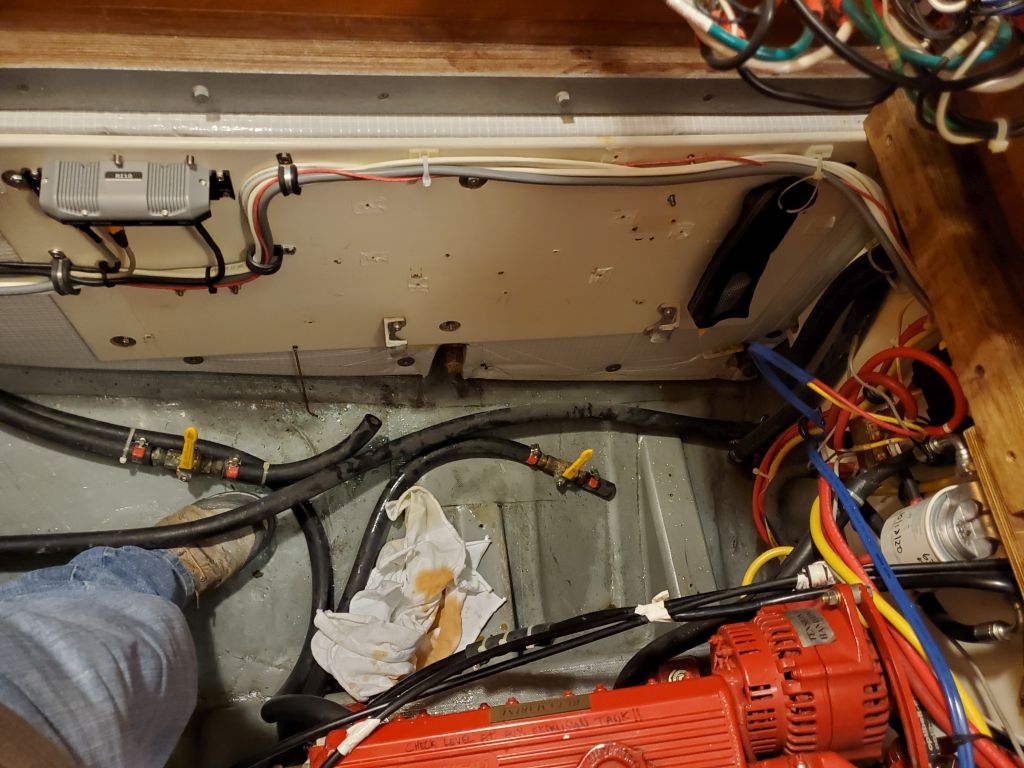
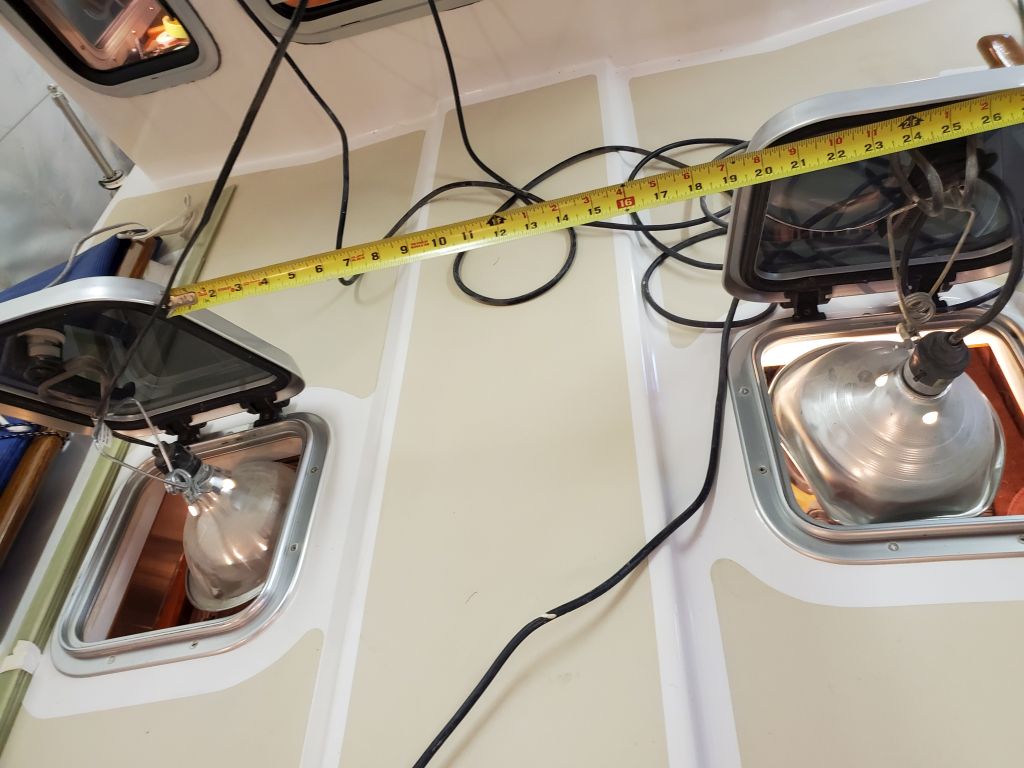
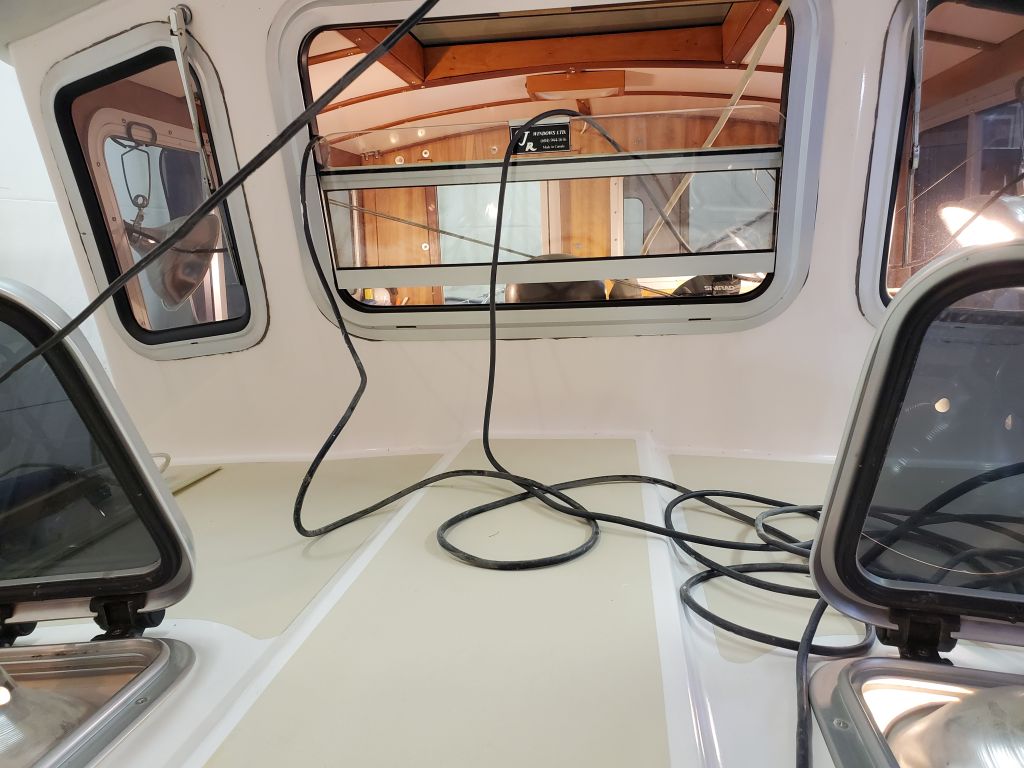
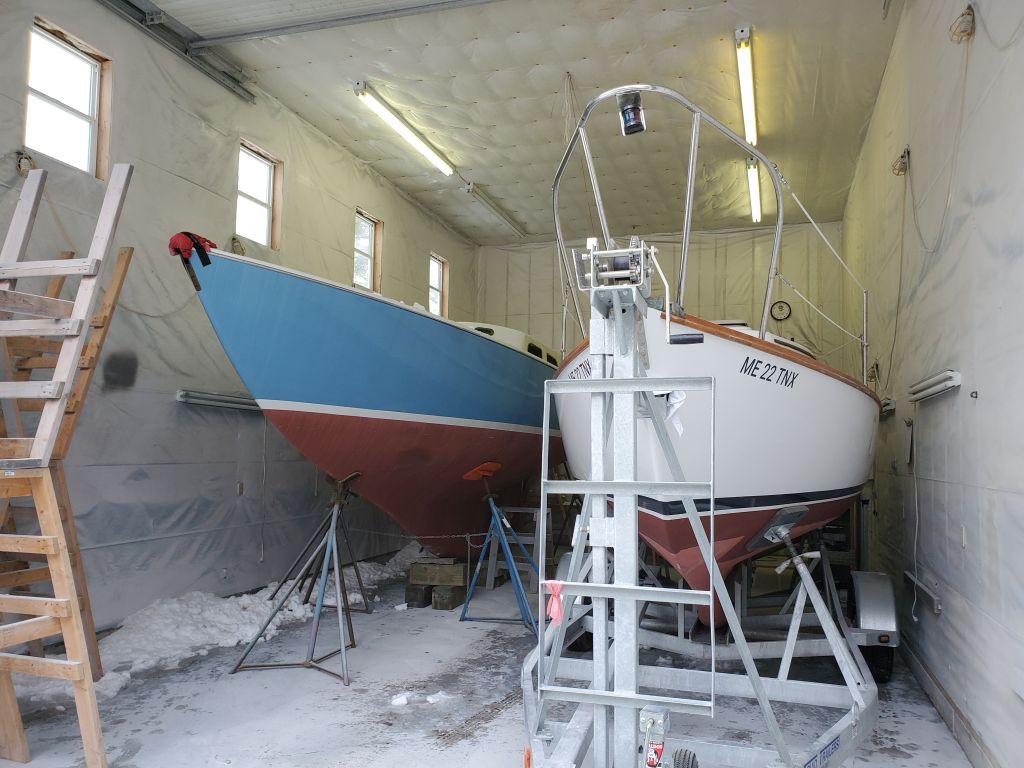
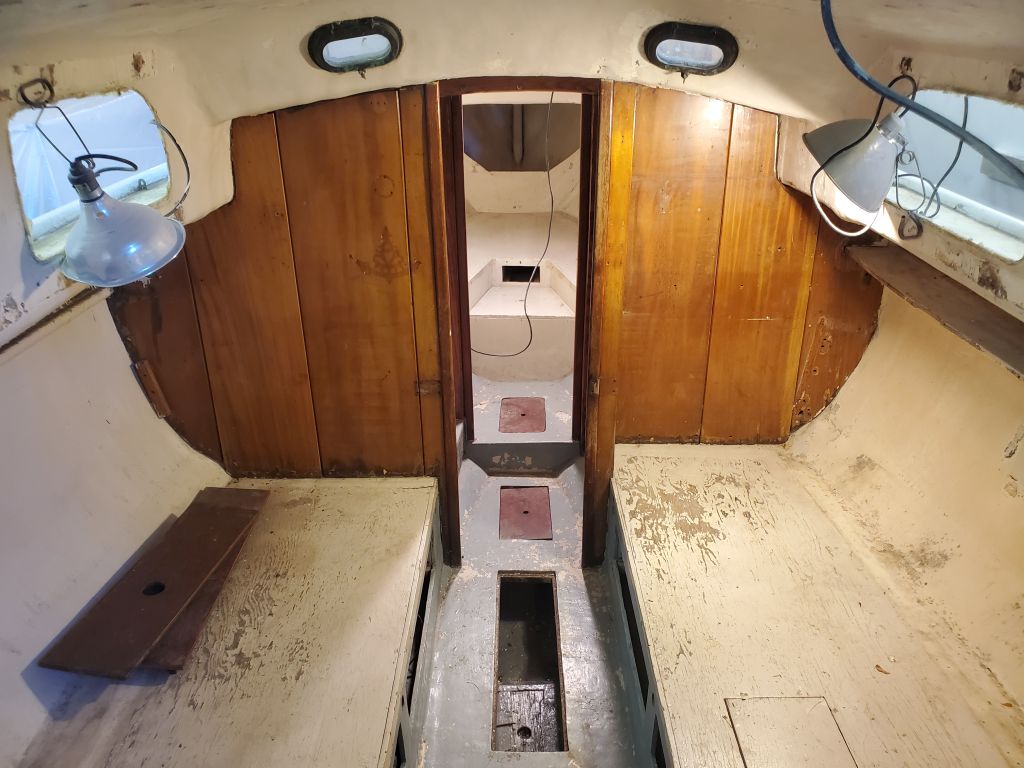
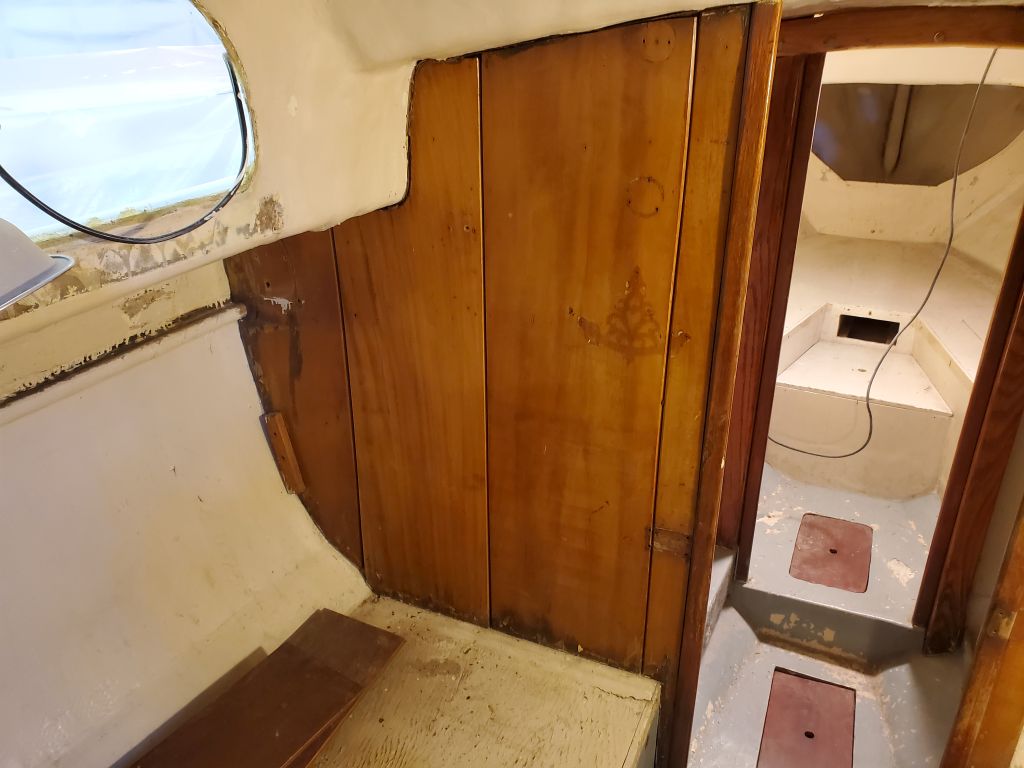
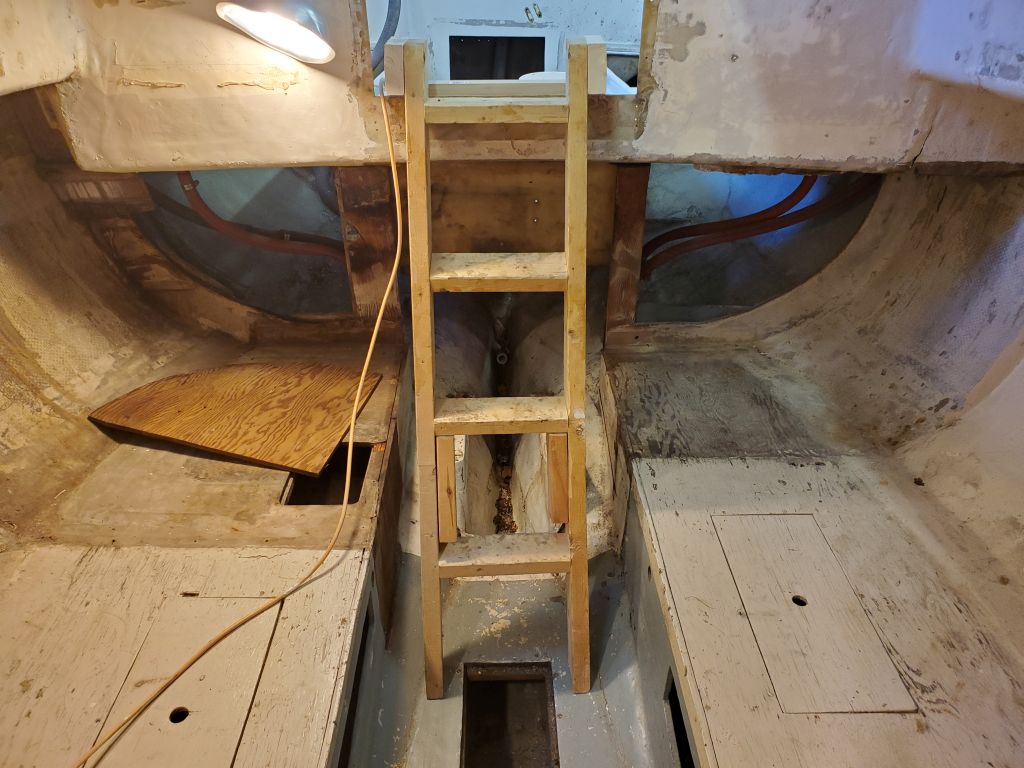
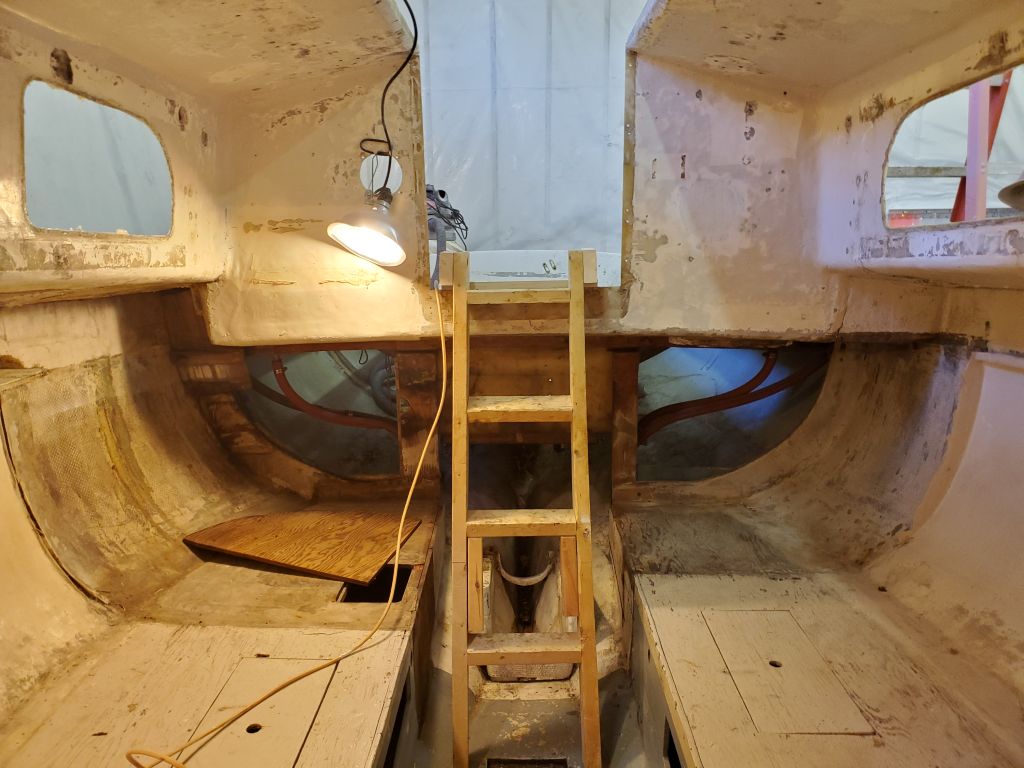
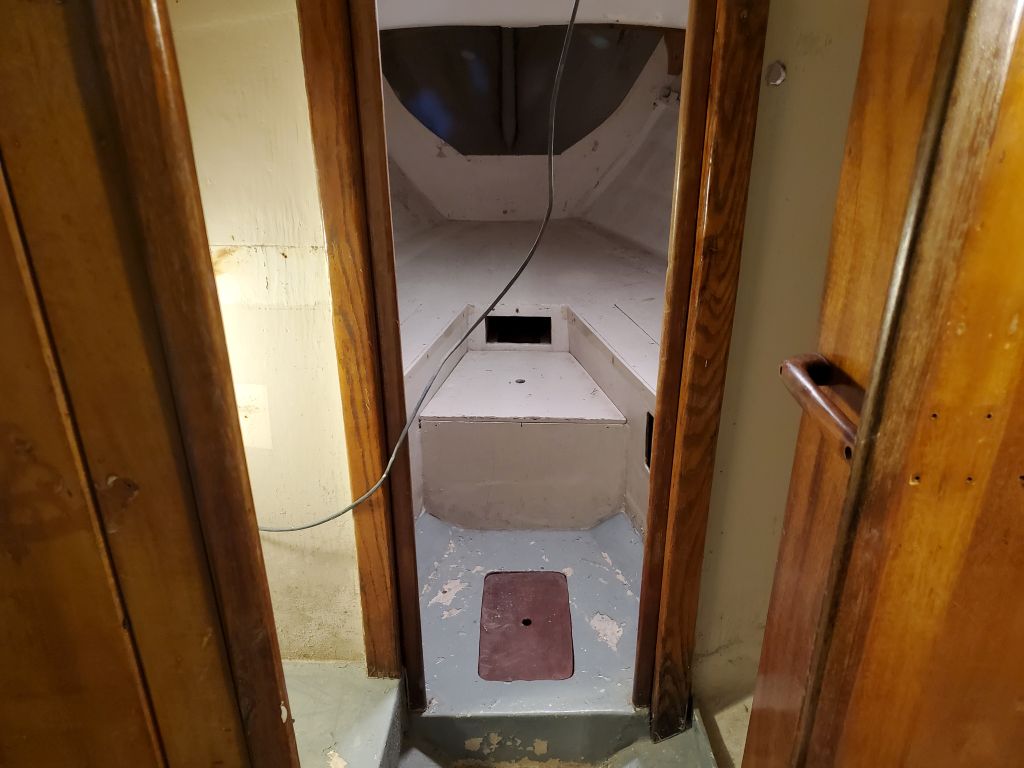
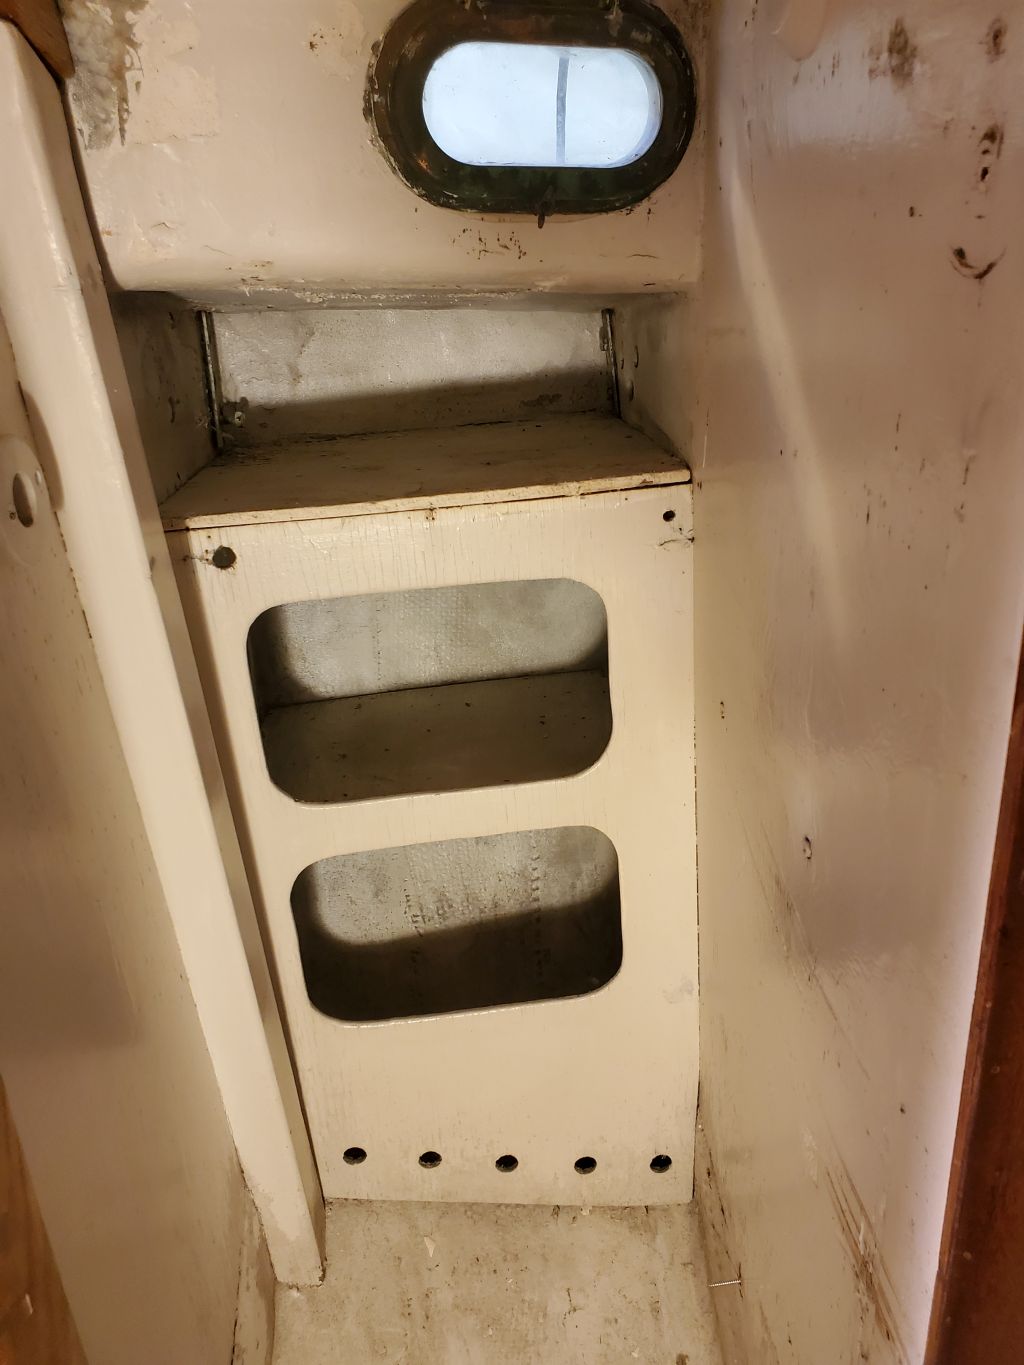
Most of the upcoming work list revolved around the interior, including basic systems work and installing a new propulsion system. The interior in “as-arrived” condition was pretty typical for the class, with a mishmash of past work, paint coatings in fair to poor condition, and most of the demolition work, as the current owner had removed the old galley, engine, and icebox during the past year, leaving these spaces empty and nearly ready for new work. But the interior and bilges were mostly clean (relatively speaking), lacking at least the usual oily mess, water, and other substances that so frequently begrime old boats and especially bilges. The large fixed deadlights had been removed sometime previously, but the six bronze opening ports were still in place for now.
Work planned for the interior and systems:
- Surface prep and painting throughout, including bilges
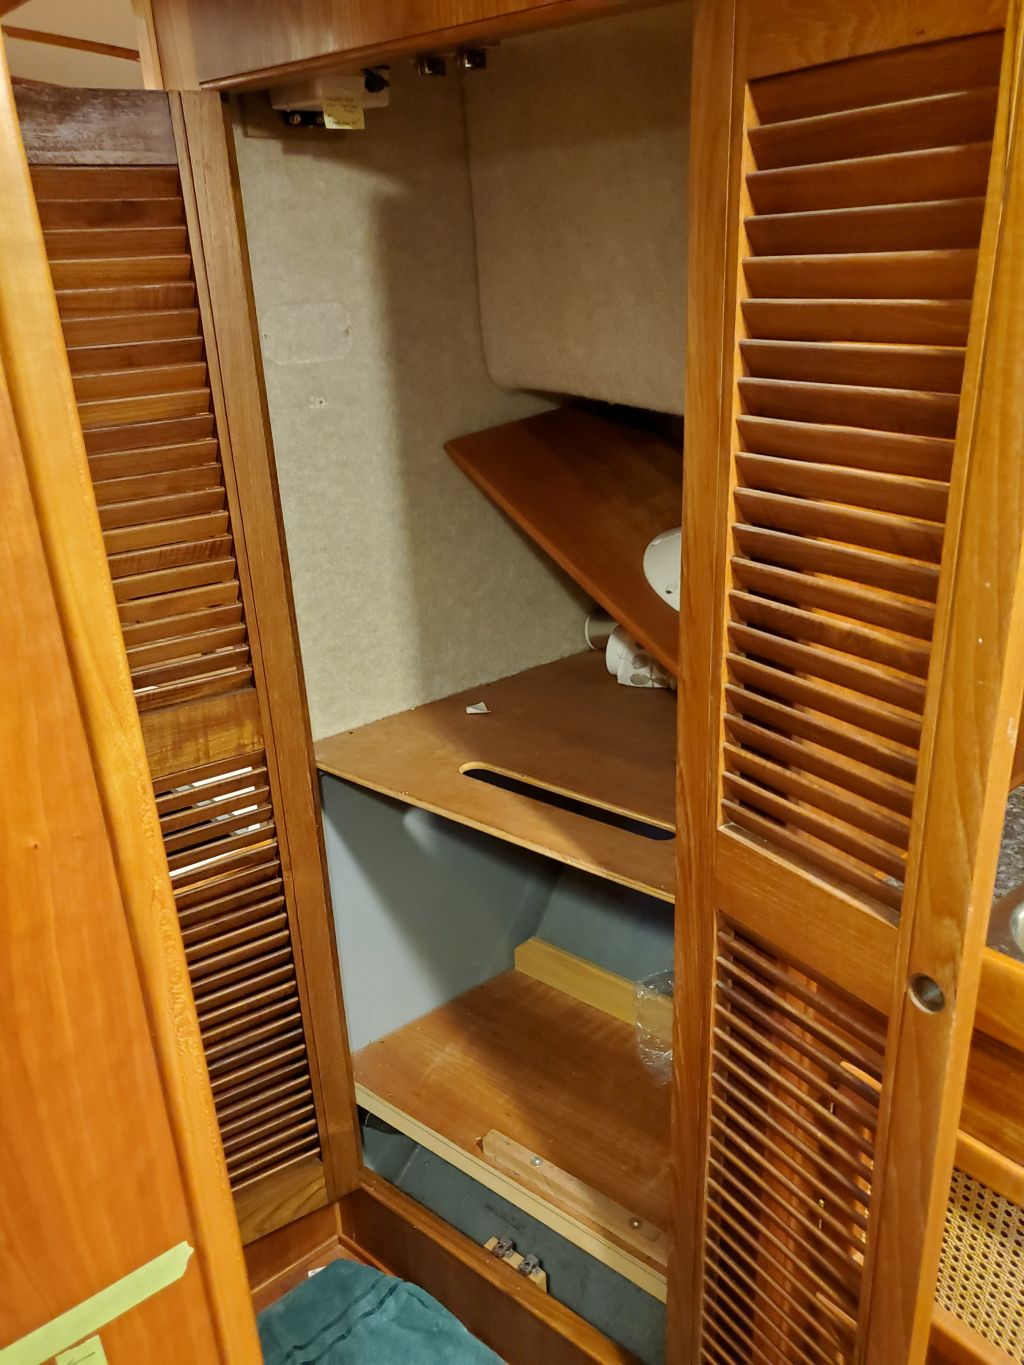
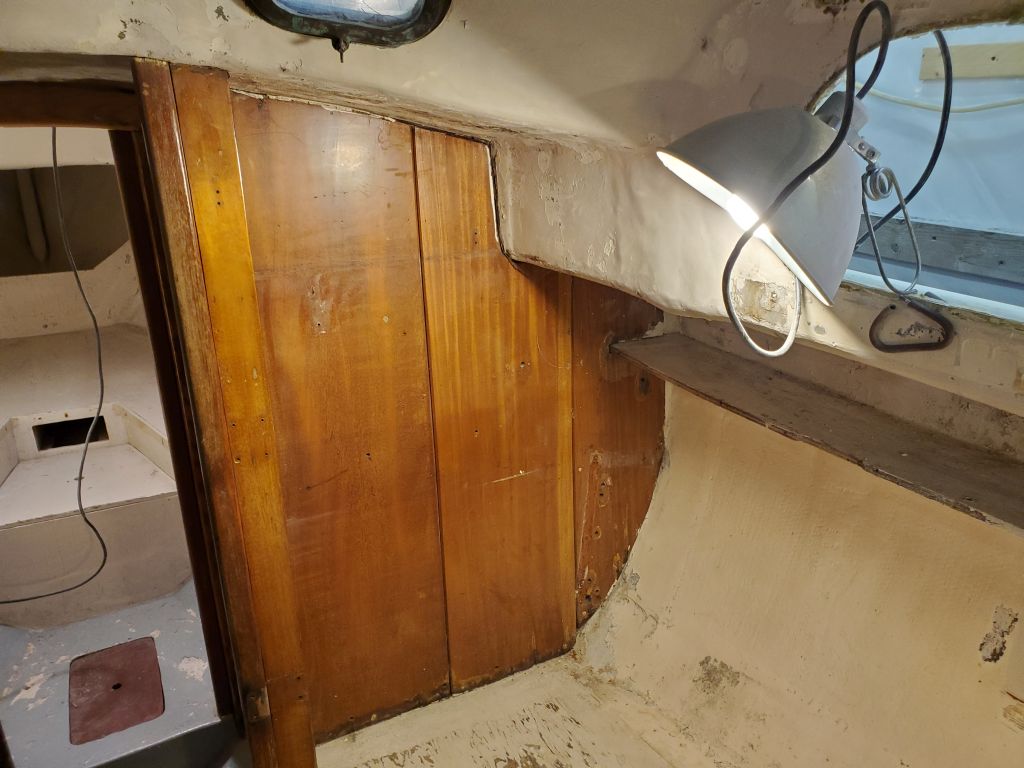
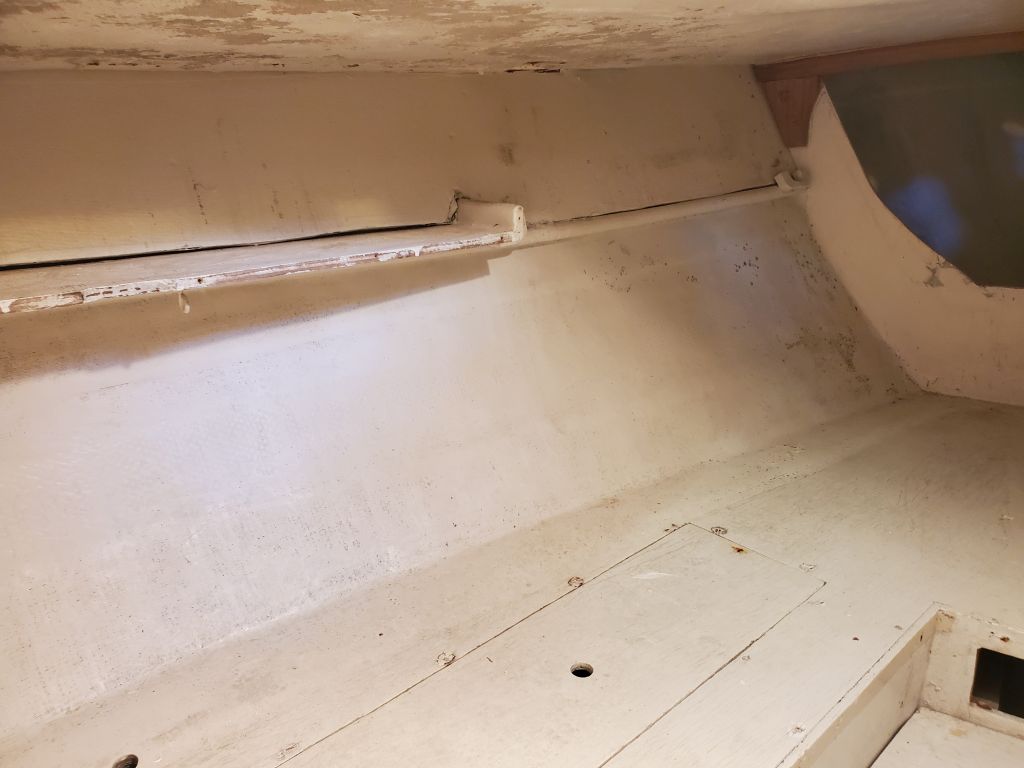
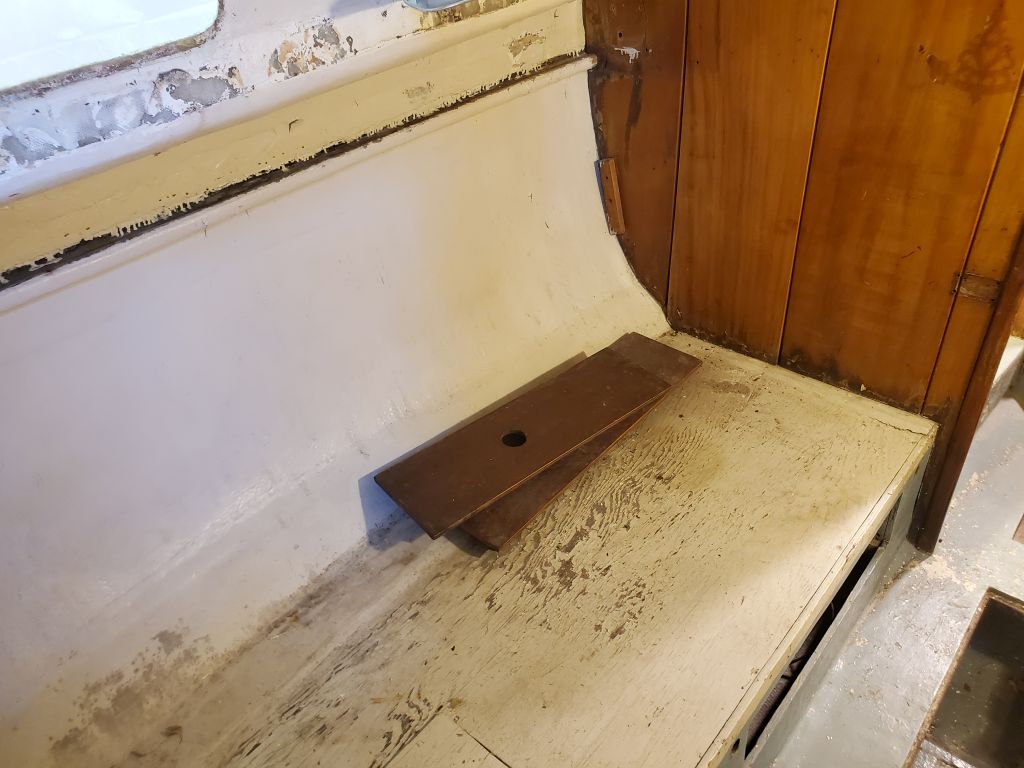
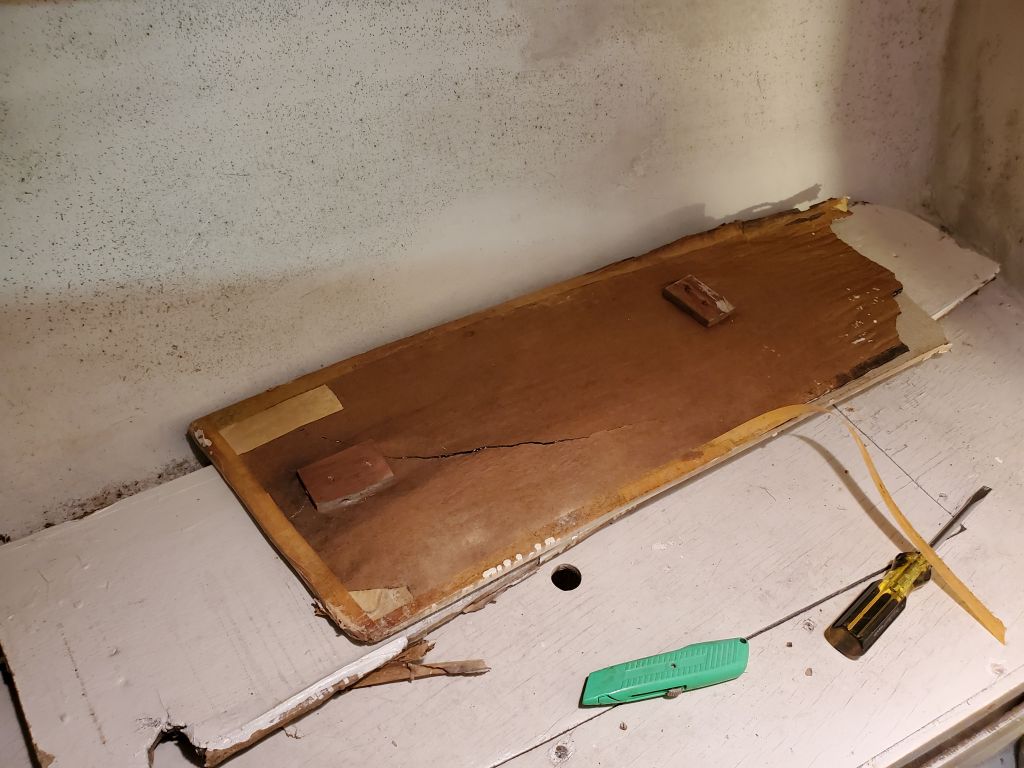
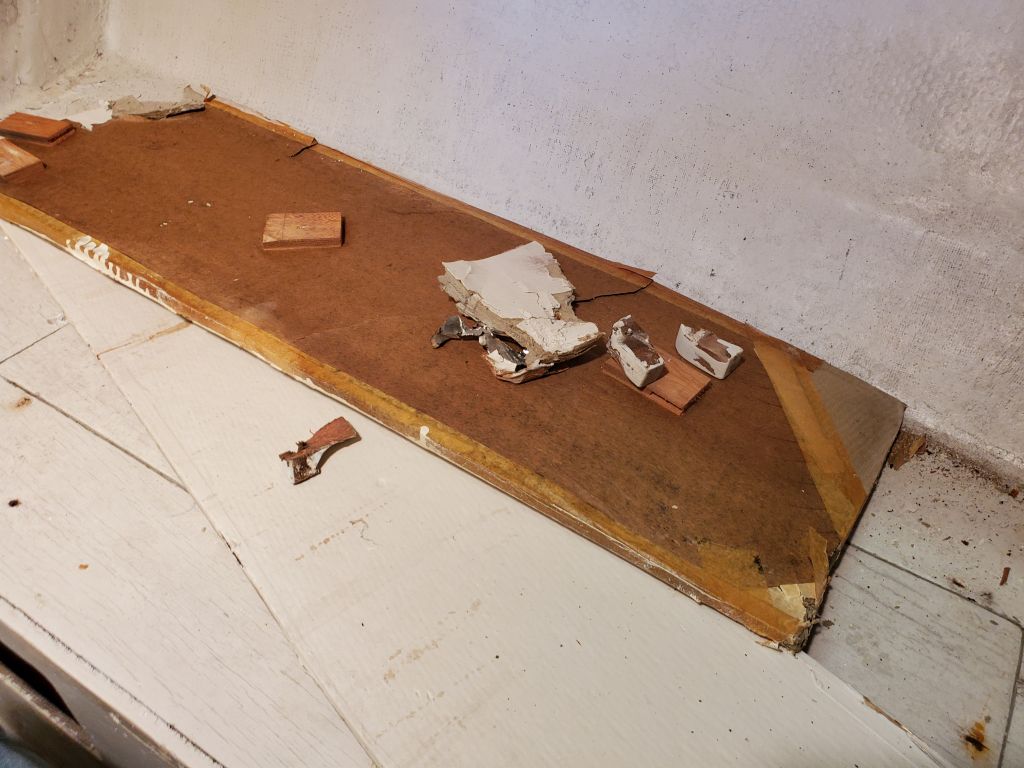
- Remove small shelf from starboard side of main cabin
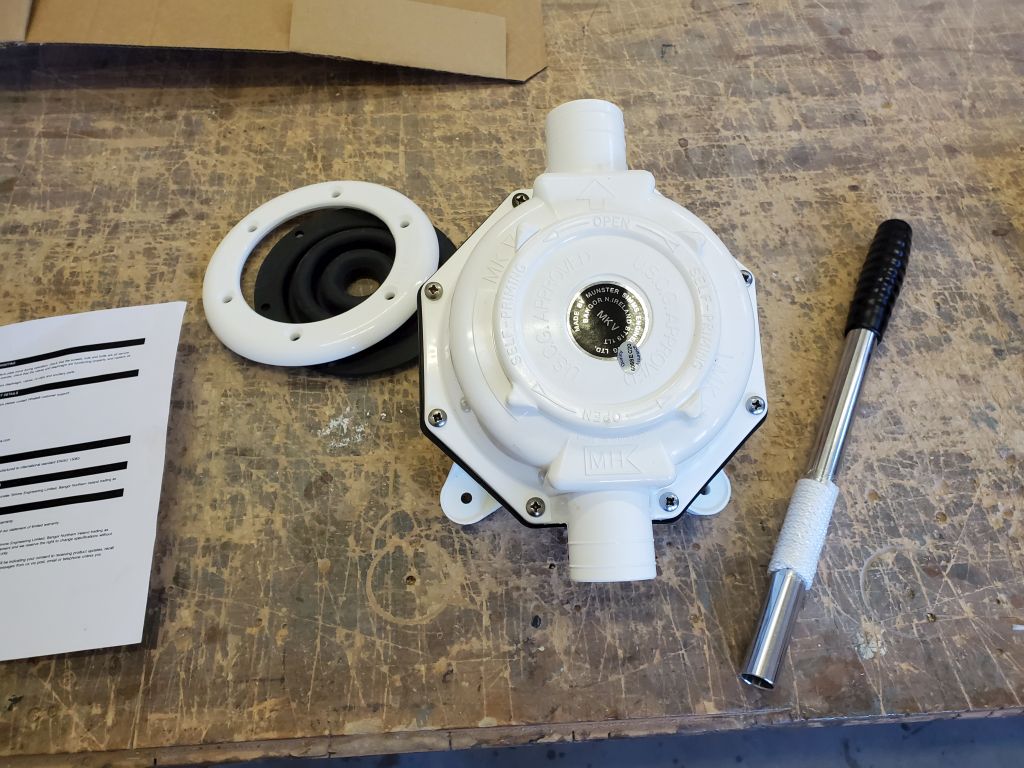
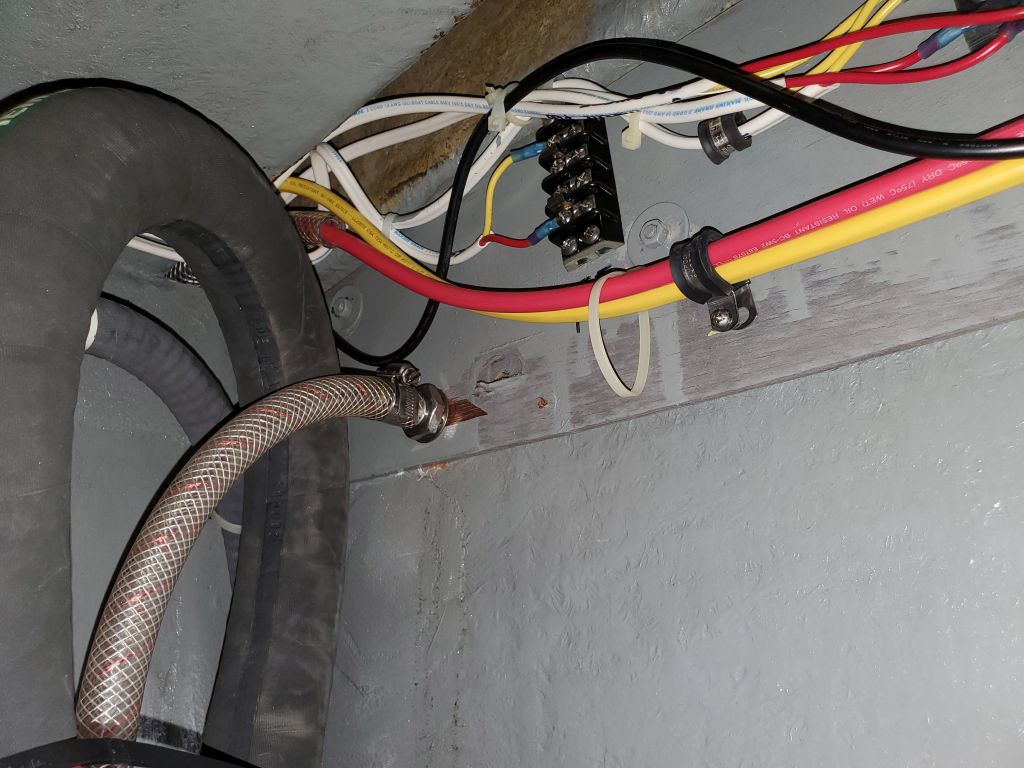
- Renew scupper hoses
- Install electric propulsion motor, shafting, and related wiring
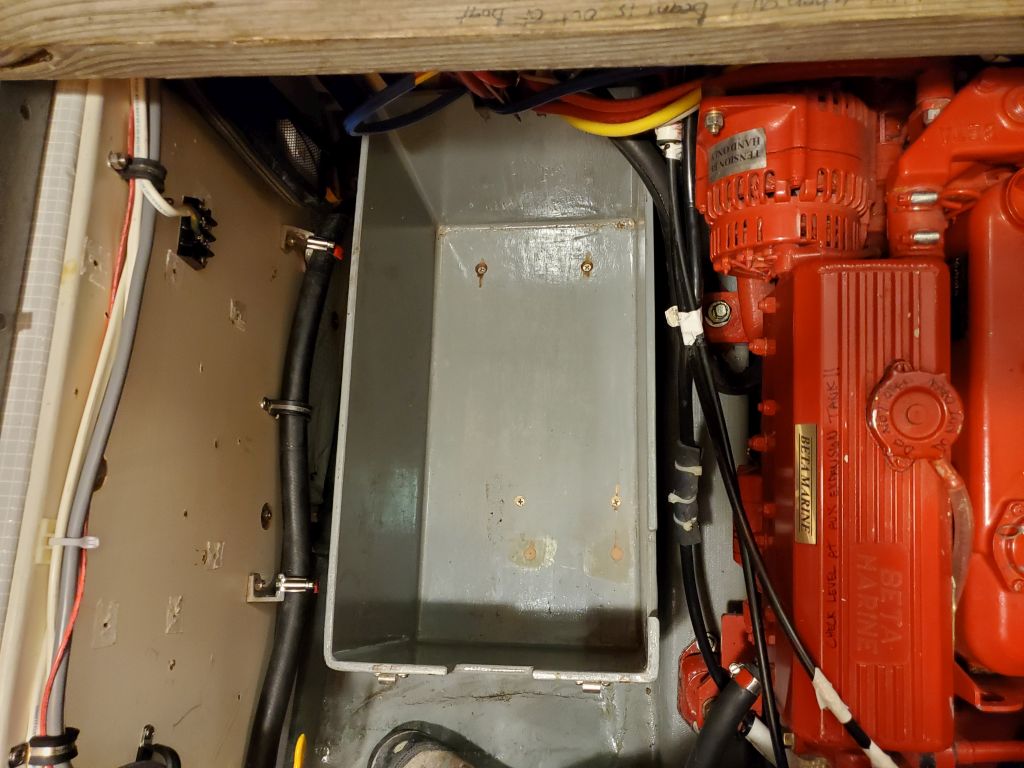
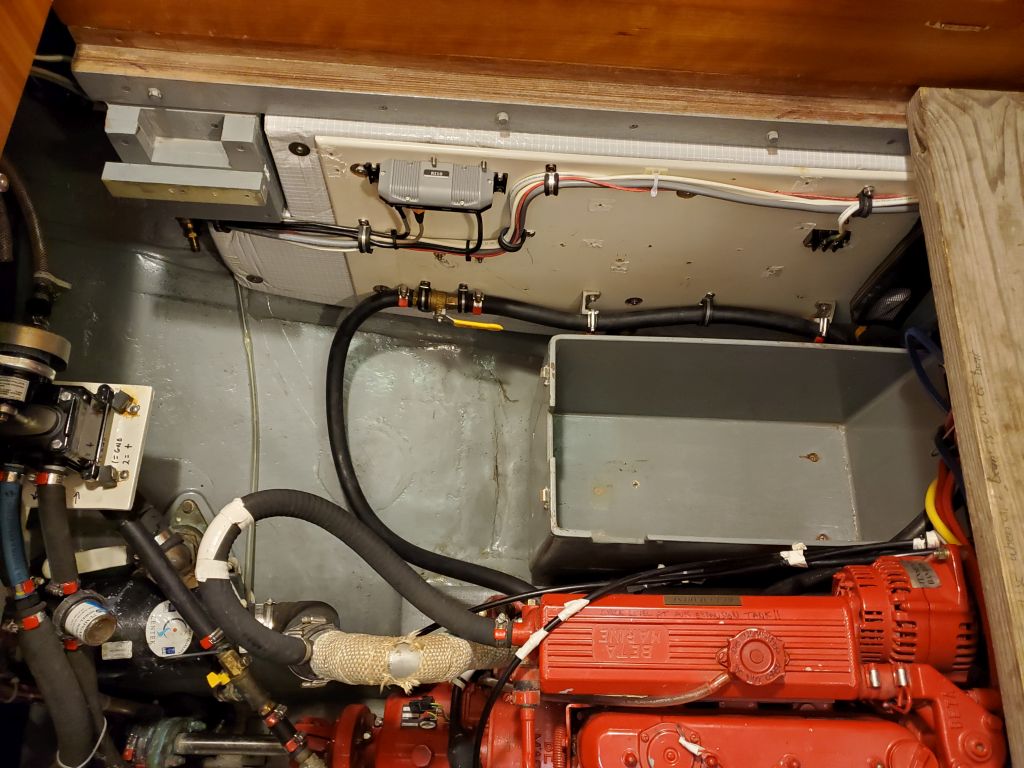
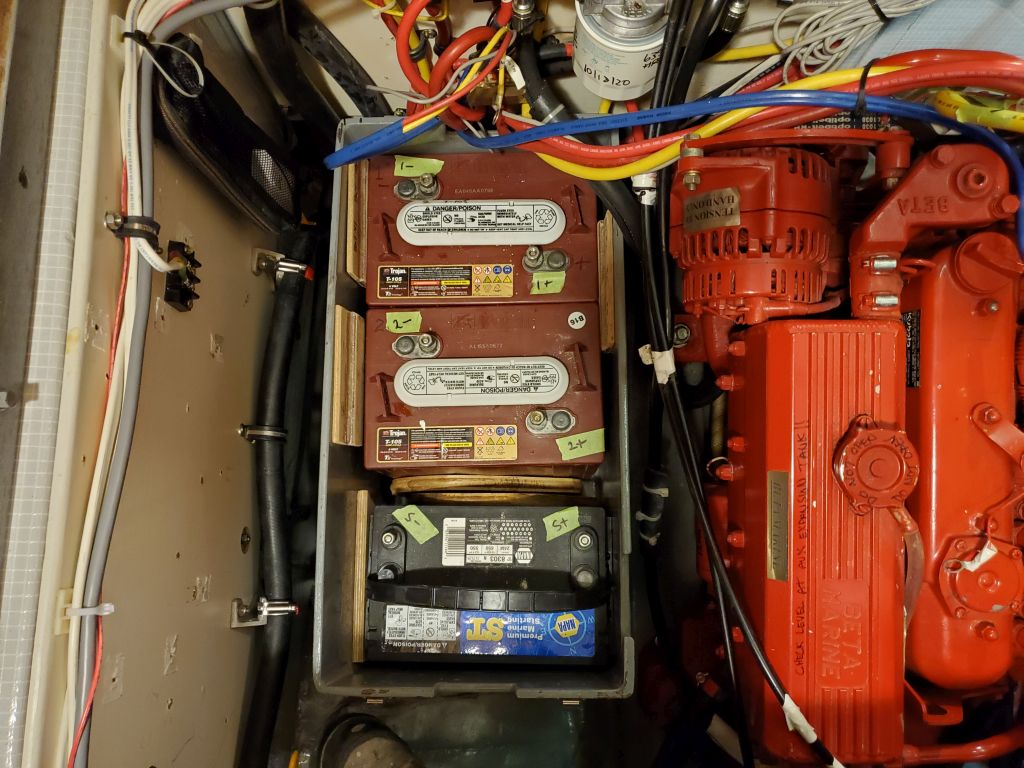
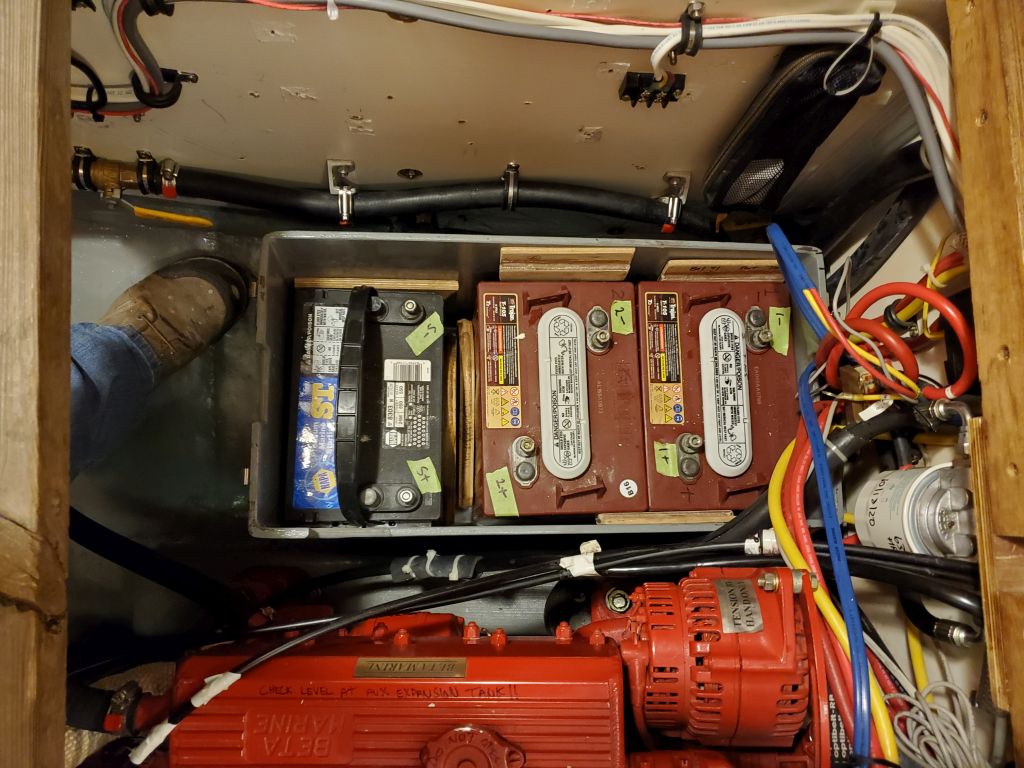
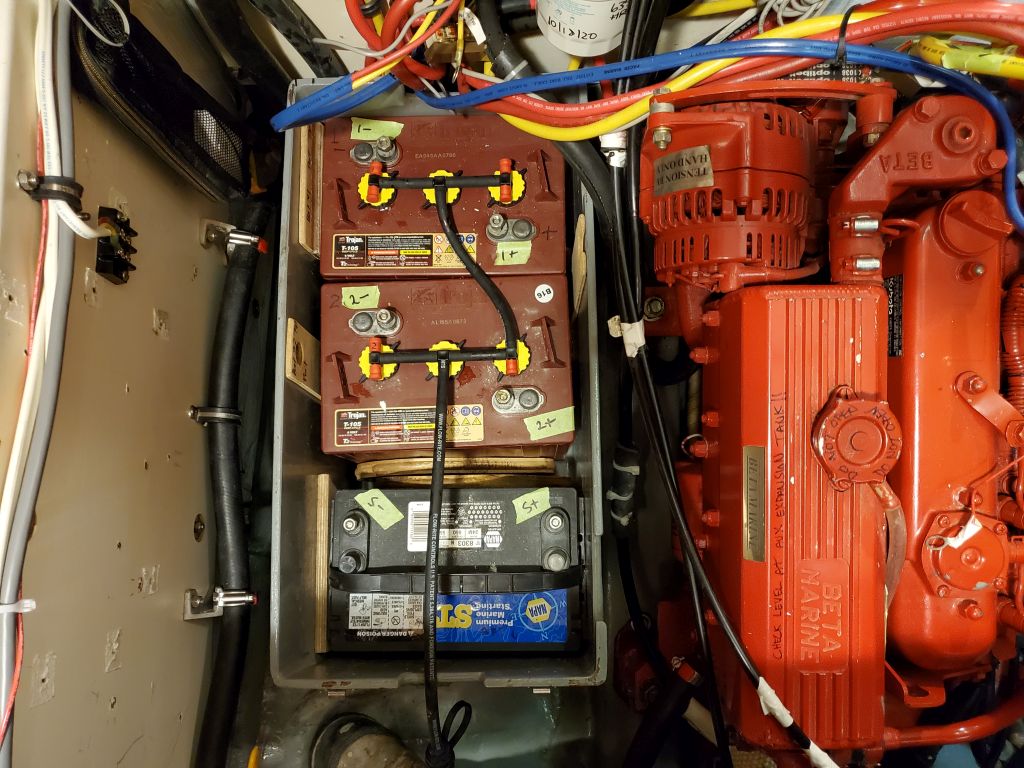
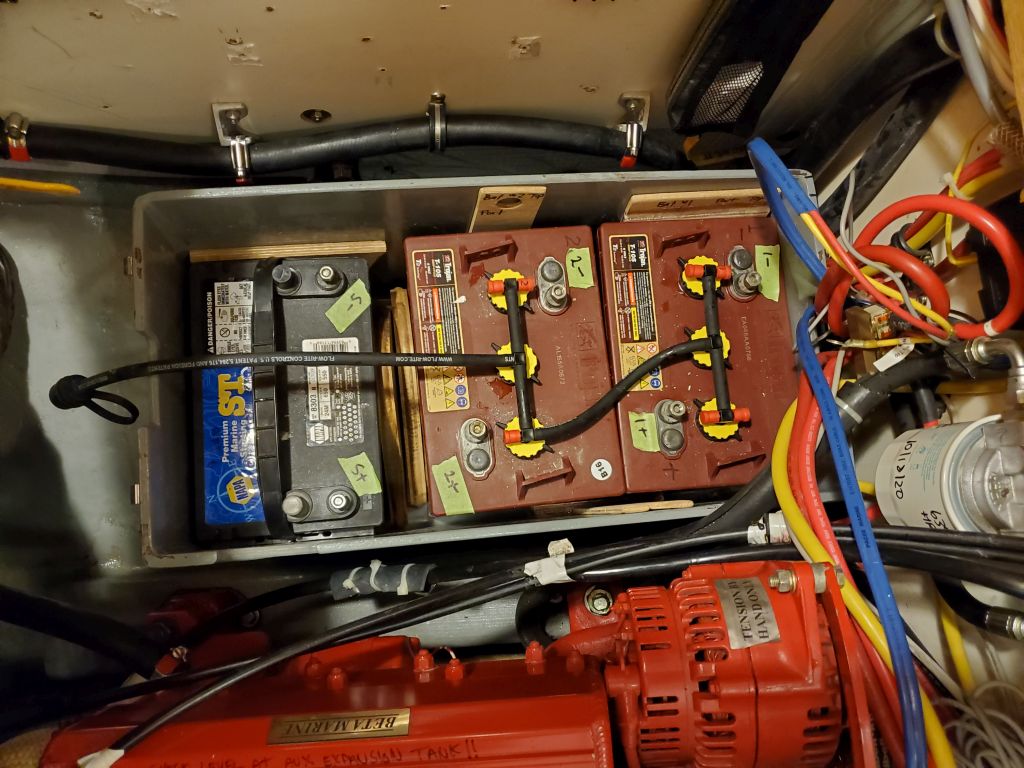
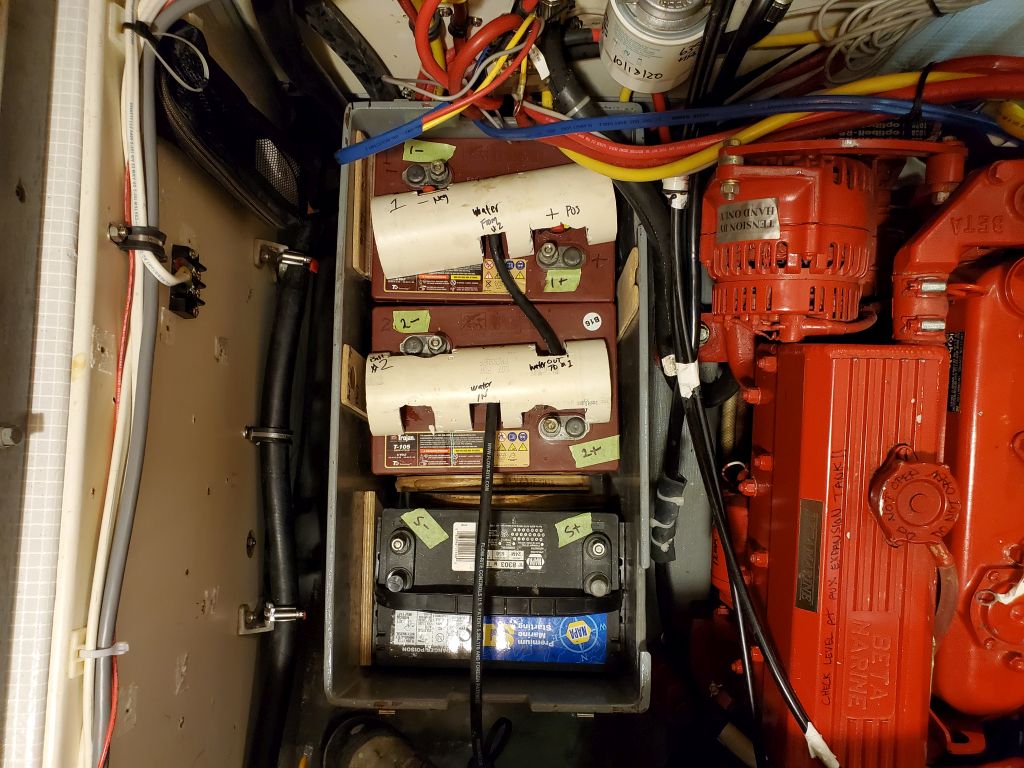
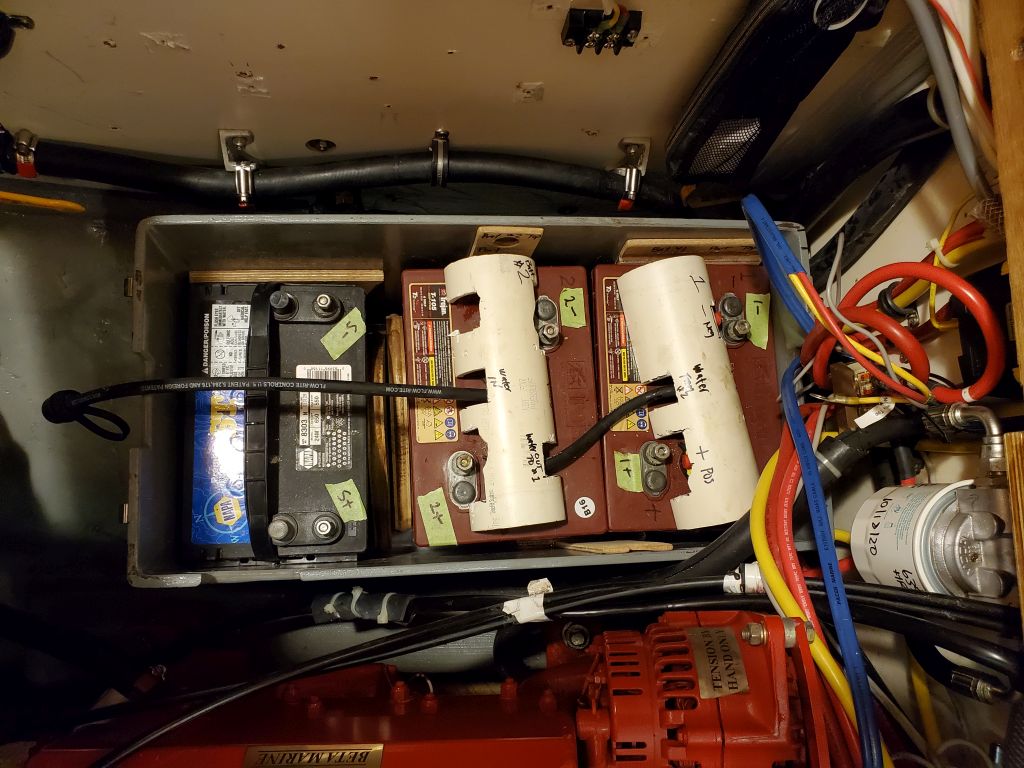
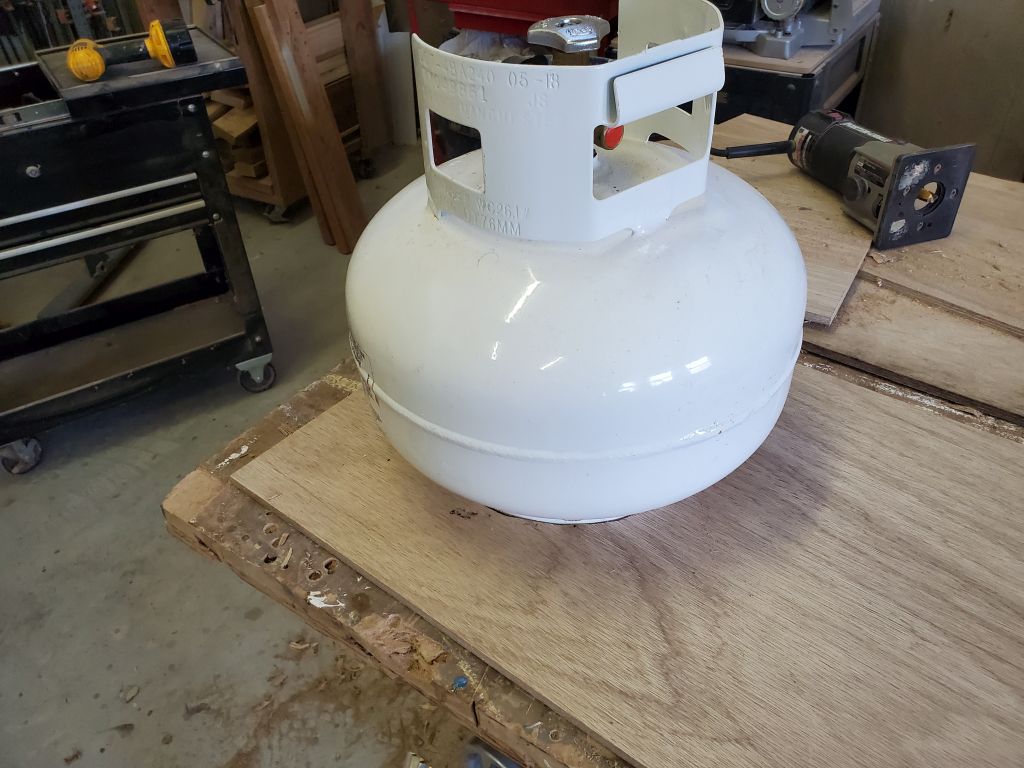
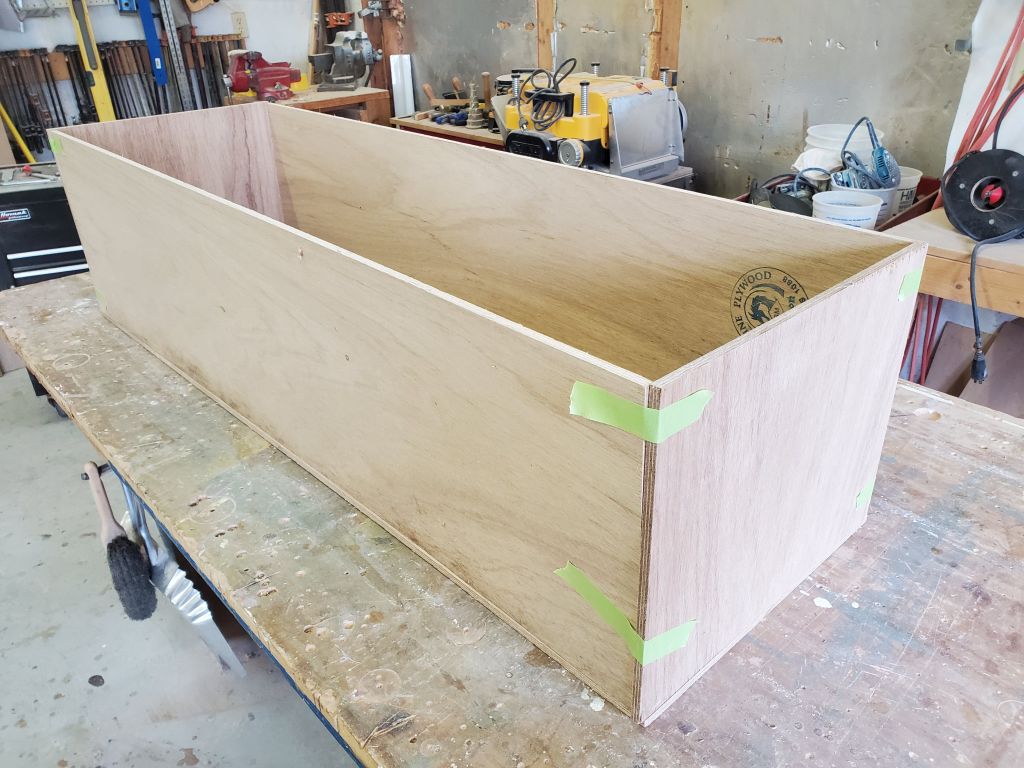
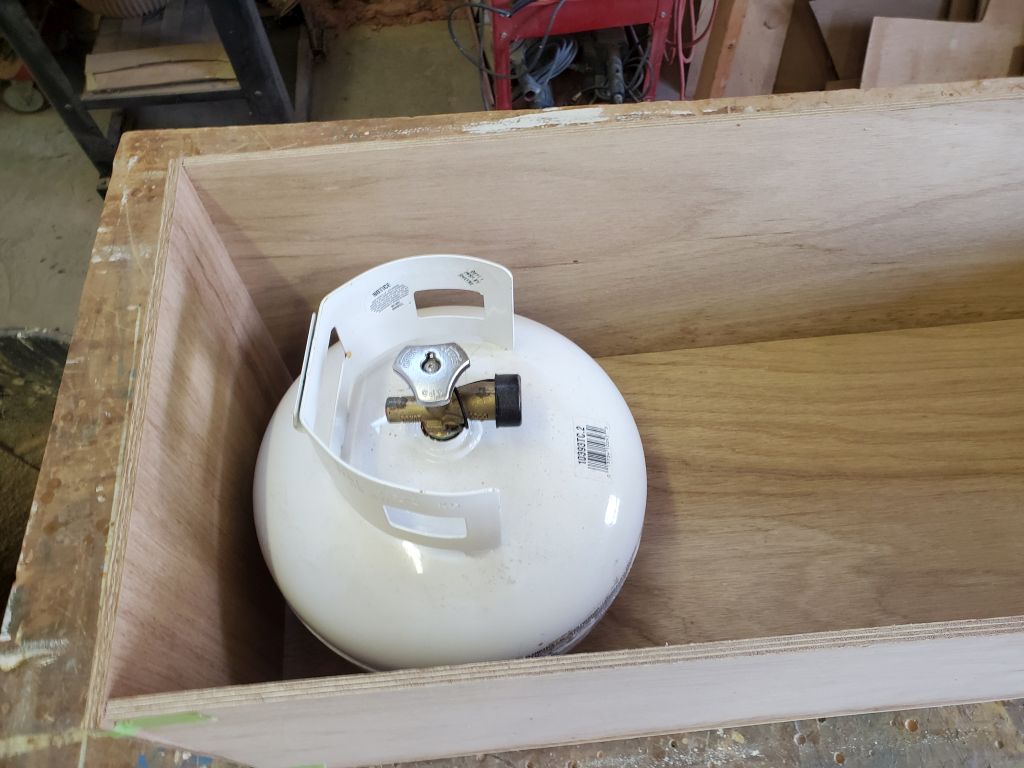
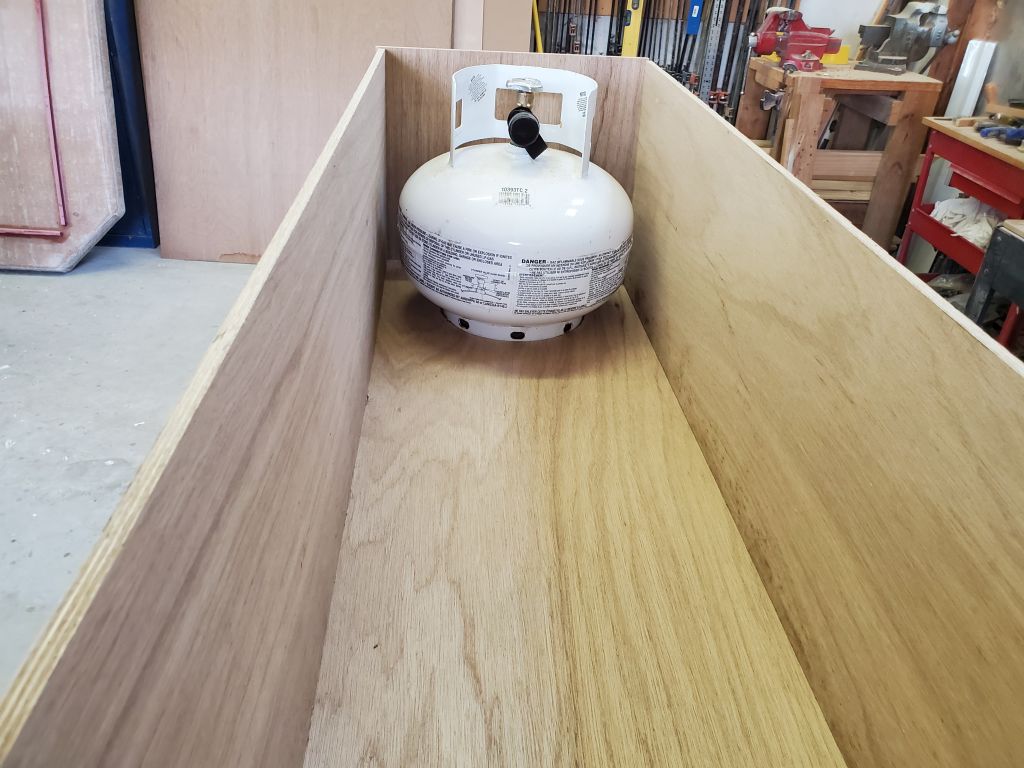
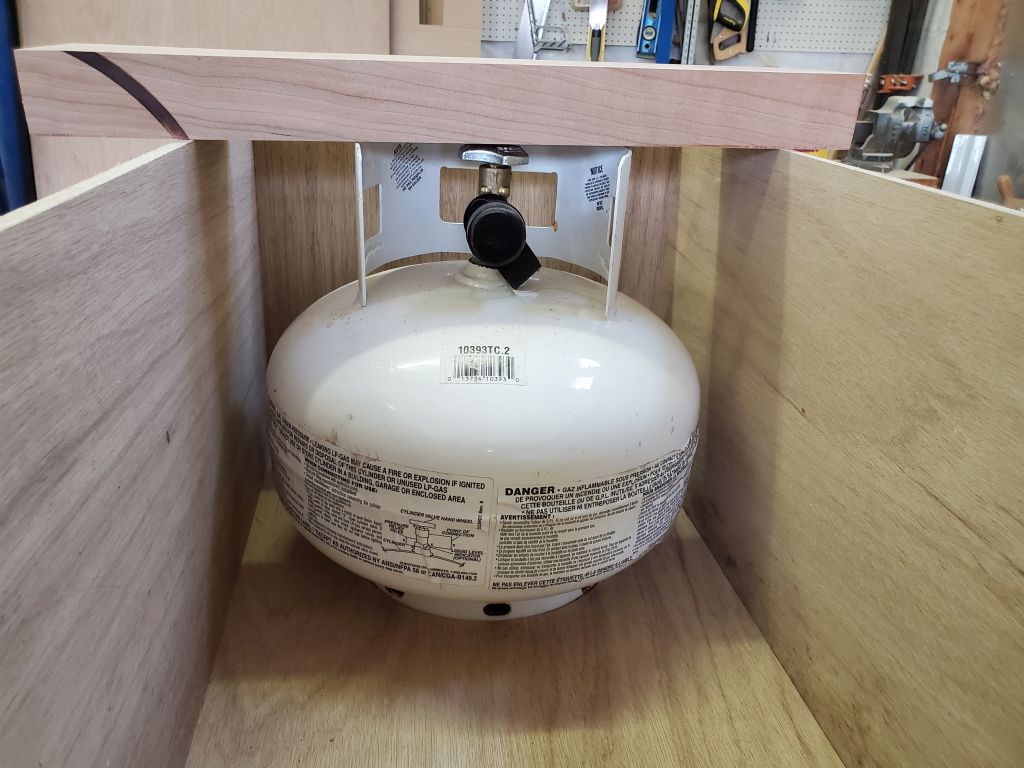
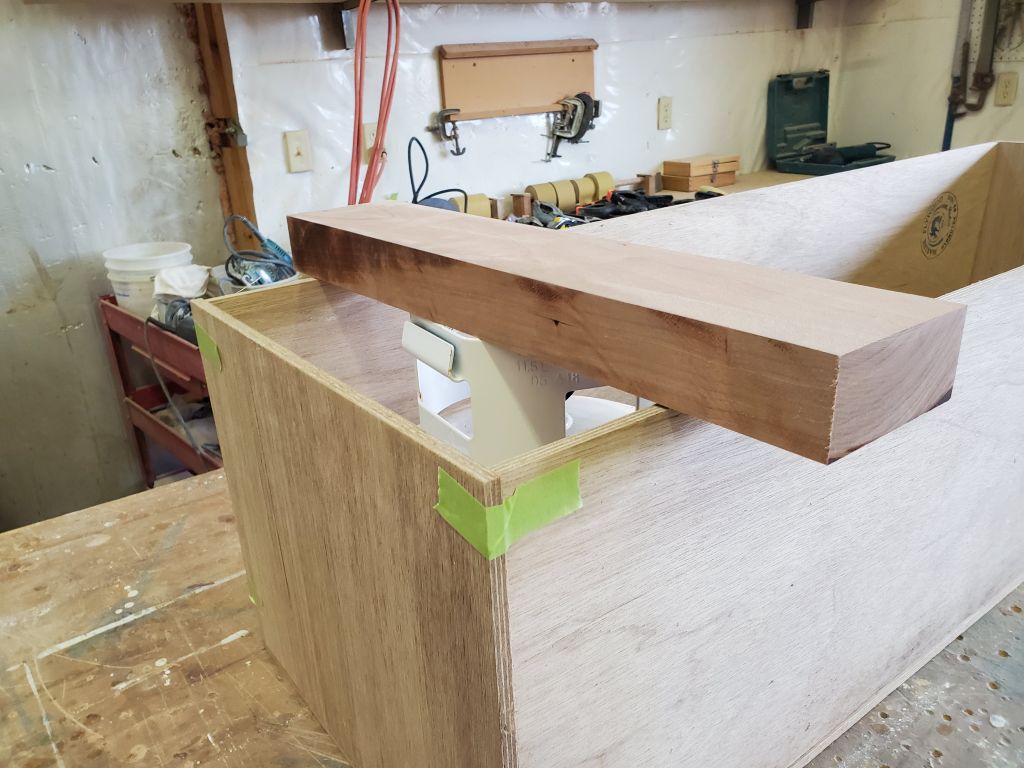
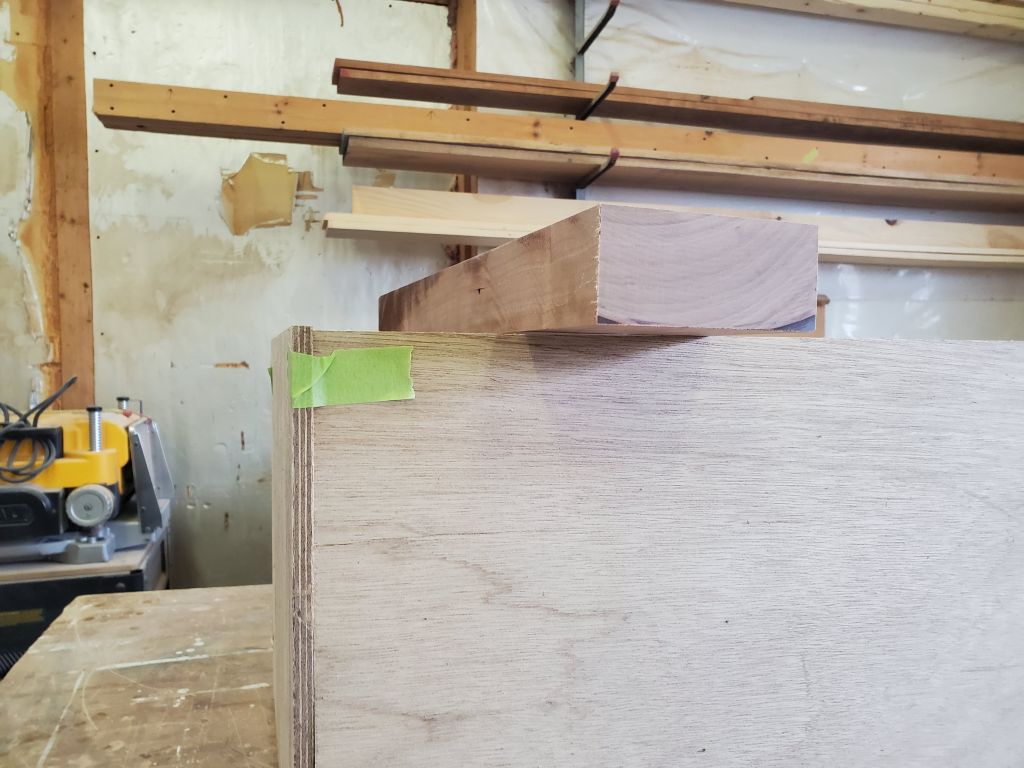
- Determine location, and build boxes for, 4-12-volt propulsion batteries
- Determine location for 12-volt house battery
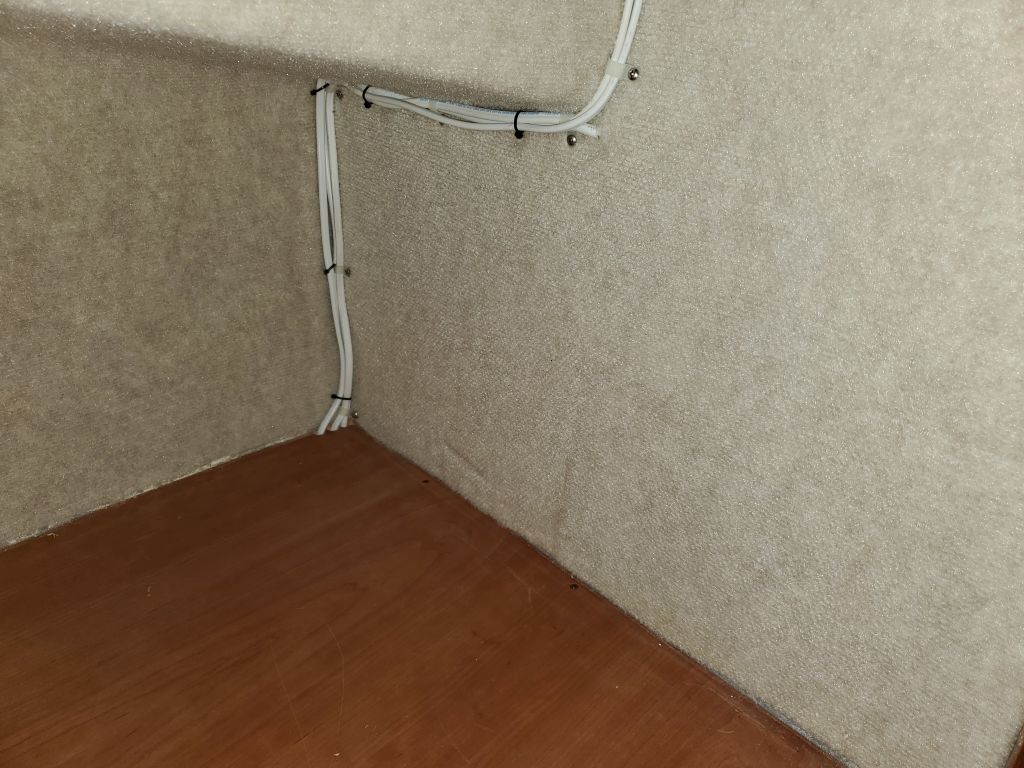
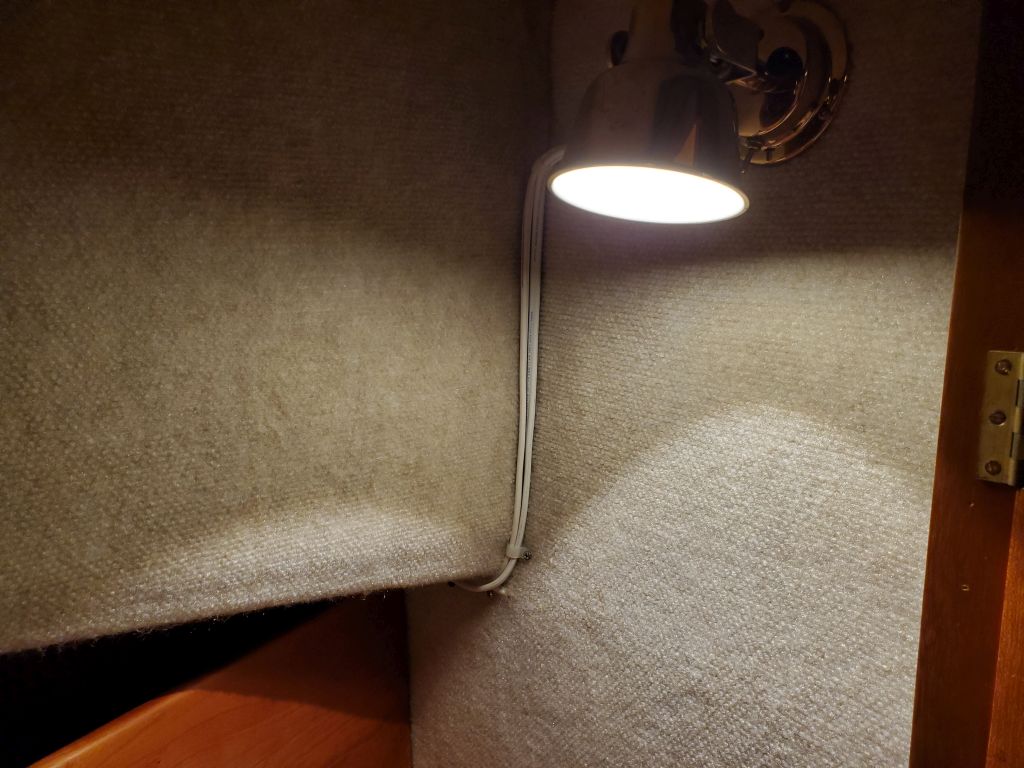
- House wiring as needed and possible
- Conceive, layout, and build replacement galley and other interior components to the extent possible
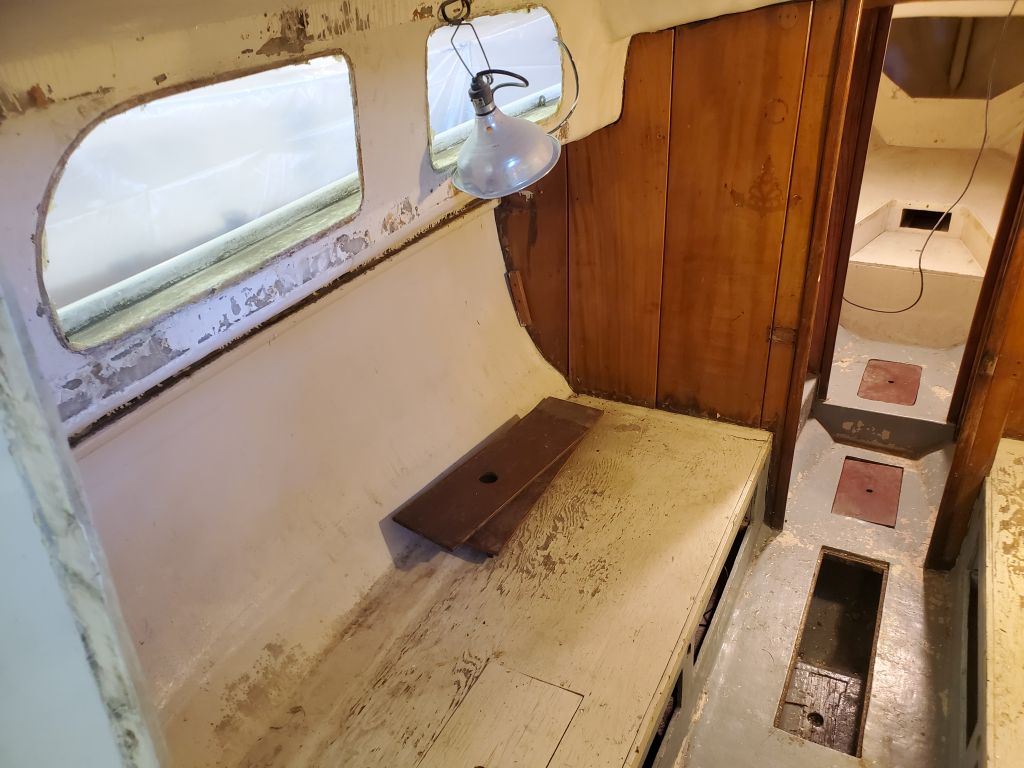


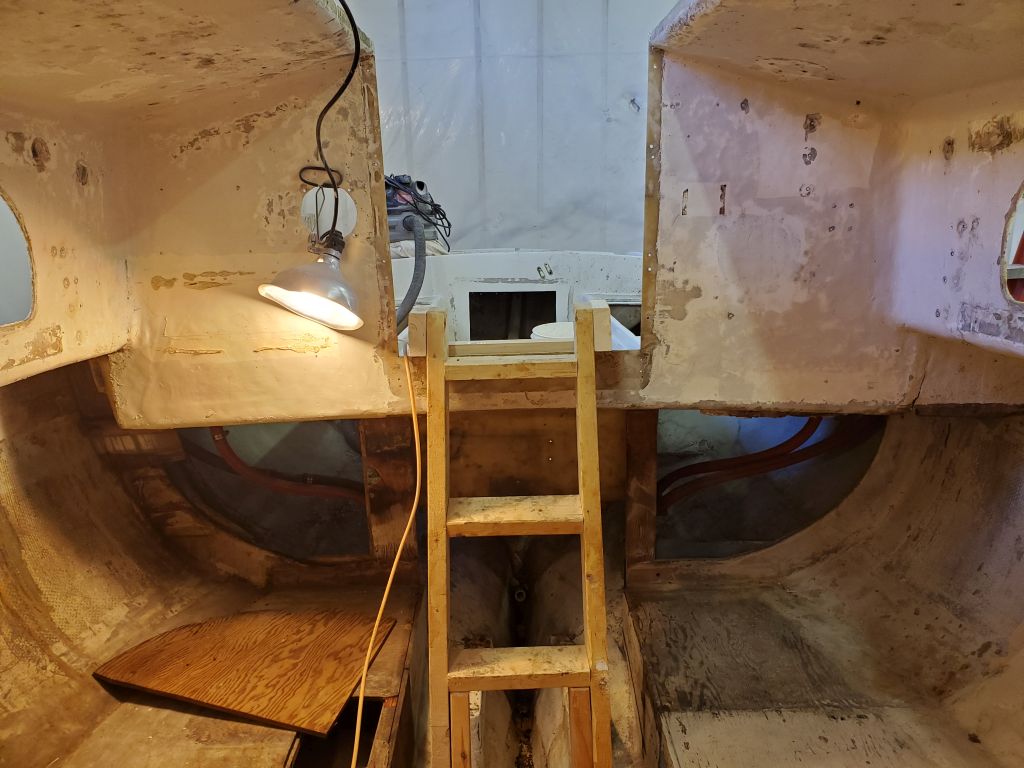


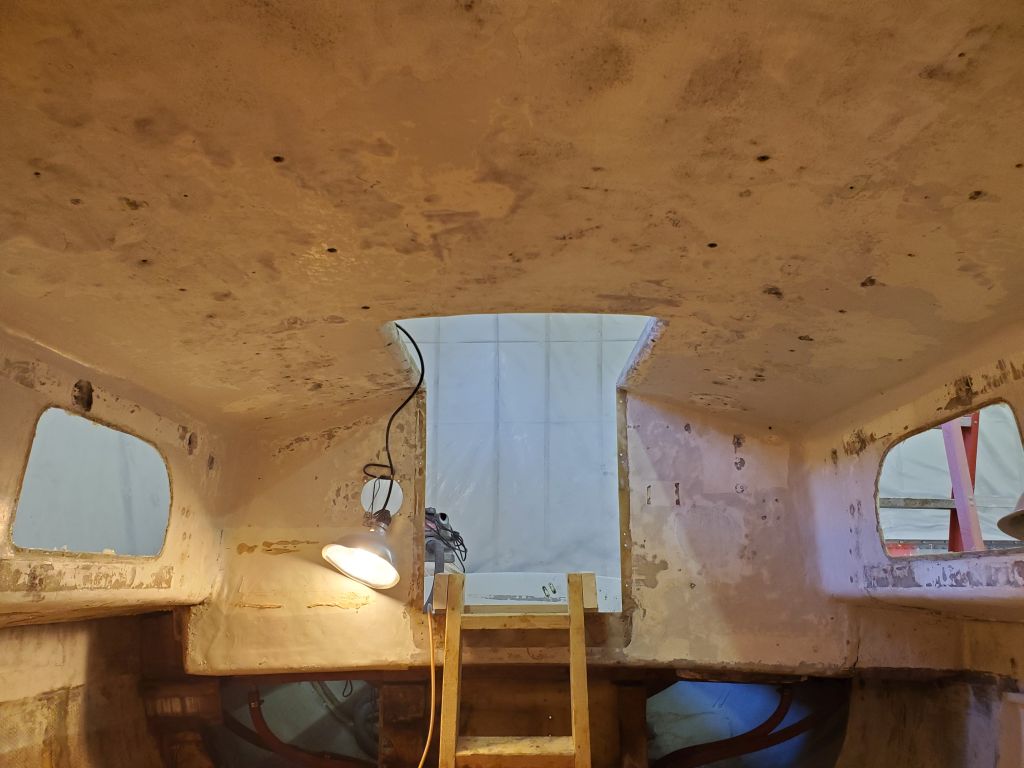
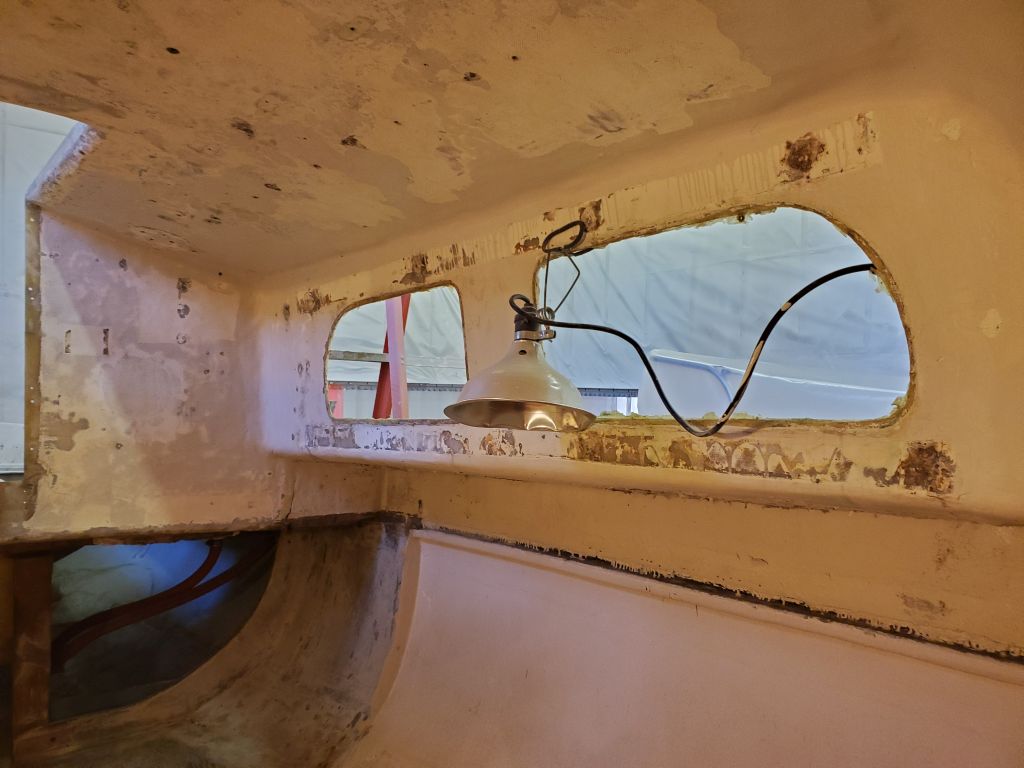
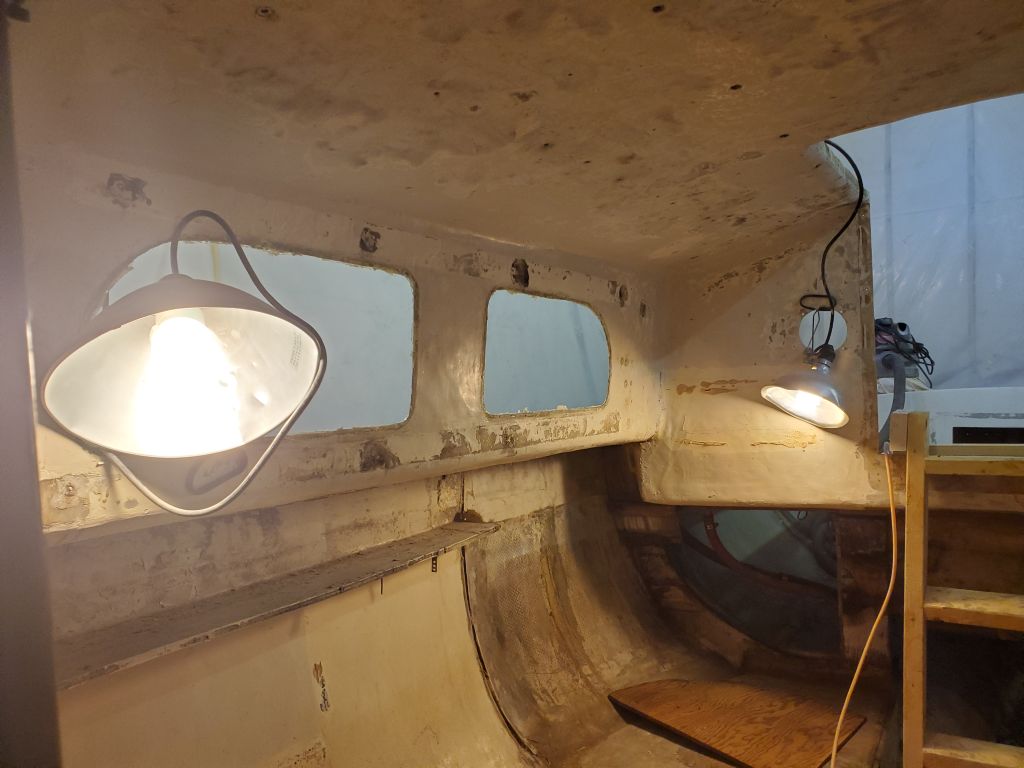


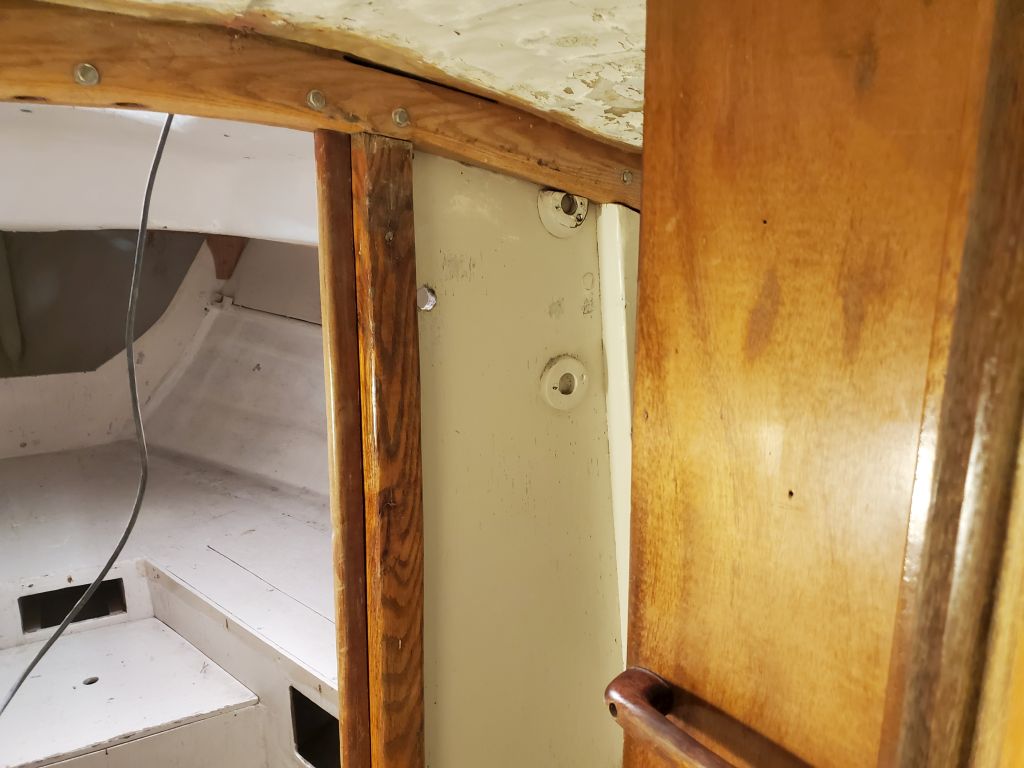


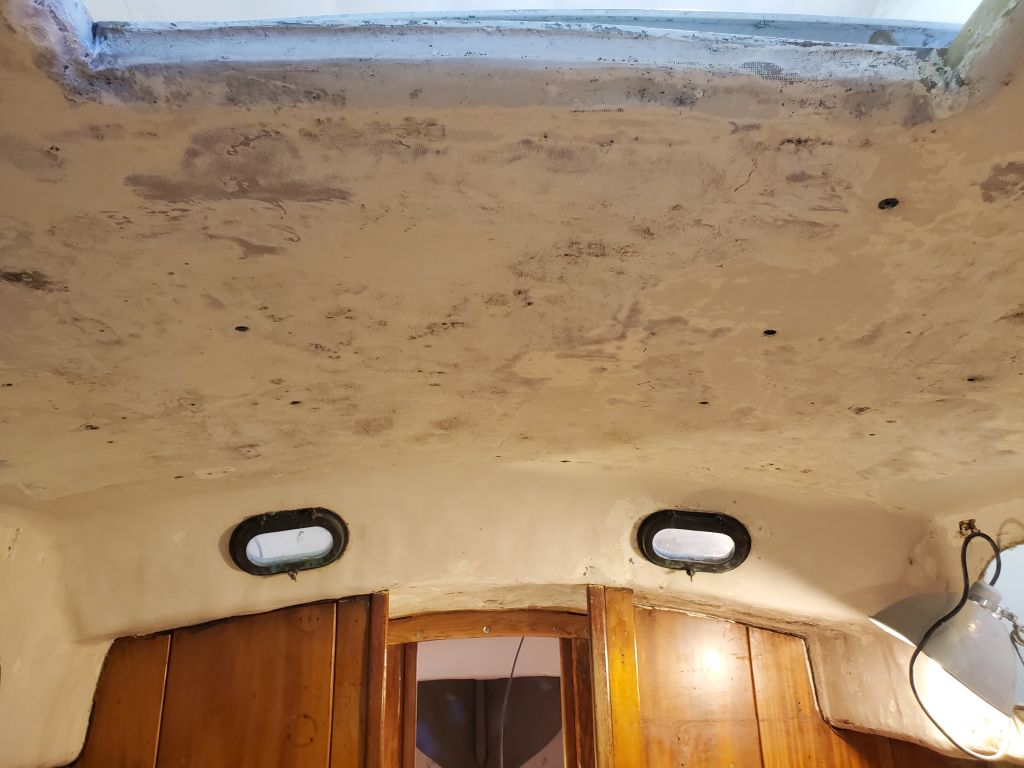
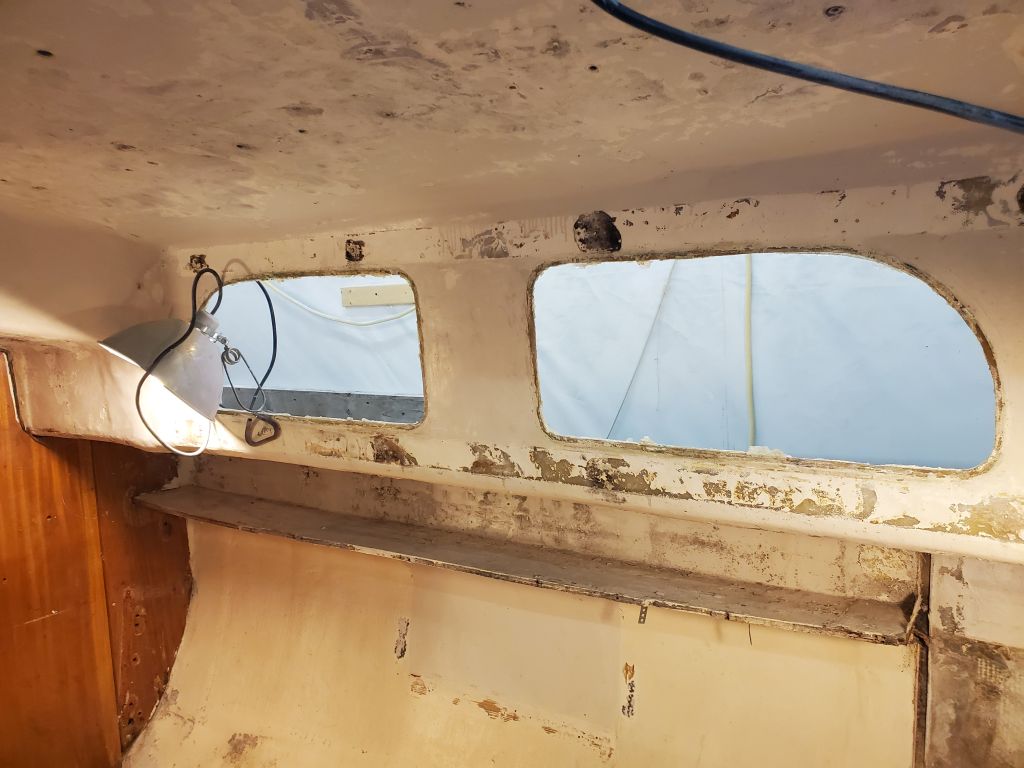


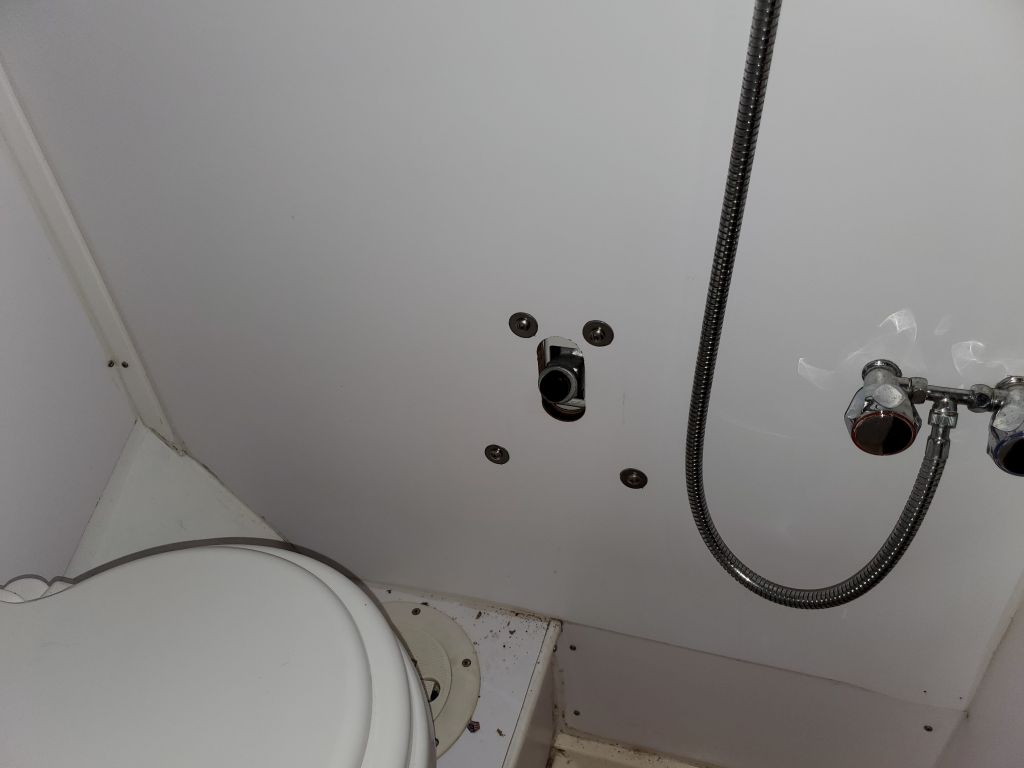
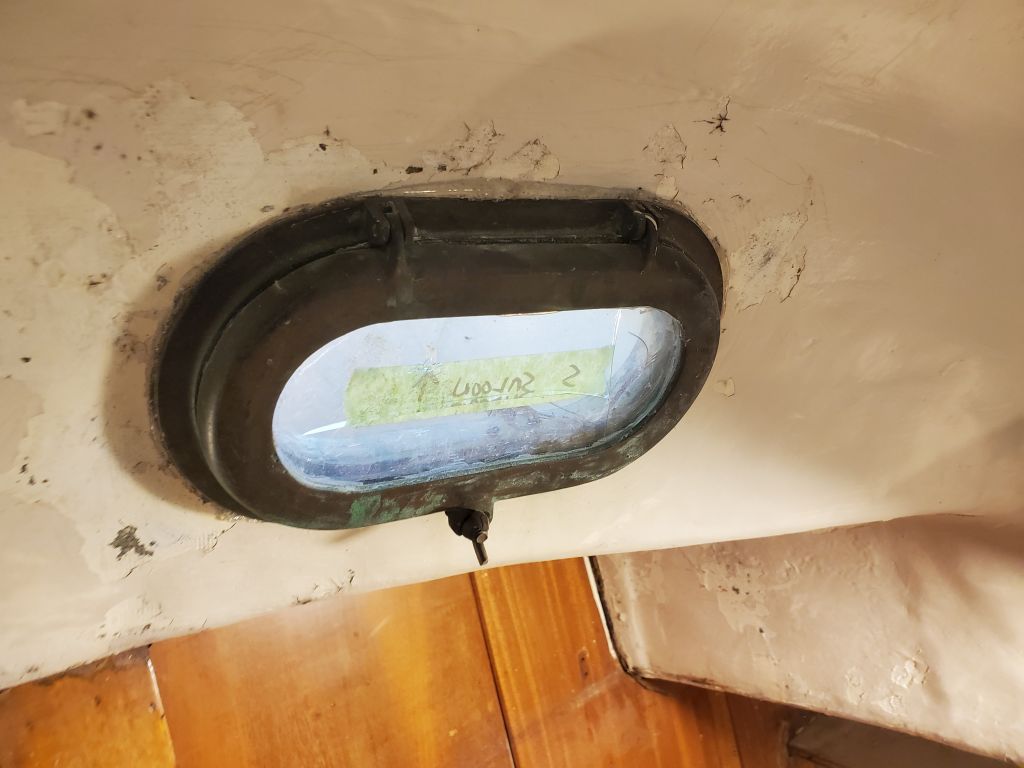
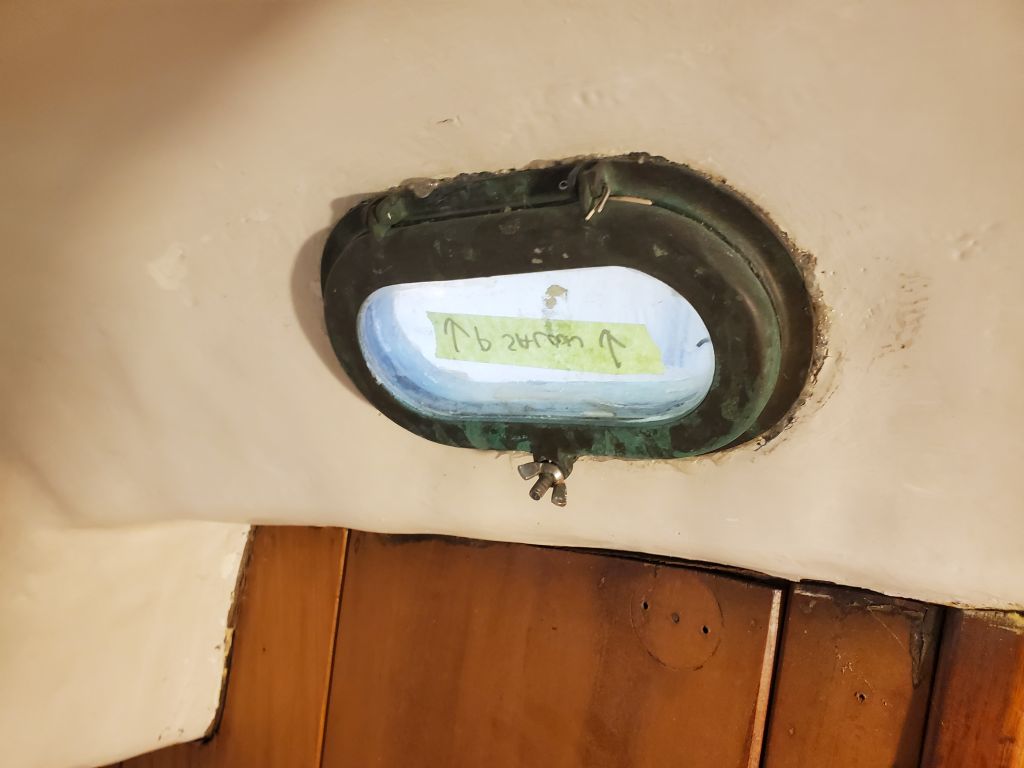
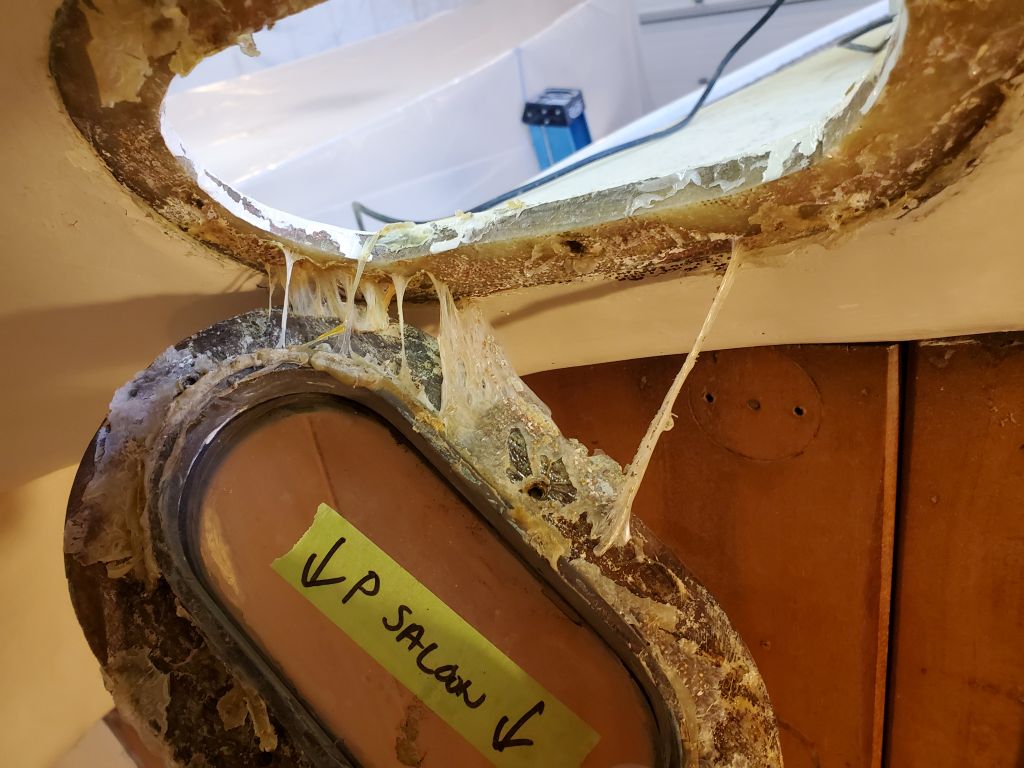
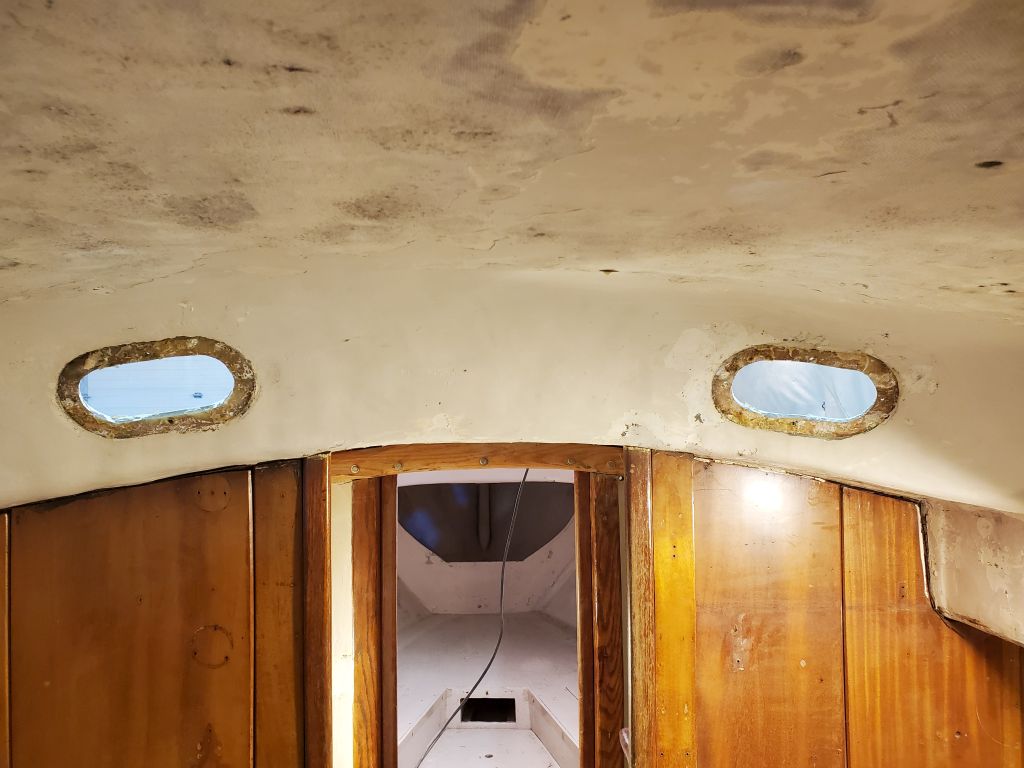
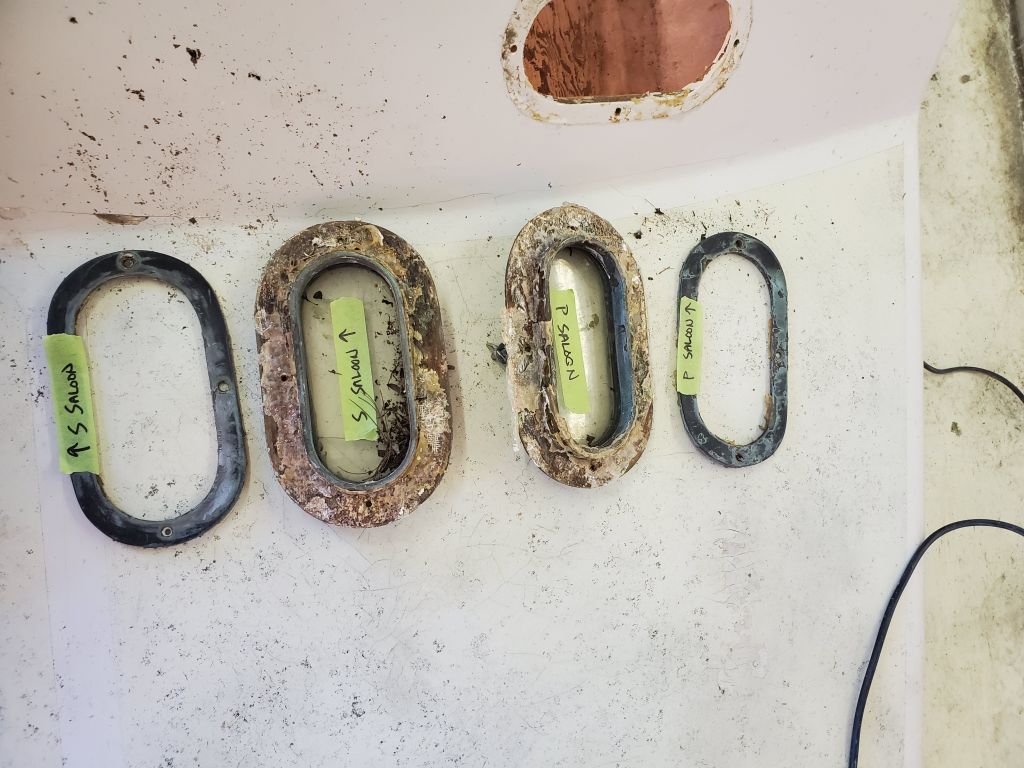
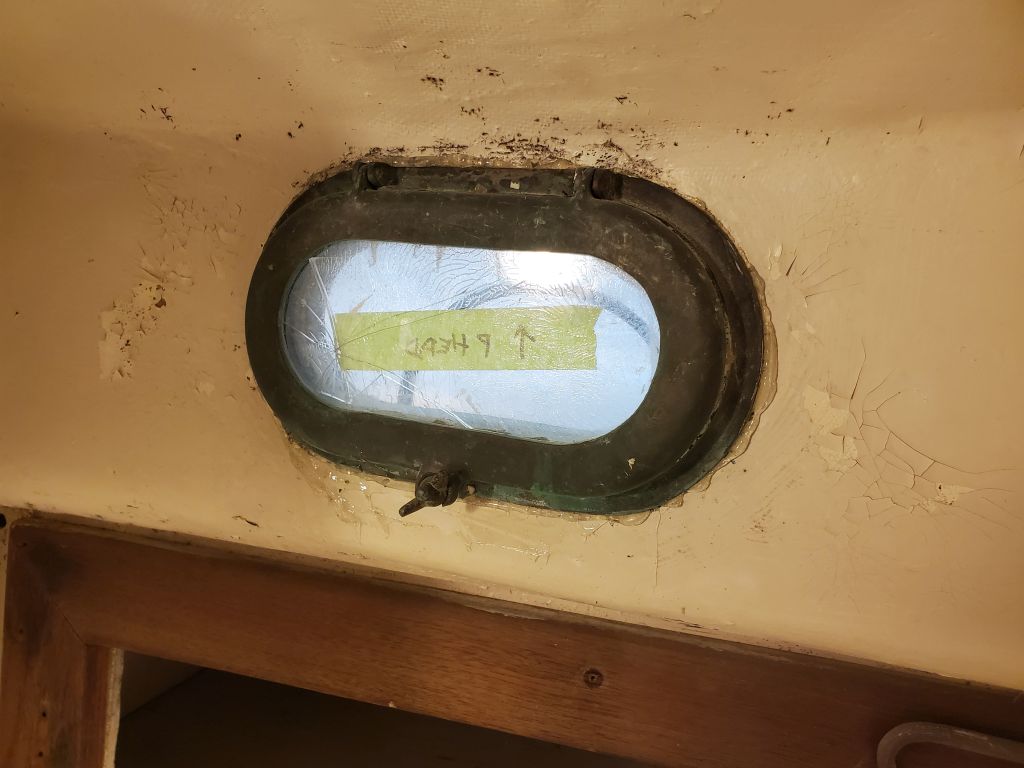
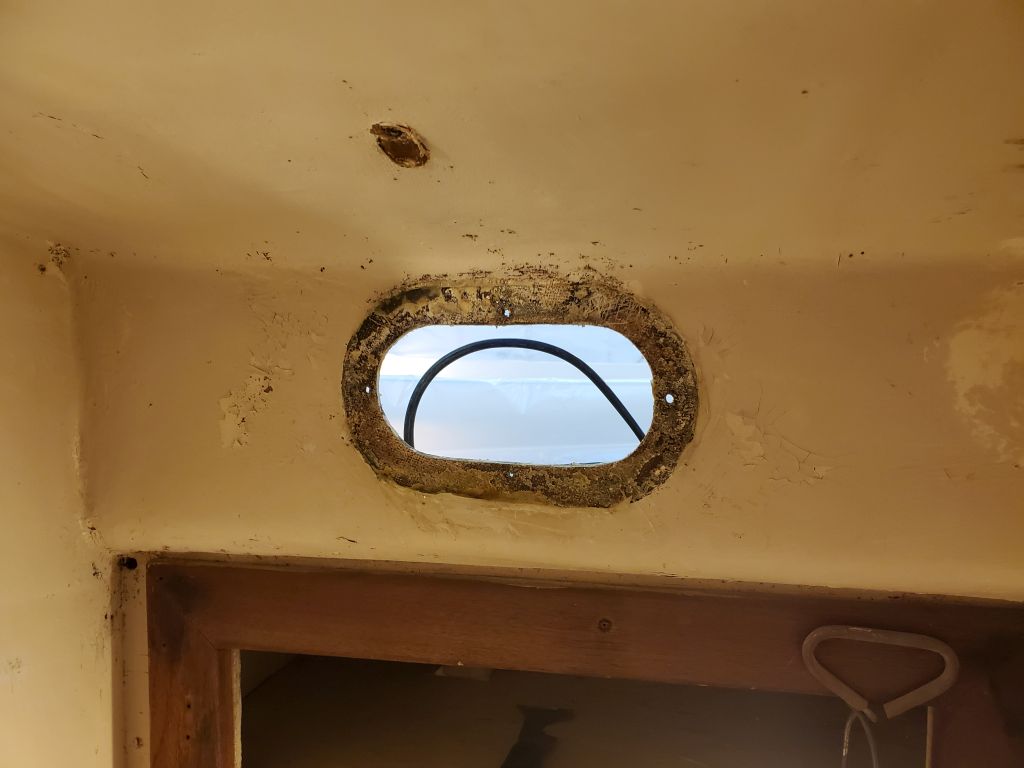
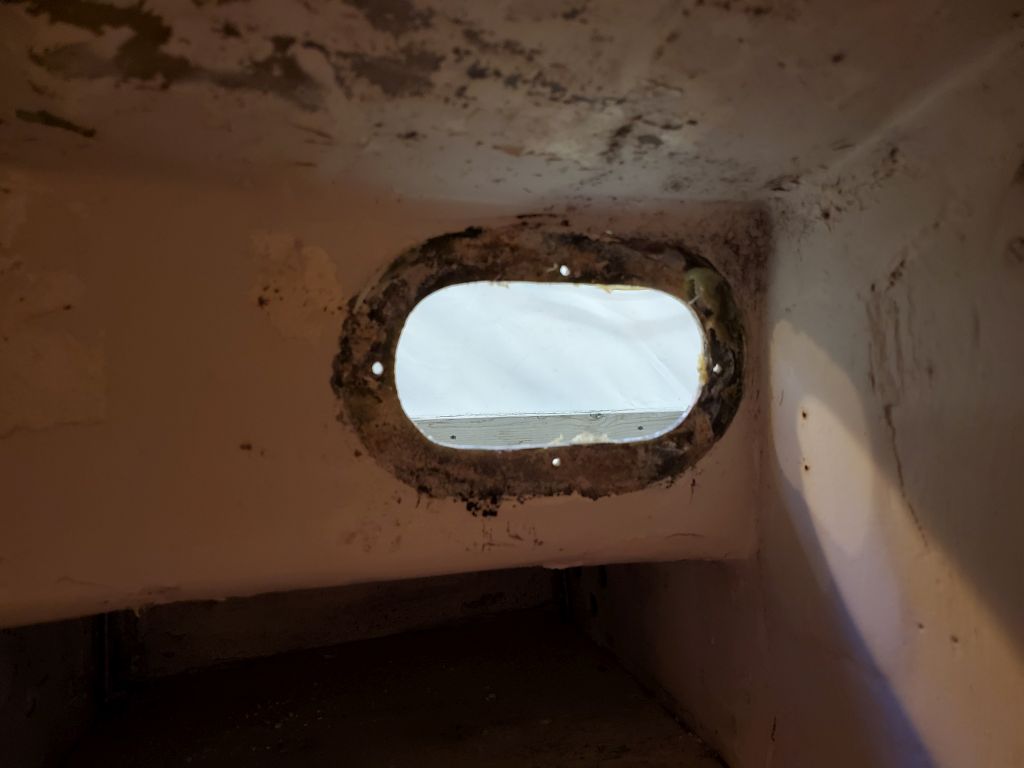
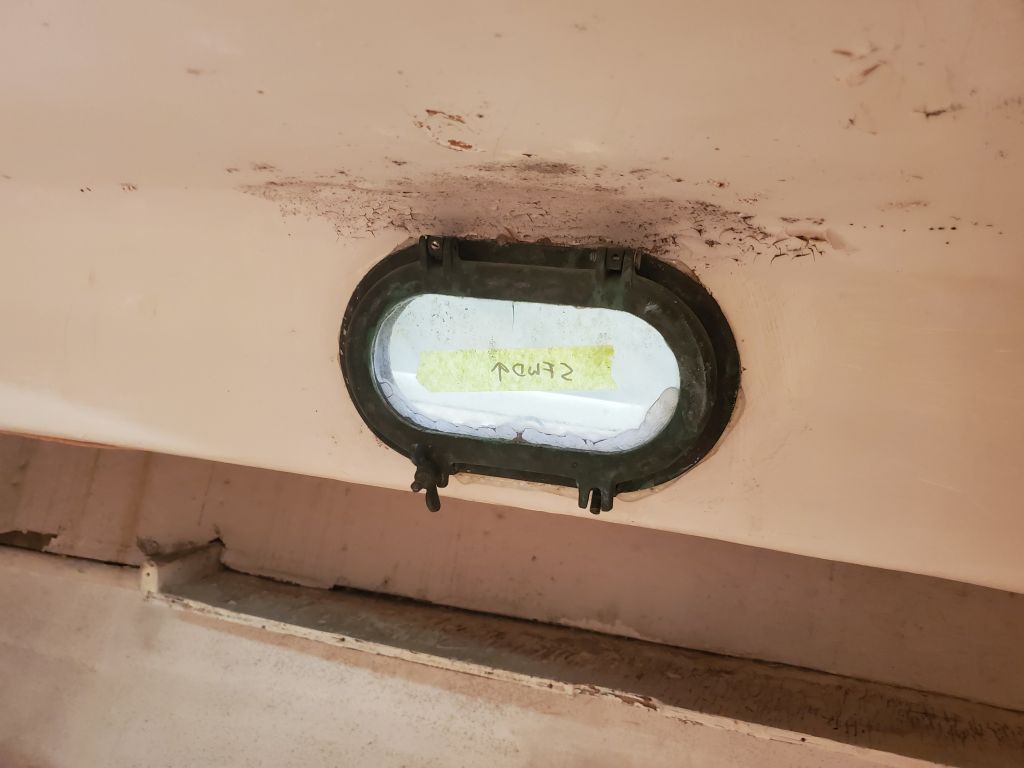
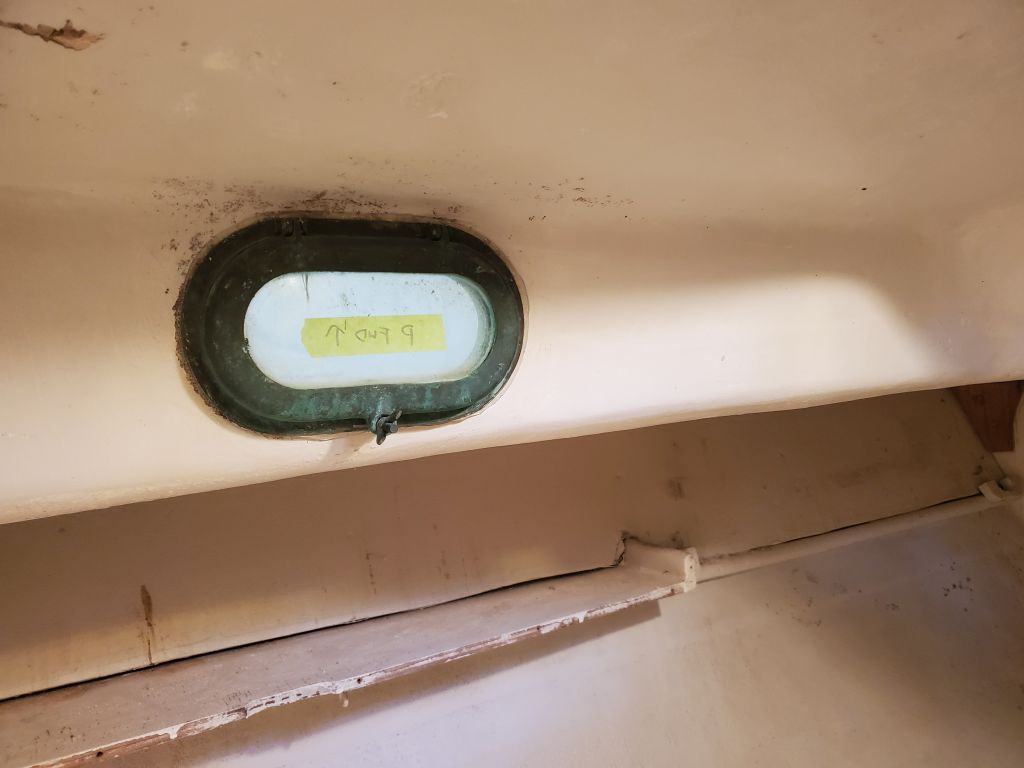
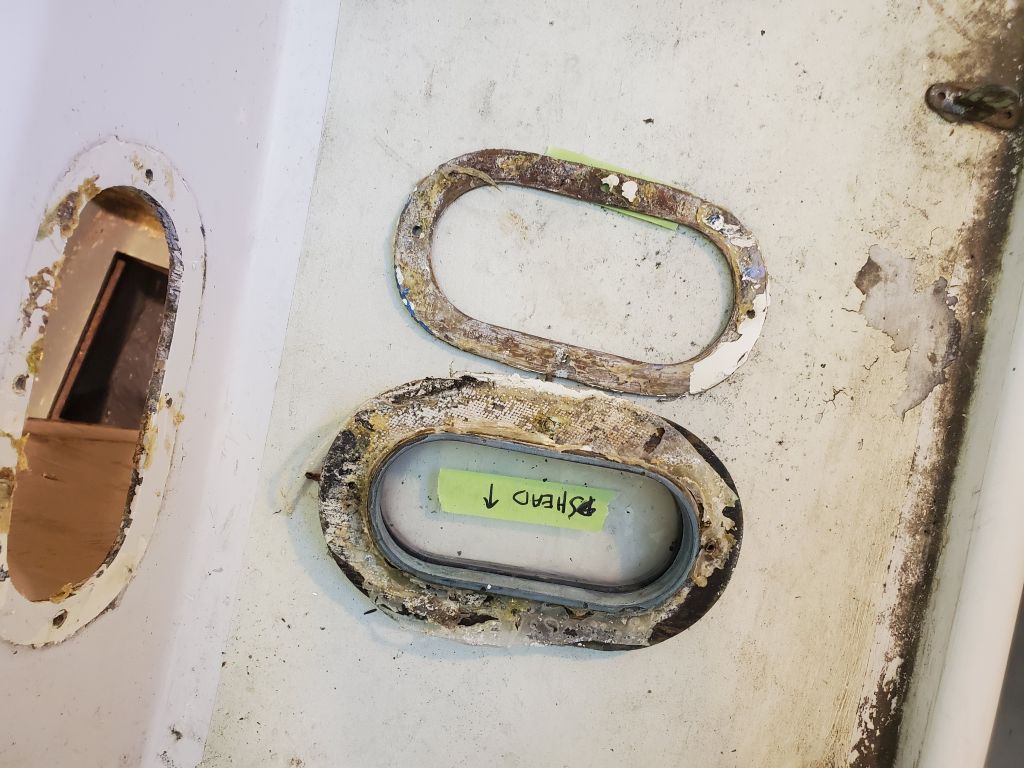
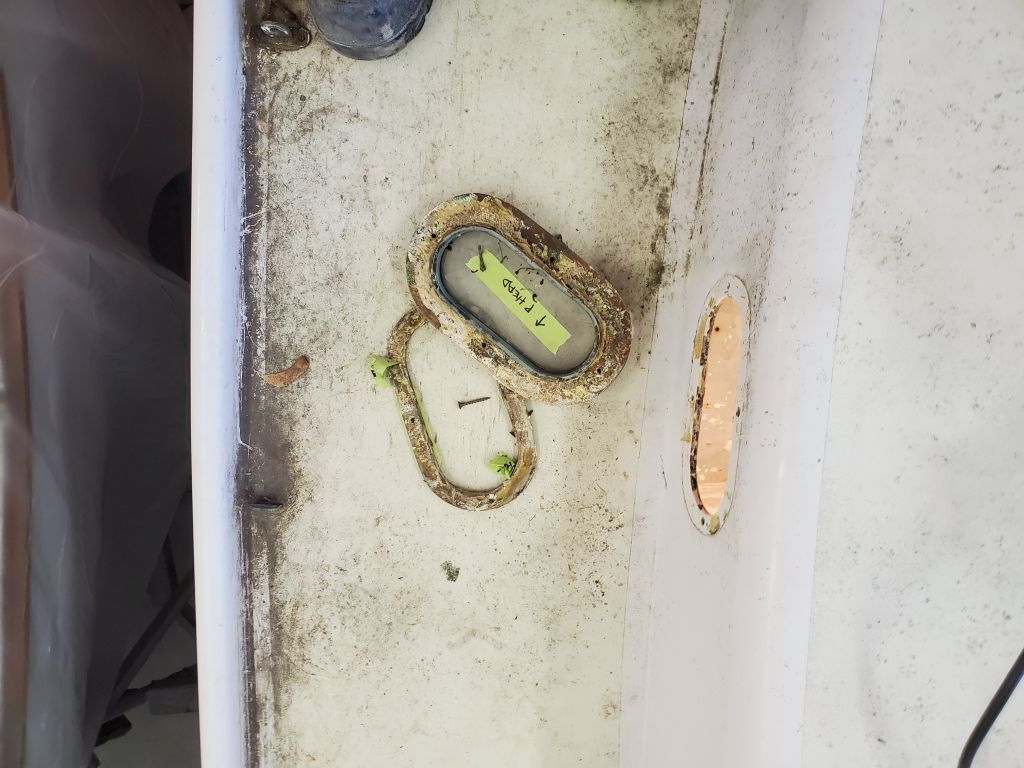
After getting set up with lighting, power cords, and various tools, I got started on the opening ports. The owner had previously removed the small screws securing the exterior bronze trim rings in place (and which also secure the port bodies), but he reported he’d been unable to remove the ports from there. Since initially I wasn’t sure if this meant that the ports had been installed in permanent sealant/adhesive, I kept expectations low for their removal, but decided to start with the two forward-facing units in the main cabin, replacements for which the owner had obtained from a salvage yard.
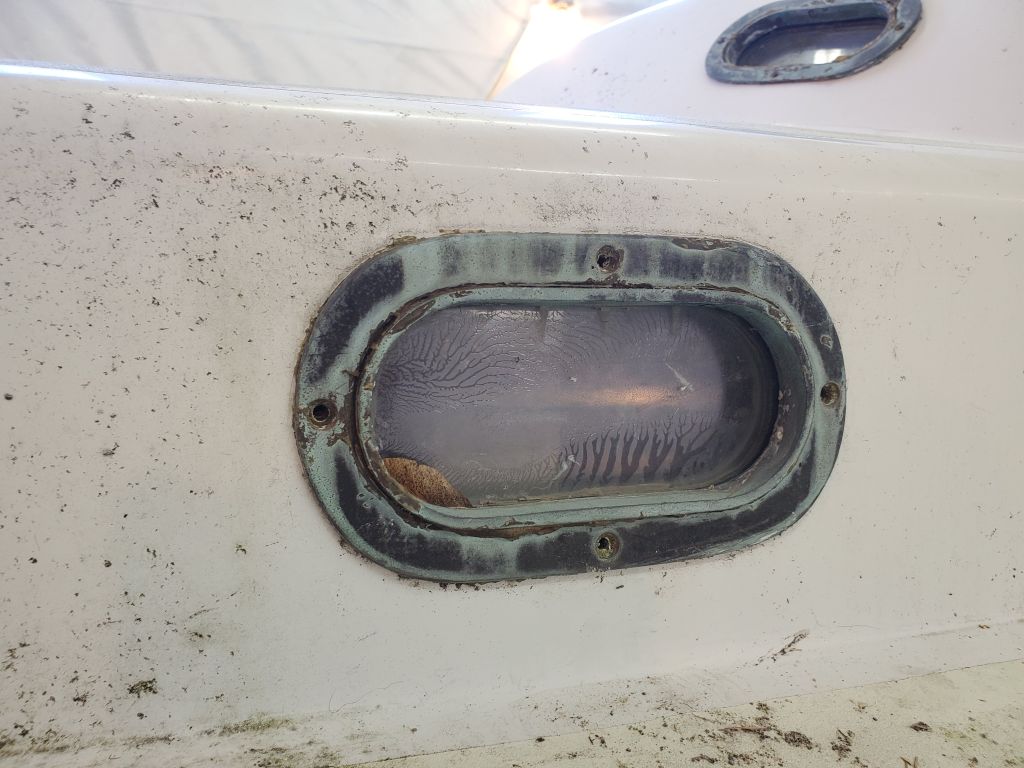


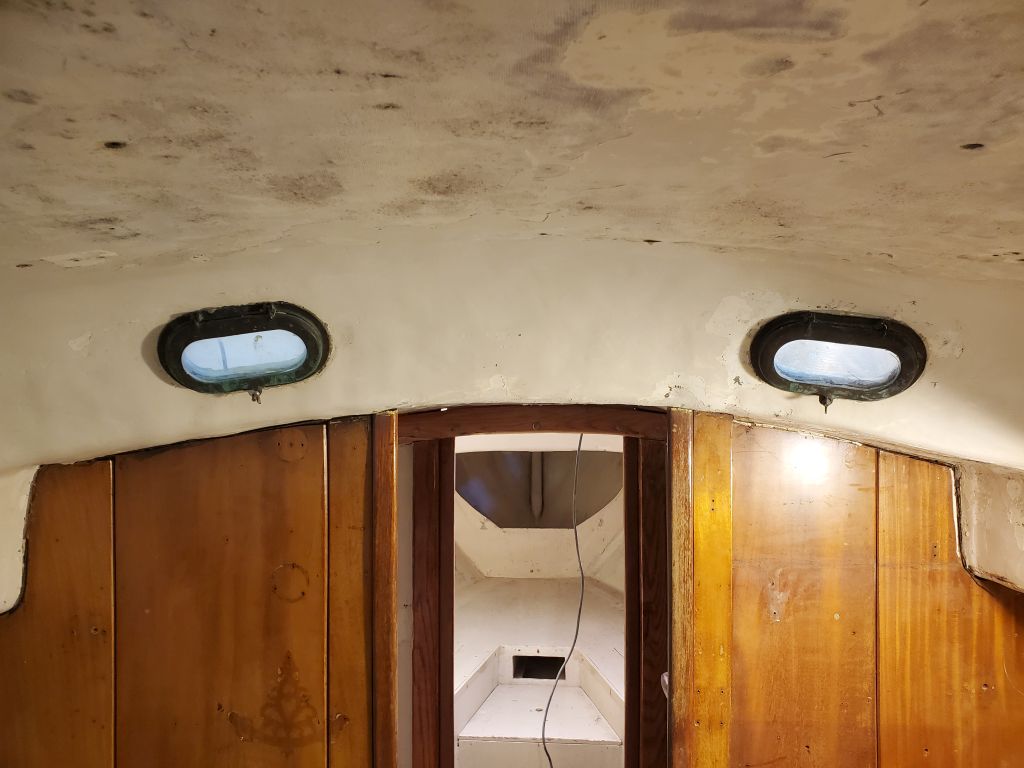

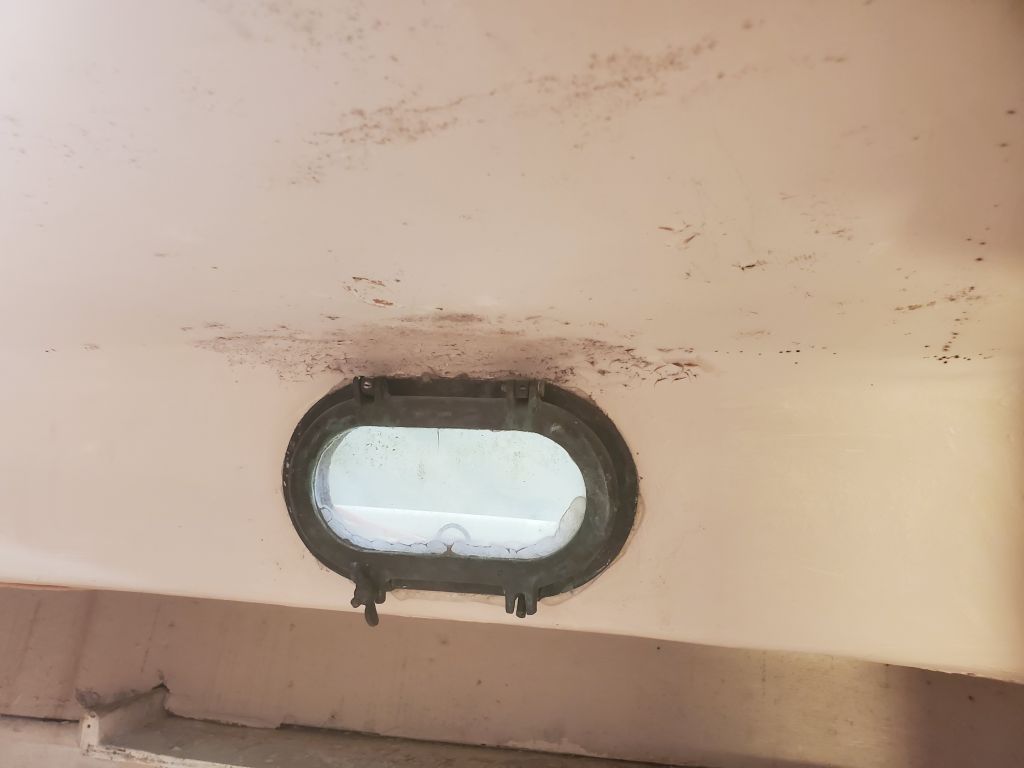

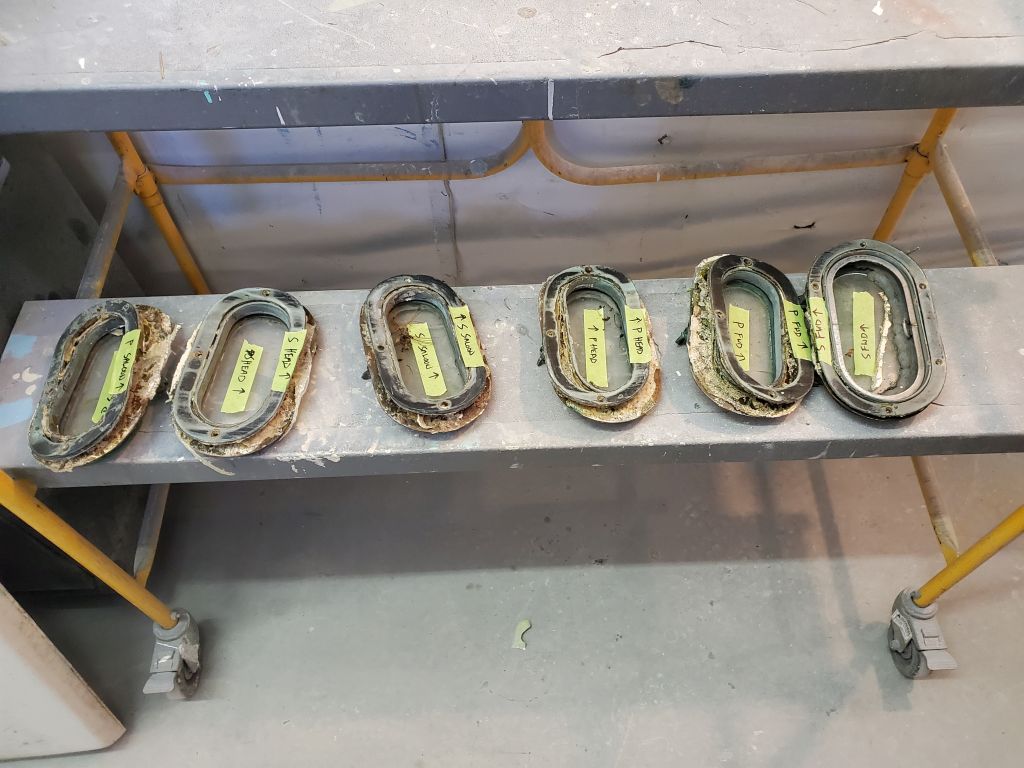
Fortunately, I found that the ports weren’t that hard to remove–just well-bedded in sticky, but still pliable, butyl-type sealant from many years past. So in fairly short order, and with a bit of judicious prying as needed, I removed first the forward-facing pair from the main cabin, then the remaining four from the head and forward cabin. I set all these ports aside for the owner to recondition and prepare for reinstallation later in the project.


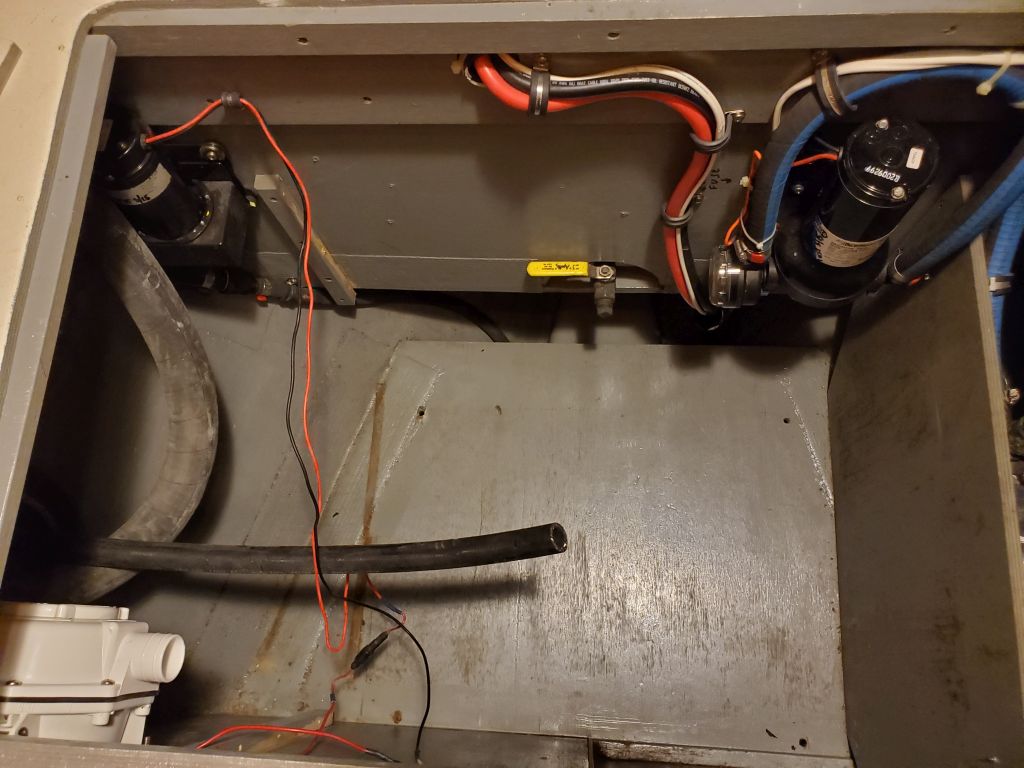
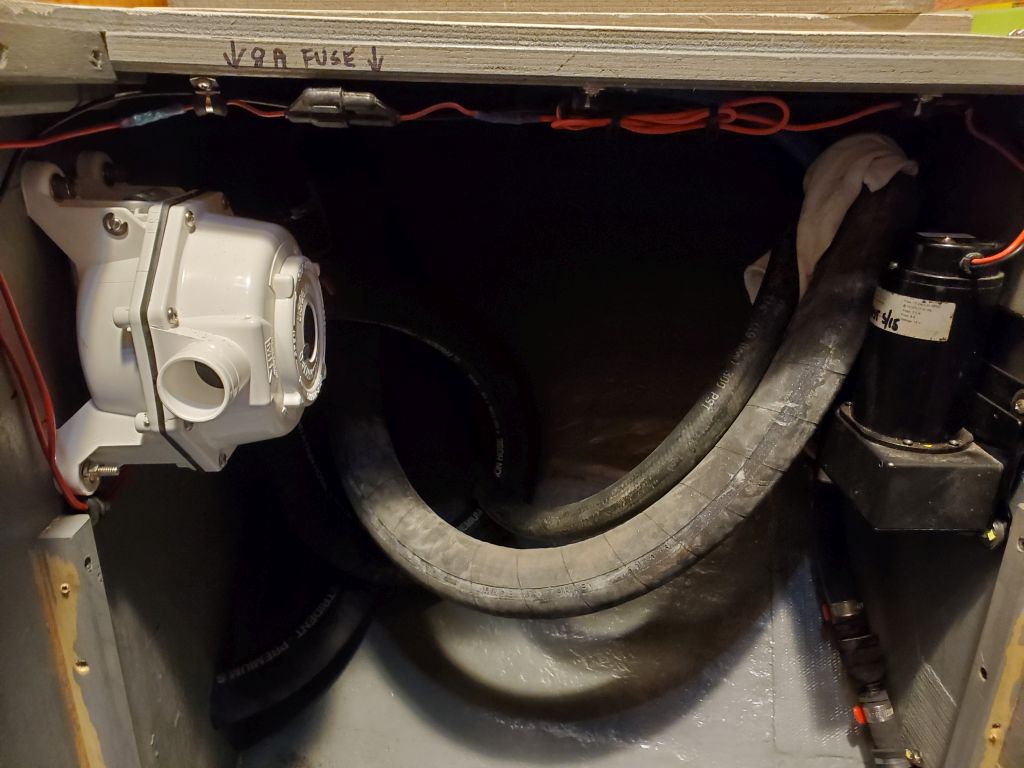
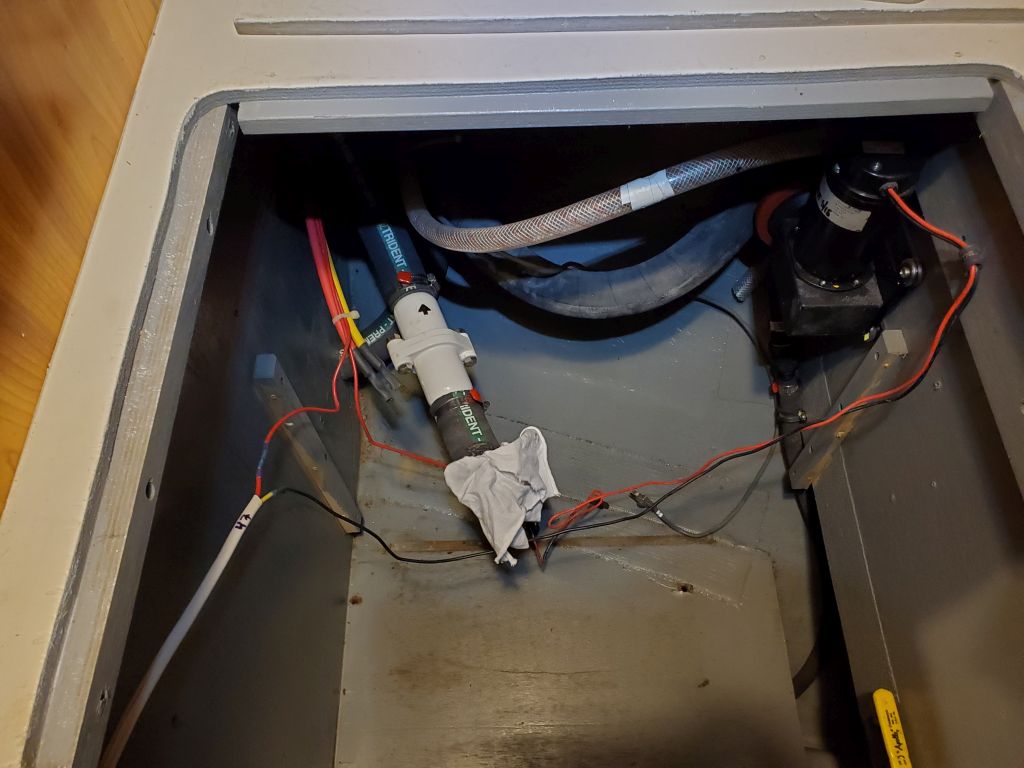
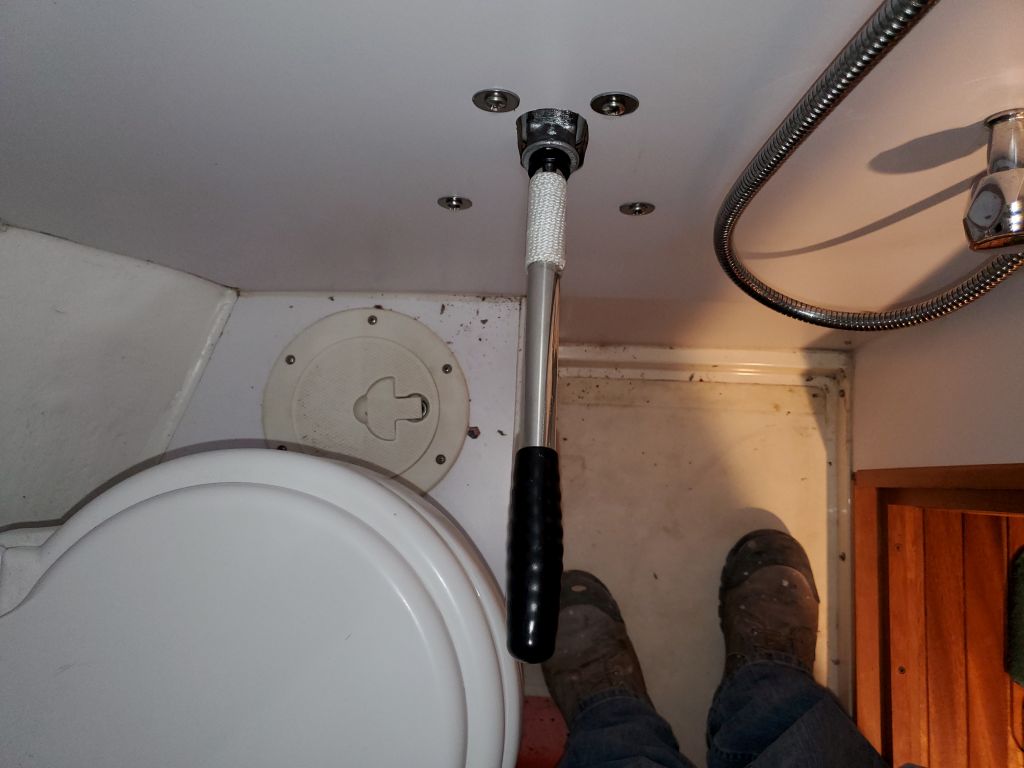
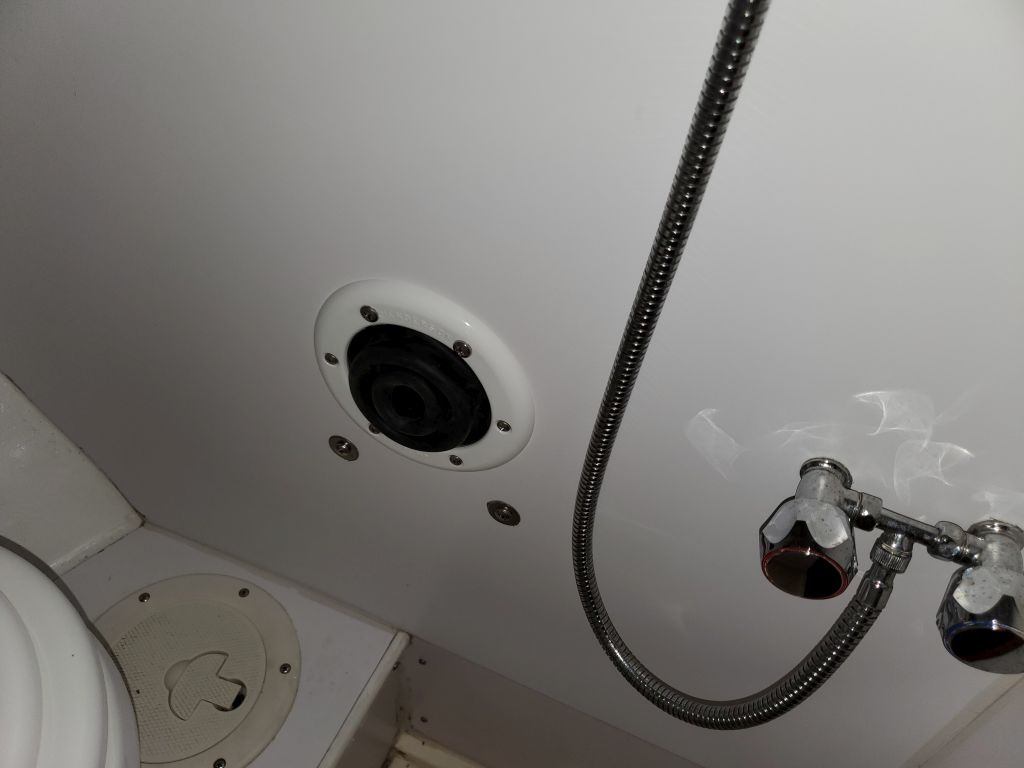
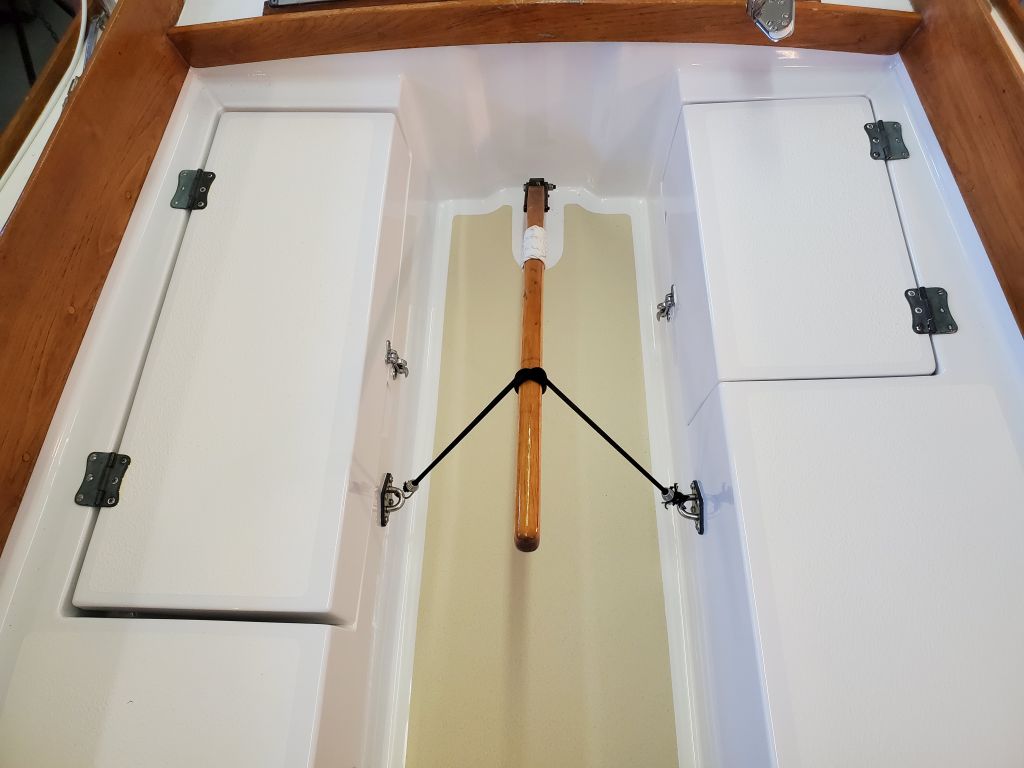
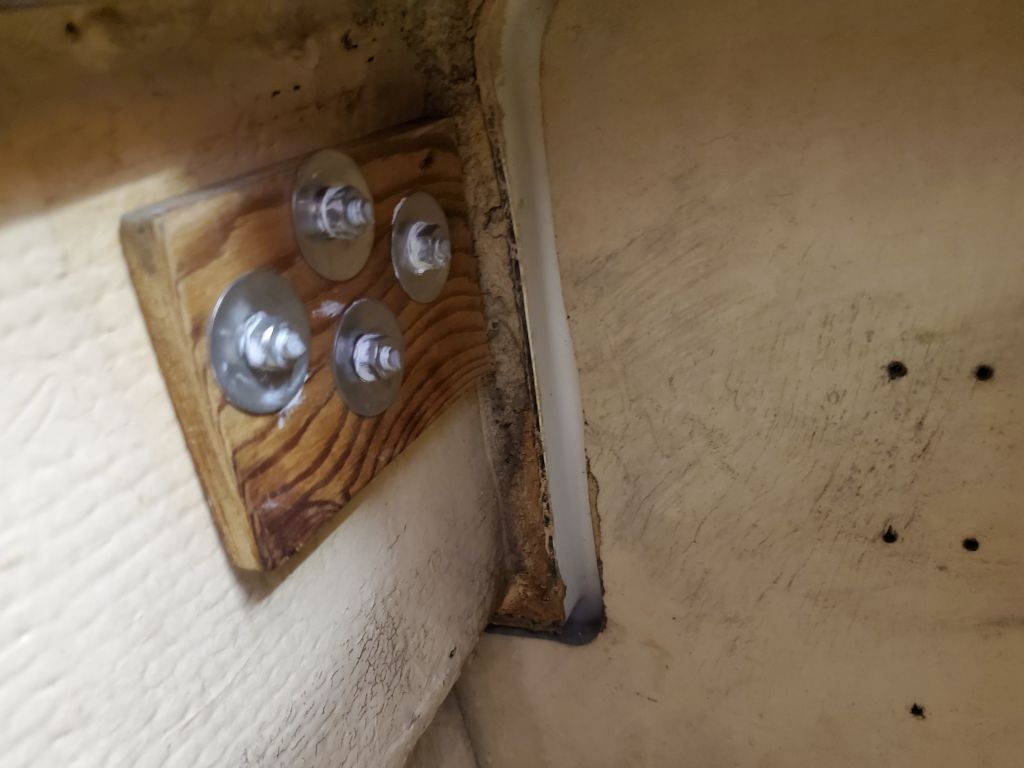
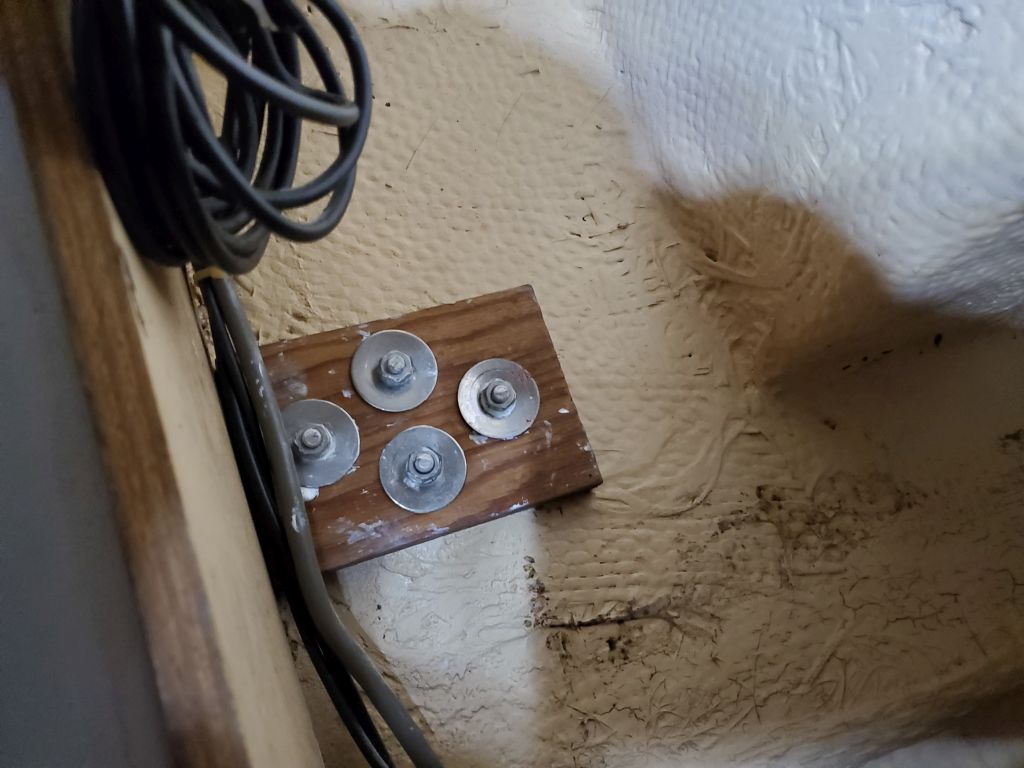
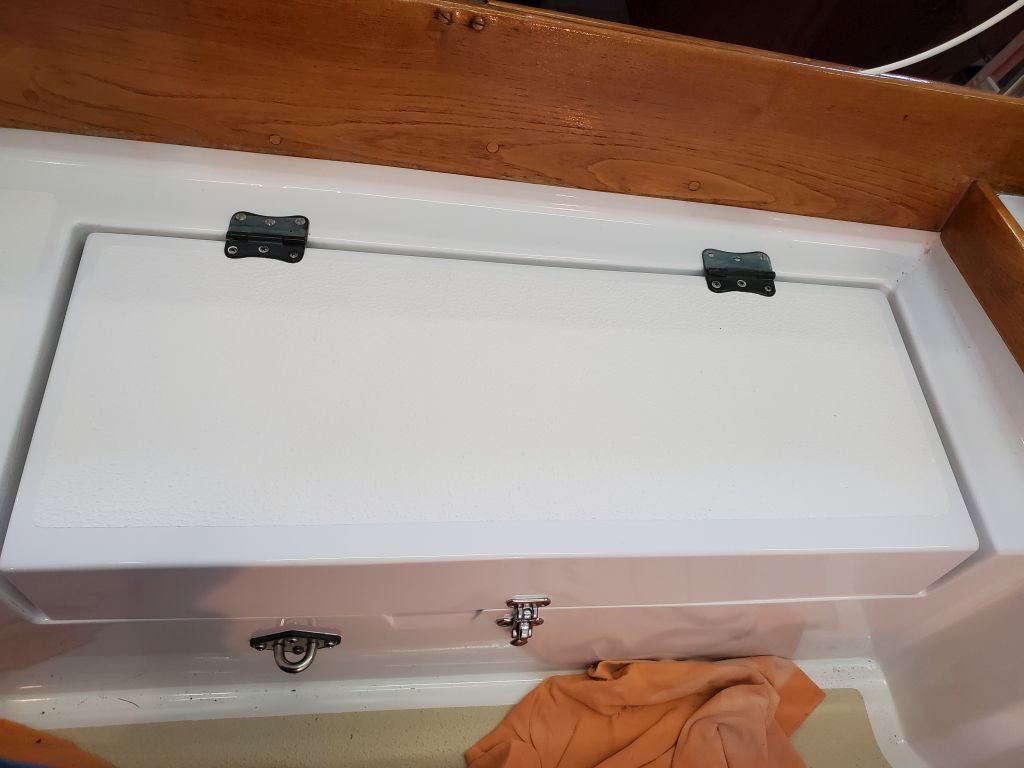
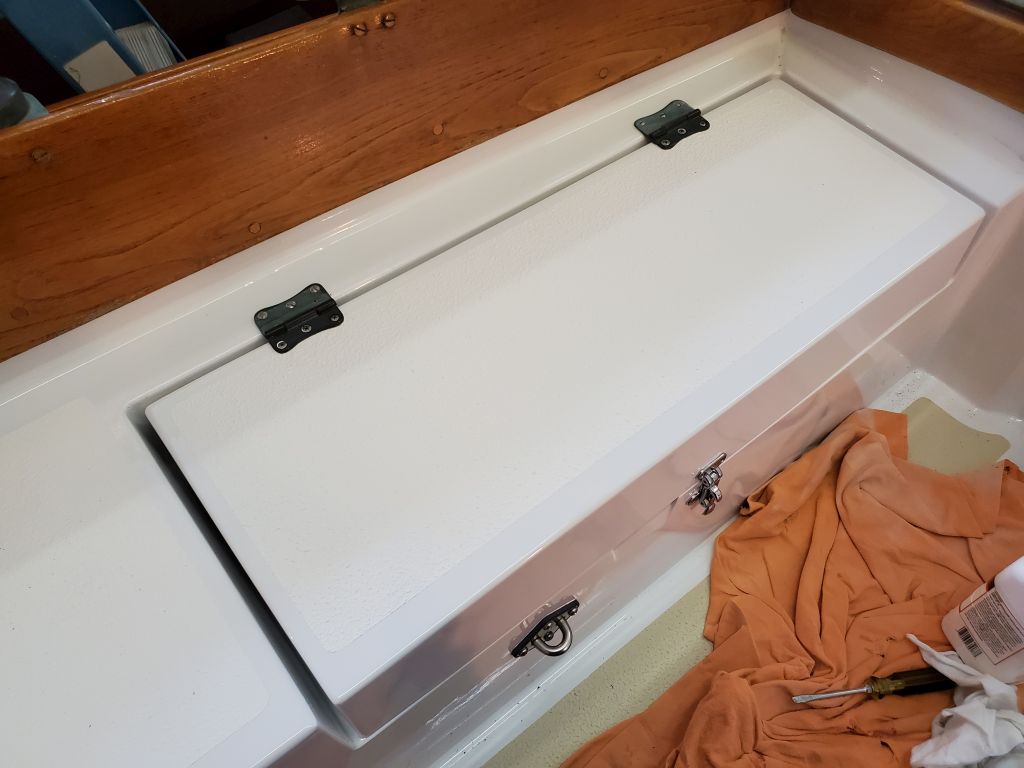
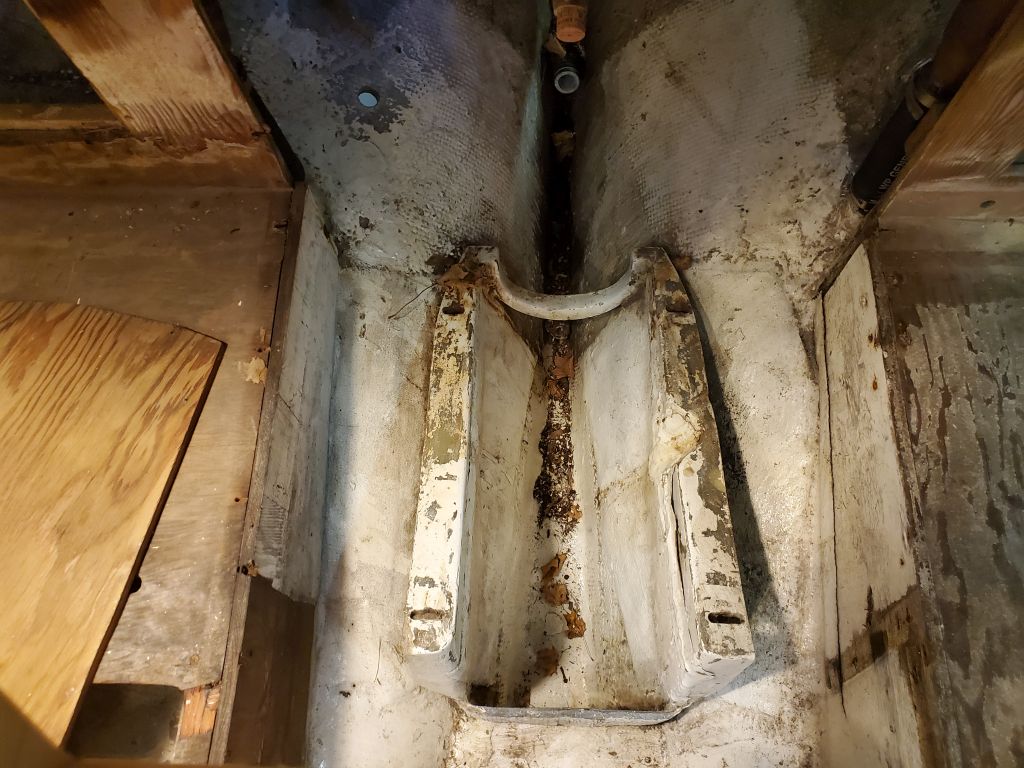
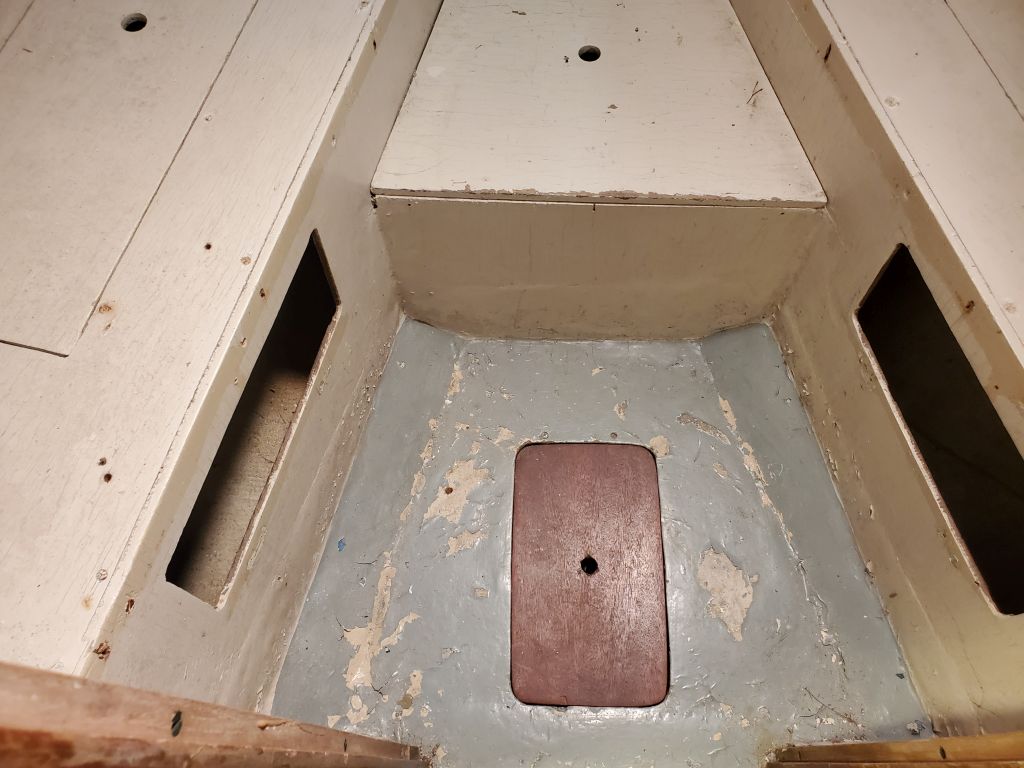
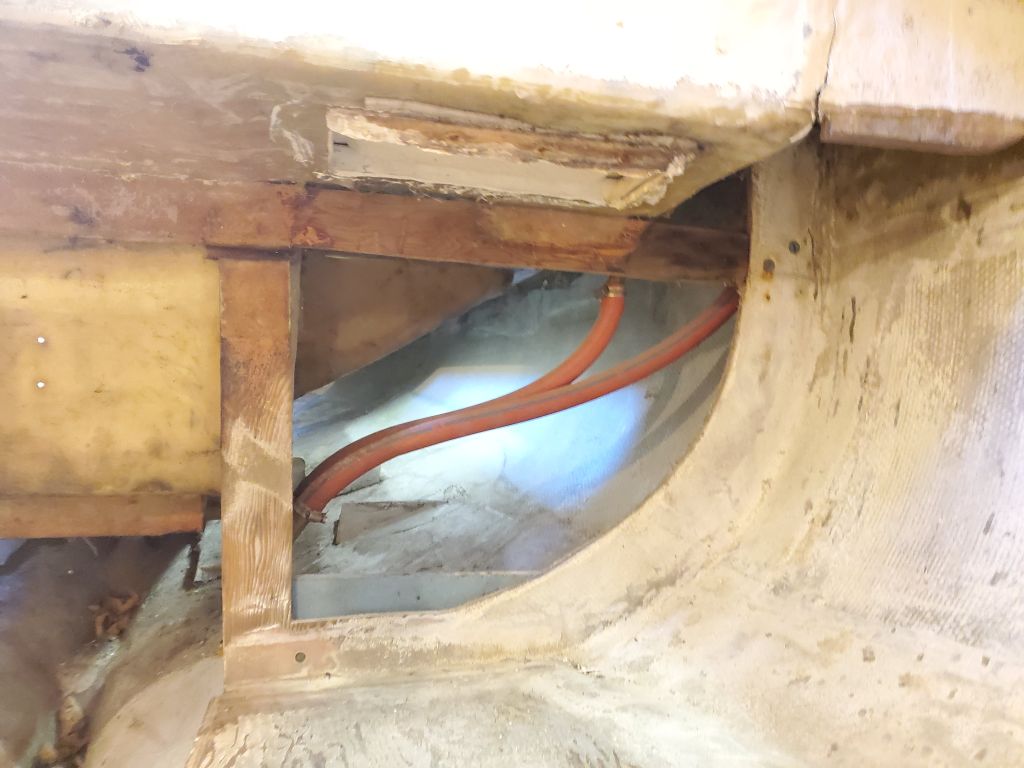
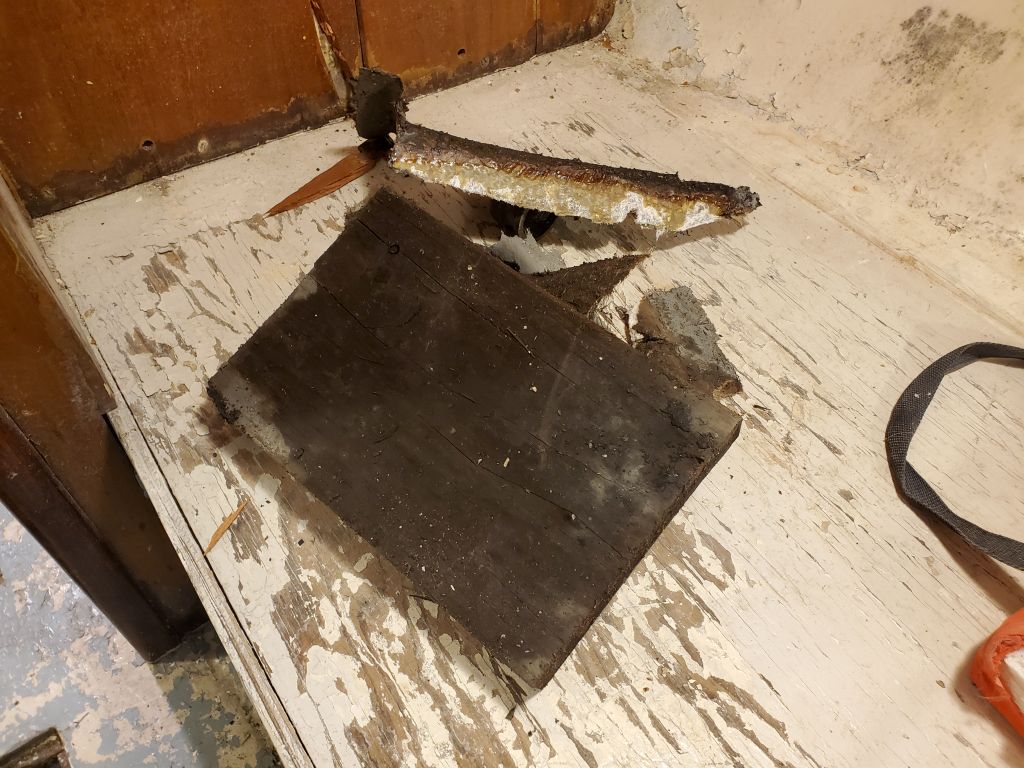
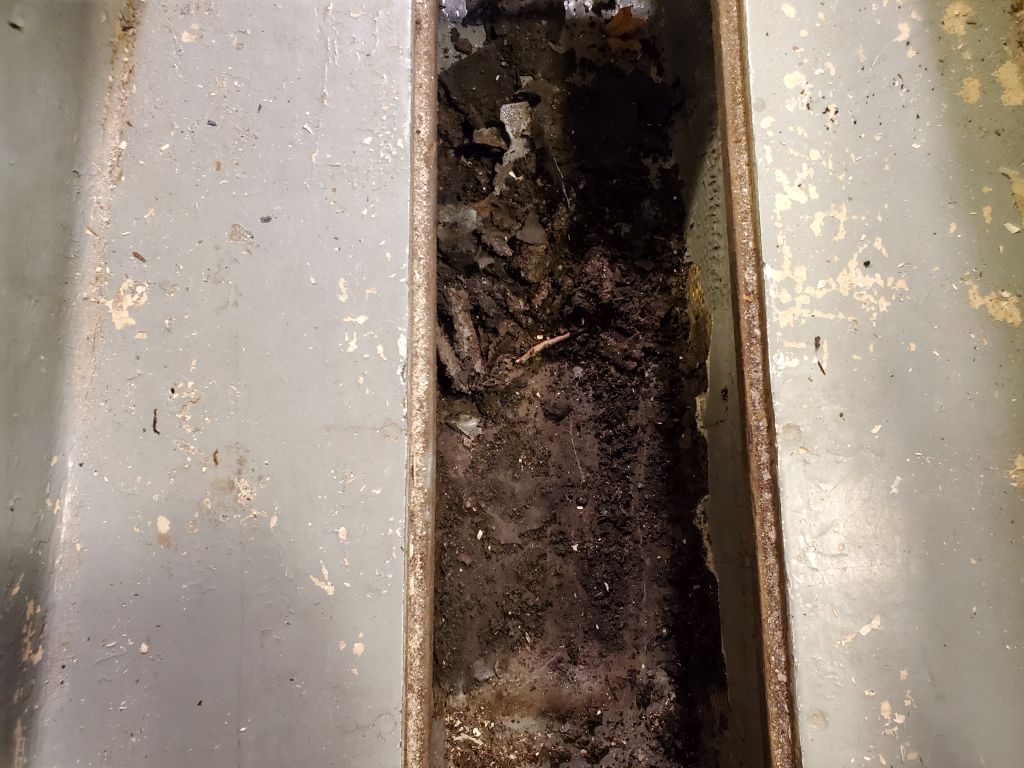
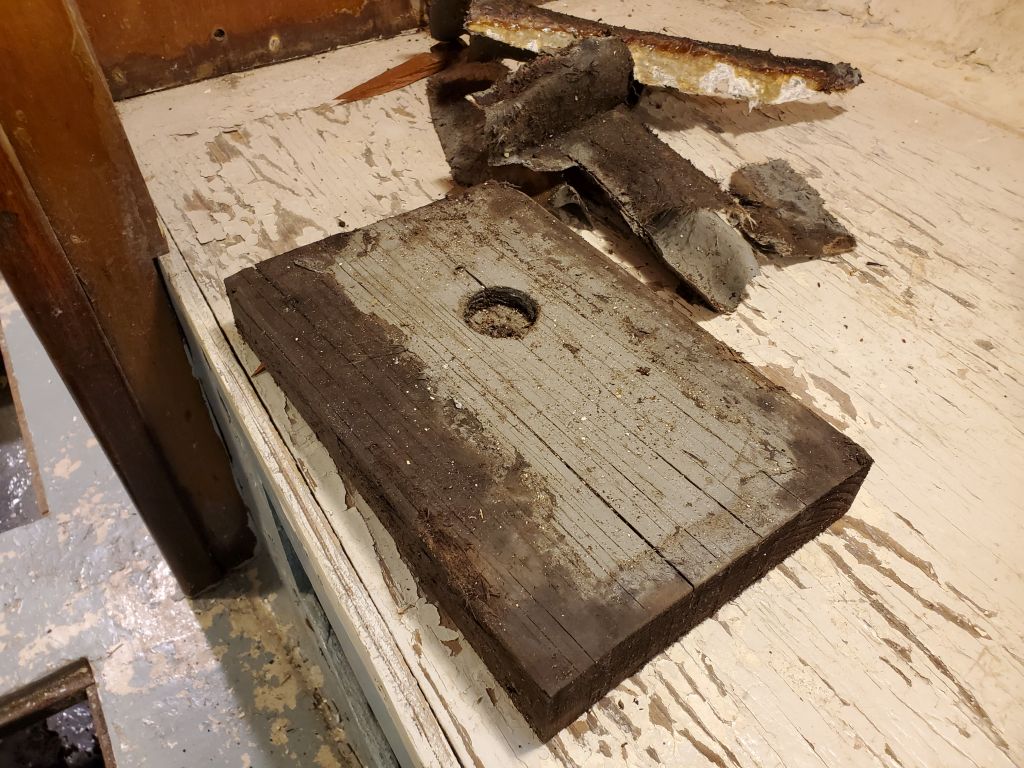
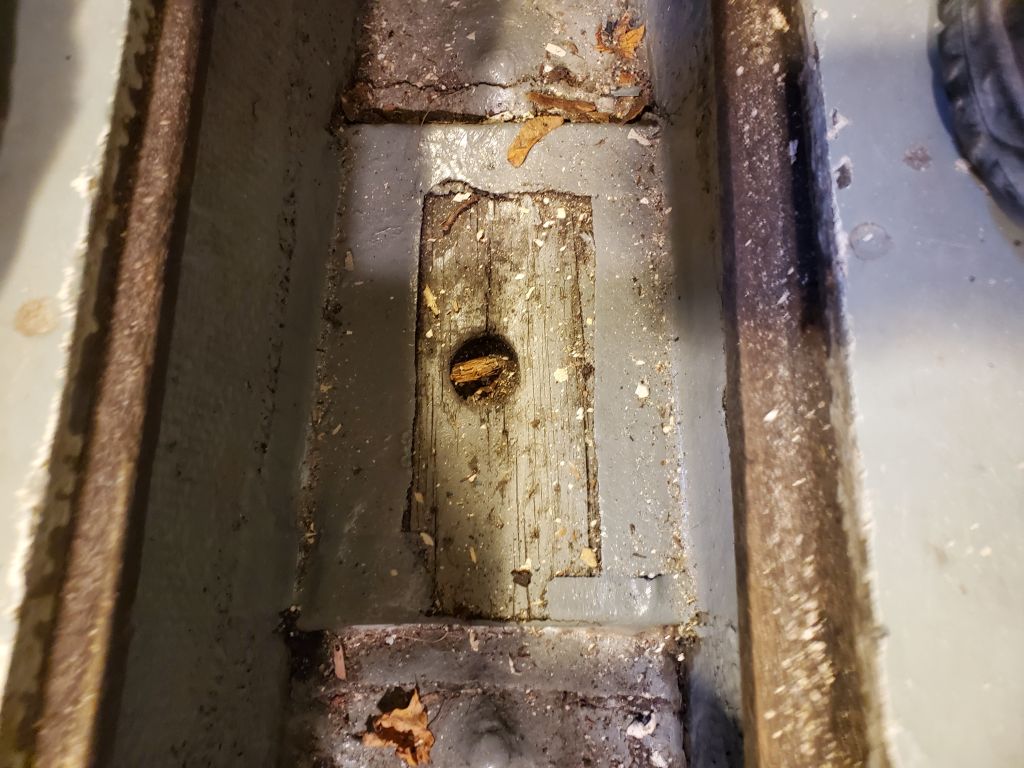
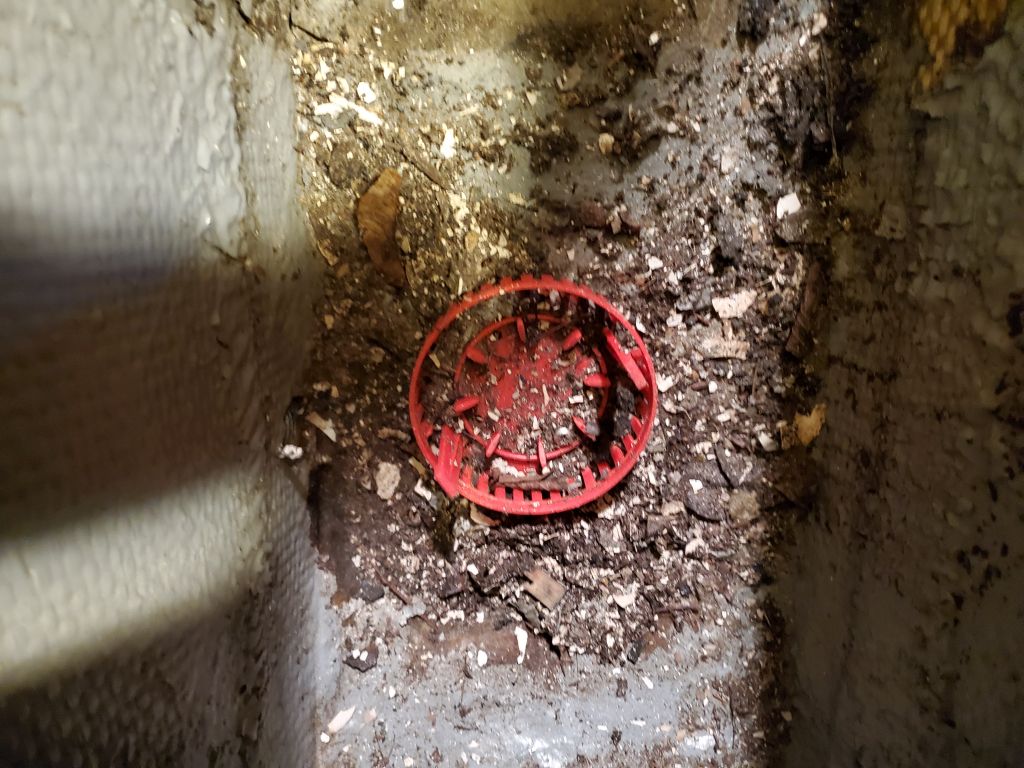
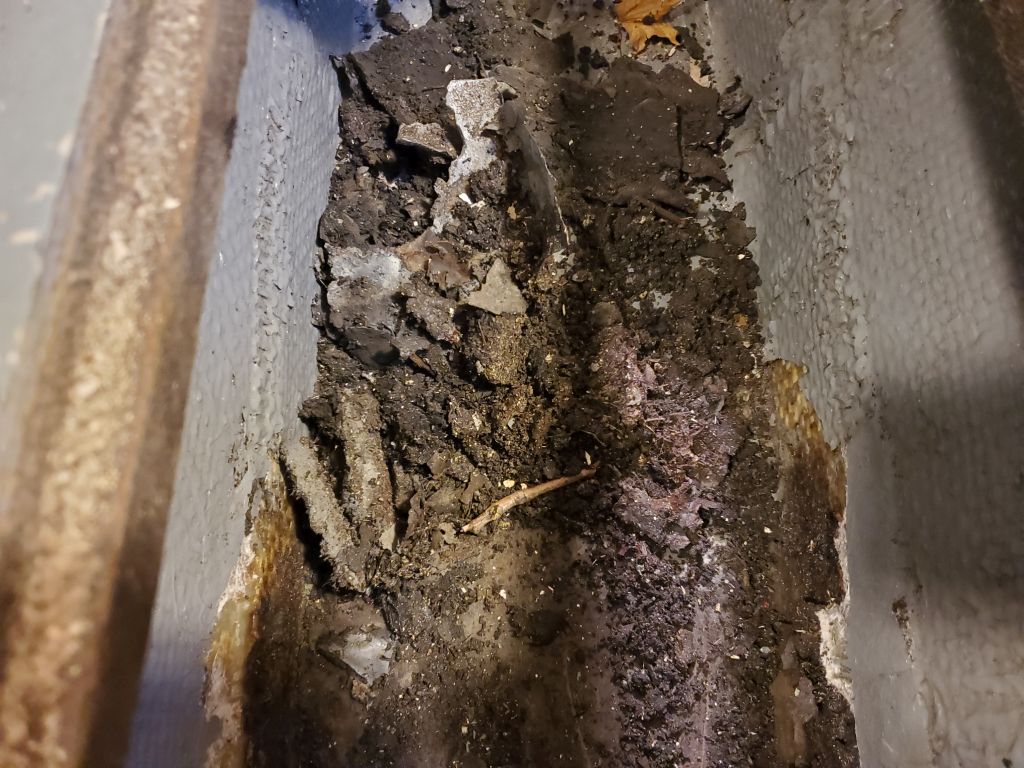
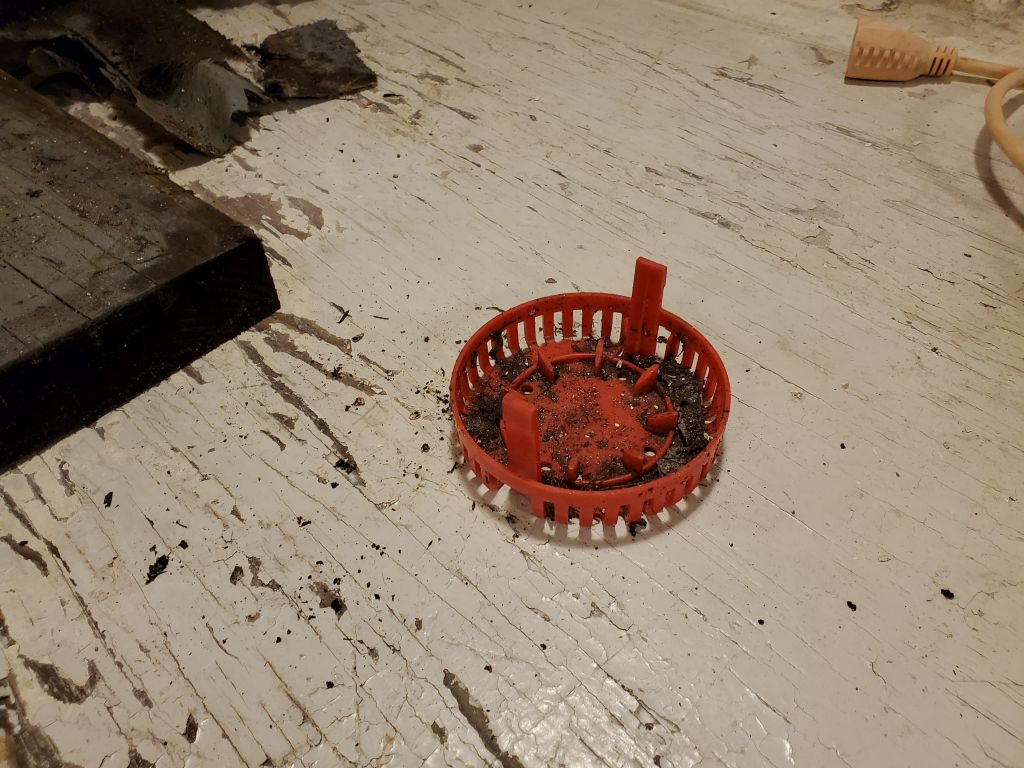
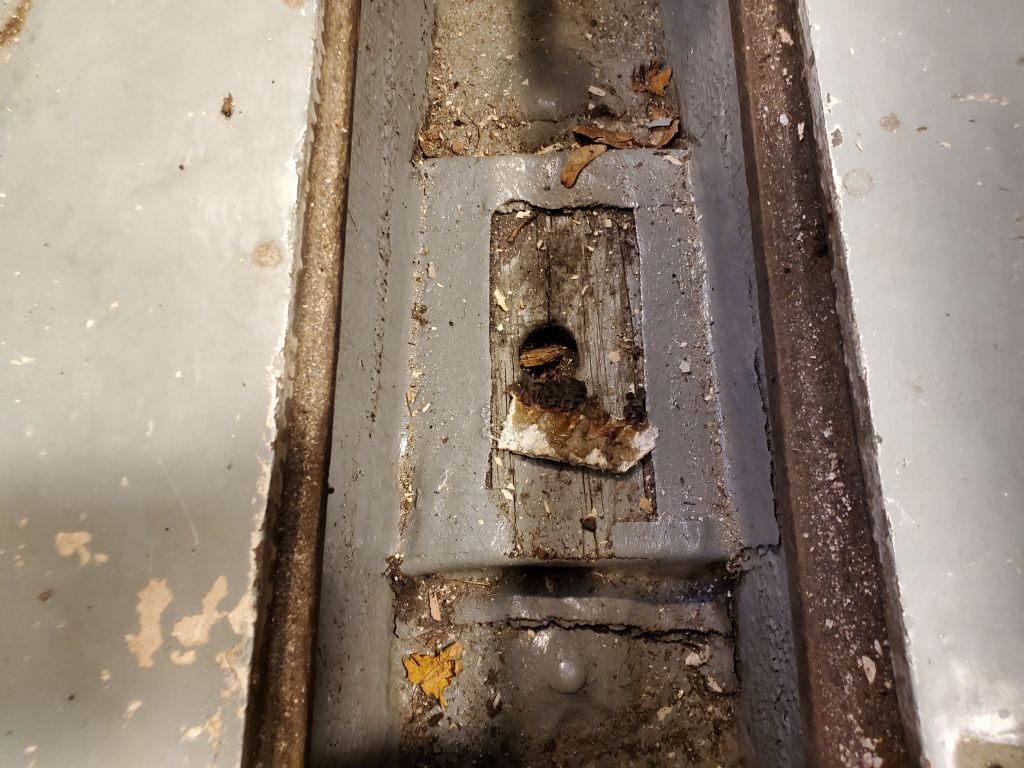
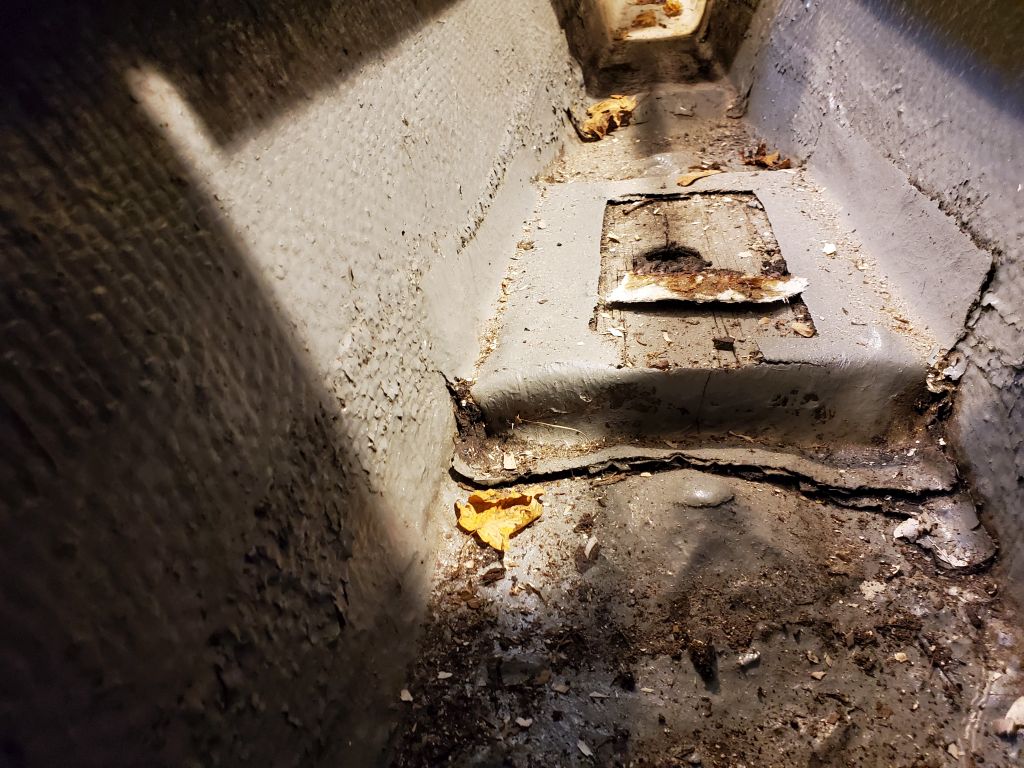
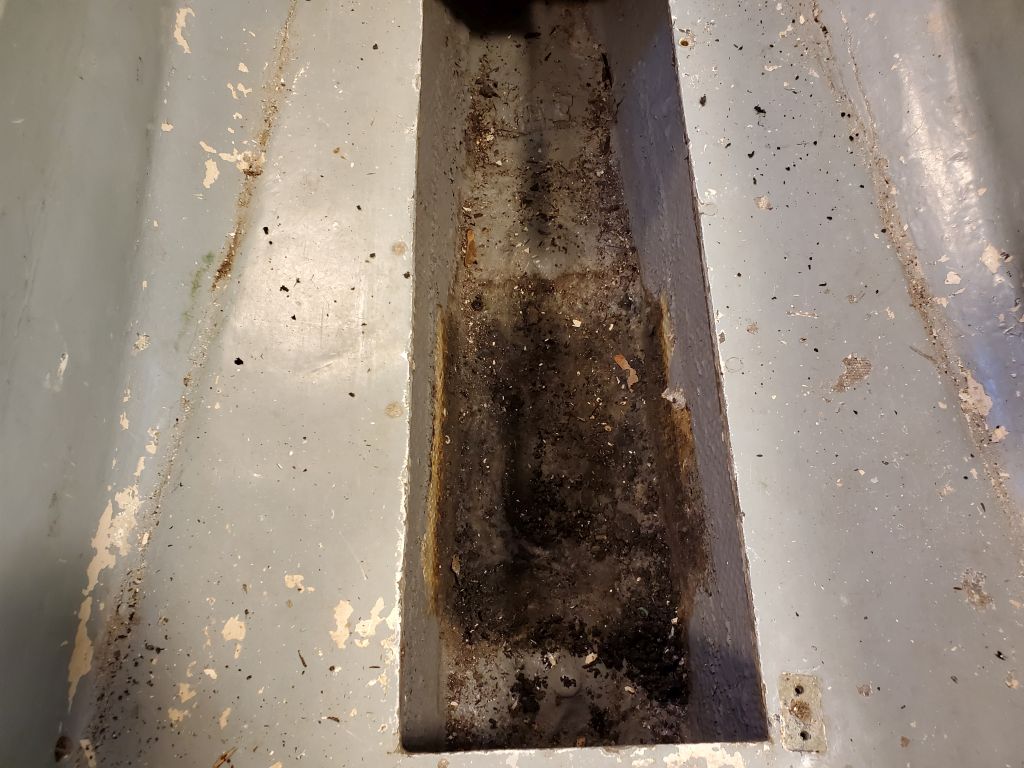
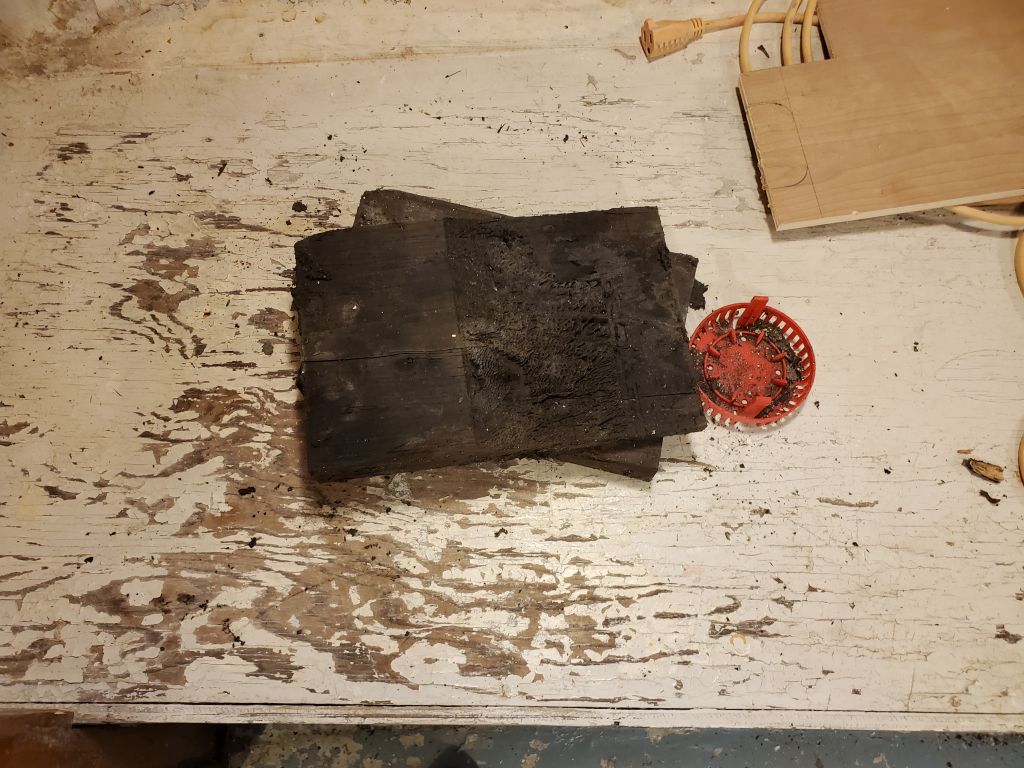
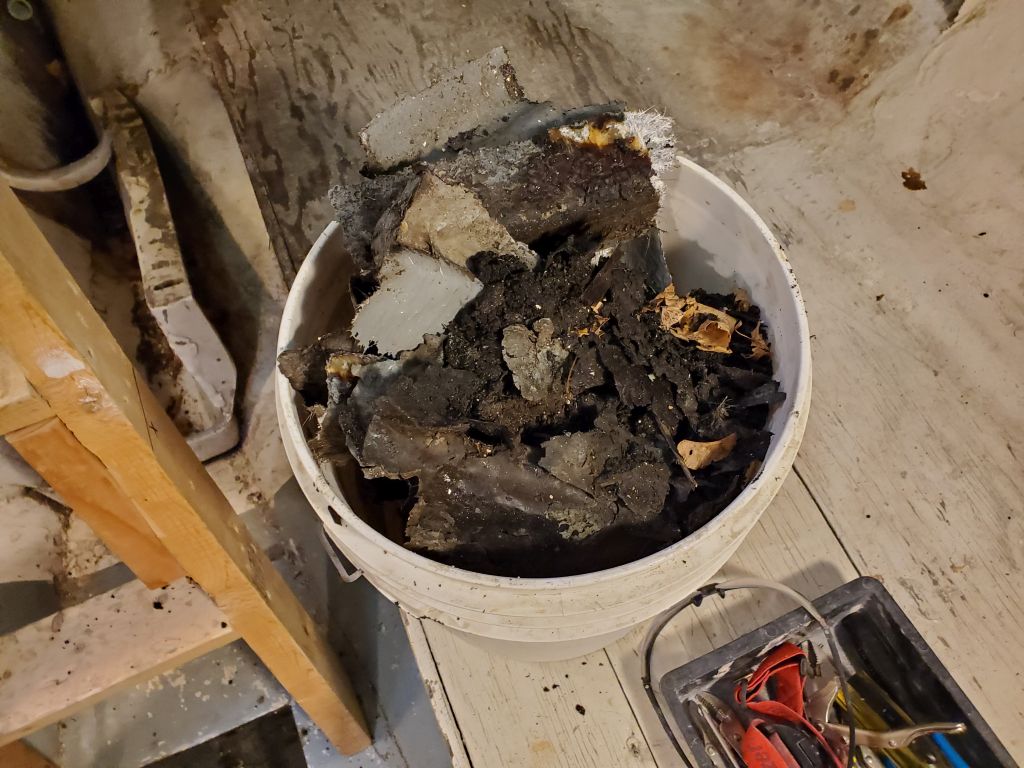
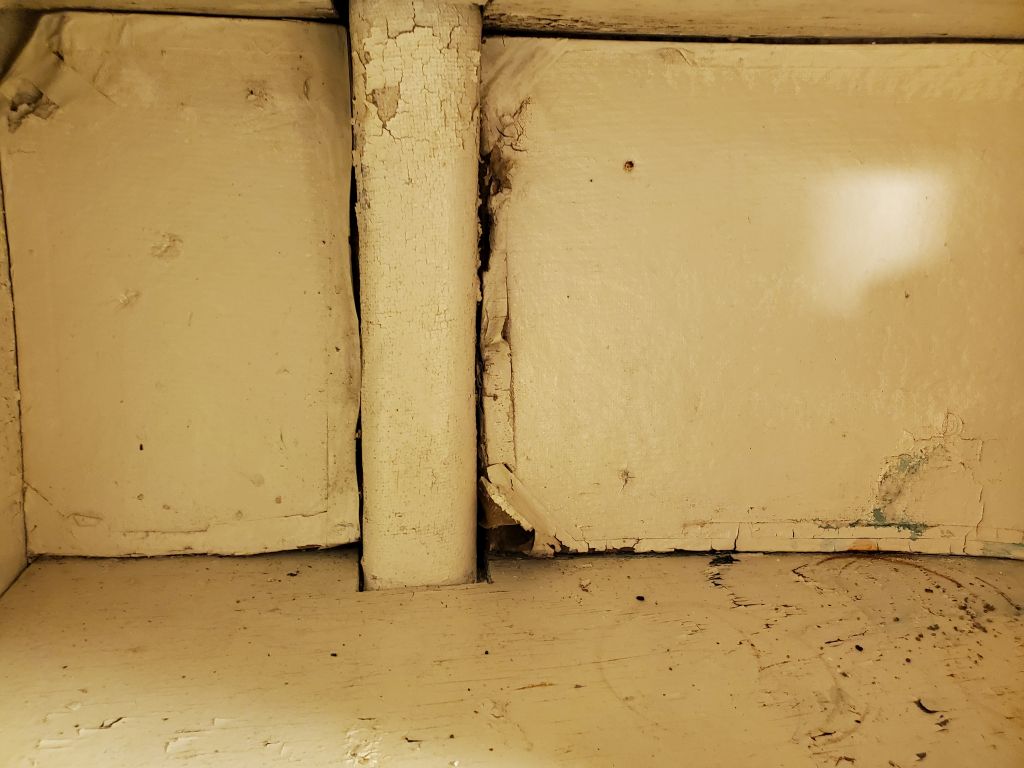
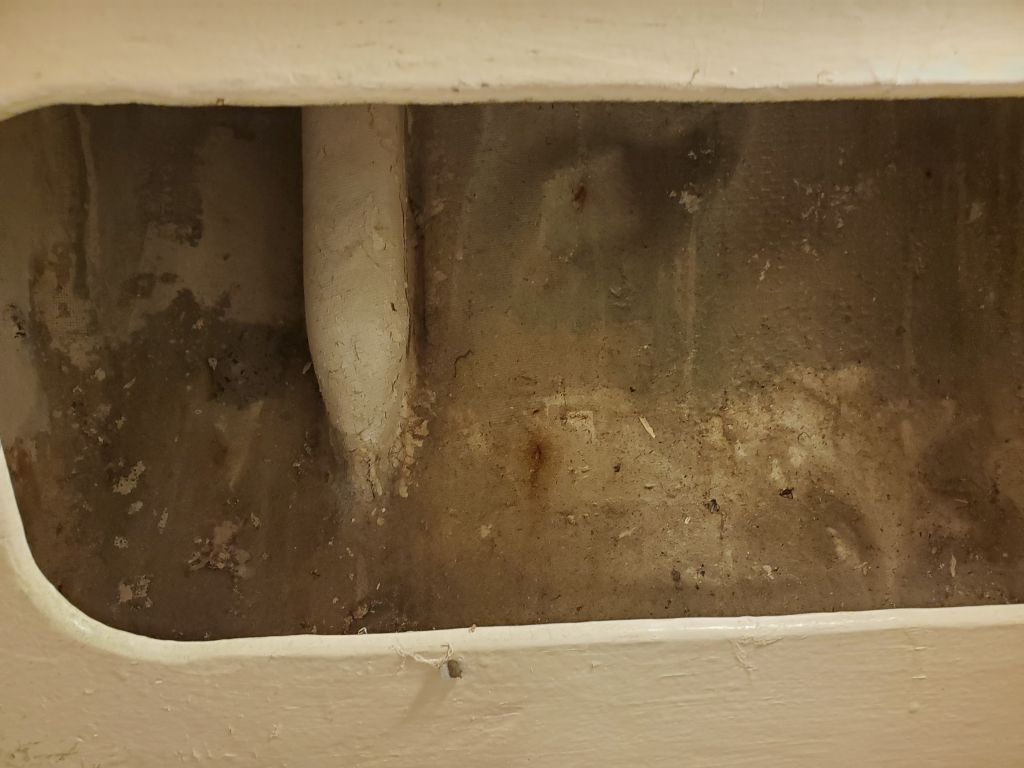
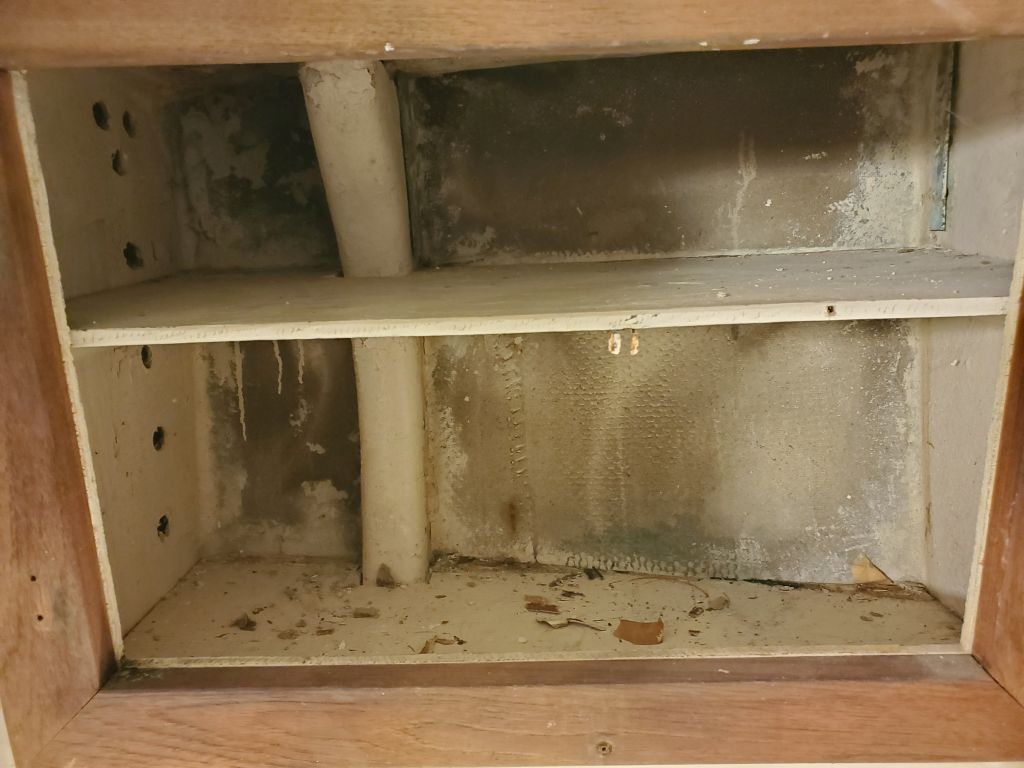
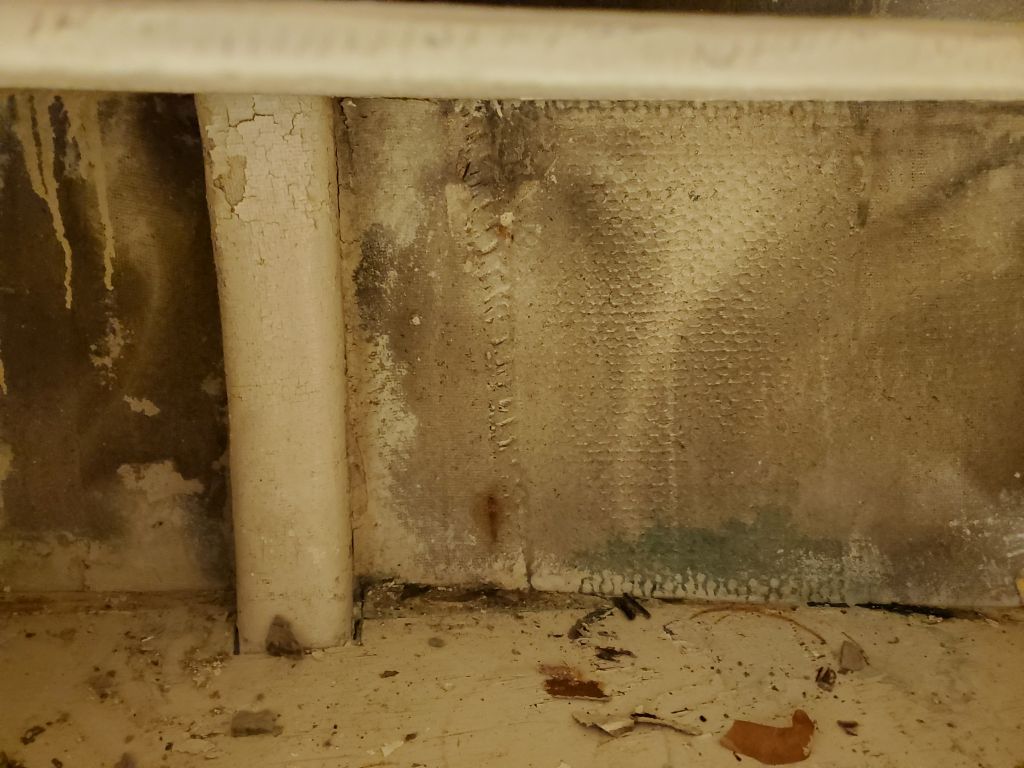
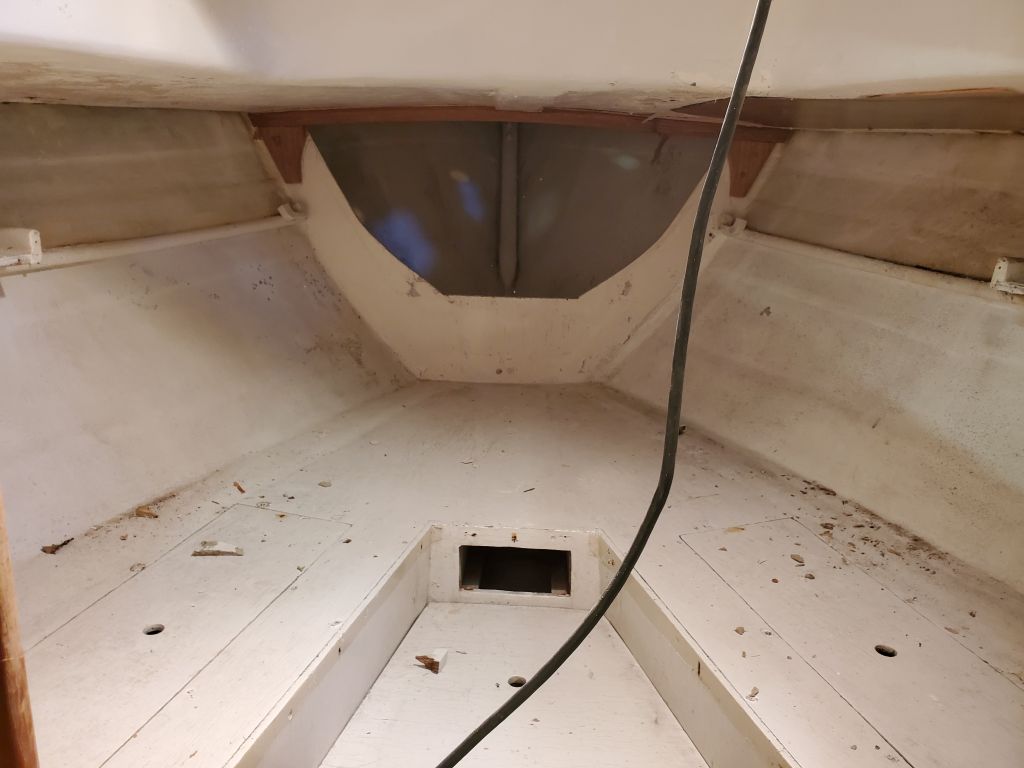
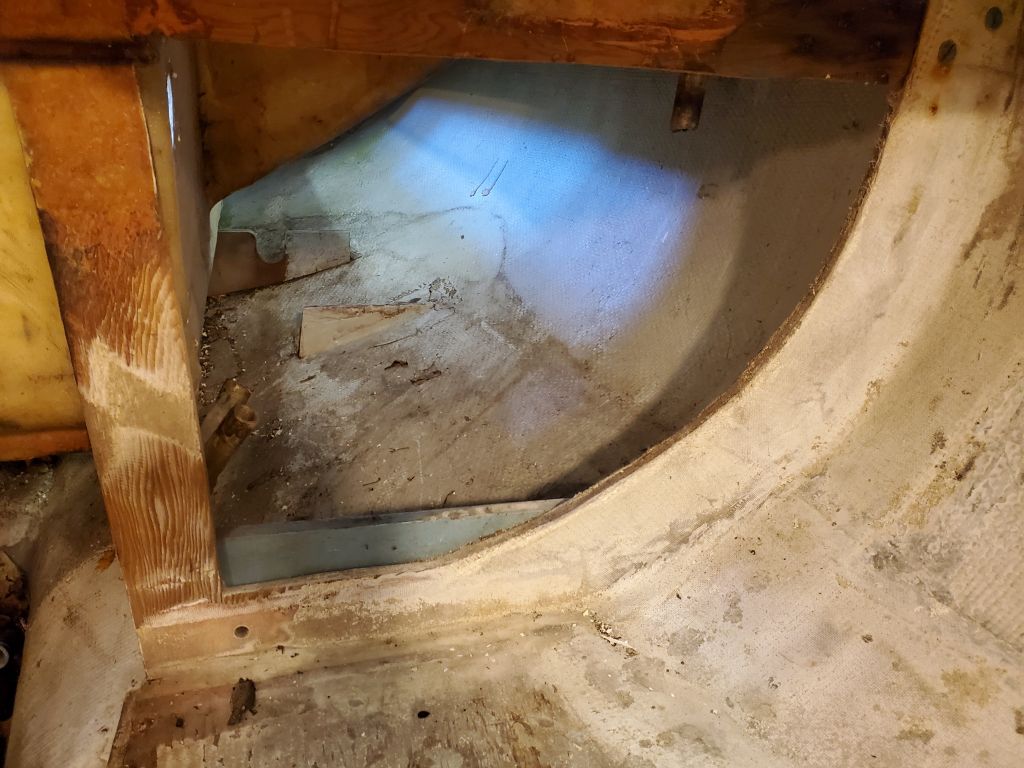
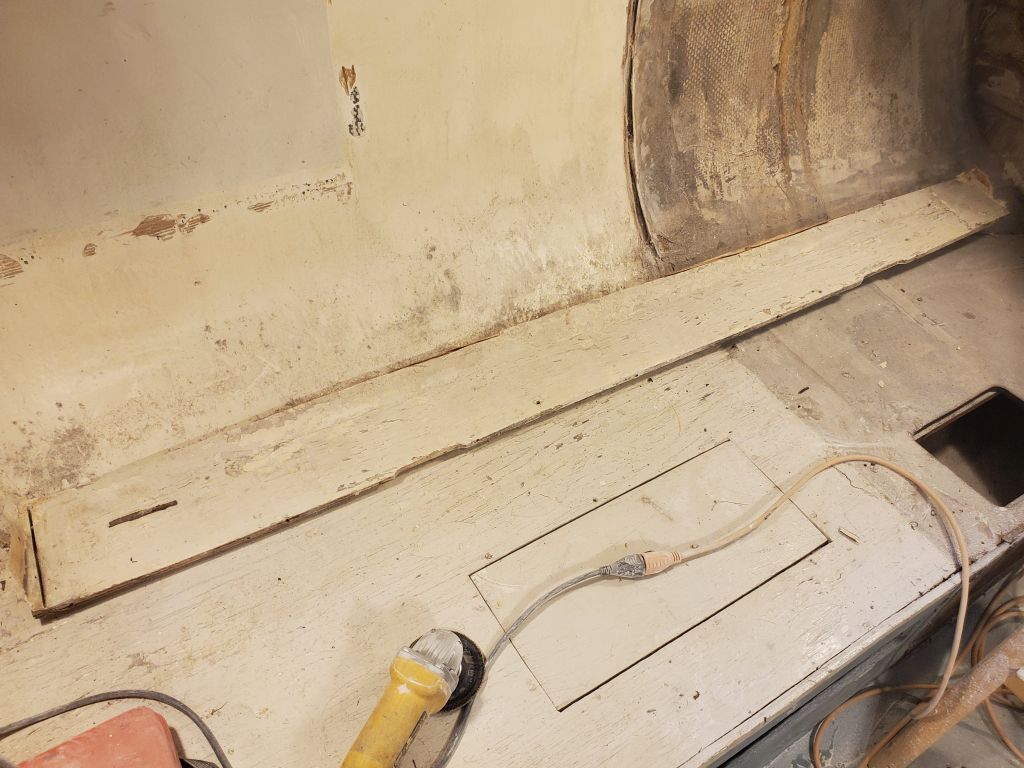
To make getting around the cabin easier, I’d tried to put in place the various small bilge access hatches, but found that the supporting cleats were largely in such bad condition and loose that the hatches were more dangerous than the openings. I hadn’t intended to do much in the bilge just yet, but in removing the damaged cleats so I’d not be at all tempted to step on them, I found that two tabbed-in old wooden blocks that had been part of a dining table leg arrangement (and which the owner had told be he had no plans to use) were quite rotten and that the tabbing was loose enough to pull out by hand (polyester), so in a stream-of-consciousness I removed these blocks, the tabbing, and the piles of black, rotten wood remnants, freeing and opening up the bilge satisfactorily. I also removed a plastic strainer/mount from an electric bilge pump that the owner had had trouble removing.

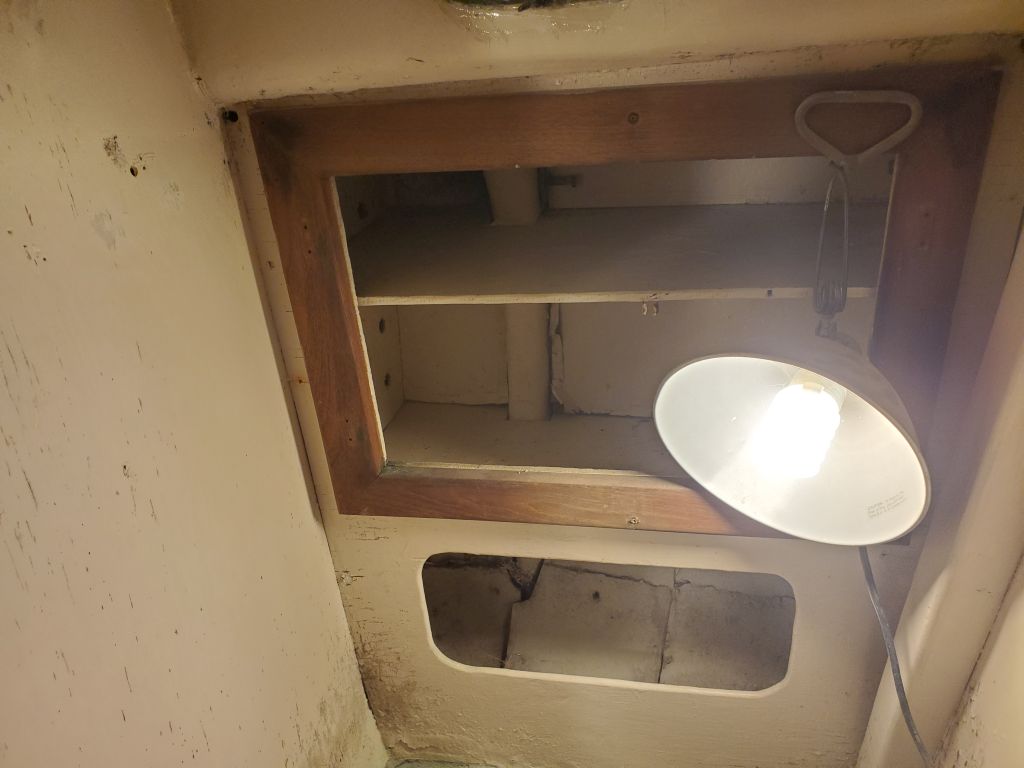
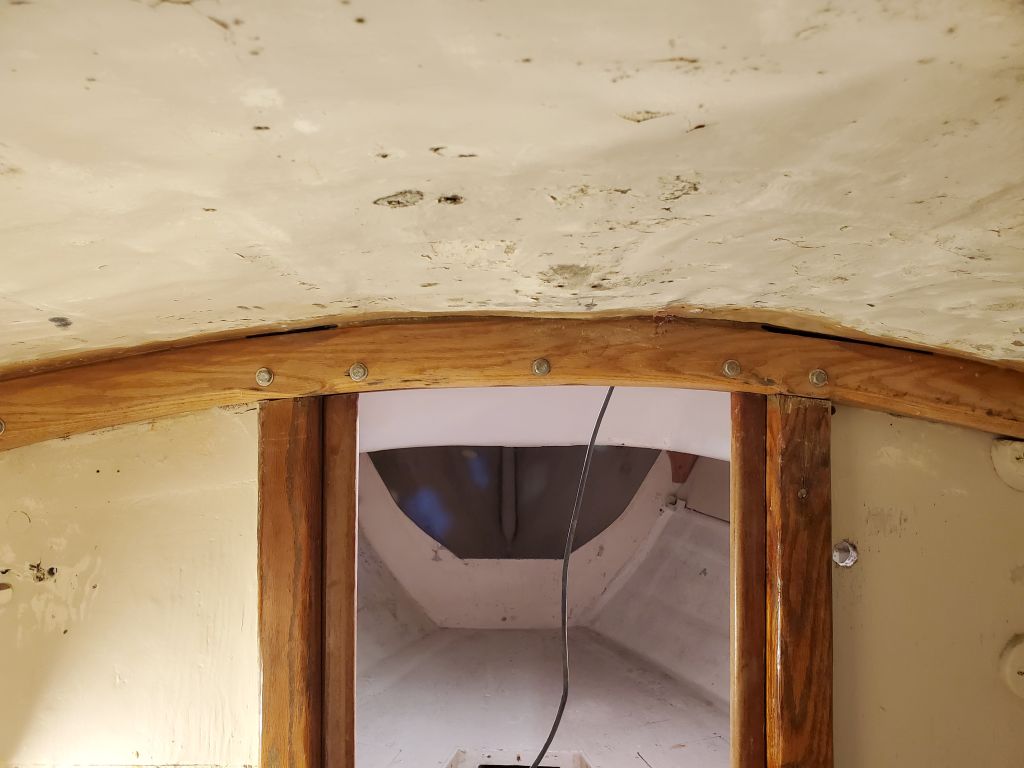
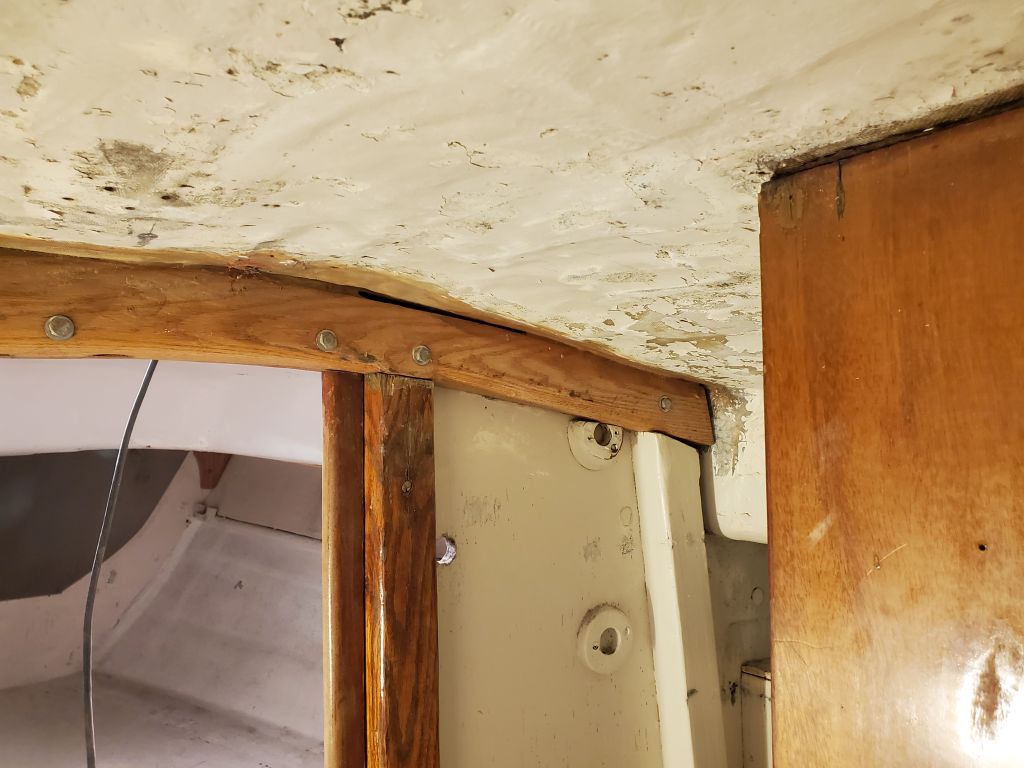
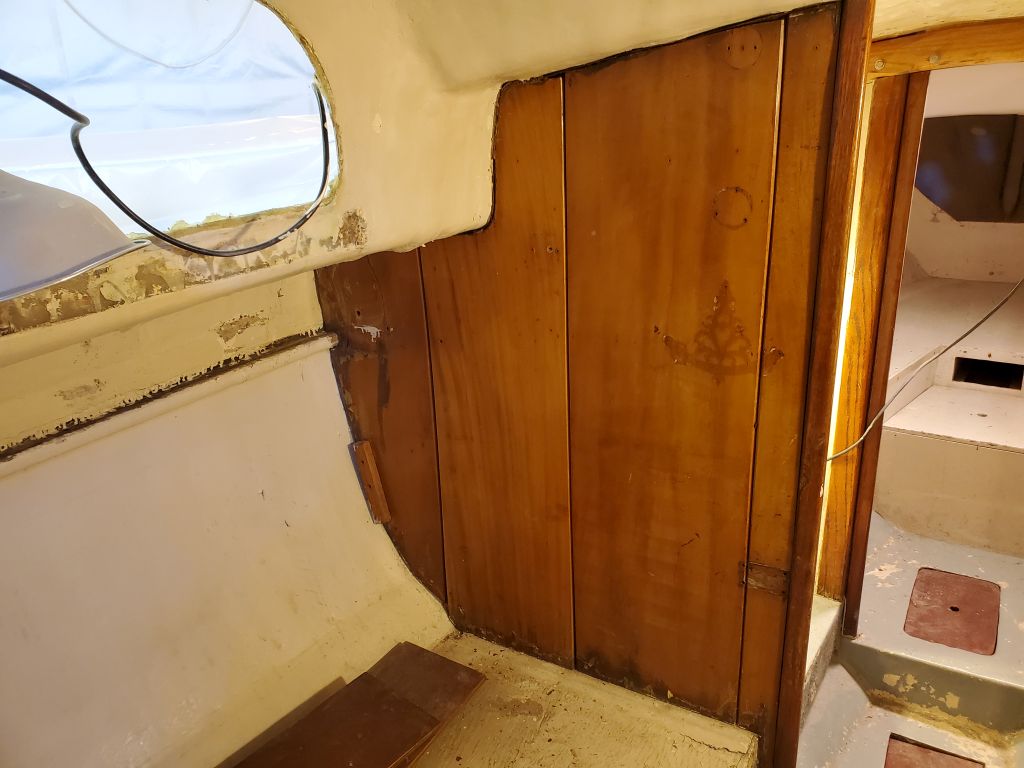
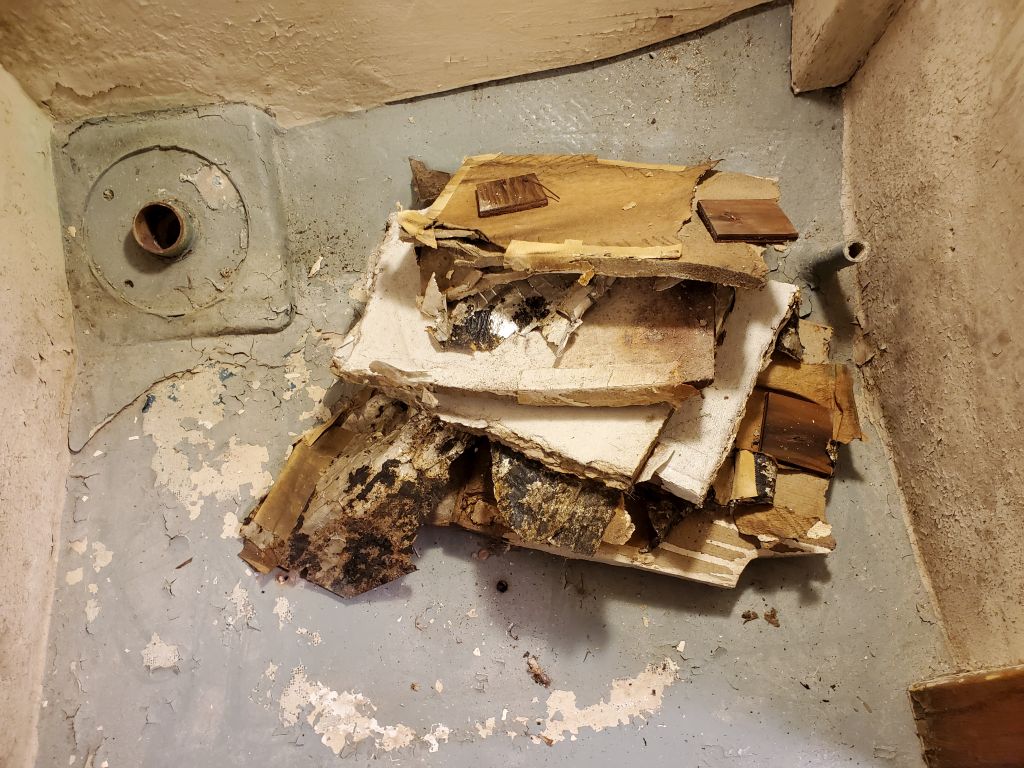
The upper part of the hull in the forward cabin, and the lockers outboard of the head on the port side, had some questionable paneling/insulation installed, some old material that was vaguely fibrous in nature and which, under any circumstances, needed to be removed. Unsure of its makeup, I wore a respirator during its removal, which fortunately was straightforward enough since all this old material was apparently just a friction fit, though there were small wooden blocks visible on the back side that might once have been attached to the hull with spikey fasteners projecting into the insulation product. I didn’t know and didn’t care, since the old material was, and had to be, gone.


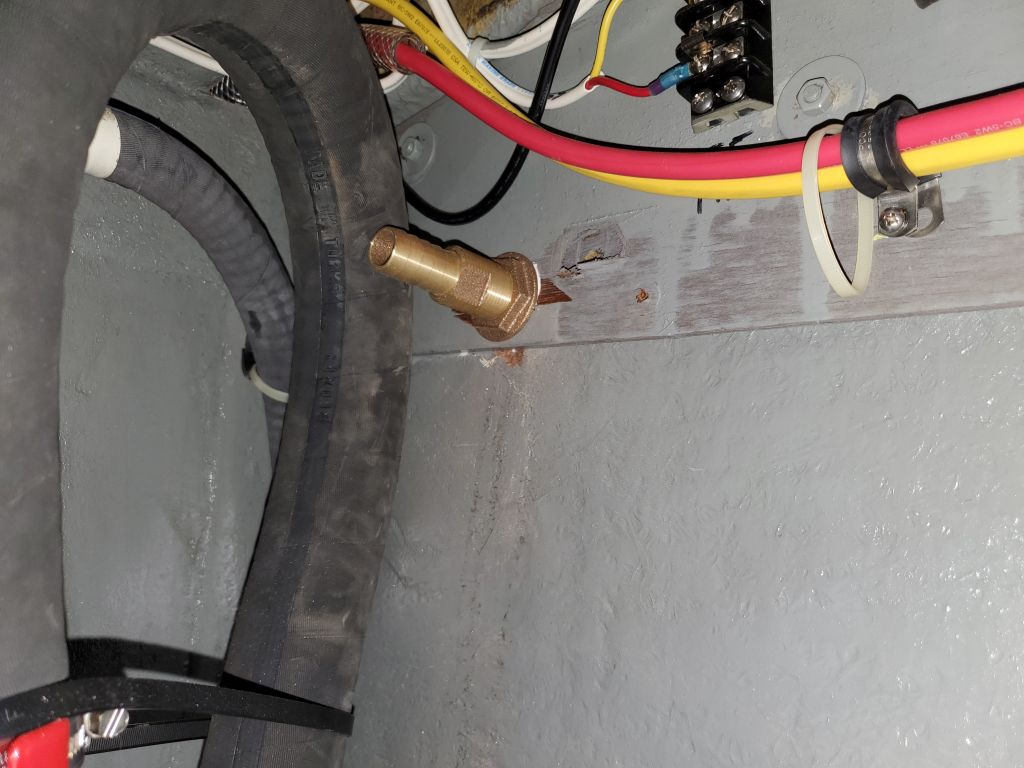
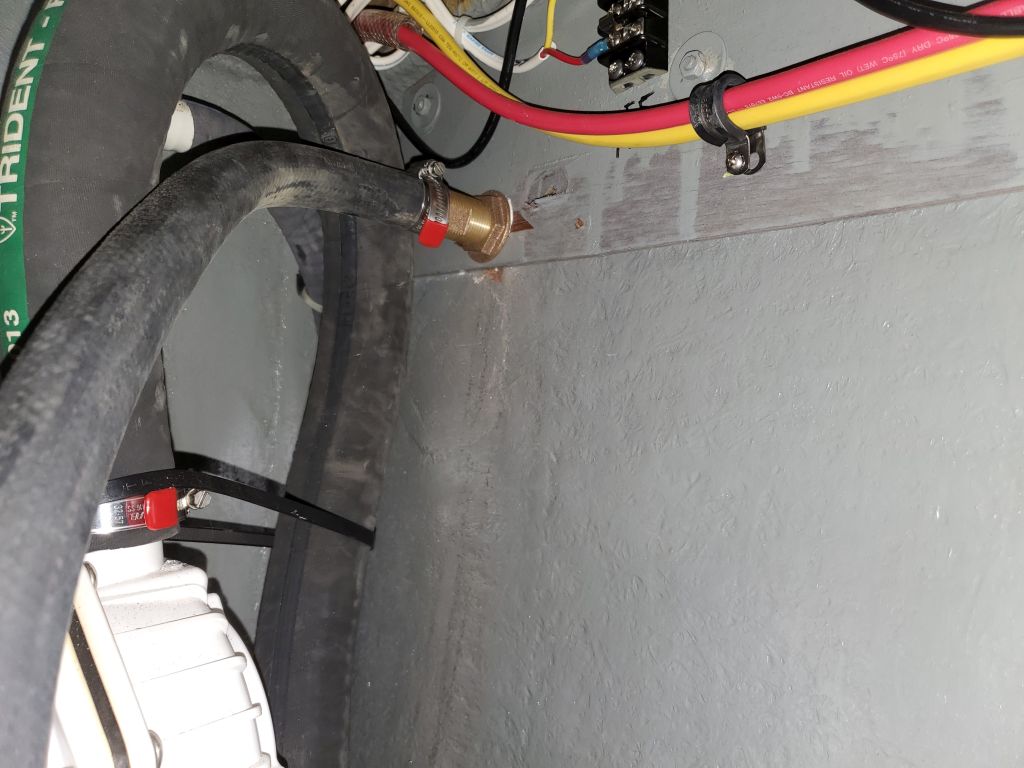
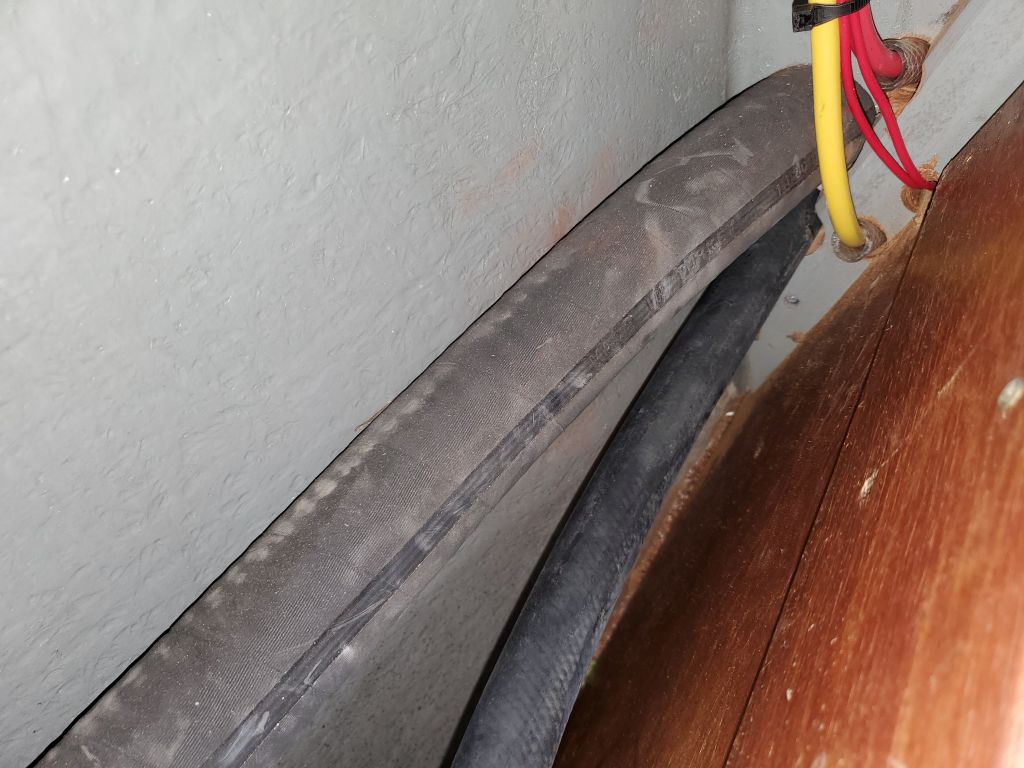
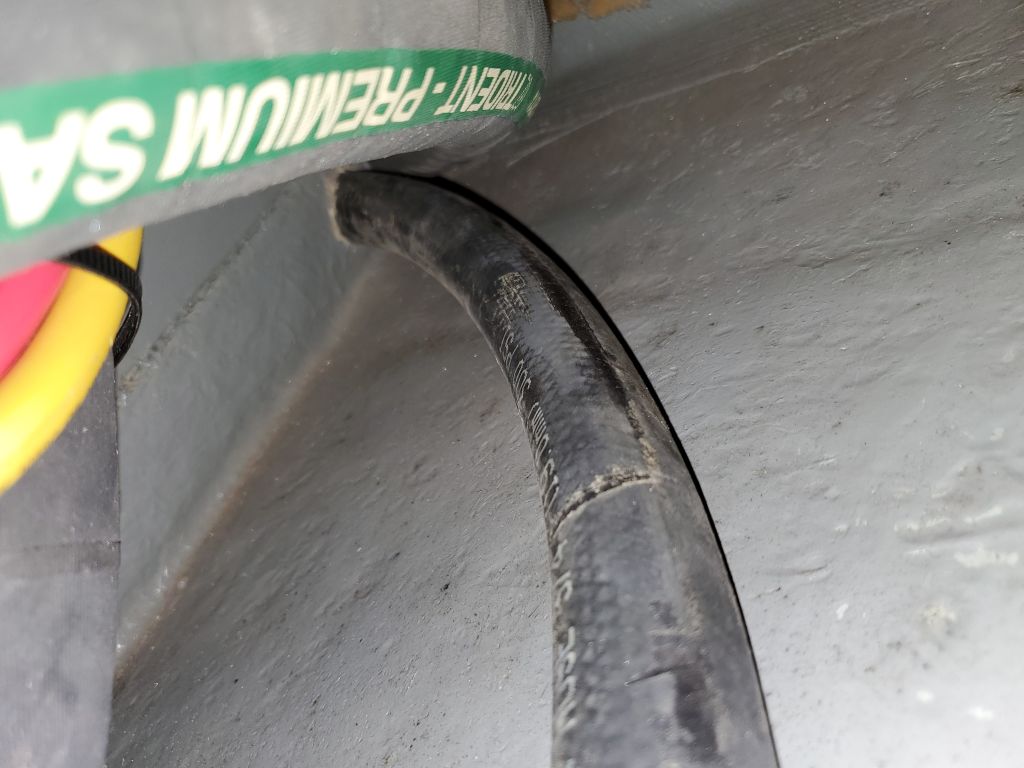
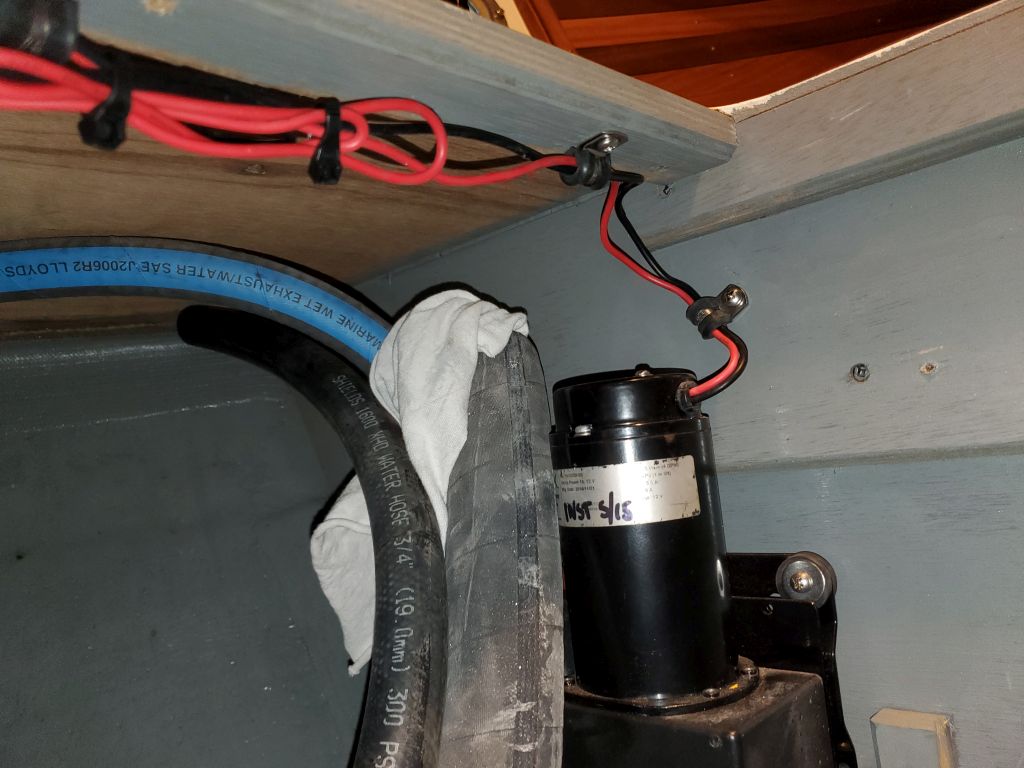
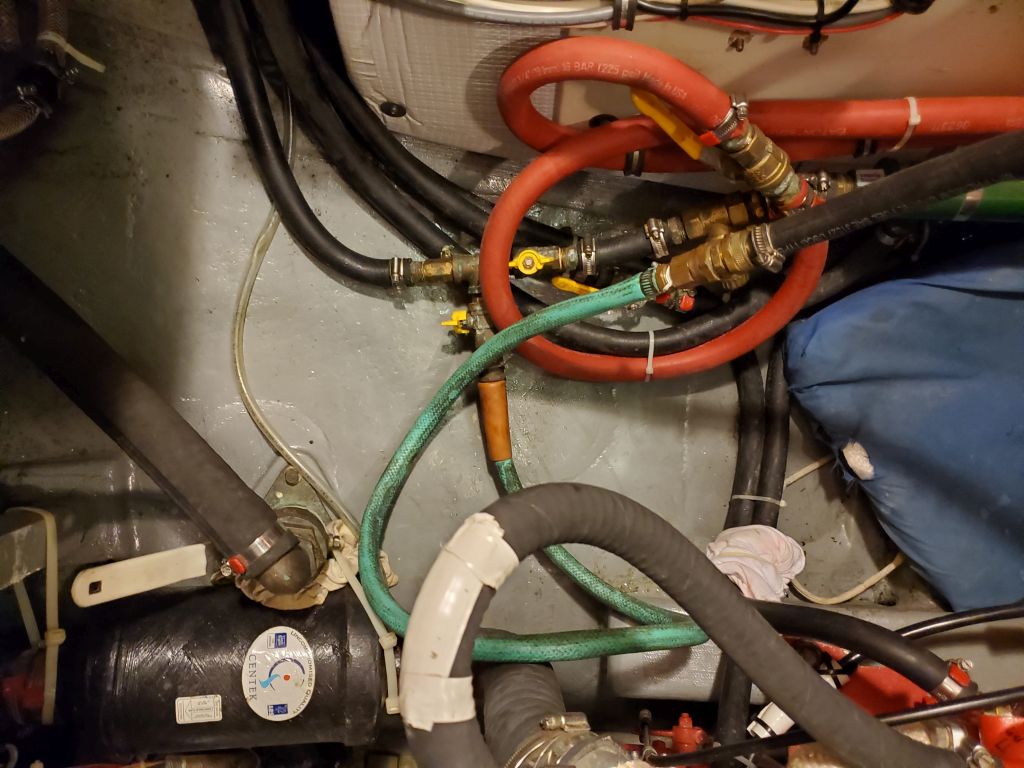
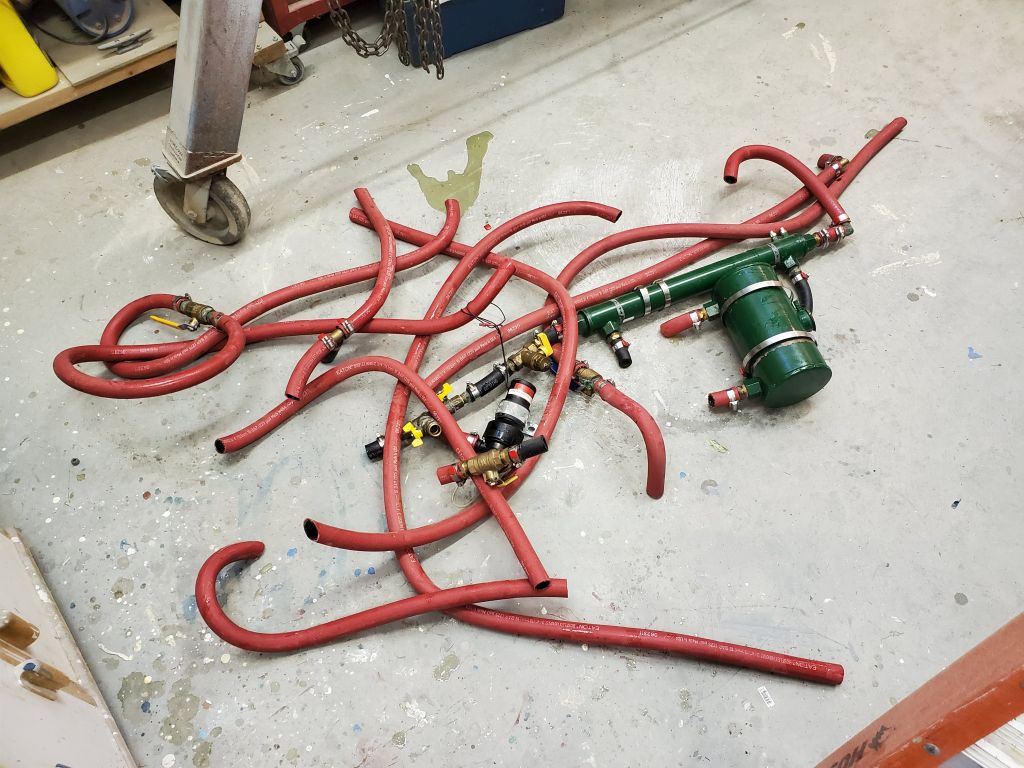
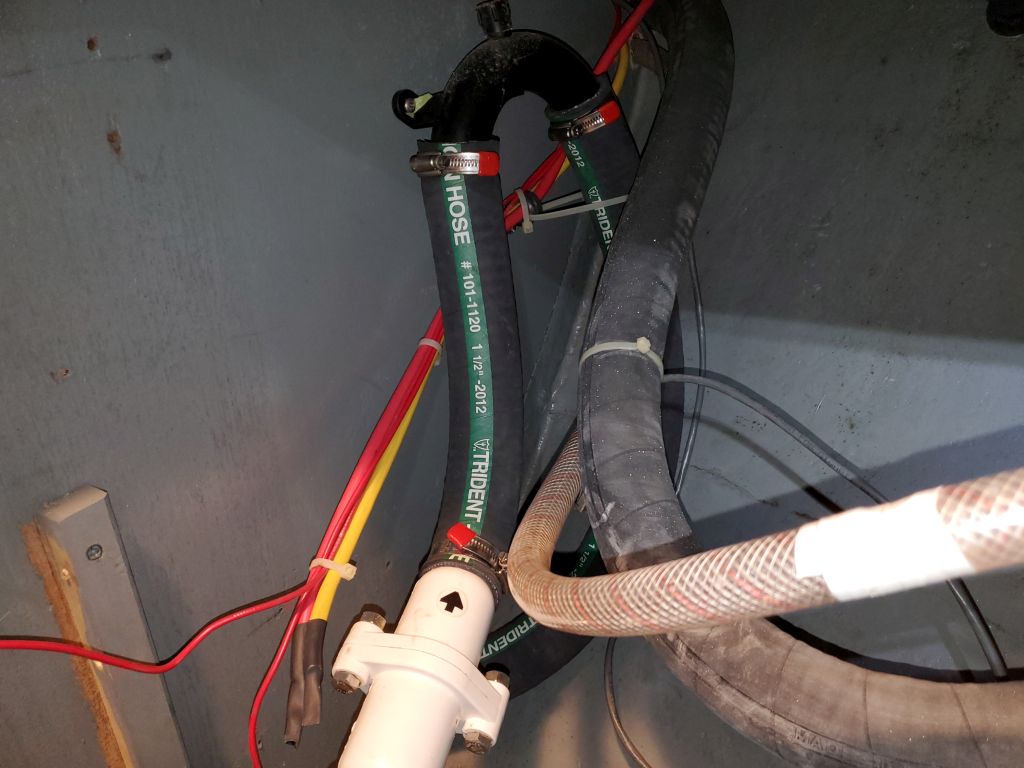
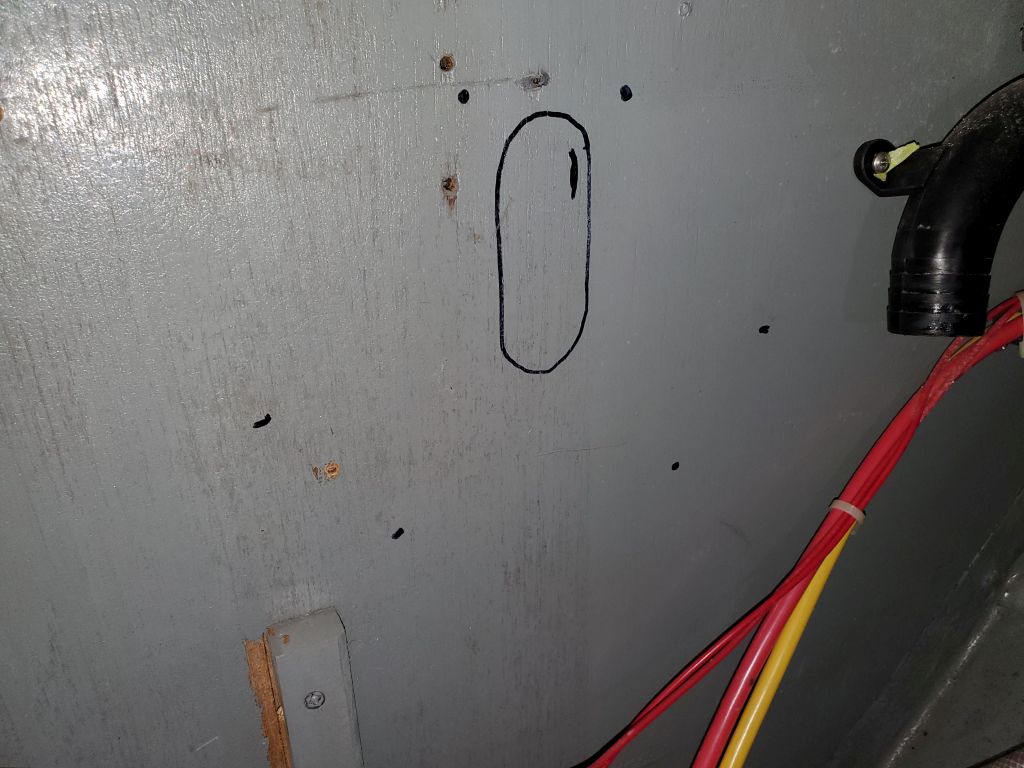
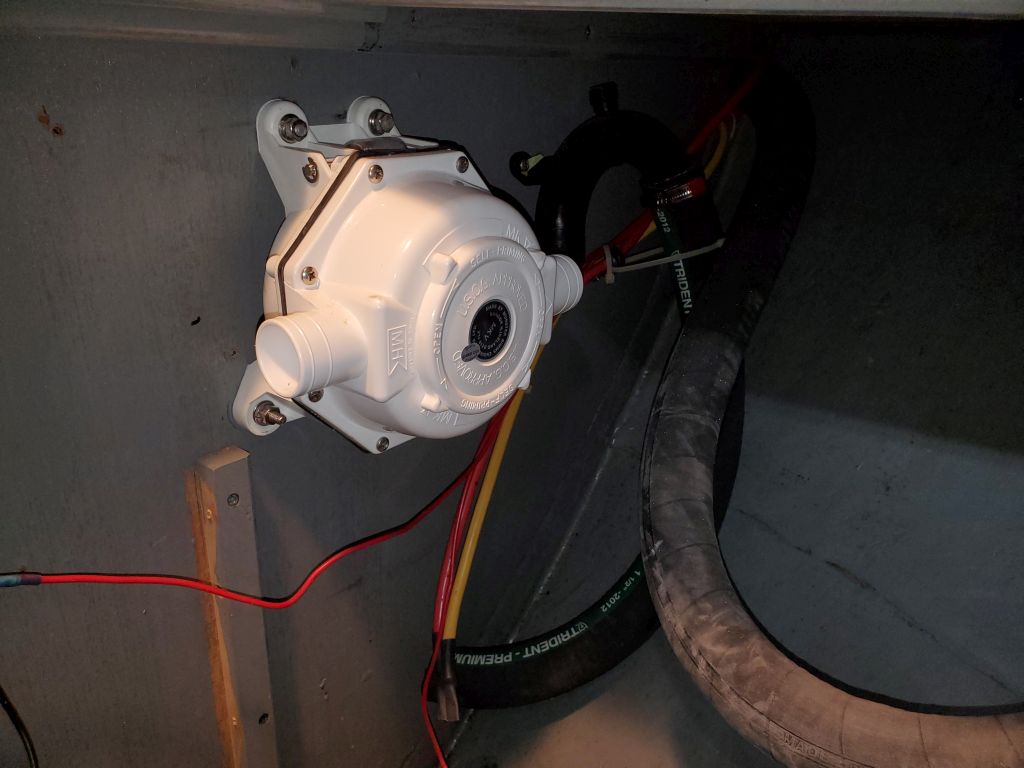
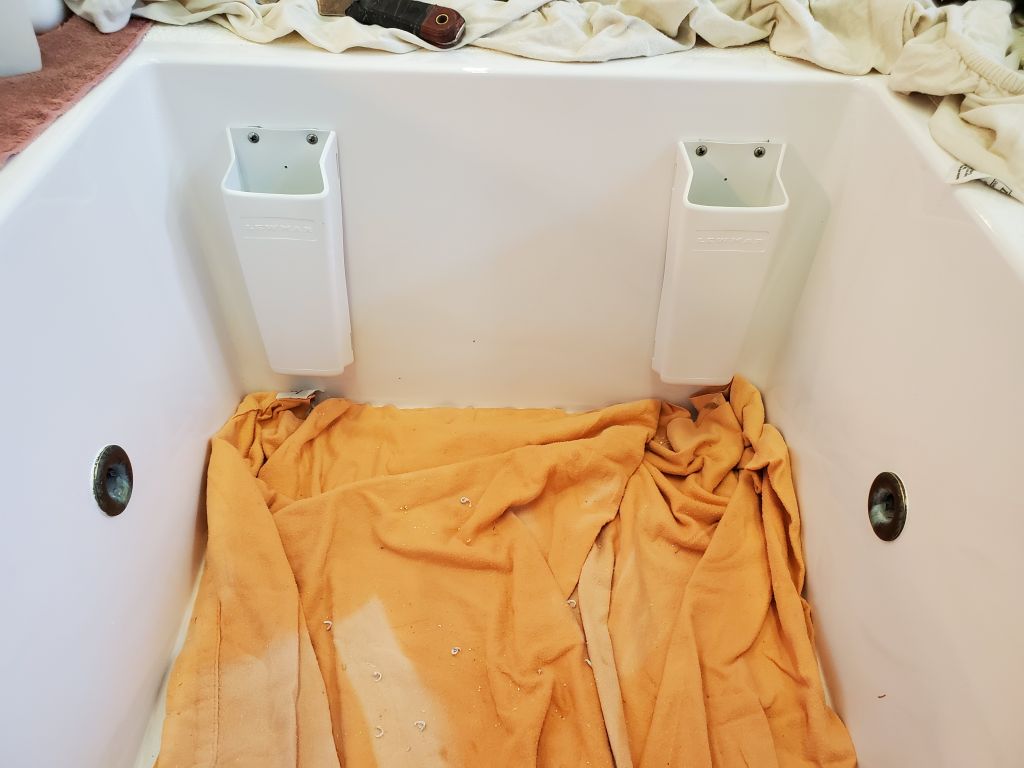
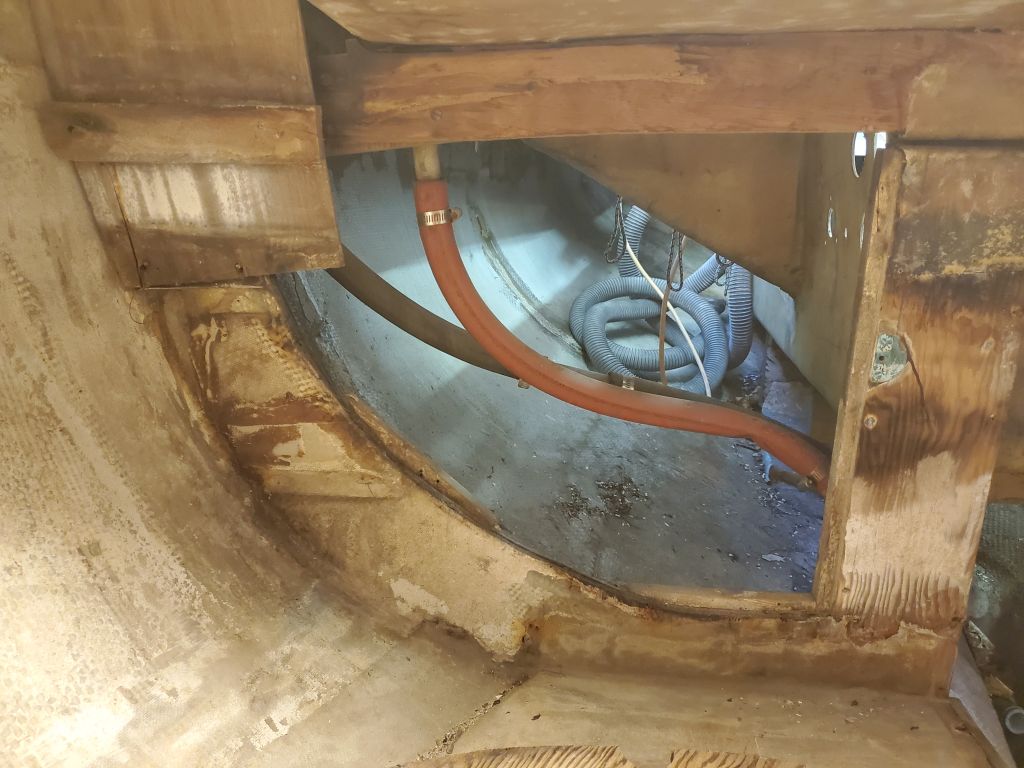
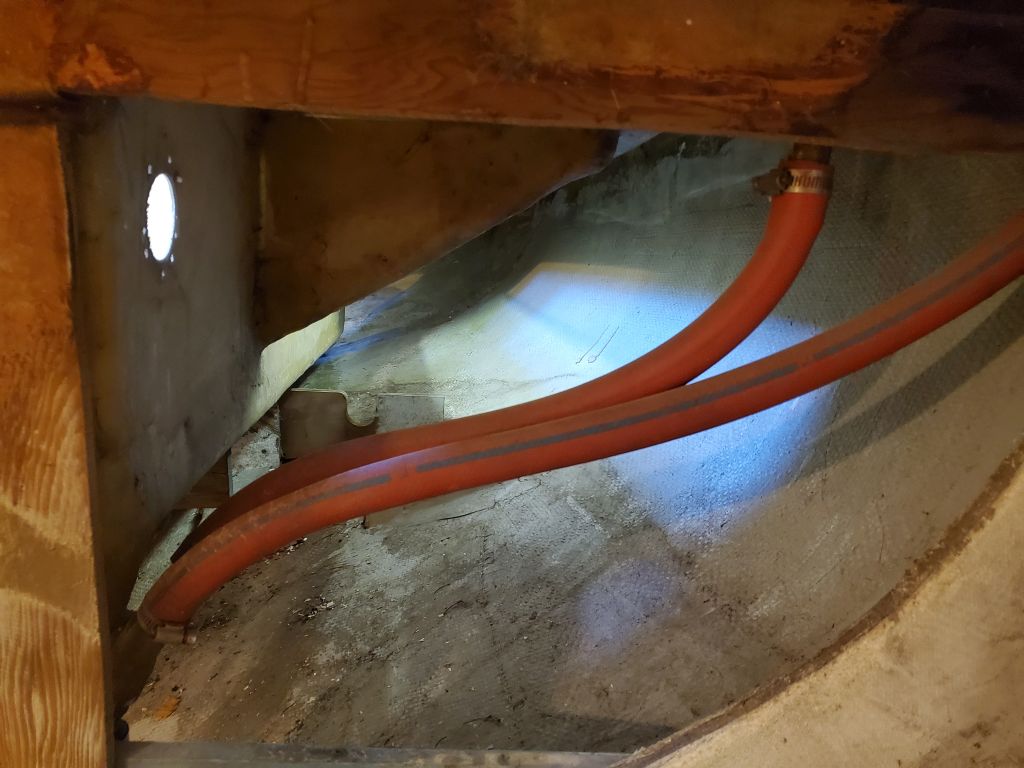
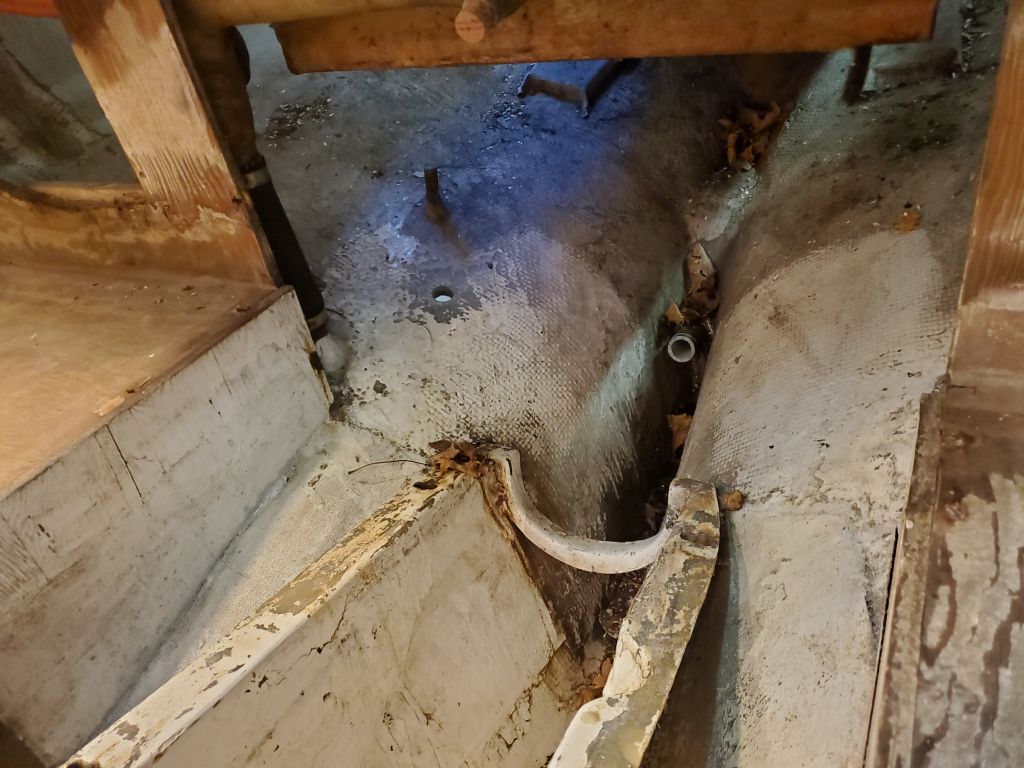
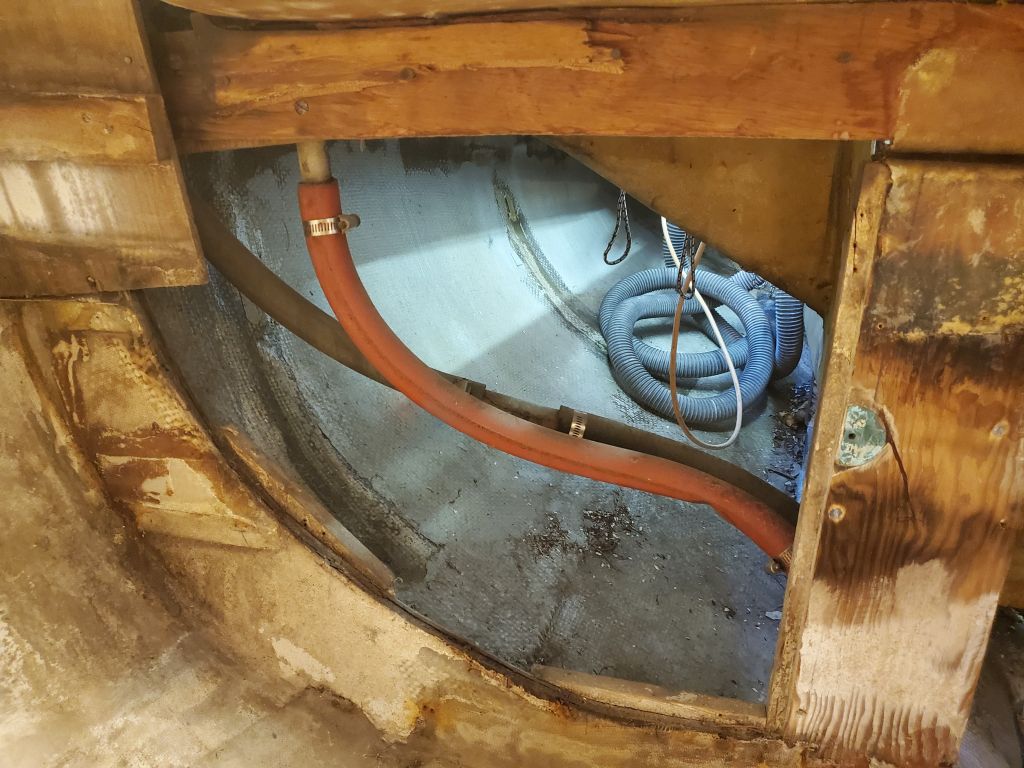
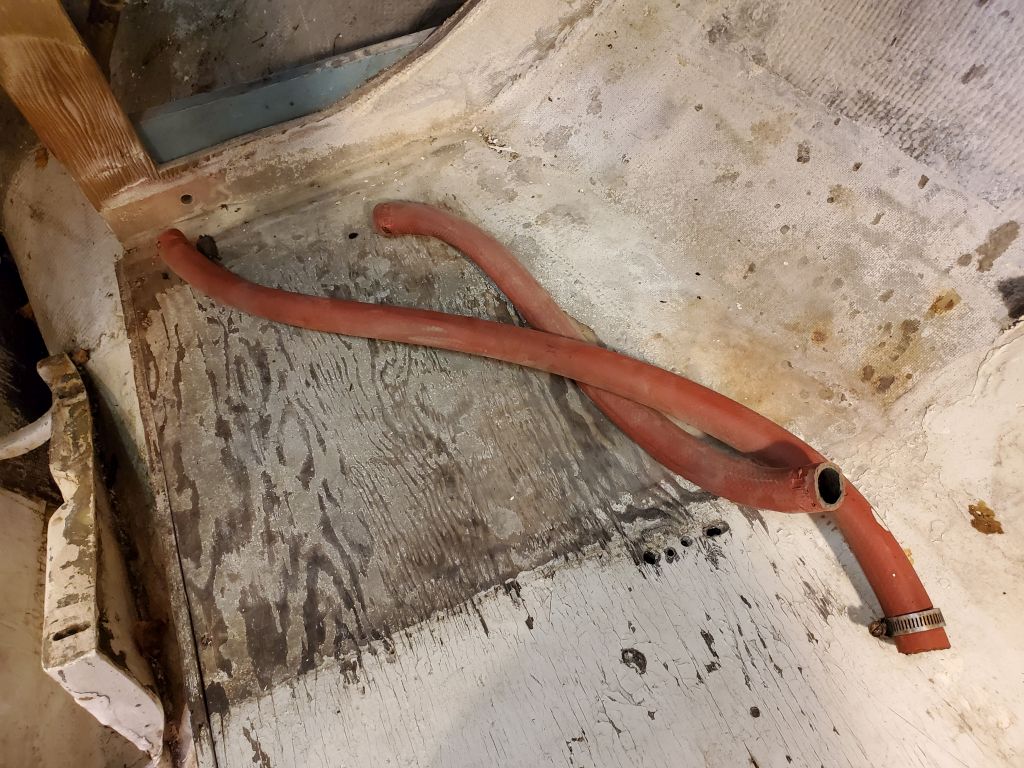
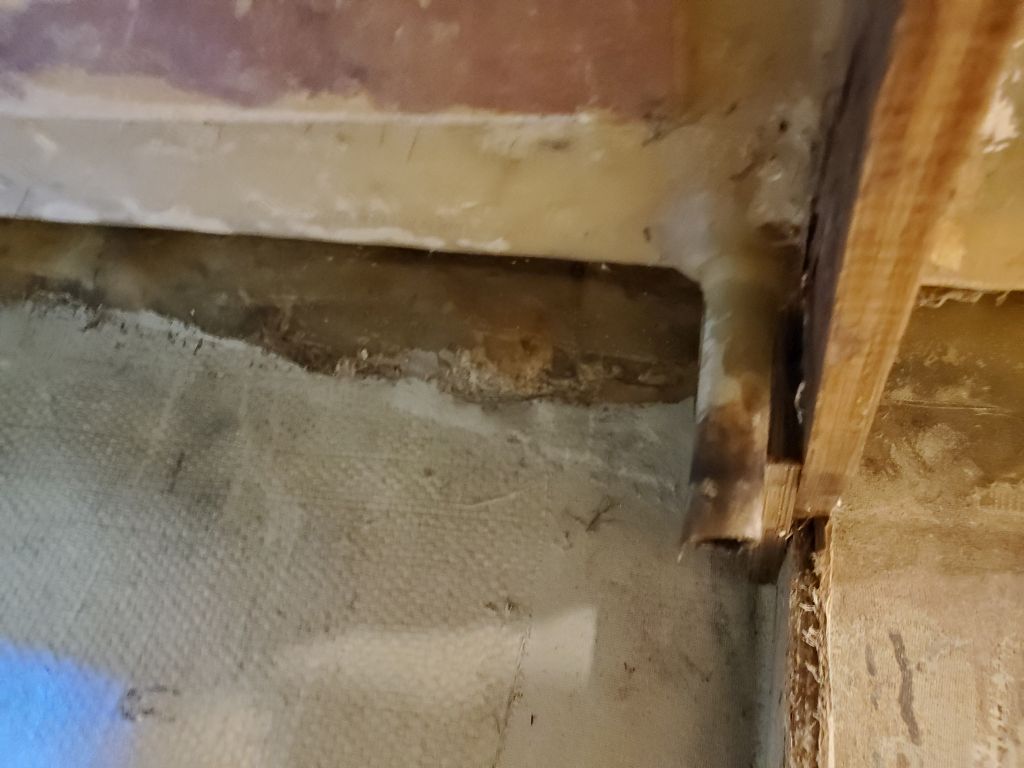
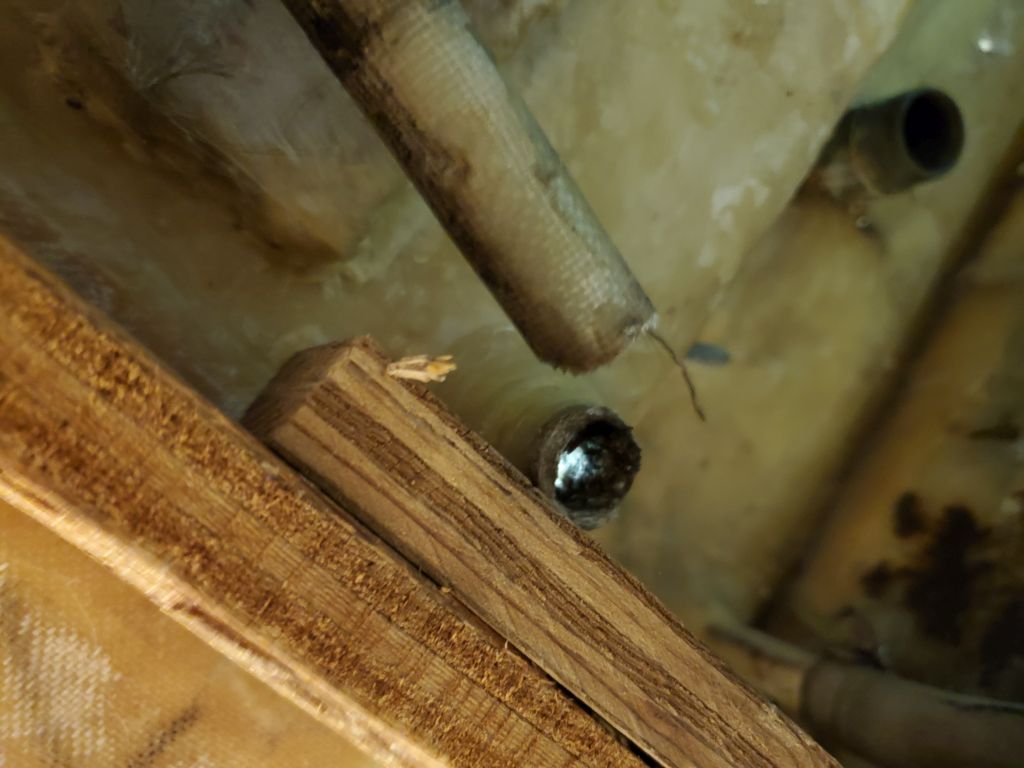
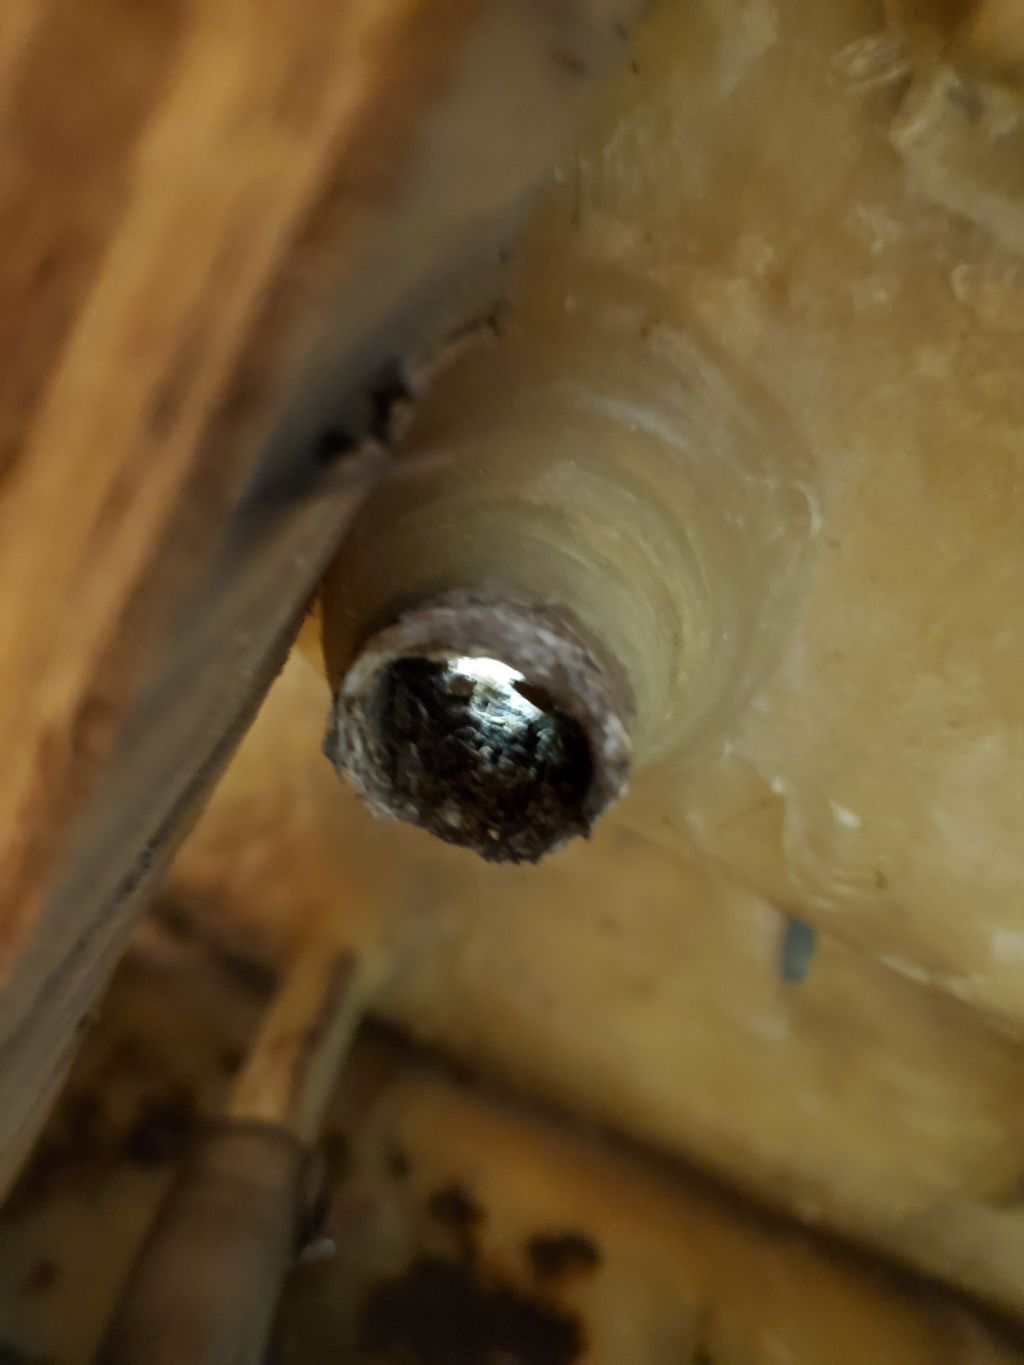
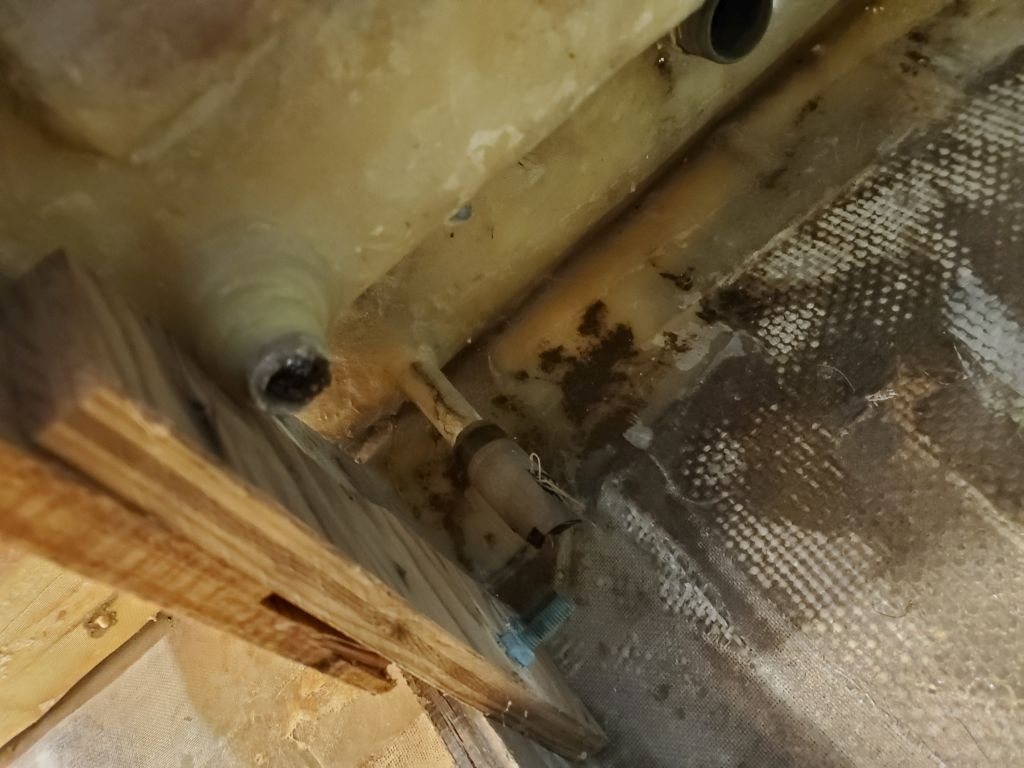
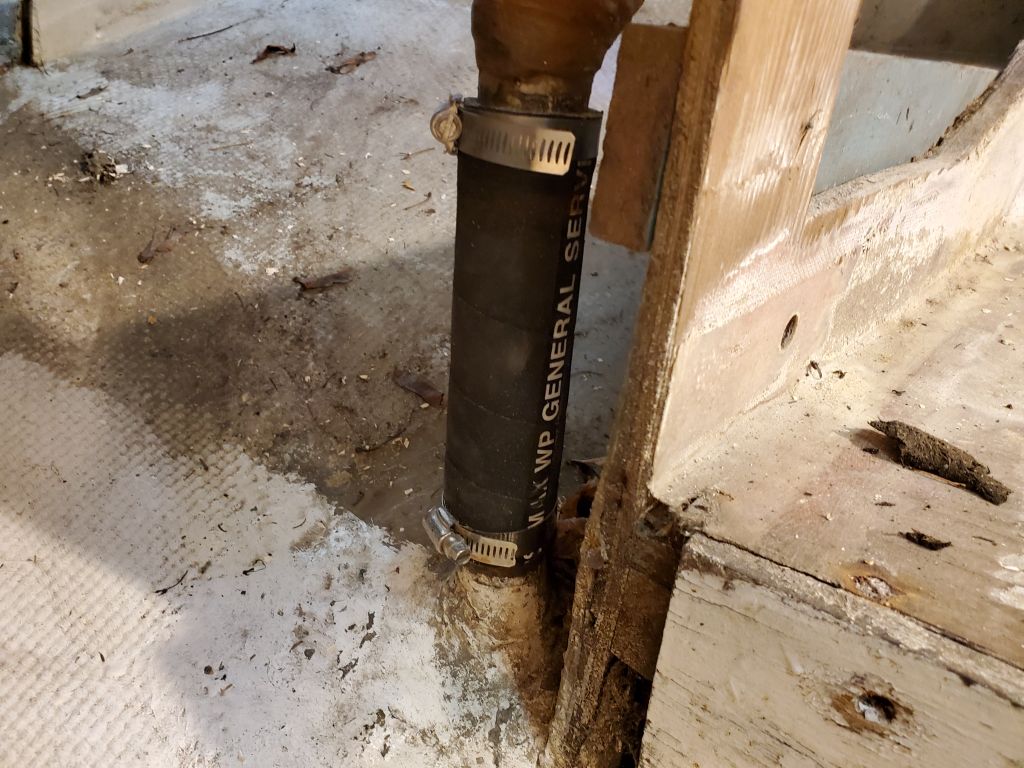
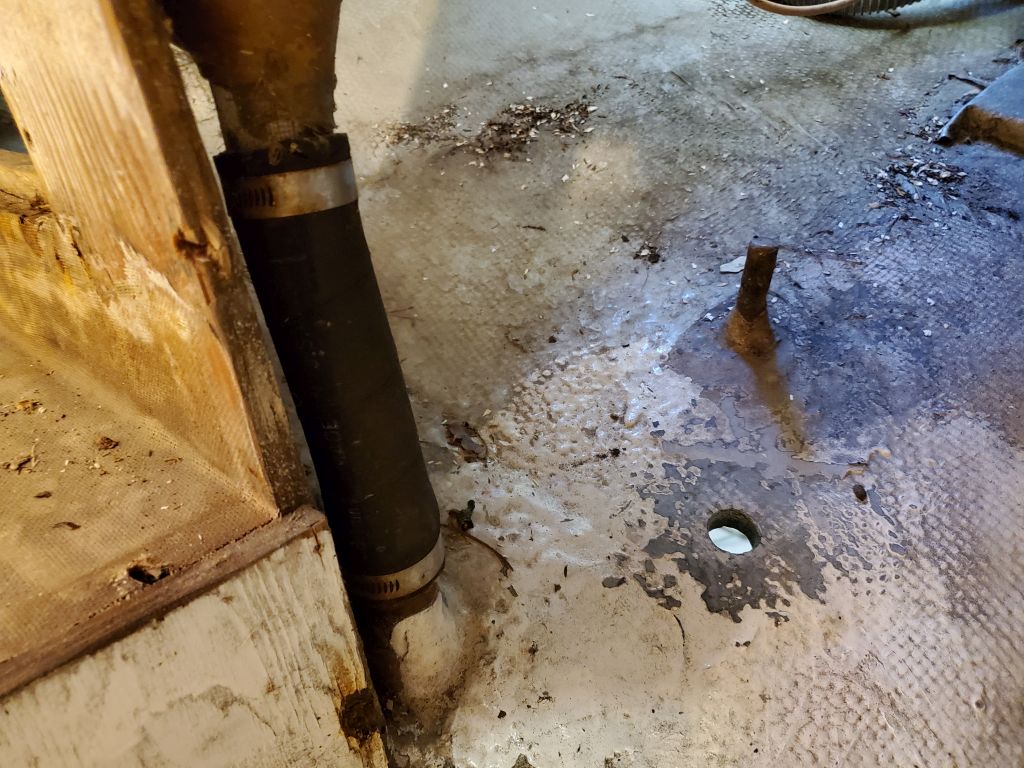
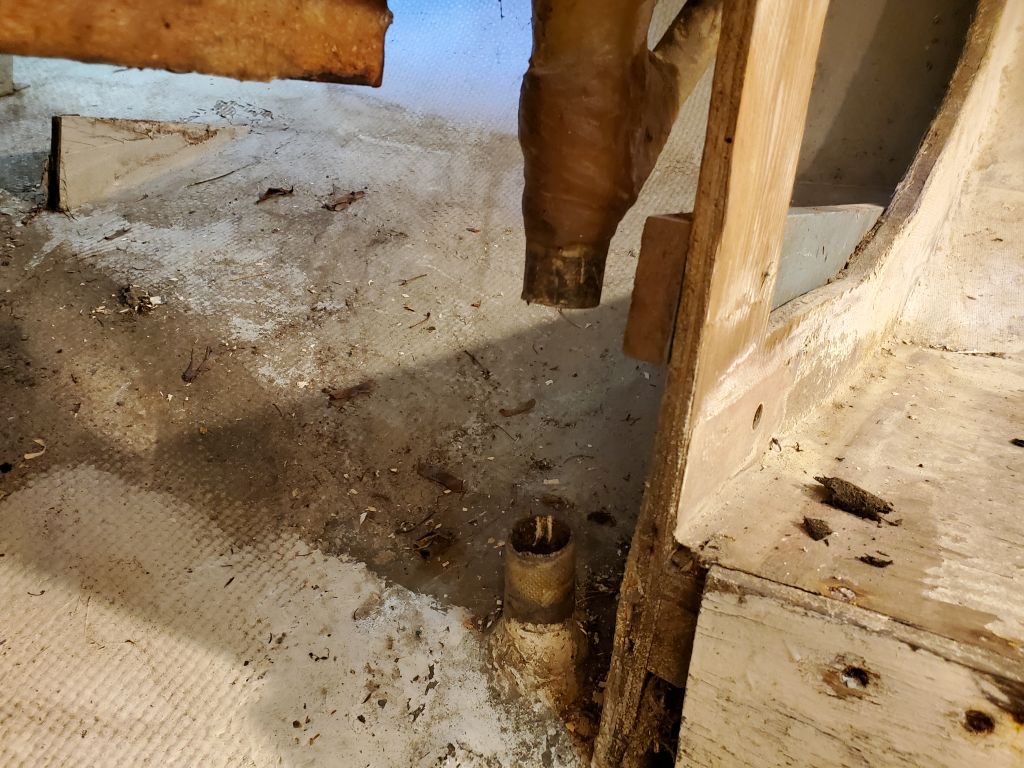
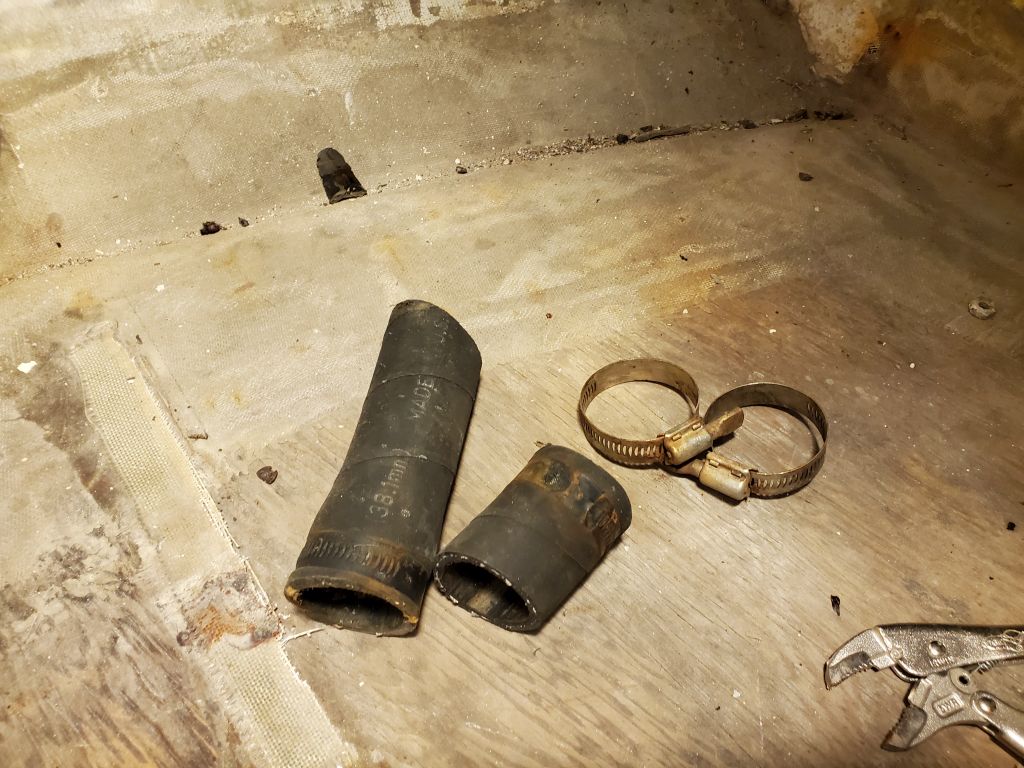
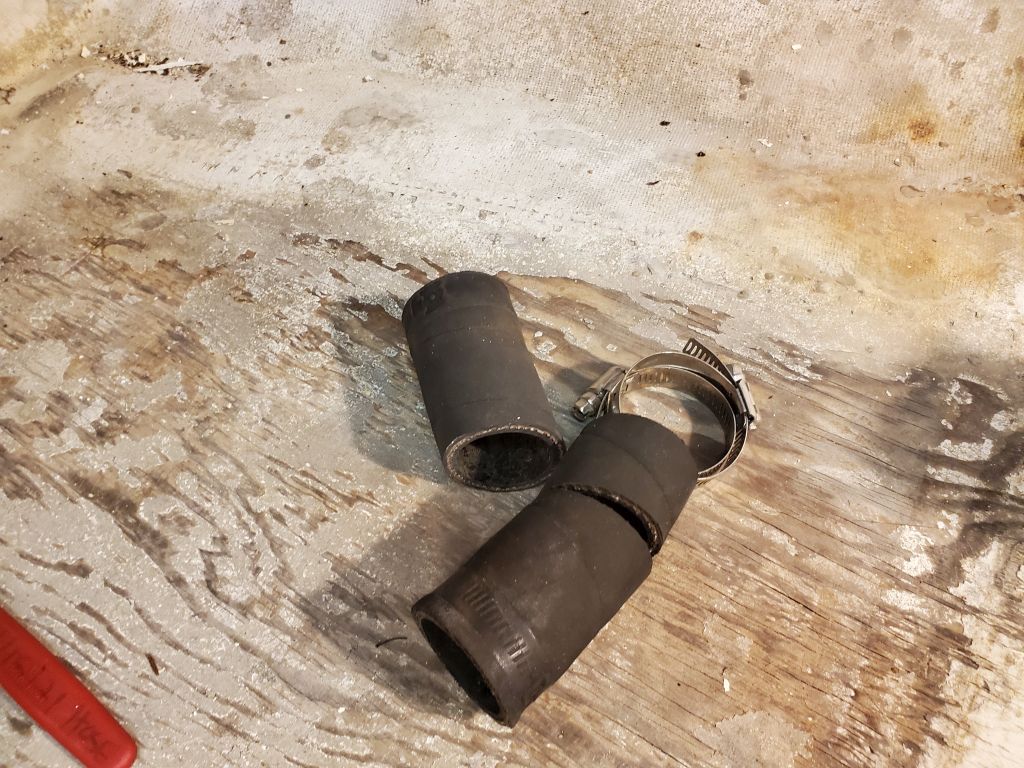
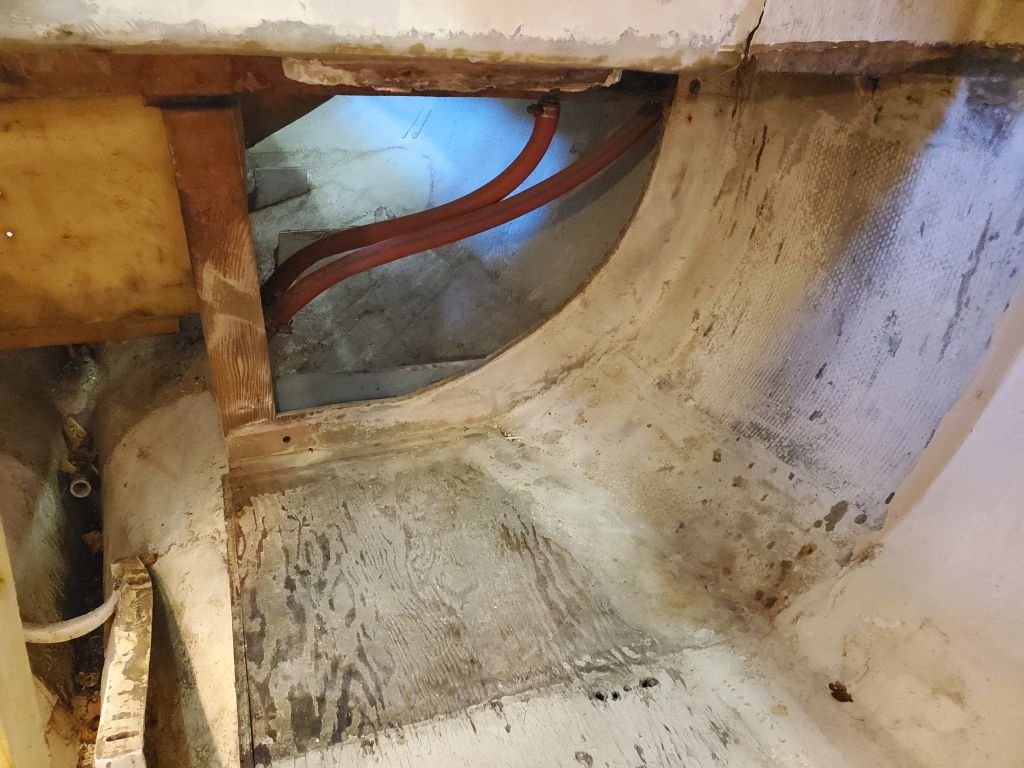
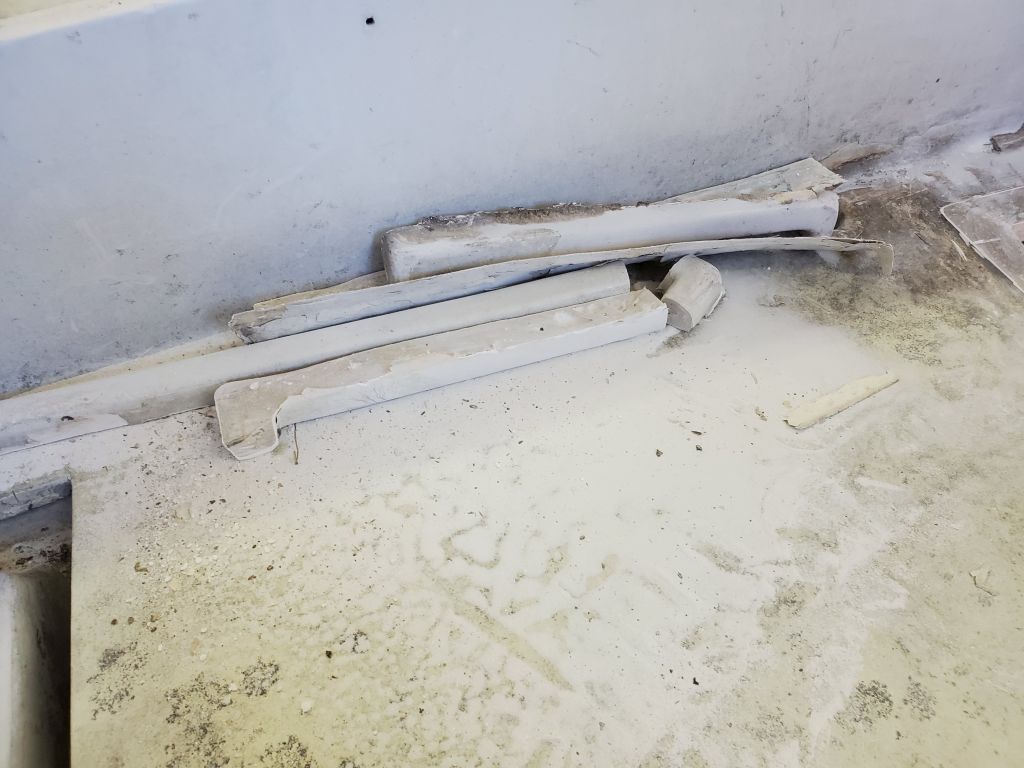
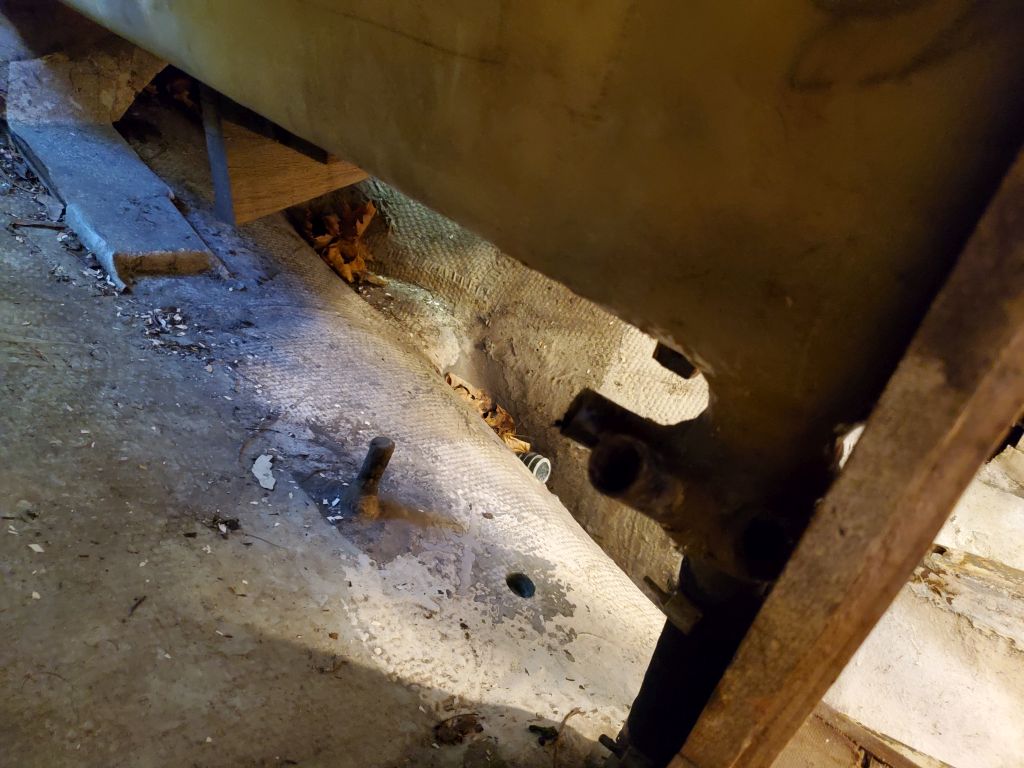
Continuing my quest to rid the cabin of all unneeded old materials before I got into the surface prep, I removed the old scupper hoses from the cockpit, including both sets of the sidedeck and seat scuppers at the forward end (old, dry, hard hoses in need of replacement), as well as the two main scupper hoses leading from the cockpit well to the hull. With the owner’s plans for the boat, and assuming that the original fiberglass tubes were sound (to be determined in due course), the plan was to maintain the original setup with no changes other than replacement hoses. I removed even a newer hose that the owner had installed so that it wouldn’t be clogged with debris during the cockpit and nearby work, and to ensure that in the end all hoses were sound and fresh. The fiberglass tube attached to the starboard sidedeck broke right off near its top when I removed the hose (this was the worst, oldest, most brittle hose of the four), but I’d be able to reattach the tube to its stud later in the process.


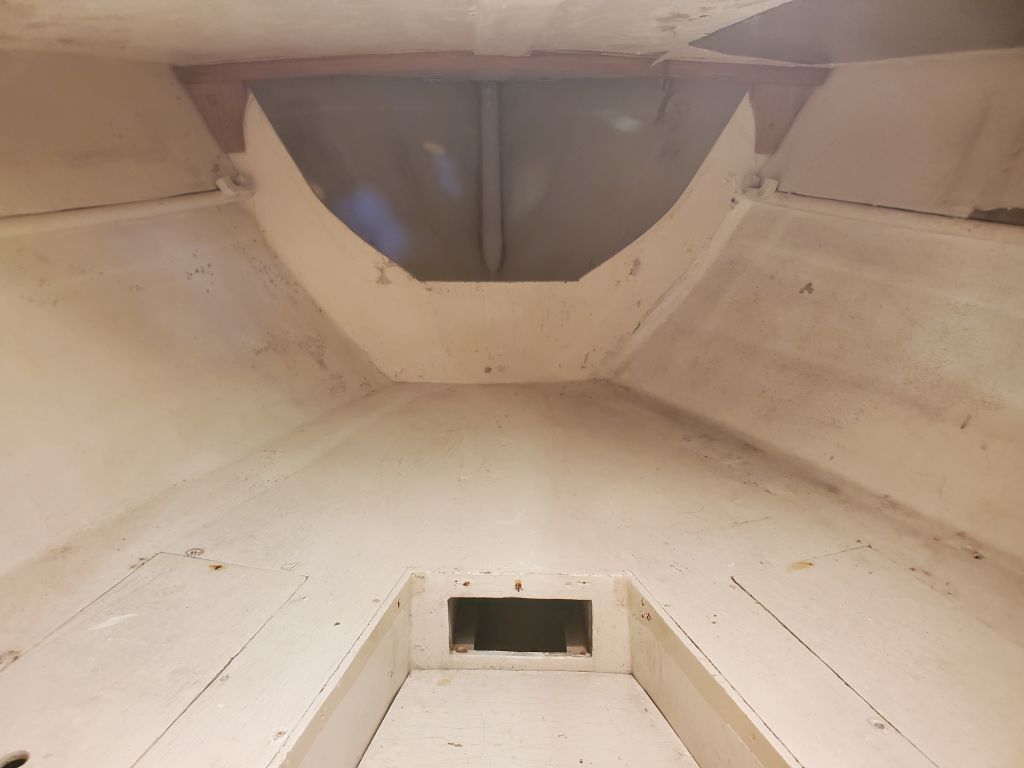
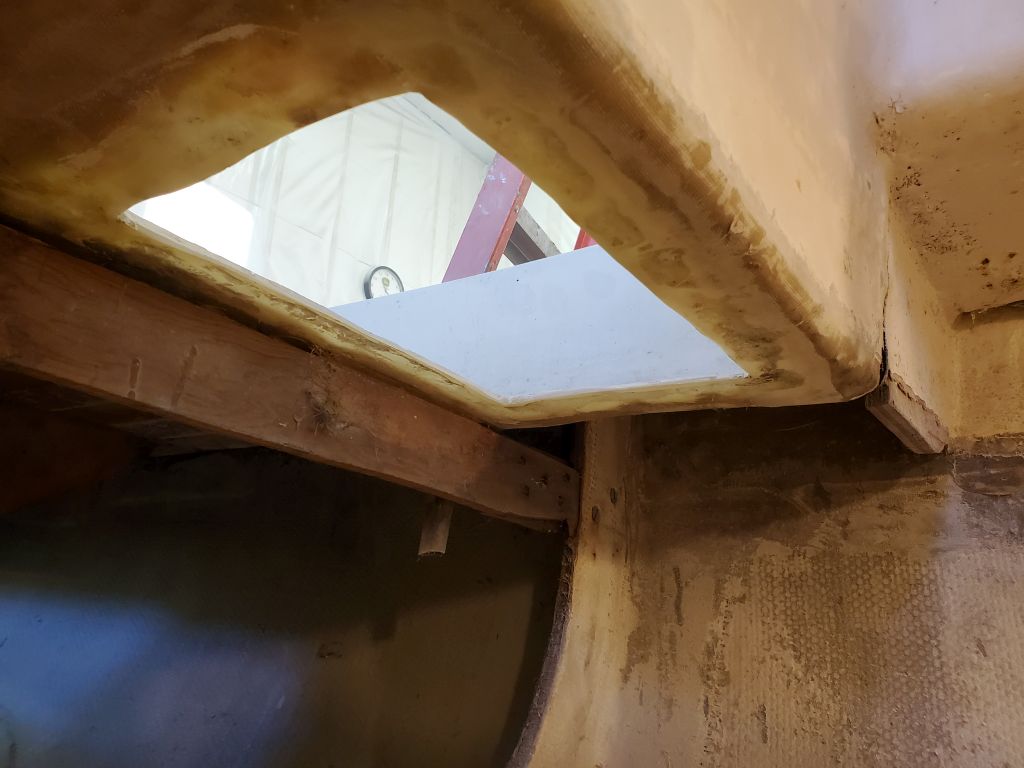
Now it was time to get into things, and to begin I used a cutoff wheel to remove the forward hatch coaming, the first step towards its replacement with a new, modern aluminum hatch. Once I got the new hatch on hand and built its wooden support/coaming, I’d cut the deck opening to its final shape and size.


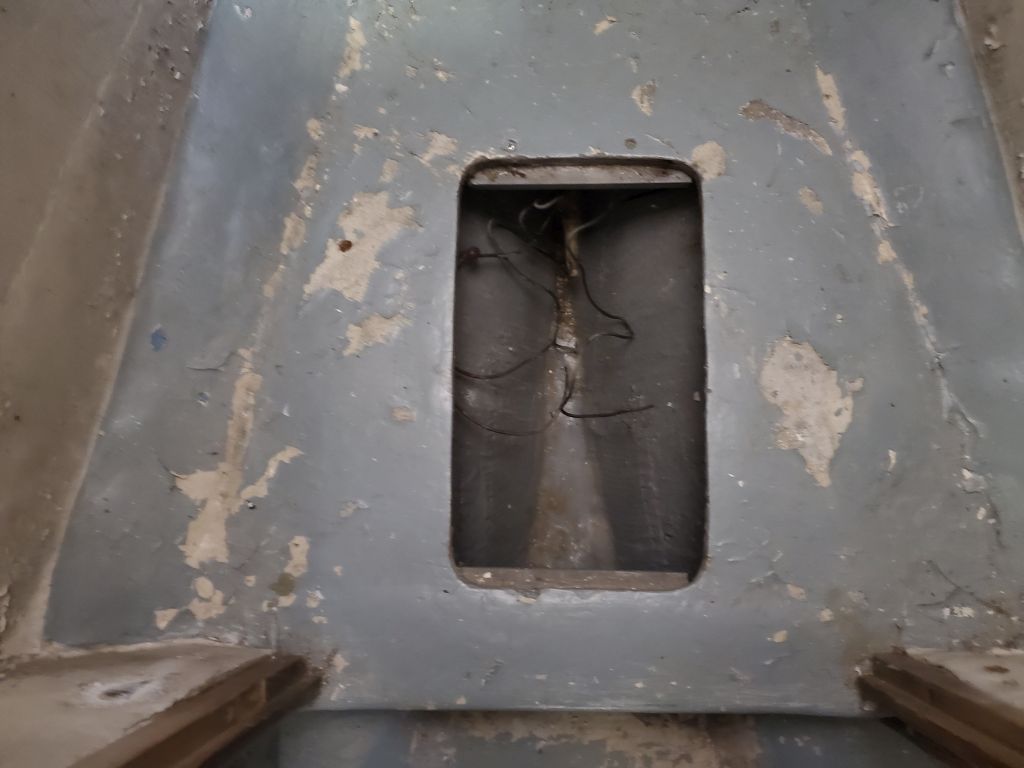
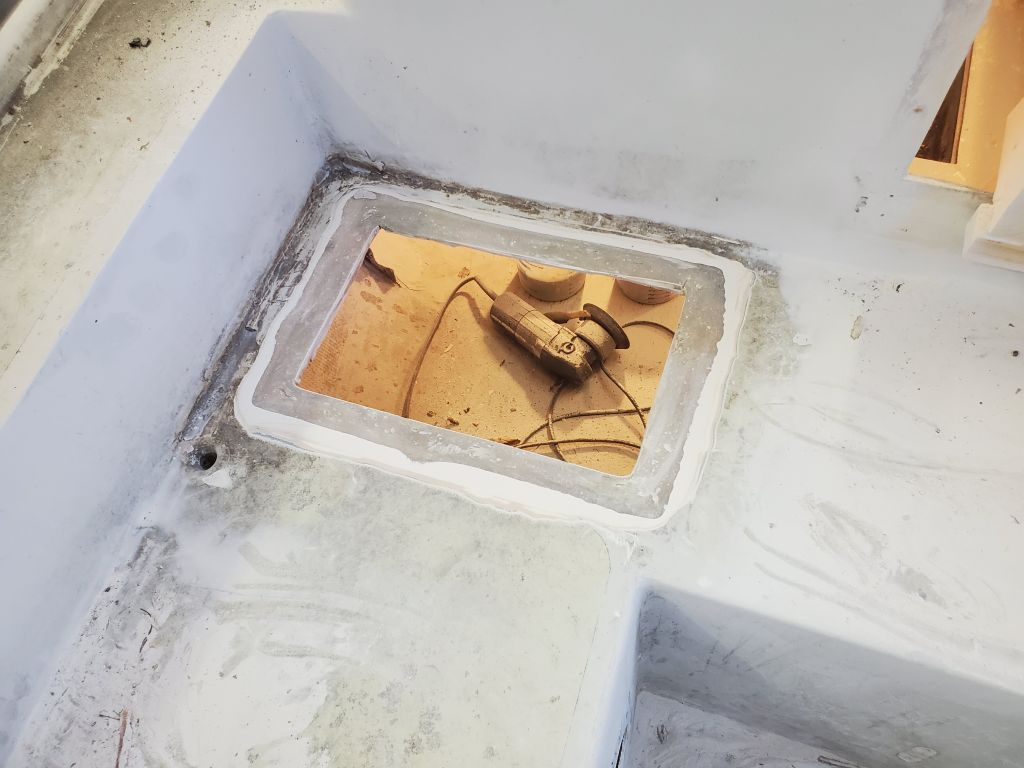
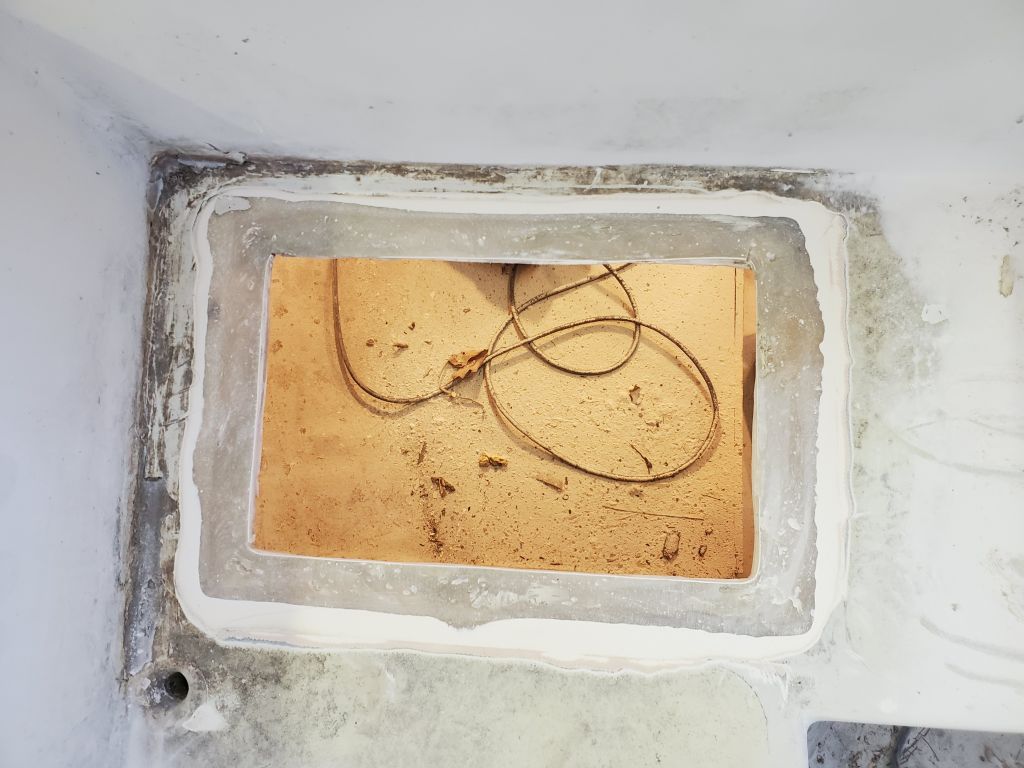
In the cockpit, I cut out the little raised coaming from around the icebox hatch and ground the area flush to prepare for patching sometime later in the project. Belowdecks, I ground the underside as well.

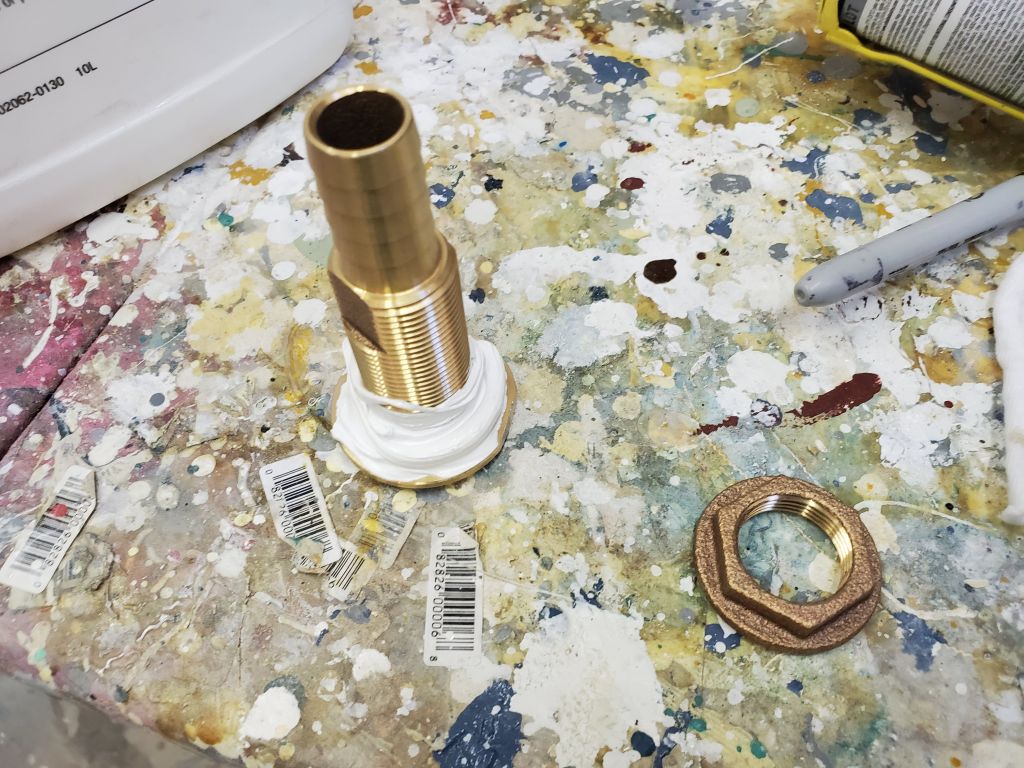
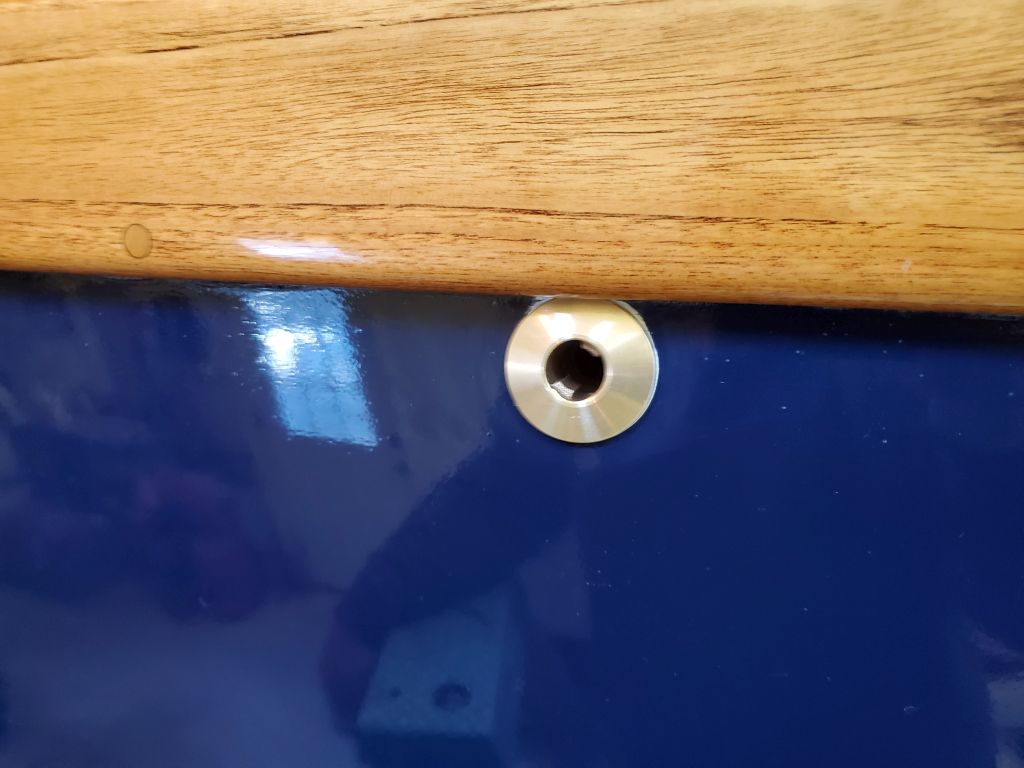
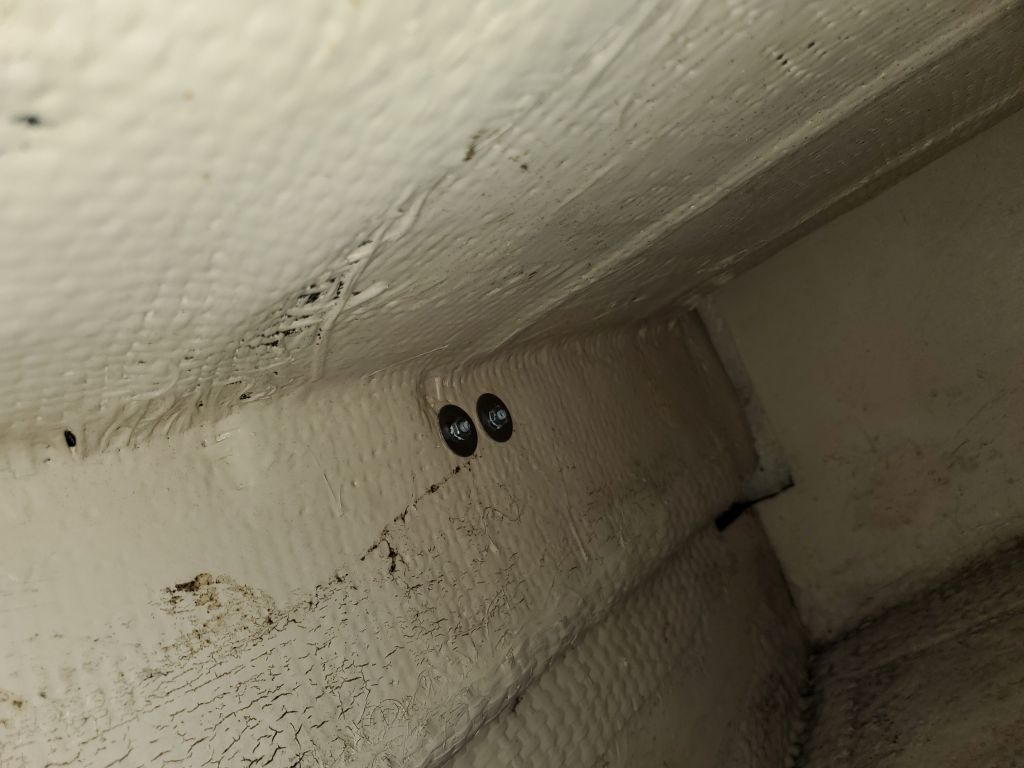
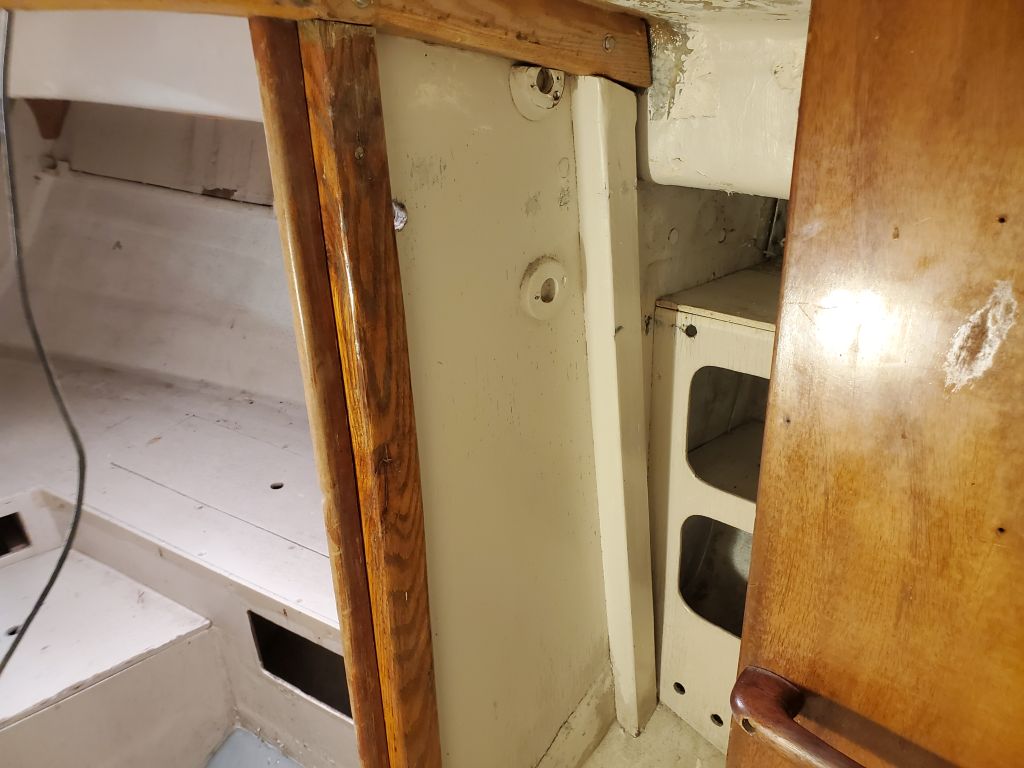
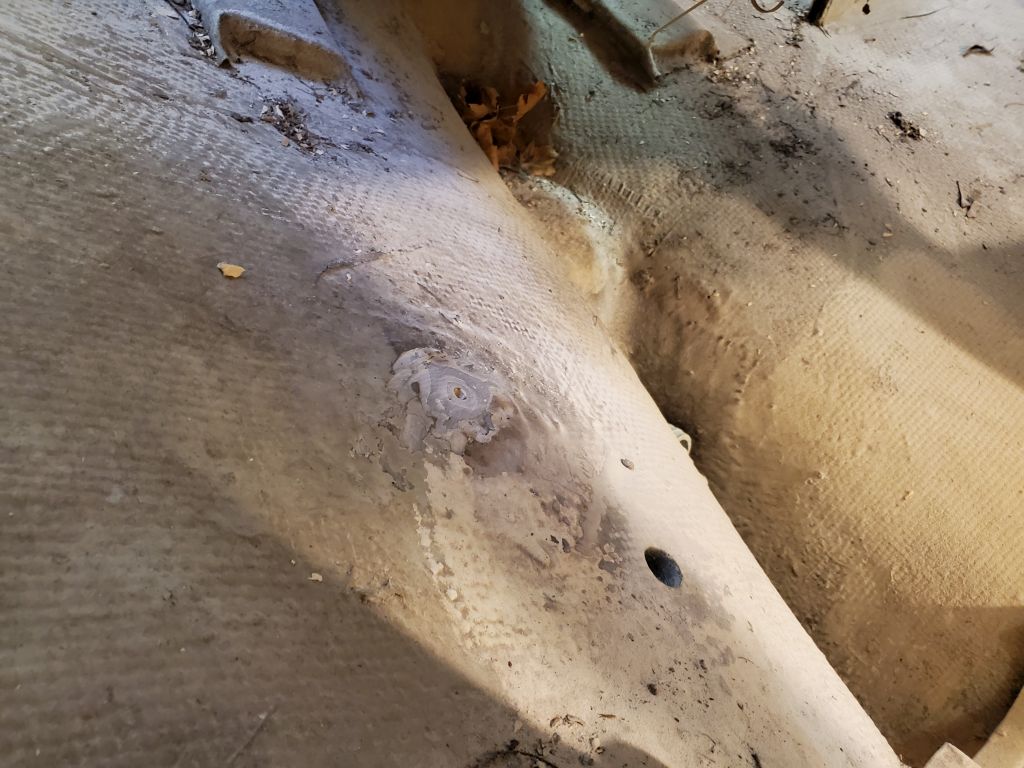
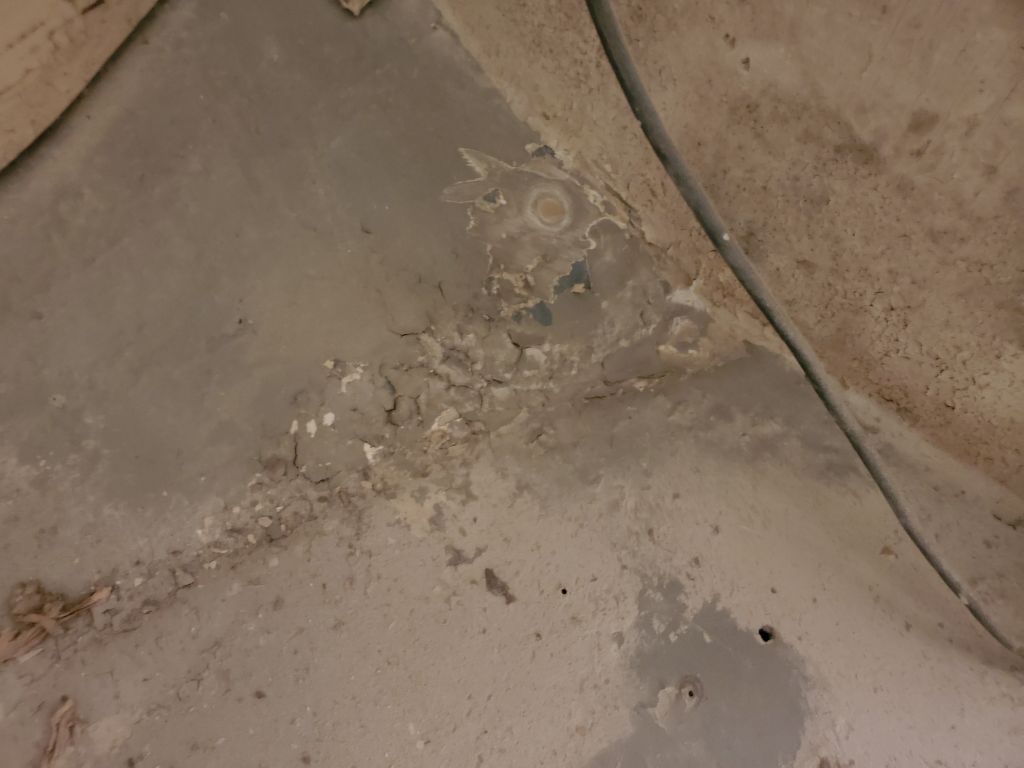
Next, I cut the tabbing that was securing the plywood shelf on the starboard side of the hull, and removed the shelf. While I was at it, I used the grinder to remove two old through hull stubs (fiberglass tubes glassed through the hull in the engine room and head), and also cleaned up some tabbing remnants leftover from the original galley installation.
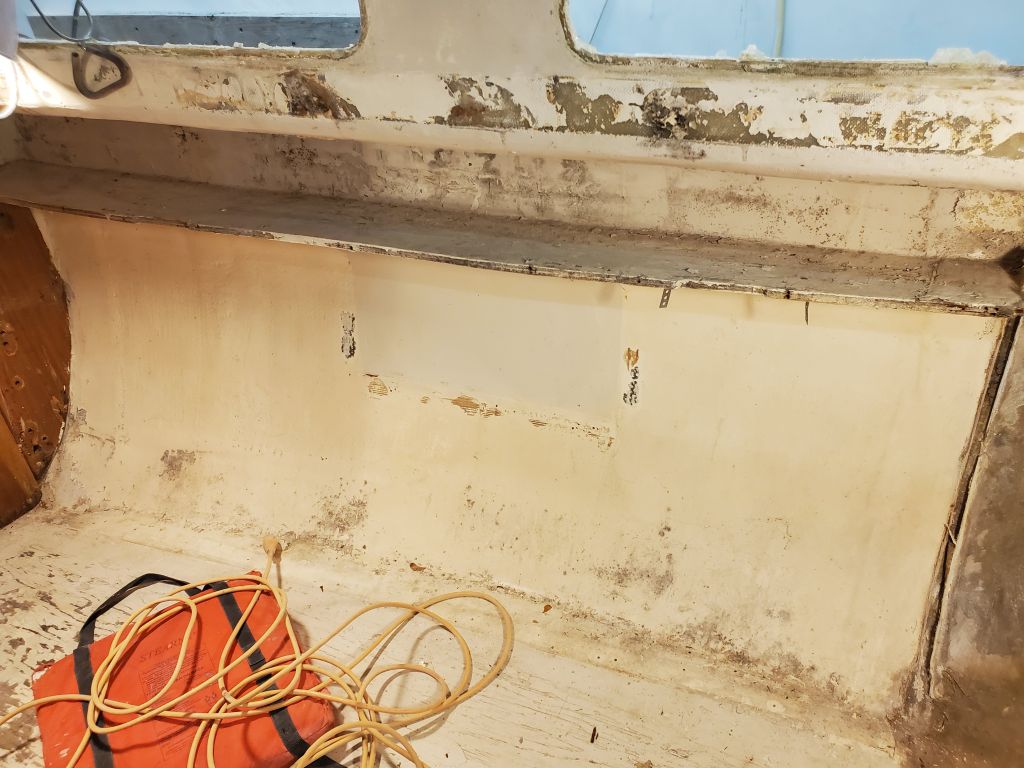
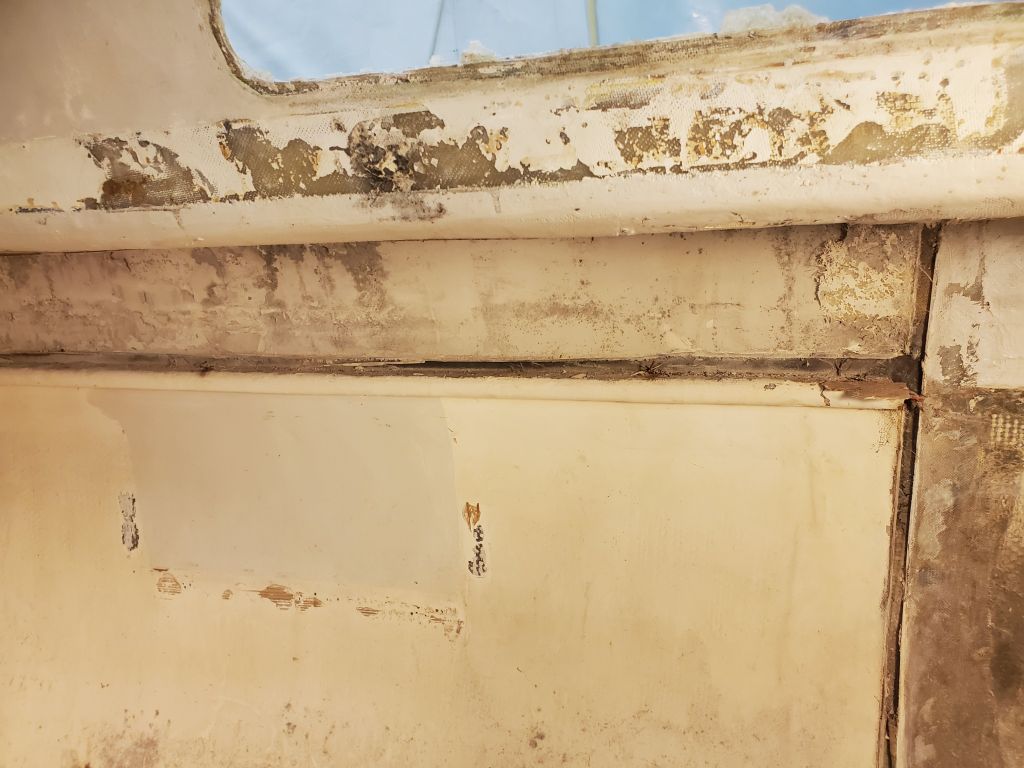
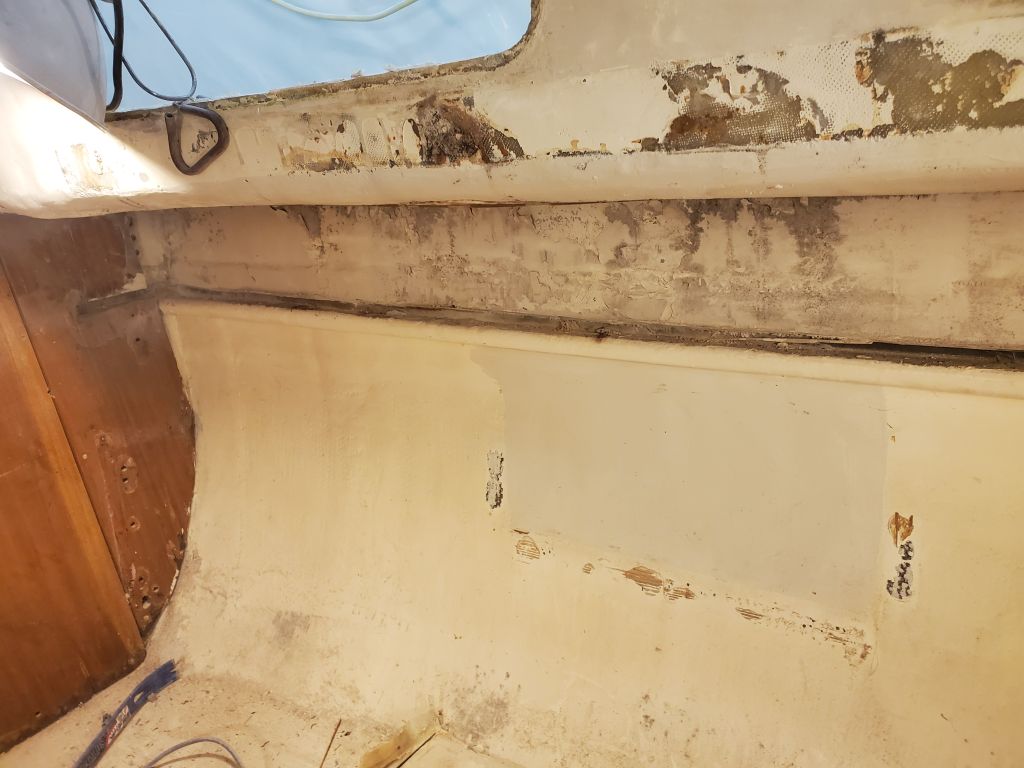
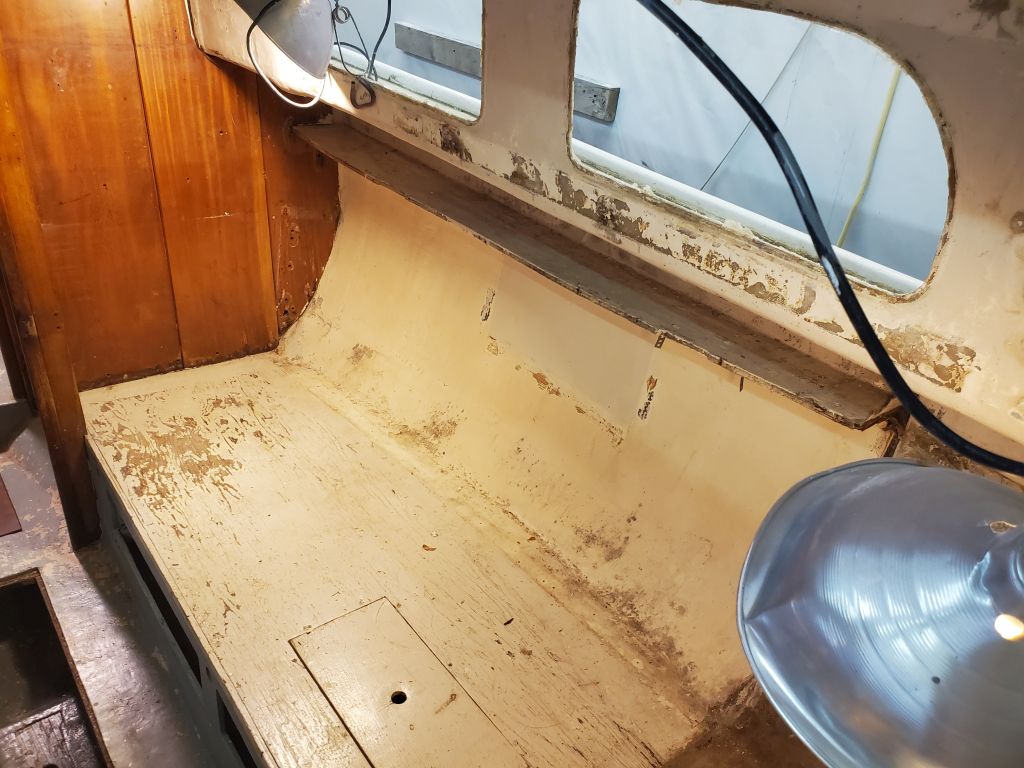
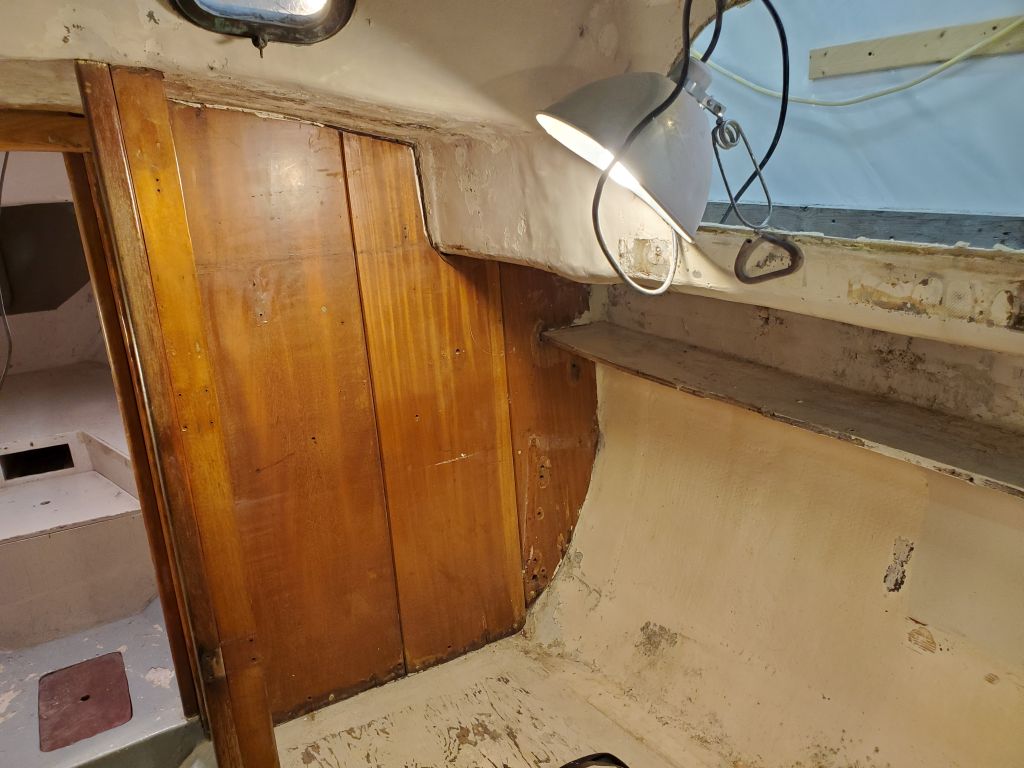
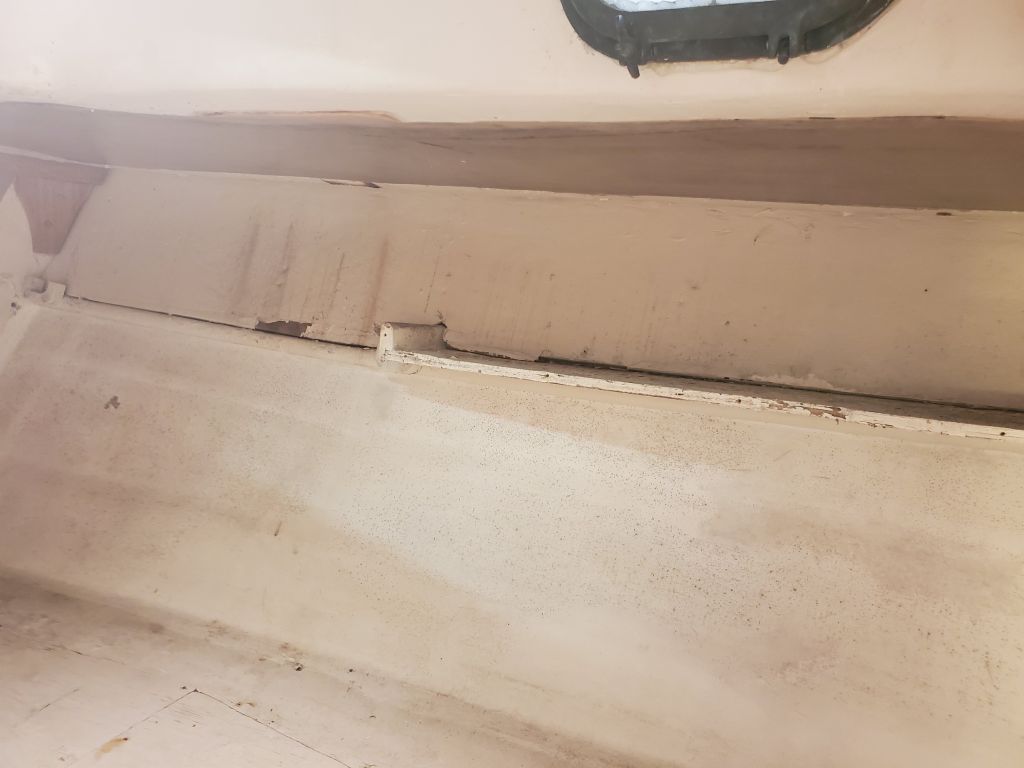
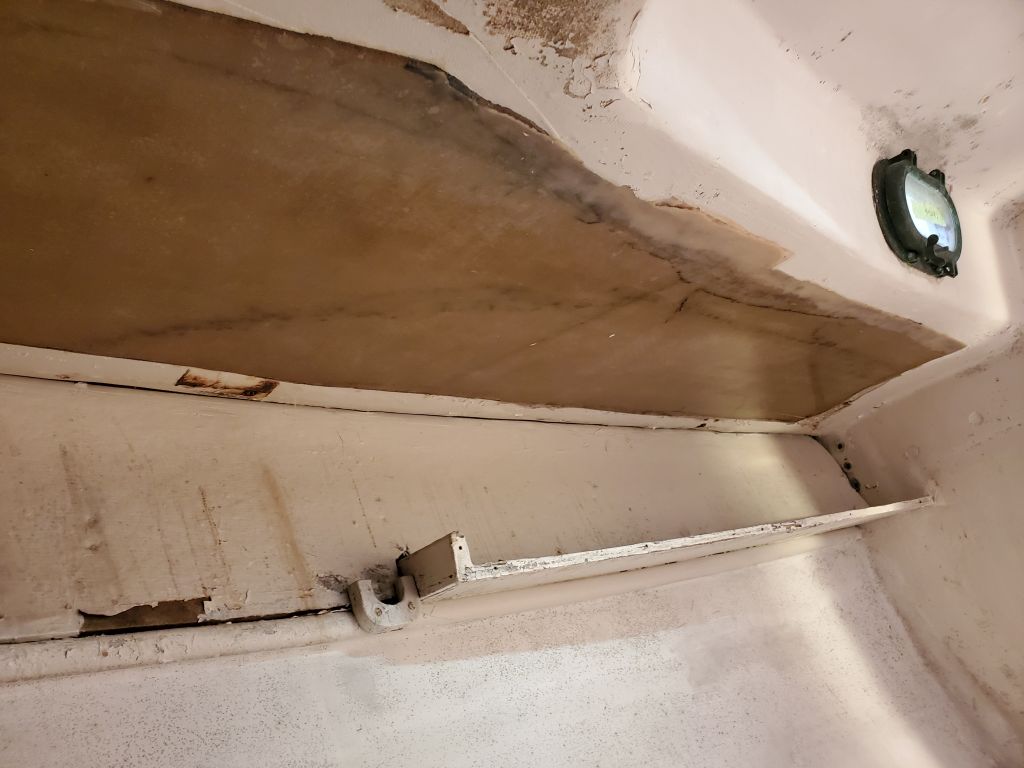
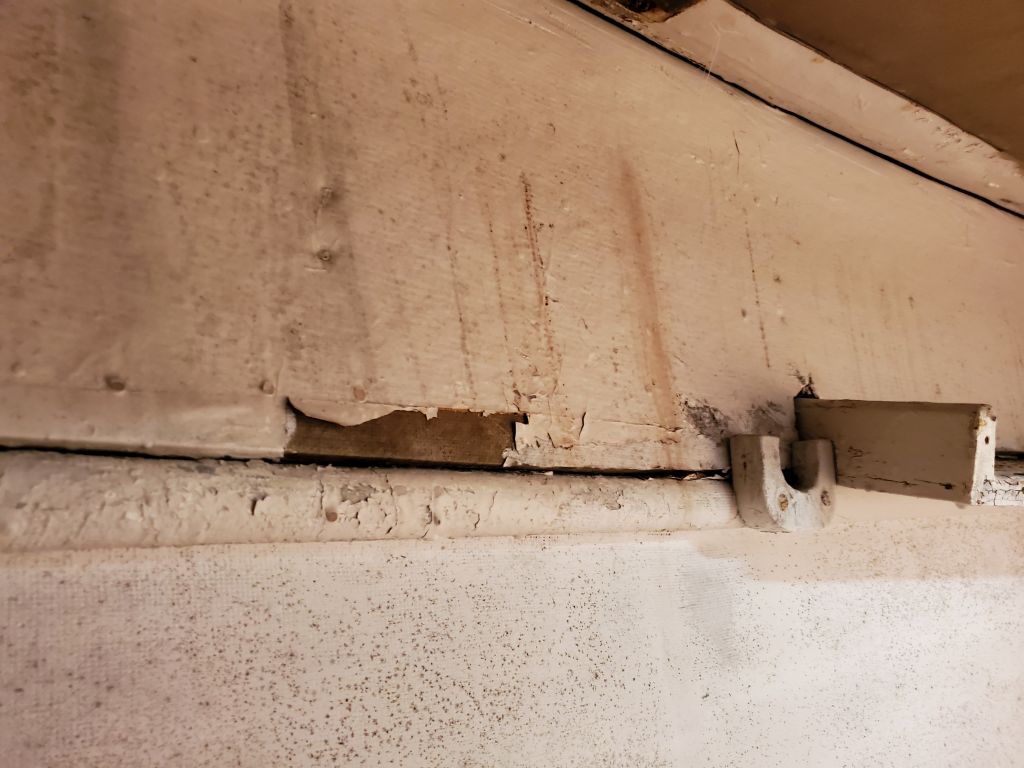
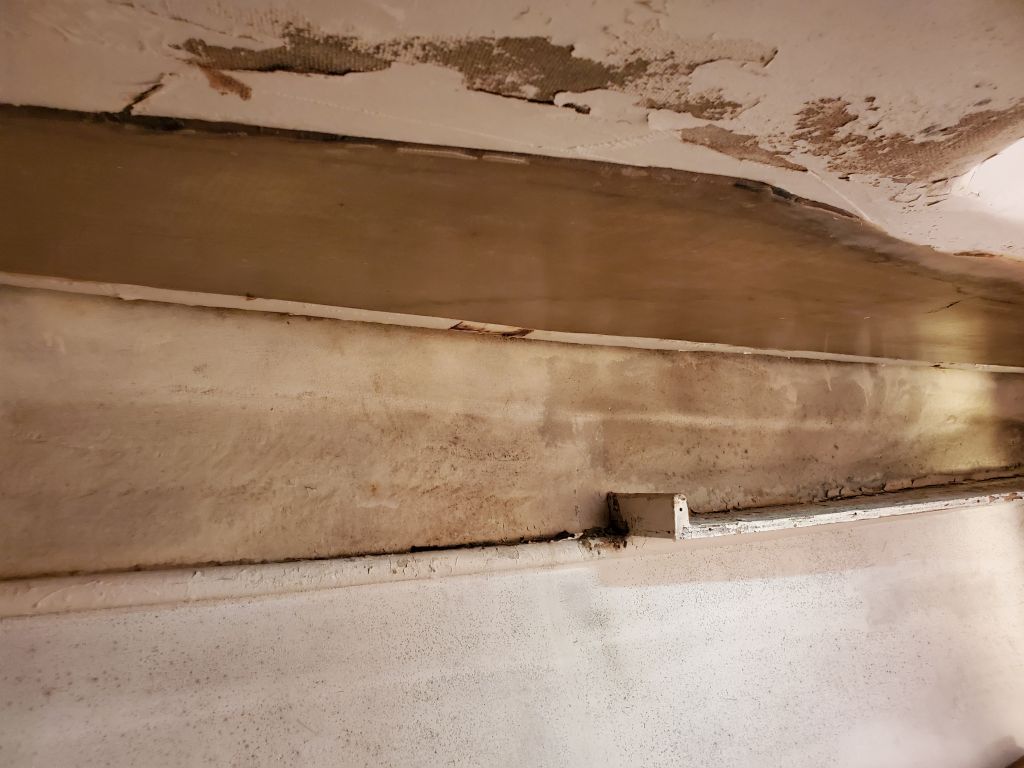
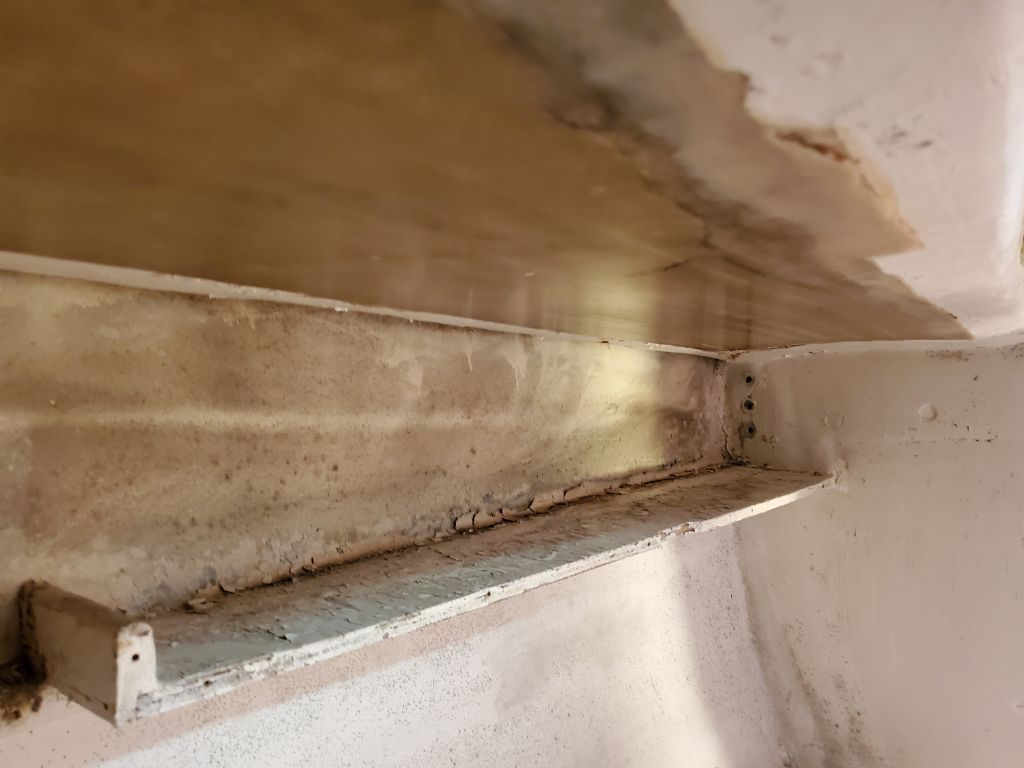
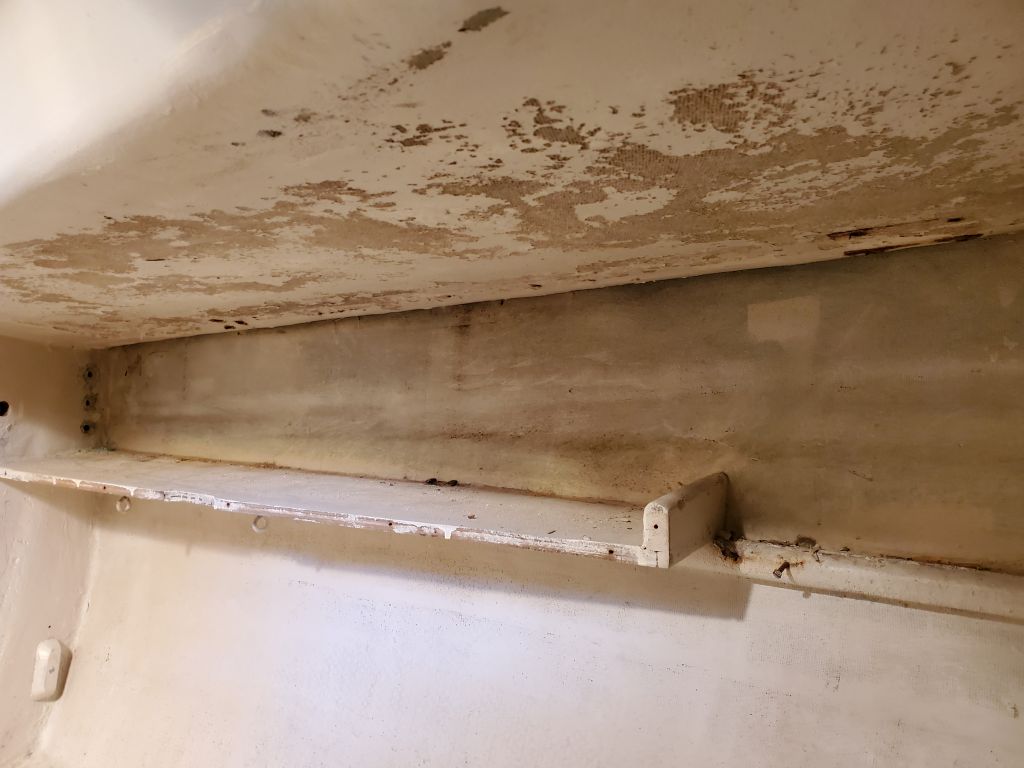
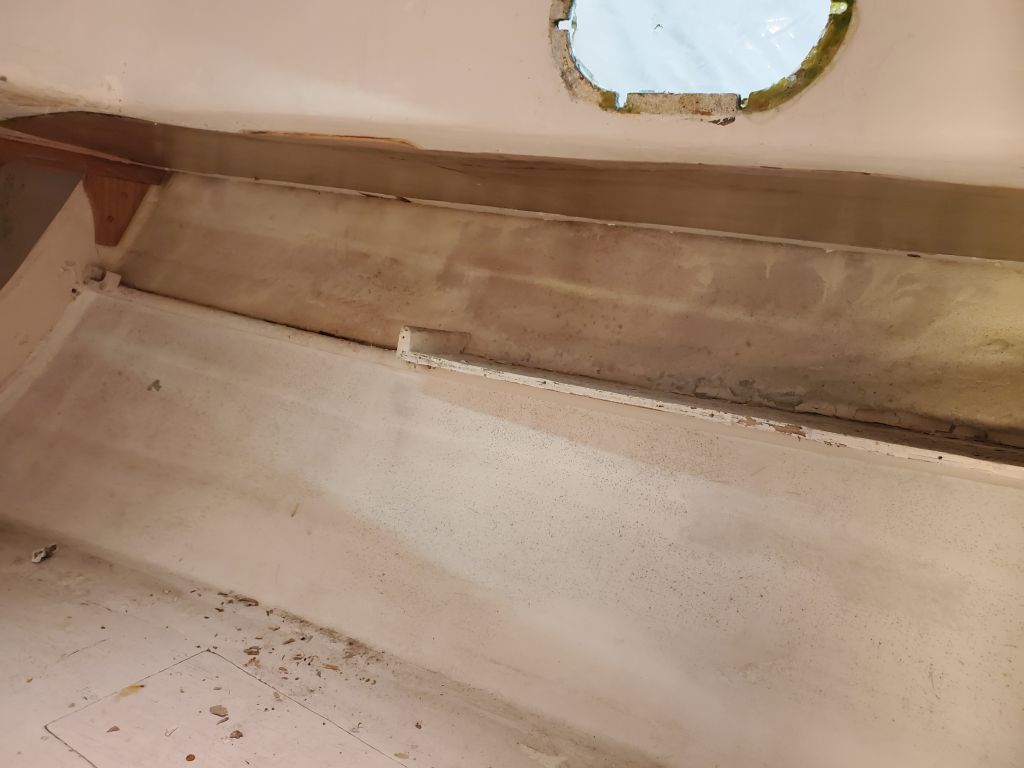
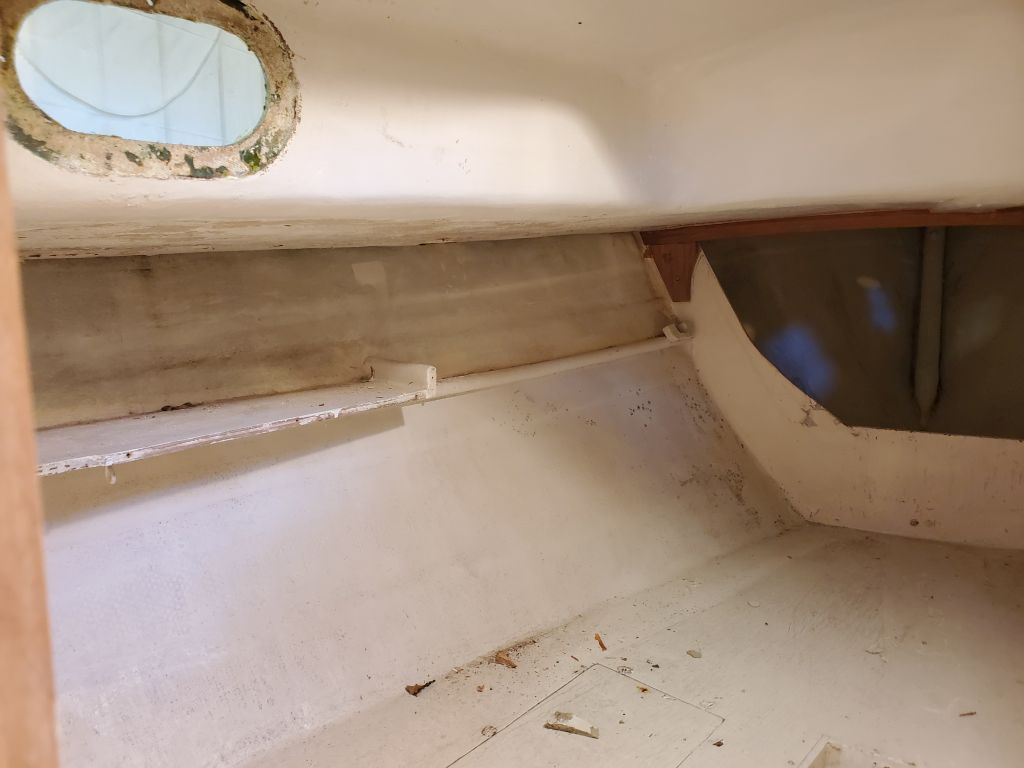
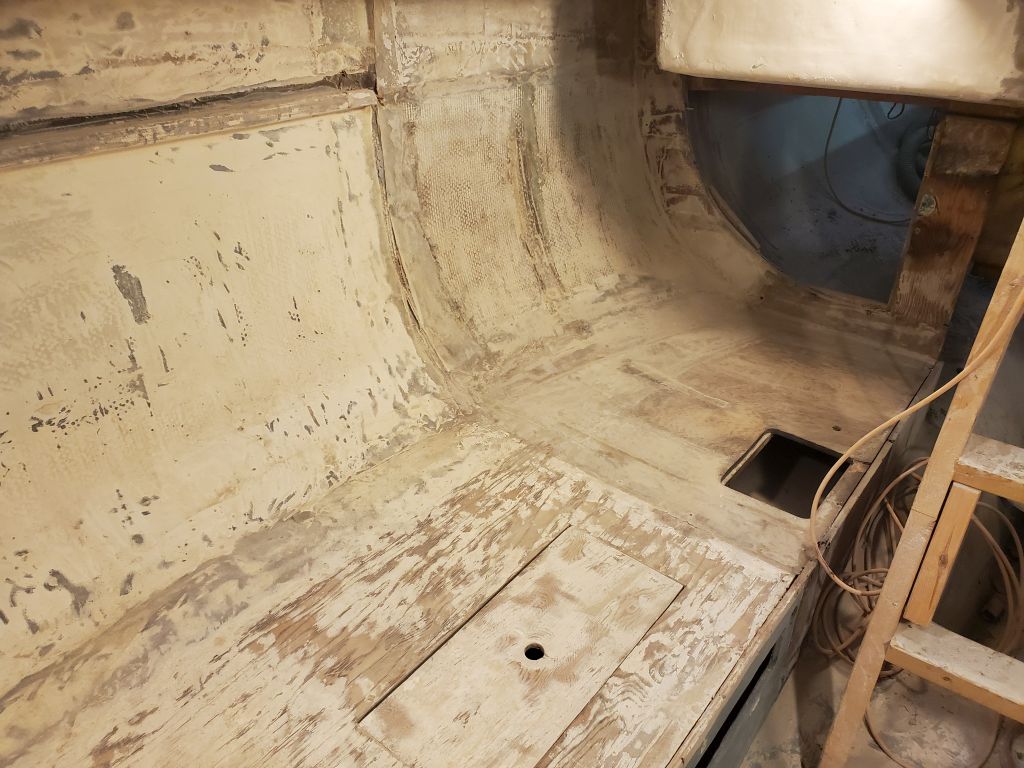
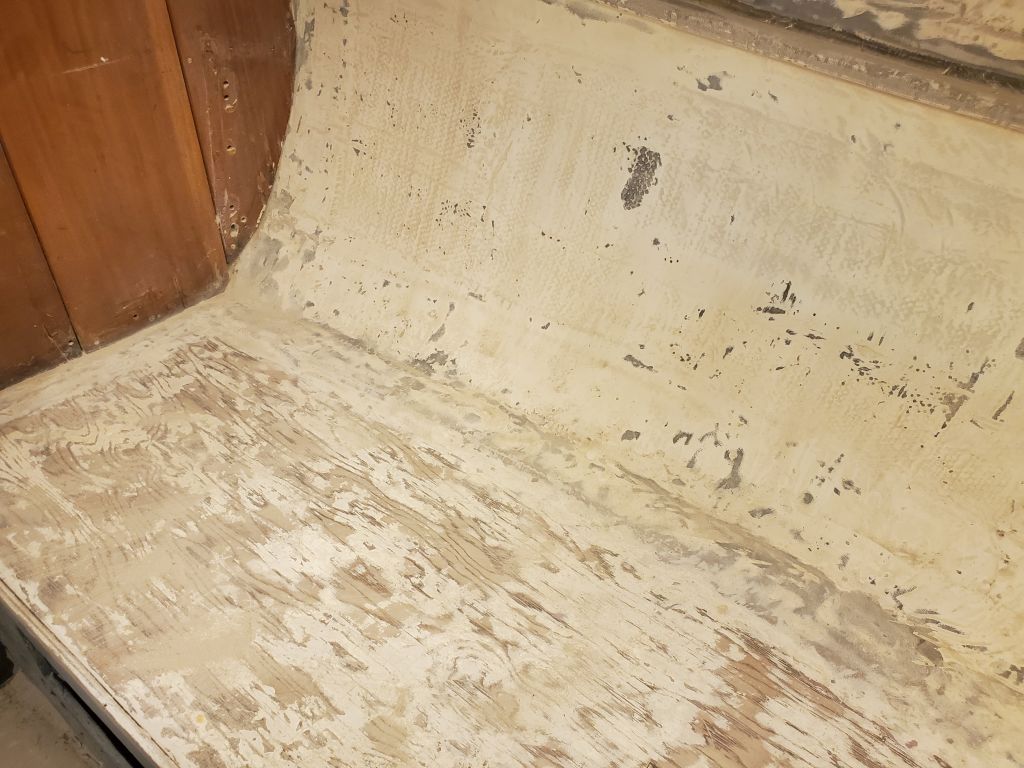
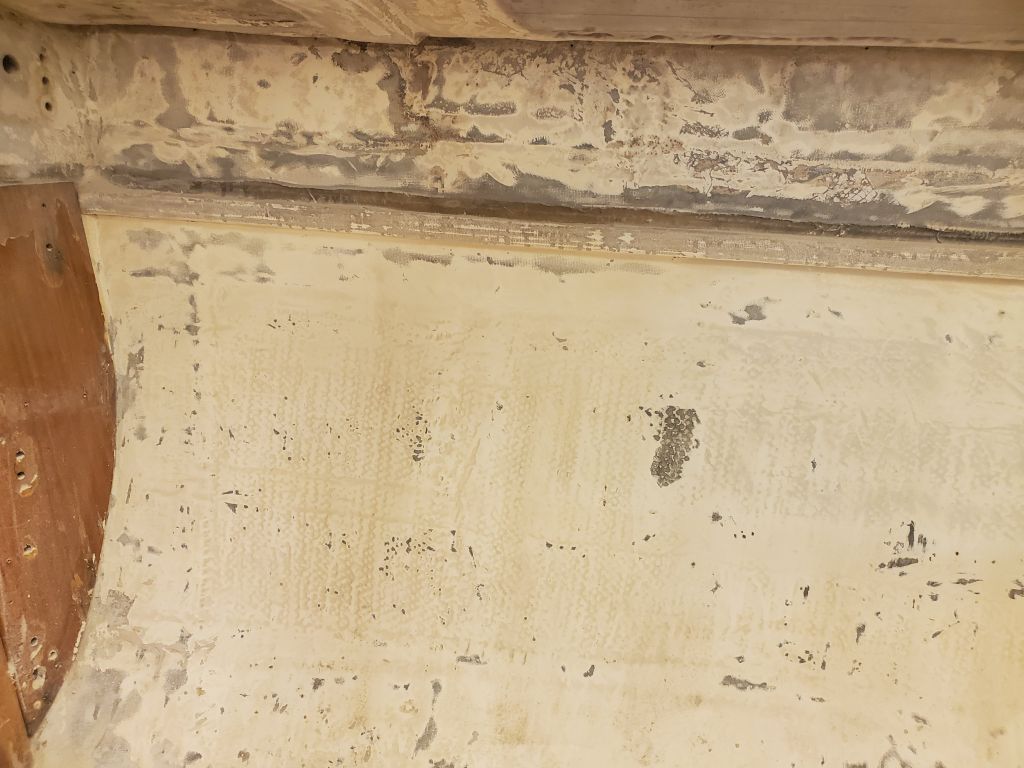
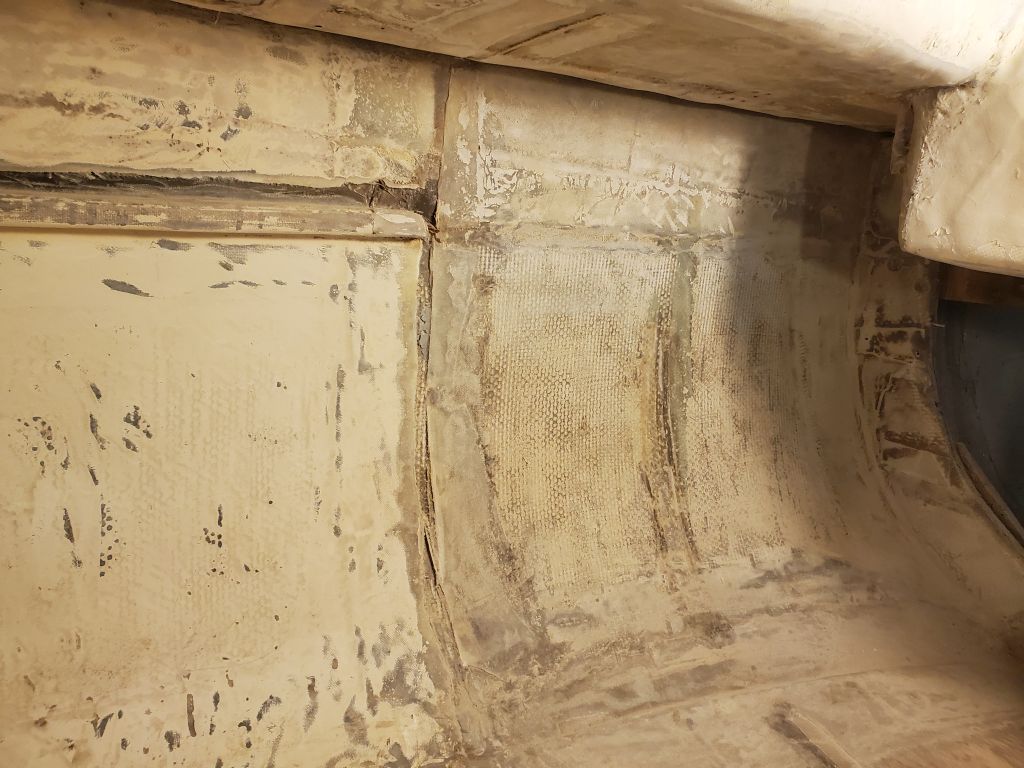
With the roughest demolition now out of the way, I used what remained of the day to begin some of the surface prep in the main cabin. I started with the underside of the starboard sidedeck, then worked my way down the side of the hull and the top of the settee platform before the end of the day, preparing and as needed removing old paint and coatings. In this area, I found that much of the paint was sound and well-adhered, so I saw no reason to strip everything back to bare fiberglass.
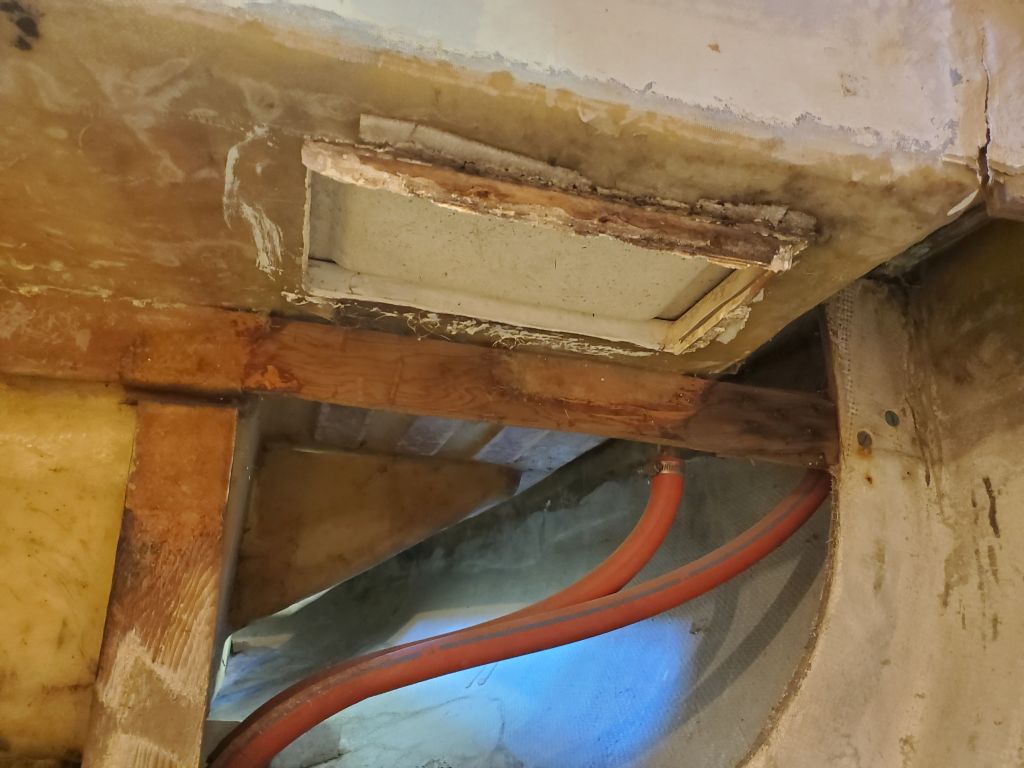
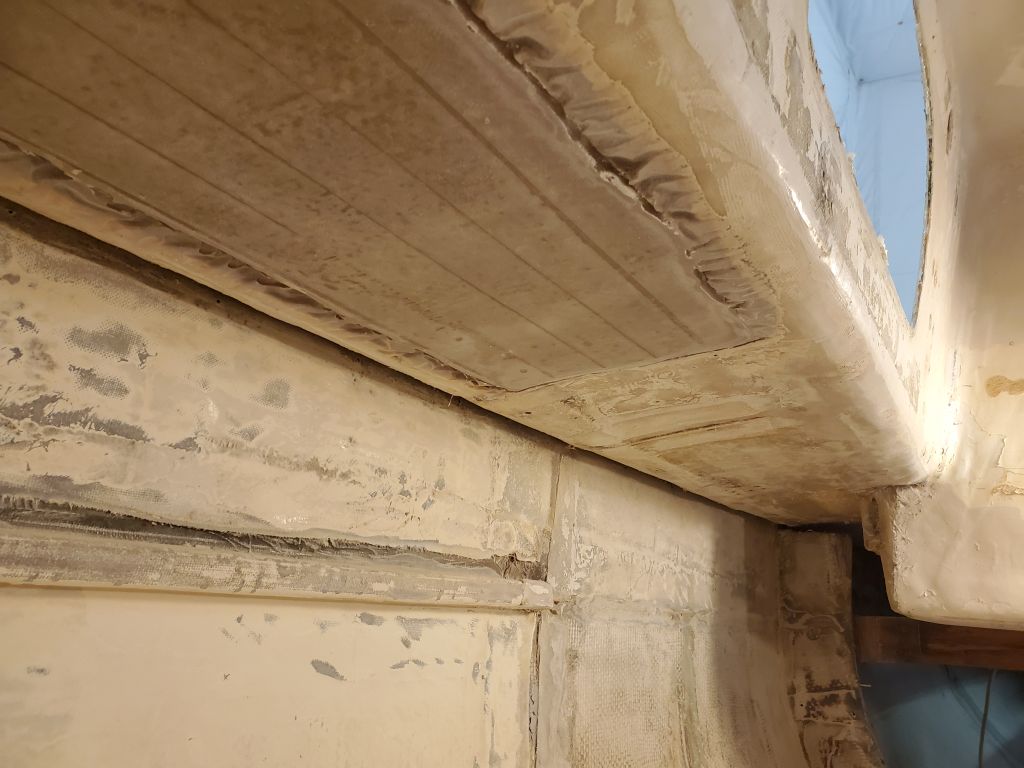
The underside of the deck here showed the bottom side of a deck repair (as did the underside of the deck in the starboard forward cabin). This patch was still shiny and smooth from whatever molding material someone had used to support it from beneath, and the edges were a bit rough from oozing resin, but I cleaned this up with the sander as much as possible and scuffed away the shininess. I might do a bit of basic fairing work there to improve the potential final appearance.


Much more sanding and bulk surface prep to come in the days ahead. But for now, that was all I had time for.
Total time billed on this job today: 7.25 hours
0600 Weather Observation: 14°, clear. Forecast for the day: Sunny, 31°