< Back to Aventura
Thursday
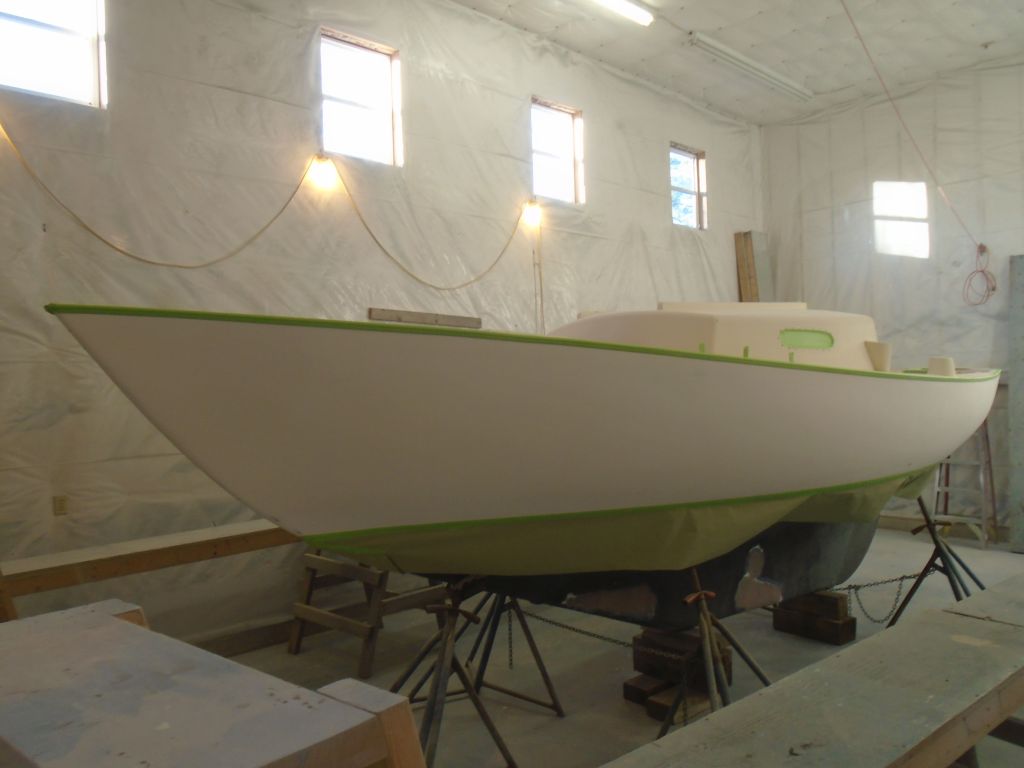
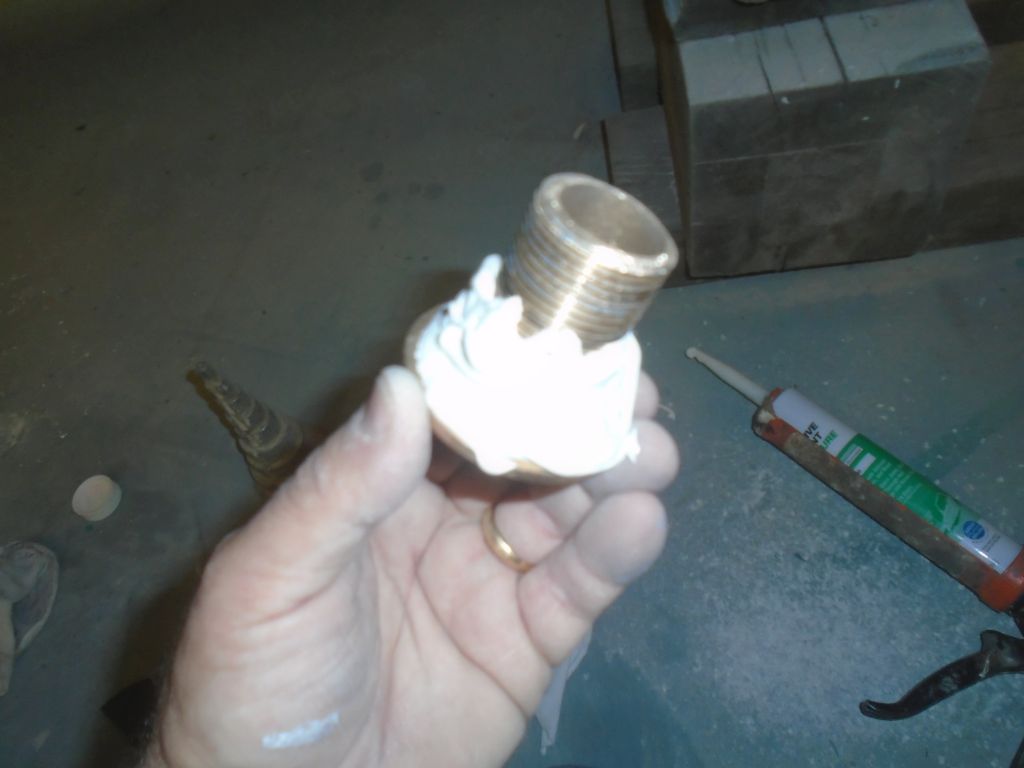
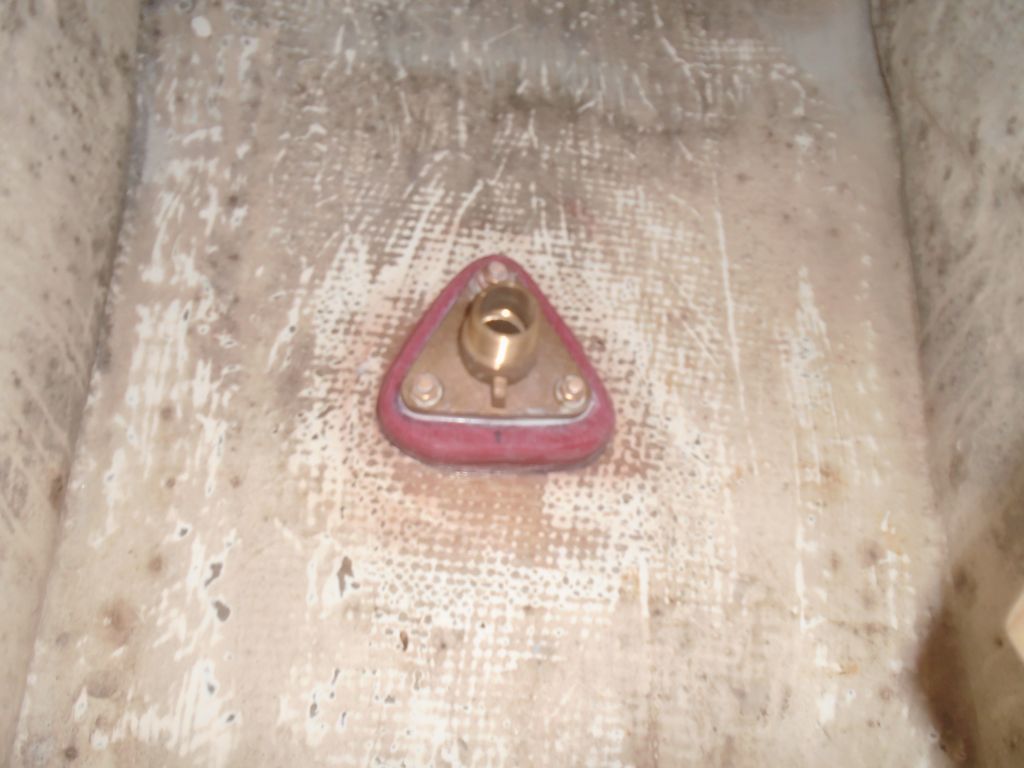
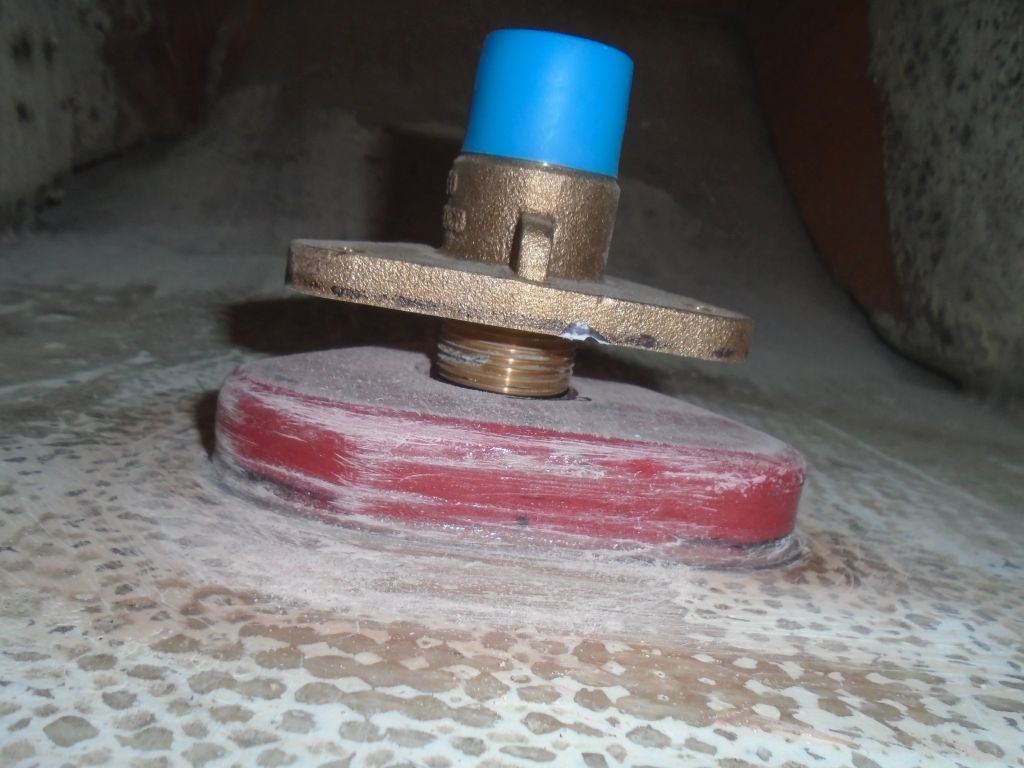
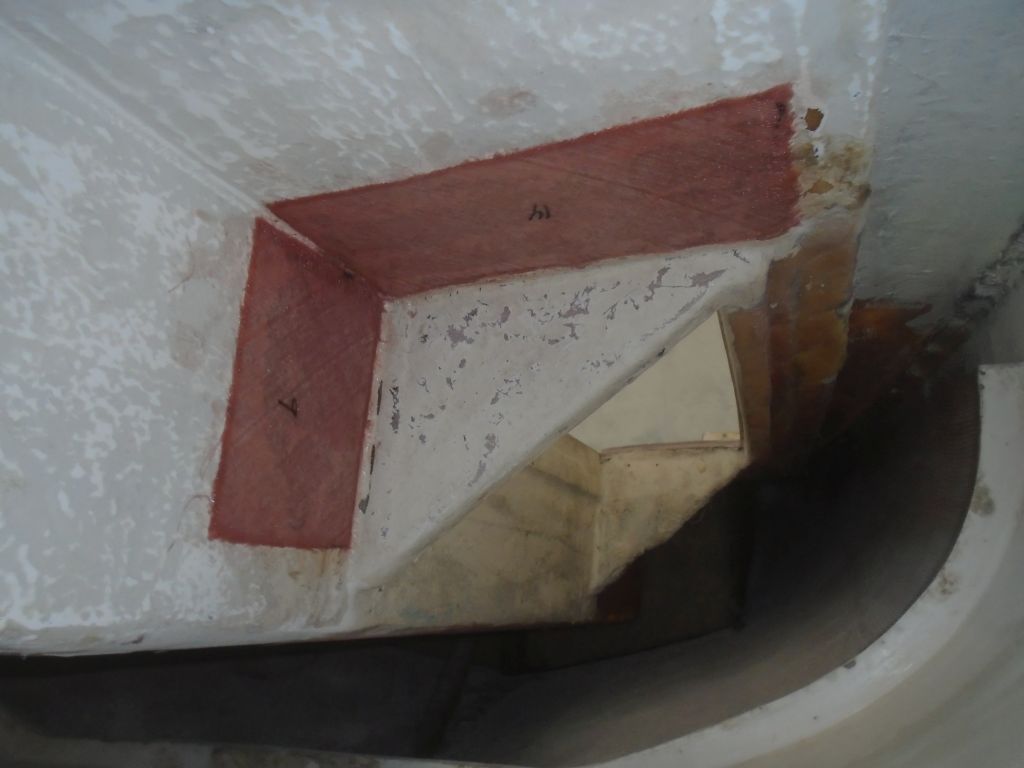
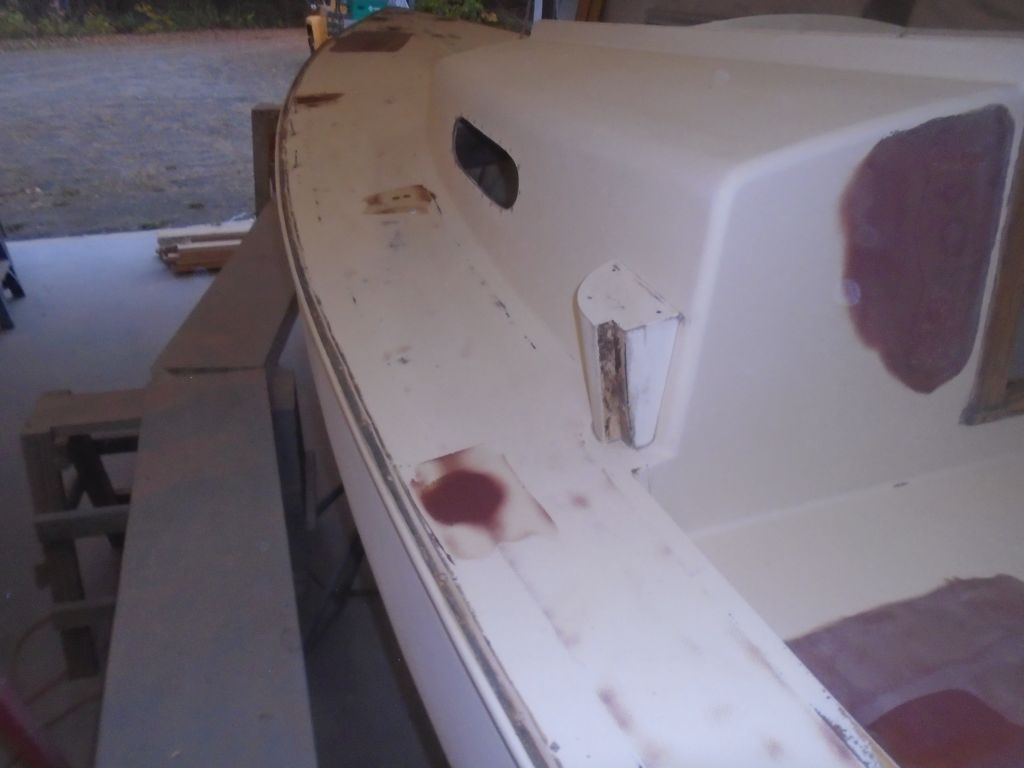
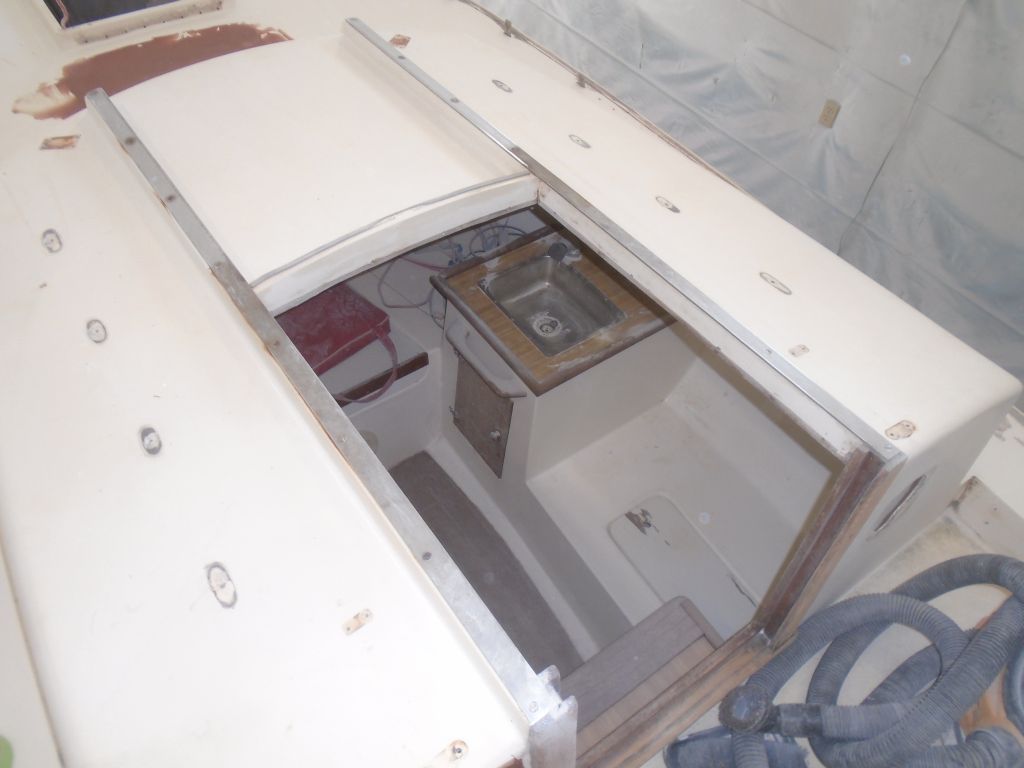
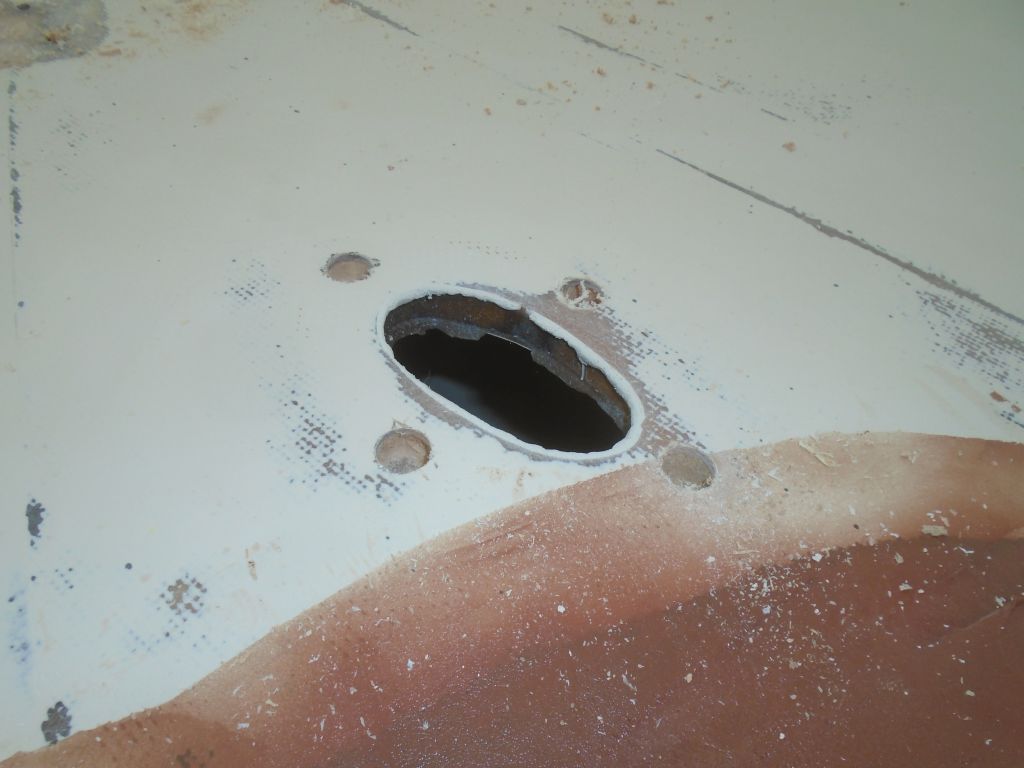
I spent much of the day working on through hulls and related plumbing. I started at the deadwood, where I drilled a new, larger hole (incorporating my original small drain hole) to accept the new bronze garboard drain. The lower edge of the housing was just above the bottom of the bilge sump.
This fitting featured a keyway on one side that would help prevent the fitting from ever spinning when the plug was turned, so I elongated the opening as required to fit the keyway. I removed a little more bottom paint at the lower edge of the fitting to ensure that the the fitting would be bonded to bare gelcoat. With the fitting dry-fit, I drilled and tapped the hull for four #10 machine screws that would secure the new fitting.
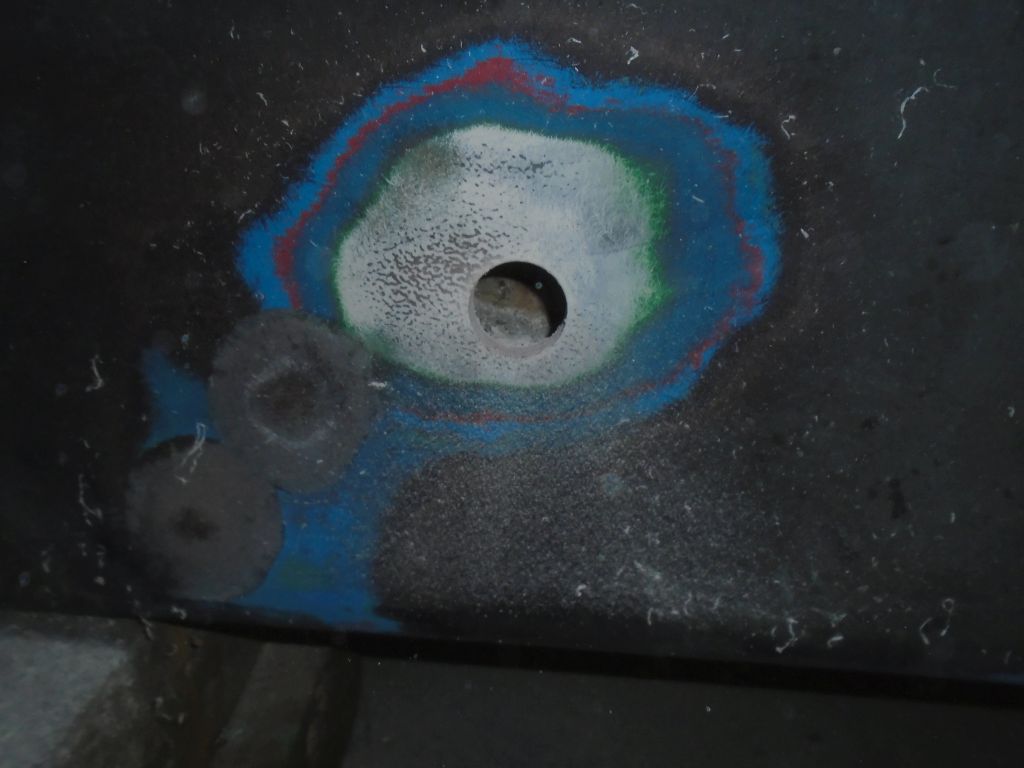
After cleaning up, I installed the garboard with plenty of 4200 sealant and four bronze screws.
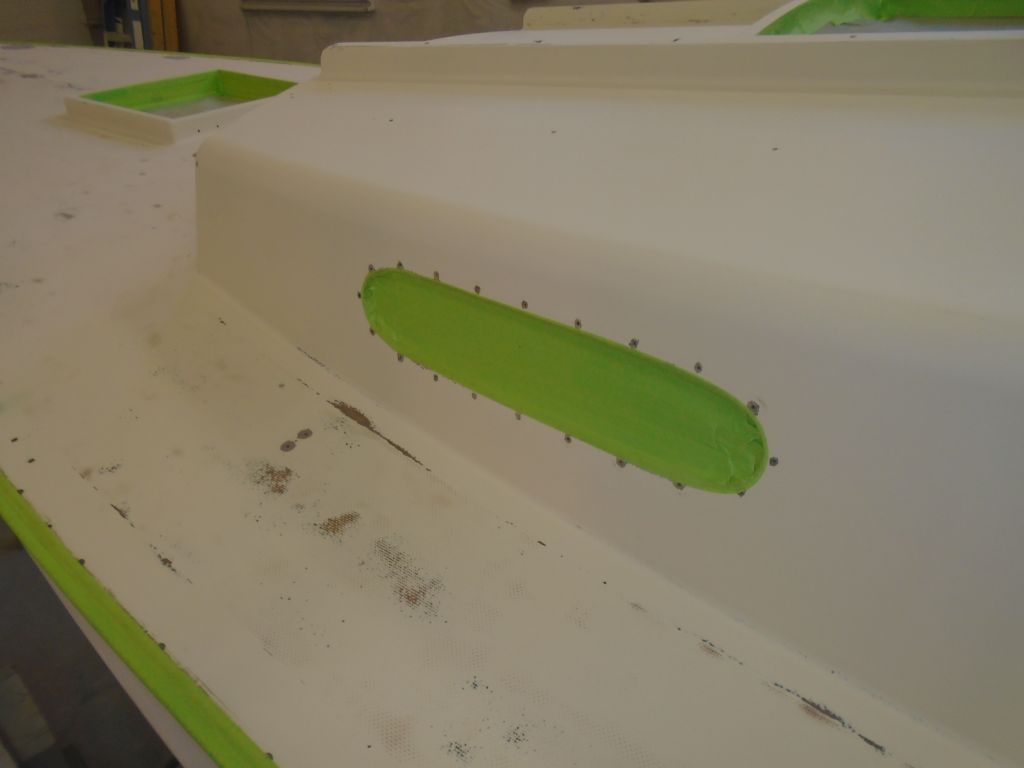
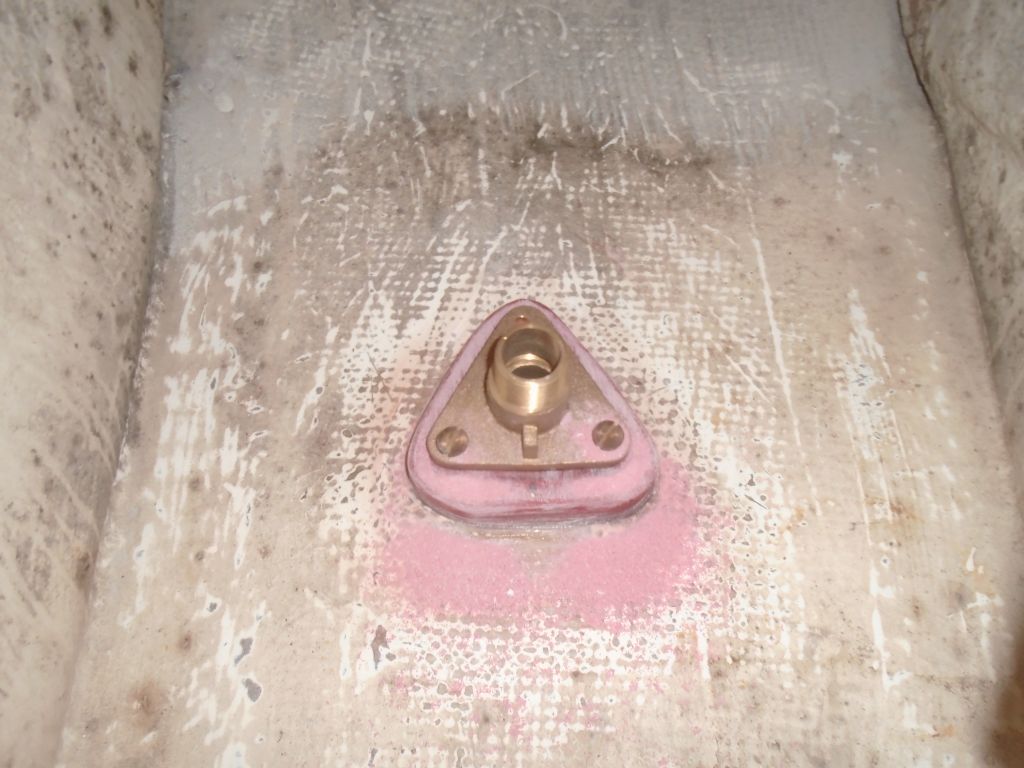
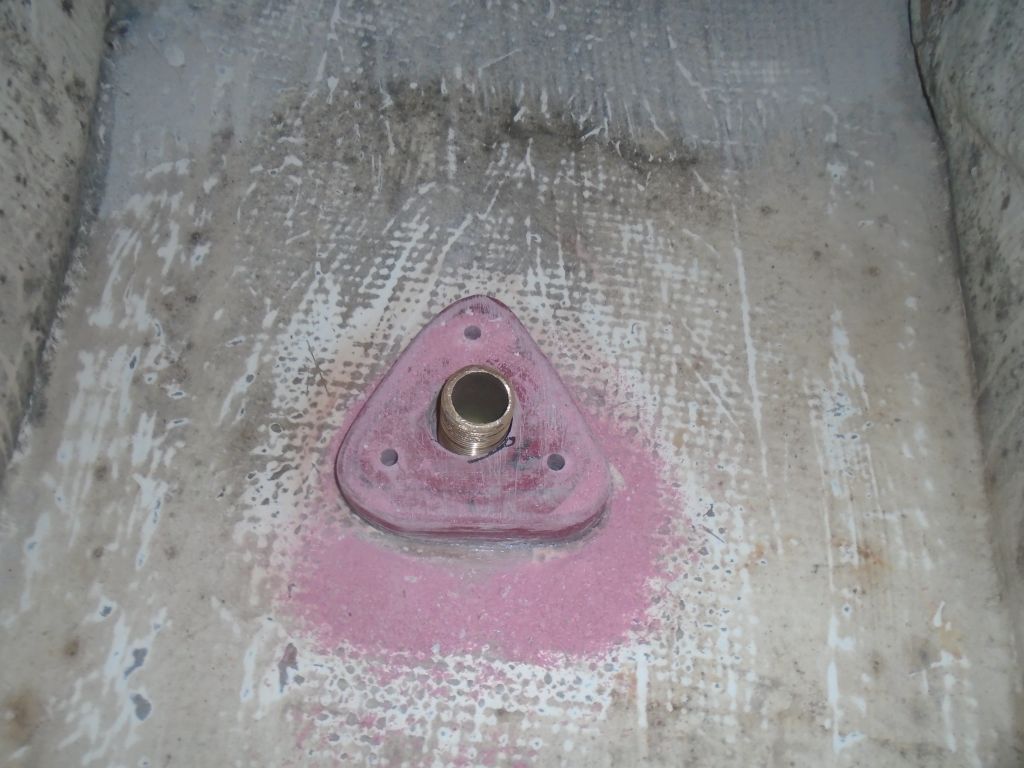
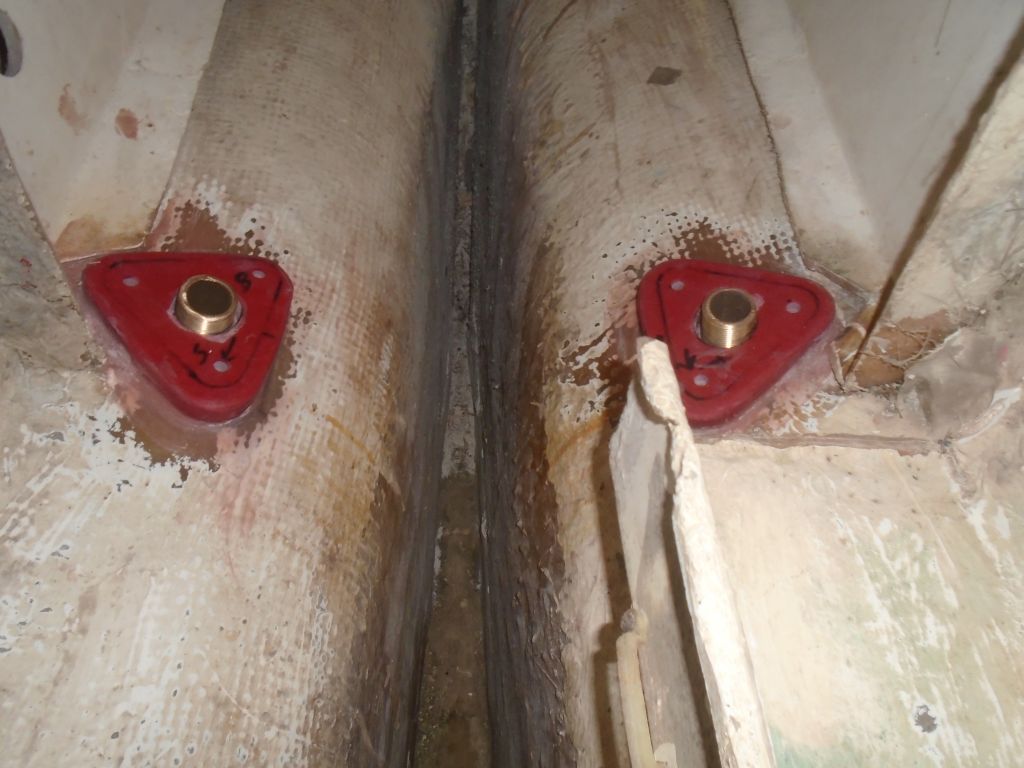
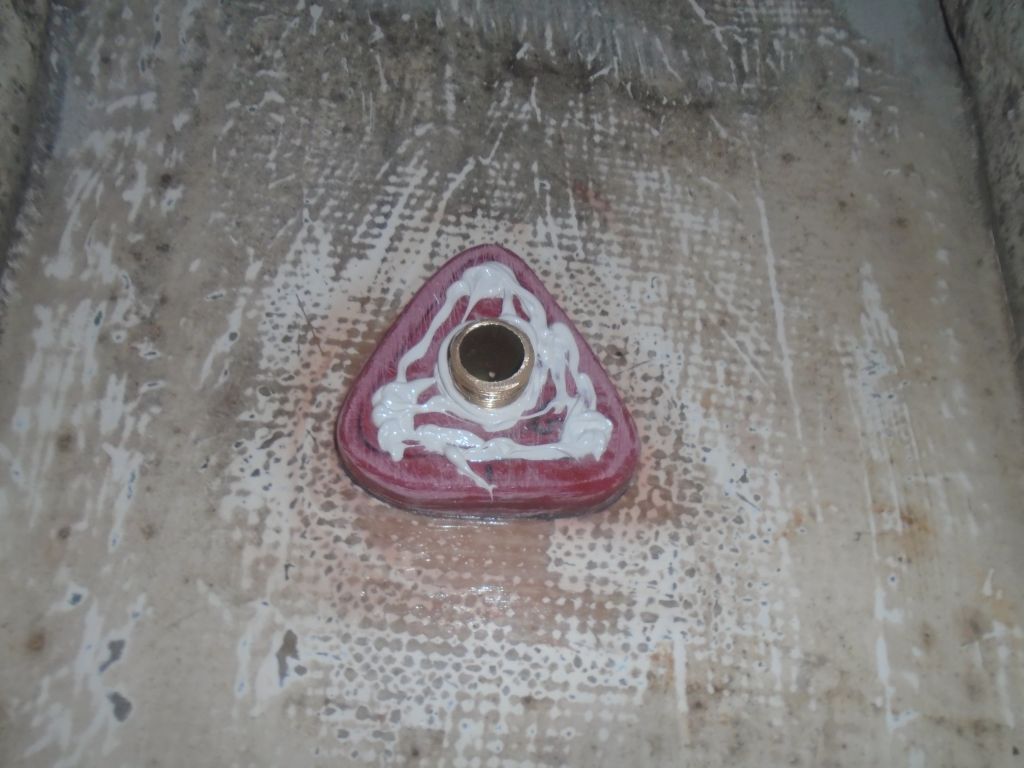
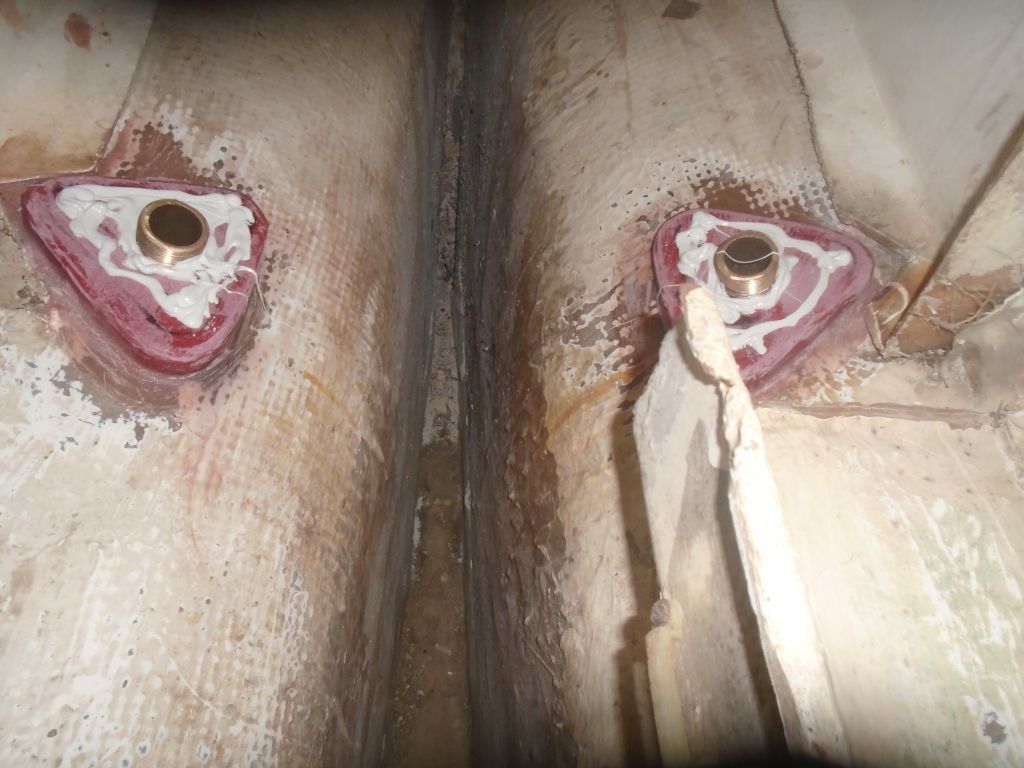
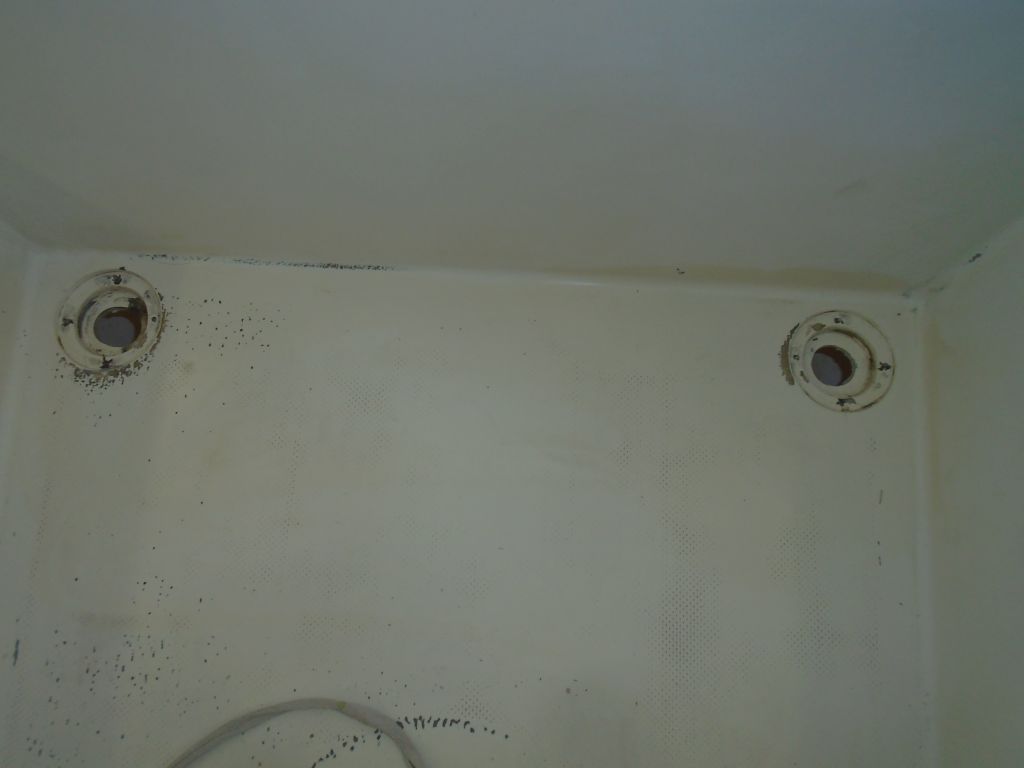
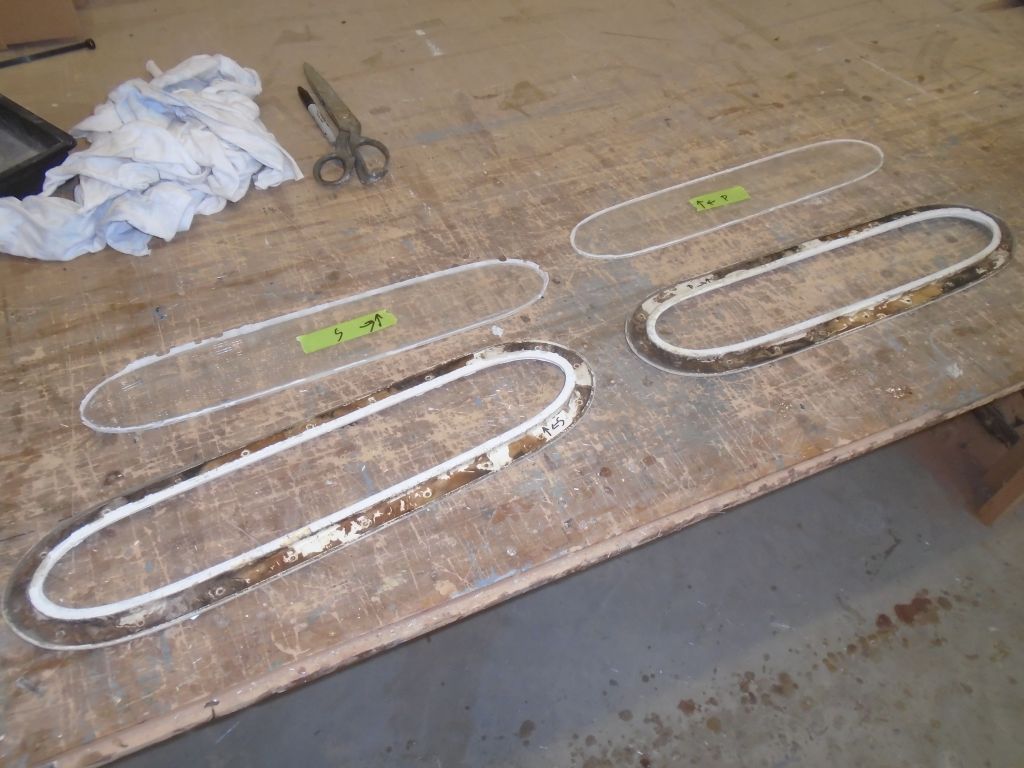
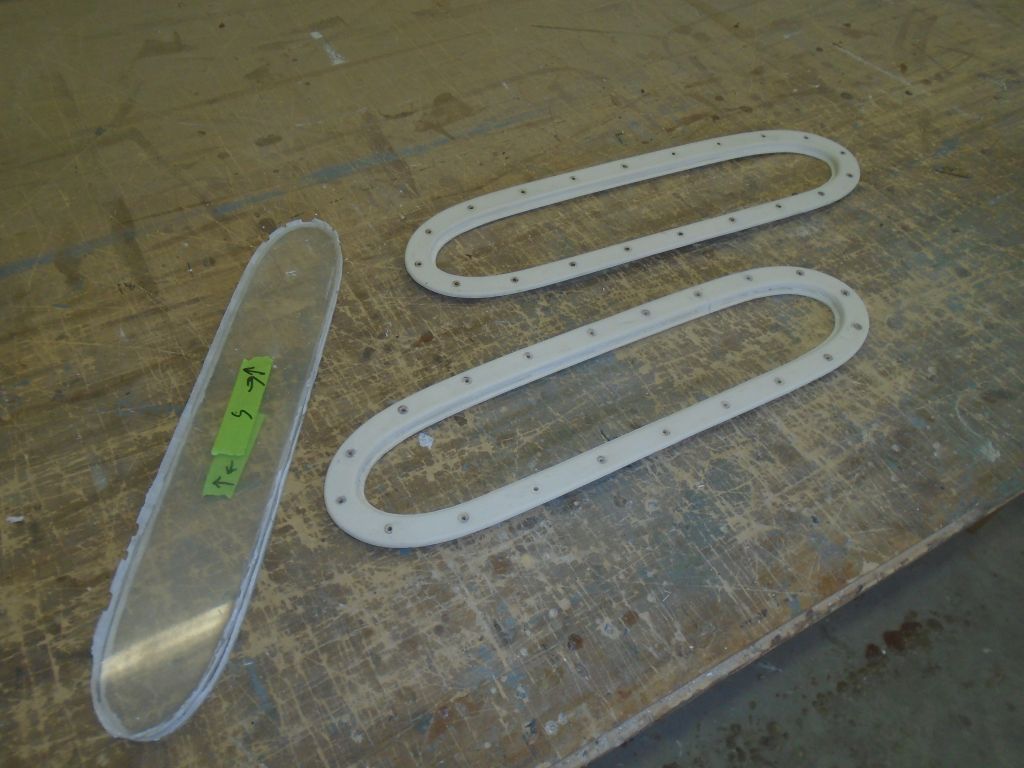
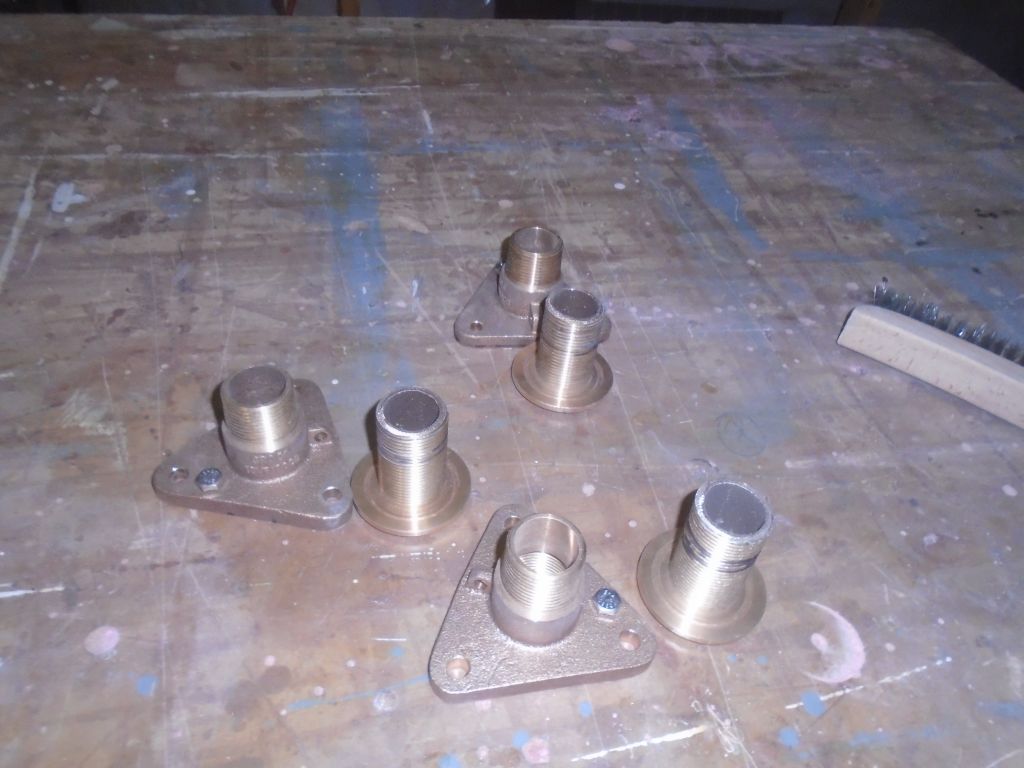
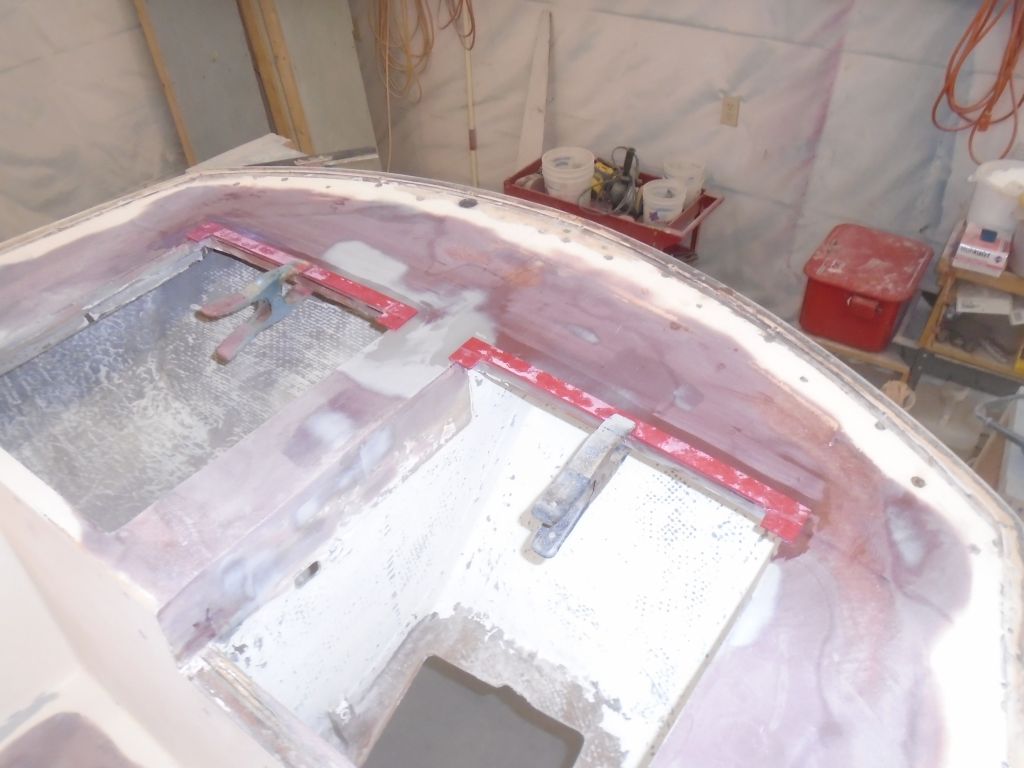
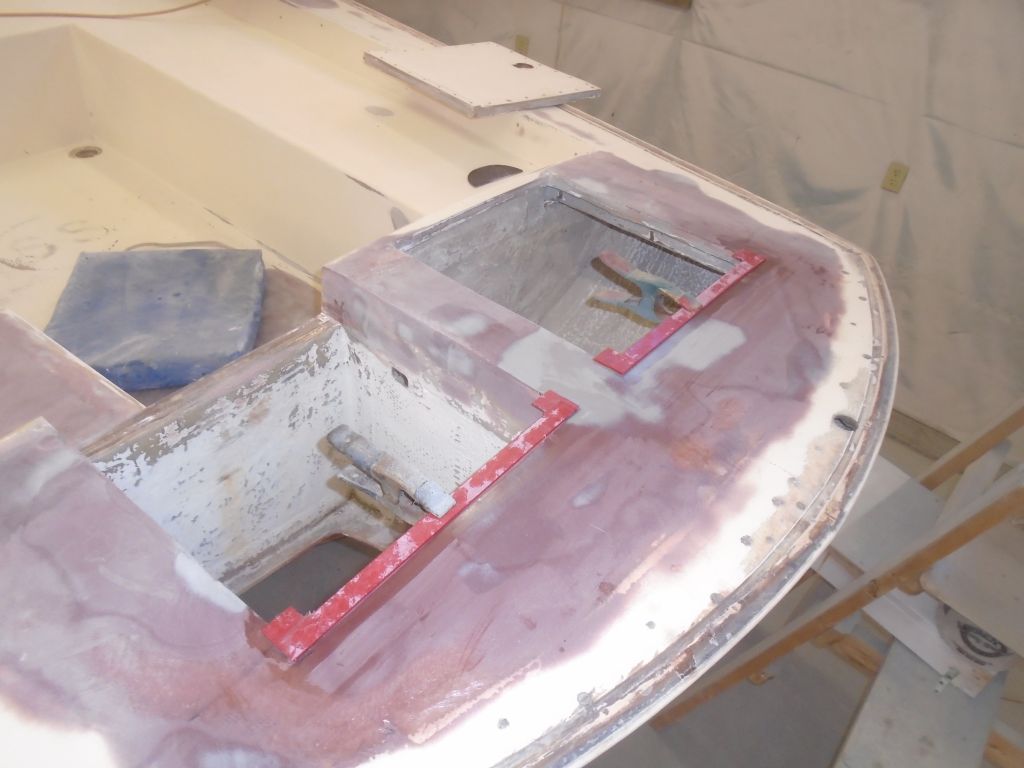
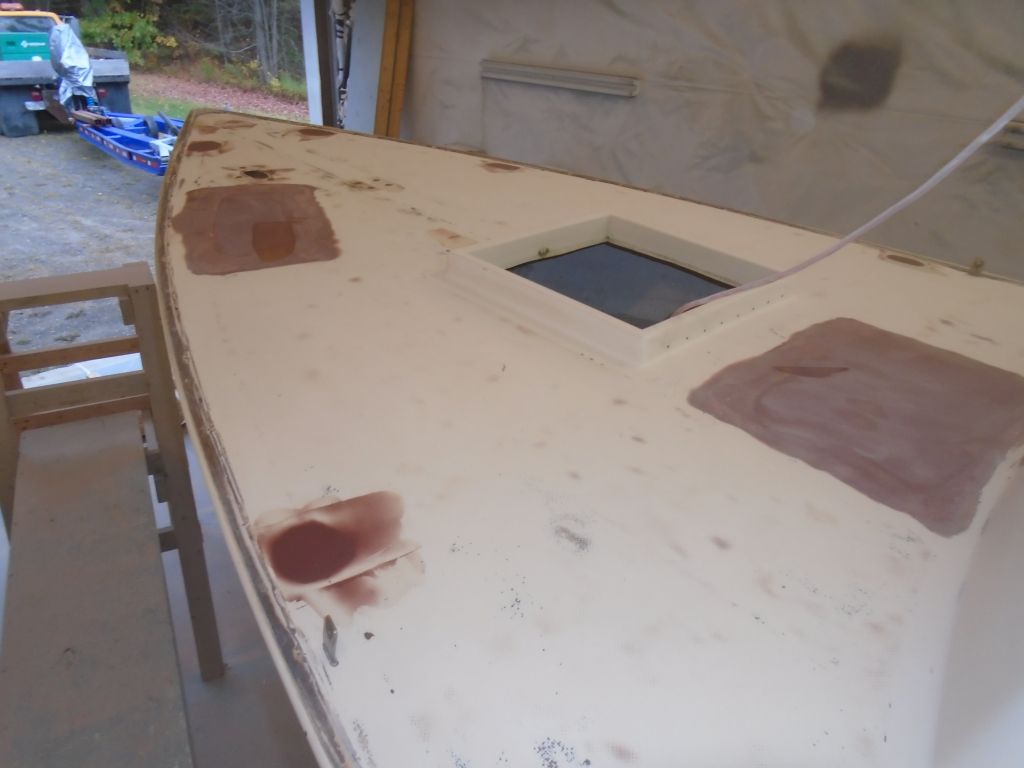
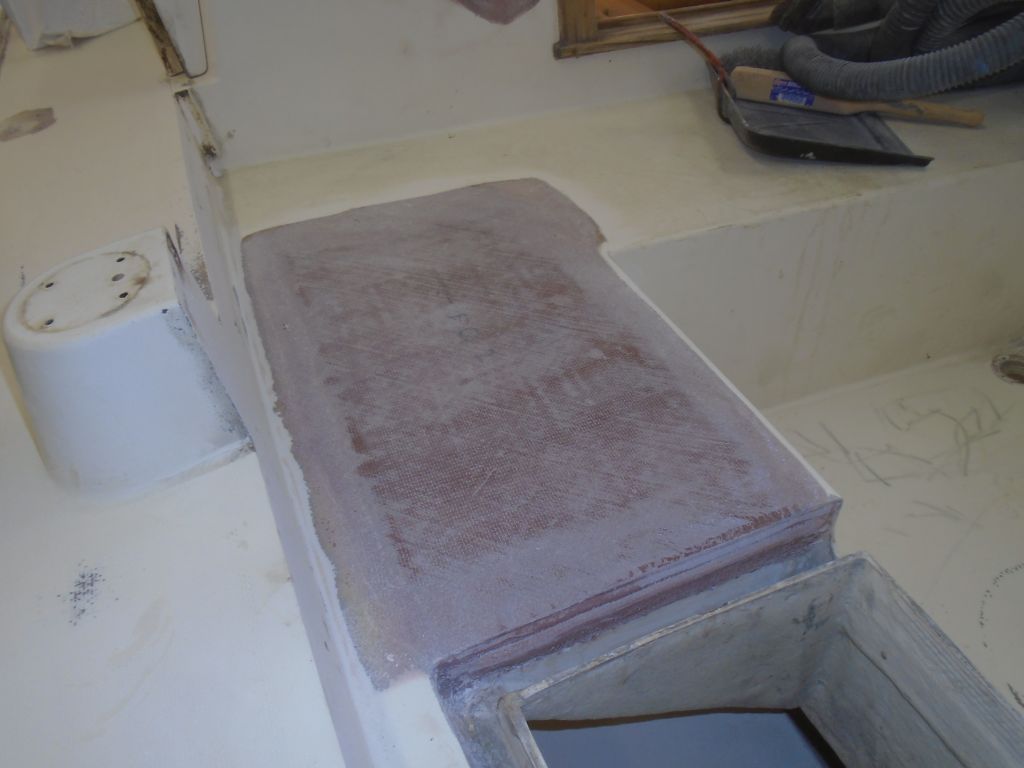
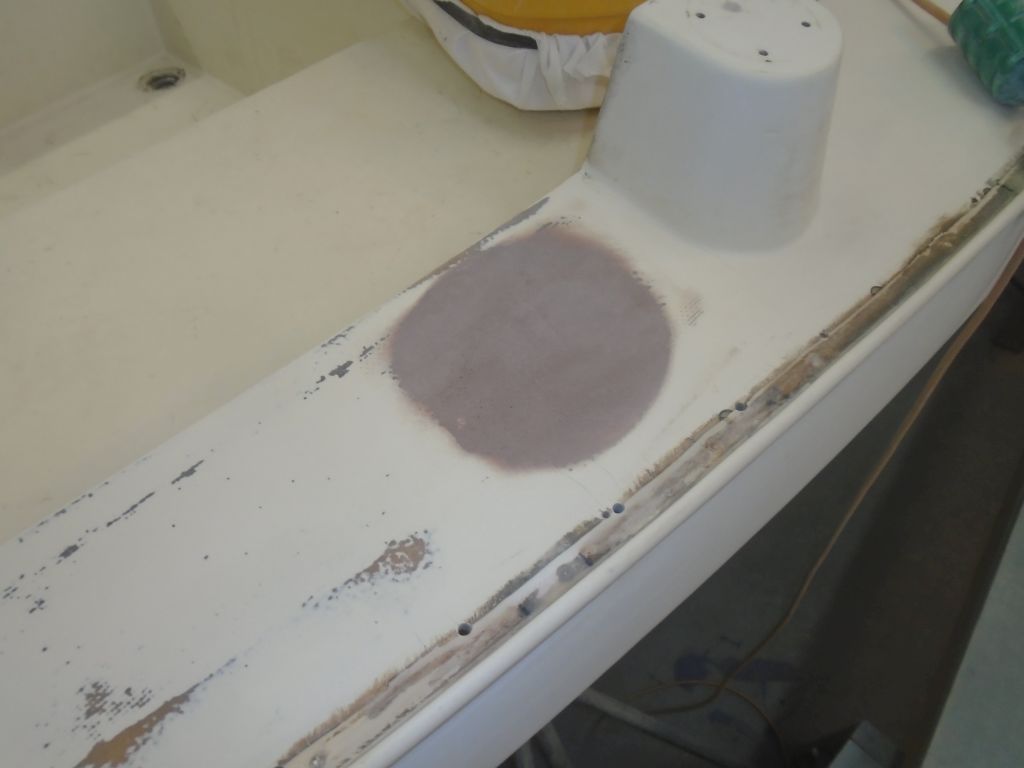
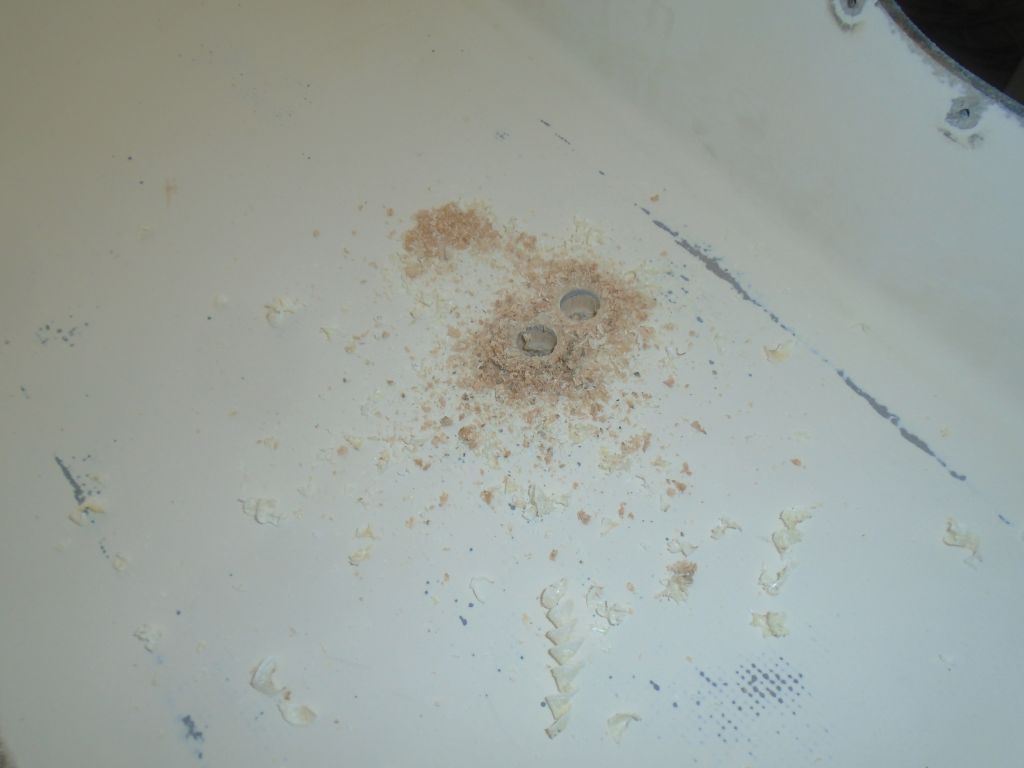
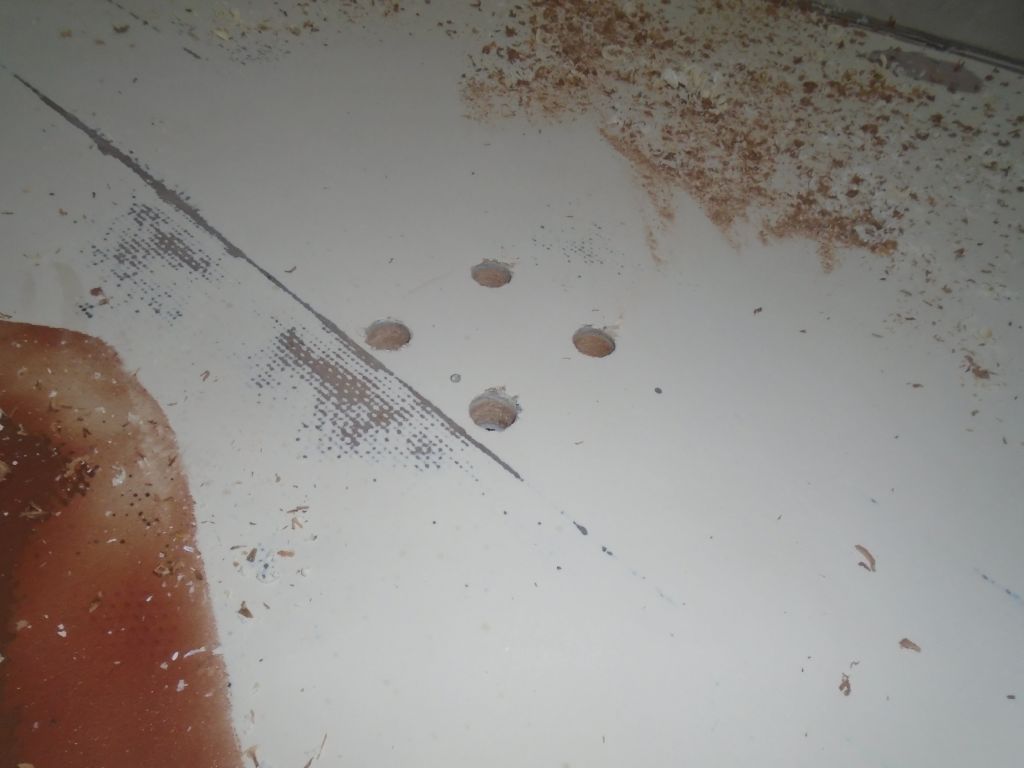
For each of the three through hull fittings, I once again taped the through hull in place from the outside, and from inside the boat spun on the flange bases till they were tight and properly aligned with the backing pads. Then I drilled through the hull at each of the three bolt locations for the flanges, inserting a bolt in each hole from inside to hold the alignment where it needed to be. With all the holes drilled, I vacuumed and solvent-washed the insides of the through hull locations.
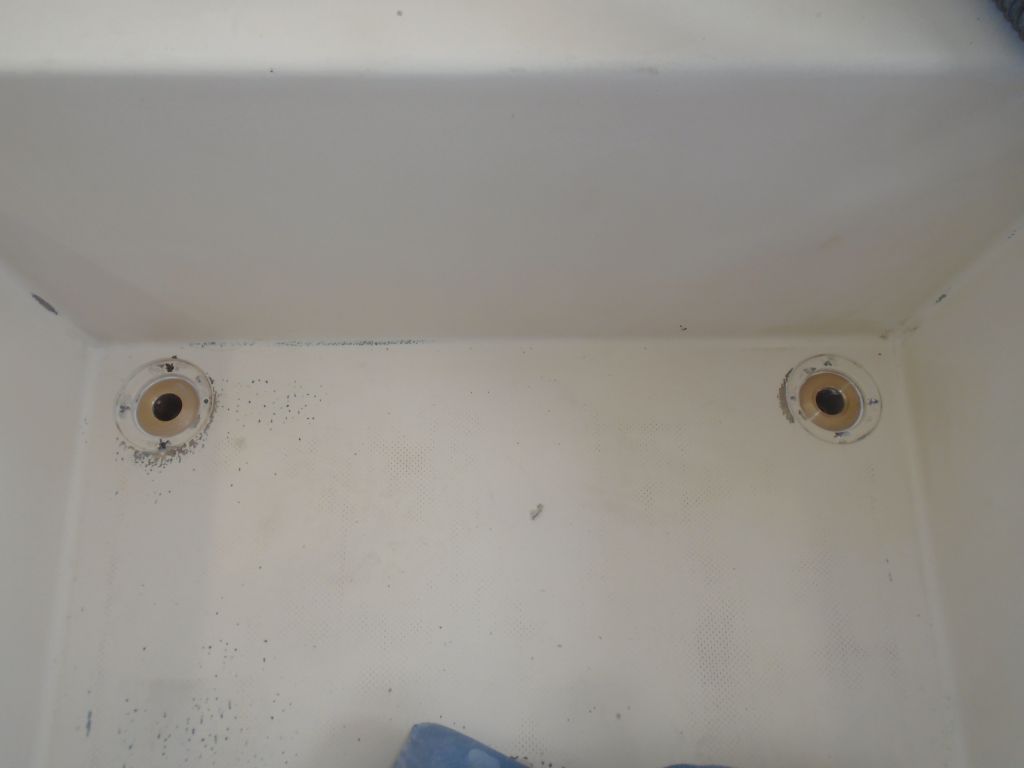
Outside the hull, I removed the fittings and bored countersinks at each of the bolt locations to allow the fasteners to lie flush. I only show two here, but you get the idea. I solvent-washed the surfaces as required.
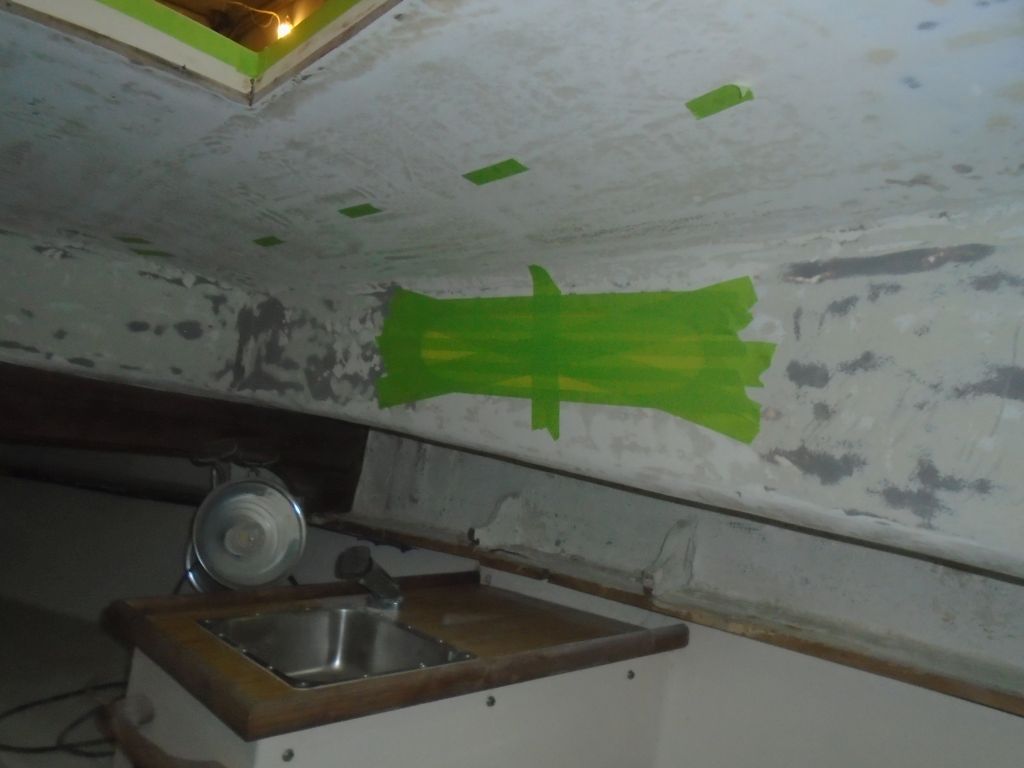
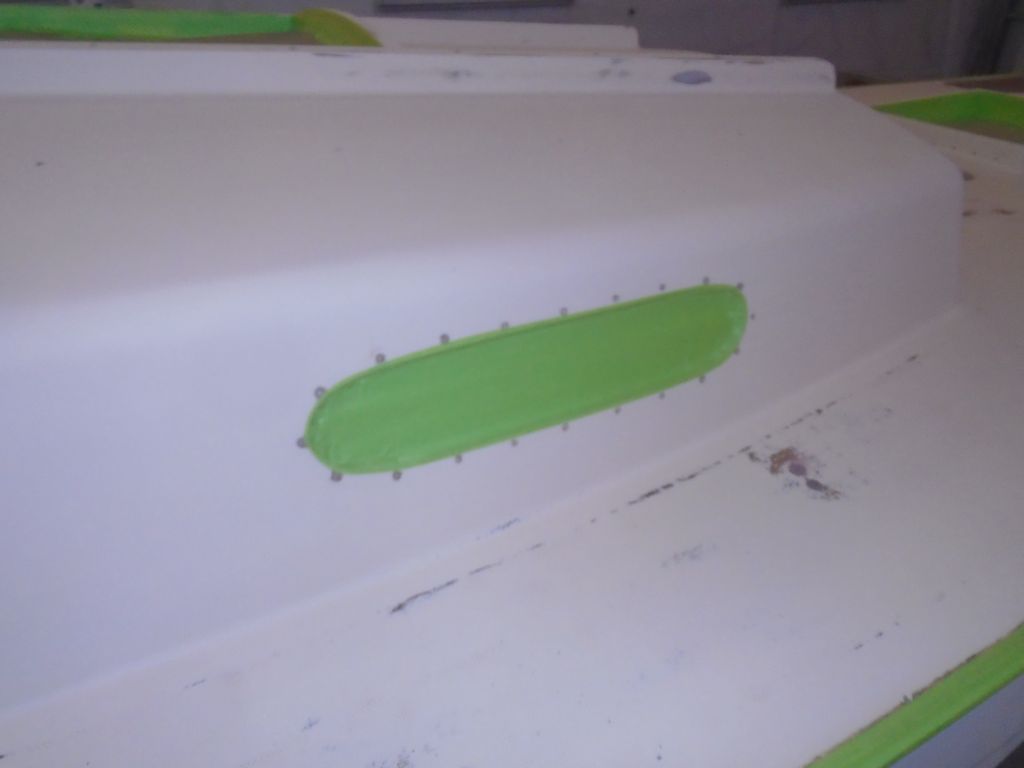
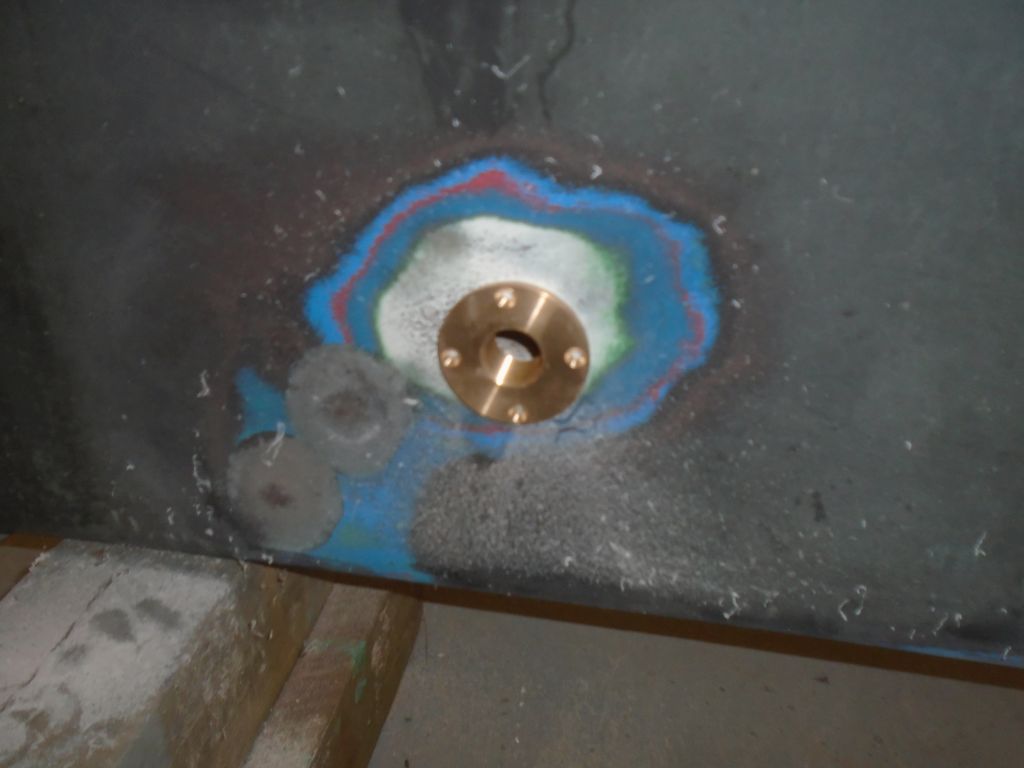
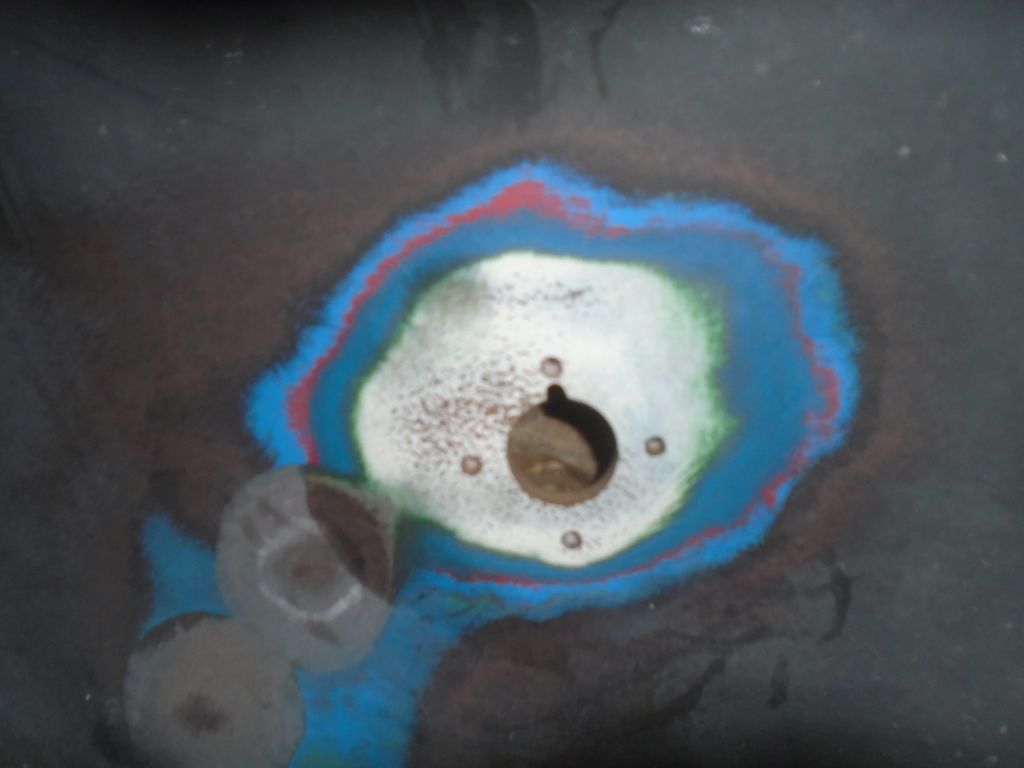
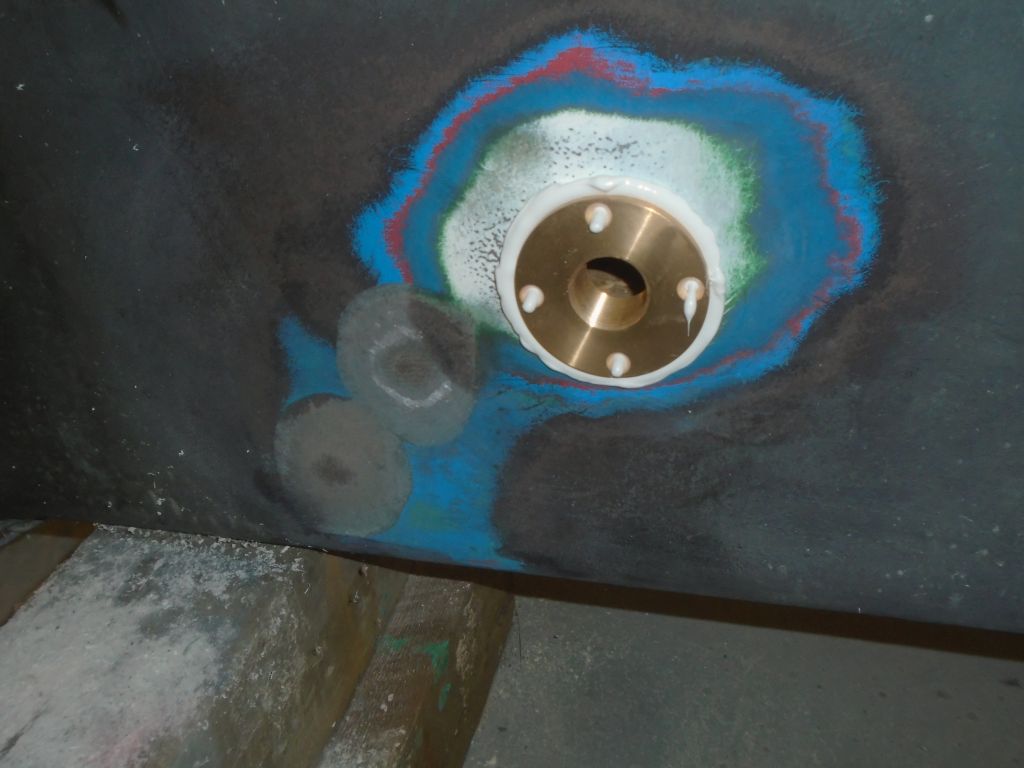
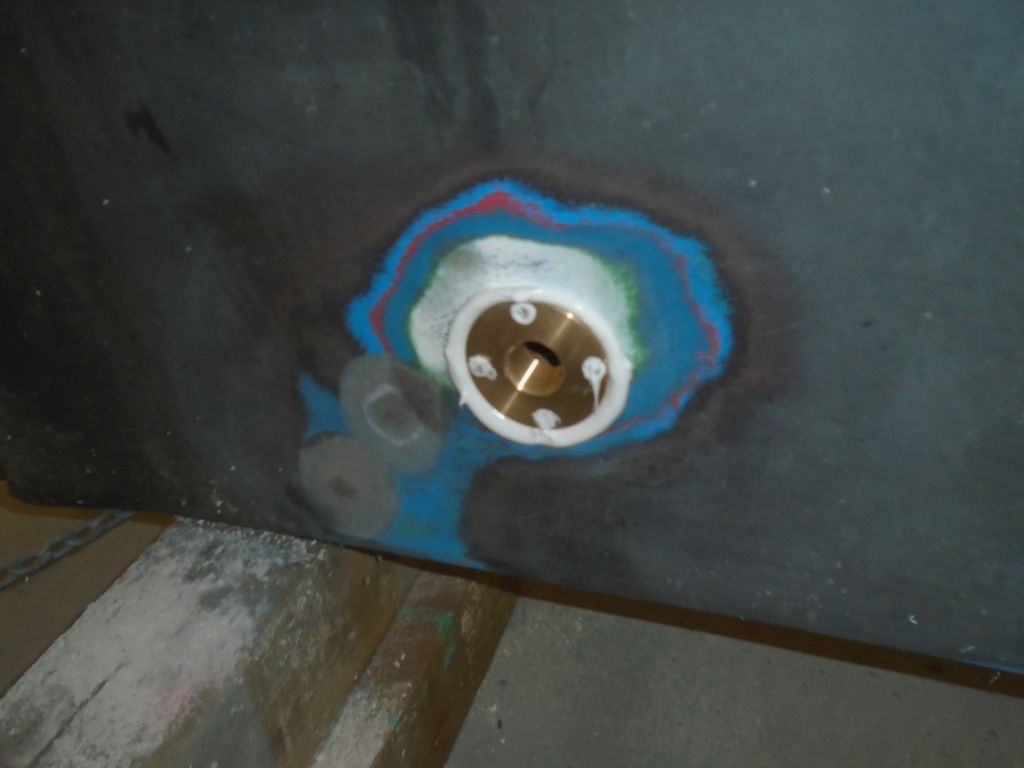
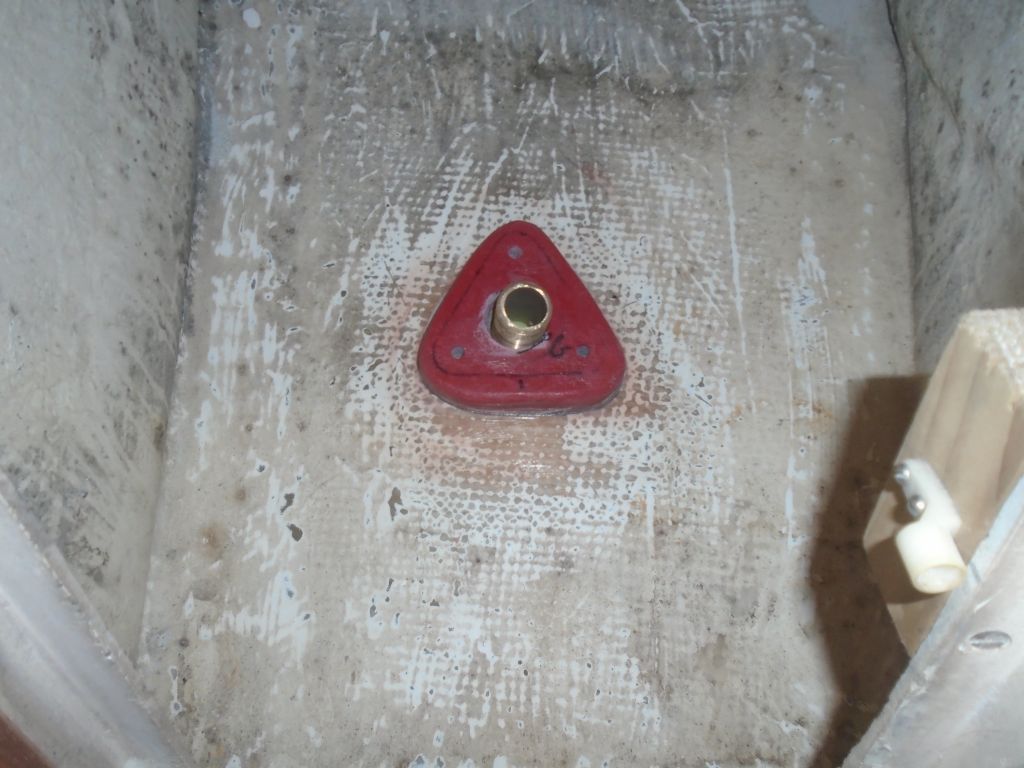
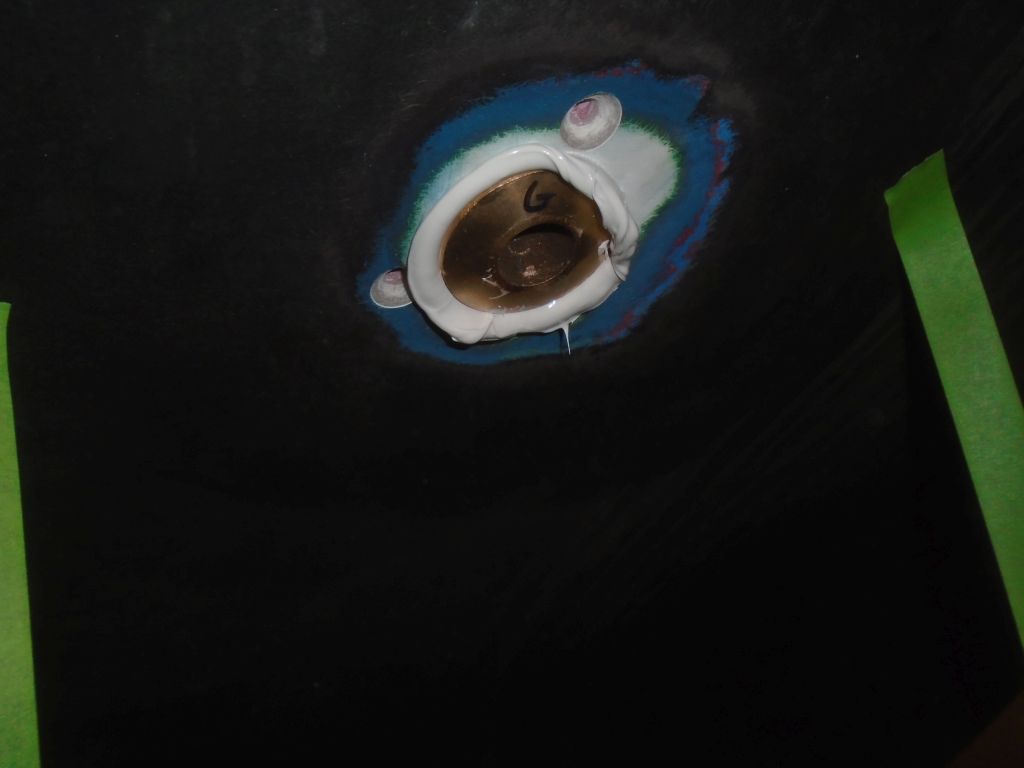
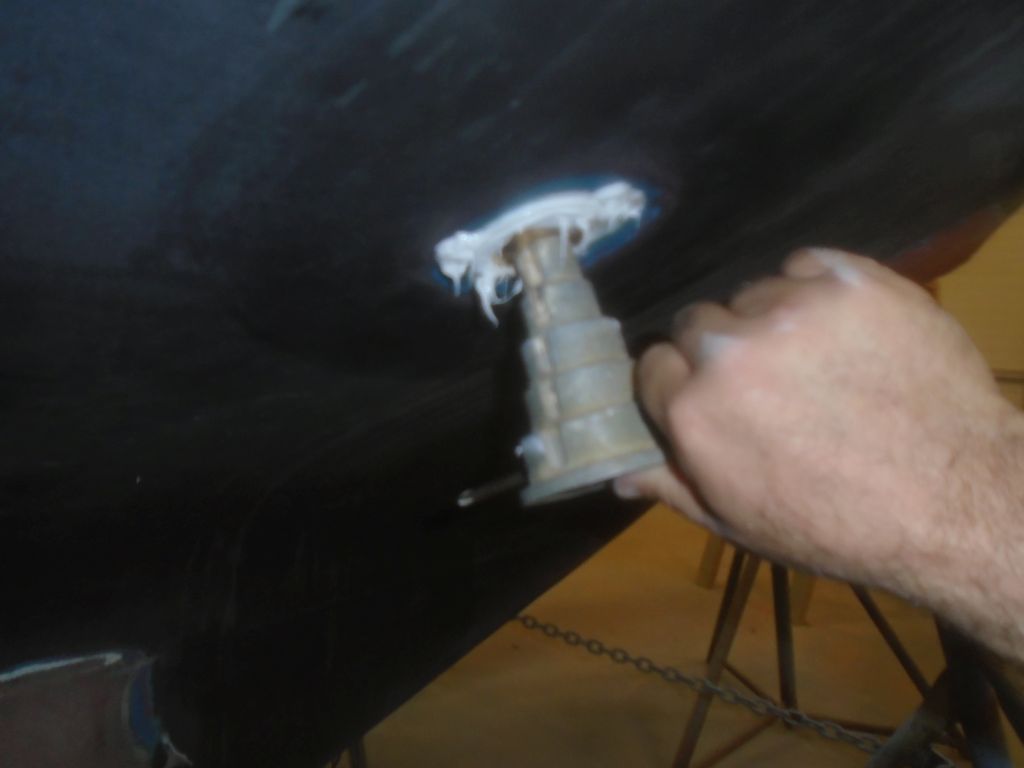
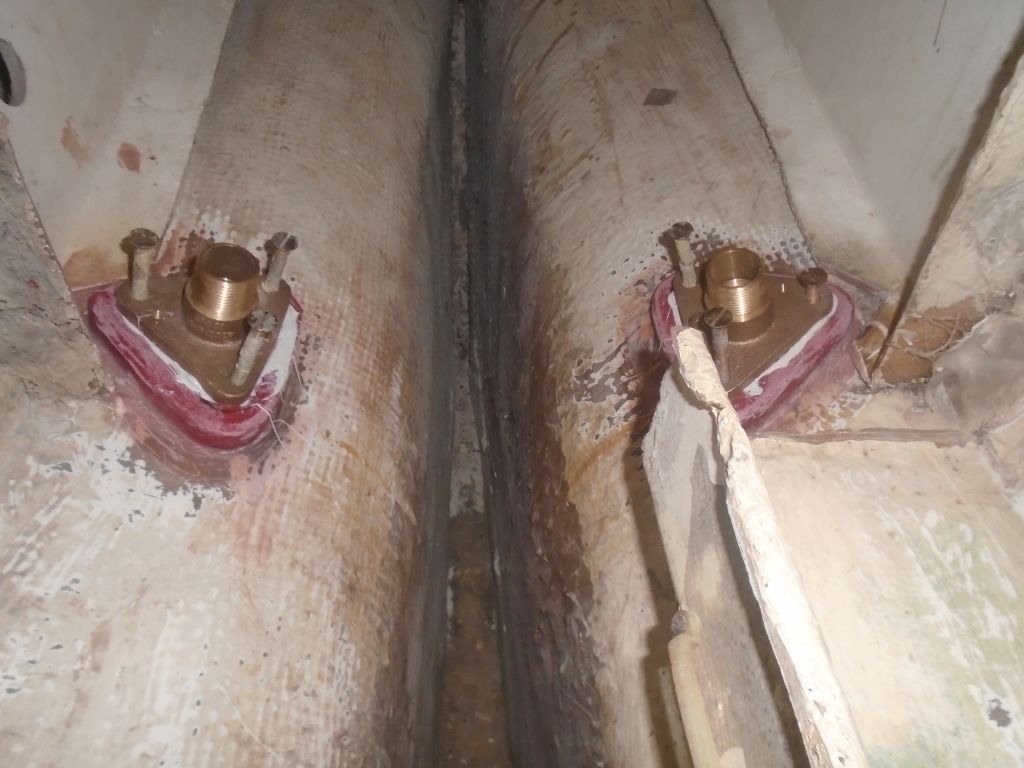
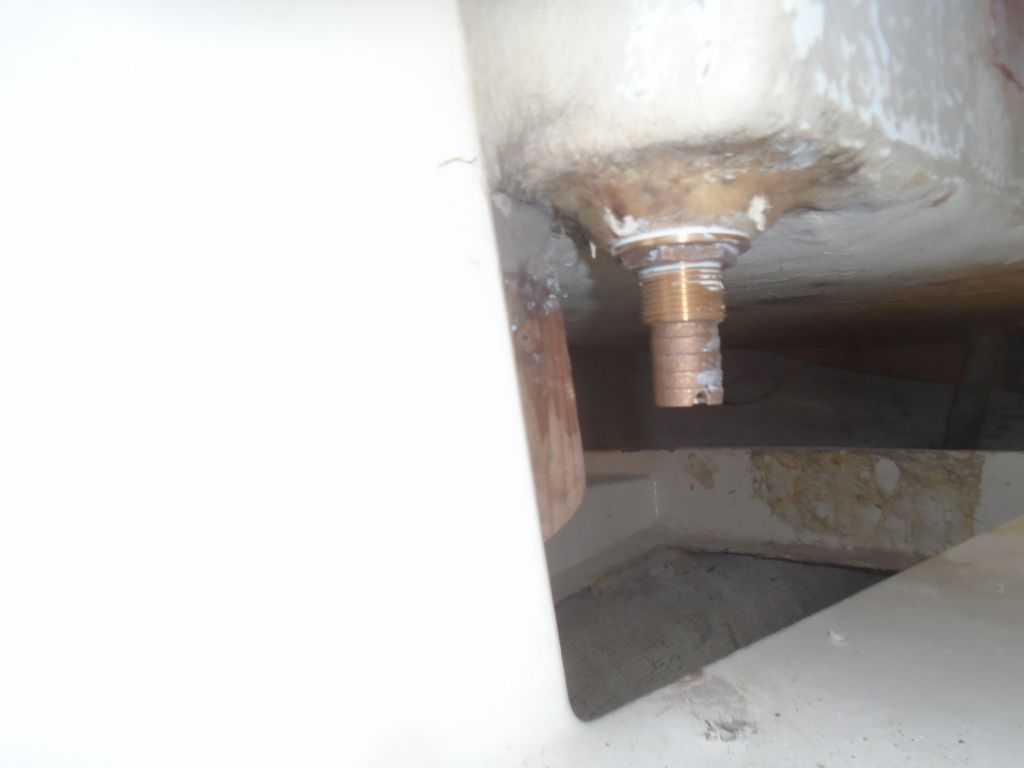
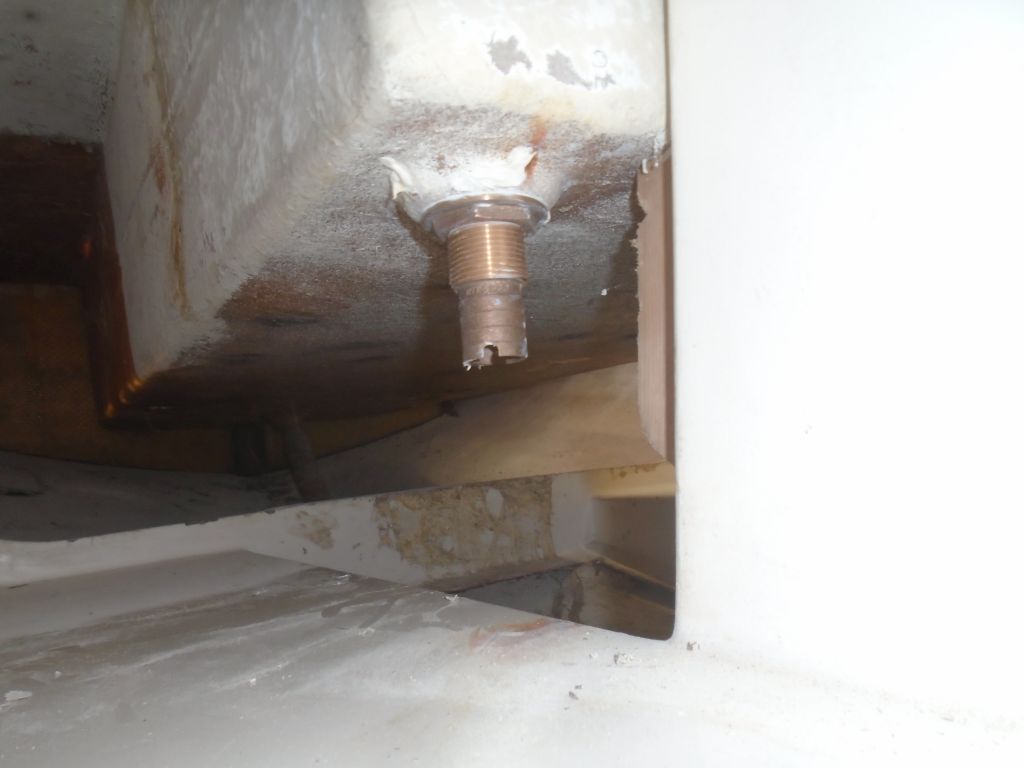
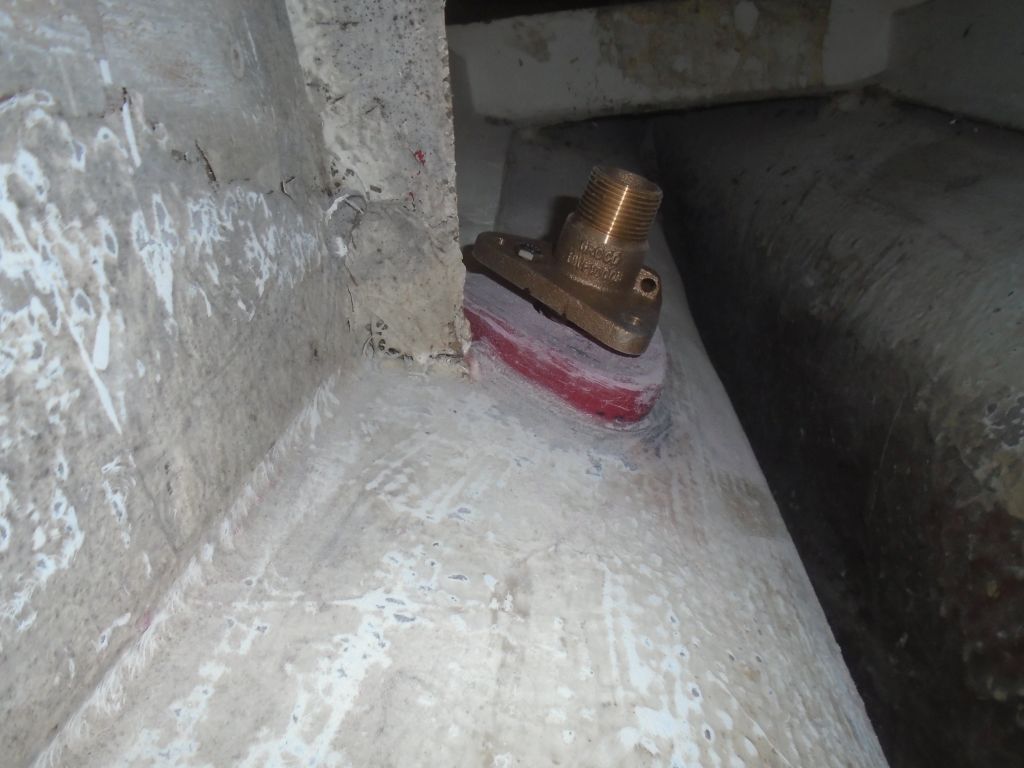
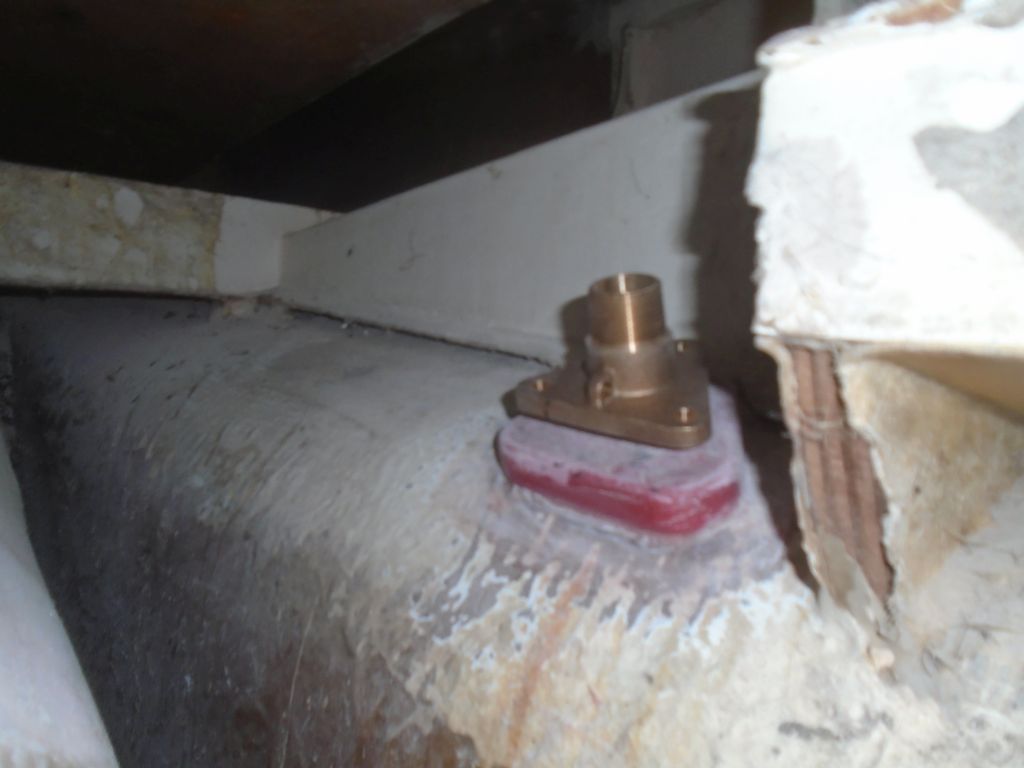
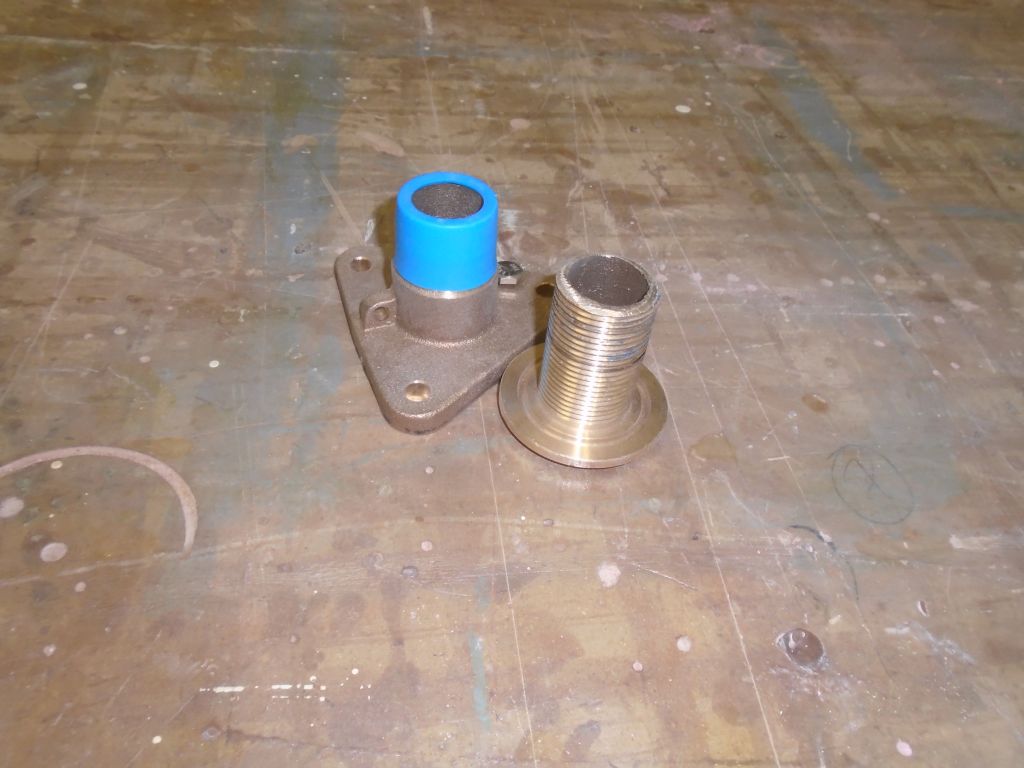
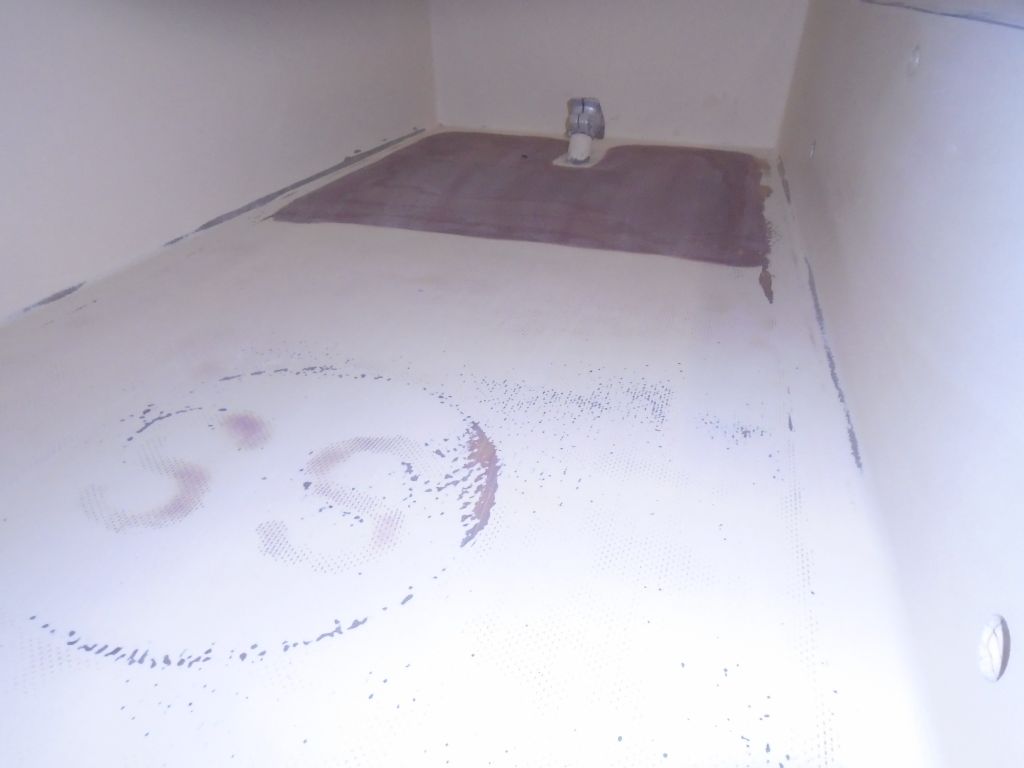
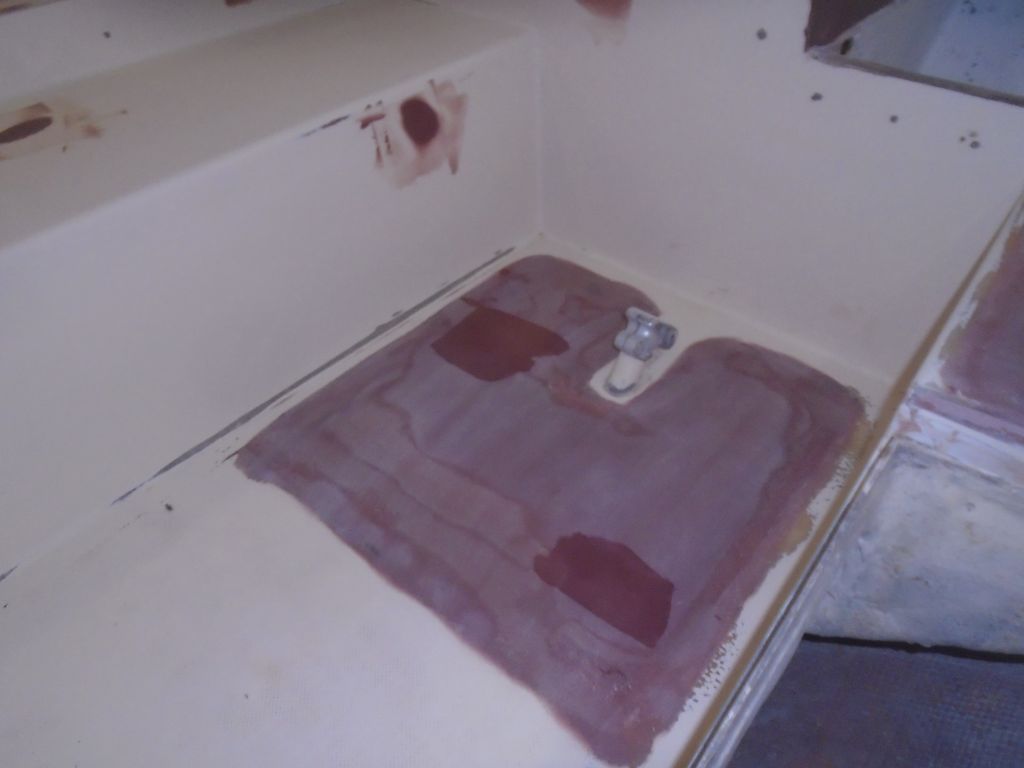
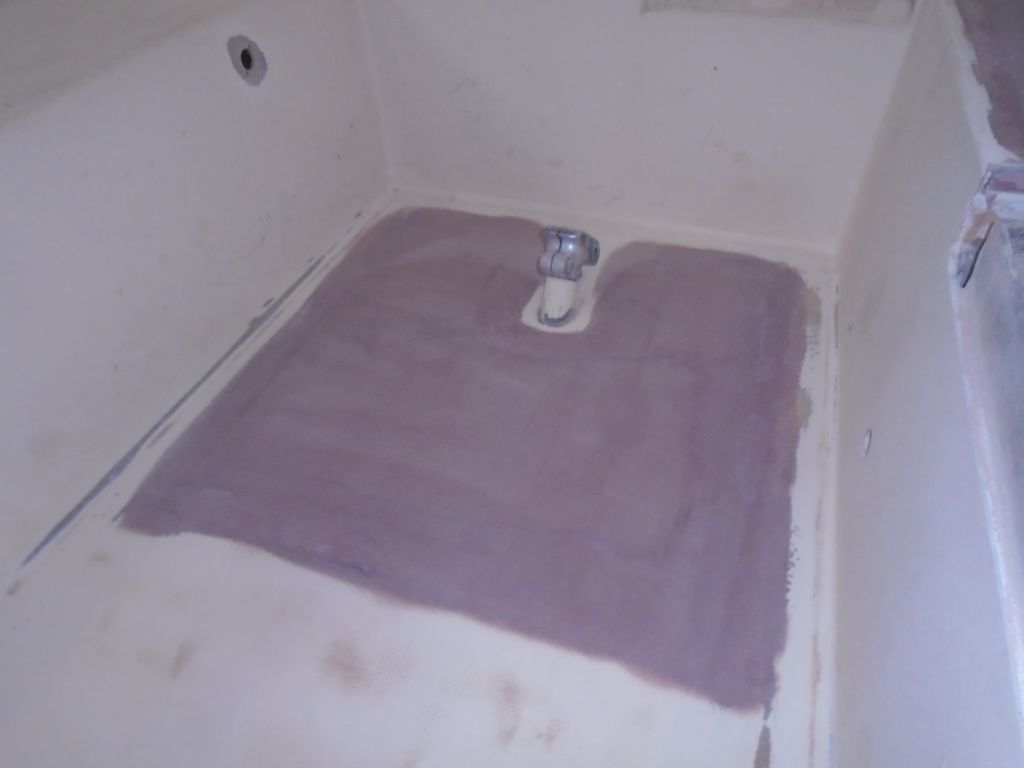
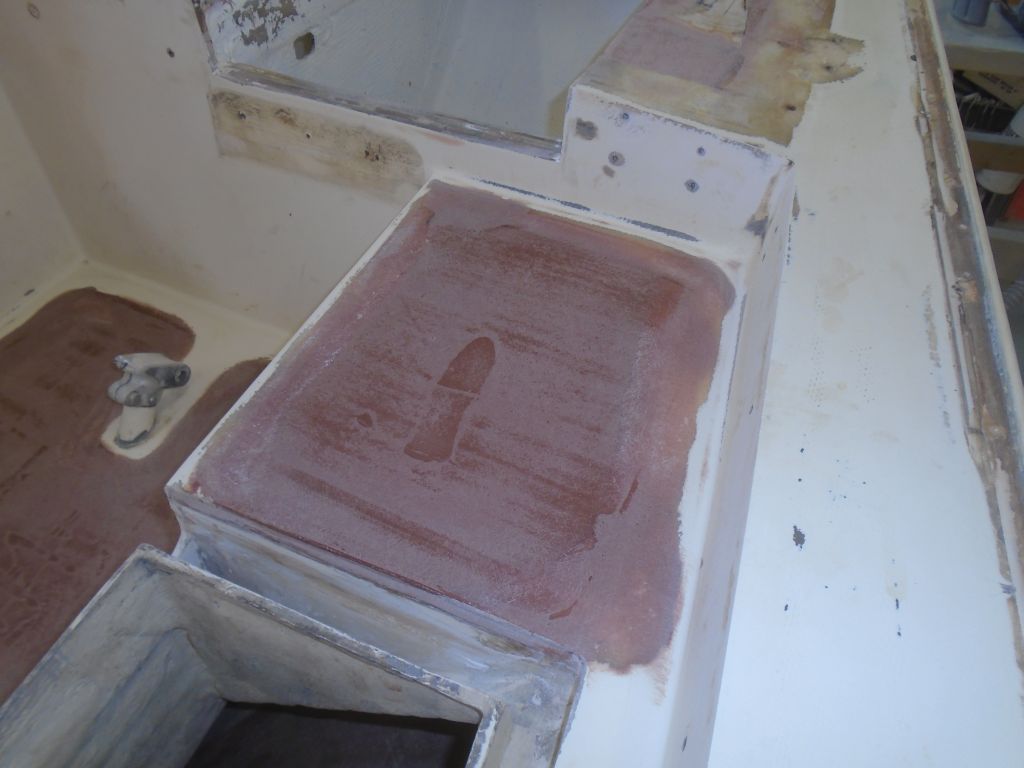
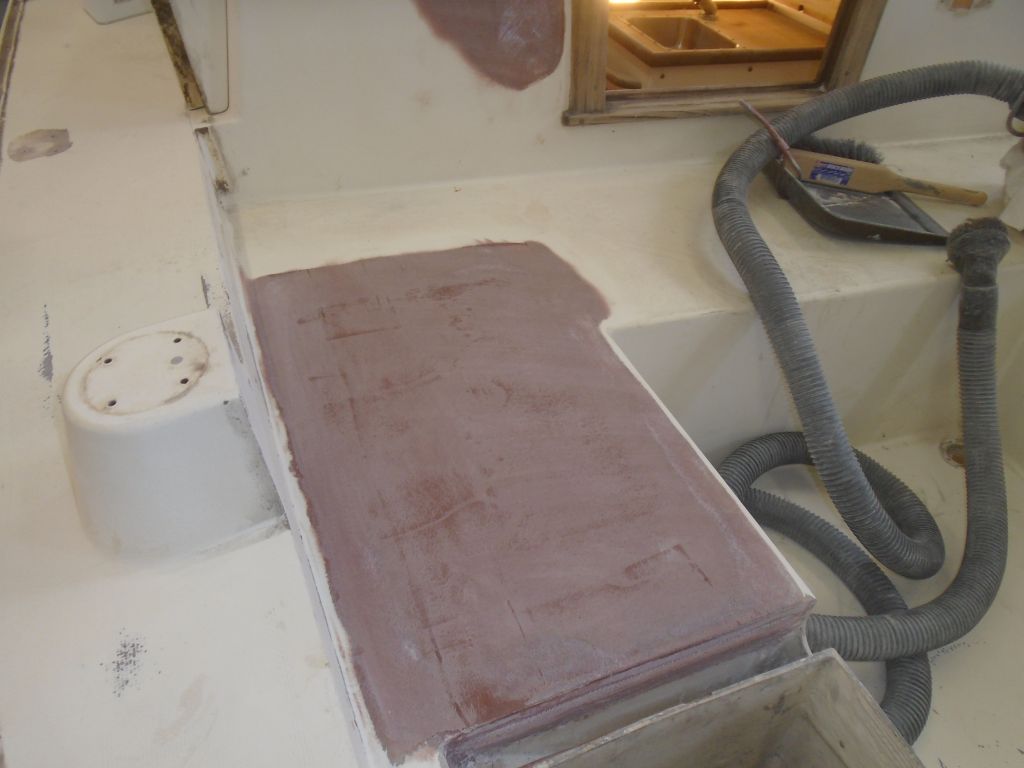
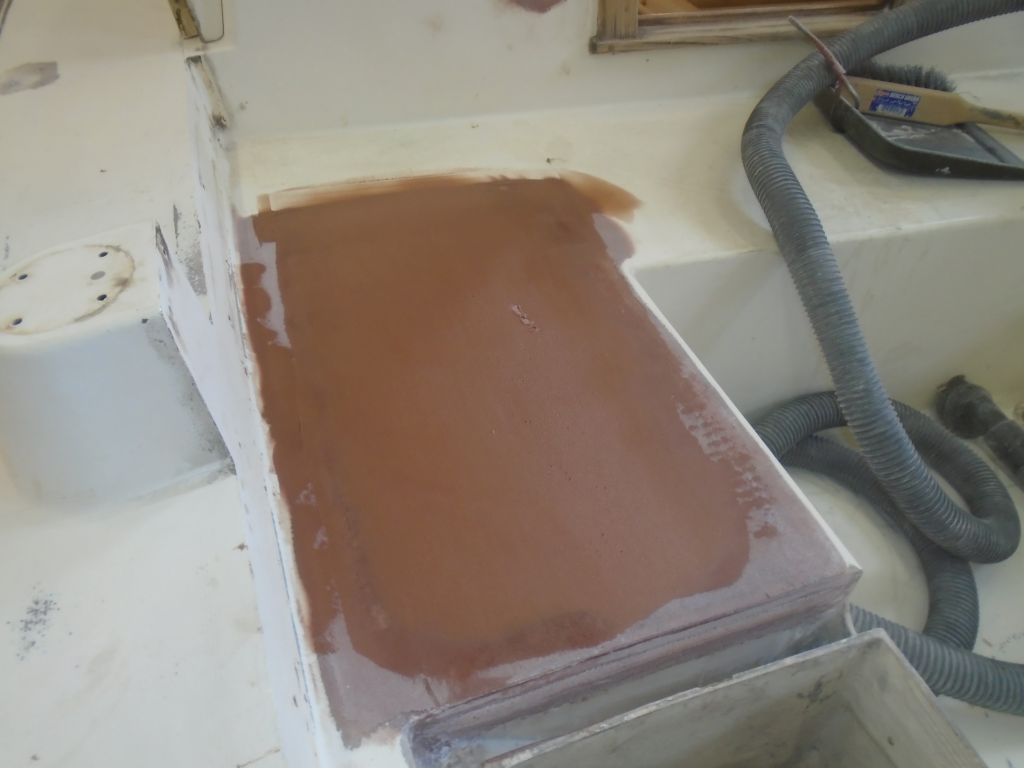
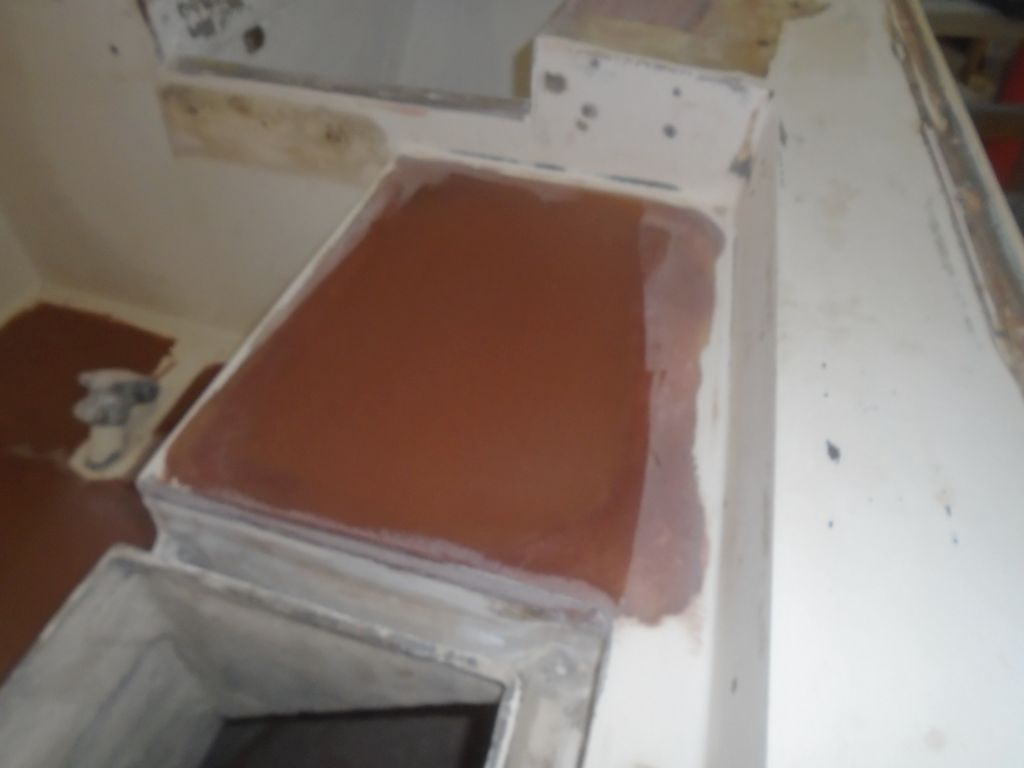
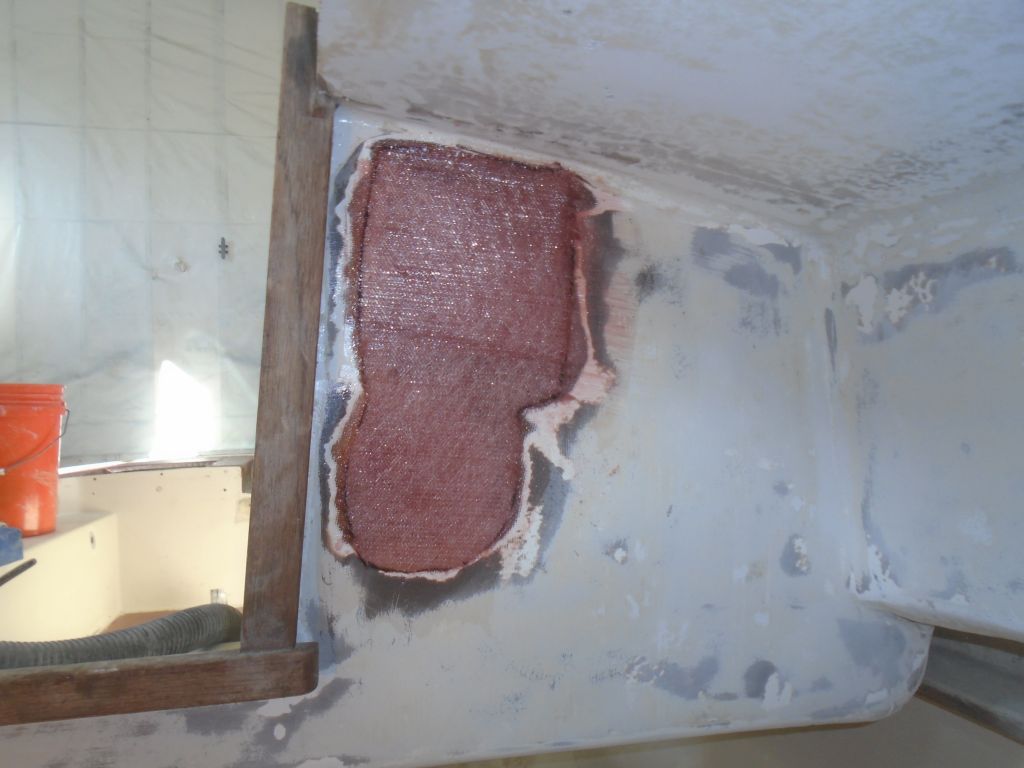
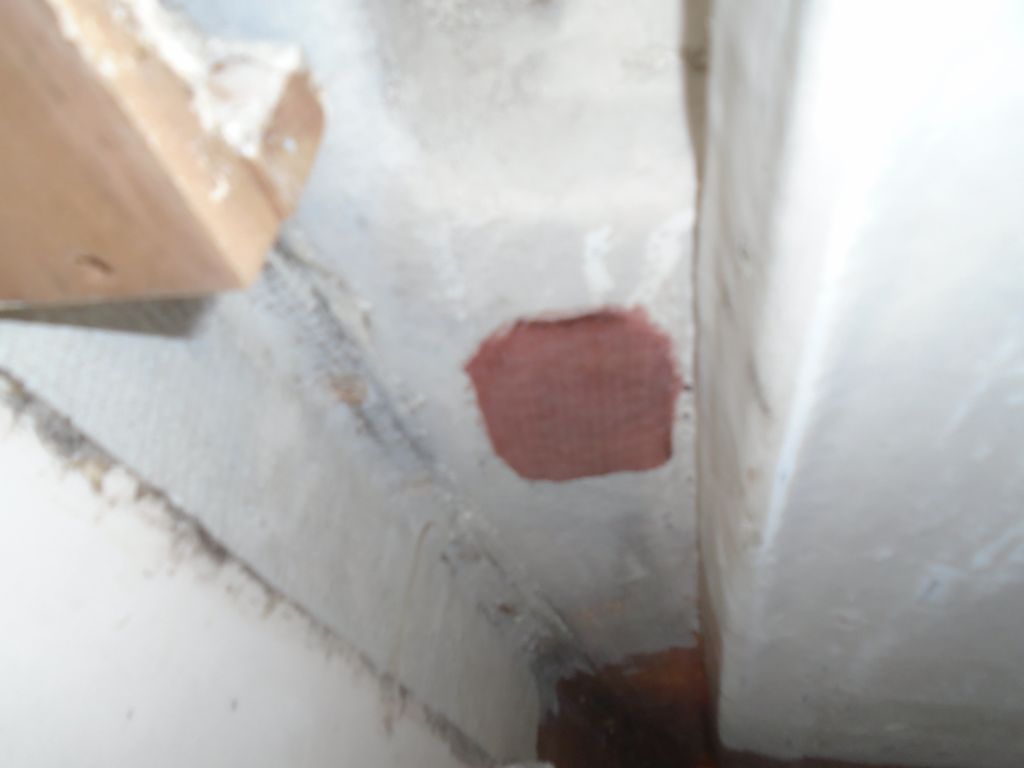
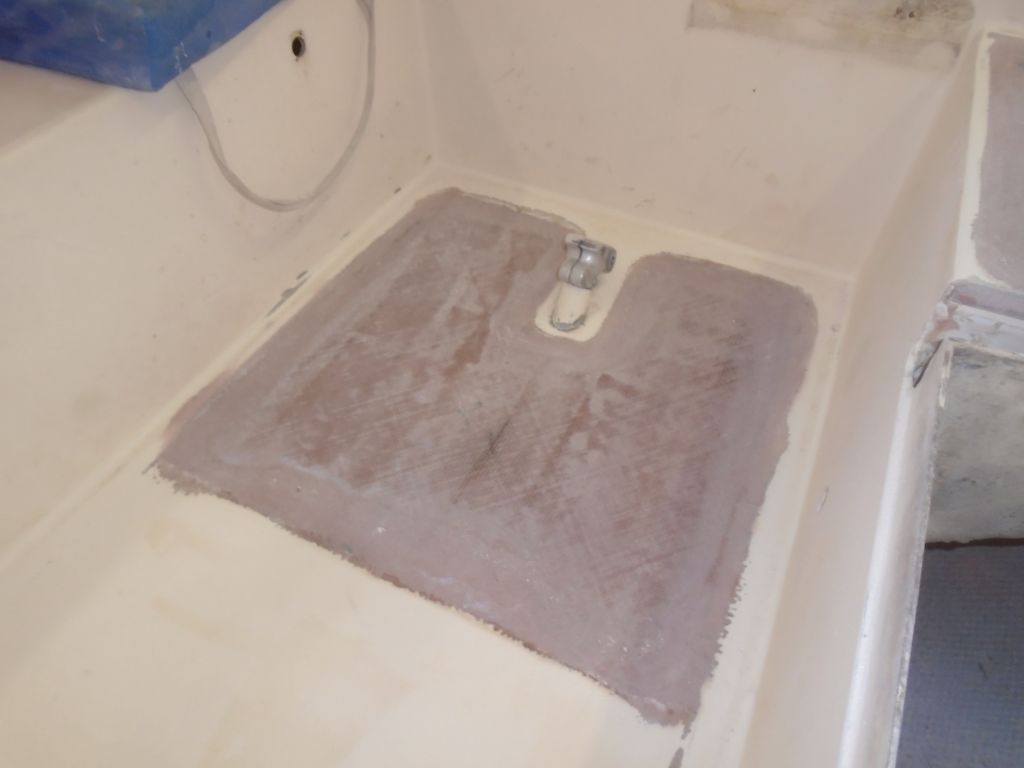
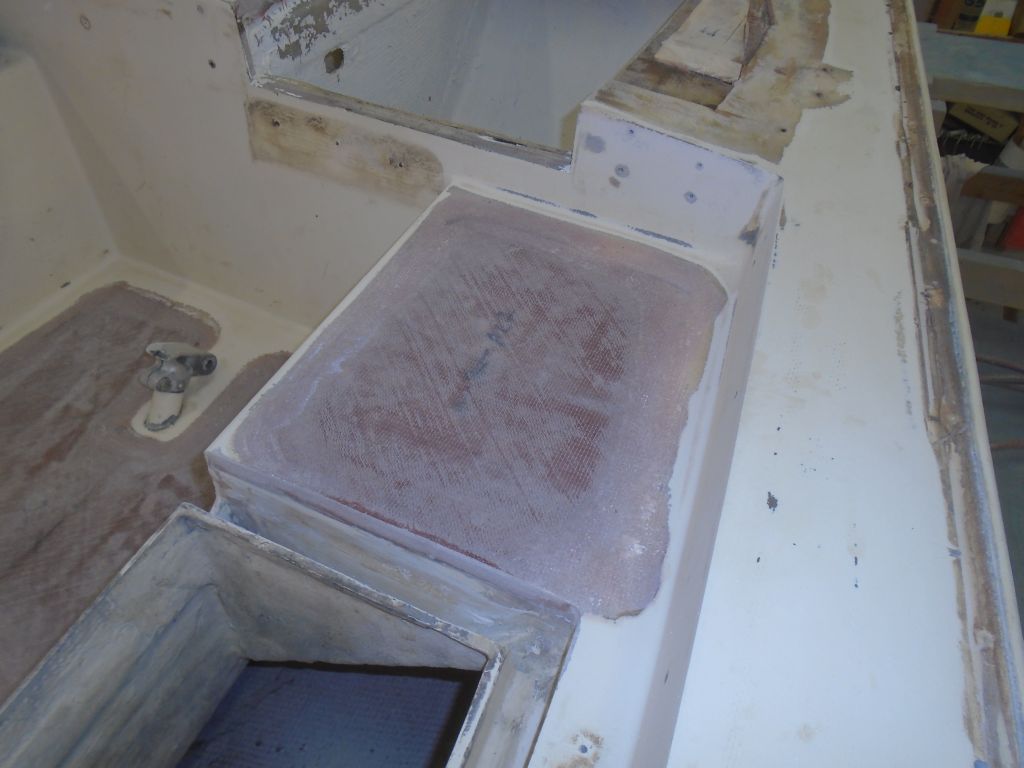
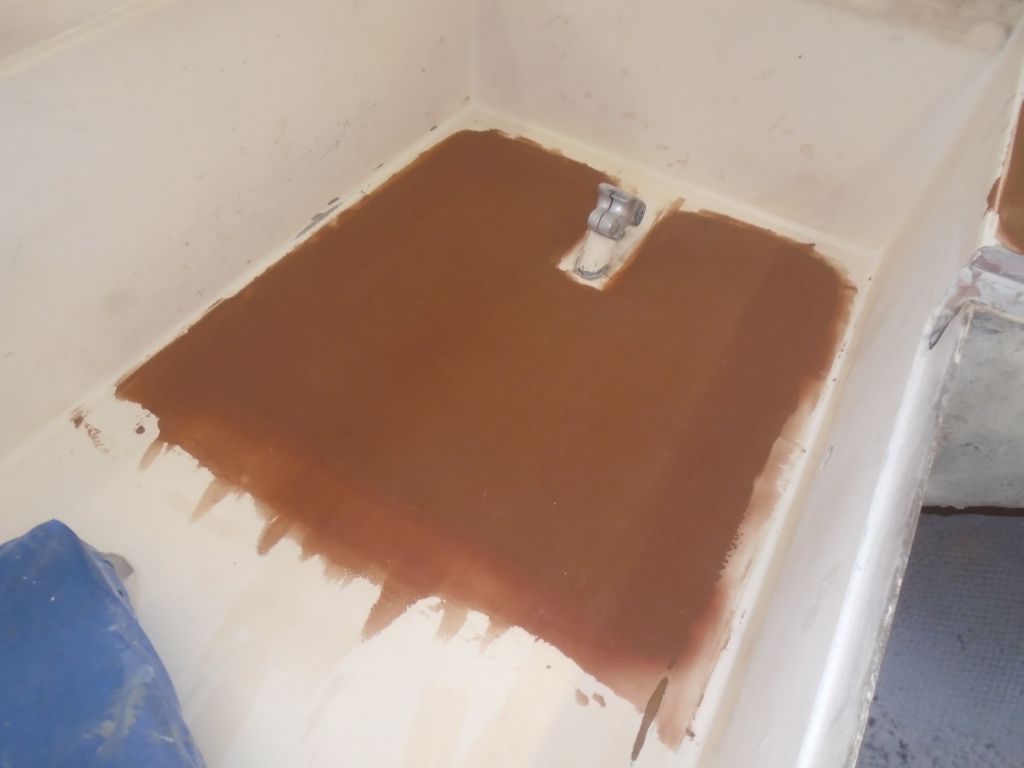
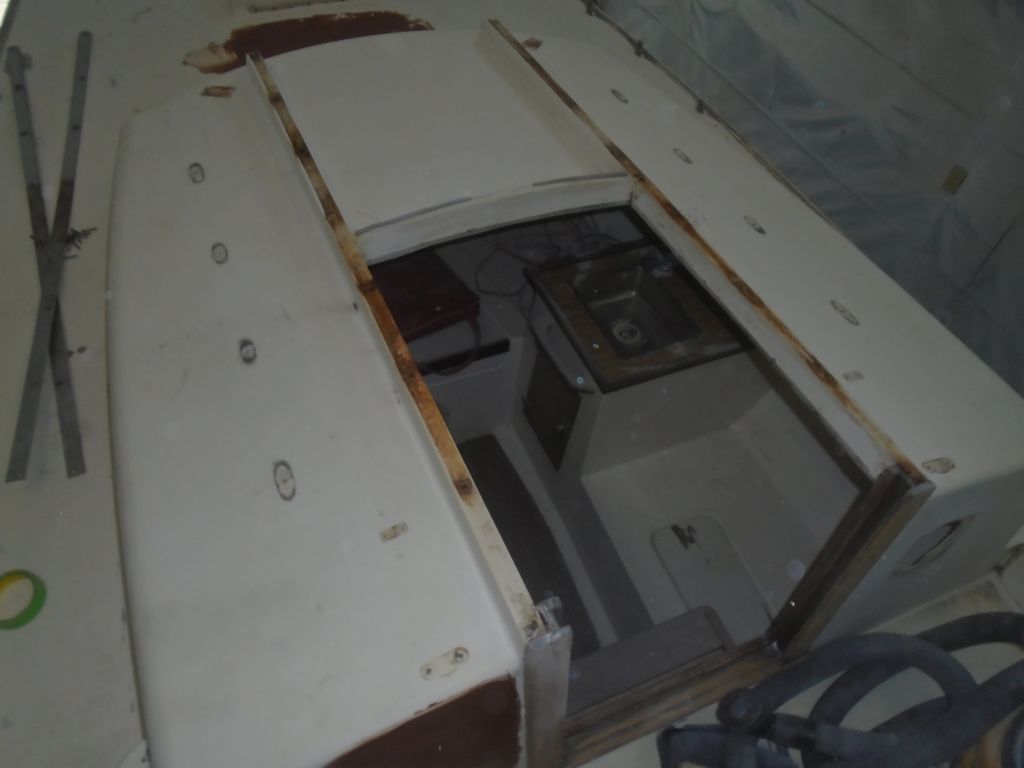
Next, I installed the three through hulls in turn. Covering the mushroom head and the threads of the through hull with lots of sealant (I like 4200 for through hulls because it’s essentially permanent, yet I find it a bit thicker and stiffer than 5200, so it holds the fittings in place better–an important consideration when working alone), I pressed the fitting into place, then worked inside to apply more sealant around the through hull neck and on the mounting pad as needed (particularly around the bolt locations), and threaded on the flange as tightly as I could while maintaining its proper alignment. To hold it in place, I temporarily stuck three bolts in from inside. These photos show the galley sink drain fitting.
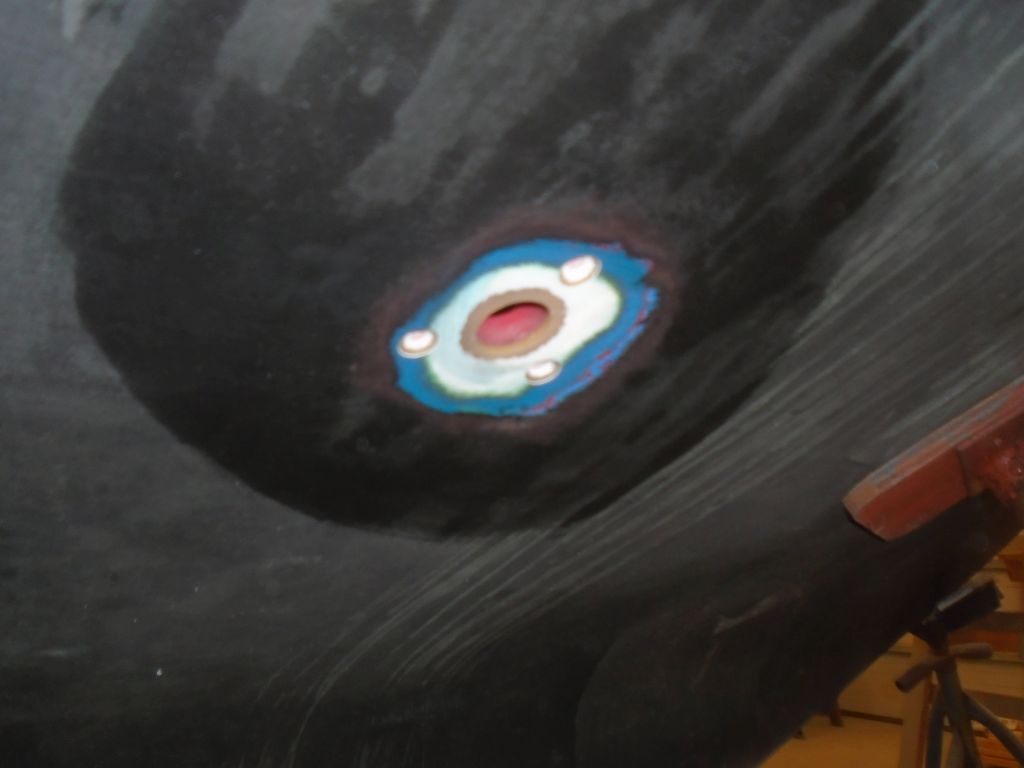
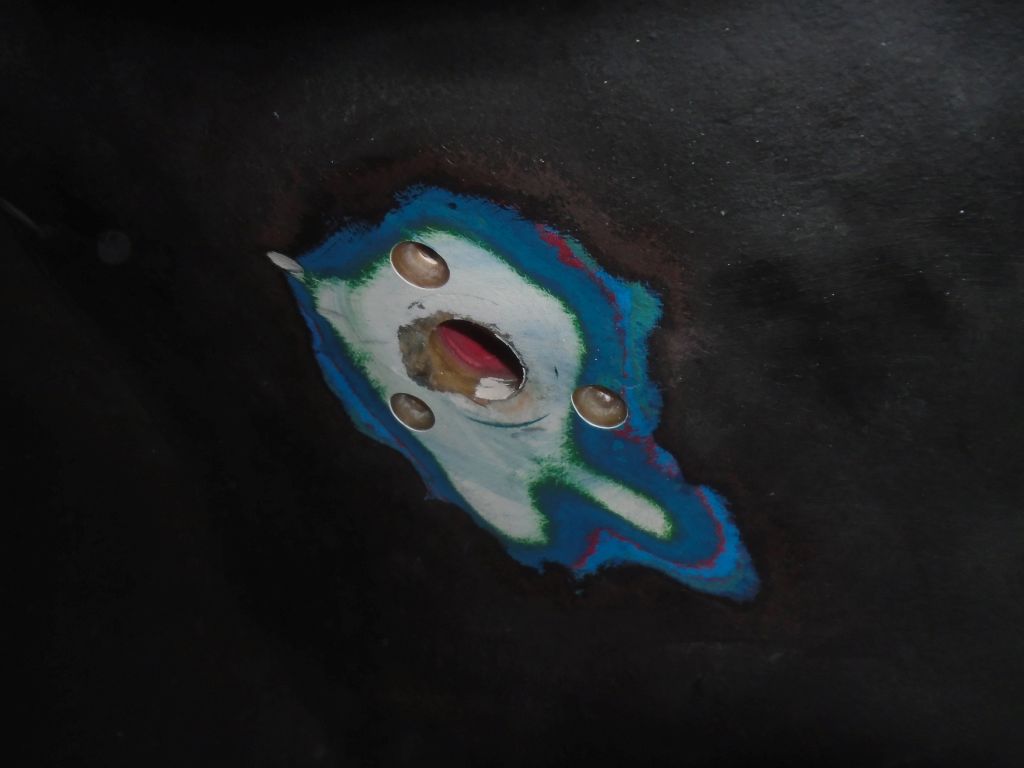
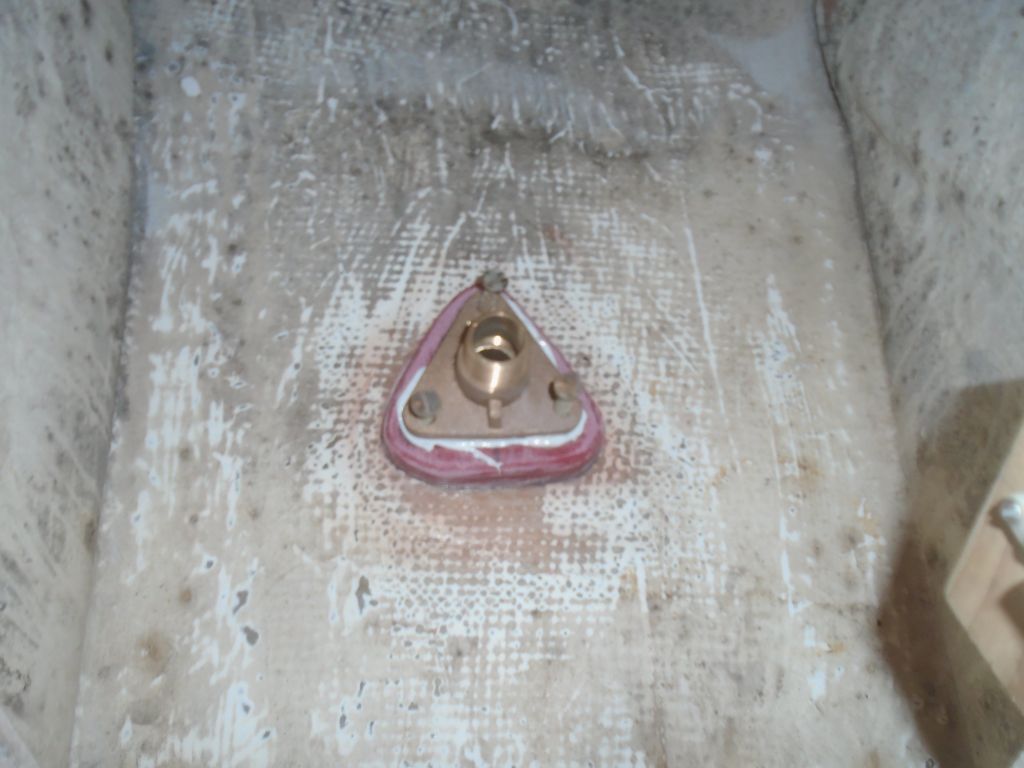
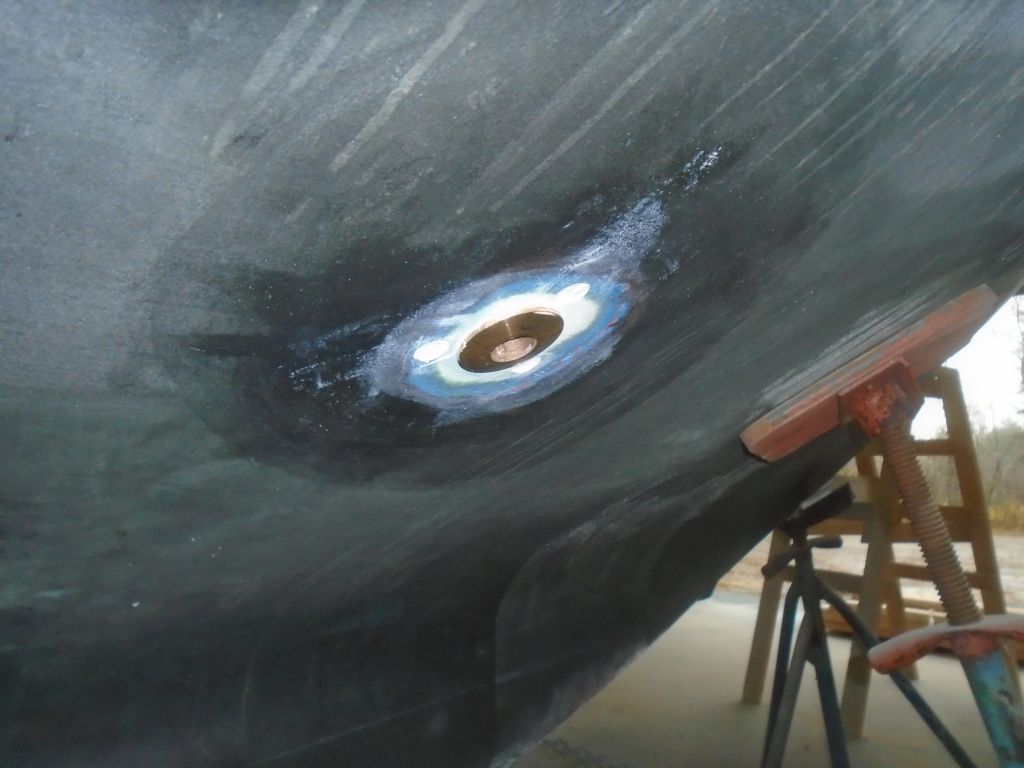
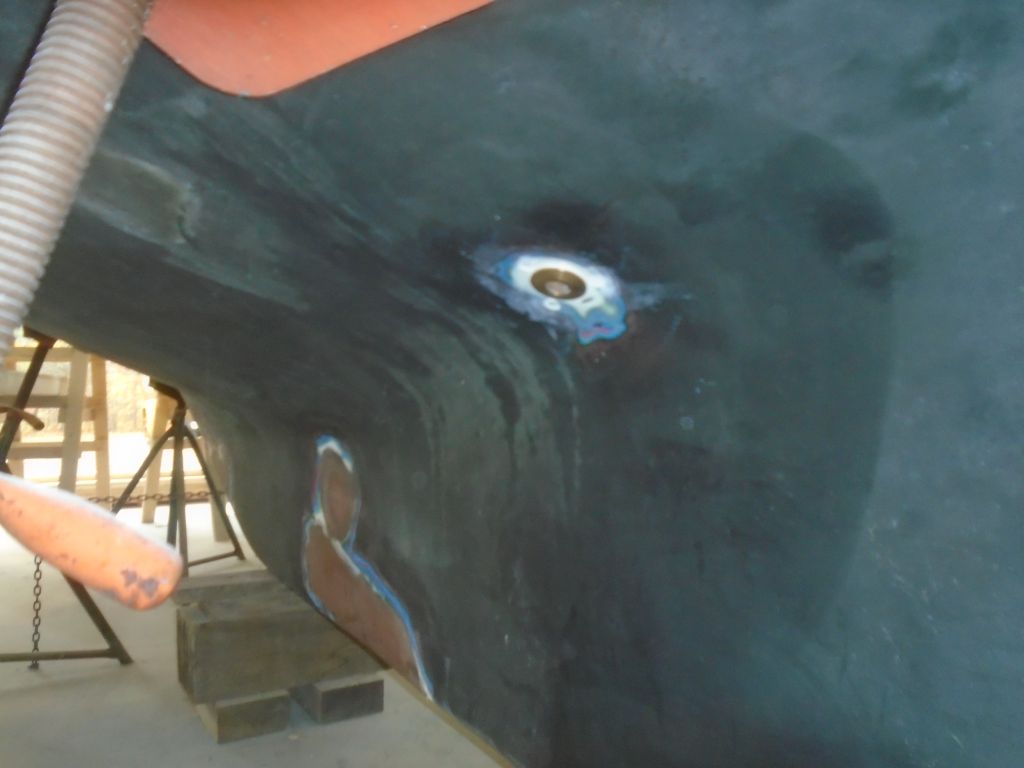
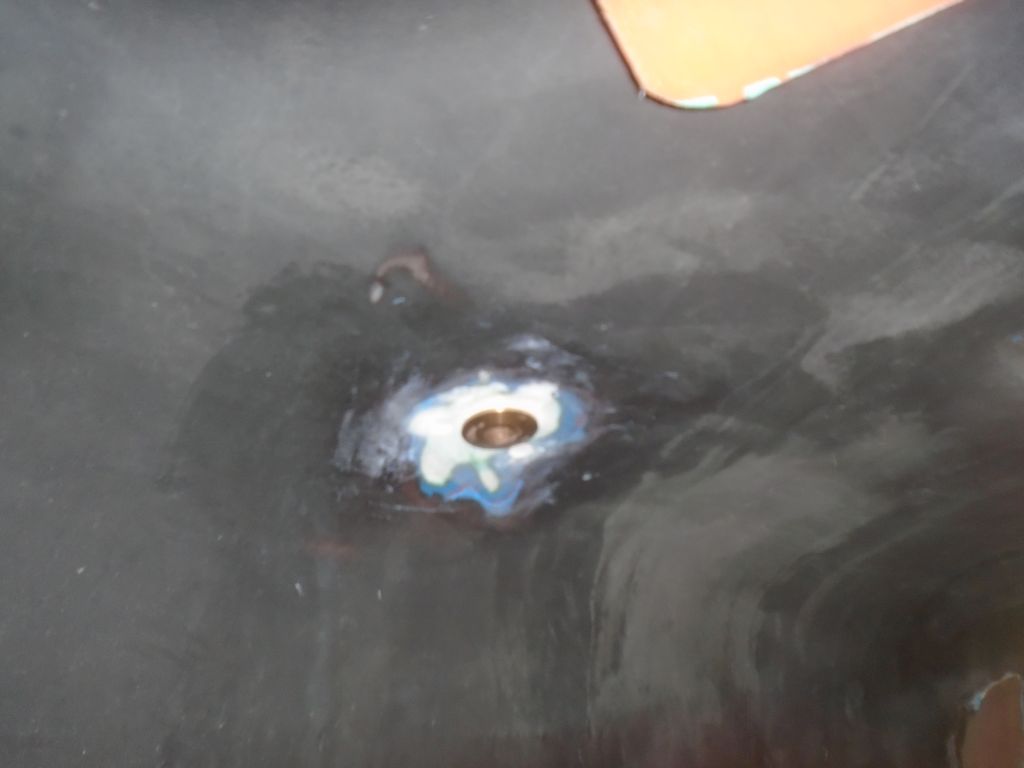
Outside once more, I tightened the mushroom fitting the rest of the way with my through hull tool, then inserted three well-buttered bronze bolts, pushing out the ones inside in the process. Finally, I installed and tightened washers and nuts on the bolts from inside, cleaned up the excess sealant, and cut off the excess bolt length. These photos show the galley sink drain fitting.
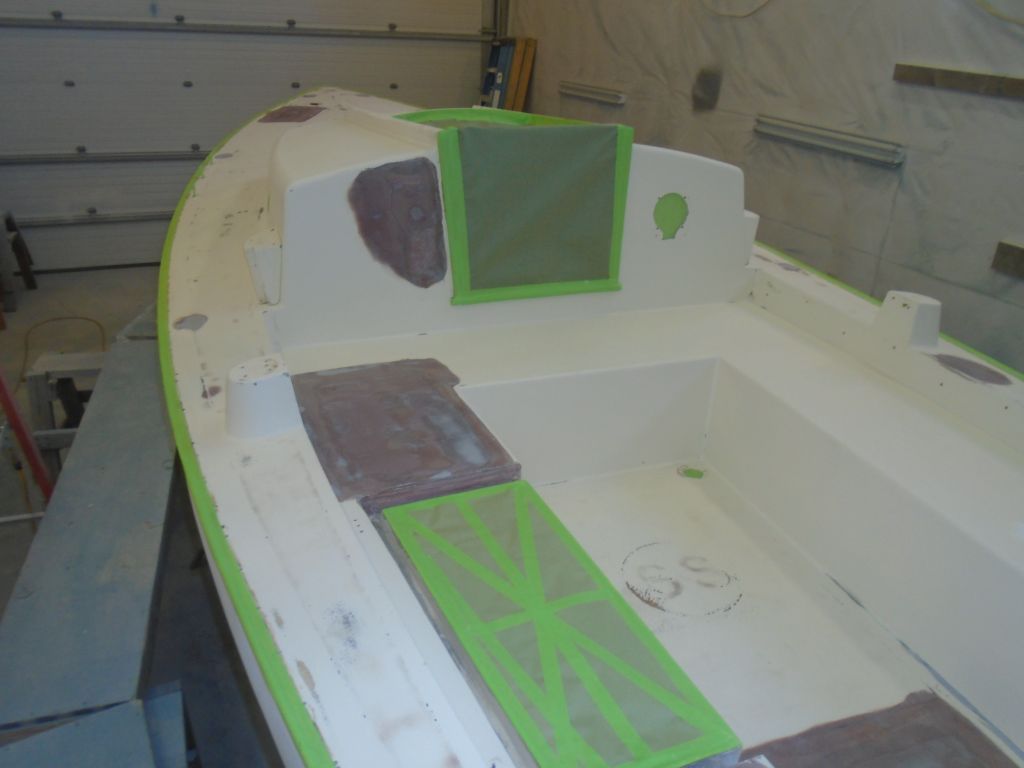
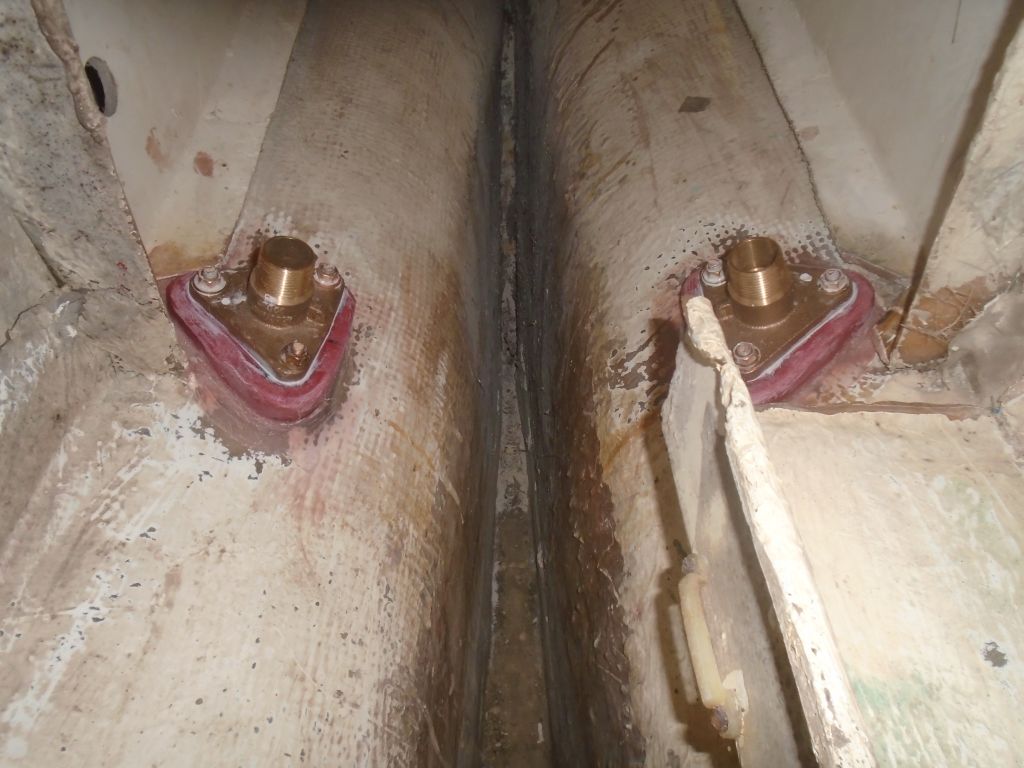
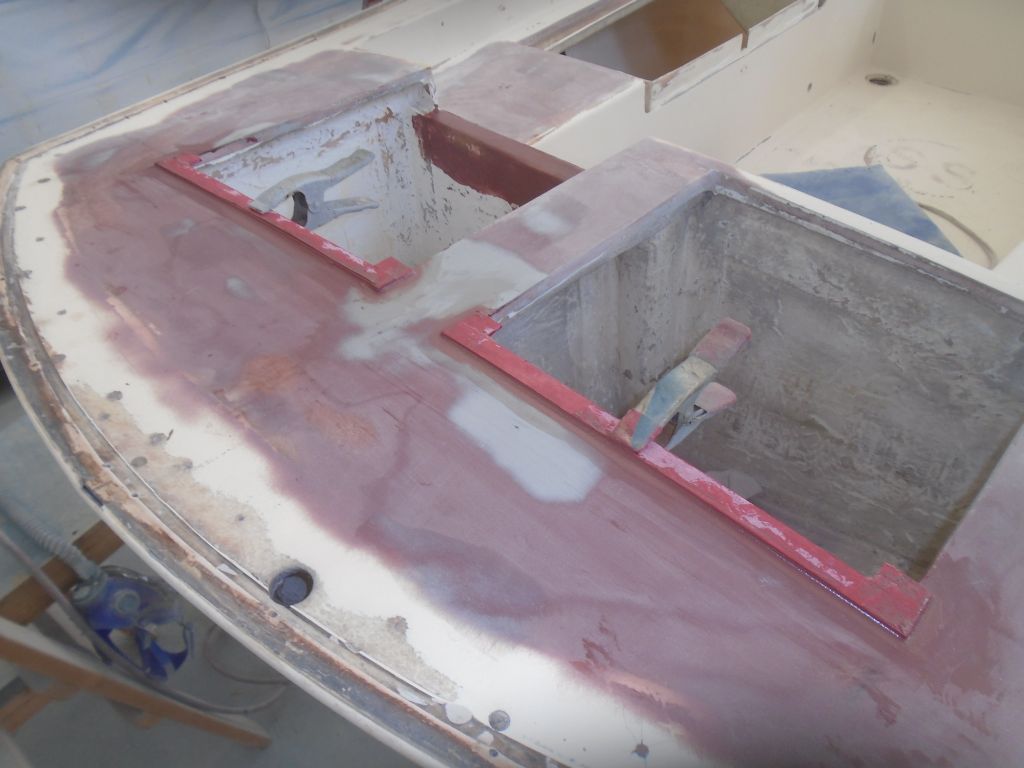
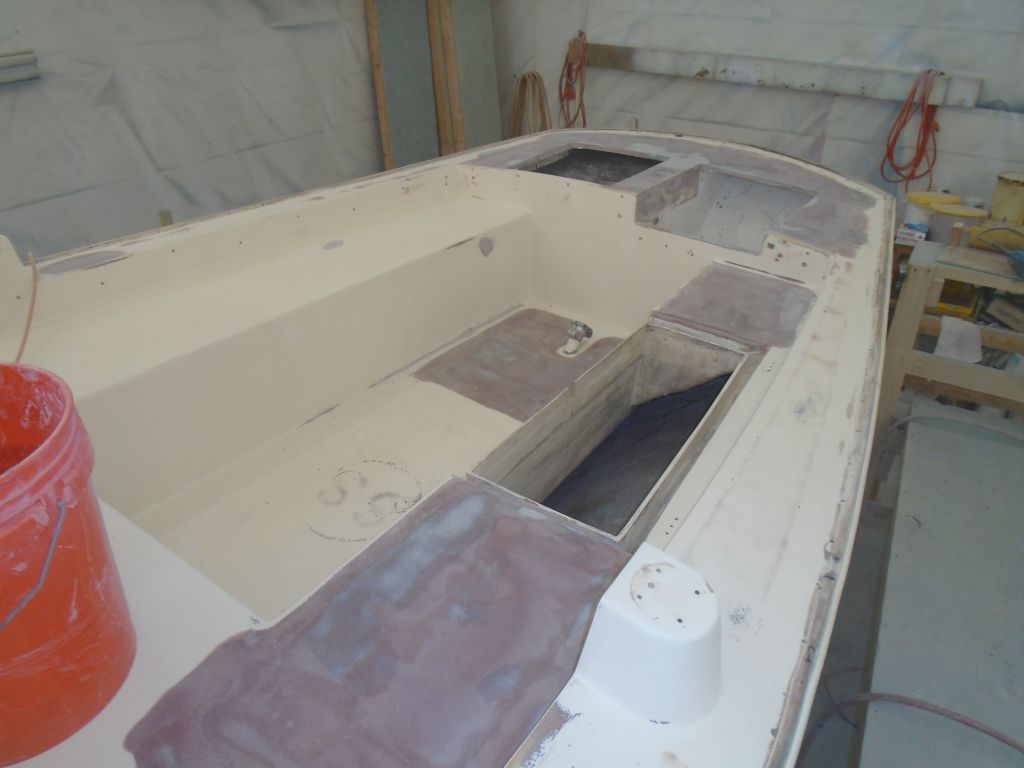
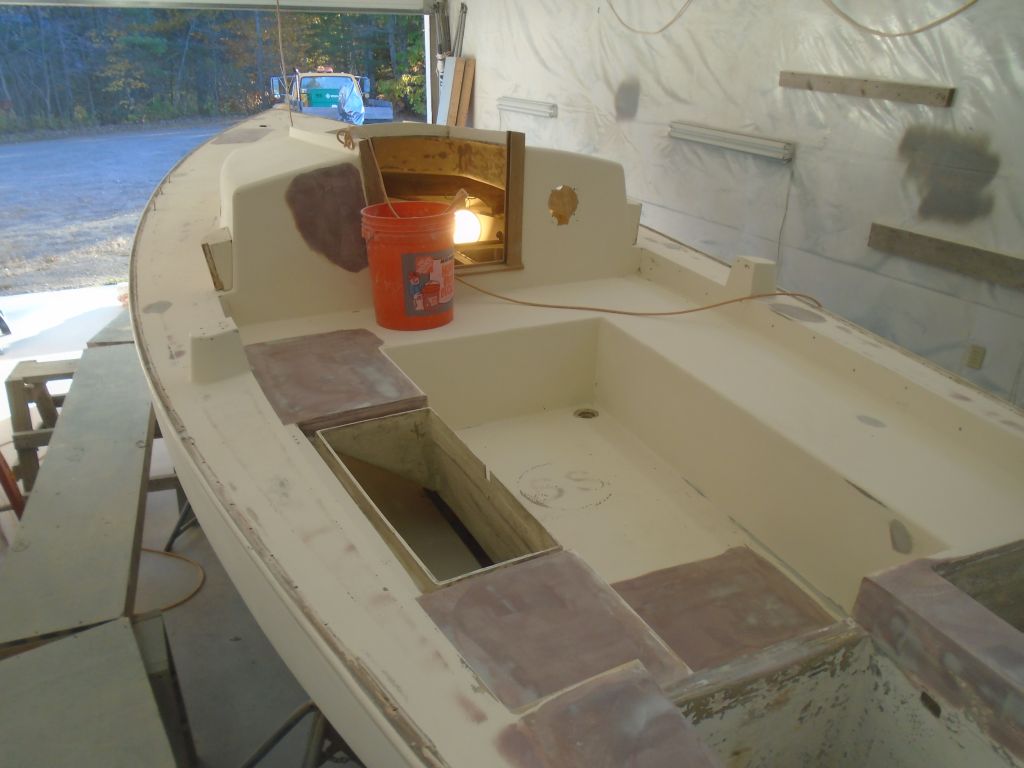
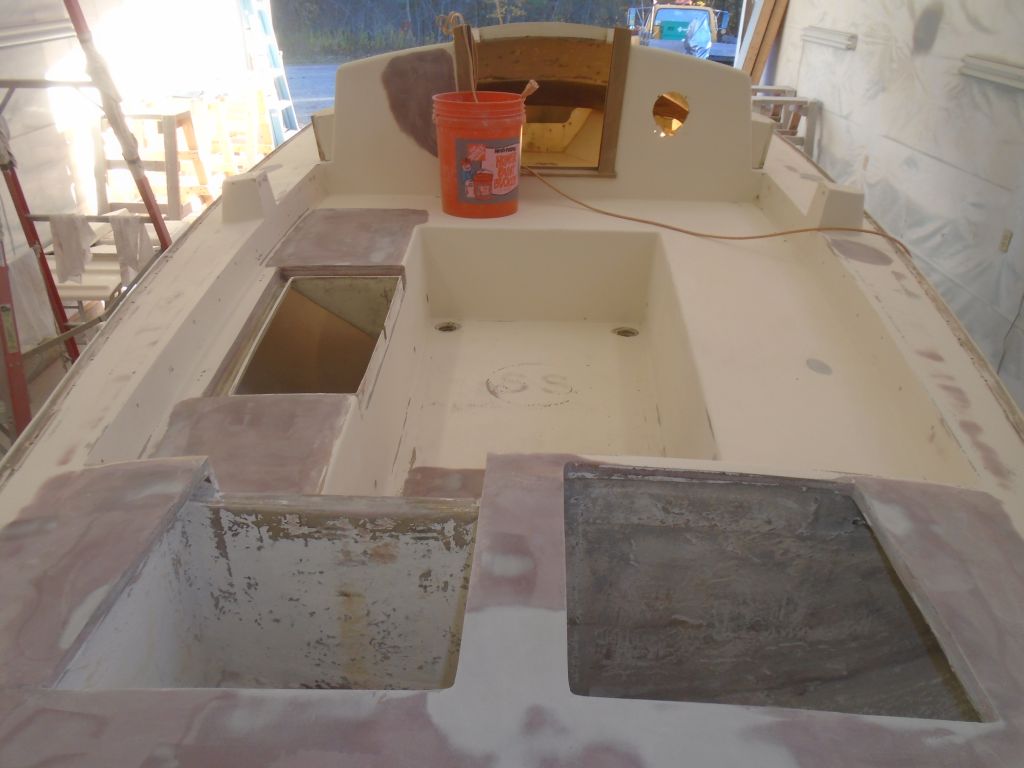
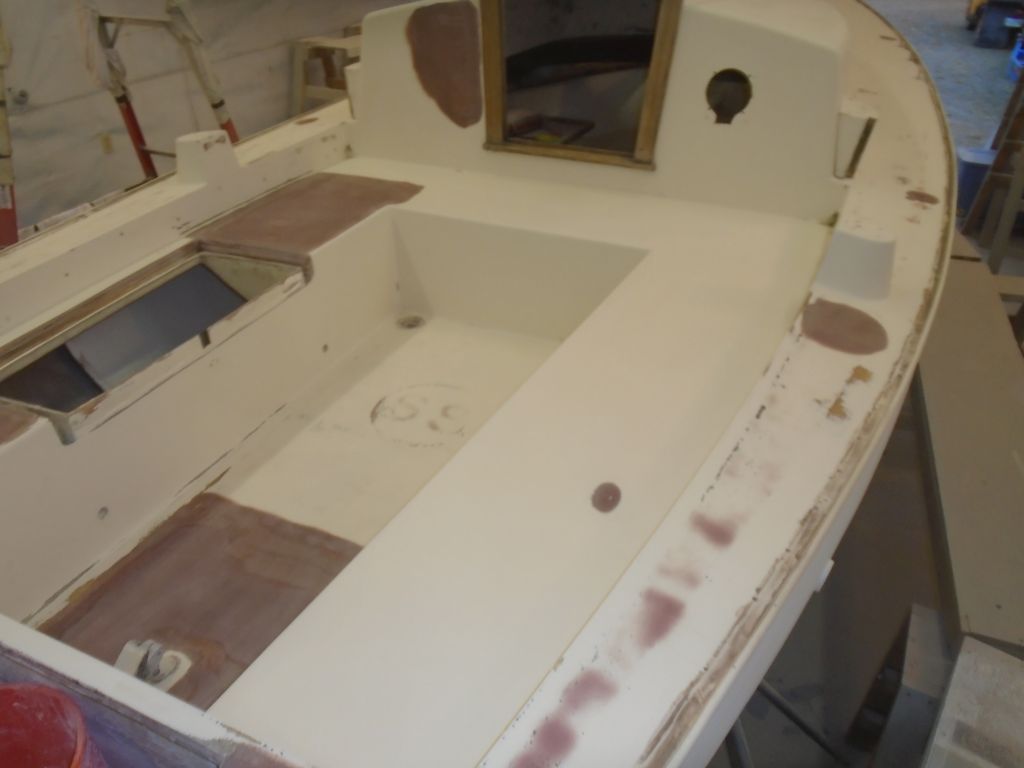
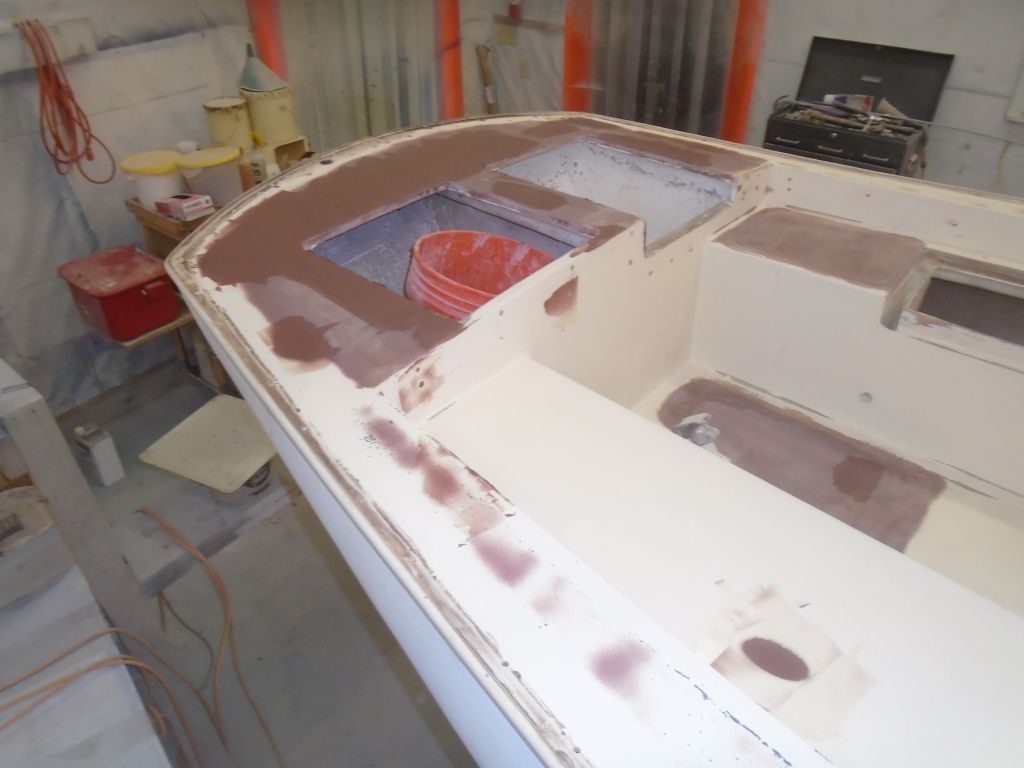
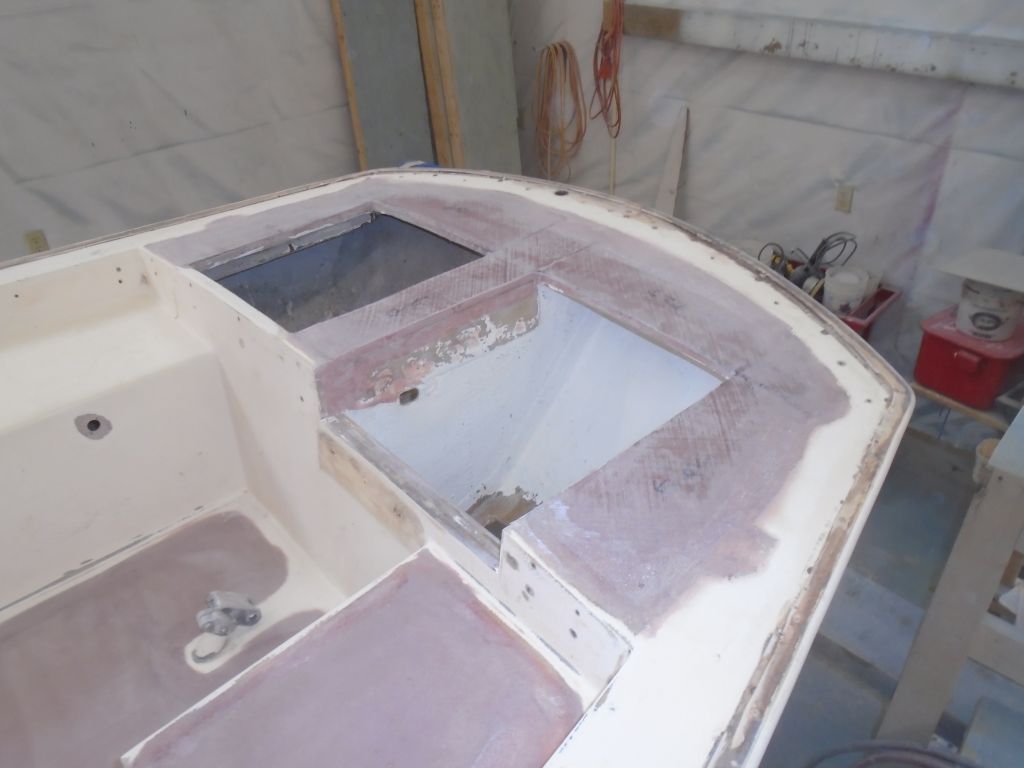
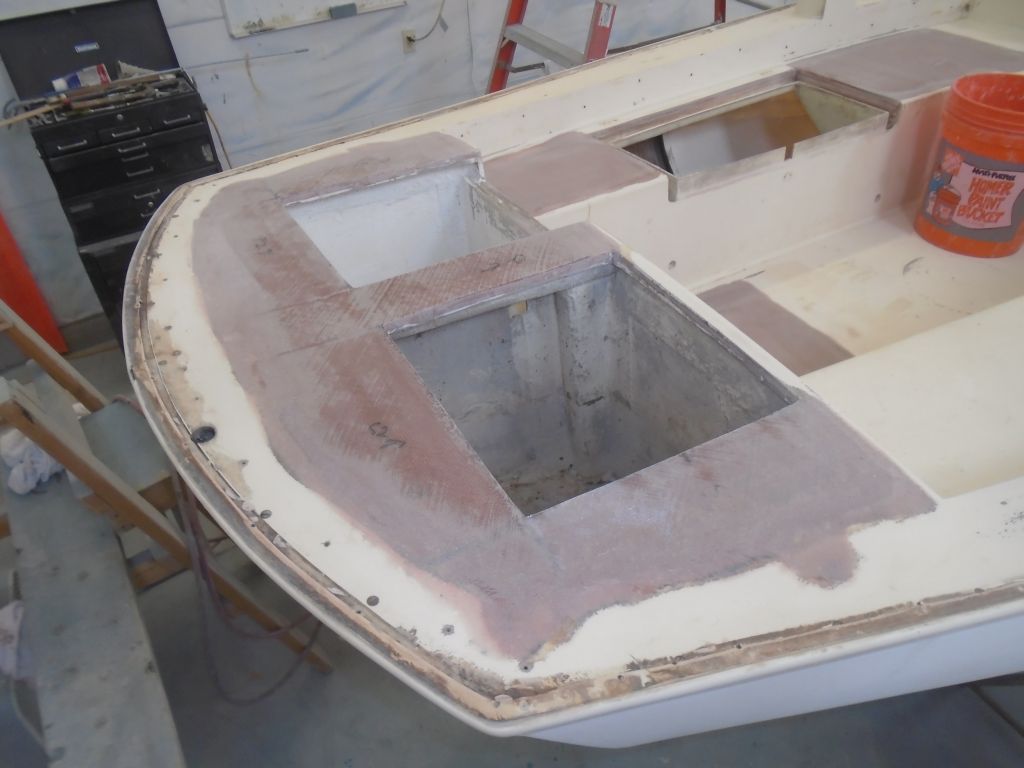
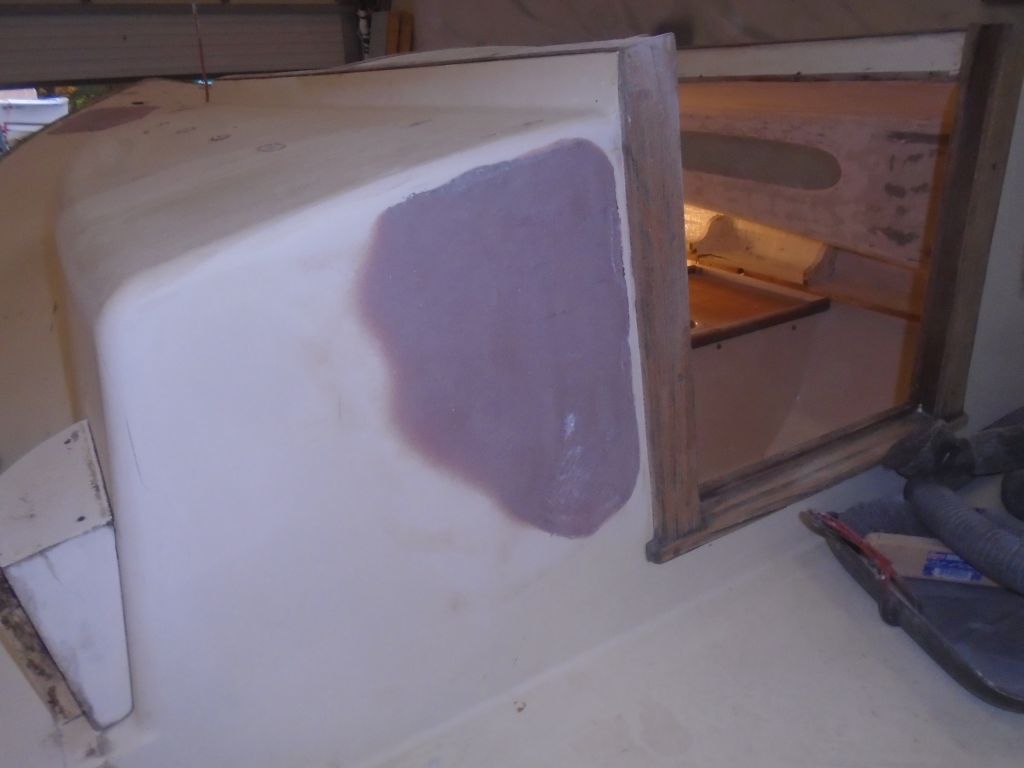
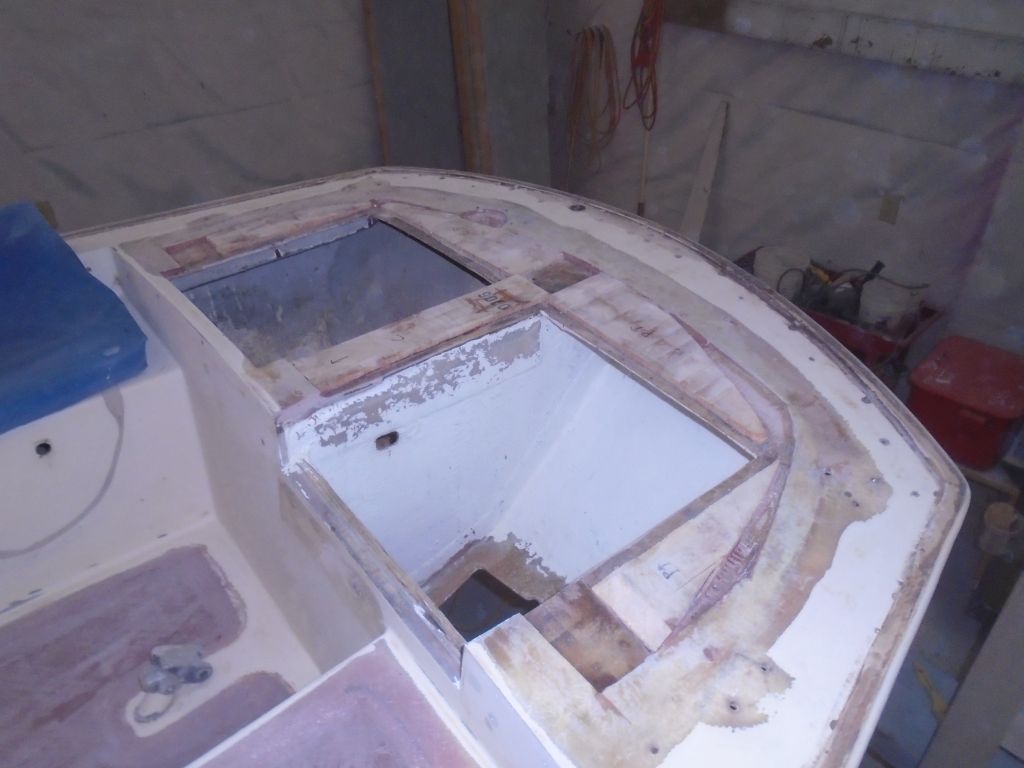
Repeating the process on the two cockpit scupper drains, I completed the installations of the through hulls and flanges there. After cleaning up excess sealant outside, I filled the bolt heads with more sealant to smooth them out.
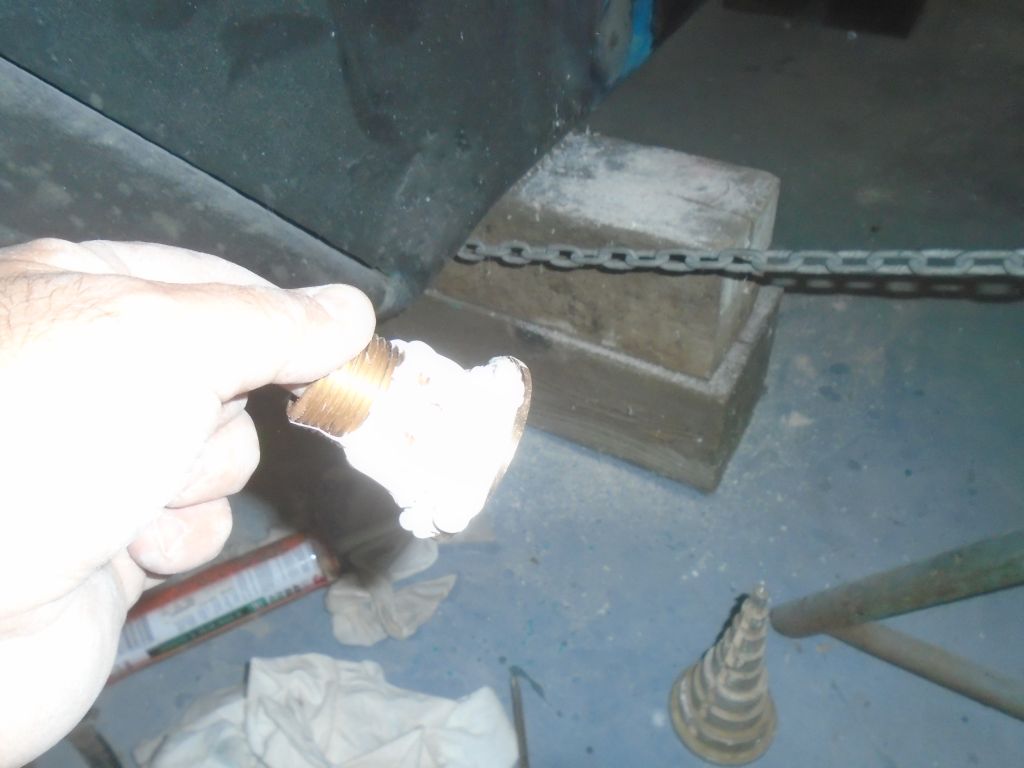
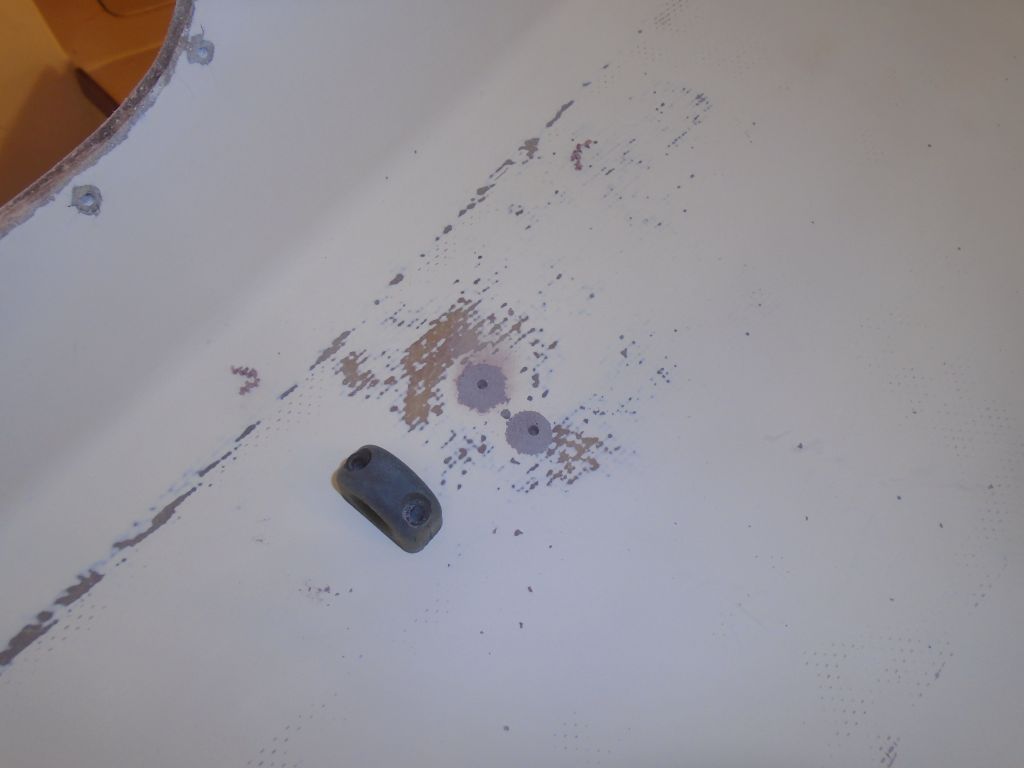
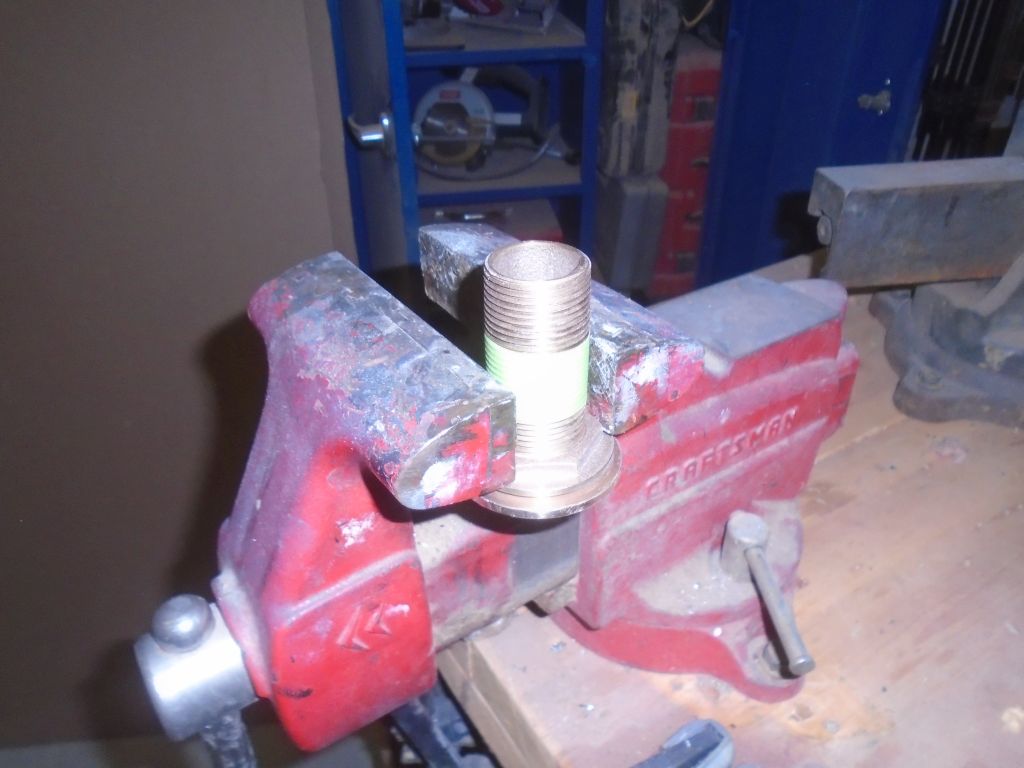
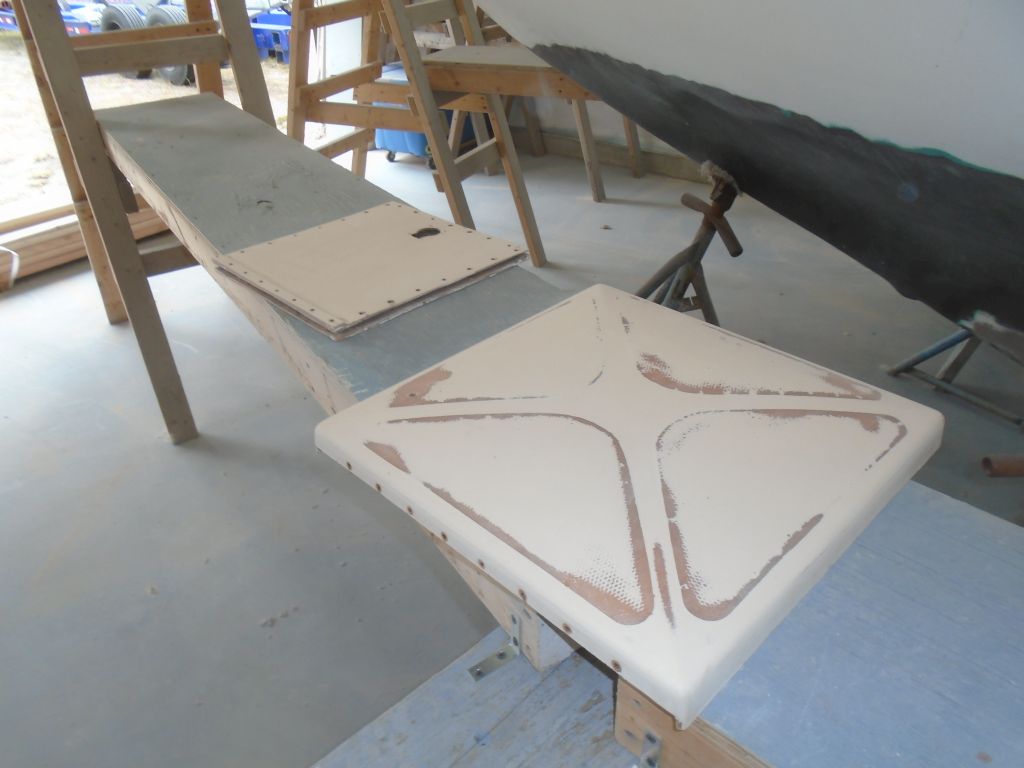
Earlier, I’d removed the old plastic scupper drain fittings from the cockpit, as they were cracked and useless. I’d already cleaned up old sealant and prepared the molded recesses, and now I installed new bronze fittings. I had to reduce the width of the mushroom heads by just a touch in order to fit within the molded recesses; I did this with a grinder and an improvised manual “lathe” at my vice, removing material all around till the fittings fit properly. Then, I installed them in plenty of sealant.
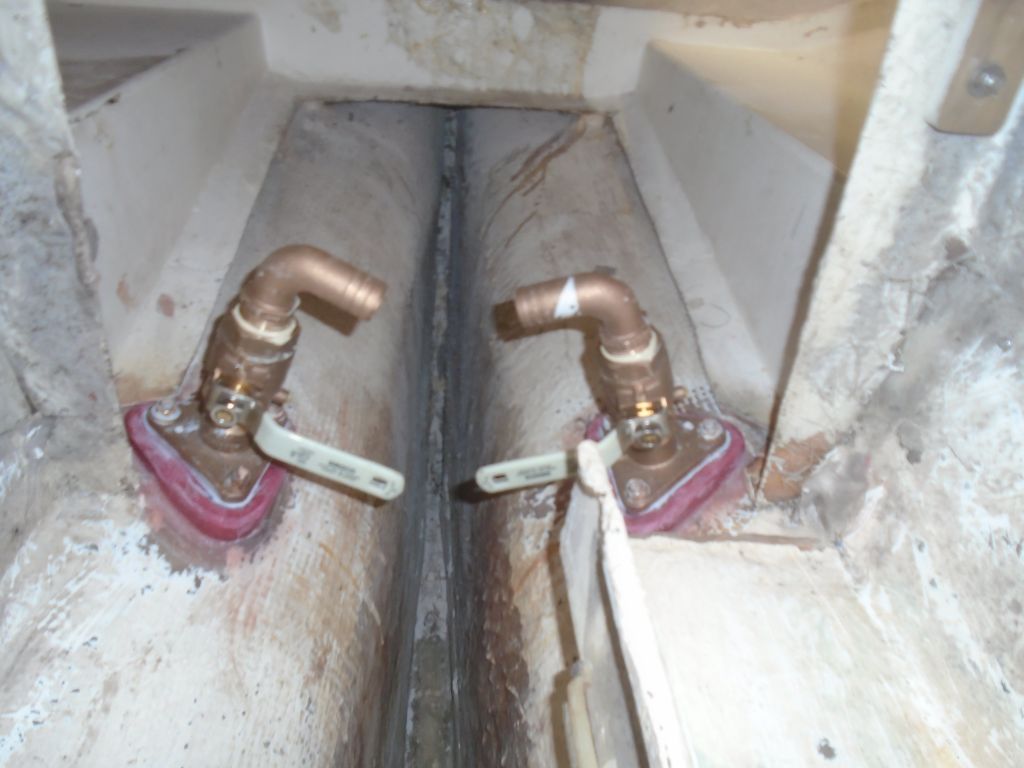
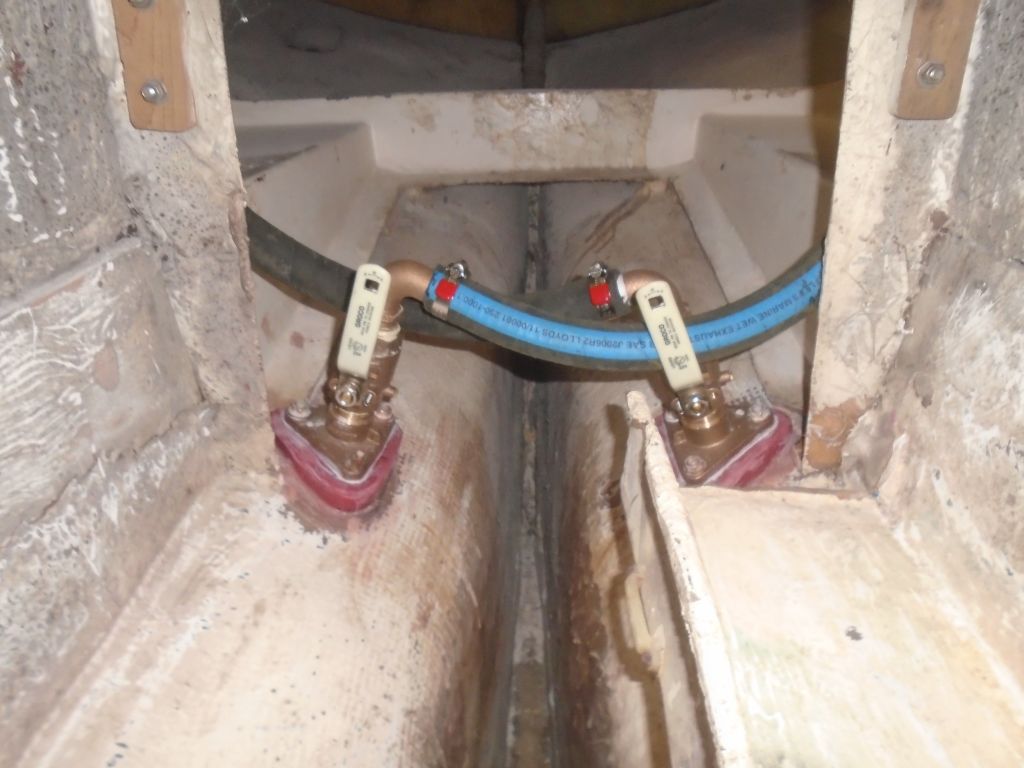
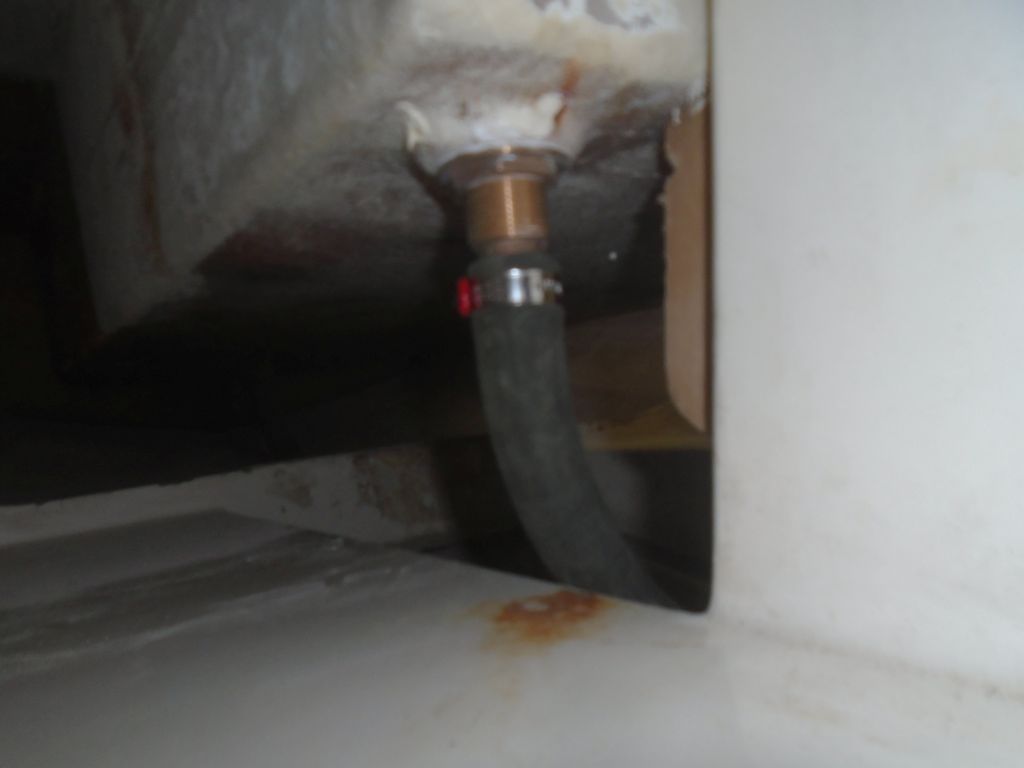
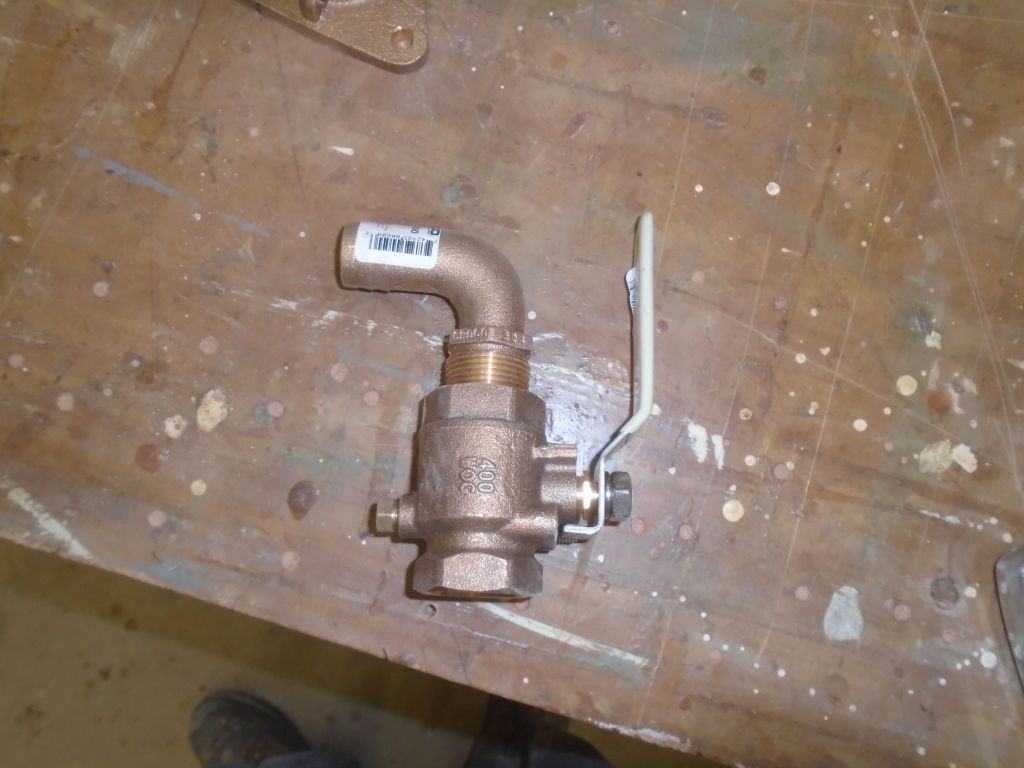
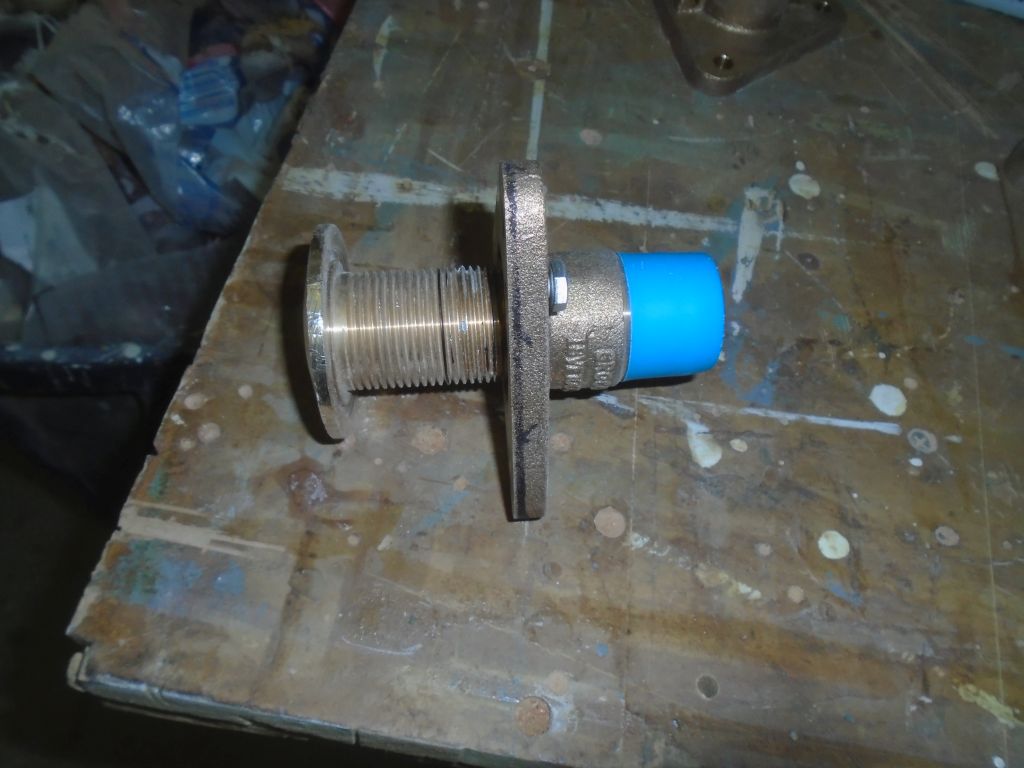
Later, I installed the bronze valves and hose adapters on the three fittings, as well as new hoses and clamps.
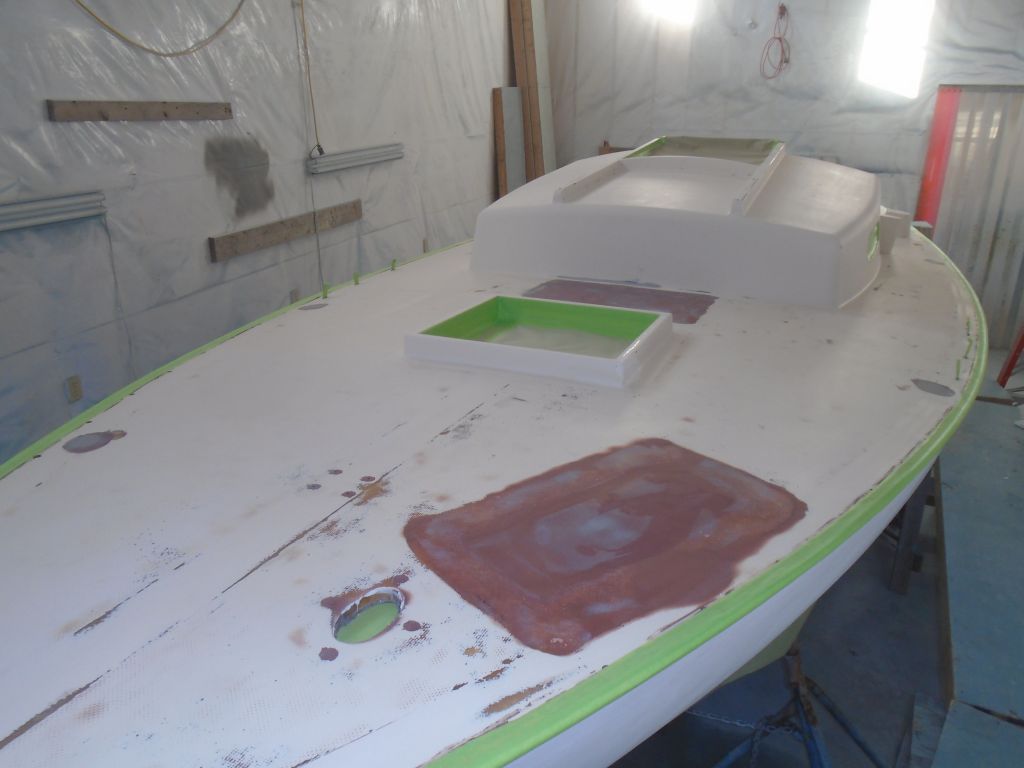
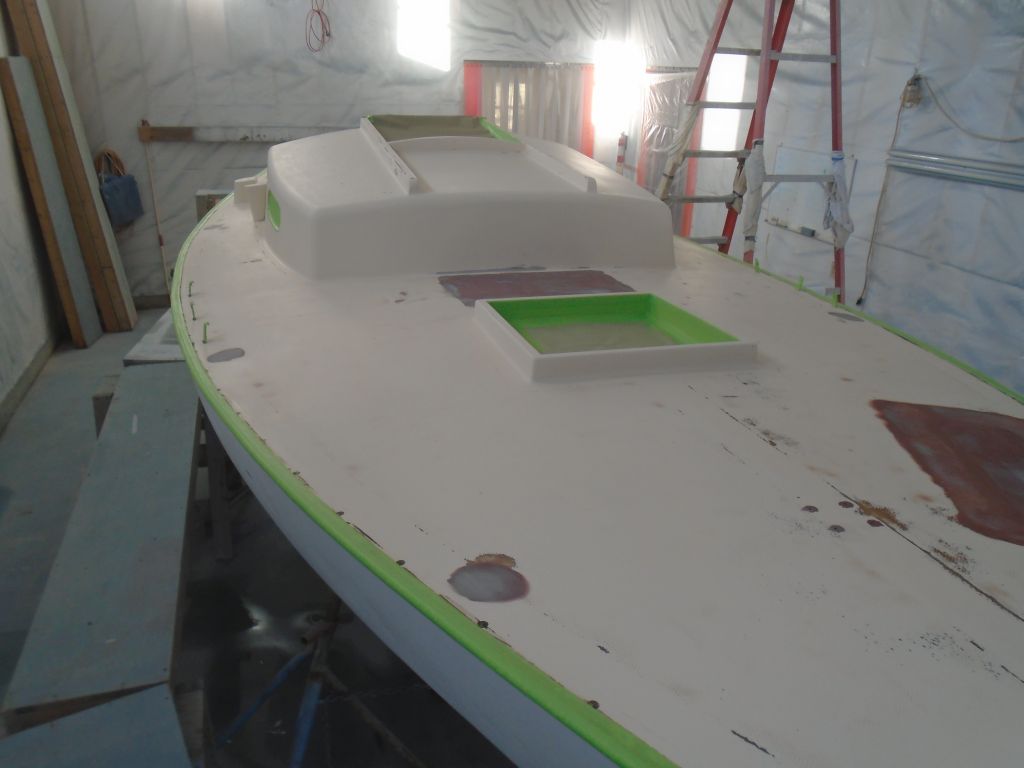
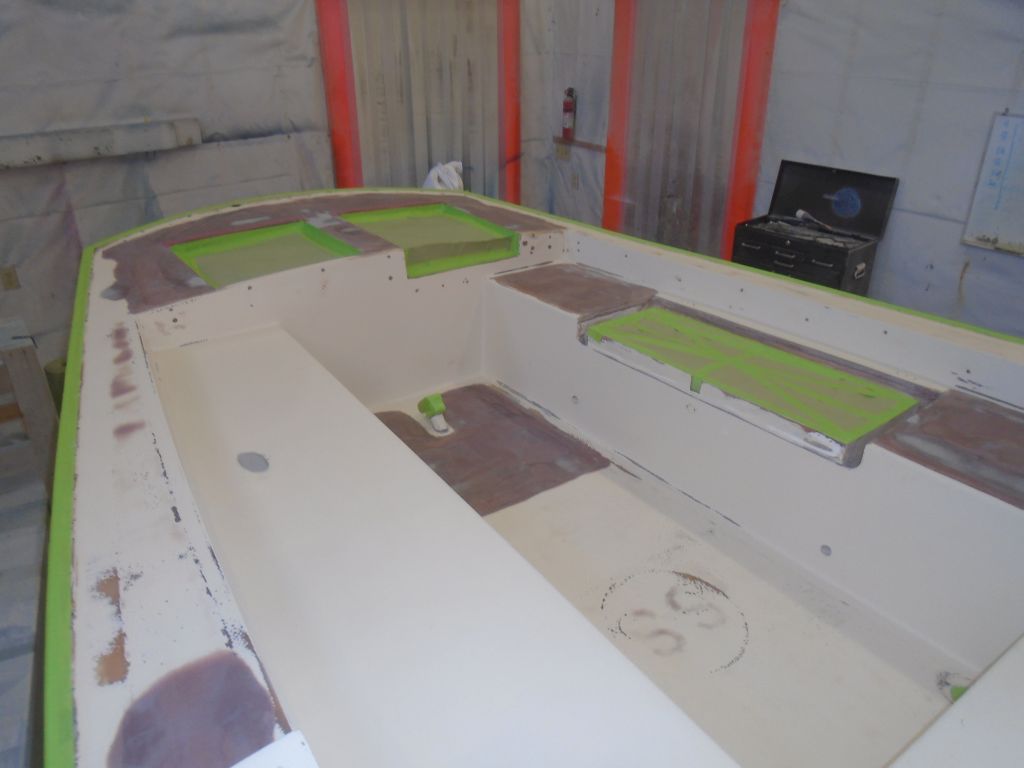
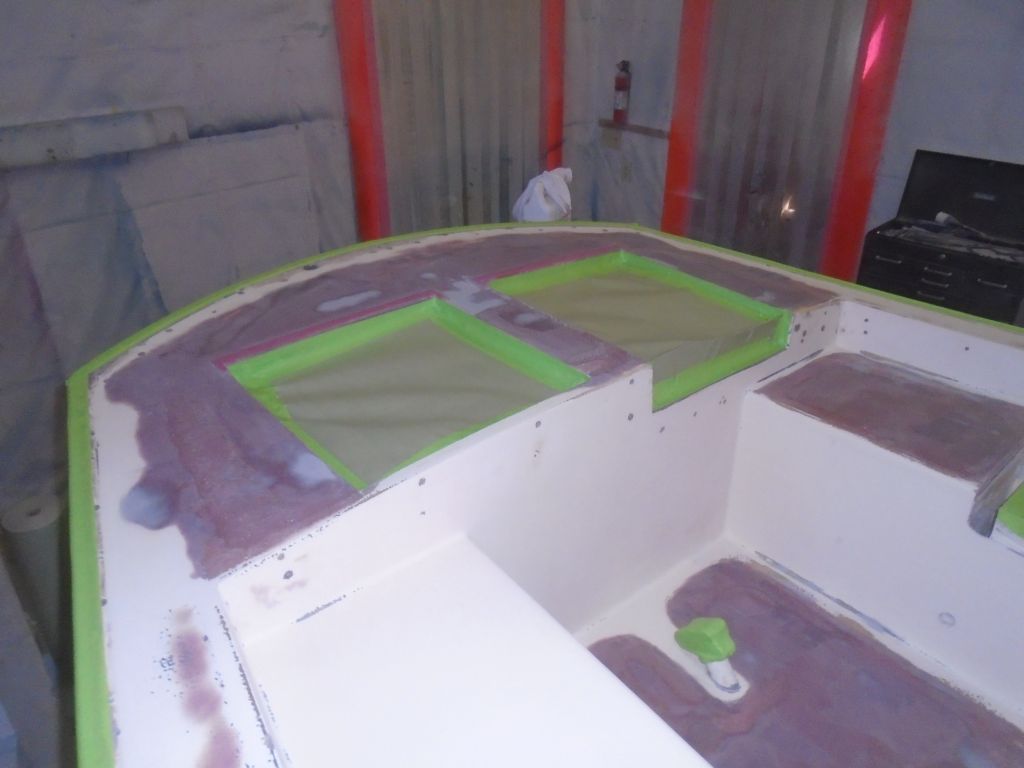
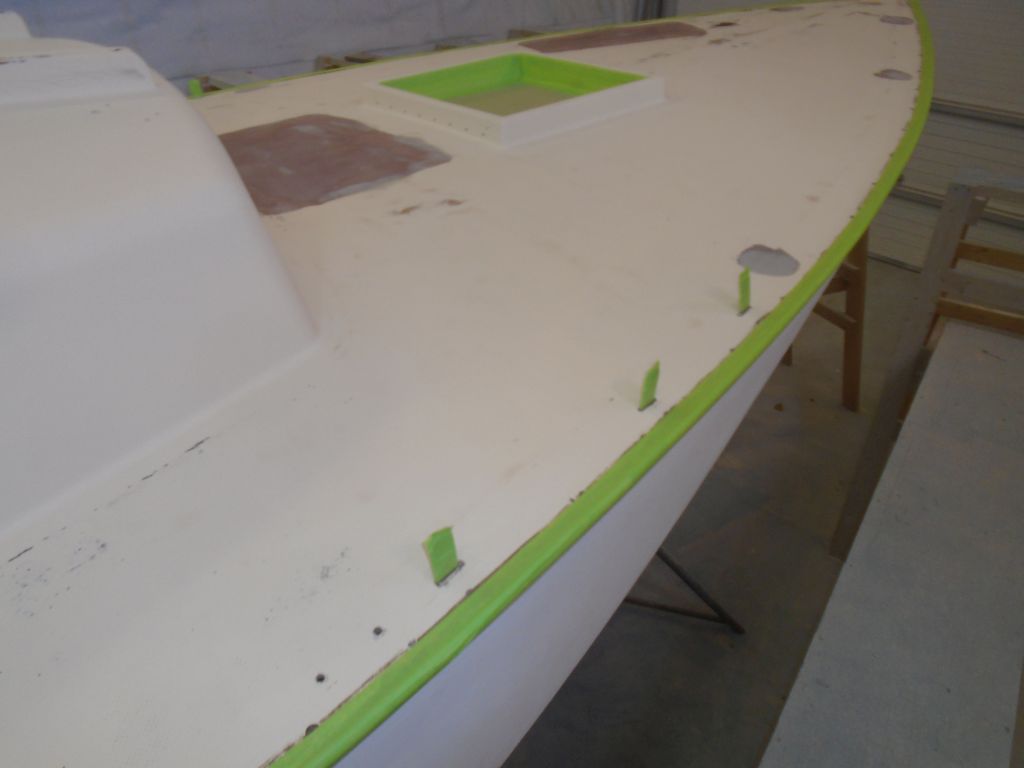
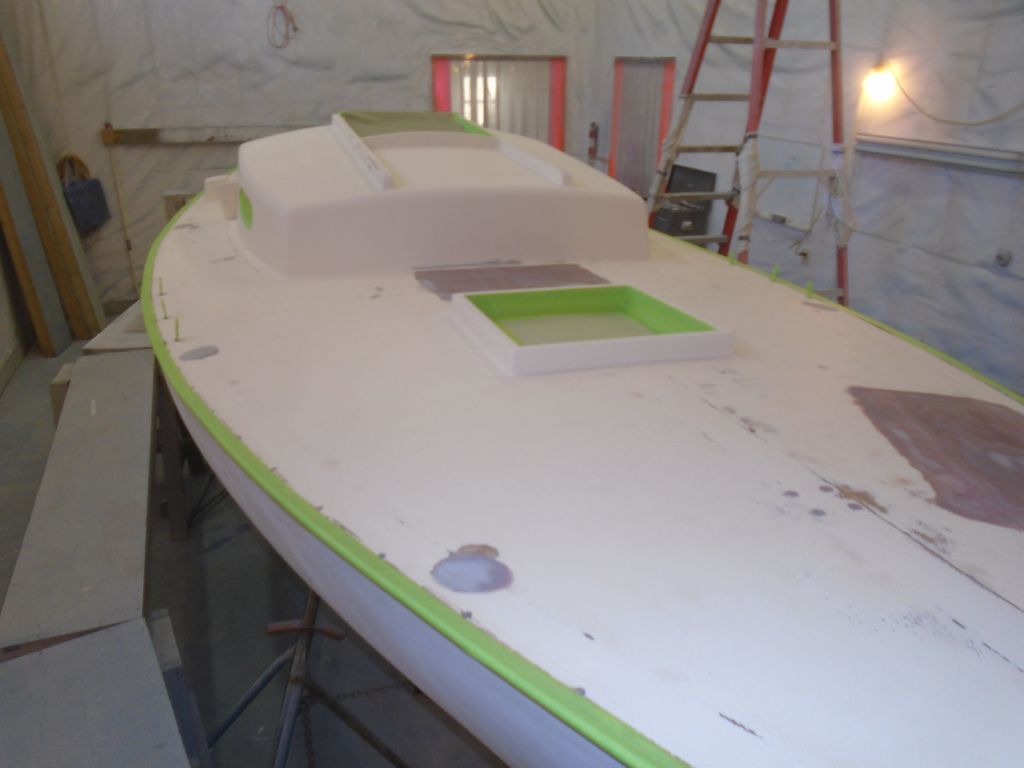
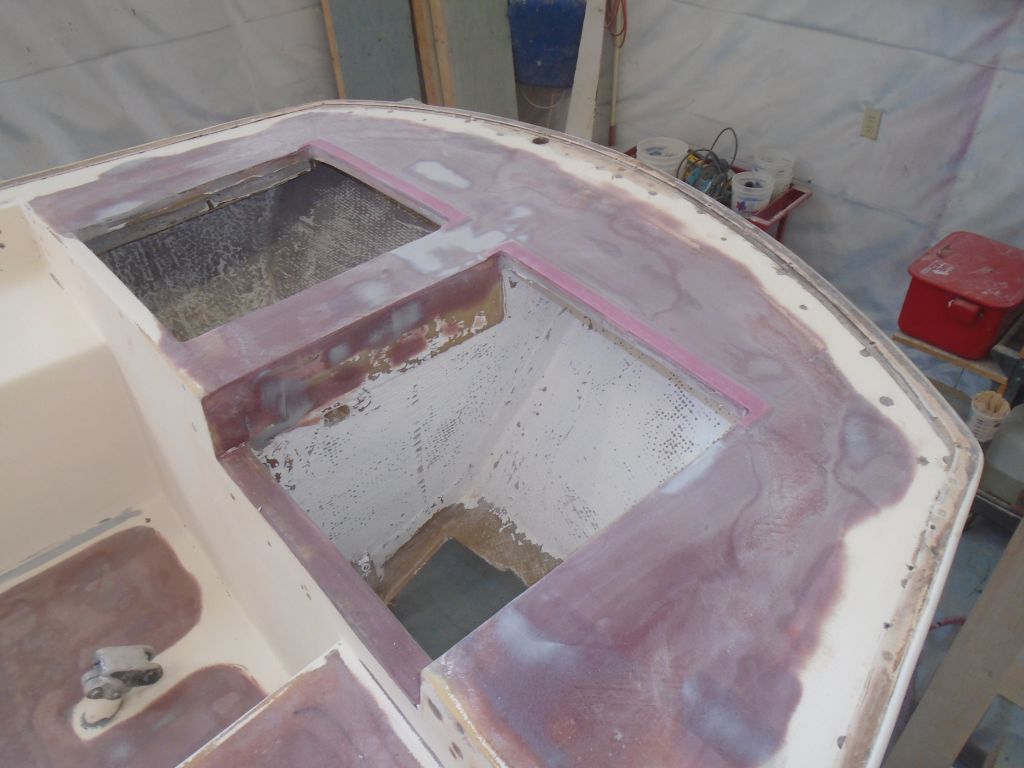
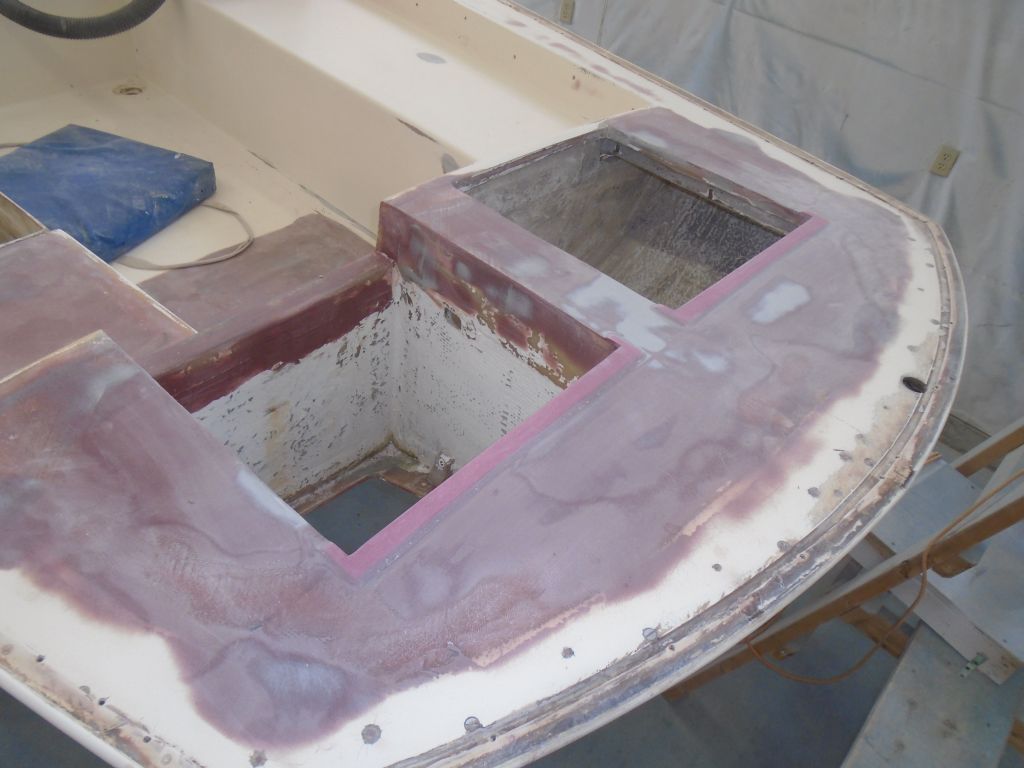
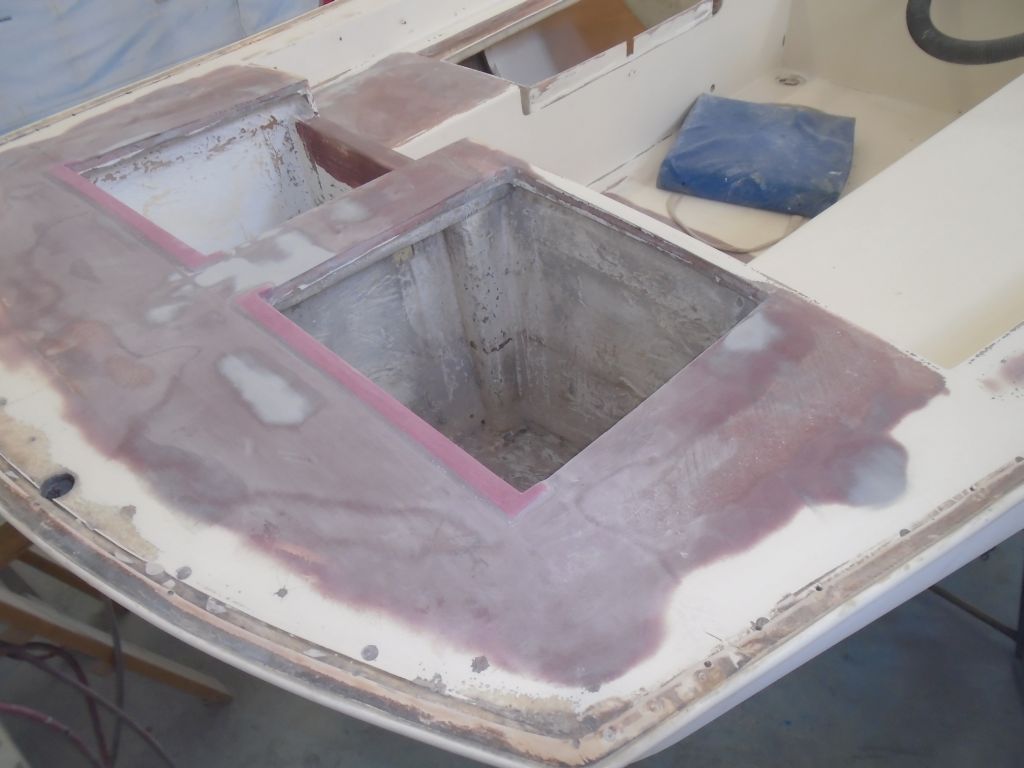
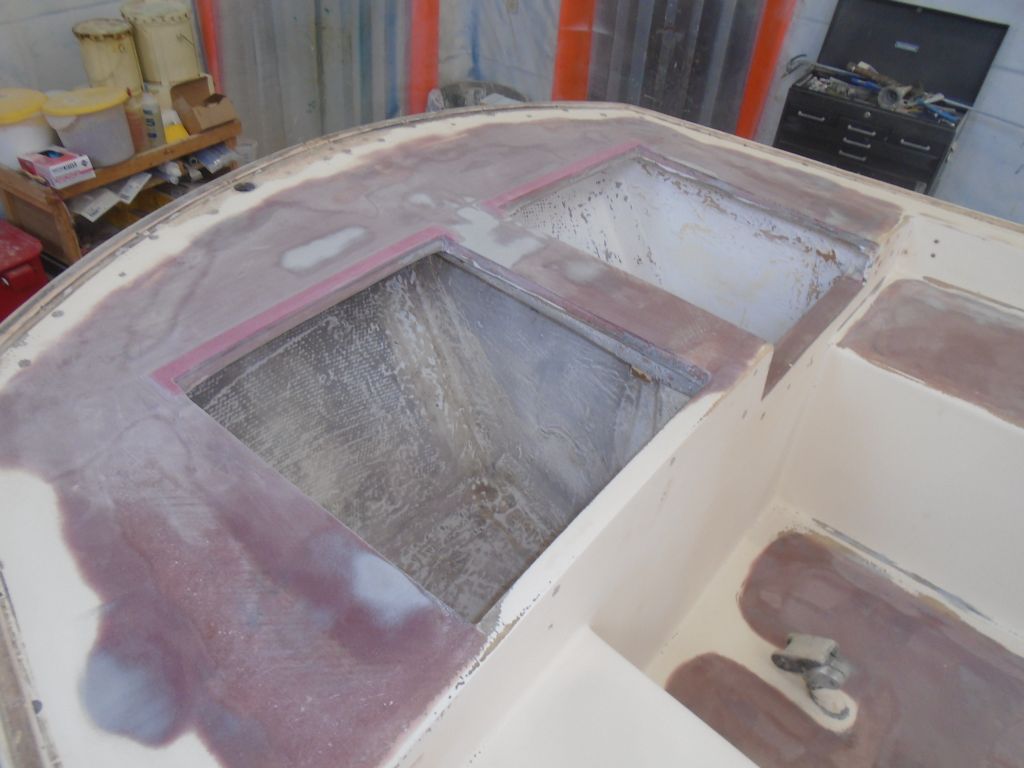
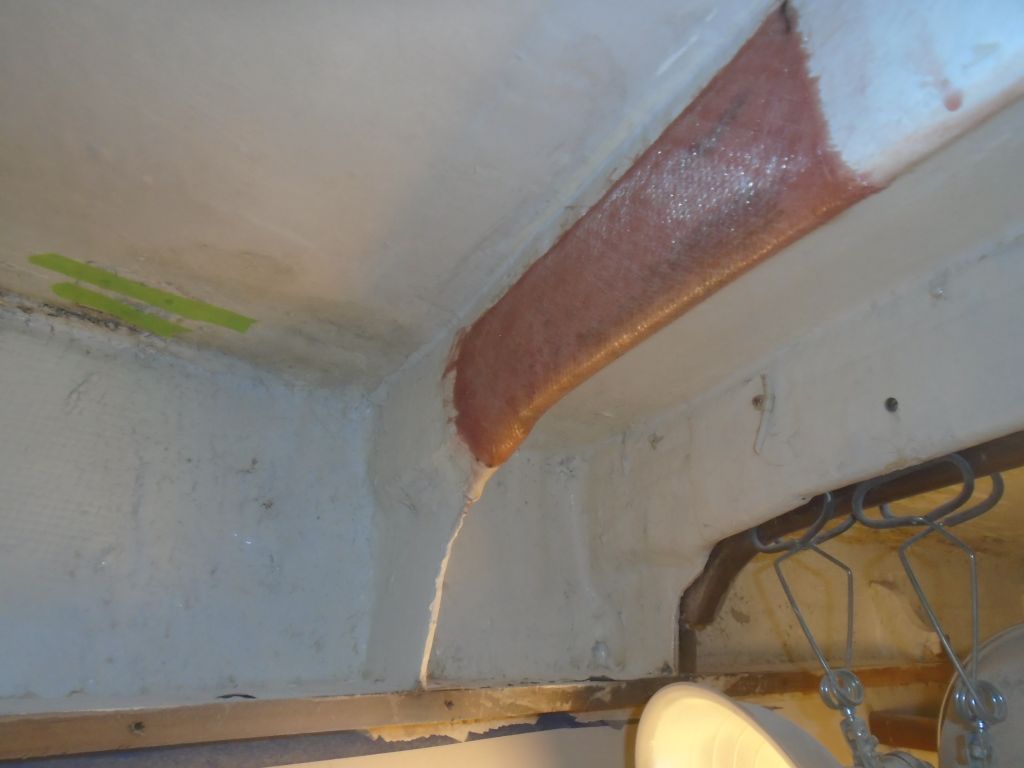
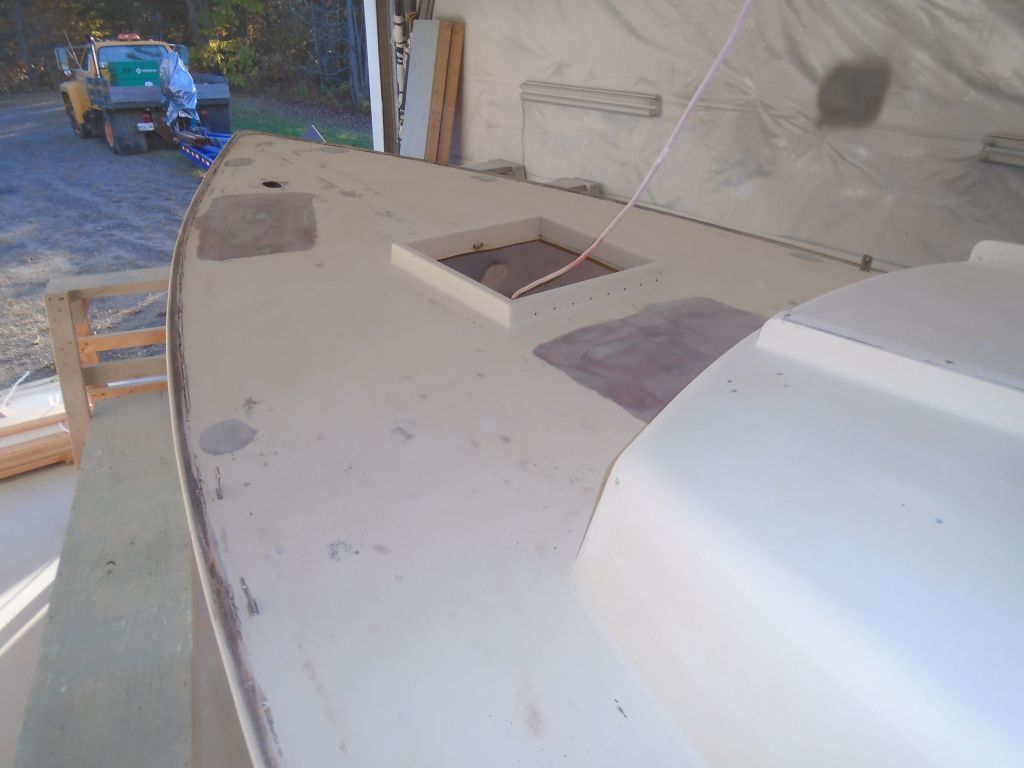
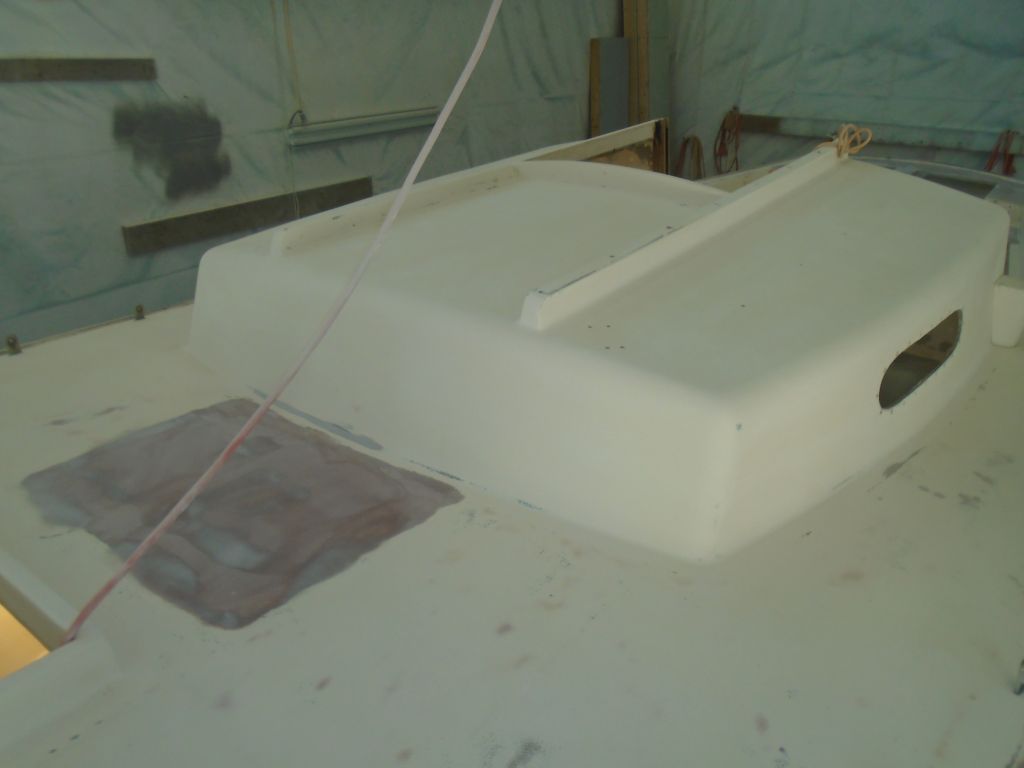
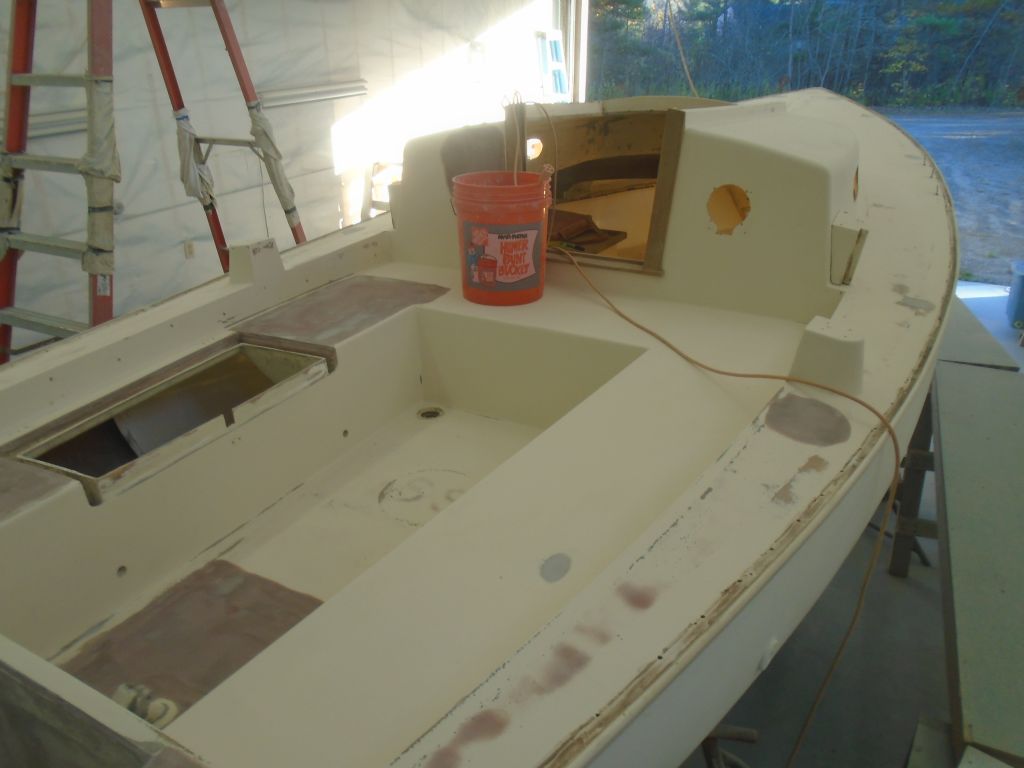
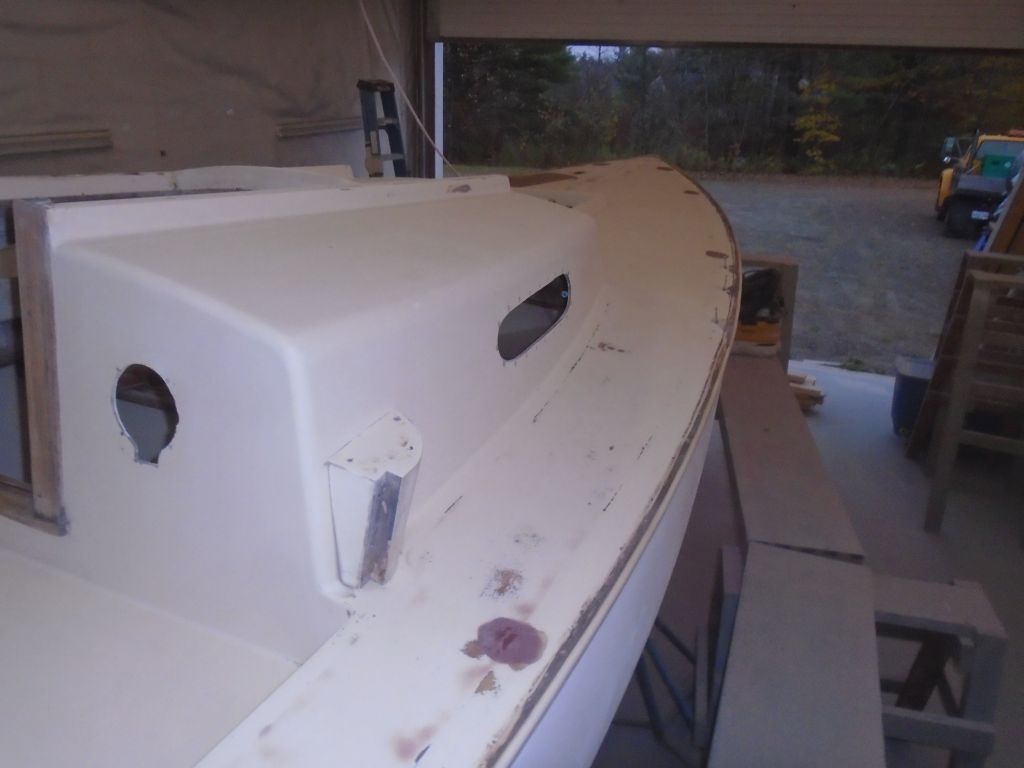
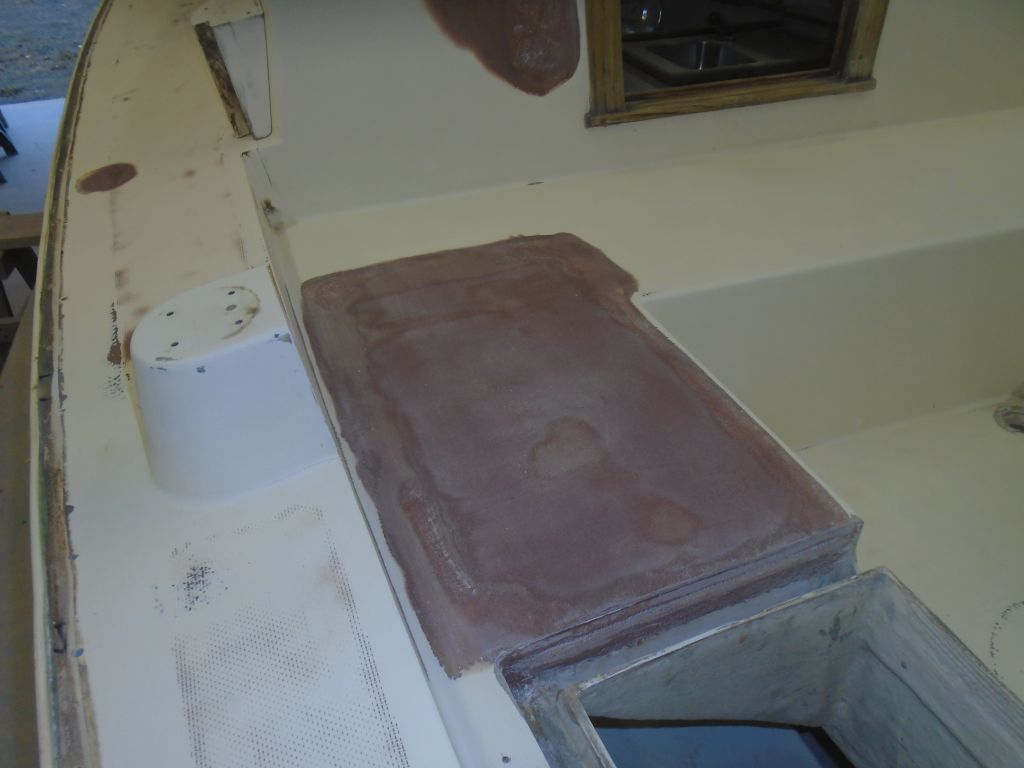
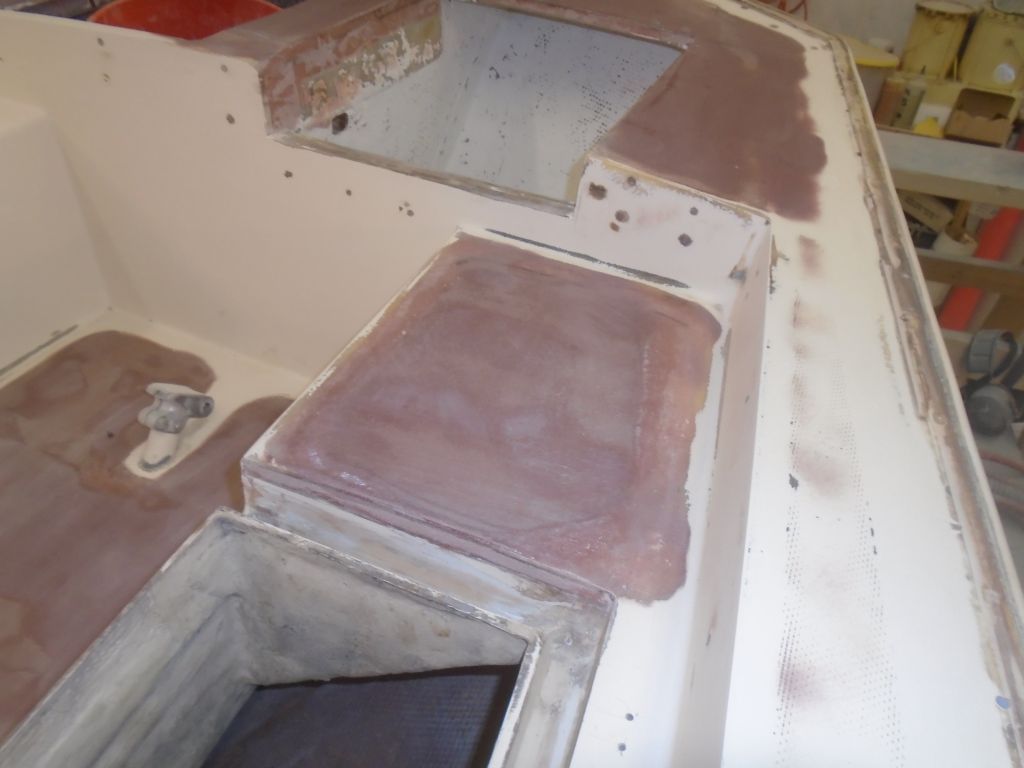
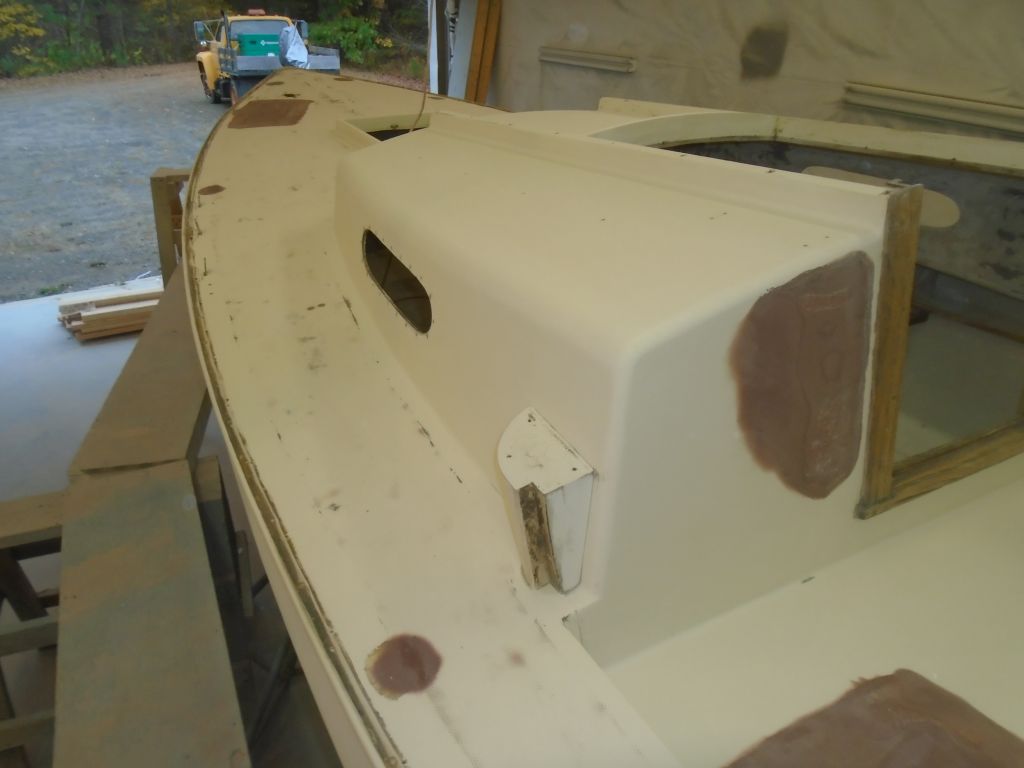
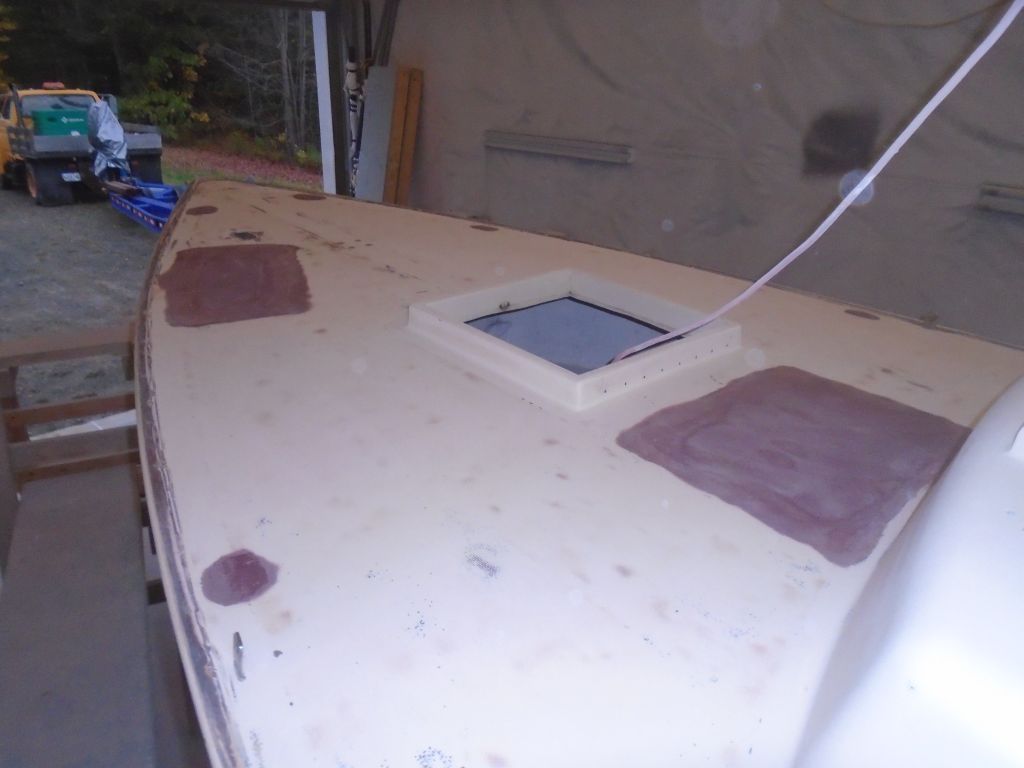
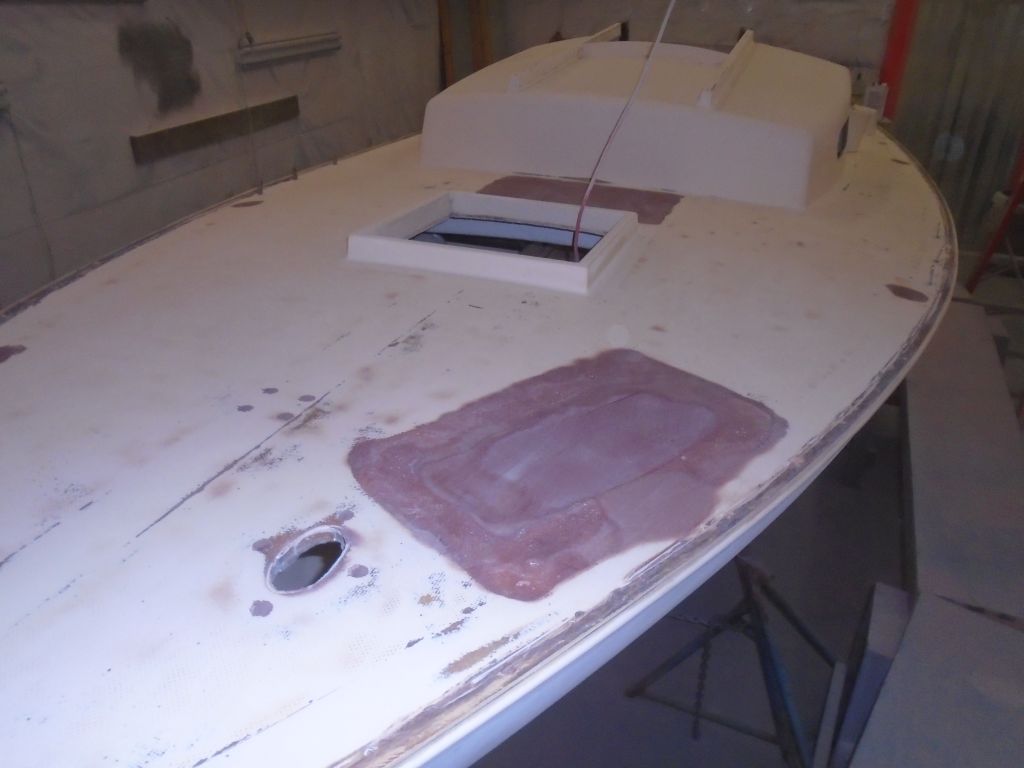
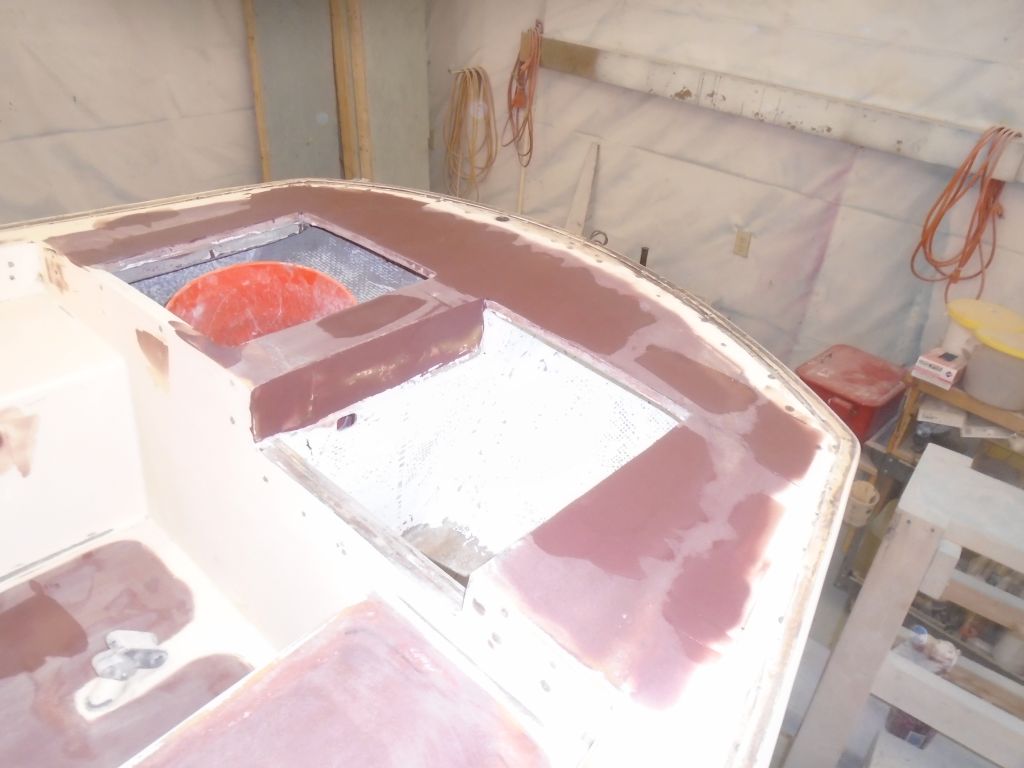
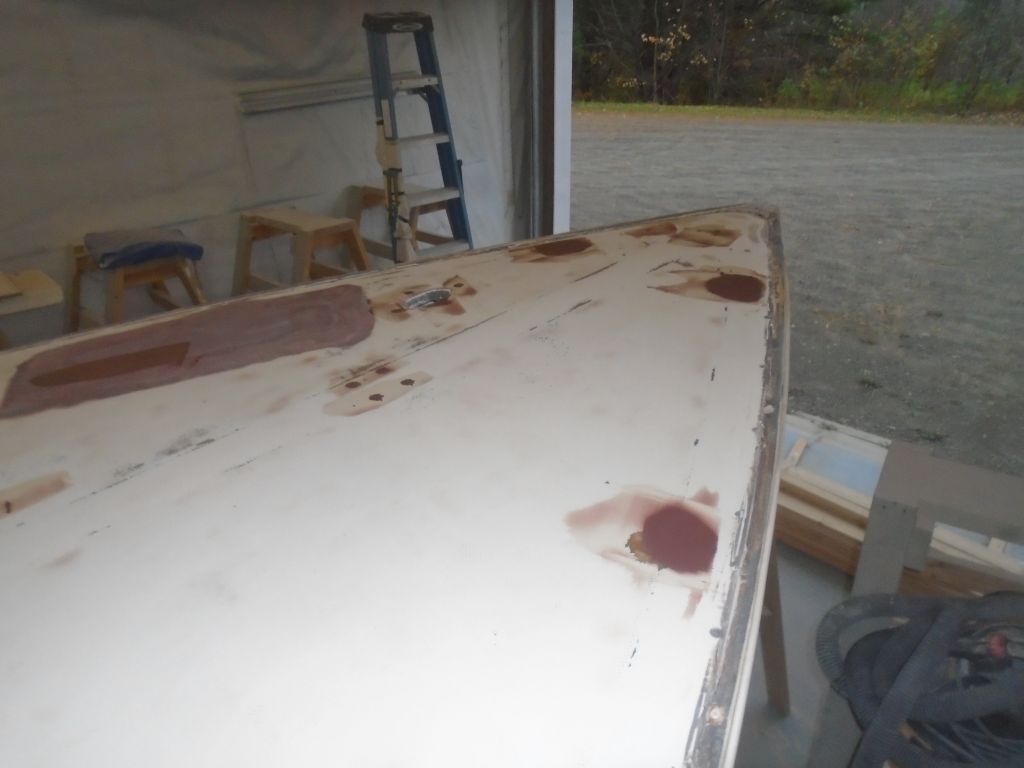
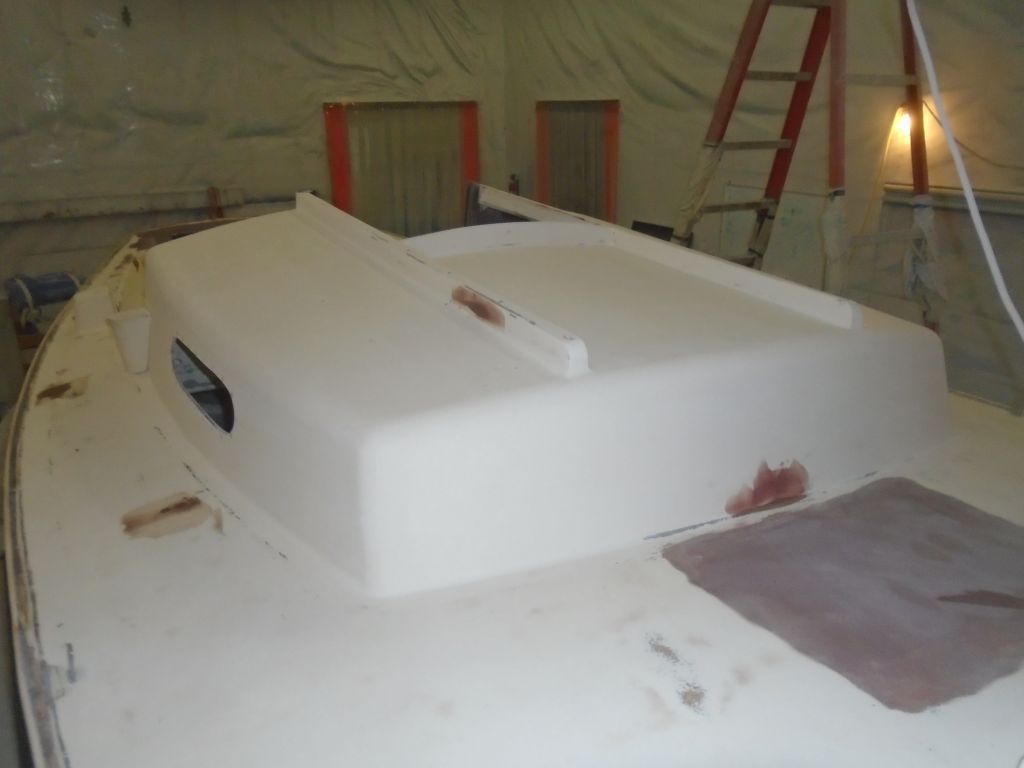
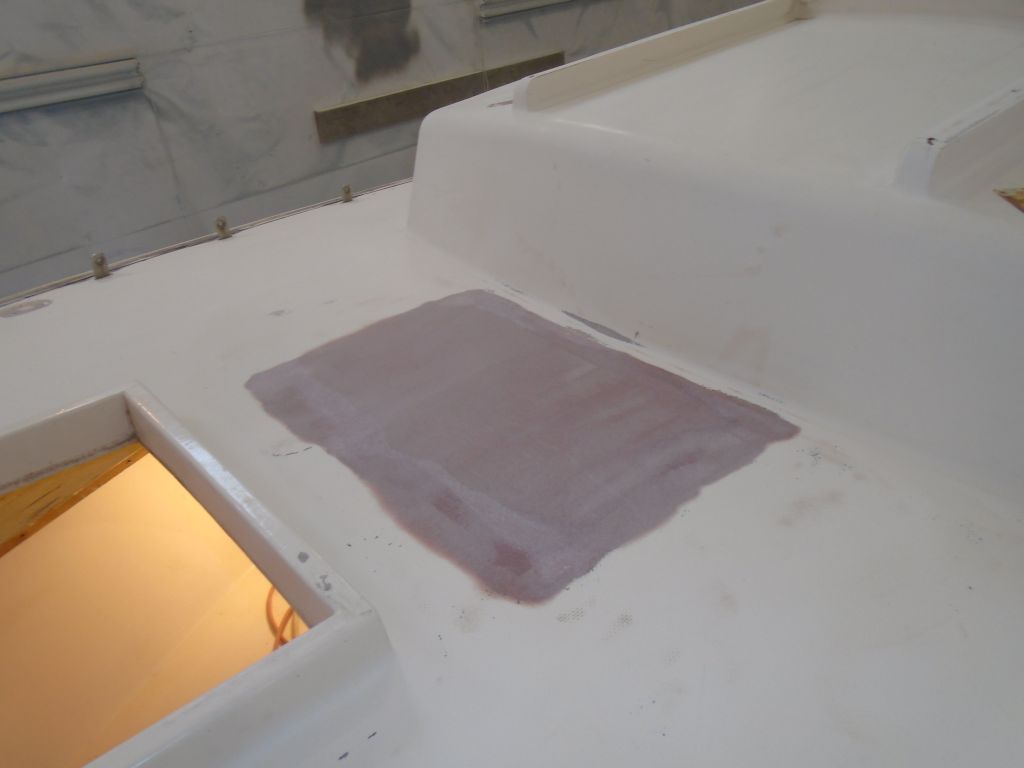
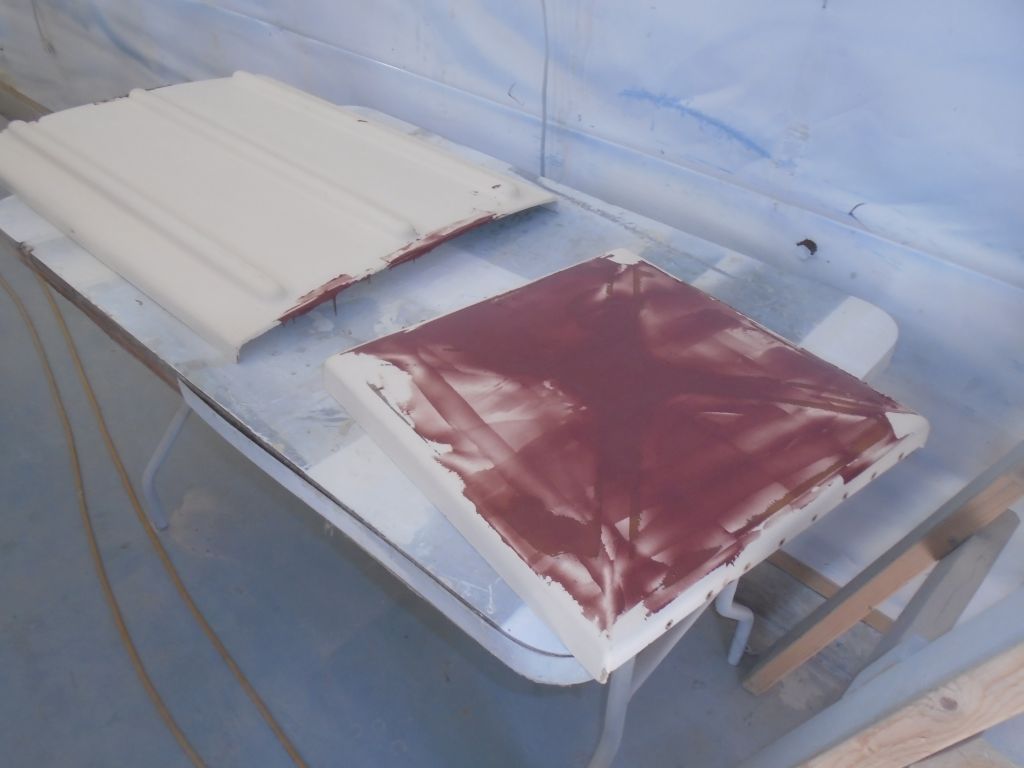
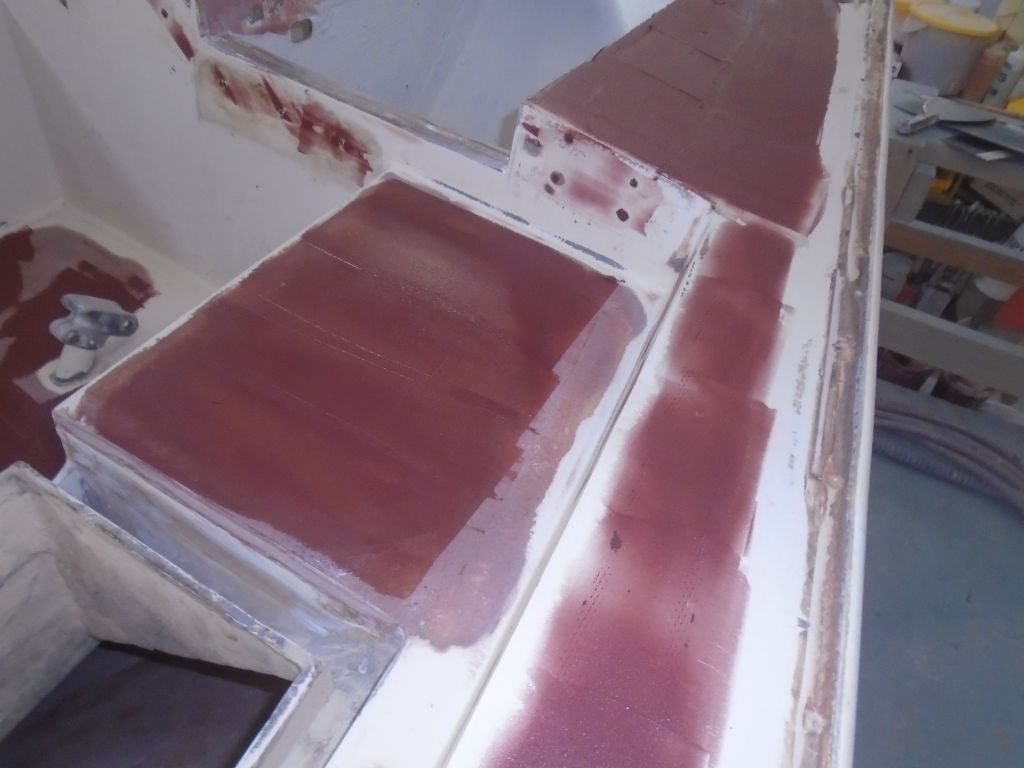
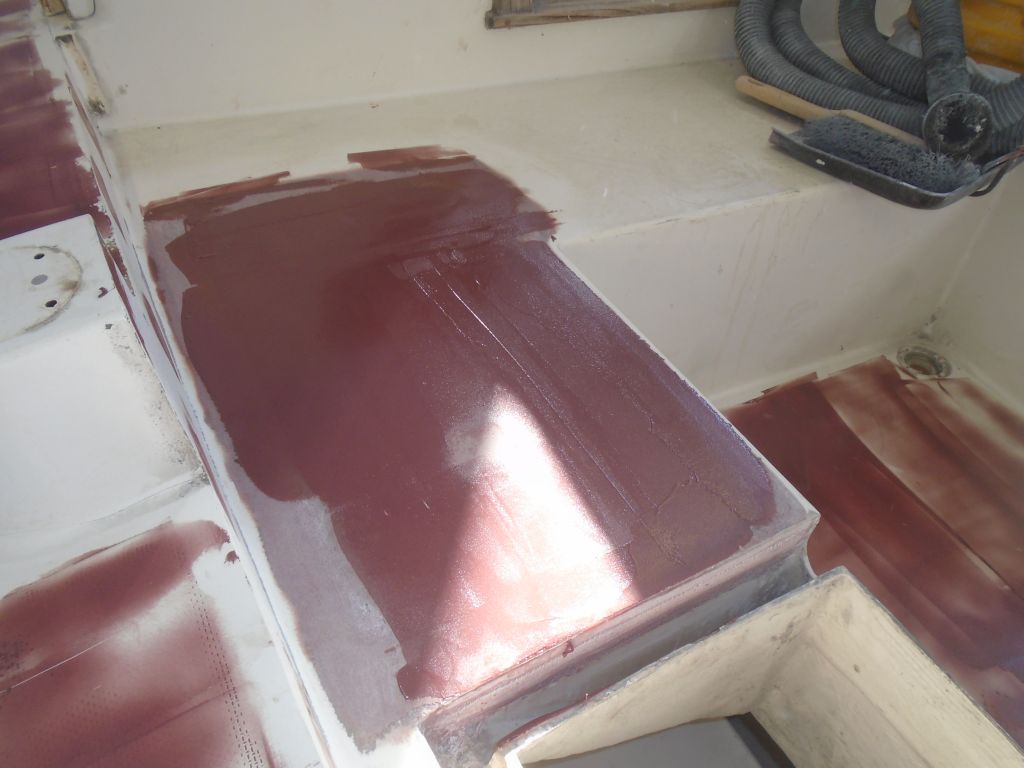
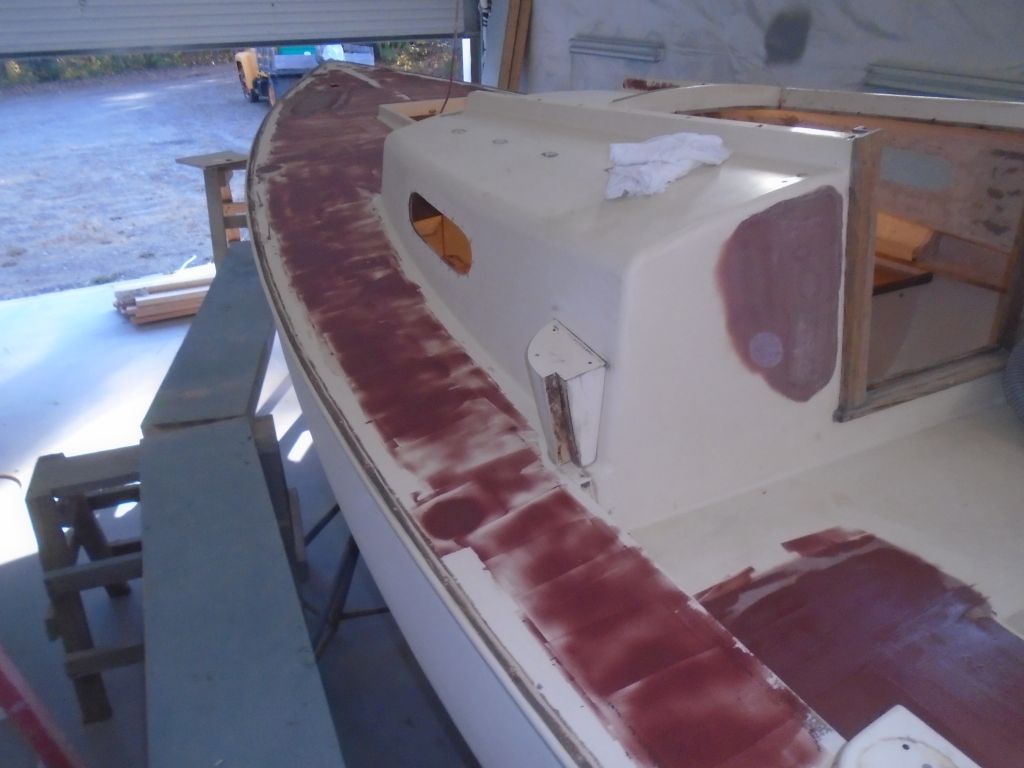
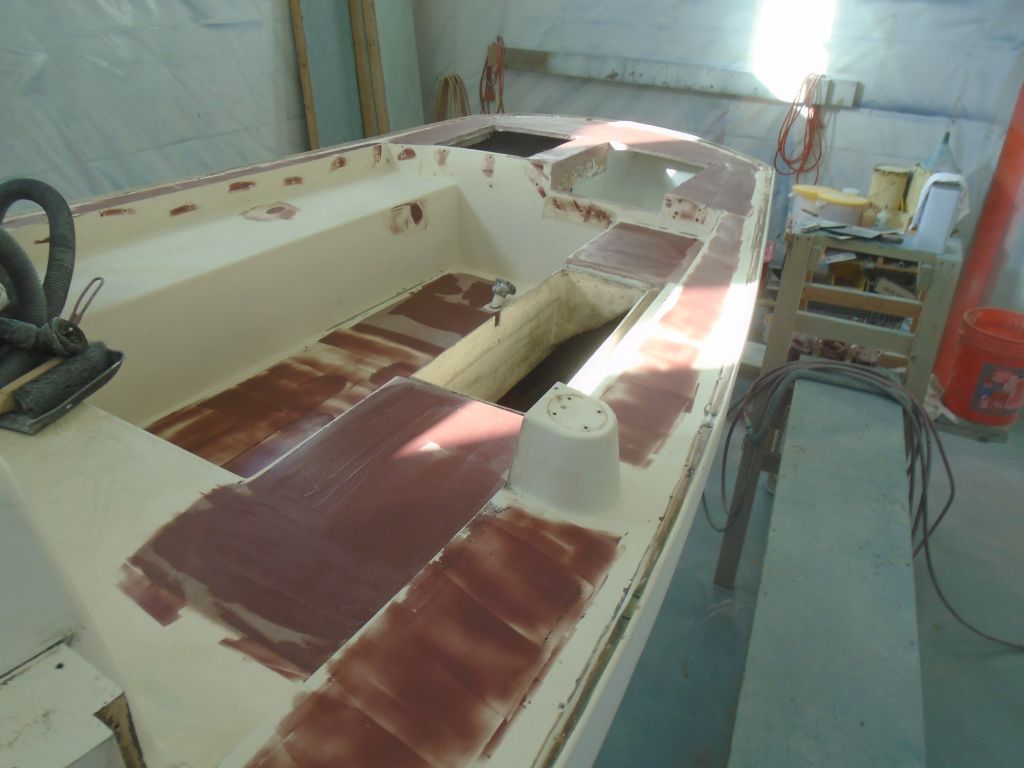
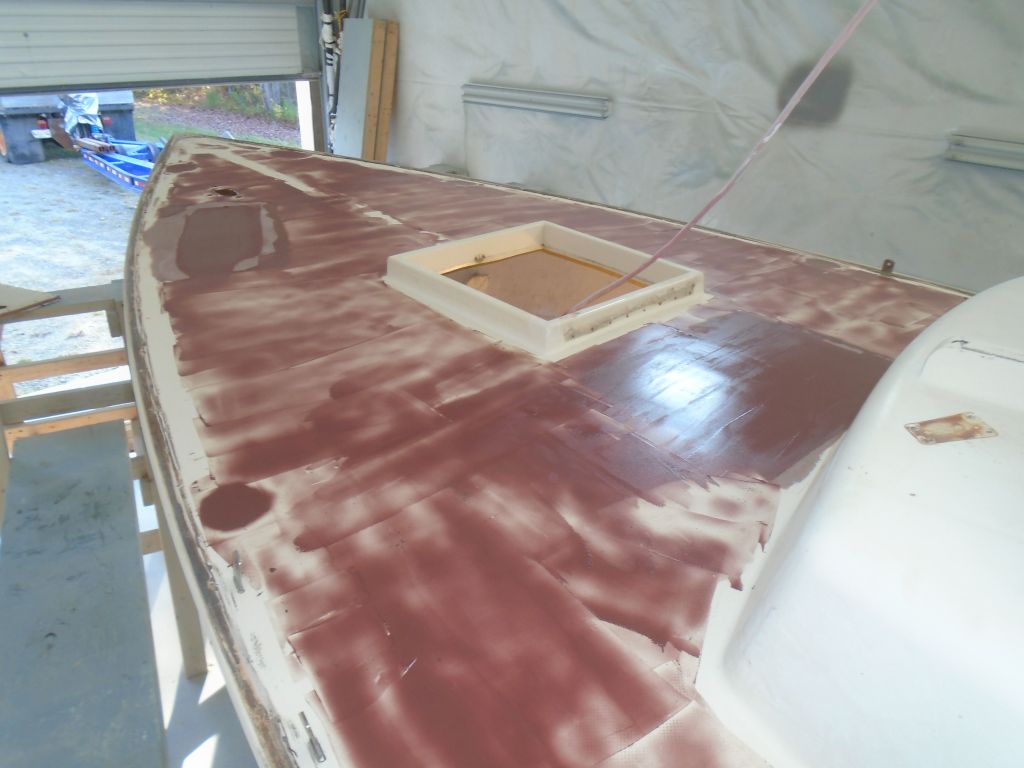
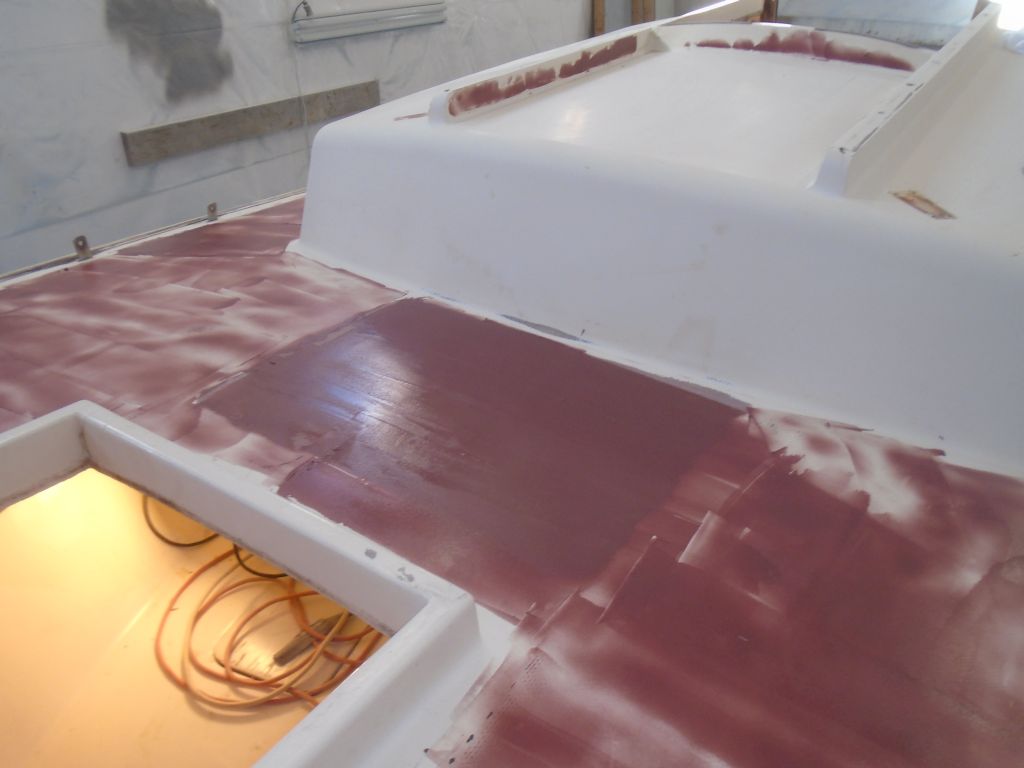
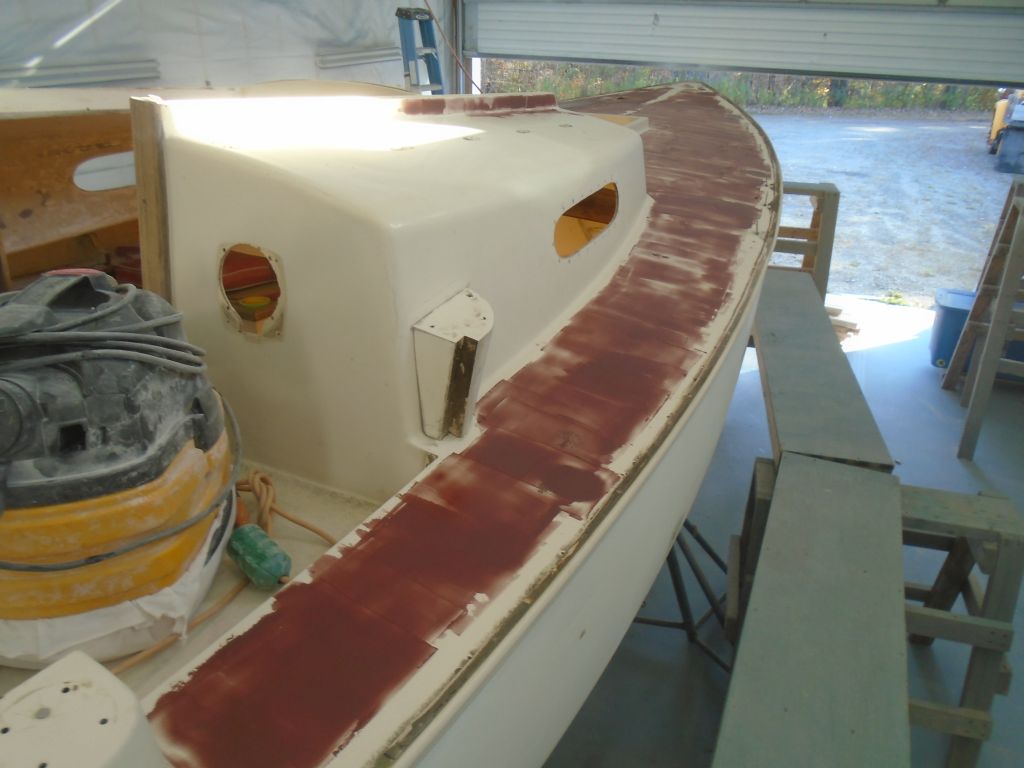
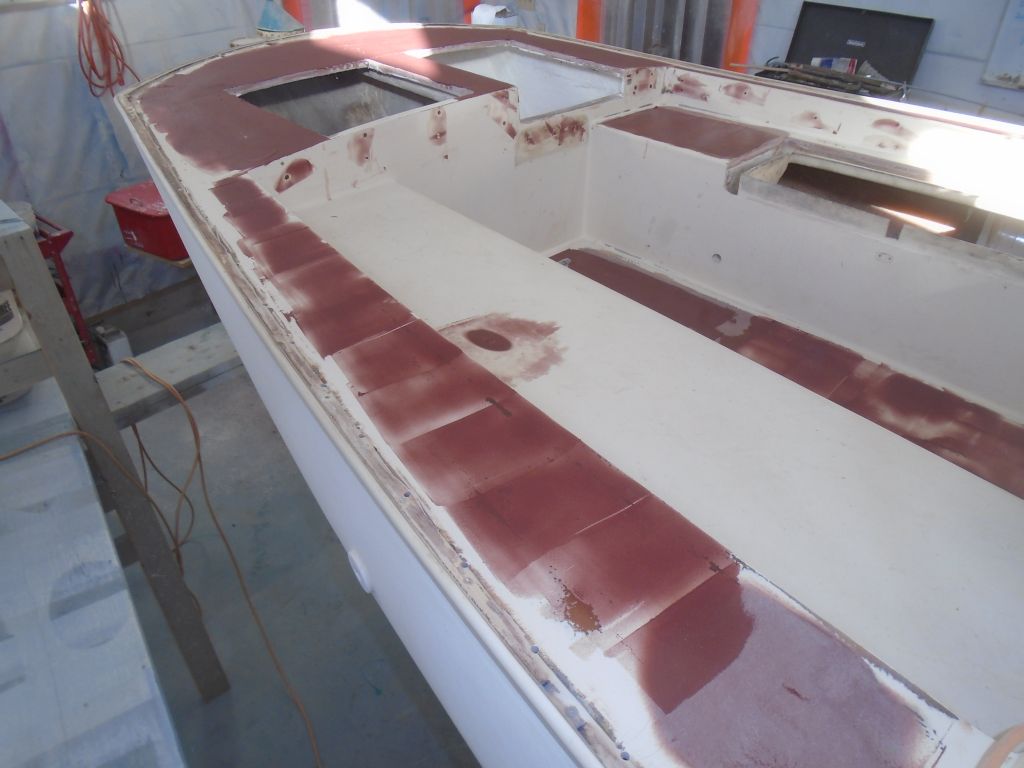
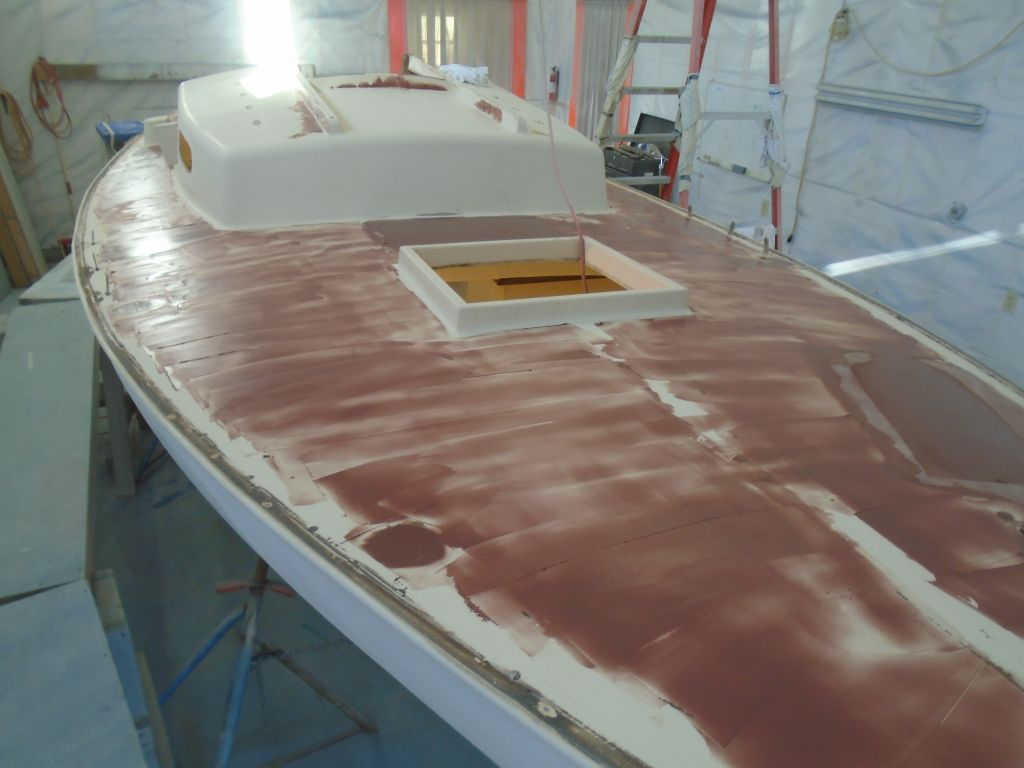
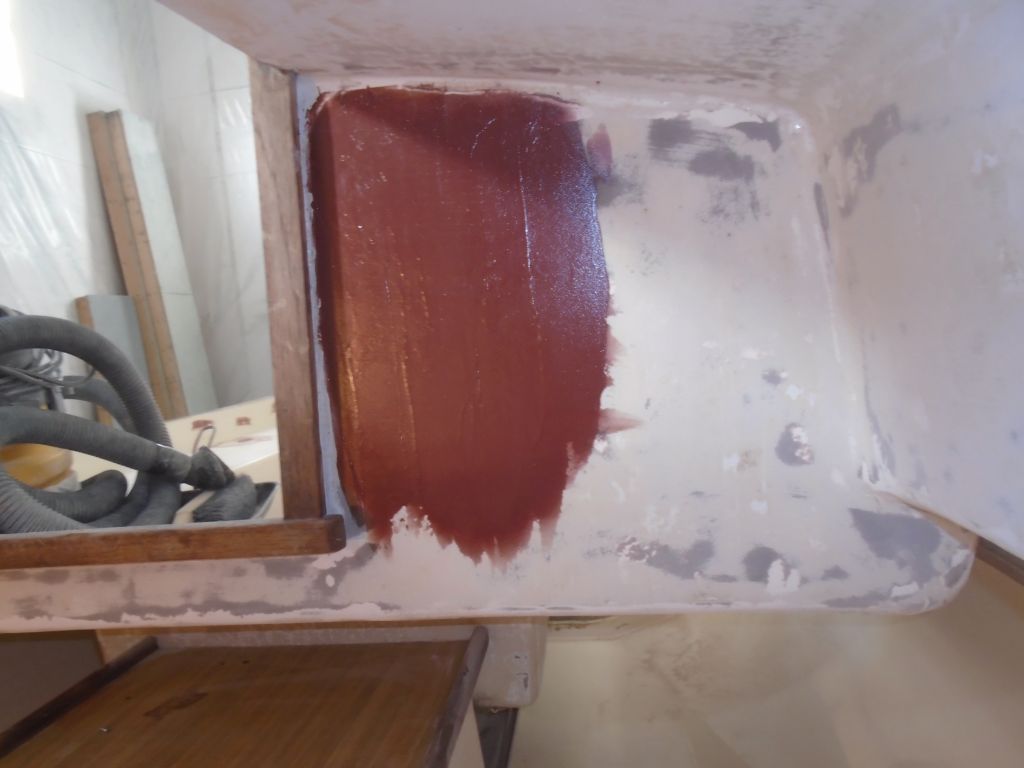
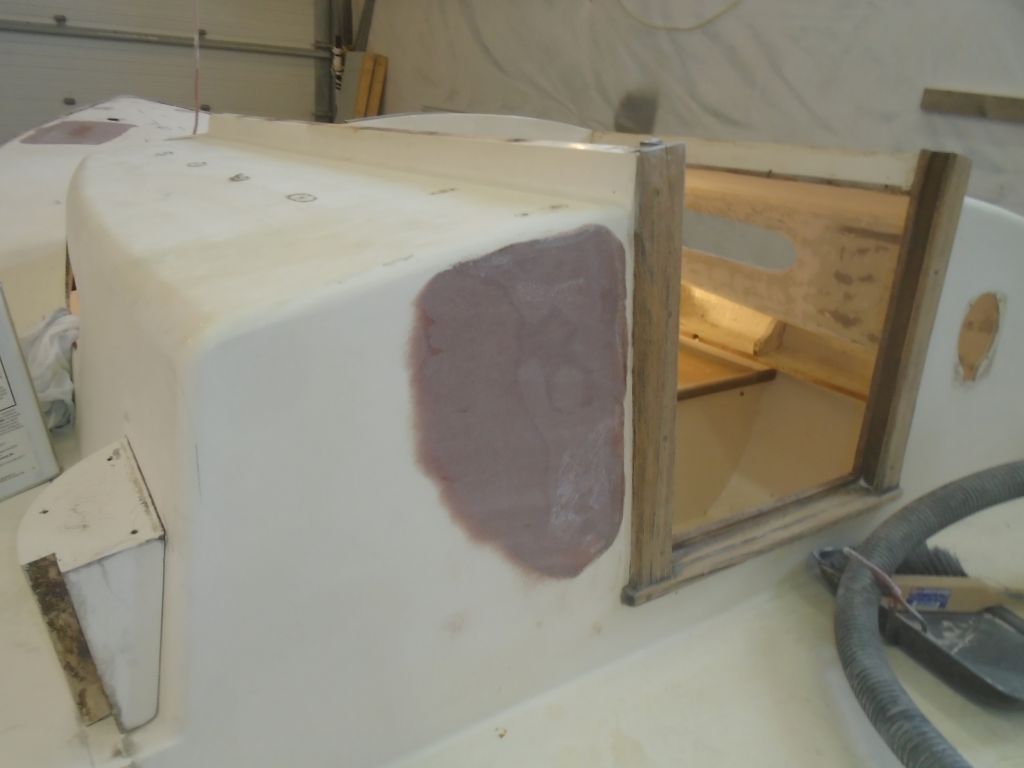
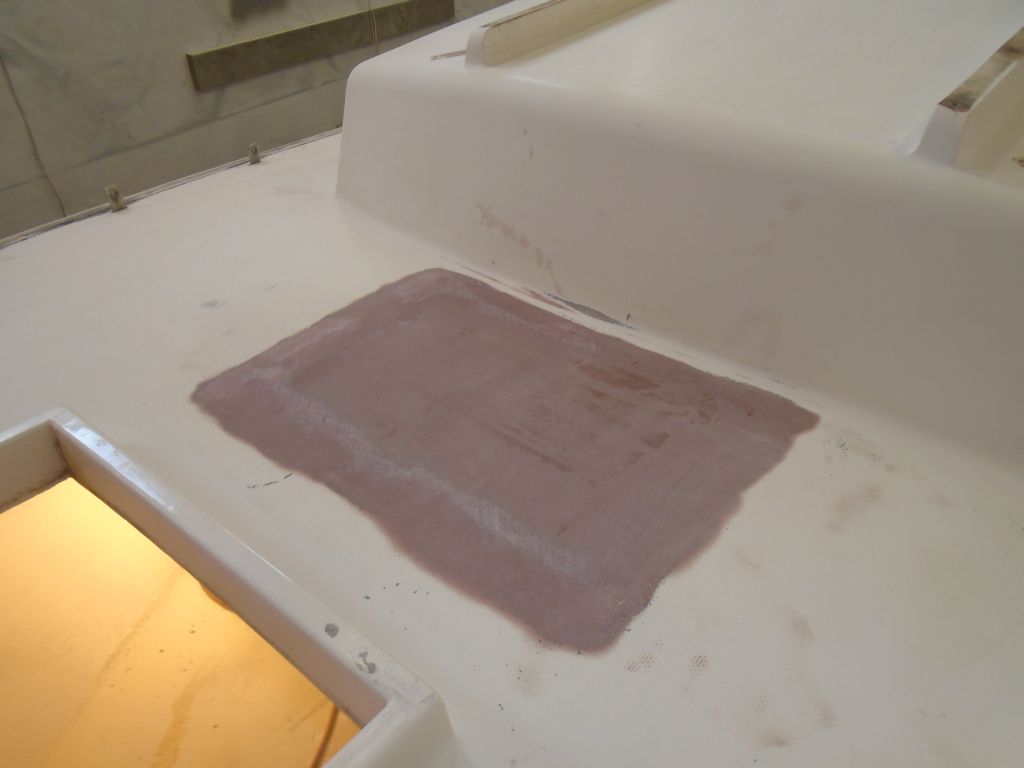
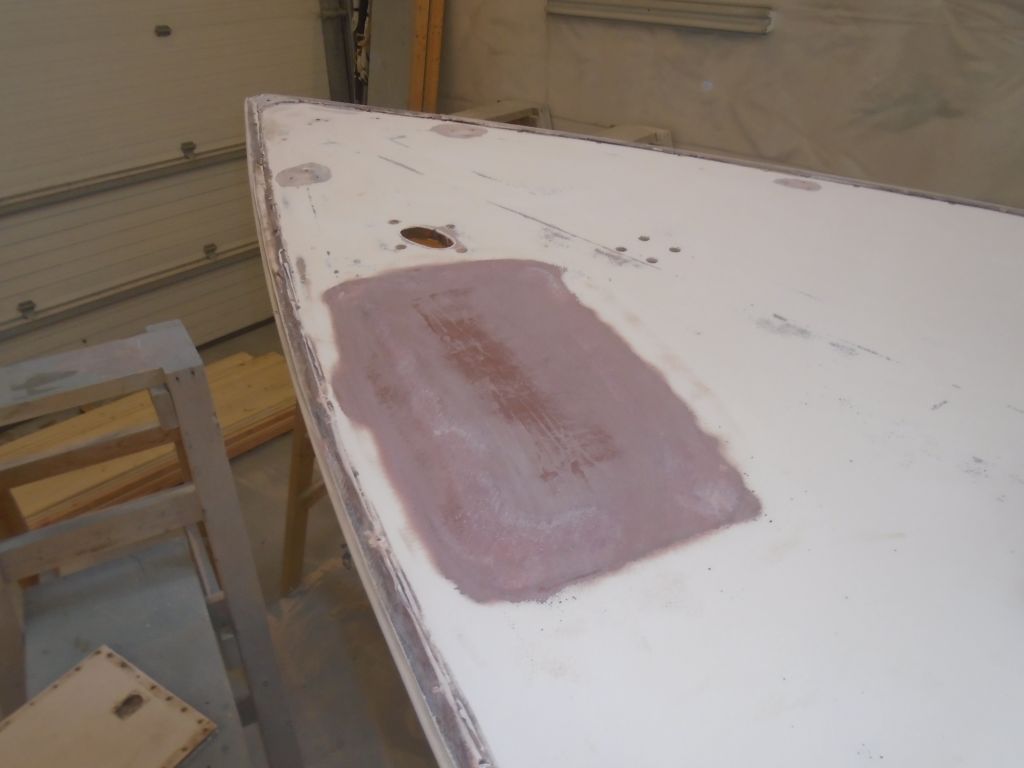
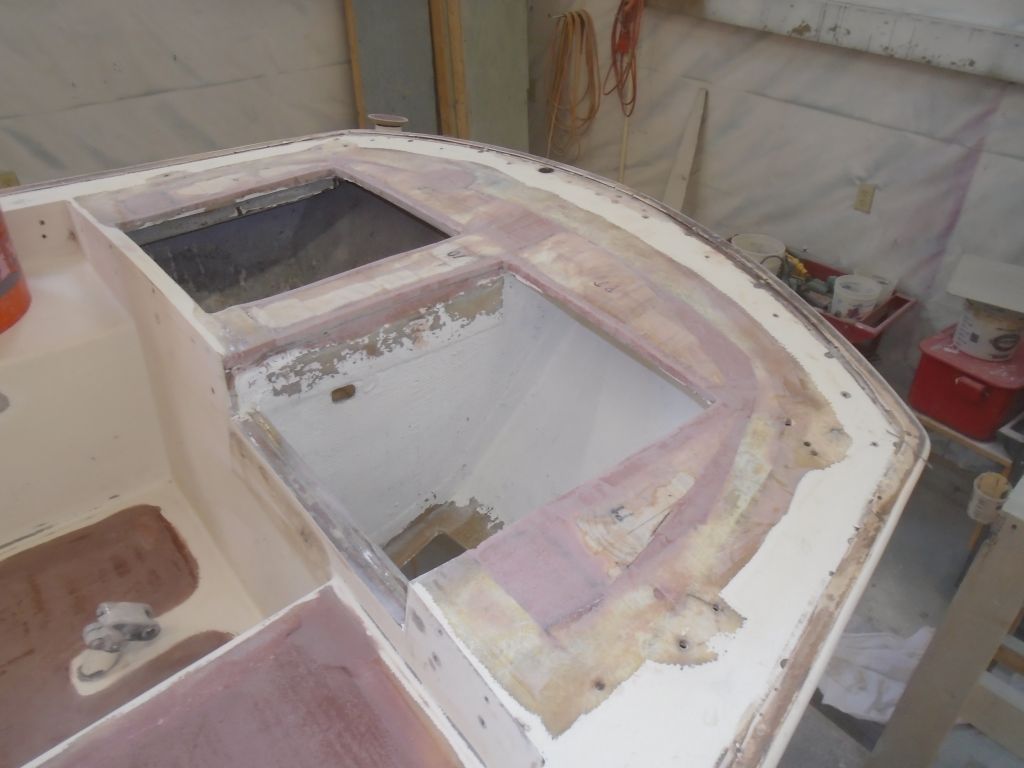
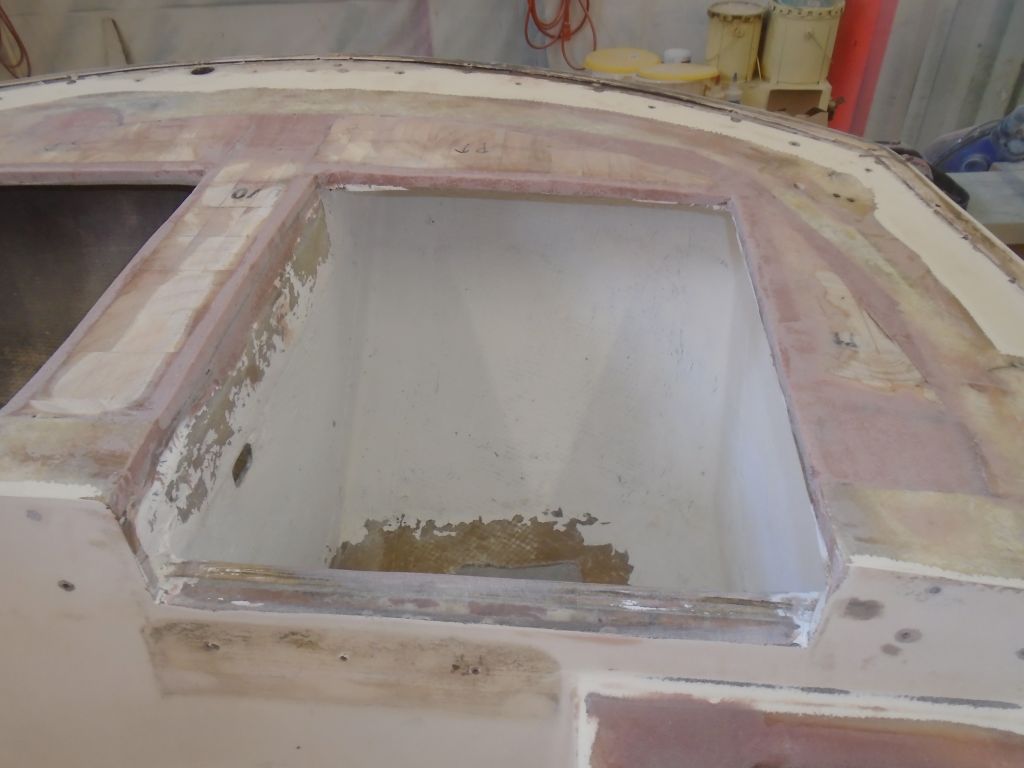
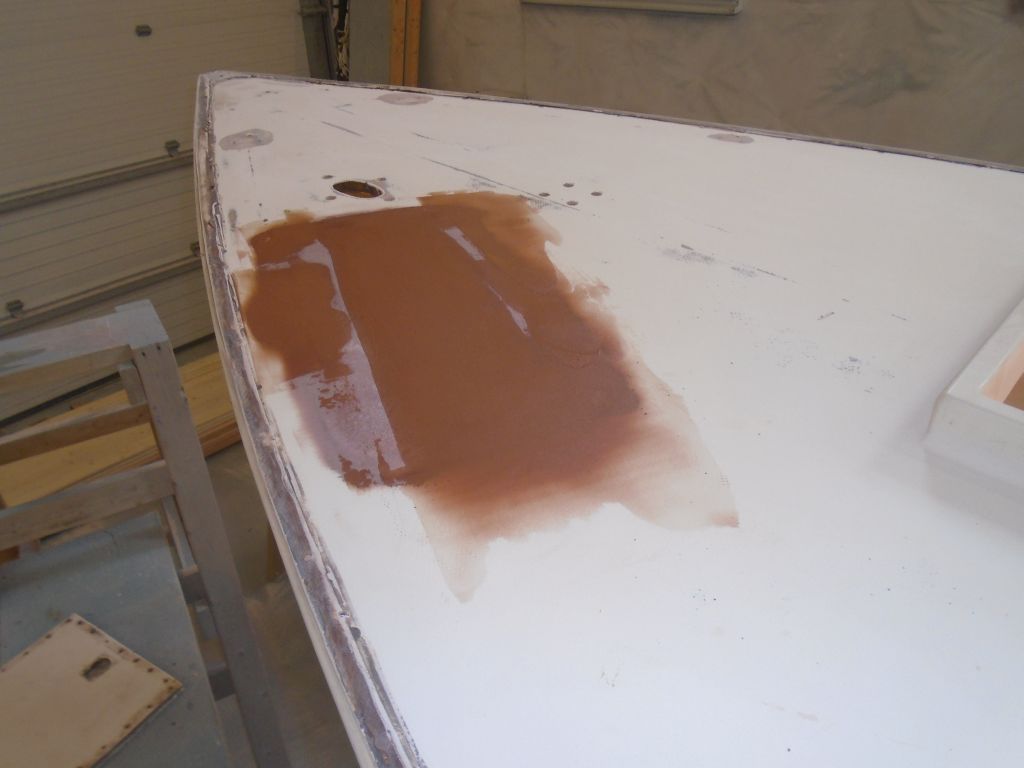
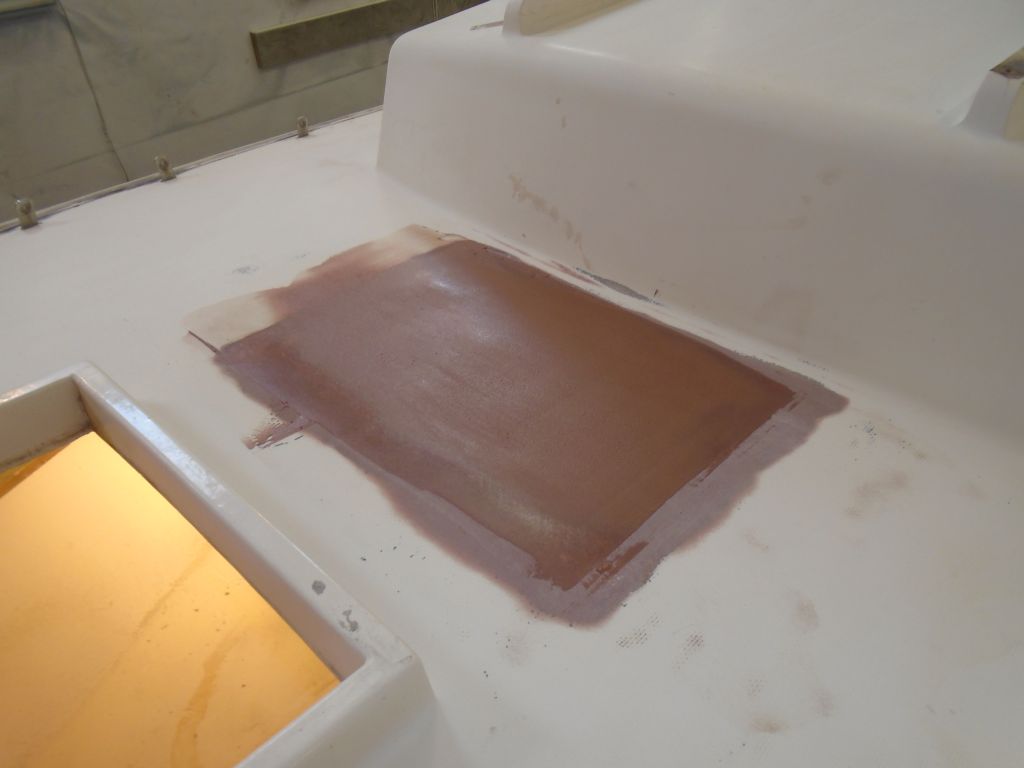
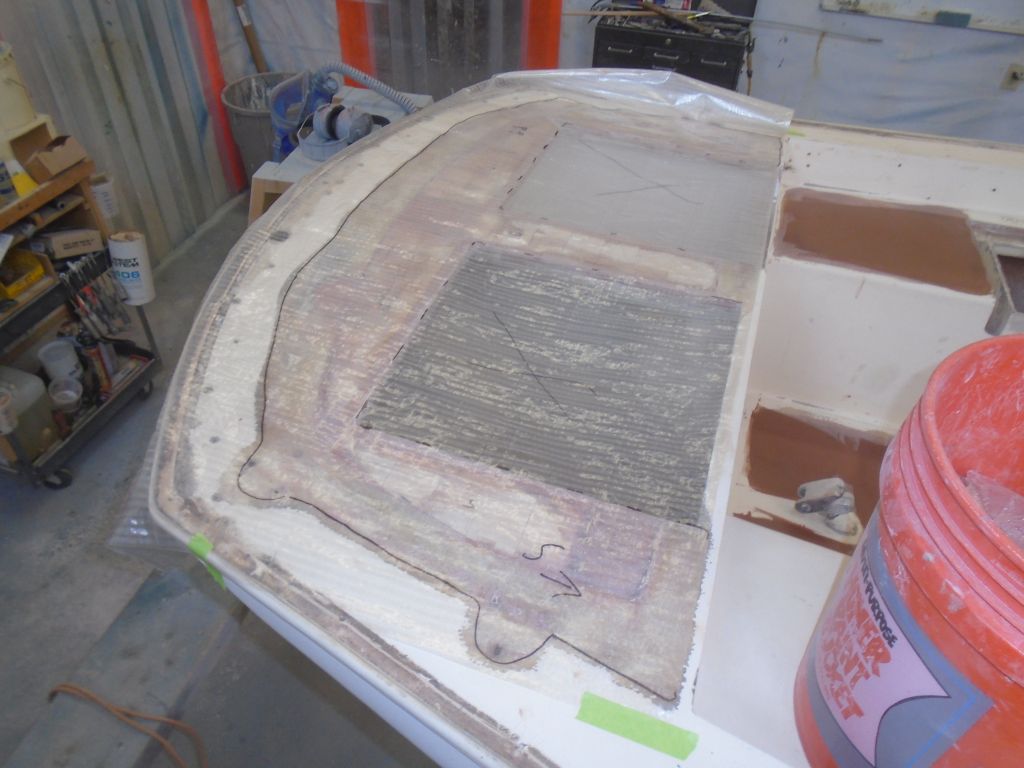
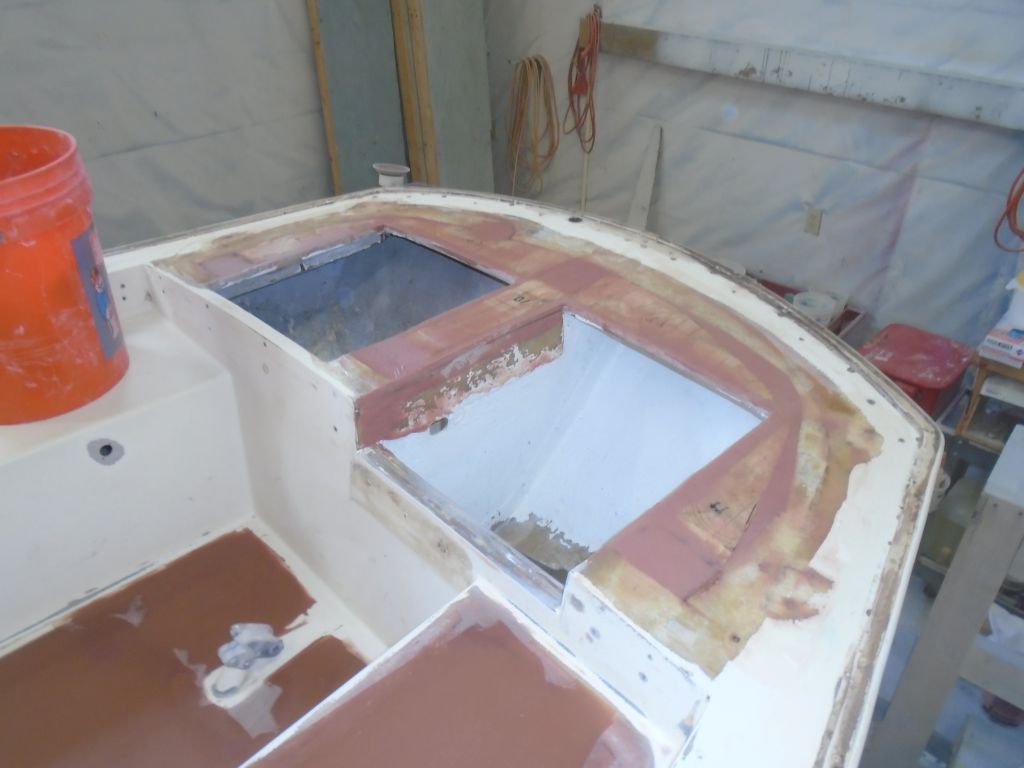
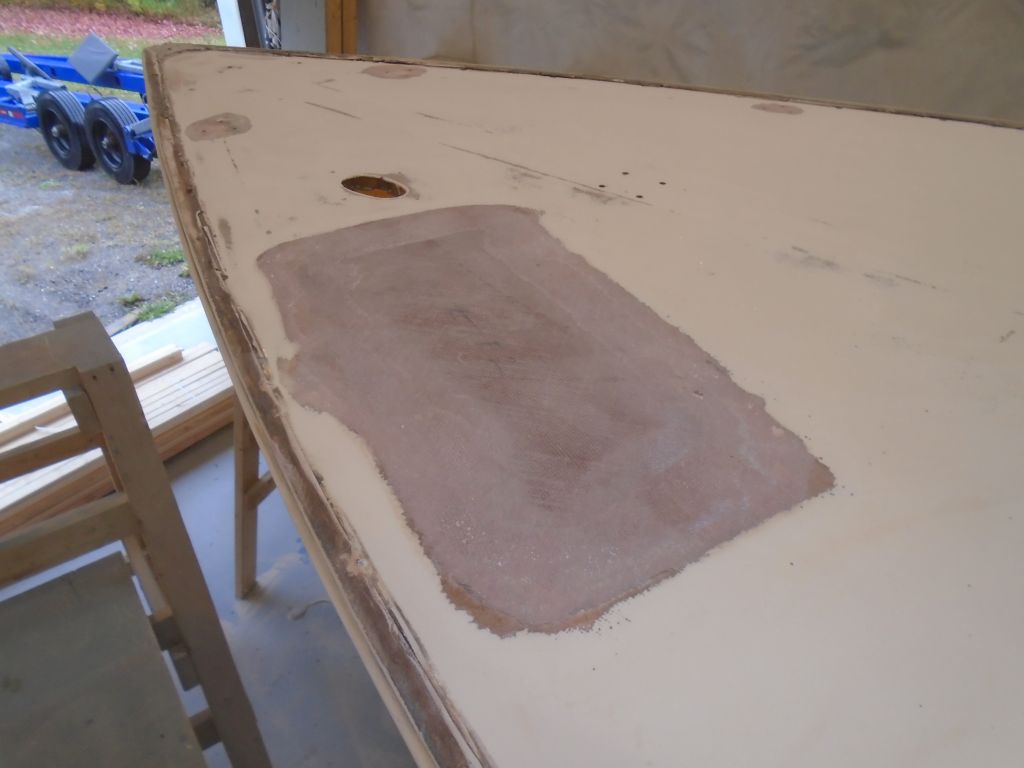
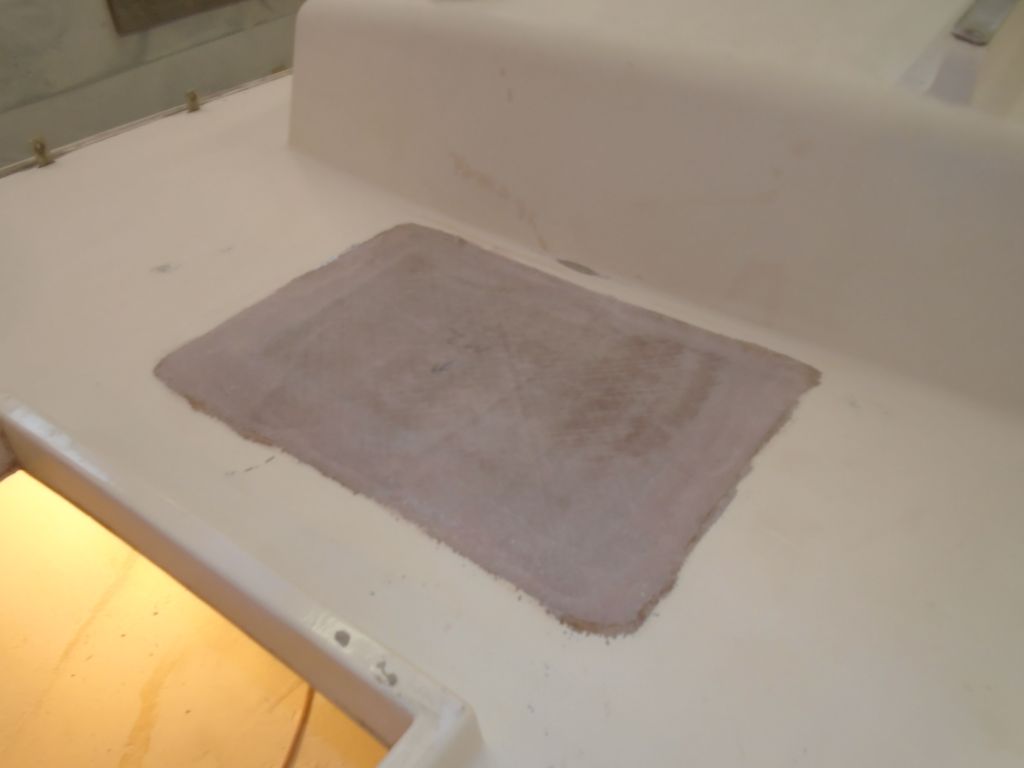
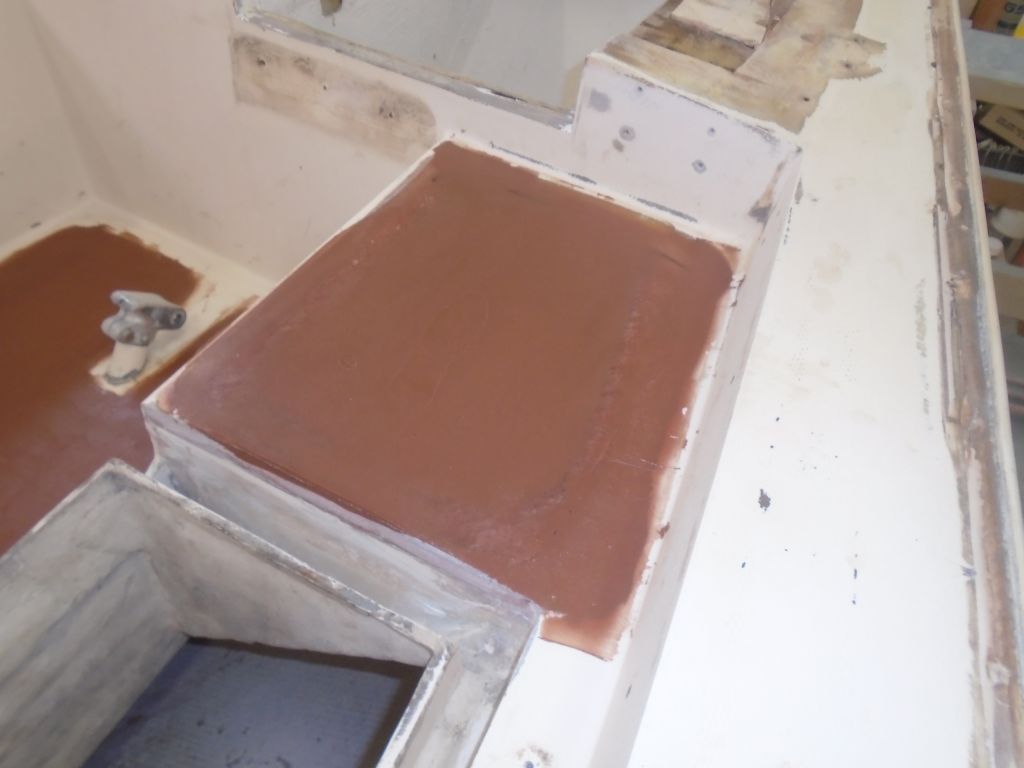
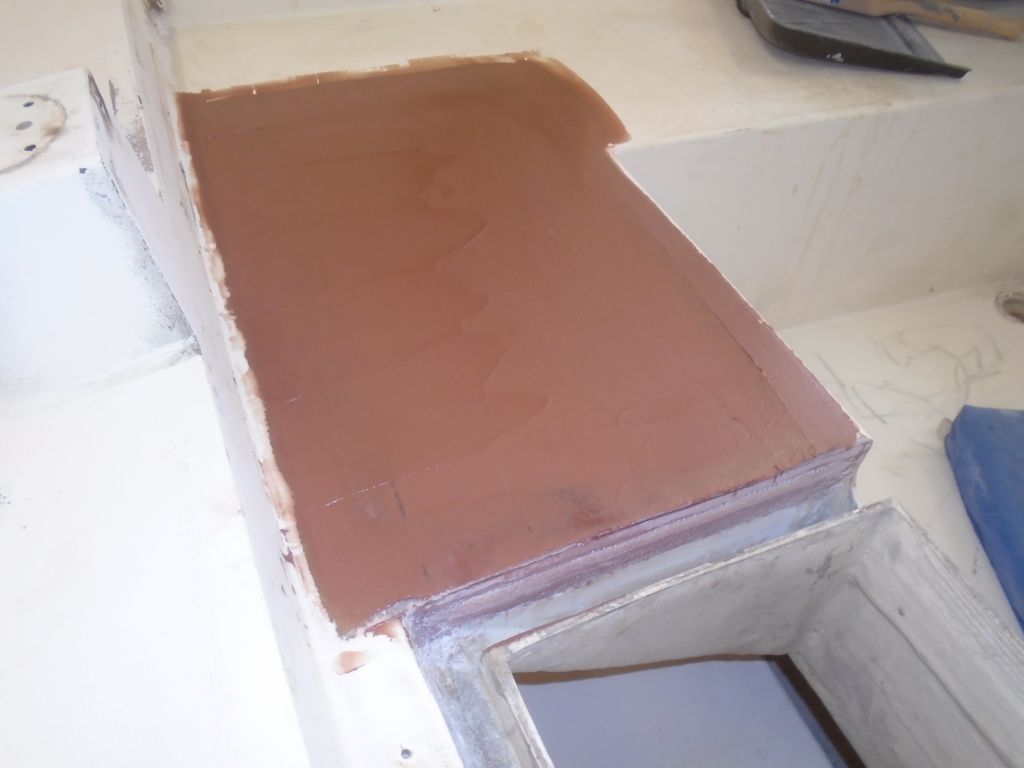
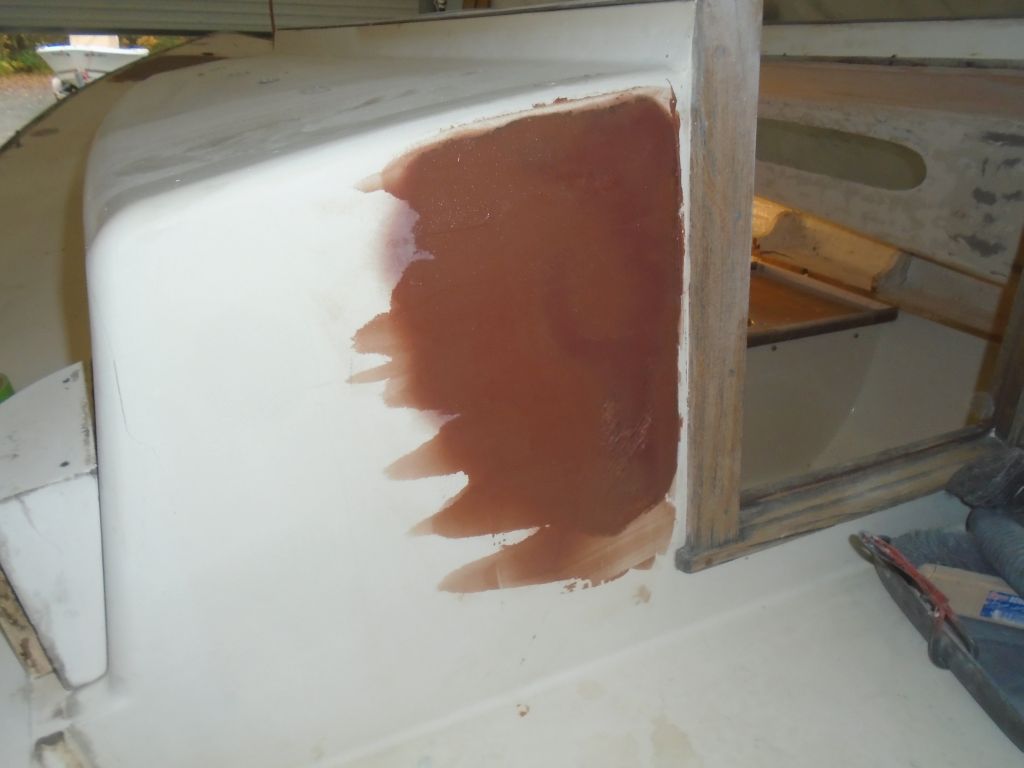
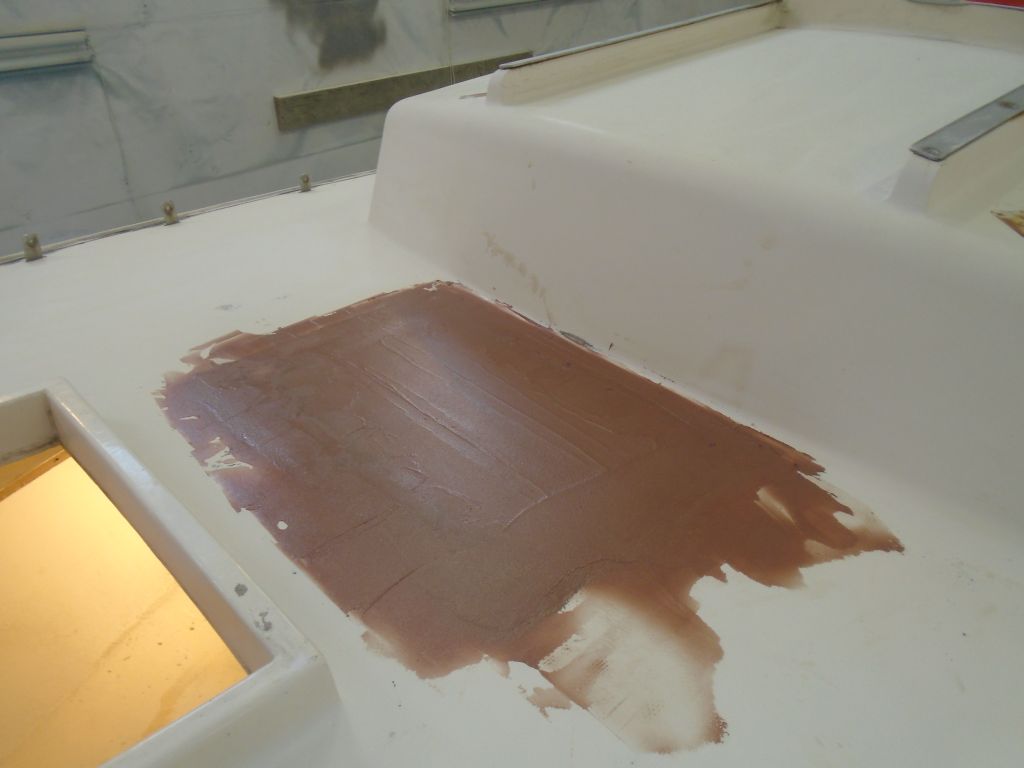
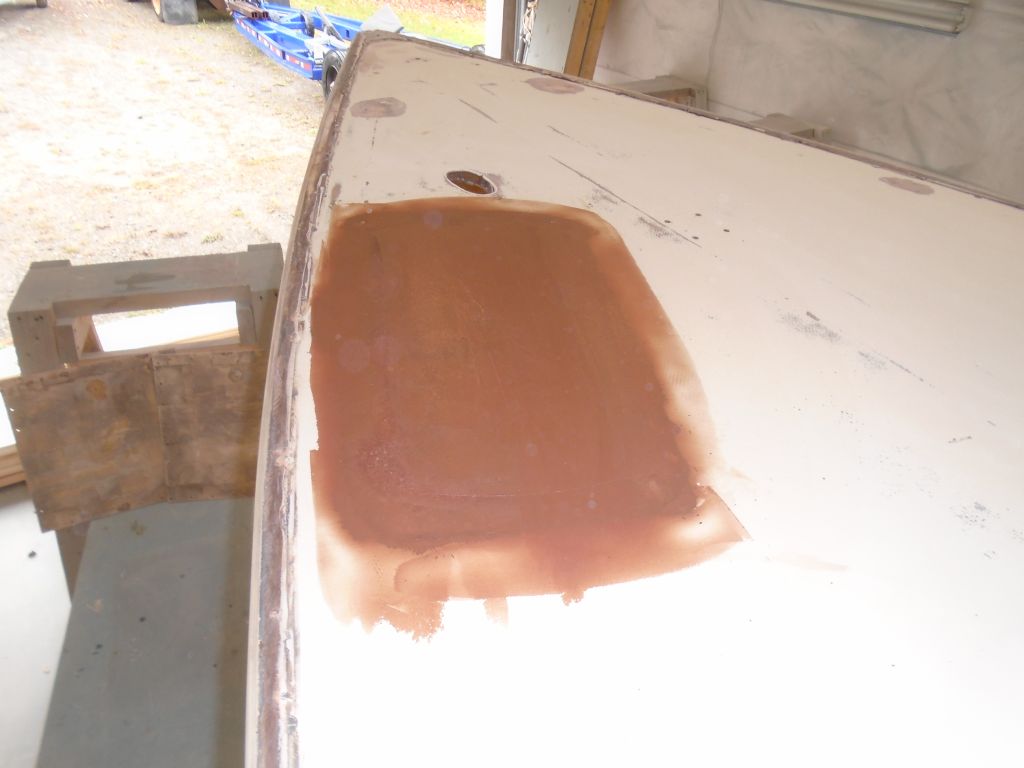
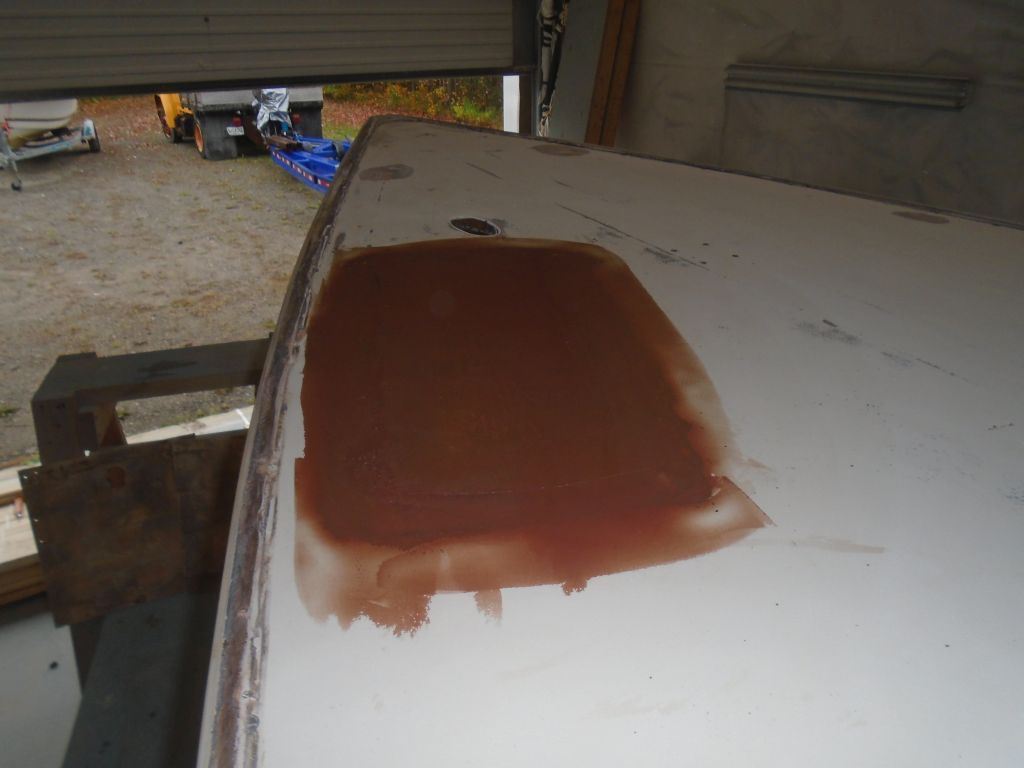
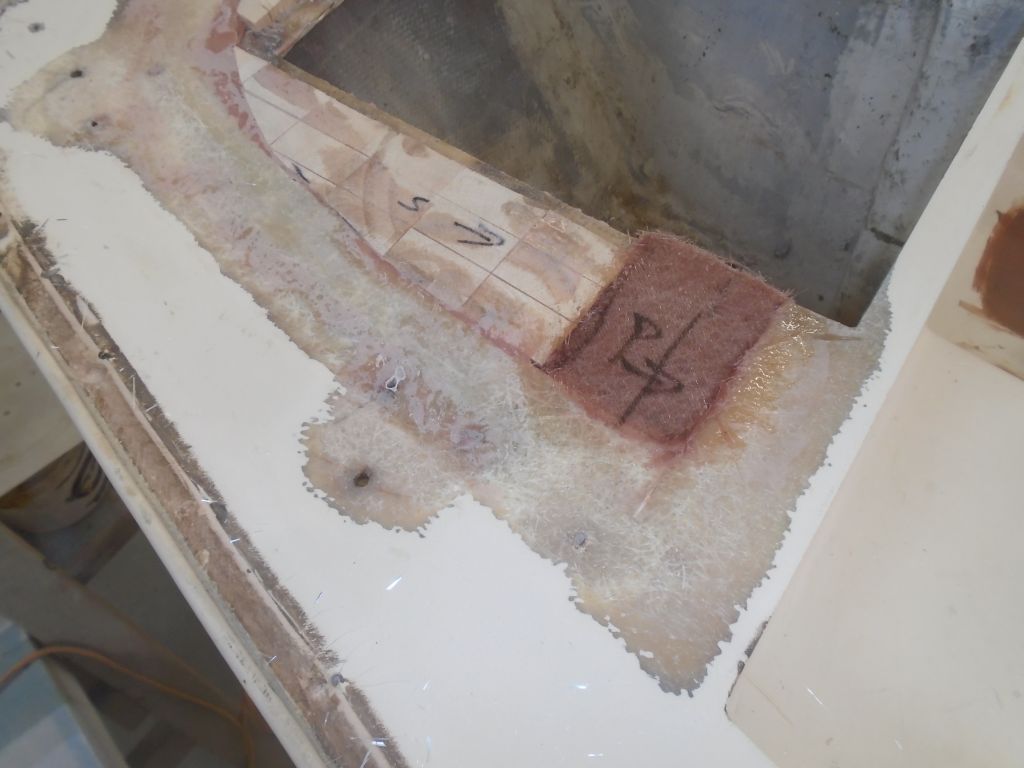
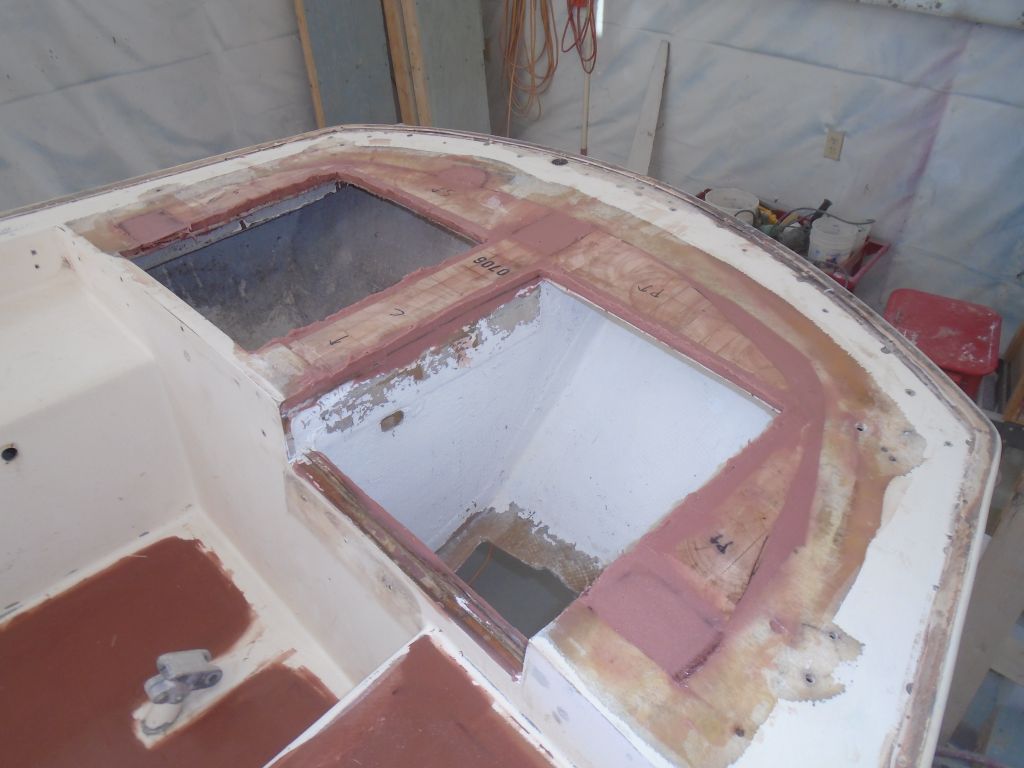
With that work all behind me, I sanded the new fillets on the poop deck, completing work there for now and completing all the structural work and major surface prep on the deck and hull.
I spent the remains of the day on cleanup duty, starting with a thorough shop blow-down and vacuuming the interior and deck to remove dust. I’d continue final cleanup and prep next time.
Total time billed on this job today: 8 hours
0600 Weather Report:
60°, heavy rain. Remnants of Pacific hurricane Patricia. Forecast for the day: rain tapering to showers, and eventually becoming partly sunny, high near 70 (!)