(page 136 of 168)

Halcyon 20

< Back to Halcyon

Thursday

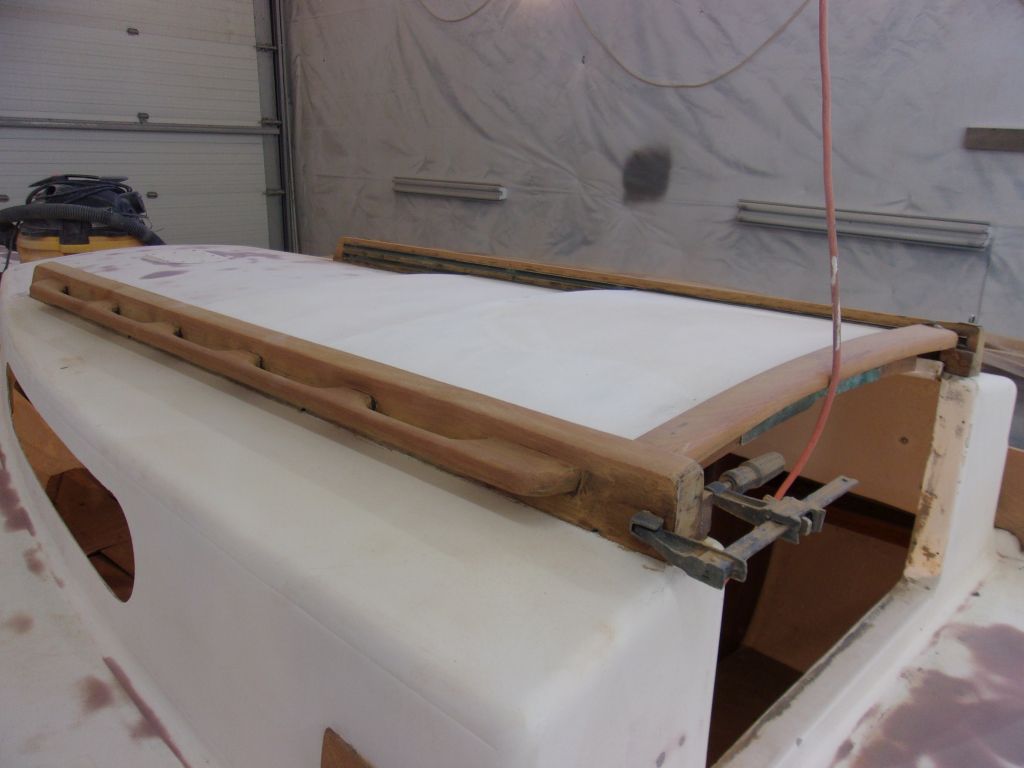
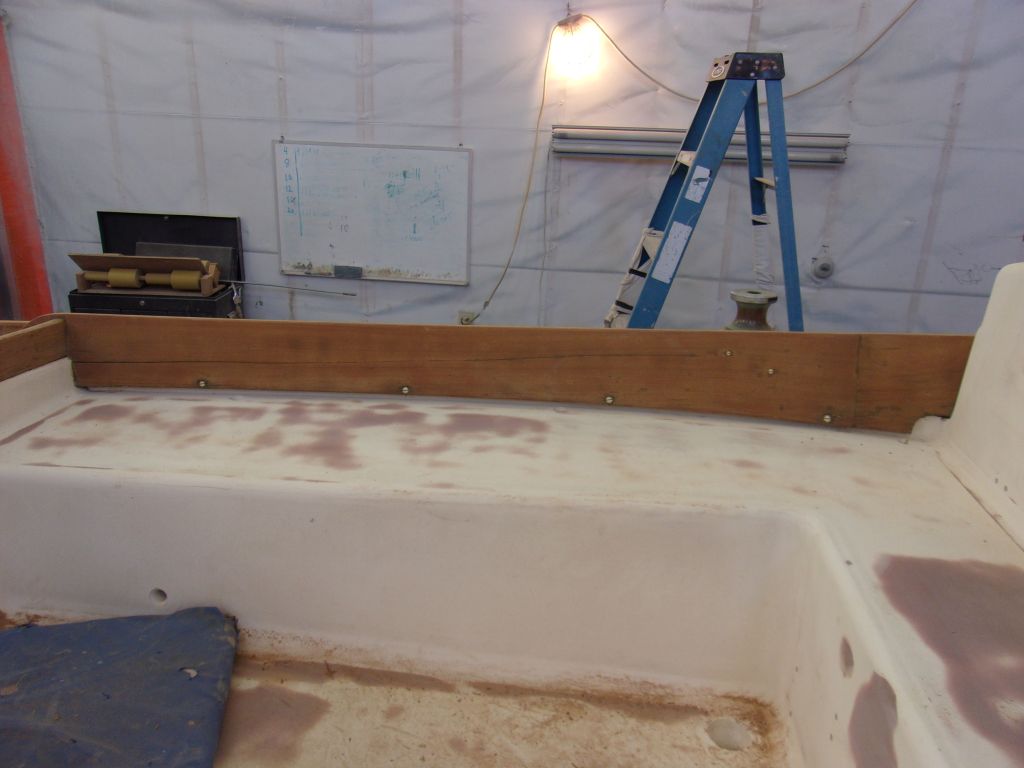
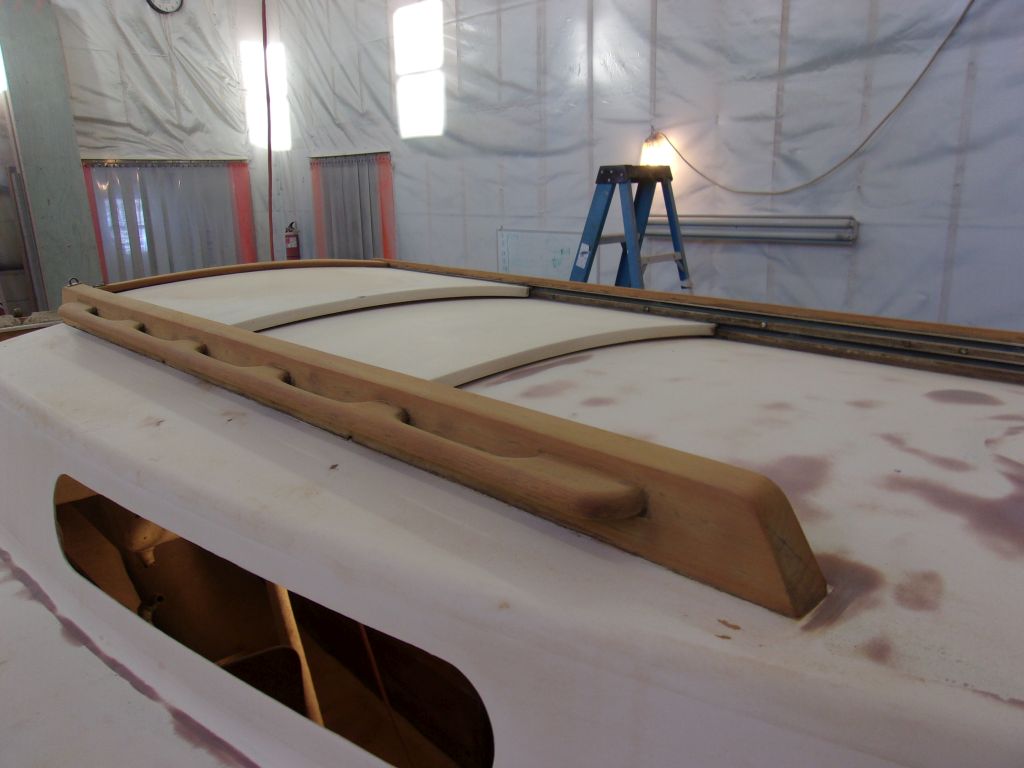
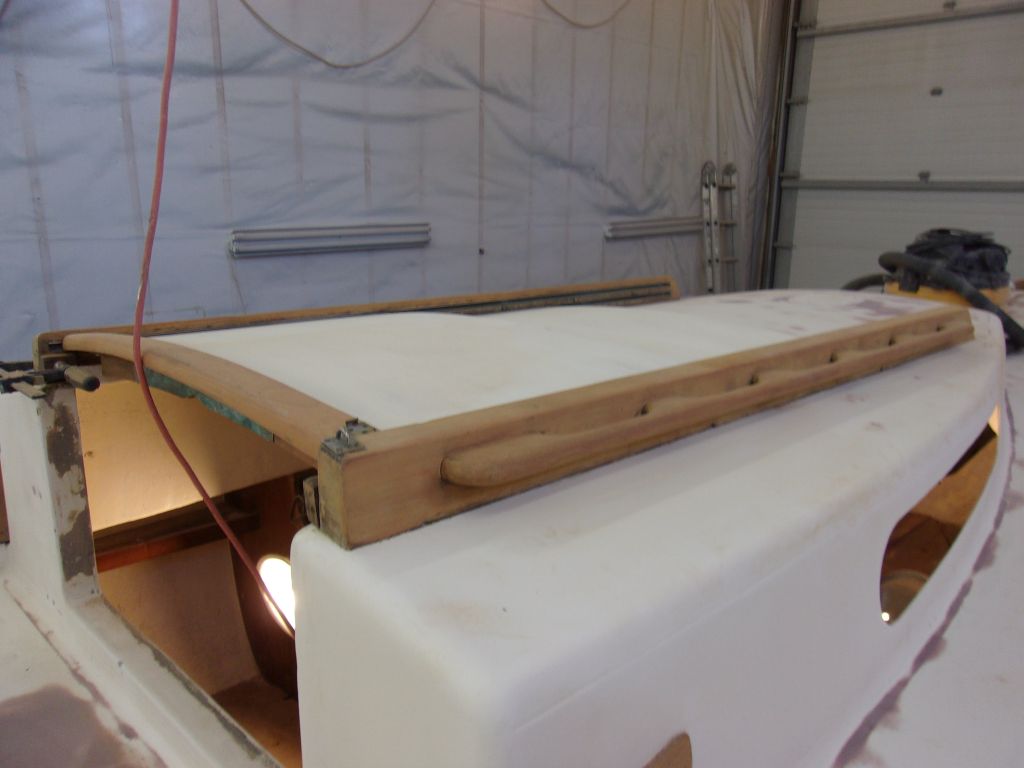
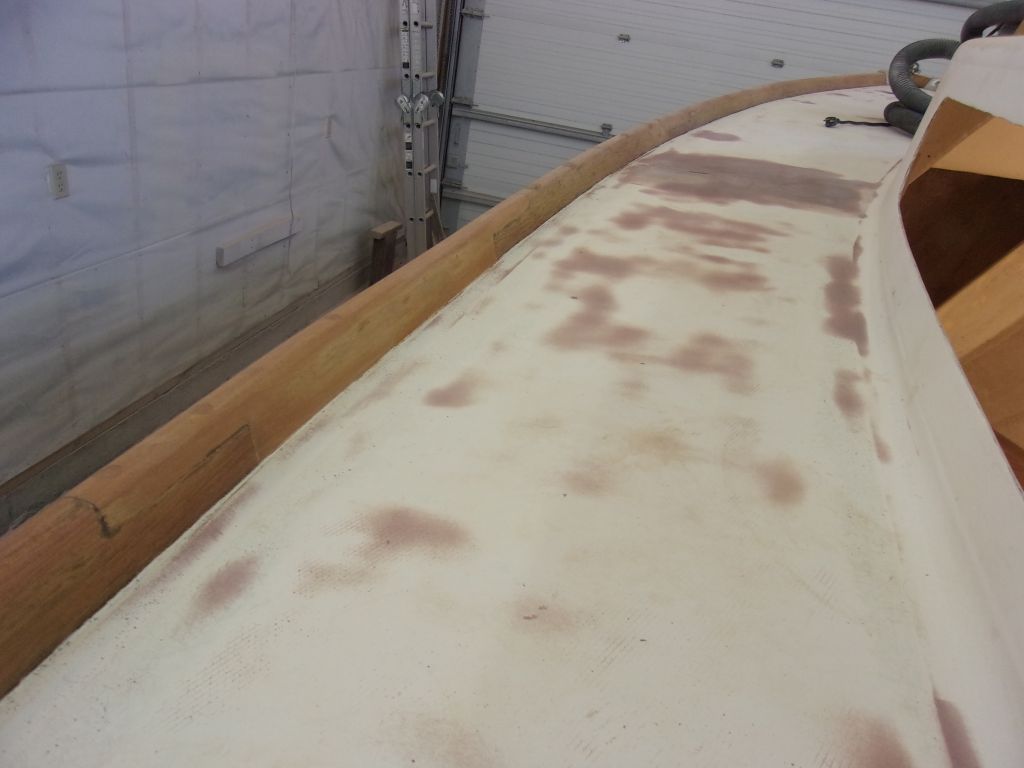
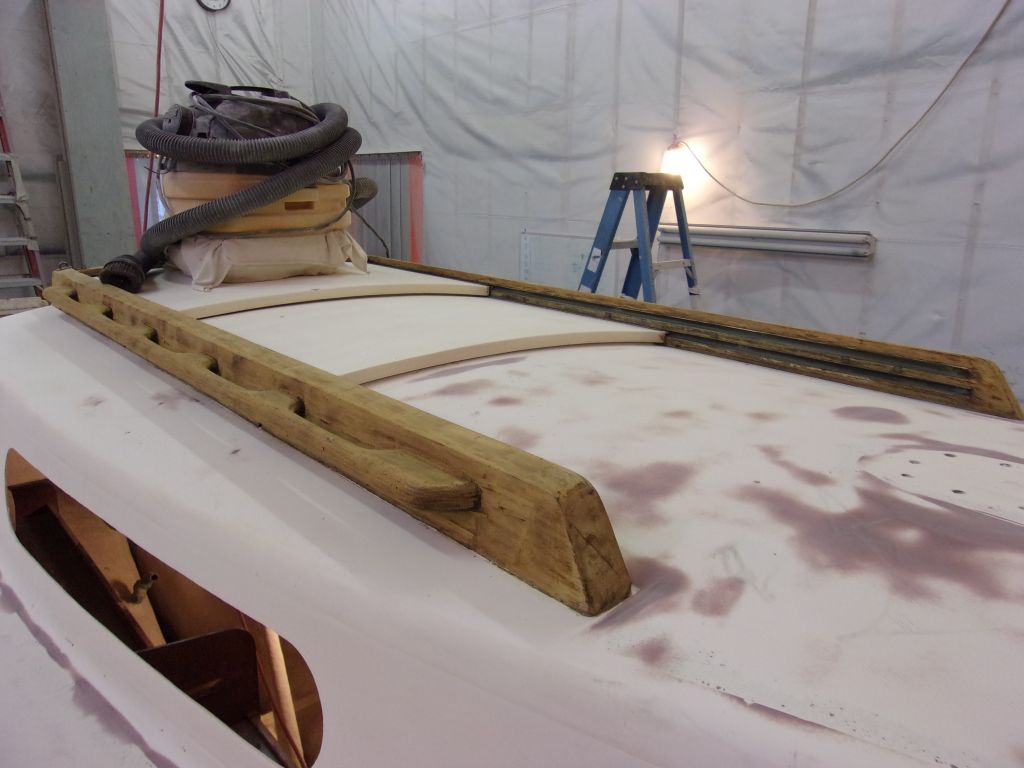
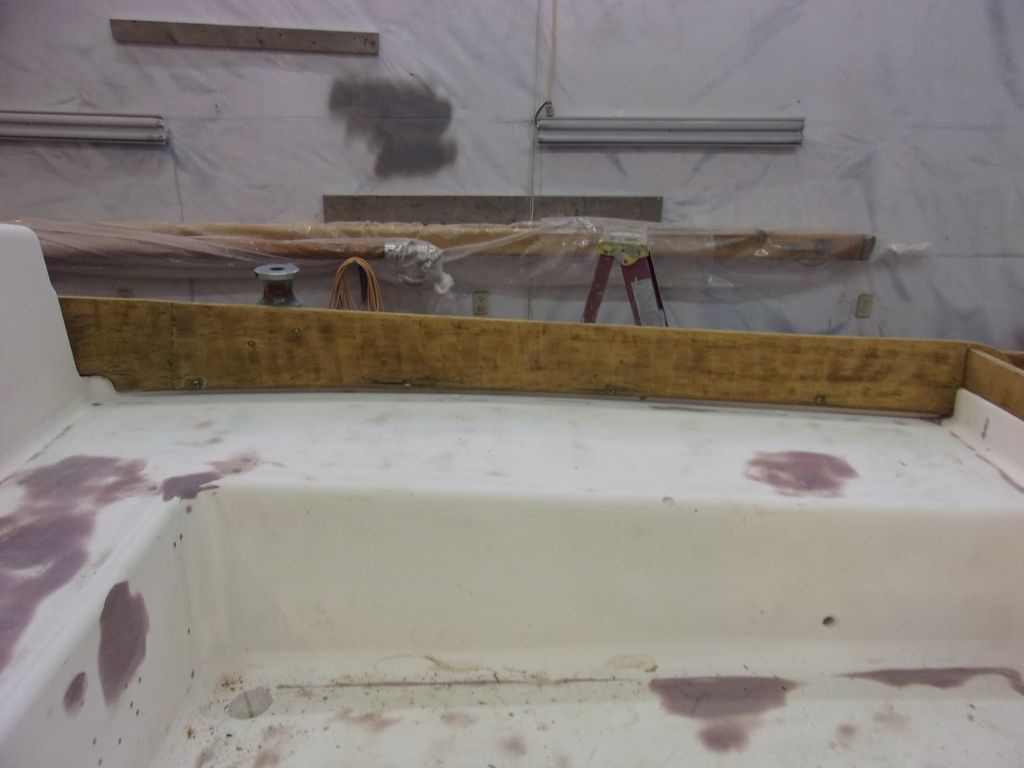
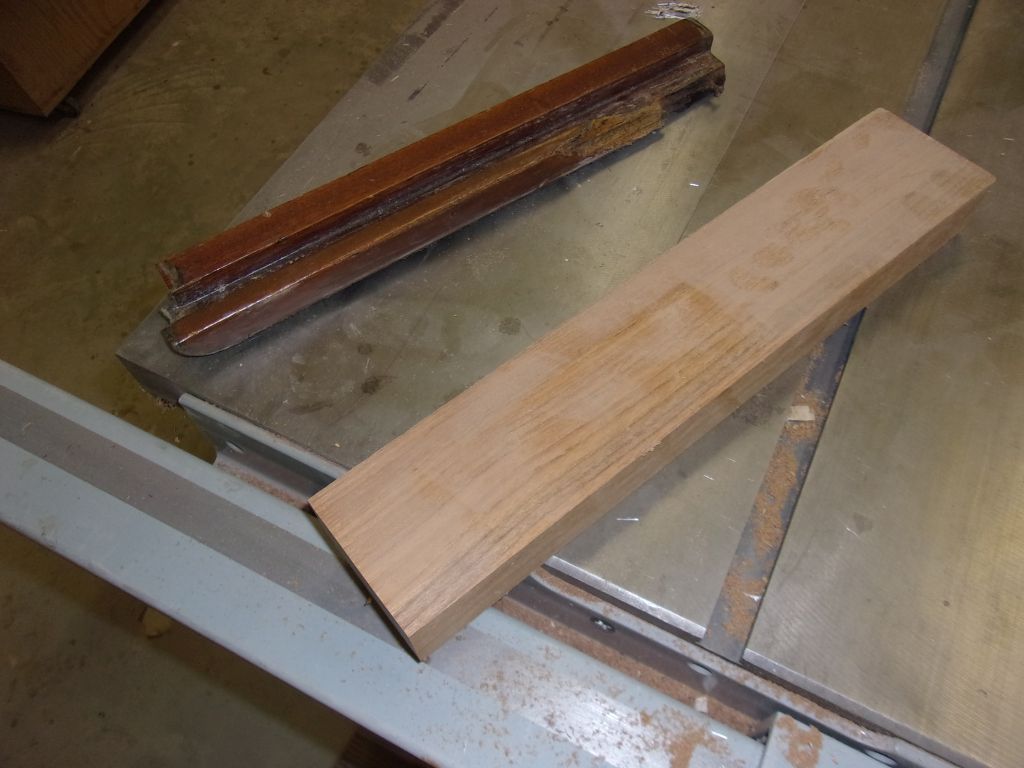
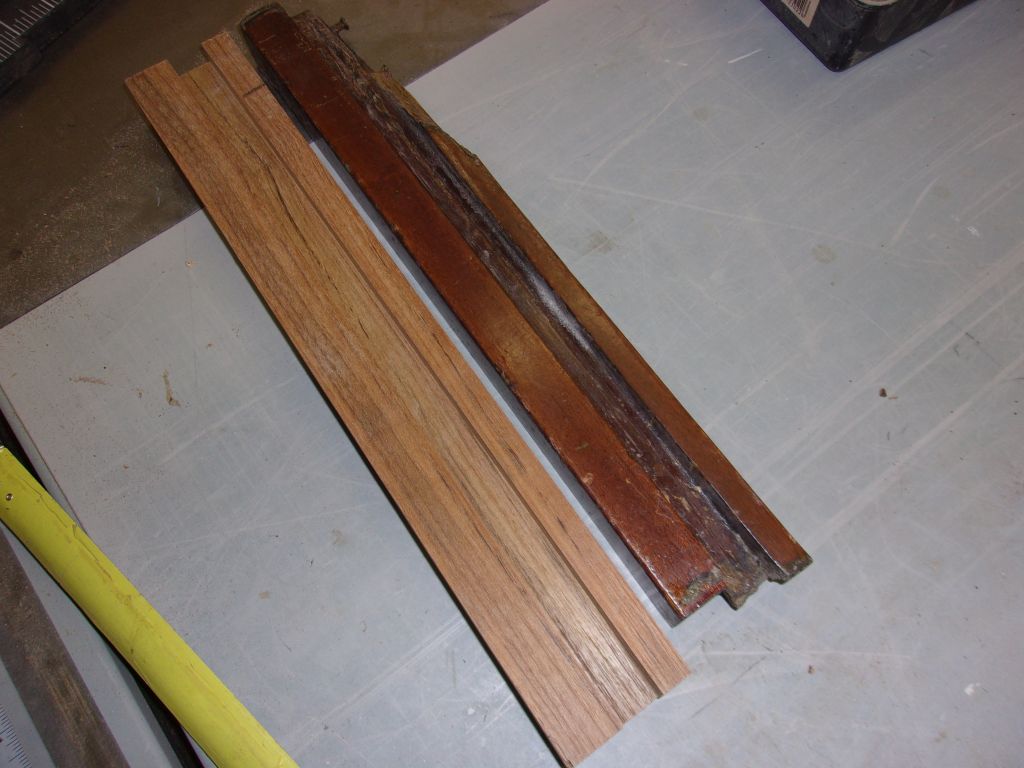
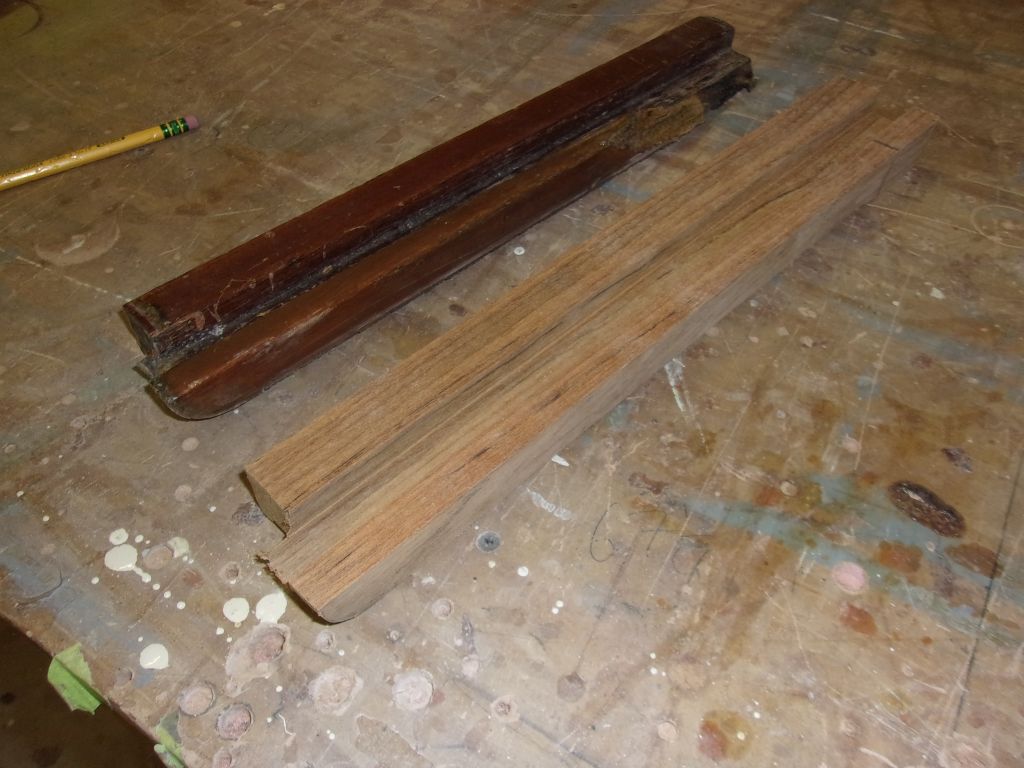
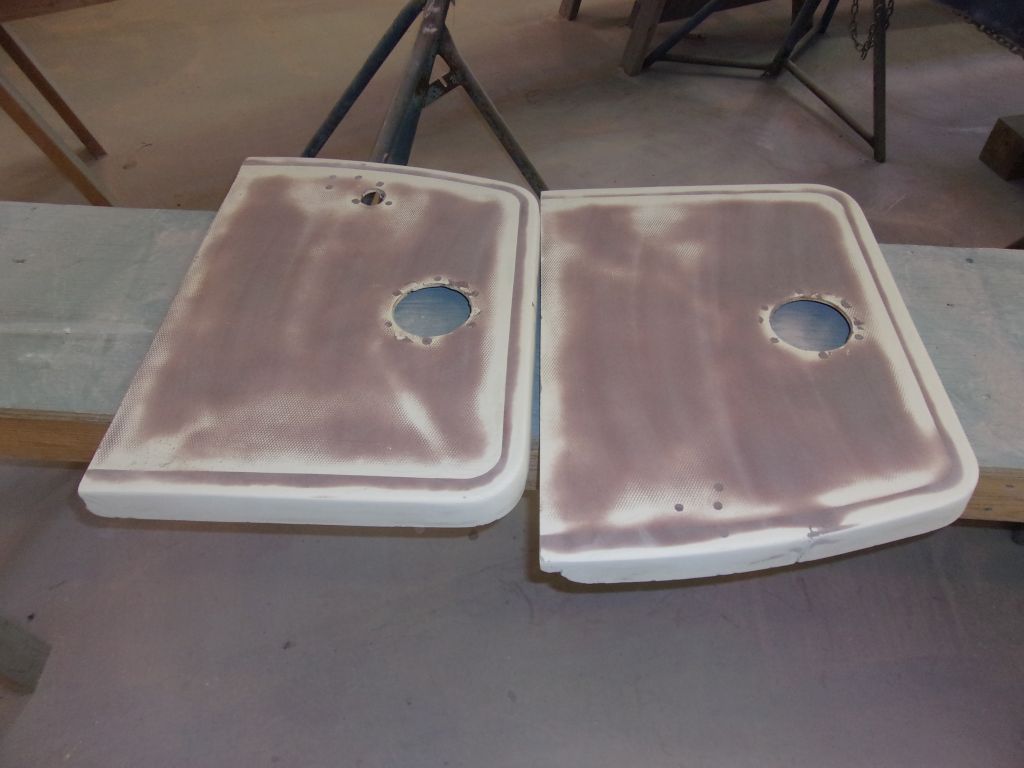
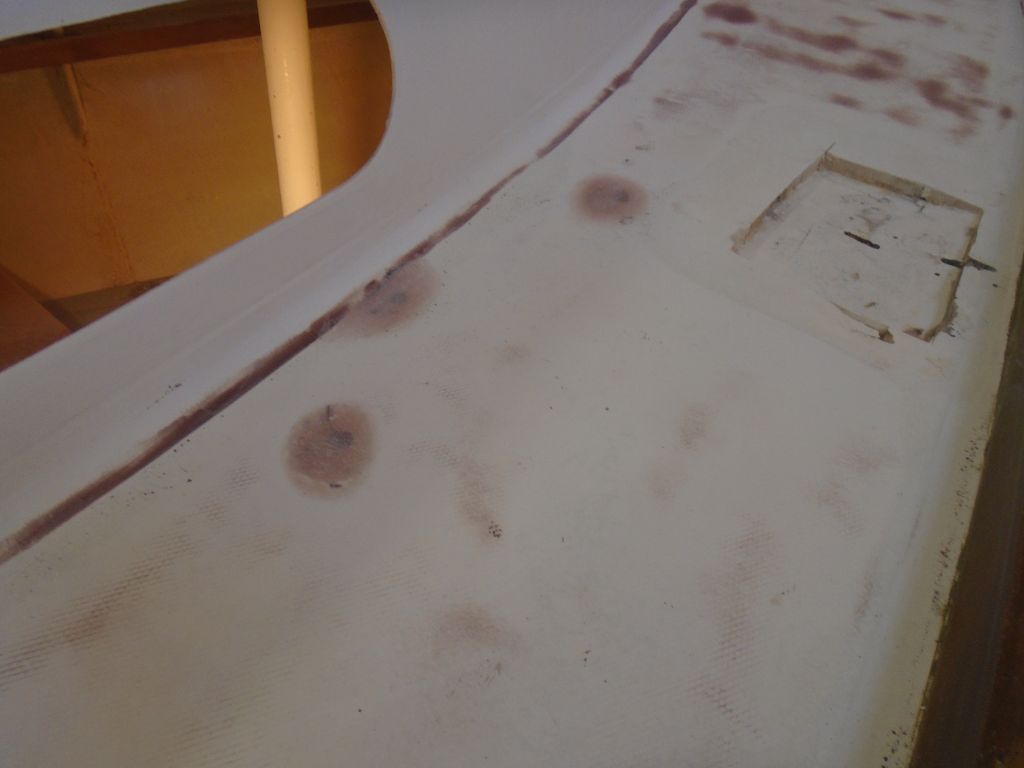
I finished up some minor sanding work on the exterior trim, including cleaning up and finish-sanding the two existing, and one new, pieces of companionway trim, along with a couple areas on deck where I’d made some minor wood repairs.

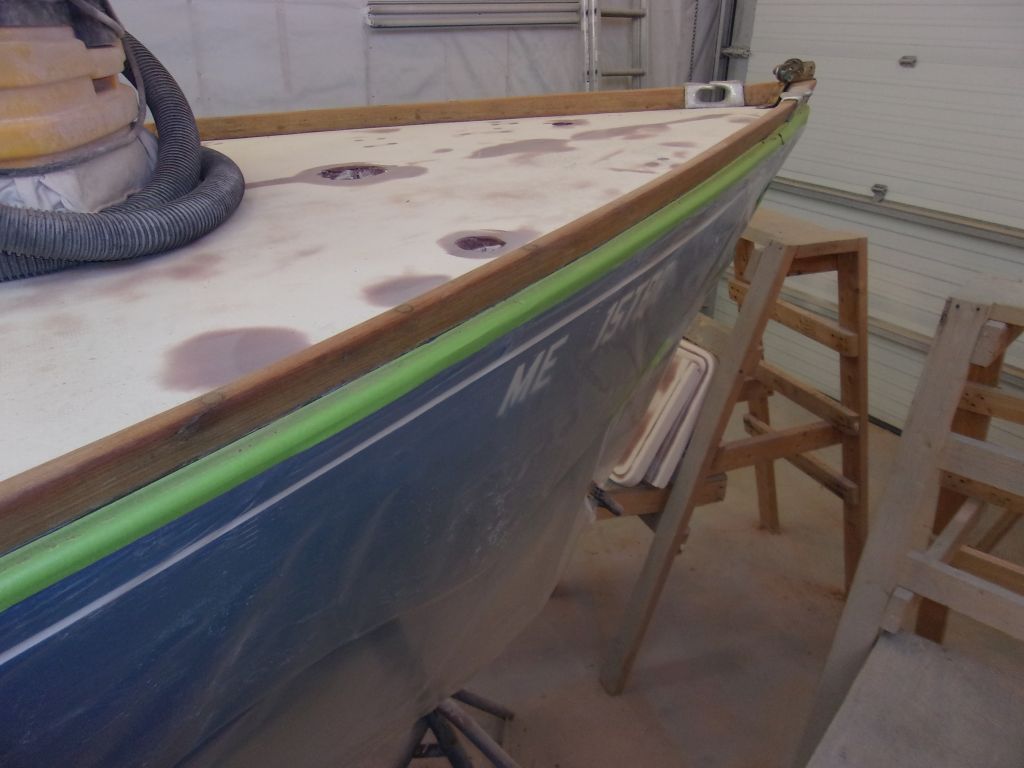
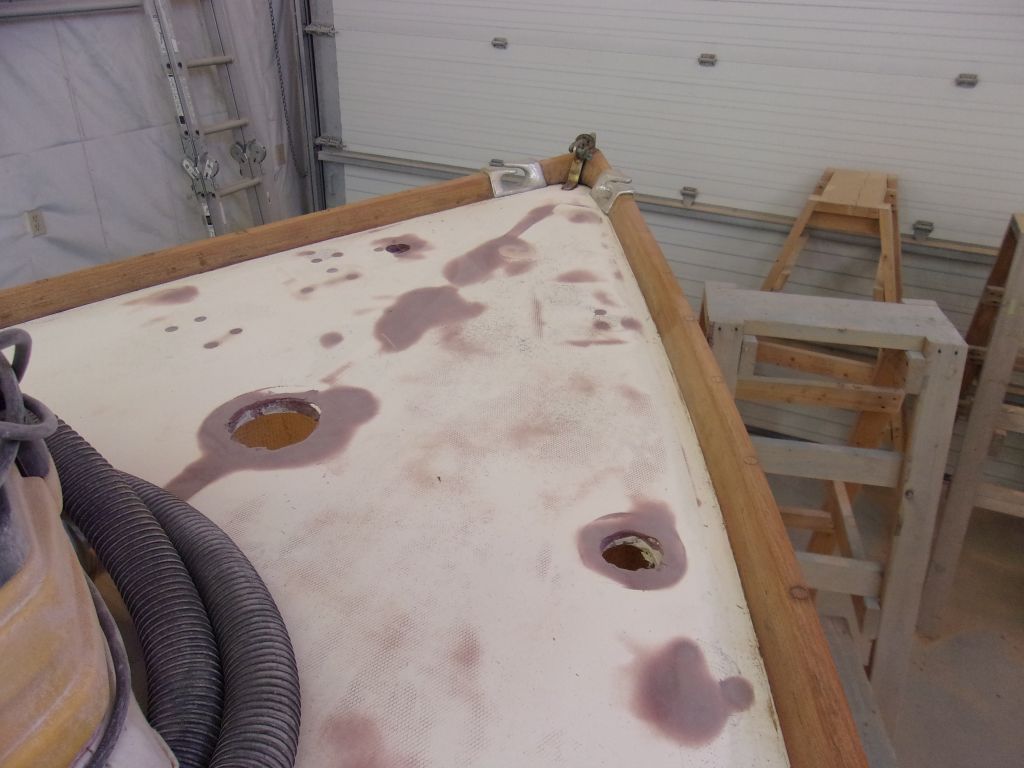
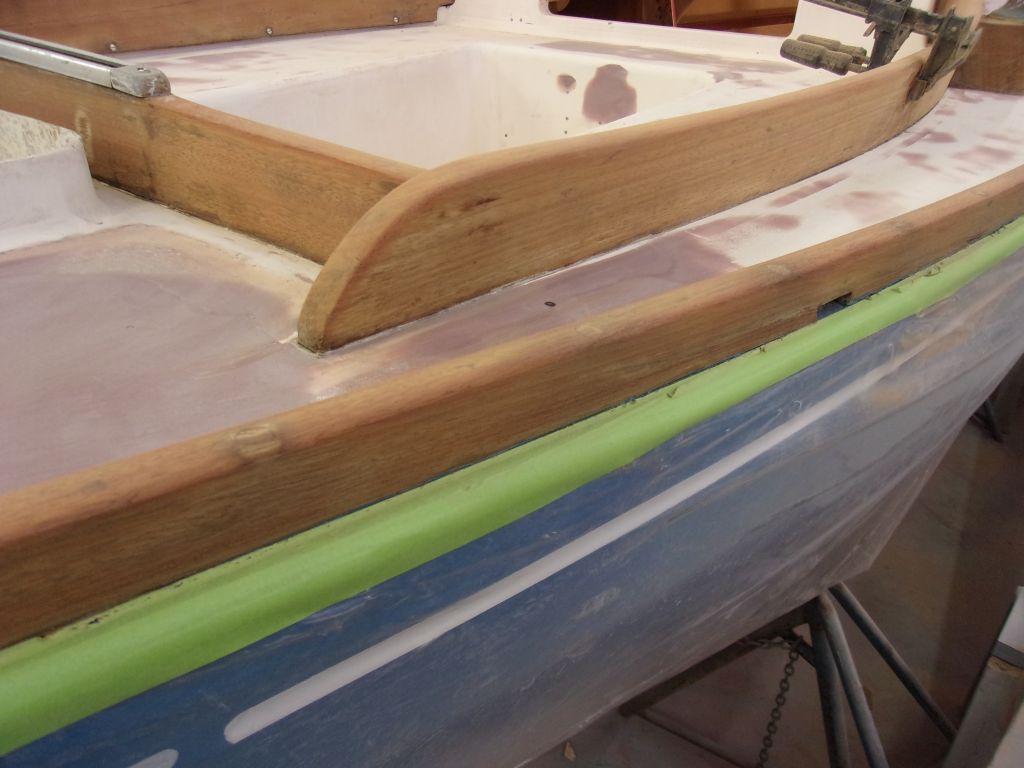
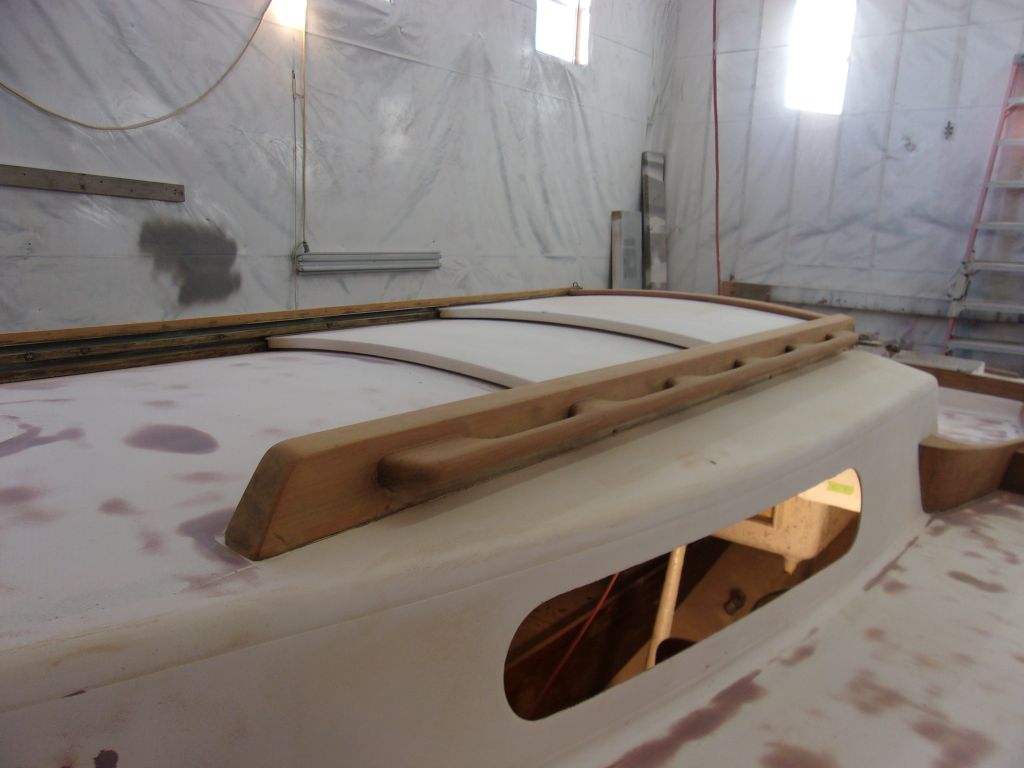
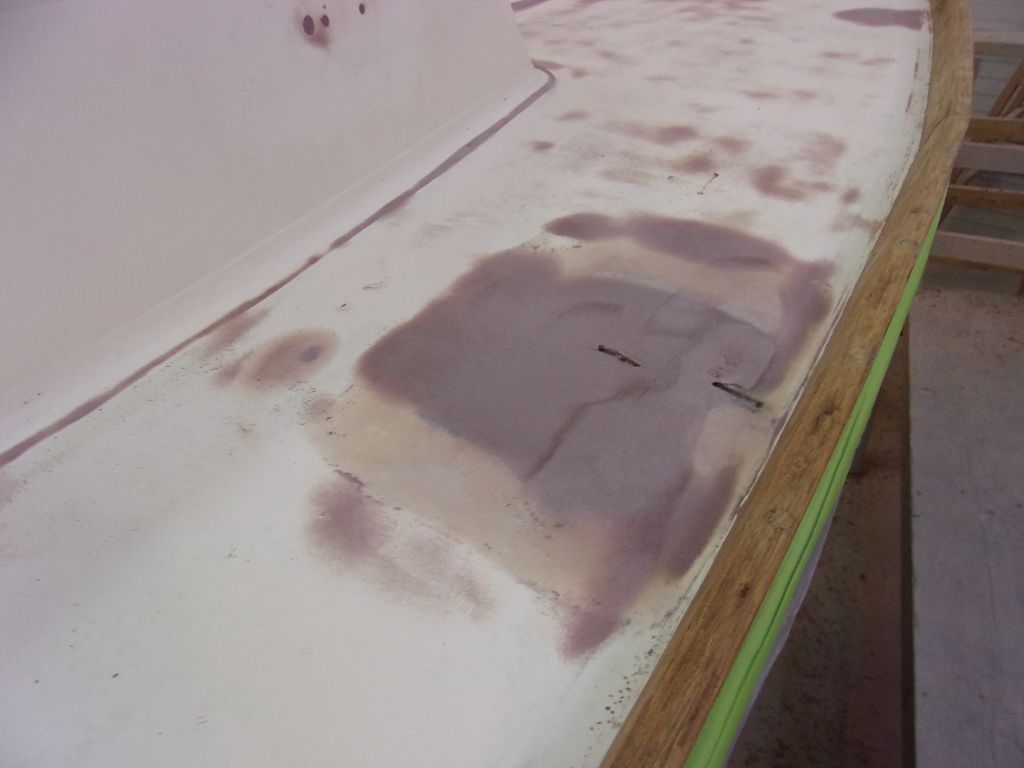
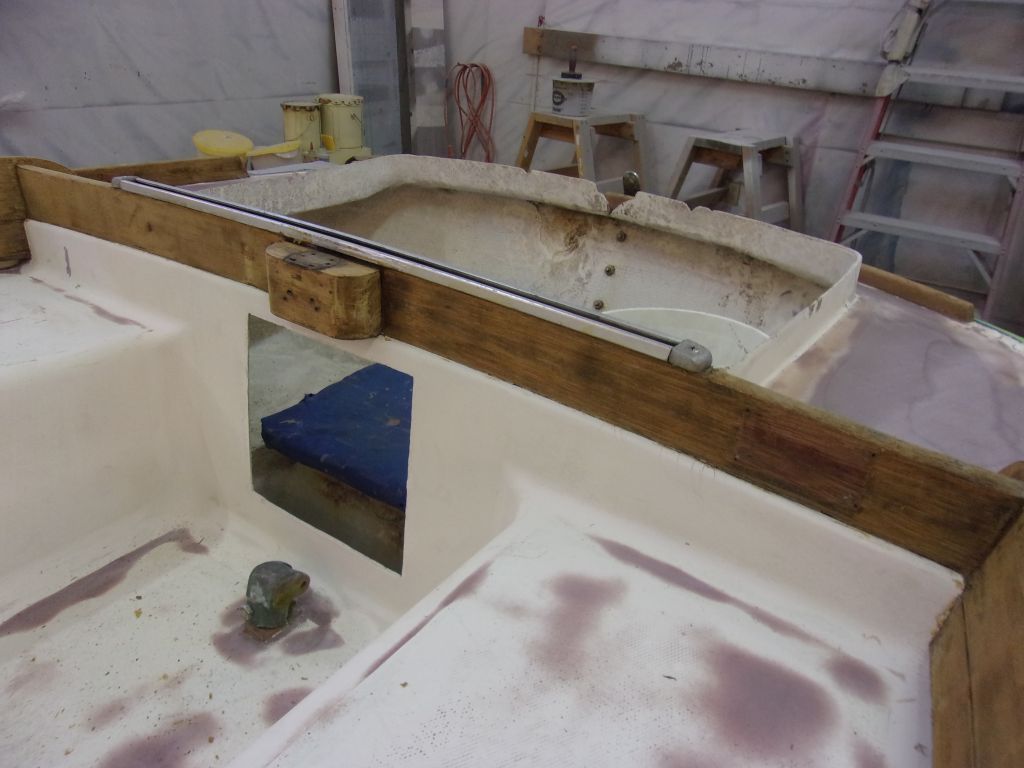
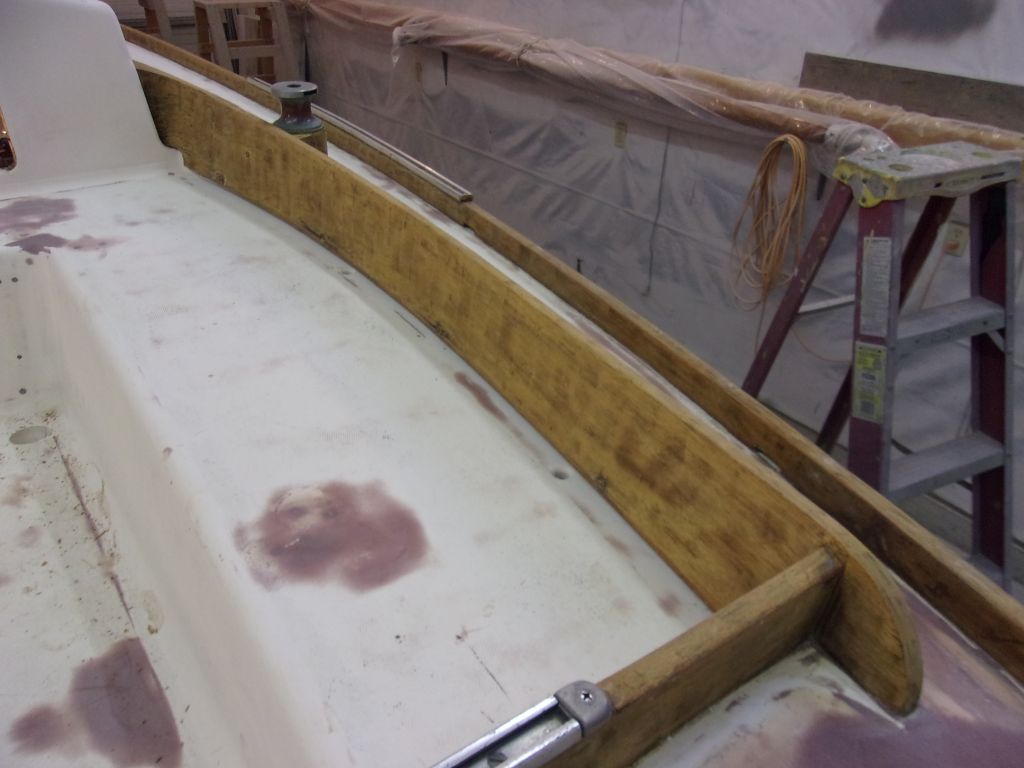
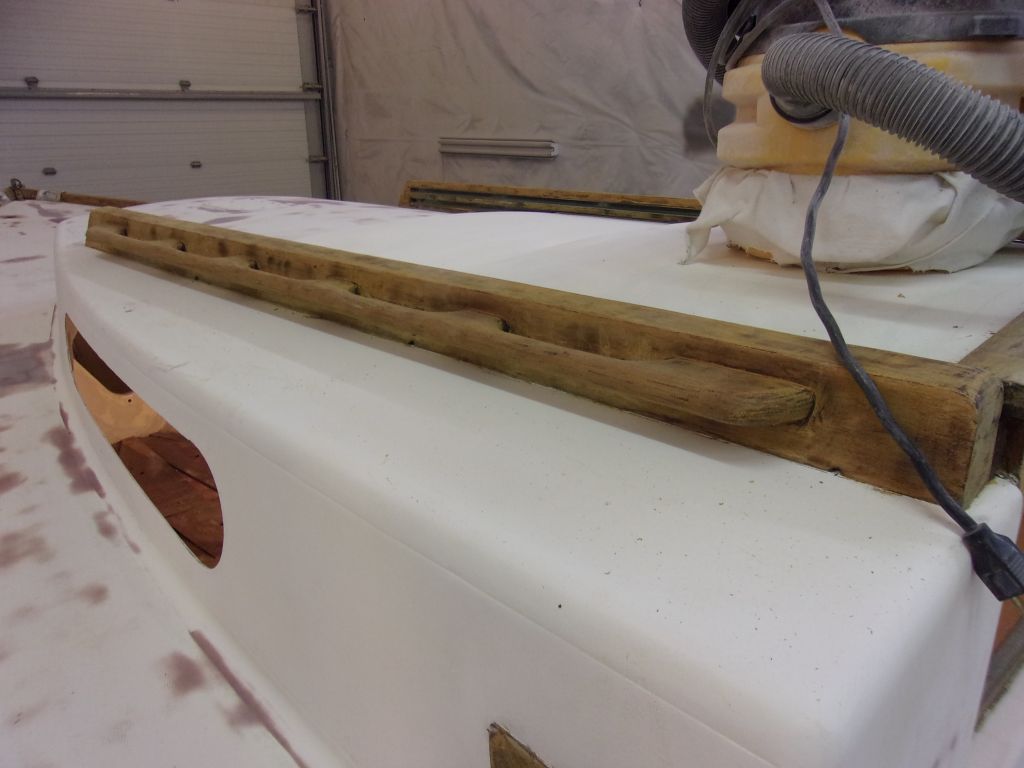
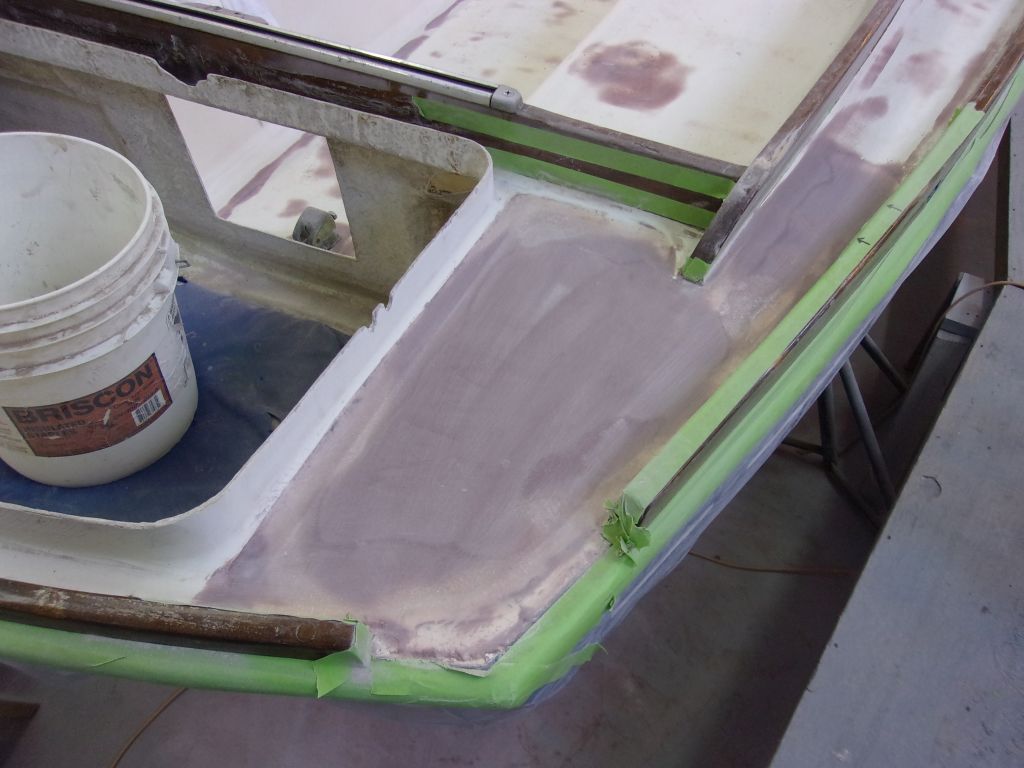
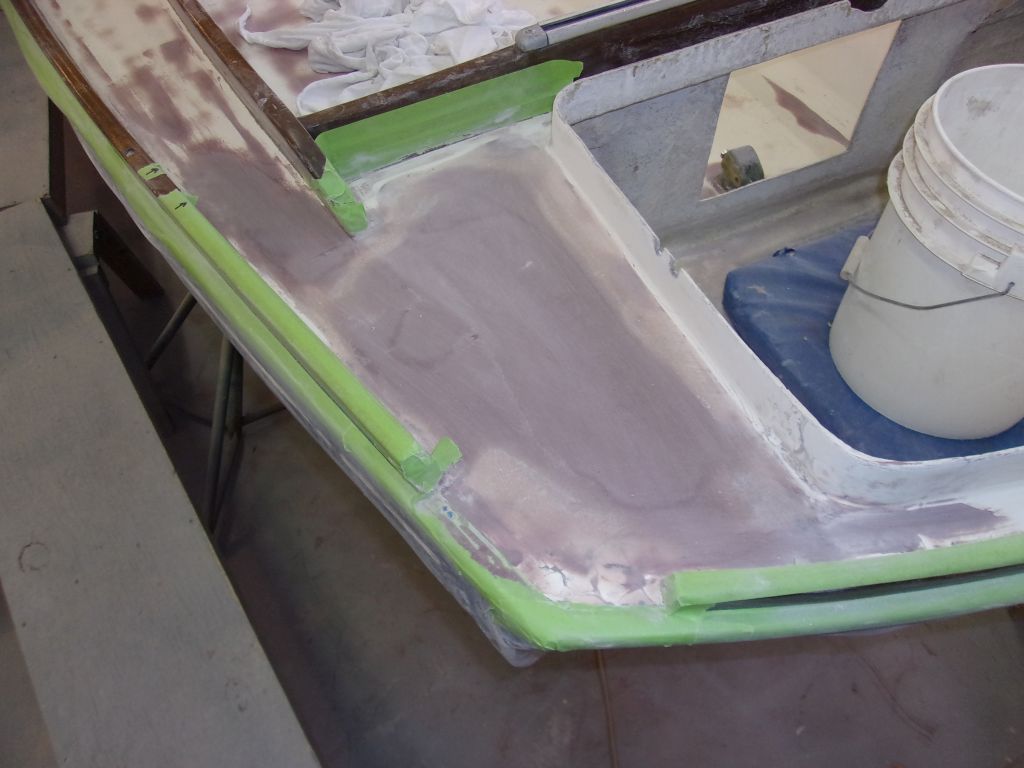
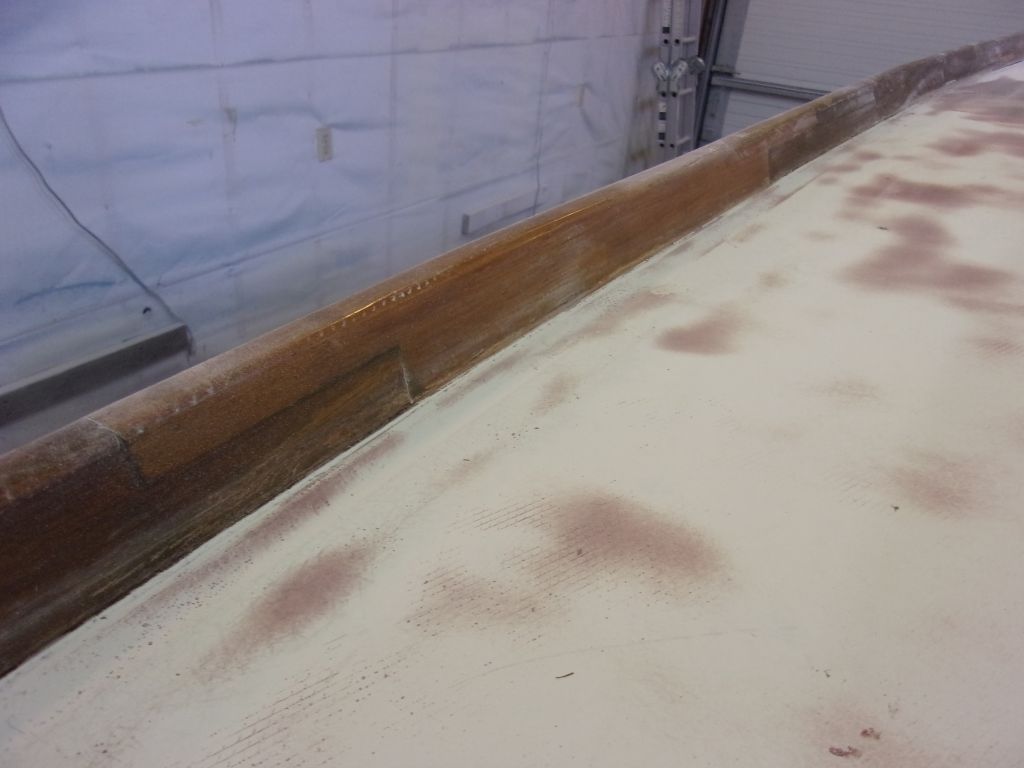
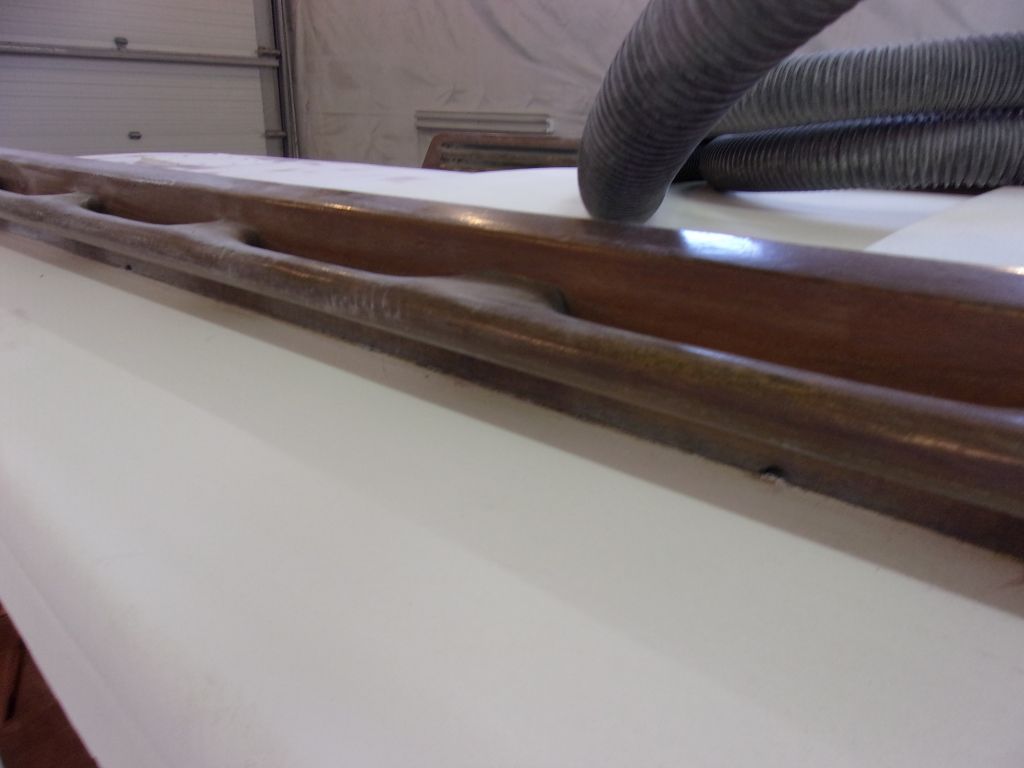
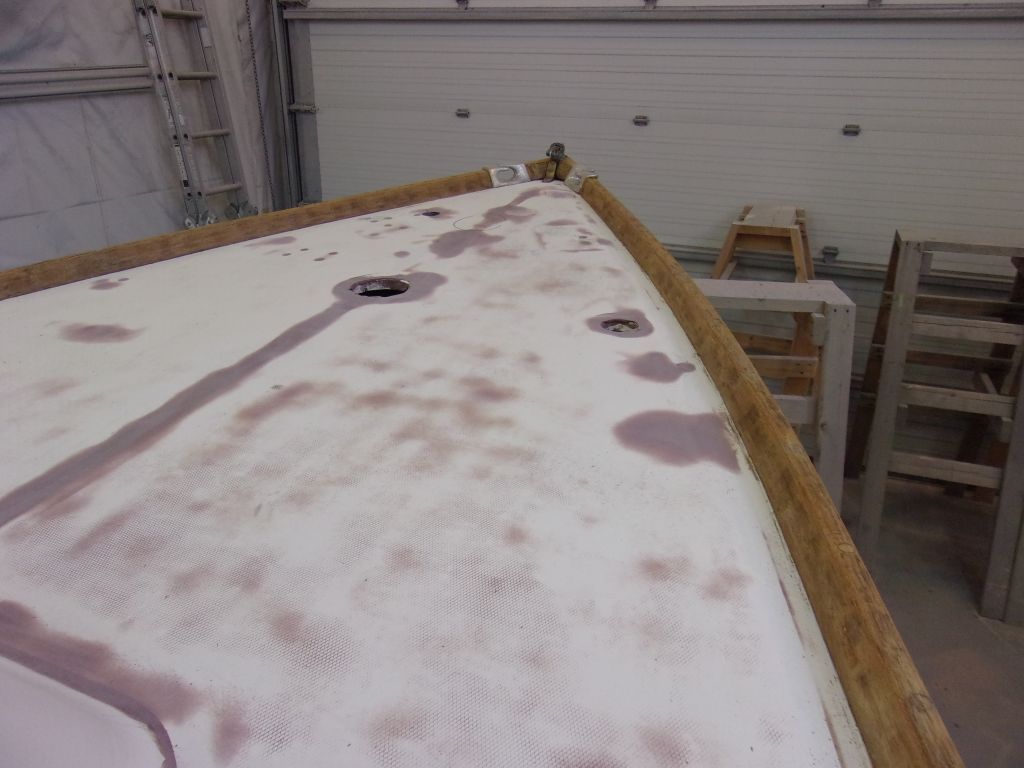
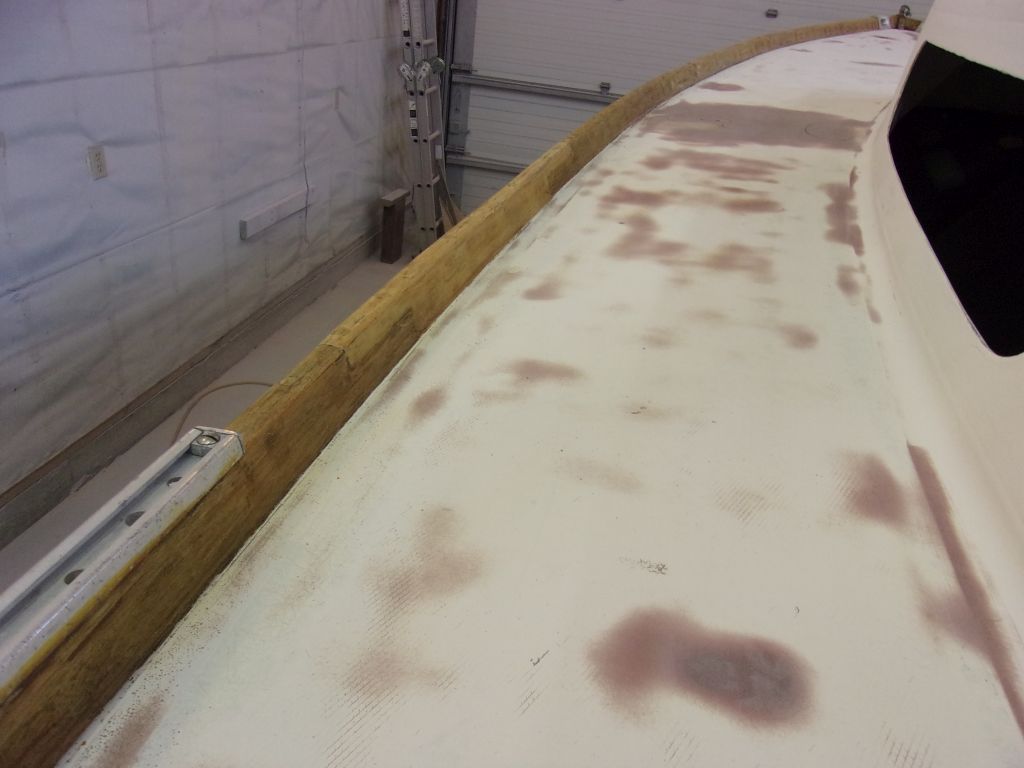
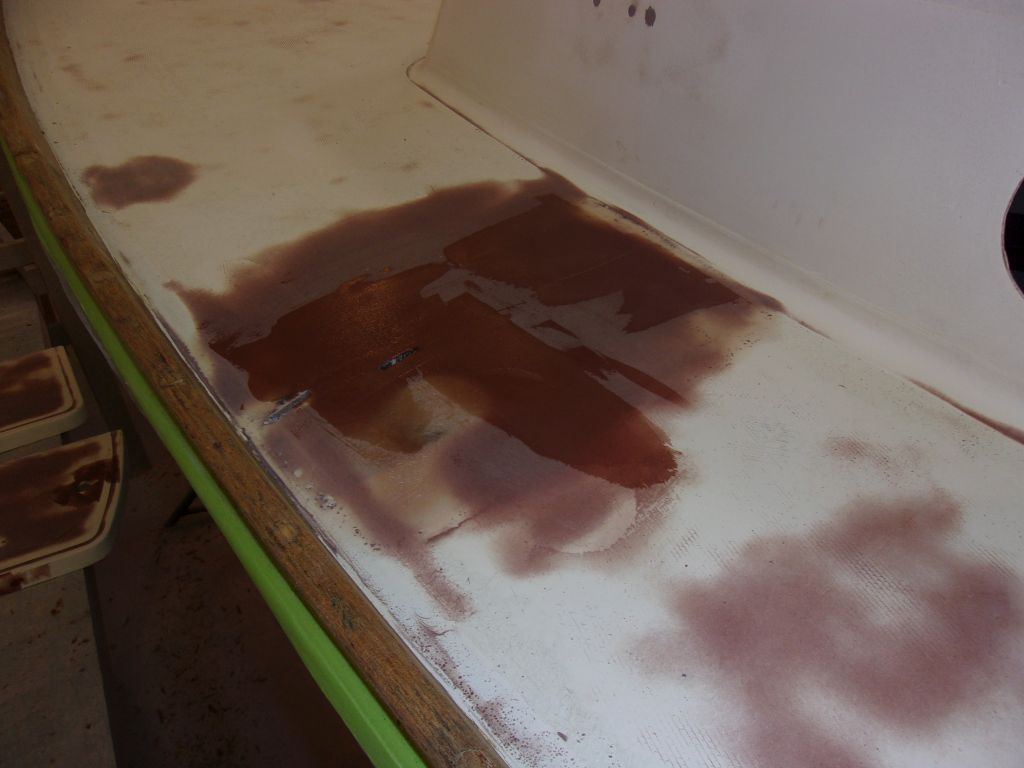
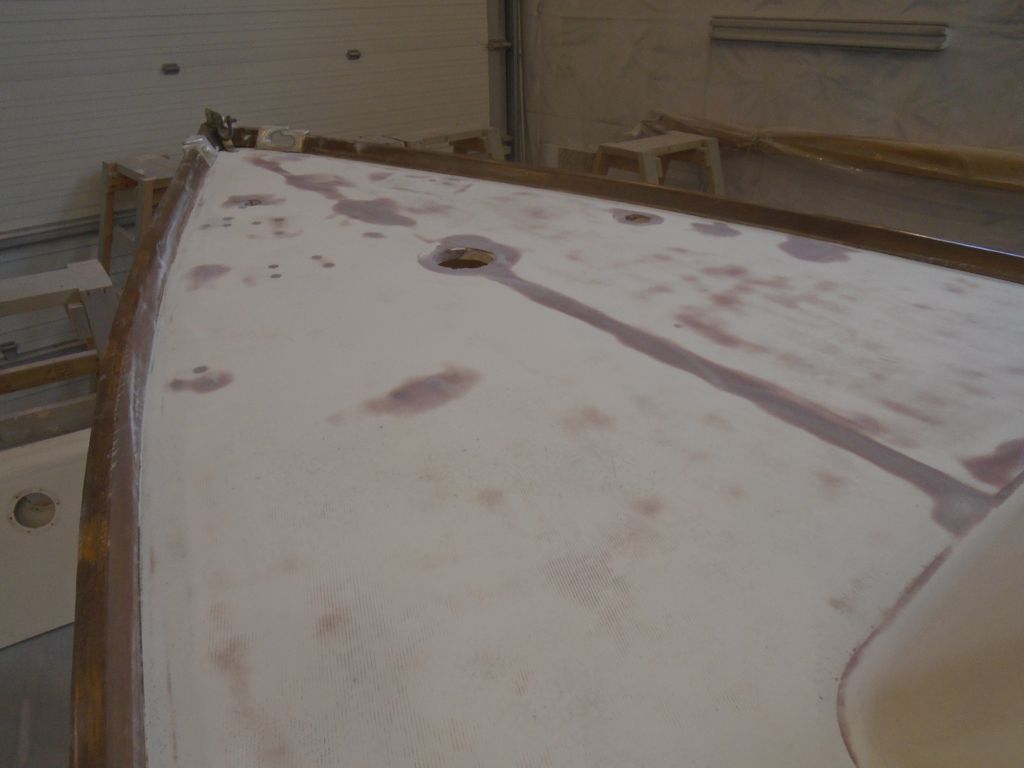
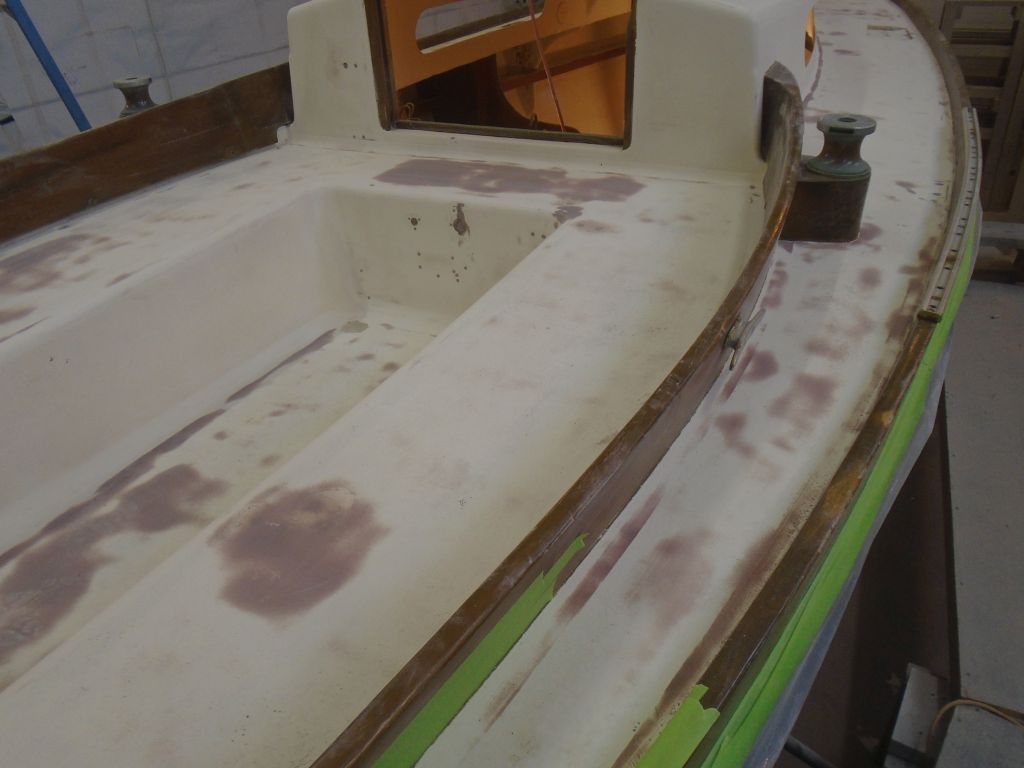
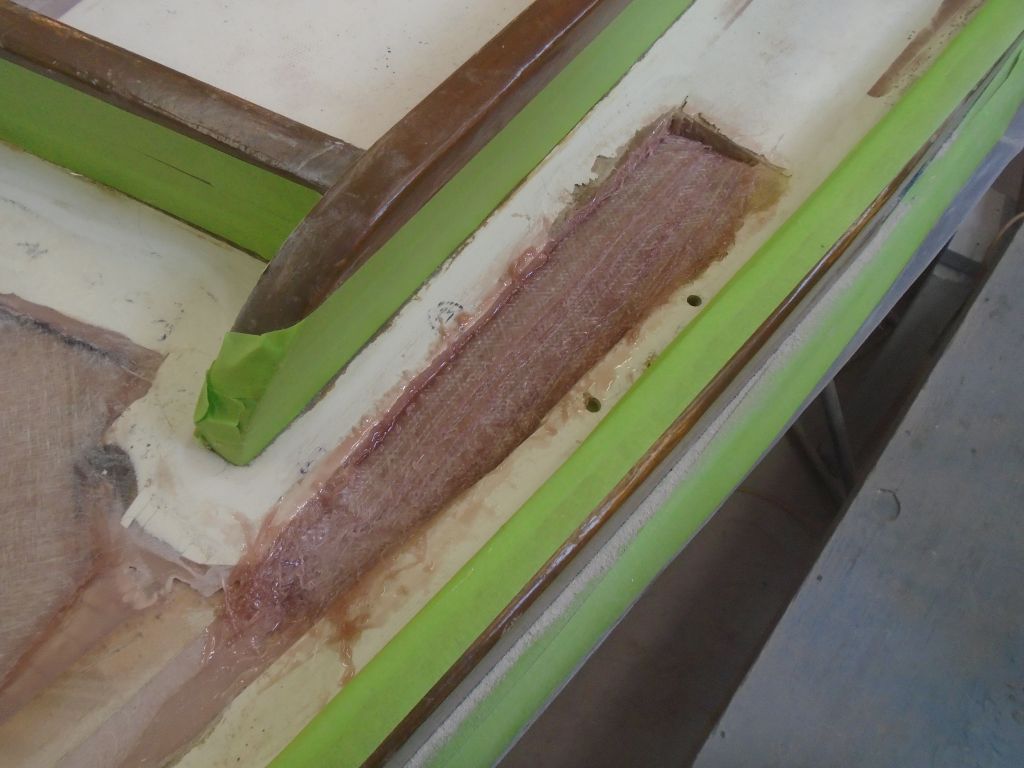
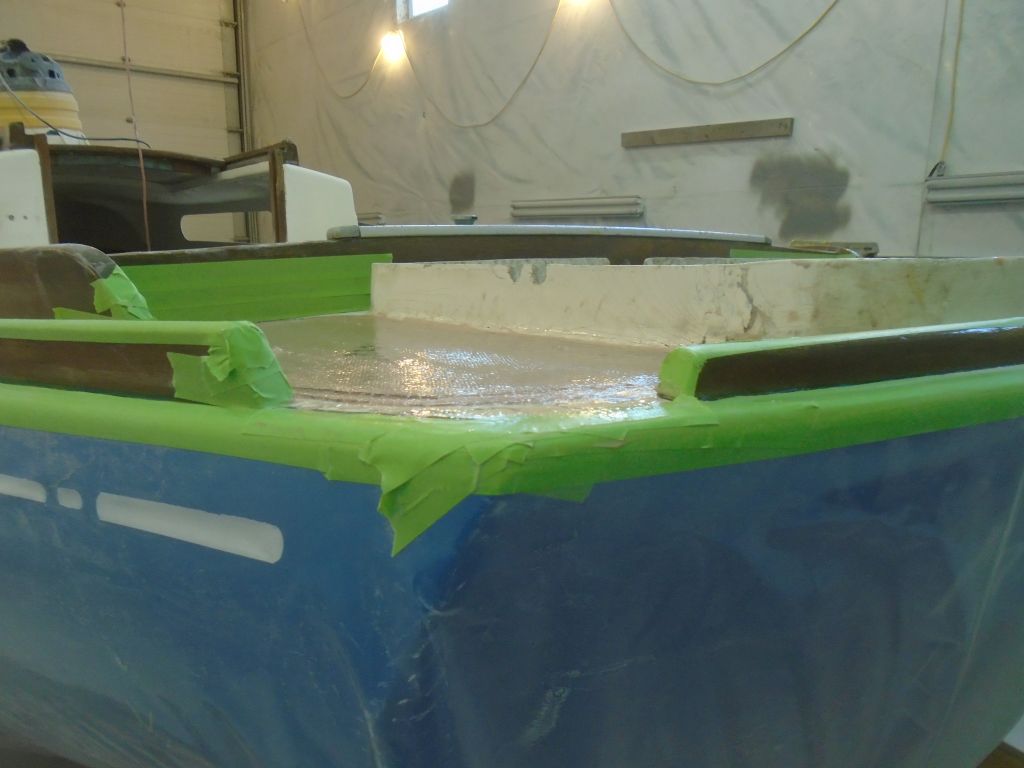
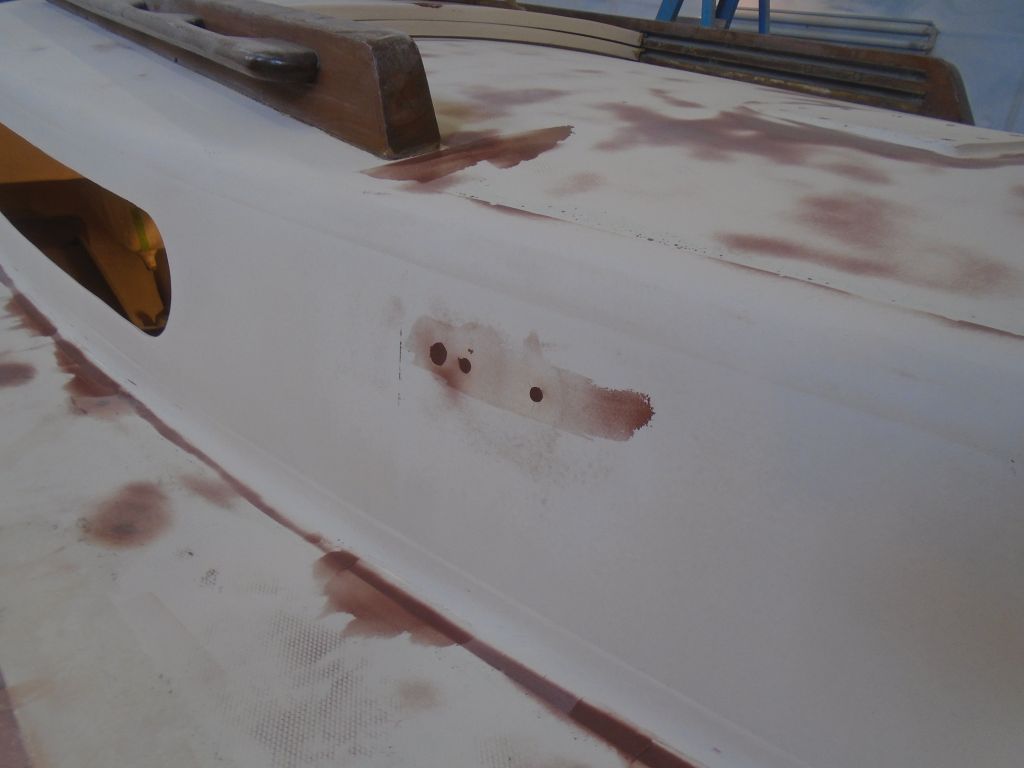
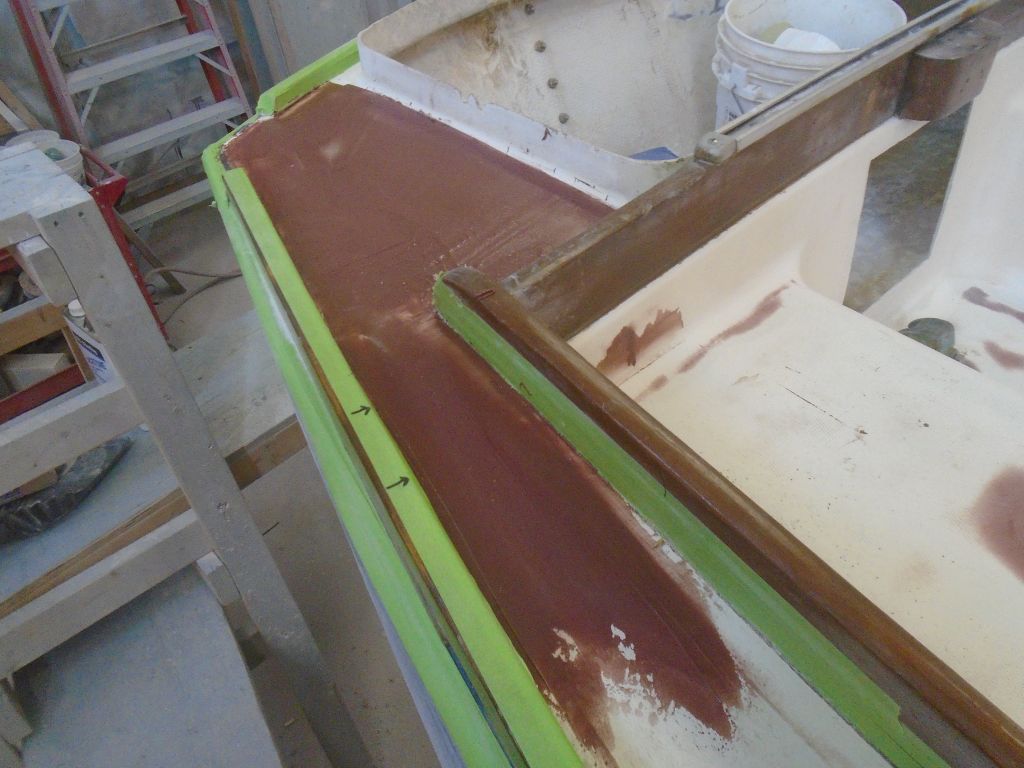
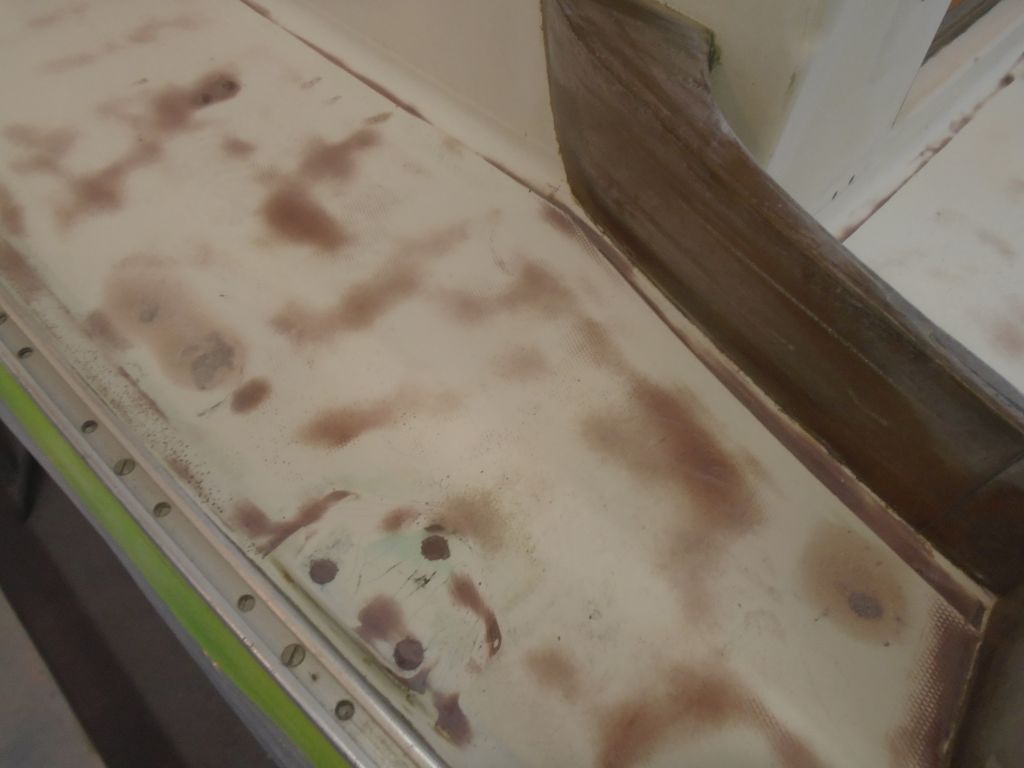
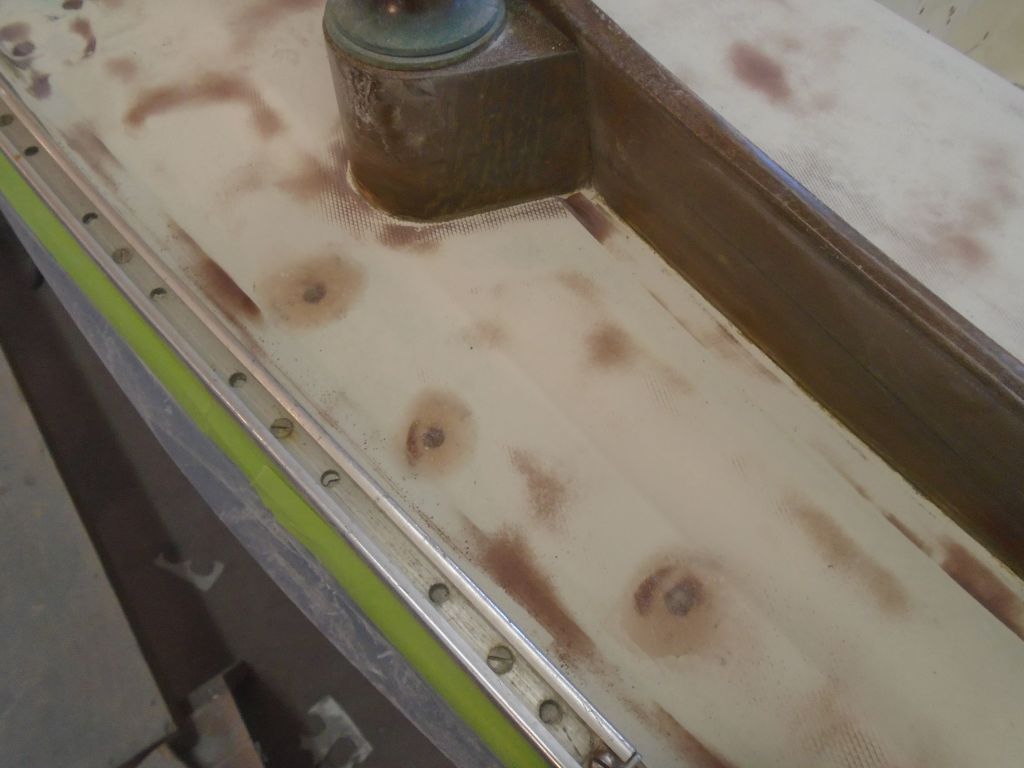
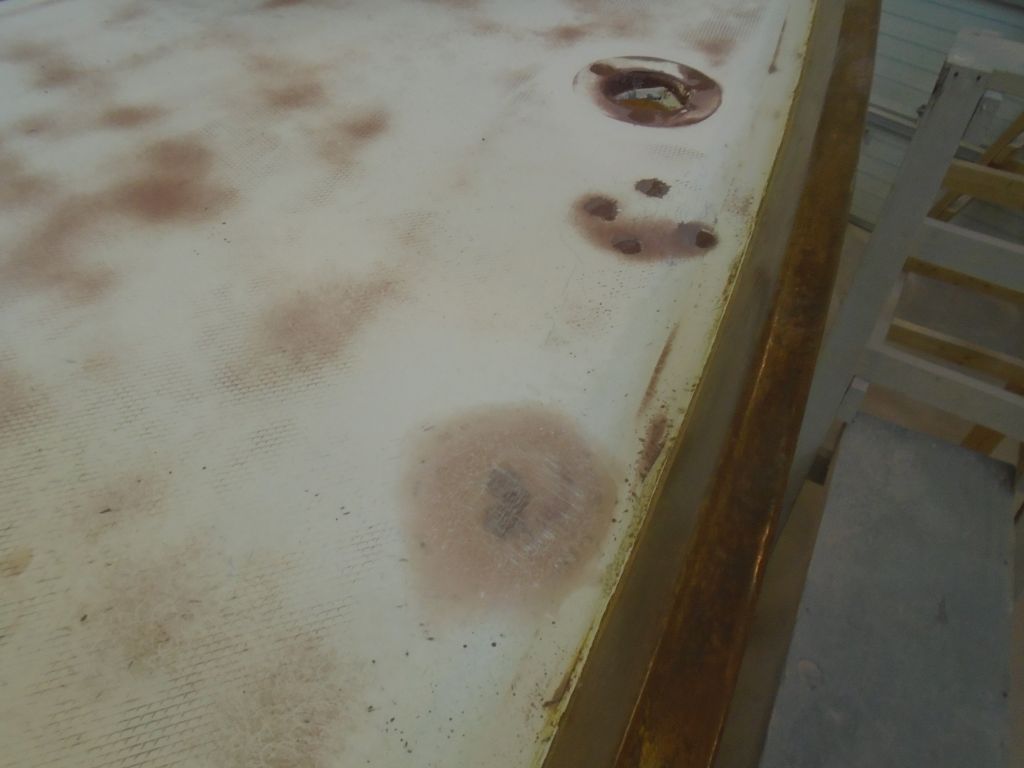
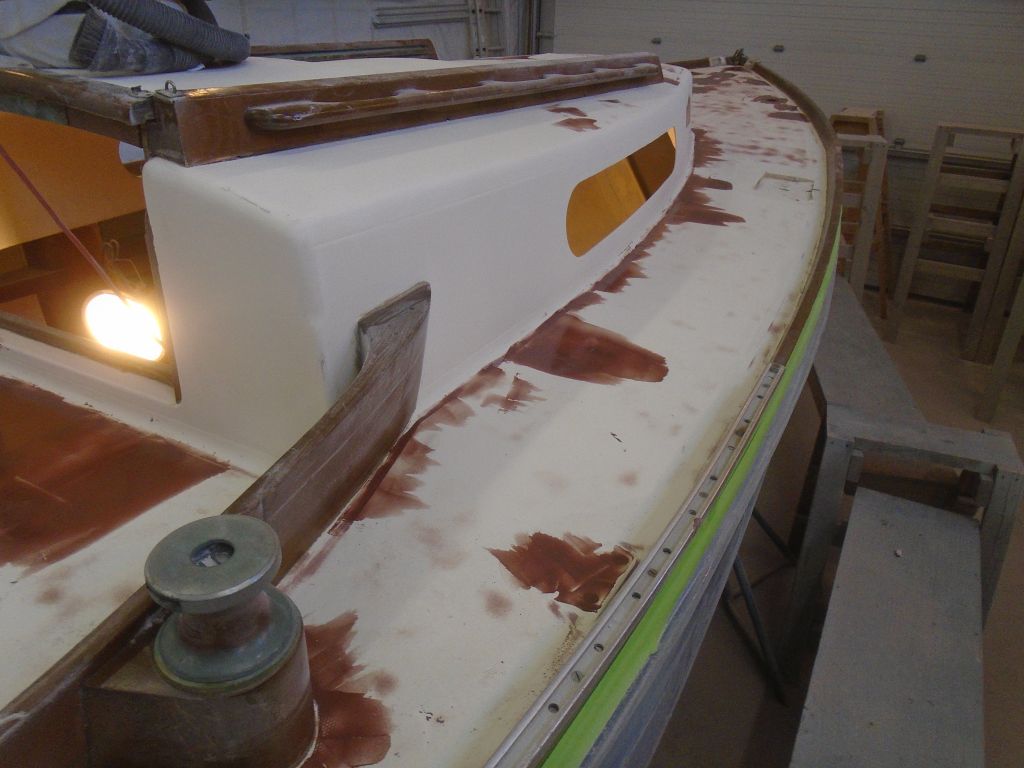
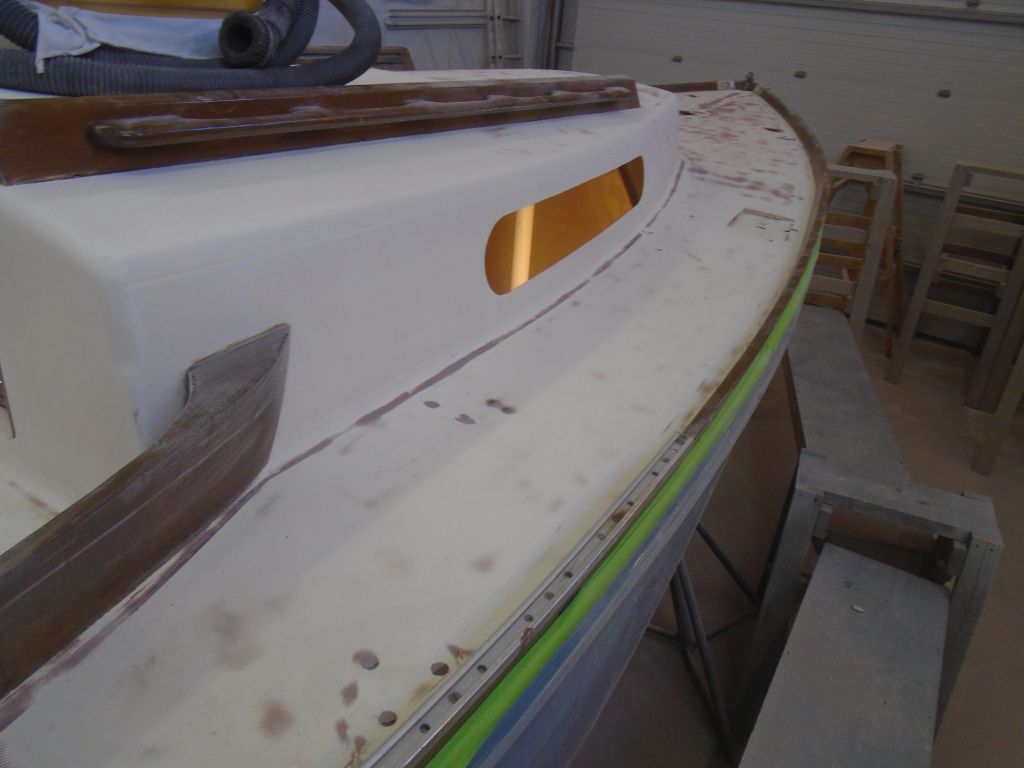
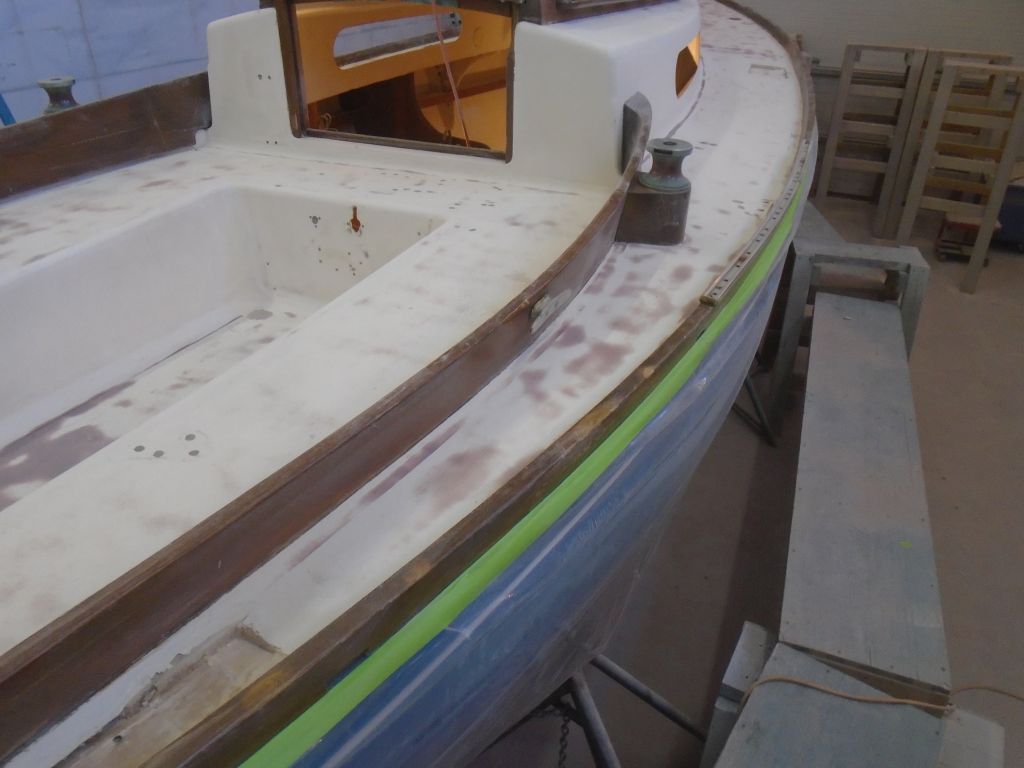
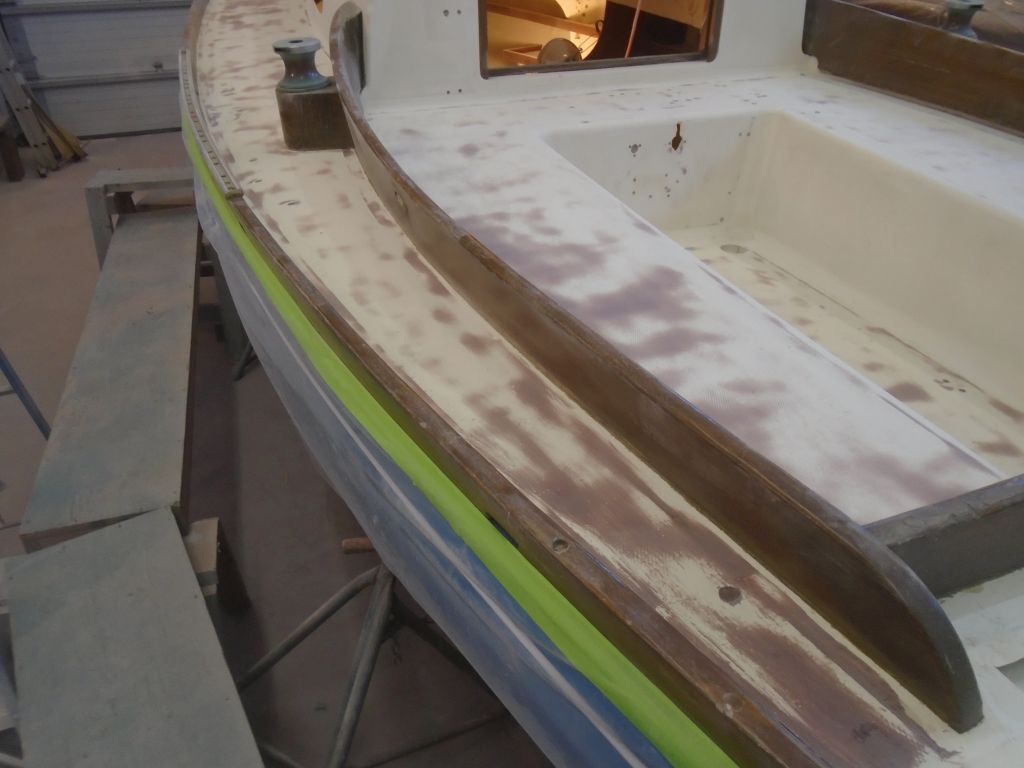
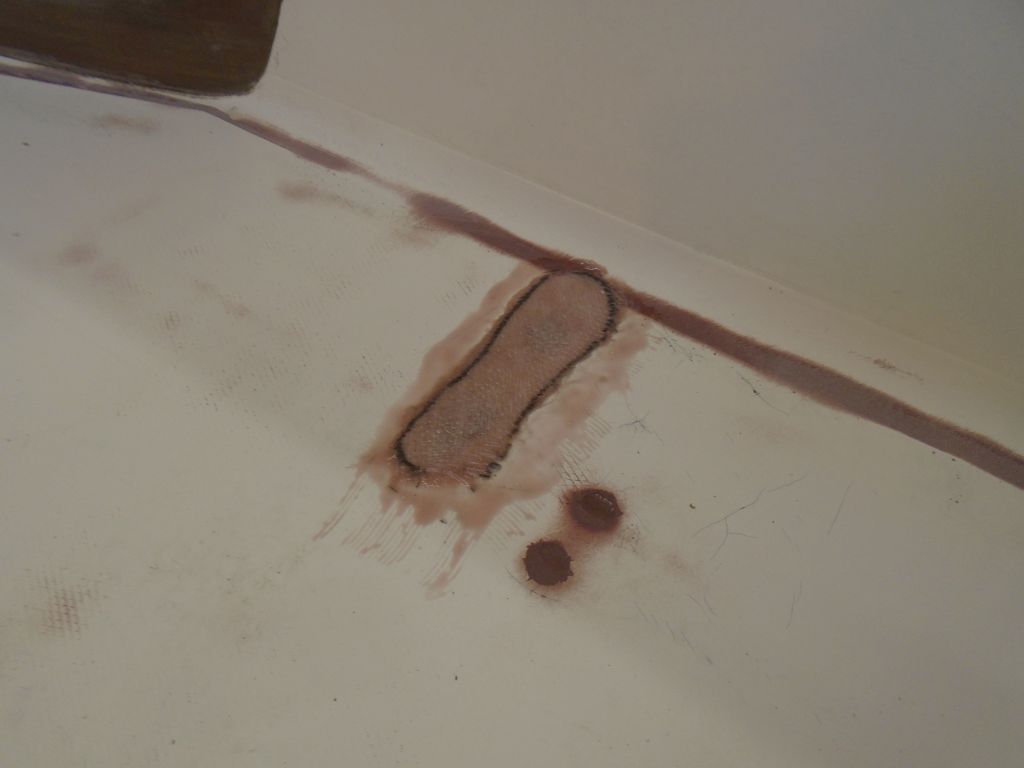
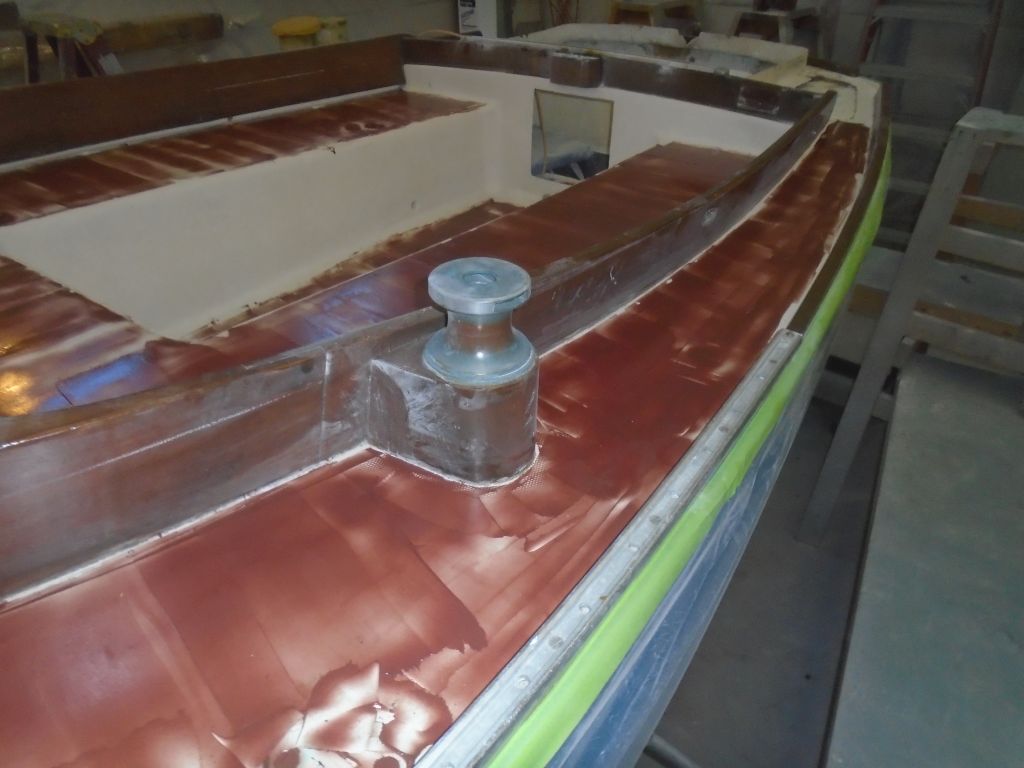
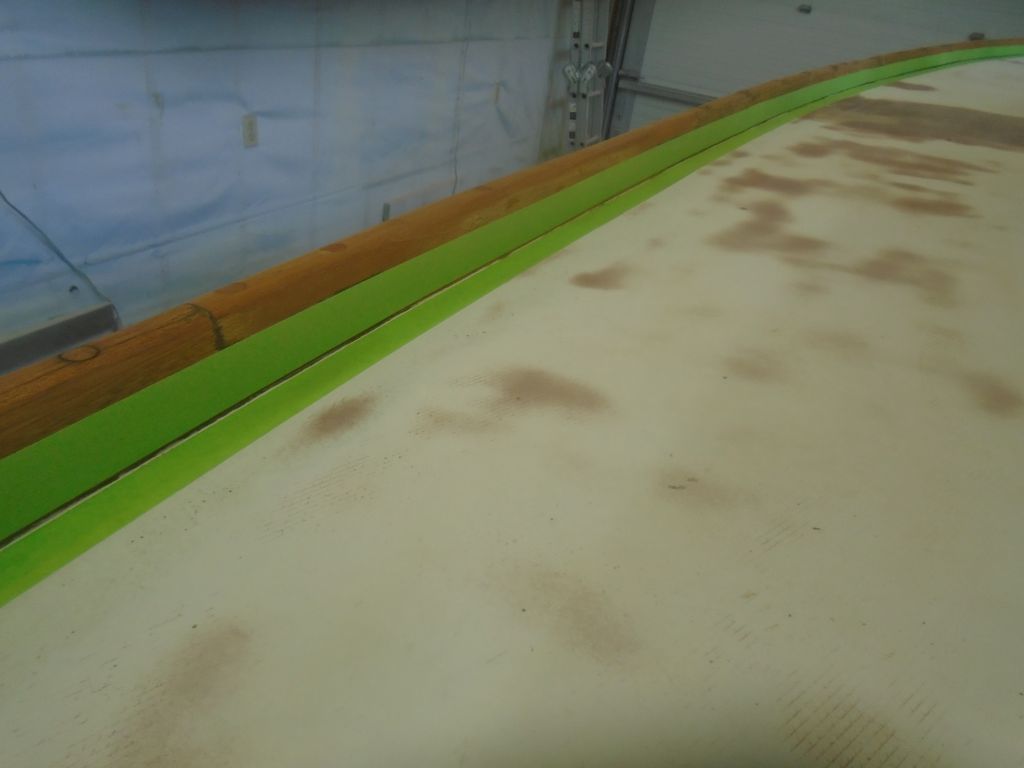
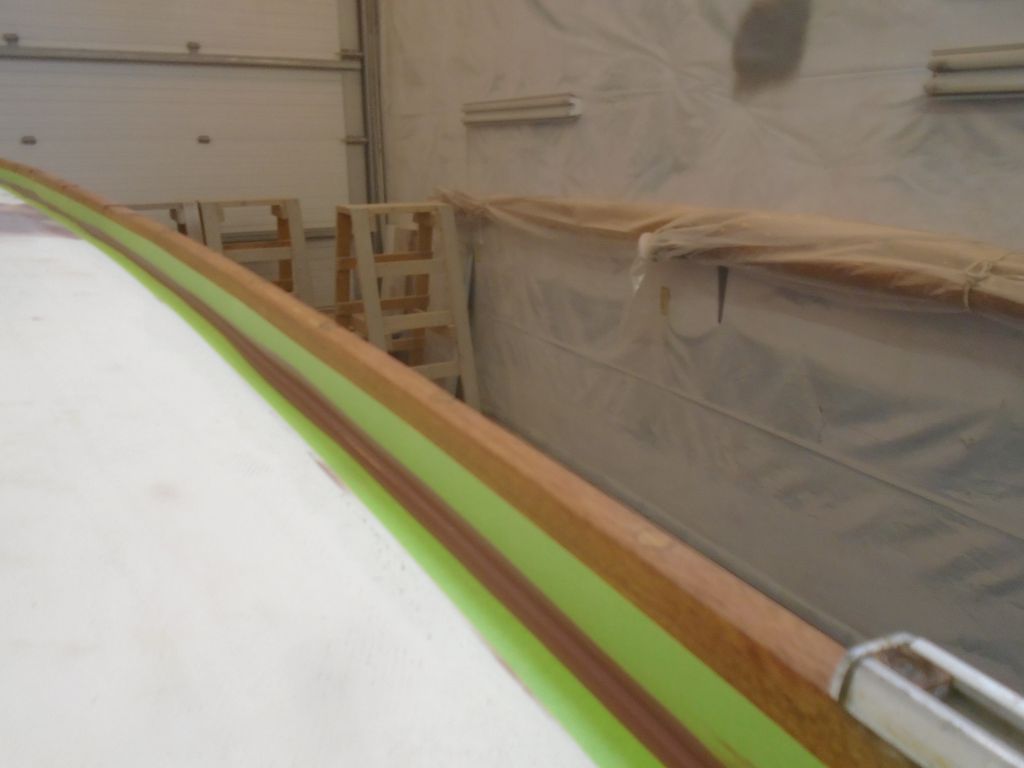
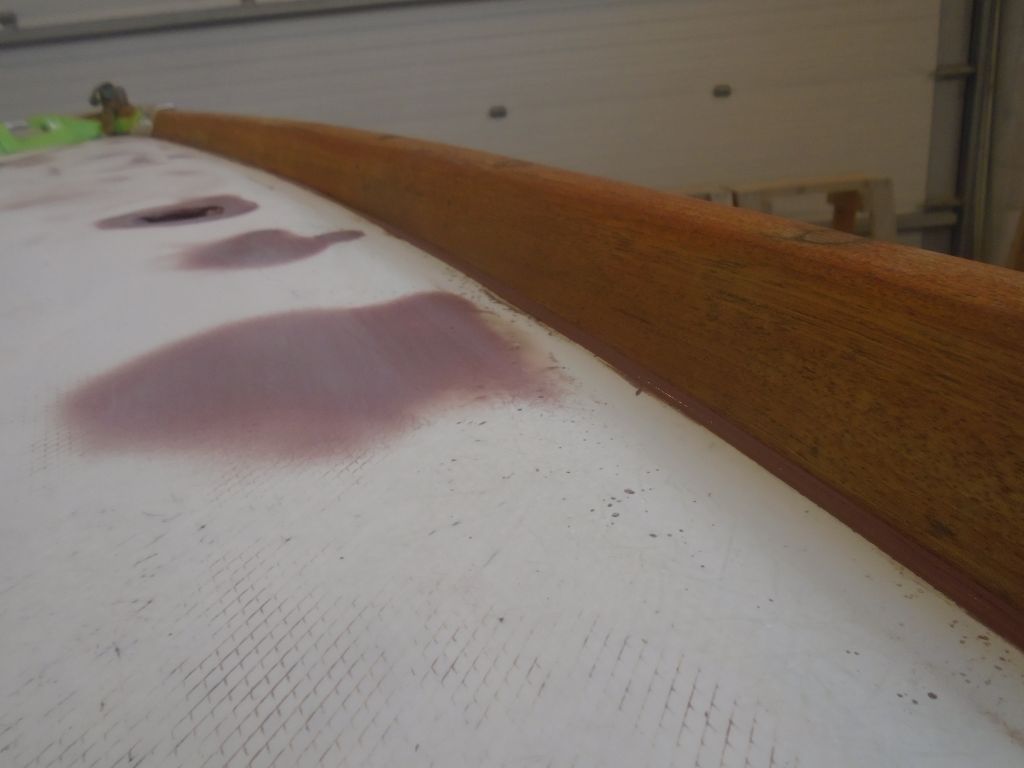
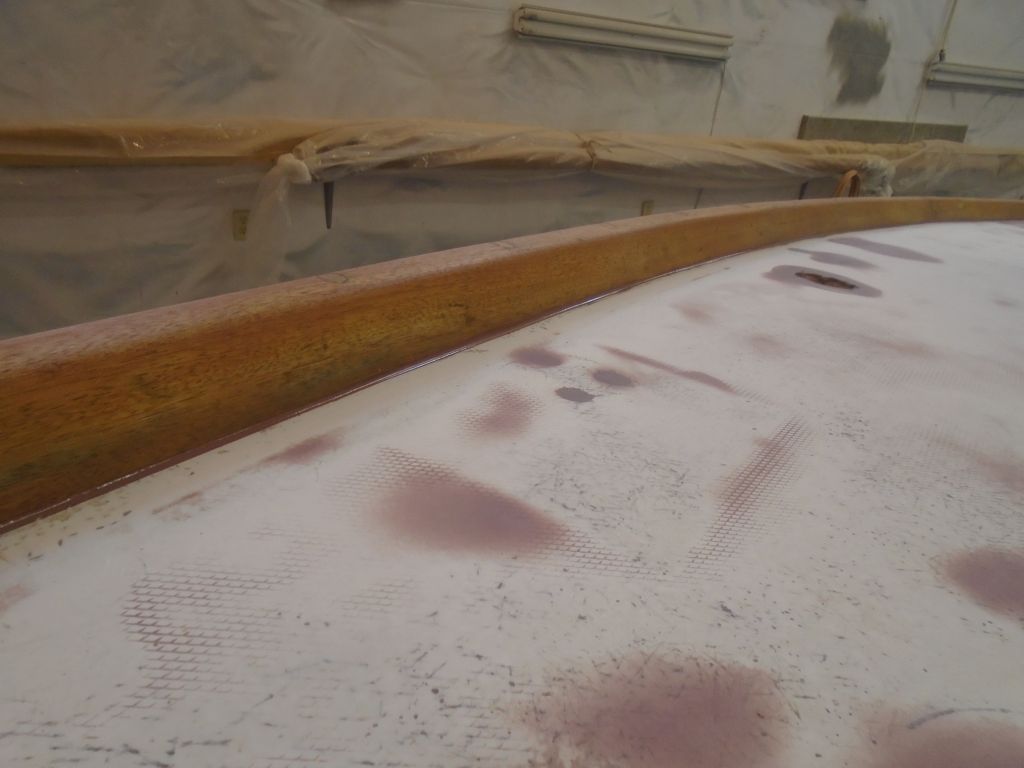
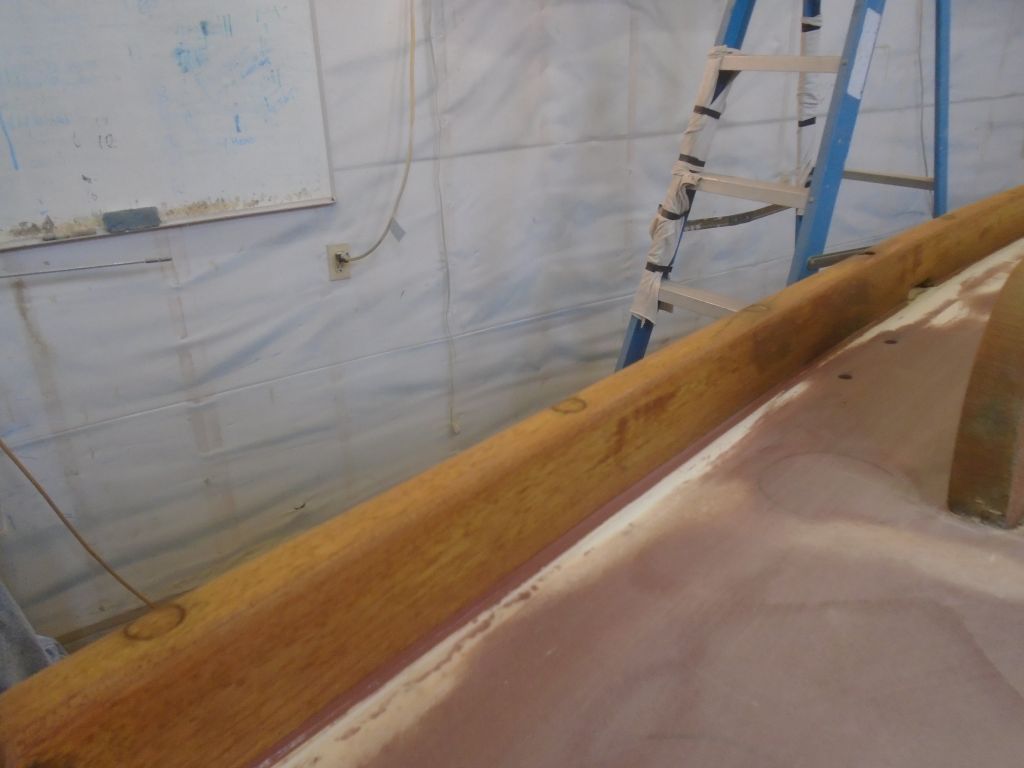
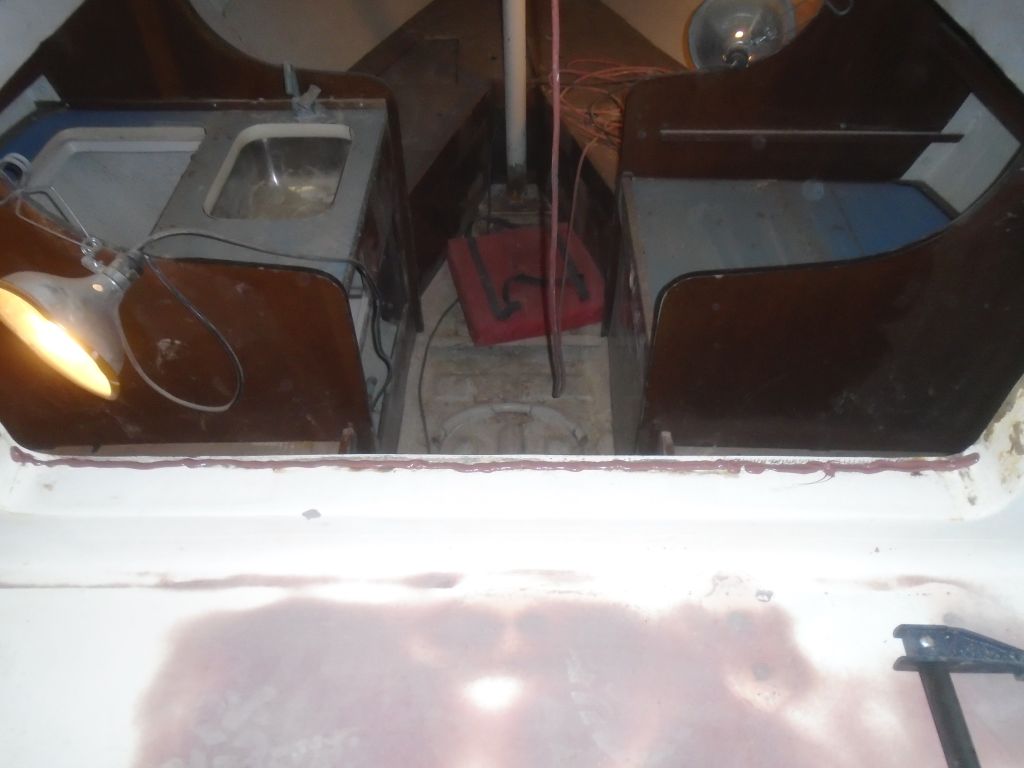
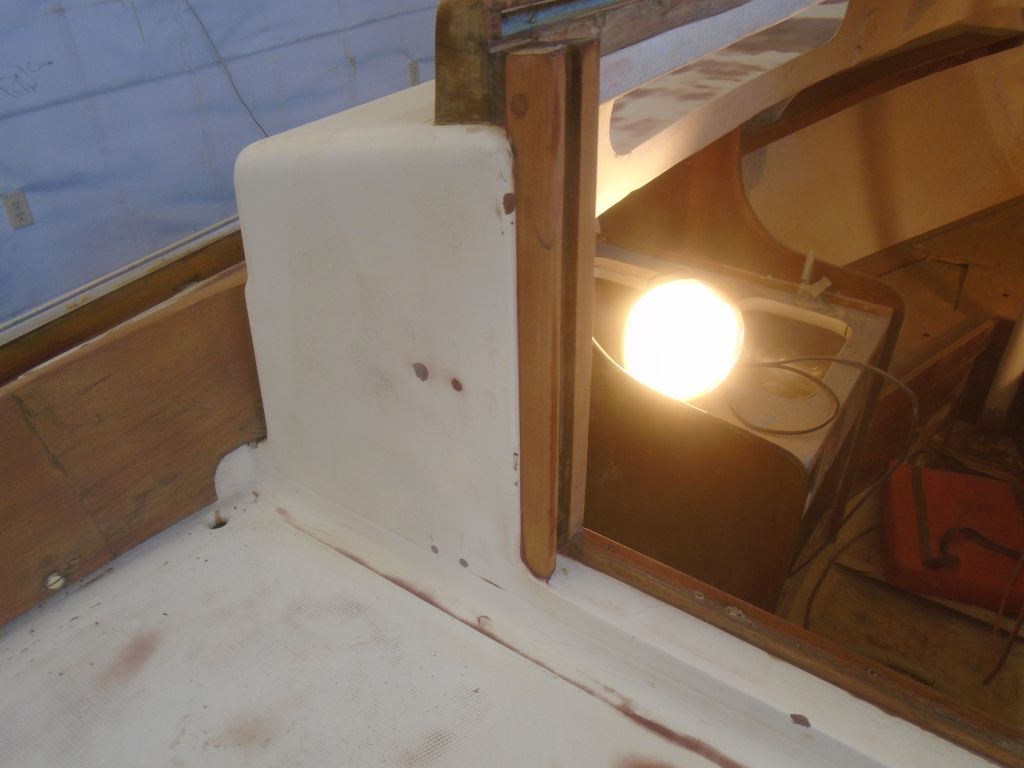
During various sanding, scraping, and stripping chores, some old bedding compound at the edge of the toerail where it met the deck had flaked away, and this left, in some areas, a small gap at the corner of the rail.  This sort of void would attract dirt and moisture and eventually compromise the new wood finish, so I decided to apply a small bead of sealant here to seal the crack and provide a more cosmetically appealing appearance.

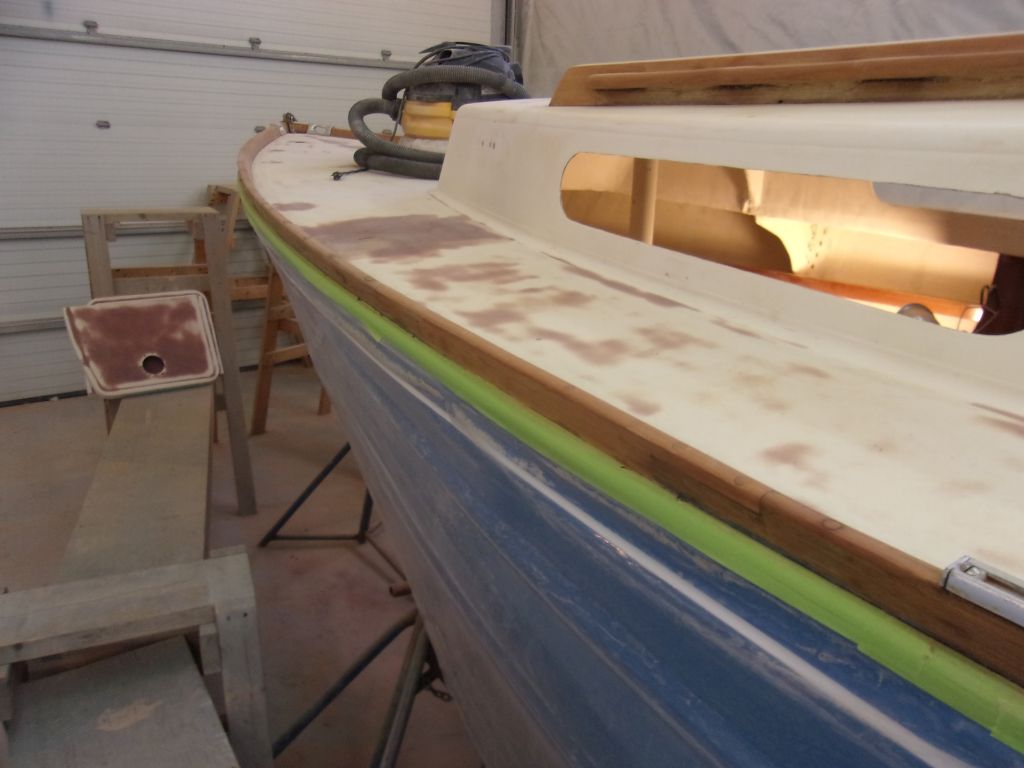
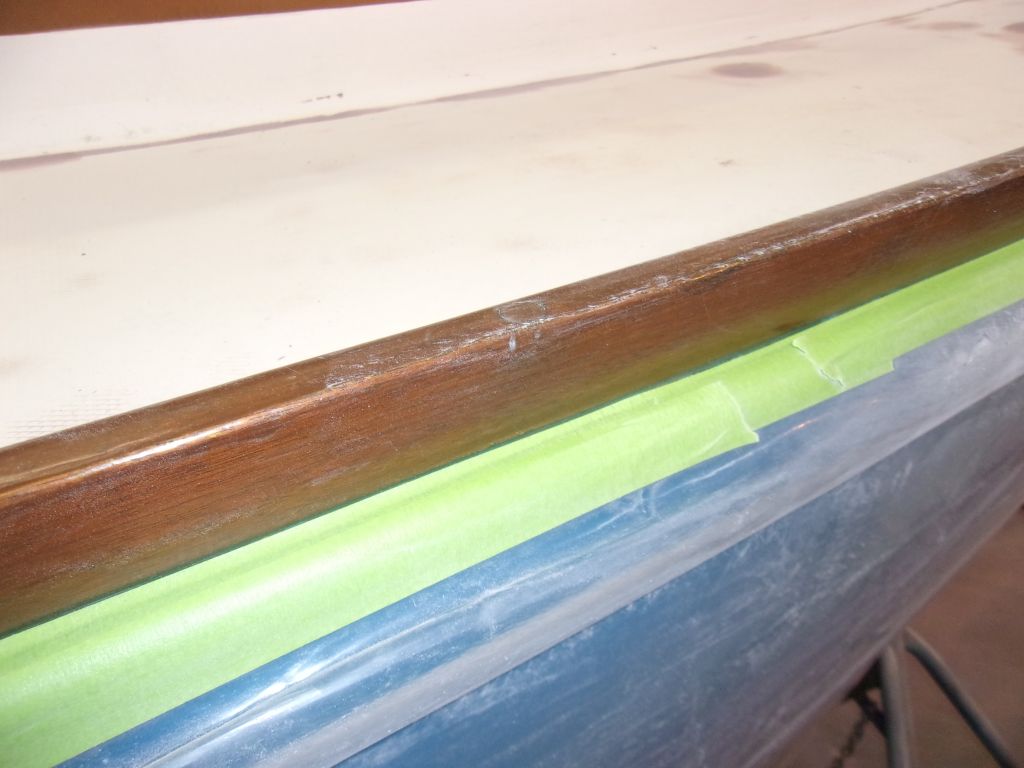
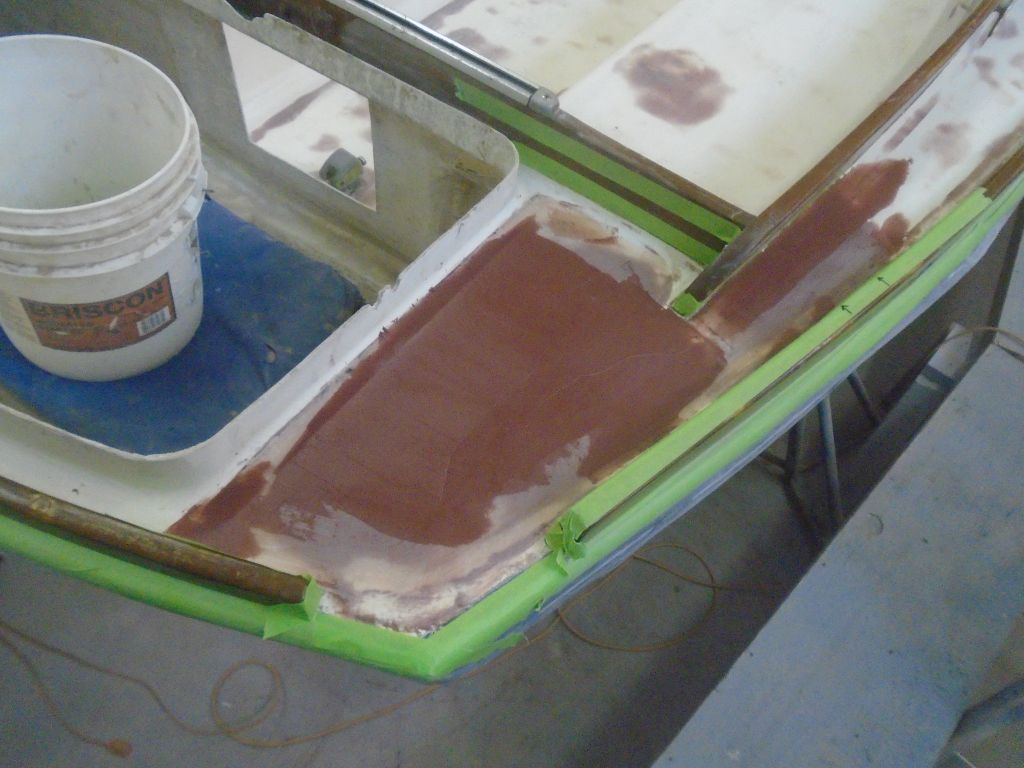
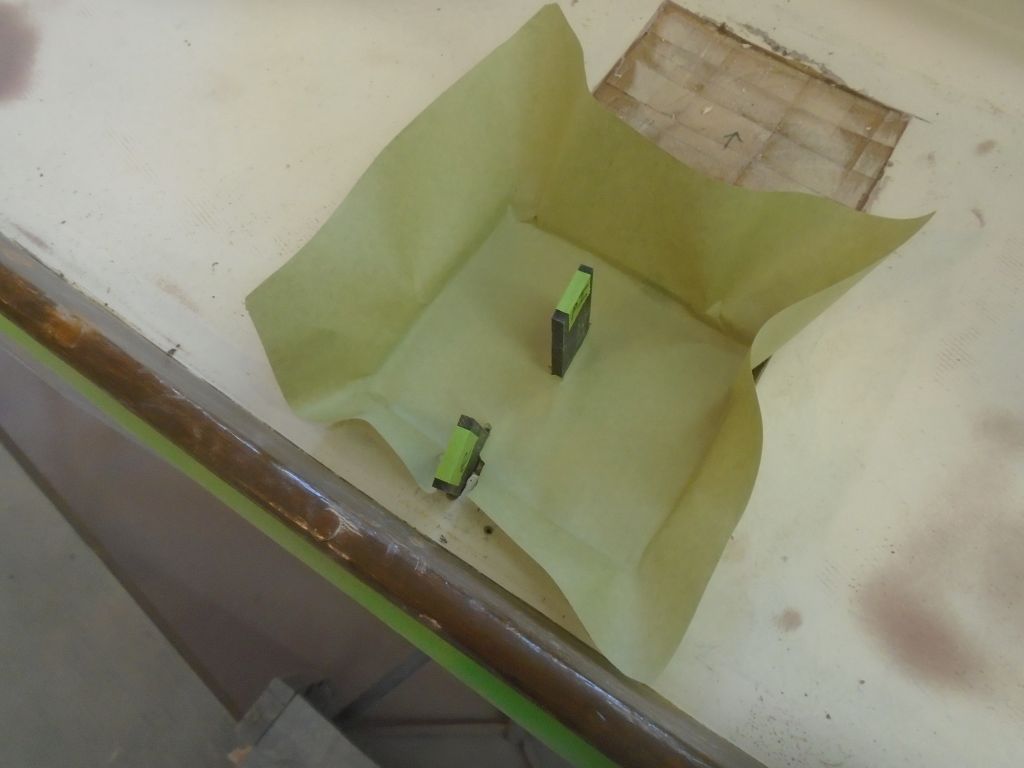
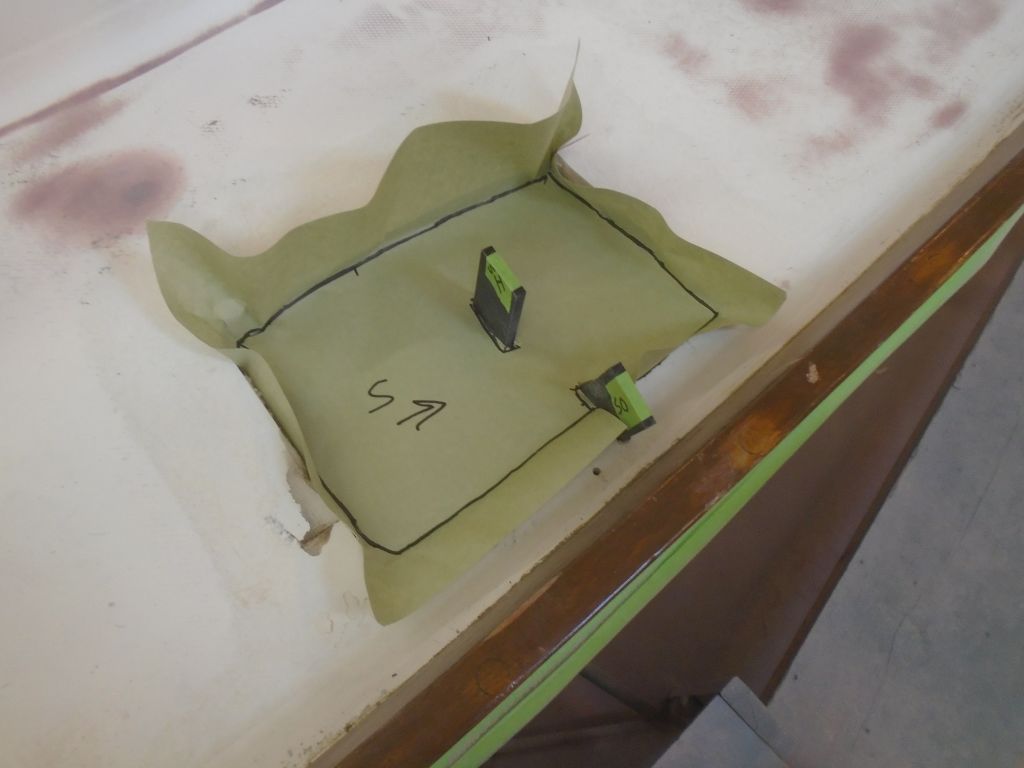
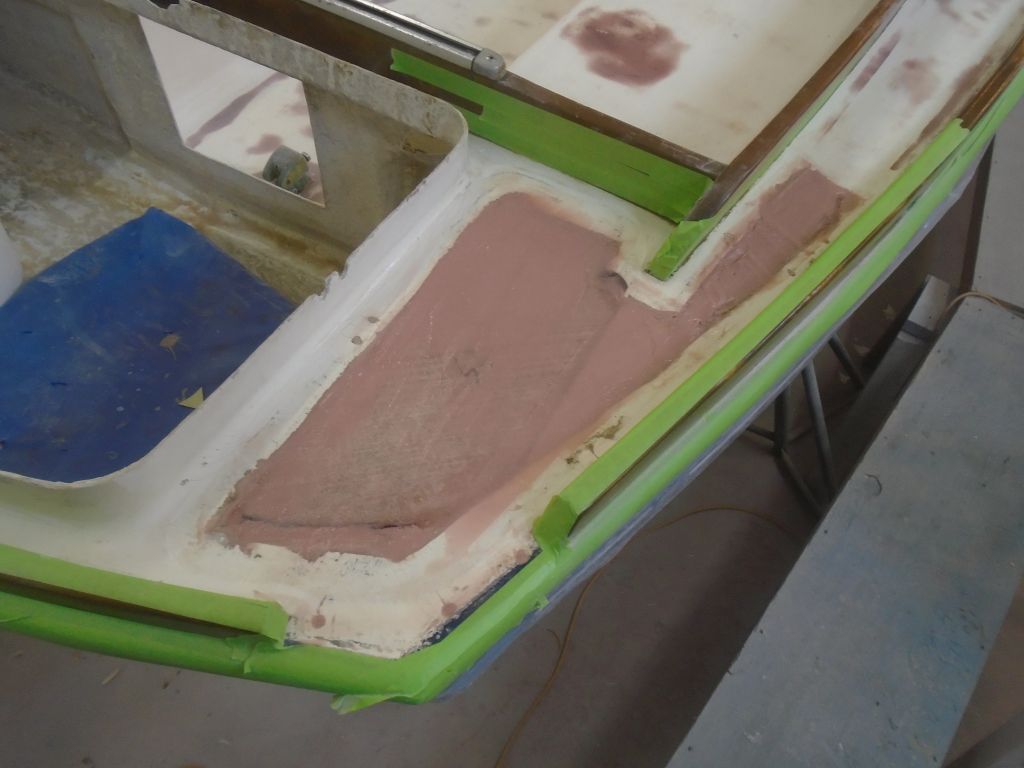
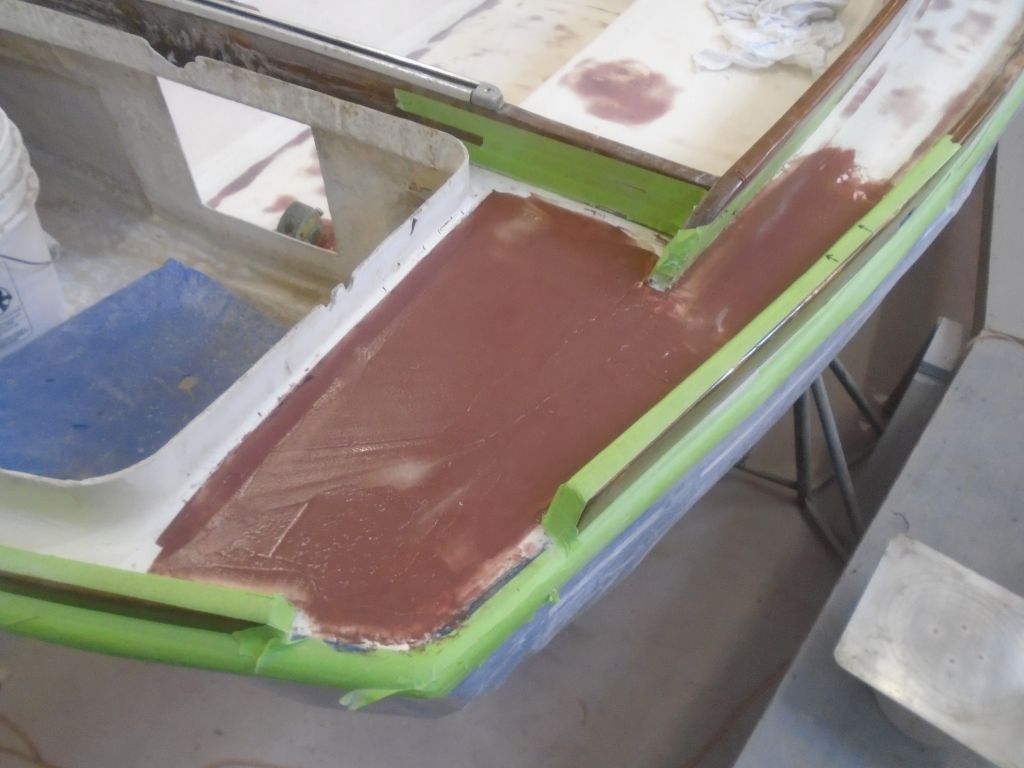
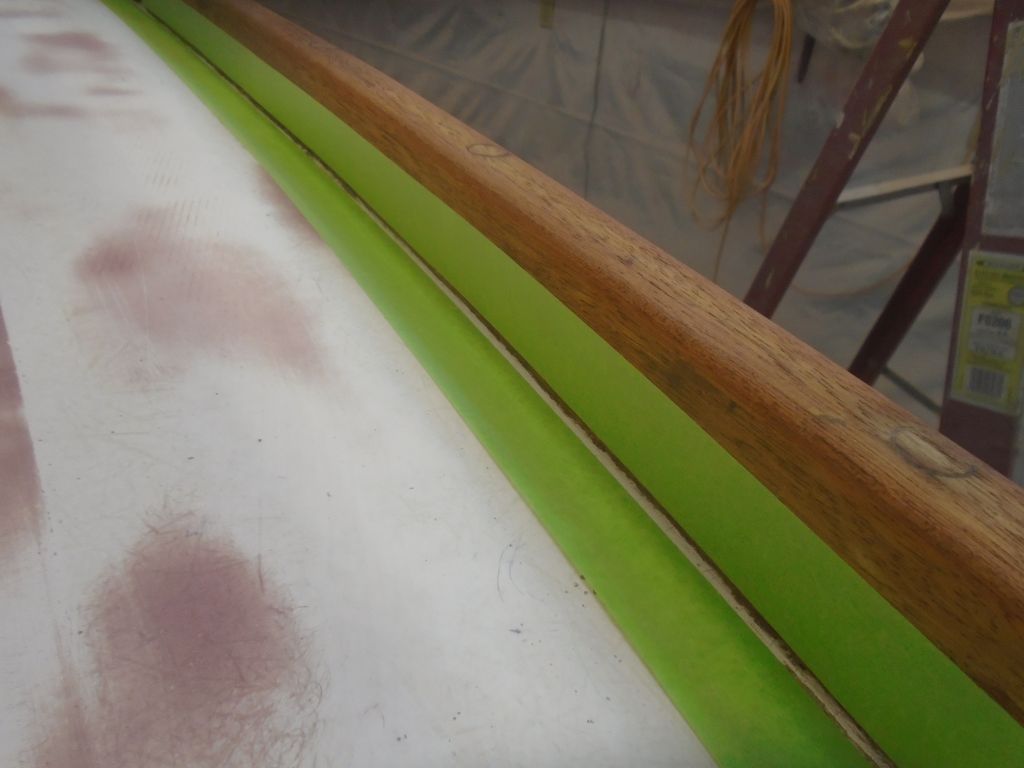
After vacuuming and solvent-washing the area, I applied masking tape on both sides of the seam to protect the adjacent surfaces.  I left just a bit of exposed surface on both deck and toerail to give the new sealant somewhere to bond externally, but mainly I wanted the sealant to be forced into the small  gap as much as possible.

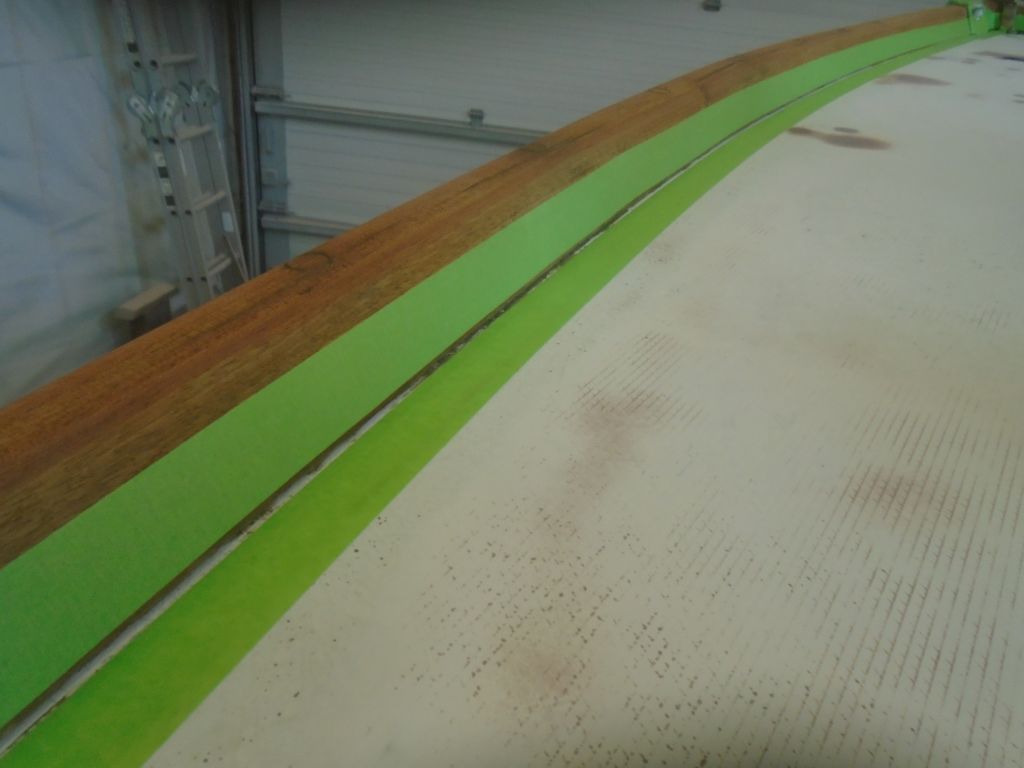
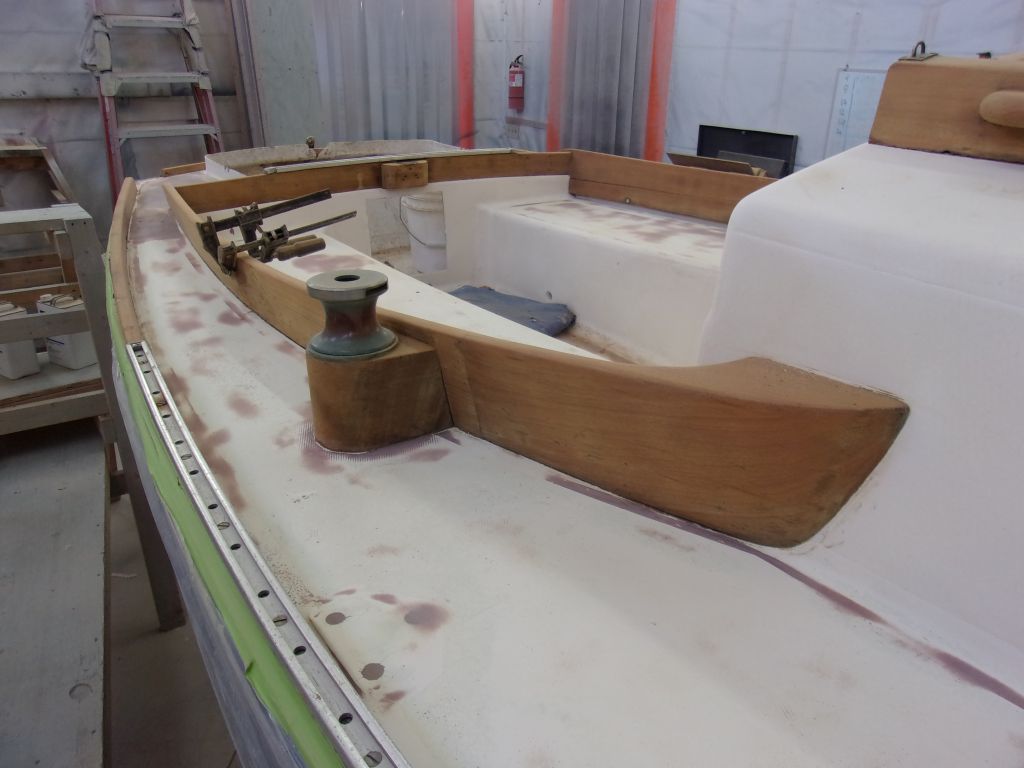
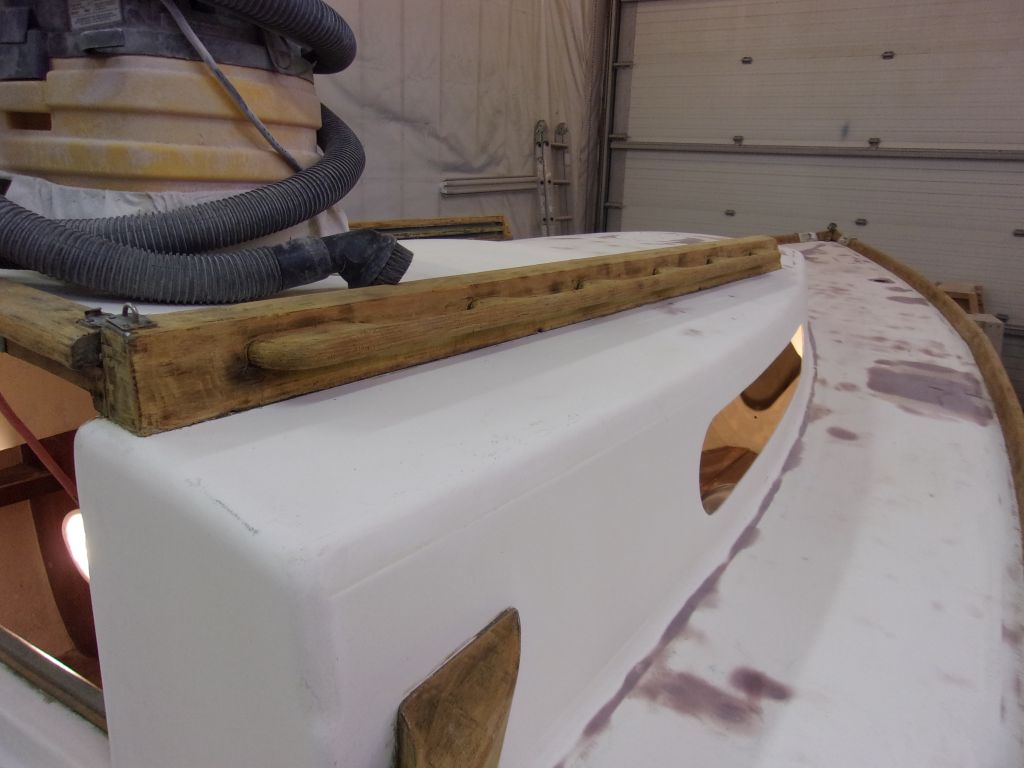
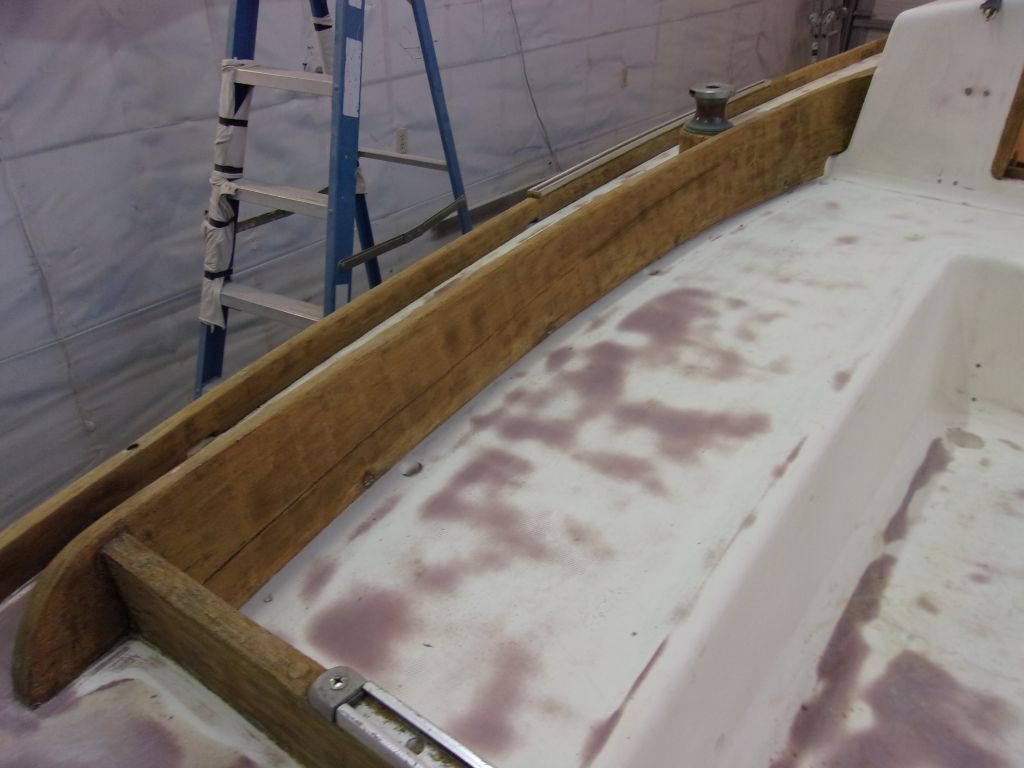
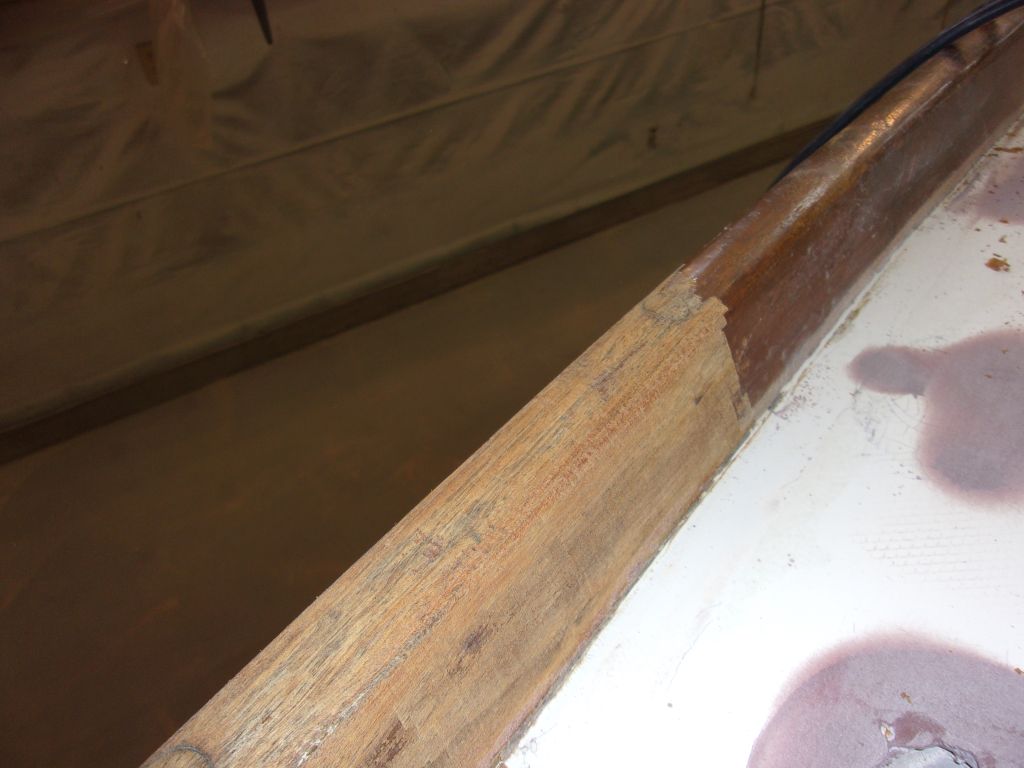
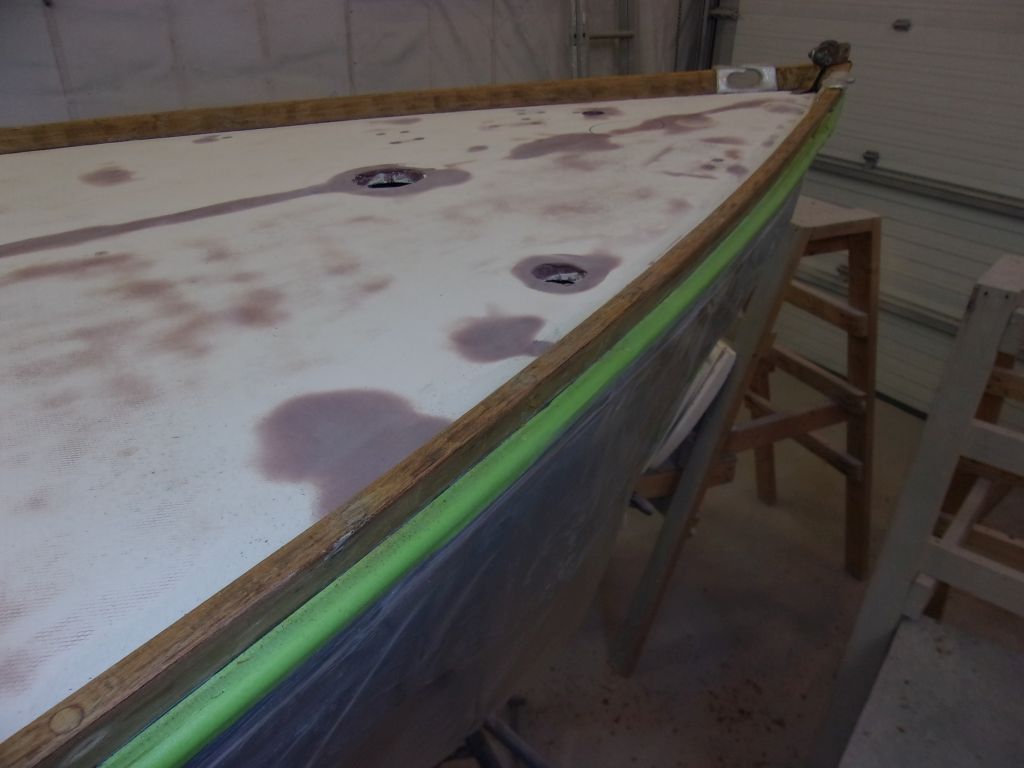
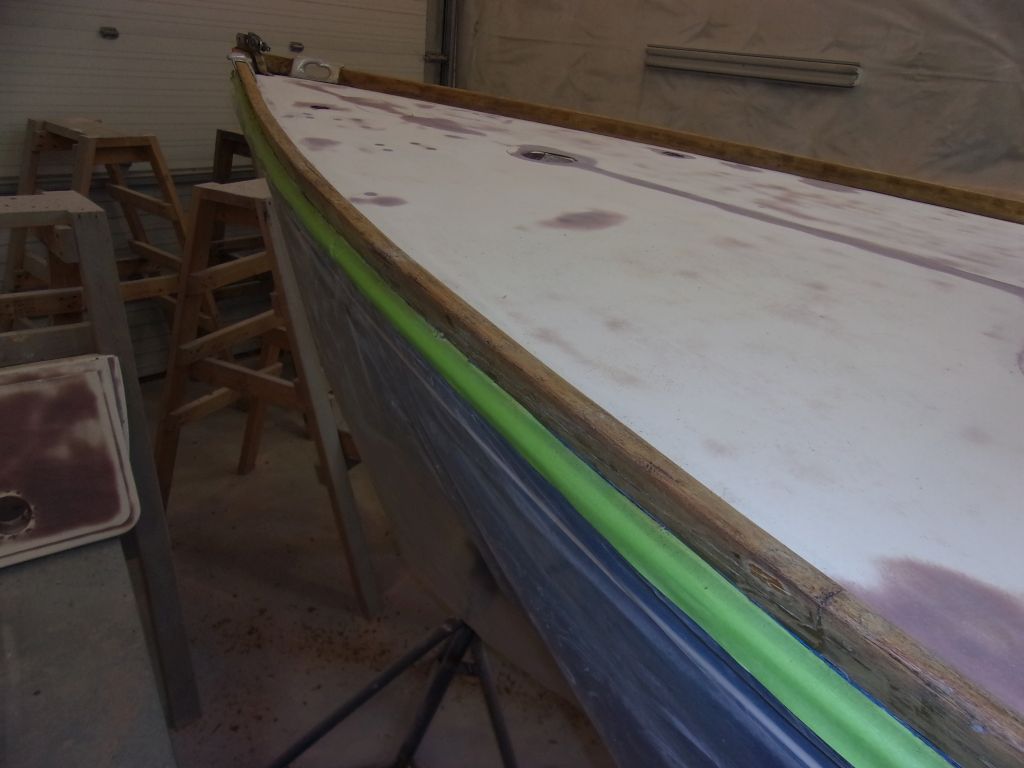
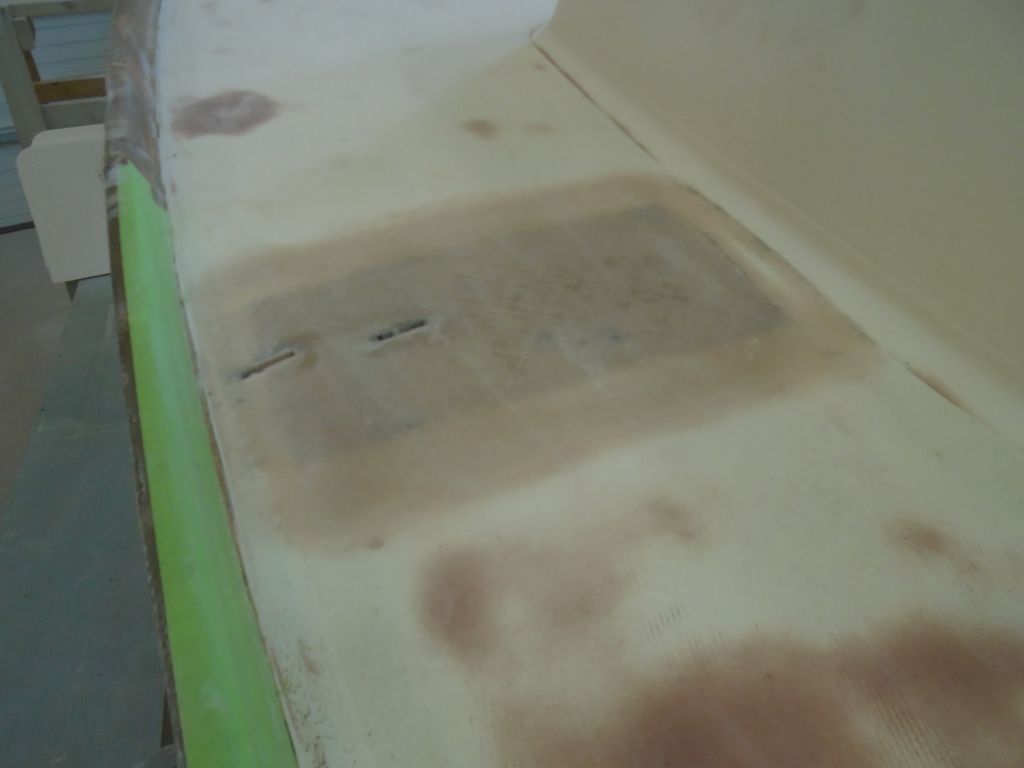
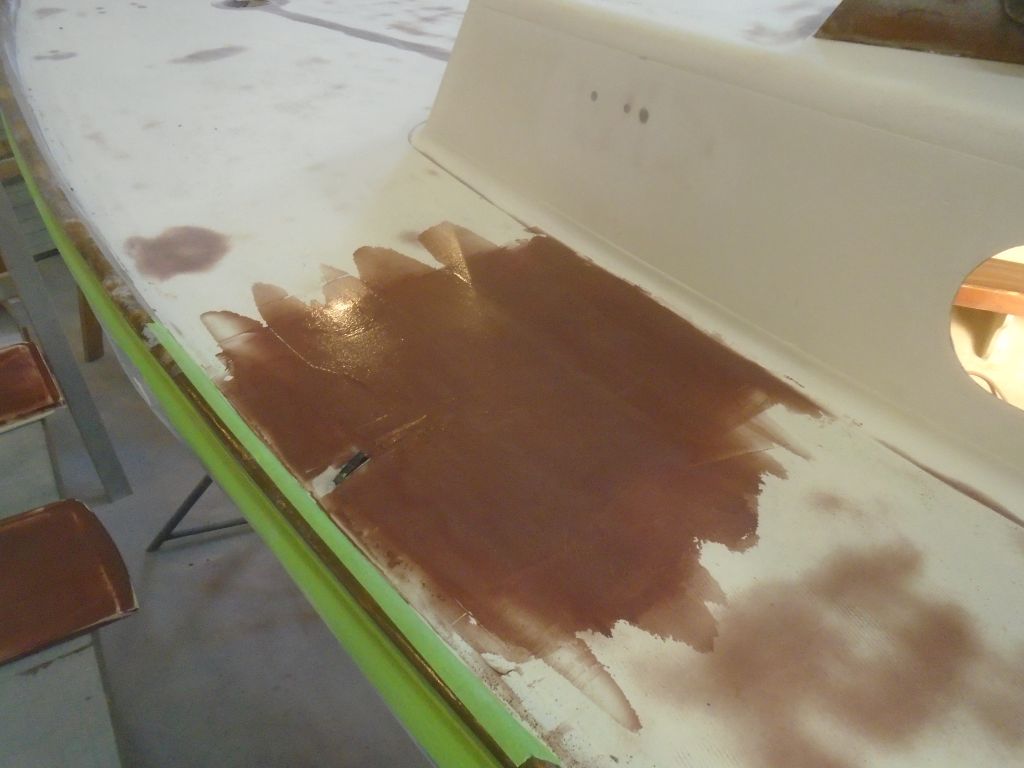
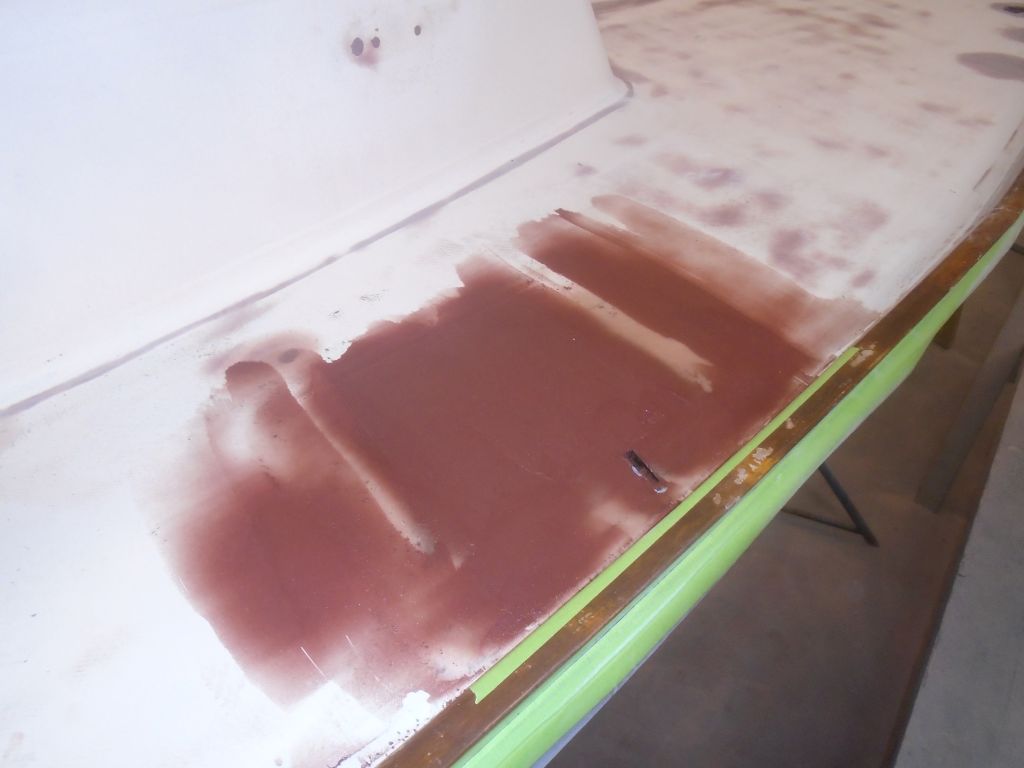
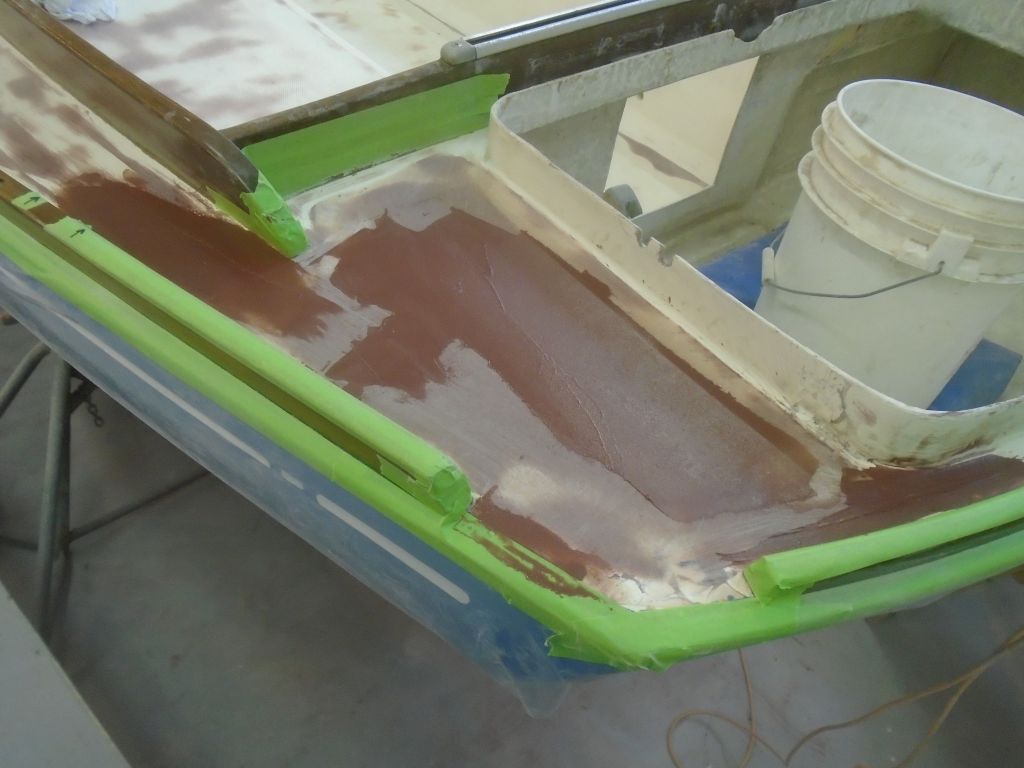
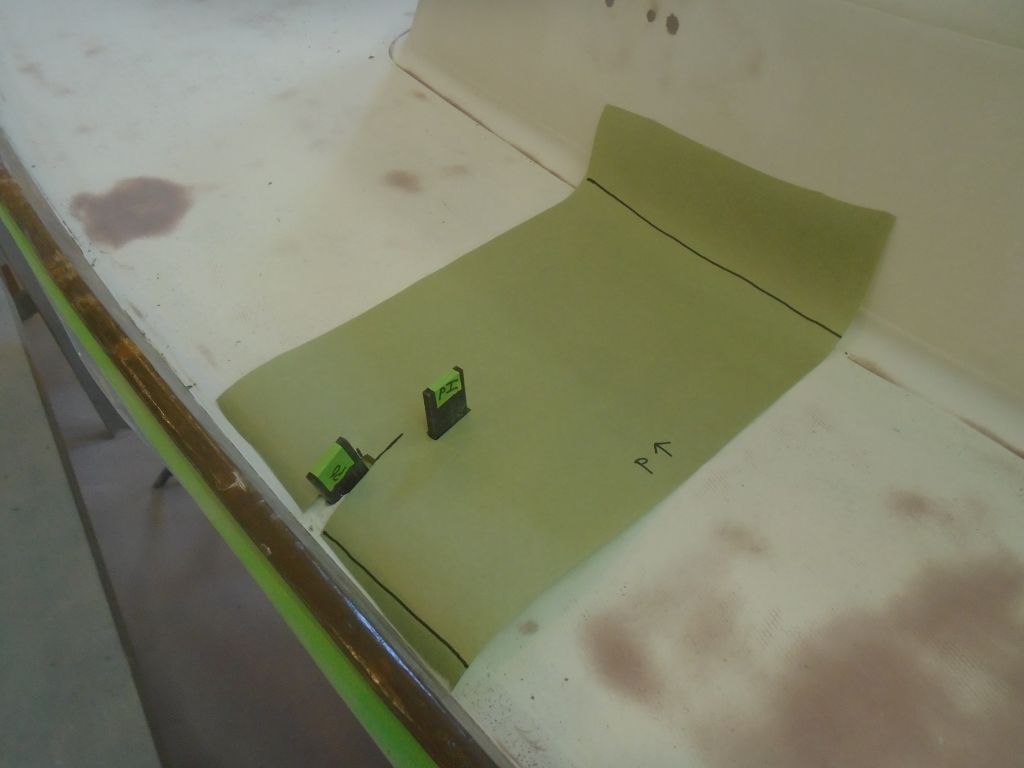
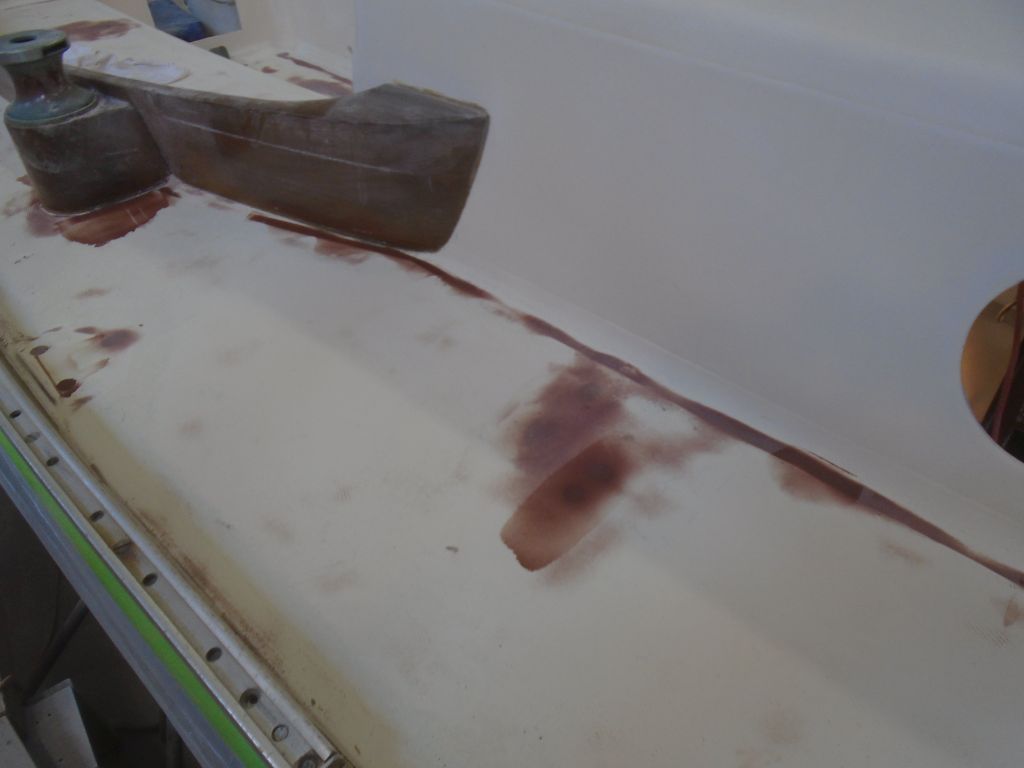
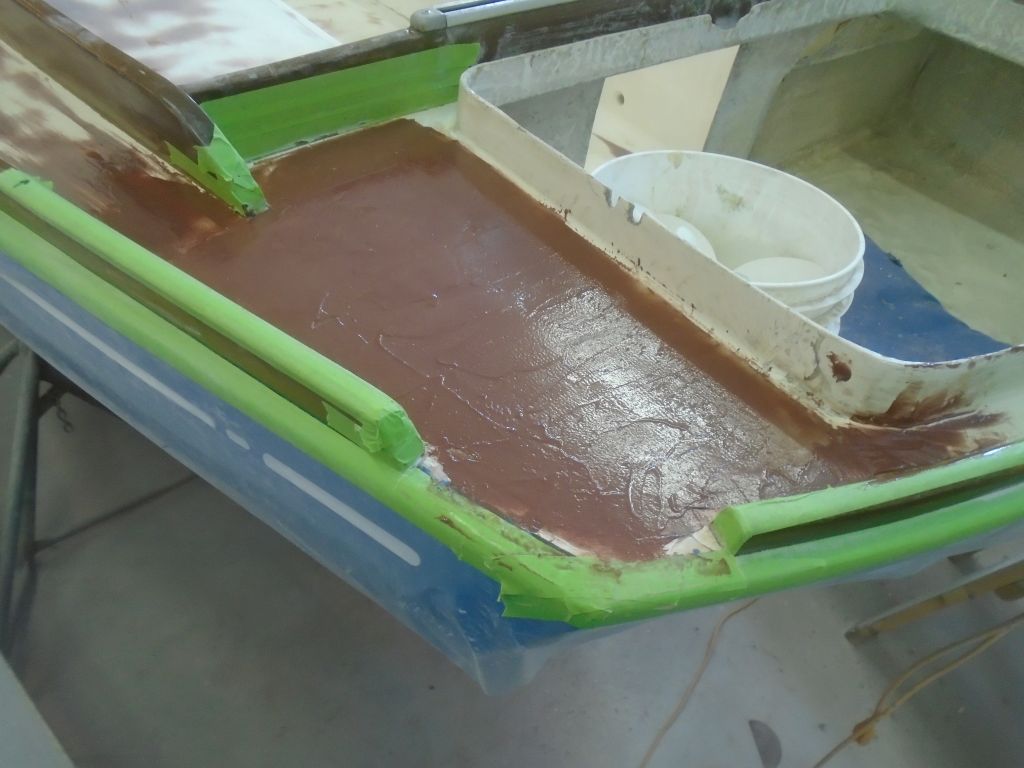
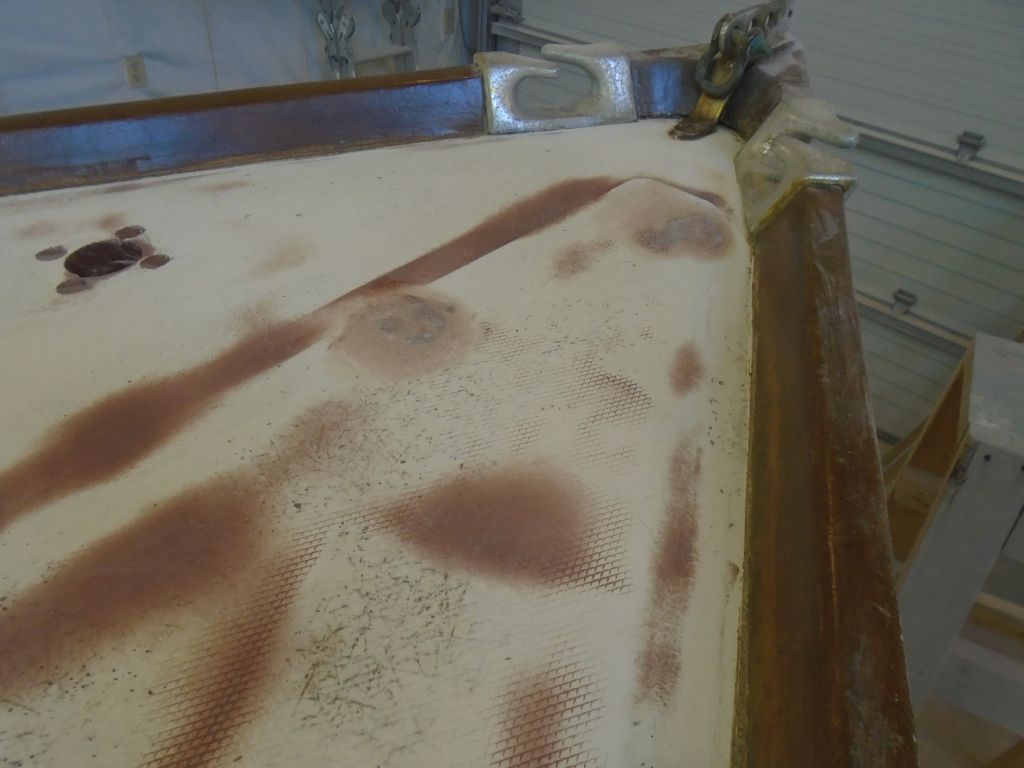
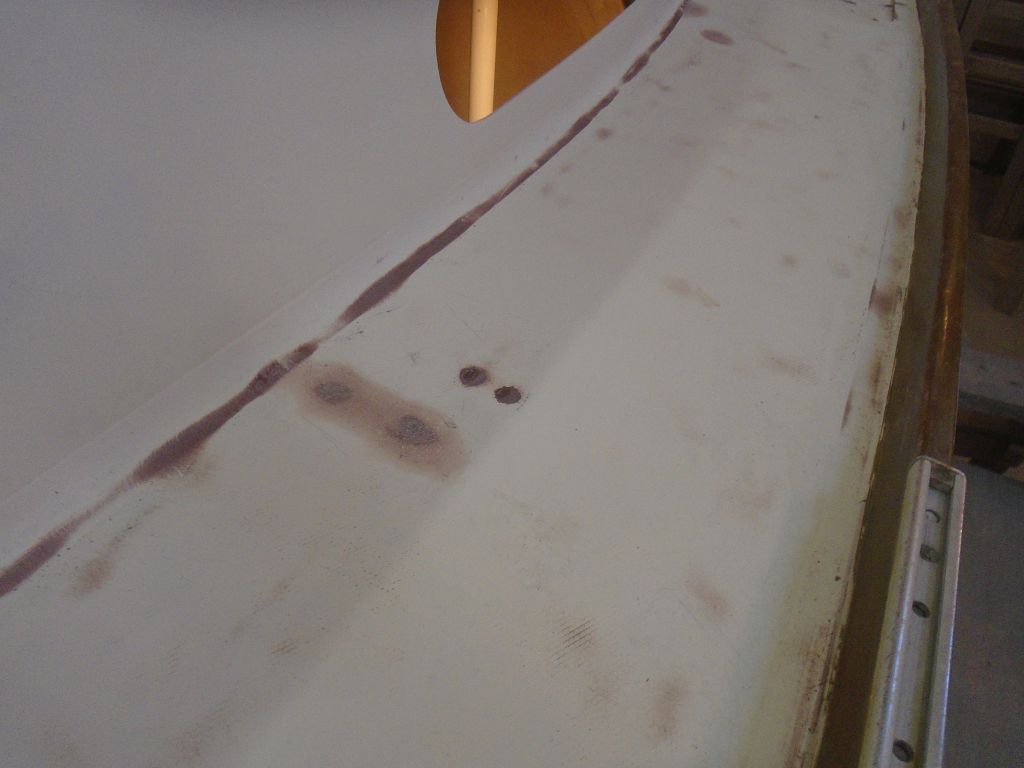
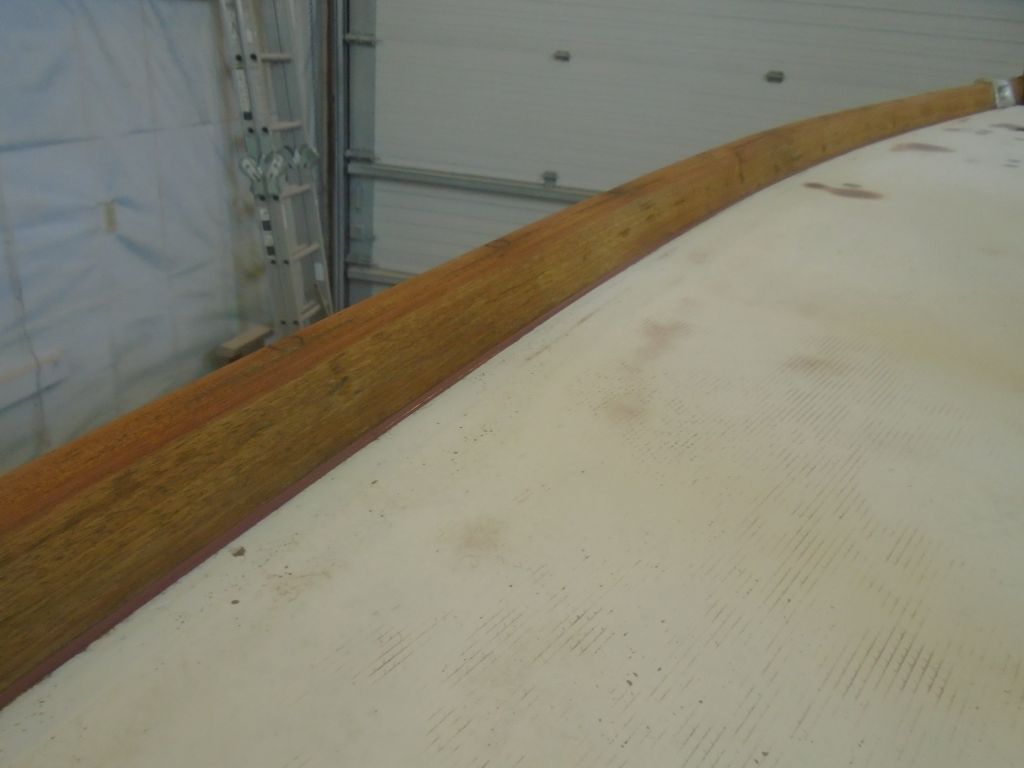
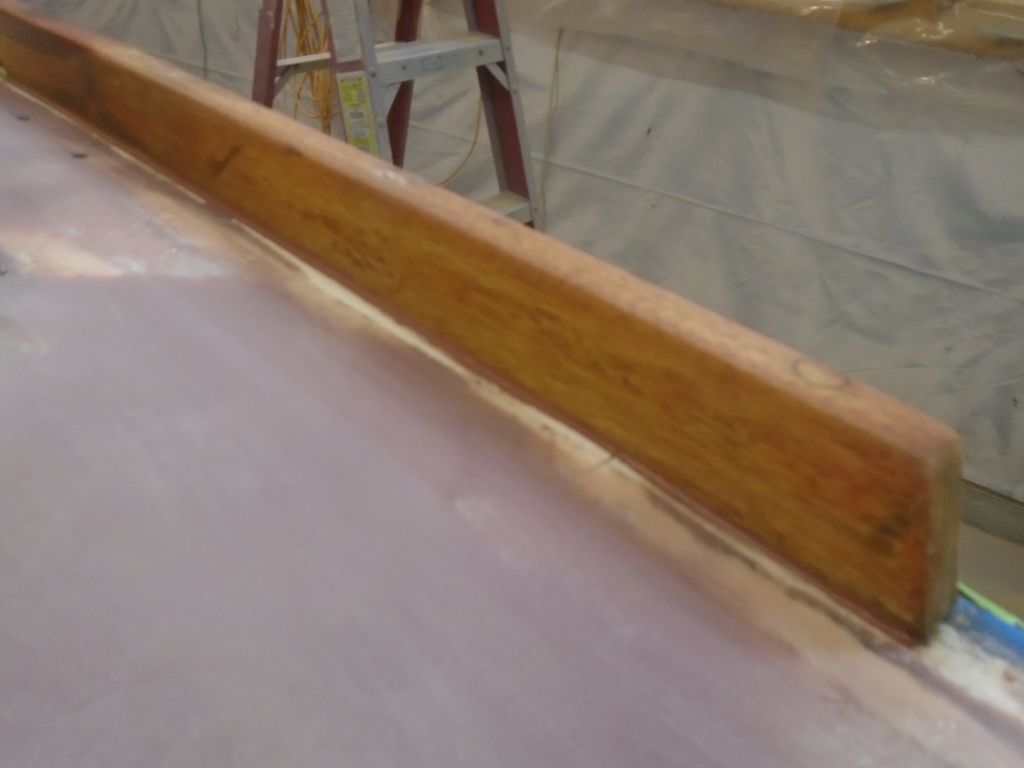
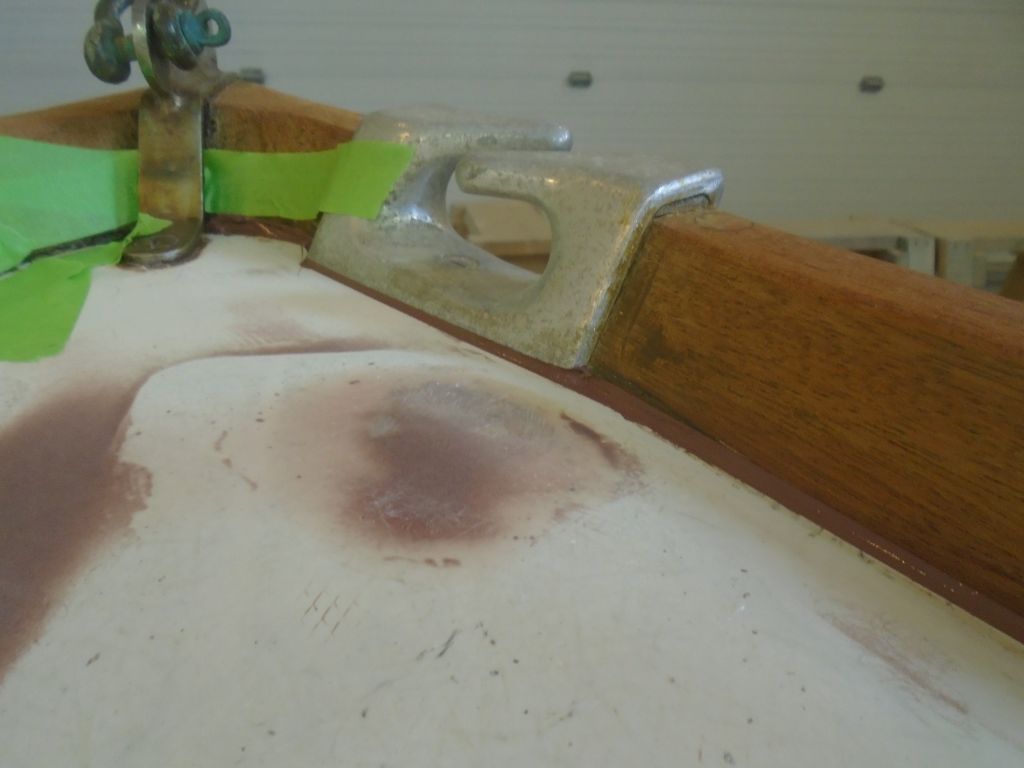
I applied a bead of brown-colored sealant and, with finger pressure, forced it into the small seam and into a smooth cove shape, minimizing the material right at the edge of the tape.

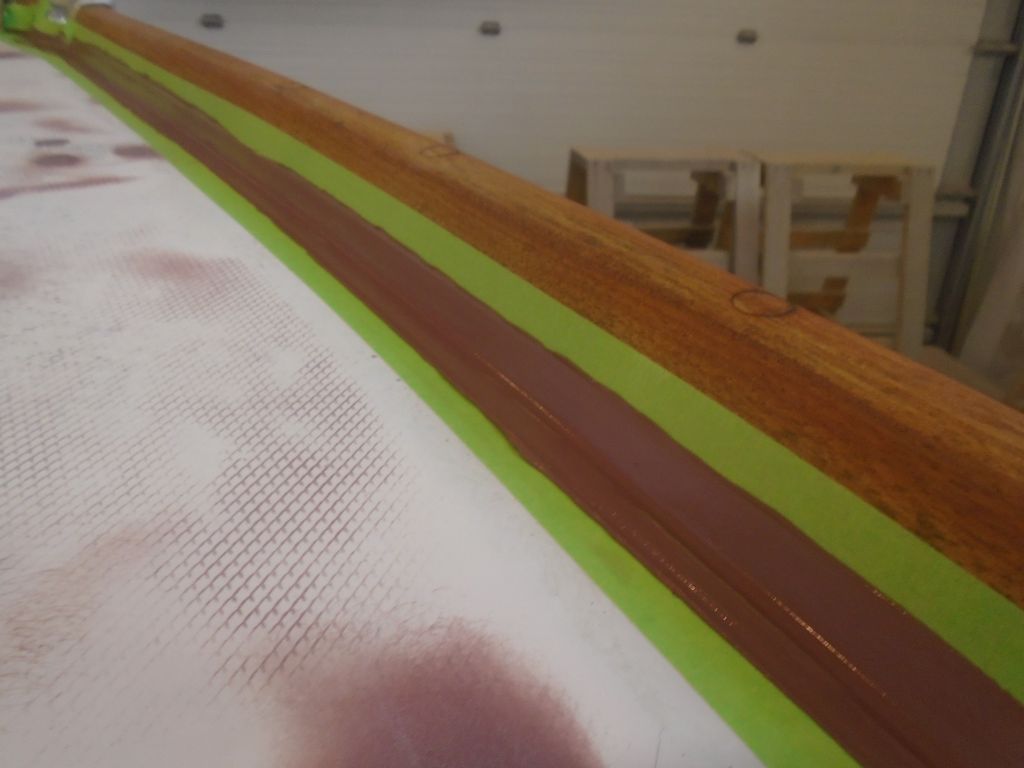
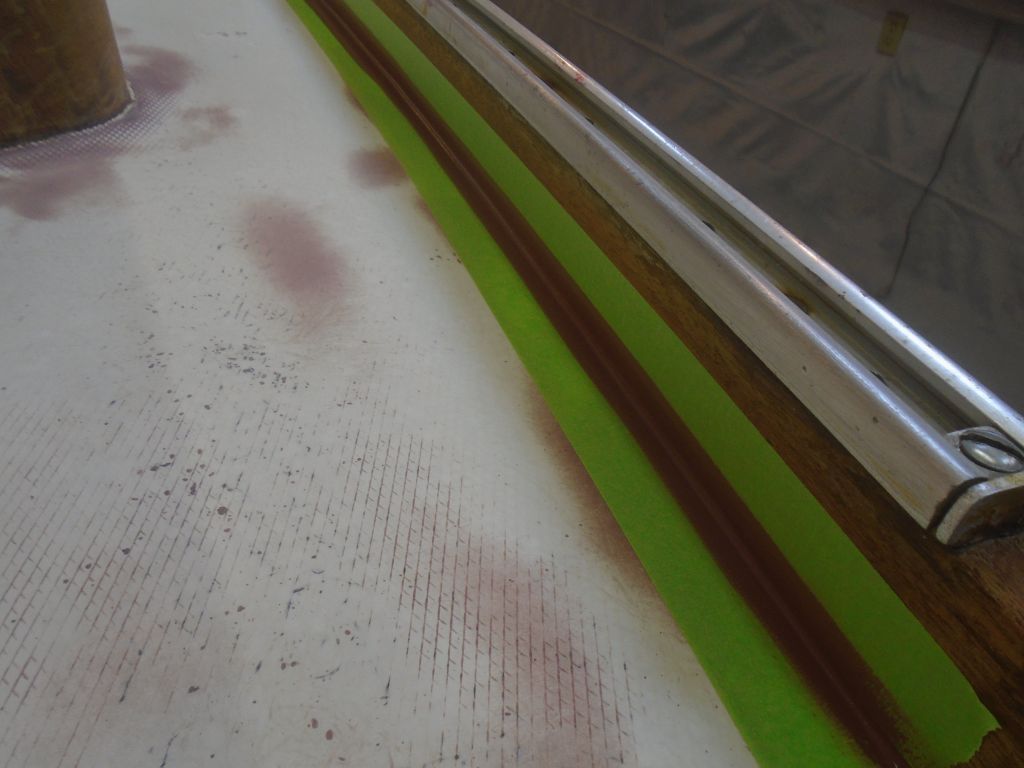
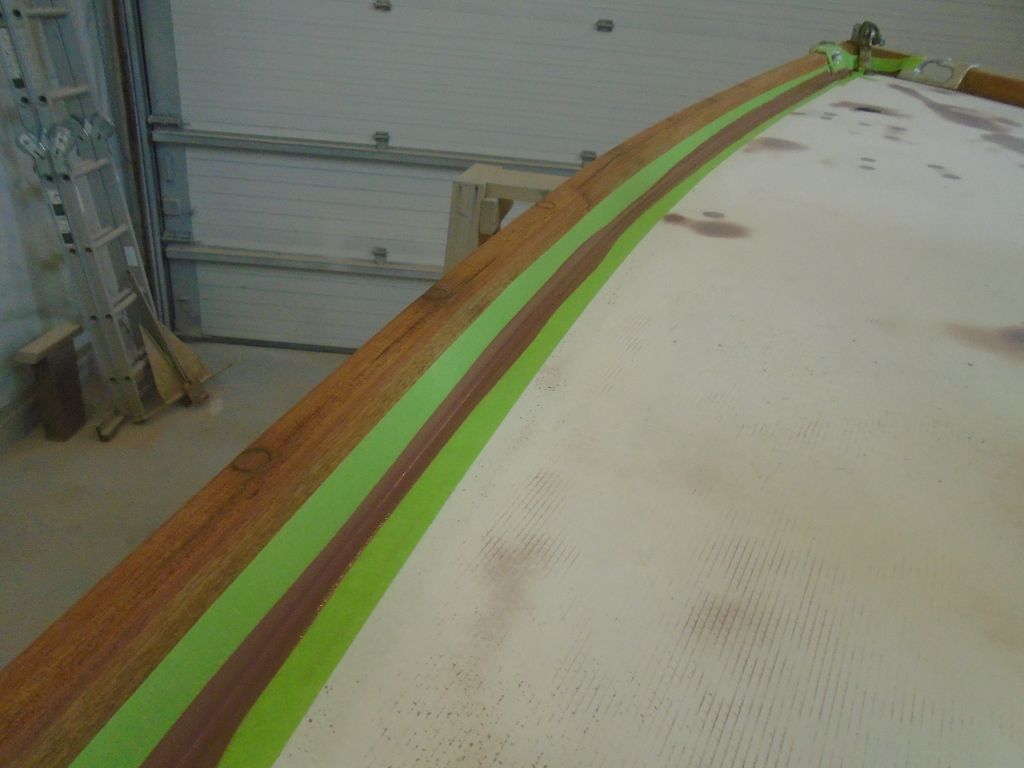
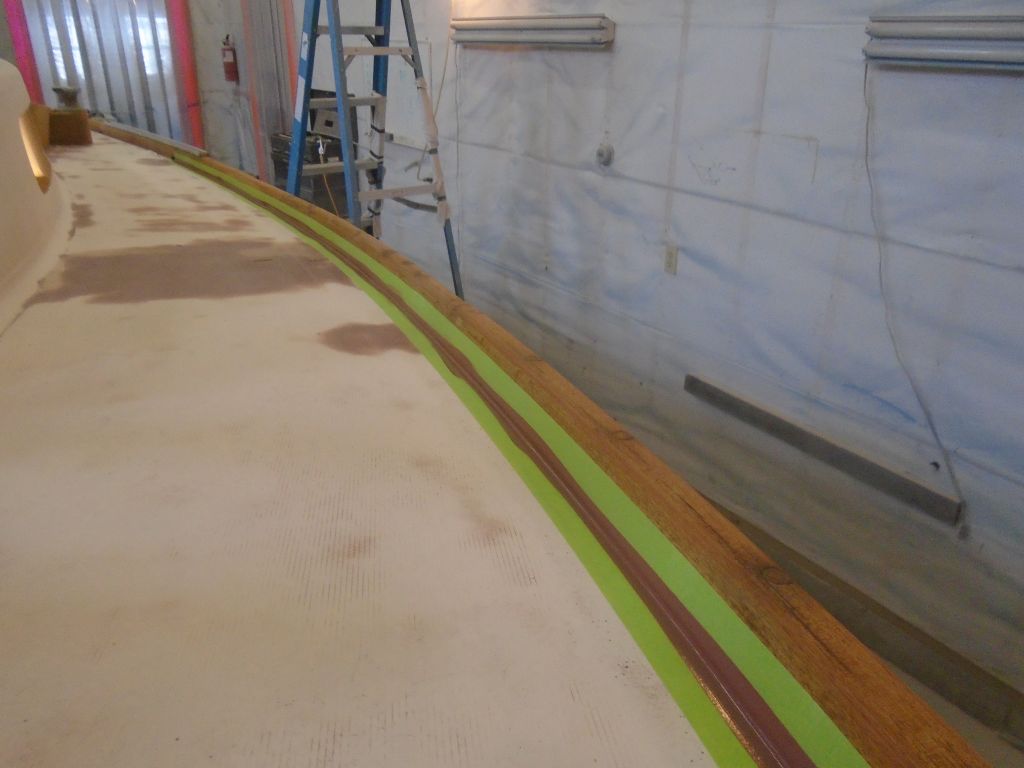
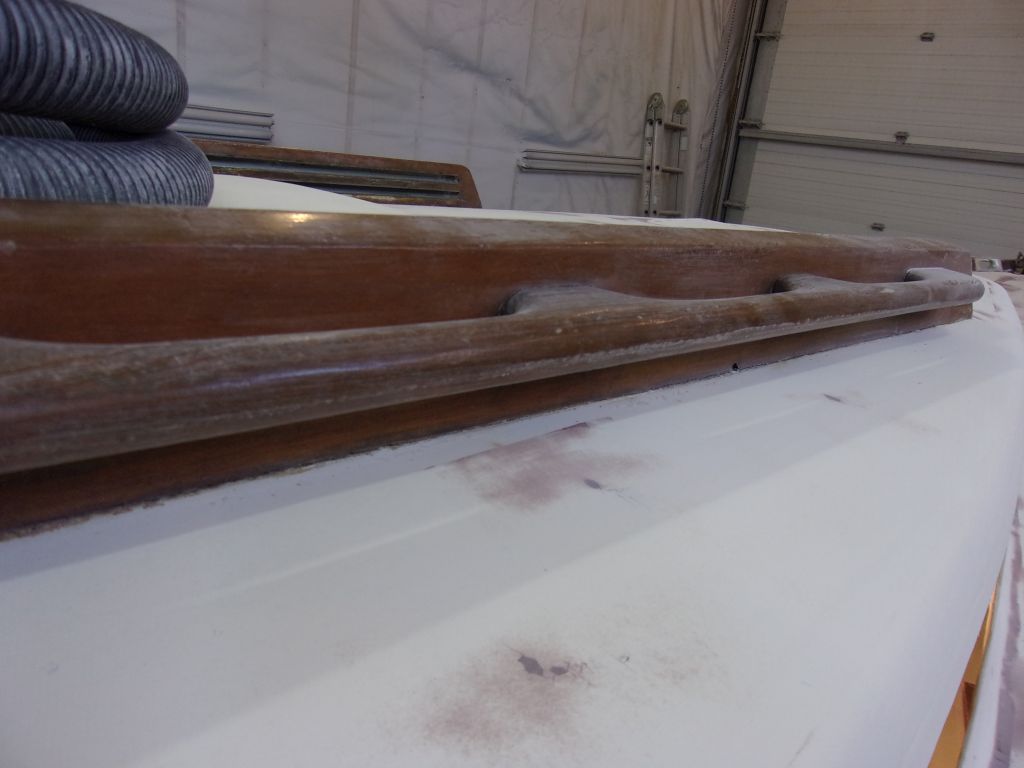
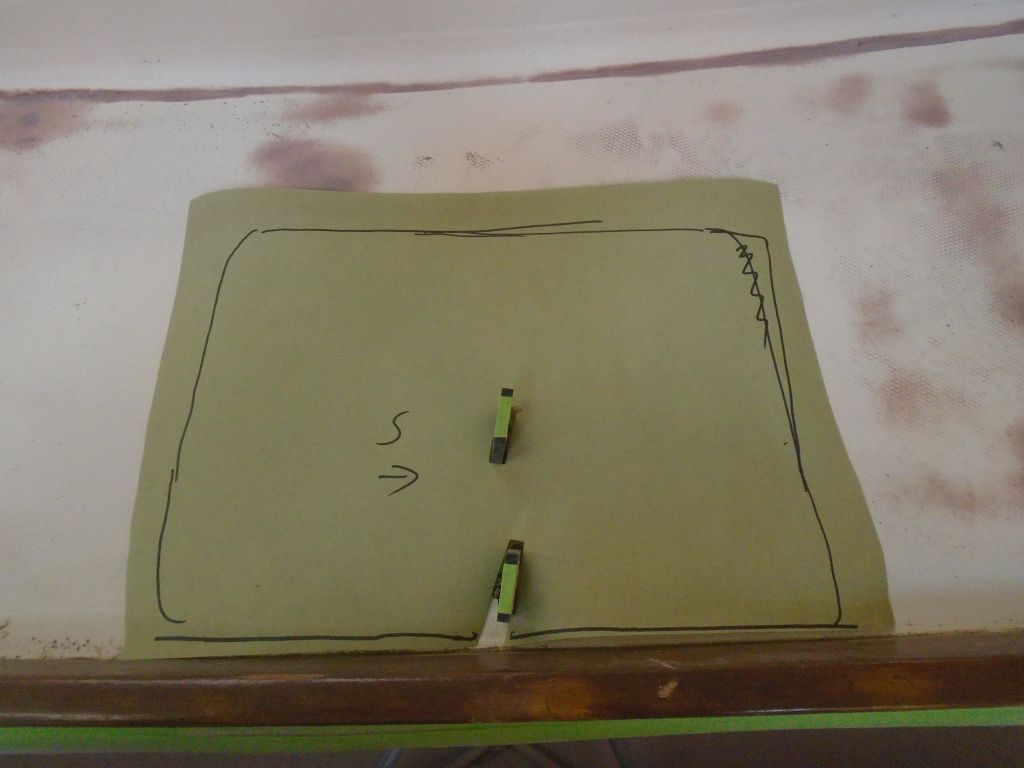
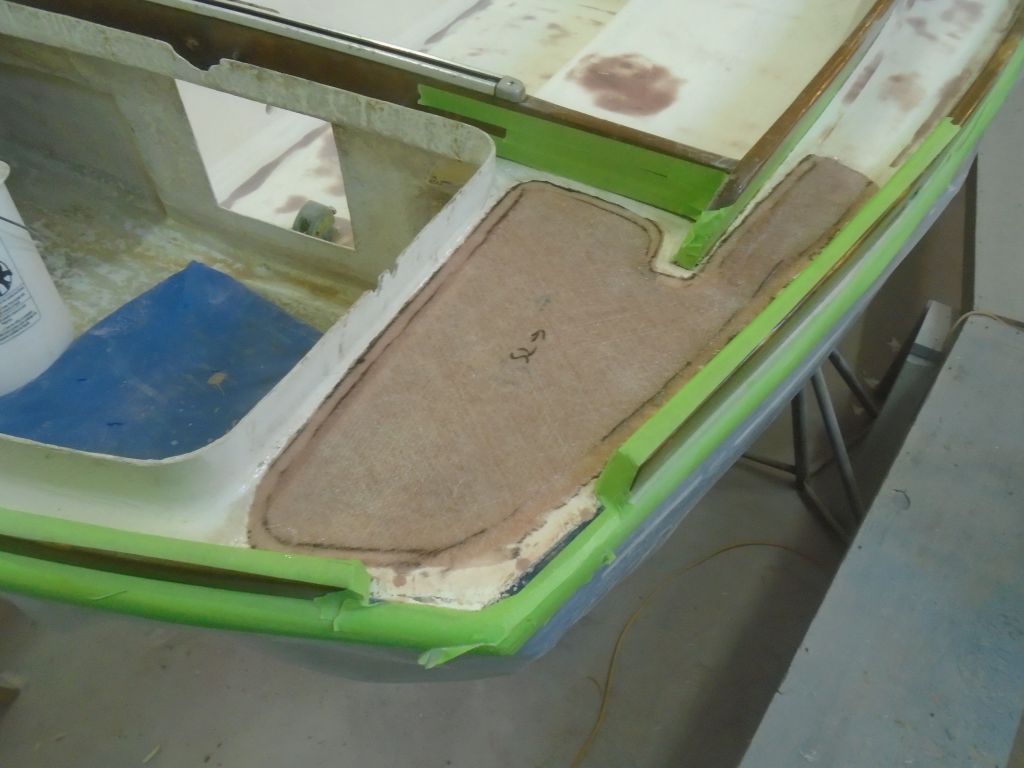
Afterwards, I immediately removed the masking tape, carefully pulling it away from the fresh sealant and leaving behind a nice little cove.

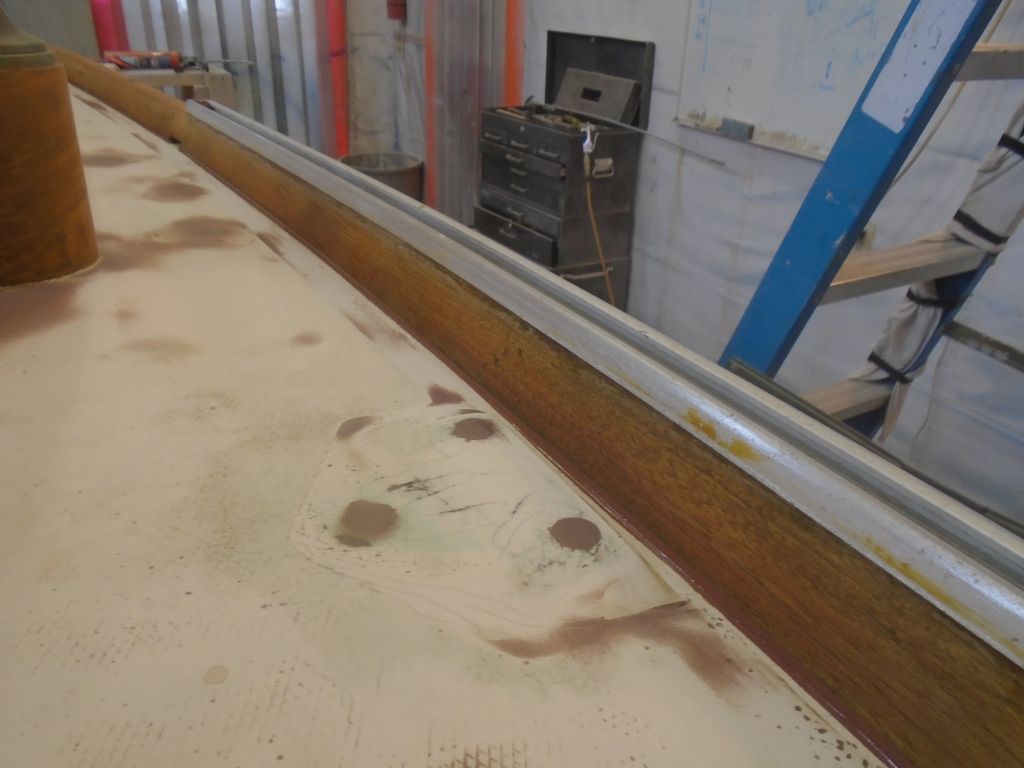
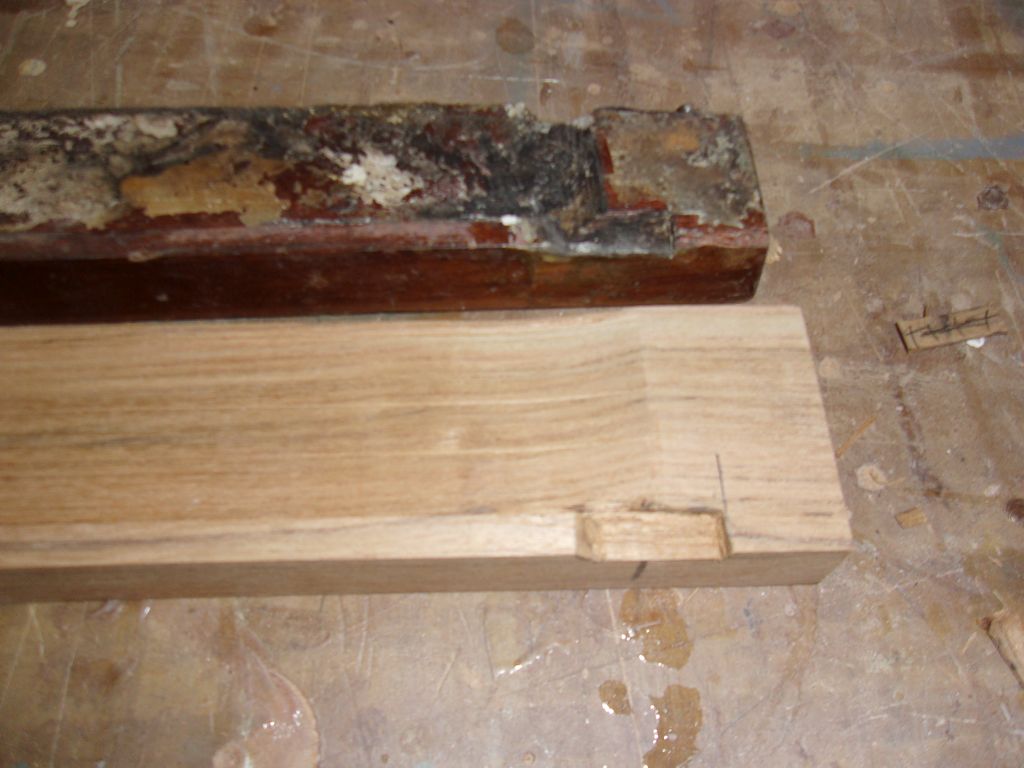
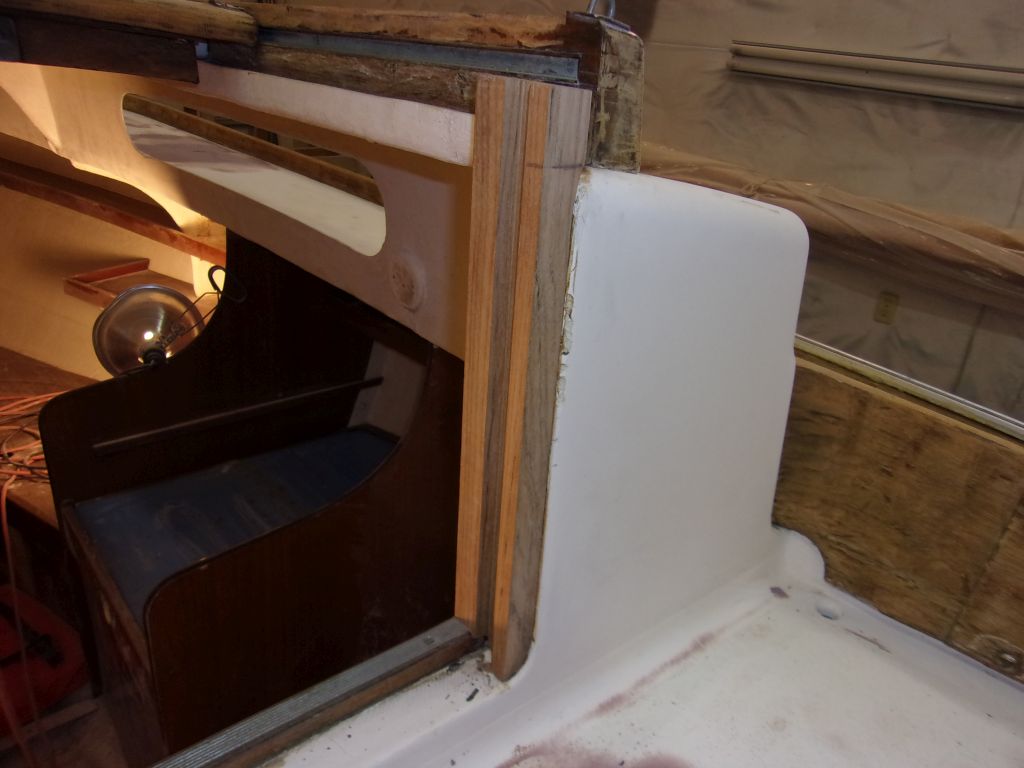
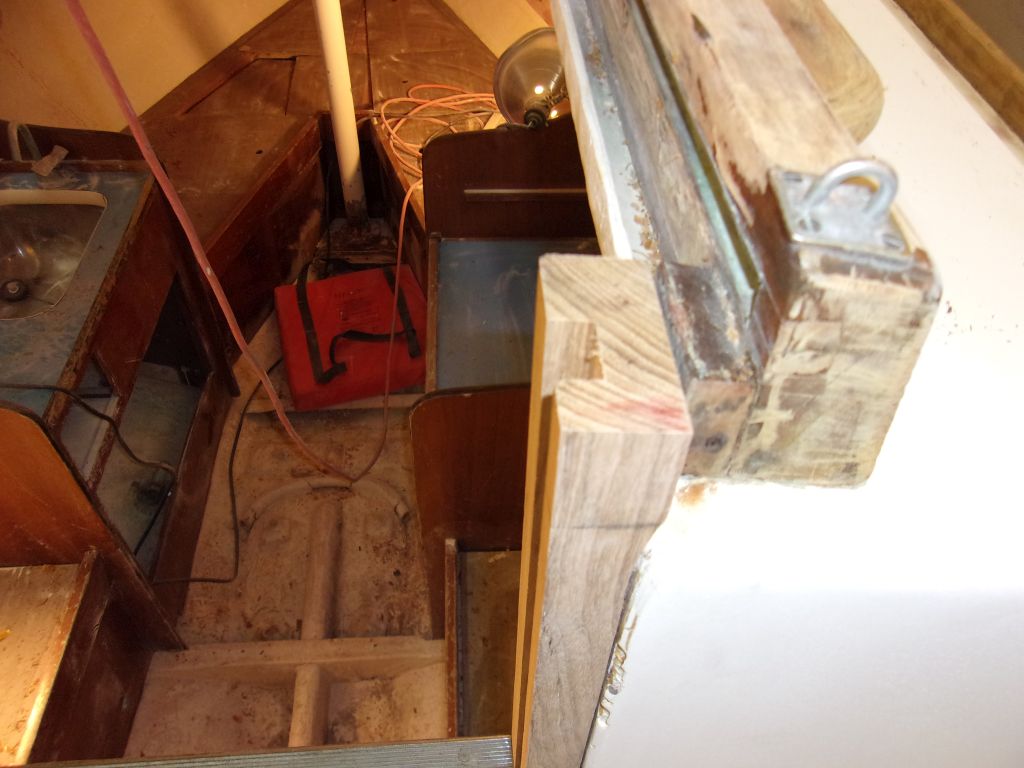
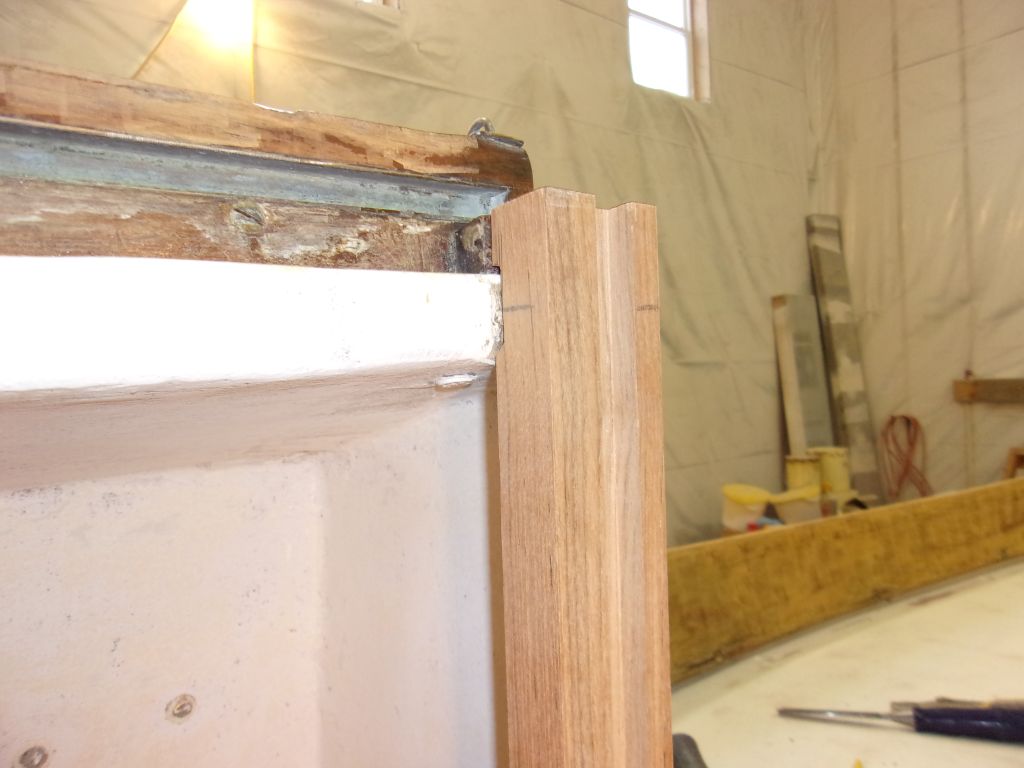
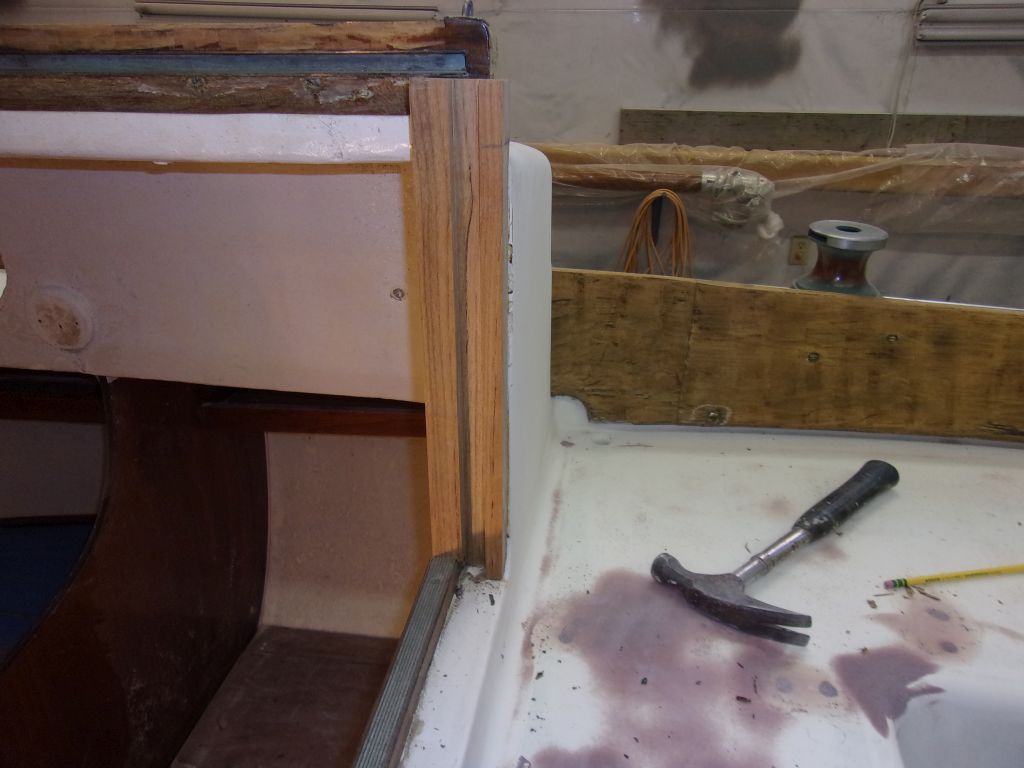
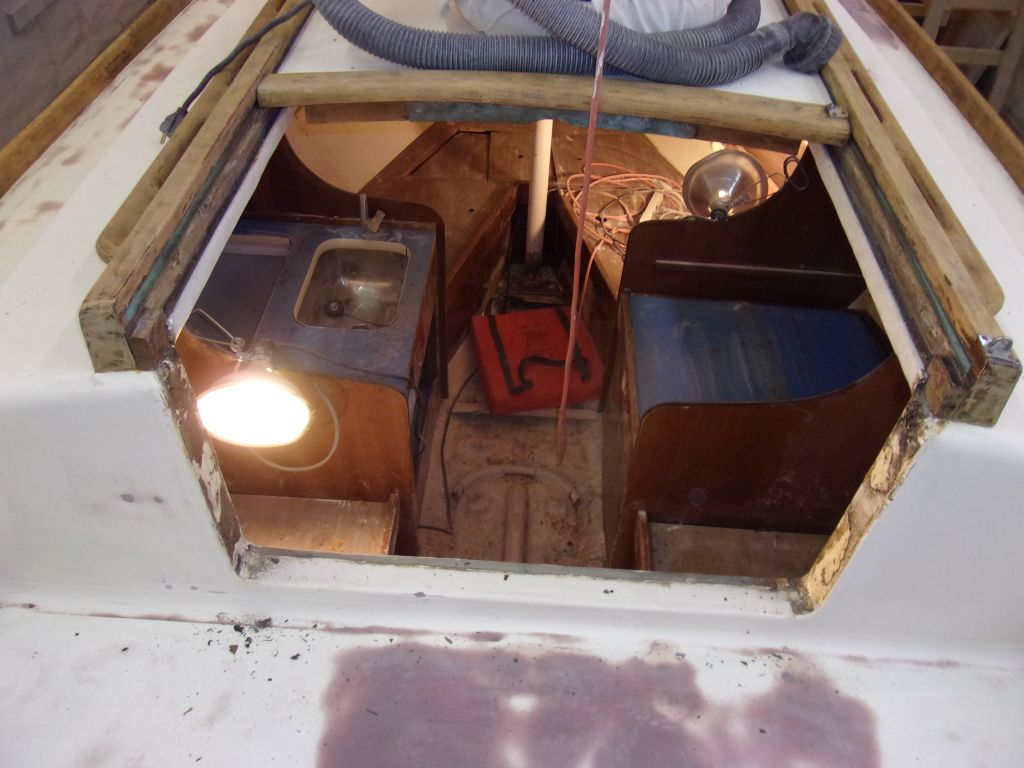
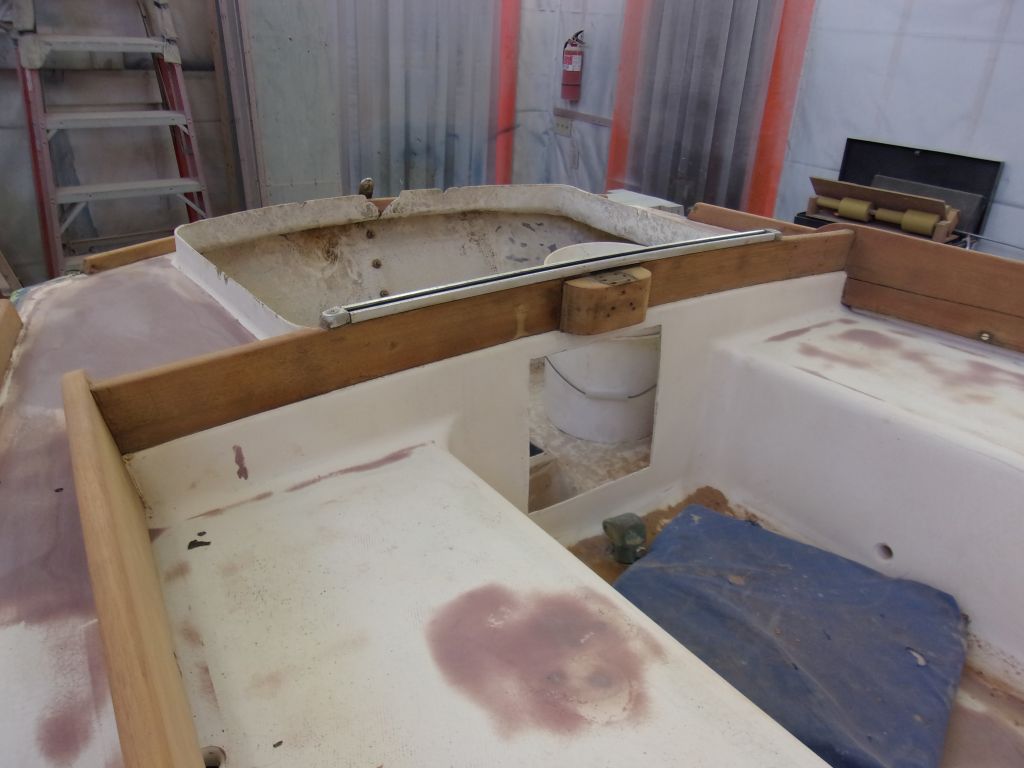
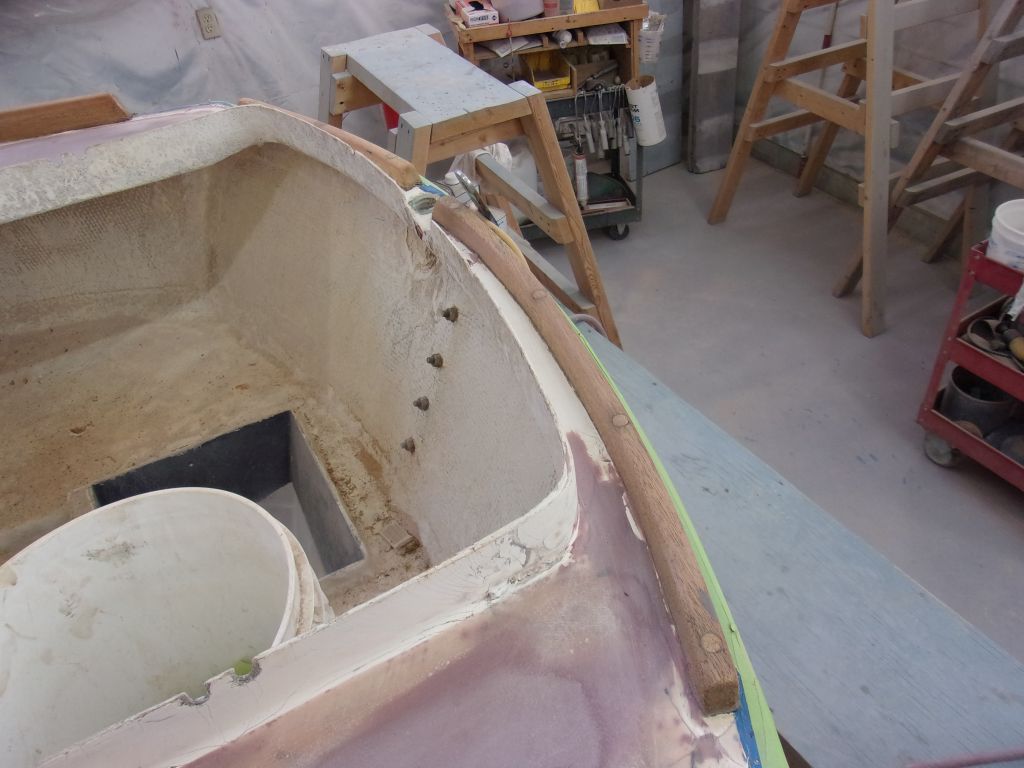
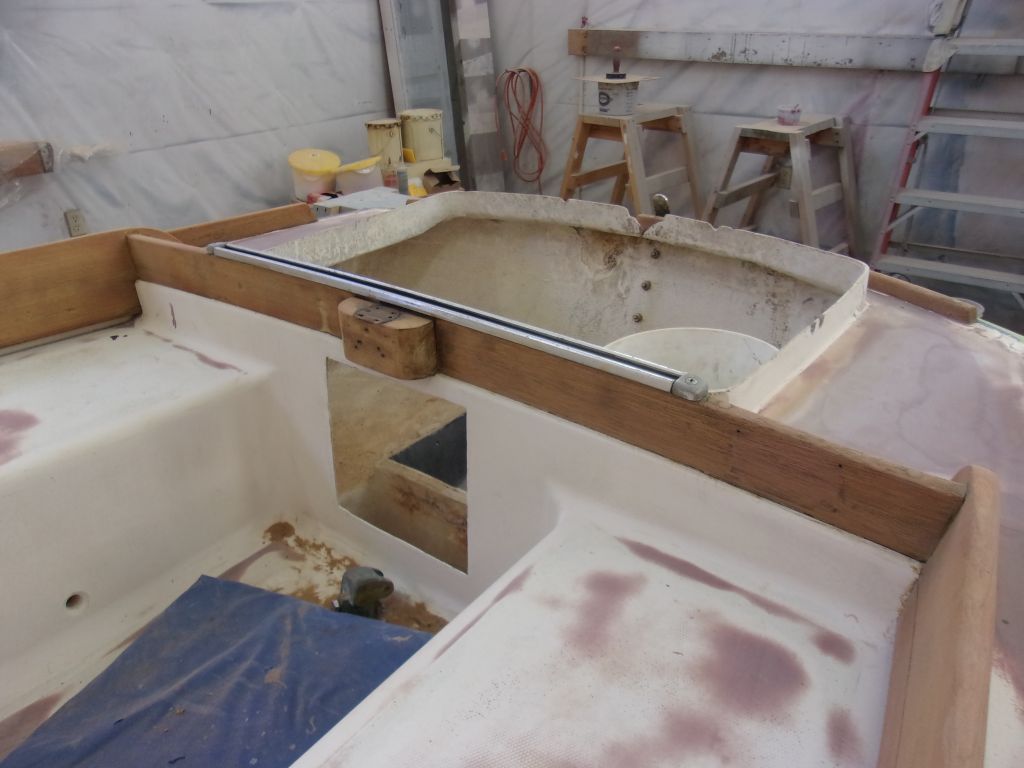
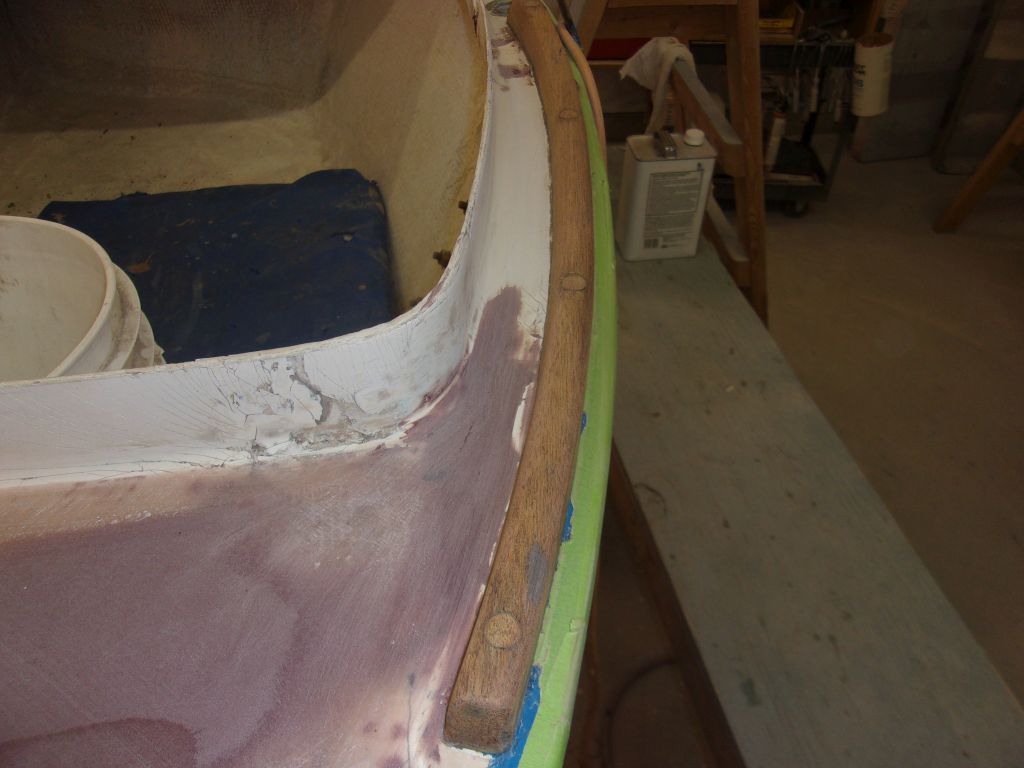
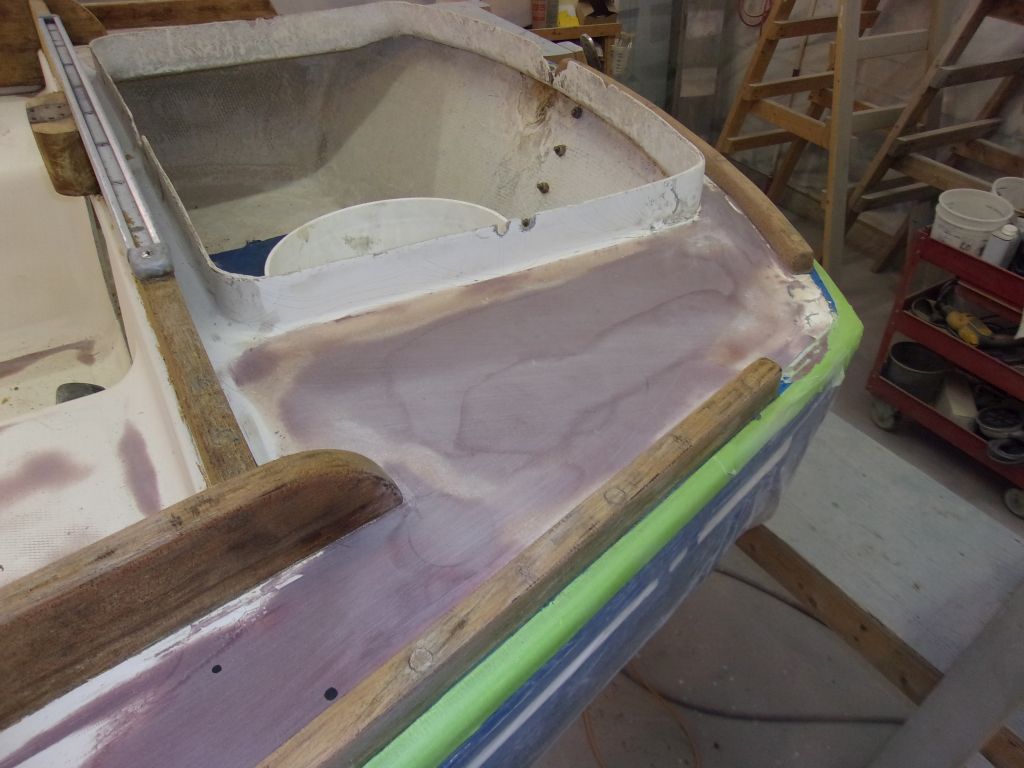
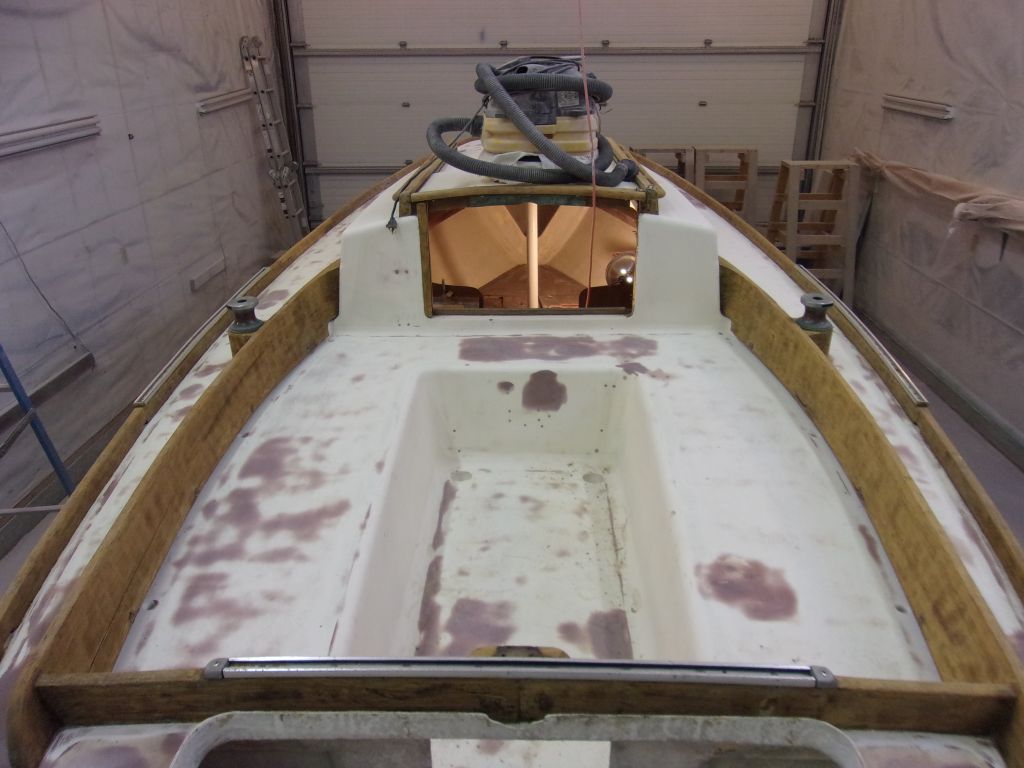
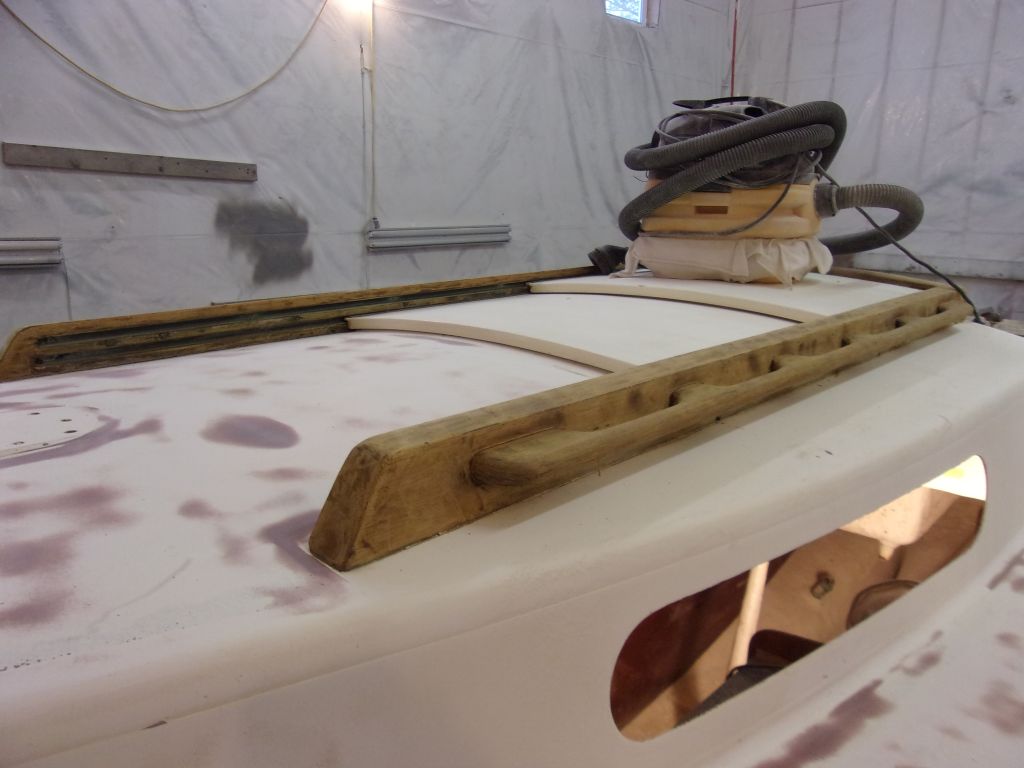
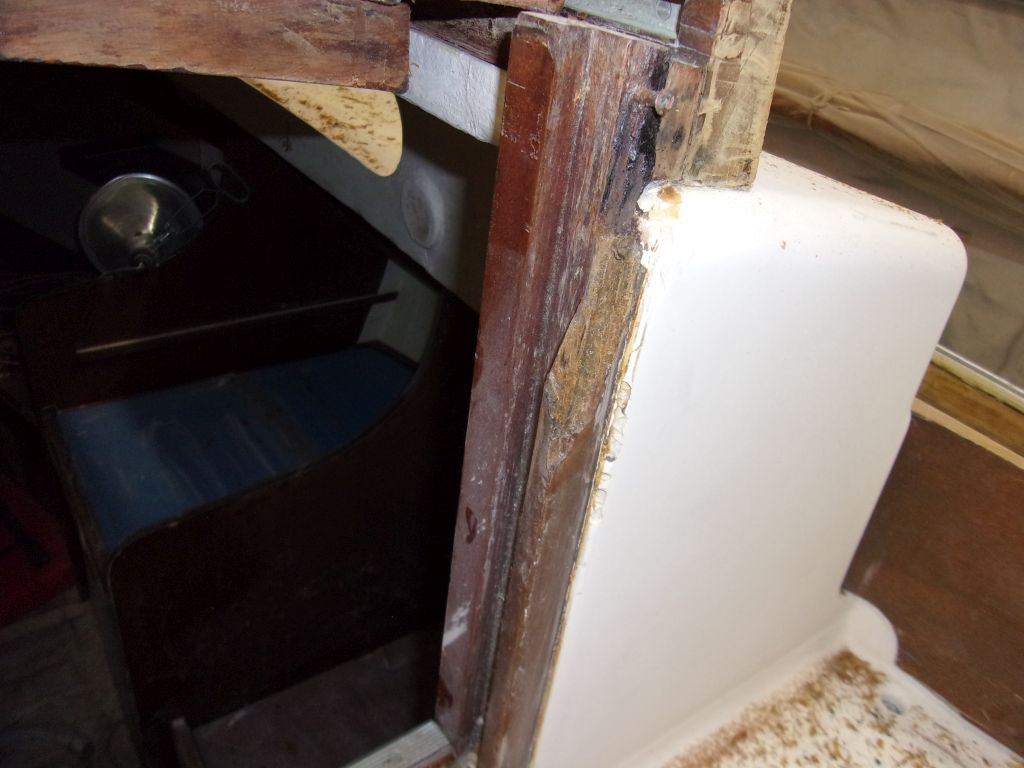
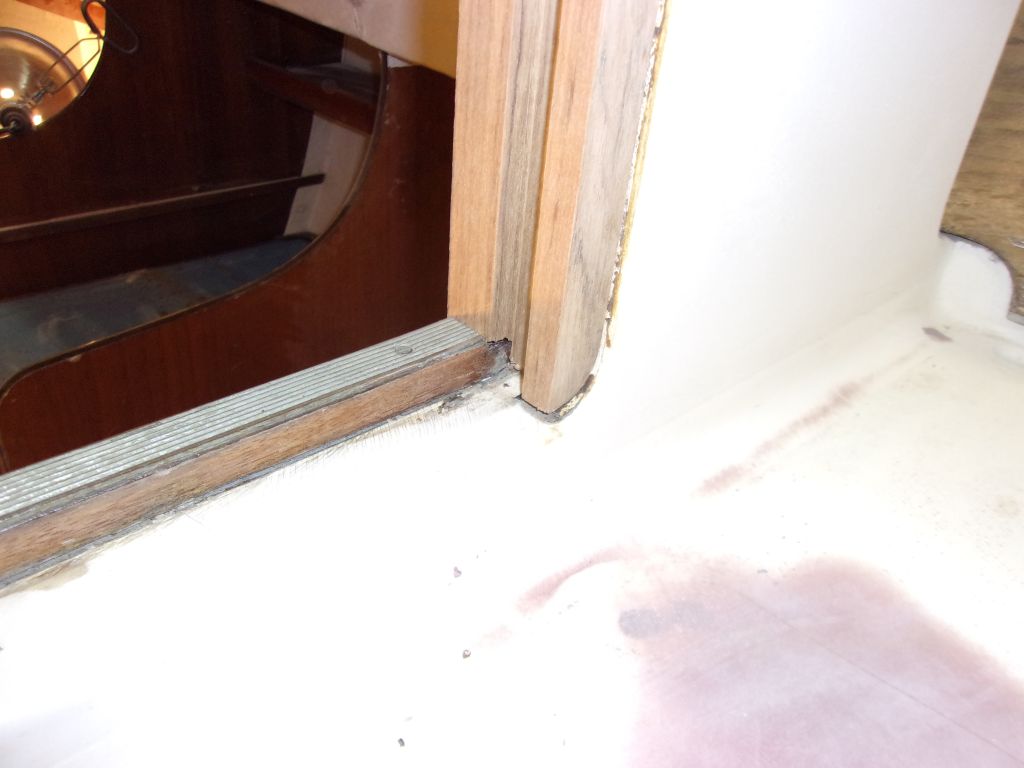
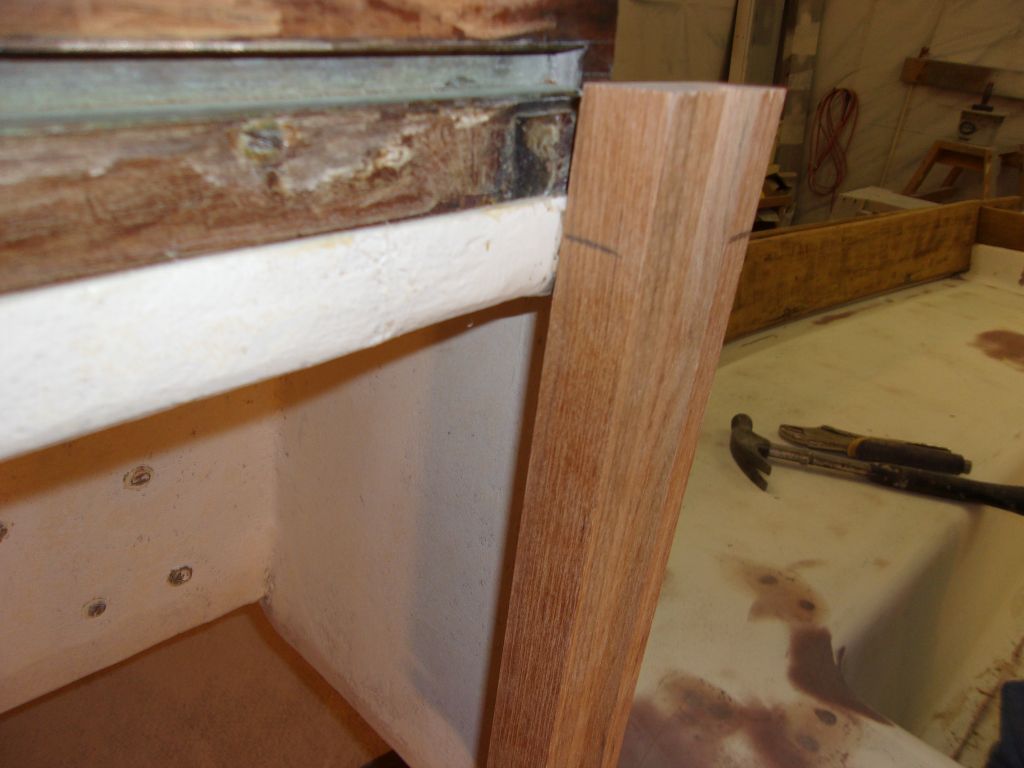
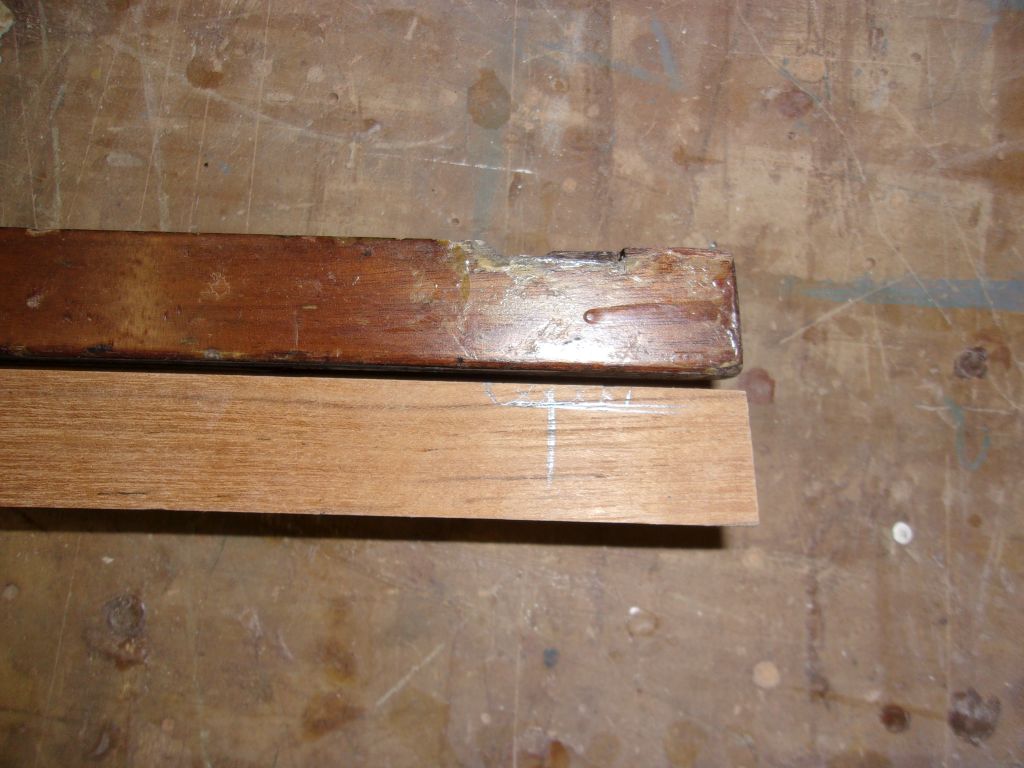
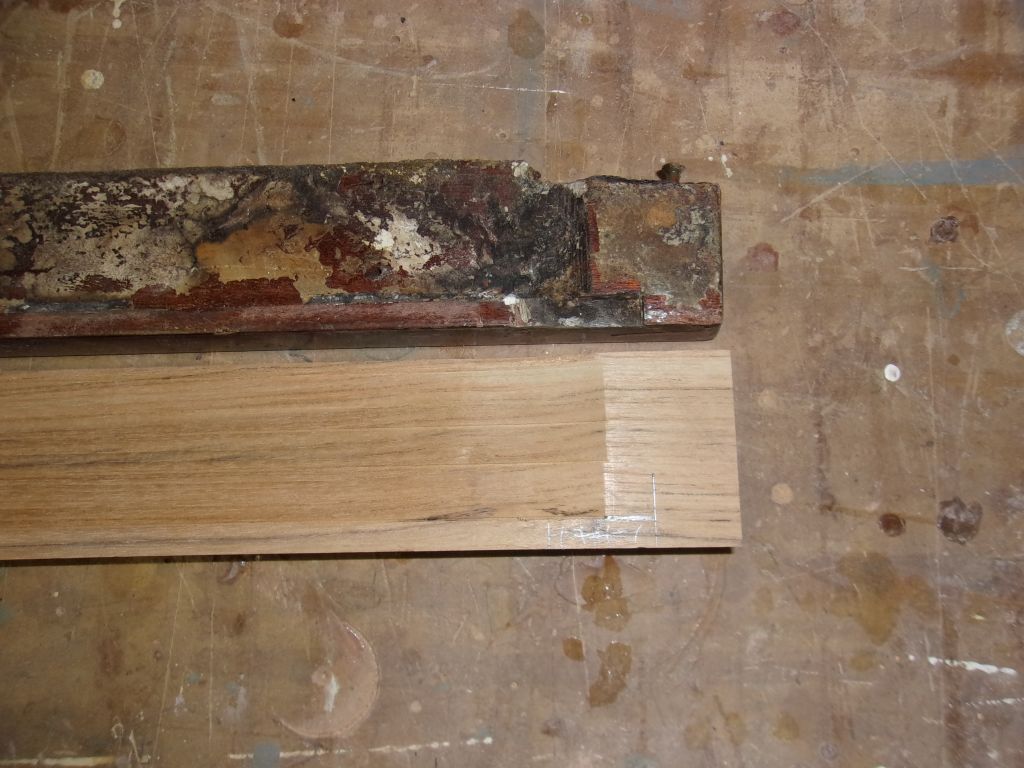
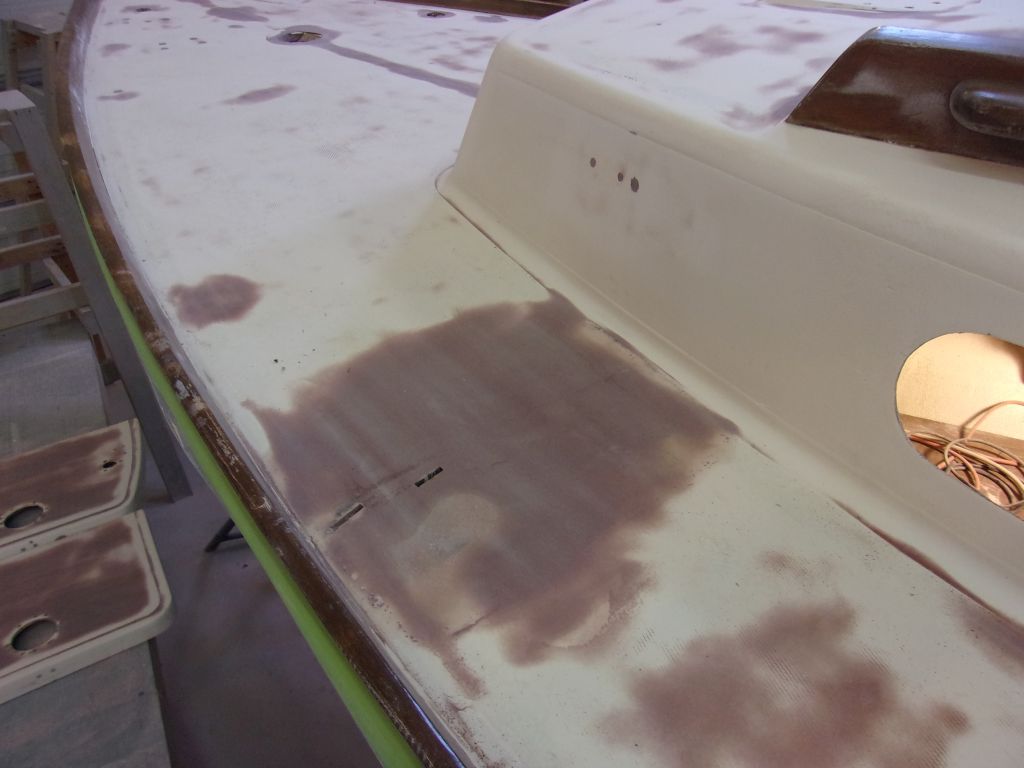
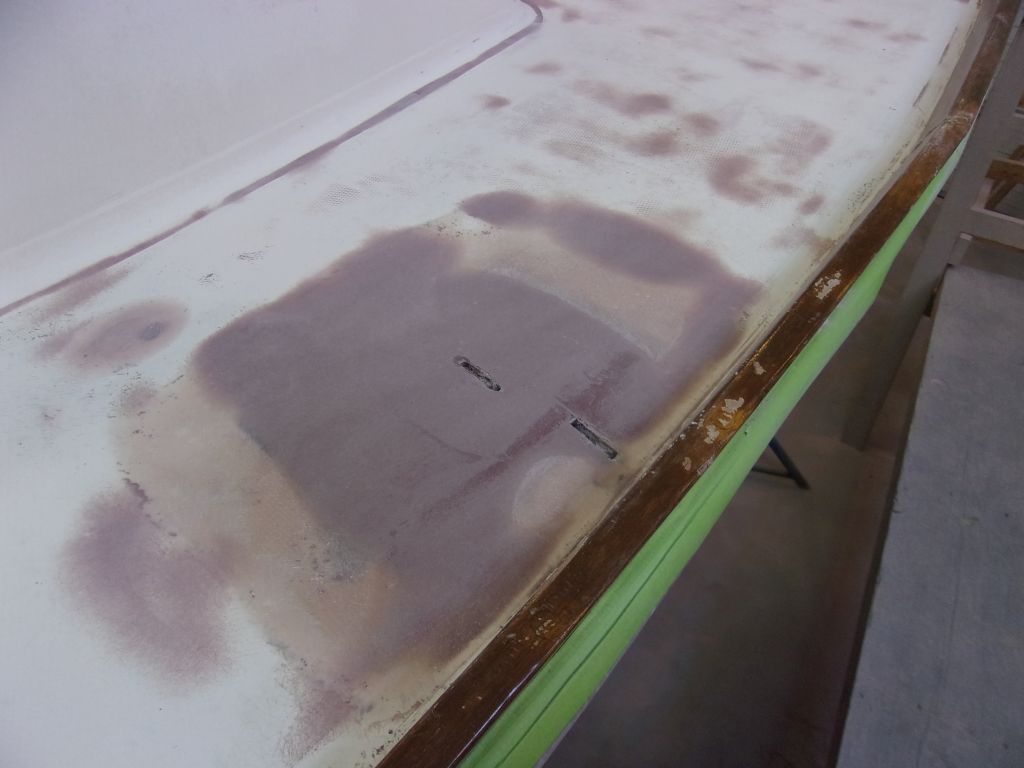
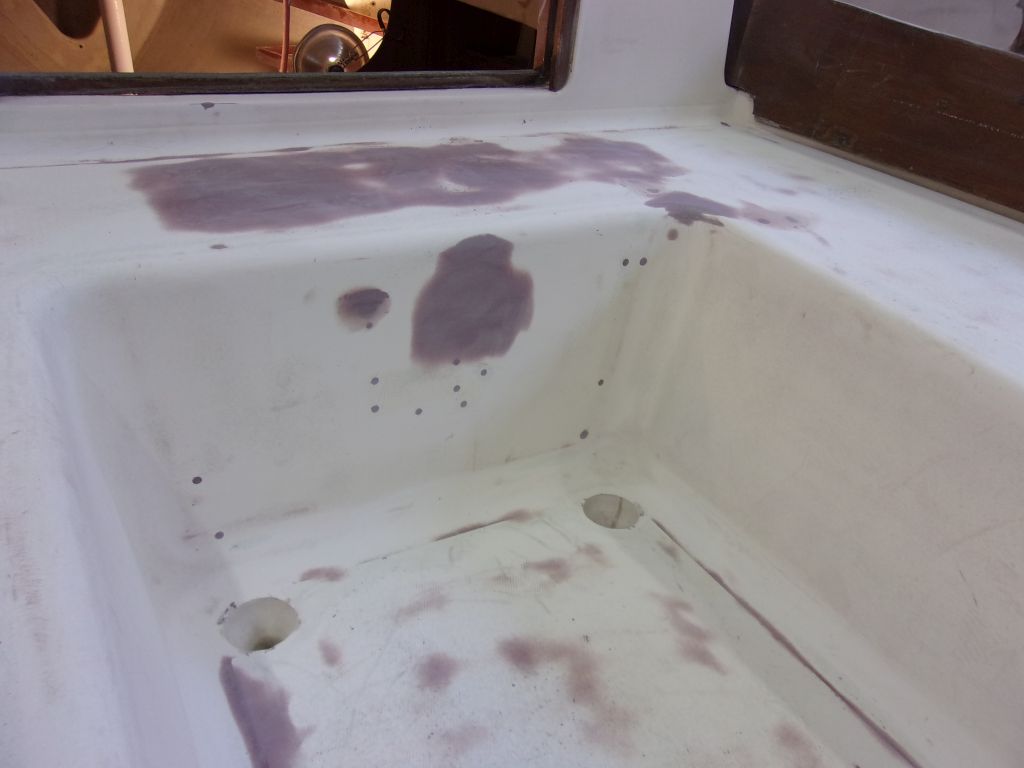
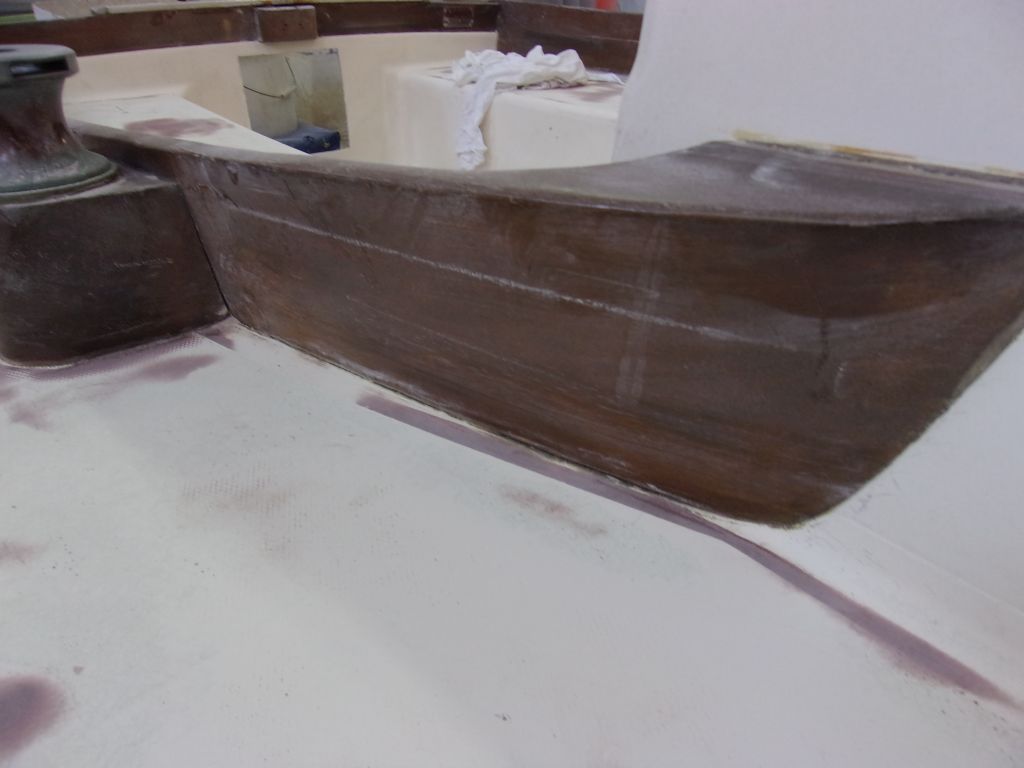
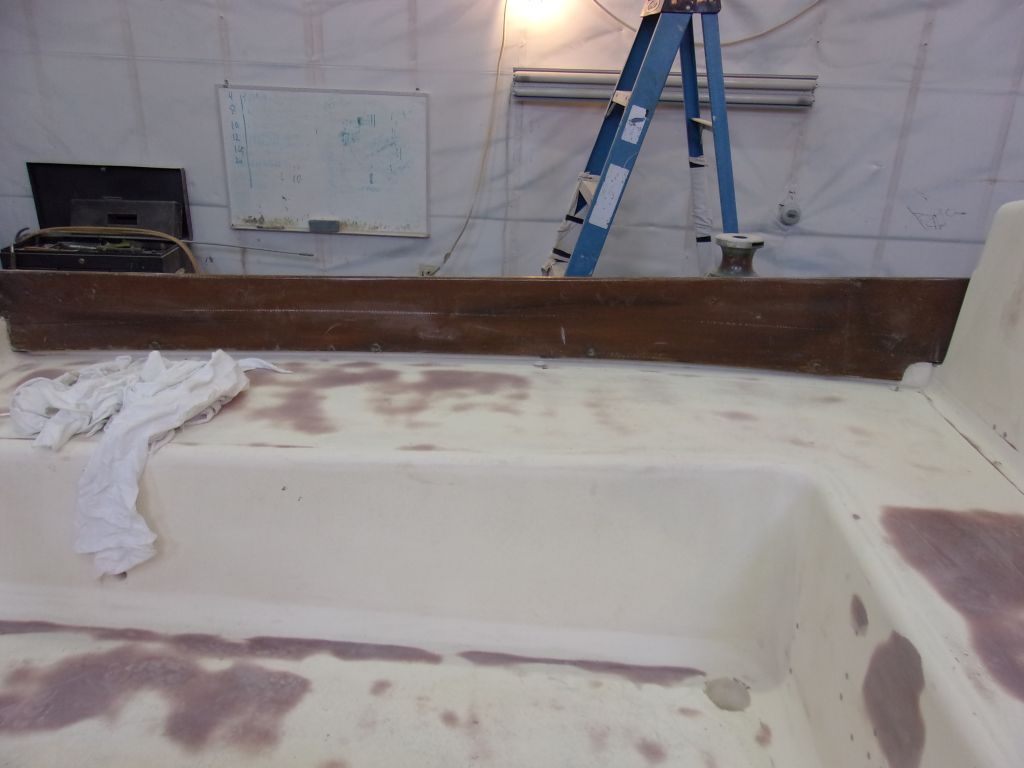
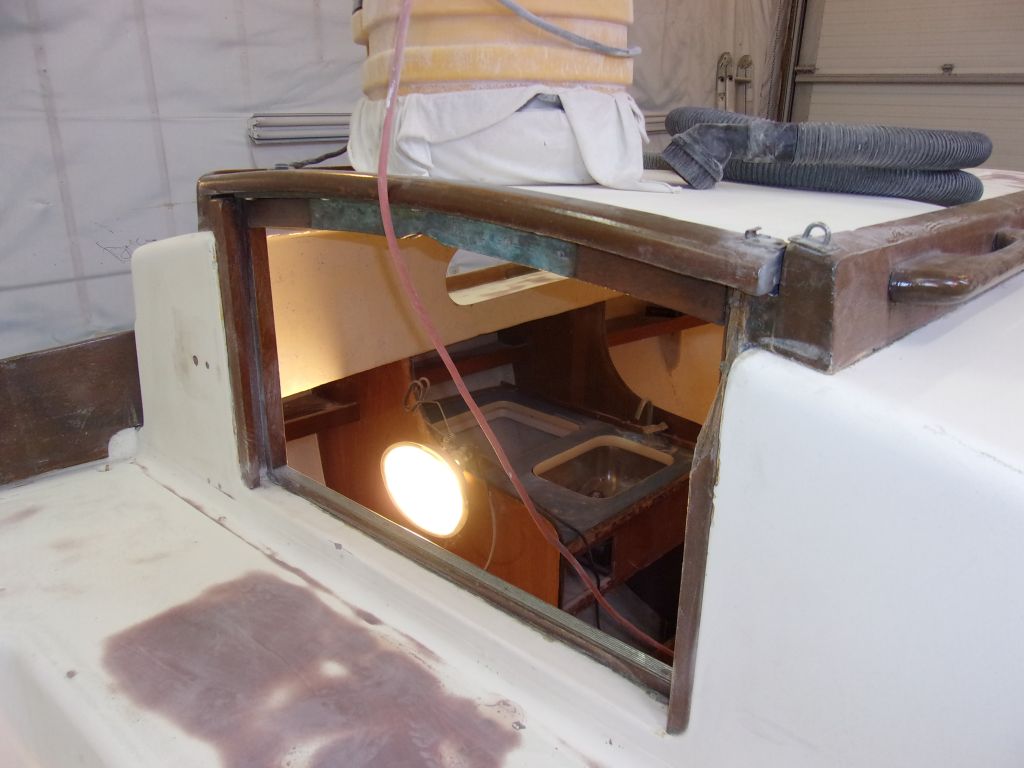
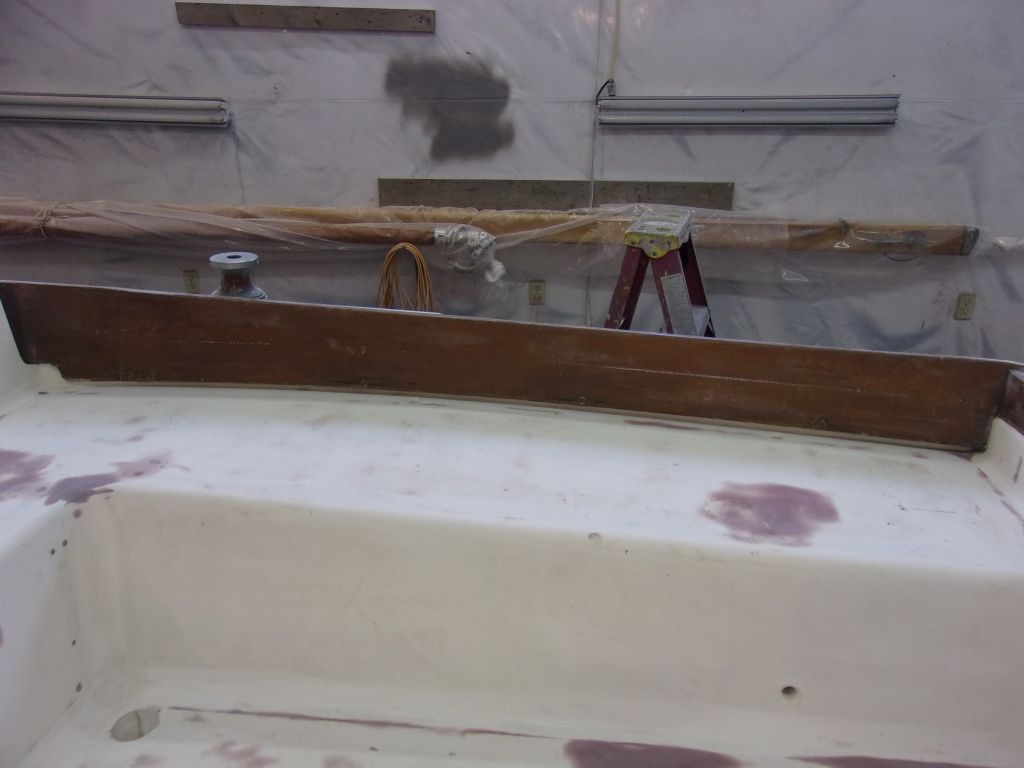
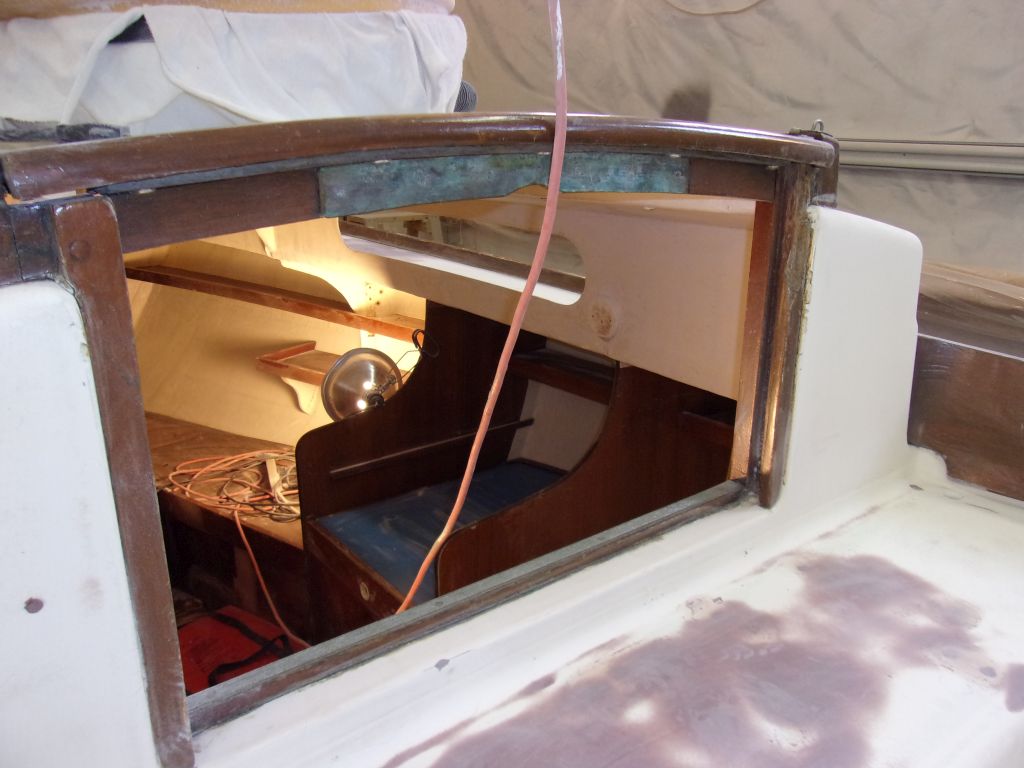
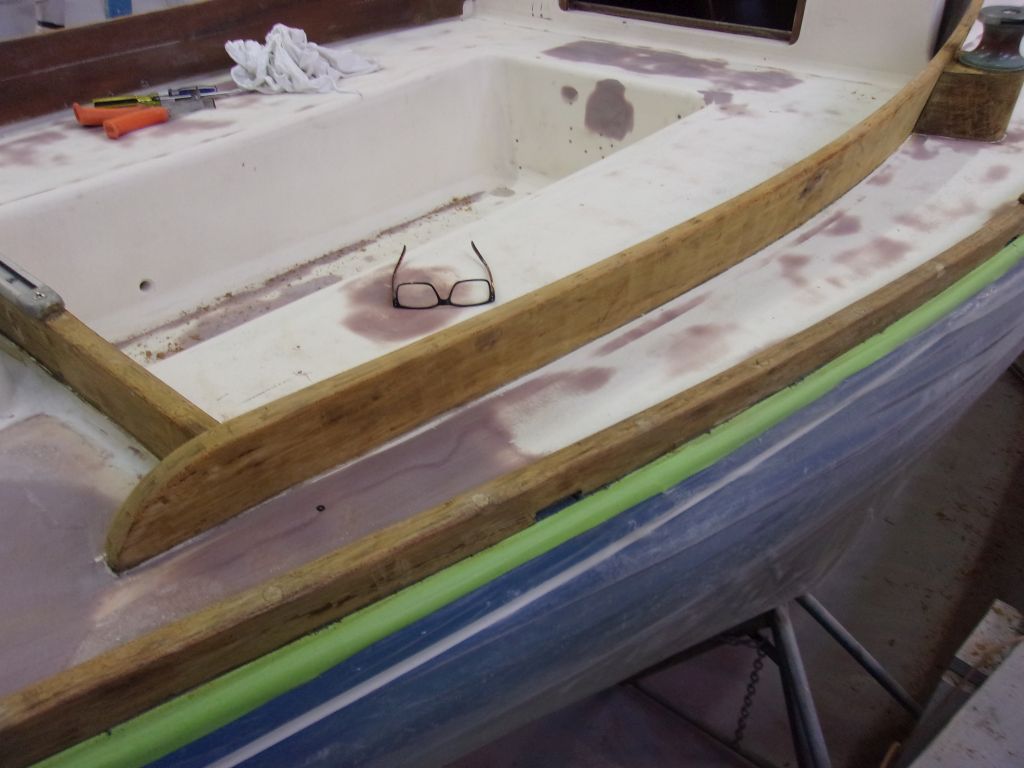
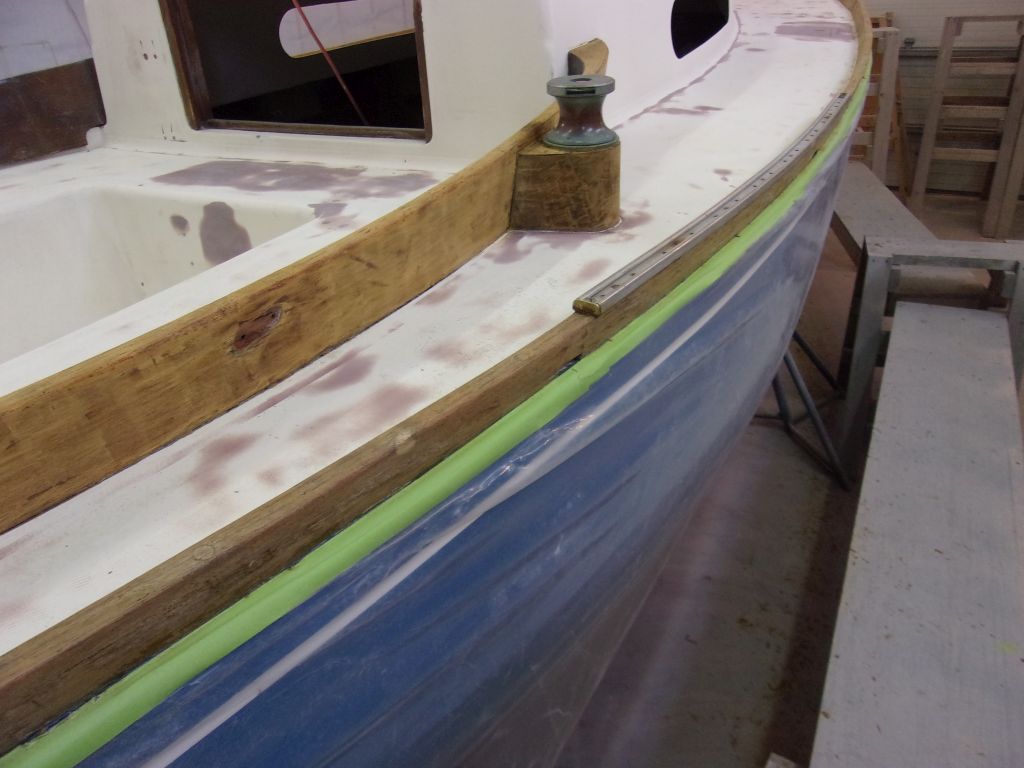
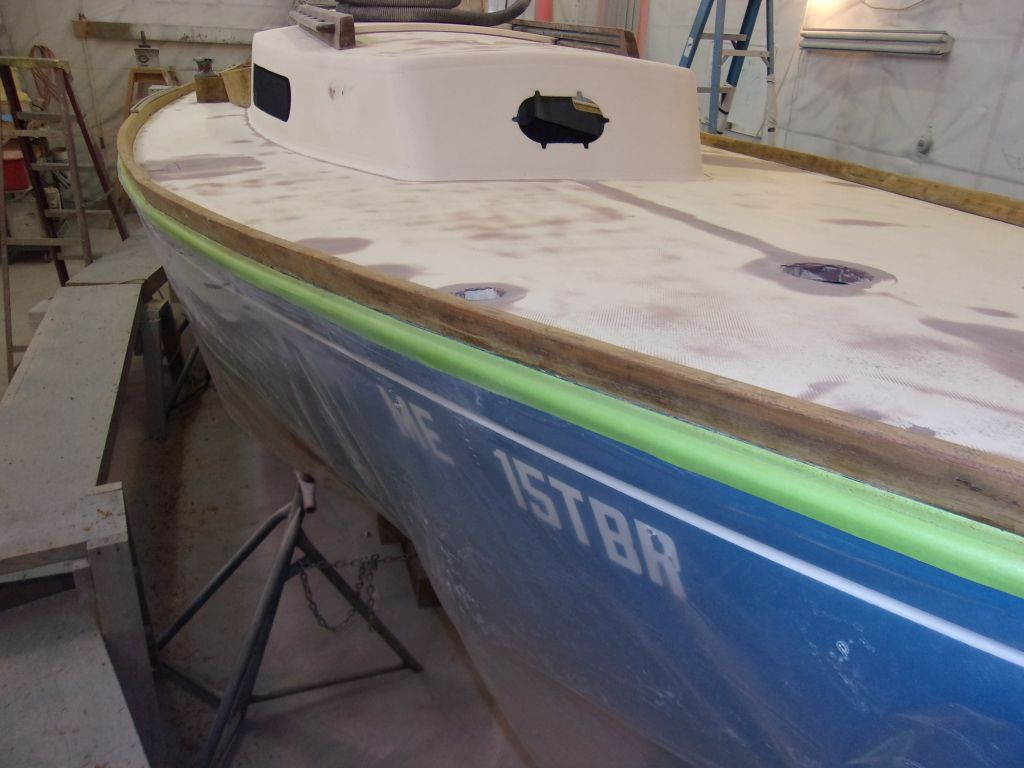
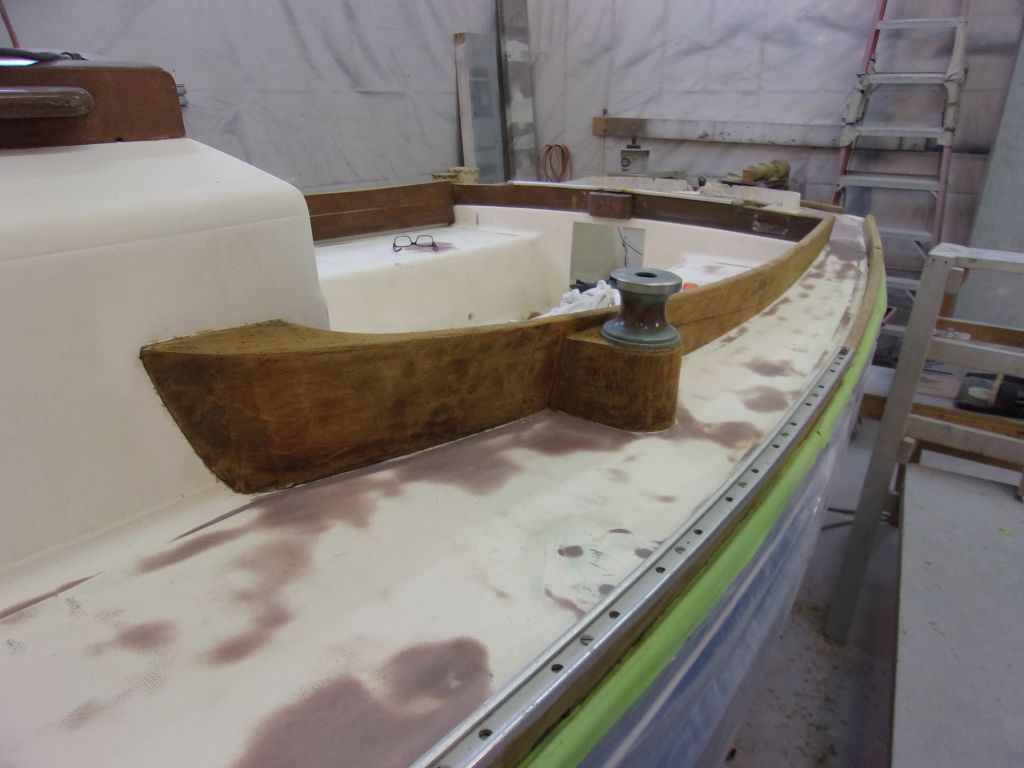
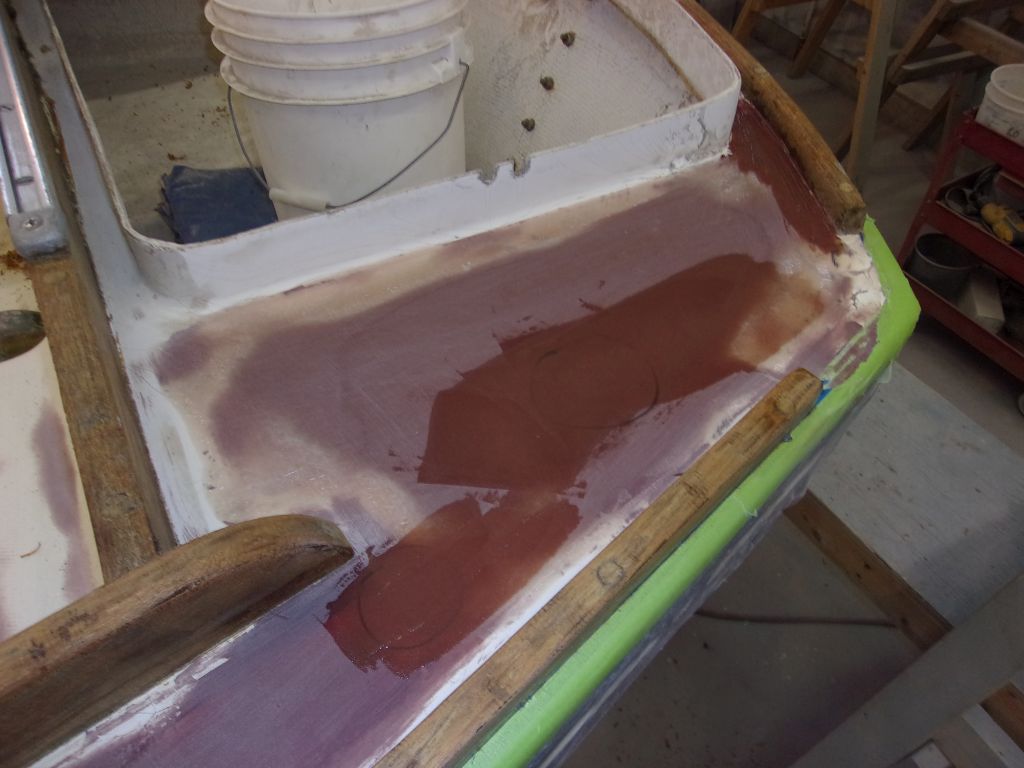
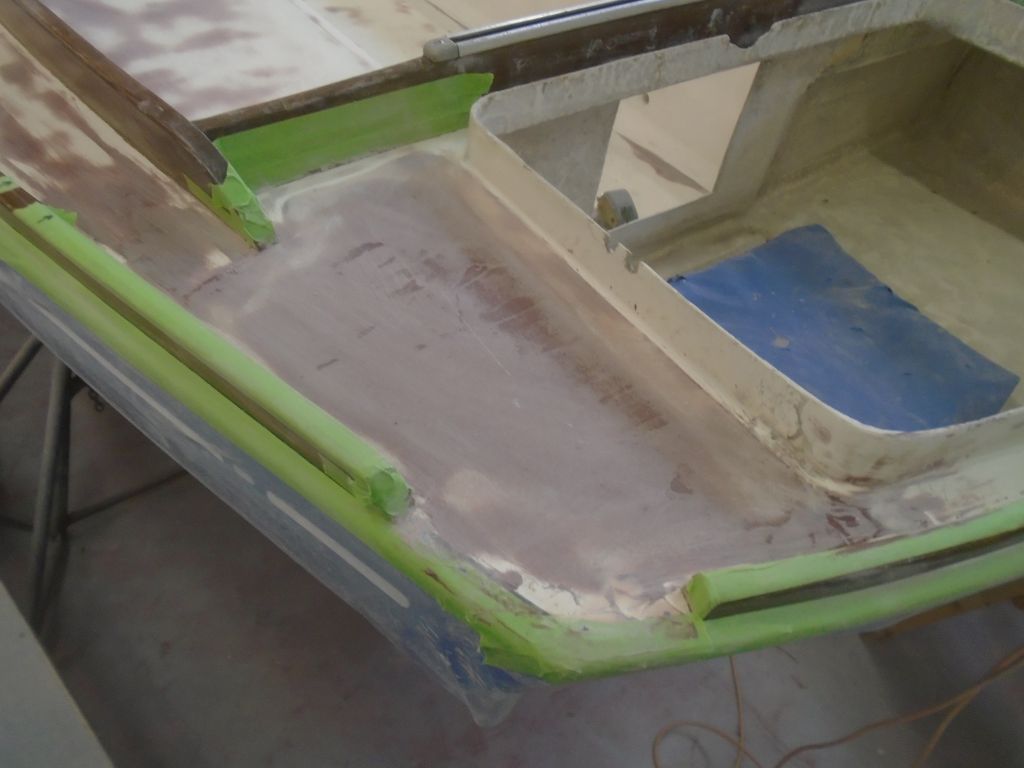
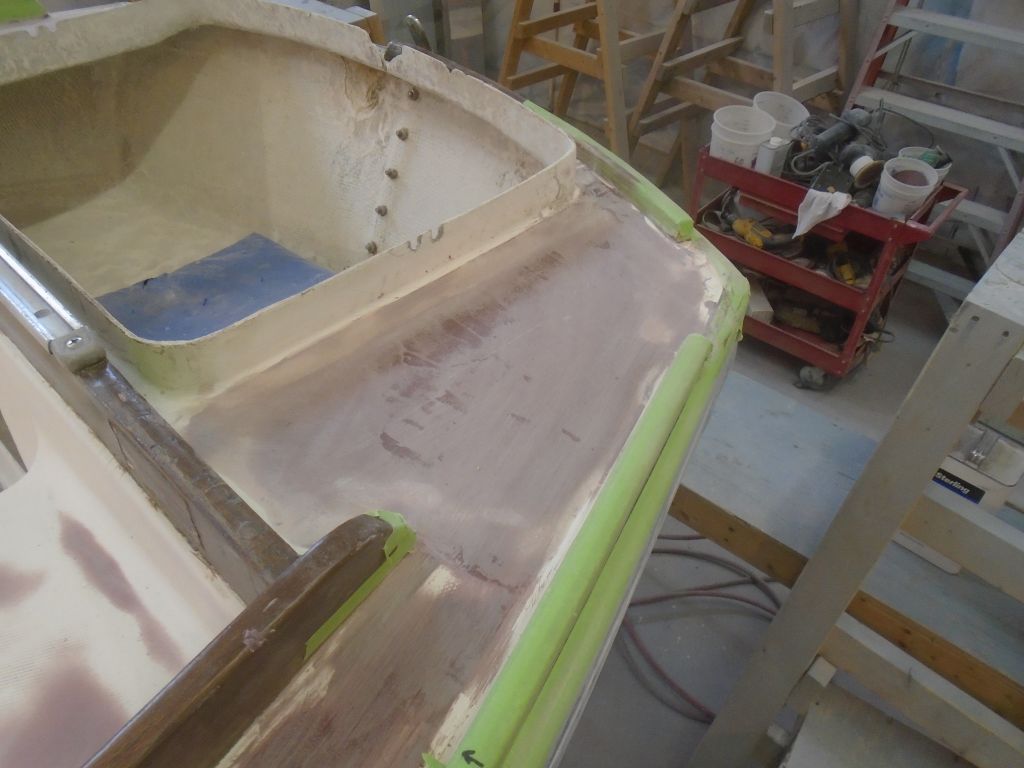
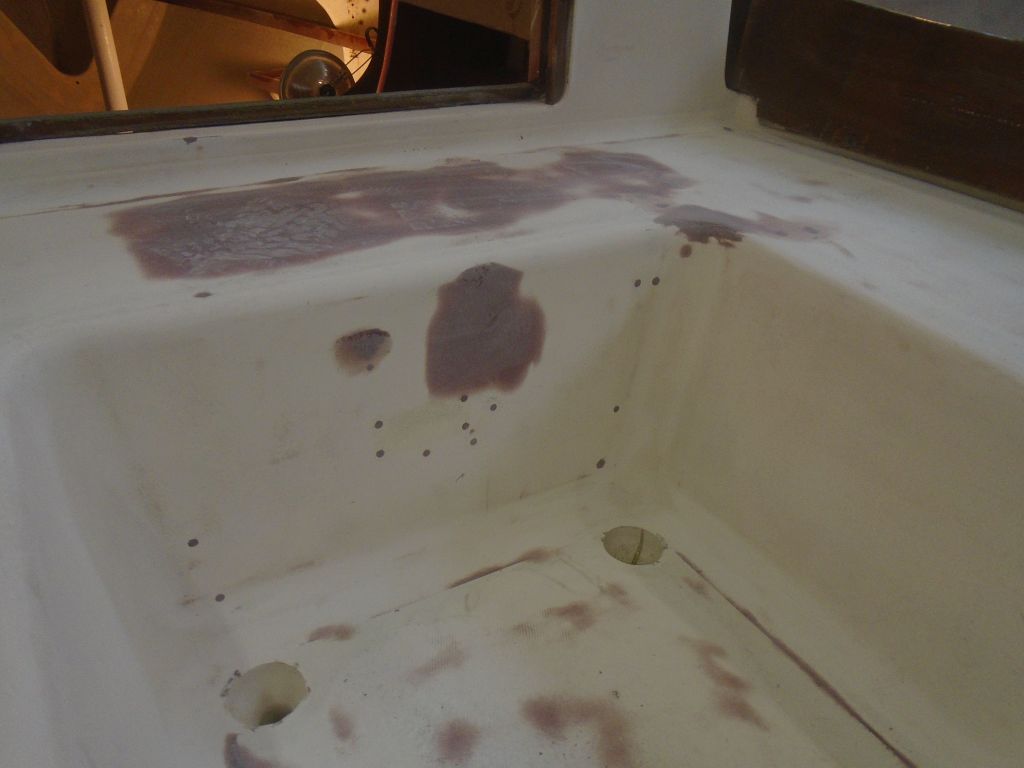
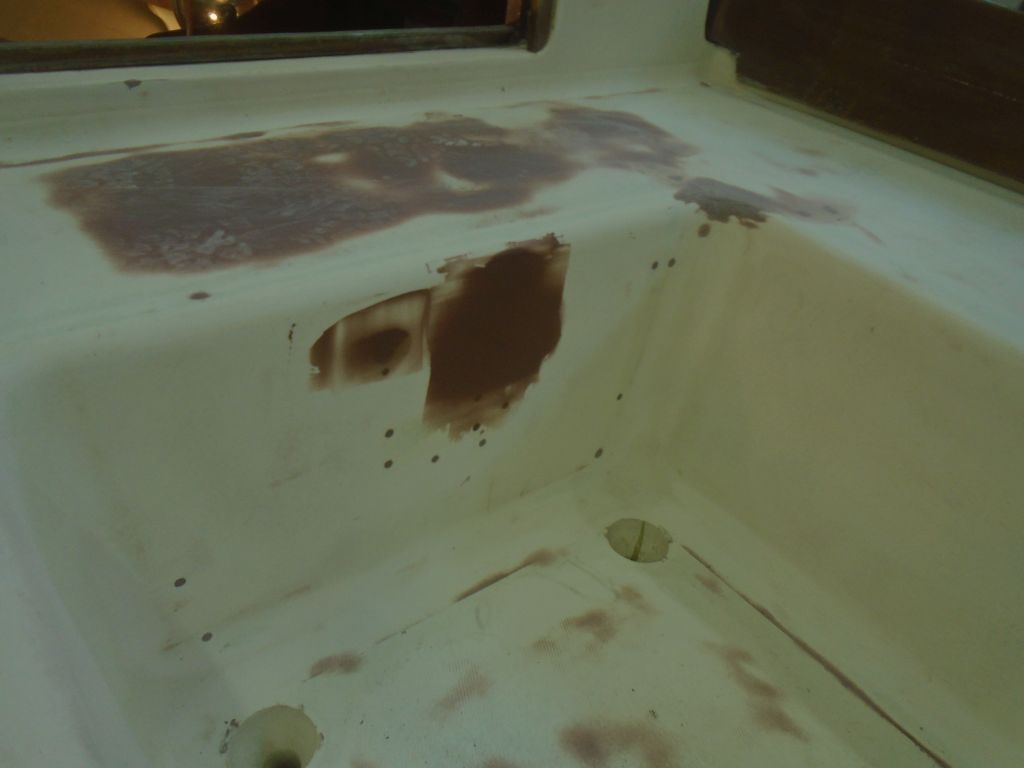
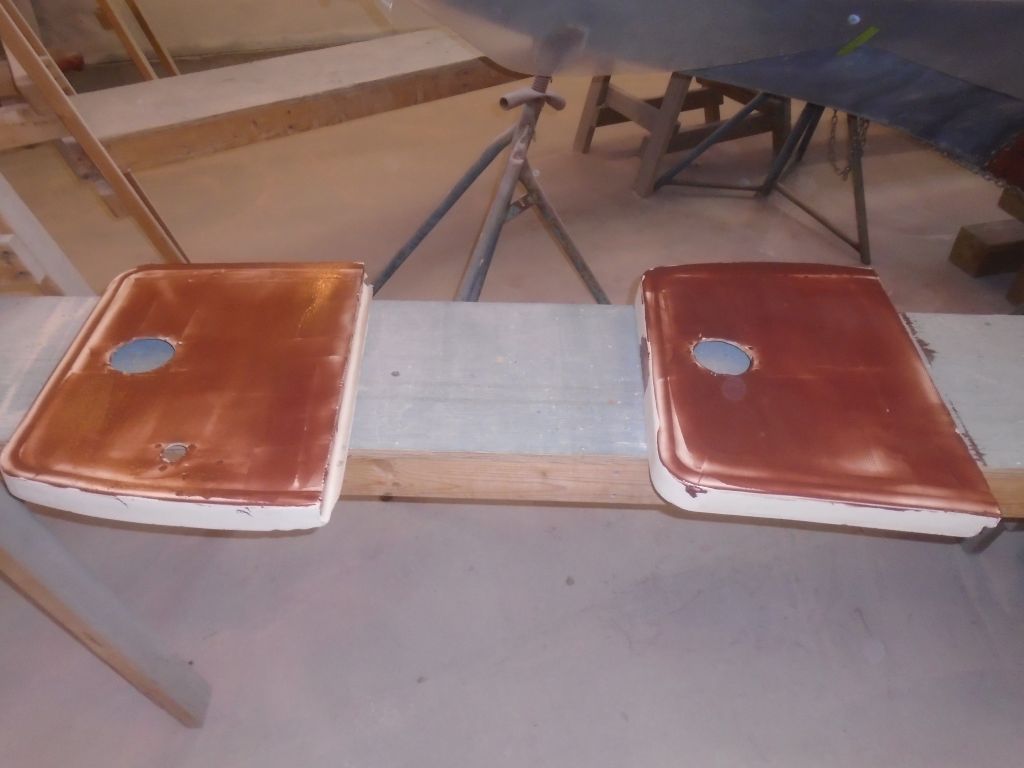
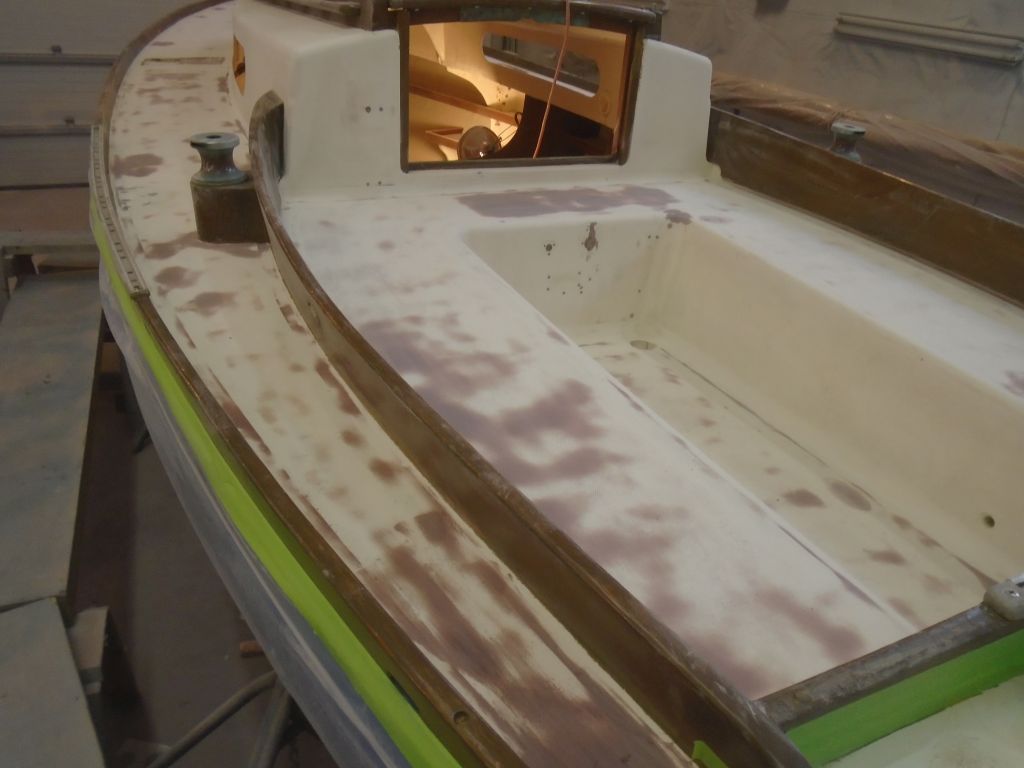
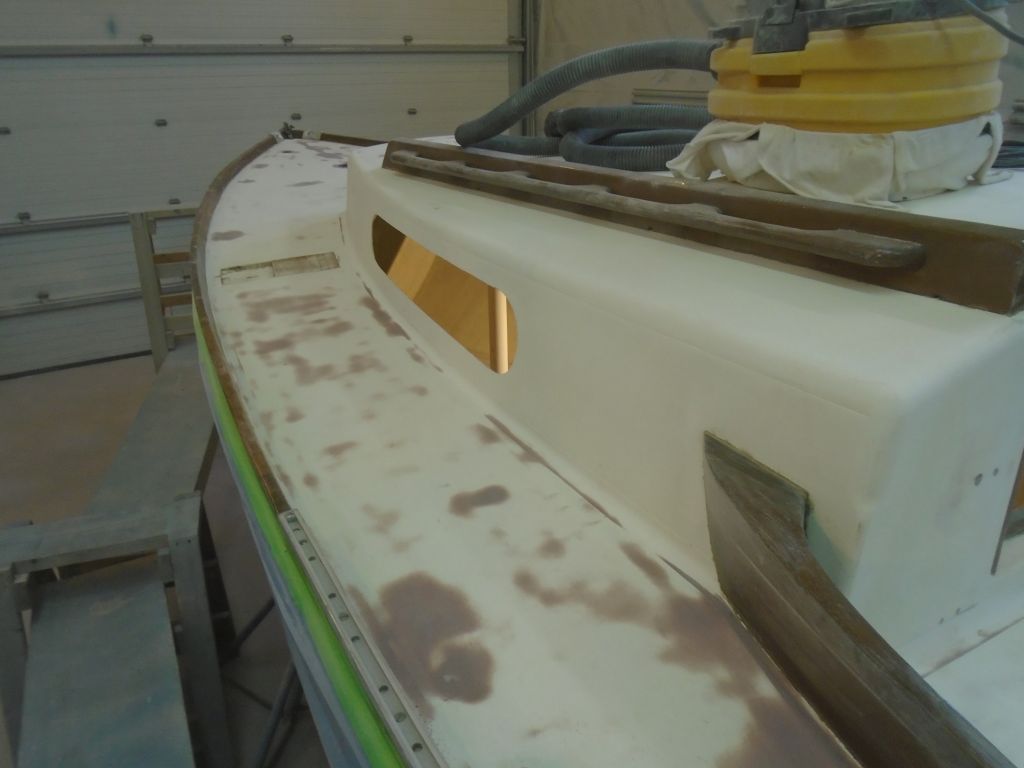
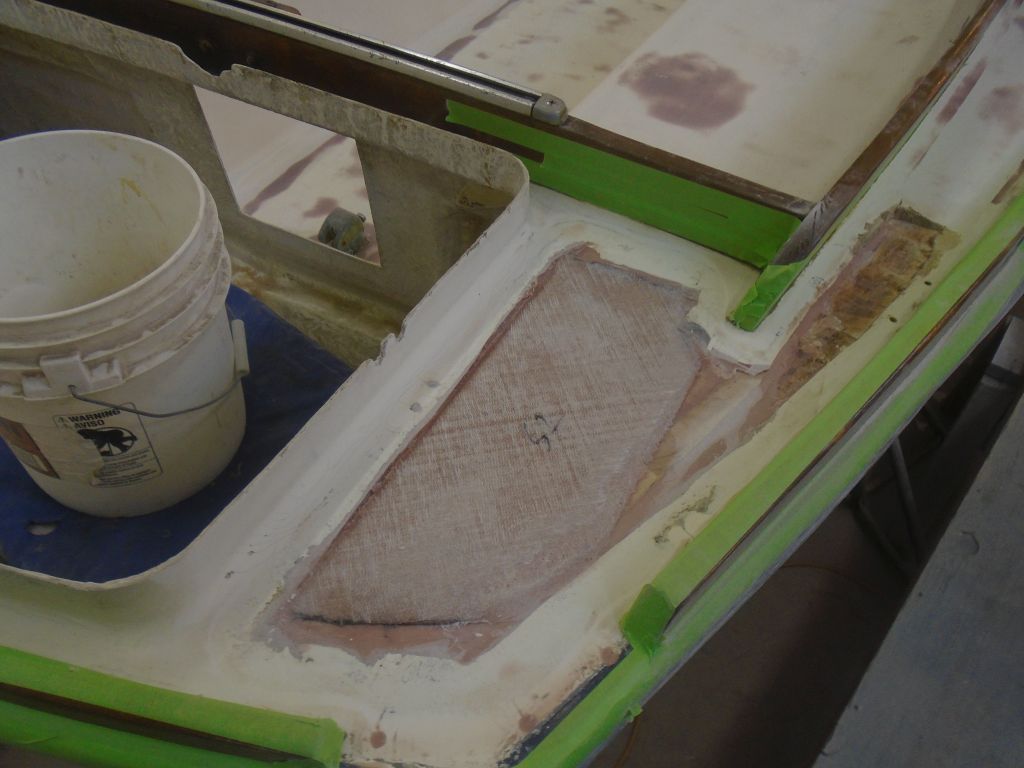
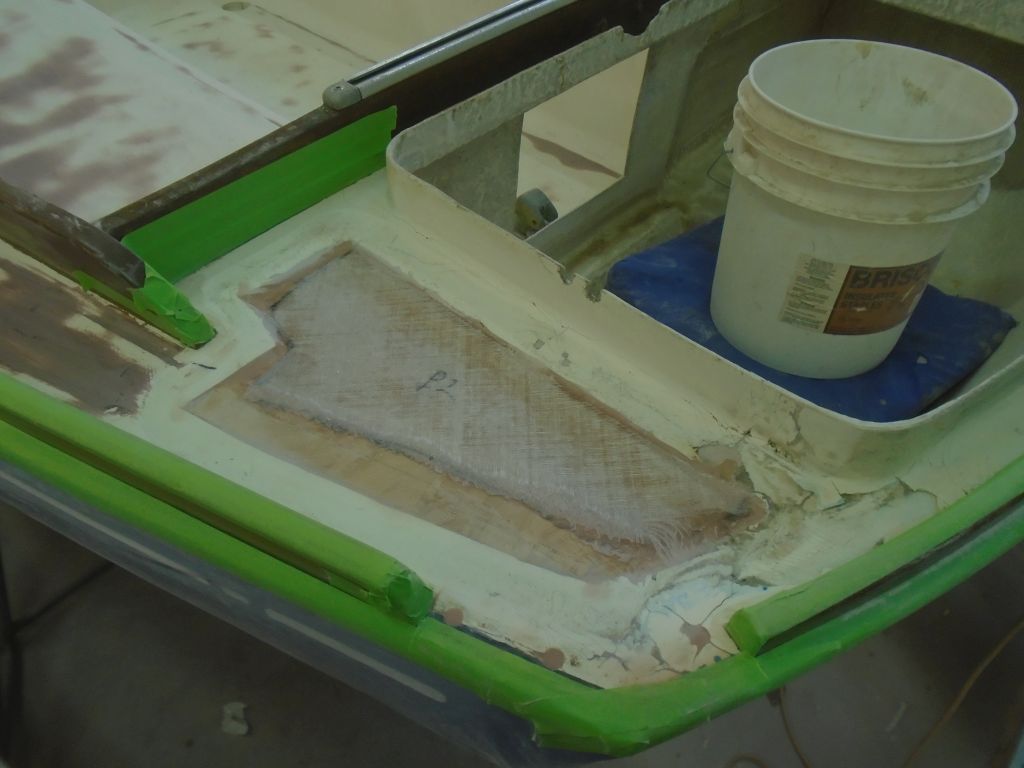
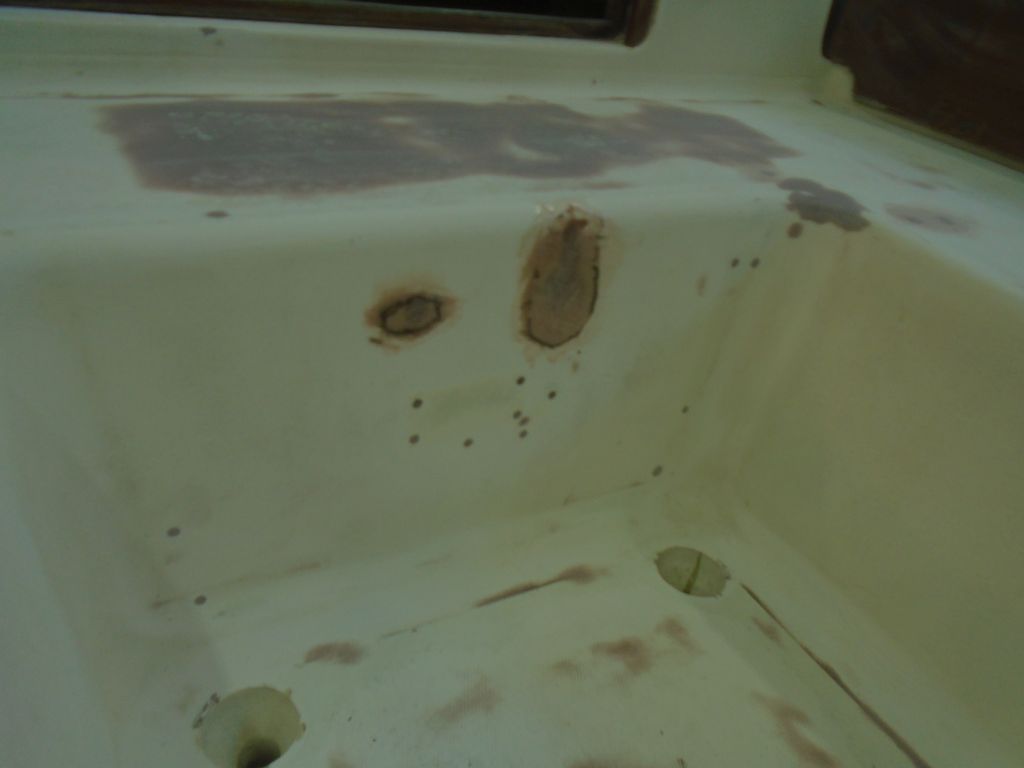
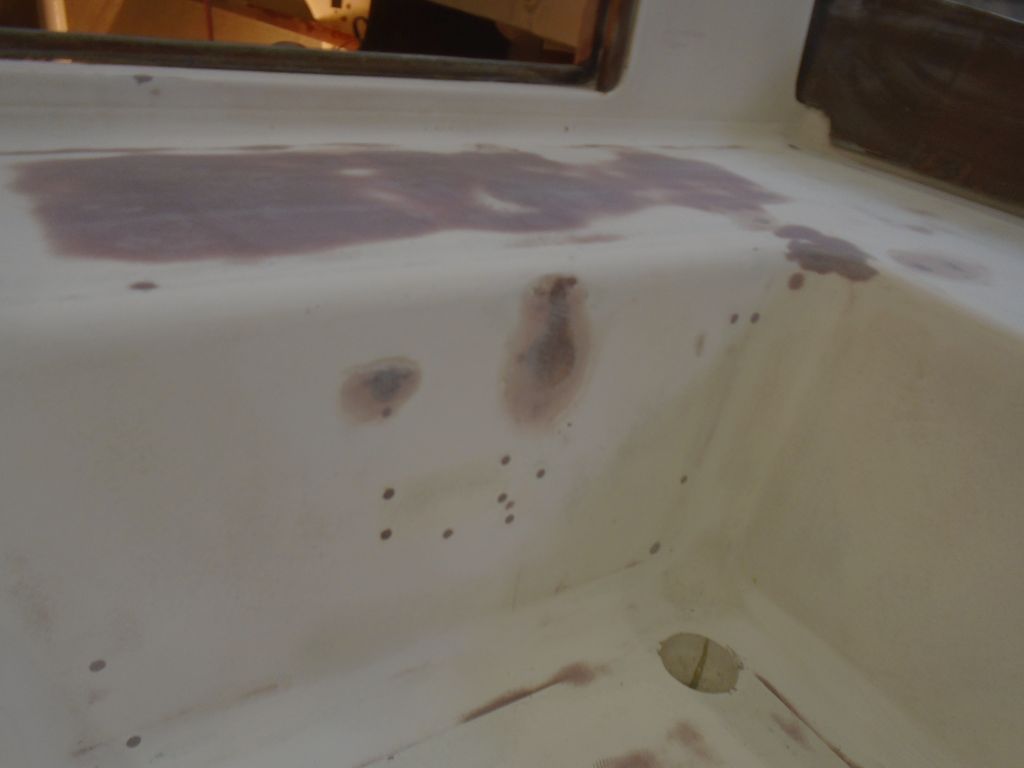
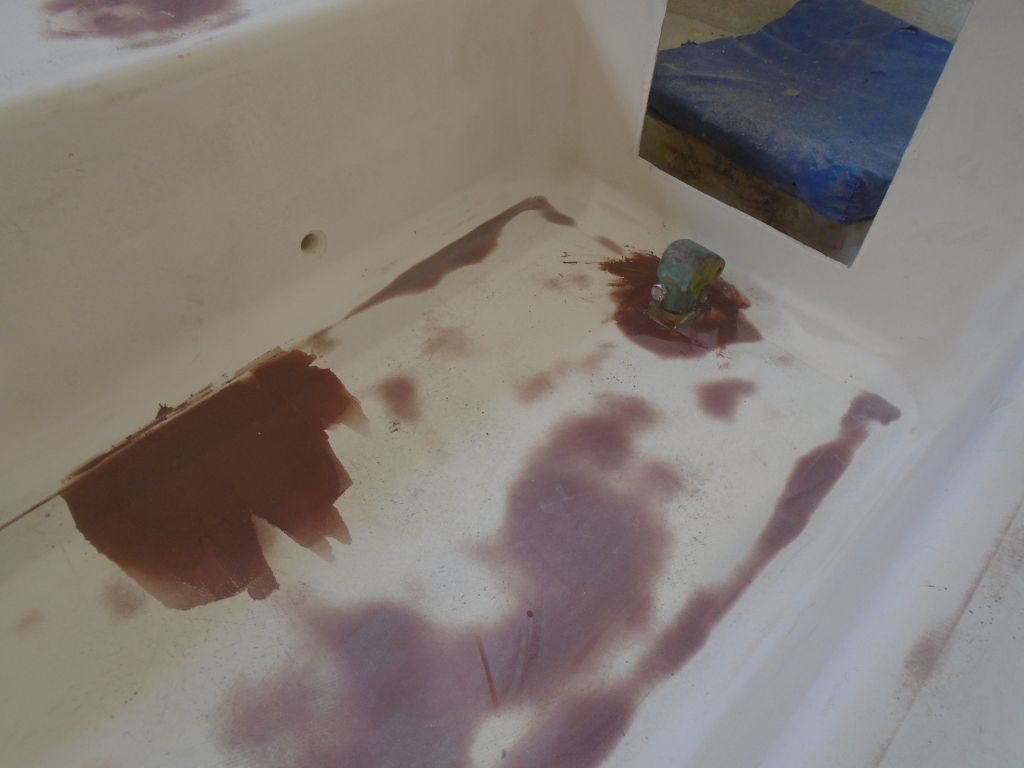
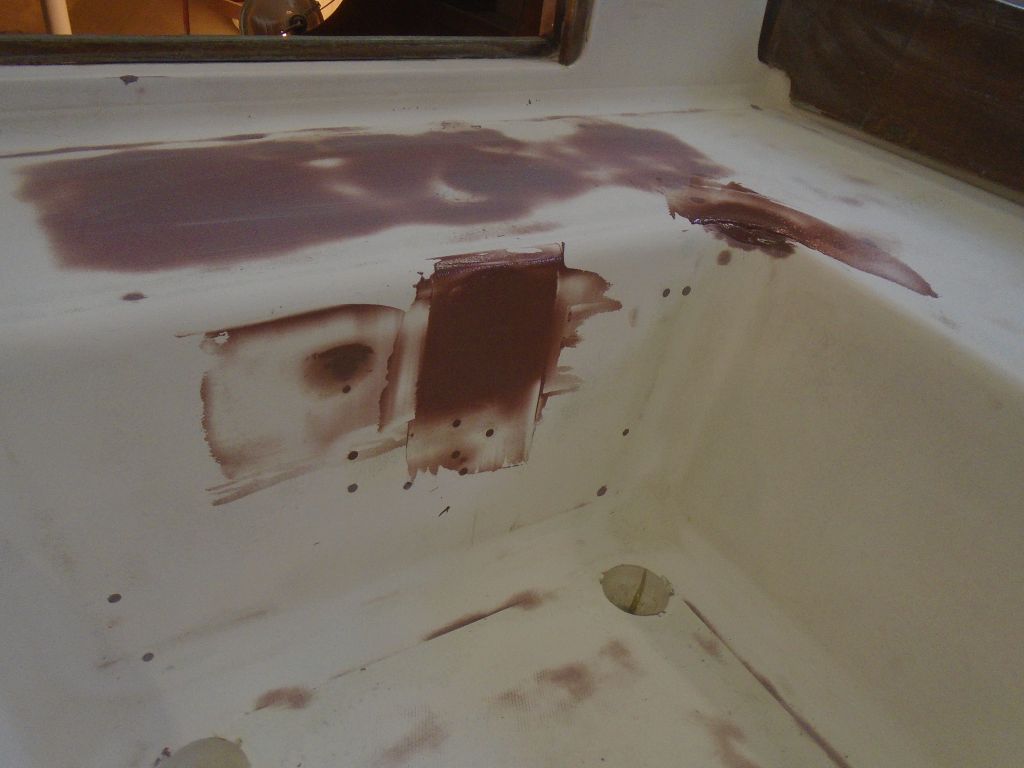
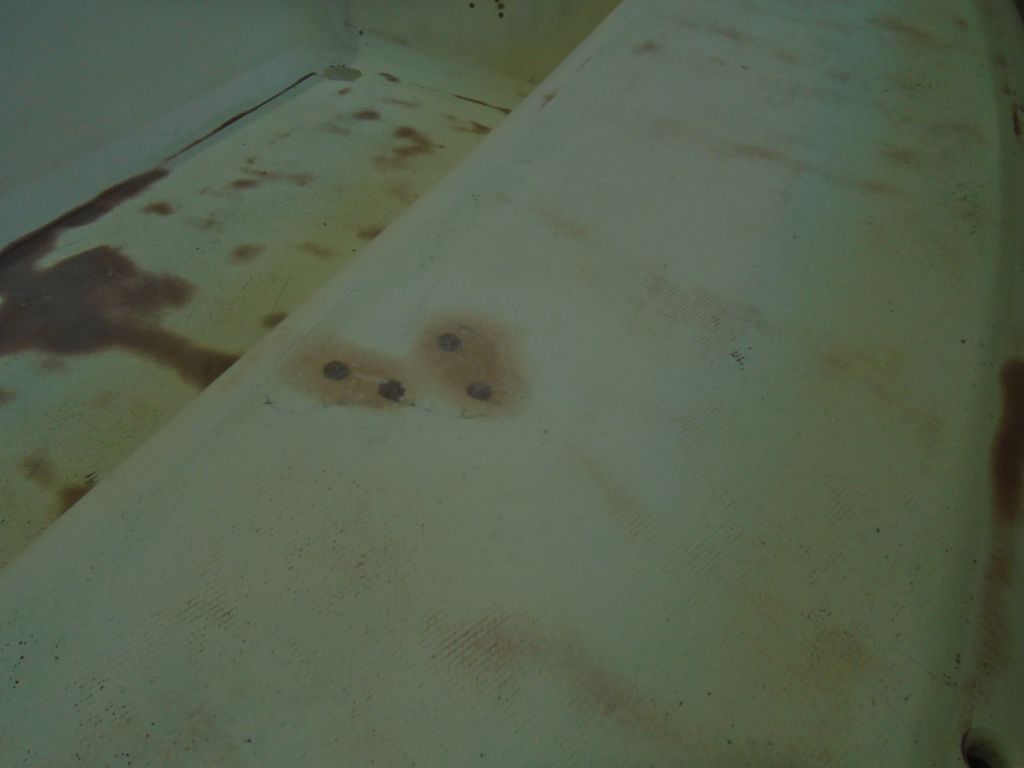
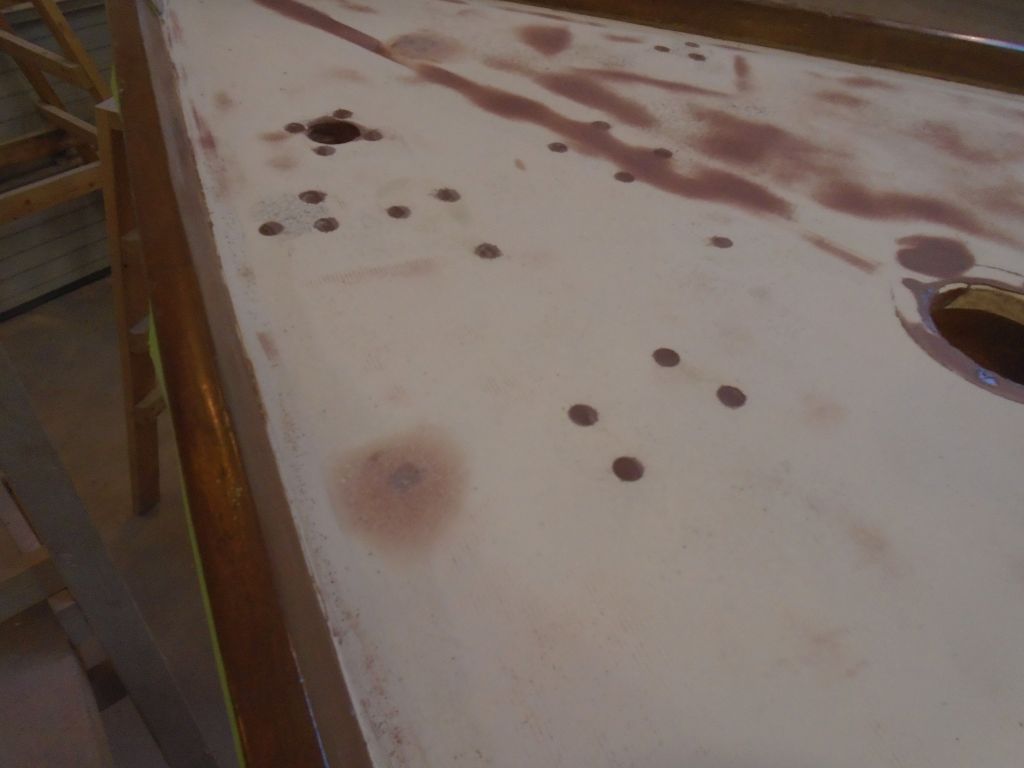
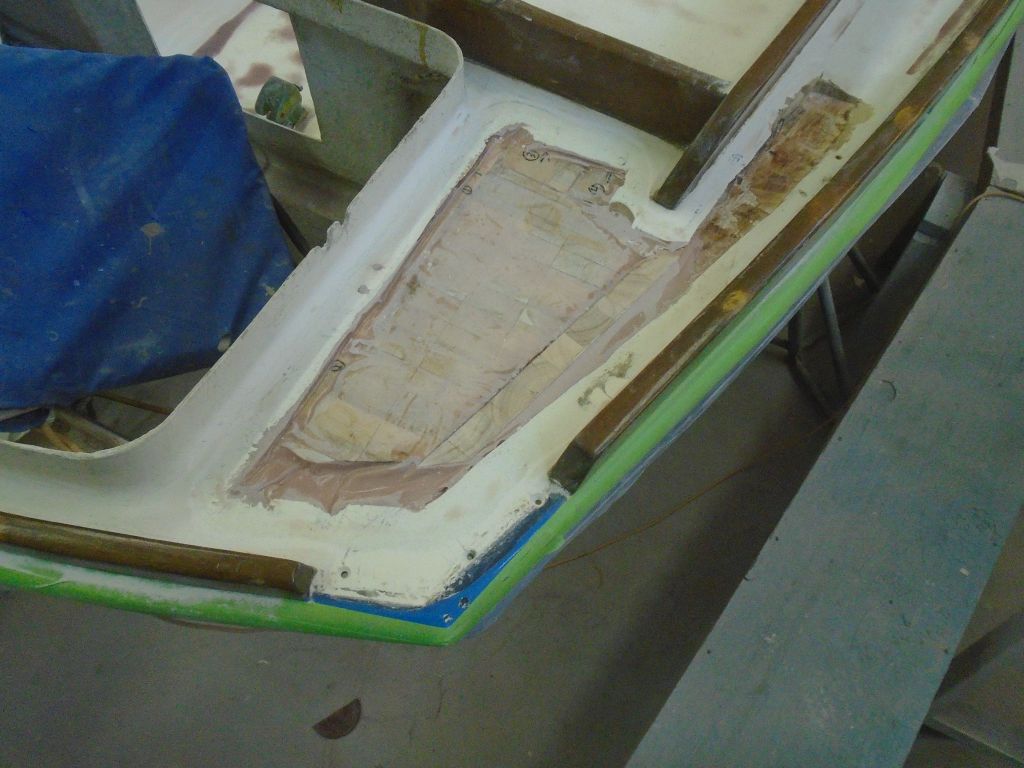
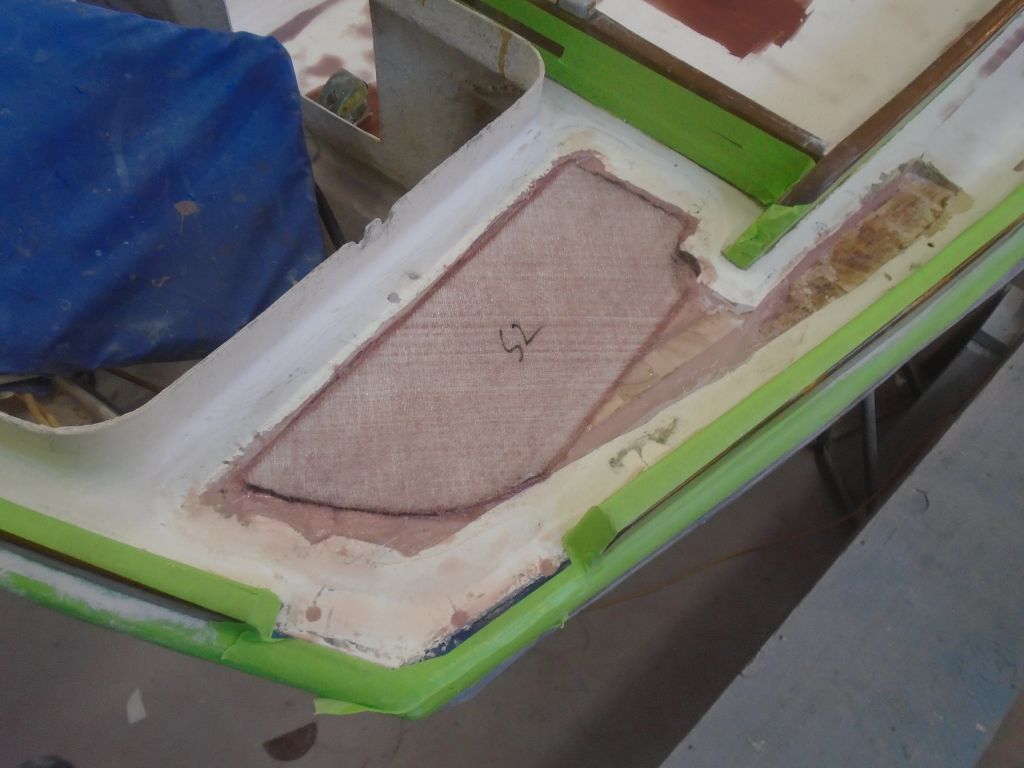
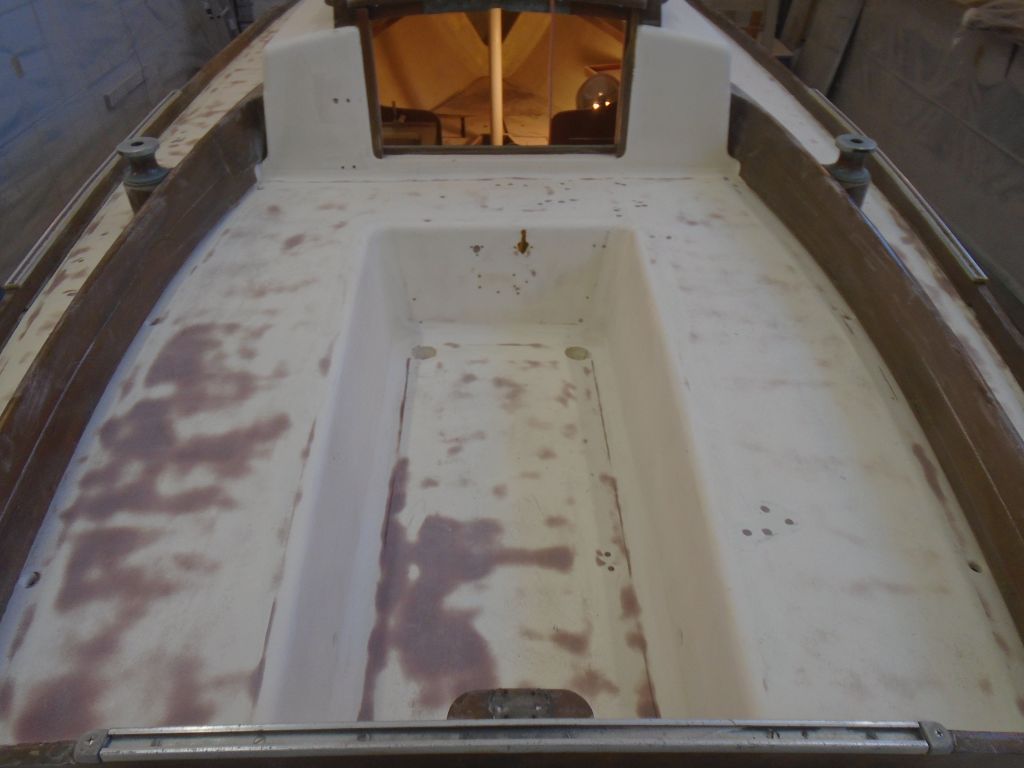
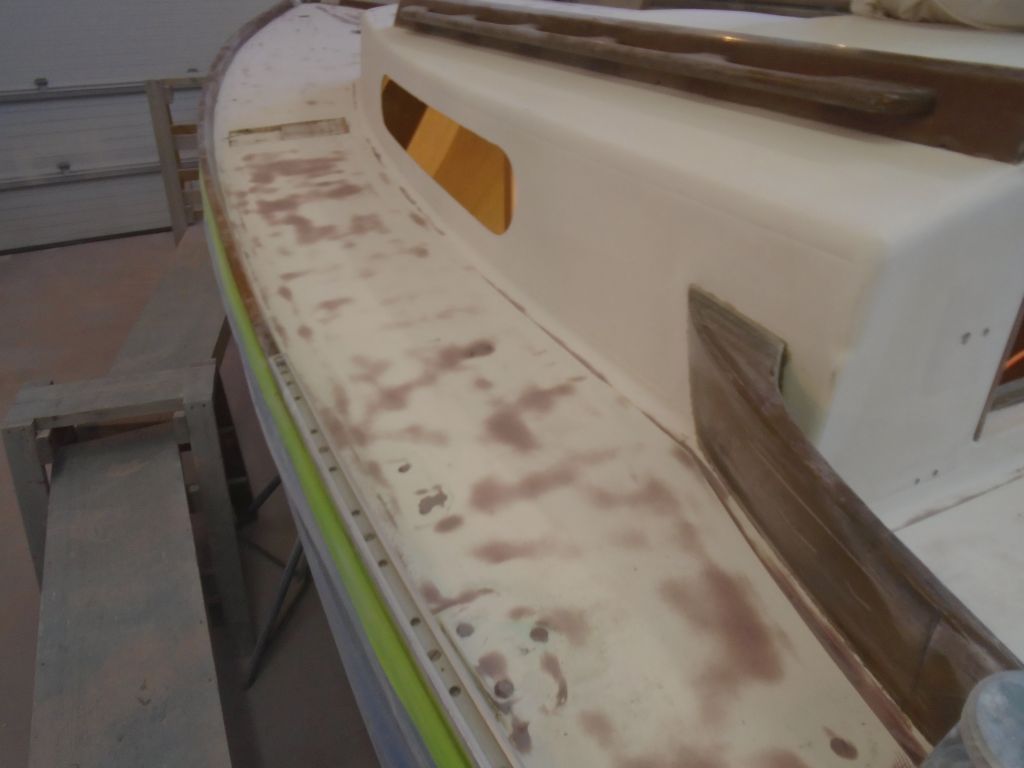
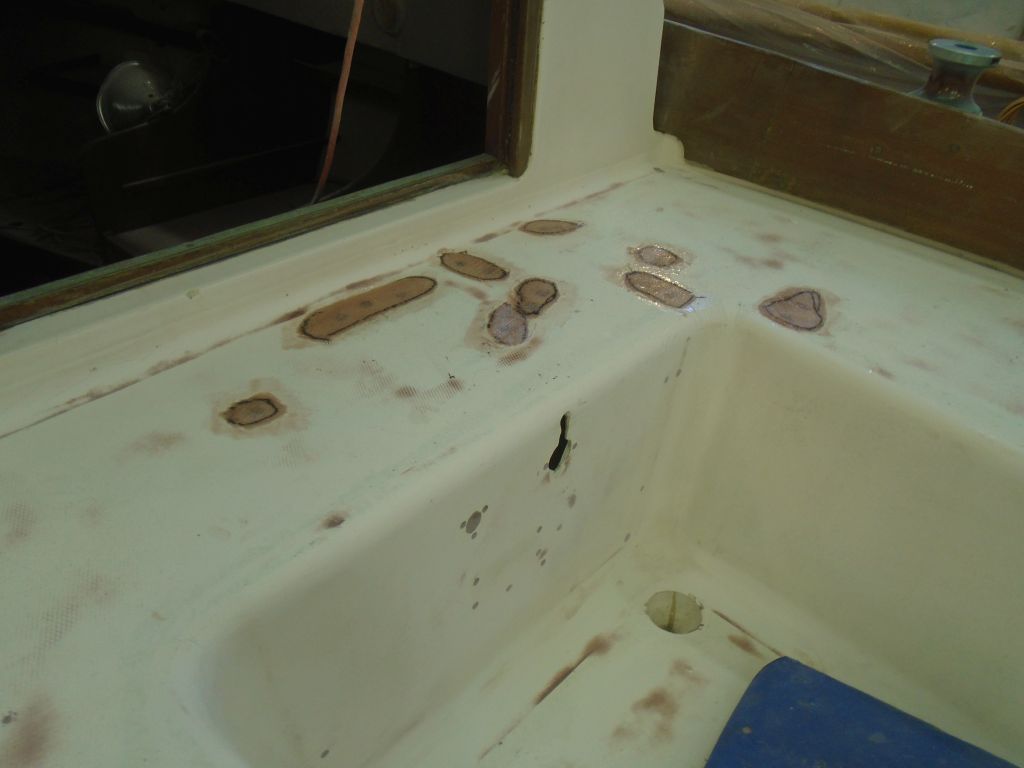
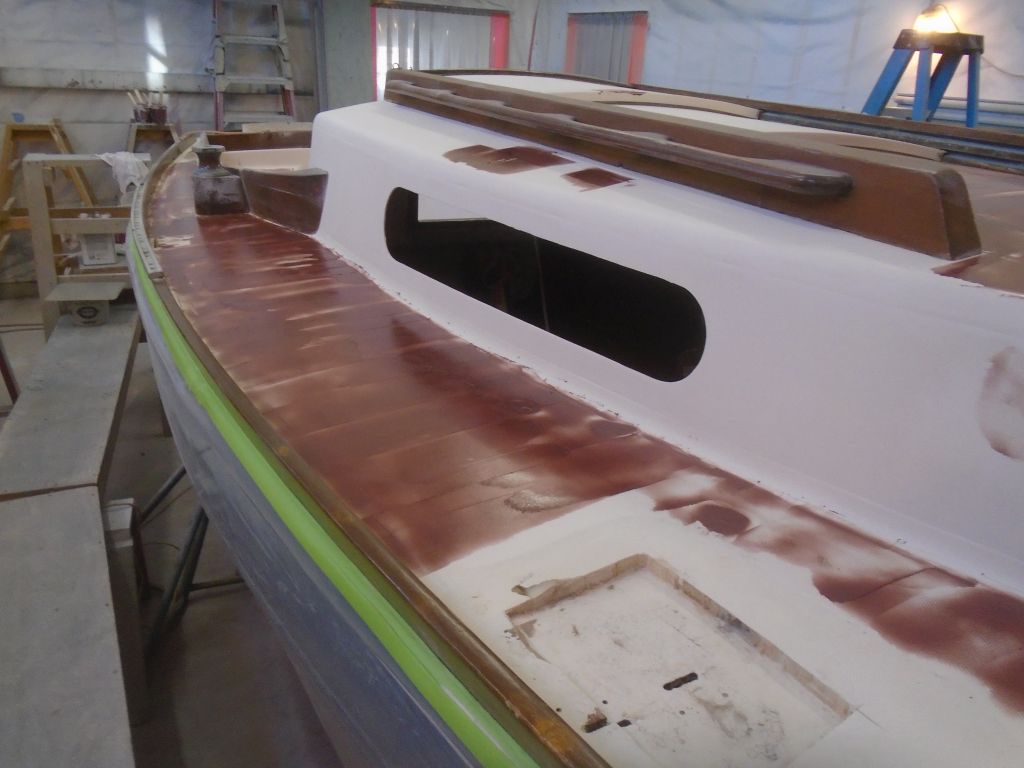
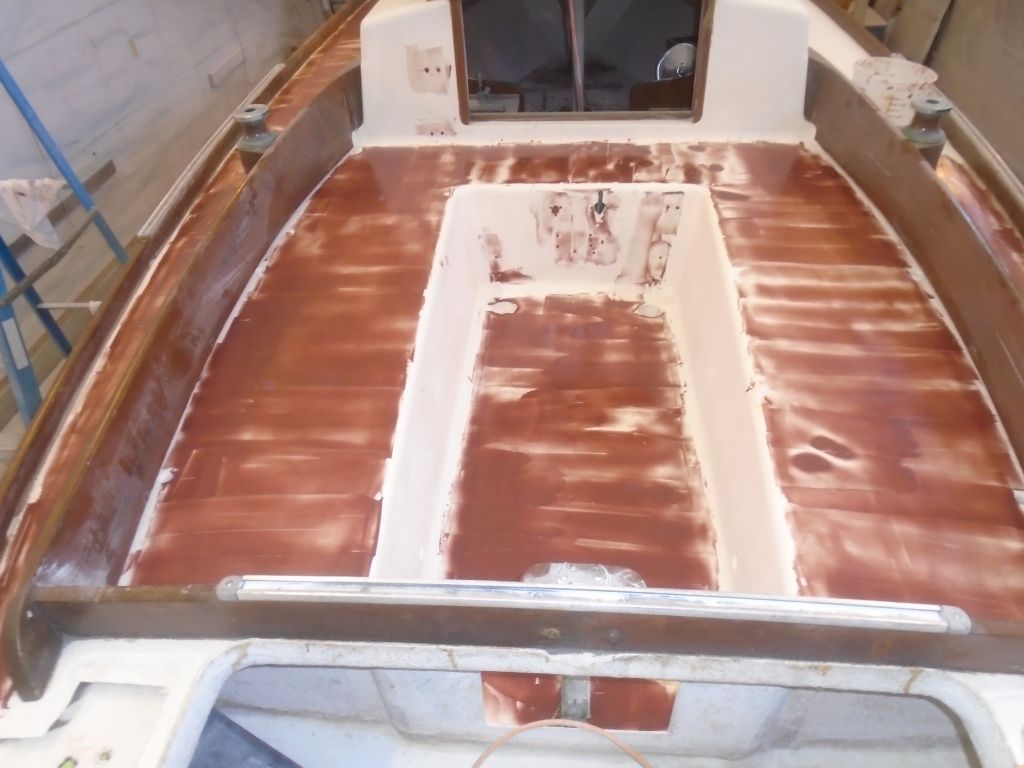
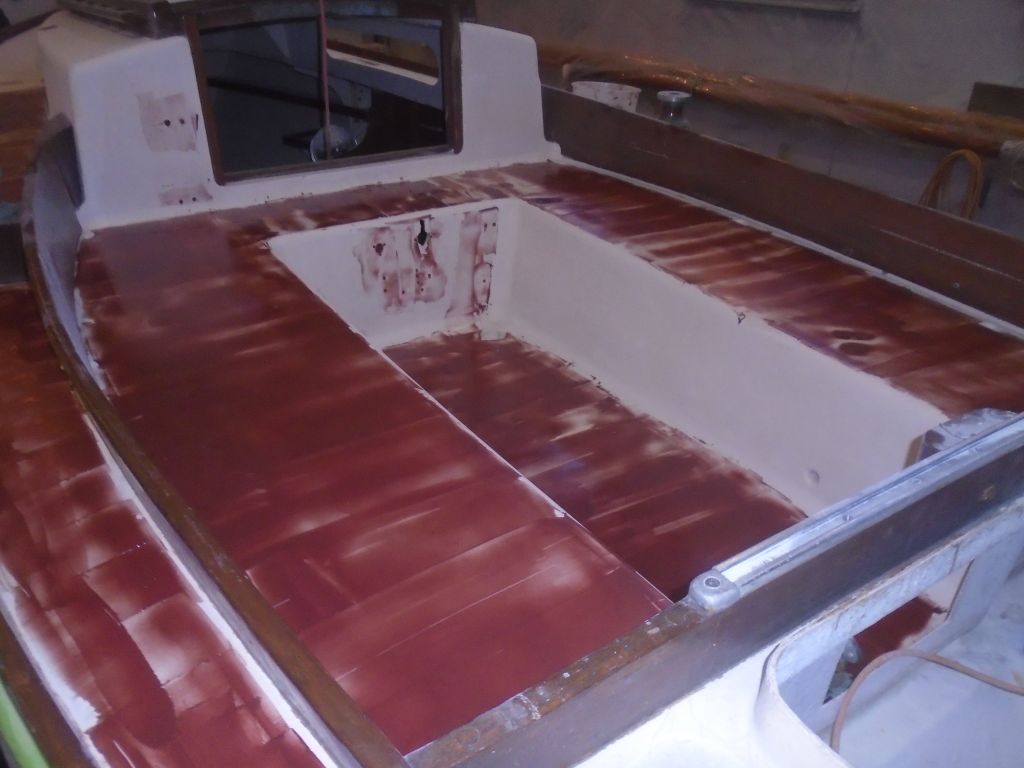
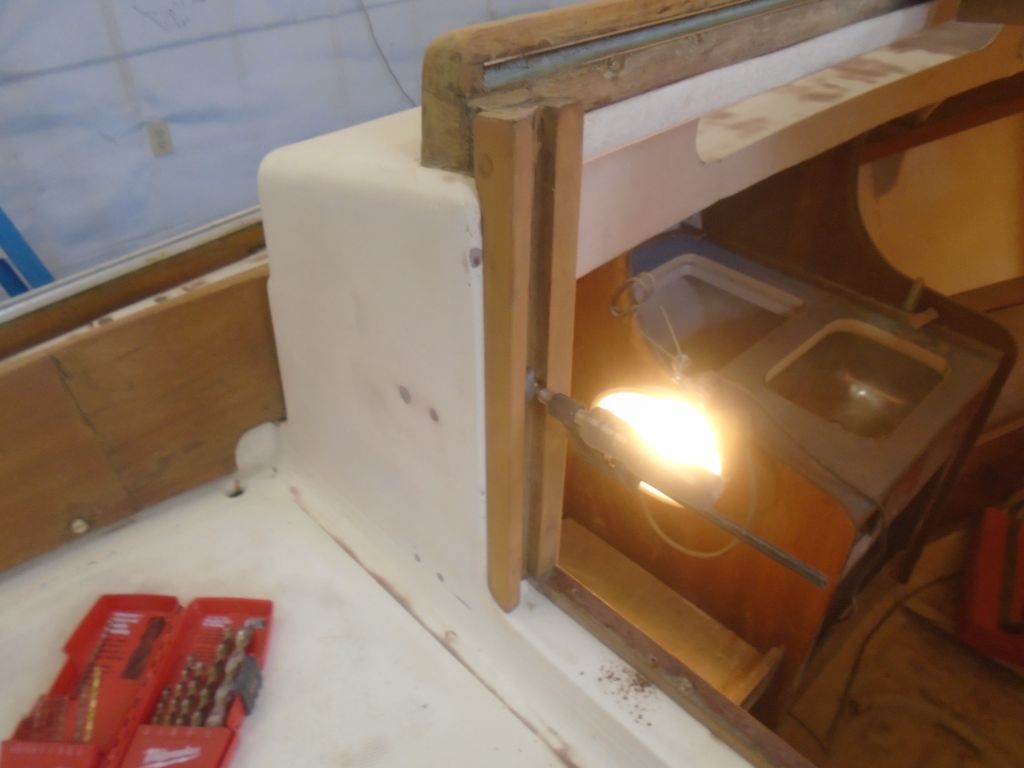
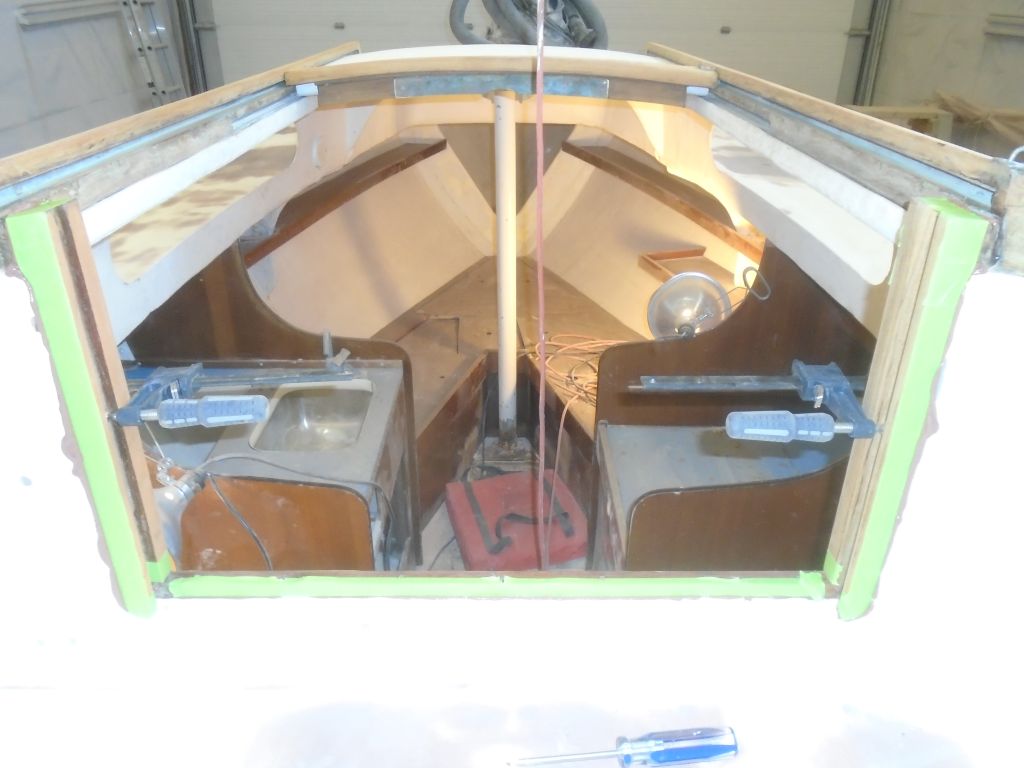
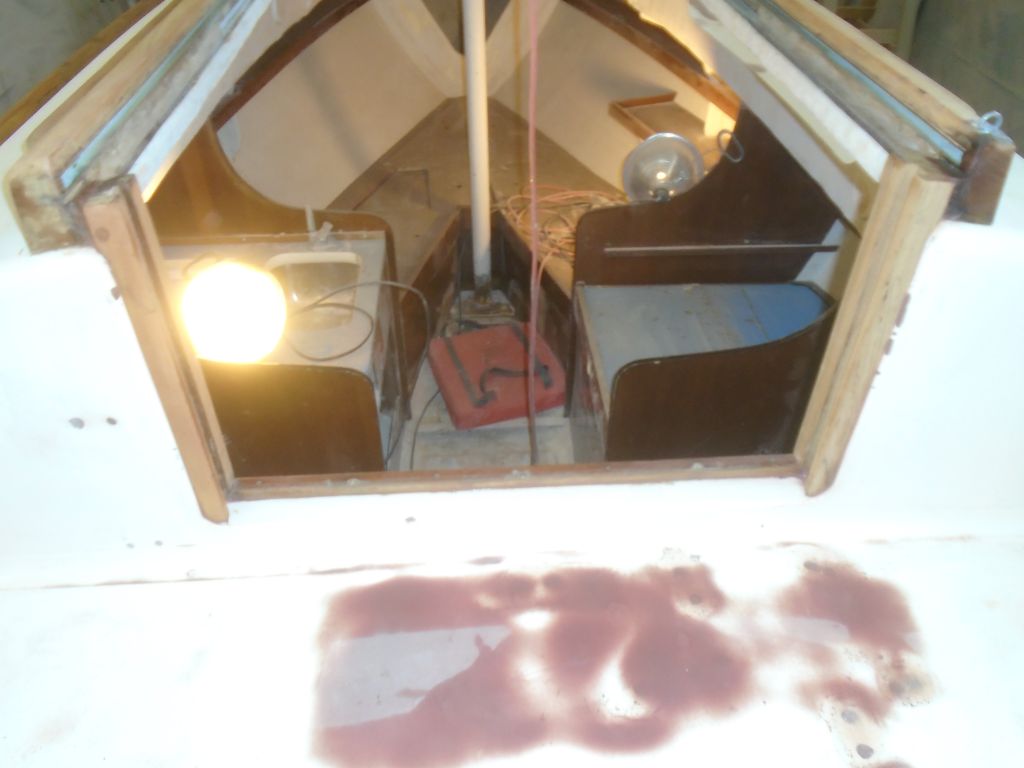
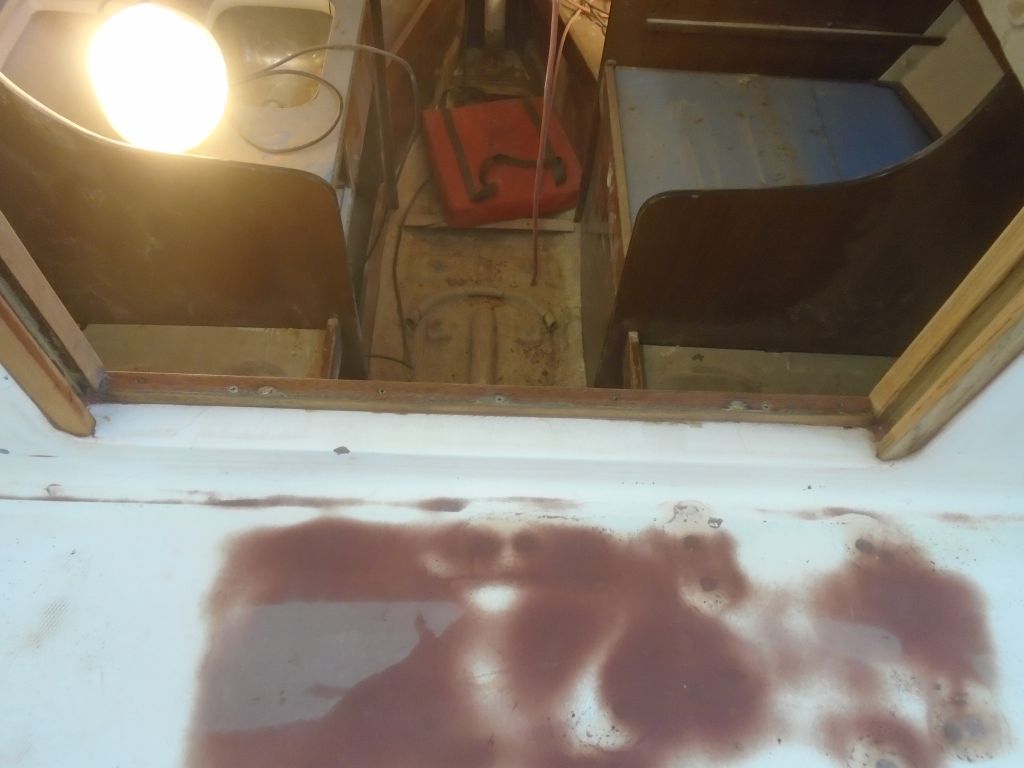
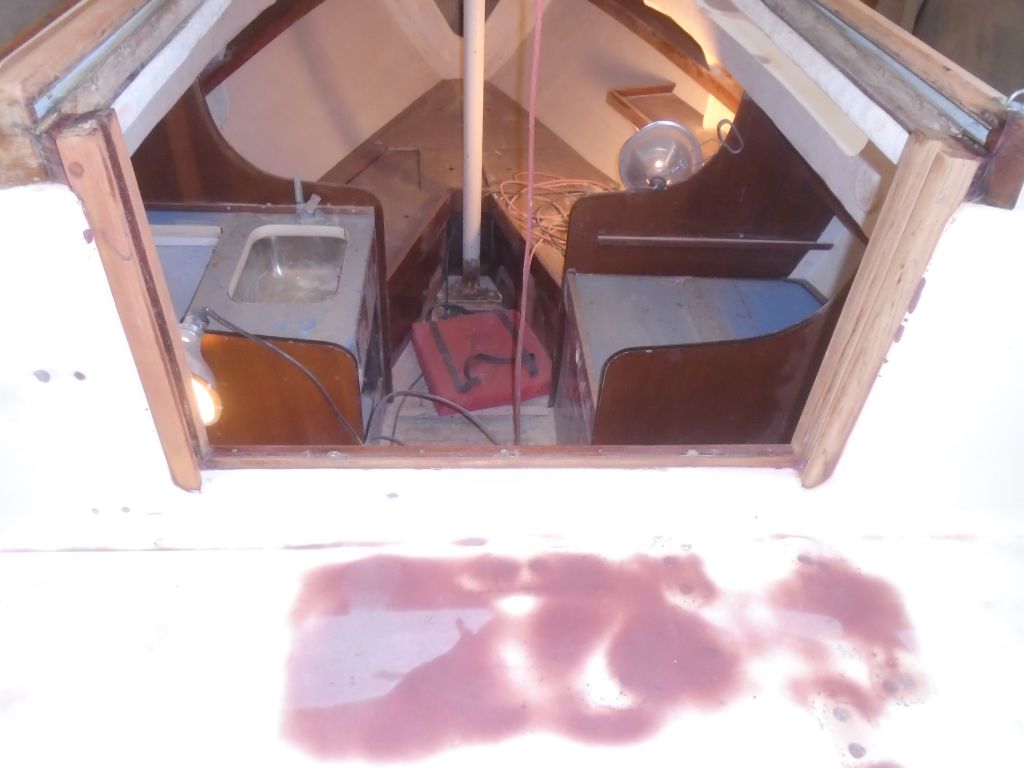
Meanwhile, I turned to the companionway trim.  After final preparations, including drilling the new piece for screws and test-fitting all three pieces, I installed the trim in a bed of sealant with new fasteners all around.  The reddish spots at the corners of the opening are areas where I’d filled and repaired some damaged gelcoat chips.

Total time billed on this job today:  5 hours

0600 Weather Observation:
30°, partly clear.  Forecast for the day:  Mainly cloudy, 40s

Halcyon 19

< Back to Halcyon

Wednesday

After chiseling out the little notch in the back side of the new companionway trim piece, I test-fit the piece again, making some   fine adjustments till it fit properly.

During this fitting process, I found that the base trim piece was loose, the old fasteners having failed, so I removed that as well so I could better clean up the area for reinstallation.  Ultimately, I  decided also to remove the port companionway trim for sanding and reinstallation, since its installation was similarly loose.  Later, I sanded clean the old faying surfaces of the molded opening, pending final reinstallation of the trim pieces a little later.

I spent the bulk of the day sanding all the exterior trim to remove final bits of old finish and smooth the wood surface.  The wood, as anticipated, was in fair condition considering its age, with various staining, dents, and so forth, but it would look pretty good once refinished.  While I was at it, I dressed up the deck, cabin, and cockpit surfaces with 120 grit on a vibrating sander, the final sanding stage for these areas.  I had a couple minor regluing repairs underway when I took these photos, which explains the clamps seen here and there.

Later, I cleaned up the main set of chainplates, removing old paint, sealant, and surface rust.  In a couple spots, the rust had etched into the surface metal a bit, but it didn’t appear at this time to extend below the surface.

Total time billed on this job today:  6.75 hours

0600 Weather Observation:
34°, drizzle.  2″ sleet and sodden rainy mess left from yesterday.  Forecast for the day:  Clouds and eventual sun, 40

Halcyon 18

< Back to Halcyon

Tuesday

I began by lightly sanding the few deck areas where I’d added another round of fairing compound, pretty much finishing up the work other than a final round of finish sanding over the entire deck areas, which I’d do soon.

I continued work on the exterior wood stripping, this time with the companionway hatch rails and handrail assemblies, plus the insides of the cockpit coamings and other areas.

The starboard side of the companionway trim, where the swash boards fit, was damaged and broken at the top edge.  Though I briefly considered scarfing in a new piece to make up the damaged section, I quickly elected to rebuild the entire piece from new stock, so I removed the old trim and, down in the shop, used it as a template to mill a new piece from solid teak stock that I had on hand, duplicating the details of the original piece.

A quick test-fit showed that I needed to further massage the bottom edge, where the piece was curved to fit the molding at the corner of the opening, and also create a notch at the top edge to allow the trim to fit into the existing trim and moldings, as I’d seen on the original piece.  I marked the outline of the new cut, but as it was getting late, I decided to leave it till next time before chiseling it out and doing the remaining fine-tuning on the new trim piece.

Total time billed on this job today:  6 hours

0600 Weather Observation:
30°, heavy sleet.  Forecast for the day:  sleet, freezing rain, rain…everything but snow

Halcyon 17

< Back to Halcyon

Monday

First thing, I sanded the latest–and one of the last–rounds of fairing filler on portions of the deck, including around the chainplate repairs and poop deck, along with the hole repair and skim coat on the two lazarette hatches.

Other than a few minor low areas that would require another round of filler, most of the deck repair and surface preparations were now complete, so I turned to the exterior woodwork.  The original job scope had been to perform basic maintenance to the woodwork, but after various discussions with the owner about the condition of the woodwork, the owner elected to go with my suggestion to strip the old finish, which was many layers of Cetol wood finish that had grown heavy and dark over the years, albeit well-maintained so that the wood itself was basically sound in all areas.

With heat gun and scraper, I went around the boat removing the old finish from the toerails and outboard sides of the coamings.  The wood itself was in fair condition:  structurally sound, but showing its age.  Stripping left the wood looking spotty and rough, but sanding would clean it up pretty well a little later.   I’d finish up the exterior stripping with the insides of the coamings and companionway trim and rails next time.

Meanwhile, to finish up the day, I prepared a small batch of epoxy fairing compound to fill various areas still requiring it in deck.

Total time billed on this job today:  6.25 hours

0600 Weather Observation:
30°, cloudy.  Forecast for the day:  mostly cloudy, 32.

Halcyon 16

< Back to Halcyon

Friday

I spent the morning working on the decks, first sanding the new fiberglass over the chainplates to bring it flush with the adjacent deck areas, and lightly sanding as needed the fairing compound on the poop deck and few other areas of the deck.    I also removed the final fasteners–the heavily rusted ones that had secured the plastic cowl vent rings–from the lazarette hatches, and, after some final hole preparation, sanded these hatches to begin to smooth the nonskid pattern.

Afterwards, I applied fairing compound to the various deck repairs as needed.  The poop deck repairs were more or less at their final contours, but there were some low spots left after the first round.  For the lazarette hatches, I filled all the old fastener holes, and skim-coated the surfaces to fill the remaining nonskid pattern and prepare these hatches for future steps.

During the past week or so, I’d been continually soaking in penetrating oil the three broken studs in the starboard deadlight frame, and now, with locking pliers, I gingerly removed the studs successfully, breathing a sigh of relief when it was done.

Total time billed on this job today:  5 hours

0600 Weather Observation:
28°, cloudy.  Forecast for the day:  Mostly sunny, 39°

Halcyon 14

< Back to Halcyon

Wednesday

Continuing work on the deck surfacing, I sanded the latest round of fairing compound as needed, along with the initial fiberglass layers on the poop deck repairs and other areas as required.  This brought most areas close to their final state of primer prep, with only a few small low areas left to fill and some additional finish sanding.

The deck areas in way of the chainplates required solid fiberglass work to fill in the remaining areas where I’d removed old and damaged core earlier.  To maintain the existing chainplate slots throughout the process, I made up some blanks from nonstick plastic material, and temporarily secured them in place on each side.  The original chainplates were covered with paint and rust stains, and I planned to clean them up soon for a thorough inspection.

With the temporary chainplates in place, I prepared simple paper templates of the area so I could cut layers of biaxial fiberglass to fit inside the opening, and also larger templates for the final layers that would tie in the repairs with the ground, tapered areas on the adjacent sidedecks.

After preparing layers of fiberglass according to the templates, I installed eight layers in each opening, the top several layers a bit shorter since the underside of the deck tapered beneath, so the decks were thinner near the toerail.  This amount of fiberglass brought the patches up approximately level with the existing and new 3/8″ core material.  I’d finish up with the top layers of these patches next time, but to avoid excess heat during curing I didn’t want to do any more at this time.

Meanwhile, at the poop deck, I made up paper templates of the deck areas as needed, and prepared two layers of fiberglass for each side.  On the starboard side, I cut and installed several narrow layers of fiberglass inside the little void on the sidedeck, filling this more or less flush with the adjacent areas.

Afterwards, I mixed up a bit of thickened, structural filler and used it on each side to prepare a smooth and even substrate over the new core, interim layers of fiberglass, and the existing deck edges to prepare for the final top layers of new laminate.  I let this tack up for a little while while I prepared the fiberglass for the area and attended to some of the other work described earlier.

Finally, I wet out with epoxy and installed two layers of new biaxial cloth for each side of the poop deck.

In the cockpit, there were a couple minor areas that required some fiberglass–one over an obsolete electrical plug hole in the cockpit well, and the other to patch the existing slot and h ole where the centerboard control line had passed through.  I planned to rebuild this and add a new fitting through which to route the line, so for now I filled and glassed over the existing opening, which I’d earlier prepared by grinding out the adjacent areas as needed.

Total time billed on this job today:  6.75 hours

0600 Weather Observation:
22°, light snow.  Forecast for the day:  light snow, an inch or two, 20s.

Halcyon 15

< Back to Halcyon

Thursday

As usual, my first actions of the day were behind the sander, lightly sanding as needed the new fiberglass on the poop deck and at the chainplates.  I brought the edges of the little cockpit well patches and  new poop deck laminate flush with the existing deck surfaces, and lightly scuffed the field areas as needed to prepare for the next steps.  At the chainplates, I cleaned up the edges of the newly-installed laminate within the openings, preparing for the next and final layers of material to complete the rebuild there.

To complete the new laminate at the chainplates, I added a couple additional layers of material on each side, bringing the patches flush with the deck edges, then applied two layers of fiberglass over the top, overlapping onto the sanded border areas to tie in with the existing deck.

There were a few areas around the deck that required another dab of fairing compound, so I took care of that next.

Finally, I applied fairing compound to the new poop deck laminate, working to fill the fiberglass weave and bring the new deck surfaces close to their final contours as needed.

Total time billed on this job today:  6.25 hours

0600 Weather Observation:
25°, light snow, couple inches overnight.  Forecast for the day:  Snow ending, eventual clearing, 30s.

Halcyon 13

< Back to Halcyon

Monday

To begin, I sanded all the new little fiberglass patches around the deck, bringing them flush with the adjacent surfaces as needed.

I also cleaned up around the newly-cored poop deck areas, preparing the core and surrounding surfaces for the next steps.

The nature of recoring small deck sections like those on the poop deck, with cambers in two directions and other nearby molding complications, is such that the existing deck edge flanges tend to spring up once the decks are cut apart, and this, along with other intangible factors, often leads to the new coring being slightly lower than the underside of the existing deck surfaces.  So to bring the height to a compatible level, I cut and installed in epoxy two layers of fiberglass over the central sections of the core.  This would help the final layers of fiberglass lie properly over the repairs later.,

I went over the main deck areas again with a second round of fairing compound, applying it mainly over the new fiberglass patches from earlier, and a few other areas requiring additional filling.  This brought me to the end of a short work morning, after which I had to leave the shop on other business.

Total time billed on this job today:  2.5 hours

0600 Weather Report:
20°, partly clear.  Forecast for the day:  Mostly sunny, 34.

Halcyon 12

< Back to Halcyon

Monday

I removed the weights from the port chainplate area, where I’d installed new core last time.  I’d continue work on this area in the near future.

I spent the morning preparing and sanding the deck areas with two grits, smoothing and removing the excess skim coat as needed.  This left the material mainly in the vestiges of the old molded nonskid pattern and along the channels, where the pattern had been slightly raised, as well as in a few low areas here and there.  There’d be some minor additional filling required, which I’d handle soon, along with additional rounds of finish sanding throughout the process.

Next, I turned to the poop deck, where I spent some time on final preparations before laying out and cutting new sections of balsa core to fit.  Where possible, I extended the coring beneath the existing deck edges, leaving a few areas where the bottom-skin taper prevented installing full thickness of new core material.  I omitted the core in way of a known hardware location near the lazarette hatch, and I’d fill any small remaining gaps with thickened epoxy during the core installation.  On the starboard side, I left a narrow area extending forward along the sidedeck for now, and planned to rebuild it with fiberglass  later.

After final preparations, including cleaning the deck areas and bonding surfaces, wetting out the core with unthickened epoxy resin, and other tasks, I installed the new core in thickened epoxy adhesive, securing it with weights while it cured.

To finish up the day, I cut various fiberglass patches and installed them on the myriad test holes around the decks, which areas I’d previously dished out to accept the fiberglass.  The little patches would prevent the filled holes from printing through or cracking later.

Total time billed on this job today:  7 hours

0600 Weather Observation:
8°, clear.  Forecast for the day:  Sunny, 30s

Halcyon 11

< Back to Halcyon

Friday

I spent some time preparing various old fastener holes around the decks, mainly in the cockpit well. At each location, as needed, I used a countersink to create a wider opening to better hold fairing compound and fill these holes.  Belowdecks, I masked over these, and any other deck hole penetrations, to prepare them all for filling from above.

Afterwards, I cleaned up the decks with vacuum and solvent wash, paying close attention to all the various fastener and drill holes I’d made earlier, and prepared to skim coat the decks with epoxy fairing compound in order to fill the remnants of the molded nonskid pattern, along with other minor voids and pinholes.  Then, using several batches of epoxy mixed with fairing fillers, I used a trowel to cover most of the deck surfaces and cockpit with a thin layer of compound, filling the existing fastener holes at the same time.

On the port side, near the chainplates, I prepared a section of new balsa core to replace the damaged core I’d removed from this area earlier.  The coring covered the inner half of the opening;  I planned to build up solid fiberglass and epoxy in way of the chainplate slots themselves, which would prevent any future leakage at those slots from damaging deck core (and the same thing on the starboard side, which opening was smaller and would be entirely filled with fiberglass–no coring).

With the coring cut to fit, and other final preparations completed, I installed the new core in epoxy adhesive, and weighted it down to hold it securely to the bottom deck skin while the epoxy cured.

I’d continue work with the solid fiberglass portion of the chainplate repairs, as well as the poop deck recoring and repair, in the near future, and as I continued work on the main areas of the deck.

Total time billed on this job today:  5 hours

0600 Weather Observation:
37°, mostly clear.  Forecast for the day:  Sunny, temperature dropping through the day

Older posts Newer posts