Wednesday
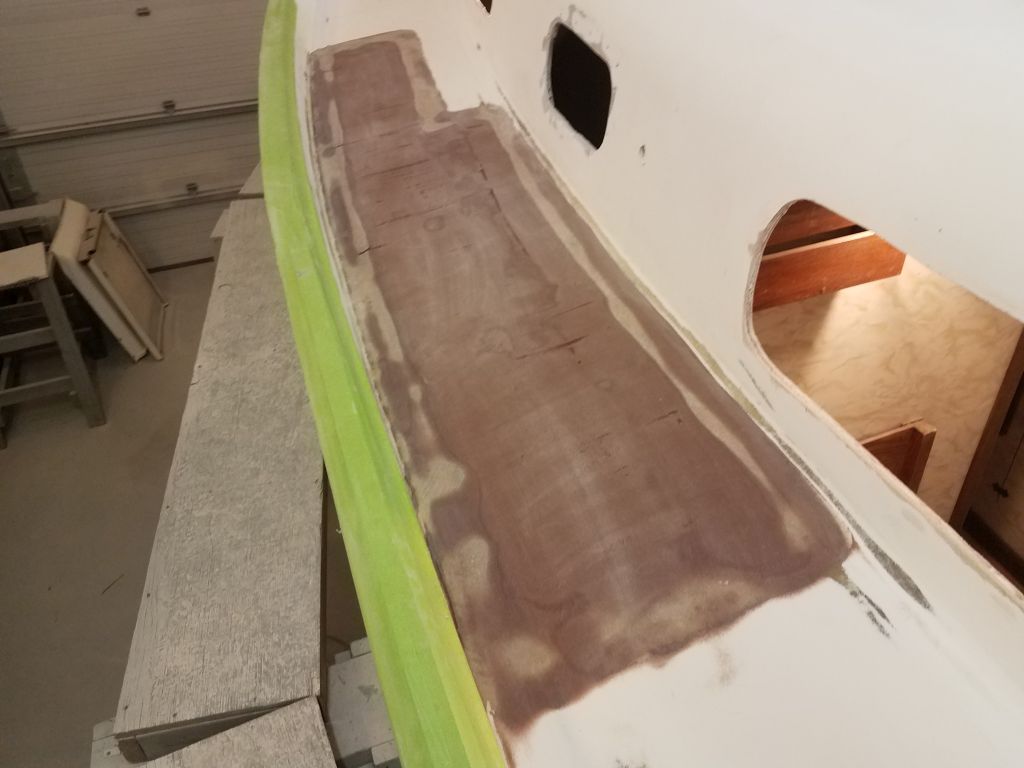
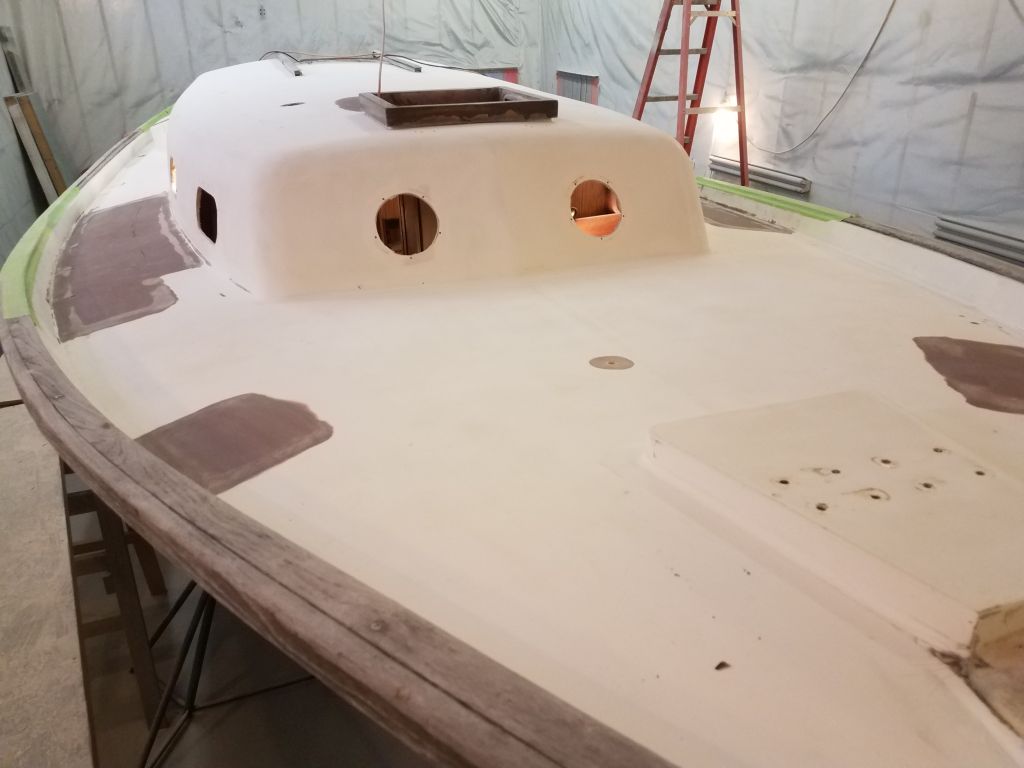
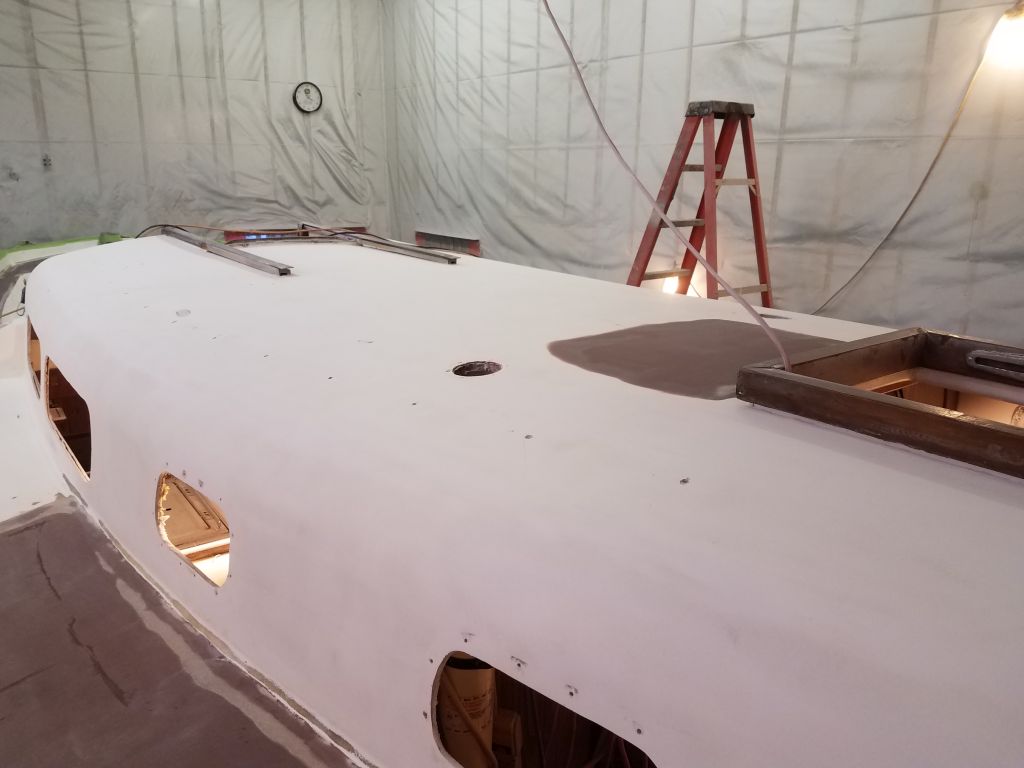
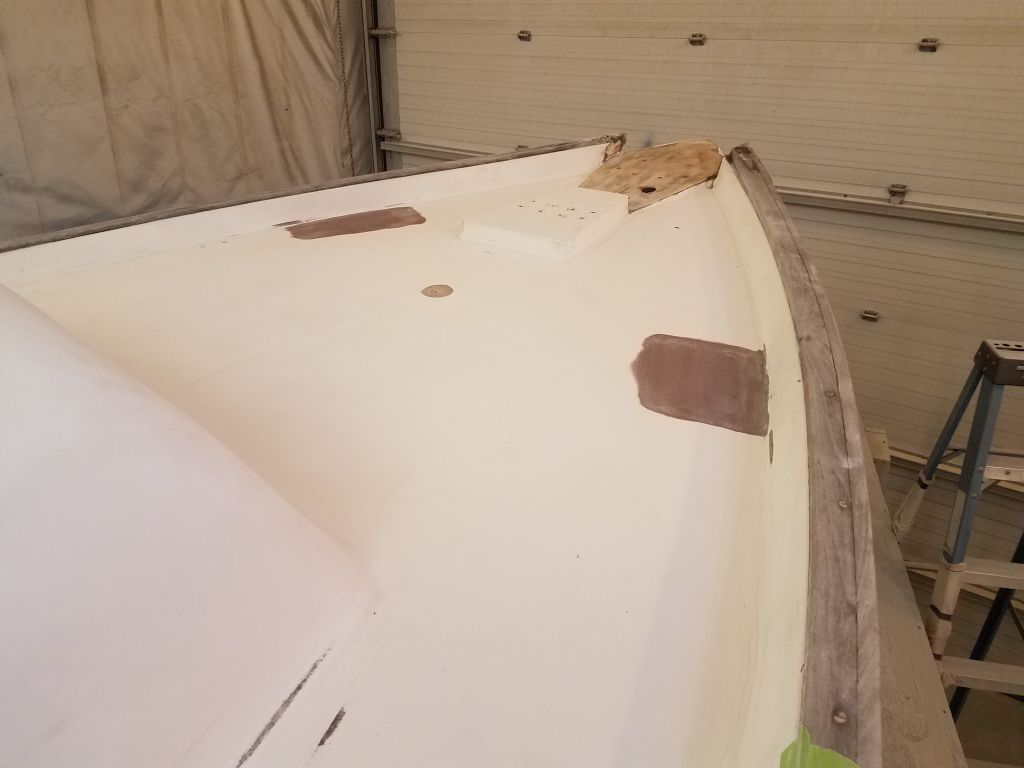
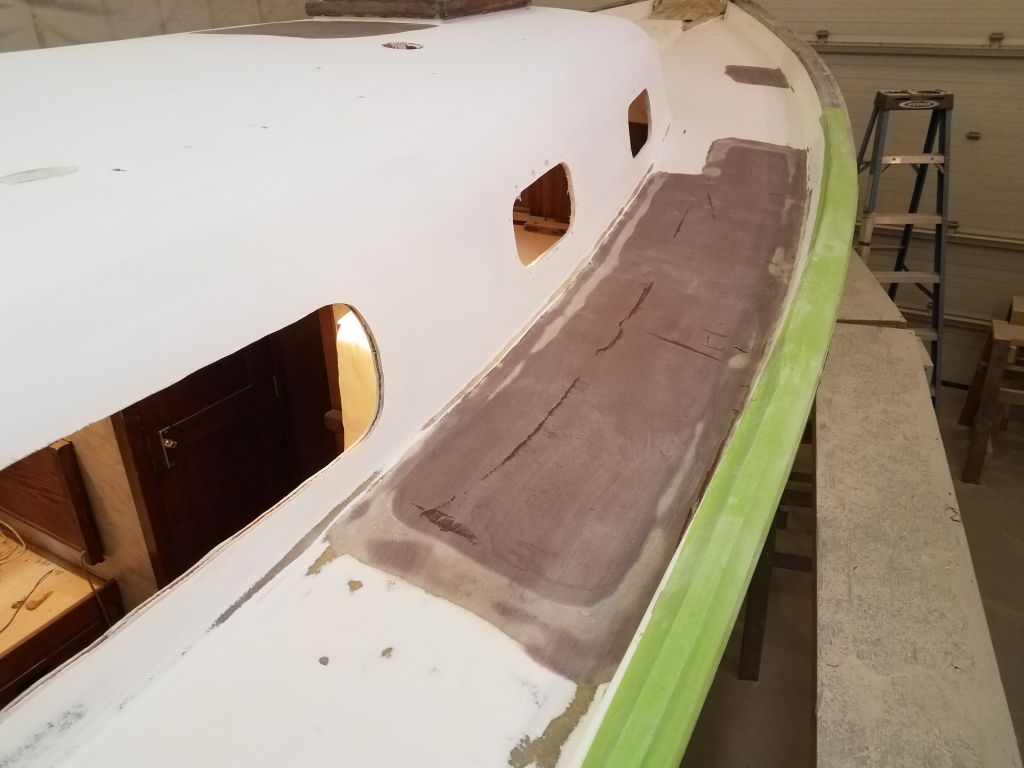
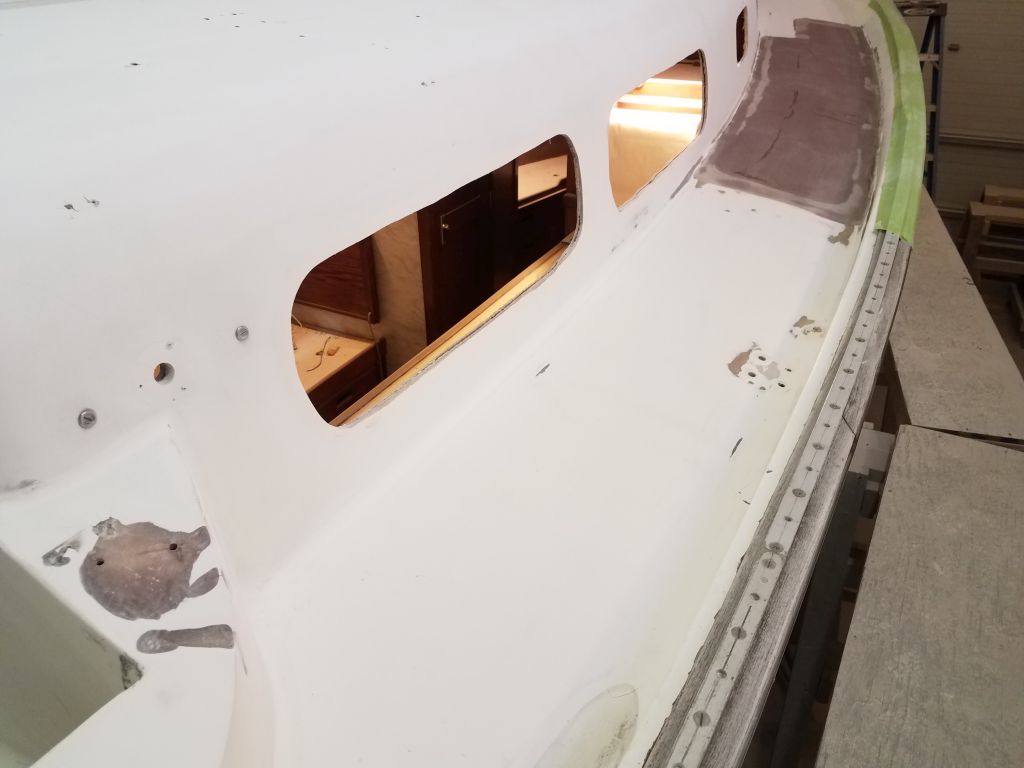
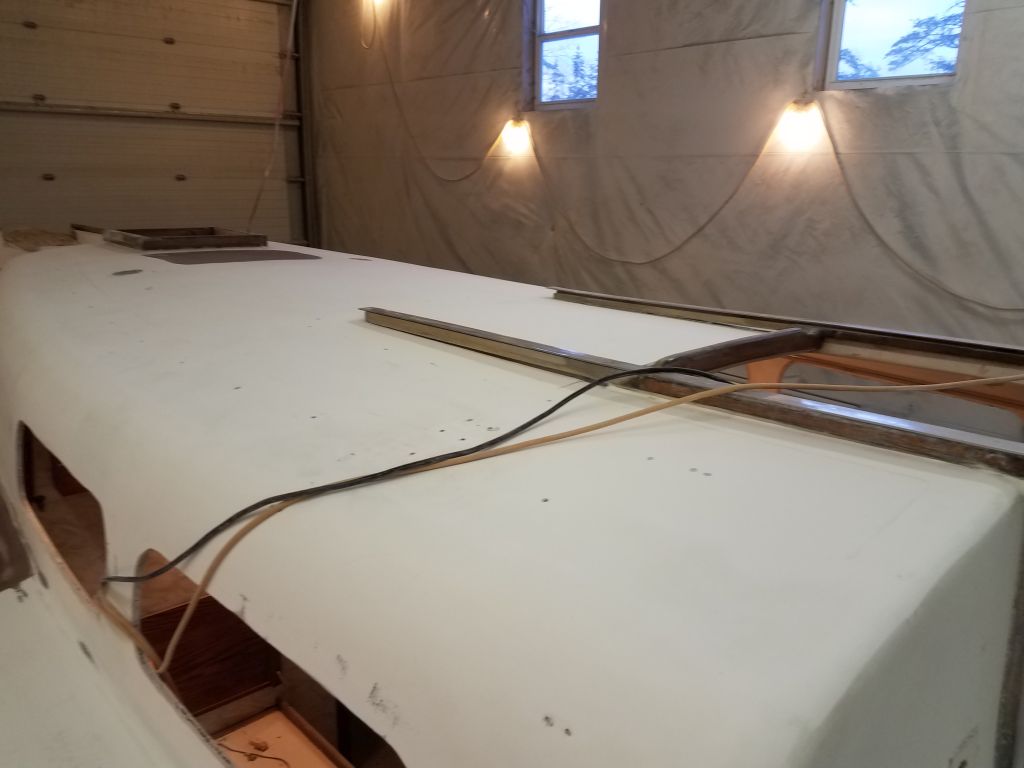
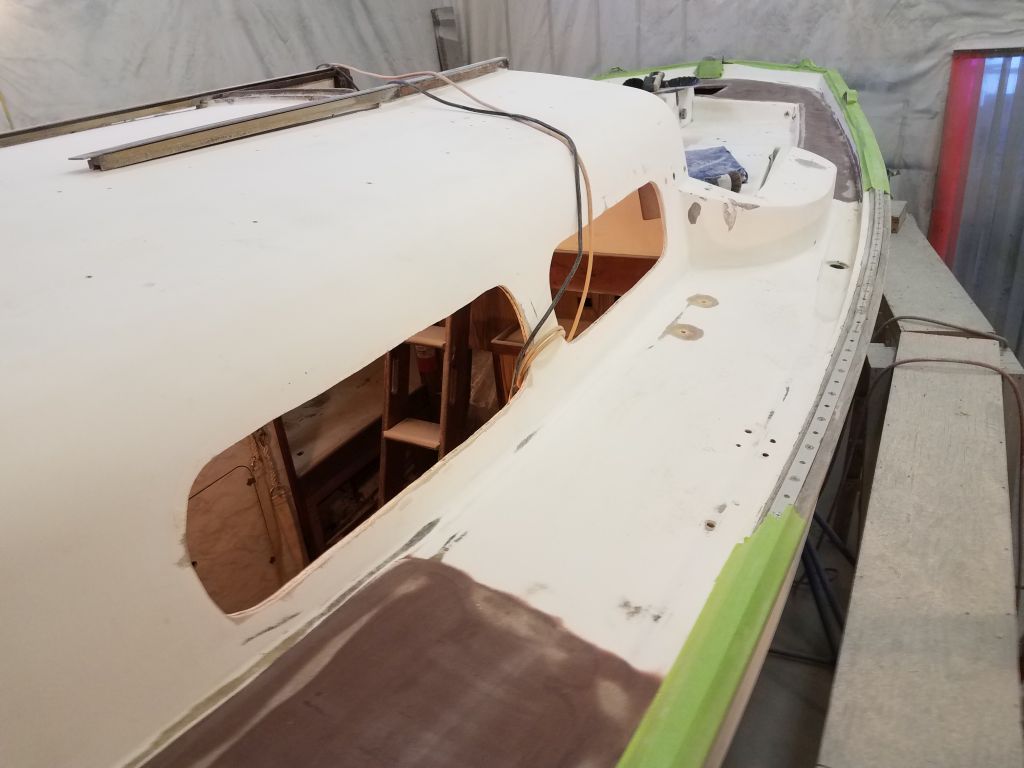
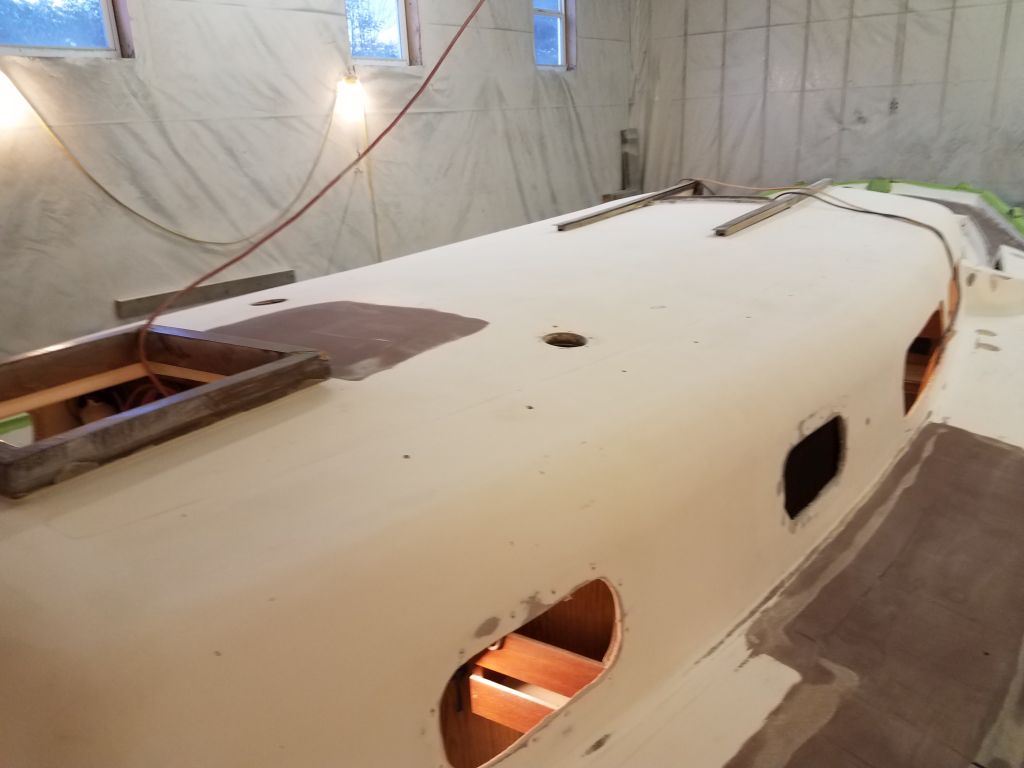
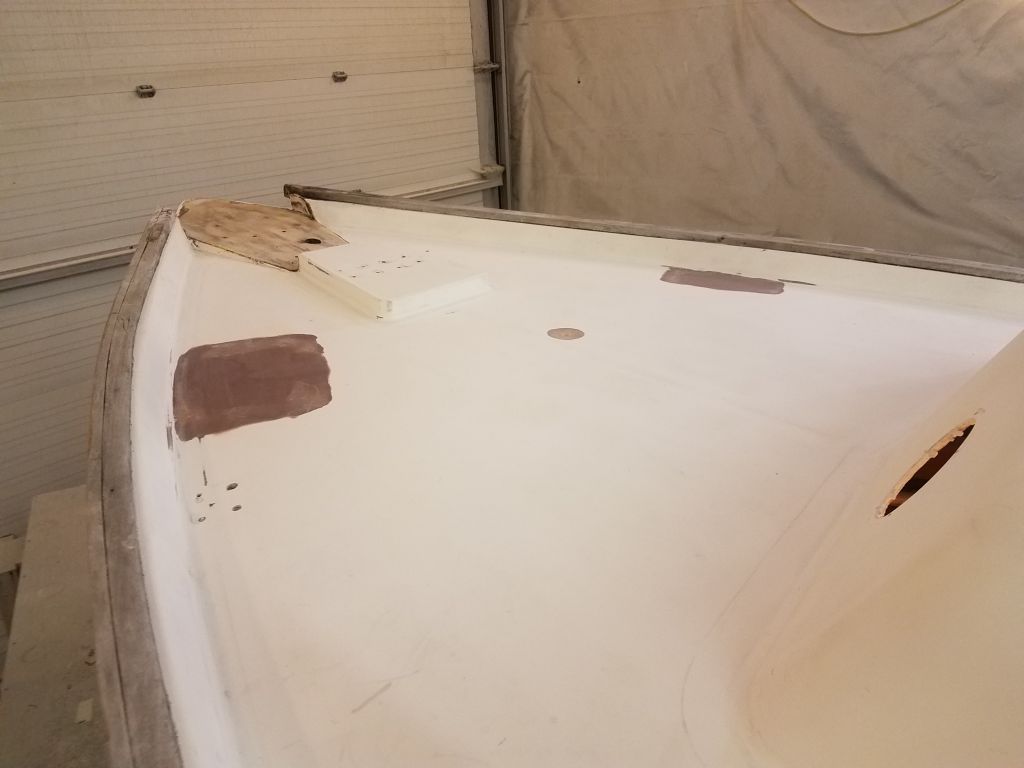
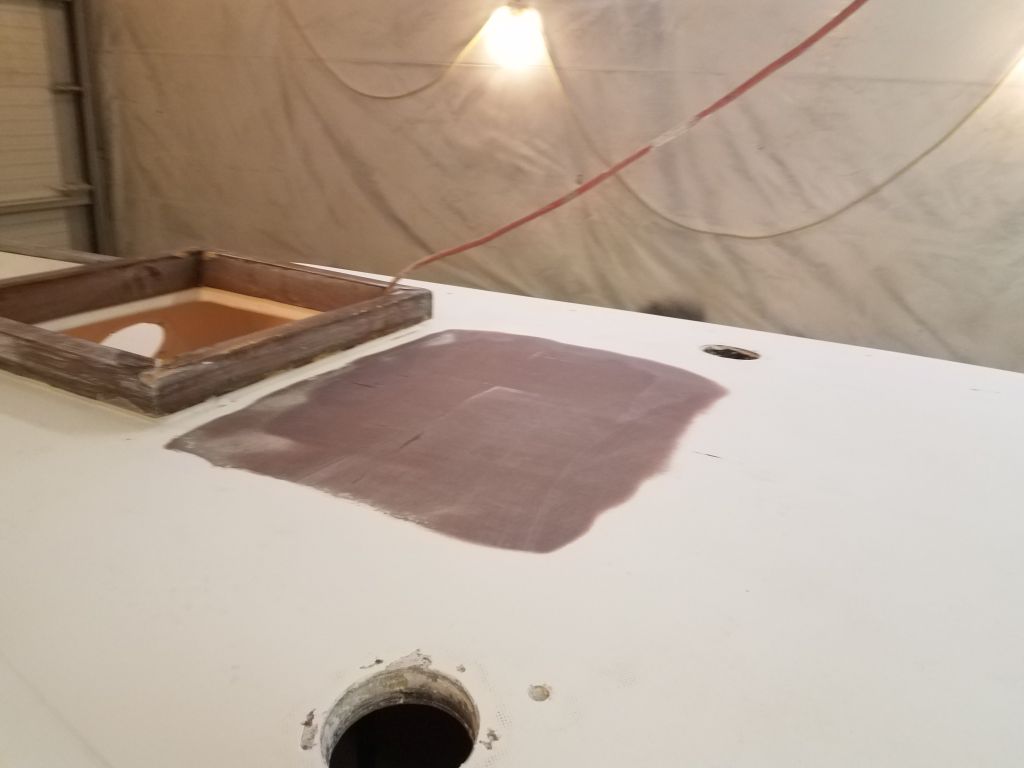
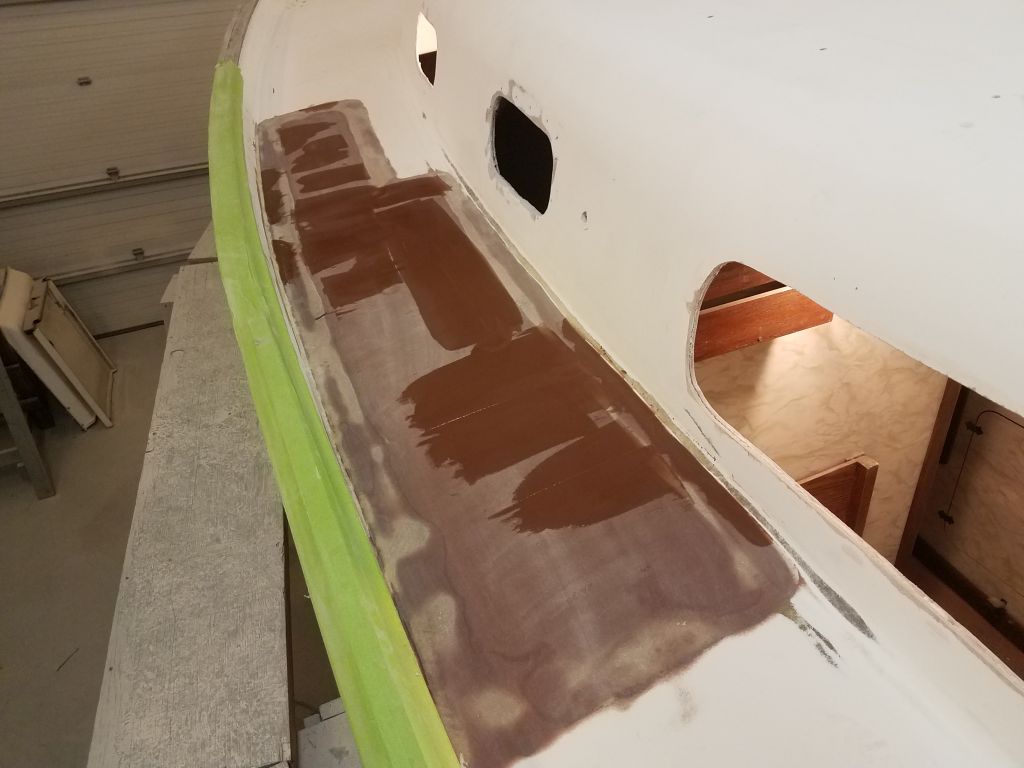
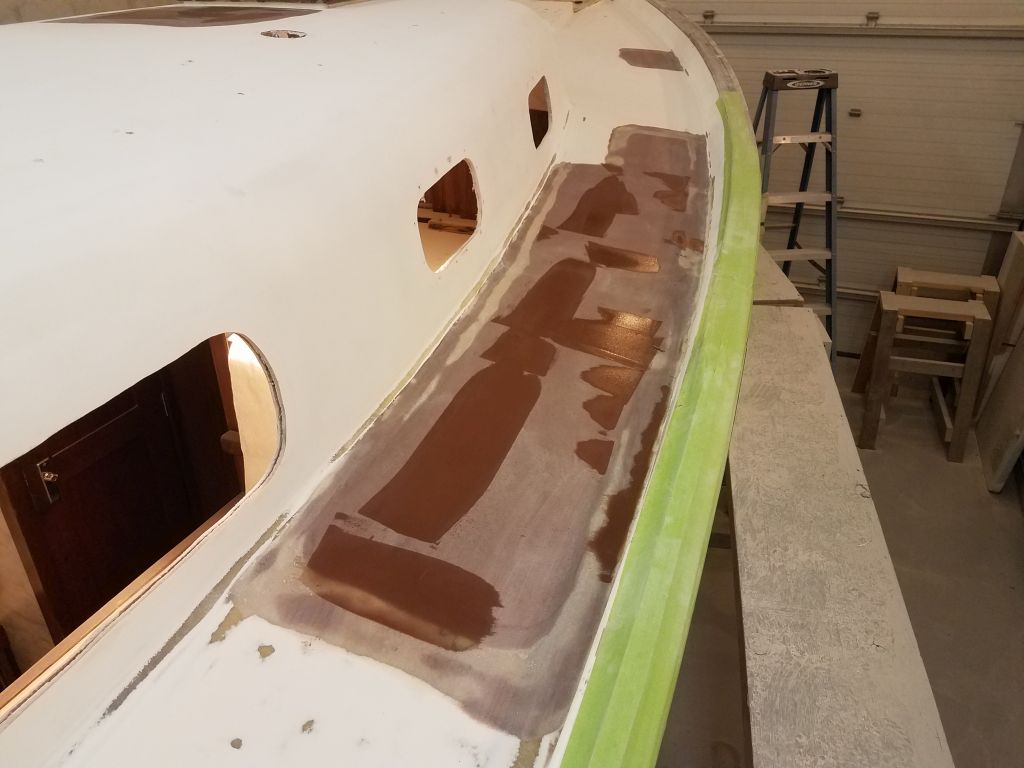
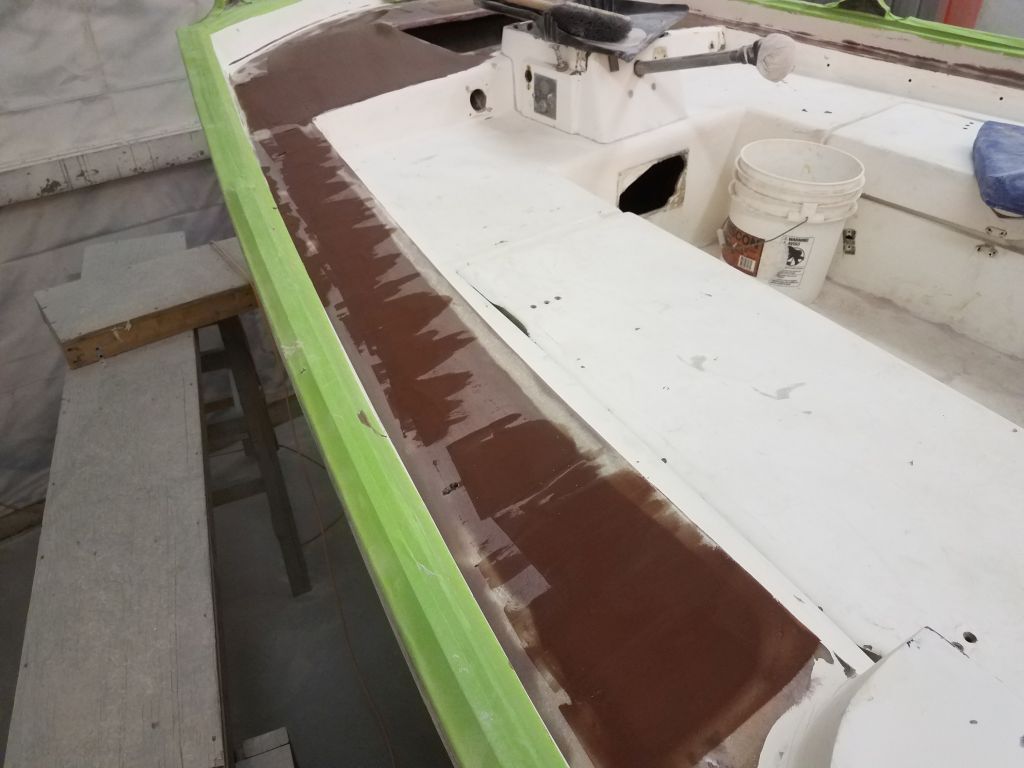
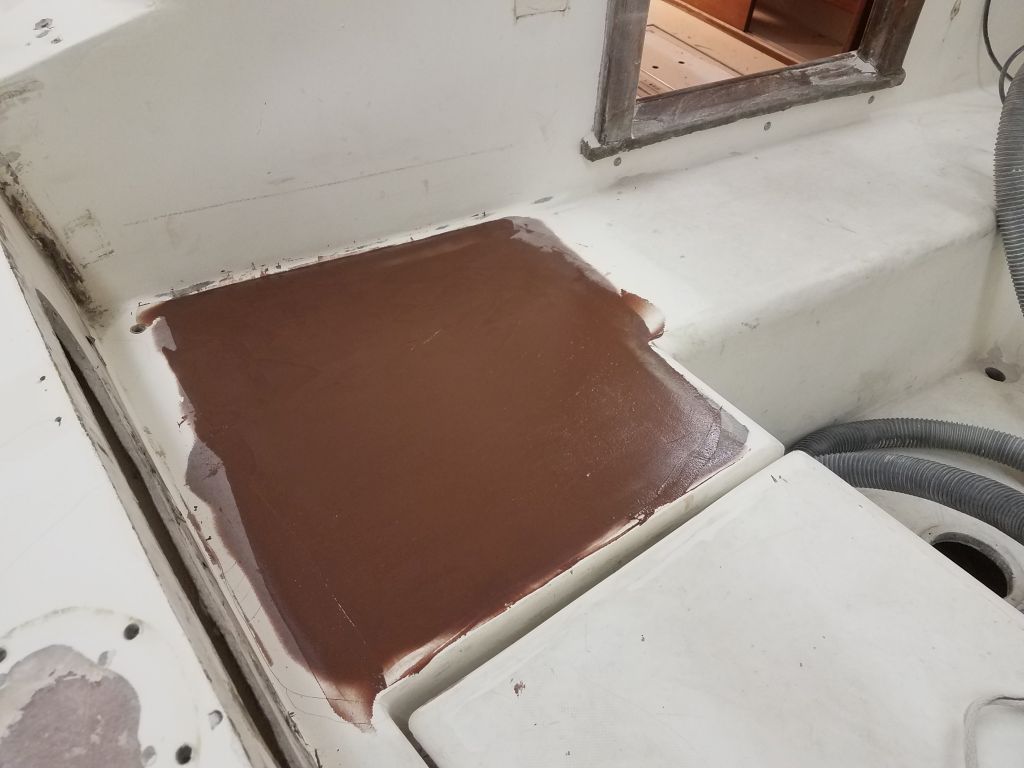
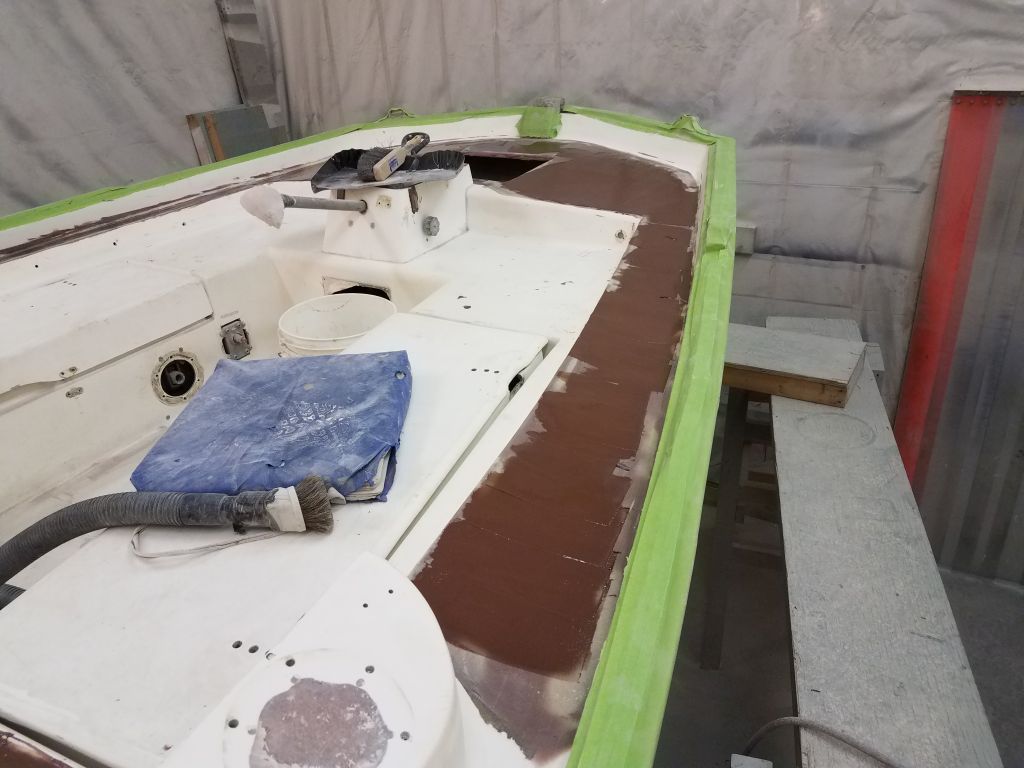
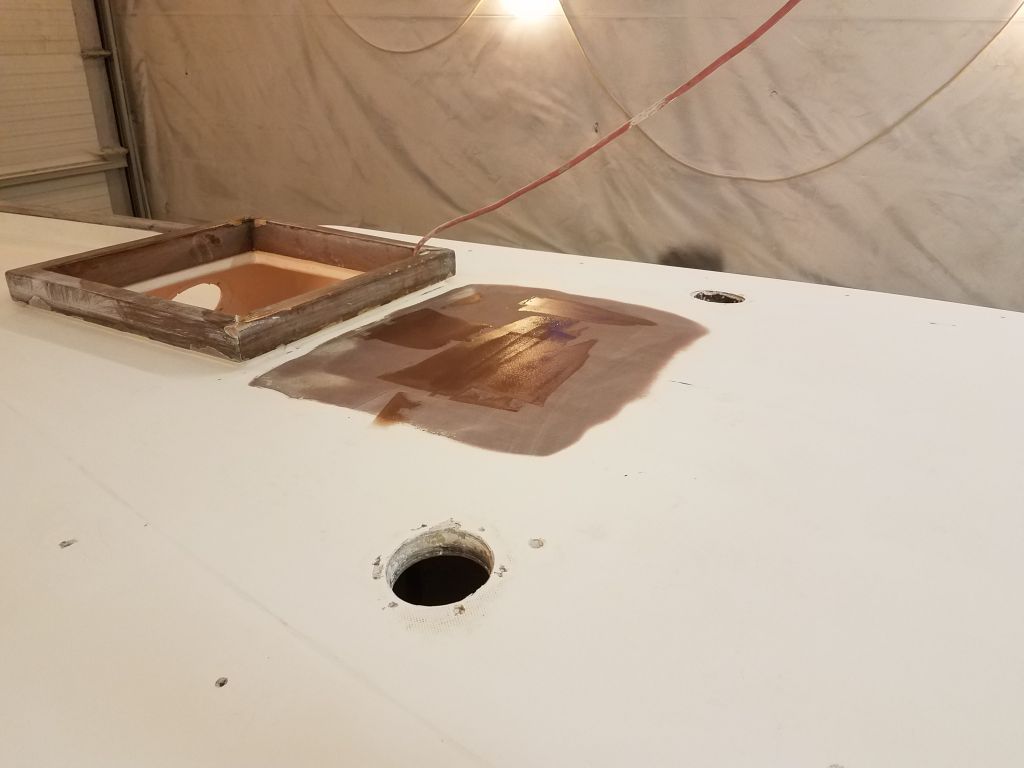
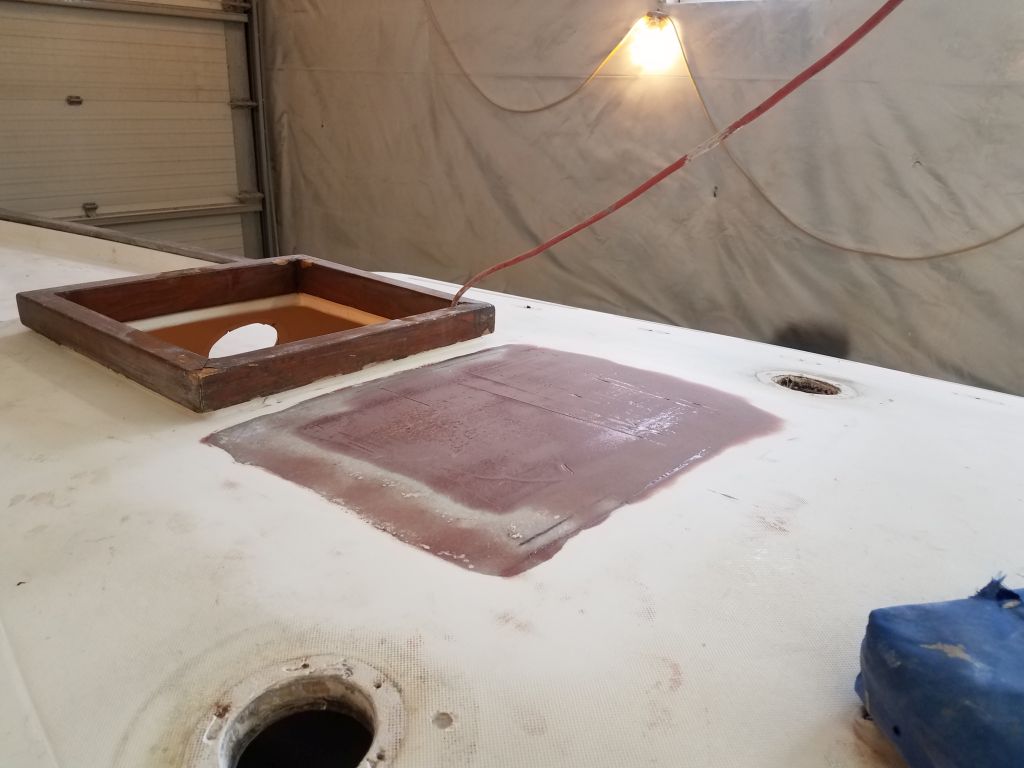
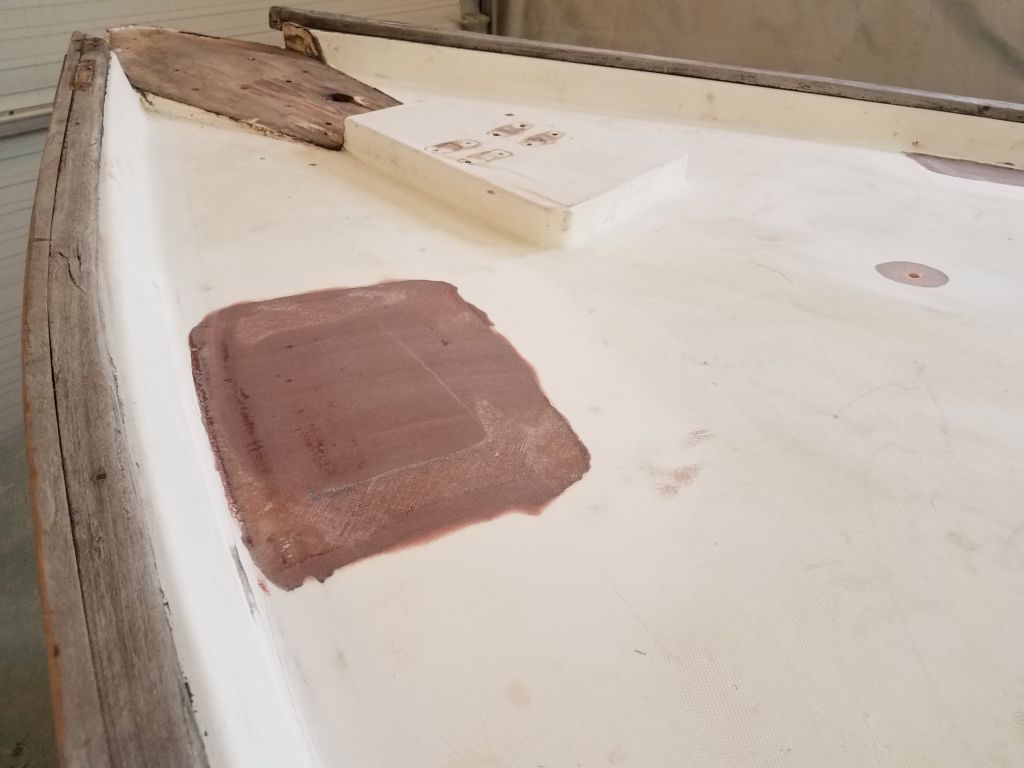
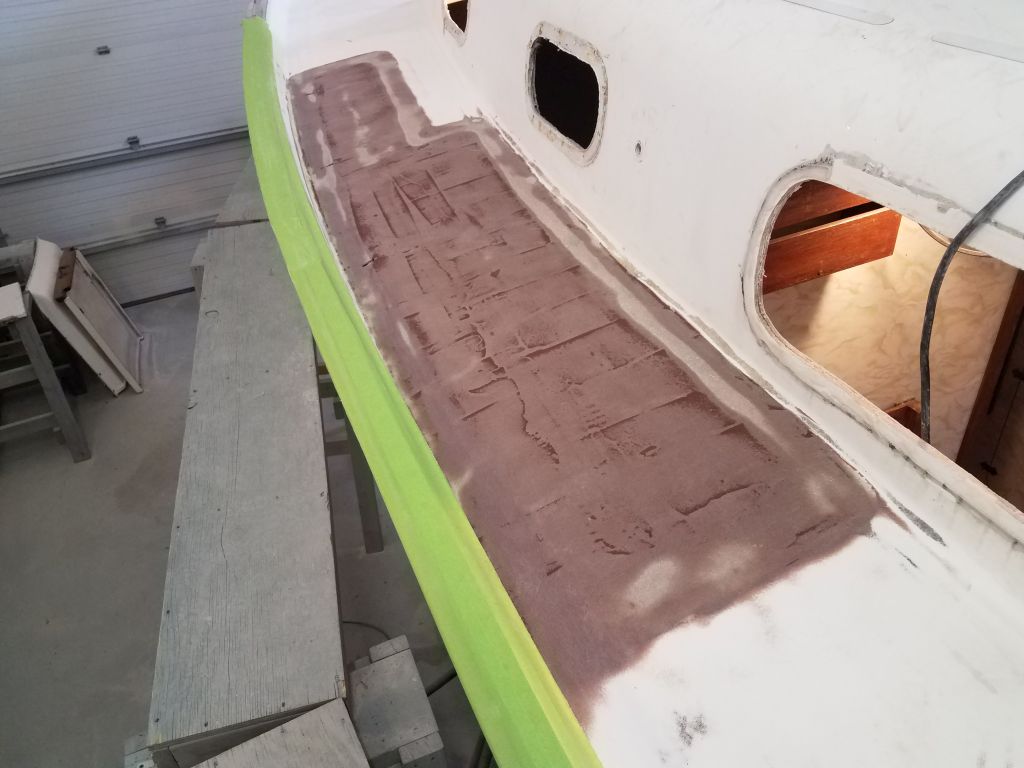
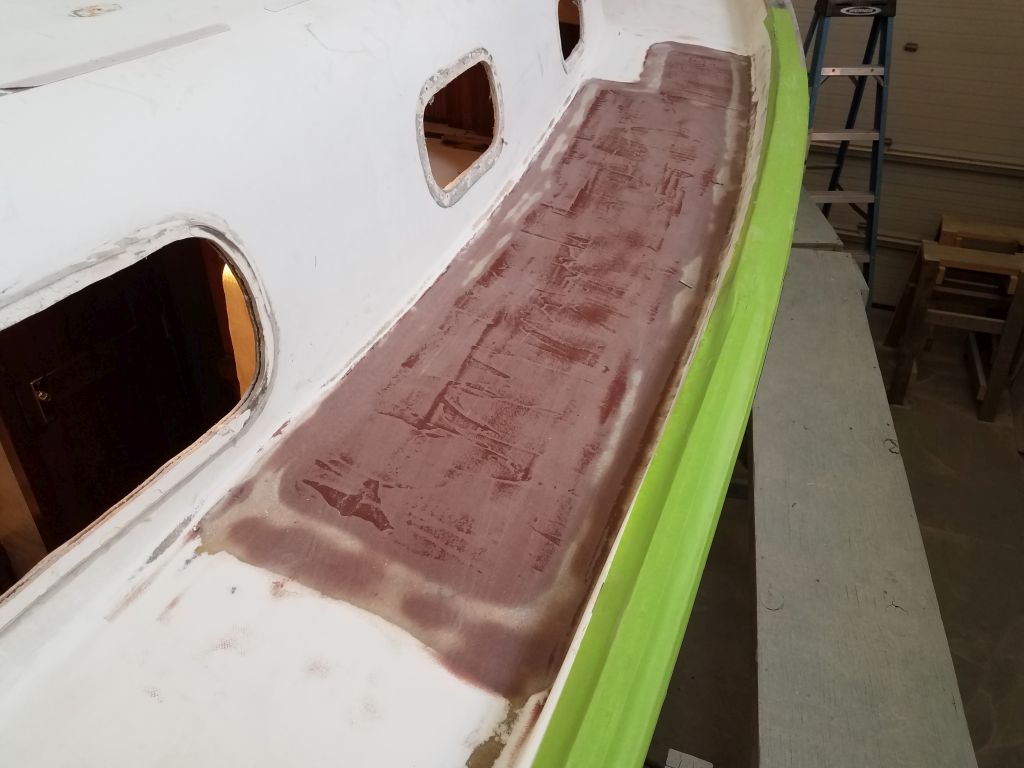
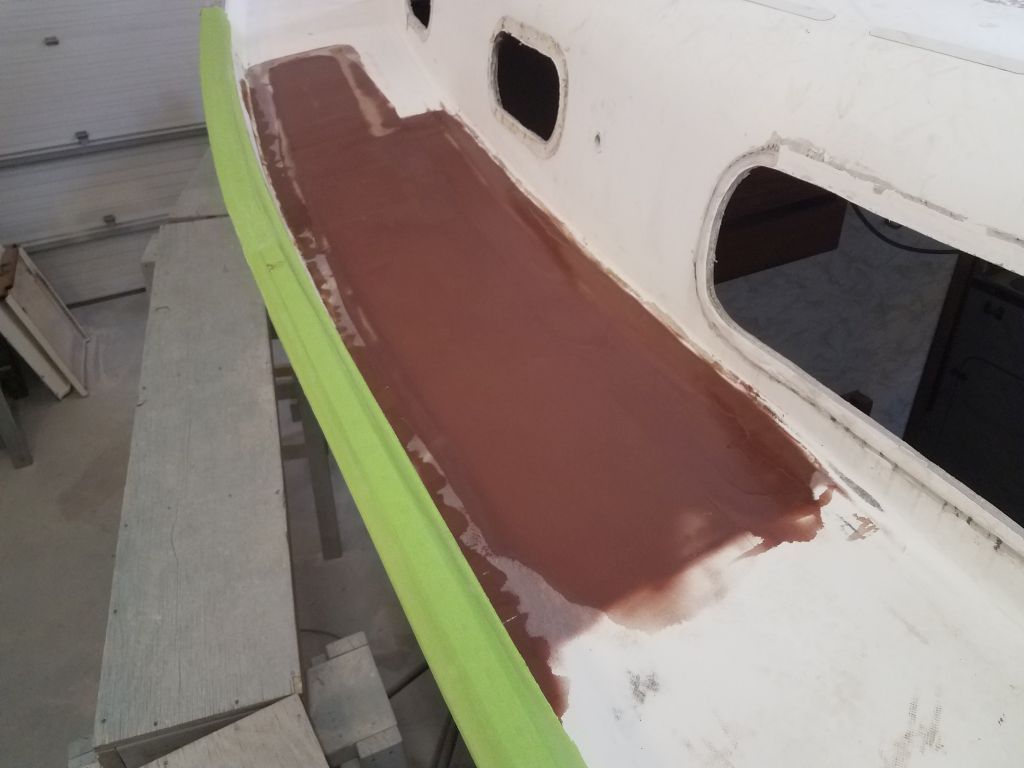
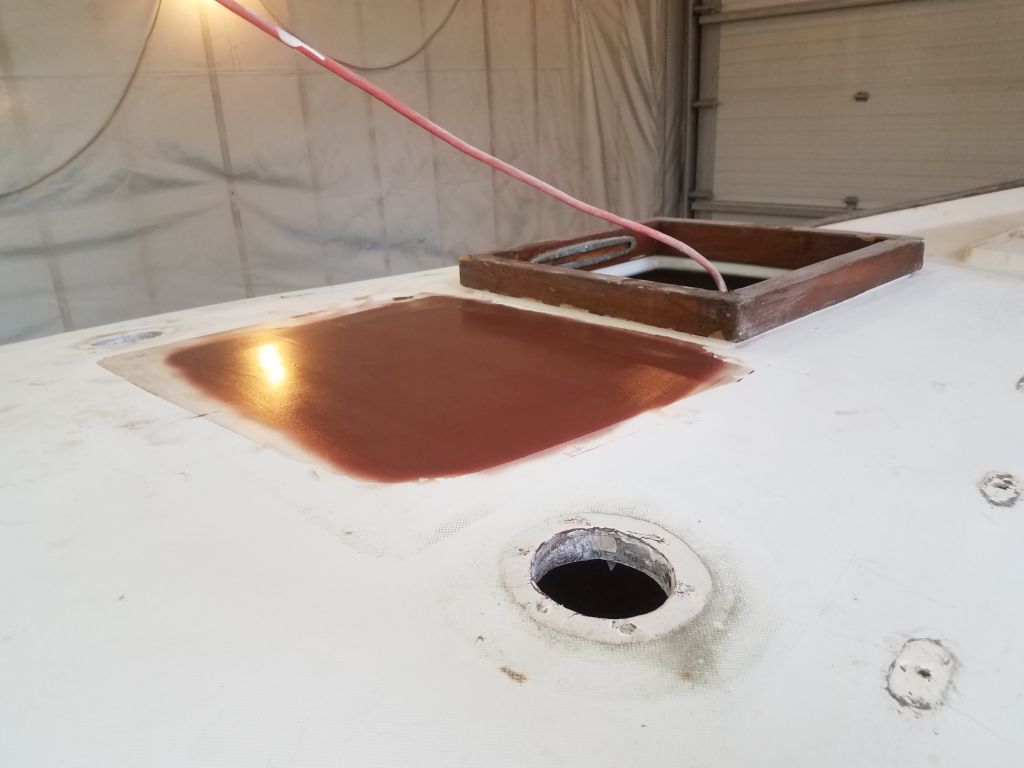
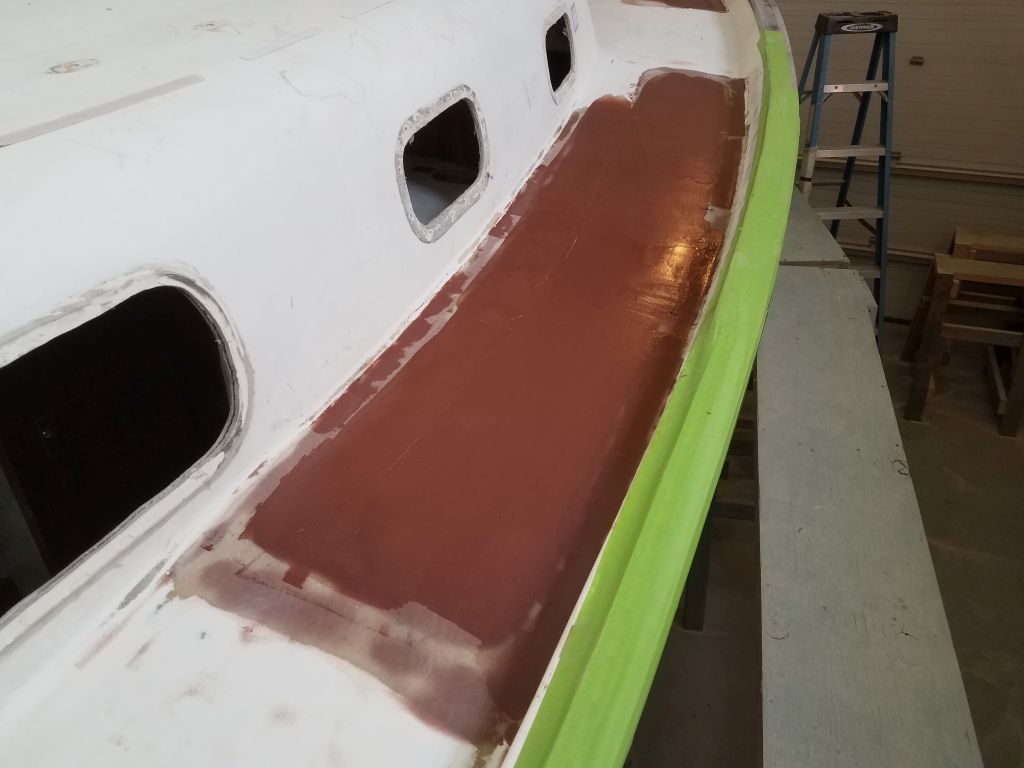
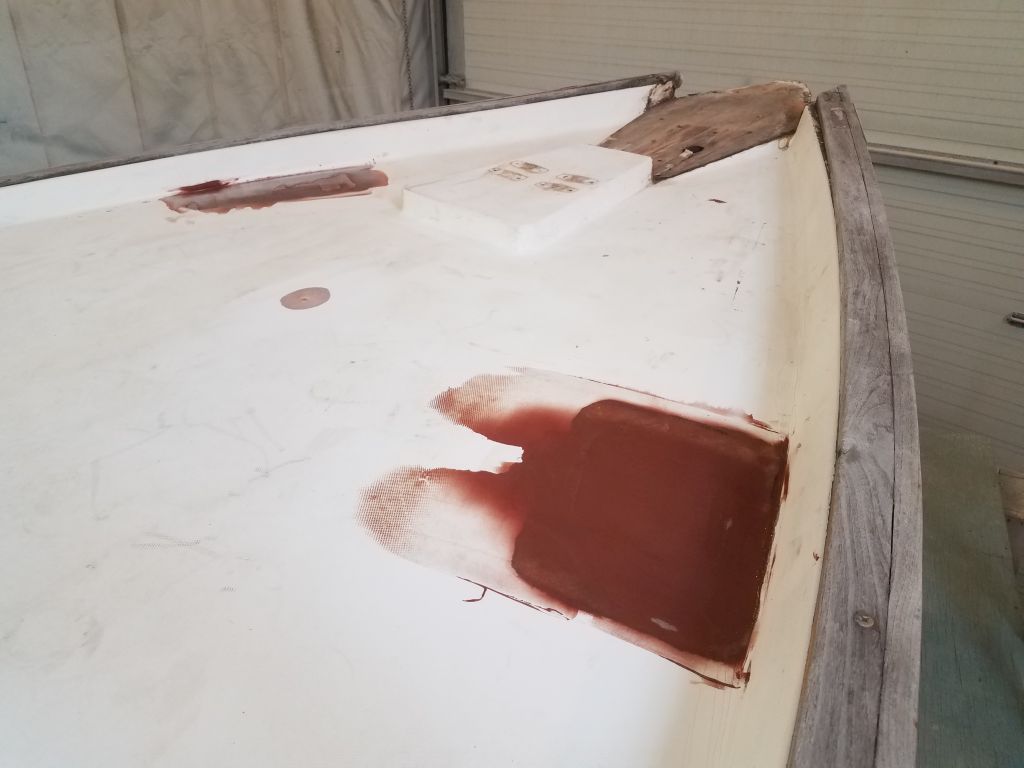
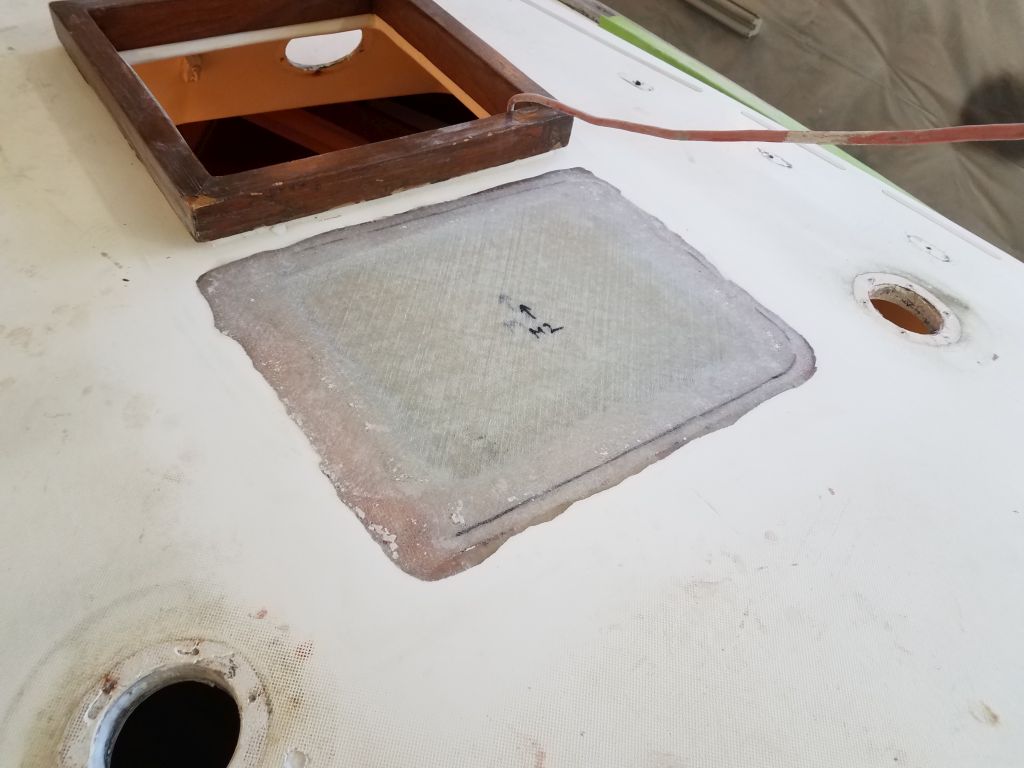
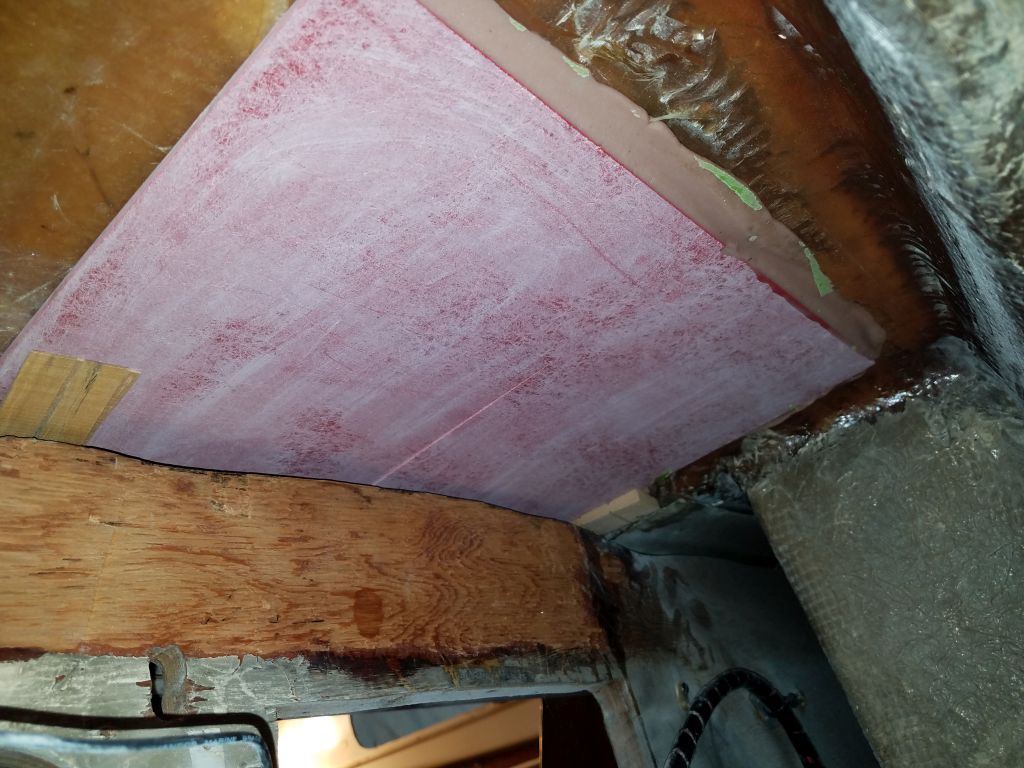
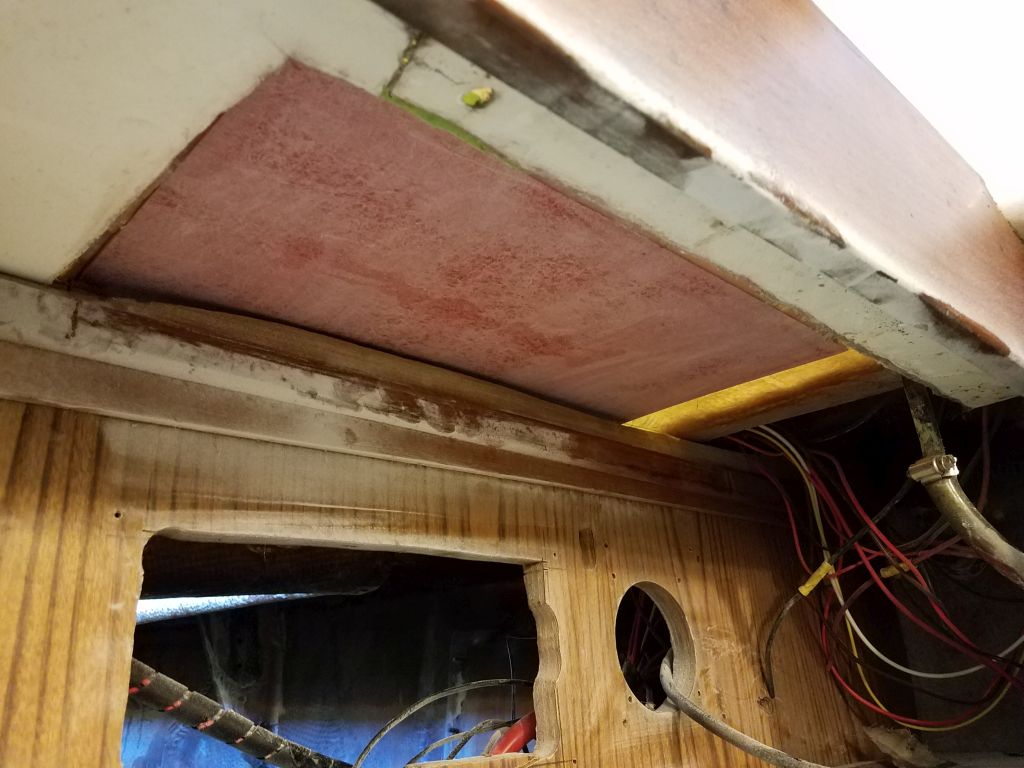
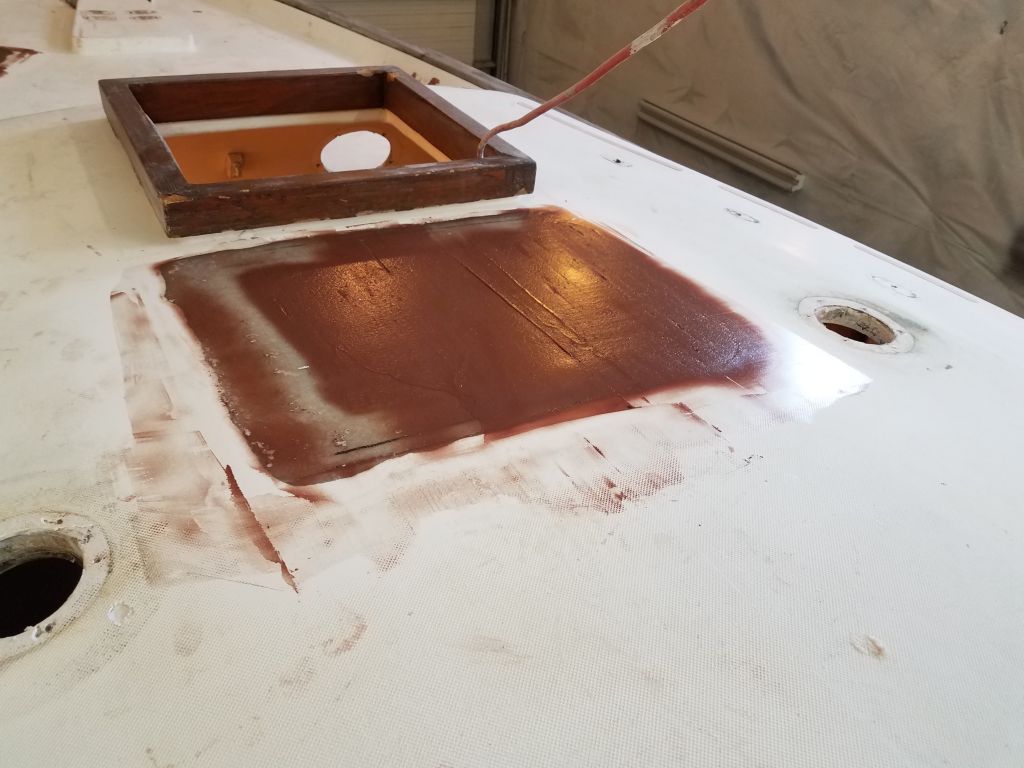
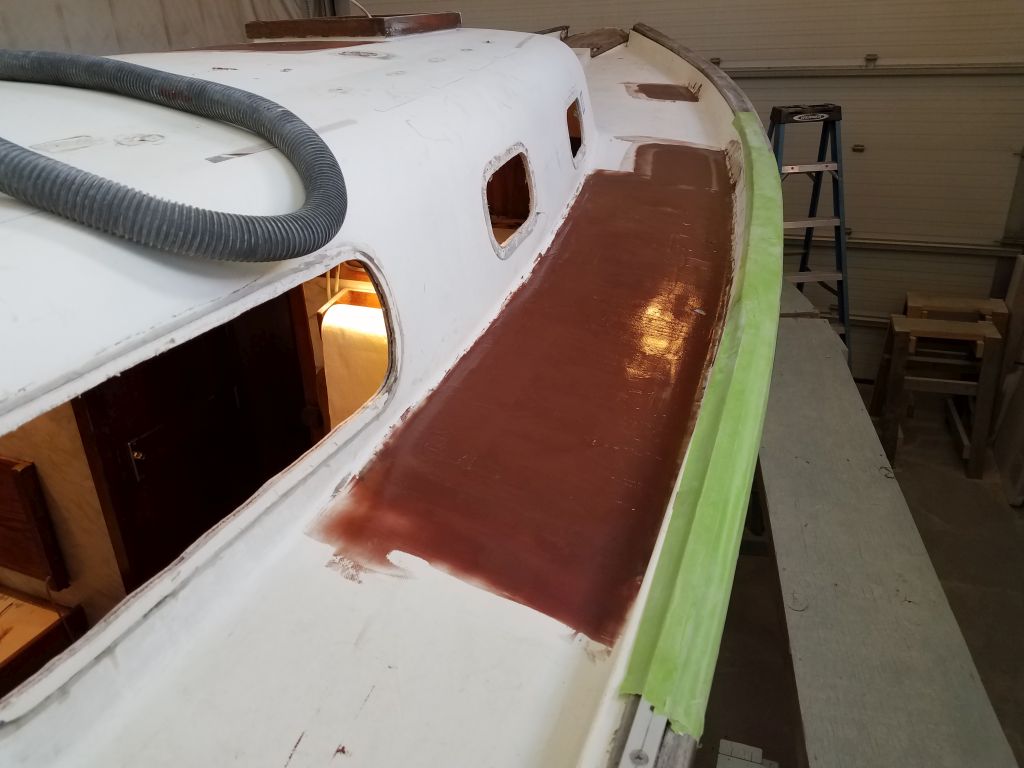
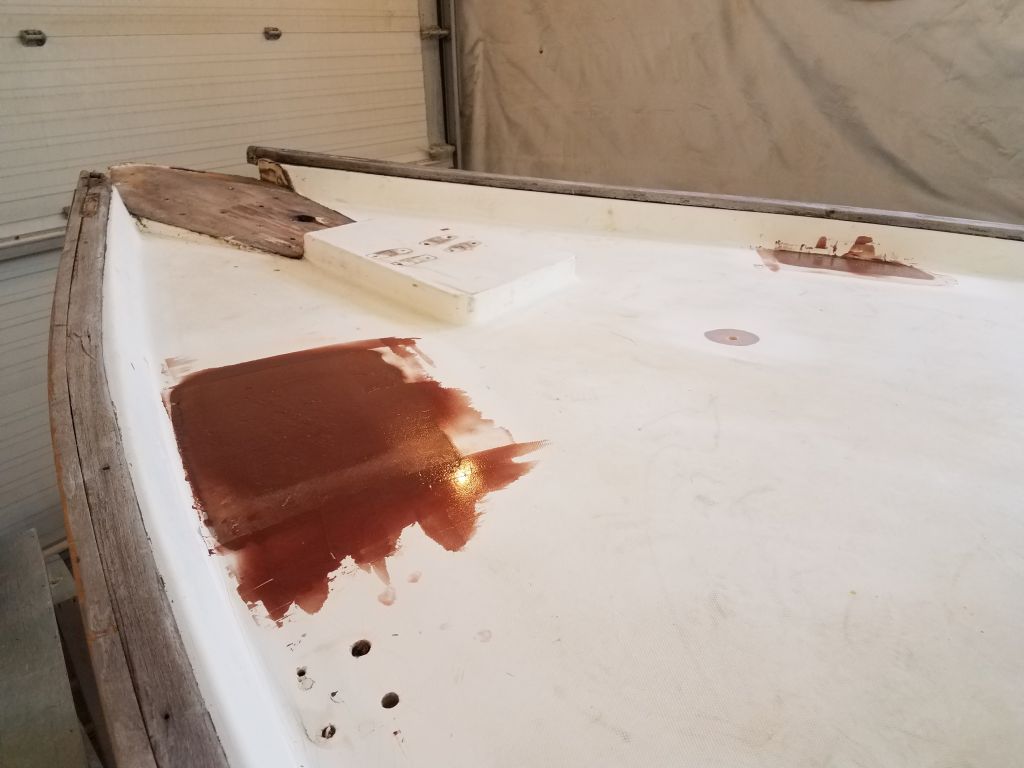
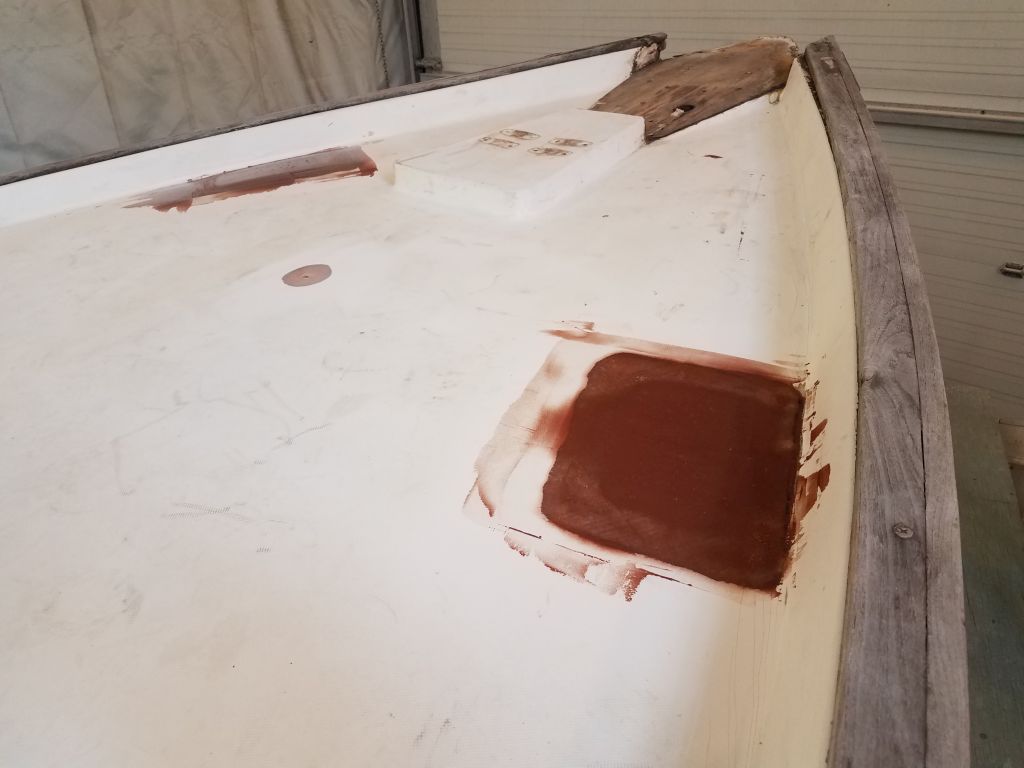
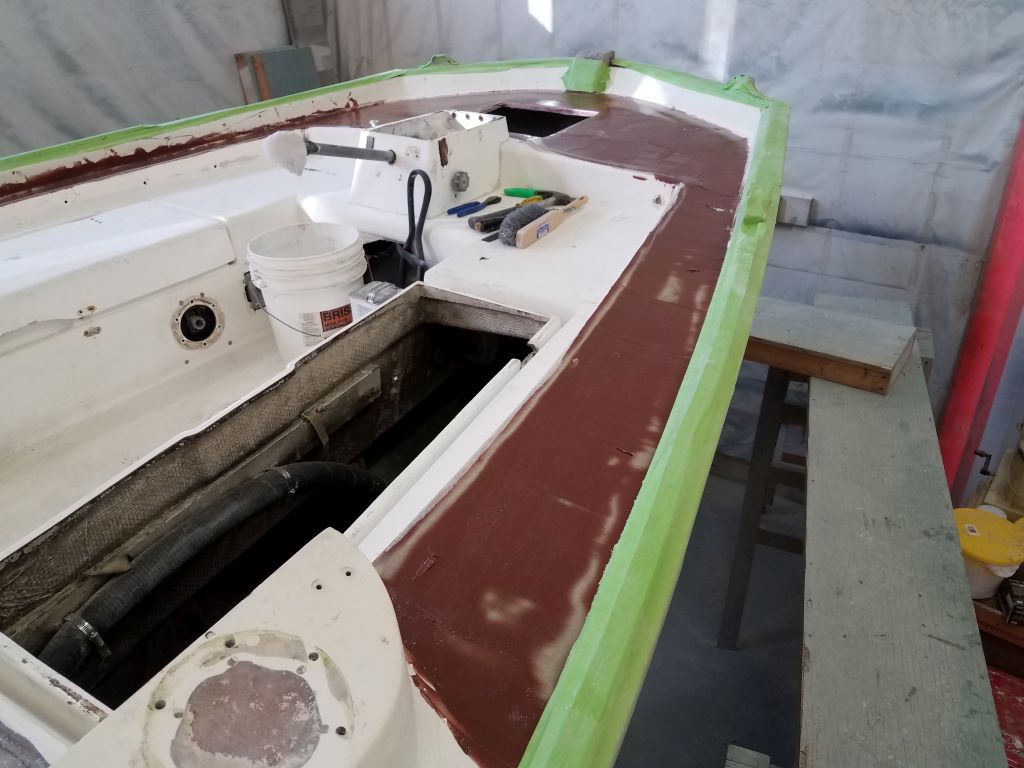
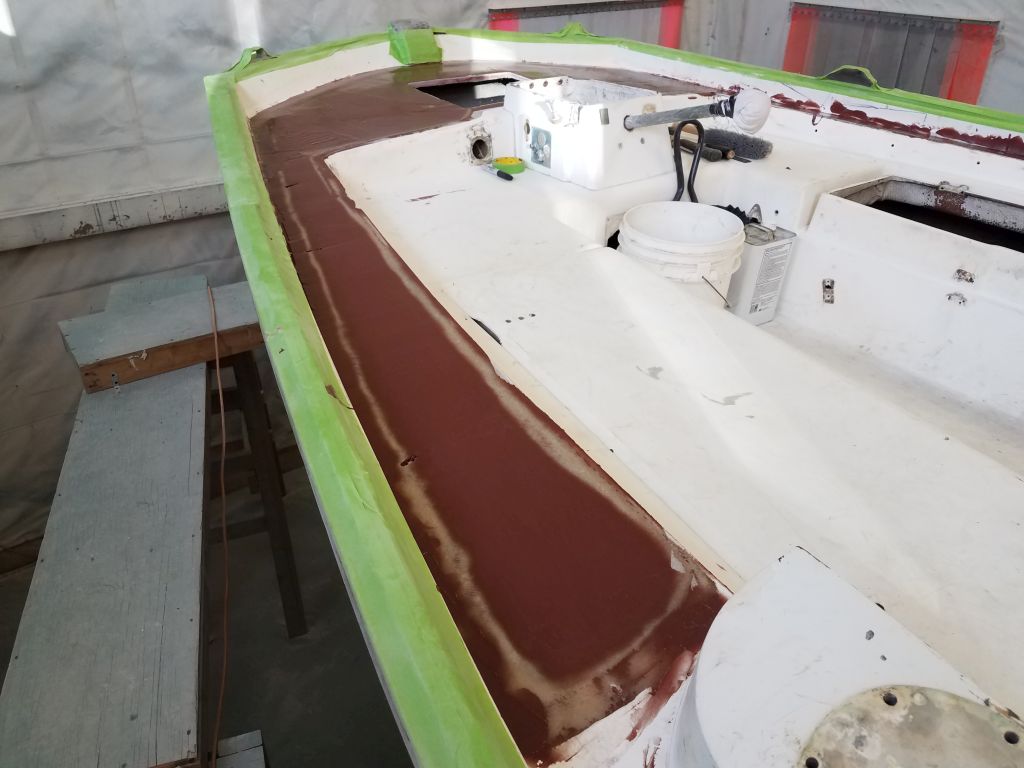
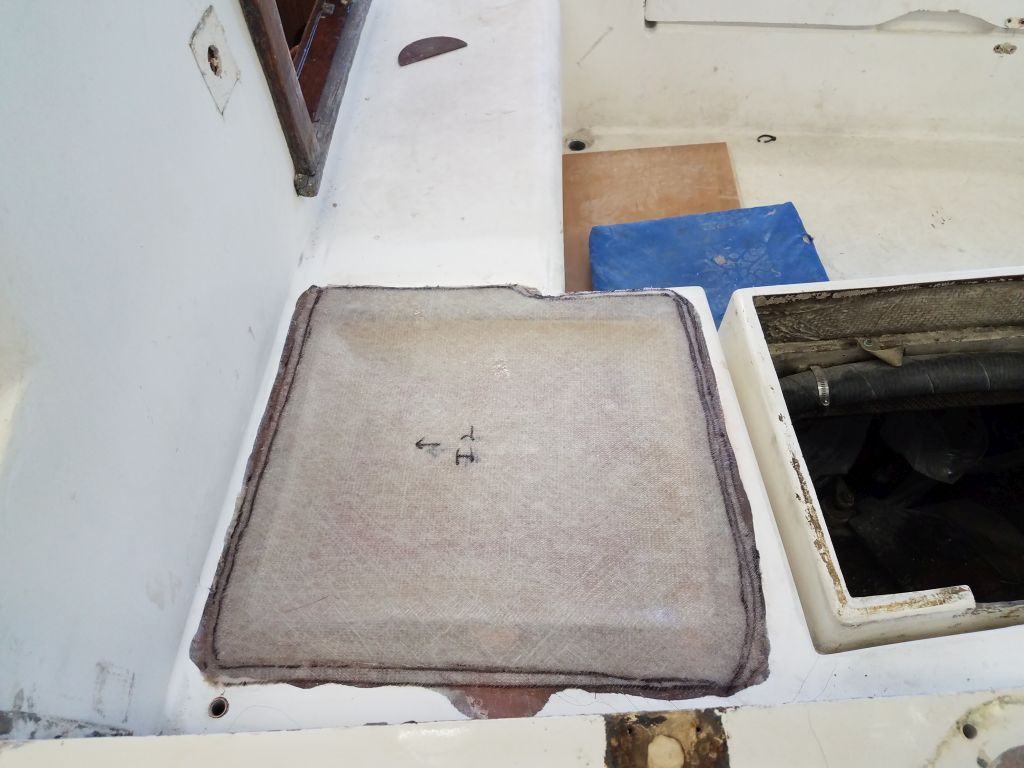
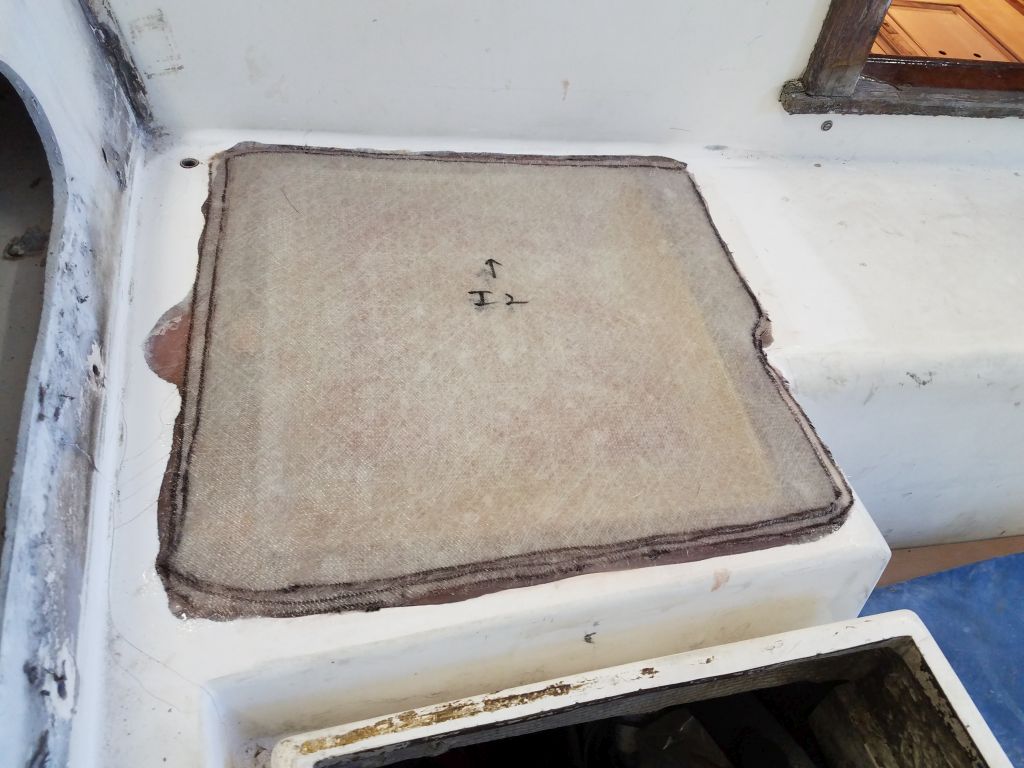
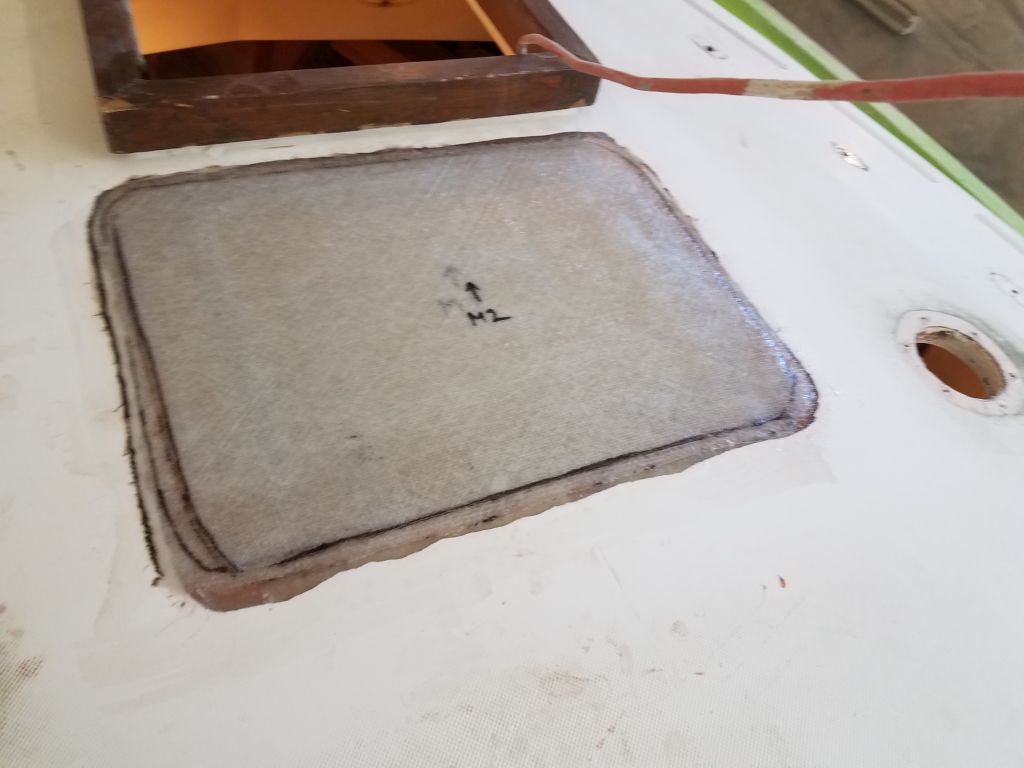
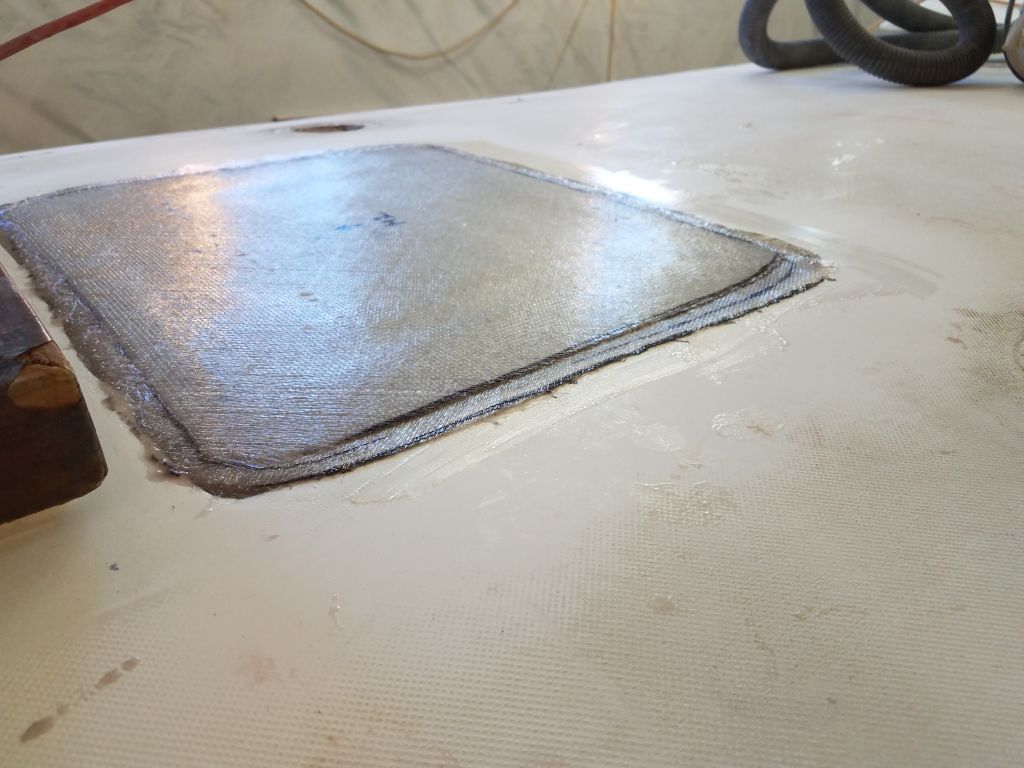
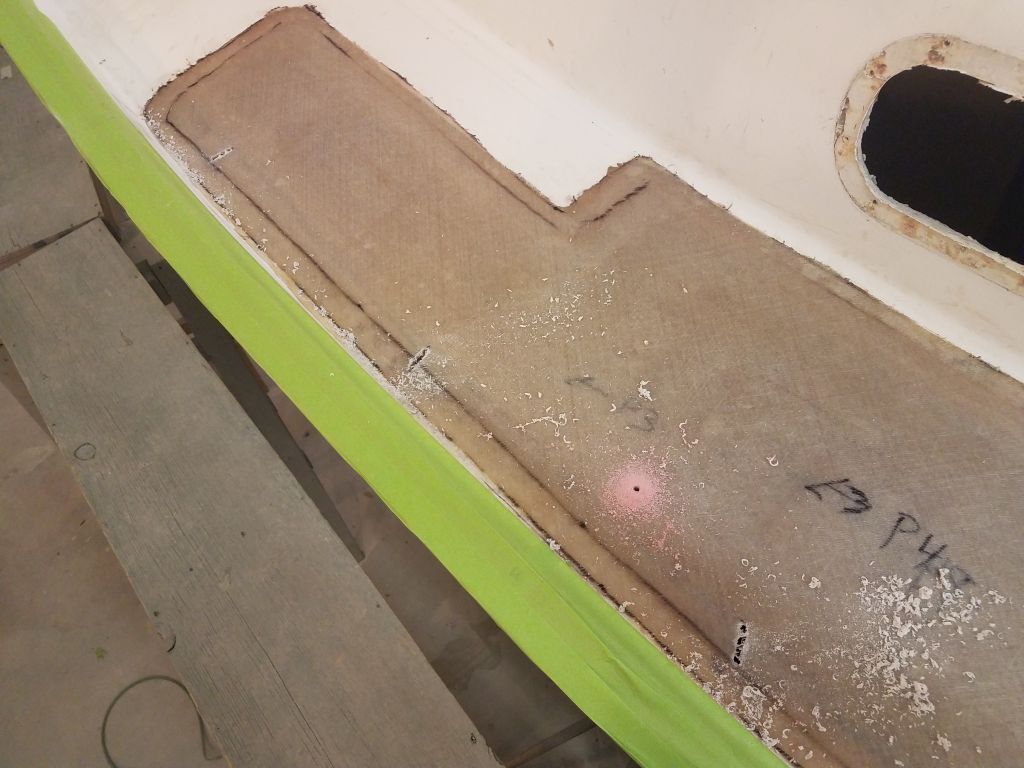
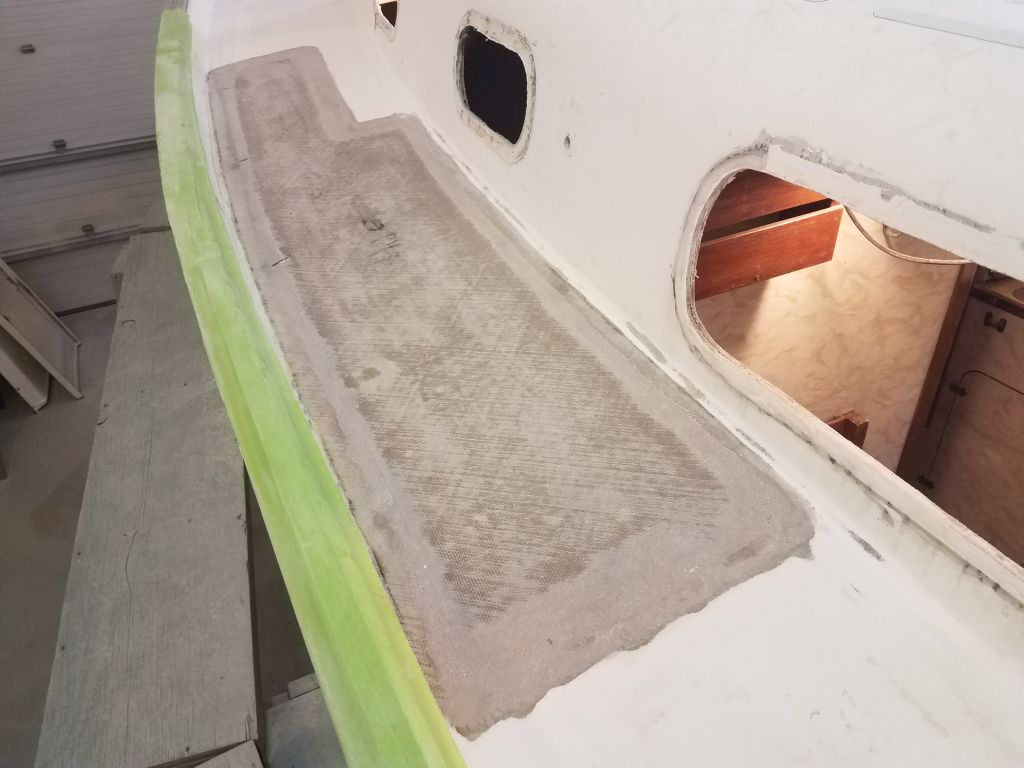
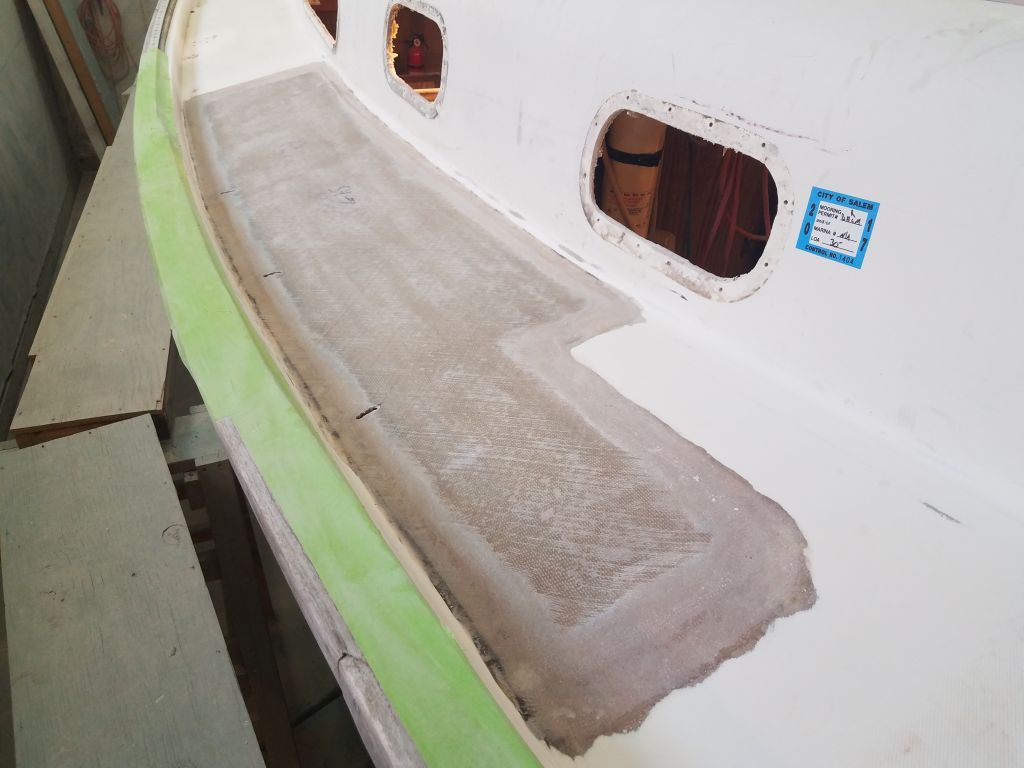
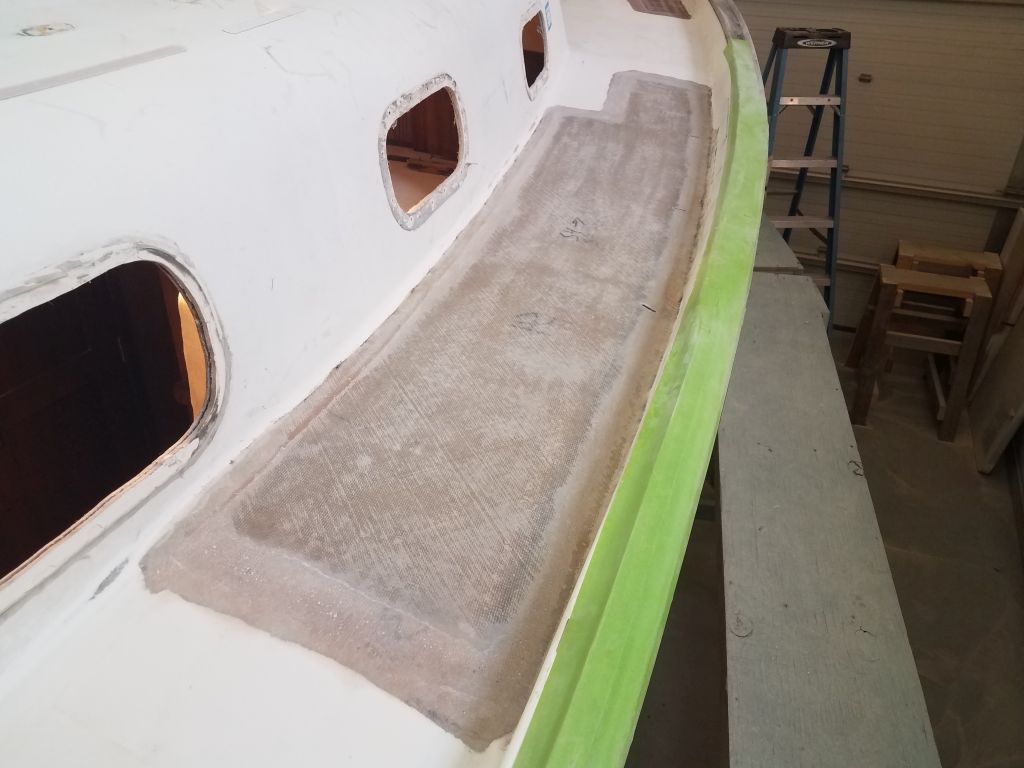
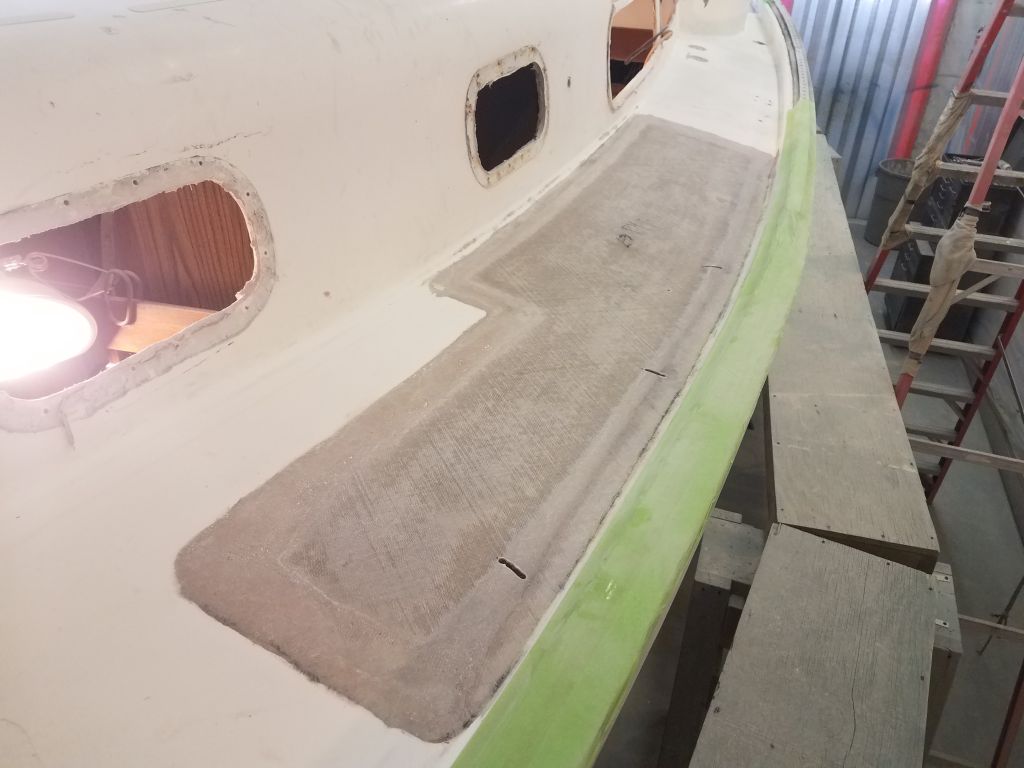
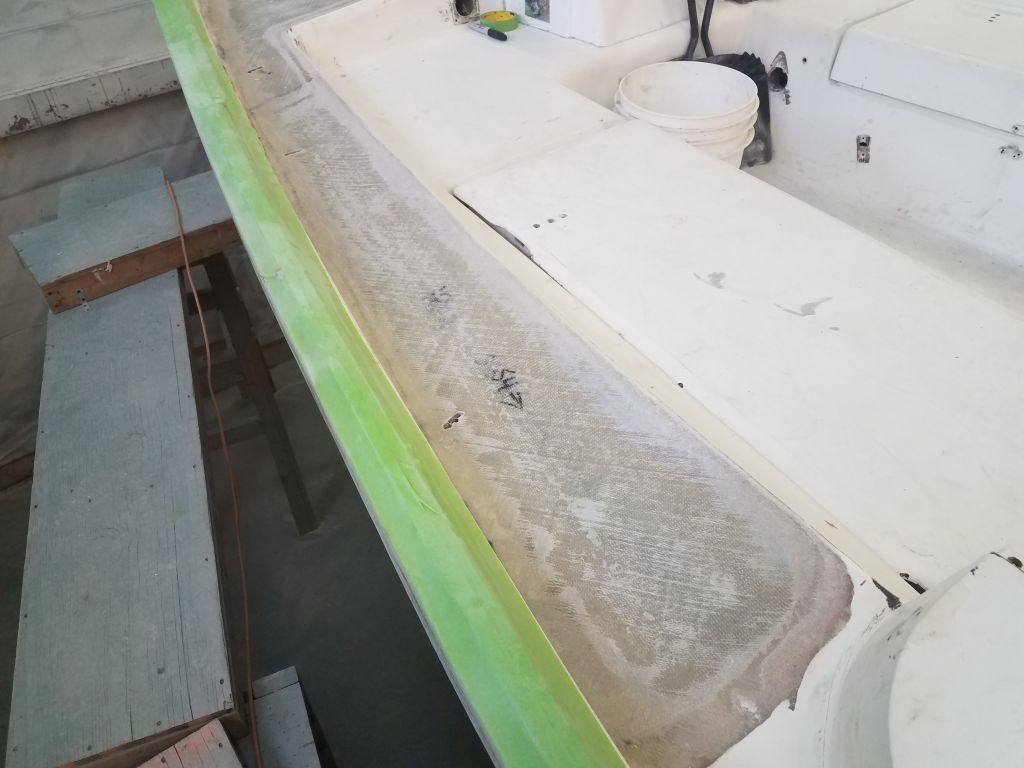
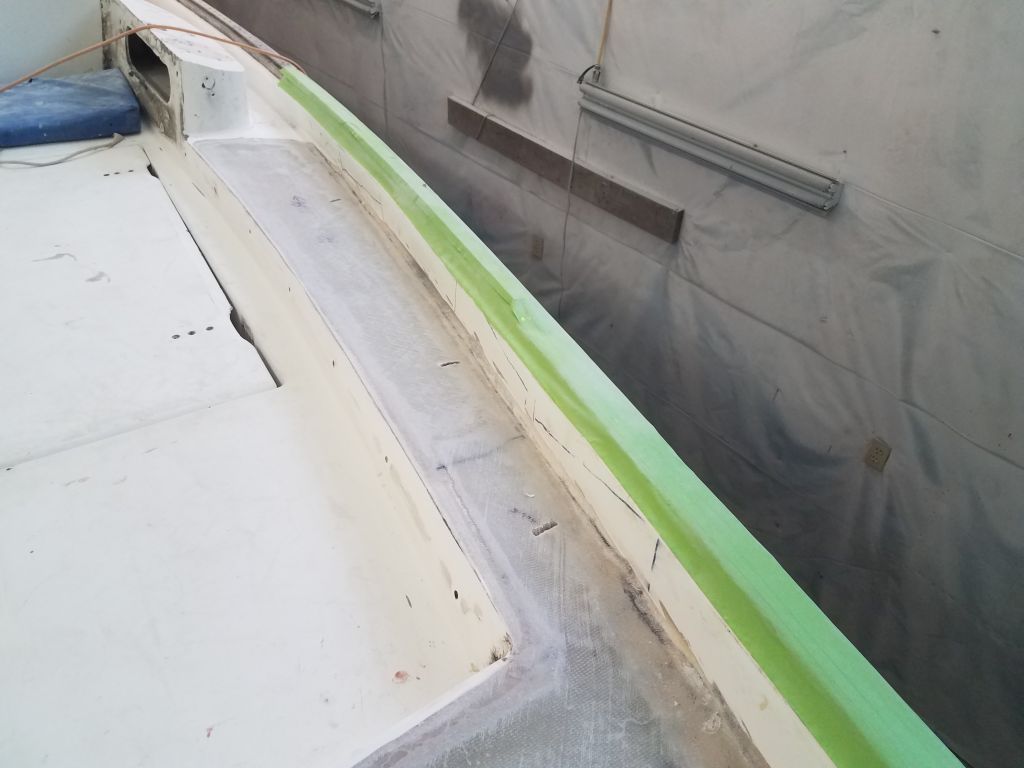
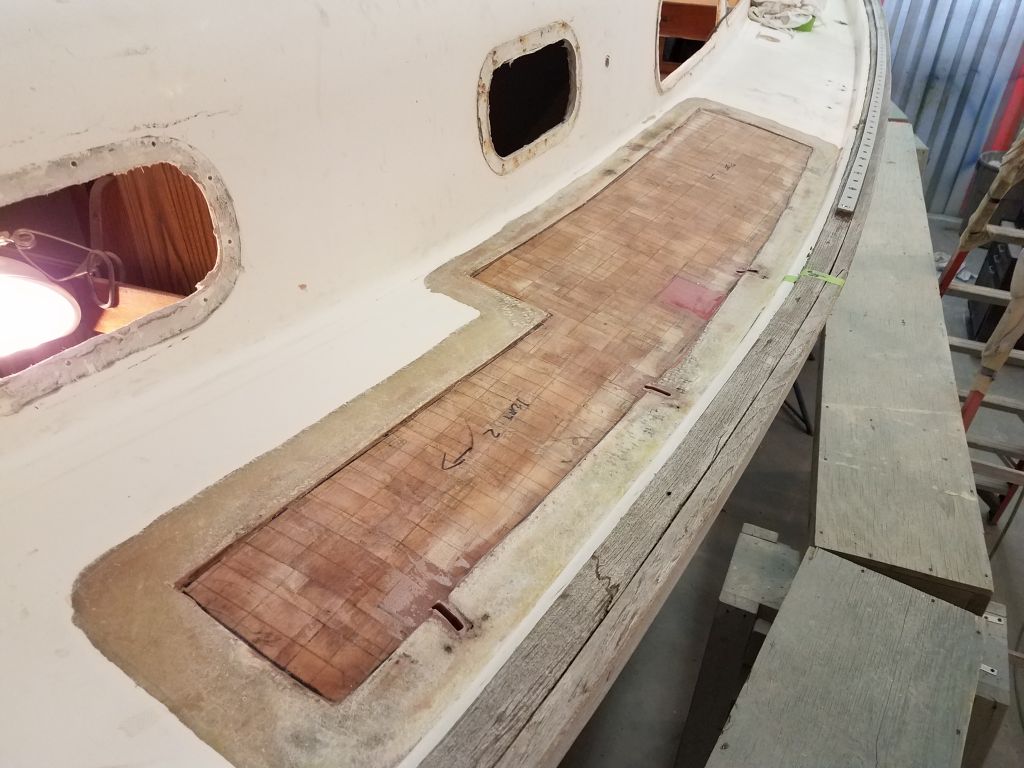
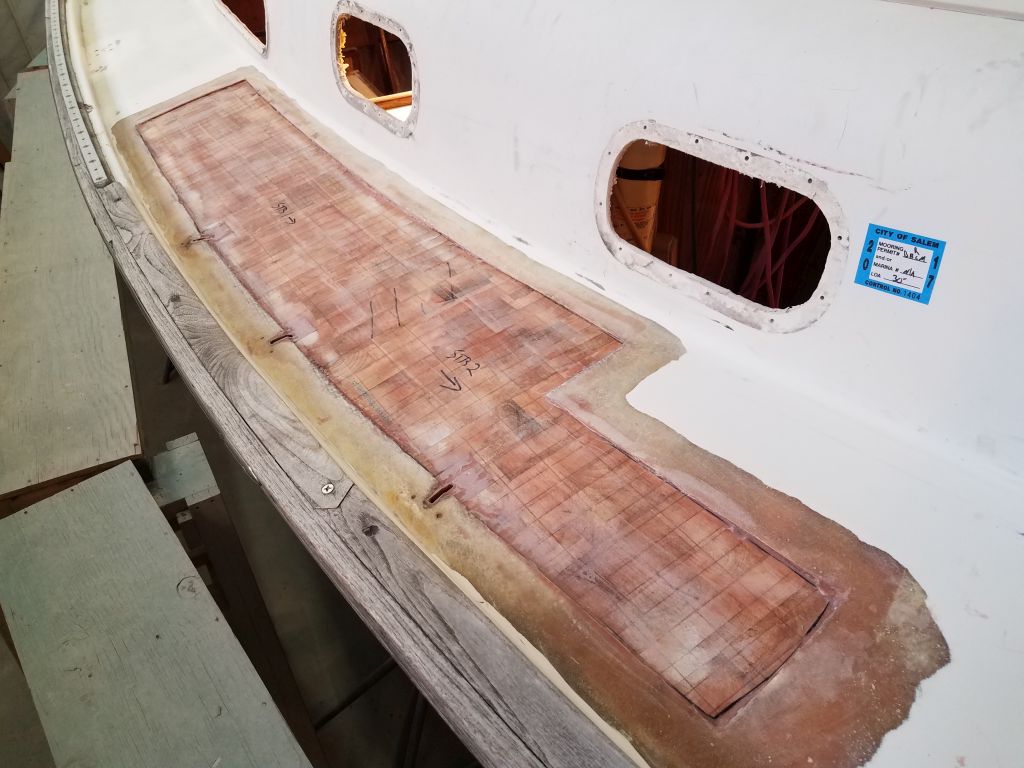
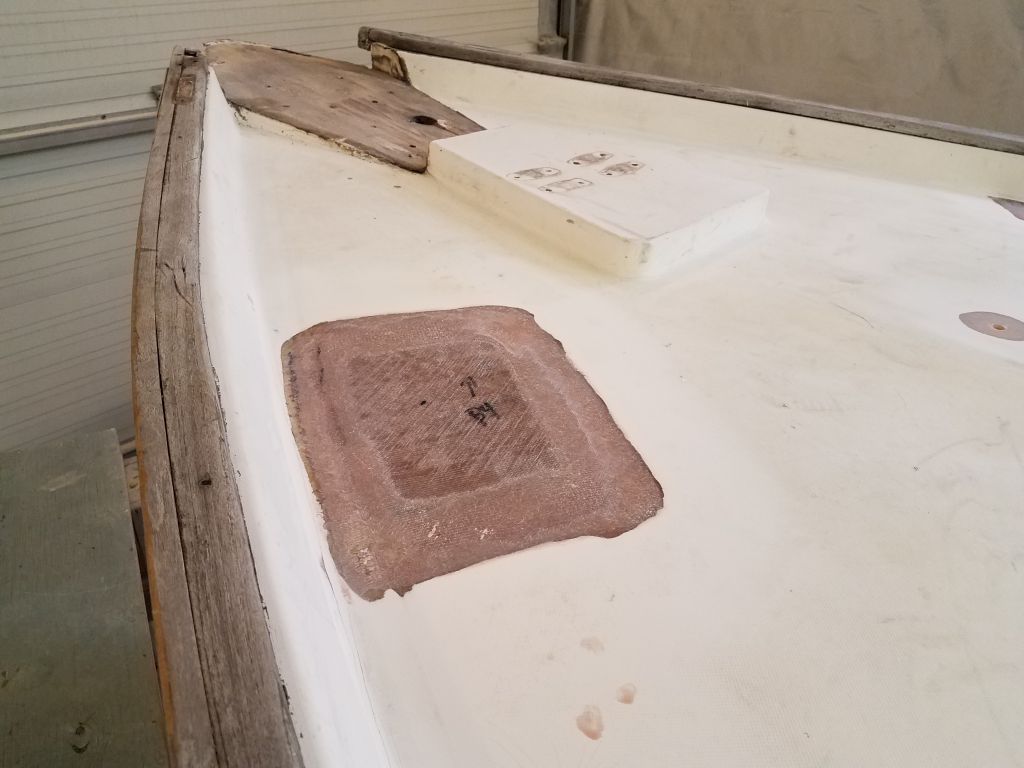
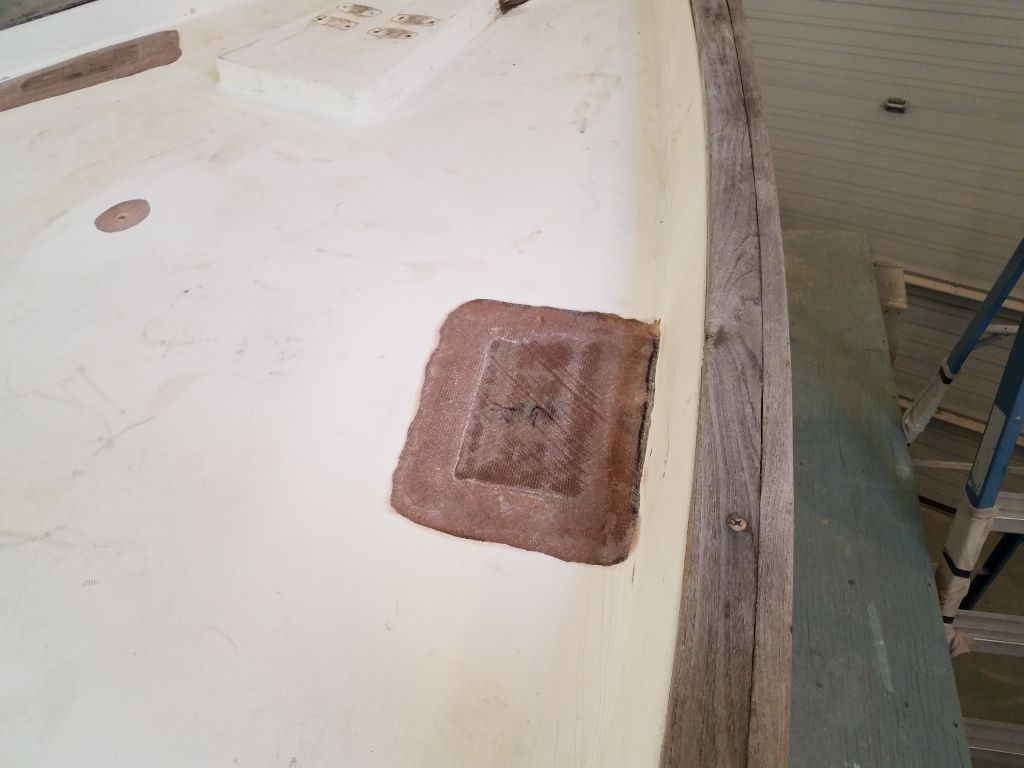
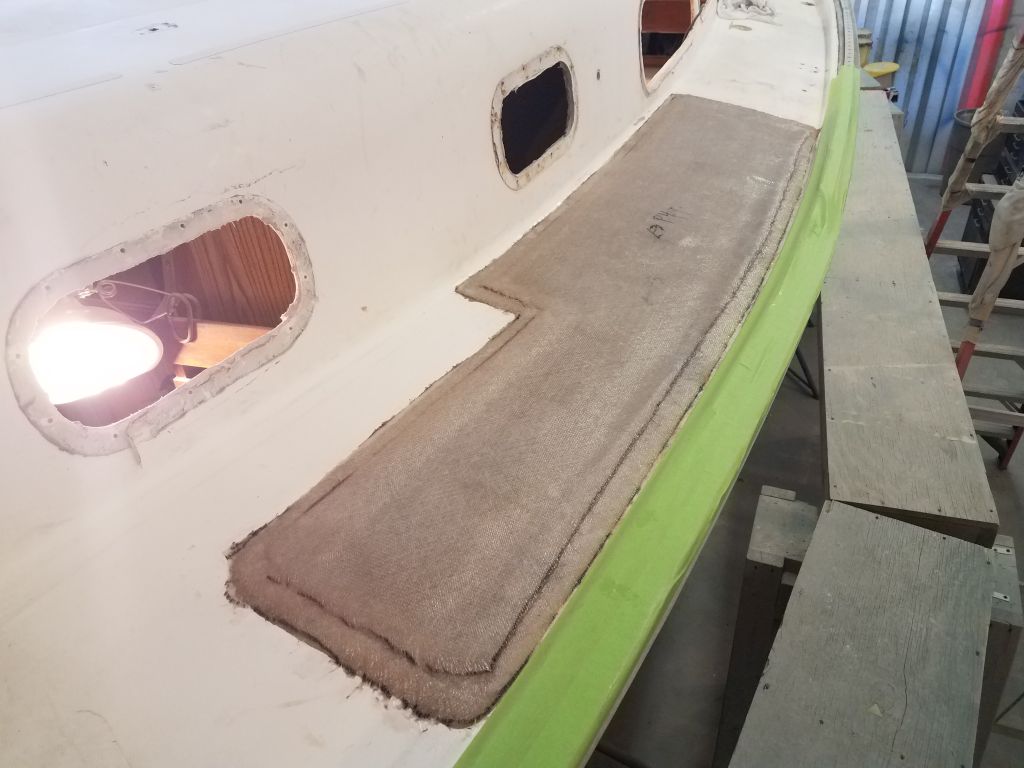
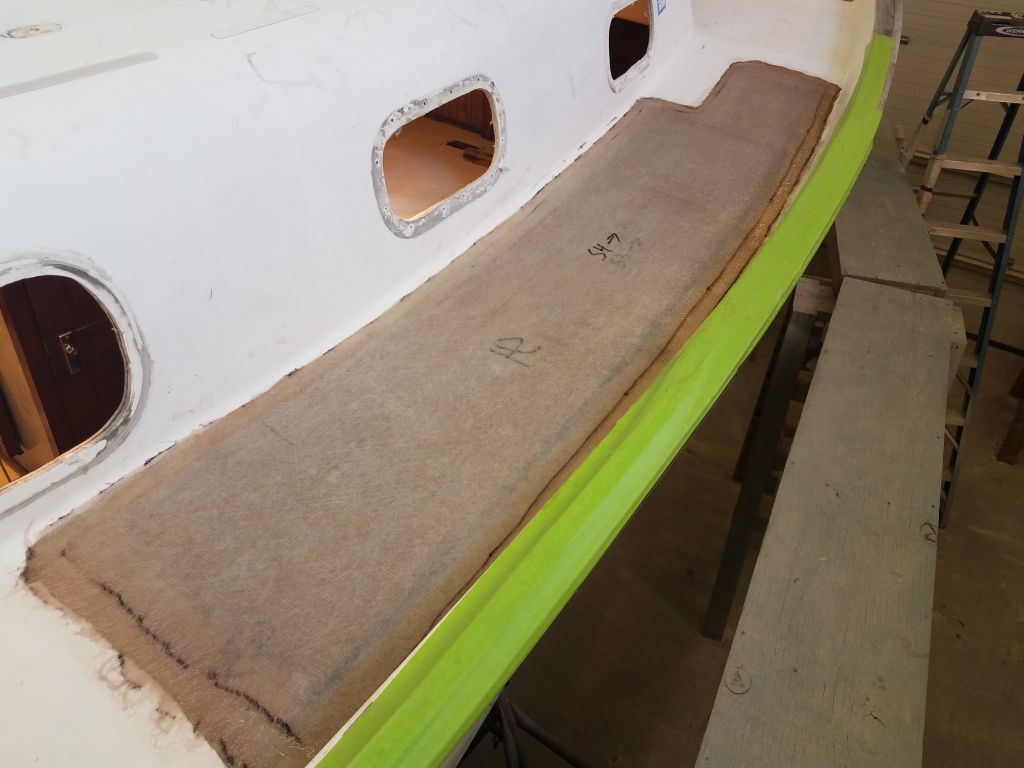
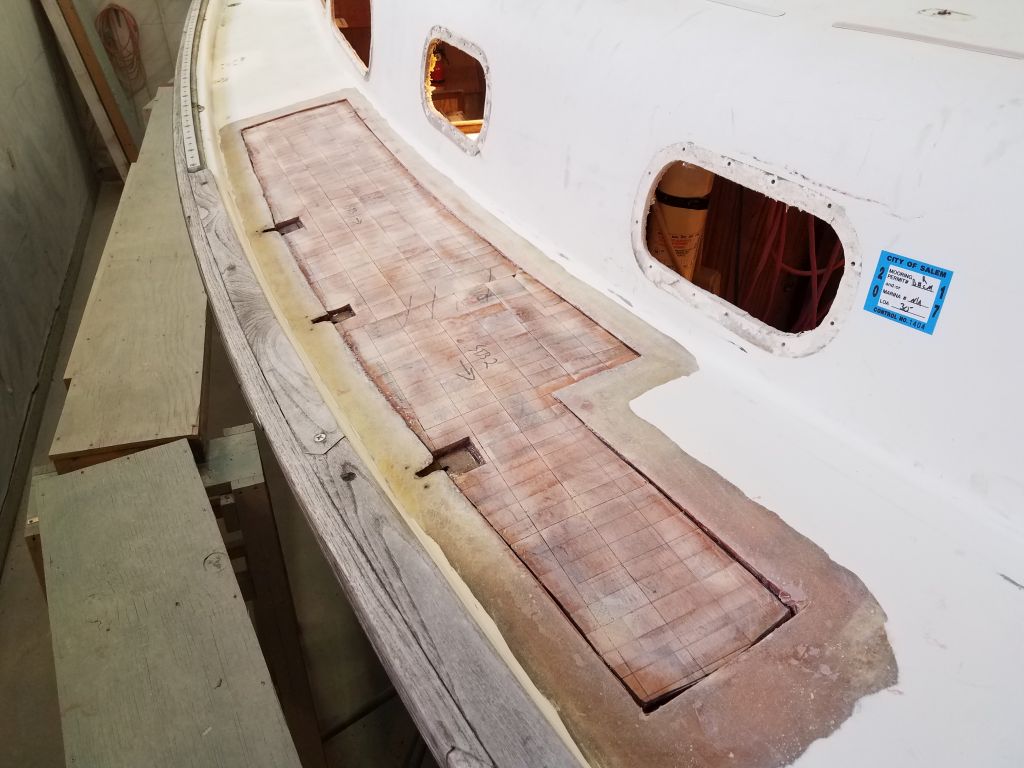
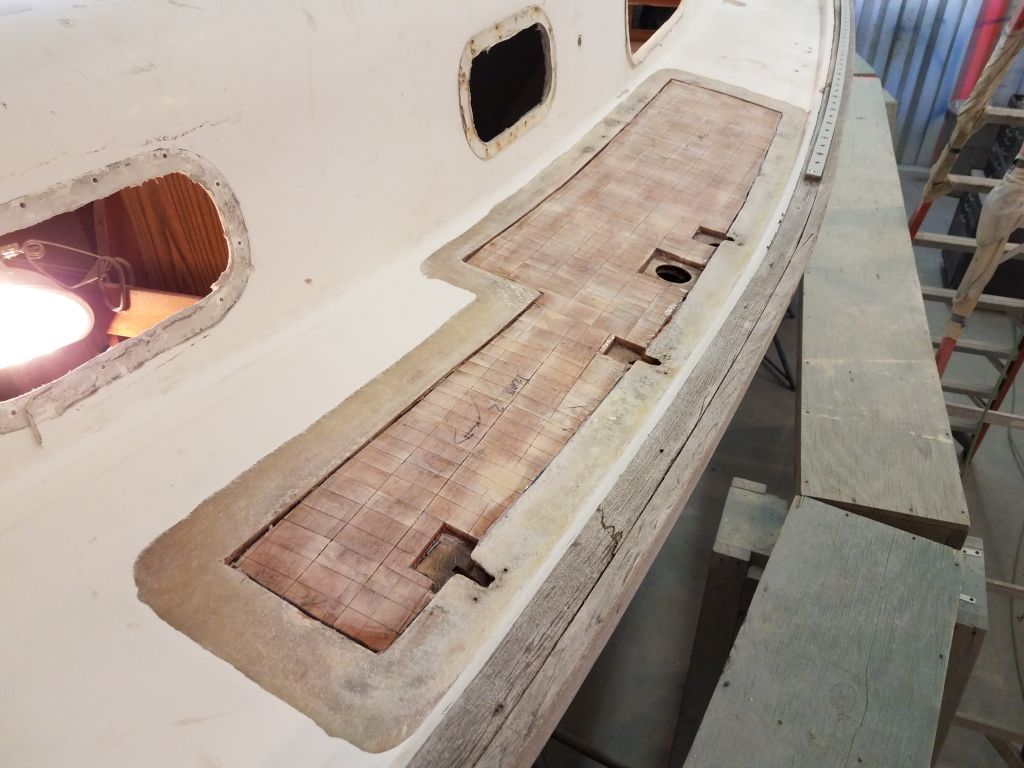
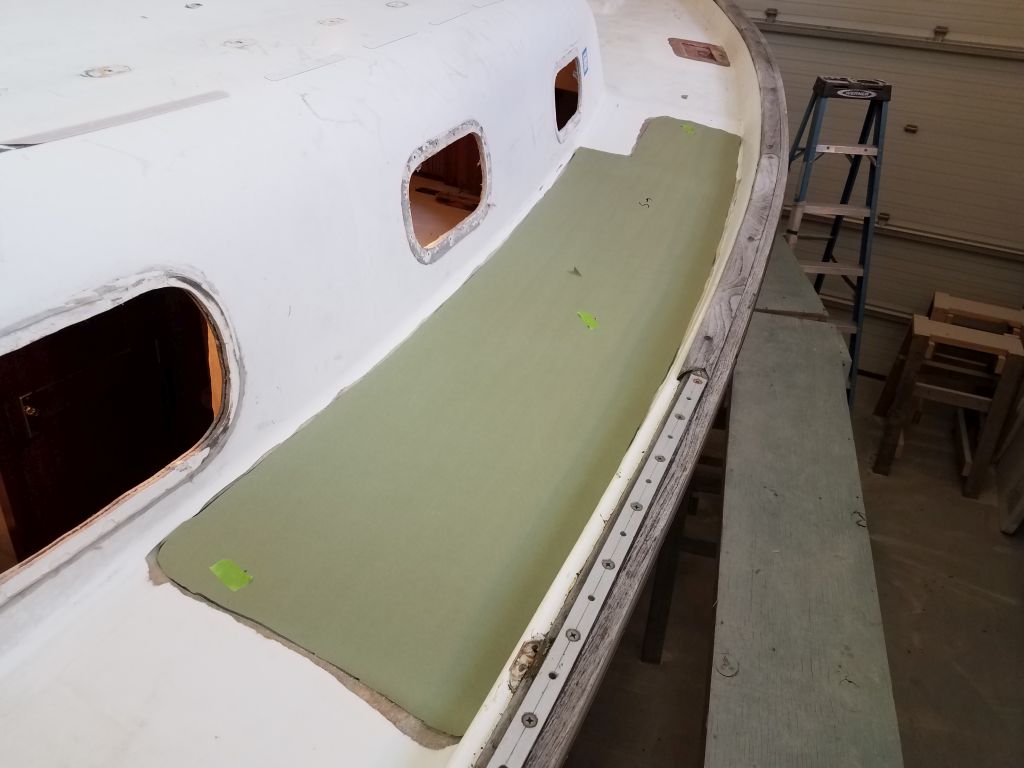
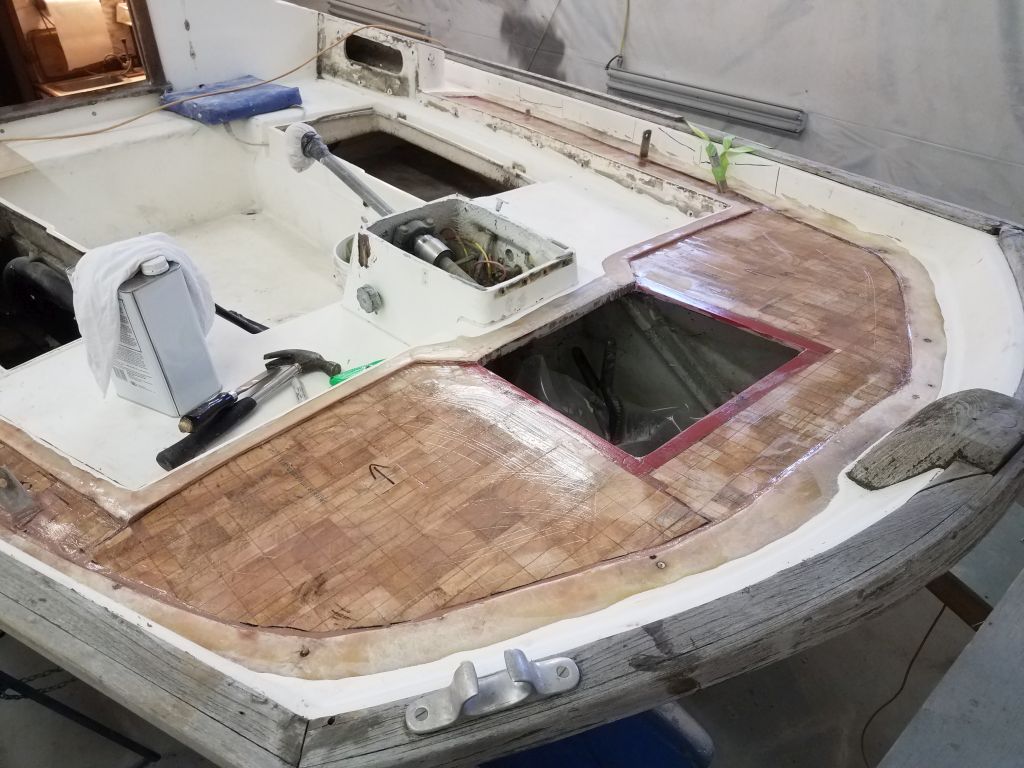
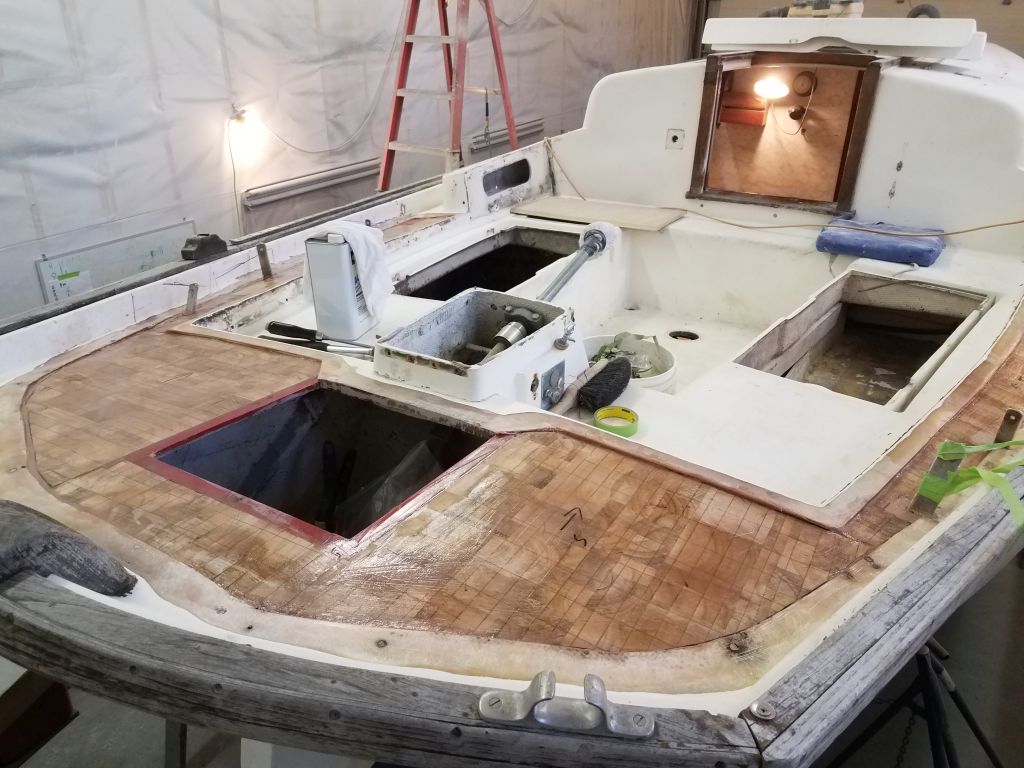
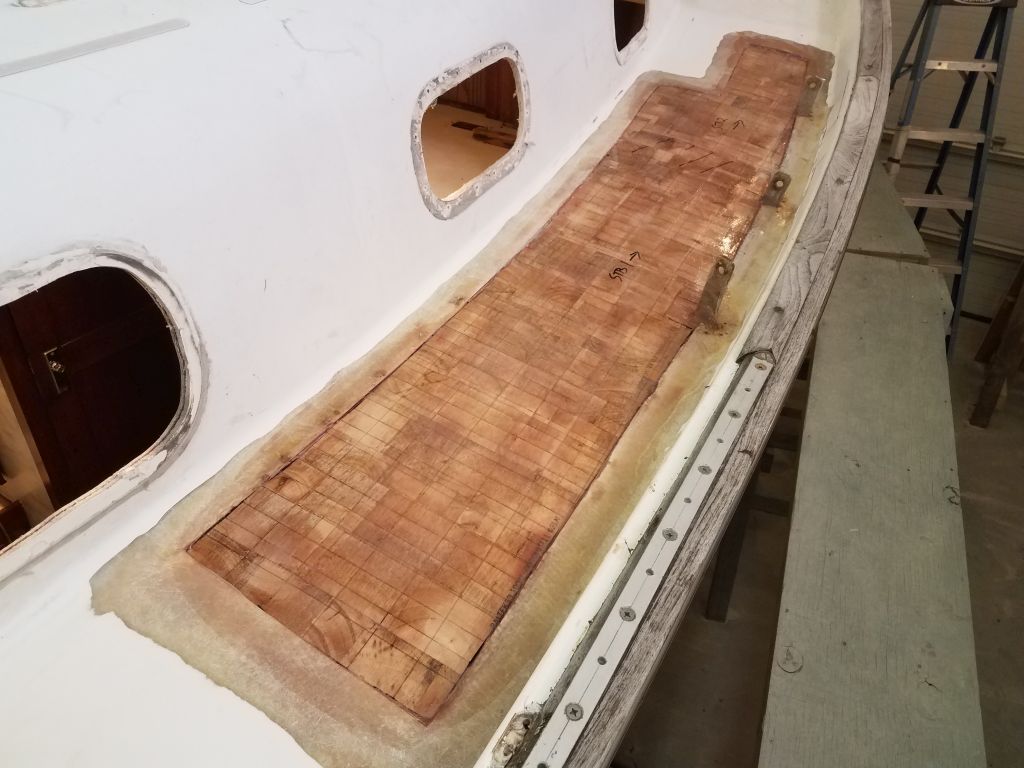
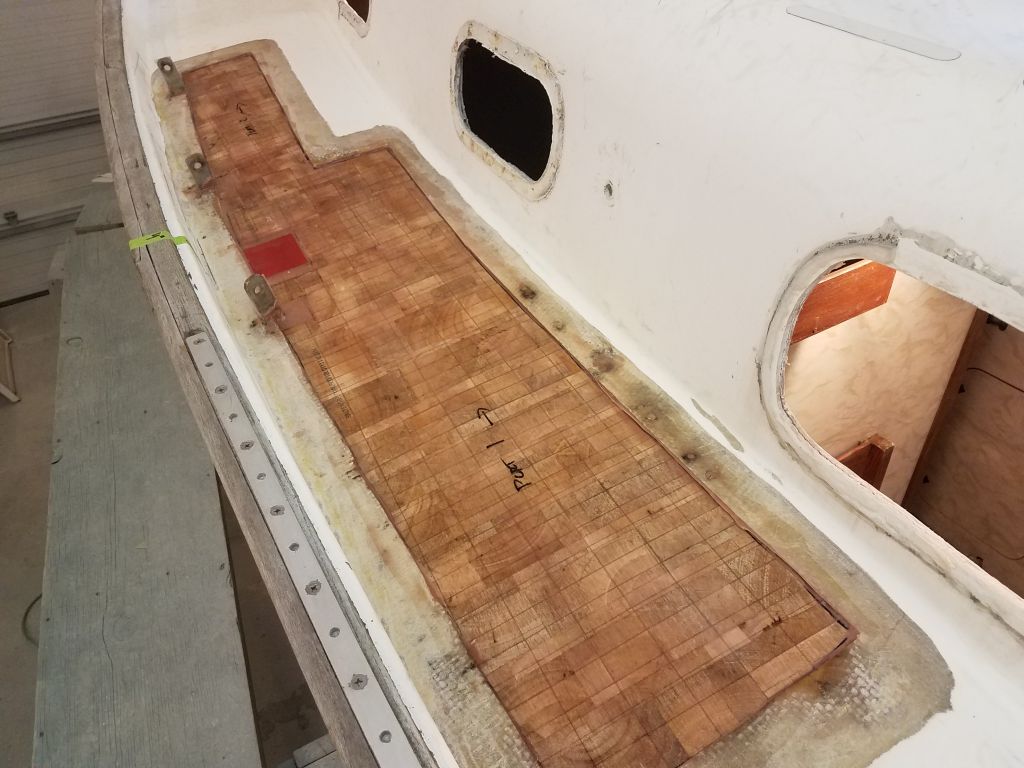
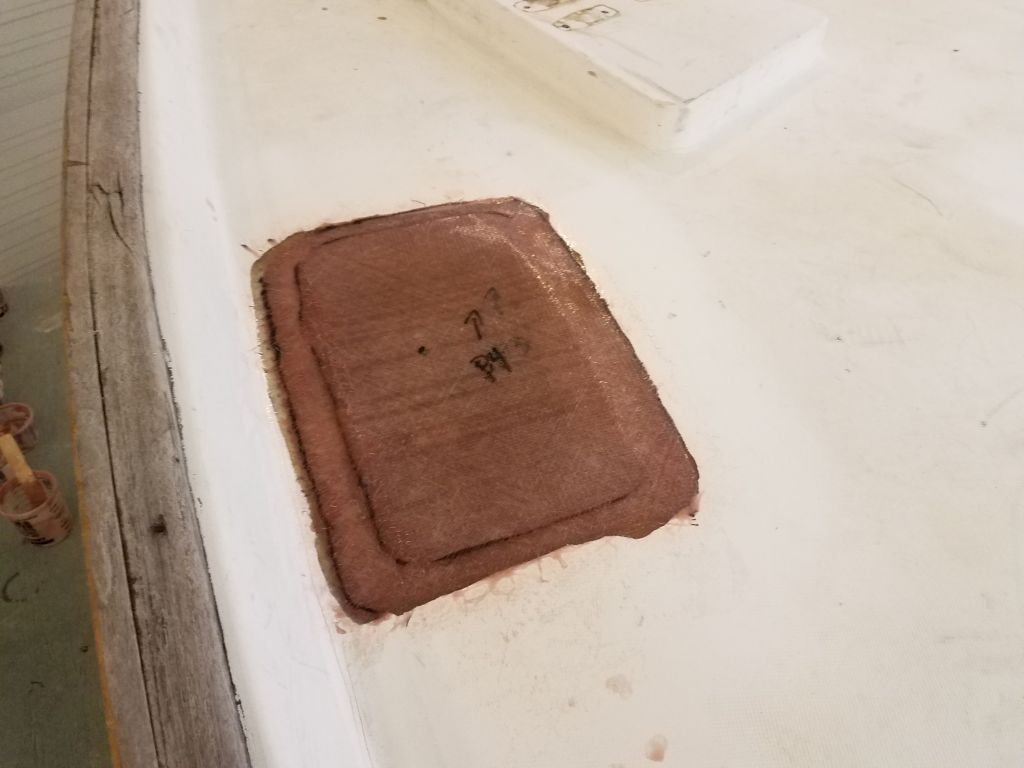
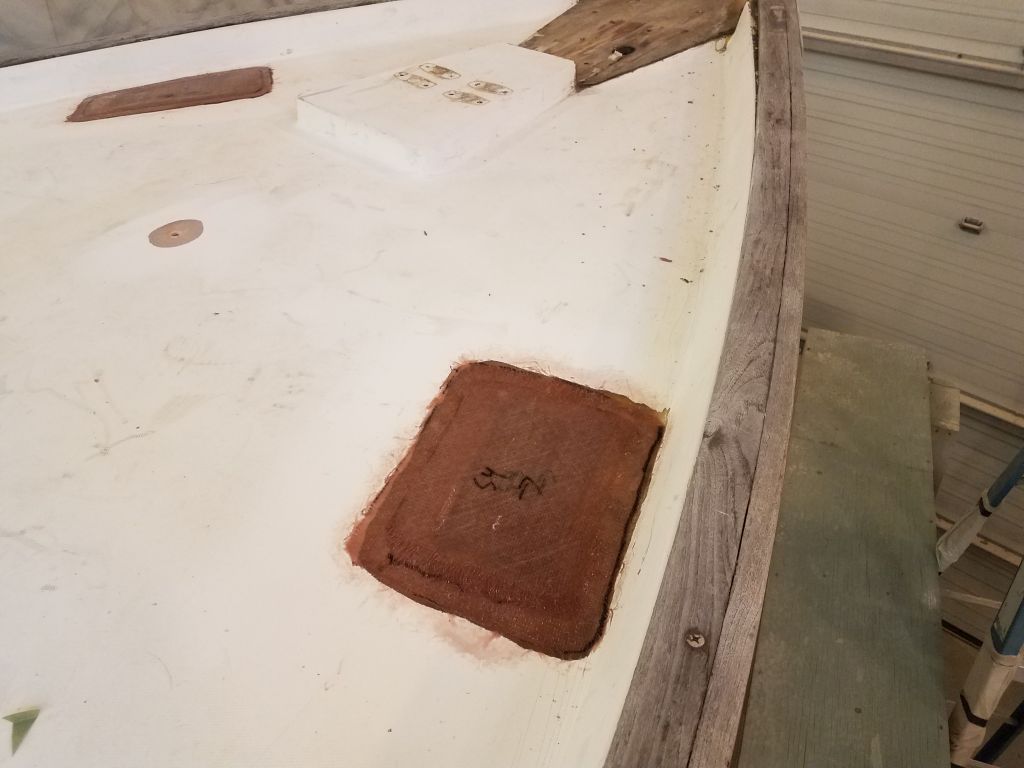
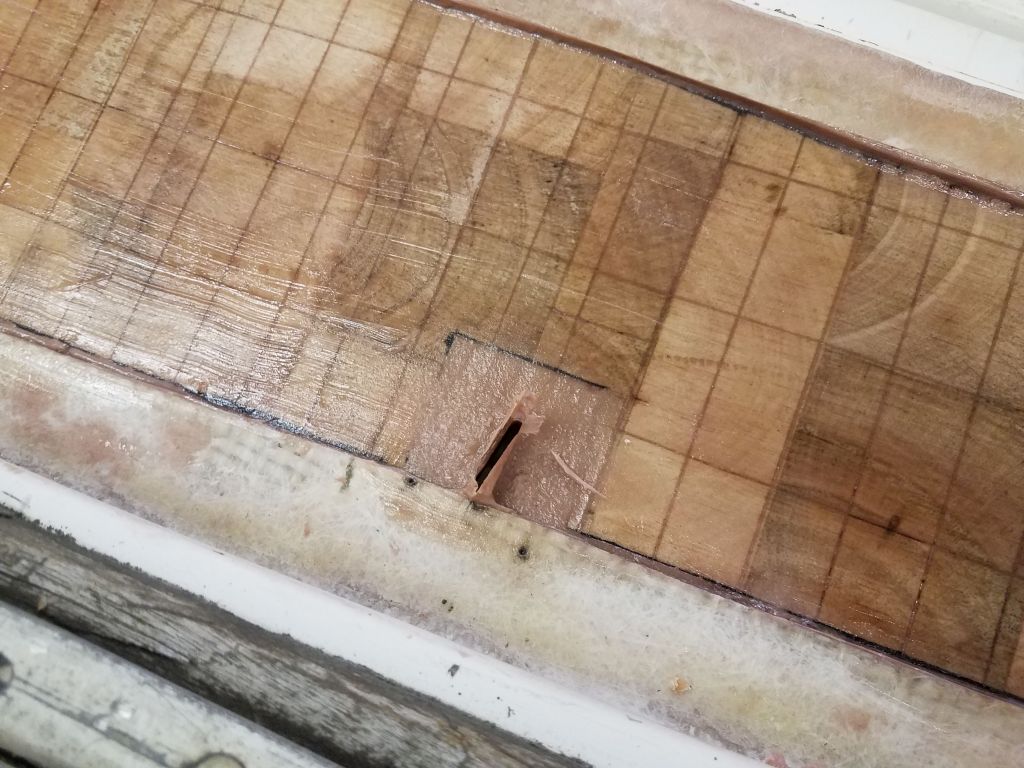
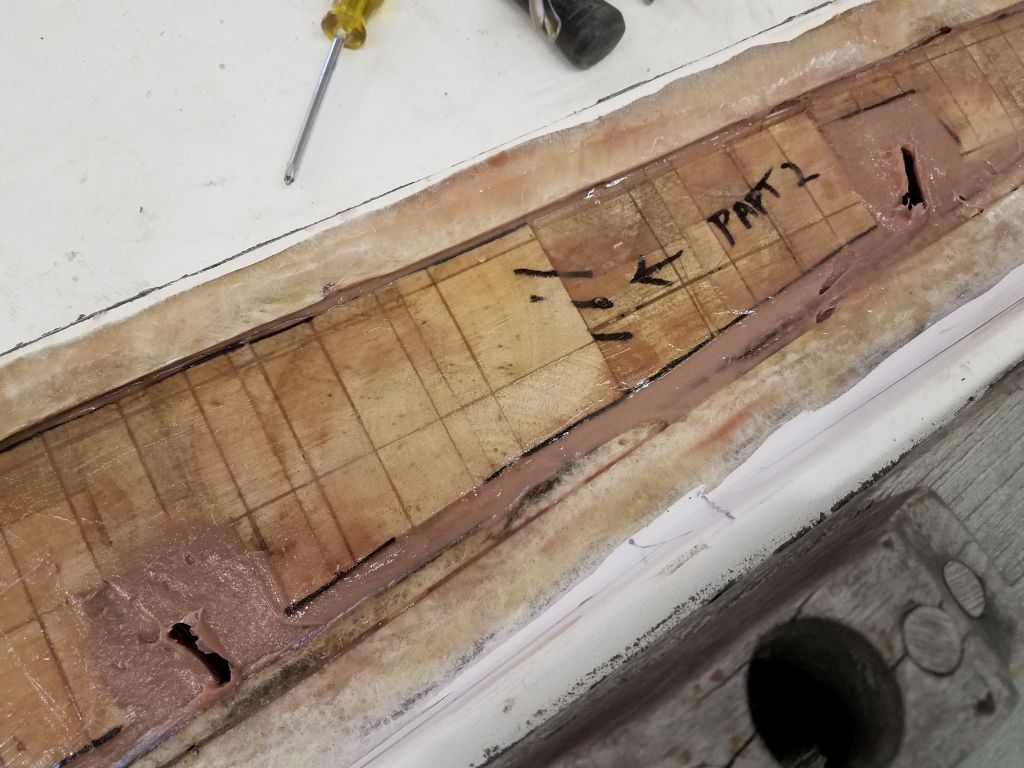
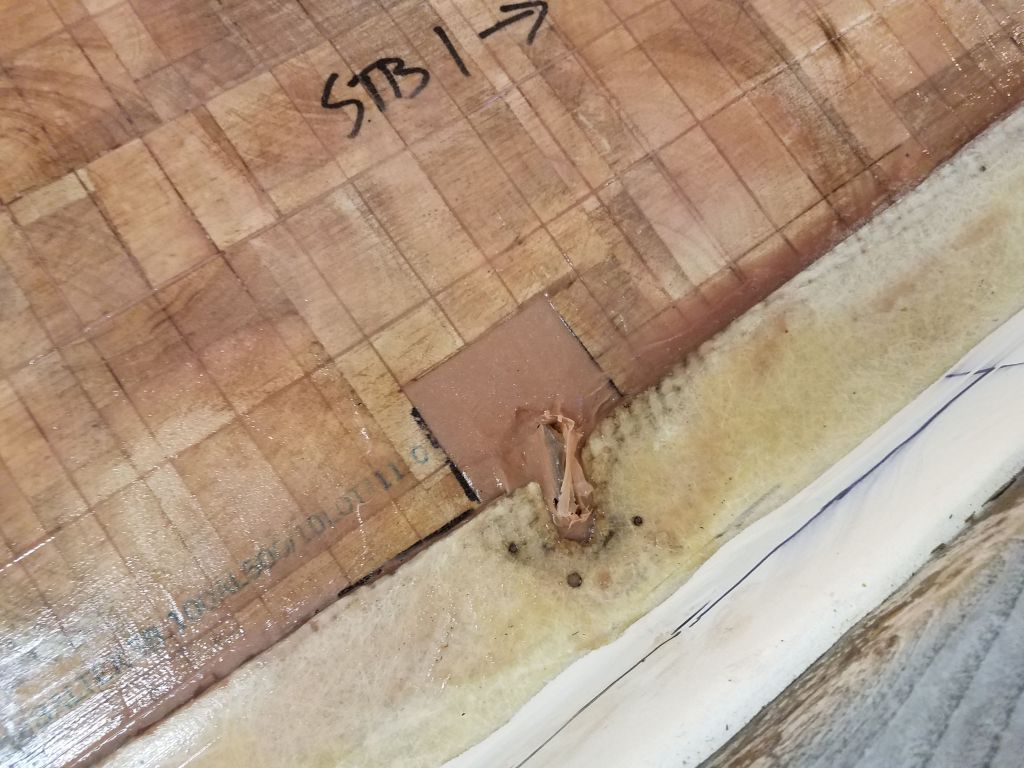
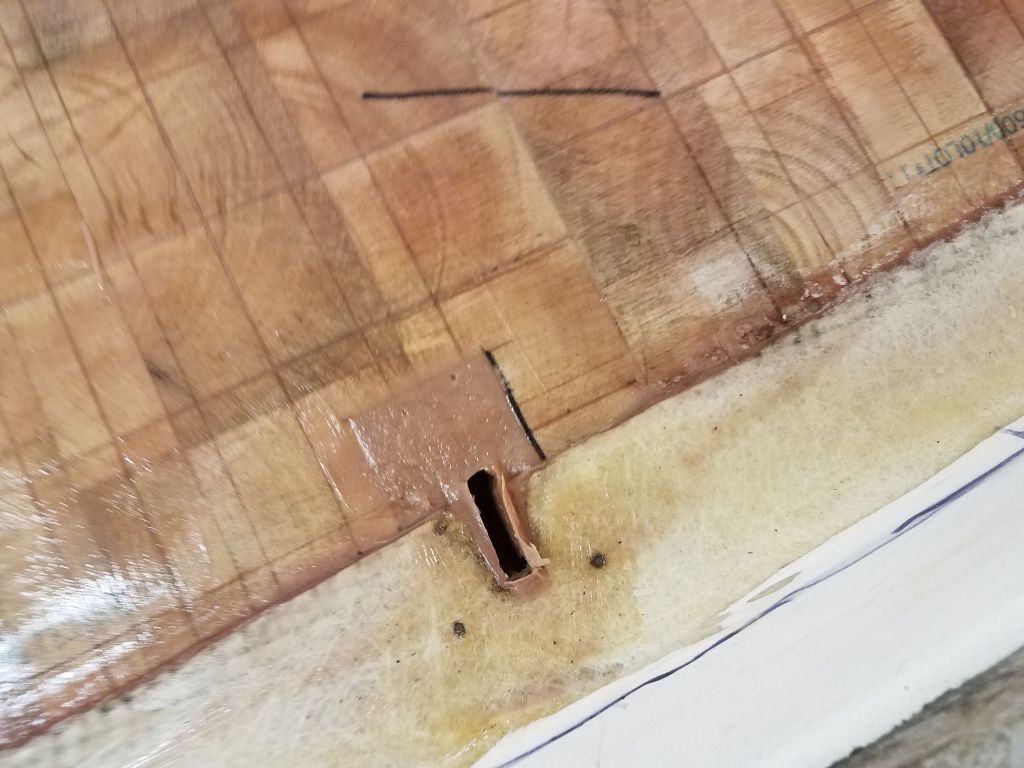
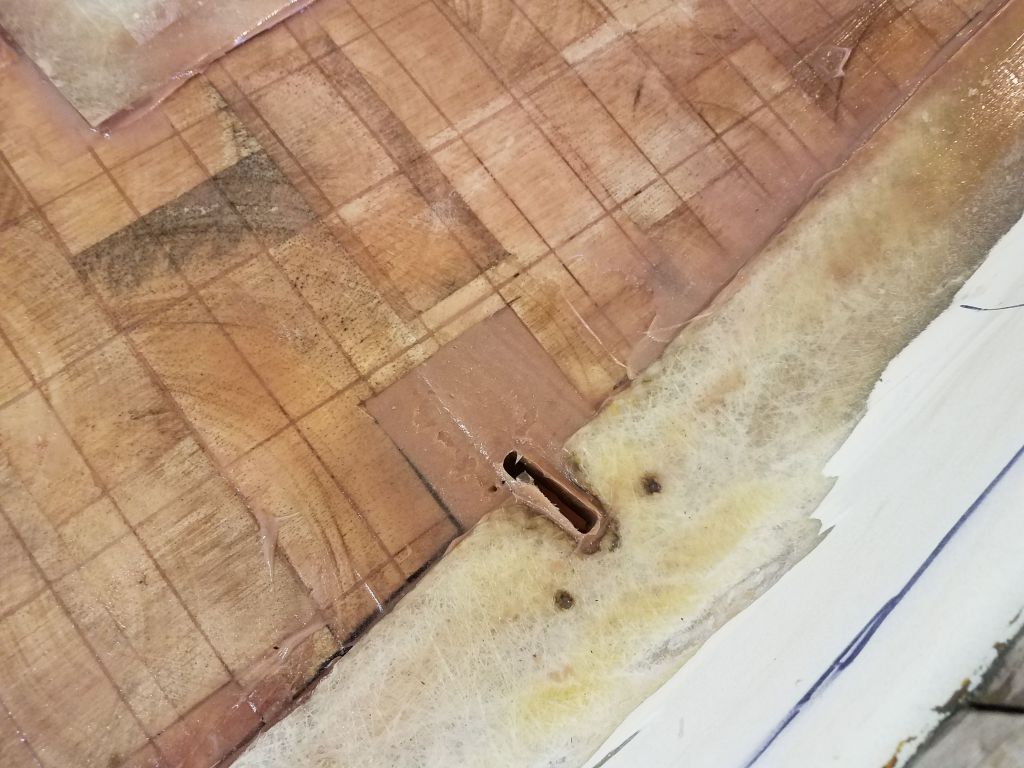
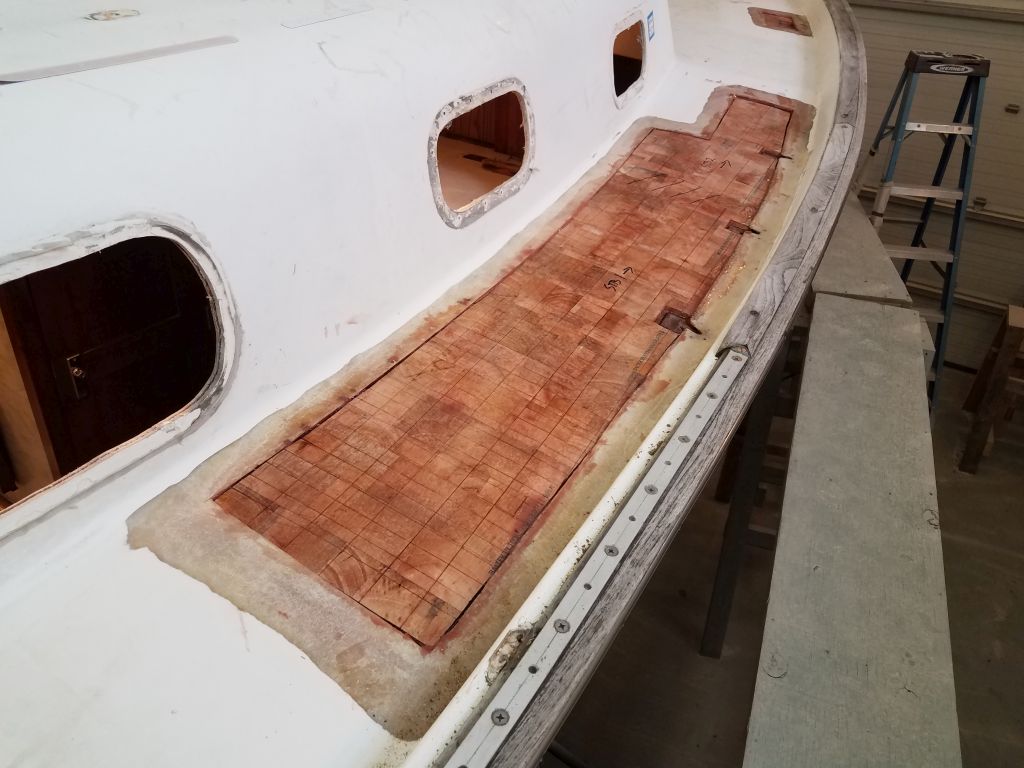
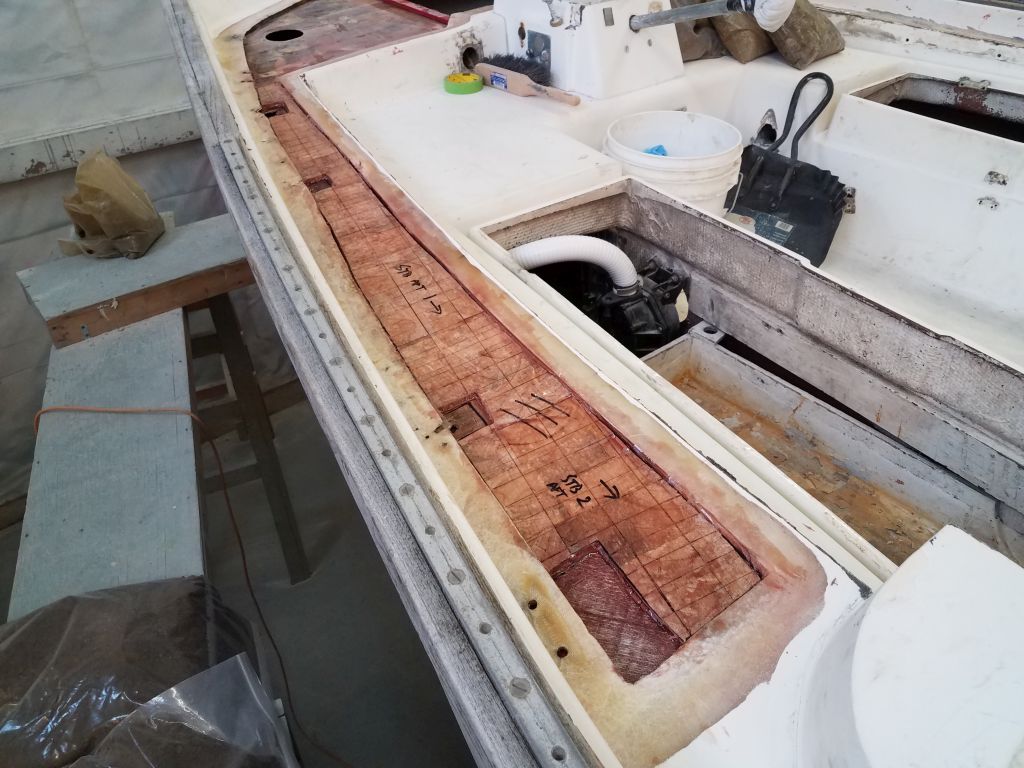
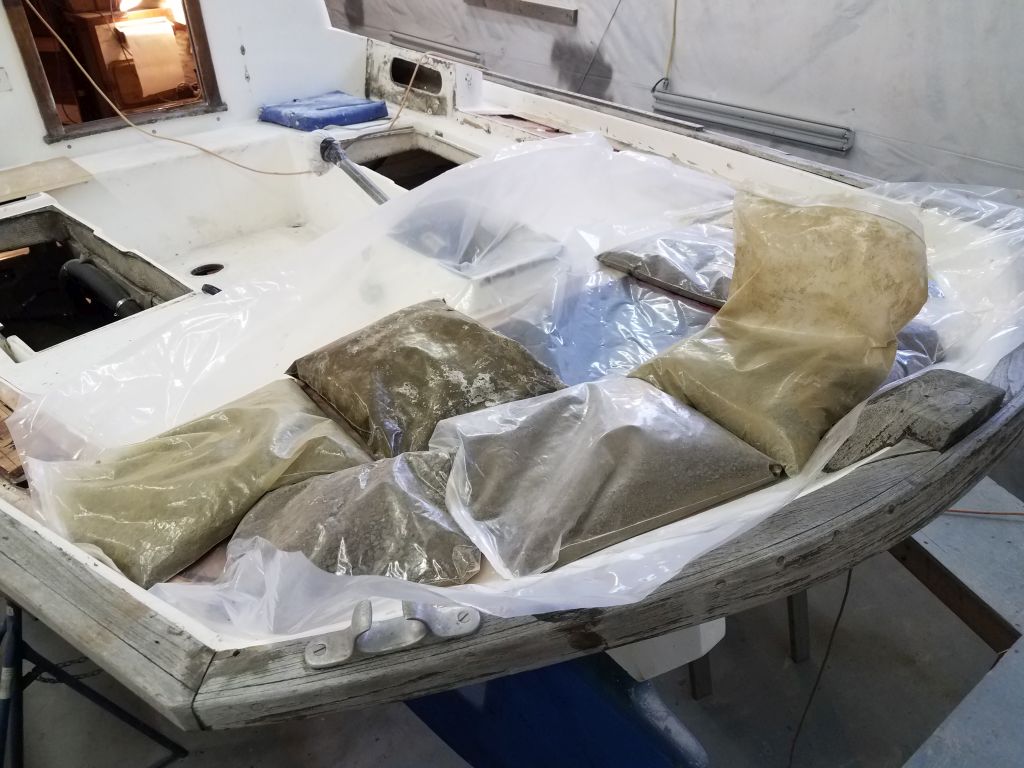
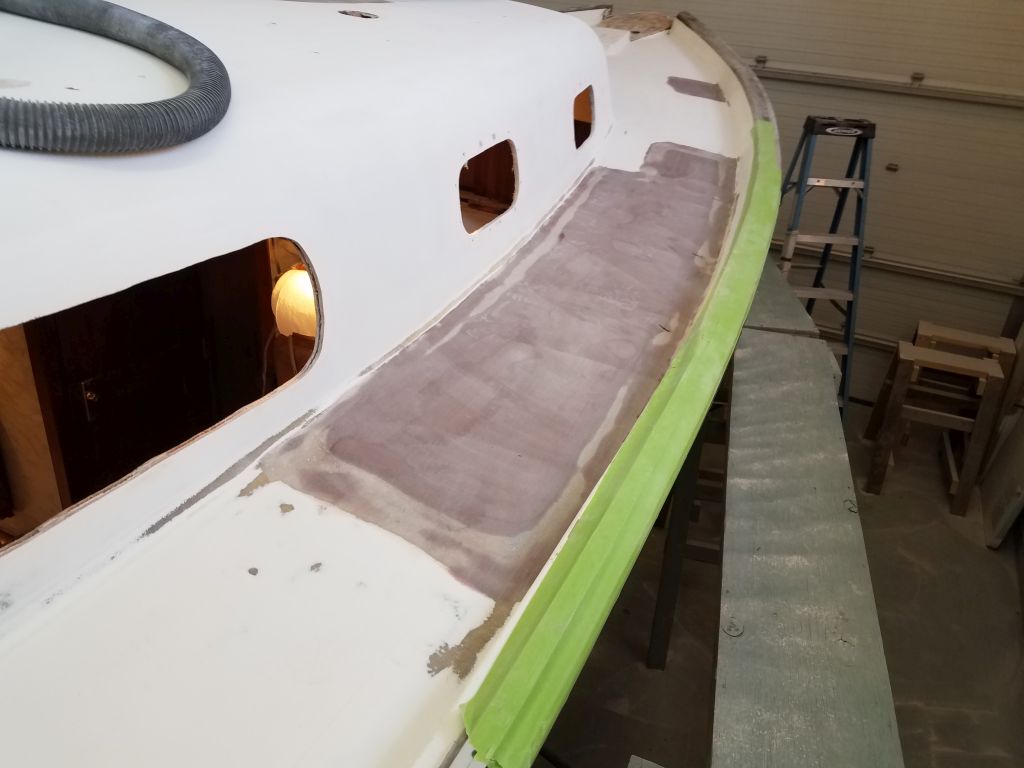
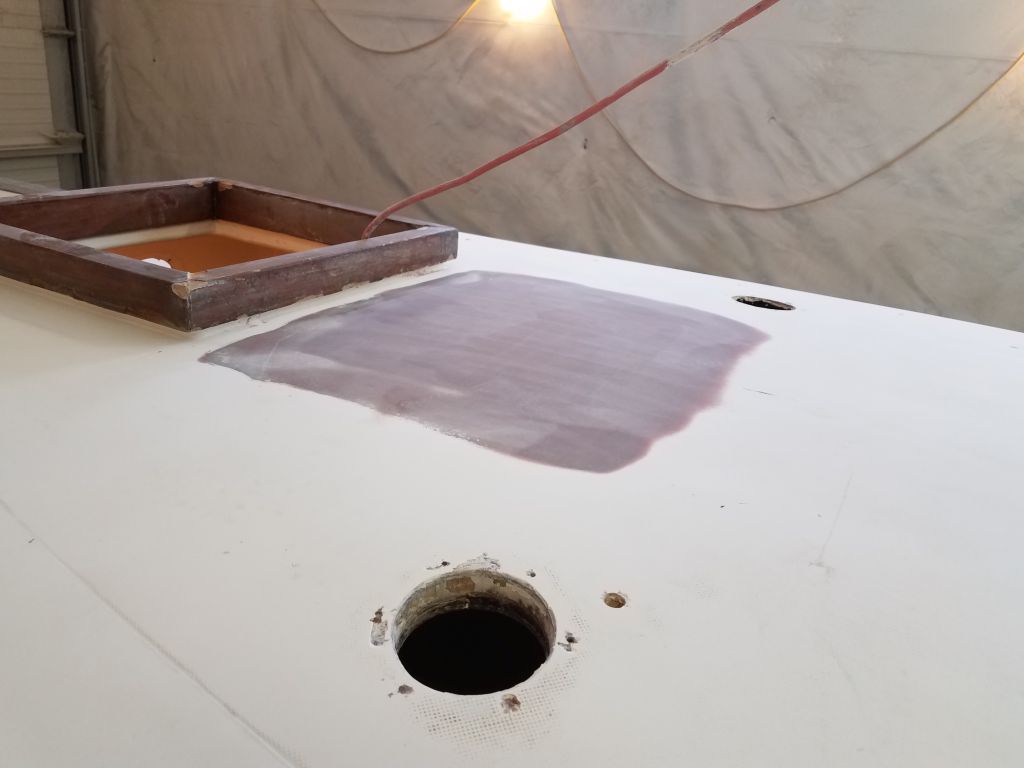
The various deck patches required another round of light sanding to smooth the latest application of fairing compound. These areas were mainly at their final contours and would require only minor additional work as I continued prep work elsewhere on deck.

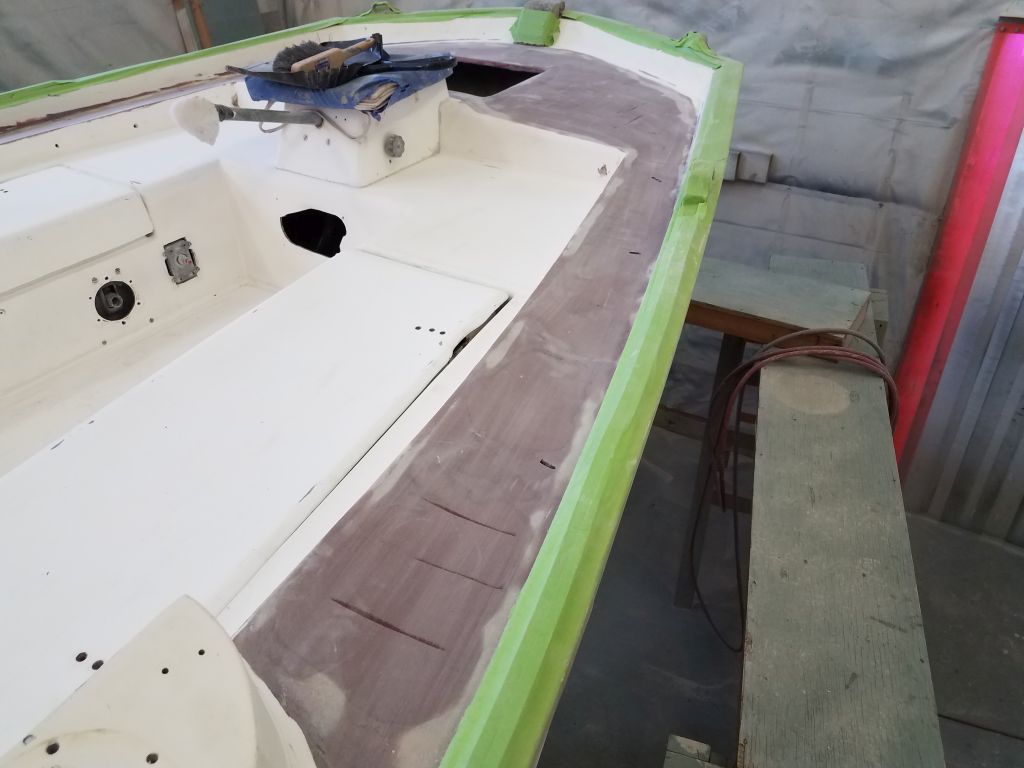
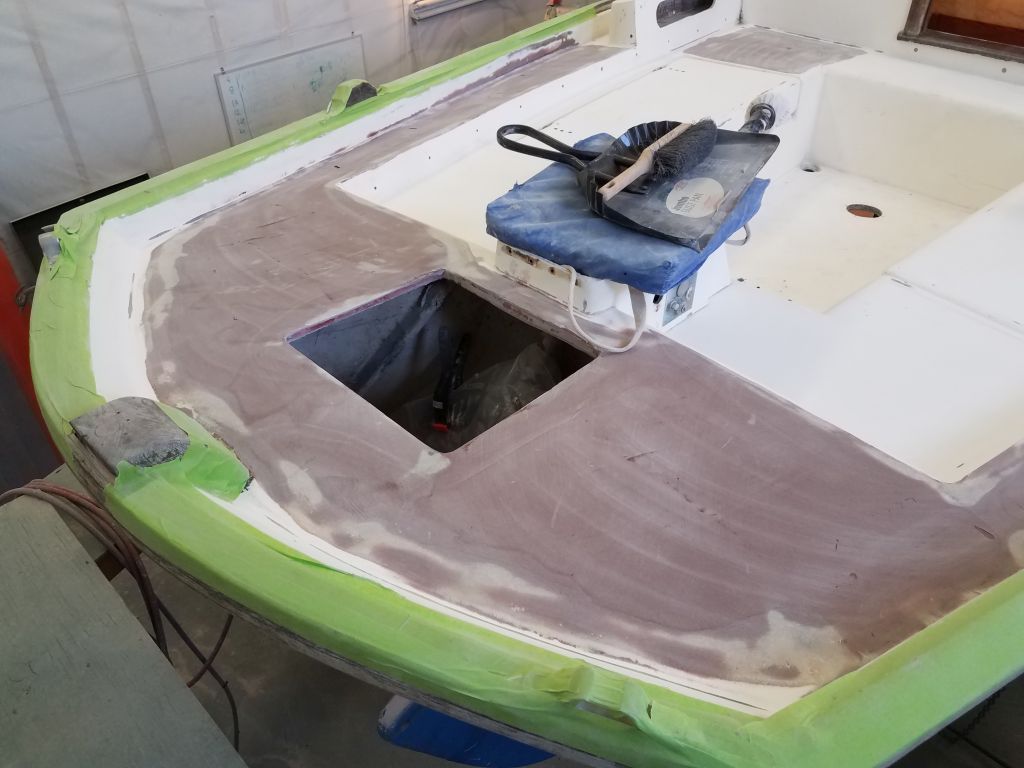
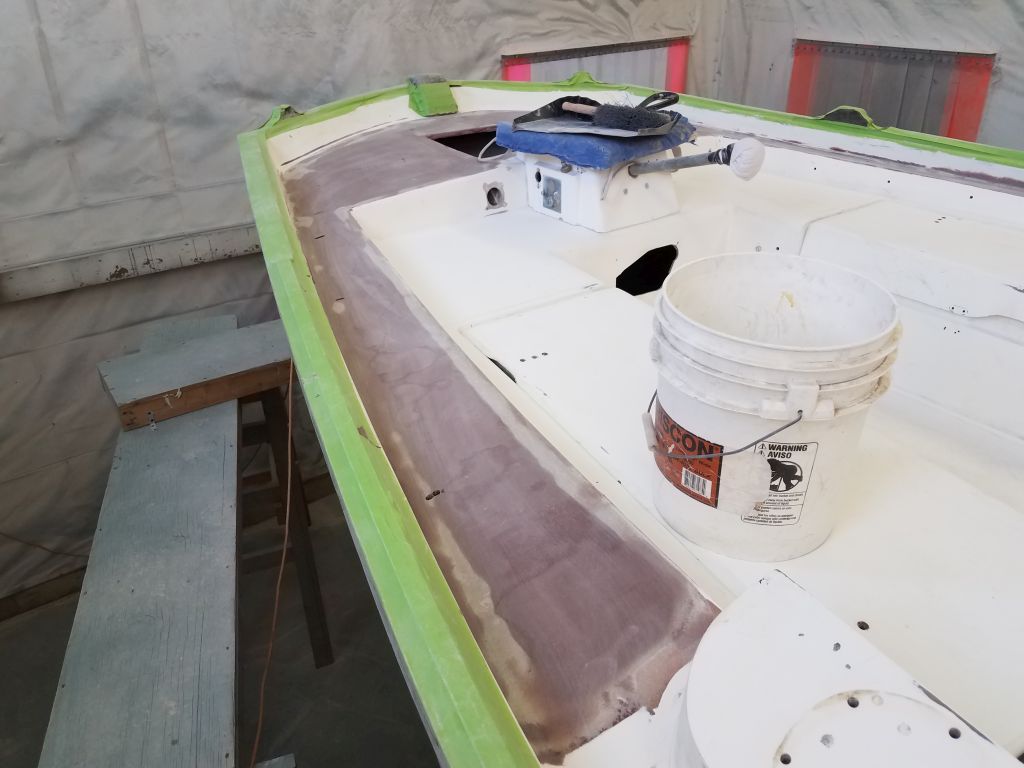
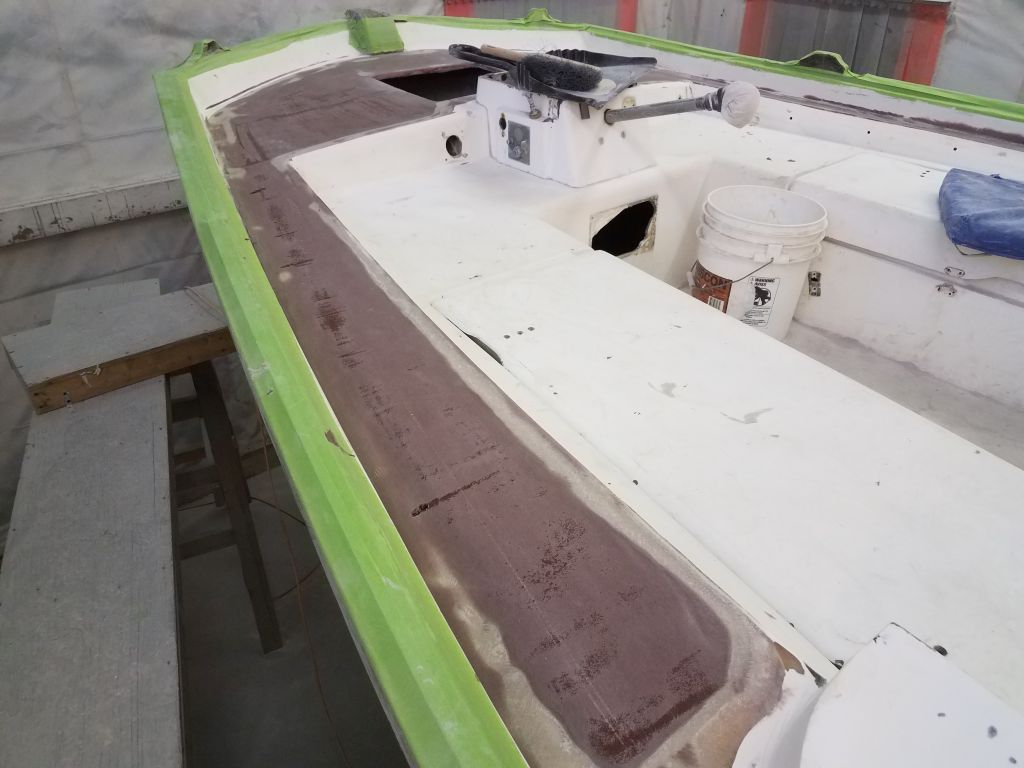
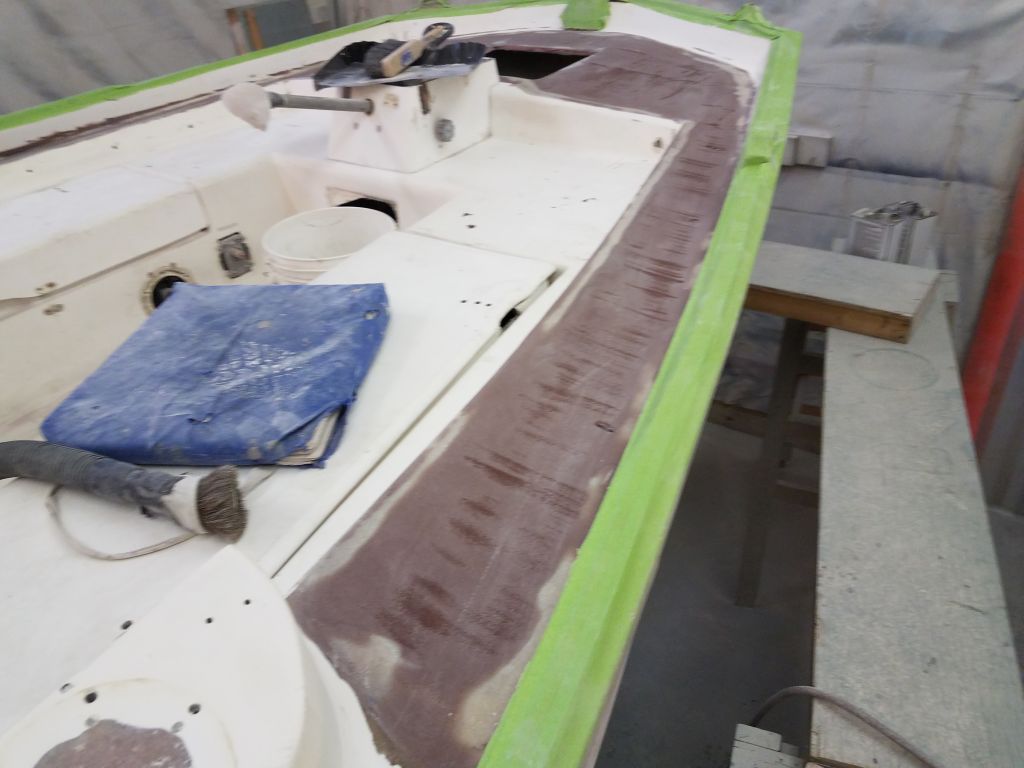
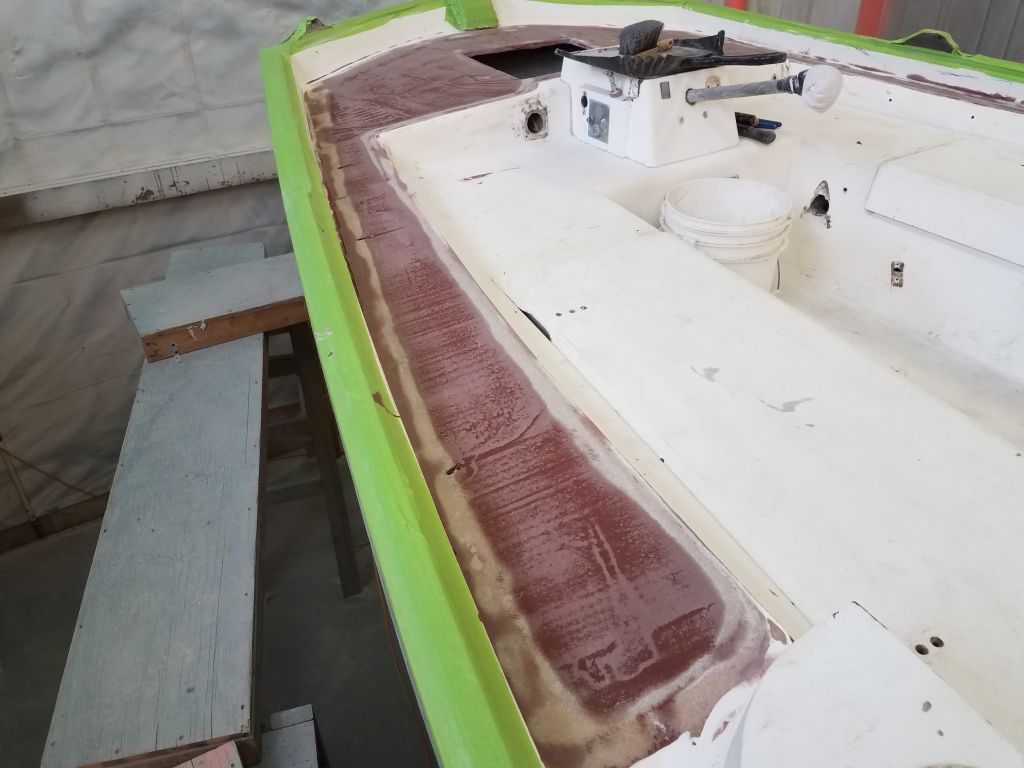
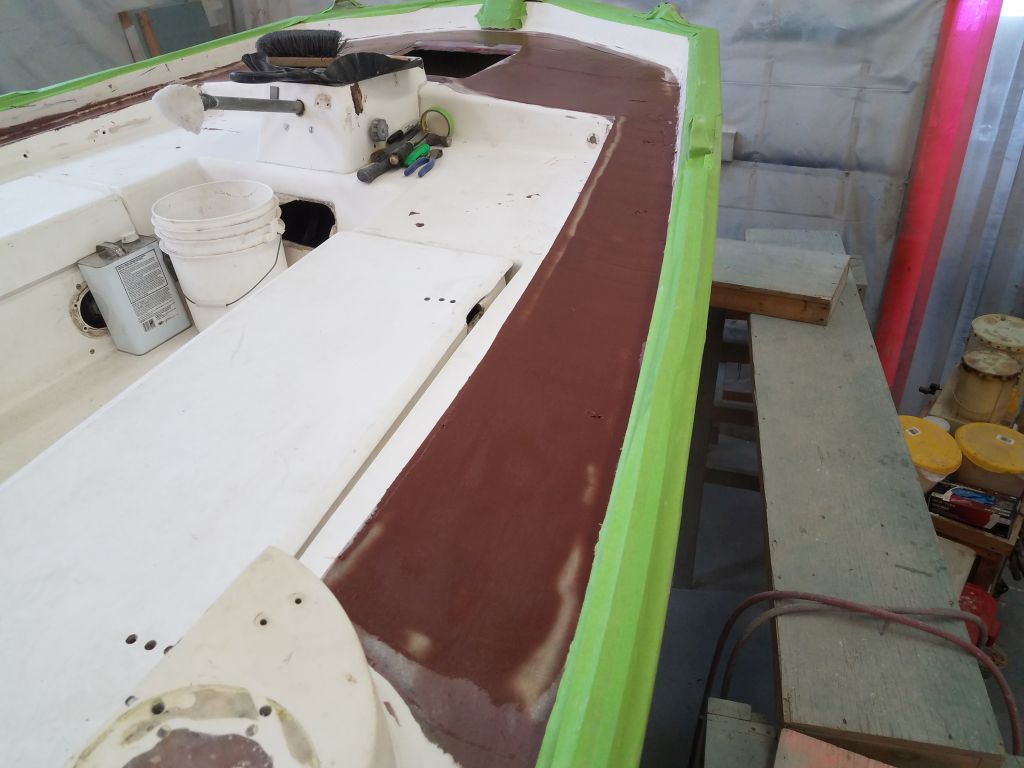
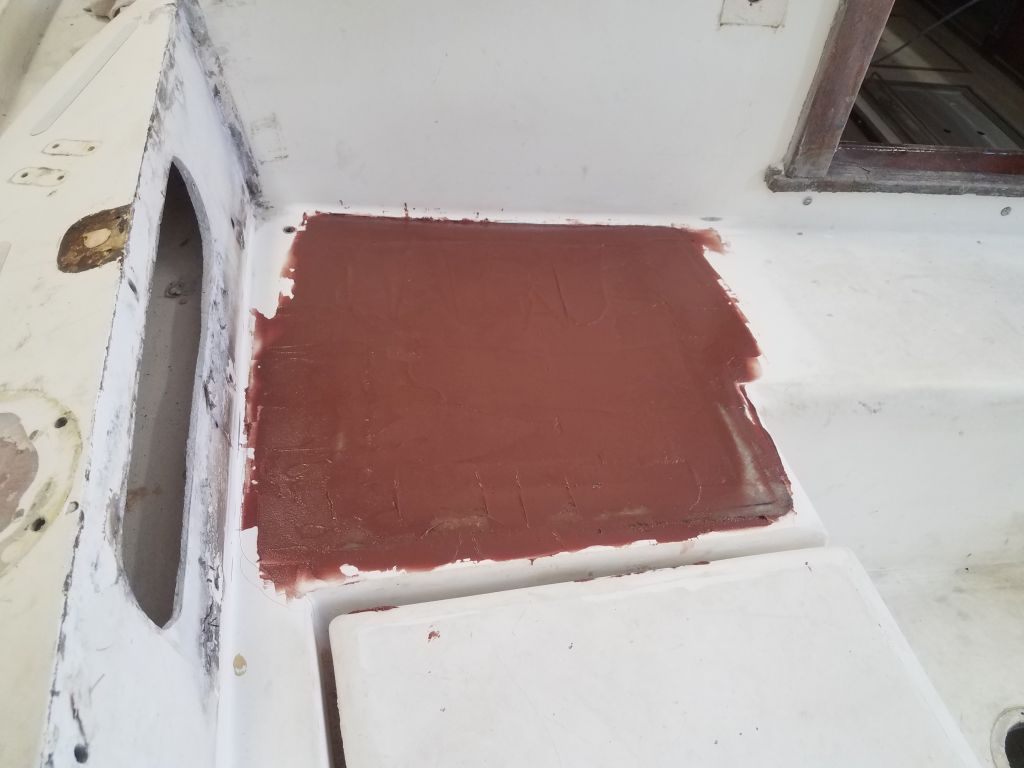
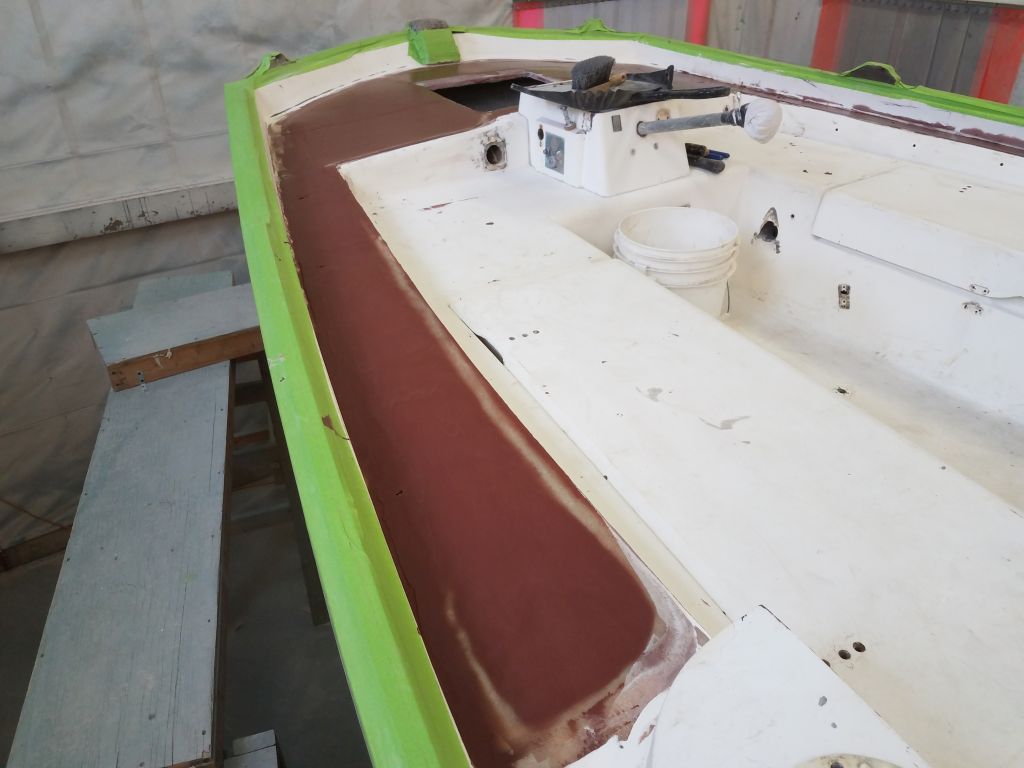
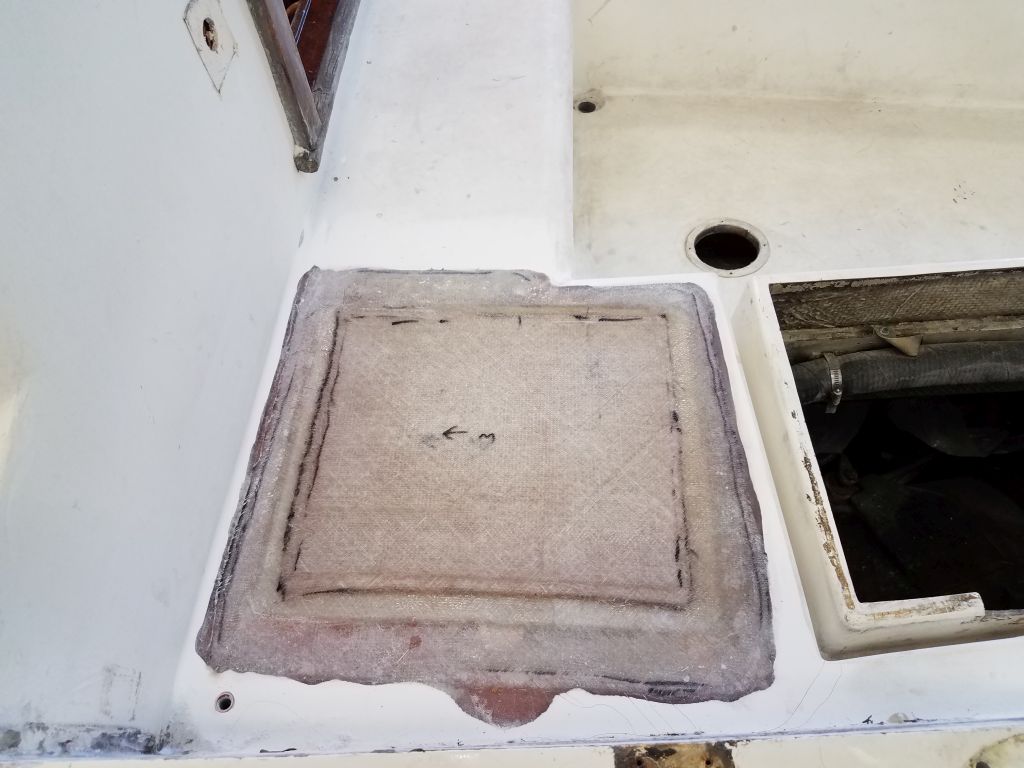
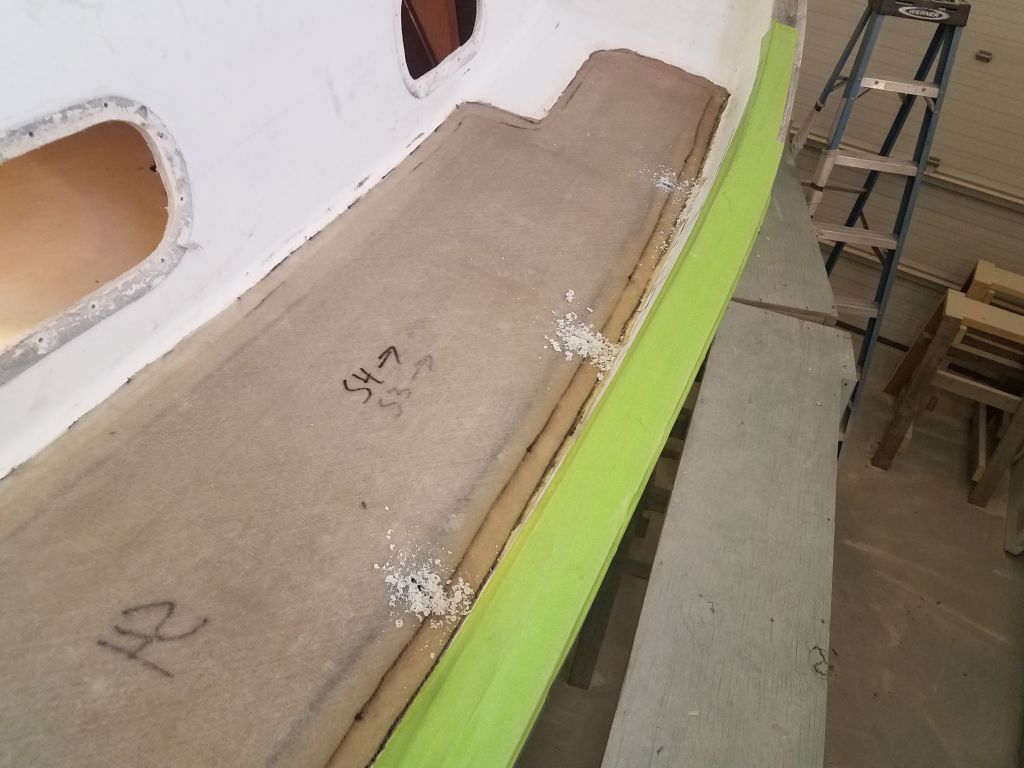
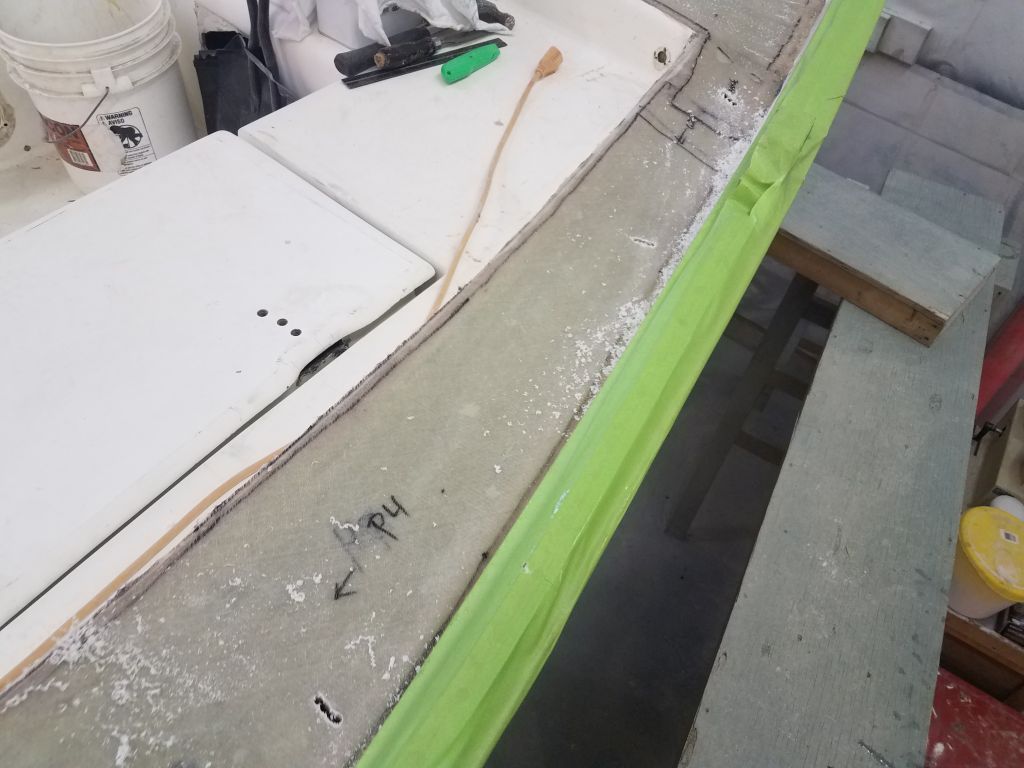
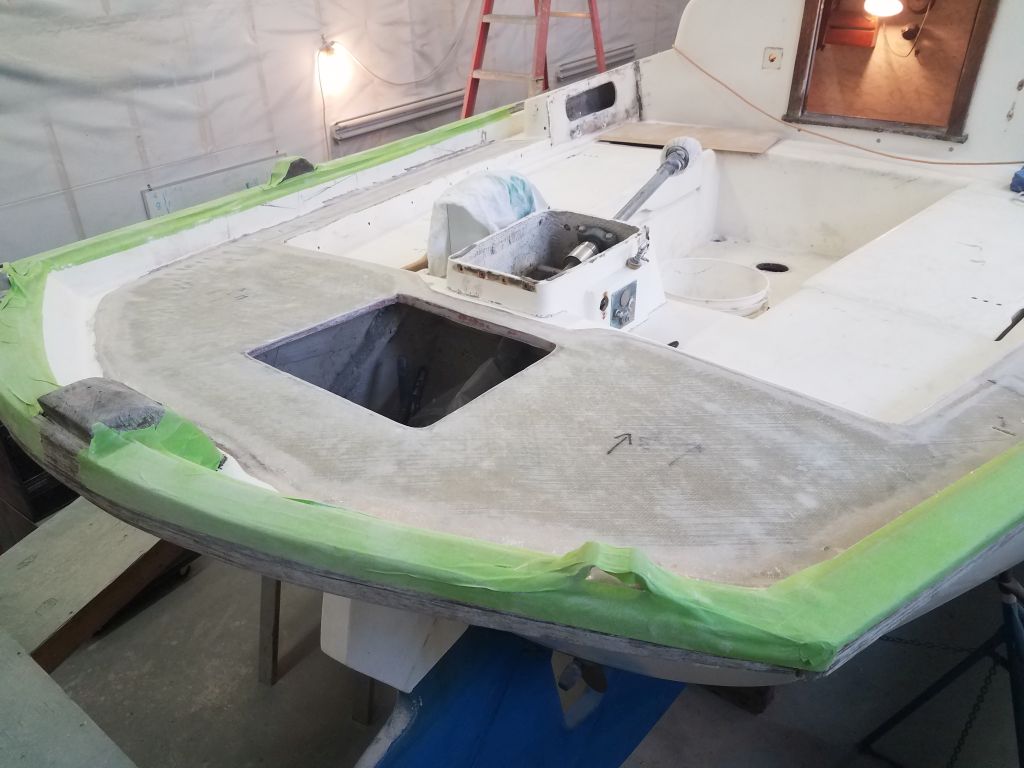
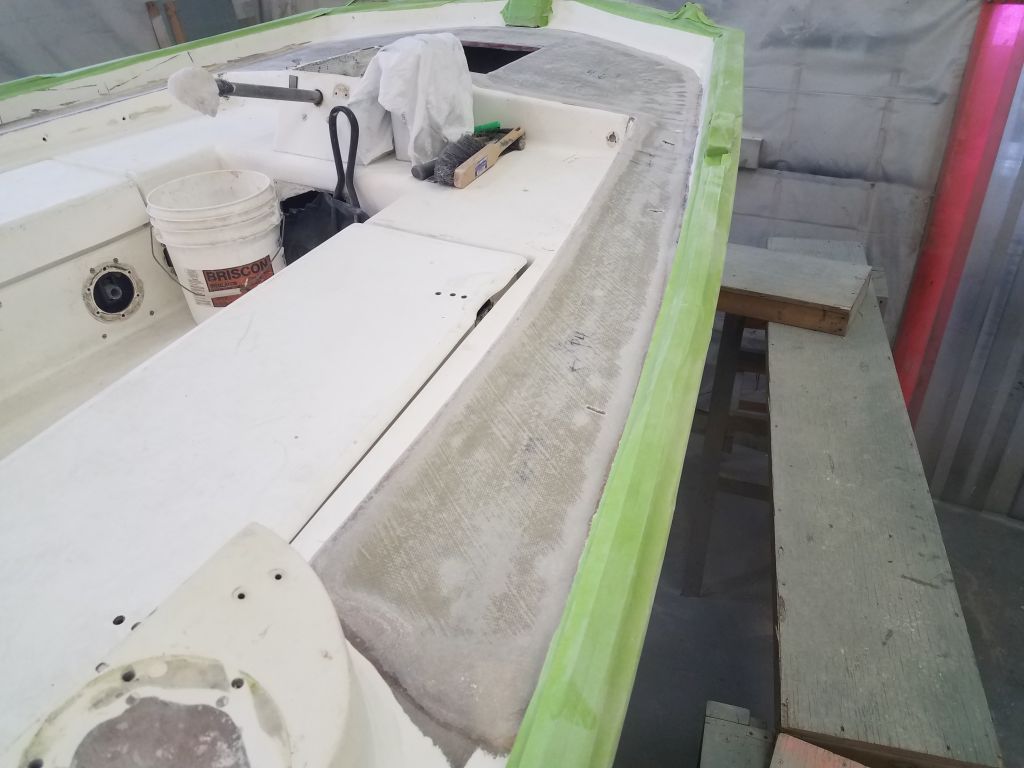
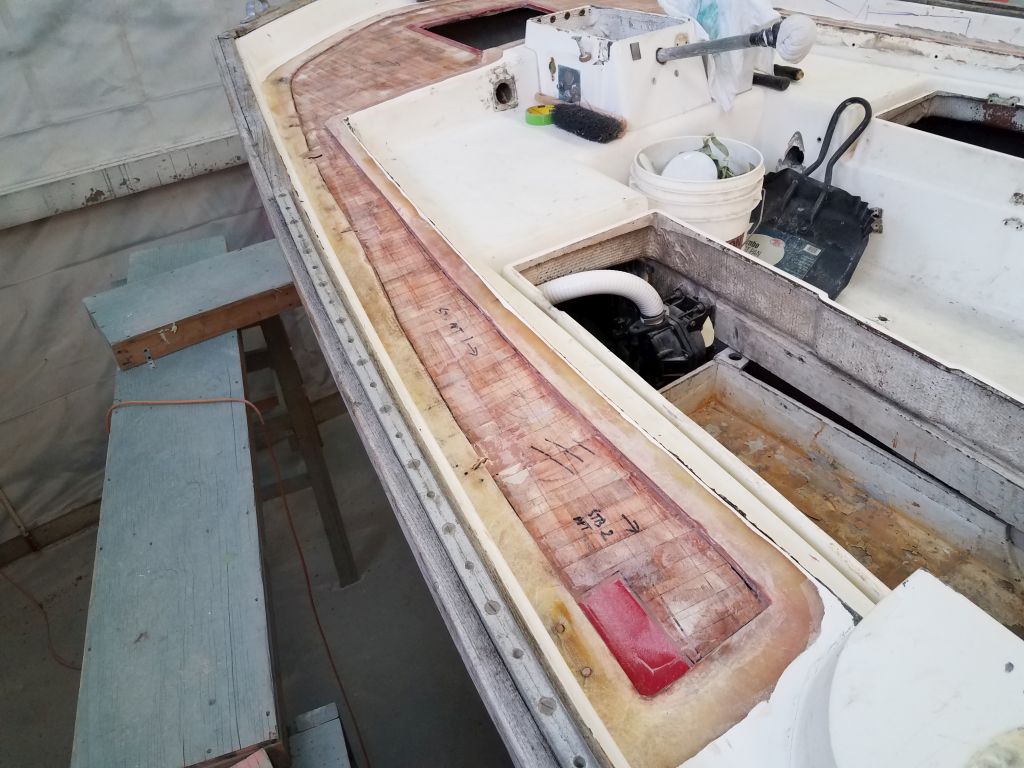
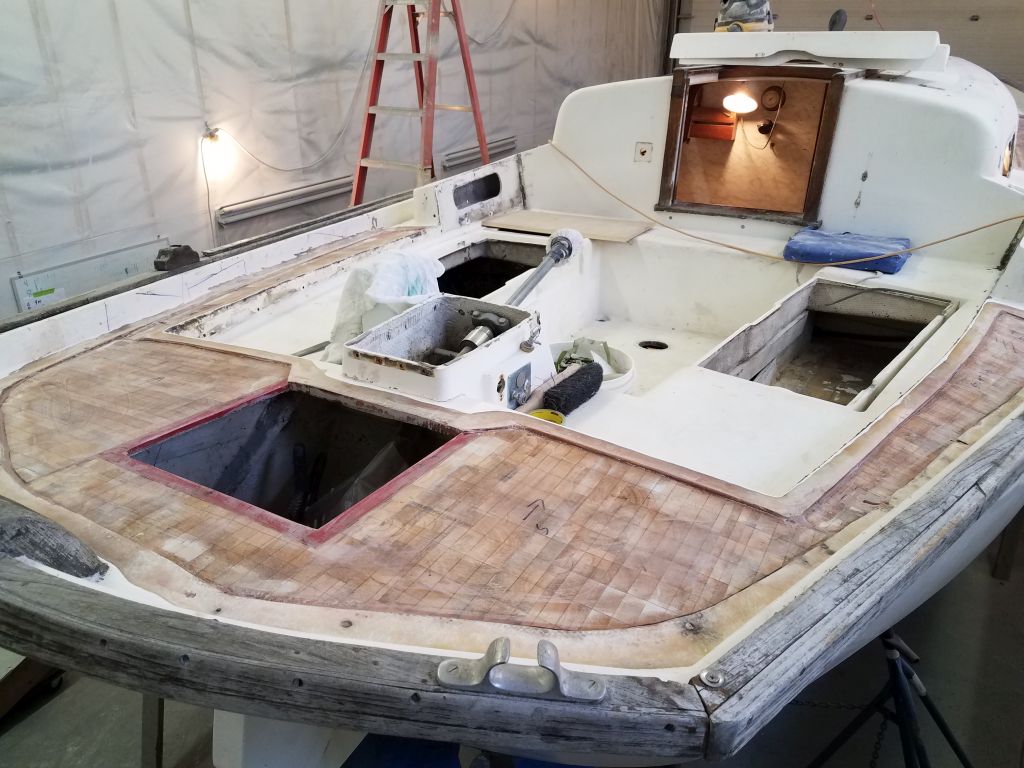
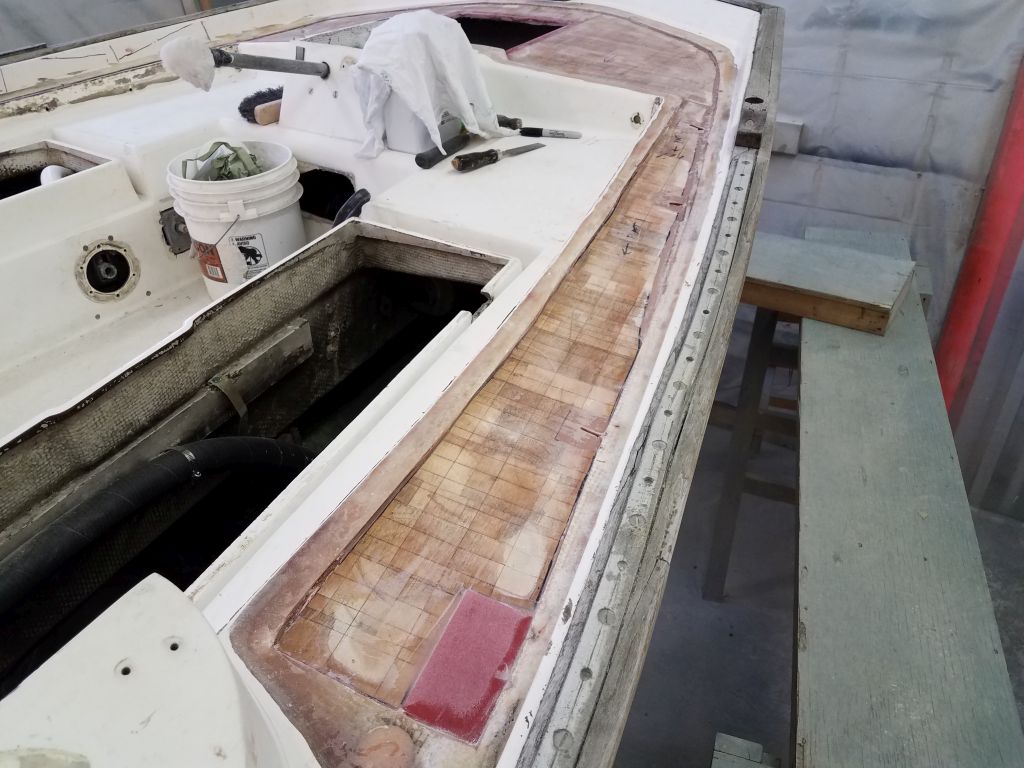
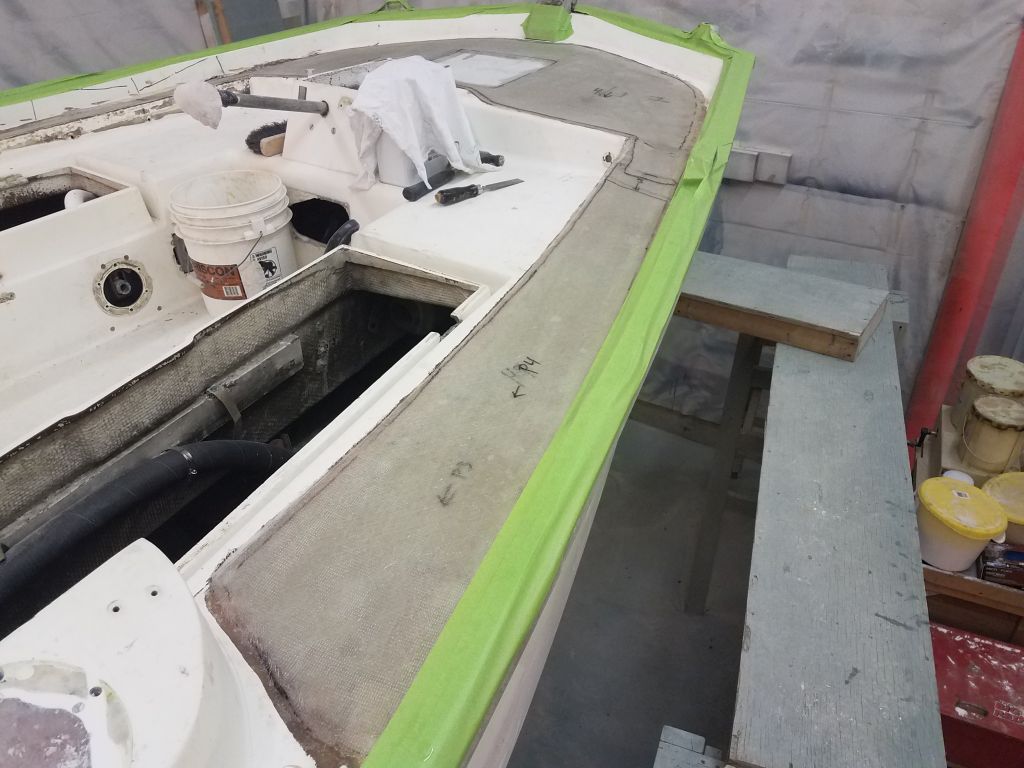
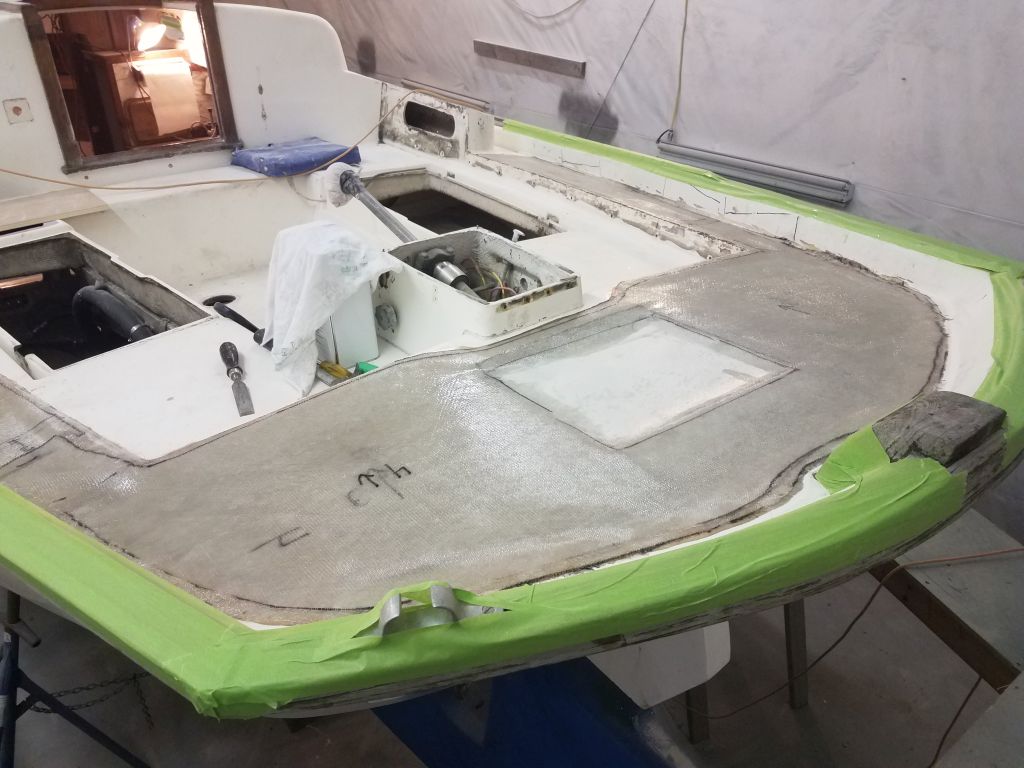
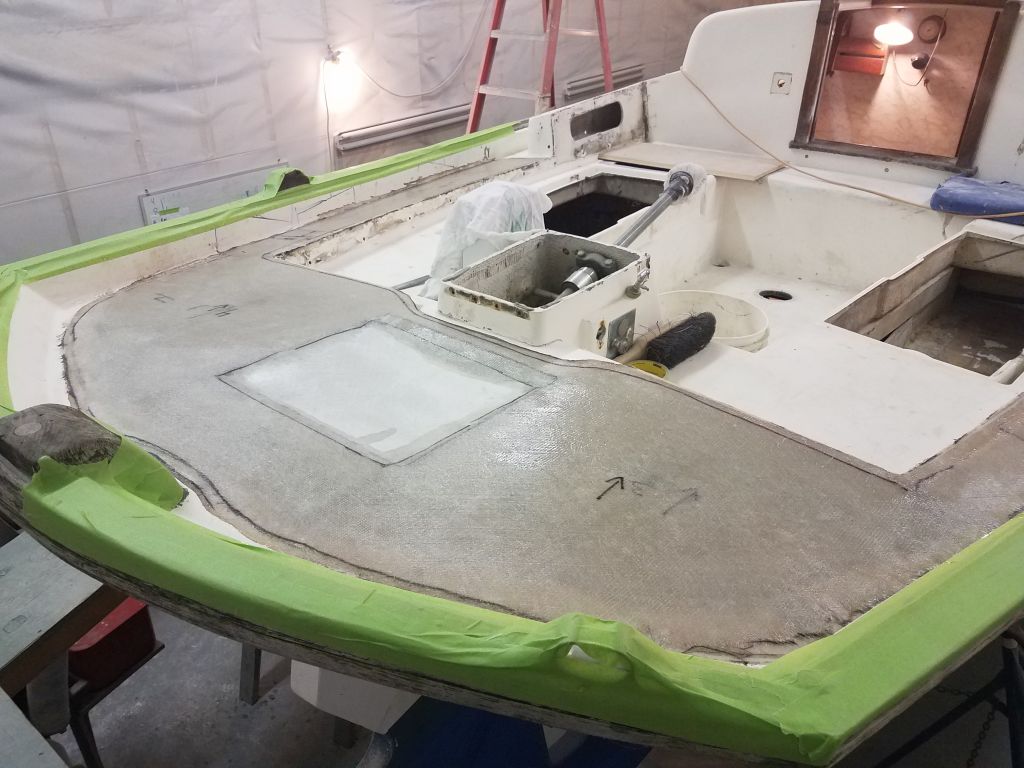
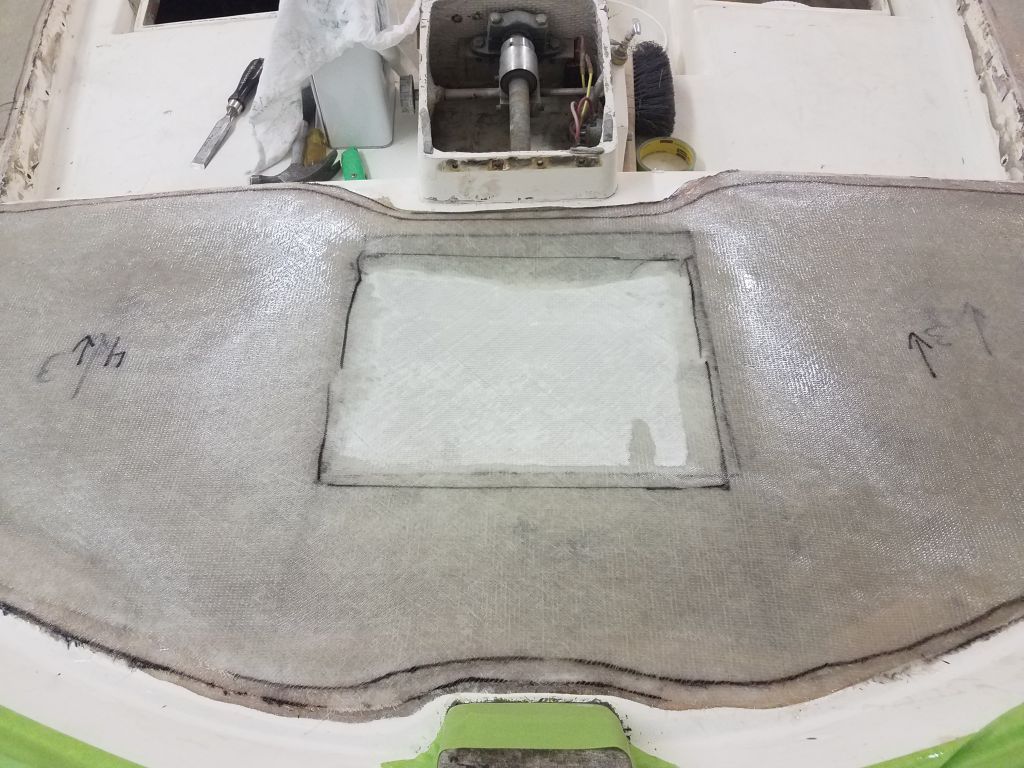
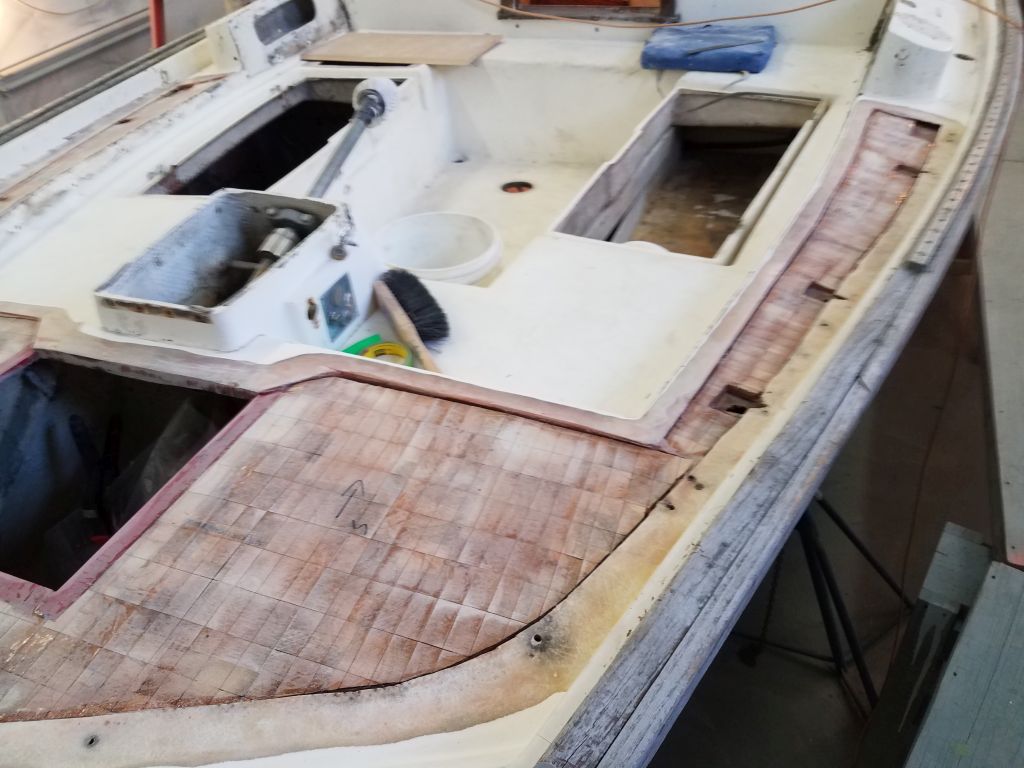
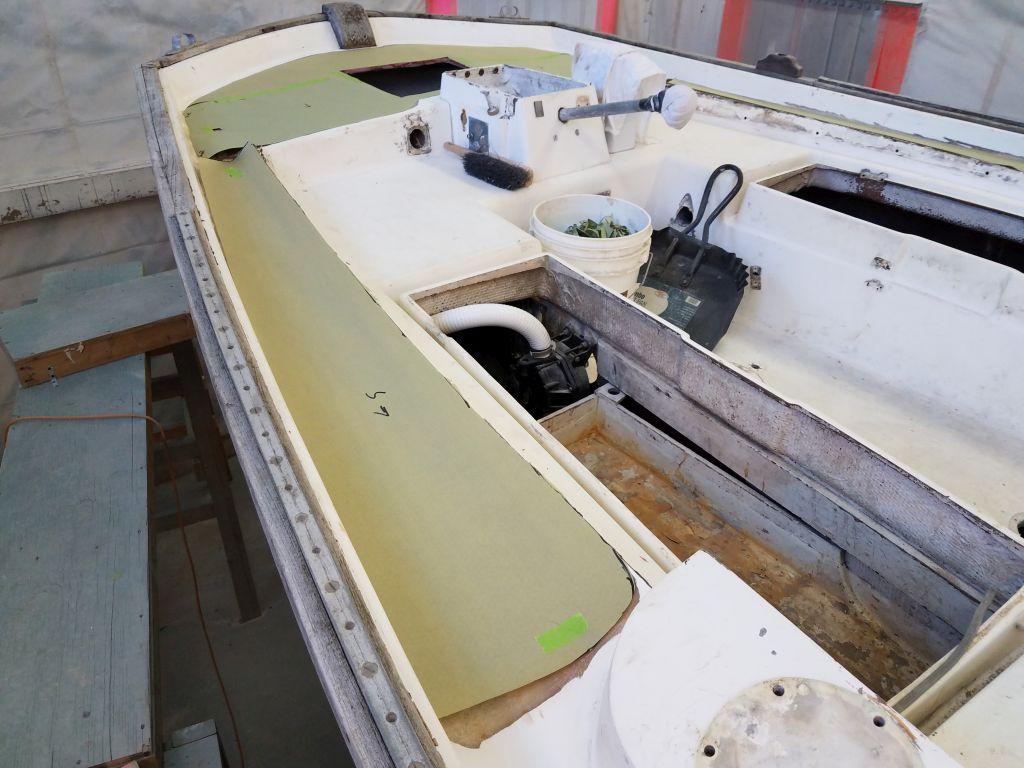
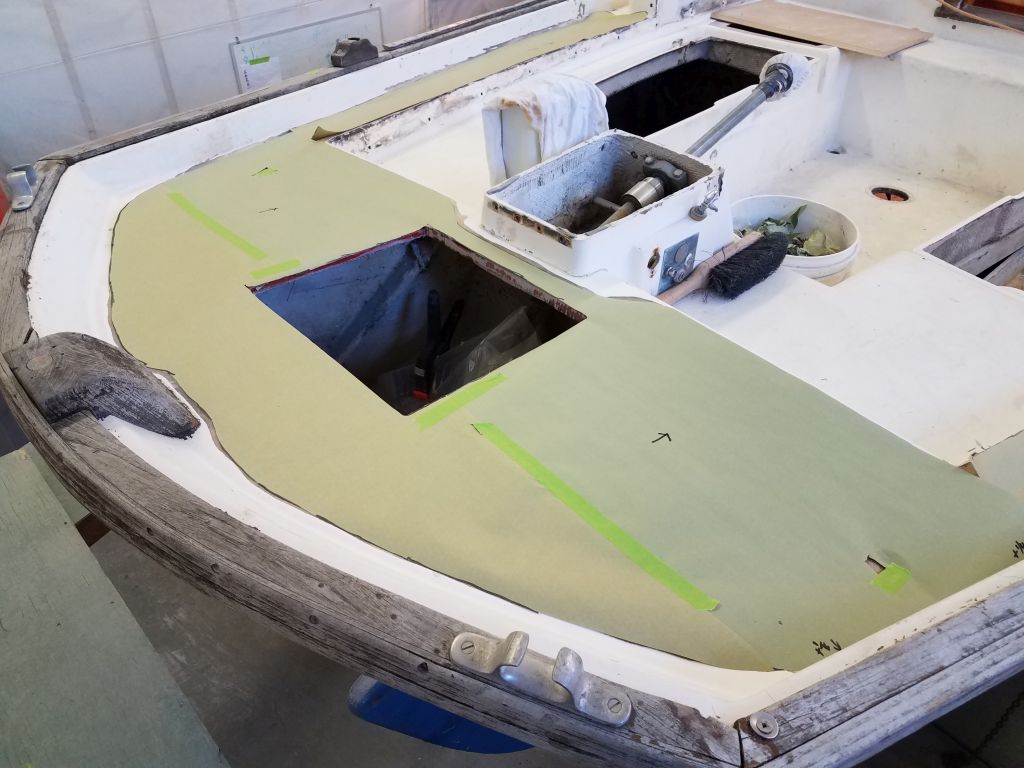
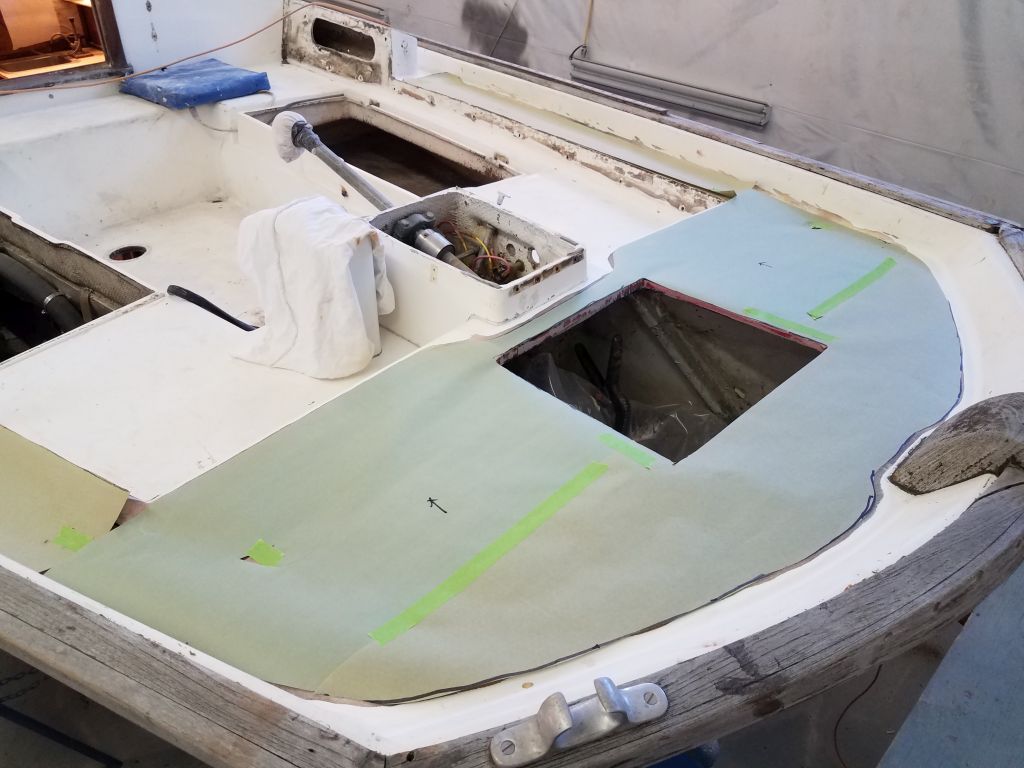
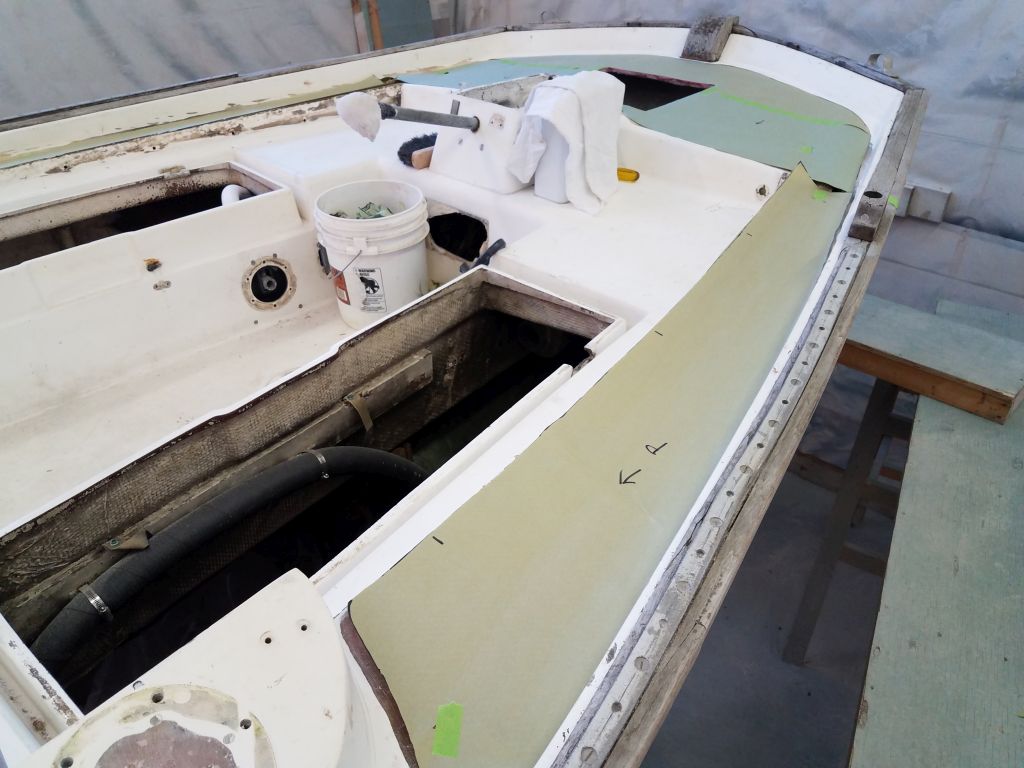
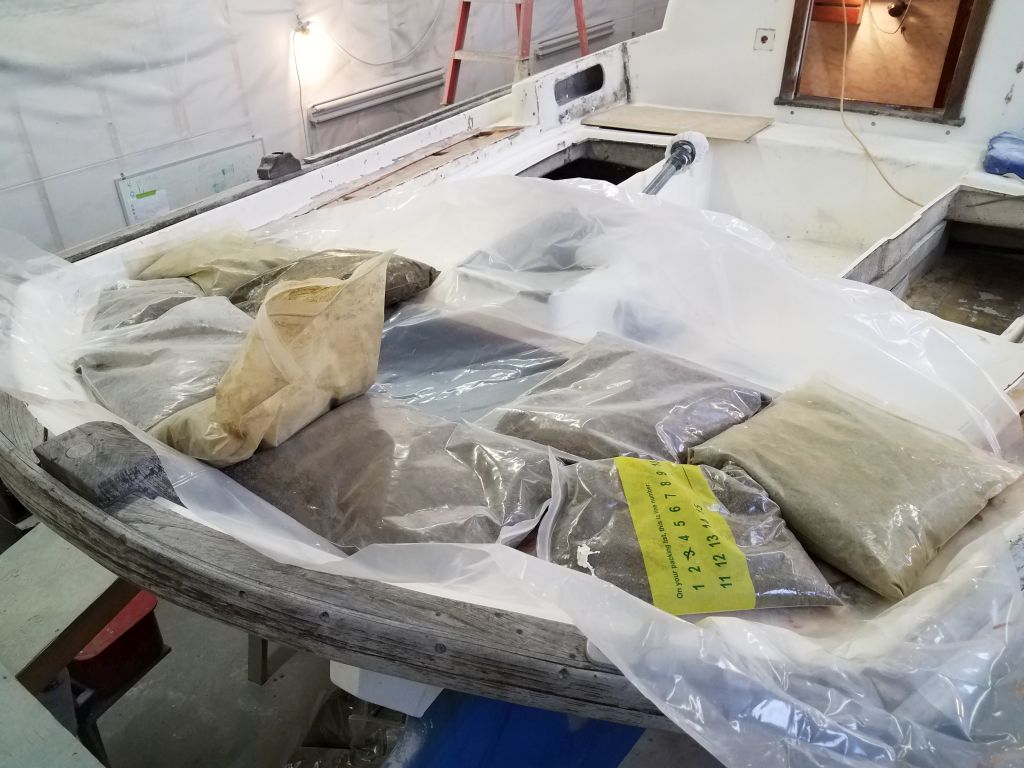
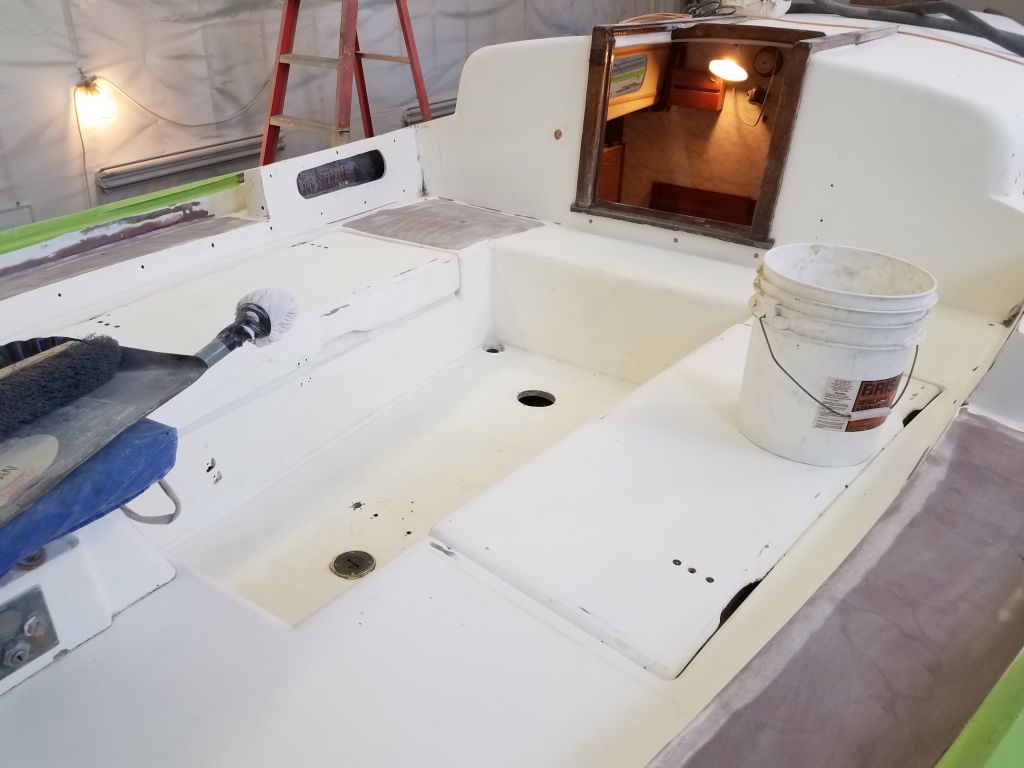
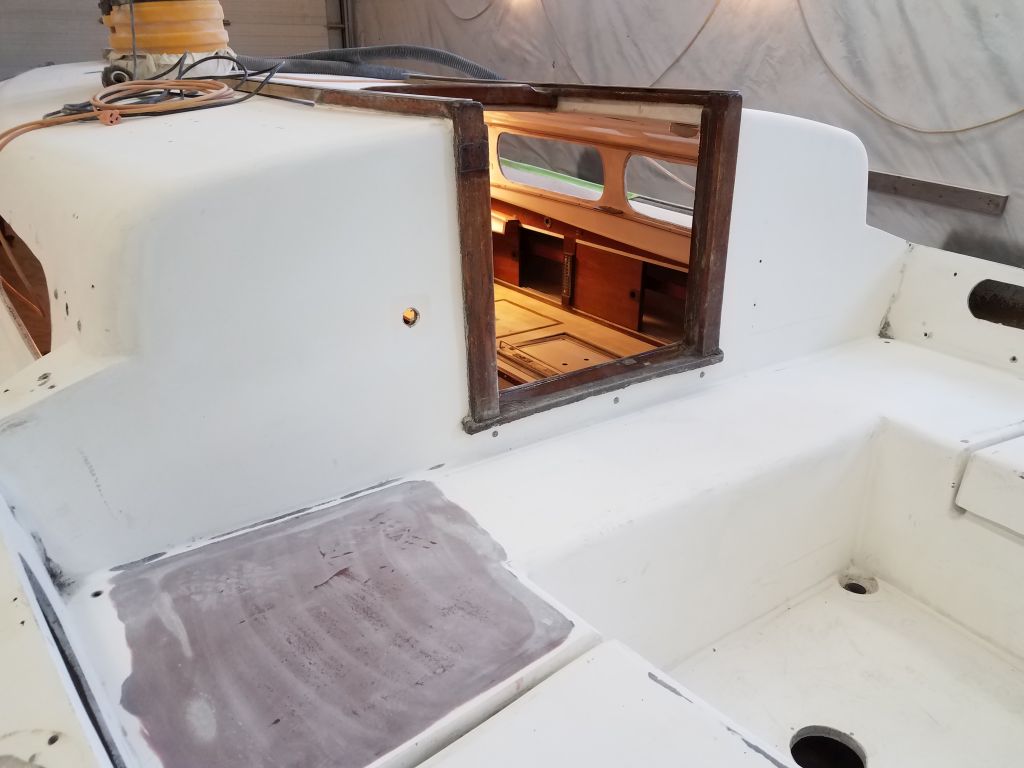
In the cockpit, I completed two rounds of sanding to remove the nonskid pattern and begin to clean up the substrate for the work ahead. With myriad corners and tight spots, I’d soon be back with different sanding tools to take care of the detail work.


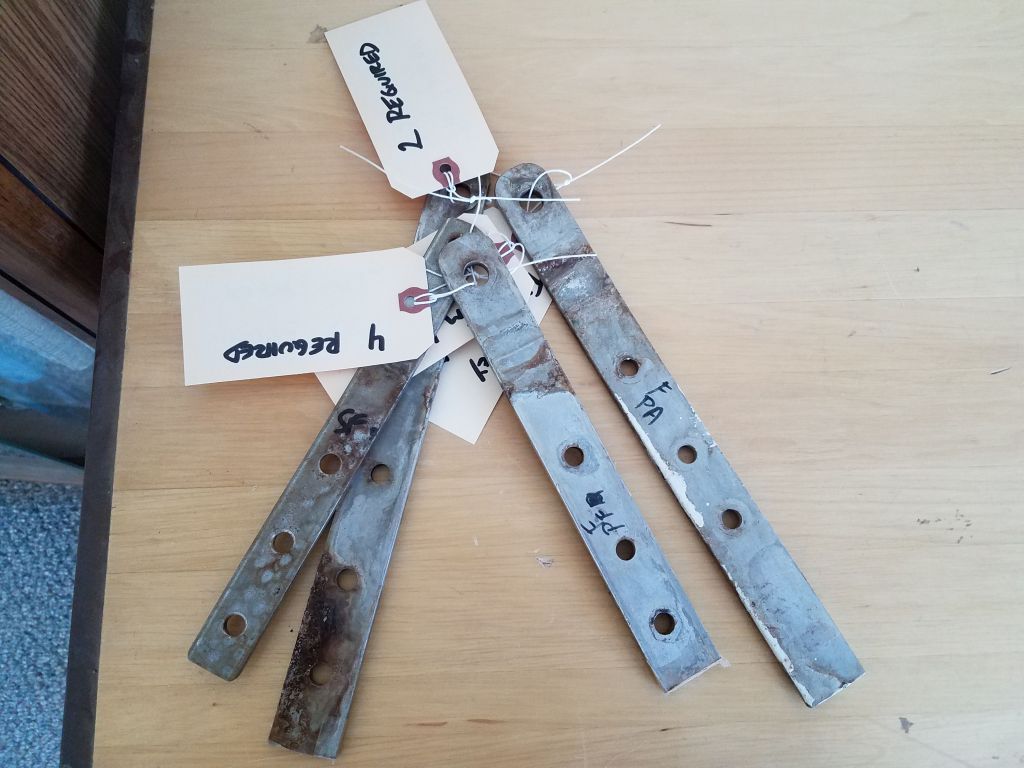
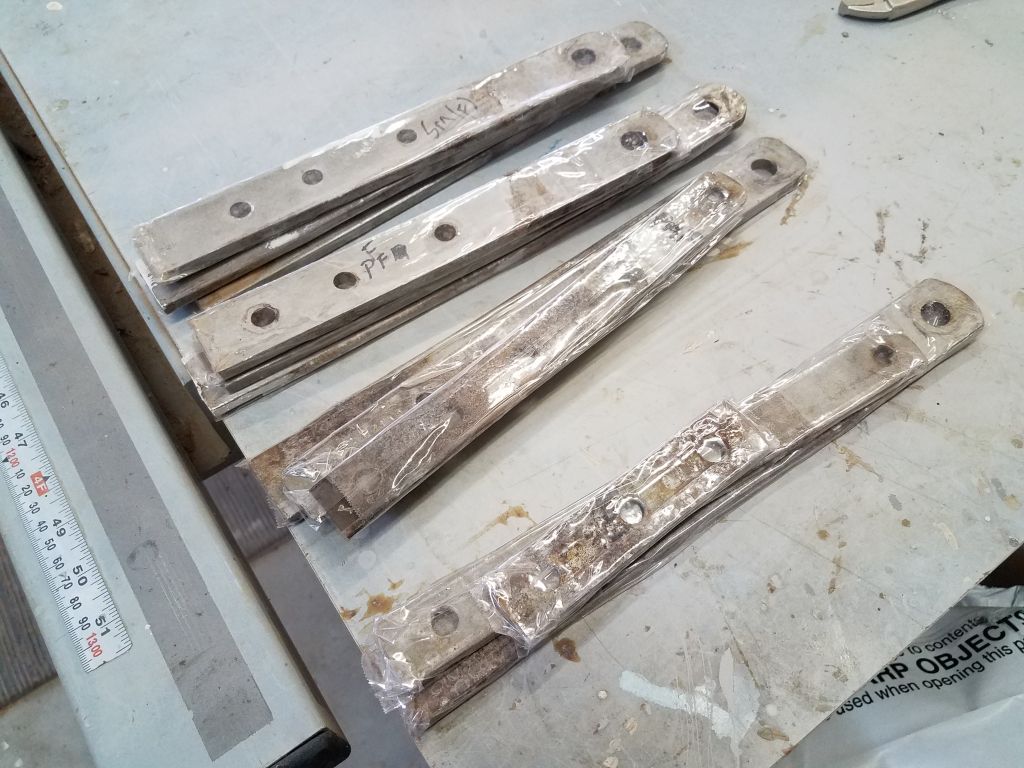
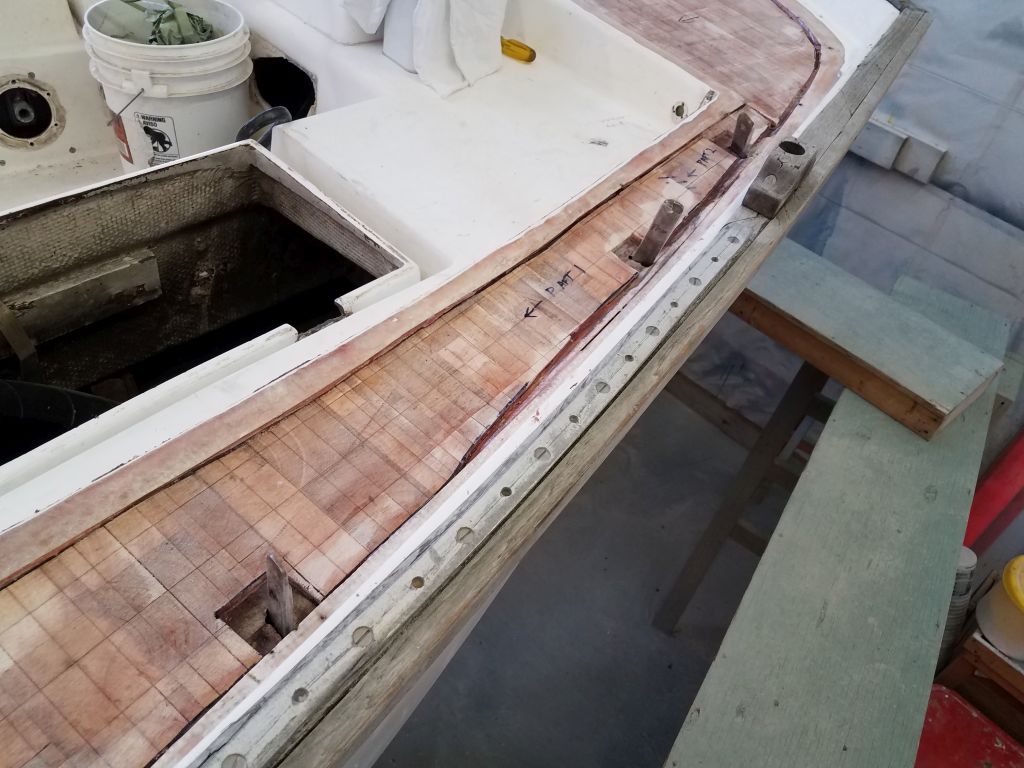
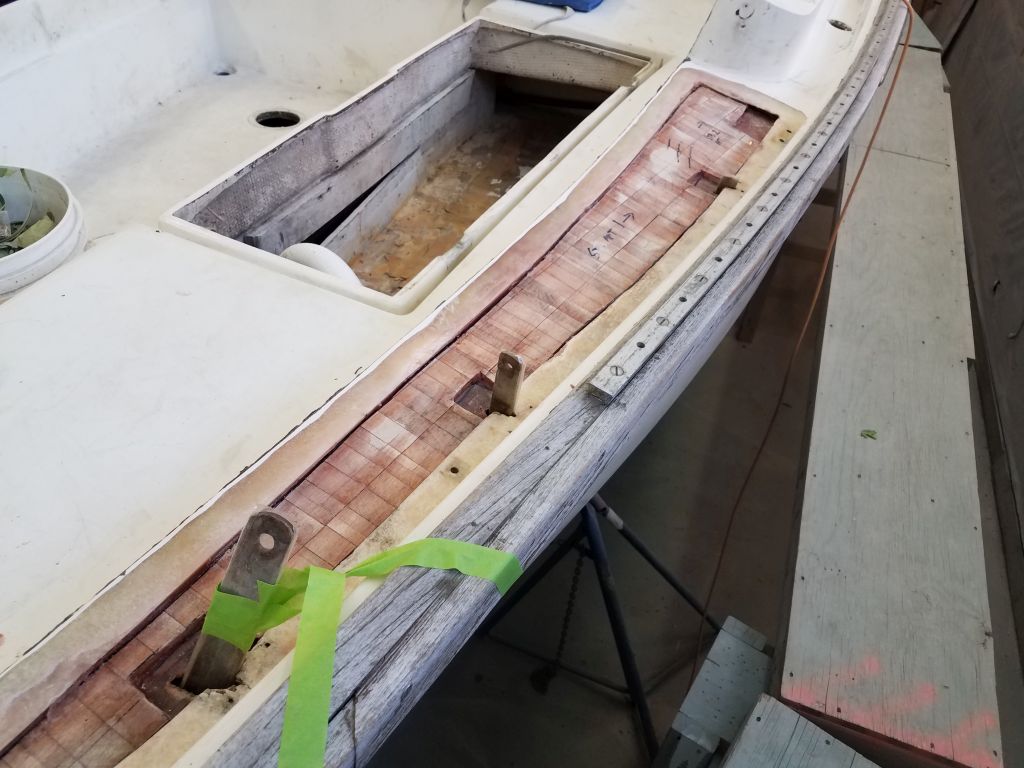
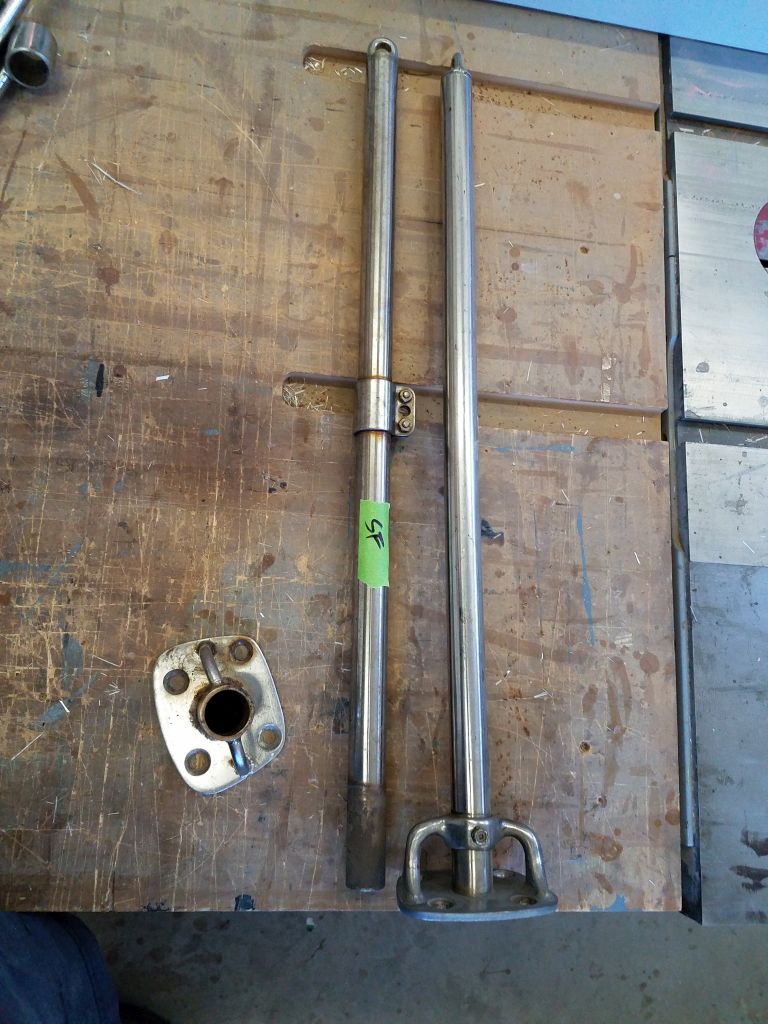
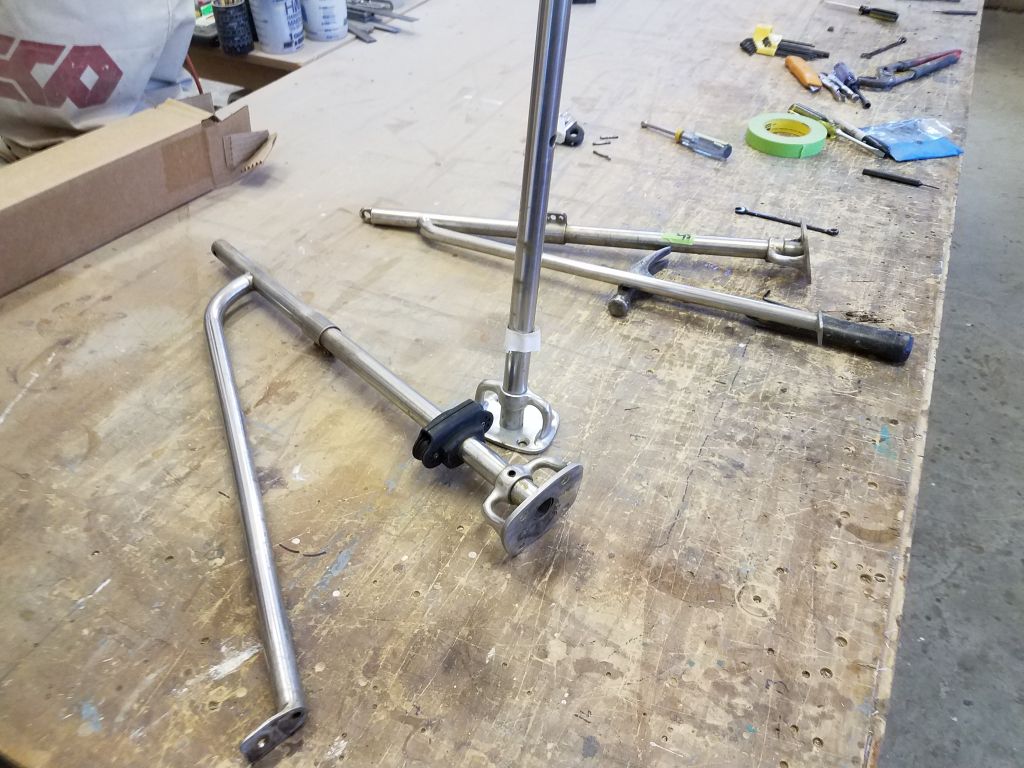
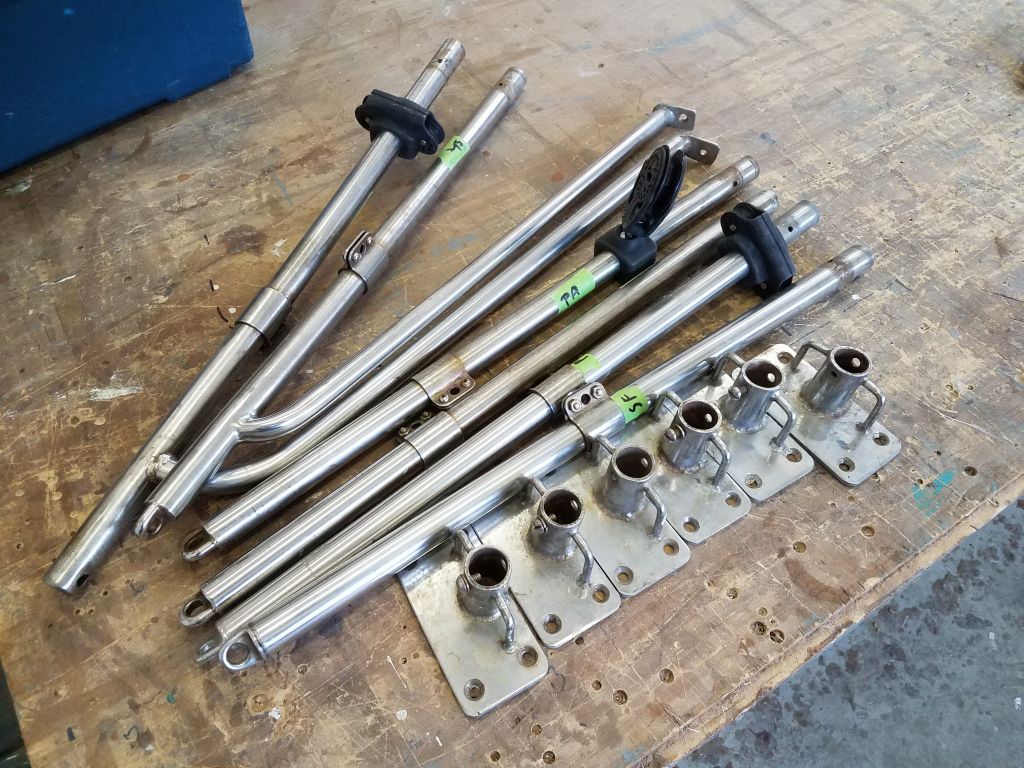
The owner planned a visit to the boat during the afternoon, so with the sanding work complete I suspended major deck work for the moment so I could clean up the boat and have things in reasonable order for the visit, rather than proceed with additional surface prep or fairing work right away. Meanwhile, I turned to several related tasks with deck hardware while I awaited his arrival. Some time earlier, during a slow moment, I’d gone through the lifeline stanchions and bases, many of which were mismatched and in otherwise suspect condition. I had a complete set off stanchion bases that I’d ended up with from somewhere, and with a bit of work I removed the existing stanchion tubes from their various bases and prepared the “new” bases to accept them. In two cases, the existing stanchions were bent (port forward) or mismatched, and I had a couple tubes that matched as well, so I swapped them out as needed.


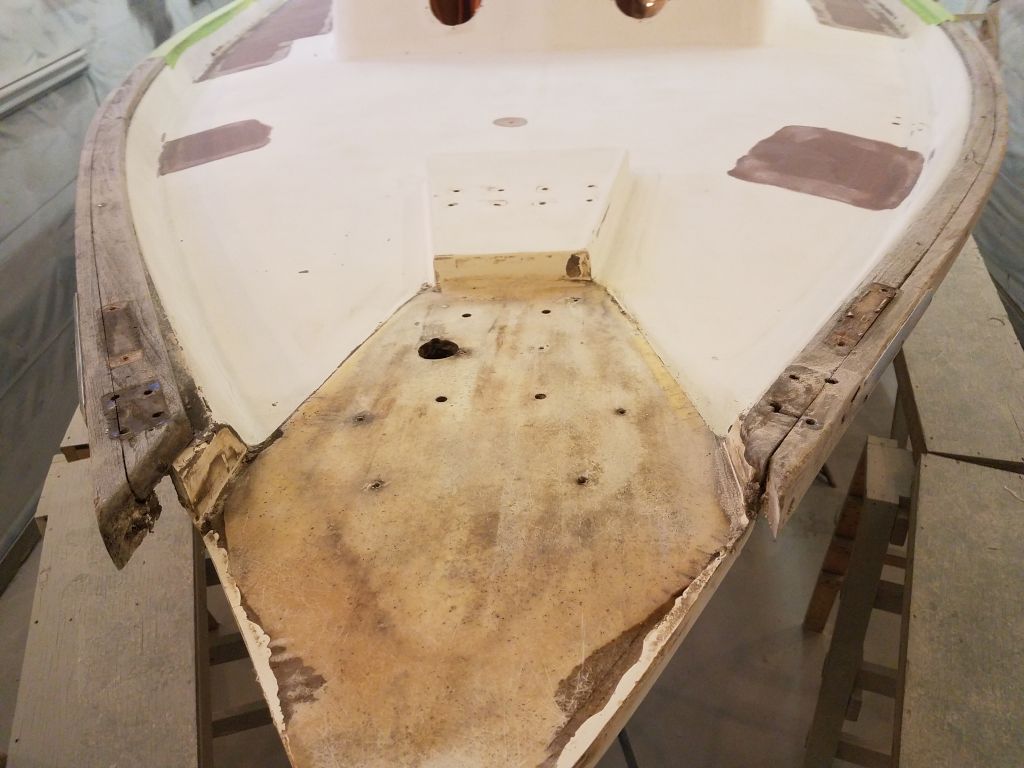
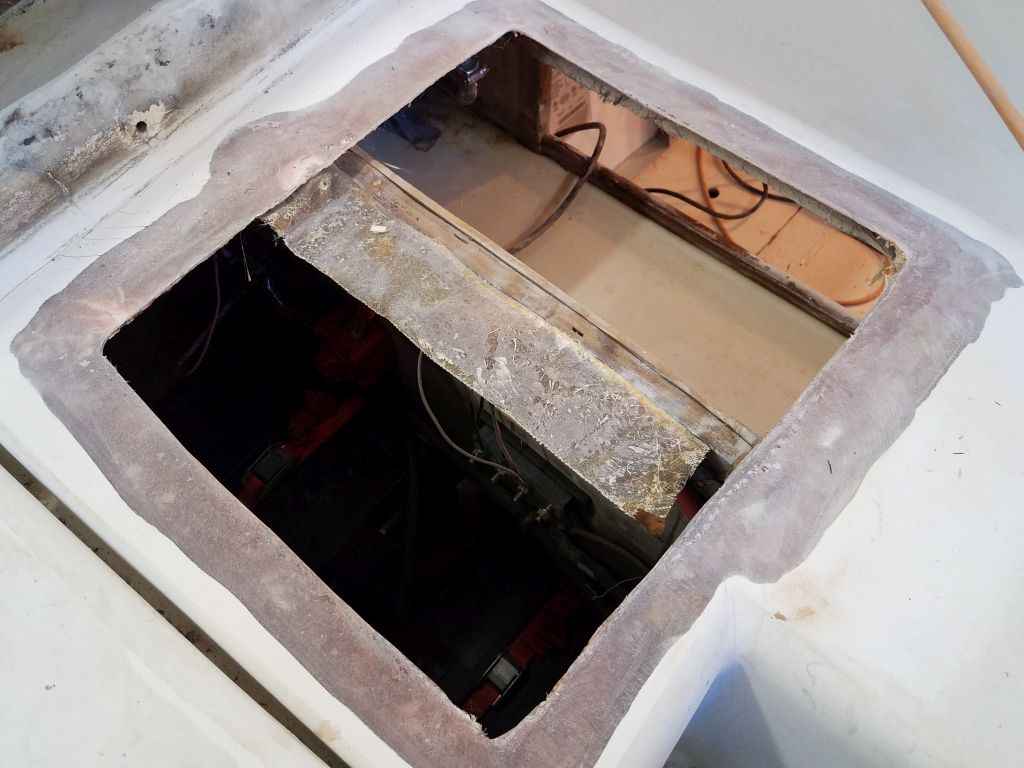
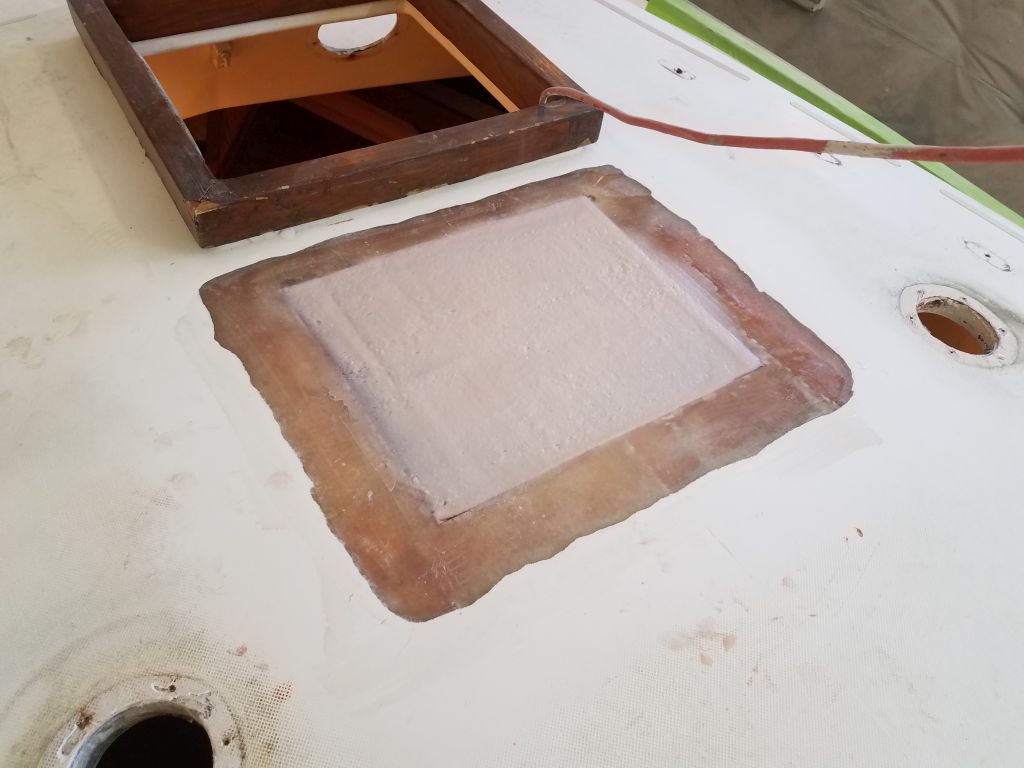
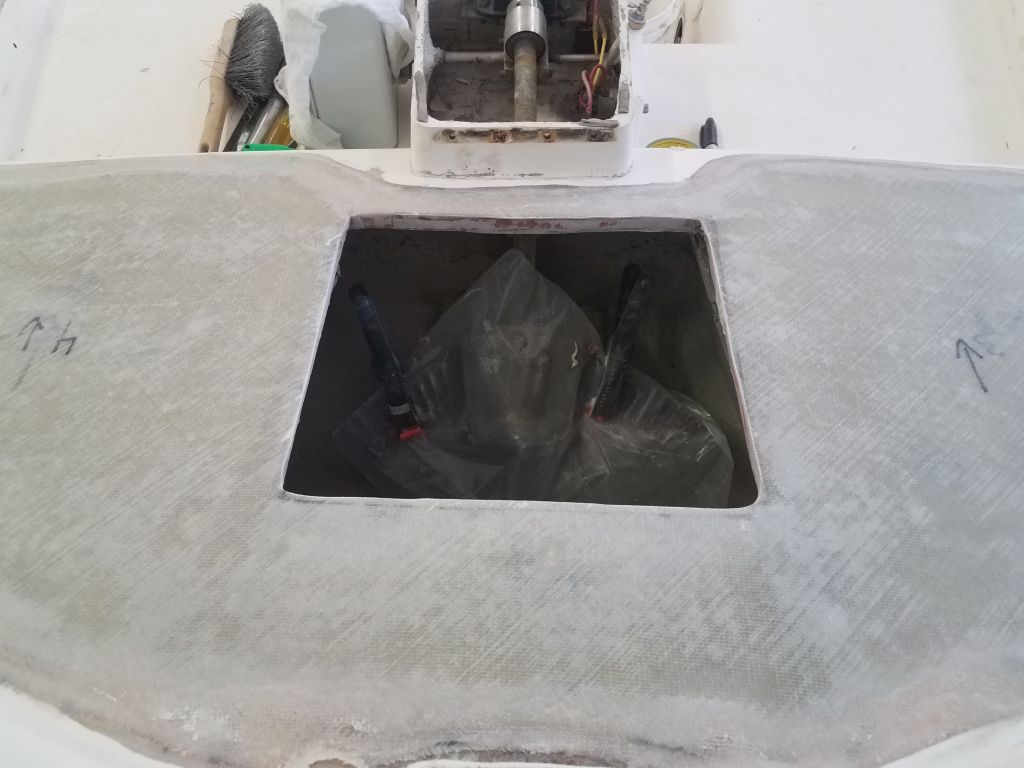
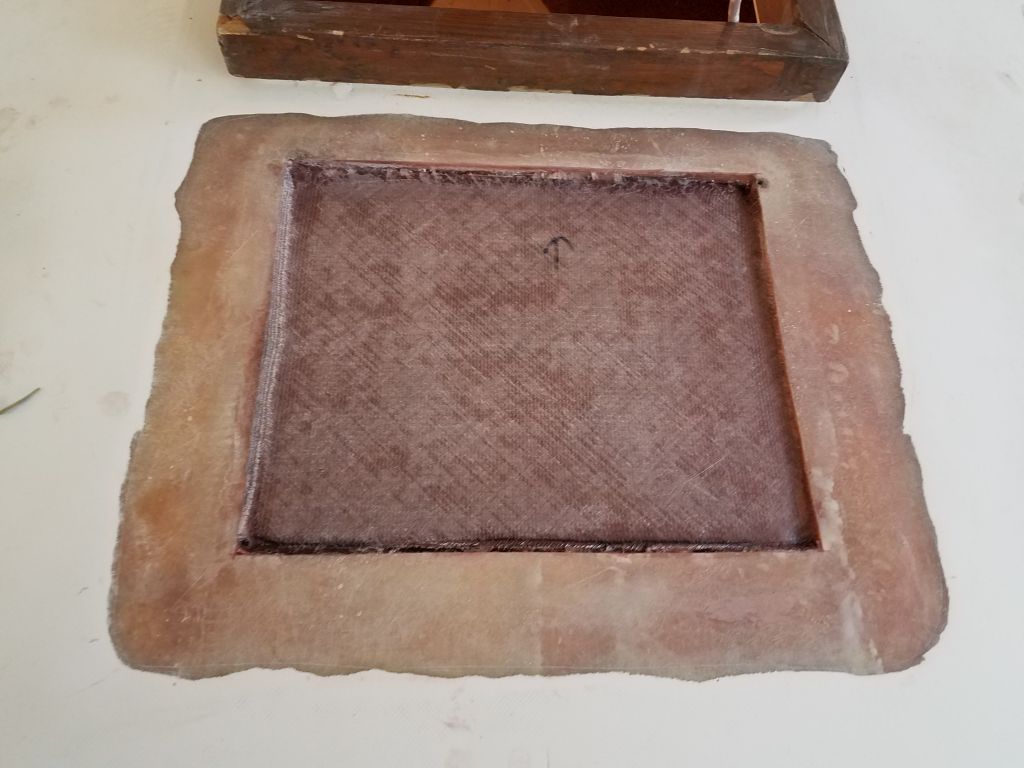
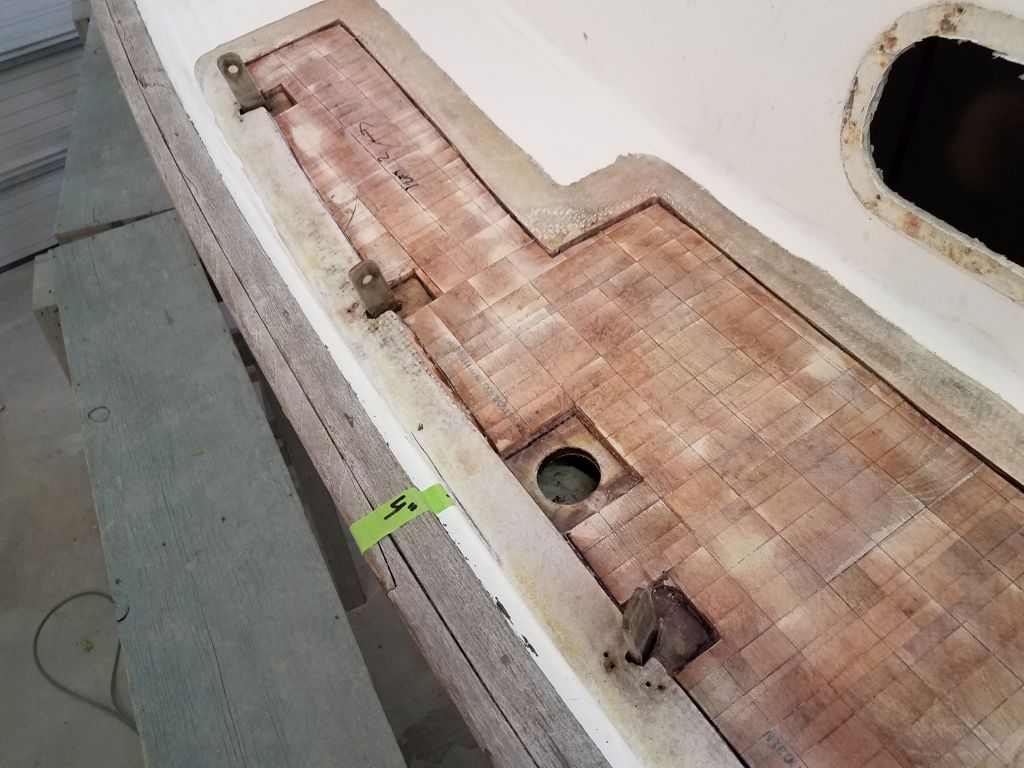
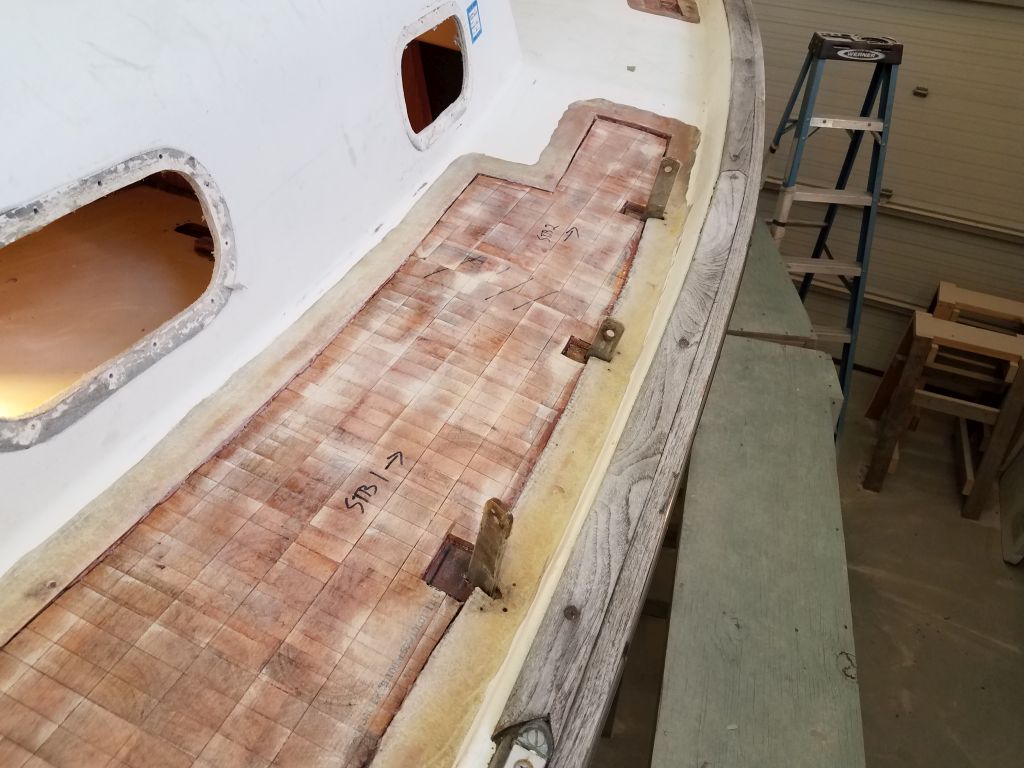
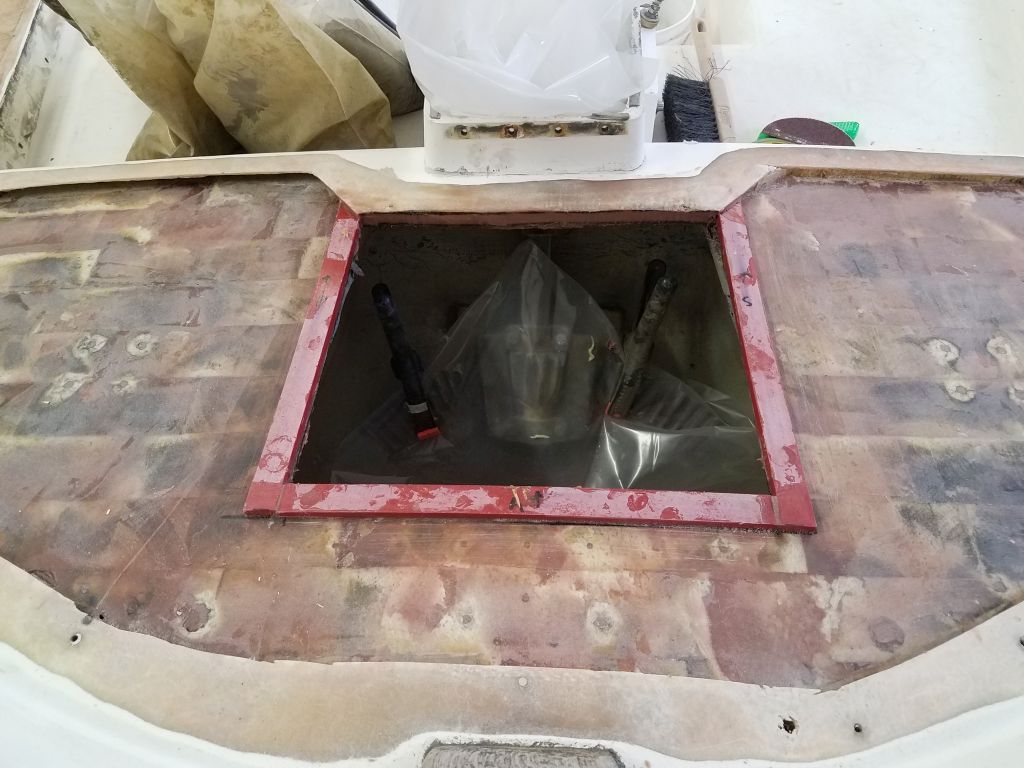
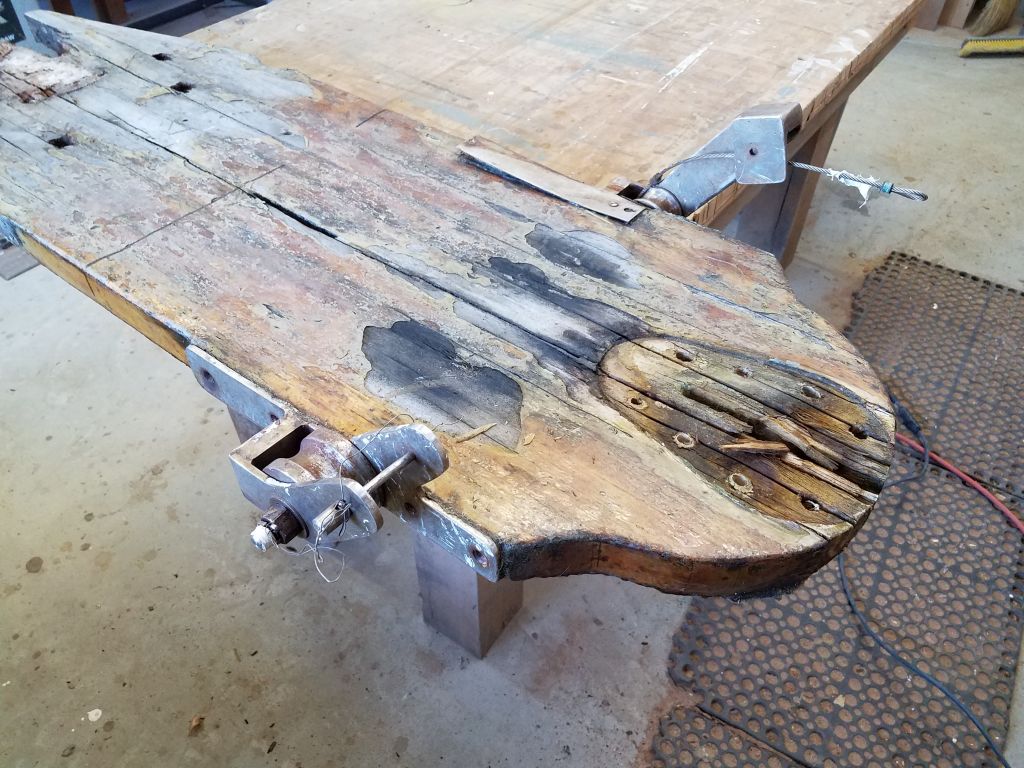
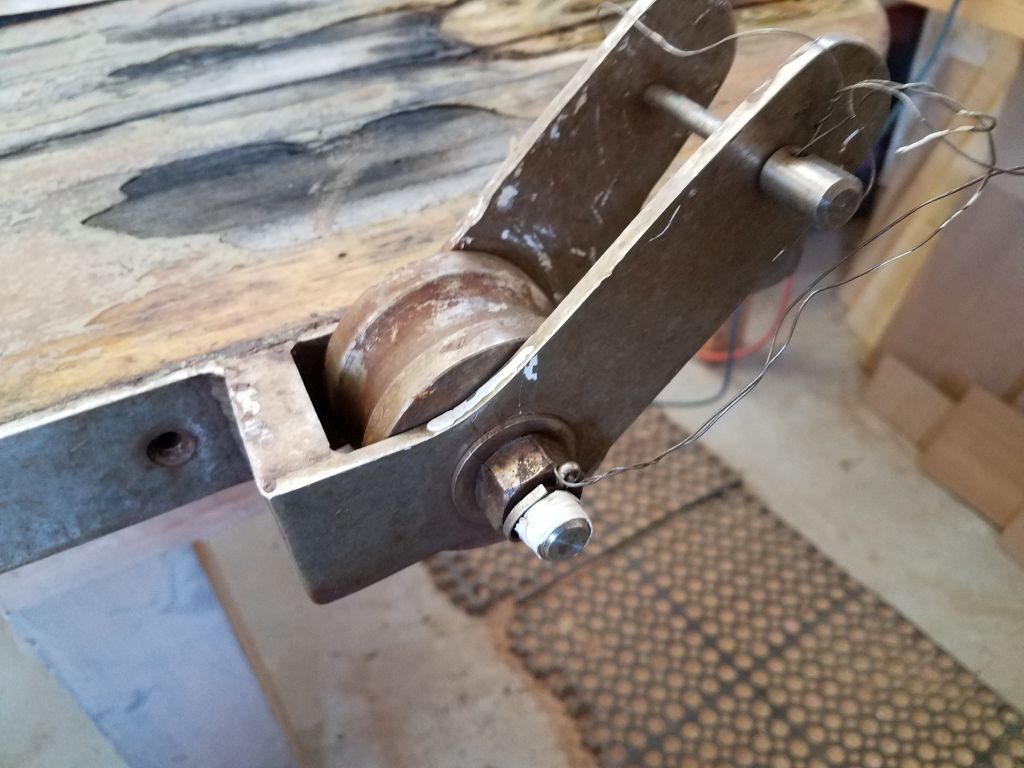
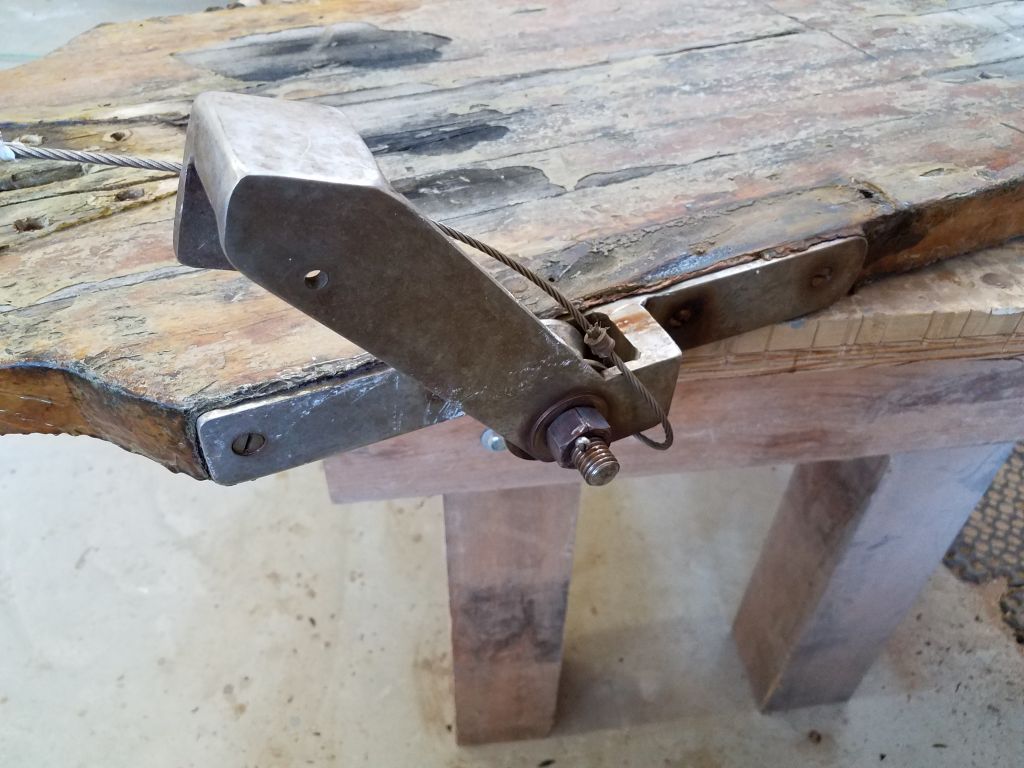
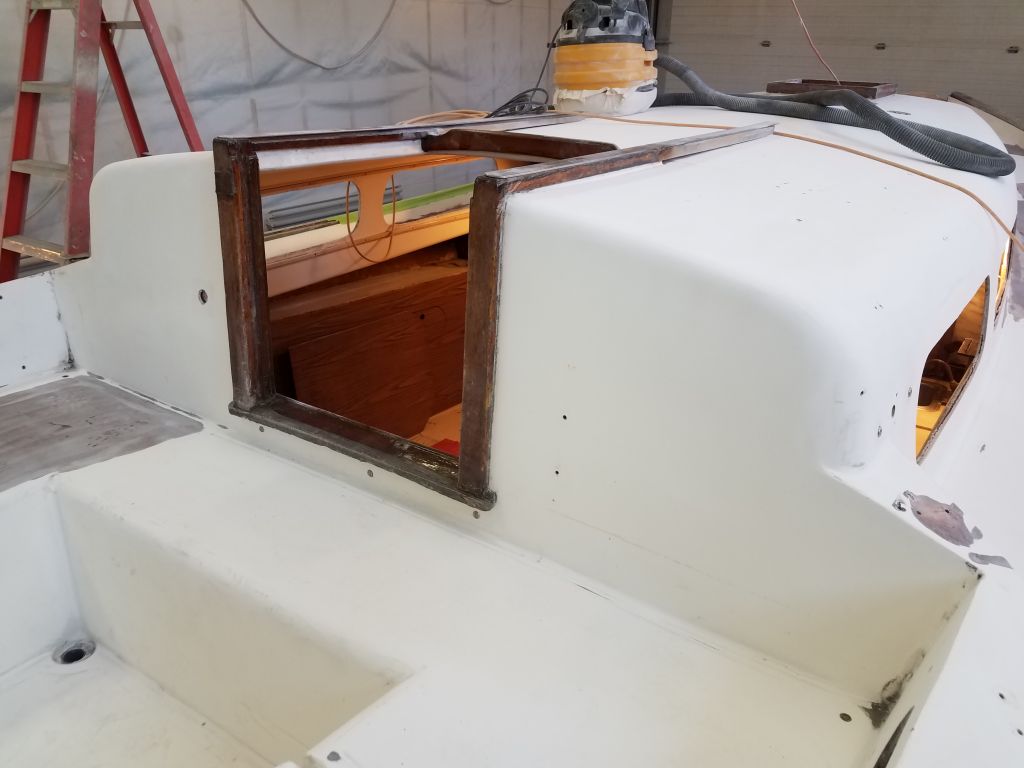
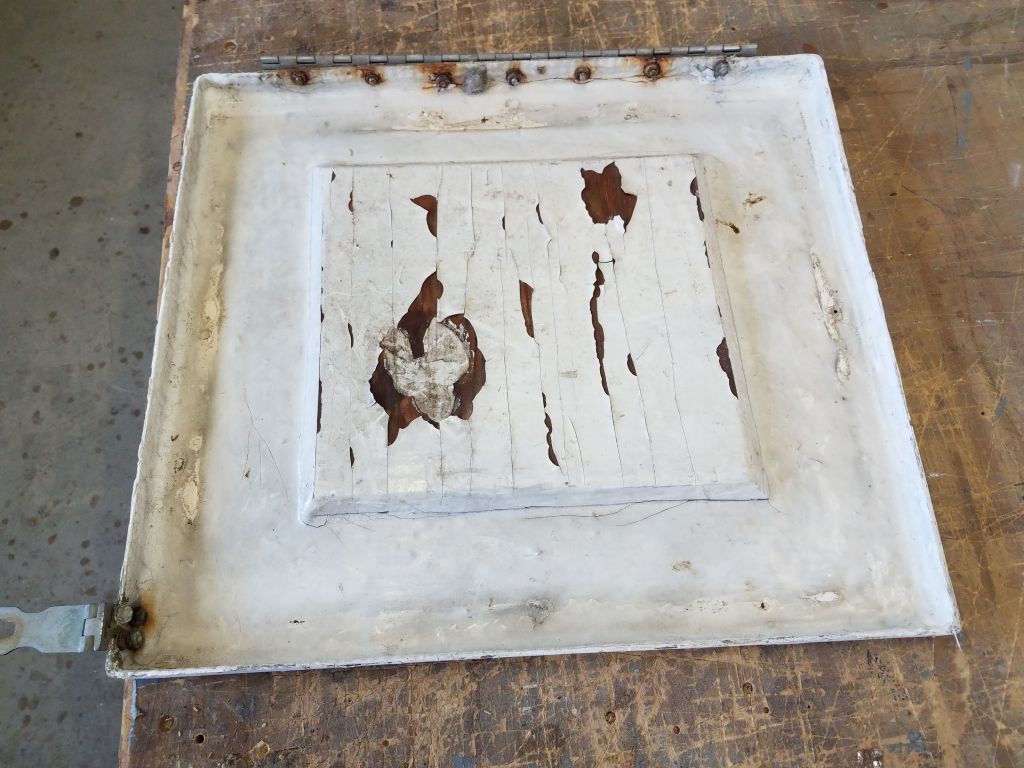
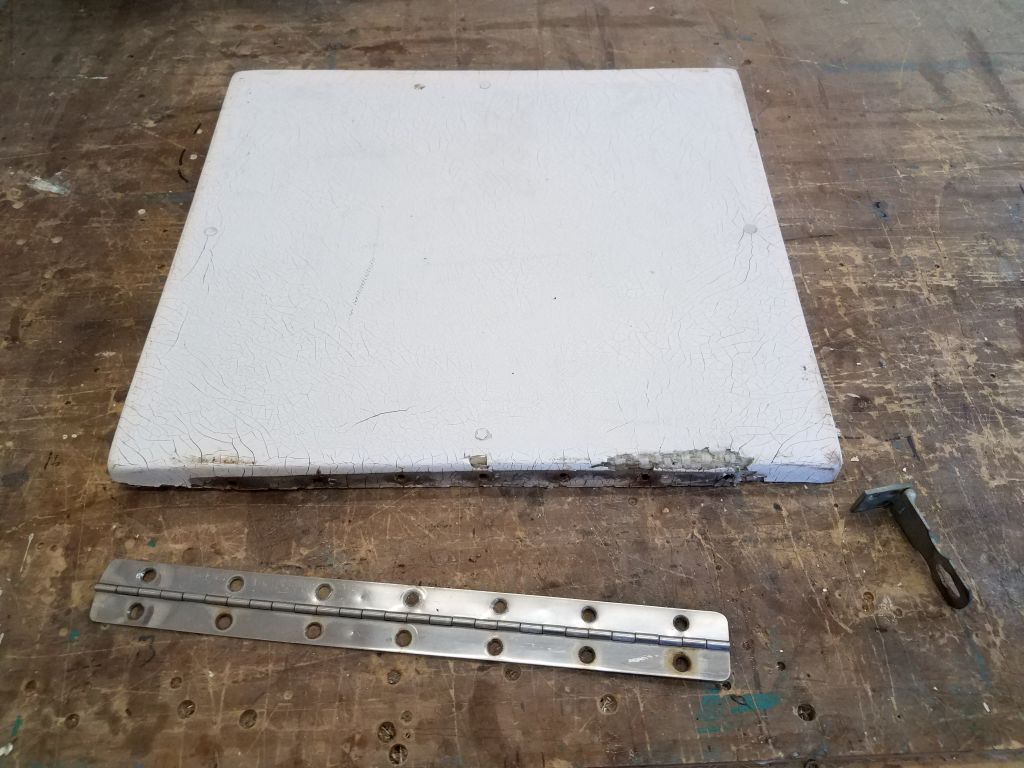
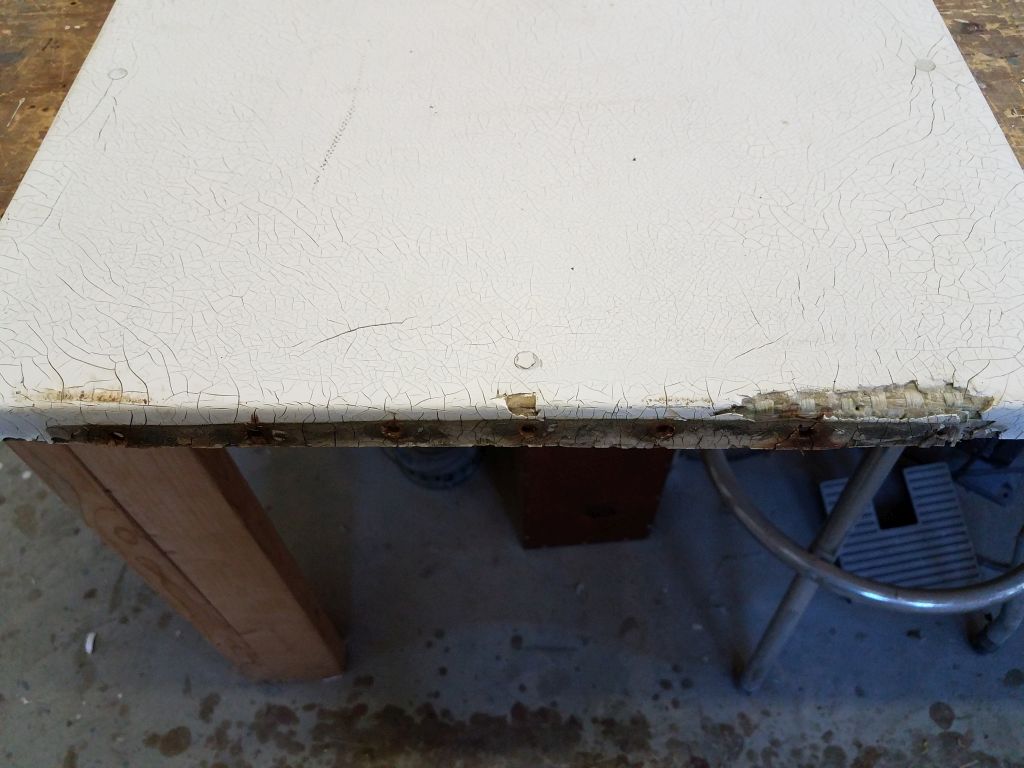
The small hatch that covered the steering gear room aft was in poor condition, and still had some hardware attached, Preparing for the repairs and eventual refinishing, I removed the existing hinge and frozen hasp; now I could concentrate on reinforcing the damaged aft edge and the cosmetic/quasi-structural work to bring the hatch into an acceptable condition. Preparing the various loose hatches, including the cockpit locker lids, companionway slide, and sea hood, was coming right up on my work list as I shifted from major structural work to a host of smaller final preparation issues.

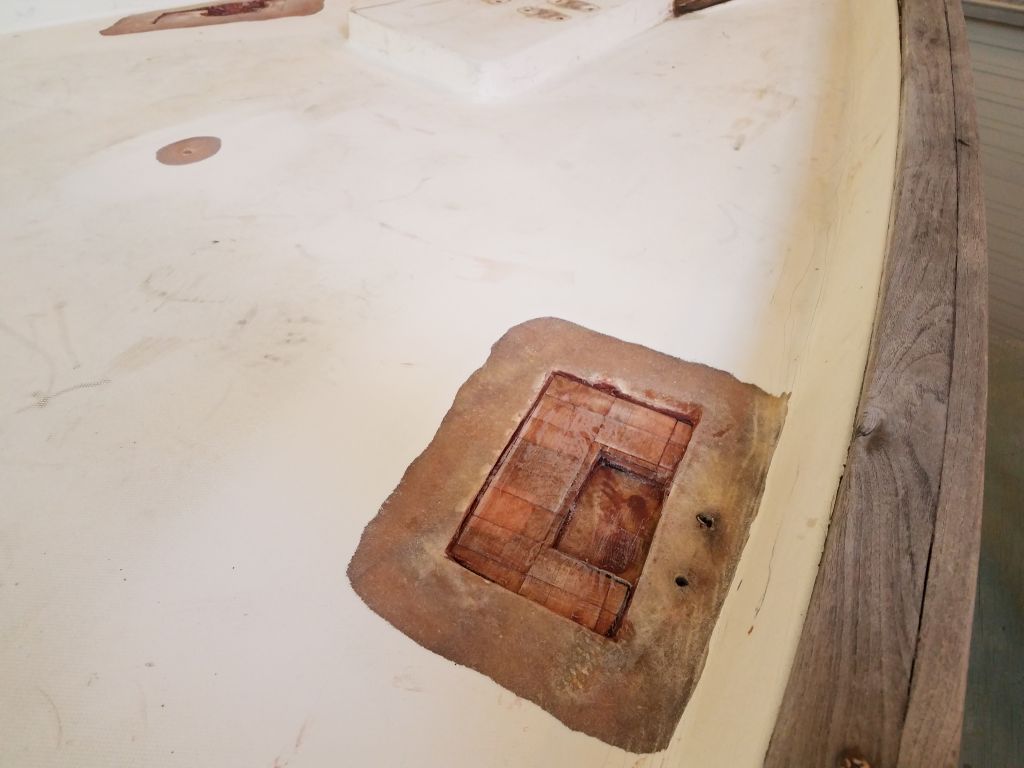
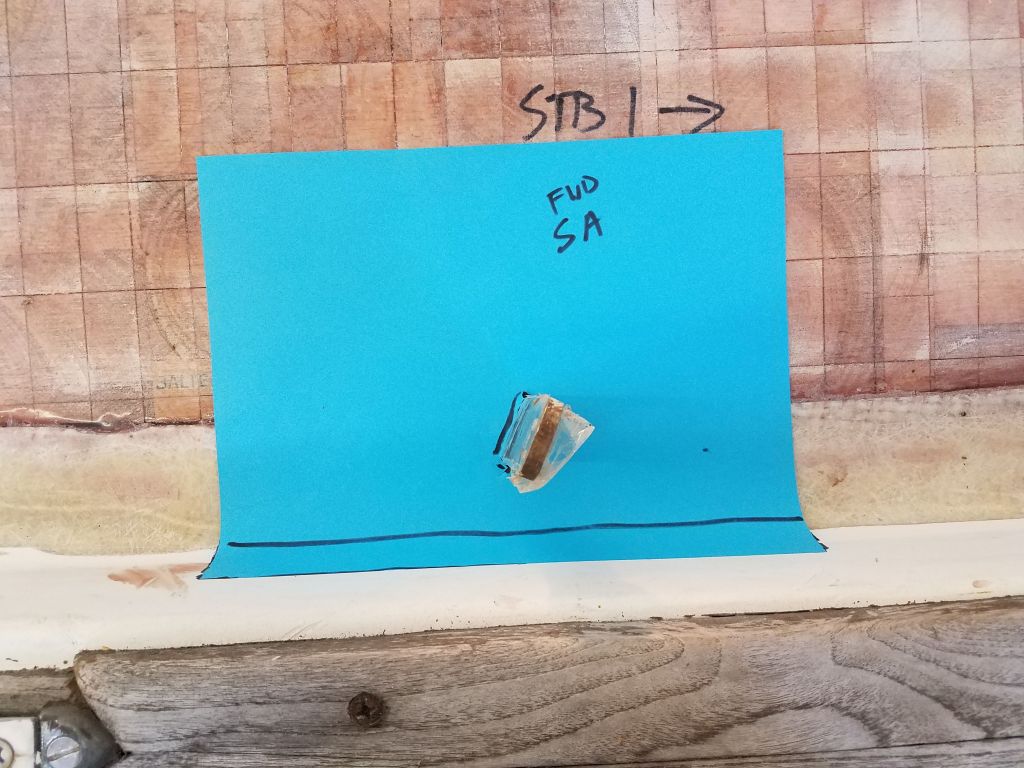
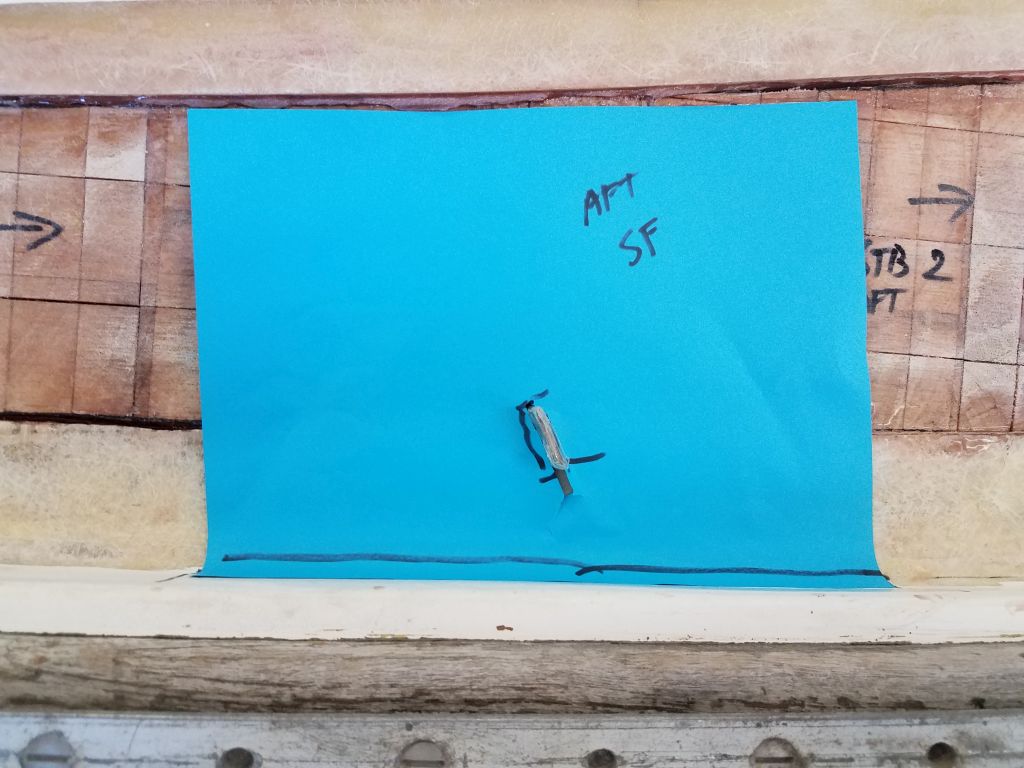
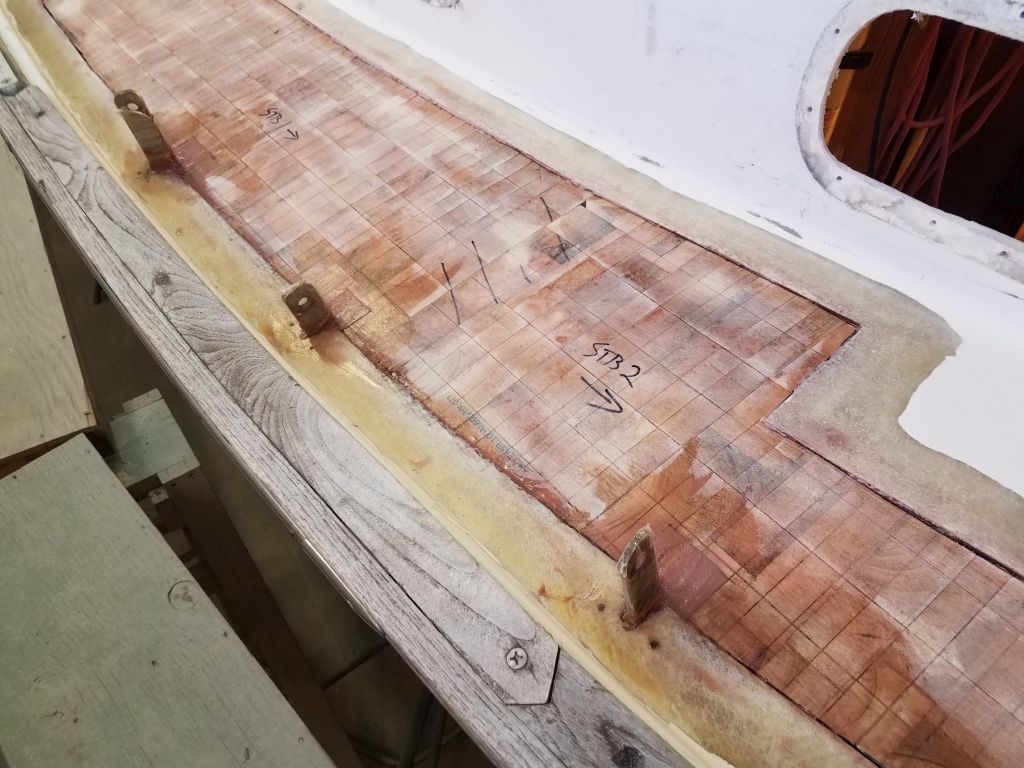
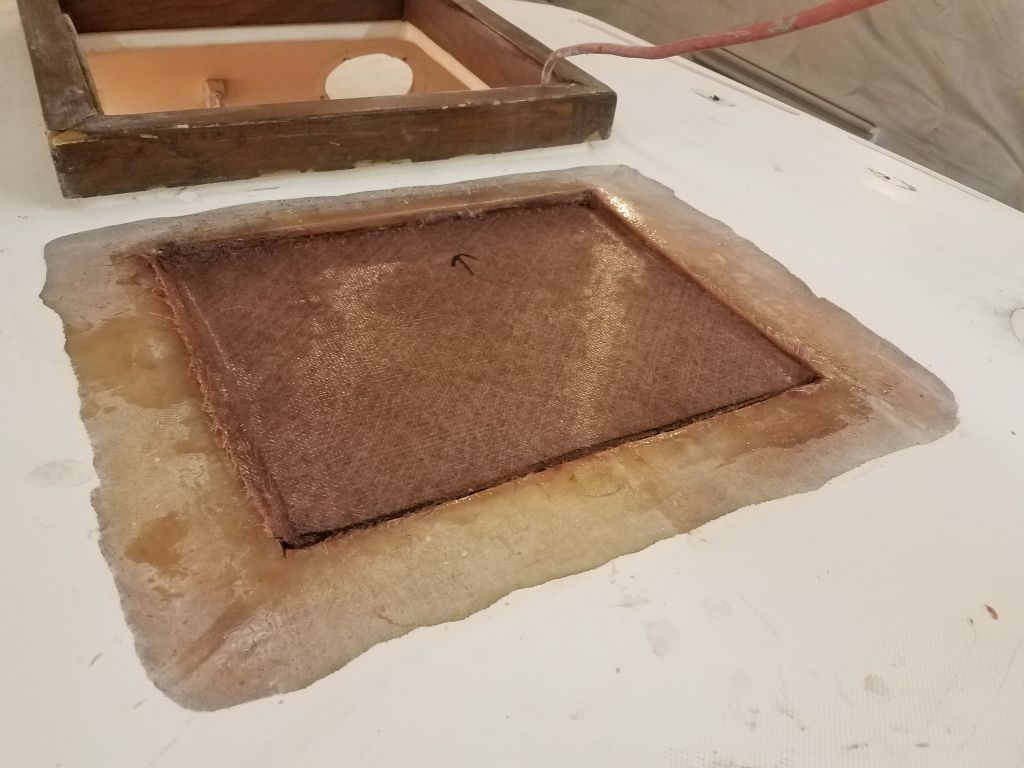
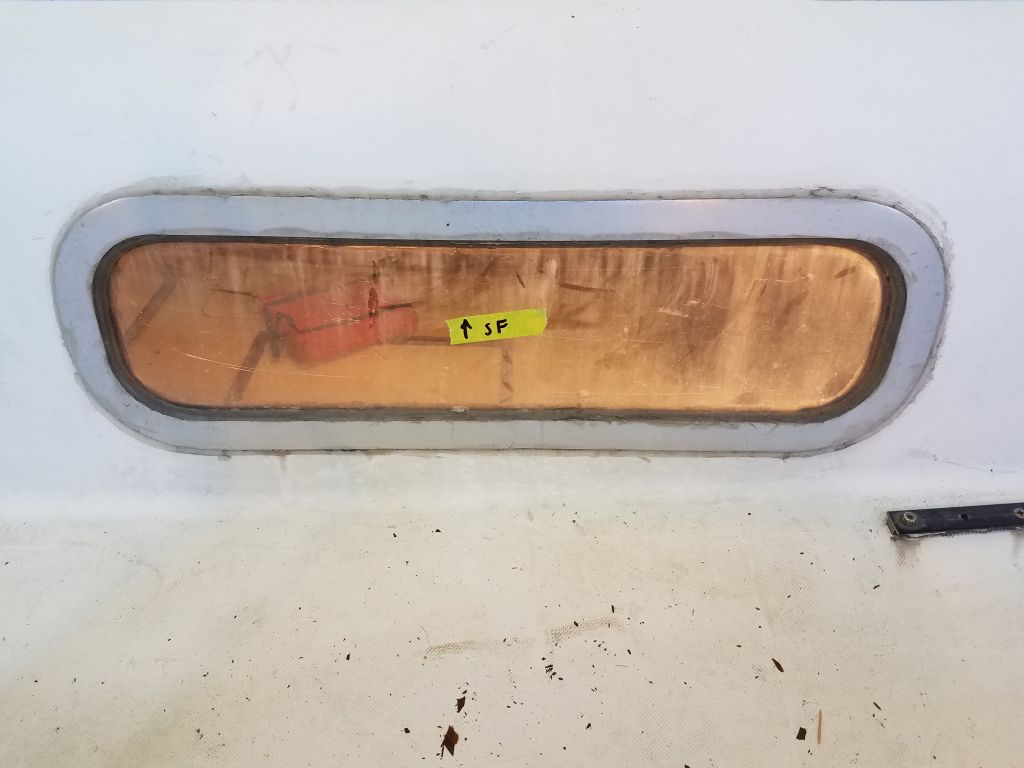
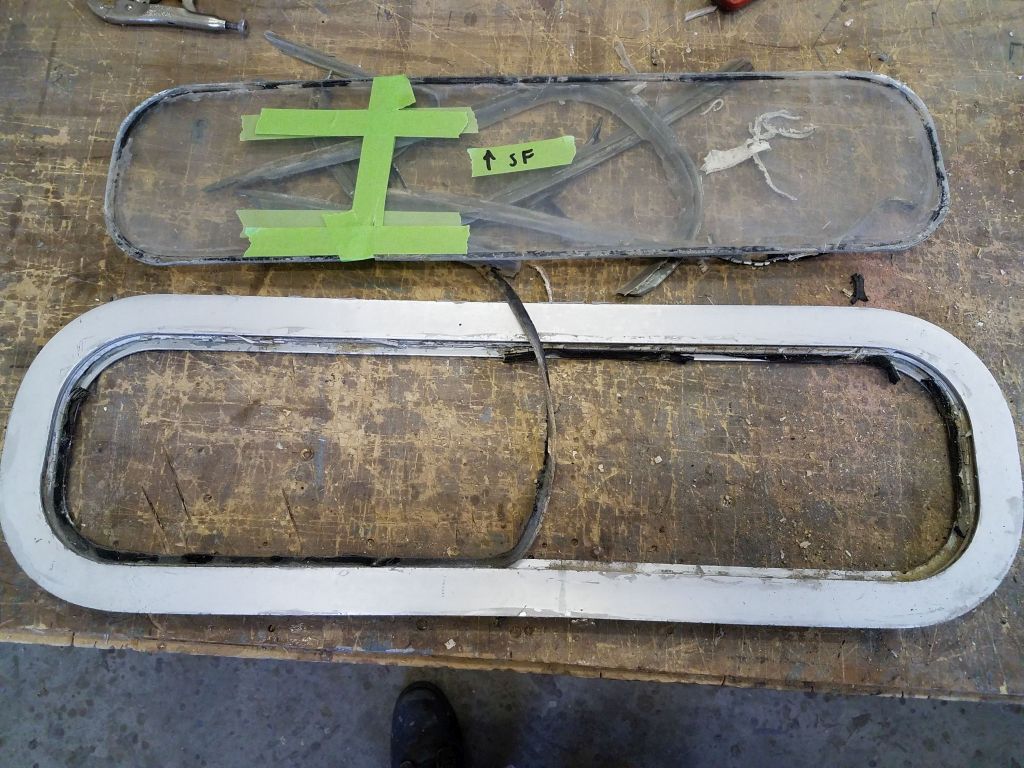
While the owner was making up some seat cushion templates on the boat, I continued work on one of the deadlight frames. The owner hoped to reuse the original frames, but had also talked about external-mount plastic instead. The first order of business was to determine the condition of the existing frames, including figuring out how to disassemble the frame and remove the lens for replacement: the frames were unlike others I’d encountered previously and at first glance the means of lens installation was not readily apparent. The one I chose happened to be the starboard forward frame, shown initially in place on the boat to highlight its original condition.
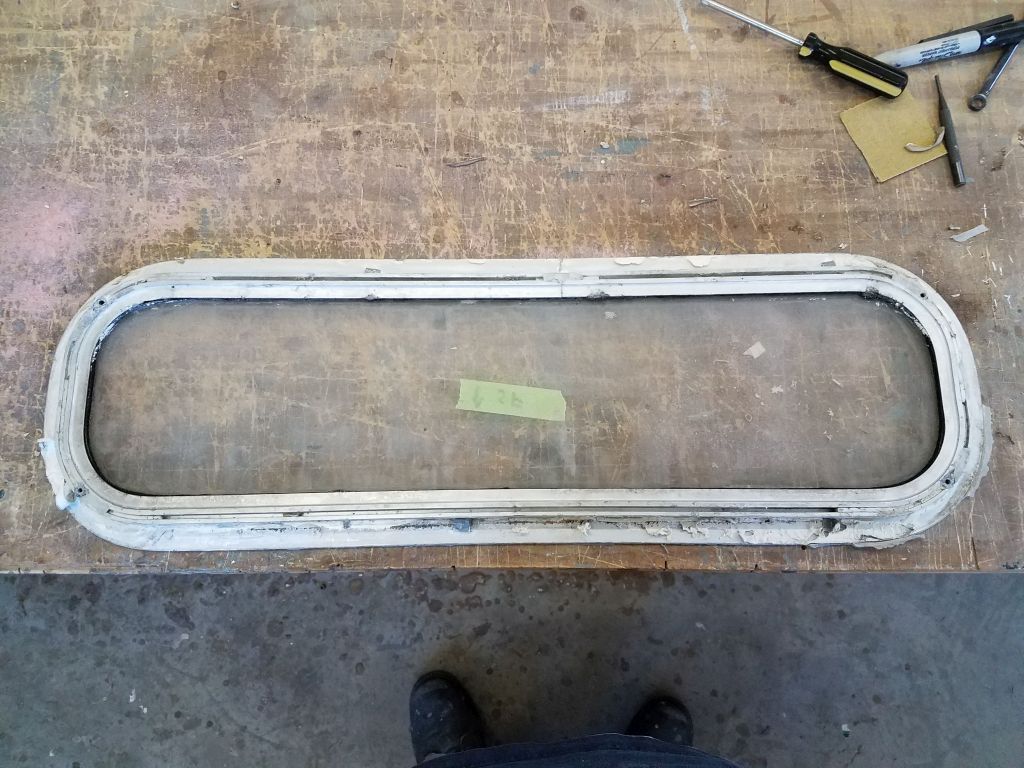
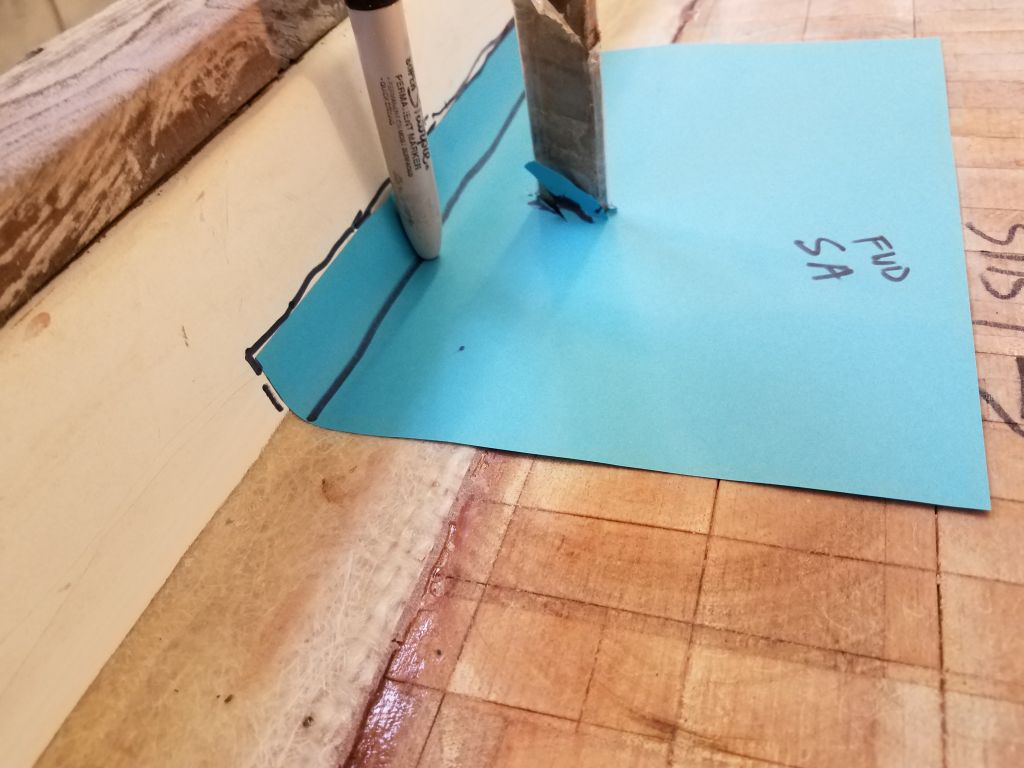
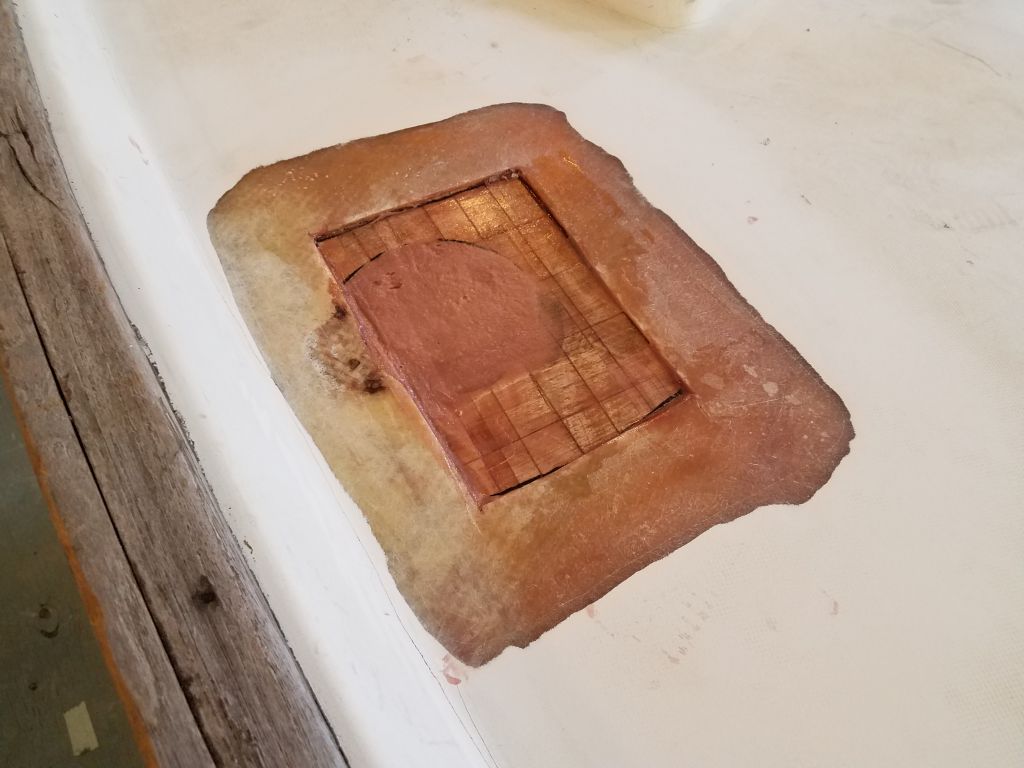
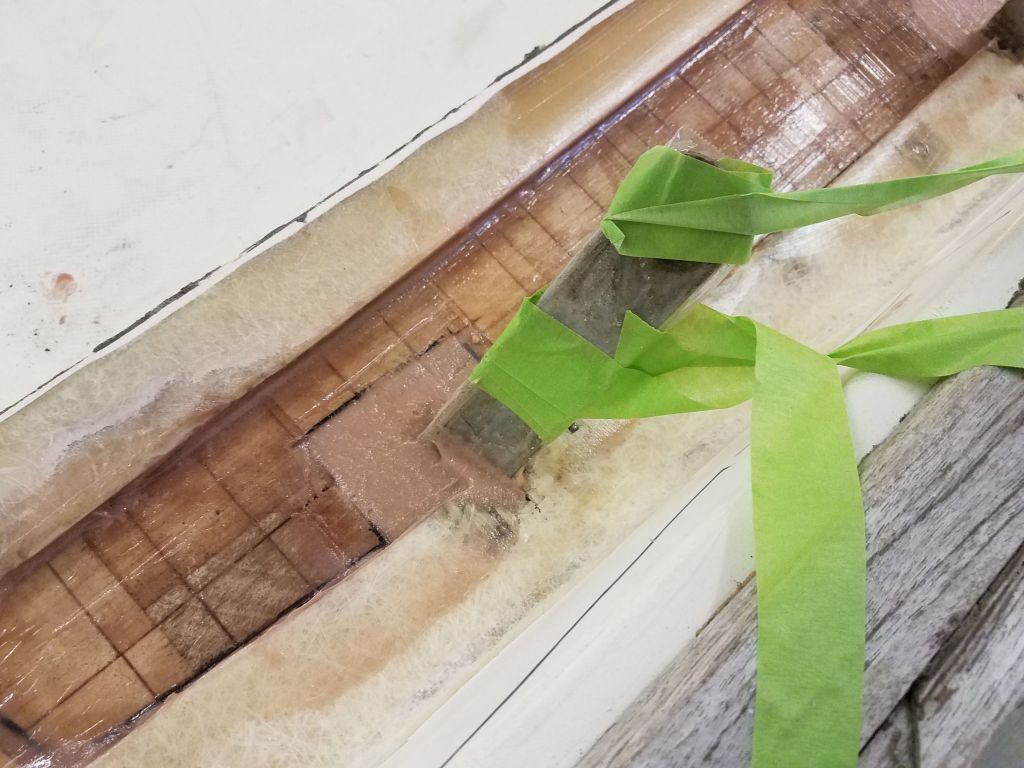
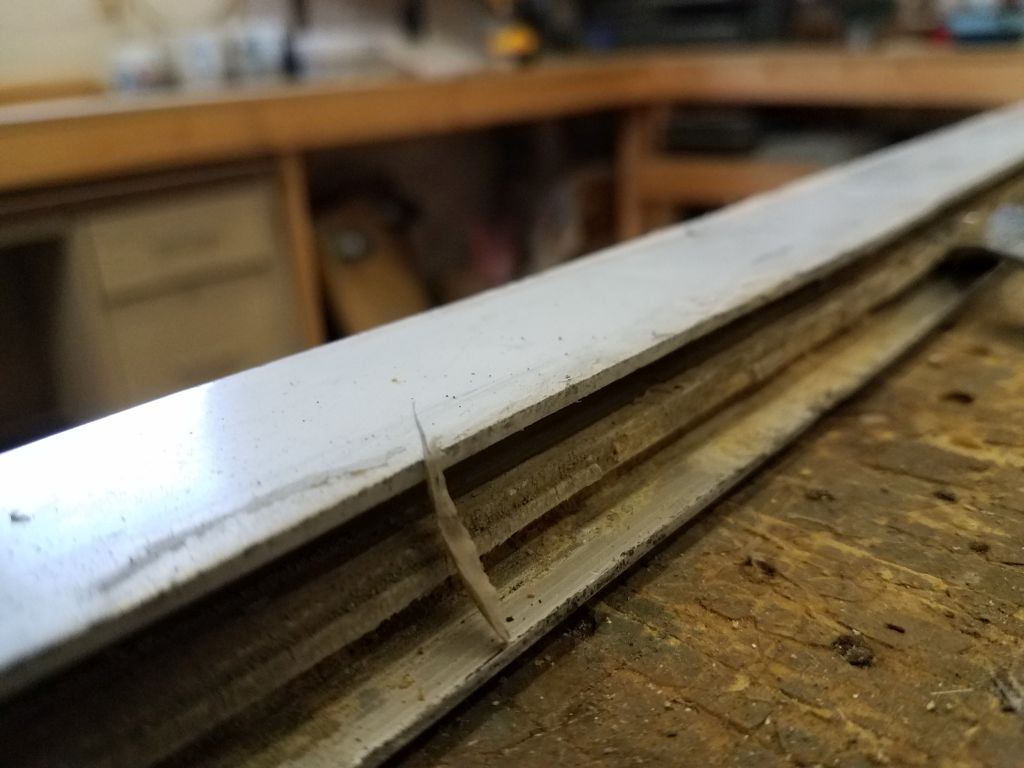
Cleaning up the old sealant from the faying surface was simple enough, but cautions exploratory surgery on the exterior part of the frame still required a bit of time before I understood how the lens was secured–and how to remove it. Eventually, I determined that the lens, which bedded against a flat surface inside the frame, was held in place with an adhesive gasket material on its own bedding surface, plus an external rubber gasket that was pressed/inserted into a groove in the frame itself. This gasket created a wide filled shape, but had over the years been covered with external silicone that hid the original material.
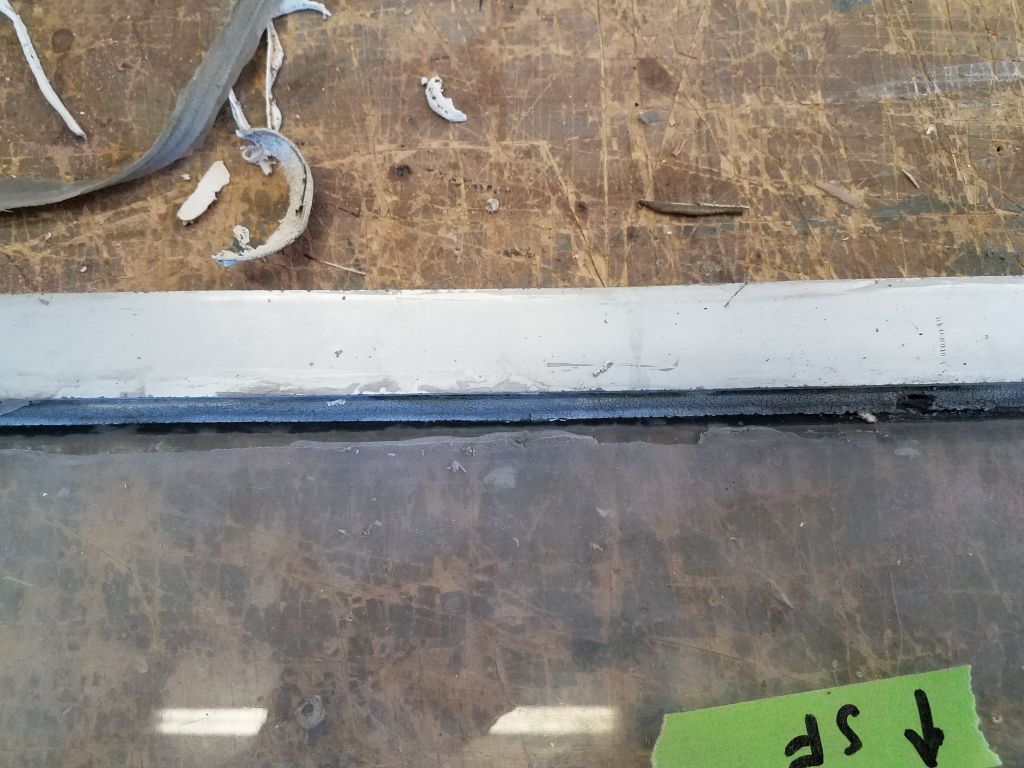
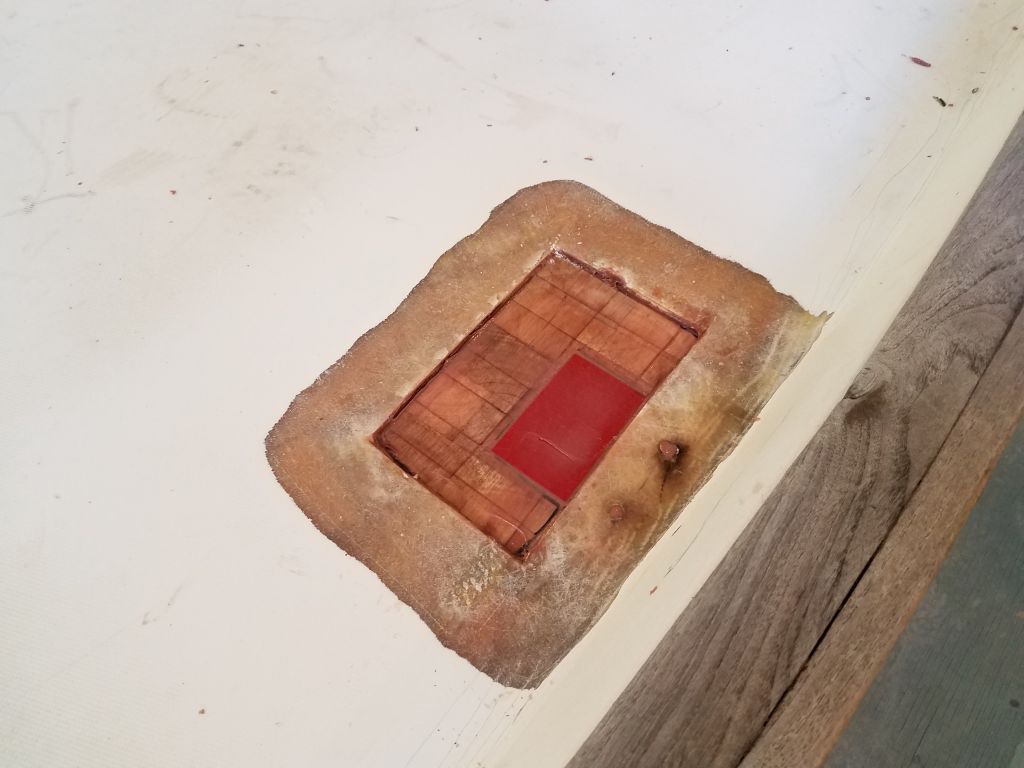
Not wanting to unduly damage anything, I proceeded slowly and eventually loosened a portion of the gasket, which was a friction fit inside the groove and overlapped with lens with a bit of a molded-in shoulder as well. With some difficulty, I pried out enough of the gasket so I could pull it free from around the lens.
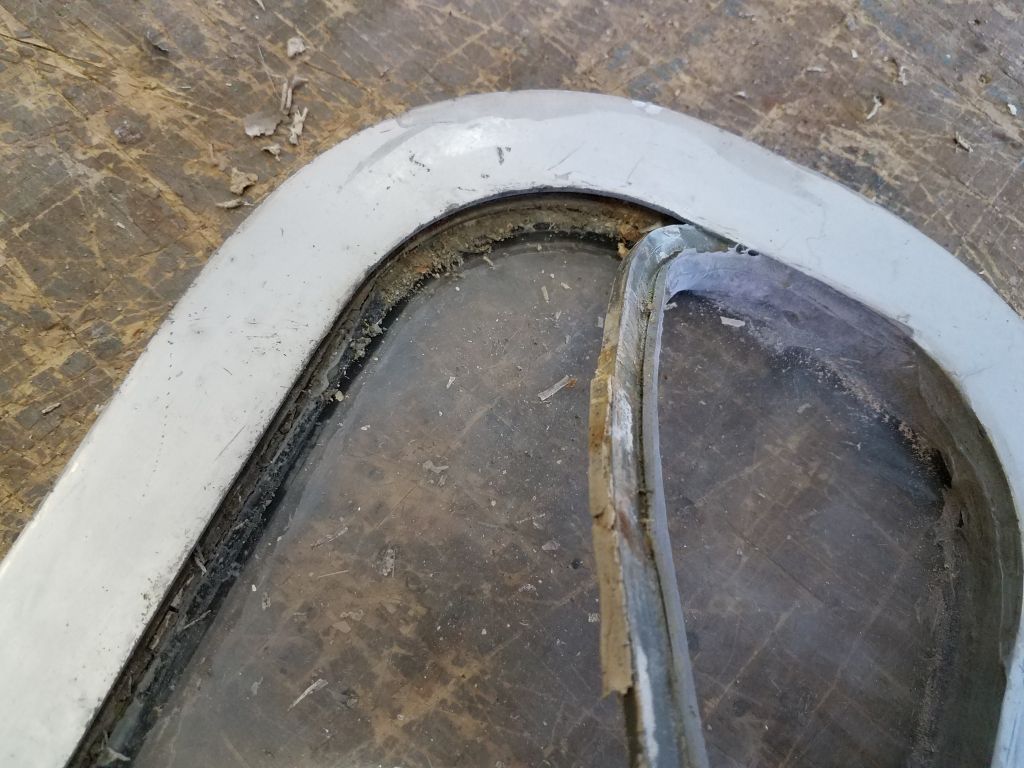
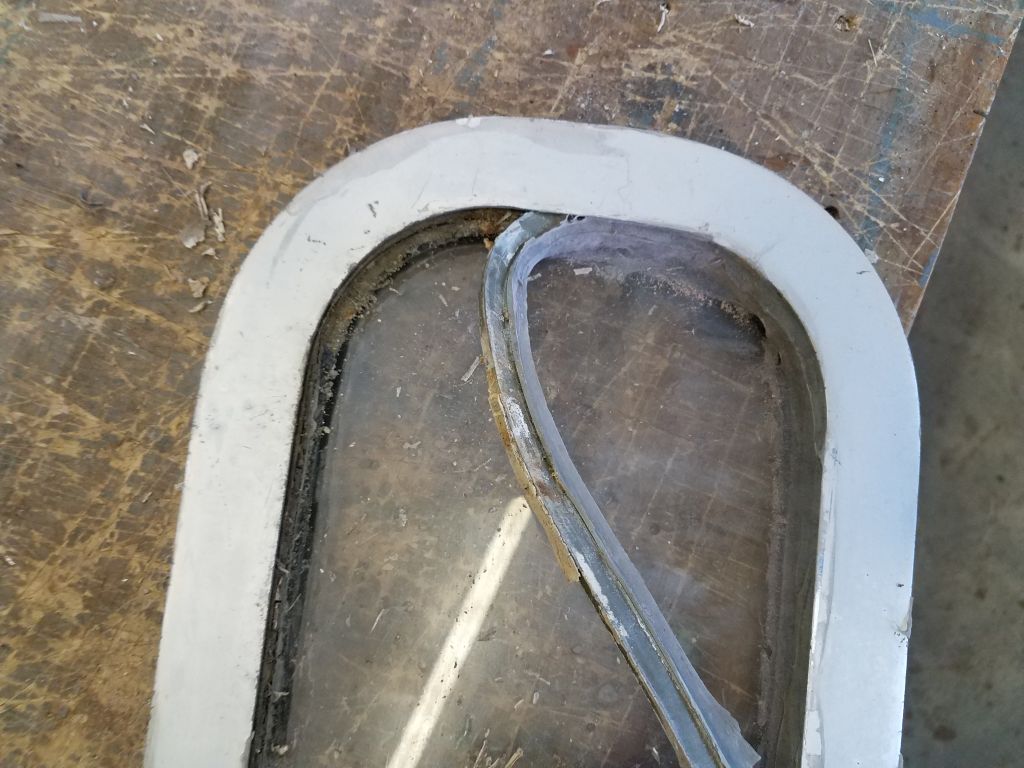
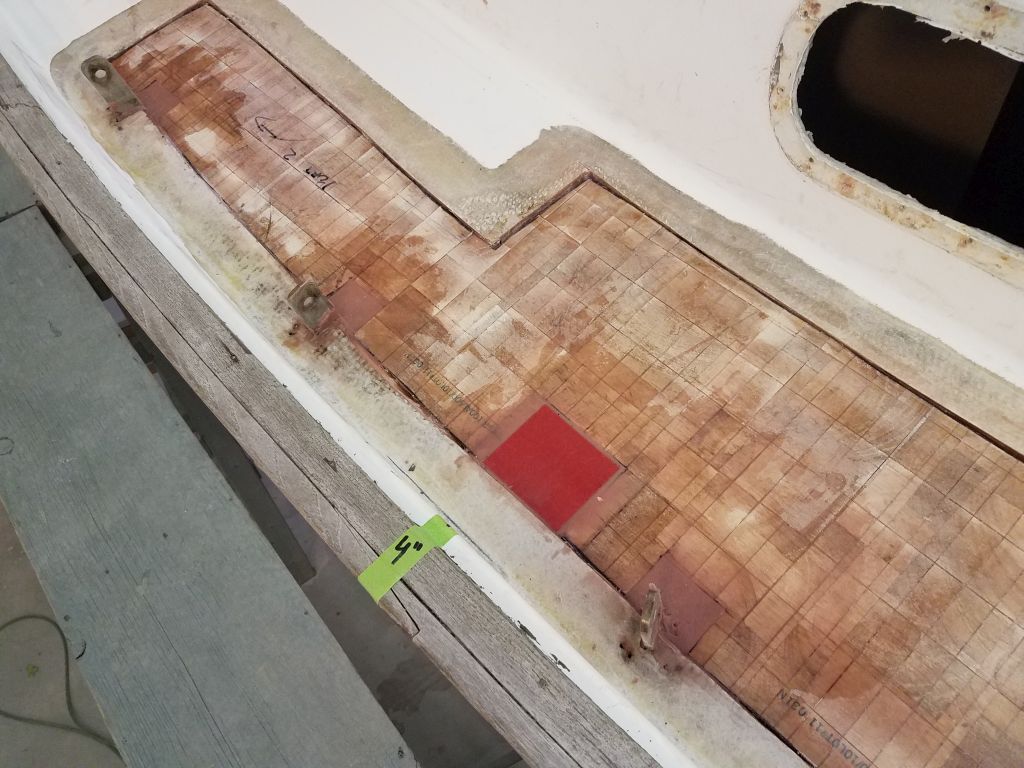
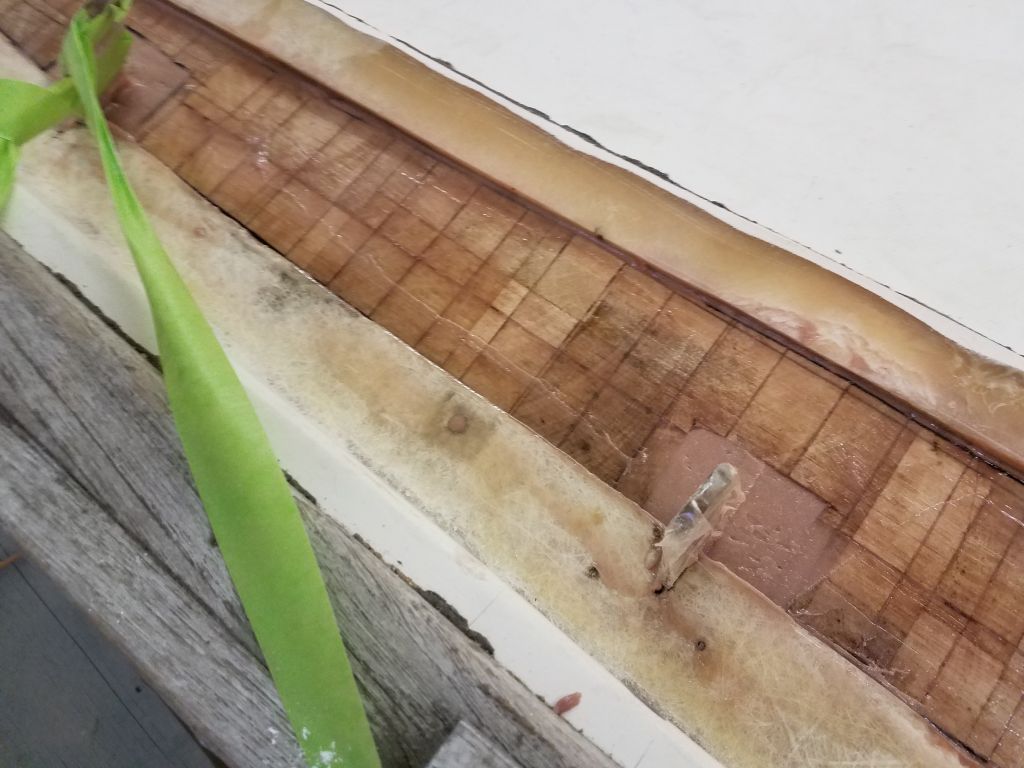
This exposed the edge of the lens, and with a bit of work I loosened the plastic lens from its bedding and removed it, along with the adhesive gasket beneath. I broke this lens in the process, though this was of no matter. The aluminum frame featured two grooves: one for the external gasket, and another smaller one outside of the lens itself. The disassembly was a bit fussy and time-consuming, though now that I knew what was what, I expected the remaining three would go more quickly.


The starboard forward frame happened to be the worst of the lot but even so was in good condition overall; I’d only had trouble removing the screws from inside when I took off the trim ring, as a couple of the screws had welded themselves to the aluminum. The owner and I agreed that given my findings, it’d be OK to proceed with re-using the frames, though I figured upon assembly that I’d rely on flexible sealant rather than attempt to replace any of the special gaskets.
After some additional consultation and discussions with the owner, he departed for home, and I called it a day.
Total time billed on this job today: 7.25 hours
0600 Weather Observation: -11°, mostly clear. Forecast for the day: Sunny, 24°